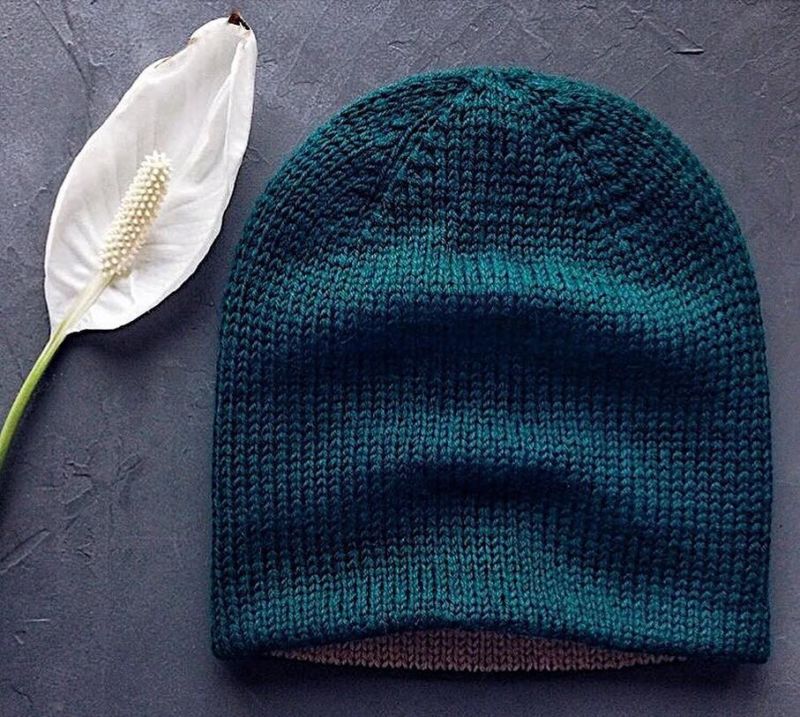
Knitting a Beanieanieanie: an overview of the variety of models and step by step knitting patterns for beginners.
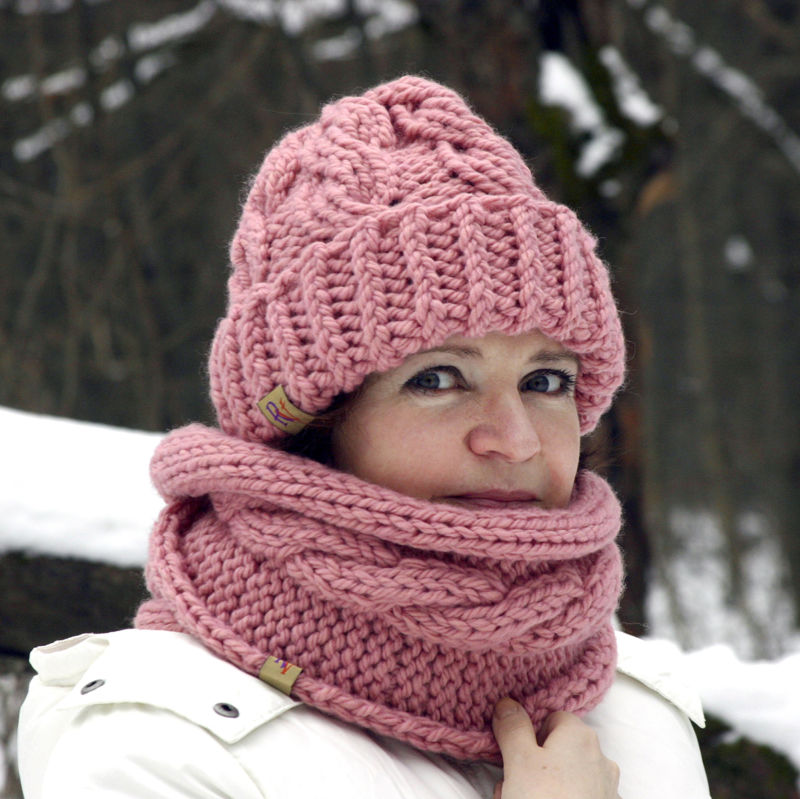
The Beanie hat became popular several years ago, but has not lost its relevance this year. It is worn by both the male population and the female population of all ages.
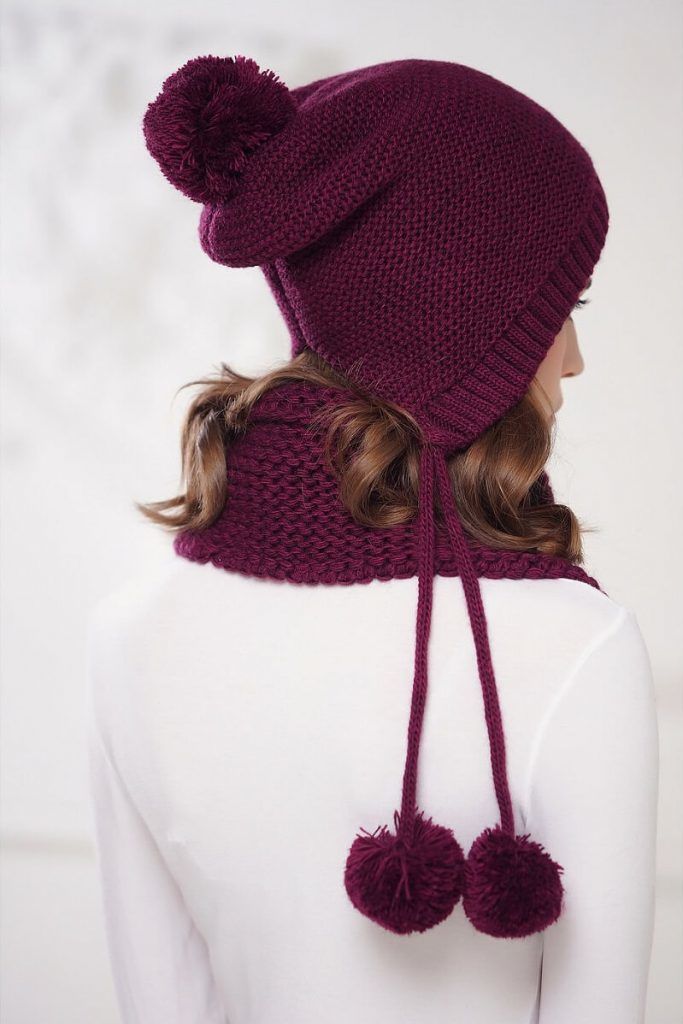
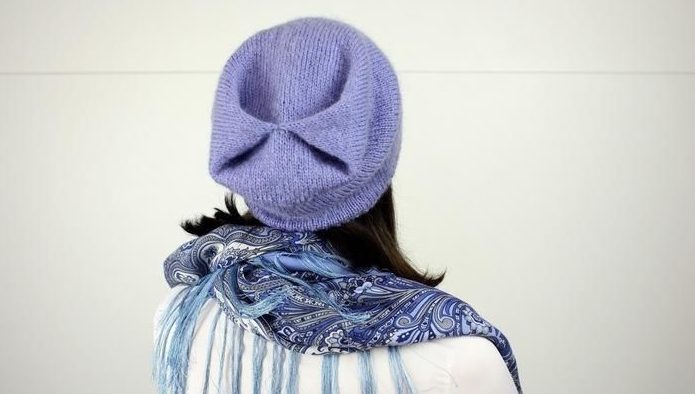
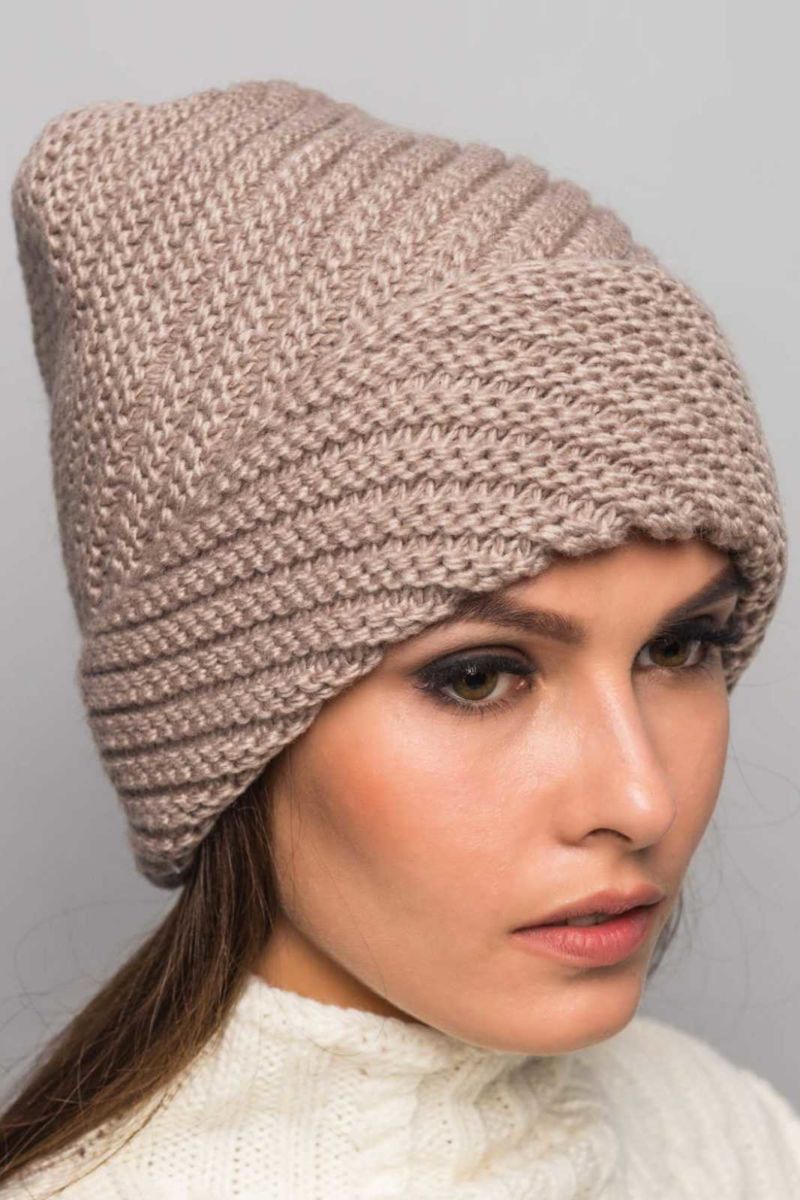
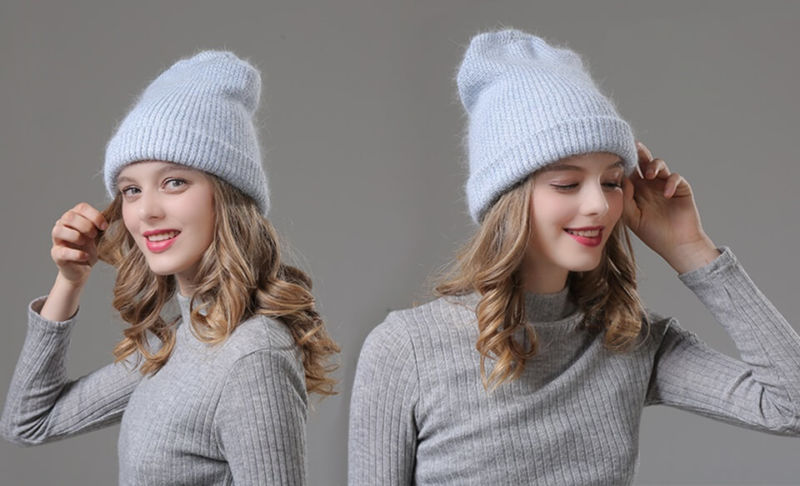
The youthful version of wearing it is to make clips in the back of the hat. Mature people prefer to wear it with lapels. But in any case - it is a universal headgear, and the main thing is to choose the right color, so that it is in harmony with outerwear and was for the age.
Description of knitted hat bini.
Popular hat is worn not only by fashionistas, but also by celebrities. Bini tightly entered the everyday life and do not intend to surrender their positions, because on the basis of the model come up with different options as in wear, and in patterns and colors.
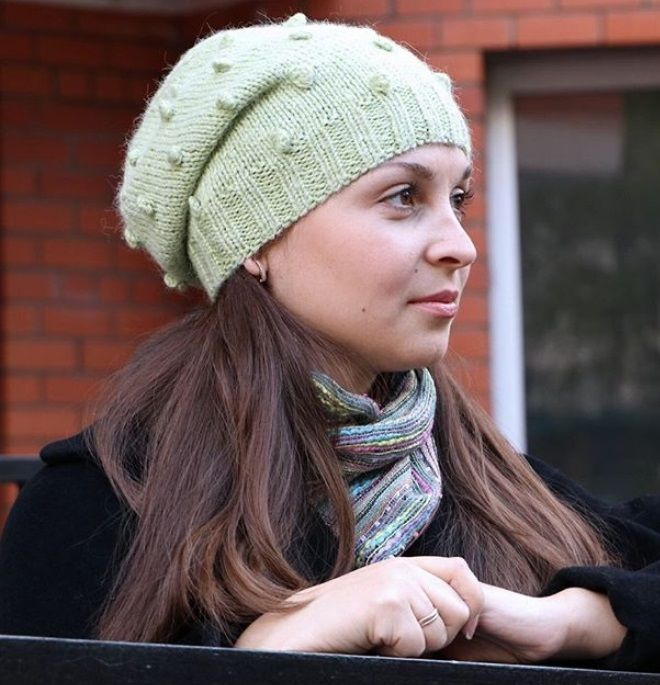
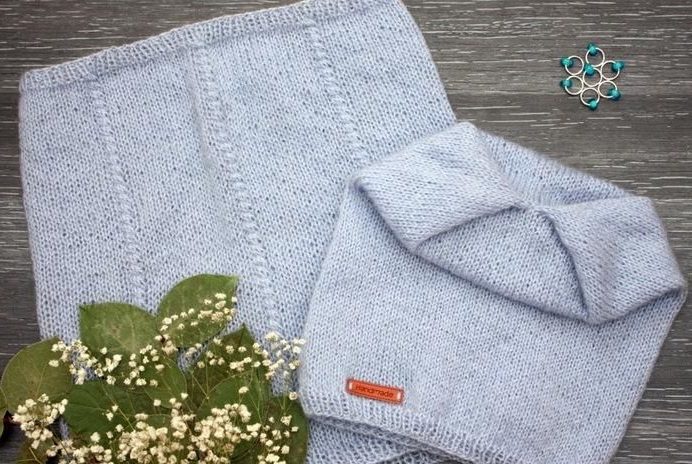
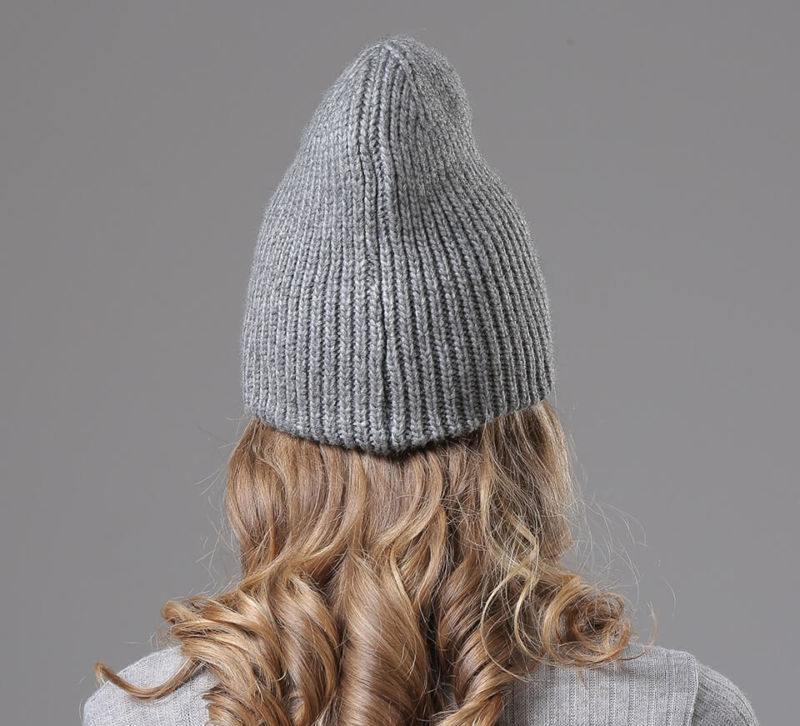
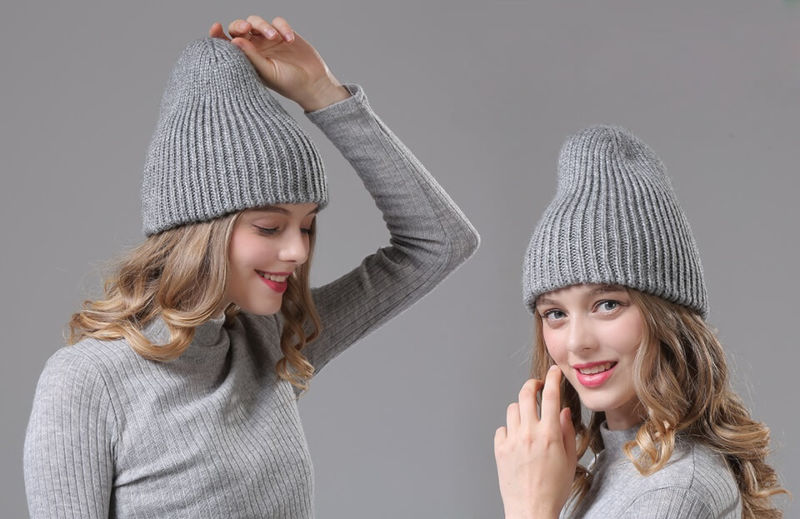
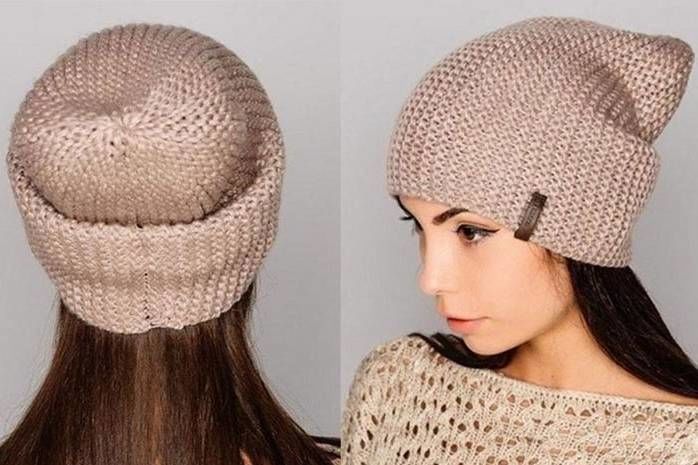
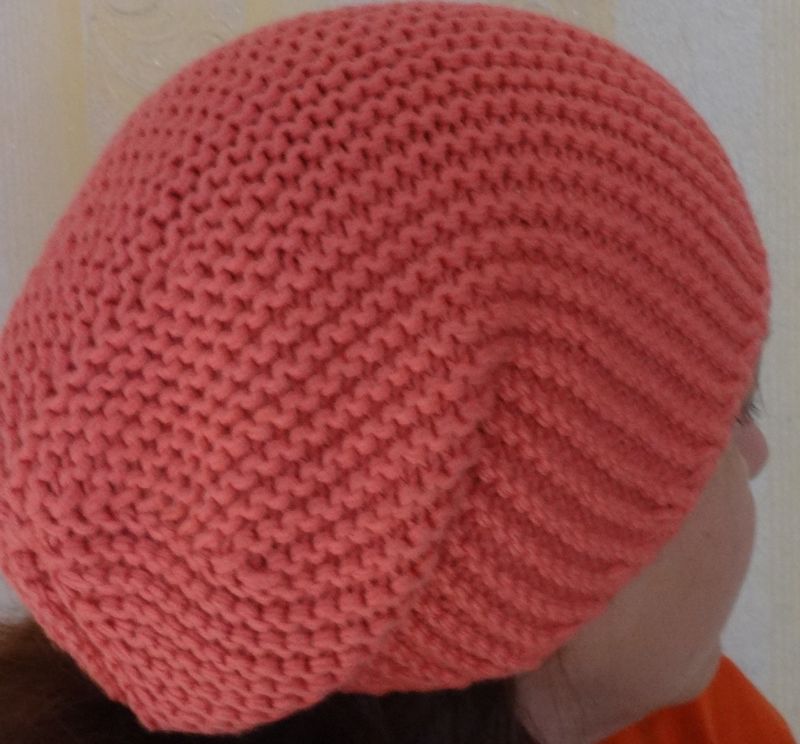
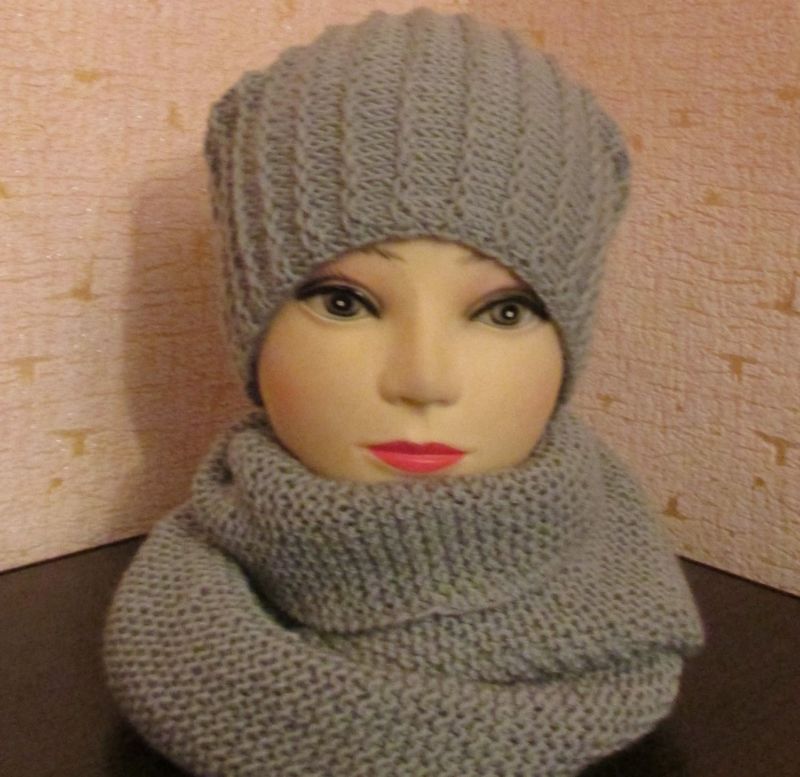
A hat can be worn tightly on the head, or it can be loose and baggy. Usually such models are worn by lowering the back part at the back of the head.
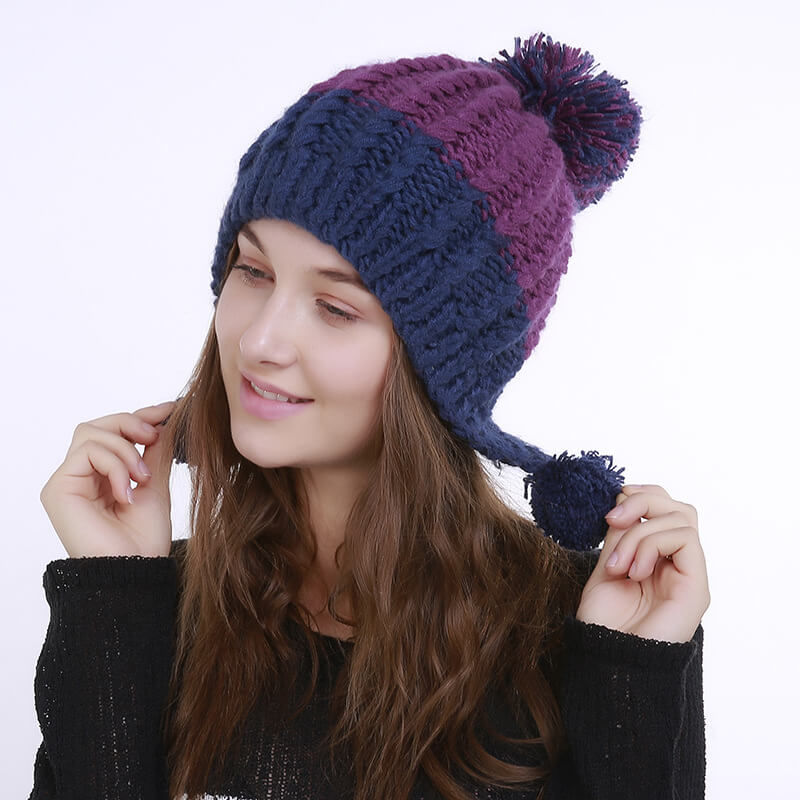
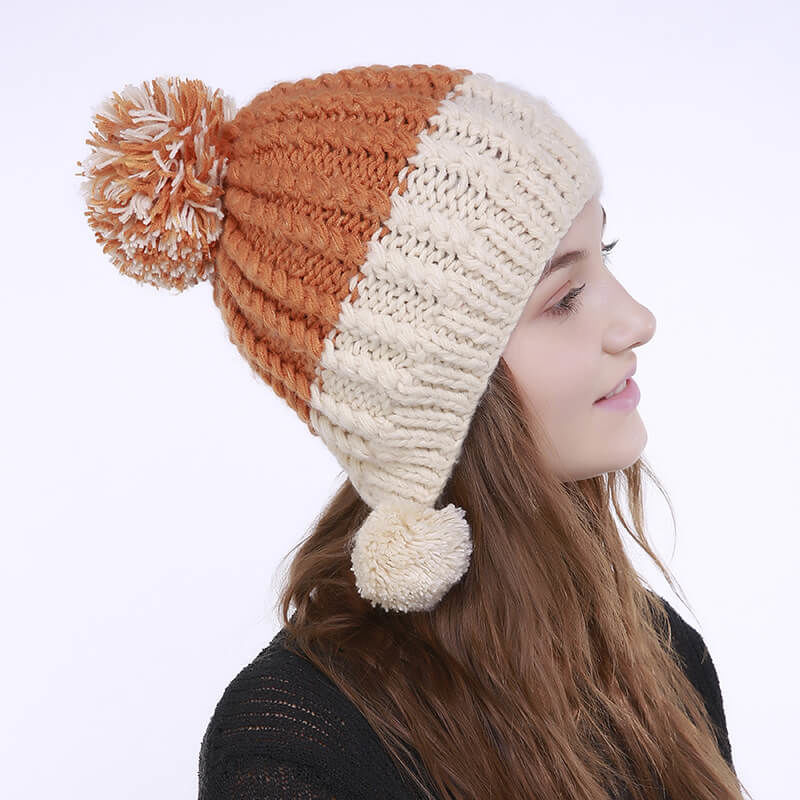
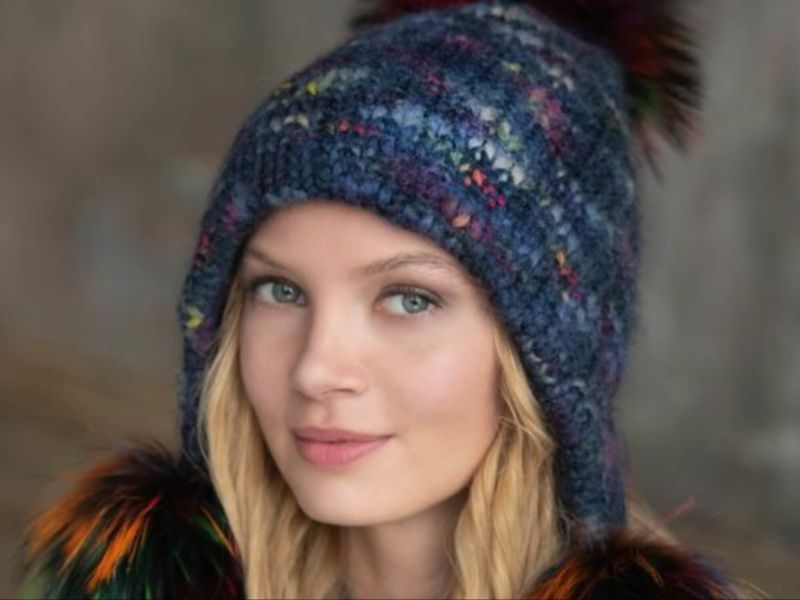
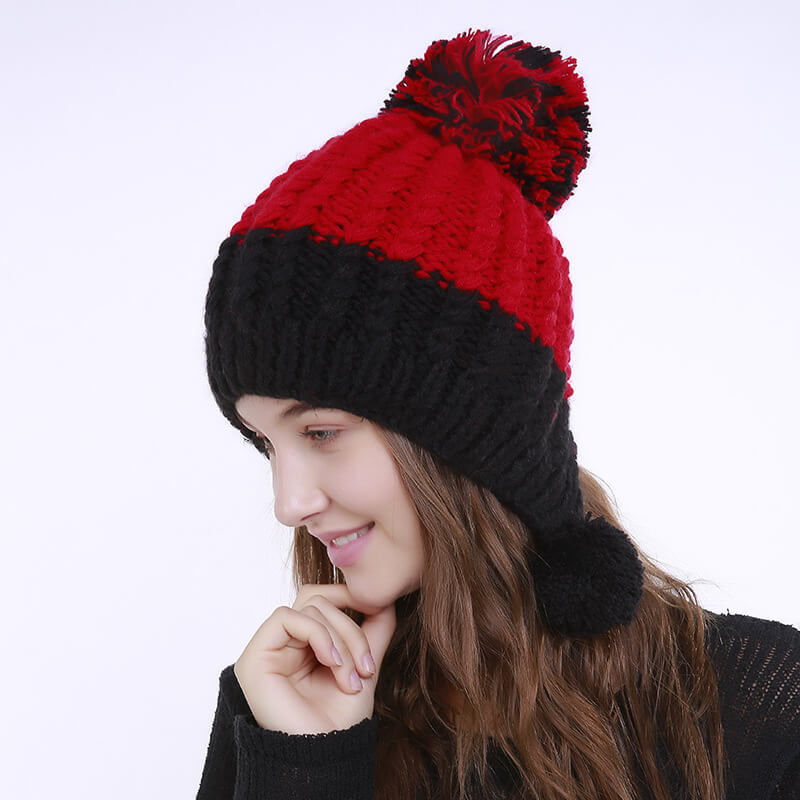
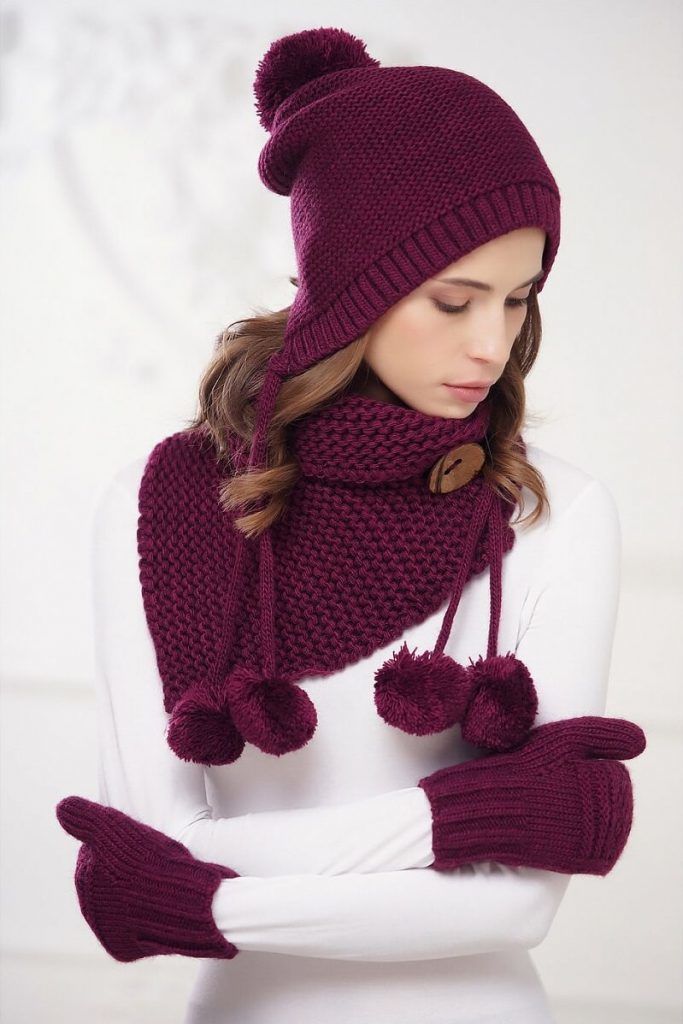
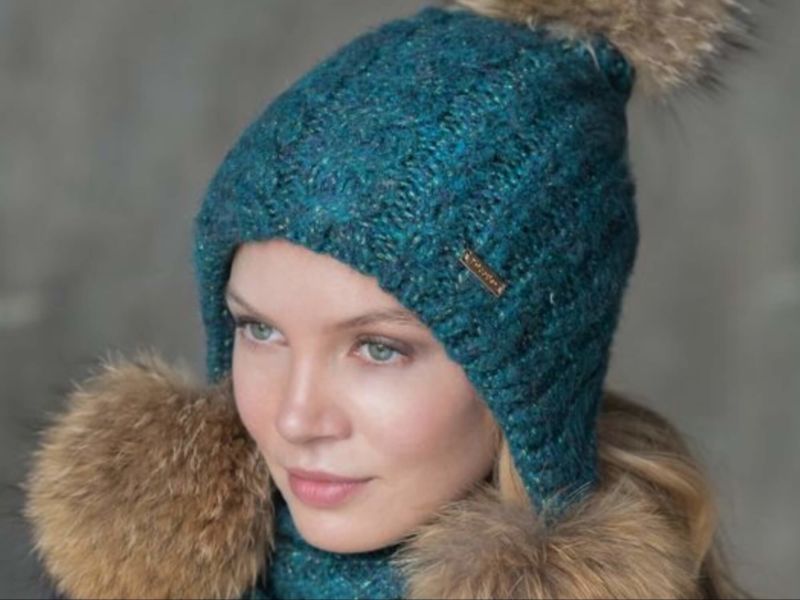
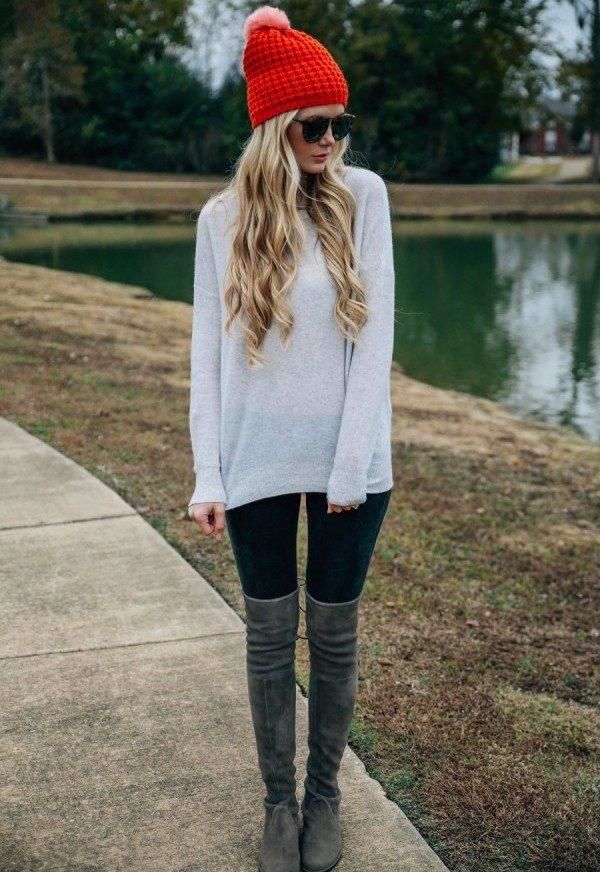
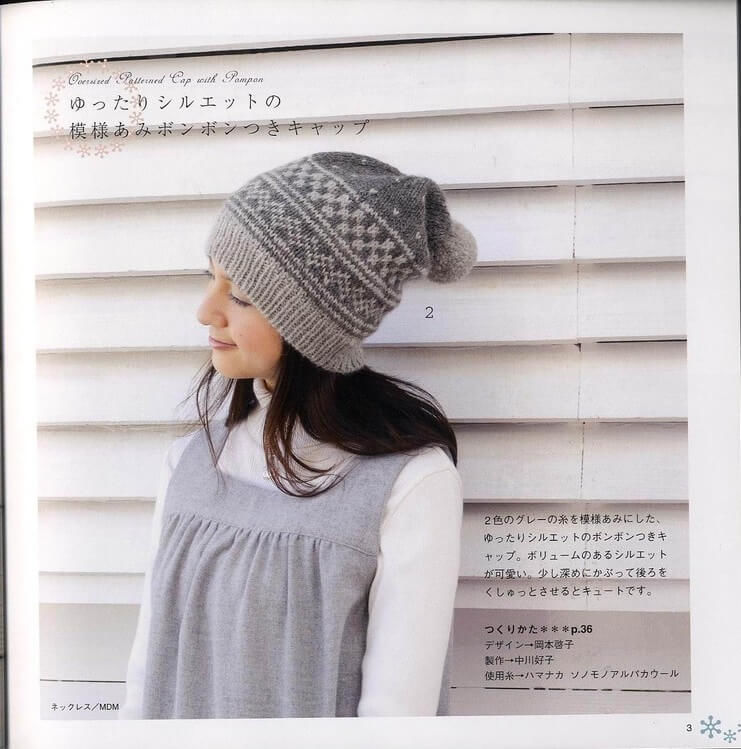
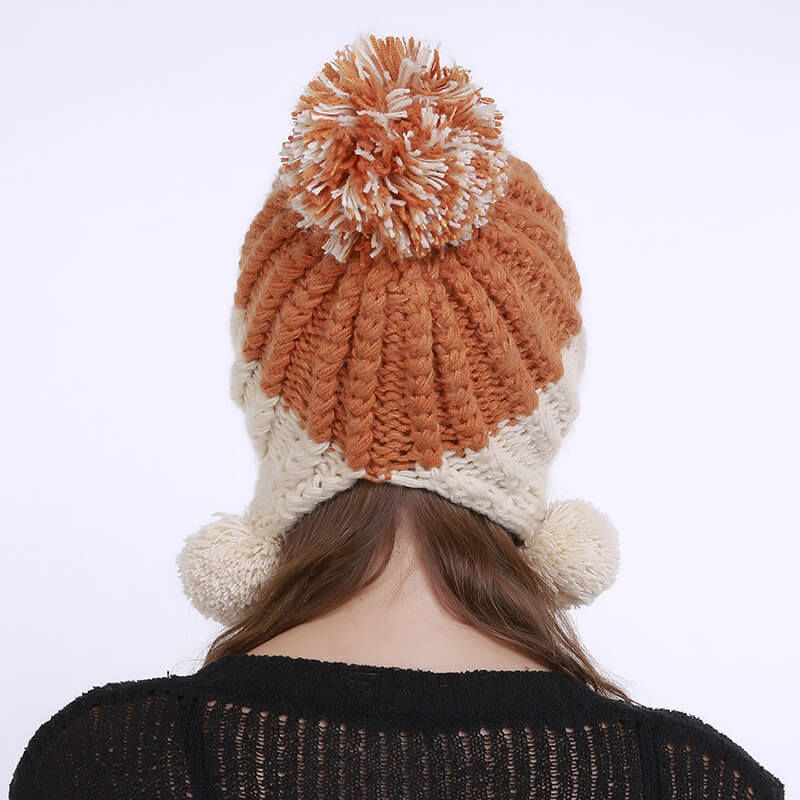
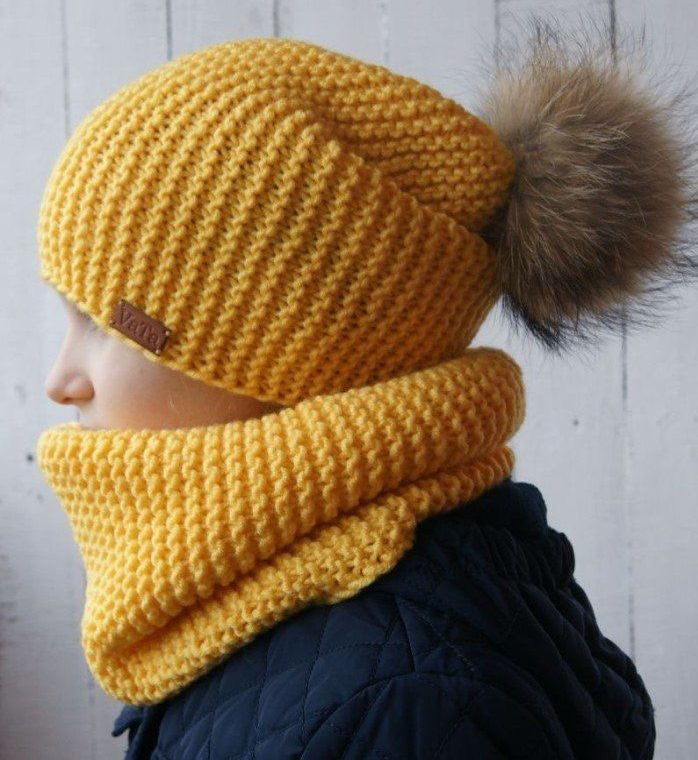
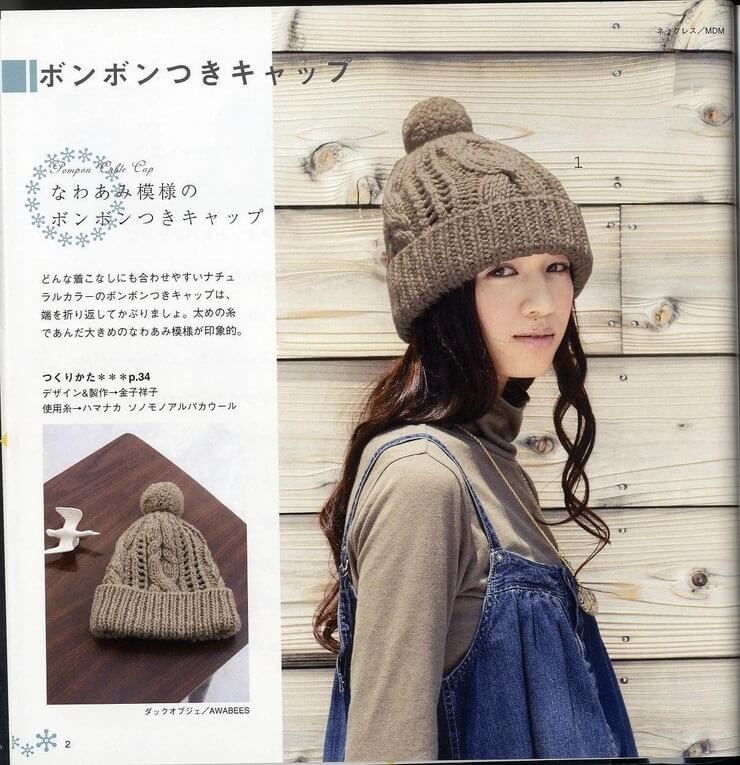
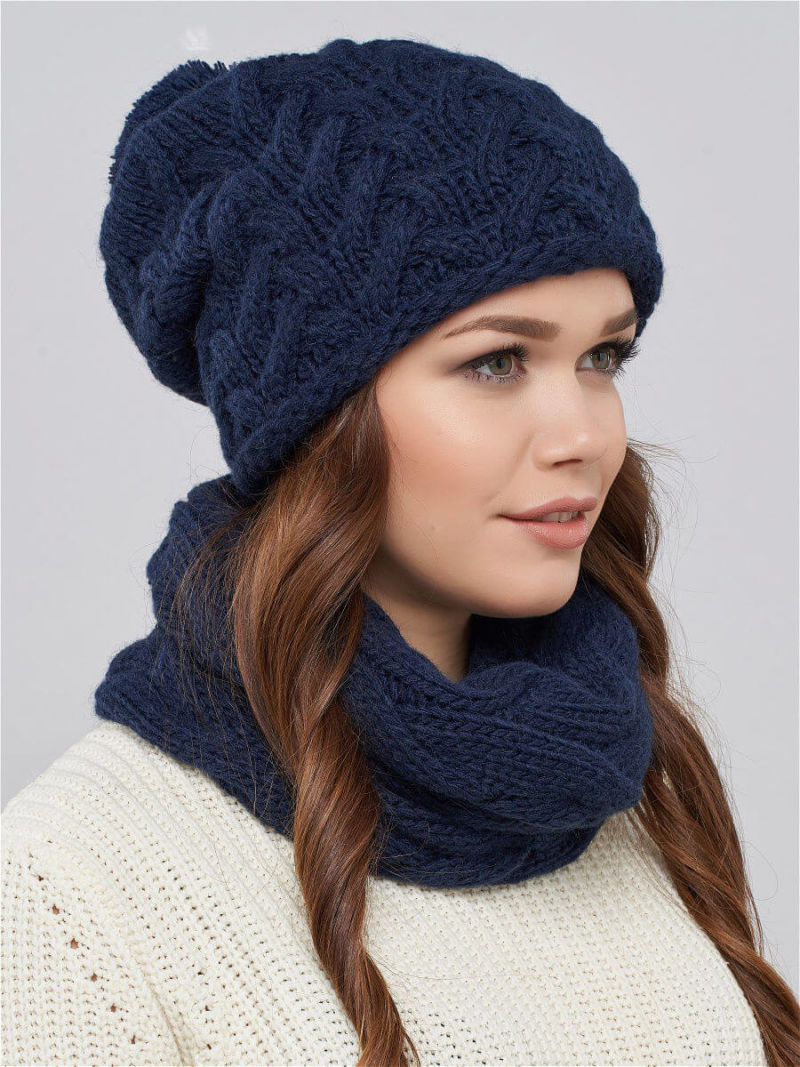
Also bini are divided into seasonal models. Hats are knitted from a thick yarn in winter, and in spring or autumn they are worn from a thin yarn. Bini is decorated with a wool or fur pompon on top or a hat can be without it.
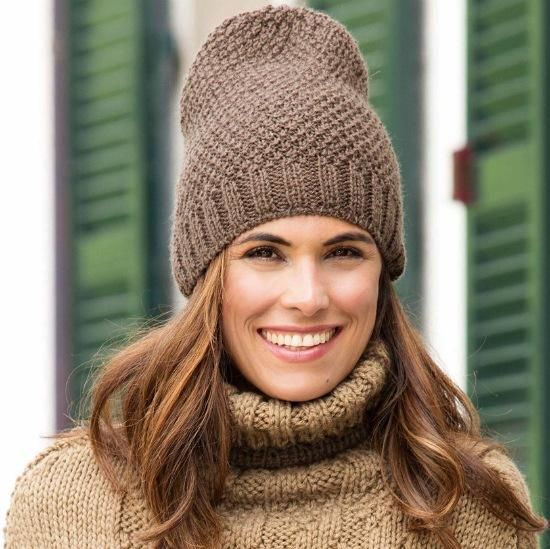
Bini can be worn with a lapel, so it looks full and perfectly in harmony with the down jackets.
Unusually look hats with ears. They are made from the corners of the hat, which stick out on the crown.
But there are models when ears imitating different animals are sewn to the hat itself. Such hats are popular among young fashionistas and teenagers.
Types of bini
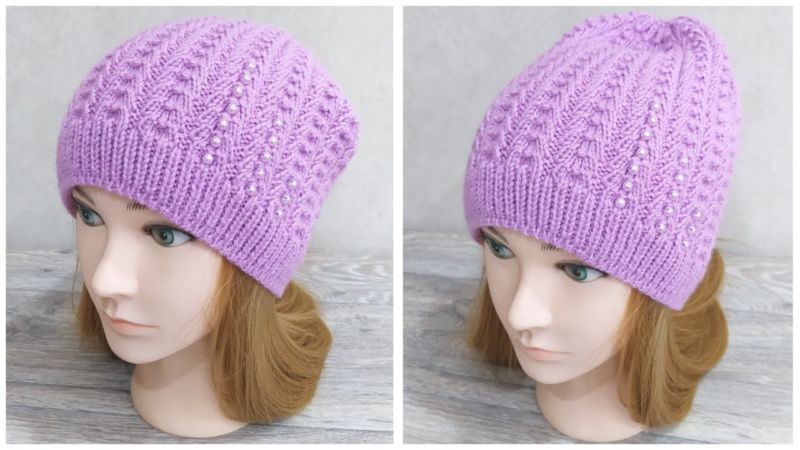
This model is not only knitted from different threads, but also made with different patterns and designs. It can be of different colors. It is decorated with sequins and beads, beads and applique.
Simple model
Bini, connected with the usual pattern and without any embellishments, is a simple model. But it can be knitted with different yarns. It can be:
- mohair;
- acrylic;
- wool;
- merino;
- angora;
- cashmere;;
- cotton thread.
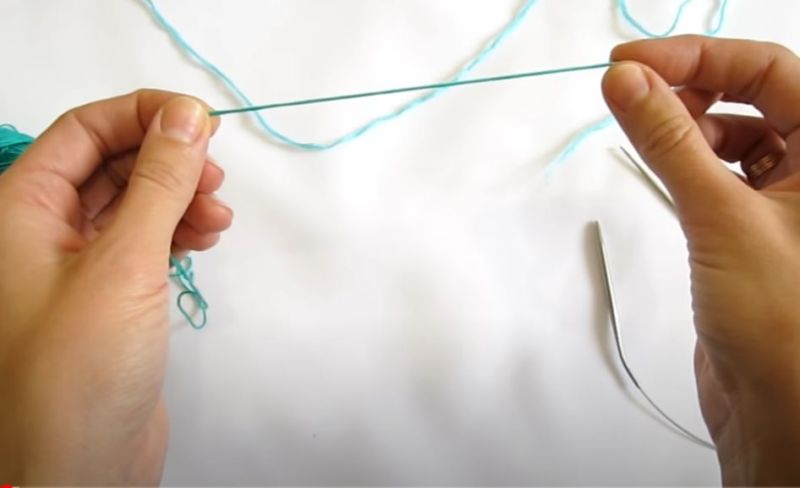
A simple model is knitted very simply. Use a needle that matches the thickness of the yarn. Usually on the package of yarn is written on what size needles should be knitted from it.
If you want to get a looser knit, you can take the needles to a size thicker than indicated on the label of the yarn. Sew the finished fabric on the back.
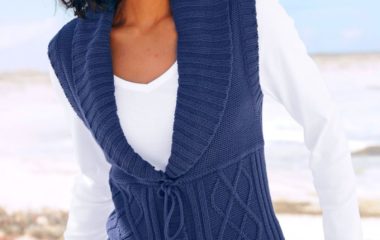
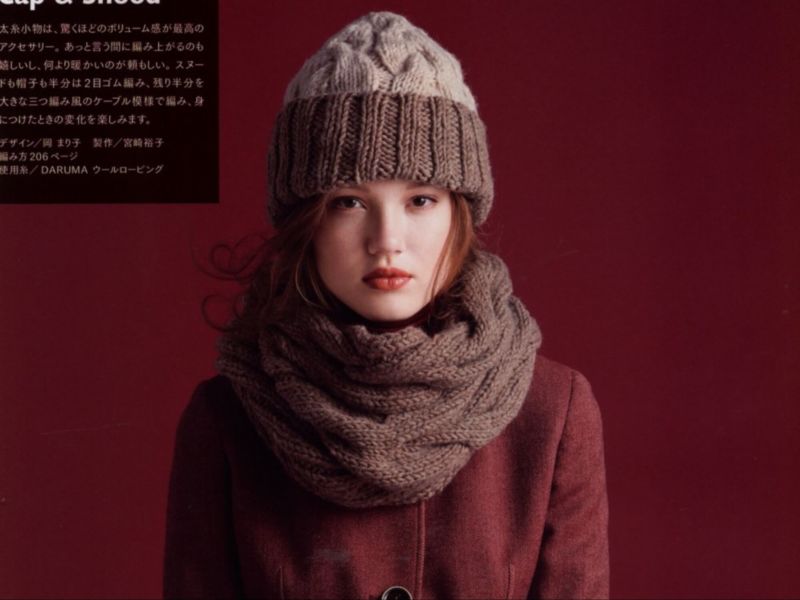
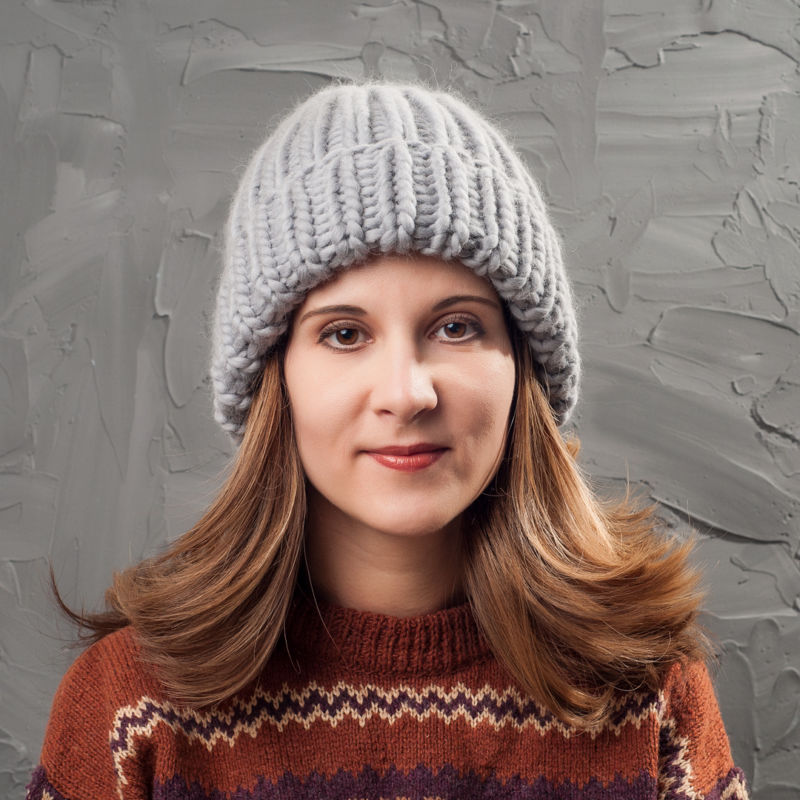
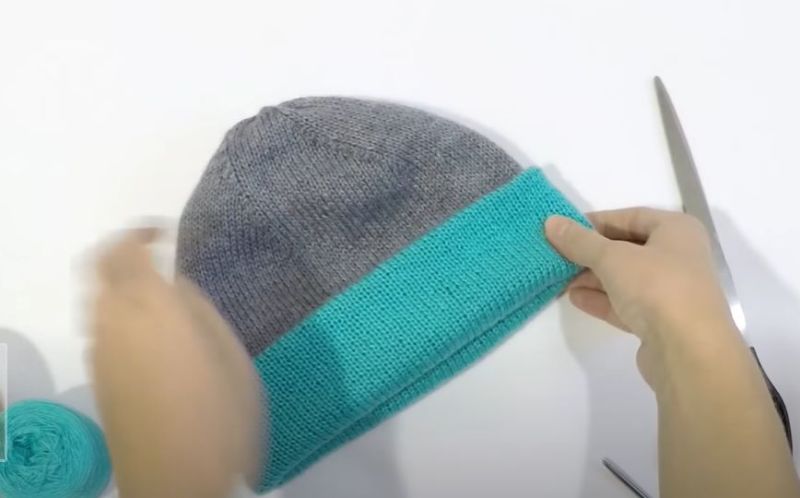
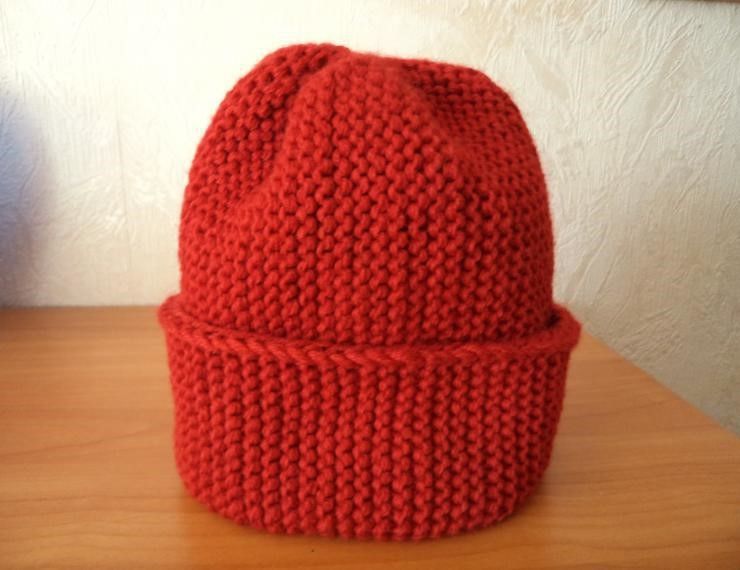
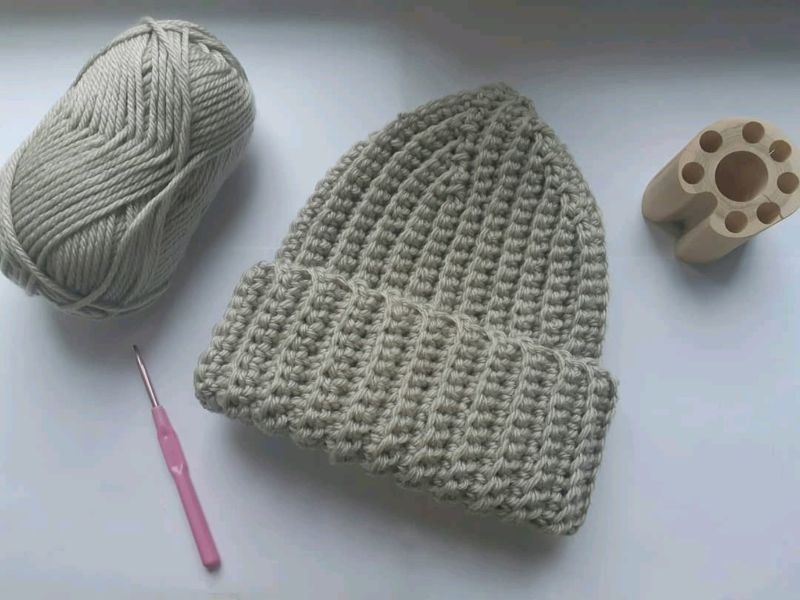
With a lapel
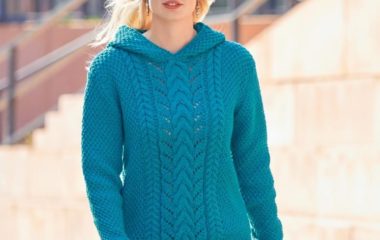
This model is knitted in the same way as the simple model, but the height of the fabric is longer, so you can twist it as a lapel.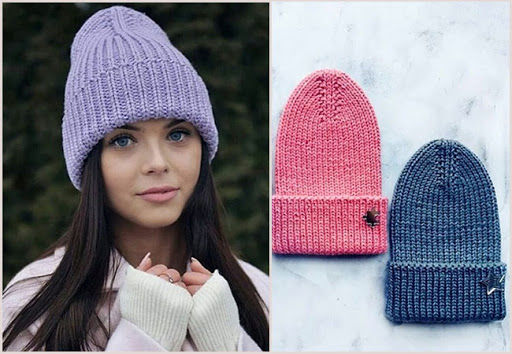
It can be knitted in a different pattern from the main one on the fabric. It can be an elastic band or flagellum. The elastic band will fit snugly on the head, and the flagellation will help add volume to the hat.
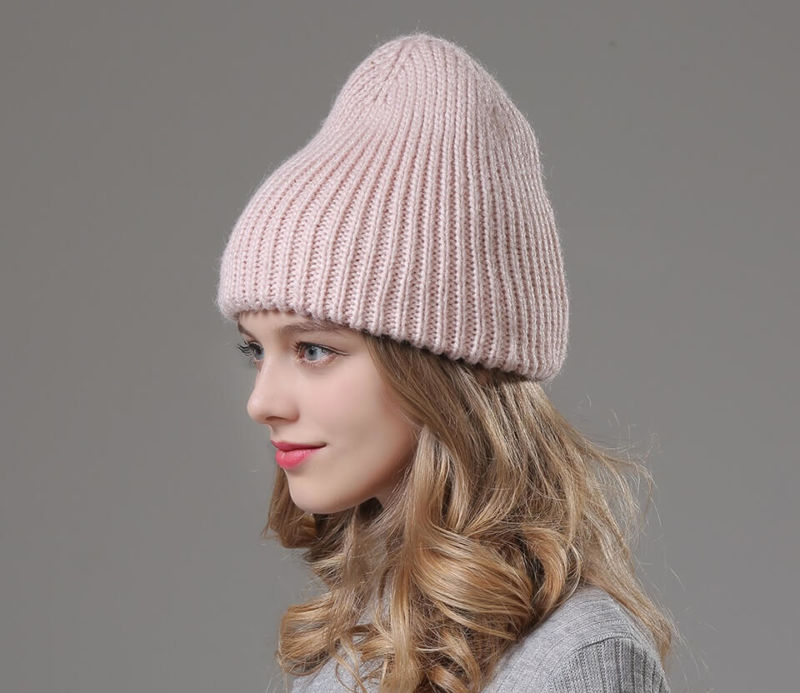
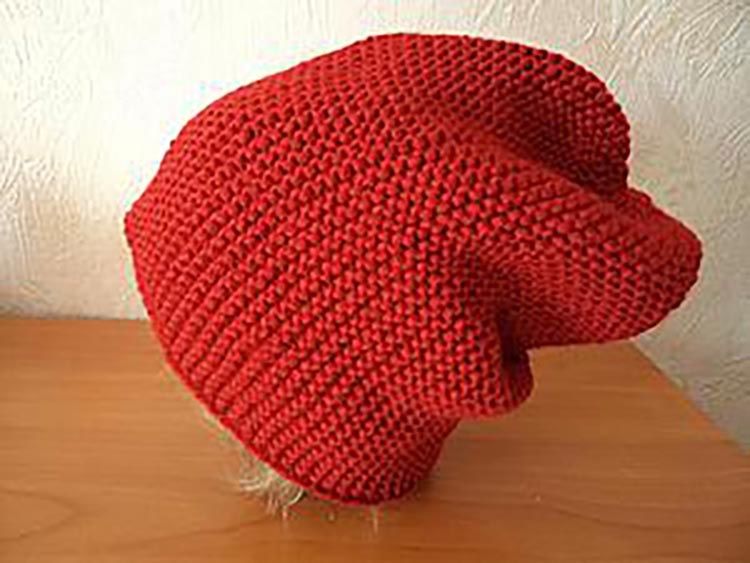
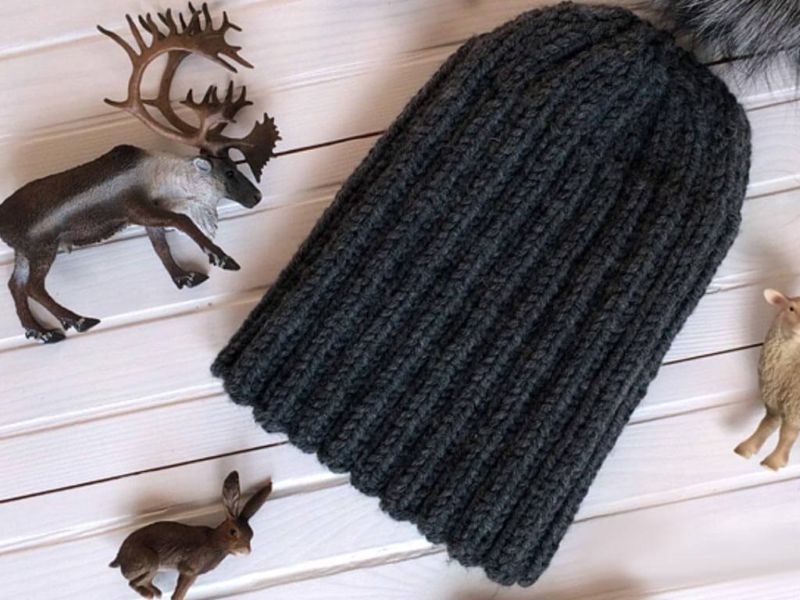
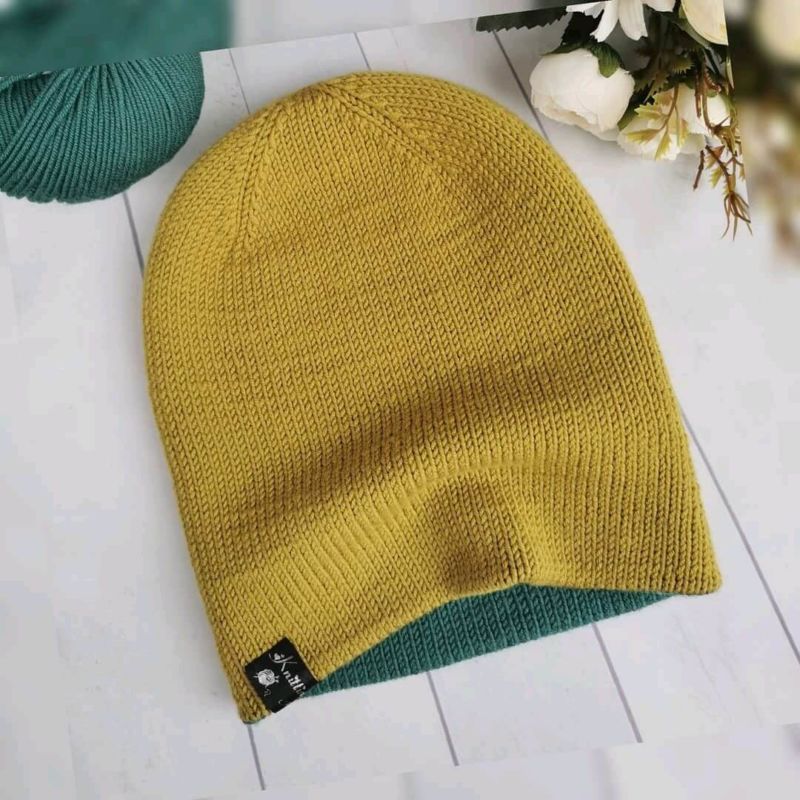
Made of thick yarn
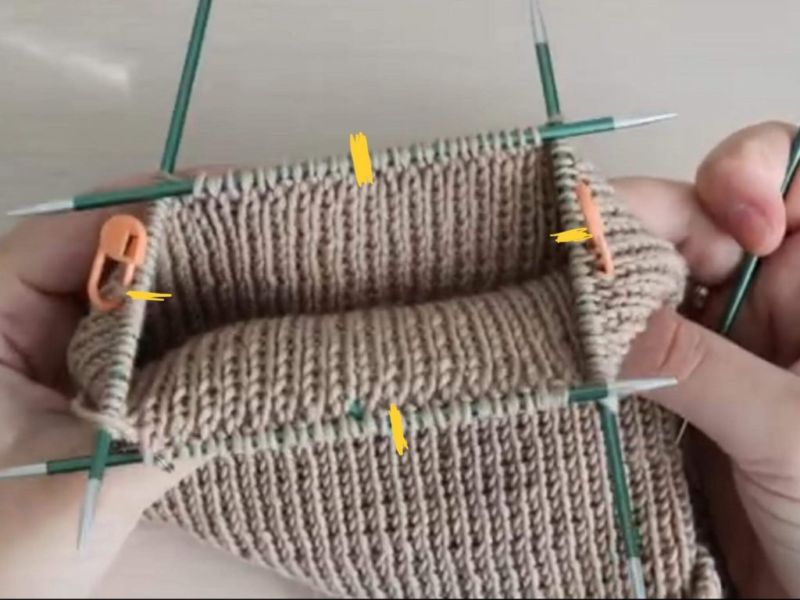
A bini hat with thick yarn can be knitted in hours. Usually it is knitted from the bottom, and it is done in the rows through the loops, which are divided into 8 equal parts. Then the hat will have a rounded, pulled-out shape to the top.
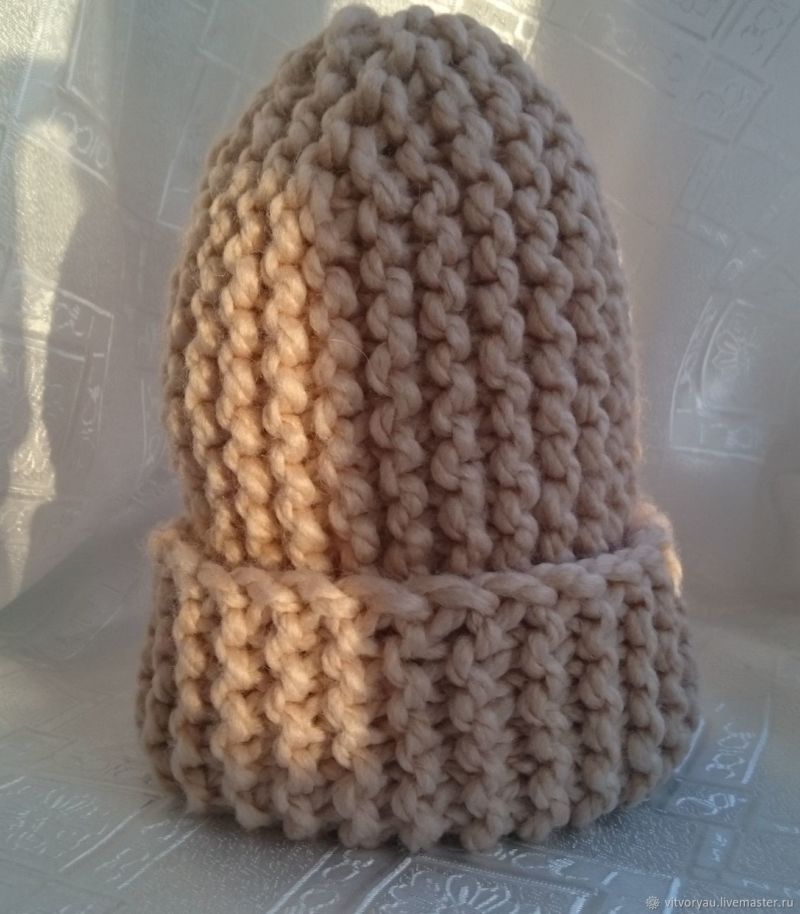
Thick yarn already adds volume to the product, so the lapel may not be knitted on this model. Although even with a lapel it looks great especially when worn under a thick jacket or a thick collar.
In winter, such a hat keeps your head very warm. Patterns in the form of flagella or other bulges are not recommended to knit with thick yarn, so that the head in such a hat does not look disproportionate to the body.
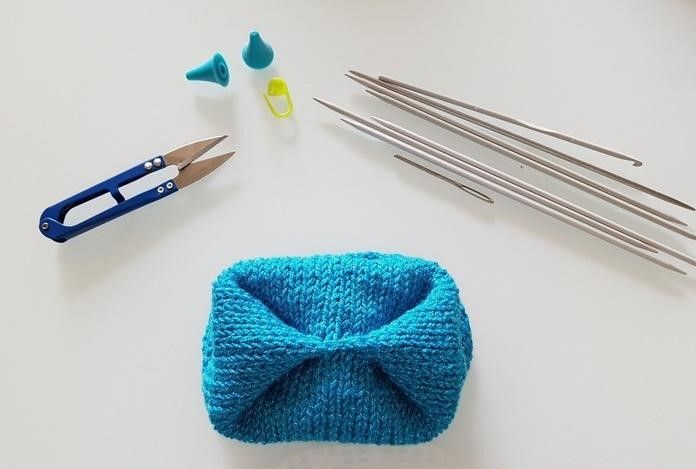
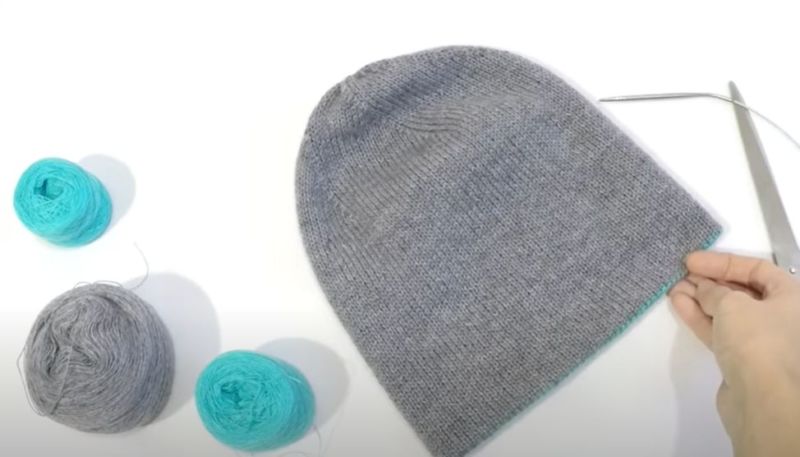
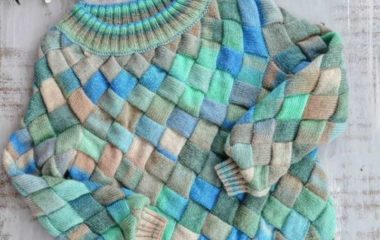
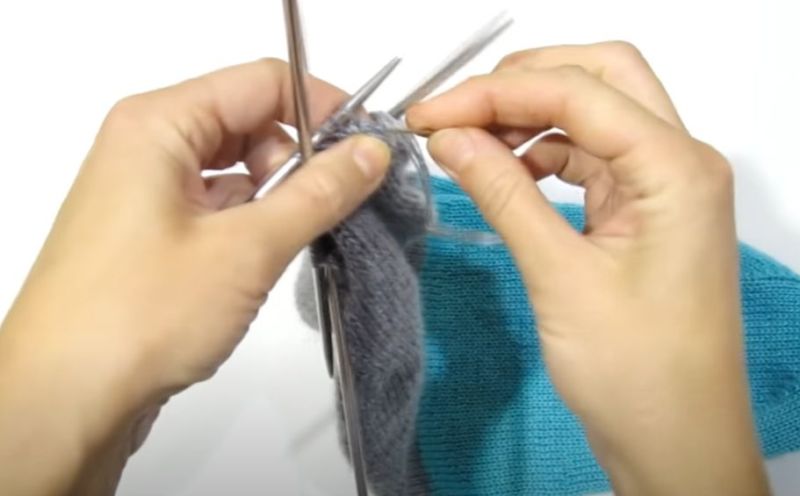
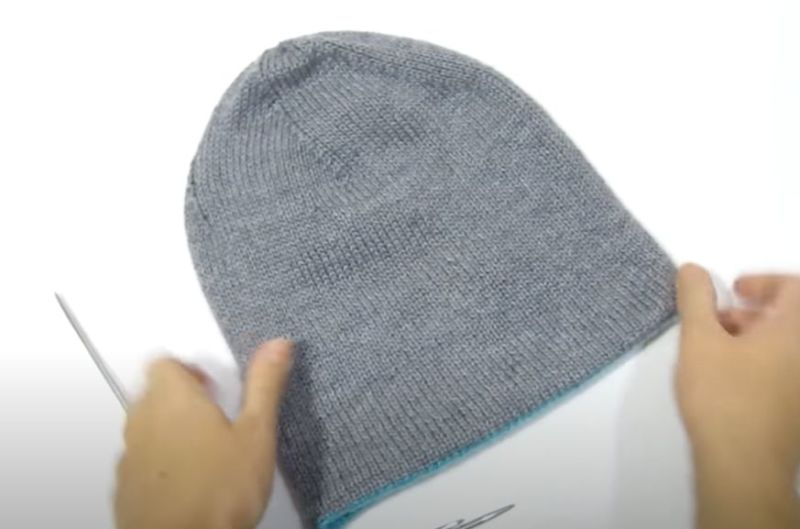
Double
This type of bini model can be worn on both sides if turned inside out. Usually two hats are knitted in the same size, but with different colors of thread and then sewn along the bottom edge. The tops of one and the other hats are then threaded together.
The tops can be stitched together. A double bini is very warm and can be worn with or without a lapel. Usually, one of the hats is knitted simply with a face smooth and the other with a pattern.

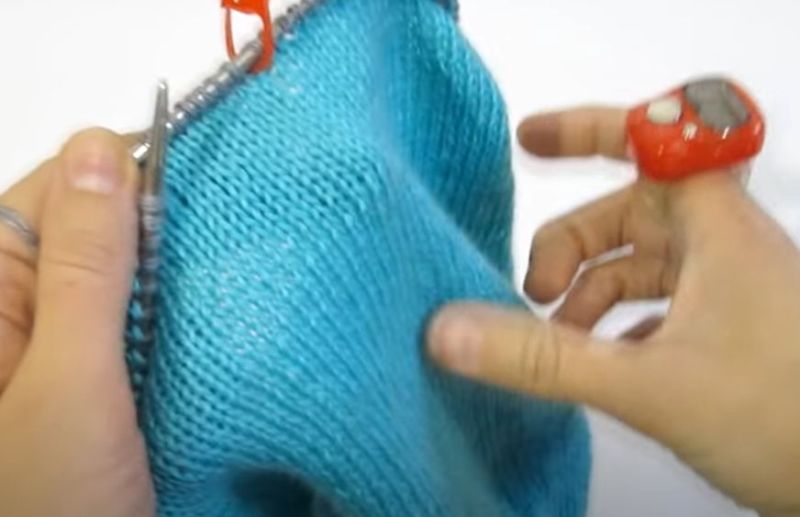

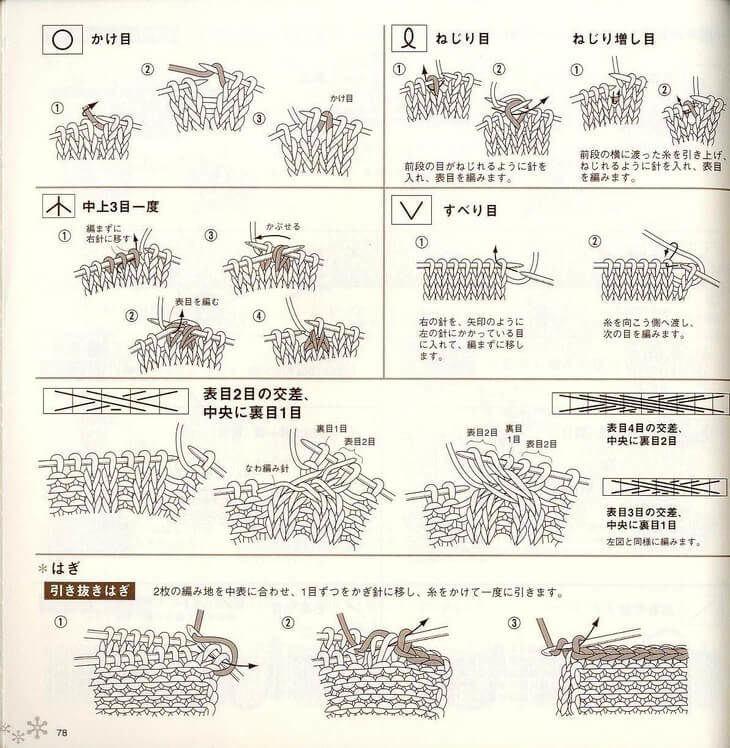
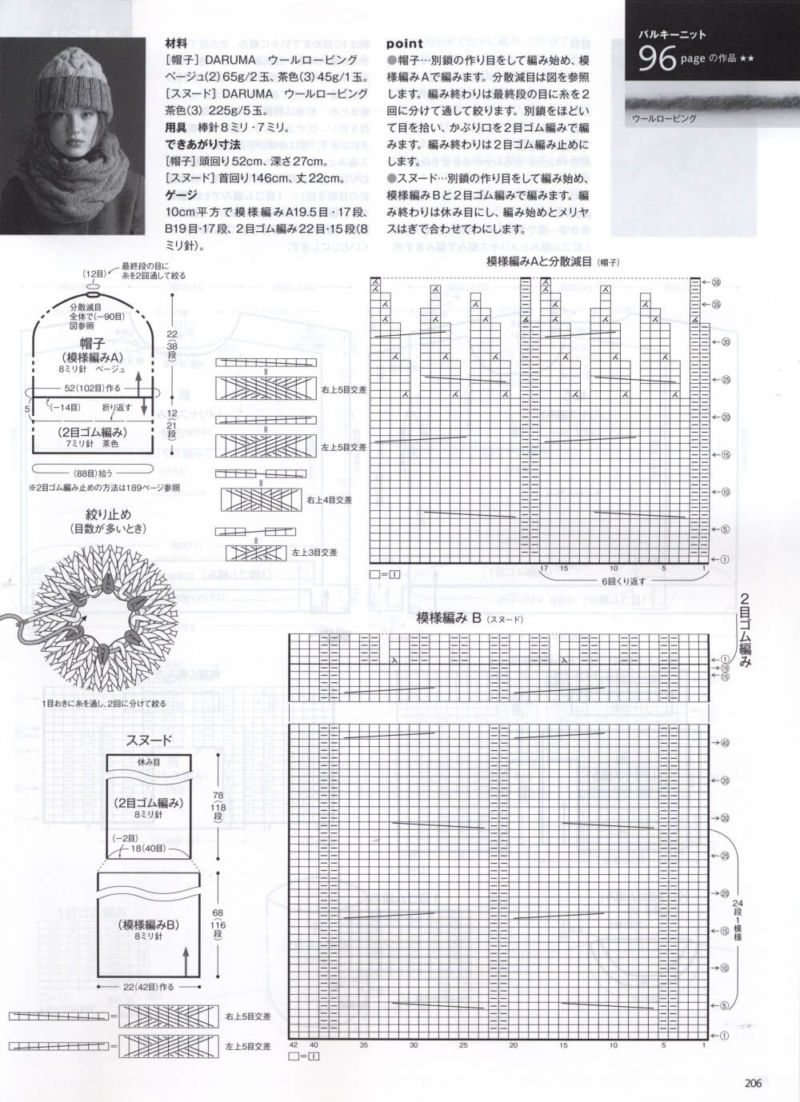
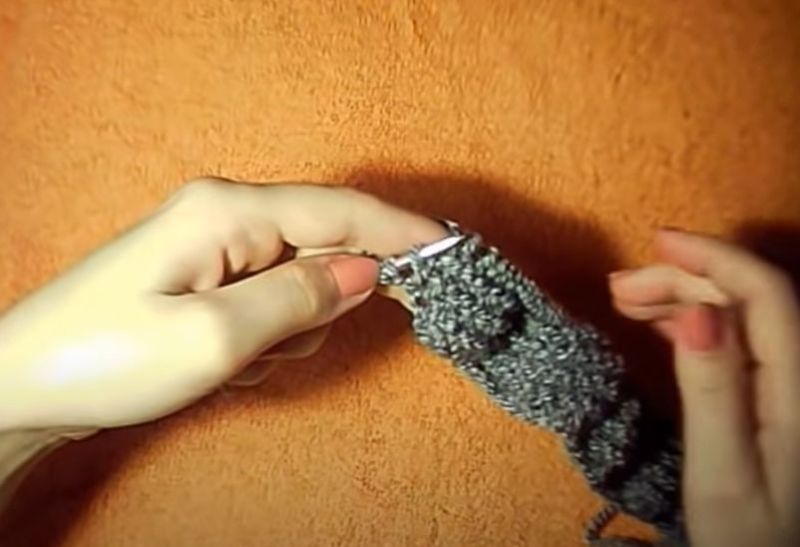
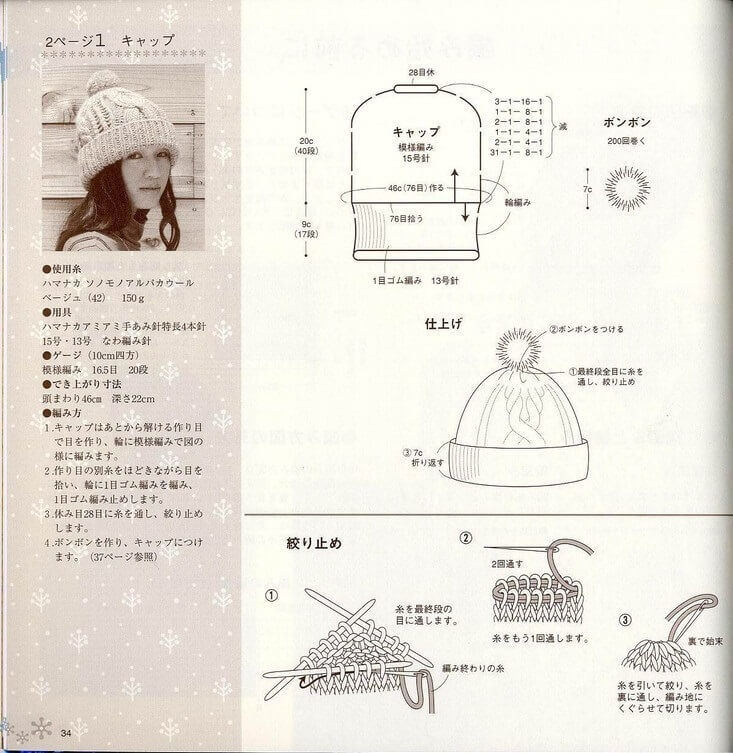
Scheme of knitting a bini hat by spitters.
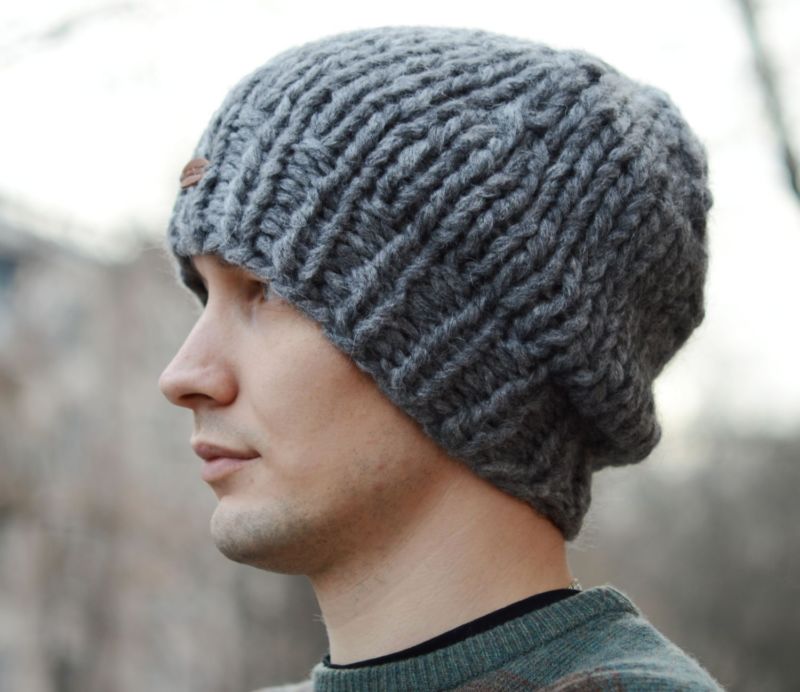
Headwear suitable for wearing for men and women, knit in different patterns. Typically, for men's hats use shawl or front glaze.
The women's version of the bini is more varied, because the patterns can be different. In this part of the article, we will give a detailed description of knitting some models for women and men.
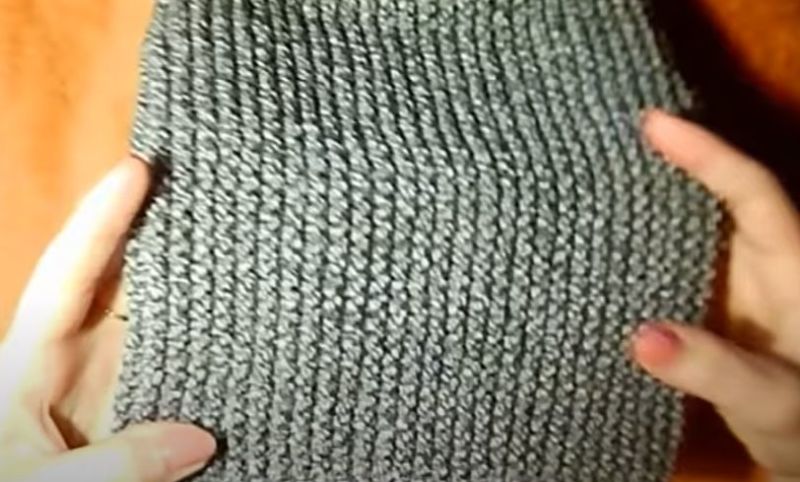
The shawl knit
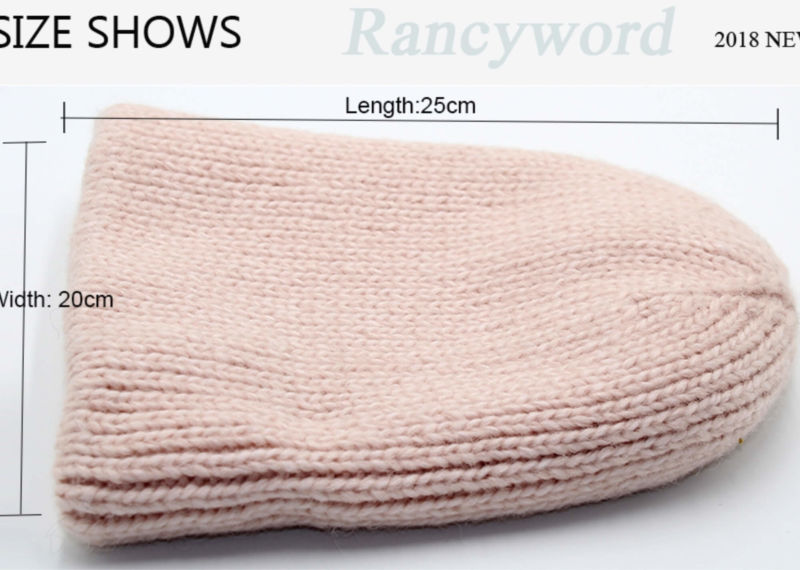
The bini model, knitted with a handkerchief, is designed for 54-56 head size. It is knitted in shawl knit, which means that all the stitches in all the rows are left. For knitting we will need 100 grams of wool with acrylic.
Workflow:
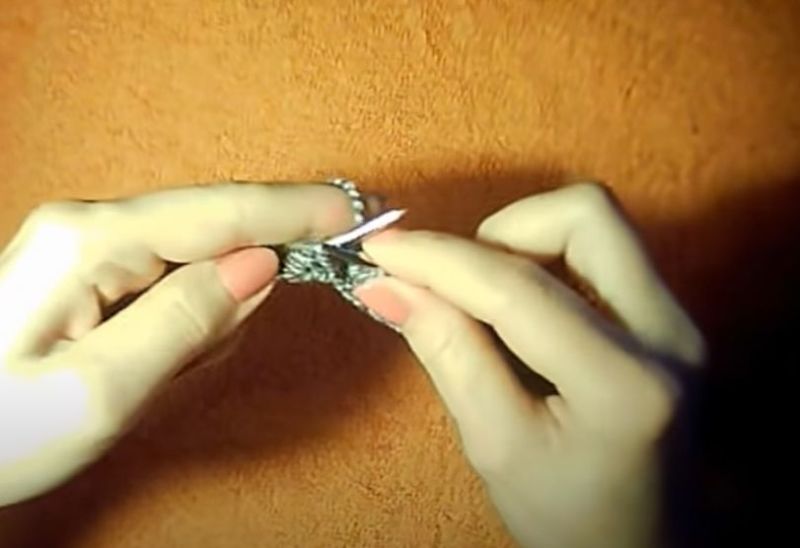
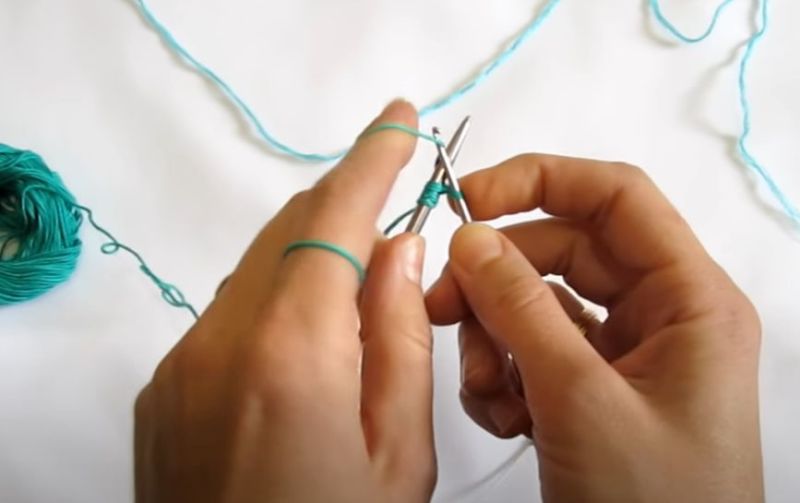
- Dial in 46 loops. Of this amount, 36 loops will be for the main fabric, and 10 loops for the crown.
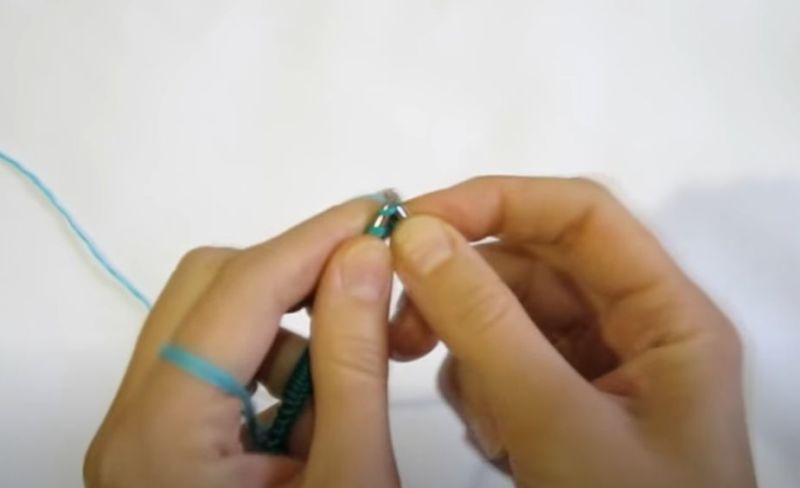
- The essence of knitting is to knit the whole hat by shortened rows. That is, in the first row we do 36 stitches and do not do the remaining 10 stitches.
- Turn the work.
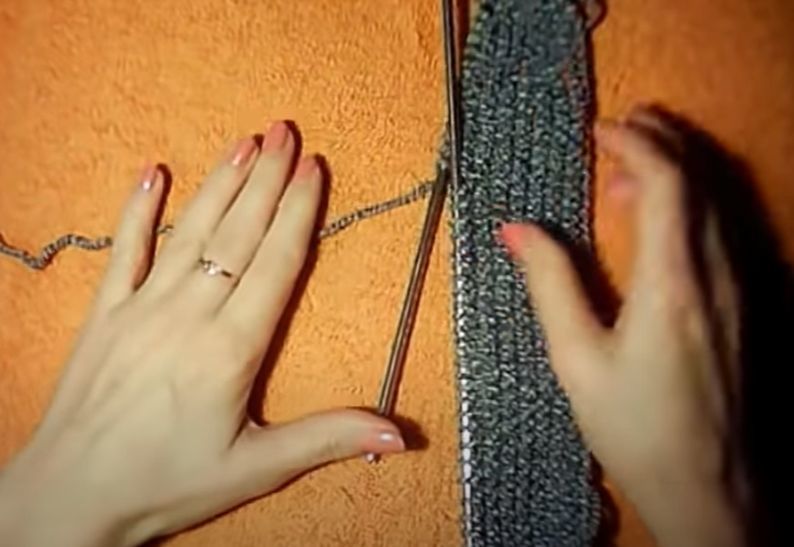
- We knit 36 left-handed stitches. In all odd-numbered rows we increase the number of knitted loops on one piece, and decrease the number of loops for the crown on one stitch. So knit until all 46 stitches are done. This is the first segment of the bini.
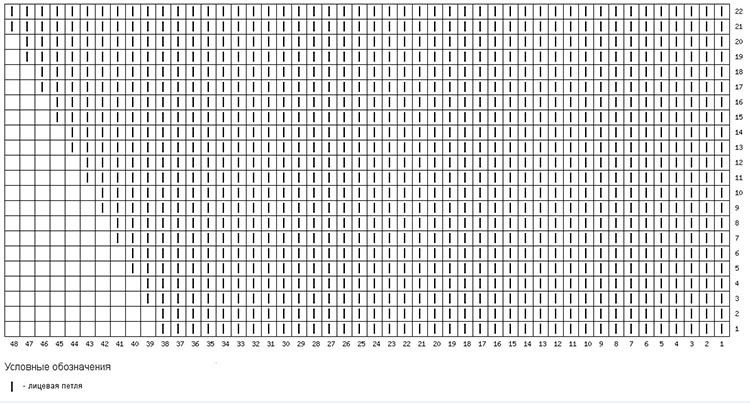
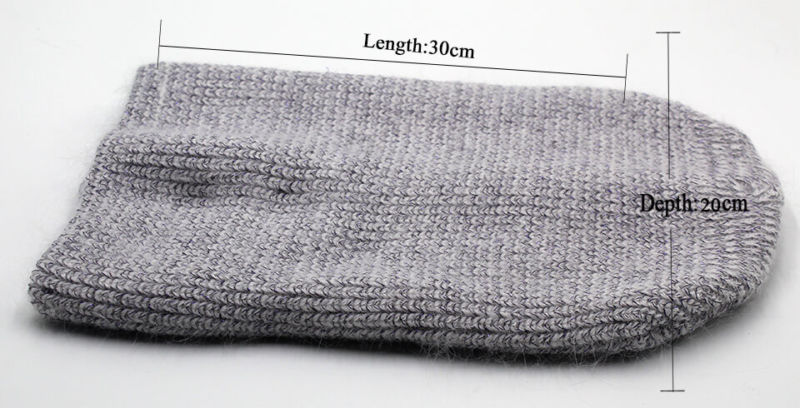
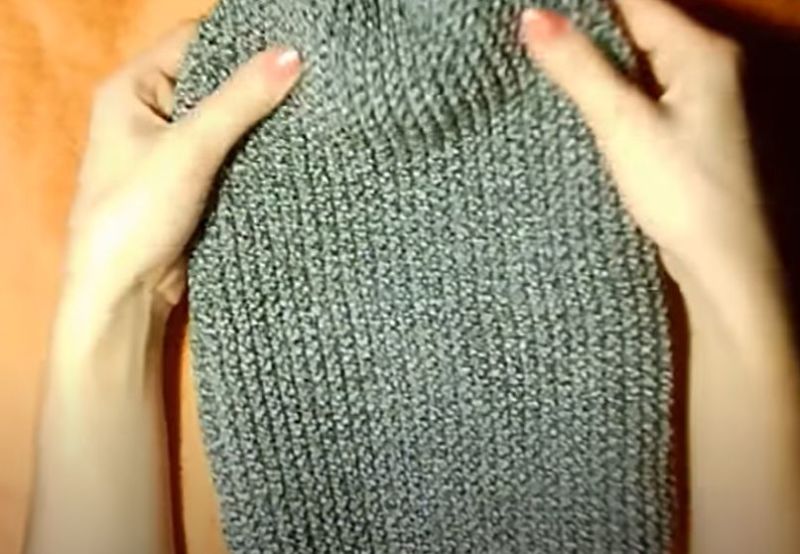
How many segments you need can be determined by measuring the head and the width of the connected fabric.
If the circumference of the head is 56 cm, and the width of the fabric 10 cm, you need to tie 5 segments. They are knitted similarly to the first segment. That is, in the first row we knit 36 stitches, and 10 stitches we do not knit. Turn the cloth over and knit with the right stitches.
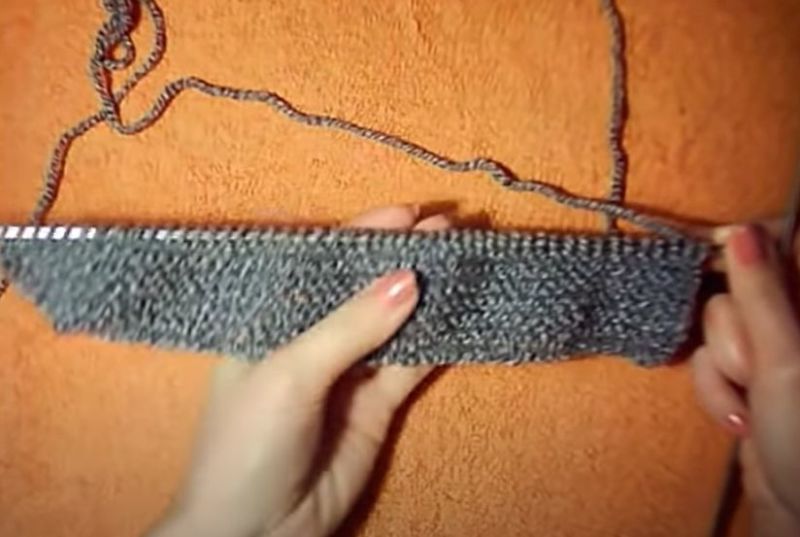
In odd-numbered rows for the cloth we already knit 37 loops, and 9 loops remain unknit. Again turn the cloth and knit back to the beginning with the right stitches. So keep knitting until all 46 stitches are involved in the work.
In the same way knit all the remaining segments. When the hat is knitted, it is sewn on the edges and the crown is stitched.
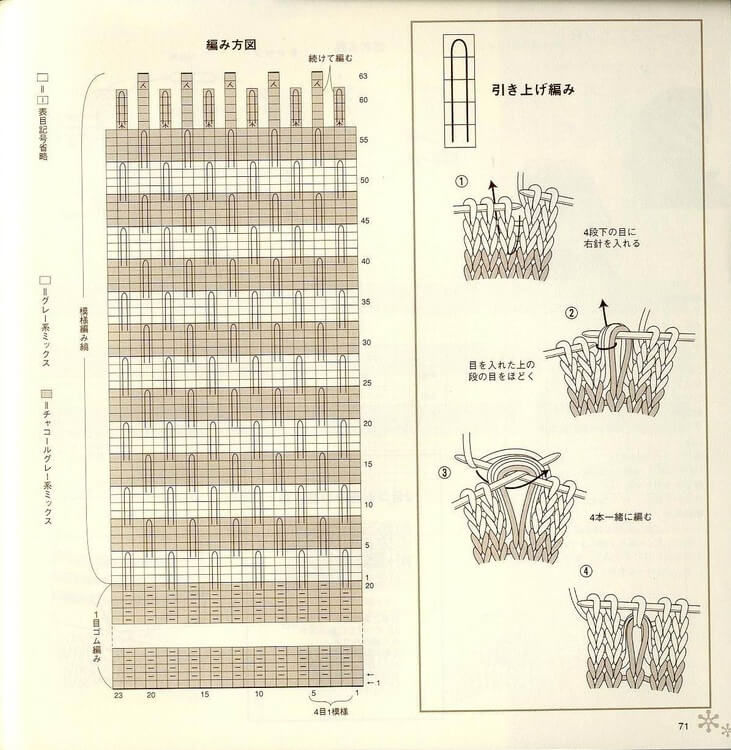
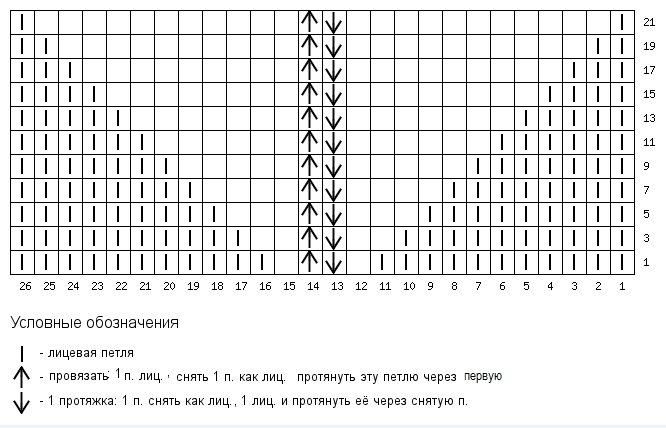
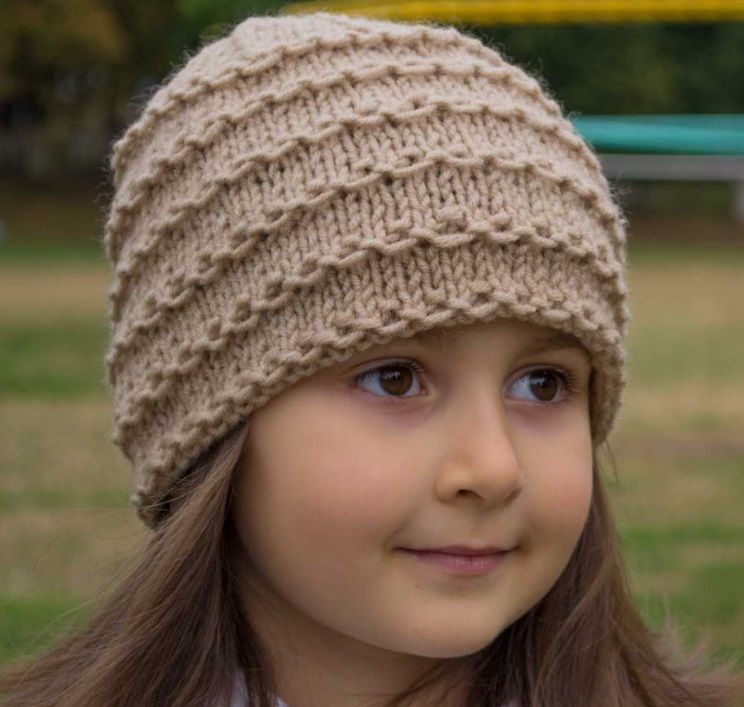
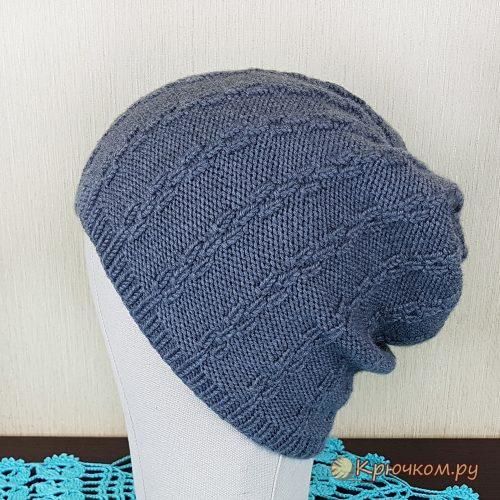
The "chain" pattern
Very beautiful hats look bini with this pattern. It can be knitted both along the fabric and vertically. It looks unusual, and the hat turns out warmer due to the stretching of the thread.
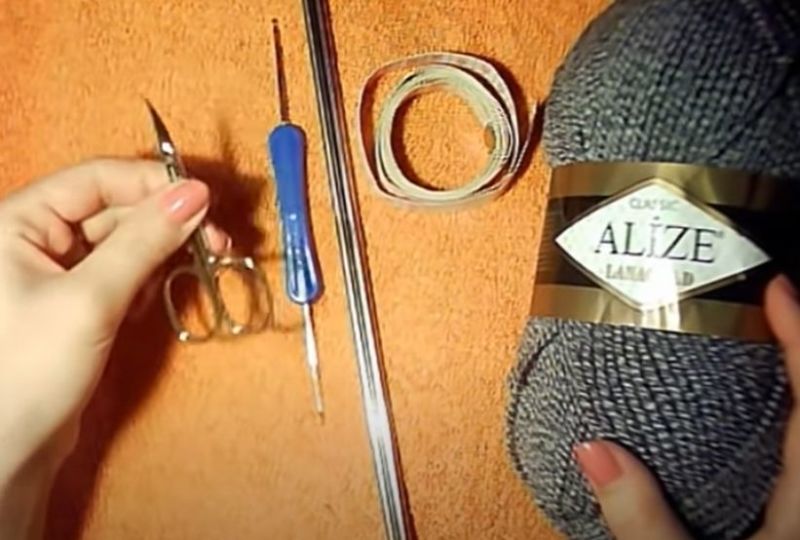
For the work you will need:
- 100 g of yarn in two yarns;
- needles #5.

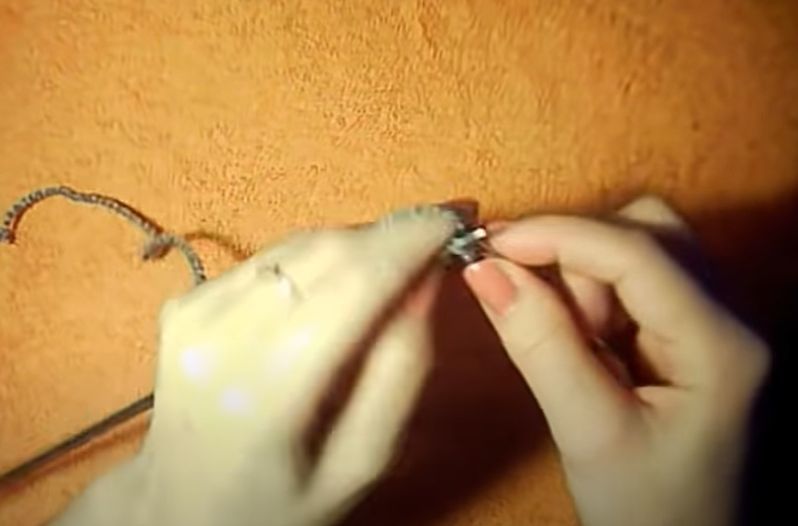
Workflow:
- Dial in 49 loops. This is the number of loops for the height of the hat. Therefore, the pattern will be obtained vertically.
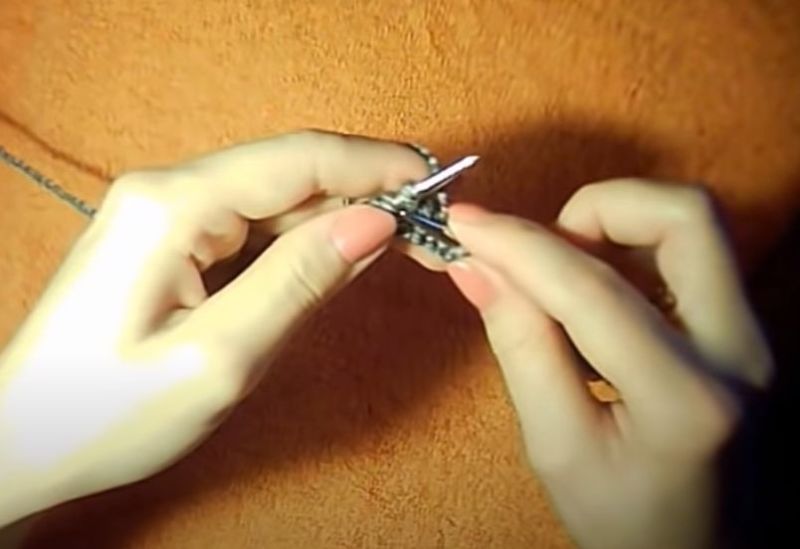
- The first row - the front.
- The second row - the wrong side.
All other rows are knitted in shortened rows in the same way as in the shawl-knit version. That is, we won't do all the stitches in the row, but leave 10 stitches out of 49 stitches for rounding the crown.
The stitches that are not tied in the row will be wrapped in thread from back to front. The pattern itself is simple and starts with the third row.
All stitches up to the ones that are not tied will be knit like this:
- *1 in, 1 off, yarn in front of work*.
- Turn the cloth and in the even numbered row knit 1 front and 1 take off the thread behind the work, so continue until the end of the loops.
- In the odd-numbered row after these four rows, we again knit the pattern from the first row, but we do not complete all the stitches in the row, and they become one less.
- And so we continue to knit the pattern for 12 rows. So we will have 3 repeats. And at the end of the last rapport all the stitches in the row will be finished.
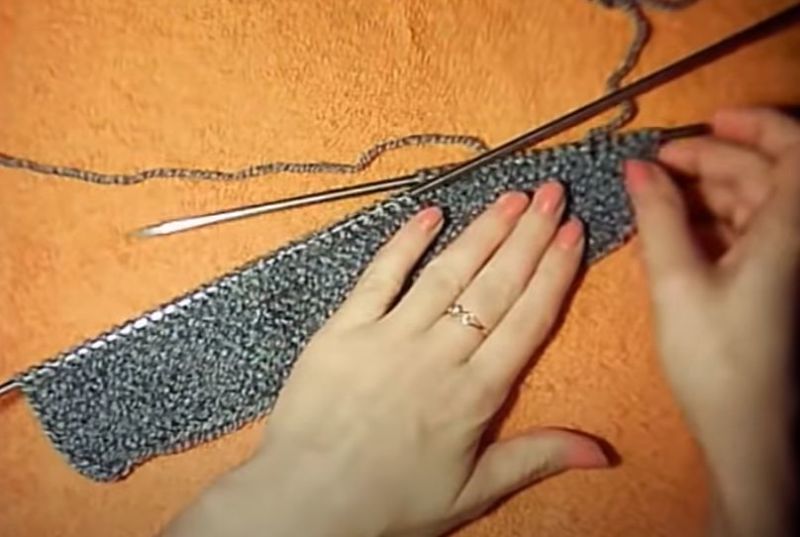
So we have one wedge of the hat. When it is tied, you can calculate how many wedges you need to tie for a certain size of hat. When all the wedges are tied, we thread the loops on the top of the hat and pull the thread together. You can now sew the hat together.
Such a pattern can be knitted horizontally. Then the rows are knit without reduction to the middle of the crown. After that, the number of loops is divided into 8 parts, and you need to make cuts in every second row through a certain number of loops, by slitting them by two together.
The main thing in this action is to get a pigtail on the 8 parts of the fabric.
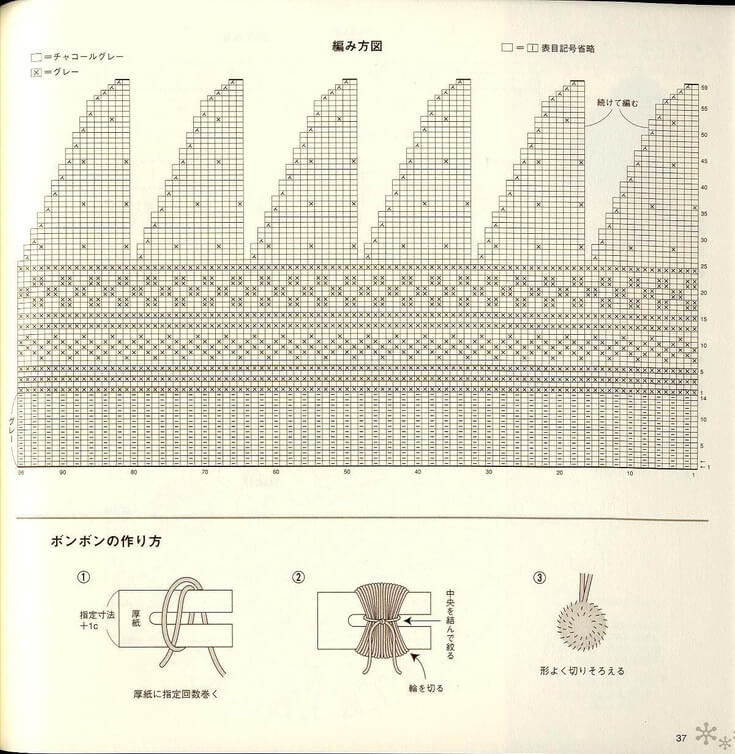
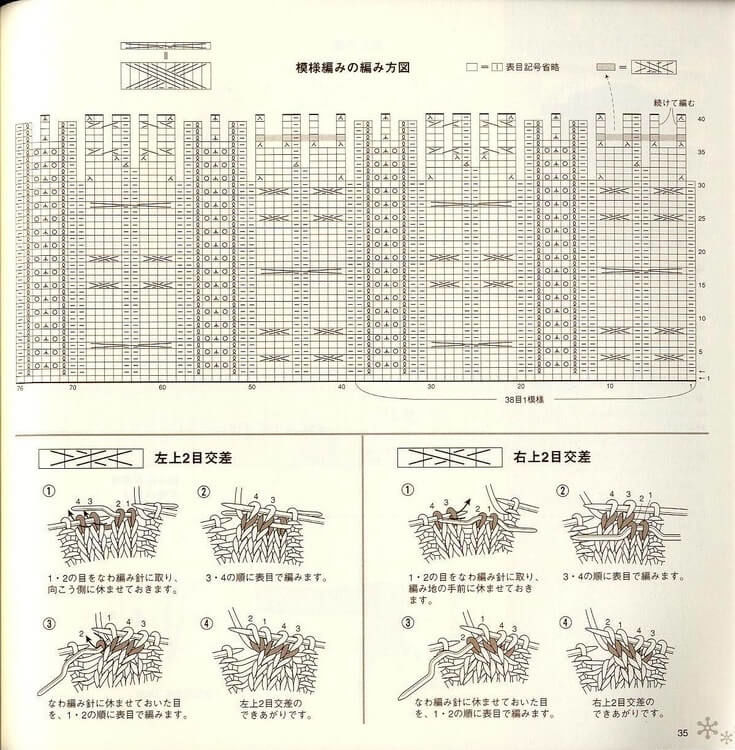
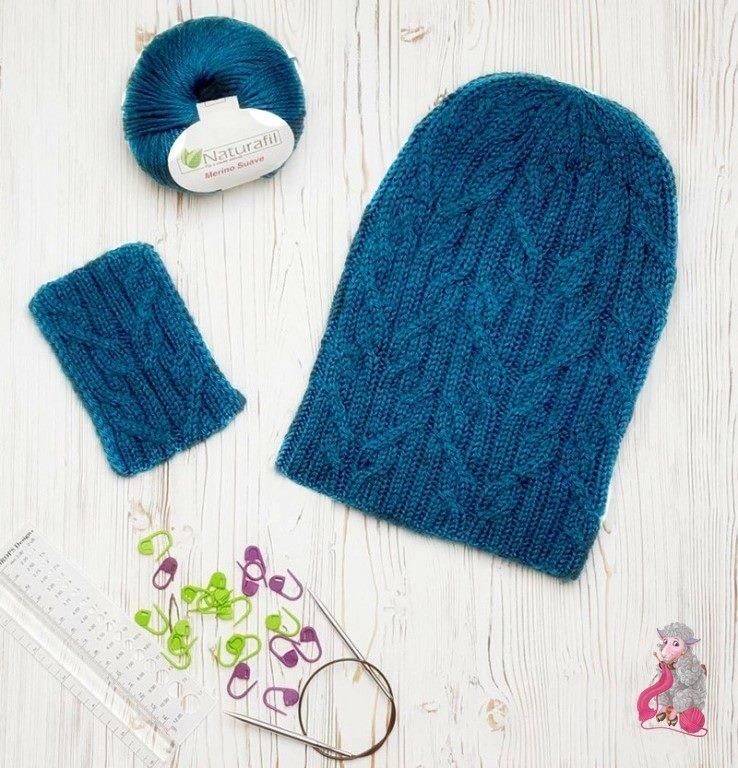
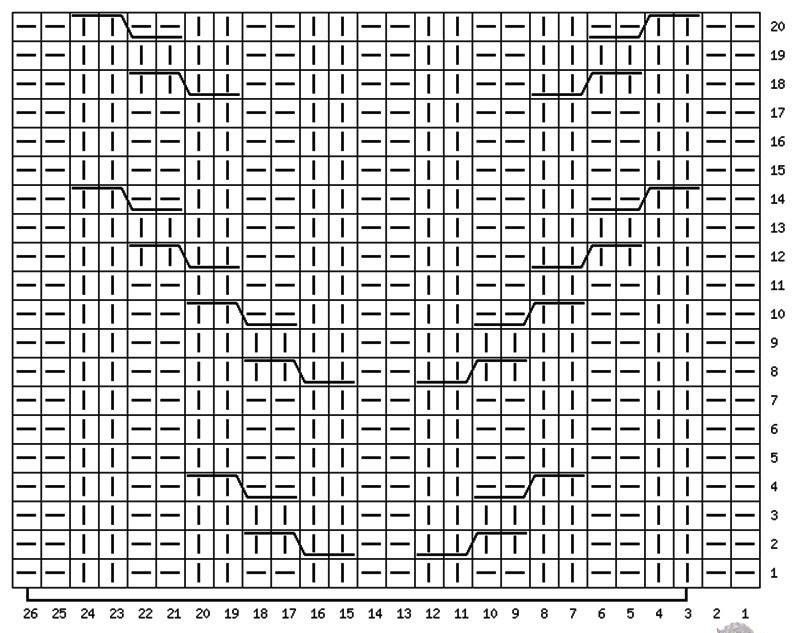
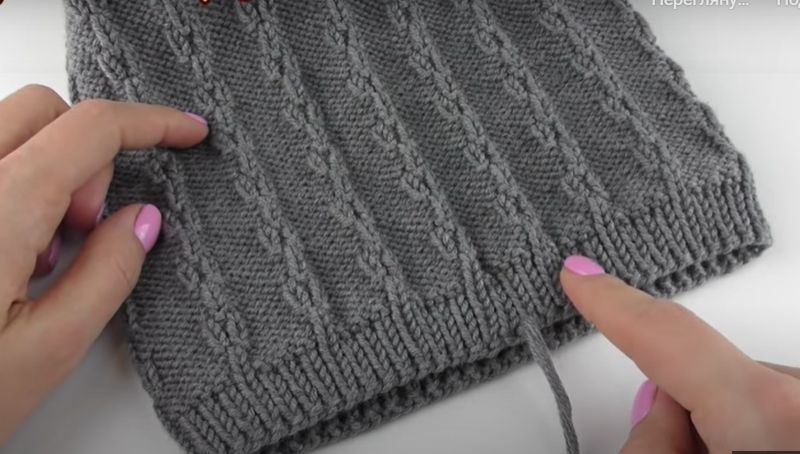
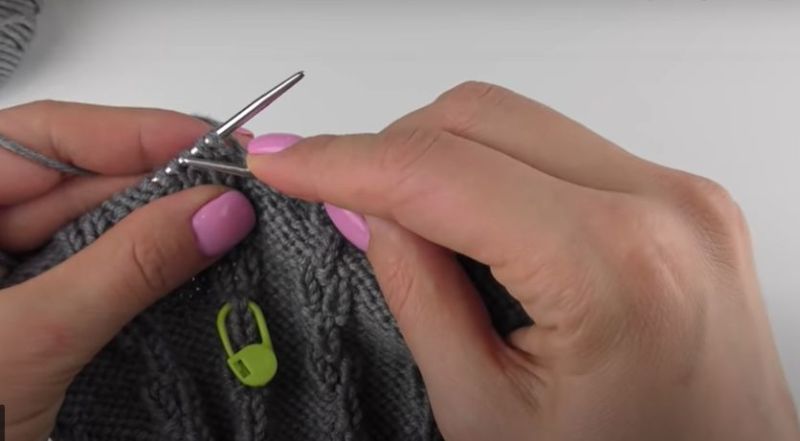
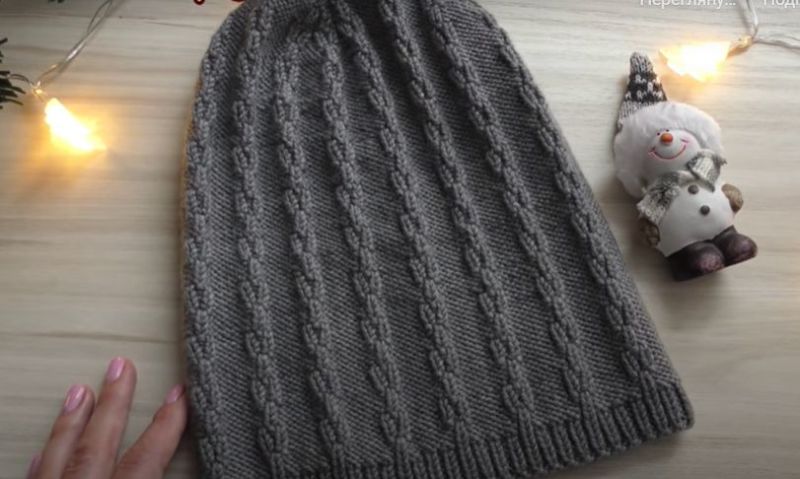
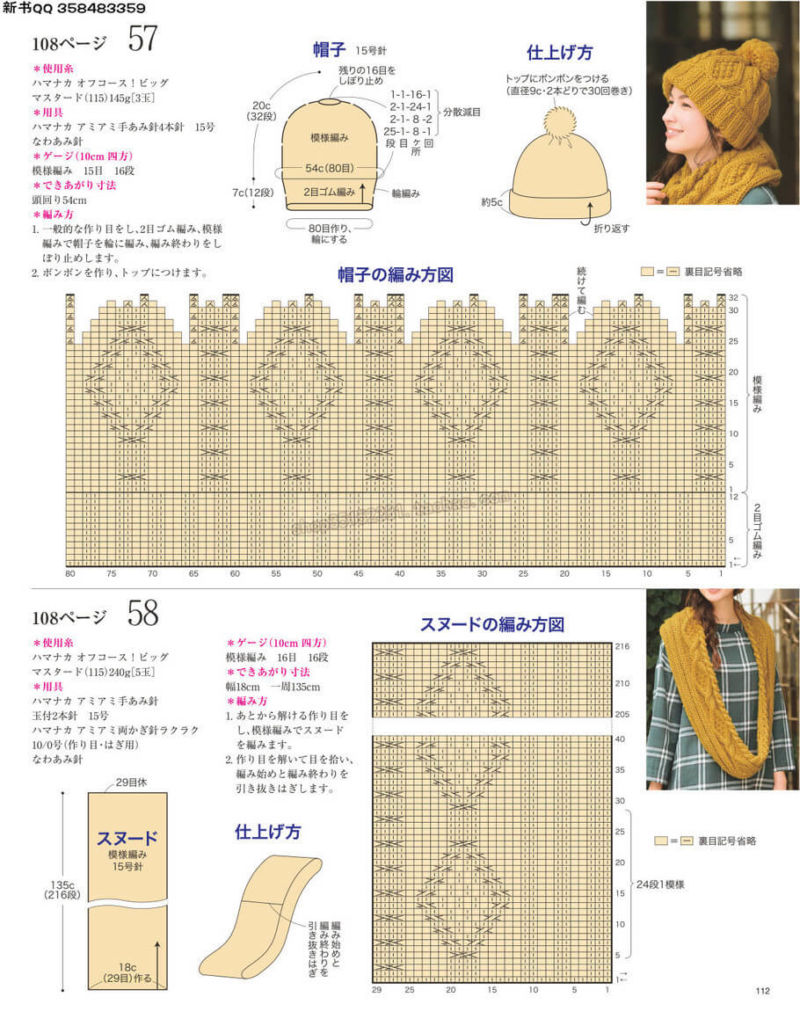
The pattern with plaits
Bini this pattern is knitted in horizontal rows with regular or circular spokes. If the knitting is done on circular needles, then we will have only the front side of the hat involved in the knitting process. This is much easier than if you knit backwards.
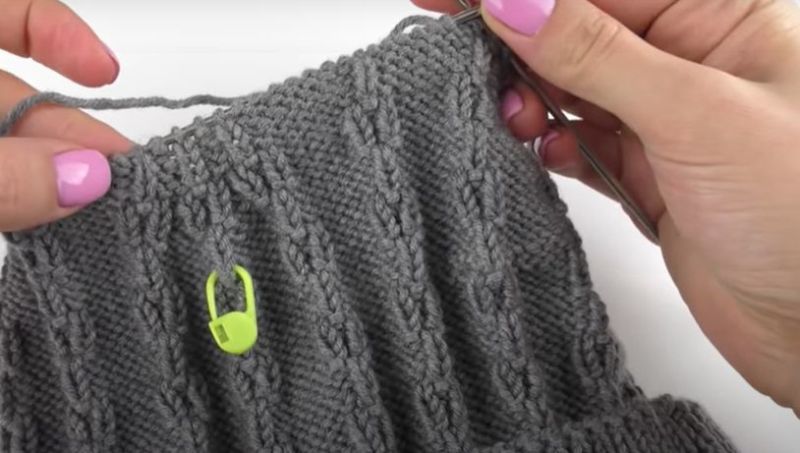
To start knitting, you need to measure your head with a meter, and knit a sample pattern of 10 loops. This is needed to calculate the number of stitches you need for the hat. You can knit the harness with different numbers of stitches. The most popular pattern is a three stitches bundle:
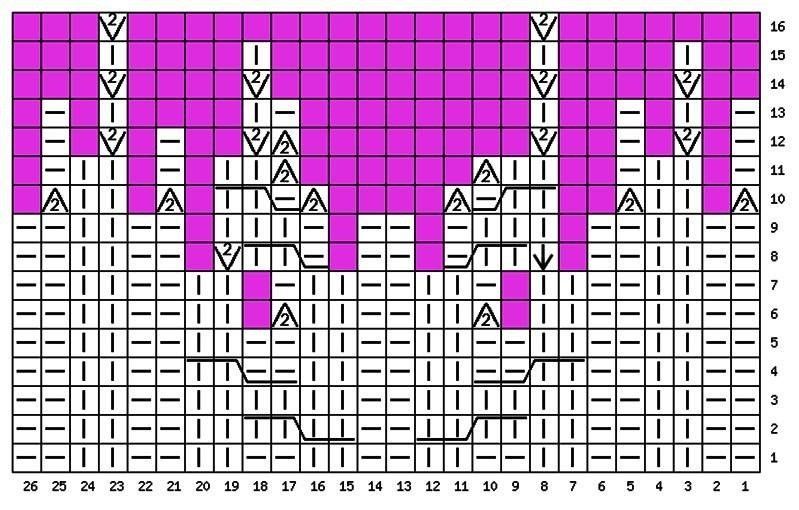
- We knit the pattern by dialing in stitches that are multiples of 12. Two stitches for the symmetry of the pattern and two stitches for the selvedge.
- All odd-numbered rows up to row 9 we knit alternately 2 sts and 2 sts. At the end of the row 2 i.p.
- On all even-numbered rows, knit as the stitches look.
- 9th row we knit 2 sts and 2 sts on additional back in front of work, 3 sts and knit the removed stitches with l.p., 3 sts on additional back in front of work, 2 sts and knit 3 removed stitches with l.p. - This is the rasport. At the end of the row 2 i.p.
- In rows 11 and 13, knit 2 i.p. 3 l.p., 4 i.p. 3 bp. - This is the rasport. At the end of the row 2 i.p.
- In row 15, * 2 i.p. 10 lp. *, 2 i.p;
- In row 17 - * 2 i.st., 3 st. take off on additional needle behind work, 2 l.st., take off 2 st. and knit on other st., 1 l.st., 2 st. take off on additional needle. knit in front of work, 1 l.p., 2 i.p., 2 removed stitches knit in l.p. *, 2 i.p.
- From row 19 repeat knitting from row 1.
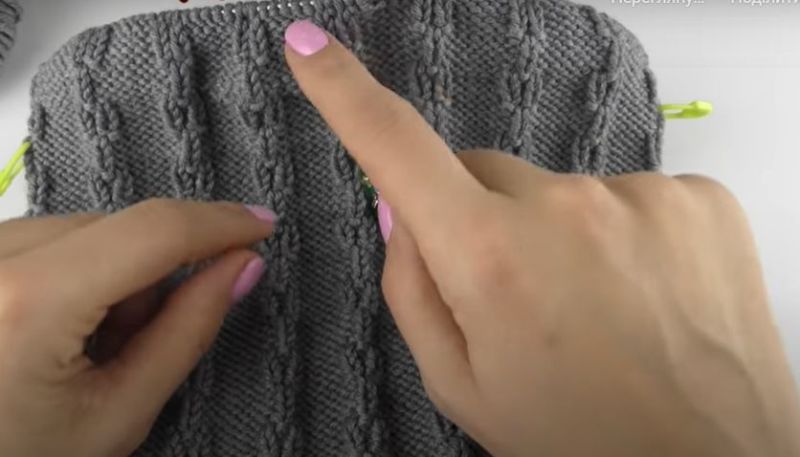
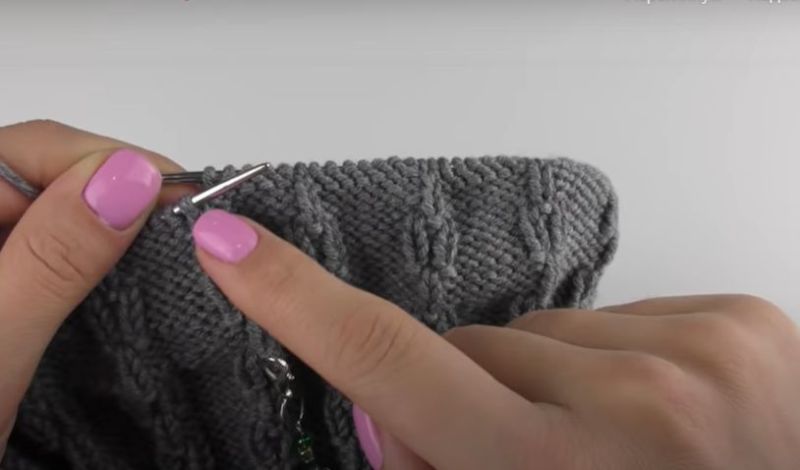
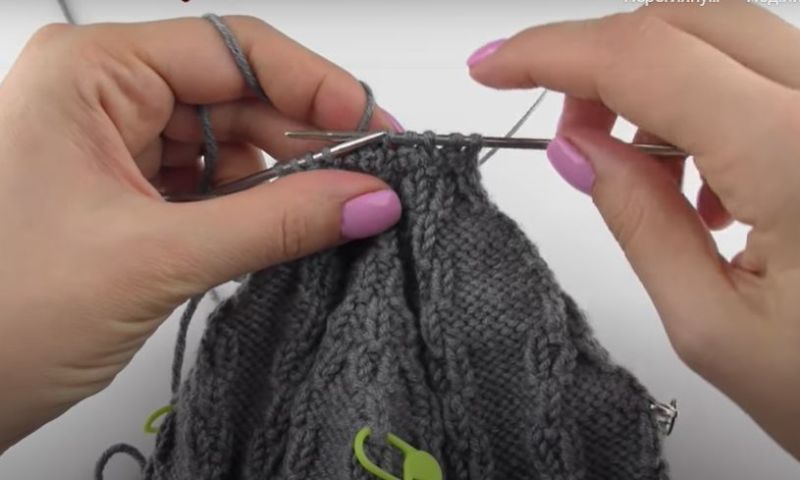
Using this pattern you can knit a bini hat. The pattern has 18 rows. For the product you need to knit two raports, which amounts to 36 rows. Up to row 44 we will knit in the figure without any cuts.
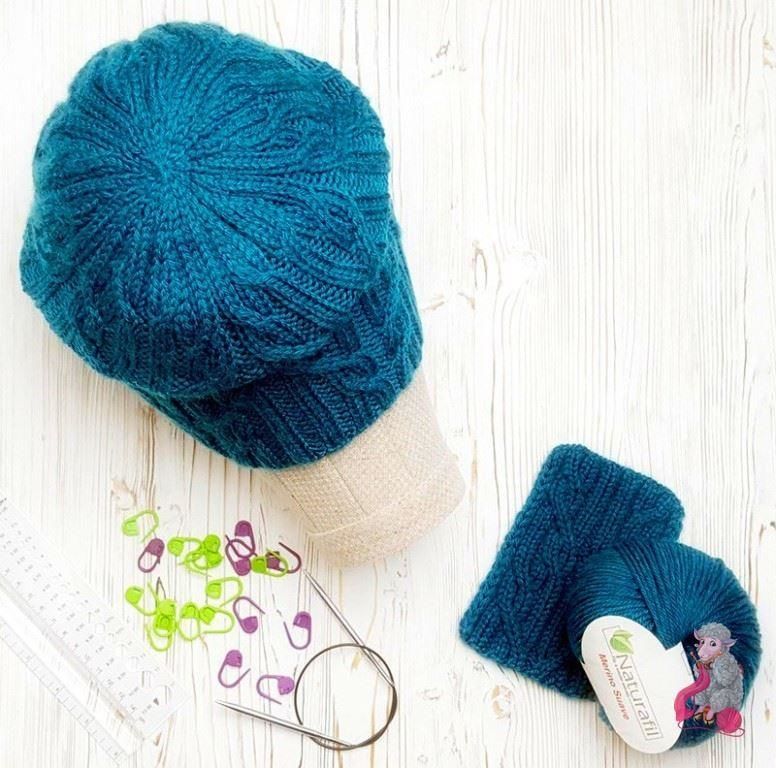
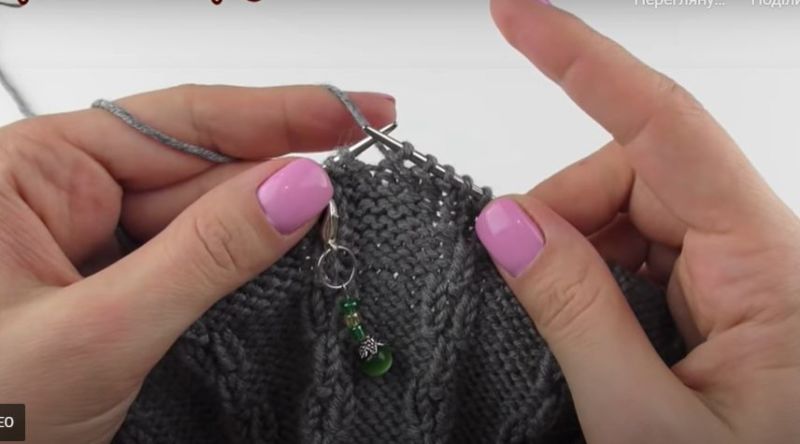
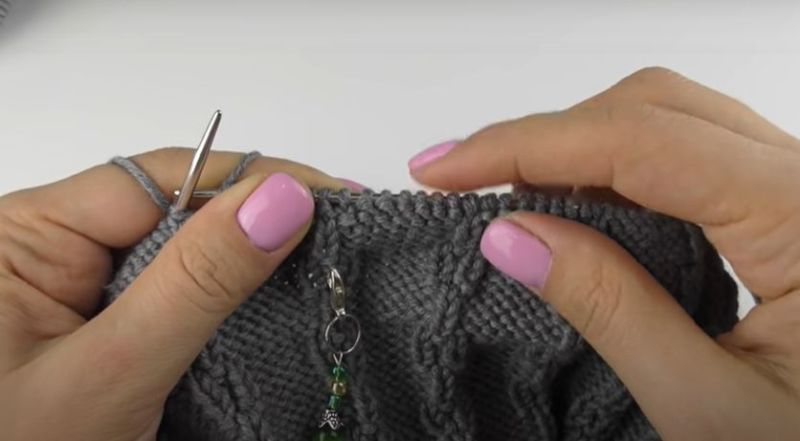
From row 45, start with the yields after one row. They are made after a certain number of loops at the same distance. To do this, two stitches together by the right side. There should be a nice chain of ducking on the top.
When two loops remain from each part, they are threaded on the yarn from the ball and pulled together. The side of the hat is sewn.
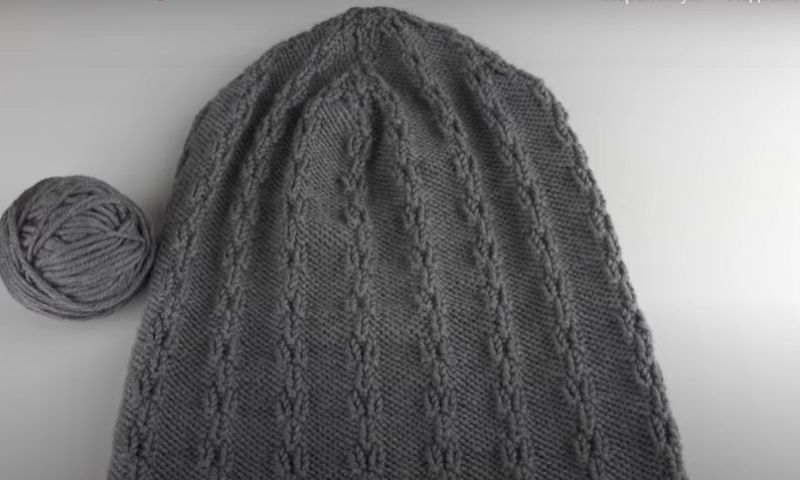
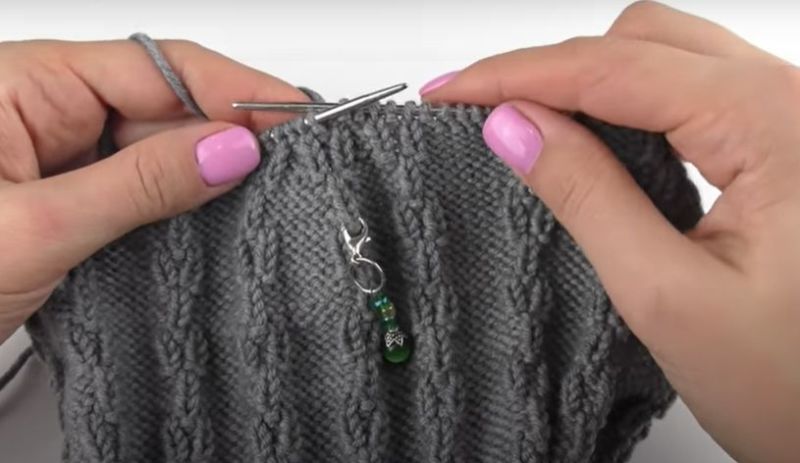
Important: A bini hat is an essential closet piece. Tie it very simply and quickly. If you know how to knit loops on needles, you can get a new hat in three hours.

The main thing in the hat is to make the correct knitting on the crown, so that they look nice and are at the same distance from each other, forming an original pigtail. You can choose any knitting pattern: from the simplest to the most complex, and it is important to correctly calculate the set loops, so that the hat was the size of the head.
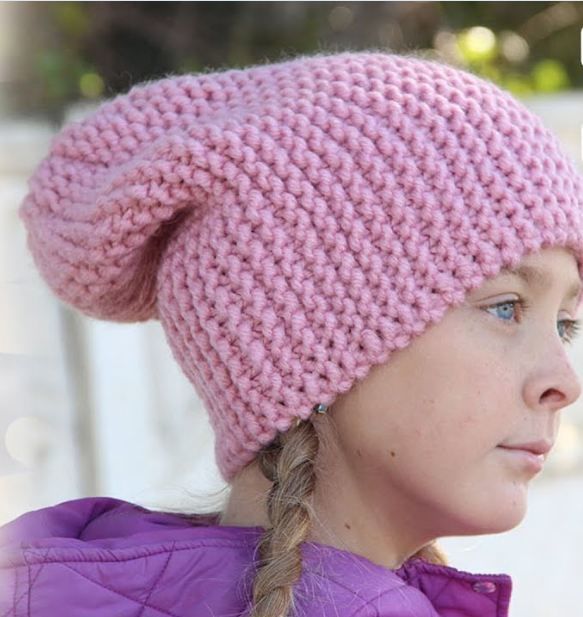
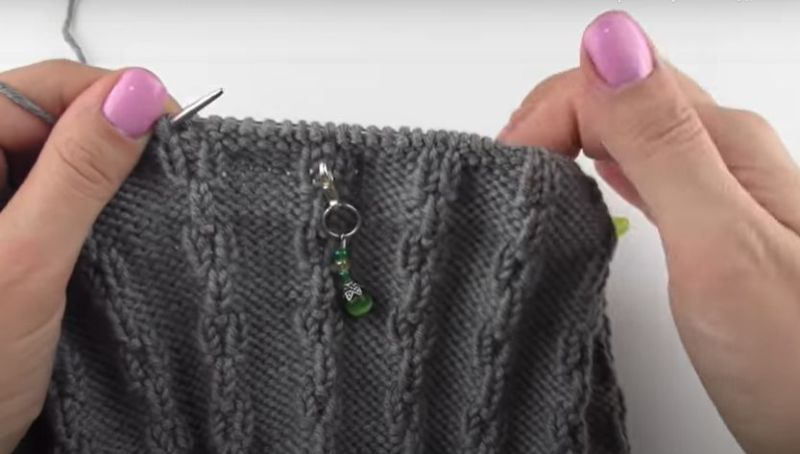
Photo ideas and diagrams of knitting a bini hat