Handmade penguin crafts: ideas and step by step instructions with improvised materials
Many adults thinking about their childhood, can smile remembering how much time they spent on creativity. Many parents are engaged in creativity with their children and are constantly looking for new ideas for creating the next masterpiece with their kid.
In order to have a great time with your child, or to prepare for an exhibition for the garden or school can be his hands to create a charming penguin.
There are many ways to make this resident of the north. If you decide to diversify your leisure time, creating interesting and beautiful handicrafts then this article is for you.
Materials and tools for work
To create a handicraft, craftsmen use a lot of materials. You can always choose exactly the option that will not require a trip to the store, because all the hand-made materials can be at your home. These cute birds are mastered from flux, Kinder Surprises, egg trays, walnuts and more.
Ideas for penguin crafts with their own hands
The penguin can be made from a variety of materials. It is not necessary to buy any expensive materials. It is enough to show imagination.

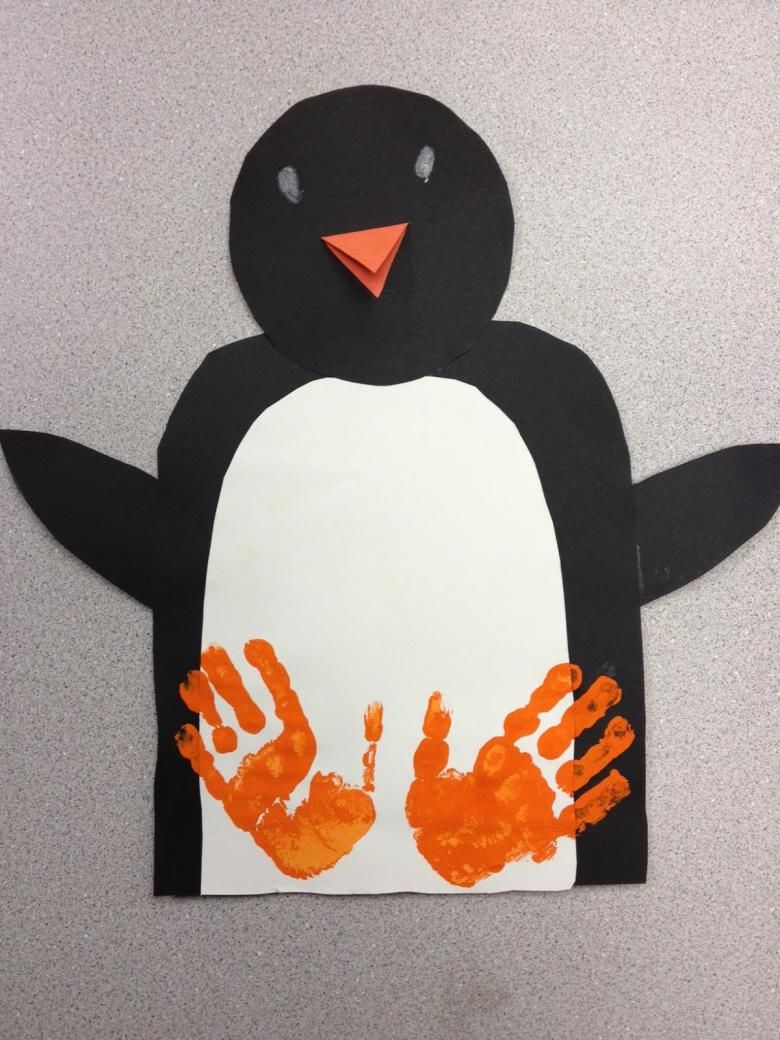

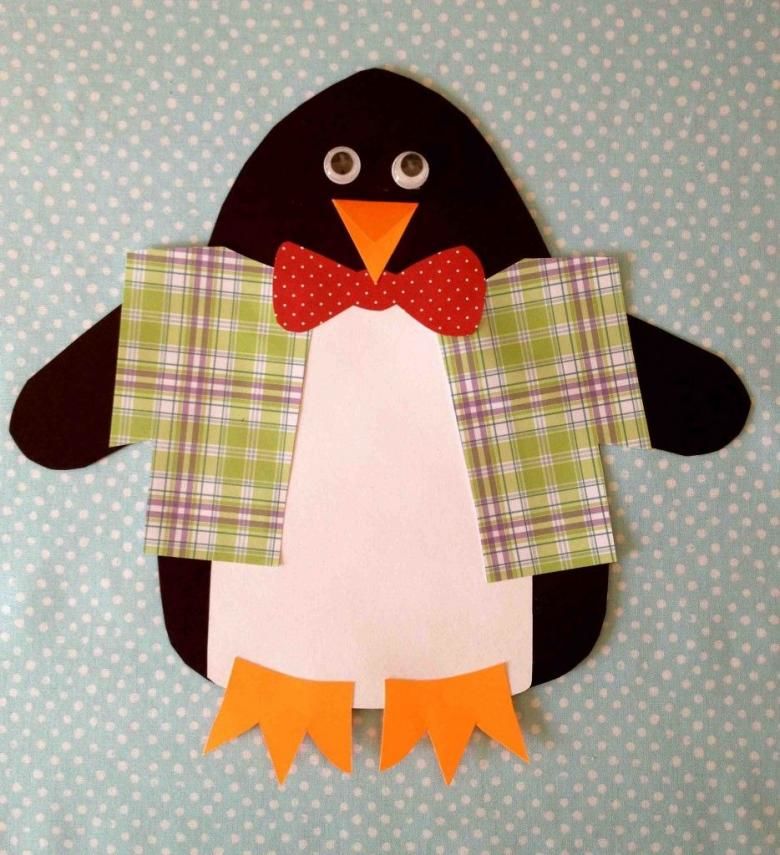
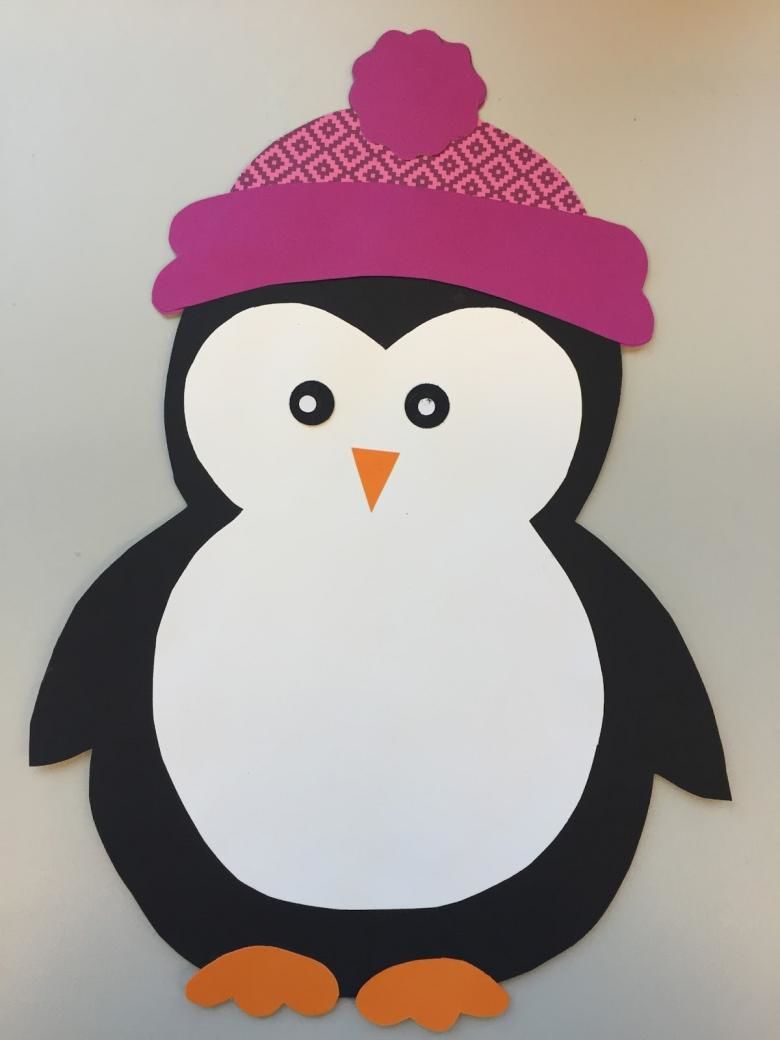
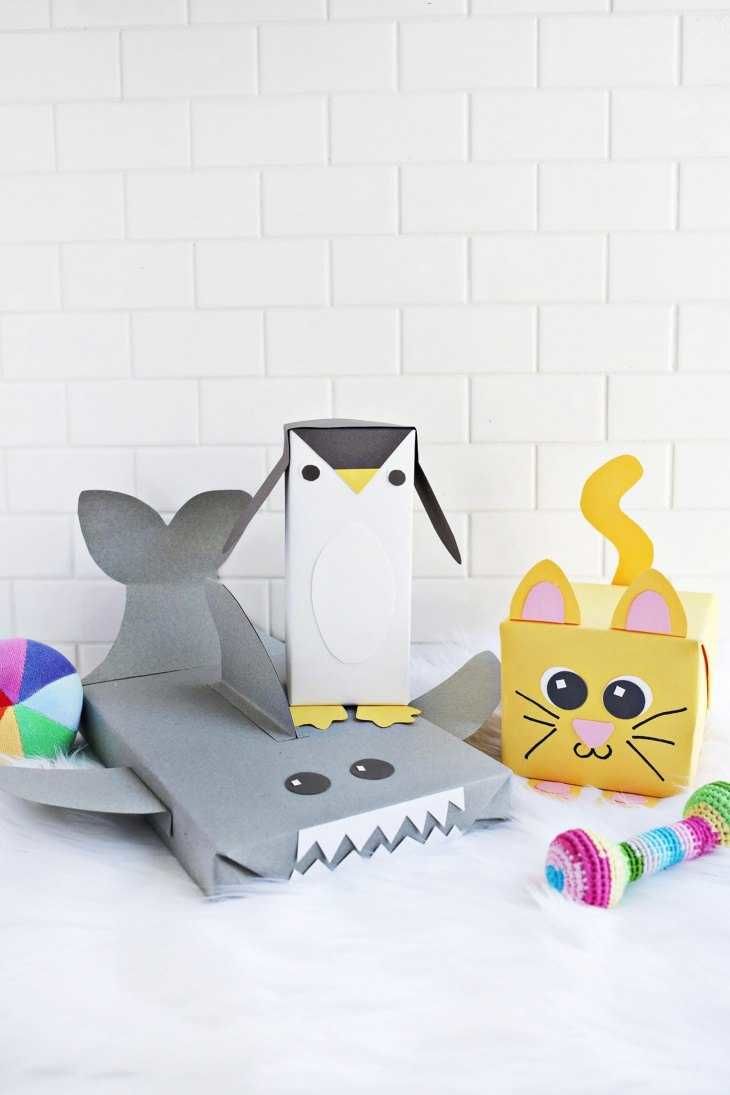
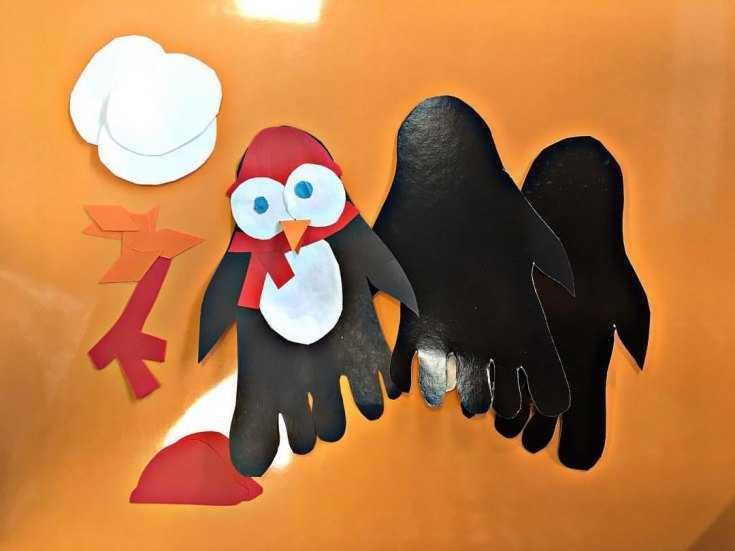
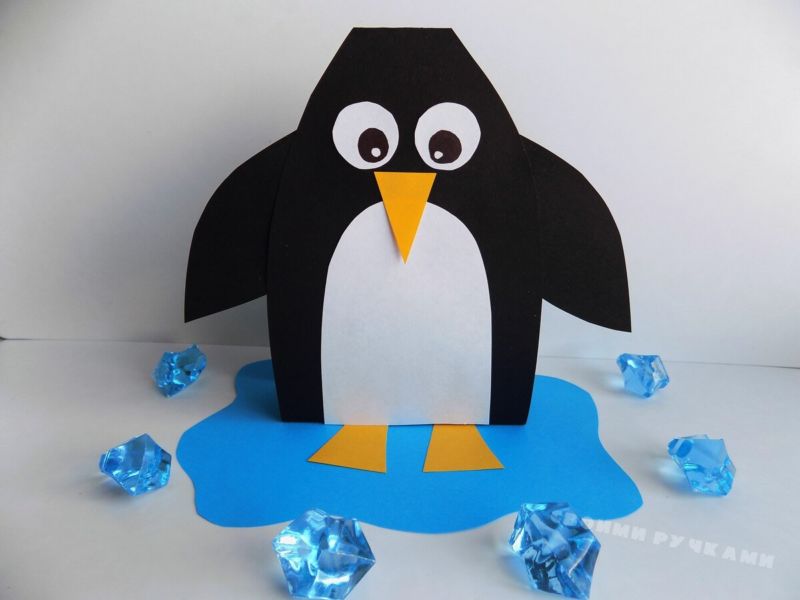
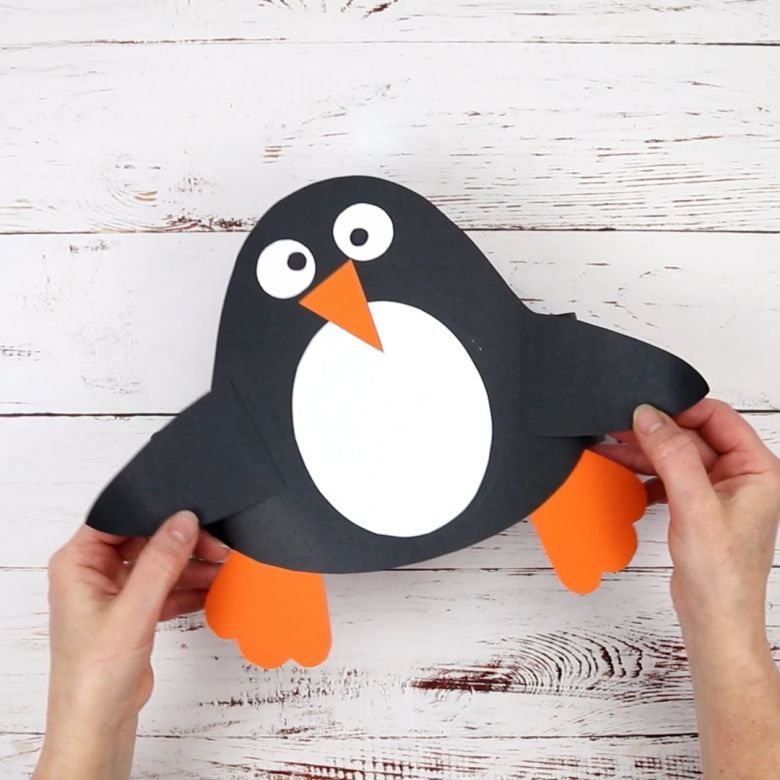
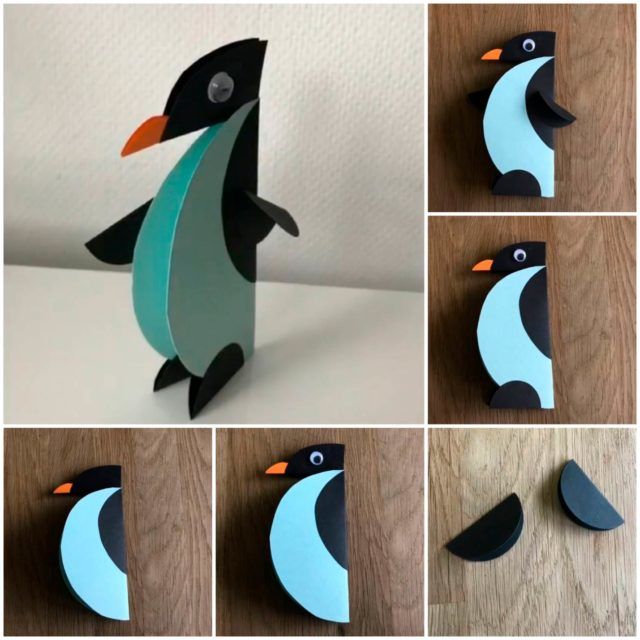
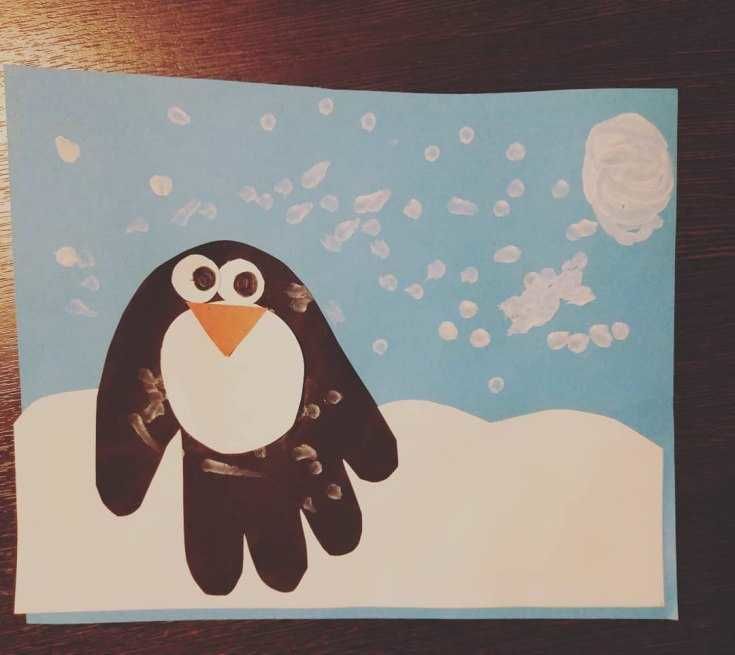
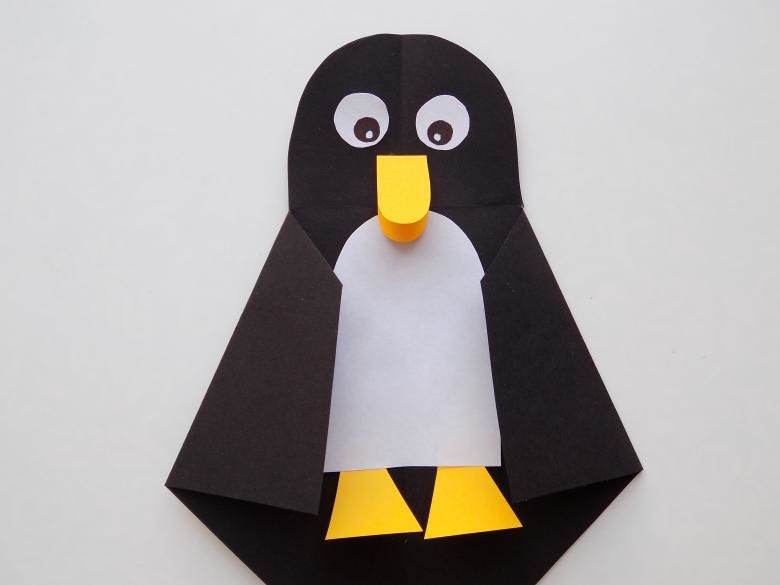
From colored paper
To make an Antarctic resident, we take scissors, felt-tip pens, colored paper, glue:
- Draw an oval on black colored paper.
- Draw a smaller oval on white paper to represent the bird's belly. Glue them together.
- We make a blank for the eyes. Cut out two large circles on a sheet of A4 and draw the pupils. Glue the resulting eyes to the muzzle.
- Next goes orange paper, using it to cut out the beak and legs.
- Glue the missing elements to the bird. That's all a beautiful cute handicraft ready.
It can safely take it to the children's exhibition. It will take a place of honor there. Or just hang it on the wall in the house. Or attach a magnet to the fridge. So it can long continue to delight you.
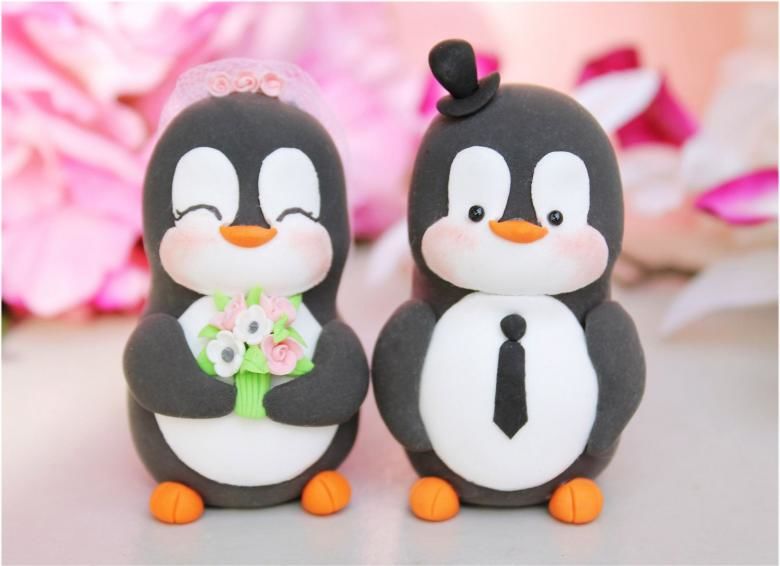
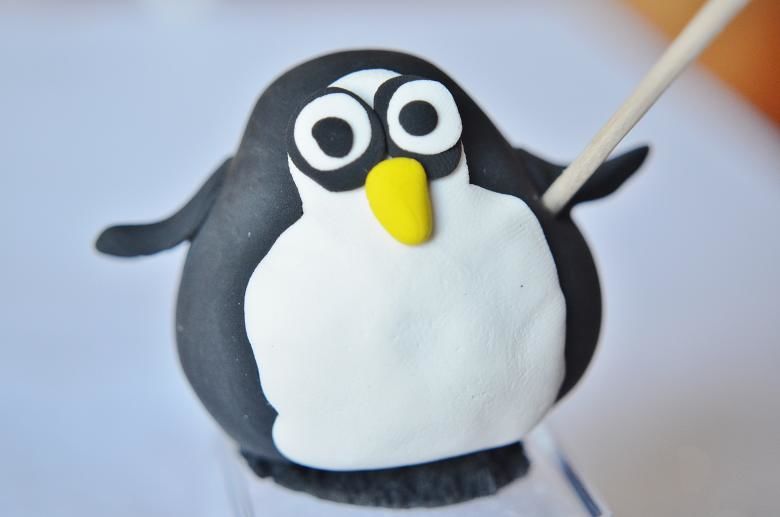
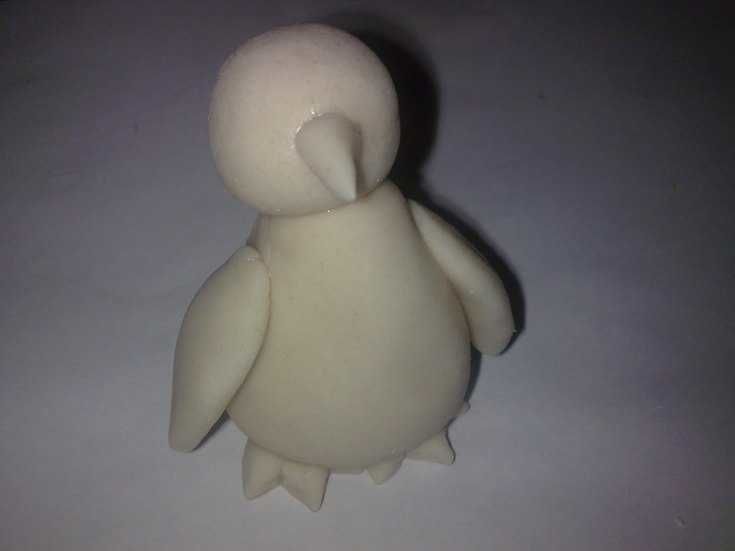
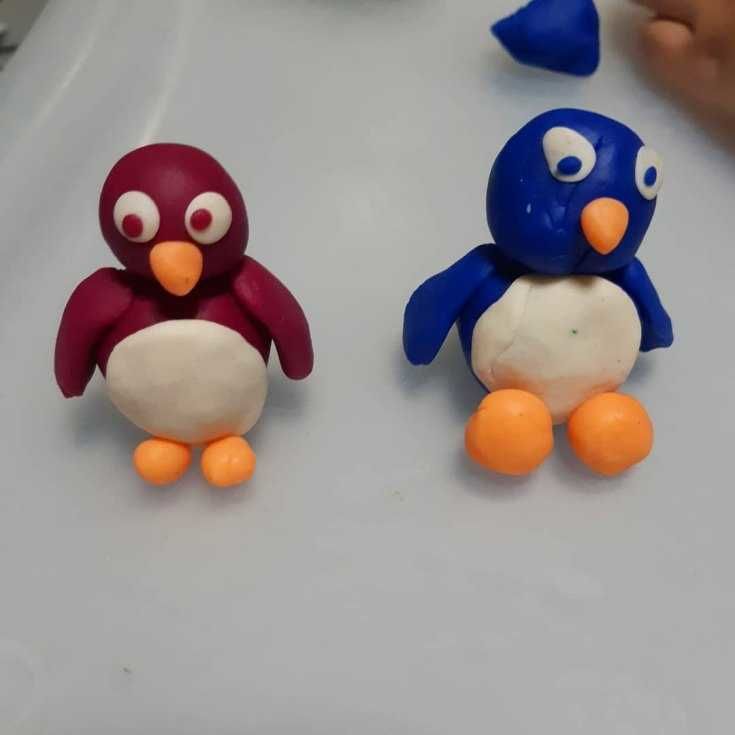
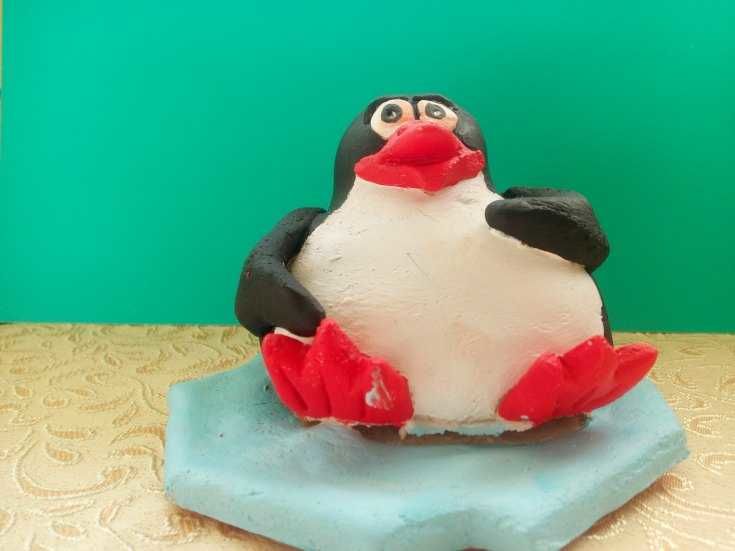
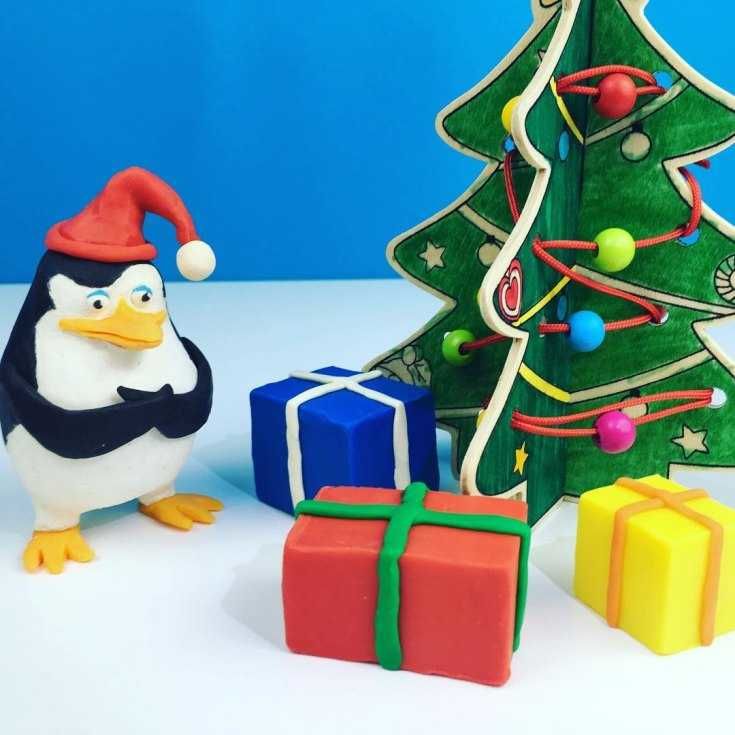
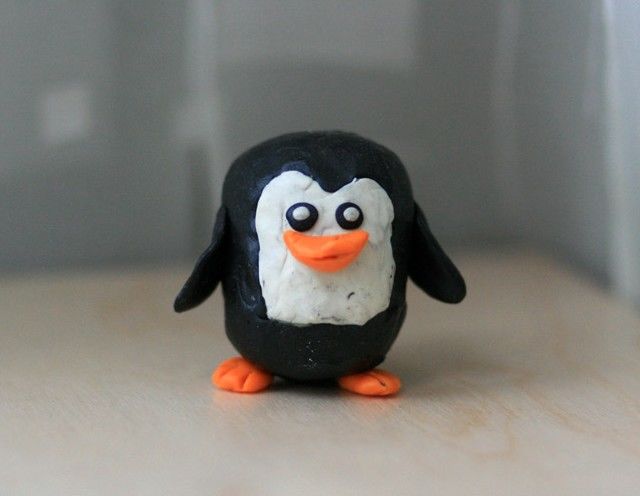
From plasticine
For making it will need clay, a knife for working it, a board, thick colored cardboard. Heavy colored cardboard will be the background of our applique:
- Roll out on the board, with the help of black plasticine circle. Carefully remove it and attach it to our background - this will be the head of our bird.
- Using the same principle, we make an oval, and attach it to the head - this will be the body of our reindeer inhabitant.
- We make the eyes, two small white circles and put two smaller black ones on top. Attach the eyes to the muzzle of the penguin.
- Roll out the white plasticine on the board in the shape of an oval. Transfer it to the body of the penguin and fix it firmly.
- Using orange, sculpt a beak and legs, carefully cut them out with a plasticine knife. Also transfer to our applique.
- To decorate the northern bird, you can mold him a scarf and a hat, so your handicraft will look even more original.
- To make our picture more interesting, you can add to our background an ice floe, a fish or make a whole family for our hero.
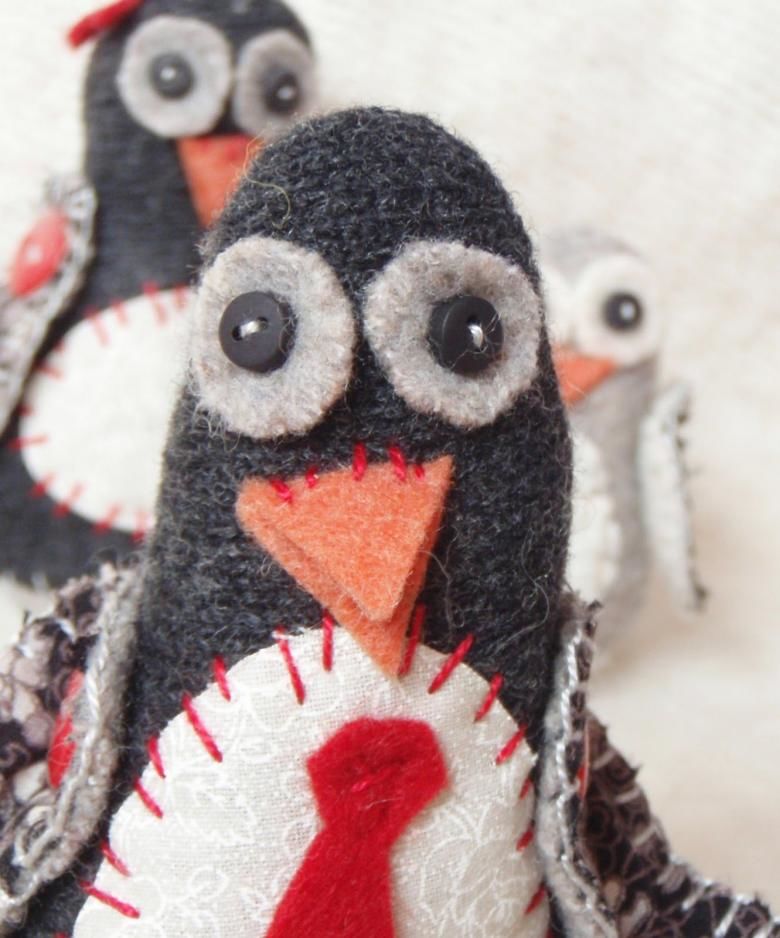
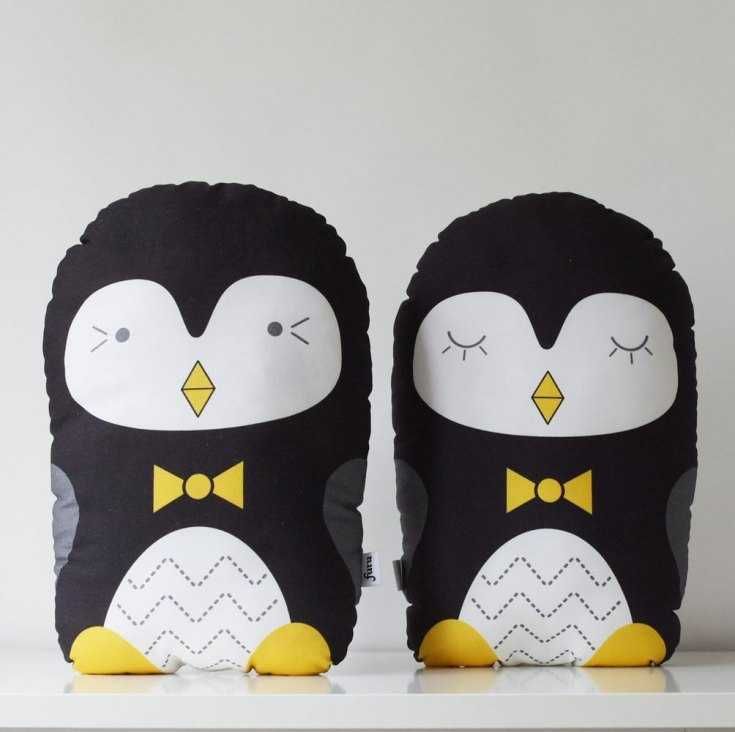
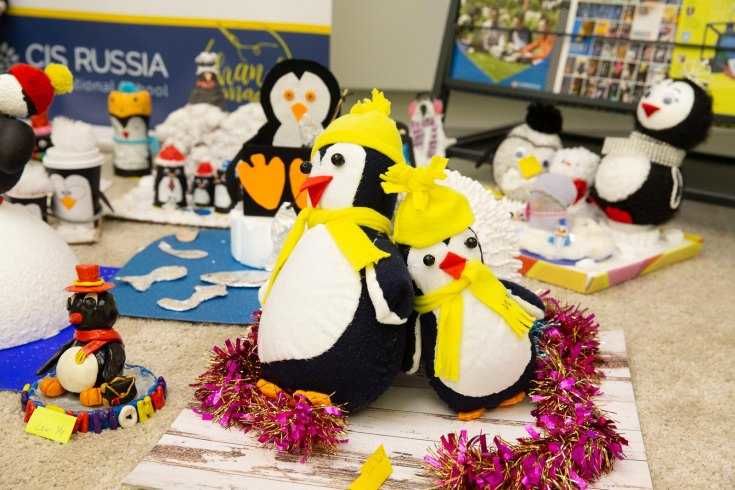
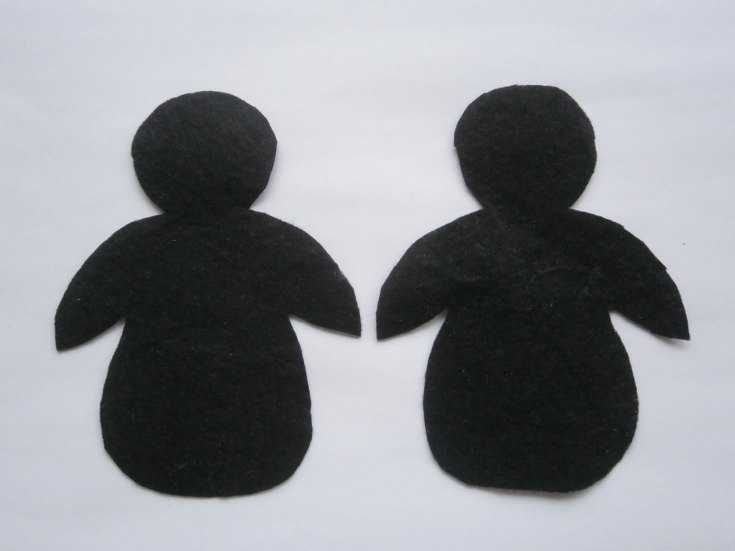
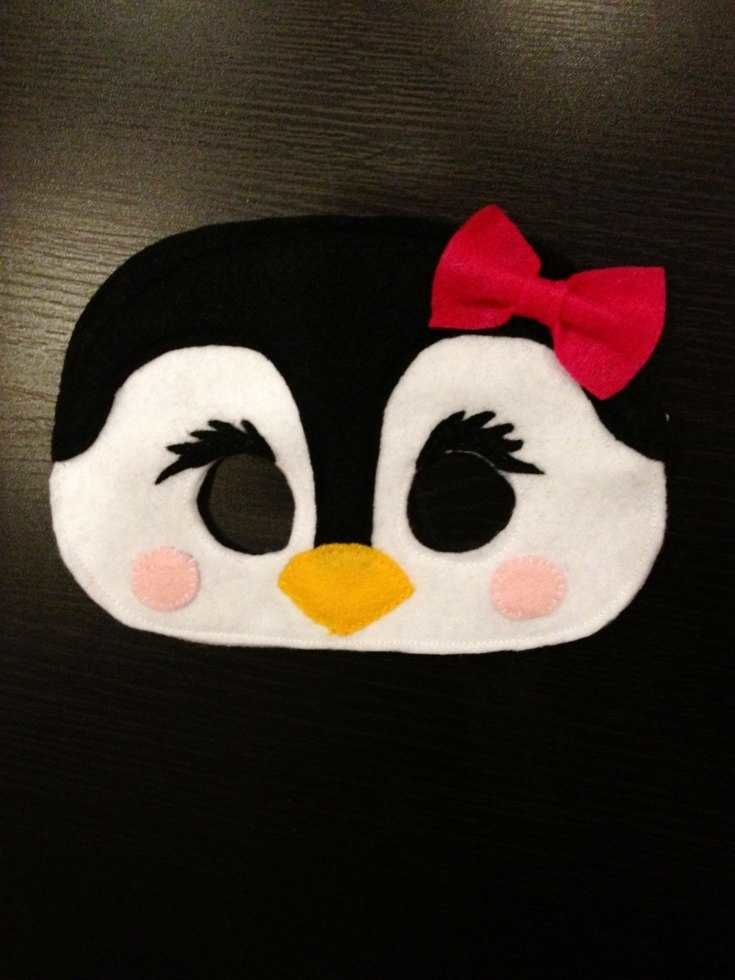
From fabric
To make a cute penguin from fabric, it takes a minimum of time, and this toy will take a worthy place in your child's collection. For this, we need white, black and yellow fabric, preferably fleece, a piece of cardboard, cotton, small beads, needles and thread:
- Make a pattern out of black fleece, trace it to the shape of a nesting doll and cut it out with scissors.
- Sew the two pieces together on the flip side without stitching the legs.
- Turn the toy out and stuff it with wool.
- For our toy bottom cut out a circle on cardboard and sew it with dark fabric.
- Make paws from yellow fleece and sew them to the circle. And to the already stuffed with absorbent cotton body of our toys sew on the bottom. It turns out the body of the future Nordic bird.
- Next, from white fabric we make a belly and neatly sew to the toy.
- In place of eyes attach two beads - these are eyes.
- On the yellow fabric cut out a triangle, the future beak, stuff it with cotton and sew to the snout.
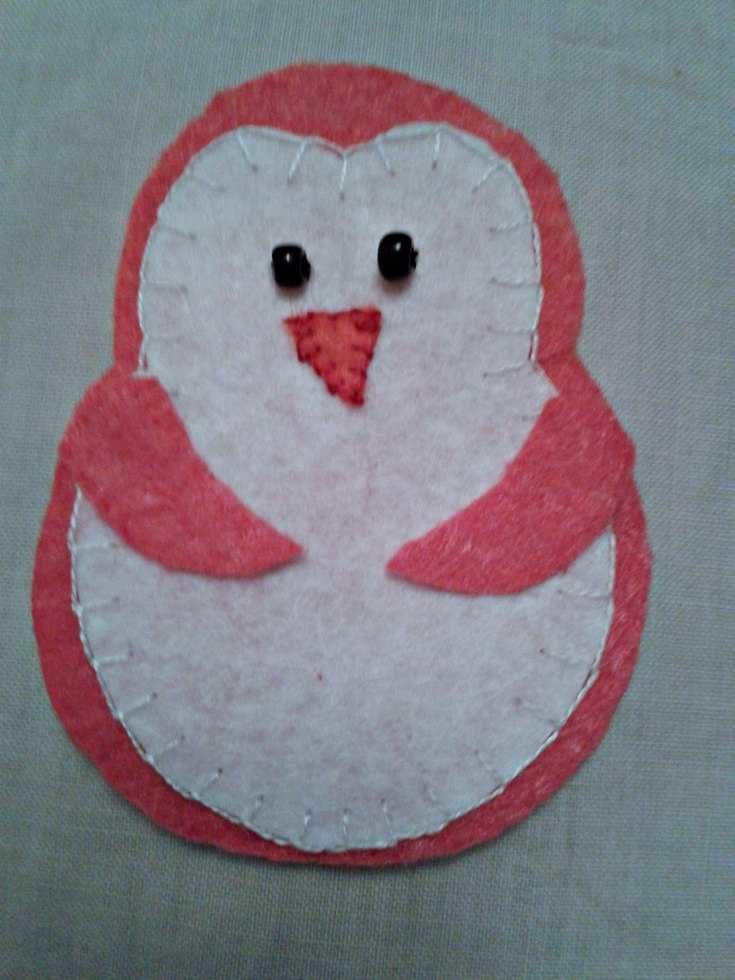

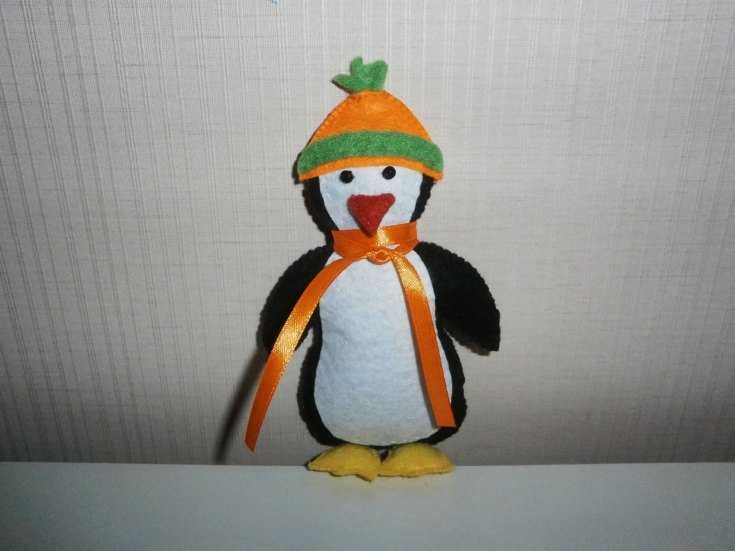
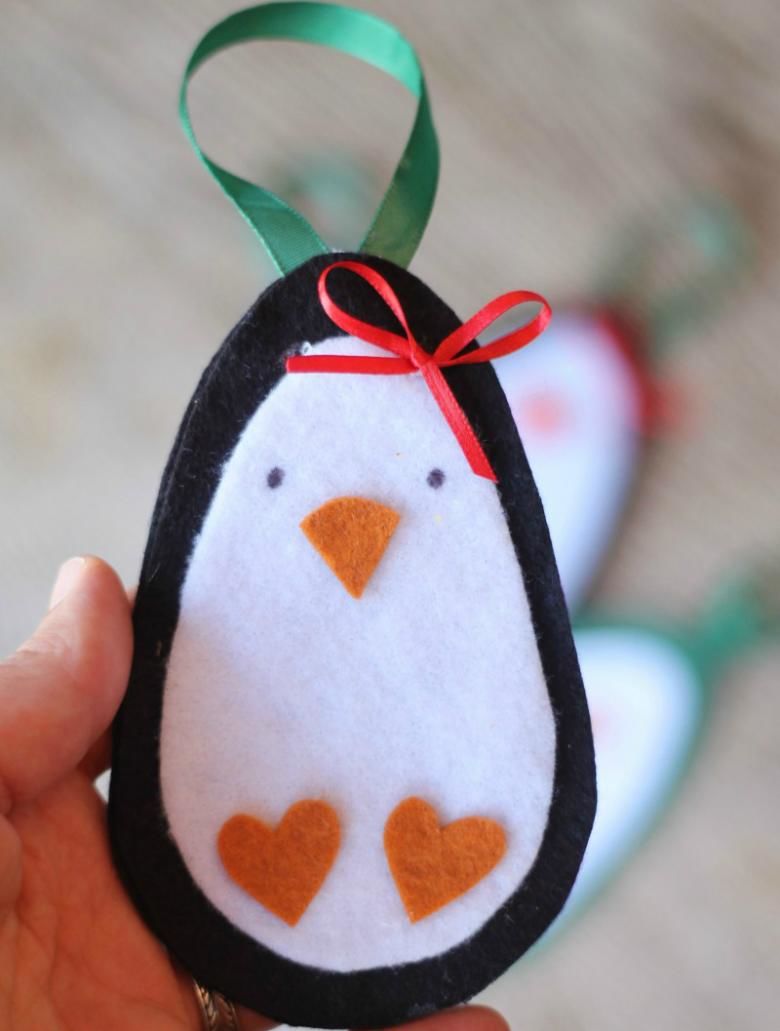
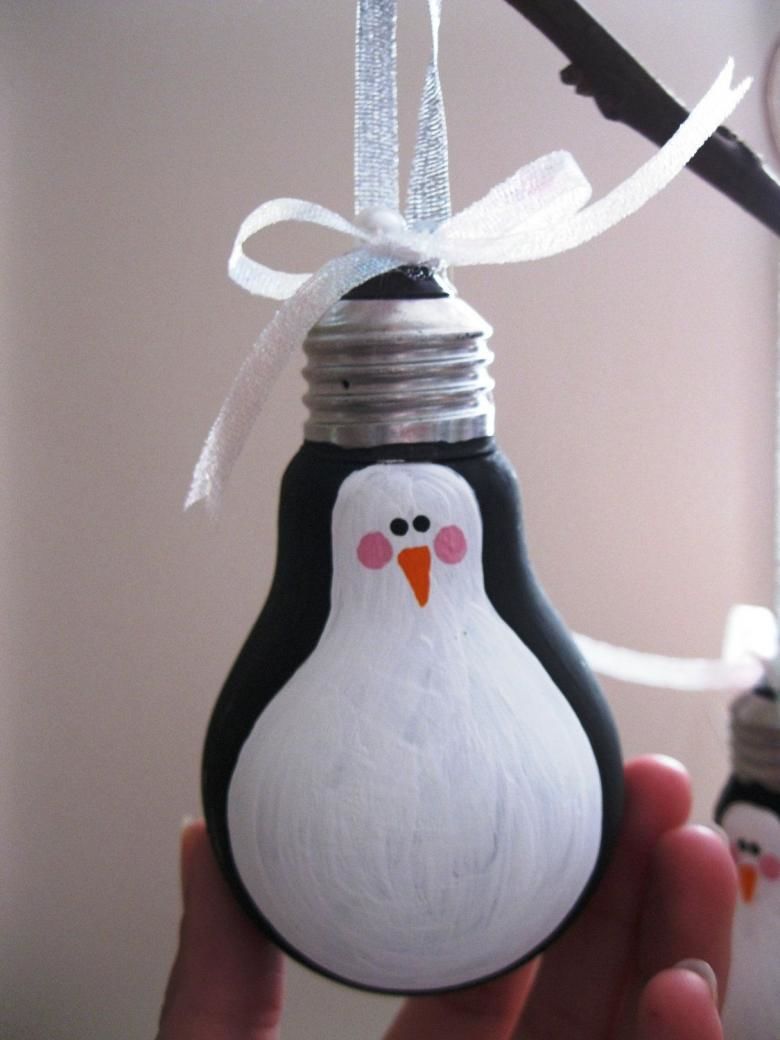
All, cute toy is ready, if its head sew a loop, it will be a worthy decoration of the Christmas tree.
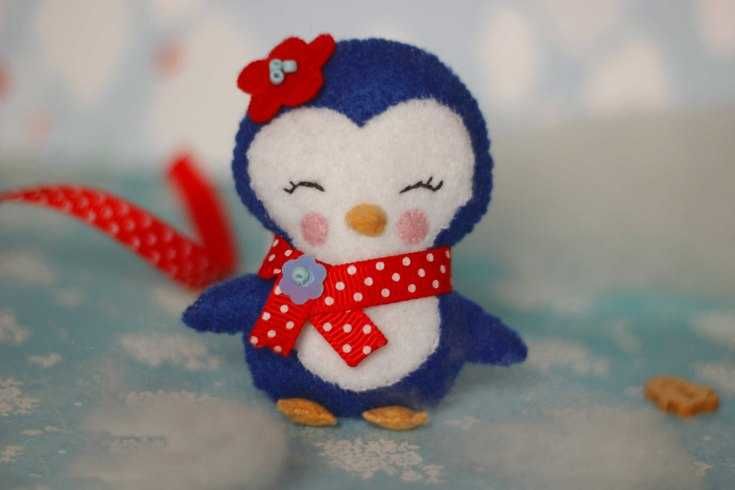
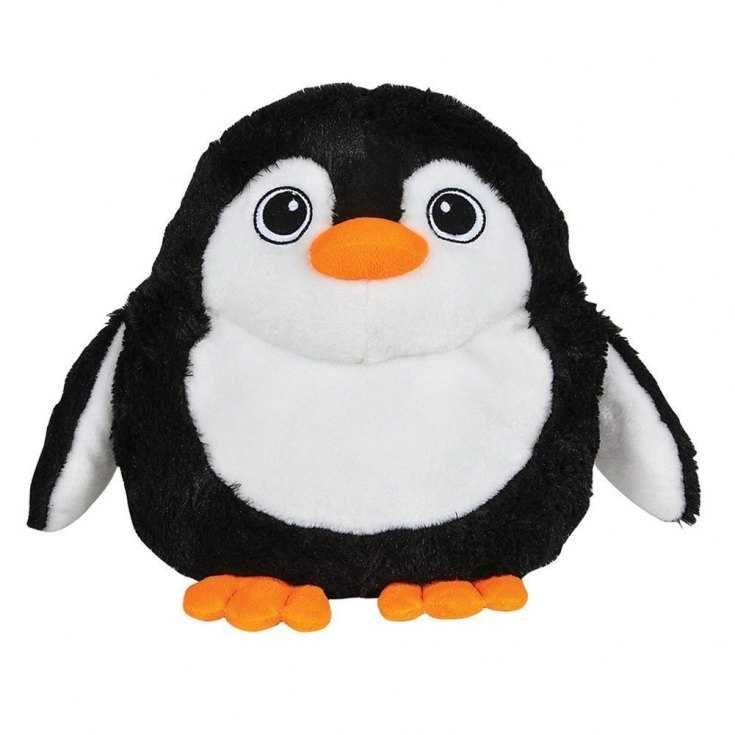
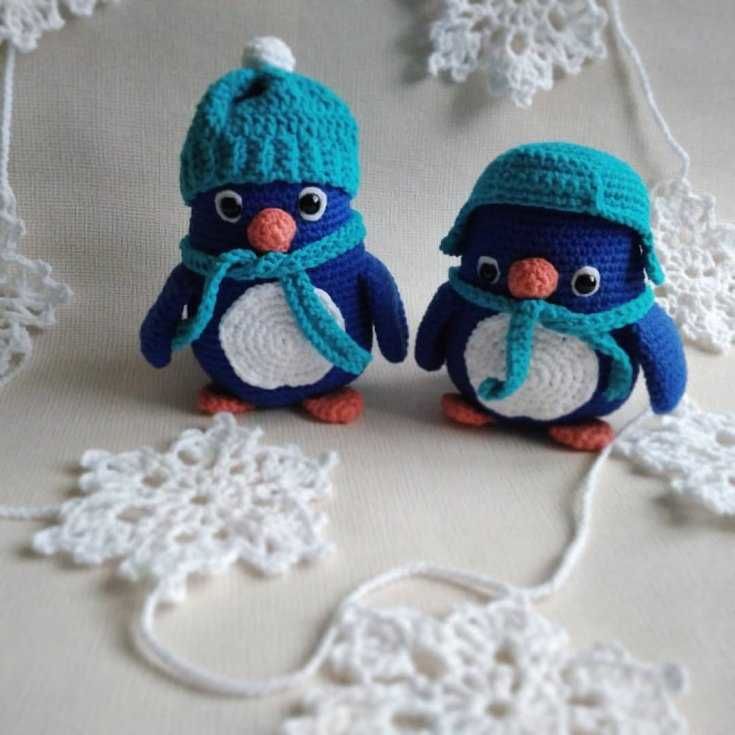
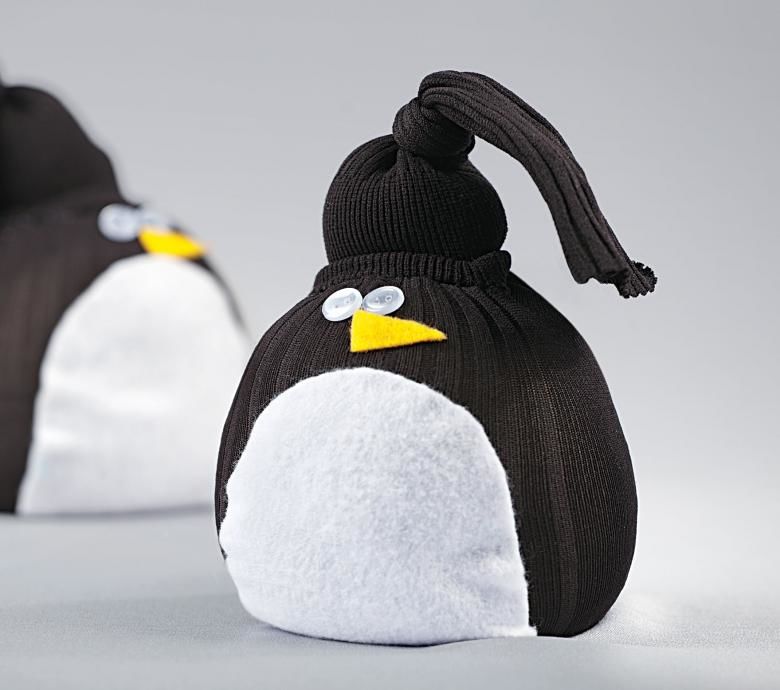
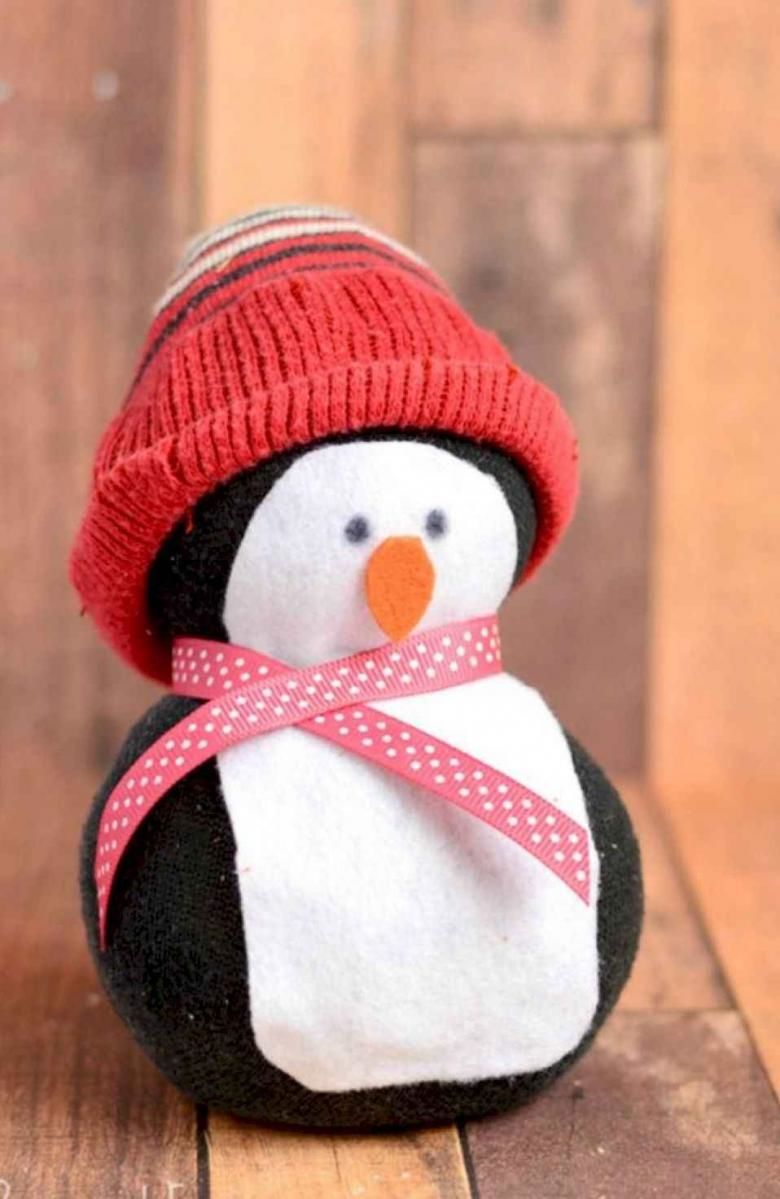
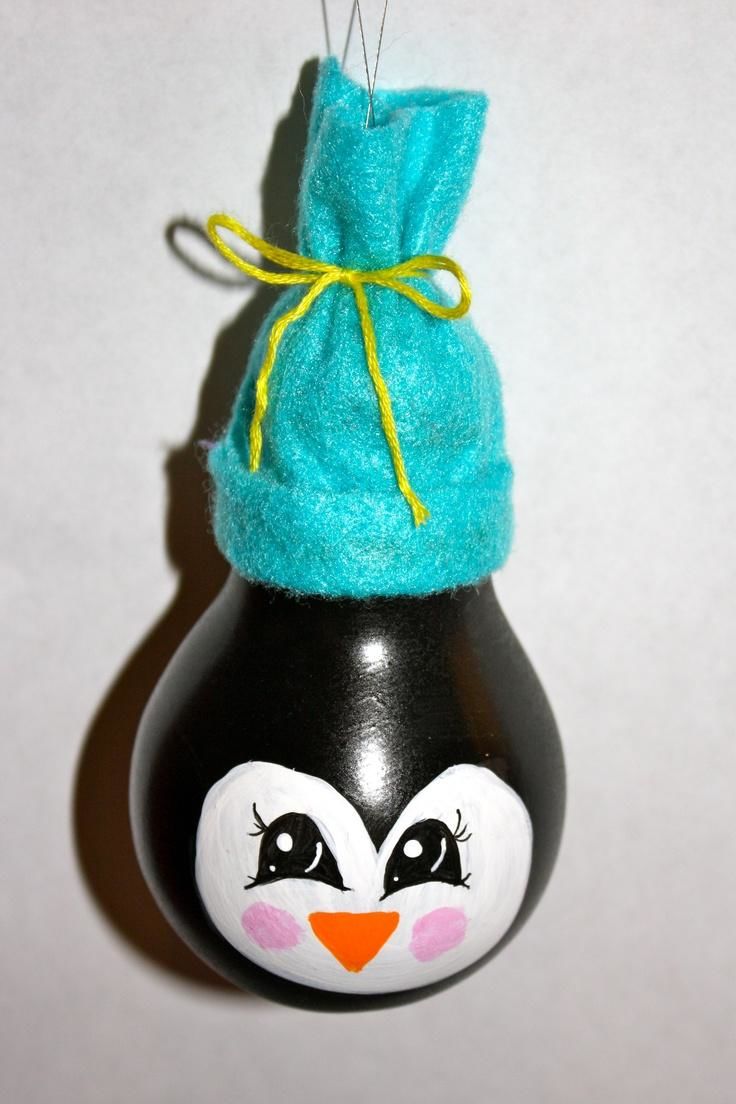
Knitted from a sock
To make it, we will need a black knitted sock, absorbent cotton, a flap of fabric, thread, buttons, and white flux fabric:
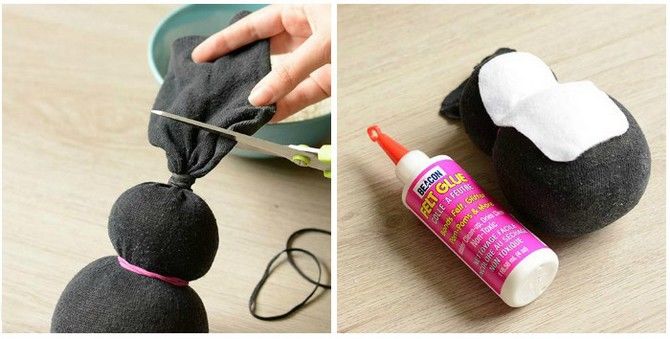
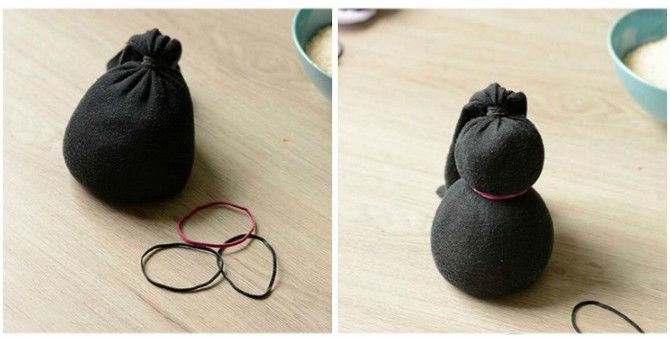
- We stuff the black knitted sock with absorbent cotton. Thread separates the head from the torso and rewind it. Likewise tie the top of the head of our penguin with thread.
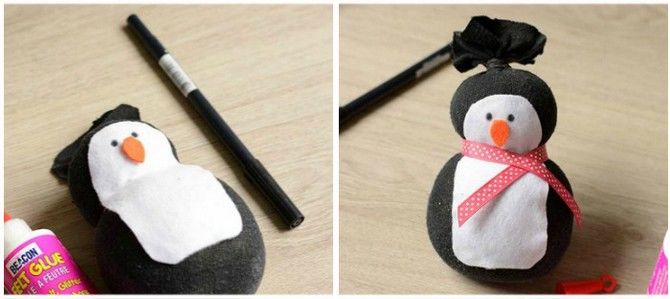
- From flux white fabric cut out an oval belly and a heart muzzle. Sew them to the body of the bird.
- Sew button eyes to the muzzle.
- Embroider a beak from orange threads on it.
- We decorate our beautiful bird with a scarf from a scrap of fabric and decorate his head with a cap made from scraps of fabric.

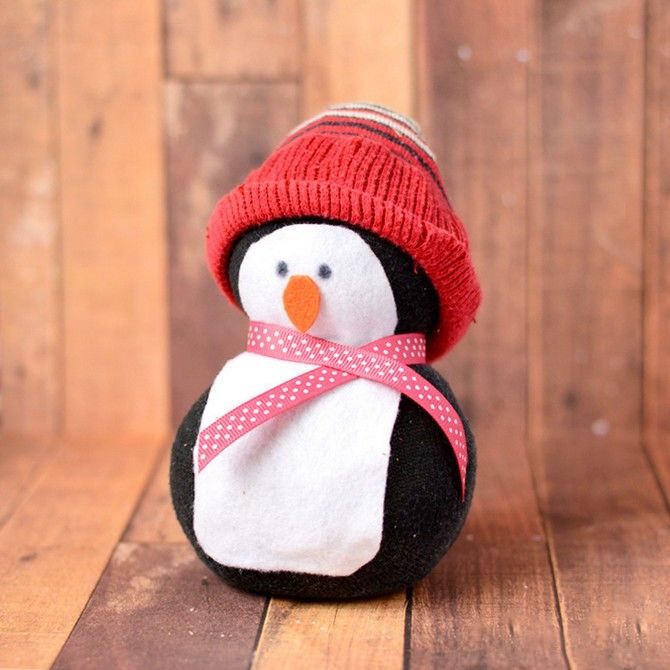
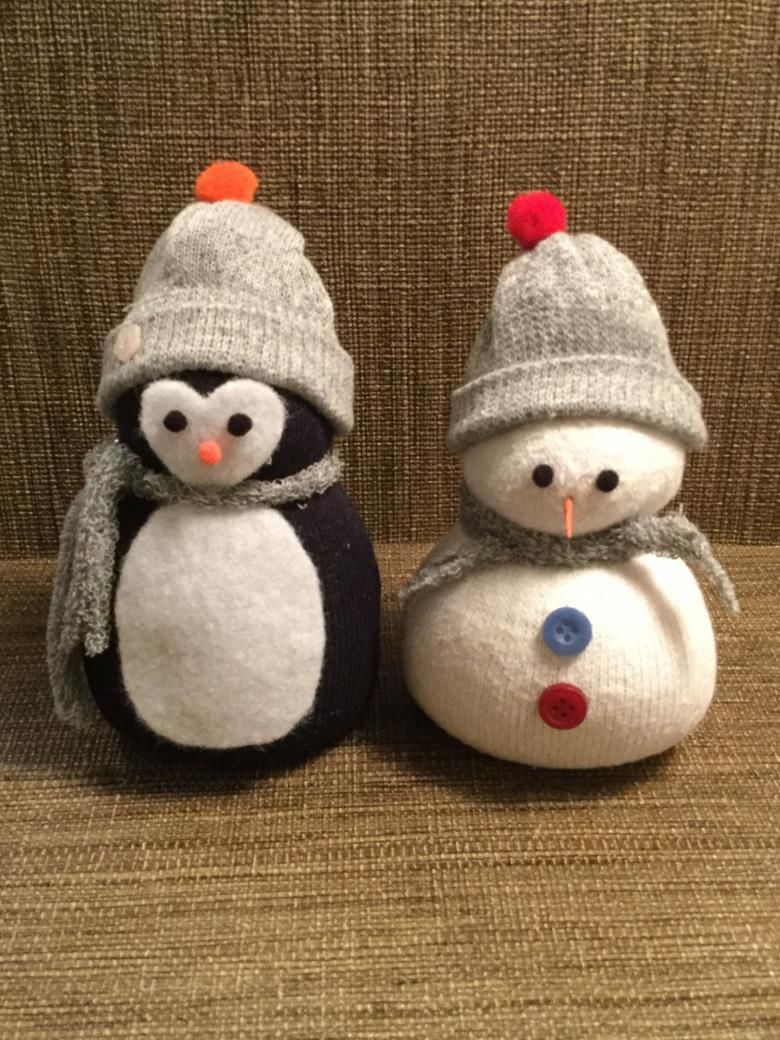
This toy is very fast and very beautiful. It is sure to be very beloved by children.
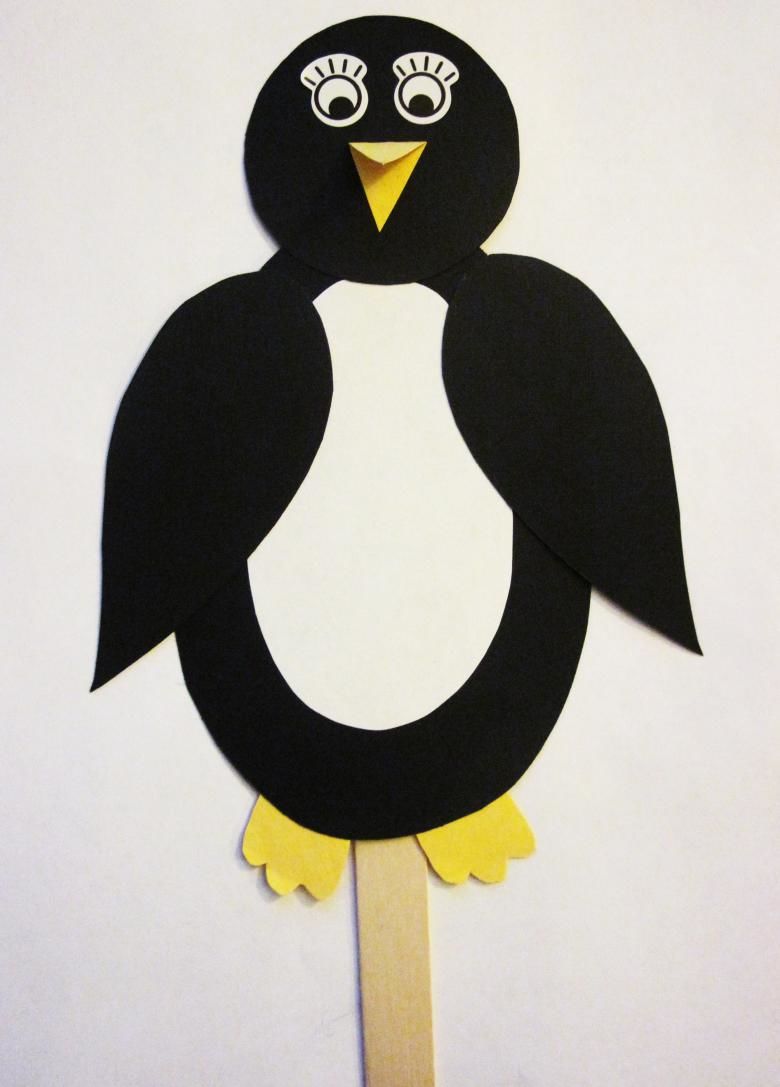
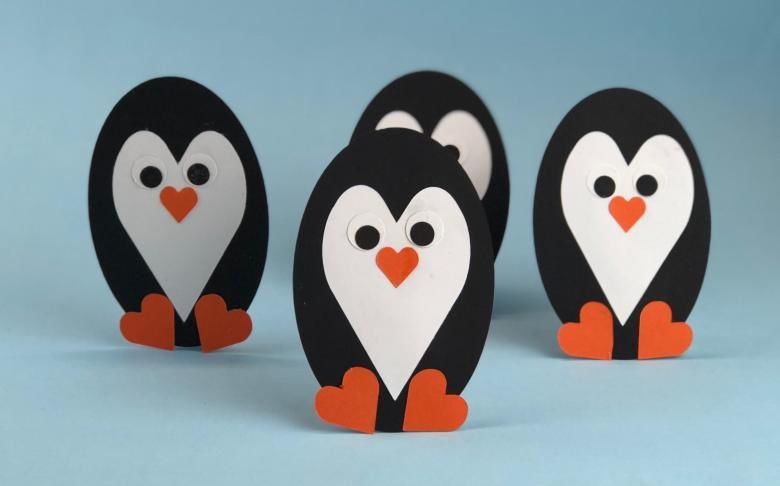
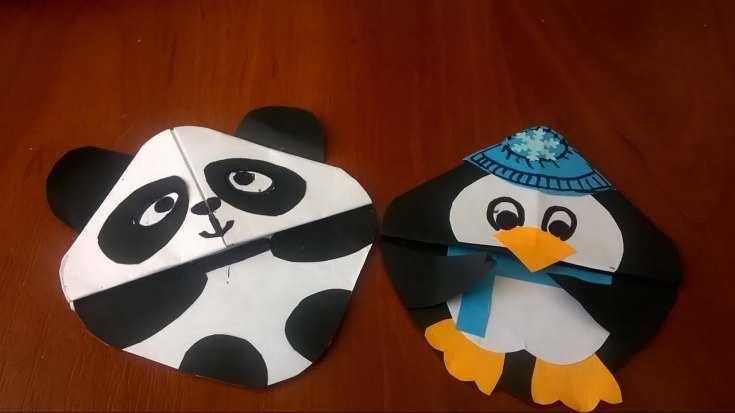
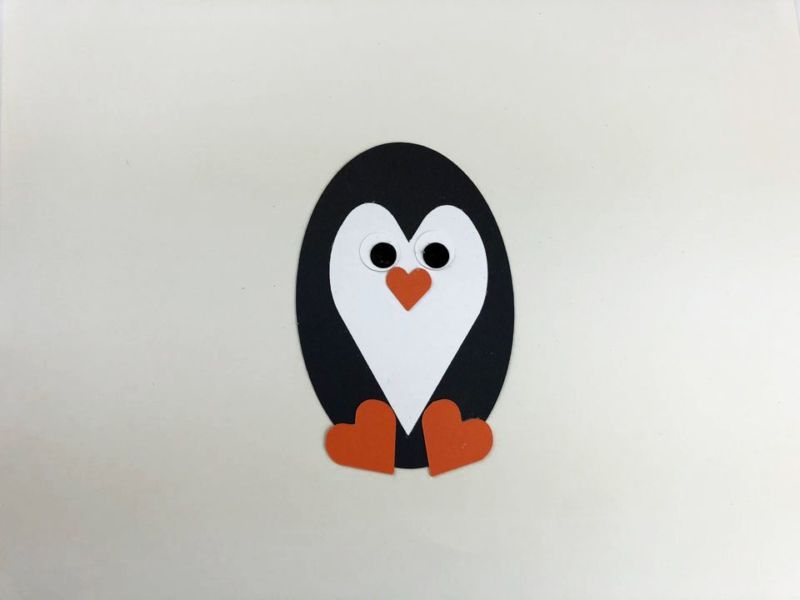
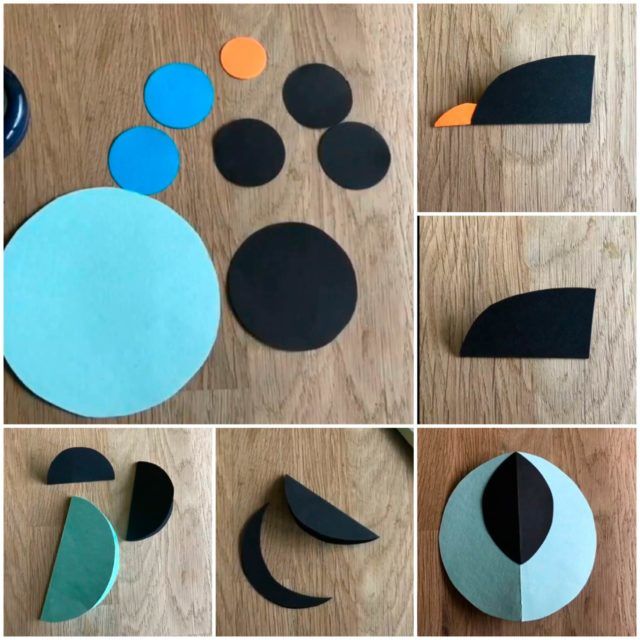
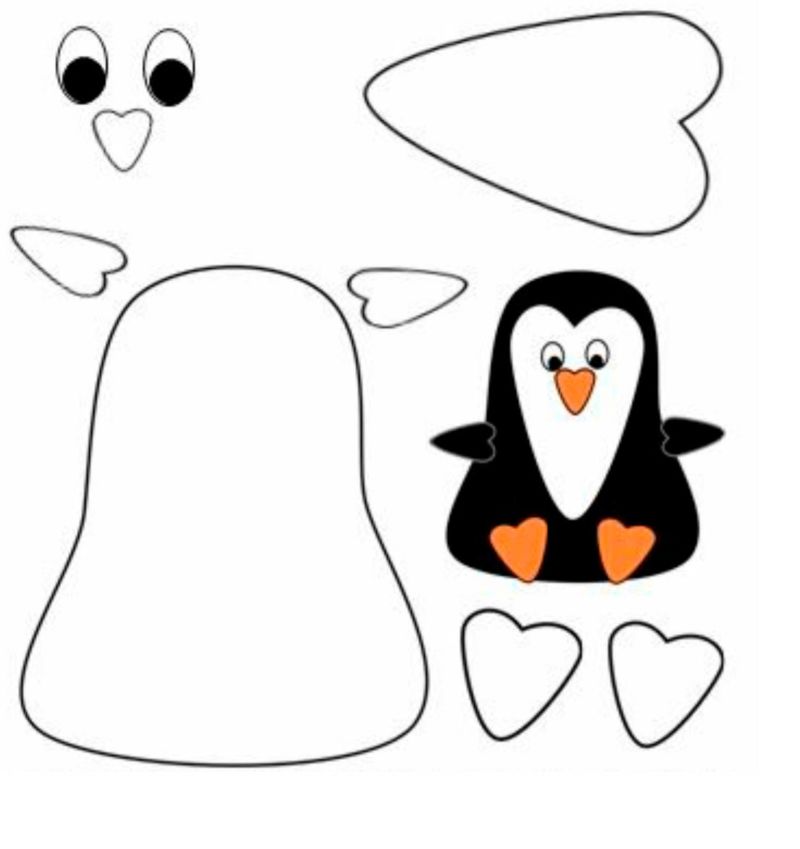
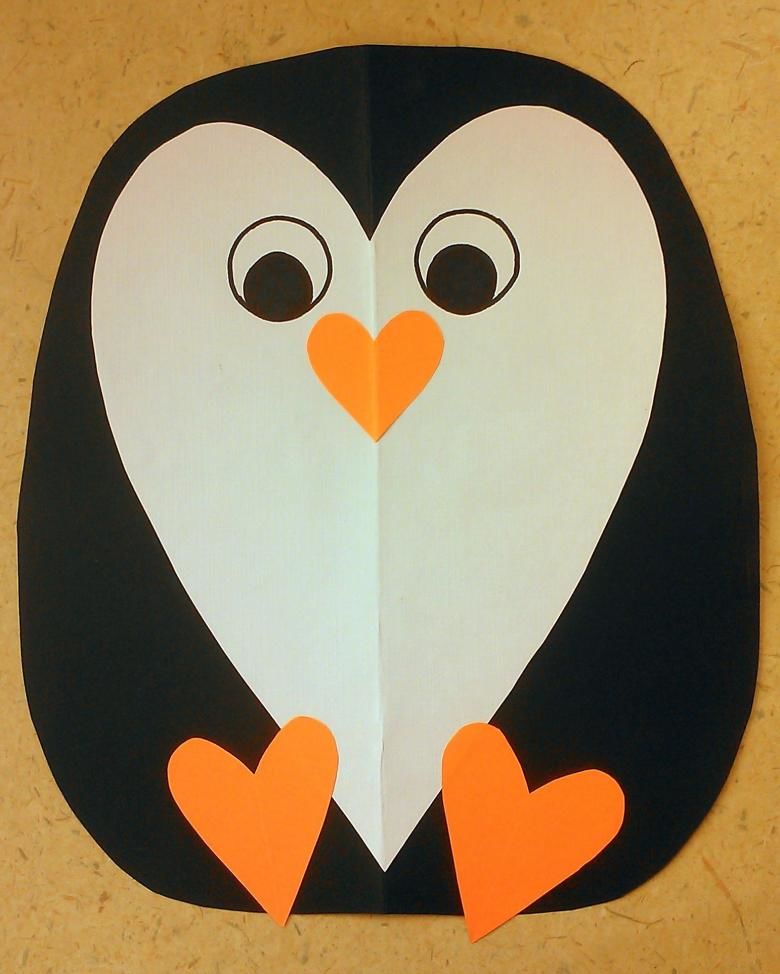
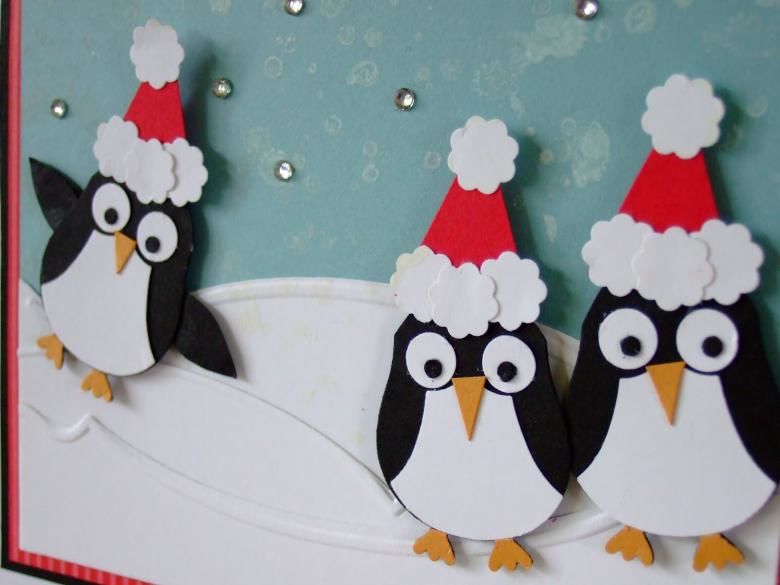
From cardboard
The penguin is very easy to make. We will need PVA glue, scissors, black cardboard and colored paper:
- From the black cardboard we cut an oval equal to the size of the body of our penguin.
- From white paper we cut out a heart, a little smaller than the size of our black oval.
- We also cut out two small orange hearts, which will be the legs of our snow hero. And a little beak. Do not forget to cut out and eyes two circles.
- Take a black oval with PVA glue to it a white heart. On it we glue the eyes and the beak.
- At the end of the bottom of the oval we glue two orange hearts that will be the feet of our resident of the north.
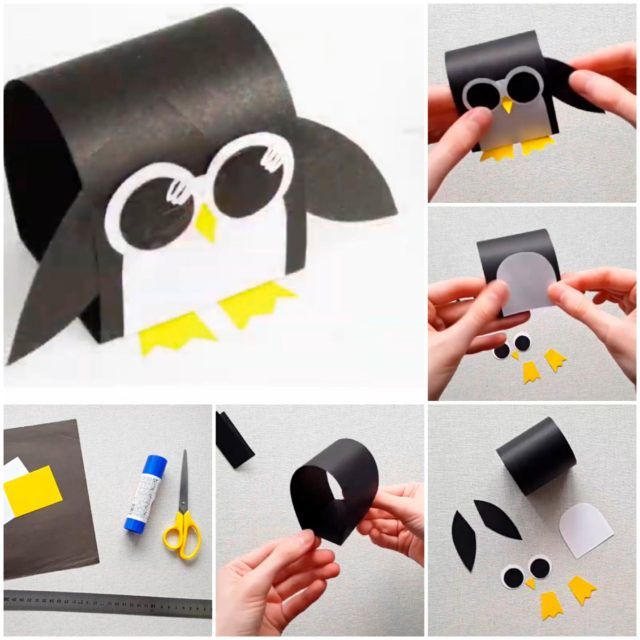
All done, the handicraft is ready. It looks very nice and can be used as an original New Year card, writing a greeting on the back.

The penguin from improvised materials
You can also make a beautiful and cute handicraft out of recycled materials. After all, there are countless ideas for this.

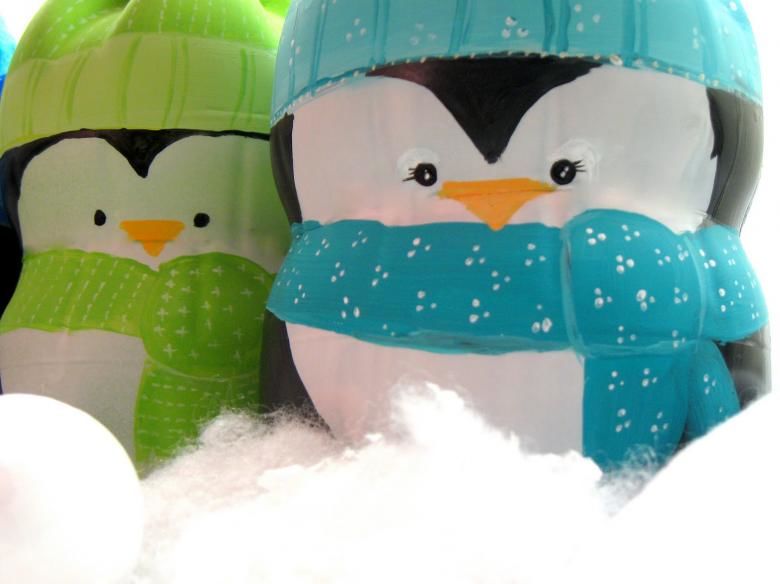
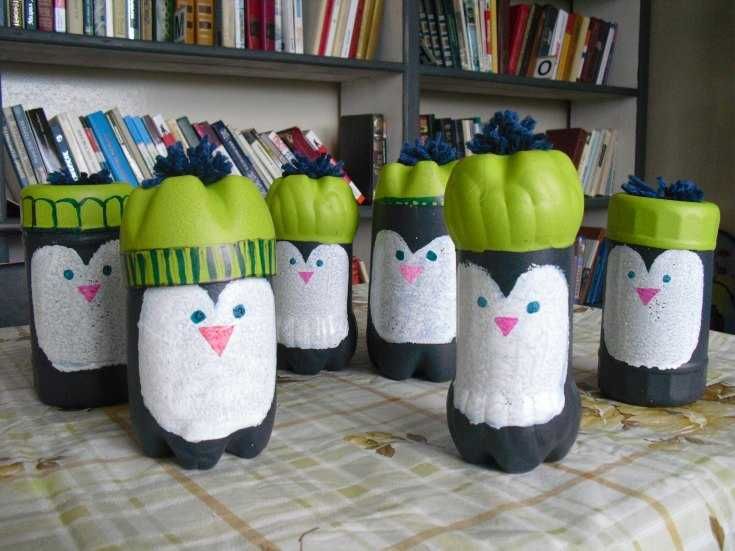
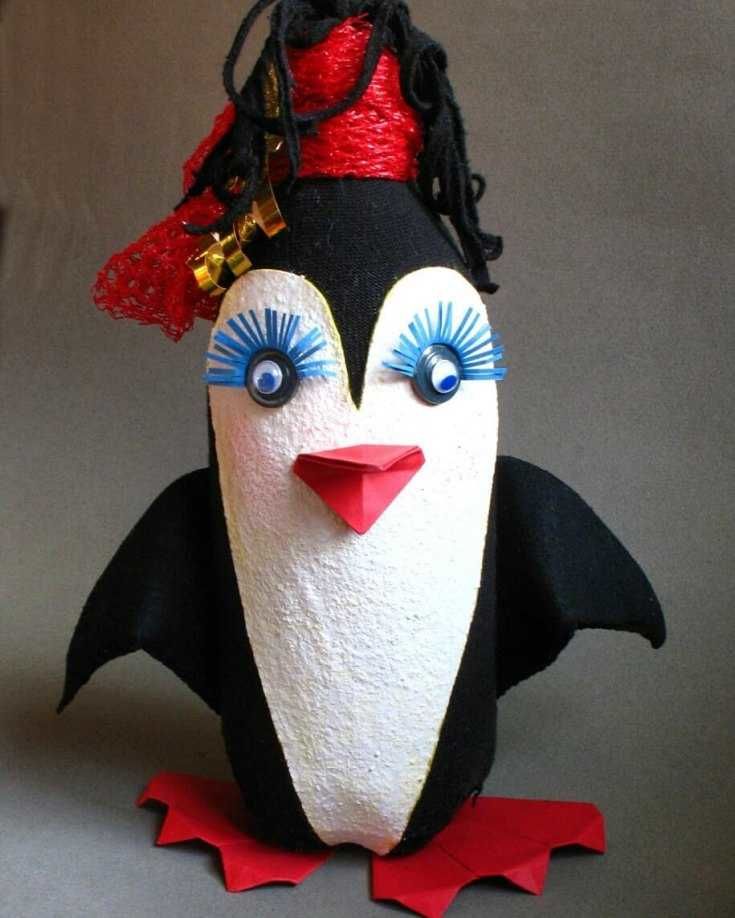
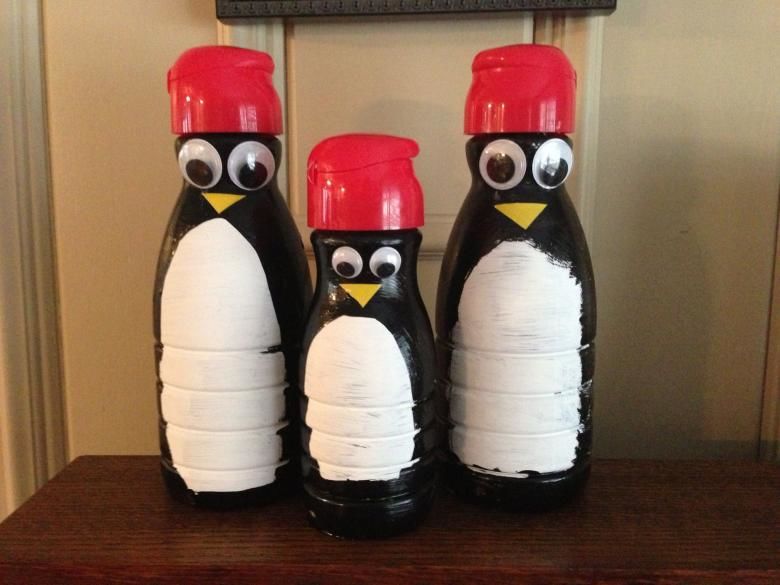
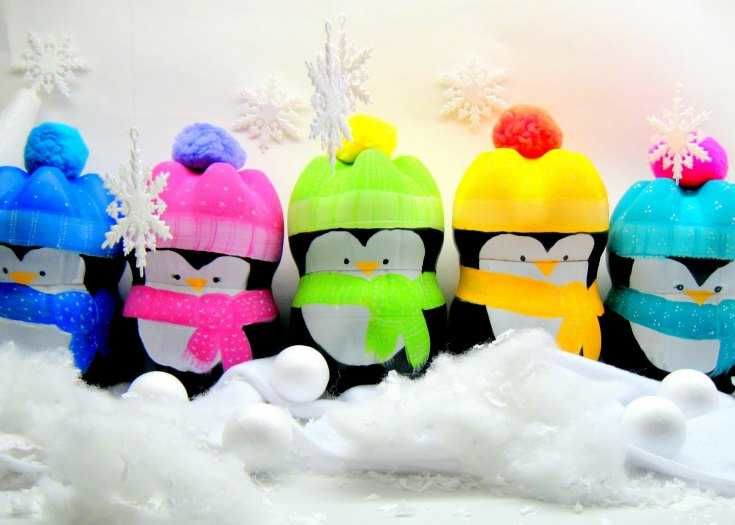
From plastic bottles
To work, we will need two plastic bottles, scotch scissors, a scrap of fabric, PVA glue and paint:
- We take two identical plastic bottles. The first bottle is cut in half. Leave the bottom of the bottle, throw out the top.
- From the second bottle, we cut off almost everything, leaving one bottom, which will be the cap. Tape both parts together, so that the bottom of the bottle is both bottom and top.
- Paint our entire blank in white. On it we draw the belly of our bird, and paint everything else black.
- When our handicraft dries, we paint the cap in any color.
- Next, we paint the abdomen.
- On his face, draw eyes and a beak.
- From a scrap of fabric we make a popon for his cap and attach it with glue.
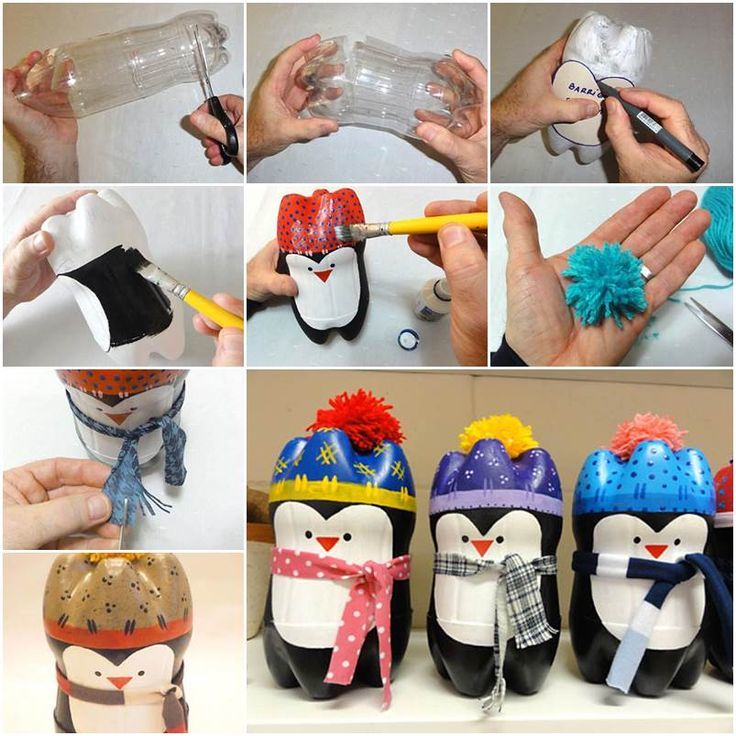
Beautiful handicraft for children's exhibition is ready, it is done quickly and looks decent.
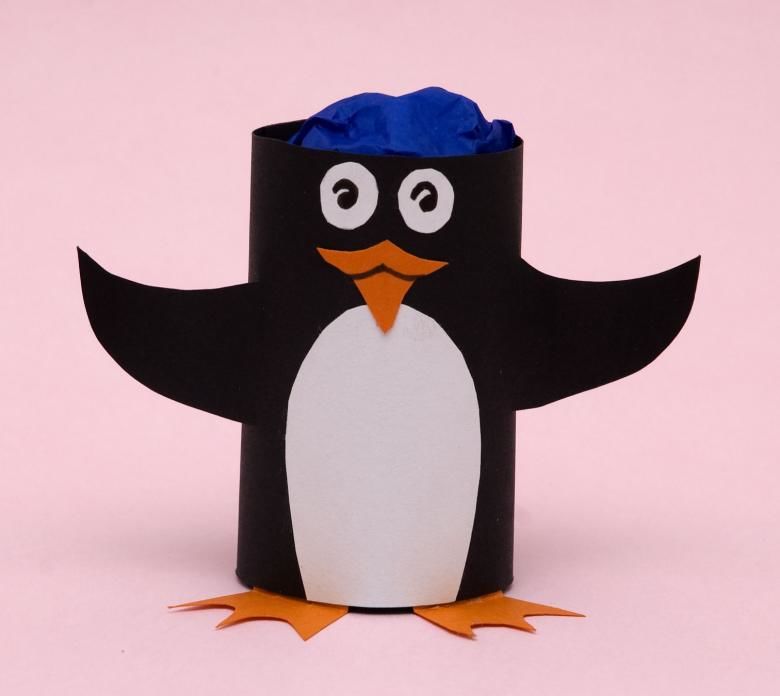
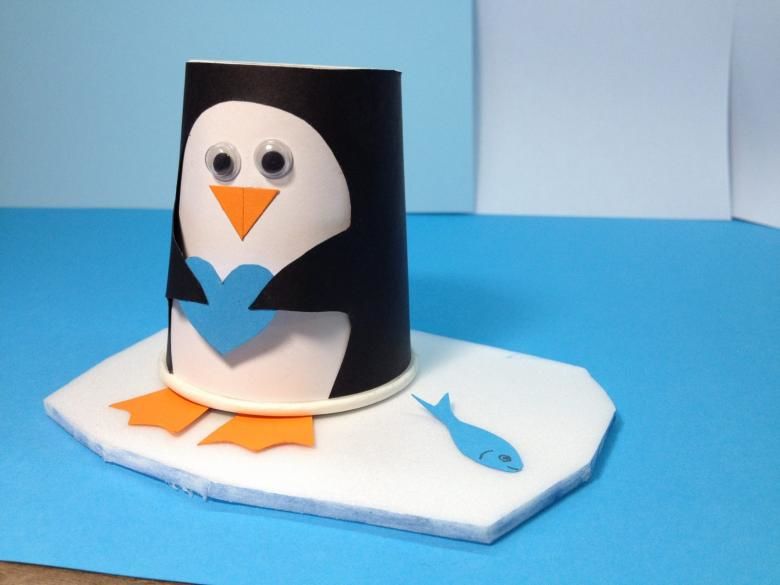
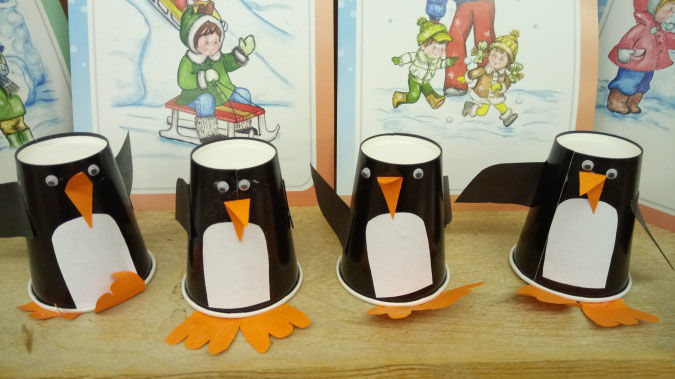
From paper cups
An interesting option for making a craft from a paper cup. It is necessary to prepare a black felt-tip pen, colored cardboard, scissors, tape, glue:
- We mark on the cup an oval, the future tummy.
- The oval leaves unpainted, all the rest of the paper cup, paint with black felt-tip pen.
- From red colored paper, cut out paws and his beak.
- Use glue to glue the paws to the base and the beak to his muzzle.
- Glue eyes made of paper.
Such a toy can be offered to make the children at a children's party. It is very easy to perform. It will cost very cheap and every child will be happy to take their new Antarctic friend with them.
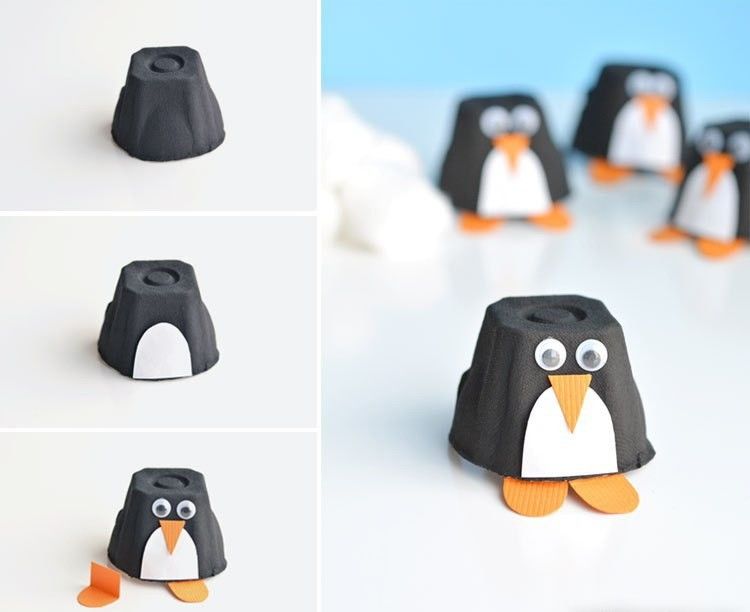
From an egg carton
To work you need to take an egg carton, duct tape, glue, paint, a brush, colored cardboard:
- Cut out from under the egg carton two cells fasten them together with duct tape.
- The connected cells are painted like a penguin.
- Cut out legs and a beak from colored cardboard and glue them to the body of ours.
- Take two beads eyes and glue to the face of our bird.
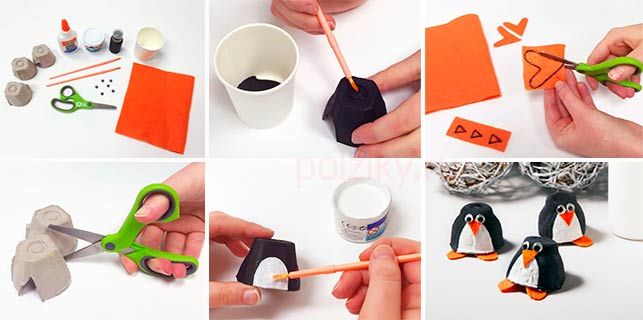
Very funny toy is ready.
From Kinder Surprise
Even the smallest child can make this handicraft. For this, you will need a Kinder Surprise, a black marker and plasticine:
- To start, we need an ordinary case from a Kinder Surprise.
- Make the penguin's tummy area with white plasticine, in the shape of an oval. All the remaining space is filled in with a dark marker.
- Use plasticine to form a beak and attach it to the snout. From the same mold eyes. And attach them to our bird.
- Make two paws from red clay and fix them to the base.
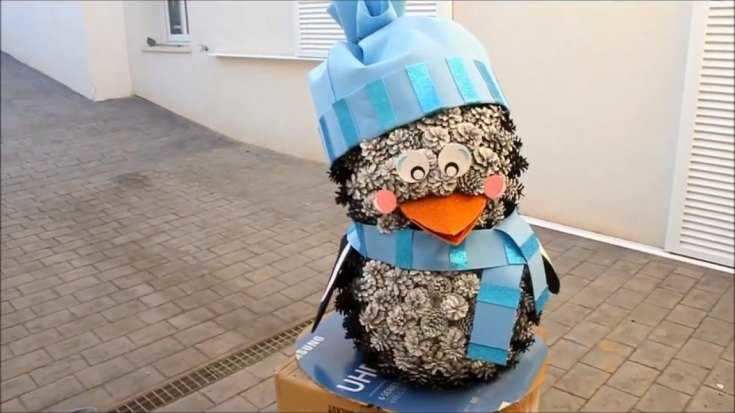
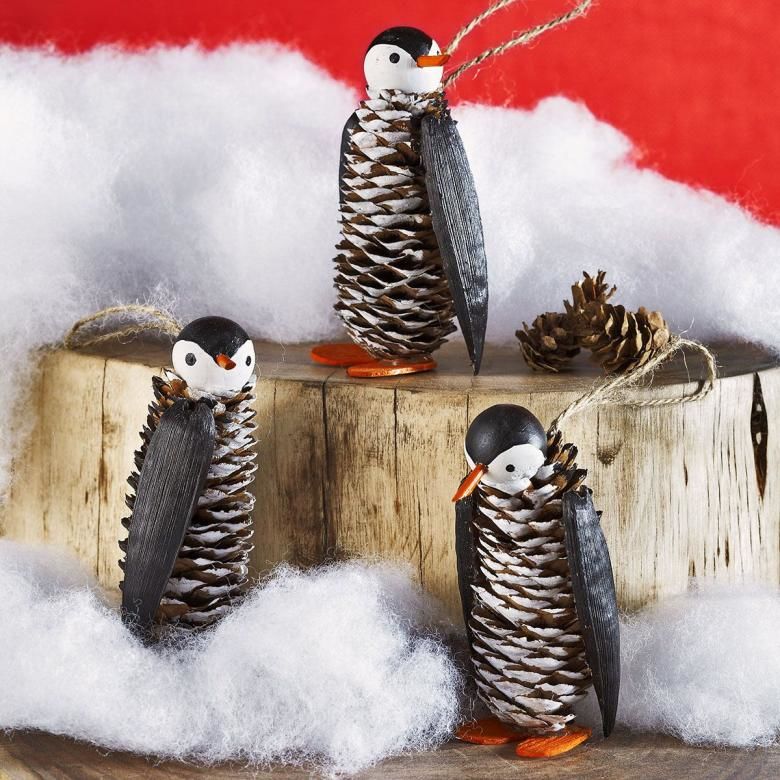
From a cone
To create this craft, we need a cone and plasticine. The cone is the body of the penguin:
- From orange plasticine we form his paws and attach them to the top of the cone.
- Using black plasticine, make a circle - this is the head of our penguin. Fix the circle to the base of the cone.
- Using the same color mold the wings and attach them to the sides of the cone.
- Then with the same plasticine we make out the head, mold eyes and a beak. Beautiful winter crafts are ready.
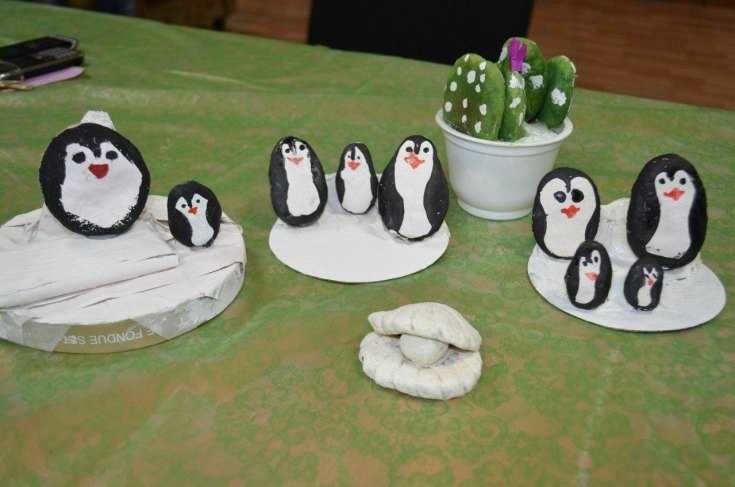
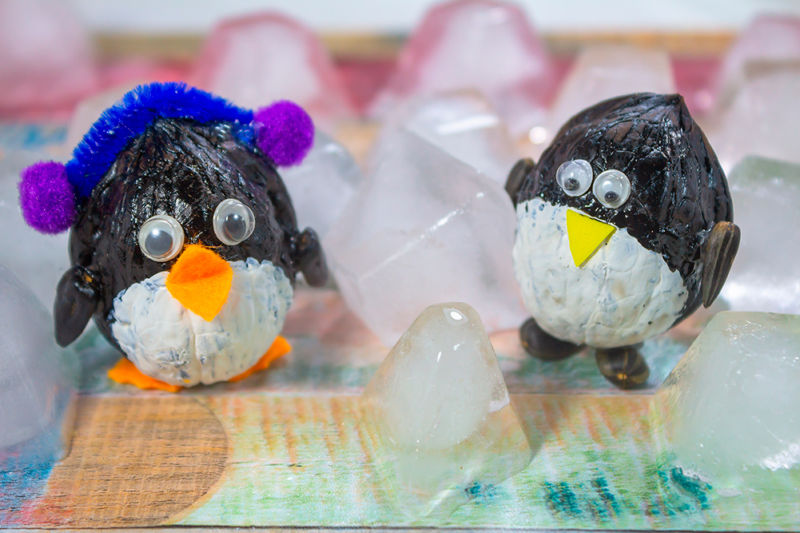
From walnuts
To create a penguin you need a walnut, paint and plasticine. Paint the walnut with paint to match the color of the body of the penguin. Use plasticine to model the penguin's eyes, legs and beak. All attach to the body of the penguin.
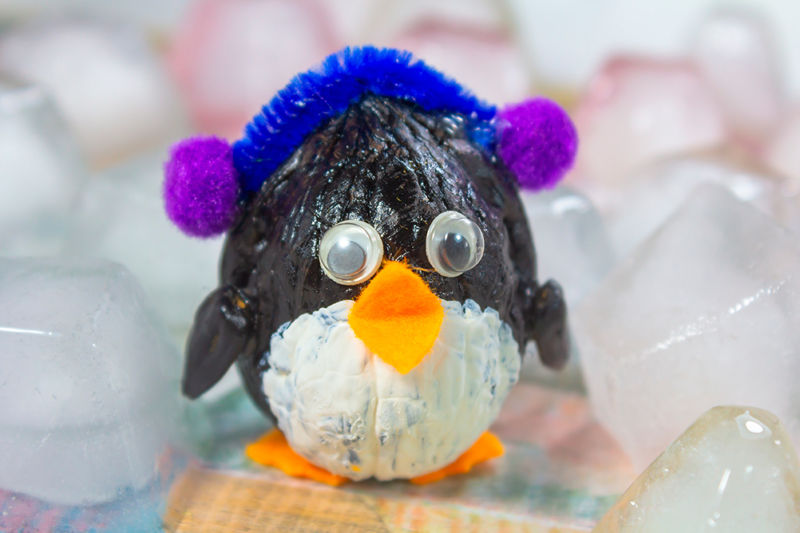
This animal is very easy to make with walnuts. It will look quite interesting and unusual, which will allow him to become a worthy decoration of any children's exhibition.
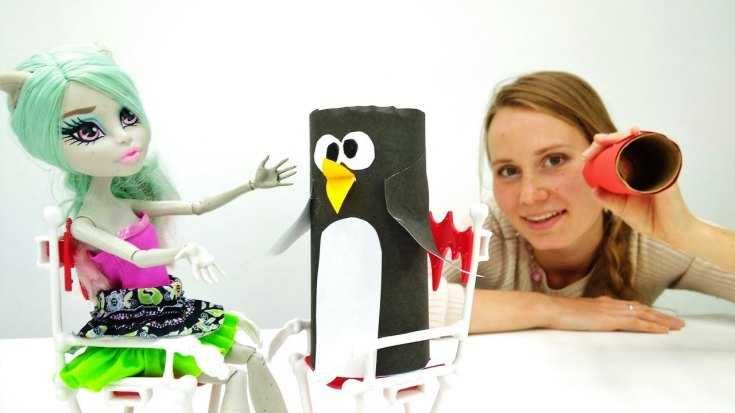
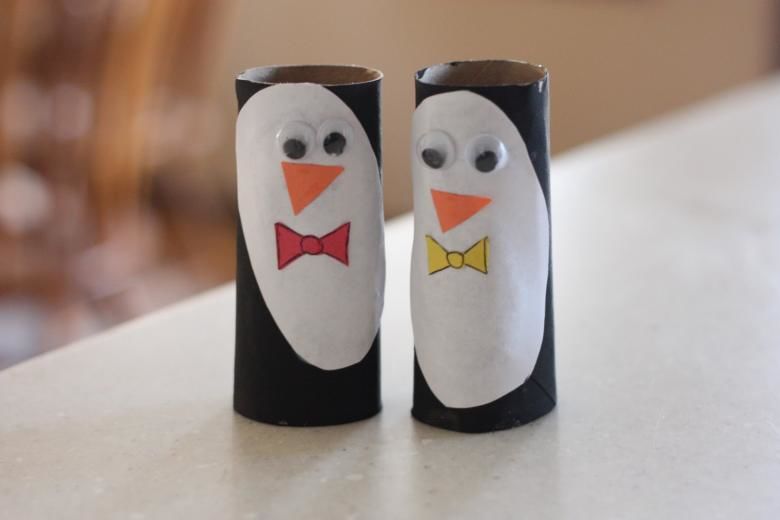
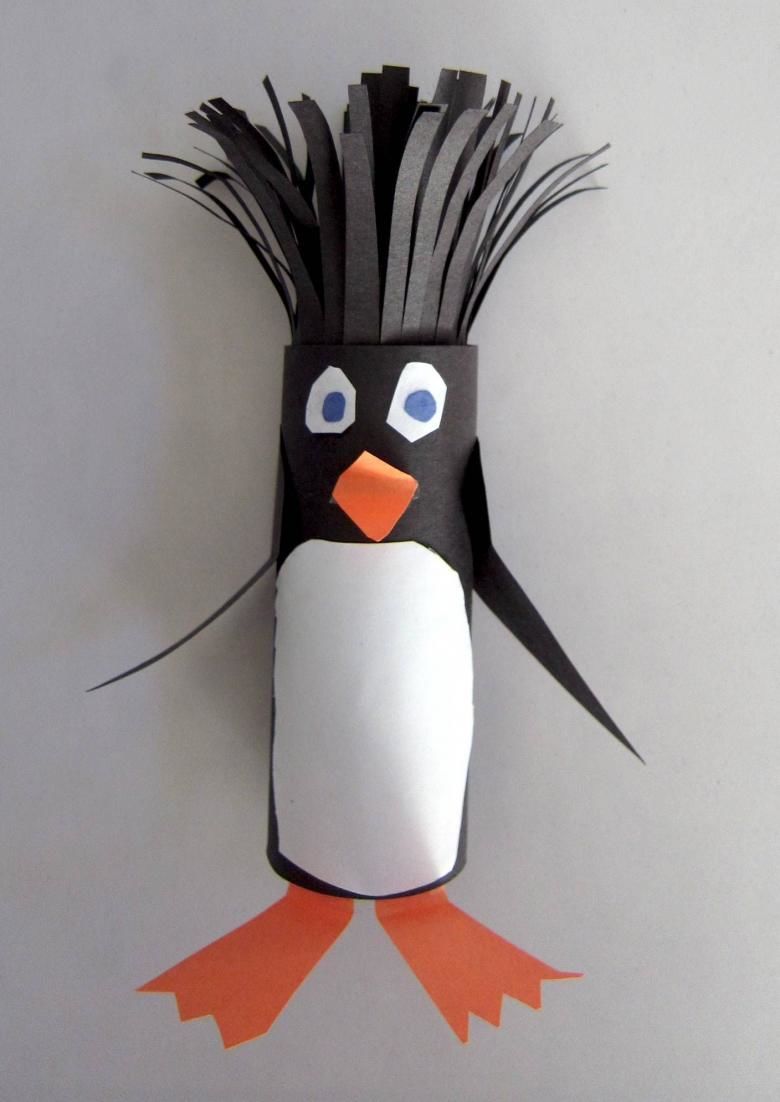
From the sleeve
Create a penguin using a sleeve from toilet paper. For this, we will need a sleeve, colored paper, PVA glue and scissors:
- The sleeve from the toilet paper is completely pasted with black colored paper.
- From white paper cut out the belly and head of the penguin in the form of a matryoshka. Glue the tummy to the pasted sleeve. On which we glue a triangle-cut beak and eyes of colored paper.
- On the sides you can glue two wings.
- To decorate the penguin - a boy, you can make him a blue butterfly of colored paper on his neck.
- If the penguin is a girl, you can make a pink bow and glue it to the head. Beautiful crafts are ready.
When you have a baby in the house, you will definitely want to have fun together. Creating a craft is a great way to bond with your child. Time flies in the creative process, and your child will long remember the moments spent together in an interesting activity.
Working with your child, you develop their imagination and creativity of thought. Your child can discover their creativity and express their individuality. After all, you can have a great time together, creating an interesting craft.
Ways in which you can create a penguin, there are a huge number. This cute inhabitant of Antarctica leaves no one indifferent. Create with your children and one of these crafts will take a worthy place in your home.
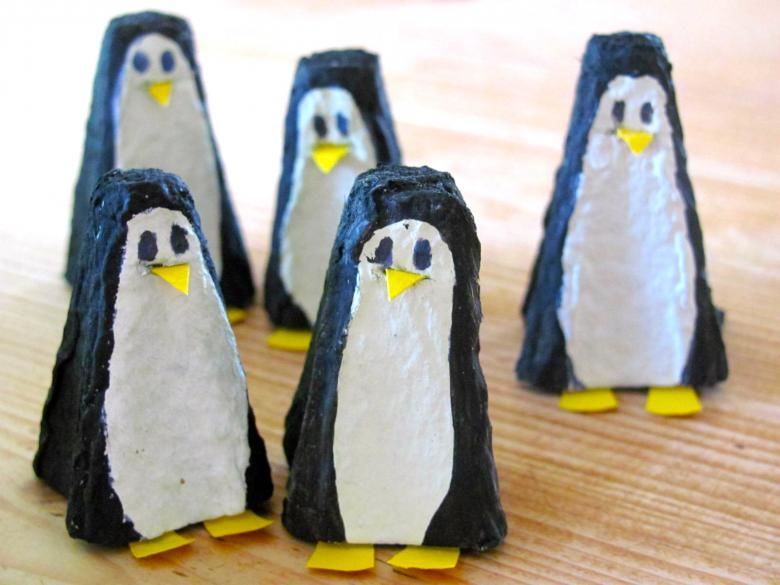
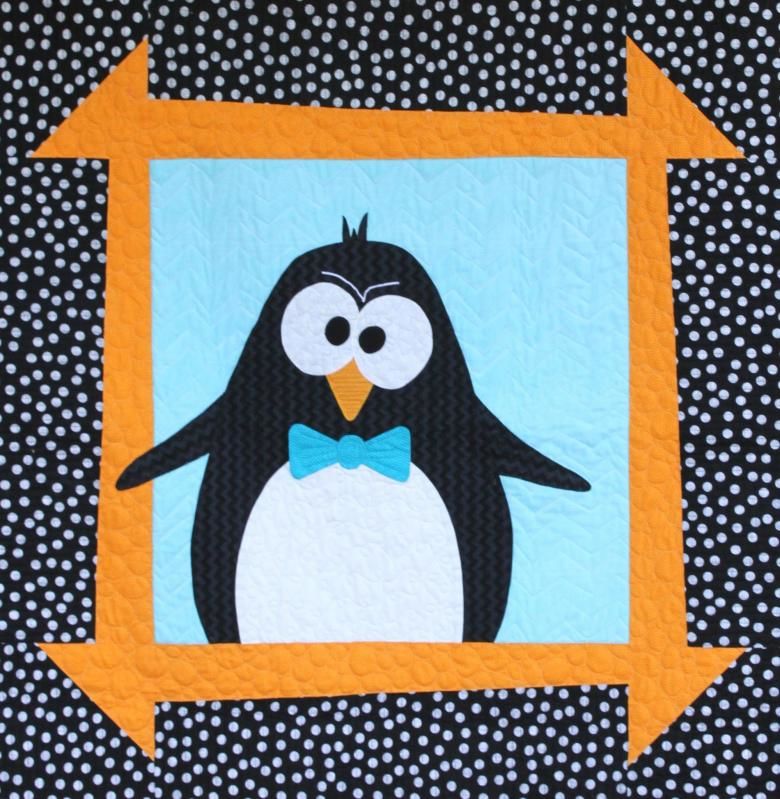
Photo ideas for children's crafts in the form of a penguin