Plasticine crafts with their own hands - beautiful photo ideas of original products and easy instructions for children
Clay crafts are very fond of kids and adults. They are happily engaged in this type of creativity, because it gives the opportunity to express the boundless imagination.
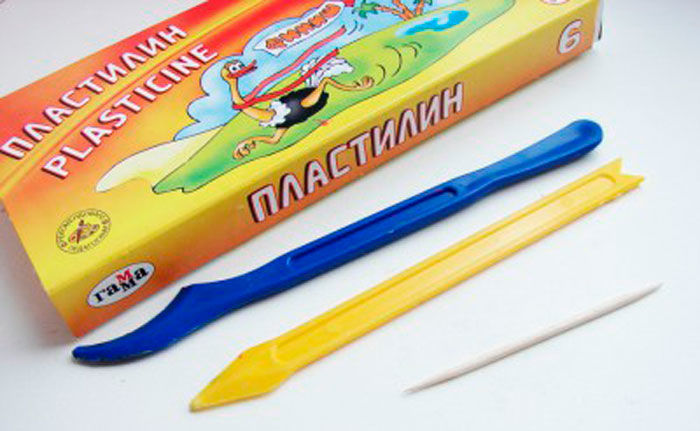
Properties of Clay
Plasticine is a material designed for modeling. It includes wax, clay, vaseline, animal fats, synthetic substances.
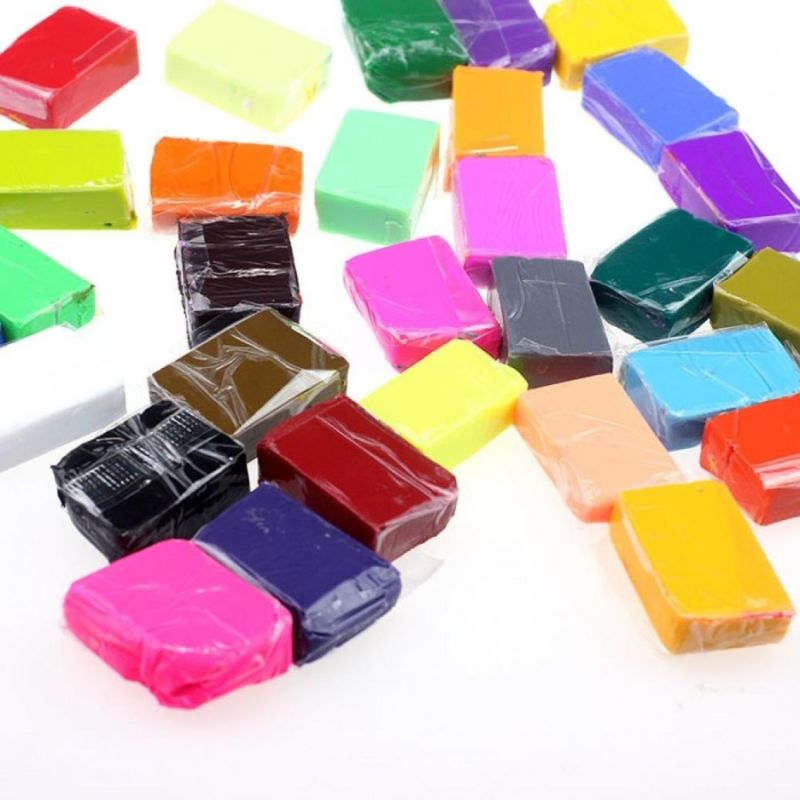
Now in stores there is a huge selection of plasticine, you can be confused by the desire to buy material for modeling.
Any plasticine has properties of softness, plasticity, the ability to glue parts, expressed in one way or another.
Consider some types of plasticine:
- Classic, our production, available, holds its shape well, easy to mold. Individual parts connect well. But it is too stiff, before the work it is necessary to knead for a long time;
- imported, suitable even for crumbs, bright, plastic, soft, lends itself to any hand. The composition includes natural components. Individual parts do not stick together well;
- dough for modeling, too, natural components in the composition: flour, water, salt, dyes. Parts are easily glued together, can be stored for long periods of time and painted. When exposed to water, it becomes soaked;
- floating, easy to mold, does not get dirty, stays on the water. Great for the smallest children. But it holds its shape poorly, disintegrates;
- Mass for modeling is unique, well modeled, not sticky to the hands, a pleasant touch, crafts can play for a long time. Rather expensive to buy;
- ball, excellent for decorating details, smoothing irregularities. Bright, juicy colors, attract attention. But, the details are poorly attached, easily disintegrated;
- modeling paste is suitable for older children. Pleasant to the touch, it is easy to mold, it can be painted. It dries very quickly, you can not have time to finish the work, which would upset the master;
- wax plasticine, holds its shape well, is bright, does not stain the surface, and glues well. Overly sticky material.
What is the difference between clay and plasticine?
Clay is a natural, natural material, hardens when dry, and if you burn it, it will be resistant to heat and moisture.
Clay is an artificial invention. Even the hard varieties do not harden completely, crafts made of it are not too strong, and from high temperature they will melt.
Clay is a softer material, so it is given for modeling to young children, when it hardens it can be diluted with water, and it becomes molten again. Plasticine depends on the temperature of human hands, it should be kneaded to model. However, clay is more sticky, it is easier to wash hands from the plasticine.
Clay can be painted with paints, and clay is multi-colored initially.
Creatures are obtained from these excellent materials, you choose.
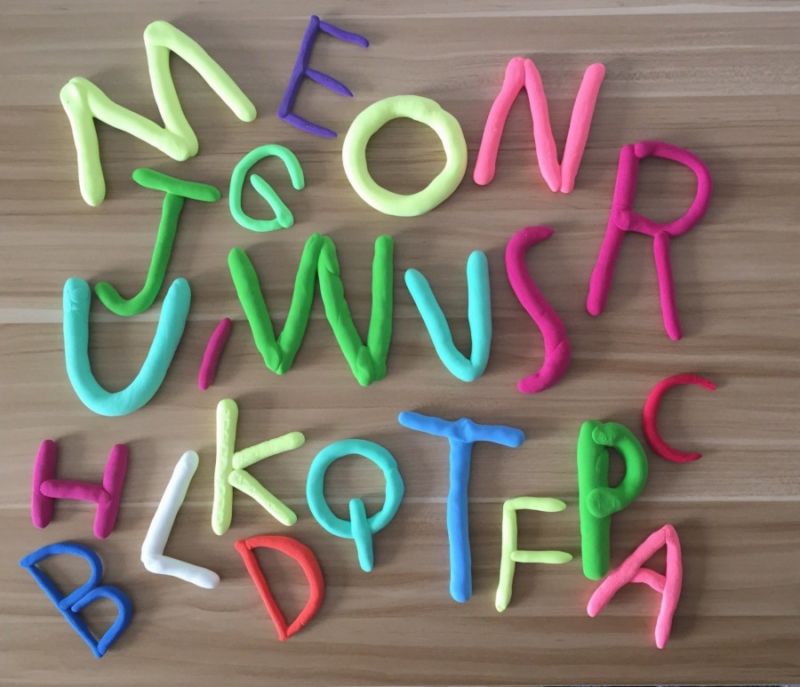
The basis of crafts - a ball
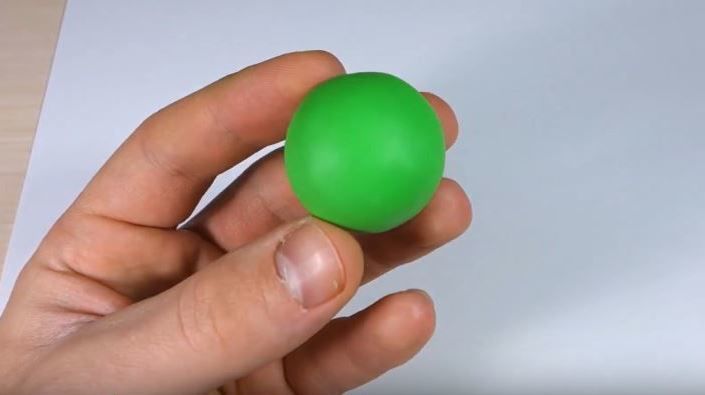
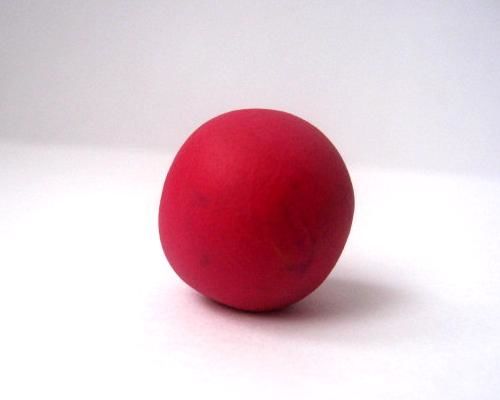
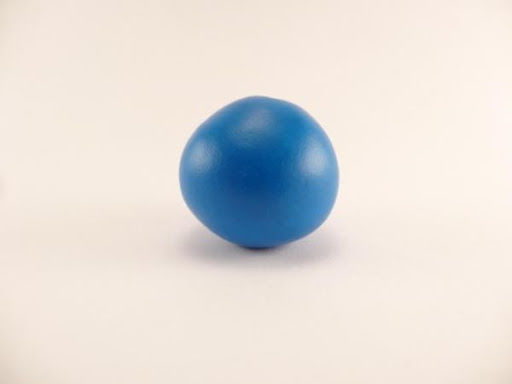
One of the first techniques in modeling is rolling. Knead plasticine, roll in your hands in a circular motion, you get a smooth ball.
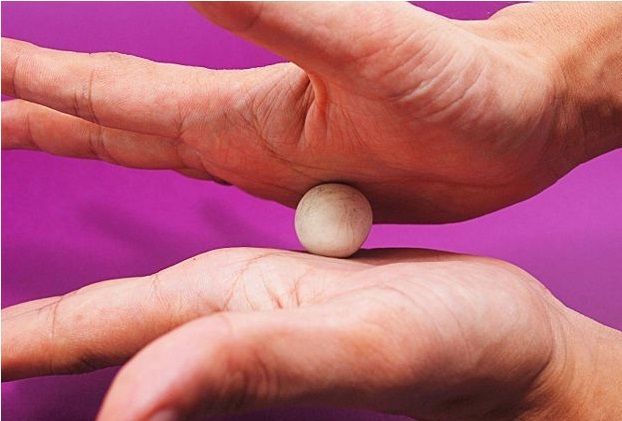
You can try to roll a ball on the board, with the palm of your hand roll plasticine in a circular motion, you get a ball, but less smooth than the first method.
If you need a very small ball for the details of the craft, you have to put a piece of plasticine in the palm of your hand, and the finger of your other hand roll the desired part.
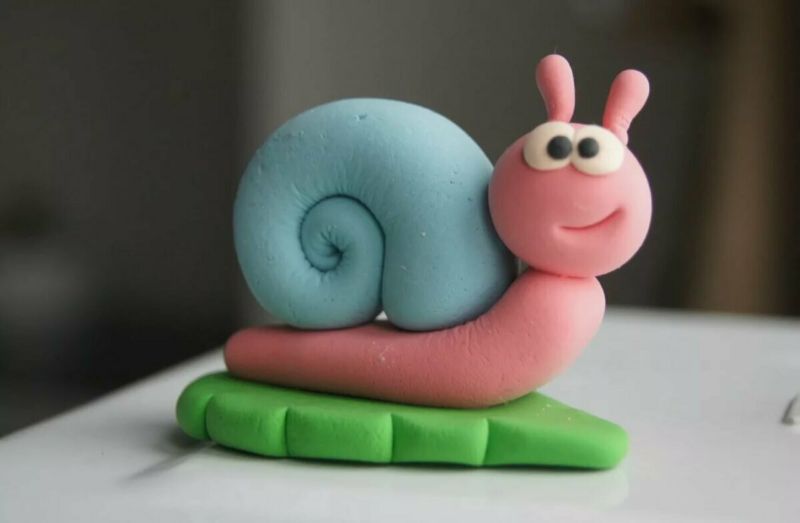
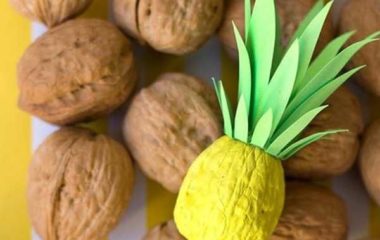
From these bases you can make many crafts: a caterpillar, a doll, flowers, apples, nuts, beads.
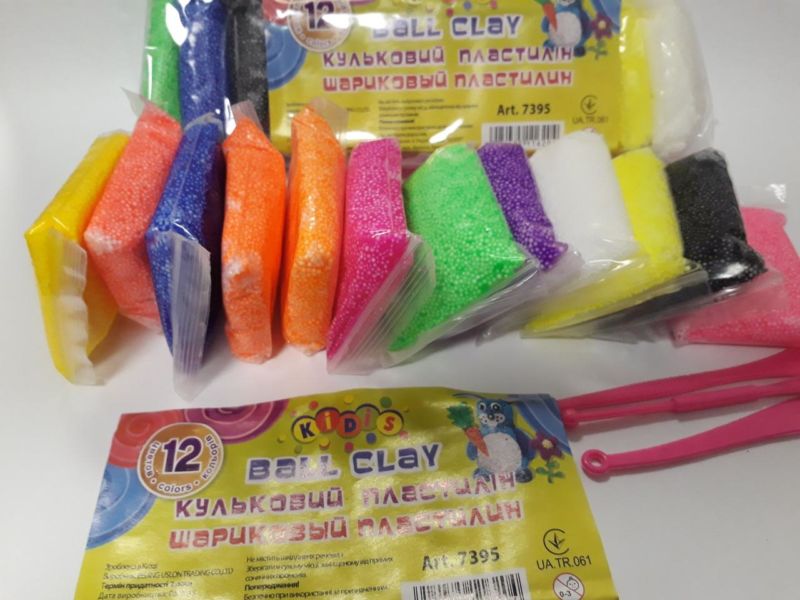
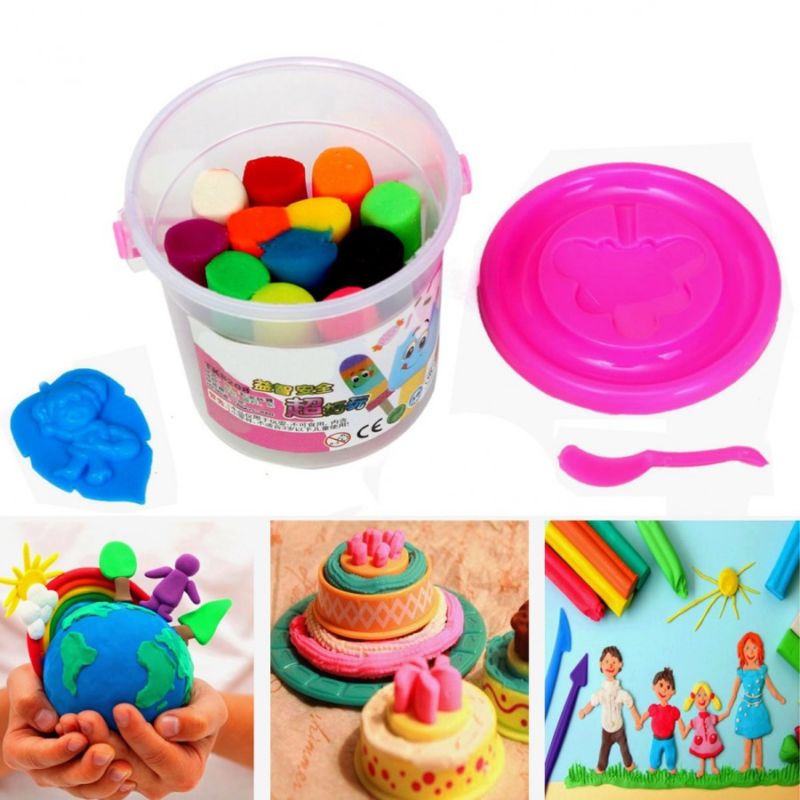
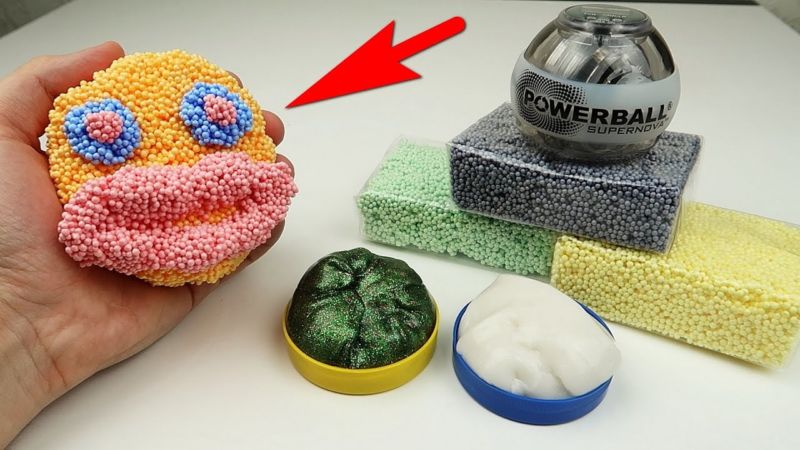
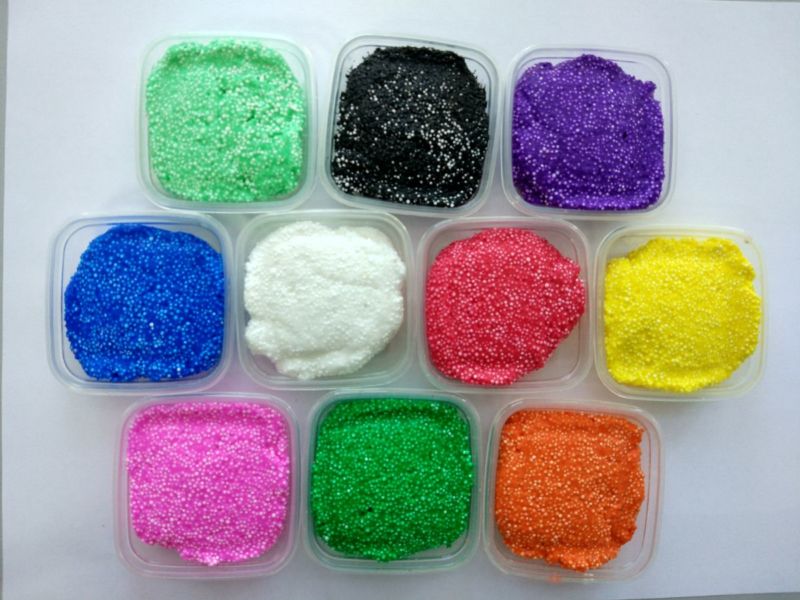
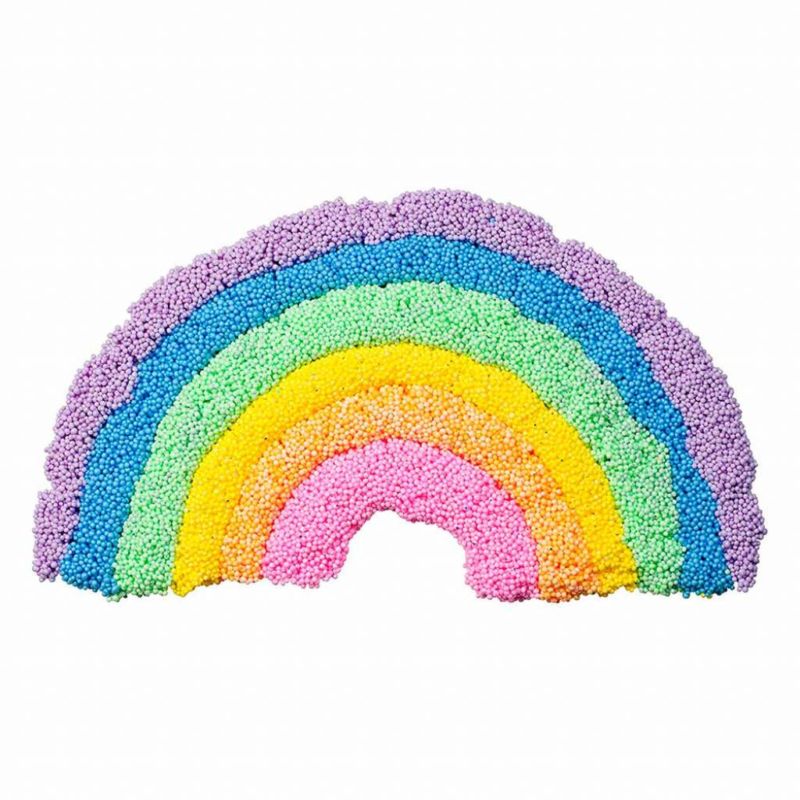
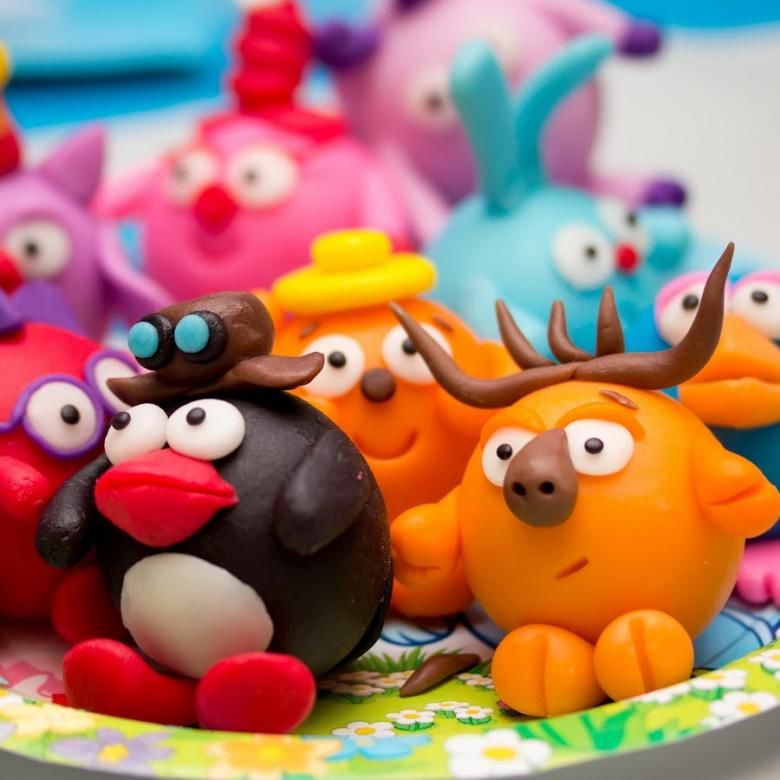
Wonderful material for creativity, has bright, saturated colors, and is suitable for the youngest children who are just beginning to roll balls on the table. This plasticine does not stick to hands, carpets, floor. It consists of safe ingredients, with foam balls and glycerin as a base.
There is a fine-grained and coarse-grained ball clay. The fine-grained clay is suitable for decorations, applications, and adheres to any surface. It hardens in the air for three hours.
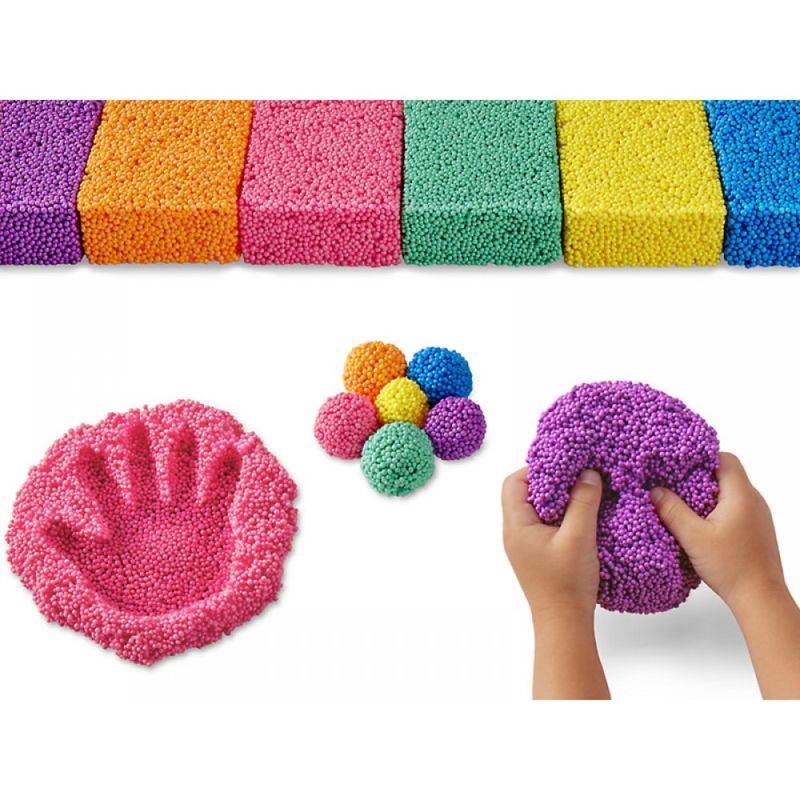
Small children sculpt with coarse-grained reusable clay, older children prefer coarse-grained curing clay, they want to keep their crafts.
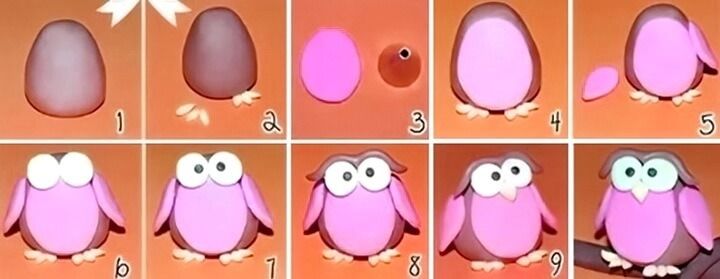
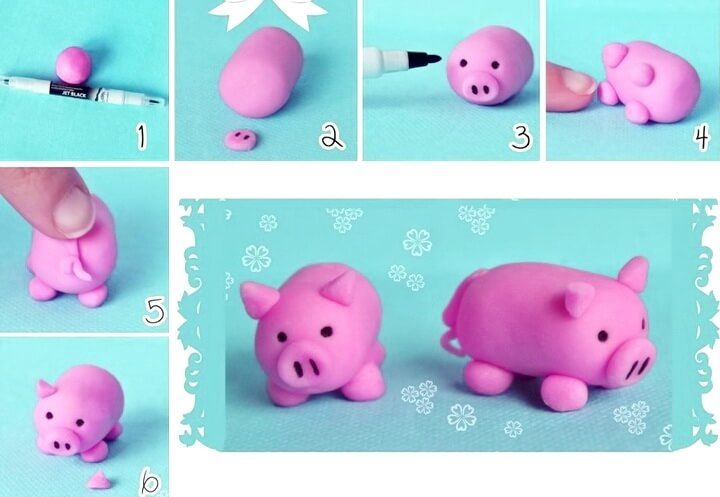
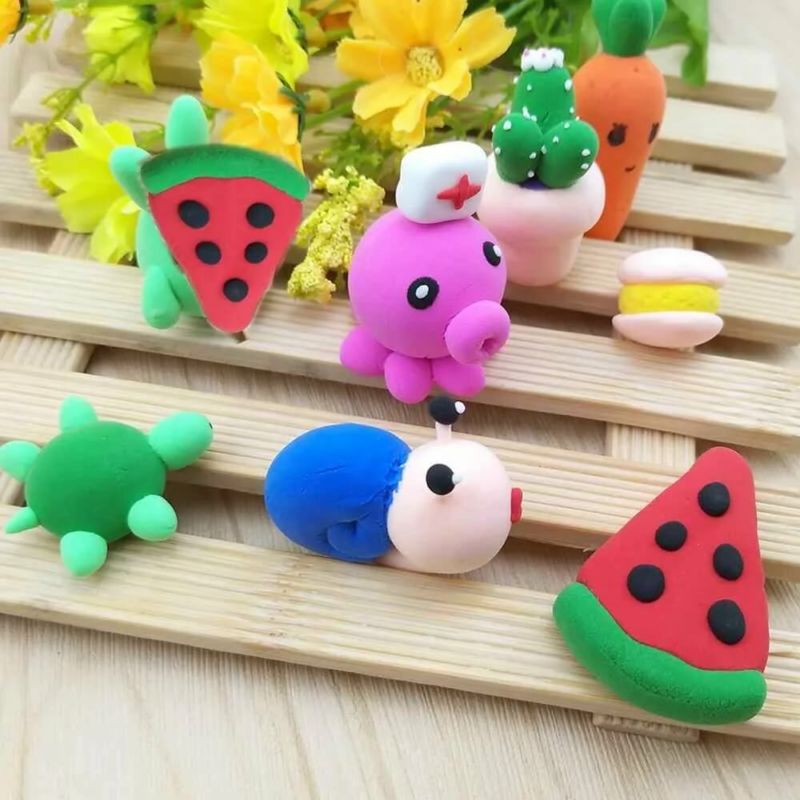
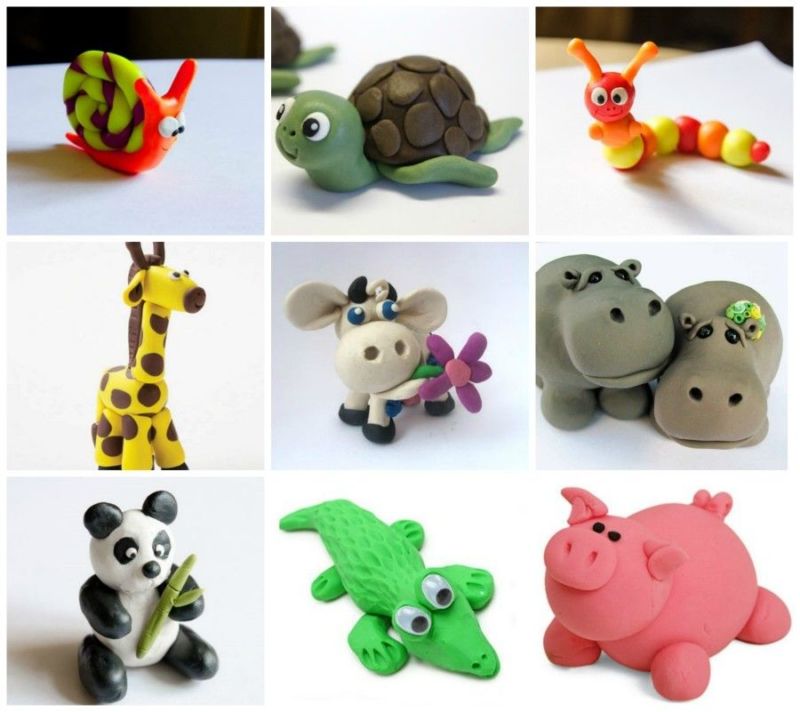
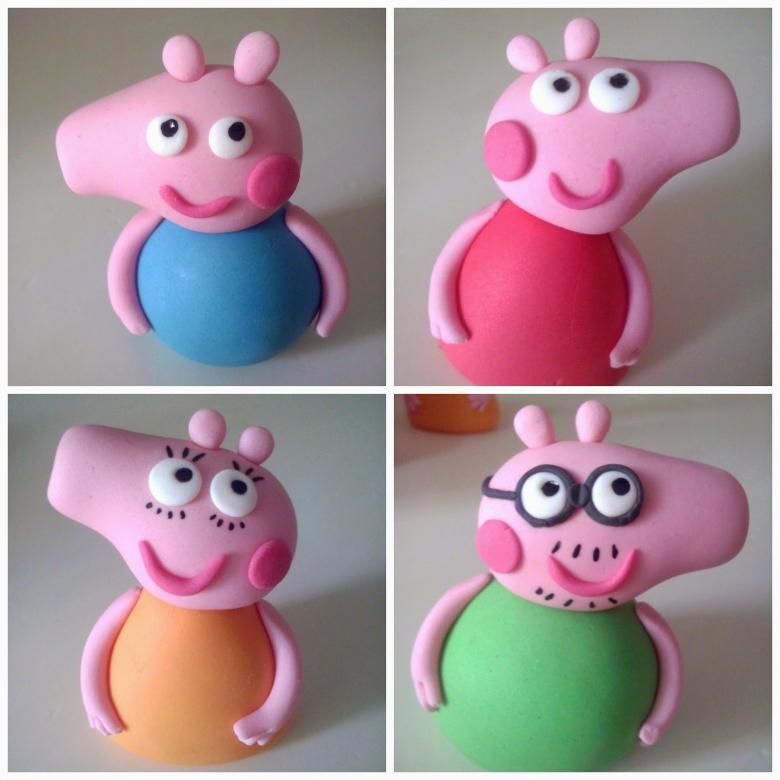
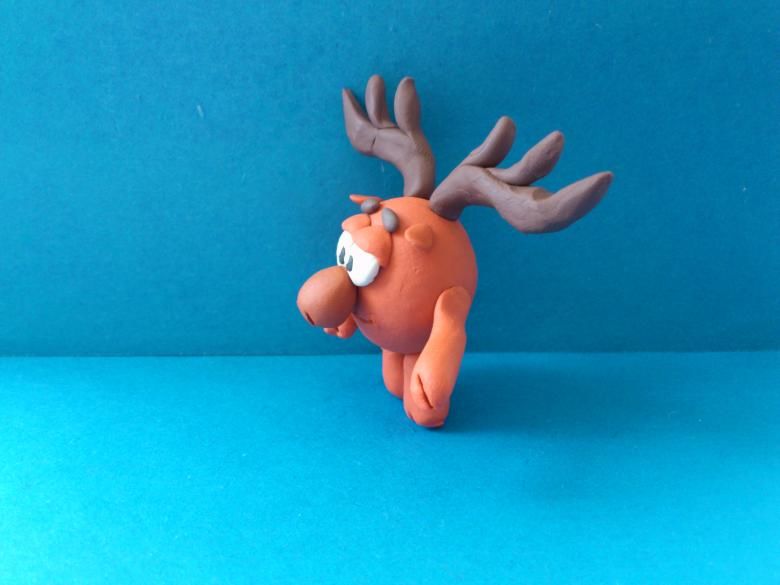
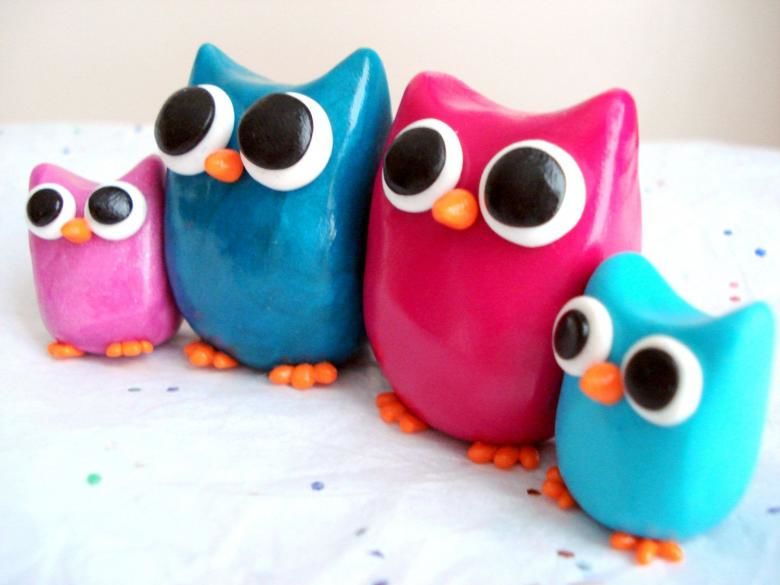
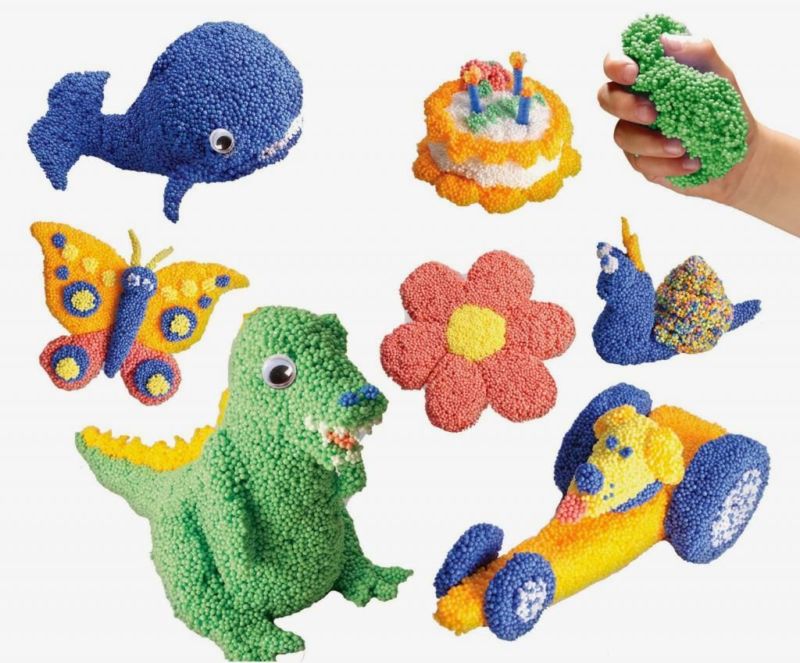
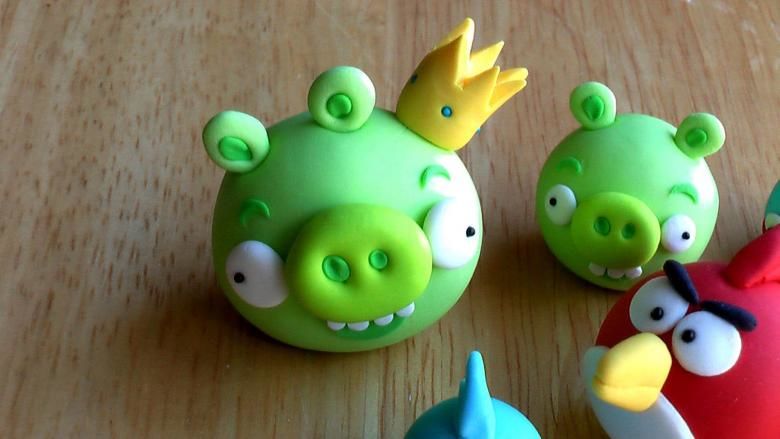
Since details are glued badly, it is better to mold from a whole piece and highlight the parts, very cheerful will turn out round cartoon characters: owl, rabbit, hedgehog, pig, moose, ram. Fruit, vegetables, too, turn out well, bright colors will delight children.
Plasticine applications on cardboard, plywood will look cool.
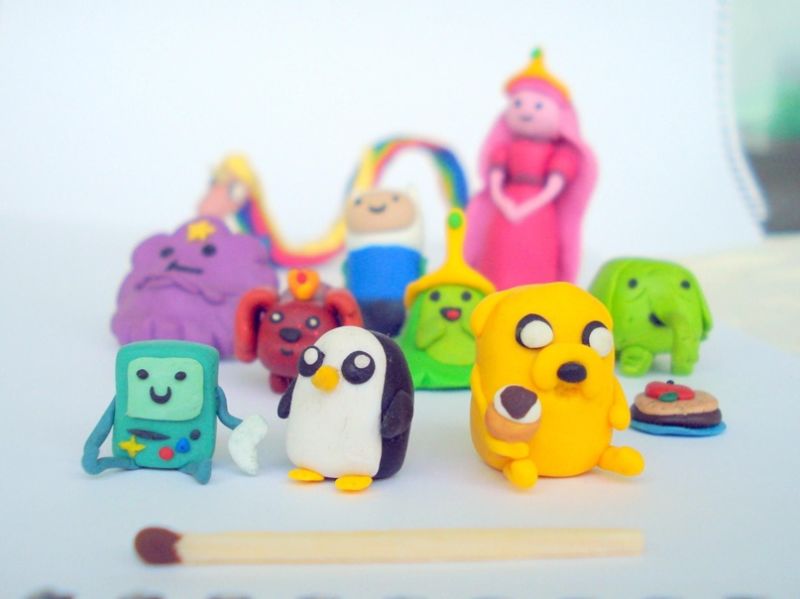
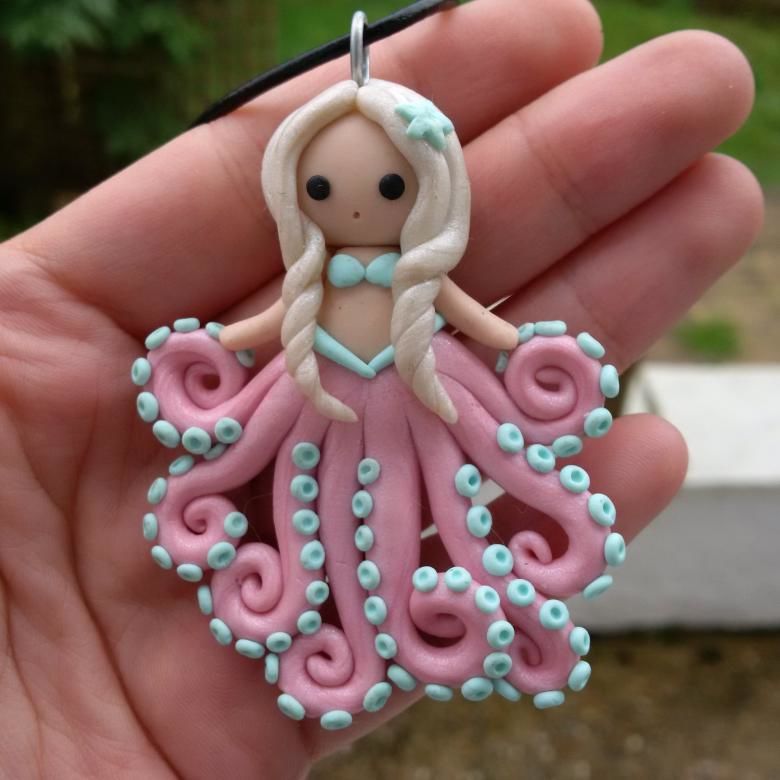
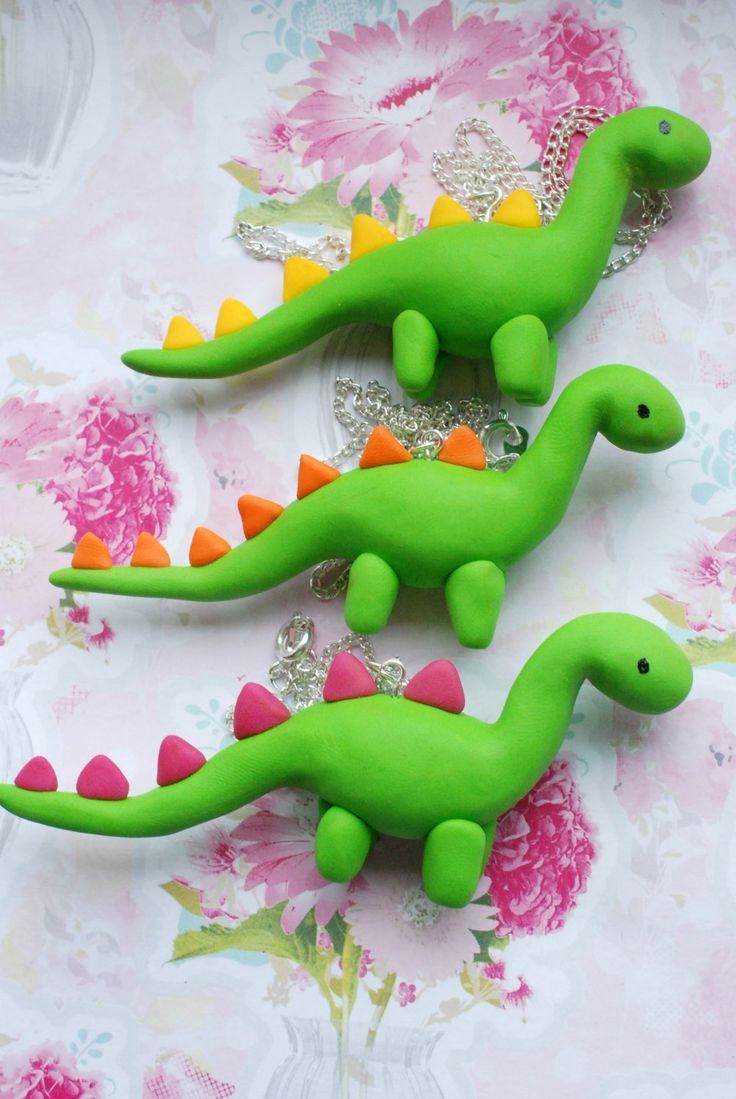
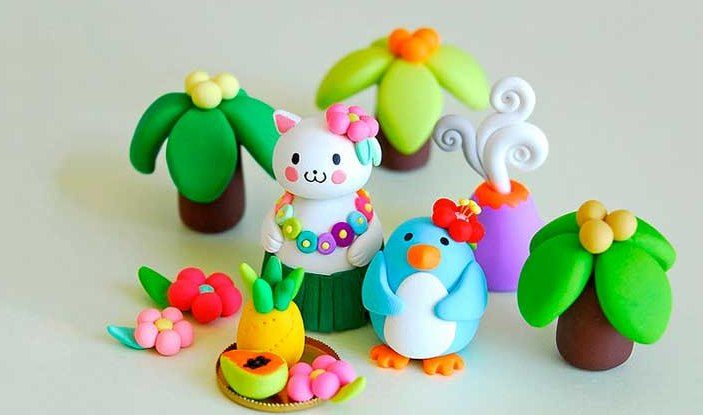
Ideas for plasticine crafts
There are a lot of ideas for creating plasticine crafts, it all depends on a person's imagination. Not only can you sculpt anything, but also turn your creation into a souvenir, to make a gift to friends and family.

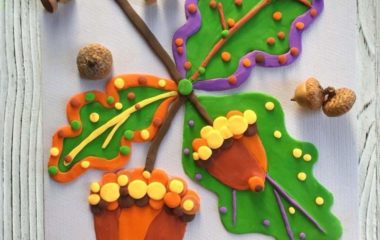
Plasticine paintings on cardboard
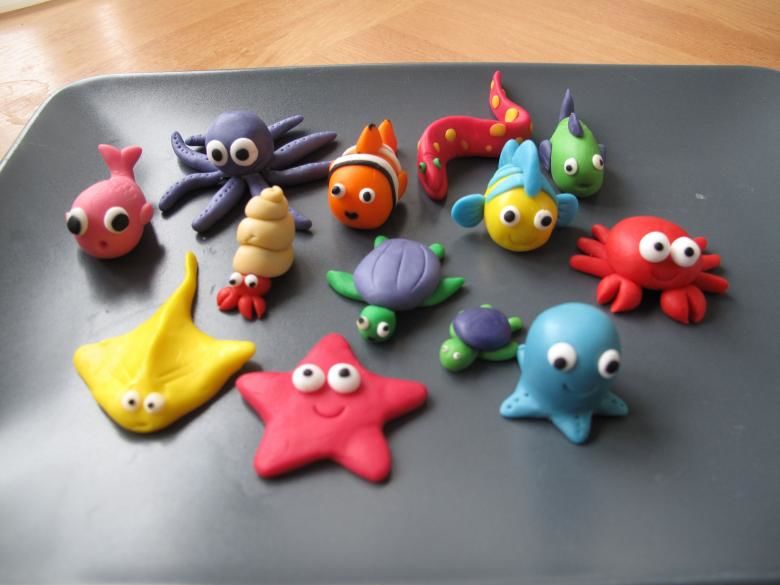
You can create a picture by smearing plasticine on the drawing, adding three-dimensional elements, such as fish in an aquarium.
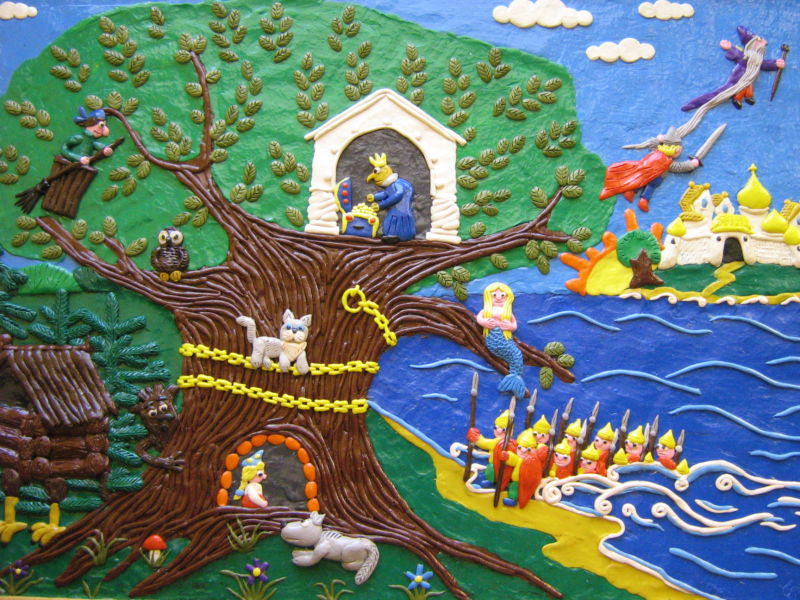
Blue background, three-dimensional fish of different sizes and colors, pebbles at the bottom of the "aquarium", green algae.
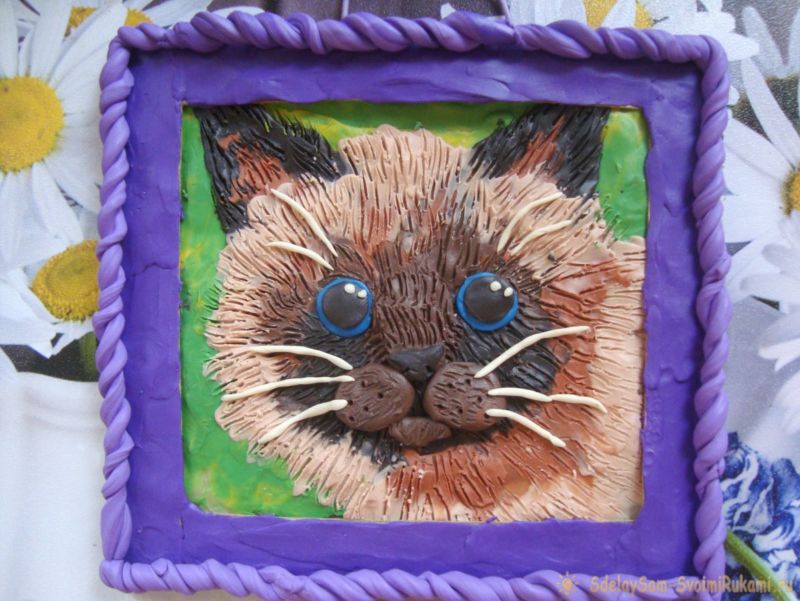
The painting out of the flagellum will be interesting. It can be done by older children:
- On the finished drawing of a cat, which is admiring a butterfly, apply heated mass from a syringe, heated with hot water for 30-40 seconds.
- We squeeze out on the surface of the drawing, slowly, filling the drawing evenly.
- The flagella are thin, uniform in thickness, look beautiful in the drawing.
- We fill the cat with grey flagella, and the thorax with white.
- A new syringe is used for the other color.
- If the plasticine is torn, that's okay, continue making the applique from the torn place. It will not spoil the picture.
The smallest are good to make a picture from mosaic. Just apply small pieces of clay to the picture, do not go beyond the contour. Fun and entertaining. Drawings can be different, best of all horses, pussies, dogs.
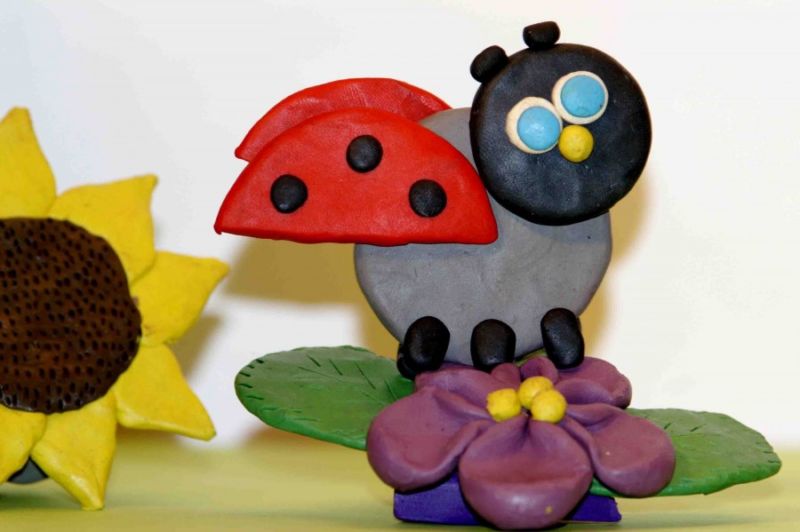
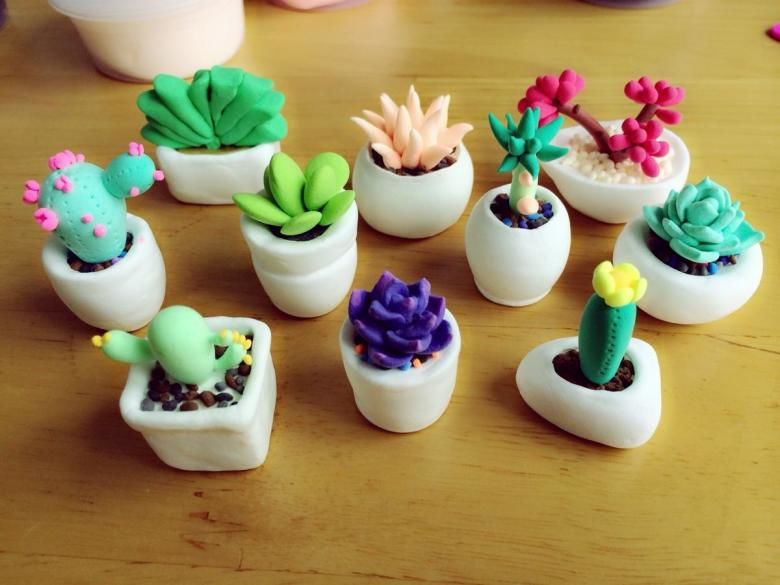
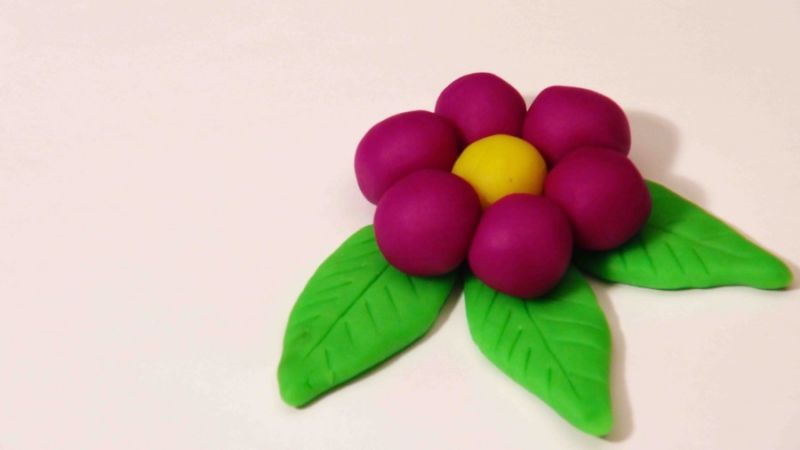
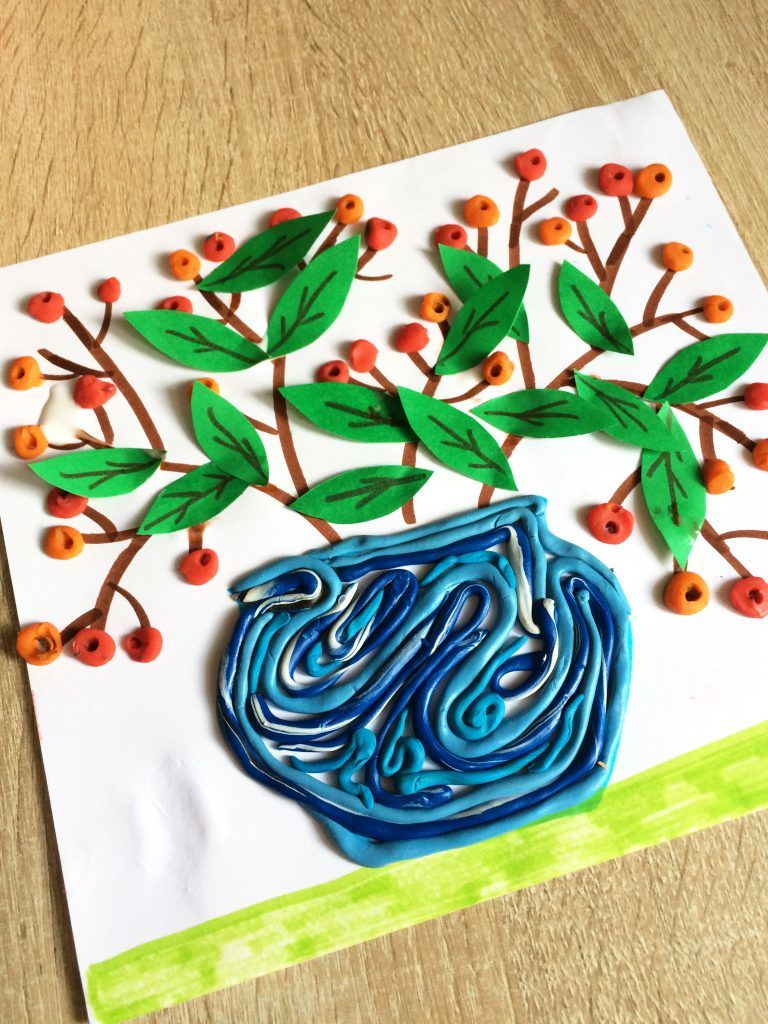
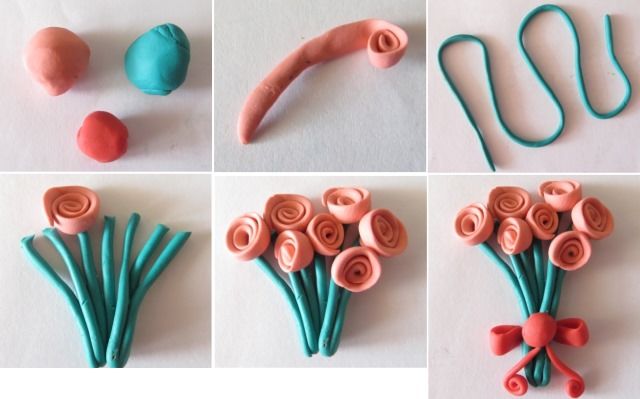
Flowers .
The easiest way to mold a flower:
- Roll out the plasticine in your hands, give an oval shape, press with the palms of your hands, form the shape of an oblong leaf, make veins, 3-5 pieces.
- Lay out on the surface.
- We take red or purple plasticine, roll balls in the palms of our hands - these are the petals. A total of 6 petals, and the middle is a ball of a different color. All laid out in a circle on the leaves, in the center of the seventh ball. Nice flower!
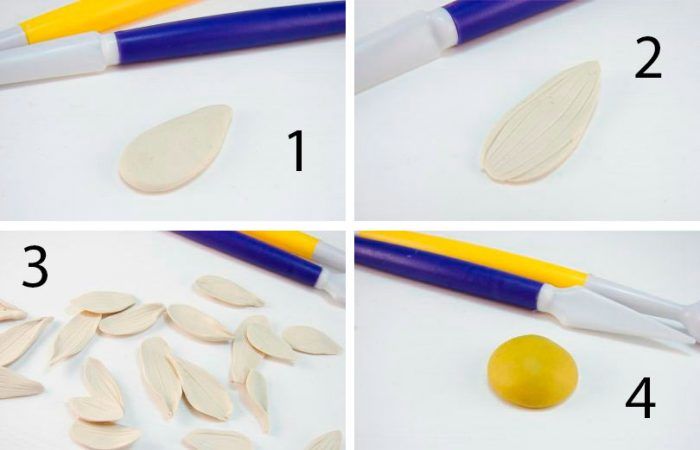
Chamomile .
First, we mold the petals, roll out the petals, divide into 15-25 pieces. Give each piece the shape of a drop, flatten, draw the relief of the petal:
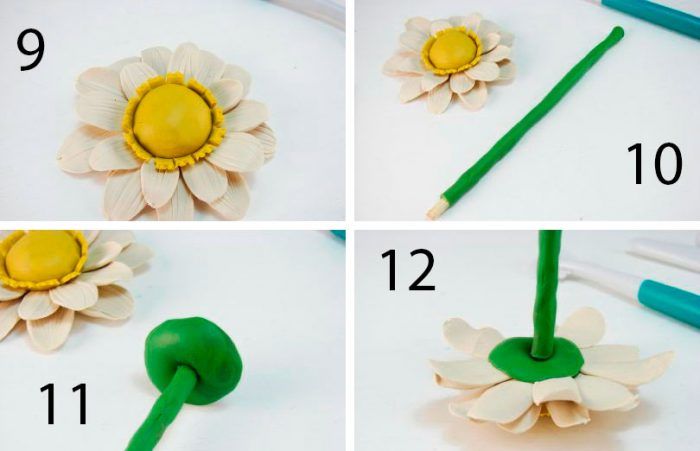
- Roll a yellow ball - the middle of the flower, press down. Roll out a yellow band, make small incisions, cover her middle, attach petals.
- Glue a wooden skewer with green plasticine - the stem, on the stem make a green petal - flower spike.
- Leave the top small part of the skewer.
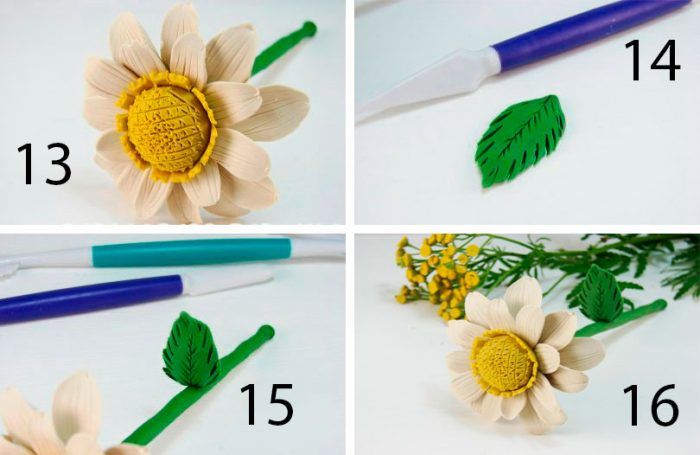
- Roll into a ball, flatten into a flap, give the shape of a leaf.
- Using a stick to draw the veins, attach to the stem.
- Connect the stem to the head with the top of a skewer.


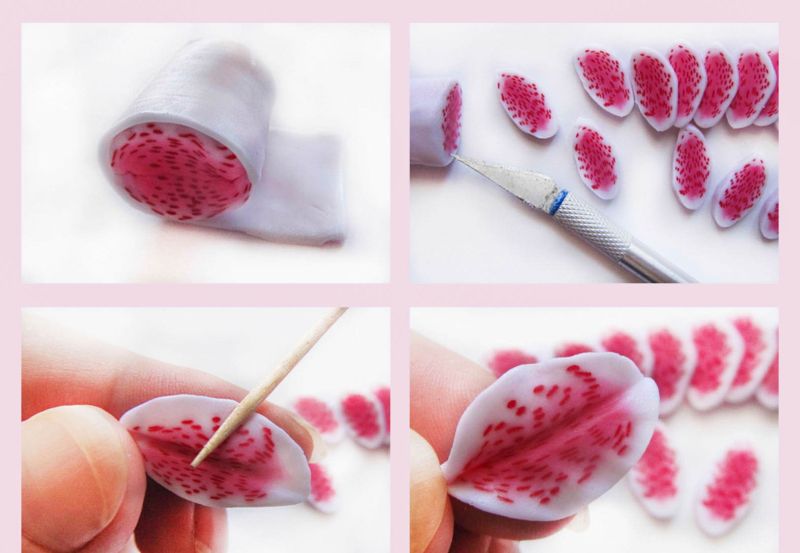
Lily
Roll out a piece of white plasticine, divide it into 5-6 pieces and shape it into an oval. Put pink plasticine in the middle of each petal, and green plasticine at the base of the petal.
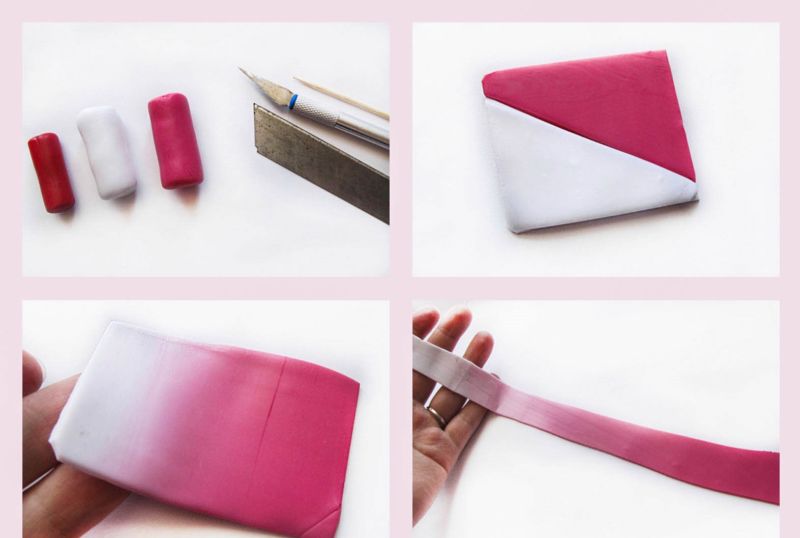
With a sharp stick or wire, make longitudinal grooves on the petals. On long thin wires, put small pieces of gray plastic - stamens, on one of the wires glue a ball of yellow plastic - a pistil.

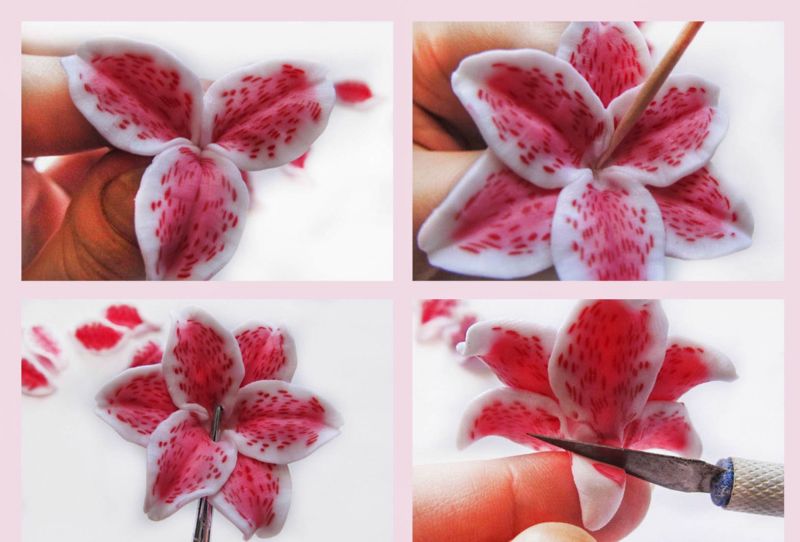
Now gather all the petals together, at the bottom we fasten them with green plasticine, "cup". We make a stem of wire, cover it with green plasticine, put it in the "cup". We stick stamens and pistil and the middle of the flower.
We make thin leaves of small size, attach to the stem. Beautiful flower is ready.
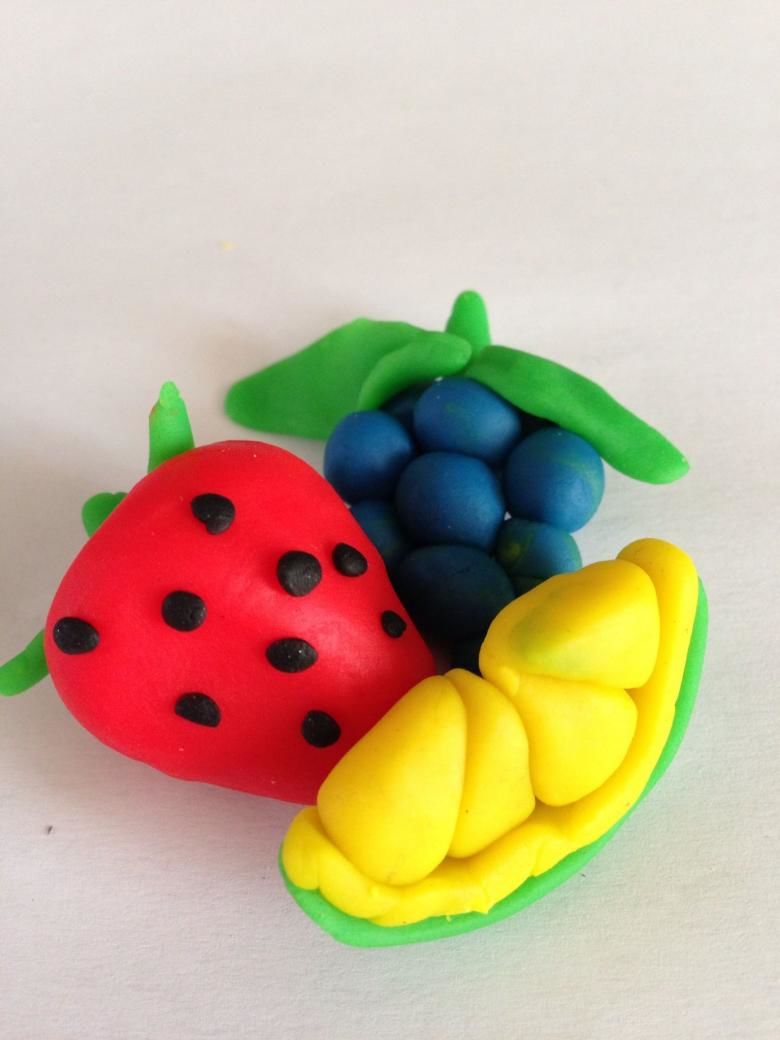
Fruits and vegetables
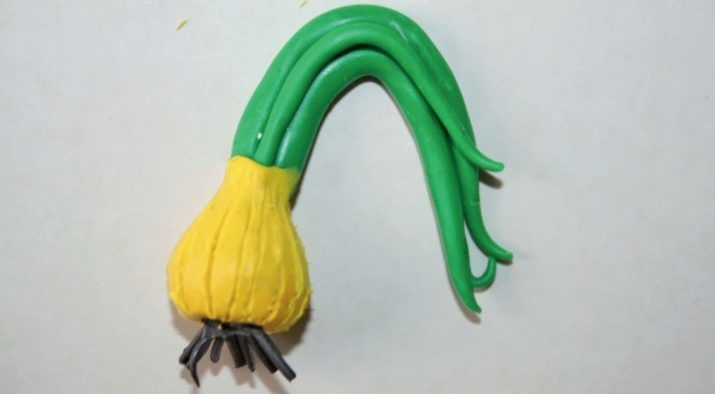
Let's start by creating a handcraft in the form of an onion
- Roll a ball of white plasticine.
- Roll out the green plasticine with a rolling pin, cut it into "grasses", so that there was a common base, remove the excess.
- Curl the grasses into a tube, you get a bundle.
- Make a notch in the white ball, "bulb", grass. Delicious and healthy onions.
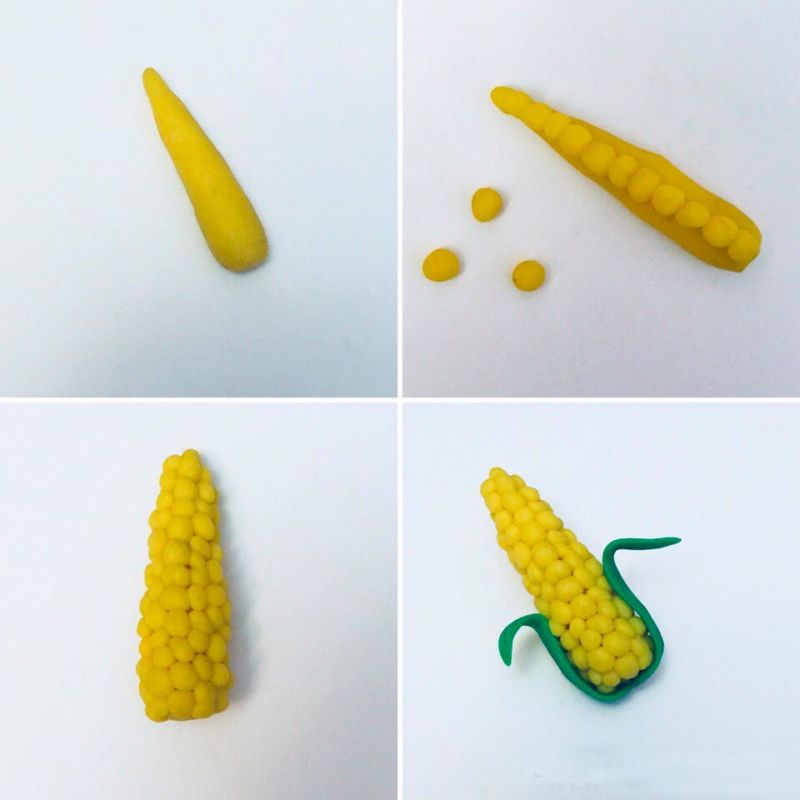
Corn:
- We make a small oval of yellow.
- If you have expensive plasticine sets, then use a meat grinder, twist yellow plasticine into even strips.
- If ordinary material for molding, you can use a syringe.
- We put the plasticine and squeeze out thin long strings.
- These strips wrap the oval, from top to bottom with a solid wrapping, ruler to make lines along the length of the craft - the corn cob.
- Now we make leaves, roll out in a flap of plasticine, cut into triangular leaves. 3-4 leaves. Wrap the leaves around the cob.
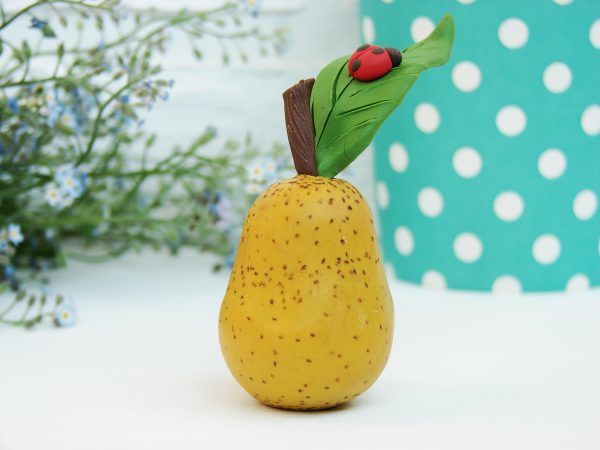
Pear:
- Roll an even yellow ball, make the top a little sharper.
- Make a hole in the top, flatten the bottom.
- Add a brown twig.
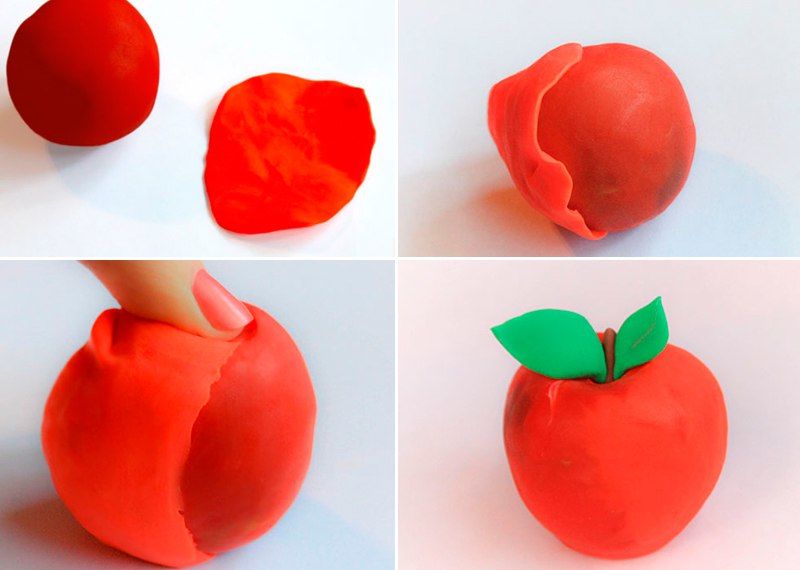
Apple:
- Take a red round shape, lightly flatten the top and bottom.
- Let's mold a leaf, make an indentation for a twig and a leaf.
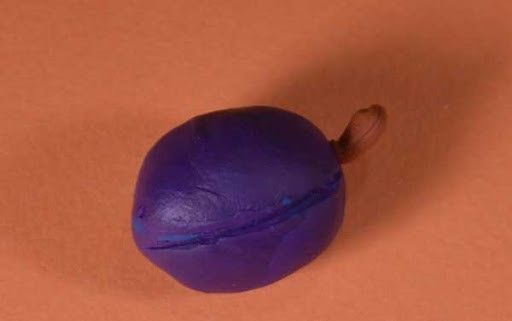
Plum:
- From purple plasticine mold plums, they have an oval shape.
- Insert a twig. You can attach two plums with a twig.
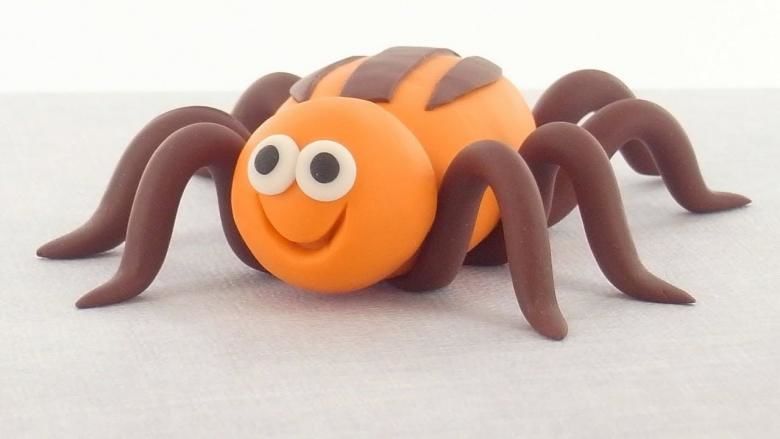
- To make our fruits and vegetables look more fun, you can enliven them: make them eyes, nose, mouth.
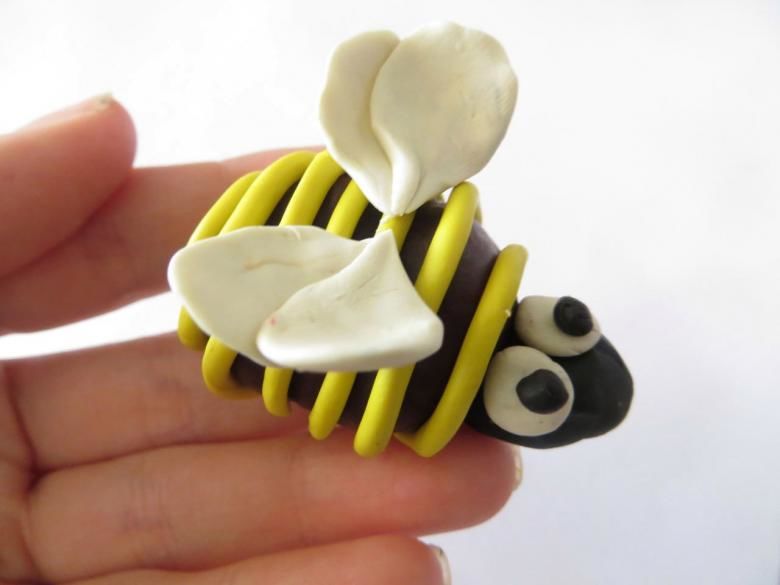
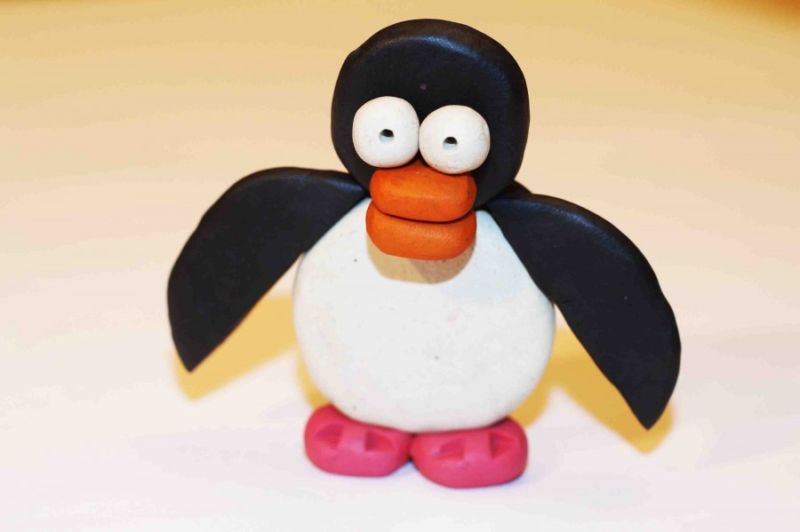
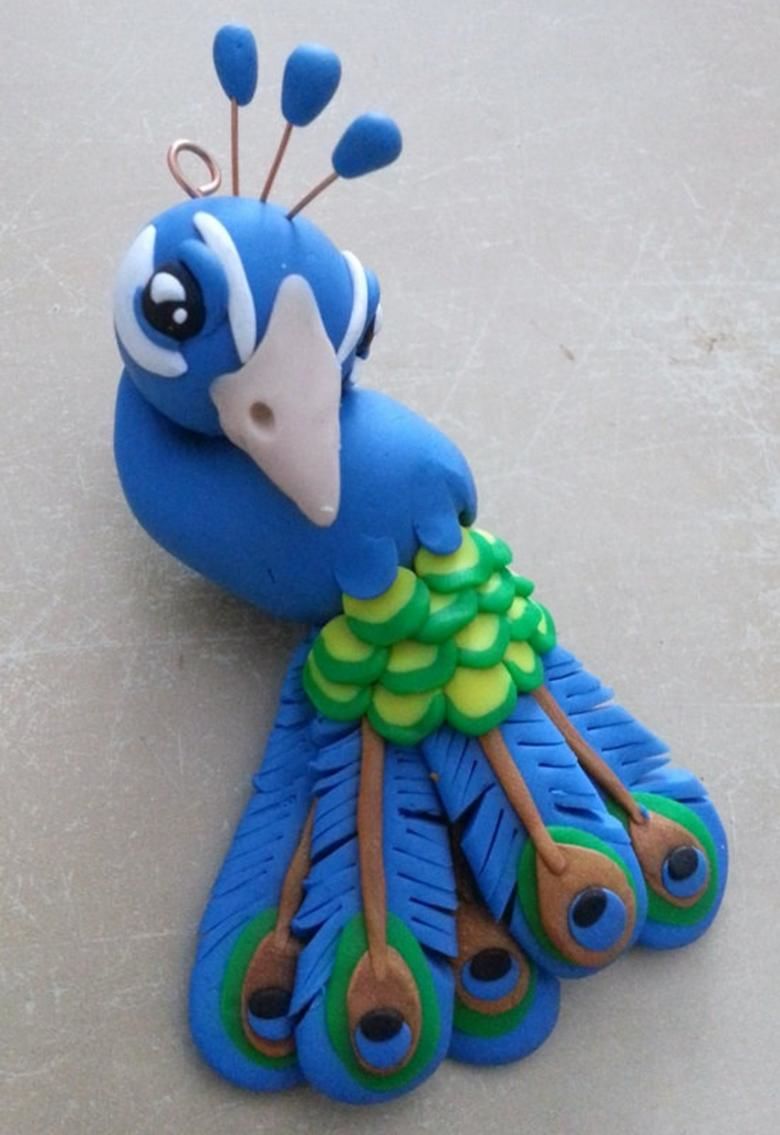
Birds
A simple bird:
- We roll a ball of blue color, form it into a body, head, tail. Blanks get flat.
- Roll a small triangle from red plastic - a beak, white plastic ball - the eye. Black make a pupil.
- Roll out a sausage blue, divide into two parts. These are the legs, attach them to the body on both sides.
- Paws sculpted from orange clay, attach them to the legs.
- Make a wing in the form of a drop, it is one, as the bird is flat, lies on the cardboard. Glue it to the torso.
- The wing and tail are decorated with orange plasticine - feathers.
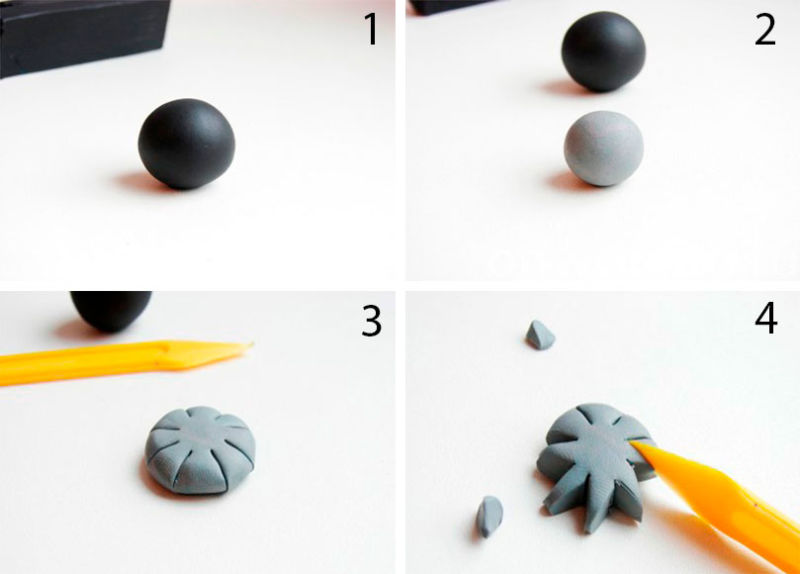

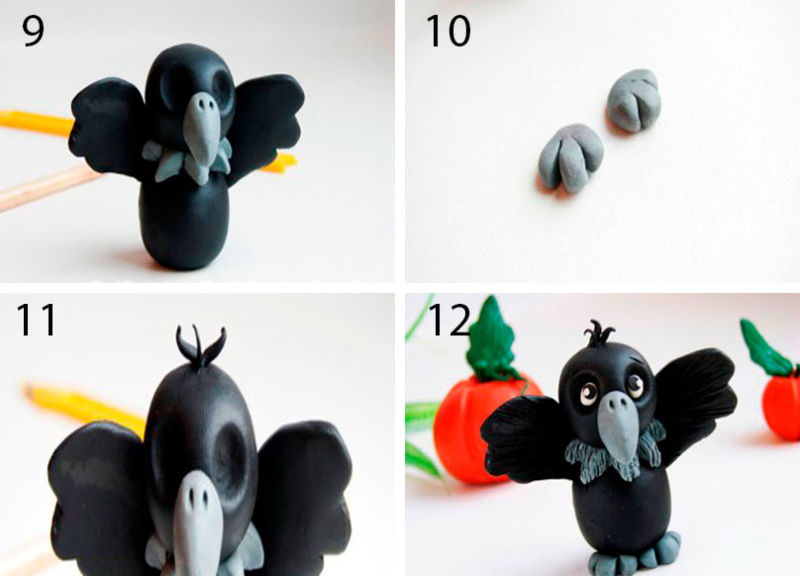
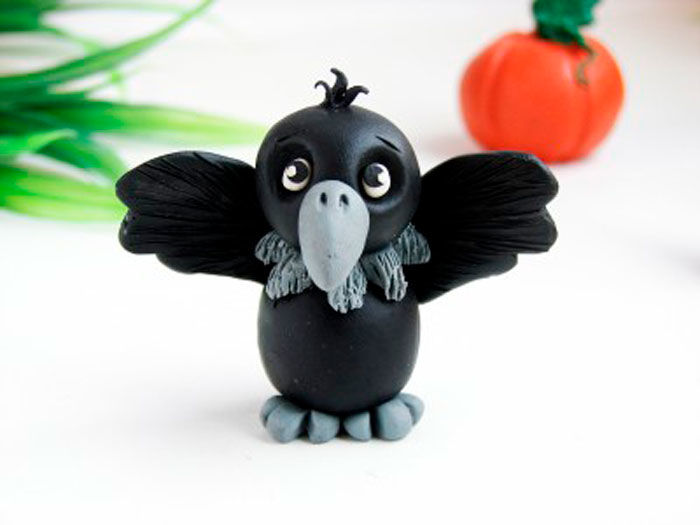
We obtained a bird, which looks like a crow.
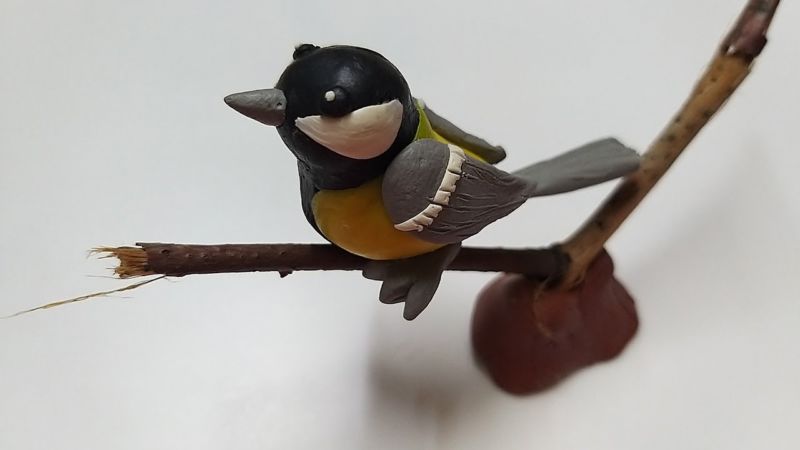
Tit:
- Two balls of black for the head and the body join by smoothing.
- You can make one piece, pulling out a little bit of the head, add yellow color tortillas with V - Shaped notch on the body, you get a yellow breast,
- On the sides of the head two white strips, eyes - beads, beads, a thin beak made of a small stick.
- Green thin scape glued to the back. This coloring of the feathers in a tit.
- Mould identical wings, black plasticine is mixed with white, a little add blue, make relief feathers.
- Tail oblong, black, highlight the feathers.
- All parts are attached to the figure. Feet are attached to the wire or matches.
Similarly, you can make another little bird, using a different color: bullfinch, sparrow, nightingale.
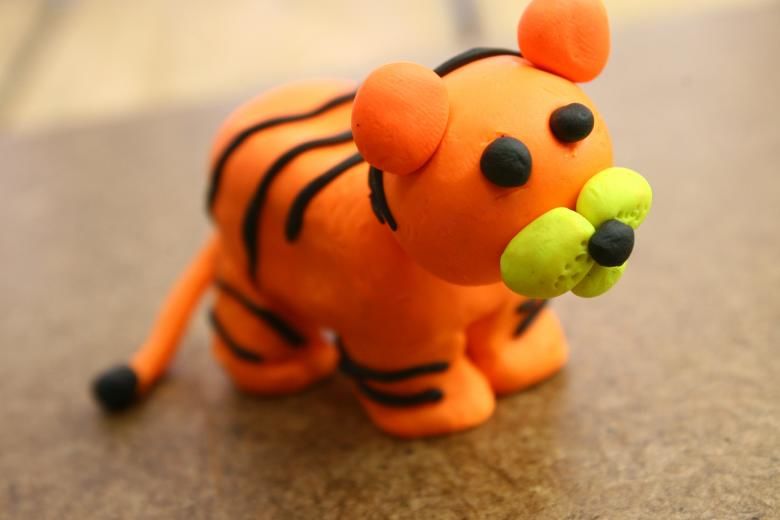
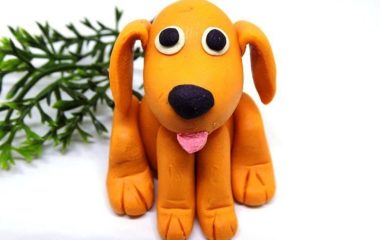
Animals
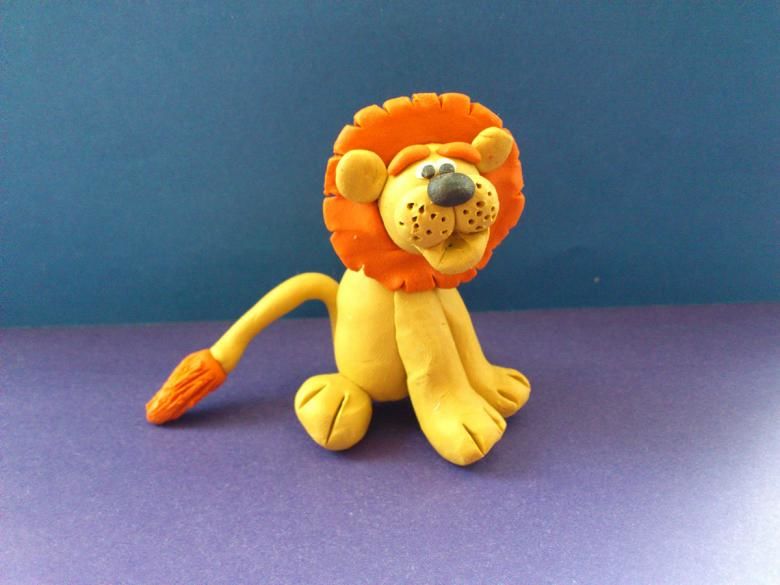
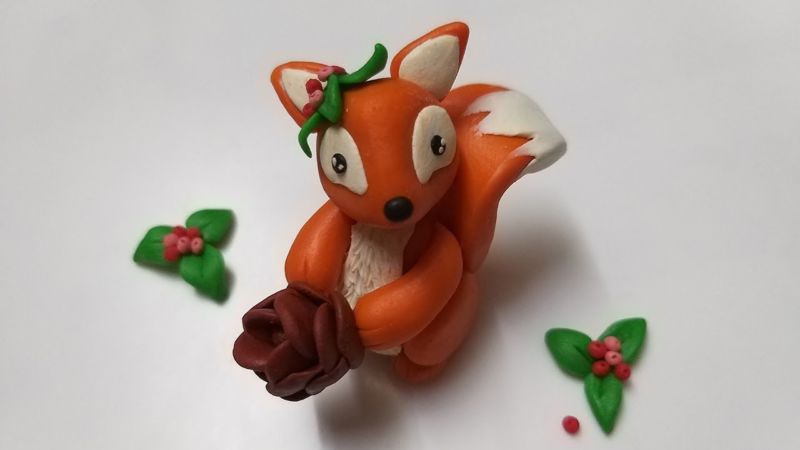
Squirrel:
Squirrel ginger, we mold from orange color:
- We divide it into several parts: the largest part - the tail, smaller torso, head, paws, ears.
- We model a fluffy tail, attach it to the body - a slightly elongated ball, put a round head on a match, attach triangular ears to it.
- At the ears tassels of white.
- Mould a paw, connect to the body, pressing parts.
- Eyes and nose of the finished parts.
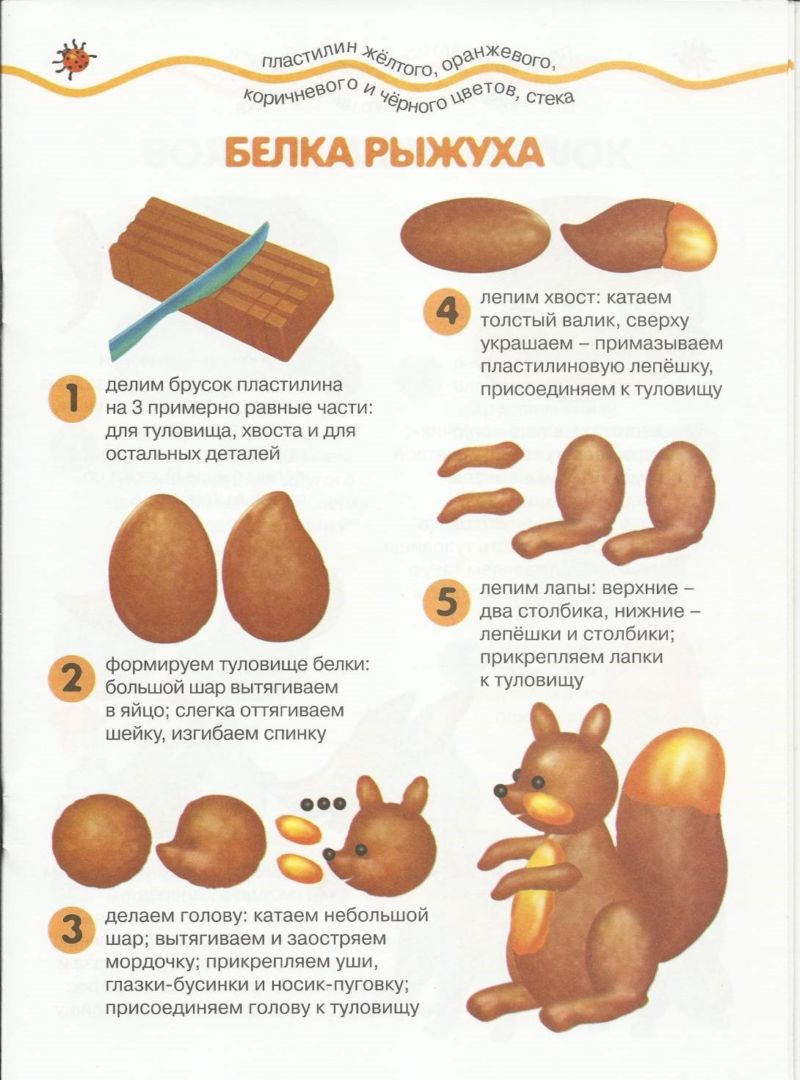
Good squirrel!
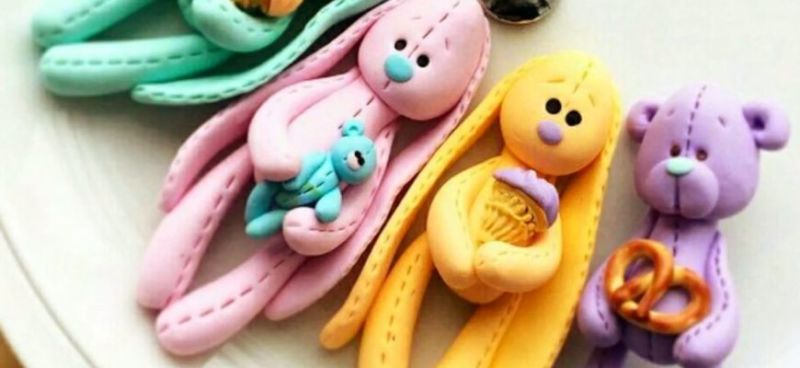
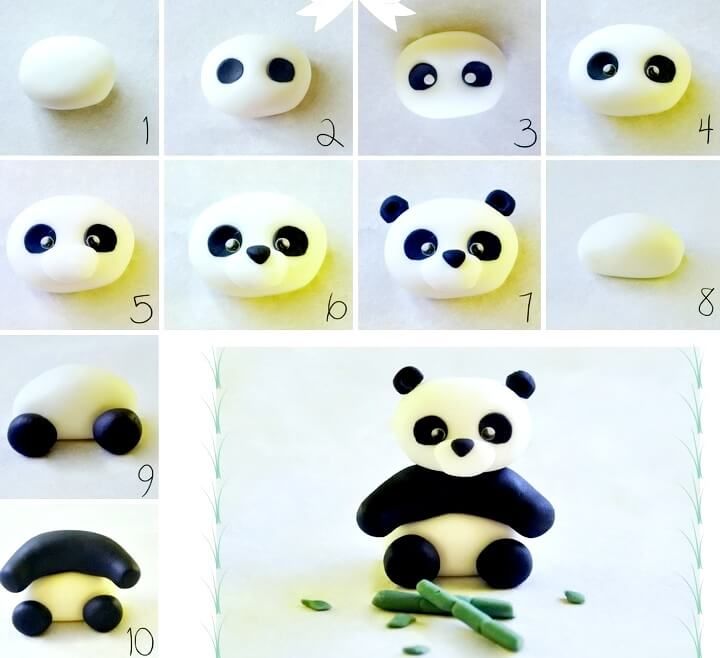
Bear:
- Two balls of brown, one larger, one smaller. This is the head and torso.
- On the head glue a white face, nose, eyes.
- Roll a thick sausage, make four legs, connect to the body.
- Allocate the claws with a tool for molding.
- Matchstick connect the head and torso. We got a teddy bear.
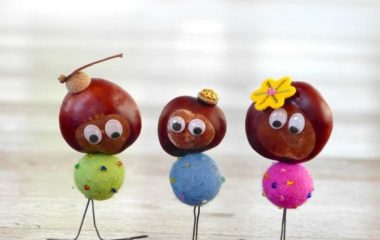
Handicrafts of cones and plasticine
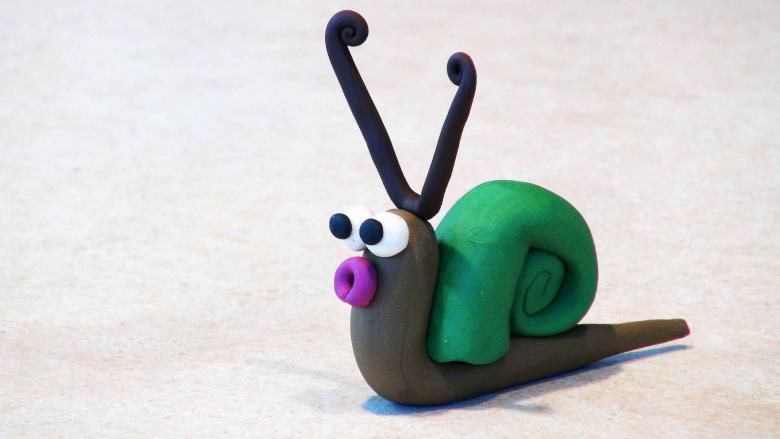
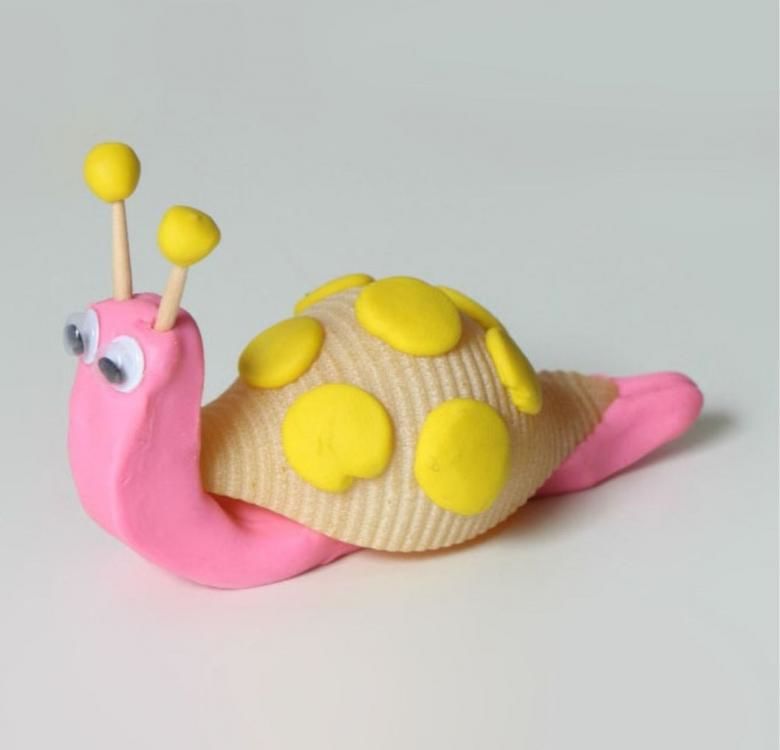
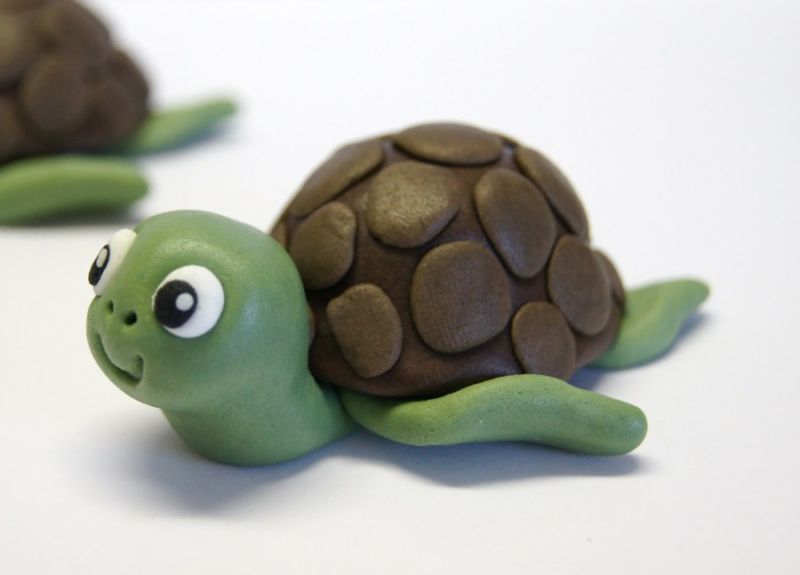
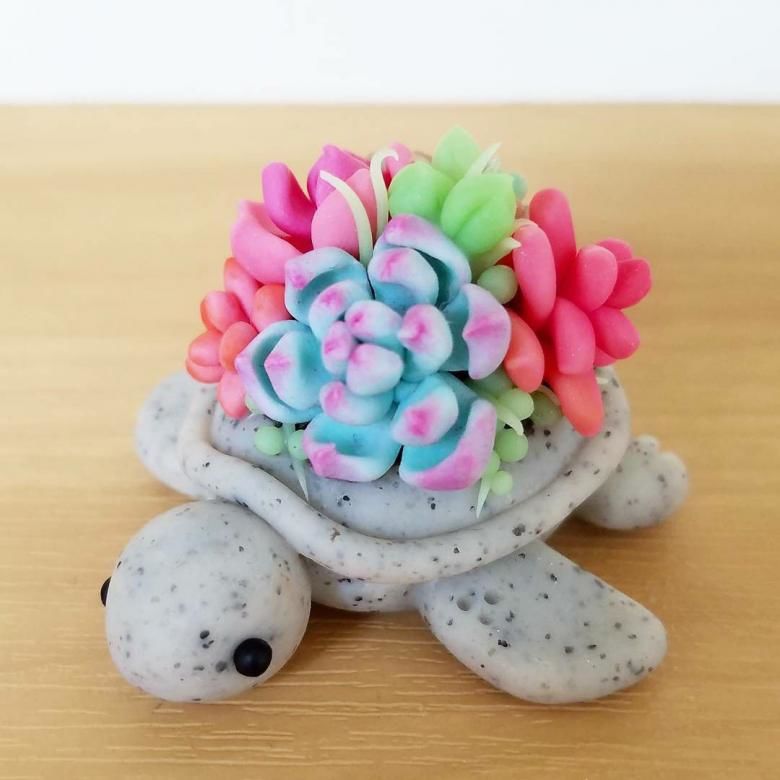
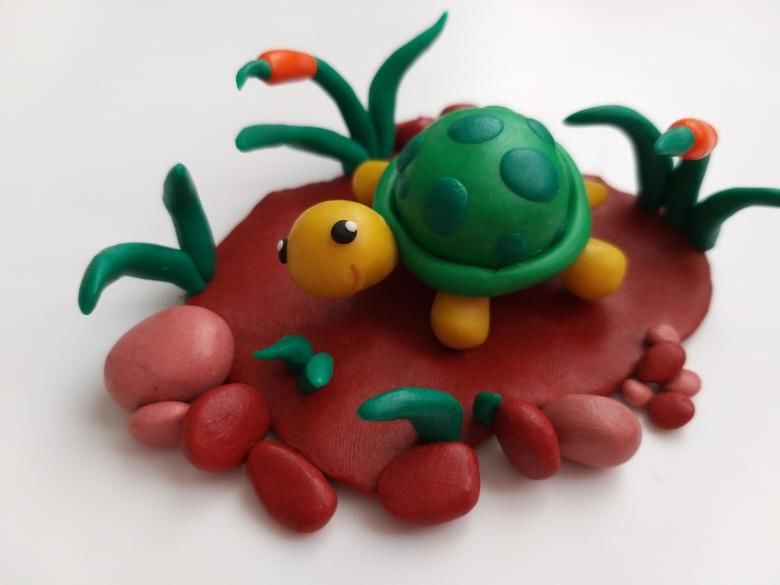
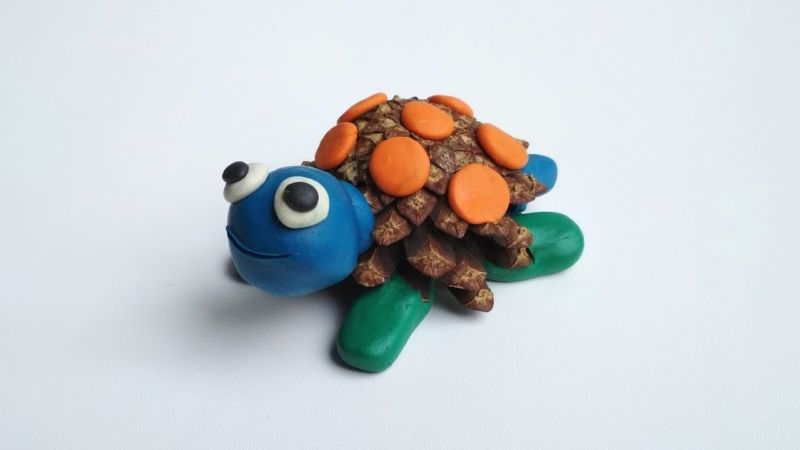
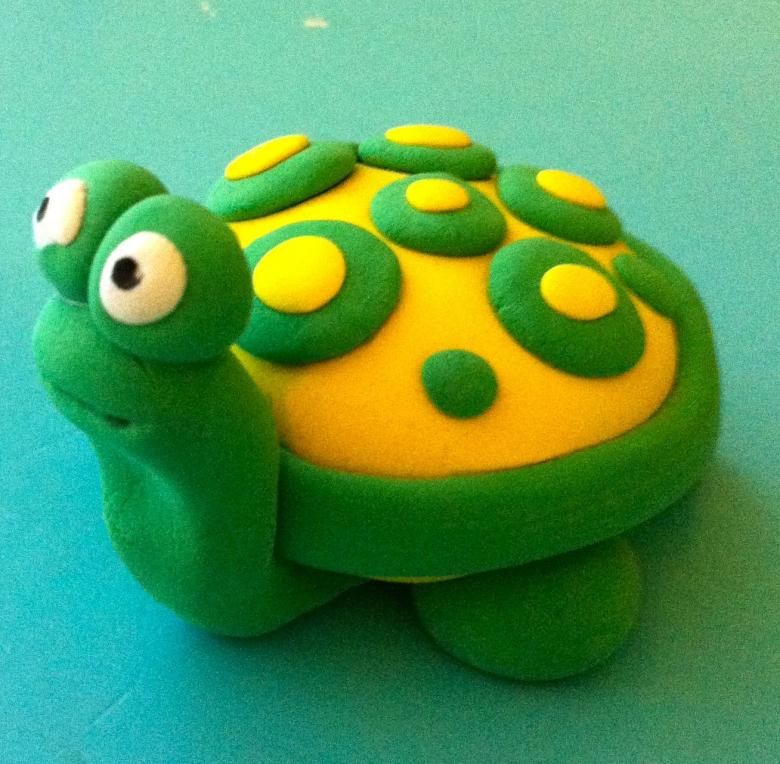
Turtle:
- Pliers removed part of the top of the cone with pliers, to get a flatter figure.
- Details are made of plasticine: blue - convex muzzle, flat tail; green - massive paws.
- Make eyes and mouth.
- Decorate the back with orange speckles.
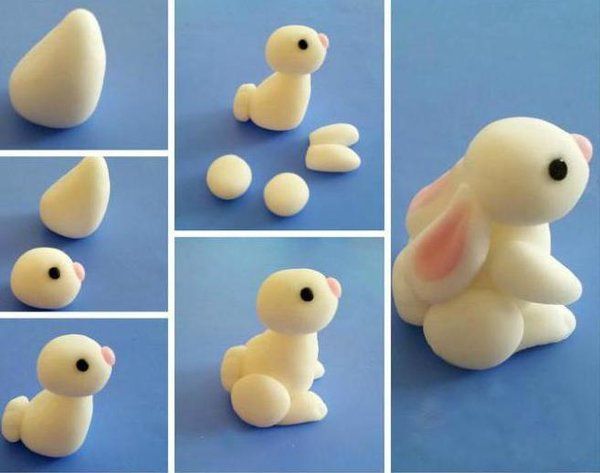
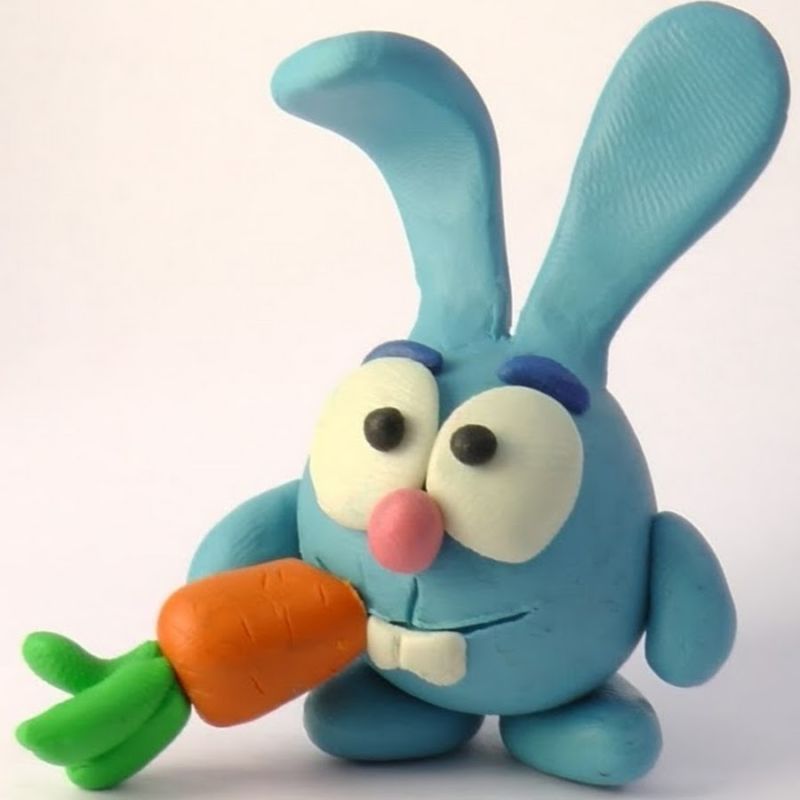
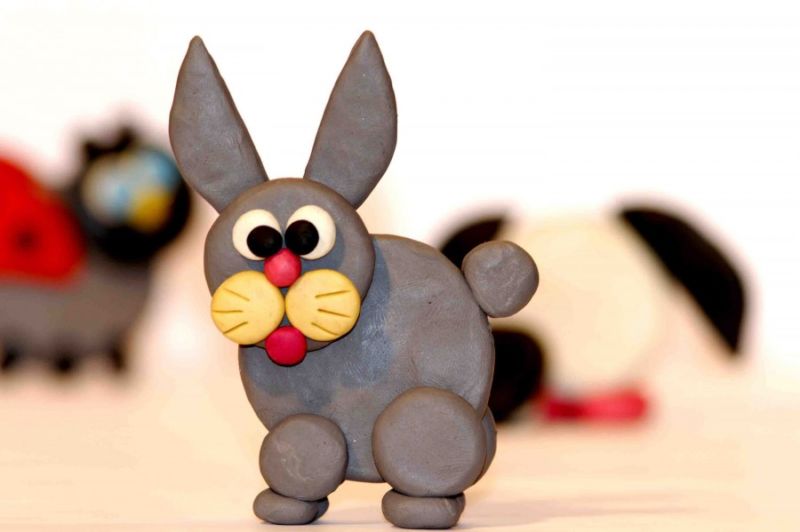
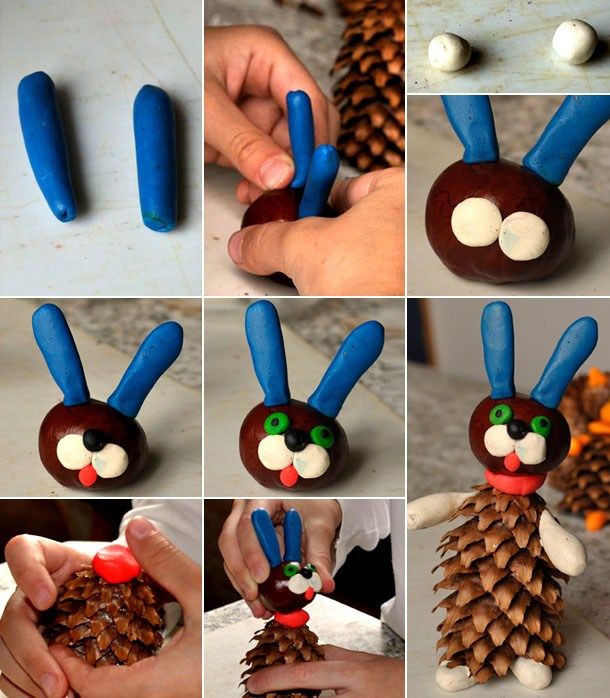
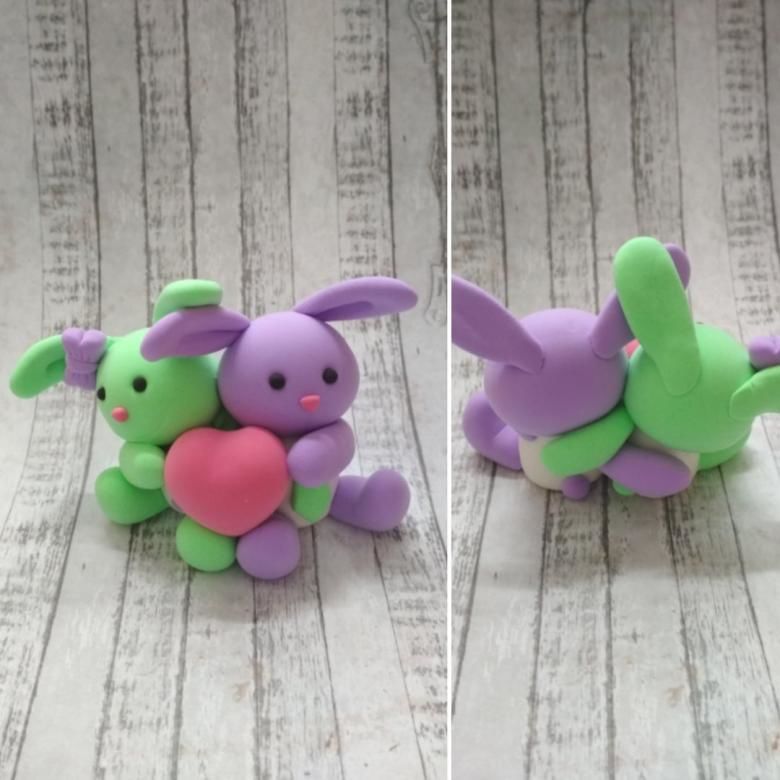
Bunny:
- Roll out sausages of clay - these are the ears, rolled two balls, a large and a small, one - the head, the other - the muzzle.
- We flattened the muzzle and put it on the head.
- Black made eyes, green nose, mouth red.
- Roll out 4 sausages for hands and feet. Legs longer than the upper paws. All parts are attached to the pine cone. Let's put the bunny on a stump, give him a carrot.
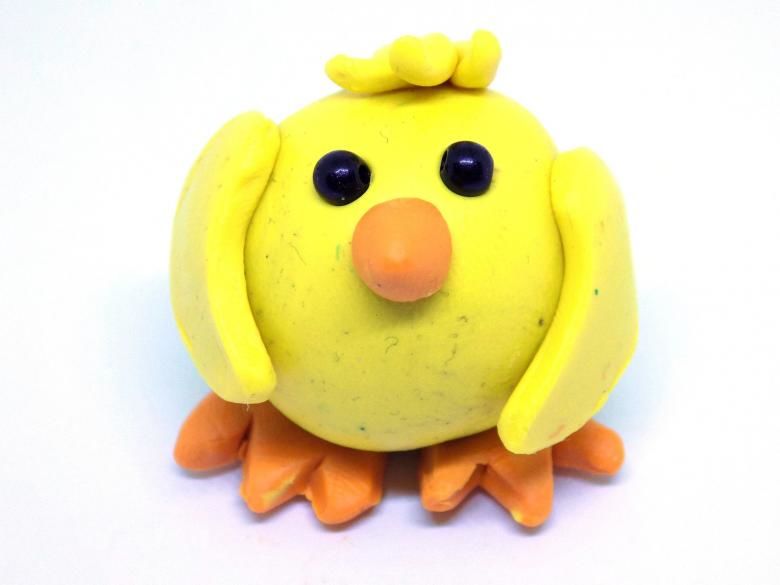
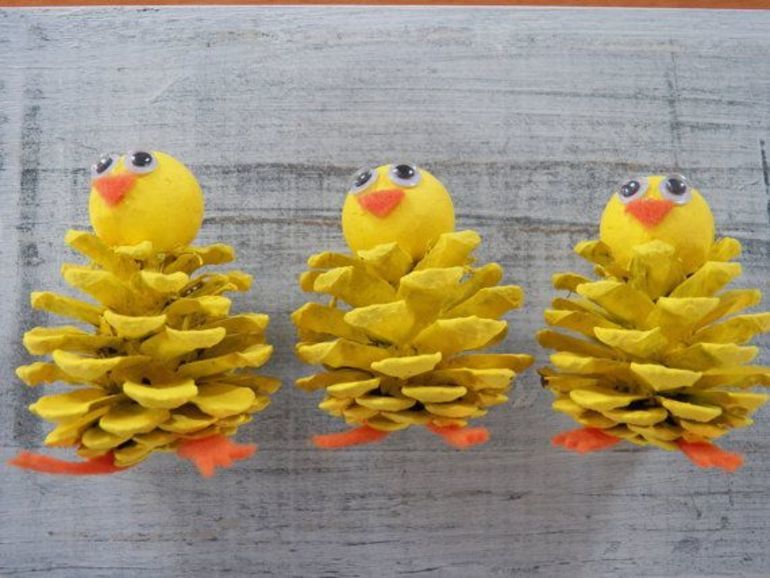
Chick:
- Paint the cone yellow.
- Head of yellow plasticine, eyes, beak as desired molder.
- Feet of red plasticine.
- The head is attached to the cone open side up.
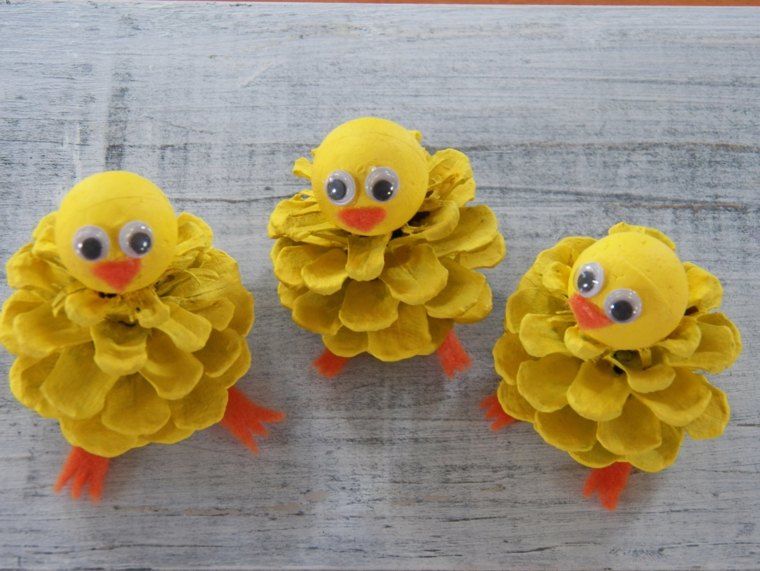
Here is such a fluffy chick turned out.
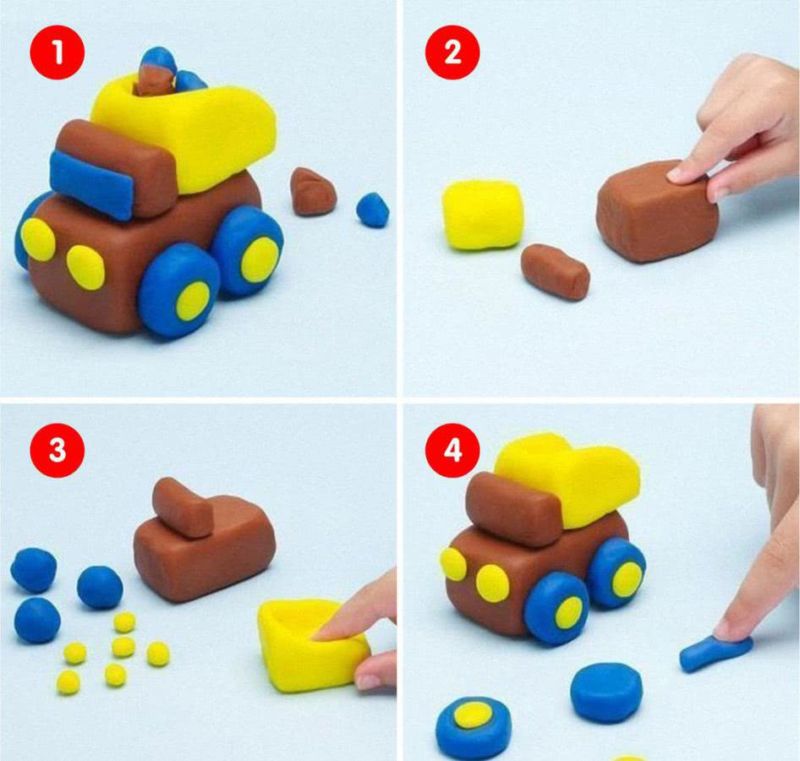
Transportation
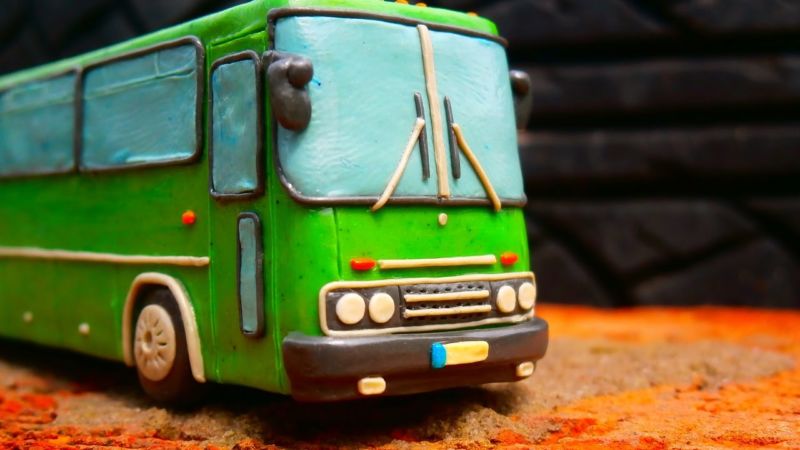
Bus:
- We take two pieces of yellow plasticine, put each other, cut off a corner of the upper piece, allocate the cabin with the front window, make square windows of blue color.
- You need to roll out the plasticine to be a thin layer, cut equal squares.
- Apply them to the body of the bus.
- Roll out a black sausage, this is the strip under the windows along the length of the bus.
- Roll out four black circles of equal size, flatten them on the table - these are the wheels. Attach them to the bus.

Where is our bus headed? You can play with crafts.
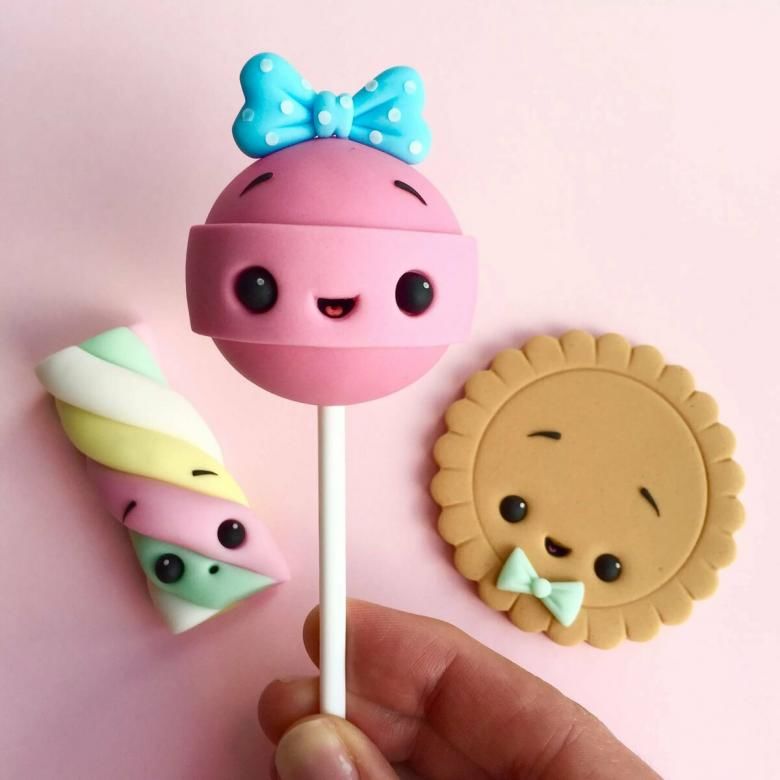
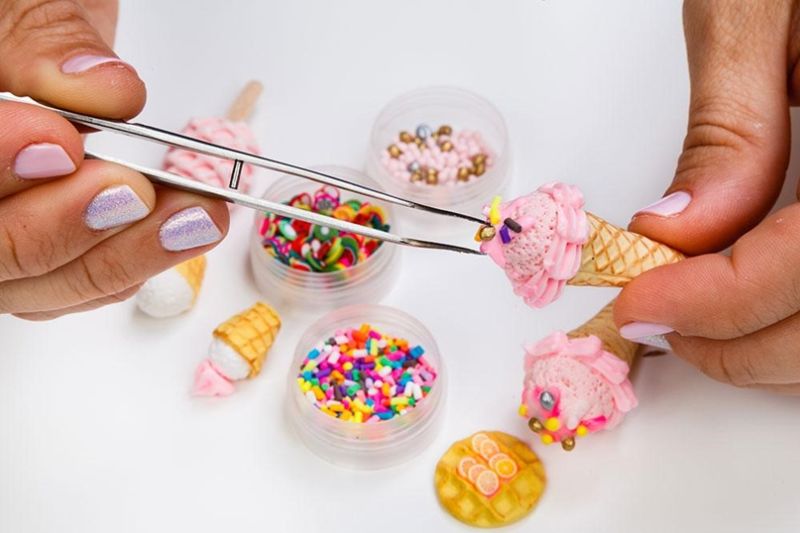
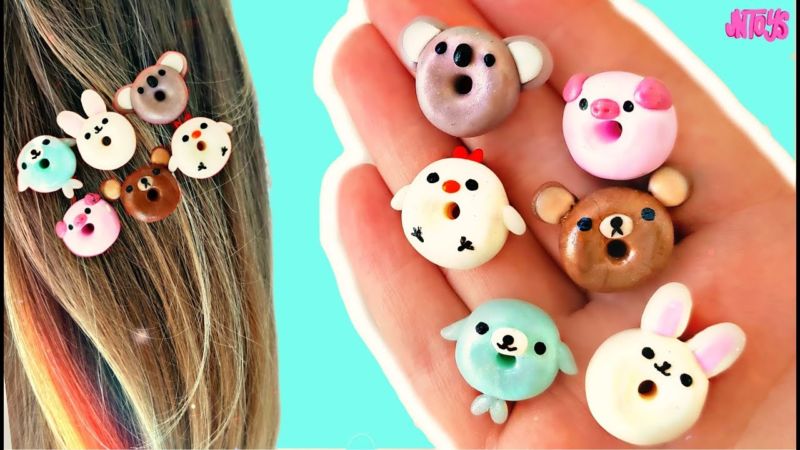
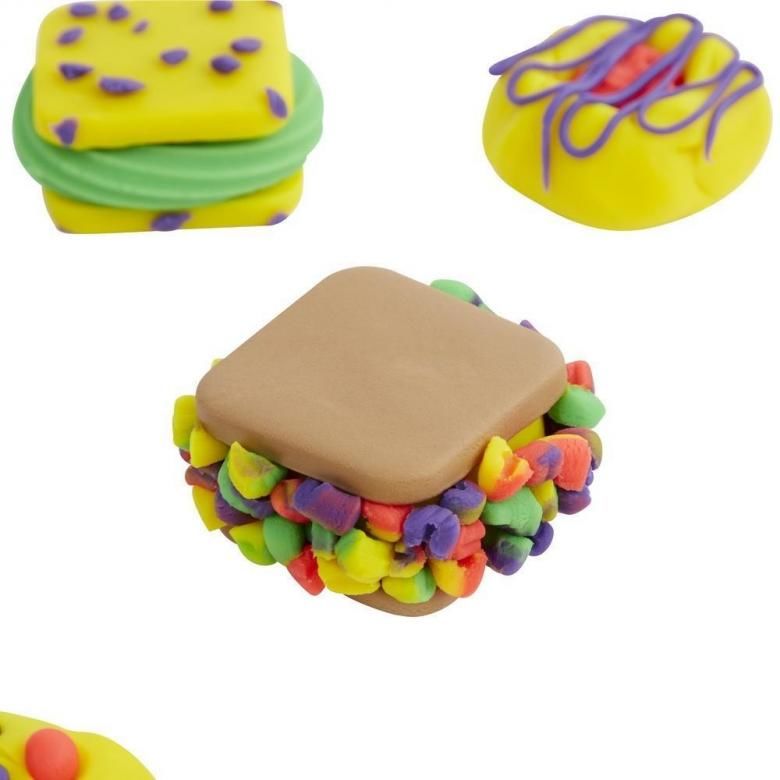
Yummy .
Doughnut:
- Let's make a ball, flatten it, make a hole in the middle, cut out a special shape, roll thin brown plasticine, this is the chocolate gravy, cover the doughnut with it, decorate with glaze: decorations from the white mass.
- Donuts can be of different colors, with different gravy, raspberry, orange or banana filling.
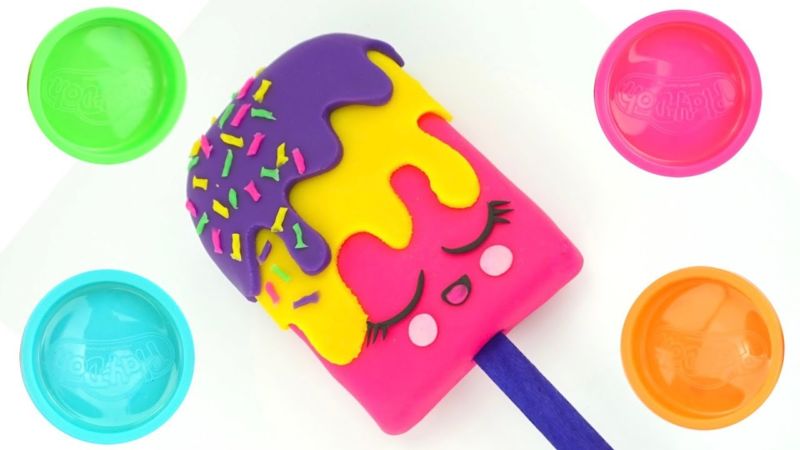
It is possible to make ice cream. Of course, each craftsman can decide for himself what kind of ice cream to depict.
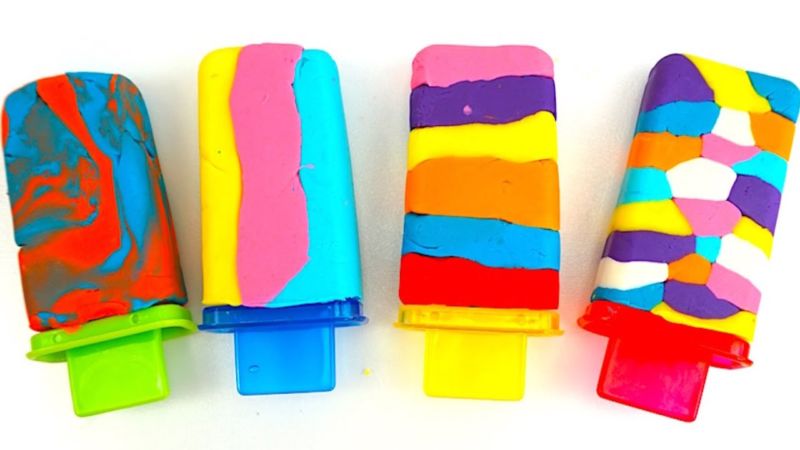
Eskimo:
- Let's roll out a little red plasticine and make the shape of the popsicle.
- Next, roll out the green plasticine, this is the crust of watermelon, light green plasticine make stripes on the dark green crust.
- Glue the watermelon "crust" to the bottom of the popsicle.
- Roll small black balls, give them the shape of a drop, we get the seeds. Let's cut a few times in the form of popsicles, insert the seeds. Watermelon ice cream is ready.
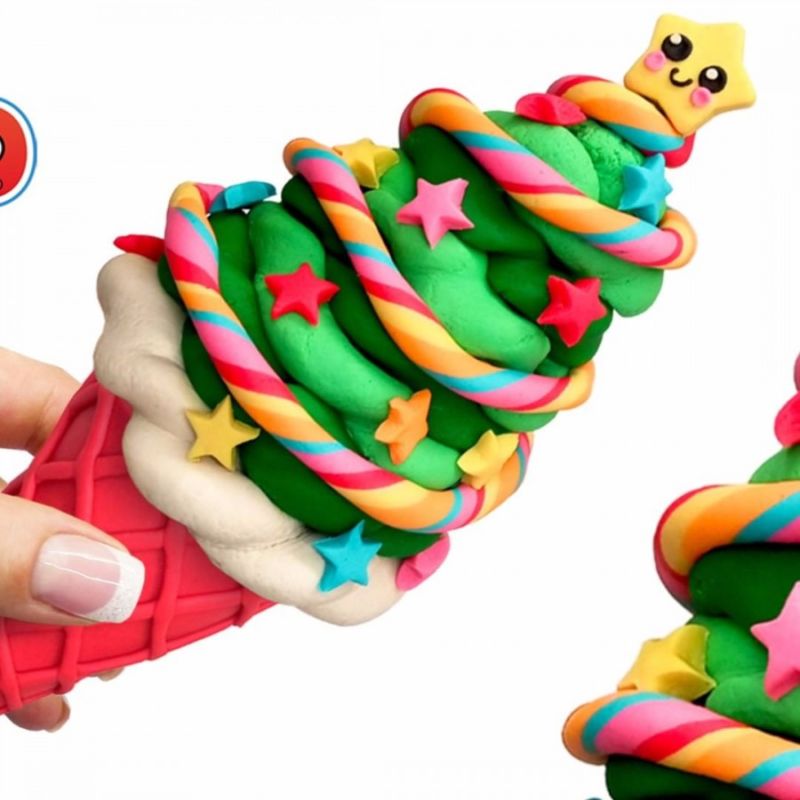
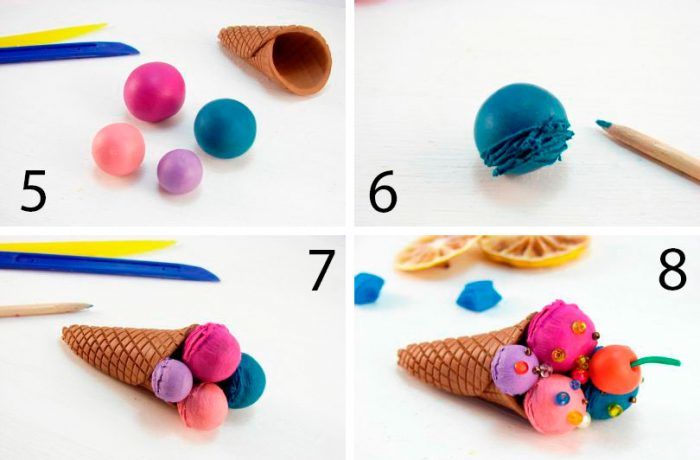
Robe:
- On a round base of rolled flatbread, draw a grid, twist into a cone;
- Fill with ice cream from a thin pink sausage, which lies in a snake in a cup;
- decorate with beautiful small "candies".
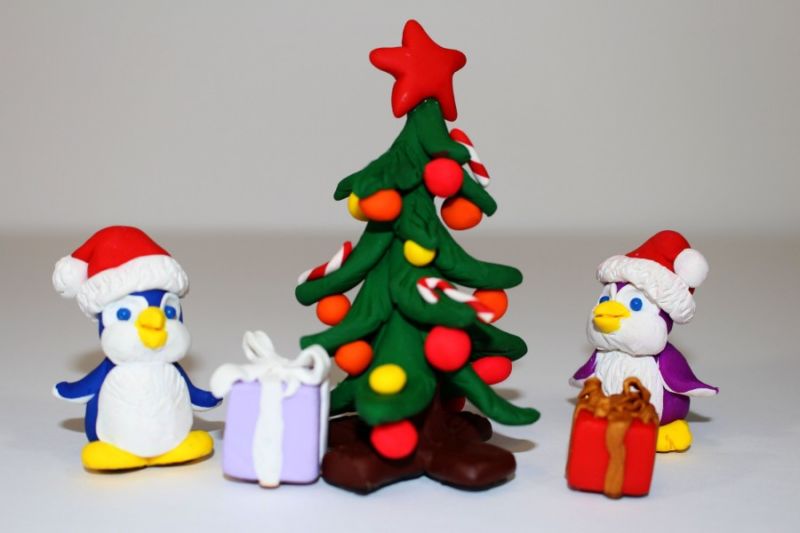
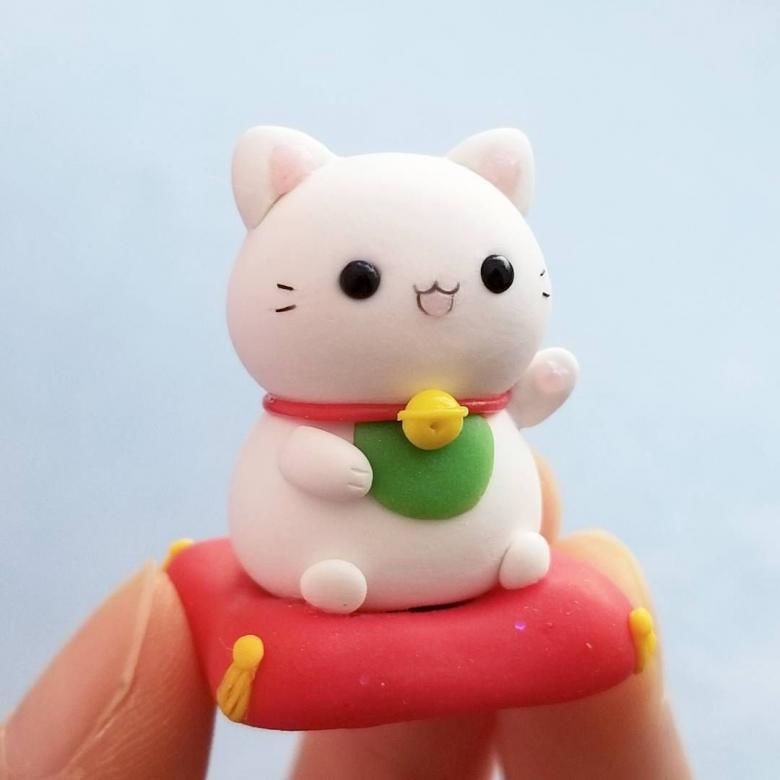
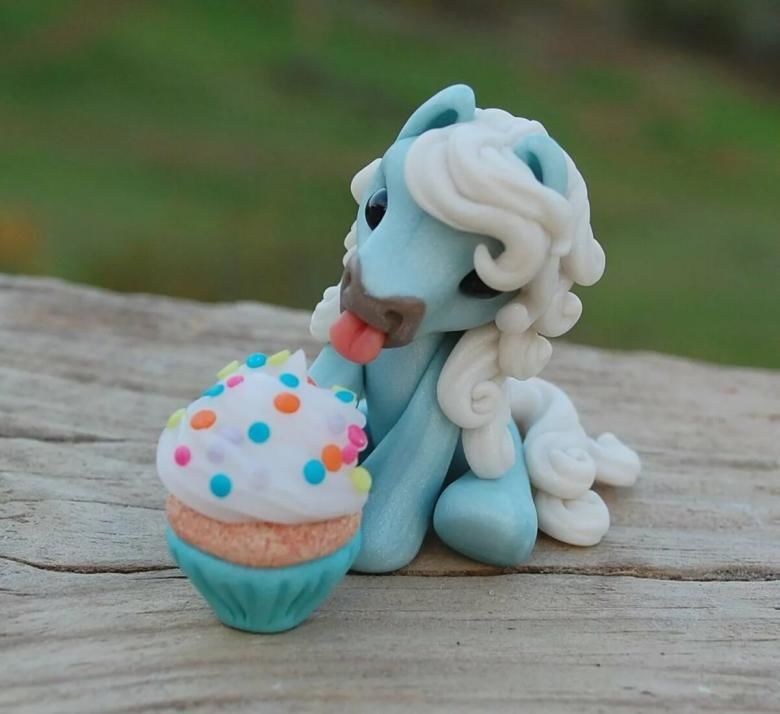
Holiday Figurines
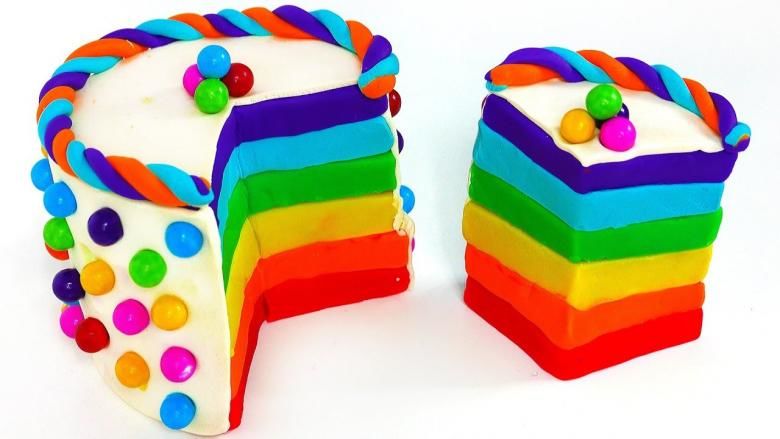
Cake:
- We mold the cake from the prepared flat circles - the cakes.
- Lay them one on top of the other, now decorate.
- You can use the prepared molds to cut out the stars, flowers, hearts from the mass for molding, decorate the cake.
- And you can think up your own decorations in the form of cherries, roses, nuts.
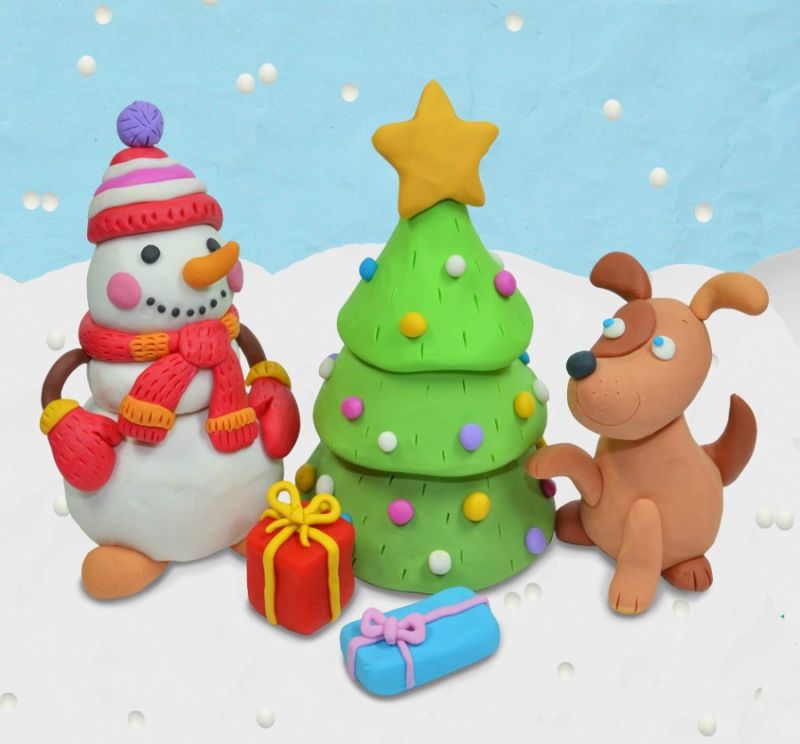
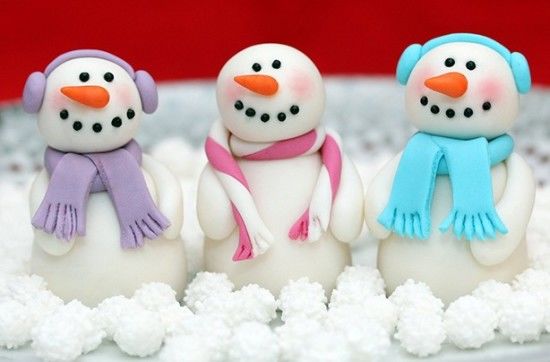
Snowman:
- Roll three white lumps, put one on top of the other, on top of a lump to put a headdress, stick a red nose, make eyes and mouth.
- As the hands - skewers, sharp ends to hide plasticine lump.
- Put on a blue scarf.
- Imported mass may not work, parts do not hold firmly.
- It is better to mold with ordinary inexpensive material.
- This snowman will come to you for the new year.
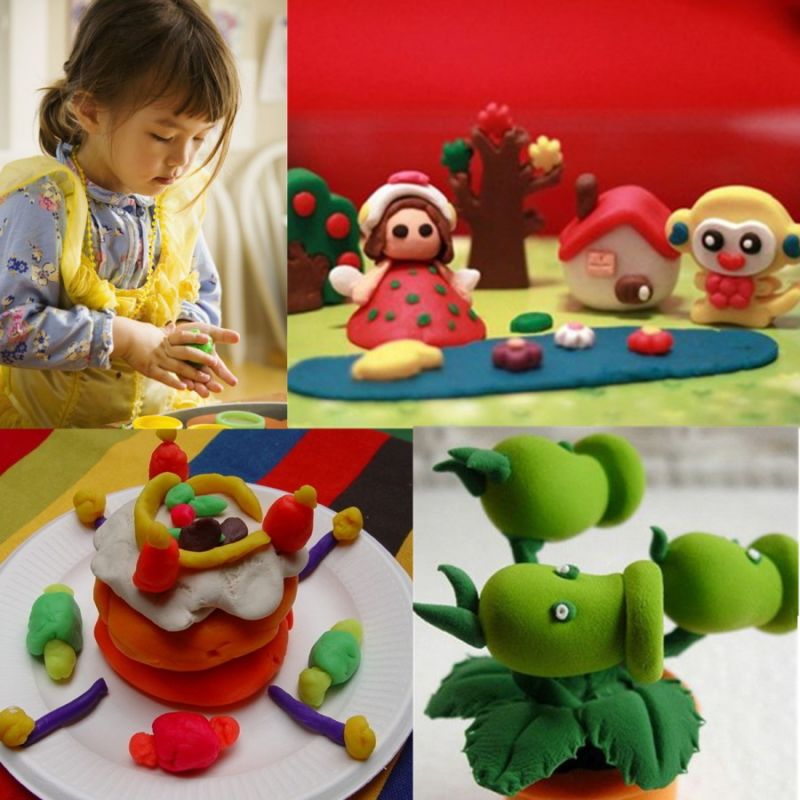
Modeling material crafts is a great fun, useful activity. The child gets acquainted with the form, color, structure of figures. In addition, fine motor skills, speech, spatial thinking, the child learns a lot of new, cognitive interest is formed.
For children it is important to express their feelings and emotions, and this will help to make crafts, because in his creation he puts his soul.
It is also a calming activity with a therapeutic effect.
It is desirable to connect to the creativity and adults, and do not discourage molding their discontent about the soiled things.
Play, sculpt, create together with children.
Clay molding ideas