Crafts for a 2 year old child: templates for work and easy workshops from paper, paint, clay, dough and cones
At 2 years old, the child is actively learning about the world, with him you can do exciting things, develop creative imagination.

Some parents think that it is too early to give their 2-year-old child paints, plasticine and scissors. However, this is the most appropriate age for the beginning of activities.
The child will be interested in everything, drawing, applique, modeling, you only need to buy all the necessary materials and have patience.

Creative work develops fine motor skills, tactile sensations, the ability to work with different materials, introduces geometric shapes, and teaches concentration and assiduity. It is also important for a child to spend time together with adults.
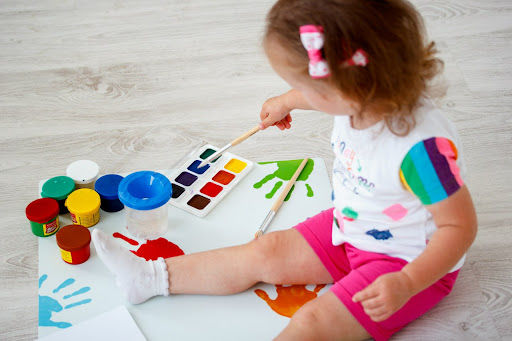
Handmade crafts for 2-year-old kids
The easiest options for crafts with a two-year-old baby are drawing, applique and modeling with plasticine.
Classes can be alternated, starting with elementary crafts, and move on to more complex, when he has mastered the basics.
Together with your child, you can organize a creative area, prepare for the lesson, lay out the necessary materials, and clean up the workplace together after the lesson.
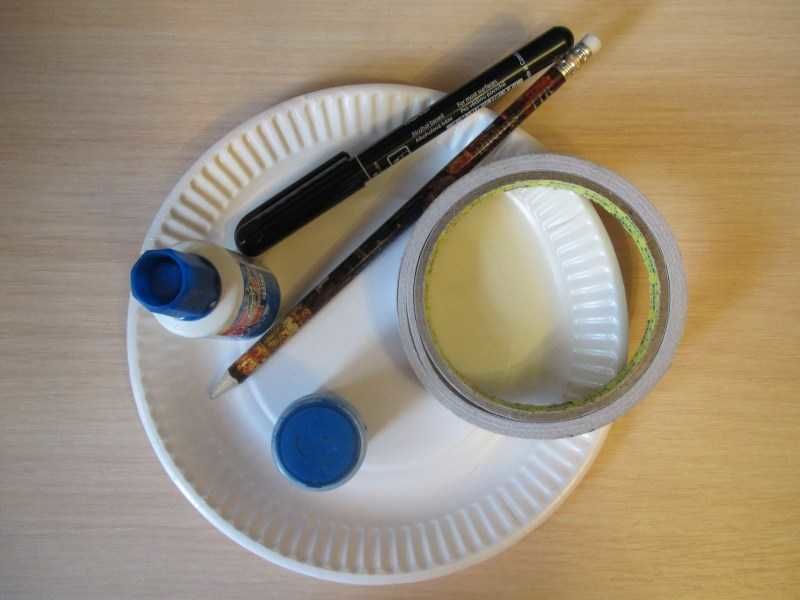
Tools for work
In addition to the workplace, the child should have a "house" where all the necessary materials and tools will "live":
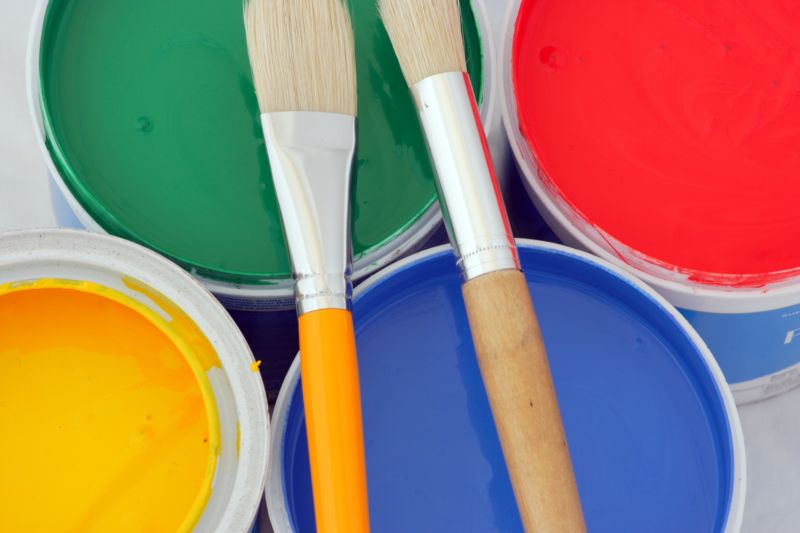
- For drawing, you will need helium finger paints. It is better if they contain aloe vera, since the composition of such paints carefully takes care of the skin of the baby. For starters, a set of 4 colors will be enough: blue, red, green, yellow.
- A brush is needed with a thick and short handle. Its bristles should be soft to draw thick lines, size 10-14. For painting large surfaces a flat fluted brush or sponge will do.
- Colored paper and cardboard for applications.
- At the initial stage, it is better to use a special non-toxic glue pencil. It will be convenient for the baby to apply to the paper and cardboard.
- For small children, scissors should be safe. Therefore, you need to choose them with rounded ends and plastic rings of oval shape. If the child is just learning to cut, models with four rings are suitable. With such scissors, an adult controls the scissors at the same time as the baby.
- Pencils should choose three-sided, so it was convenient to hold with fingers.
- An apron and armbands for creativity. They are made of a waterproof front surface so that clothes stay clean.
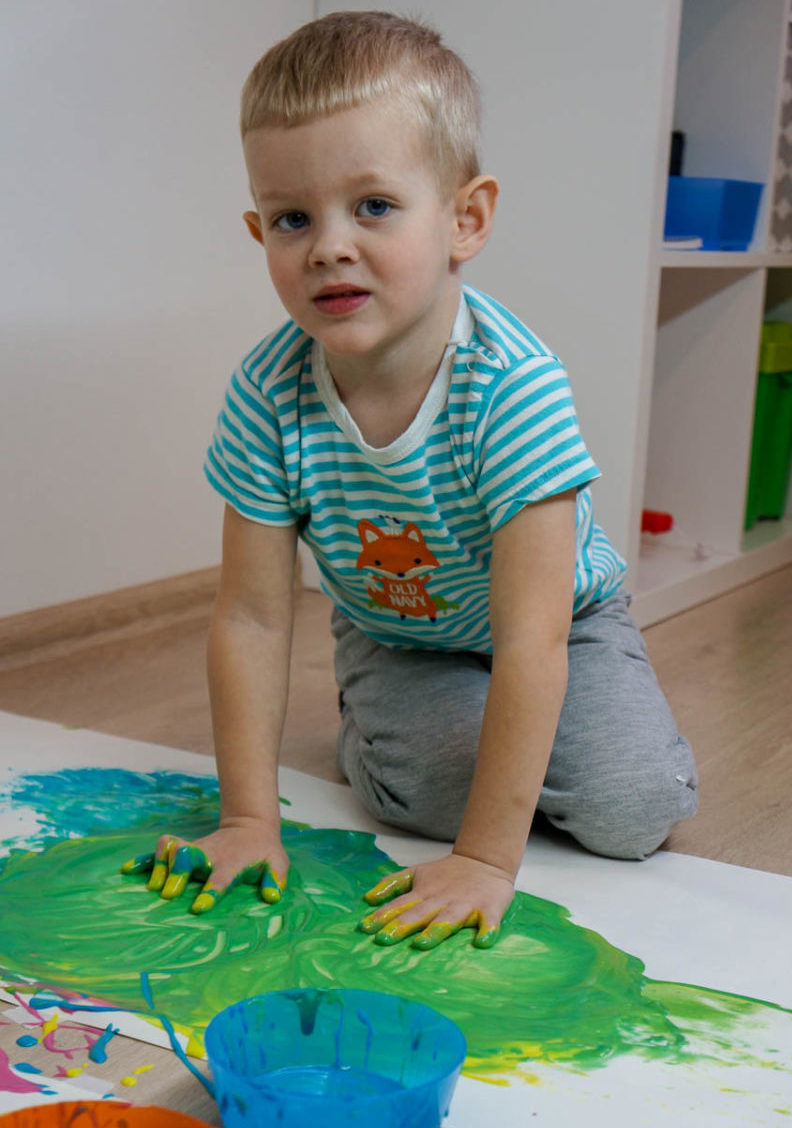
Working with paints
Drawing is very important for the harmonious development of children. For them, it is an opportunity to communicate with the world around them. Through drawings, the baby discovers the world of paints, lines, shapes, the beauty of spots of color.
Gel finger paints
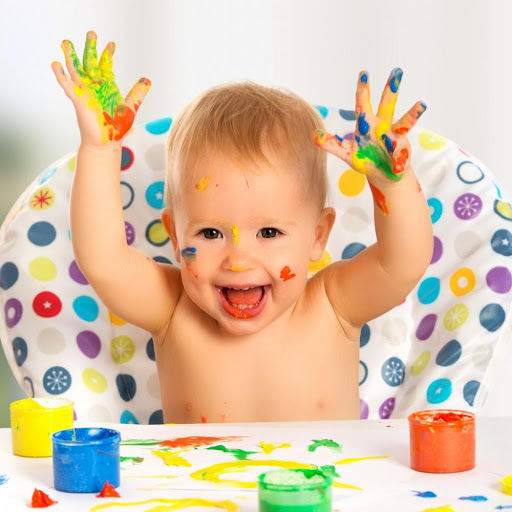
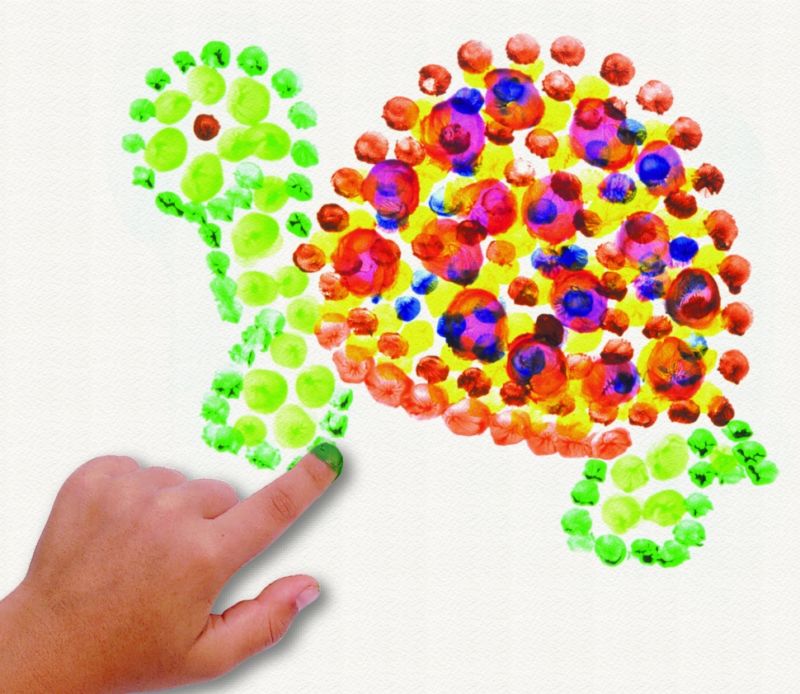
Before you teach your child to draw, you need to introduce him to a new subject - paints. The first paints for him/her should be finger paints. Drawing with the palm of your hand or with your finger develops tactile sensations, strengthens the muscles of the fingers and hands, increases plasticity of motor skills.
The most popular among parents' choices are finger paints with Aloe vera. They are thick in consistency, pleasant to the touch, and do not spread on paper. There are no toxic elements in the composition, although there is a slight repulsive bitterness in case your child wants to taste them.
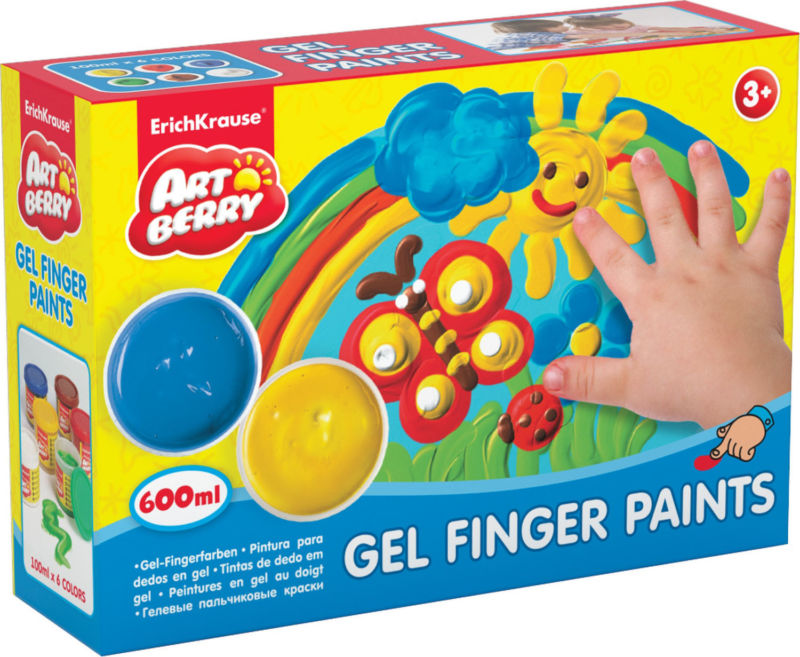
The color palette of the gel finger paints is based on food coloring. The colors are easy to wash off from any surface because they are water-based. They can be used to draw on paper, cardboard, tile, and on your body.
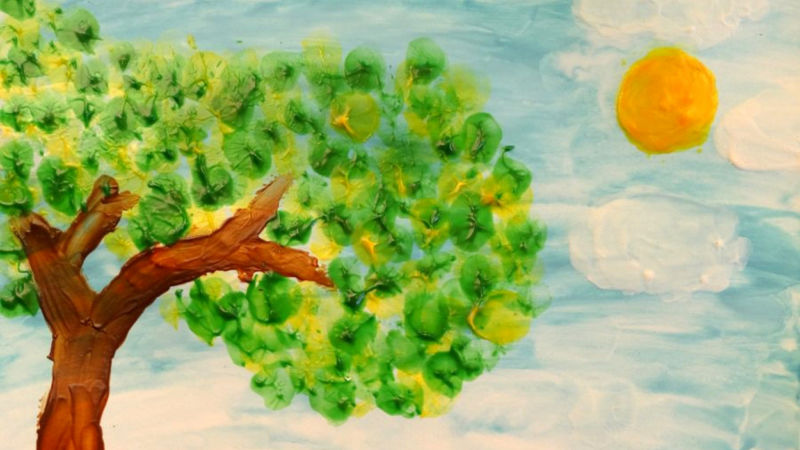
With them, your child can drive a finger or palm on the paper and realize that the paint leaves a mark. It can be in the form of dots, stripes or prints.
It is important to show that each trace can be interpreted as a rain, a path, a grass, a cloud, etc. Later, he or she will purposefully try to depict this or that subject, phenomenon. You can take paints with you on vacation and draw with them on rocks, tree bark, etc.
Flour paints
It is not necessary to buy ready-made finger paints in the store. They are easy to make at home without spending a lot of money. Every home has flour, salt, and cooking oil. Even if you do not have food coloring at home, you can replace it with natural juices from beets, carrots, spinach, and berries:
- Red and pink are obtained by boiling the juice of red berries or beets until thick.
- Orange is obtained from carrots. Grated carrots are fried in a mixture of vegetable and butter for 5 minutes. Then squeeze the oil out of the carrots through gauze.
- The yellow color will come from powdered turmeric.
- The green color from boiled spinach or mint leaves is bright and rich.
- A blue color will be given by boiled red cabbage, with the addition of 0.5 tsp. of baking soda.
- By mixing these colors you can get many other shades.
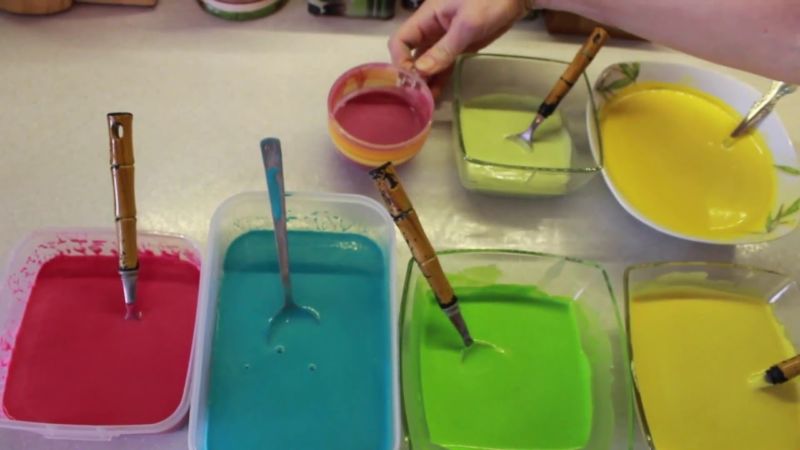
To prepare the base for the colors you need to take 200 grams of wheat flour, 1 cup of water, 2.5 tablespoons of salt and 1 tablespoon of vegetable oil.
Stir the ingredients with a blender to break up any lumps. Add the oil to the already stirred mixture. Divide them into glass jars of baby food and add dye to each jar.
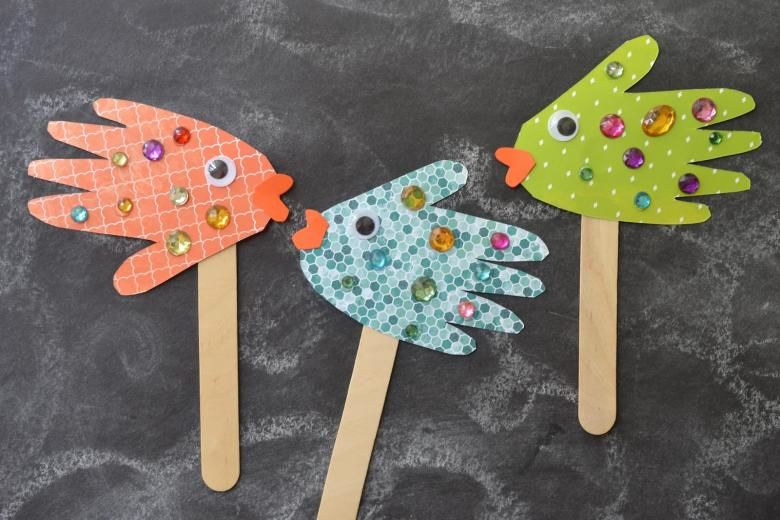
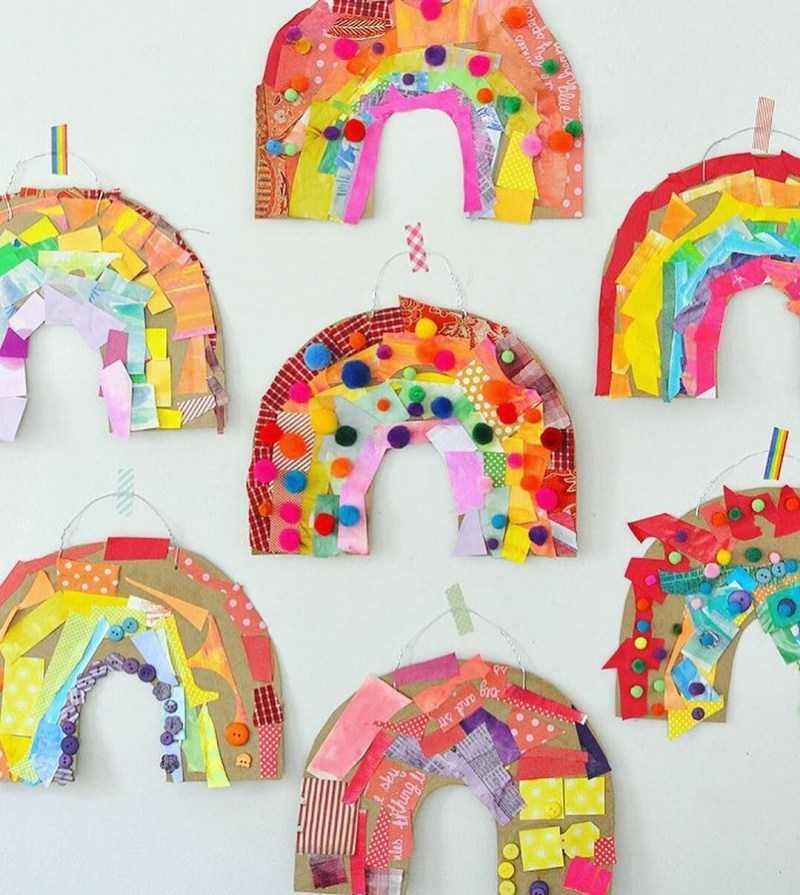
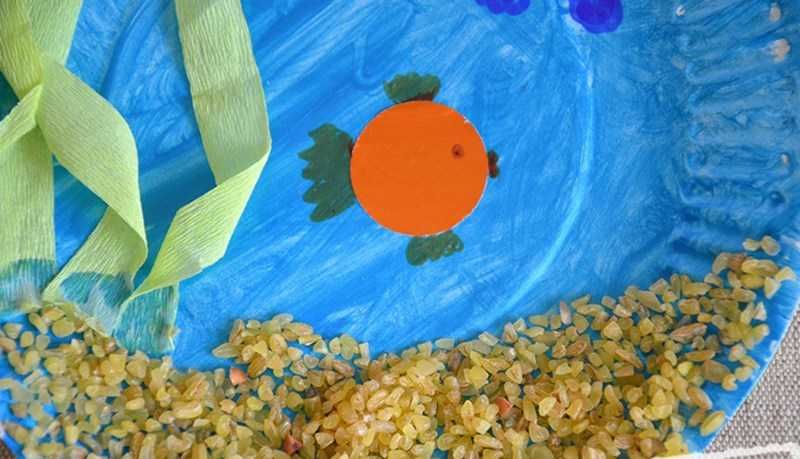
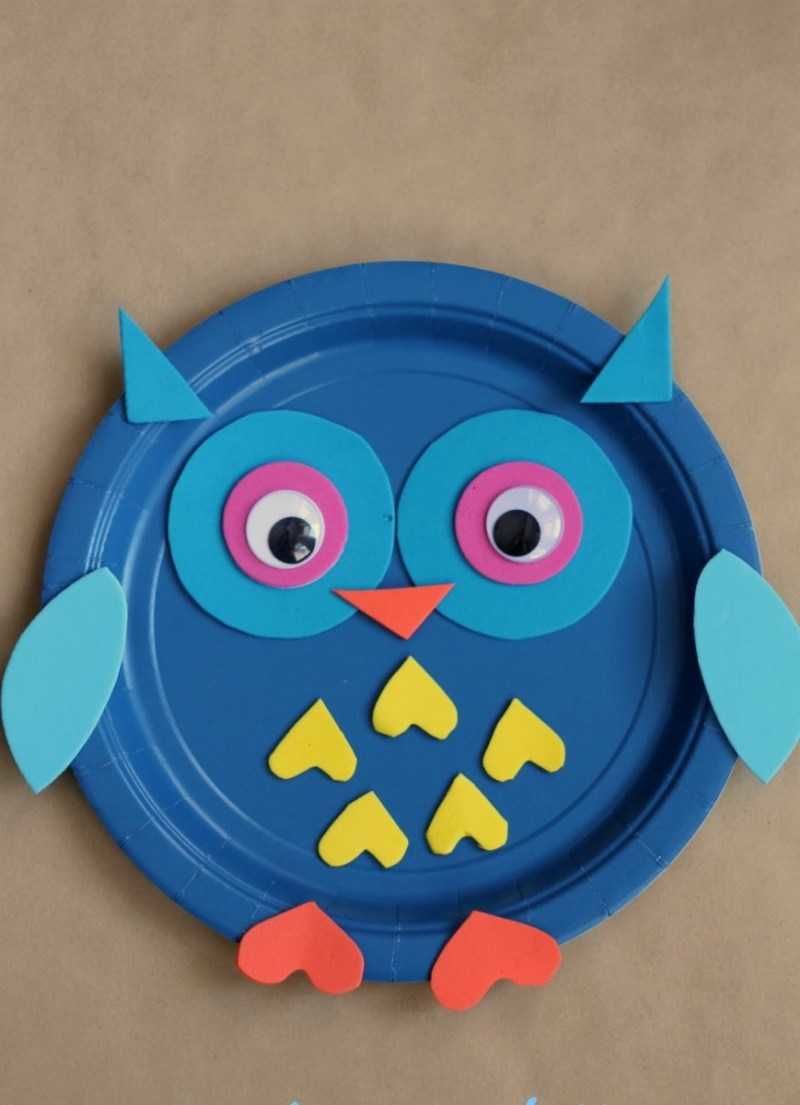
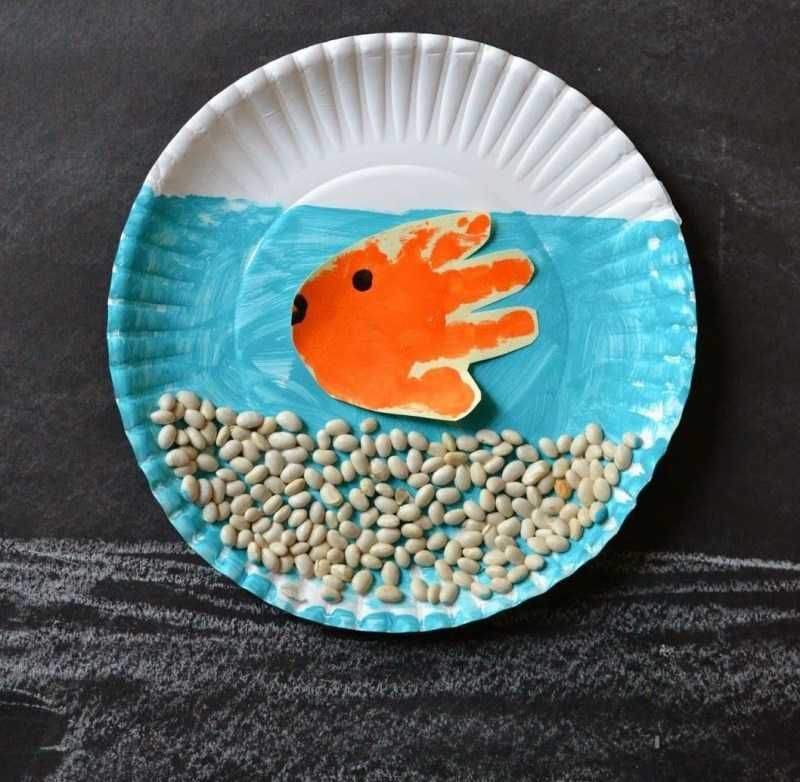
Paper crafts for children 2 years.
Children at the age of two years are already very inquisitive. And so joint creativity with parents for them plays an important role. But parents need to choose the right templates for work.
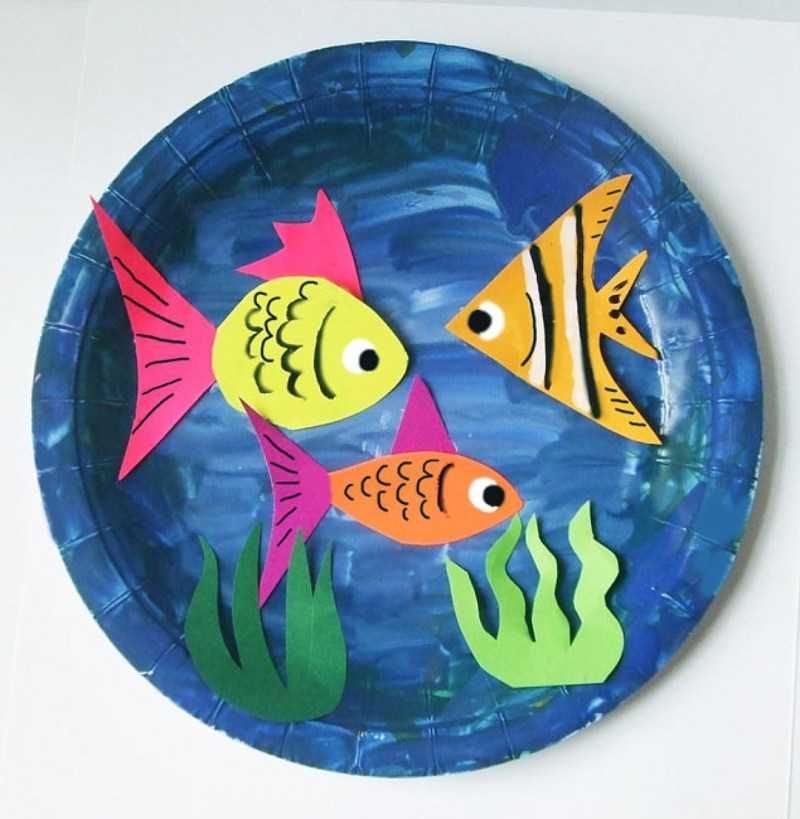
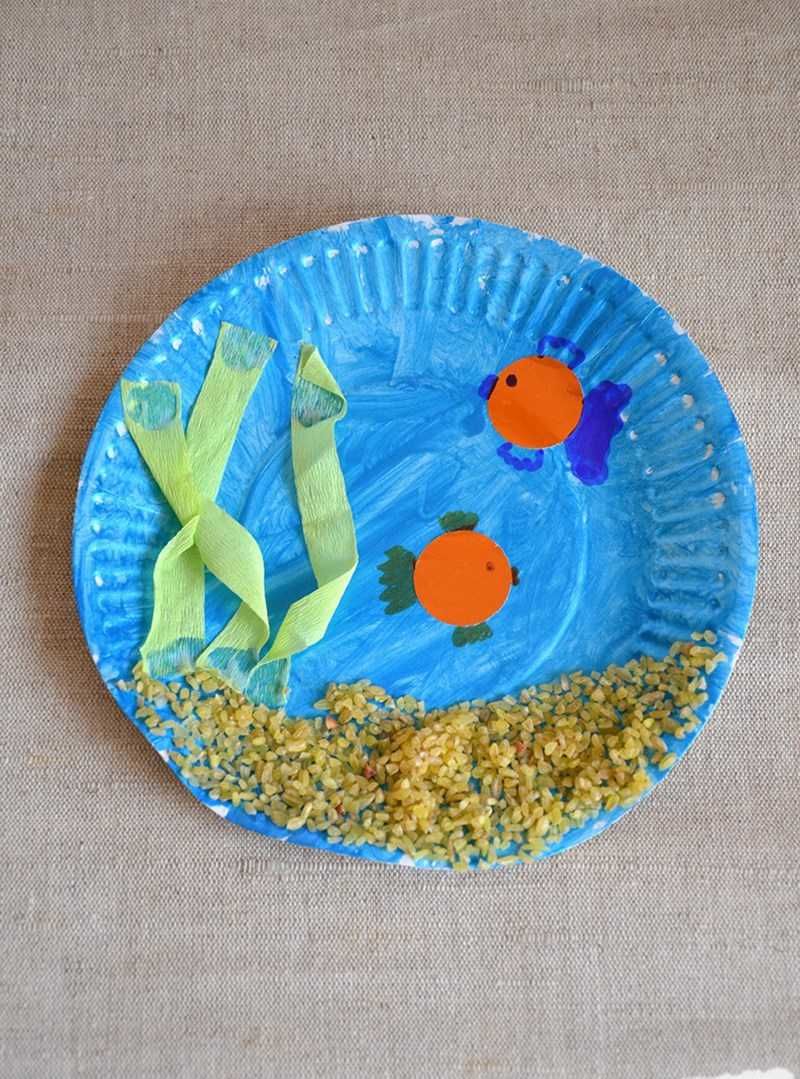
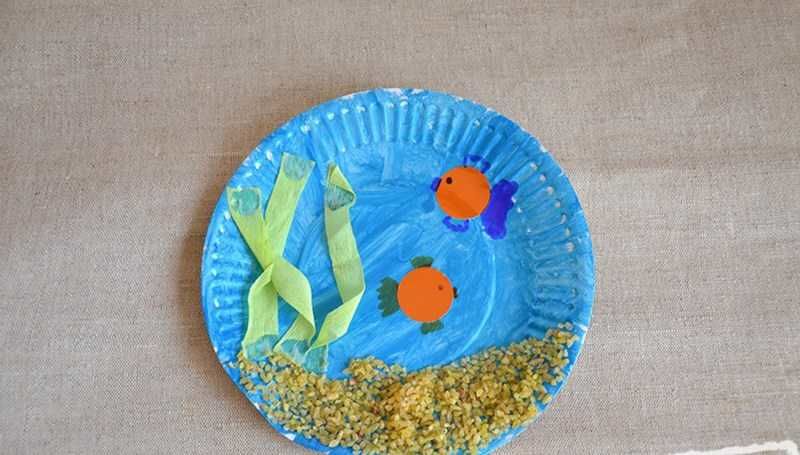
Applique
Applique - one of the most accessible activities for two-year-old children. Before you start the class, you need to familiarize the baby with glue, scissors, tell them how to handle them correctly.
At first, while the child cannot coordinate the hand while cutting, the figures for applications are cut out by parents.

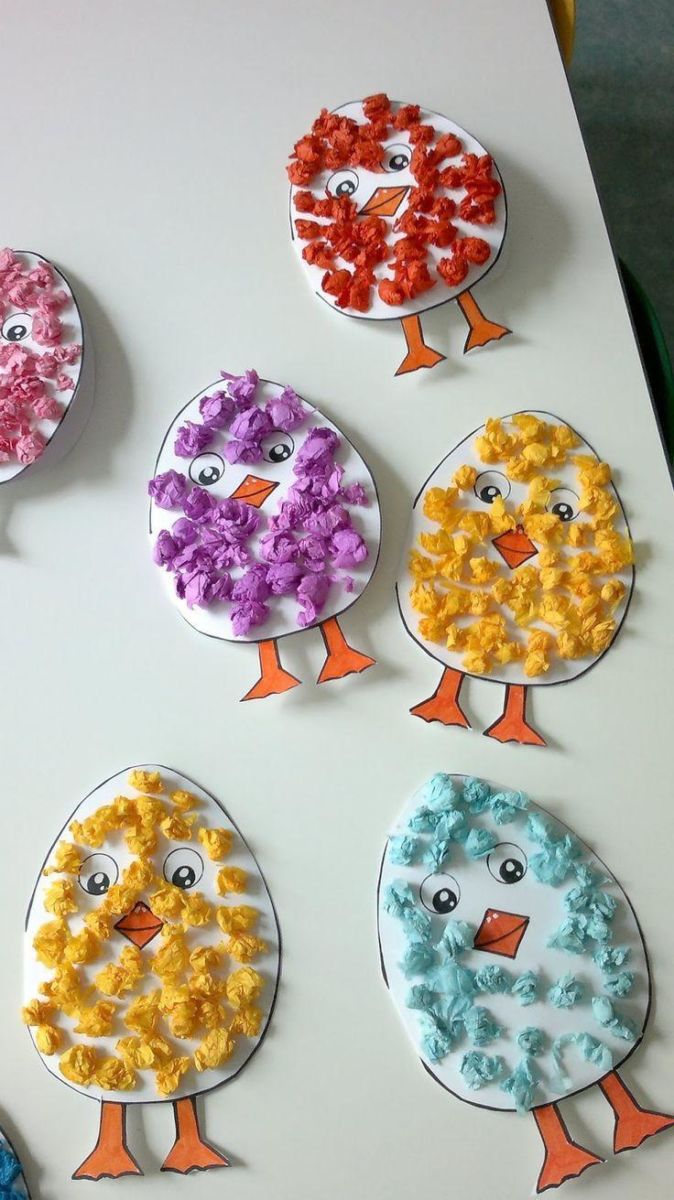
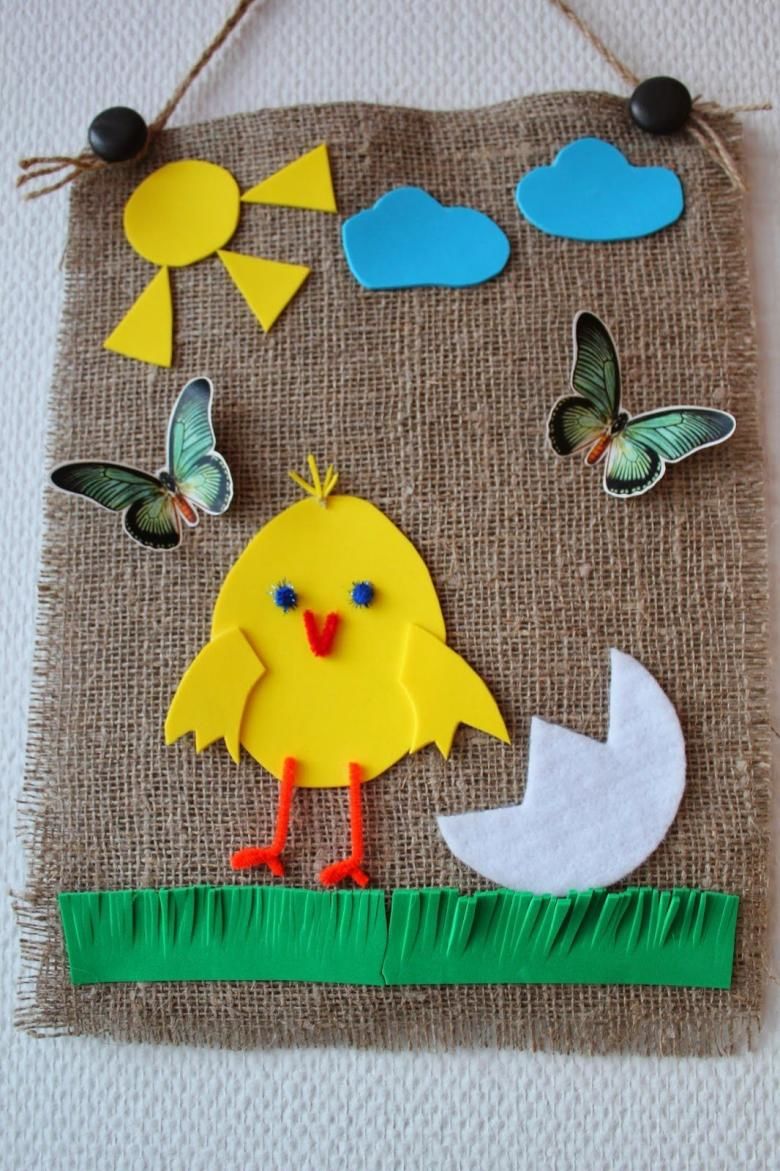
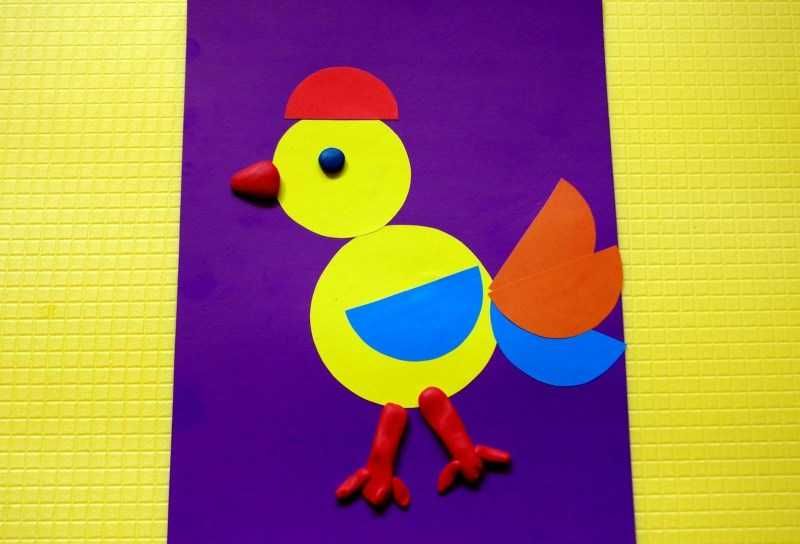
Applications should be simple, bright and interesting. These can be geometric shapes, silhouettes of animals, fruits, vegetables, etc.
For the first time lay out the figures on paper, show how they should be arranged on the sheet. The child will see the integrity of the picture, distinguish its details, and then try to create a picture himself.

At this time, the brain processes are triggered, and the child learns to think figuratively, control his or her motor skills, analyze his or her work and correct mistakes. Applique serves as a simulator for the development of the mind.
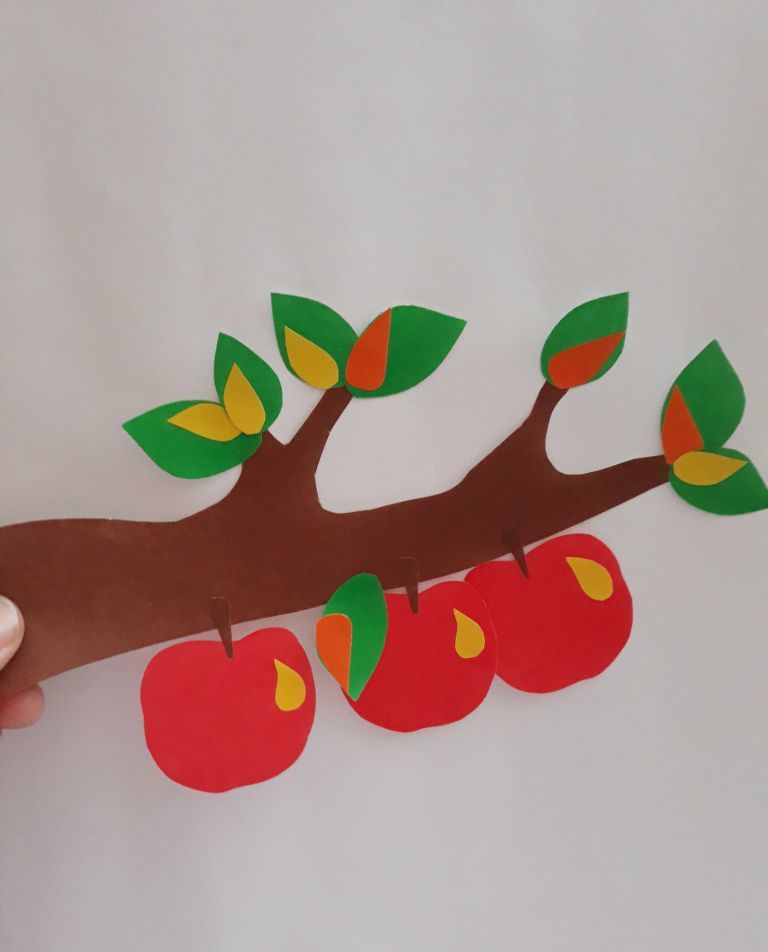
Apple Tree
You will need templates of a tree and apples for the applique.
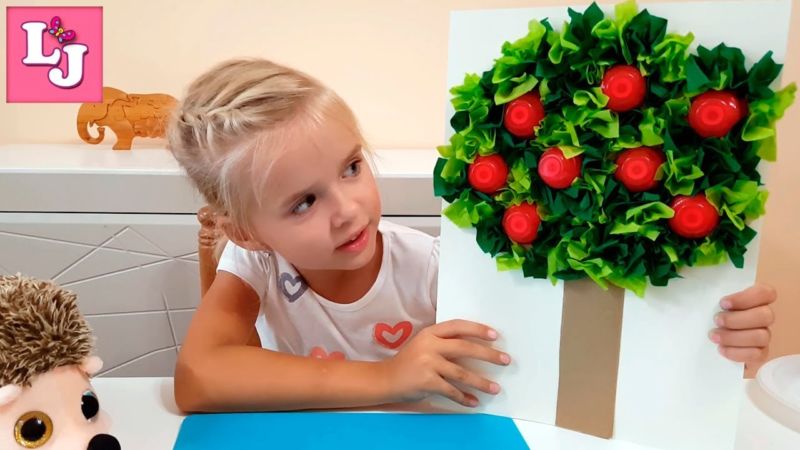
Before you start working, you can ask what color apple your baby likes. Does he know where apples grow. Talk about when the harvest is taken. Cut out templates together, or prepare in advance.
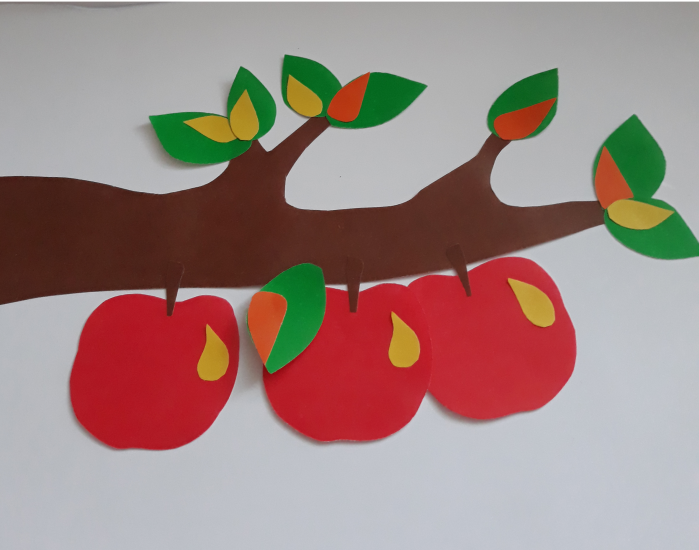
Show how to properly apply glue to paper, glue the tree itself and glue the cut out apples on its crown.
The fruit can be rolled into balls from pieces of tissue paper or colored paper rather than cut them out.
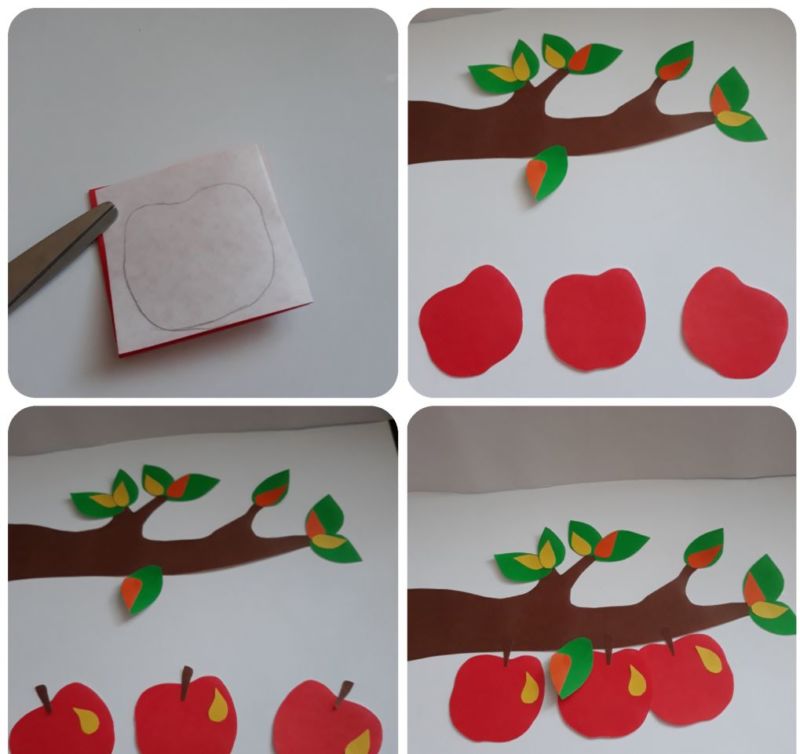
To complicate the task, you can make a template not of the whole tree with the crown, and separately branches, trunk, apples, leaves.
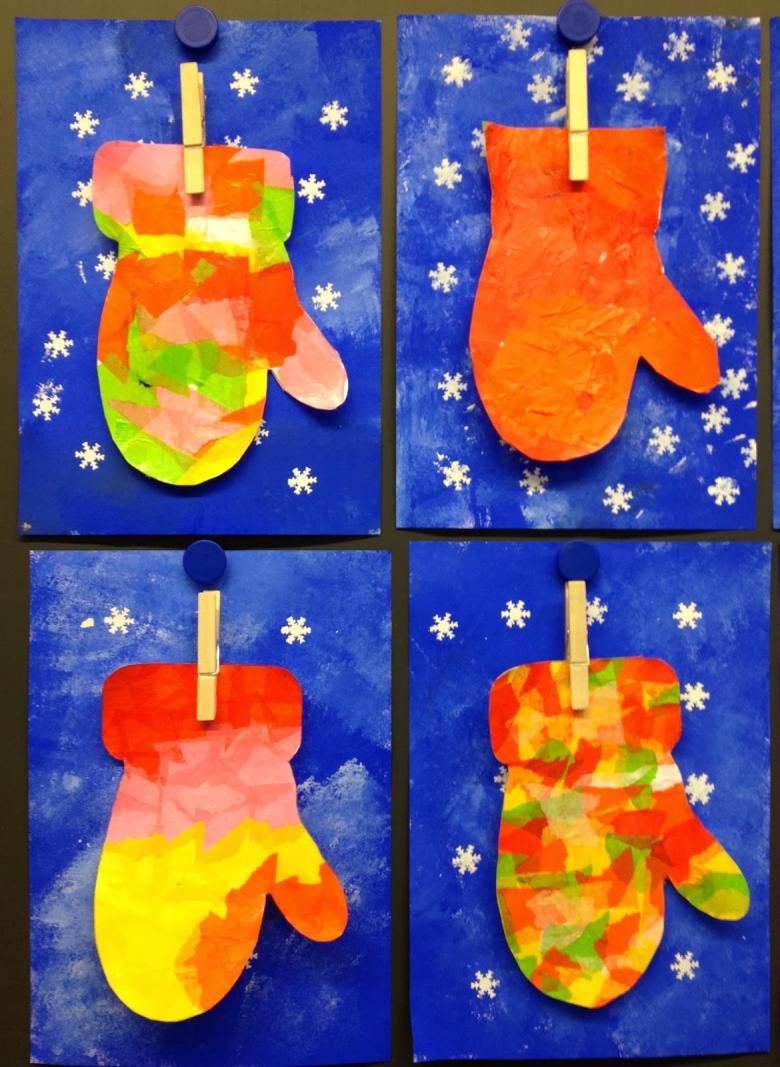
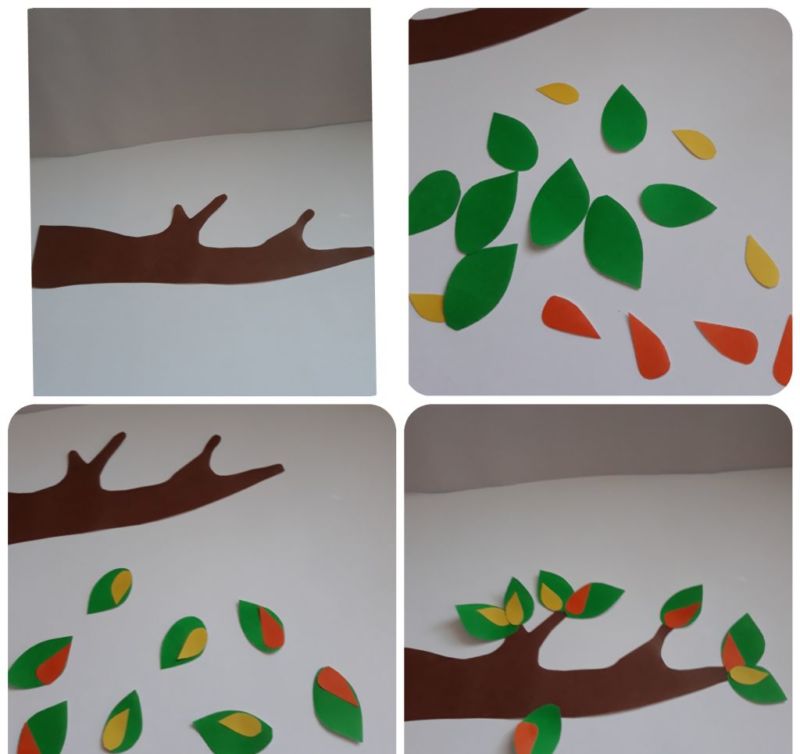
Tree .
On a walk you can observe with babies how the tree is growing, what its branches. For crafts draw three triangles of different sizes. Show in a picture to arrange the triangles. Where should be the largest, where the smallest.
Now you can get to work, glue the triangles to each other, and below the trunk. Christmas tree decorate multi-colored balls. They, by analogy with apples, roll out of multicolored napkins or any other colored paper.
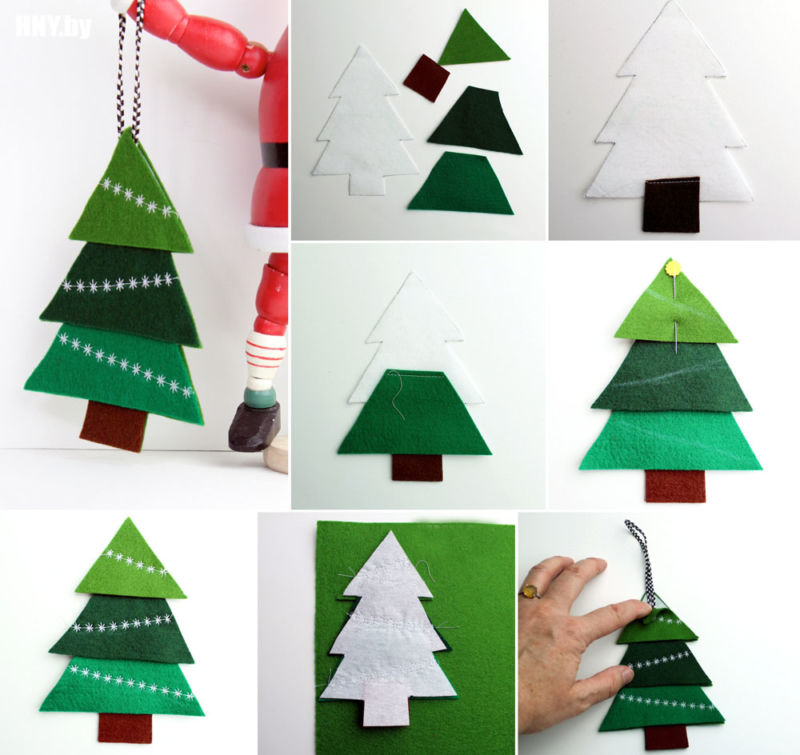
If you make an application on a large sheet of paper, glue cotton disks as toys. Then paint them with paints of different colors.
Instead of triangles, you can cut strips of green paper, fold them in half and use them as branches, gluing them in rows. Application will turn out volumetric. On it also glue the Christmas decorations.
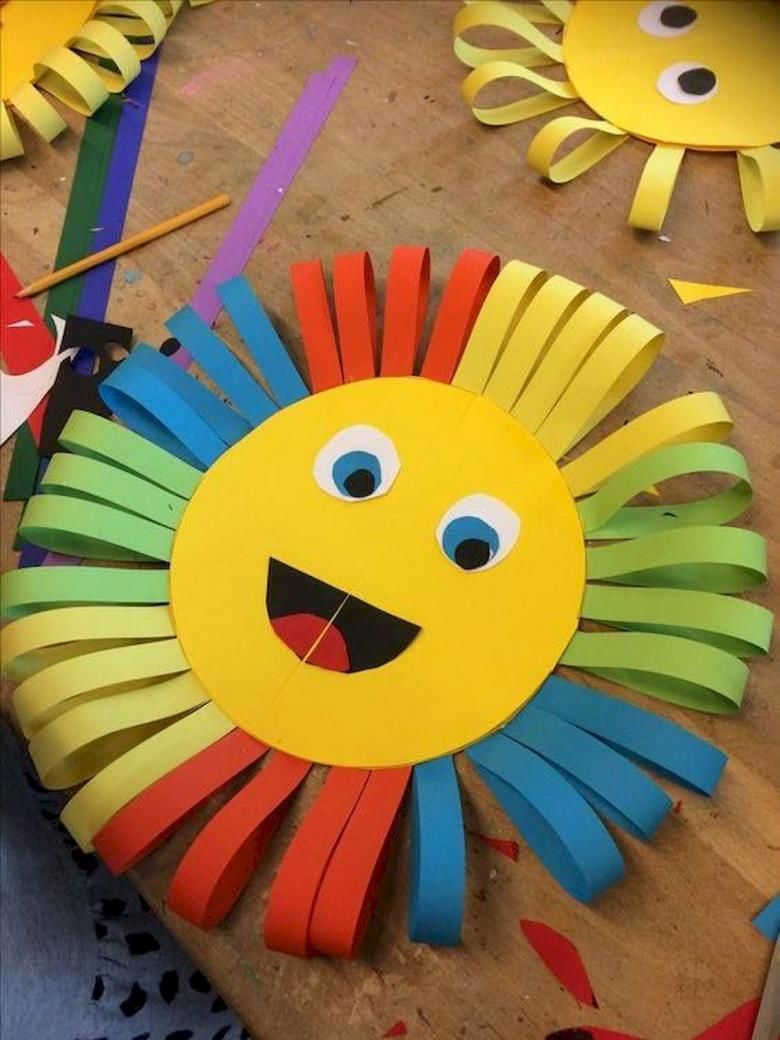
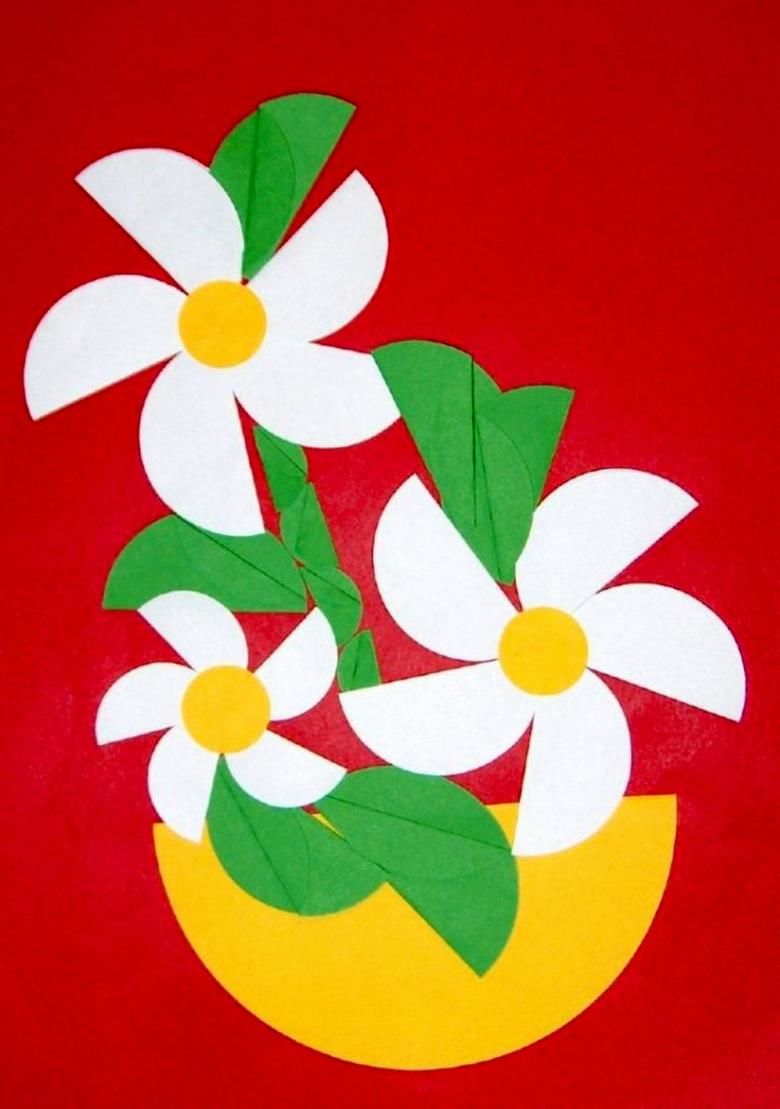
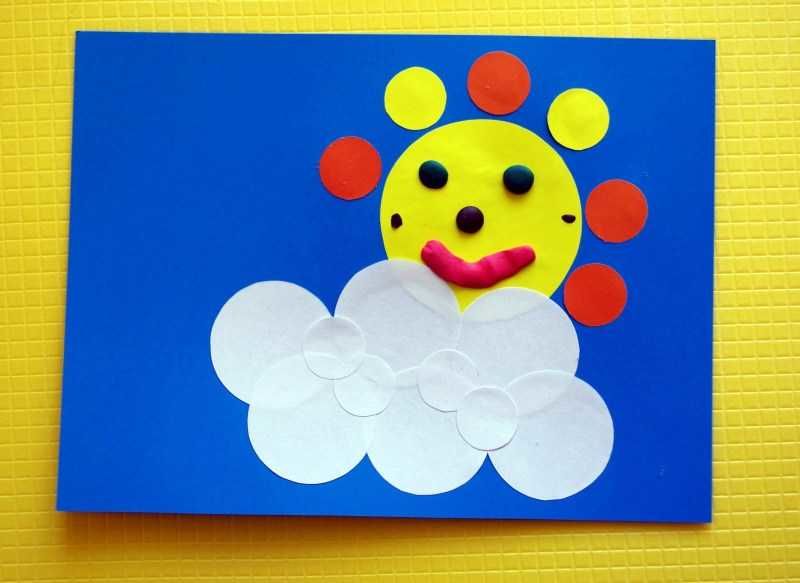
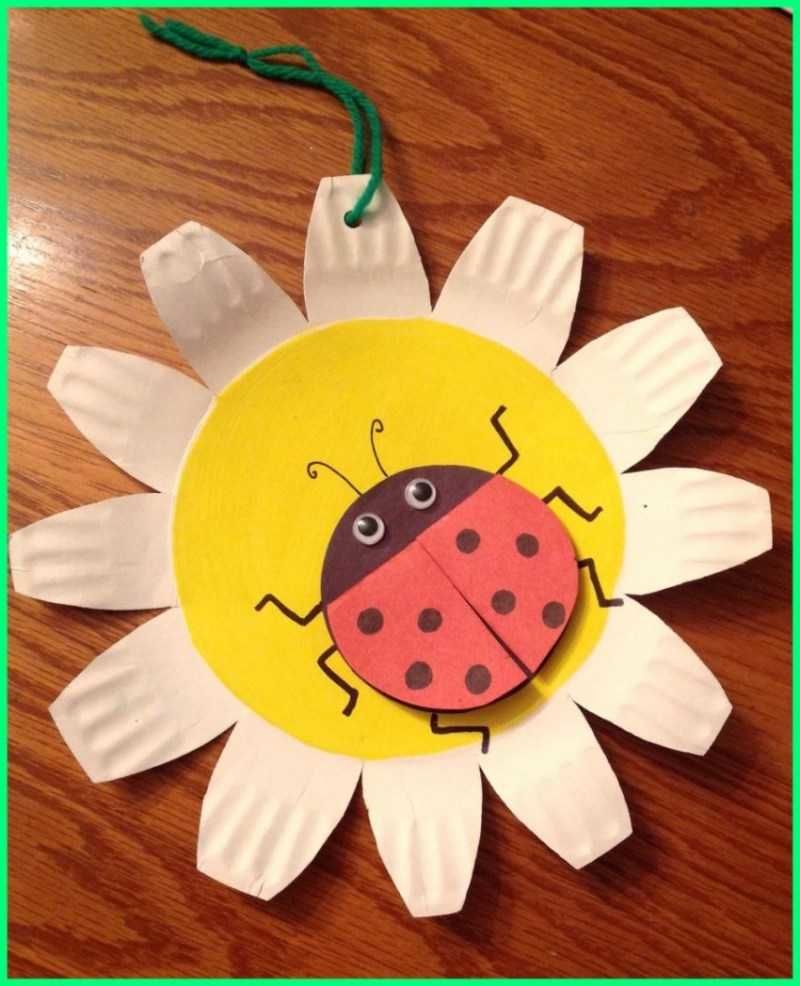
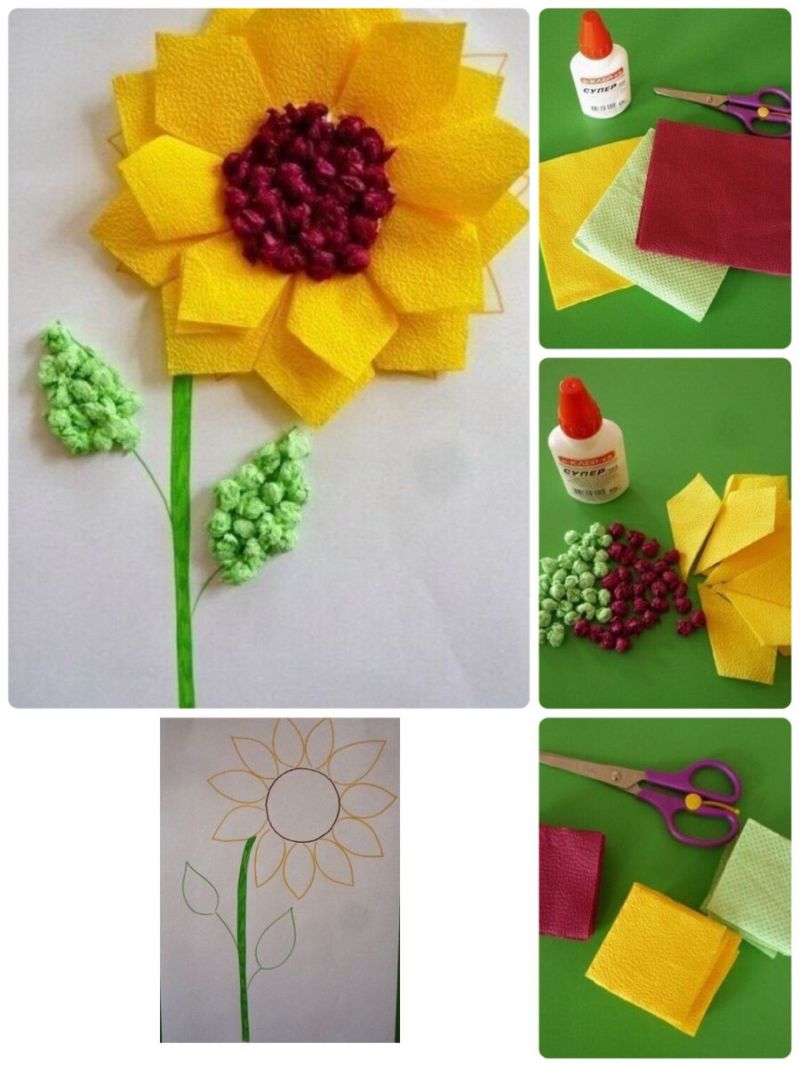
Sunflower
If the children have never seen a sunflower, they should be introduced to the picture so they understand what this bright and sunny flower looks like.
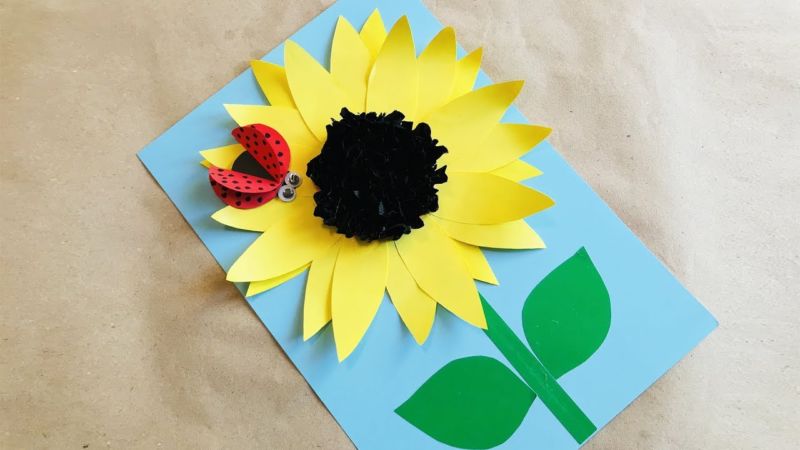
Prepare templates for the activity:
- Cut out one circle of yellow paper, the second, half the diameter of black.
- Prepare a stem and two leaves from green cardboard.
- On the yellow circle in the center glue the black workpiece, and on the yellow circle cut leaves in a triangular shape.
- Arrange and glue to the cardboard in order, first stem and leaves, then the flower itself.
- On a black circle you can glue real seeds or draw a grid on it.
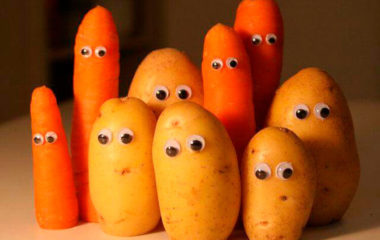
Modelling with clay for a child of 2 years
At the age of two, children really like modeling with plasticine. Rolling, squeezing and just touching it develop not only motor skills, but also sensory perceptions.
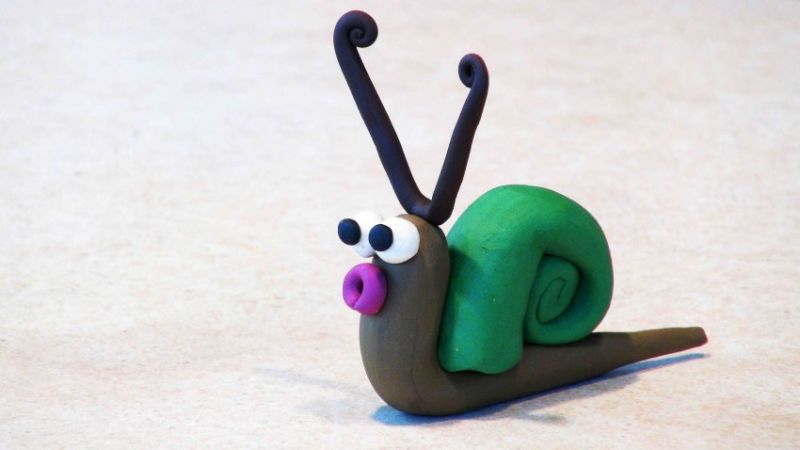
Clay molding also develops hand-eye coordination, outside-the-box thinking and creative imagination. At the age of 2, a child can roll balls and sausages, nibble, knead and flatten pieces of clay on their own.
There are different types of plasticine: wax, sculpture, paraffin, beads and floating. Each has its own level of softness, plasticity.
Choosing clay for two-year-olds, focus on its softness and lack of fruity flavors, so that there will be no temptation to try it on taste.
This kind of plasticine includes "Krokha. He is soft enough, well-bonding details.
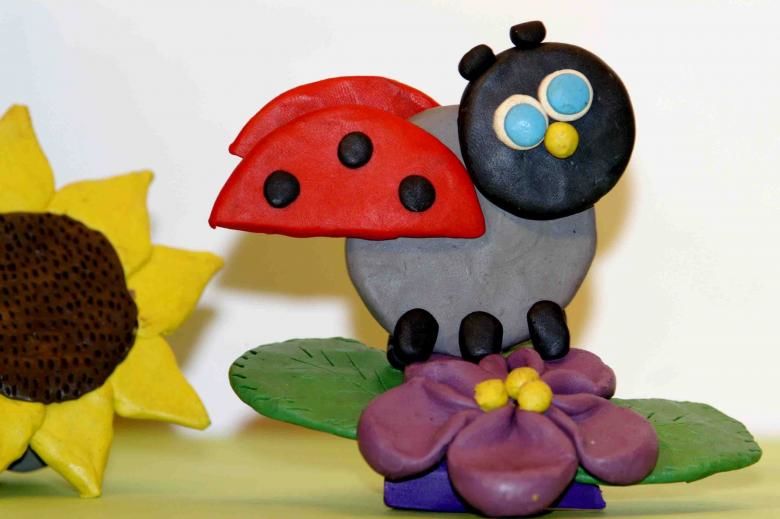
Insects .
Such templates are sure to interest children. In addition, they are not too difficult. And so it is a good option for joint creativity with young children.
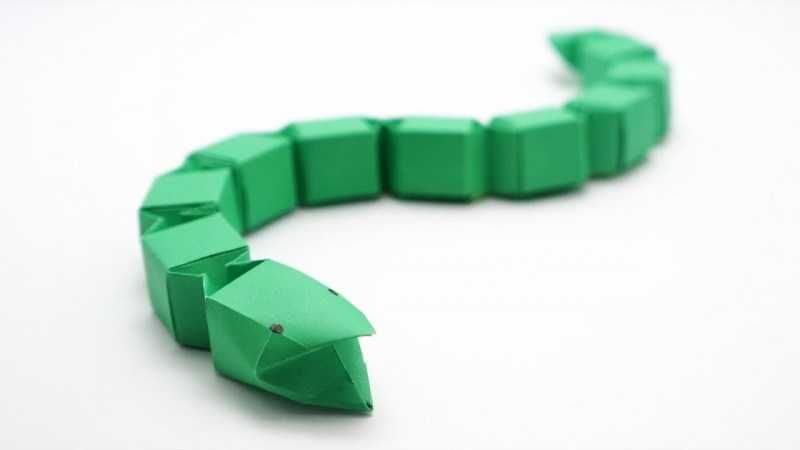
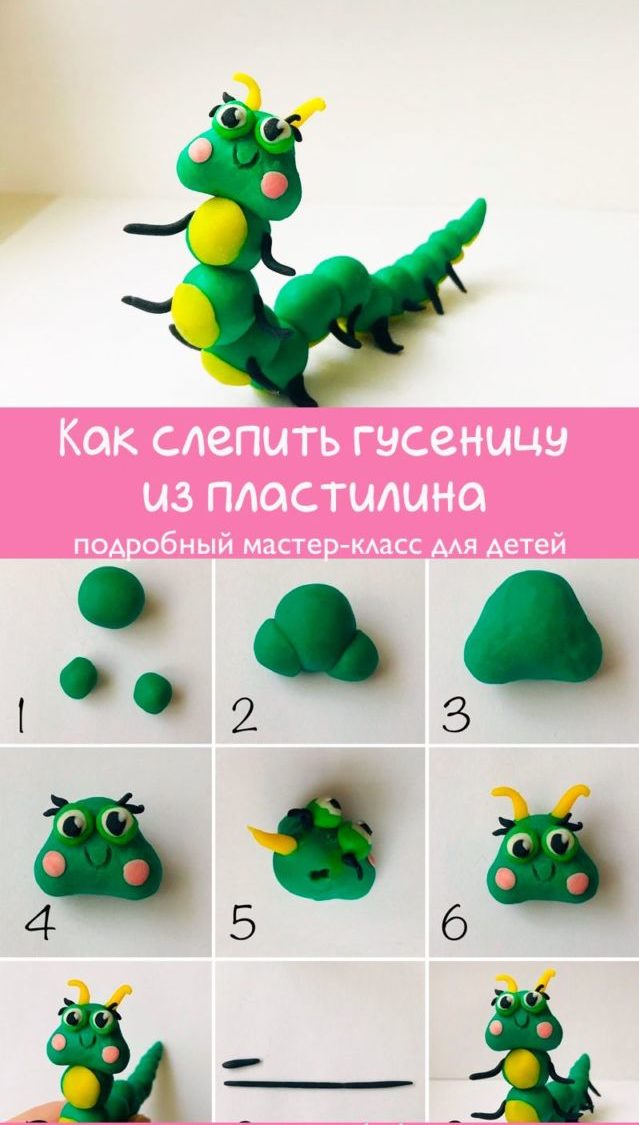
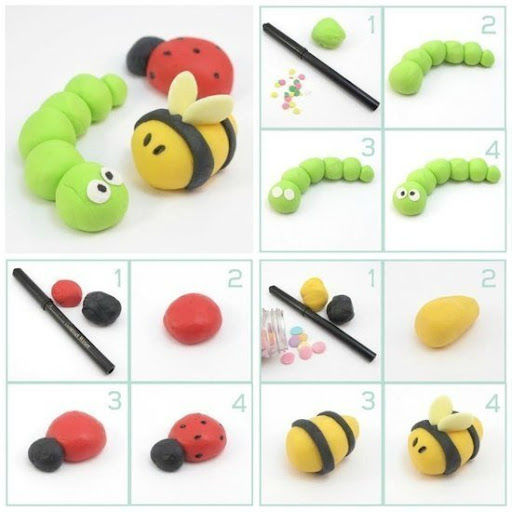
Caterpillar .
The simplest insect, with molding which the baby can cope independently, is a caterpillar:
- Show your child how to cut pieces of plasticine from a block of clay using a stacker or a special knife to cut them into different sizes.
- Then show how to knead them and roll them into balls. The balls can be both the same and different colors.
- To make your kid not bored with making a lot of balls, you can make a few together.
- Connect them to each other, pressing them together.
- At the front link of the resulting chain glue eyes from small pieces of black plasticine.
- On top of the body decorate small flattened balls, attach horns. Now the caterpillar can be planted on a sheet of plants.
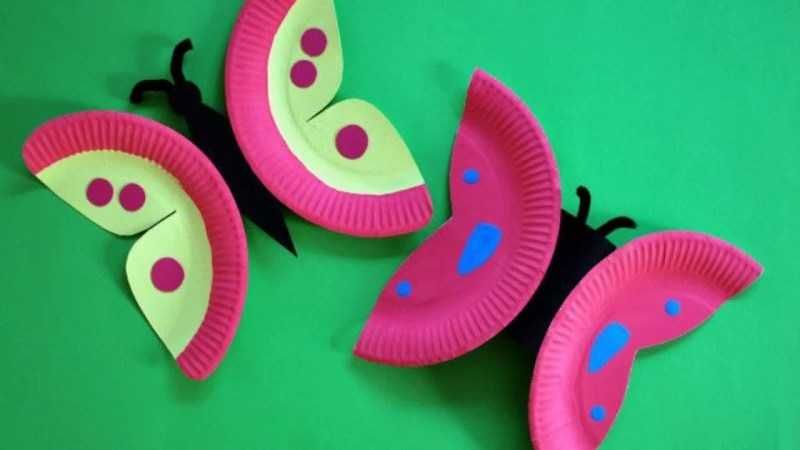
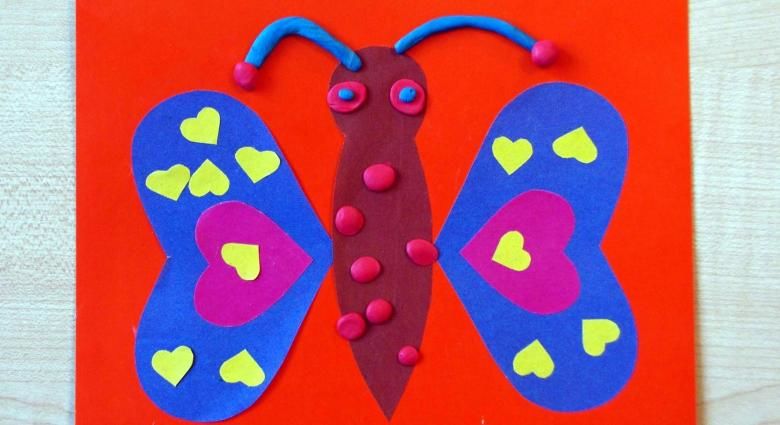
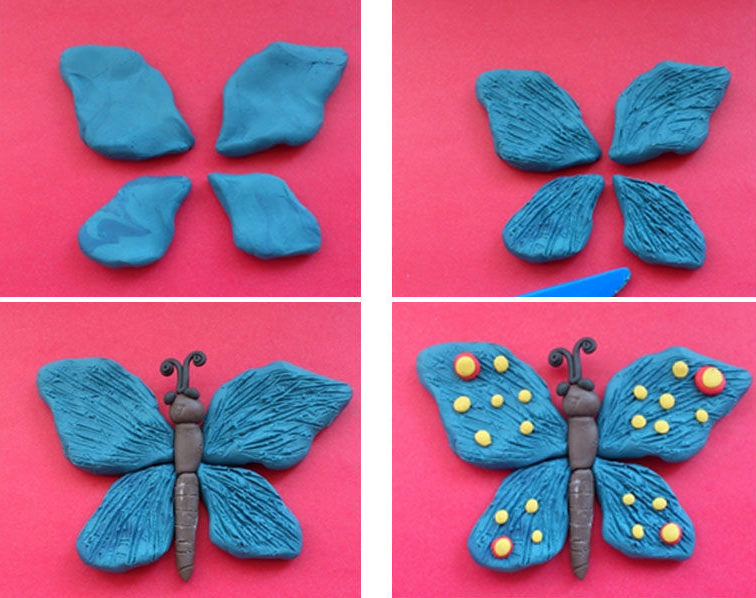
Butterfly .
Probably, children have seen more than once in the walk butterflies. Take them to an exhibition of butterflies, so they saw a variety of colors and sizes. You can offer to mold a cute creature, which attracted the most attention. Let the child choose what color its wings will be:
- Show him how to make a black plasticine by rolling it into a ball, oval, sausage These parts will serve as the body and tail of the butterfly.
- Connect the pieces prepared with each other. On the tail with a knife to make notches.
- For the head roll two small balls, they will be the eyes.
- Two thin sausages roll a spiral, they will play the role of antennae.
- From the plastic, chosen kid make four wings, two large and two smaller.
- Attach them to the body. Decorate the wings on top.
The bee .
A two-year-old can make a bee by himself. It is enough to tell how to make the body from yellow plasticine or Kinder Surprise Container.
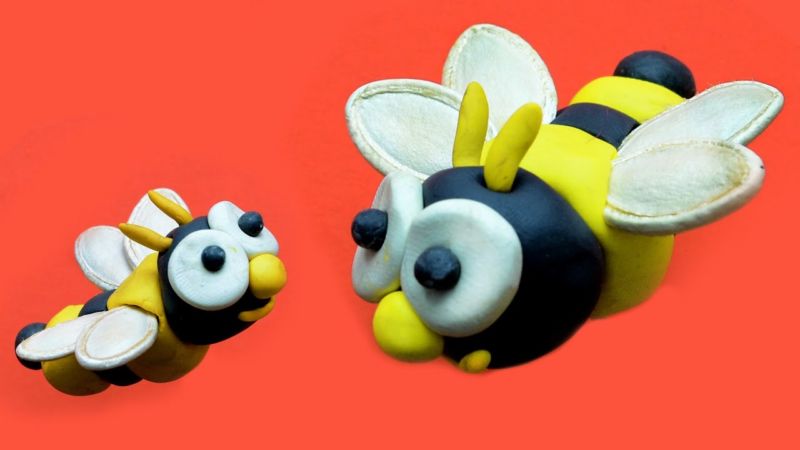
Make strips of black thin ribbons and glue the body in a circle. Squeeze two scraps of white plasticine and glue them instead of wings. It remains to attach the eyes, and the bee is ready!
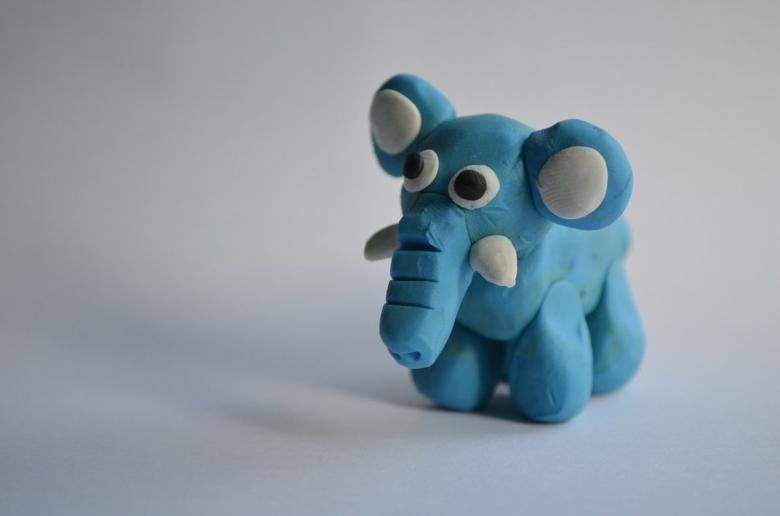
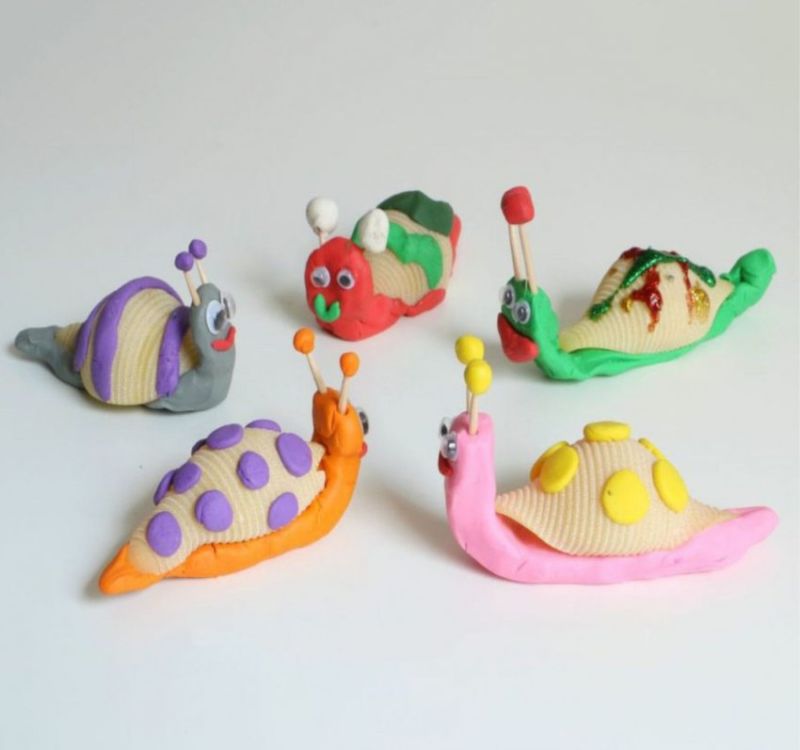
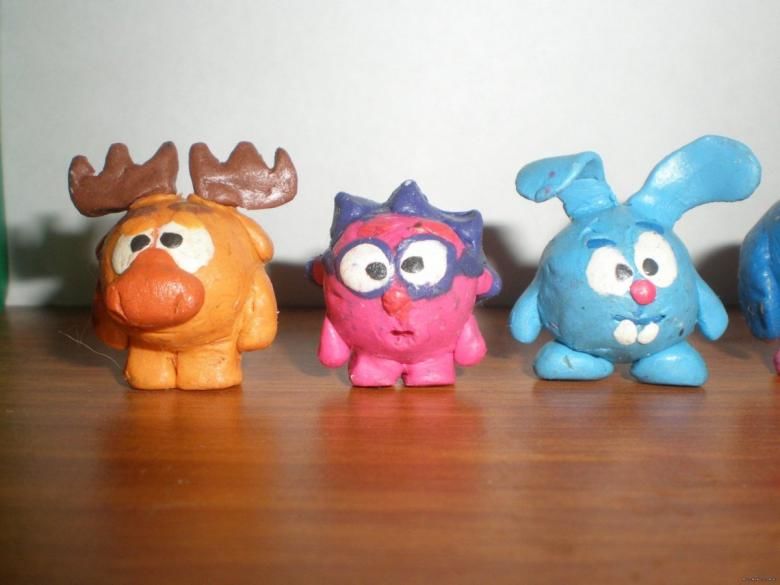
Animals .
Most of all children like to model animals. And you can join them in this exciting activity.
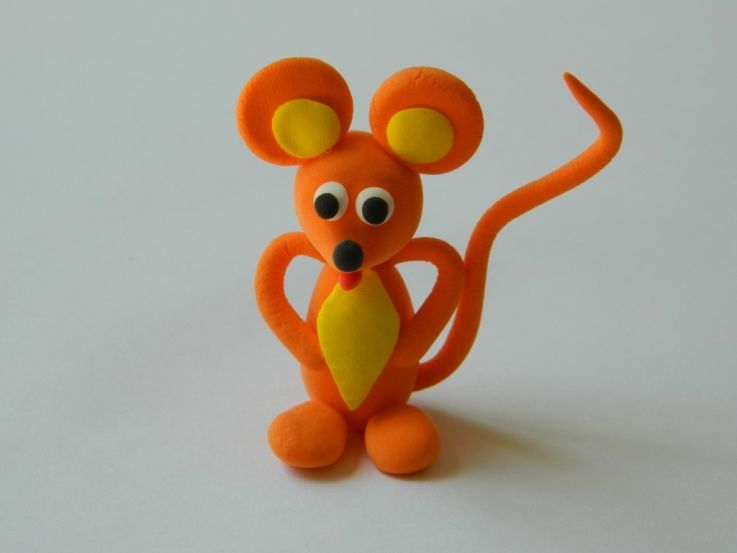
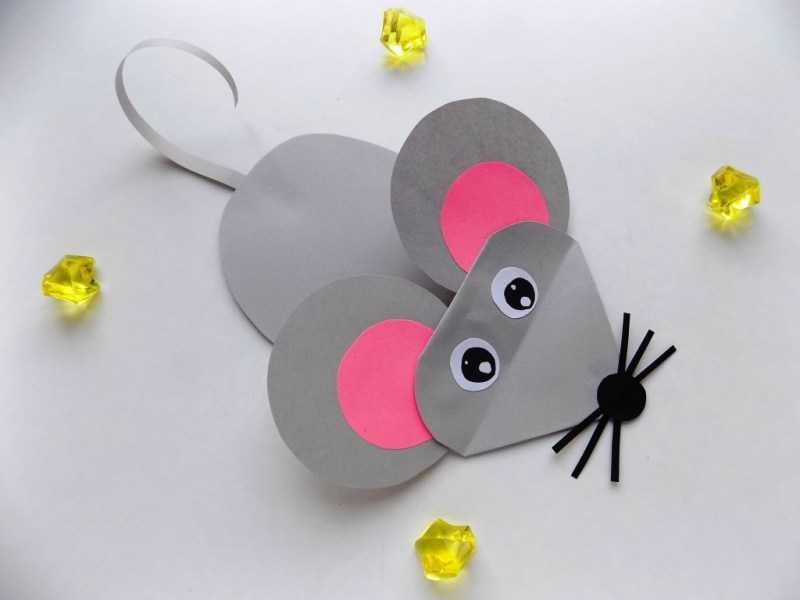
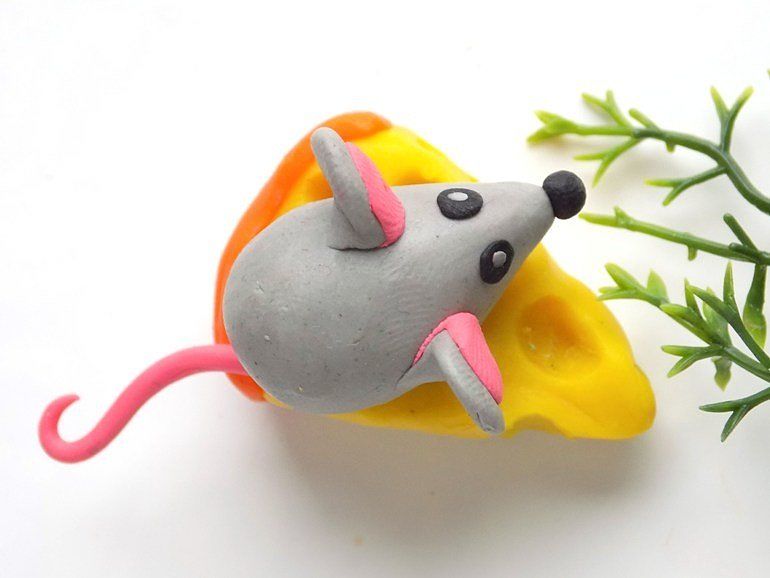
The Mouse
It's not hard at all to make a mouse from the tale Kolobok. Show your child in the picture what parts it consists of. Make an oval for the body, a sausage for a tail and two small cakes for ears. Connect the parts together. Pull a little snout and attach a small ball nose.
Bunny .
For the bunny child will have to make two balls for the body, four flagella for feet and two flattened sausages for ears. Connect all the parts, make a face, attached to her eyes, nose and mouth.
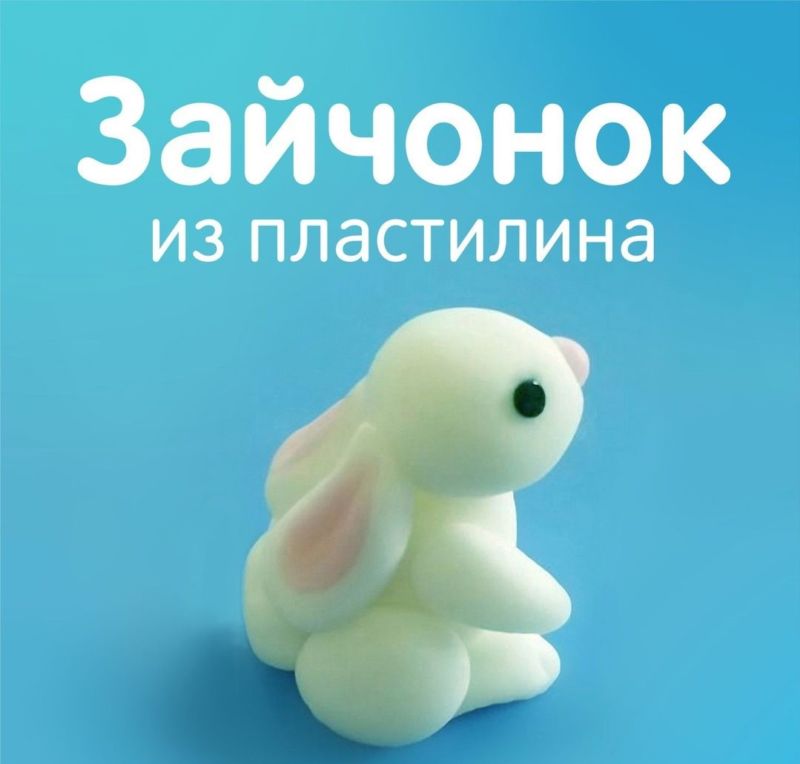
For fun, you can from pieces of fishing line add antennae. That the bunny did not go hungry, make for him a carrot.

Doggy .
To make a doggy, first roll a ball for the head and two flattened little sausages for the ears. From a small balloon to make a muzzle. The eyes and nose can be drawn with a marker or made of clay.
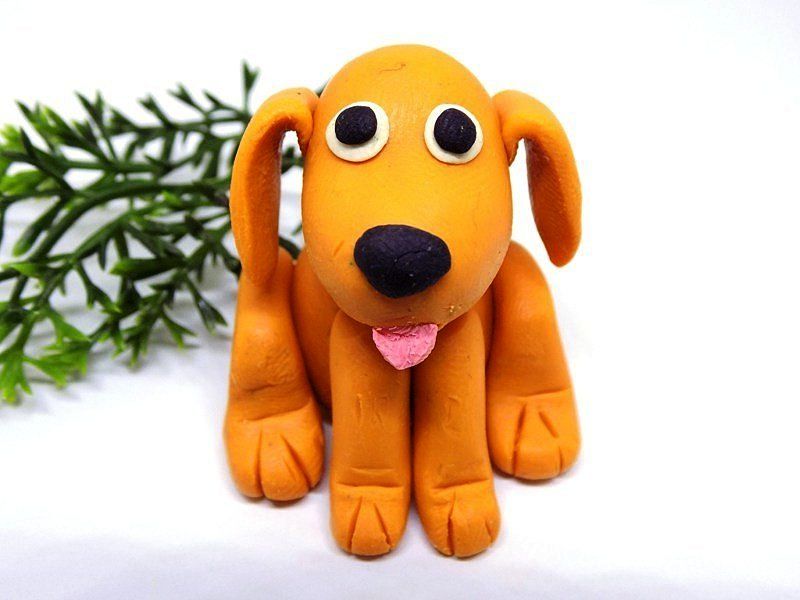
For the body roll an oval, attach paws of small flagella, tail. Attach the head to the torso. What is it stronger held in place of connection insert a piece of a stick from a toothpick or match.
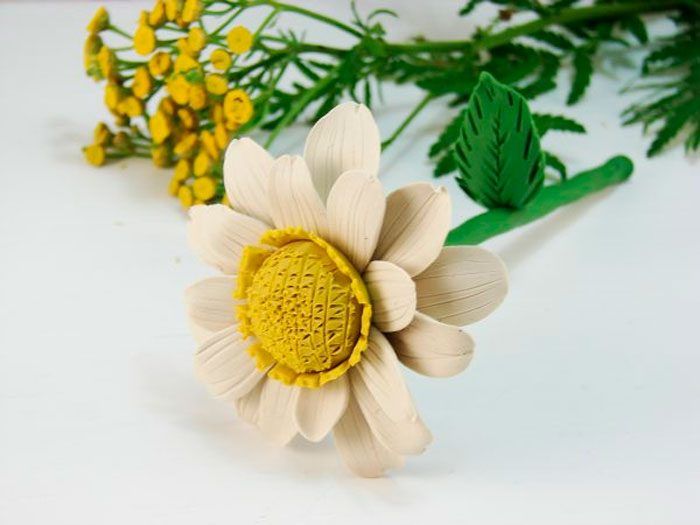
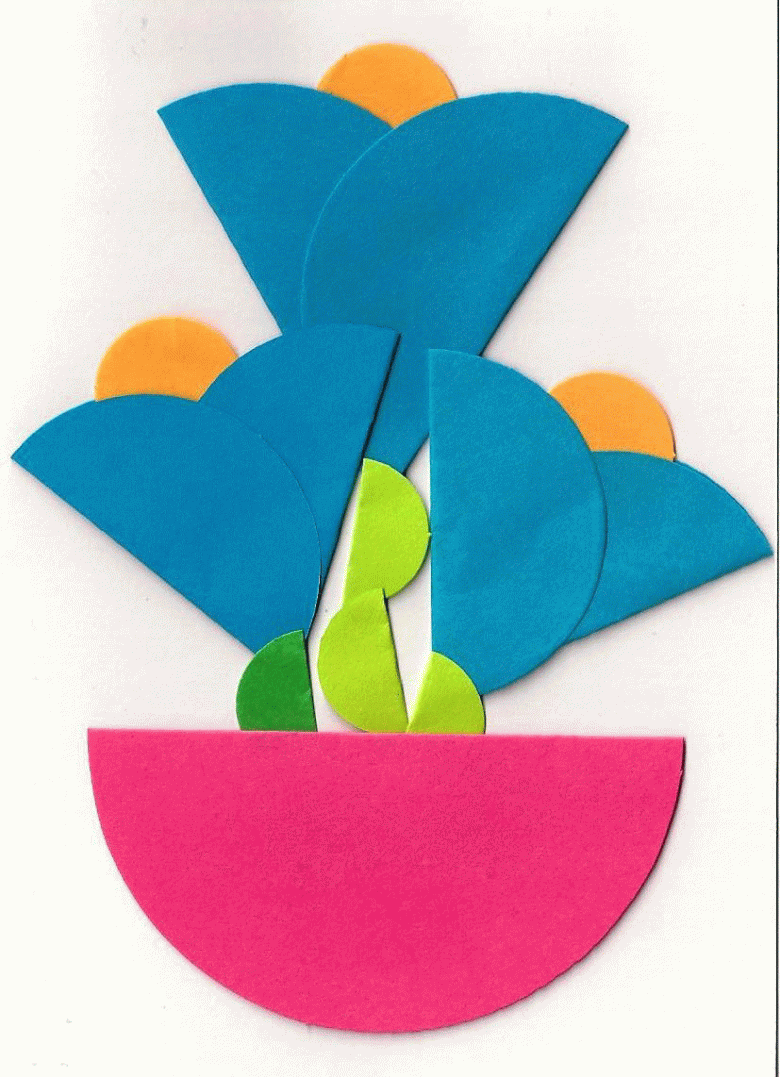
Flowers .
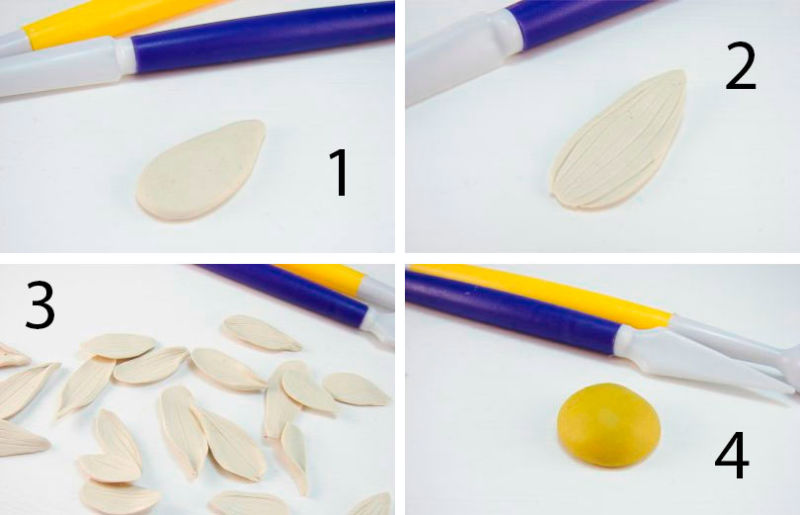
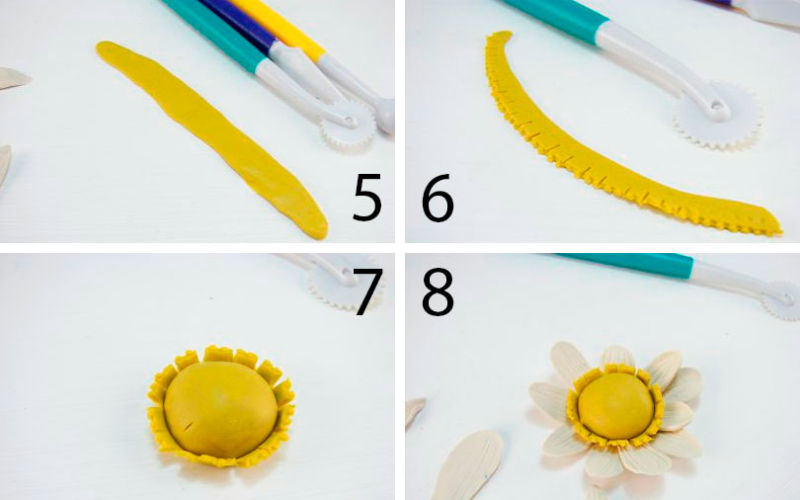
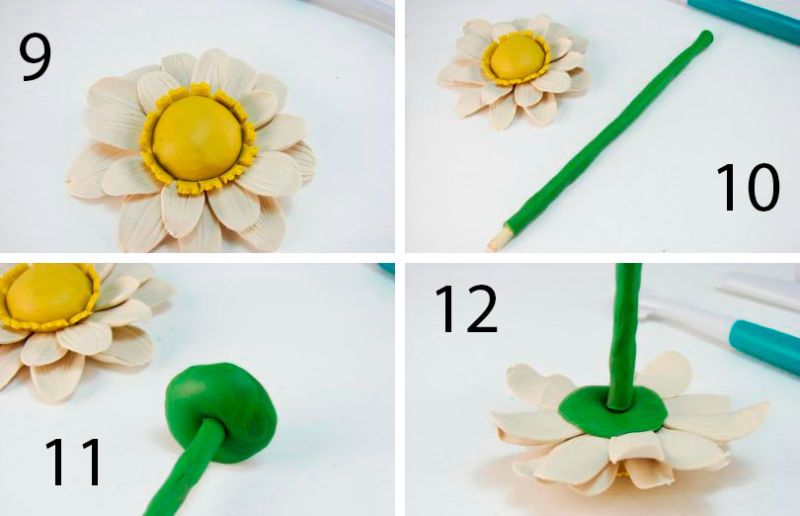
Help your baby to cast a daisy as a gift to grandmother. You will need white, yellow and green plasticine and one match for the stability of the stem:
- Glue green plasticine onto the match and smooth it out so that the stem is more or less even.
- Roll balls of white plasticine for the petals, flatten them and give them a slightly drop-shaped, squeezing on one side.
- For the base of the daisy, make a petal of green color and glue the petals in a circle on it.
- For the middle flower to roll little yellow balls and glue them.
- On the stem attach the flower head.
- Several daisies planted in a pot. It is easy to make from plasticine or any cream jar, pre-fill it with plasticine.
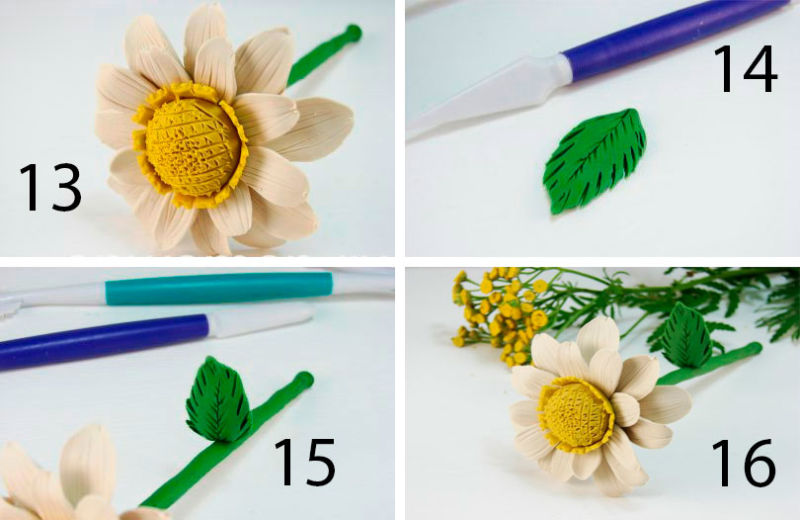
In this way you can make not only daisies, but other types of flowers. From a long and narrow strip, twisted in a spiral, you get a rose.
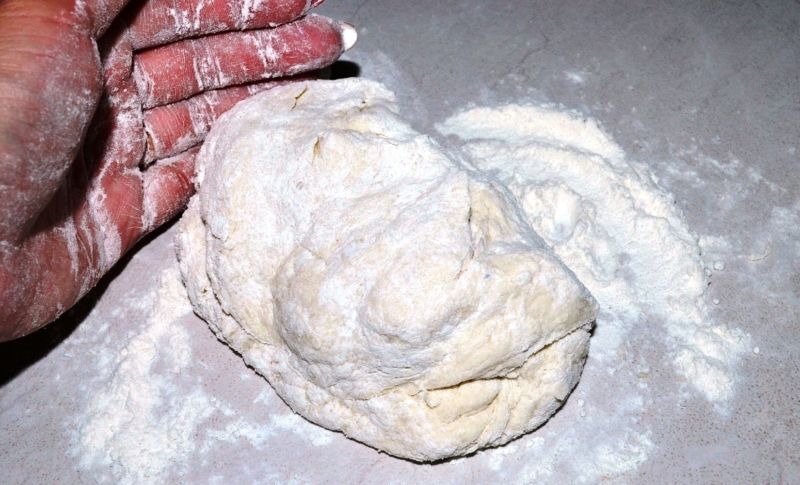
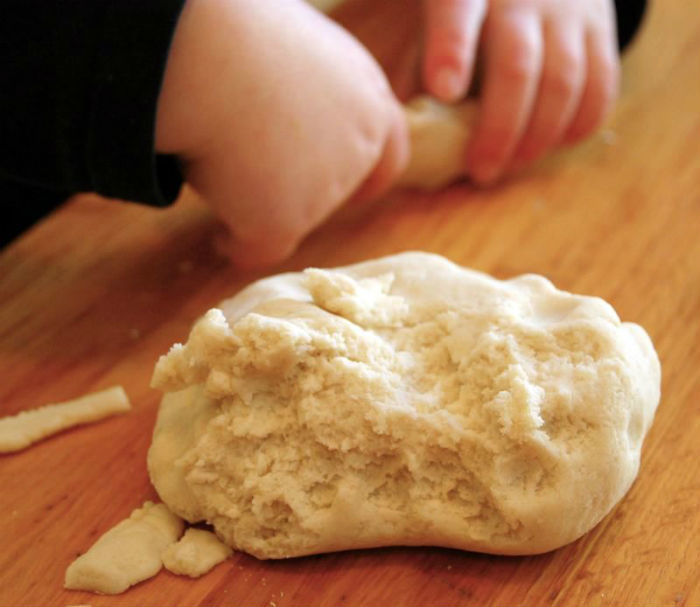
Figurines of dough
Clay dough is pliable and softer than plasticine and is safer in case a child should want to try and taste it.
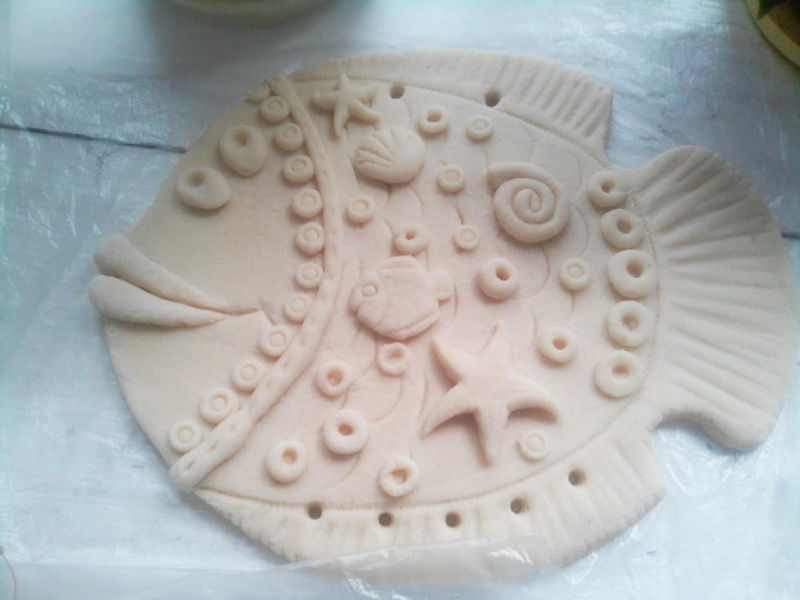
To prepare such a dough is easy. To one cup of wheat flour add half a cup of fine salt and the same amount of water. Everything is thoroughly kneaded. For more plasticity, a tablespoon of vegetable oil is added to the dough.
Babies can be encouraged to roll the dough with a rolling pin, press small objects into it, put it into cube molds, create simple crafts.
Children are interested in molding treats for their toys, fruit, vegetables, mushrooms and dishes. On the basis of rolled balls you can make a snowman, a doll, a caterpillar. All that can be made of plasticine is also suitable for modeling with salt dough.
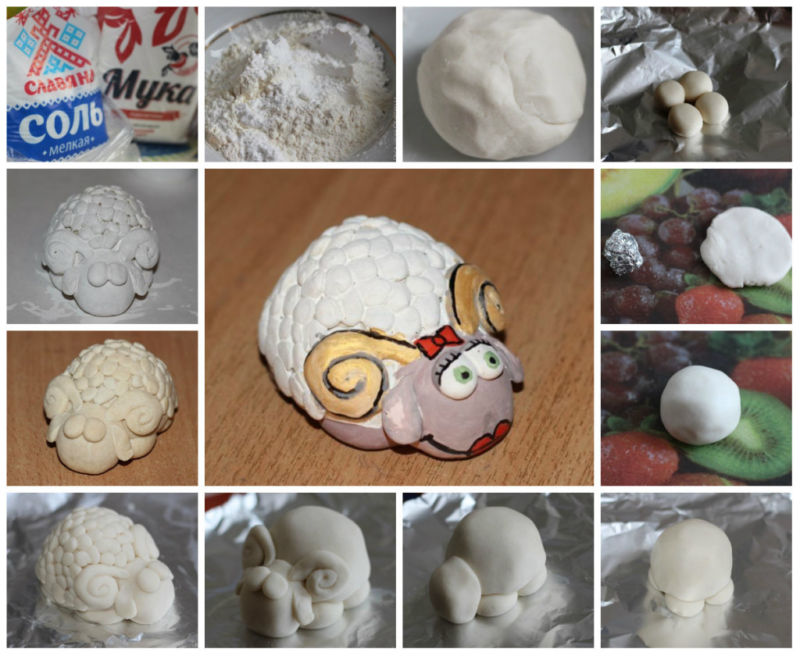
If you bake the figures in the oven, they harden, and the kid can play with them for a long time. And even these solidified figures paint.
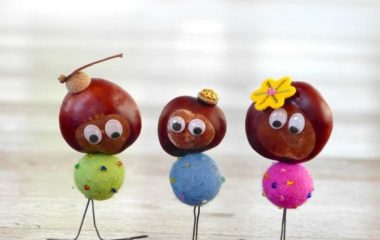
Cones crafts
Cones - a natural material from which you get a variety of beautiful crafts and decorative objects. For crafts are equally suitable for both spruce cones and pine cones.
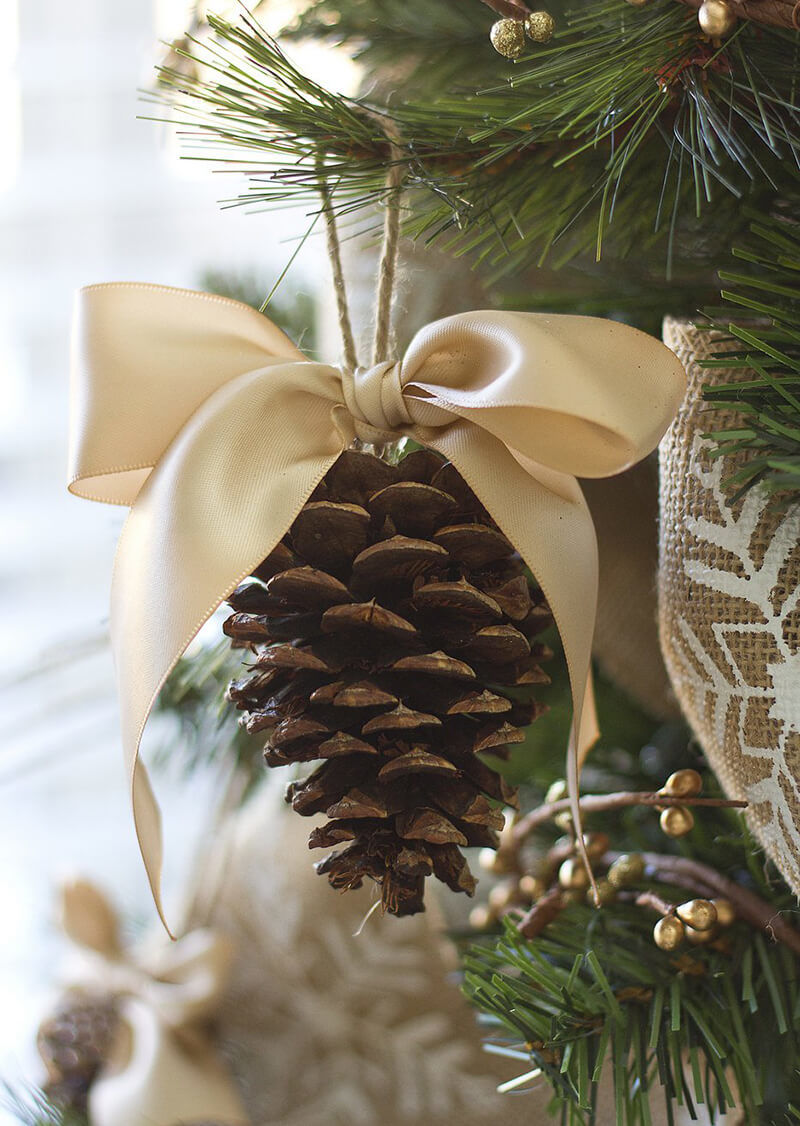
It is best to collect them in the fall, on a dry day.
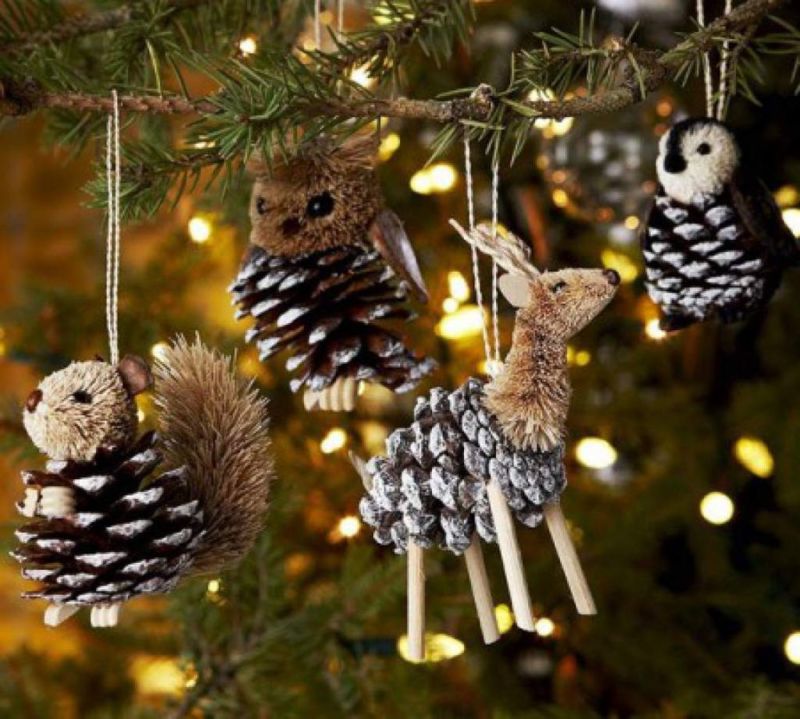
Before you give cones to your kid, they need to be prepared. First they are cleaned of dirt with a brush or cotton swab dipped in alcohol.
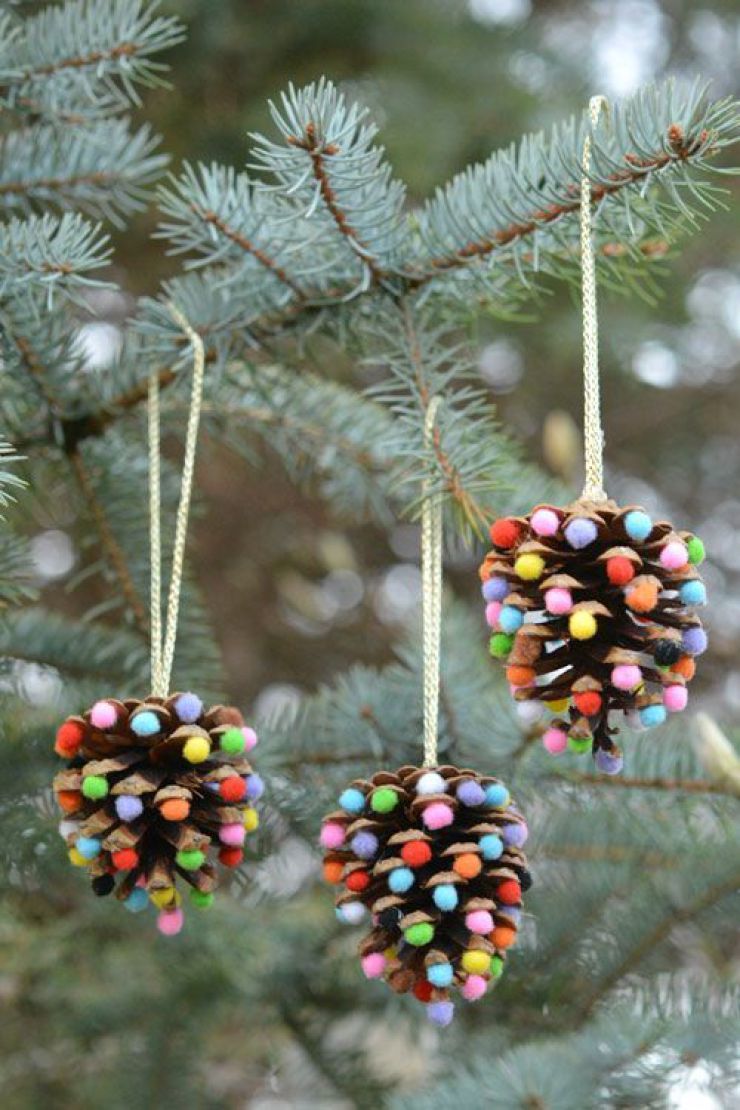
After that, the cones are rinsed and placed in vinegar, half mixed with water, or simply boiled in plain water for half an hour. Dry them naturally.
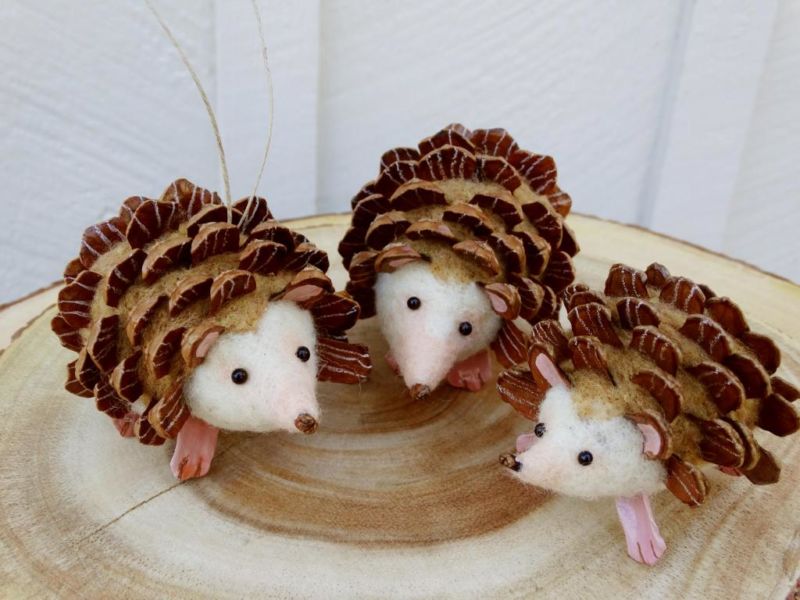
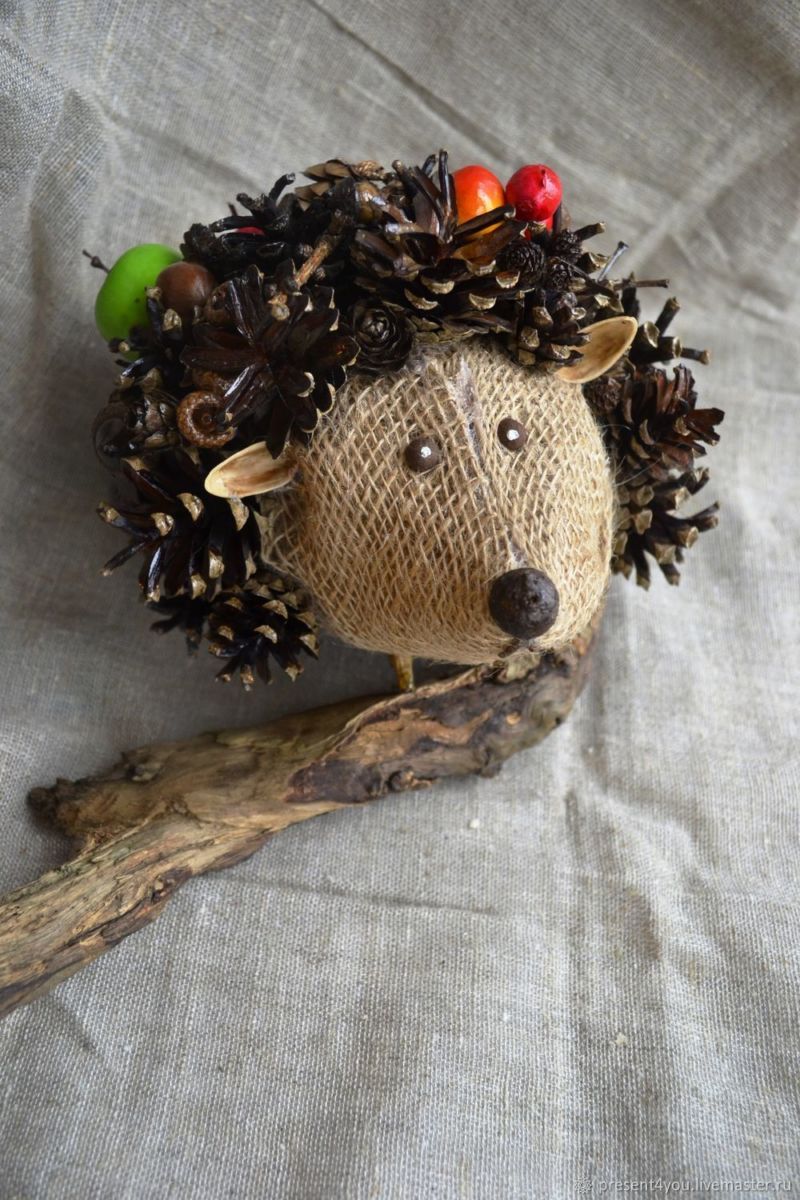
Hedgehog
For the hedgehog, a cone is better suited than any other natural material. Nature herself has created for him ready-made thorns. It is only necessary to make a muzzle of plasticine on the tail of the cone, attach a spout and eyes. Separately make apples, mushrooms, and attach them to thorns.
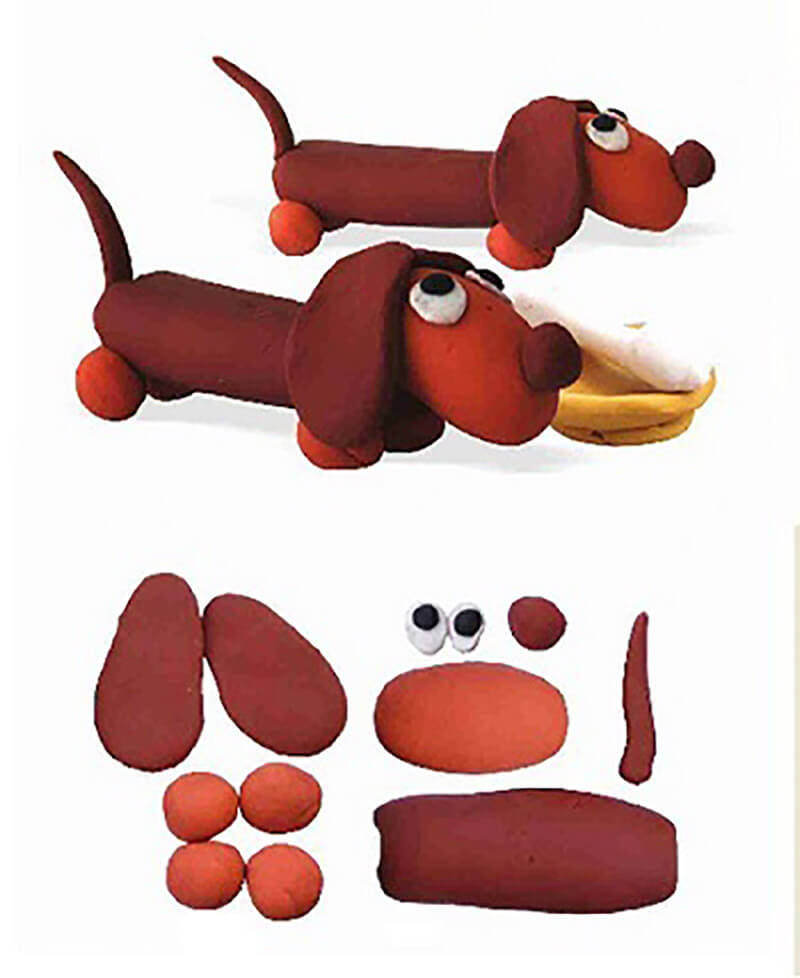
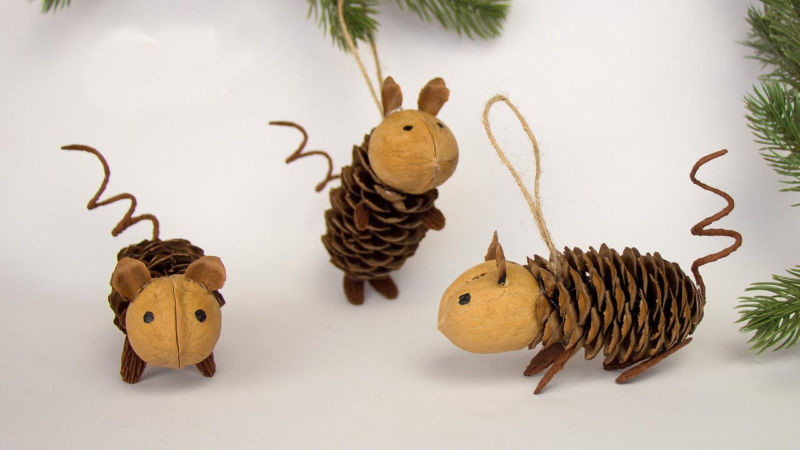
Mouse
Make a funny little mouse out of a fir cone:
- Help your baby mold a pointed face out of plasticine.
- He can make the eyes and ears all by himself.
- For the eyes, you need to make two small cakes of white clay, and in each cube stick a black pea in the center.
- For the ears roll out two small buns. For front paws roll two flagella, and for hind paws roll two balls. It remains to attach it all in their places.
Handicrafts teach kids to creative work. Children in two years of age already understand that they are able to create something with their own hands, make their own gifts for loved ones. At the same time, they develop their imagination and artistic taste.

Parents treat children's creativity with special awe and tenderness. They keep the fruits of their children's labors for many years.
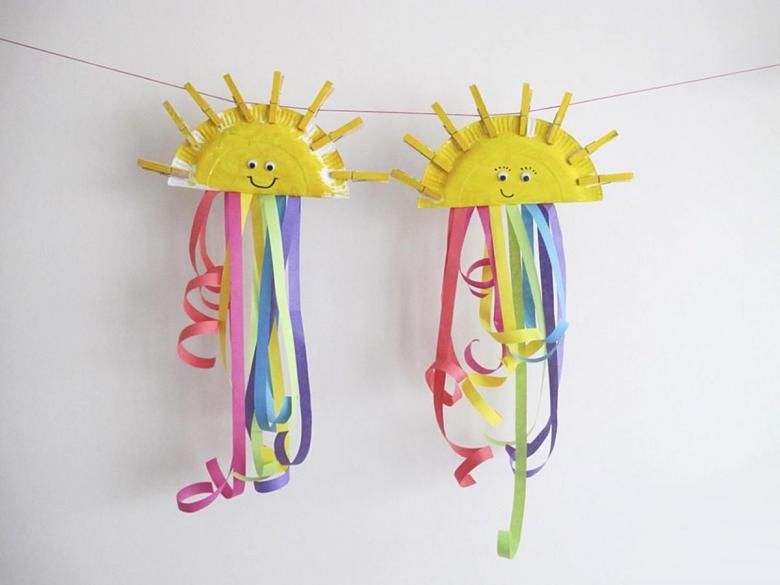
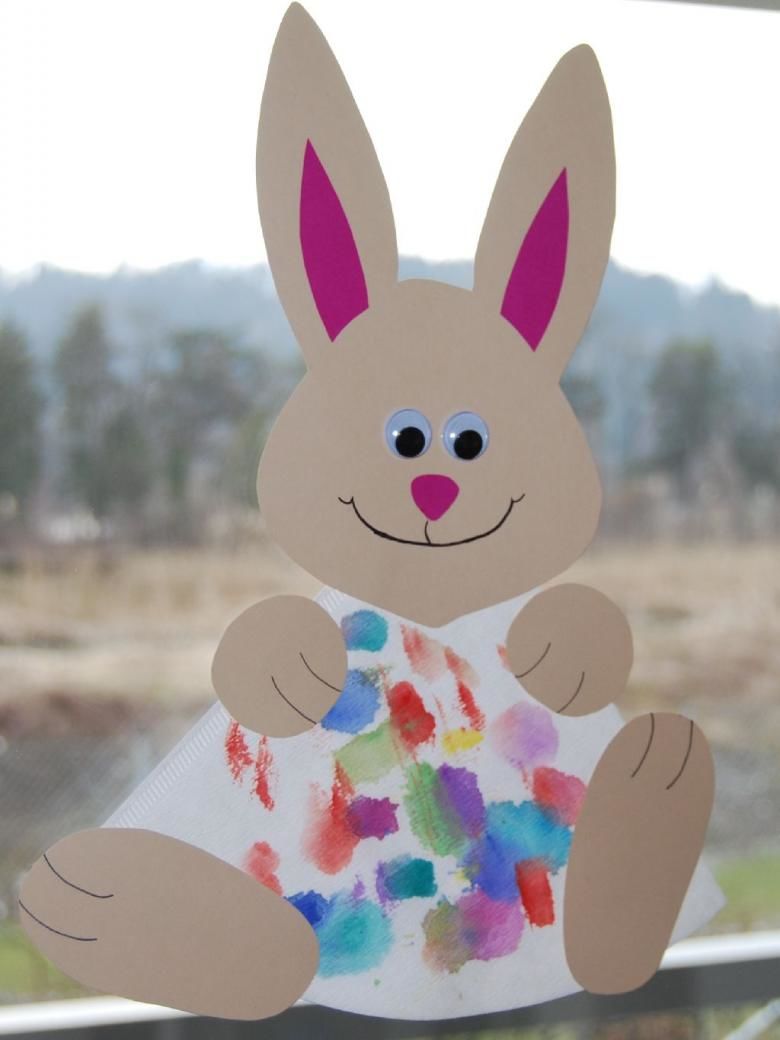
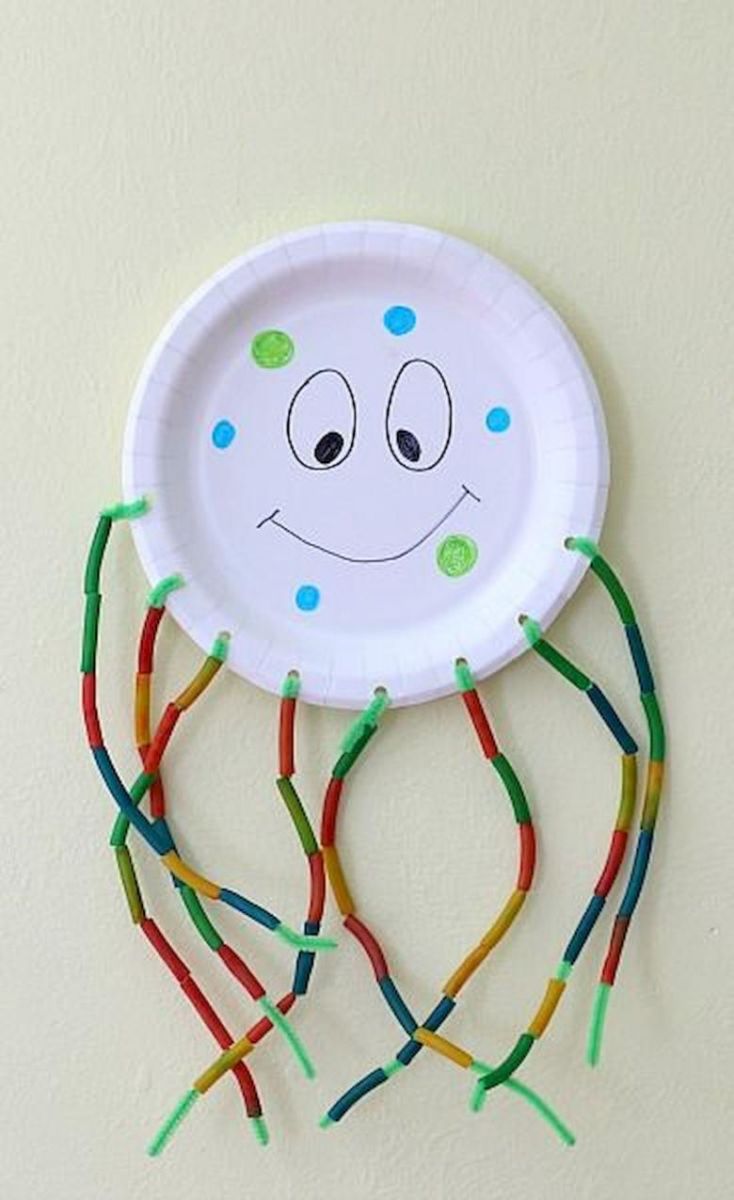
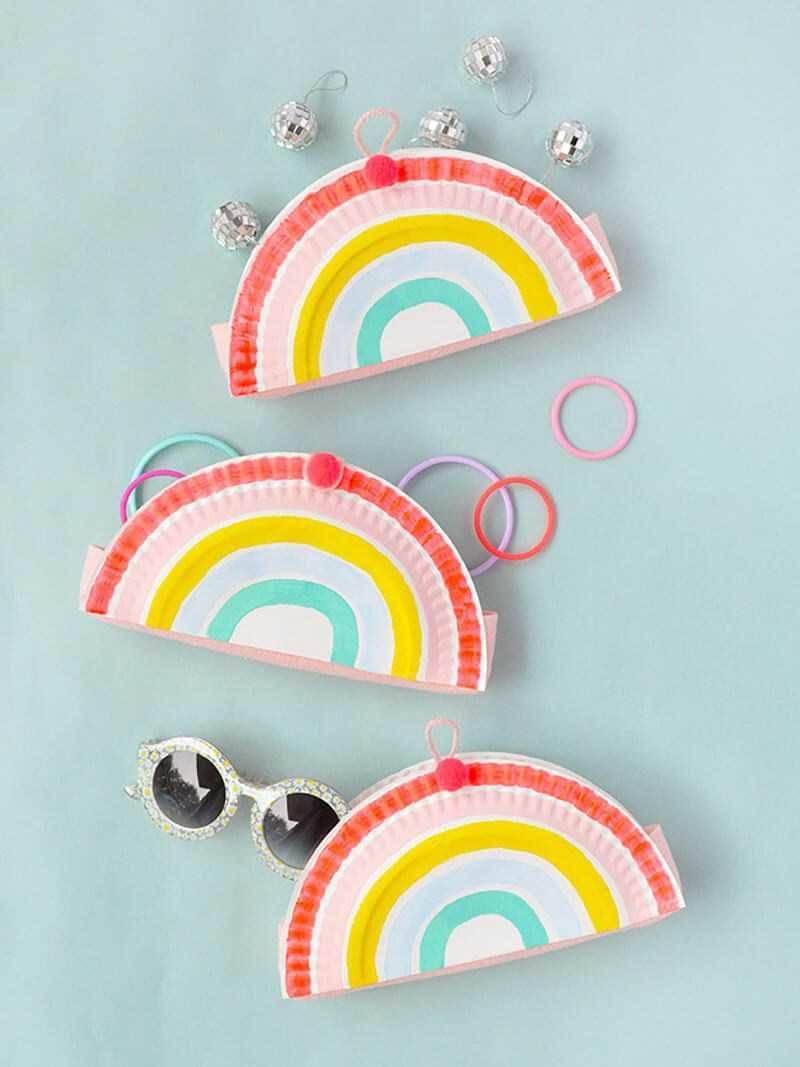
Photo crafts for a 2-year-old child