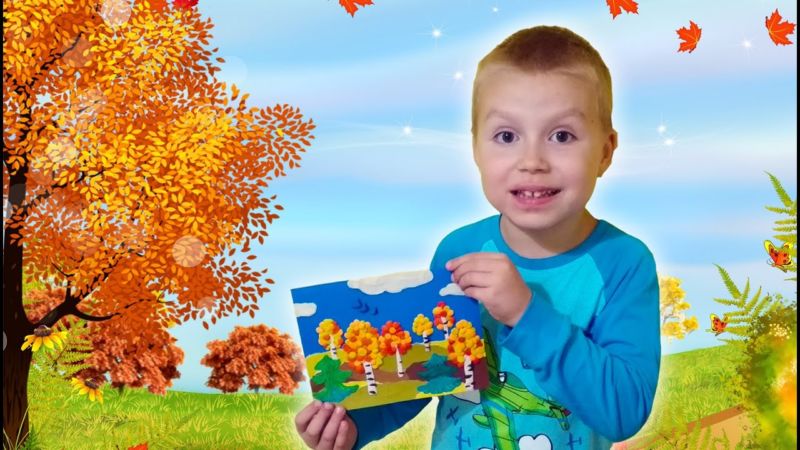
Modelling with clay for children 1, 2, 3, 4 classes - easy master classes and tips on making crafts
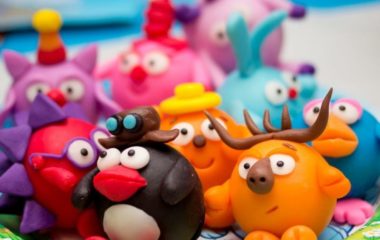
Modeling figures out of plasticine is a common type of children's creativity. They begin to do it in 1-2 years, the meaningful process begins in 4-5 years. Modeling develops creative imagination and improves fine motor skills of the child's fingers.
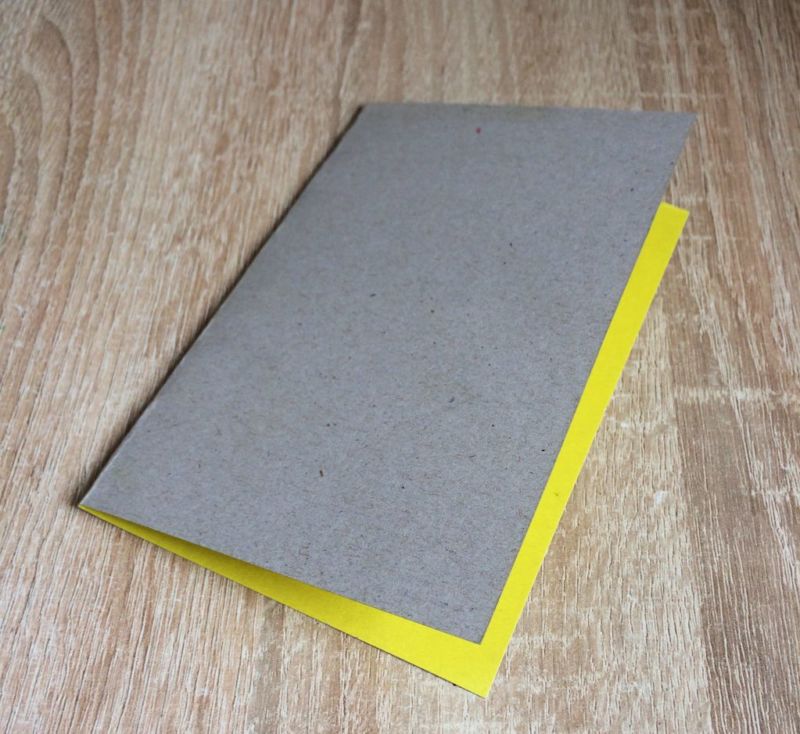
The flexibility of the material allows you to create products in any shape. For example, you can make a flat applique from plasticine on cardboard.
What is the benefit of plasticine drawing for children
Teachers know that this kind of art has a positive impact on the intellectual, emotional and physical development of the child. It awakens interest in creativity and develops creative thinking.
Clay molding shapes such useful qualities as diligence and accuracy. This activity develops fine motor skills and increases the tactile sensitivity of the fingers.
Techniques for creating applications of clay
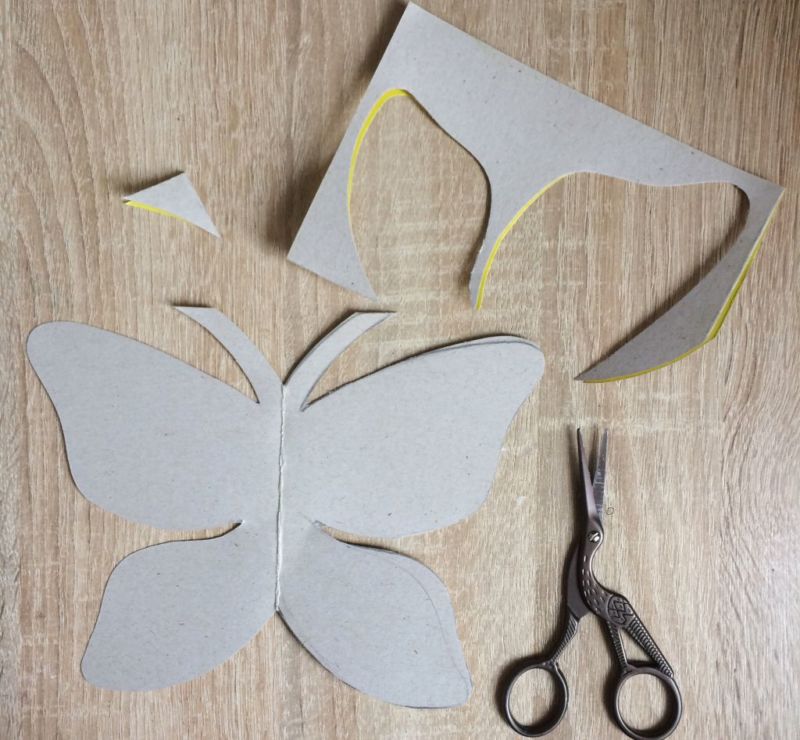
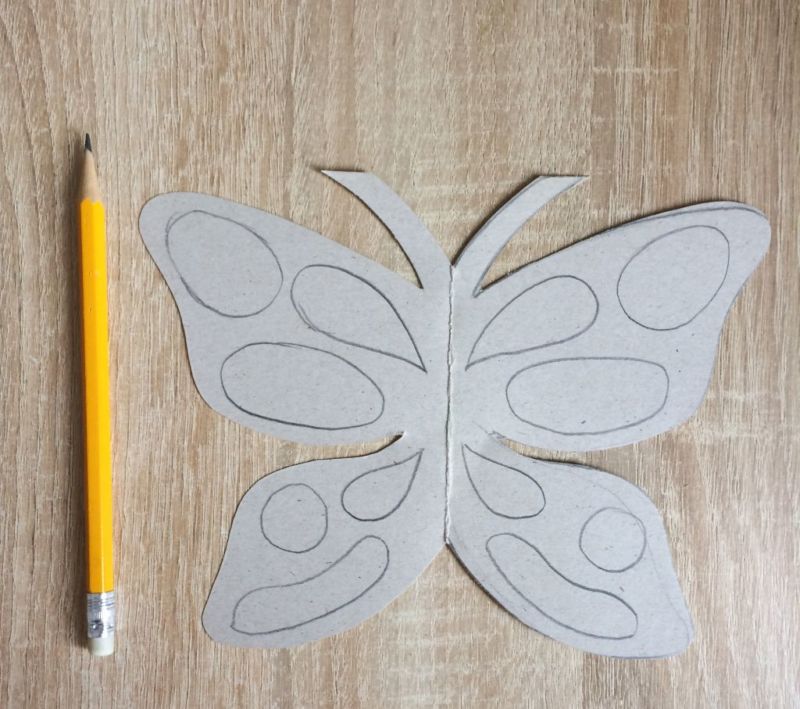
Before making an applique, you can draw a template on a cardboard sheet. Various techniques are used to create paintings from plasticine:
- Smudging. A piece of material is kneaded in your hand until soft and smeared on the cardboard. Used to create a background color or to fill in shapes. Individual details in the drawing can be made three-dimensional for emphasis.
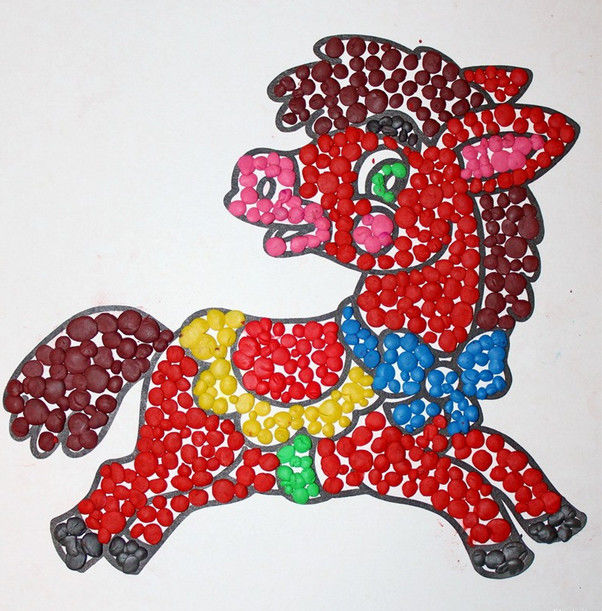
- Plasticine balls. These can be used to fill in the outline or to highlight accents in the drawing.
- Flattening. The ball is glued on the surface and lightly pressed with a finger.
- Scratching. Patterns are cut out on the pressed piece of plasticine. For this work, a knife or a special tool with a shaped carving is used.
- Strokes. The material is smeared on the finger and strokes are applied to the work surface.
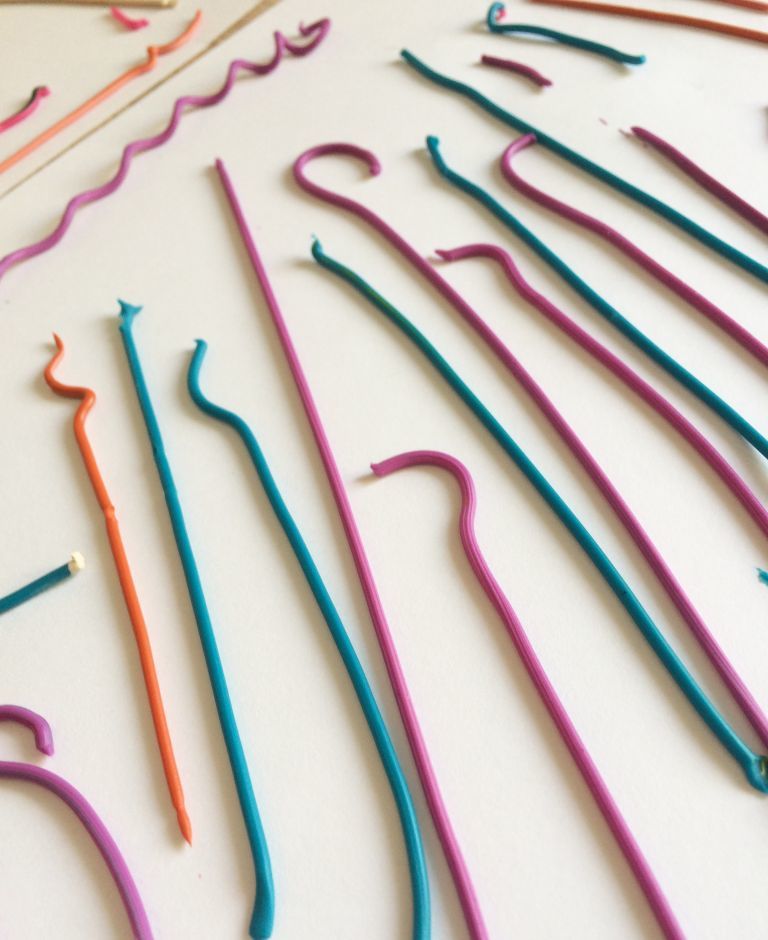
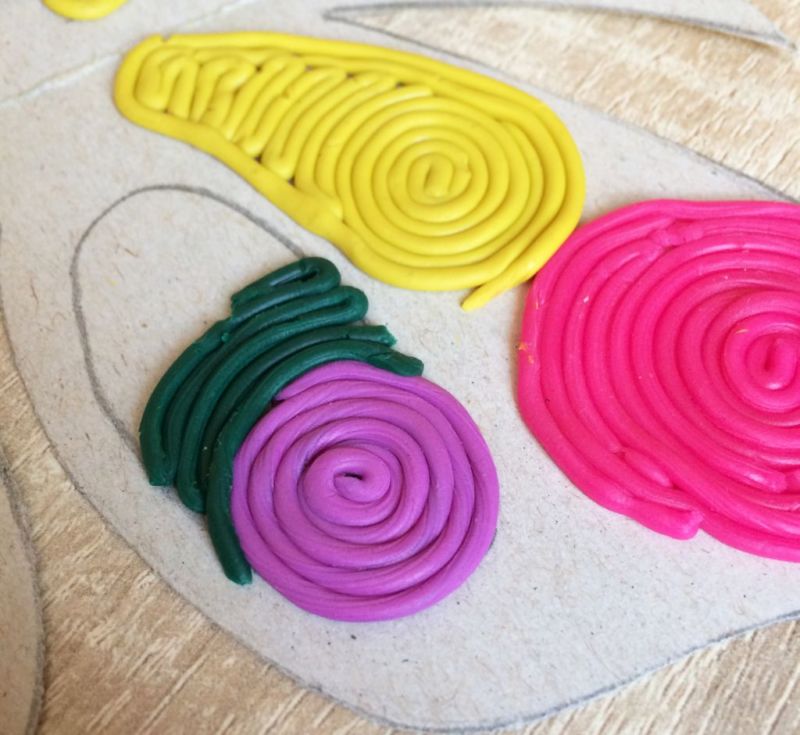
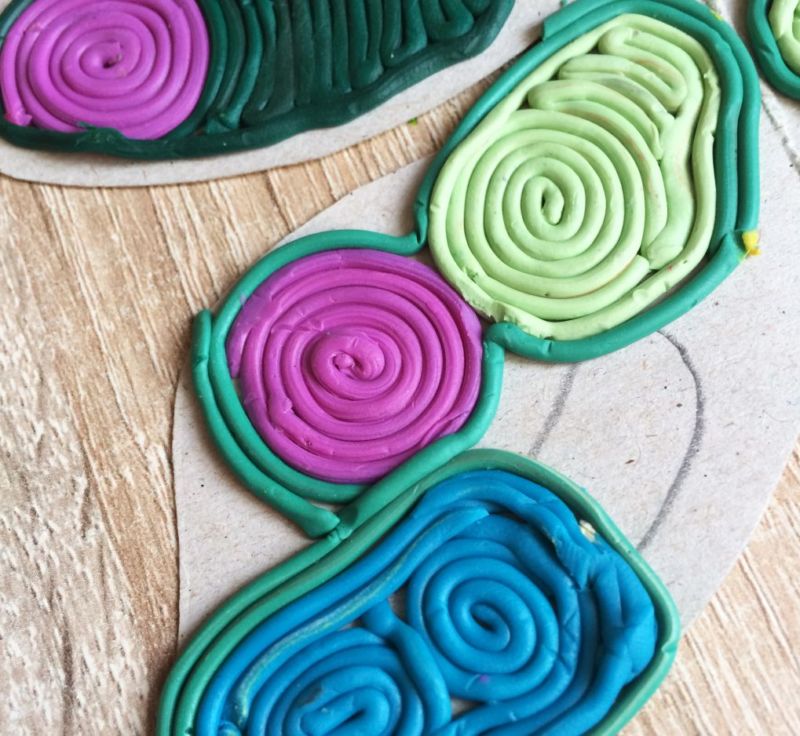
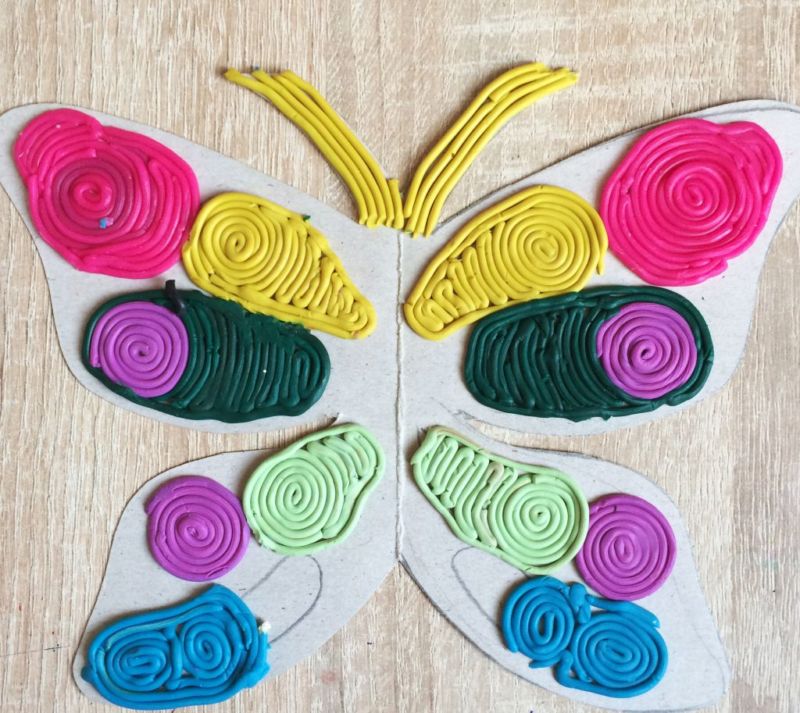
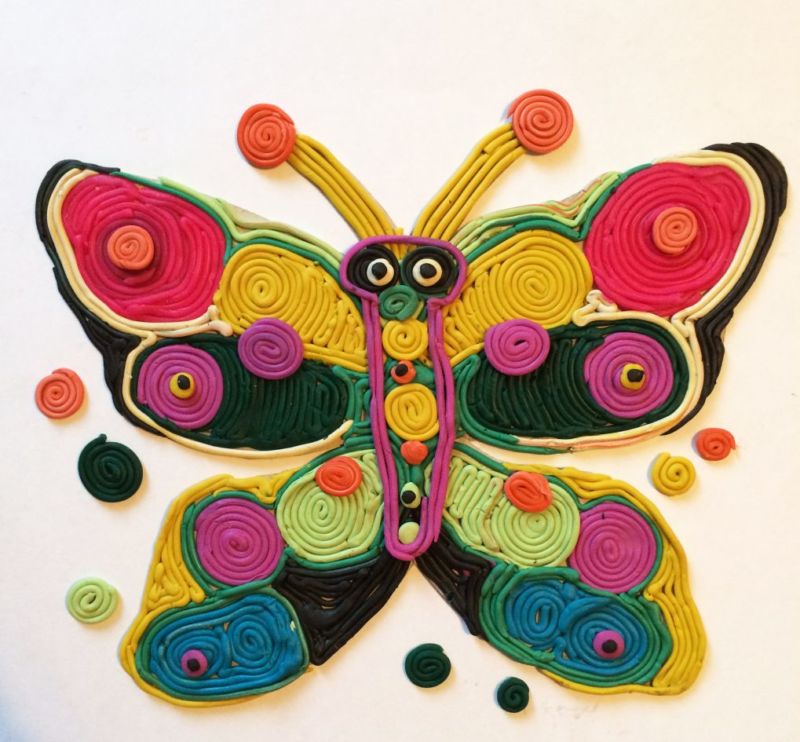
- Rolls. Rolling sausages of different thickness from plasticine to create an outline or outline the borders of the drawing.
- Squeezing with a syringe. After work, the body of the syringe should easily remove the remnants of clay.

The method of application is chosen based on the age group of the child. Also guided by their abilities and skills.
Clay applications for kindergarten
Plasticine applications for babies are primarily aimed at the development of fine motor skills of the fingers.
Children under the age of three are restless, so it is not easy for them to immerse themselves in the creative process. On the other hand, it is easy for them to get involved in a new and interesting activity.
But they are not yet able to think up a theme for a creative task. If they are not given a clear task from the height of adult authority, they will quickly lose interest in making applications.

Supervision by an educator should be aimed at developing neatness in work and consistency in actions.
Instead of just giving children a task to sculpt, one should try to interest them. For example, it is possible to make up a story for them and ask them to mold an object that participates in the events of the story. It should be something simple, such as a pot, a ring or a star.


Plasticine applications for schoolchildren
Students in 2nd grade will be interested in depicting a character from a fairy tale cartoon. Before you begin, you take a ready-made template and glue it to the cardboard.

Then the outline of the template is pasted with flagella of different colors. Eyes are molded from the flattened spheres of plasticine. Large elements of the application can be made solid.
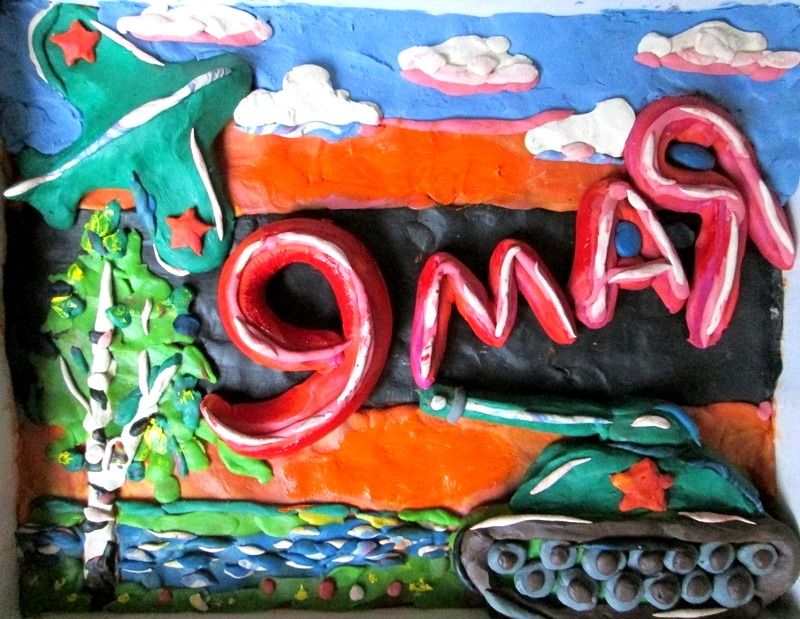
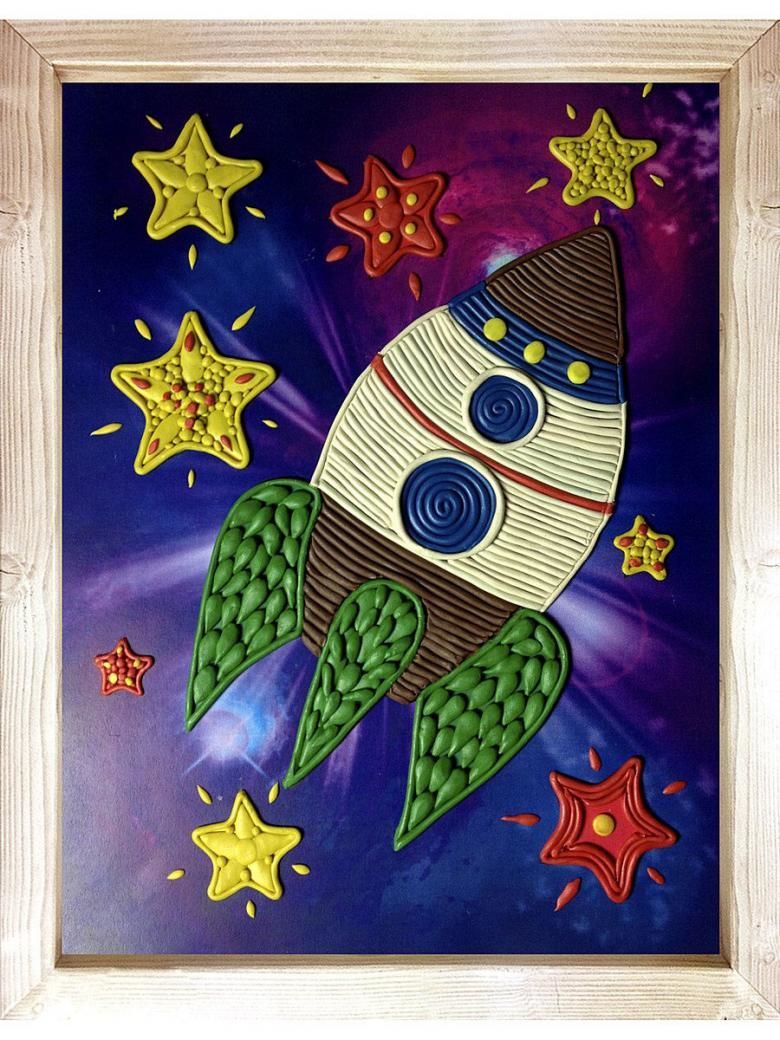
Variant of plasticine applications for the 4th grade - a postcard with a picture of a tank or a rocket. A sheet of cardboard is cut in the form of a shield. On top of glued balls, which are modeled numbers.
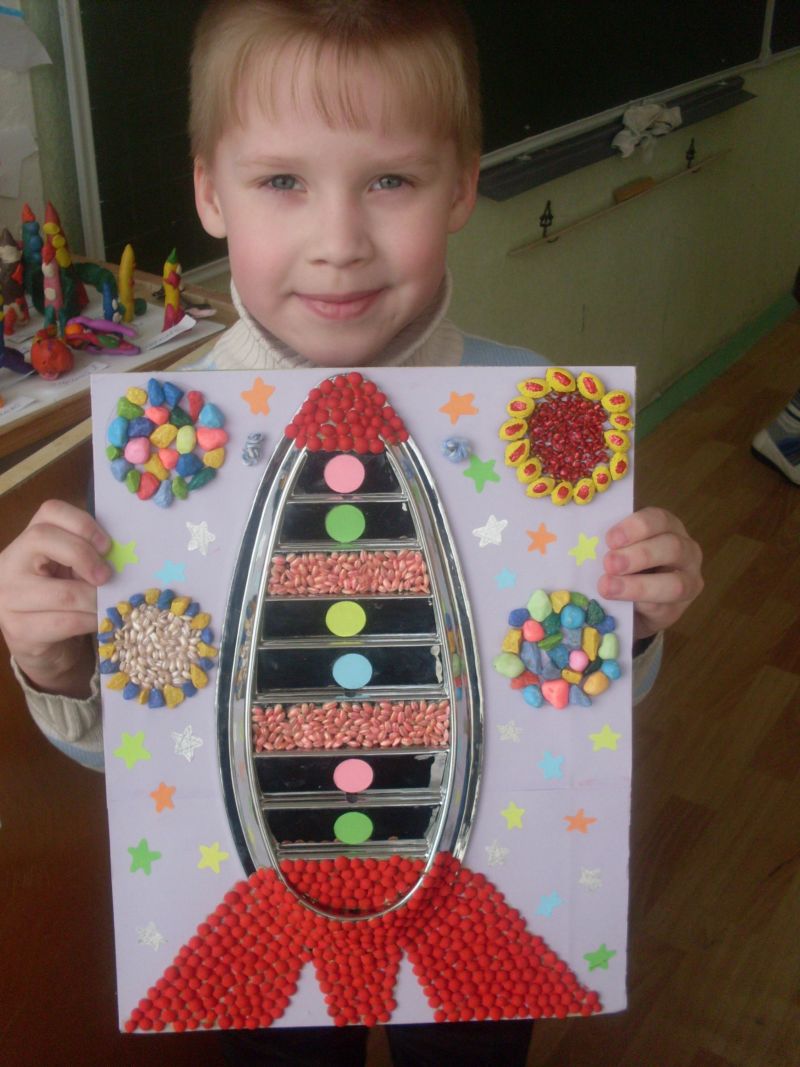
Below flatten out four large circles, which are located on the sides of two similar circles smaller - the tracks of the tank. At each of them is placed a black dot.
From the brown plasticine sticks formed a track ribbon in the form of an inverted trapezoid. It puts the thicker green bundle.
On the right side is placed a green semi-oval, to which the flagellum is glued. On top of it glued a red star. At this point, the application of clay is considered complete.
Master-classes on making applique with plasticine
You can make a lot of different applications from plasticine. Each master can choose their own theme for this handicraft.

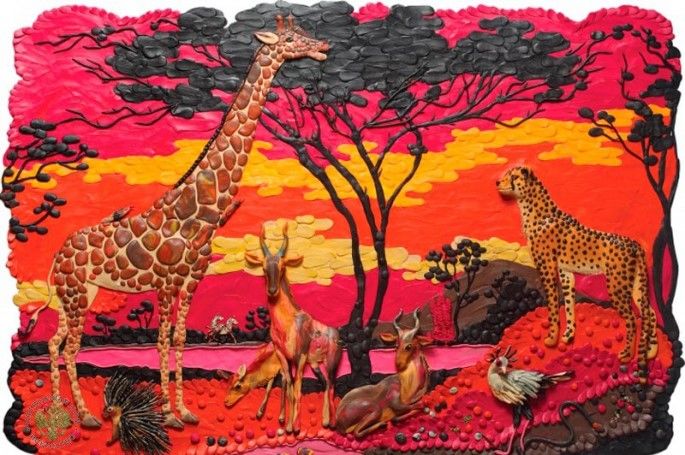
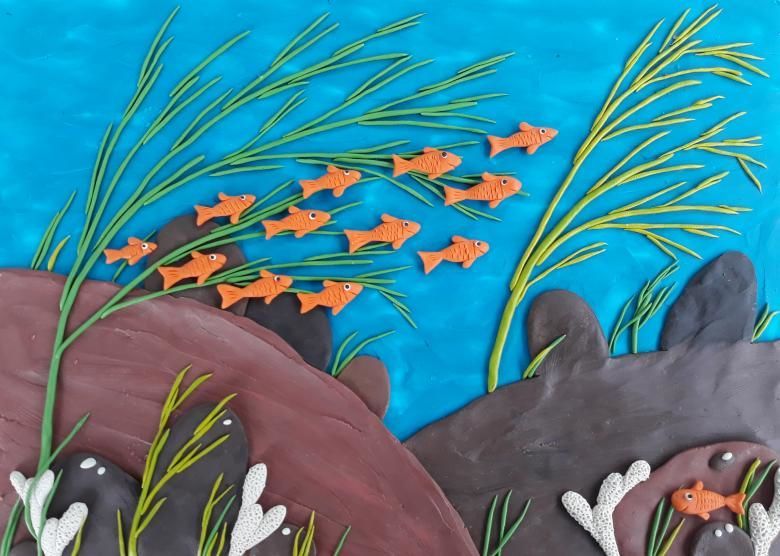
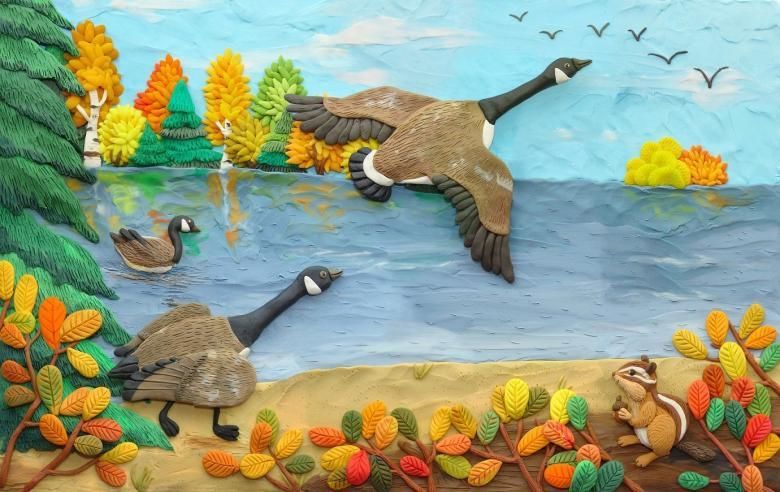
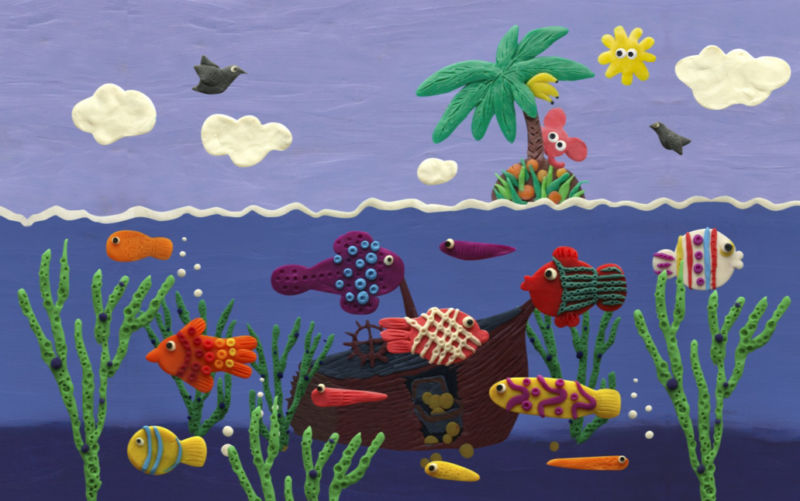
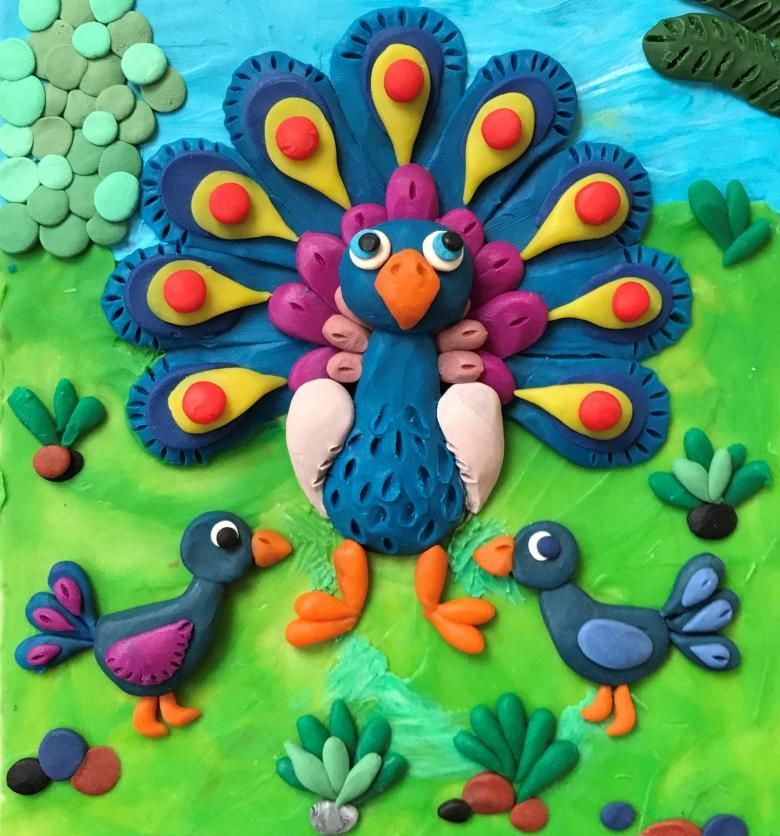
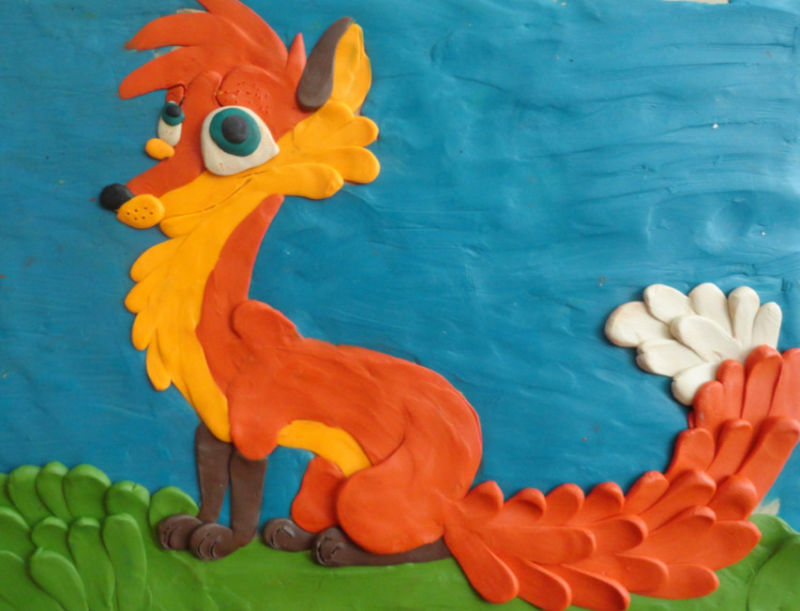
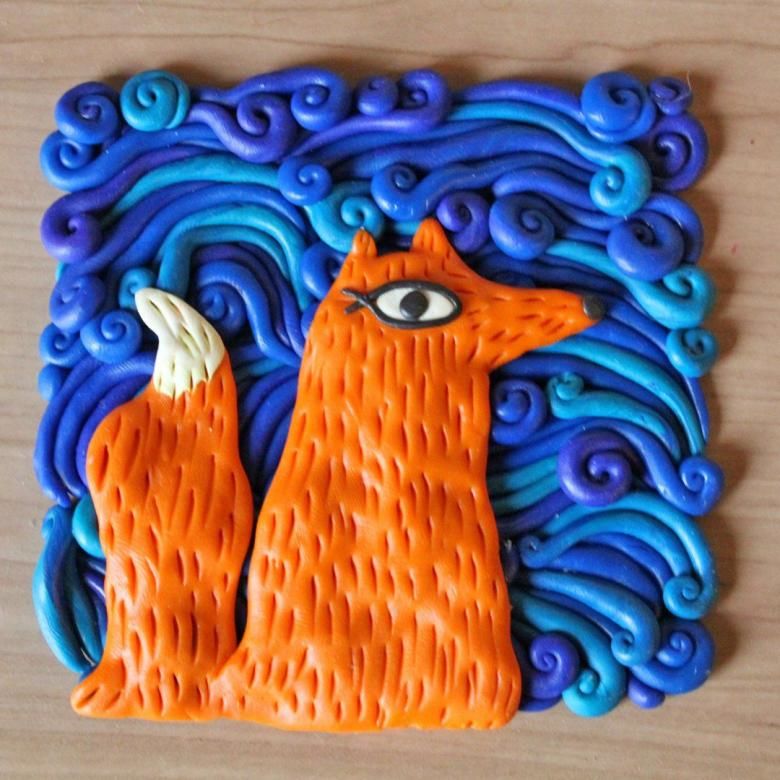
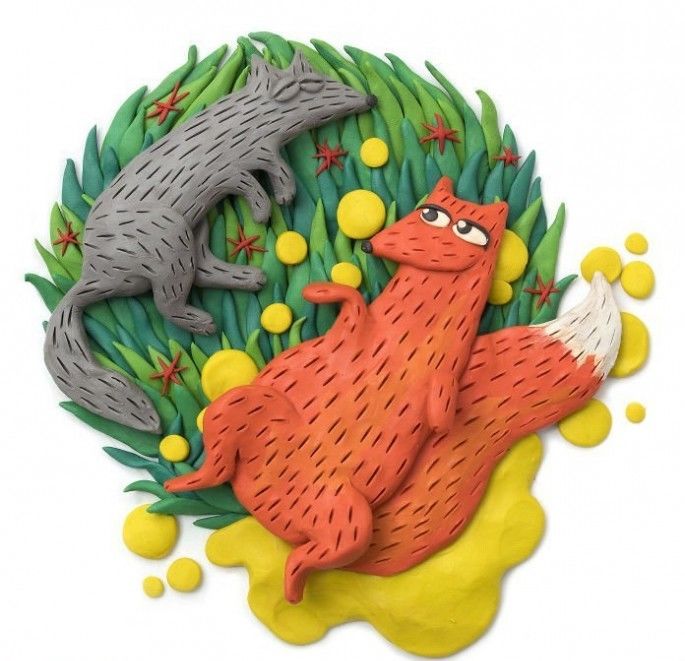
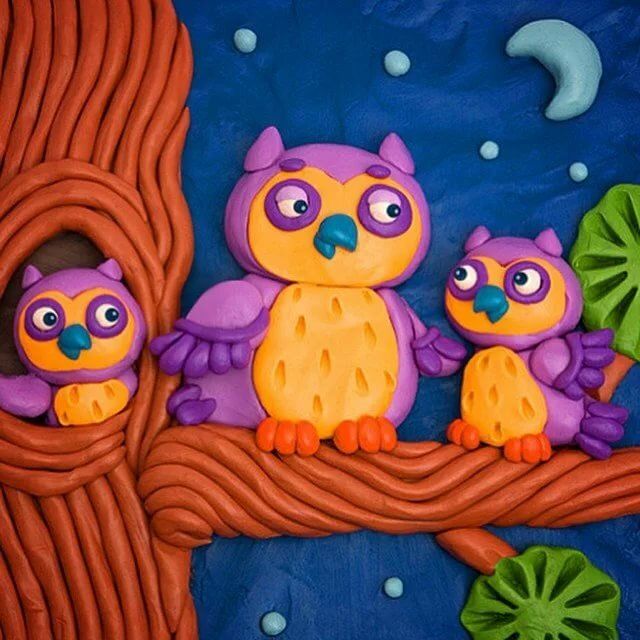
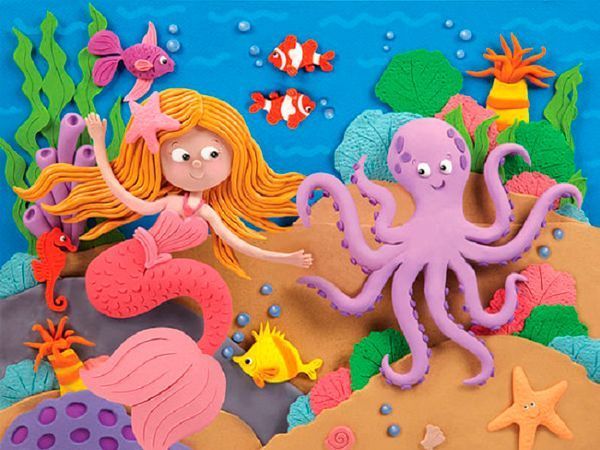
Animals, birds and insects
To create applications on the theme of animals, you will need ready-made templates. The areas inside the outline are filled with strokes, plasticine balls placed closely together, or painted with a solid rubbing.
The color of plasticine should correspond to the skin or plumage of the animal. Creative assignments of this type would be appropriate for 2nd or 3rd grade students.
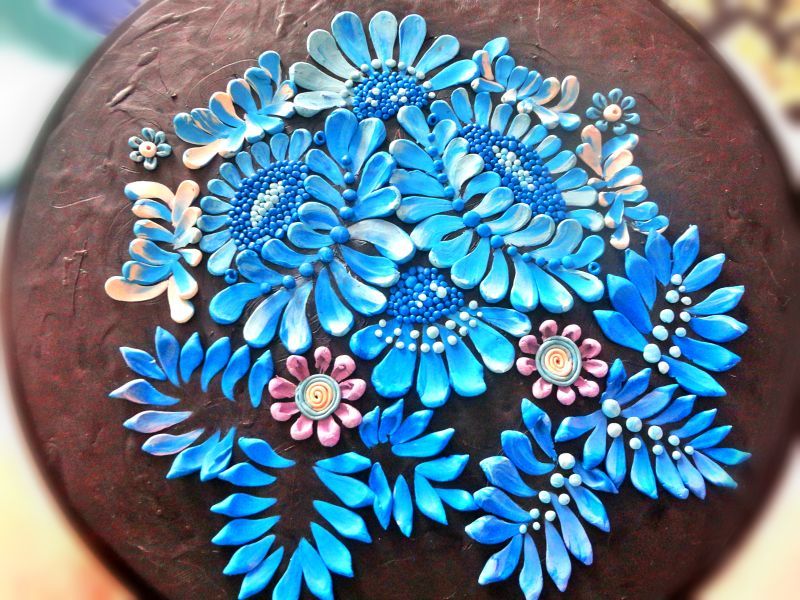
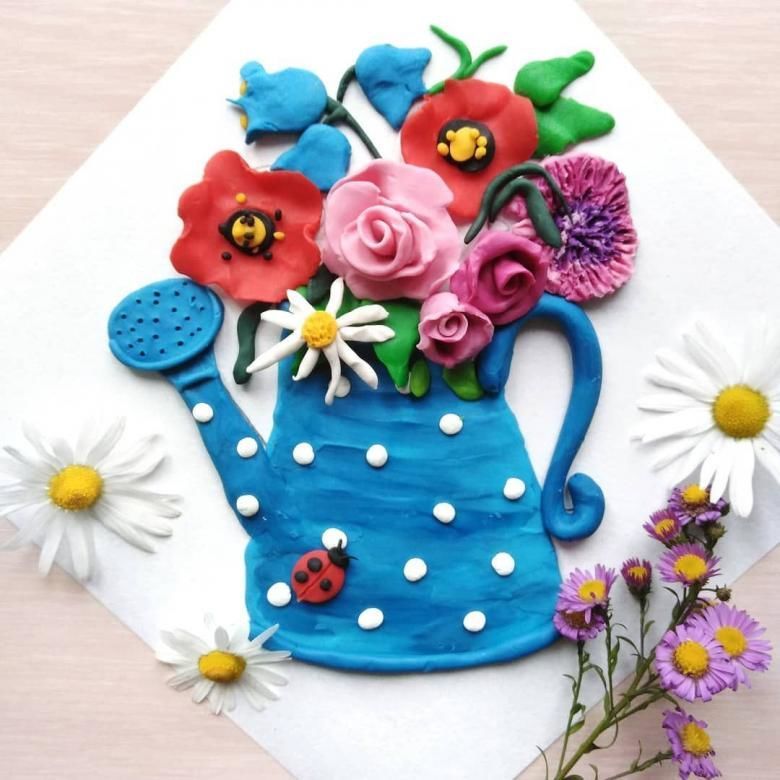
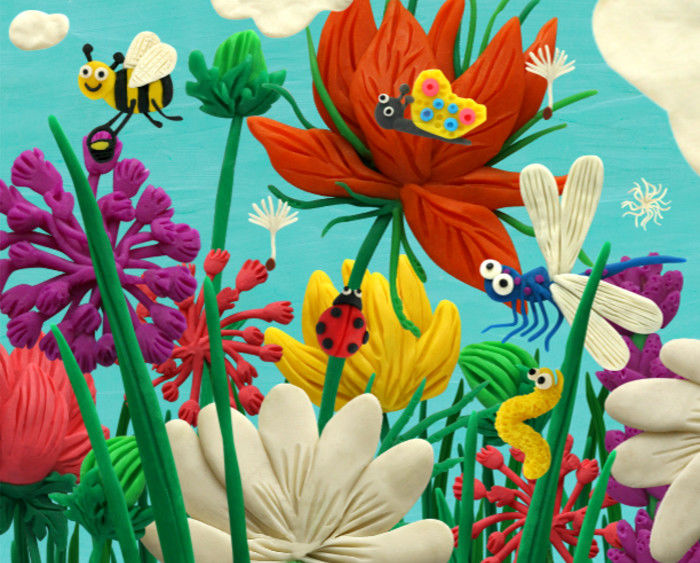
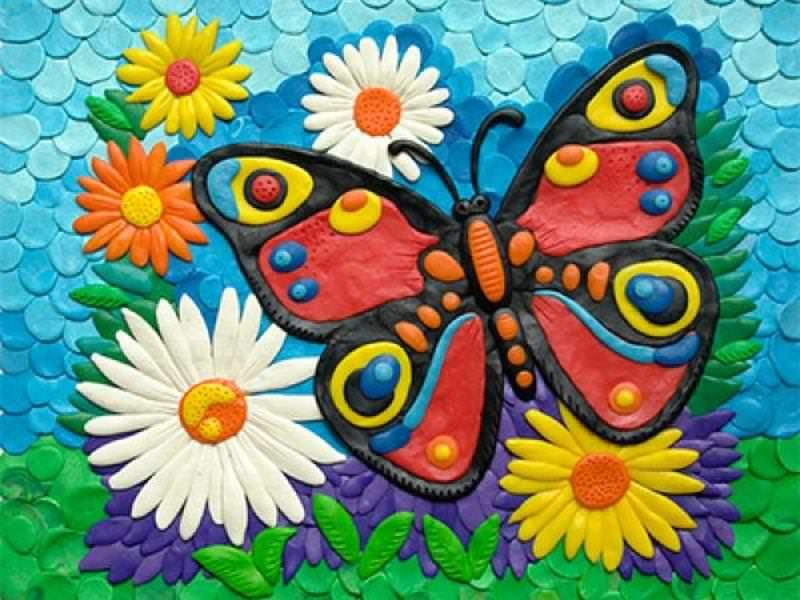
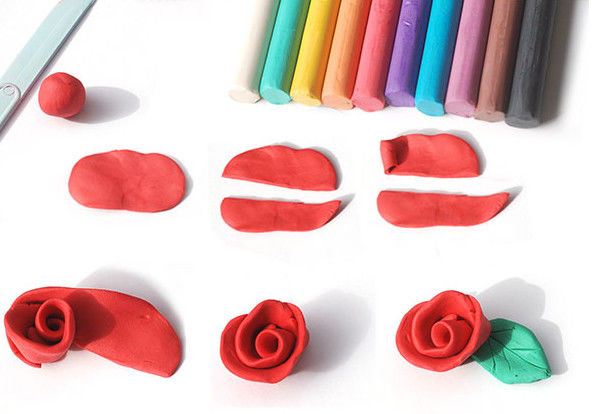
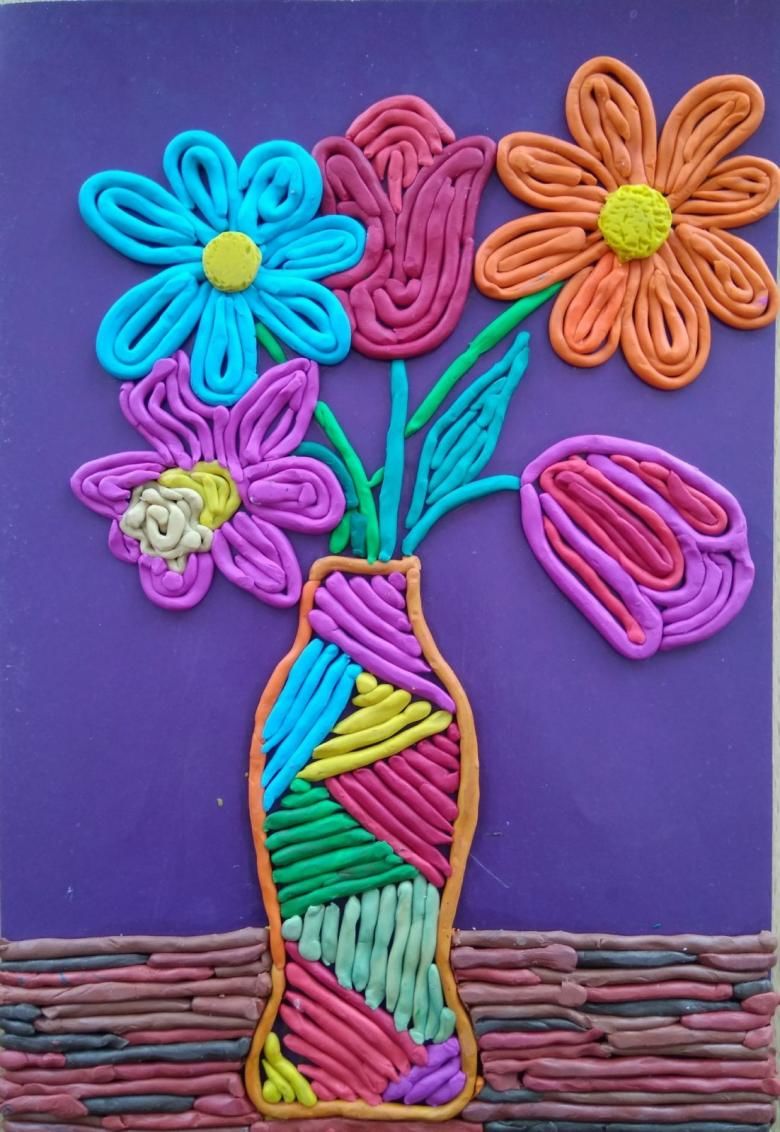
Flowers .
This is not a bad applique option for children. The easiest way to make a flower is to draw the outline of the core, petals, stem and leaves, and then paste it with plasticine of suitable colors.
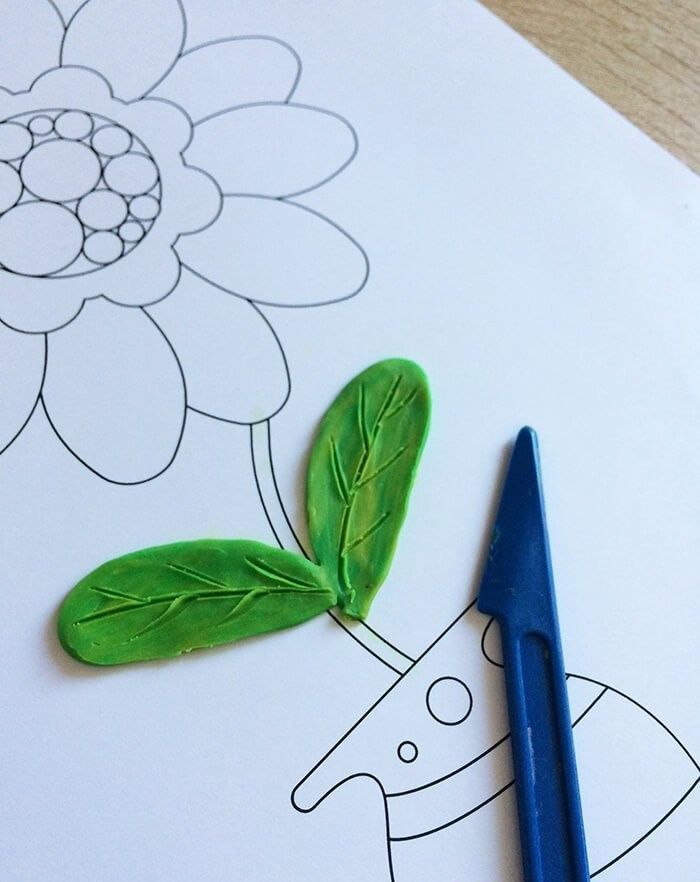
You can make flagellum and glue it to the outline, or you can trace it with a finger or spatula to mark the borders. The finished image should be coated with colorless varnish in two layers and left to dry.

Spring applique
A sunny meadow:
- At the bottom of a sheet of cardboard, a background of grass is created by rubbing green plasticine.
- On the upper border of the green background, green stems are drawn in strokes and diagonals are drawn to them on both sides.
- Now you need to roll out the colored balls and flatten them on top of the stems.
- In the upper half of the sheet is smeared blue plasticine. This is the creation of the celestial vault on the spring plasticine applique.
- A yellow sun and white clouds are depicted on this background. The sun circle is made in the form of a spiral from a twisted sausage, from which the vertical stripes depart. The clouds are twisted into an oval shape.
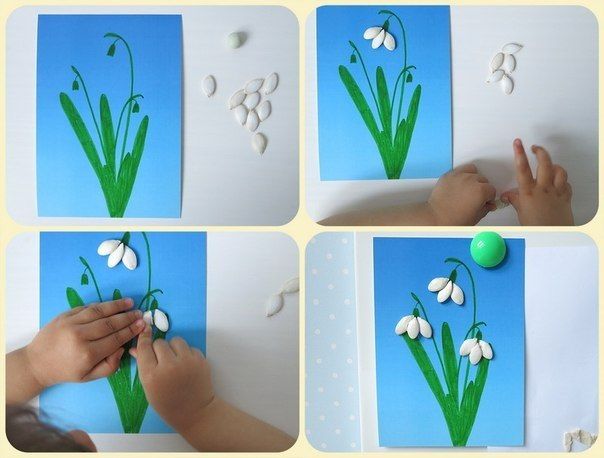
Snowflower:
- First the stems are created, the role of which is played by long green sausages, located in the center.
- At the bottom they are brought together, at the top they are spread in different directions.
- Then snow is created from white plasticine grinded under the stems.
- Buds are molded from three oval-shaped pieces of white plasticine, pointed upwards and forming together the likeness of a bell.
Applique with a summer theme
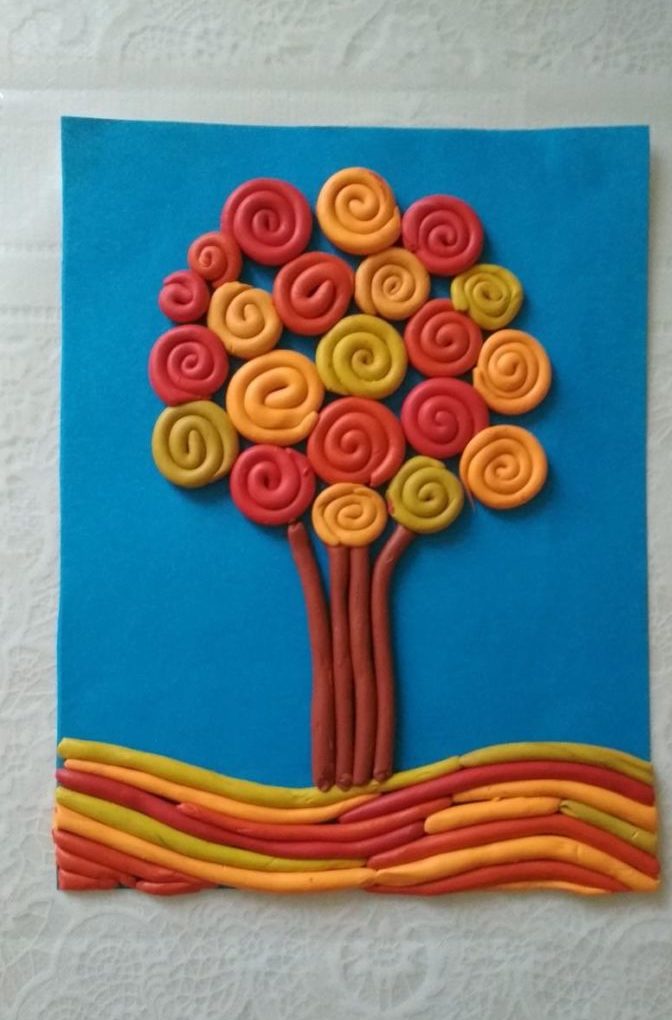
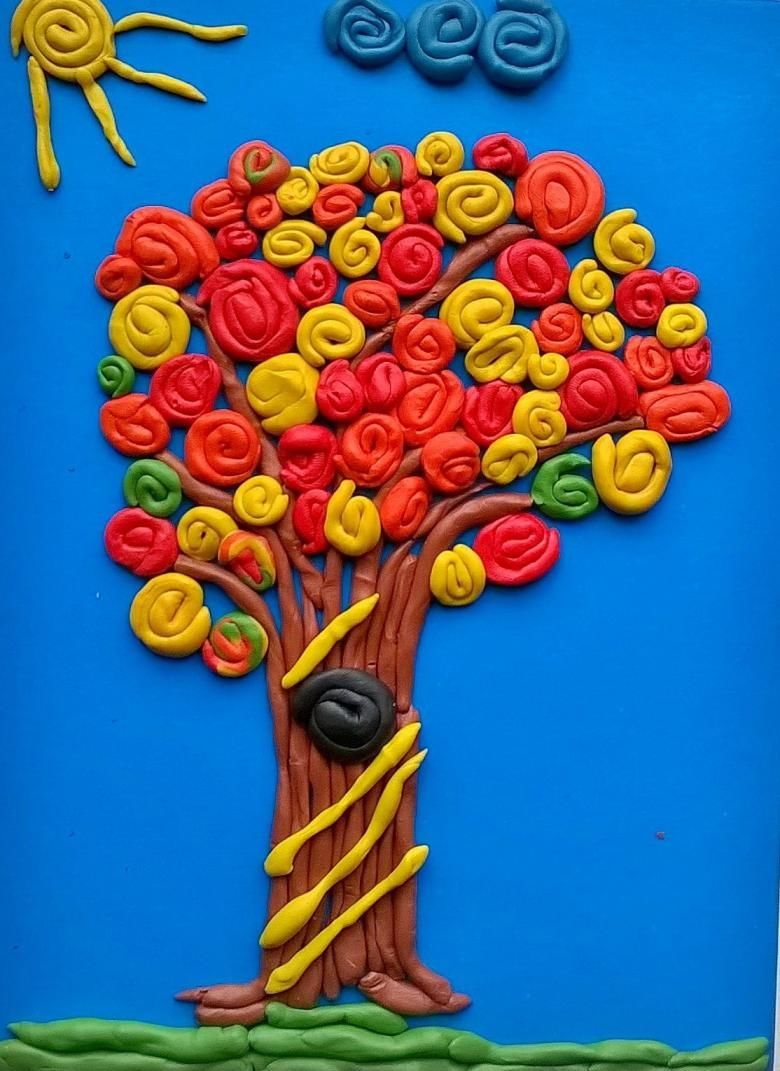
Spiral crown:
- The trunk of the tree is molded from brown plasticine. To do this, roll a few sausages and put them on the middle of the leaf close to each other.
- At the bottom they are slightly pulled apart, it will depict the root system of the tree.
- To sculpt the crown of a tree for applications, you can use several colors. The sausages are twisted into spirals and molded around the top of the trunk. Cluster of spirals should form a semicircle.
- After that, creates a background for the tree. The top half of the leaf is plastered with blue, the bottom half with green.
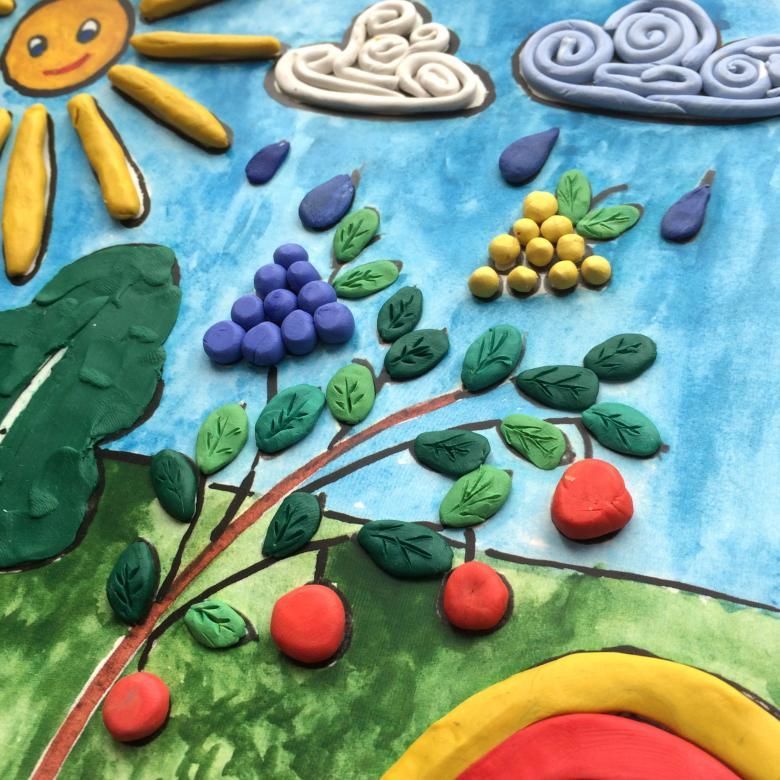
Fruit tree:
- The outline of the tree is drawn on a blue sheet of cardboard.
- The contour of the trunk is filled with a convex layer of plasticine, imitating the bark on which the growths are created.
- To create the crown on top of the trunk is molded flattened balls.
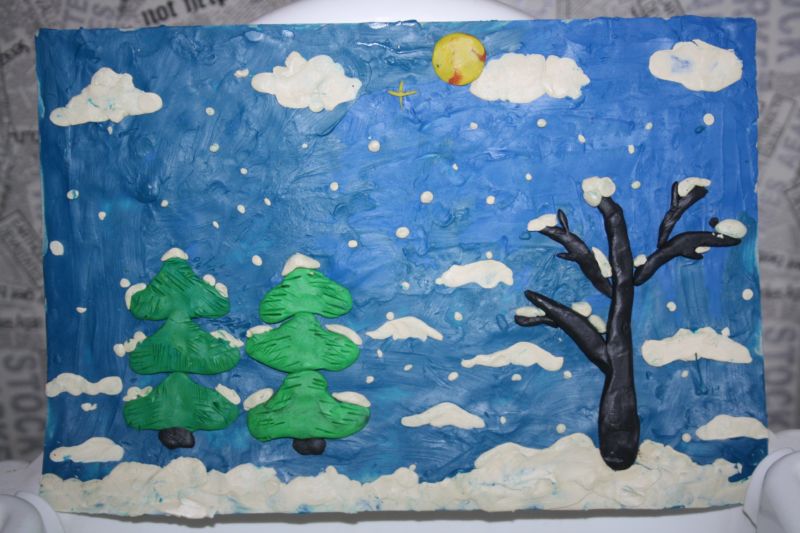
Applique on the theme of winter
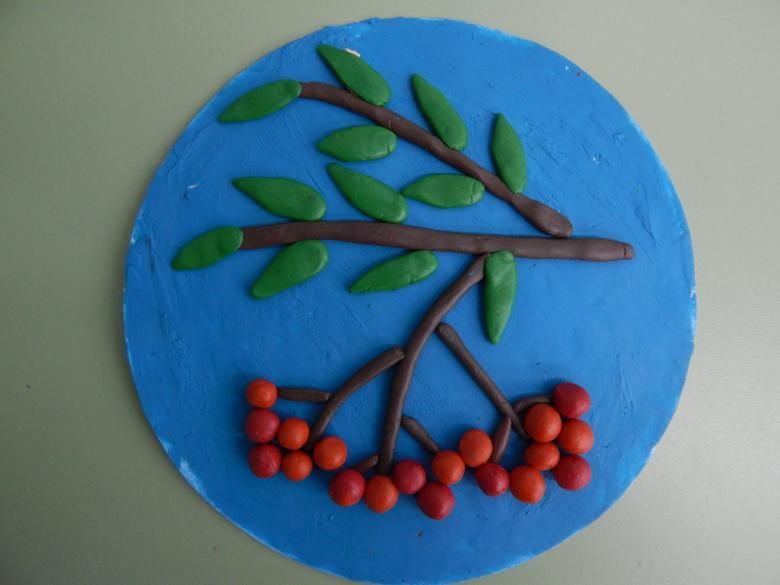
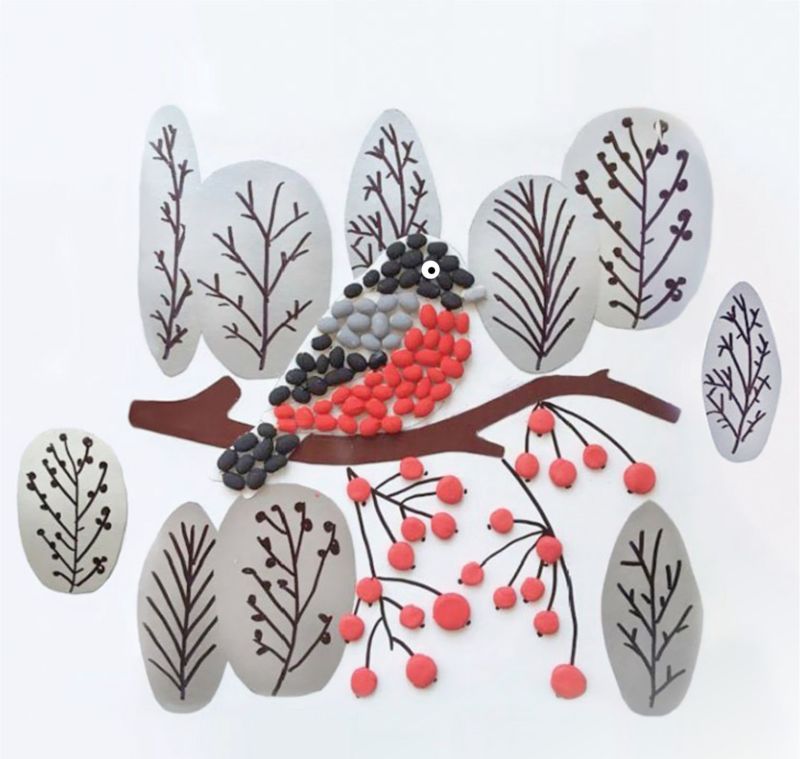
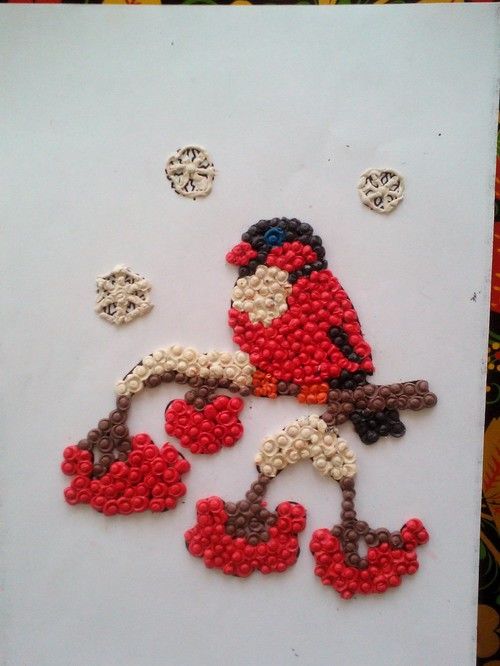
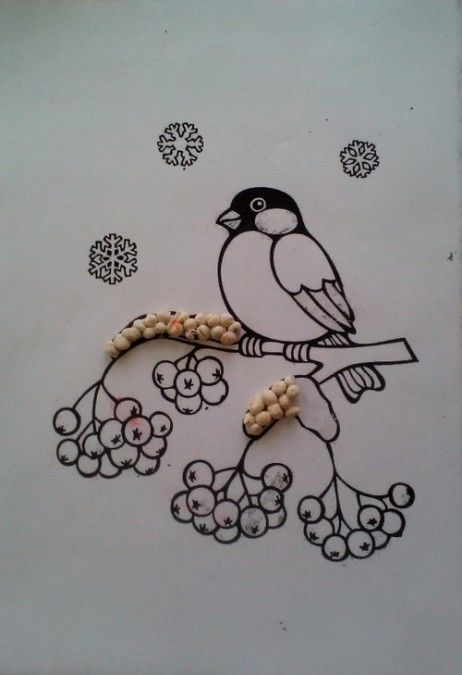
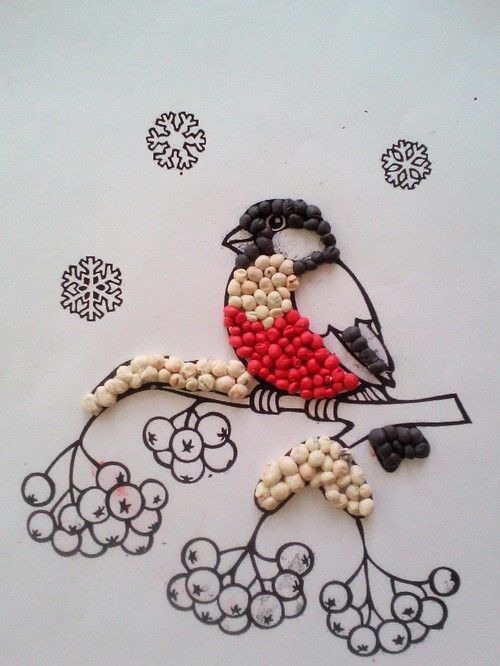
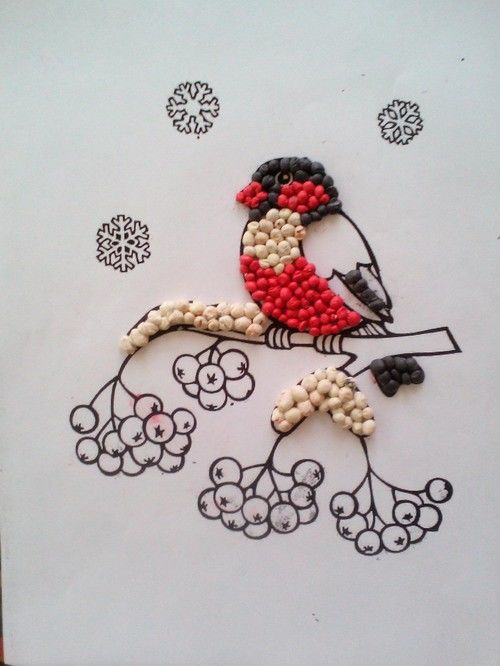
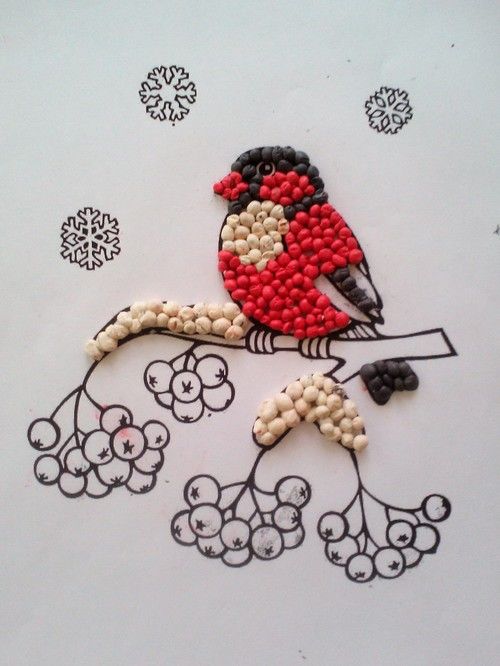
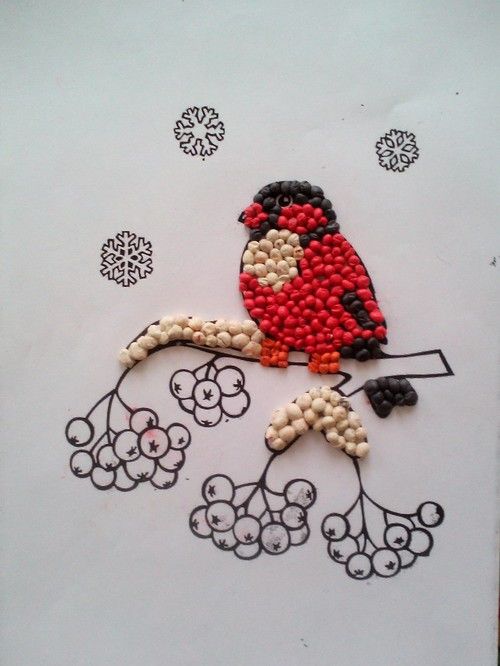
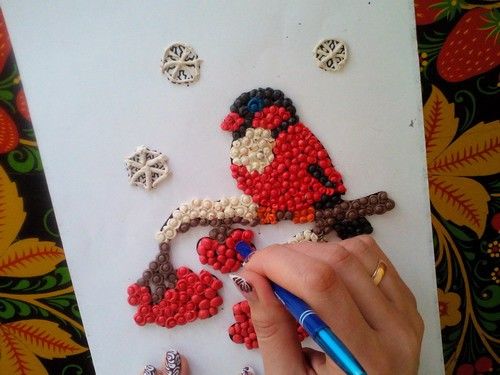
Winter bullfinch:
- First you need to create a branch. For the pre-printed template, small balls of white color are laid out. These will be the branches, which should be placed on a sheet of cardboard.
- Then roll balls of red and black colors, they fill the body of the bullfinch.
- Following this, you can depict the snow layer on the branches. To do this, roll white balls and put them on the branches.
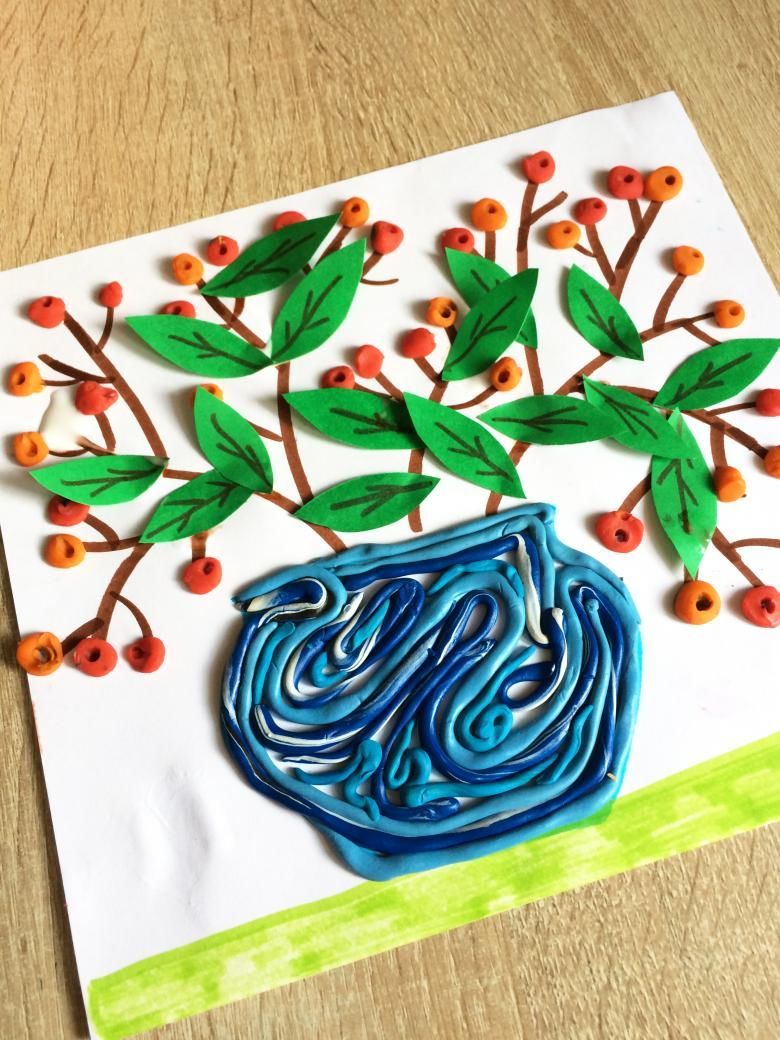
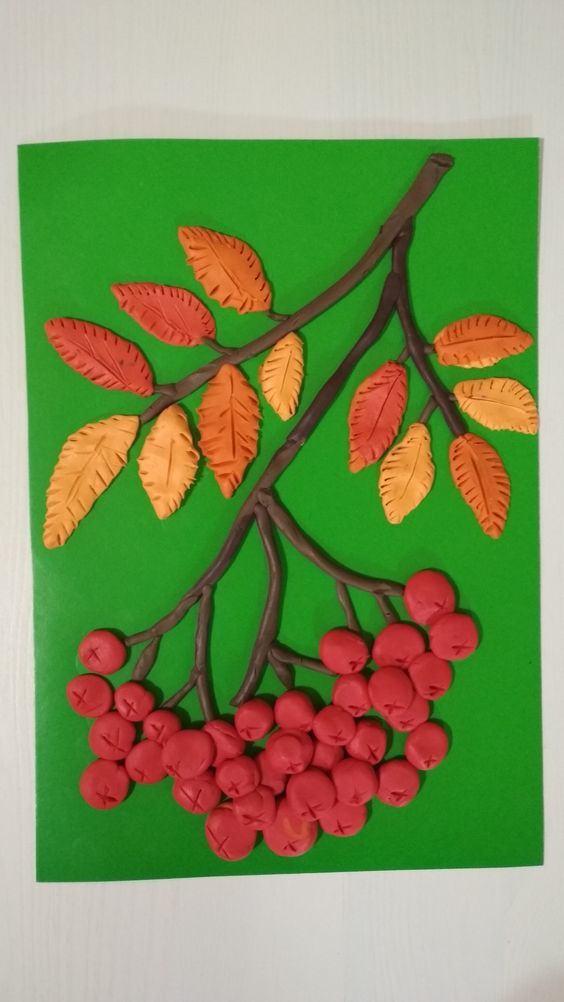
- Now you need to roll several small balls from a red piece of plasticine. They should be placed evenly on the surface of the printed bunches of rowan trees.
New Year's Tree:
- In the center of the sheet, the outline of a Christmas tree with a star on top is drawn.
- The insides of the Christmas tree outline are painted with green plasticine, the trunk - brown, the stars - red. Then you need to roll out the green sausages and put them on the outline.
- You can put them only on the borders, or you can put them between the branches of the crown.
- Now you need to draw herringbone toys. To do this, you need to take colored pieces of plasticine and form them into small balls.
- Then they are placed on the tree and pressed with your finger.
- Smaller balls are used to make fireworks around the tree.
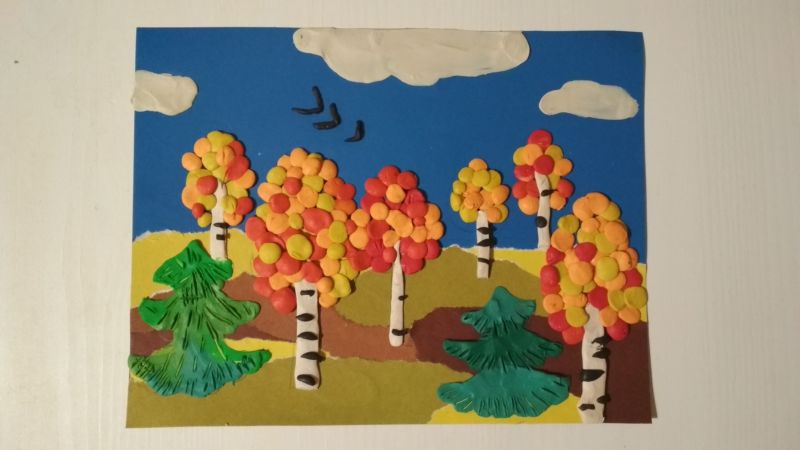
Three-dimensional collage autumn in the woods
Autumn Leaf:
- To create an autumn applique, you need to find a fallen maple leaf in the street.
- Then you need to wash and dry it so as not to damage its integrity.
- Then you need to take three pieces of plasticine of different colors: for example, reddish-brown, emerald and lettuce.
- The area of the leaf is divided into three areas: right, left and top.
- Smear plasticine on each of them until the sector is completely filled.
- The surface of the leaf is smoothed, covered with colorless varnish in 2-3 layers and dry.
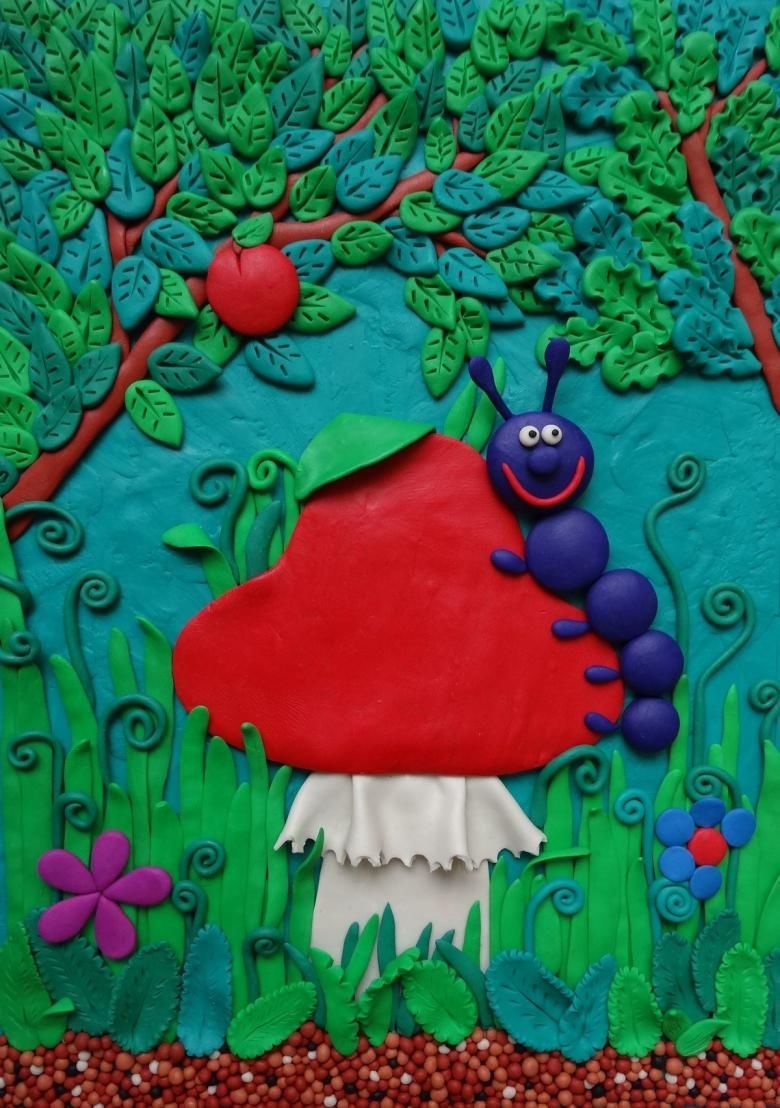
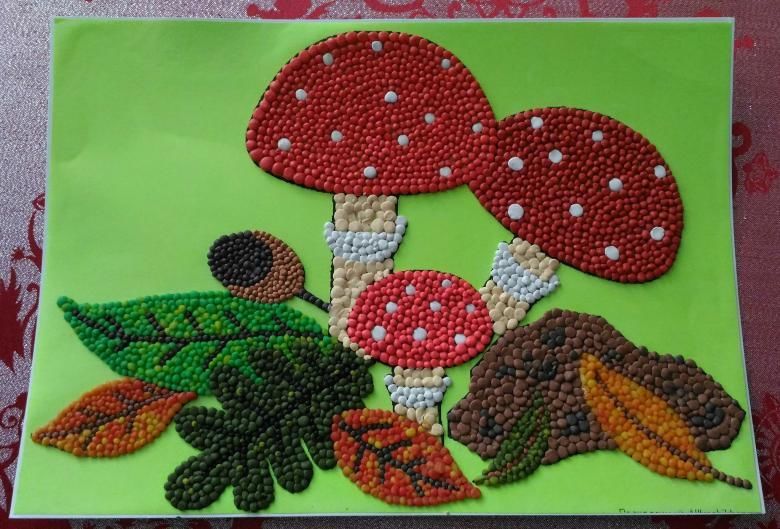
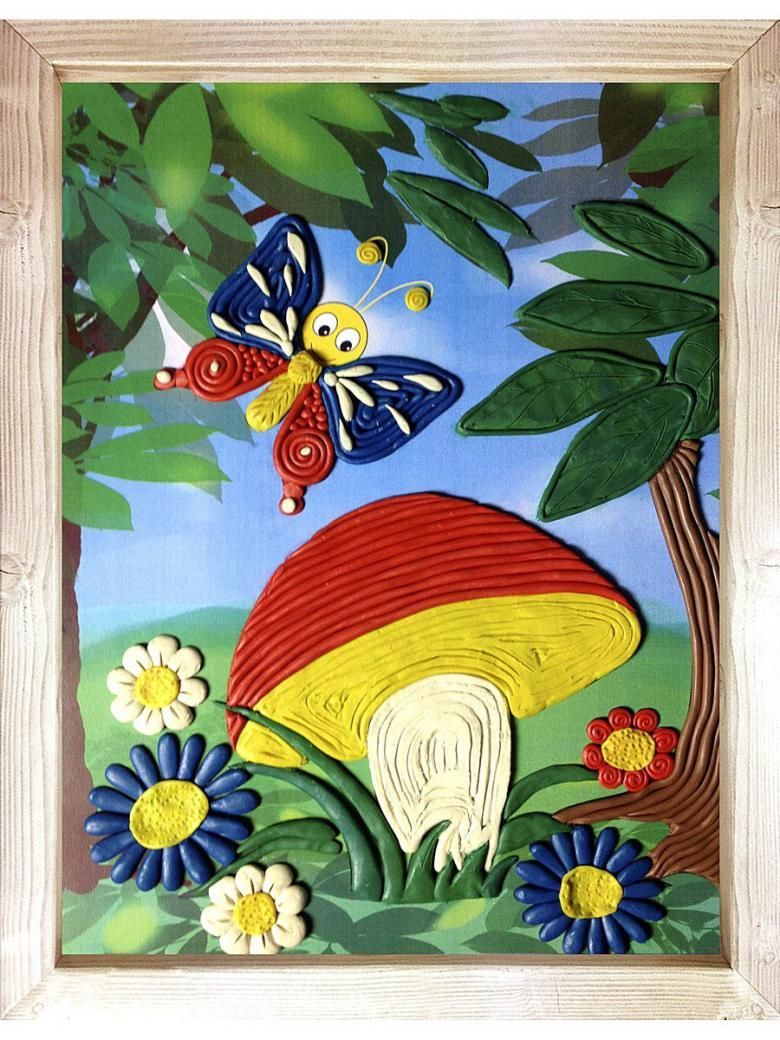
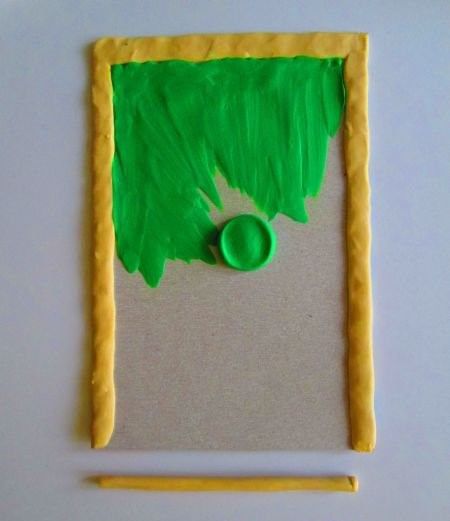
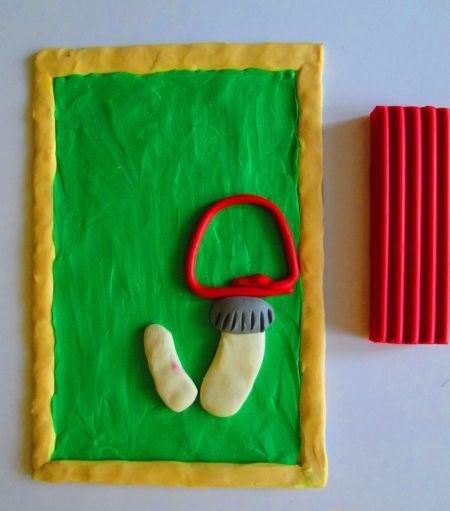
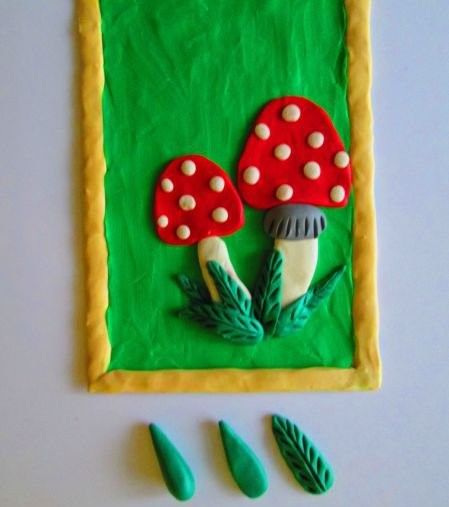
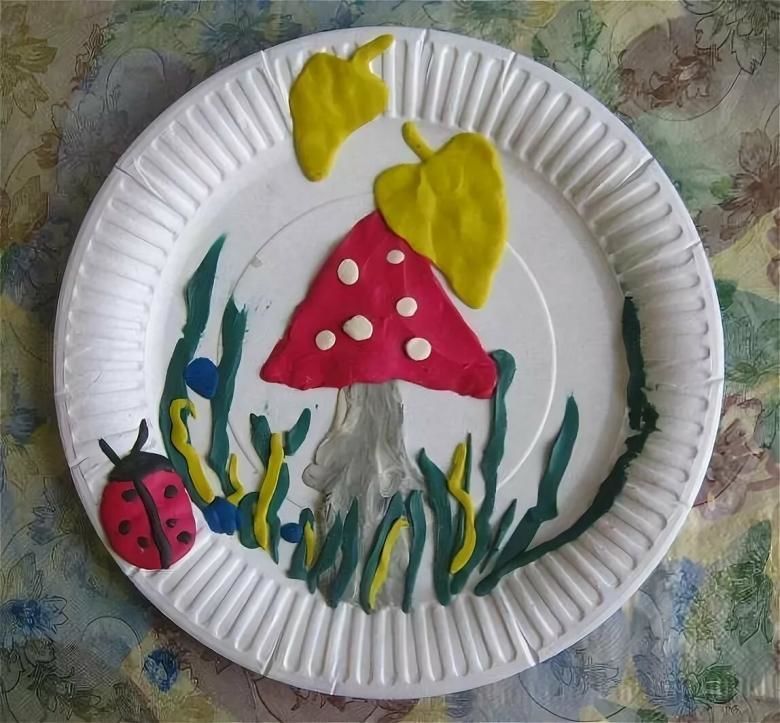
Mushroom in the grass:
- A pencil is used to draw the outline of mushrooms, grass and a snail sitting on a mushroom cap.
- Then thin rolled sausages are put on it.
- They can be squeezed out of a special syringe for molding.
- Many small balls are shoved inside the contour.
Tips for creating plasticine applique
There are no generally accepted standards for making applications from plasticine. During the development of a creative idea, you can turn on the imagination to the full. The various techniques can easily be combined with one another. For example, the outline of the flagellum can be filled with smearing or balls.
As an idea for an applique, you can choose any picture. It can be used as a template. Ready-made templates for applique can be found on the Internet. For work, you will need to download and print them.
If you get your child involved in creating plasticine applications, he or she will have a good time developing their creativity and fine motor skills.
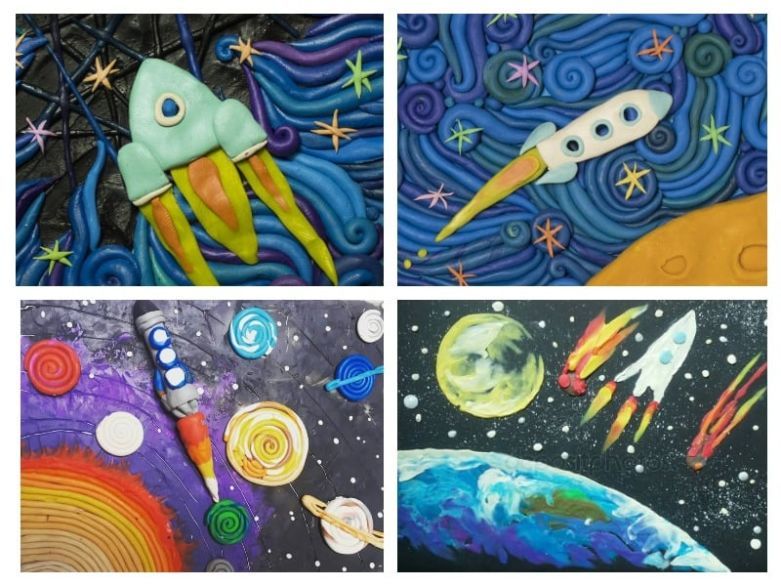
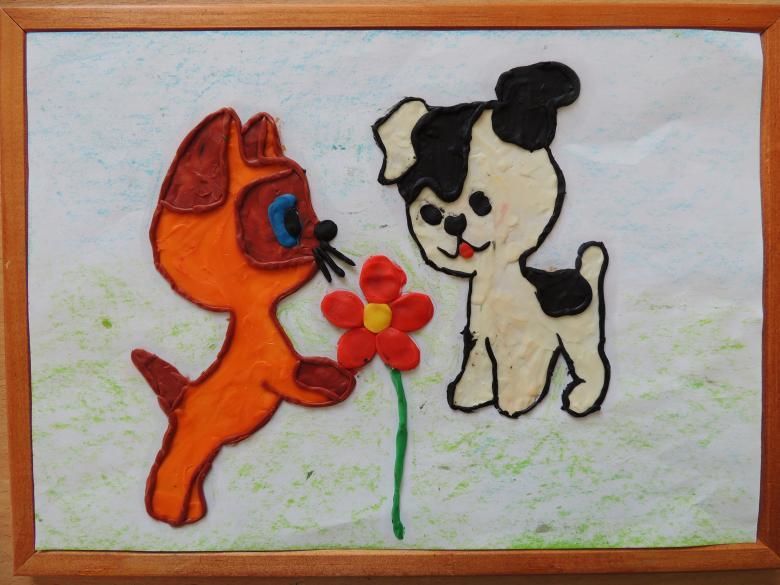
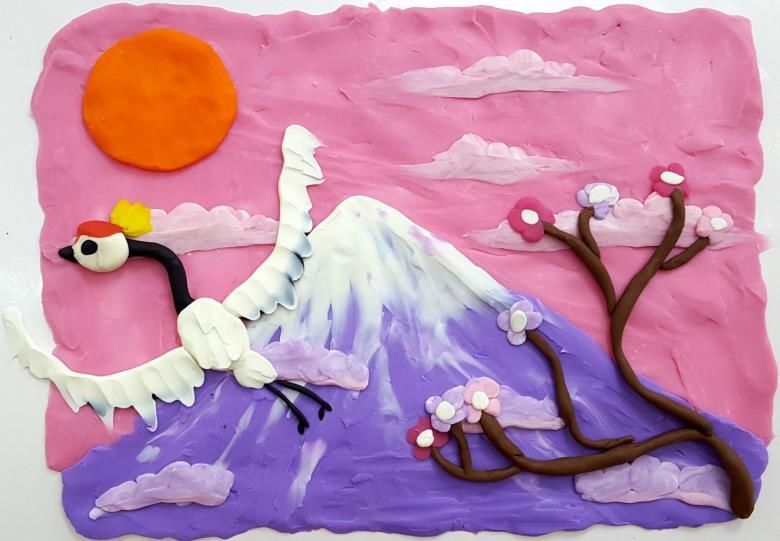
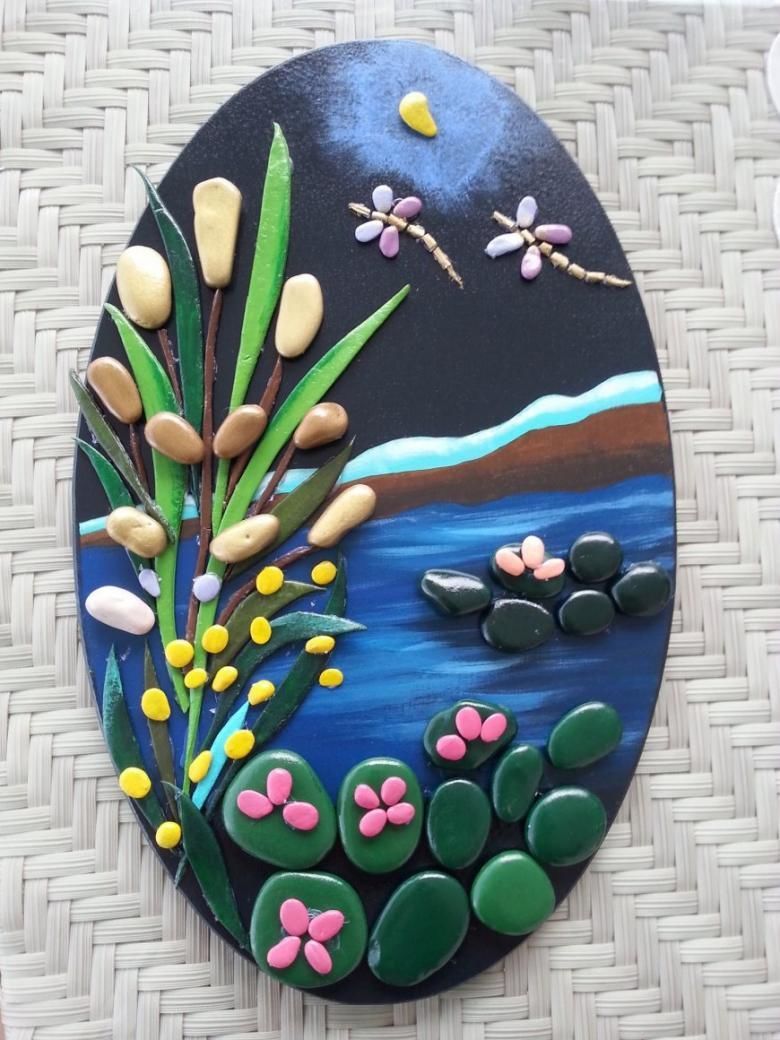
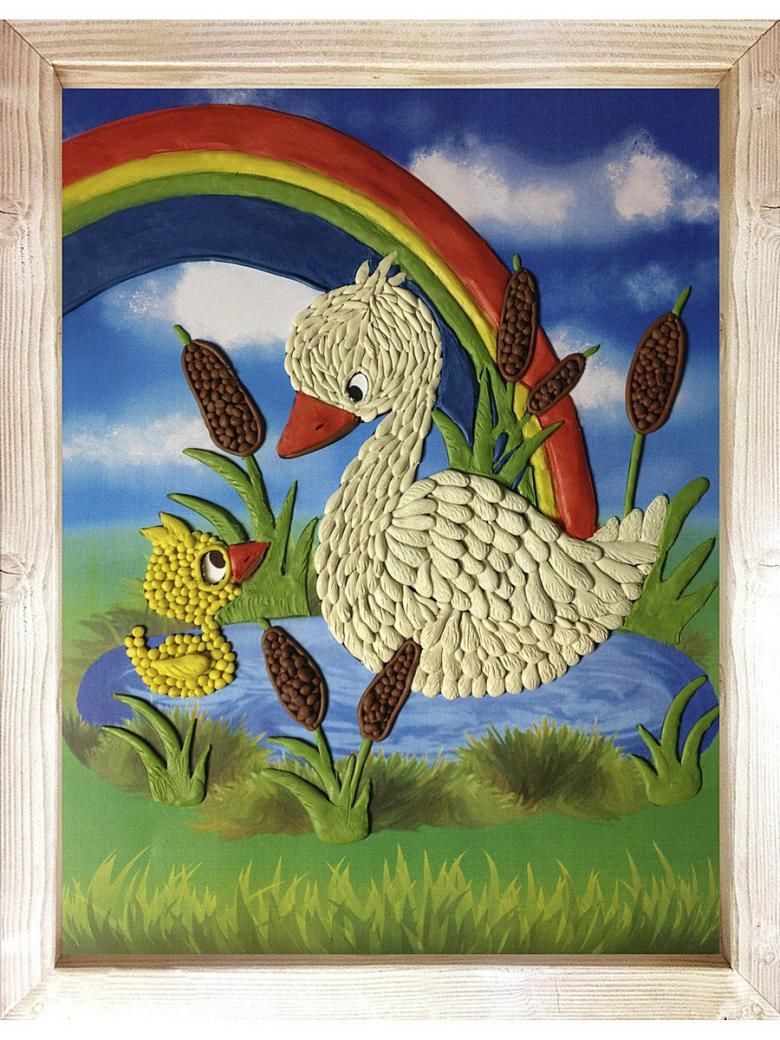
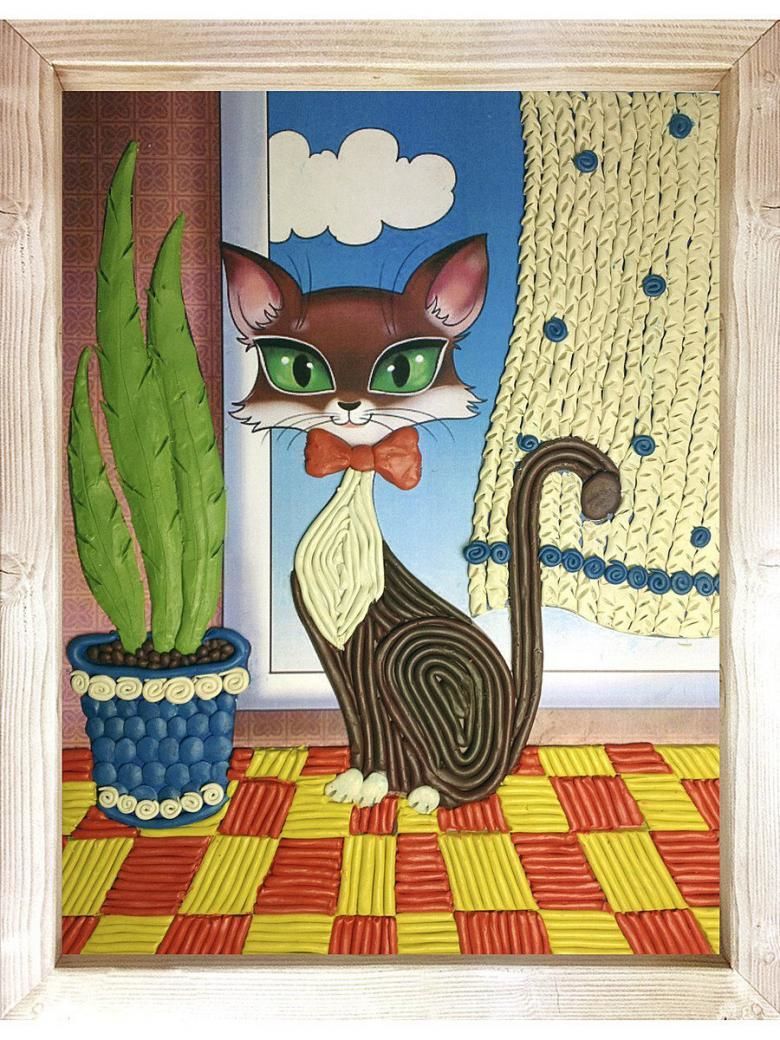
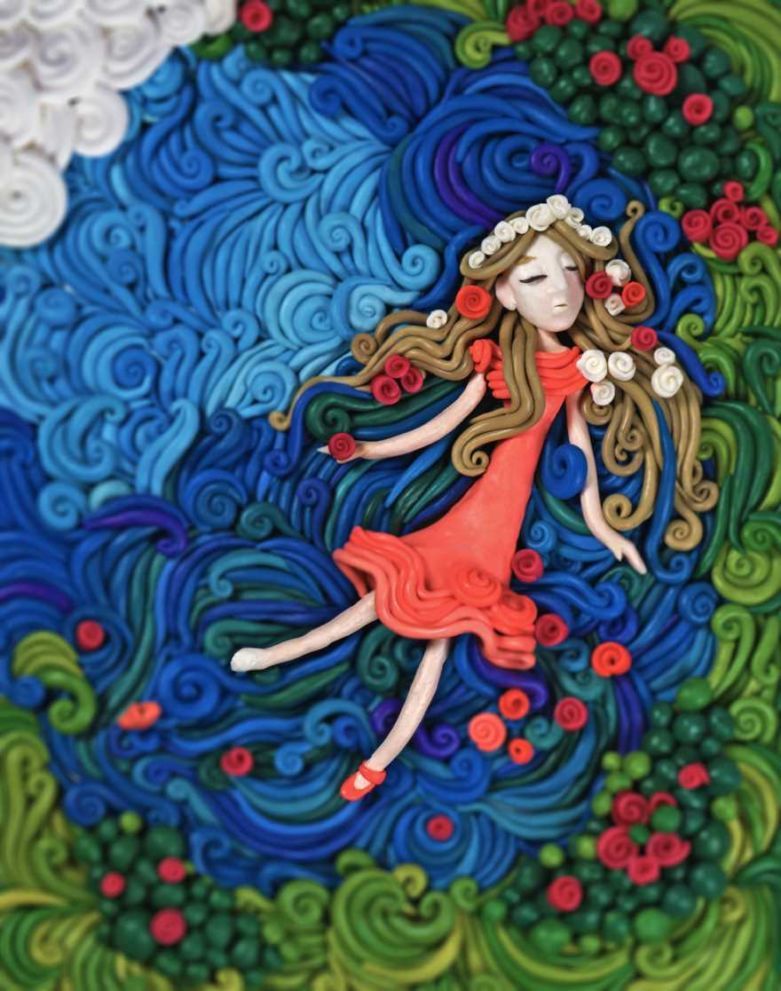
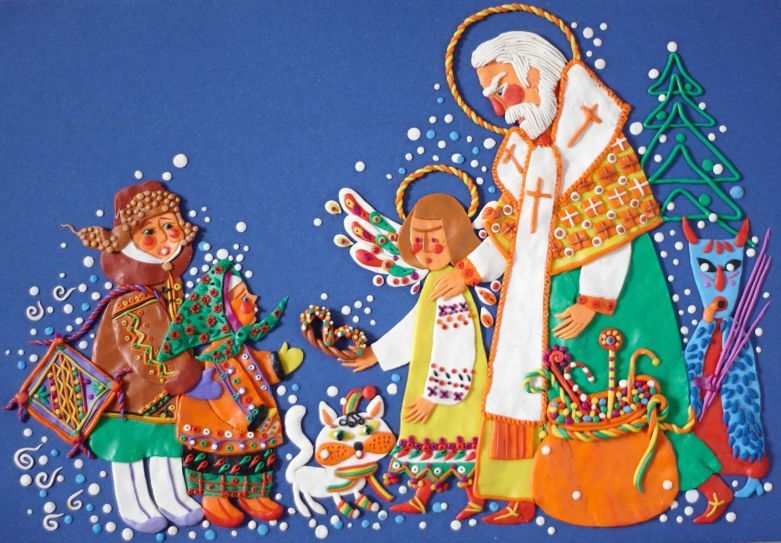
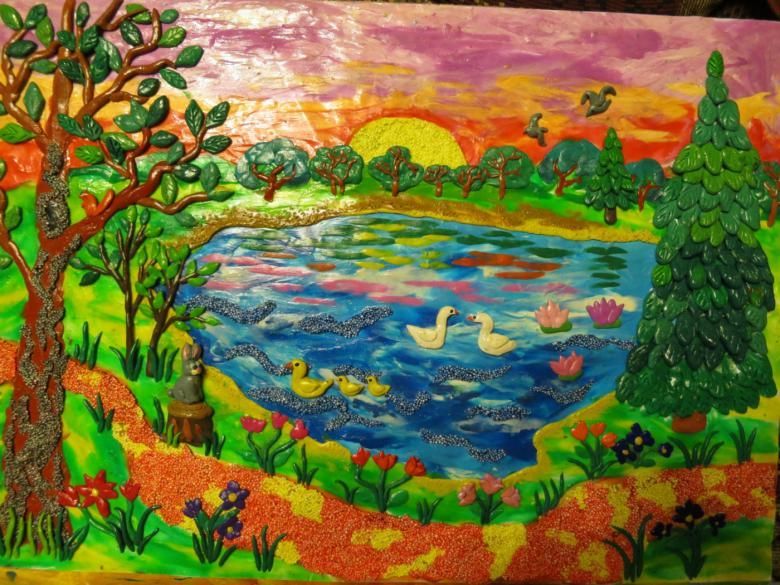
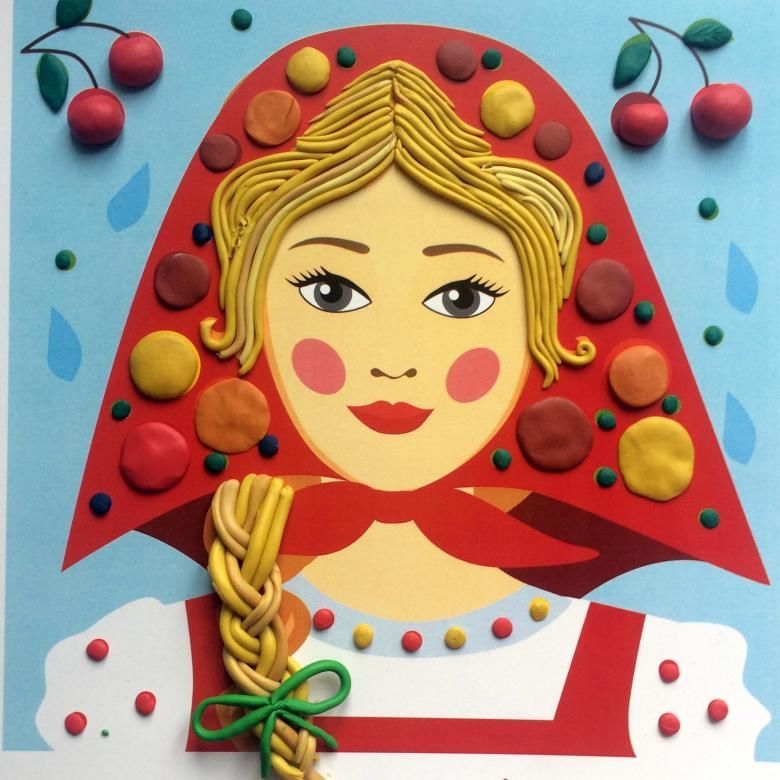
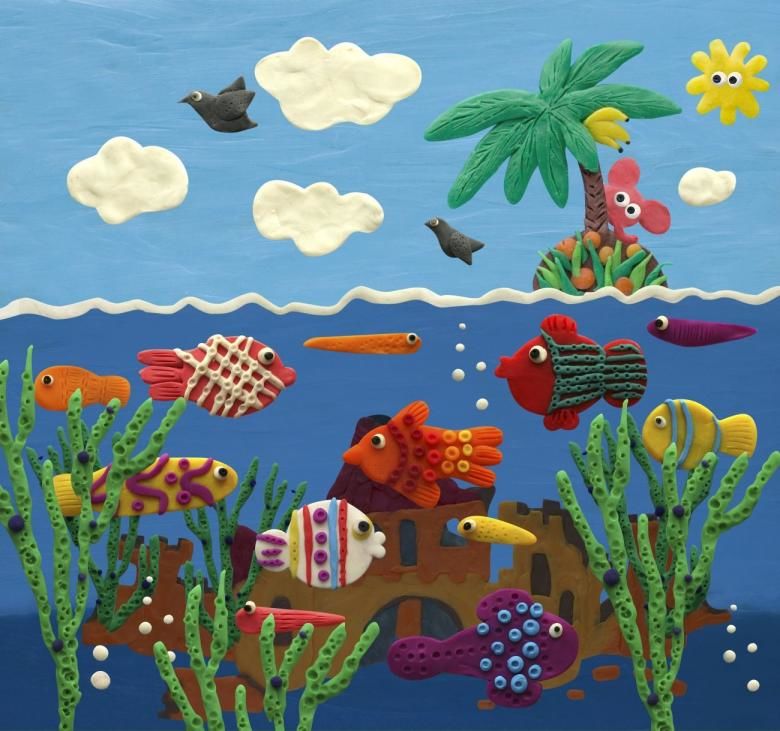
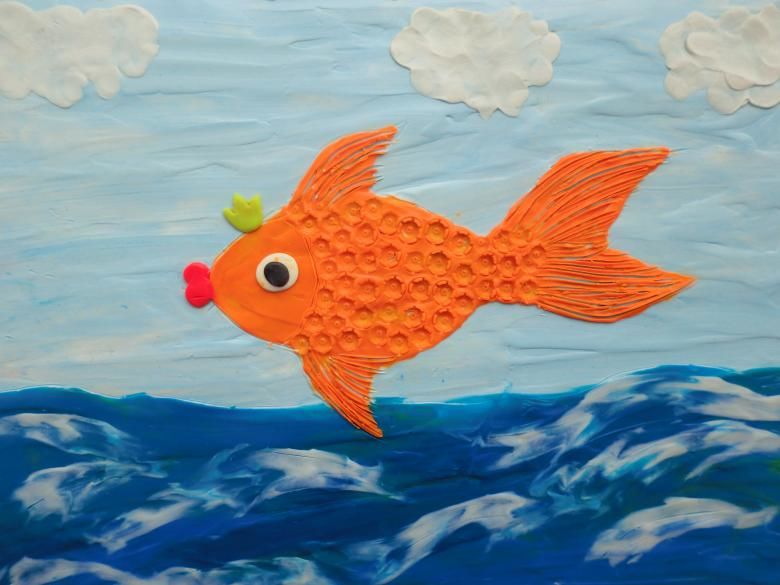
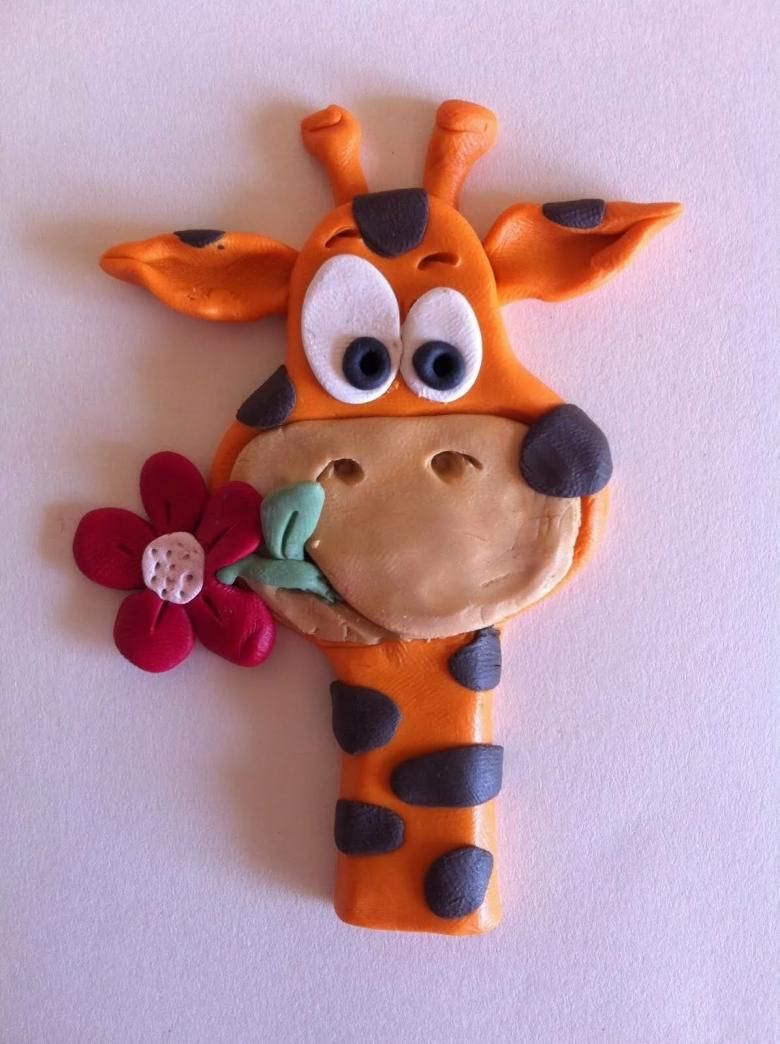
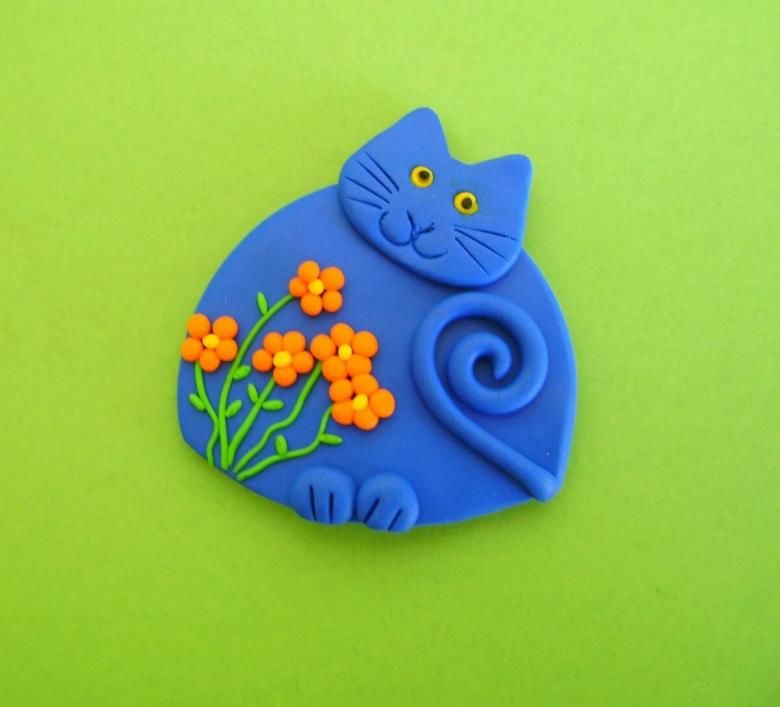
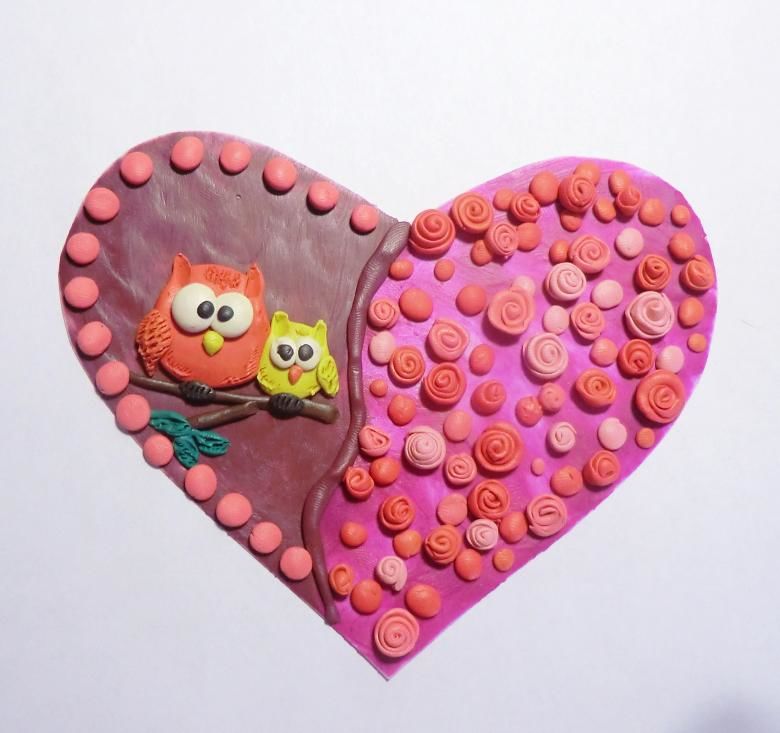
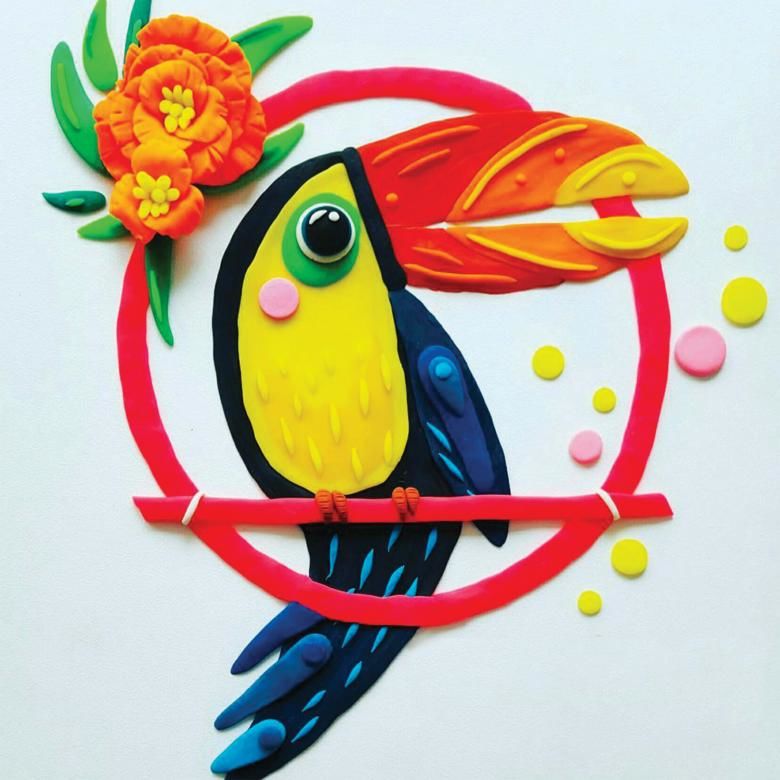
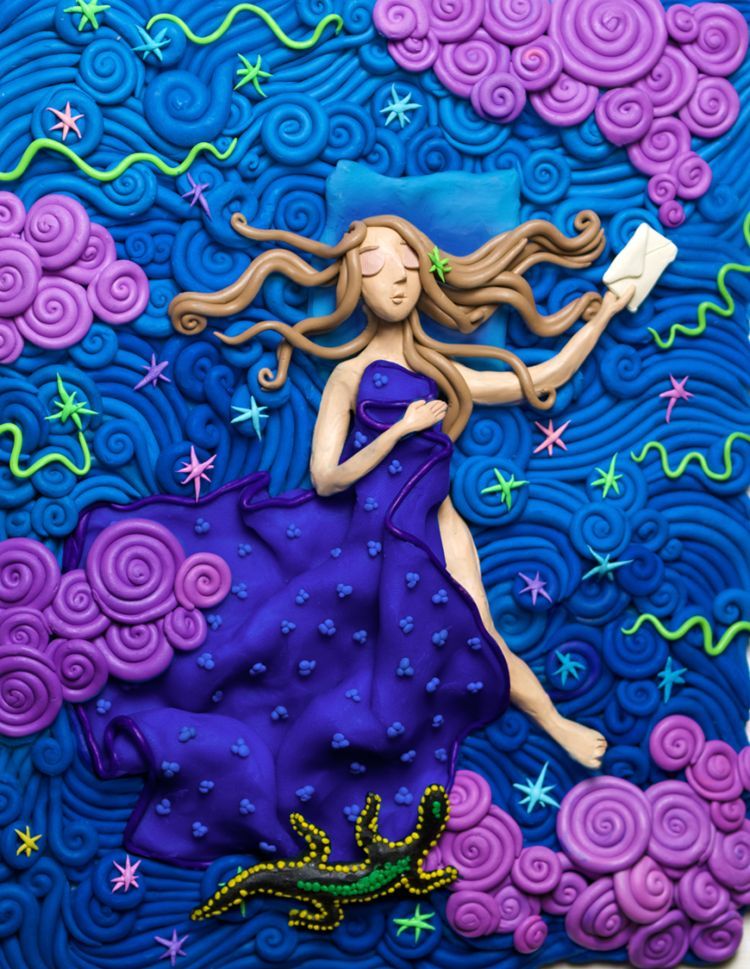
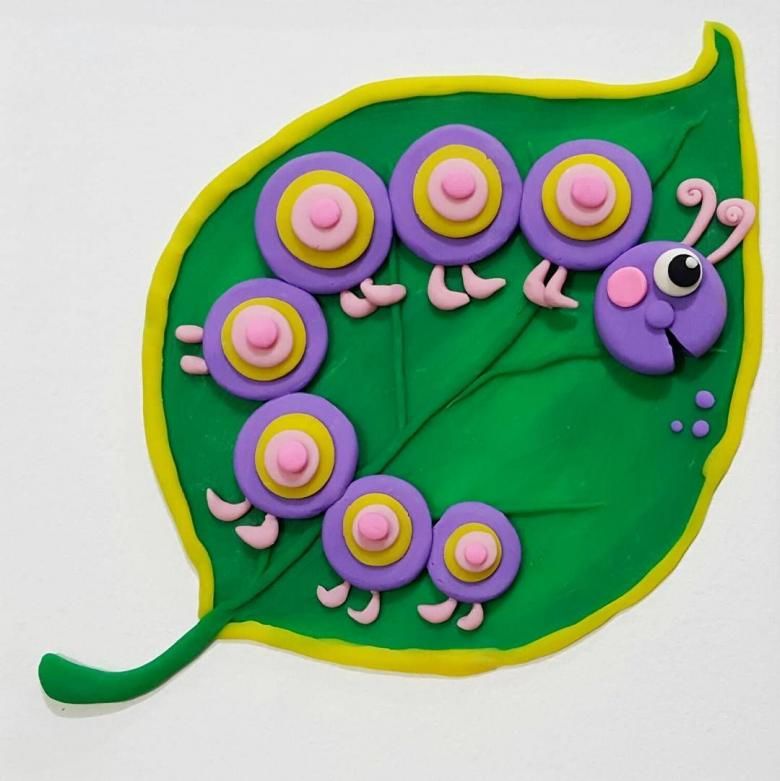
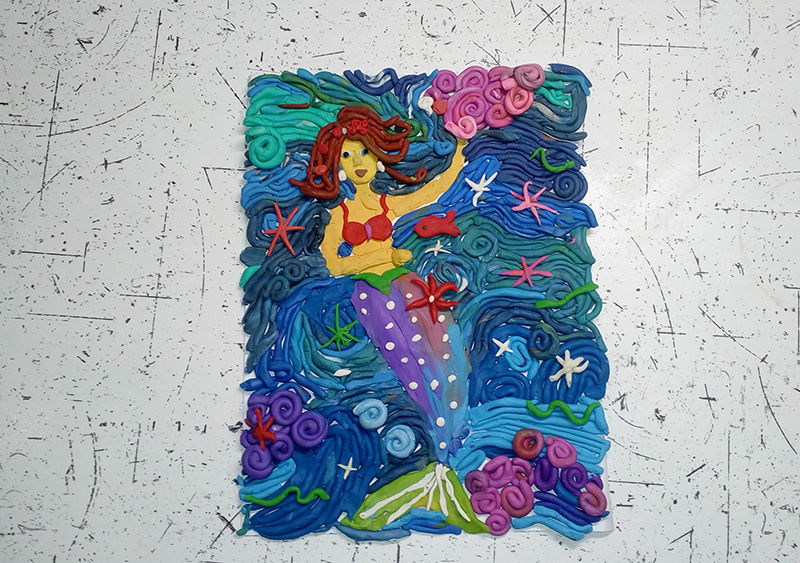
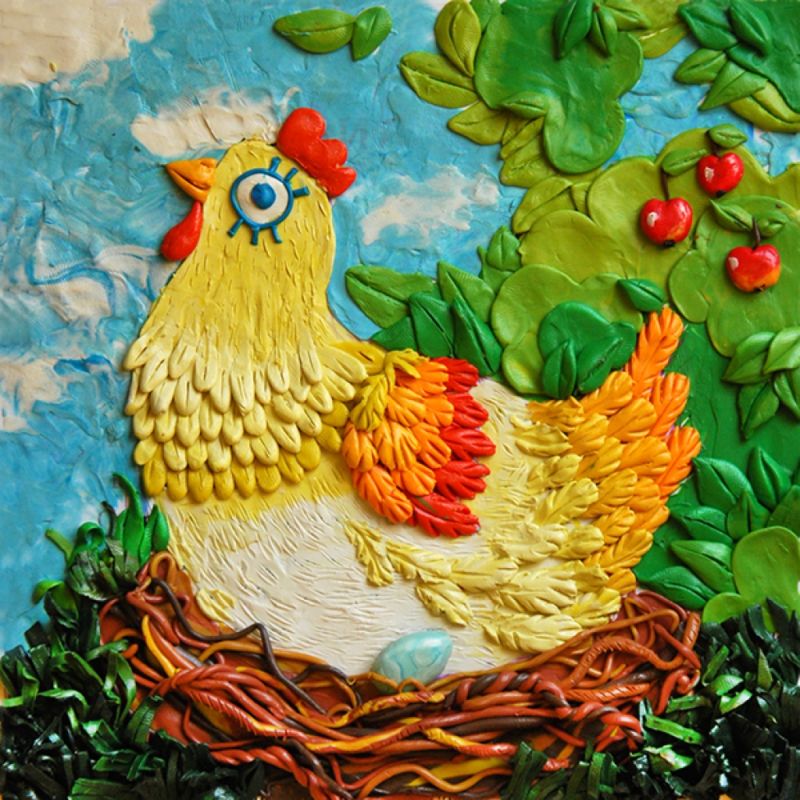
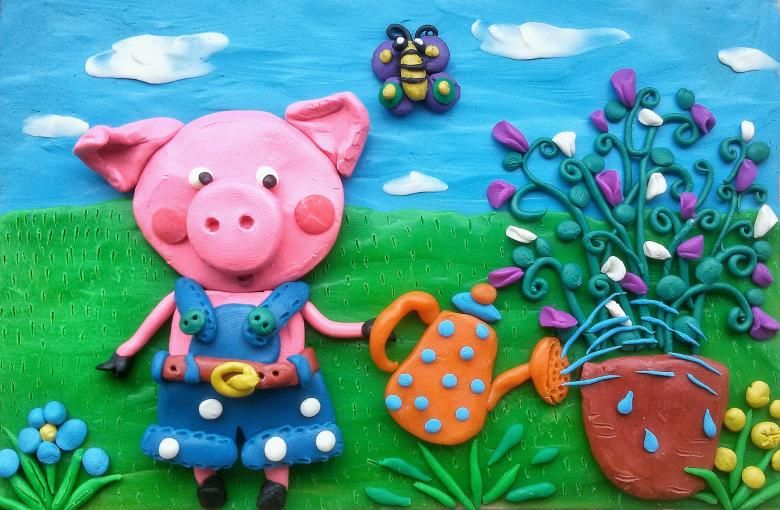
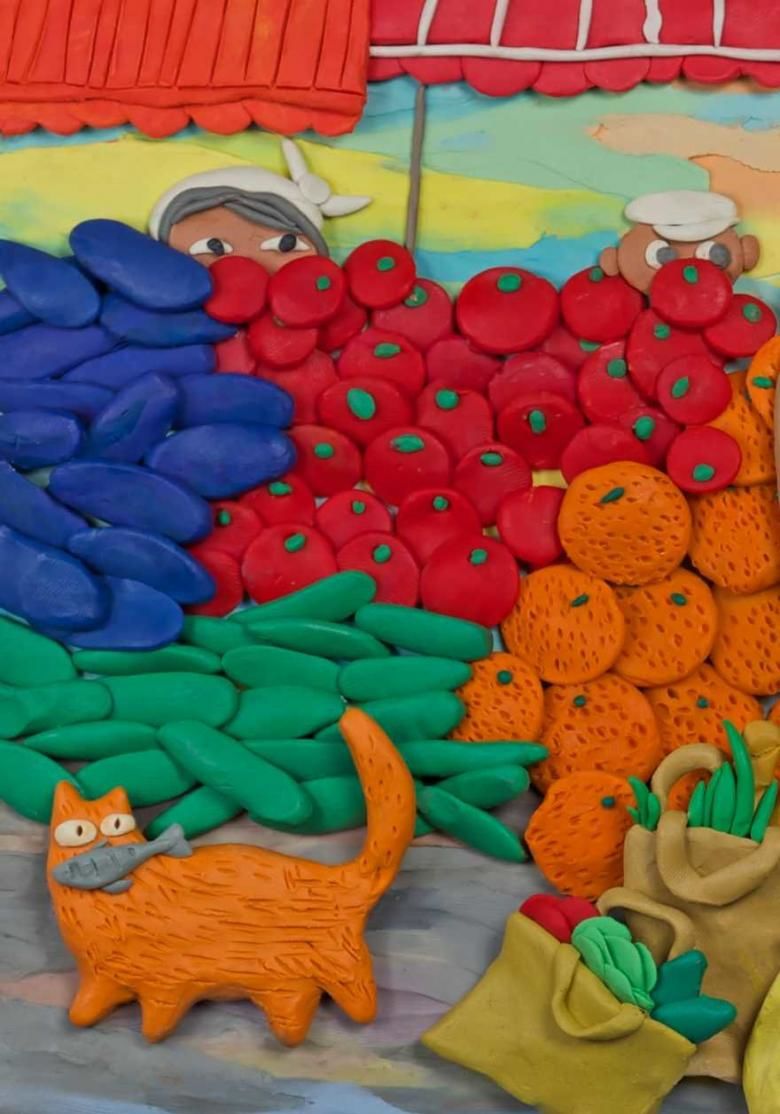
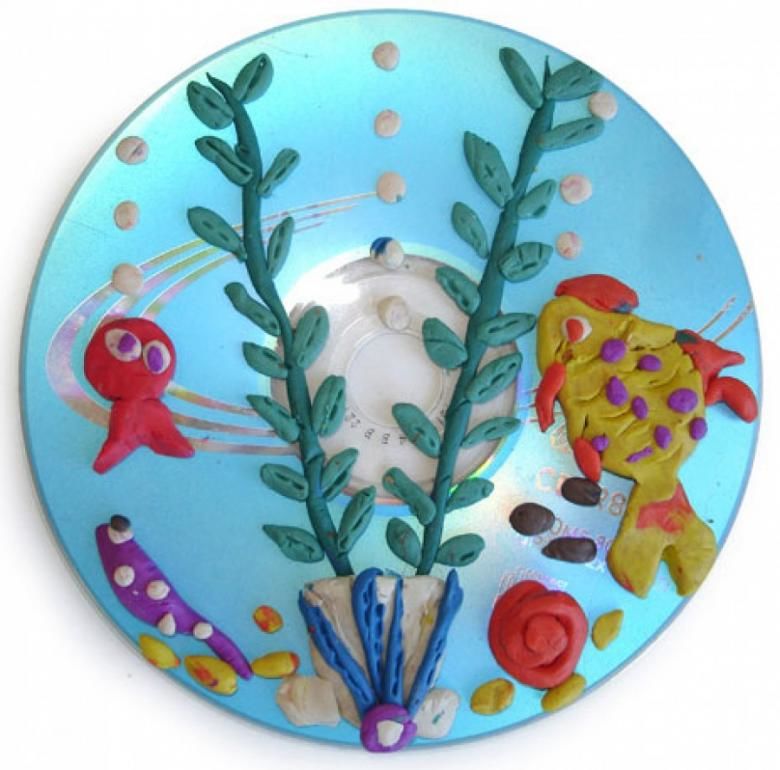
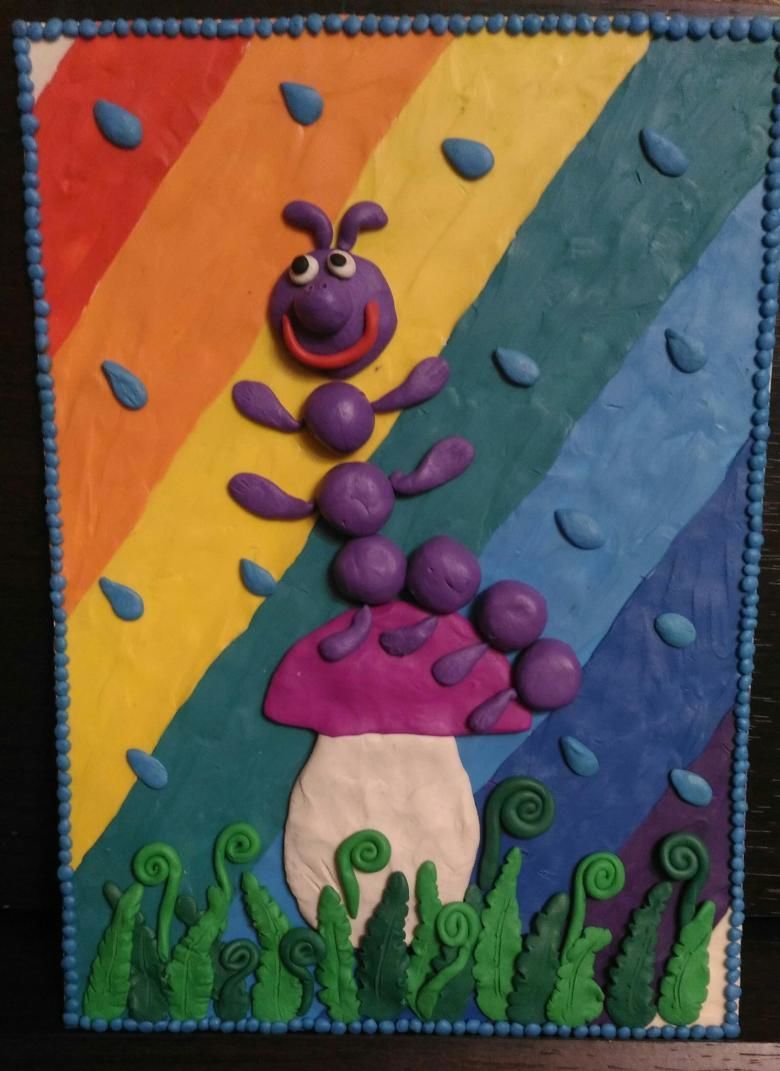
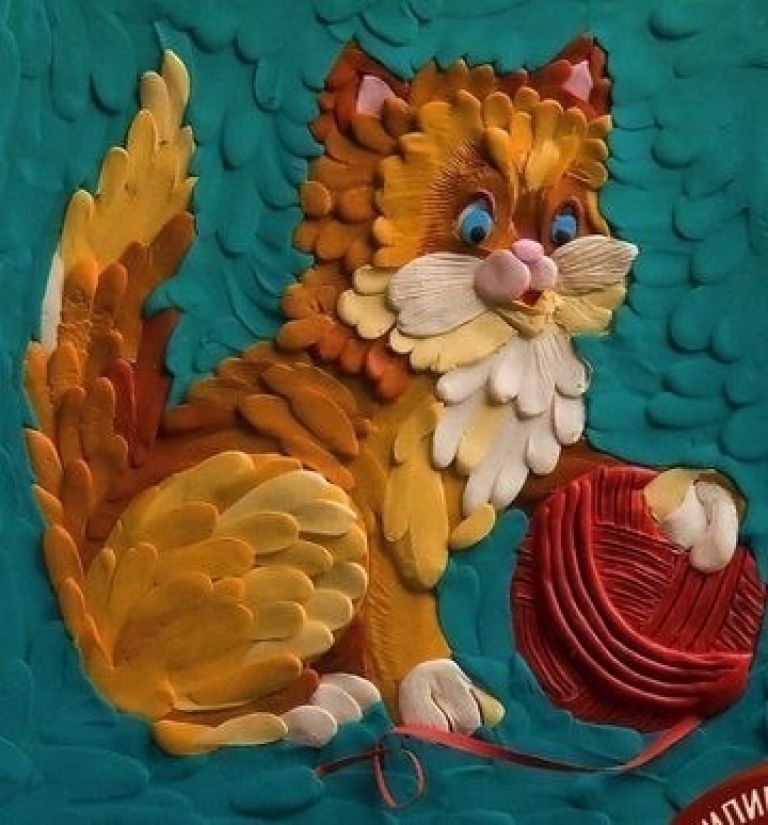
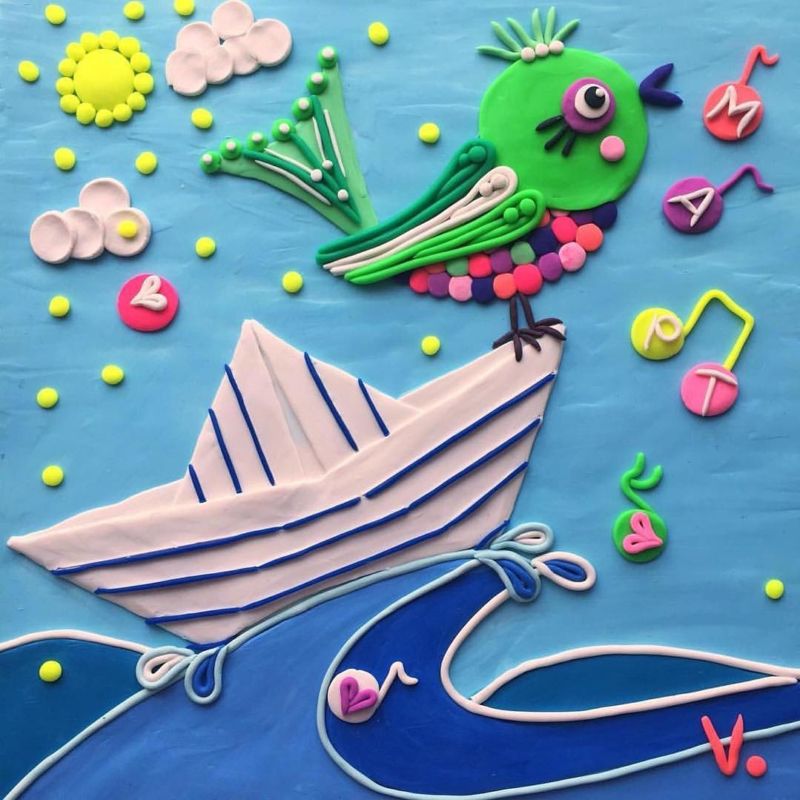
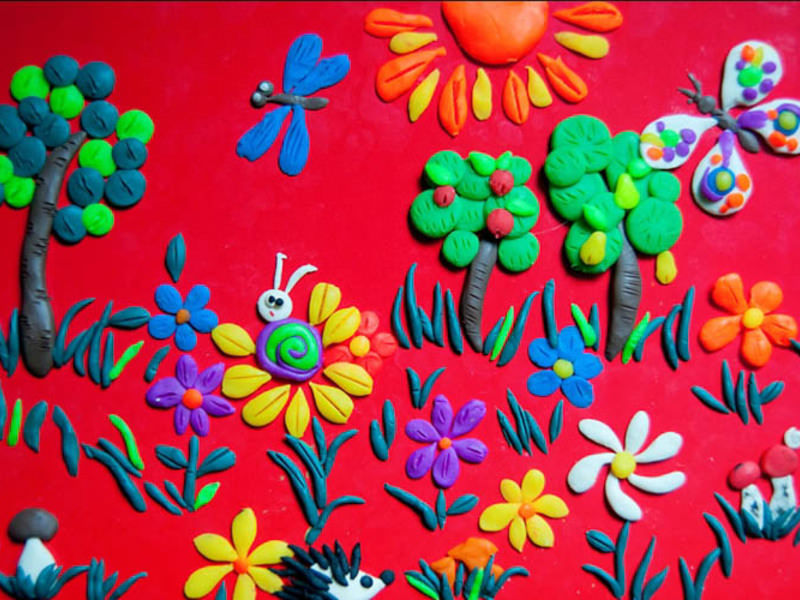
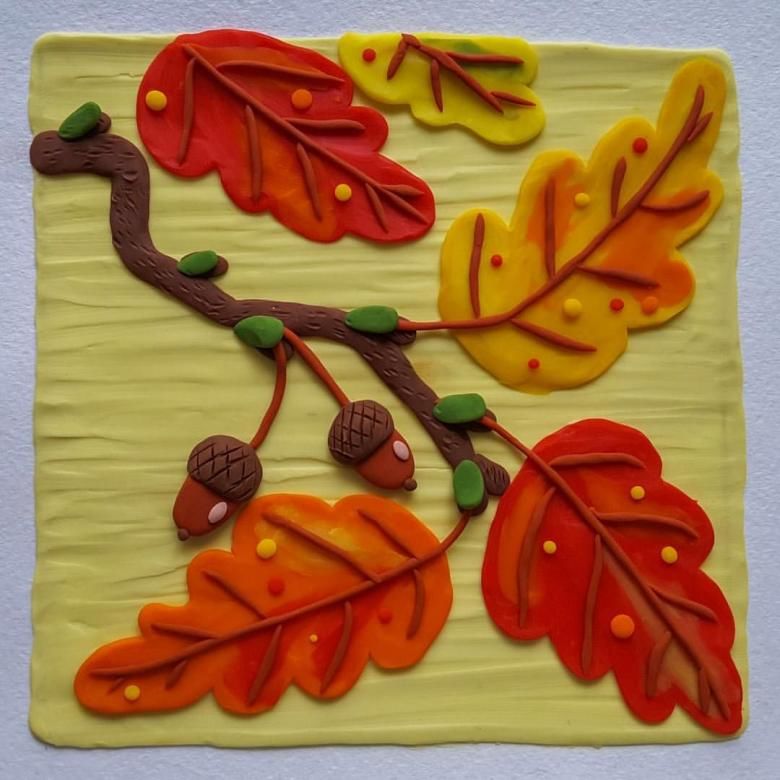
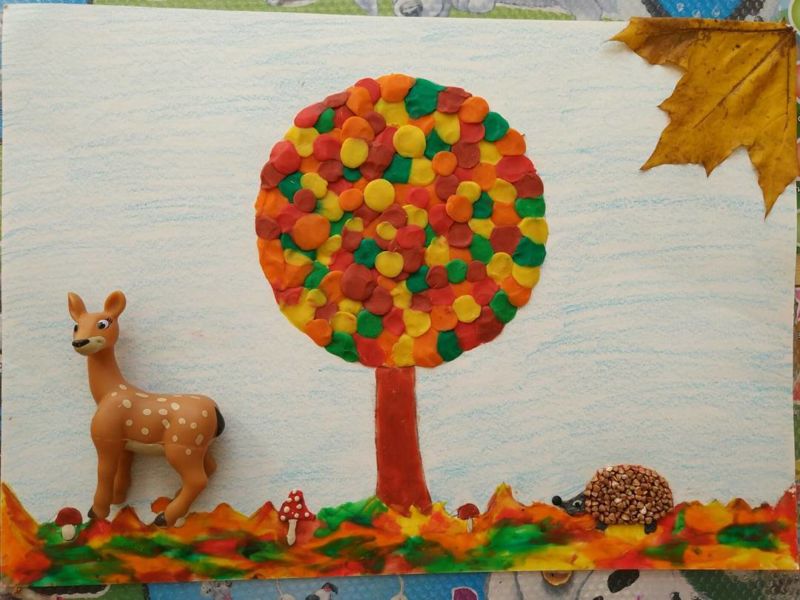
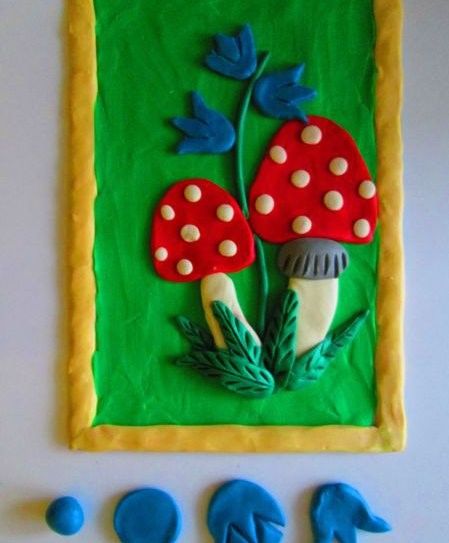
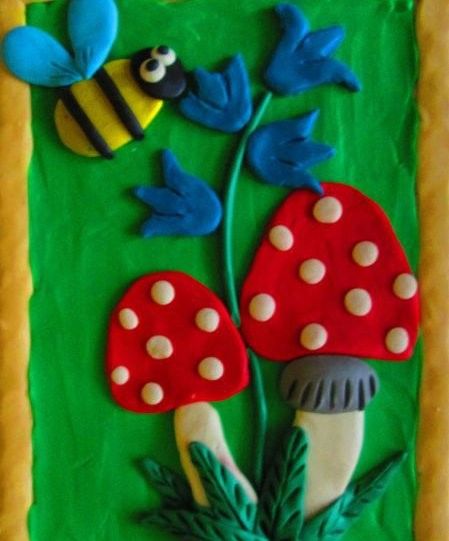
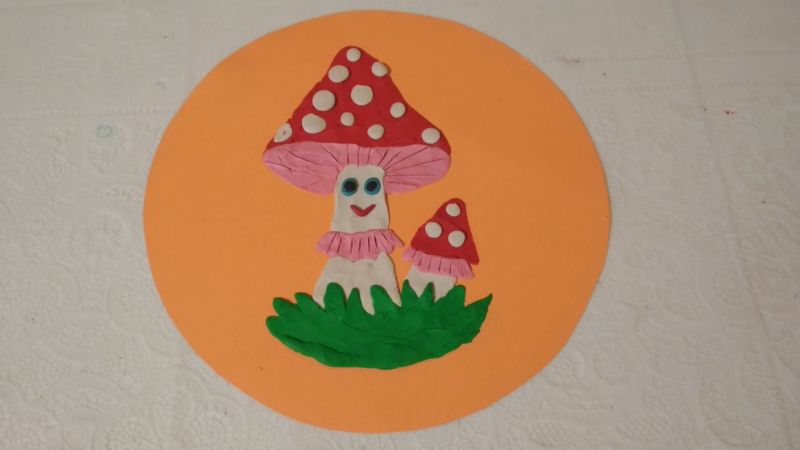
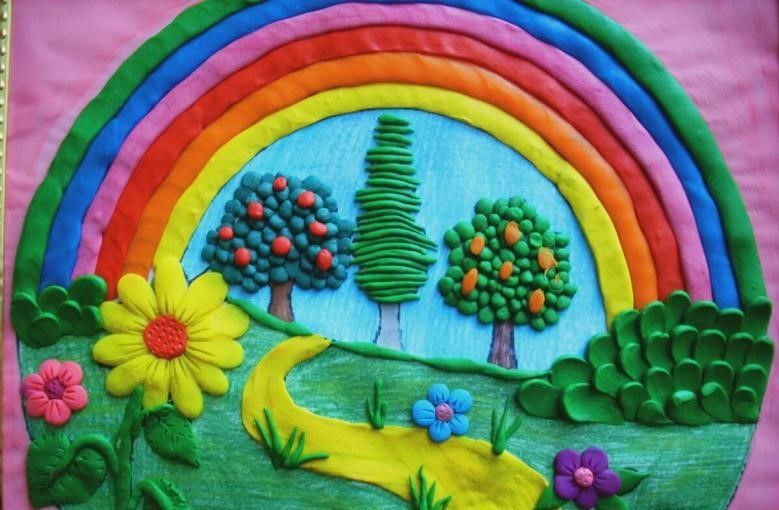
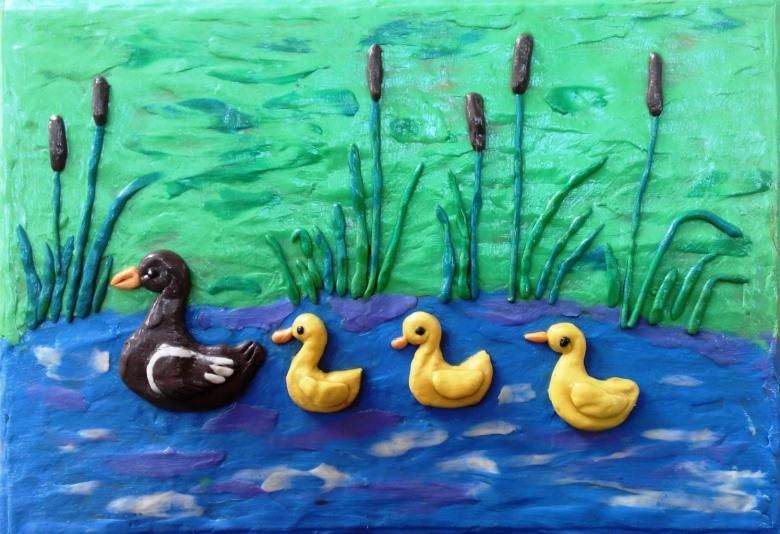
Photos of children's applications of clay