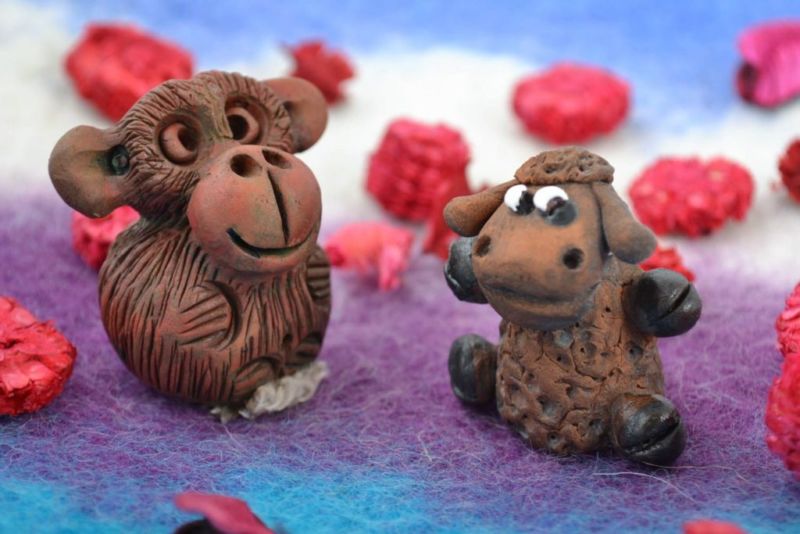
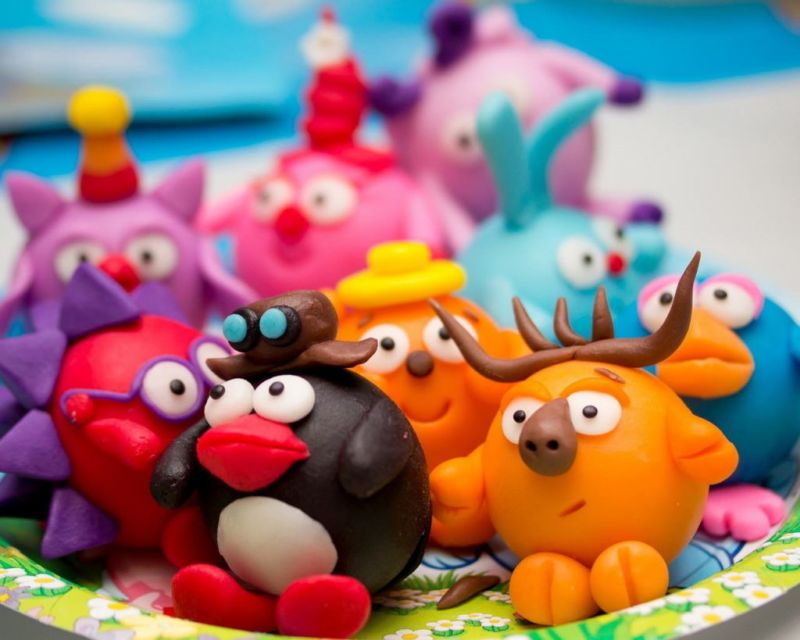
Handmade clay crafts: the peculiarities of working with the material and easy master classes for beginners
Clay is a natural material, which is valued and used since ancient times. Plastic and soft in the beginning, after firing, it turns into durable household items, toys and jewelry.
With the development of civilization the popularity of clay is growing, and in ours is becoming a means of relaxation and realization of creative potential.
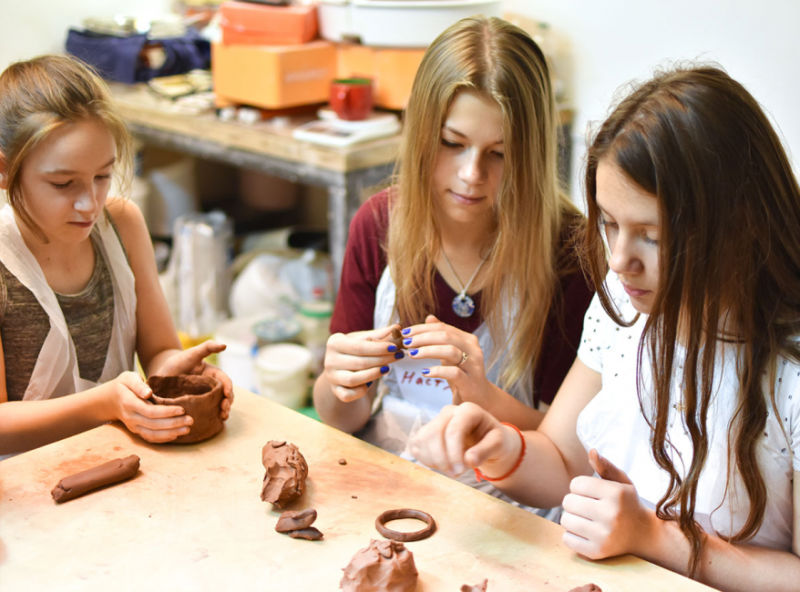
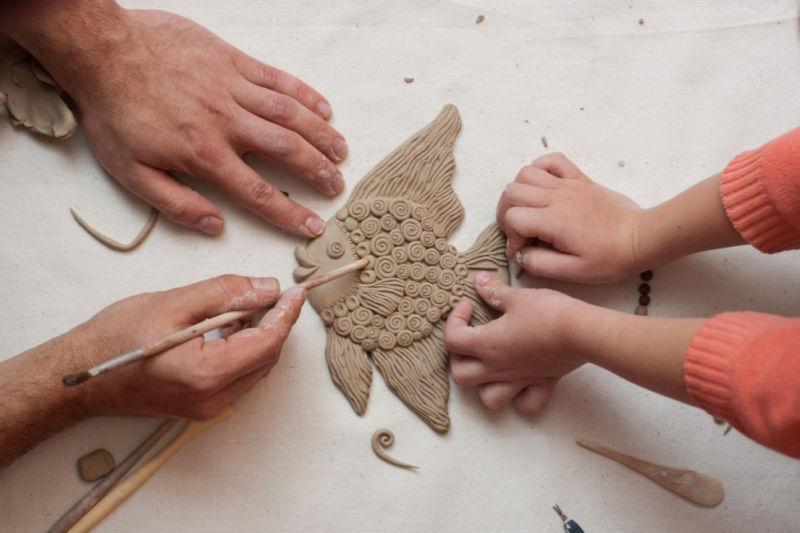
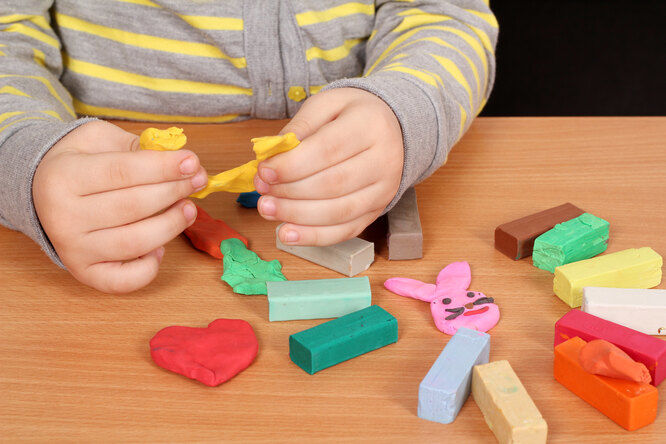
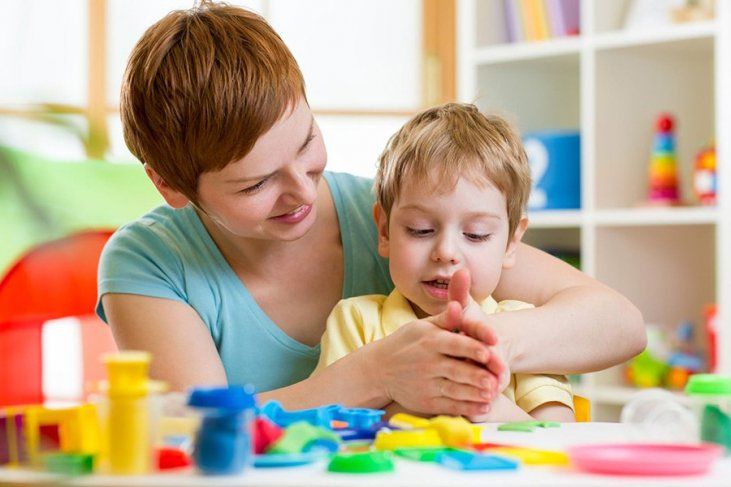
Children, working with clay, develop coordination and fine motor skills, imagination and creative thinking. Adults relax, releasing the stress of the day.
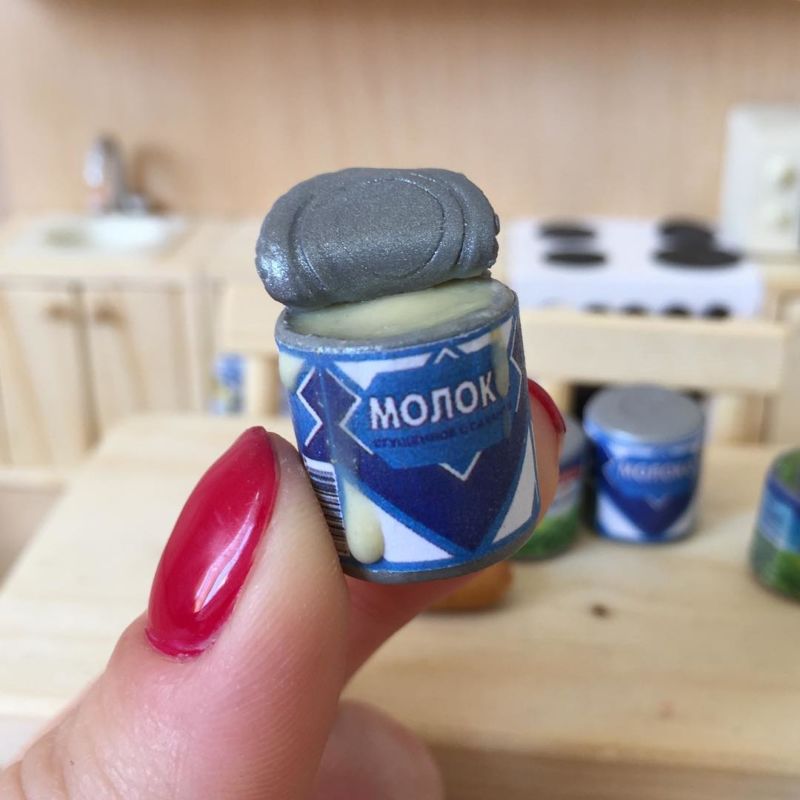
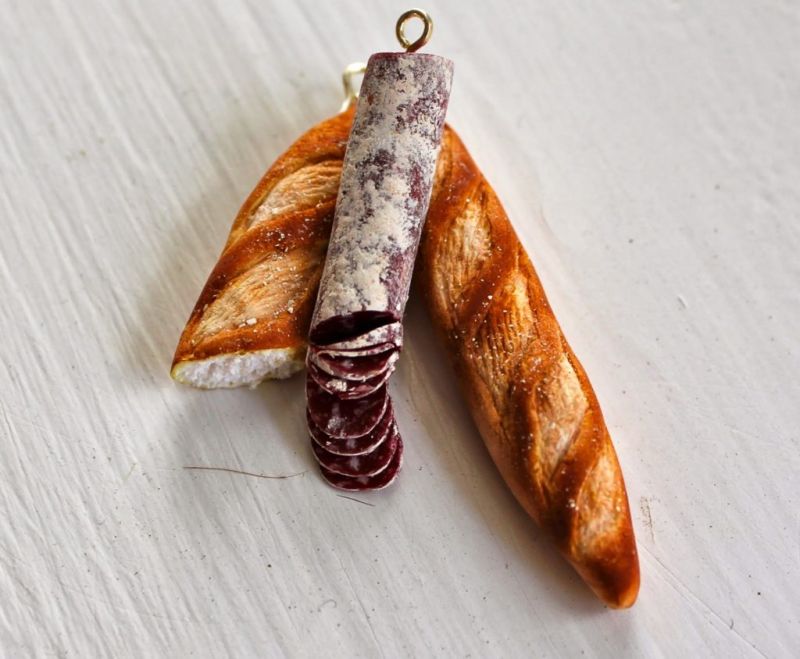
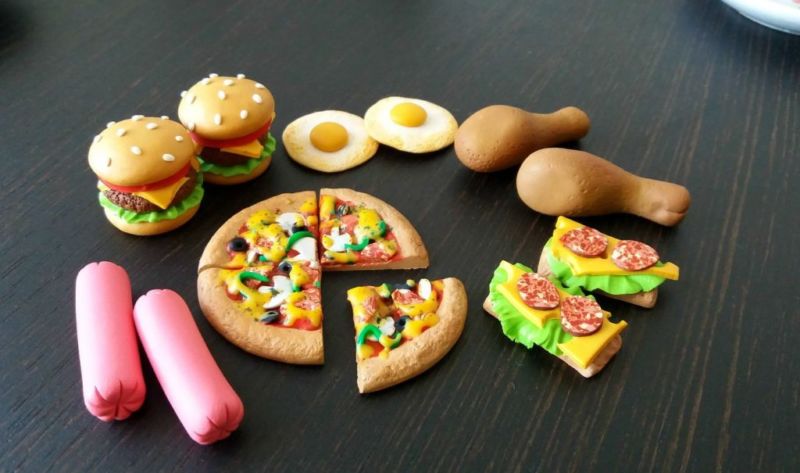
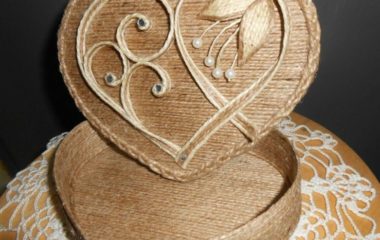
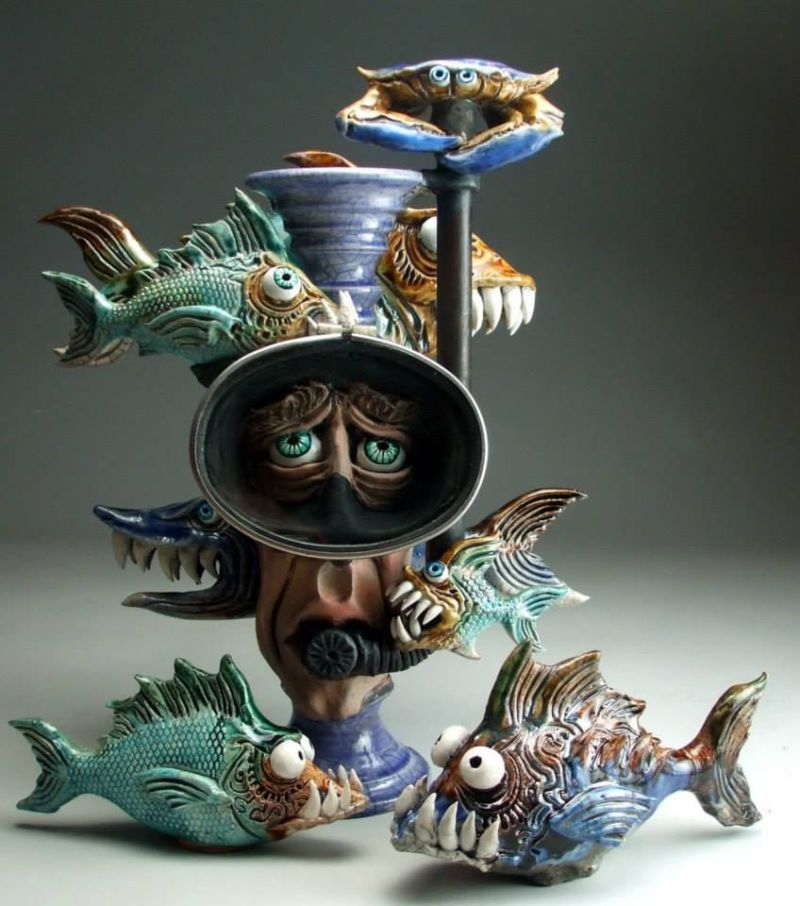
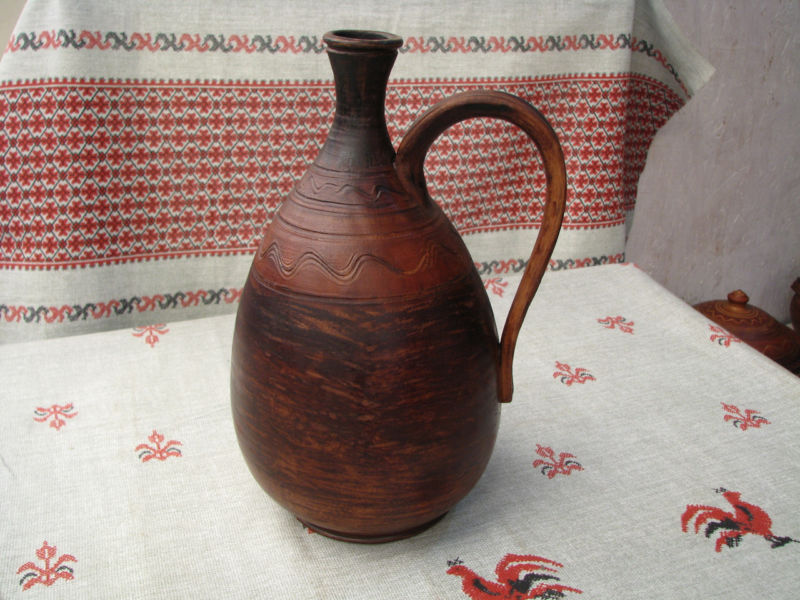
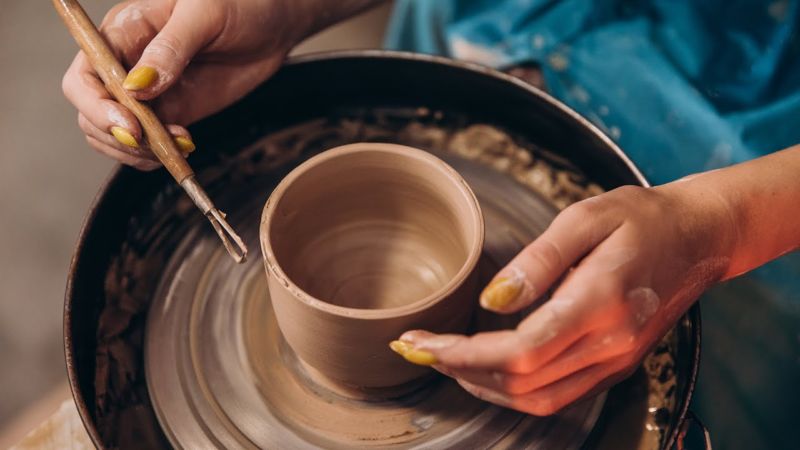
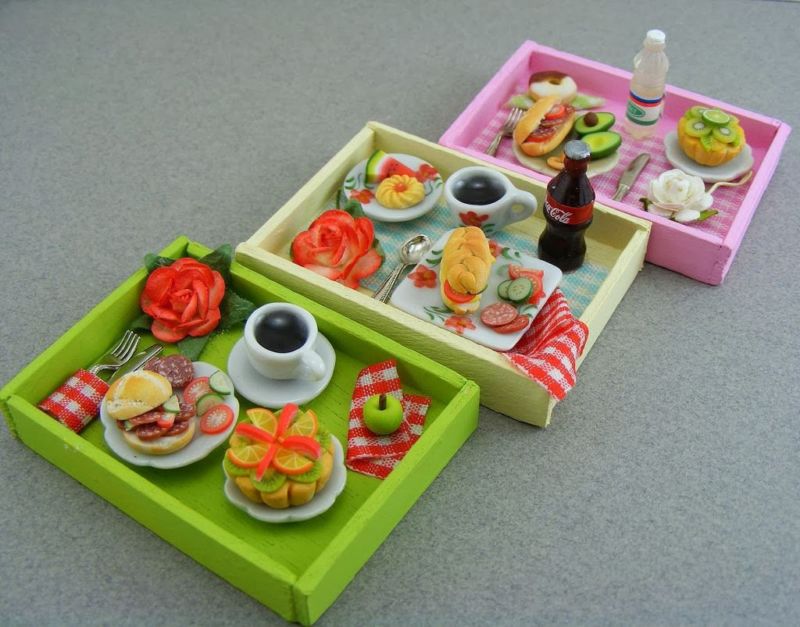
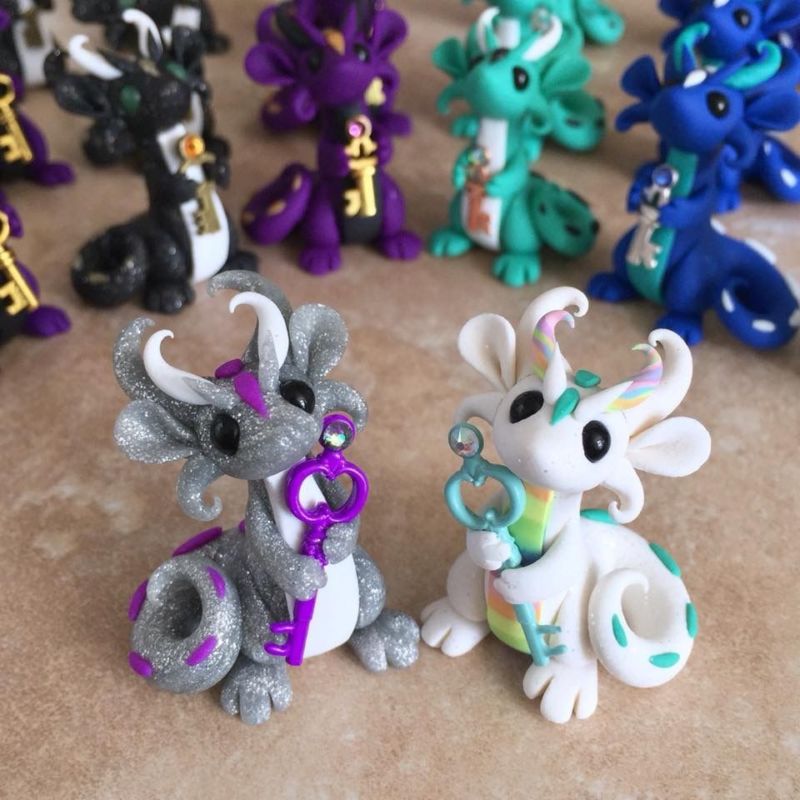
The original clay jug, made by a novice master, will please any hostess. Also crafts from polymer clay with their own hands will become a decoration of any interior and a wonderful gift.
Types of Clay
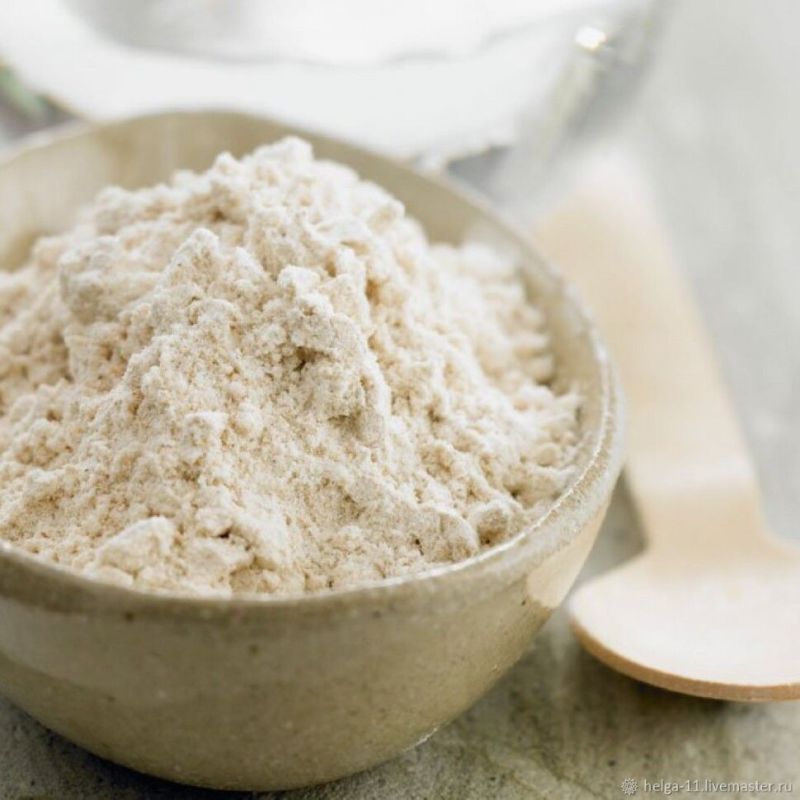
Natural Clay
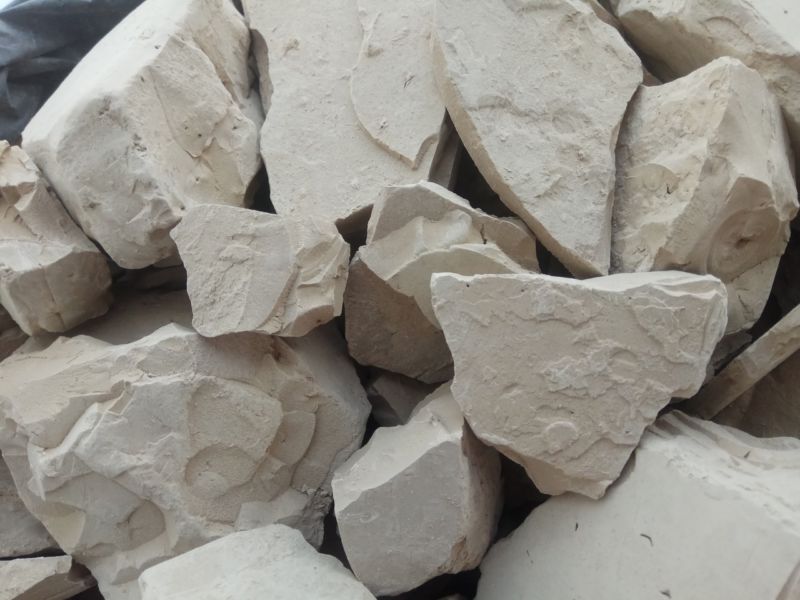
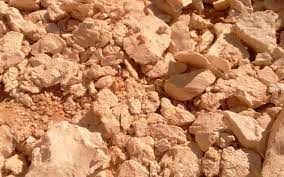
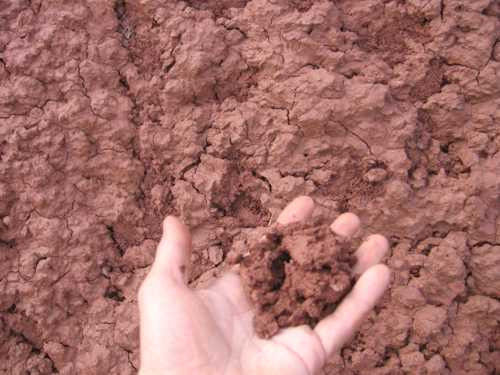
There are several of the most popular types of clay to work with. Natural clay is a mineral composed of tiny rock crystals. This natural material can vary in composition and physical properties.
Natural clay is used in the construction and production of household items. The most common clay is gray, but the color may vary depending on the impurities in the composition:
- White clay. The most common, found on all continents. Originally gray, after firing it becomes ivory or white.
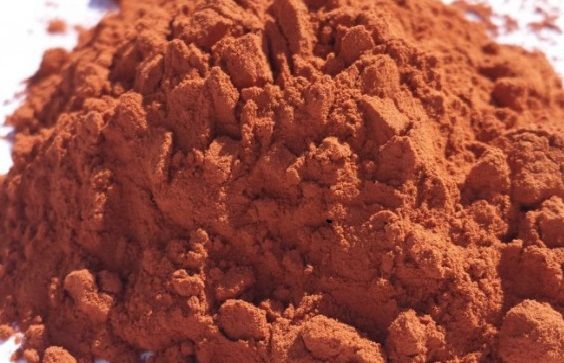
- Red Clay. Unprocessed, brown in color. Contains a lot of iron and potassium. After firing it acquires a red color.
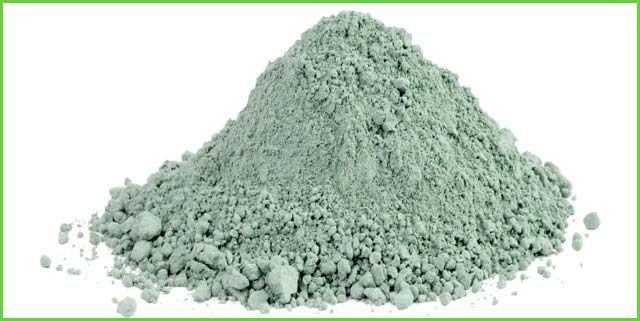
- Blue clay. The color is influenced by impurities of cadmium, cobalt, trace elements and salts necessary for human body. Widely used in cosmetology.
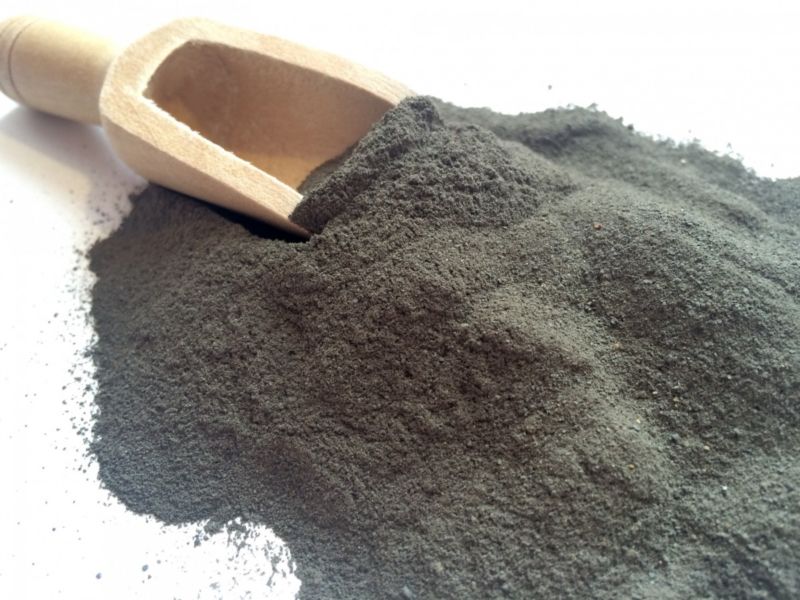
- Dark brown and black clay. Contains carbon and iron.
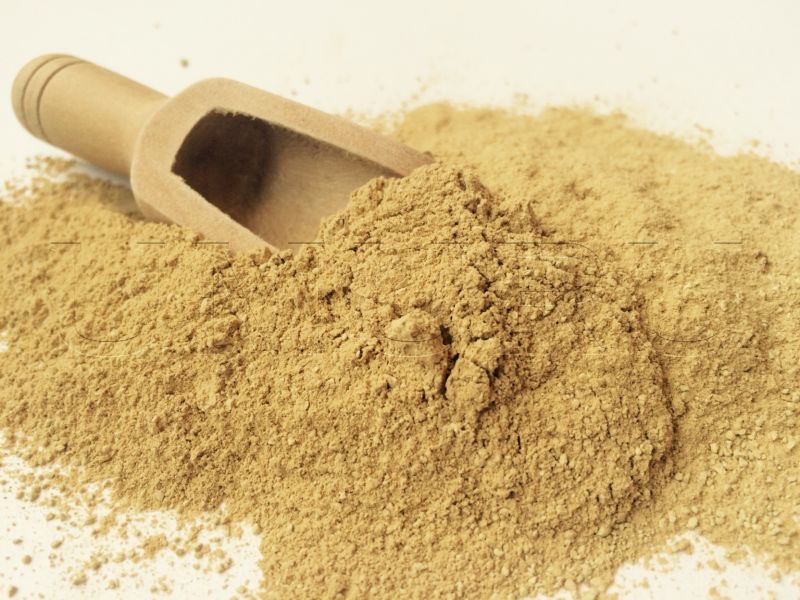
- Yellow clay. Contains sodium, sulfur, iron.
The advantages of natural clay:
- environmentally friendly;
- safe for health;
- hypoallergenic;
- affordable cost.
Disadvantages of natural clay:
- harder than polymer clay;
- Faded colors, but this drawback can easily be eliminated with acrylic paints.
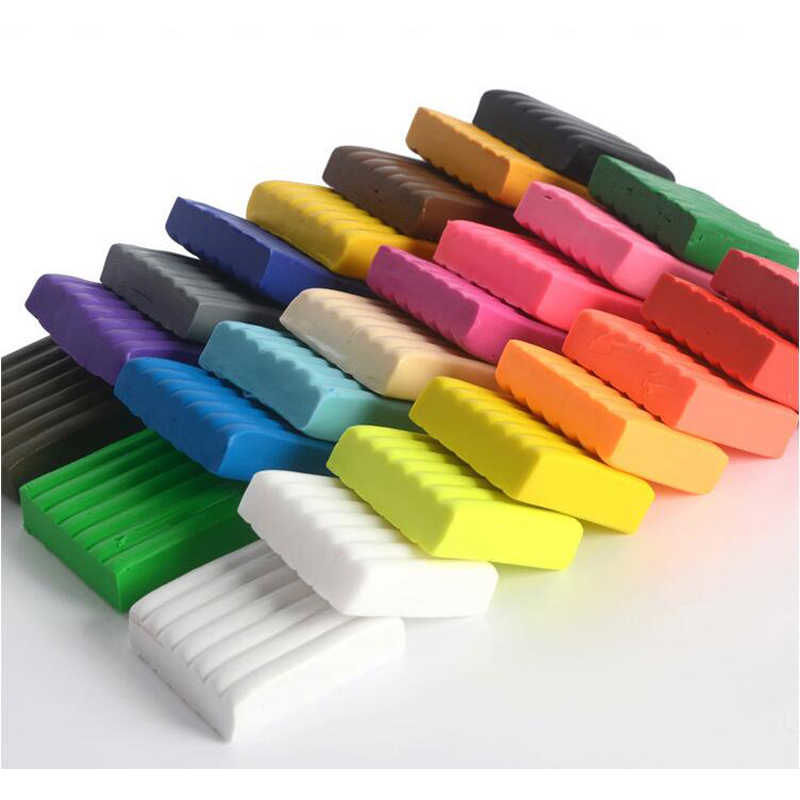
Polymer clay
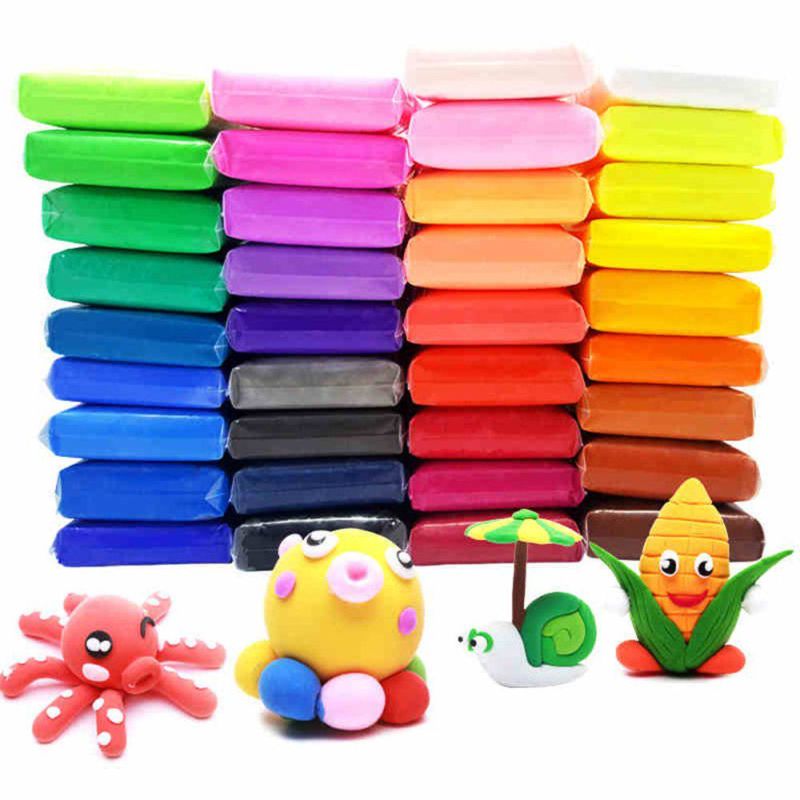
Beginners in modeling, it is better to choose polymer clay. It is similar to plasticine, but when it hardens it becomes hard and strong. It can be painted and varnished.
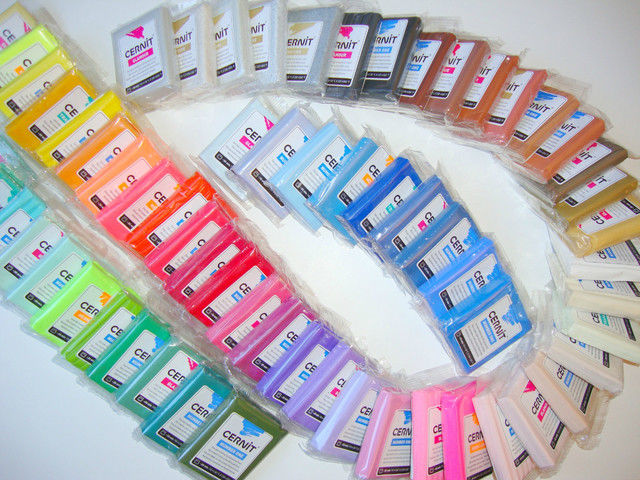
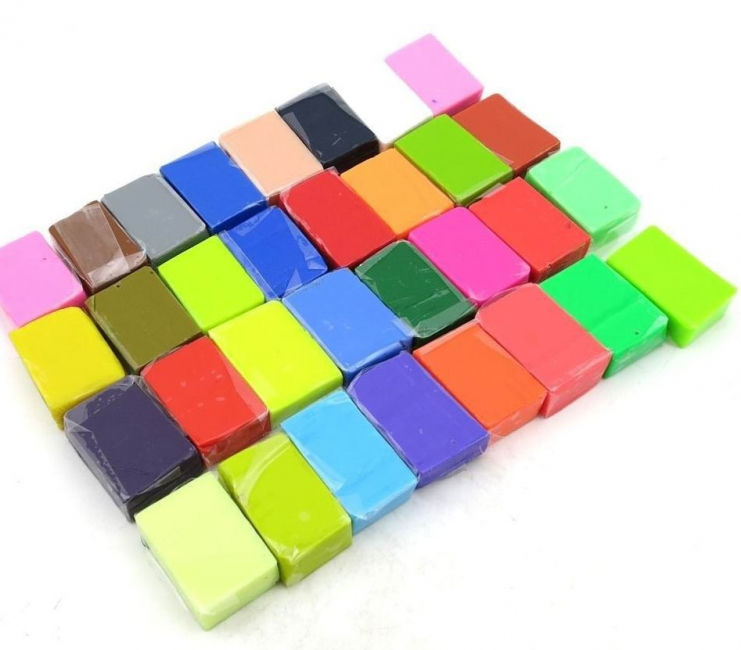
The composition of polymer clay - PVC and plasticizers, which are responsible for elasticity and plasticity. By adding pigments, manufacturers dye the colorless mass, obtaining a large number of colors and shades.
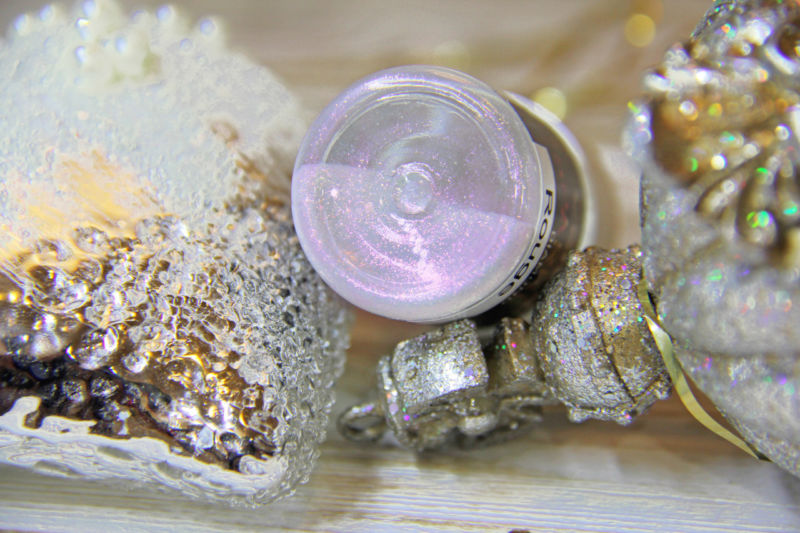
Mica is used to create a pearly and metallic luster.
The advantages of polymer clay:
- soft;
- elastic;
- wide color palette;
- affordable price.
Disadvantages of natural clay:
- presence of odor;
- some types get dirty;
- Can cause allergies.


When choosing polymer clay, you need to pay attention to the technical features of processing.
Self-curing (self-curing) polymer clay
Cures in the air and does not require additional heat treatment, but it is not fast.
You will have to wait 1 to 3 days for it to dry completely. Frozen crafts are as strong as baked ones. It can be sanded, painted or glued.
Baked clay
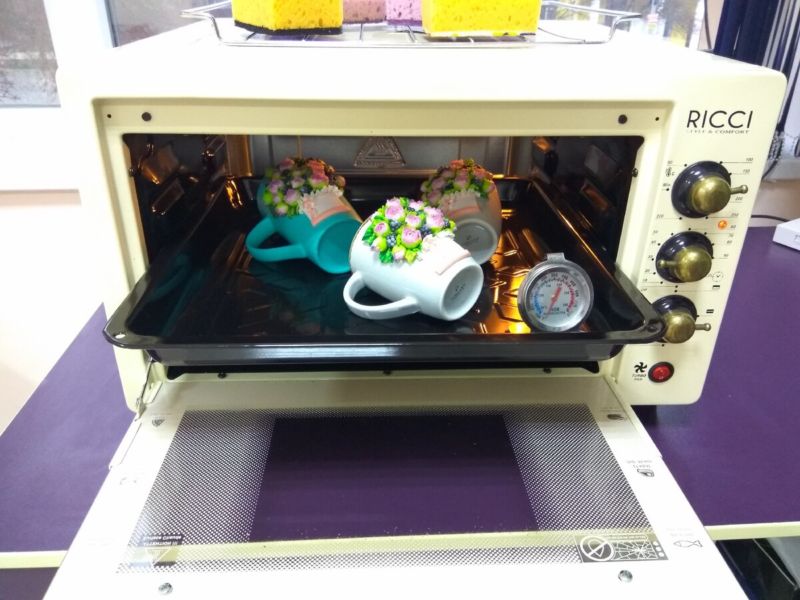
Frozen during baking at a temperature of 110-130 degrees. No special stoves for this, any oven will do, but you need to follow the instructions.

Every 5-10 degrees is important. The product can not bake and be too soft or burn.
Storage conditions of polymer clay
One package of polymer clay is enough for several products. Therefore, the question arises: "How to properly store the leftovers so they have not lost their quality and were suitable for work?"
There is no need to create special conditions, but there are a few peculiarities that must be observed. The following methods are suitable for storing leftovers, whole pieces and blanks:
- Shelf life of polymer clay from a month to several years.
- For storage, you need to choose cool places. The best place is a refrigerator. Polymer can be frozen, it does not lose its qualities when thawed naturally. Avoid places near batteries, incandescent lamps and in sunlight.
- When stored in the refrigerator, contact with food should be avoided. It is better to place the clay in the drawers on the refrigerator door.
- To avoid mixing, each color should be stored in a separate container. Bags with a zip lock will work. An alternative option is wax paper. Such packaging is better labeled: color, brand, date of production and opening, baking temperature.
- Polymer clay adheres well to porous surfaces. Therefore, for storage it is better to choose a plastic, glass or metal container with a tight-fitting lid. If there are many leftovers, and they are different colors, it is convenient to use boxes with sections. You can buy them in stores for creativity and fishing.
- You should not store raw and baked clay together. Raw plasticizers penetrate the baked, making the latter softer.
- Raw polymer clay attracts dust and small particles, so storage and work surfaces should always be clean.
- If, after all, the old clay has hardened, add a few drops of oil, it will return it to softness.
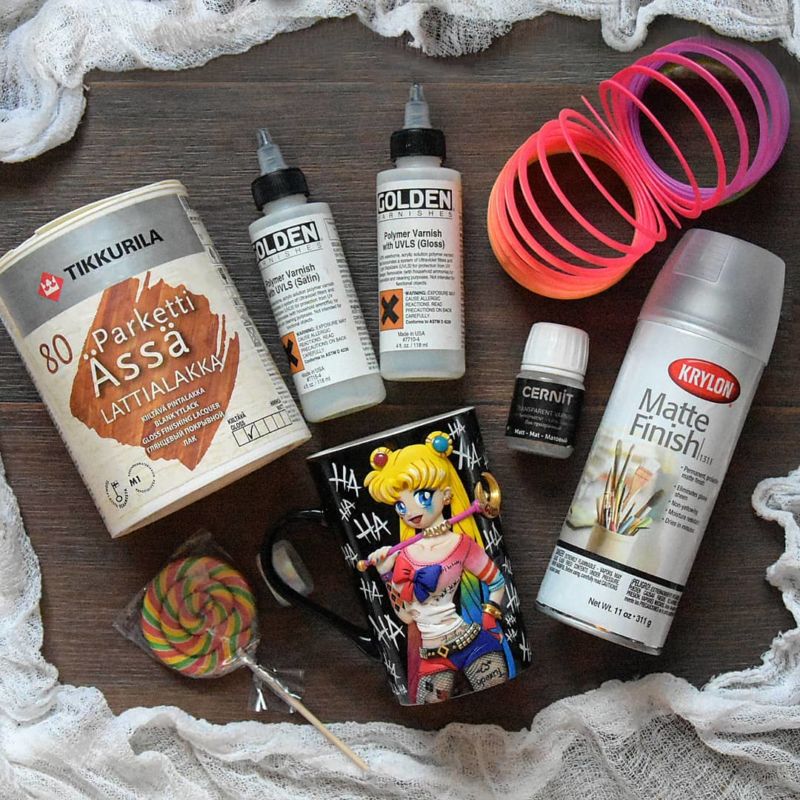
Tools for working with clay
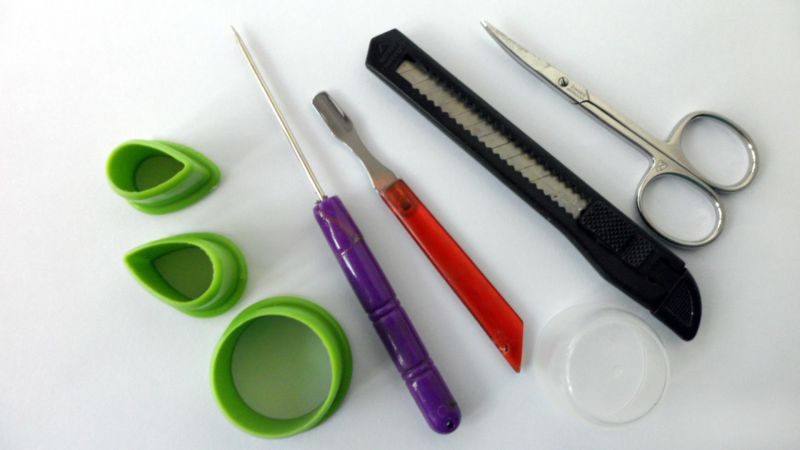
Working with clay is an individual and creative process, so each master has his own set of tools. However, there are a few basic ones that are necessary for the beginner and the master with experience:
- The first thing to pay attention to is the work surface. Polymer clay, like a magnet attracts dust, crumbs, hair - any small debris. The choice of location should be approached responsibly. The work surface should be covered. The surface should be smooth, but non-slip. There are special mats for rolling out on the market. Cloth, glass, plastic boards or paper will do. It is better not to use wood, it can absorb the clay and stain.
- Gloves for mixing clay. Apron to protect clothing.
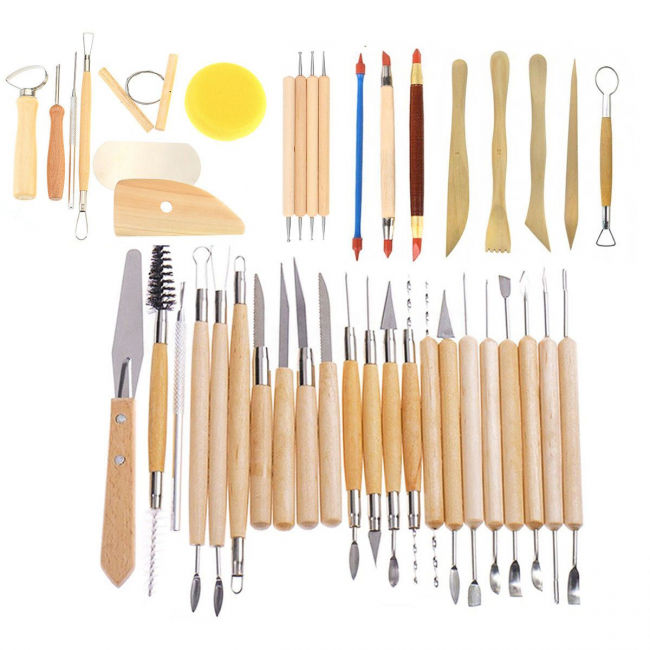
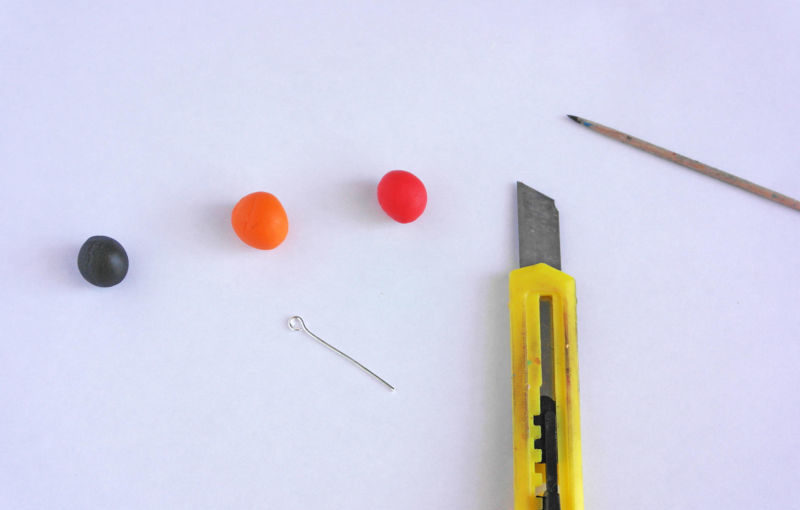
- A box cutter or special blades for cutting polymer clay.
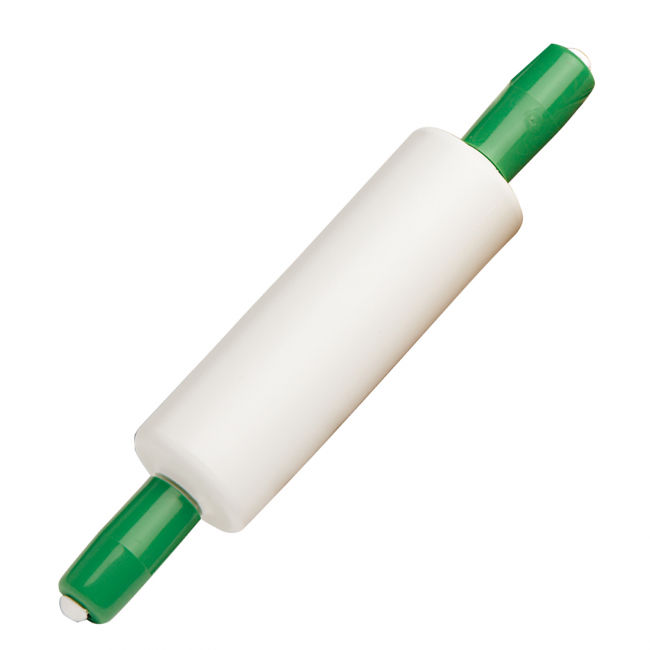
- A rolling pin for unrolling the modeling clay. Experienced craftsmen use a special acrylic roller. For the first experiments, any object resembling a rolling pin will do: a glass beaker, an aerosol ball.
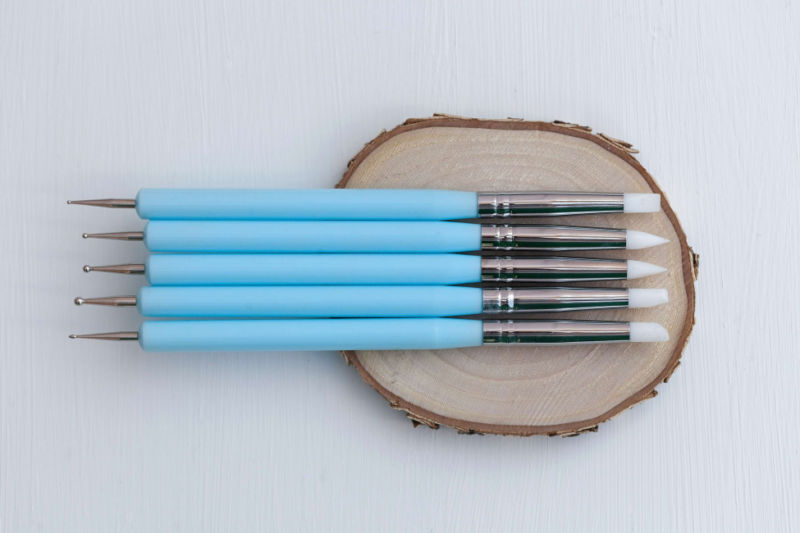
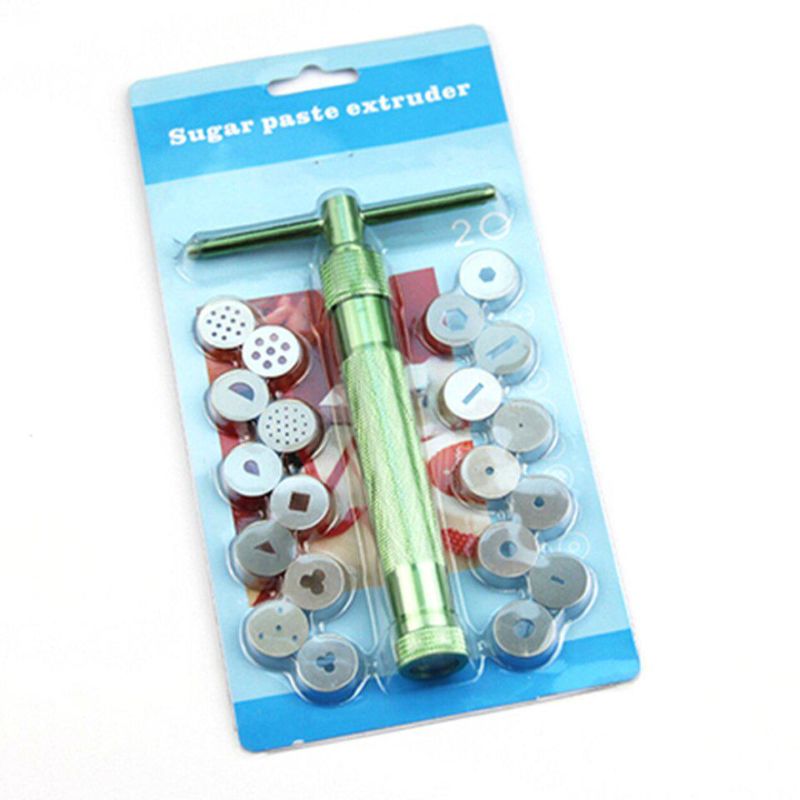
- Stacks. Sticks made of metal, plastic or wood. Use them to make small details, create patterns. Beginners can use improvised materials: toothpicks, popsicle sticks, marker caps.
- Molds. There are special sets, united by a common theme, but ordinary culinary stencils will also do.
- Sandpaper for sanding blanks from fine #220 to #1500. Choose depending on what you will sculpt.
- Glue. Latex, epoxy, superglue, liquid polymer clay.
- Wet wipes for treating hands, surfaces and tools.
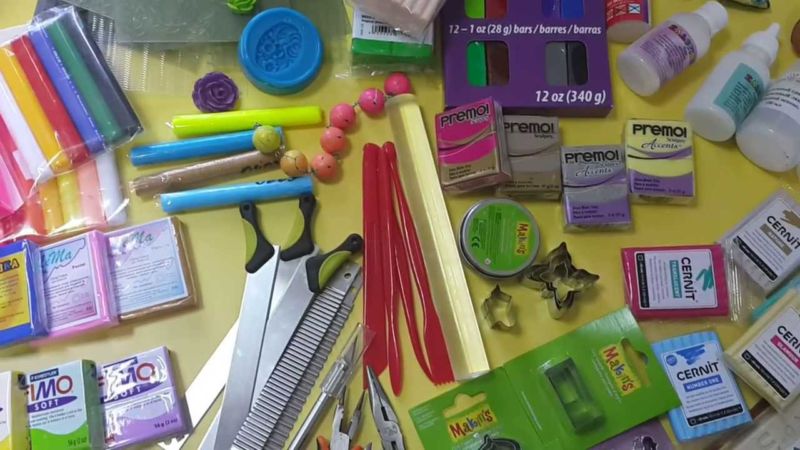
This is a small list of things that will come in handy for the novice artist. There are dozens of other items that can be useful when working with polymer clay.
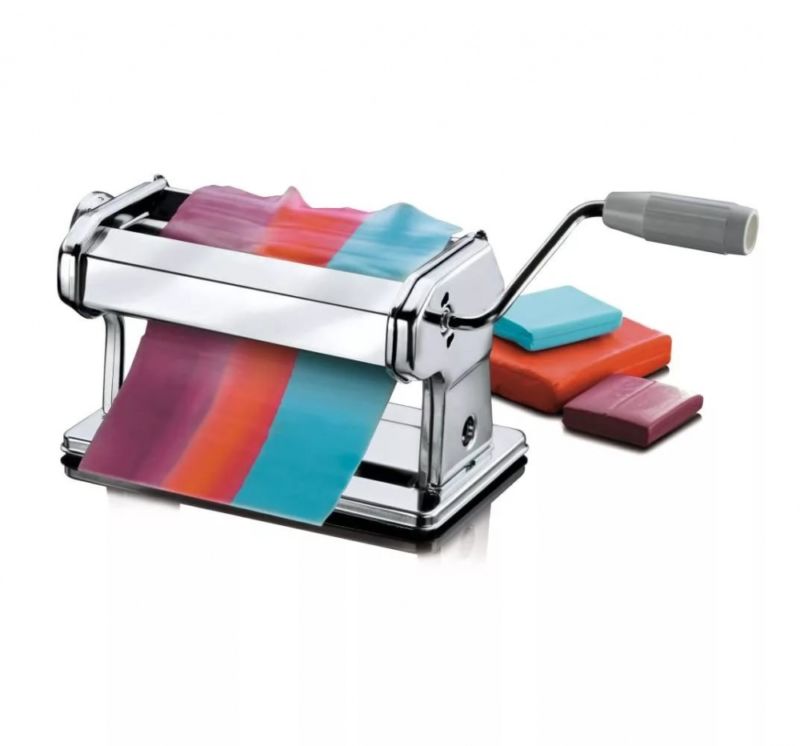
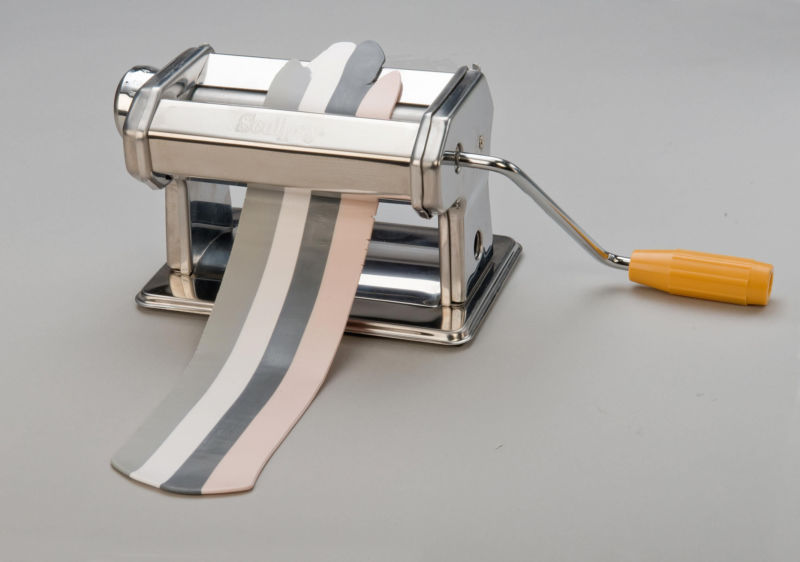
Paste-machines for rolling, molds - silicone forms for filling shapes, texture sheets - to create reliefs and much, much more.
Modeling techniques
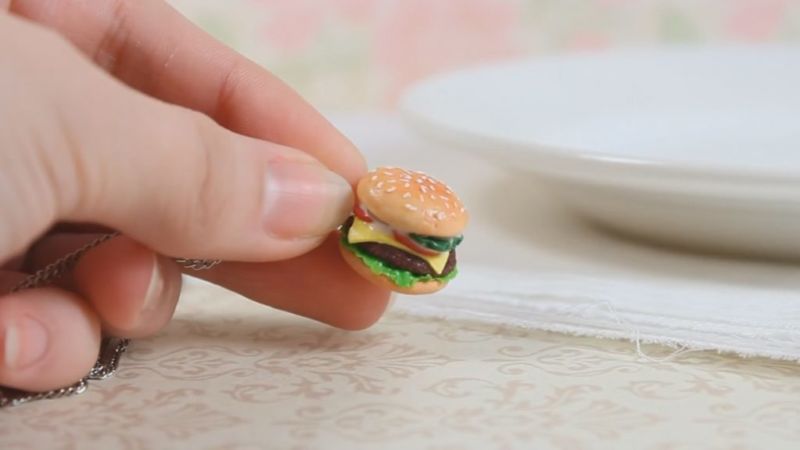
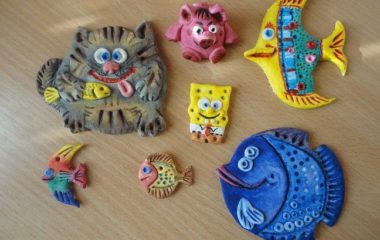
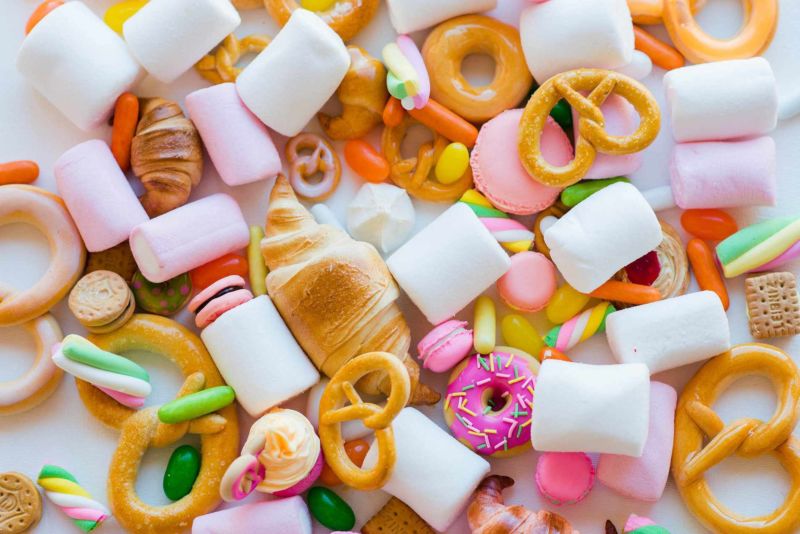
What to model with clay? There are so many options. Decorations and décor, magnets and cute souvenirs. To create some you need a certain experience, and with something a child will cope:
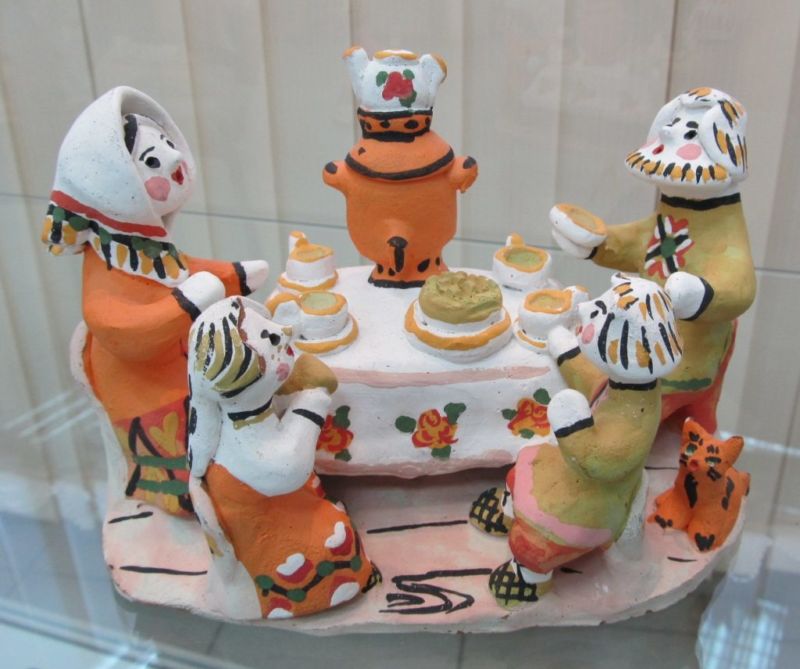
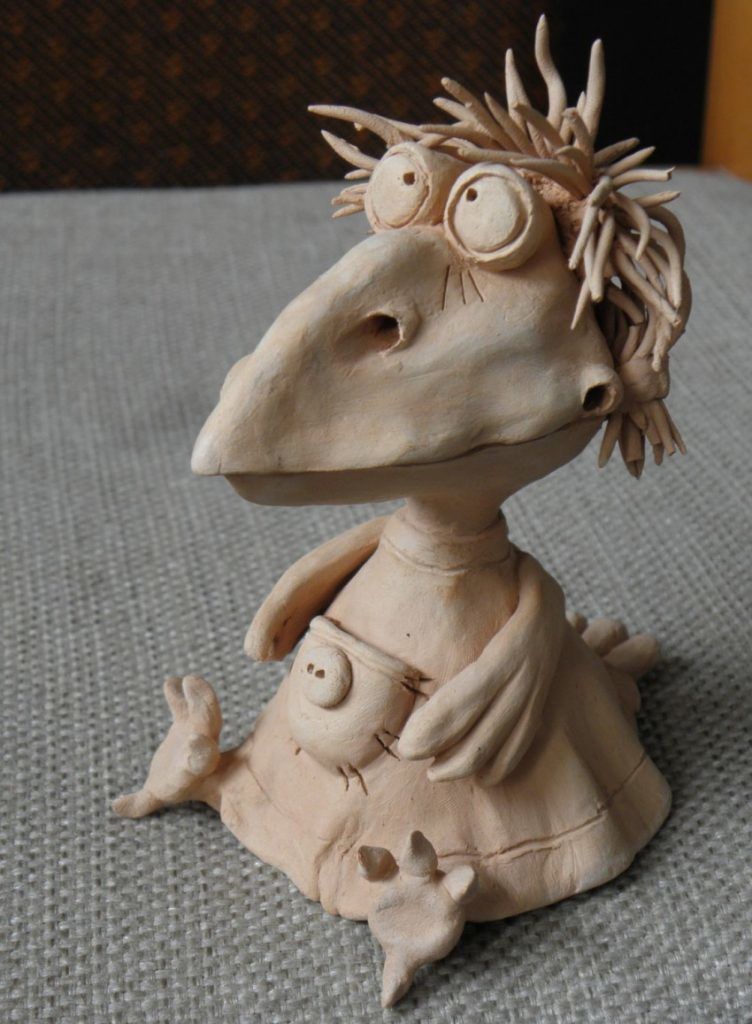
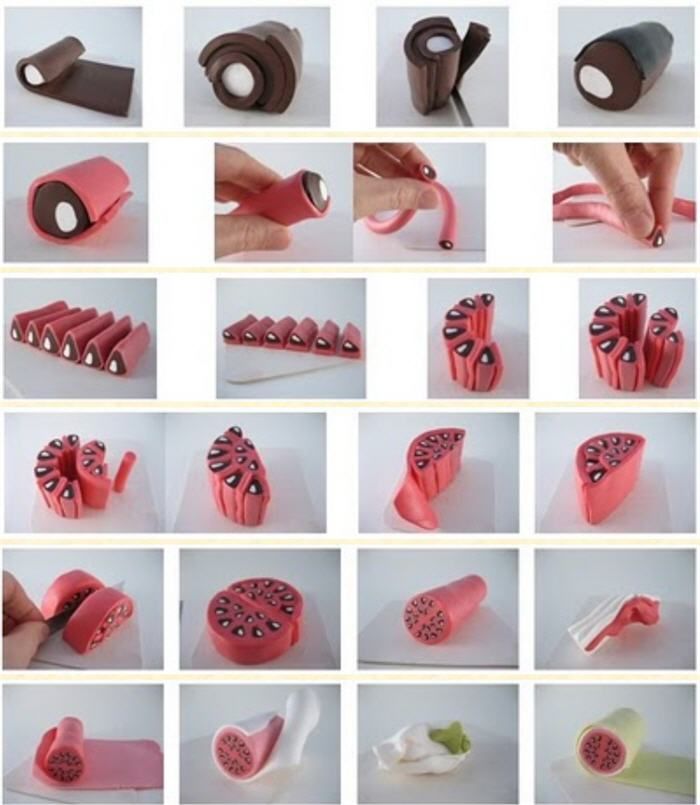
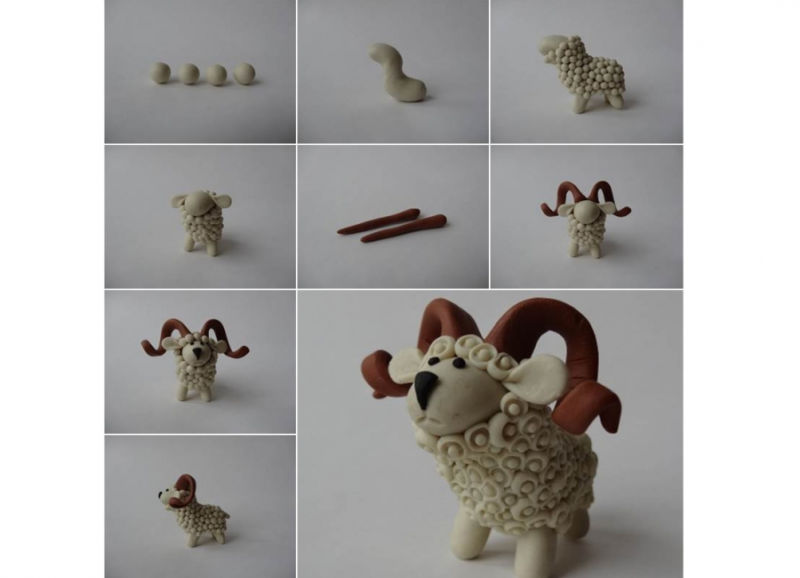
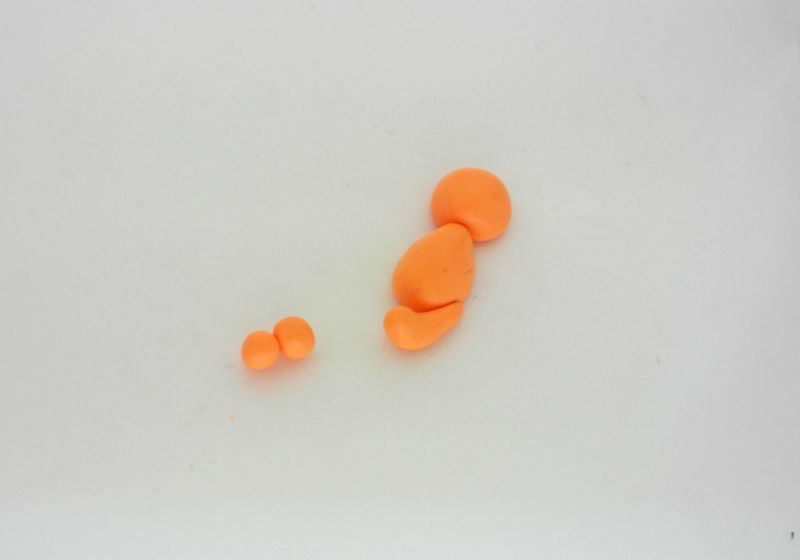
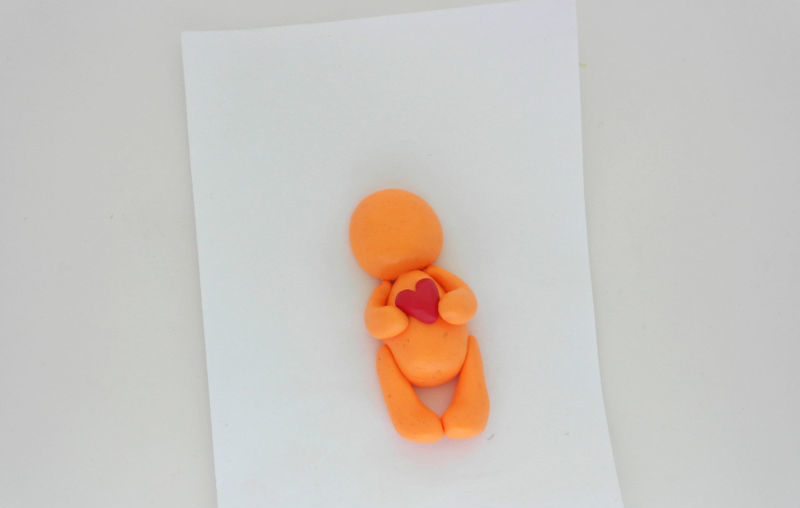
- Sculpture molding. The first thing to learn is to roll balls and sausages. To create a sculpture (figure), separate parts are made step by step, starting with the largest, such as the torso. Then, the parts are connected to each other.
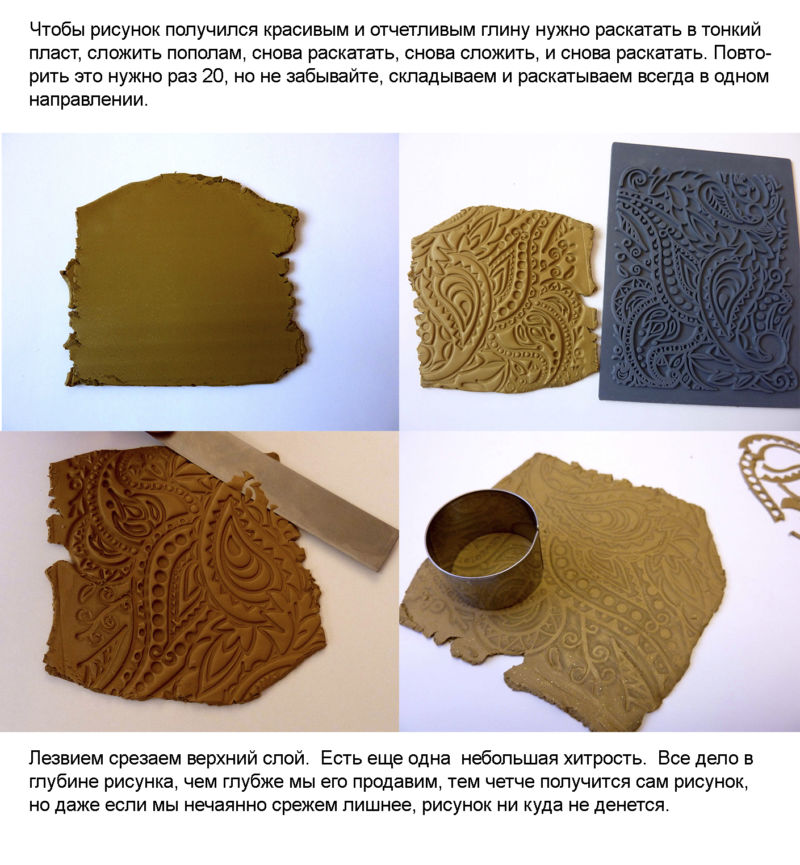
- Relief modeling. The base is rolled out into a thin layer, at least 0.8 cm thick. It can be a geometric or stencil-cut figure.
Next, the base is decorated in different ways:
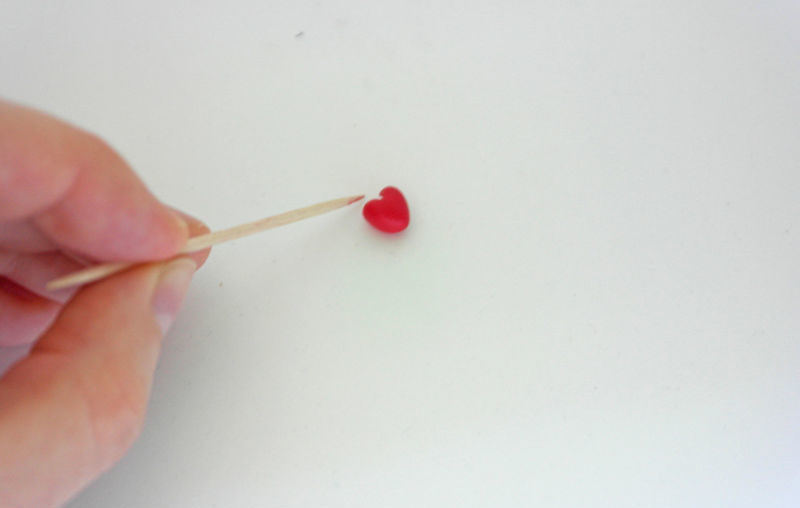
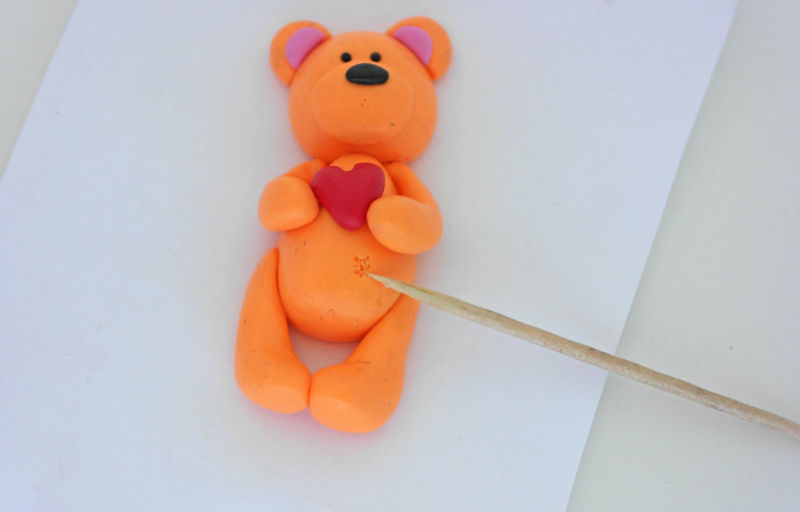
- Drawing is applied with a toothpick or stecker.
- On the basis are applied blanks: plaques, strips, figures, cut out with the help of molds.
- Selection of clay. On the basis, more than 3 cm in thickness, drawing is applied. Excess clay is removed along the edges, so the pattern appears convex.
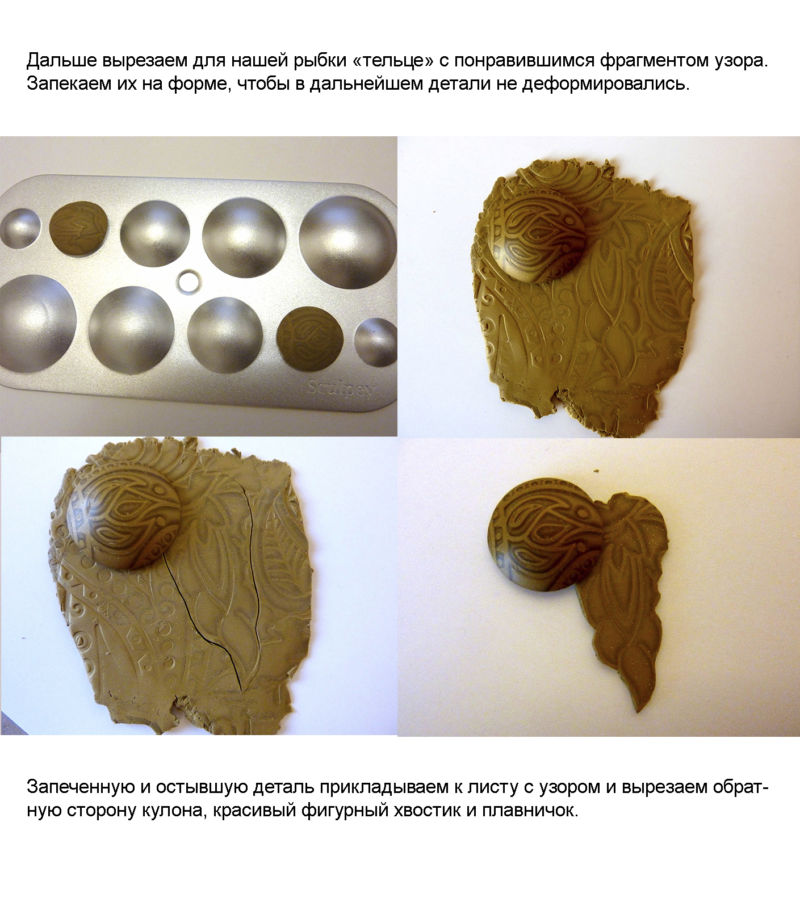
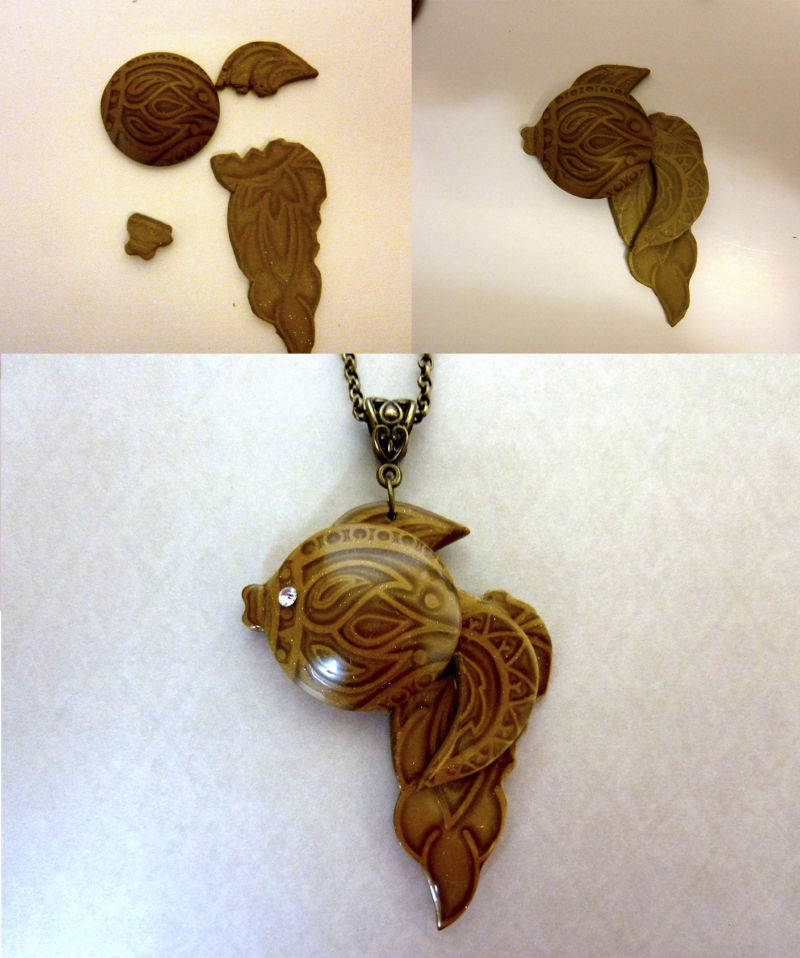
At the forming stage, ready-made bases are filled with clay. After hardening, the pieces are decorated or joined together.
Having mastered these simple techniques, you can try more complex: watercolor, filigree or mika-shift.
Speaking of natural clay, it is worth mentioning a few other techniques:
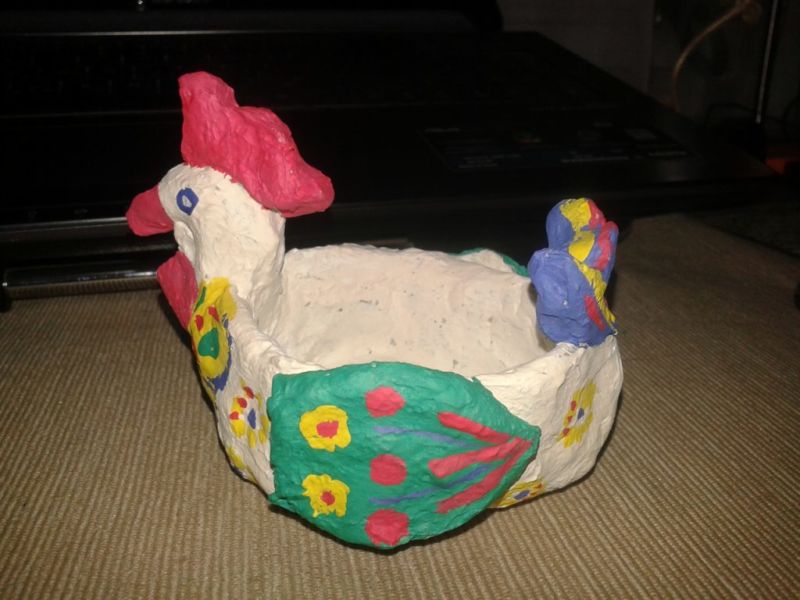
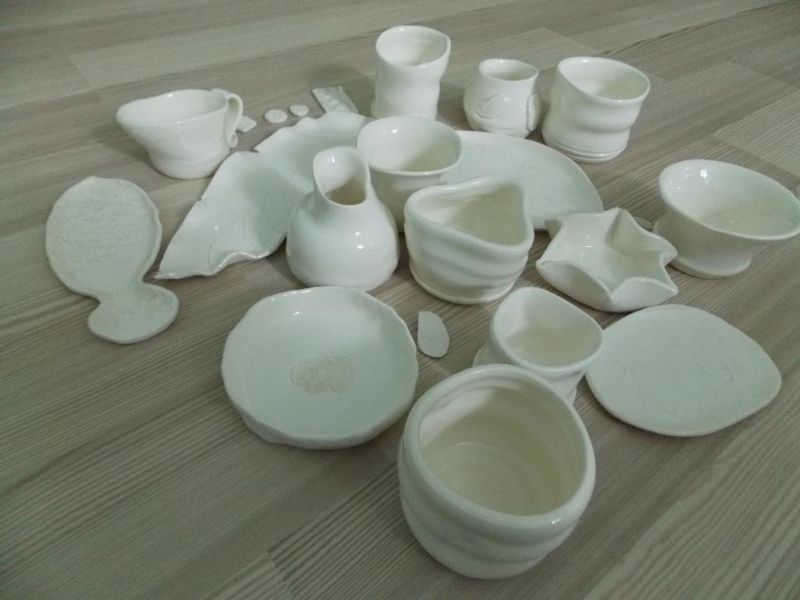
- Hand modeling. The easiest way to make vessels, cups, plates.
- The harness technique. Cloths (sausages) of the same thickness, but different lengths are stacked on top of each other, according to the principle of the pyramid, giving the desired shape. Joints are fastened with liquid clay. The technique is suitable for creating dishes, figures and even sculptures. If you don't have a potter's wheel, you can make a vessel of any size from harnesses.
- Potter's wheel. It is problematic to learn this technique on your own, but after attending courses, you can start creating beautiful pottery.
Firing products from clay
Firing - one of the main stages of creating products from natural clay. On an industrial scale, special muffle furnaces are used. Amateurs roast in classical Russian ovens, over an open fire in special containers and ovens.
"Baking" clay products takes 1-2 hours at 180-200 degrees. The temperature must be constantly monitored to avoid spoiling the handicraft.
To fire the polymer clay is much easier, not to mention self-curing - which dries up in the air in a couple of days.
With baked clay, there are no particular difficulties. It is necessary to carefully study the manufacturer's recommendations. The temperature is usually 110-130 degrees. Baking time is 15-30 minutes. Small parts are pre-punched on toothpicks stuck in a lump of foil.
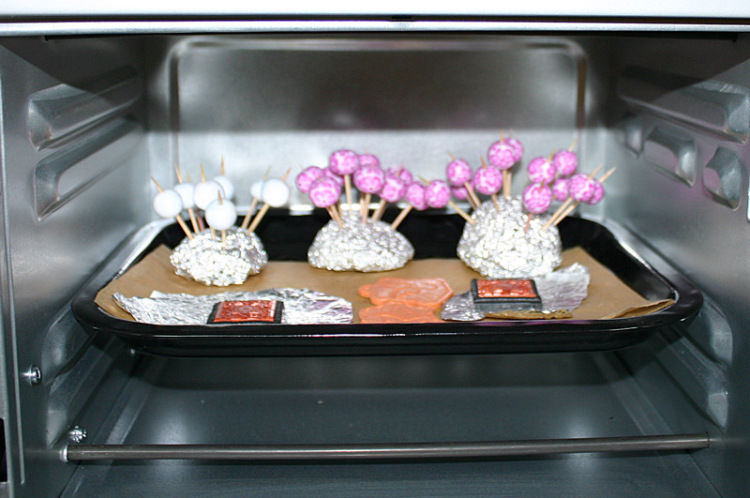
Parts thicker than 1 cm and three-dimensional figures are baked longer. At the end of cooking, leave the product to cool in the oven.
Another method is boiling. In a deep metal container (which is not used for cooking and storing food) pour water.
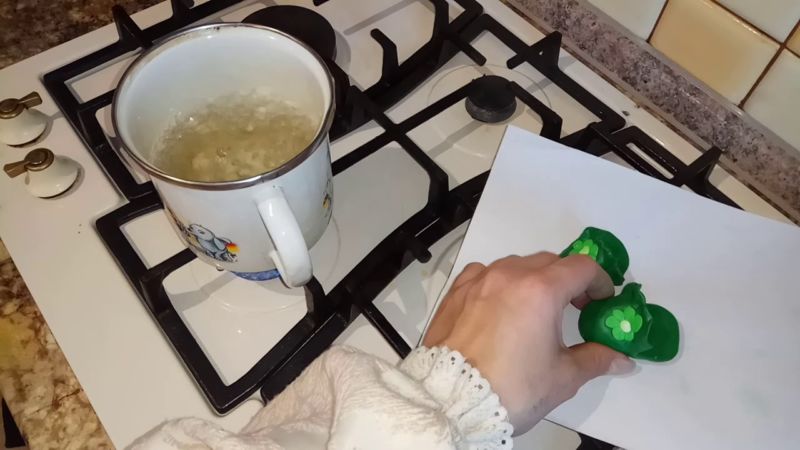
After boiling, in it drop figures and blanks for 5 minutes, if the volume is large, increase the time by 1 minute. At the end of "boiling" rinse with cold water.
Note! When heating plastic clay, due to evaporation of plasticizer, there is a smell of melted plastic. Therefore, for baking, it is better to choose a tray, which is not used in the home. And after completing the work, wipe the oven.
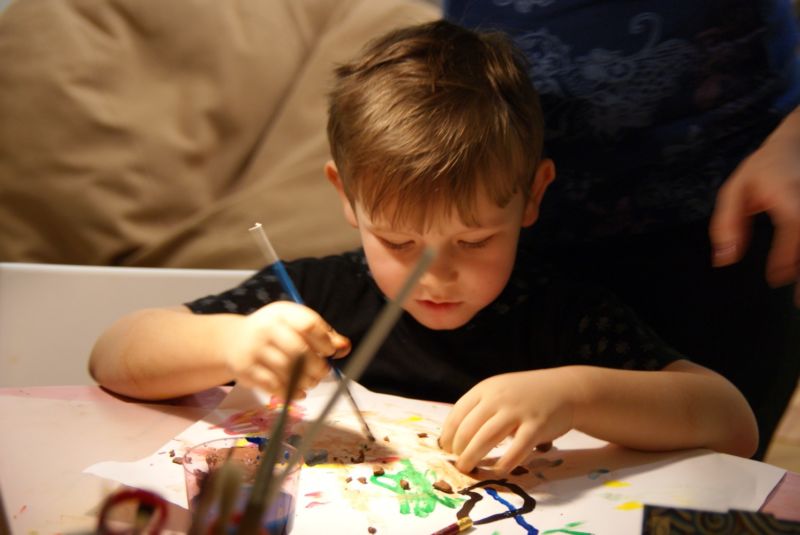
Painting and decorating clay crafts
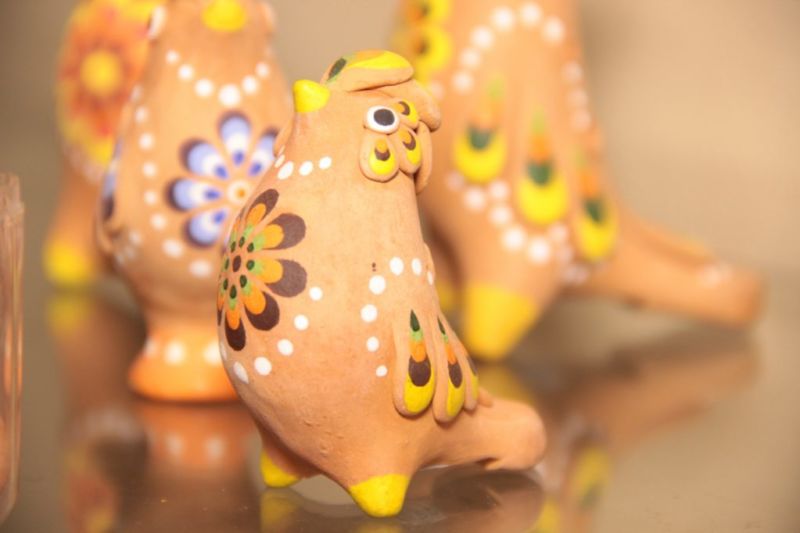
After drying the product, there comes another very creative process - painting and decorating.
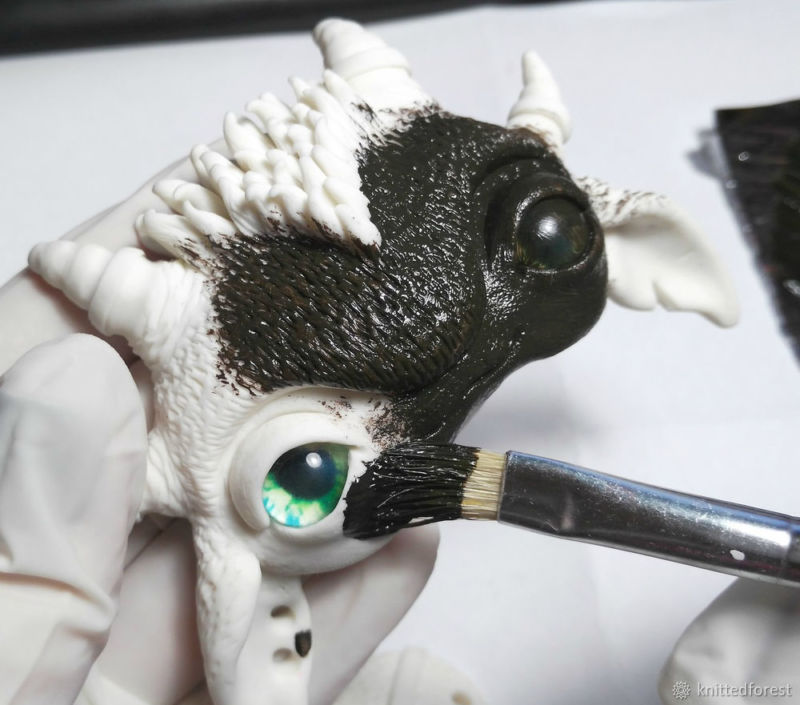
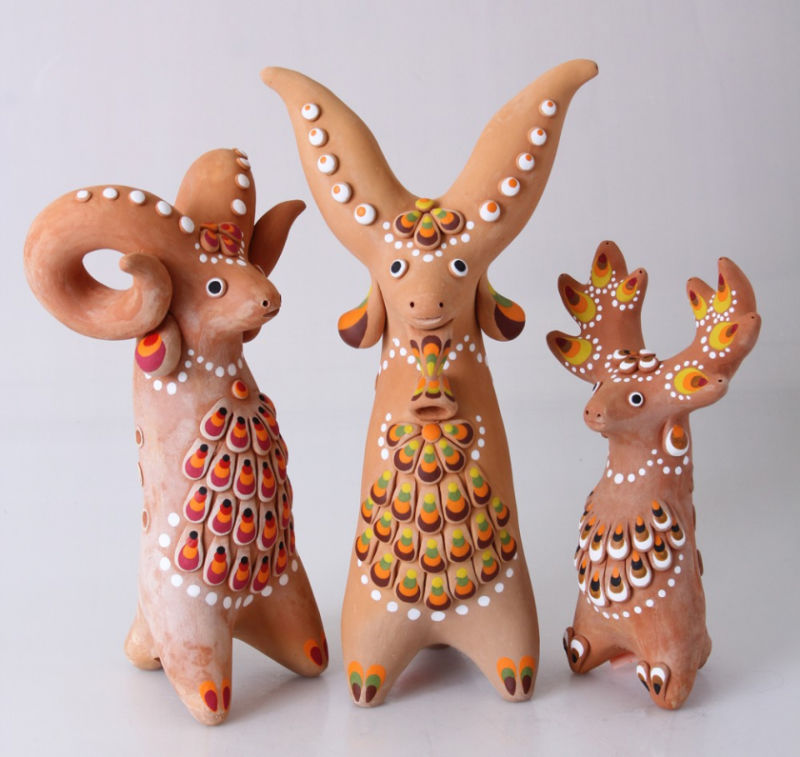
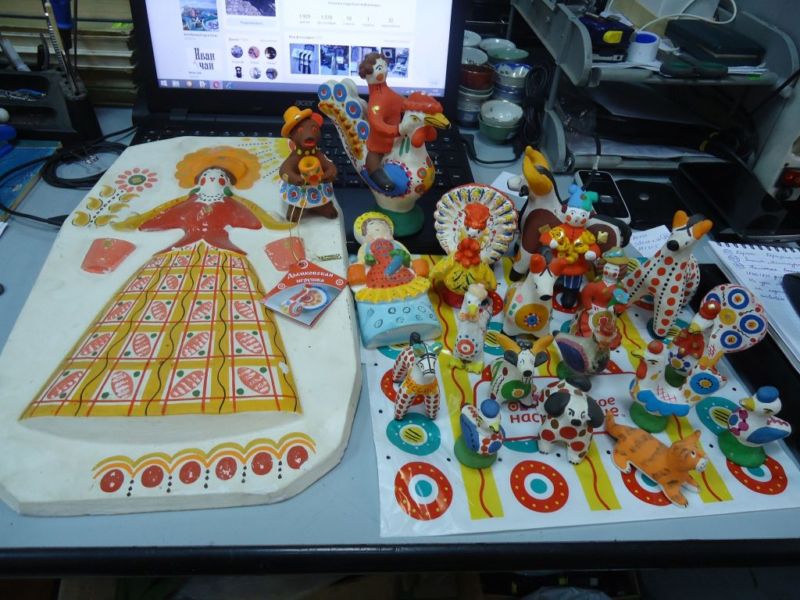
Natural clay after firing is less bright than polymer clay, which is originally a variety of colors and shades. But you can color both. Here it all depends on the imagination and idea of the master.
Acrylic and oil paints are best.
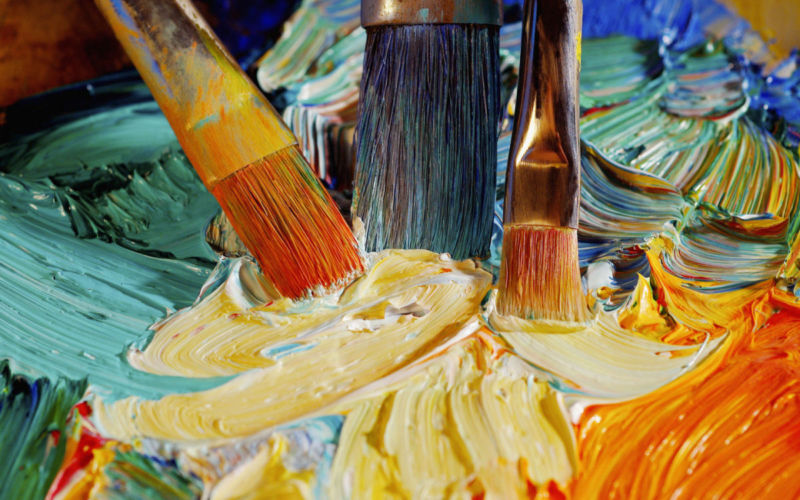
For the first works, a paint without firing will do. However, it should not be used for painting dishes. If you want to paint a plate or a mug, it is better to take paints that are fixed by firing in the oven.
Is it necessary to prime the product before painting? If it's acrylic, it all depends on the effect you want. If you want a calmer tone, don't primer; if you want bright and juicy colors, primer.

It's more complicated with oil. It penetrates into the porous structure, so the primer or glaze coating is necessary.
These are the 2 most common types of paint. Want to experiment? Get an aerosol, dry soft pastel, powder, special ink for ceramics.
To retain the brightness and pattern after the paint dries, you need to cover the product with a special varnish.
For additional decoration suit ribbons, beads, sequins.
Clay crafts for beginners
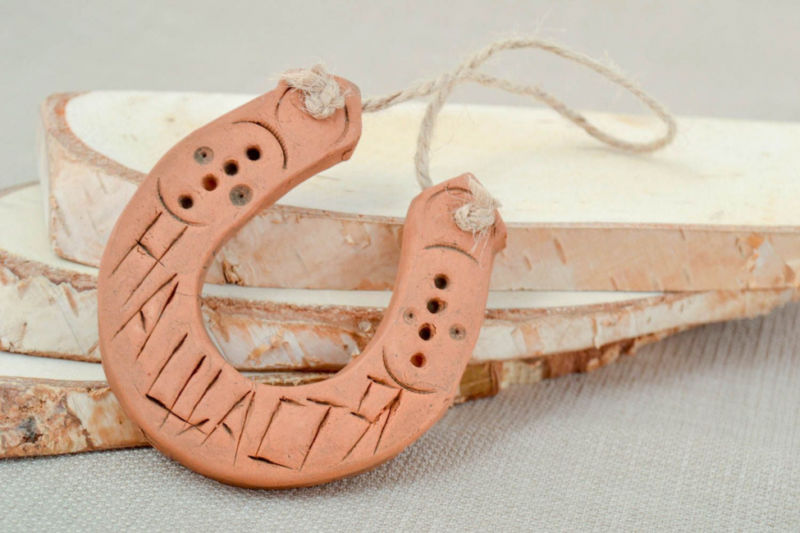
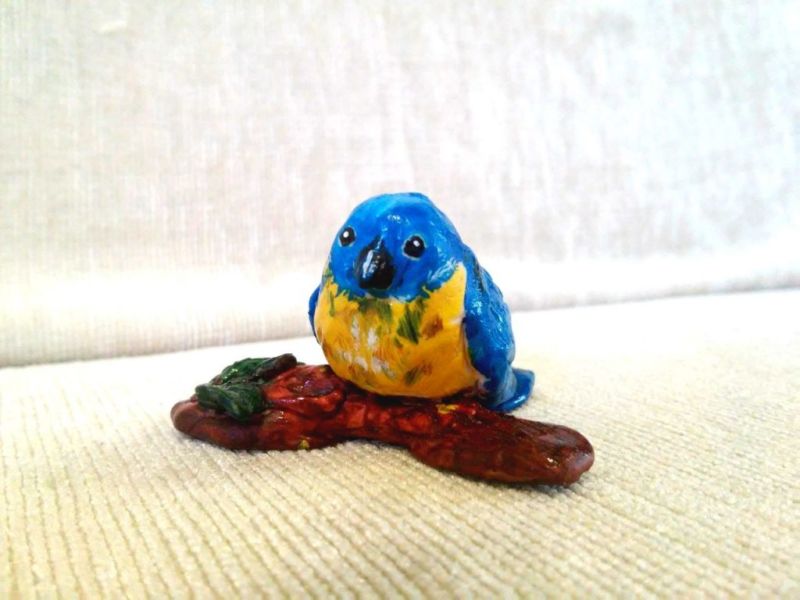
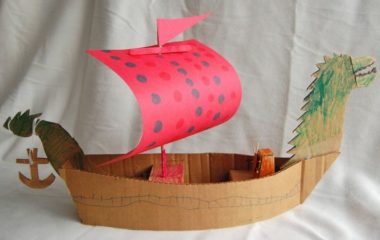
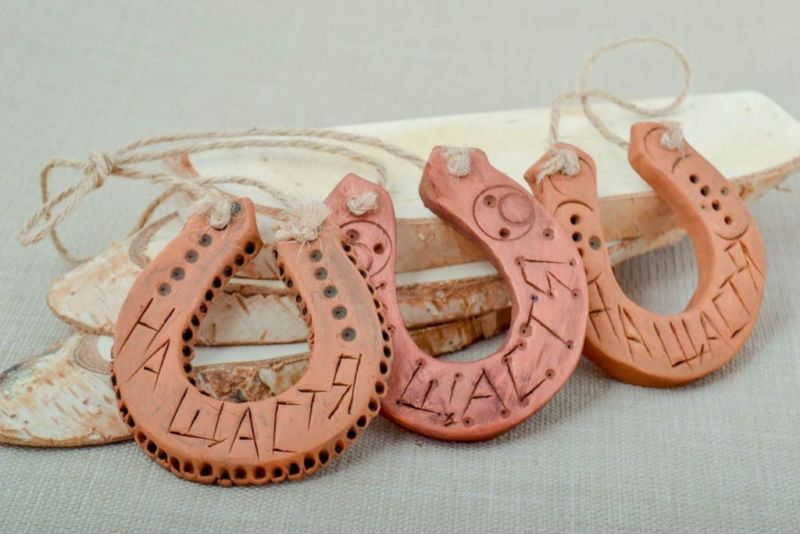
With what is better to start? With a sketch. Print or draw what you want to make. This can be a figurine of an animal or a small panel which would make a great magnet for the fridge, a medal or a horseshoe for good luck.
Decide on the material. For crafts with children, it is better to choose self-curing polymer clay. If you are willing to spend more time, use natural clay. The steps are similar:
- Knead the clay.
- Roll out, roll balls or sausages - it all depends on the idea.
- Cut out parts, create decorations.
- Connect the pieces together.
- Leave it to set or bake.
- If necessary, decorate.
- Decorate with beads, ribbons or sequins.
- Varnish.

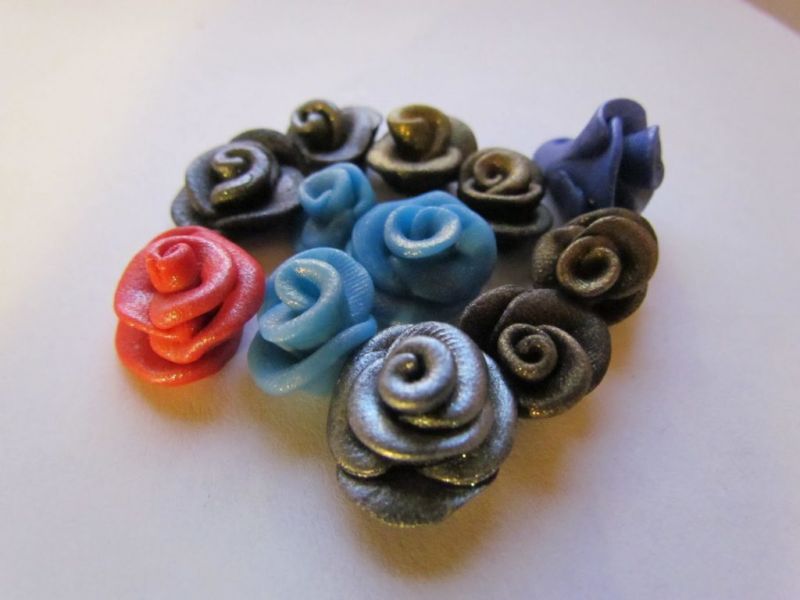
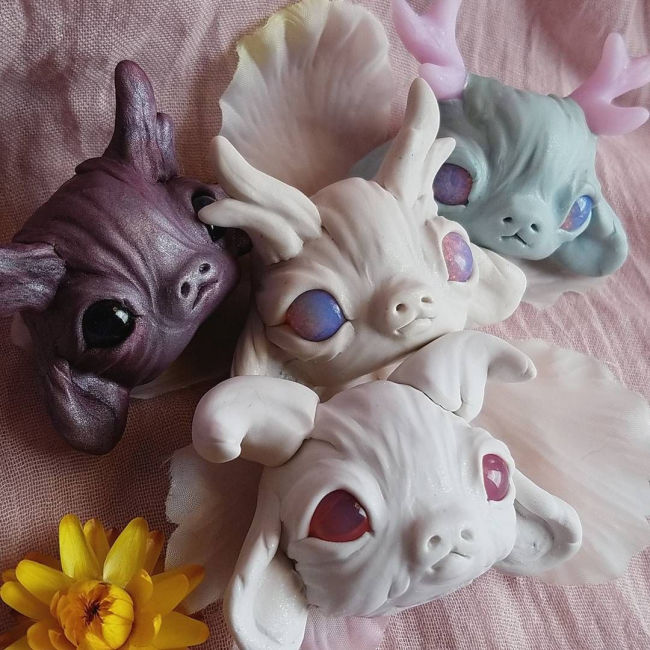
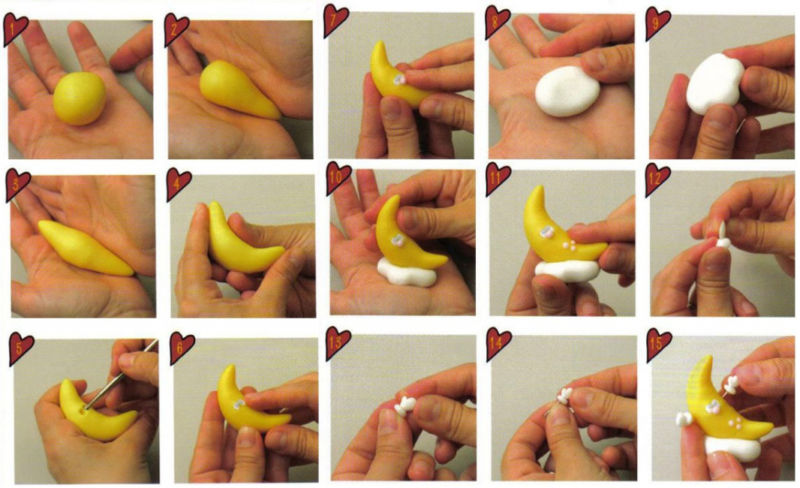
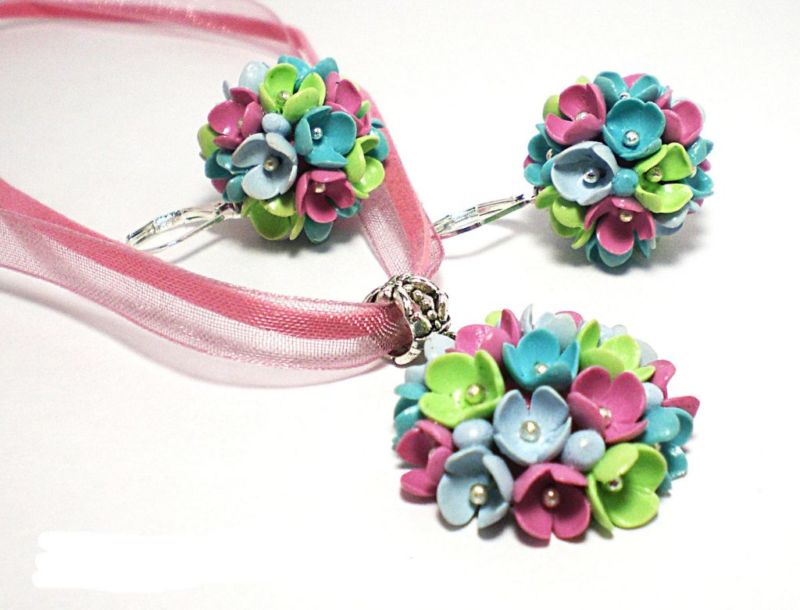
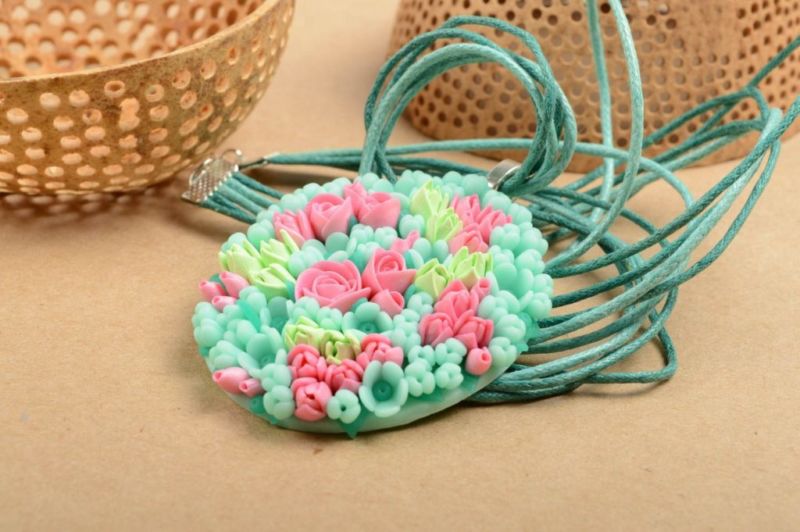
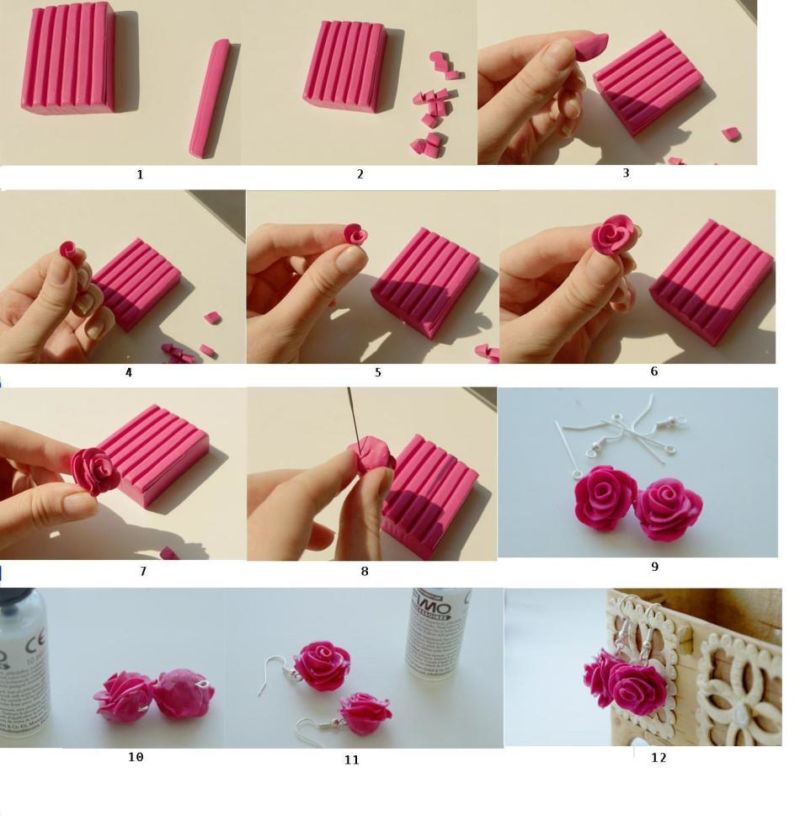
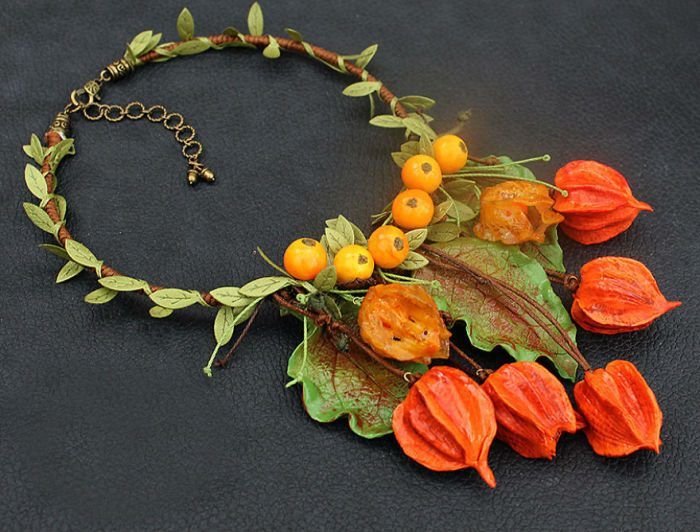
Adults can begin their acquaintance with polymer clay by making flowers. Start with plants with large petals: koalas, lilies, poppies and daisies. When the basic techniques will be perfected try to mould roses and peonies.
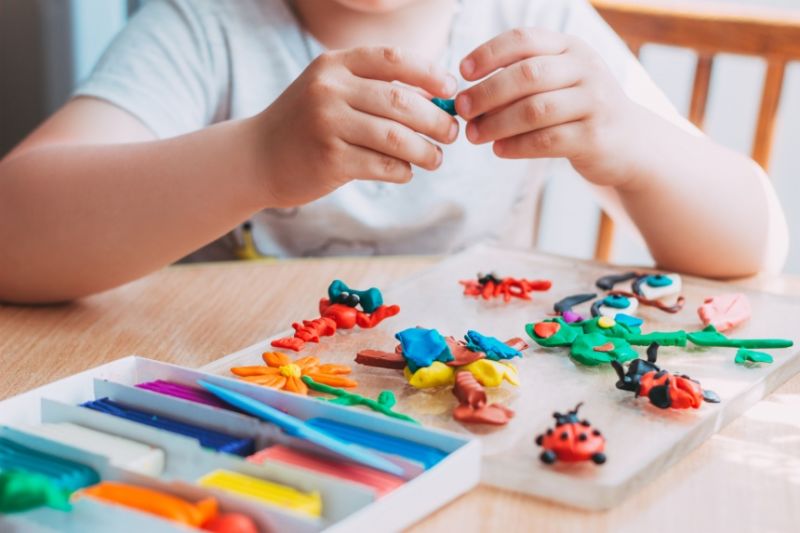
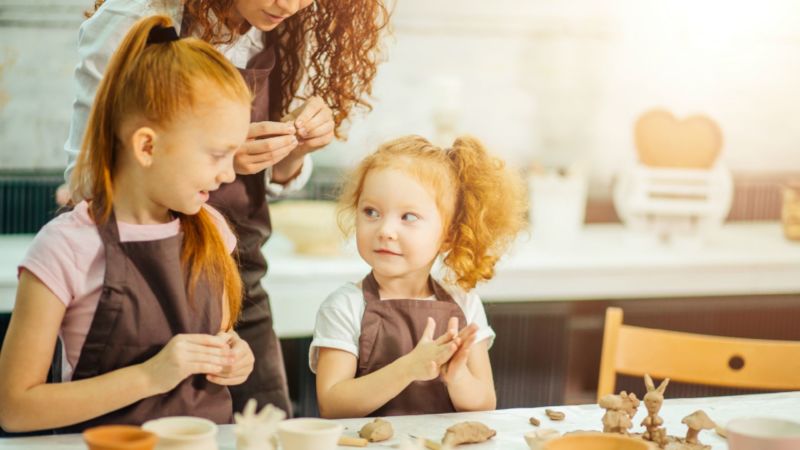
Clay crafts for children
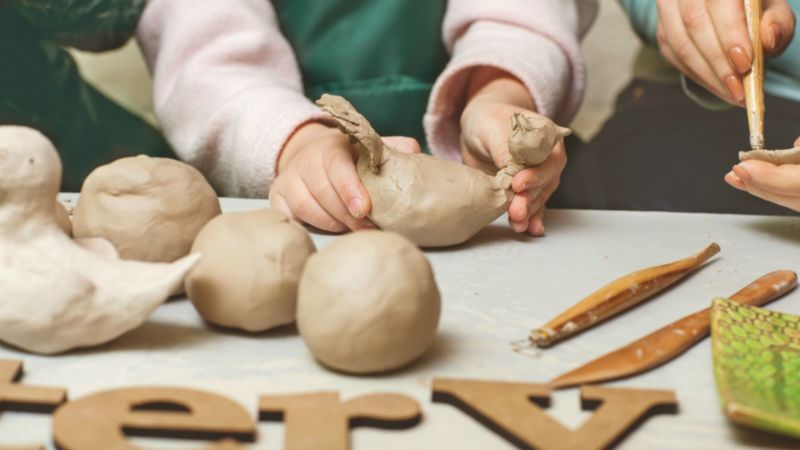
Modelling with children - a useful and fun activity that develops the child and unites with parents. You can start modelling from a very young age. With the observance of all measures safely, naturally.
Babies from 2 to 4 years old
Invite the little one to roll out the clay. Cut out figures with molds. Roll a sausage and a ball. Place the resulting blanks on the base.
Children from 3 to 5 years old
Tasks can be made more complicated. Suggest to tear or cut off pieces from a large piece. Twist sausages into rings and create a picture/shape out of individual pieces.
Preschoolers ages 5 to 7
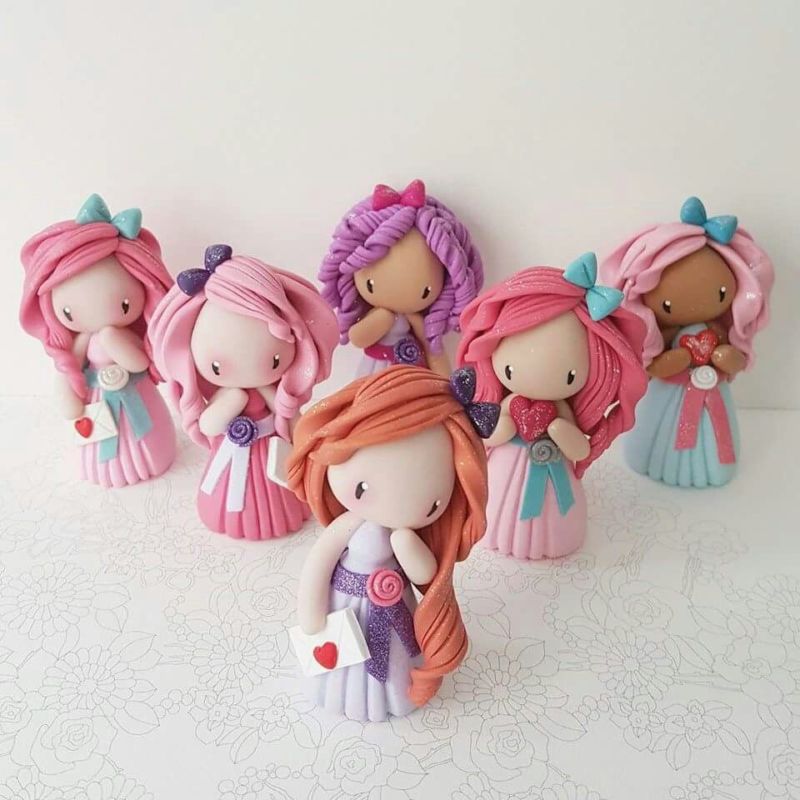
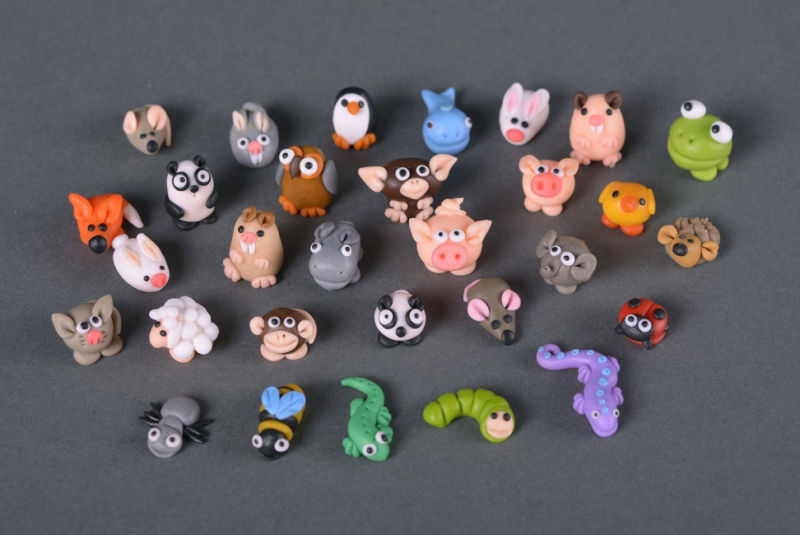
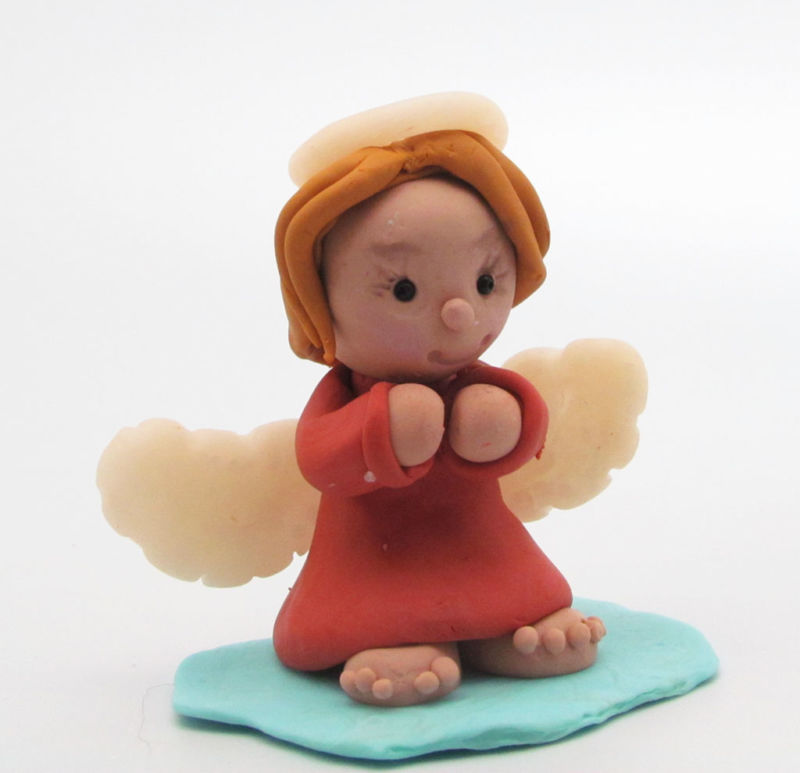
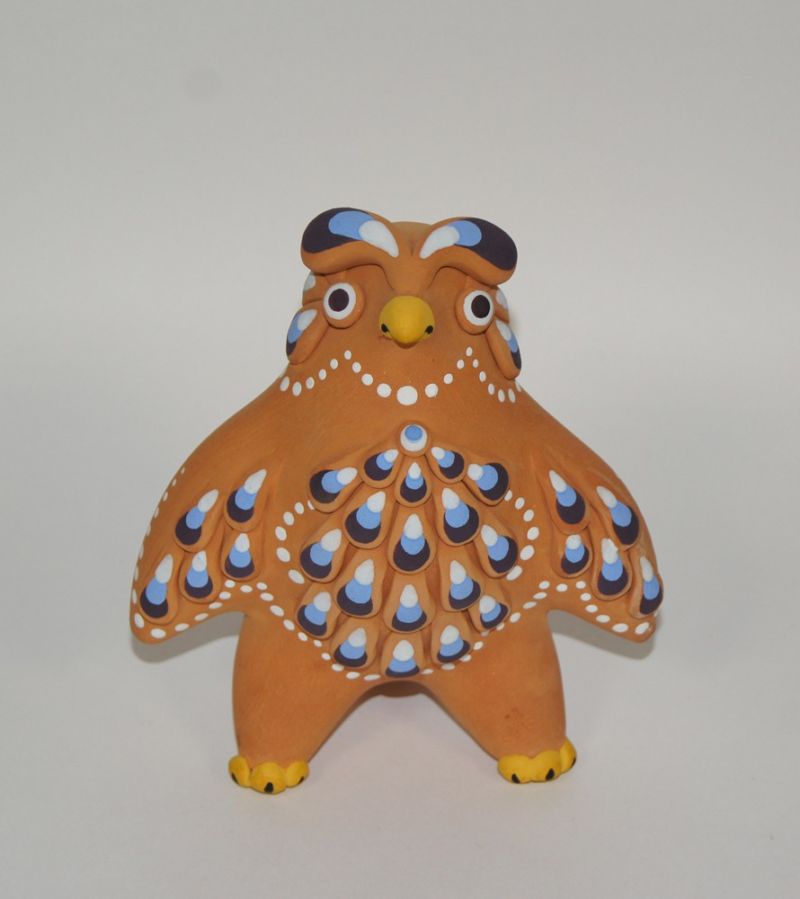
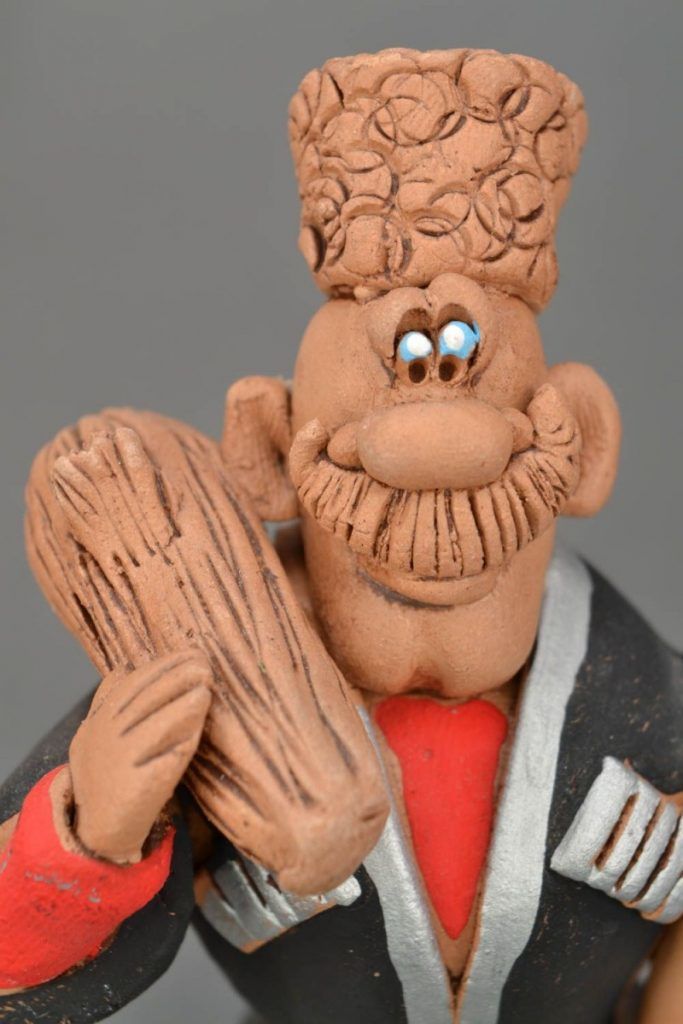
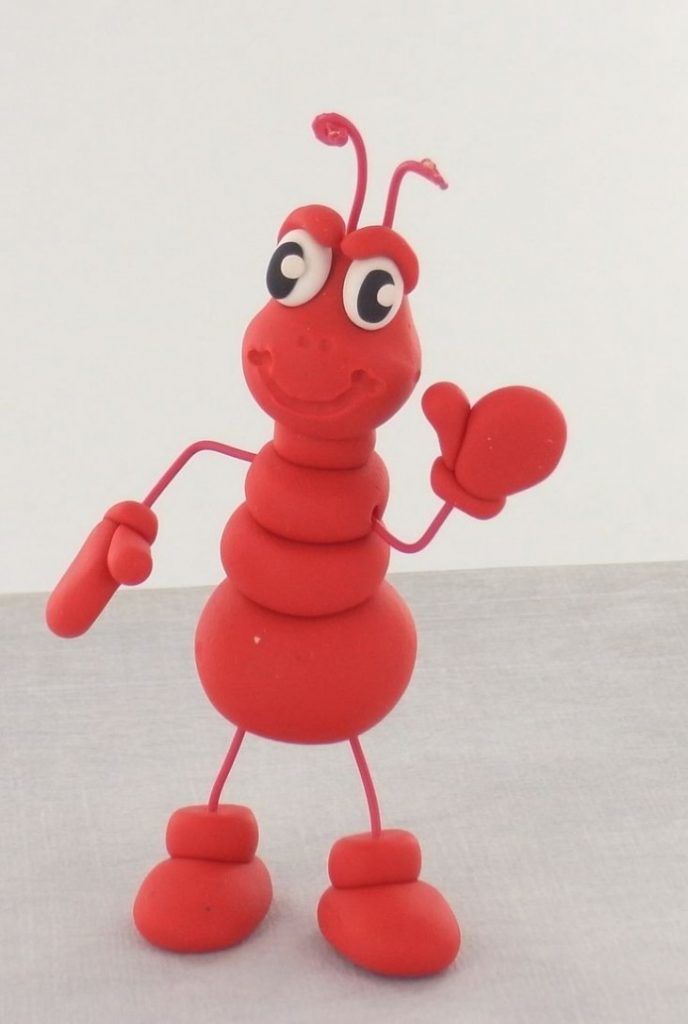
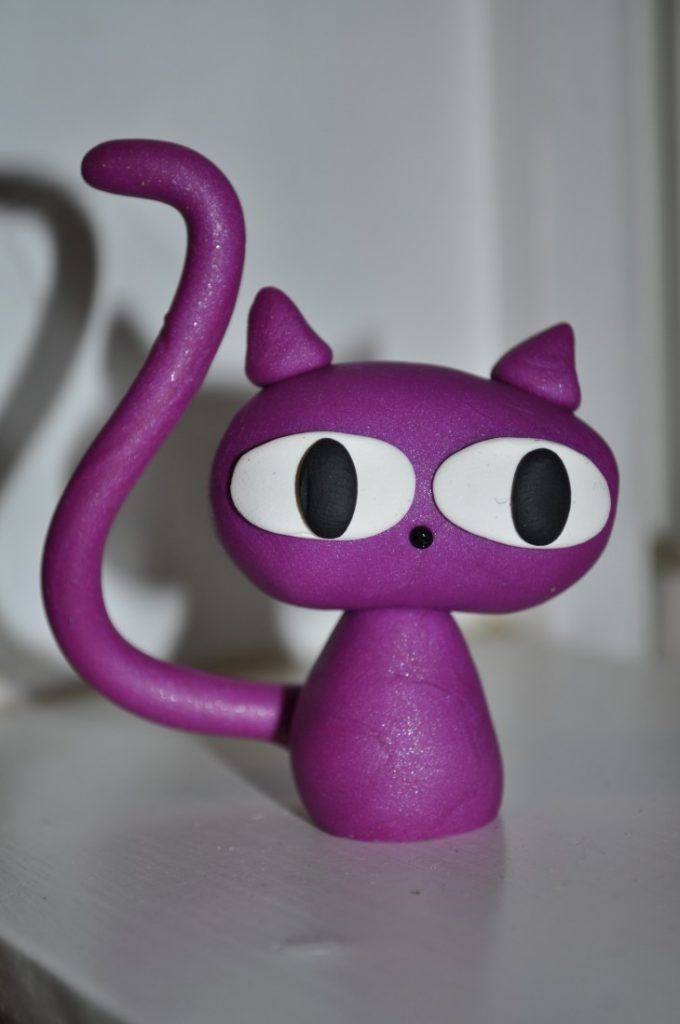
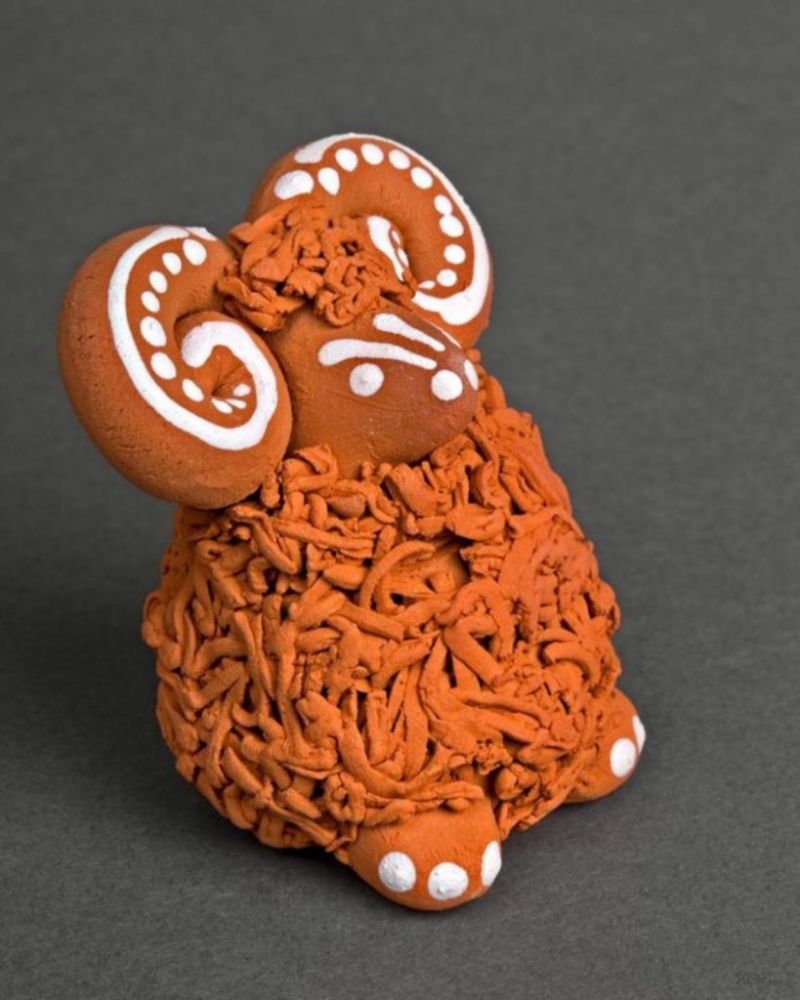
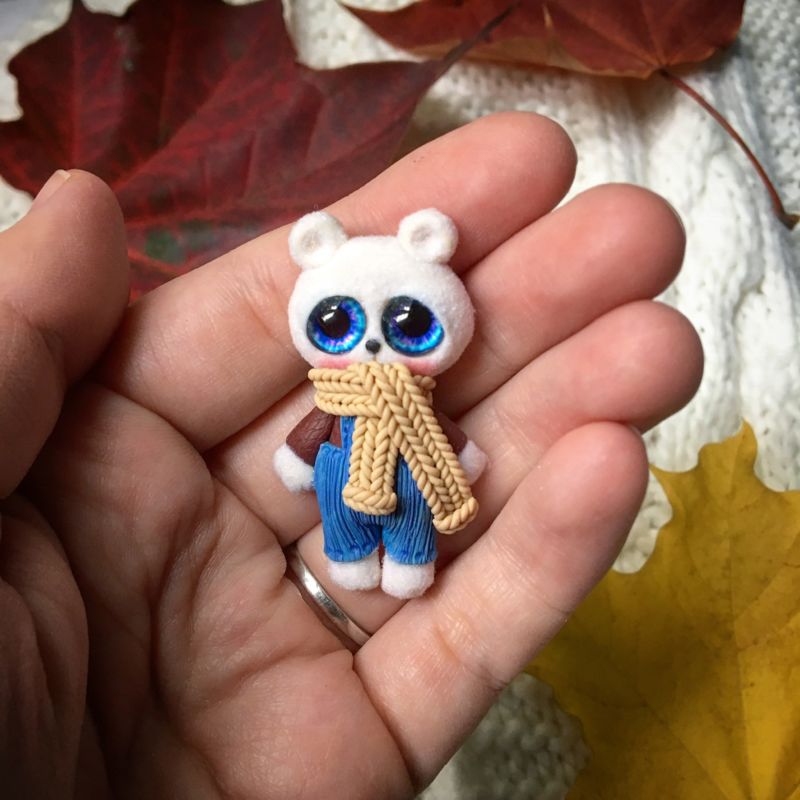
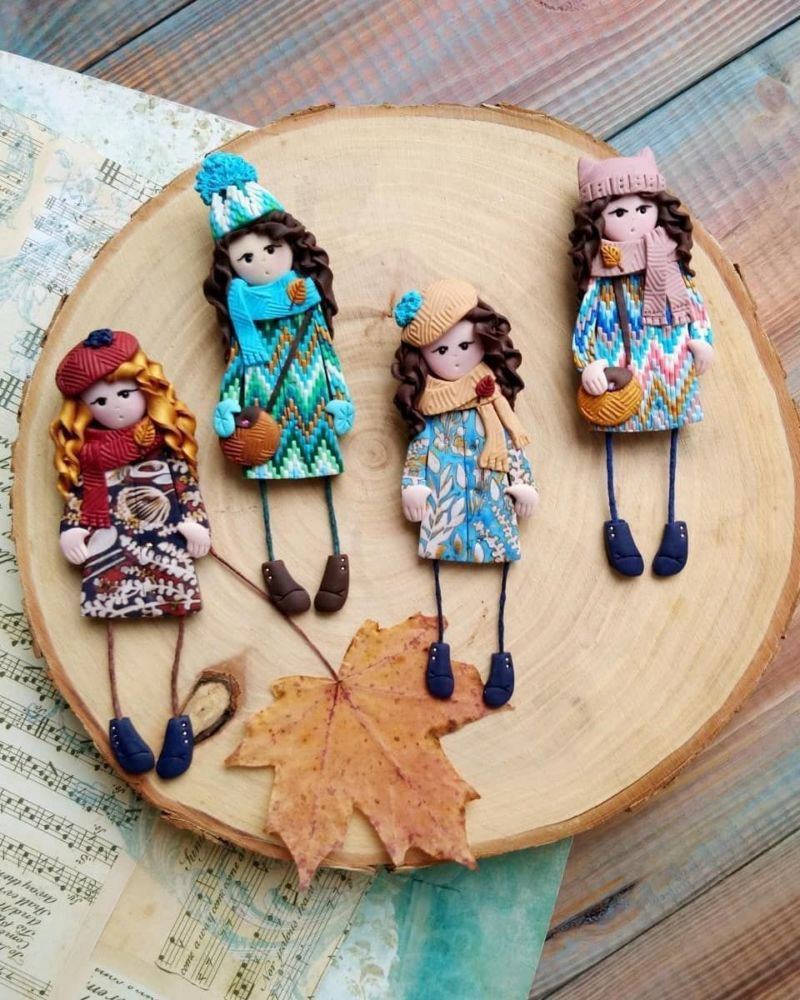
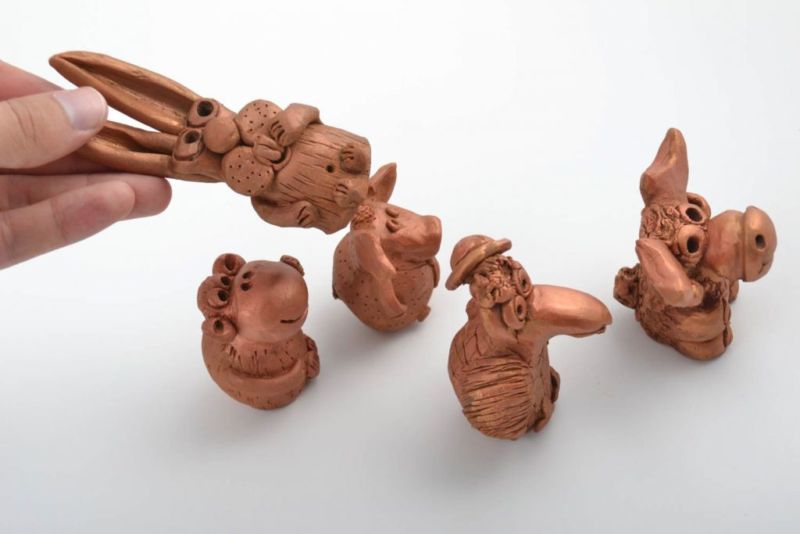
Does your child have a favorite fairy tale or cartoon character? Great, let's mold him. If not, you can mold a favorite pet or wild animal. The main thing is not to limit the imagination of the child, but tweak and suggestion can be made.
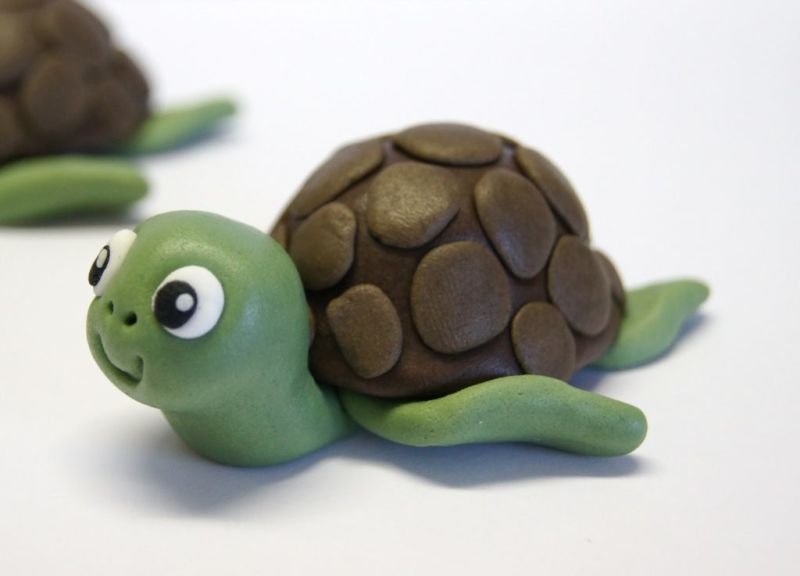
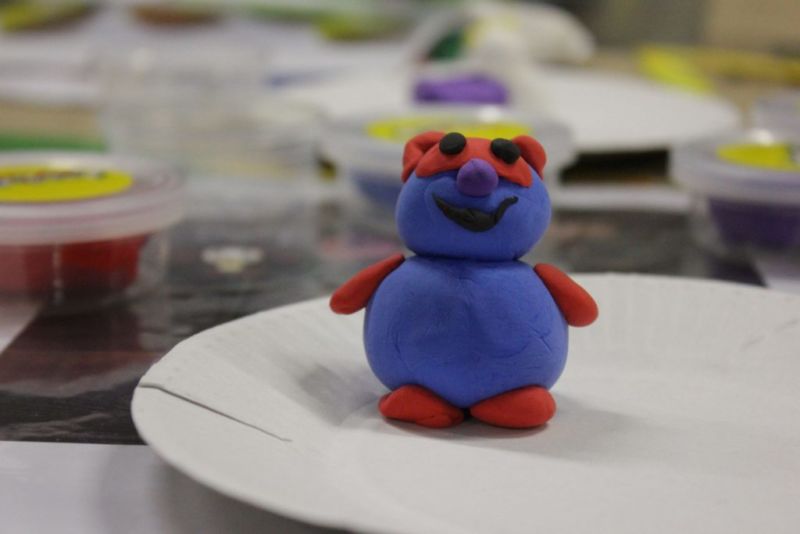
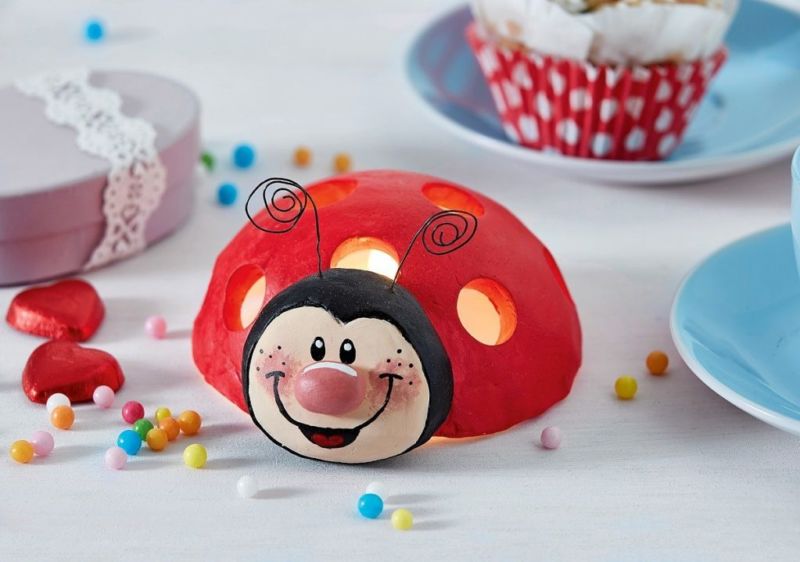
There are many options for polymer clay crafts for children. The easiest one is to make a figurine:
- Make the torso. Roll a ball or cylinder. Want less volumetric or flat - cut out a circle or triangle.
- Another geometric shape is needed for the head. (For kids, this point can be skipped torso and head - it's one ball).
- Of the circles, sausages and triangles, smaller size, we do eyes, cheeks, ears, tails and mustache.
- Put our workpieces together.
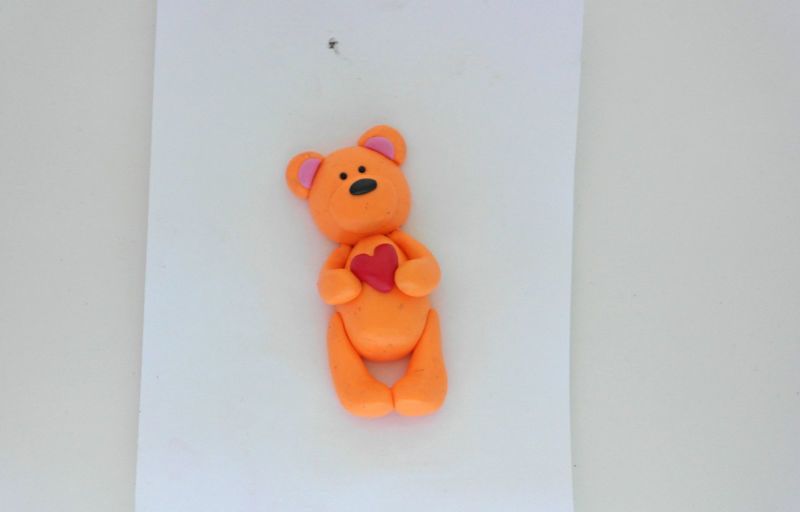
- Wait until the figure dries.
- If you want, decorate or paint.
Autumn Handicrafts
Autumn is an inspiring time of year and time for children's crafts. Clay is a material from which you can create beautiful things. Such a craft will last a long time and not wilt, like a bouquet of autumn leaves.
What to model:
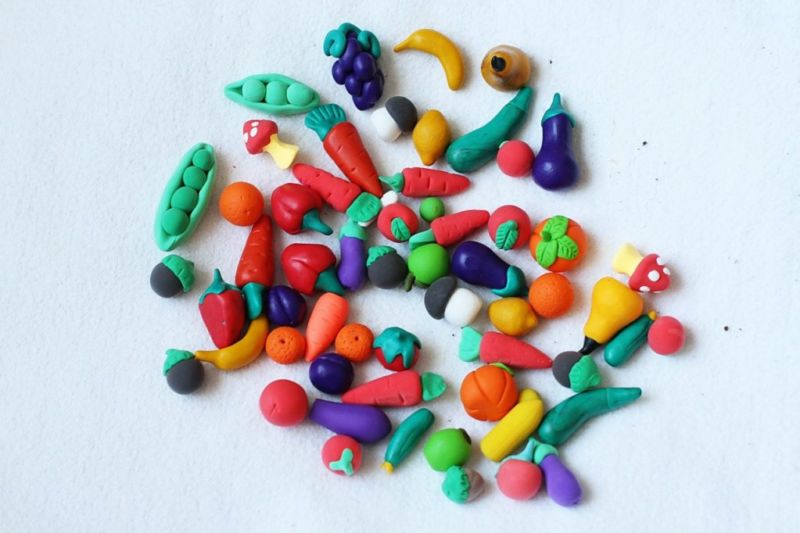
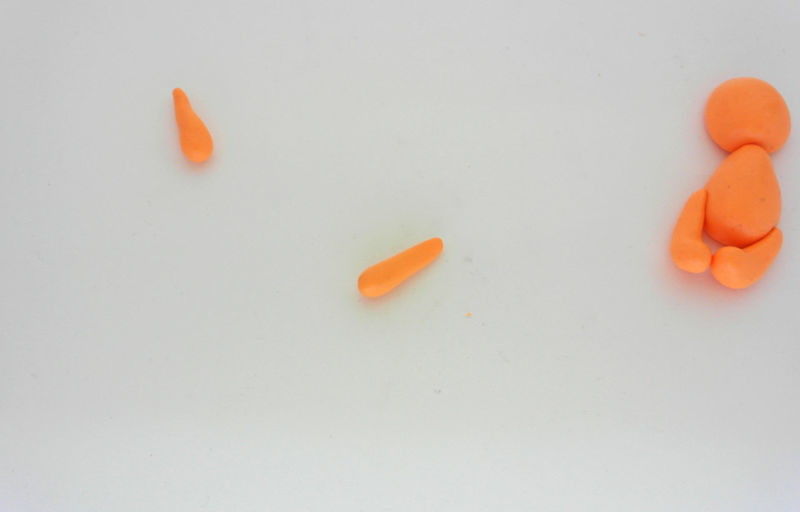
- Gifts of Autumn. Pumpkins, carrots, eggplants, apples, pears, plums and grapes. Brightly colored fruits and vegetables can be put in a wicker basket. By the way, the basket can also be molded from the flagellum.
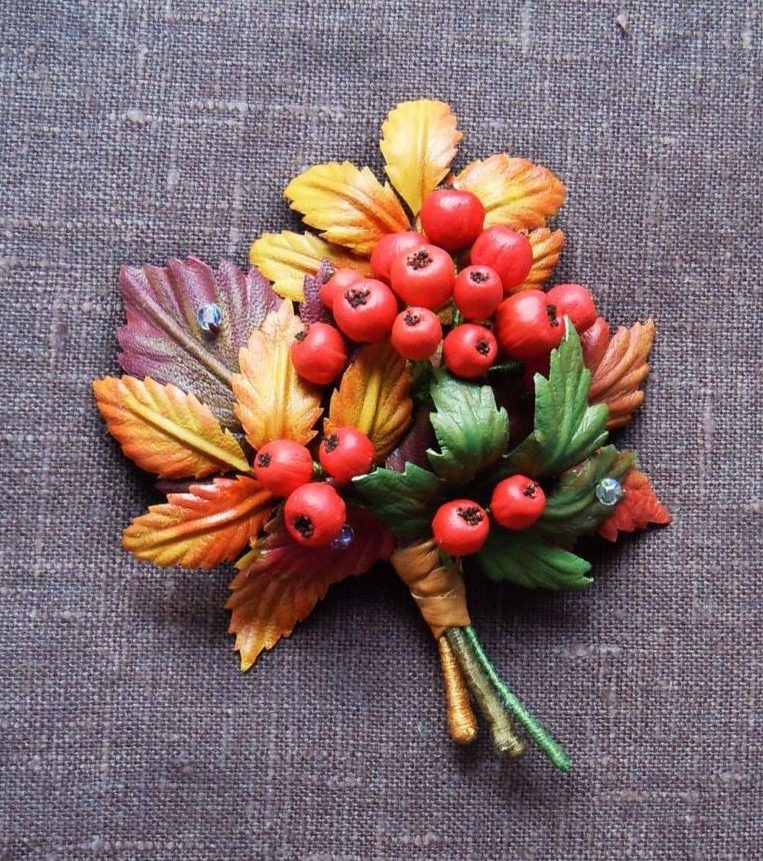
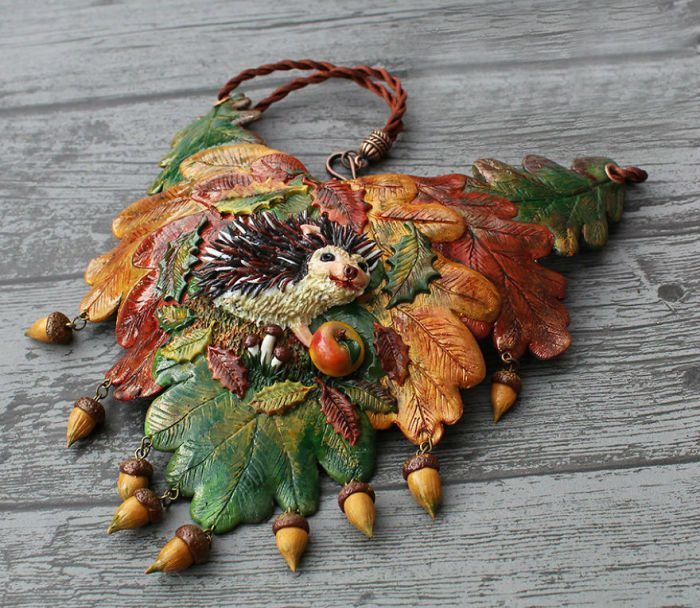
- Leaves. To begin with, let's take a walk in the park and collect fallen leaves without holes, with a beautiful outline. They are needed to create relief. Roll out a layer of polymer clay. You can place several colors next to each other. When you roll out a beautiful transition. Applying the leaves with the back side, once again rolling well, to imprint the relief. Use a thin knife or blade to cut out the leaf, following the outline. Bake or wait until the handicraft dries. From the resulting leaves we make an autumn panel, a magnet or decoration.
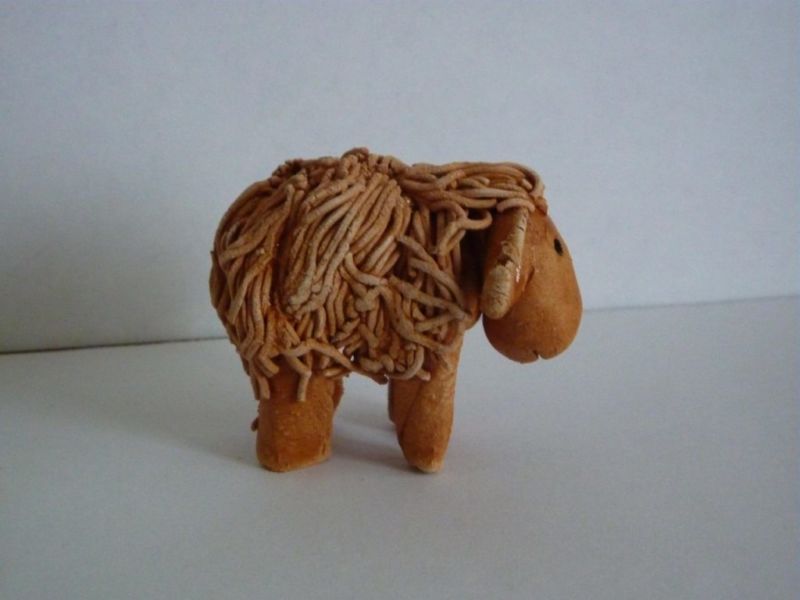
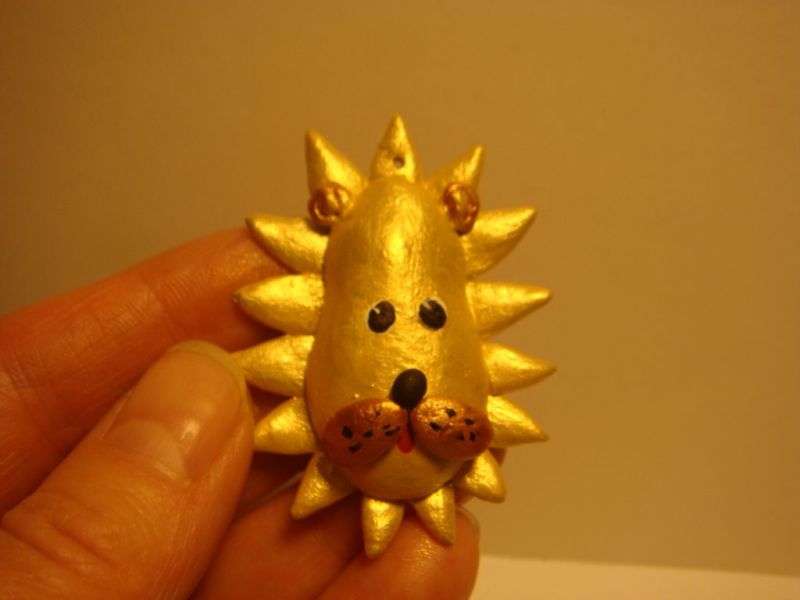
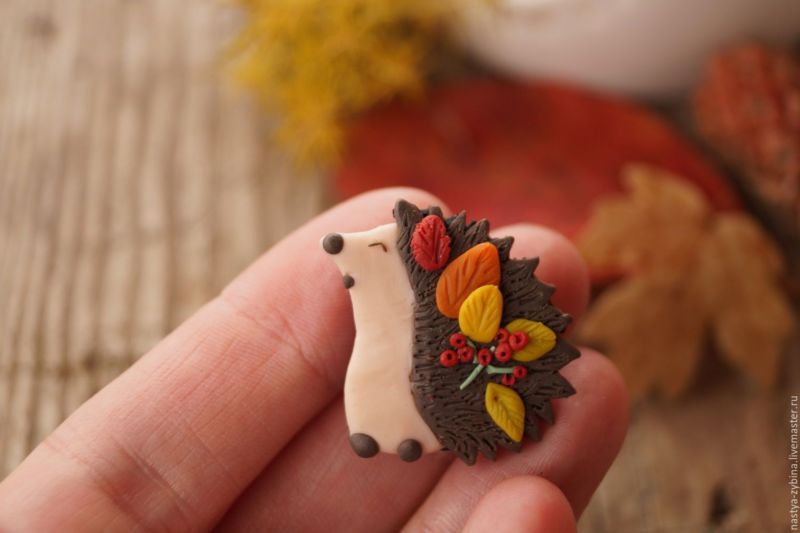
- Figures. Hedgehogs with an apple or a mushroom on his back, a squirrel with a cone.
- Mushrooms. Another autumn gift. Beanberries, aspen mushrooms, volnushki and beech mushrooms. Dangerous, but incredibly beautiful - fly agaric. Put the finished mushrooms in a basket. With kids you can make a fabulous umbrella mushroom, under which the animals sheltered from the downpour.
New Year's sharing
Gifts made with their own hands are always valued more than those bought in the store. You've long wanted to try to make something or already know how to do it? Ideas for New Year's Eve crafts abound.

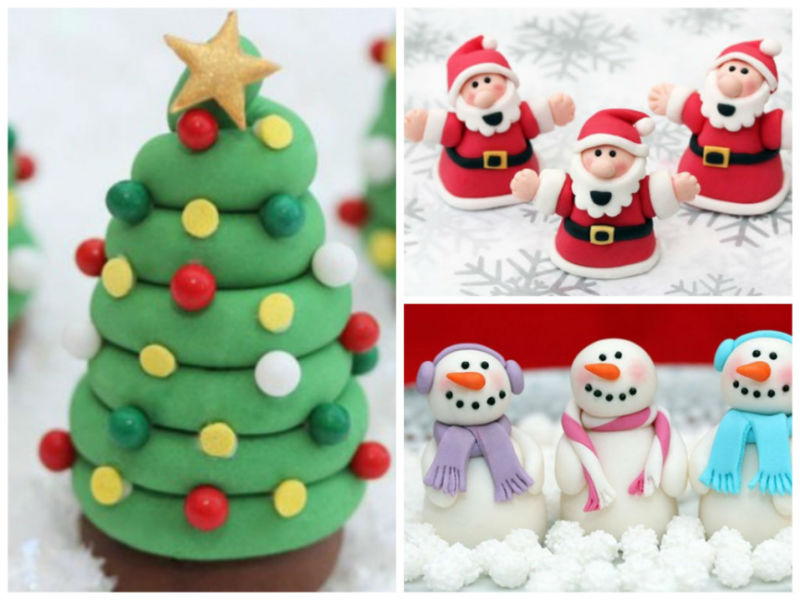
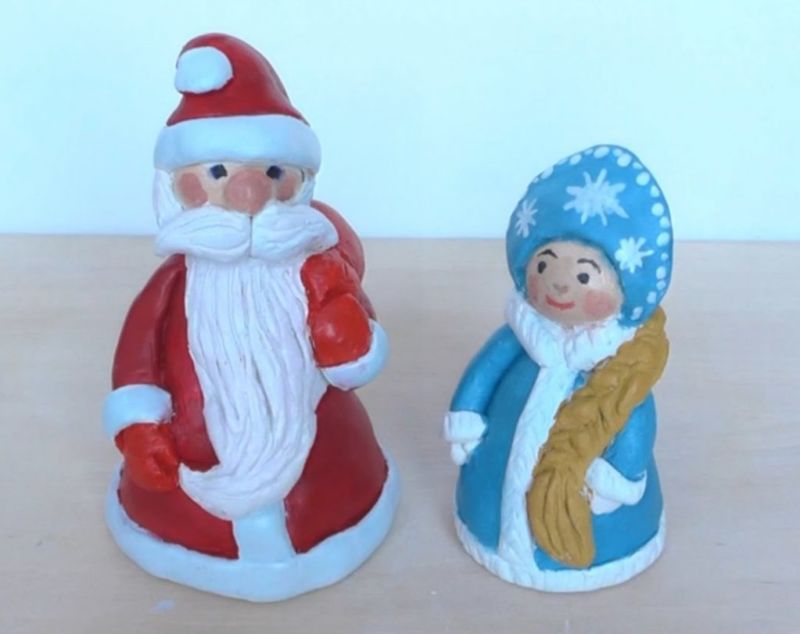
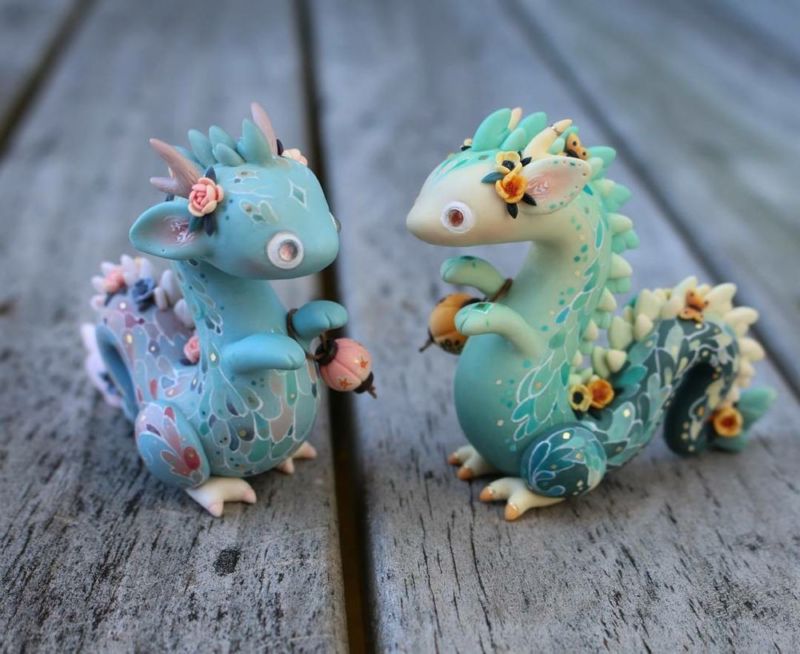
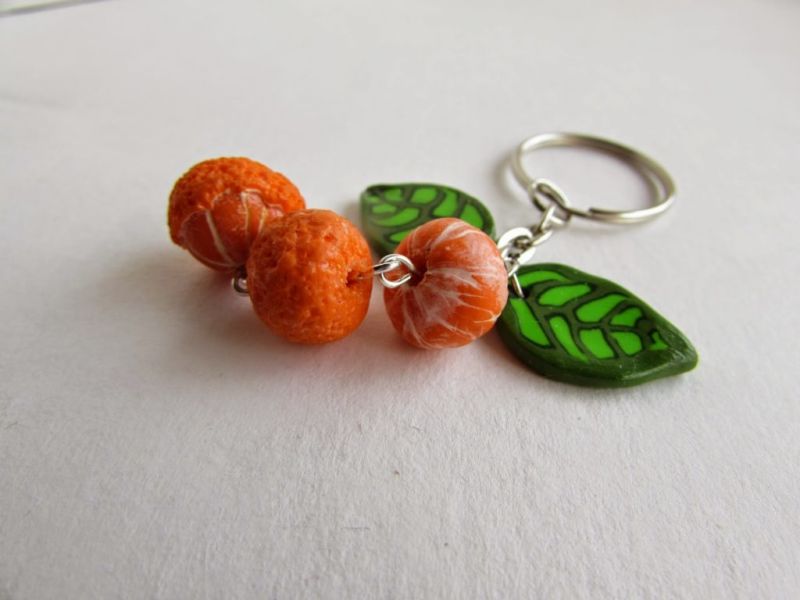
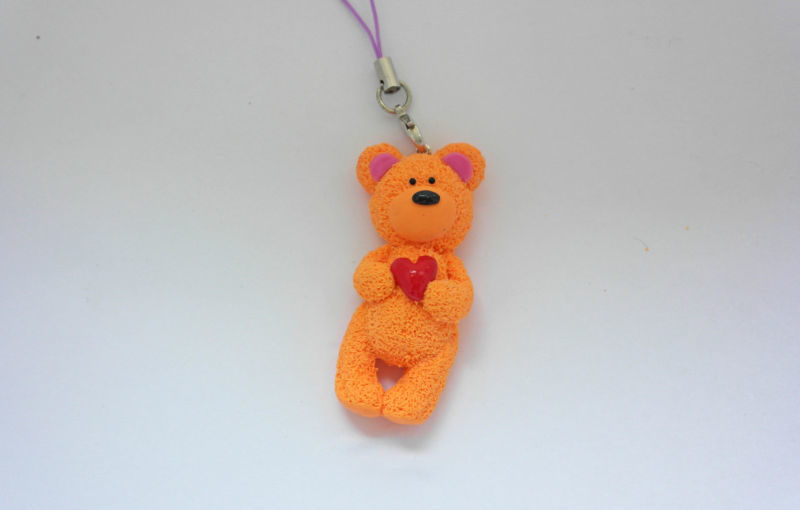
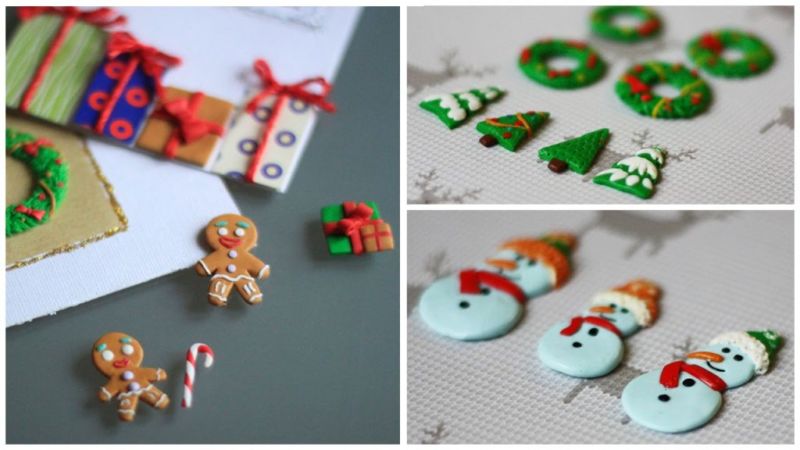
Symbol of the year. Figurines of animals can be made in the form of figurines, magnets, Christmas decorations. You can decorate mugs, spoons, key chains with funny little animals:
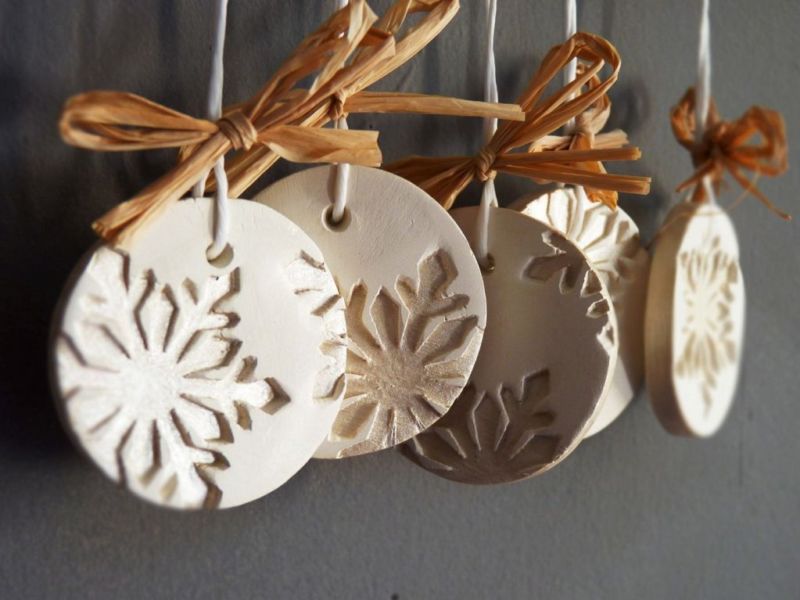
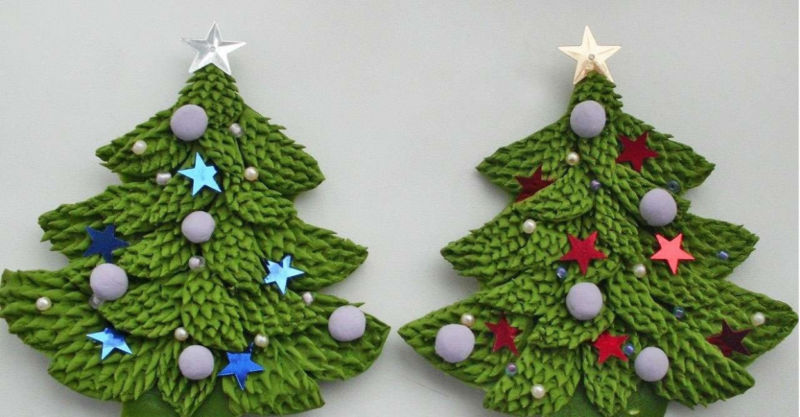
- Christmas trees, snowmen, snowflakes, mittens and socks for gifts, etc. Anything that evokes an association with winter and the New Year can be made out of clay. The functionality and size of items can be different.
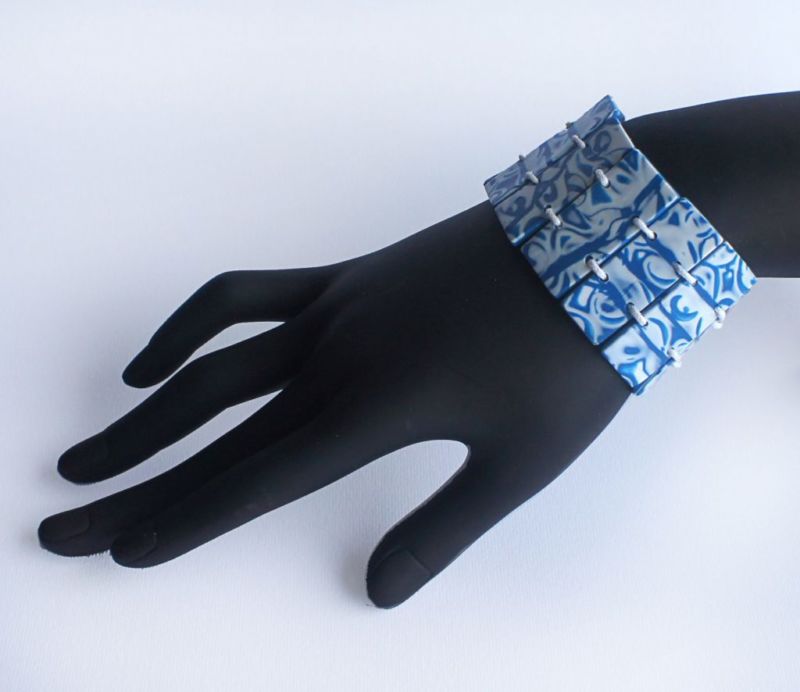
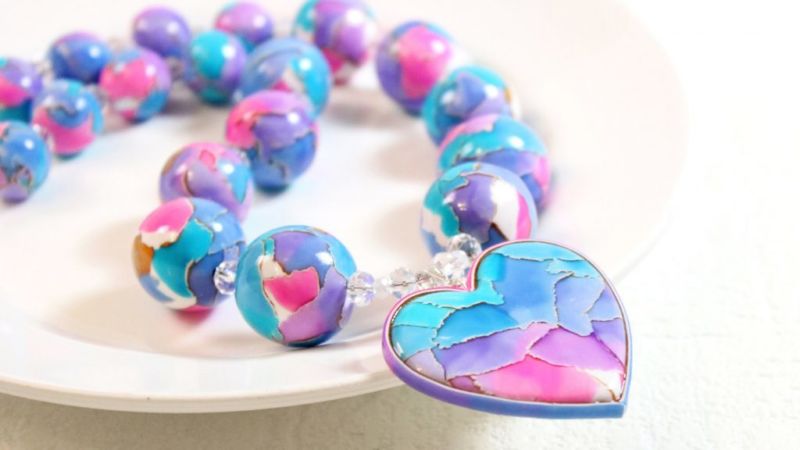
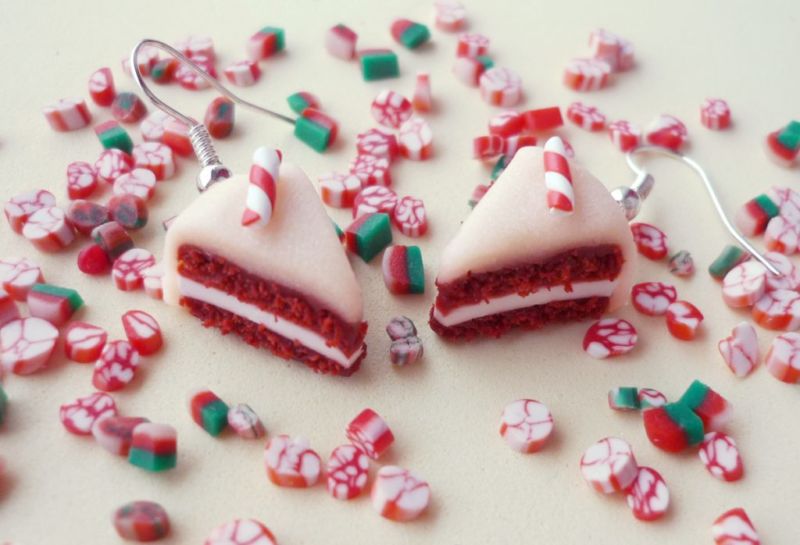
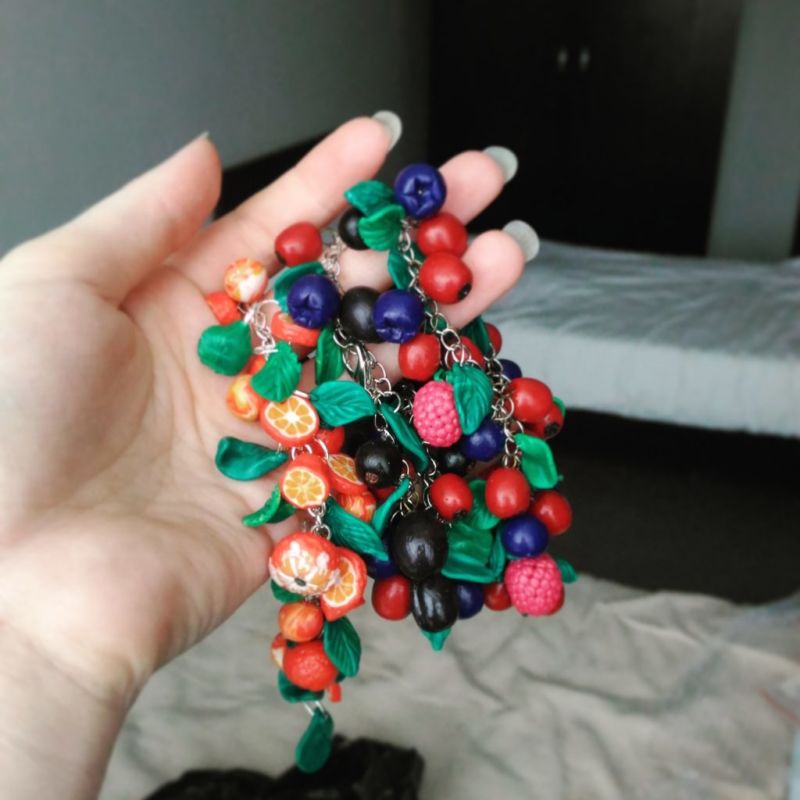
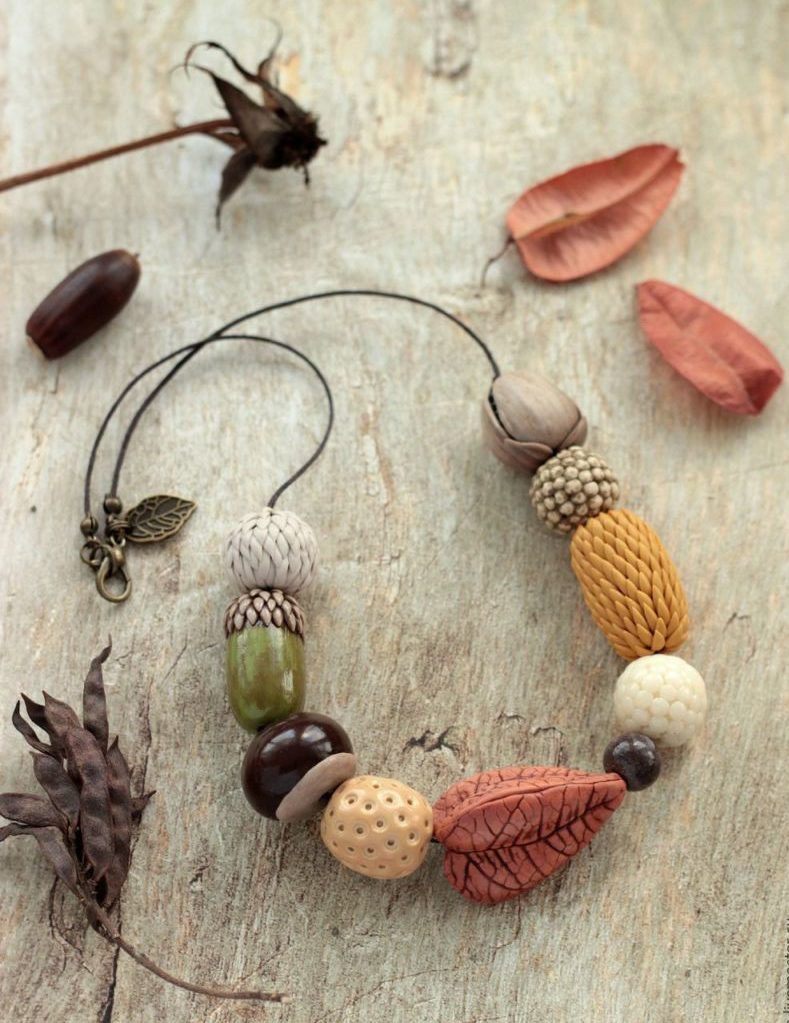
- Jewelry: snowflake earrings and icicle pendants, beads and bracelets for fashionistas. Be creative!
A few centuries ago, working with clay was a household necessity, but even then, people noticed how soothing this material was. Today there is no need to mold everyday objects, but the desire to create and create something with our own hands has increased.
Working with clay, one becomes a true creator. From the birth of an idea to its embodiment - a magical process in which talents are revealed, dreams are born.

In addition, the therapeutic benefits of working with clay have long been proven, there is a whole direction - clay therapy.
What makes you try to mold your first work? A desire for creativity or an opportunity to relax and shift attention? It does not matter. The main thing is that you will plunge into a wonderful world that will open you up in a new way.
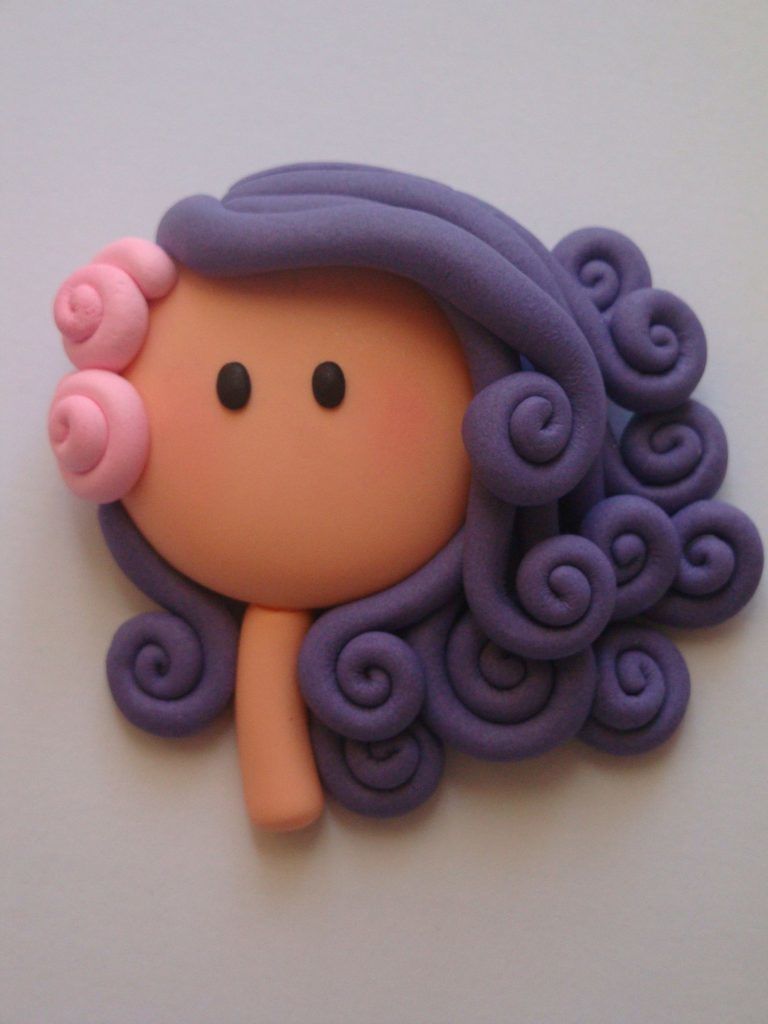
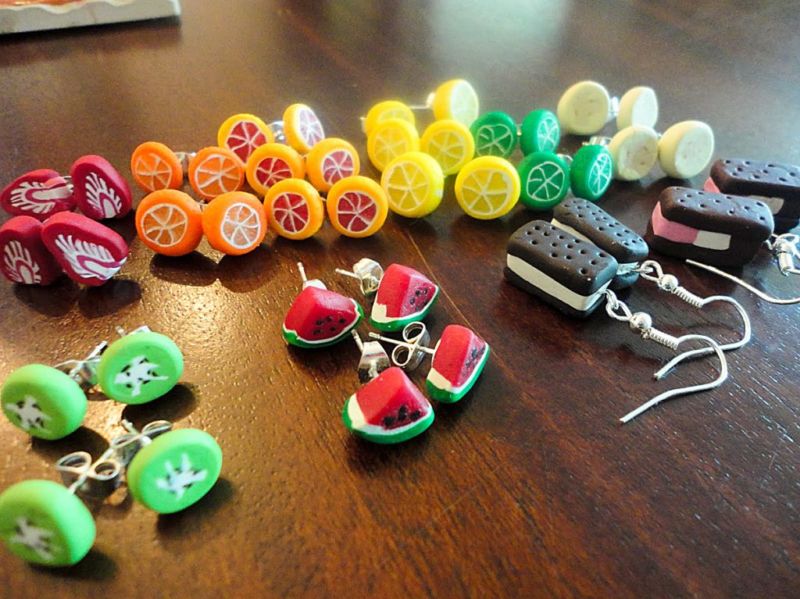
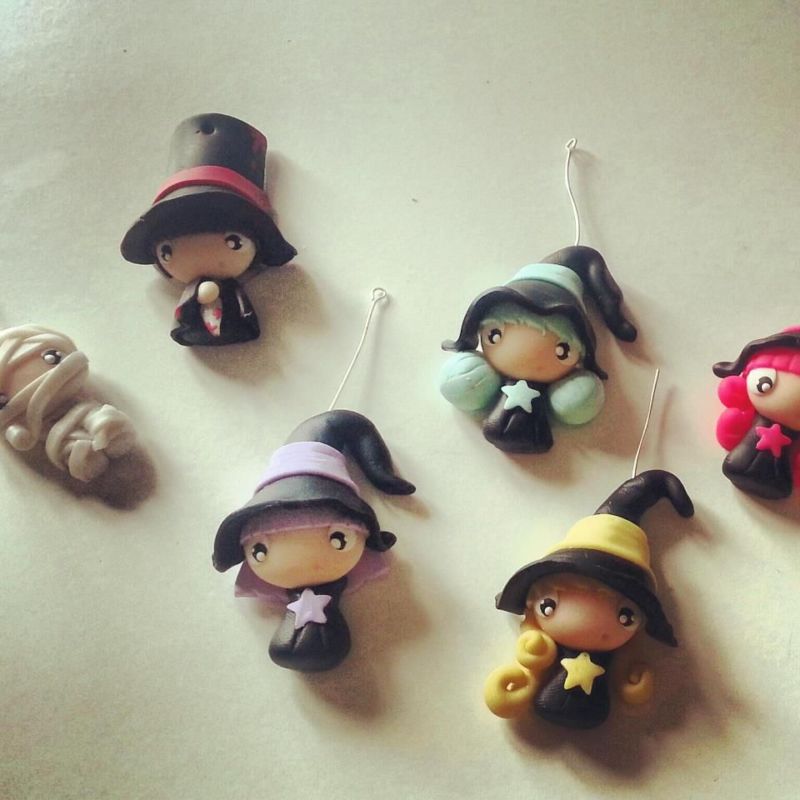
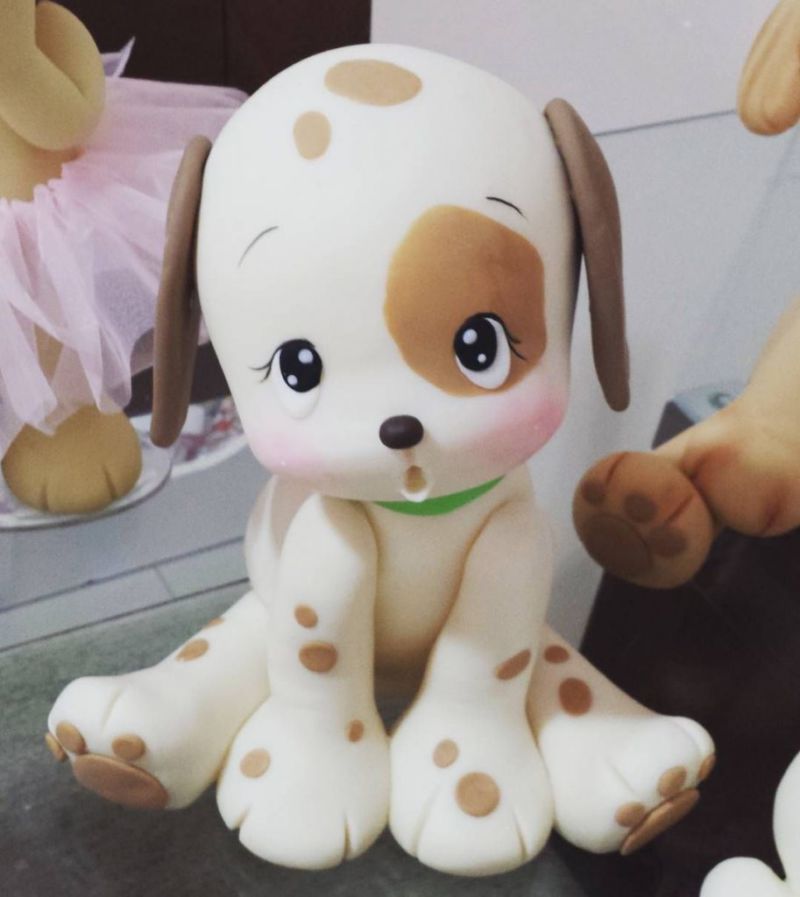
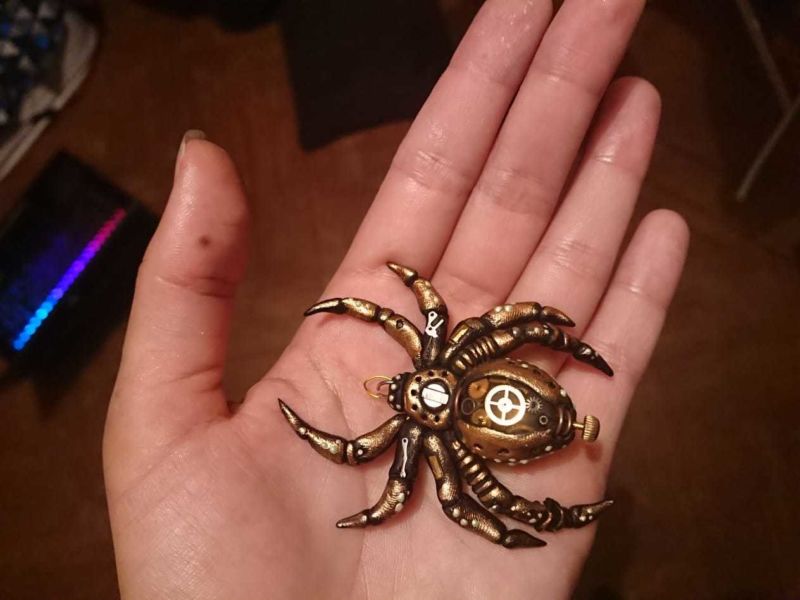
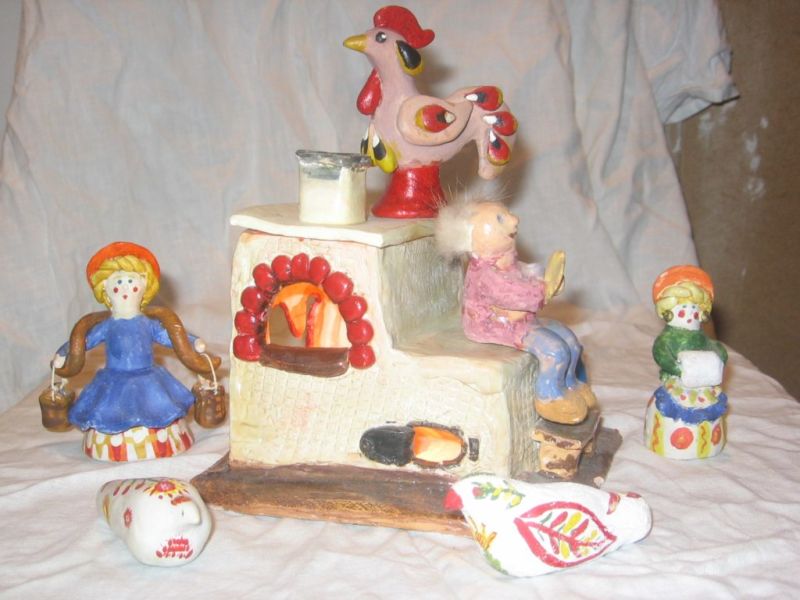
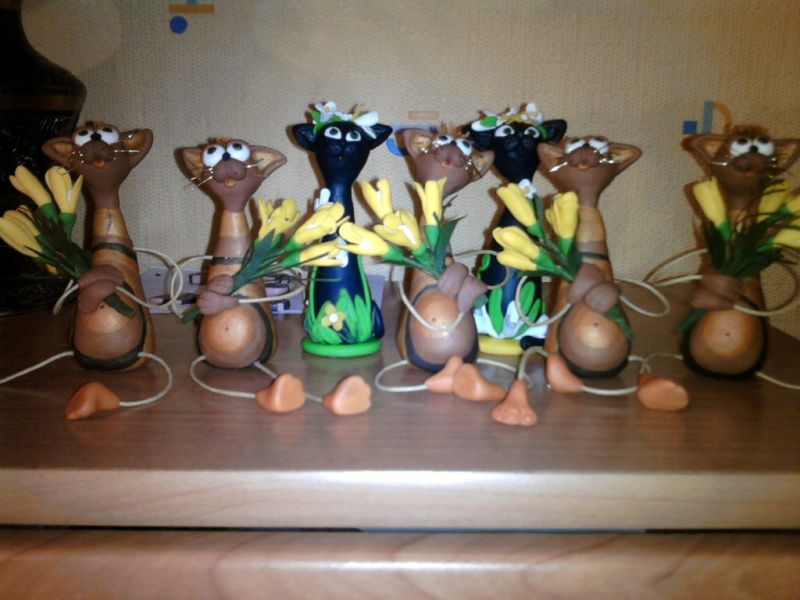
Photos of easy homemade clay crafts for beginners