Crafts for children 5 years of paper, cardboard, clay and tissue - the most popular templates for work with a step by step description
Classes in crafts are of great benefit to the child.
In addition to the joy of creation, children acquire practical skills, acquire new knowledge, expand their horizons. Develop memory, thinking, imagination. Develops eye gauge, improves fine motor skills of the fingers, which is not unimportant for future schoolchildren.

Paper crafts without glue
Any child is interested in making something out of paper without the extra elements: scissors, glue. We get fun toys that can be played with anywhere: at home, in the country, to take on the road. Takes up little space, not expensive, safe to use.
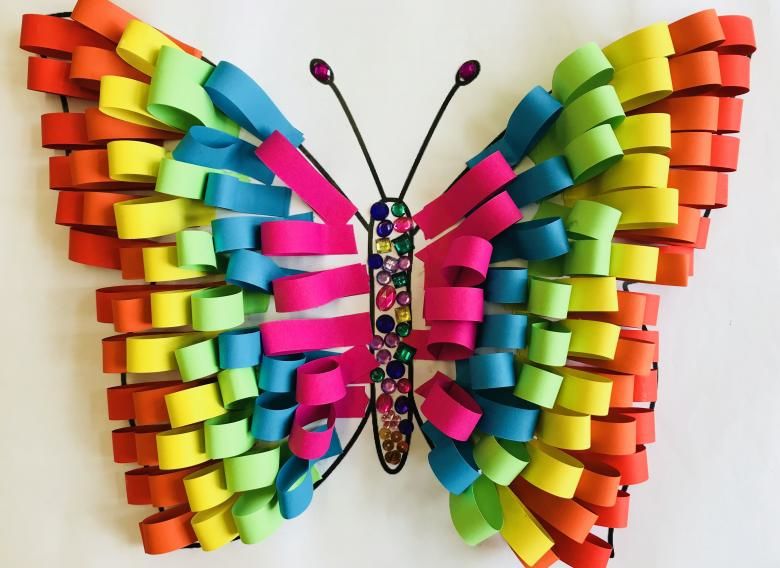
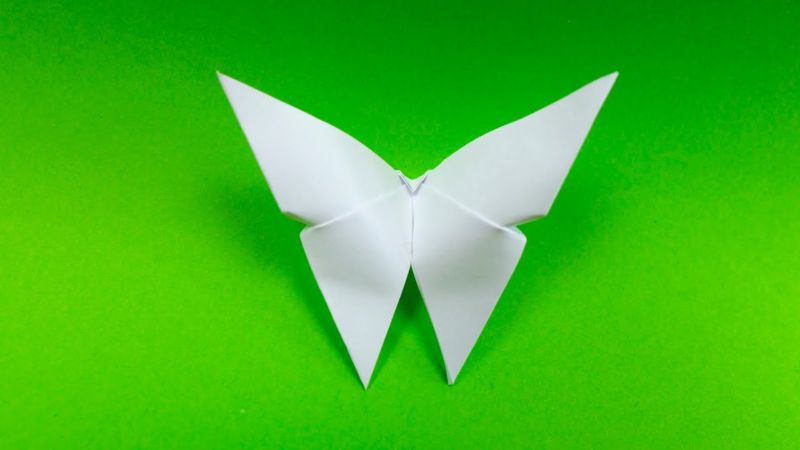
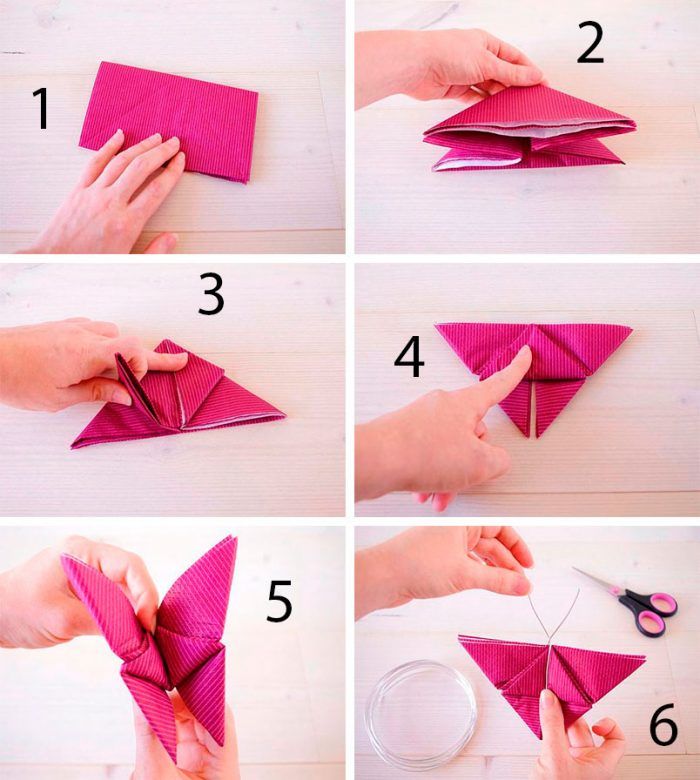
Butterfly
Children 5 years old are happy to watch the butterflies, their ornate wings and vivacity of flight, they delight children. Let's try to make a beautiful butterfly from paper:
- QuadrA square of one-sided colored paper, fold in half,
- On the fold line, cut the square in half, you get rectangles.
- One piece postponed, and the second fold in half, long sides facing each other.
- Unfold, put the white side up, bend the paper on both sides of the fold, we get triangles with a colored side of paper.
- Similarly on the other side. Fold in half, we get a trapezoid.
- Bend the paper up and begin to assemble the paper accordion.
- Do the same with the other half.
- At first, children 5 years may not work, help them, they quickly acquire skills. The upper wings of a butterfly ready.
- Now take the deferred rectangle, it is also folded into an accordion.
- First, we fold a rectangle, joining the short sides together.
- Then again in half, and now inflect the halves in different directions to the fold line.
- Now it is easy to fold an accordion at the ready folds. These are the back wings.
- Fold first the first, then the second piece in half, connect the middle front and rear wings, tied with string, cut off the excess, leaving little threads "tendrils" butterfly.
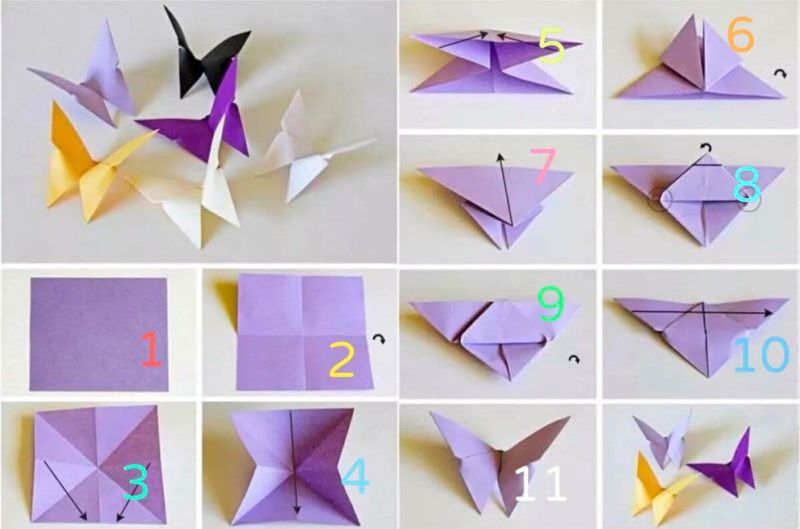
Oh, what a beautiful butterfly we have!
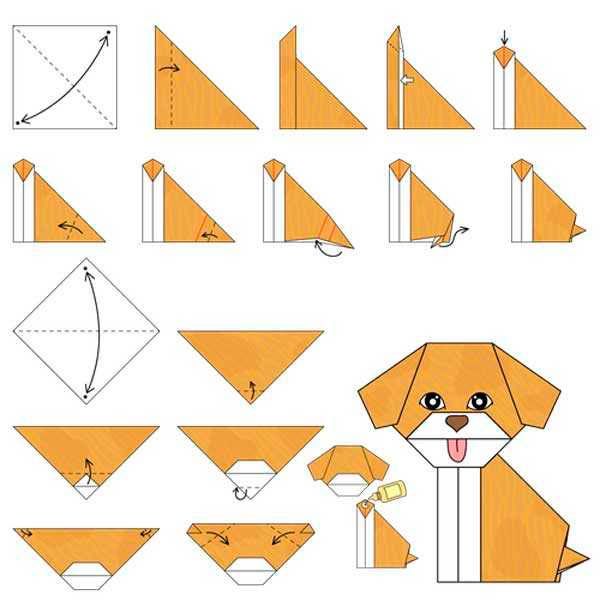
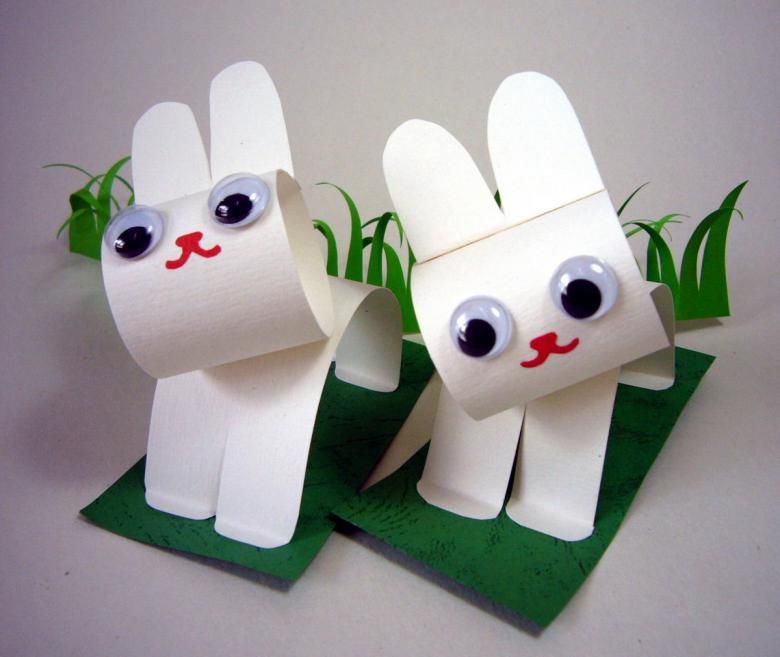
Doggy
Dogs are real friends. Children love dogs, and would love to learn how to make a beautiful puppy from paper:
- We take a square, fold it diagonally, we get a triangle.
- Put a triangle with the top down, bend on the right and left corners - the ears.
- We make blanks for eyes, tongue and nose.
- Bend one bottom corner up - a muzzle, glue the black nose and eyes to the muzzle.
- Bent up the bottom corner and the second bottom corner form the mouth of a dog. Glue in the corners of the red ribbon - tongue.
Applications of paper
Applique is a very simple kind of crafts. It can be varied by adding natural materials, decorative elements.

Pizza on a plate
Pizza is a popular dish. It is loved by both adults and children. We will make it out of paper preparations. Let's recollect what this dish may consist of and what ingredients it may have:
- Let's prepare colored paper, and cut up all kinds of components for the pizza, put them into boxes. You can make preparations for the "stuffing" in advance.
- Pink paper circles are sausage, red circle halves are tomatoes, green cucumber slices, onions, olives, and yellow strips are cheese.
- Children choose what they like and put it on disposable plates.
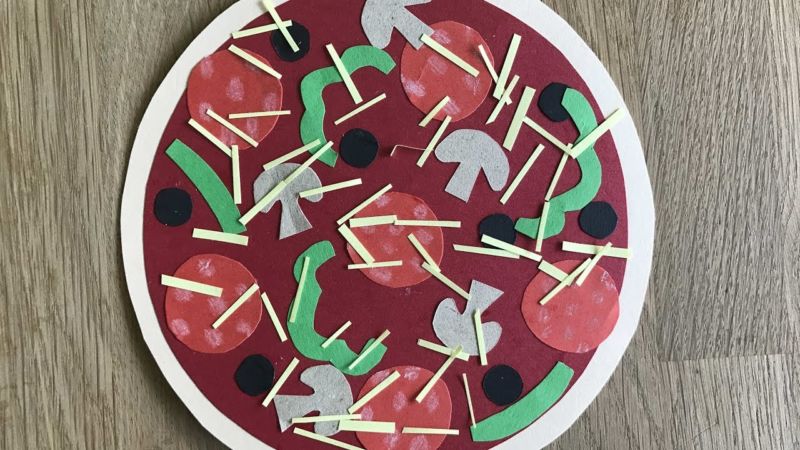
While working, you can offer to lay out a beautiful pattern, or any figure, such as a house of strips of cheese, or a smiling kolobok: mouth - tomato strips, eyes - olives. Real culinary creatives!
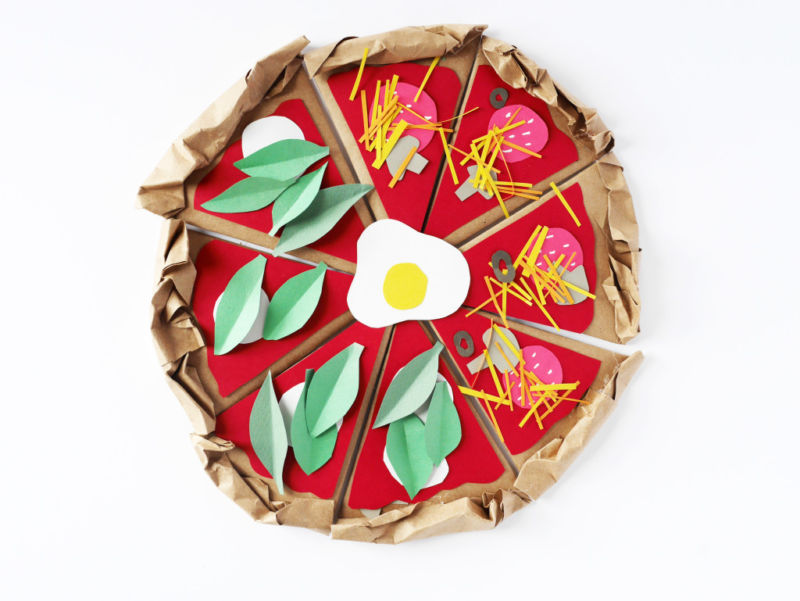
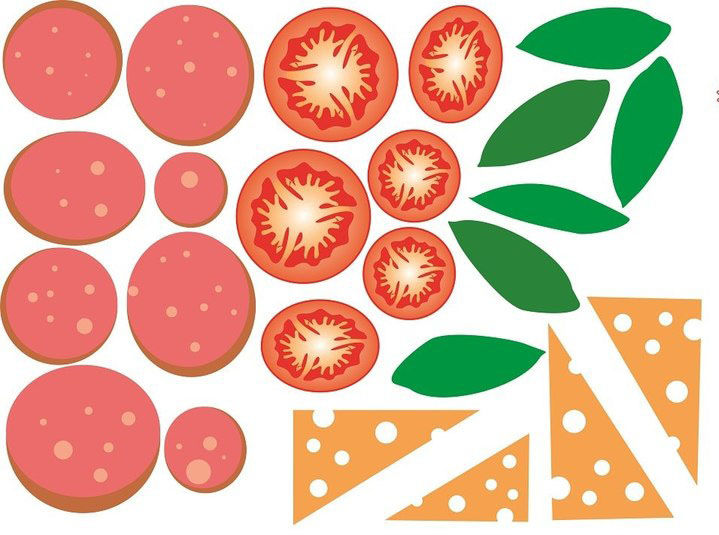
You can work with printed templates, then the pizza looks more realistic, children are left to place the finished shapes on plates, glue them neatly, and present them to the audience.
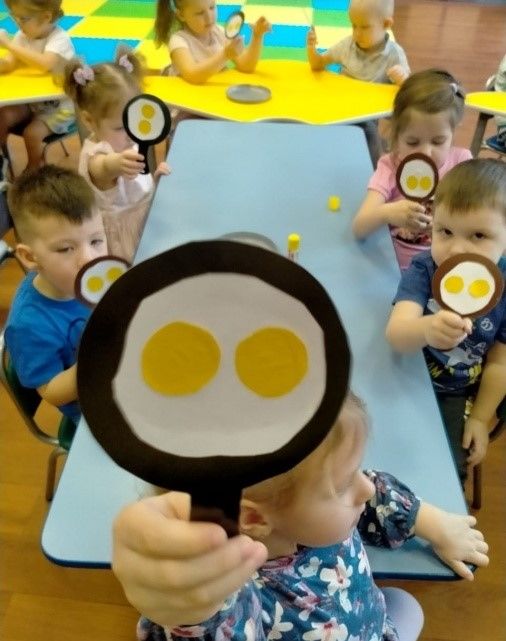
Glazed pizza .
We cut out a frying pan from dark-colored paper, from yellow paper we cut out two circles. To make them identical fold the paper in half and draw a circle with a stencil or a pencil around a round object.
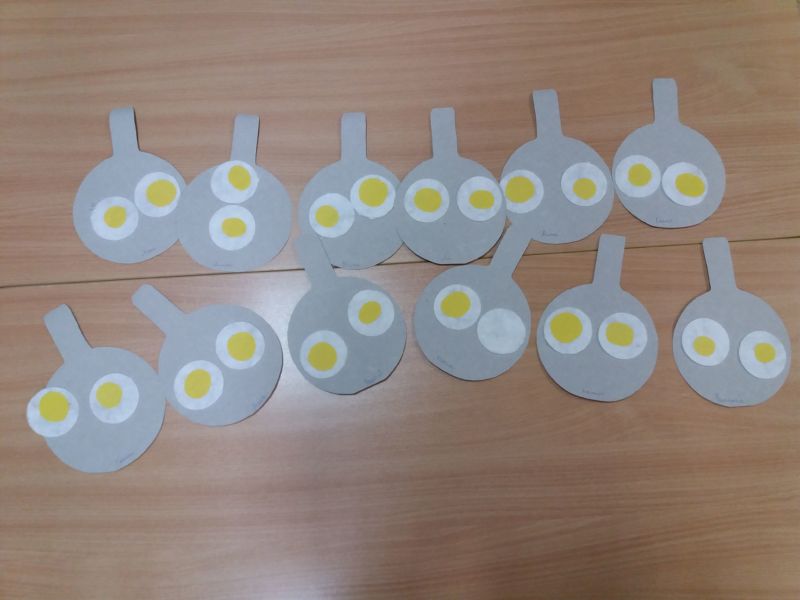
Cut out circles along the outline - these are the yolks, spread them out on the pan, glue them on.
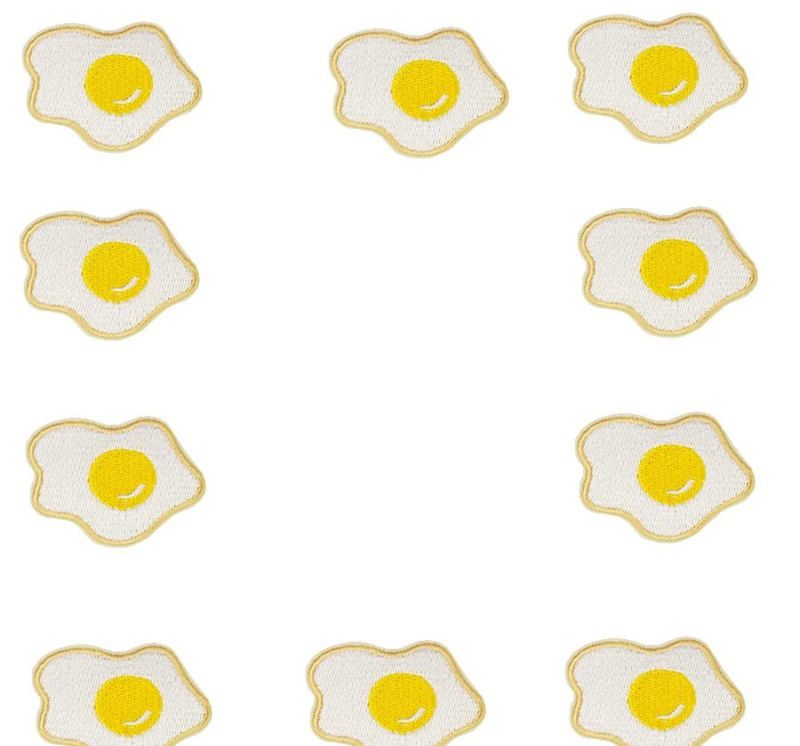
We'll make the egg whites out of white paper by tearing them off, place them in a pan around the yolks, and glue them on. Young cooks improve their skills. Crafts "cooking icing" can be included in the story role-playing games.
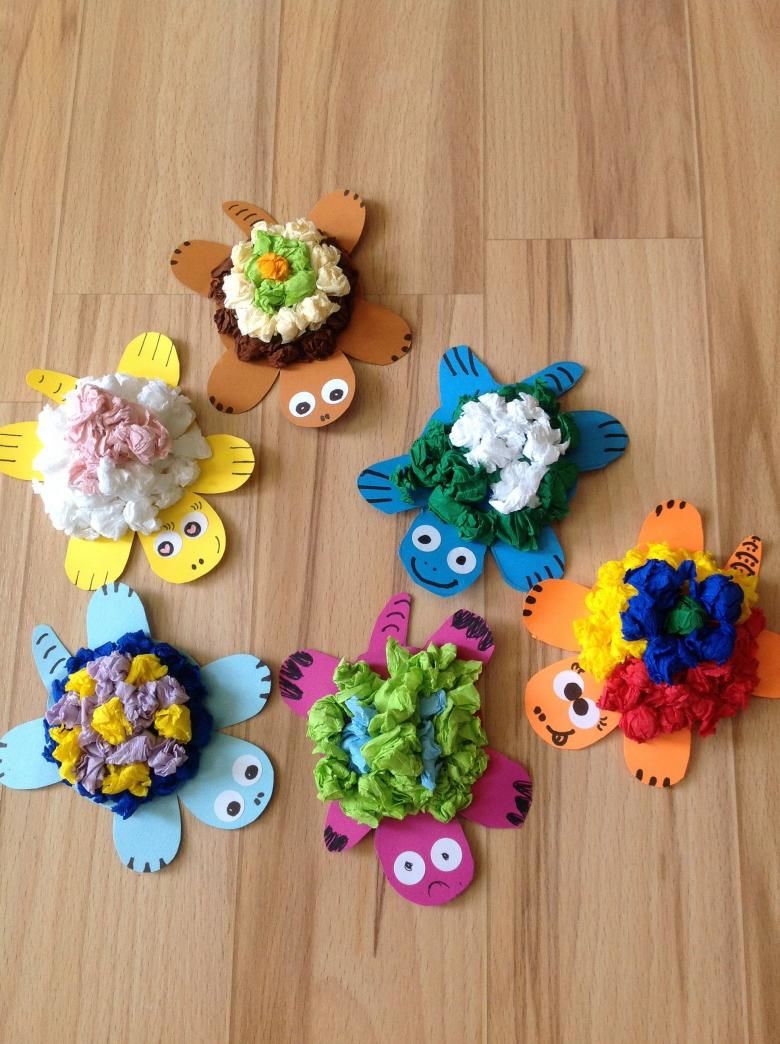
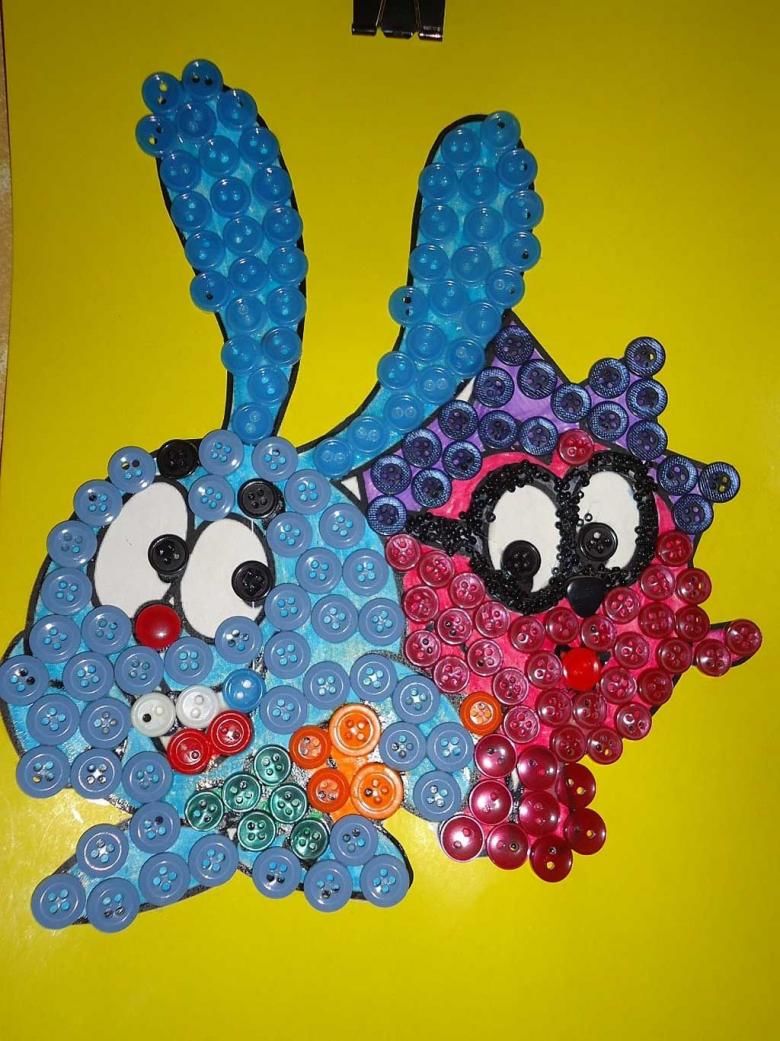
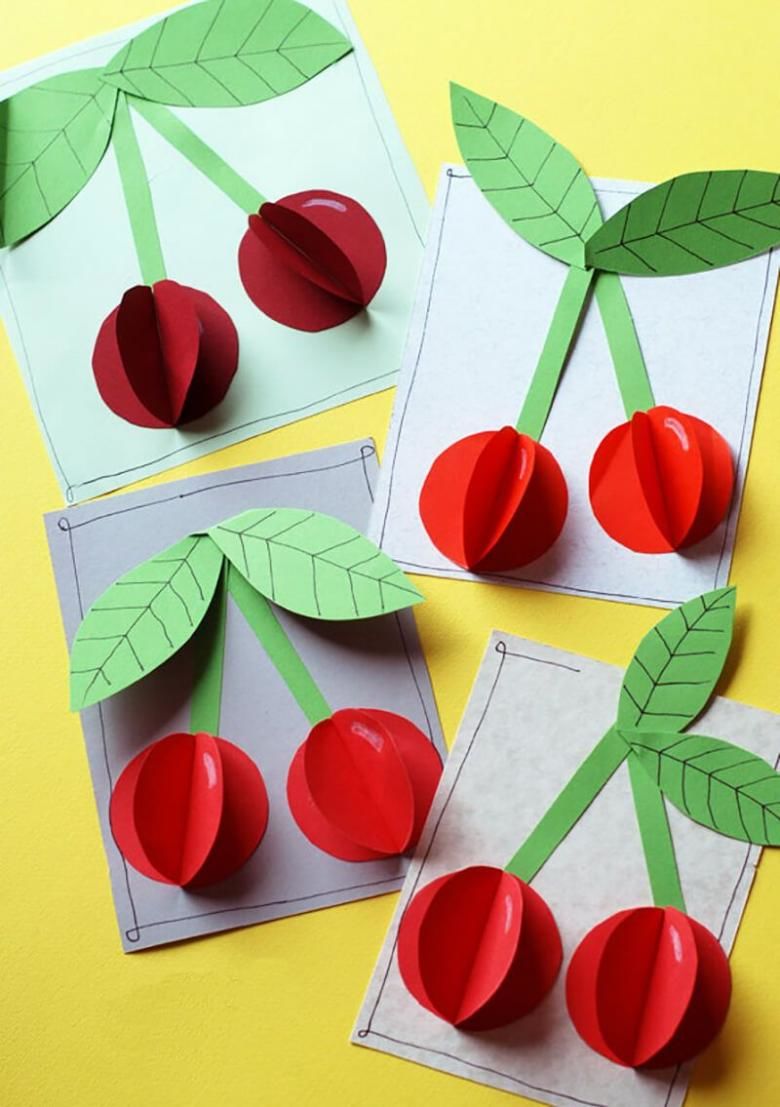
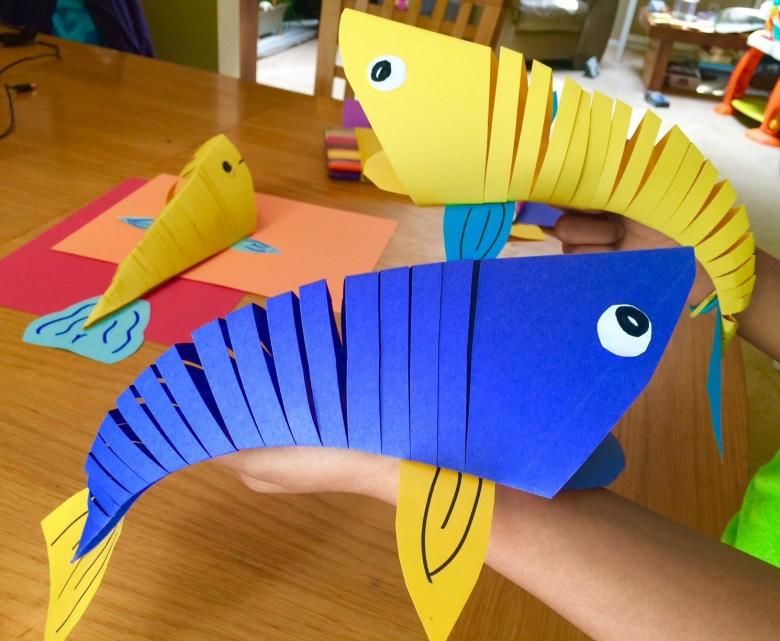
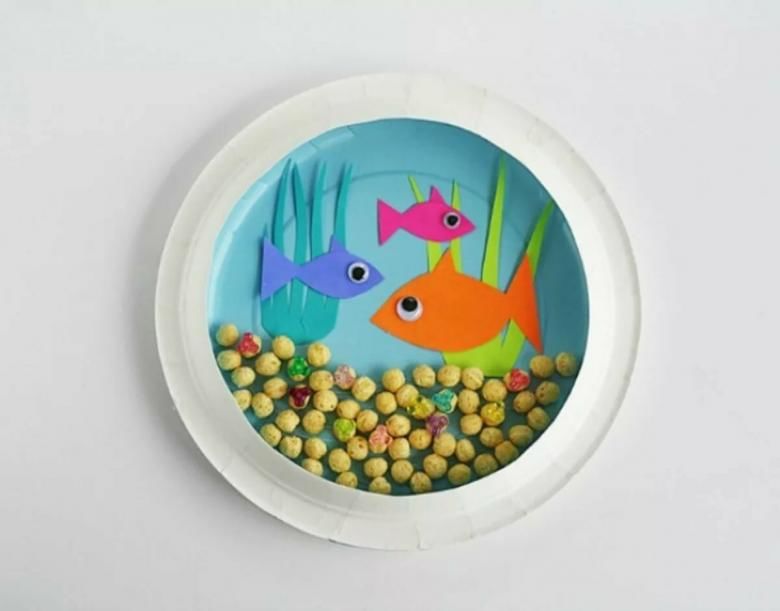
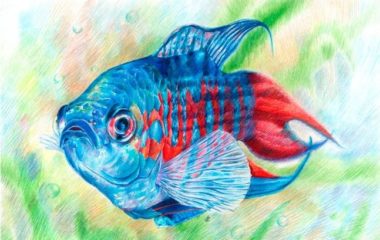
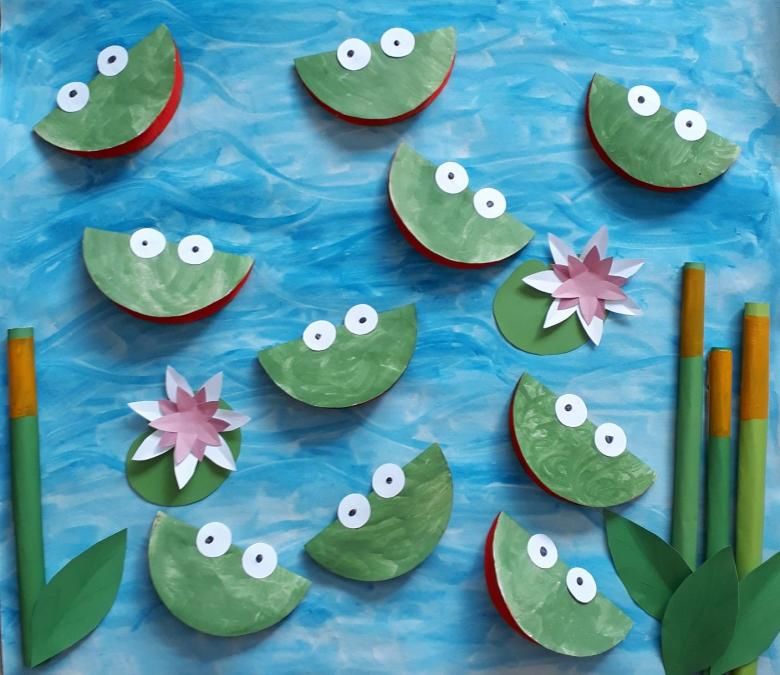
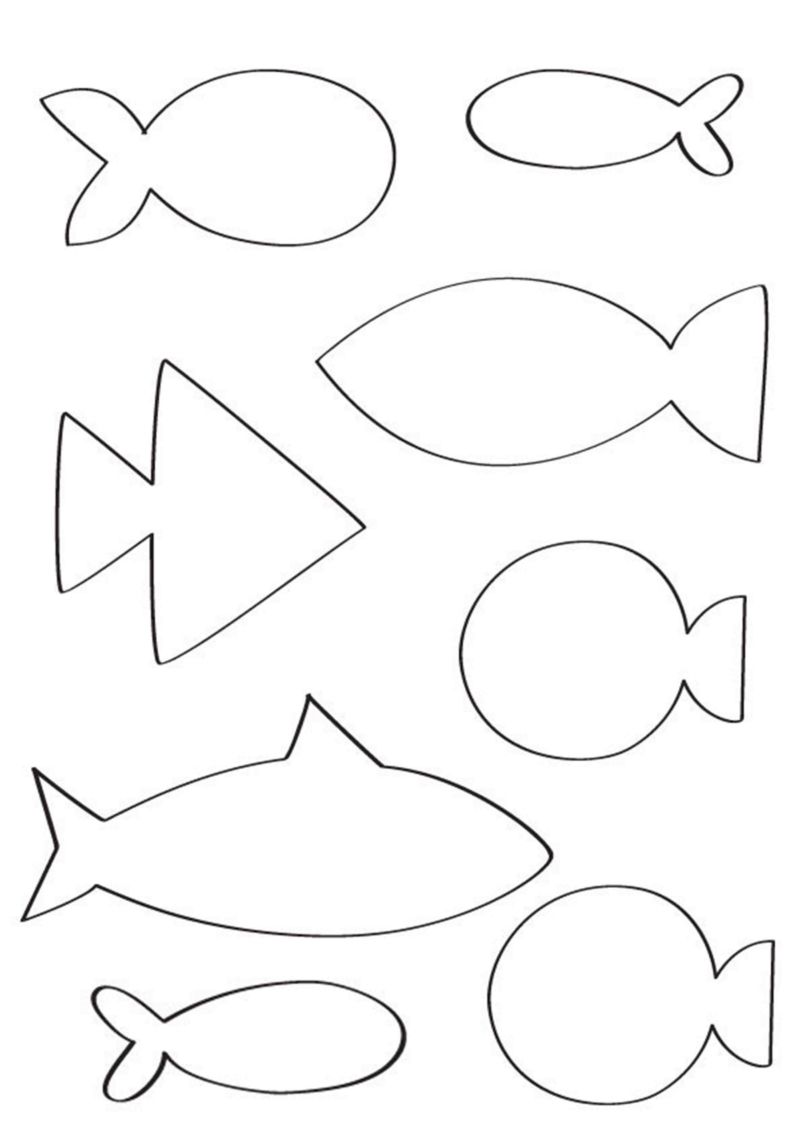
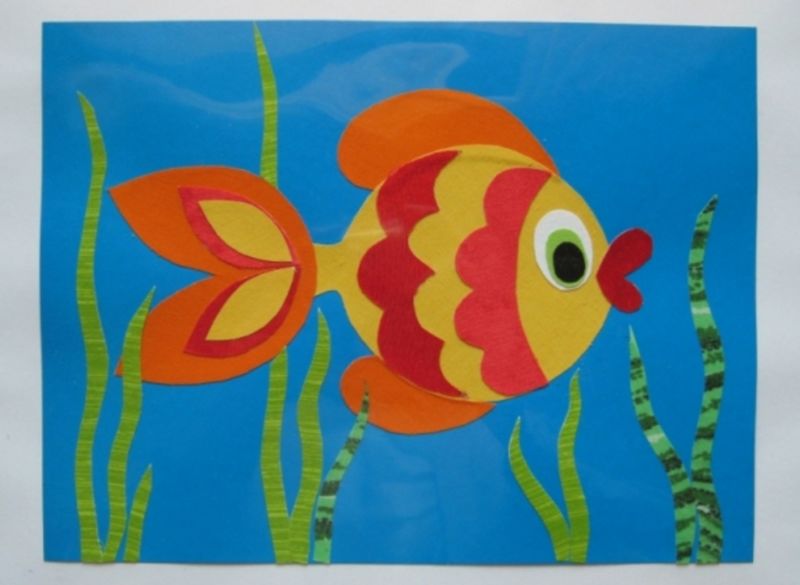
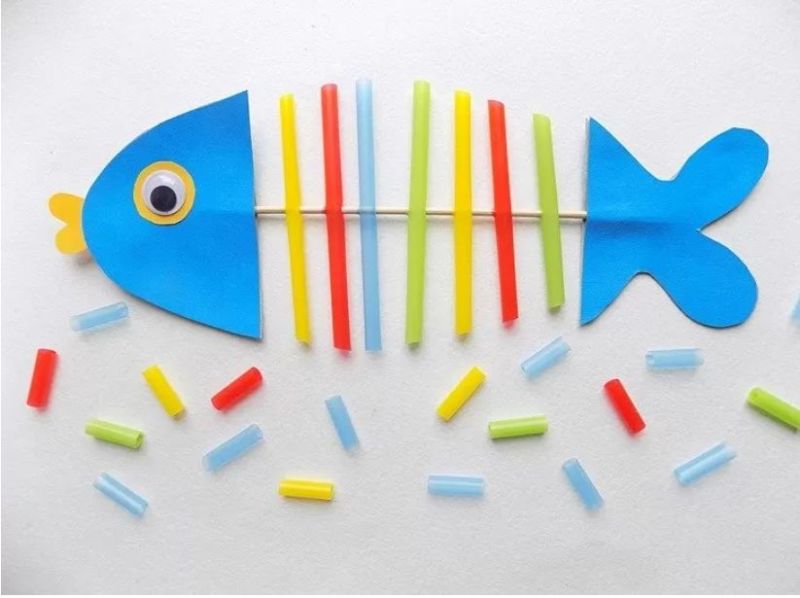
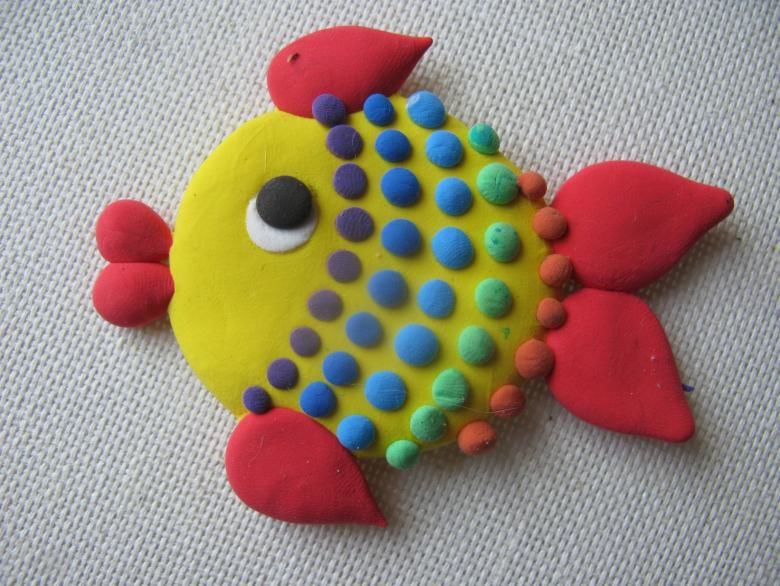
Fish
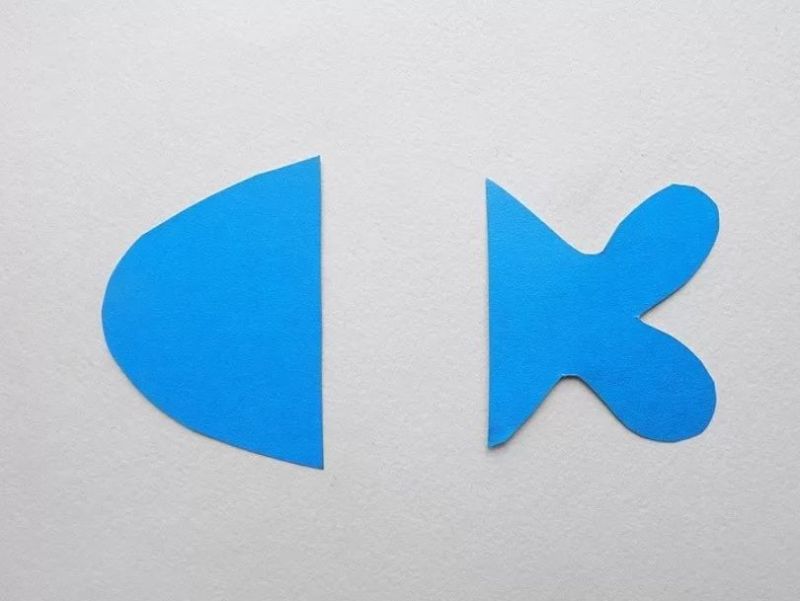
Here with this application will have to tinker, but how happy will be the result:
- Draw a fish on cardboard in purple or blue and cut it out.
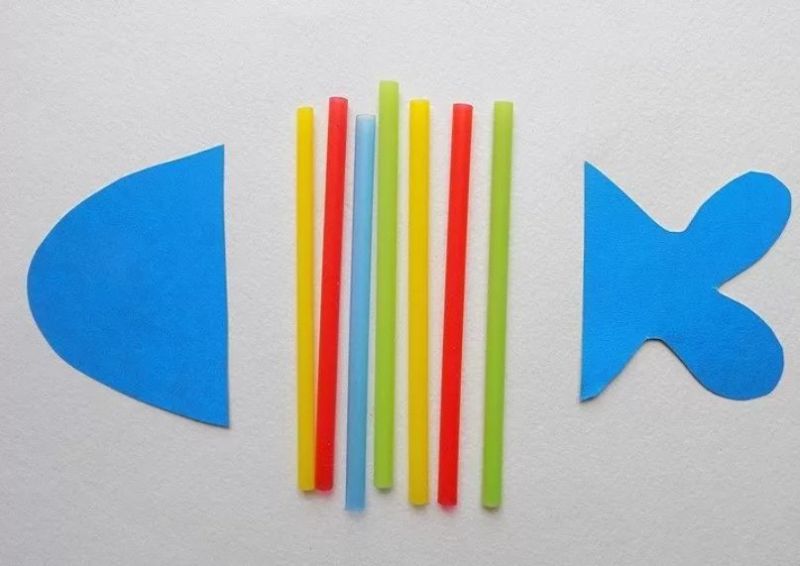
- Fold a piece of yellow paper in half and then in half again until the paper turns into a small rectangle.
- Around the outline of a few circles on it, cut out. We get small circles of the same color.
- Then we take a sheet of green and do the same procedure. A few more colors to choose from.
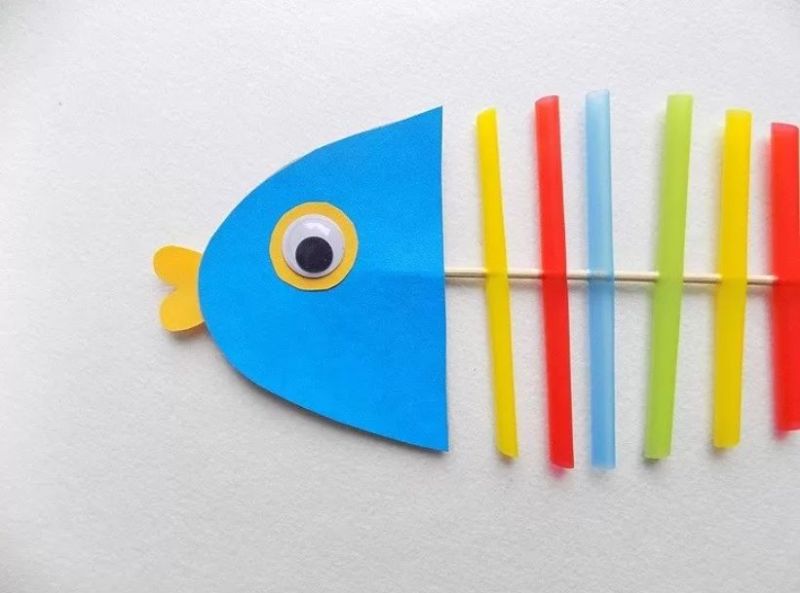
- Red circles are good for the lips of a fish, let's glue them.
- White circle - the eye, glue it on. Draw a felt-tip pen pupil.
- The remaining circles - the scales of the fish.
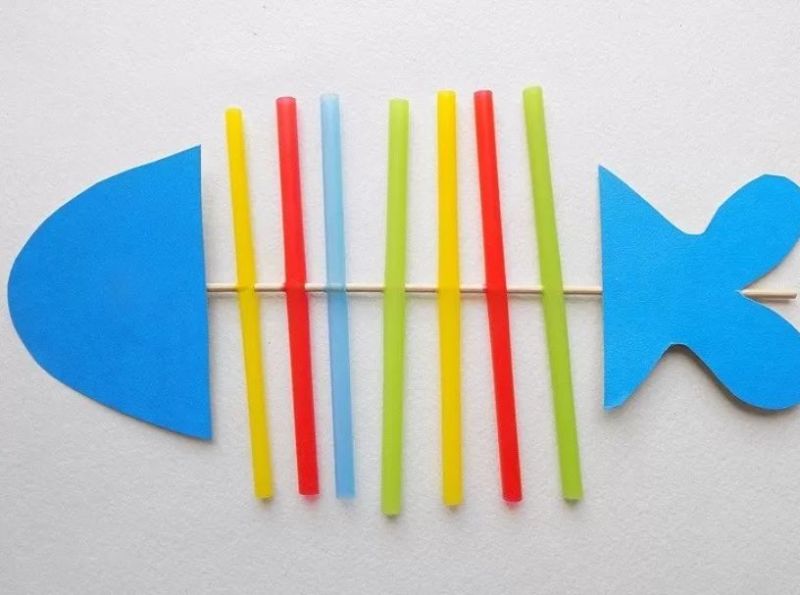
- Glue the "scales" from the top of the tail down.
- Scales go a little beyond the outline of the picture.
- The colors can be alternated in a certain sequence. Continue gluing multicolored circles to the white circle "eye".
- There should be 5-6 rows.
- This is a time-consuming work for children 5 years old, you can do it in 2 stages: first prepare the parts, and then spread the parts and glue them. An adult should control the situation, so that children will not be disappointed with failure.
This handicraft looks great, pleasing to the eye.
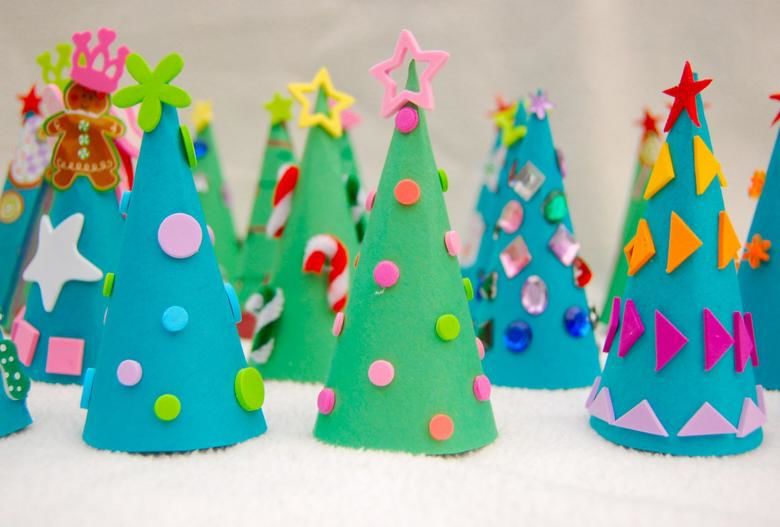
Construction of paper and cardboard
Classes in construction gives a child the opportunity to improve modeling skills, gives free rein to imagination, allows you to fill their space with desirable elements: toys, decorations. The crafts can easily be used for play.
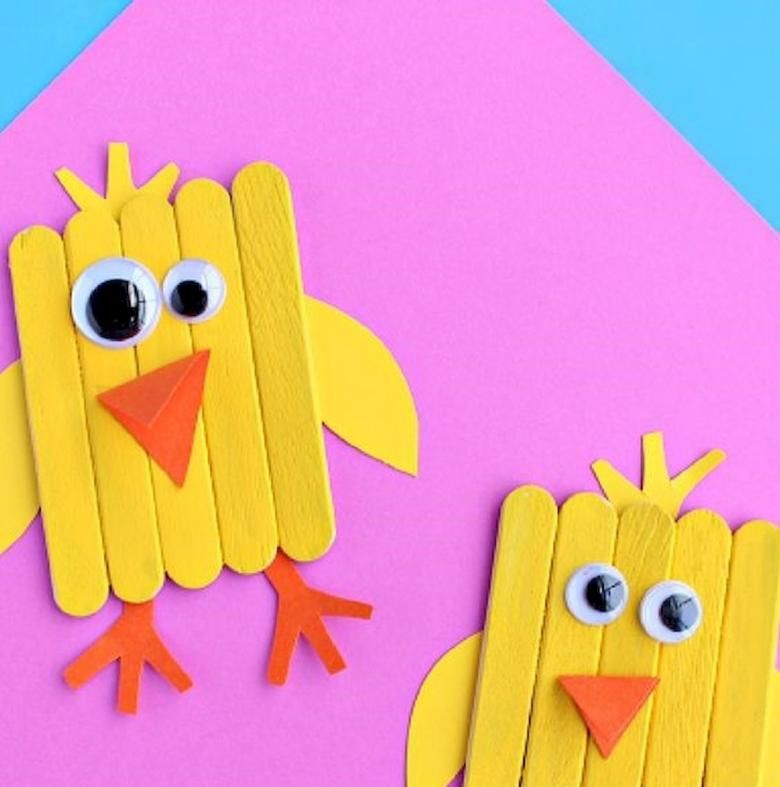
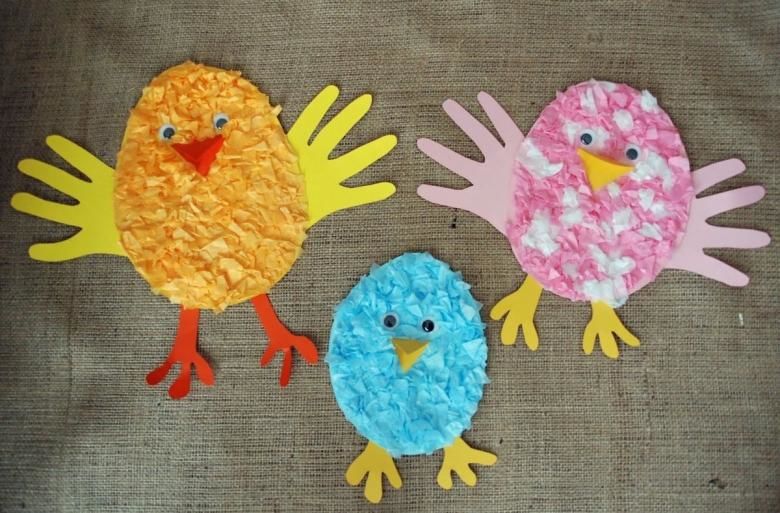
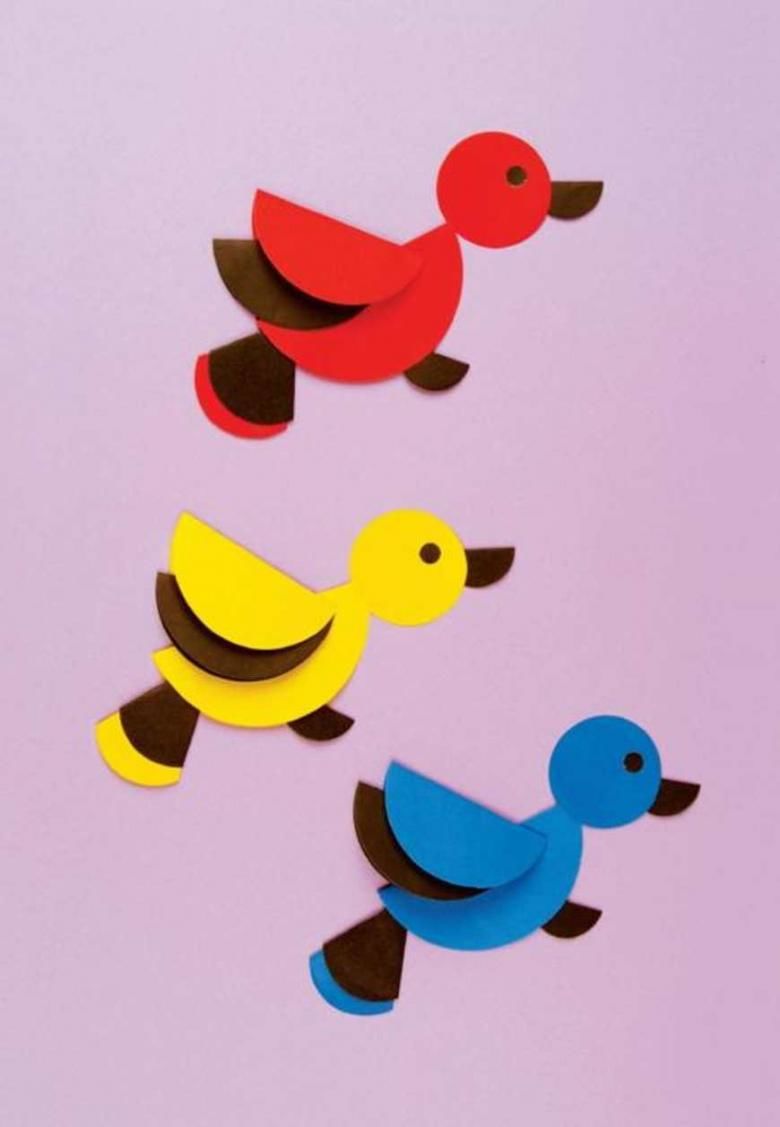
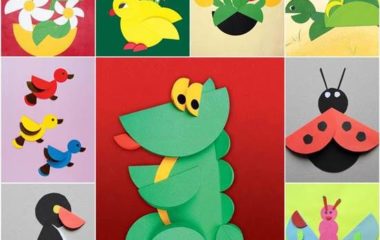
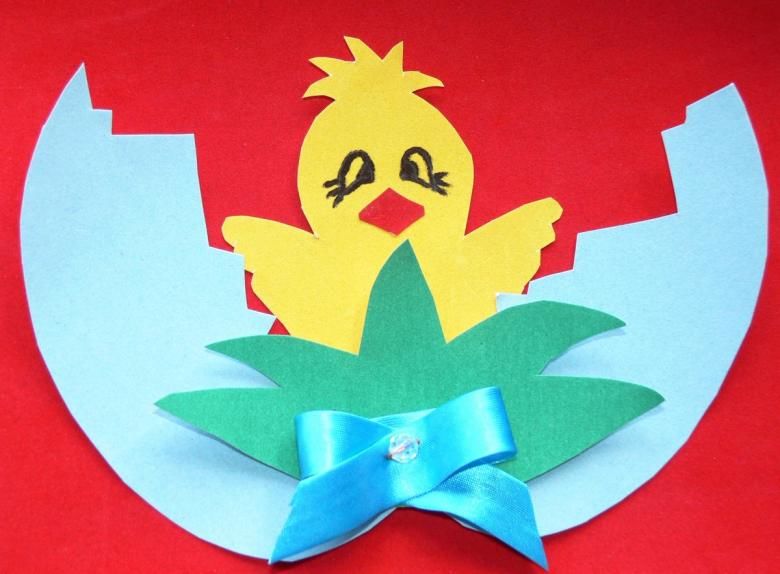
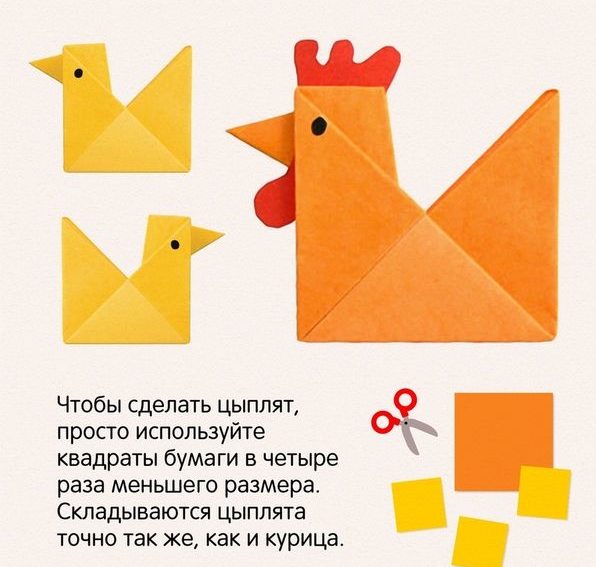
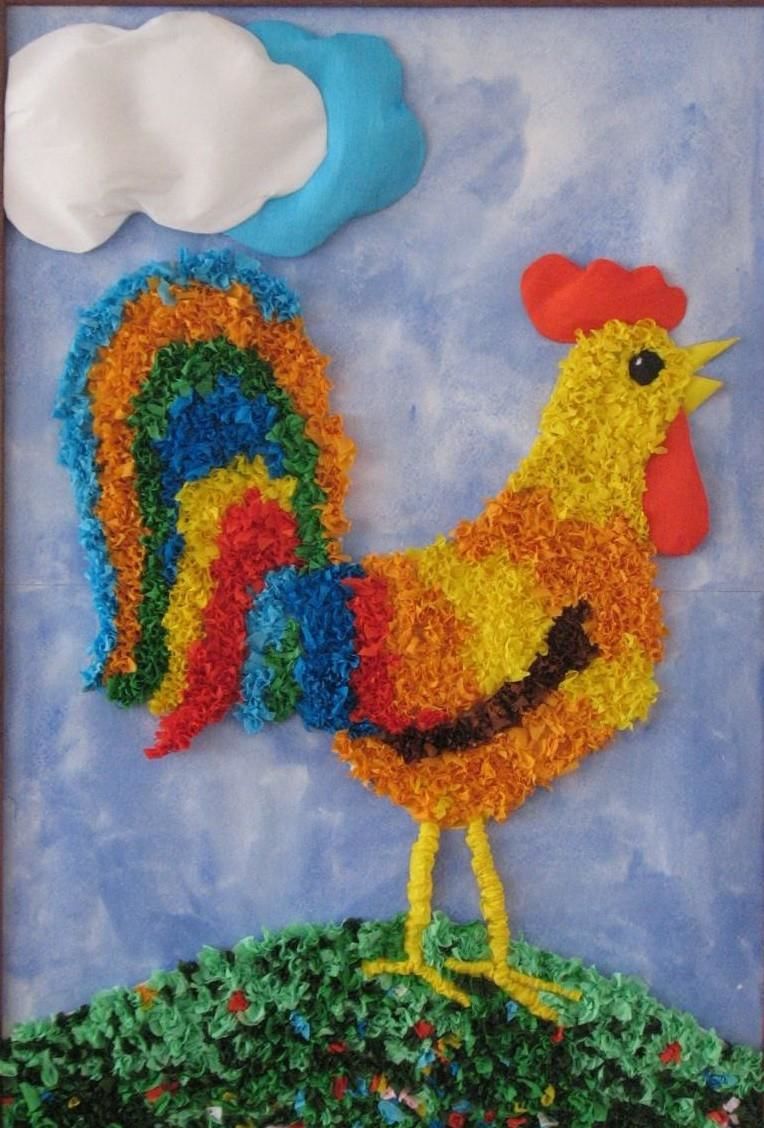
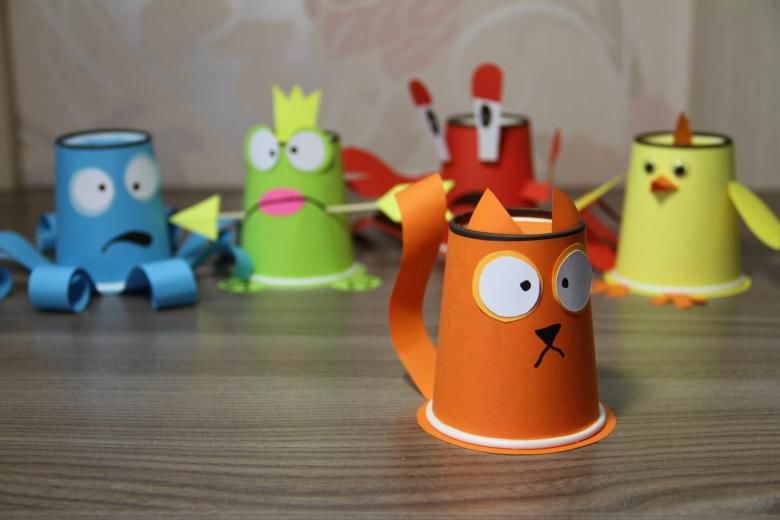
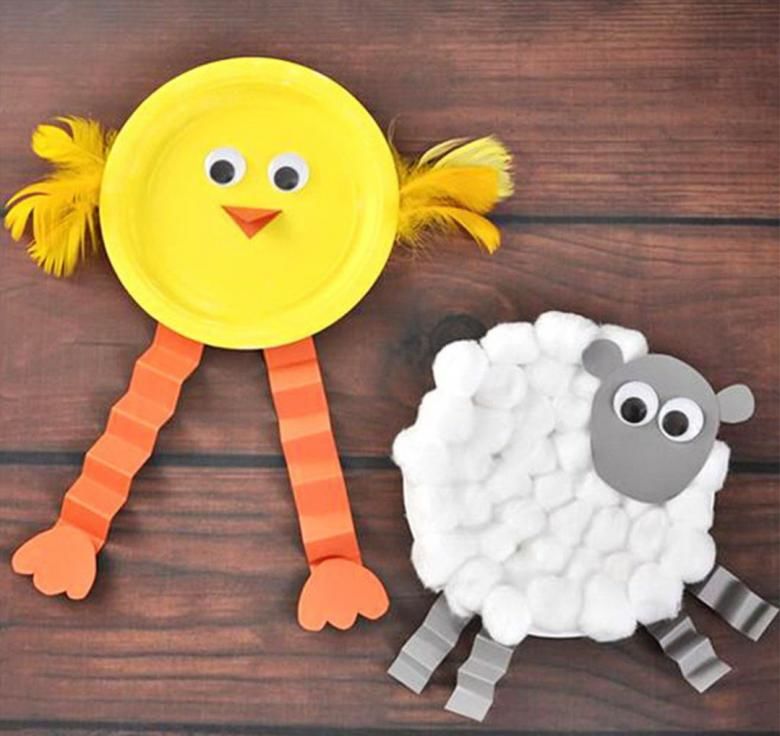
Chicken
Fluffy chickens are loved by everyone, the craft can be made from any material, and it will look great everywhere:
- We cut out of yellow paper two circles large and small, this is the future bird.
- Large circle bend in half, and where the line formed a fold draw the wings, on one and the other side.
- Draw two identical wings is not easy, it can help an adult. You can use a ready-made template, which encircled the contour.
- Obtained semi-circle with wings, the bottom half-circle is bifurcated, it will allow the craft to stand.
- Make a head out of a small circle. Cut out the red beak, comb, eyes.
- Glue the head to the body, place the eyes, beak, comb.
- Paws chick can be prepared in advance, or draw and cut out of orange paper.
- Glue under the front of the "body" legs, bend them forward. Our chick is ready!
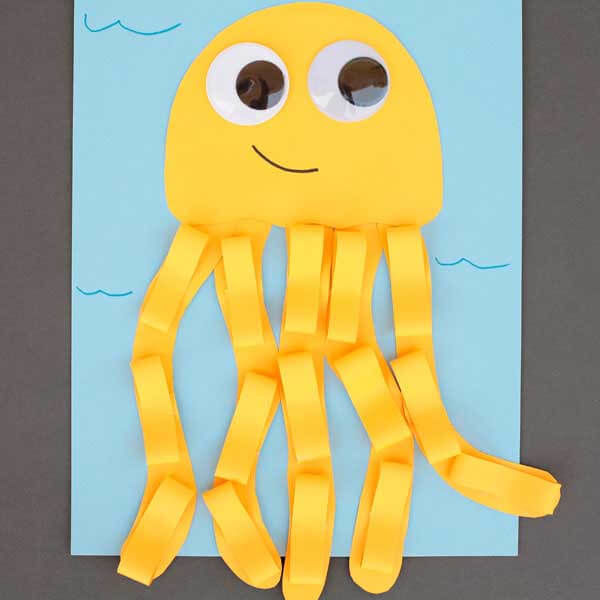
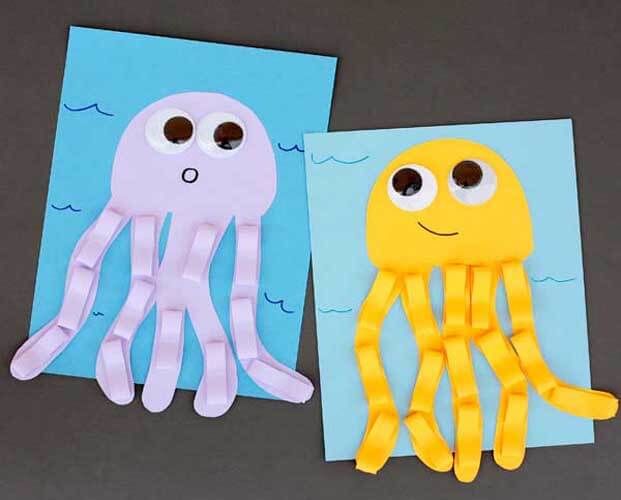
Octopus .
- Take two sheets of blue or purple paper.
- One sheet of fold in half and cut, you get two rectangles.
- One of the rectangles again fold in half and draw an arc on it: draw from the fold line of the left corner to the opposite right corner.
- Unfold, you get a semicircle. Put glue on the rounded part, and glue the part to another rectangle. Trim it with scissors on the first piece. We have the front part, and the back part.
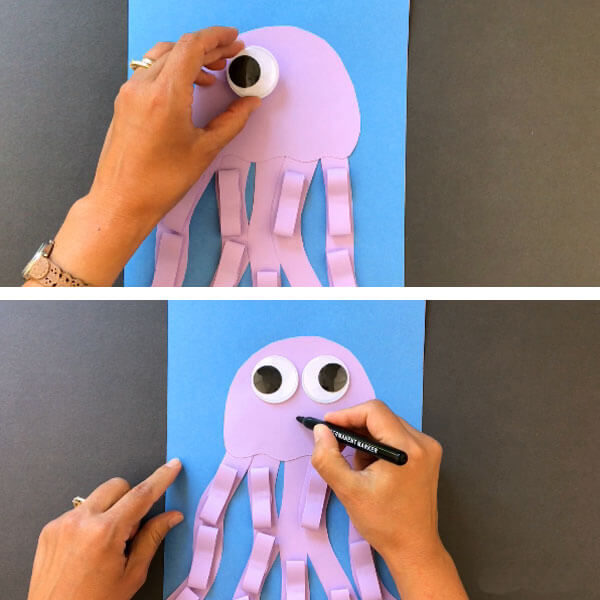
- Cut out white paper eyes, drawing the pupils. Glue them to the head, let's draw a mouth.
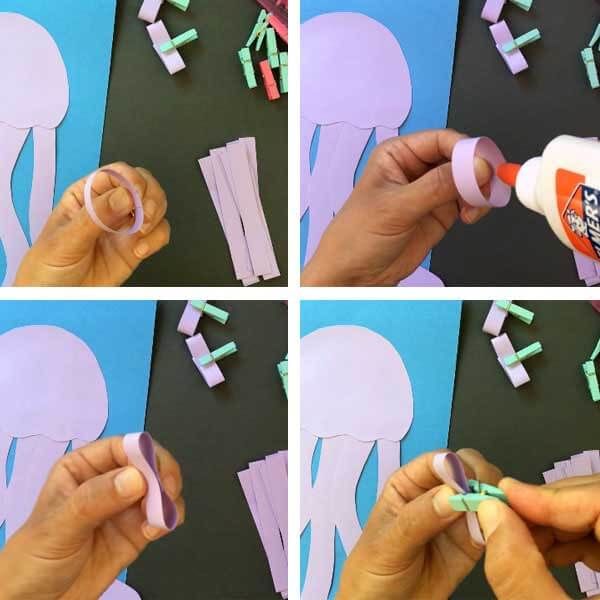
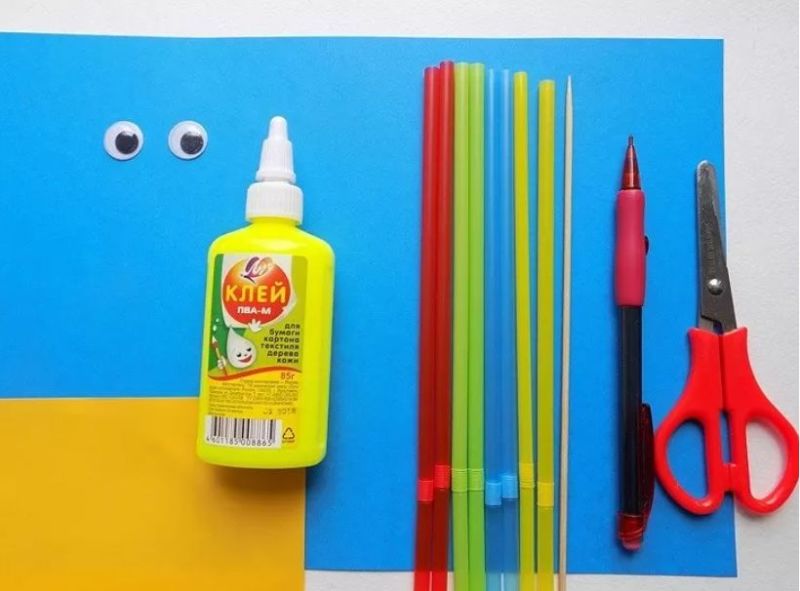
- Our sea creature missing tentacles. We make them out of another sheet of colored paper. Divide it into 8 vertical strips of 2 cm.
- You can prepare the strips in advance.
- We roll strips into an accordion. Glue 4 strips to the front of the inside, the remaining 4 strips glued to the back. We get a great octopus with long tentacles.
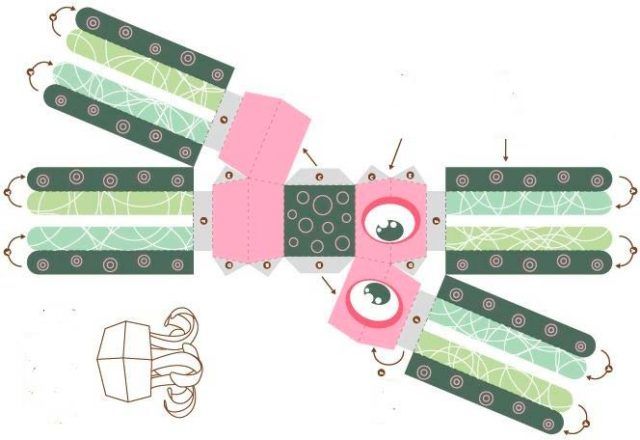

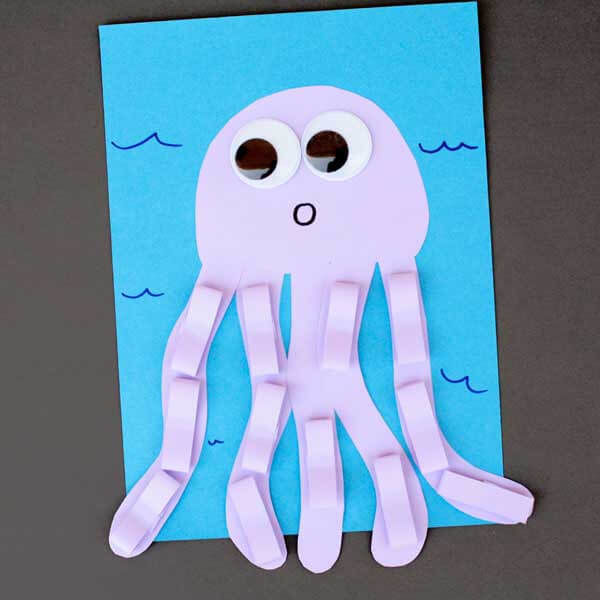
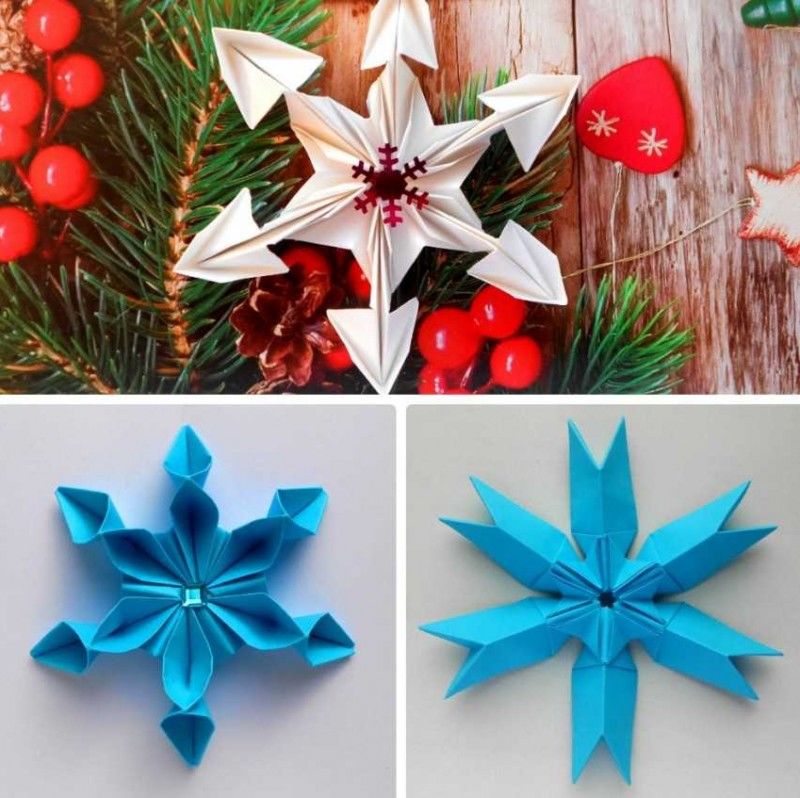
With children 5 years appropriate simpler version: cut 4 strips, spread them crosswise to cross, we got the shape of the snowflake, glue them in the middle. Cut out a circle, it is the head, draw a funny face on it. Glue the head to the center of the craft. What is not an octopus?
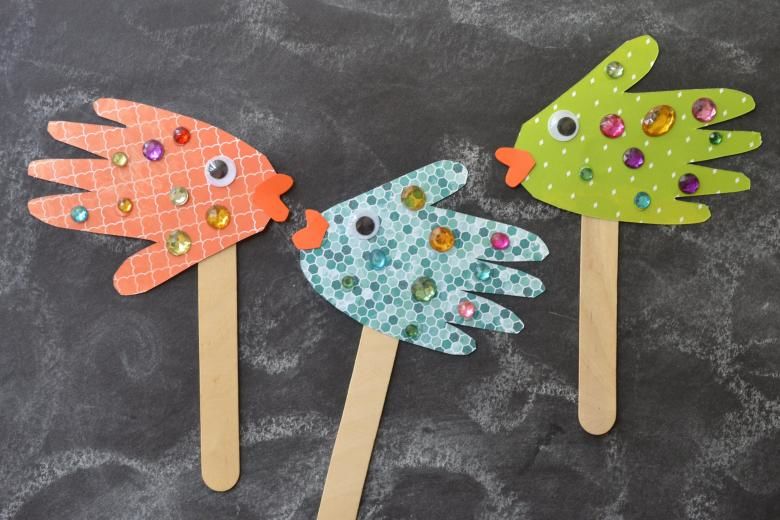
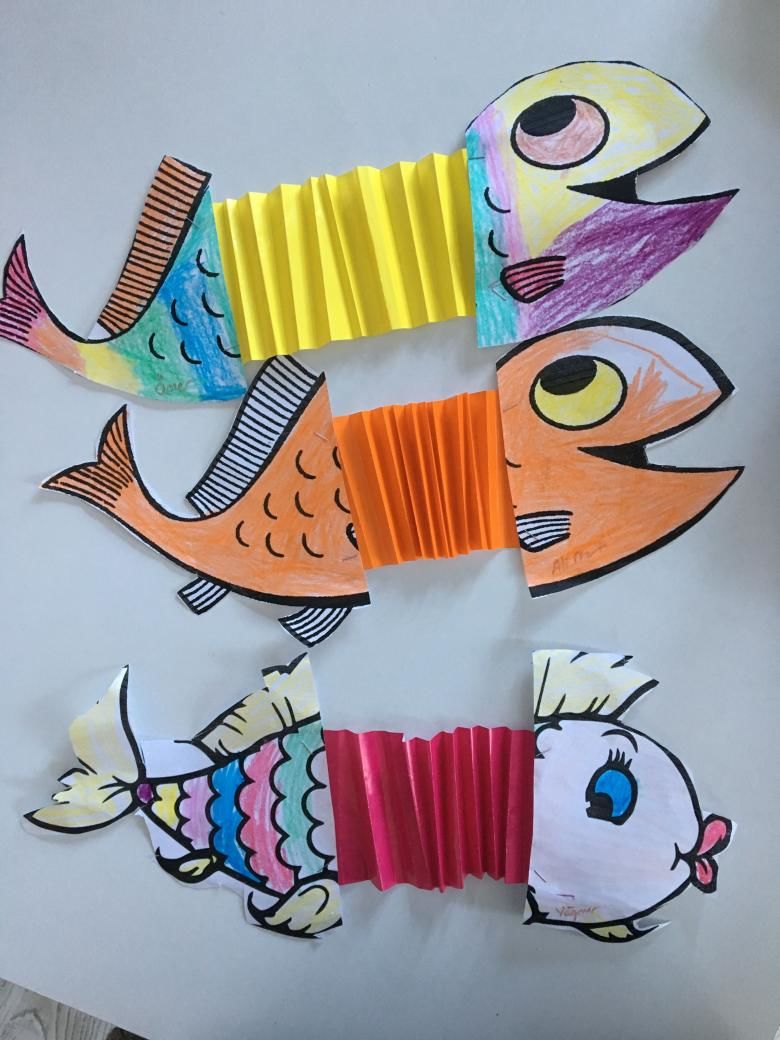
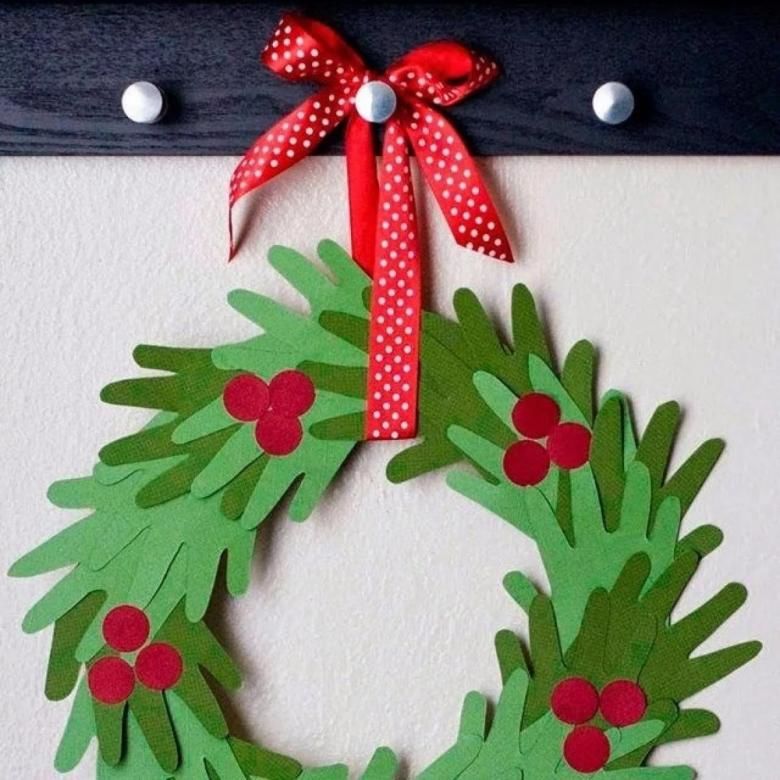
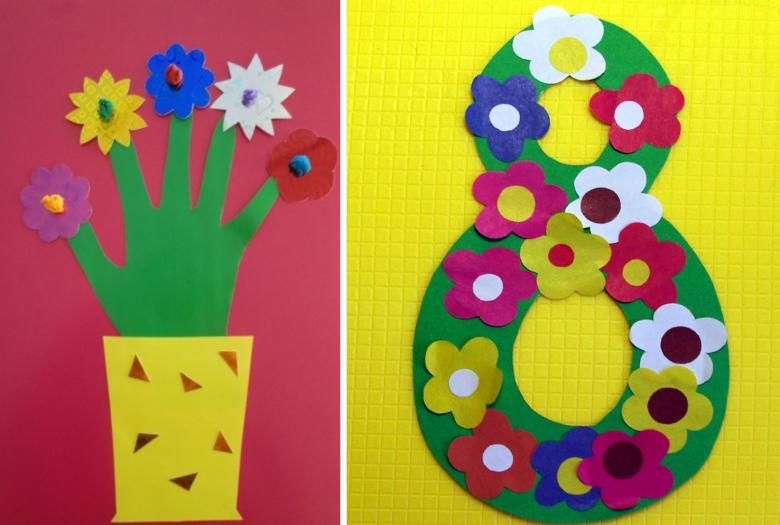
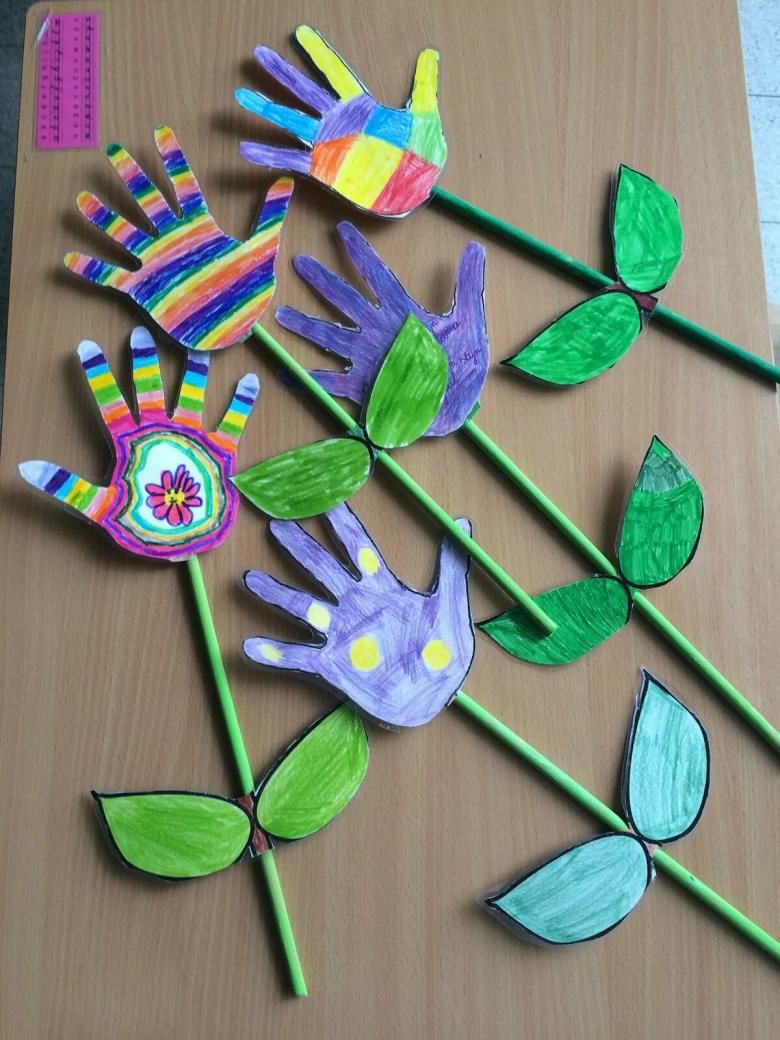
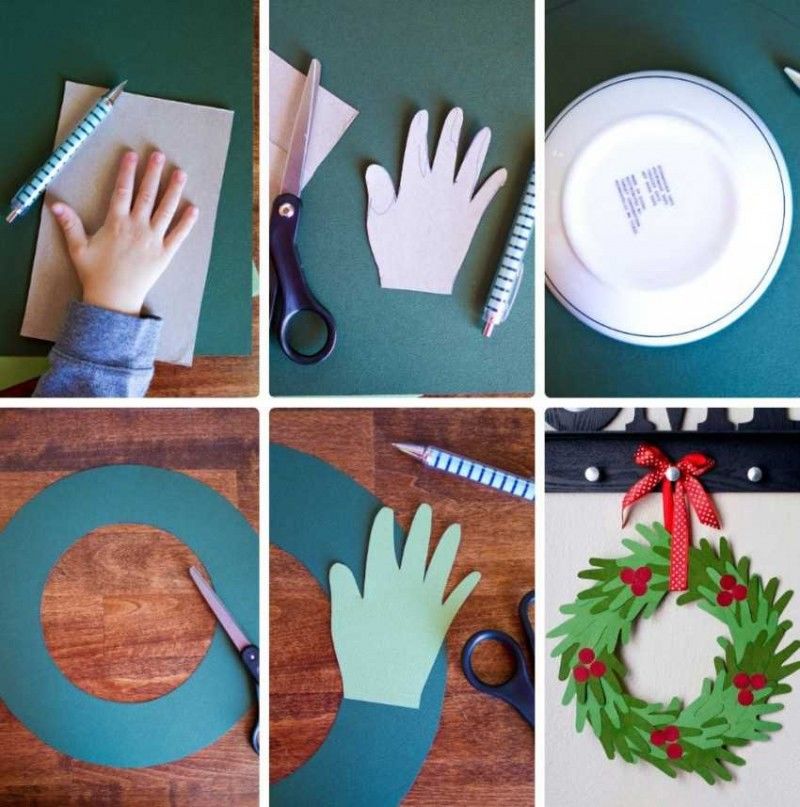
Fish on a stick
Children trace their palms and cut out the outline and paint. Fingers of the palm are the fish's tail, palm is the fish's body and head:
- Draw eyes, mouth, nose. That's how the fish looks like. She can "swim".
- On the back side of the fish glue stick from ice cream. Holding the stick, you can make wave-like motion fish.
There is a version of double-sided fish, when cut out two identical silhouettes that are glued together, leaving a free space inside for fastening the stick. Handicraft decorated with three-dimensional decorative stickers.
Handicrafts made of cardboard
Cardboard is stronger than paper, and this is an additional opportunity to use it for different games. Boys will be very pleased to design cars.
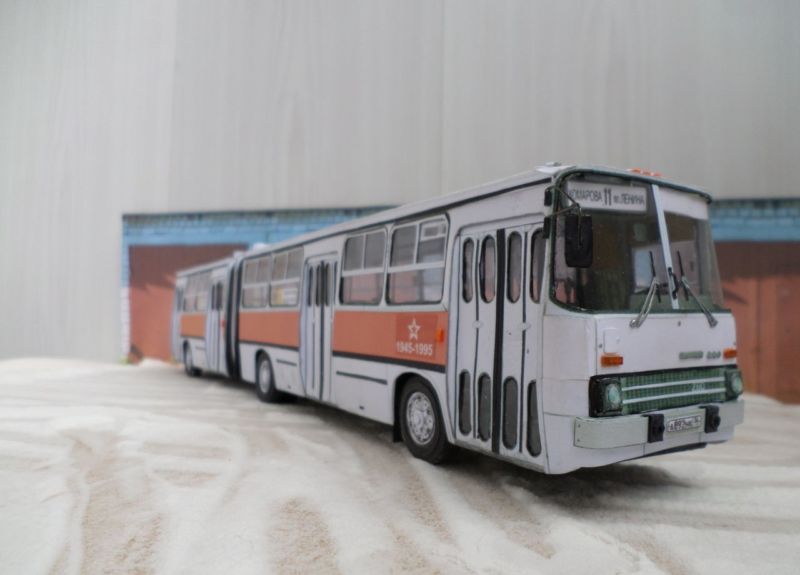
Bus
On thin cardboard, folded in half, draw the outline of the car, use a template. Cut out, glue or draw the windows, wheels. The roof of the bus falls on the folded cardboard. We open the template, and set the craft vertically. Our bus is moving along the route.
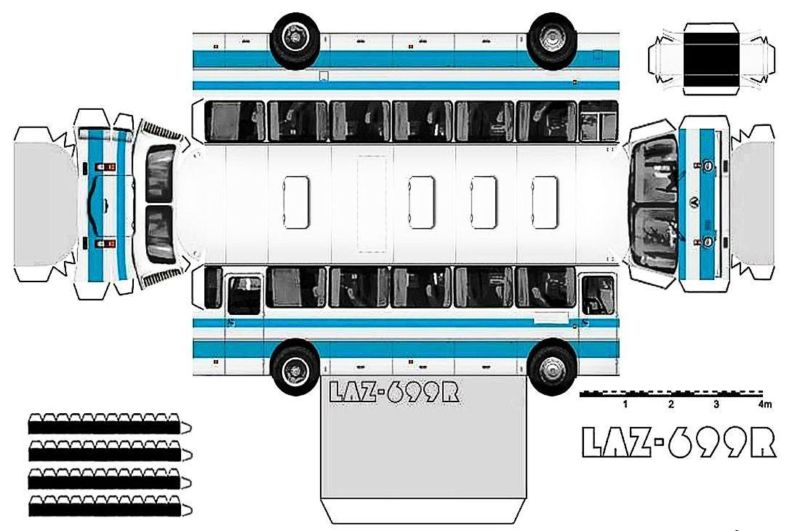
You can make a whole roadway with numerous cars.
Crafts from felt
Felt is a convenient material for its density and thinness, there are no problems with it, it is very convenient for crafts. Looks like such crafts as professional work.
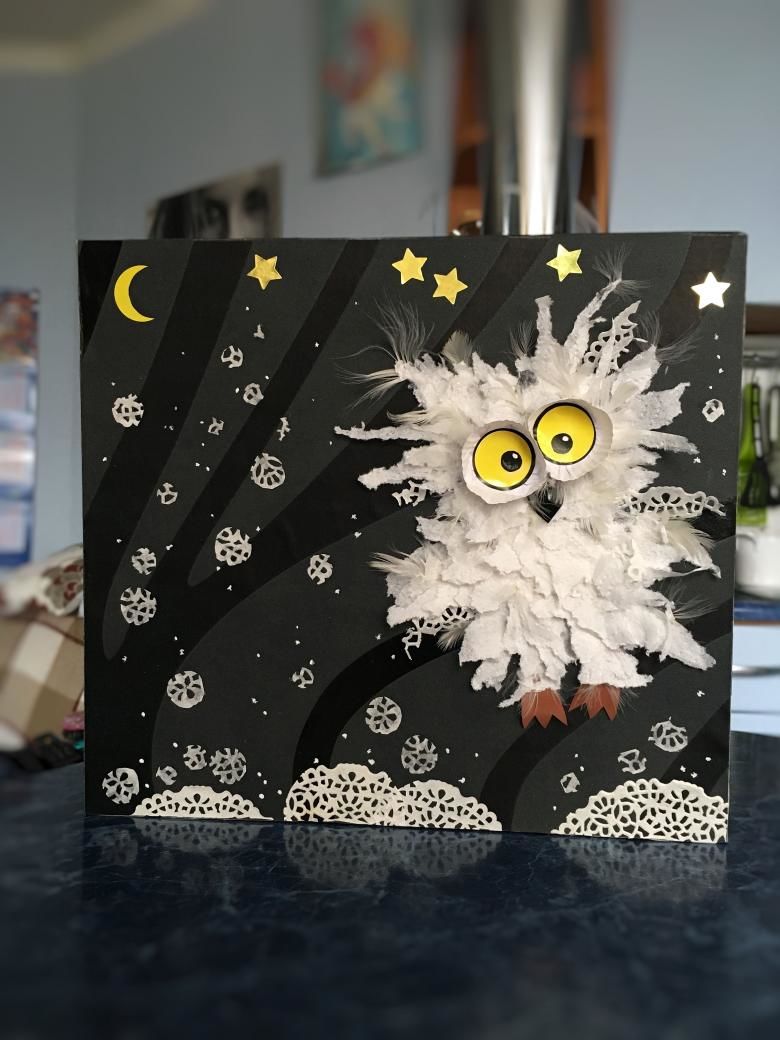
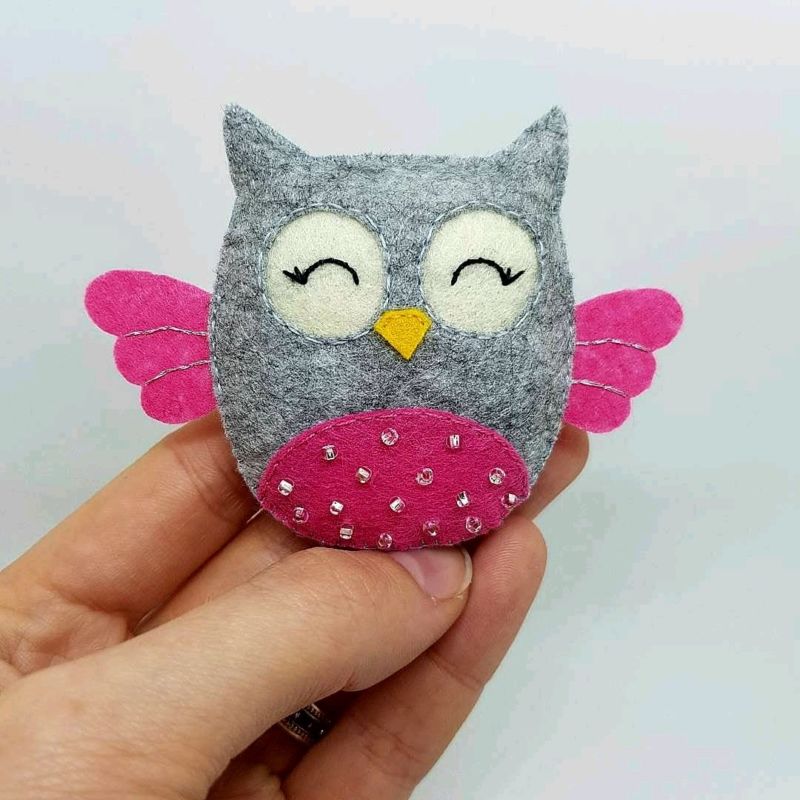
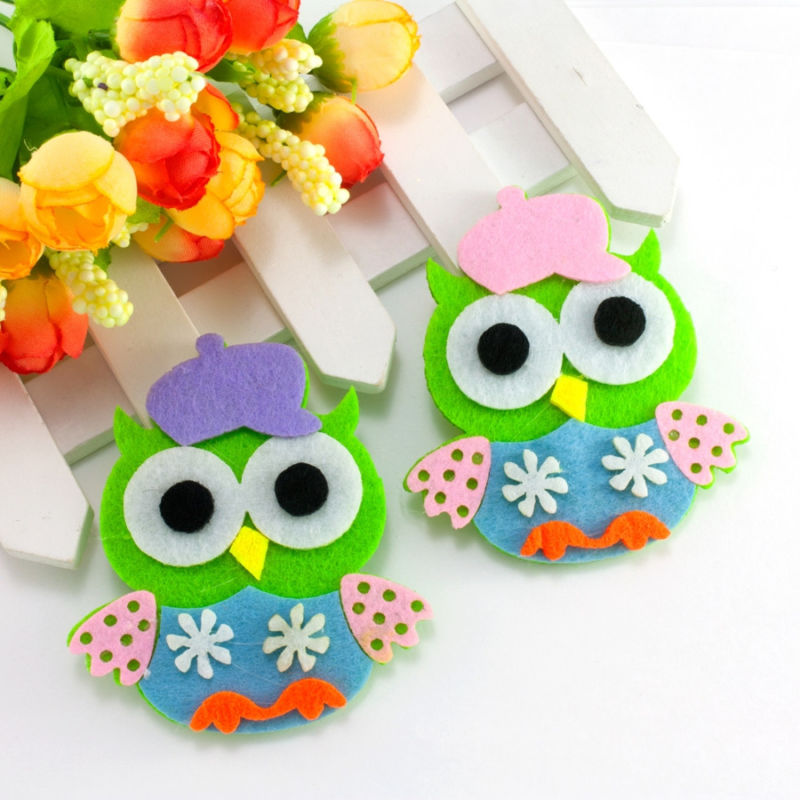
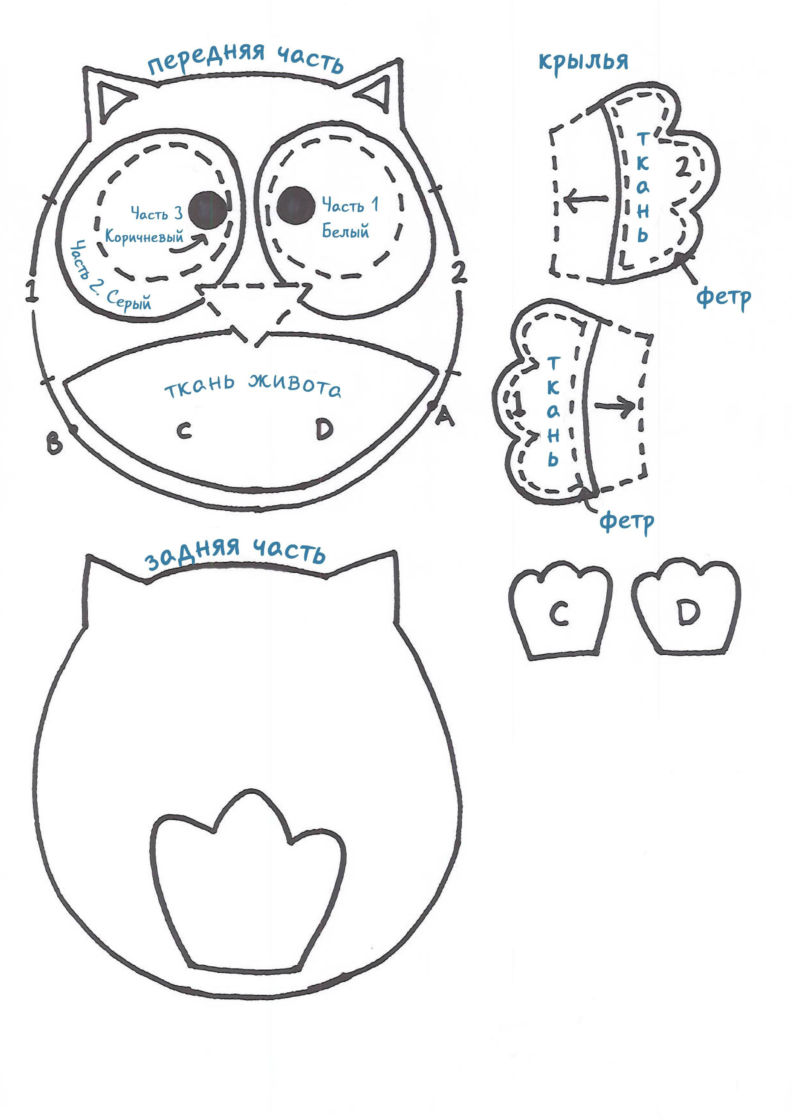
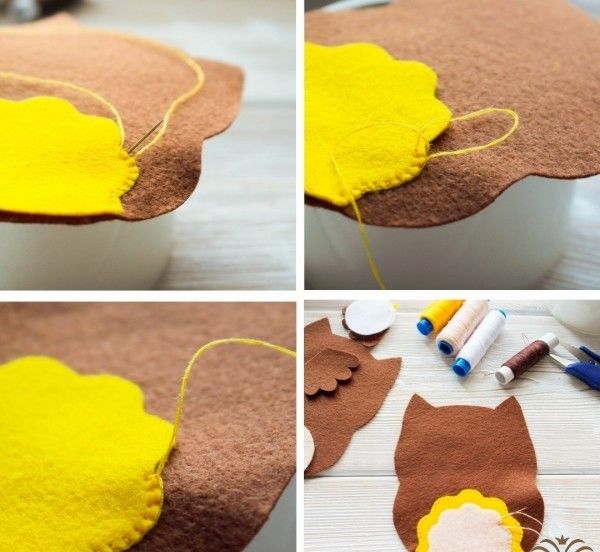
Owl
- We take the pattern of the owl, its parts, attached to the felt and circled with a pencil. Cut out ready parts on the contour.
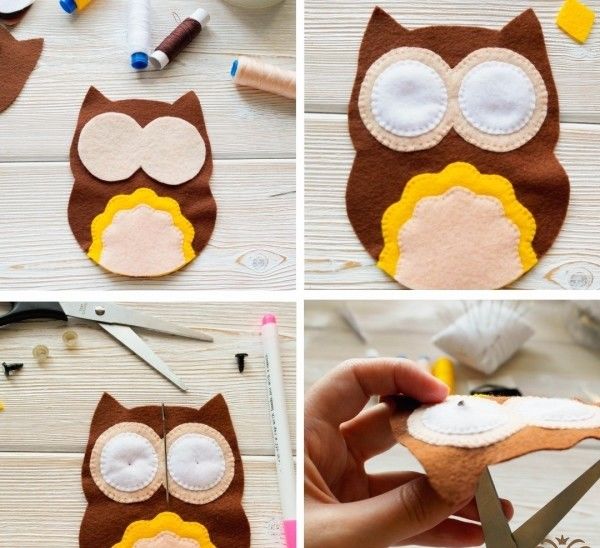
- Now cut out the beak, the eyes of the felt fabric, you can use prefabricated elements, or replace them with buttons.
- Next, from the decorative tape make sections for the paws, glue sections - we got two rings, in which you can slip a pen or marker.
- On a solid (wooden, cardboard, disk) base apply glue, glue paws. The base is chosen according to the size of the application.
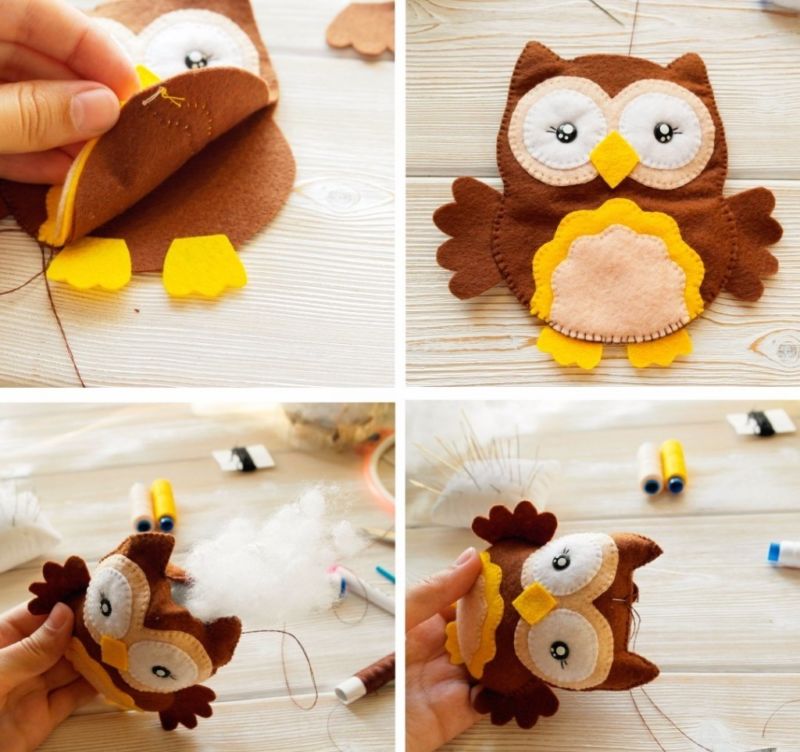
- Then coat the entire solid base with glue and glue the finished appliqué.
- Decorate with a decorative ribbon, rhinestones, hearts.
- Glue the loop to the craft and hang it on a nail.
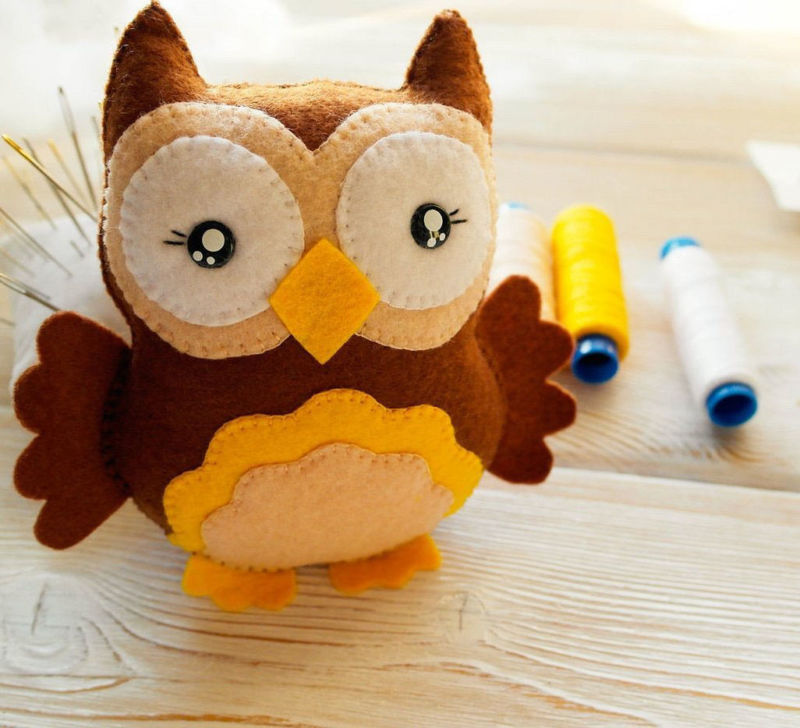
- Looks wonderful!
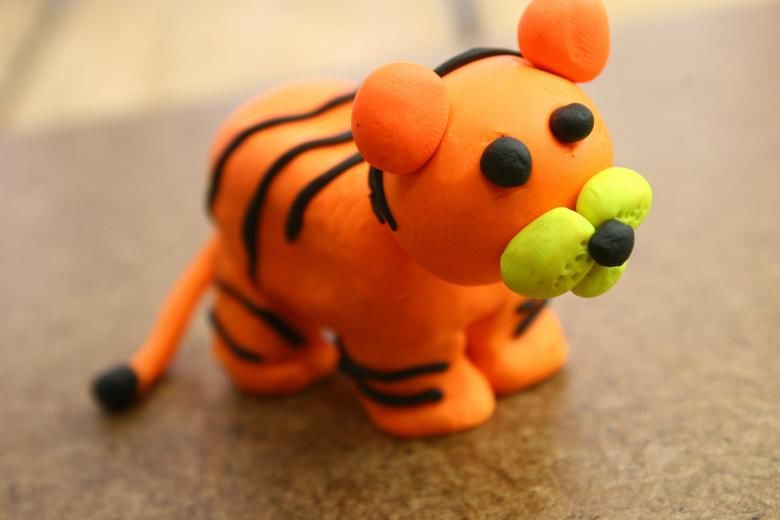
Plasticine crafts
Plasticine is familiar to children from an early age. They liked it for its ability to turn into anything, so adults entice young children.
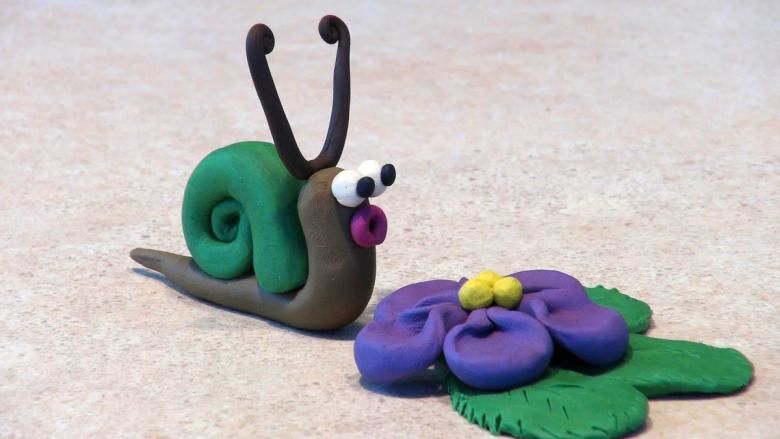
And the older children themselves are already happy to use plasticine properties to create crafts.
Children 5 years are already modeling fruits and vegetables, small animals, making plasticine applications.
You can try to make a larger craft, such as molding a whale. Many people will like this idea.

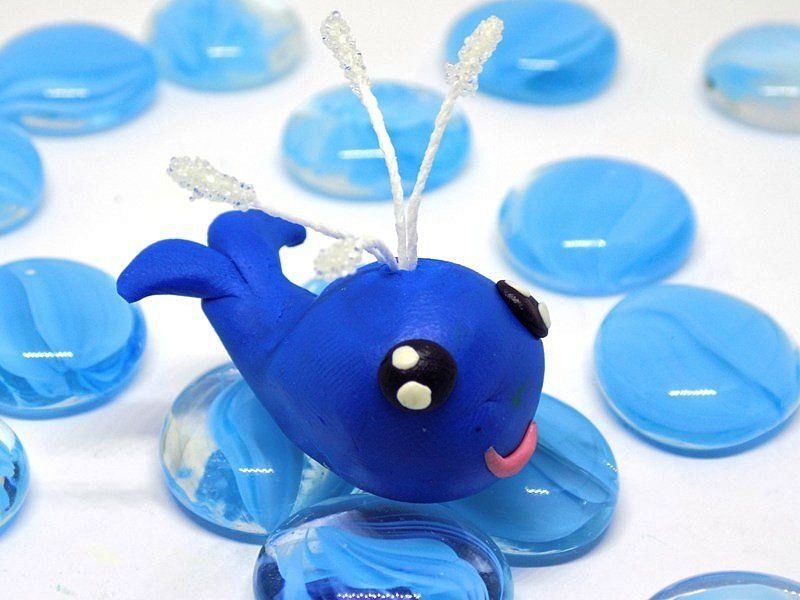
The whale
Before we start, let's look at the picture of the picture, let's name the parts. Let's start the work:
- Separate a piece of blue or blue plasticine, roll a ball, then pull a little from the whole piece - the tail. Take the white plasticine and flatten it in
- or roll it out on the table with a small rolling pin. This is the belly of the fish, flatten the first part, cut off the excess, connect the first piece to the second.
- We make two flat fins, the same size, and attach them to the sides of the piece.
- The tail also has two fins, we connect them together and attach them to the tail.
- The whale is cheerful, we make a smile with a stecker.
- With a special chopstick with a round tip we're going to make two cavities for eyes.
- Also, our whale likes to blow a fountain. Let's make a hole in the head, roll three pieces of white plasticine with a sausage, connect together and insert into the hole.
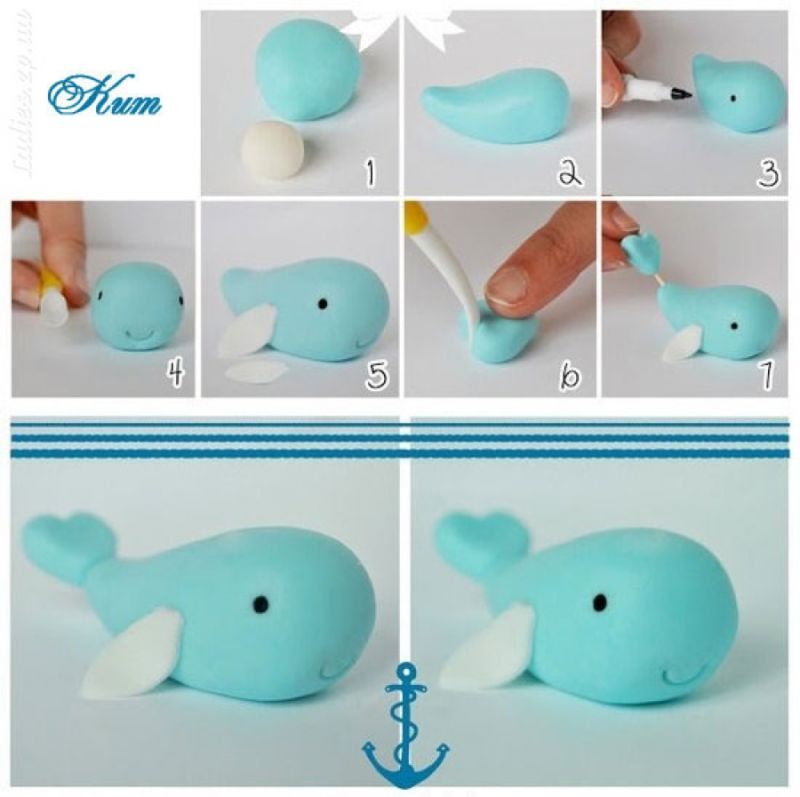
Our whale can go on a voyage of discovery!
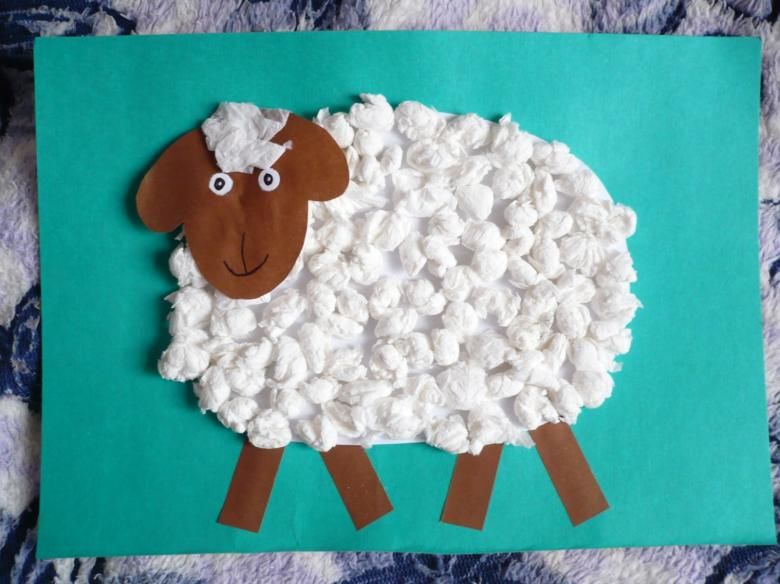
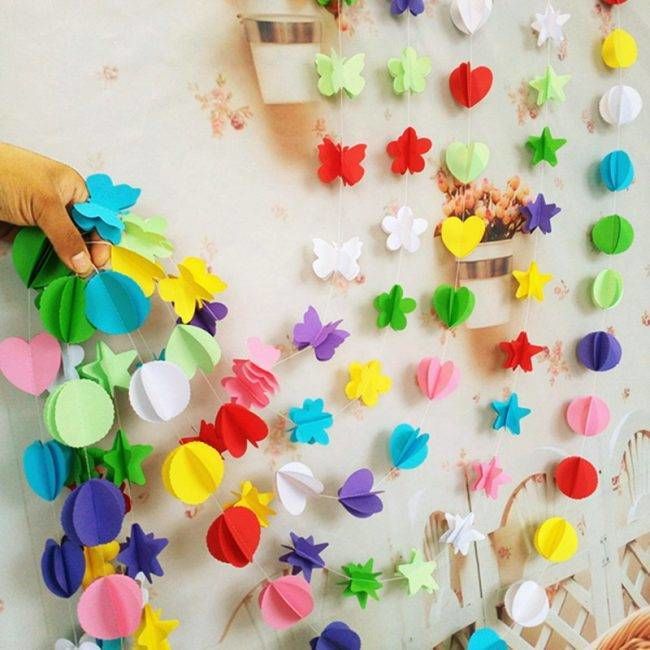
Tissue crafts
Ordinary napkins can also be used to create beautiful, creative and interesting crafts.
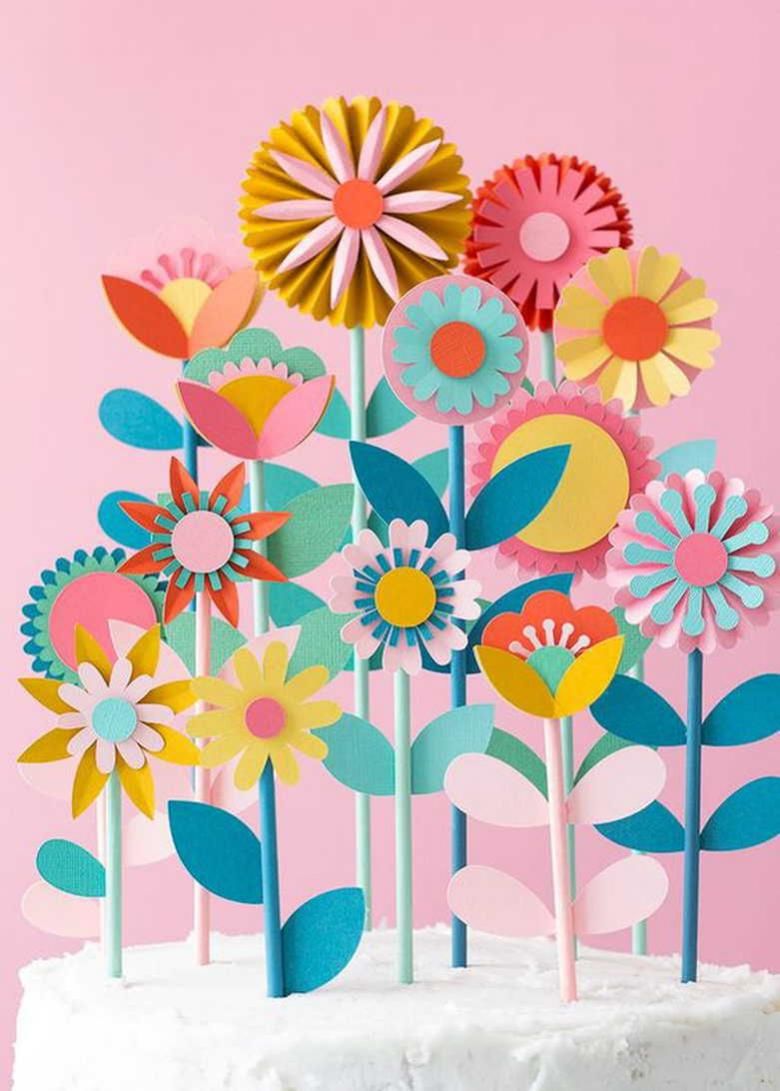
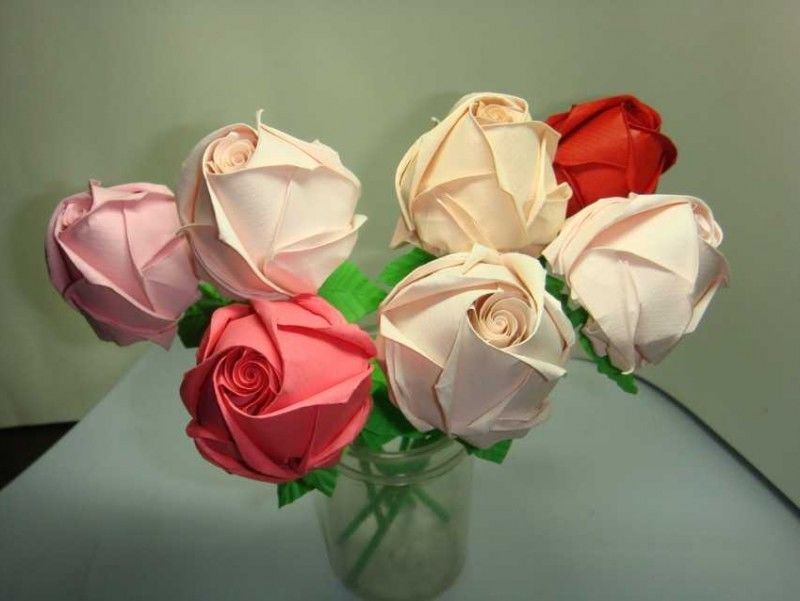
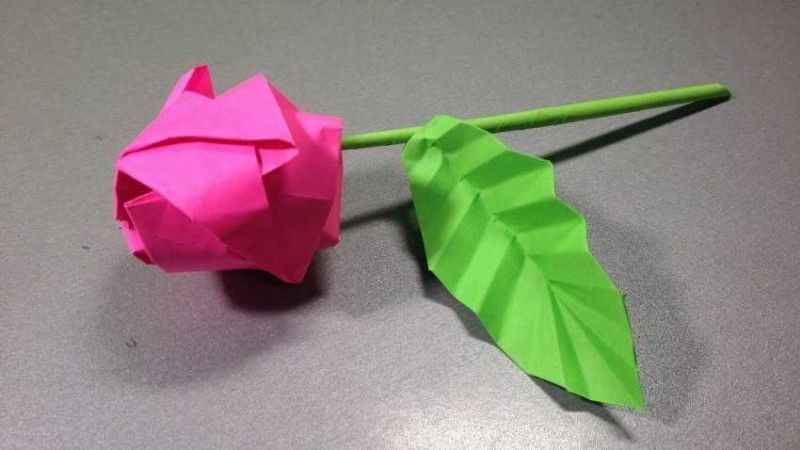
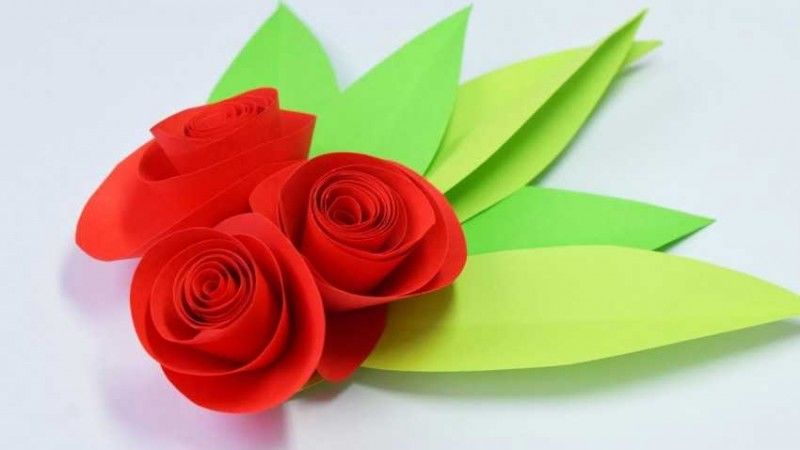
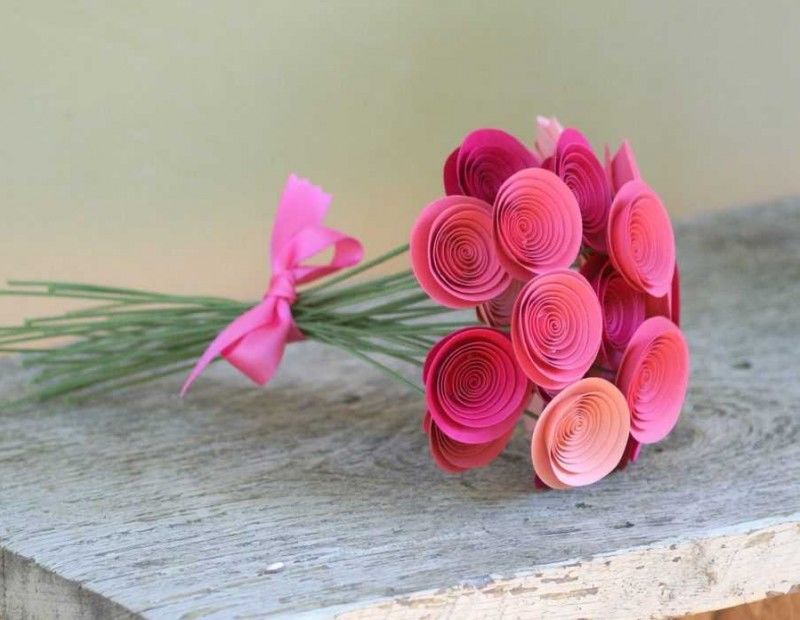
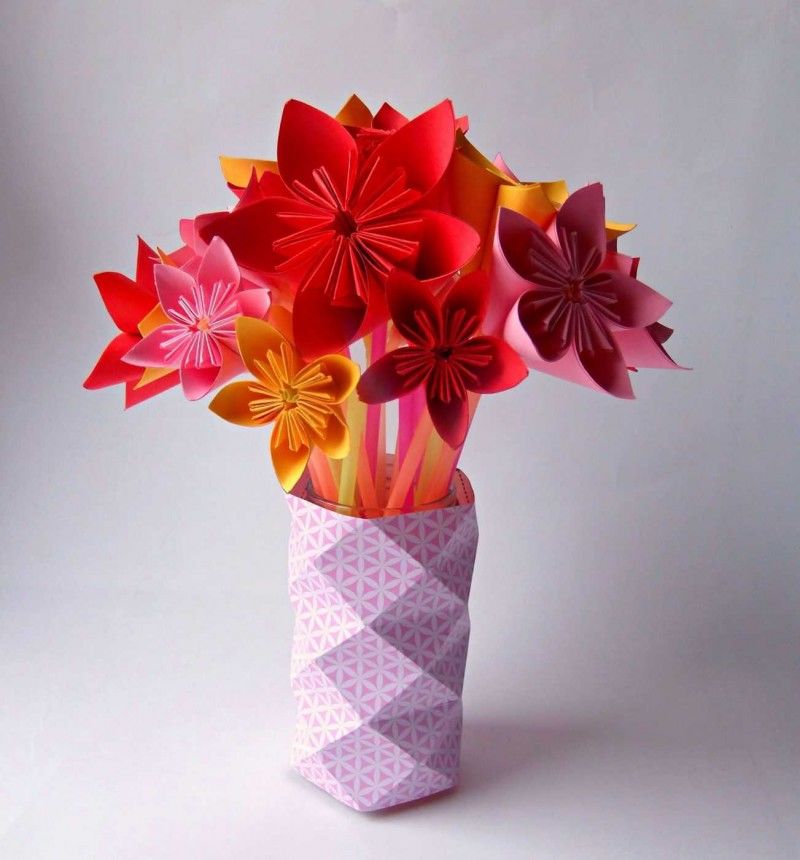
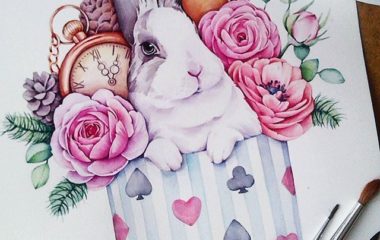
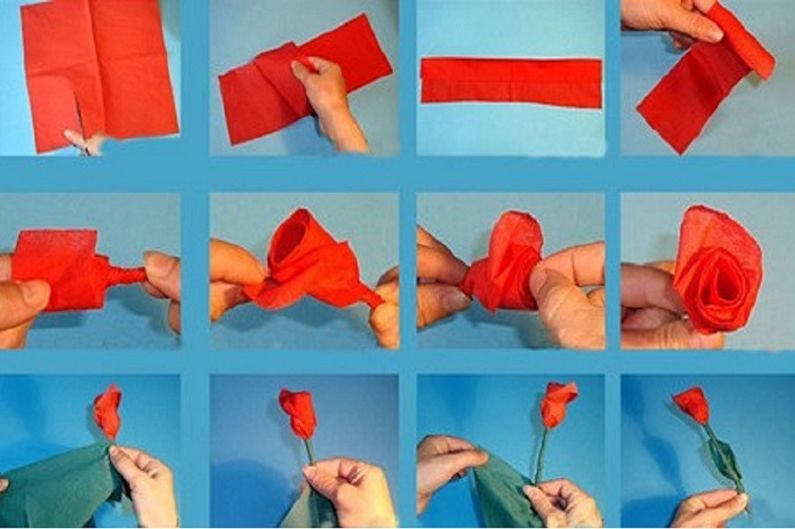
Rose
Cut one napkin into squares along the fold lines. Roses come in different colors, but mostly pink, red, yellow and white. Similarly, we choose the color of napkins:
- Twist the napkin on the pencil, not reaching the edge of 3-5 cm, gather the napkin on the pencil accordion, remove the workpiece.
- Do this with all parts of the napkin.
- Then bend one piece of the workpiece in an arc, twist the napkin at the bottom to hold the shape - this is the middle of the pink petals.
- The second piece of the workpiece is folded in an arc, the petal should be wider than the first, twist the paper at the bottom. Т
- Now glue the two petals: the second covers the first, glued curled parts, and the edges of the second petal glued to the first blank.
- Then the third petal glued twisted side of the two petals and the edges of the second petal.
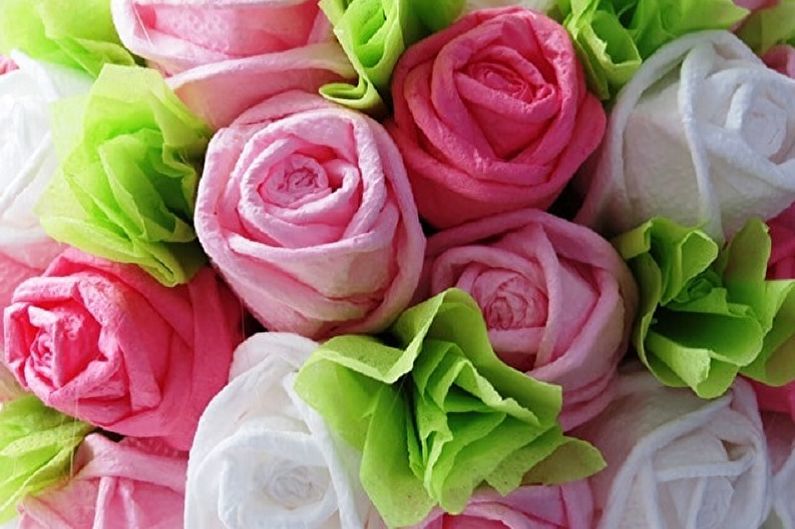
- And so all 5-7 petals. We have a rose.
- Put it in a beautiful vase.
Work painstaking, not all children can handle, but you can try. Making flowers girls love it. Adult prompts and helps.
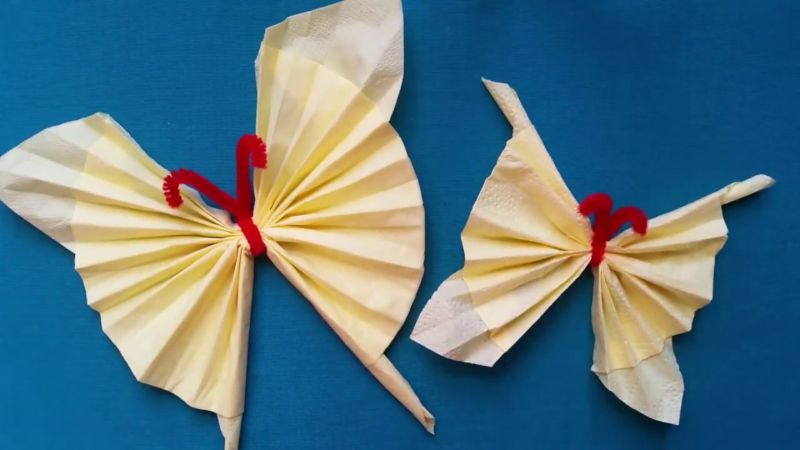
Butterfly .
We take a napkin and along the fold line, cut into two parts:
- We gather an accordion in the middle, fix the middle with a disposable plaster, glue it to the background.
- Now fluff up each thin layer of tissue, "butterfly wings", draw the tendrils.
- Such beauties can be made several.
- These butterflies are not for play, they are very delicate, not durable, but they look extremely beautiful.
They can be used to decorate children's rooms, handbags, corners with flowers.
Classes handicrafts allow you to combine play, work, knowledge into a whole. Children need to create as many opportunities to express themselves in creativity. On the desire to create beauty will depend on his further life.

Want to remind that the use of scissors, glue, paper, you need to observe safety precautions in order not to mar the joy of creating masterpieces.
And we would like to wish mothers and fathers to work together with their children and take the artistic impulse of their child seriously.
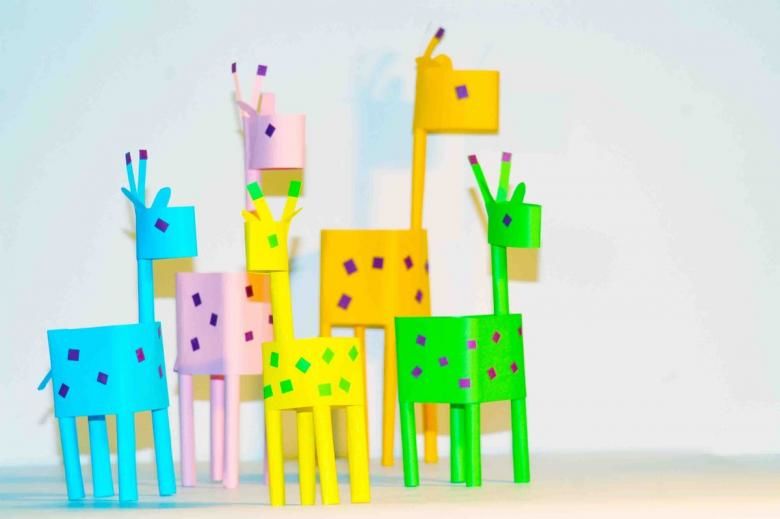
Photo ideas for kids of 5 years