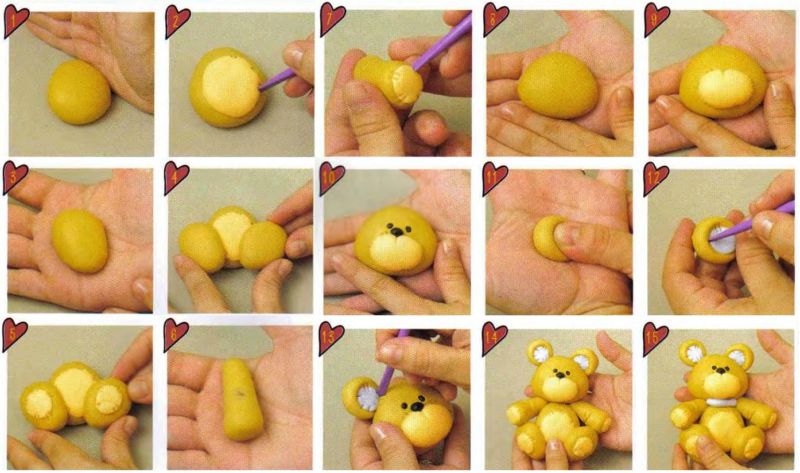
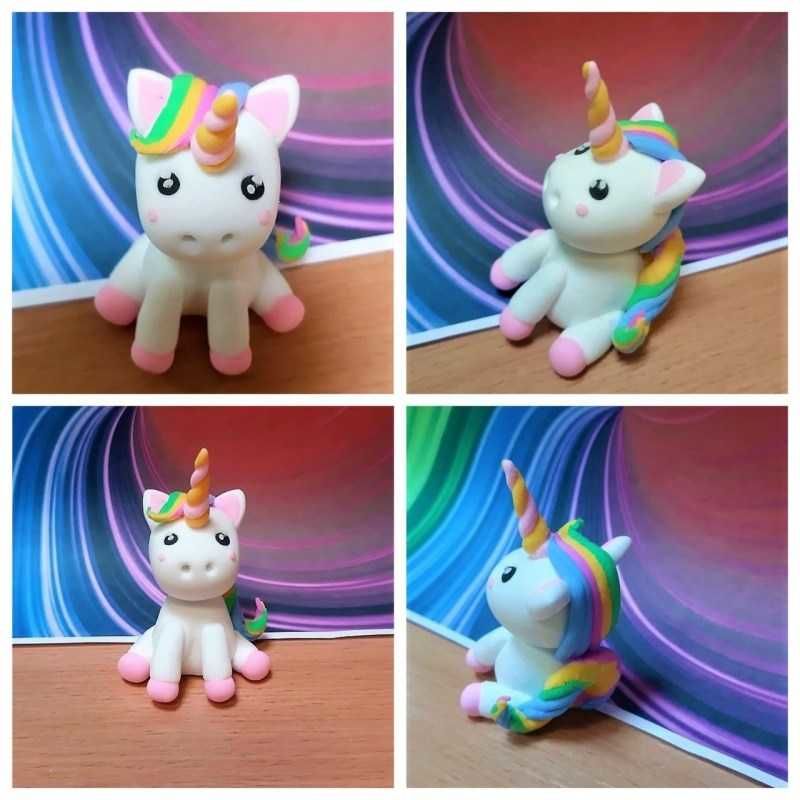
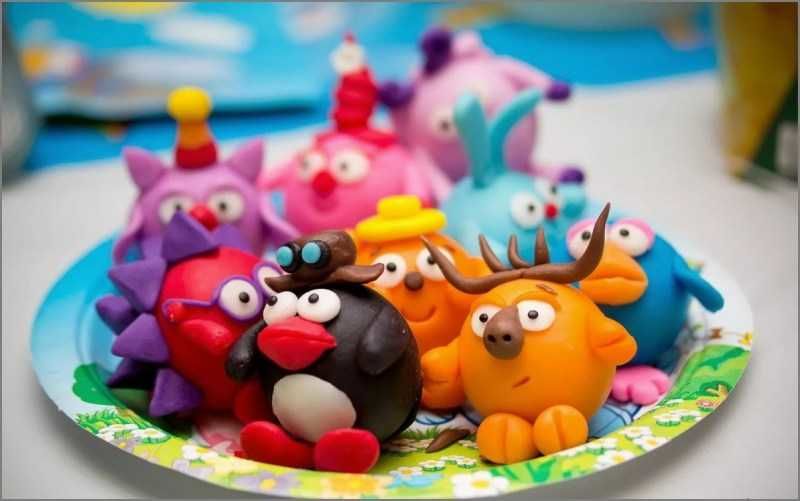
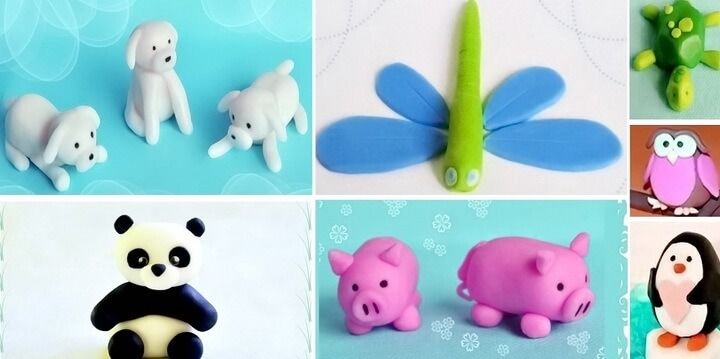
Figurines of easy plasticine: the peculiarities of work with the material and step-by-step master classes for children and beginners with photo examples
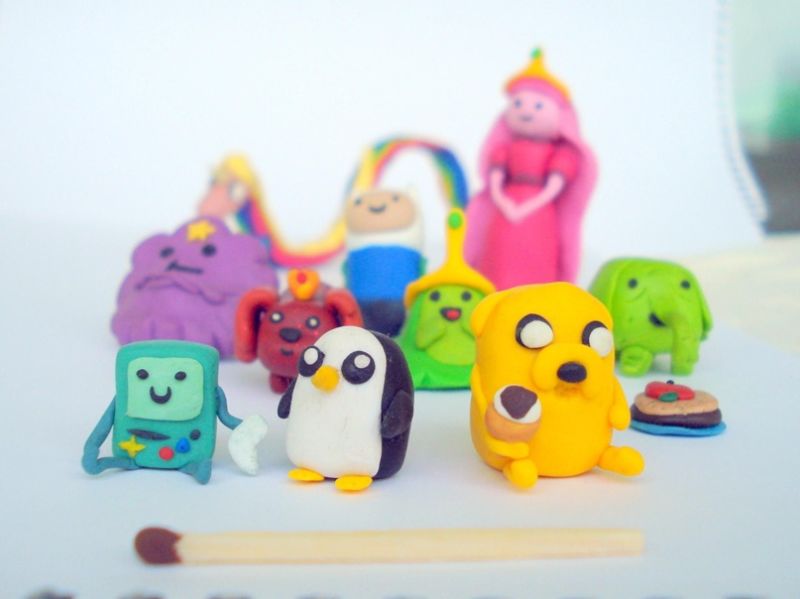
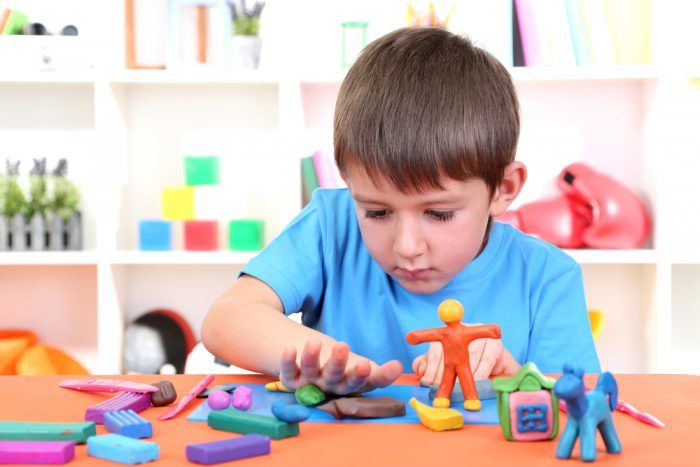
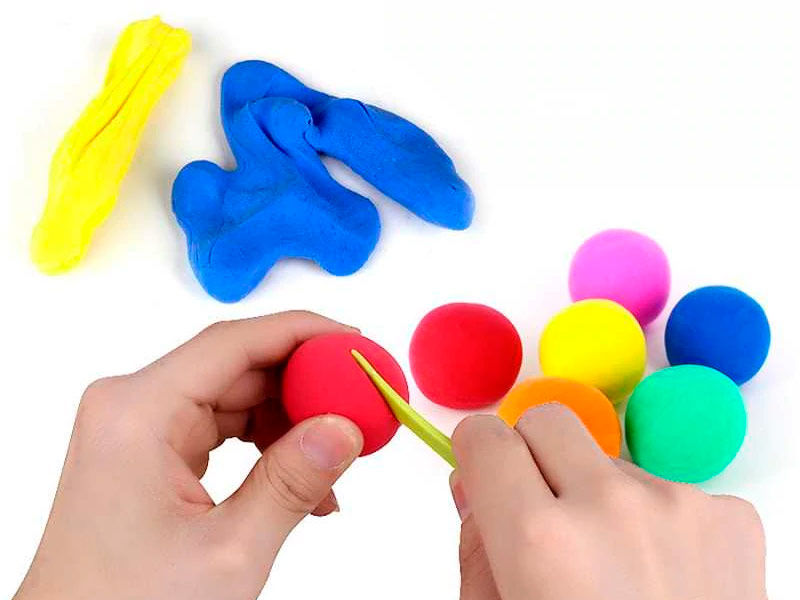
Modelling with clay is a great option for children's creativity for restless kids. It calms, develops fine motor skills and imagination, and forces concentration.
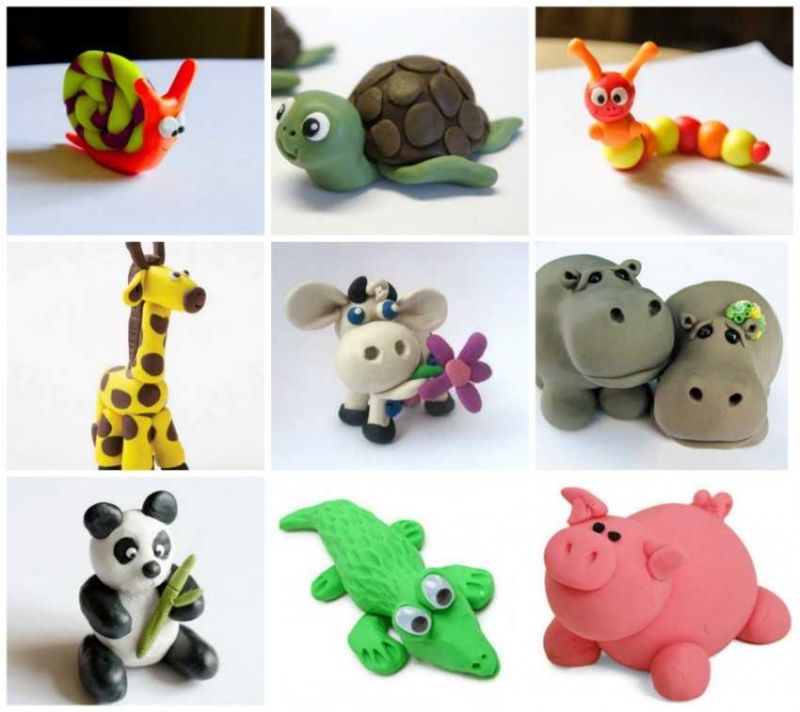
And most importantly - kids love to mold different animals and fish with their hands. Our selection of simple molding ideas from lightweight plasticine is sure to please your baby.
Features of lightweight clay
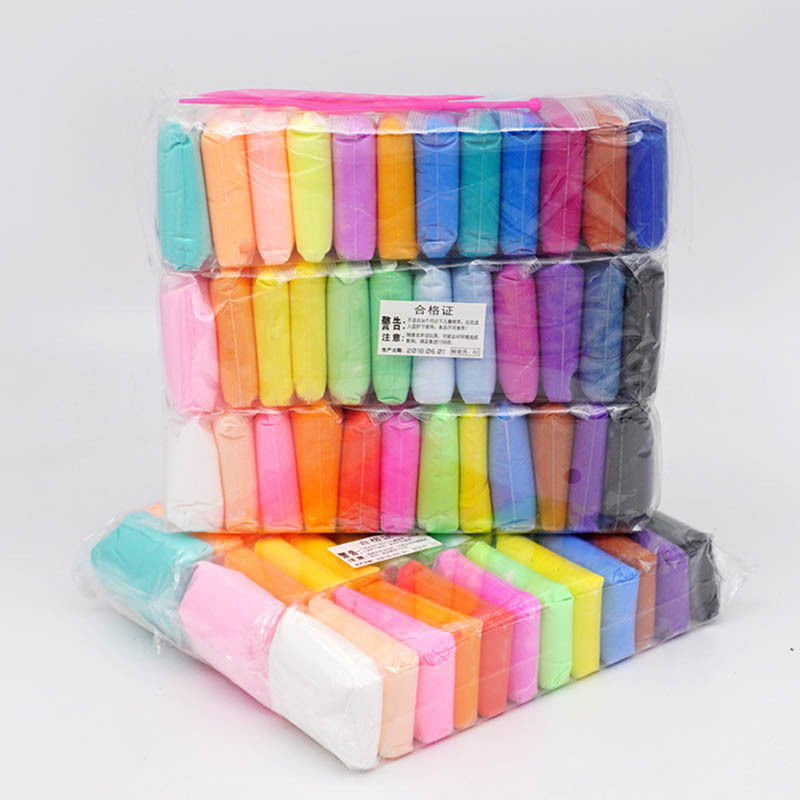
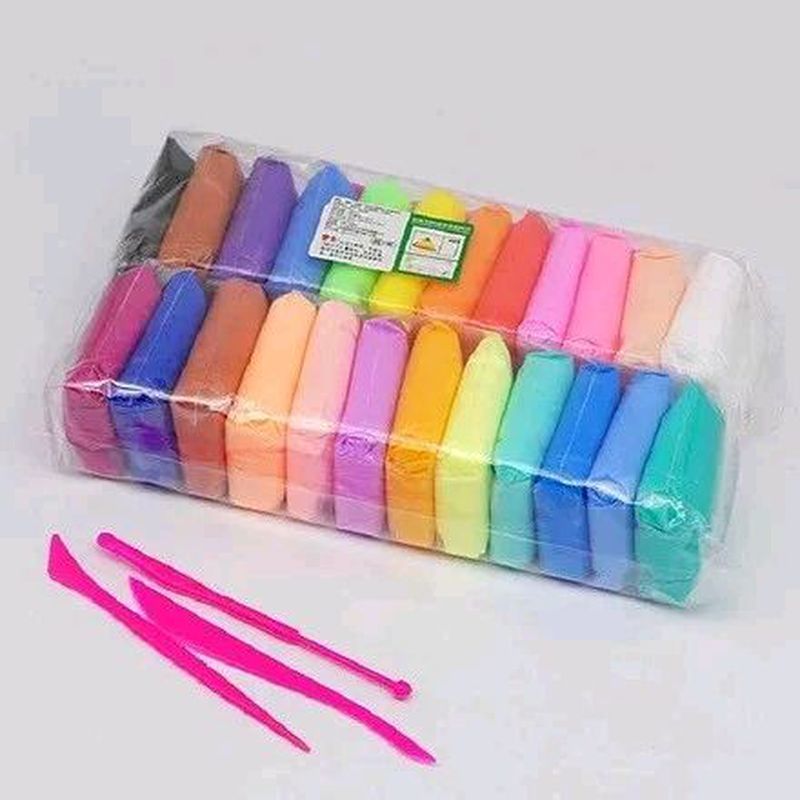
To mold beautiful figures, you need a good material. The best thing for the crafts is lightweight plasticine. With this airy mass a child will not have any problems.
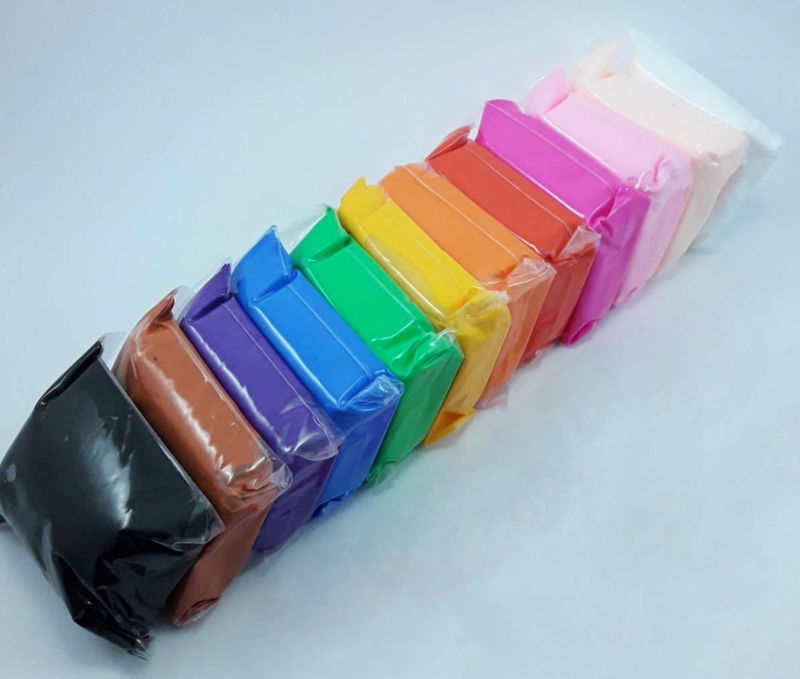
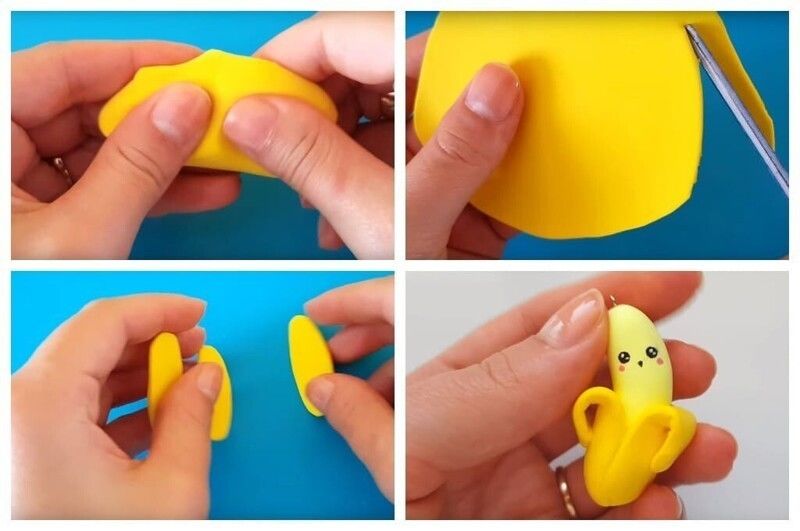
Lightweight plasticine does not stick to the hands, does not leave stains on clothing and furniture when used. It is very easy to work with. Soft to the touch, it is quickly and easily kneaded in the hands of your child. The variety of colors allows you to create colorful appliques and shapes for every taste.
Clay mass quickly hardens in the air (in 24 hours), so it must be stored in airtight packages. This feature allows you to create a variety of collectible figures, because after hardening they turn into sturdy toys that well retain their shape.
If the lightweight clay is a little frozen, you can splash it with plain water and give it a good kneading. Such material should be used immediately or closed in an airtight container.
Making figures out of lightweight plasticine: step by step for beginners
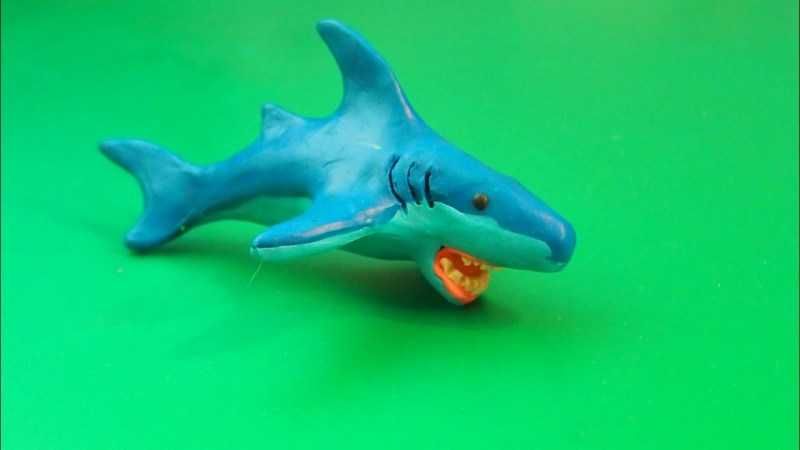
Children love to do modeling at any age. Most often they master pets and sea creatures, as well as different flower compositions.
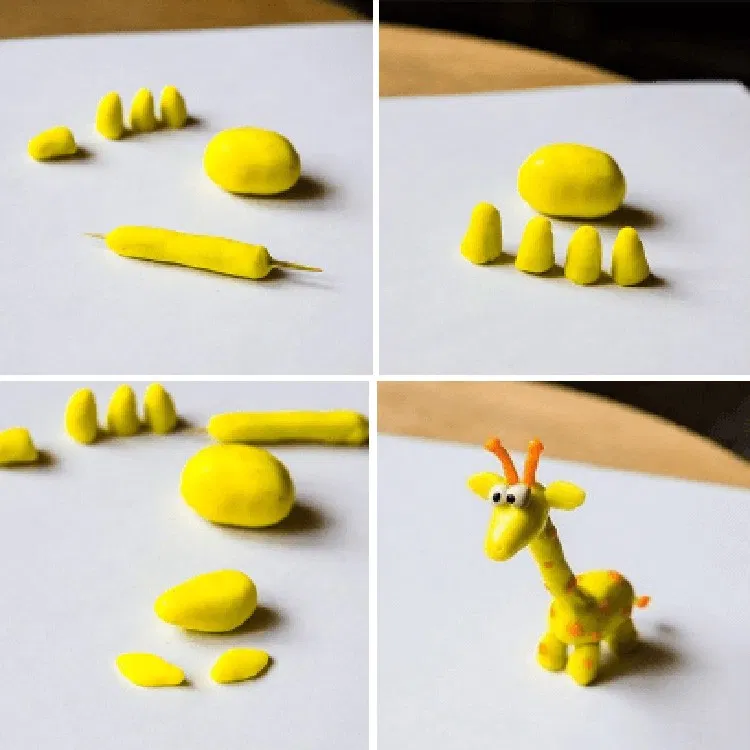
A selection of uncomplicated ideas for creating a variety of figures from the air plasticine mass, presented in our article, will make the creative process even easier. Such homemade items can be made even by a kid.
Fish
If your baby is just beginning to get acquainted with plasticine, offer him to make the most common sea creature - a fish. This craft will not give much trouble, and will bring only pleasure and give bright impressions.
Materials for the craft:
- Plasticine of yellow, white, purple and black colors;
- stacks.
Modeling step by step:
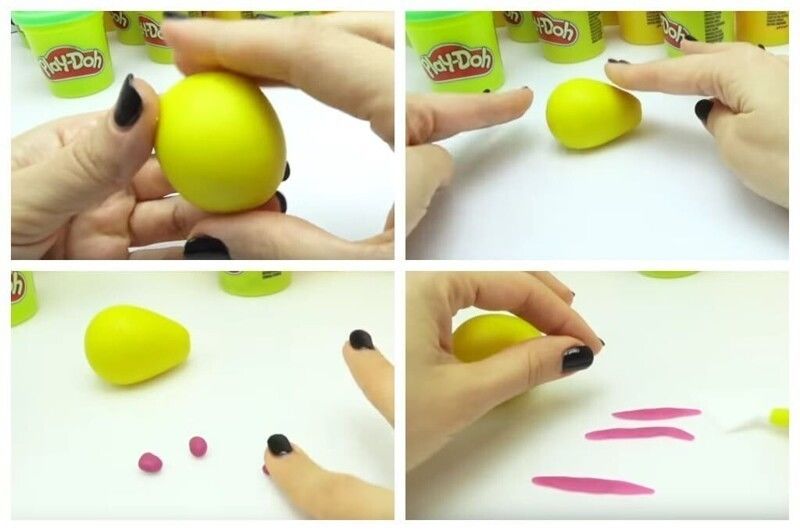
- From a large piece of yellow plasticine roll a ball in your hands. Its surface should be smooth.
- On one side make a blank a little narrower. Let's mold a drop-shaped fish body.
- From the purple mass prepare three small balls. Roll them into sausages, making them flat. These strips will decorate the top of the fish.
- With the same color roll two small circles. Press them on the sides, forming the fins.
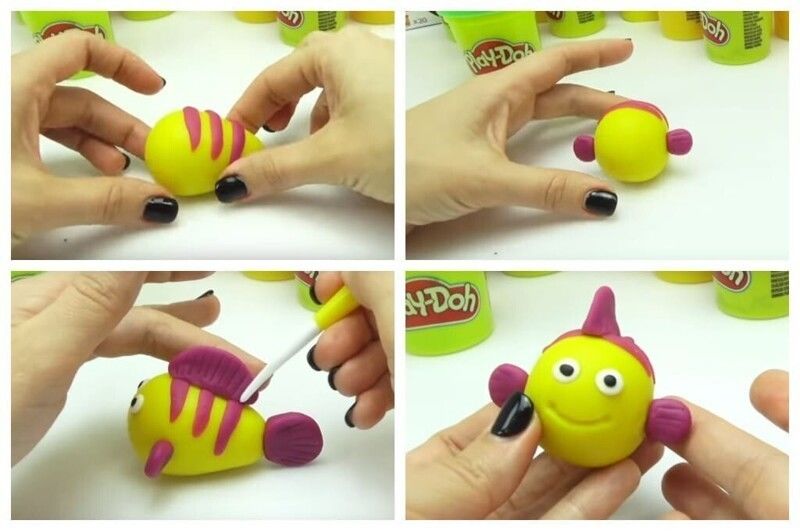
- We add purple strips to the fins and place them on the sides of the body.
- Mark a place for the eyes with a knife. Use white plasticine for the base, and black plasticine for the pupils.
- Mouth is drawn with a plastic knife.
- From the purple mass model a tail and upper fin similar to the side parts, only larger. Attach them to the body.
We got a nice little sea fish.
Insects .
The technique of making insects is very simple. Such homemade things a child can make without the help of parents:
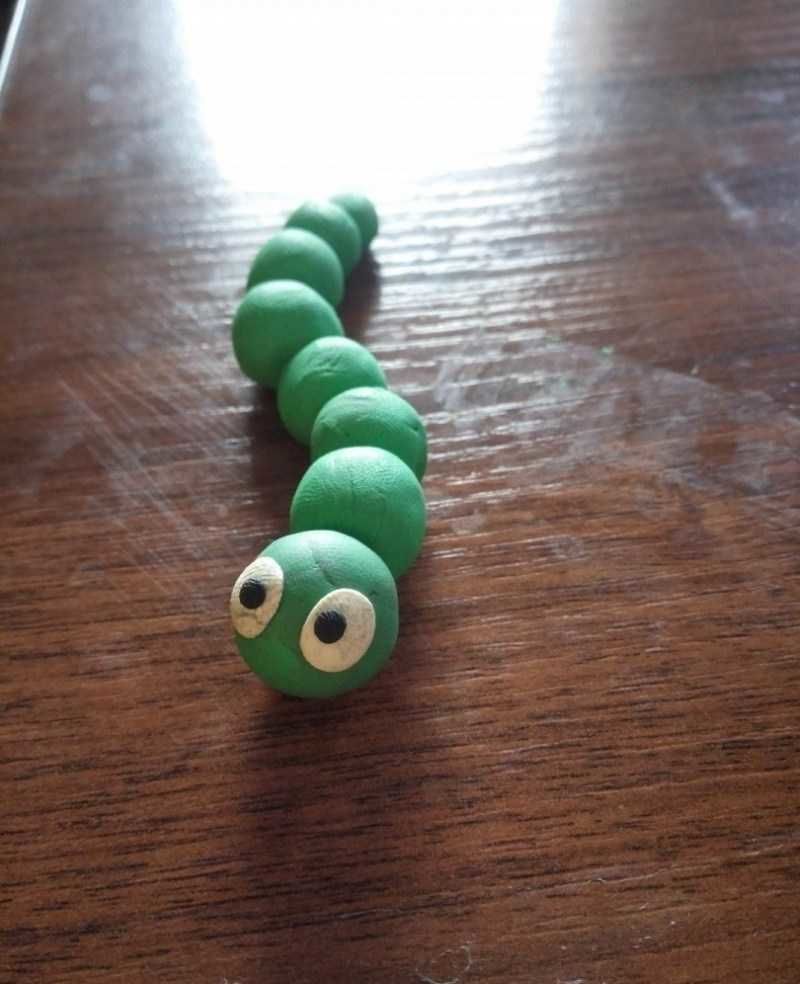
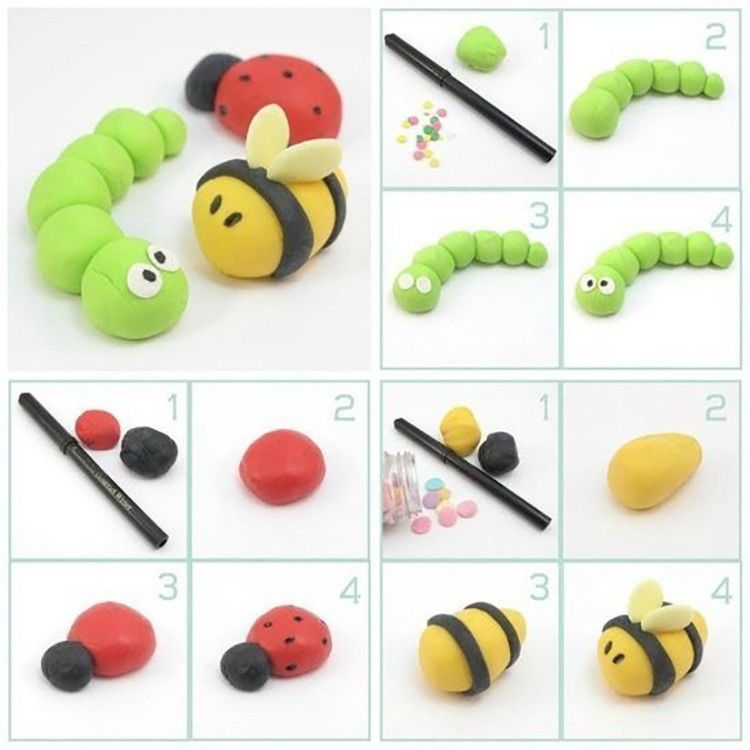
- To create a caterpillar, we need to stock up on stacks and lightweight plasticine. From the green mass mold five identical circles and one (for the tail) of smaller size.
- Staple them together. You can use small pieces of toothpicks for this. From the white and black clay mold eyes. The caterpillar is ready.
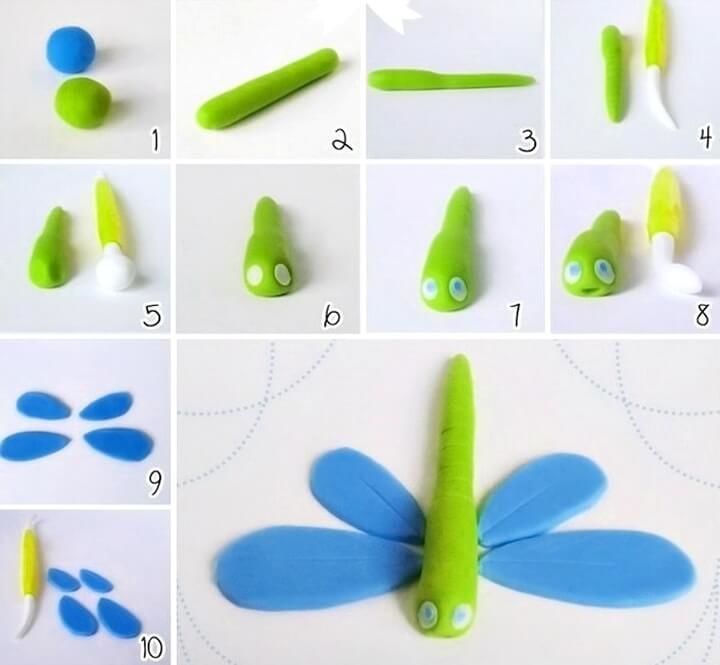
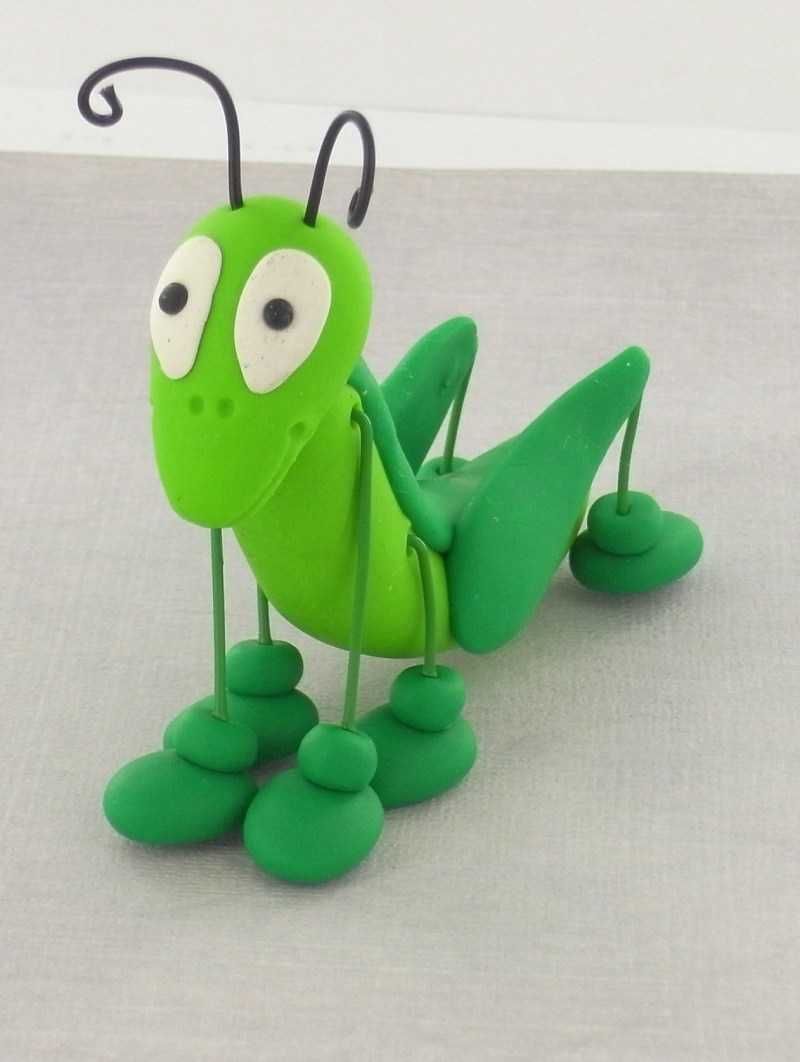
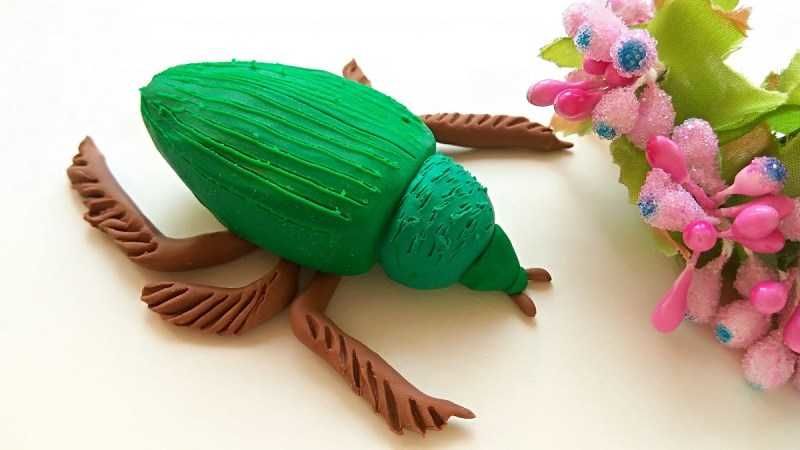
In the same way you can model other insects - ladybug, bee or beetle. Depending on what you choose, select the color of the material and prepare a certain amount of parts.
To make the strips, a sausage is rolled out of the circle, then it splash out and molded on the figure. Eyes and wings are made similarly.
Snail
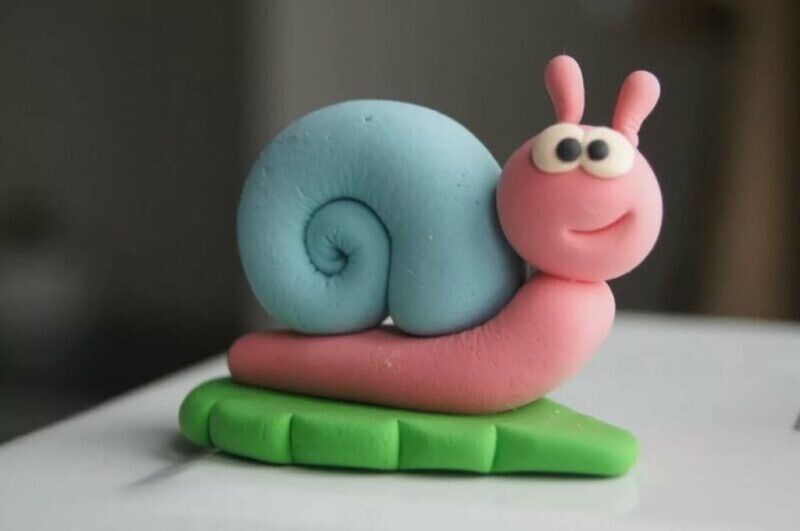
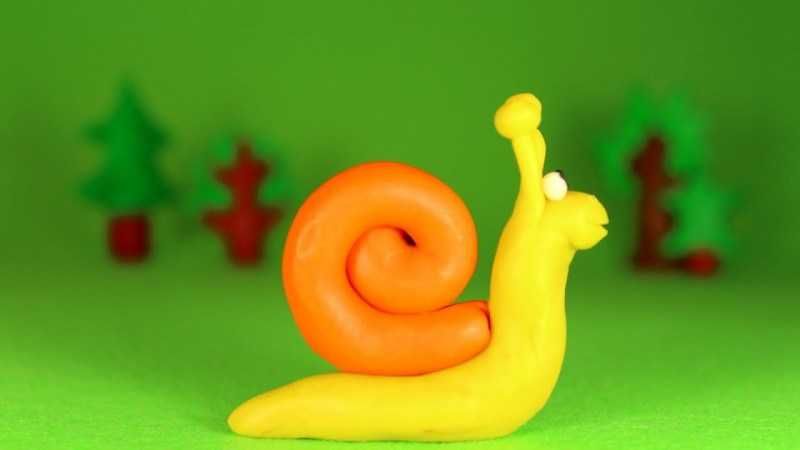
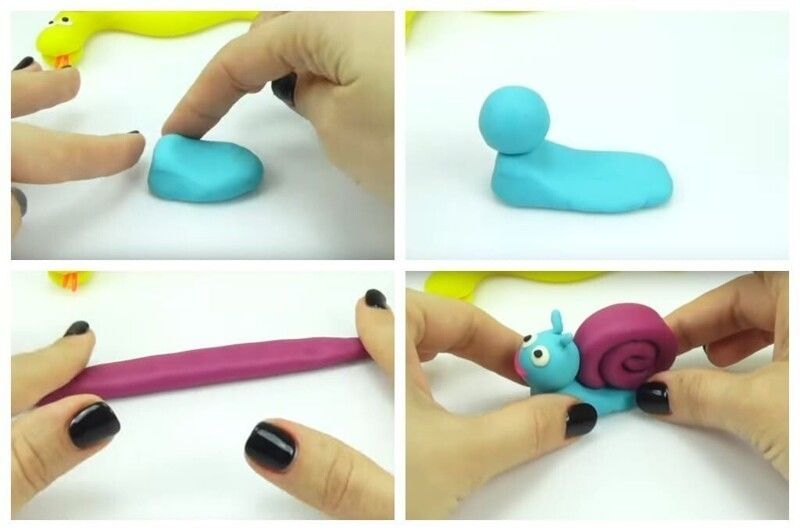
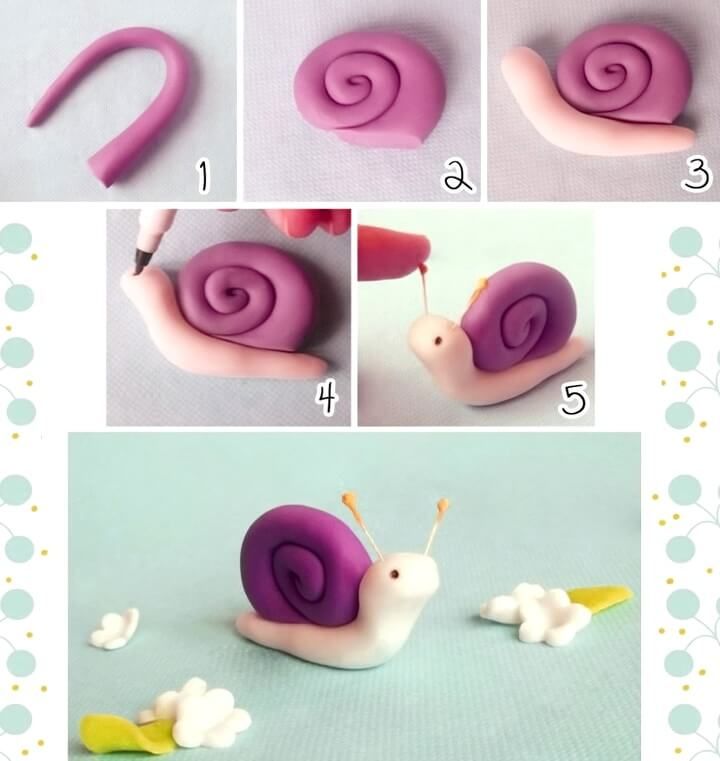
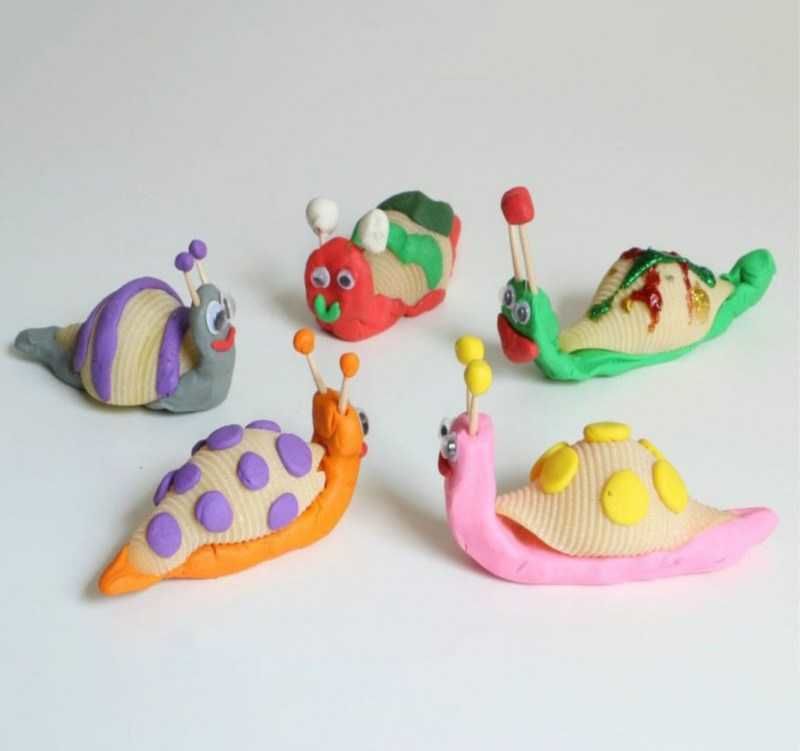
Another very simple figure with light clay is a snail. For its creation will need two colors. Which ones? You can choose at your discretion.
So, to create a snail, we need:
- white and raspberry plasticine;
- sticks;
- thin wire;
- marker.
Step-by-step creation:
- We use white to create the base of the snail. Roll up the roll, flatten it a little, and add a small white ball to it.
- Form a long roll from the raspberry mass. Roll it into a shell.
- Let's attach the curl to the base.
- Make whiskers from wire.
- Smile formed from raspberry clay.
- Eyes draw a marker.
Just a couple of easy steps and a fun snail is ready!
Octopus
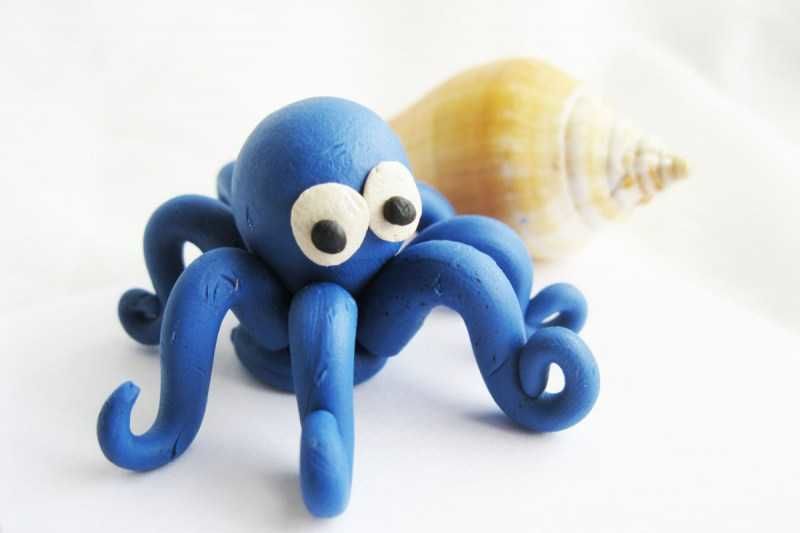
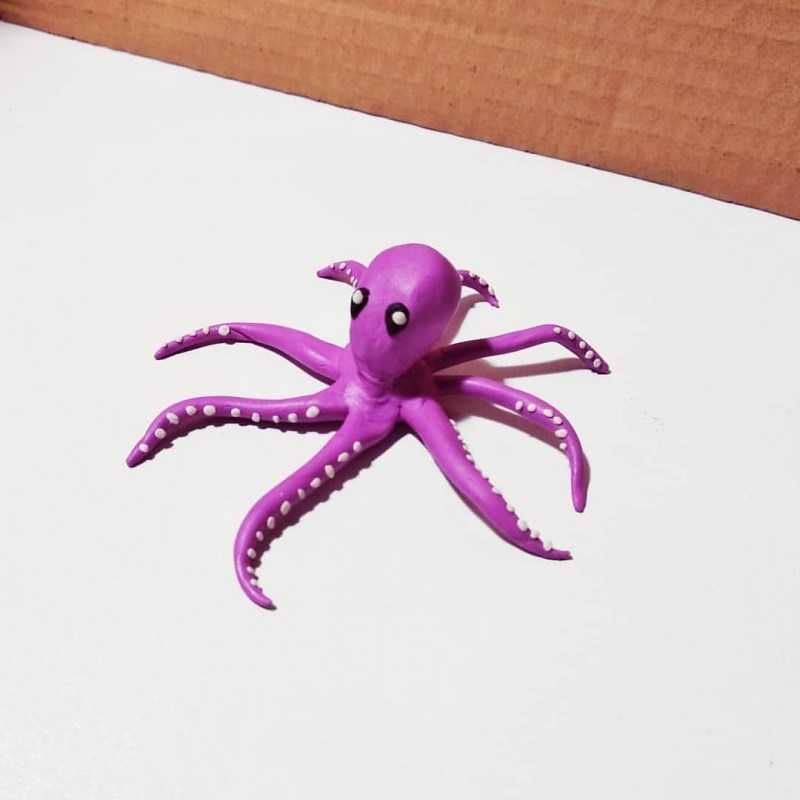
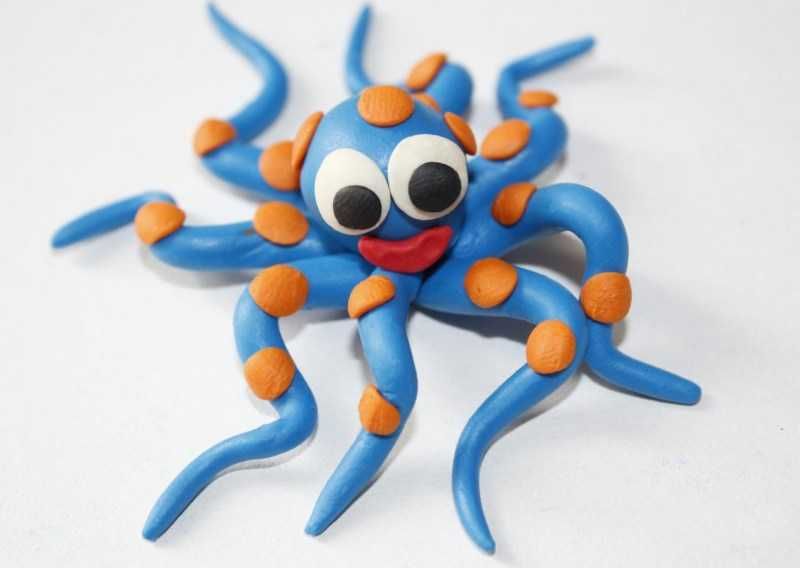
In continuation of the sea theme we will make another inhabitant of the depths - an octopus. Cute animal with a cheerful face will add to the baby's collection.
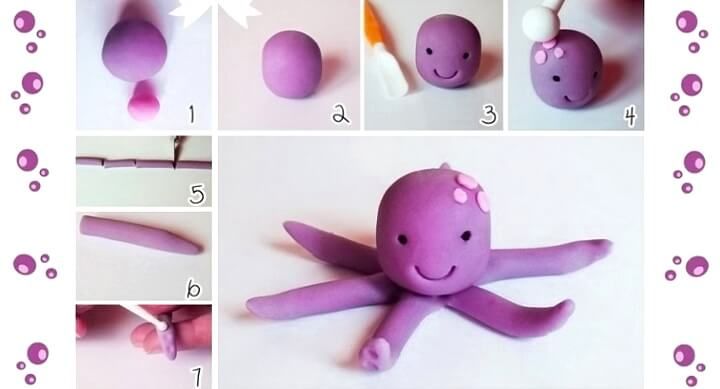
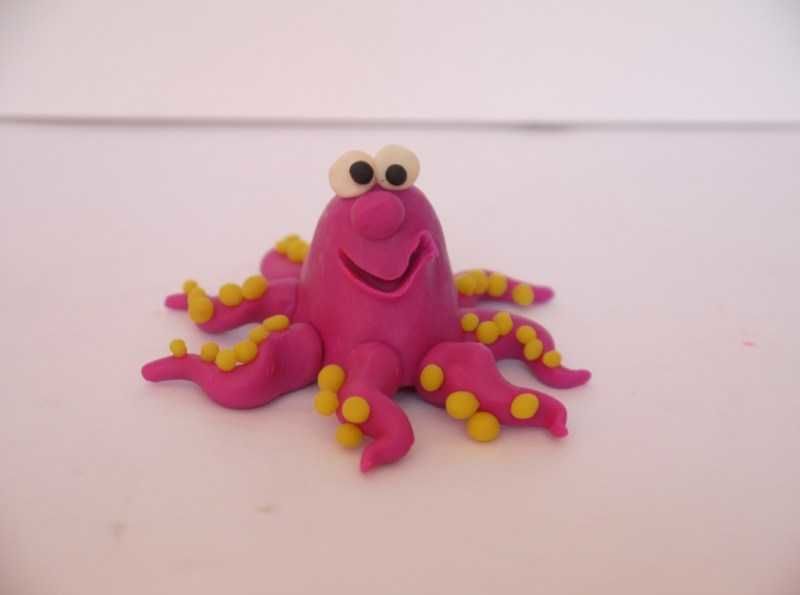
The product will be created from purple and pink clay:
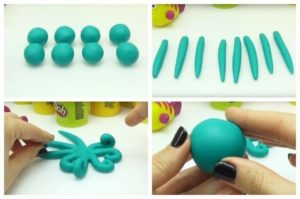
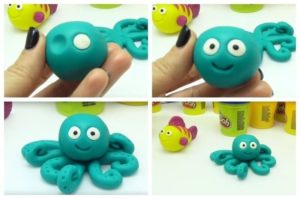
- For the craft, let's prepare two parts of purple: a large ball and a long harness.
- Using a stack for air mass, divide the bundle into 5 equal parts. These will be tentacles. Fold them under your head and flatten a little.
- Funny octopus draw a funny face with a plastic knife. From the pink mass add a few dots on the head and tentacles.
- Leave the finished creation for 24 hours until it hardens. After the sea animal dries up, you can safely include it in the game.
Turtle
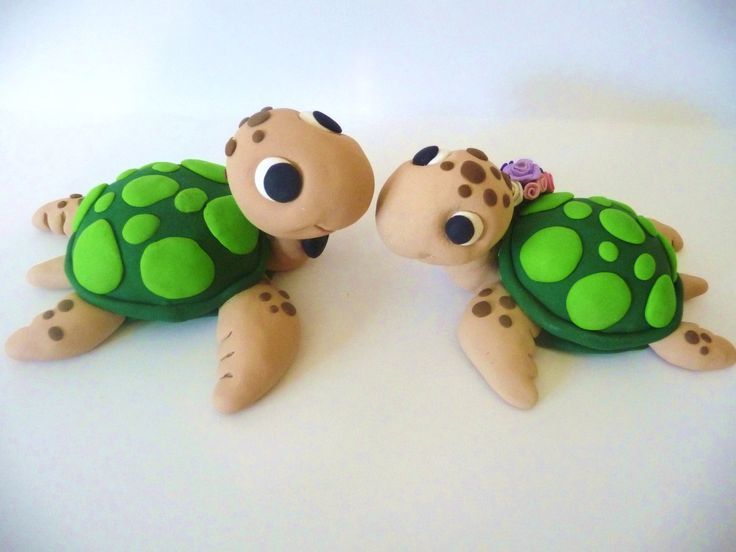
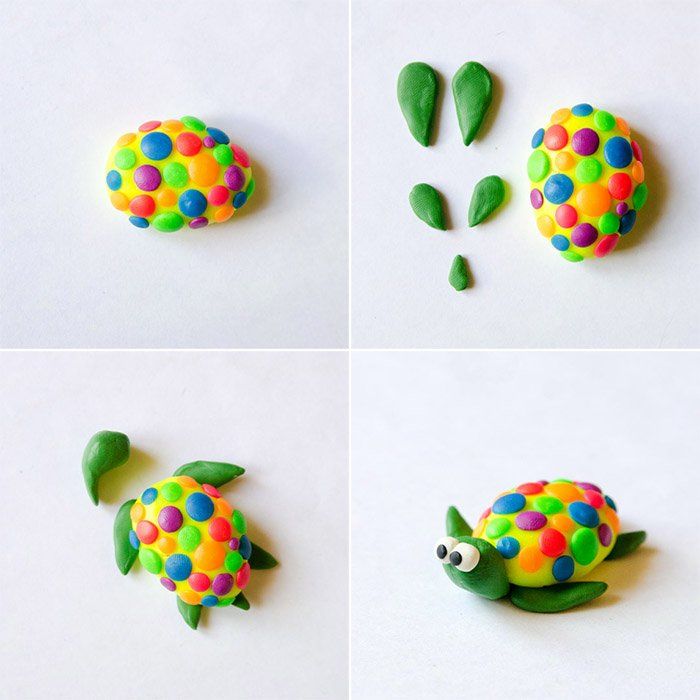
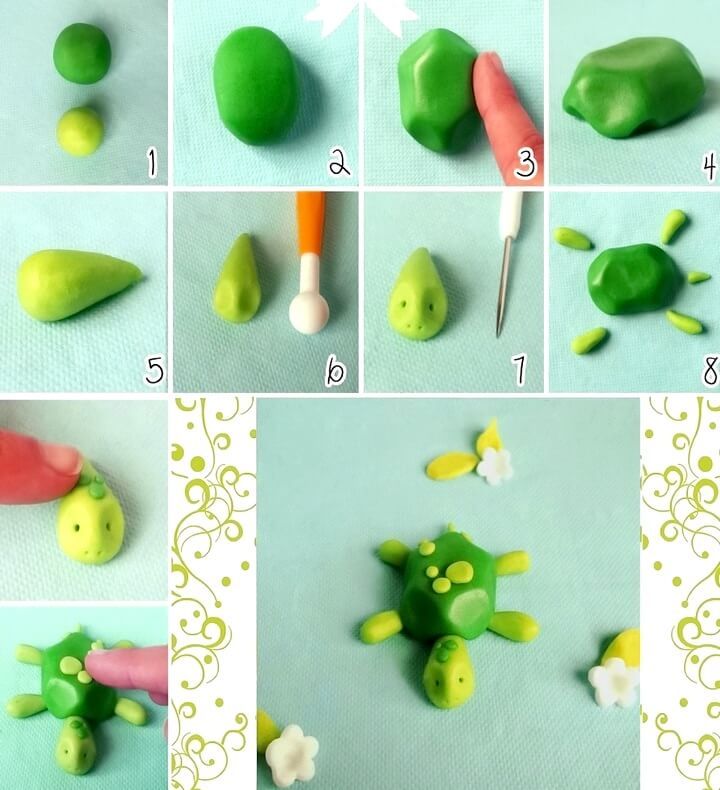
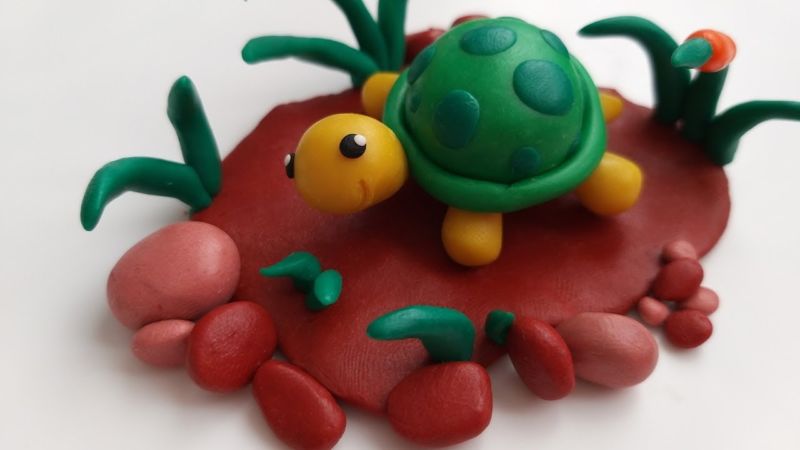
Making a turtle out of a lightweight air mass is a little more difficult. Creative work will require perseverance and sculpting small details. But with the help of adults with such a task the child will also cope quickly.
Materials for modeling:
- air plasticine of green and light green color;
- a plastic knife;
- needle.
Follow the steps:
- Roll a large green balloon. Flatten it a little and shape it into a shell with hands or a stecker.
- From the light green plasticine form the head in the form of a large drop. Make two indentations on the sides with a knife.
- Connect the head to the shell.
- Use a needle to draw a mouth, nostrils and eyes.
- Roll paws and tail of light air mass.
- Attach to the turtle.
If the parts are poorly connected, the mass for molding can be sprinkled with water. It will be easier to fix the parts. Our turtle is ready.
Penguin
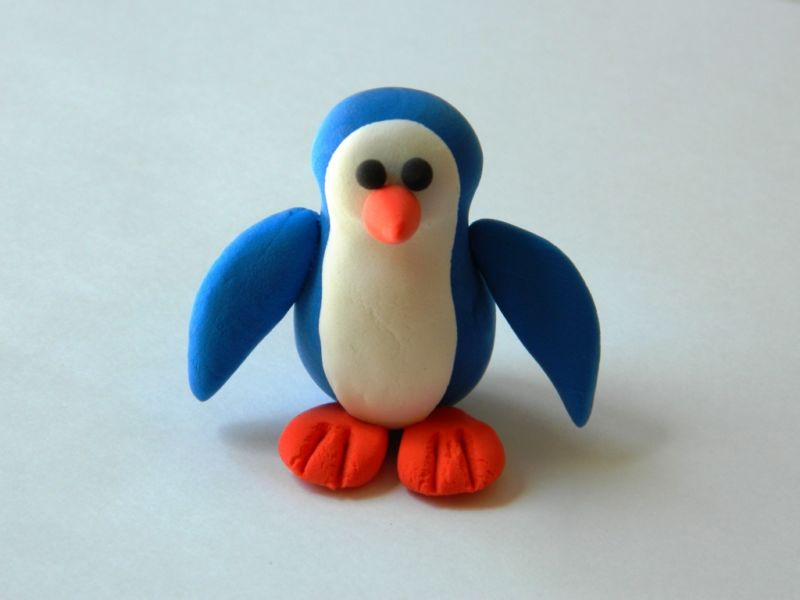
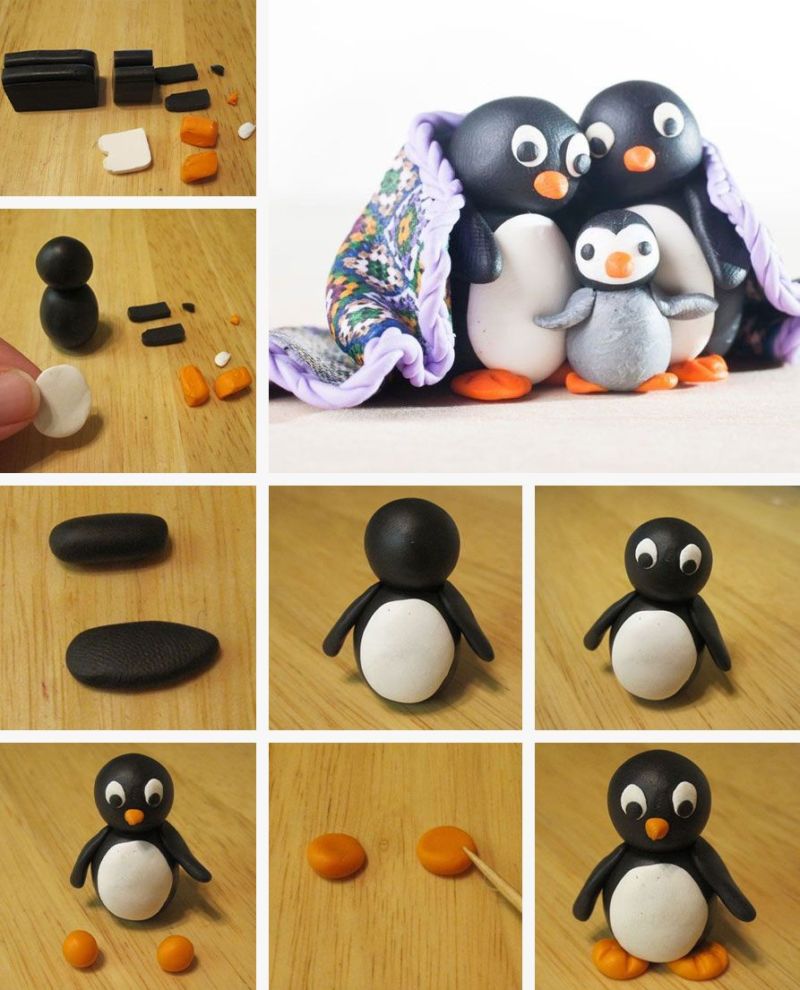
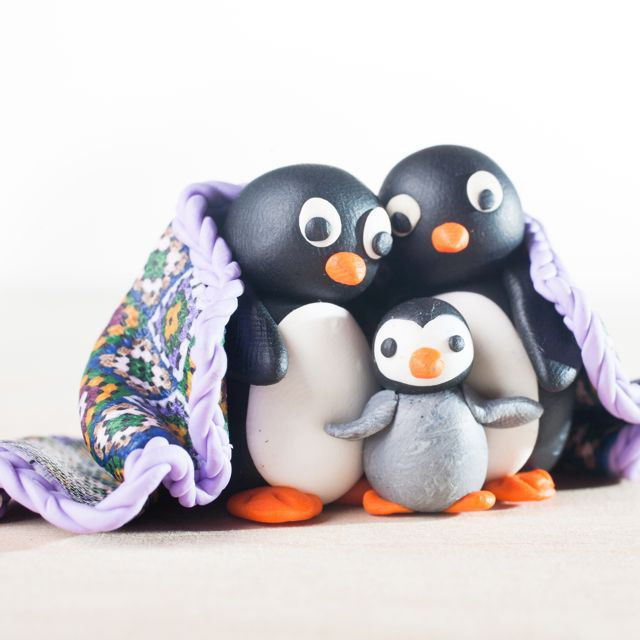
Funny penguin can make any preschooler. To make the figure more accurate, you can mold from a large piece of plasticine mass.
Materials and tools:
- air mass for molding in black, white and orange colors;
- stacks;
- decor.
After preparing the workplace we begin to make:
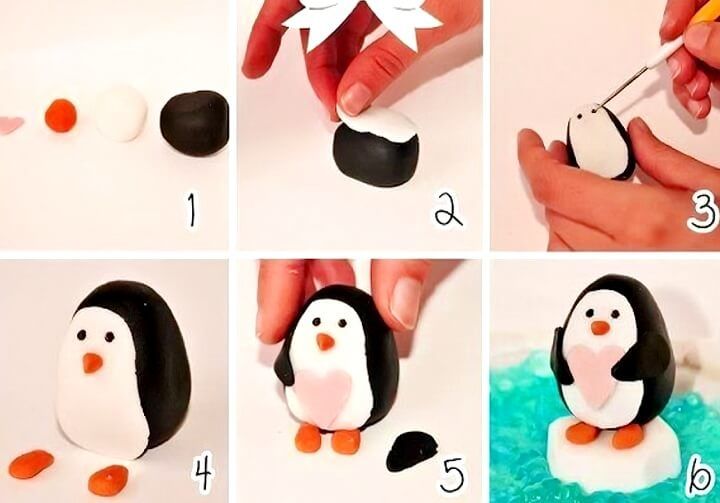
- We roll three multicolored balls.
- From a black circle make an oval base.
- White ball roll out into a thin layer.
- On the basis of fixing a white blank flat oval shape.
- Make two small black wings. Model them on the sides.
- Eyes are made from black mass, and the beak and paws of the orange blanks.
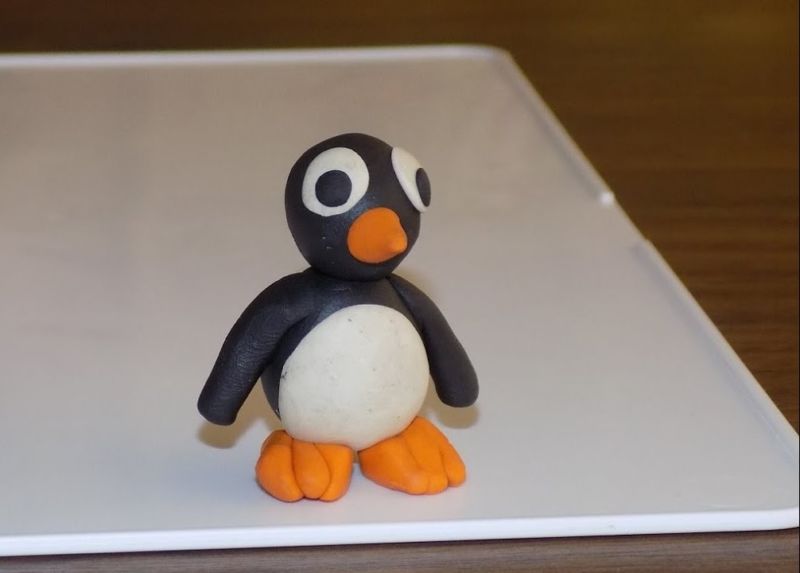
Cute penguin ready.
As decor for the plasticine figures use a ready-made heart or a flower. You can also make a white stand in the form of ice.
Dog .
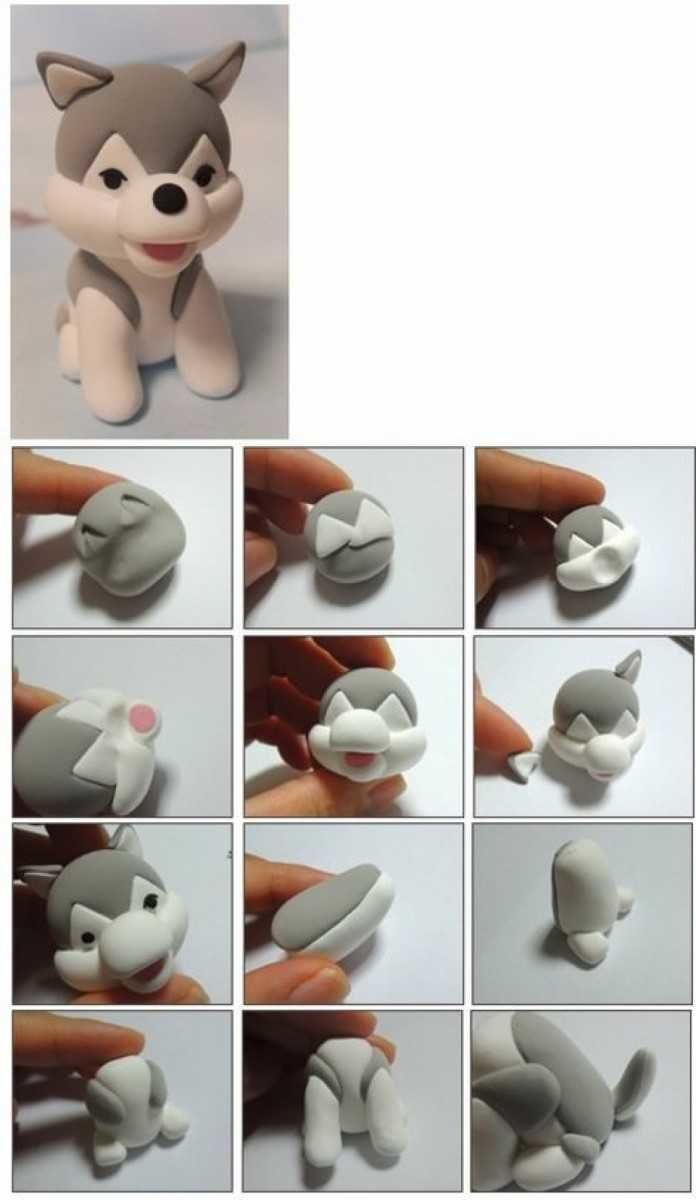
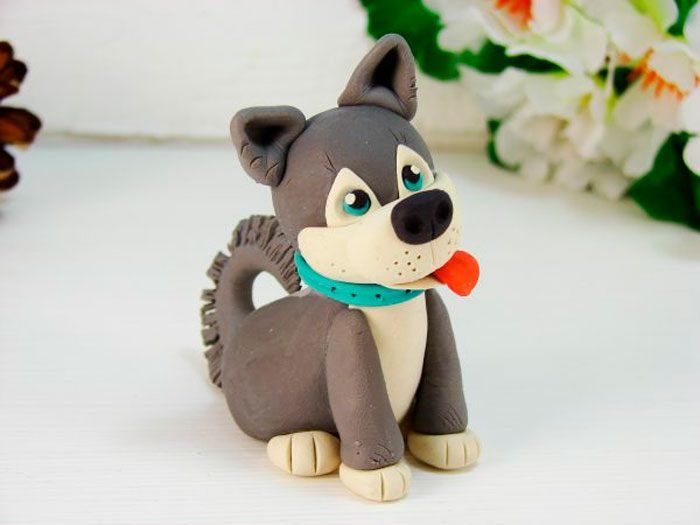
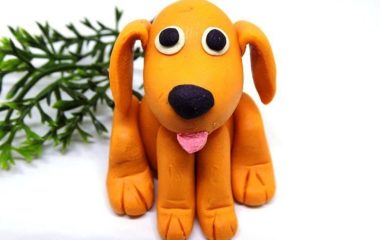
When modeling a cheerful dog, you can use only one color. The finished doggy will be able to play with the child immediately after making.
Step by step performance:
- Let's take white plasticine and mold two balls.
- One balloon flatten and draw a nose with a black marker.
- On the second ball, attach two small harnesses. It will be the head with ears. Draw the eyes with a marker.
- Connect the two parts of the head.
- For the body take more plasticine. Roll it into a ball and flatten it a little, giving an oval shape.
- Form a long loop and divide into 5 pieces.
- Shape four legs and a tail.
- Connect all parts to the body.
The size of the dog will depend on the amount of plasticine mass. We have an excellent version of an easy and quick model of clay for beginners.
Owl
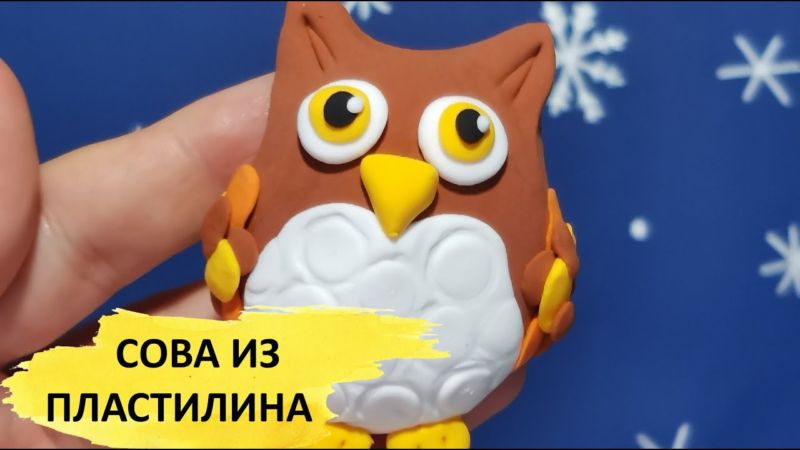
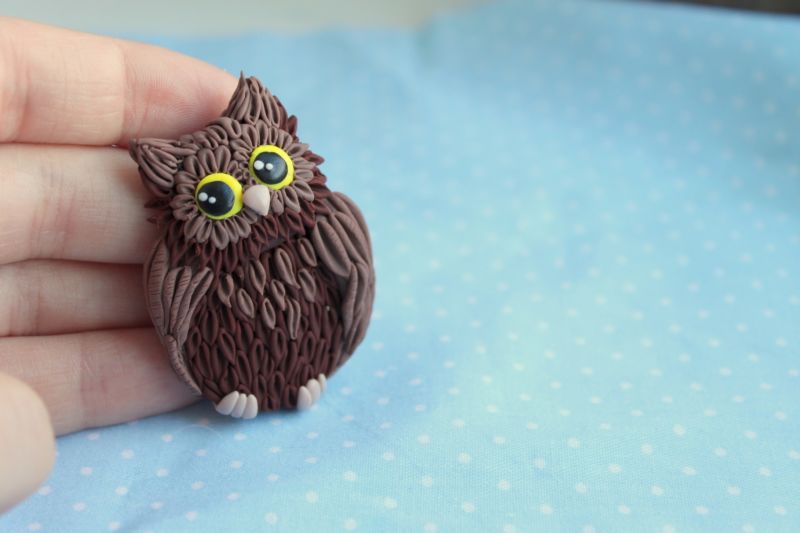
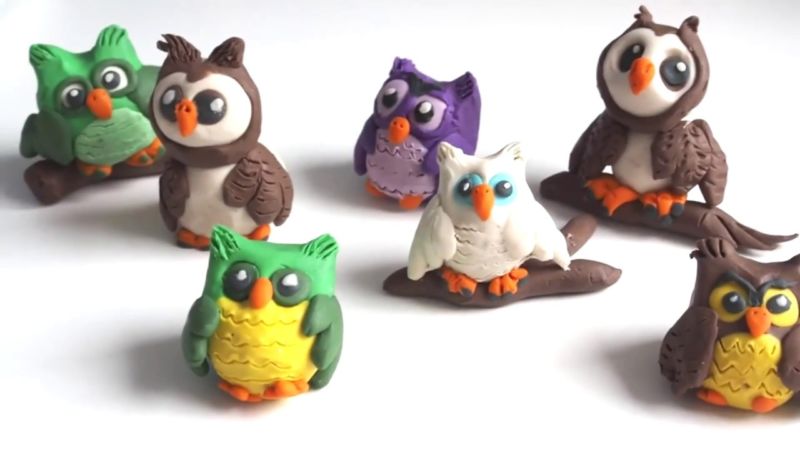
Modelling a plasticine owl is a fascinating activity. Joint creative work with your child will give unforgettable emotions.
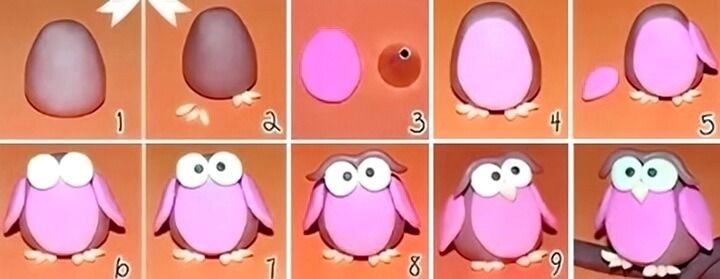
For the owl figurine, we need to stock up on lightweight plasticine of pink, light brown and white. Also, we will need a black marker and stacks.
We create step by step:
- Form a large brown ball. We mold the body of the owl from it, squeezing a little on the sides.
- Roll two small circles out of the pink mass. Form them into a flat breast and two wings.
- Attach the breast to the front of the brown billet.
- Wings attach on the sides. Draw feathers on them with a stack.
- Roll 6 small flagella from white plasticine. They are needed for feet. For each three pieces.
- Fix the prepared feet to the body of a bird.
- Use white color for eyes. Roll two equal balls. We mold them on top of the brown body of an owl, splash a little.
- Marker draw black pupils.
- Prepare two small pink sausages. Make their hair owl.
- Make a light brown beak and attach it to the body, placing it a little below the eyes.
The owl is beautiful. Such a funny figure will not want to destroy.
A cat in a basket
It is also possible to mold a cute cat out of air plasticine and put it into a homemade basket. The child can play with it, putting it in the basket and taking it back.
Prepare for creation:
- lightweight plasticine;
- acrylic paint;
- glass;
- colorless varnish;
- brush.
You can choose any color of clay mass. We will take white and black for the animal, and yellow for the basket.
Step by step molding:
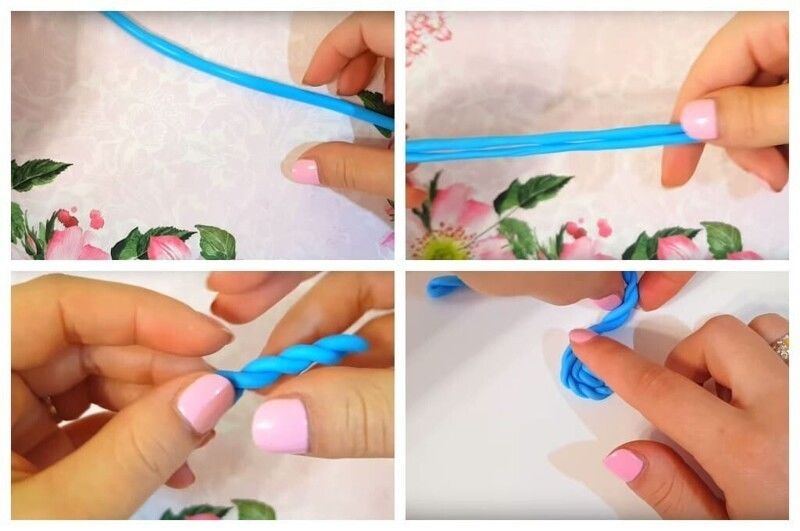
- For the basket, roll out a large sausage. Stretch it gently with fingers and double fold. Harvest billet twist, so it had a twisted form.
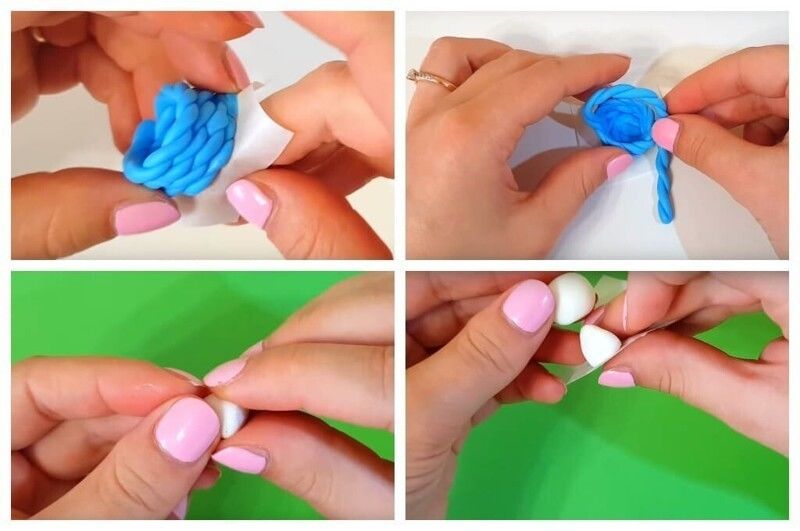
- Next, from the twisted flagellum we make a circular shell. Form the bottom and walls, punching deepening in the workpiece.
- With the same plasticine roll a thin braid. Braid it and glue it on the edge of the basket. This will be the rim.
- In a similar way let's make a handle. We will attach it to the wicker basket.
- Let's mold a cat. Roll two white balls. For the body make a cone from one. We attach the second ball (head).
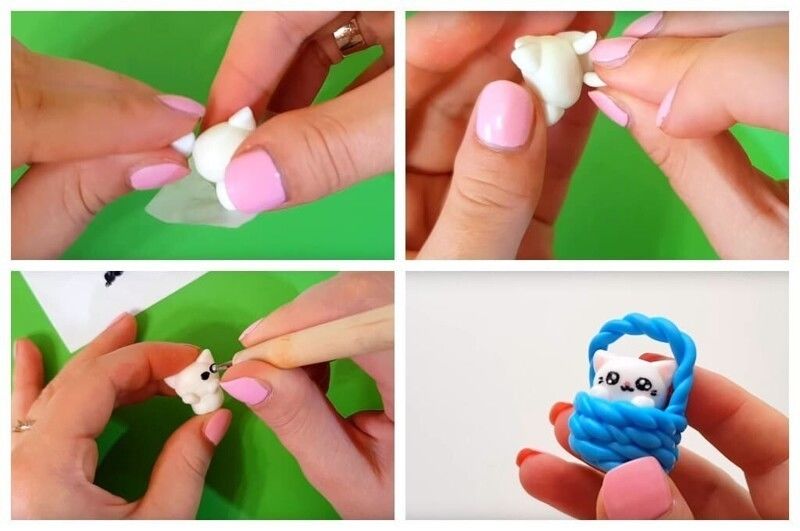
- Make small black ears. Place them on the head.
- From black plasticine prepare two small spots. Arrange them chaotically on the body of the kitten.
- Add two paws (white and black) to the front, and attach a tail to the back. Paint a mouth, eyes and whiskers.
- Fingers on the paws draw with a stecker.
- Coat with clear varnish figures, giving them a shine.
Other animals
What other crafts can be made from a lightweight mass of plasticine? There are many variations. As far as we have enough imagination and material.
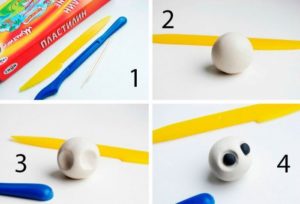
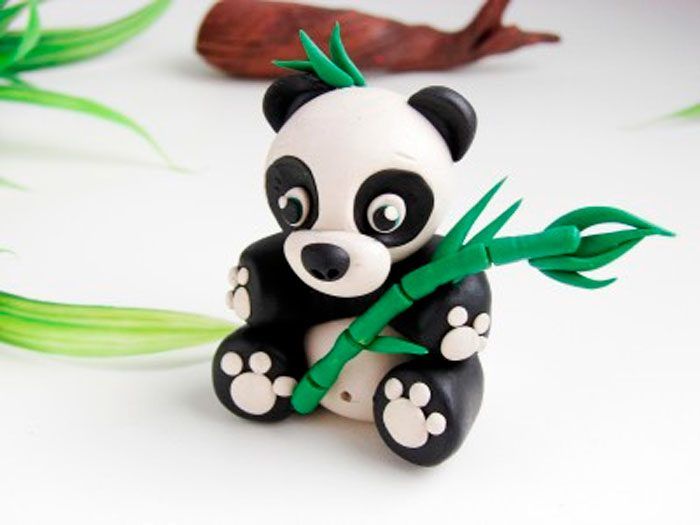
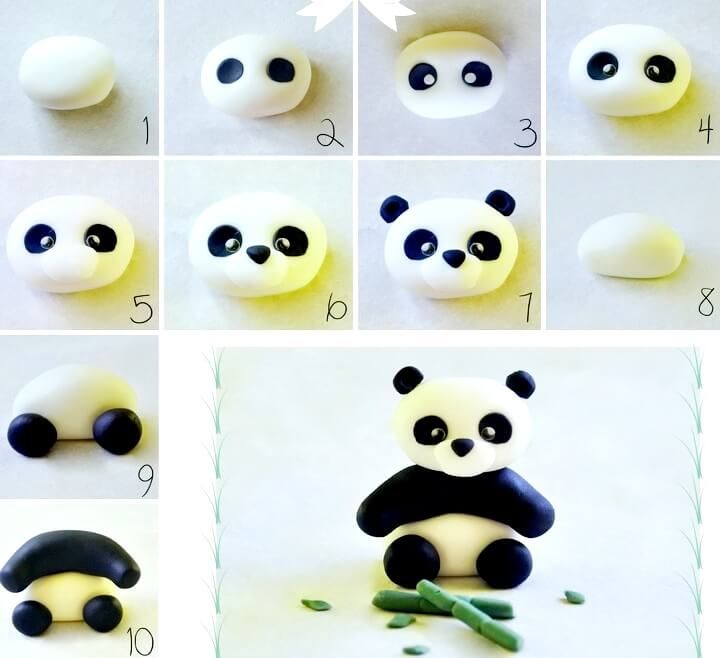
Let's try to mold a small mouse and panda. For modeling, we need only plasticine and stacks.
Step by step molding of the mouse:
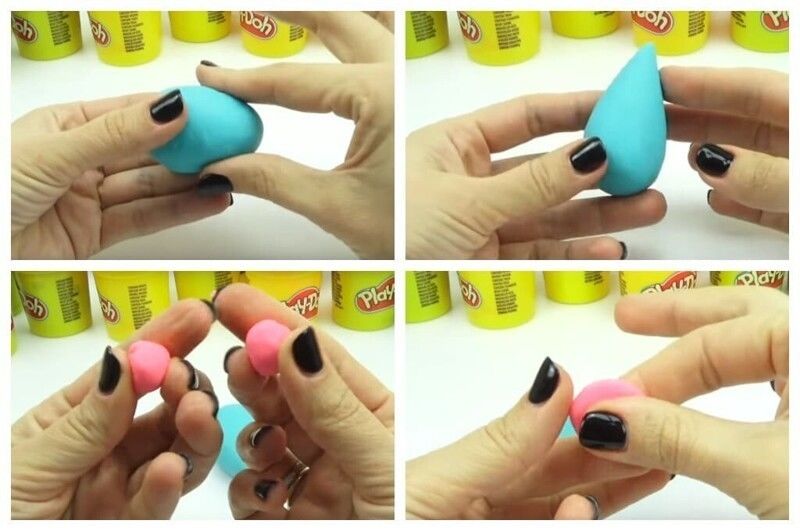
- We use a soft blue color of plasticine for the body. Roll a big ball. Shape it into an oval, slightly sharpening one edge. This will be a muzzle.
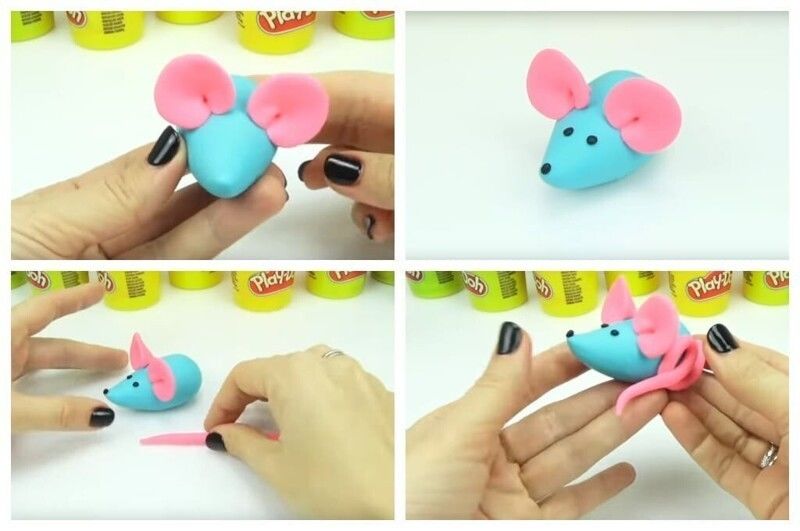
- Make two small circles from the pink mass. Roll out of them and attach to the head. Ears ready.
- Make small black peas for eyes and nose.
- Roll out a long thin tail. Curve it beautifully.
Another funny little animal is created. Now begin to make the next animal. It will be more difficult to make a panda. In this creative process, the child will need the help of adults.
Step by step, make the panda:
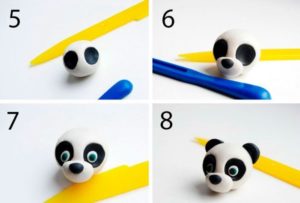
- Let's form a white ball. Flatten it a little.
- Use a stencil to make hollows for eyes.
- Roll small black balls and put them in the prepared cavities. Also make and nose.
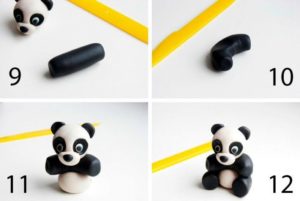
- For the body roll a large black harness and white balls.
- Fold the panda. On top of the white ball attached black harness, bending it slightly in an arc. Place the head on top.
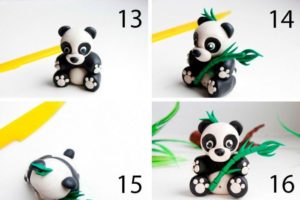
- Roll two small black balls for the feet. Fix them to the bottom of a white ball.
For decoration you can make a couple more sprigs of bamboo from green air plasticine.
Rose .
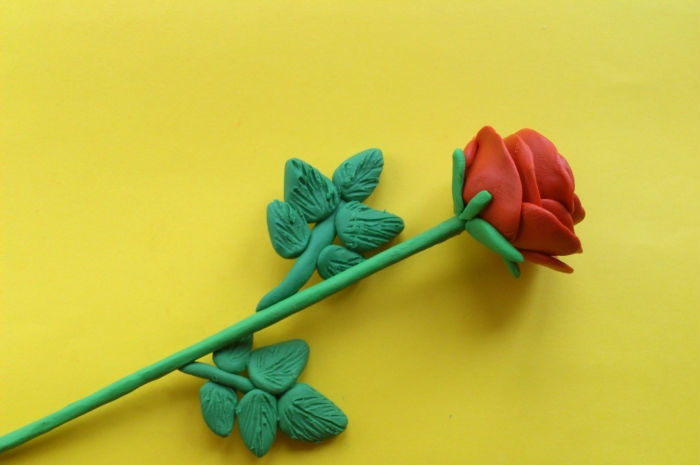
Bright coloring allows you to mold from lightweight plasticine many different figures of animals and plants. Flowers are no exception. Let's try to make the queen of all colors - a rose.
The necessary materials:
- pink, raspberry and green plasticine;
- stacks;
- toothpick;
- wire.
Making process:
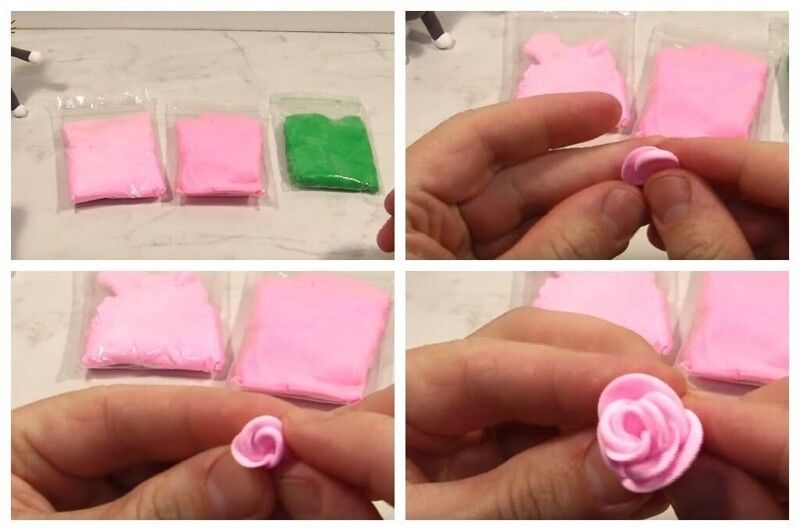
- Pinch off small pieces of plasticine from the pink color. Form thin petals. Connect them to each other in a long strip, rolling them into a tube. This will be the center of the flower.
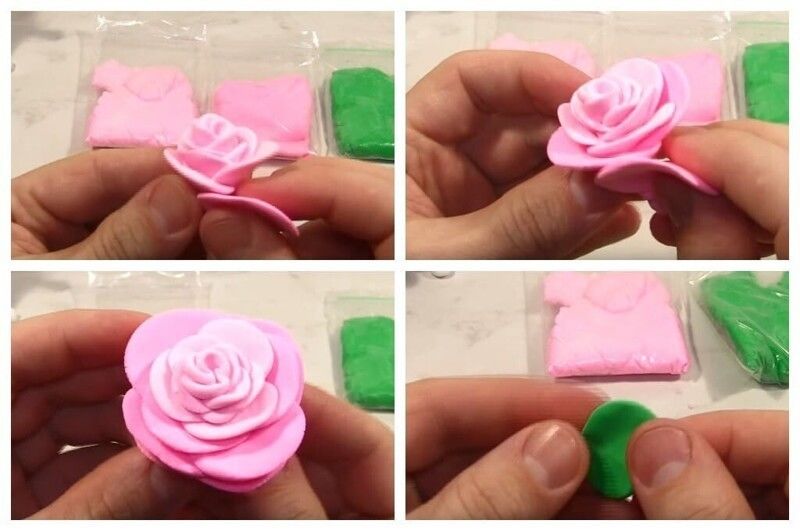
- Make a few more such details in crimson. Add to the first blank in two or three rows of petals. With each time the size of the petals should increase. The outermost petals should be the largest and darkest.
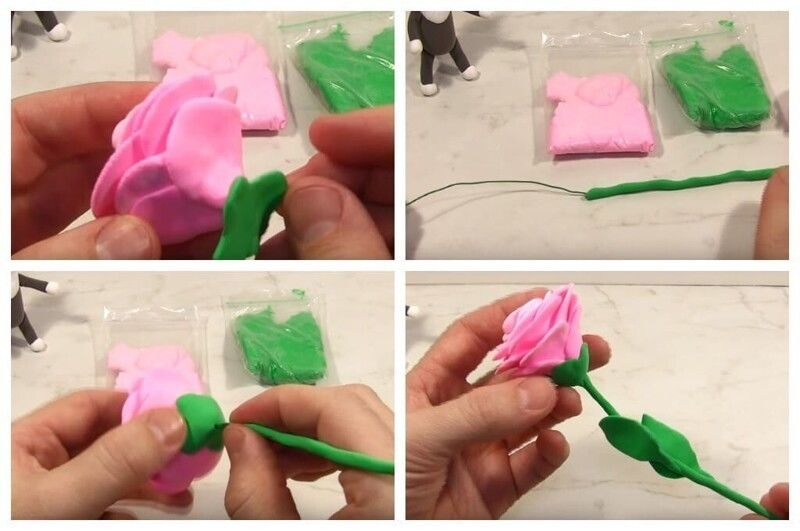
- For the pedicel we take a toothpick. Cover it with green mass and fasten it to the flower head. You can use a wire.
- Roll out a small cake of green shade. Stencil to cut out leaves. Fix 5 pieces under the flower head. The remaining ones are placed on the stem.
Our beauty is ready. Arranged in a similar way 5-7 flowers, you can assemble a beautiful bouquet. Flowery craftwork will last a long time and will not dry out.
Camomile .
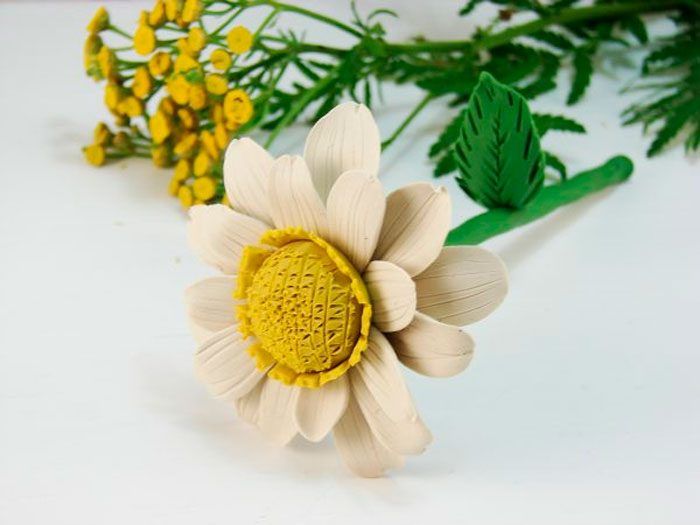
Make a daisy out of airy plasticine paste is not difficult. The kids will love this activity.
For modeling, we need white, yellow and green plasticine. Now you can begin the creative process.
Step by step production:
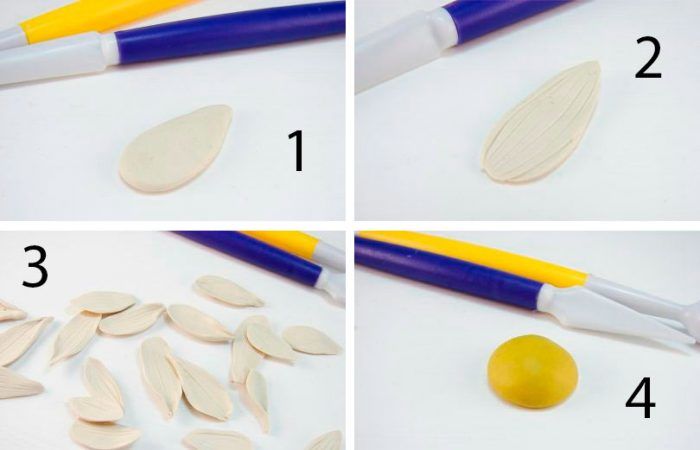
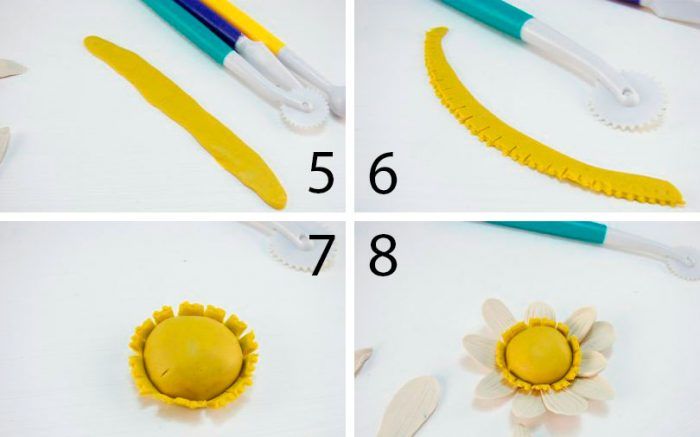
- Roll a large white piece of air mass into a ball. Roll out a long sausage and divide it into five equal parts.
- Mold them into daisy petals in the shape of a drop. On each petal make small notches with a steck.
- Spread the petals on the work surface in a circle, forming a flower.
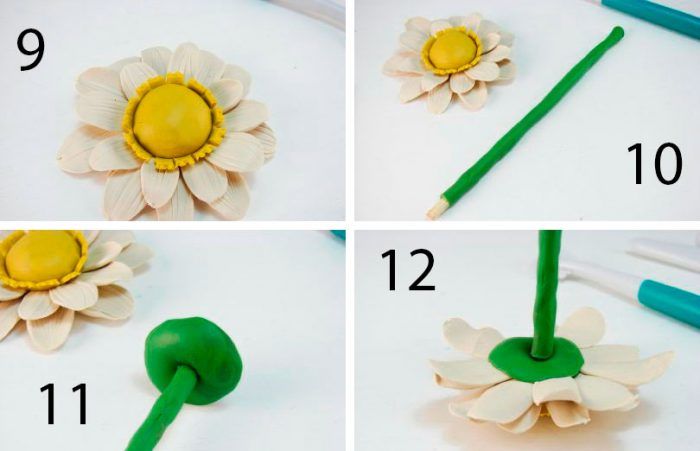
- In the center place a yellow ball. Slightly press it from above. Our middle is ready.
To the finished flower can add a stem and leaves.
These simple step-by-step schemes of easy plasticine crafts will be useful for both children and adults. You can choose any ideas from our selection or change them to suit you. Exciting creative work will bring pleasure and give unforgettable emotions.

