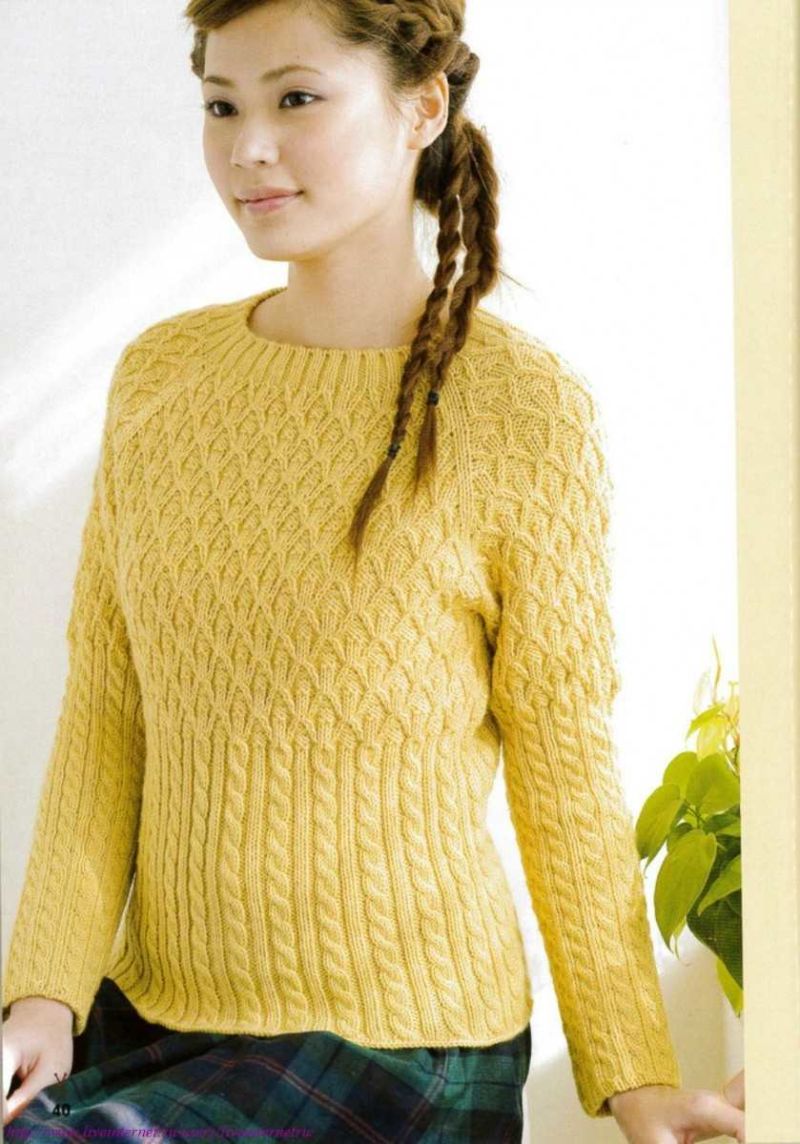
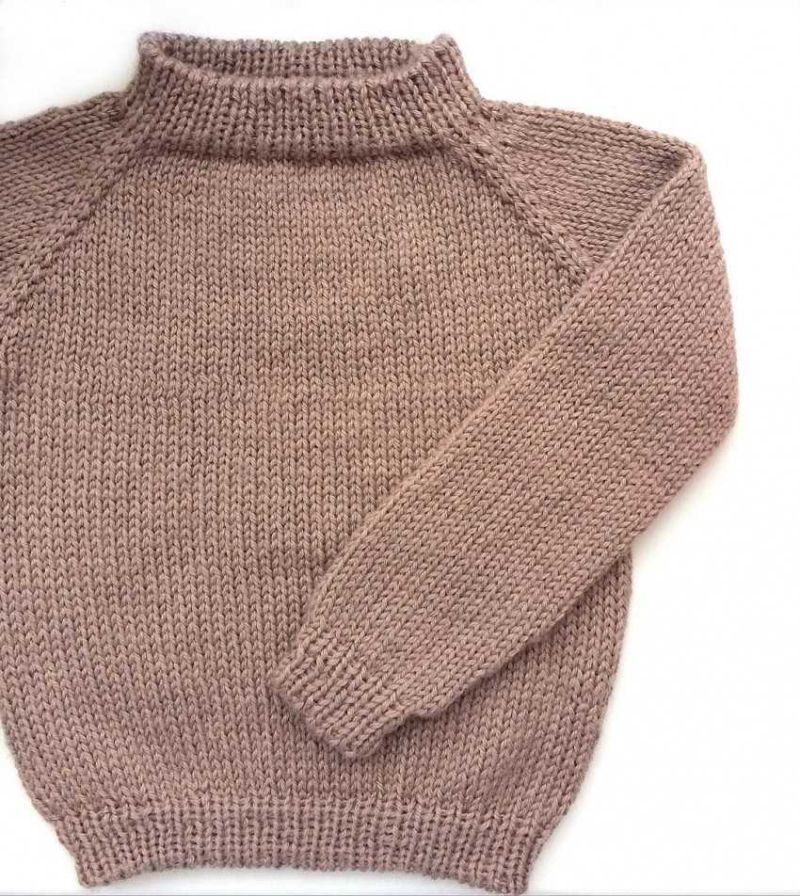
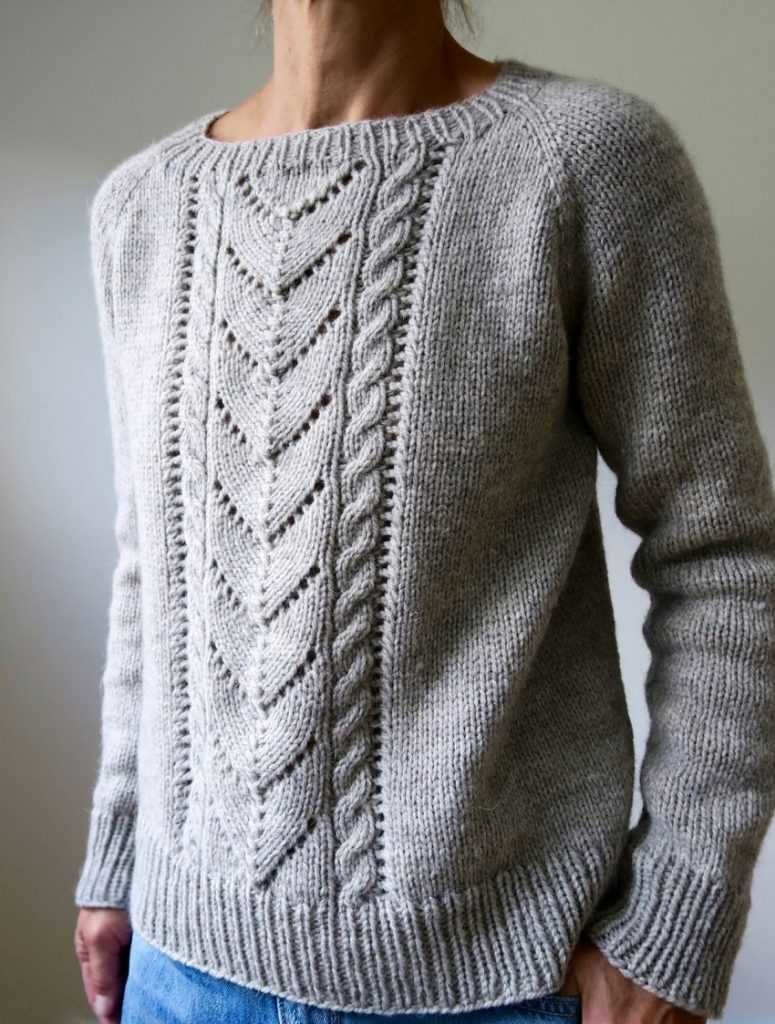
Knitting raglan: calculation of loops, patterns for knitting with scissors and crochet
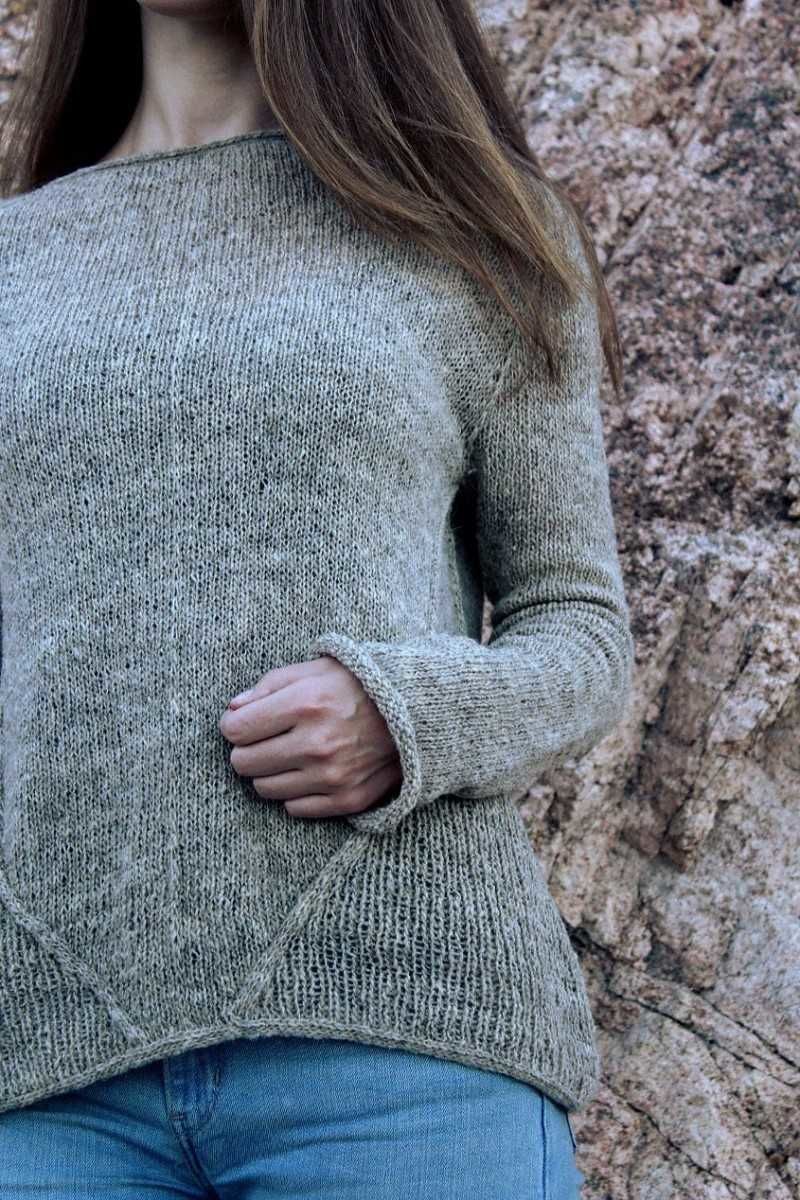
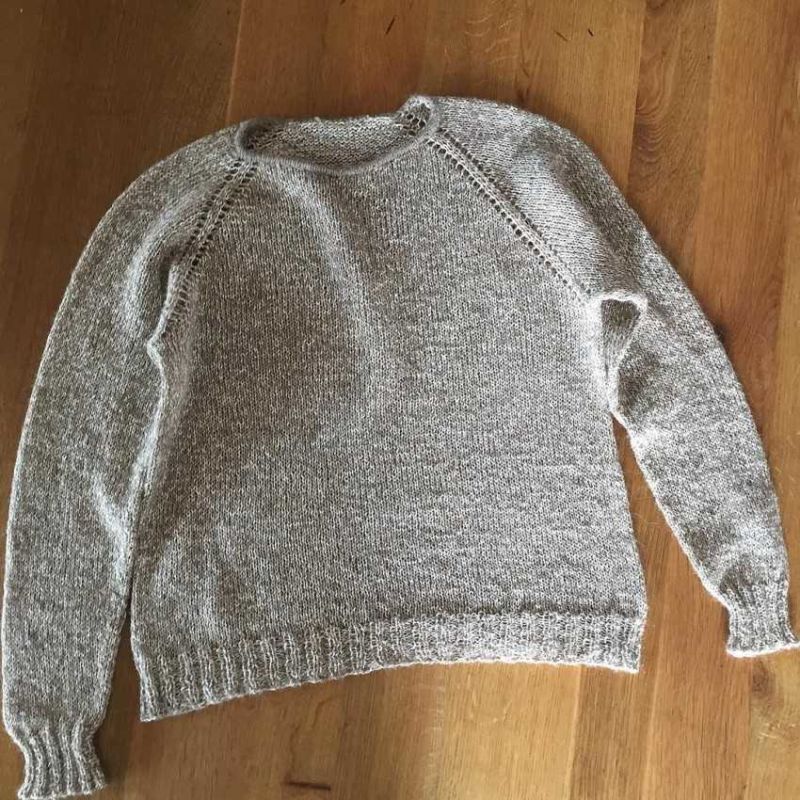
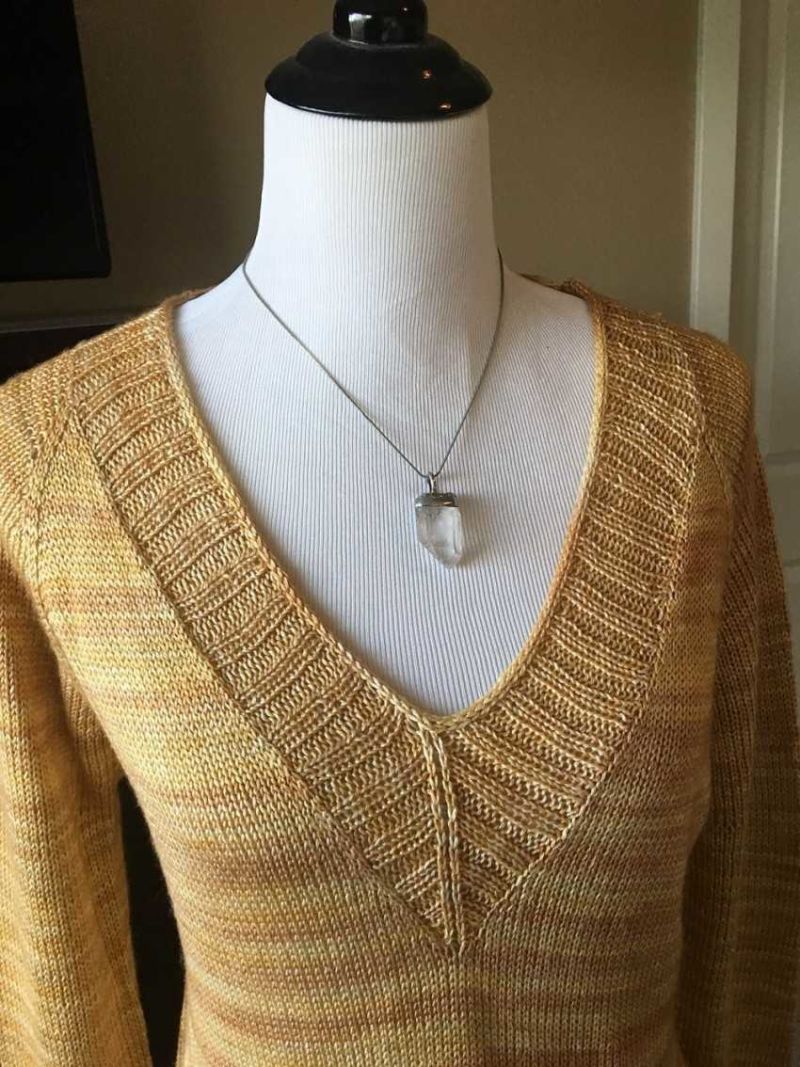
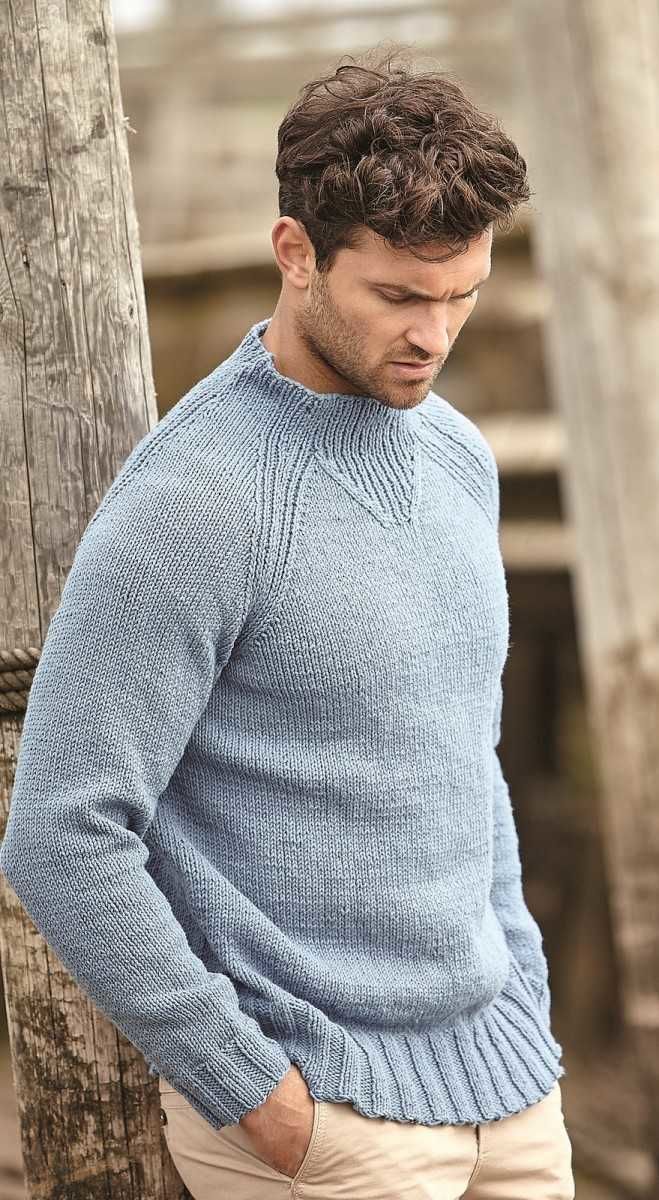
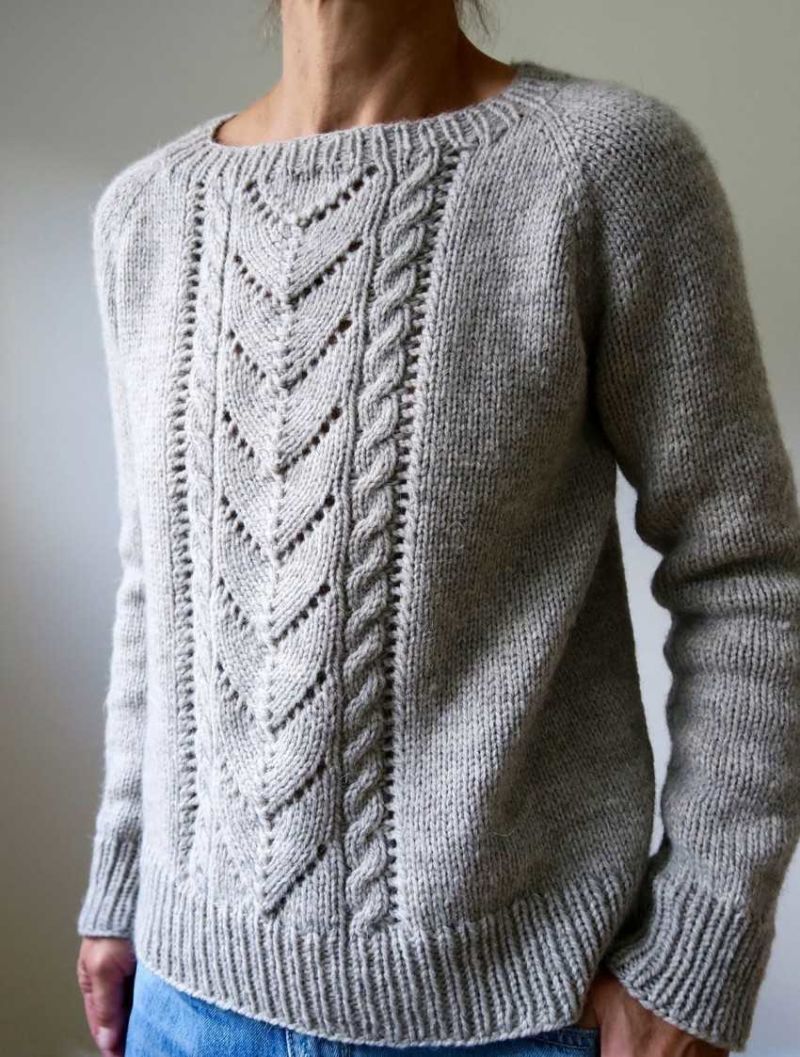
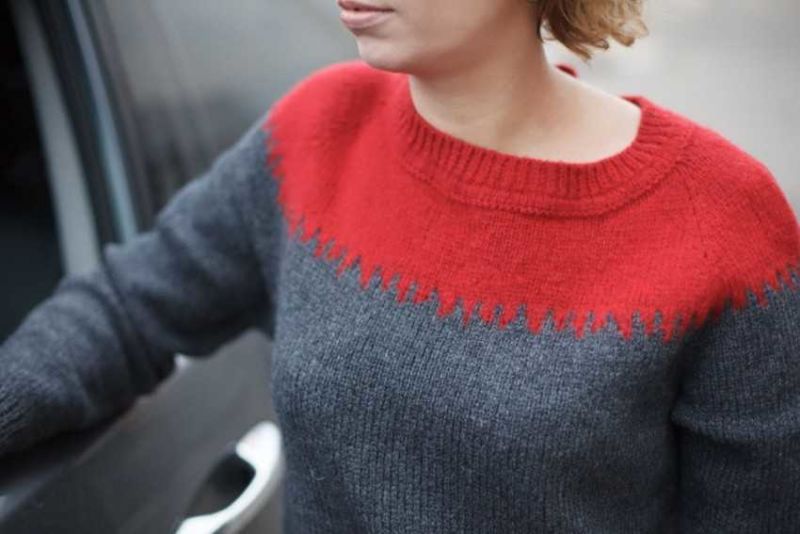
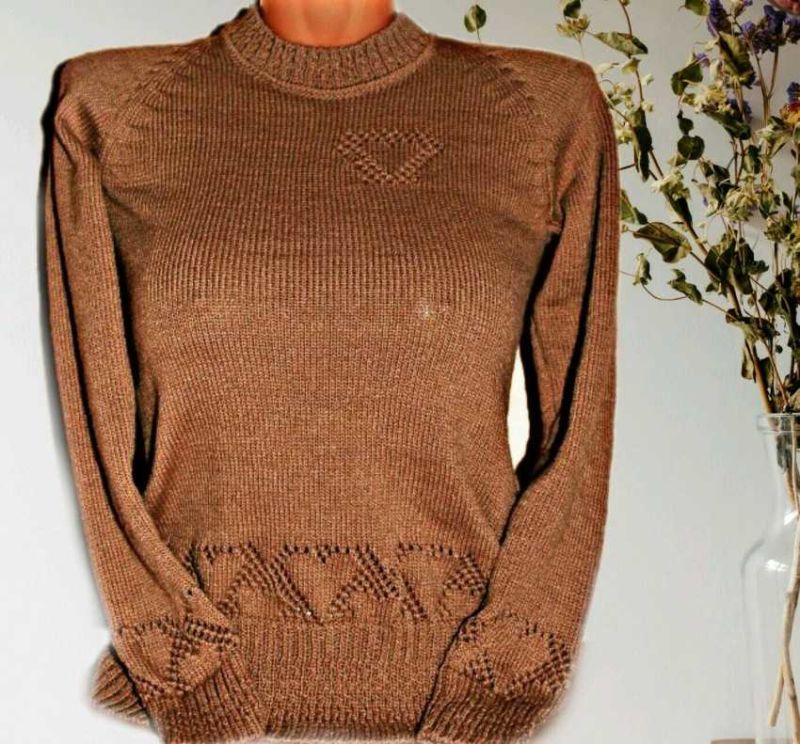
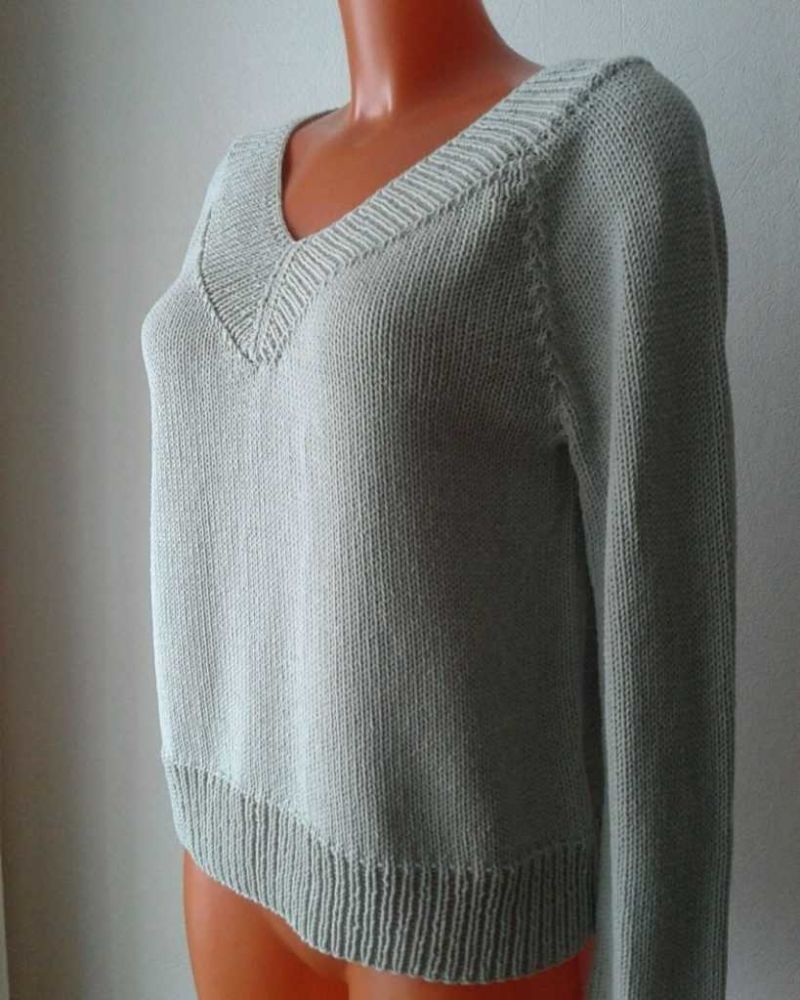
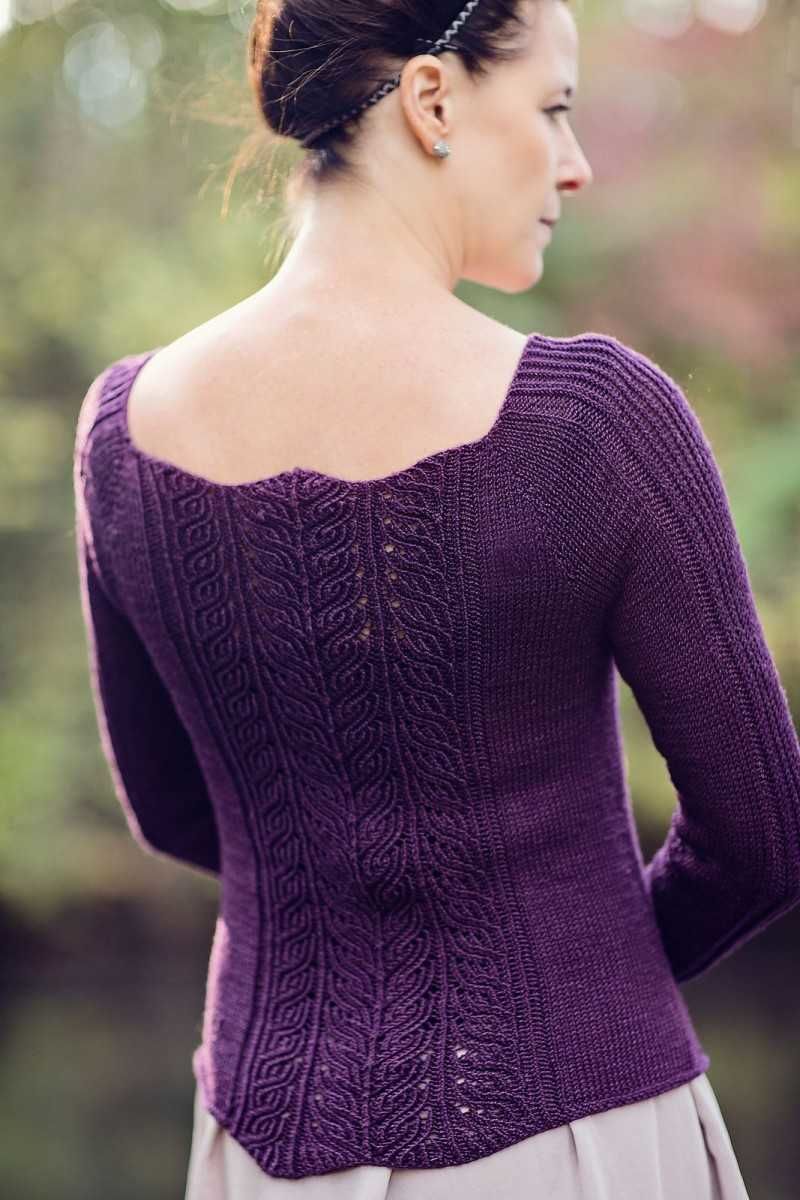
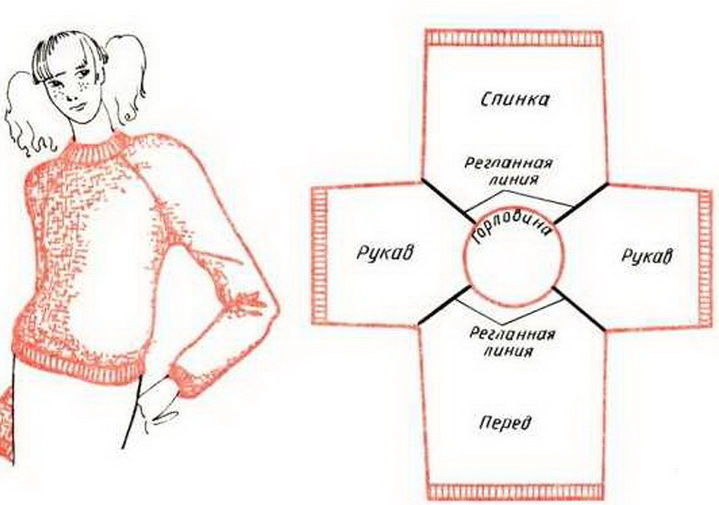
Despite the vagaries of fashion, handmade products with sloping shoulders raglan, always popular. This style of knitting consists of two symmetrical oblique lines that form a truncated cone.
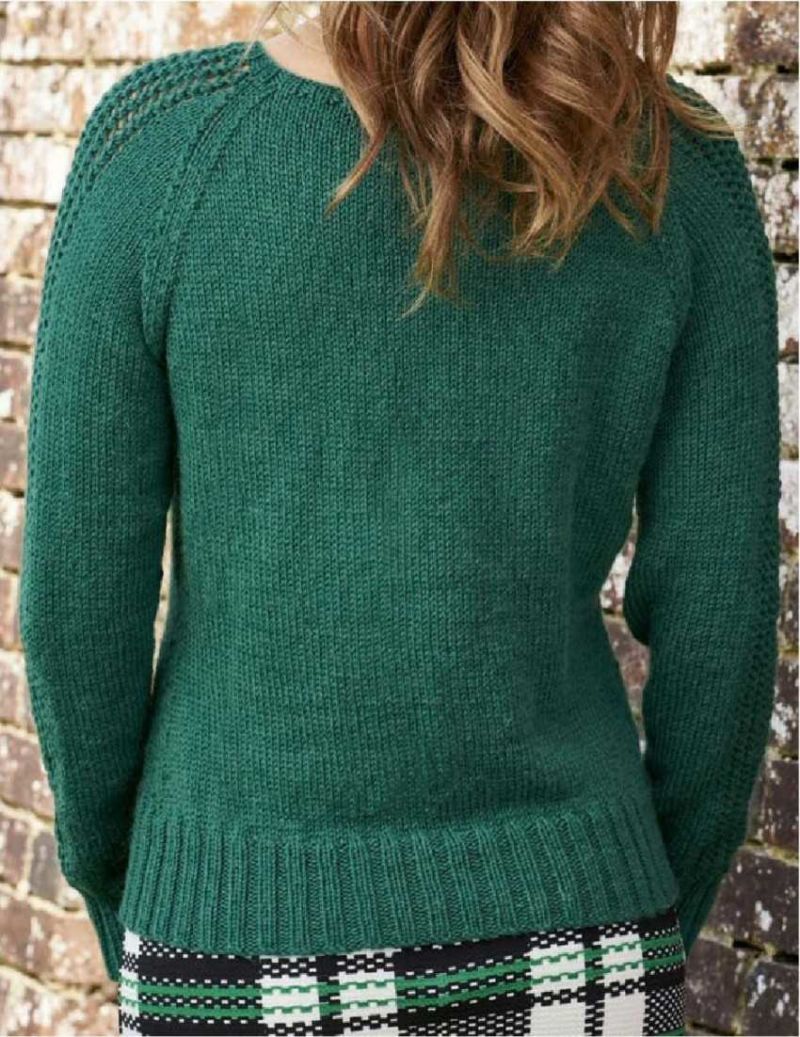
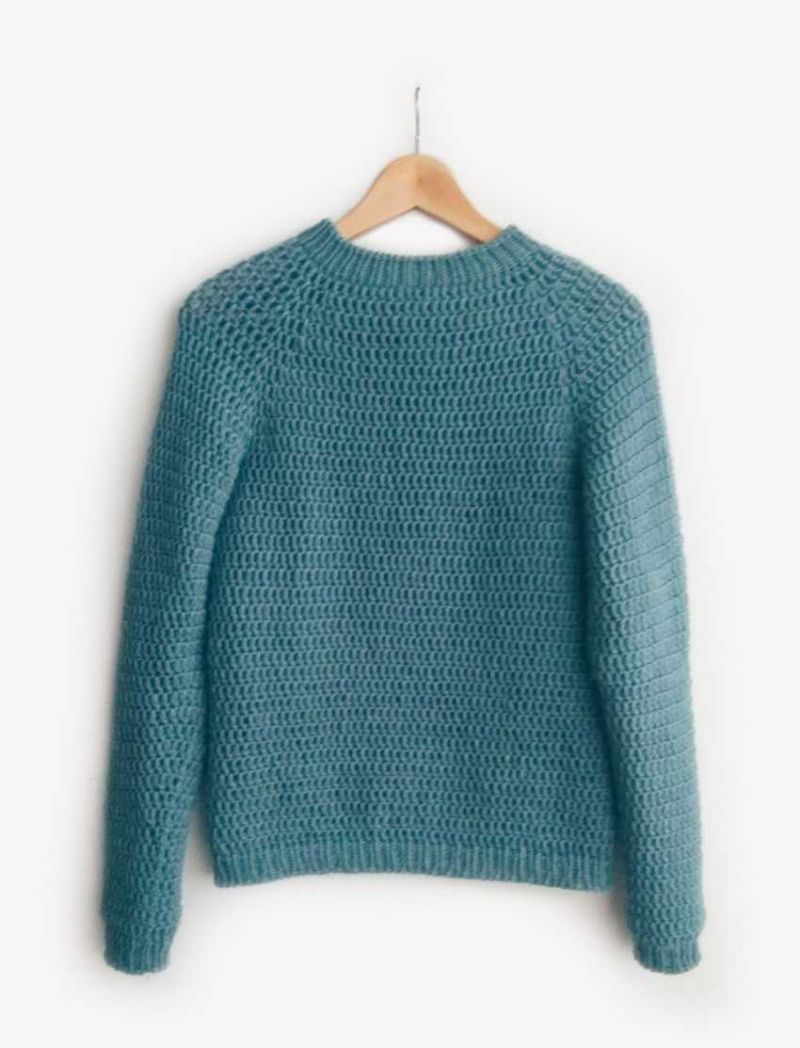
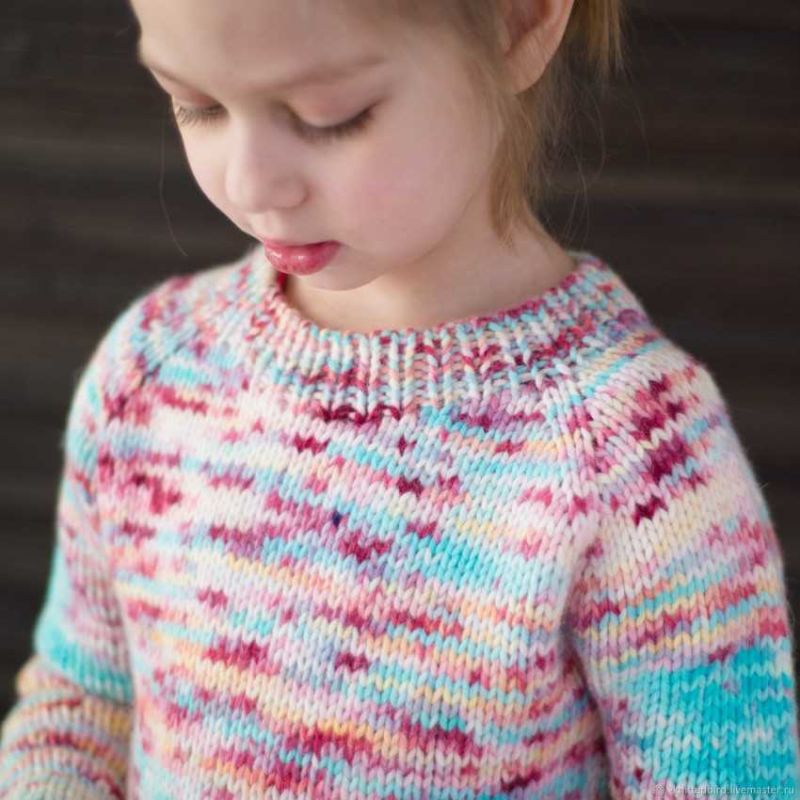
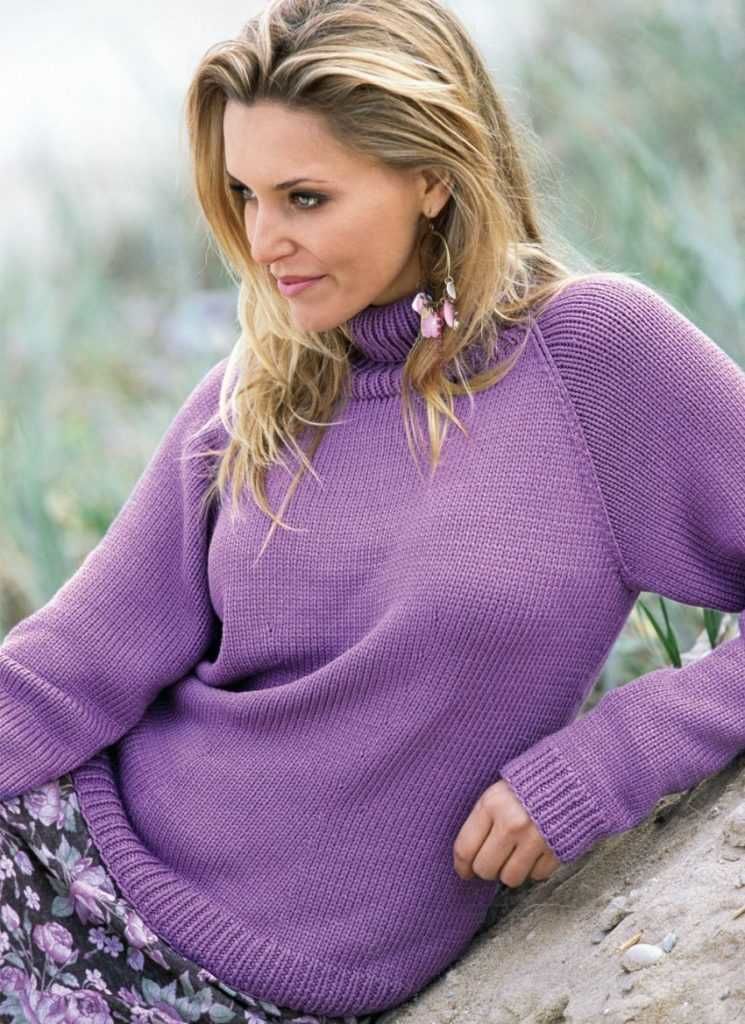
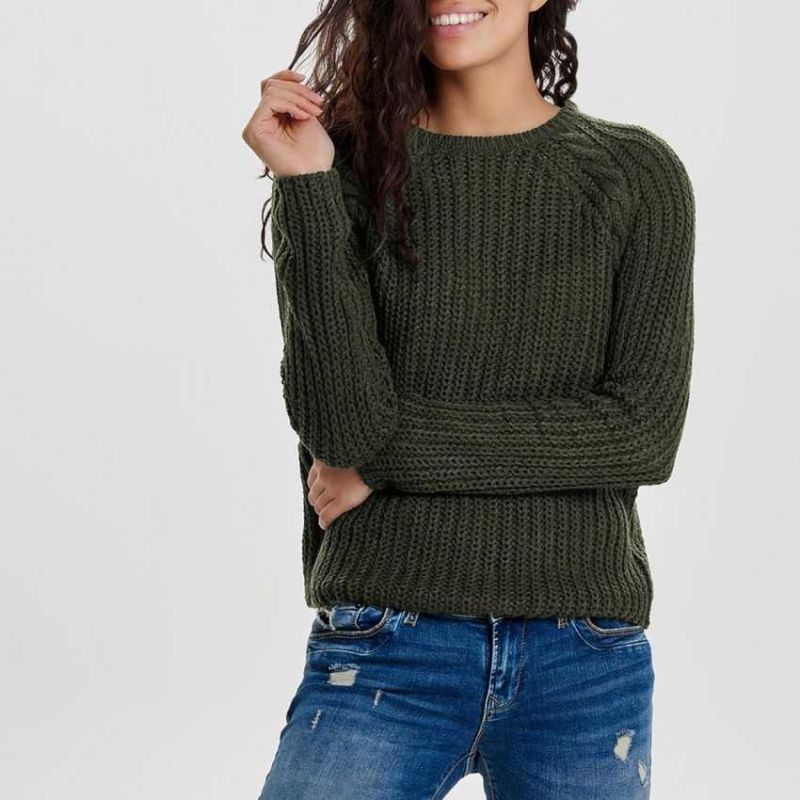
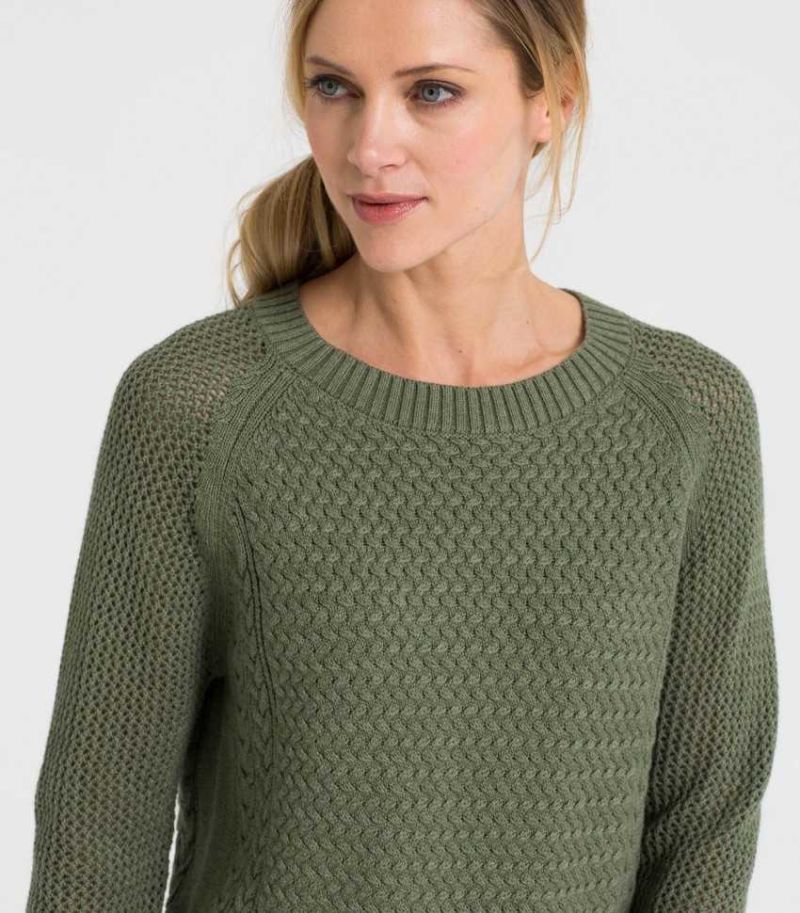
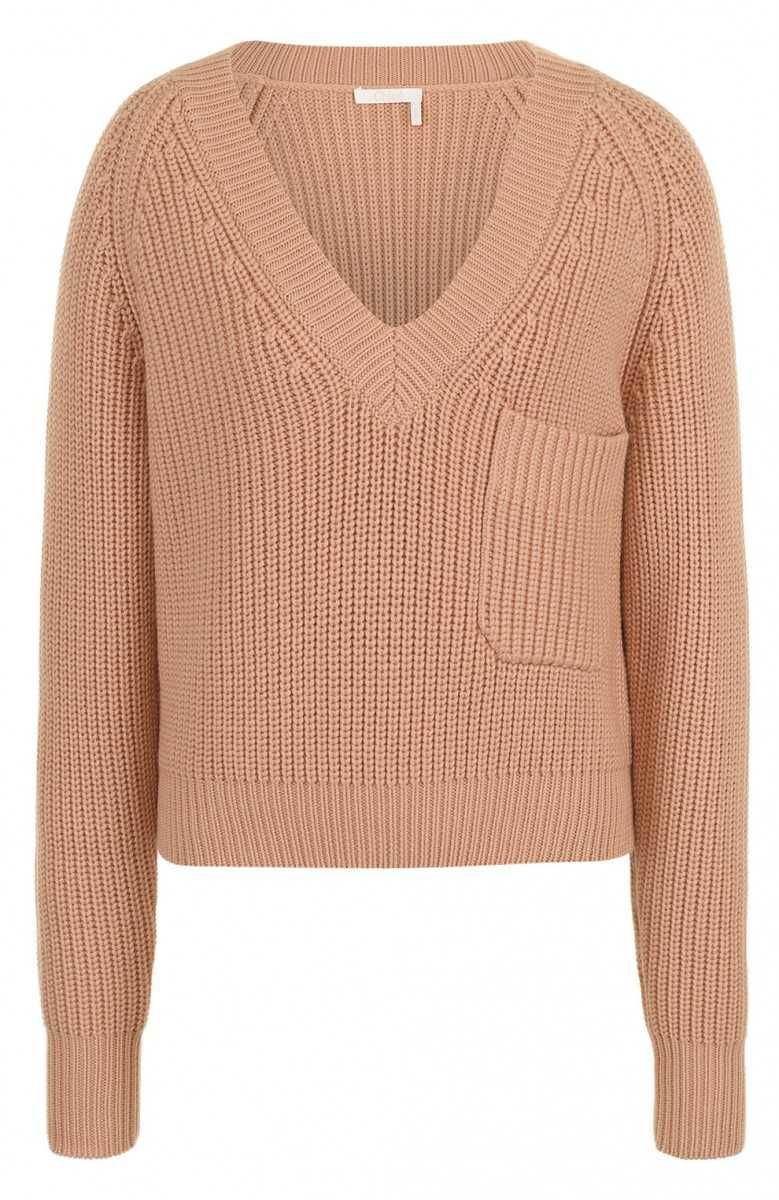
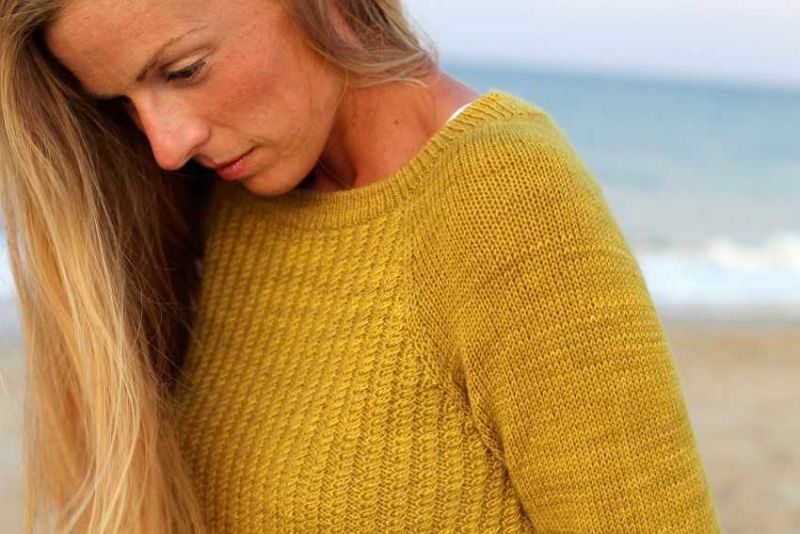
The raglan sleeve is a classic style of garment that features shoulder seams running through the front of the chest. It is a very comfortable shape that allows easy movement, so it is often found in sportswear.
Beginning needleworkers love this knit, as it is often created in a single fabric from top to bottom. This is a good choice if you want to learn professional skills.
The work requires you to correctly calculate the number of stitches. If the calculations are done correctly and the basic rules of knitting are clearly followed, as a rule, there are no problems in the work.
The sleeve is named after Lord Raglan. He was field marshal during the Crimean War in the 1850s and lost his right arm in the Battle of Waterloo. The lord asked his tailor to design a style of clothing that would conceal this handicap.

The term "raglan" first appeared in 1864, almost ten years after Lord Raglan's death. Originally the style referred to sewn garments, such sleeves in knitted garments first appeared in 1912.
Advantages and disadvantages of a raglan sleeve
The undeniable advantages of raglan include:
- no seams when knitting from the neck;
- no need for a detailed scheme, the dimensions of the parts are calculated by counting the number of loops;
- sleeves are less voluminous than usual;
- products are practical and never go out of style.
The disadvantages are few:
- it is required to work with a large number of loops and to make calculations carefully;
- the method limits the choice of pattern;
- if you calculate incorrectly, you can get an extra cloth under your arms.
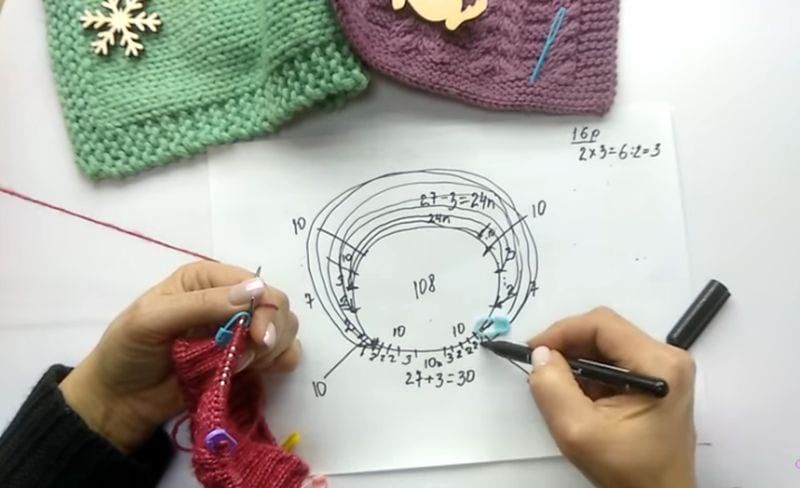
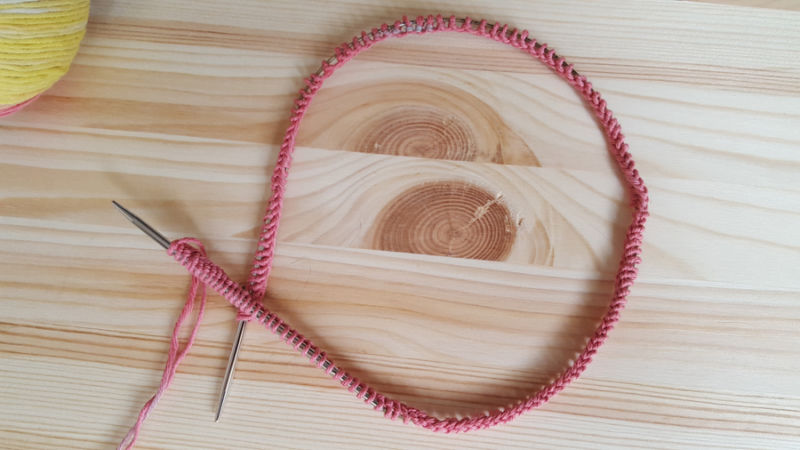
Loop calculations when knitting
In order to quickly and accurately calculate the required number of raglan loops, you will need:
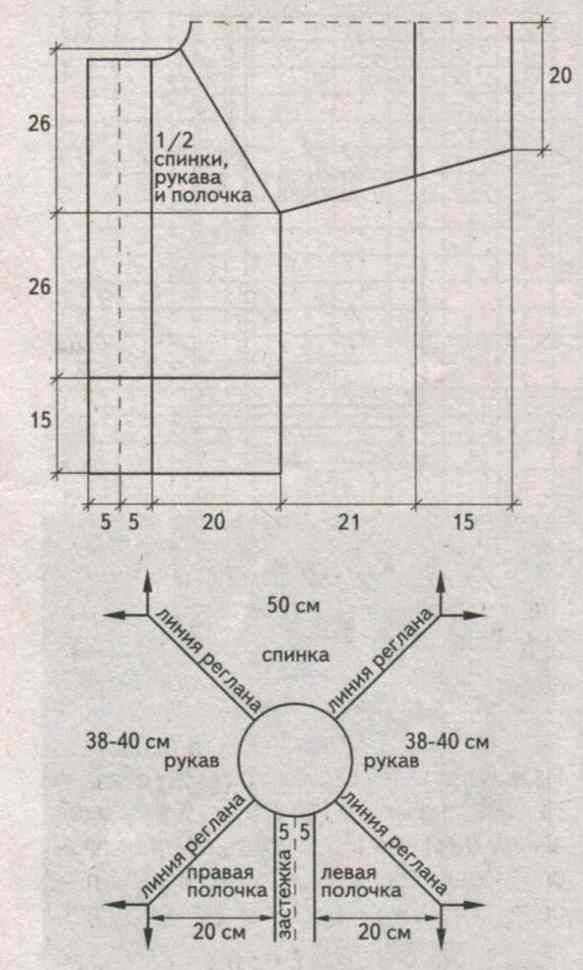
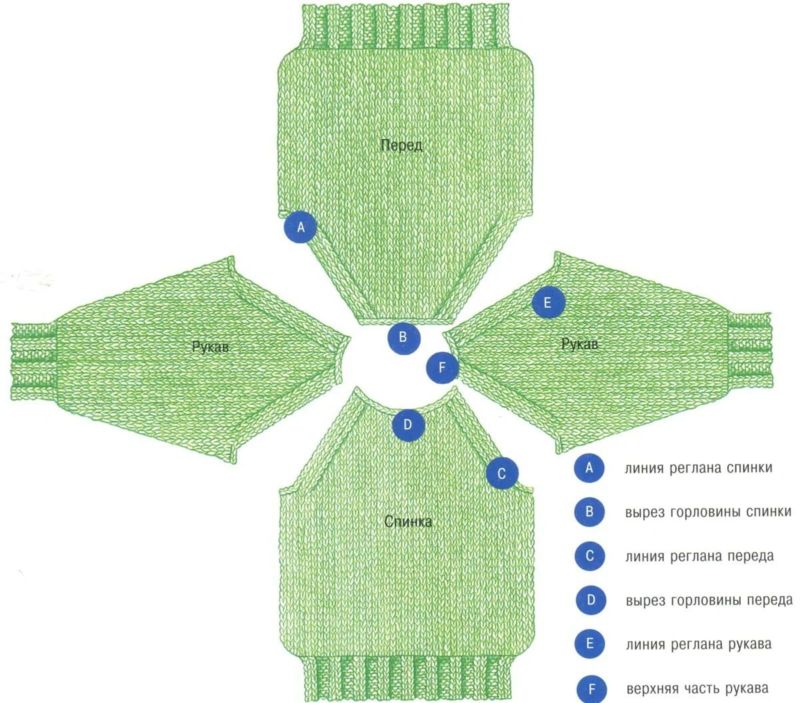
- Count all the loops needed to knit the product and distribute them evenly for 3 parts: the front, back and sleeves;
- The sleeves are divided into two parts, with an odd number of loops, the remaining loops are added to the details of the front;
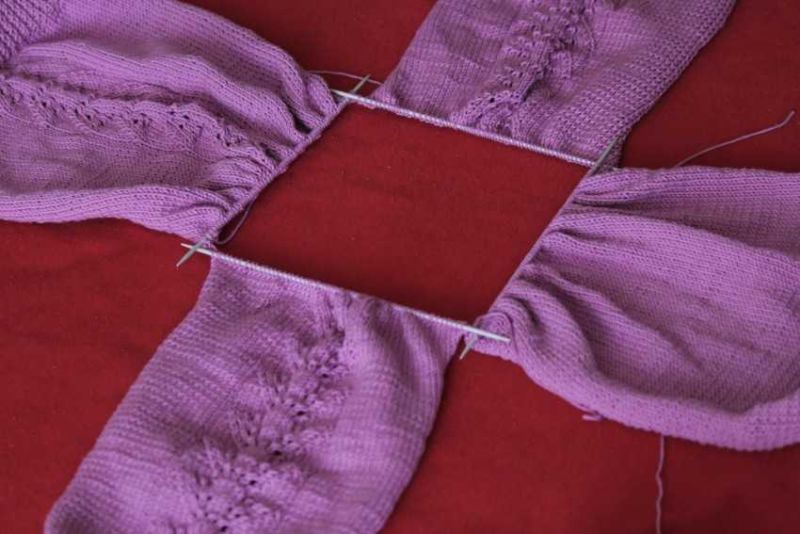
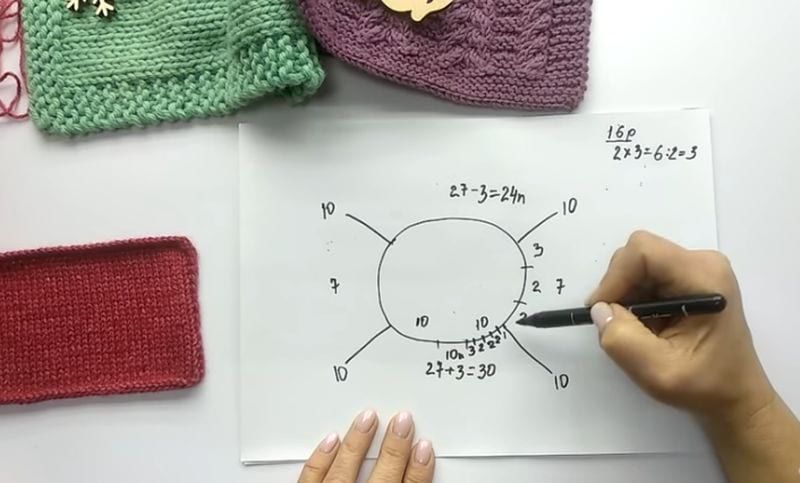
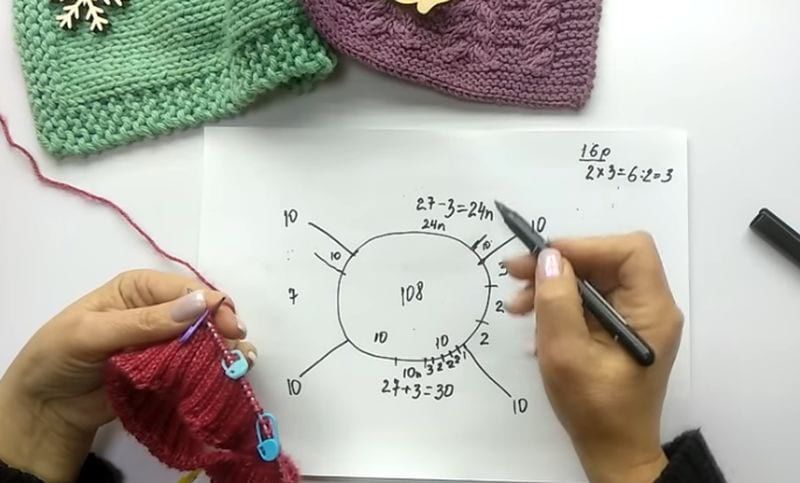
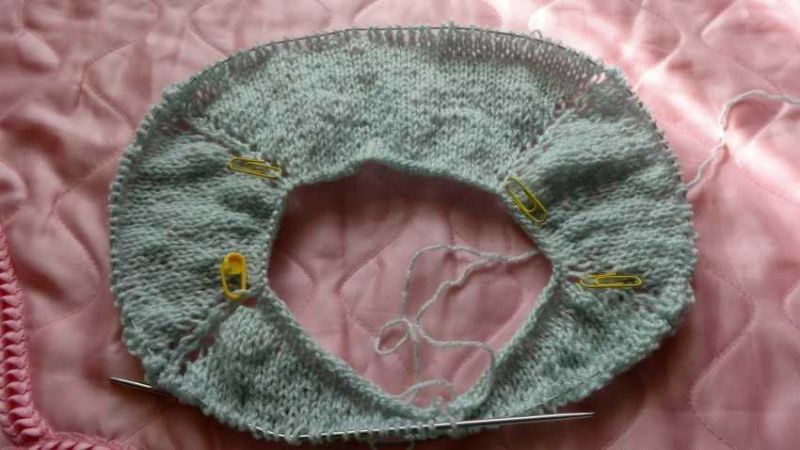
- Then use markers to divide all the stitches into 4 equal sections for the following parts: the front, the left sleeve, the back and the right sleeve;
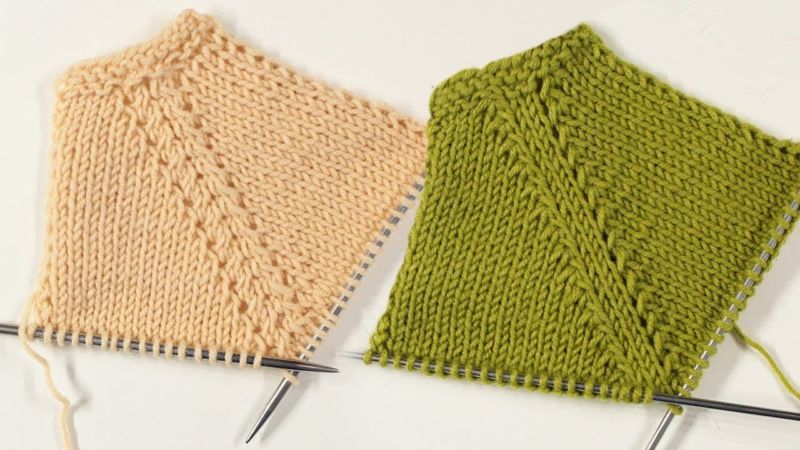
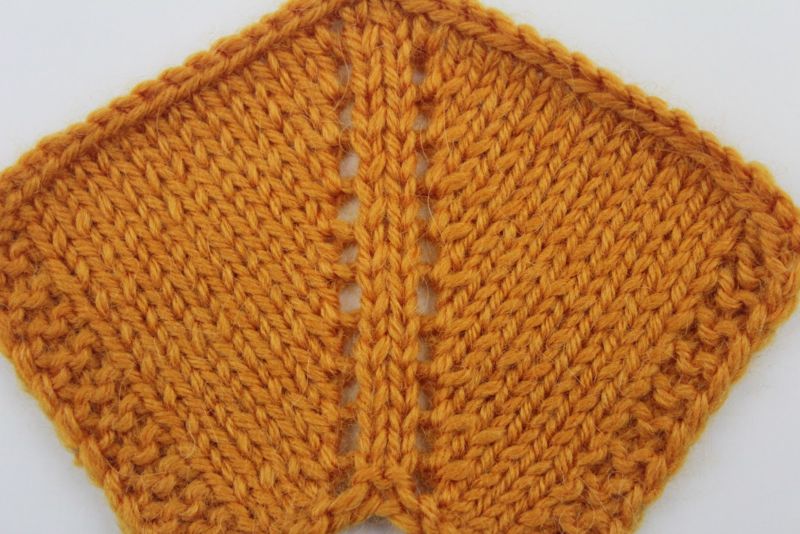
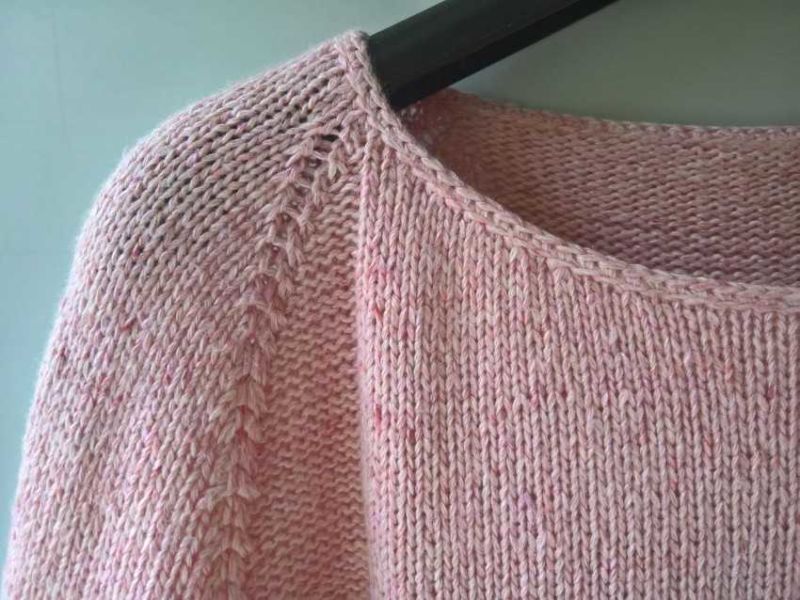
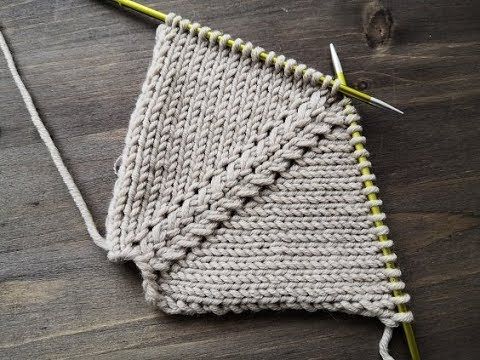
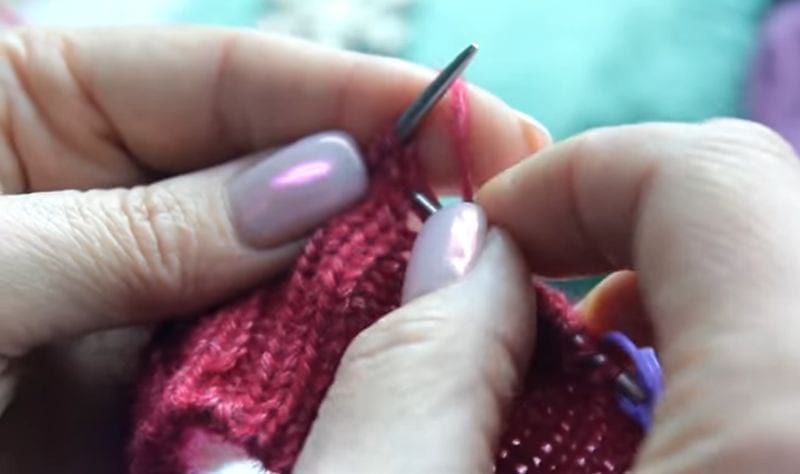
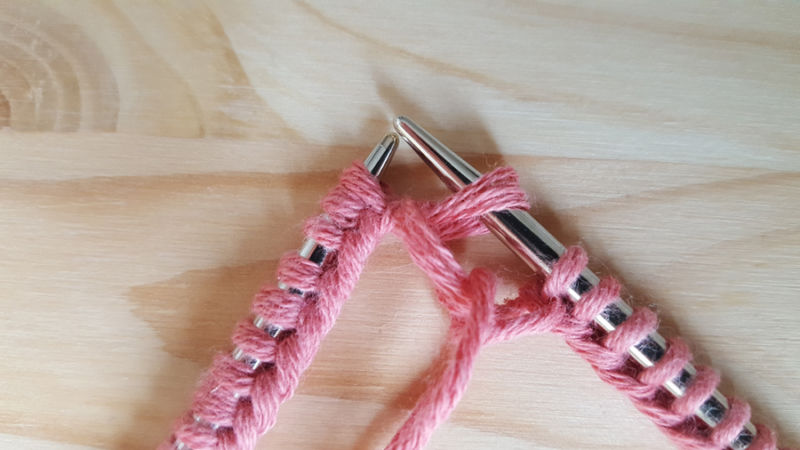
- To get a nice raglan line, choose a suitable method of adding stitches. The stitches can be crossed over so that there are no holes.
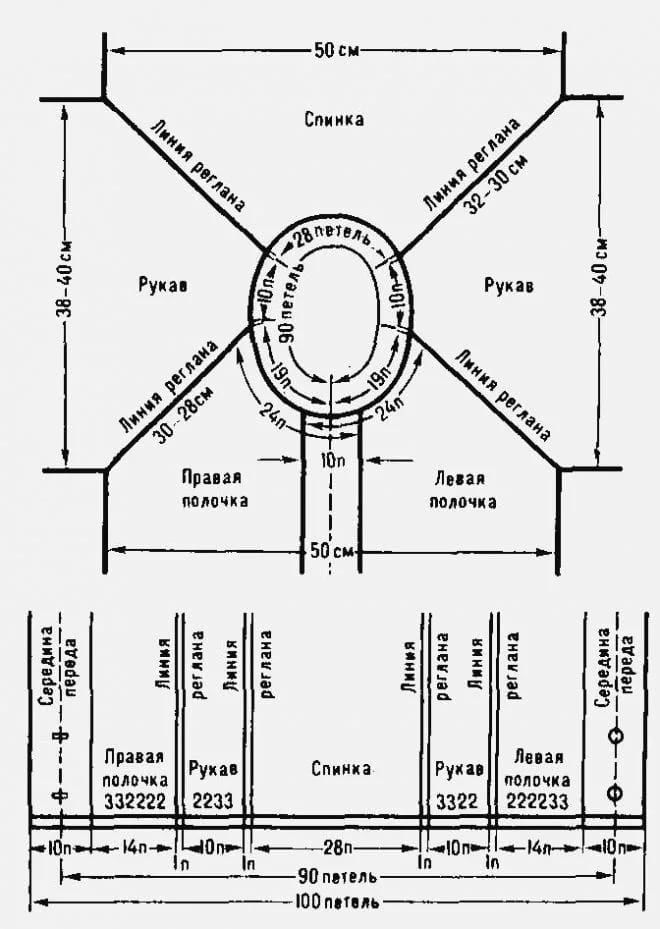
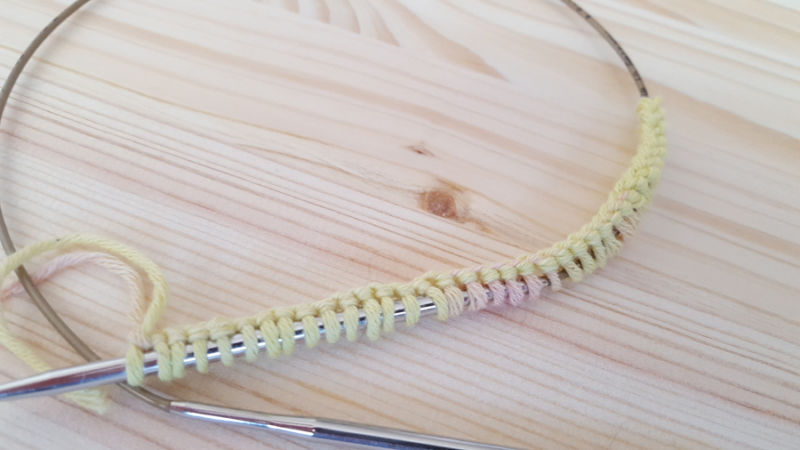
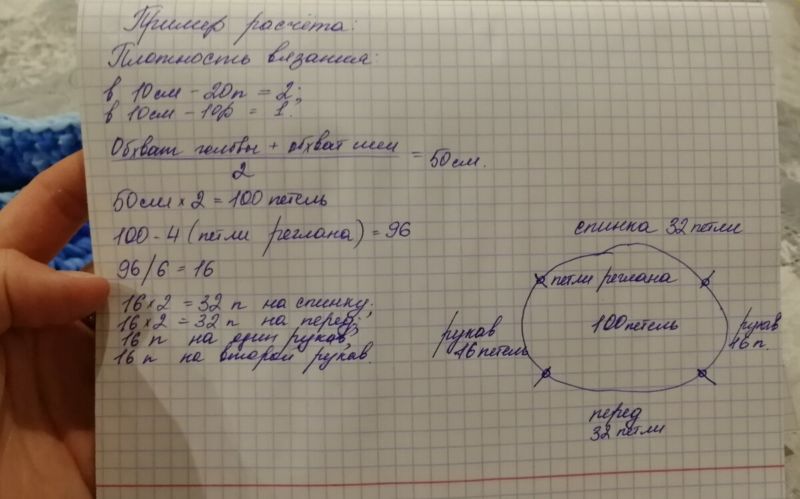
- Knit a small pattern according to the pattern. Put 20 stitches on your needles and knit 8 cm.
- Find the number of stitches in 1 cm. To do this, make a calculation. From 20 stitches subtract 2 edge stitches, we get 18 stitches. Then divide this number by the width of the sample (18 : 8 = 2.5). We have learned the density of knitting, there are 2.5 stitches in 1 cm.
- Let's measure the neck. Let's say we have 40 cm.
- We calculate how many loops we need to dial in for knitting at the top. To do this we multiply the knitting density by the neck circumference (2.5 x 40 = 90).
- To start work we need to dial in 90 stitches.
- Divide the number of stitches into three parts and form the parts of the back, front and sleeves (90 : 3 = 30). Set three markers in 30 stitches.
- Determine the width of the sleeves. In our case they will be 15 stitches (30 : 2 = 15).
- We distribute 4 markers and separate the required number of loops: 30 - for the back, 15 loops for the left sleeve, 30 - for the front and 15 loops for the right sleeve.

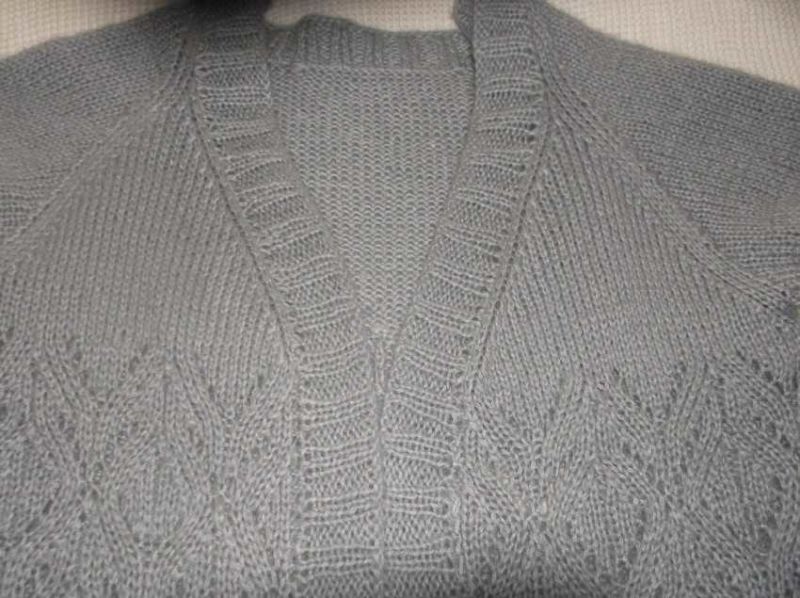
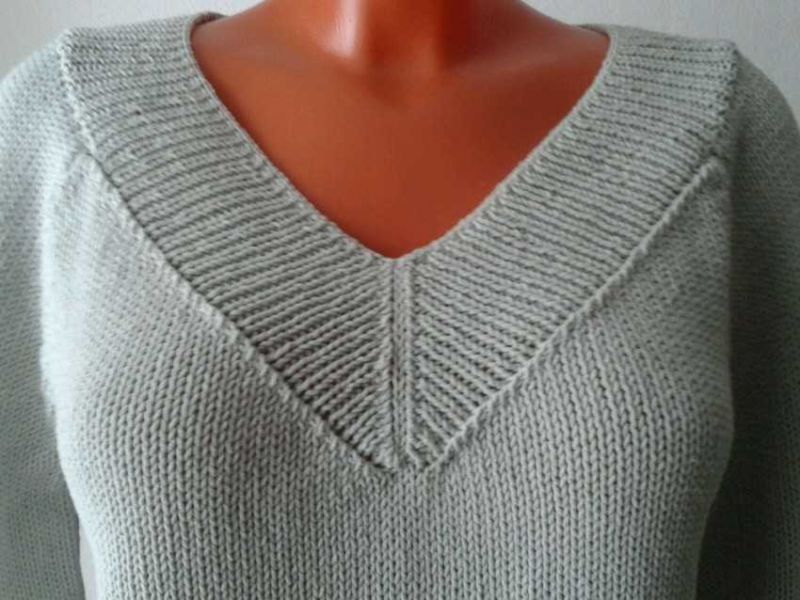
How is raglan formed?
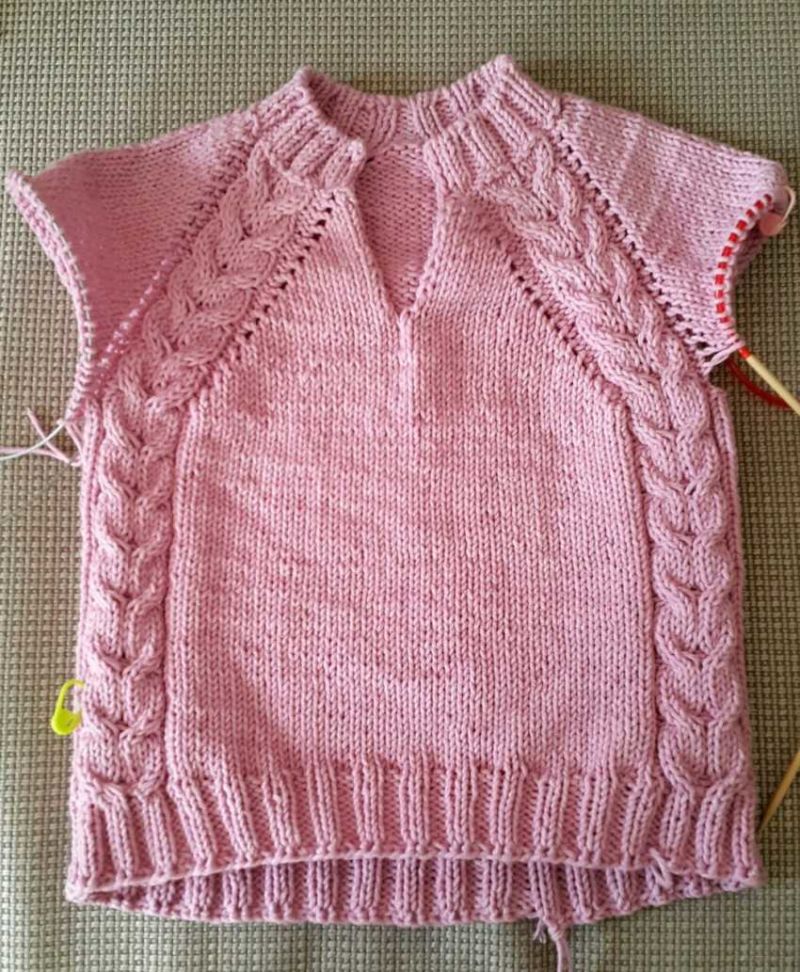
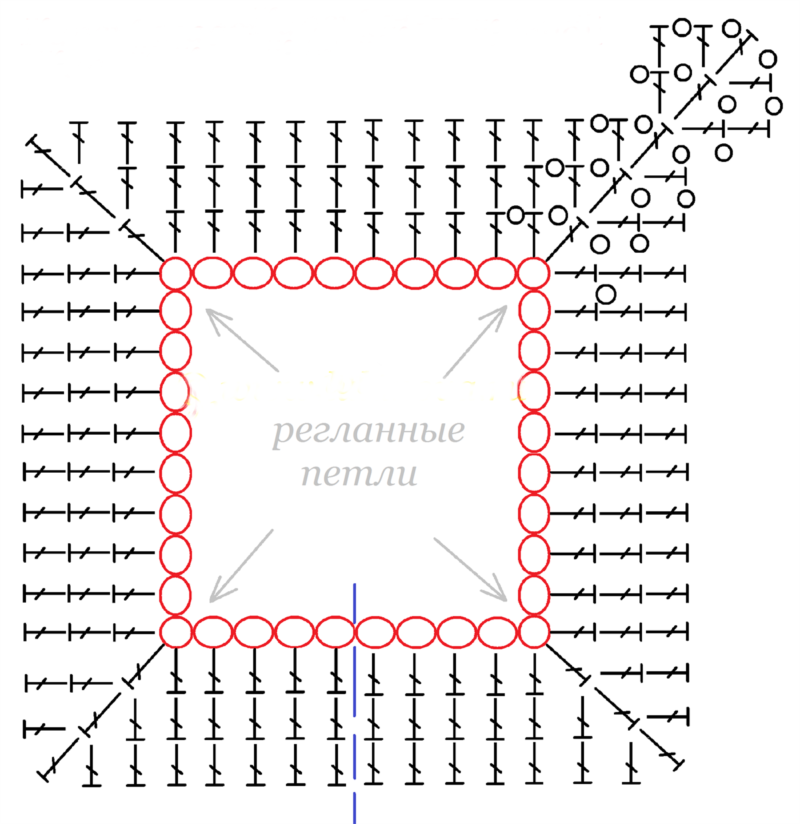
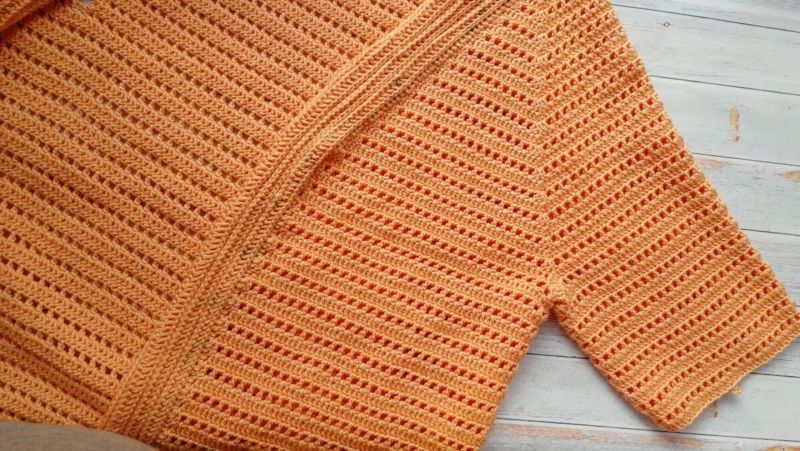
There are 4 raglan lines, which are formed by joining the following parts of the product:
- the front with the left sleeve;
- Back with left sleeve;
- Back to right sleeve;
- Front with right sleeve.
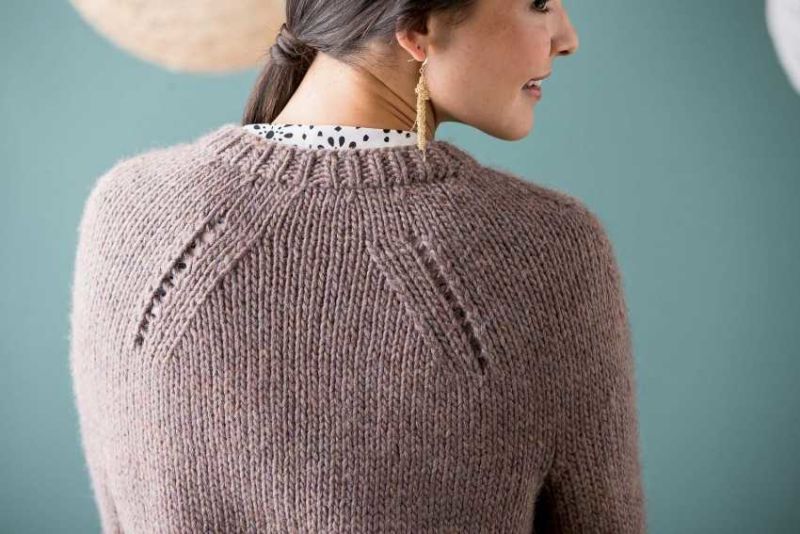
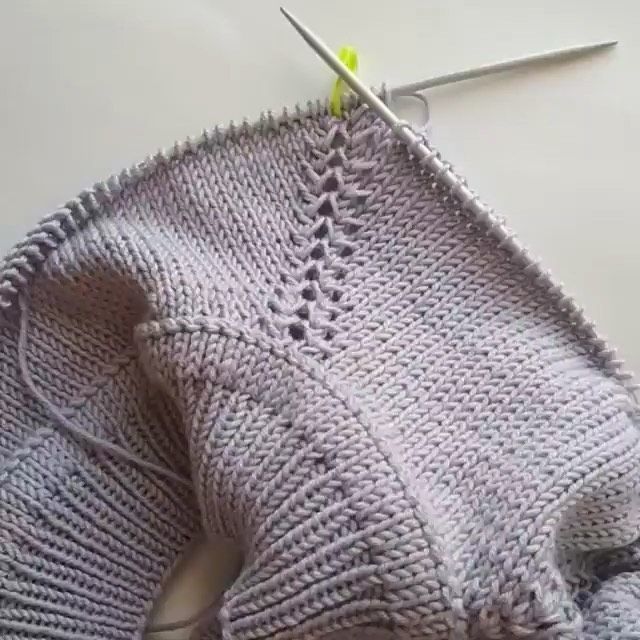
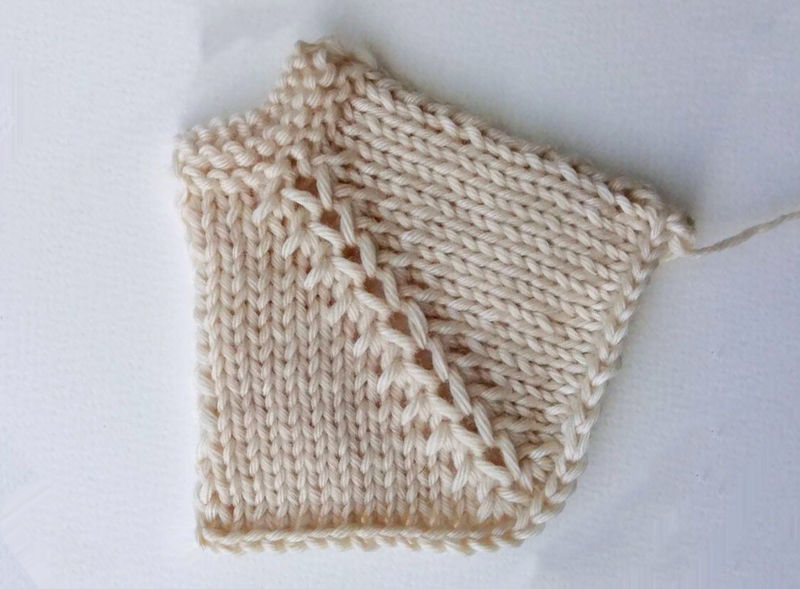
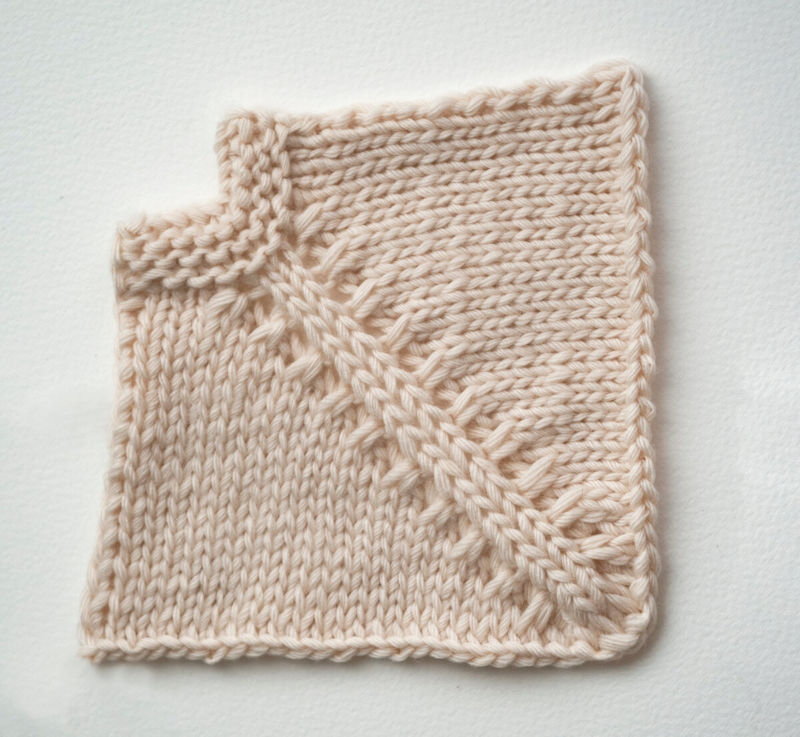
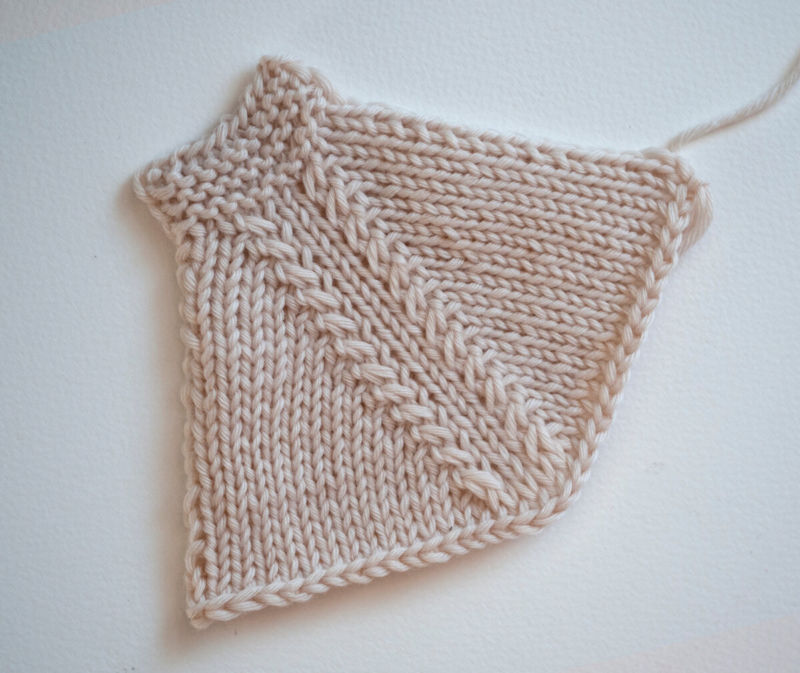
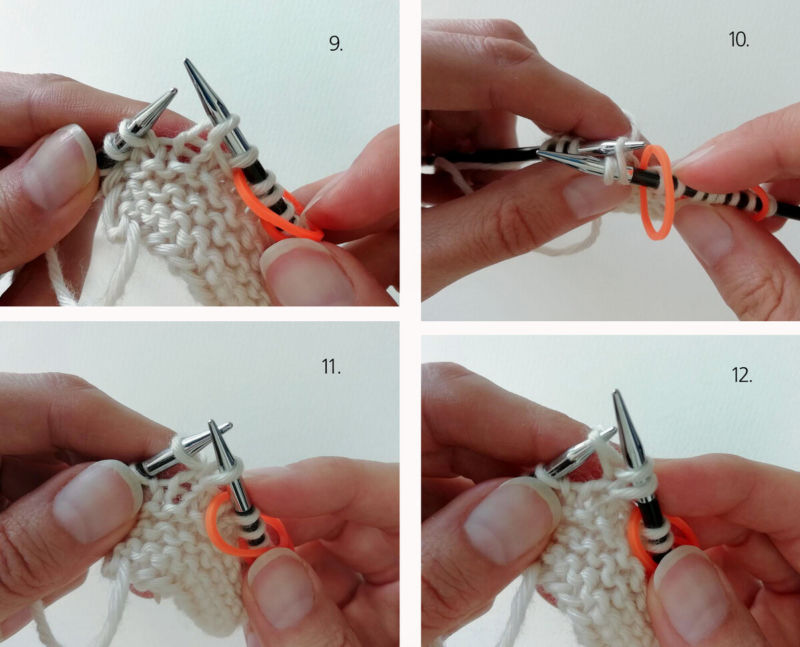
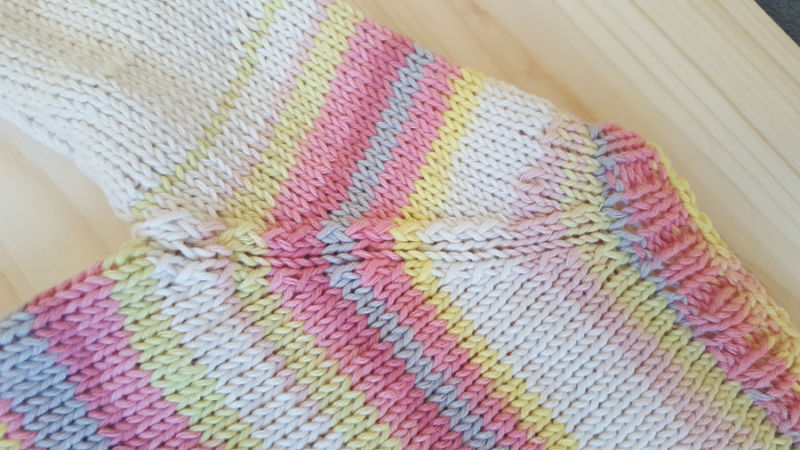
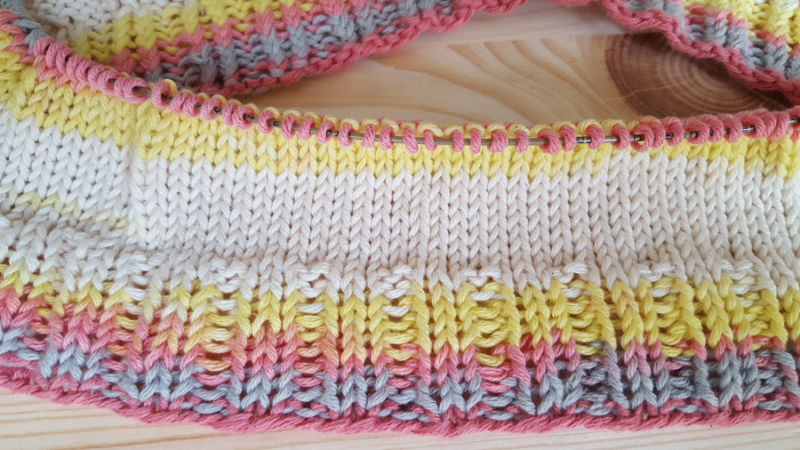
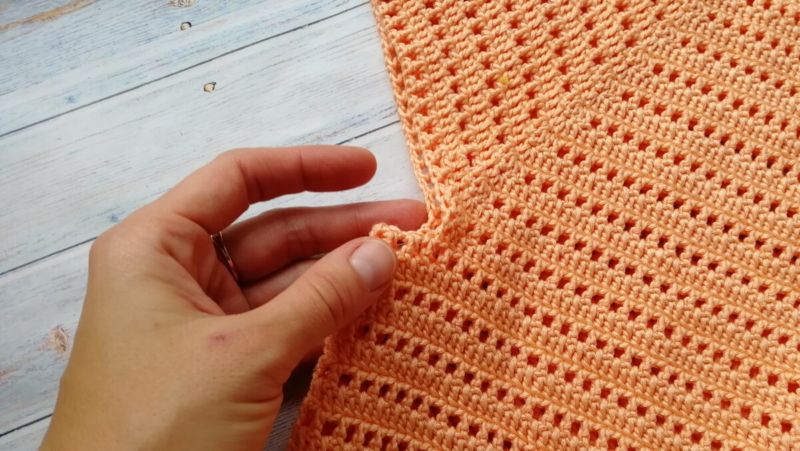
These lines are marked with markers and placed between the correctly calculated stitches. There is a certain rule of knitting raglan: 1 stitch on each side of the marker is added and a total of 8 loops.

The loops must be added at equal intervals of rows. This method will help to avoid uneven raglan lines and skew the finished product.
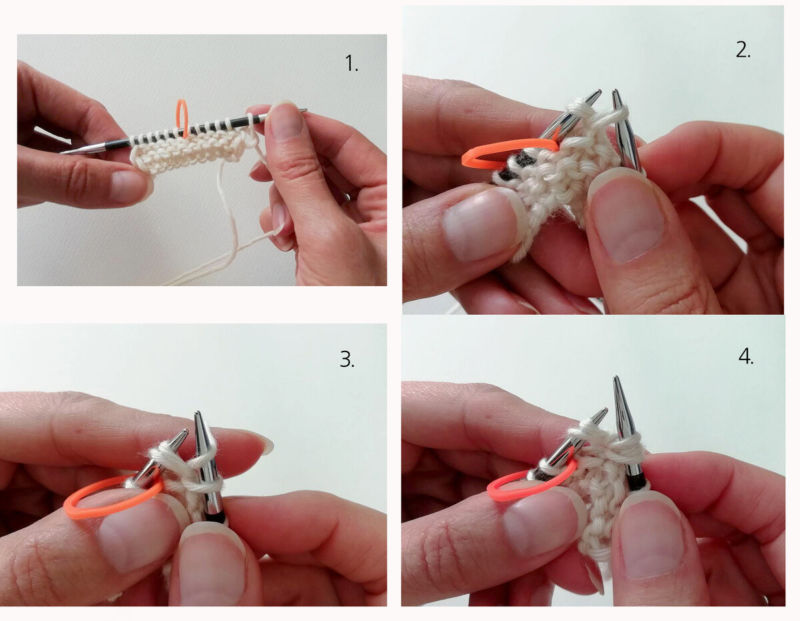
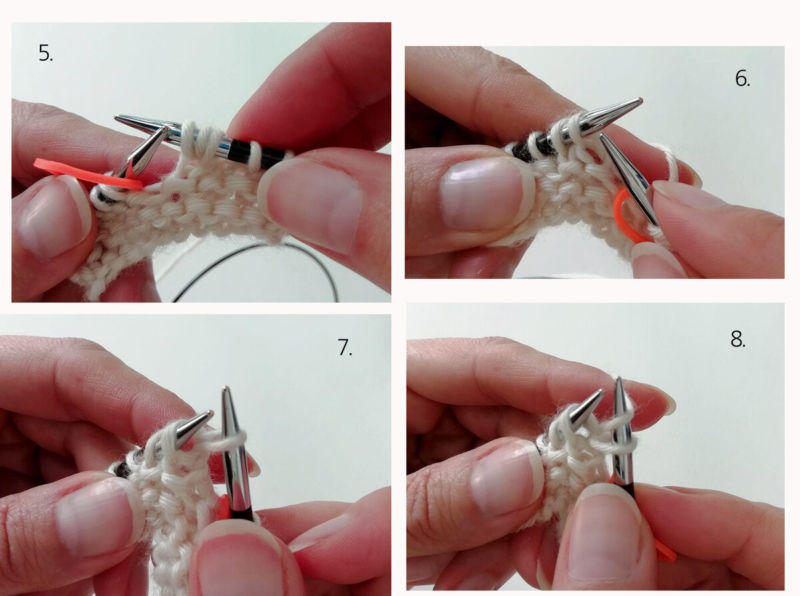
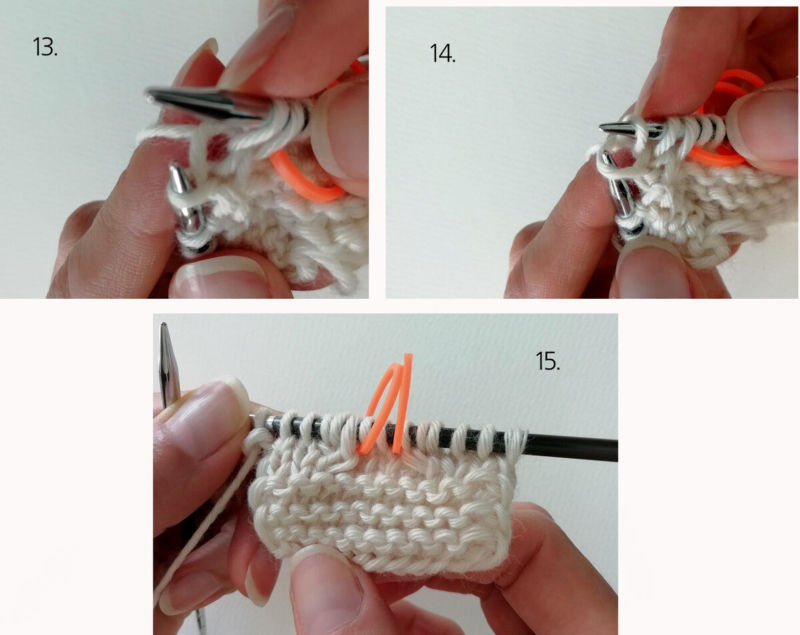
Schemes of knitting with knitting needles
There are 2 ways to knit a sleeve - from the neck and from below. These simple methods are not difficult and can be mastered even by a beginner knitter. How to choose the right method?
- Knitting products for adults can be done using both methods.
- For children's clothing, it is better to choose the first method and knit from above. The child grows quickly, and you can finish the length and sleeves of your favorite sweater.
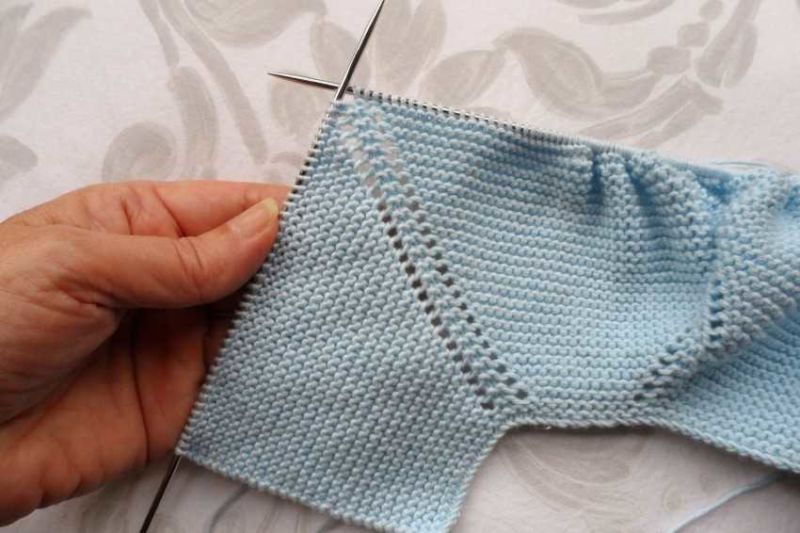
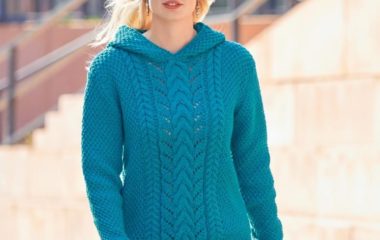
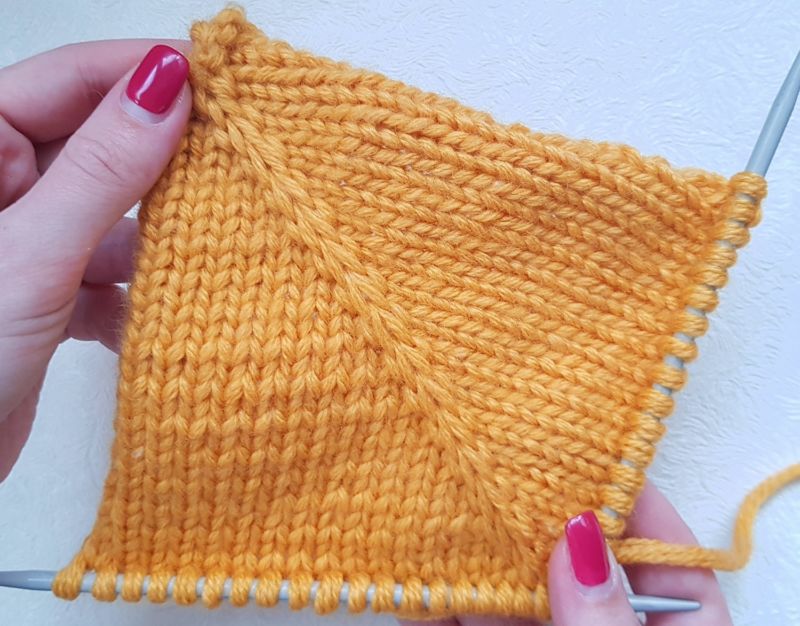
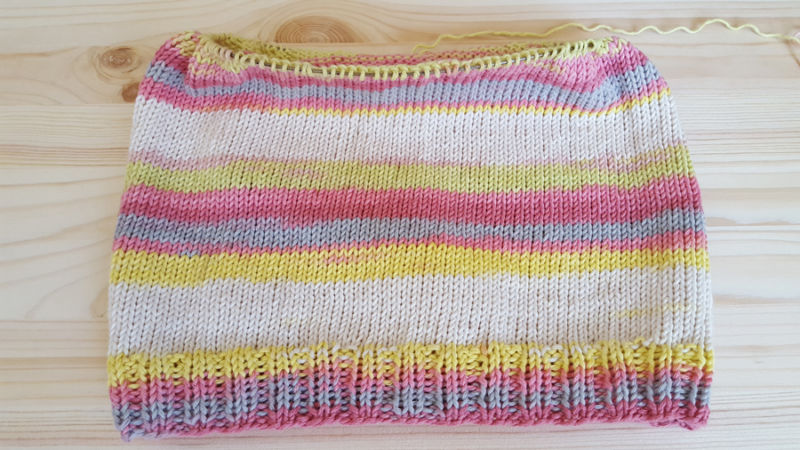
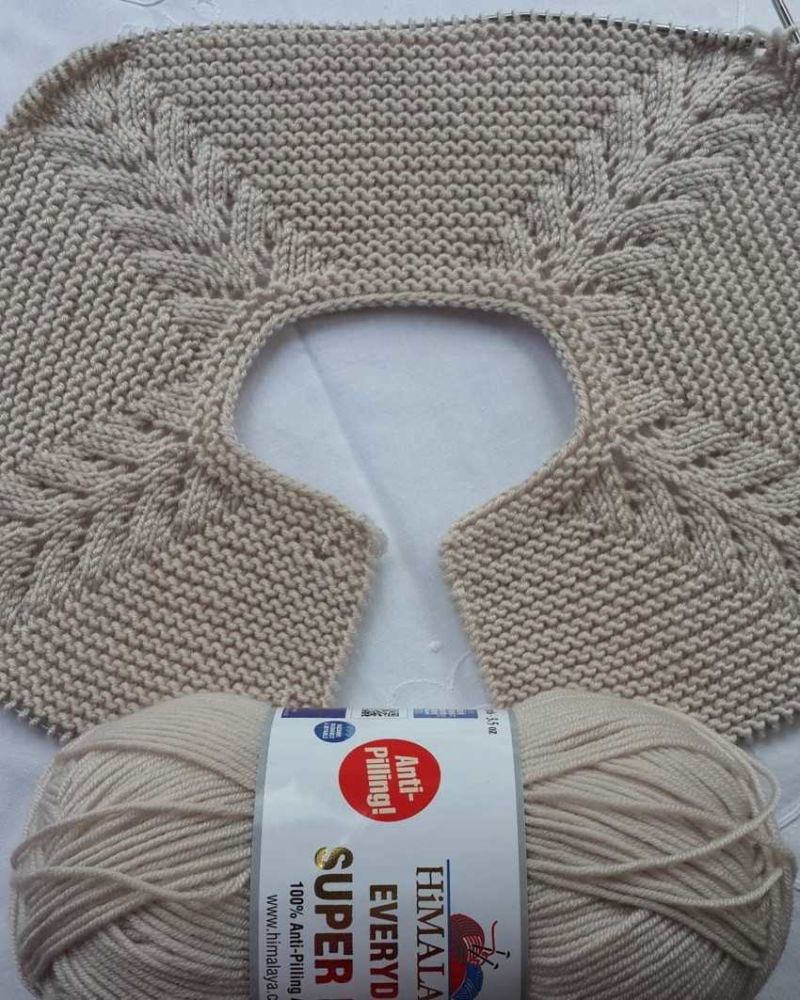
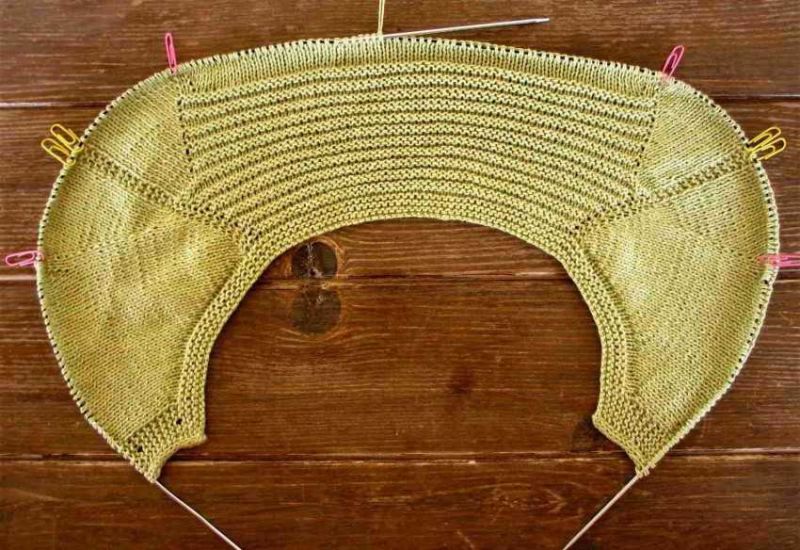
Knitting raglan from the top
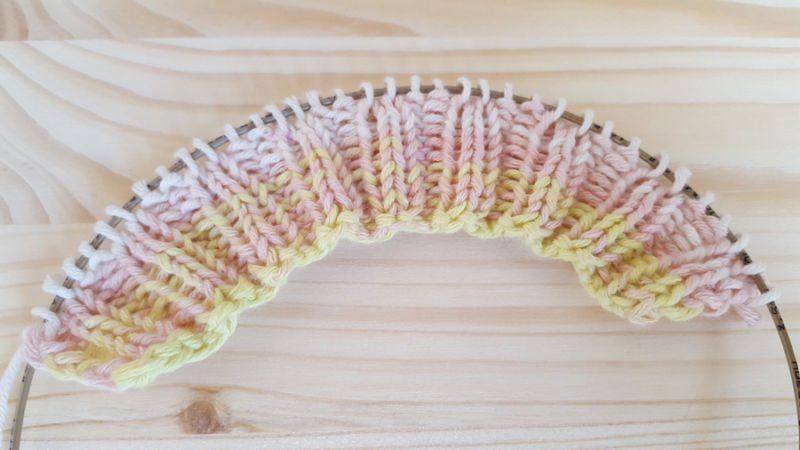
Consider knitting raglan from the top in the easiest way. Even a beginner can acquire the necessary skills and become a true professional:
- Dial the desired number of loops on the needles (in our example, 90 loops).
- Knit the first row in accordance with the selected pattern.
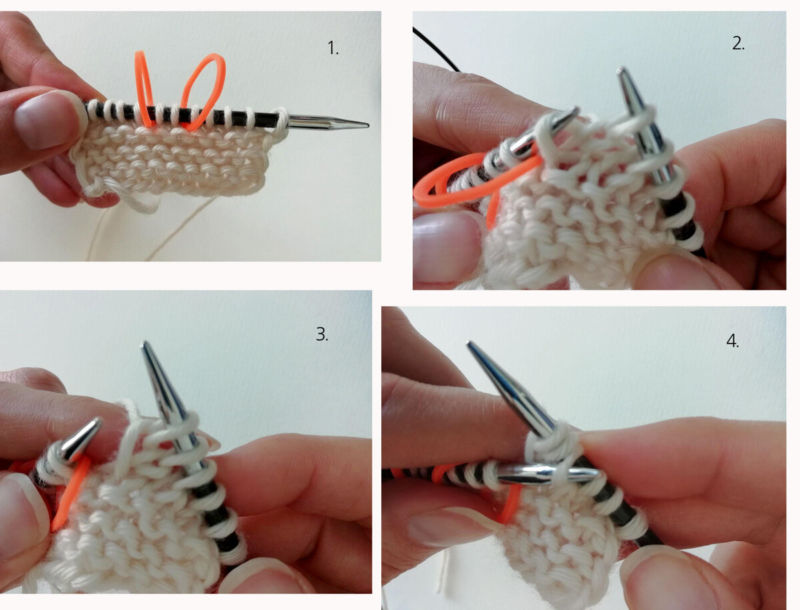
- Then proceed to form the raglan line and prepare the markers.
- Knit 30 stitches and put a marker that will be the back.
- Through the next 15 stitches mark the beginning of the sleeve.
- Then knit 30 stitches on the front and mark with a marker.
- We have the next 15 stitches left to mark for the sleeve.
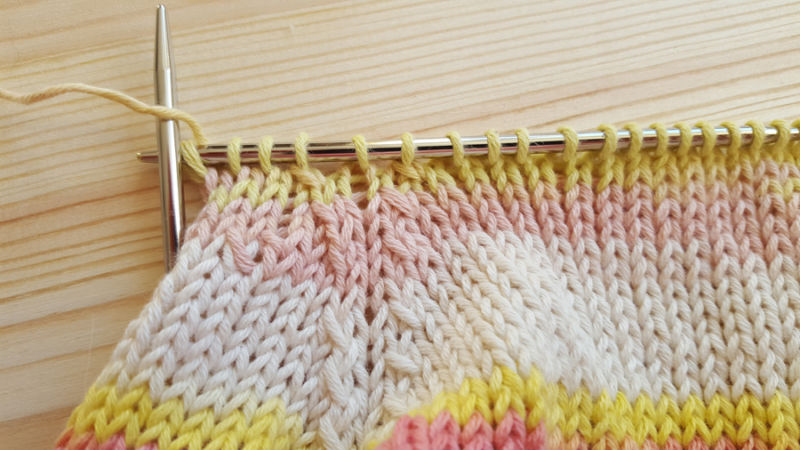
- Addition of loops begins with the second row. It is necessary to add 1 stitch next to each marker.
- The third and all odd rows are knit without additions.
- Addition of loops is done only in the even rows.
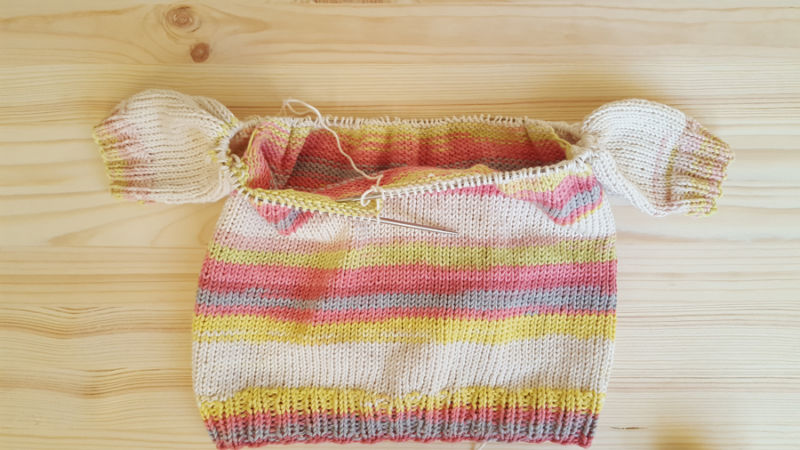
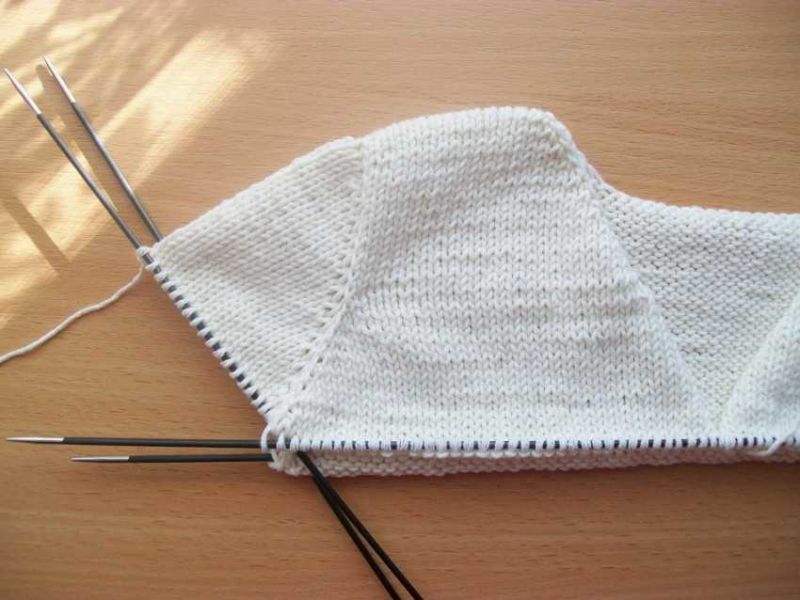
- When we get to the shoulder, you need to transfer the sleeve stitches to the extra spokes.
- In the armpit area you need to put more stitches on the spokes for free volume.
- Finish the work with a rubber band.
- Proceed with knitting the sleeve. At the elbow slightly reduce the sleeve and end with a rubber band.
- Knit the second sleeve.
Knit from the bottom up.
If you decide to knit a product with raglan sleeve from the bottom, in the beginning the work is no different from knitting an ordinary sweater or cardigan. It is necessary to knit all the parts to the beginning of the raglan lines.


The sleeves are also knit only up to the raglan lines. Transfer all the stitches of the 4 parts on circular needles. Then we begin to make the raglan lines by means of the reduction, that is, in the reverse order of the method described above.
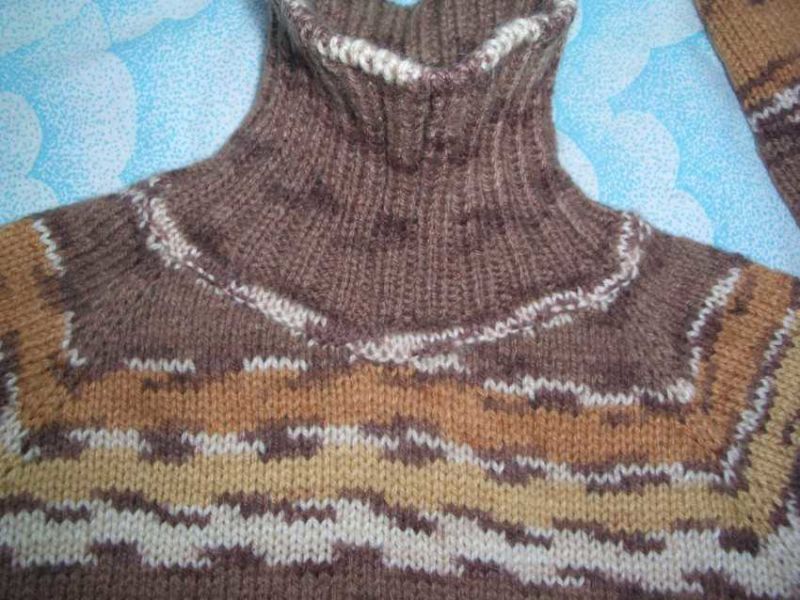
Knitting the neckline
Knitting the neckline depends on the style of the chosen product. The button-down model requires more loops than the turtleneck model.
However, the more loops, the larger the neckline will be. Therefore, it is necessary to make an accurate calculation of the loops.
How many loops to knit for the collar is up to you. If you want to knit a sweater, you need to crochet a larger section, and for an ordinary collar, 5 - 10 cm will be enough.
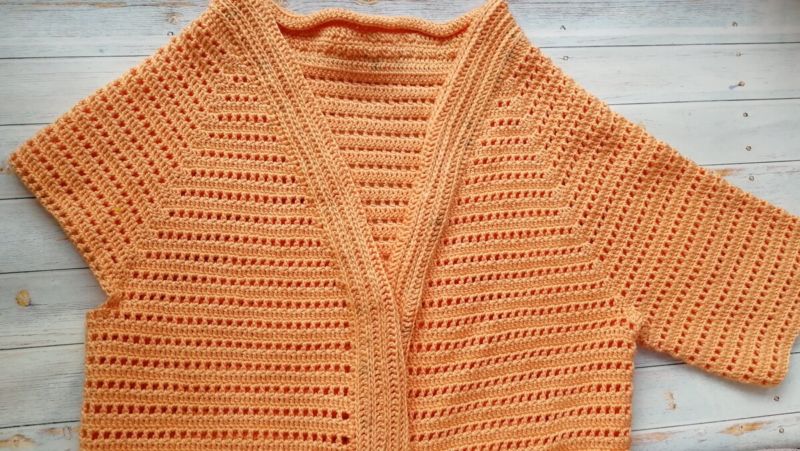
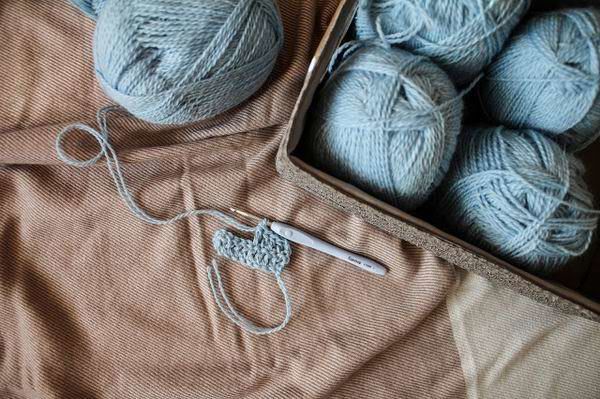
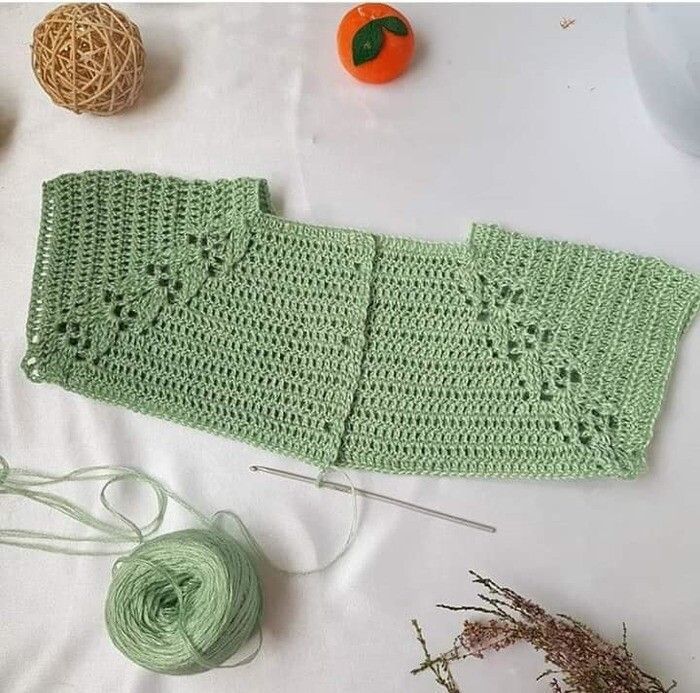
Crochet raglan
When working with a crochet raglan it is better to knit from the top. During the fitting, it becomes clear whether to continue the raglan line, or it is time to start knitting the main part and the sleeves.
Advice for beginners: choose the hook size according to the thickness of the yarn. If you knit tightly, you can take a hook one and a half sizes larger.
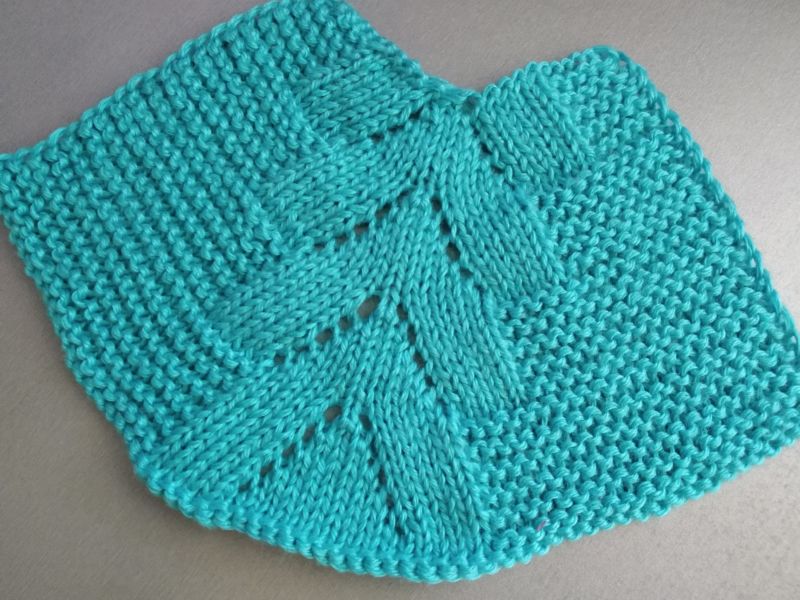
Crocheting with a satin stitch
To work with raglan, experts advise using not too thick yarn. Thus, the transitions will be more accurate and the product will take the desired shape.
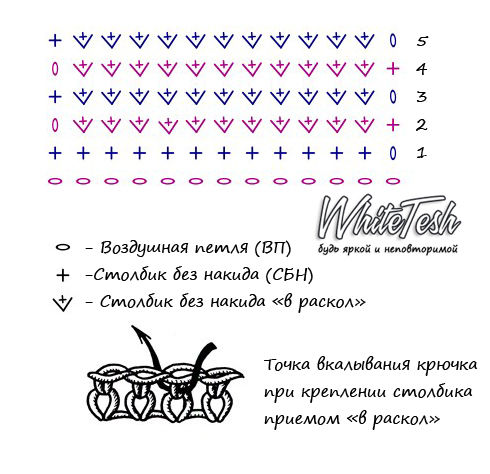
Crochet with front smooth crochet is easy to master for beginners knitters. The canvas is dense and does not stretch. It looks very similar to the product associated with knitting needles.

This method alternates the front and back rows. The front row is knit with connecting columns on the far side of the stitch. The back row is stitched with join stitches on the nearest stitch.
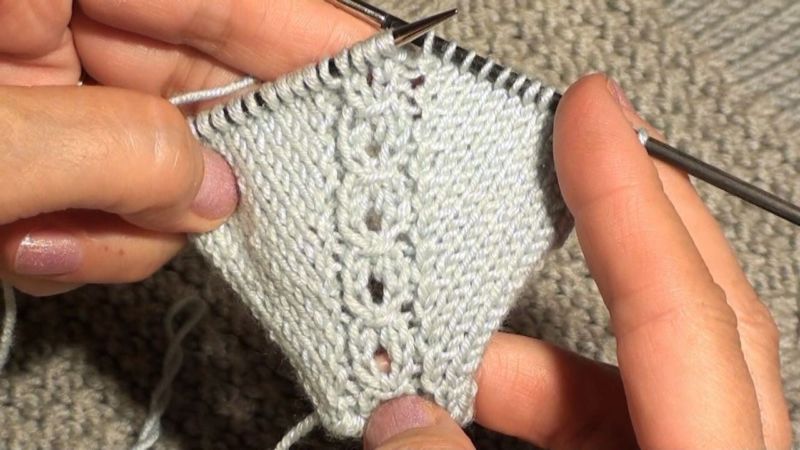
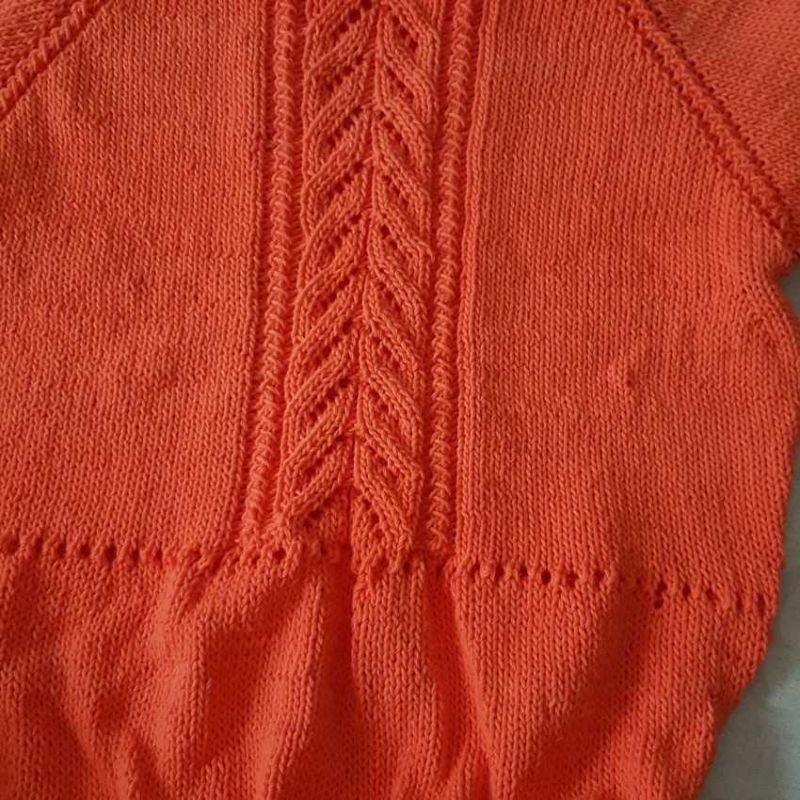
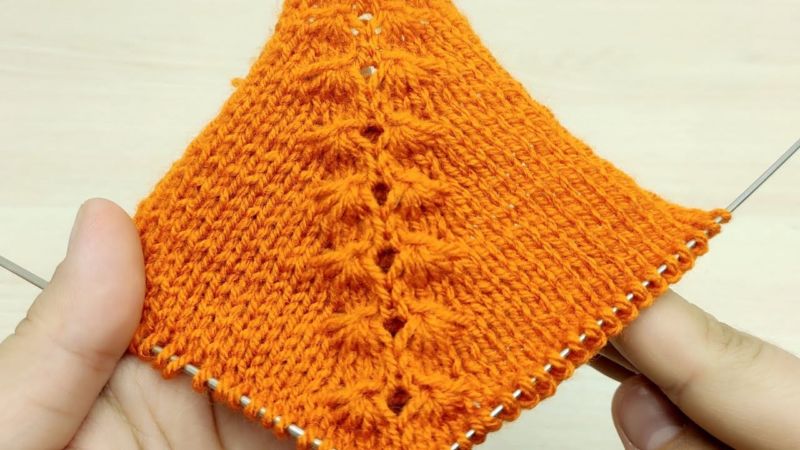
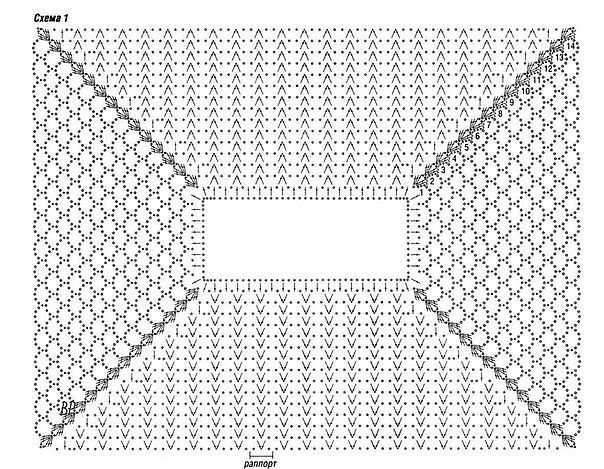
Knitting in the pattern
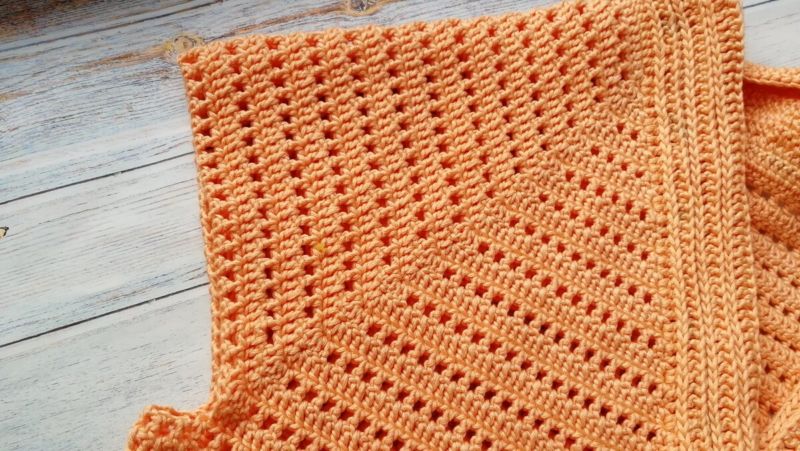
For crochet openwork you can choose any beautiful pattern. When working, you need to follow the scheme. Start with the basque, gradually adding loops along the raglan lines.
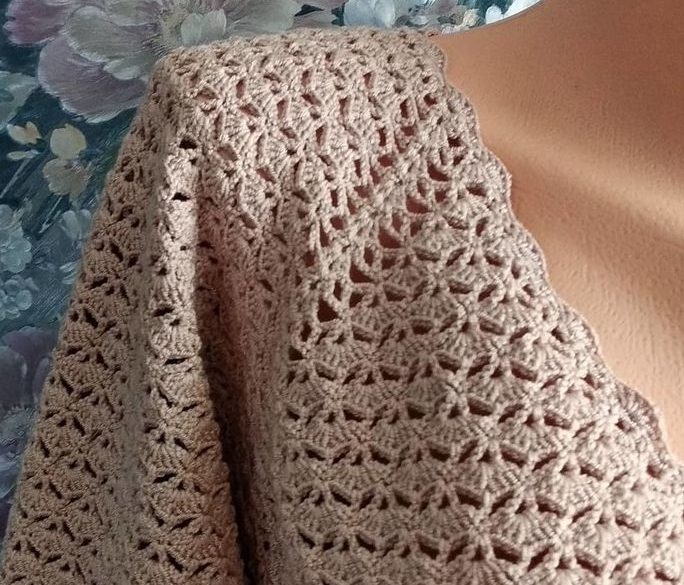
Then continue until you have enough loops to knit the back and front. Leave the arm holes, and knit the piece to the end. The sleeves are knit directly around the armhole opening.
It is very important to follow the measurements. A size mismatch will cause the garment to be too small or too big:
- In the first row, enlarge the basque by 8 loops near the raglan line markers.
- Subsequently, expand the basque by 4 stitches per row. Stitches are added only for back and front details, the number of sleeve loops remains the same.
Reglan style is a popular choice for sewing clothes. It can often be found in sportswear.
Of course, the work can give a novice master a little trouble. But still do not be intimidated by such needlework. Even with a little experience, you will quickly master this knitting technique and be rewarded with a truly professional skill.
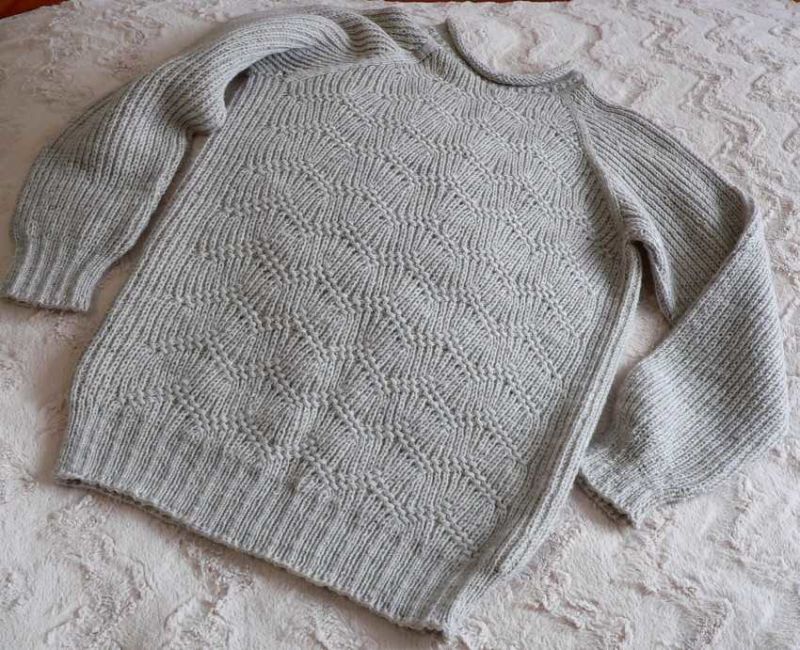
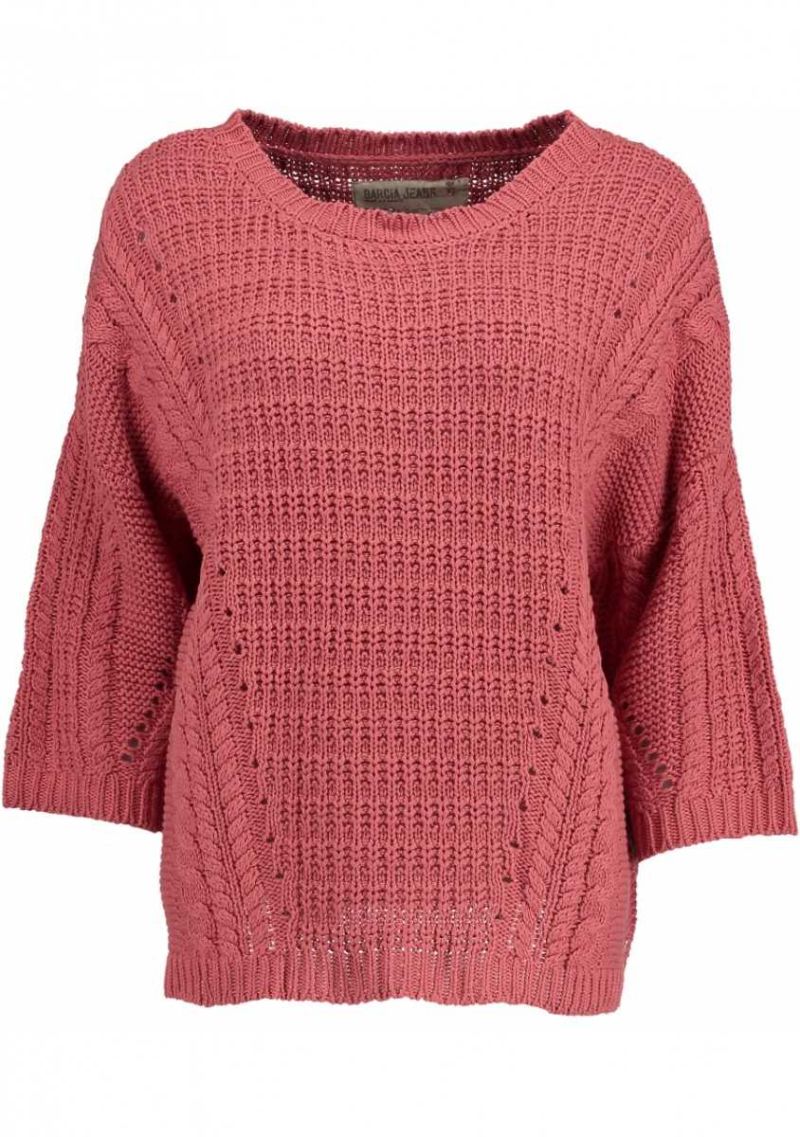
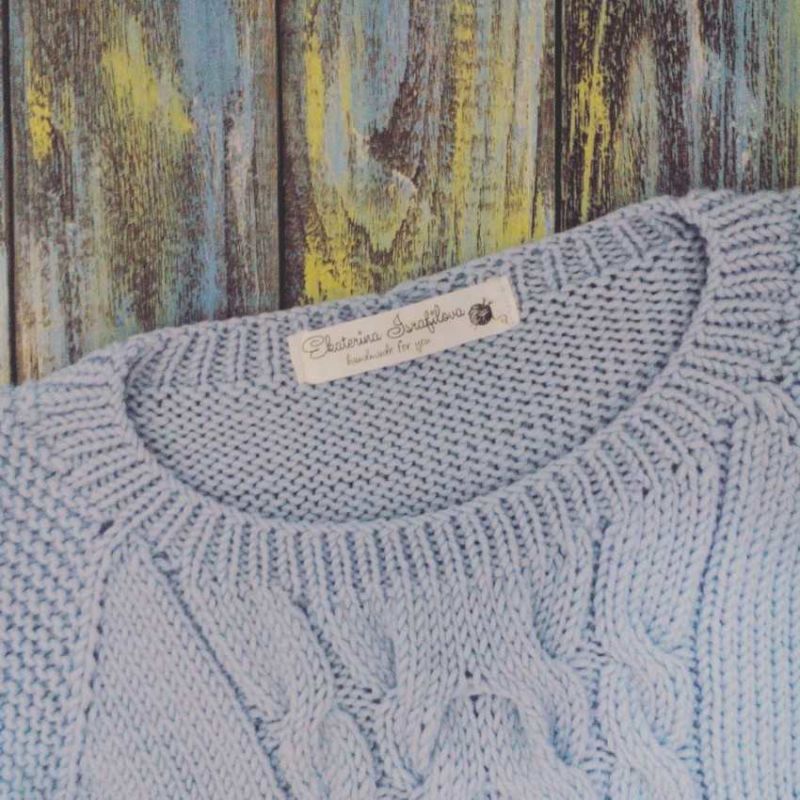
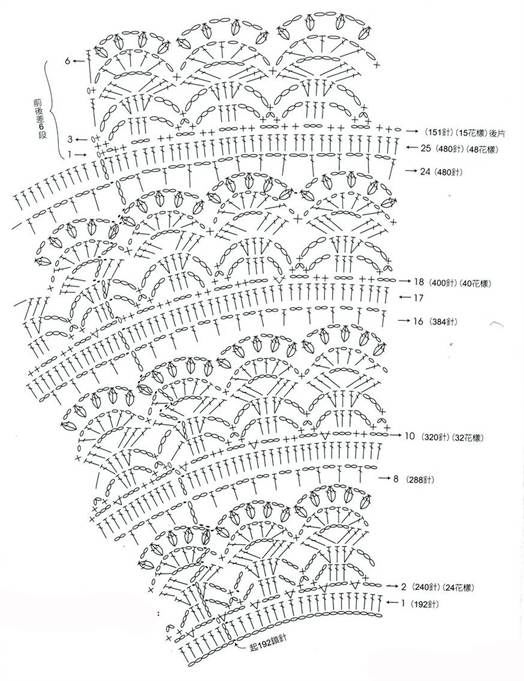
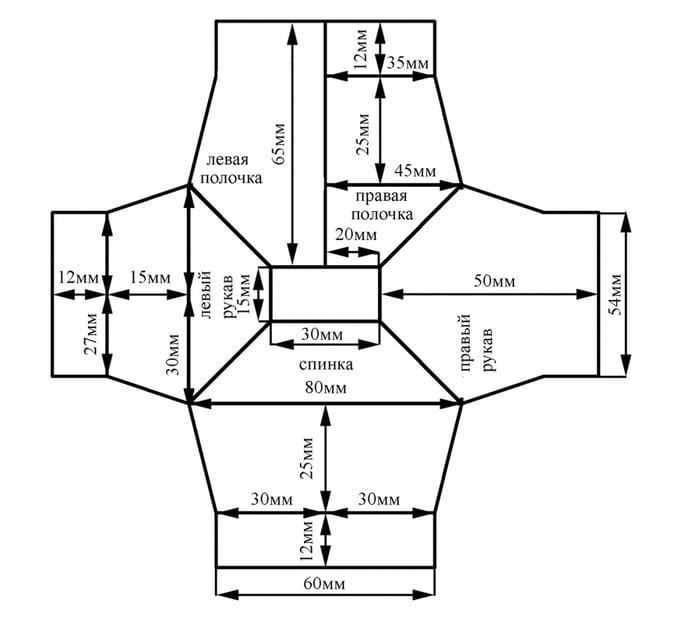
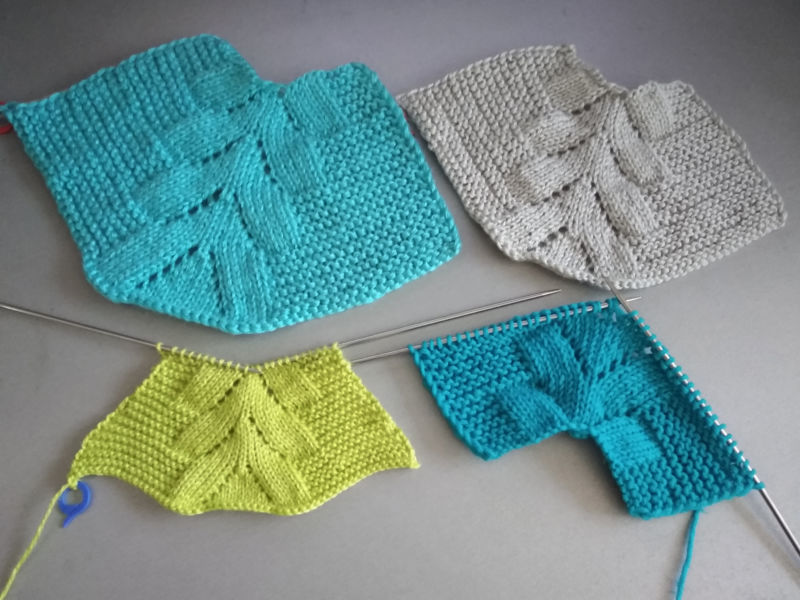
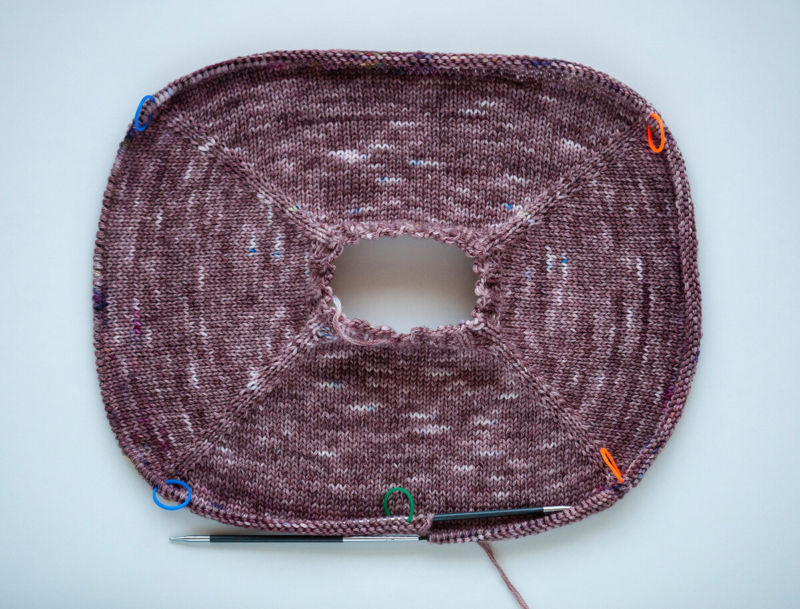
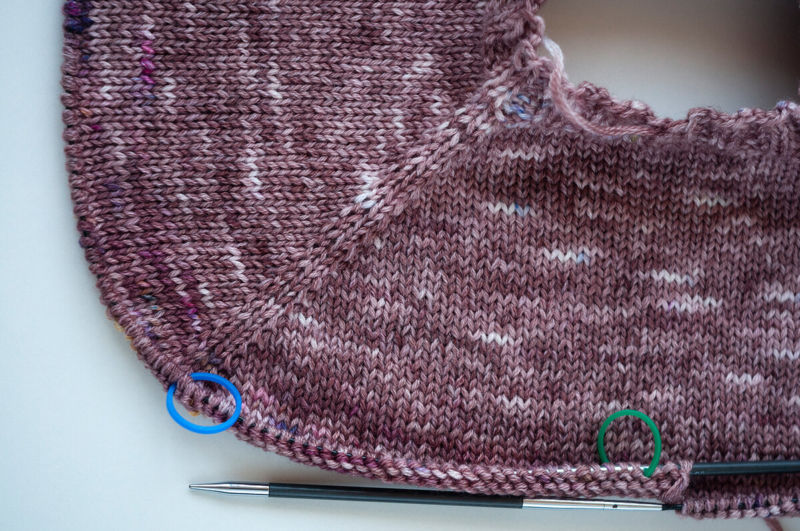
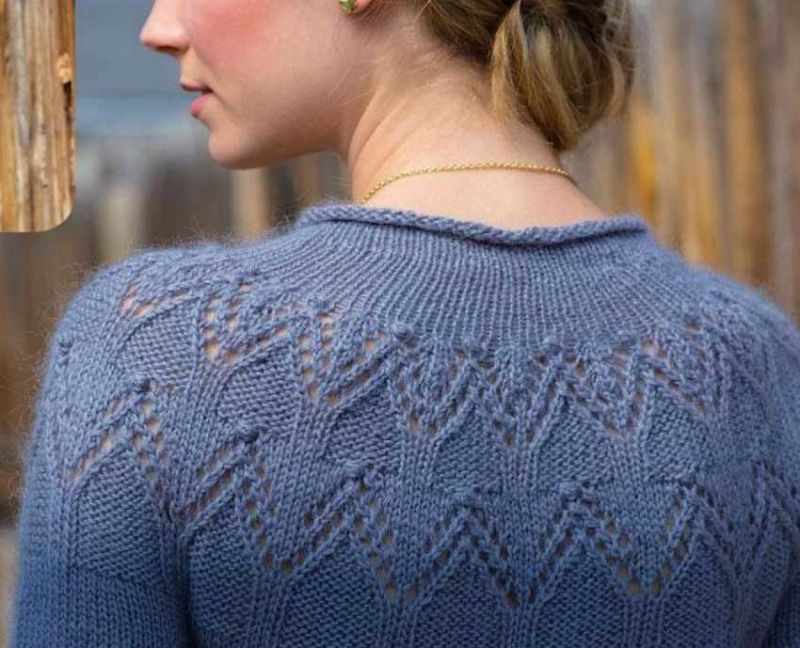
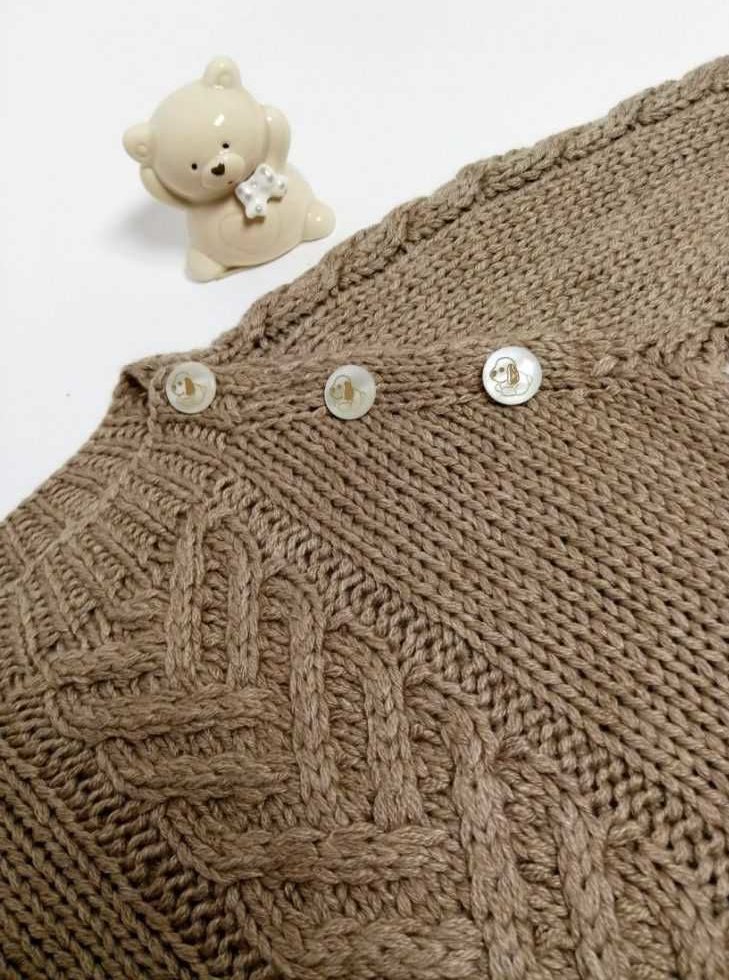
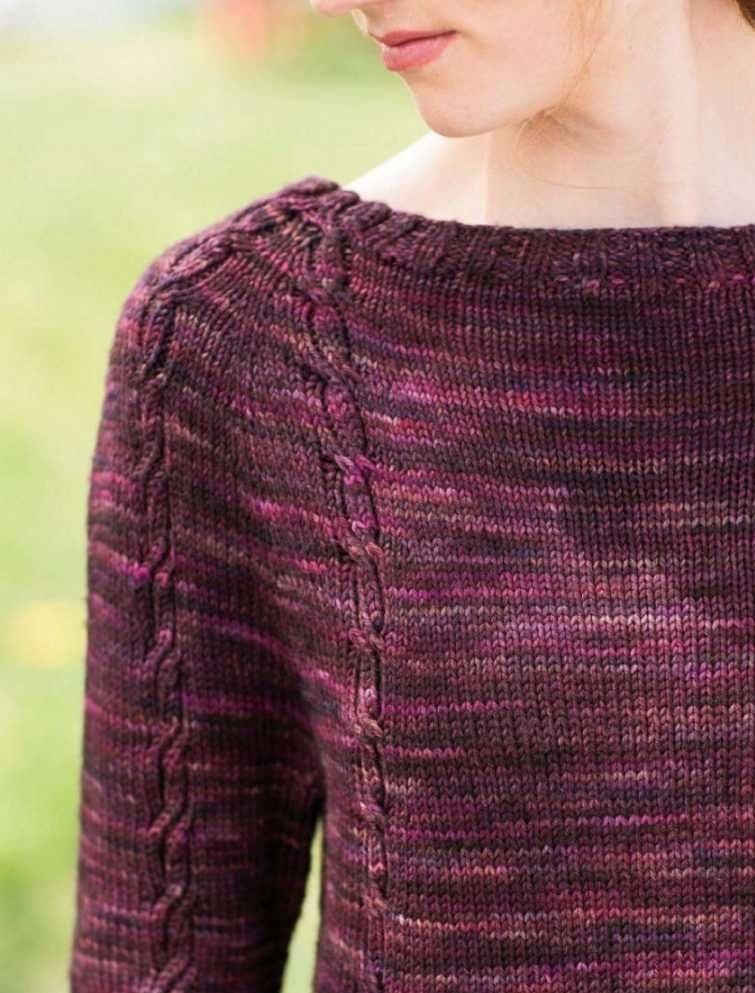
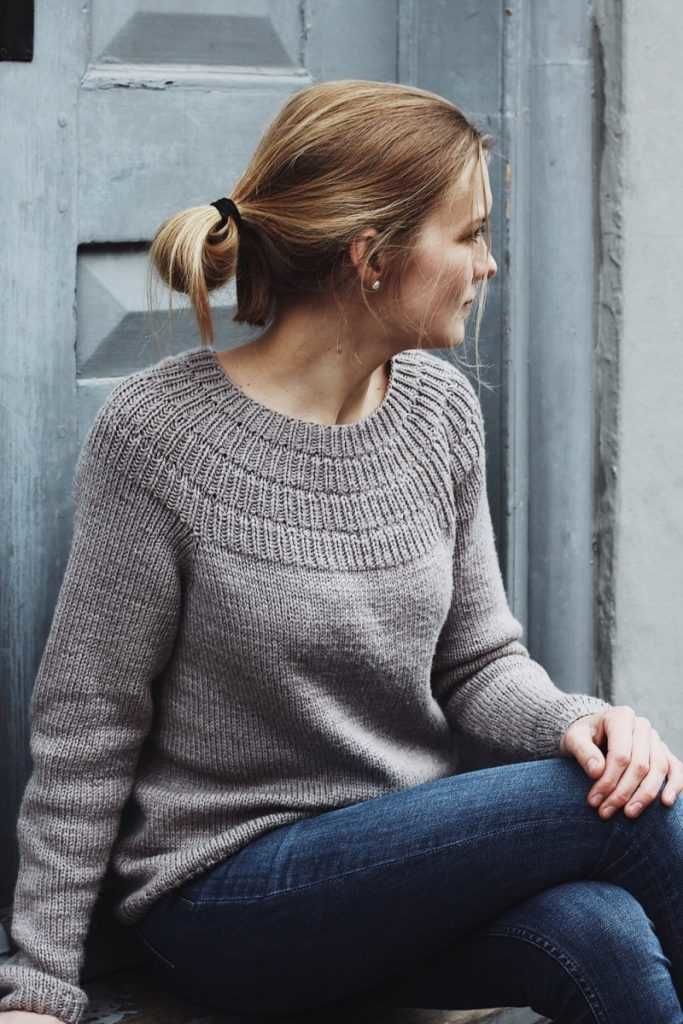
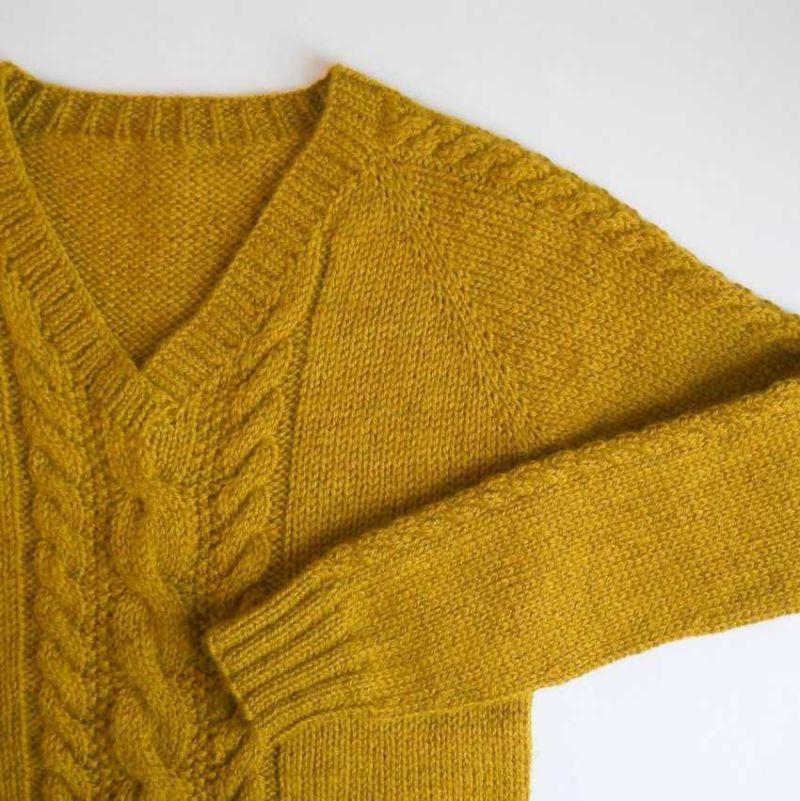
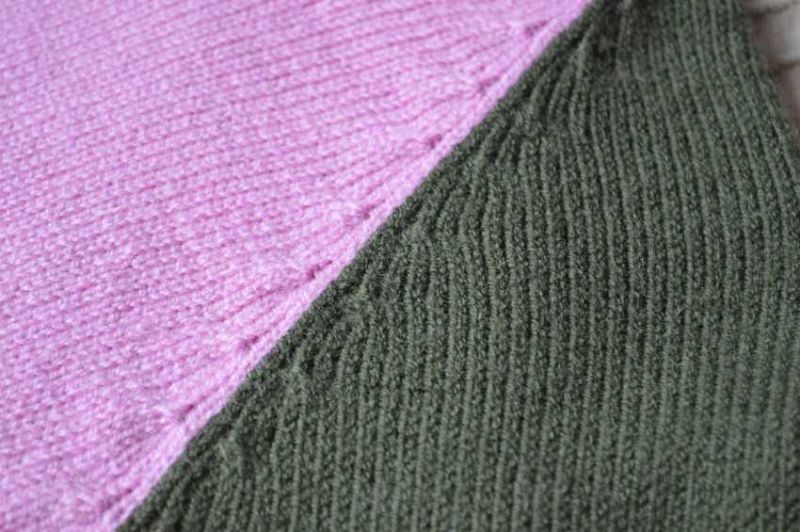
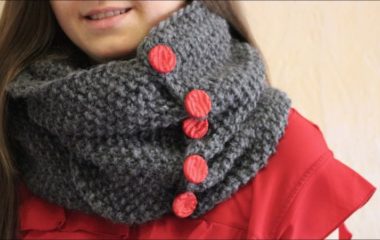
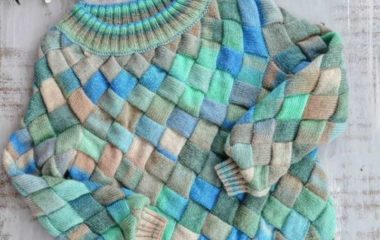
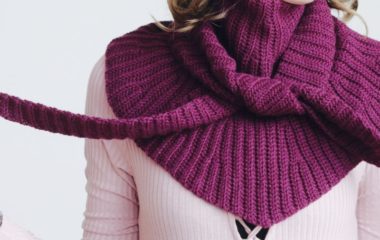
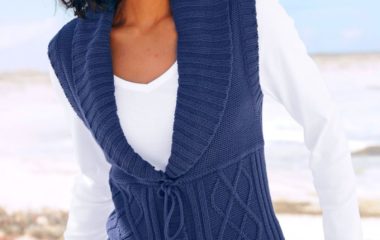
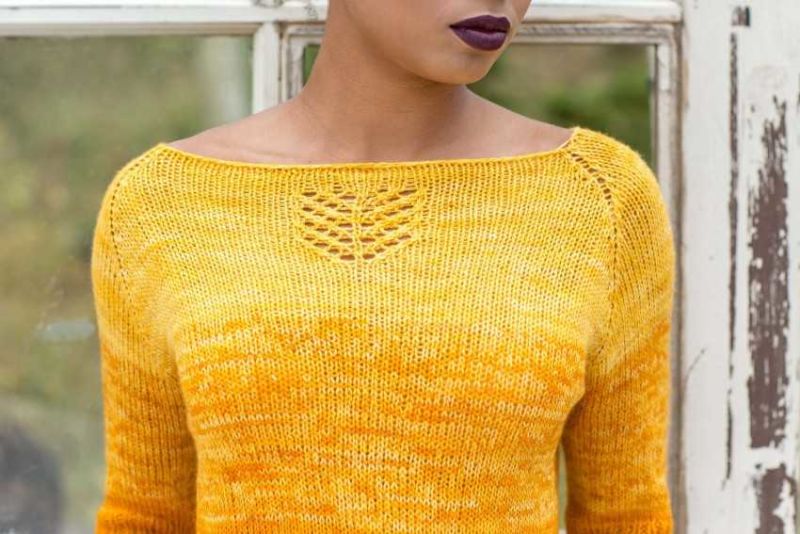
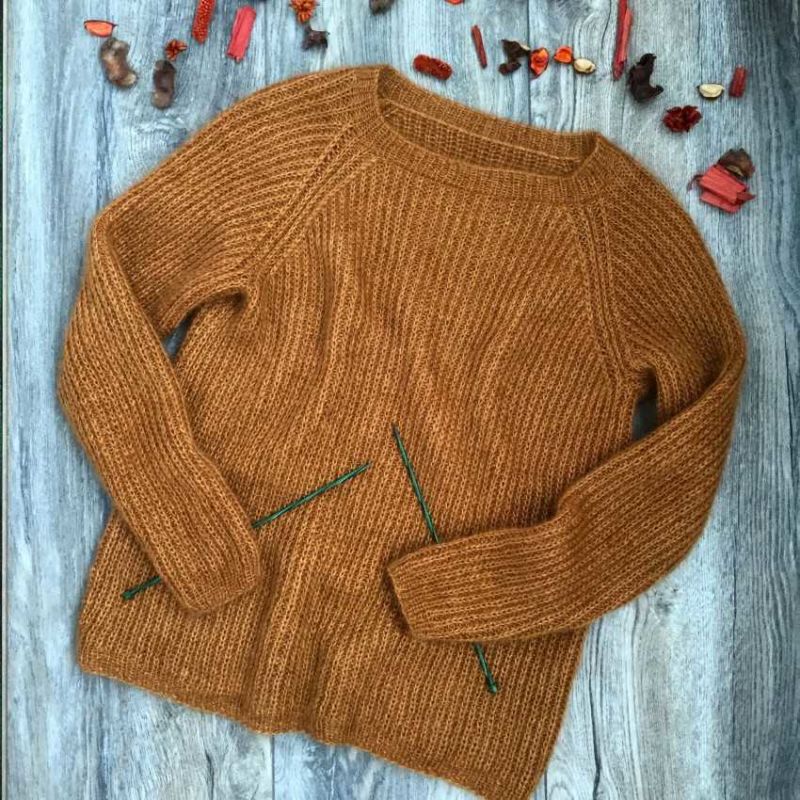
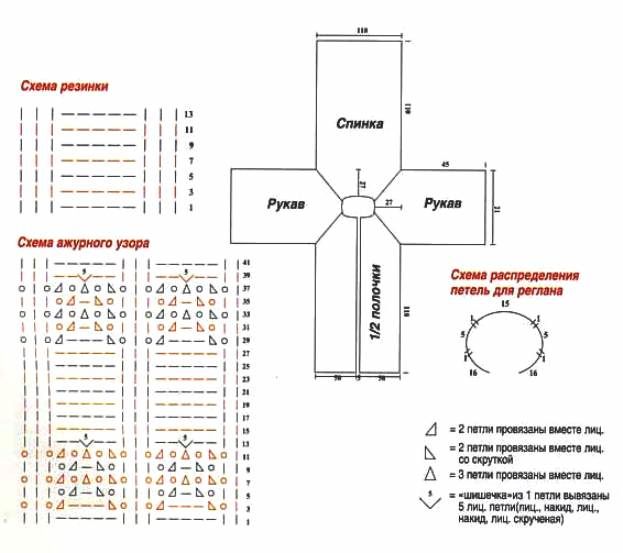
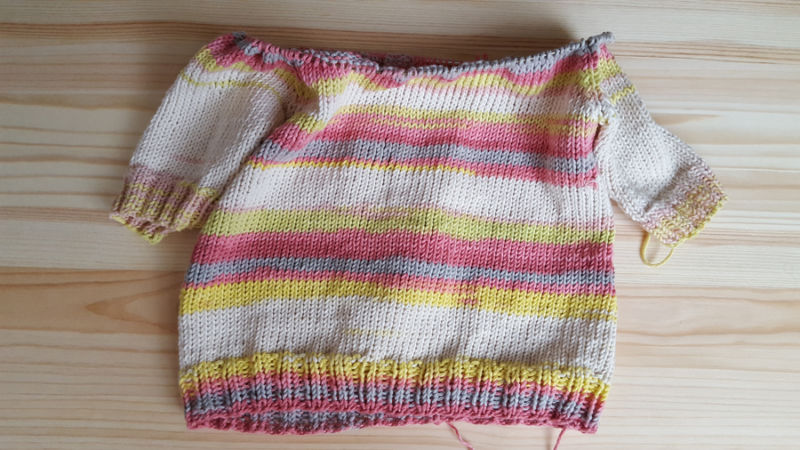
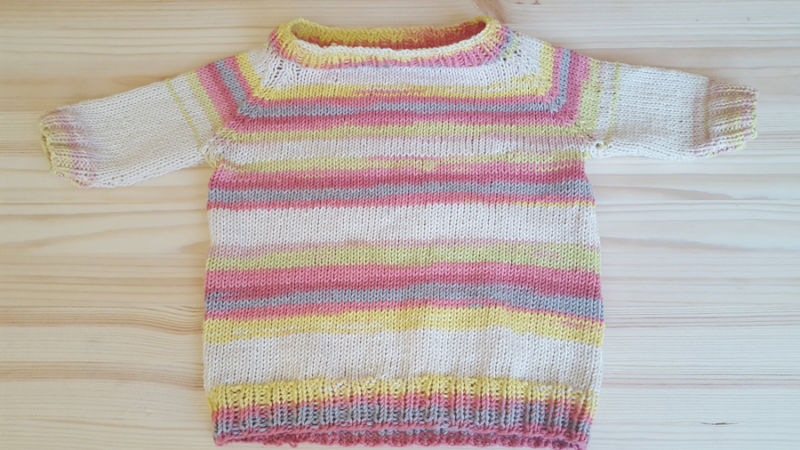
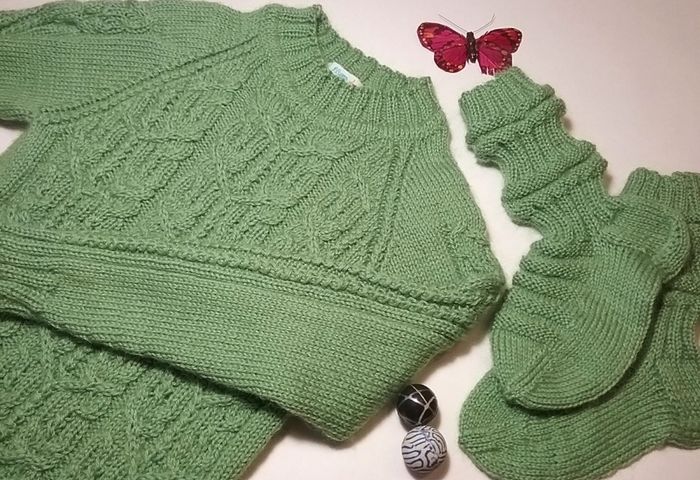
Pictures of patterns and diagrams of knitted raglans