How to sew tackle with his own hands - easy schemes and features patterns for beginners
In today's beautiful kitchen, everything should be perfect, clean and neat, starting with the interior and ending with such a little thing as gloves for hot utensils. Only they wash very poorly, and therefore there should be enough of them in the house to easily replace them.
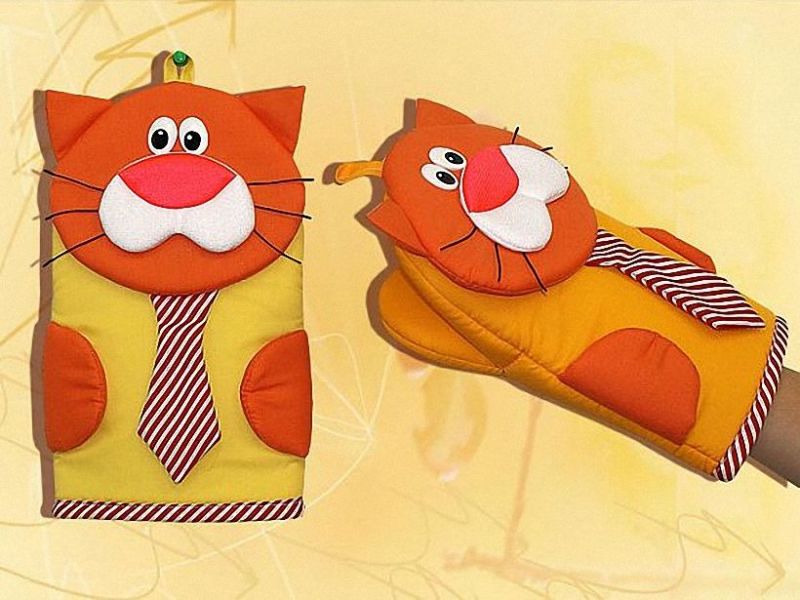
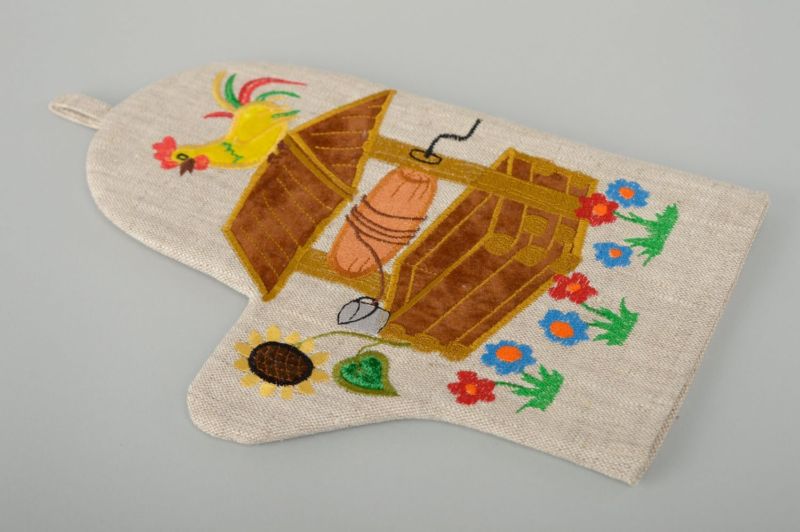
To sew a cute thing is not very difficult. In addition, unique mittens, personally made - a great gift.
Patterns and schemes of production
The main task - to think up and implement the design of the future handicraft. For this purpose, not only beautiful remnants of textiles, but also a variety of shapes - circles, hearts, squares, mittens, pumpkins, butterflies - will do.

The size of the product varies depending on the functionality, so it is preferable to make a solid set for all occasions: a few circles or squares, mittens, decorative cute things that lift your spirits.
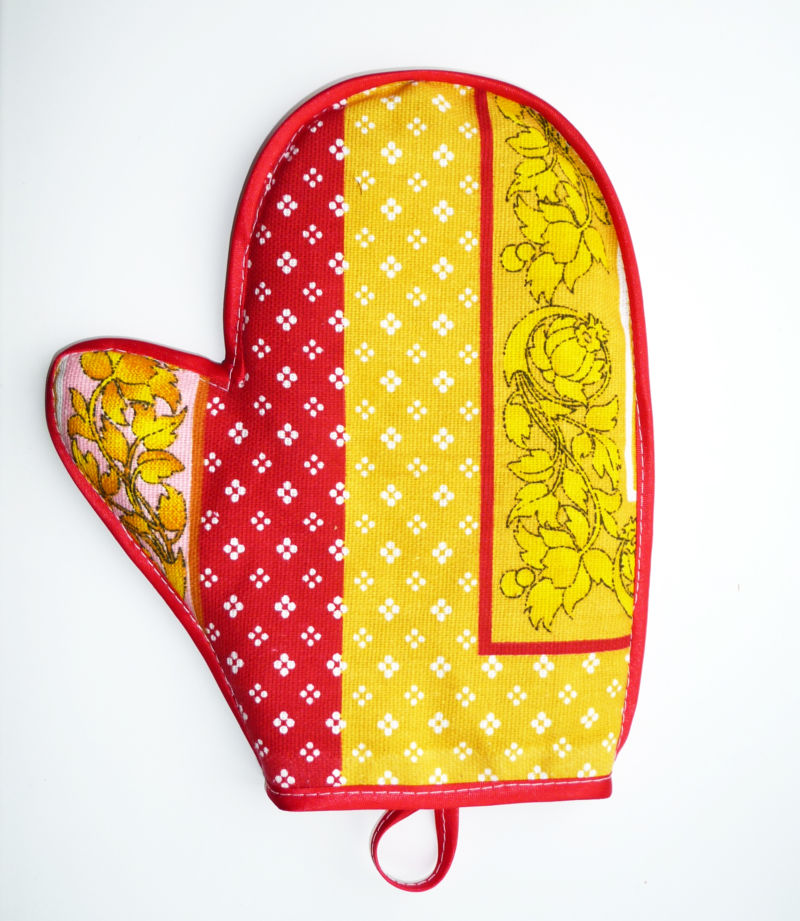
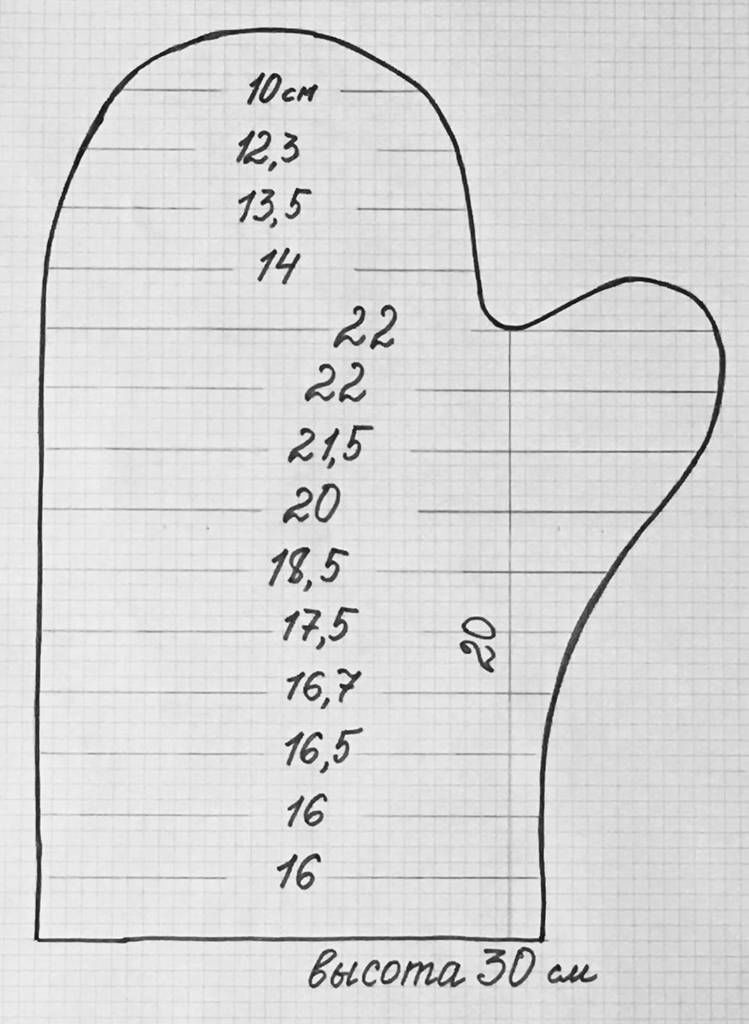
To sew a mitten, prepare in advance a pattern of the right size, so that after the end of the work the hand freely falls inside. For square, round crafts suit pieces of fabric size 20x20 cm (or other at will and taste). You need a strip of fabric for the loop - 8x12 cm.
It is important in the manufacture of gloves to choose the textile and insulator unmistakably, in order to protect your hands from burns. The right solution is to use natural materials - linen, poplin, chintz, soft flannel.
As an internal insulator you can use sintepon, batting or an old terry cloth. When sewing a textile item, you need to leave 6-10 mm for the seam.

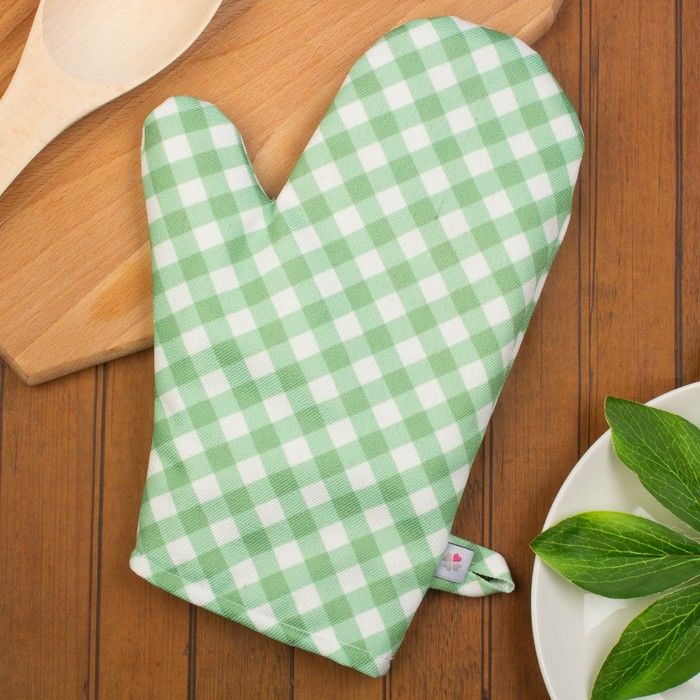
How to sew gloves from fabric
Proceeding to the creative process of making a kitchen accessory, remember a few rules:
- Choose a fabric that is easy to stitch, but does not crumble.
- Do not use flammable synthetic materials. Hot objects can set things on fire if they get on an electric or gas stove if handled carelessly.
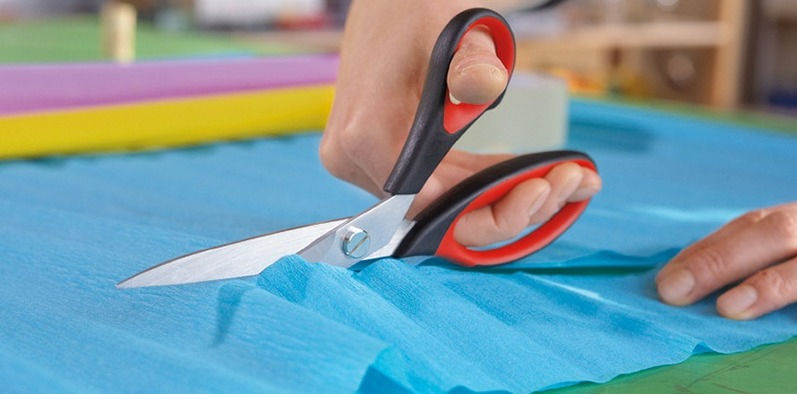
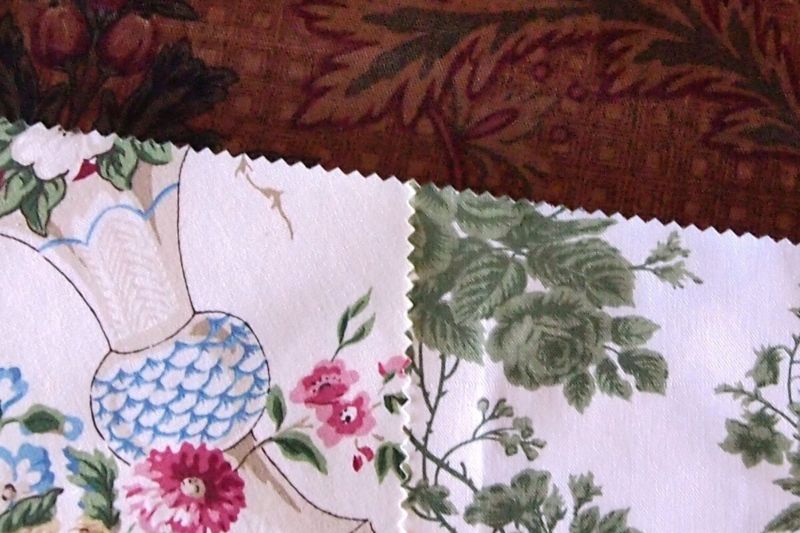
- When starting to cut, wash and iron the scraps. This should be done to prevent a lot of shrinkage of the finished product, as well as to check the strength of the dyeing. If the fabric is shedding, it is better not to use it.
- Use adhesive fleece for bonding the layers together.
- Make a loop for convenient storage of the oven mitts.

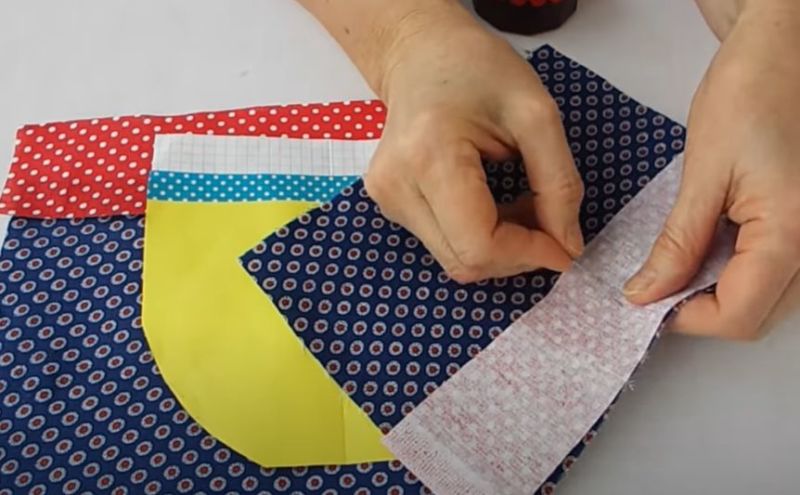
The process of making the craft begins with cutting out two pieces each from a beautiful soft cloth. Then two fleece and sintepon layers made in the same pattern. Then we form a kind of layered "sandwich":
- heat insulator - sintepon or batting;
- fleece;
- two front layers facing each other;
- fleece.


You can do without glue material. Sew the resulting set of three sides, turn it out onto the front side, insert the loop and sew up the remaining part.

You can combine the handicraft in such a way that the details are only on the outside, and the batting is inside. Then you need to trim the thing with a bias binding.
It will look very beautiful if you quilt the tack.
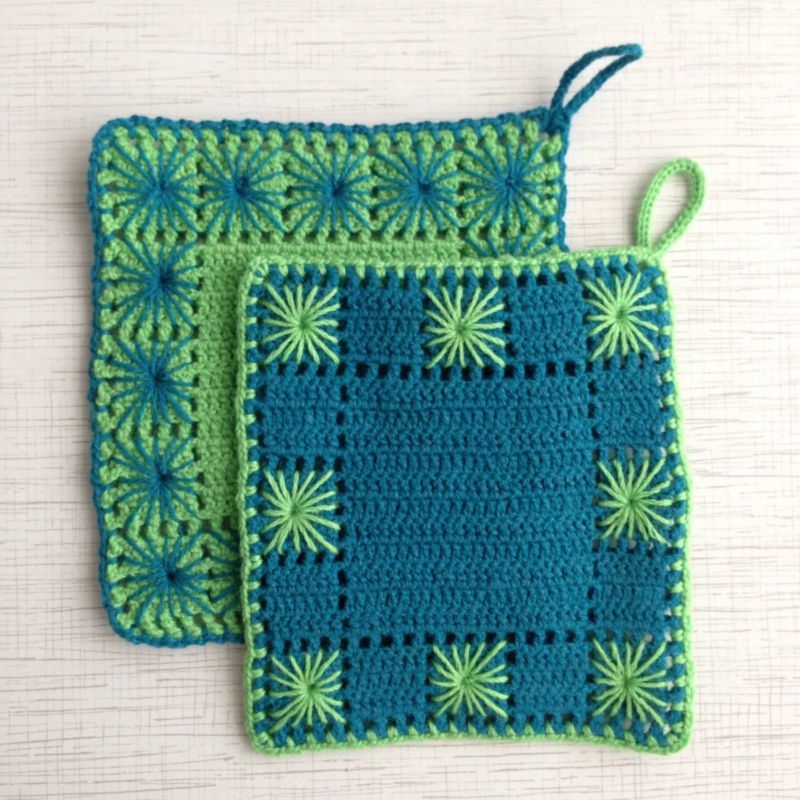
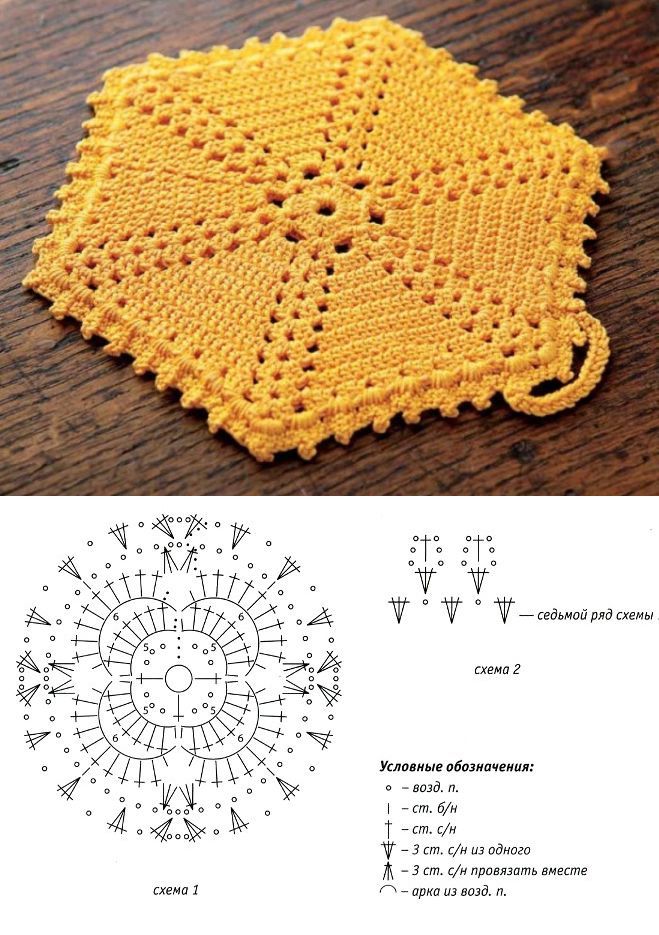
Knitted gloves
Cute things connected by crochet turn out very original. Even the simplest weaving can make a lasting impression. However, you should avoid bulky schemes, because it would be inconvenient to use such devices.

The process of creating attractive accessories will not take much time. For the simplest versions, two hours are enough.
It is not bad to attach the knitted part to the lining, and put a seal inside. Otherwise, such devices serve only as an interior decoration.

Consider the most affordable options:
- modest square - it is enough to make a chain of the required length and on it increase the rows, alternating colors of yarn. Next, tie the resulting quadrilateral with a shaped row;
- Mottled ring - gather a pigtail of 5-7 links, loop it and continue to weave, changing yarns;
- Watermelon slices - we knit a circle, changing the threads on the crust, and then we roll the fabric in half, edging along the edge, and embroidering black grains.

Also for this needlework is great with needles.

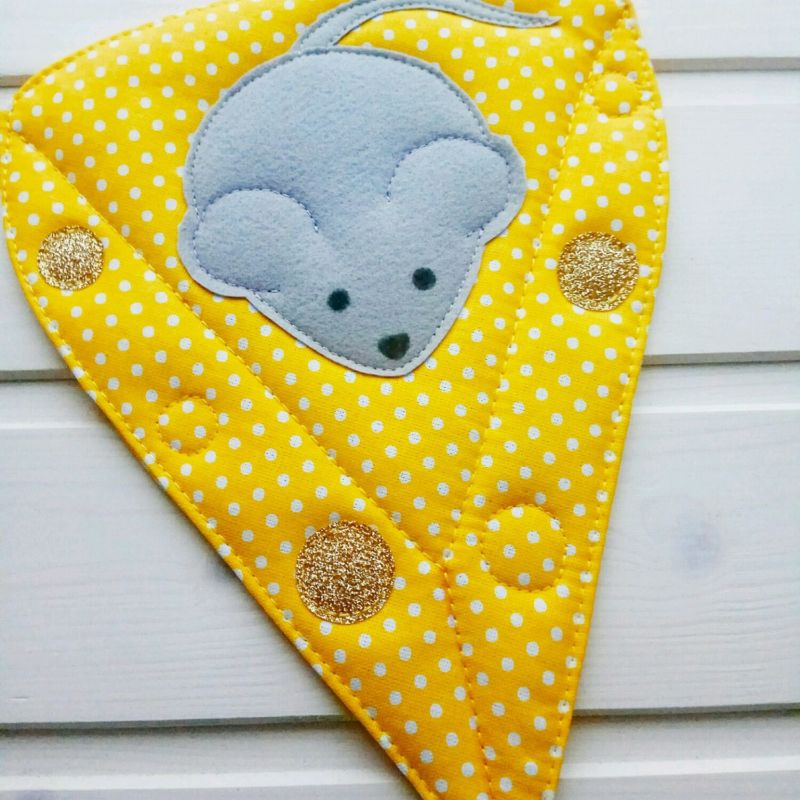
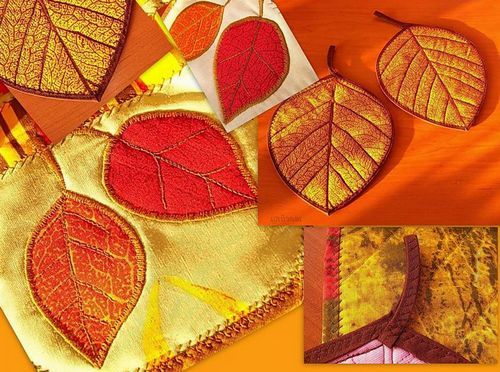
Made of felt
The uniqueness of the material is that it does not crumble. By easily cutting out the basic shape, you can make any appliqué without edge treatment. Compressed wool holds its shape very well. Bright yarn is suitable as decorative stitching, you can apply beads, braid.

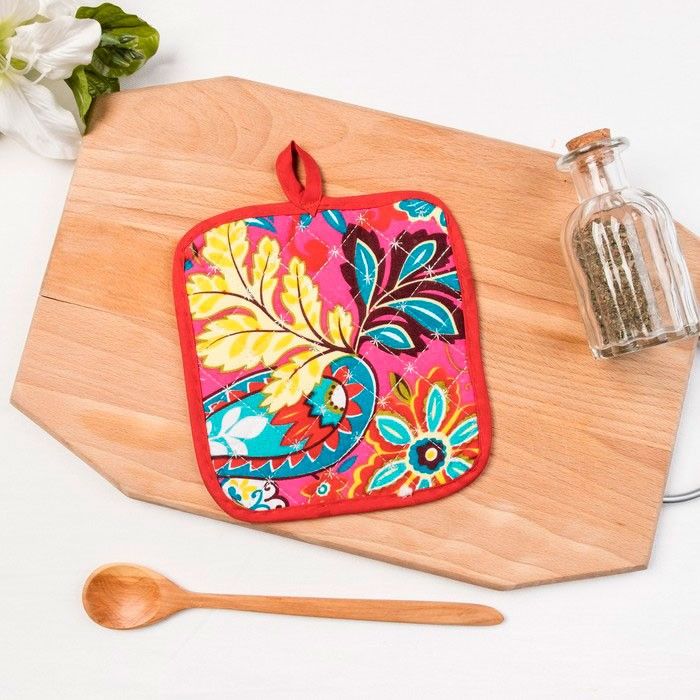
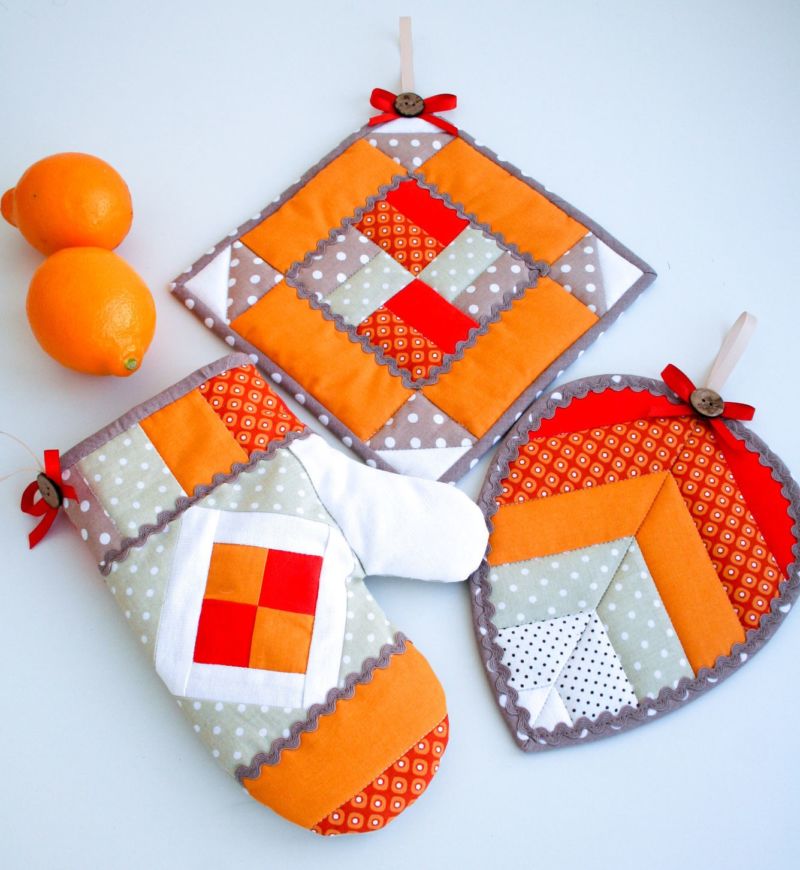
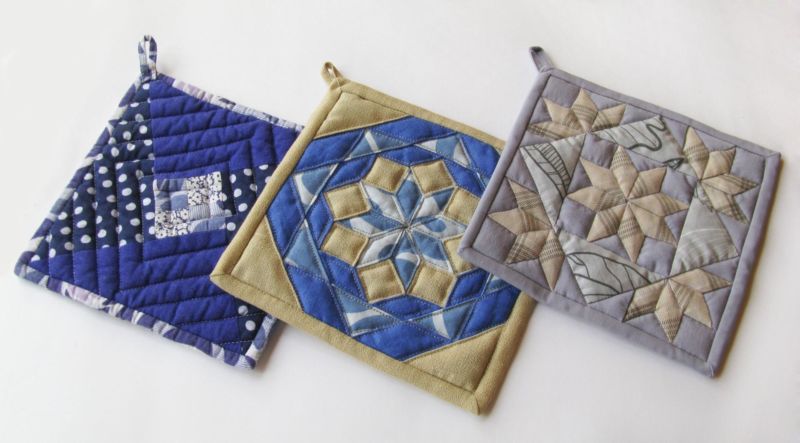
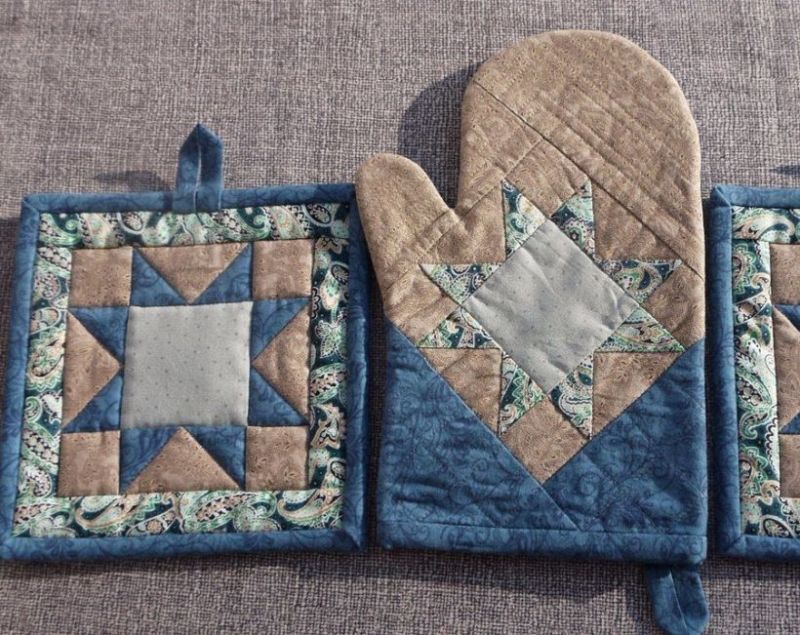
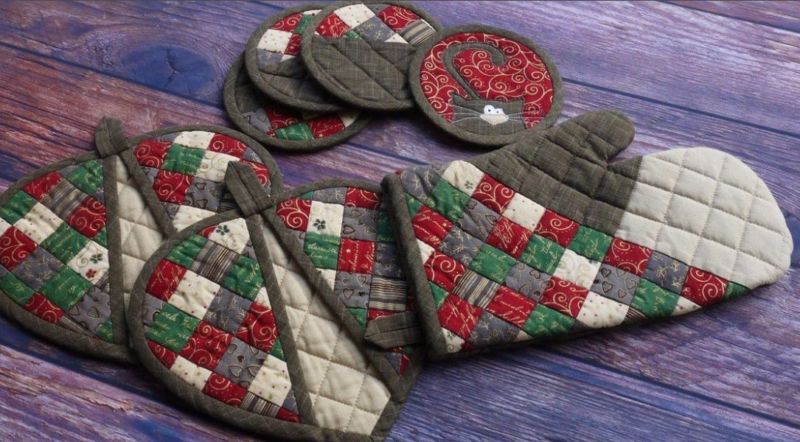
The technique of patchwork
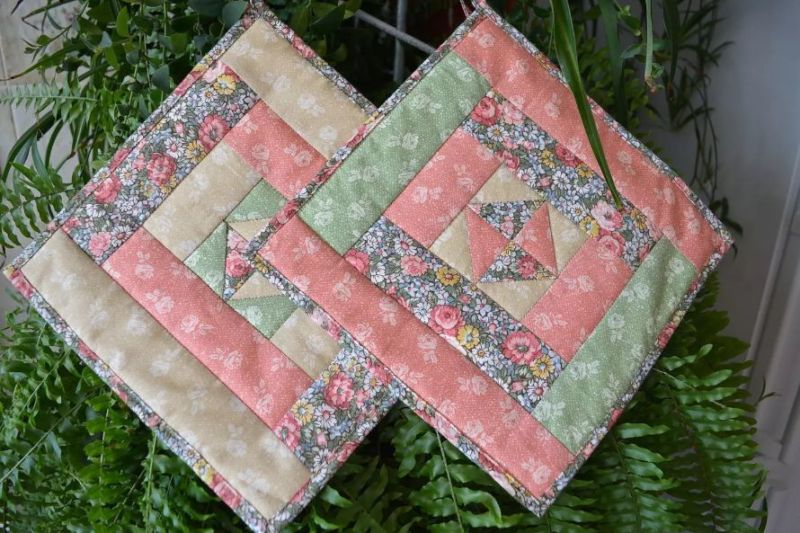
In this case, you need to have solid patience and great practice. But the product comes out amazing! Look glamorous gloves, but taking up sewing, learn the techniques of fastening patches:
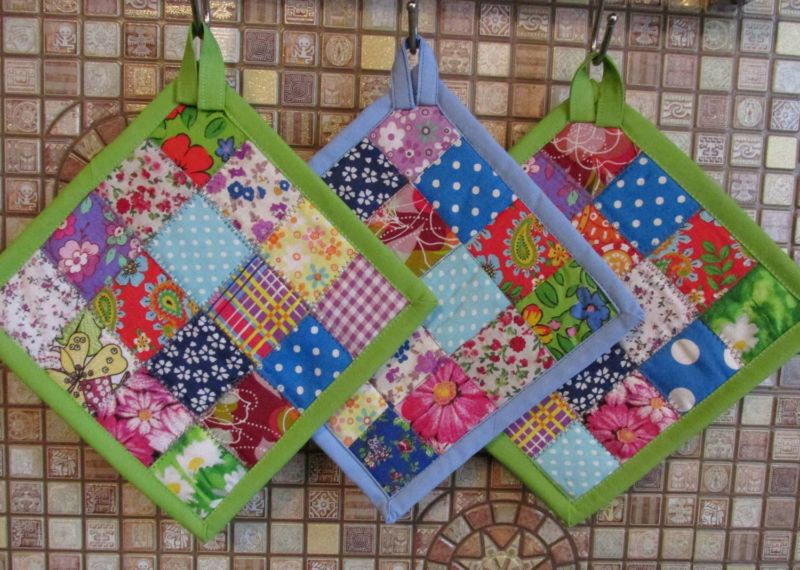
- type blocks - you have to cut the squares and overlock them;
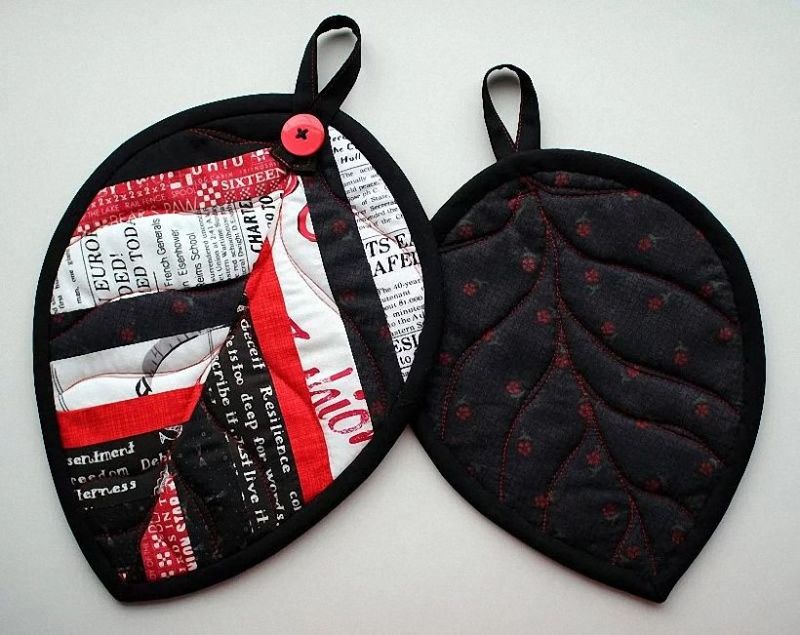
- sewing on a pattern - the pieces are cut on the blanks. These can be leaves, hearts, geometric shapes;
- To cut the parts into crafts, it is desirable to cut along the grain of the thread to avoid deformation of the finished version;
- sew on the basis - here the pieces are simply attached to the prepared substrate.
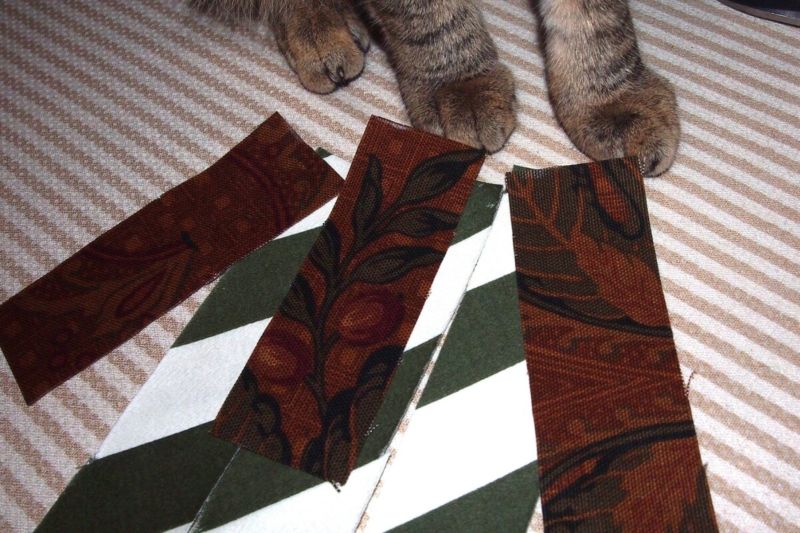
To make a simple product, take three matching colors of fabric and the necessary sewing kit. Prepare fabric squares 10x10 cm, cut them into triangles and lay them out according to the plan. All elements stitch - you get one piece.
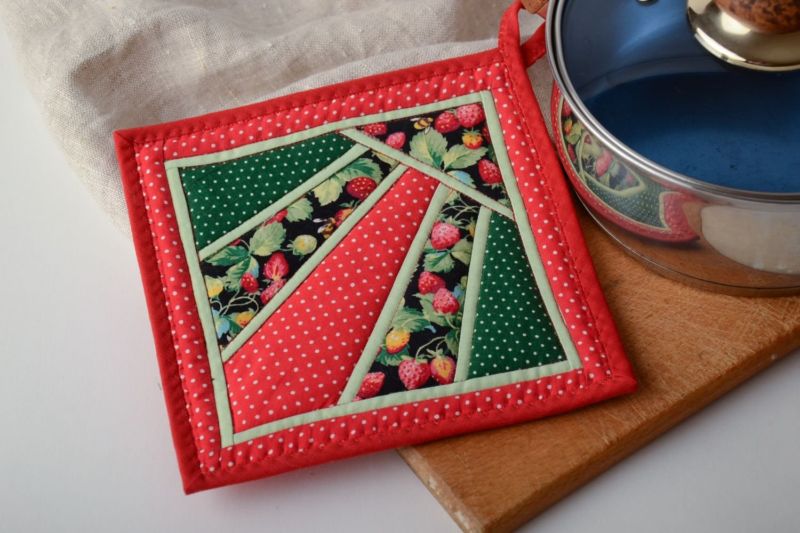
Similarly, we do the next half. Between them we put batting or padding. Finishing edging process the edges, attaching a loop.


From jeans
A very non-trivial variant. The process of creation is so simple that even an apprentice can cope with the task.

The natural fabric in two layers is quite dense, so it does not pass high temperatures.

We take old jeans, cut chic pockets with allowances for processing. Put some adhesive fleece between them and stitch them together.

You can make a cute tack out of old pants or skirt without a sewing machine. Cut out 3-4 squares, pull out the threads on the edges, forming a soft fringe. Stitch the pieces with any bright decorative stitch.
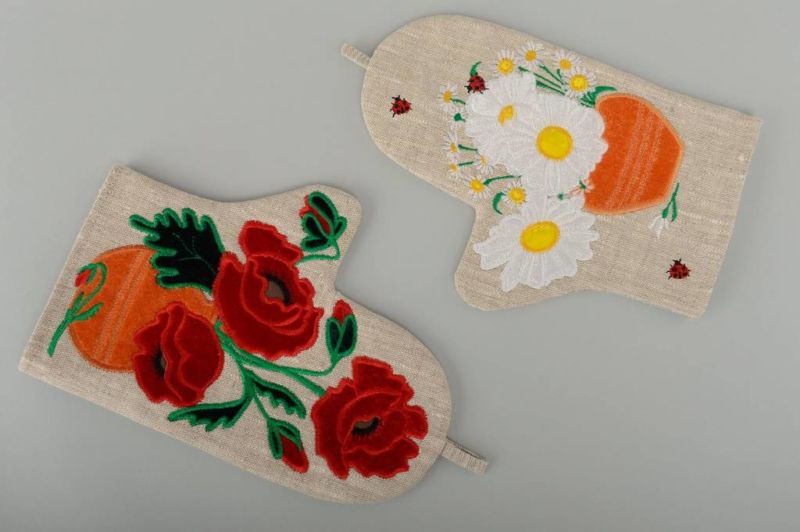
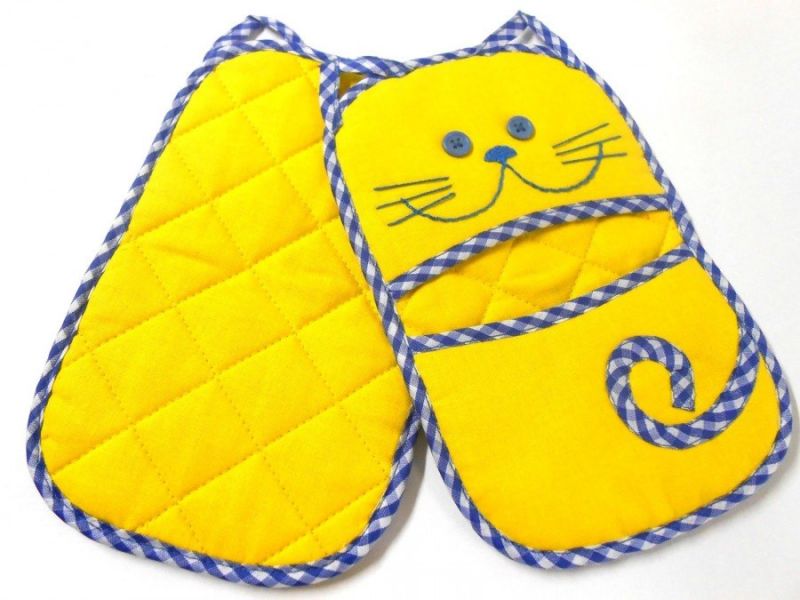
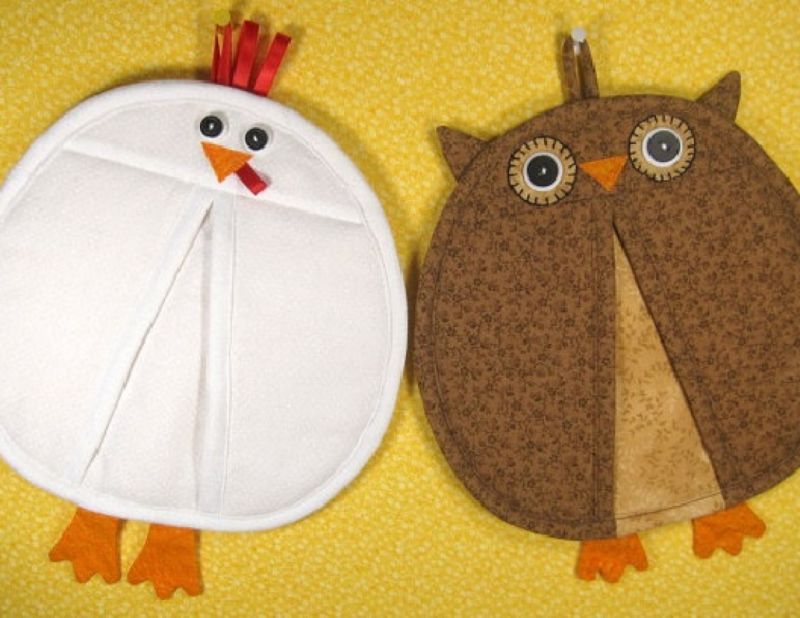
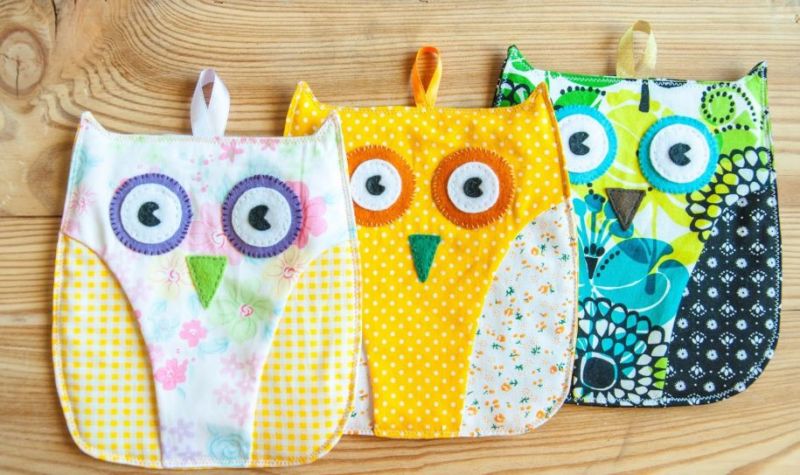
Mittens the owl
For the craft you will need three colors of textile, seal, trim, sewing kit.

We make a template marking on the material. Cut out the elements:
- wings - 4 fabric parts, 2 synthetic parts;
- 2 dark and light parts of the eyes from a dense piece;
- torso - 2 pieces of fabric, 1 spacer;
- beak - 1 piece.
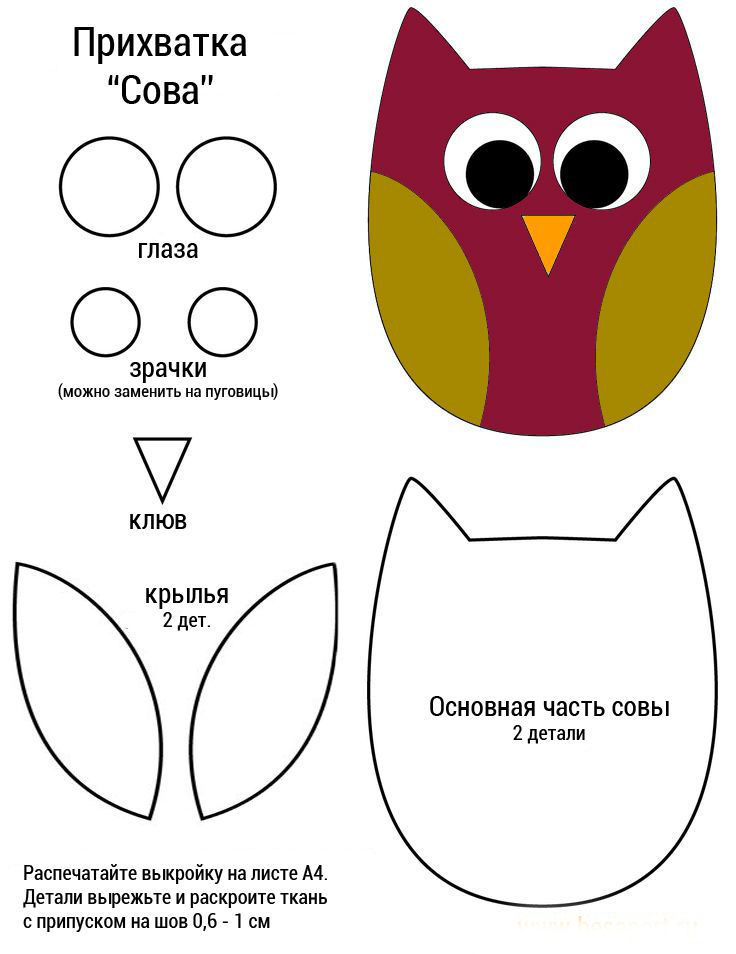
Let's proceed to fabrication:
- Compose the body pieces face to face with each other, adding a gasket. Attach a beak. Fixing the layers, stitch it on both sides. Stitch all parts of the material.
- Add light elements of the eyes, stitch around the circumference. Pin the dark elements, stitching.
- Fabric wing patterns fold inside out, laying layers of sealer. Make a decorative stitch in the middle. Edges of the wings trimmed with edging.
- Assemble the owl. Sew edging on the wrong side of the handicraft, leaving the upper area. Unfold trim on the front side, sew on.
- Cut off 30 cm of edging, mark the half. Aligning this point with the center of the open edge, sew the edging. Turn it back to the front.
- Then process the rest of the figure.
- Form the ends of the edging into loops - ears and fasten to the body.

Jingle bell .
Amazing caps will be great for a teapot when brewing an herbal collection or tea.

You will need textile of two colors, lining and insulation fabric, sewing kit:
- We cut out the blanks, leaving an allowance of up to 5 mm. Sew a zigzag stitch on the sepals, compose all the layers, make a stitch.
- Mark the top of the bell, from which the compass to draw a circle. Evenly trimmed in a circle of extra fabric. Trim the edges.
- Bend the cap in half, not forgetting the loop. Sew the edges.
- Turn out a funny bell.


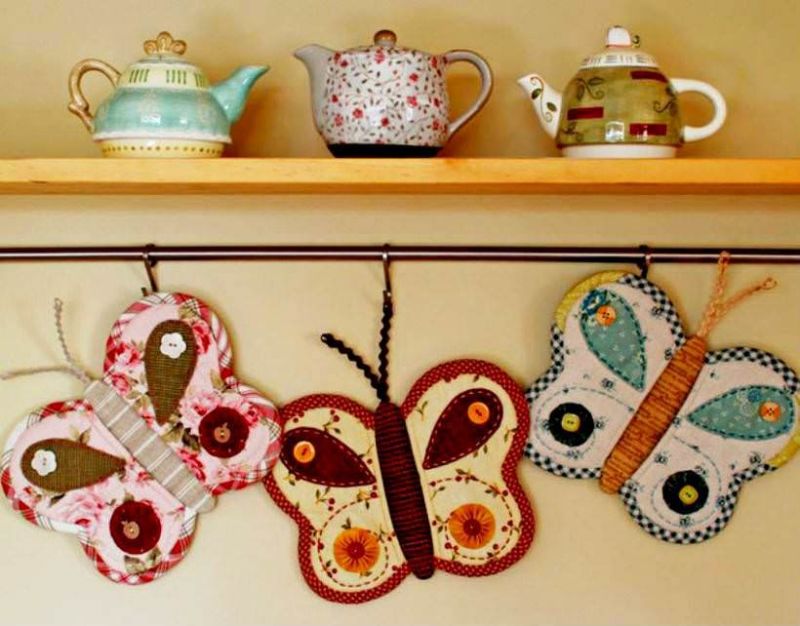
Butterfly
To the standard sewing kit, we add textiles of summer colors, matching each other, lining, slash, decorations - beads, rhinestones, buttons, braid:
- We take the fabric for the base, sintepon, and cut out on a template for 2 pieces of the body, 4 - wings.
- Strengthen the upper part of the wings with adhesive fleeces or sintepon. Put them together with their front surface and sew along the inner edge. Turn out and trim the cut.
- Fold the main blanks with decorative sides, fix them with pins. Prepare tendrils of braid and attach them. Trim the seal at the base of the wings, turn it out and quilt the body.
- For the pattern cut out drop-shaped and round pieces. Sew on by hand.
- Attach decorations, make finishing hand stitches.
- Assemble the wings and body. Finish figure with skirting, sew on loop.

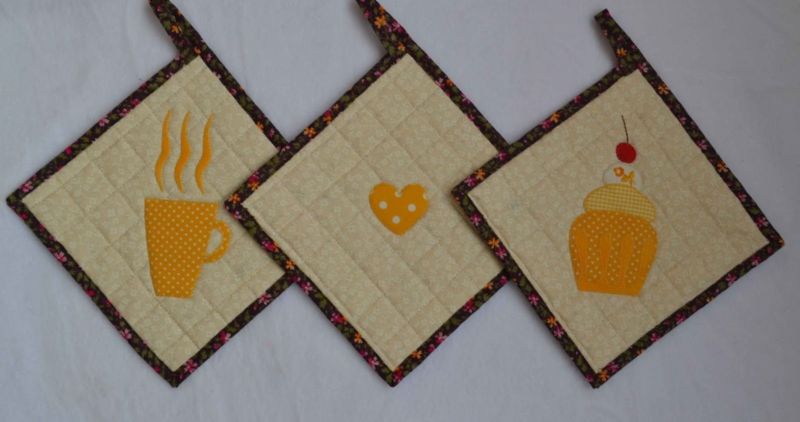
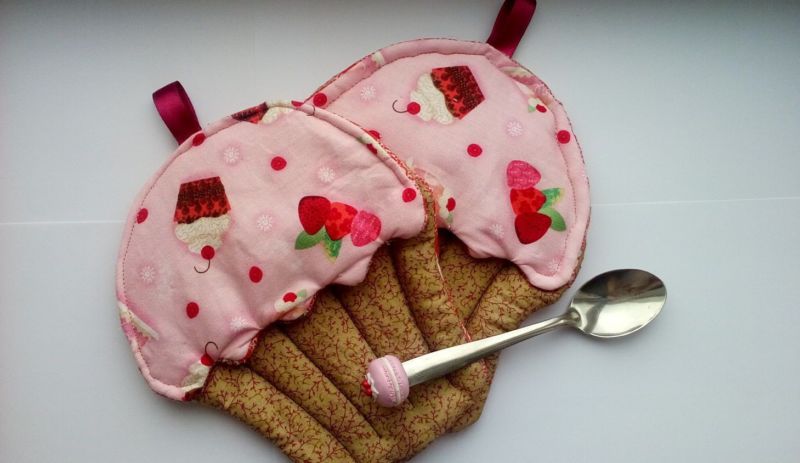
Cupcake
We use a universal sewing kit, textile of two colors, synthetic padding, decorations - ribbon, button:
- Let's draw a template of the cupcake halves and cut it out of the main fabric and the lining.
- Quilted in the unfolded form of vertical stitches. Fold in half. Stitch around the perimeter, leaving a small section.
- Turn out the front, stitching, making an indentation from the edge of 2-3 mm.
- Cut two parts for the hat. Combine them face side by side, sew. Turn out, stitch around the perimeter.
- Pin both parts with a sewing machine or by hand. Decorate the appetizing cupcake with a bow and a cute button.
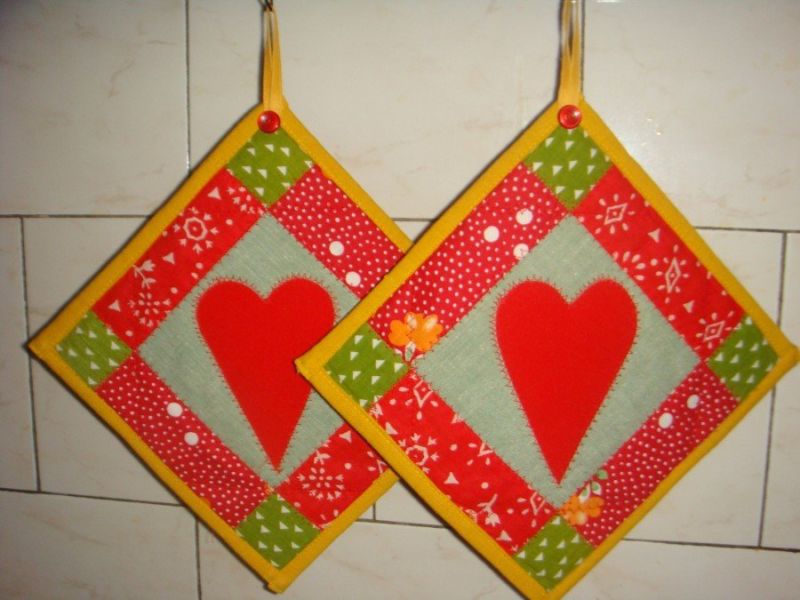
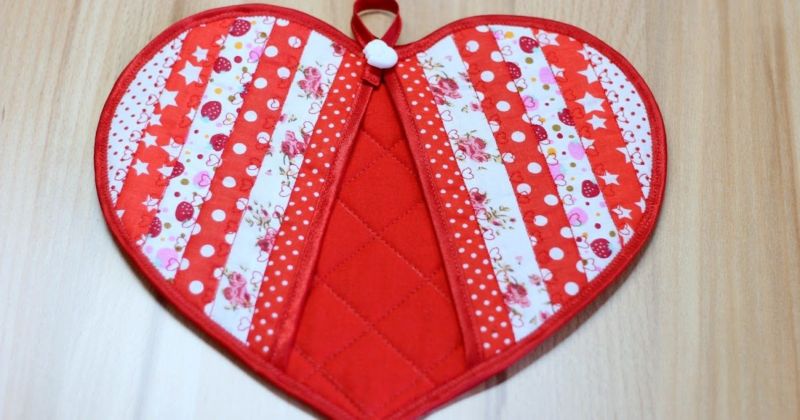
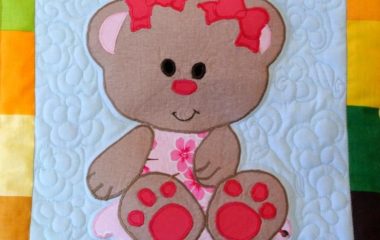
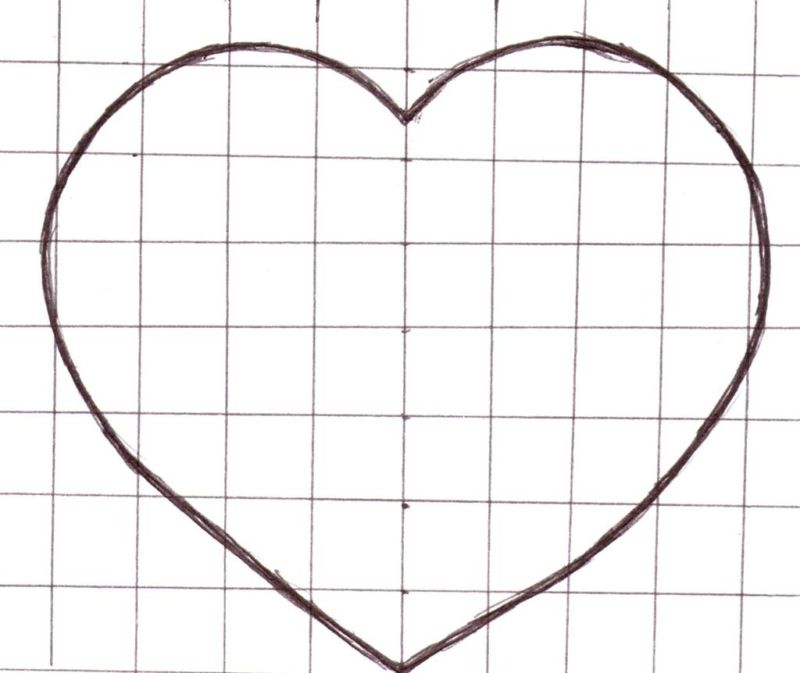
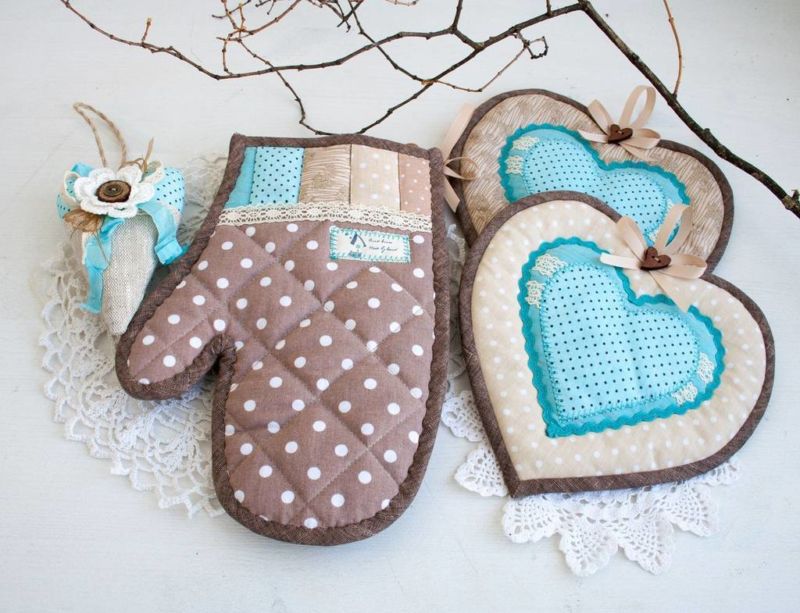
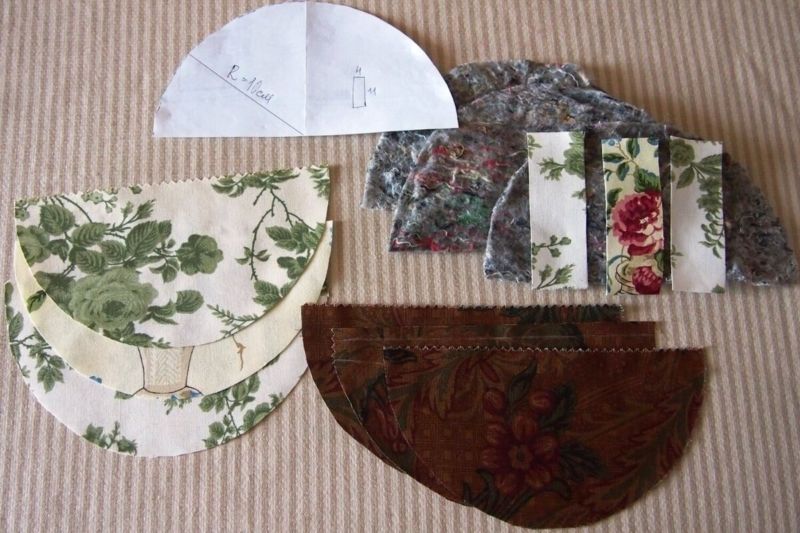
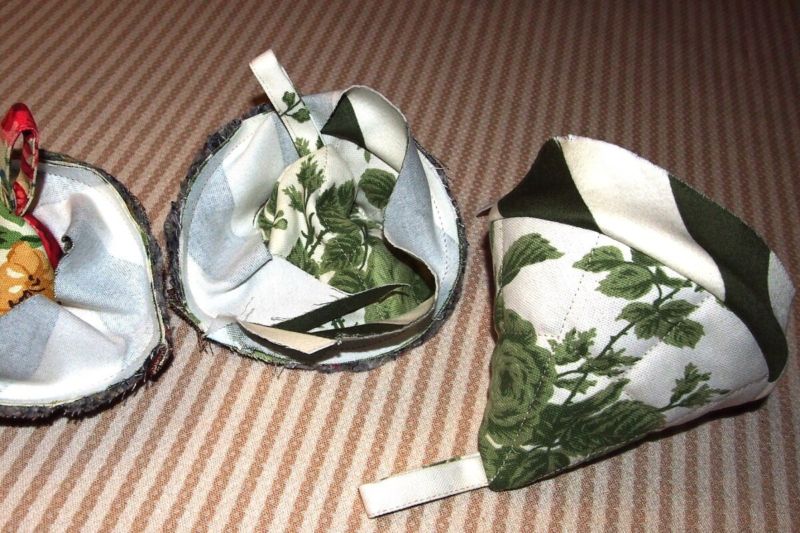
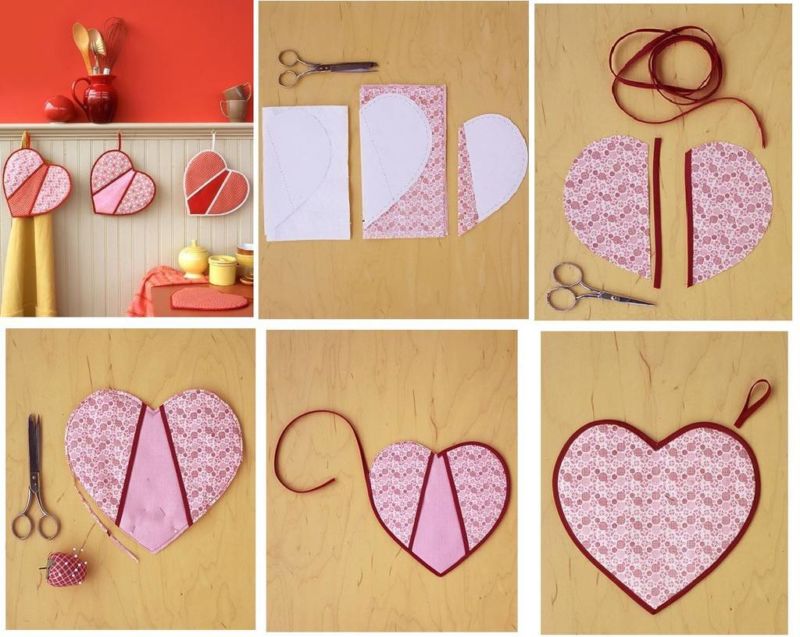
Heart
To the sewing kit add textile with a "heart" or other interesting pattern of two colors, monochrome and liner fabric, a cute button:
- On the folded in half multicolored material, attach the pattern of a large heart. Similarly, cut out the following blanks of insulation and monochrome fabric.
- Shape the layers inside out, putting synthetic material between them.
- Using another template, cut out small half-shells from both kinds of fabric. Folding them inside out, we get two pairs, each of which we pierce with needles. Trim straight edges with edging.
- Tie all the parts, fixing pins.
- Trim the perimeter with edging, leaving a small section in the center. Here we will sew on a loop and a decorative button.
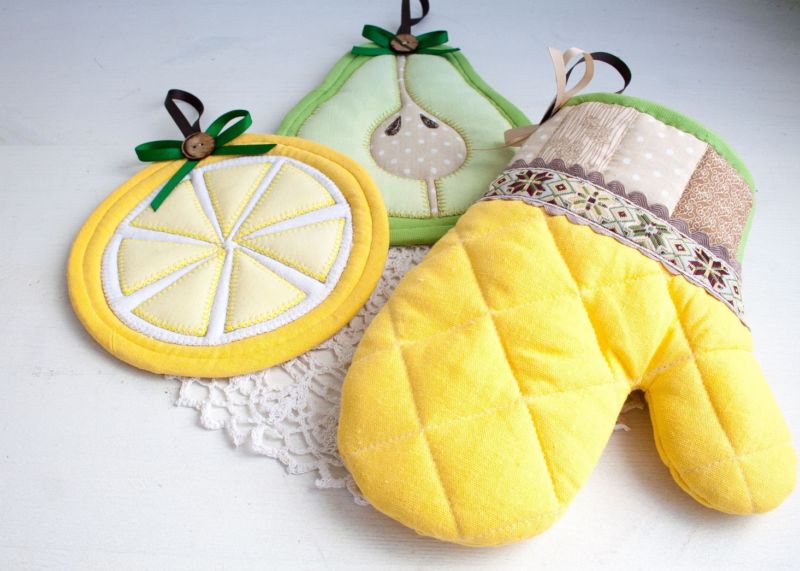
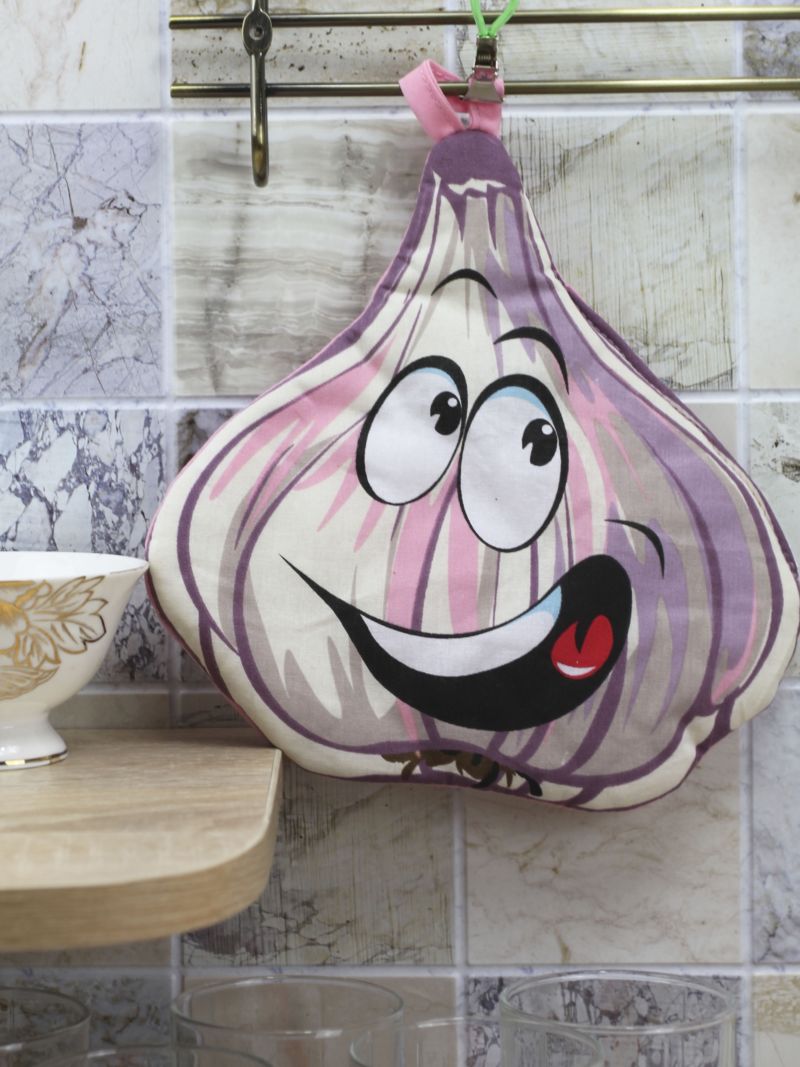
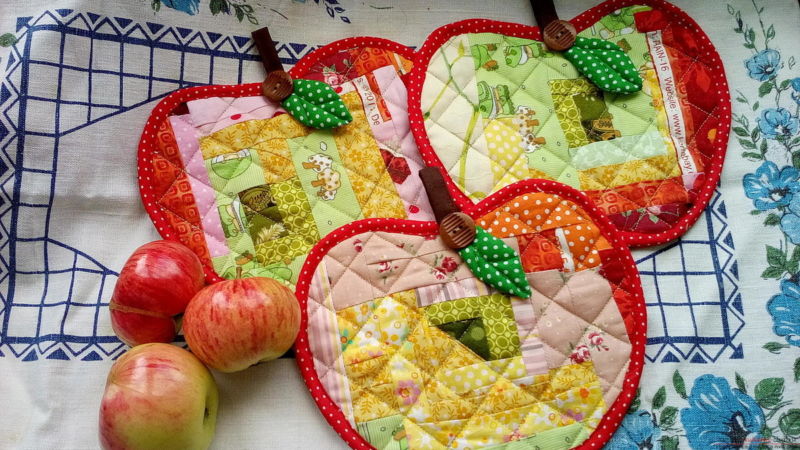
Fruits
Bright attractive gloves in the form of fruits will not only decorate the kitchen, but also will be all the cold winter to remind the warm sunny summer.

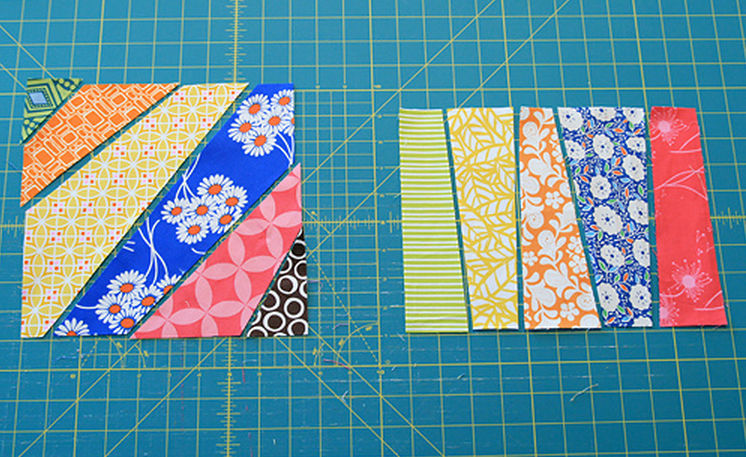
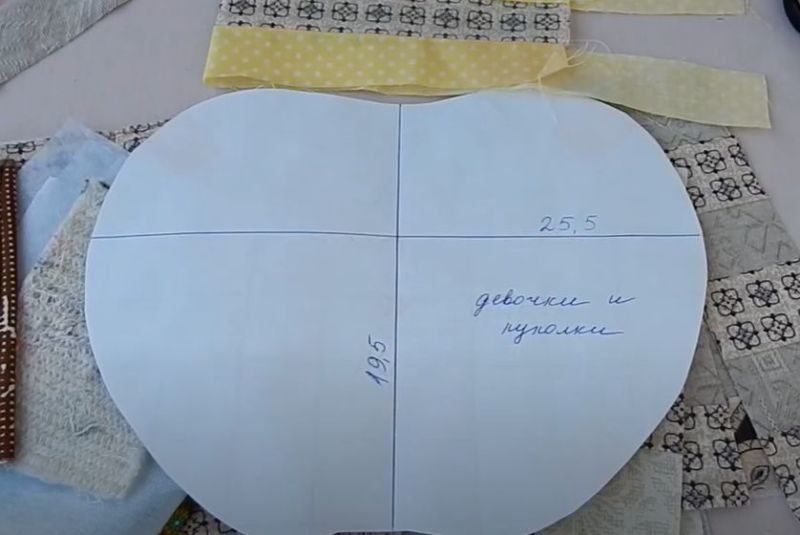
Let's consider the technology of making a craft in the form of an apple. First of all, let's draw a template on paper:
- Let's cut out parts from any monochrome fabric for 1,5-2 cm more than the drawing. We will sew the scraps on it.
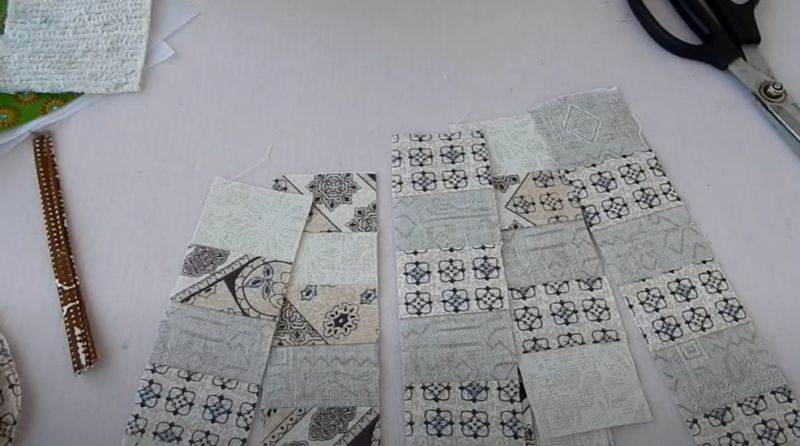
- In the center we will pin a small square of 3x3 cm. Take scraps of bright yellow, red or green, sew in a circle, alternately bending, until we fill the entire surface. It is desirable to iron the results of the work immediately, or hold a ruler.
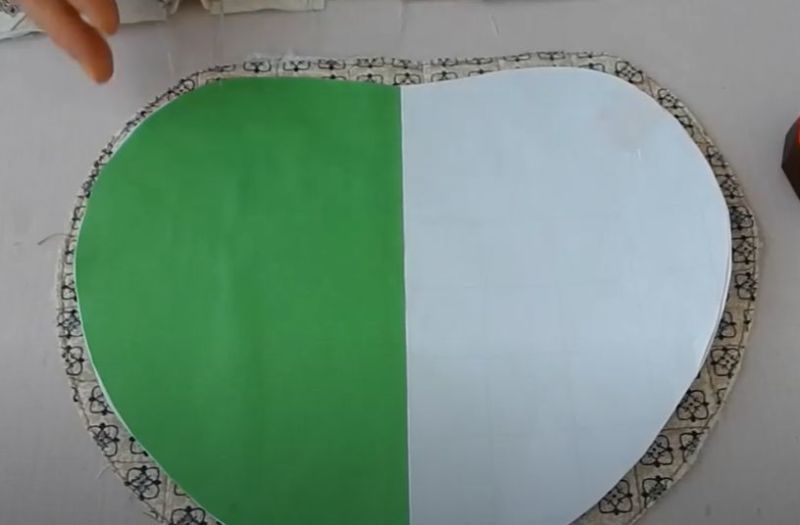
- Assemble the handicraft - underneath the lining is face down, then a synthetic pad, on top of our beautiful, ironed piece.
- Fix with pins the resulting "sandwich", quilt a little along the seams, trim the excess.
- Sew a loop on the back of the tack.
- Treat the resulting kitchen accessory with edging.
- Cut out a leaf from green wool and sew it on the button.


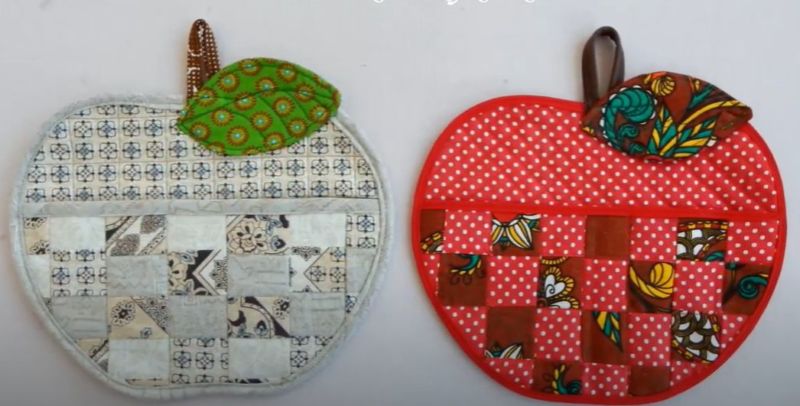
Our sunny apple is ready!

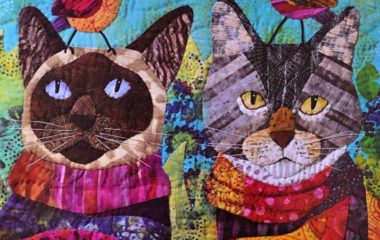
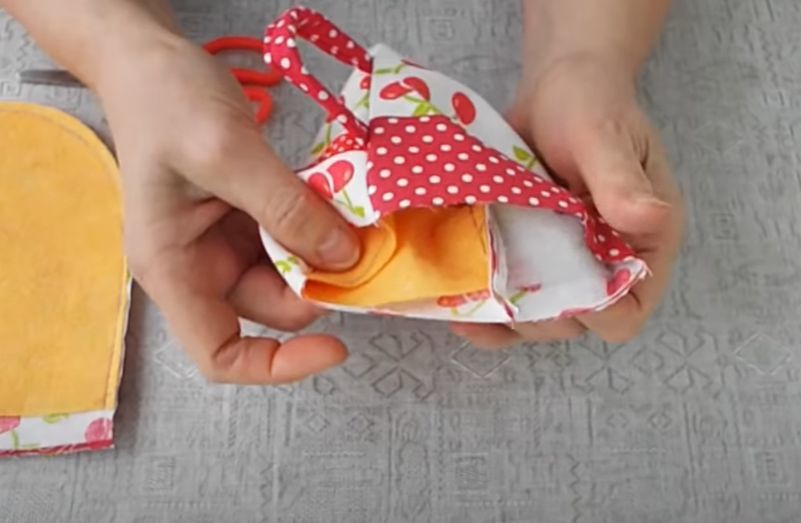
Gloves - cups
In addition to the usual sewing kit you will need textiles of two colors and sealer:
- Cut out four rectangles of 17x22 cm in size from the main fabric. Round the corners at the bottom.
- Of decorative fabric prepare 4 strips 6x17 and 2 for the handles 6x20 cm.
- Cut out two 16x22.5 cm blanks from the sealant. The short side is decorated with a smooth line.
- For sealing the future handles prepare 2 strips of synthetic material 1,5 x 20 cm.
- Stitch decorative strips 6x17 cm to the body blank cups.
- Shape the handles, for which we fold the patterns in the middle of the short side inside out. Stitch on the edge of the long side, turn out. Insert the seal in the handles.
- Quilting the body pieces for reliable operation.
- We assemble a tack - on the quilted main part we attach the handle. On top we put a piece of the same dimensions from the main fabric. Finish the product on three edges.
- Turn out the tack. Finish off the top seams of the cup with edging.


All samples of kitchen utensils can be taken as a basis, finding the forms that suit you. For this simple craft is suitable any geometric shapes.


A great solution - fruit or vegetables. They are easy to make and look great. Perhaps it will be a sun and a cloud? The main thing is to find the model you like and get creative.

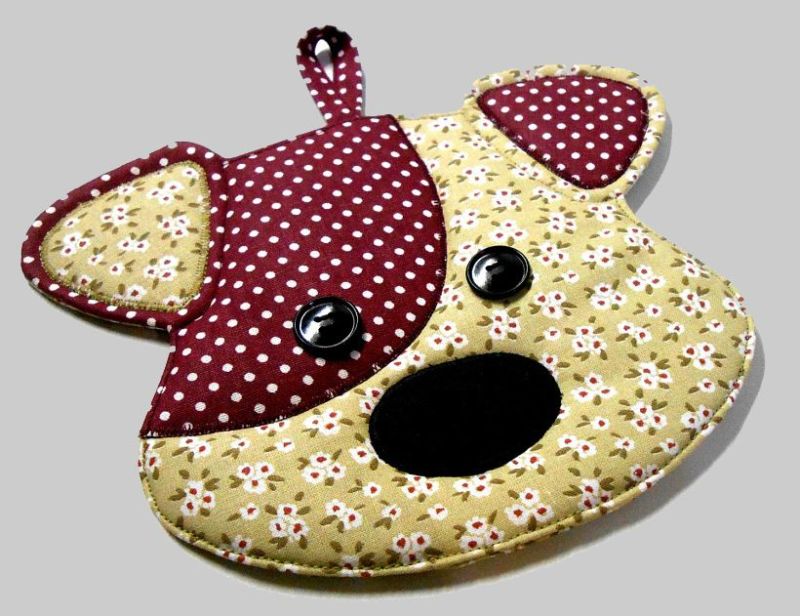
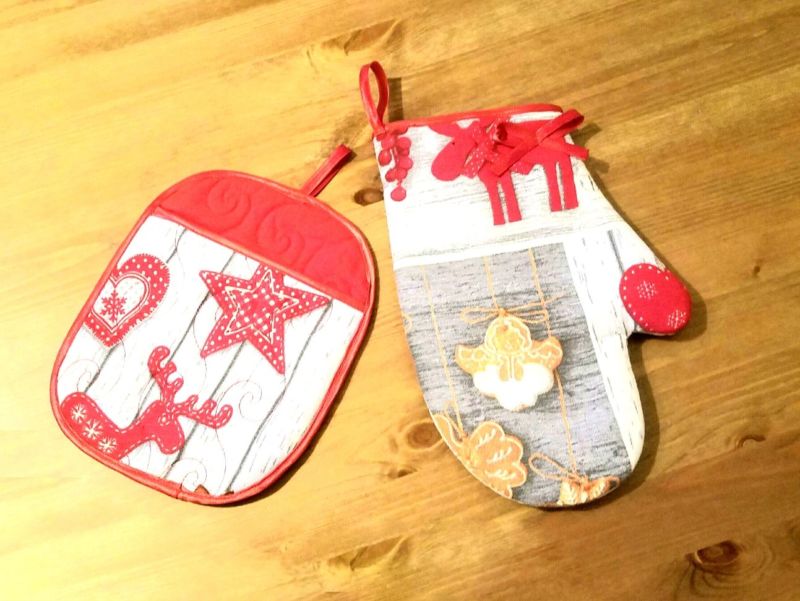
Here are some photos of the gloves that we made with our own hands