How to Draw a Cat - Easy Workshops with Instructions for Children and Beginning Artists
A cat is the favorite pet of many. Children often draw funny cats. At first glance, it seems that it is difficult to draw an animal, but if you apply simple rules and schemes, then very soon you can learn to depict even realistic representatives of the feline family.
Simple drawings of cats
It is easiest for young children to draw a cat using geometric shapes. To learn simple techniques, you need to prepare paper or sketchbook, drawing pencils of different hardness-softness and eraser.
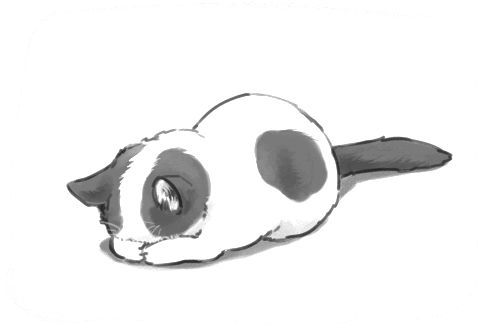
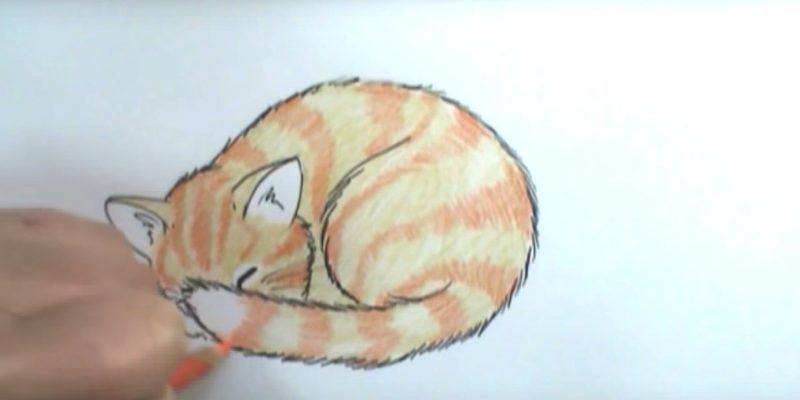
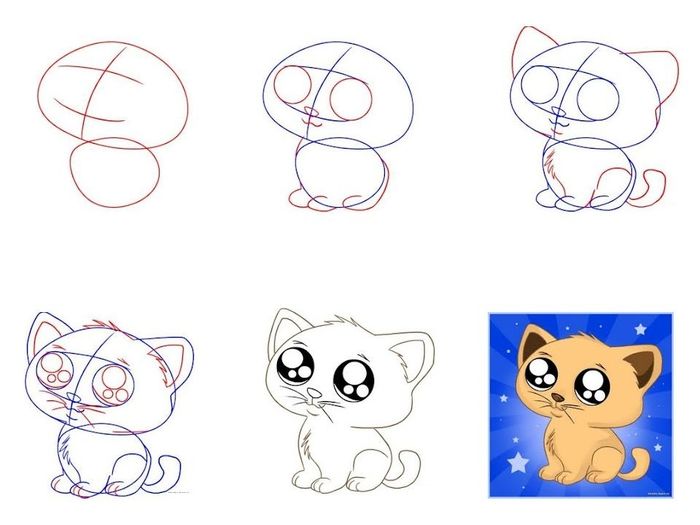
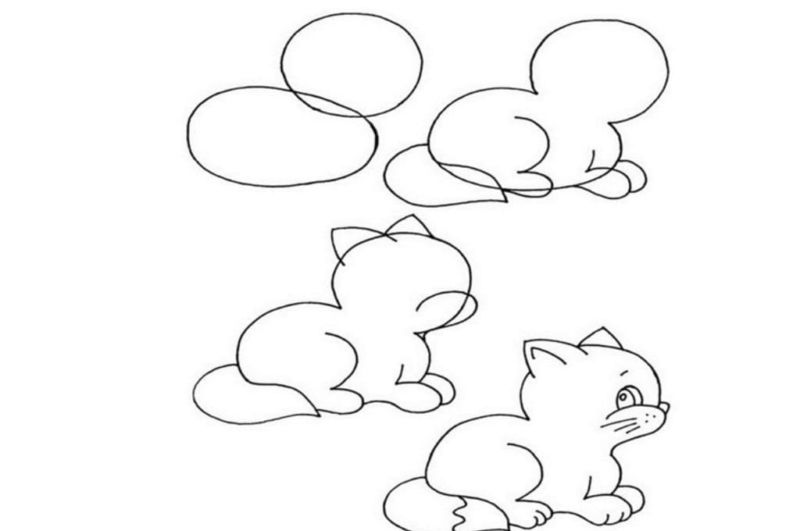
Sleeping Pussycat
How to draw a cat step by step for beginner artists and amateurs? To do this, use the right sequence - steps.
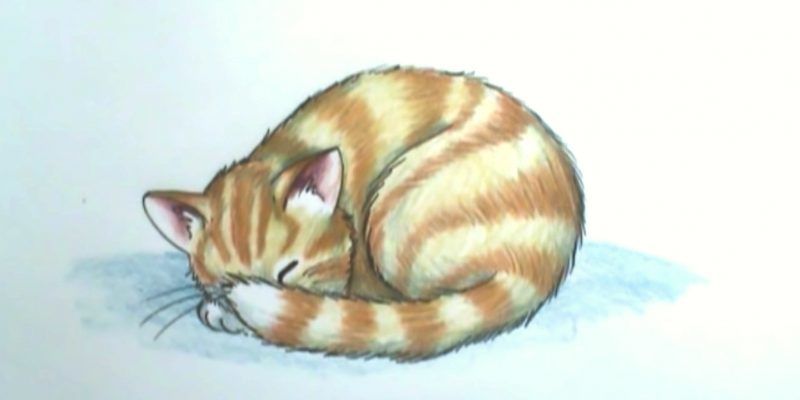
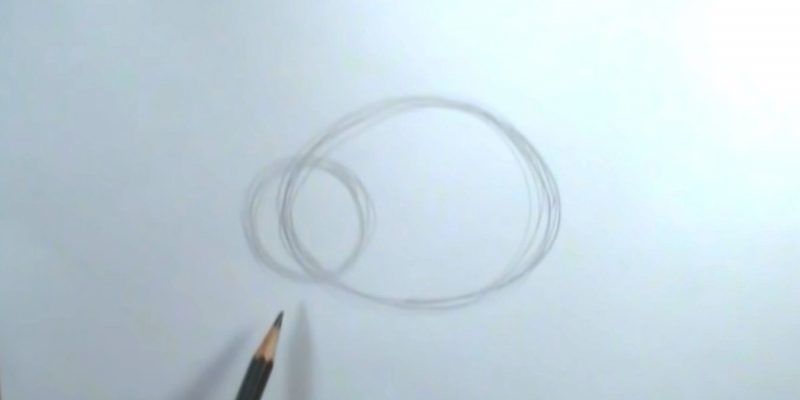
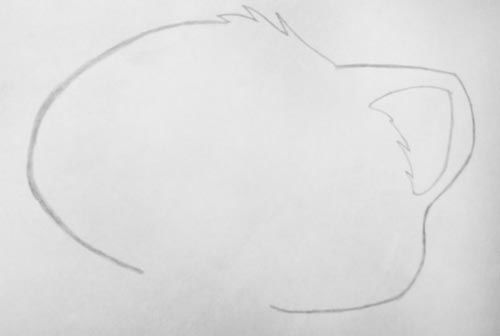
Step 1
Draw two circles on paper: one large, and the second half as small - it will be located inside the first. This is the torso and the head.
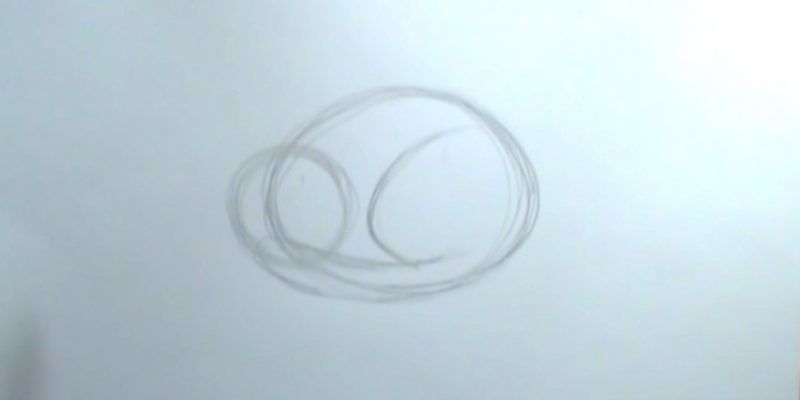
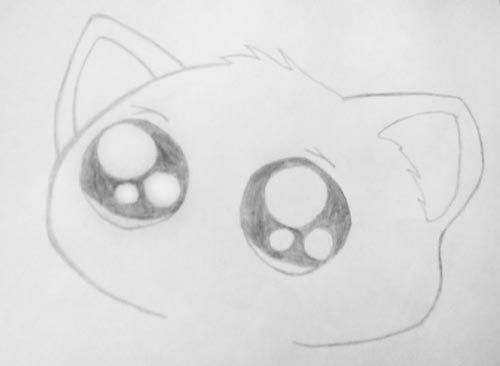
Step 2
Small circle is drawn from above two triangular ears. In the middle will be nose (triangle upside down). Next - symmetrically two closed peepholes: semicircles.
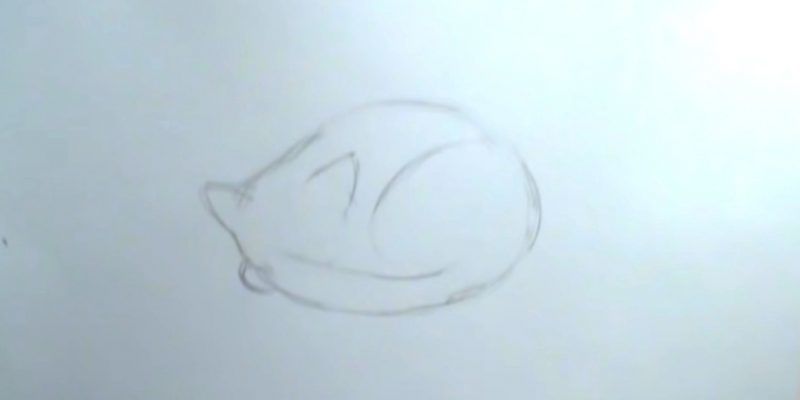
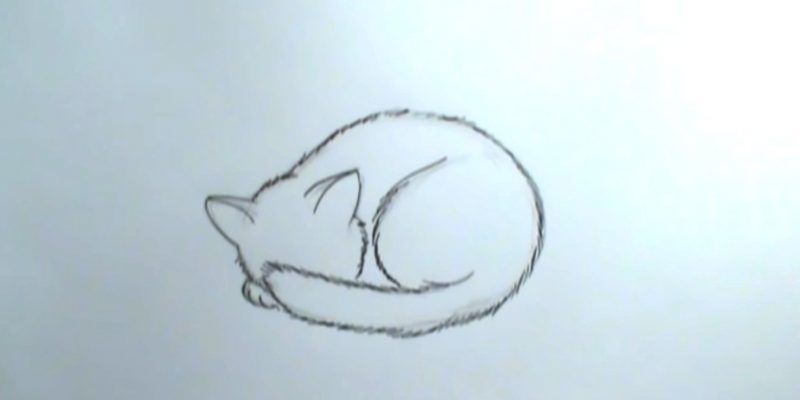
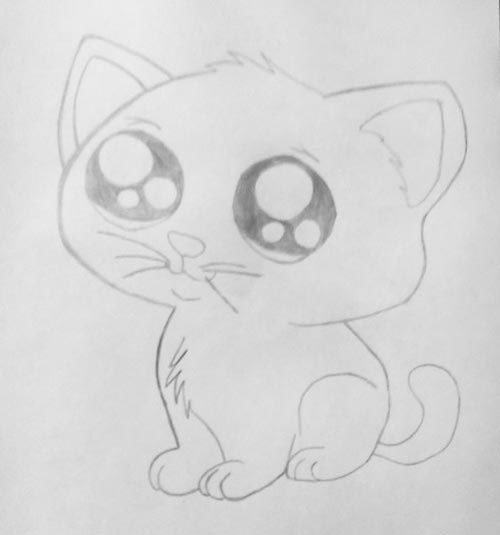
Step 3
Torso add a tail. If desired, give a monochrome color with shading. The simplest drawing of a cat is ready!

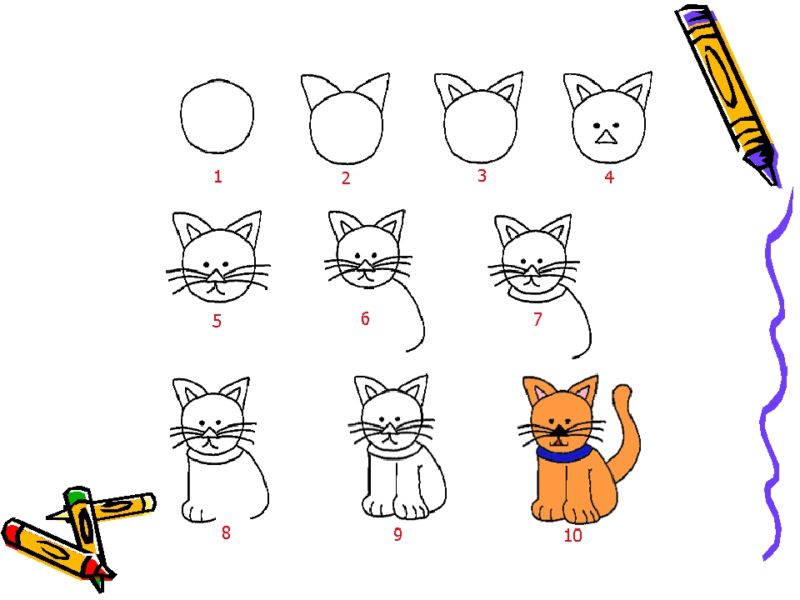
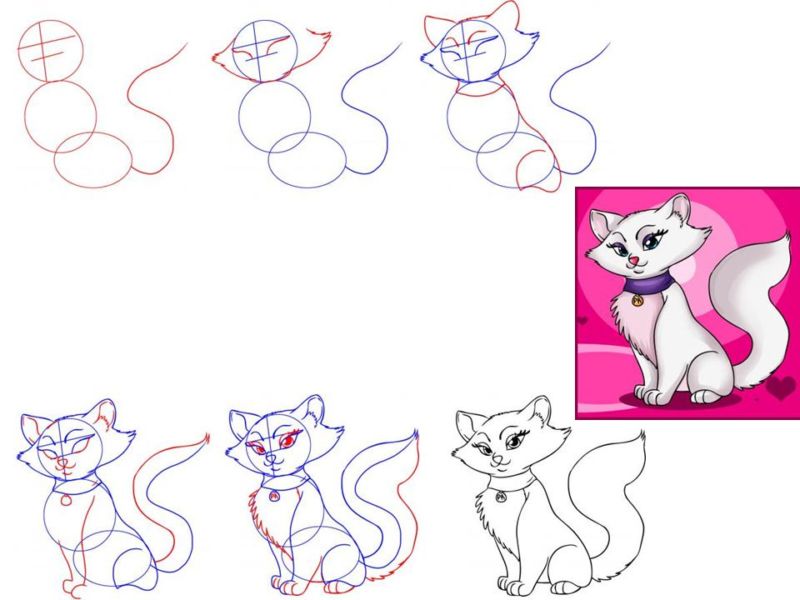
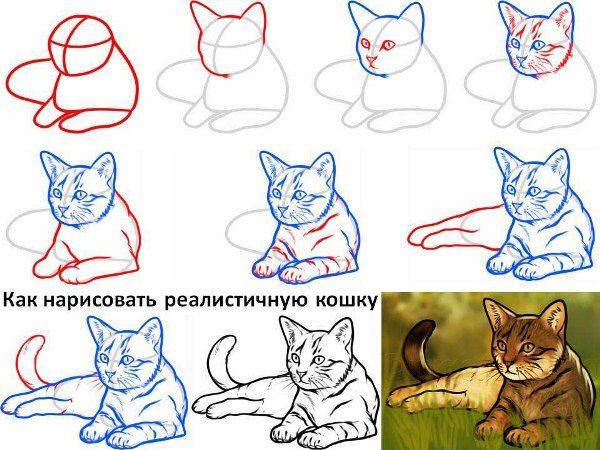
Sitting Cat
In the same geometric technique, you can depict another pose of a representative of the cat - sitting. To do this, do the following:
- In the center of an A4 sheet draw two circles: a larger one at the bottom and a smaller one at the top (1:2). The edges of the upper one should be a quarter of the edges of the lower one.
- By the small circle (head) add ears and mustache sticking out of the sides.
- To a large circle underdraw a tail.
- On the back make stripes and shaded pencil shading the entire cat. You can portray him red and striped. To give fluffiness, the contour hatched vertically with short segments.
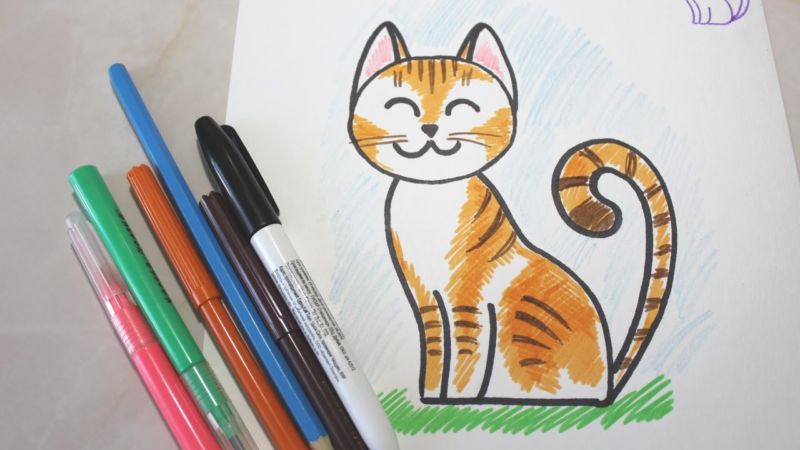
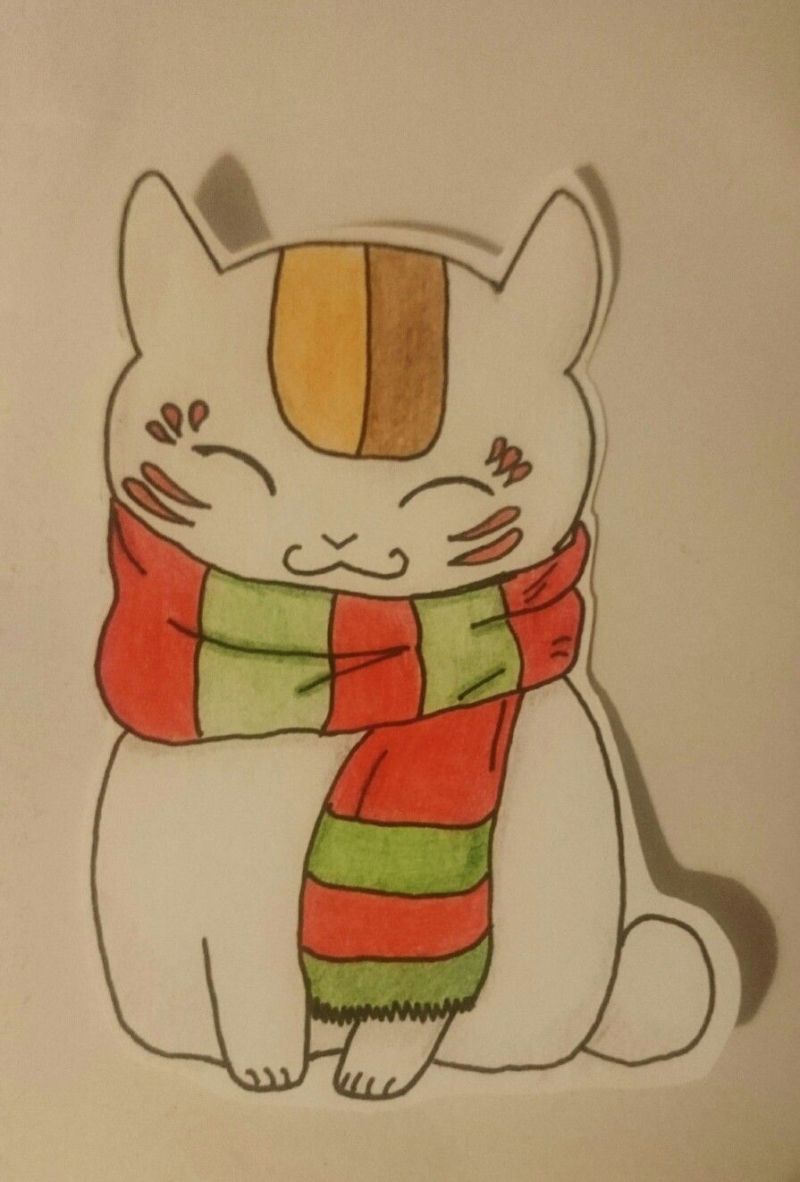
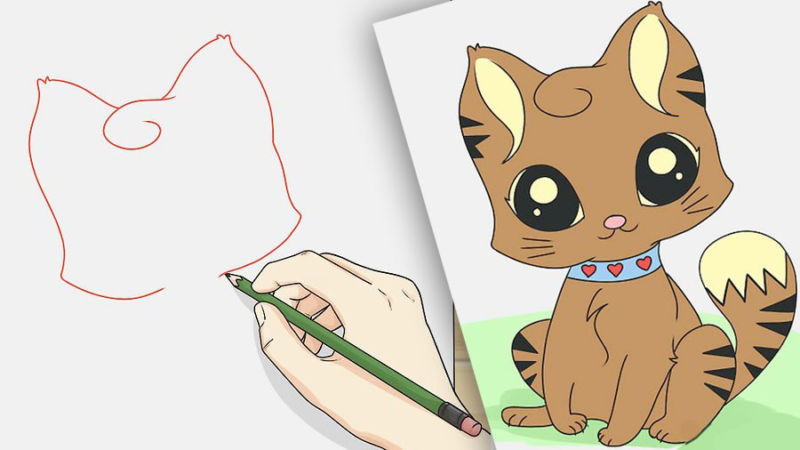
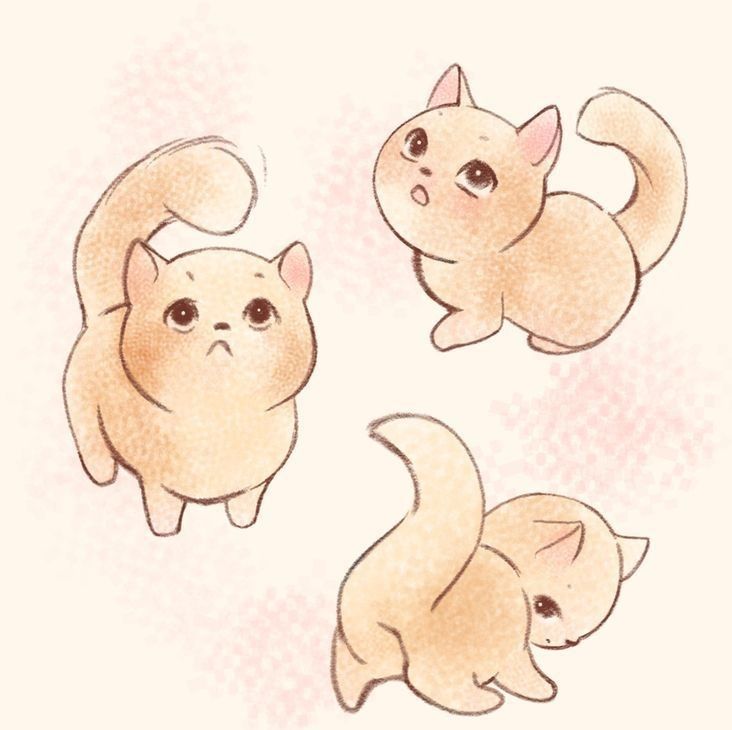
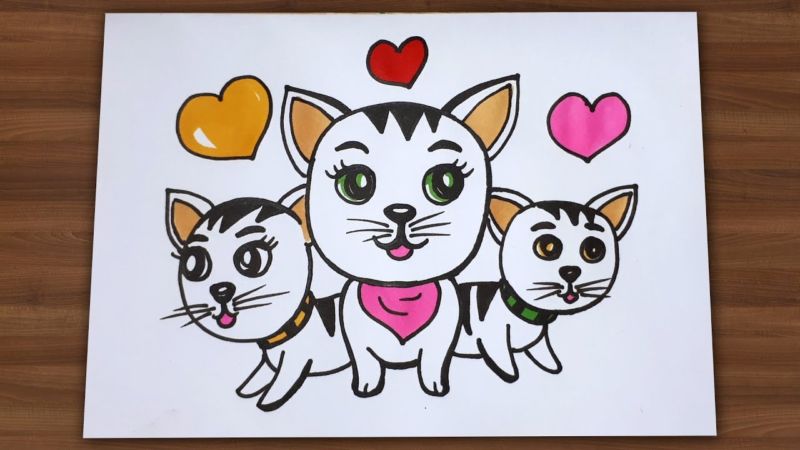
Animated funny cats
It is very easy to draw cartoon cats, also using geometry and the step method.
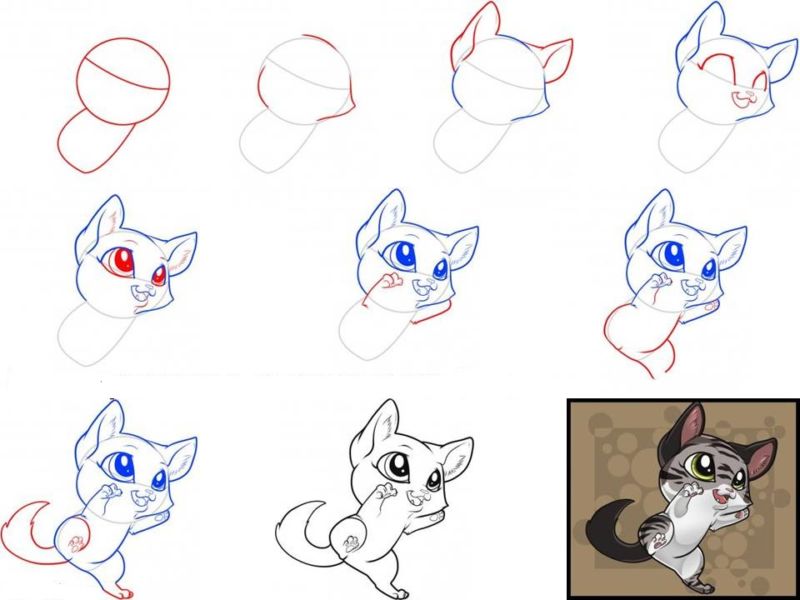
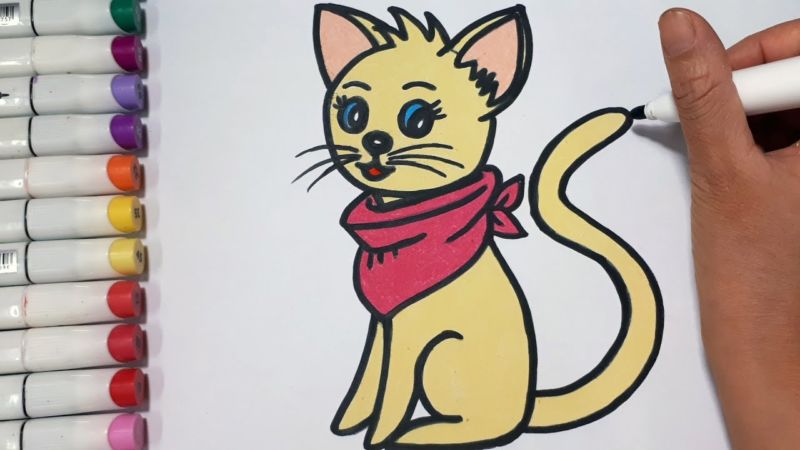
Cat in profile
In this variation, the image of the pet will have two paws.
Step 1.
Using the dotted line, again draw two circles of different sizes. On the left - the one that is larger. This will be the torso. On the right - a smaller circle, the boundary of which goes beyond the first circle.
Step 2
Start tracing the contour. To do this, the head is captured as a whole, and the torso to the beginning of the transition boundary. The excess dotted line is removed.
Step 3
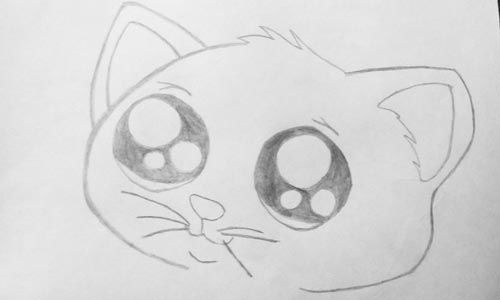
Draw ears, muzzle, eyes (don't forget the pupils), nose, "smiling" mouth, long mustache.

Step 4
Next, two round paws with dotted claws are drawn.
Step 5
Strips are added to the back and tail. If desired, they are colored in gray or orange.
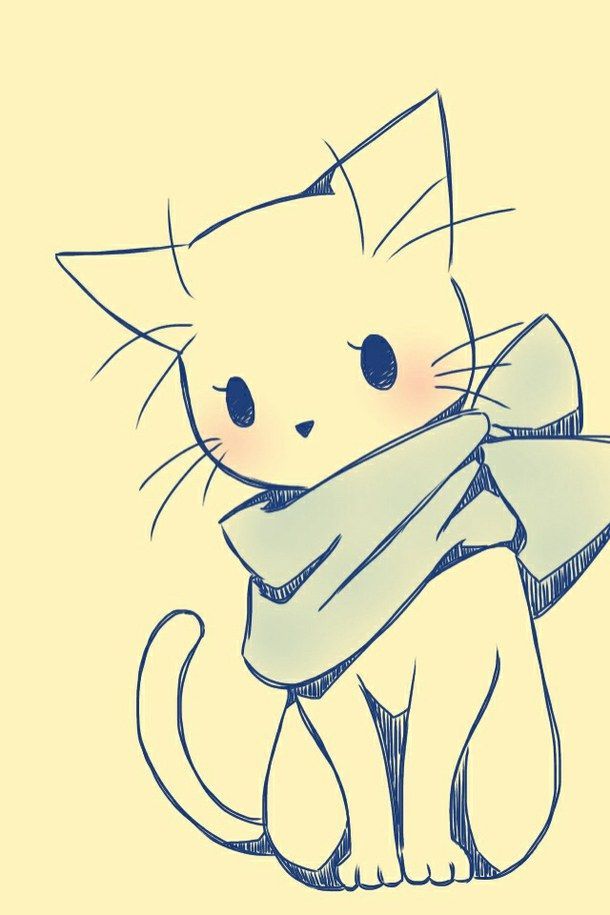
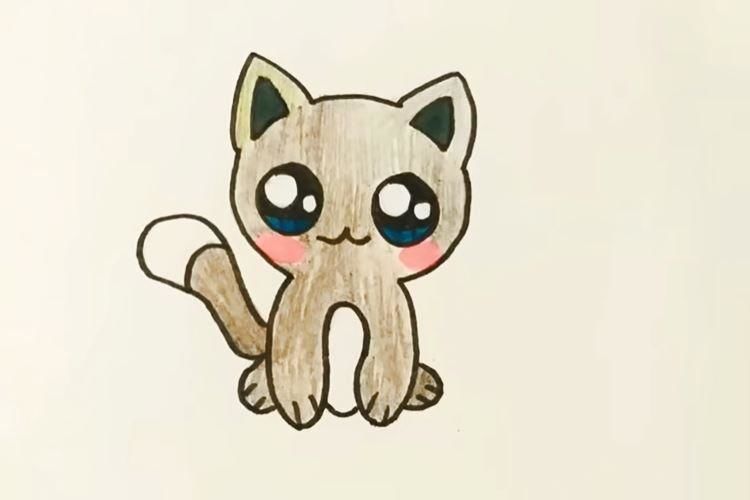
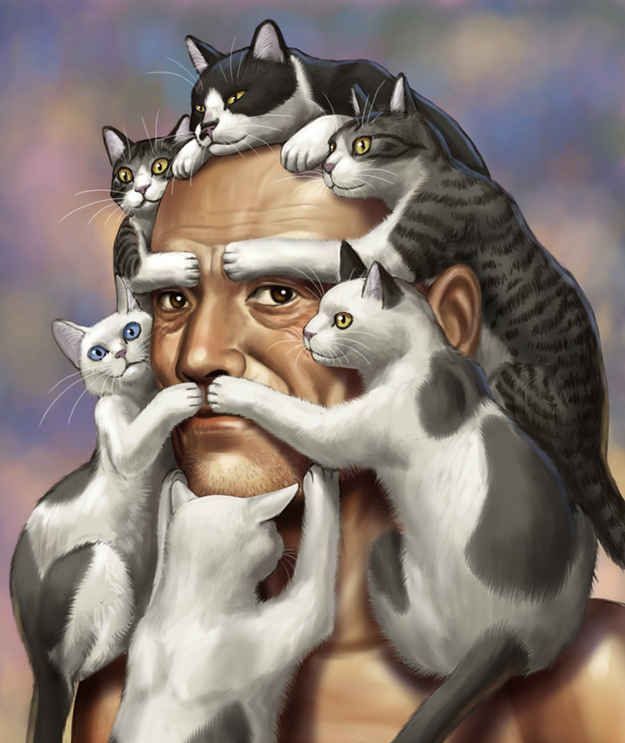
Philosopher Cat .
This image is very easy to create. All you need to do is a triangle, which is divided in half with a dotted line. This is followed by actions:
- At the top, ears are drawn, with the top sharp corner of the large triangle "cut off".
- In the middle of the dotted line adds the olfactory organ and an elongated segment with a semicircle at the end of the outline of the mouth.
- Draw little front paws "iksikom", cartoon round eyes, mustache.
- Paws depict claws (dashes). And, of course, do not forget about the tail.
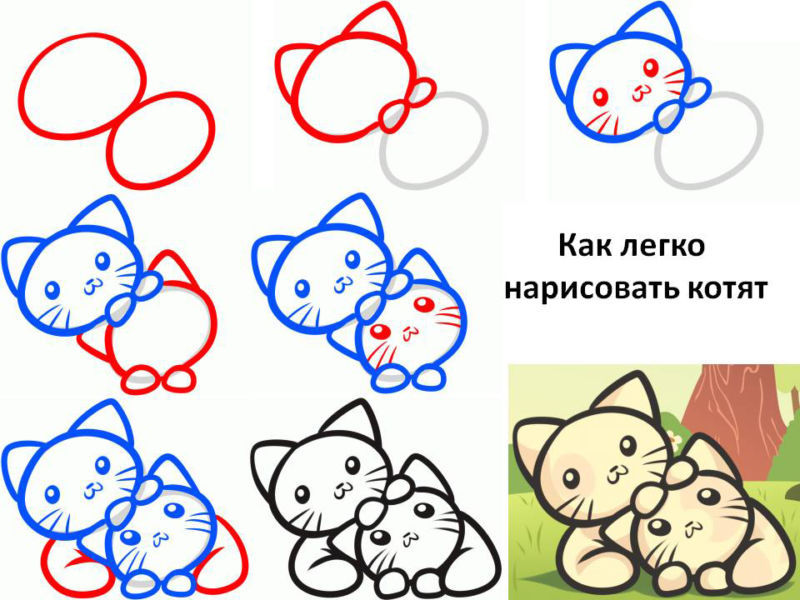
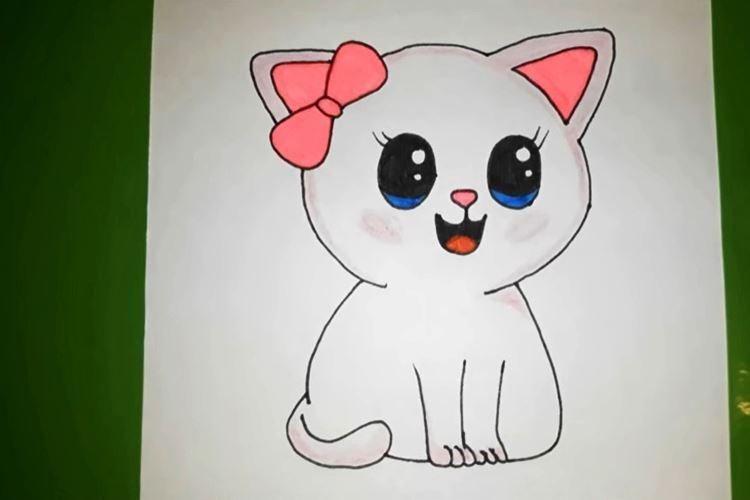
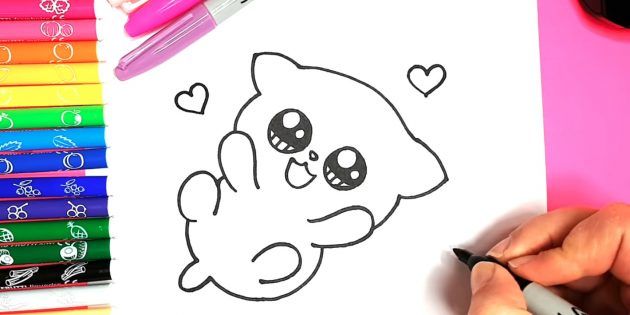
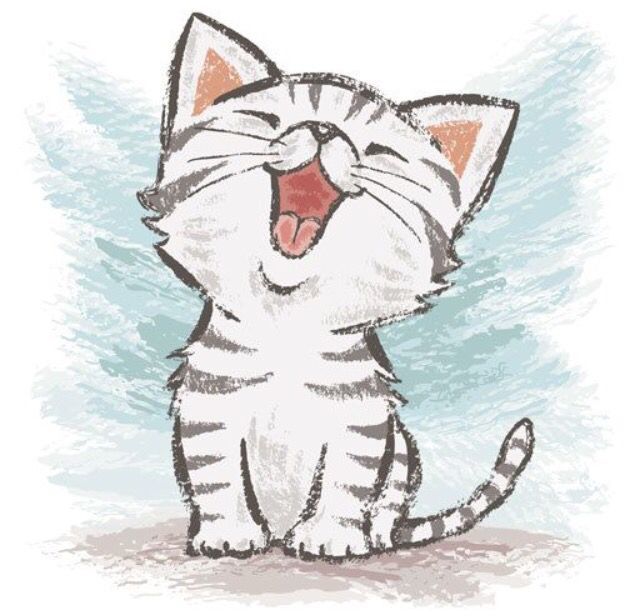
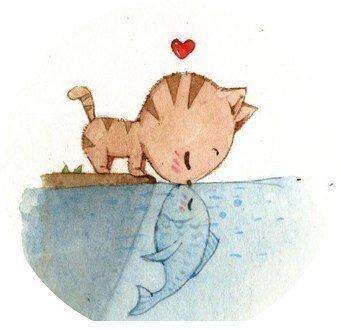
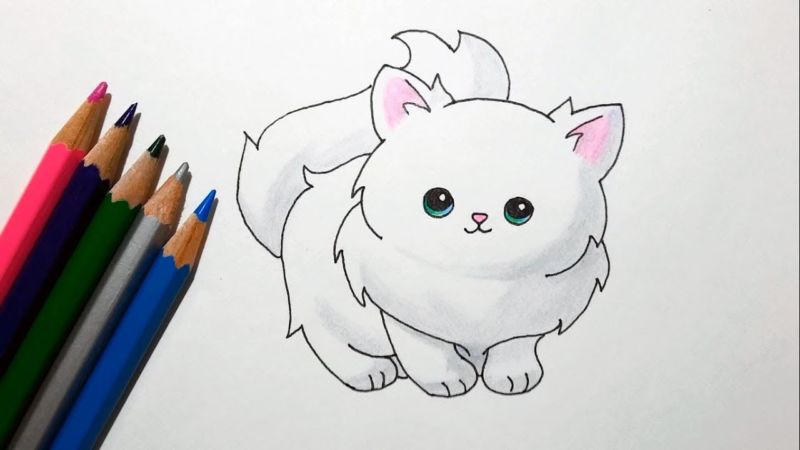
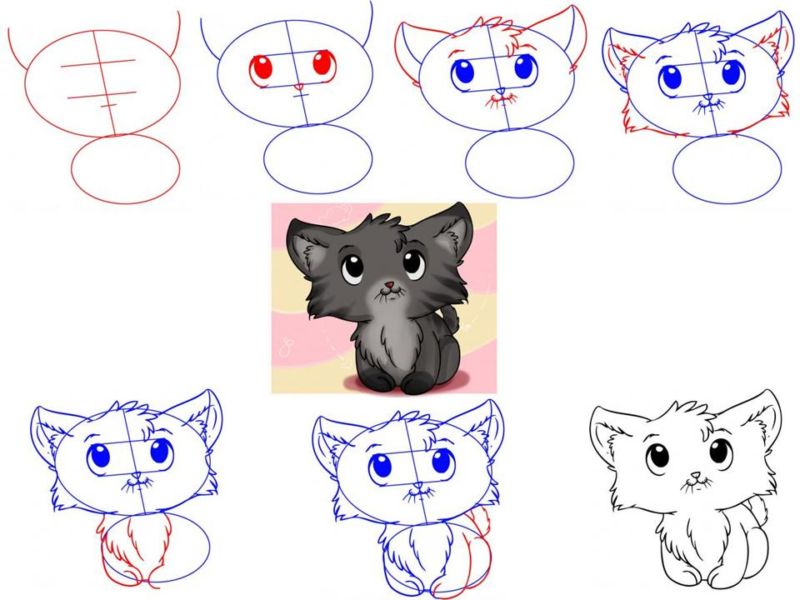
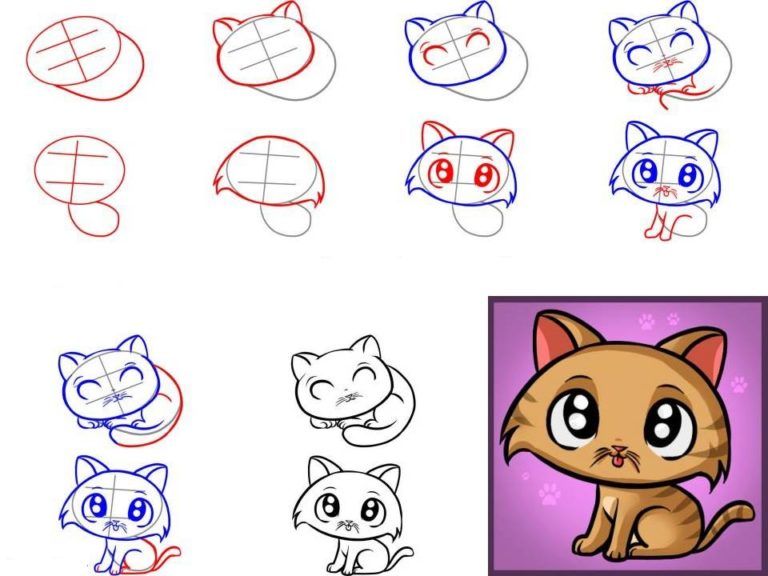
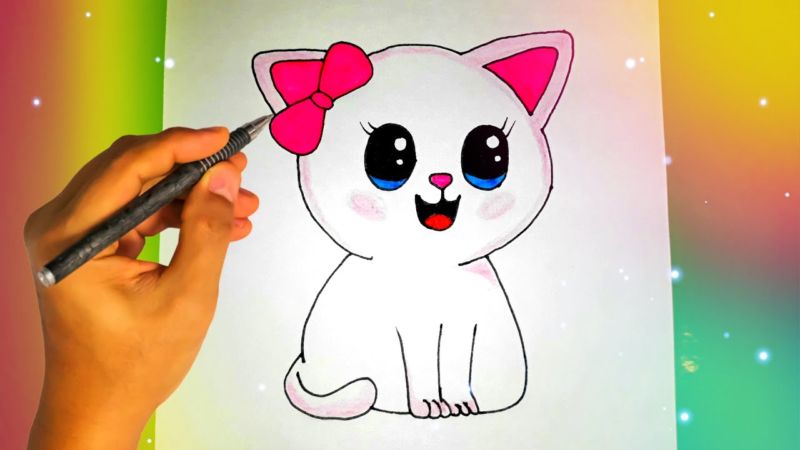
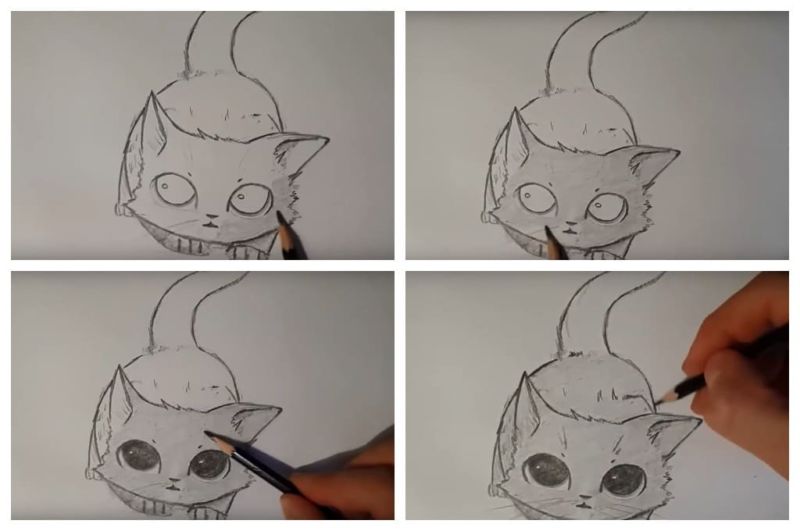
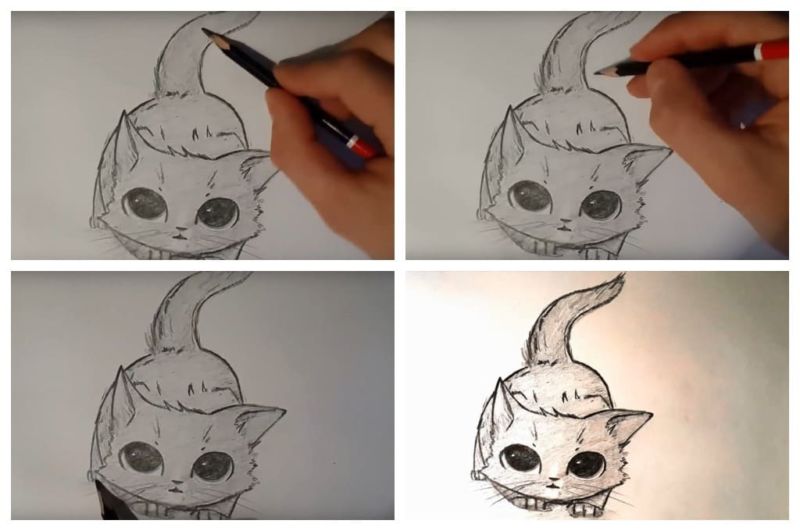
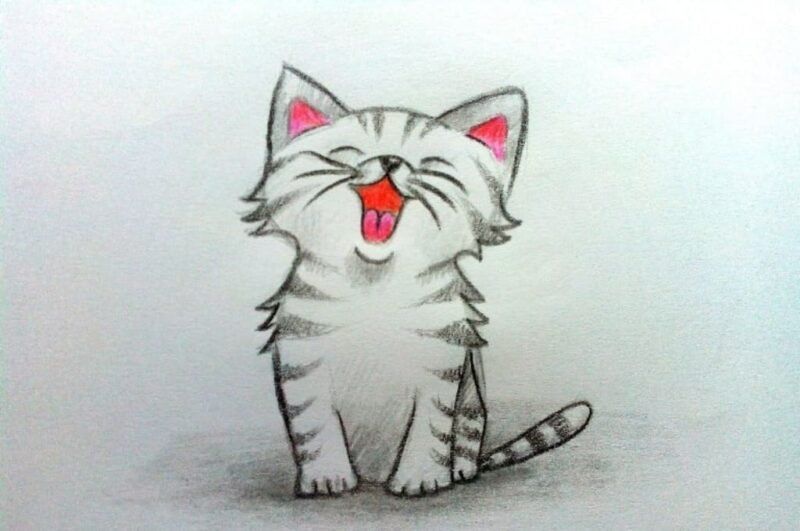
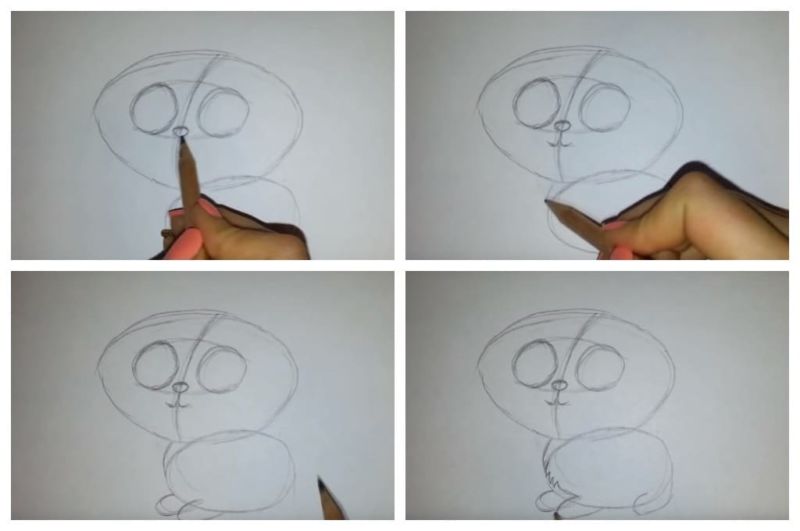
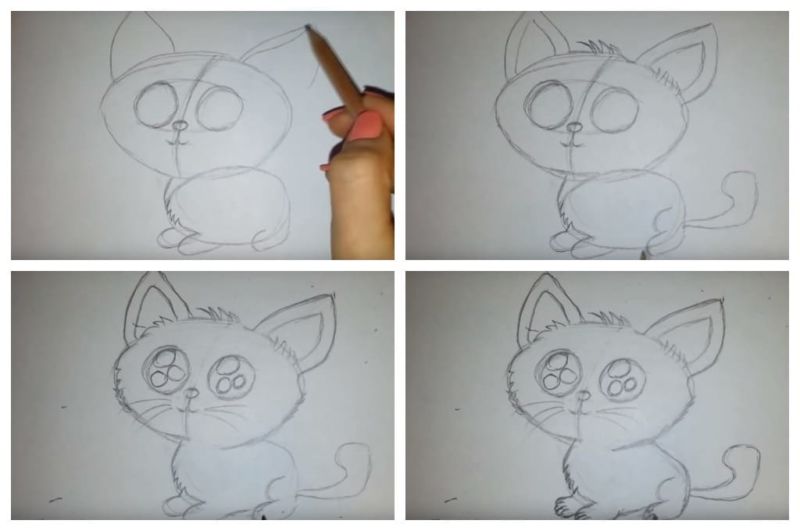
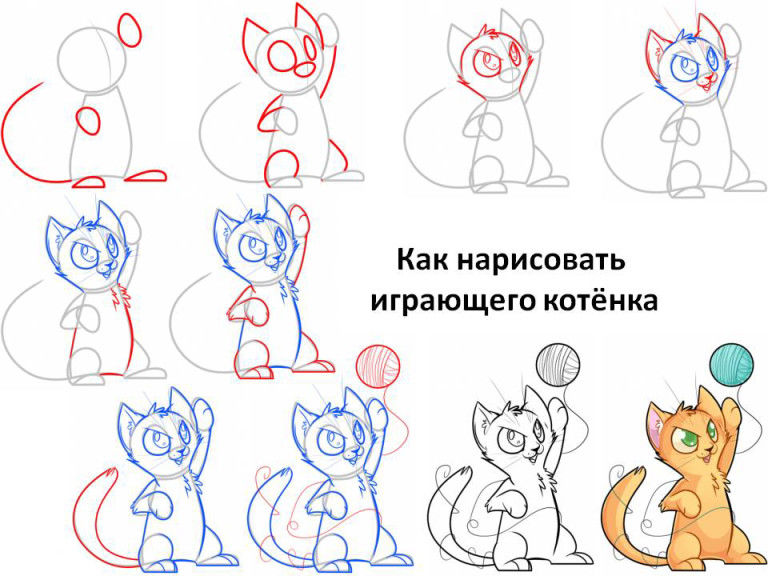
Cheerful pussy.
To represent this animated animal on paper, follow these steps:
- Step 1. Draw a vertical center line. On it "string" first the bottom of the body, like a heart, and then the top - a circle. And at the end of the "assembly" - "put on" a large round head (it should be 2 times larger than the rounded part of the torso).
- Step 2. Alternately add pointed ears, nose, mouth and unlikely eyes.
- Step 3. Draw a feline "smile" in the form of a recumbent figure "3" at the base of the nose.
- Step 4. Designate the paws. To do this, from the lower boundary of the upper thoracic part down, lead parallel four lines, which are rounded at the ends in pairs.
- Step 5. two more hind paws: two ovals on each side of the "heart" (the lower part of the animated image).
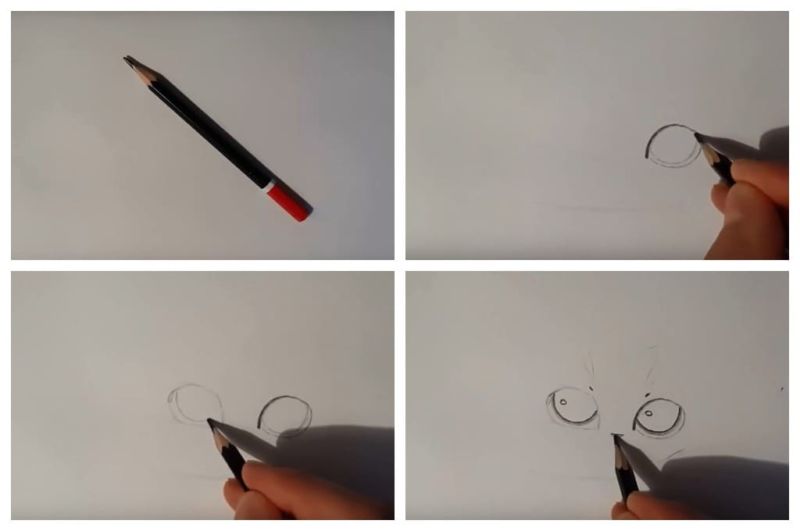

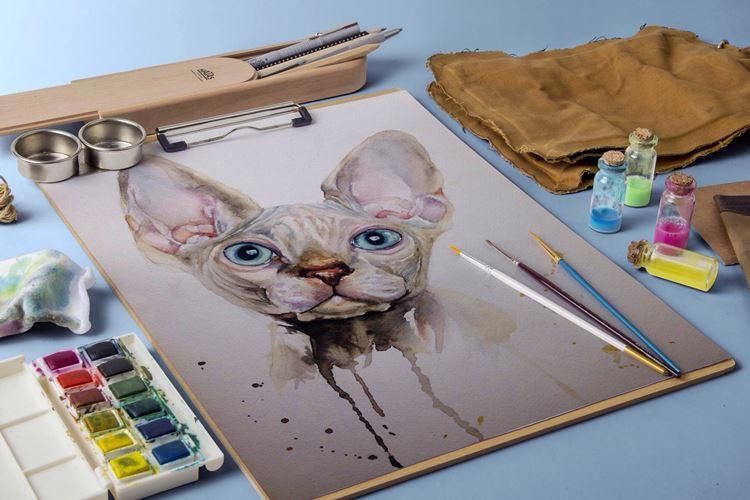
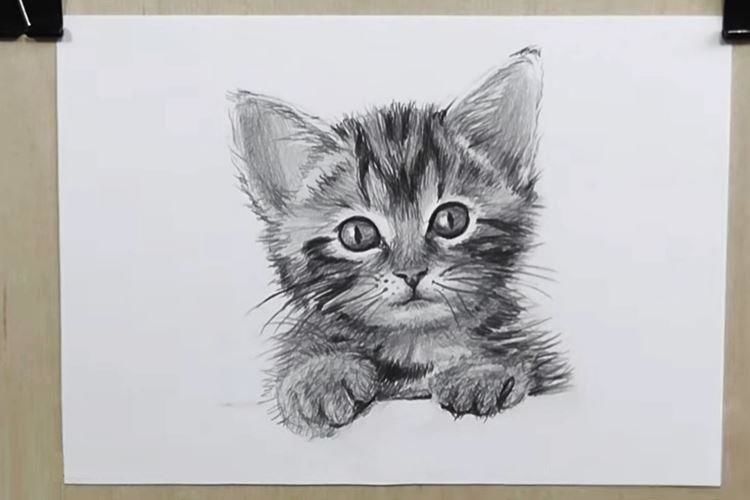
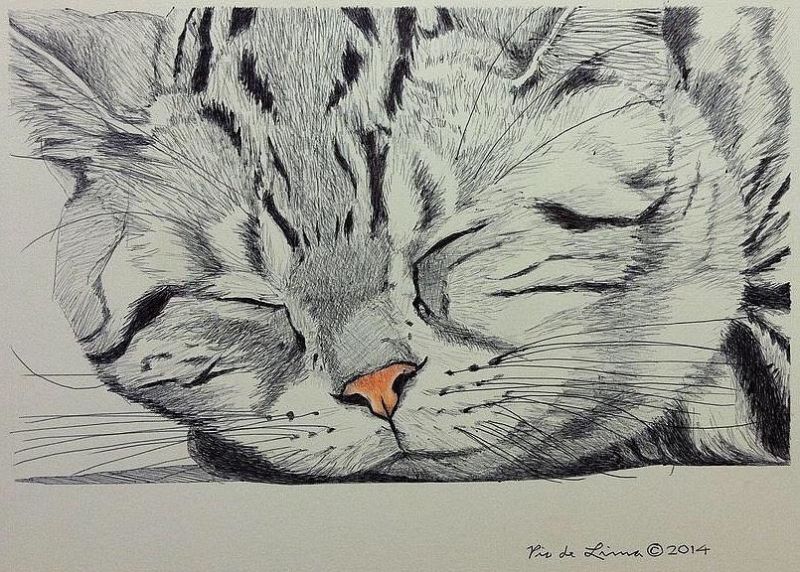
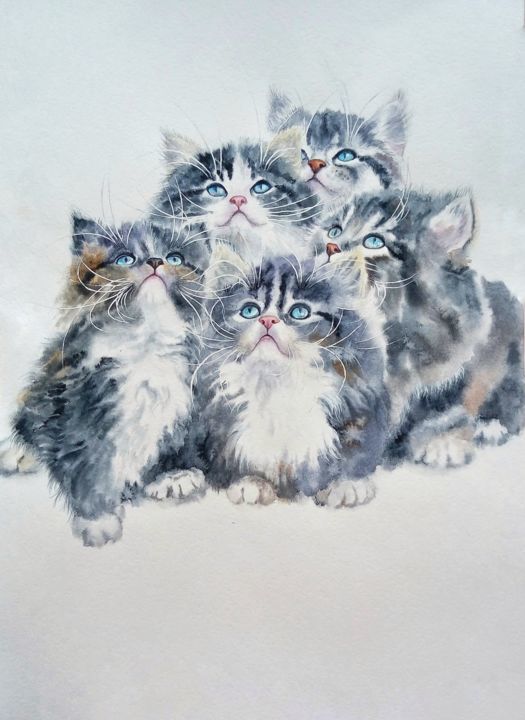
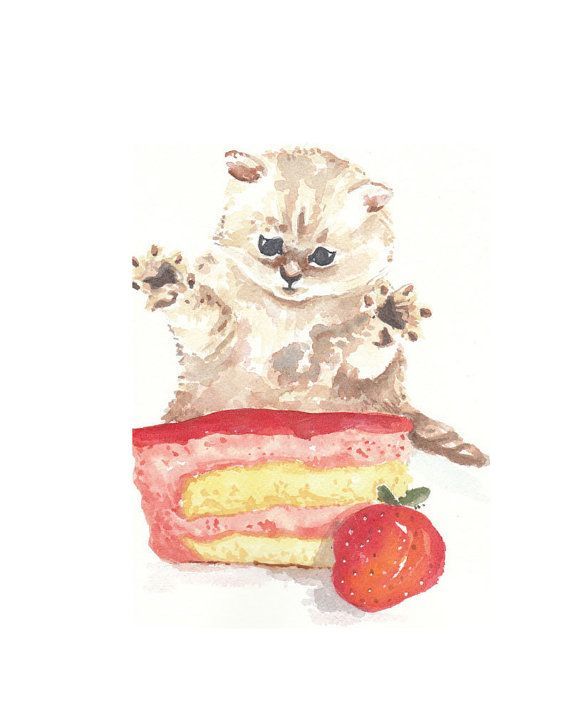
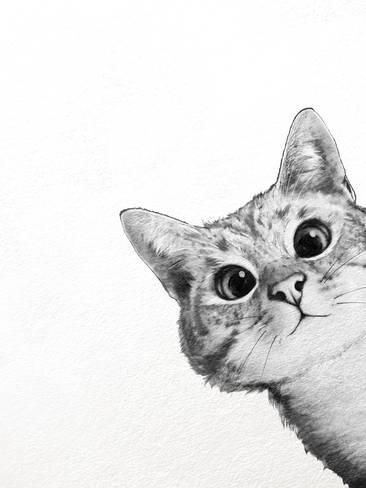
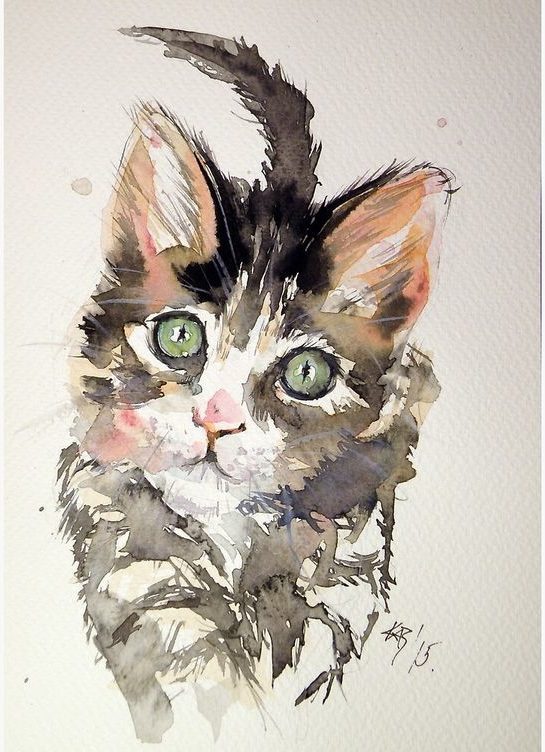
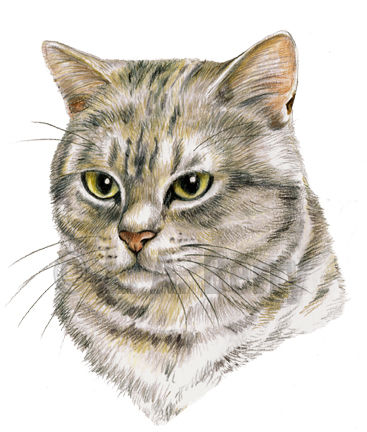
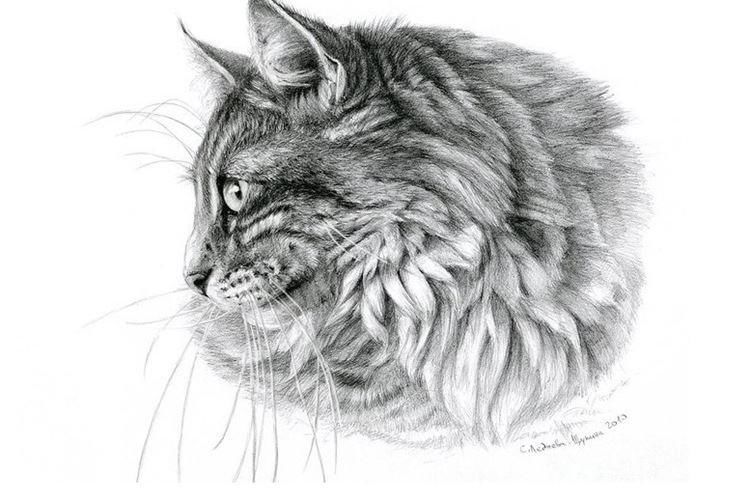
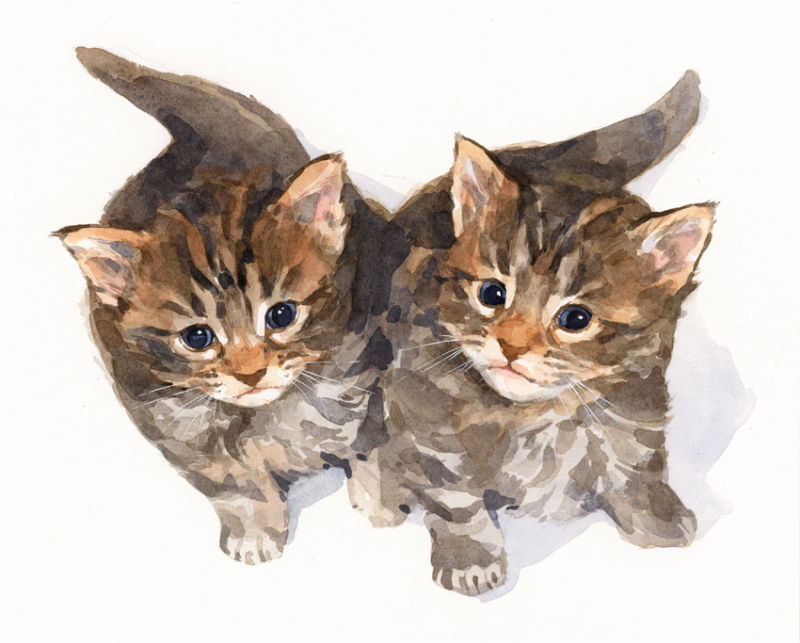
Realistic cats
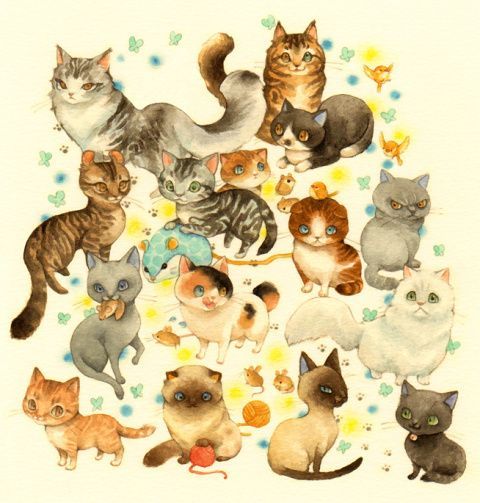
In the pencil drawing, the cat is depicted as in real life, if the simple technique is already mastered and you want to increase the level of skill. There are so many different breeds of four-legged friends.
That's why it's always interesting to work with the image of kitties: the images don't repeat themselves. In addition, kitties are so agile, flexible and nimble that it's very difficult, but interesting, to keep up with the constantly changing poses. If there's no fluffy pet at home yet, you can do sketching from photos on the Internet.
Despite the fact that the muzzles of cats are different, the way of building a composition of the head is basically the same for all.
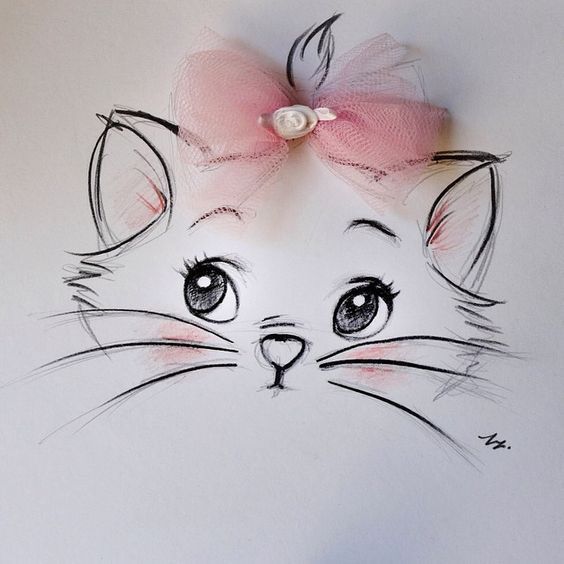
Principle of building a head and a muzzle
In order for the drawing to turn out realistic, it is necessary to carefully study the basic principles of the correct construction of the muzzle and head.
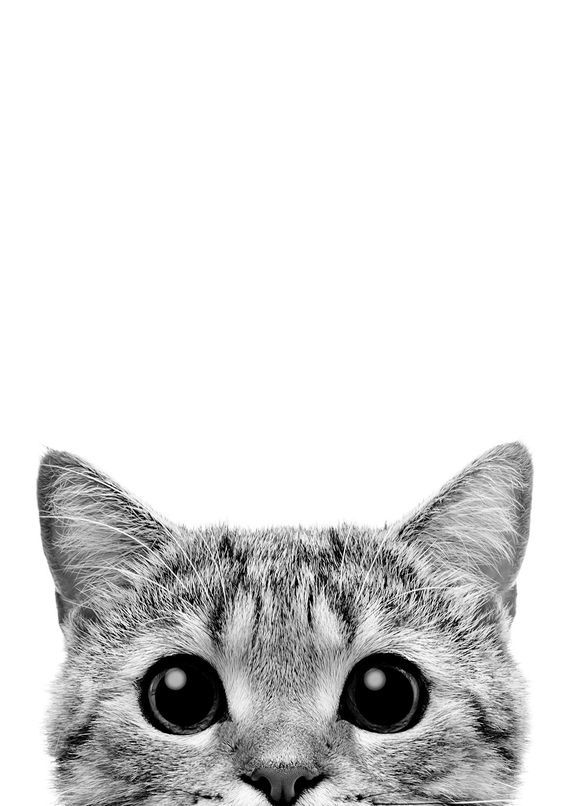
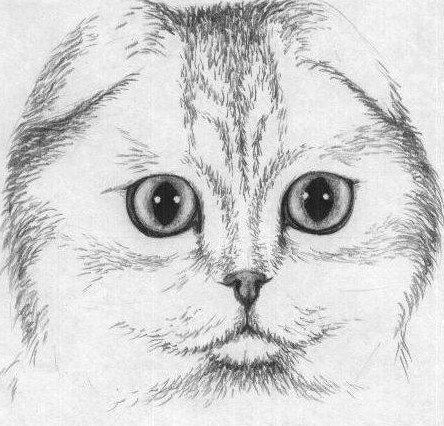
In full-face
In the process of creating the main part of the image follow the following steps:
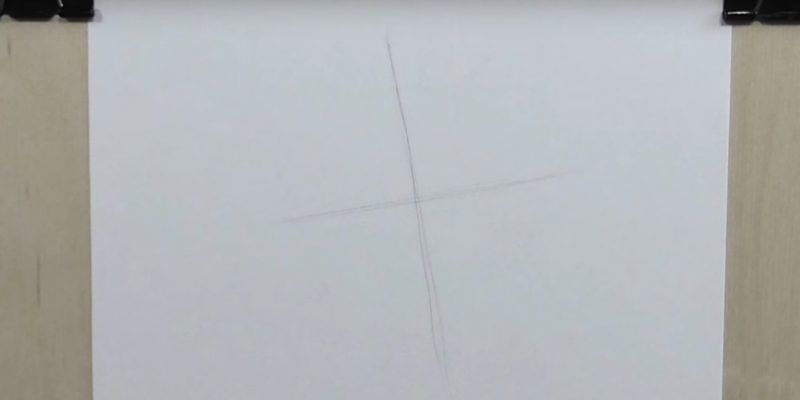
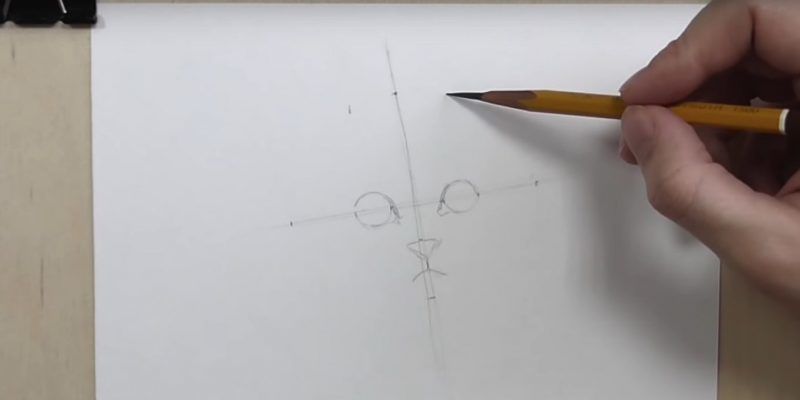
Stage 1.
On the sheet make a sketch of the future head - a circle, slightly elongated and not strongly pointed at the bottom. In the center "put" a cross in the entire perimeter of the circle.
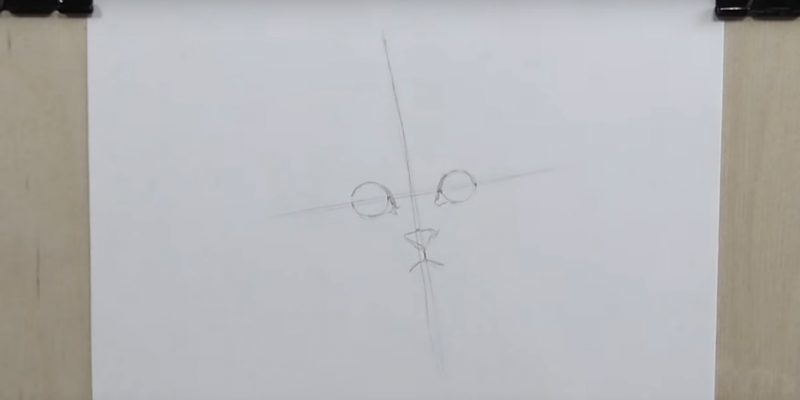
Stage 2
On the horizontally placed piece outline the eyes. A little lower indicate the nose and a circle, which will be the convex part of the muzzle. Symmetry is respected when depicting: the right eye must be located at the same distance from the nose as the left.
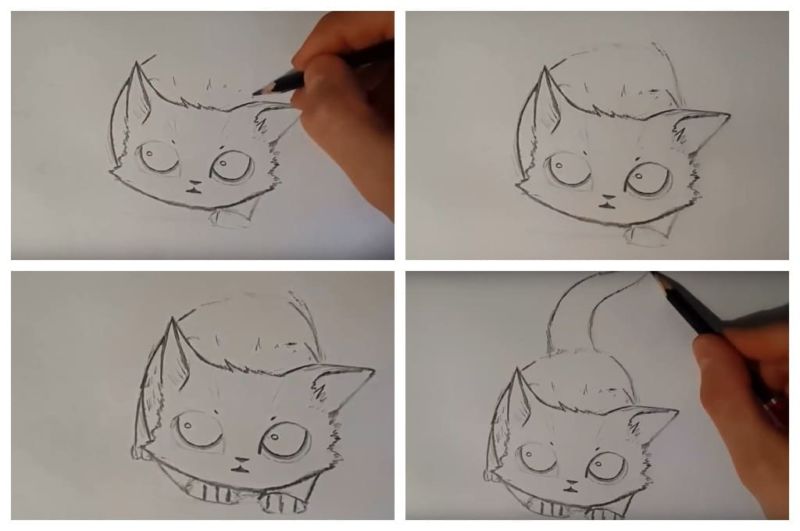
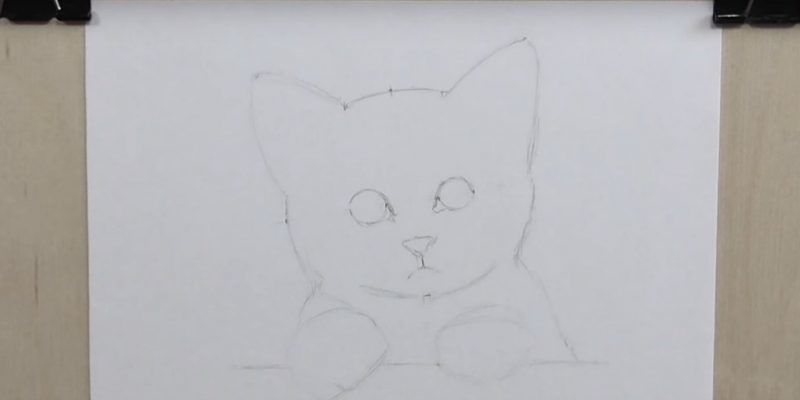
Step 3
The ears are added at such a distance from each other that the line that leads from the edge of one inner ear goes to the tear duct of the eye and further to the nose.
And with the second such line they form a semblance of a triangle. The ears are made pointed at the top. Also see that the end points of the outer ears are on the sides of the horizontal segment of the cross.
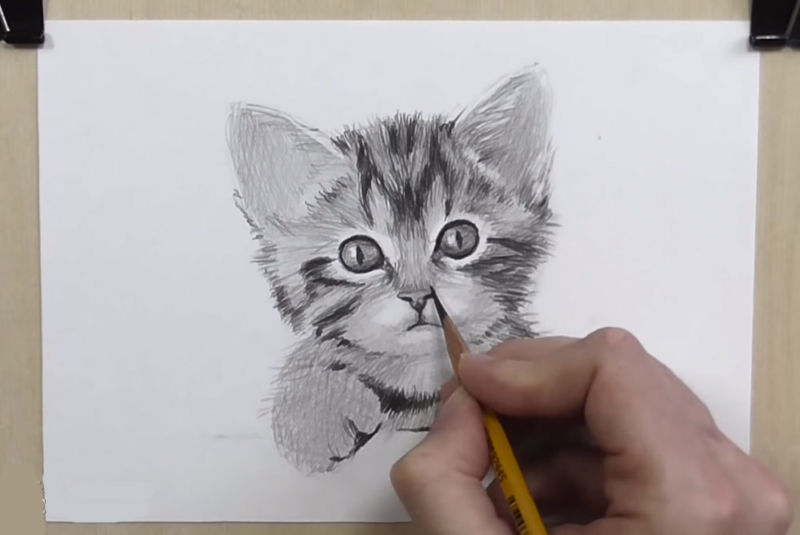
Step 4
From the corners of the eyes do two lines to the nose, draw nostrils, eyes give details: emphasize tear ducts, draw narrow pupils and shading them, do not forget to leave highlights (or create glare with eraser over shaded).
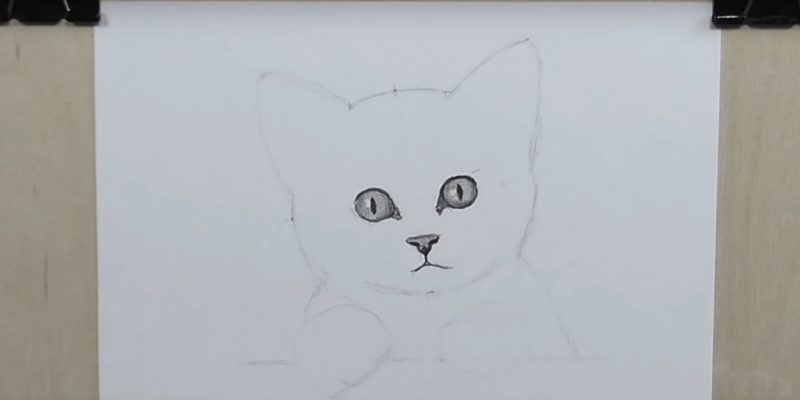
Draw a mouth and volumetric cheeks, work through the zone of points-follicles, which will grow a mustache. Usually there are four such rows on each side. And, in fact, portray the long mustache itself, not only near the mouth, but also from the "eyebrows".
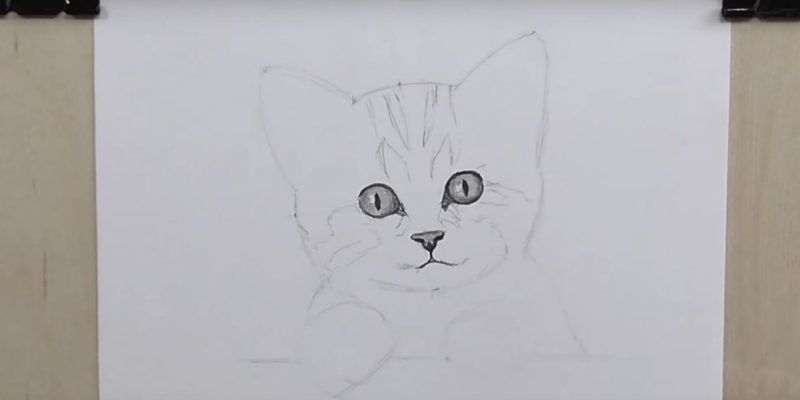
Step 5
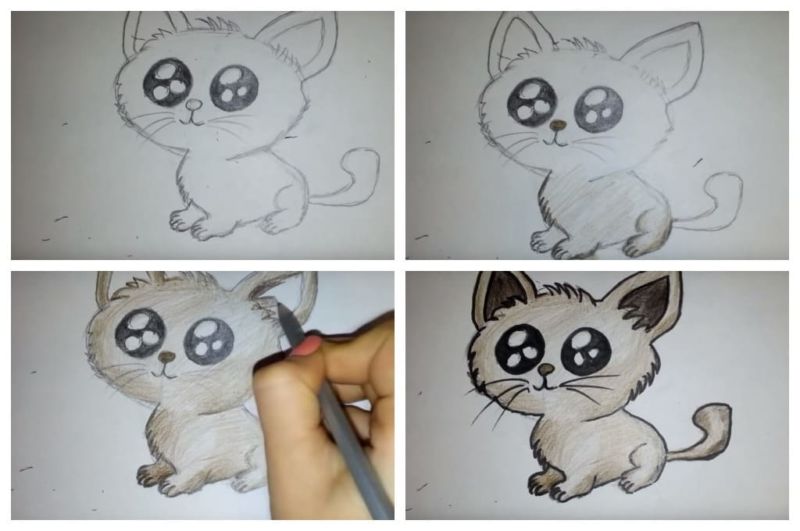
Working with a pencil. To give a realistic wool, make quick strokes, not connected to each other.
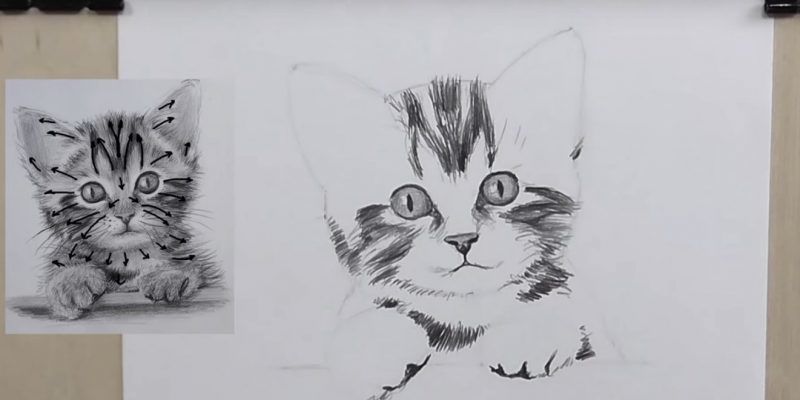
They see how the fur of the animal grows and try to repeat the structure with different stroke techniques, shading where necessary by more frequent segments (in the drawing inside the ear, for example), and where the image requires it - highlighting (the areas near the eyes and those to which the light falls).
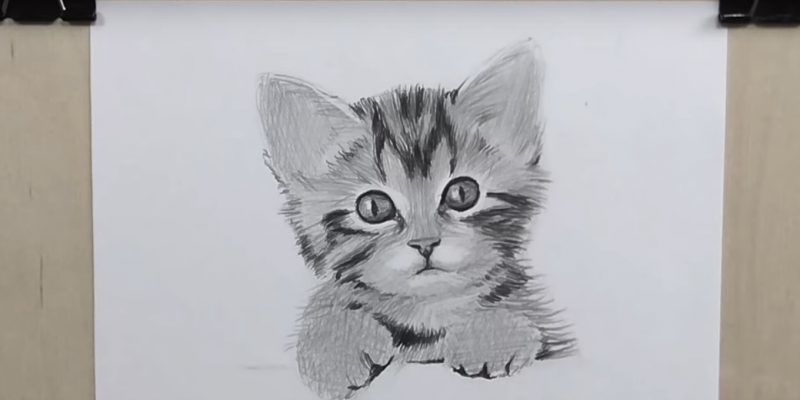
Step 6
To give the eyeball volume, using the technique of pointillism (painting dots) and the edges of the dot is highlighted circular volume. This method can also be used in detailing other areas of the work with a simple pencil. The method allows you to achieve greater realism.
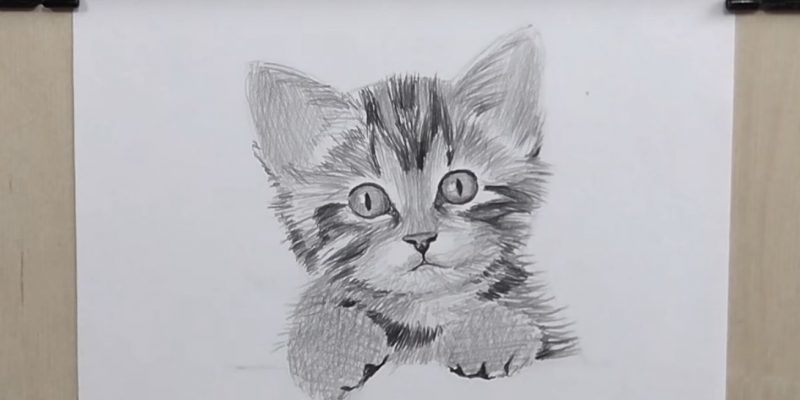
Step 7
Soft a simple pencil make a fluffy face. Once again, emphasize details, working with light and shade.
In profile
To perform this task, also draw a circle, to the right of which draws something like a trapezoid (muzzle). The circle is divided into quarters by a cross. The axis of the horizon will point to the side where the cat's gaze will fall.
Two-thirds of the trapezium will occupy the upper lip and nose, the rest of the place will take the lower jaw.
Then the eye (one, because the view is from the side), ears (one slightly hidden behind the other) and nose are outlined. Following this action, focus attention on the details: pupils, mustache, wool structure.
When they master the scheme of constructing a head, they practice by drawing from nature or from photos of different representatives of the feline family. In the process of work constantly look at the image, comparing it with what you get. They carefully calculate proportions and observe symmetry.
So, for example, focus on how one segment (from the eye to the tip of the nose) is larger or smaller than the other (from the inner ear to the eye canal or from the nose to the chin).
Do not miss the point of mirroring the right side to the left, but if drawing a cat with its head slightly turned sideways, they use slightly different proportions.
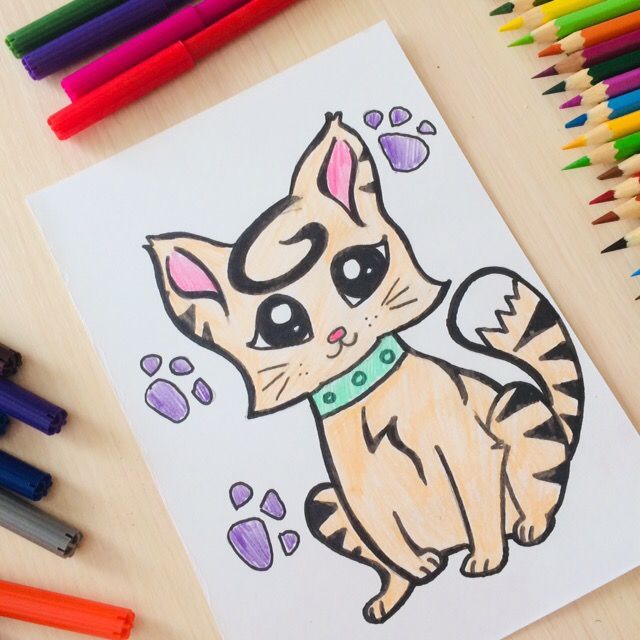
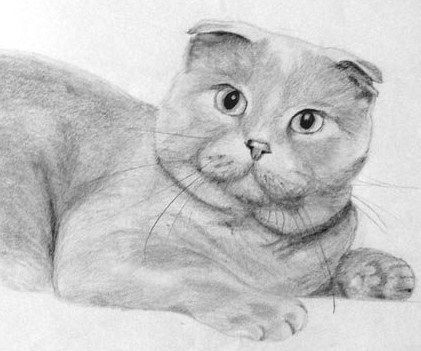
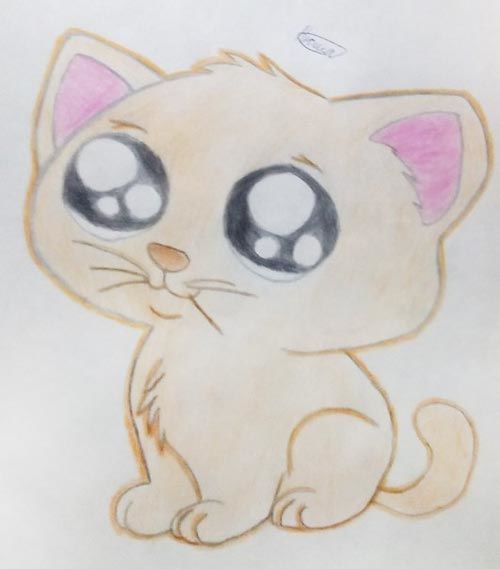
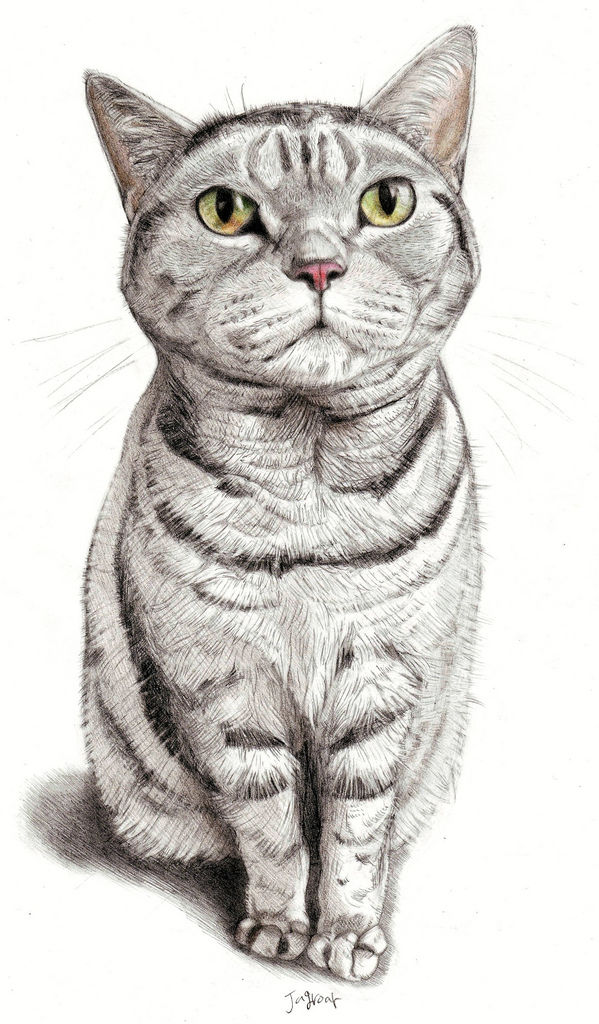
Simple drawing of a sitting gray cat
This work is easy for children who want to draw not only animated cats, but also their pets in reality. They will also be happy to try to dissolve the image with colored pencils: the kitty will be gray with dark stripes. To complete the task, they will need:
- any sheet of paper (album or A 4);
- a set of colored pencils;
- a simple pencil and an eraser;
- A gray, patient cat or his picture.
Work on creating the image also in stages.
- First, an oval is outlined, stretched slightly upward (torso). Next, the head and ears are drawn and parts of the cat's "face" are sketched (not forgetting all the nuances of construction).
- The next turn is the limbs: four paws with claws are added.
- This cat will be gray in color. To start coloring, shaded pink nose, yellow - eyes. Unusual pupils are colored dark green, leaving white circles glare.
- Then proceed to the fur. Gray pencil stroke all over the body and head, imitating the growth of wool. Do not forget about the edges to create a visual effect of fluffy fur.
- Throughout the figure depict dark gray stripes. Make a thin black mustache. Ruler or felt tip pen to work out the contours of the eyes, nostrils, etc.

Ready kitty cat! The main thing that while working on it did not run away sitter!
A cat in motion!
Gradually moving on to a more complex level, drawing the movements of the animal. How to correctly draw a cat running or jumping? Here it is necessary to delve into the anatomical structure of the animal skeleton and the principles of its action during walking and running. Work on the image by going step by step.
Stage 1
The general composition on paper is marked with a large oval. Outline its torso, head and lines from the place where the spine is located - the four limbs.
Step 2
Having studied the skeleton of a cat in special literature, mark the necessary points: shoulders, wrists, hips, knees, heels. The joint structure is used to create the correct symmetrical proportions of the body of the pet.
Step 4
The contour of the cat's figure is outlined. Begin to cover the dark areas of the body with quick strokes, shading the bulges. Fur is outlined with darker strokes.
Stage 5
Figure the head on the principle of the scheme of the structure in profile (see above).
Step 6
Shading the entire body, paying attention to the structure of hair, volume and the contours of the individual parts and the whole image. The active kitty is ready!
It doesn't take much artistic skill to draw a cat beautifully (it comes later, in the process and with experience). But it takes patience and constant training.
The more they work, the faster they get the desired result in the form of a professional image of this graceful and unusual pet.

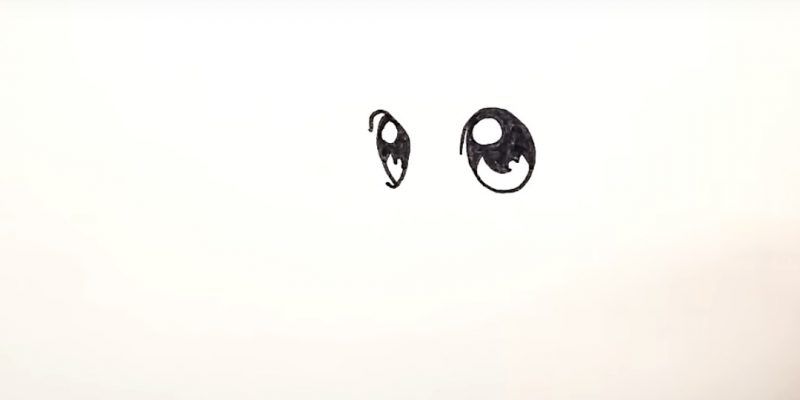
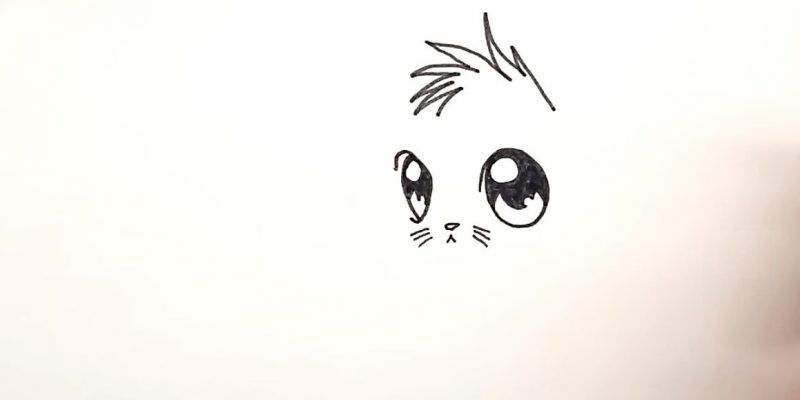
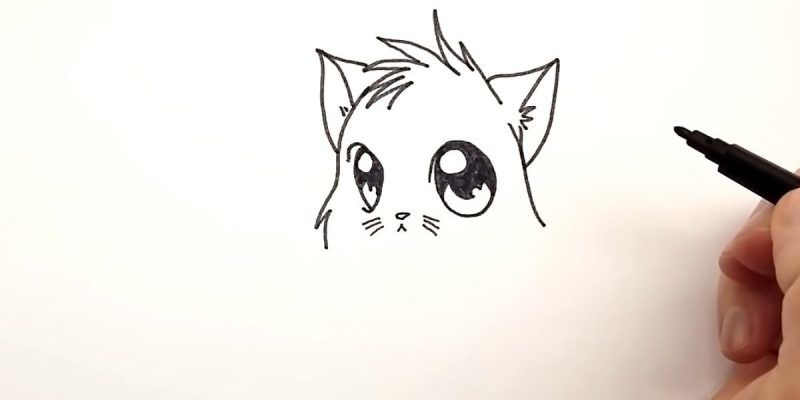
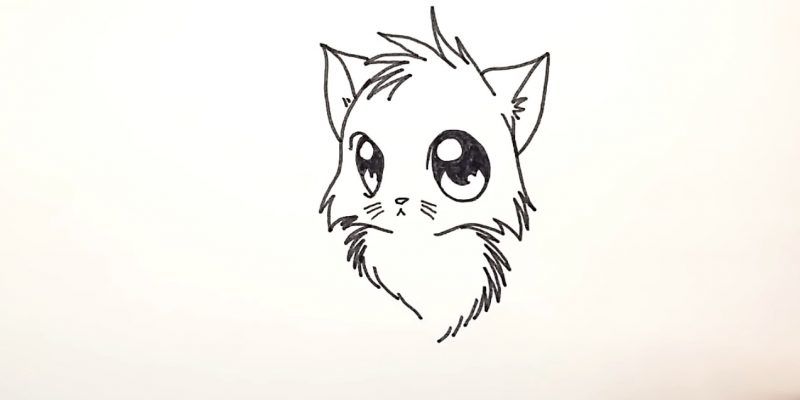
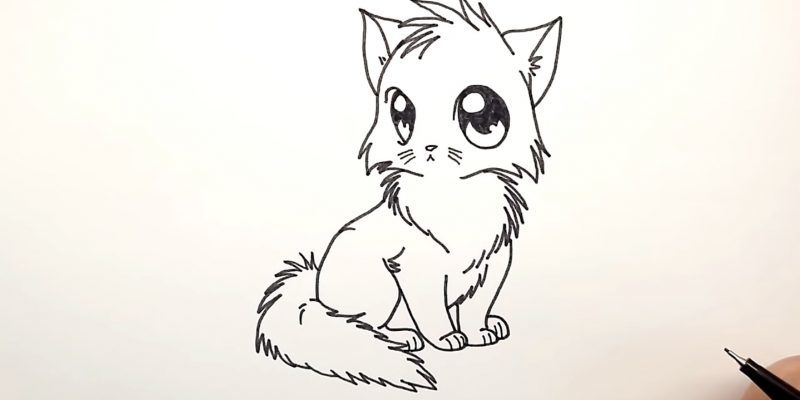
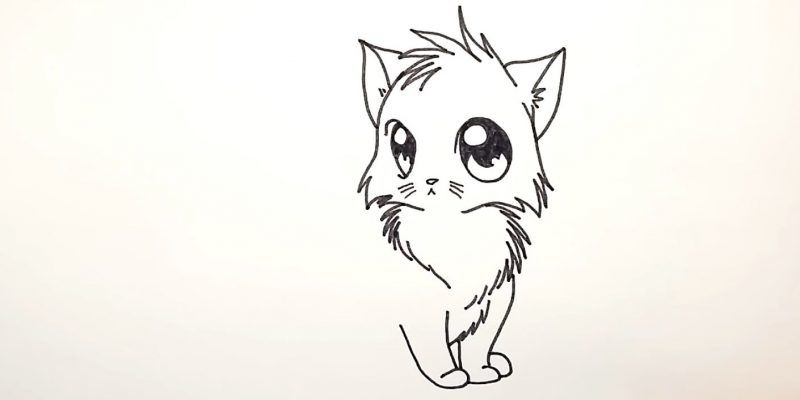
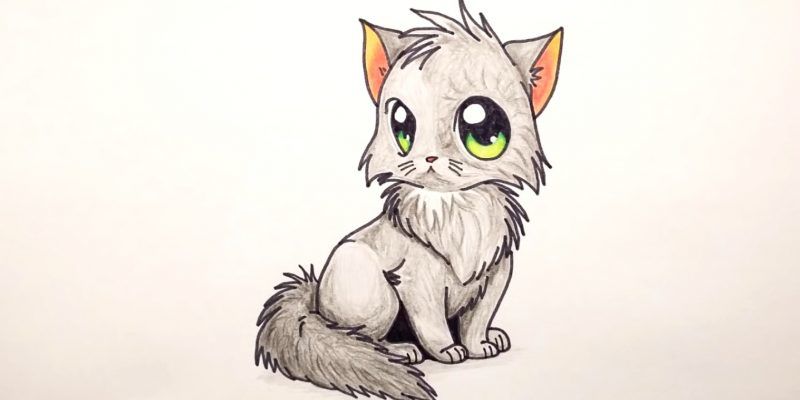
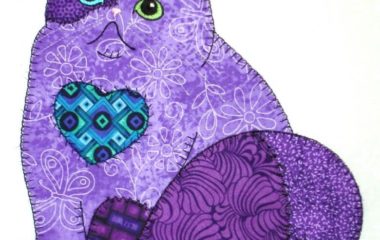
Photo of a drawn cat with pencils, felt-tip pens, paints