How to draw a full-length guy and a man in pencil - easy master classes to create beautiful portraits
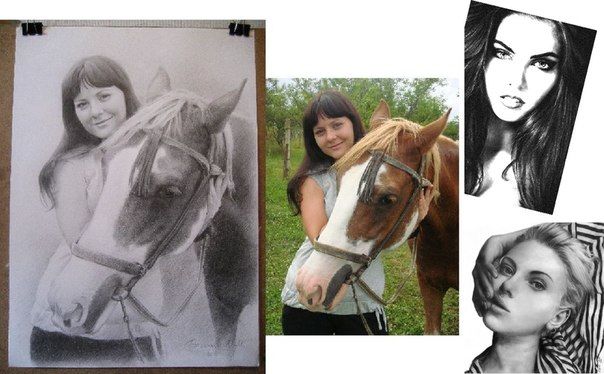
Portraits, quite difficult to draw, because you need to convey not only facial features, but also facial expressions, character. It will be difficult for beginners to start drawing right away, it's worth practicing for a start.
Artists don't draw for nothing, because it's important for them to convey the mood, the message of the person they are drawing.
If you have a desire to draw a portrait of a man, this article will help you in this, if you follow all the steps consistently, you are sure to get a good job, which will not be ashamed to give your beloved.
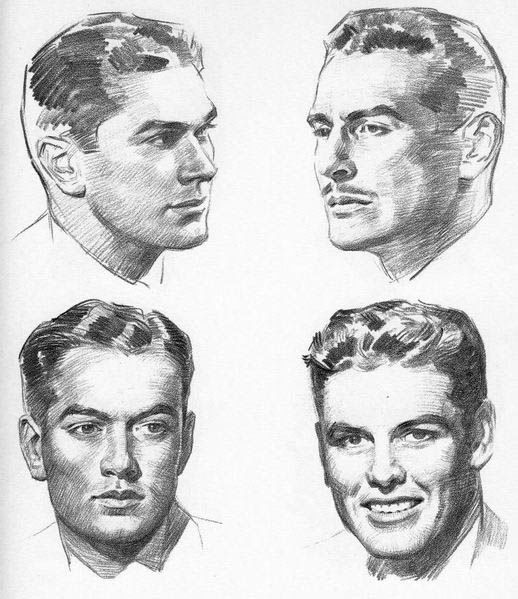
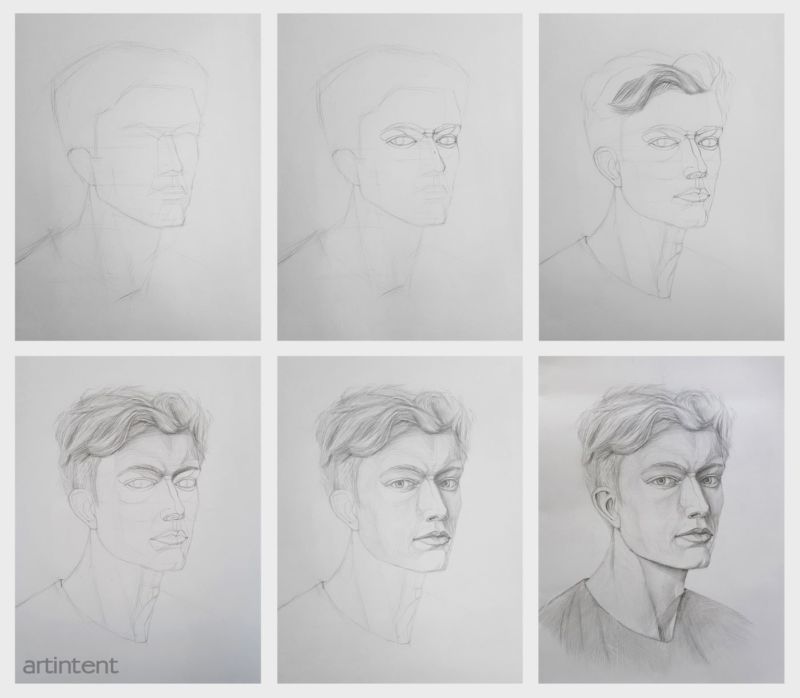
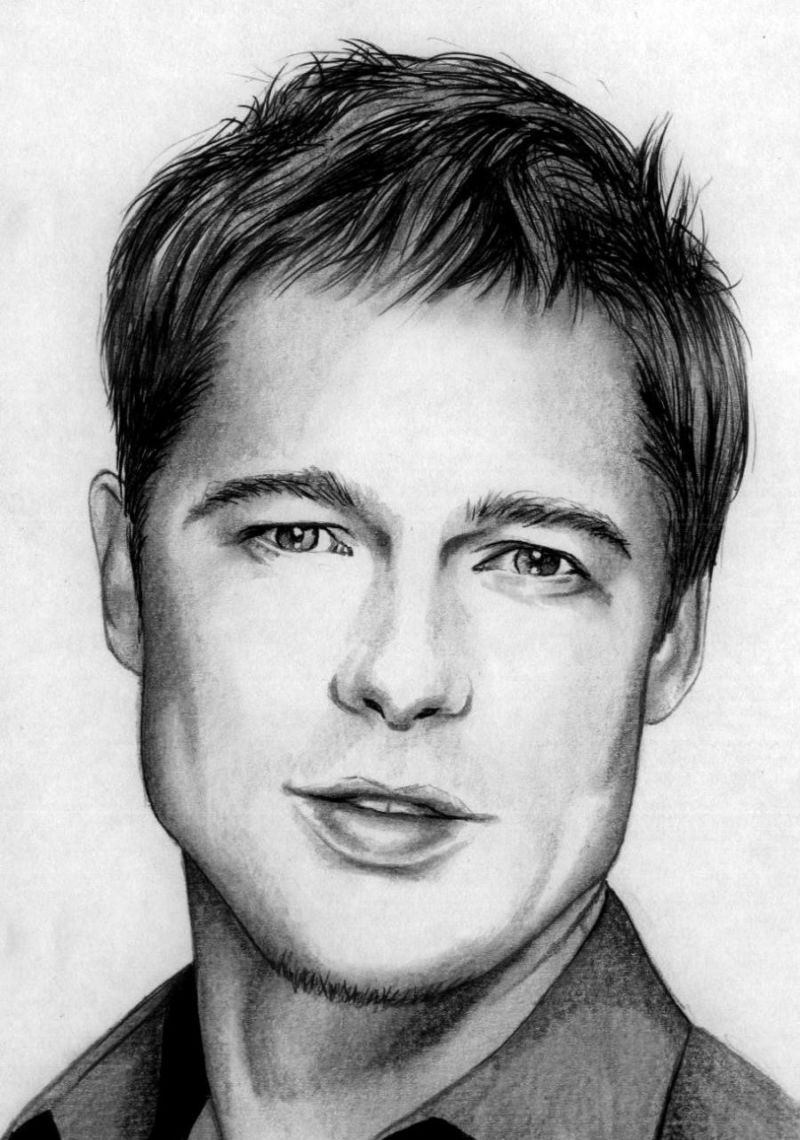
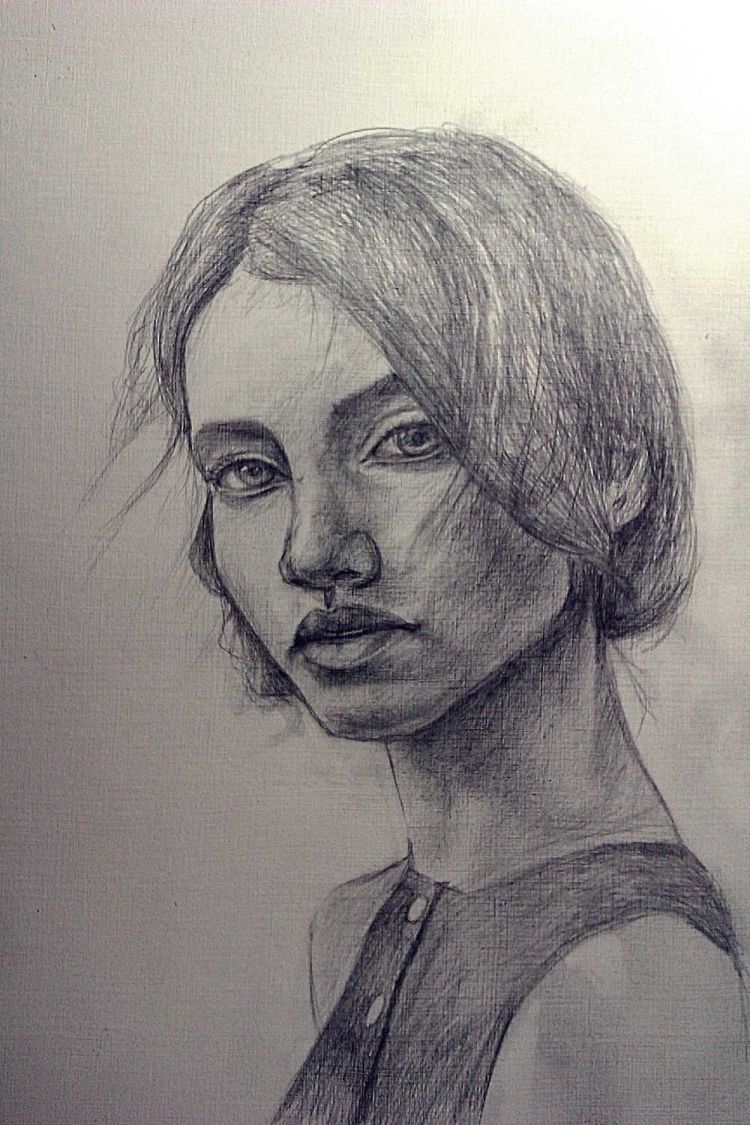
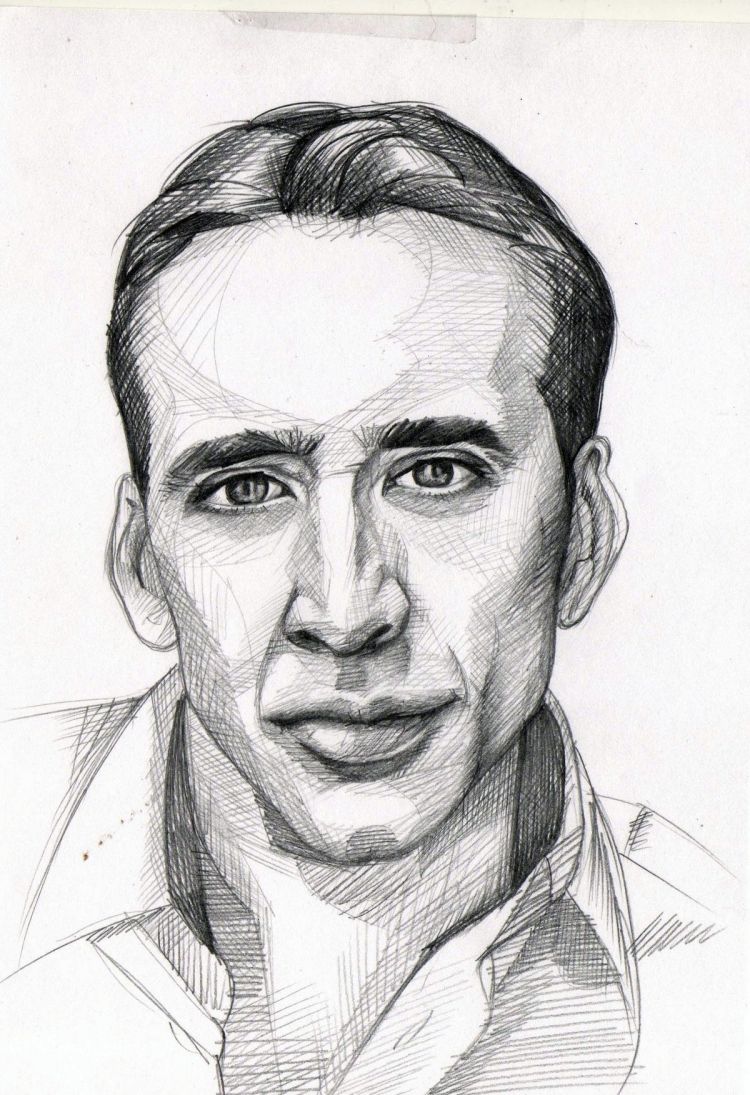
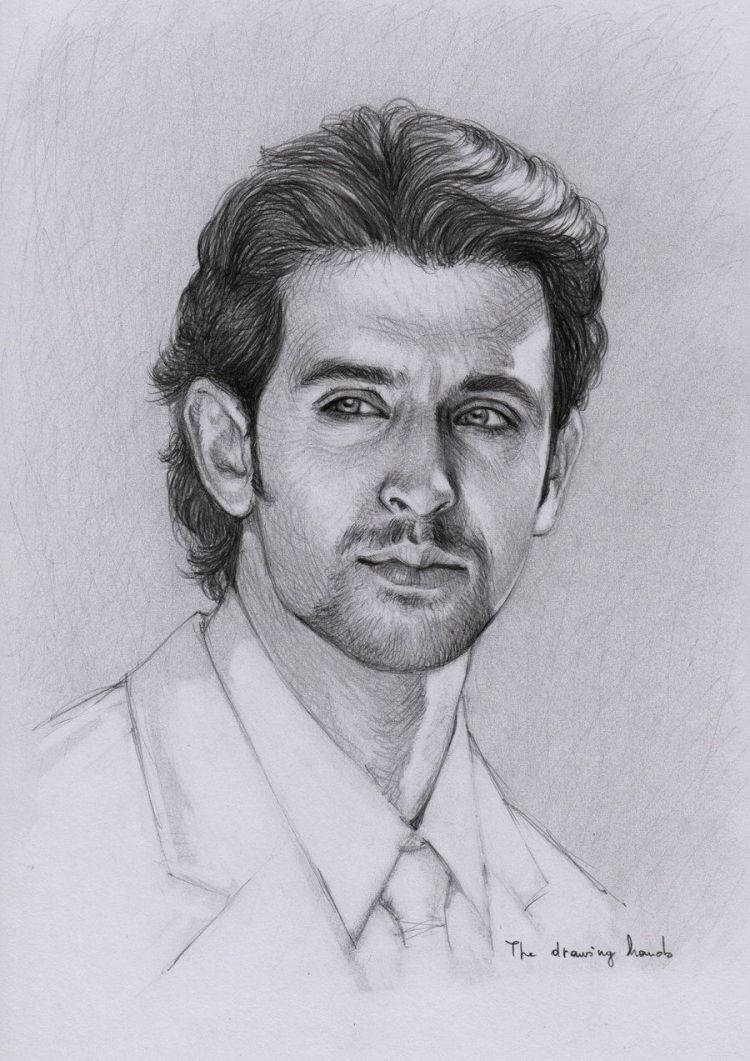
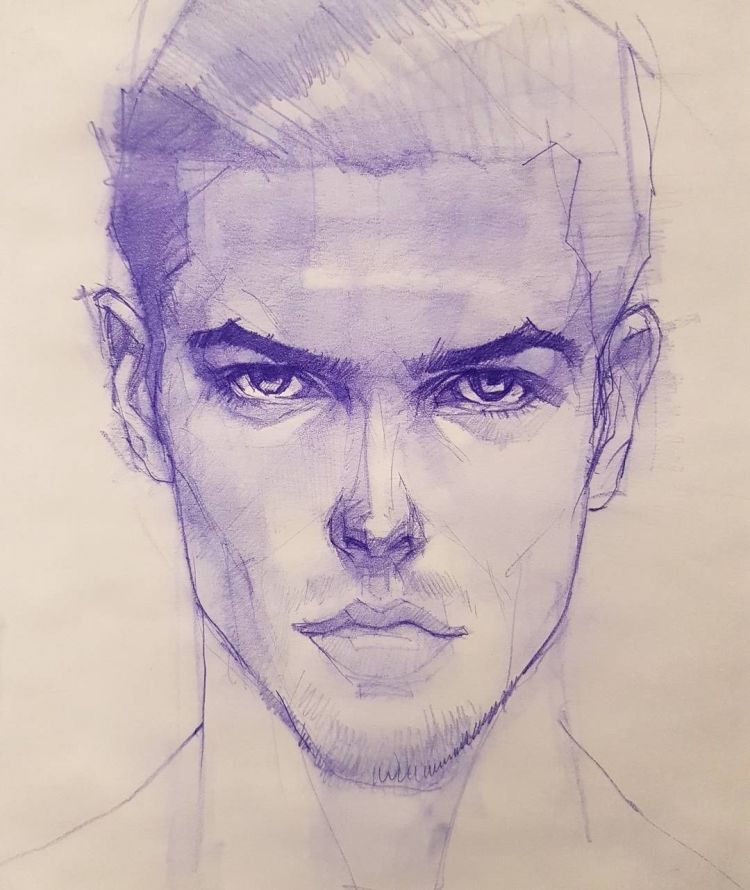
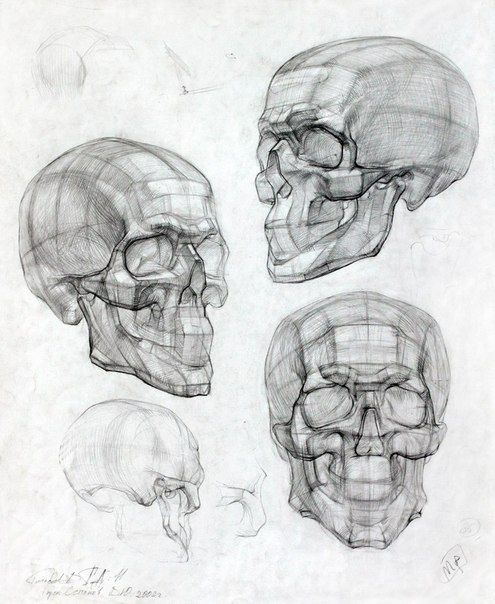
Pencil drawing
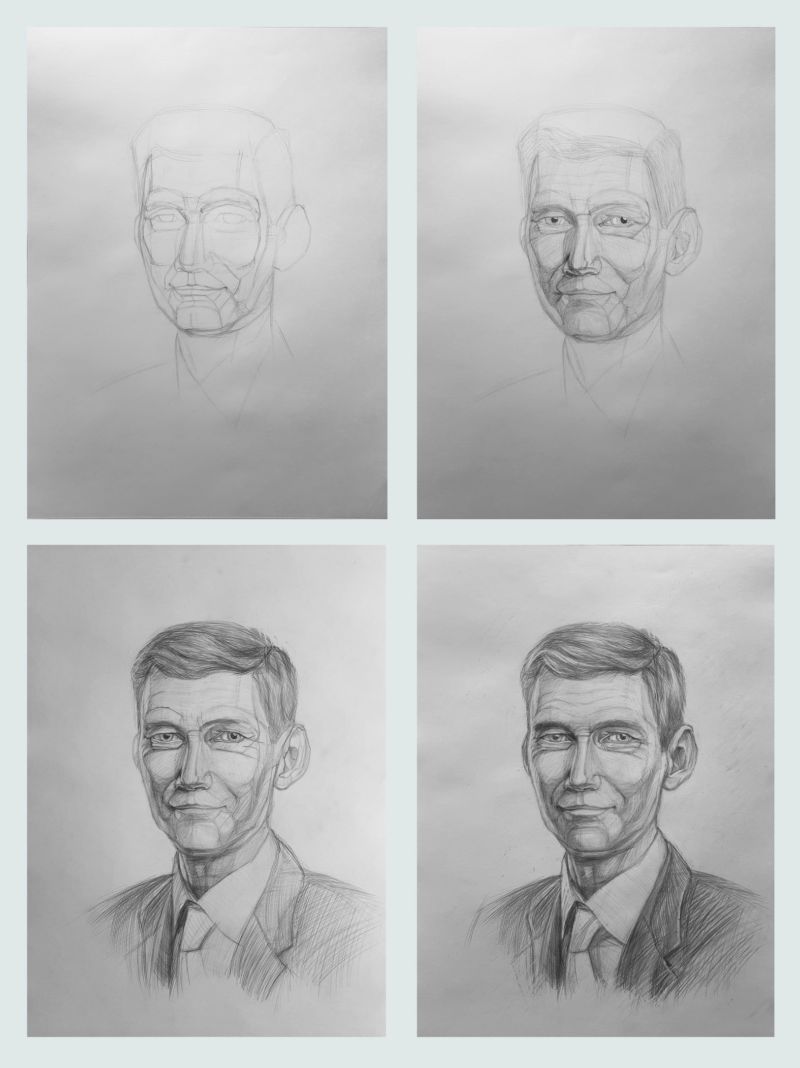
Pencil drawings look no less realistic and it's easier to draw them, but it's important to observe some nuances that you'll learn about by reading the instructions below:
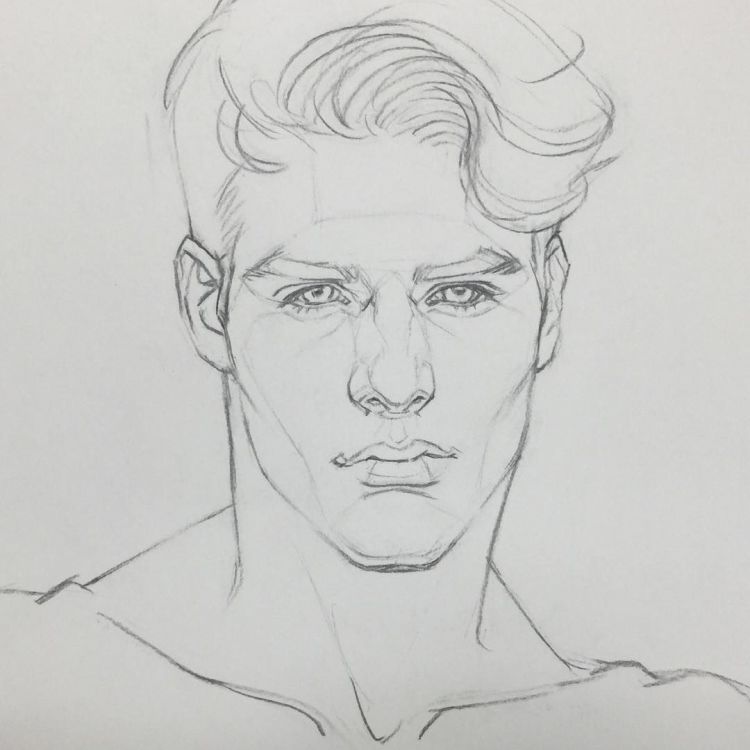
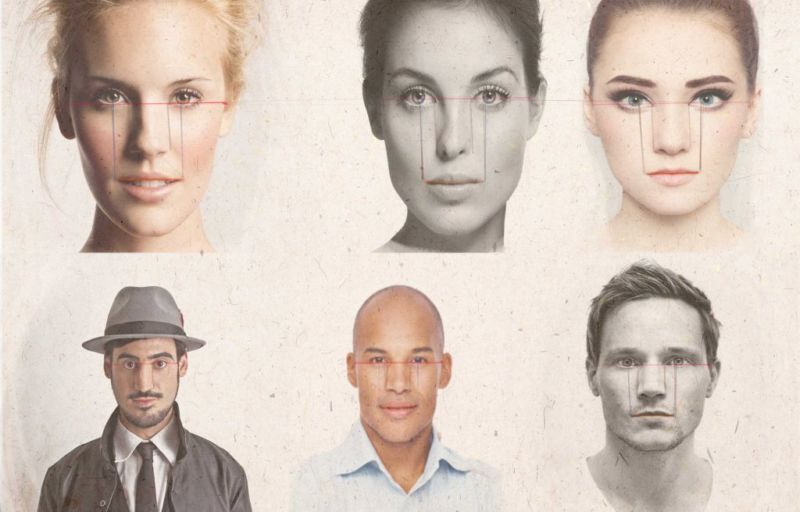
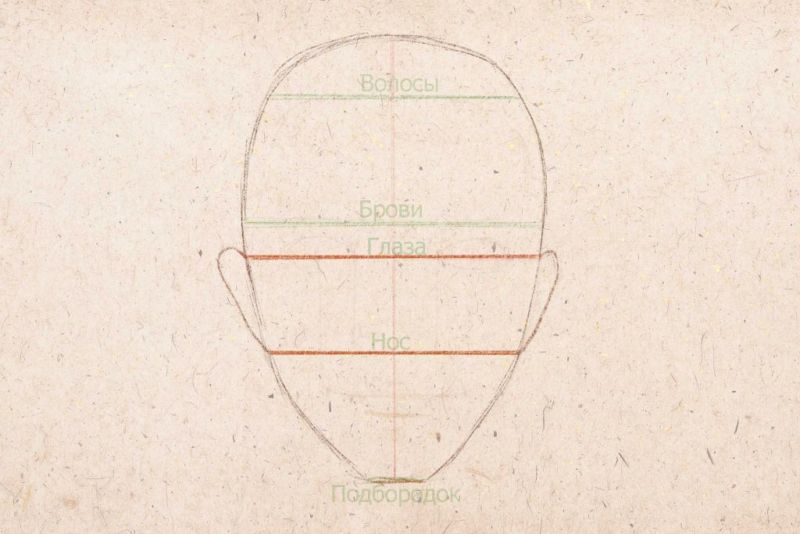
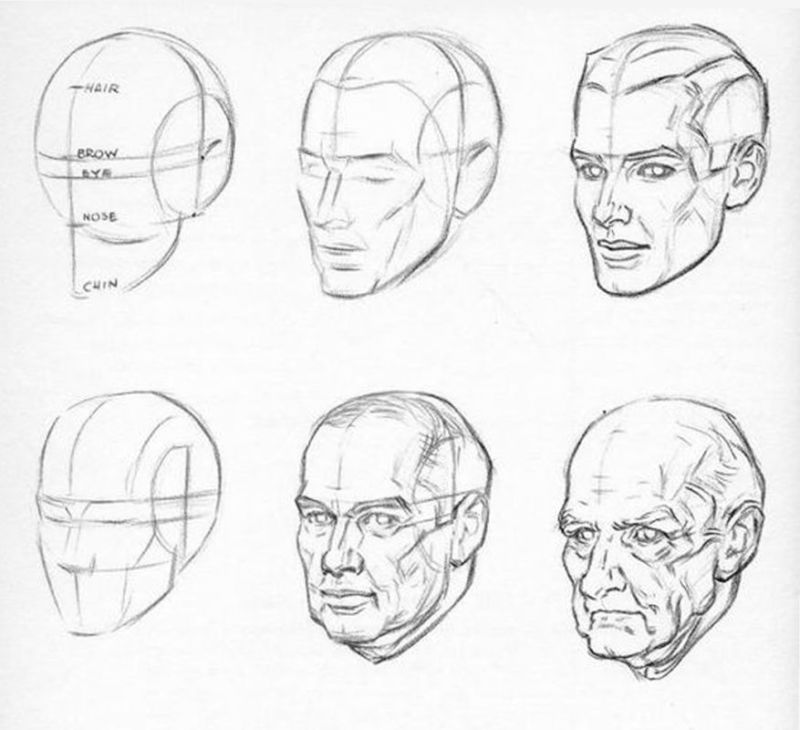
- Note the proportions of the face, each has its own size, it is important to portray them correctly, take into account the following: the average height of the face is 1.5 times greater than the width.
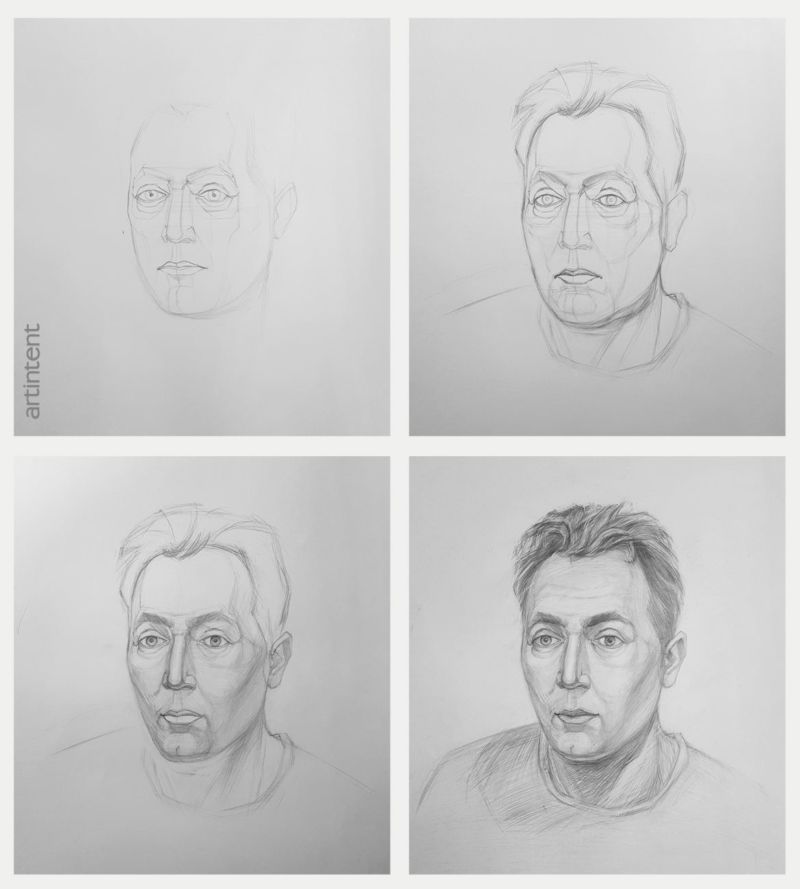
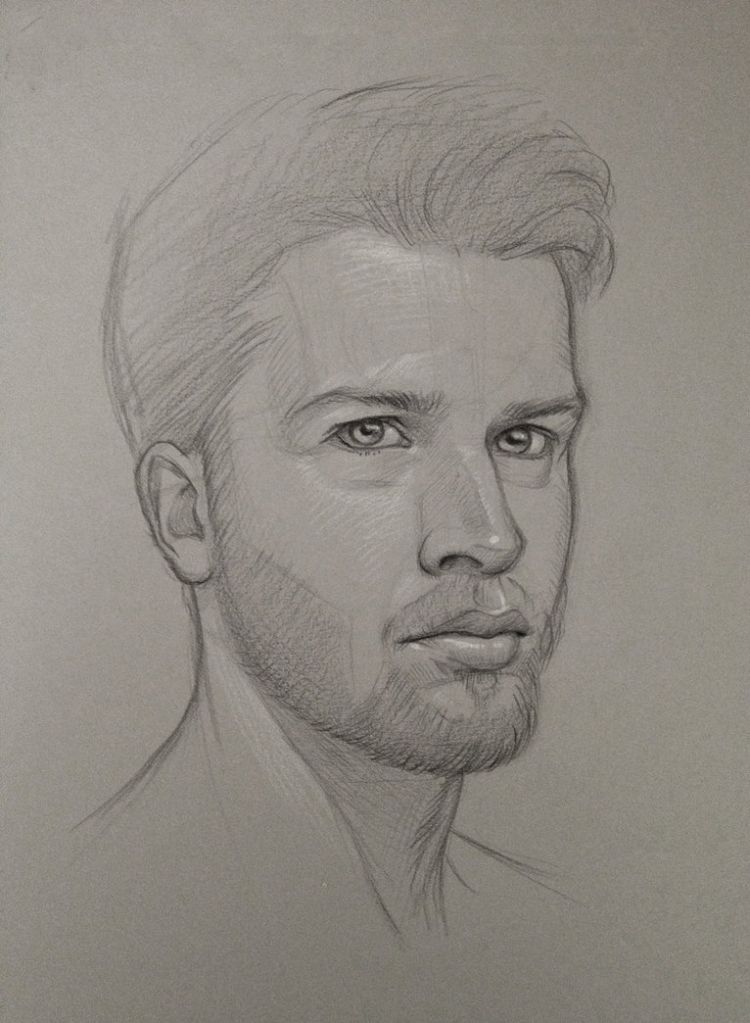
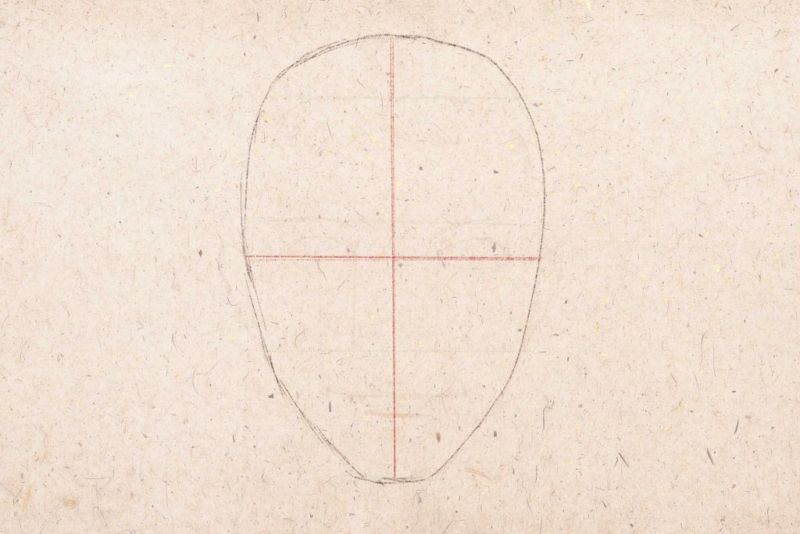
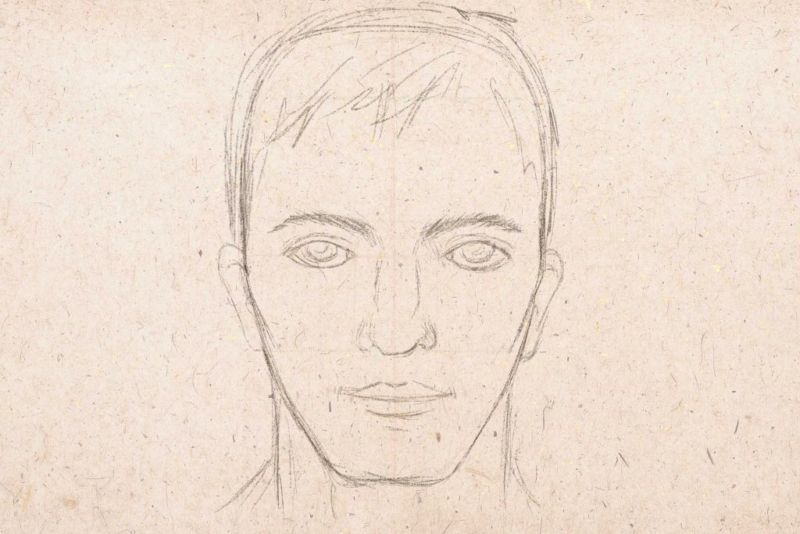
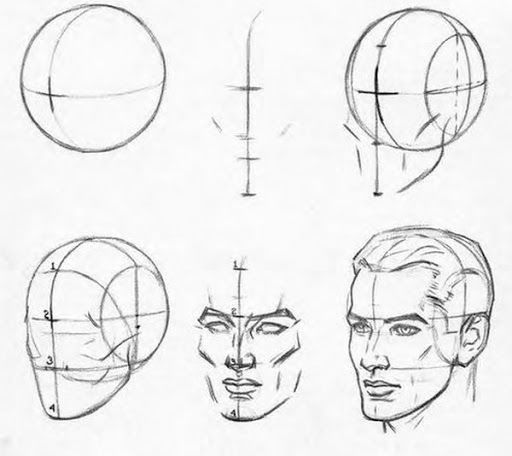
- In full-face work is created more easily, for beginners should start with this. Right and left sides make equal, draw a rounded forehead, mark cheekbones with chin.
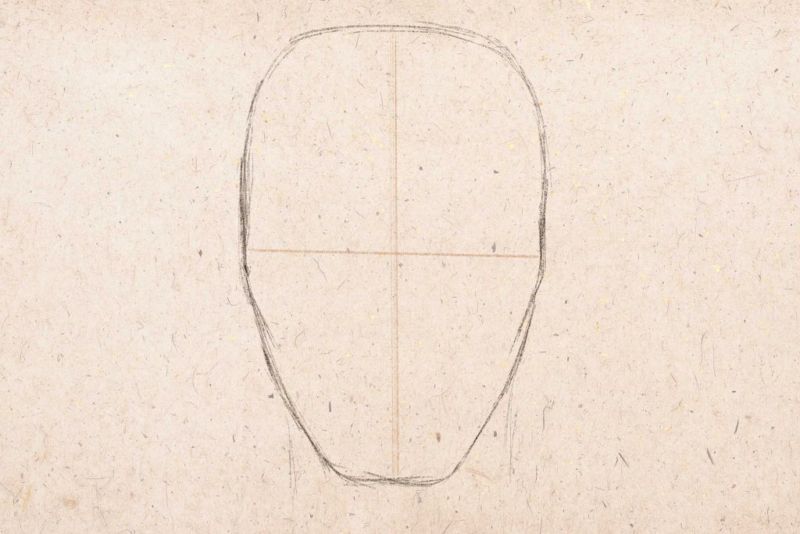
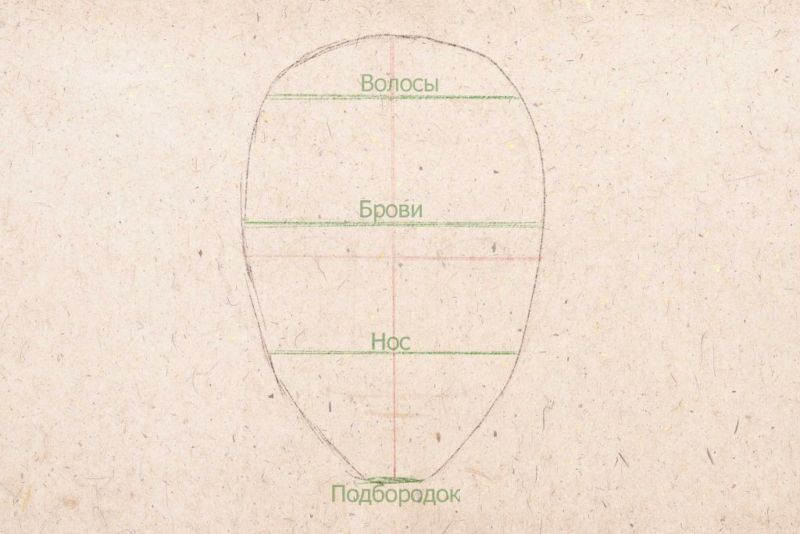
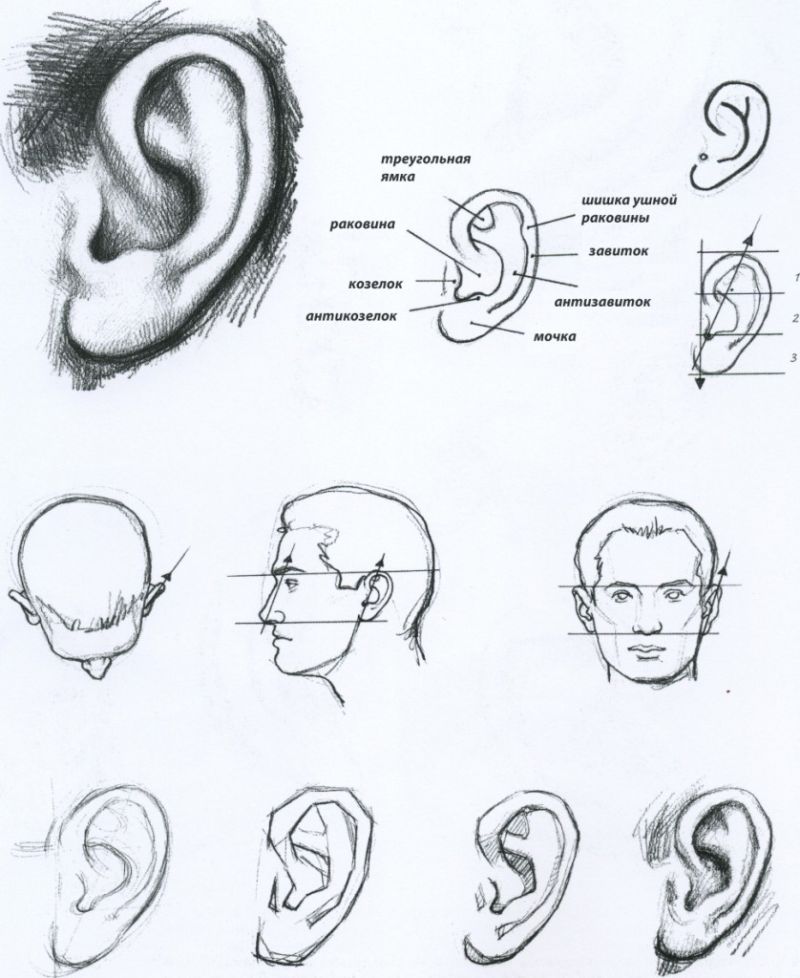
- A line is drawn on top of the face, which is intended for the hair. The sides are indented and mark the location of the ears. Above the forehead put a curved line to fix the height of the hair.
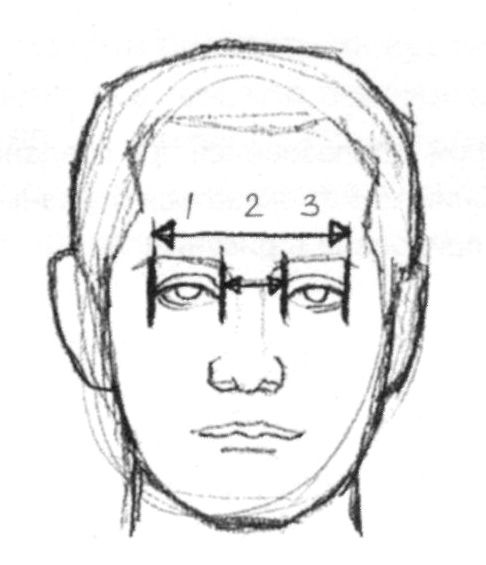
- A line is drawn across the face, it can be used to draw symmetrical facial features. For the eyes are defined in this way: divide the head in half with a horizontal line, also put the height of the nose, which is located above the chin and eye lines.
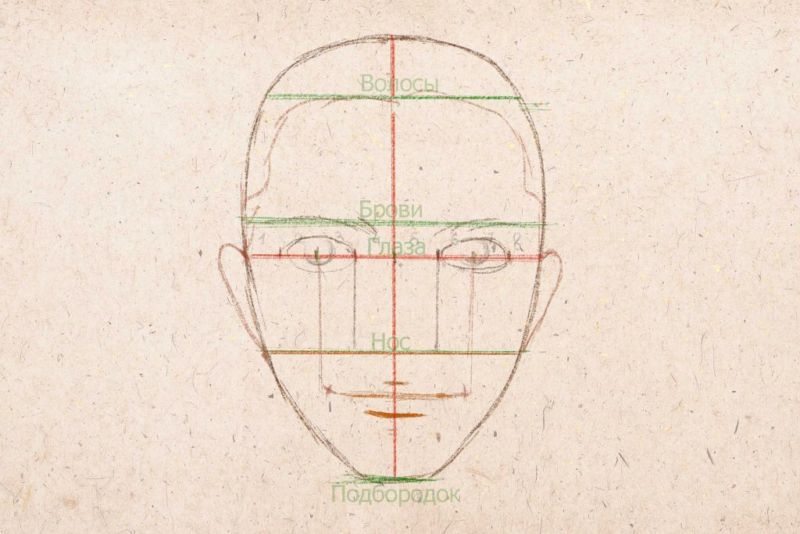
- For the mouth, from the corners of the nose draw lines to the bottom, from the chin draw lines that are parallel to them. Obtained four lines that converge between the nose and chin.
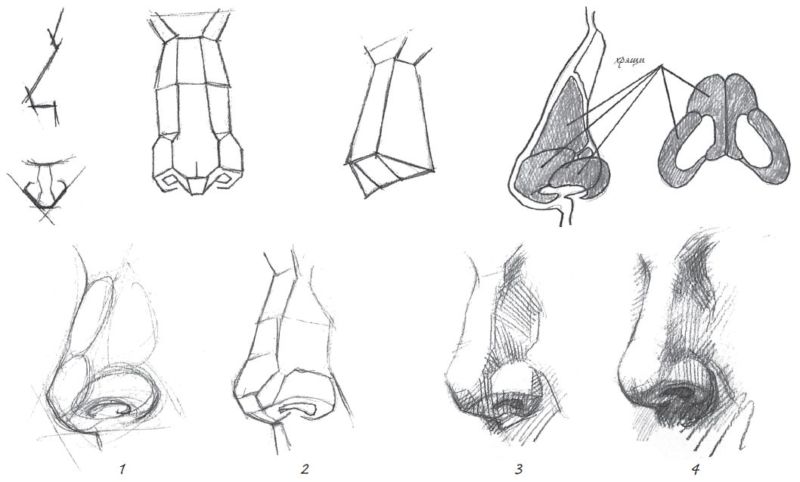
- Draw the nose, first determine the width, the ears, the hairs will cover them.
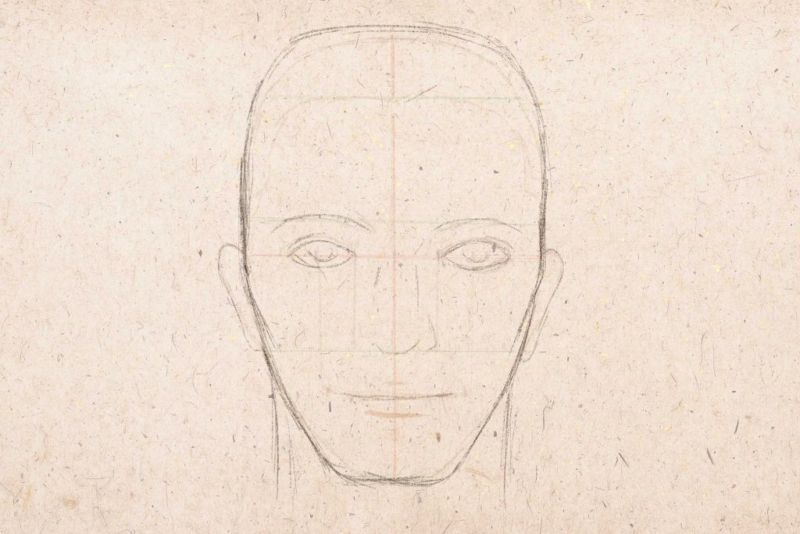
- Eyebrows can be drawn depending on the desire: wide or thin. Here they are drawn wide, for this purpose define with a line their width. At this stage it is not necessary to draw everything in detail. Create the shape of the hair and the bottom of the face, adding softness to the lines.
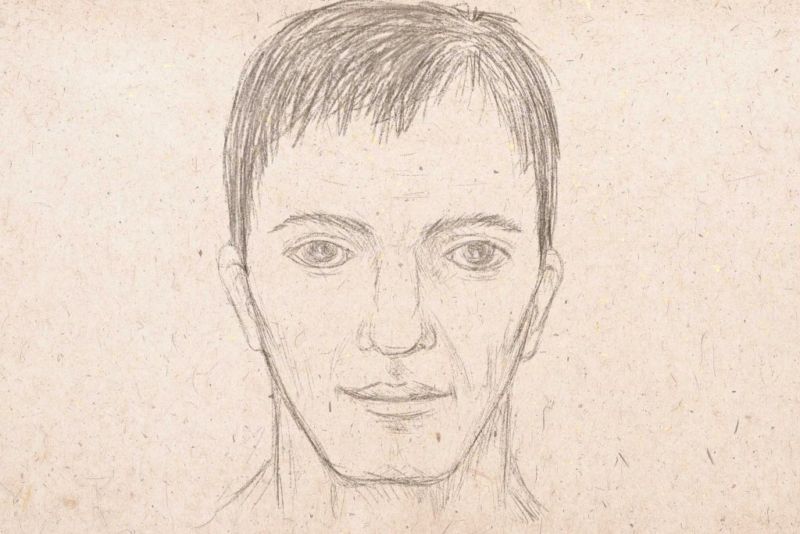
- Proceed to the eyes - they do not need to be darkened, the accent is made soft. The eyebrows are shaded and the nose is drawn.
- Lips - they are drawn medium, also depending on the wishes and the particular person's facial features are all drawn individually. Lips are given a pointed edge and the chin will be rounded.
- Determine where the stubble will be located if drawing a portrait of a man.
- Highlight the main features of the face.
- Hatch the shape of the face, before the edges traced.
- The nose is also lightly shaded, as well as the lip and eyes.
- Pushing harder on the pencil highlight the eyes and eyebrows.
- Shadow the beard, hair and cheekbones.
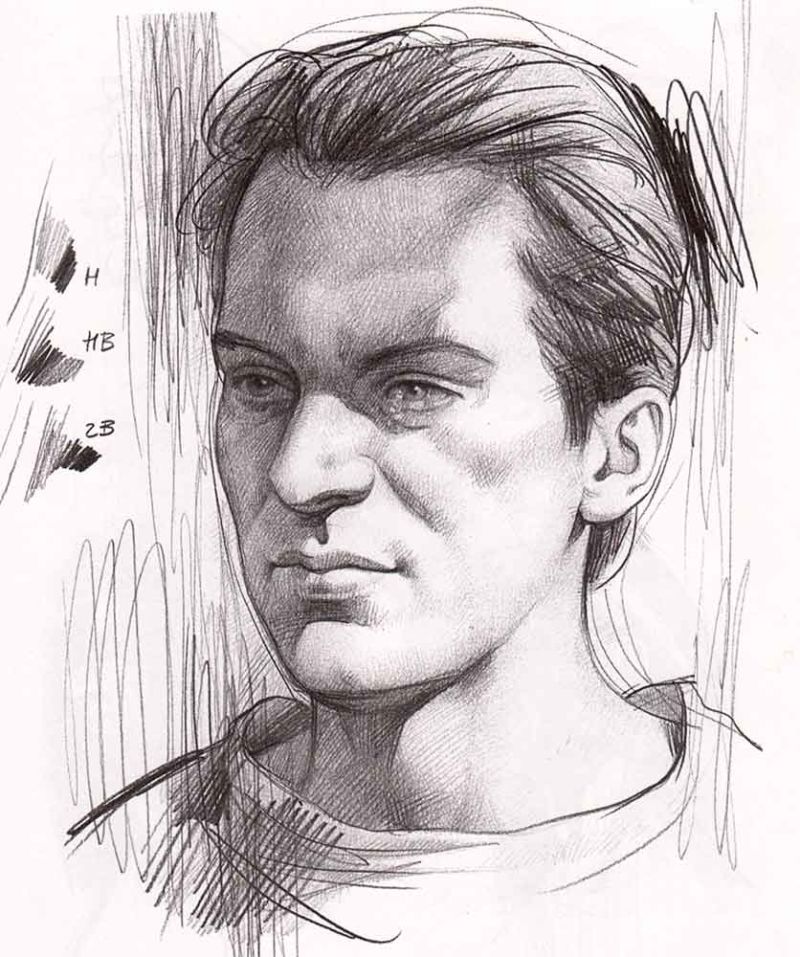
- Working on the brightness of shadows and details.
- Drawing the neck, clothing and shoulders with lines. Working harder to contrast the face, cheekbones, mouth and eyes.
- They give a shadow on the hair, shade the face a little, create dense strokes, while being soft.
- Neck - its tone is always darker than the face, highlight the clavicles and the Adam's apple.
- The contour is emphasized.
- The depth of the eyes is enhanced, making the cheekbones sharper.
- Create stubble in the area of the mouth, cheekbones and chin. Keep working on the right details. The portrait is ready!

This kind of portrait is created faster if it is drawn with great desire and perseverance. It will make a great gift and decoration for the owner of any room.
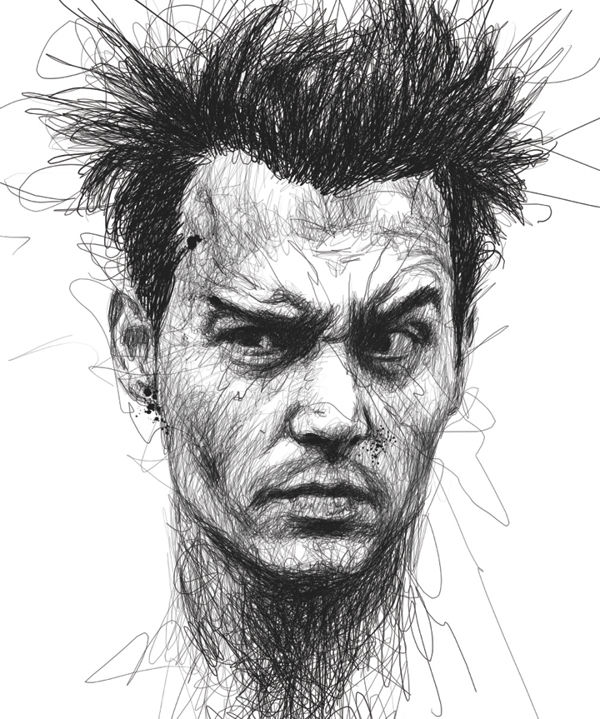
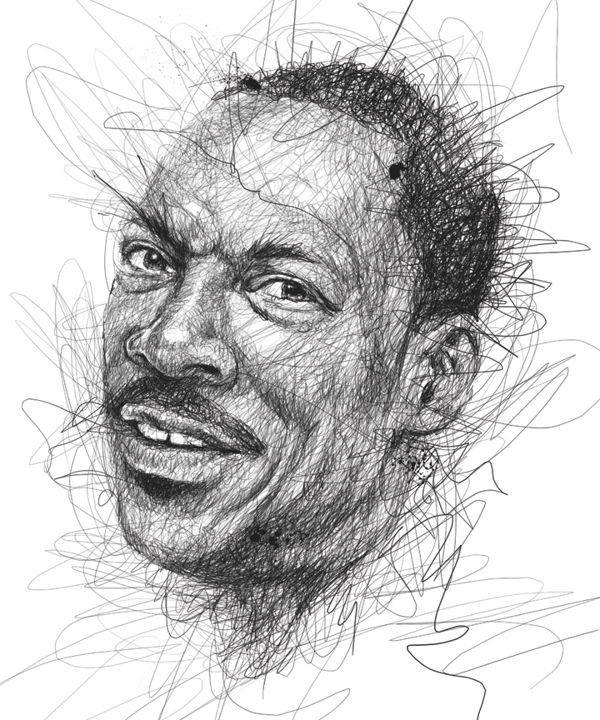
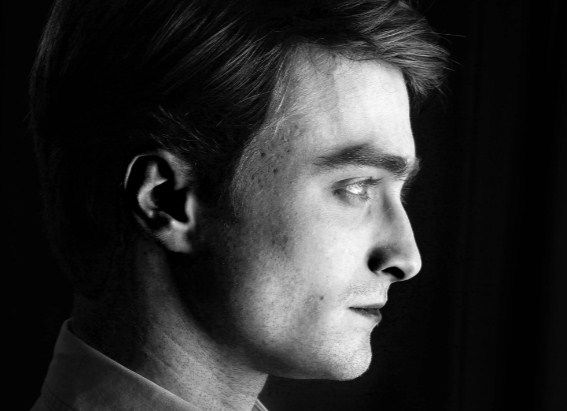
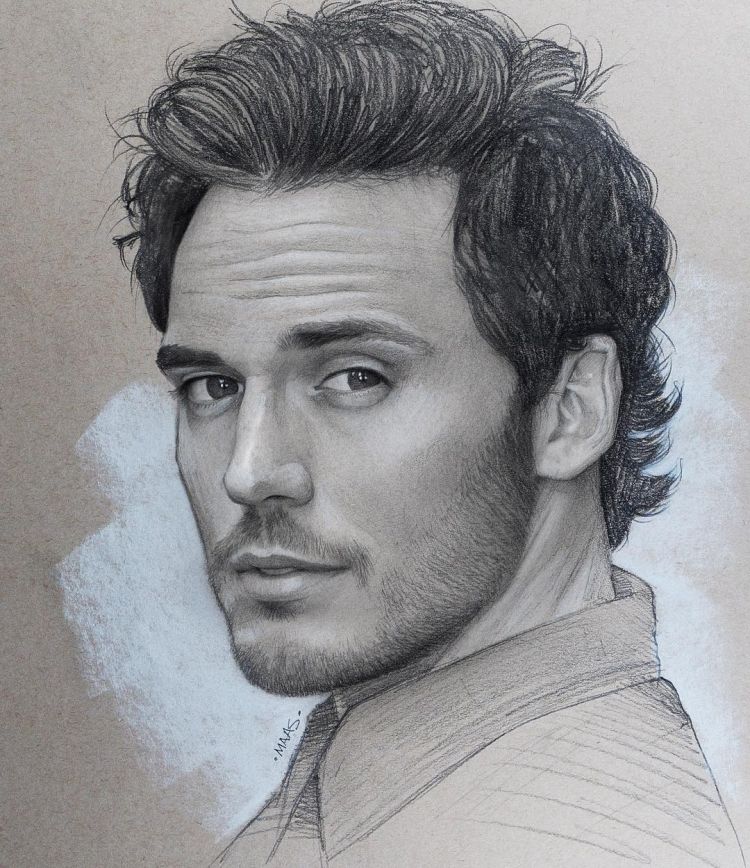
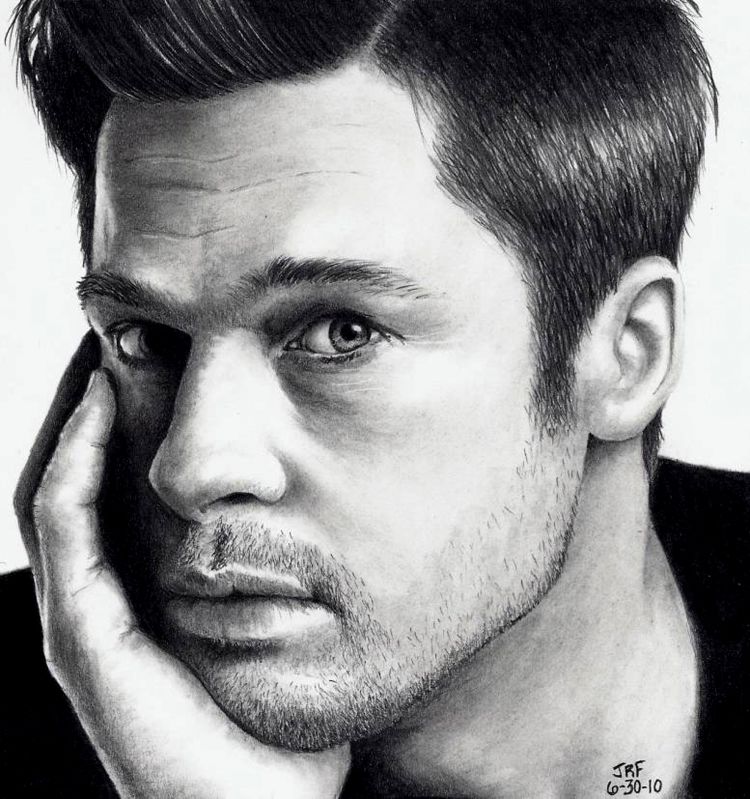
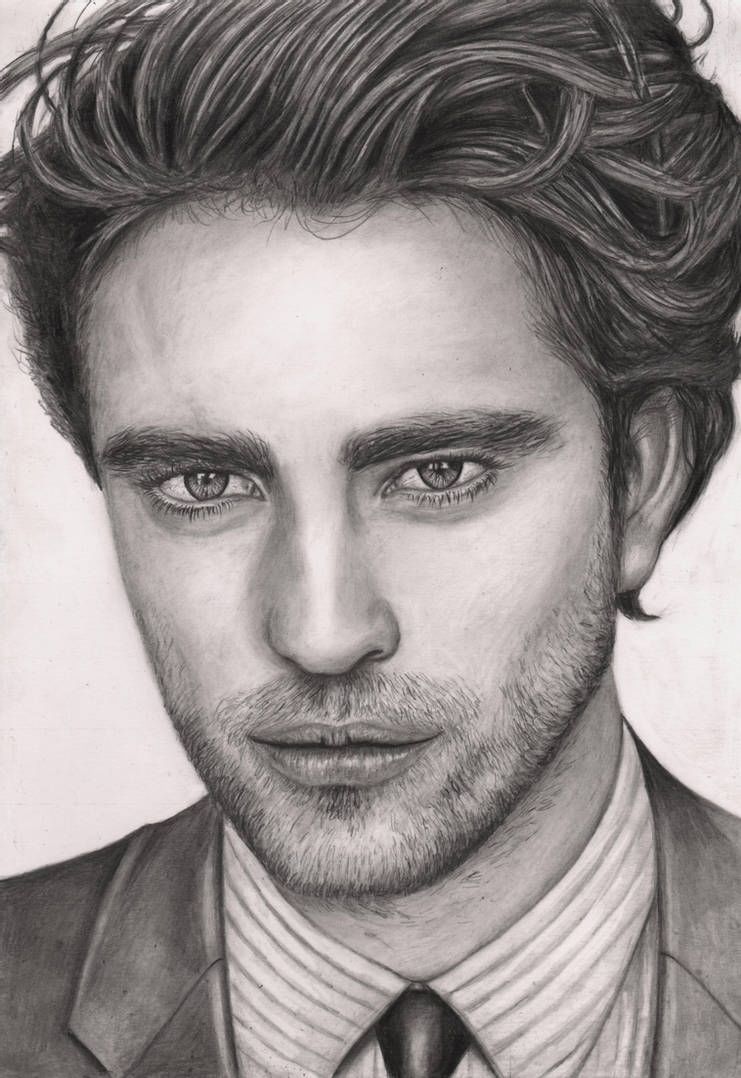
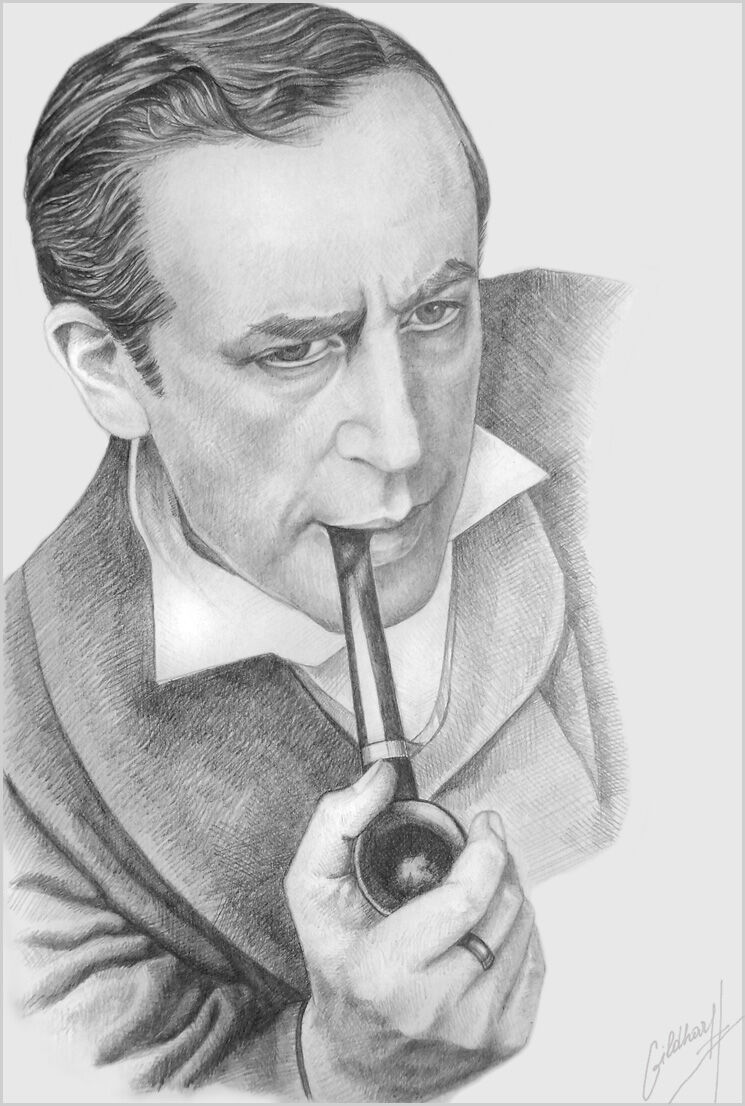
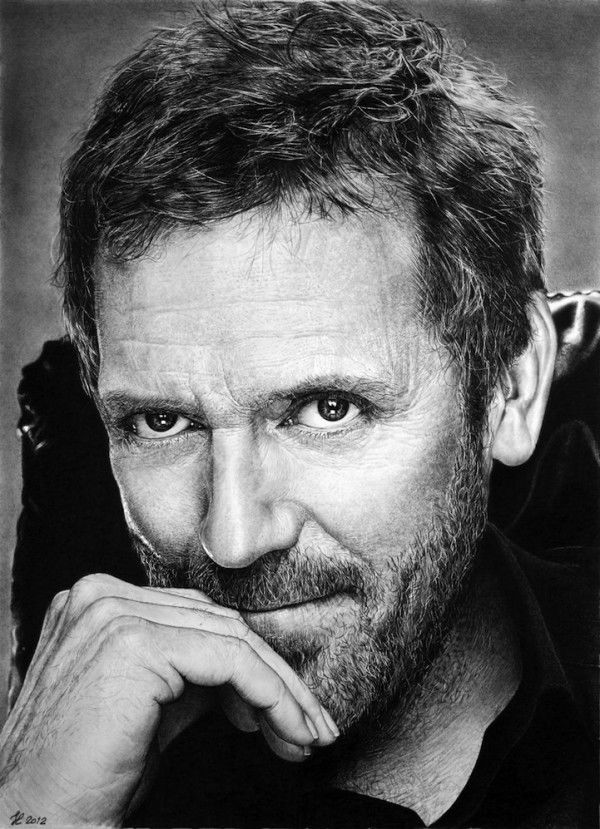
Drawing Sherlock Holmes
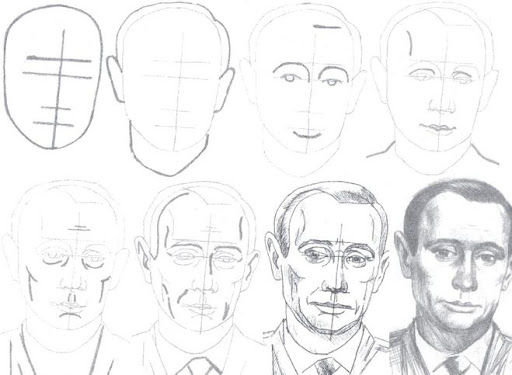
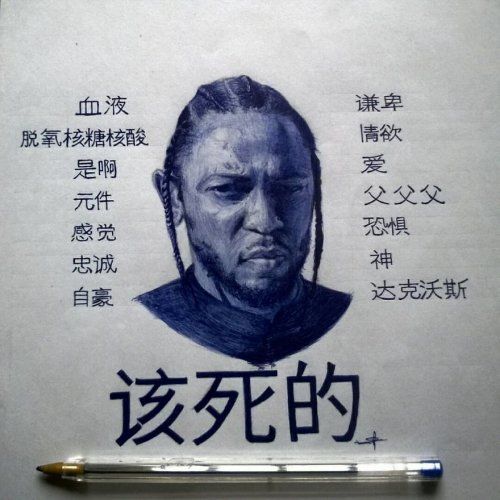
Nowadays the most popular works among artists are portraits of celebrities. Why don't you also try to draw a popular character.
Stages of work:
- To create a sketch, start with the eyes. To do this, draw their lines, then parallel draw a straight line, it will help determine the location of the nose and highlight the height of the face. Without much pressure on the pencil, traced facial features, it is important to check with the original photo of the person, so that there are no malfunctions.
- To draw the eyes, it is important to consider their size, they should not be large or too small compared to the size of the face. Create a glare on the pupils, the eye cover so that the upper part is dark, creating shadows, continue to draw the eyes. After the eyes, they add eyelashes, the eyelid is made slightly darker, blurring it, a special wand is useful for this. For the effect of live eyes, create a glare, using a crayon.
- Draw the nose - it is necessary to draw it exactly as a person. After that, create a shadow, draw highlights and shade the place under the nose.
- Proceed to the forehead - create a wrinkle, while respecting the smoothness of the lines, add shadows. When creating the highlights on the forehead, do not forget about the softness of the transitions and where the light is located, for example, if the top, they will be below the wrinkles.
- Create shadows on the cheekbones, light, and then start working on the lips. The upper lip is drawn thin, darken the line at the mouth and corners.
- Create highlights for the lips, stubble. They make shadows and detail.
- Shade the area under the lips and the area around the mouth.
- Create shadows on the chin and jaw. Create hair on the beard, not forgetting the dark areas.
- Use an eraser to erase the shadows slightly to create the light spots, with chalk to draw the hair for the gray hair.
- Proceed to the drawing of the gray hair - create shadows on the ears, and then paint the sections of hair. On a side note: do not draw out every hair, it is better to find where the light and de dark areas of the hair, only then draw. Soft pencil create strands of hair, finish with hair and create shadows also with the second ear.
- The work on the face is complete, but that's not all: you need to draw the shoulders and neck, for this do their sketches.
- Shading the neck, for a falling shadow effect. Draw the hairs on the neck, then proceed to the shirt.
- After the clothes, the portrait is finished!
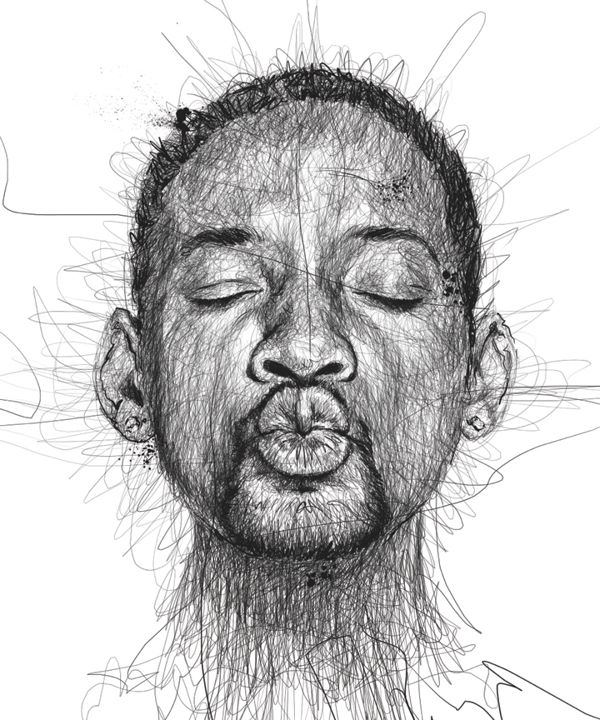
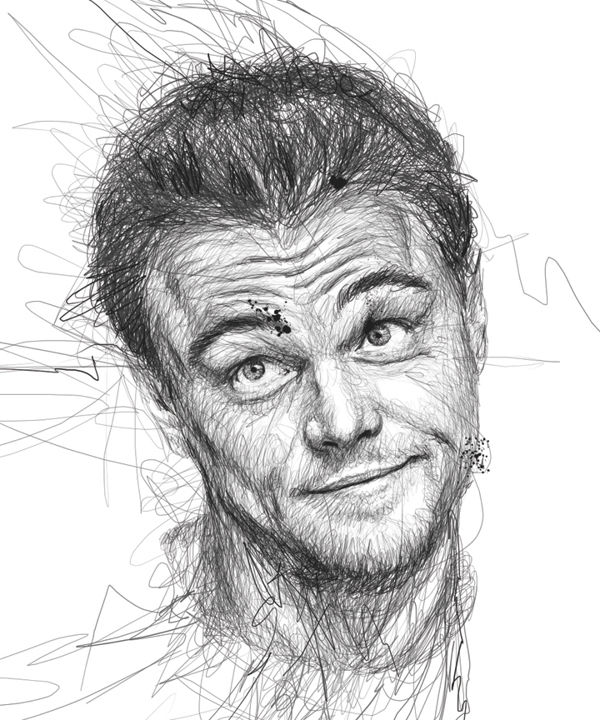
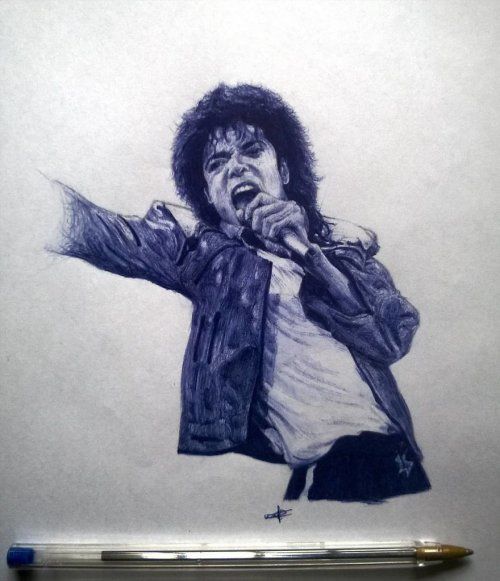
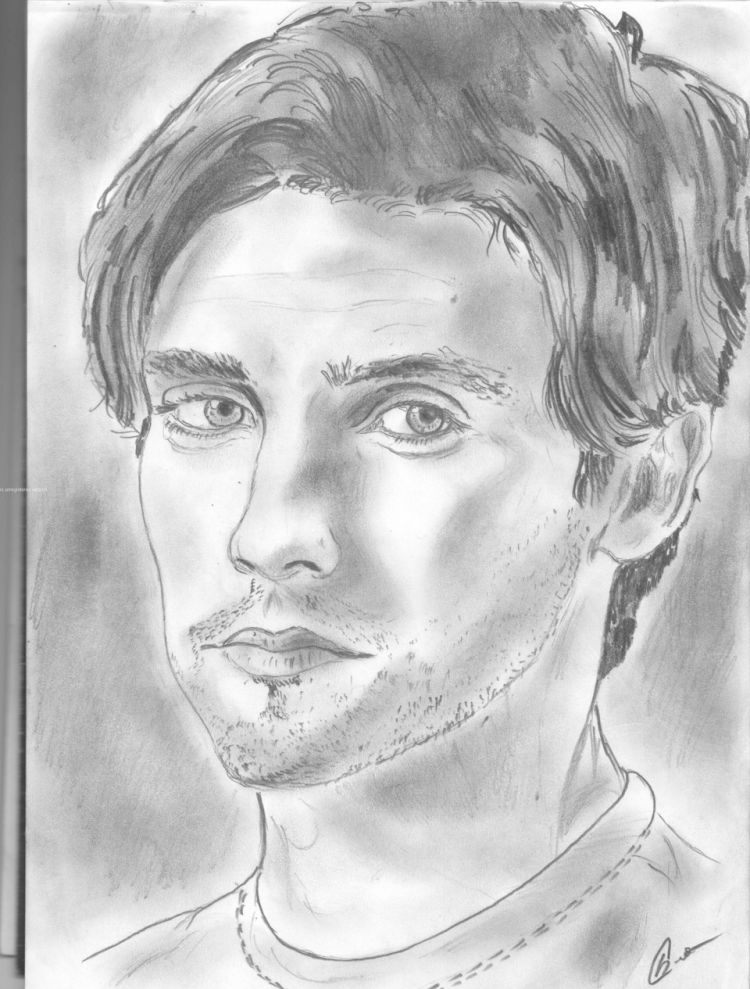
Portraits of actors, singers and other stars, at first glance, difficult to draw. But it only seems so! In fact, if you approach it carefully, it will turn out even better than you expected.
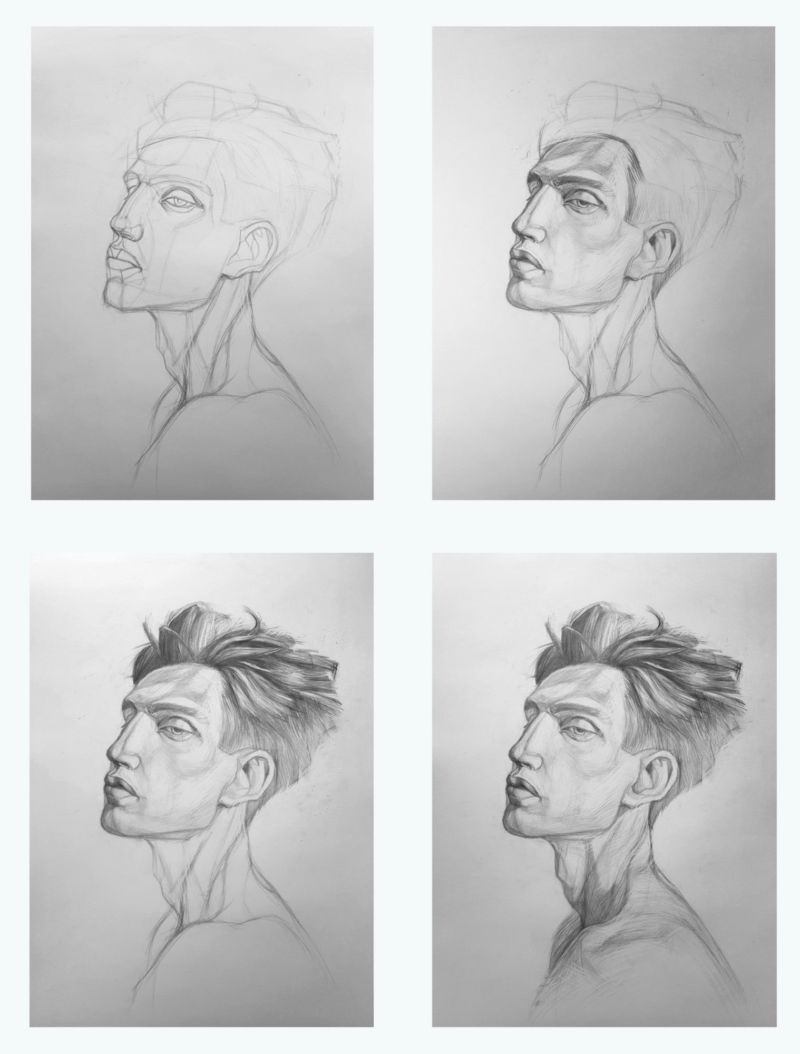
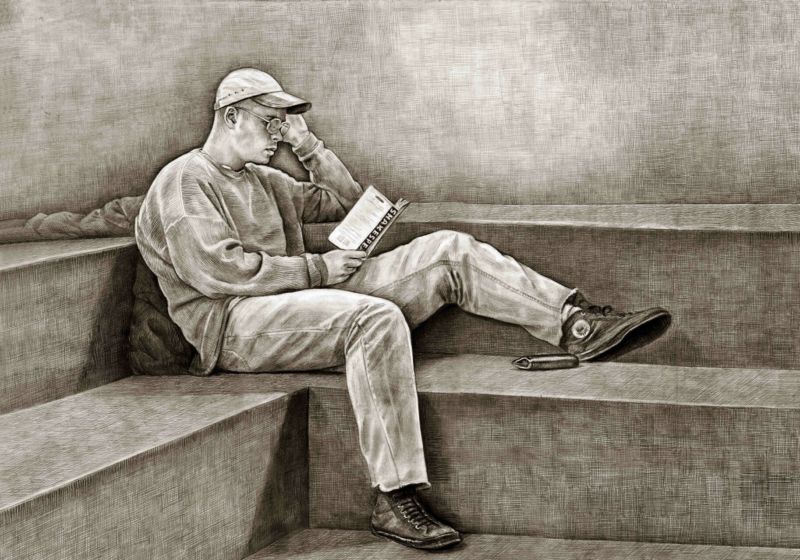
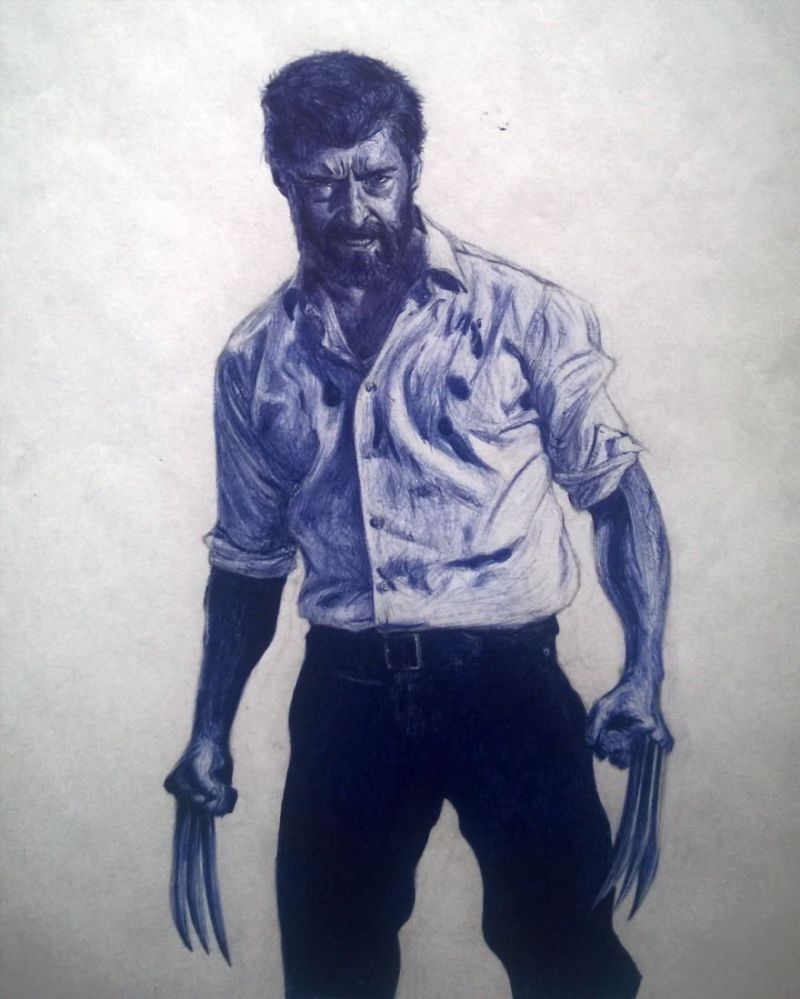
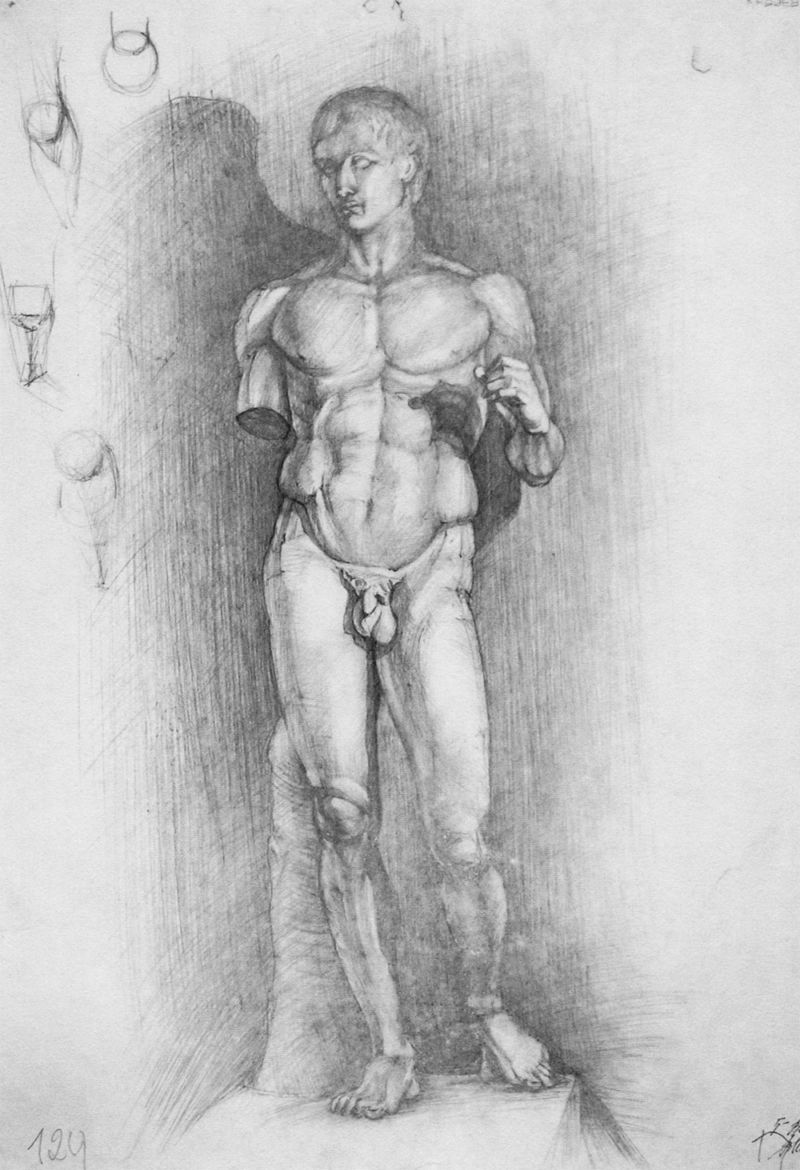
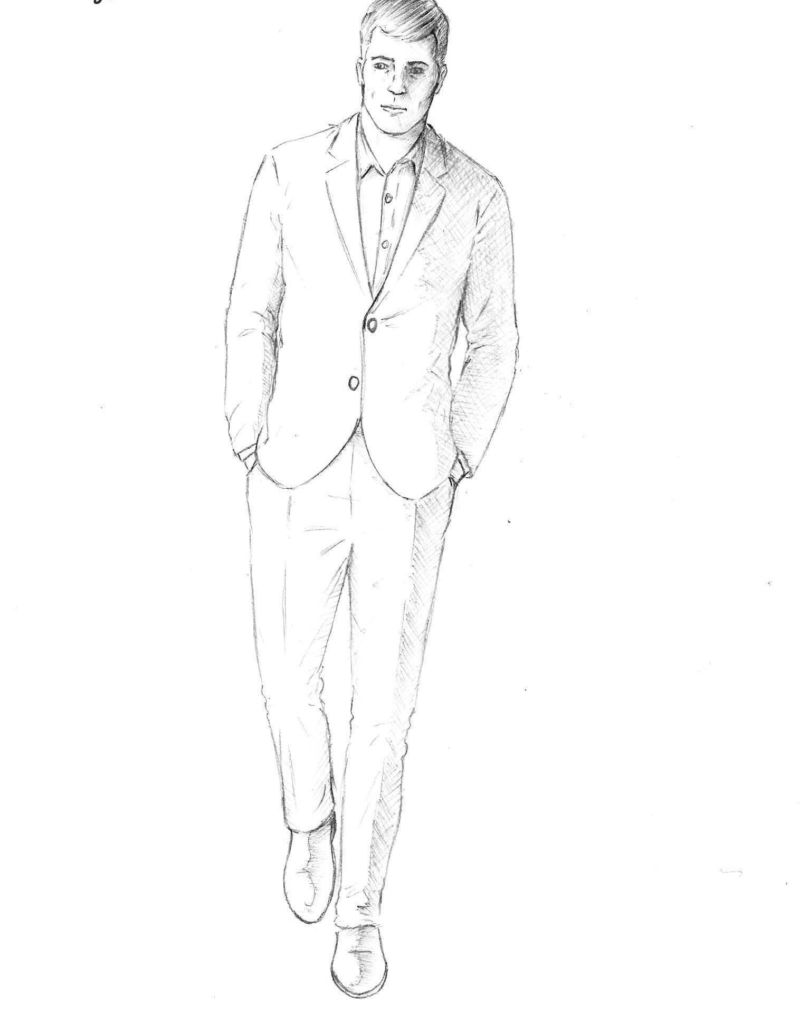
Drawing a full-length man
Men's portraits differ from women's portraits in their most characteristic and distinctive feature: the presence of musculature. To make the body shape clearly coincide with the original, you need to be able to work with lines and shadows.
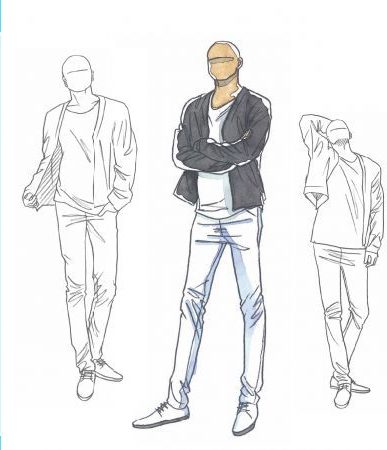
Below you will learn how to create a portrait of a strong and confident man simply:
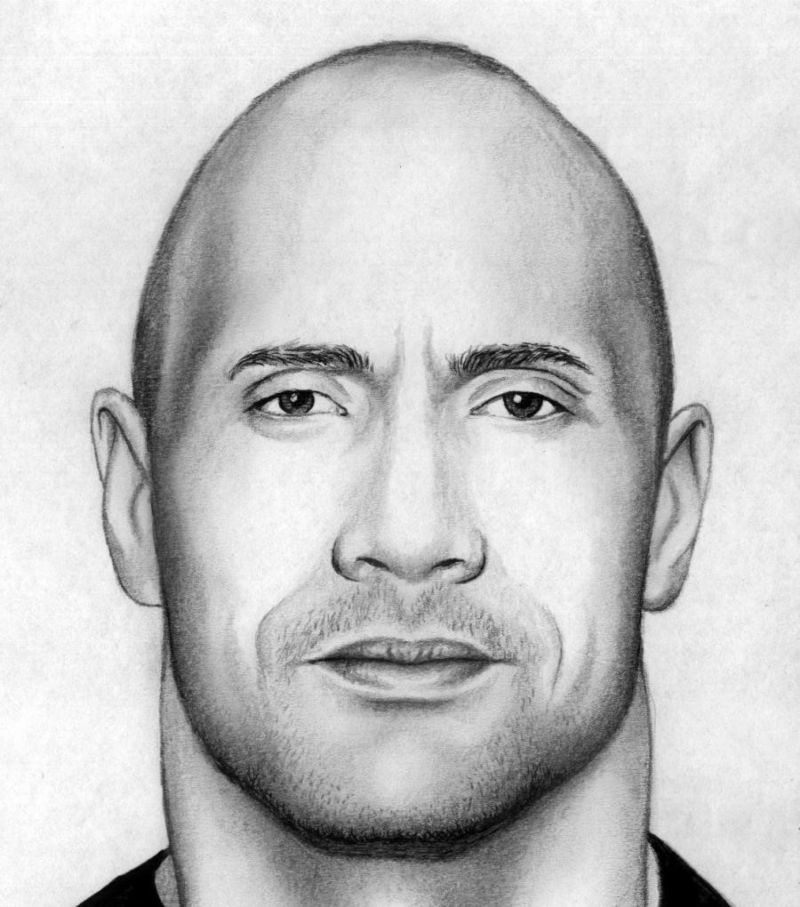
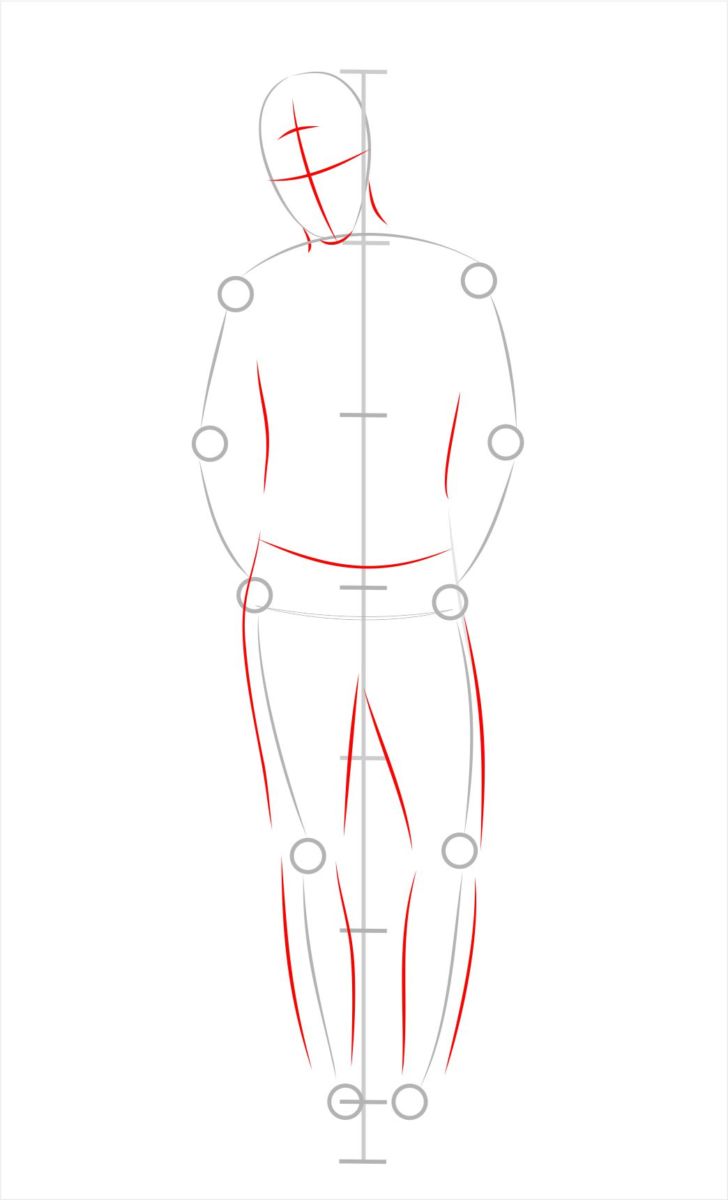
- The work starts from the top to the bottom. Knowing the peculiarities of the anatomy of this or that person, you will accurately create a copy of him. Proceed to the drawing of the face, for this portray an oval or circle. The face should be made sharper than in the women's portraits, it turns out angular, but has flat lines of cheekbones. Draw facial features, not forgetting about the presence of characteristic features: birthmarks, scars, dimples. The mouth will not be too big, without harshness.
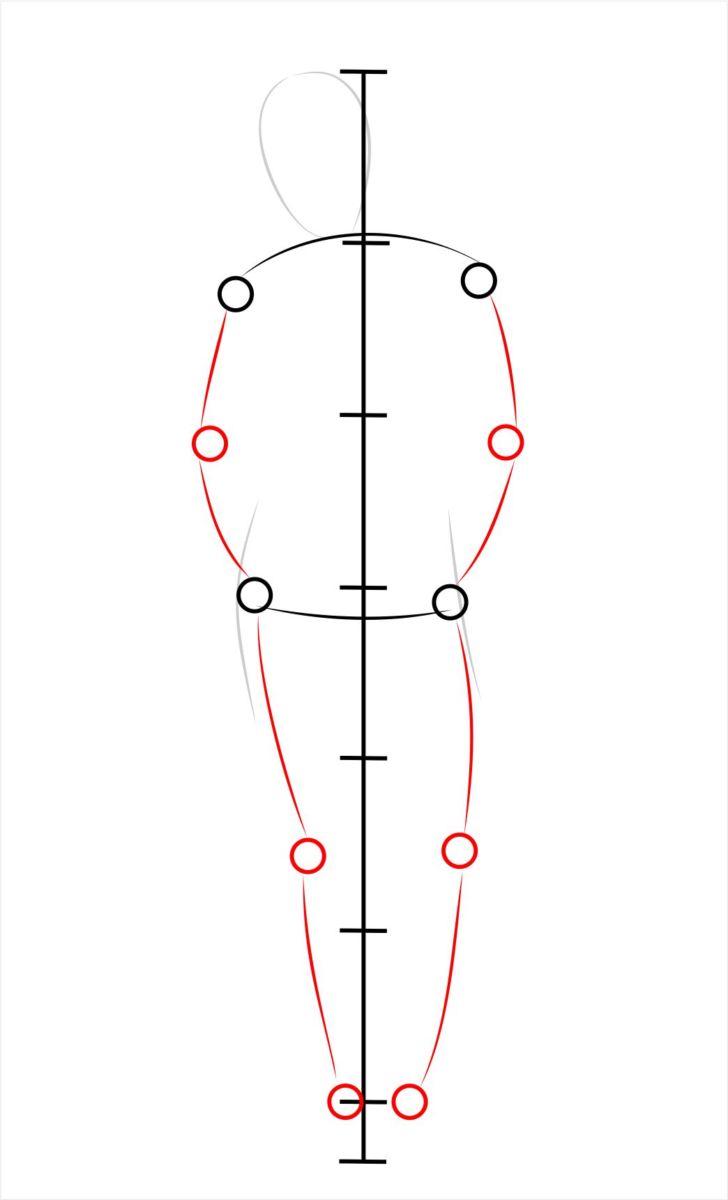
- Draw the neck - it does not look thin and not too elongated, but it is important to follow the proportions and not to make it too coarse. From the neck go to the shoulders. They look broad and muscular, but it is necessary to take into account the distinctive characteristics of each character. Some body gestures are highlighted.
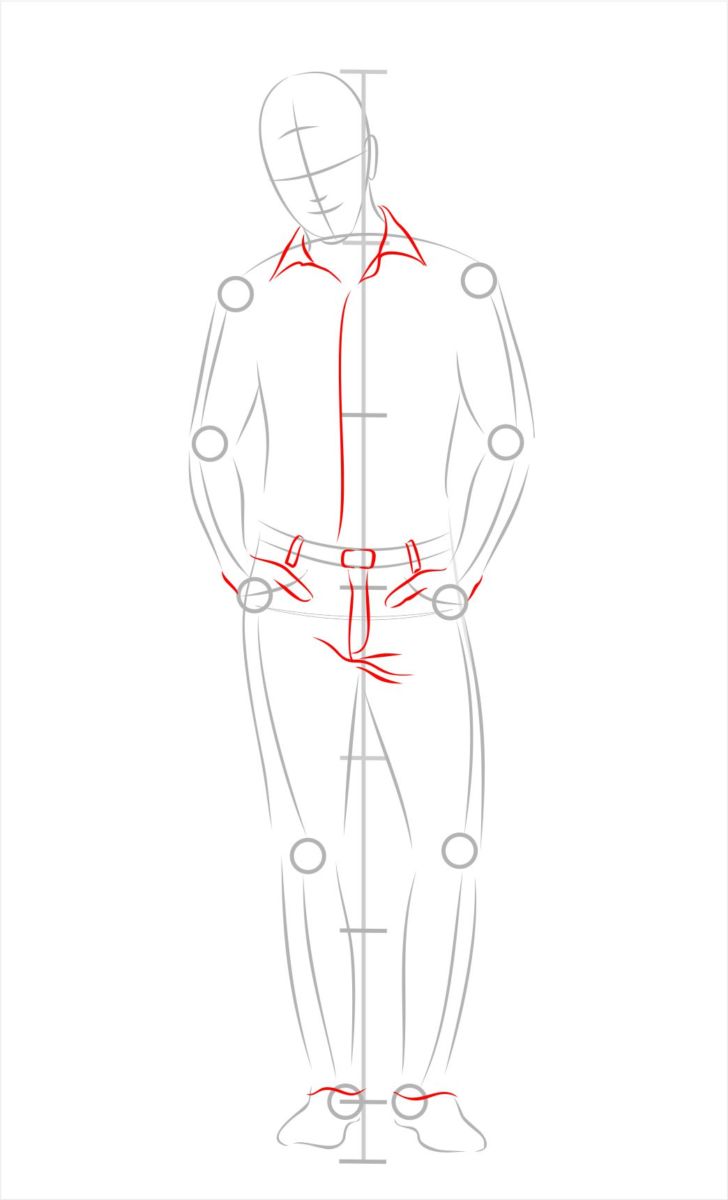
- Arms - they are created strong. Emphasize their relief, paying attention to the muscles. If desired, the hands may not just lie freely, but hold something in their hands.
- In contrast to women, the legs of men are characterized by strength and massiveness. The knees are emphasized by making them slightly larger. Also, as with the arms, the legs can not just be depicted hanging and straight, and be in a bent position, it all depends on the concept devised.
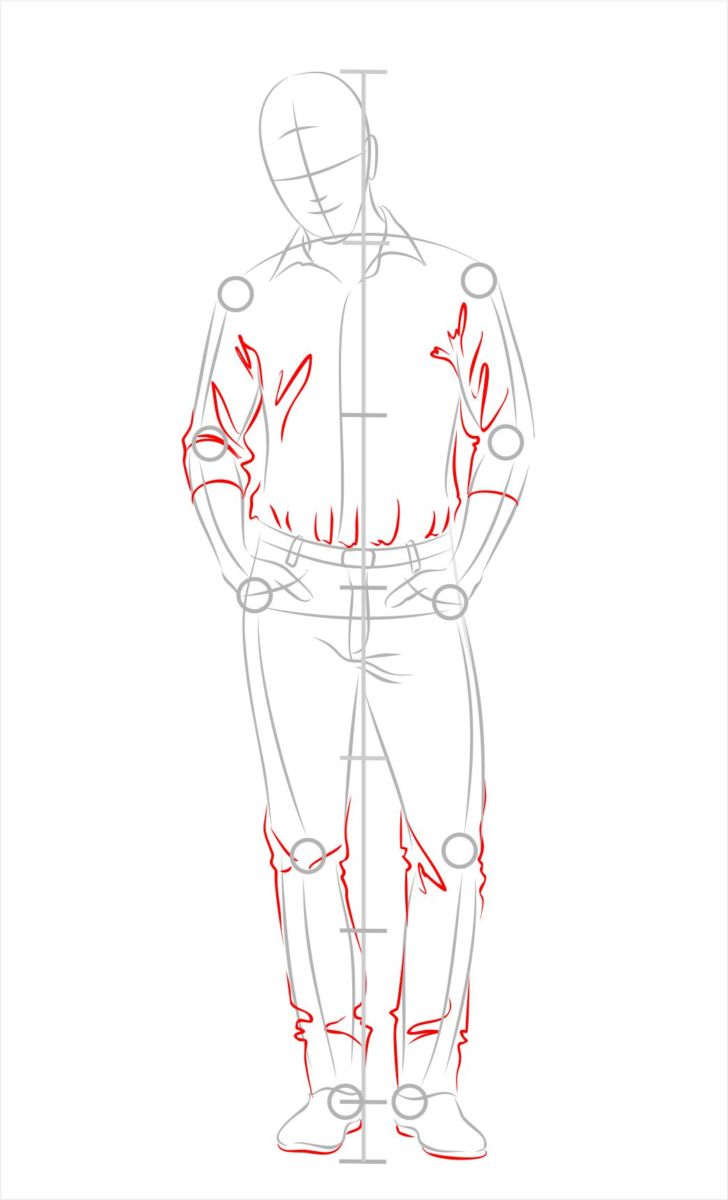
- Shadows - they are highlighted or lightly shaded, depends on how the light lies. With the help of shading, the drawing is detailed, giving a brighter and more finished look.

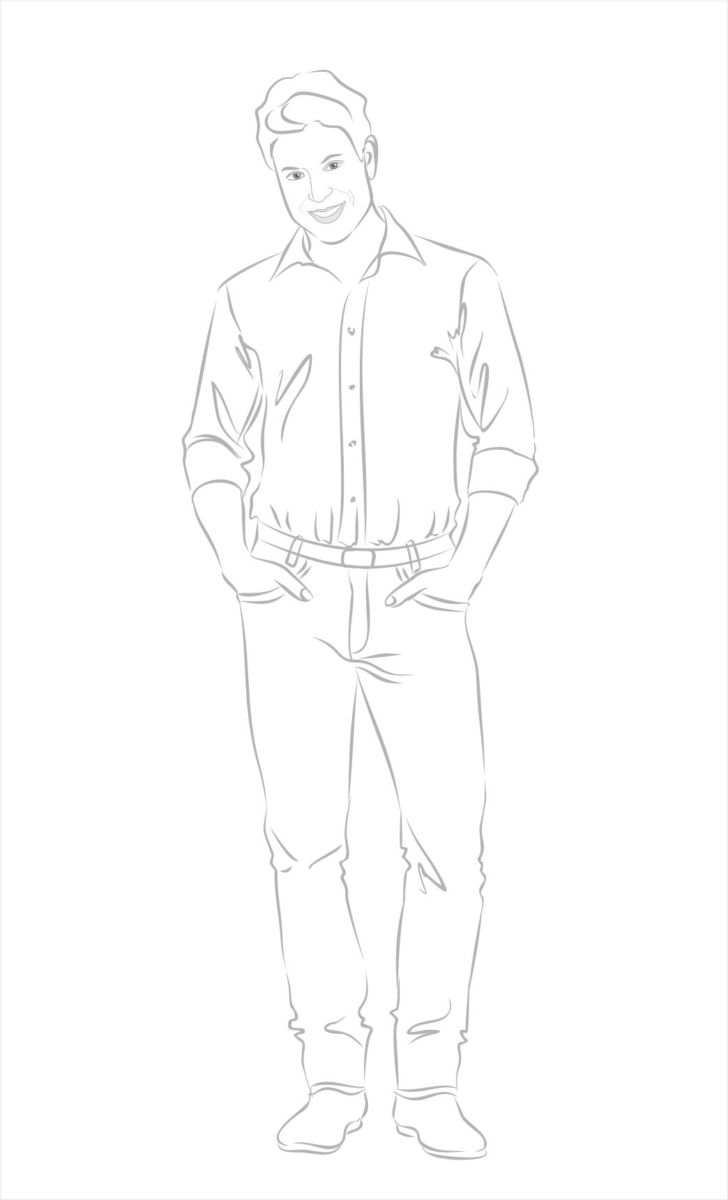
The work is ready, all that is left is to be proud of its completion!
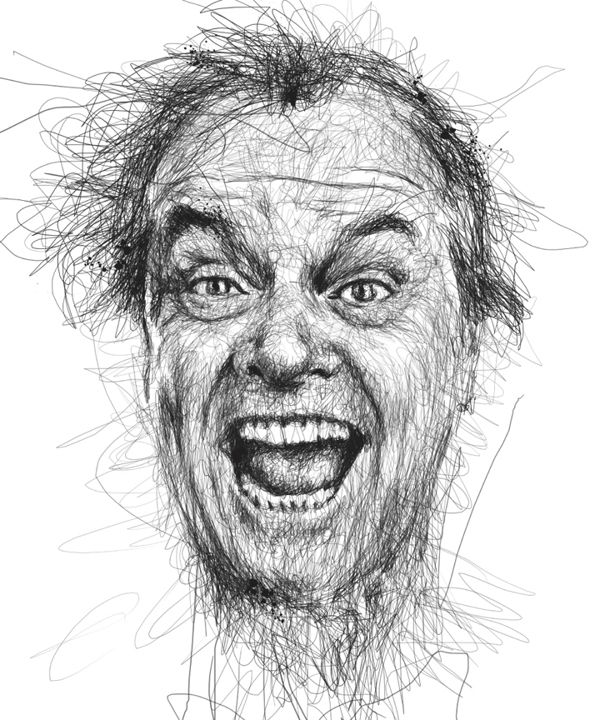
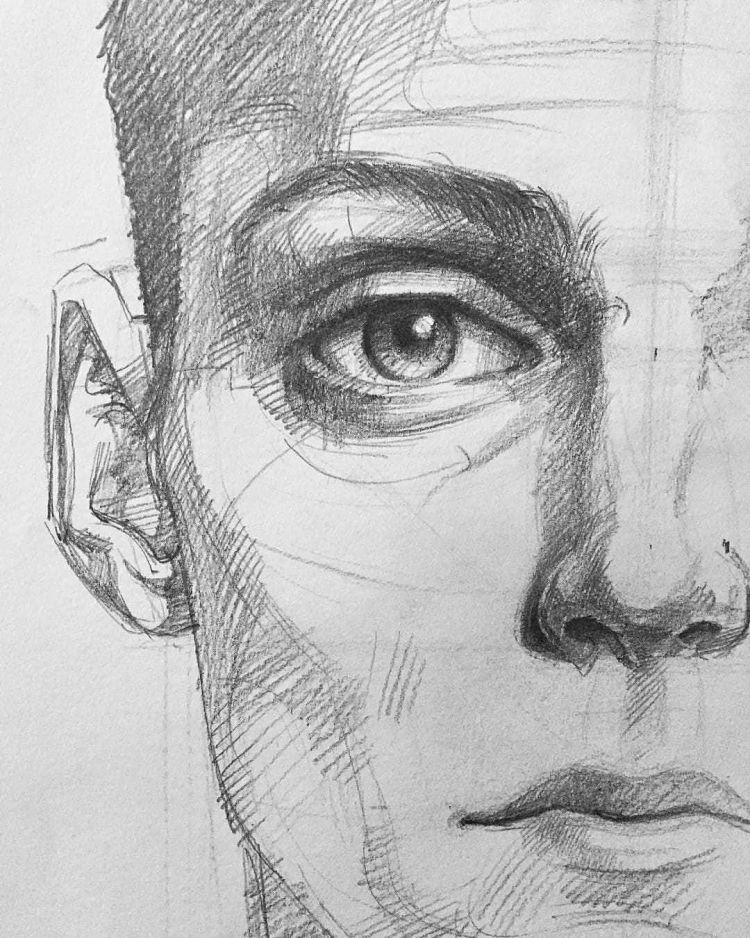
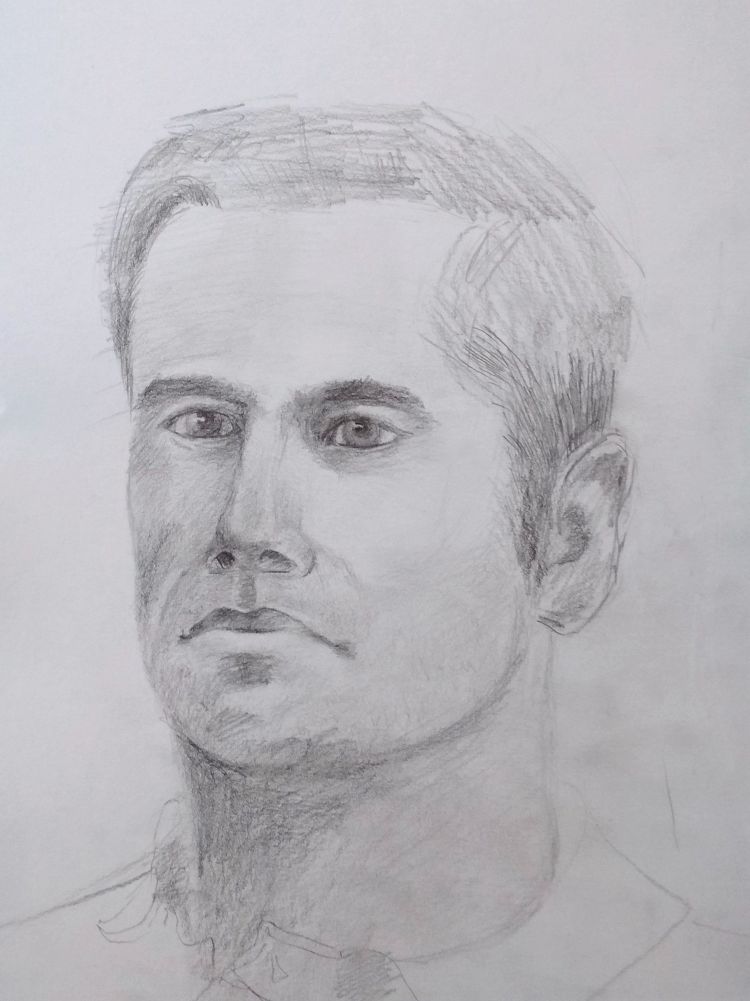
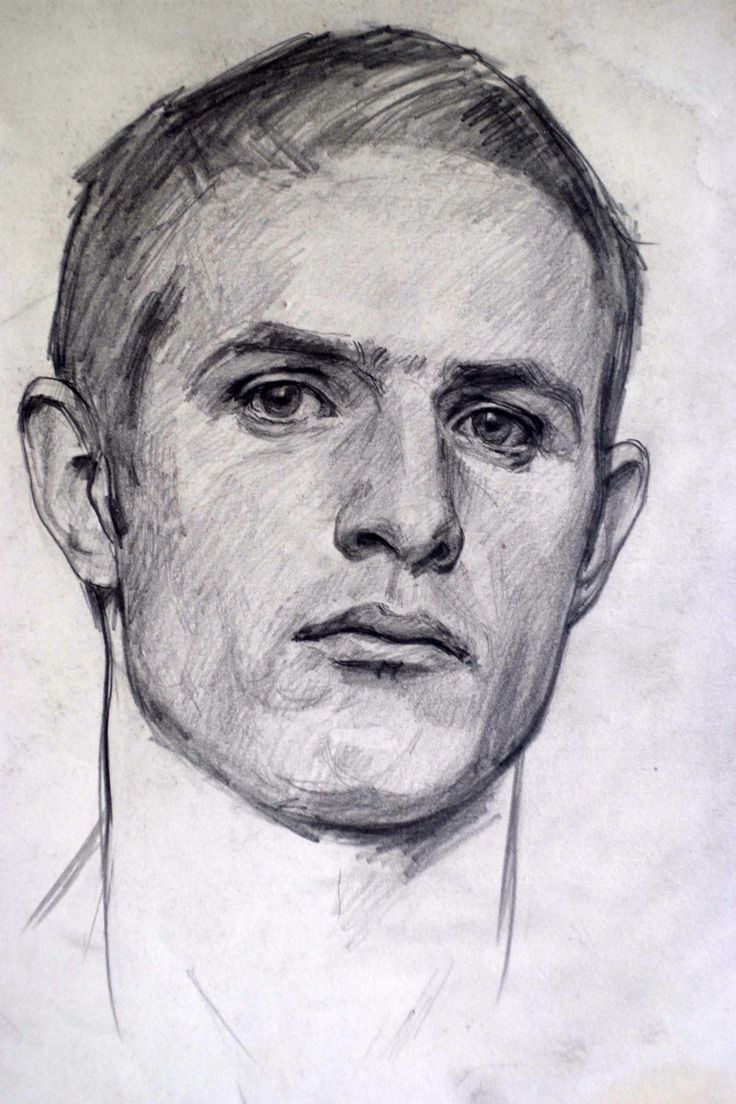
Peculiarities of creating a portrait of a man
- Start drawing not a live man, but using his photo. Especially for beginners: it will be much easier for them, then proceed to more complex drawings. Another advantage of having a photo close to his image is to measure the proportions on it with a ruler, then transfer them to the material.
- Art such as a portrait does not tolerate inauthenticity, so it is important to try not only to portray the mood and facial expressions, but also to accurately convey.
- Men have larger facial features than women. They are the owners of considerable chin, a protruding jaw, which has sharp angles, and take into account that their cheekbones and eyebrows stand out.
We hope that after reading this article, you are not afraid to draw a man, just as you planned. Applying the instructions received in practice, you can make sure that the male portrait, it is not so difficult, the main thing is to be able to clearly and correctly express the appearance and mood of the man sitting in front of you.
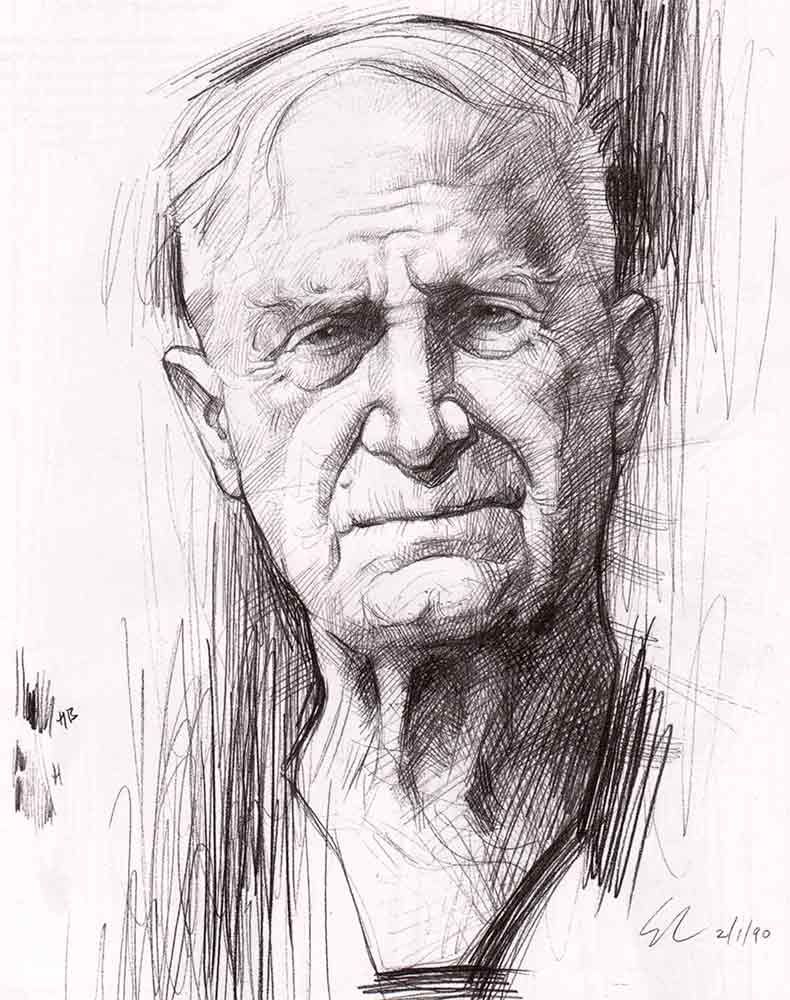
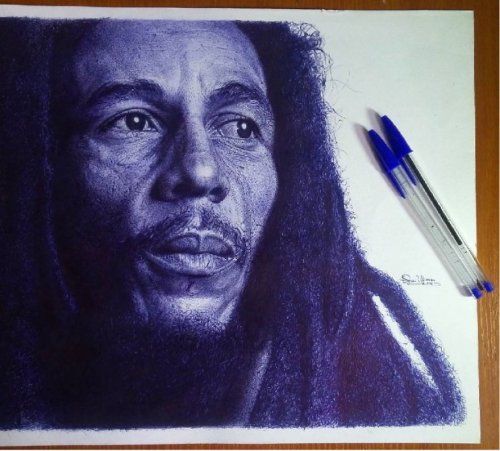
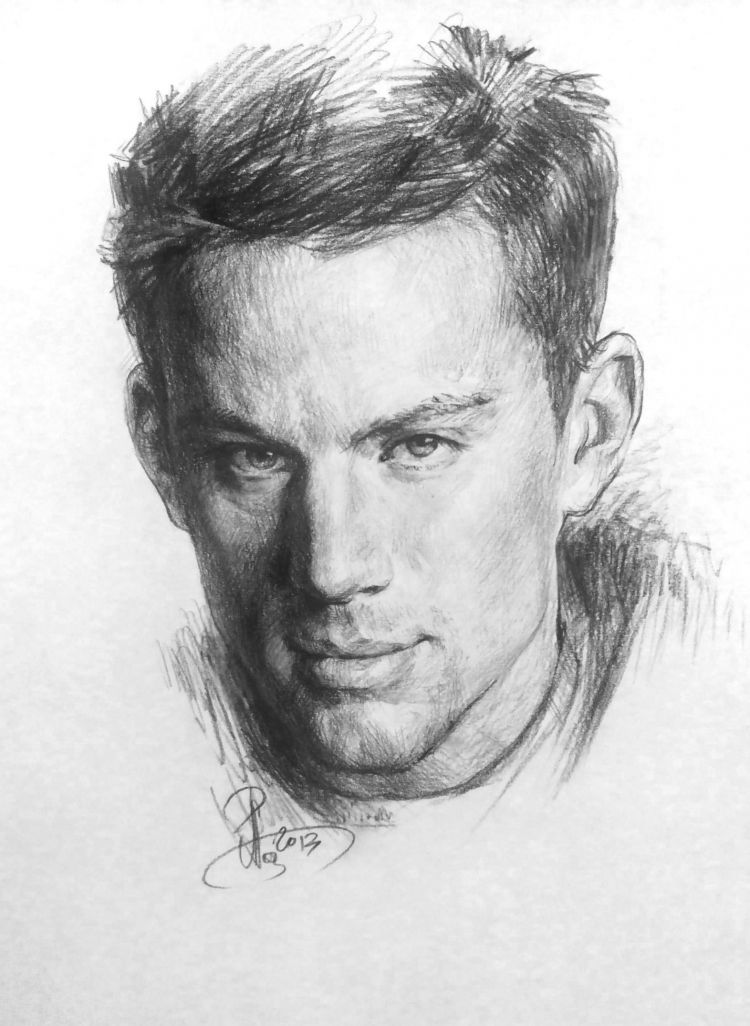
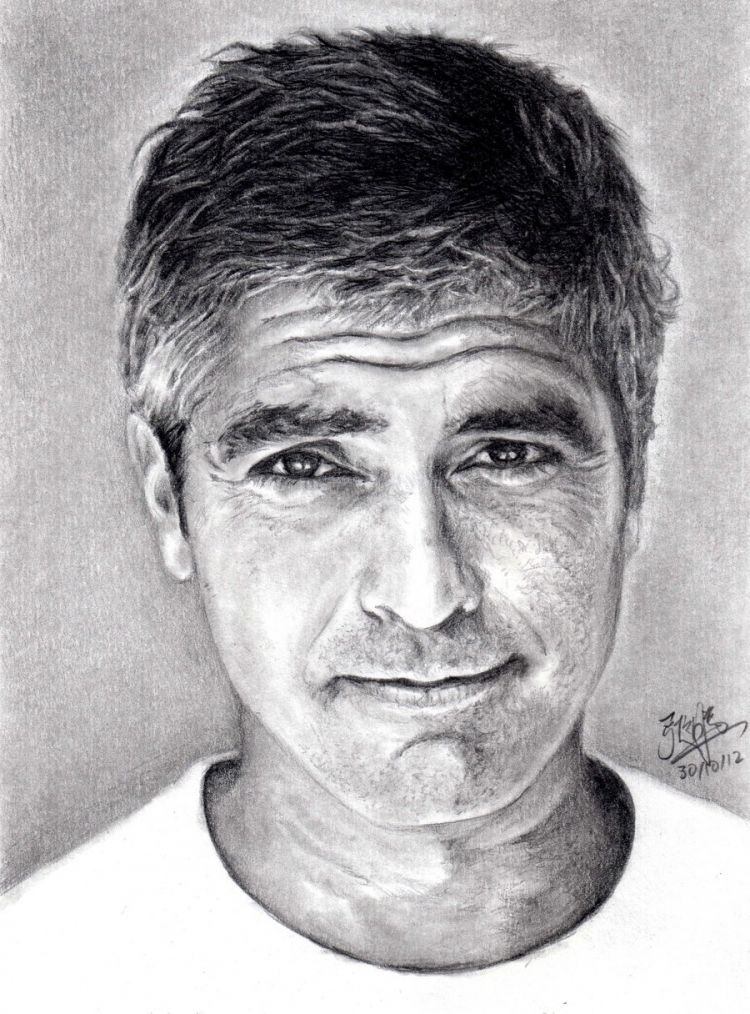
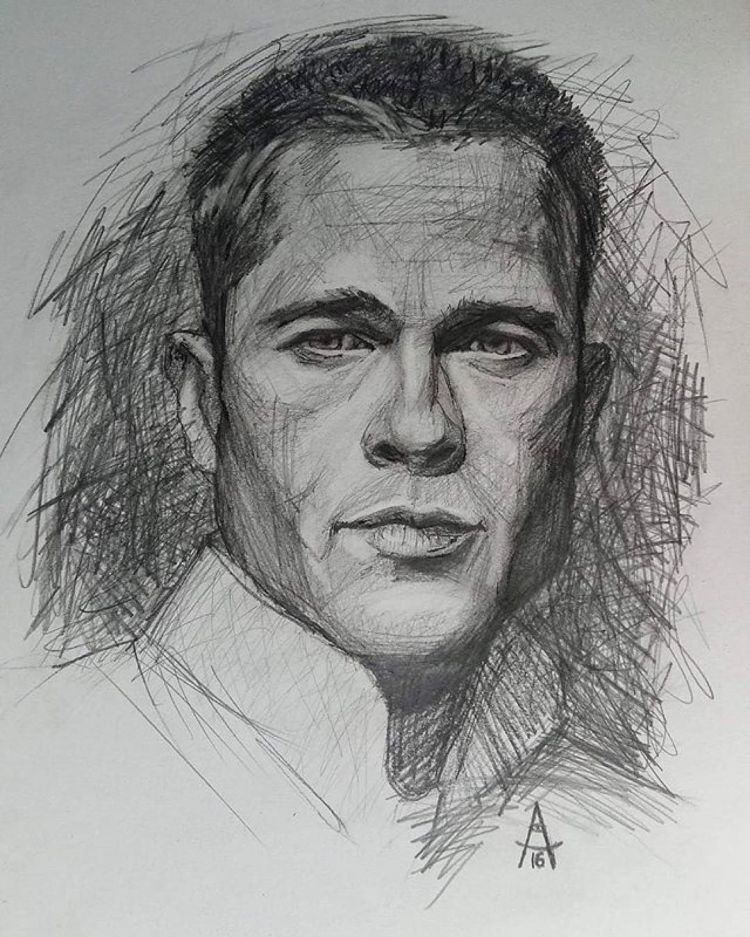
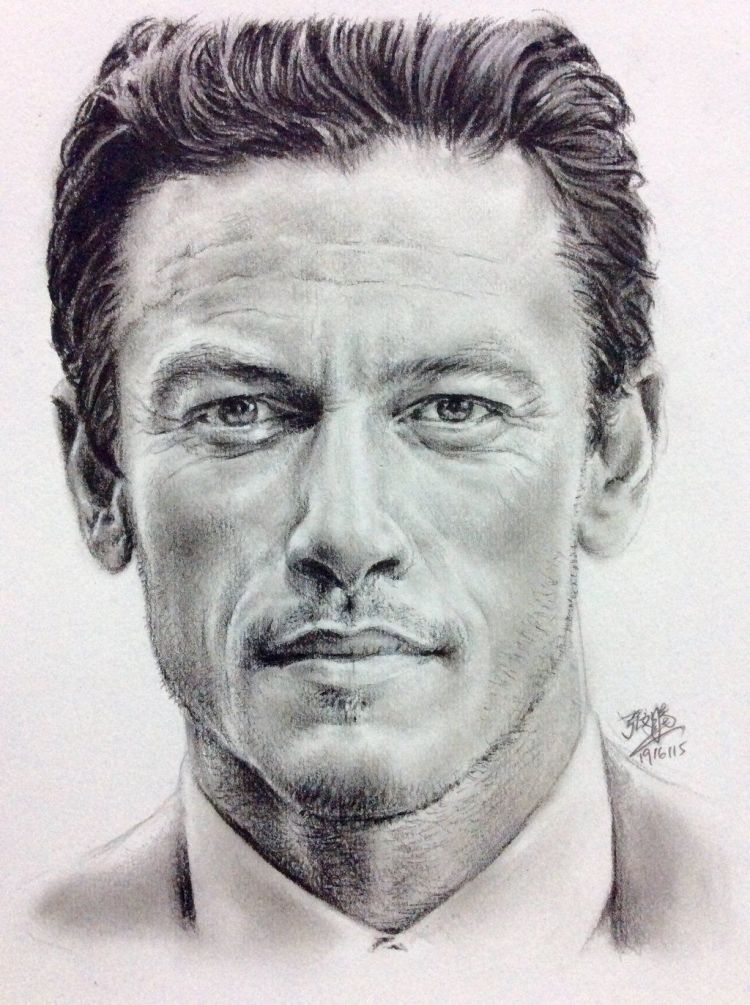
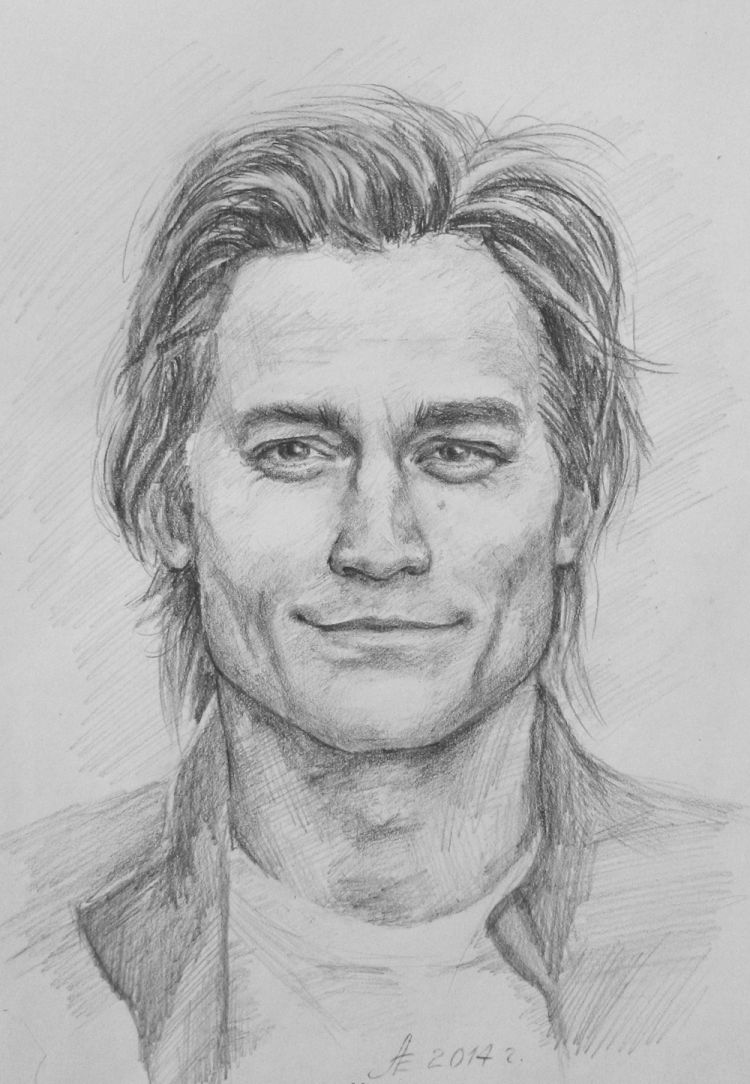
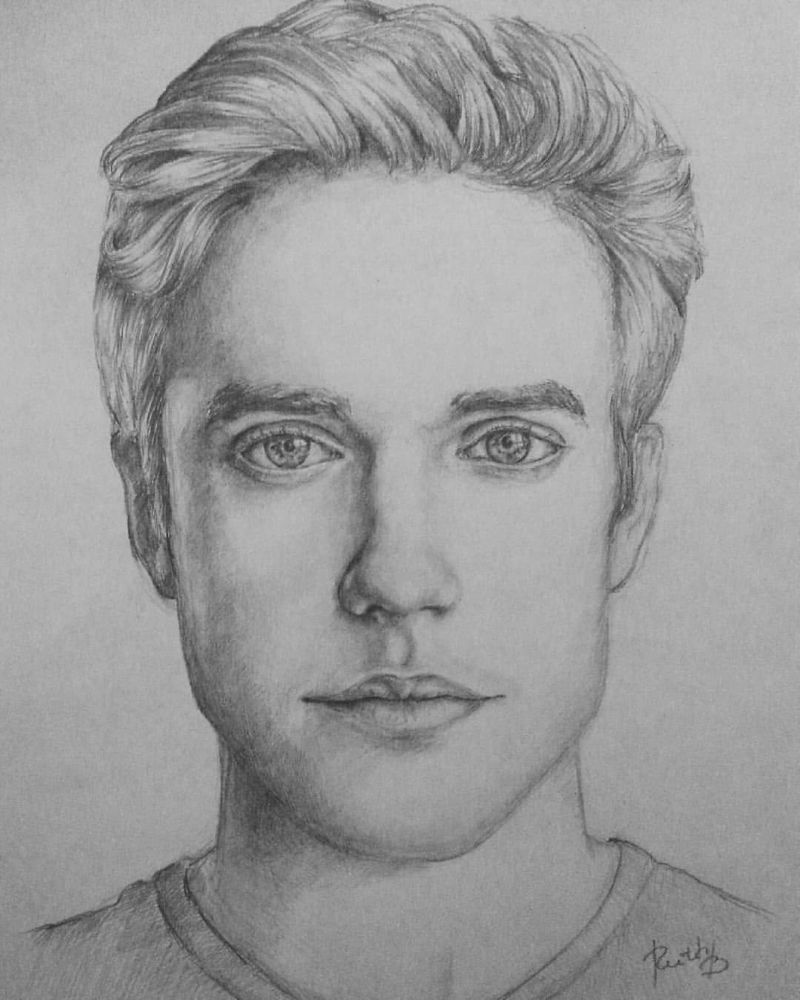
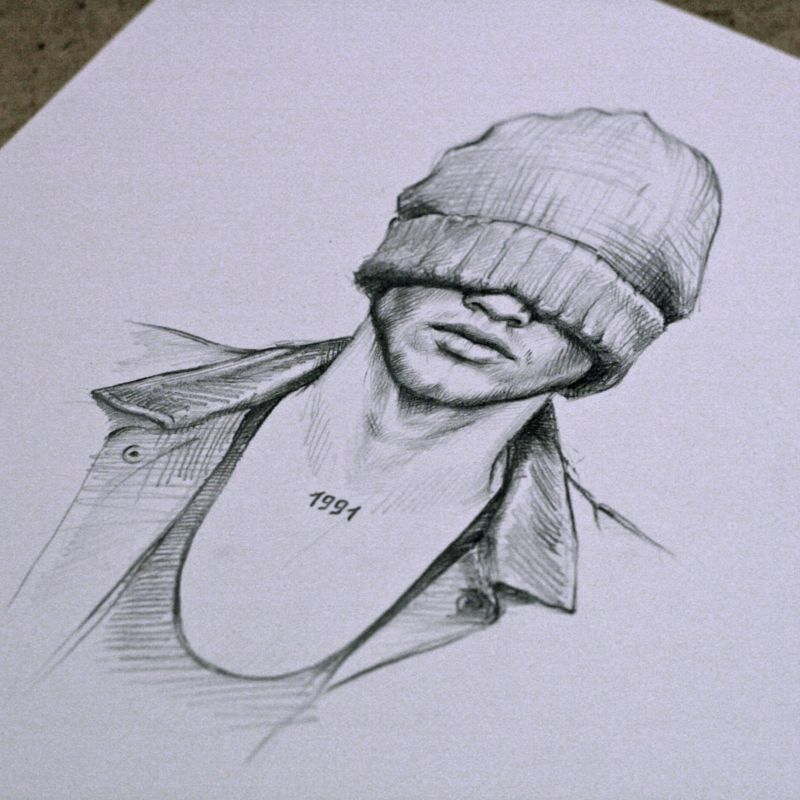
Photo of the drawn guy and man