How to draw a portrait step by step in pencil: learning to draw eyes, lips, nose, ears and eyebrows
Portrait of a person is always difficult to create, the final result and the full picture of the image depends on the artist. It is very important to draw a proportional face, facial expressions, even to convey the mood and message of people to fully express individuality.
In this article are selected step by step instructions for drawing portraits, which can easily be done at home, learning simple skills, they will succeed more and more each time.
Before you get started, take a look at your reflection. What is your face shape, what are your eyes, nose, lips - note all the details that you think will be difficult to portray, for completeness remember until your appearance succeeds in the drawing.
It is also an important stage for beginners, to start practicing by looking and drawing in front of a mirror, only then move on to drawing other people.
Before fully proceeding to the portrait itself for beginners, it is worth learning how to draw individually facial features, having learned and become proficient, you will easily draw the most different types and appearances of people.
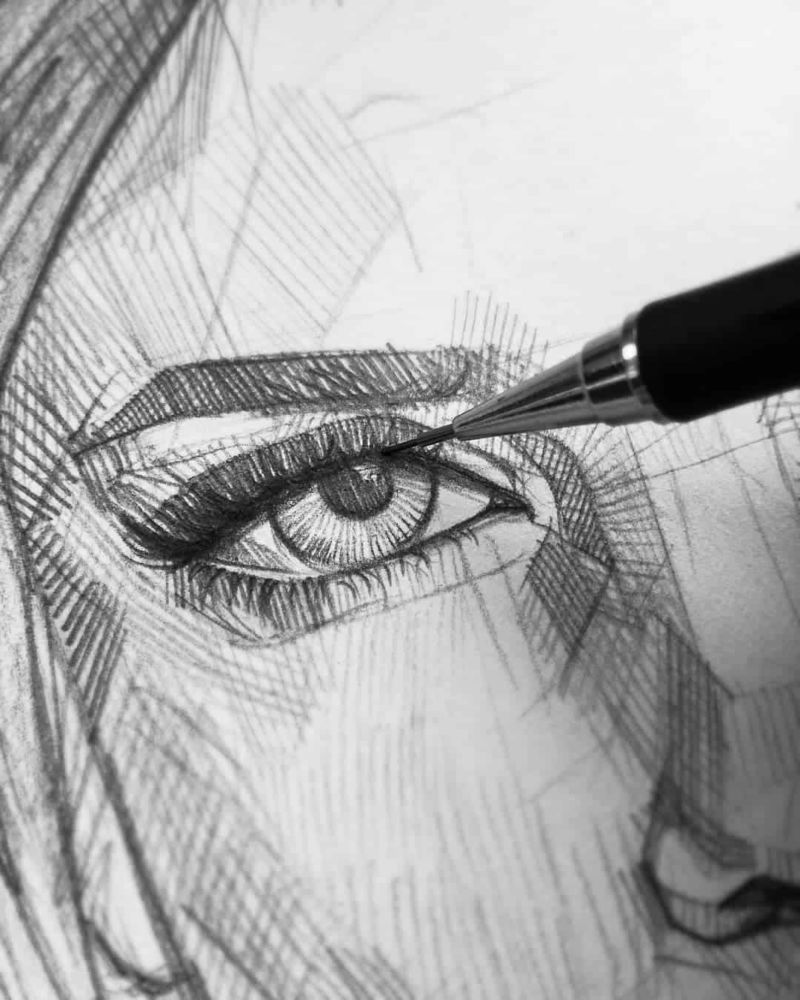
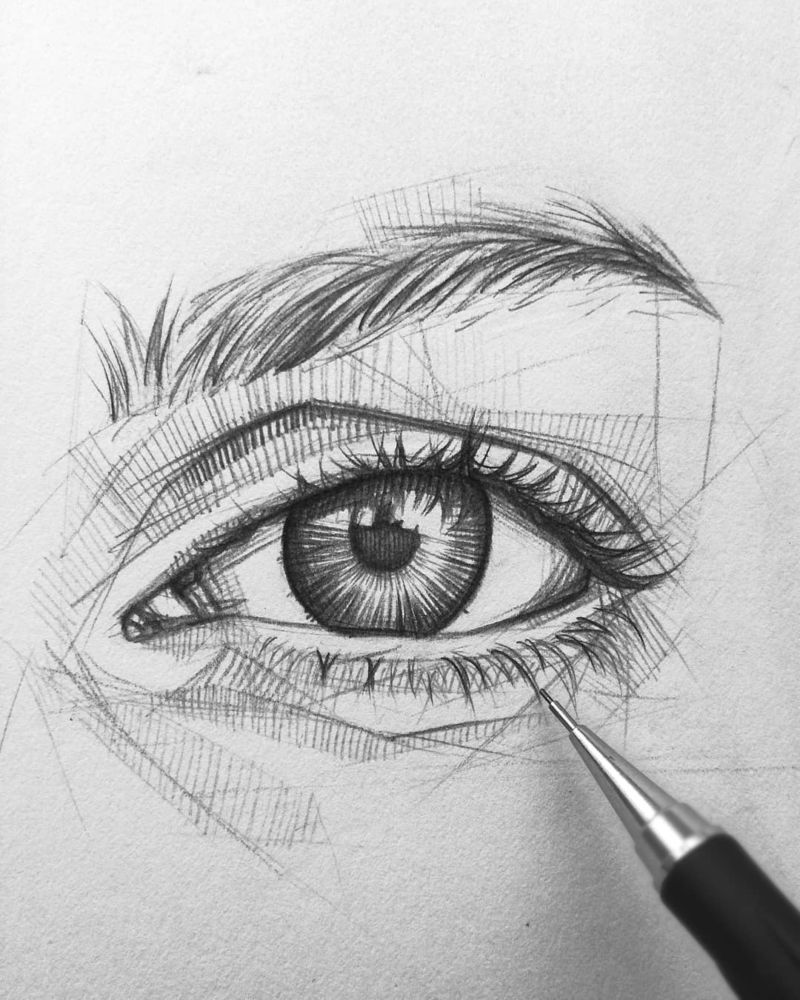
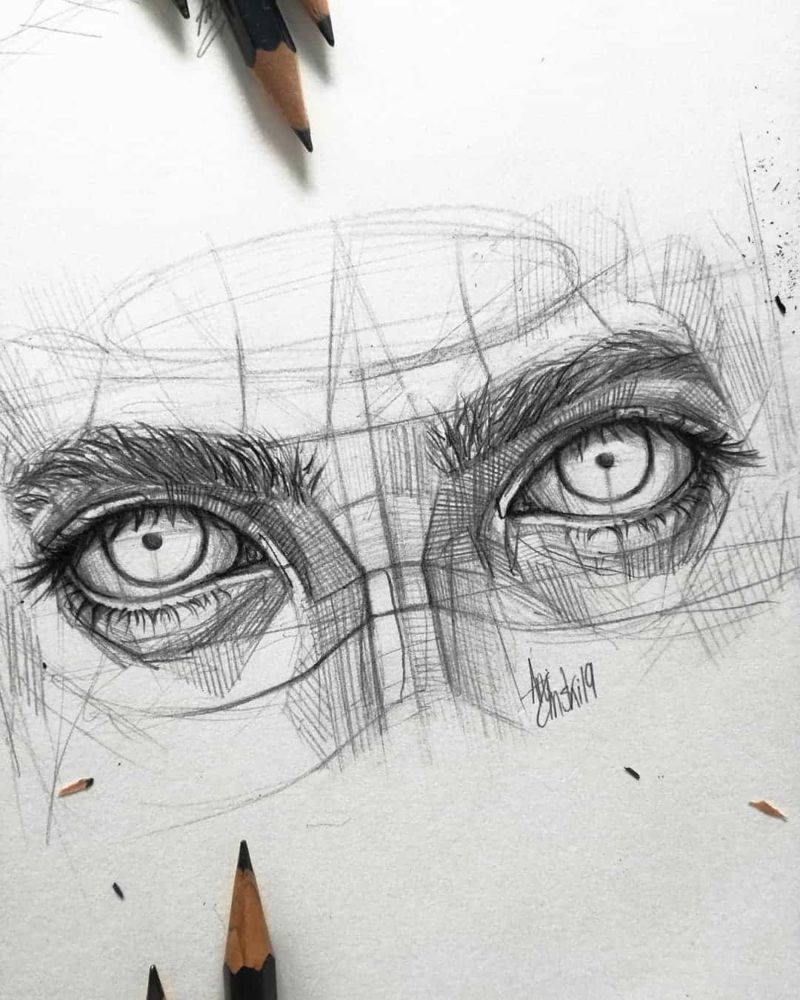
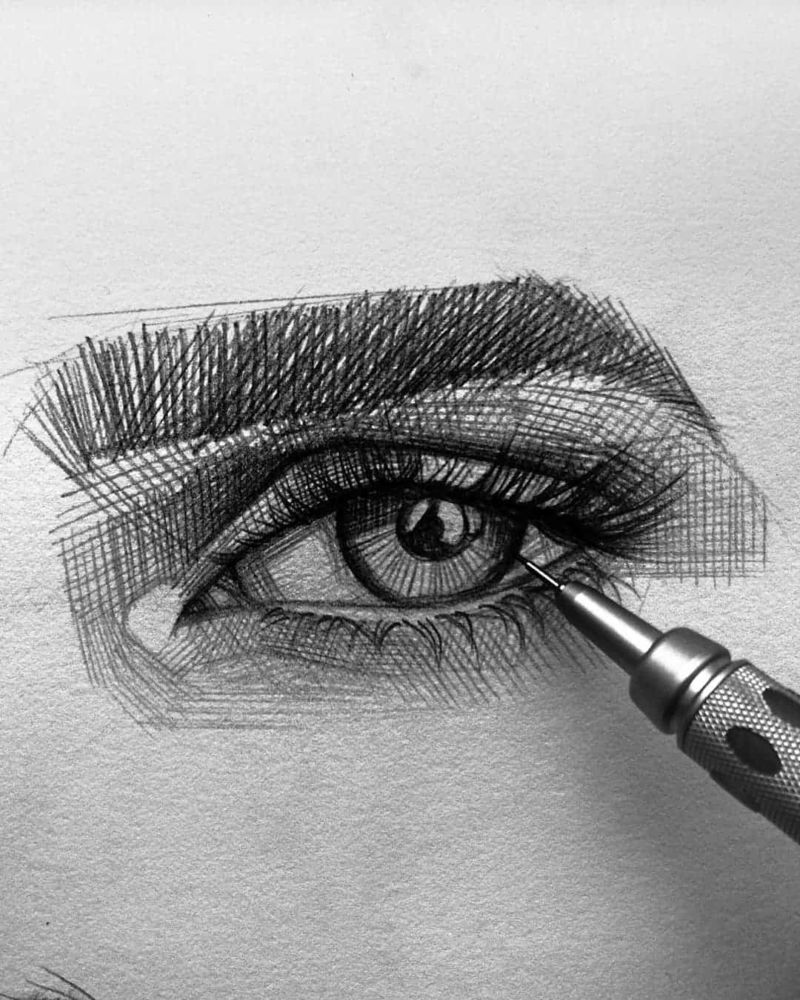
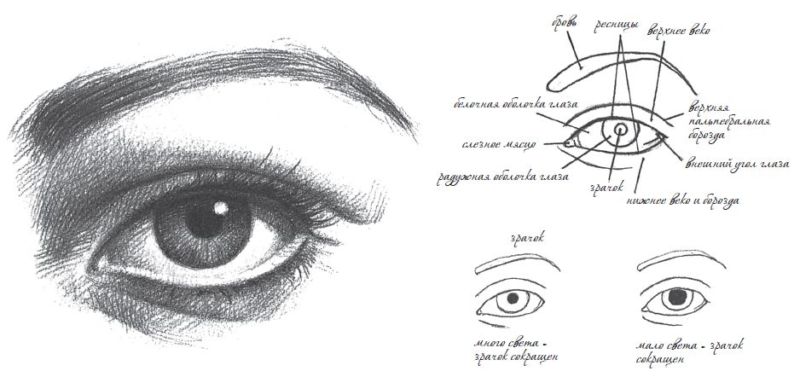
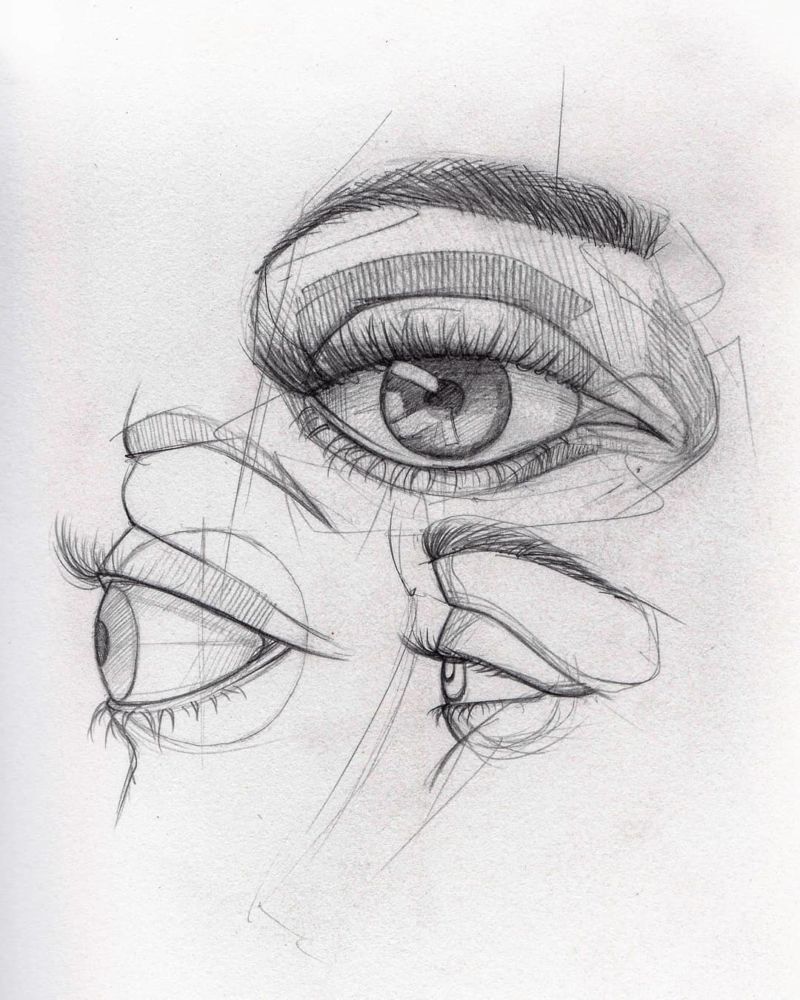
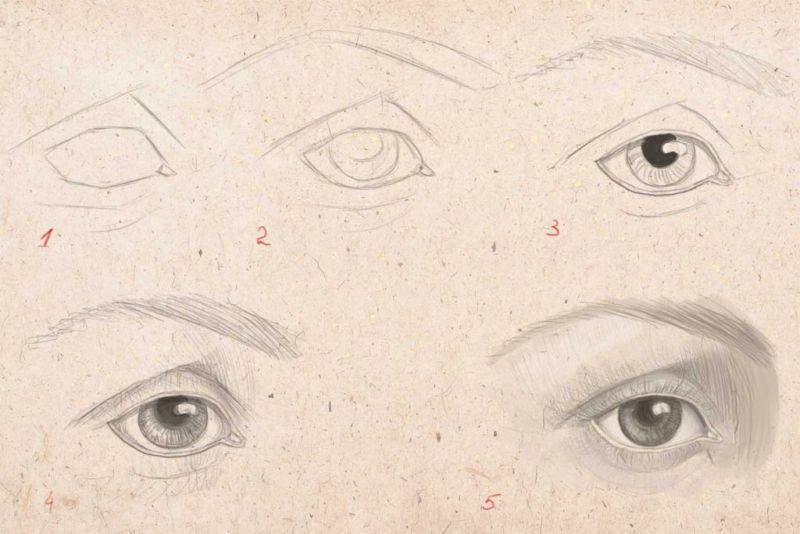
How to draw eyes?
Take a well-sharpened simple pencil, we will draw our eyes. Knowing your eye shape will make it easier to portray them on paper. Everyone has different facial features, so keep that in mind the next time you work with a different image of a person. Learn how to draw eyes:
- Draw an arc, its shape looks like this: extended to the center, but then it rolls down.
- The lower arc should be the same flat, but smaller than the first arc.
- Connect both arcs and draw the upper eyelid.
- Draw the cornea and the lower eyelid.
- Add eyelashes on the upper and lower eyelid and pupil.
- We make up the folds of the eyes and mark places where shadows must fall to make the eyes look fuller.
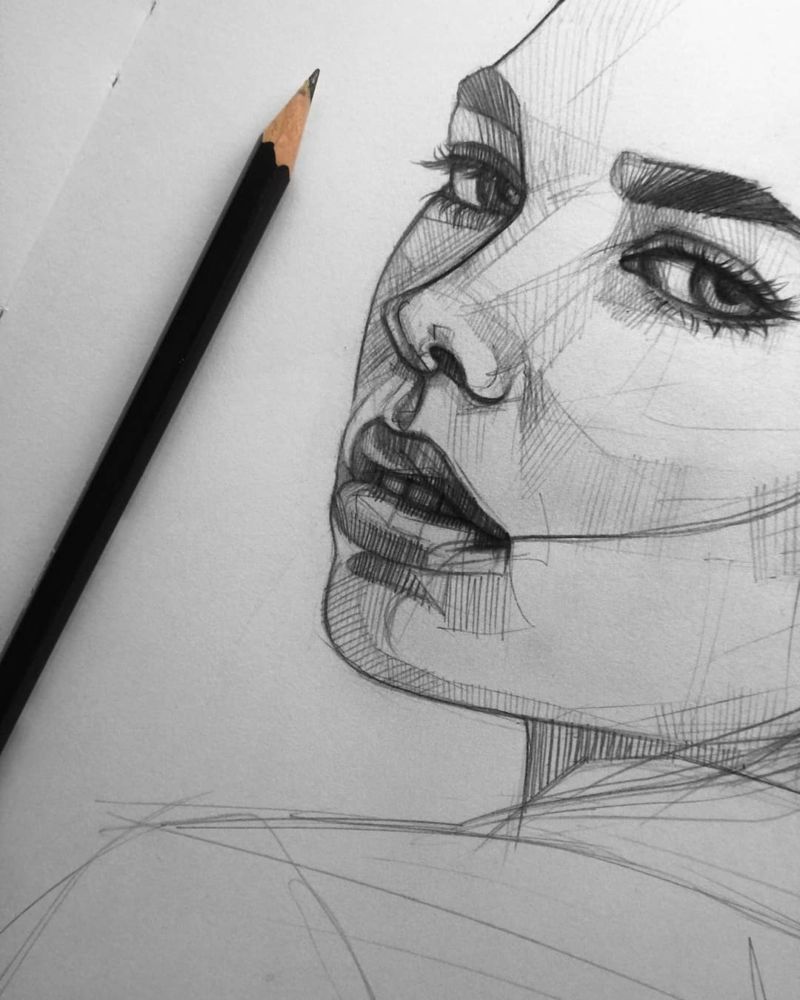
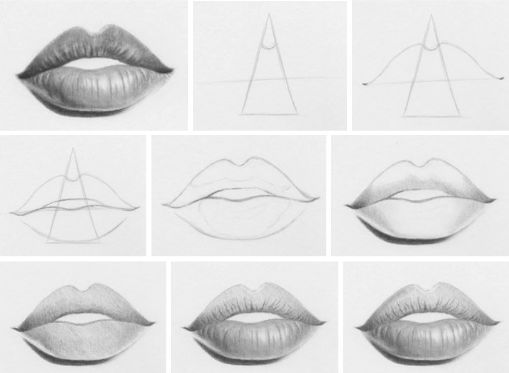
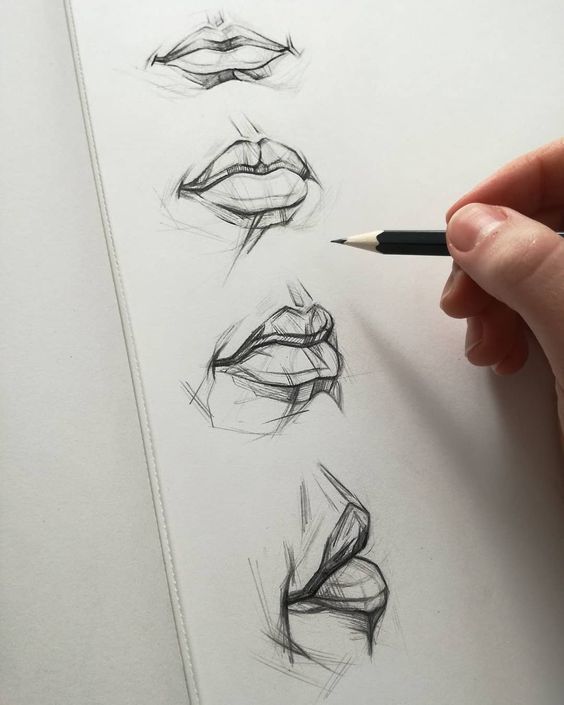
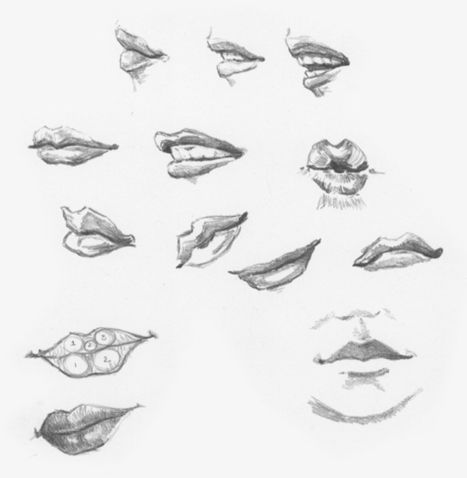
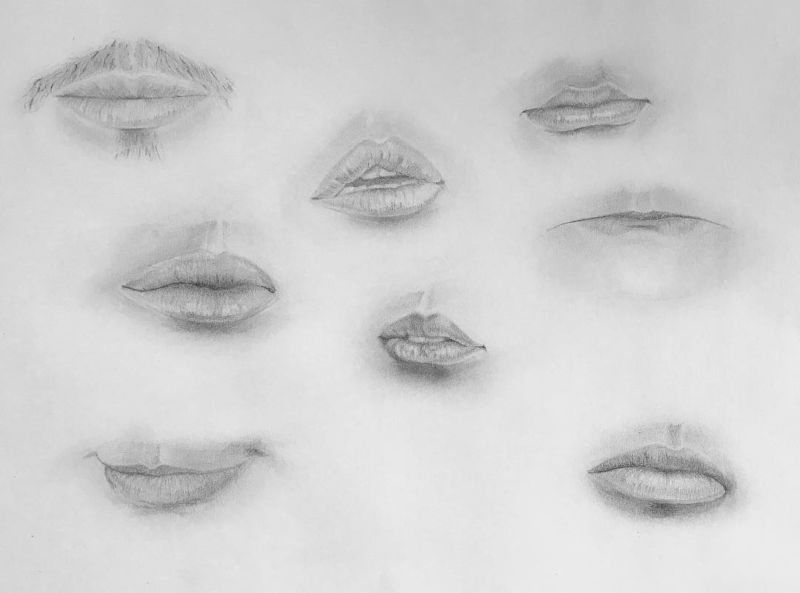
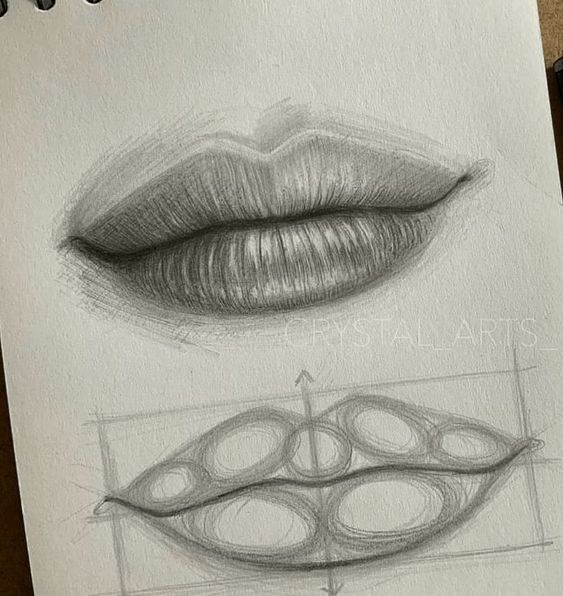
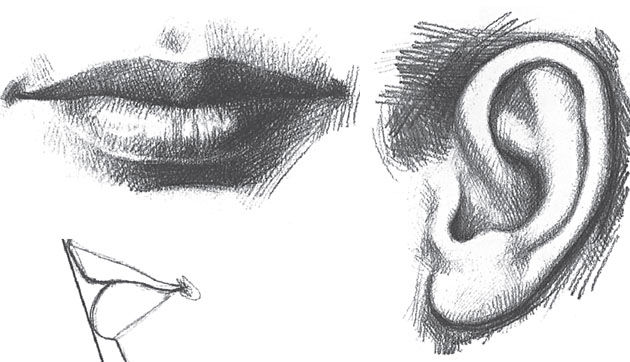
How to draw the lips?
Everyone has its own individual shape of lips, do not depict them all the same, because it loses its personality. Just like the eyes, knowing the shape of your lips, you can easily draw them, so you can continue to draw other people's lips. Drawing the lips:
- The work begins with a wavy line.
- Above the first line depicts the upper lip.
- To the resulting mouth add the lower lip.
- Connect the edges and folds of the lips.
- Add the necessary shadows, while working on the folds in the corners and on the chin.
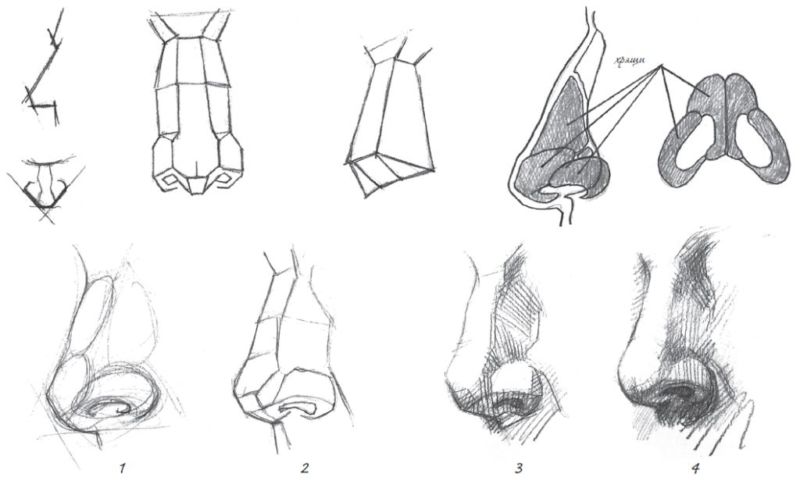
How to draw the nose?
The nose is an integral part of our face, it can be as humongous, sharp or elongated. It is known for sure that the nose expresses some of the traits of a person and that by looking at someone's nose, you can get to know the person better.
The nose is actually more difficult to draw than other facial features, but the main thing here, of course, is practice. Drawing the nose:
- Draw lines parallel to each other with a pencil, get the width of our nose.
- The resulting lines are rounded to get the desired shape of the nose, thus we achieve the extension of the nose.
- Nostrils are drawn.
- Strokes are added to get the desired light and shade.
- For a better result on the shadow, it is smoothed.
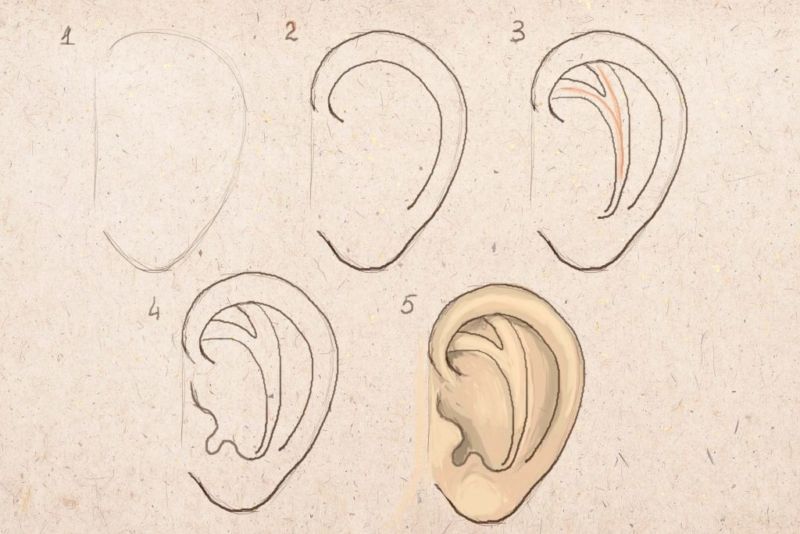
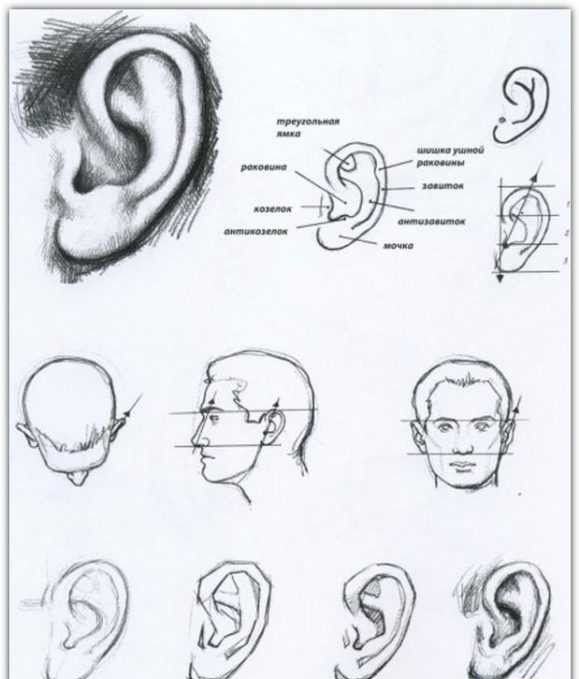
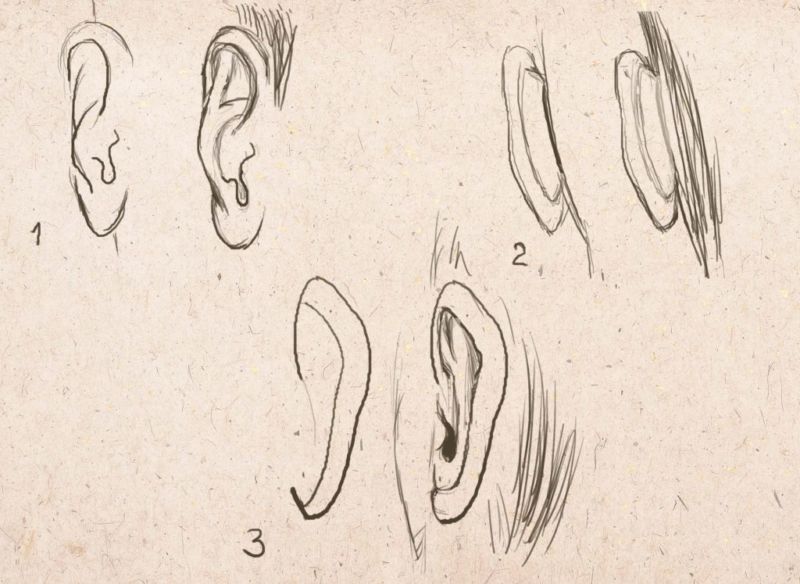
How to draw the ears?
The ears also characterize a person quite well. They can be either large or small. Their size is also important to consider and observe when drawing them for a particular person on paper. Drawing the ears:
- Everyone knows that the ears resemble something like an arc, that's what we need to depict.
- We are drawing the top part of the pinna, also the curl and the nape.
- And then you have to draw the so called counter helix and you have to add the earlobe. If drawing a portrait of a woman, we add earrings, an inseparable part of feminine jewelry.
- The last step is to draw the cheek, the neck and of course the hair.

How do you draw the eyebrows?
Oh these eyebrows, they can be so different from each other in different people, which is surprising and at the same time interesting. Eyebrows can also tell us a lot about a person.
They can be very thin or very wide. Agree, without eyebrows, our face becomes less attractive. Even though eyebrows seem easy to draw, here are the steps for creating them on paper. So, drawing the eyebrows:
- There are two options here: to depict first the arc, then already hairs, or first the shape of the eyebrows, complementing them with light lines.
- The shape is trimmed and thickened.
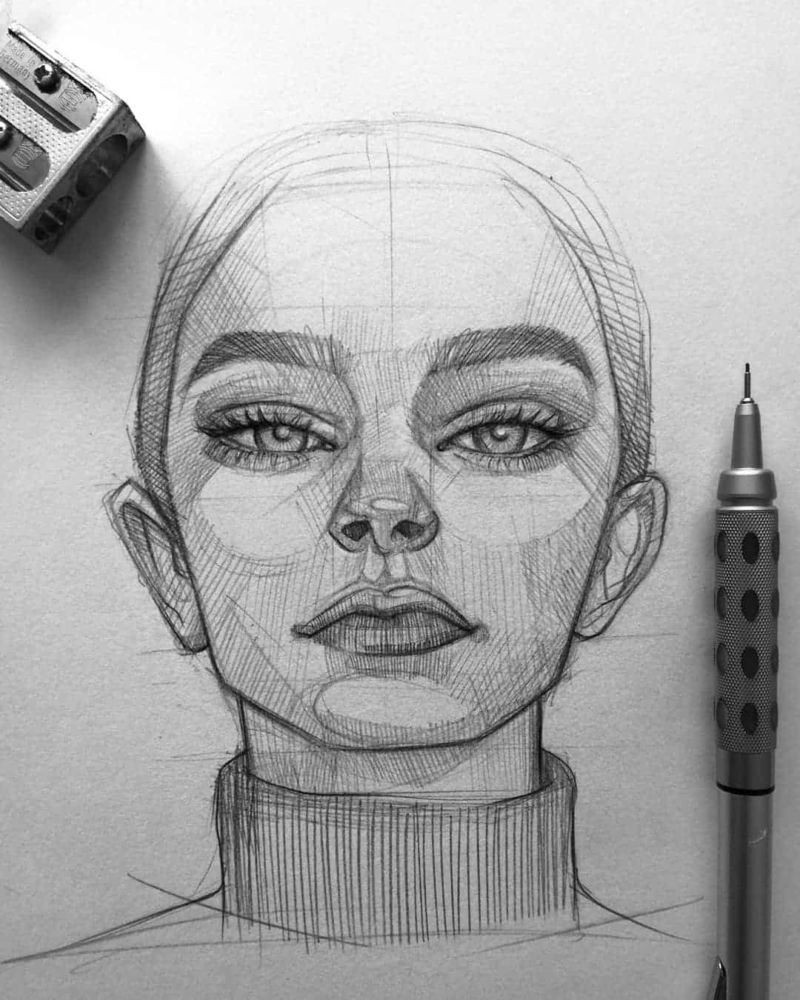
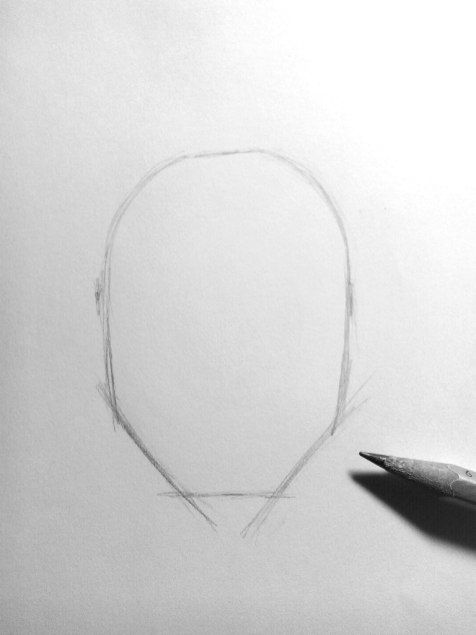
Drawing the hairstyle and the shape of the face
You have learned how to quickly and easily draw the main features of the face, now let's move on to no less important details in the portrait - it's hair and face. In the work the artist most often depicts the true appearance of the hair, so that even a pencil drawing is able to highlight them, as well as the proportions of the face.
For beginners, however, it is enough to learn how to draw the shape of the face correctly, and the hair, as a rule, does not give much difficulty. Drawing hair and face:
- Draw the desired shape of the face, it can be a circle or an oval.
- Fix the location of the neck and hair.
- Detail the hair itself.
These step-by-step tips will help you learn how to work on a portrait step-by-step to avoid mistakes; by learning to draw individual facial features first, you can move on to a whole drawing.
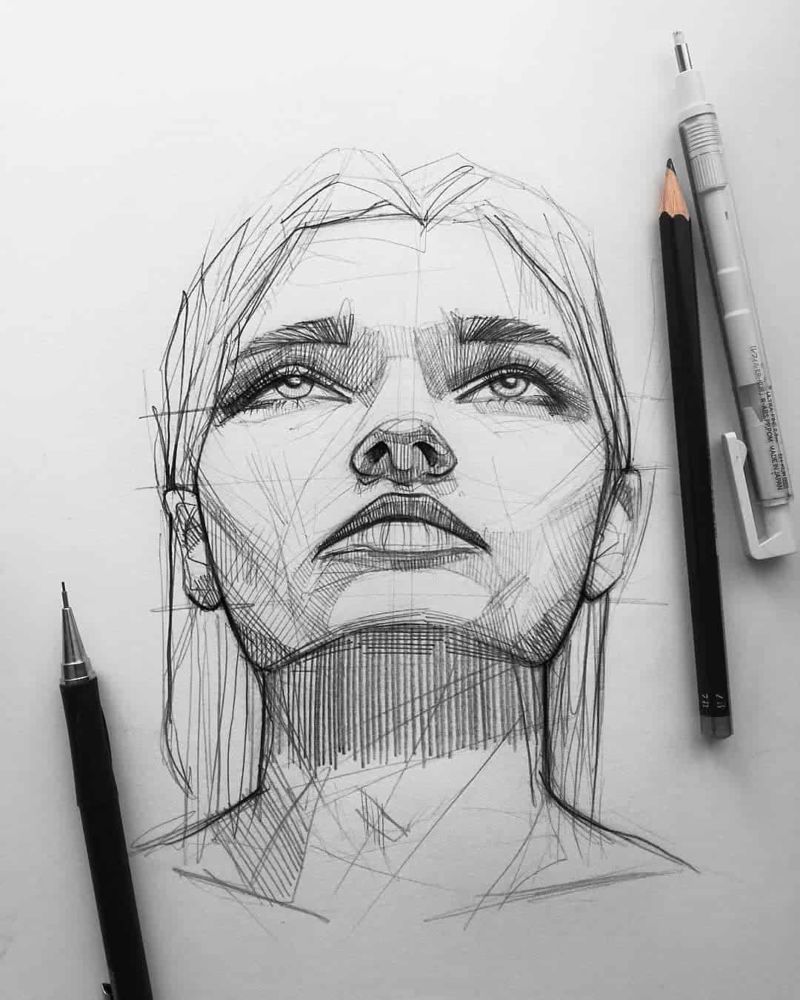
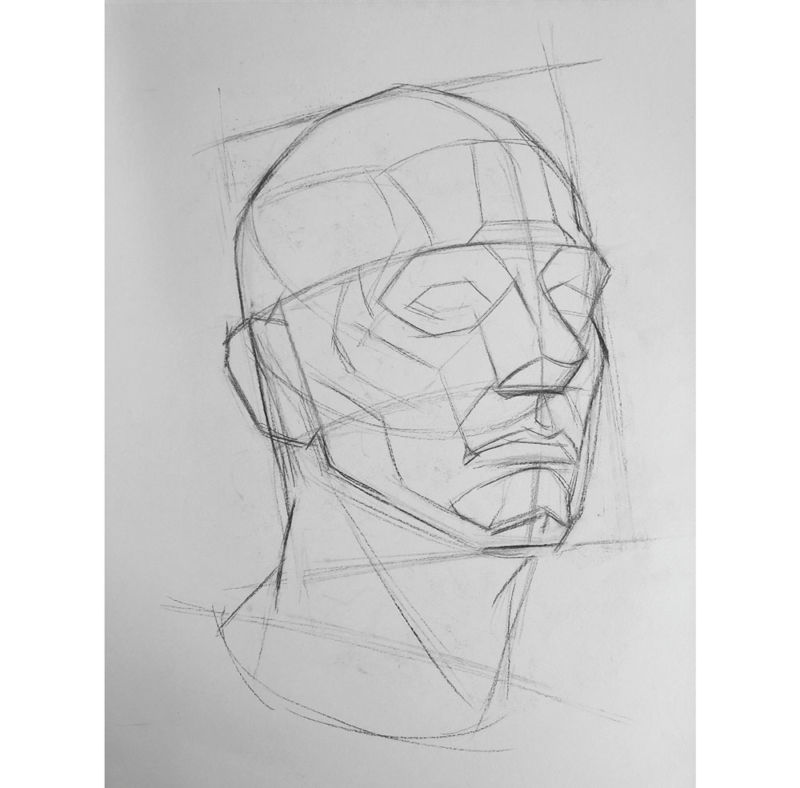
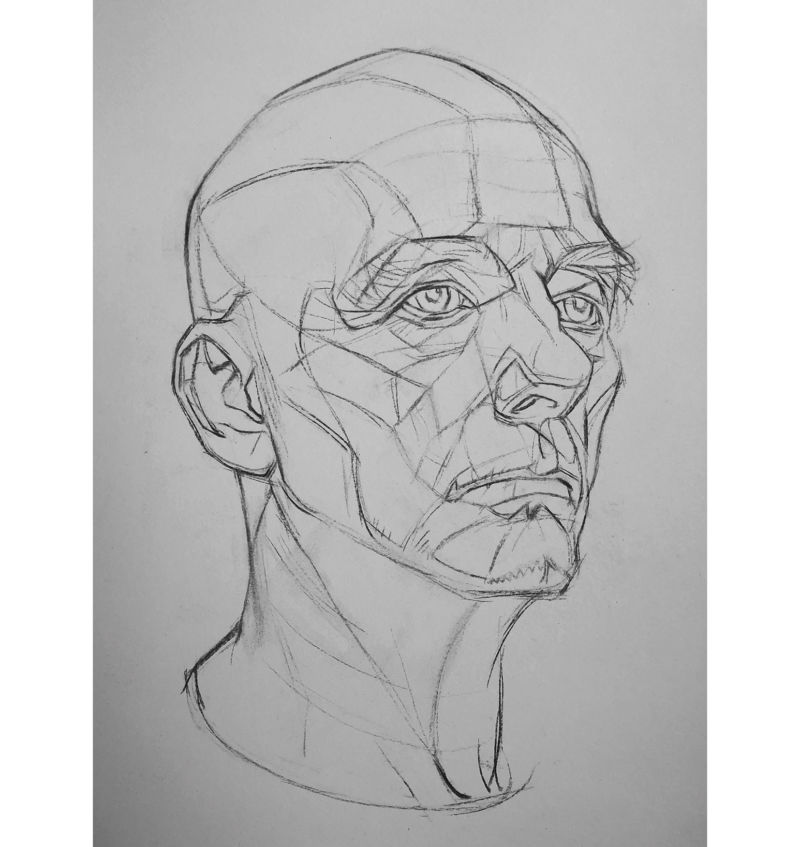
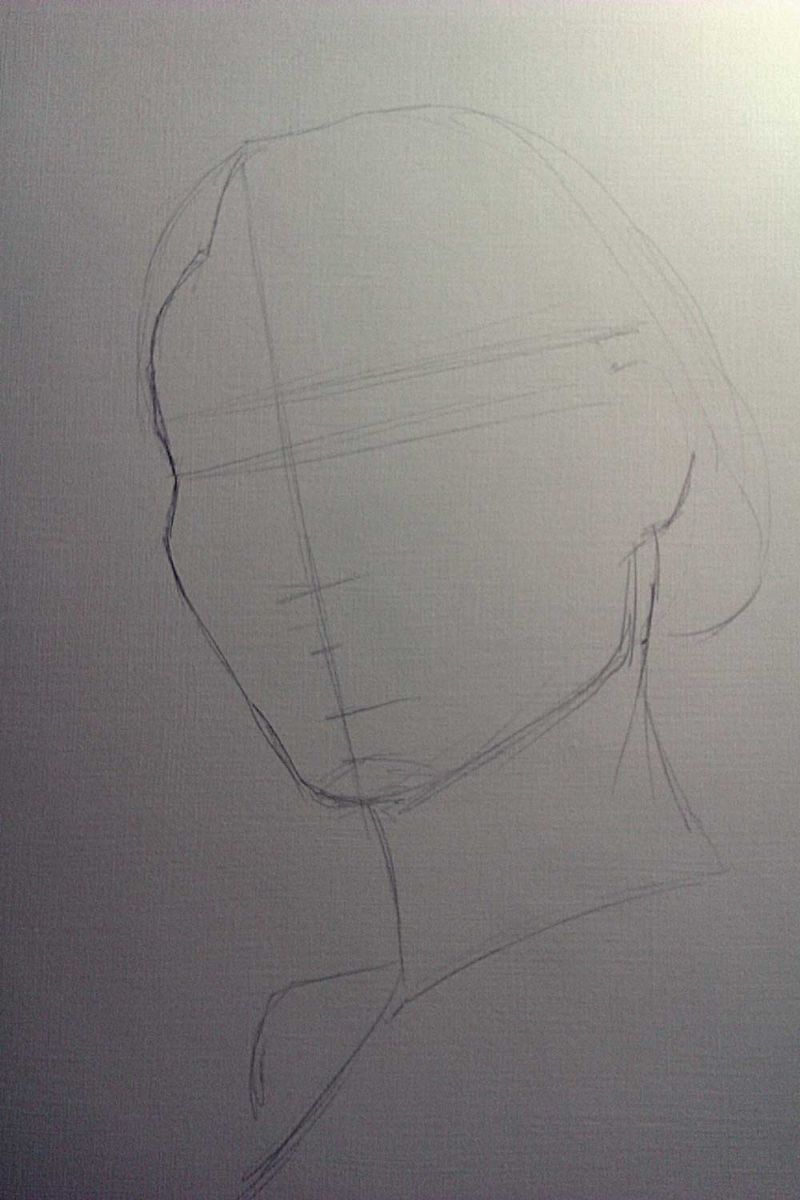
How do I draw a portrait from an angle?
A portrait can be done not only when the person is looking straight ahead, but when she is sitting sideways and looking in the opposite direction.

An angle must be taken into consideration, because practice shows that many people like portraits not only in straight perspective, it's called full-face, but also when the beholder is looking somewhere in the distance or to the side - profile.
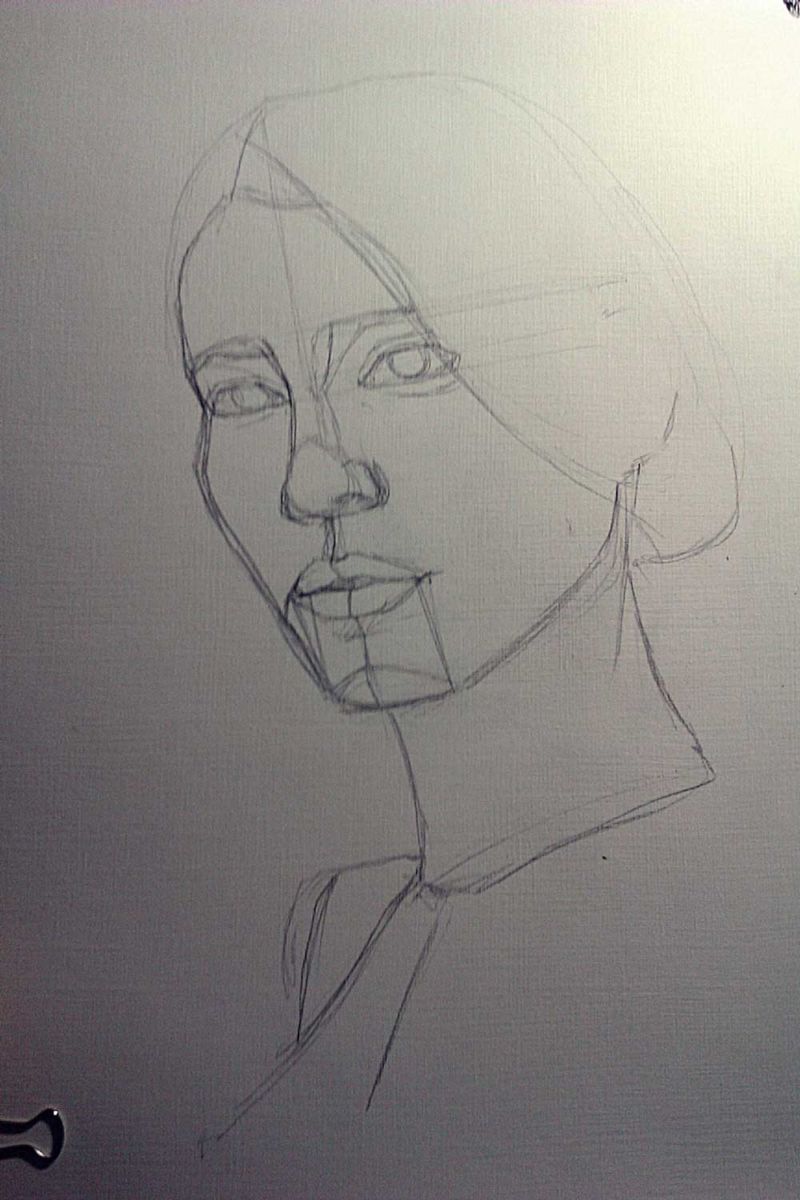
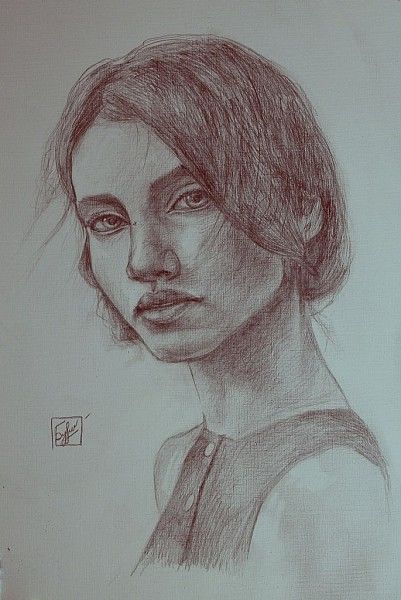
There is also a half-turn (three-quarter) image. This option is most often suitable for a romantic setting and doing the work in this style. Shown below is a variation of this image.
Before proceeding, we chose a photo and only then began to draw:
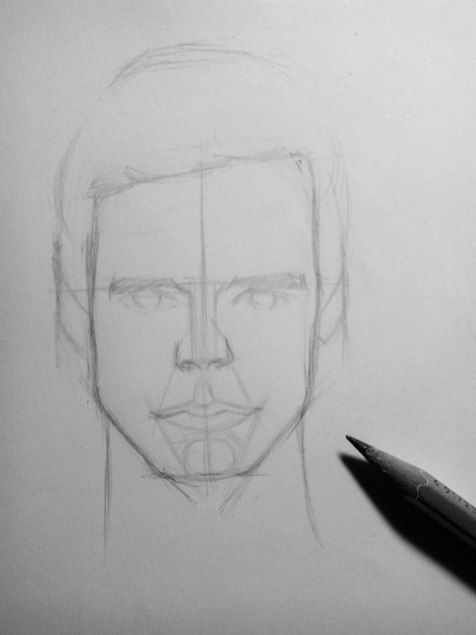
- Drawing an oval.
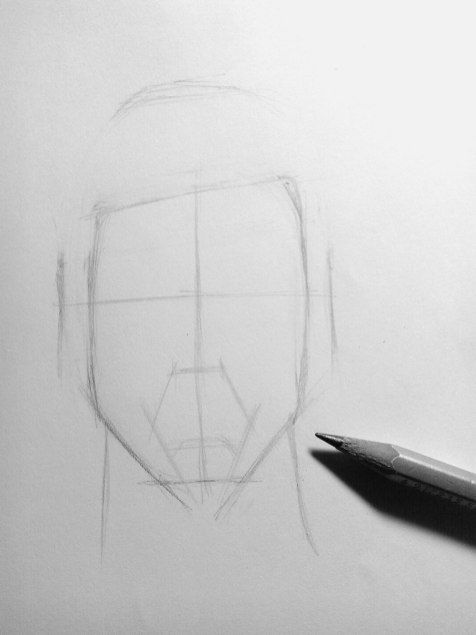
- To achieve a proportional representation of facial features, draw the necessary lines that evenly divide the face into four parts.
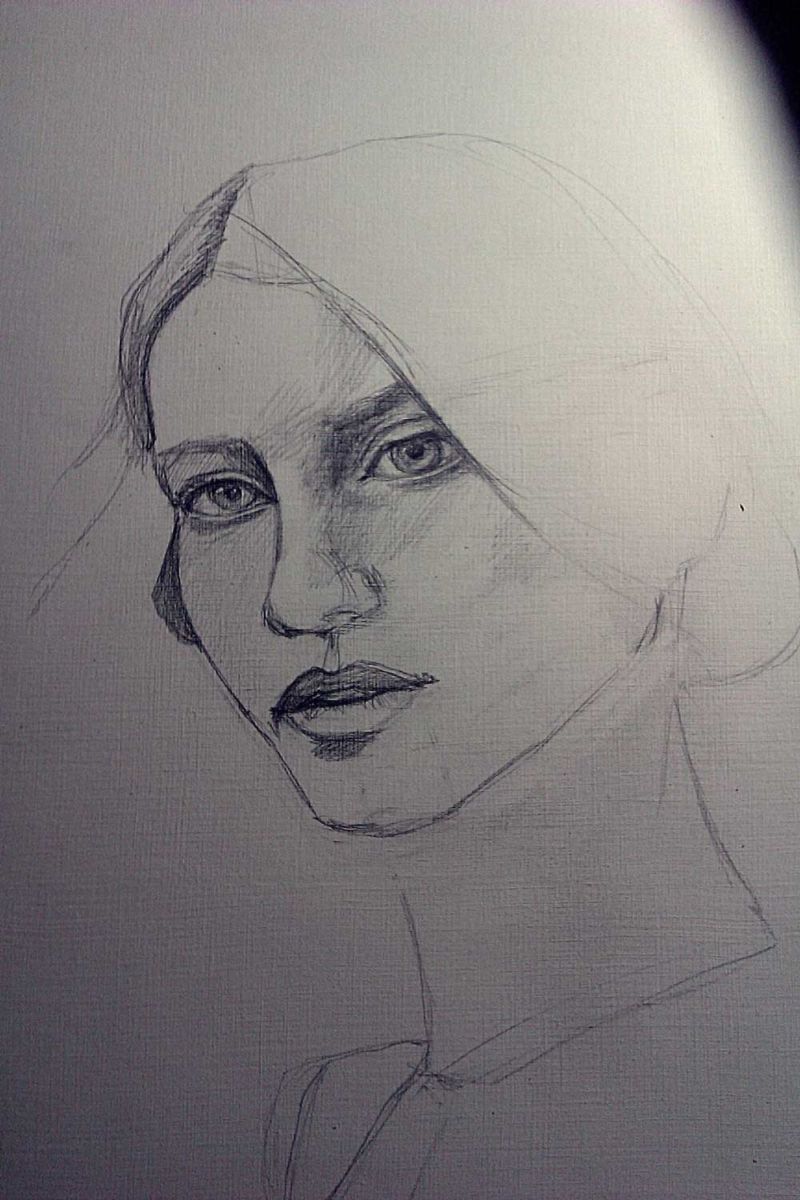
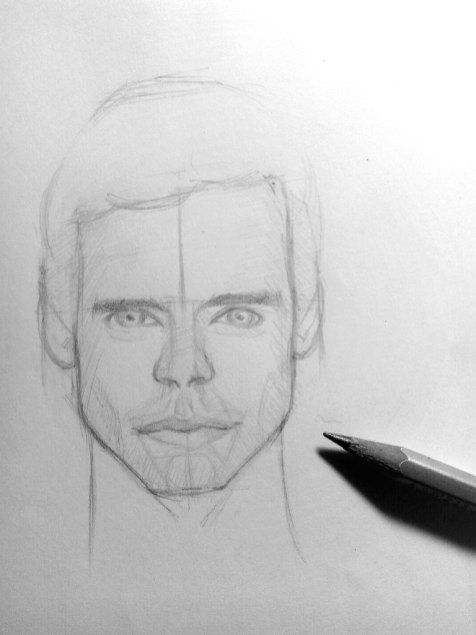
- Only now we proceed to the eyes, nose, lips. But, to begin with, we only mark where they will be, the work should start with the eyes.
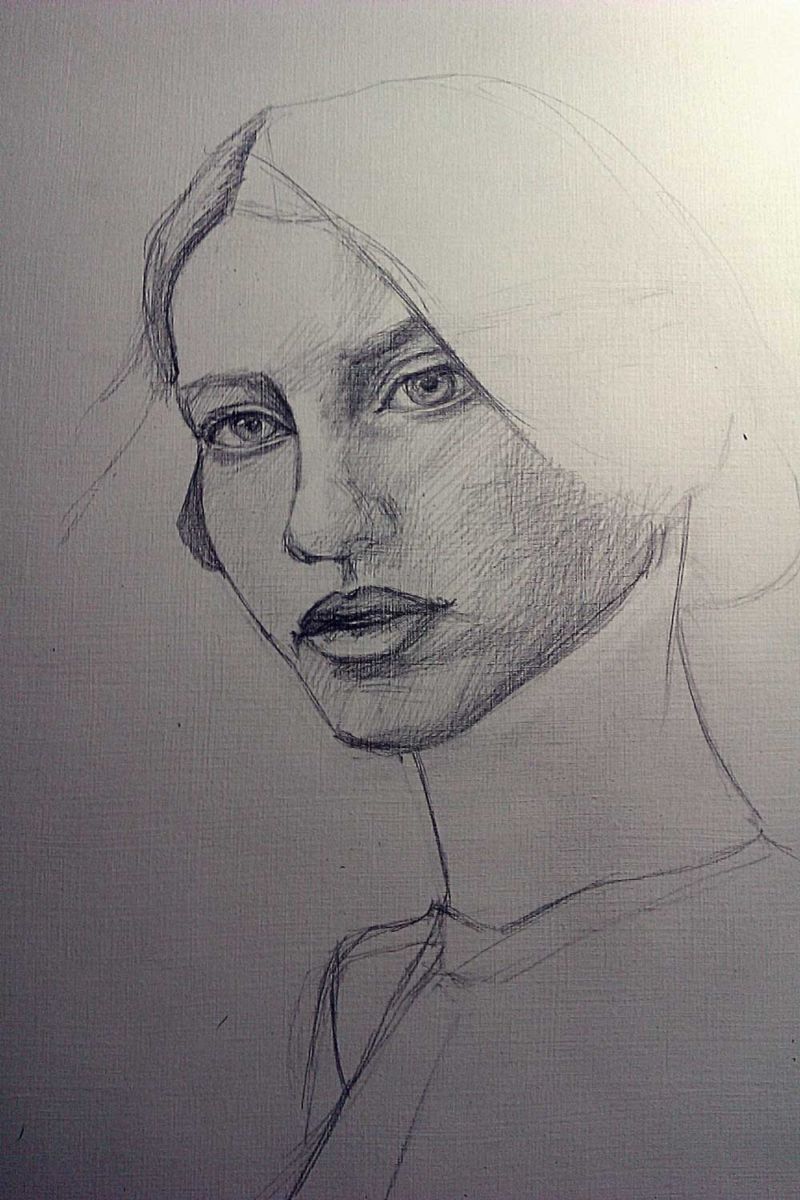
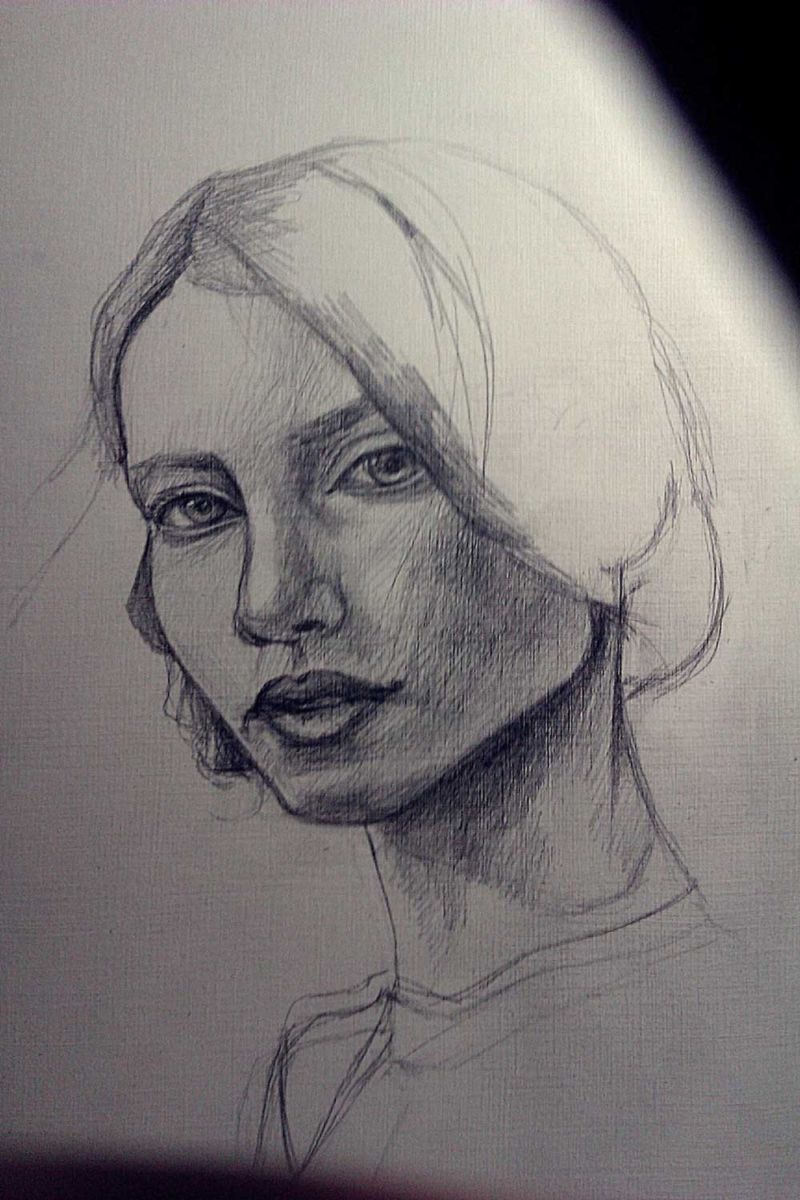
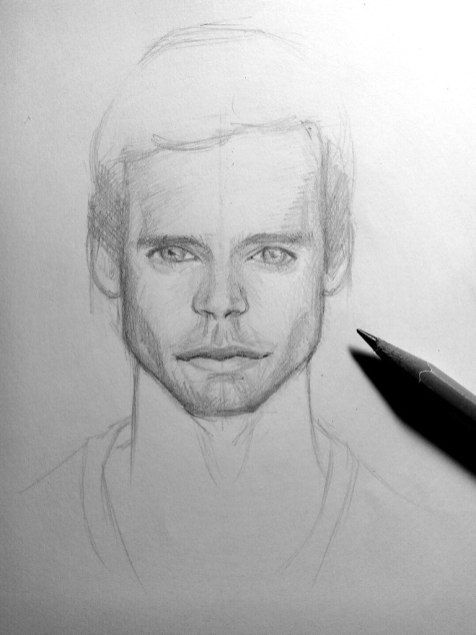
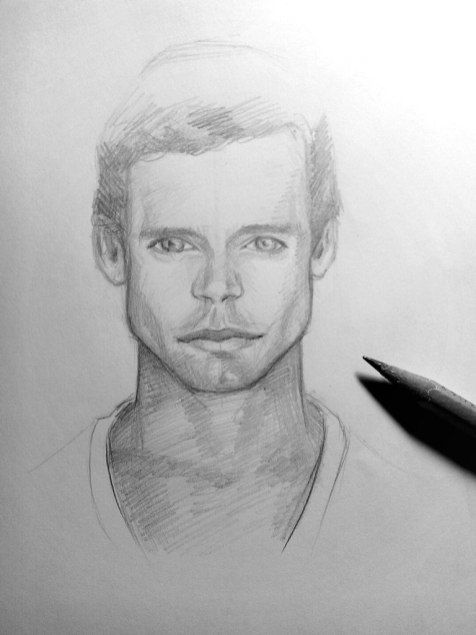
- All facial features after their drawing, if necessary, are shaded, shadows are added, do not forget about the location of the light.
- All unnecessary lines are removed, go to the hair, also take into account the effect of light and shadow.
- At the end of the work we paint the result with colored pencils.
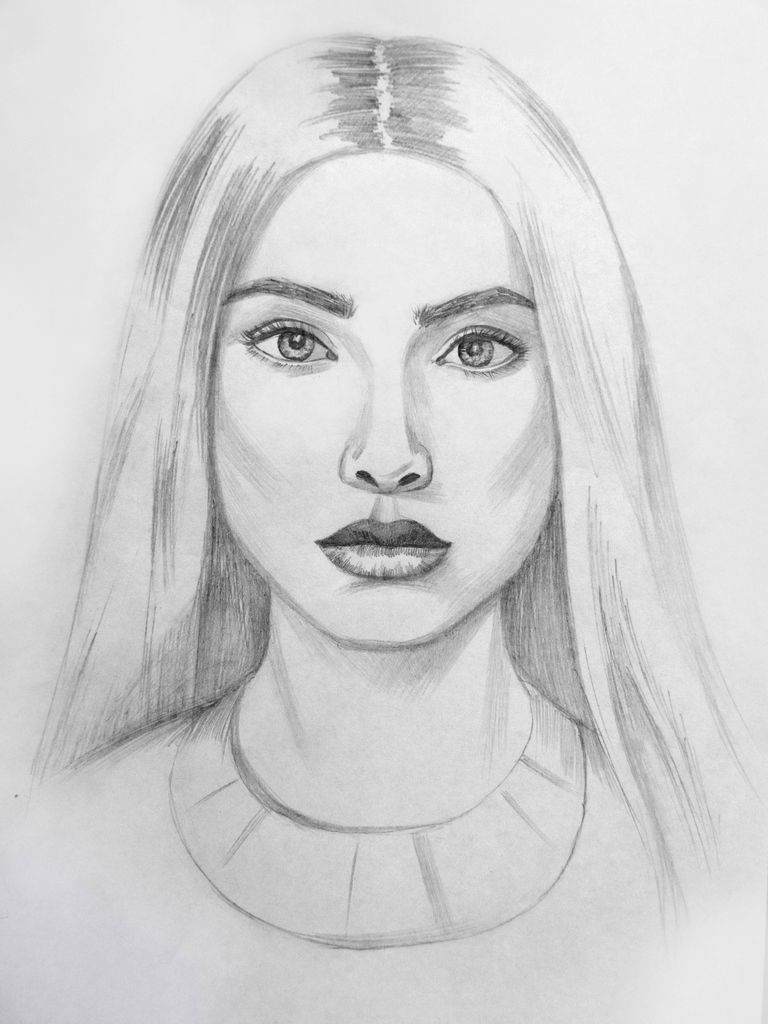
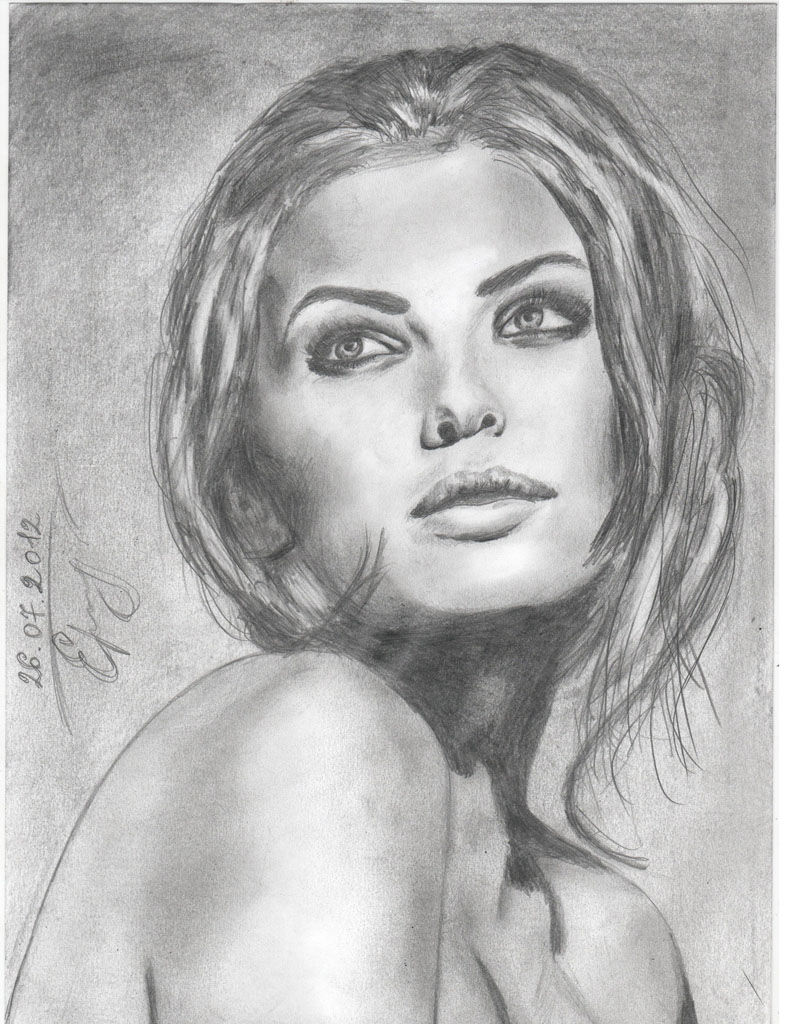
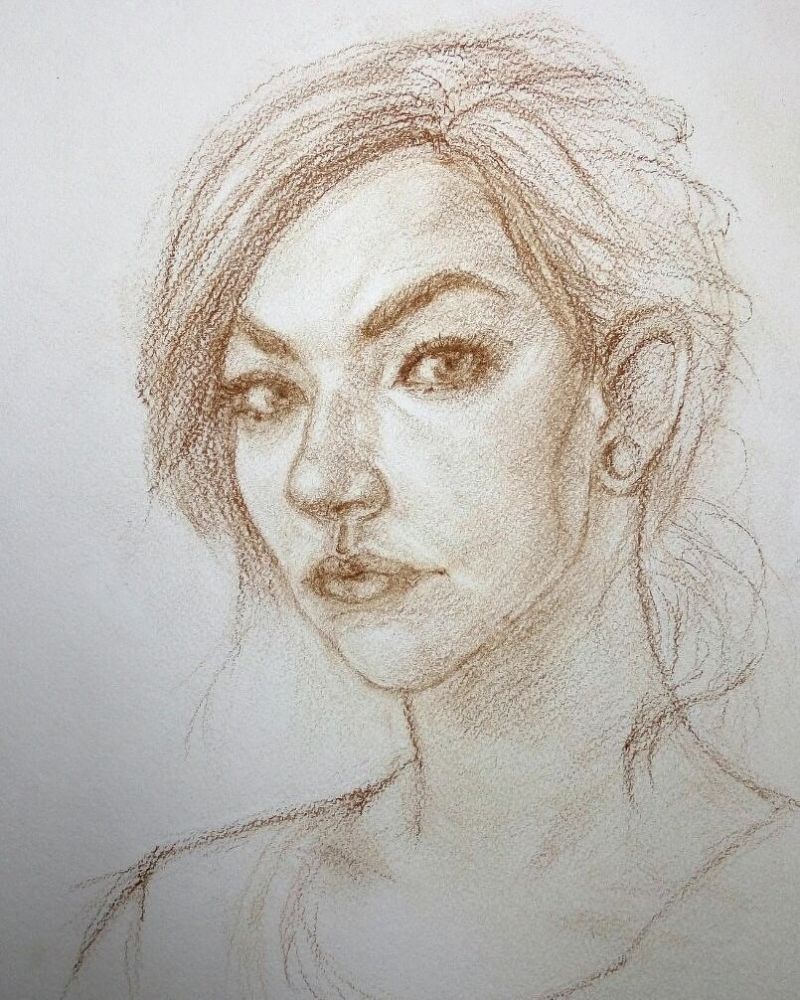
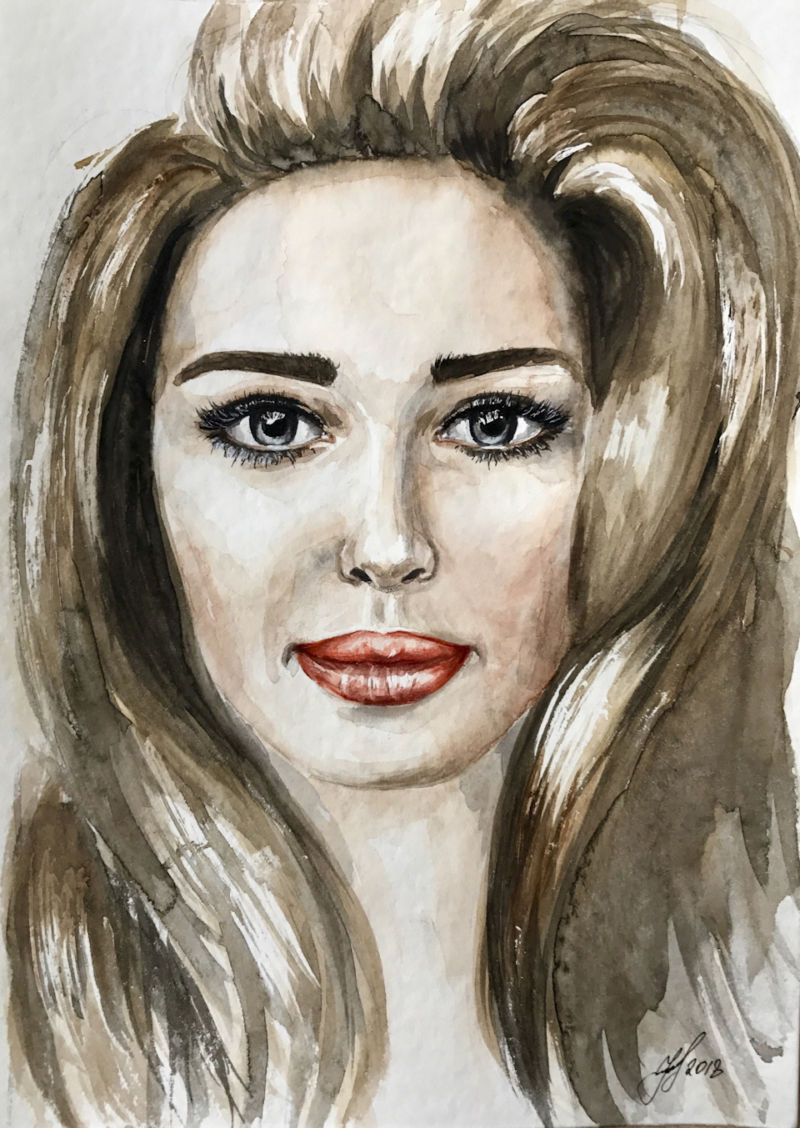
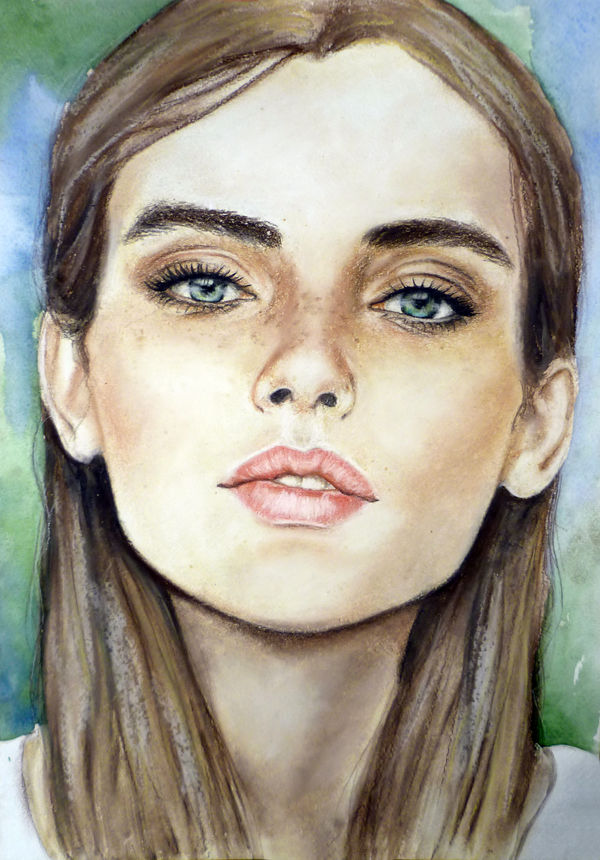
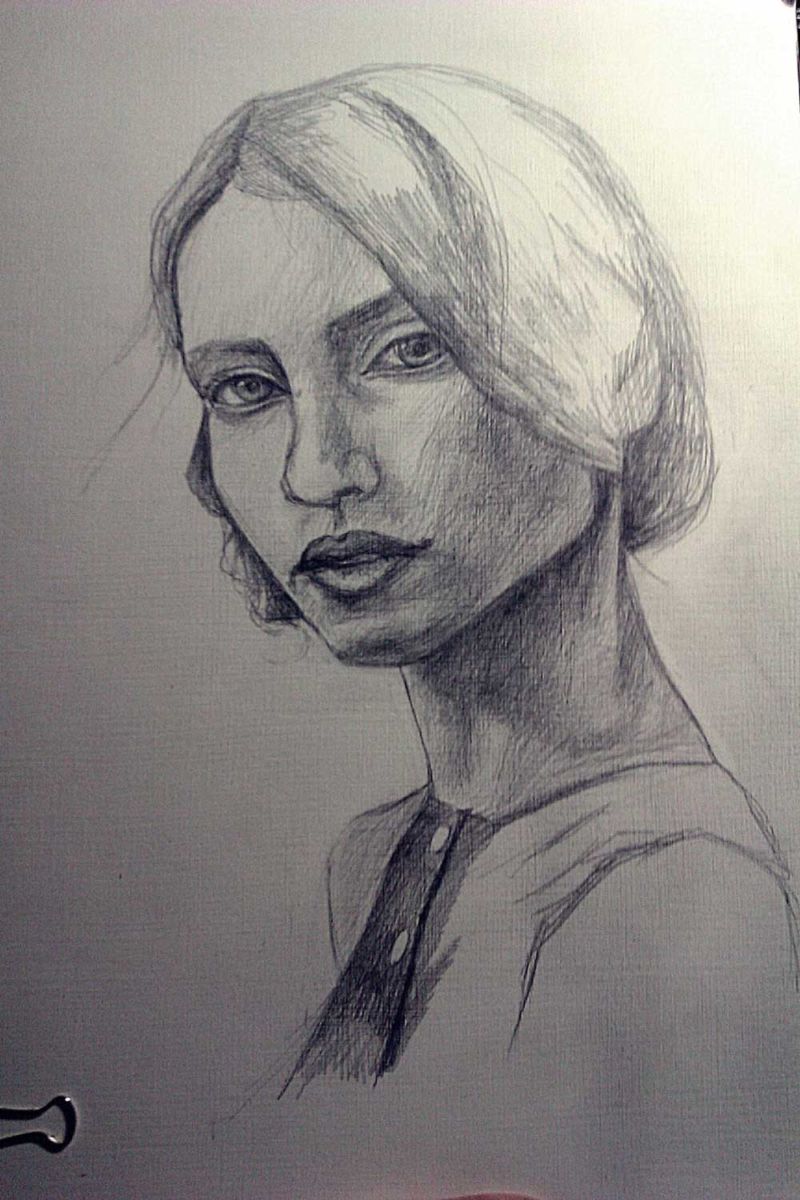
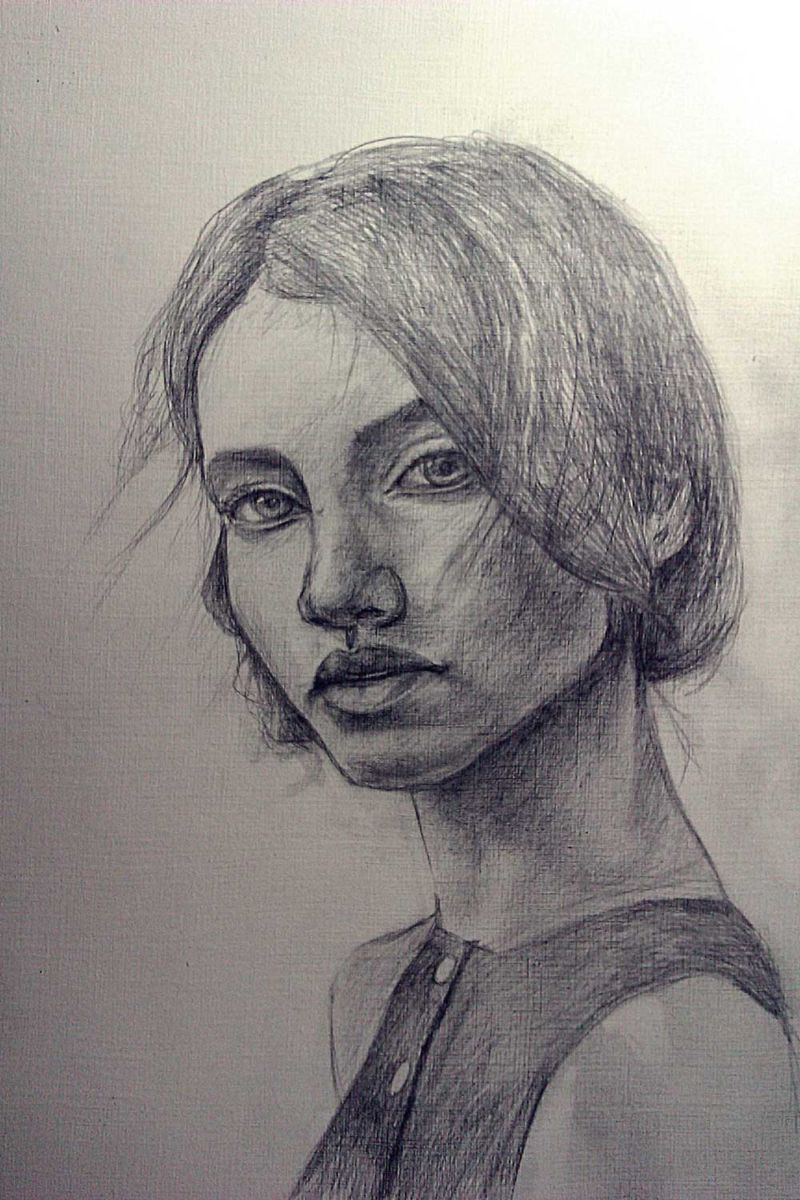
Portrait of a Girl
Girls are probably tired of doing countless photos, want something creative and original, they can prove themselves in drawing their own portrait or their acquaintances. It's also a great chance to learn how to draw and delight yourself with new ideas.
Recall that keeping a photo of a person's face in front of you, it will be easiest to accurately portray the characteristic features. We proceed to work, following the steps in sequence, because it is not just a puzzle to assemble some puzzle, here it is important to observe everything correctly for the best result:
- We take any simple pencil and draw the face oval, and if the chin is sharp or convex we depict it.
- The lines highlight the neck.
- We divide the face into equal proportions, that is we draw one line vertically exactly in the center - this is the axis, and the other two horizontally - these are the lines of the eyebrows and the nose.
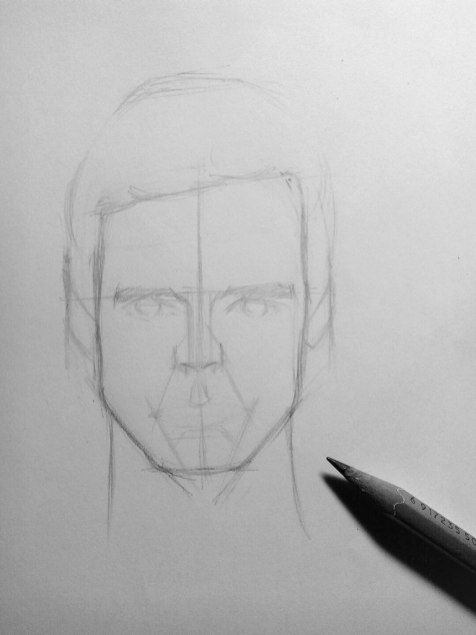
- If we are satisfied with the obtained result, then we proceed to the hair - we outline the area where the hair is located (we draw all smooth contours).
- Draw the eyebrows over the line, then the lips, remembering that they are all different! Wings of the nose are marked and nostrils are drawn.
- For the eyes, draw a line that will define the location of the eyes.
- For the inner corners of the eyes, we visually draw lines from the nose.
- The outer corners of the eyes are located on a curved line, take into account what shape the eyes have.
- Unnecessary lines are removed.
- Dorisovyvaya eyes - draw the upper and lower eyelid, draw the iris, pupil and create highlights for the pupil.
- Here comes the penultimate stage - this is the shading, for the eyes it is better to take a little different pencil, harder specifically for this. We shade the eyebrows and create shadows under the eyelids.
- For more expressive lips, we create their volume with the help of shading.
- On the nose the shadows are applied and the nostrils are shaded.
- Now the face - the cheekbones are darkened, we add shadows under the eyebrows and on the neck, thus we do not make a flat face.
- Hair - some parts of the hair are shaded to create the effect of shiny curls.
- At the end of the portrait, we give the upper lip and the hair at the back a darkening. Create contrast by shading the darker areas and the portrait is ready!
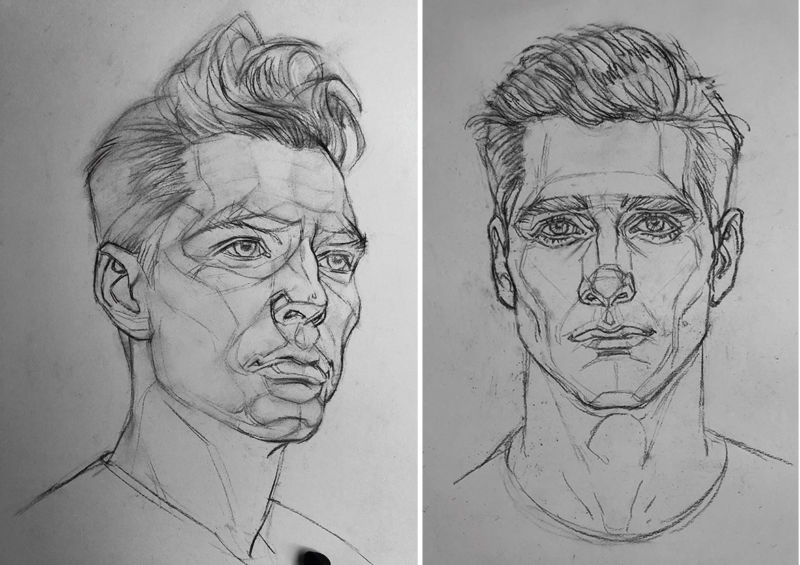
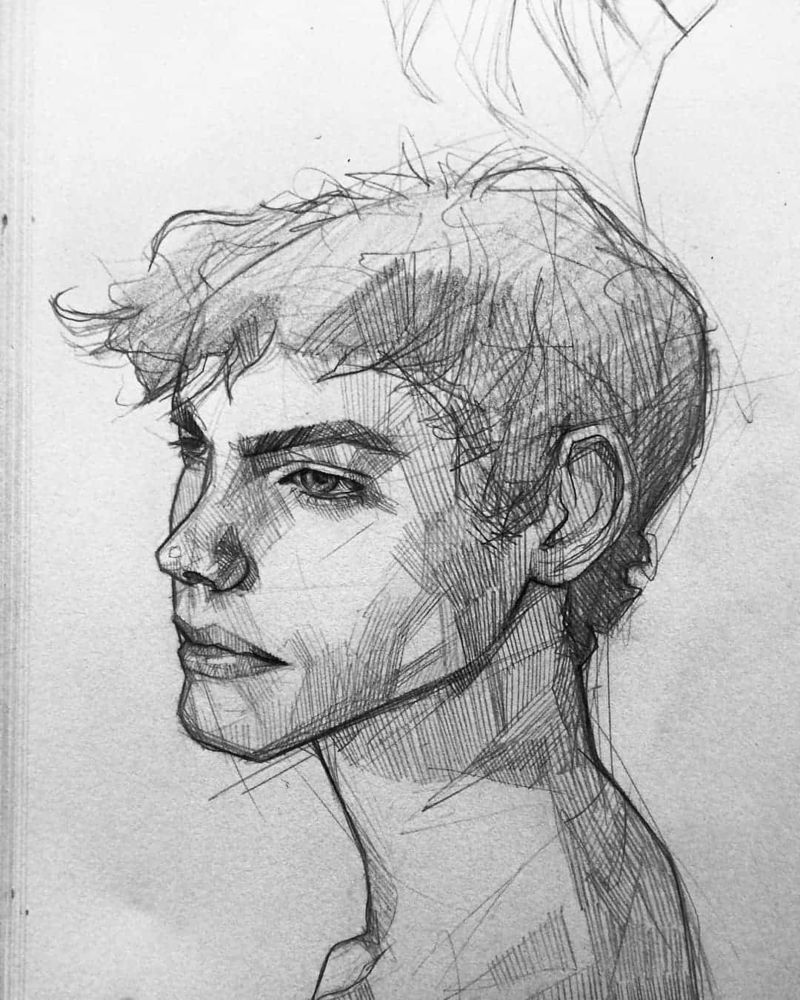
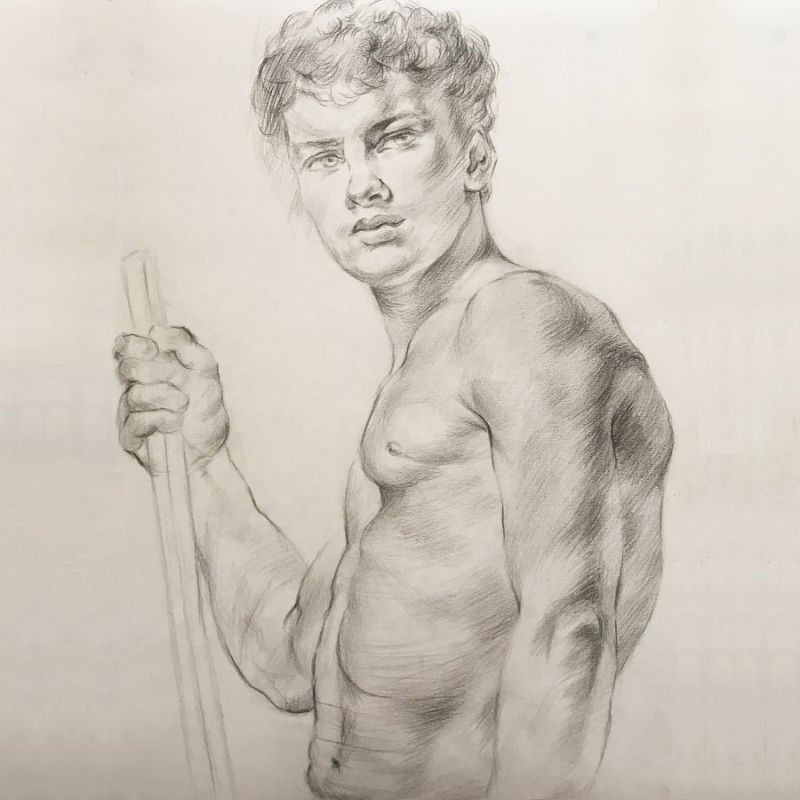
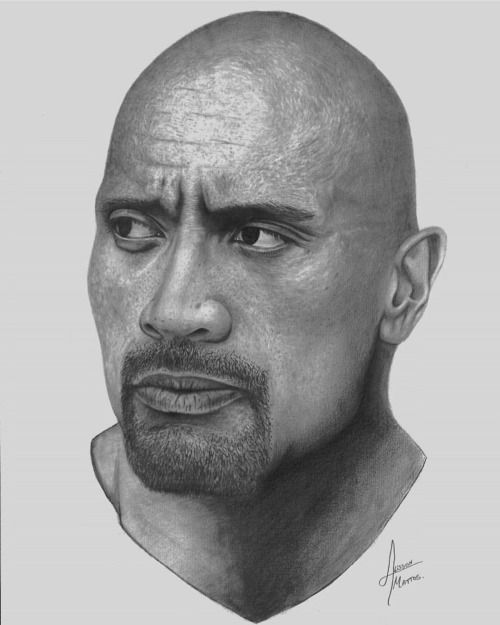
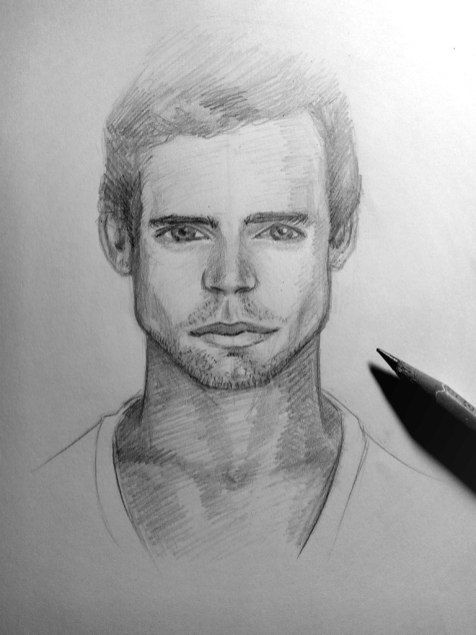
When portraying a guy, keep in mind that men's facial features are sharper, their cheekbones are more expressive, so they need to be highlighted.
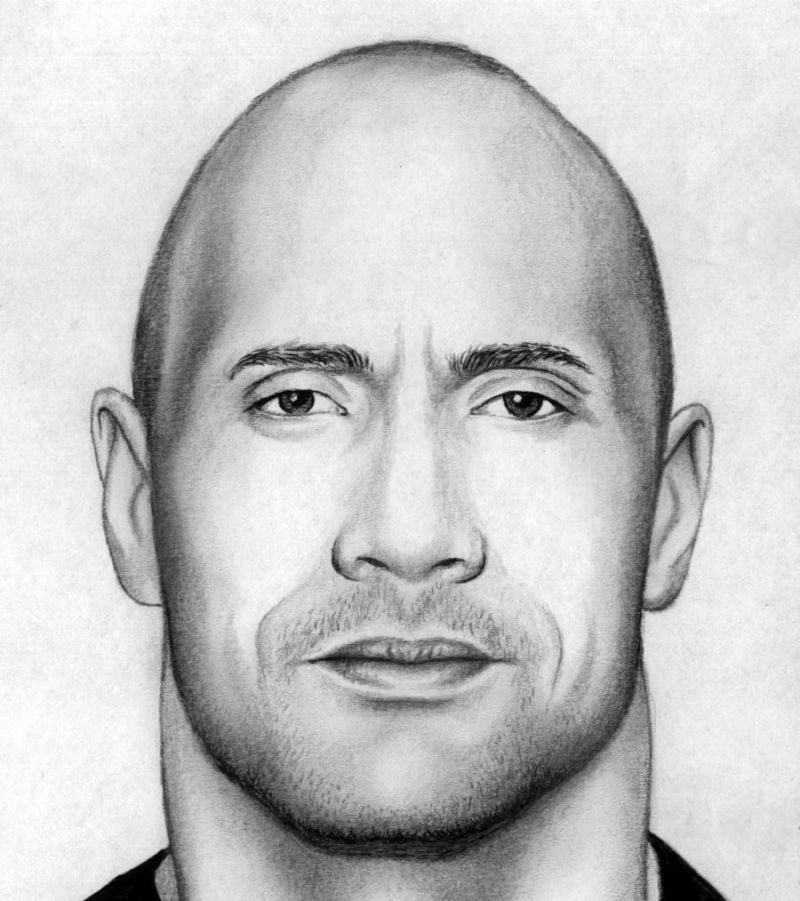
In general, the process of creating a portrait of a man is almost the same as a portrait of a girl, the work also starts with the proportions of the face, moving on to their features.
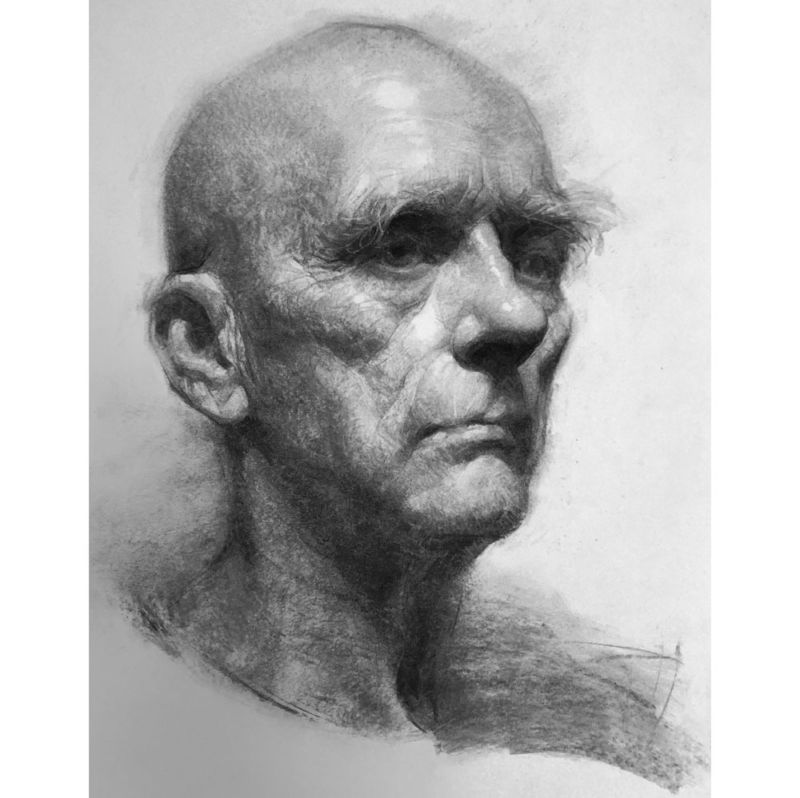
Thanks to the outlined material, you will learn to practice creating portraits, starting with small, such as portraying a child or a 5-year-old girl, and ending with more complex works, such as, a woman-mother, or an elderly man.
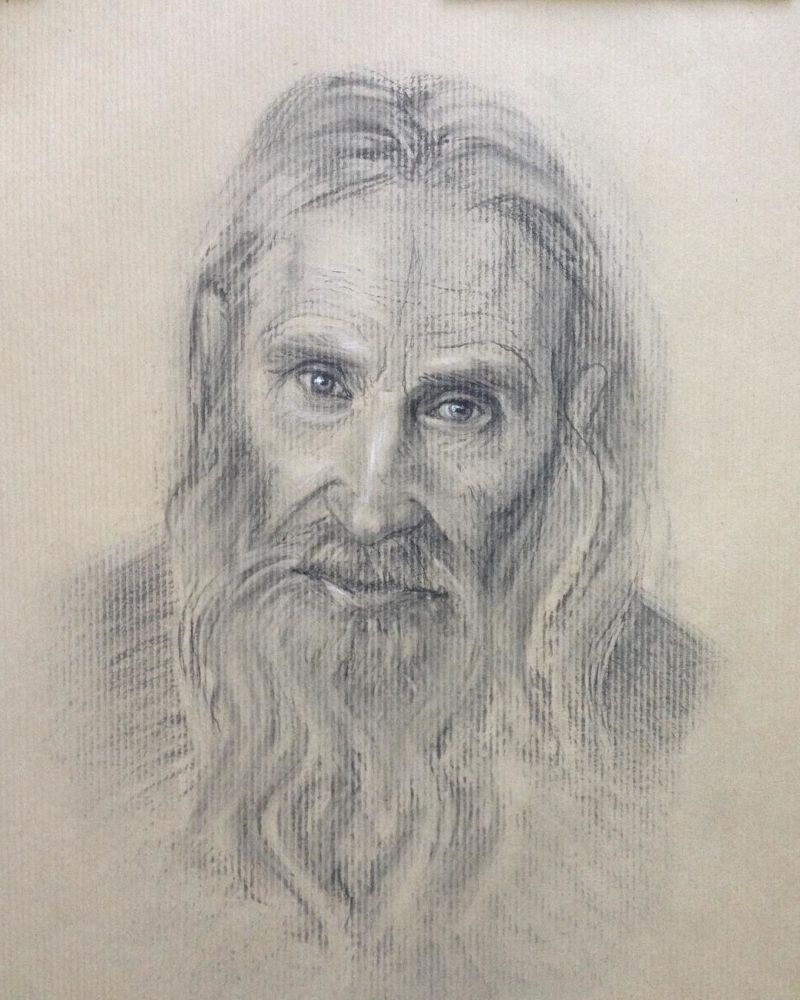
Even beginners can, having mastered the basics, create stunning works, despite the little experience and please their loved ones, giving them such unforgettable gifts in the form of a picture of themselves.
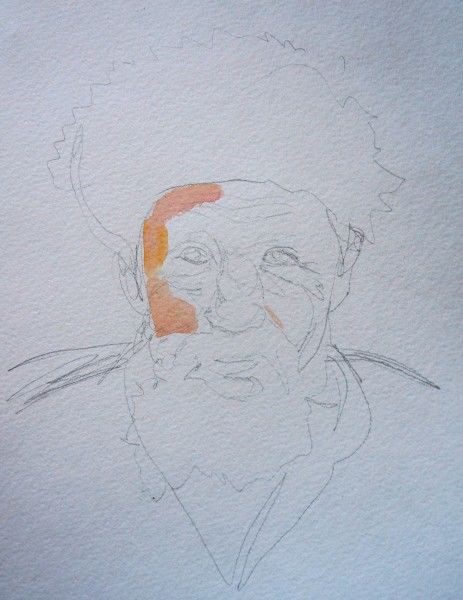
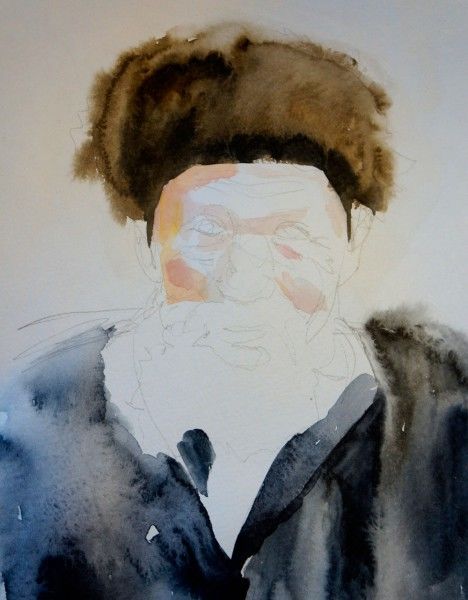
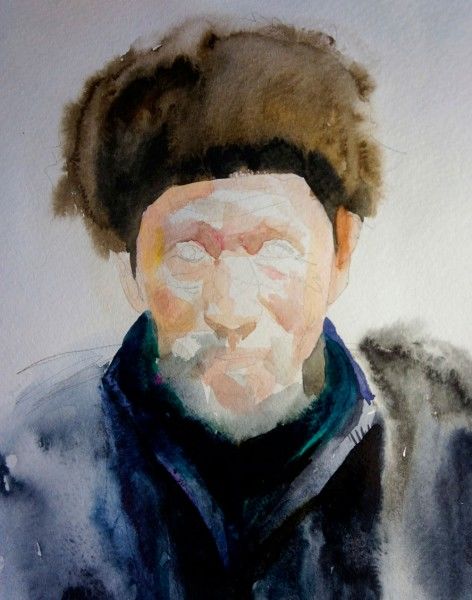
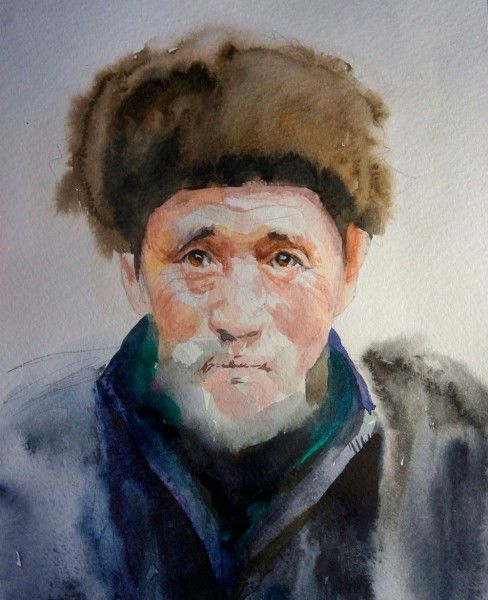
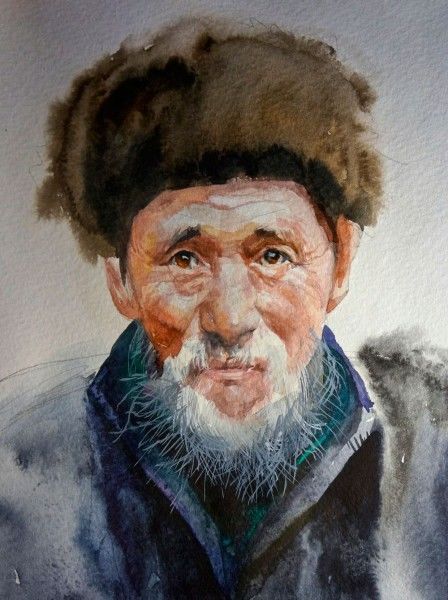
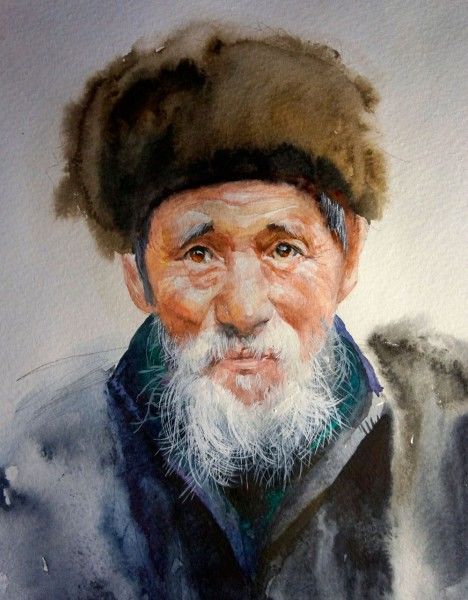
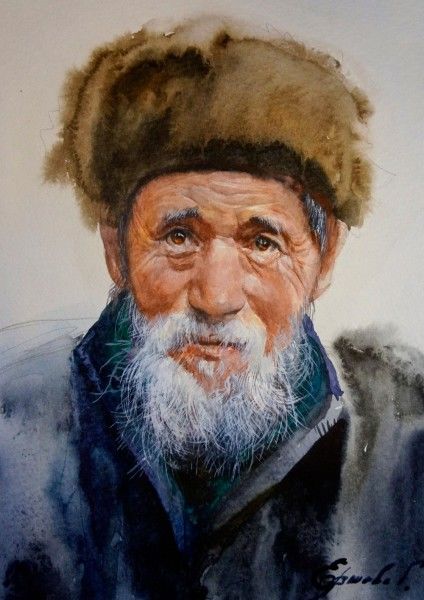
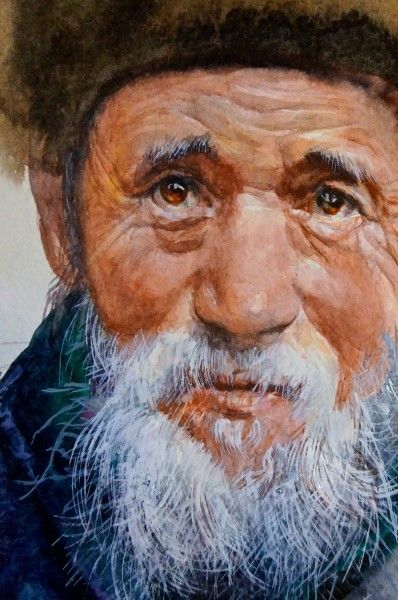
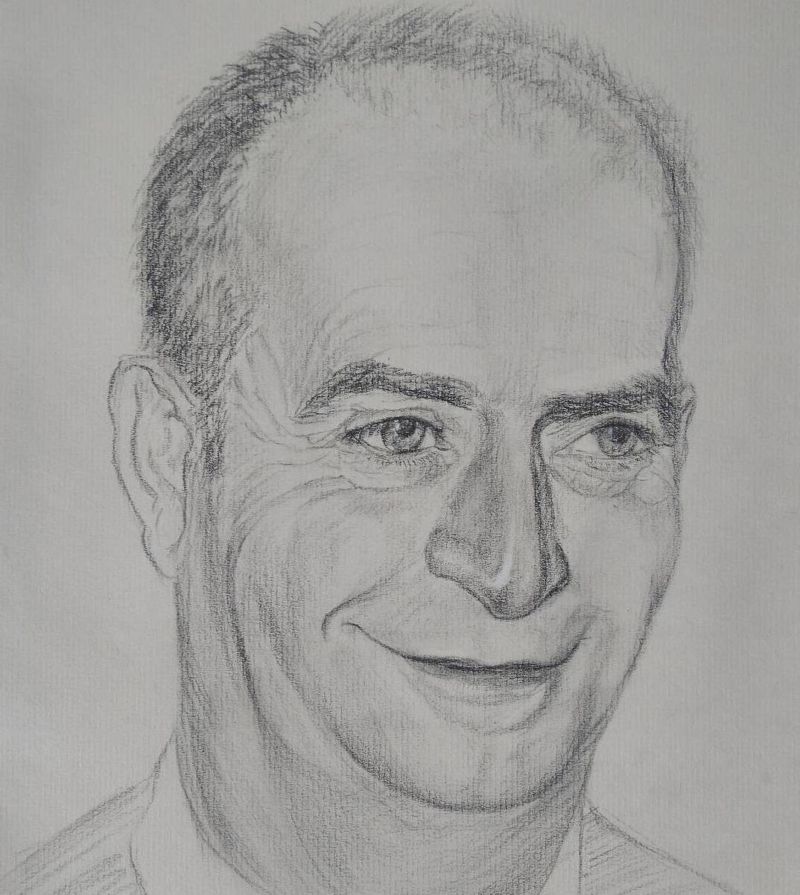
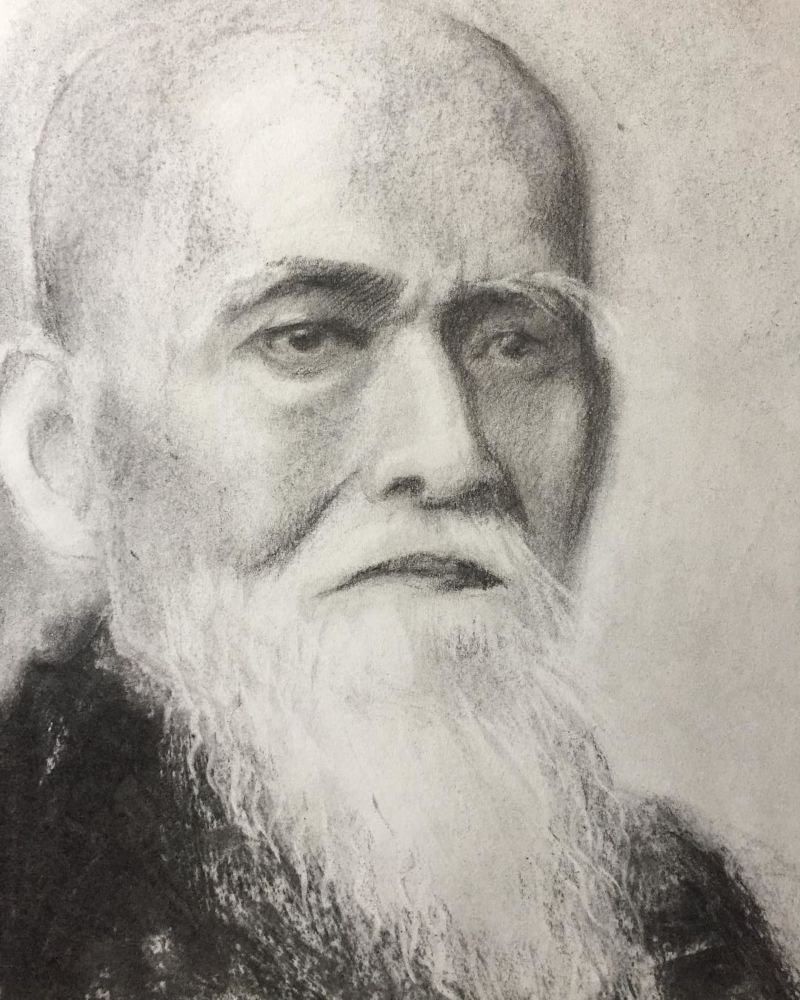
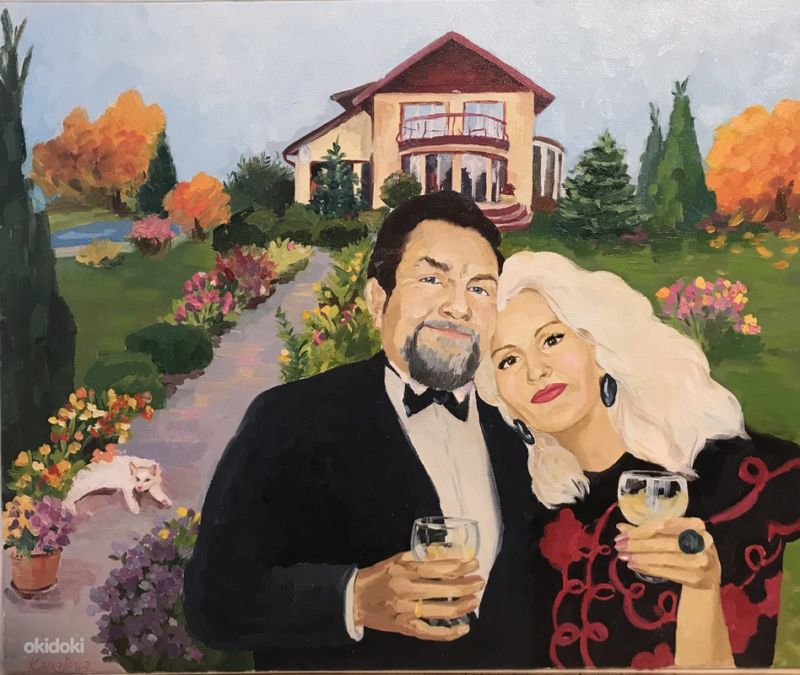
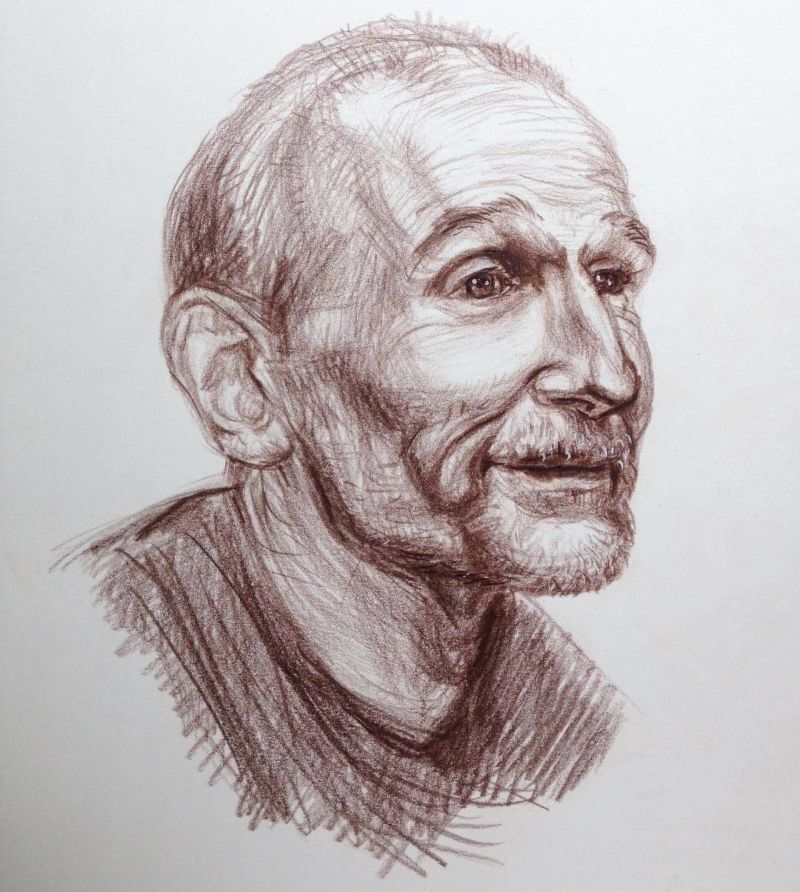
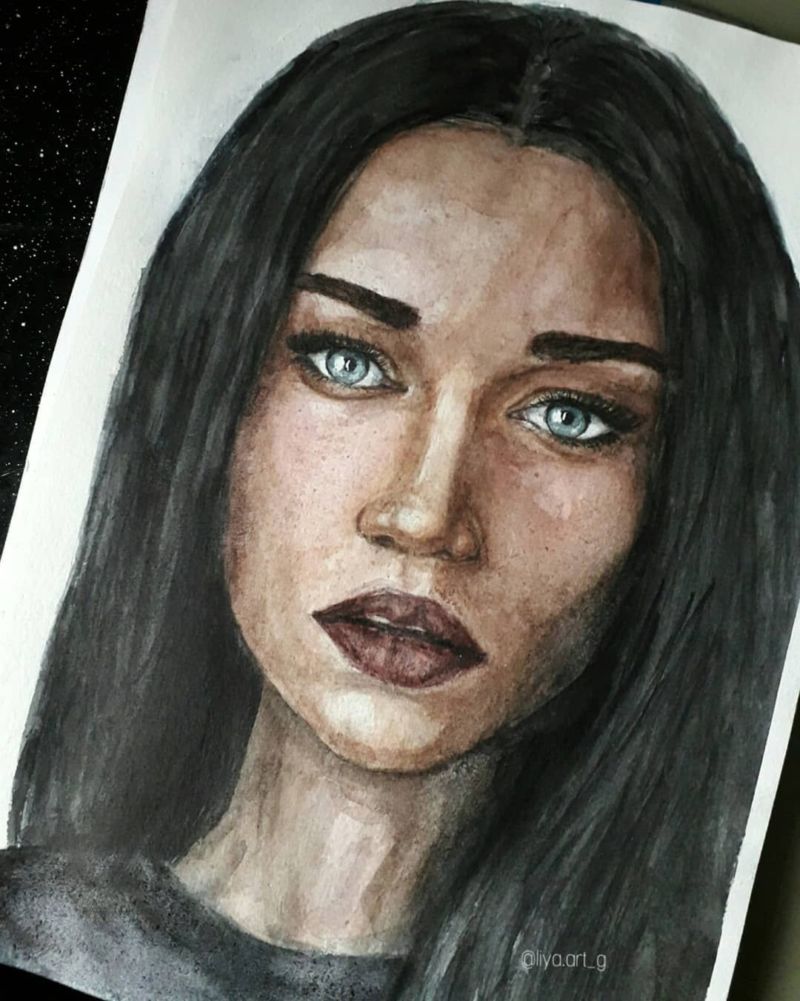
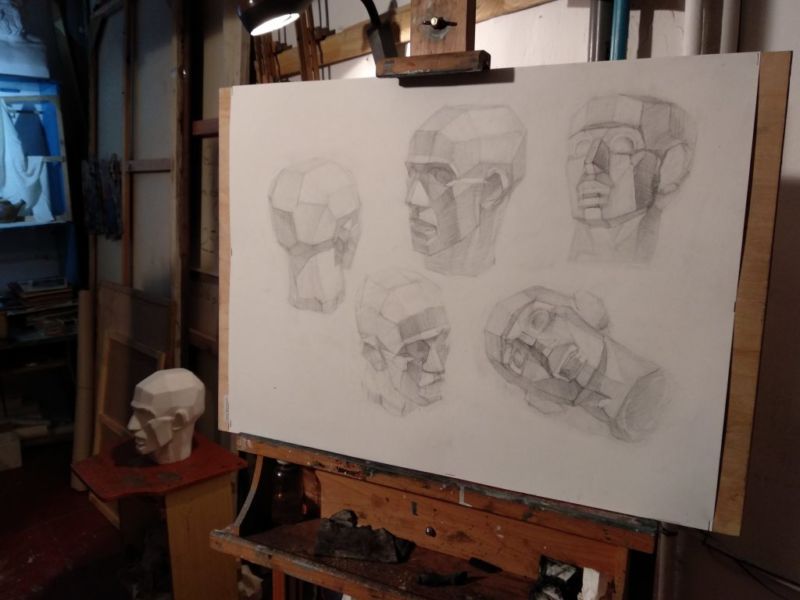
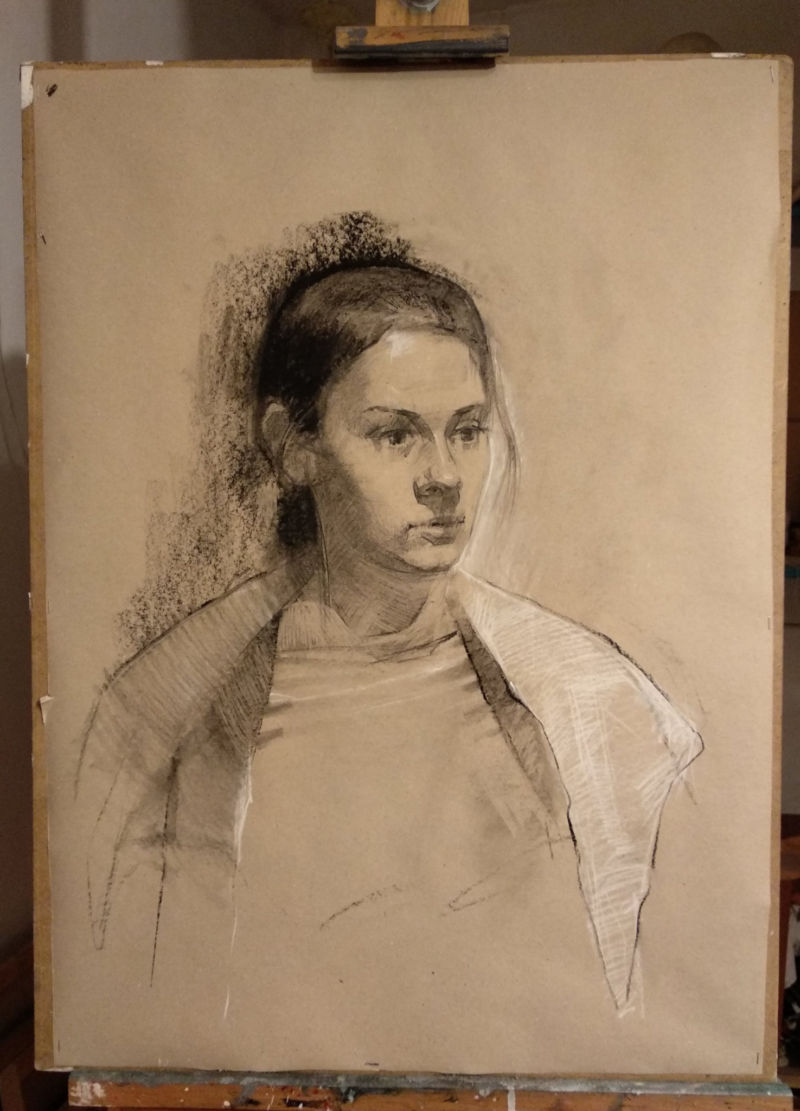
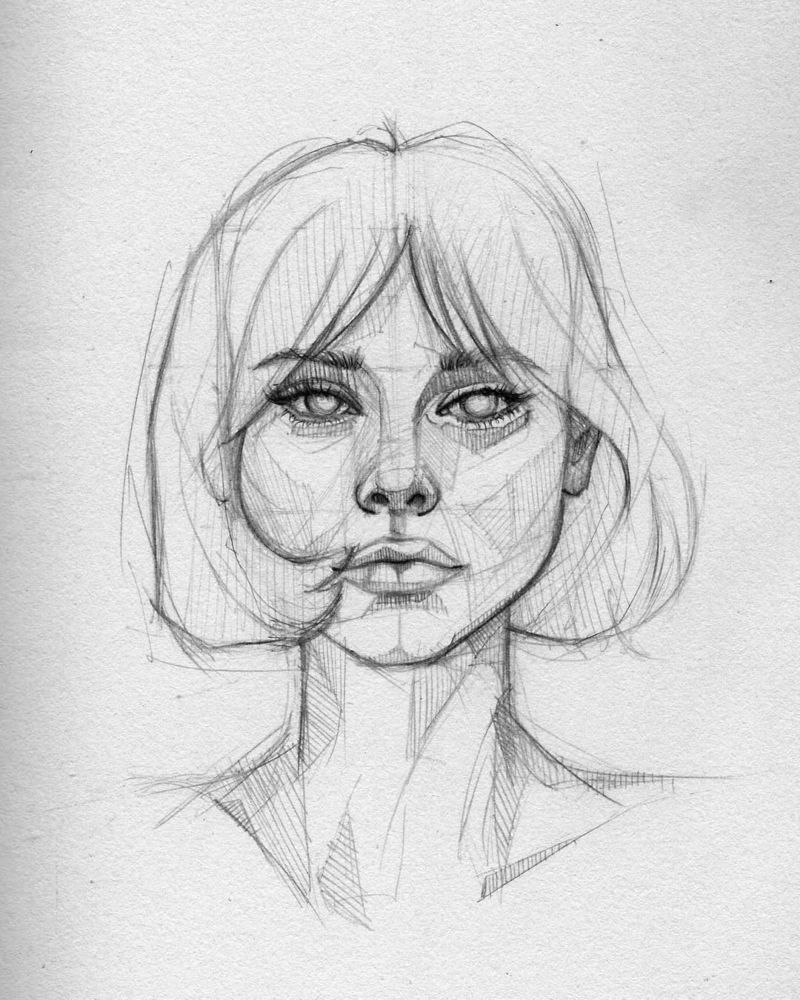
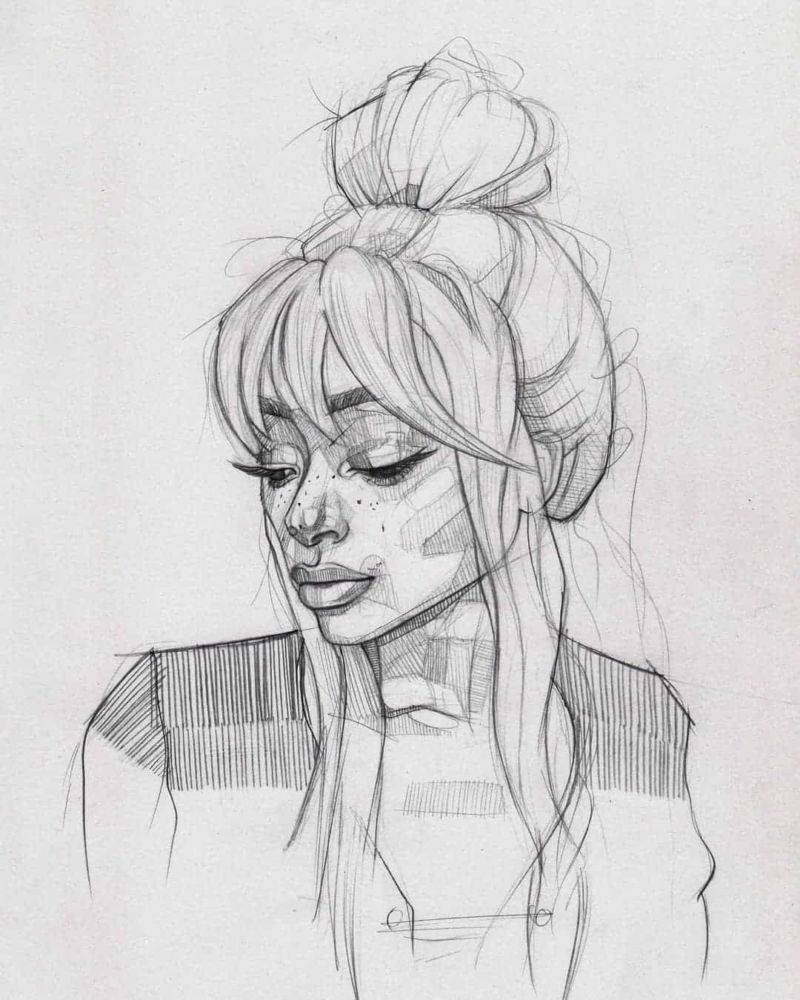
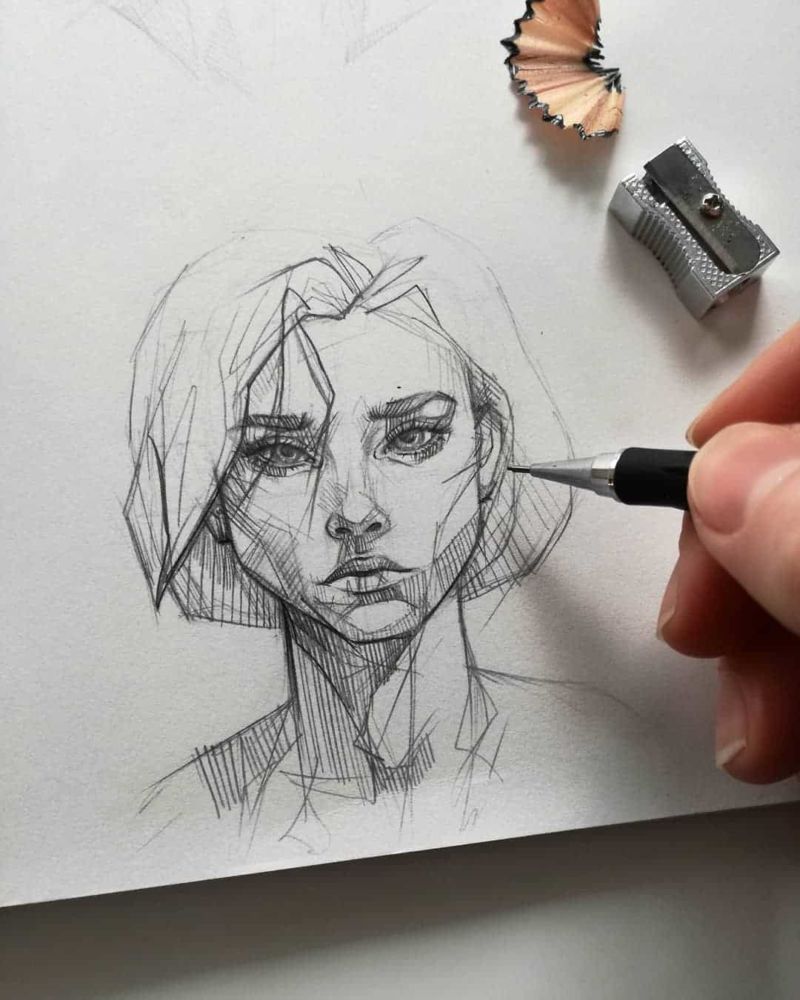
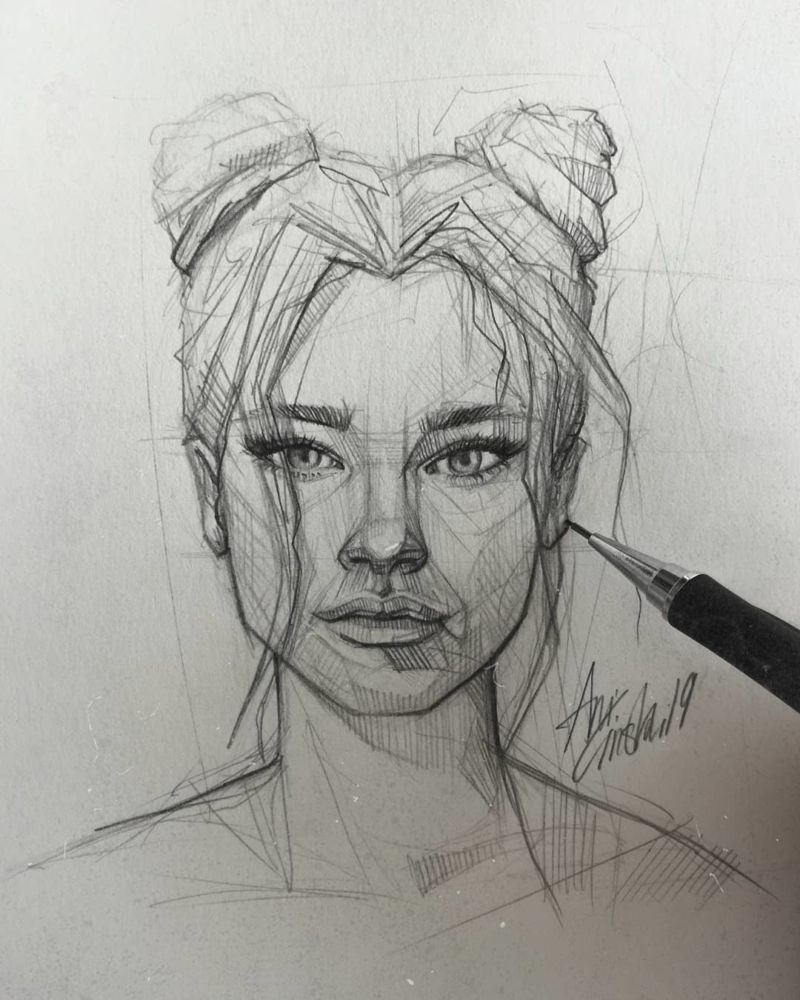
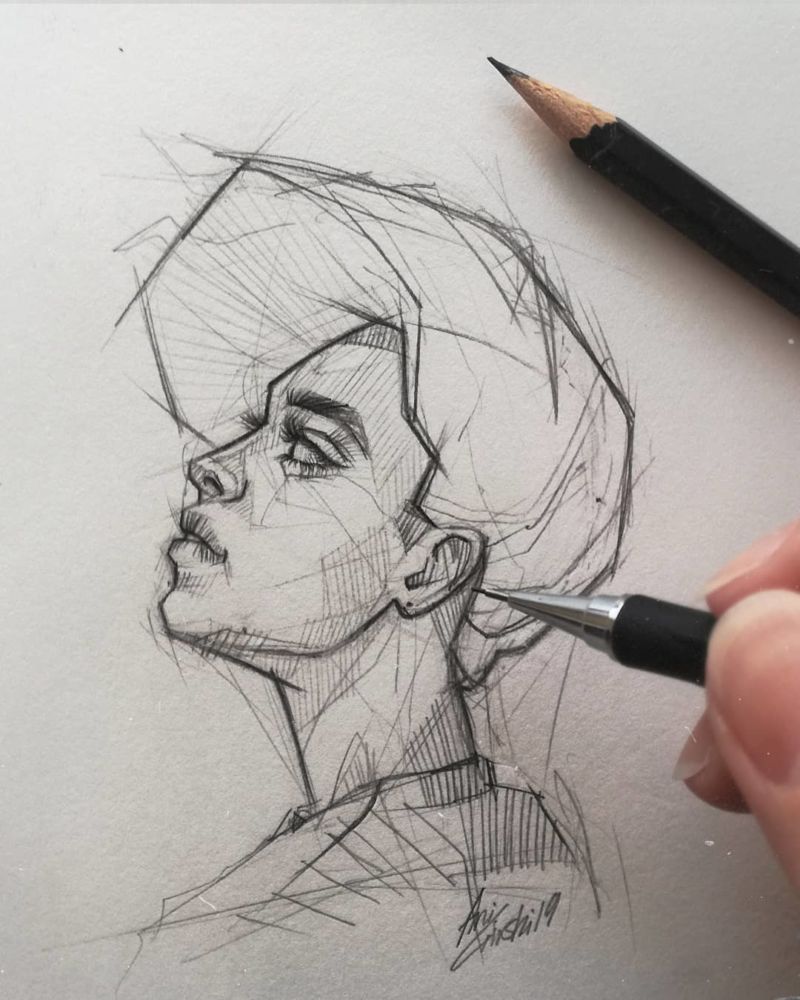
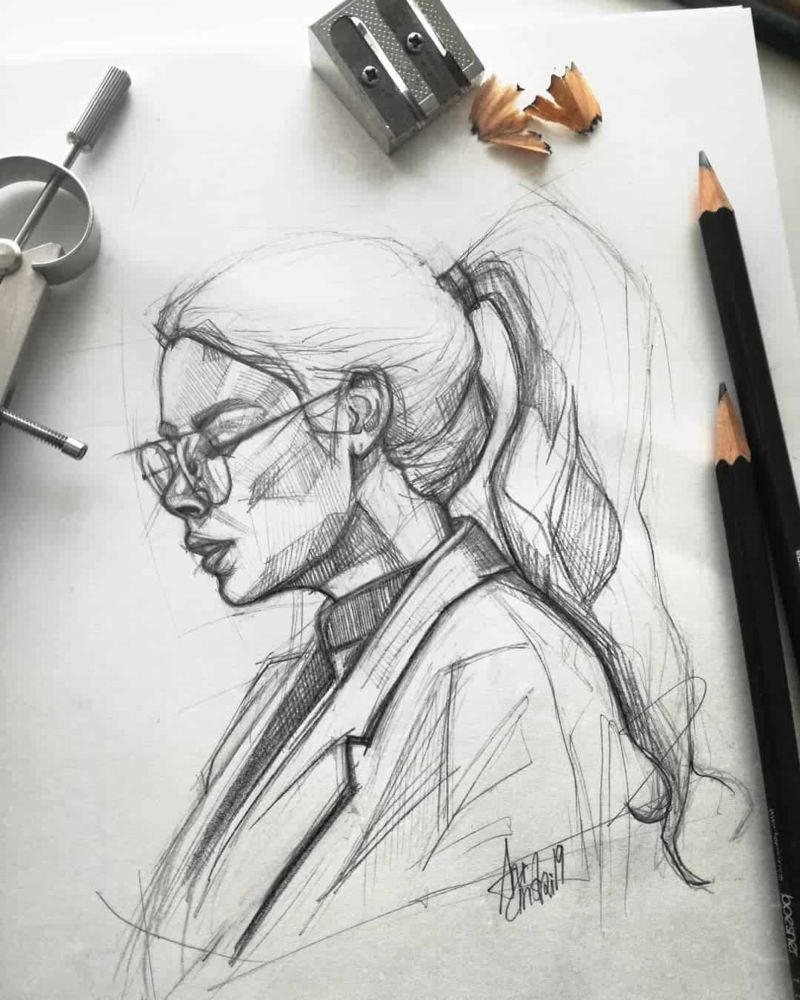
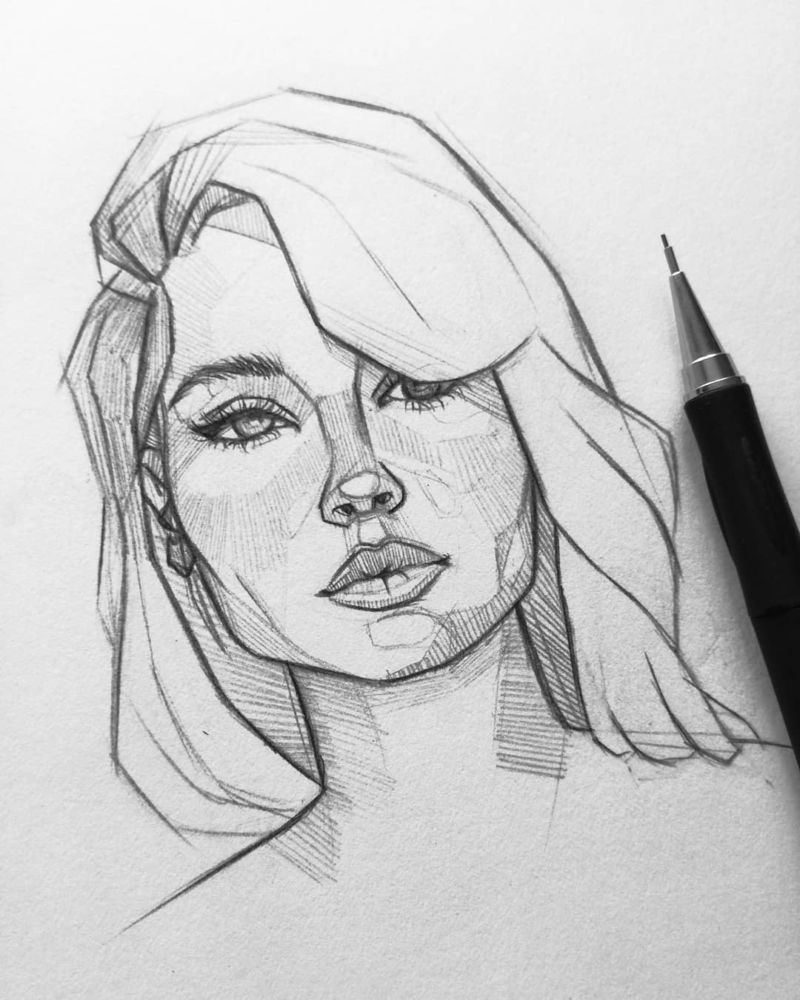
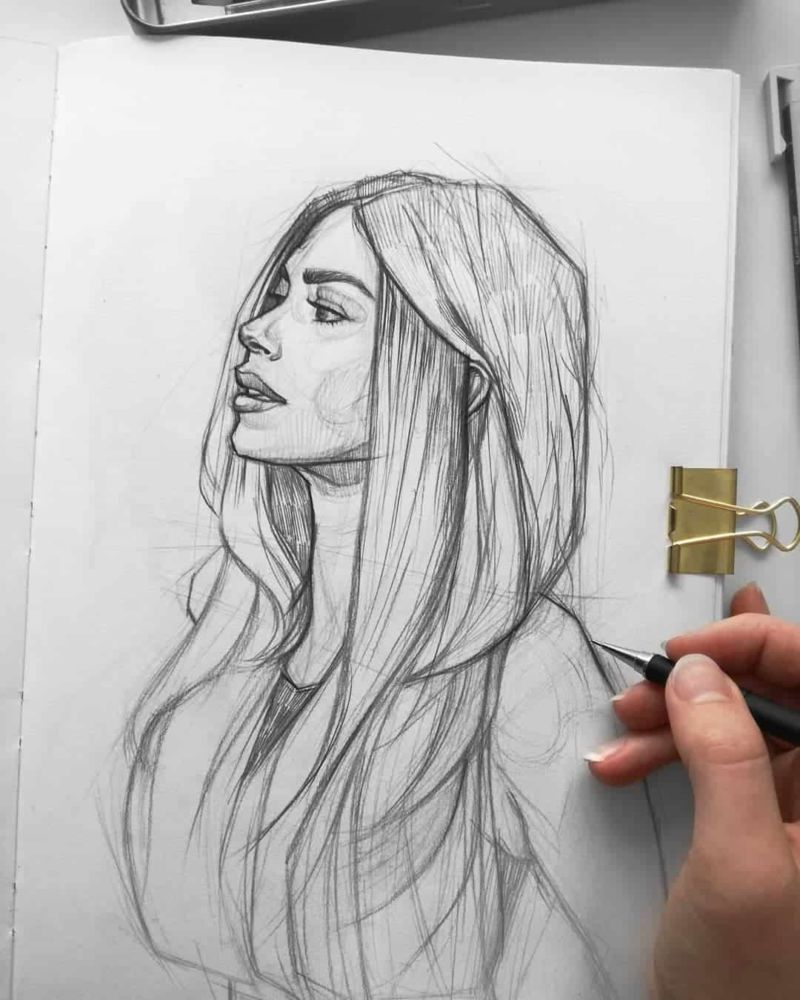
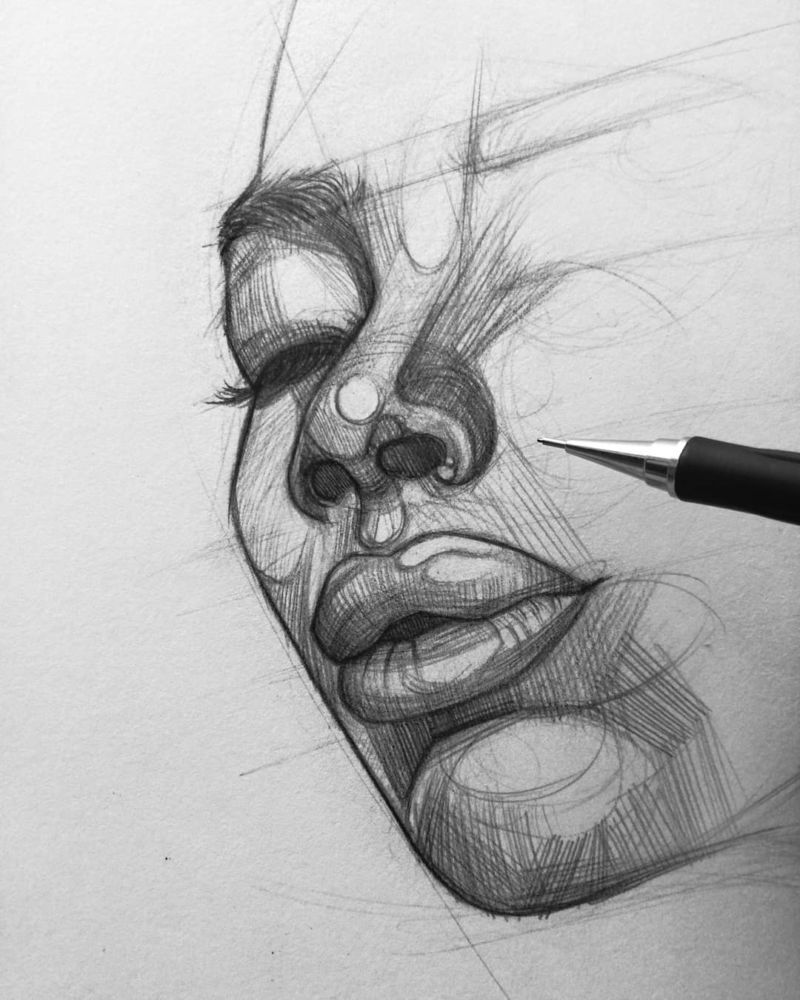
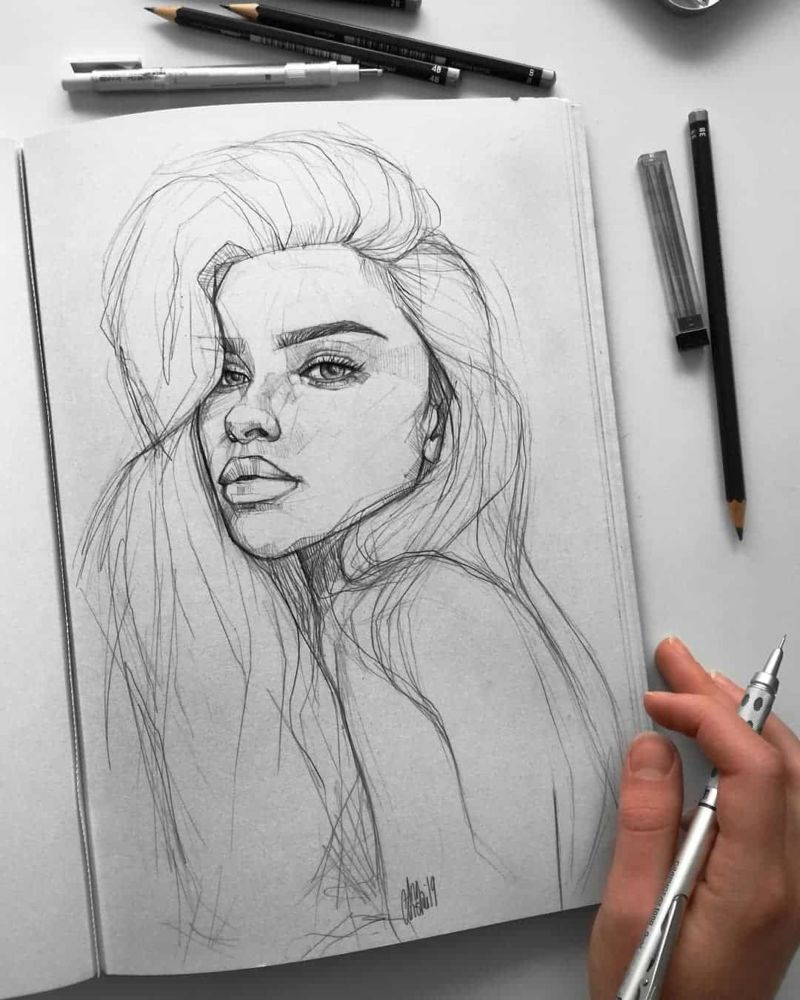
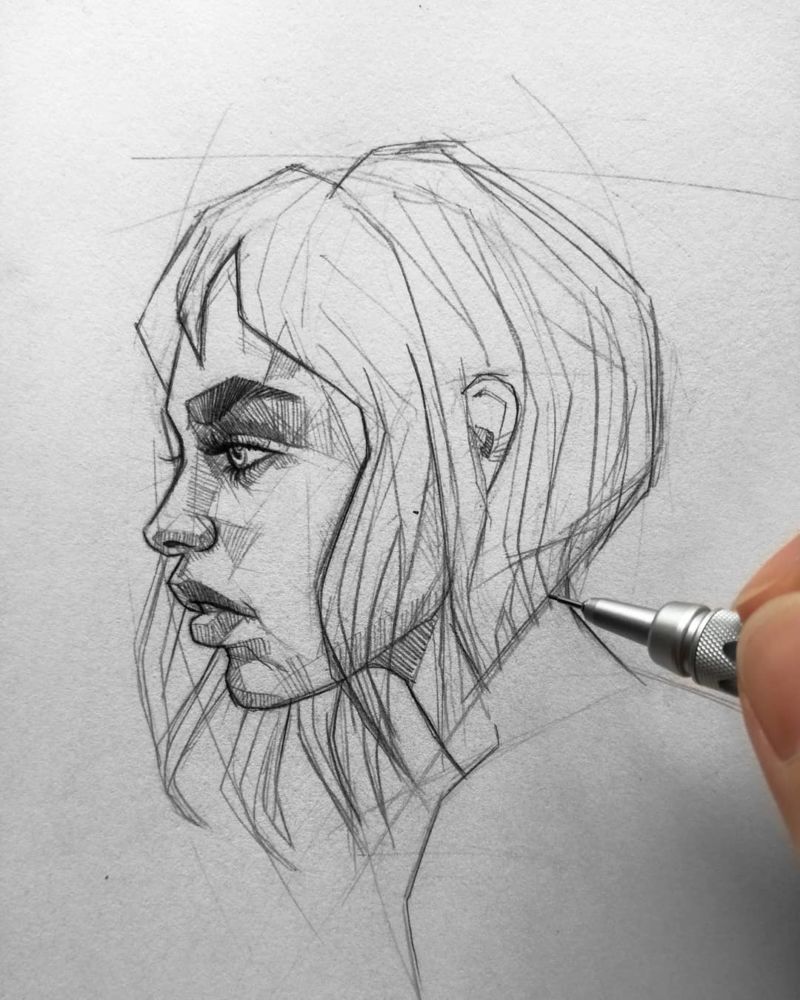
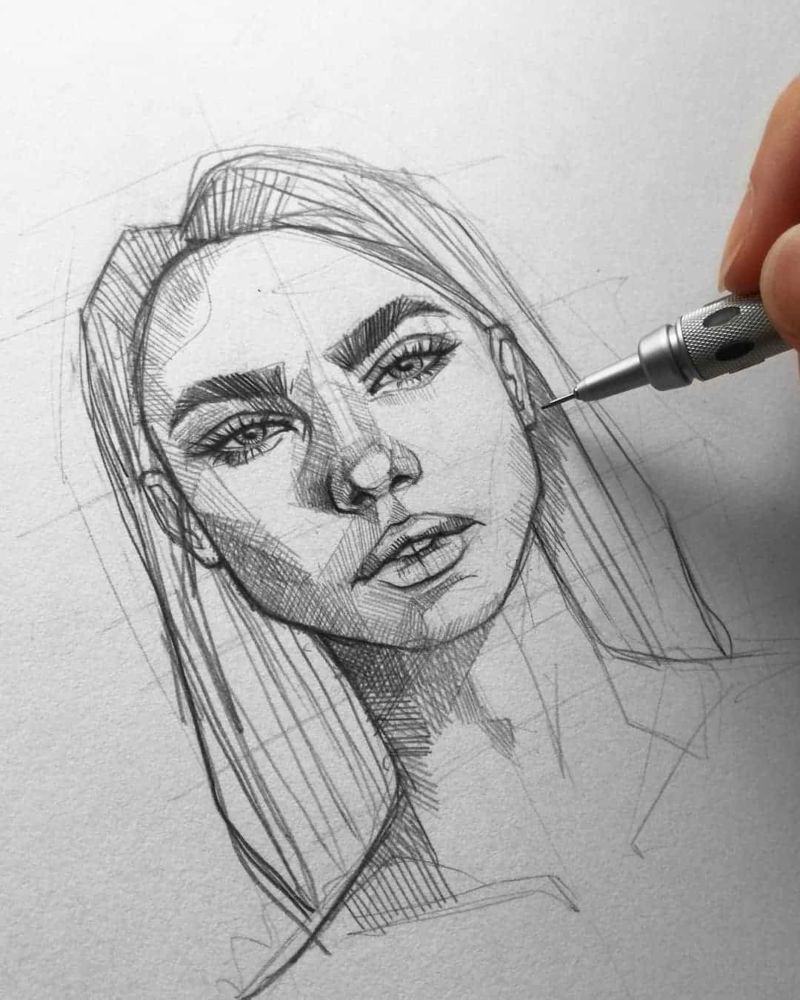
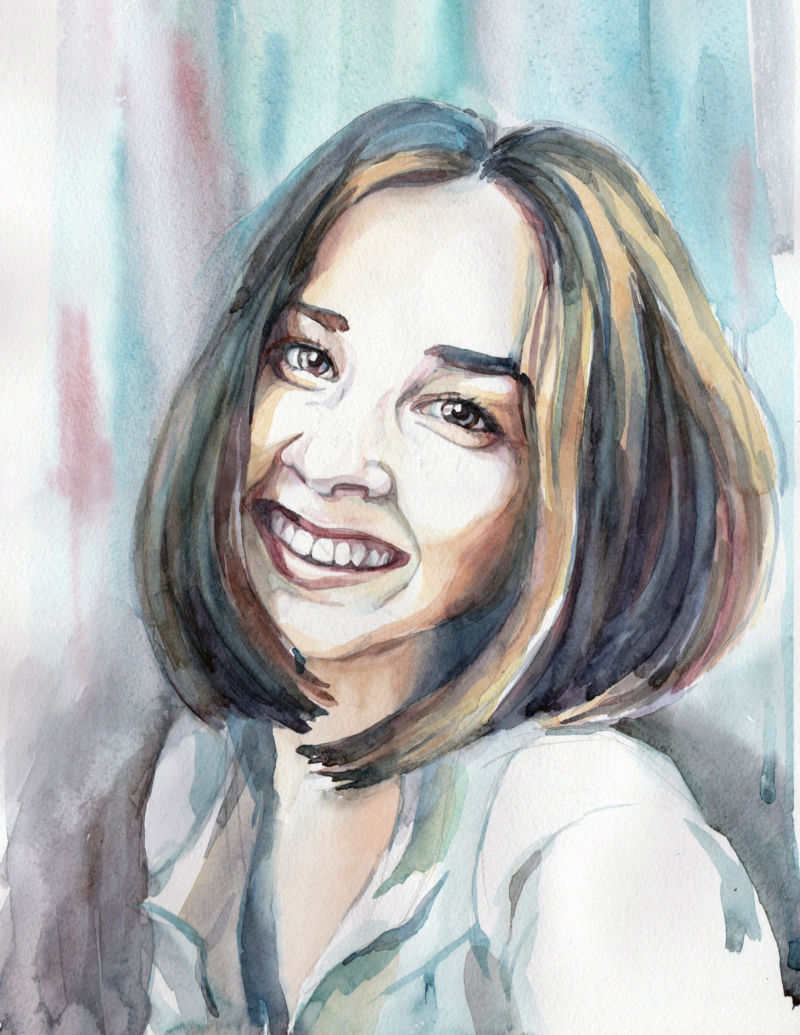
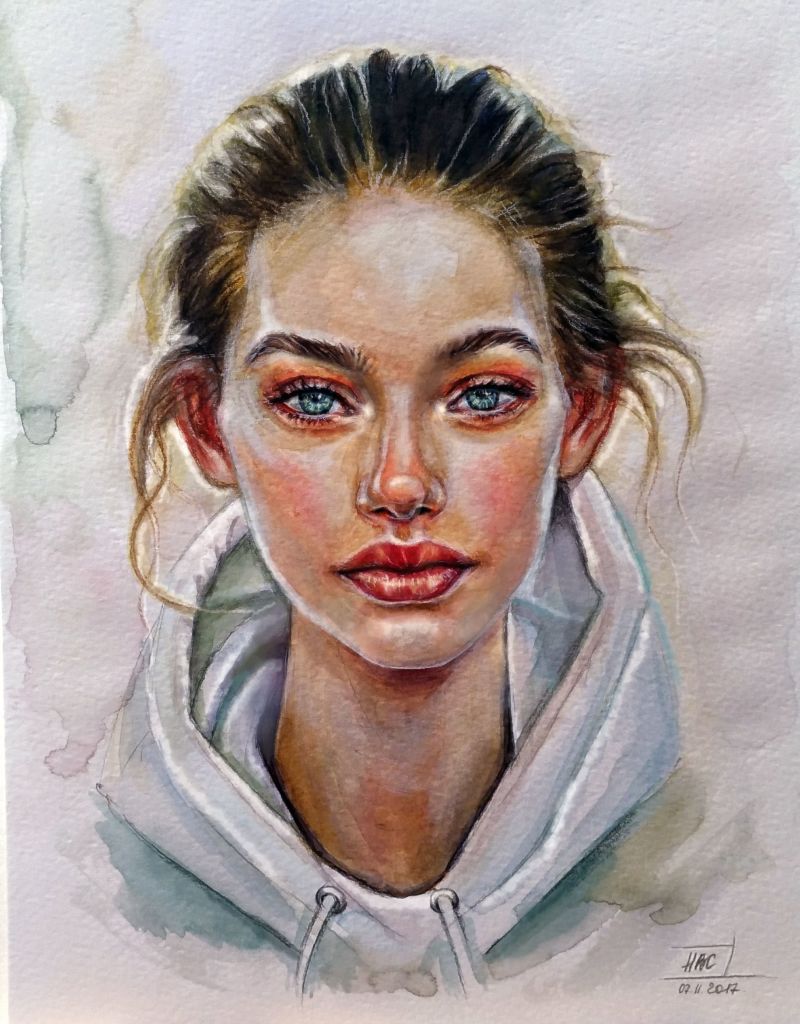
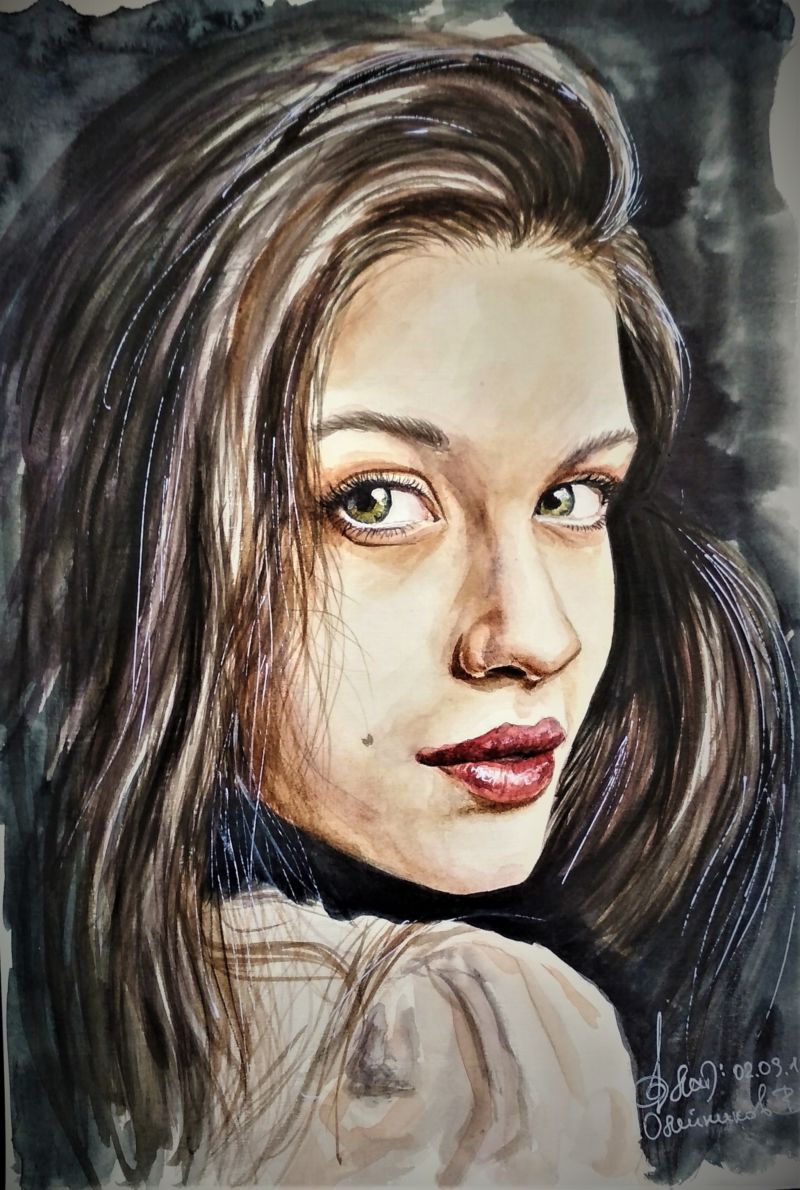
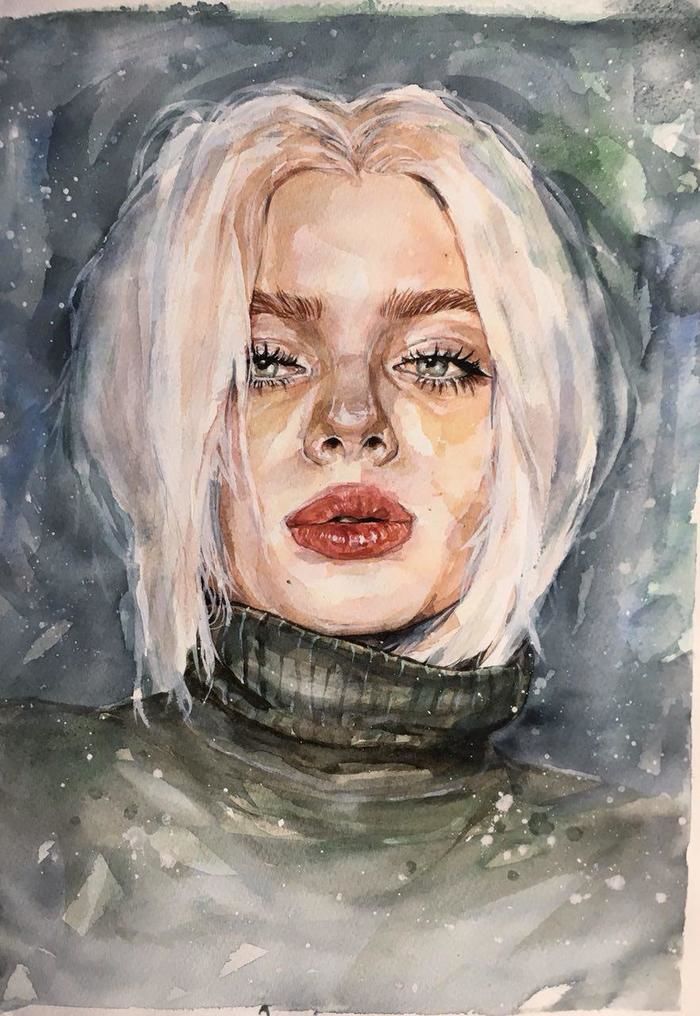
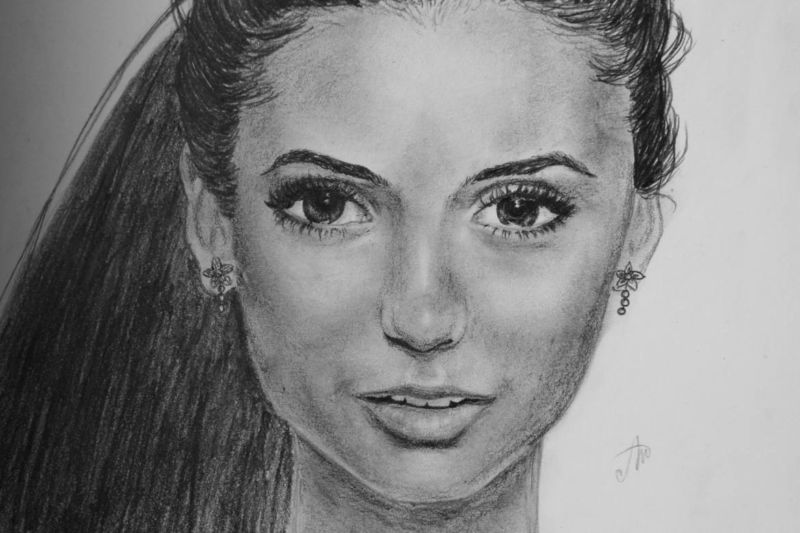
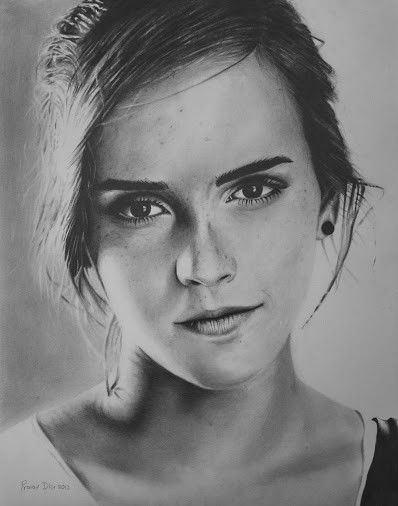
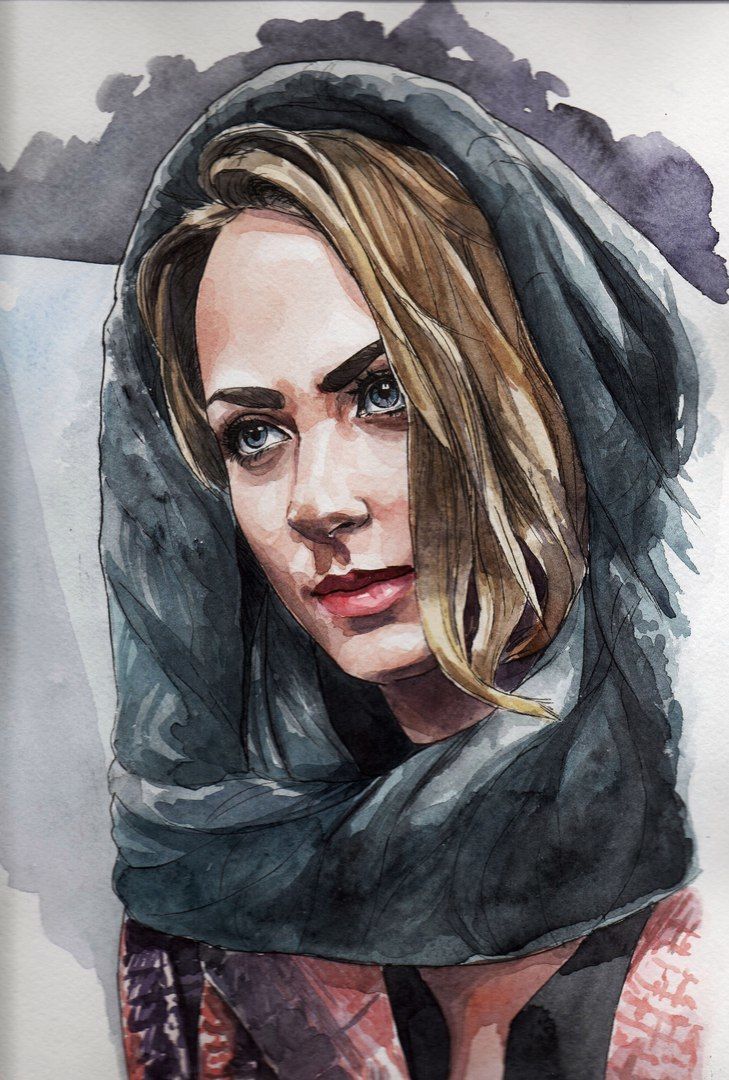
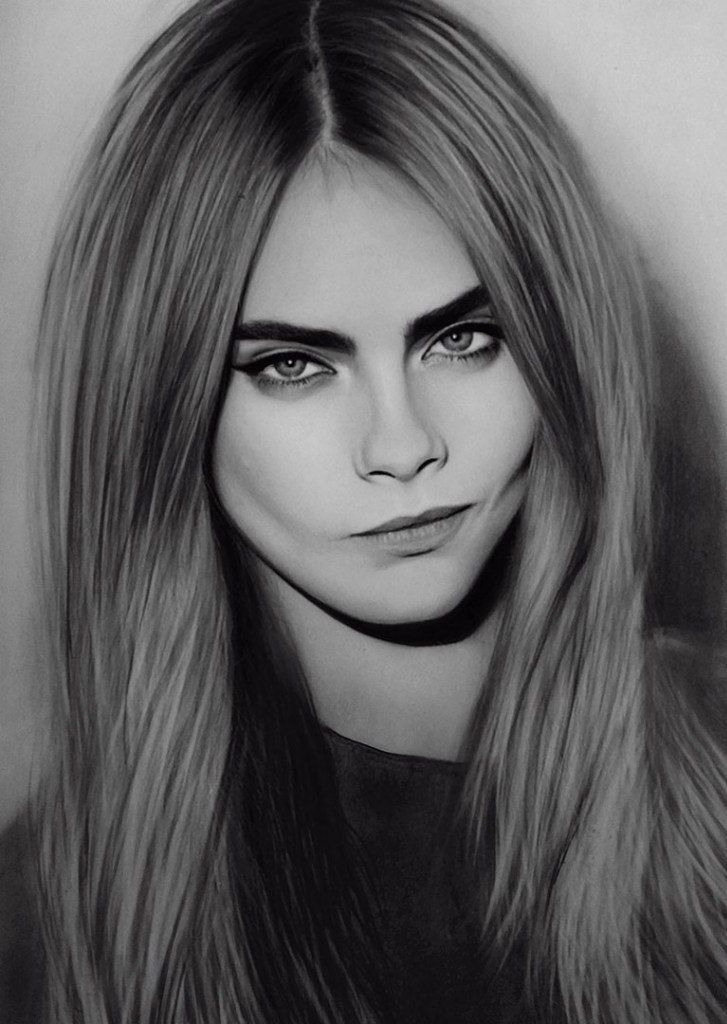
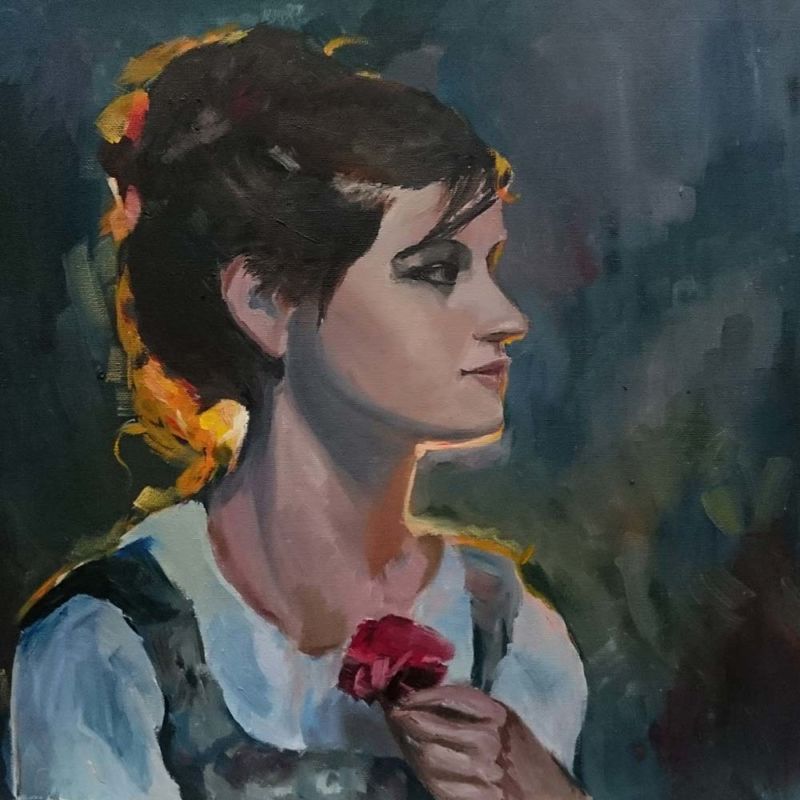
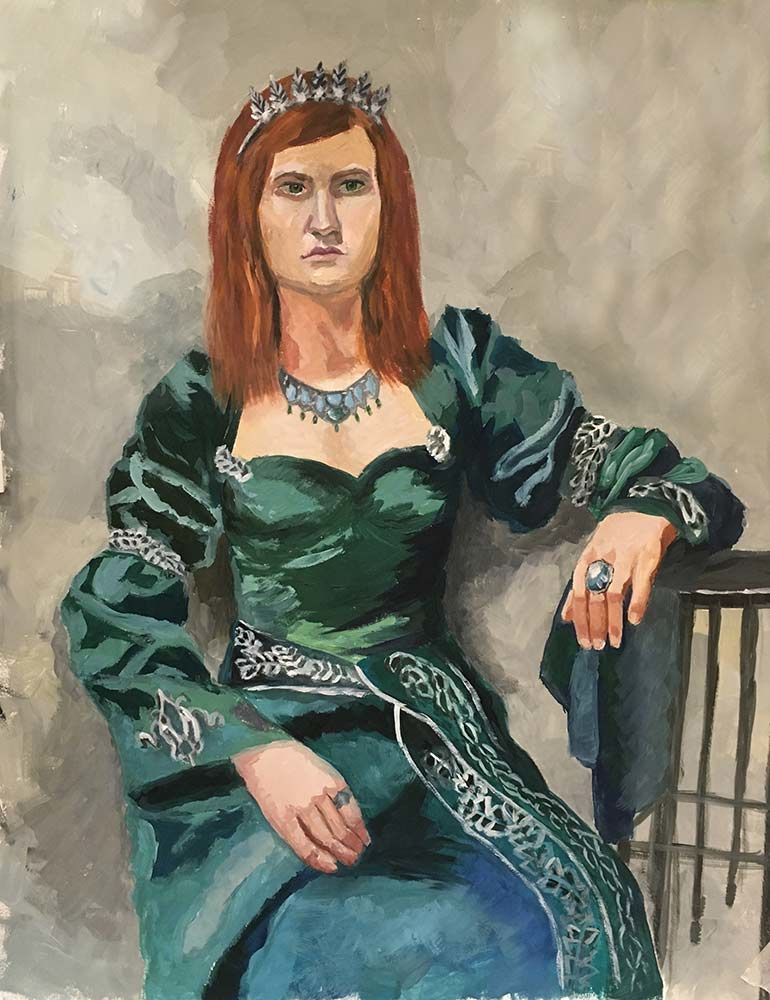
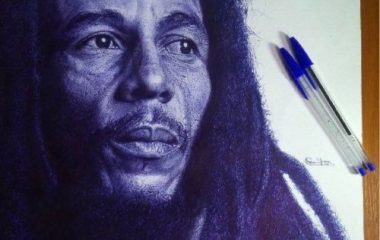
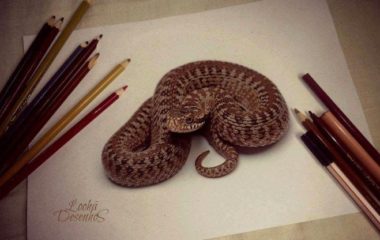
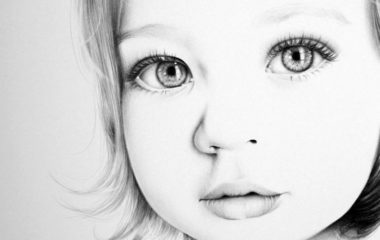
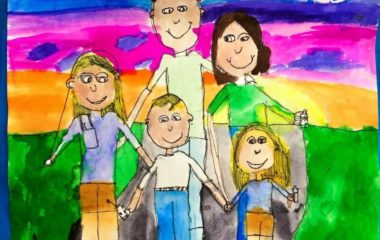
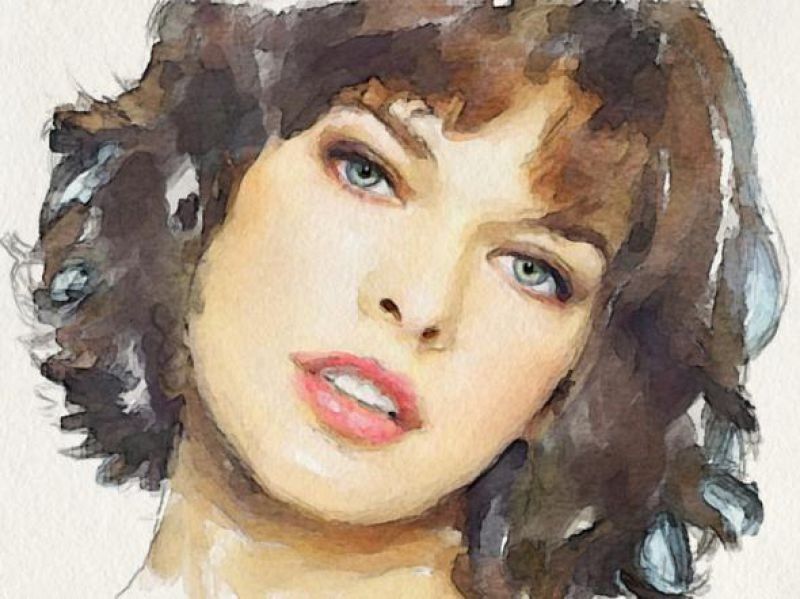
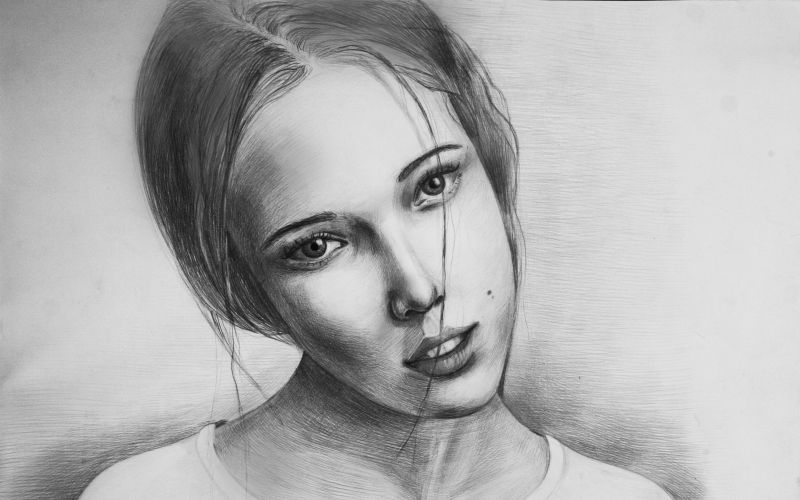
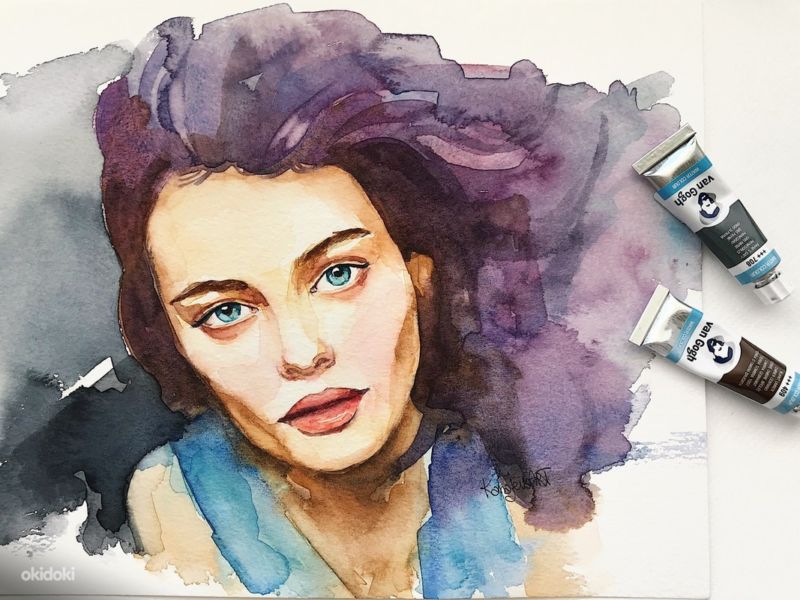
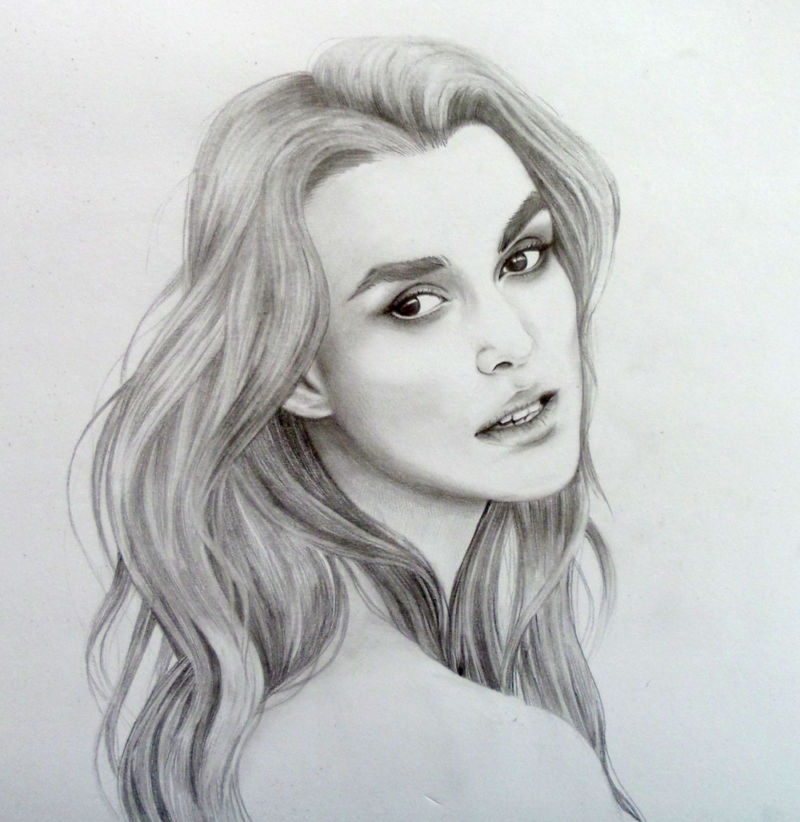
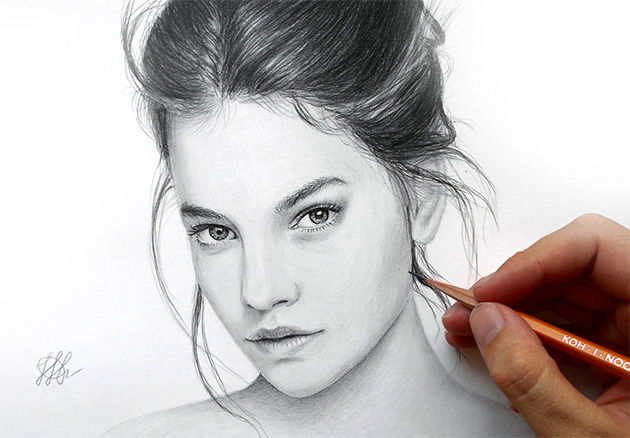
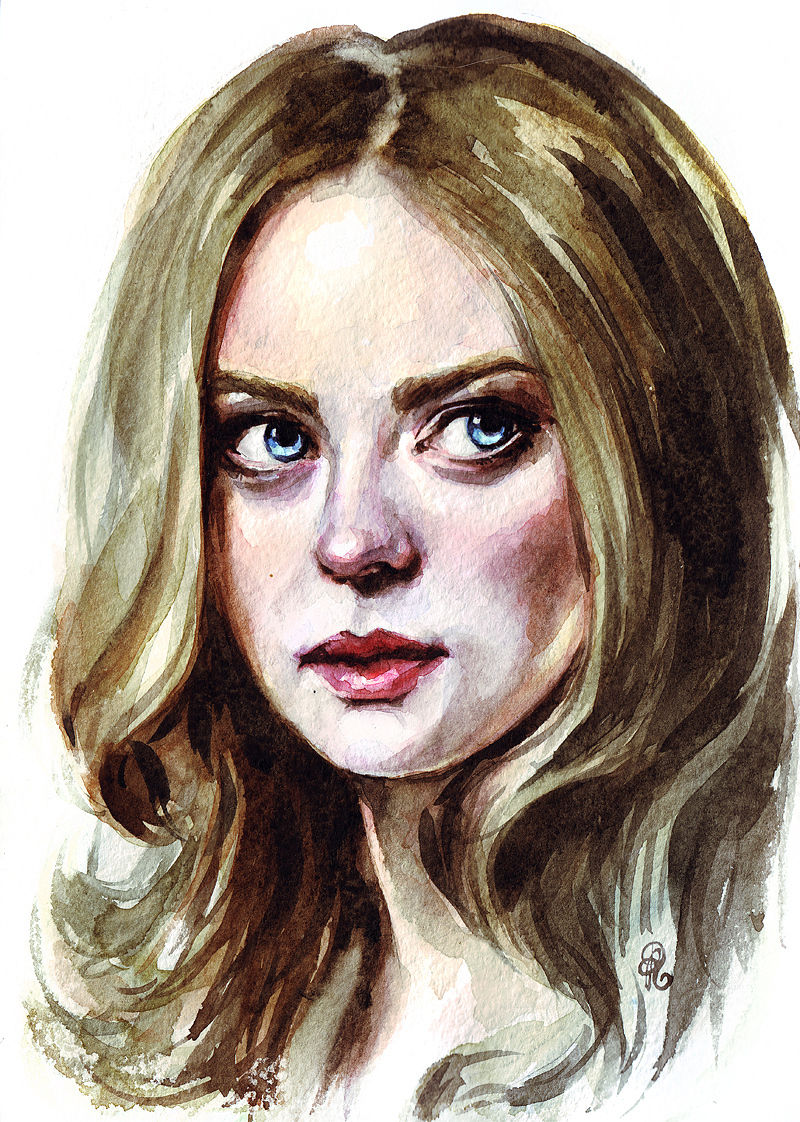
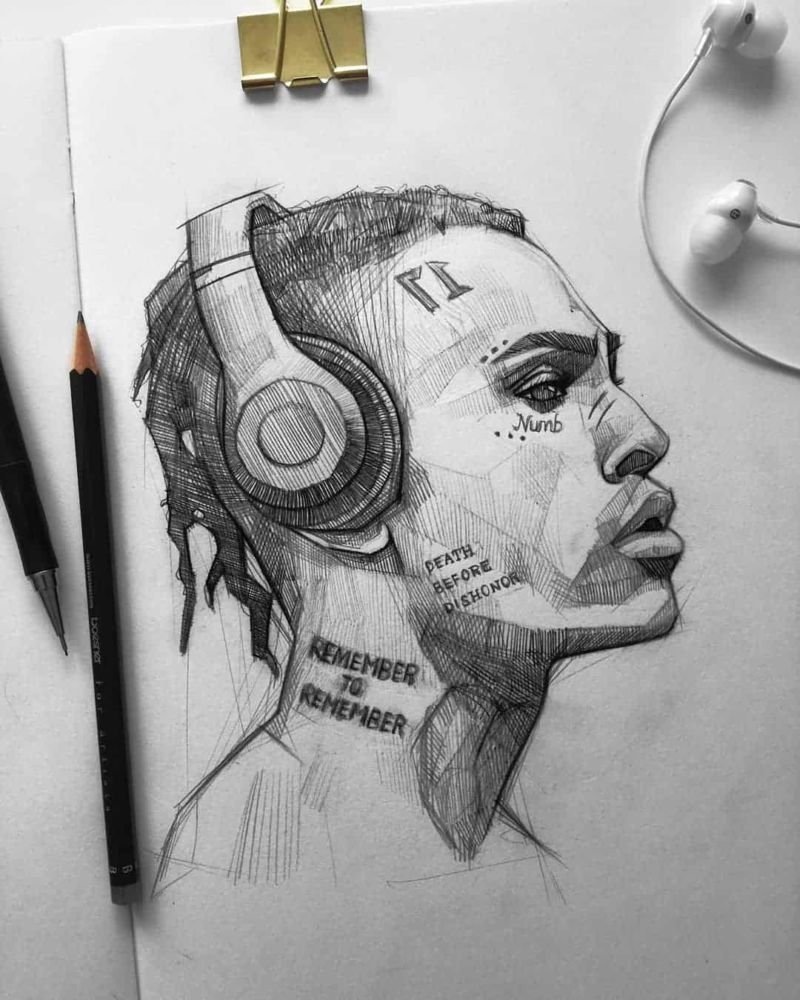
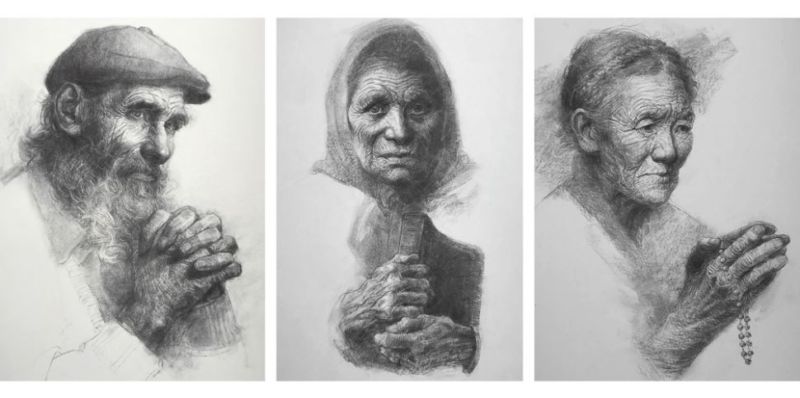
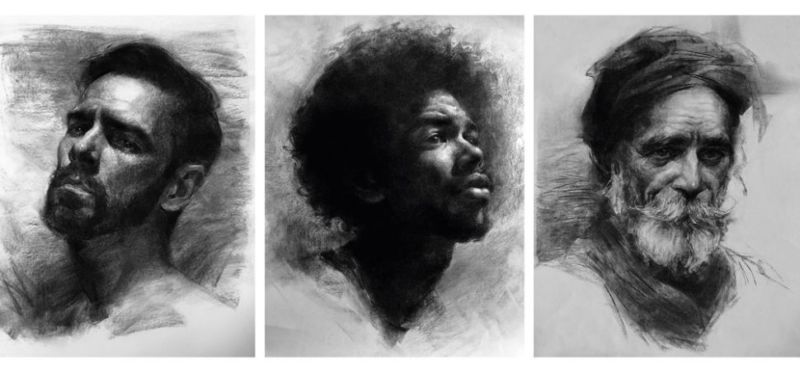
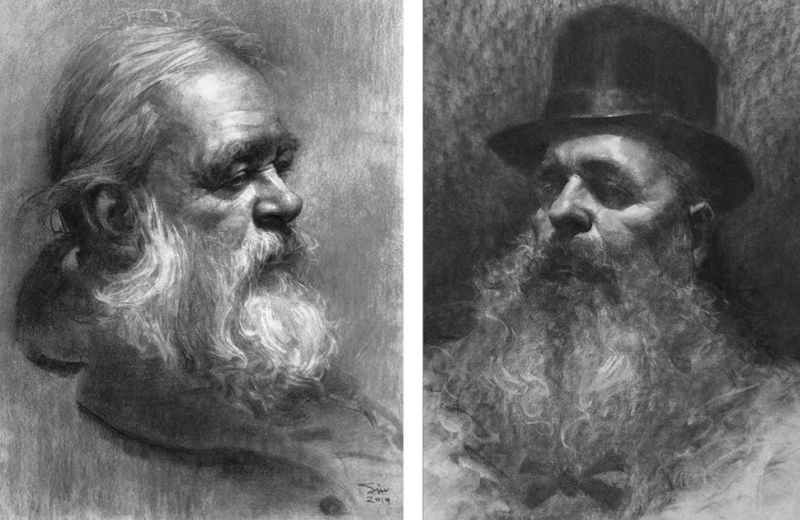
Pictures of painted portraits