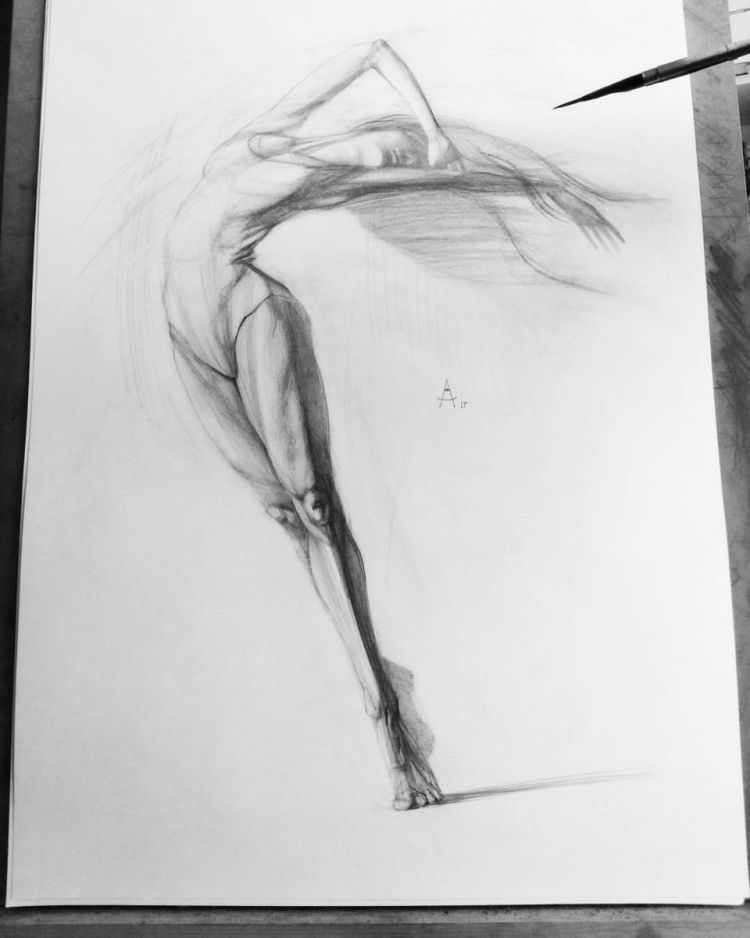
How to draw a person step by step in pencil - detailed master class with photo examples for beginners
Drawing an accurate, beautiful portrait is not everyone's strength. It is better to ask an artist to do it. It takes talent, skill. Once in a while it can turn out by accident. For example, if you really want to present a postcard, and suddenly a very similar portrait of the birthday person appears on the sheet.
It is difficult to portray one's own face, even with a lot of practice. You can sit for hours in front of a mirror with an easel and not much will come out. Learning to draw the figure of a stranger, an imaginary person is easier and it is useful to be able to do that.
Painted human figures are useful for working with liquid glass, jewelry resin, luminescent dye, and fabric. Silhouettes will decorate beads, buttons, mural, tile, stucco, stained glass. The whole album will be a pleasure to paint, to decorate the room with an exhibition of your best drawings.

The main thing is to want to master this variant of drawing. Everything will work out, and help in this below techniques to create a rather complex image, a silhouette of a man in full growth.
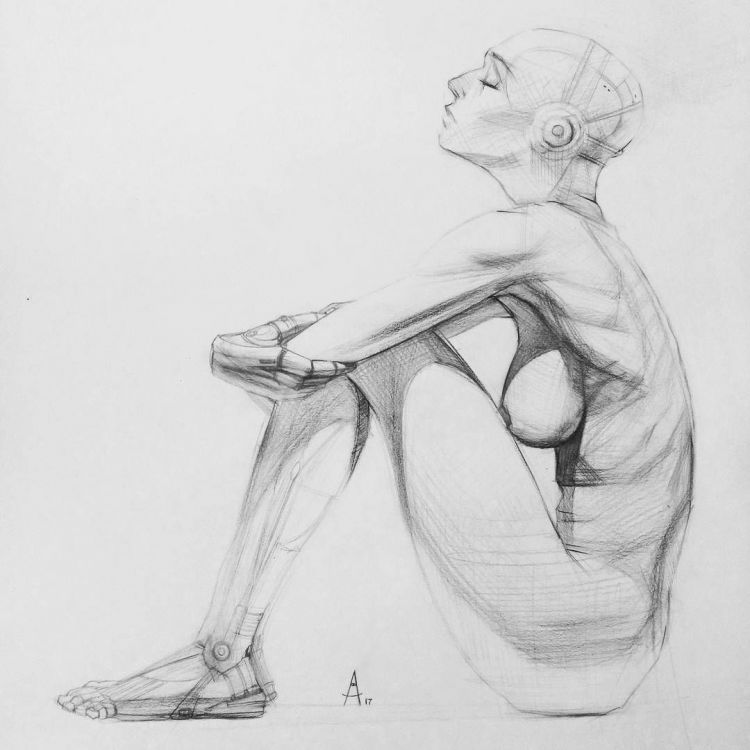
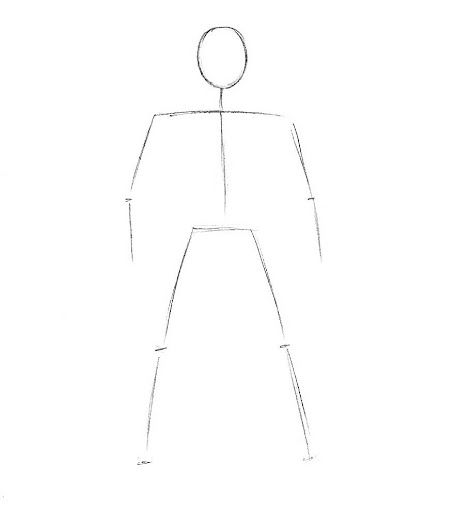
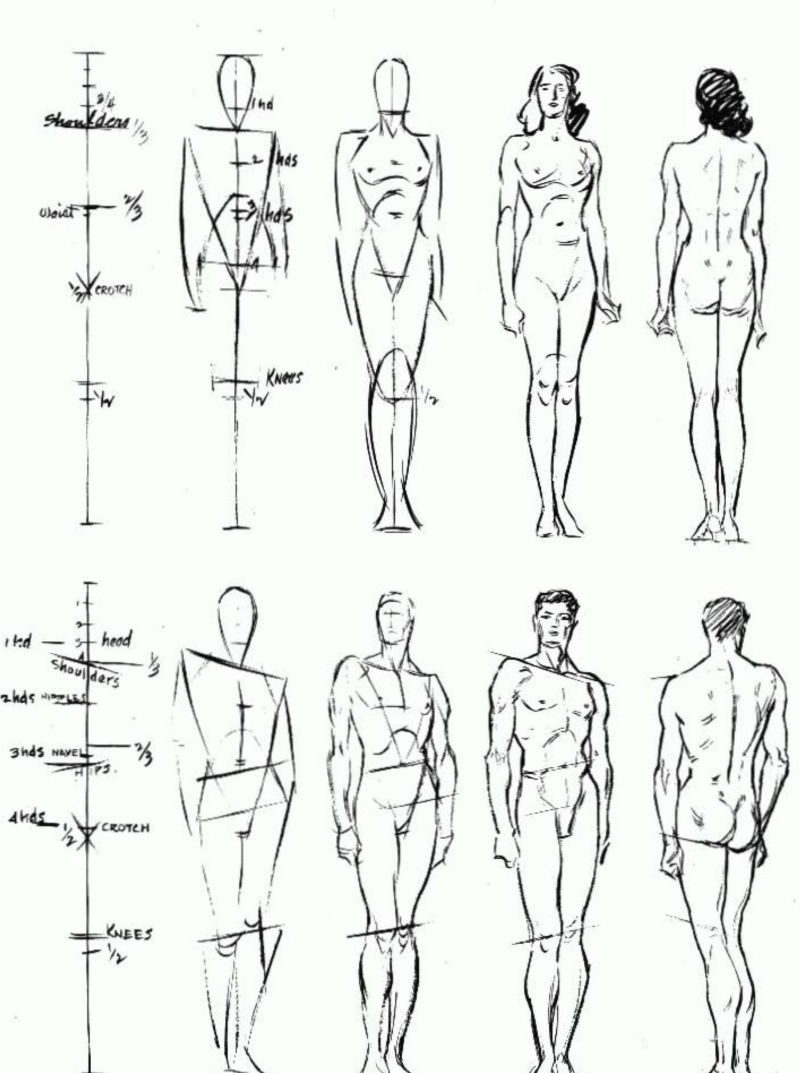
How to draw a person in a naturalistic style
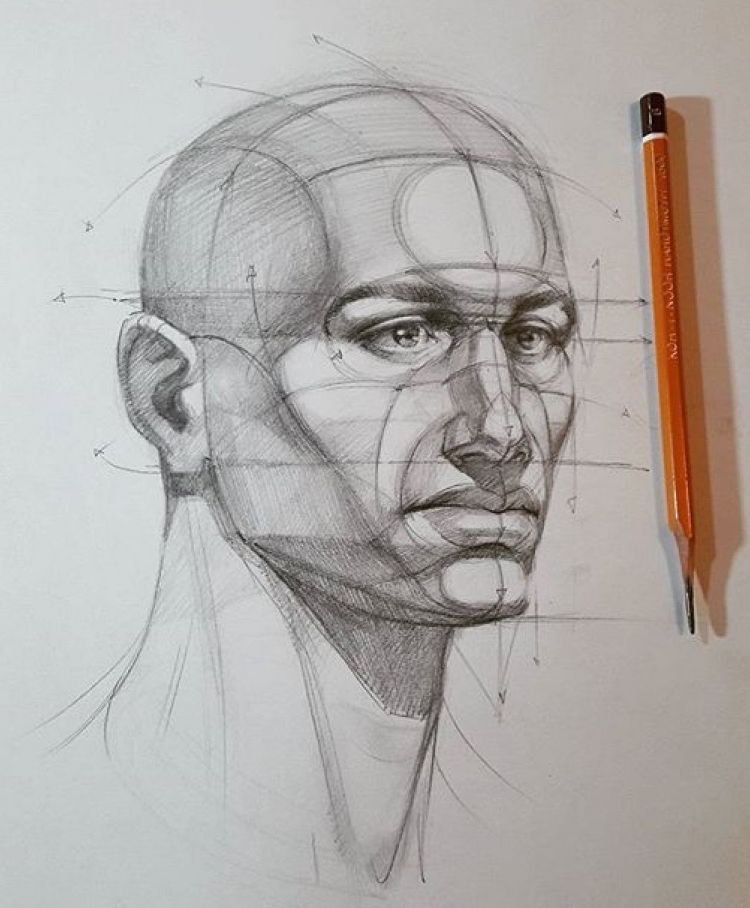
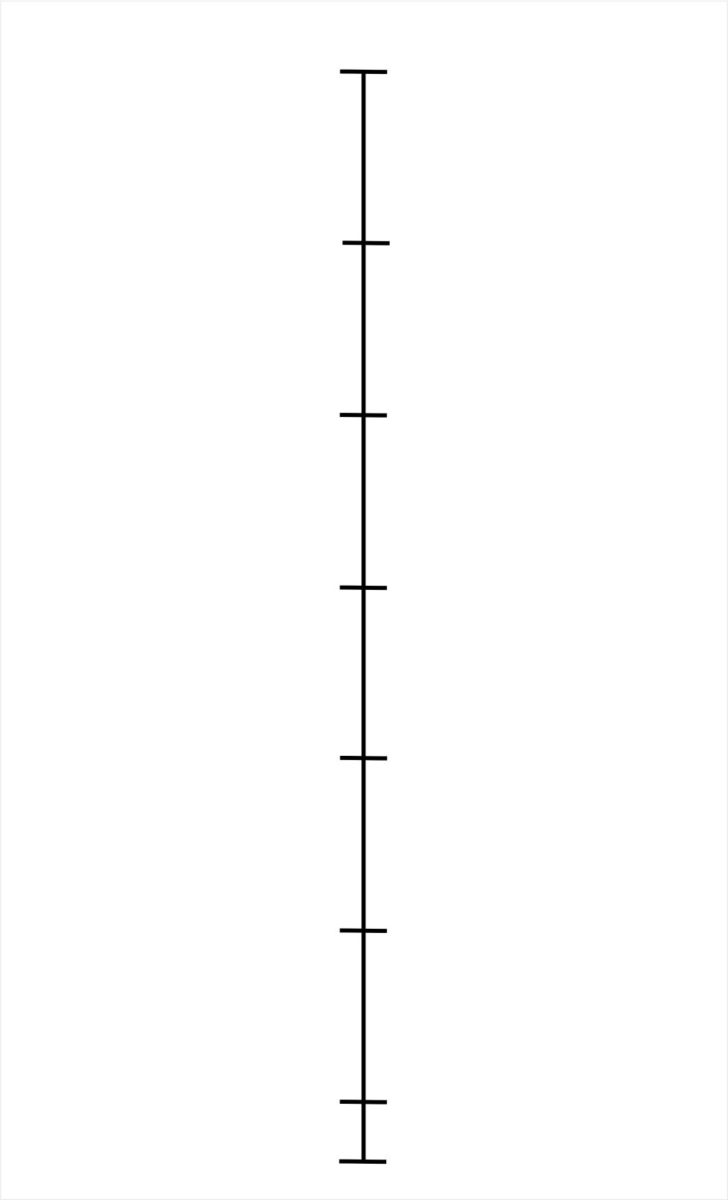
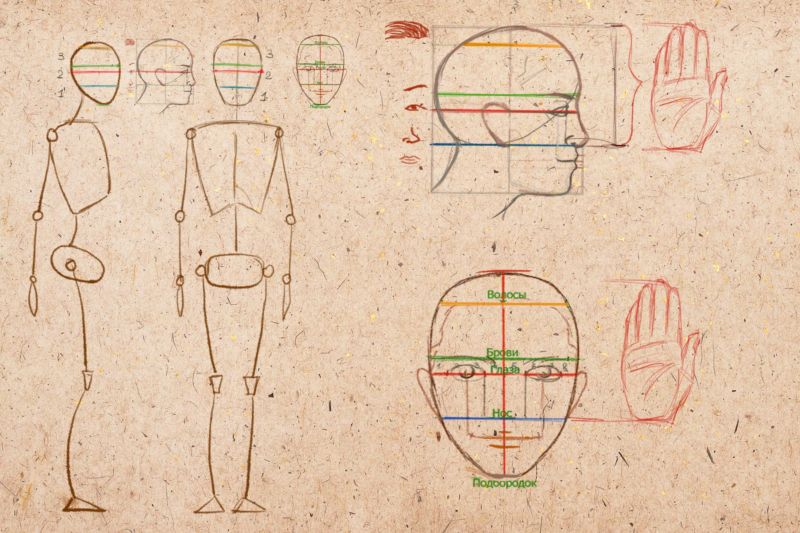
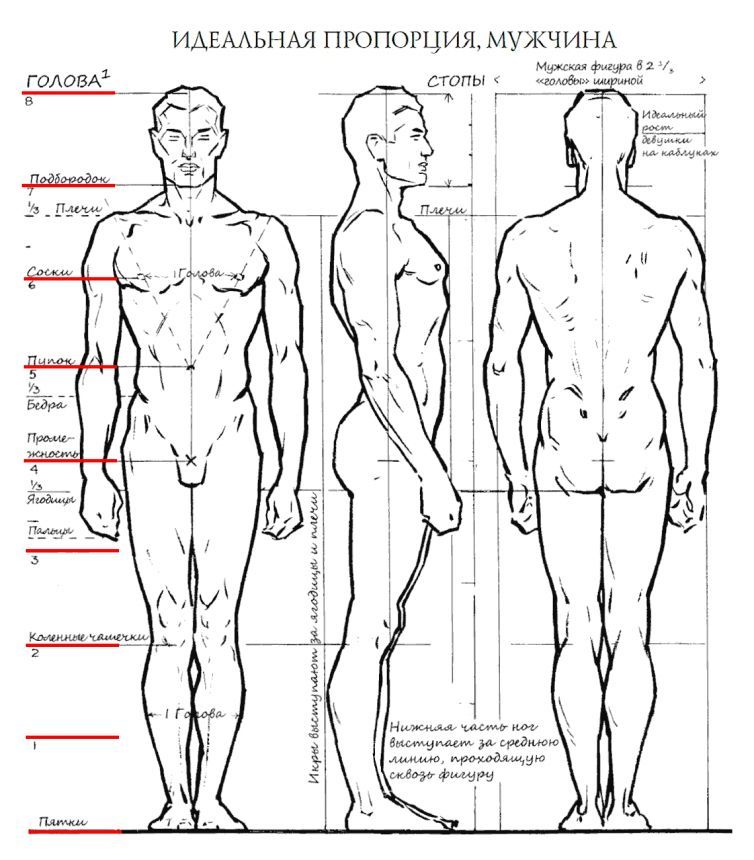
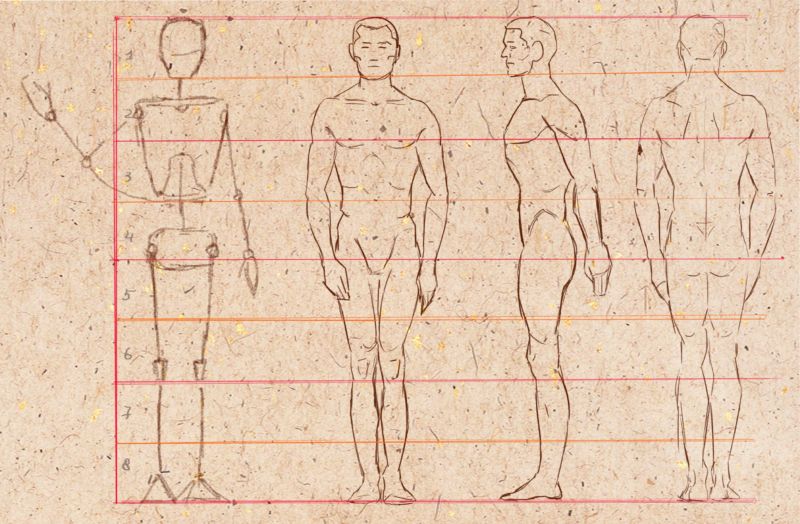
The first method is very easy. You need to draw the axis of coordinates on the sheet. Divide it into eight equal vertically arranged parts. The head will occupy the first sector, will completely correspond to the natural anatomical proportions.
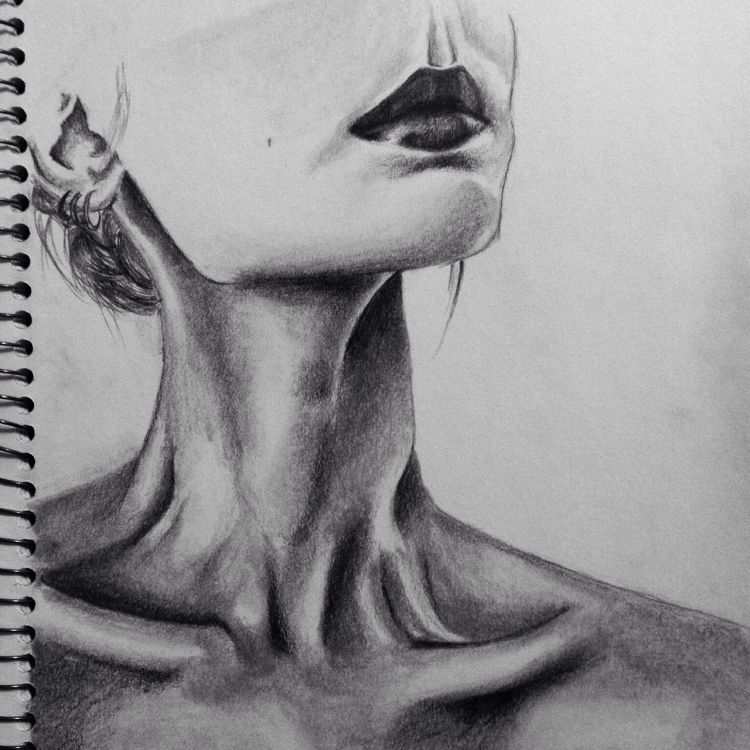
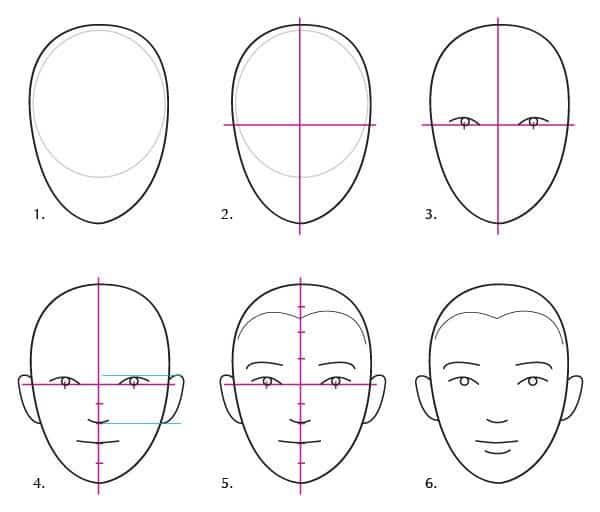
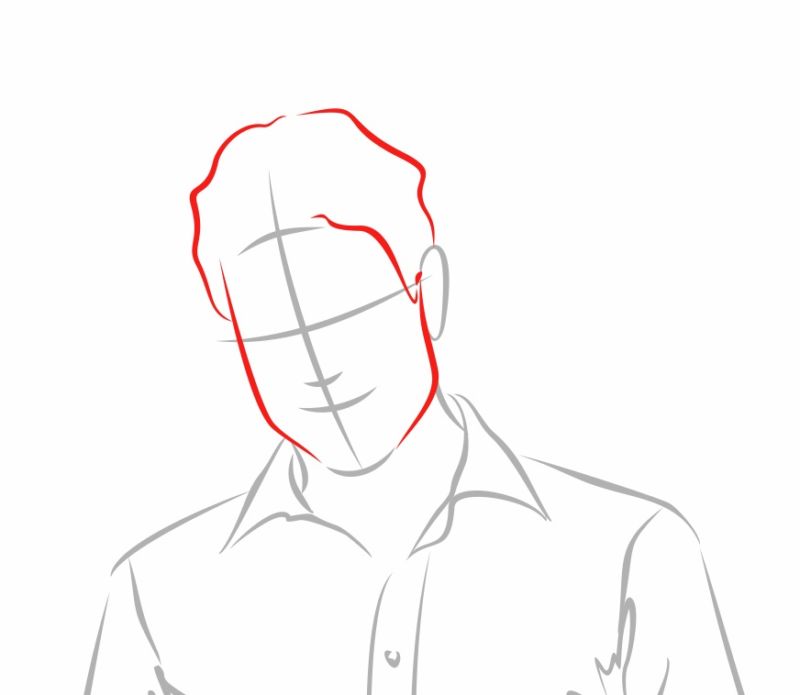
It is depicted as an oval, tapering slightly to the bottom, with a pointed end. The vertical axis should run along the center, dividing the oval in half. The ears should be approximately in the middle of the head, slightly closer to the chin.
The neck should occupy the top third of the next sector on the coordinate axis. Each shoulder is the same width as the head, slightly smaller. The forearms of the arms in length will occupy two-thirds of this sector and all of the lower sector.
The outer contour is depicted as an arc curved in the opposite direction from the body. The inner contour is depicted as well, but the arc is smaller and curved toward the torso.
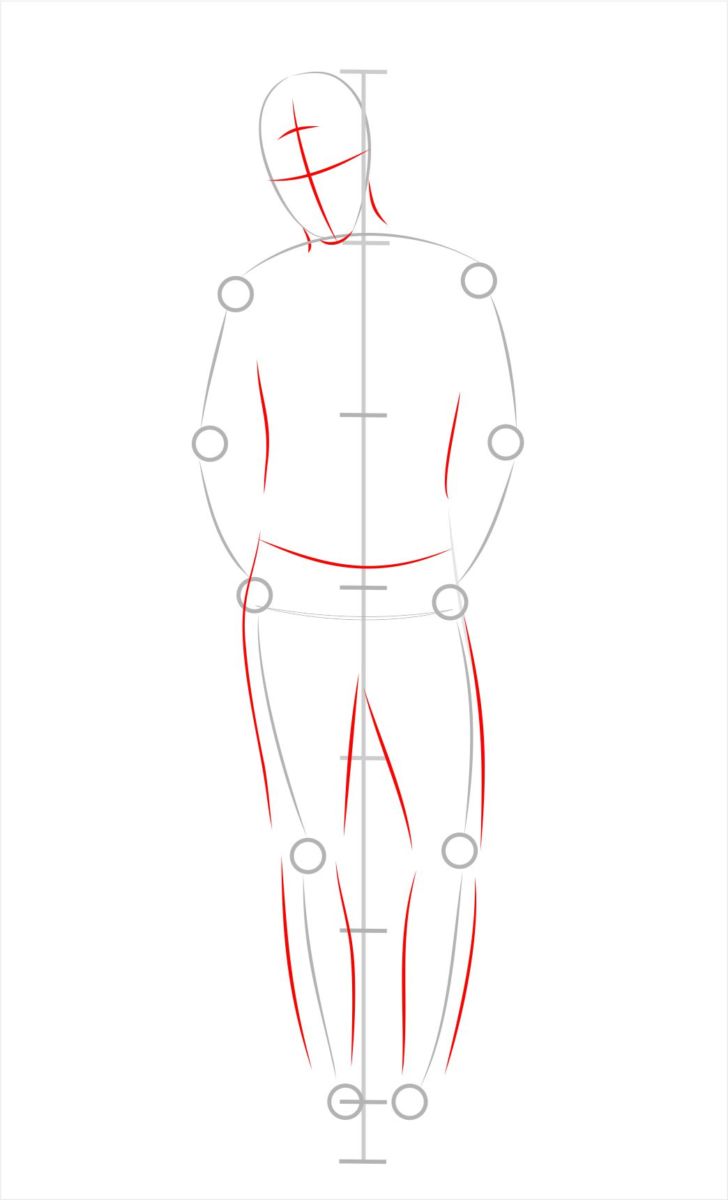
It is desirable to first draw an approximate silhouette, only the contours, the details traced when the whole body will be drawn. This is more convenient.

The lower parts of both arms are in the next sector, even a little longer - the line should be drawn a third of another sector down, then draw the hands. The fingertips should almost reach the next sector. The hands can be drawn again with an arc-shaped line.
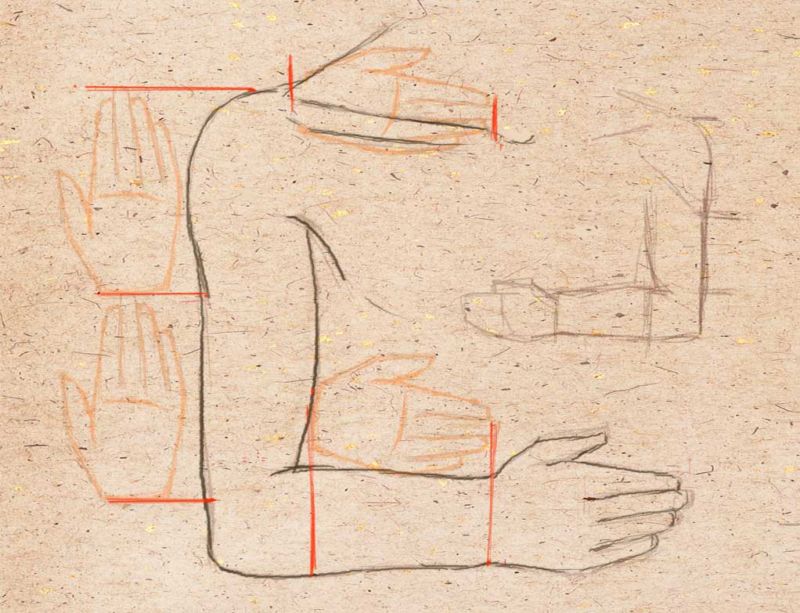
The outer contour is formed by a strongly curved arc pointing away from the torso. The inner one, closer to the torso, is the same arc. The second arc is slightly shorter.
Nearby, the thumb is drawn with two more arcs, so that the hand resembles an oval. It's also convenient to draw palms as an oval widening to the bottom, clenched in a fist.
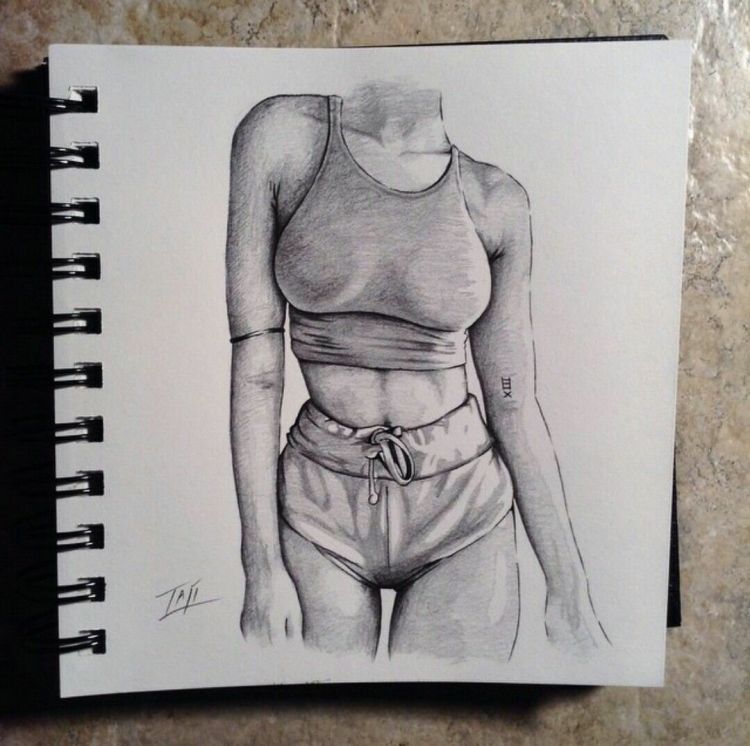
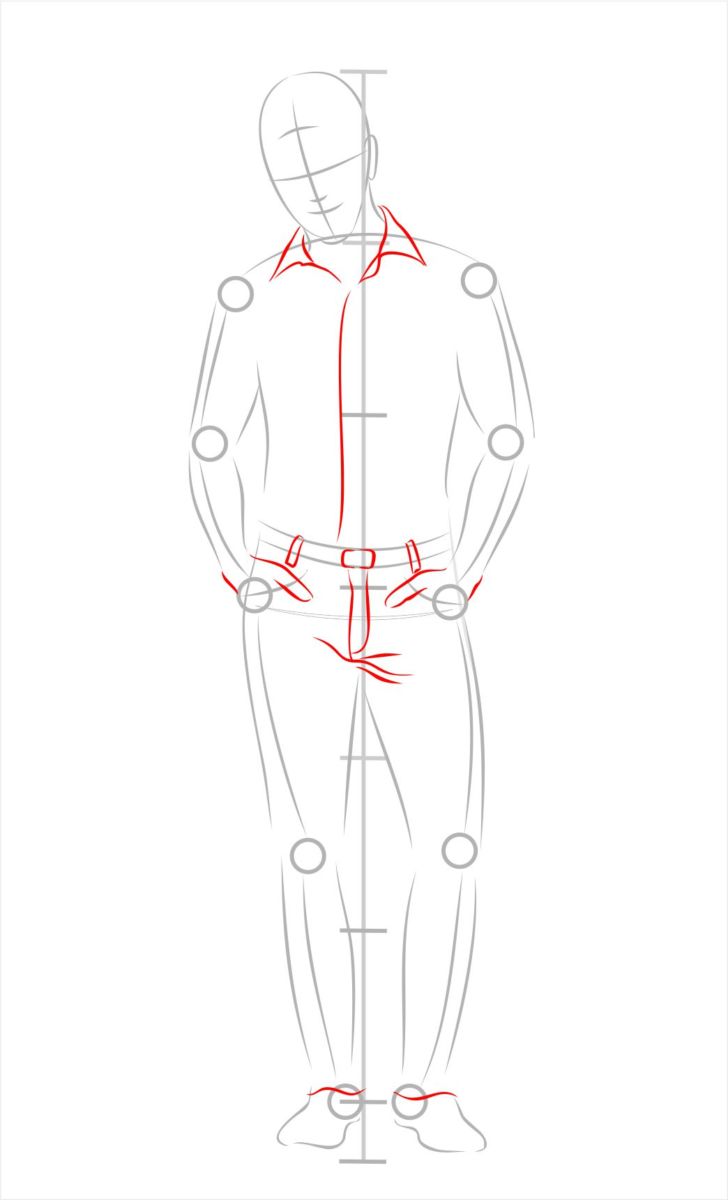
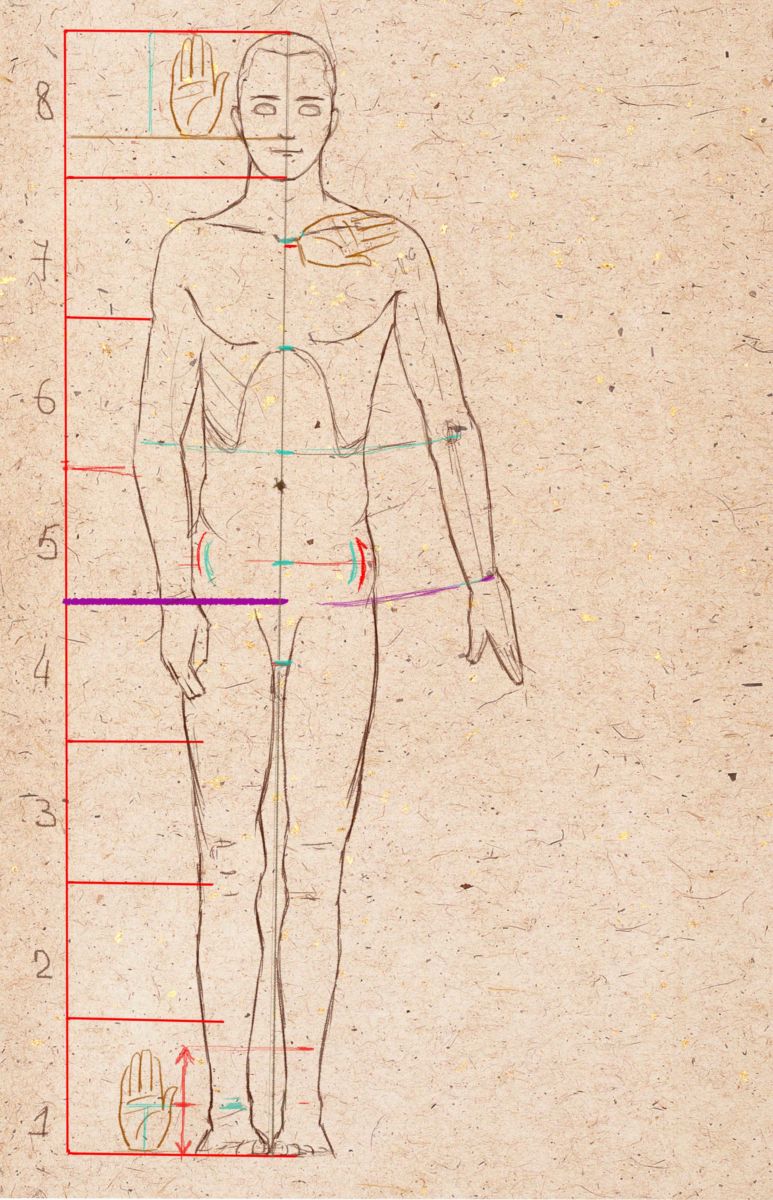
The chest is in the same sector where the shoulders are drawn. It is slightly wider than the abdomen and looks like two square brackets, one above the other on the left side of the torso and on the right. The next sector contains the ribs and the upper abdomen up to the navel.
Next, on the axis of coordinates you need to draw the hips. They should be as wide as the shoulders, slightly smaller. The upper part of the legs occupies the next sector and another half, and in its second half you should draw the knees. Then you need to draw the shins of the legs, feet in the form of two trapezoids.

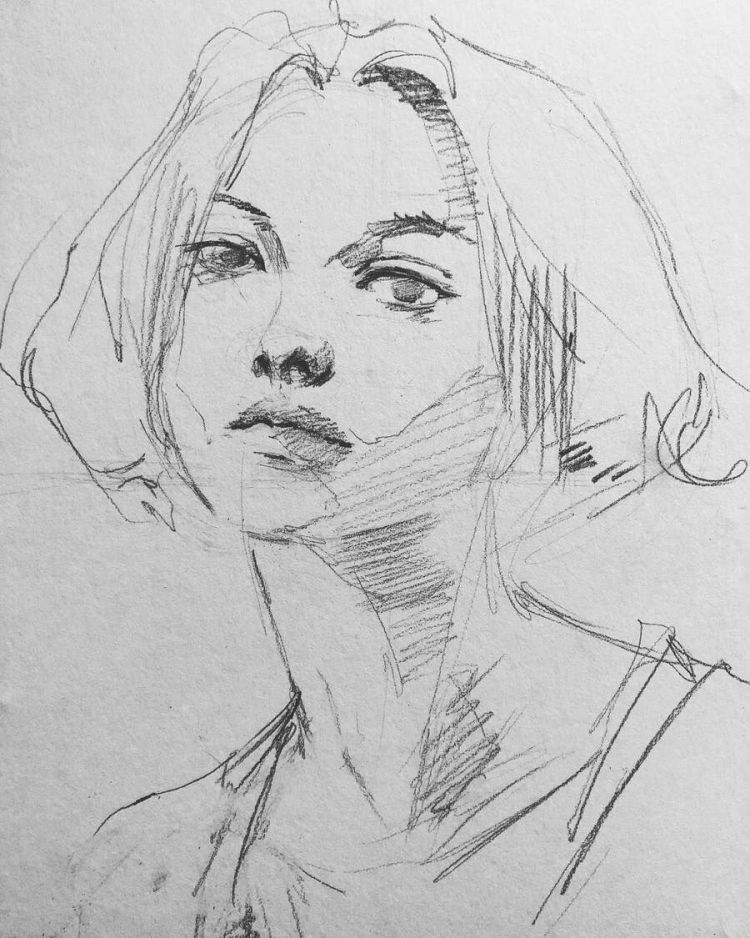
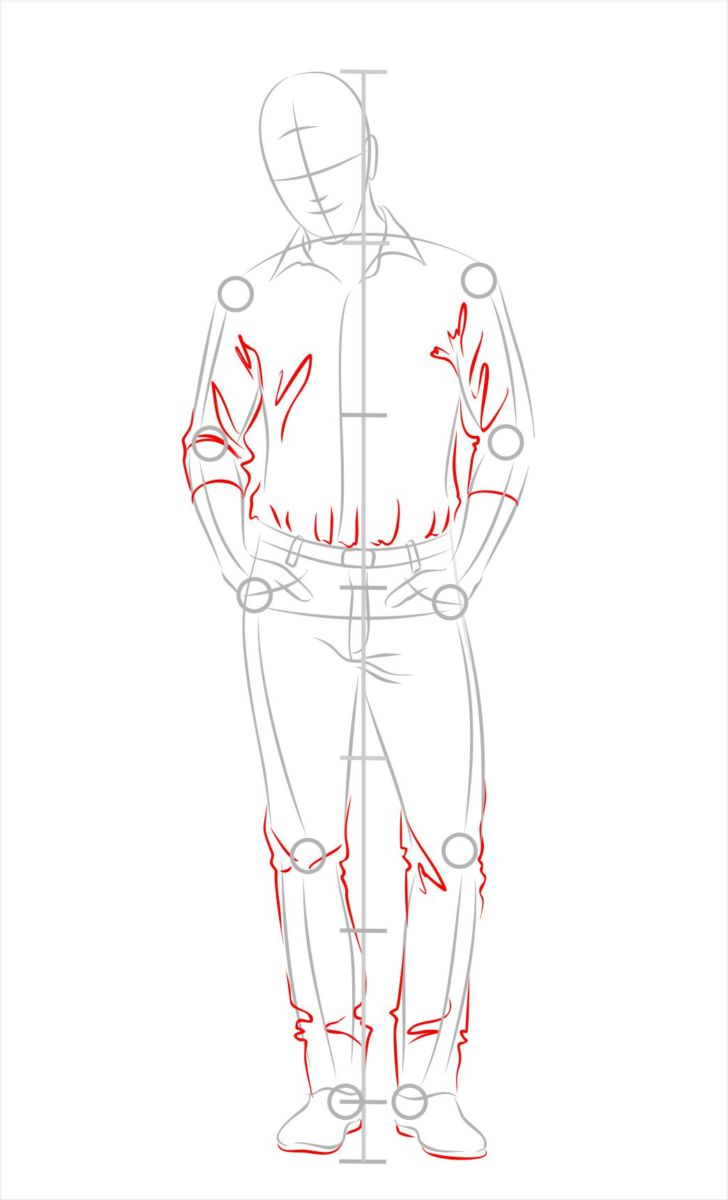
Now, when the outline is completed, guided by the axis of coordinates, drawing additional horizontal vectors if necessary, it is possible to draw the details of the face, body, limbs in detail.
If you create a pencil sketch, details are important and can bring the style closer to a naturalistic or abstract style, if they are not paid attention. For applique, stencil detail is not necessary.
The drawn person can be completely covered with a black marker, cut out a silhouette of paper and proceed to work on the product, which was planned to make with his help.

And this can be a cardboard shadow theater, and a new design for a cup, created with the help of a stencil, glued to the thermal adhesive, a new design of the whole set with the figures of people redrawn in stained glass paints.
The stencil can also be covered with liquid glass, painted with it on the wall in the room, and so on.

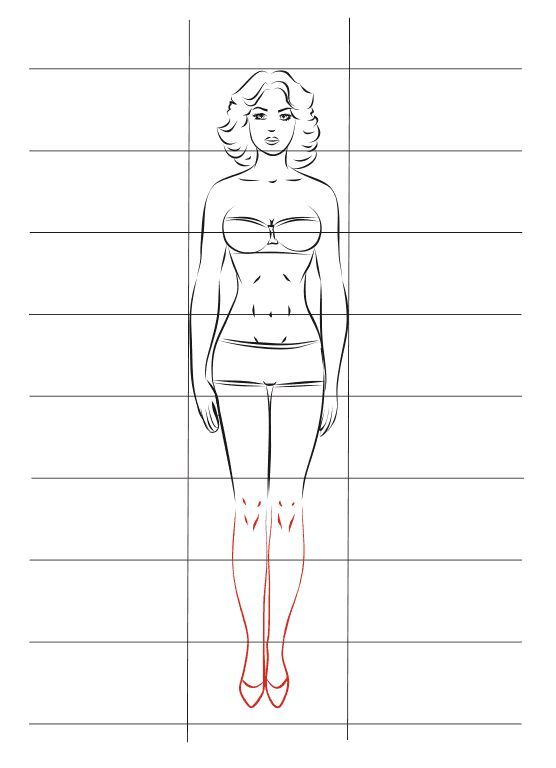
Having mastered the technique, it is worth practicing to reduce the drawing or enlarge it, to depict men, women, people with different features of the figure.

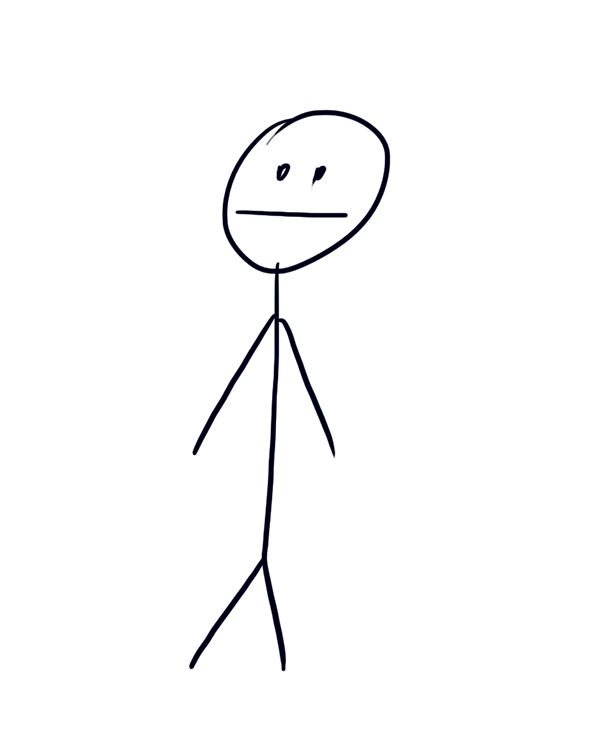
A simplified abstract sketch of a silhouette
With the second method, even a small child can easily and beautifully draw a person.
Small children often, once they get an album, pencils, crayons and try to draw something with their parents, then they are interested in drawing and try to depict everything that is interesting around - a cat, a dog, flowers, the sun, people.

Not necessarily the parents will help, but the child will learn to draw, surprising everyone by outlining a round head, oval body, arms, legs in the form of lines and branches, like a snowman.
Such a drawing is nevertheless so simple that the child will soon become frustrated with his or her abilities.
Figuring out how to draw people more accurately, less fantastically, will not work right away, and as a result, interest in drawing may disappear. This technique will make the drawing a little more complicated, but not too complicated. It is necessary to sketch a full-length person:
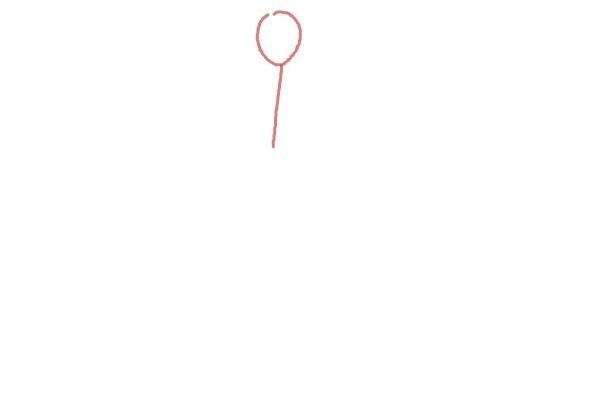
- Draw an oval to represent the head.
- Next, draw a line-neck.
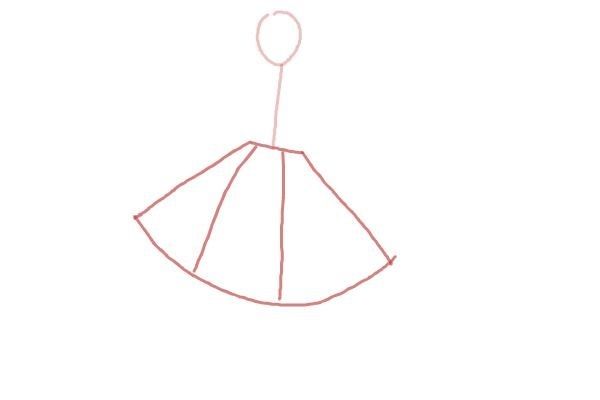
- The upper part of the body is depicted as a rectangle.
- From its upper corners draw lines depicting arms.
- Pelvis is depicted using the same oval as the head. But in this case it should be turned horizontally.
- His side lines need to circle again with a pencil and continue, finishing drawing the legs.
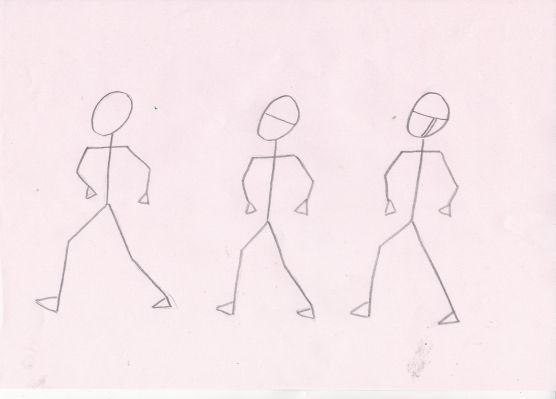
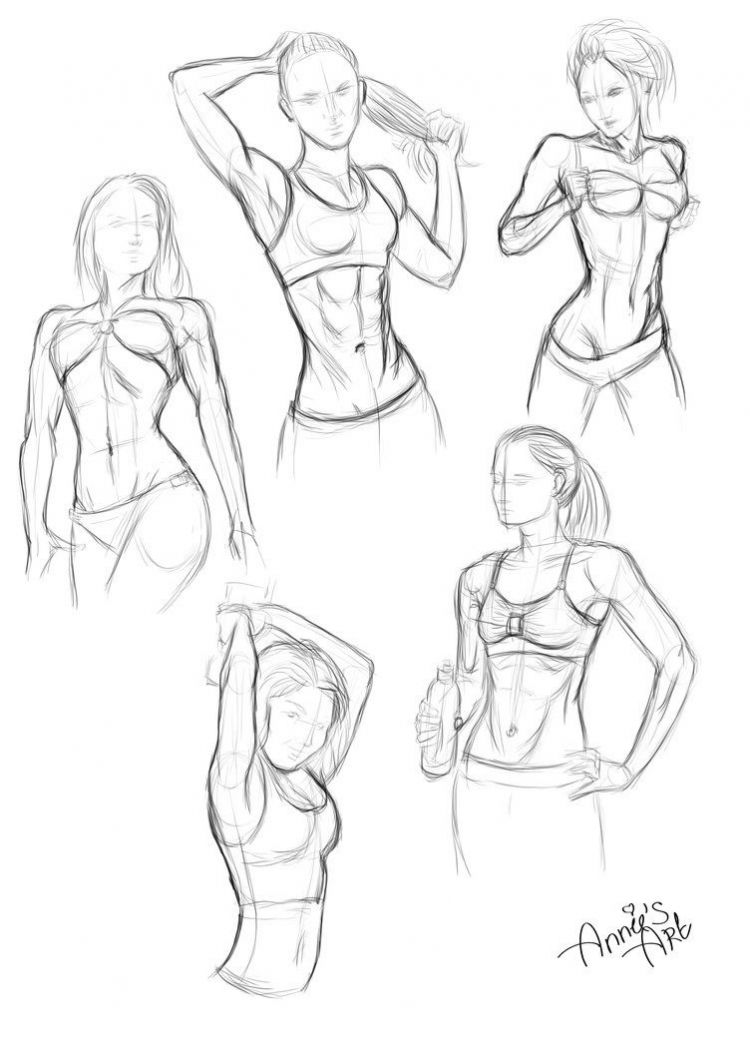
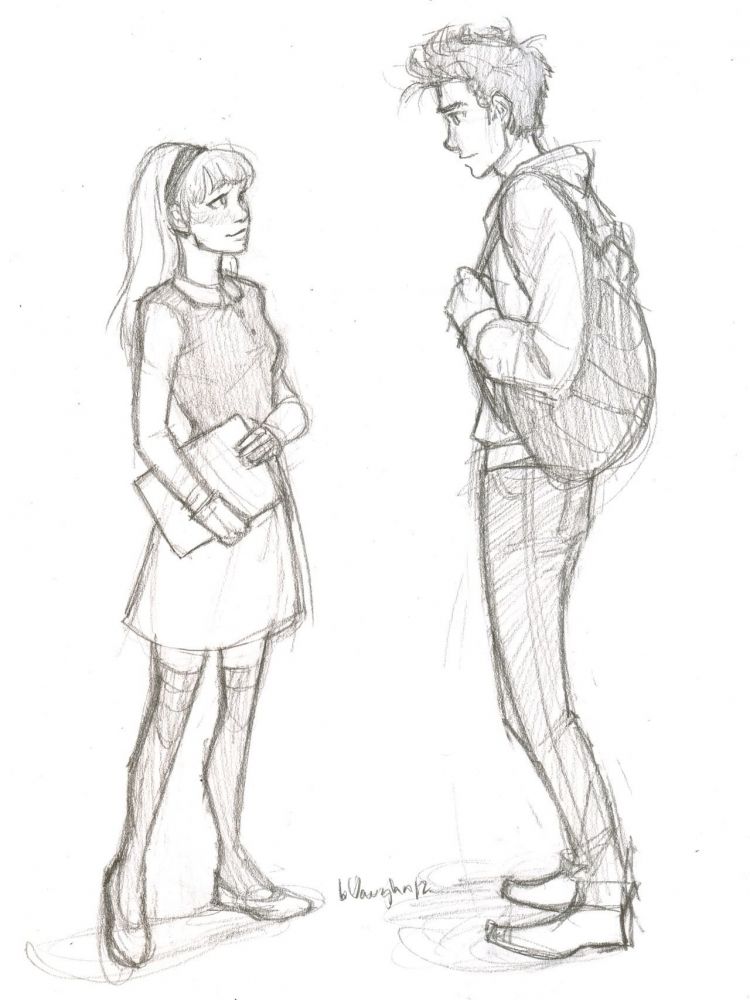
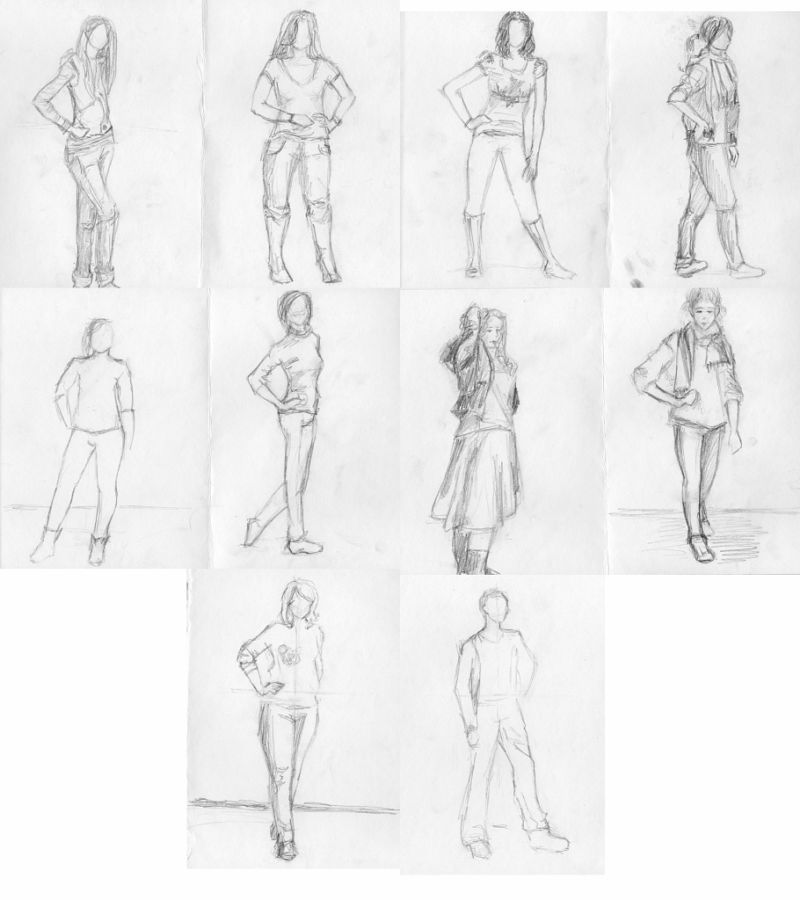
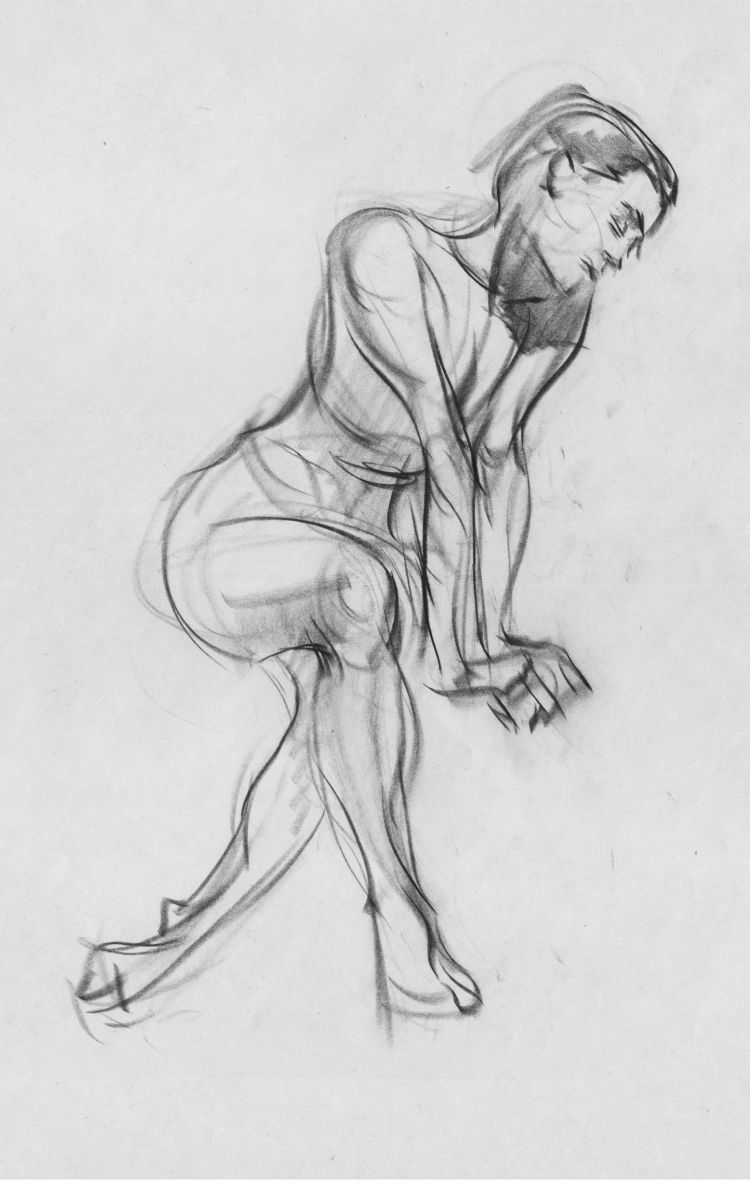
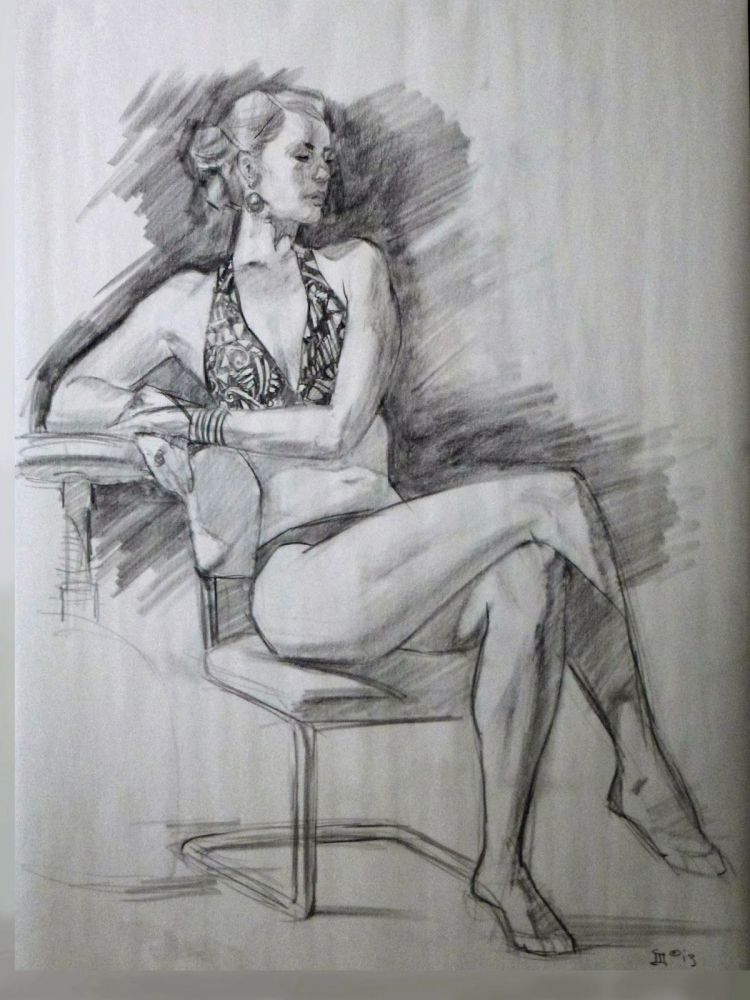
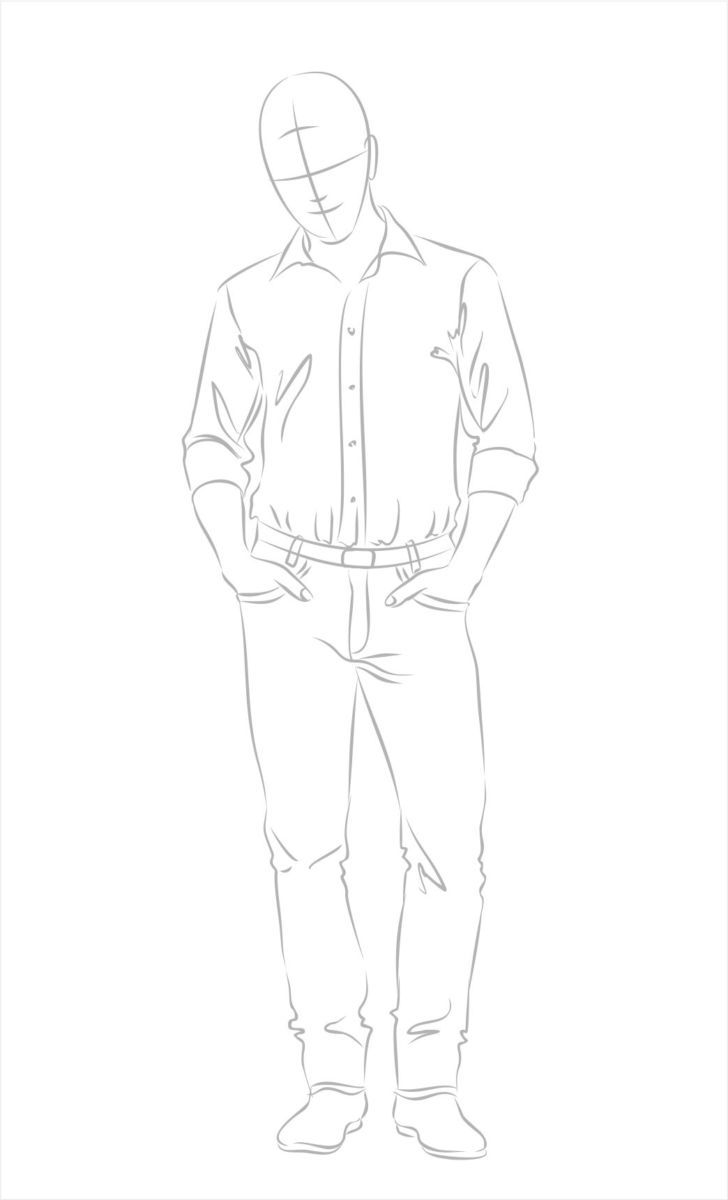
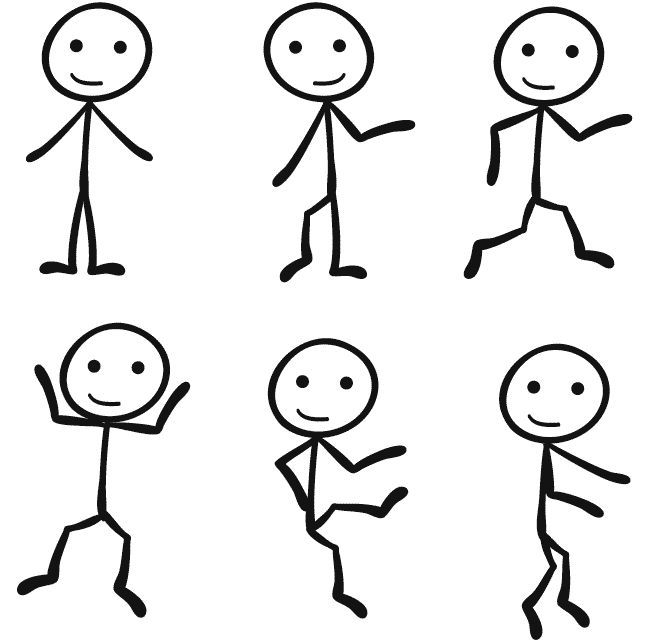
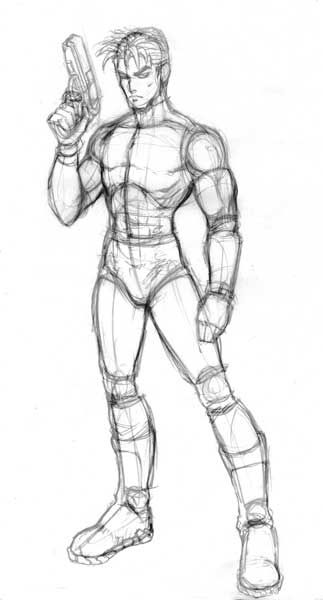
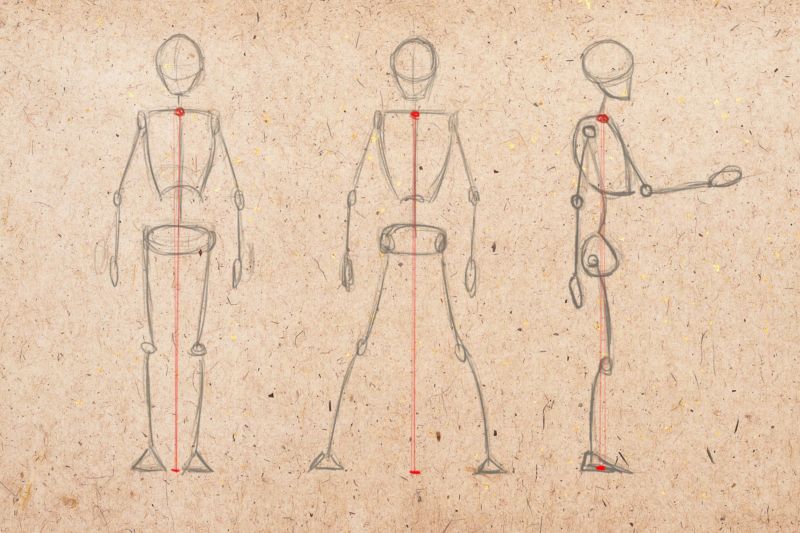
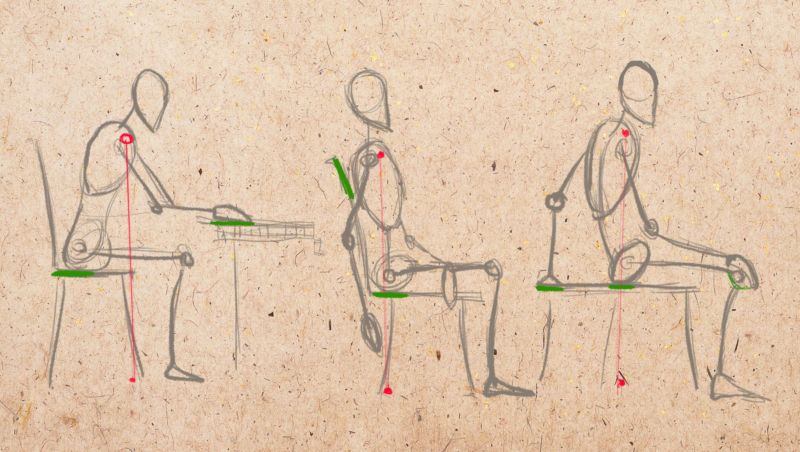
How to draw a person in motion
This method uses an axis of coordinates, divided into eight equal parts, as in the first case, but this time you do not need to immediately begin sketching the contours of the body.
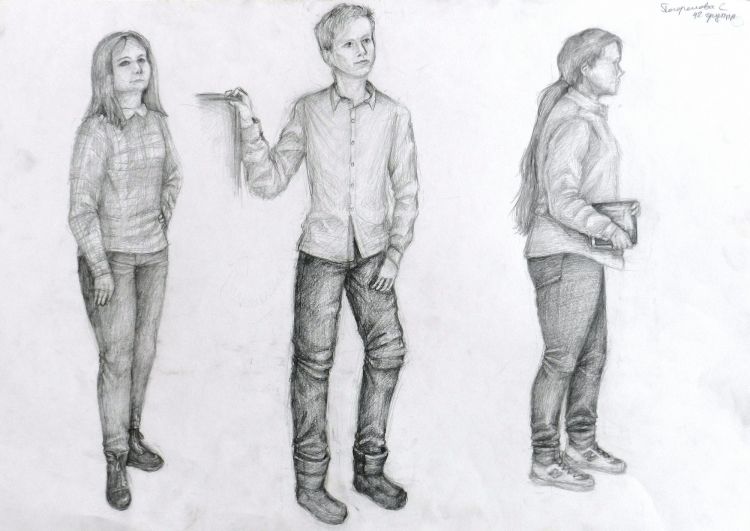
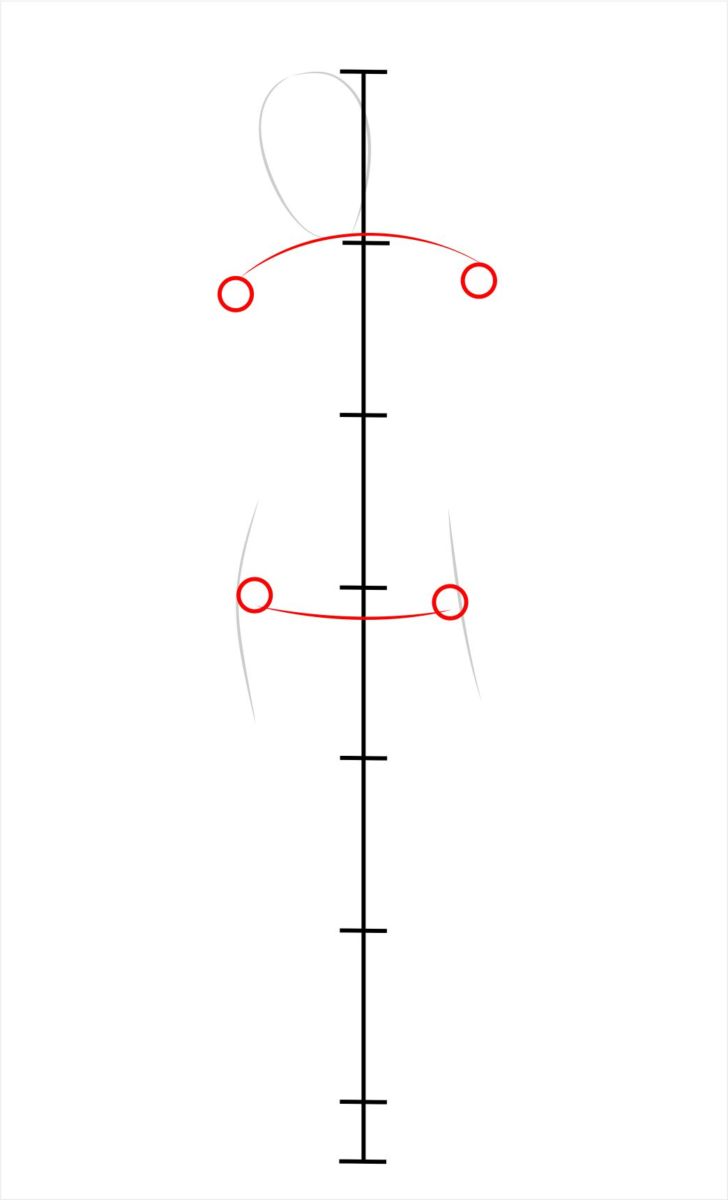
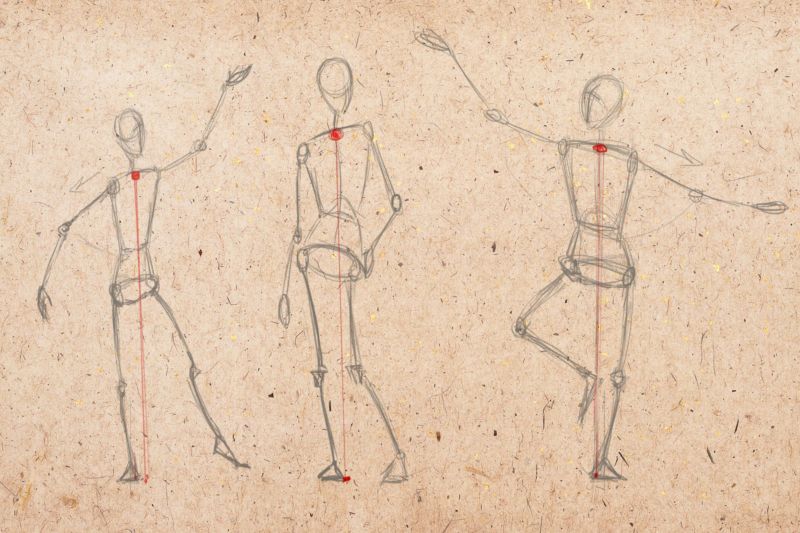
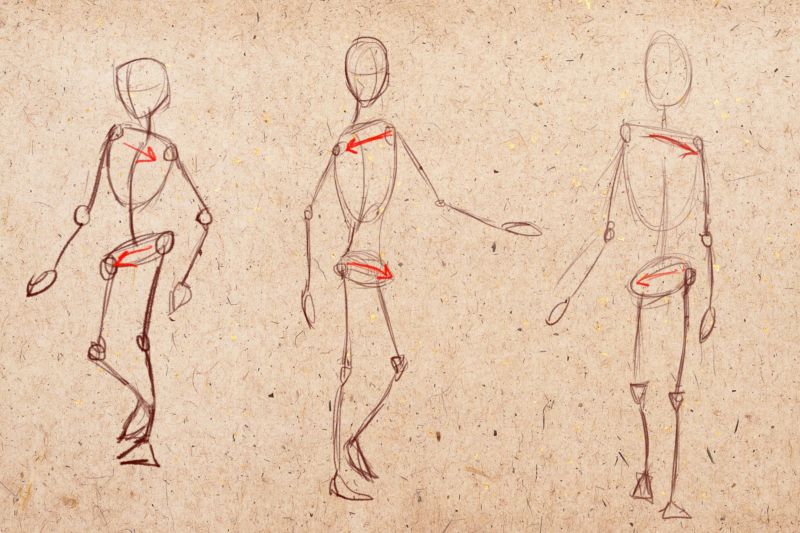
This time a person can be drawn standing at full height, but not straight up, but in a pose - turning his head to the side, raising his arm, taking a step to the side, and so on. It's not so much the silhouette lines that are important, but rather the anatomical points that convey movement in the sketch:
- shoulders;
- elbows;
- pelvis;
- knees;
- ankle.

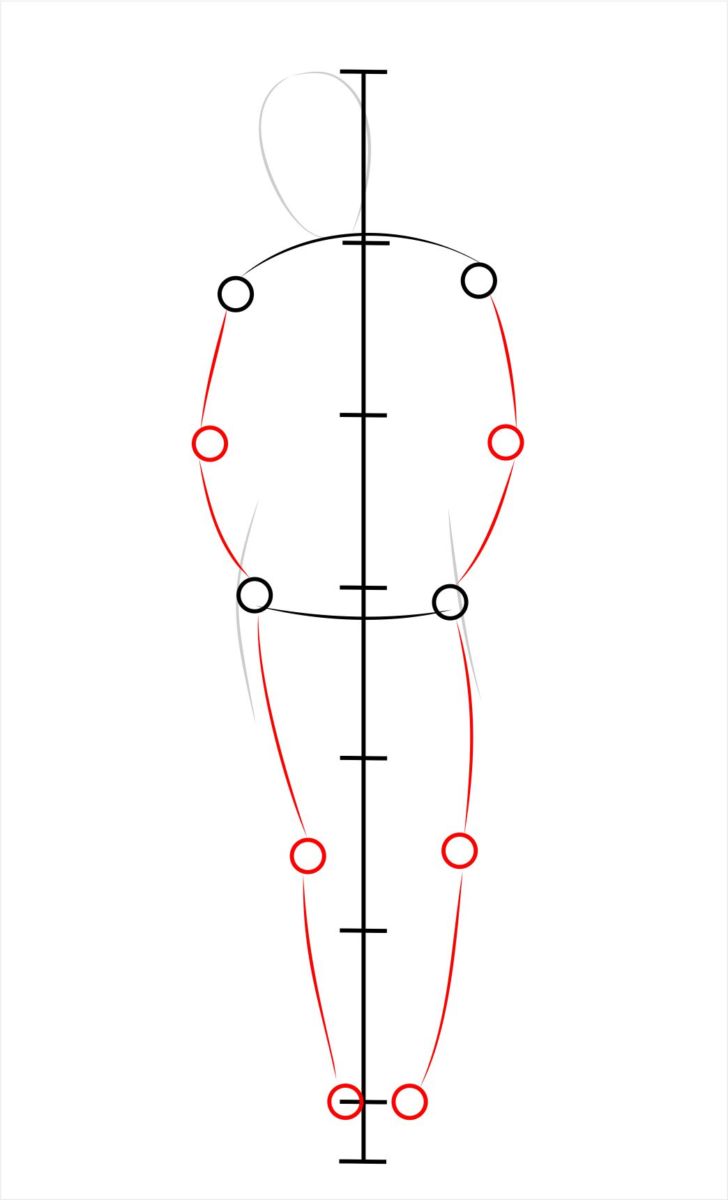
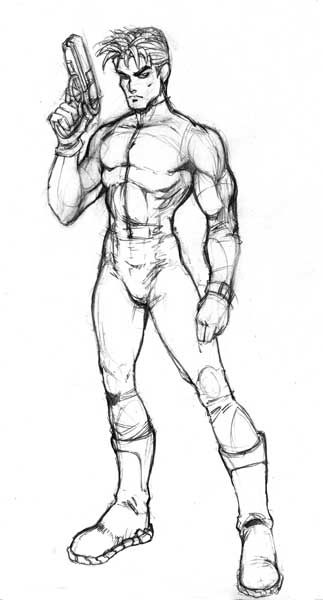
These are paired points. You can connect them with one line - right shoulder to left shoulder, one elbow to another. By drawing the lines at the desired angle, shifting them up and down, right and left relative to the main axis of coordinates, it is not difficult to correct the position of key points and the entire silhouette.
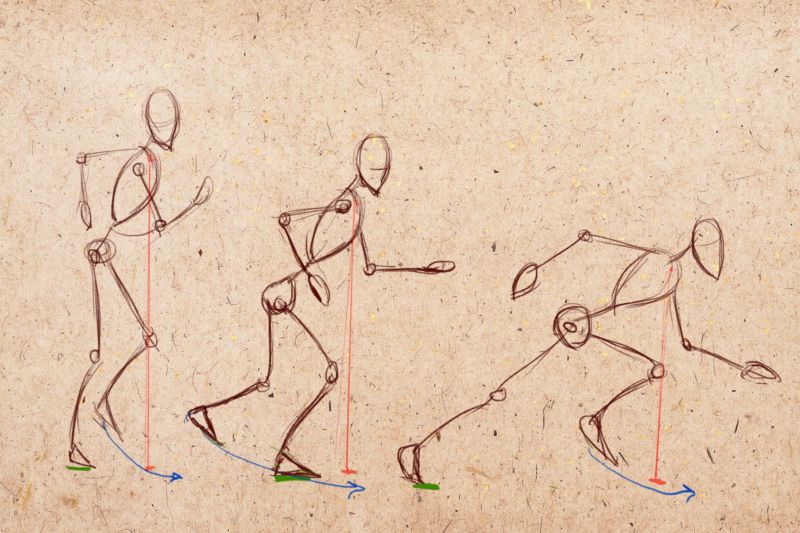
This method is the easiest, most effective way to draw a person in any body position. Mistakes are possible, but not many, even for a beginner.
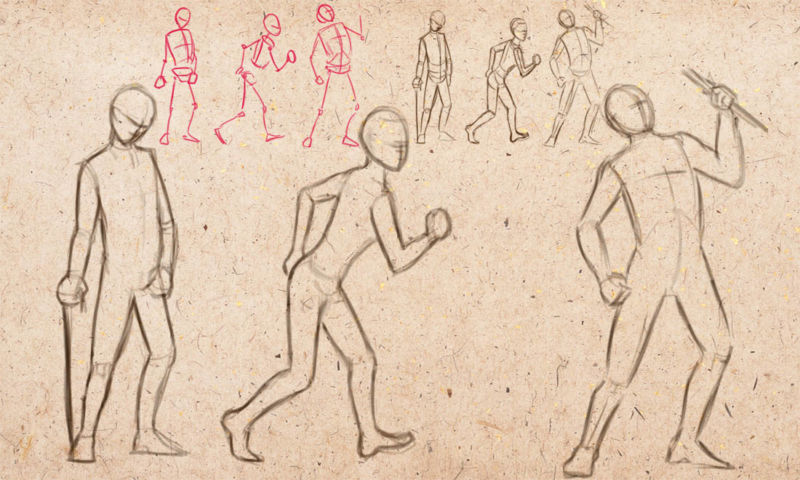
It's also the best way to draw a person moving step by step from one drawing to another, for a homemade illustrated book, coloring book, comic book.
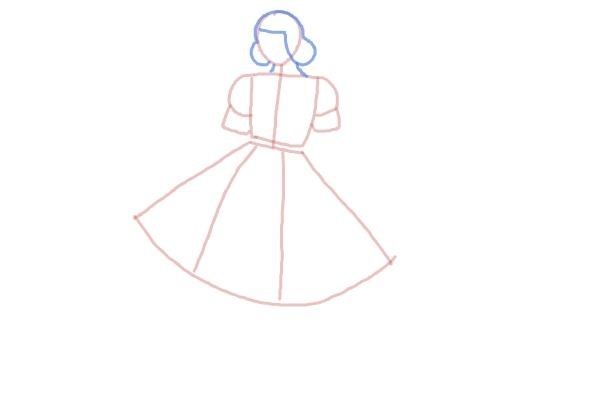

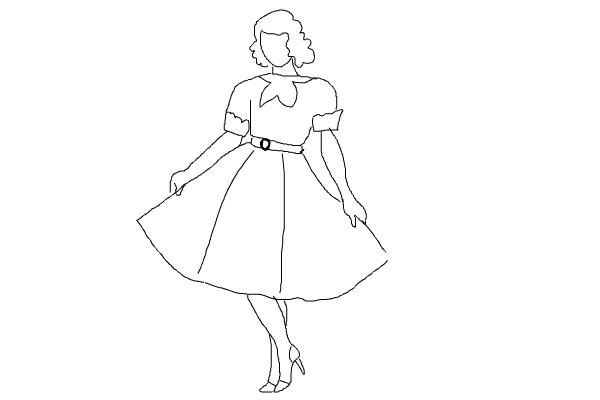

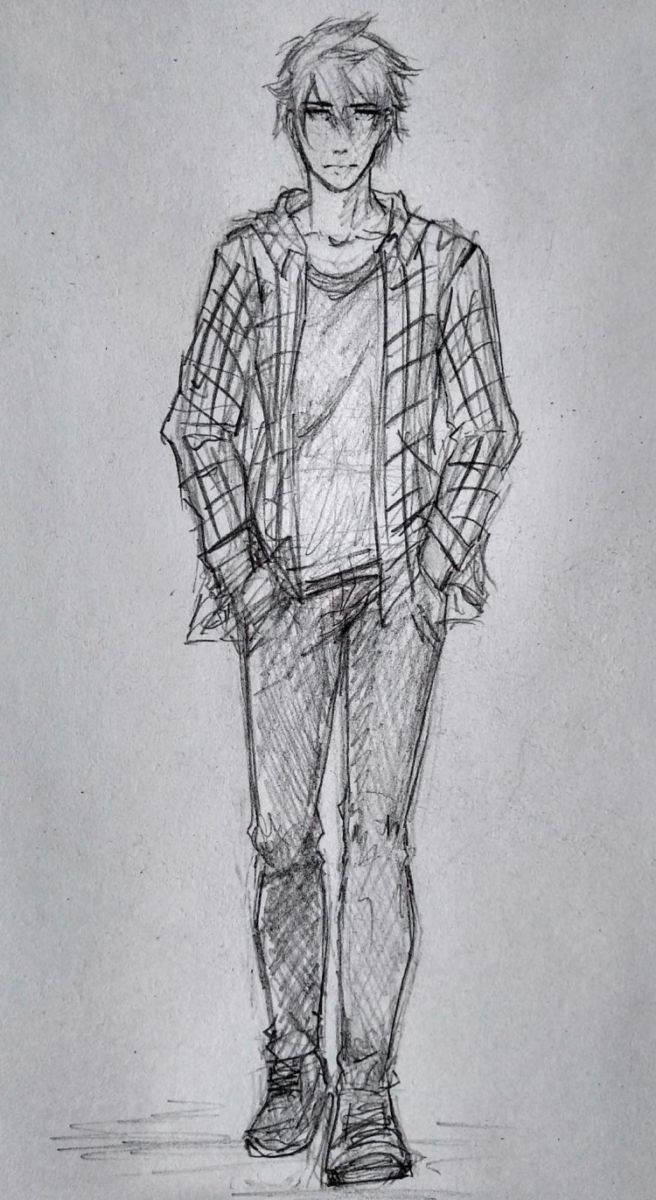
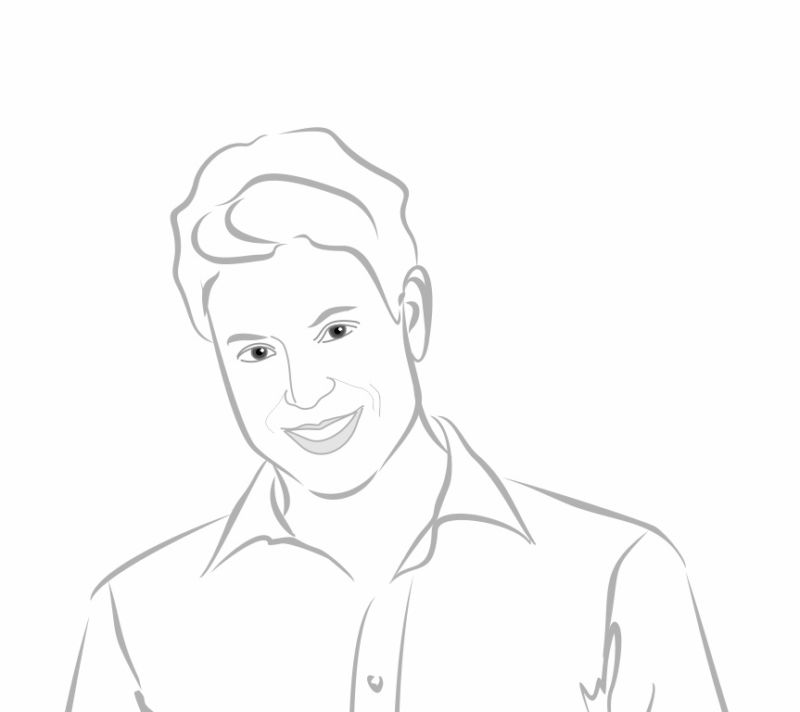
If you want the person to look like someone you know, but you can't draw his face correctly, you can draw him in a favorite raincoat, a sweater of similar color. It is important to finish drawing his hair, his favorite hairstyle, his glasses, if he wears them. Everyone will recognize him.
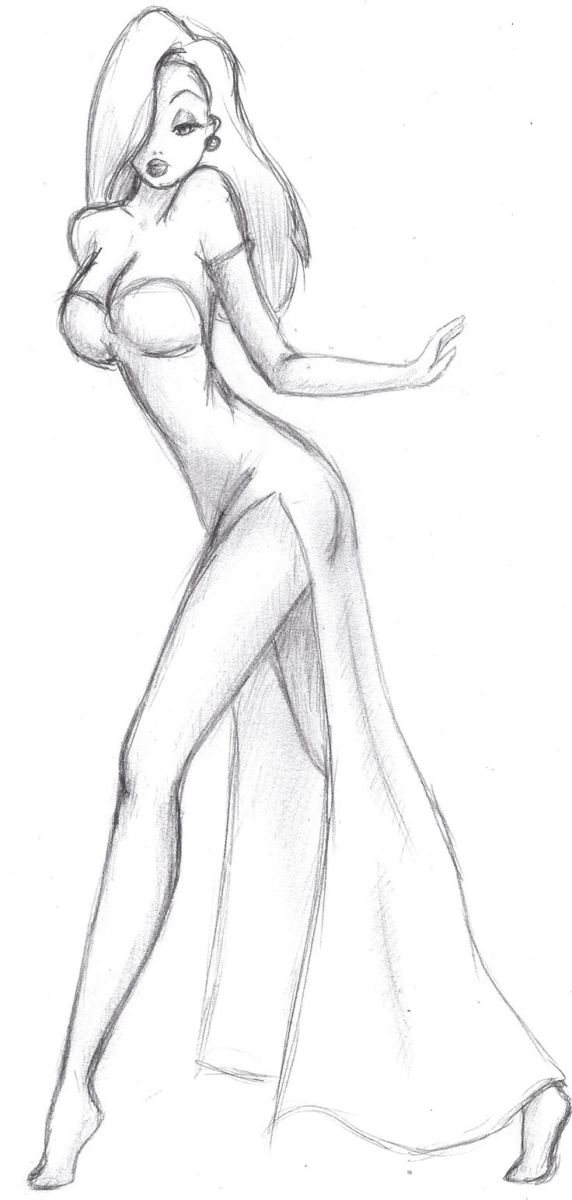
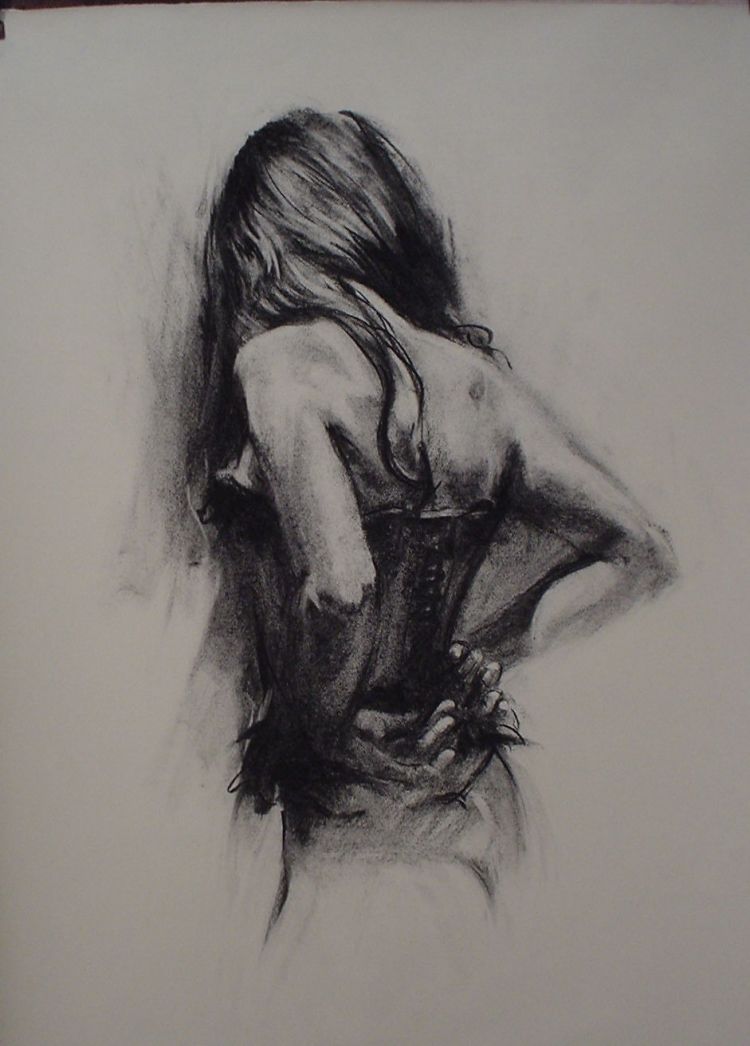
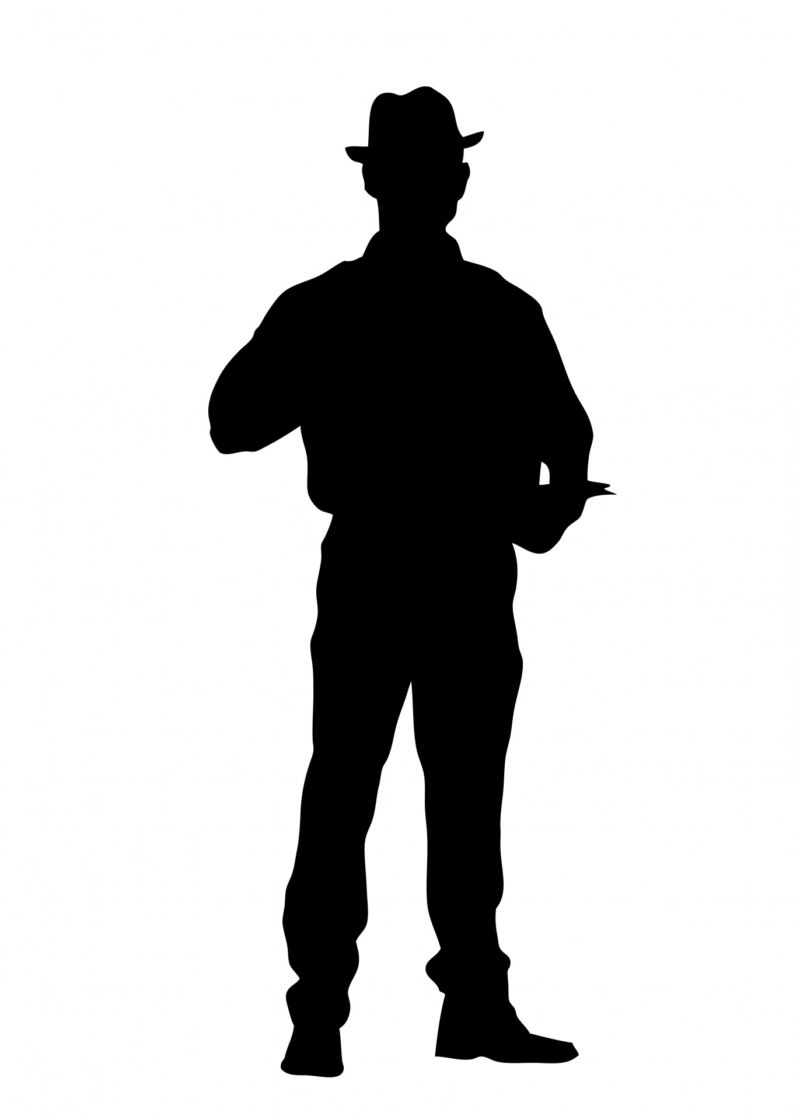
Gothic Silhouette
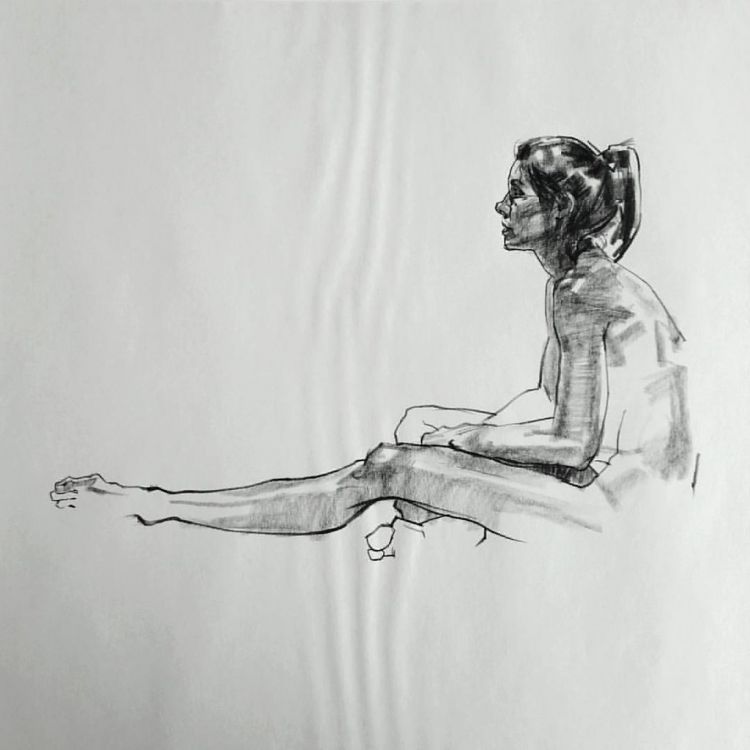
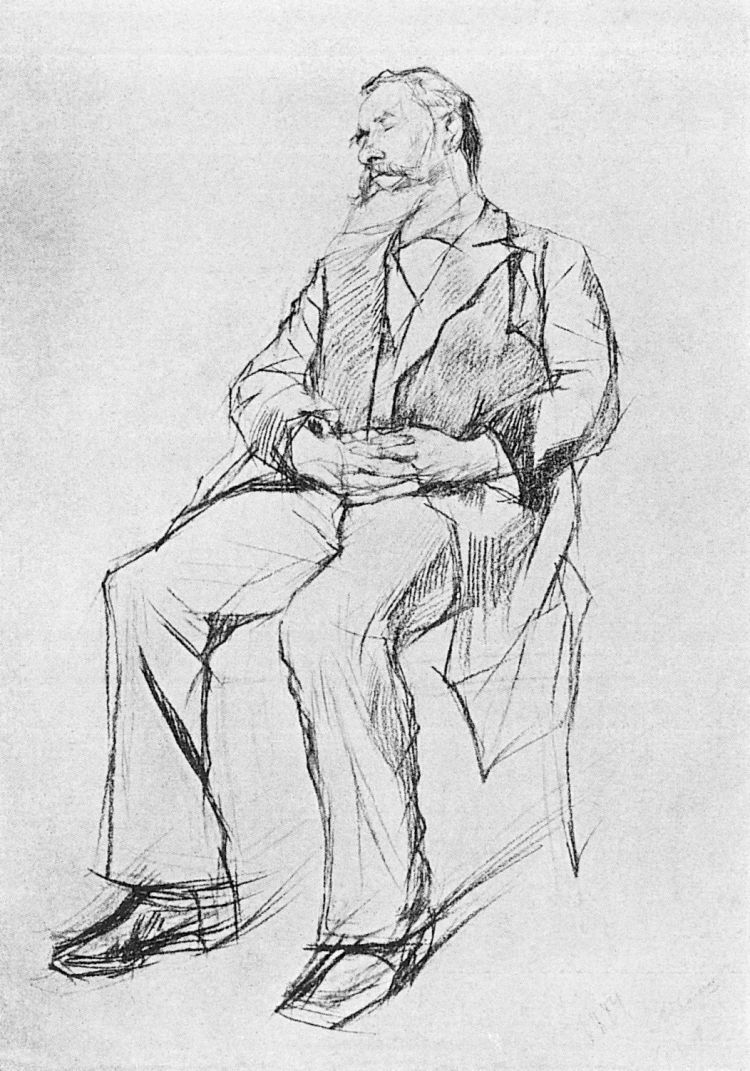
In art school, they teach the rules of sketching the anatomical structure - skeleton, muscles, skin. It's useful for determining more accurately the individual features of the sitter's figure, to draw from nature and from memory.
And working independently, it is easy to develop talent in this way. It is especially useful to develop the skill of sketching a human skeleton. Such a skill is useful if you want to become a true artist and for applied art, giving a variety of things Gothic style.
It is necessary to start creating a drawing, as before, from the axis of coordinates. The vertical axis will coincide with the line of the spine, and if it is necessary to convey motion, any additional vector or horizontal axis will coincide with it.
In this case, only straight lines of the bony apparatus of the arms, legs need to be drawn. The skull is depicted as an oval tapering to the bottom with or without more detailed drawing.
The Gothic style will be expressed in the emphasized thinness of the silhouette, the ribs depicted as two ovals with the lower base as arcs concave inside.
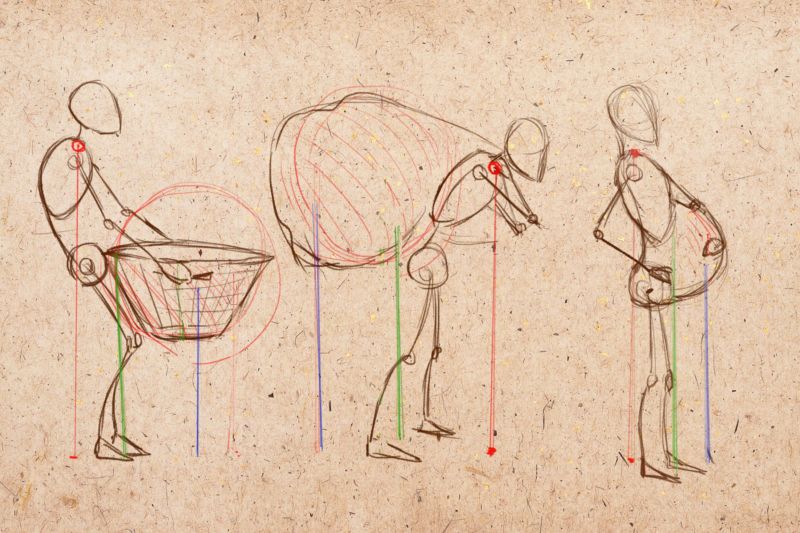
The special stylization of the sketch will also be expressed in the subtlety of the line of the spine area which is between the ribs and the pelvis.

Anatomically, the hip joint is like a cone with rounded outlines of the corners, wider upper part, less wide lower part.
This is how it is drawn, which is convenient and increases the value of the technique for the novice artist. If you have the desire, persistence, you can figure out how to draw a gothic sketch and how to draw a person by penciling in the missing outlines.
With the above methods, it's easy to create beautiful paintings, decorate a variety of things, from notebooks, accessories, jewelry, to furniture and clothing. A child and an adult will enjoy drawing still lifes, landscapes, animals and, of course, people.
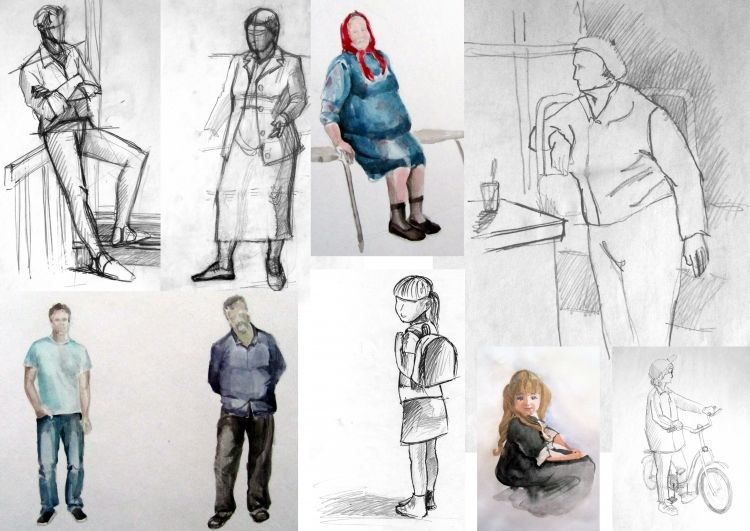
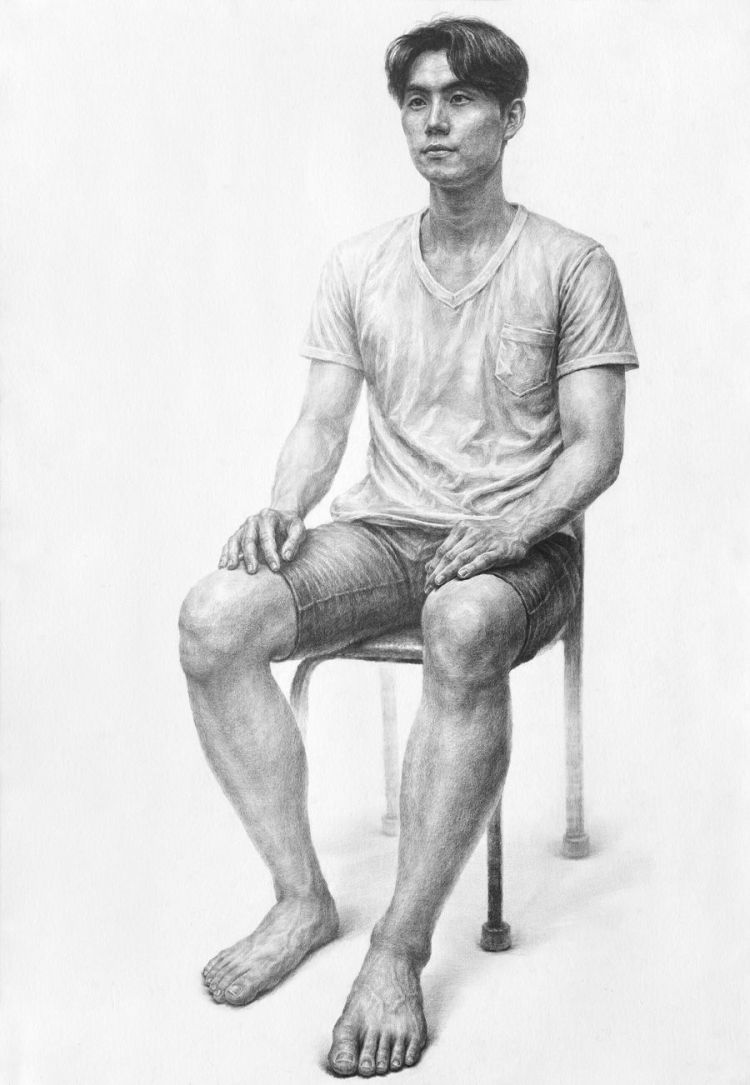
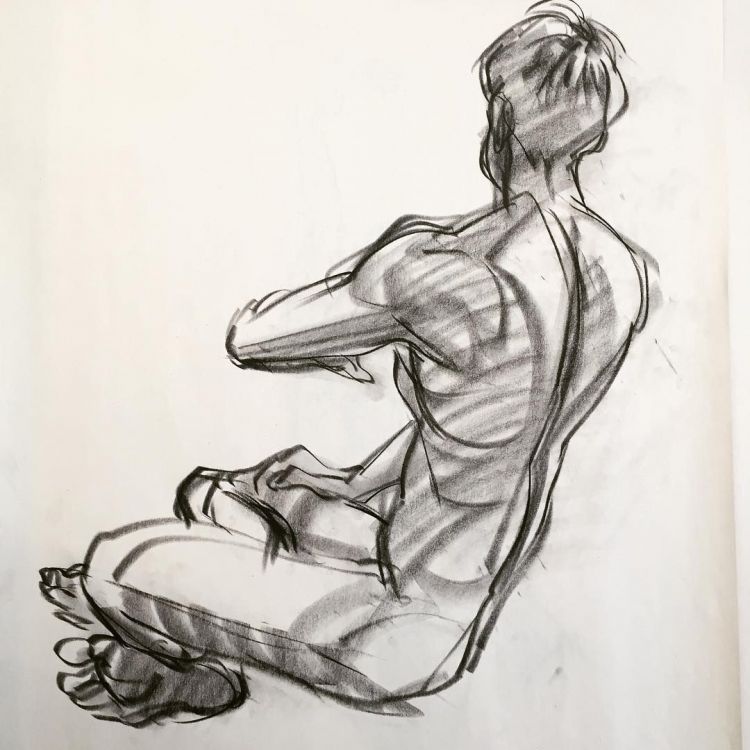
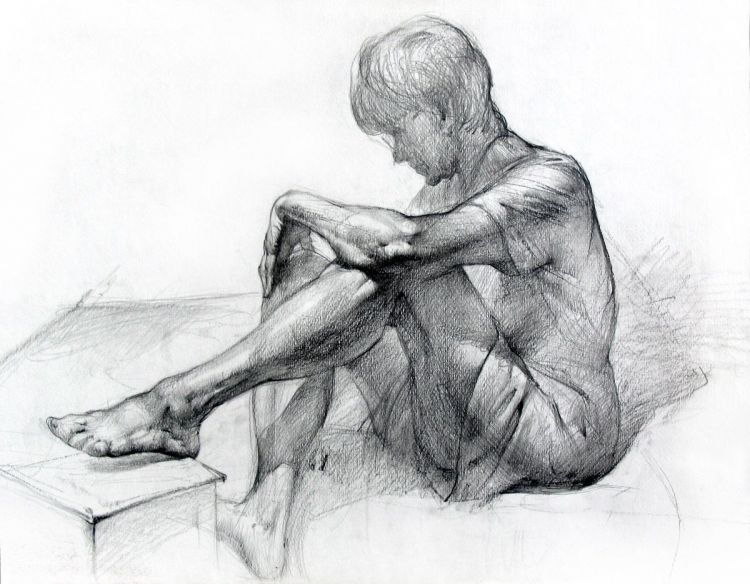
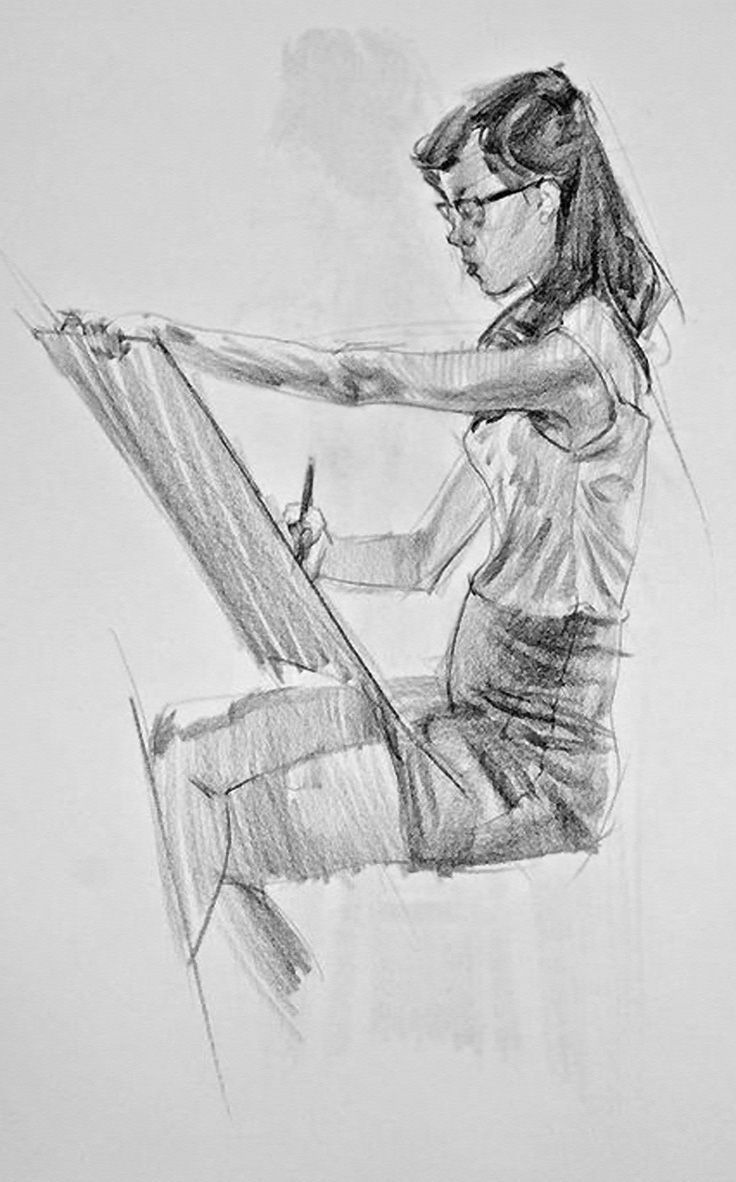
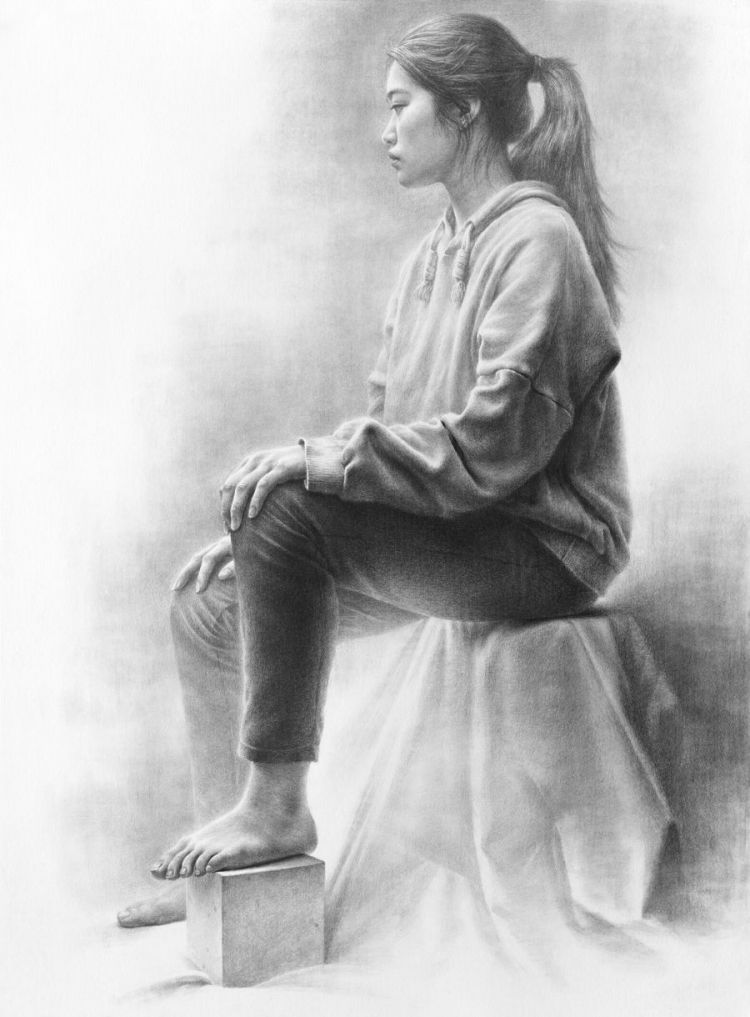
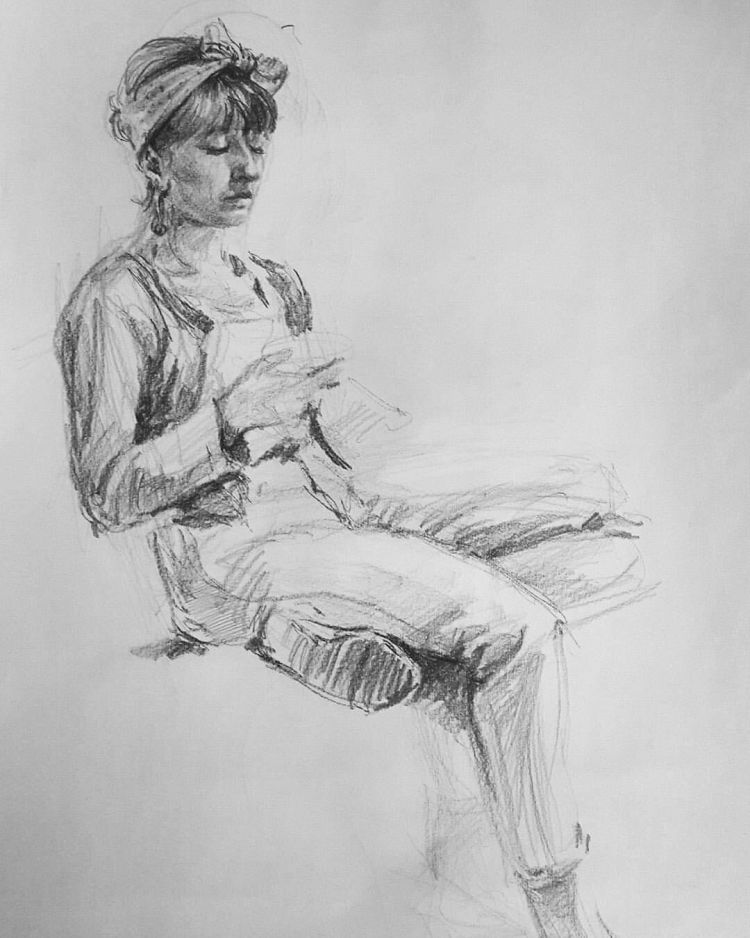
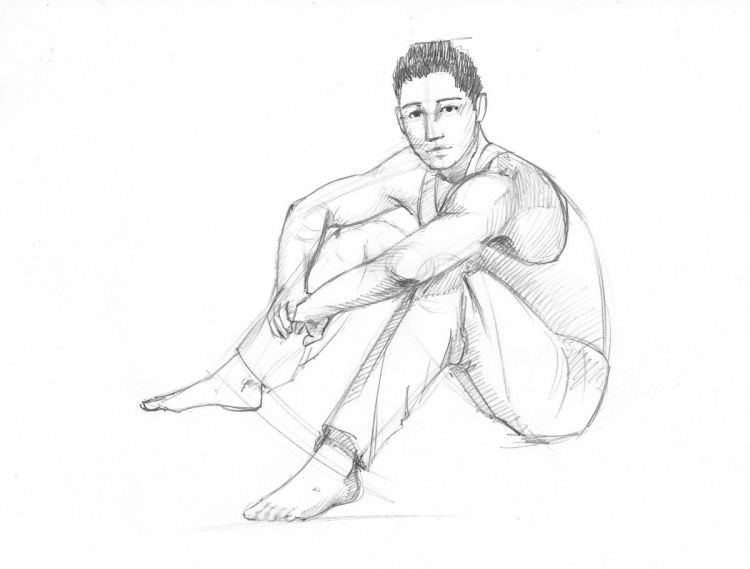
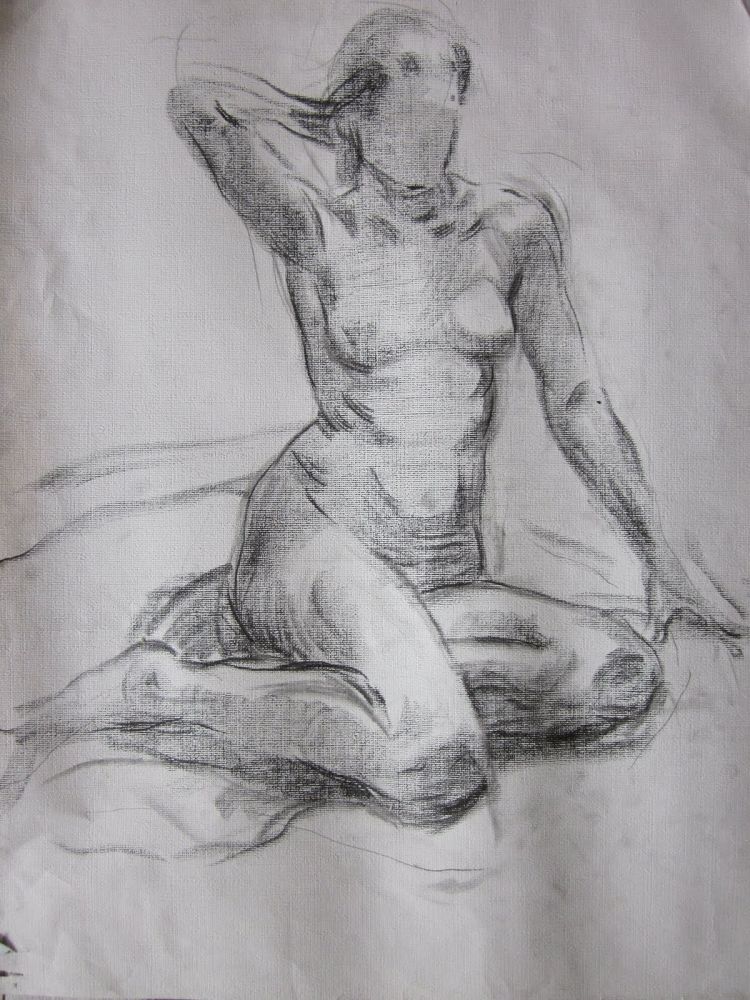
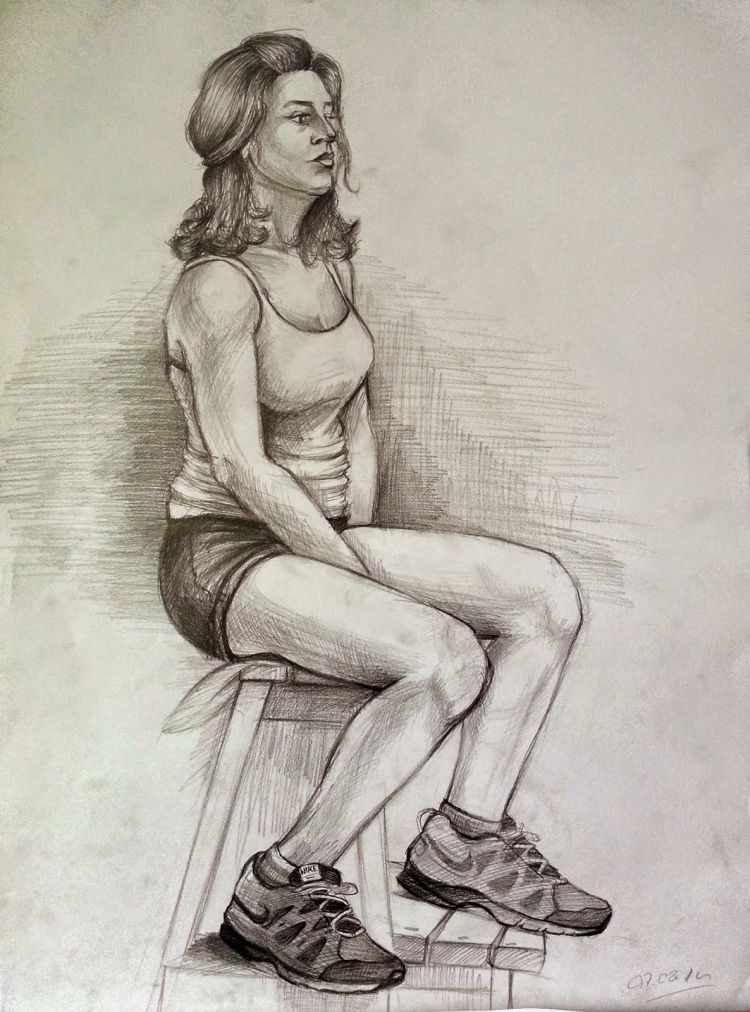
Photo of a drawing of a person in pencil