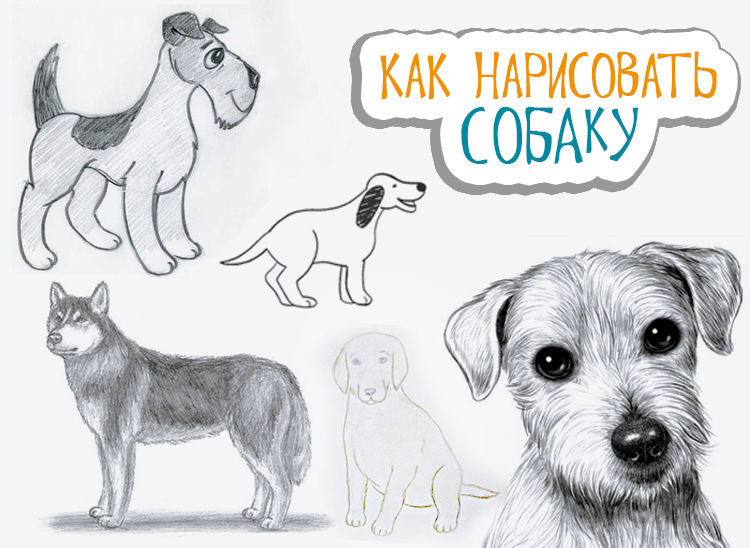
How to draw a dog in pencil: sketching and drawing all parts of the body
Very often going to a birthday party do not know what to make a gift. Then in the store you come across a variety of portraits of animals. And you get the idea: this is it - a painting is the best gift.
There are many different exhibitions of artists in the world. They meet us on the street in shopping malls and other places. Looking at portraits done by professional artists, you can't help but wonder: how do they do it? Why can't I paint like that?
You want to make a beautiful picture yourself and then proudly show it to your guests and relatives. There are many different schools where you will be taught to draw. But, as always, there is not enough time and effort.
That's where this article comes in handy for such busy people. In it we will try to learn how to draw with a pencil four-legged friends step by step. Because these animals are the best friends of man.
Make it pretty easy to understand how to start. For the simplicity of the image, regular geometric shapes are used.
So, let's get started.
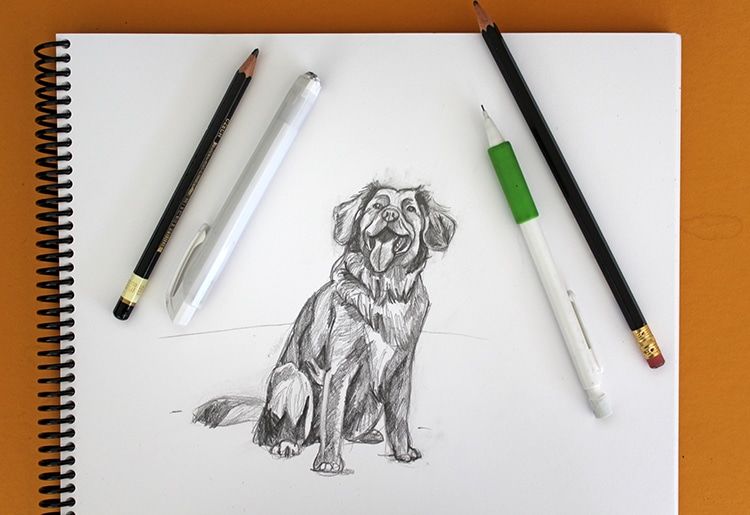
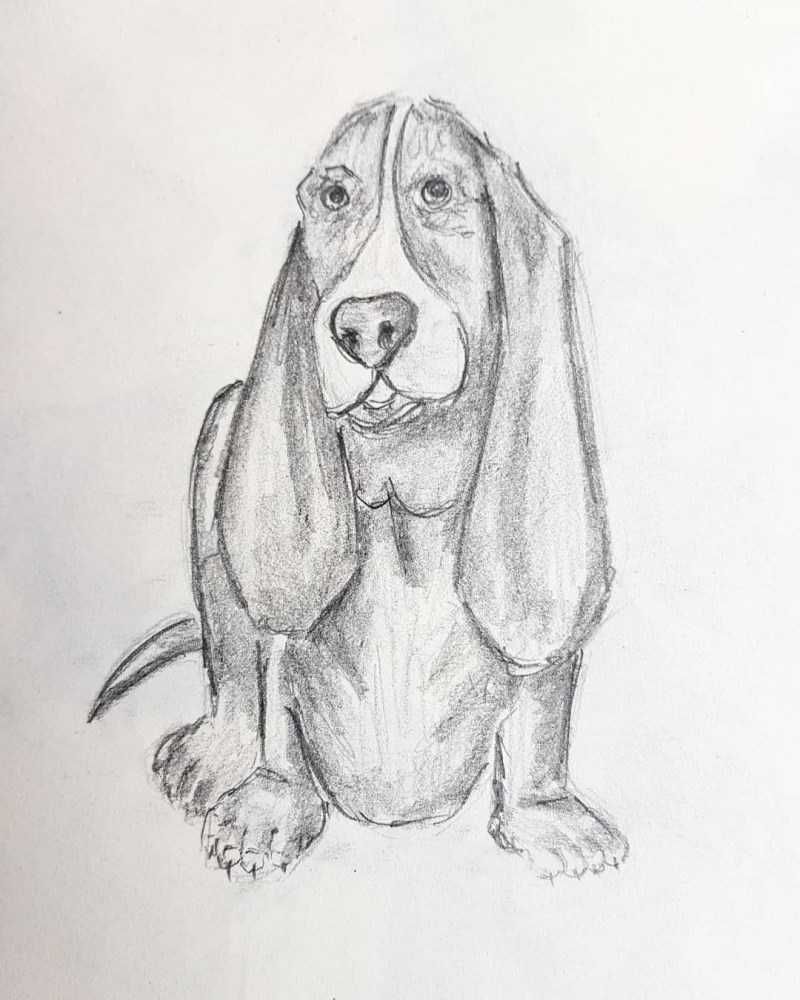
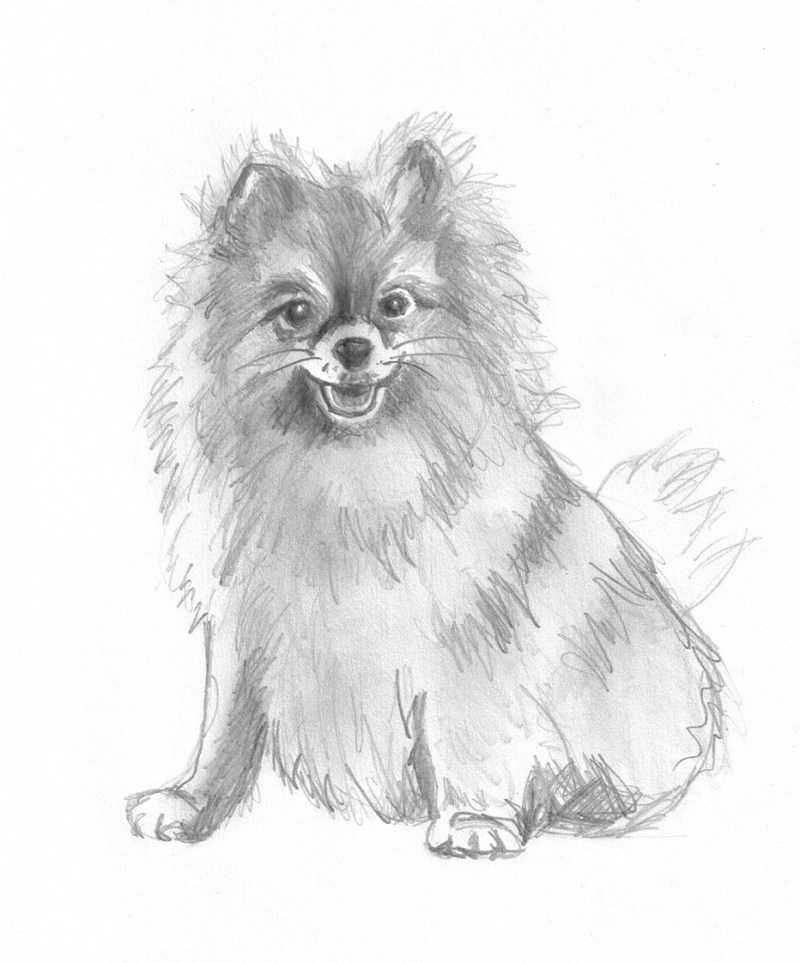
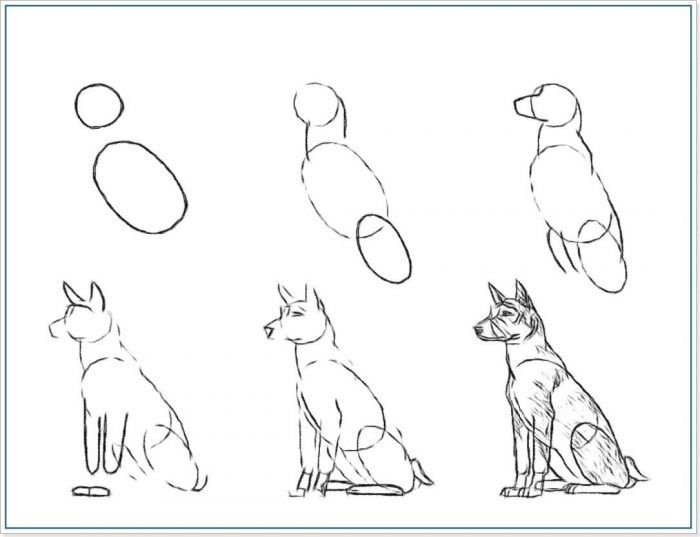
Sketch of a picture of a dog who sits
To perform a picture of a drawn dog, take an ordinary sheet of scrapbook paper, a simple pencil and an eraser.
- First you should draw a small circle. If there are difficulties with drawing, you can use a compass. This figure will serve as an approximate head of the animal.
- Next we draw a quadrilateral, which is located at the bottom of the circle on the right side and goes beyond the circle. This quadrilateral will be the future muzzle.
- The next step is to draw two small triangles that are located at the top of the previously made circle these triangles will serve as contours for the ears.
- After that, it is necessary to draw two straight lines, which are located at the bottom of the circle. These straight lines will be the contour of the neck of our animal.
- Under the straight lines we should draw a large ellipse, which is located vertically. This will serve to further depict the torso.
- Draw another smaller ellipse in a vertical position that partially intersects the bottom of the figure obtained in step five. This will serve to draw the bottom of the torso and the abdominal area.
- Make another smaller ellipse that intersects the shape obtained in step six. It will serve as the bottom of the animal's torso.
- Now you need to draw a line that connects the ellipse of larger and smaller size, obtained in step seven. This line will serve as the contour of the upper back.
- Draw straight lines that are located at the bottom of the oval, obtained in step five. Straight lines will serve to draw the front paws.
- Draw two rectangles, located behind the paws, made on the ninth step and which come out of the ovals of smaller and medium size. These rectangles are the future hind paws.
- From the smaller oval, draw a curved line upward. This will serve as a sketch for the image tail.
- Doris another smaller oval located at the top of the front paw. This is the future shoulder.
- Using these geometric shapes, draw a rough sketch of the future dog. Add all the missing details to the portrait.
- After all the operations done, remove all the extra and superfluous strokes that were drawn before. And you will be left with a finished sketch of a sitting dog.
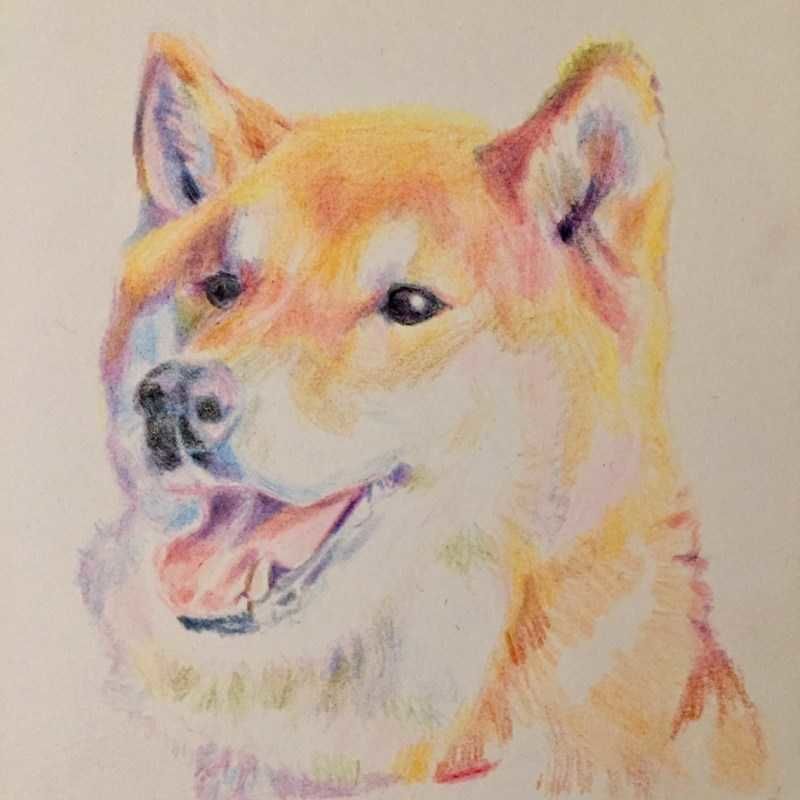
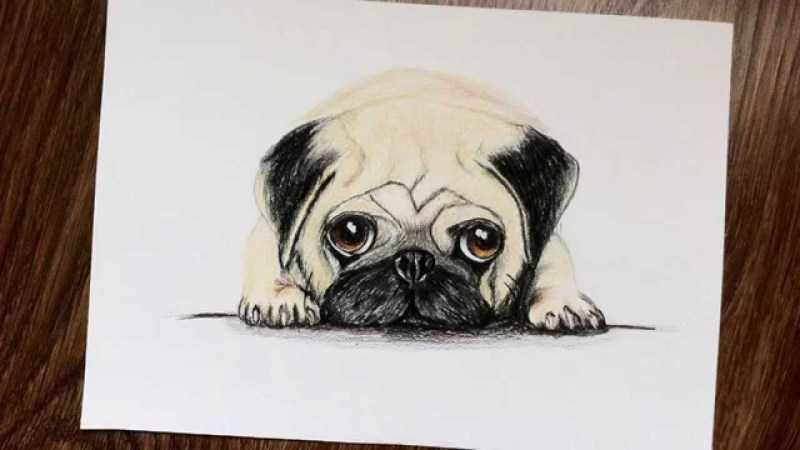
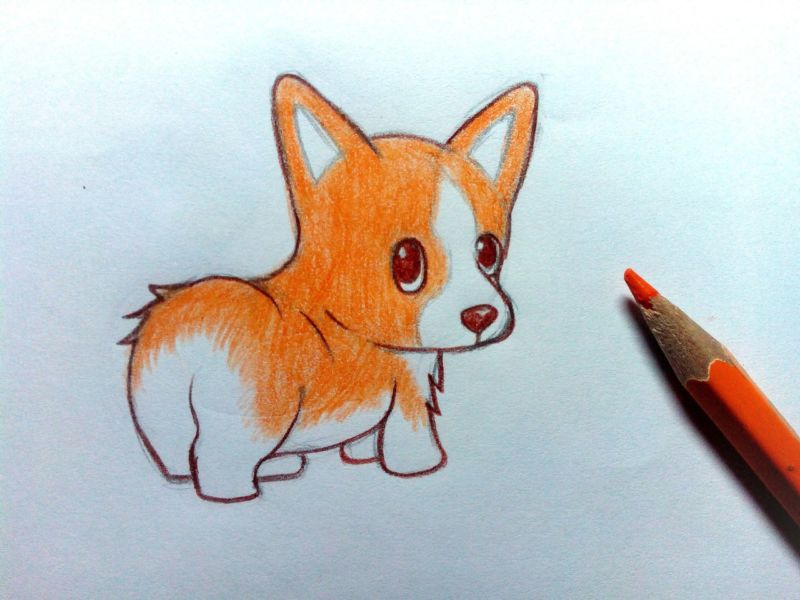
- In the final, paint the resulting sketch. To achieve greater realism, try to use natural colors, which correspond to the characteristic color.
Now you can buy a frame for the resulting picture, and hang it on the wall and with indescribable pride show your friends.
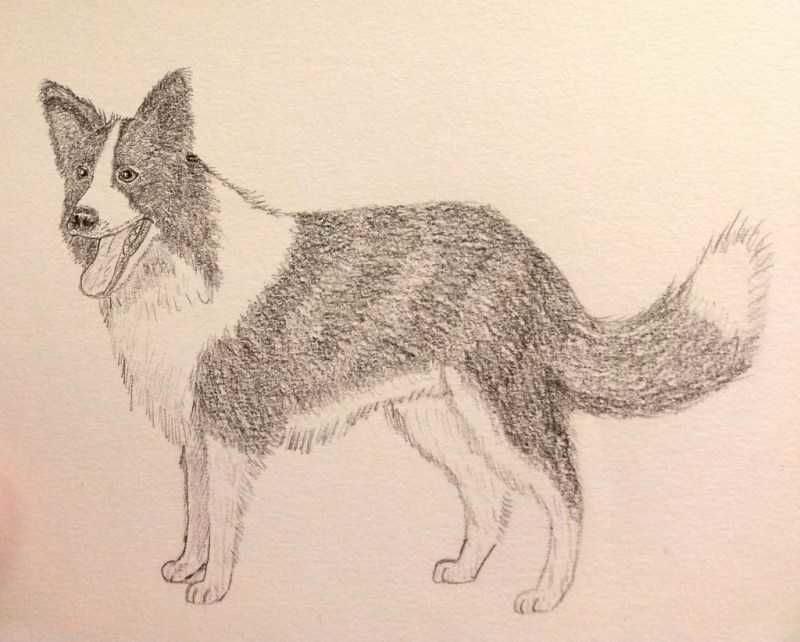
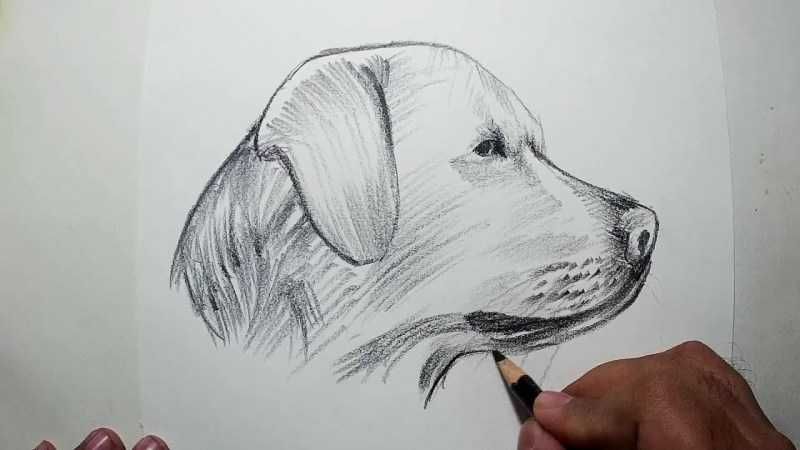
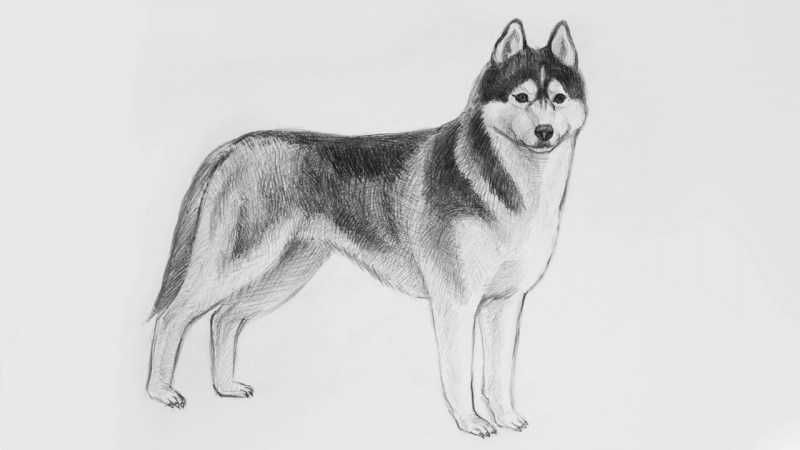
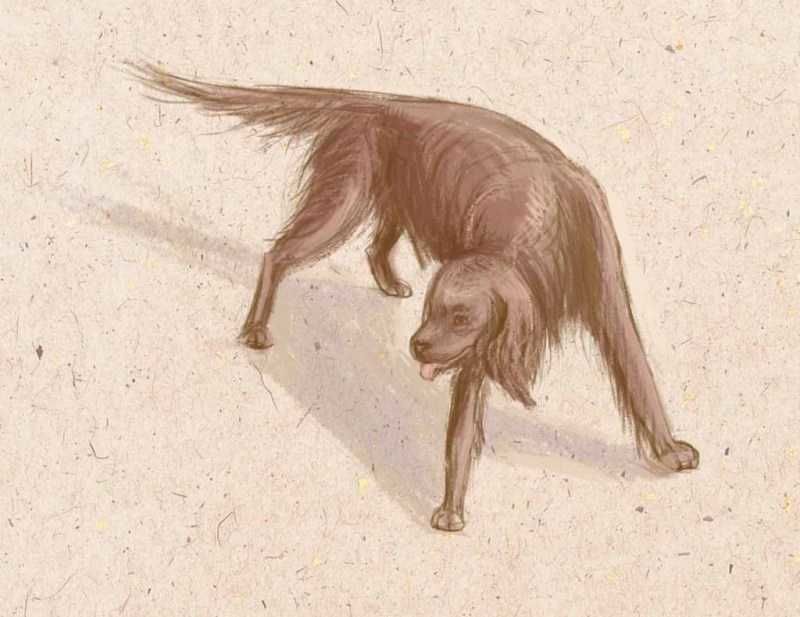
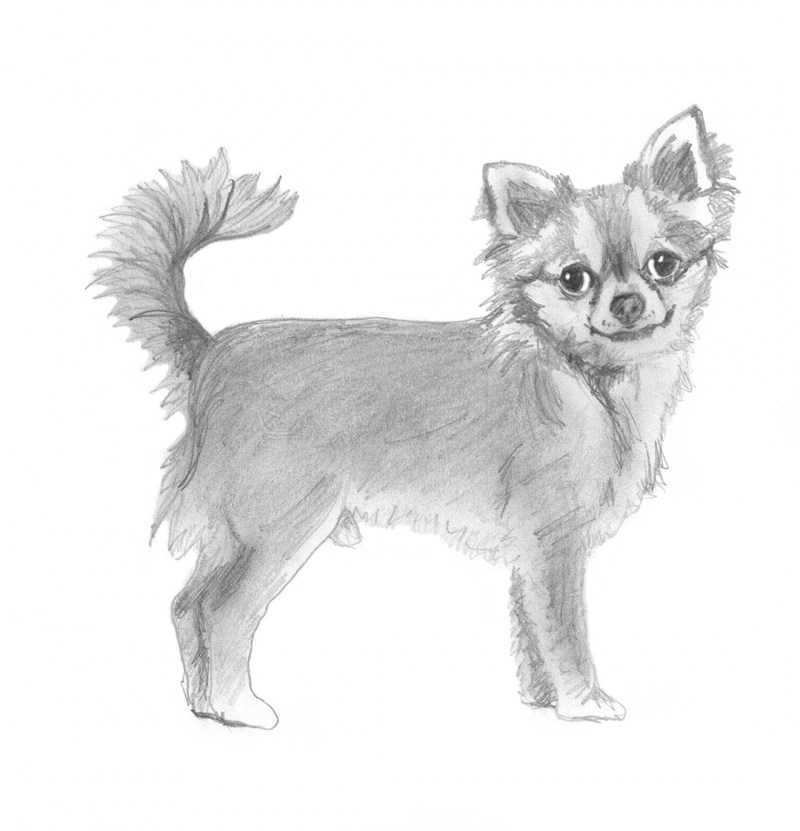
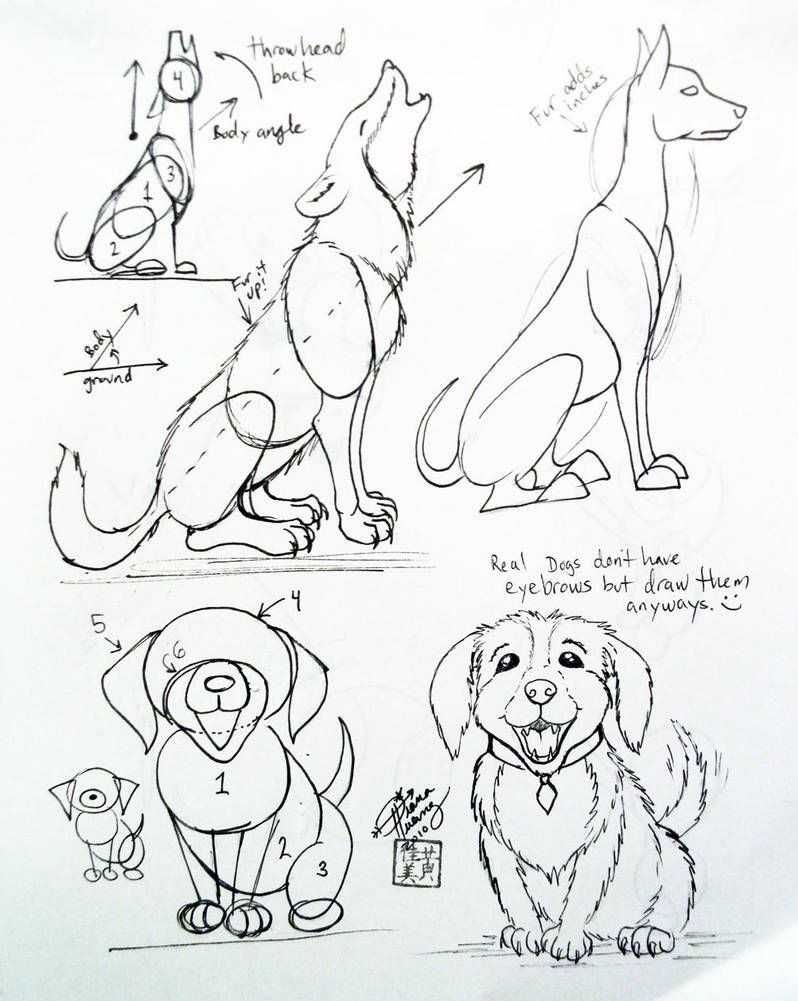
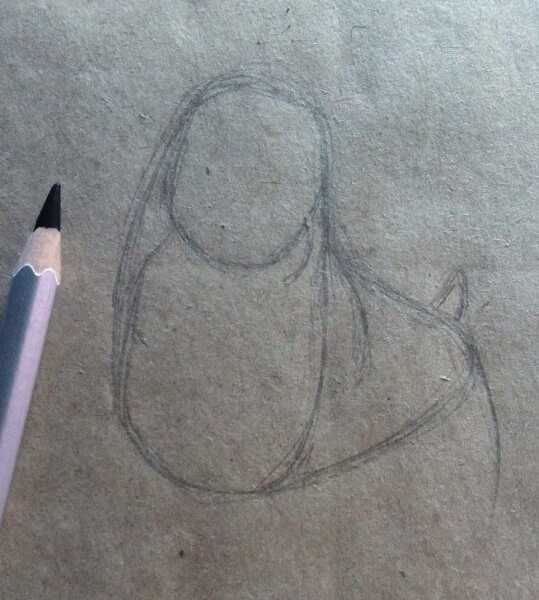
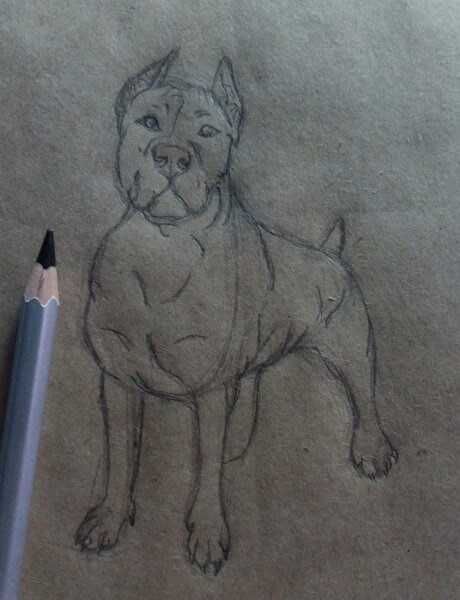
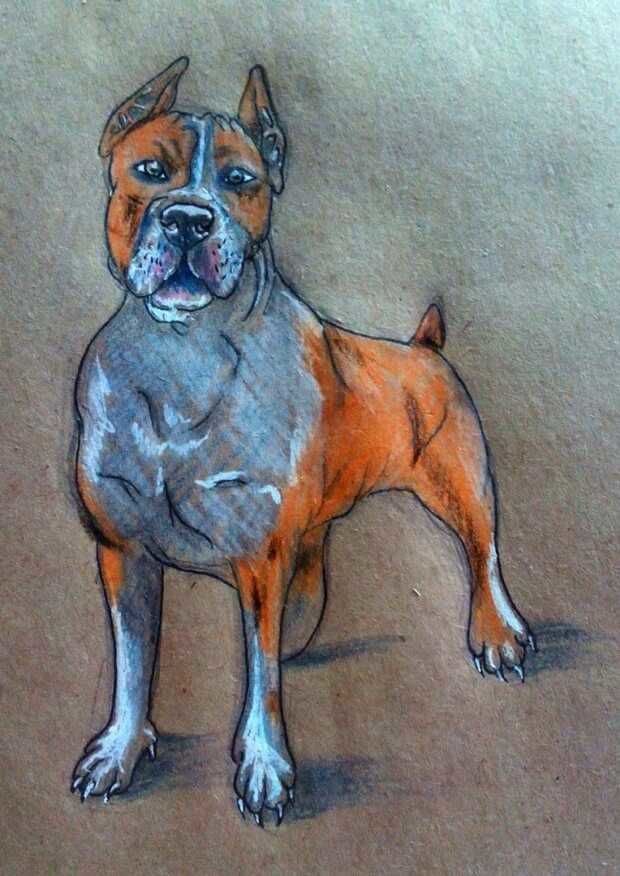
Sketch of a dog that stands
We learned how to depict a sitting dog, now it's time to try to depict a standing dog. A sheet of scrapbook paper and a simple pencil are used for the picture:
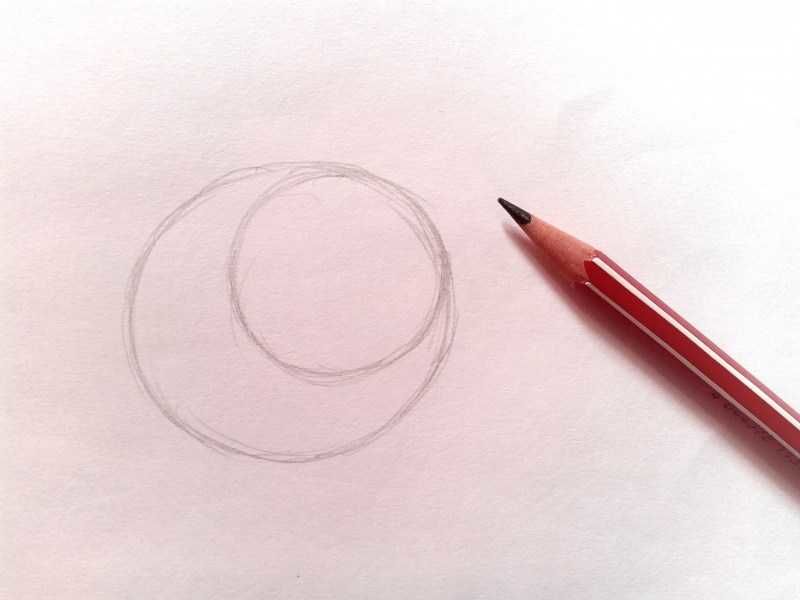
- First, let's draw two ovals that are horizontal and not too far apart from each other. One should depict a slightly larger size.
- Above the drawn figures to depict an oval a little smaller. This oval will serve as a sketch of the dog's head.
- Near the oval, made by step two to depict a smaller oval. This will be a sketch of the muzzle of the dog.
- Around the drawn ovals depict a sketch of the dog. The bottom of the sketch is located below the ovals.
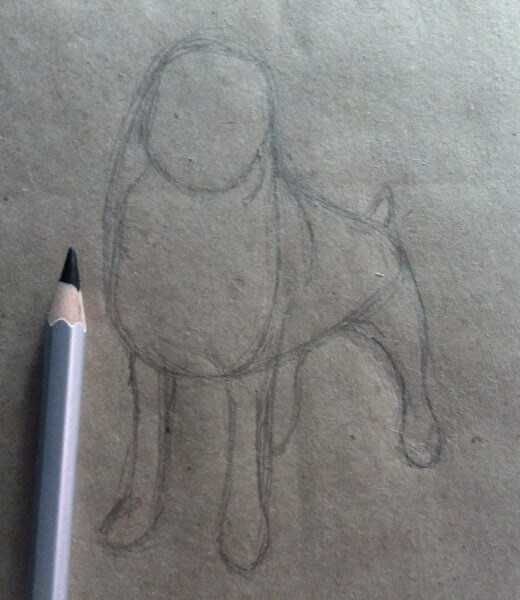
- Draw the top of the sketch, which is above the drawn ovals.
- To the resulting sketch of the body of the dog, finish sketching the legs.
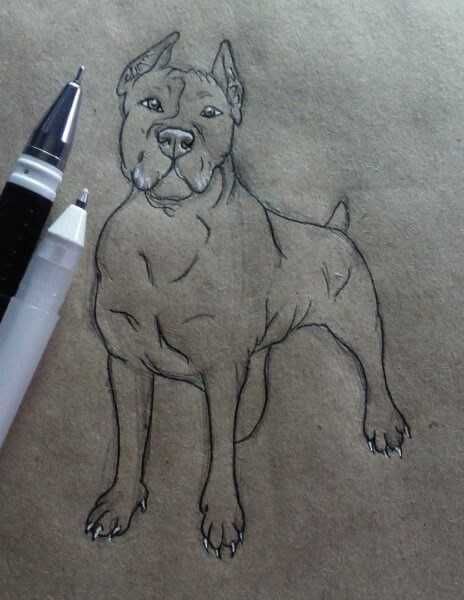
- Doris to the resulting sketch of the details of the picture.
- After that, remove unnecessary auxiliary lines. Here is a sketch of a dog that stands.
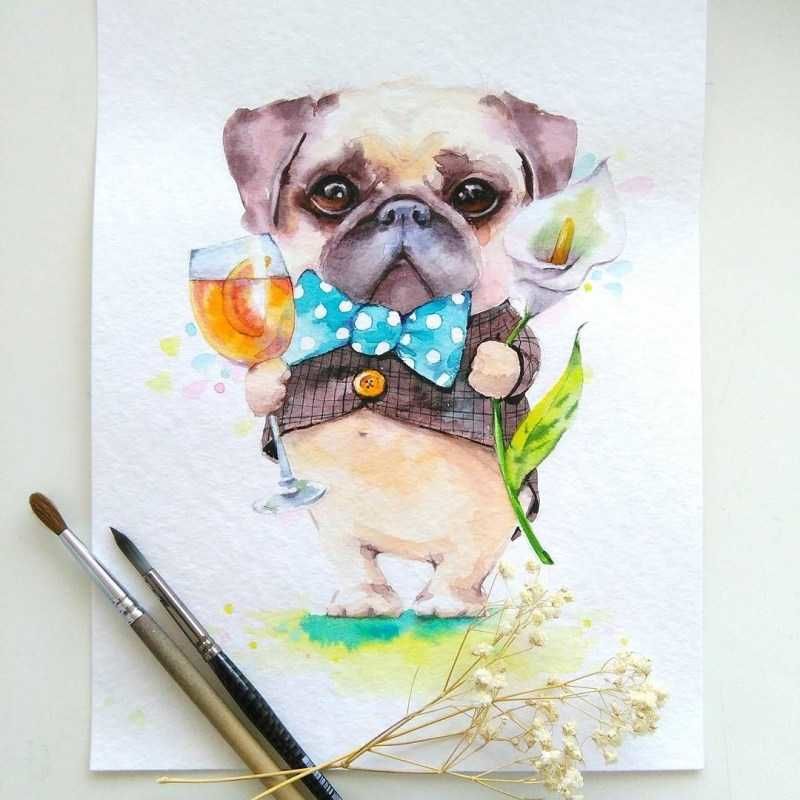
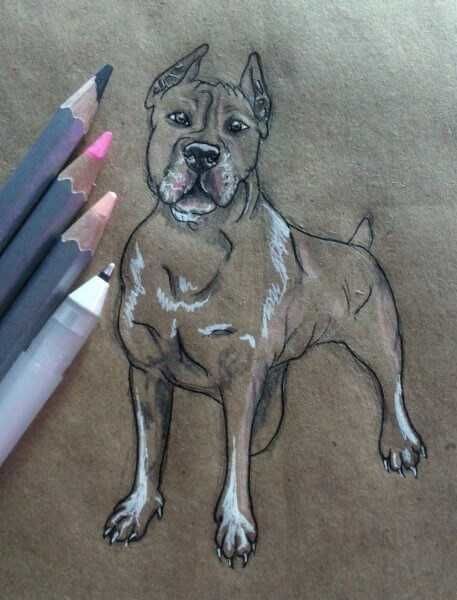
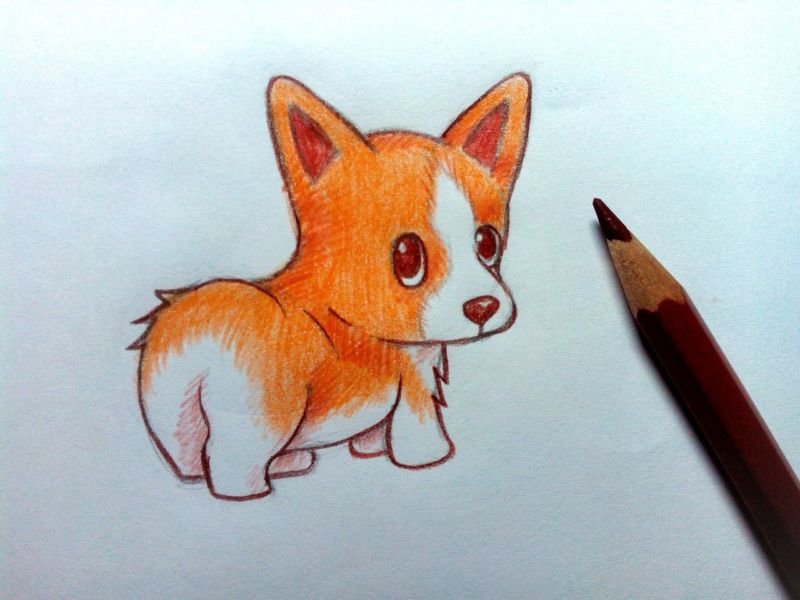
- If desired, color the resulting sketch. Observing the natural colors.
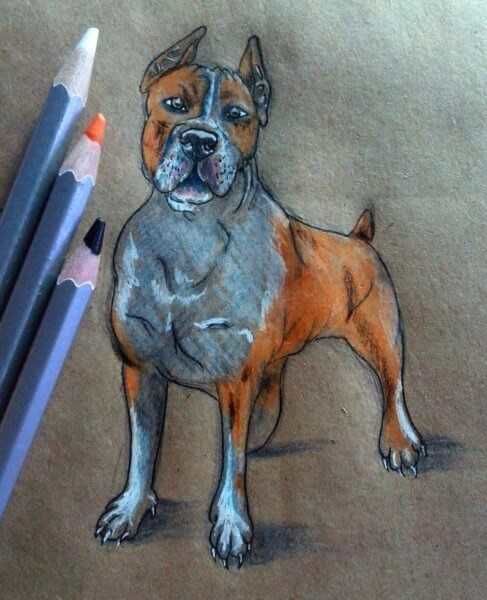
Following the above steps is a picture of a dog that stands.
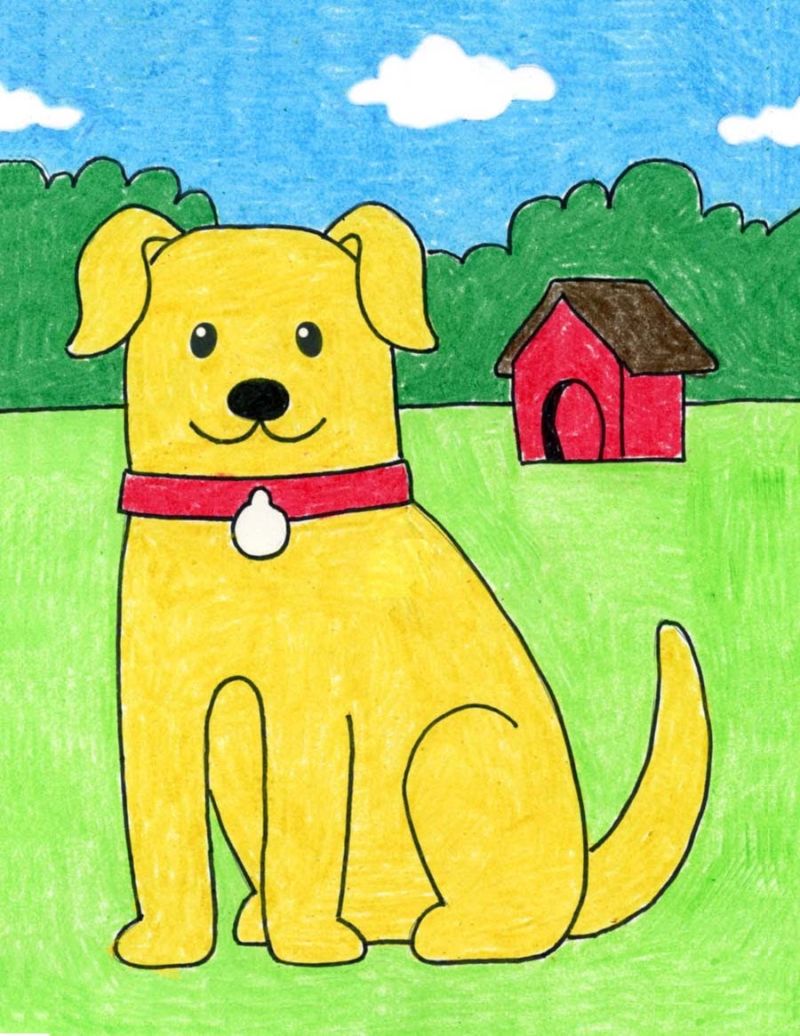
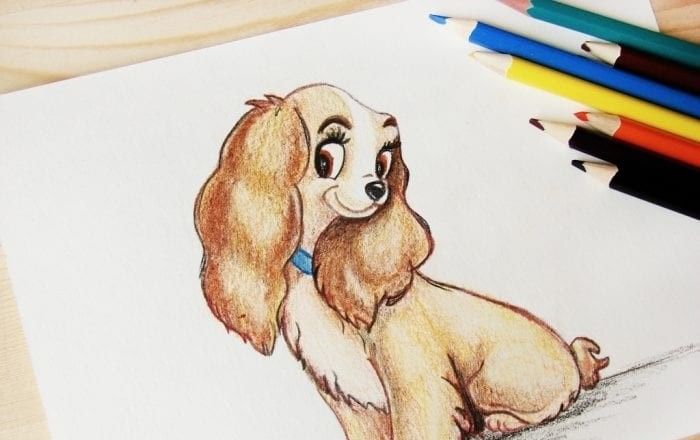
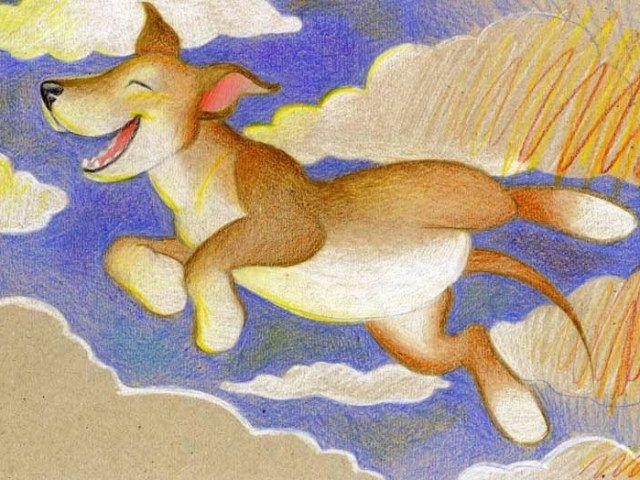
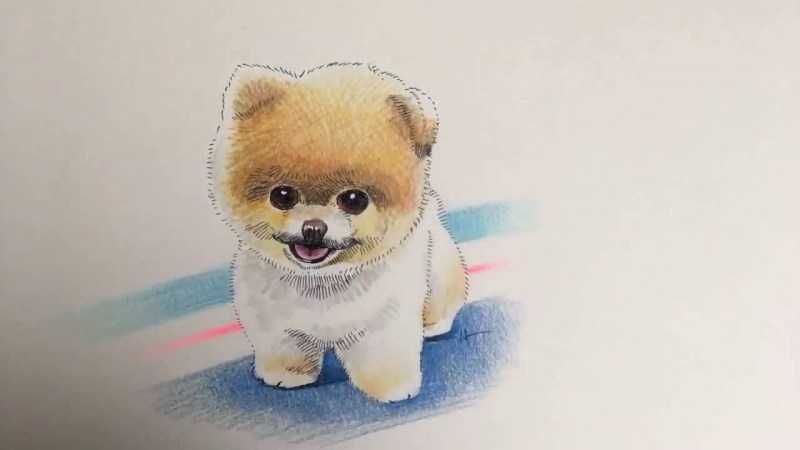
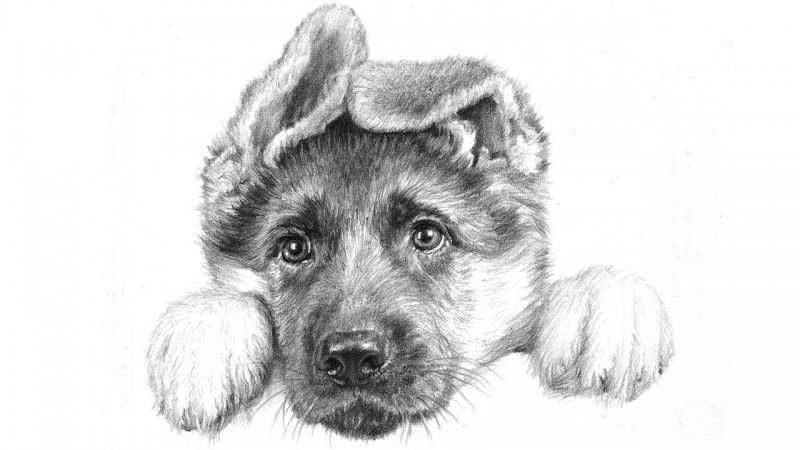
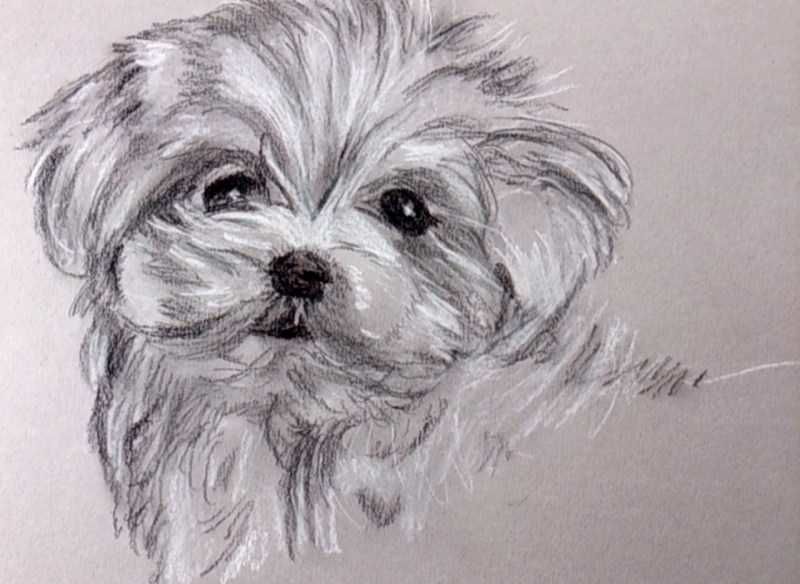
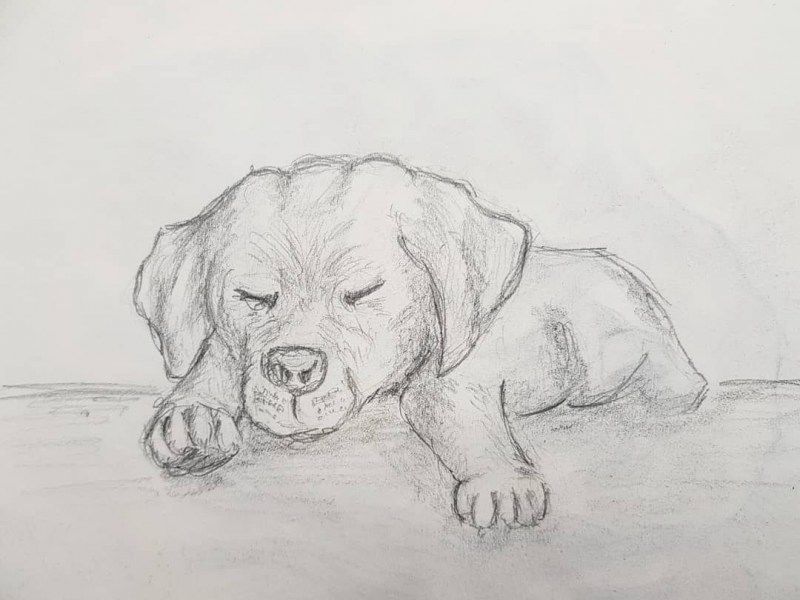
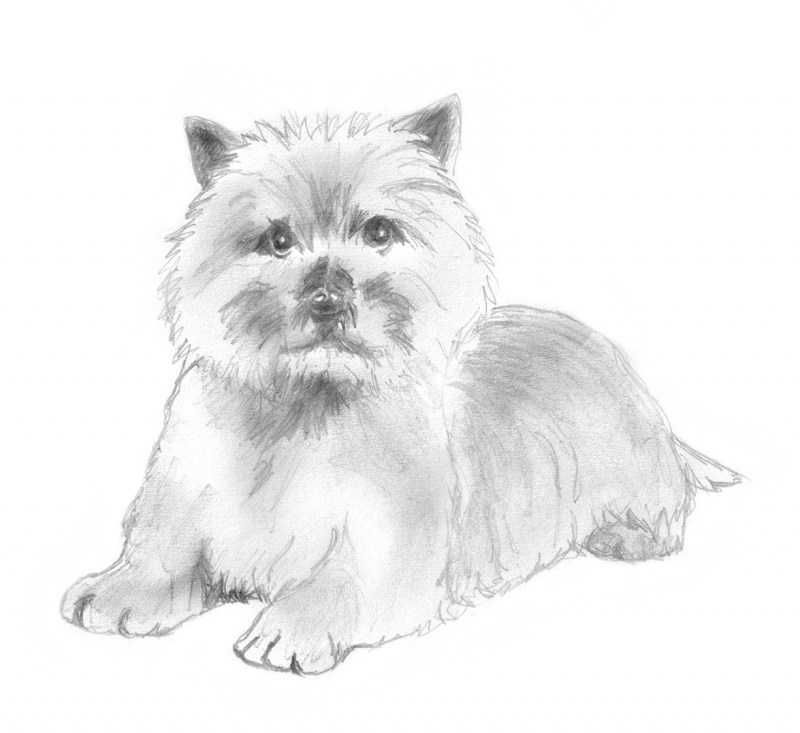
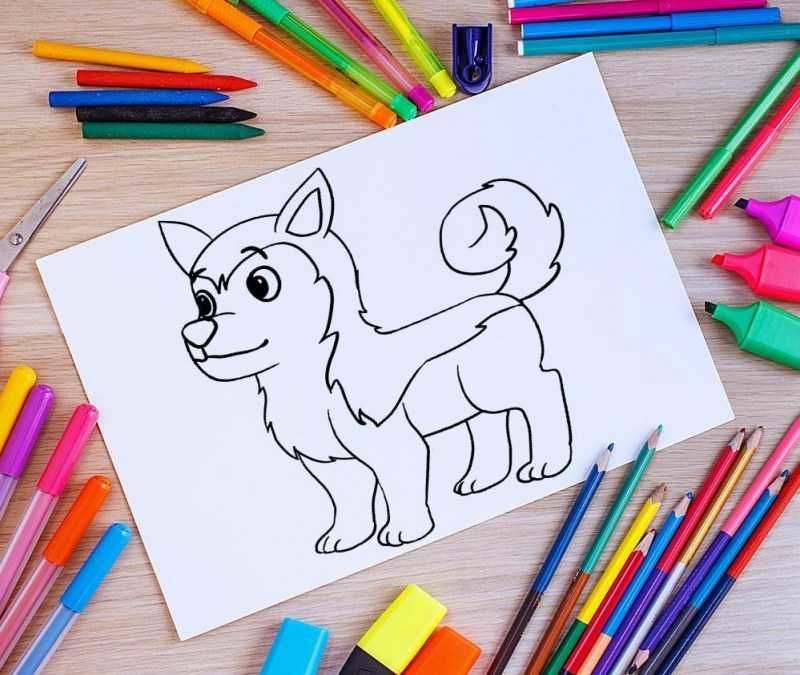
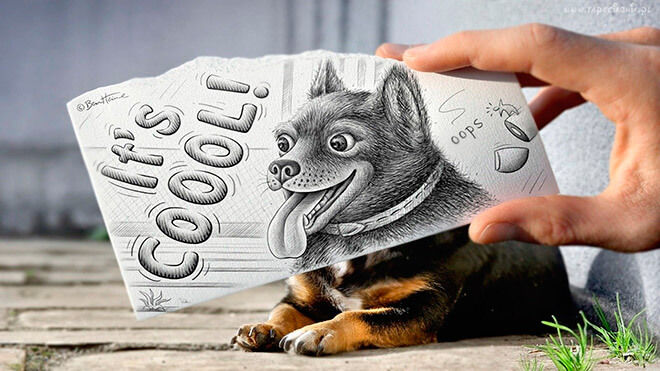
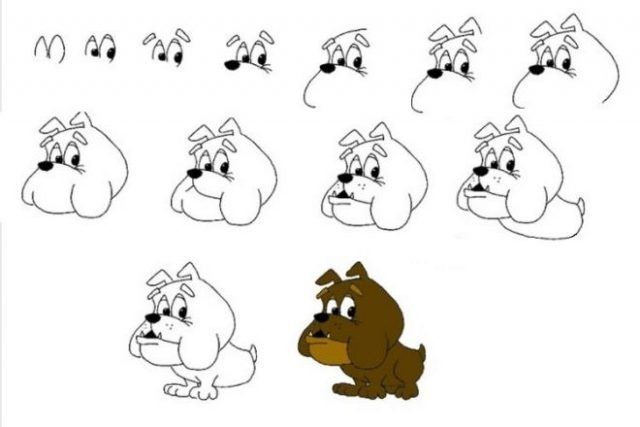
Sketch of a dog from a cartoon
So want to please children with funny pictures. Let's try to learn how to draw a puppy as they are depicted in cartoons. To do this, use a simple pencil and a sheet of graph paper.
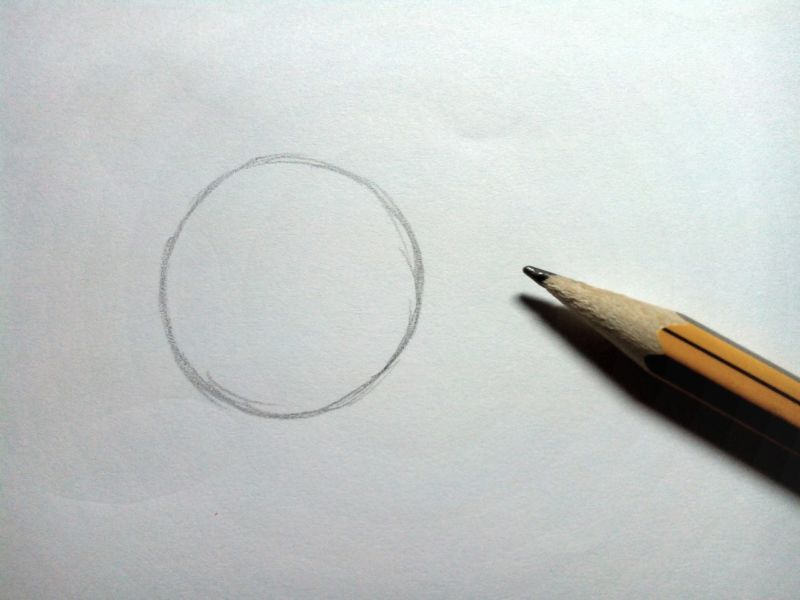
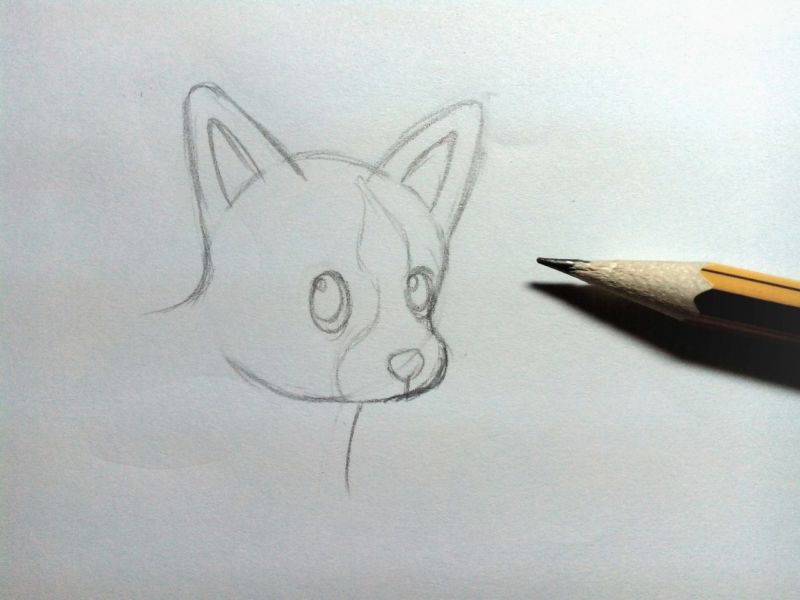
- Draw a circle. This is the future outline of the dog's head.
- Under the drawn circle depict an oval in a horizontal position, so that it partially overlapped the circle depicted in the first step. This is the sketch of the muzzle.
- Inside the circle depict two smaller ovals. This is how we show the sketches of the eyes.
- Inside the ovals drawn in step three, draw two more smaller ovals. This is how we will show the pupils.
- Inside of the oval, drawn in the second step, depict a circle of small size. This way we will show the nose of the puppy.
- Now depict the two curves bent upwards, resembling the letter of the English alphabet W.
- After that depict another curve underneath the two you drew in step six. Thus turned out the mouth of a puppy.
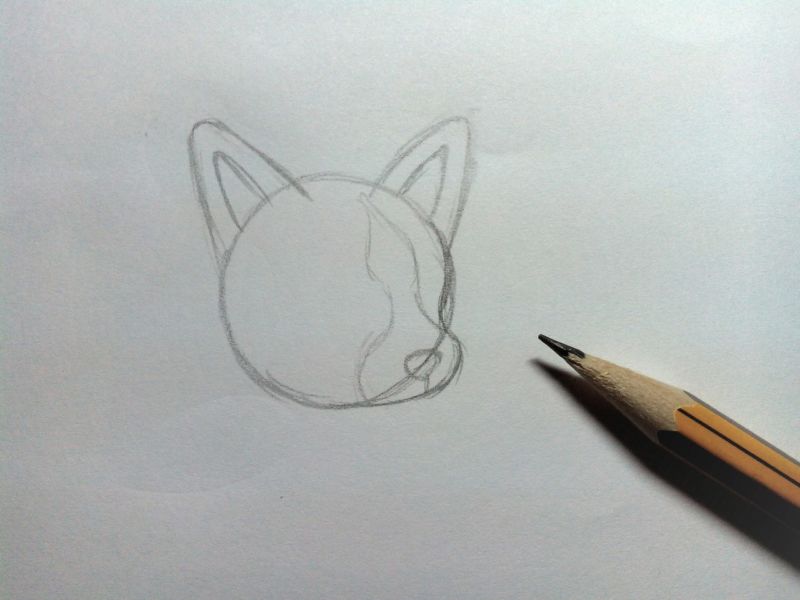
- Applying a few curved lines, to portray the ear of a puppy. Try to depict an ear that extends beyond the outline of the circle depicted in step one.
- On the opposite side, depict the second ear.
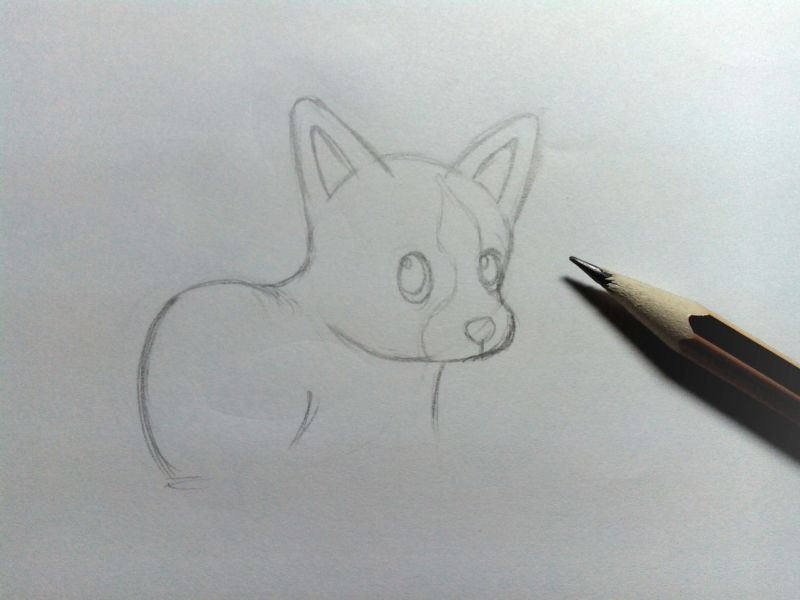
- Under the oval drawn in the second step, draw a horizontal rectangle so that it does not strongly cross the previously made oval.
- Under the drawn rectangle depict a square whose sides will be curved outward. So that the square partially overlapped the resulting rectangle.
- Under the drawn square draw another large square with curved sides outward. So that the square partially overlapped, made on the eleventh step square.
- Just below the square draw a complex figure, which will be the sketch of the back of a puppy.
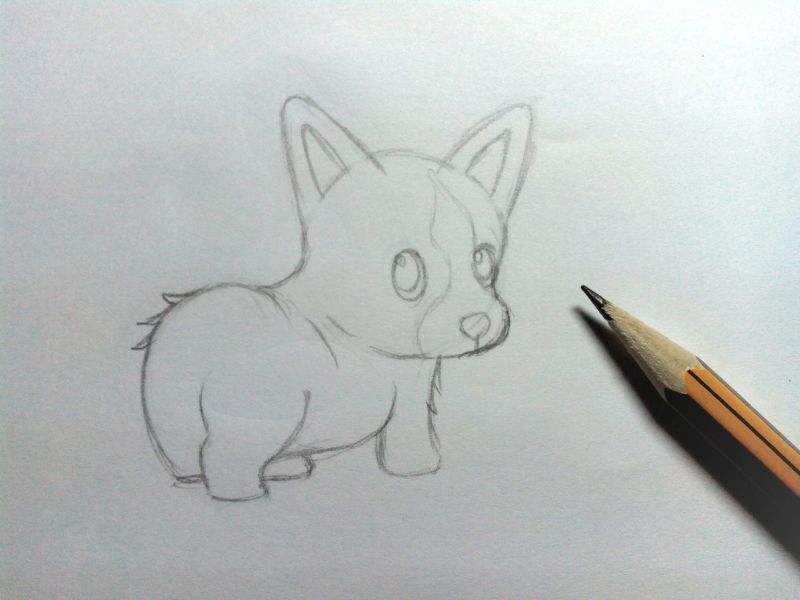
- Under the figure, draw an oval in a horizontal position, which will be the sketch of the puppy's hind paw.
- From the square drawn in step 11, draw down two curved curves. At the bottom, combine them with a straight line. This will be the sketch of the puppy's front paw.
- Below the front paw, draw an oval in a horizontal position. This will be the toes of the puppy's paw.
- Using steps number fifteen and sixteen draw another paw.
- From the figure shown in step fourteen, draw a curved line upwards. This will be a sketch of the tail of the puppy.
- On the resulting sketch, finish drawing the missing parts of the nose, pupils, tongue.
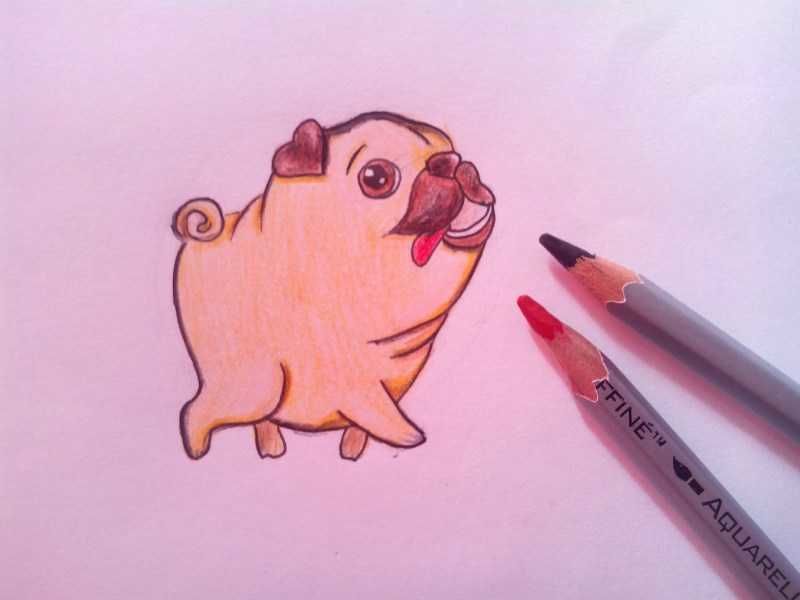
- Erasing all unnecessary contours you will get a ready picture of a puppy. It remains only to paint it.
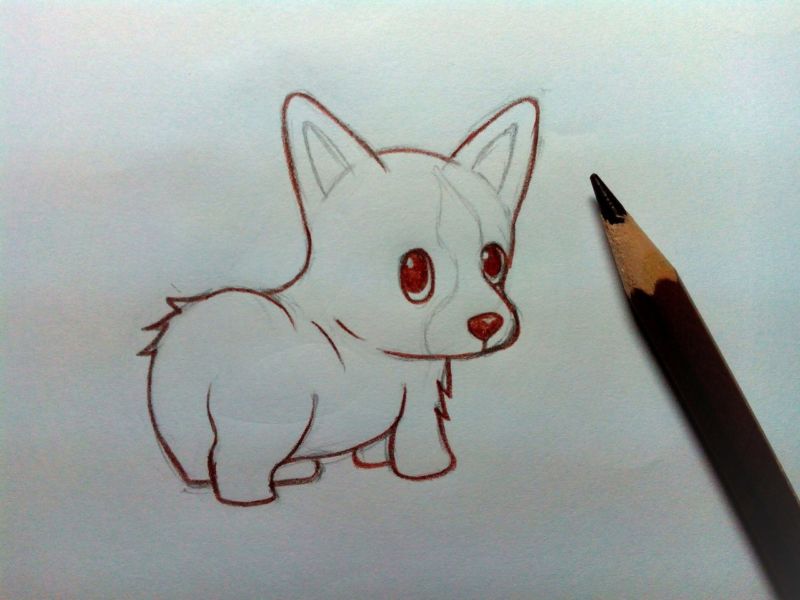
Having drawn a puppy with such an easy and simple method you can get thanks from children.
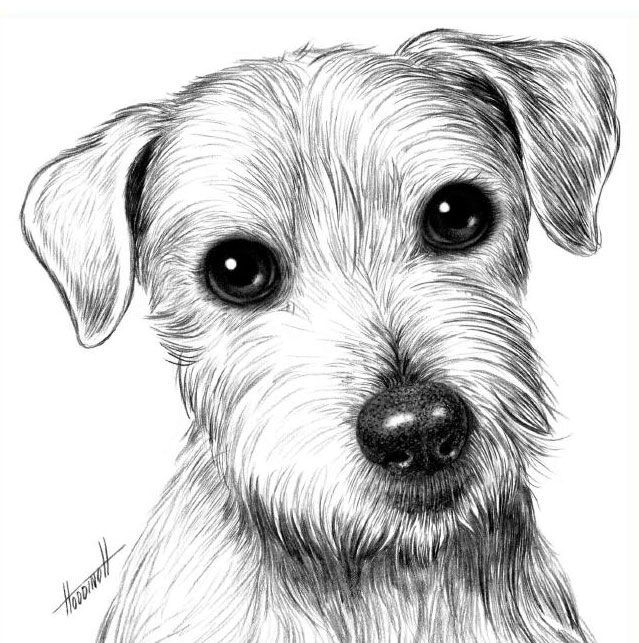
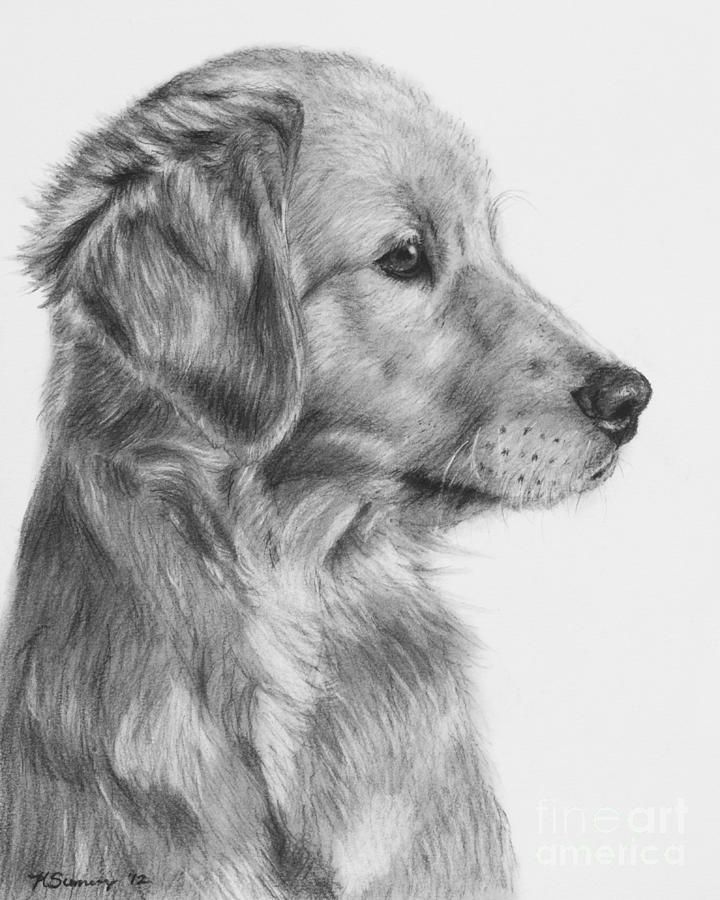
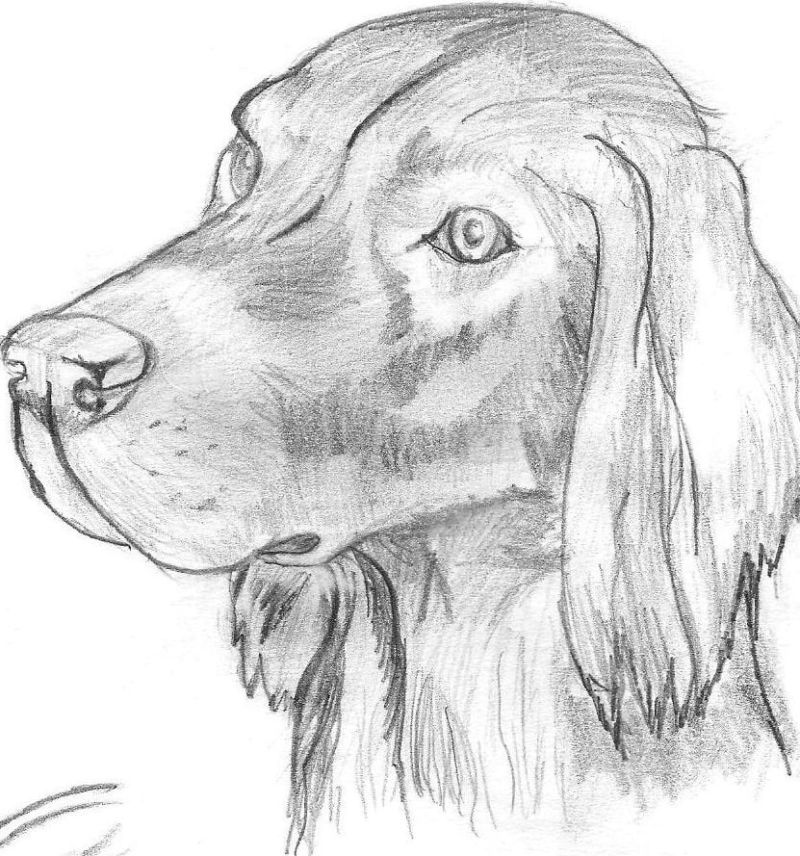
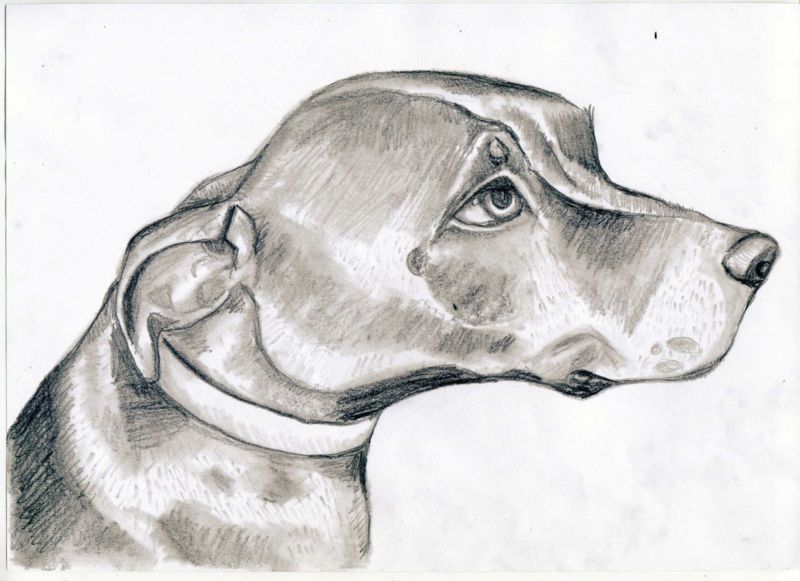
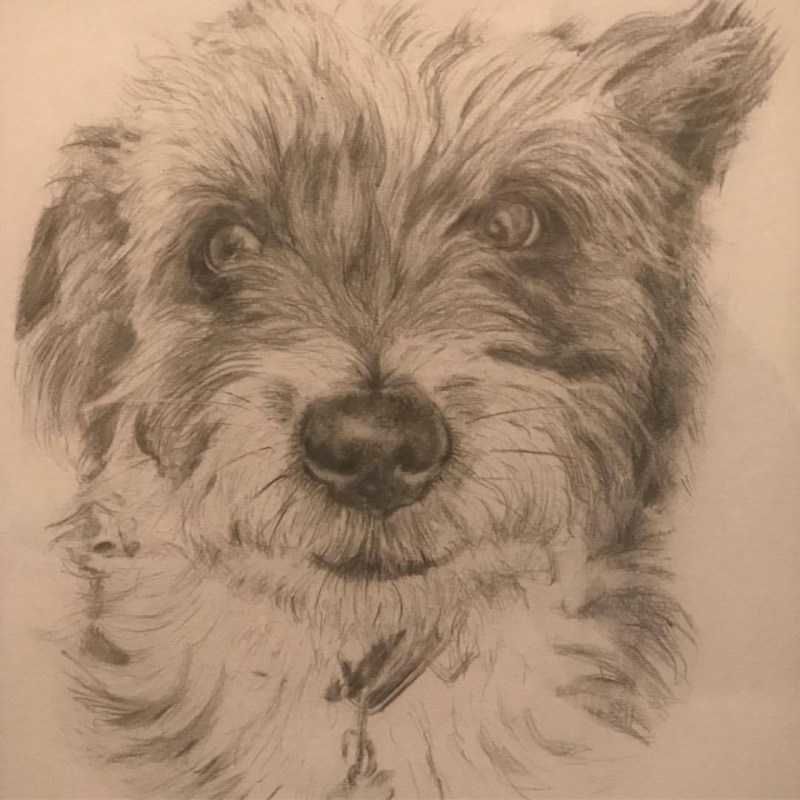
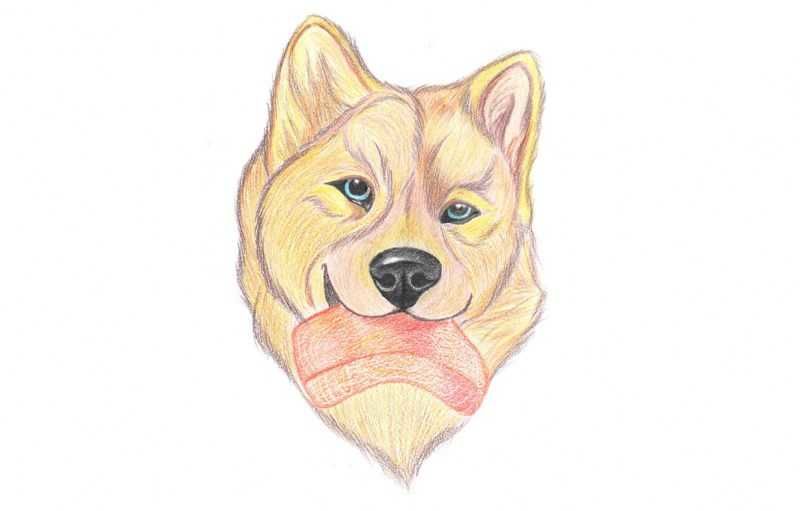
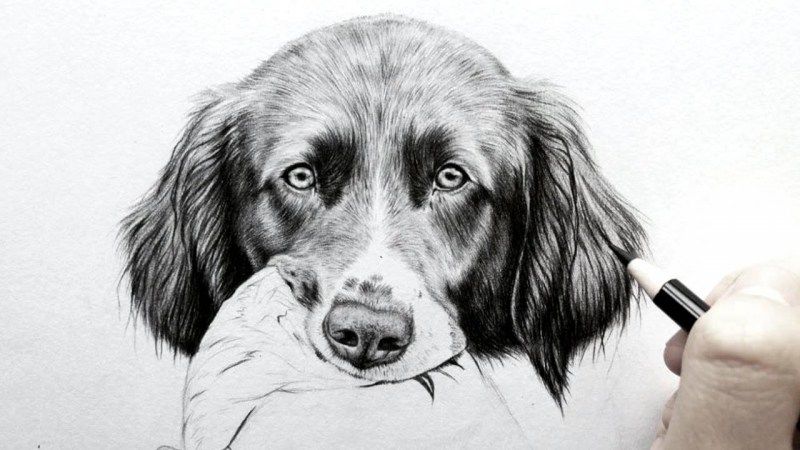
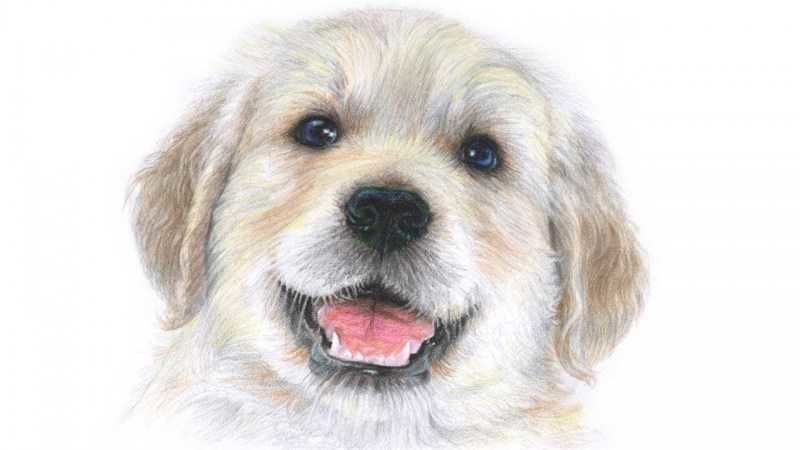
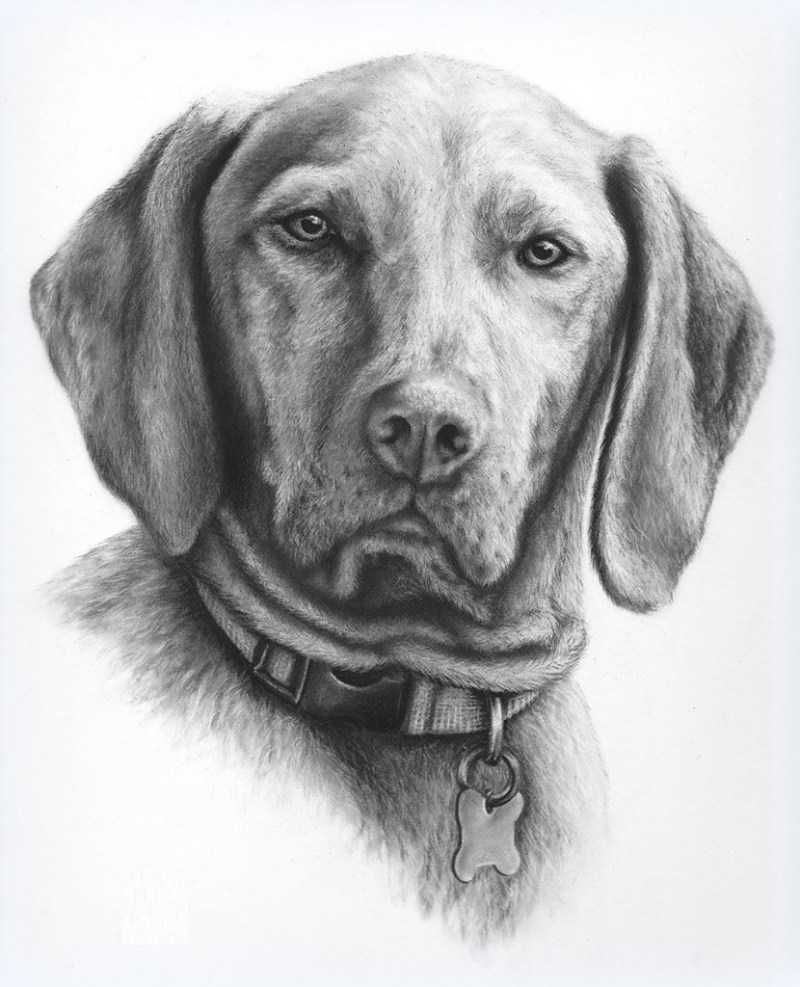
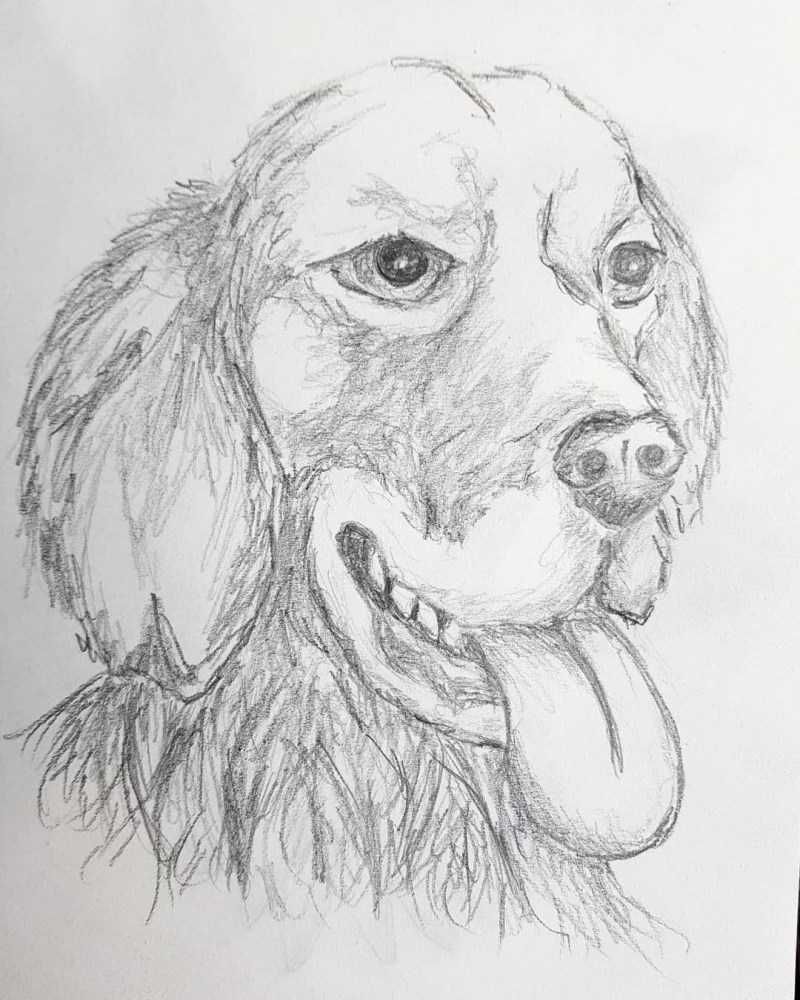
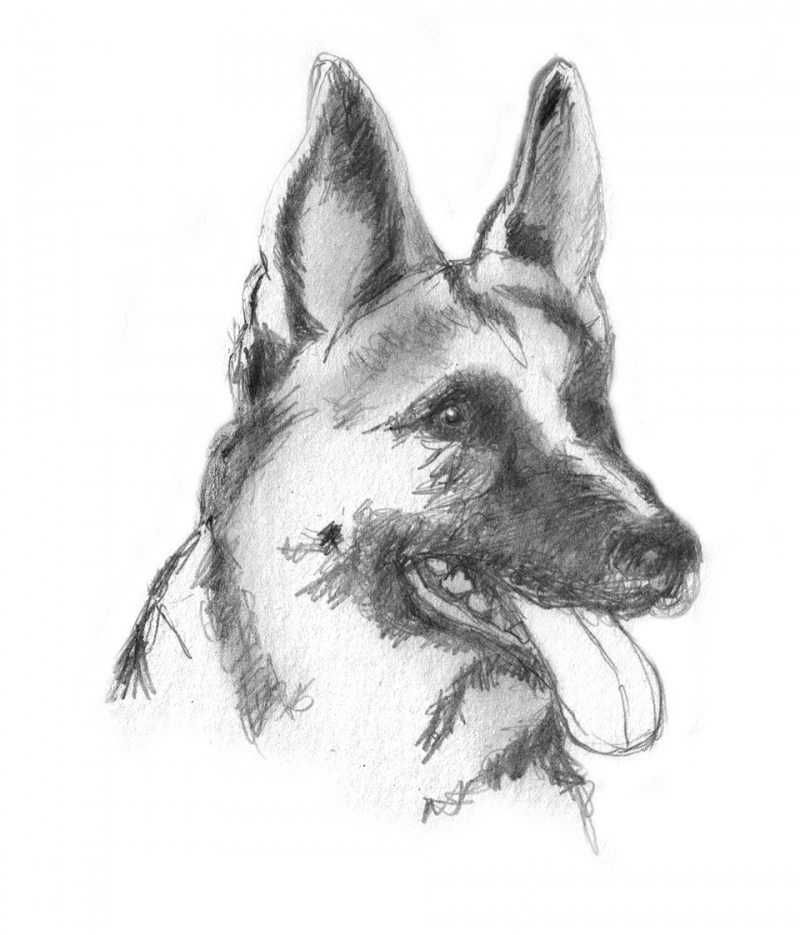
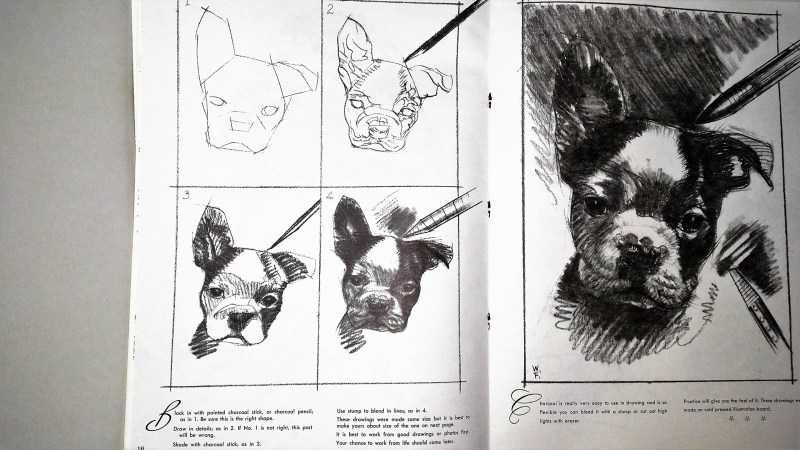
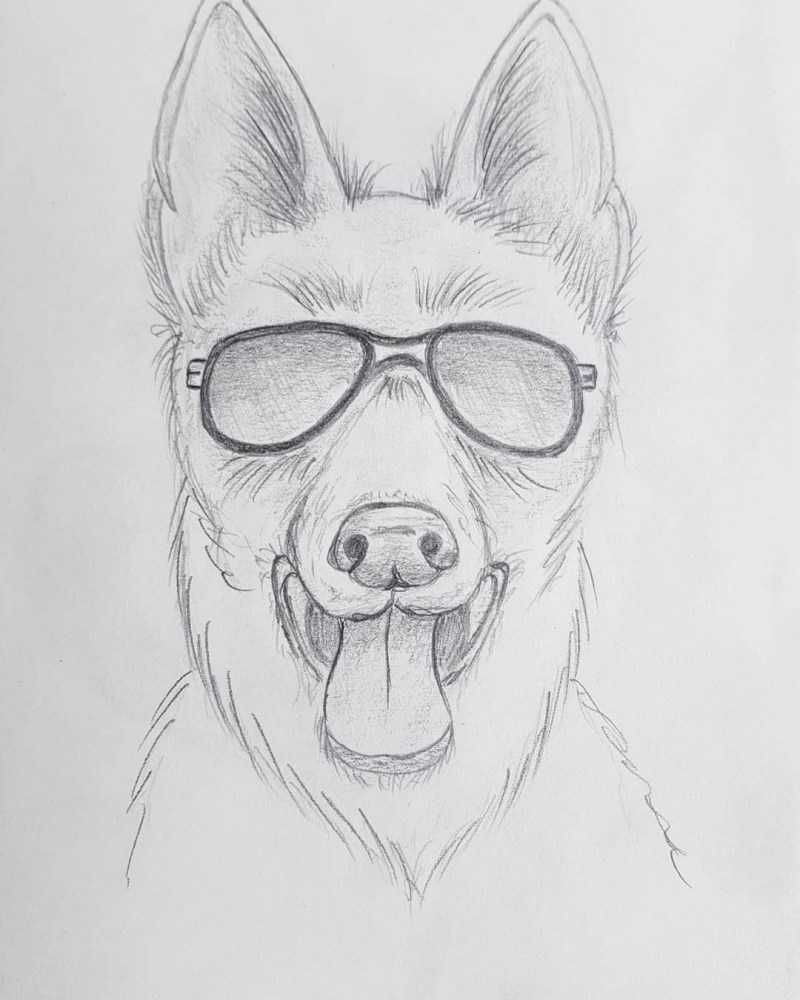
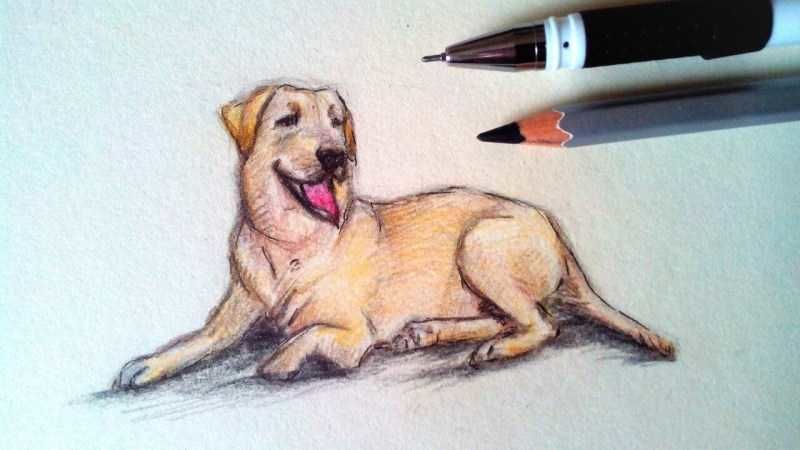
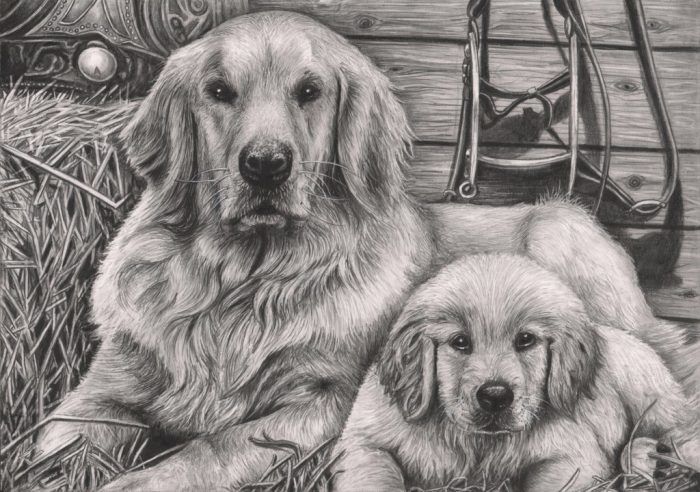
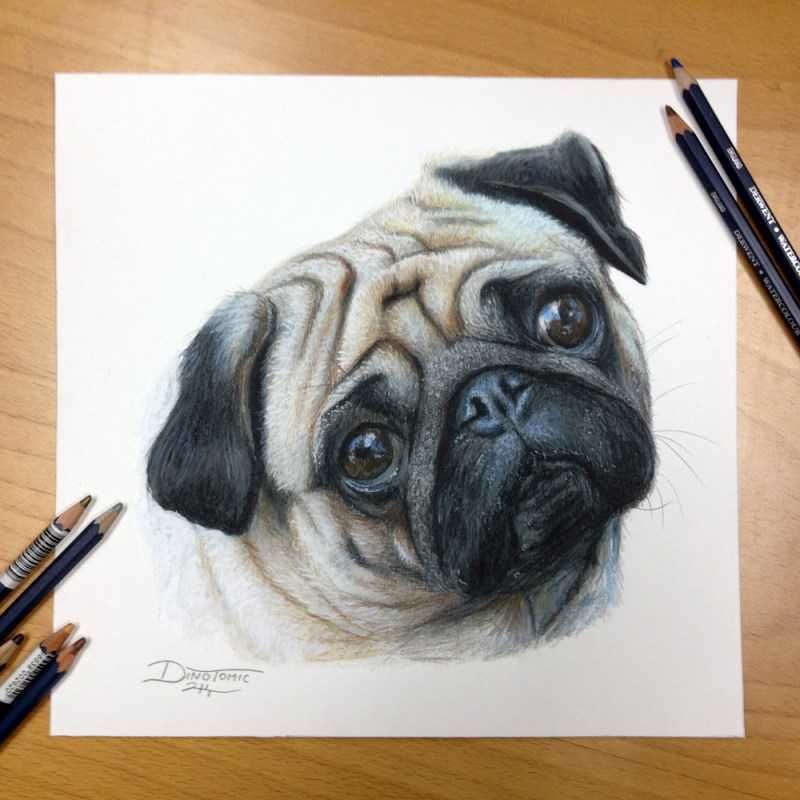
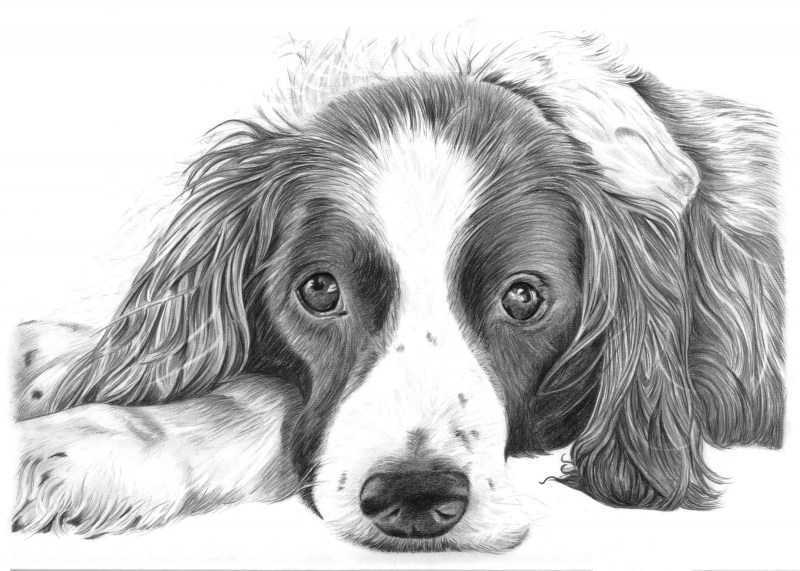
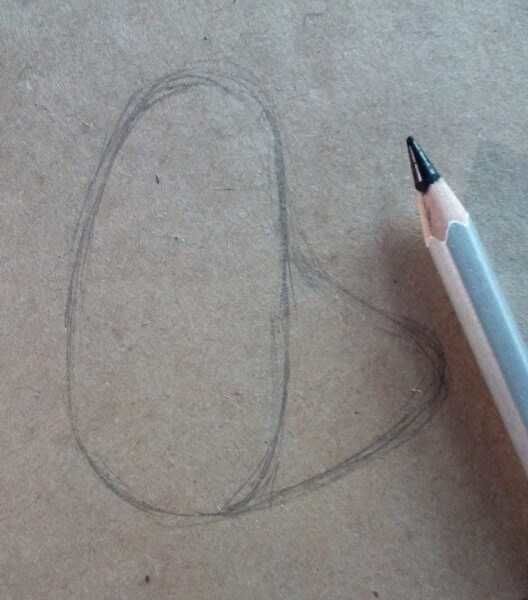
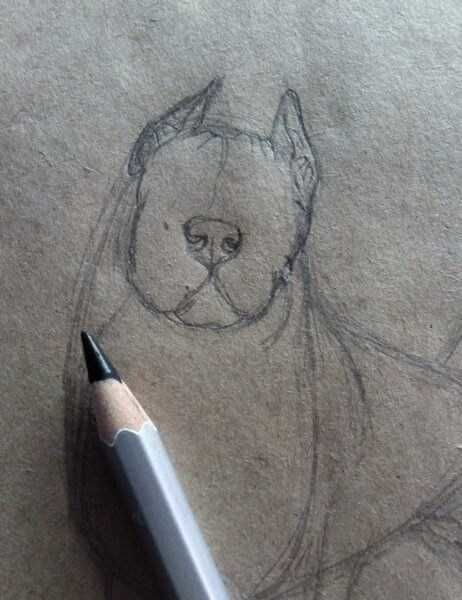
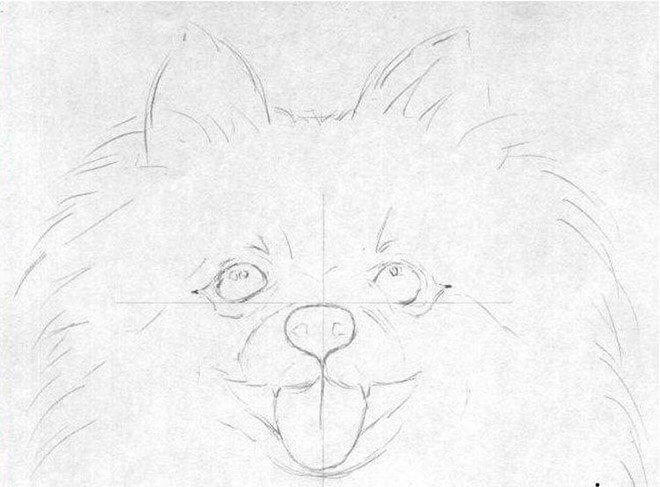
Sketch of a Labrador dog's muzzle
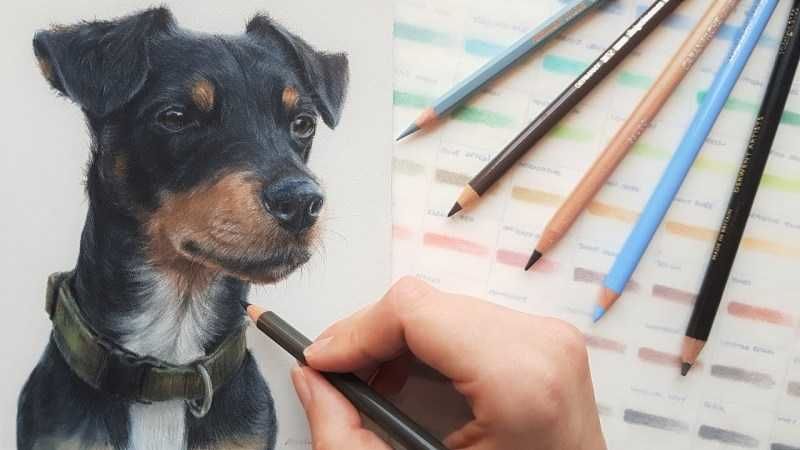
The children are happy. Let's try to draw a drawing of a realistic dog face in pencil:
- First, draw a circle. This will be the outline of the head.
- Inside the drawn circle slightly above the center, draw a curved curve.
- From the center of the curved curve draw a vertical curved line.
- Just below the curved lines, draw a circle of smaller diameter, so that it extends slightly beyond the large circle.
- To the upper right of the large circle, draw a vertical line downward.
- To the right of the vertical line, draw a sloping line that extends beyond the large circle.
- Draw an oblique line that connects the two straight lines drawn in the previous two steps. This will be the right ear.
- To the left of the large circle draw a sloping line.
- Connect the previous slanting line and a small circle. This will be the left ear.
- Under painted left and right ear curved lines depict the contour of the neck.
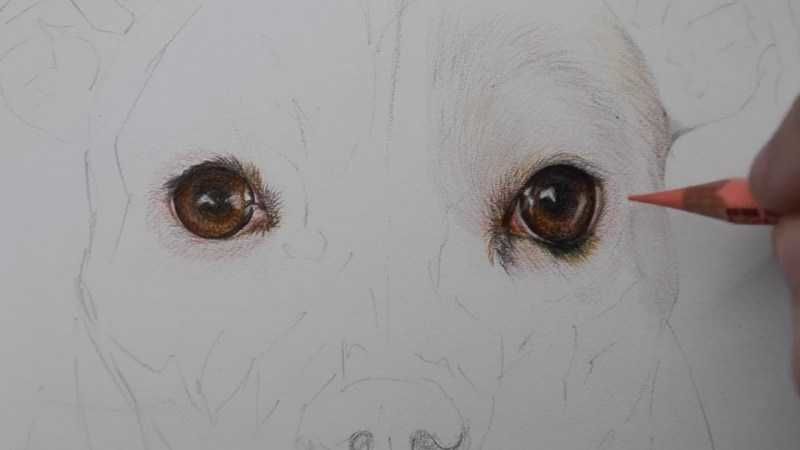
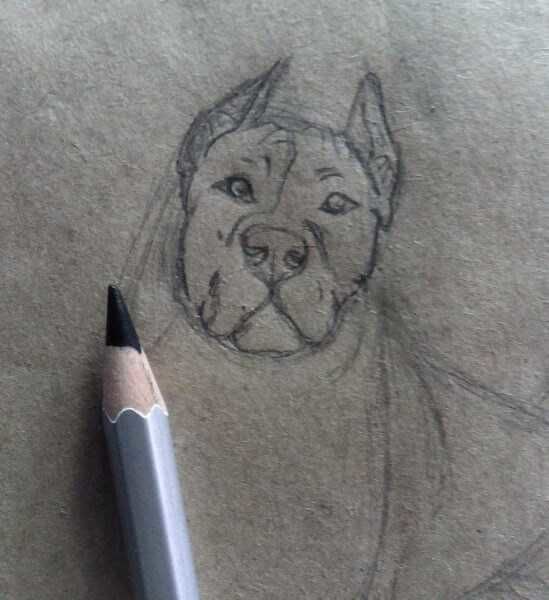
- Just above the curved curve, made in the second step, draw two small circles slightly elongated at the edges. These will be the eyes of the dog.
- Above the eyes repeat the outline of the eyes broken lines.
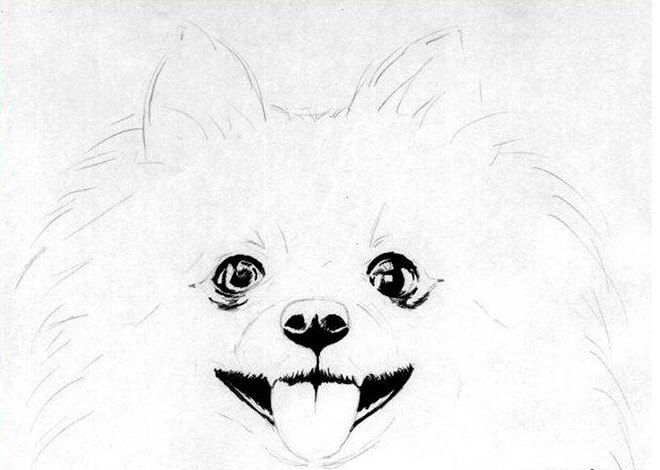
- Inside the painted eyes with small circles draw the pupils and paint over them.
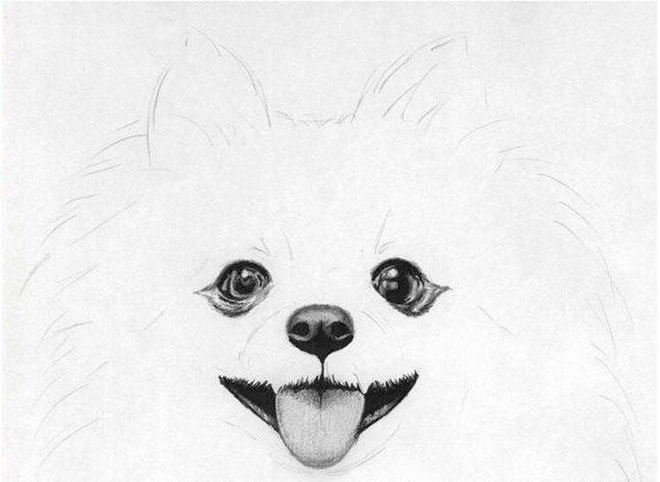
- Above the painted eyes with broken lines depict eyebrows.
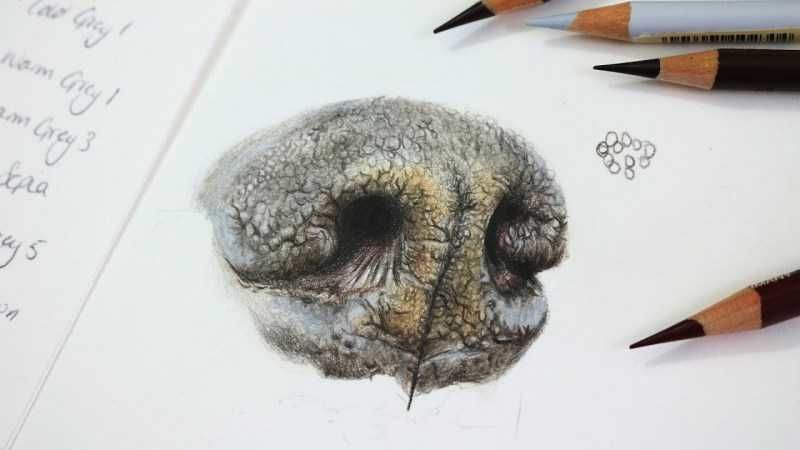
- Inside the small circle drawn in step 4, draw a horizontal oval. This will be the nose.
- Draw nostrils along the edges and inside the oval.
- Between the drawn nostrils draw a vertical curved line.
- Slightly extend the line drawn outside the nose.
- From the resulting straight line, draw a smooth curved curves that will form the mouth and lips.
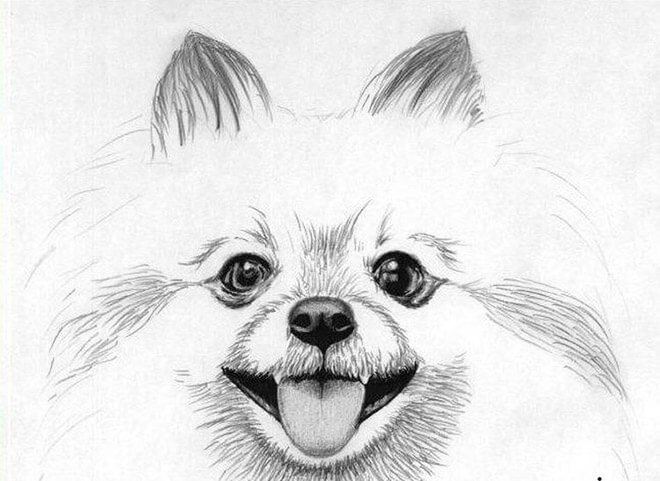
- Interrupted lines around the head and ears mark the hair.
- Erase all unnecessary contours.

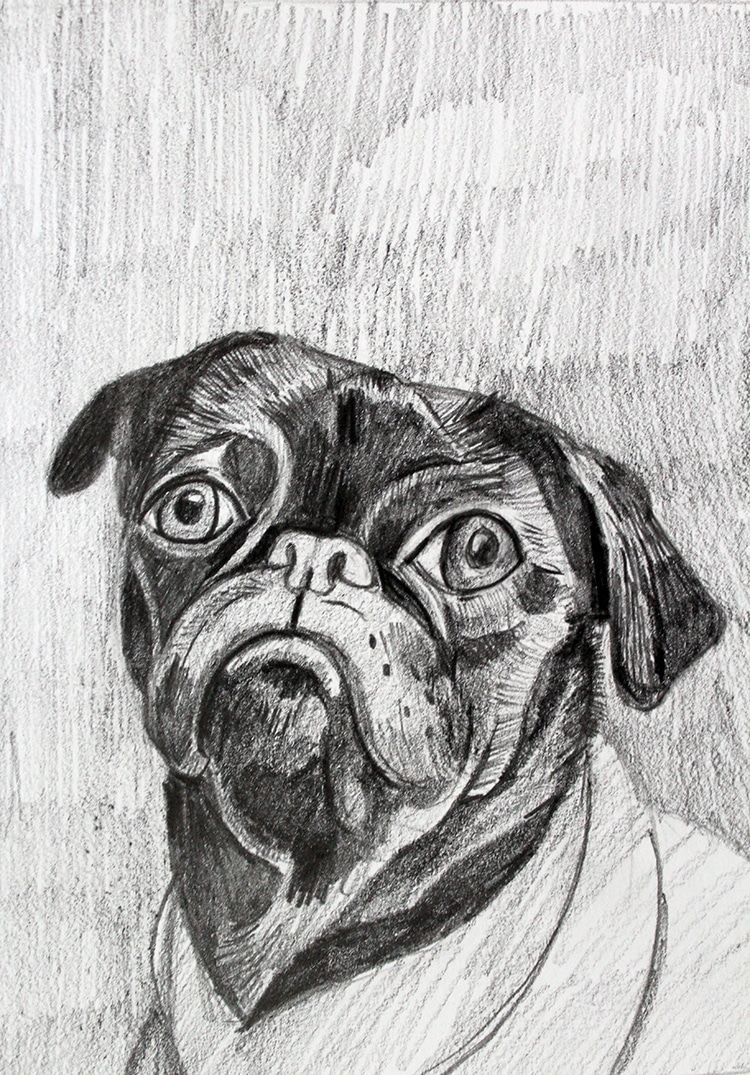
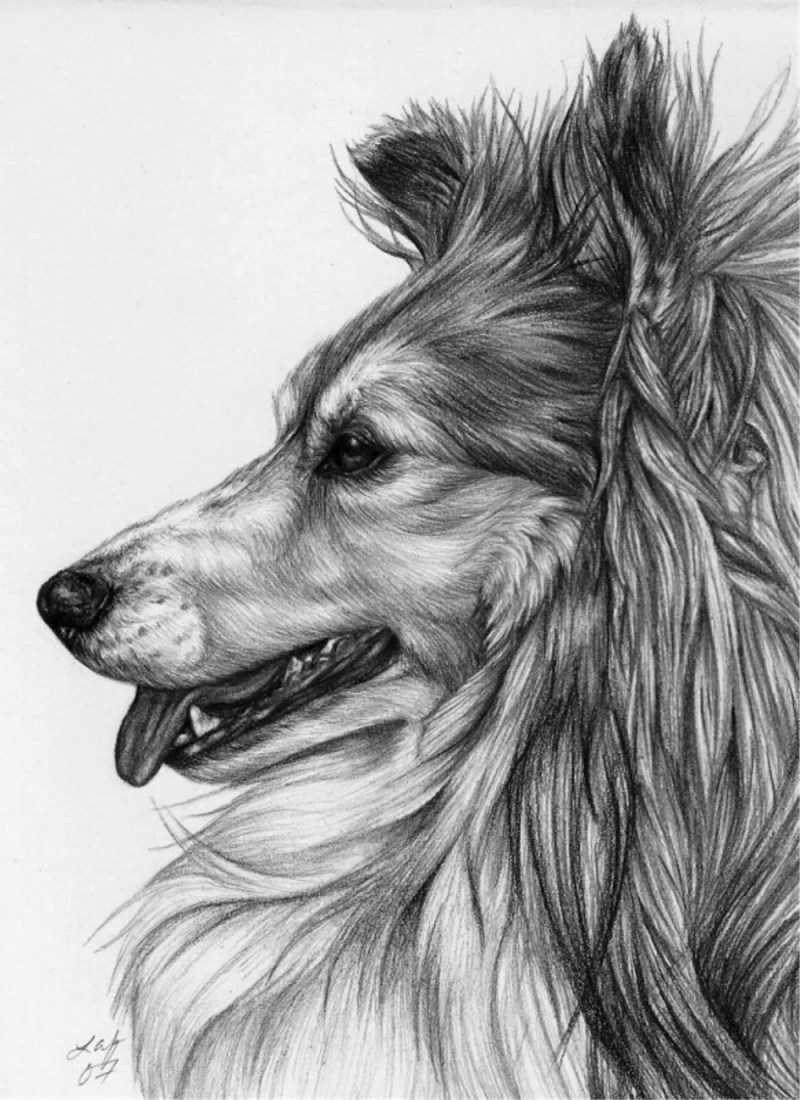
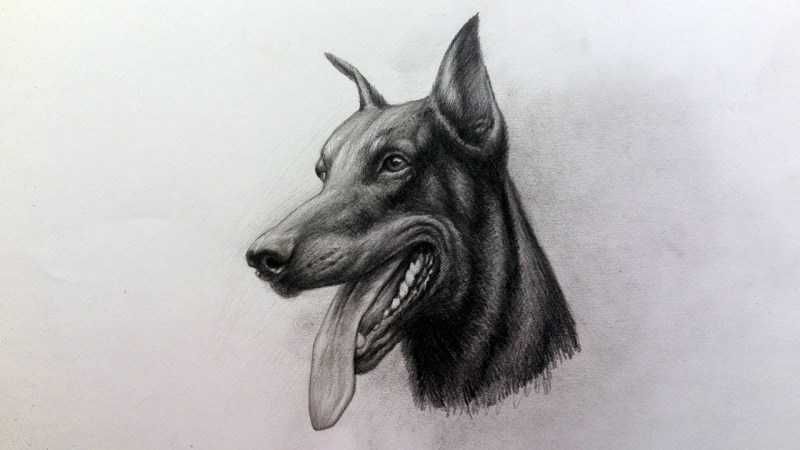
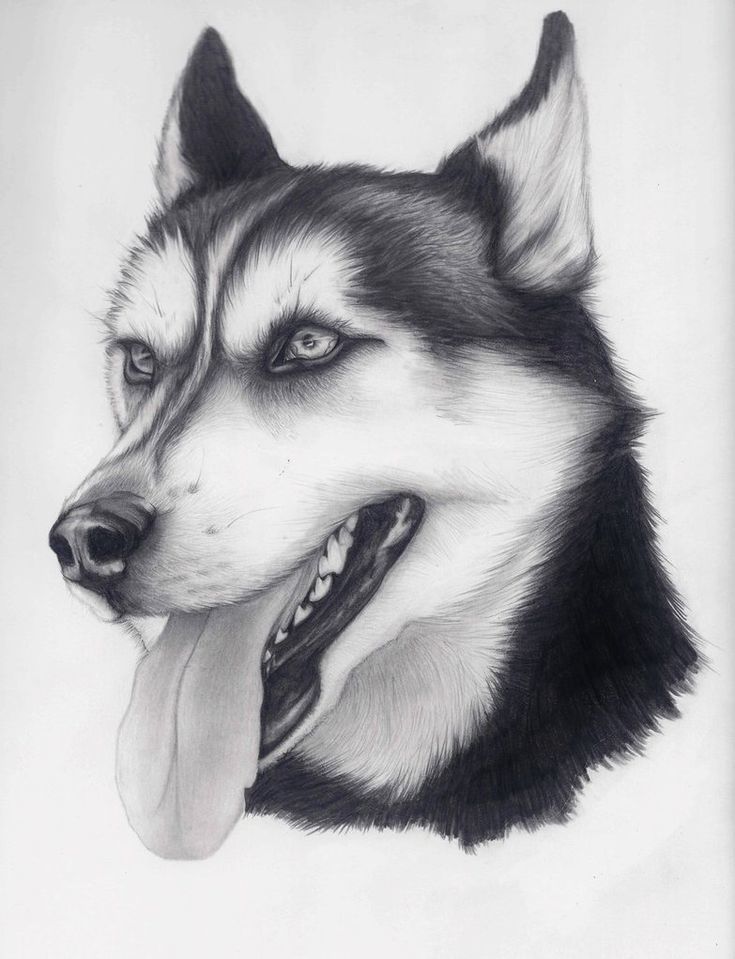
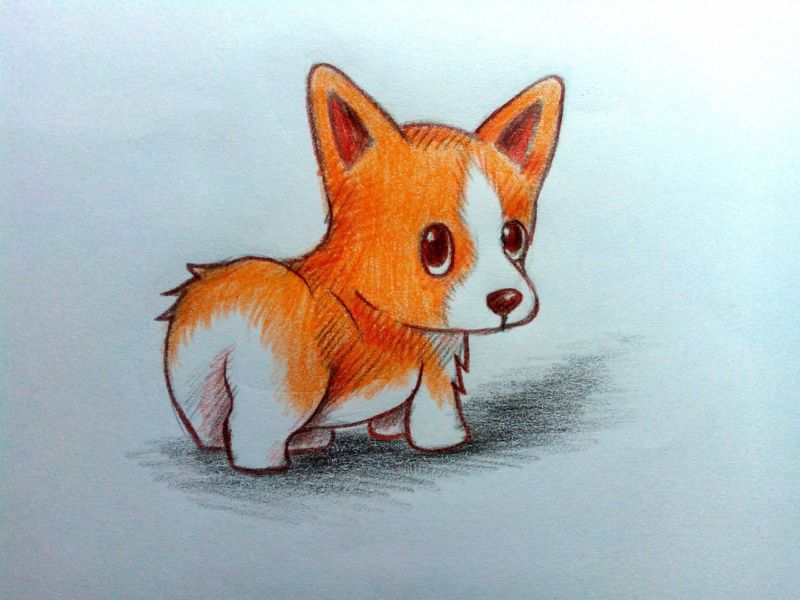
Applying the above methods of step-by-step drawing of dogs, you can please and surprise your loved ones with your own handmade paintings. Or just please a child with a fun picture of a dog or puppy.
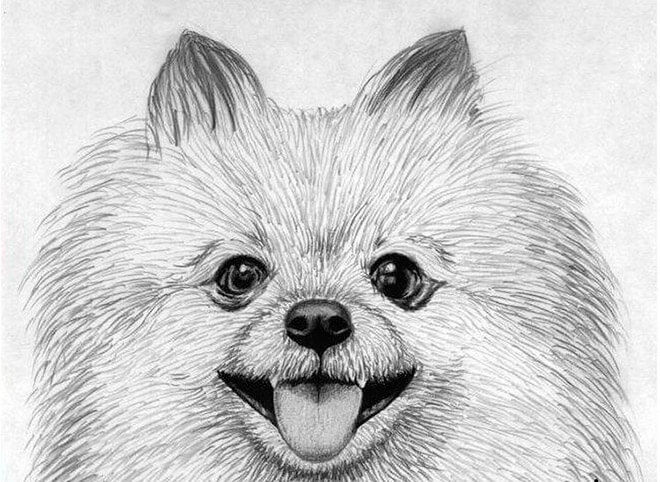
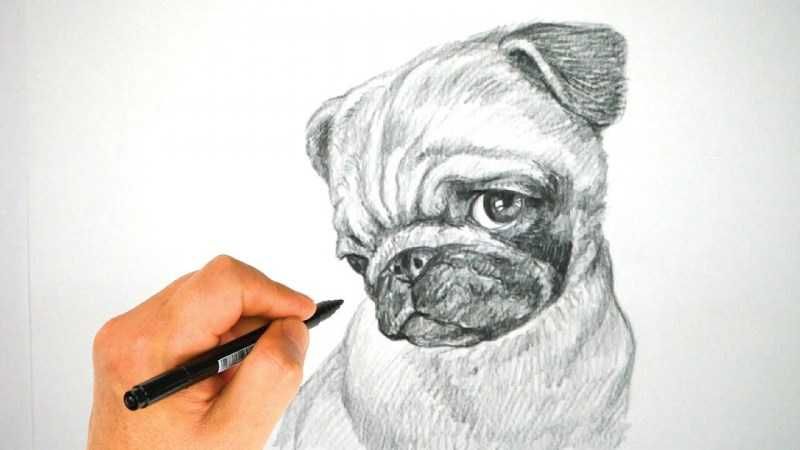
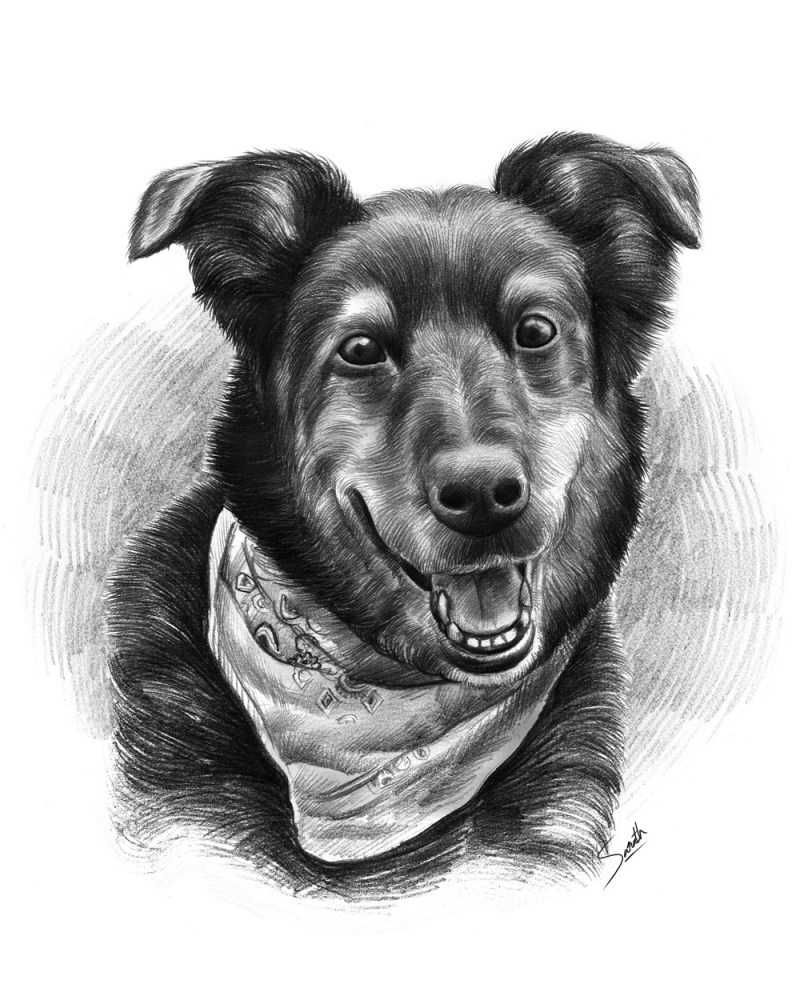
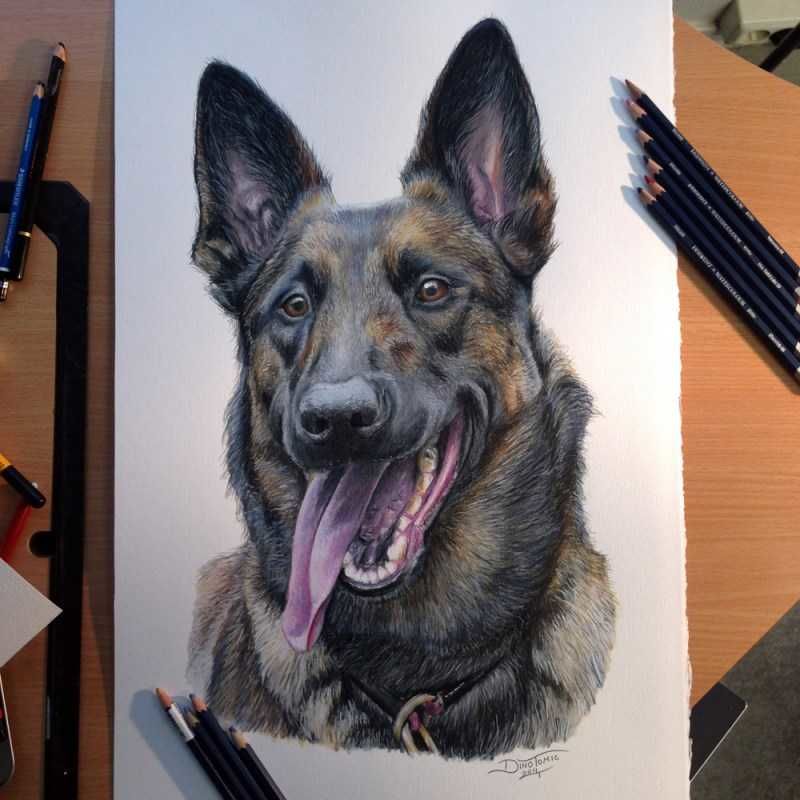
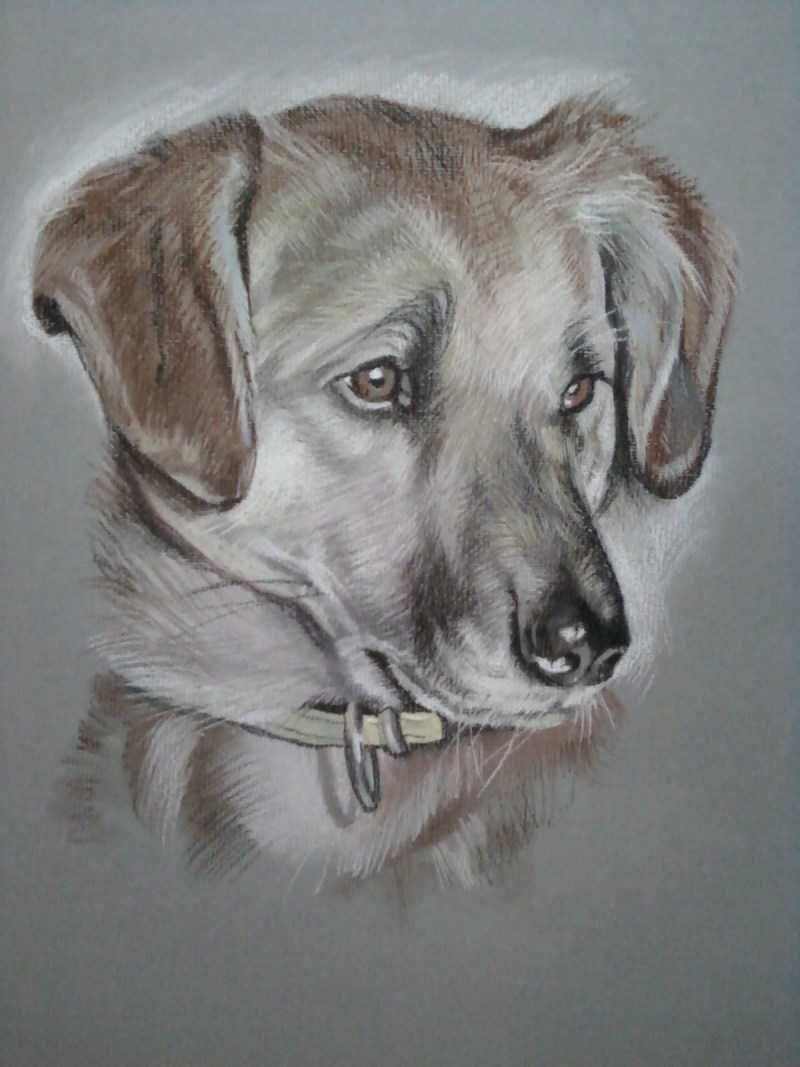
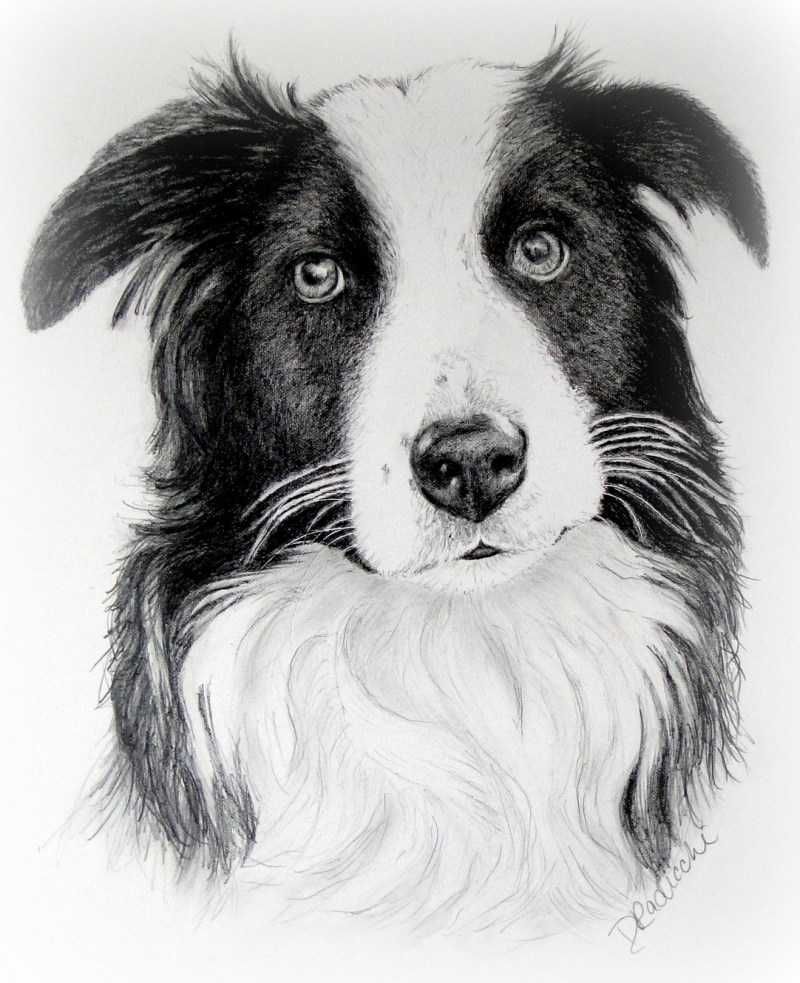
Picture of a painted dog