How to draw an apple in pencil and paint: easy step-by-step step-by-step master classes for beginners and experienced artists
This tutorial explains how to draw an apple step by step. Although this fruit is not that difficult to draw because of its shape, there can be many variations of the image.
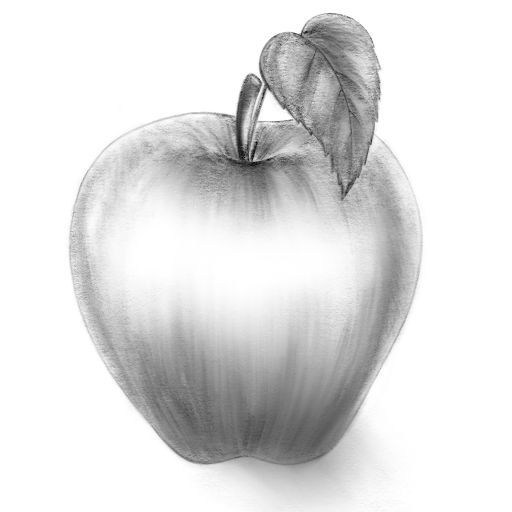
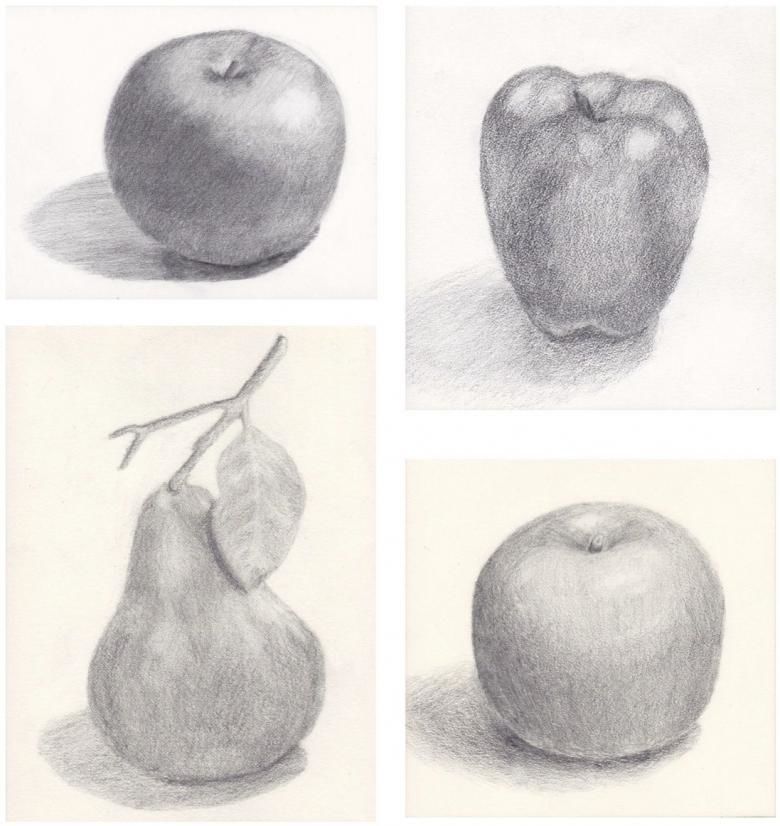
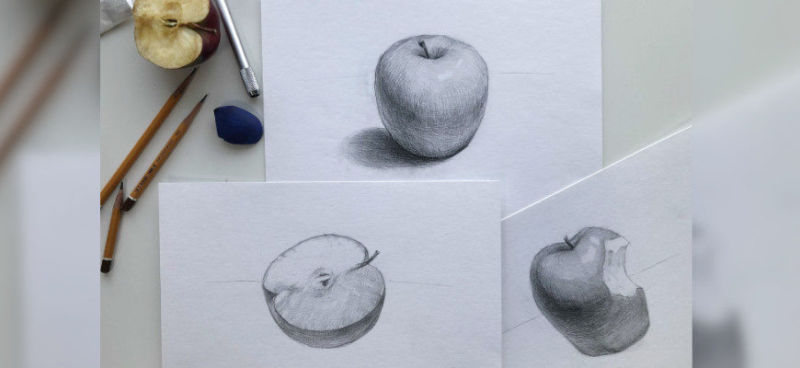
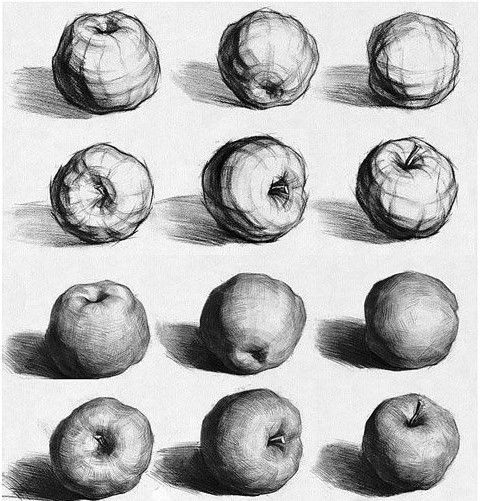
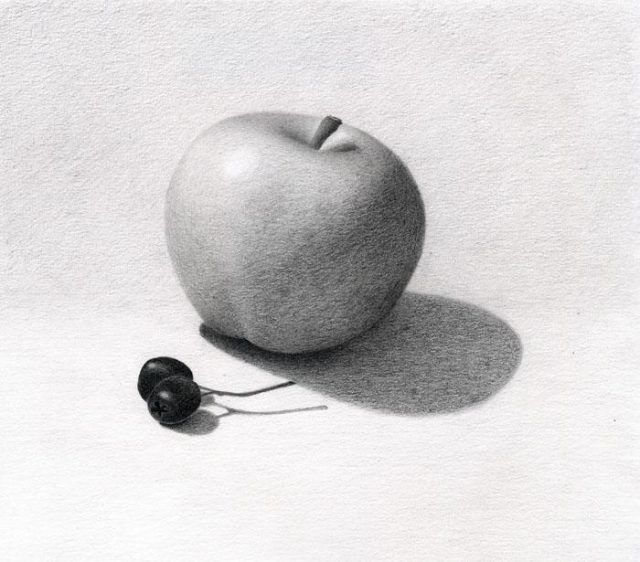
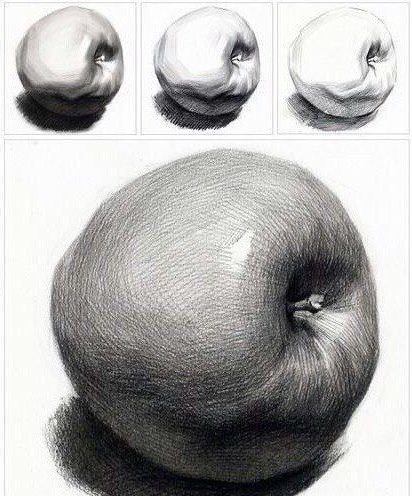
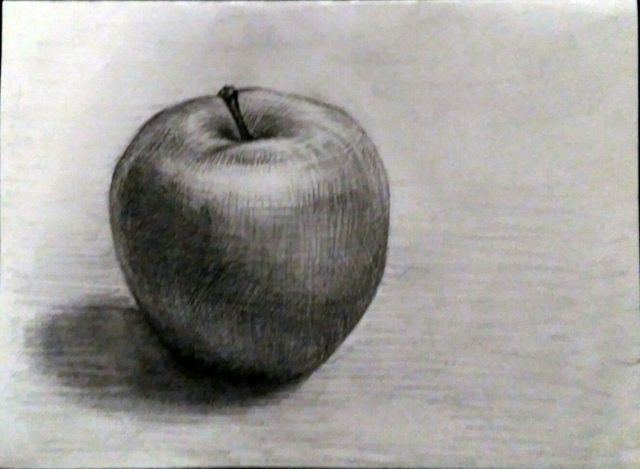
How to Draw an Apple for a Beginner
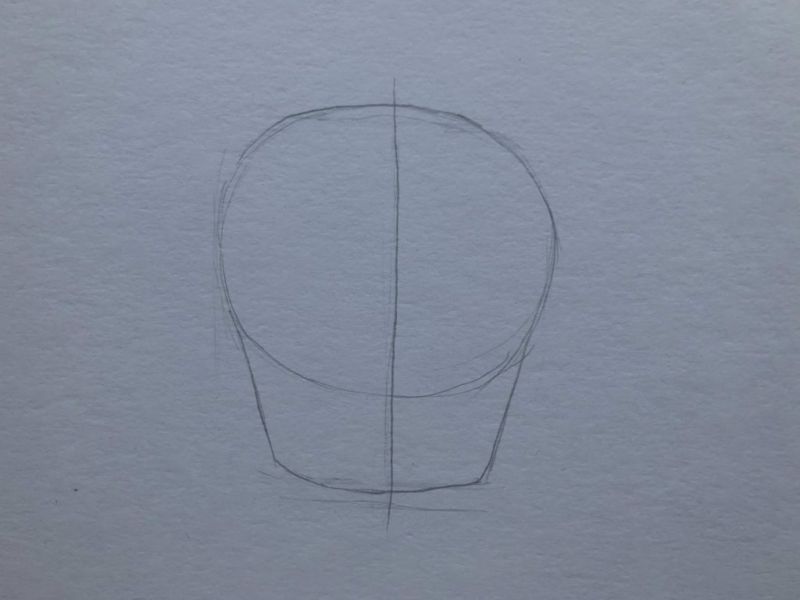
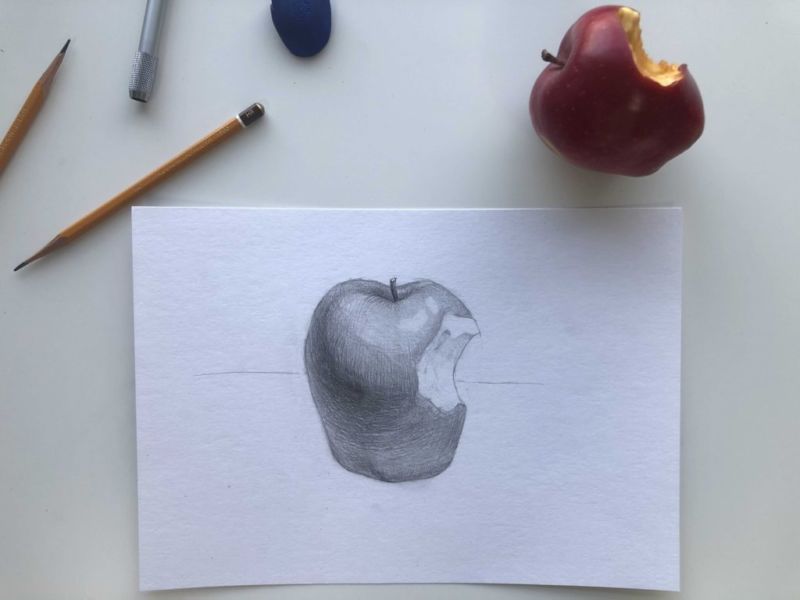
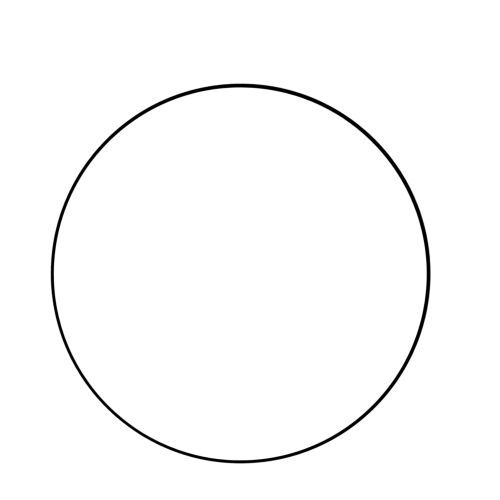
You should start drawing the fruit by outlining its general shape. In this case it is a circle. You can take a mug or a compass for convenience. Then follow the instructions on how to draw an apple with a pencil:
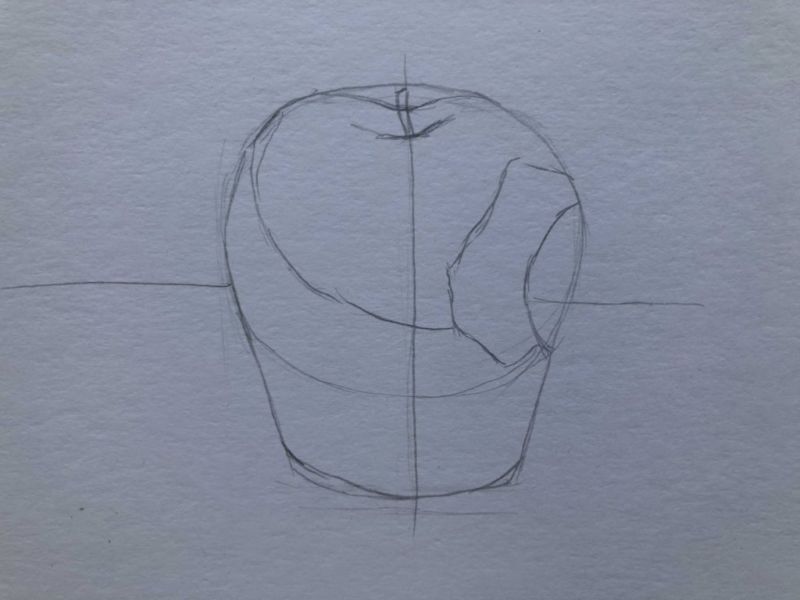
- In nature, objects do not have a perfect shape. To make the fruit look realistic, it is necessary to add curves and "wrinkles". In this case, the main line of the circle is slightly erased with an eraser.
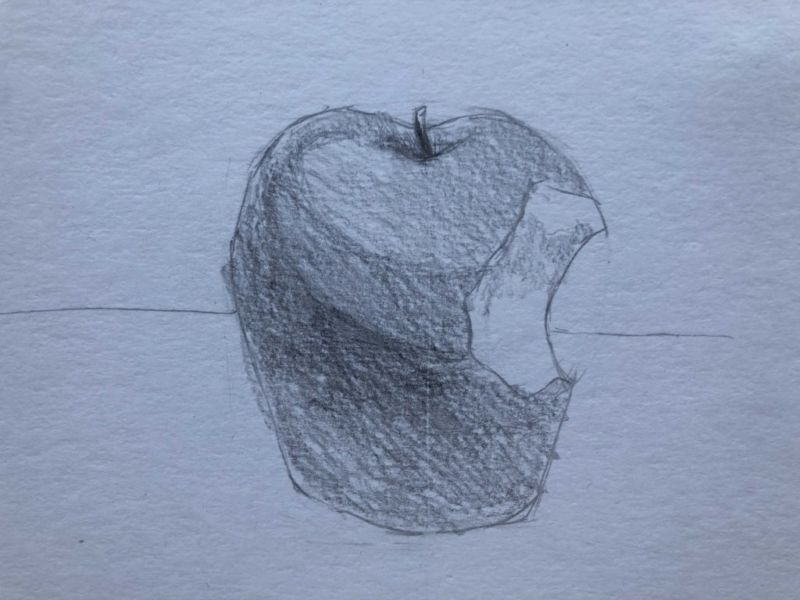
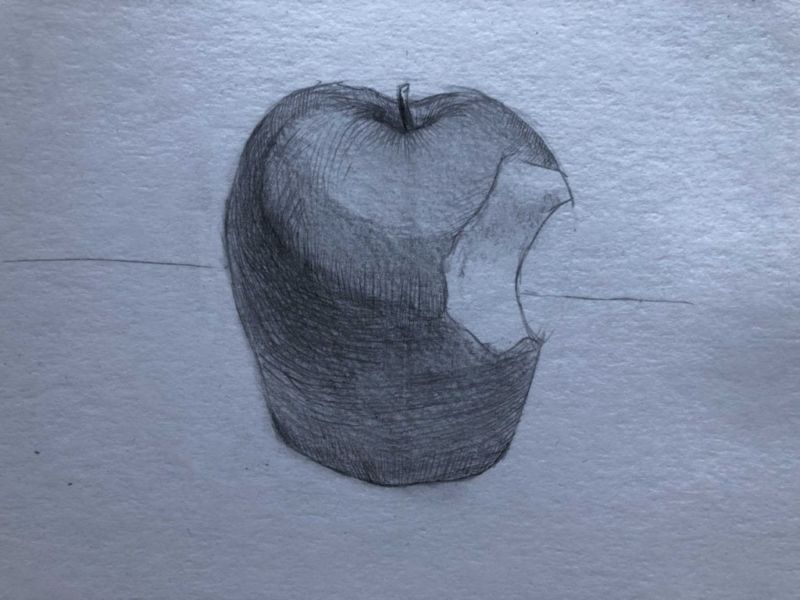
- At this stage it is necessary to add a shadow, this will add volume to the drawing. Shadows are cast directly opposite the light source, so in this case it will be in the lower right corner of the image, facing the viewer. Be sure to project it at the bottom, as if the apple were standing on a table or surface.
- Next, you need to deepen the shading by creating gradients from the darker areas away from the light to the lighter areas.
- If the apple has color variations, there may be lighter areas in the shaded corners. They are a simple cause of color variation, not just light and shadows.
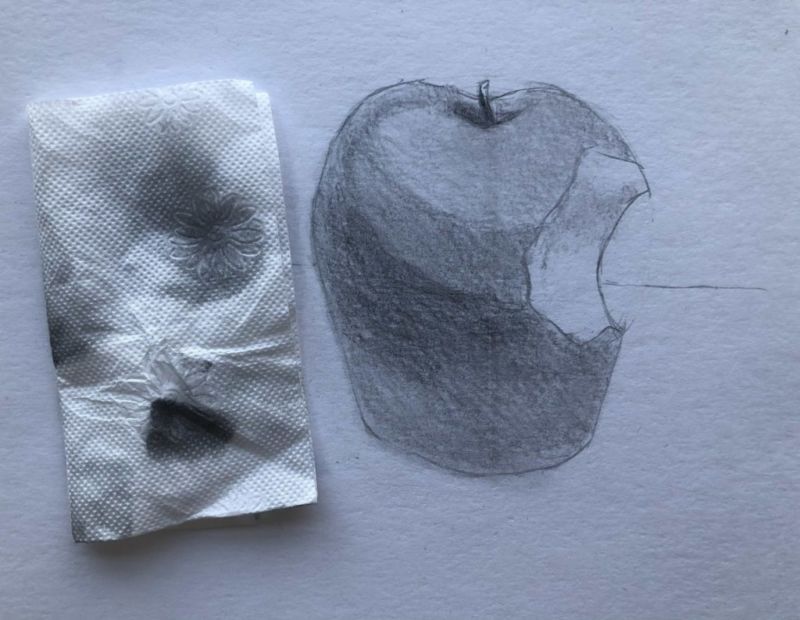
The apple shape is fairly easy to draw, but shading with a gradient can be tricky.
If a novice artist takes on the job and wants to draw an apple for practice, it is best to start with a solid shape. Great for this is watercolor or colored crayons, which are easily shaded with absorbent cotton.
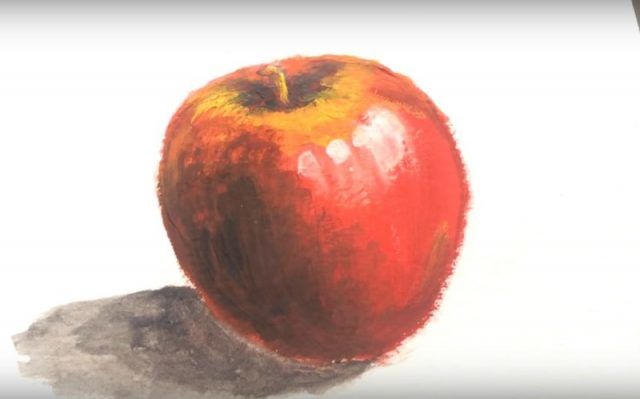
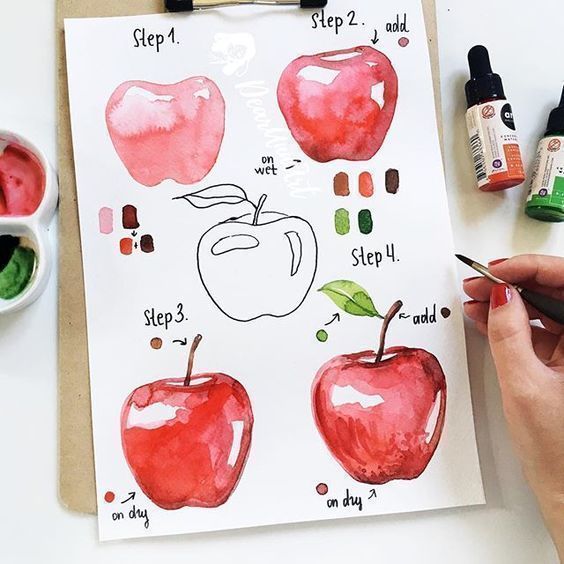
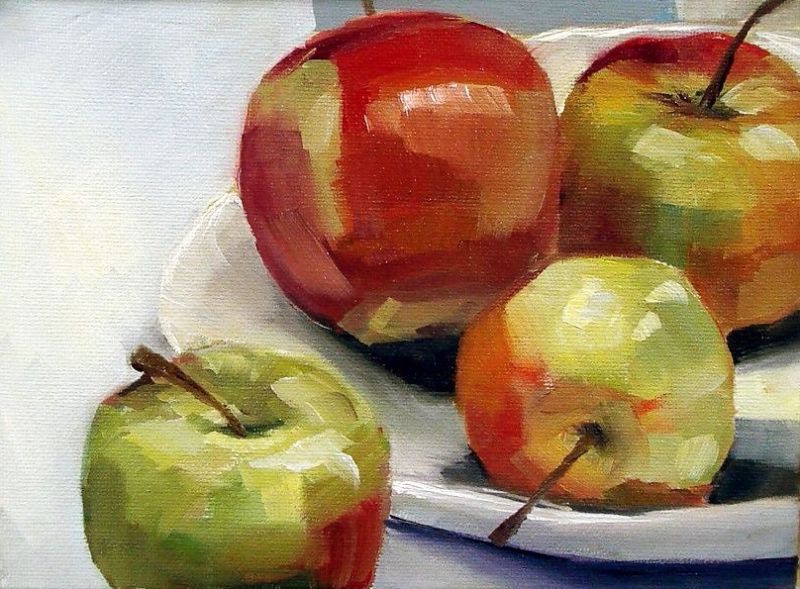
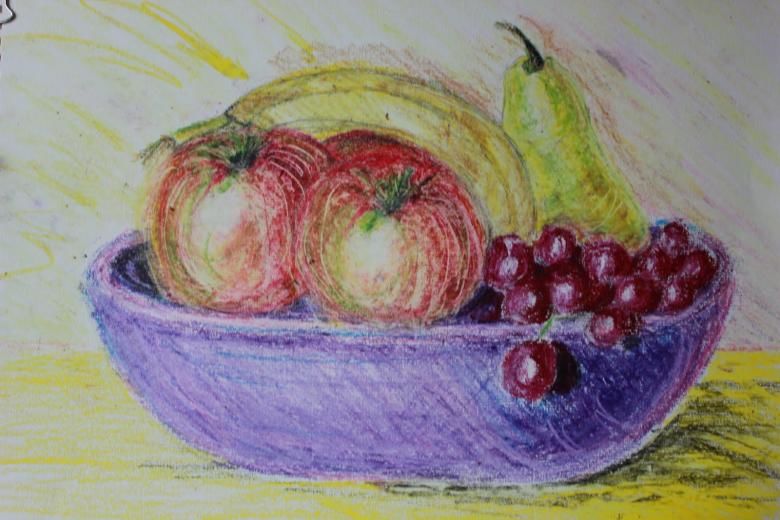
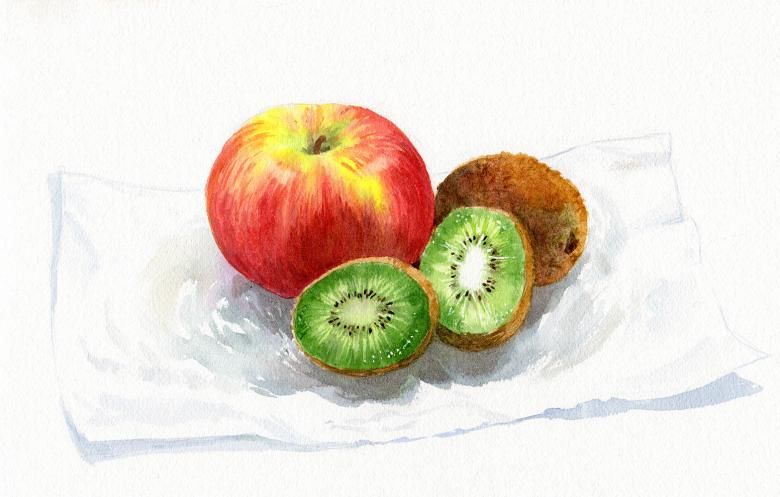
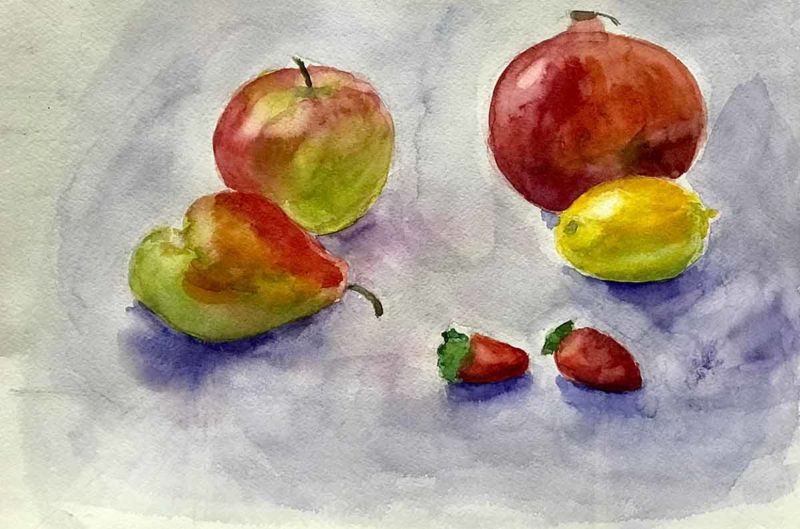
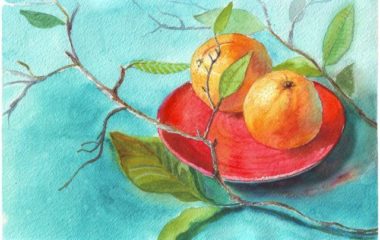
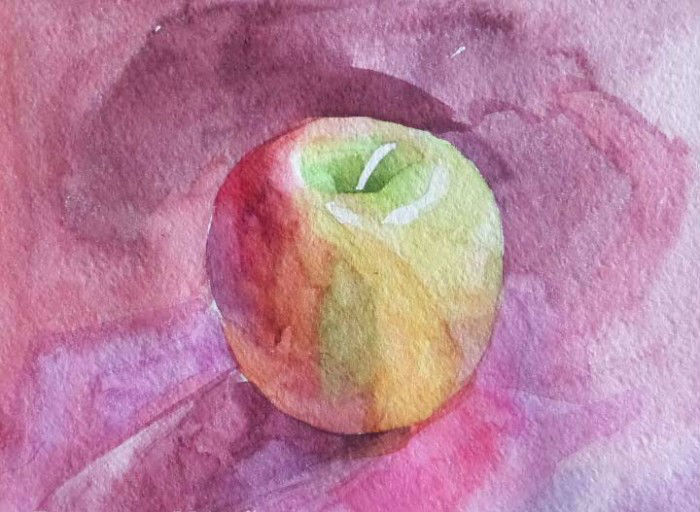
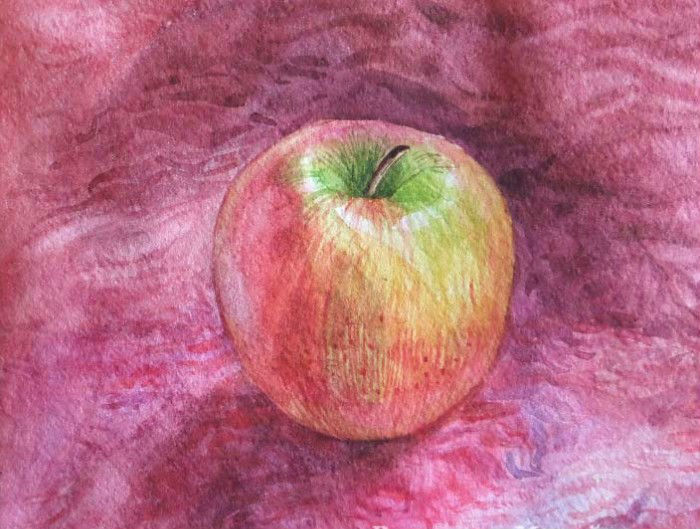
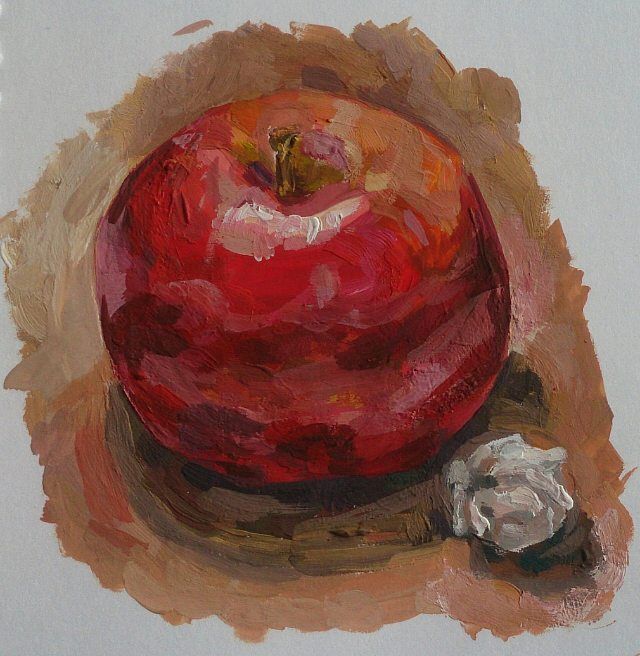
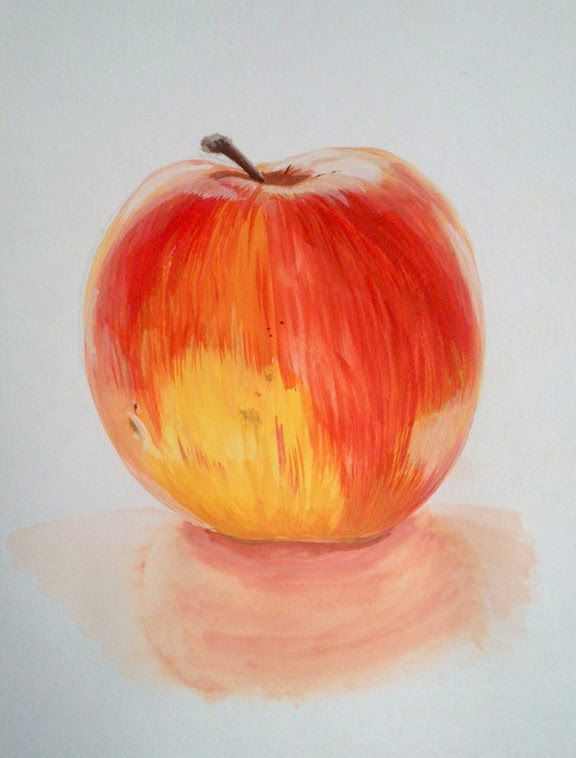
Drawing the fruit in watercolor
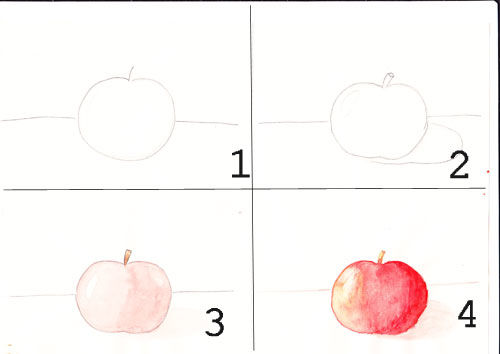
Artists recommend learning to draw with watercolor not from nature, but from photos or pictures. The secret is quite simple, the movement of light in this case does not change, so it is easier for the student to concentrate on the details. How to draw an apple step by step in watercolor, if the experience of working with paints was not:
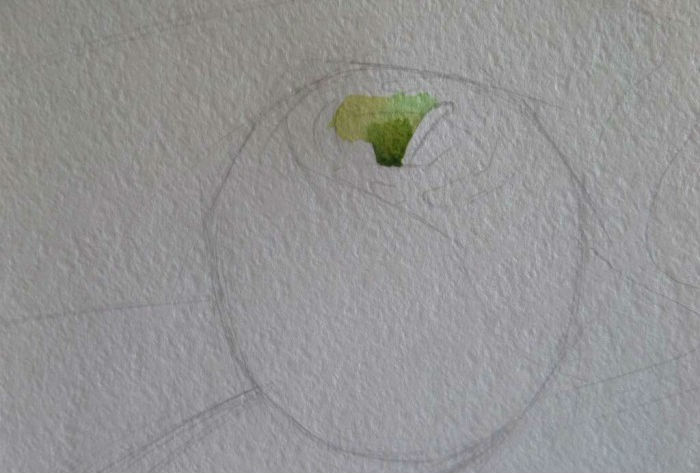
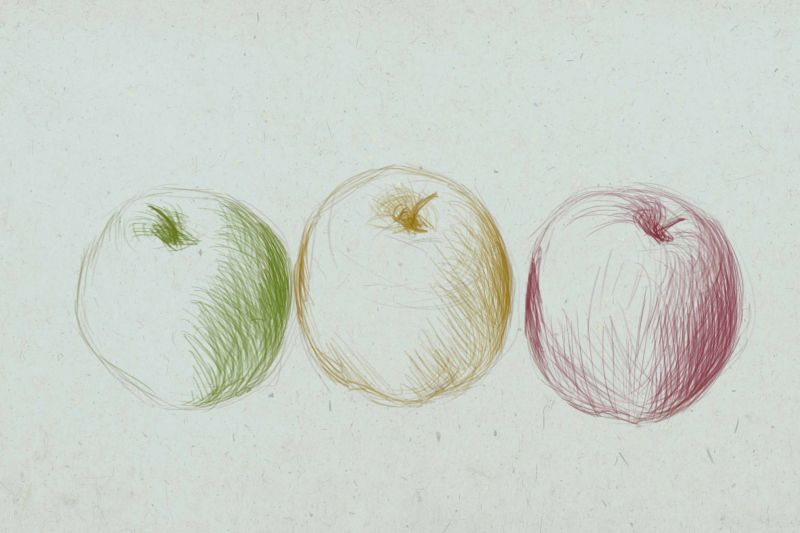
- First, you need to stop perceiving the apple as a fruit, try to see it as an object consisting of shapes, colors and shadows / spots of light. These visual effects will help you draw any object in the future.
- When artists use watercolor, they always start with a base layer. You can use shades of standard colors that are present in the natural environment. Speaking of classics - yellow, green and red.
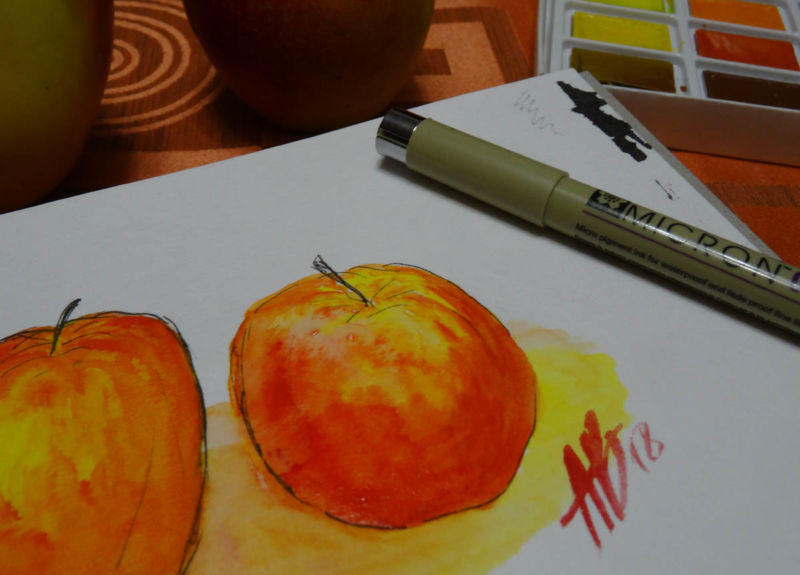
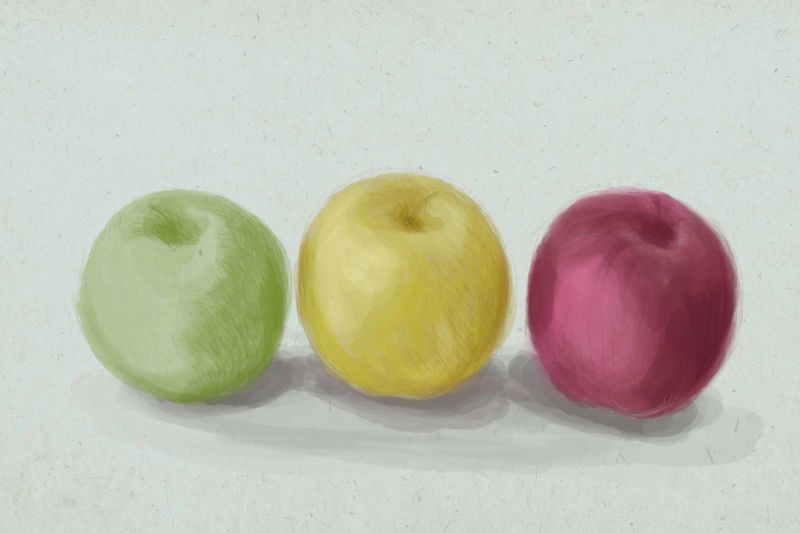
- Then there is a simple layering process. You can choose two medium tones - shadows and highlights are added either by pressing harder on the pencil, or a darker shade is chosen from the palette. If it is not available, the paint can be mixed with black.
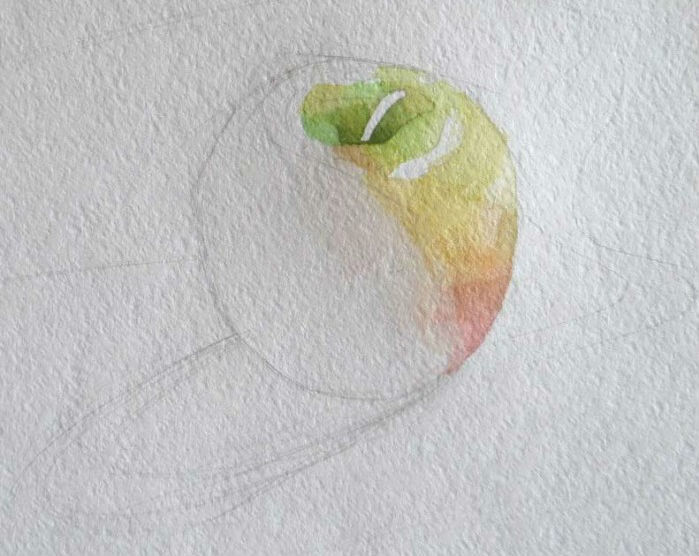

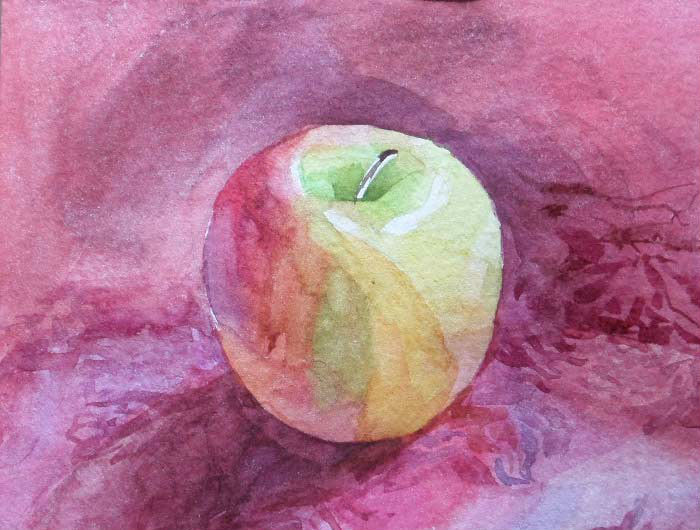
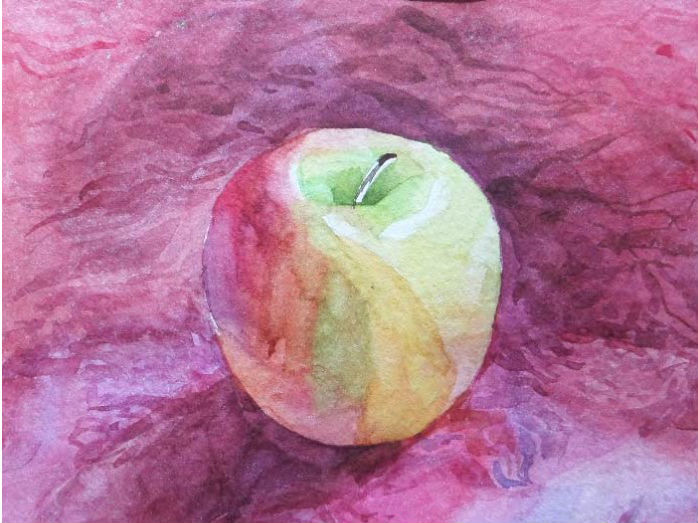
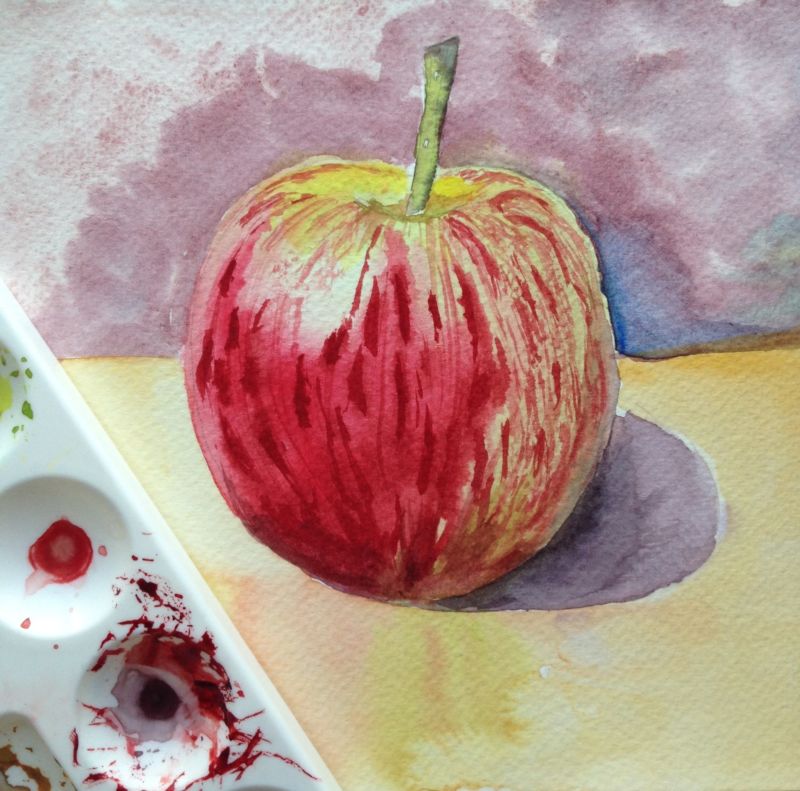
After the master has mixed the medium shades, it is time to add shadows. They are drawn darker than they appear in the original photo.
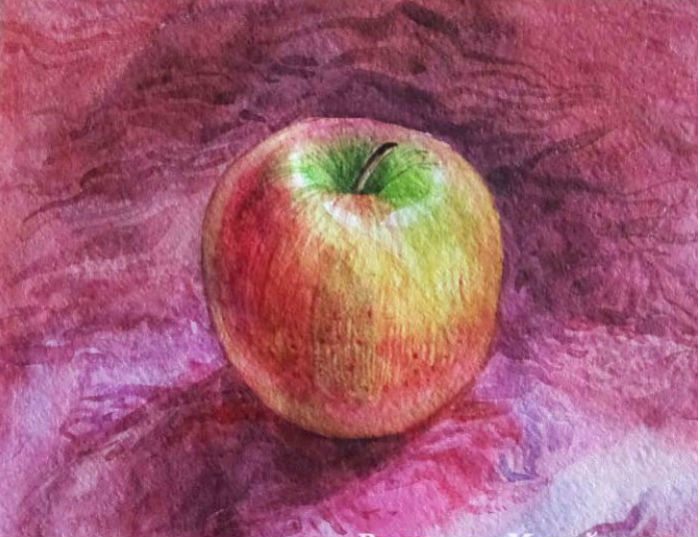
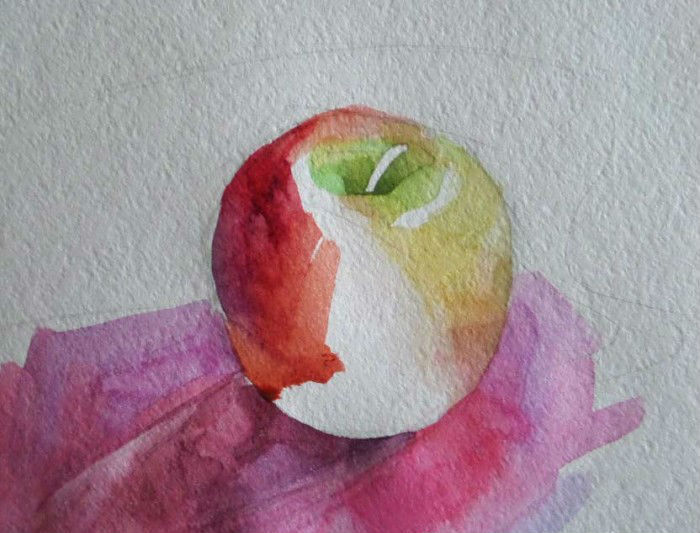
You can experiment with any color except black. Dark purple is good for fruit.
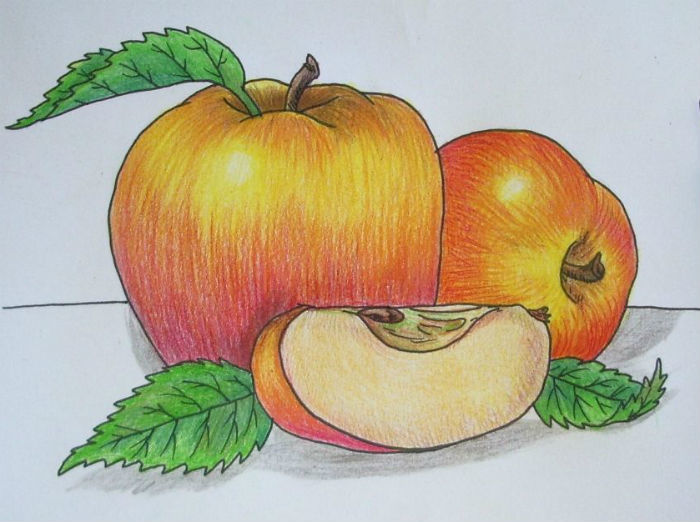
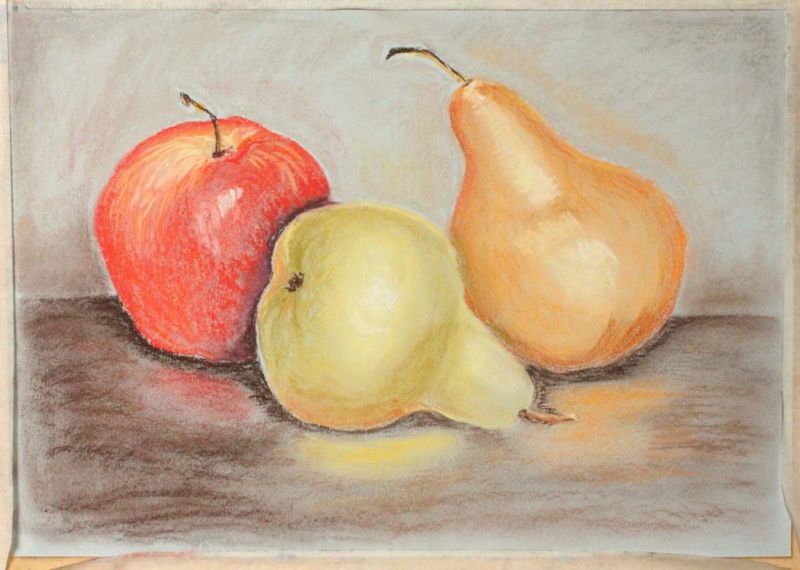
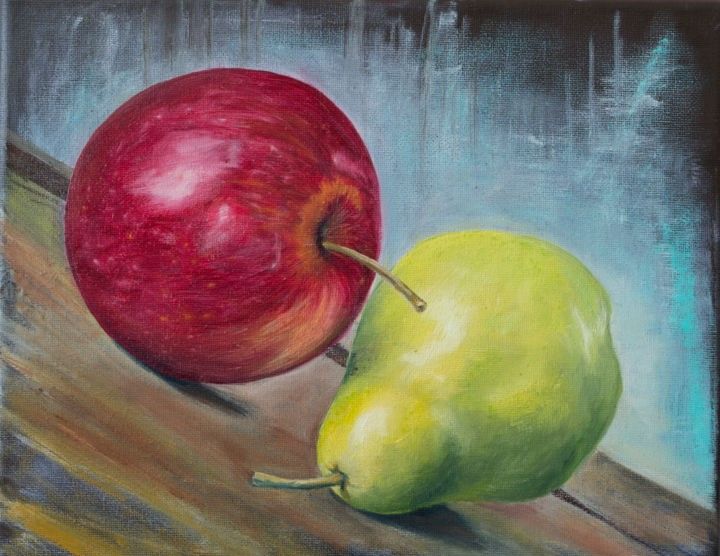
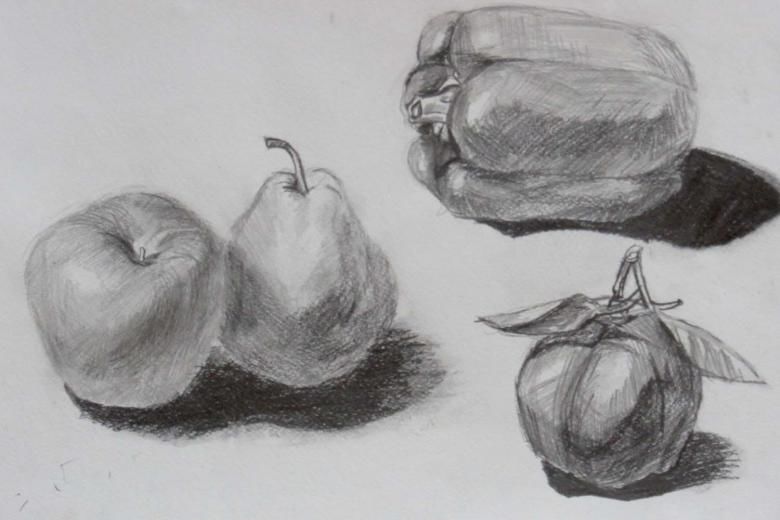
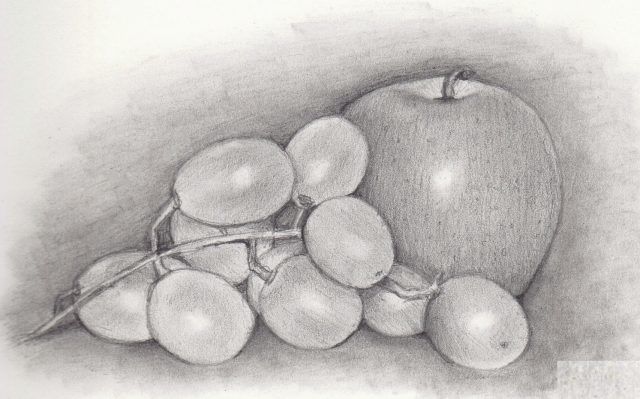
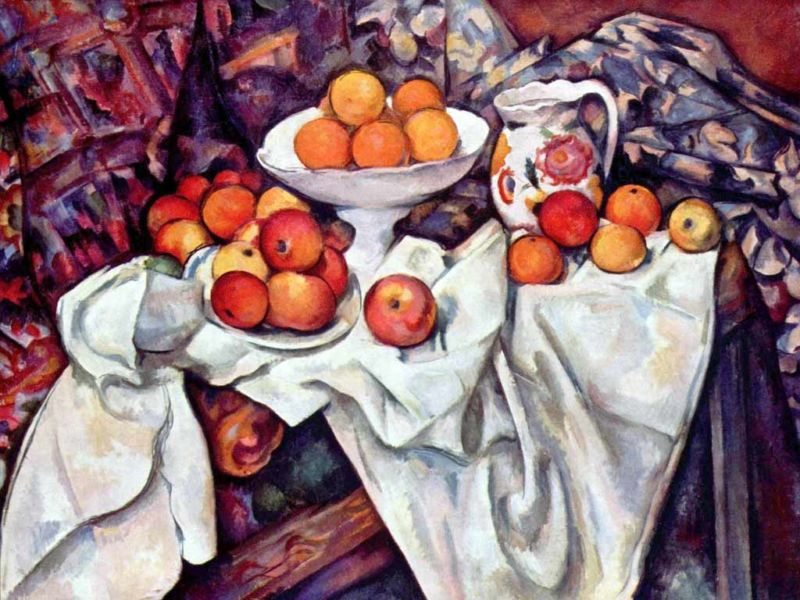
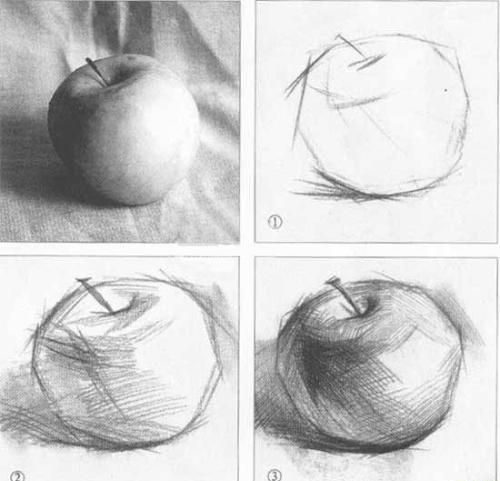
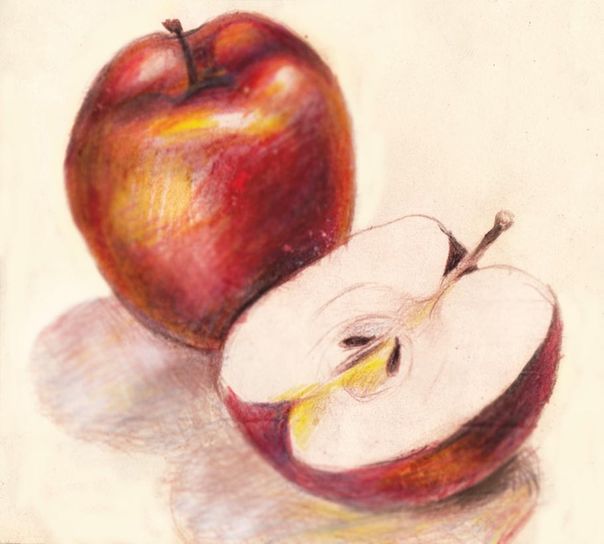
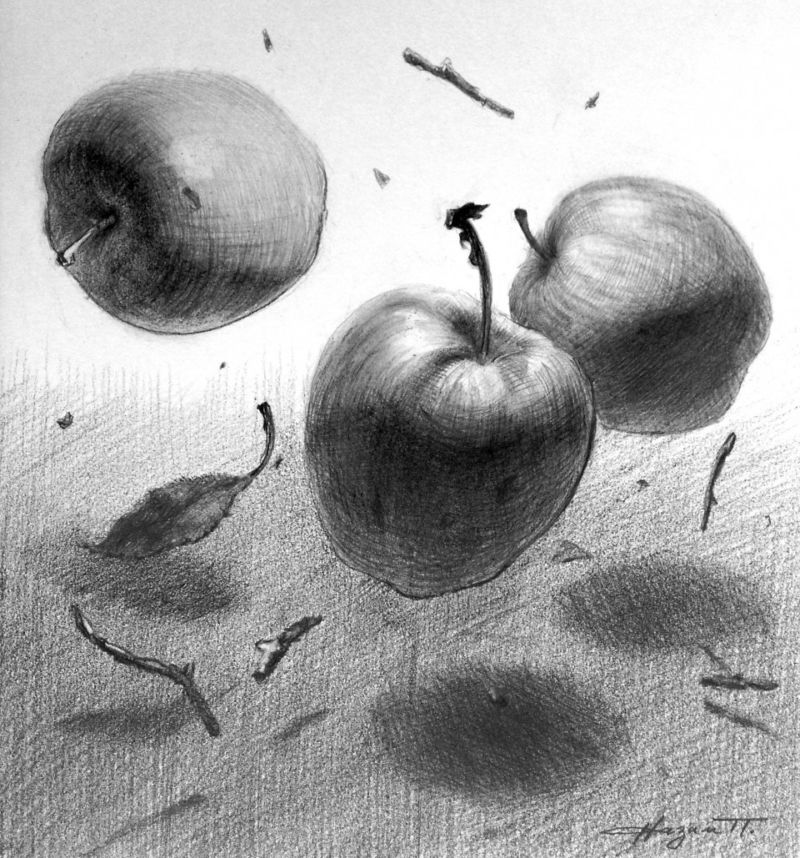
How to draw for still life
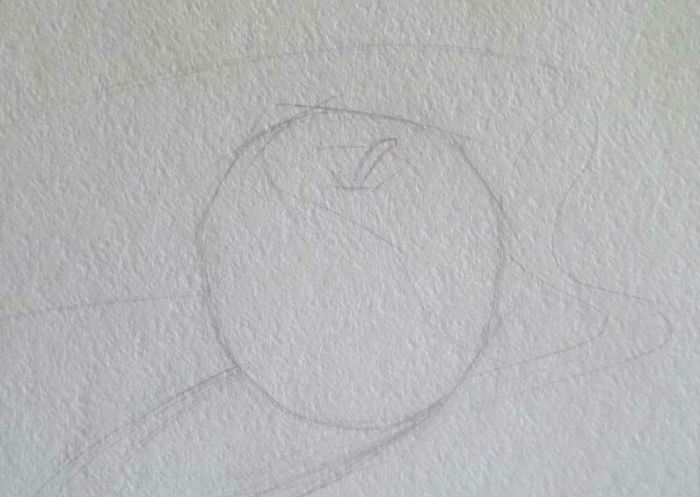
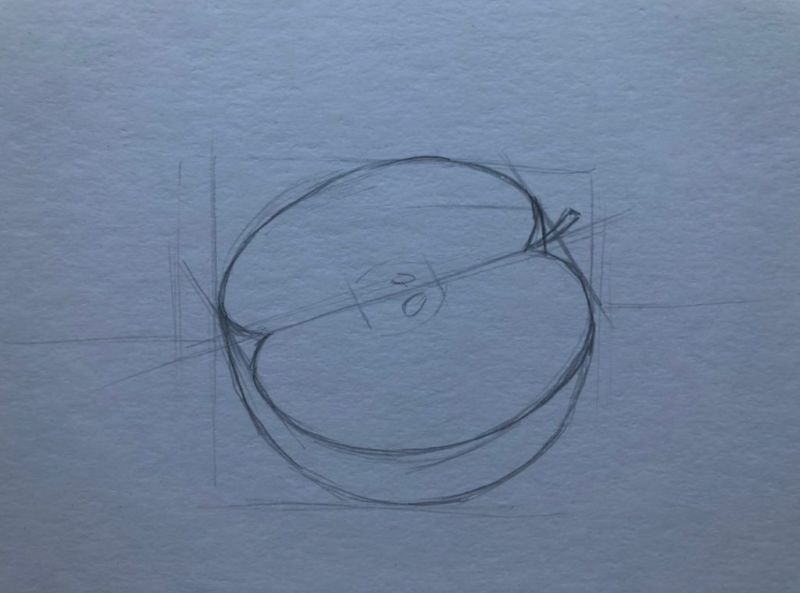
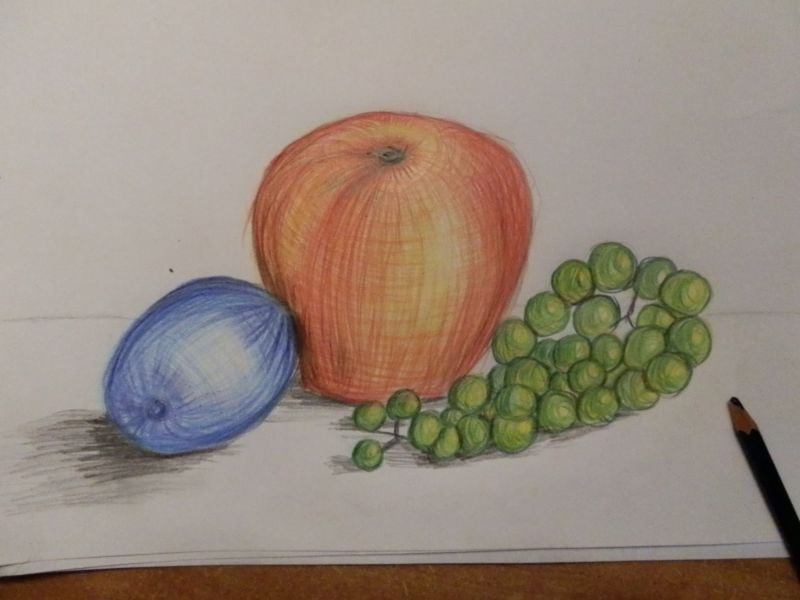
Drawing simple objects allows you to gain experience. Therefore, when drawing a still life, it is better to start with apples. You can sketch and bring everything to the final result with the highlighted instructions:
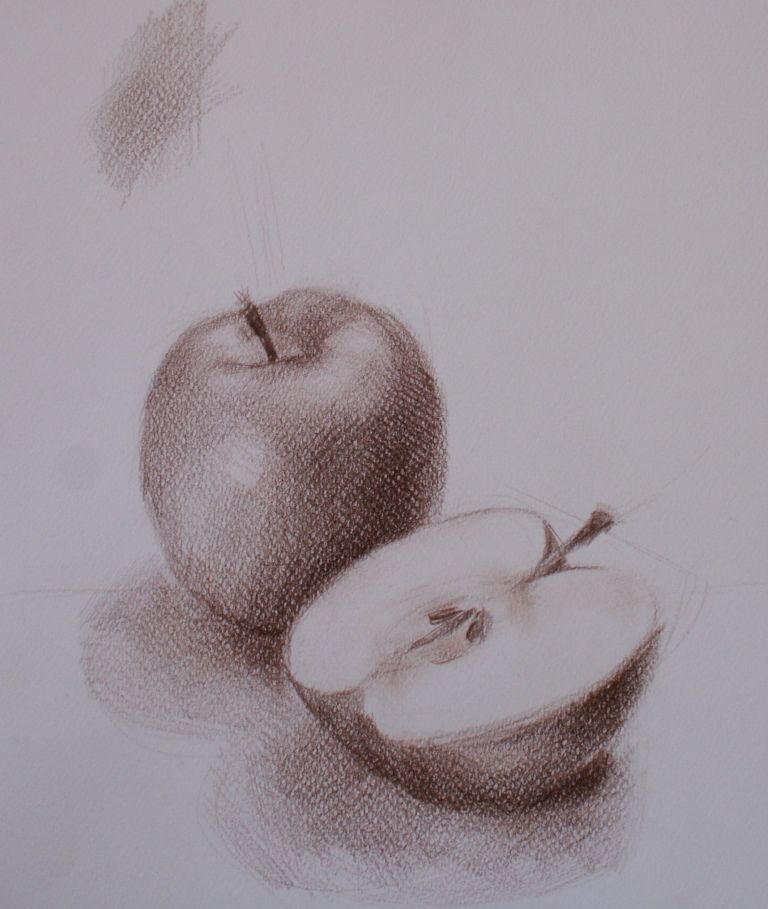
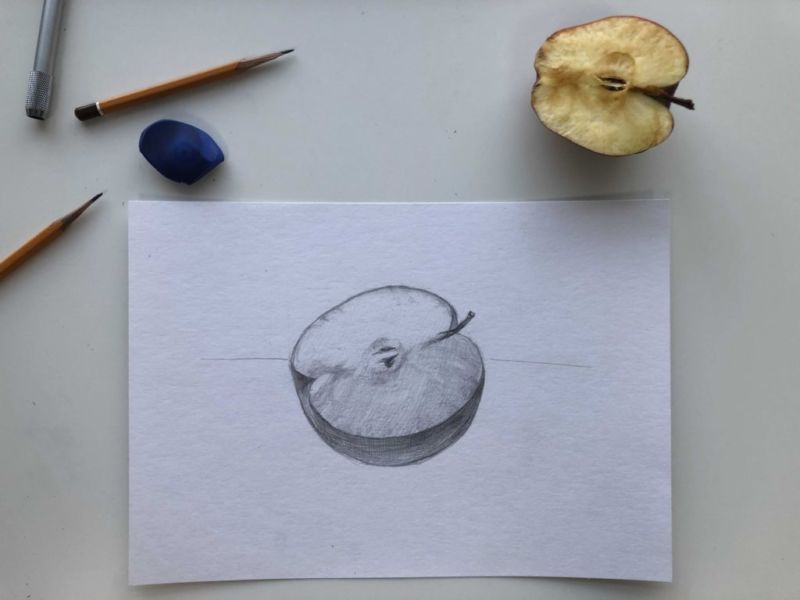
- Two main objects can be placed in the picture, a whole apple and its half.
- To do this, two segments are made, one of which will be placed vertically and the other at an angle.
- Each line is crossed by another segment, and then the circumference of the fruit is drawn.
- This can be done by hand, without the use of auxiliary devices - a compass.
- After you get the shape of an apple, at the top you can draw a small staple, which will give volume.
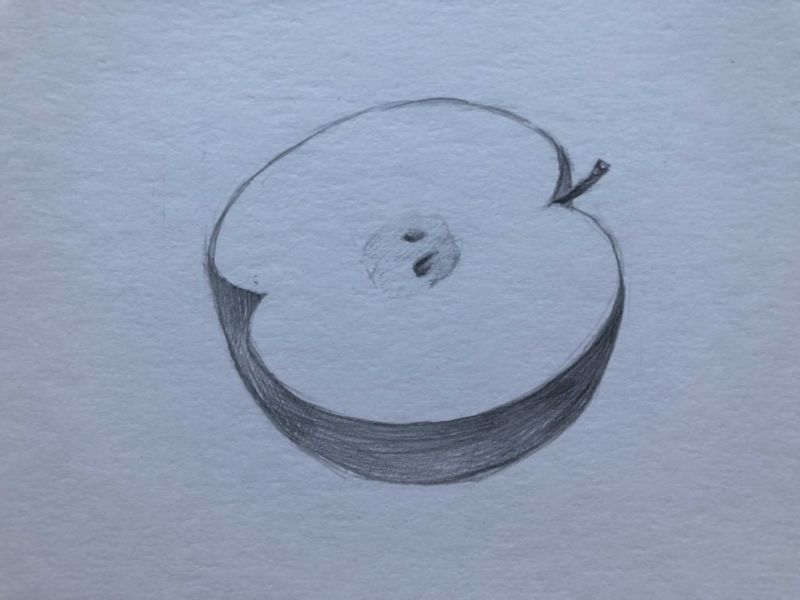
- Next, the auxiliary lines are carefully removed with an eraser.
- The outer contours are drawn.
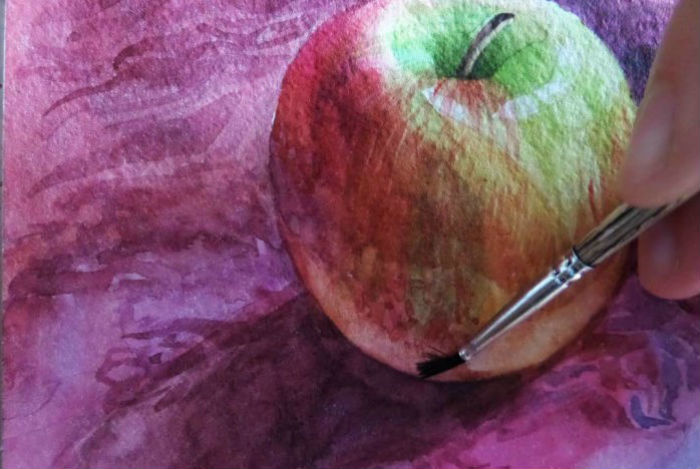
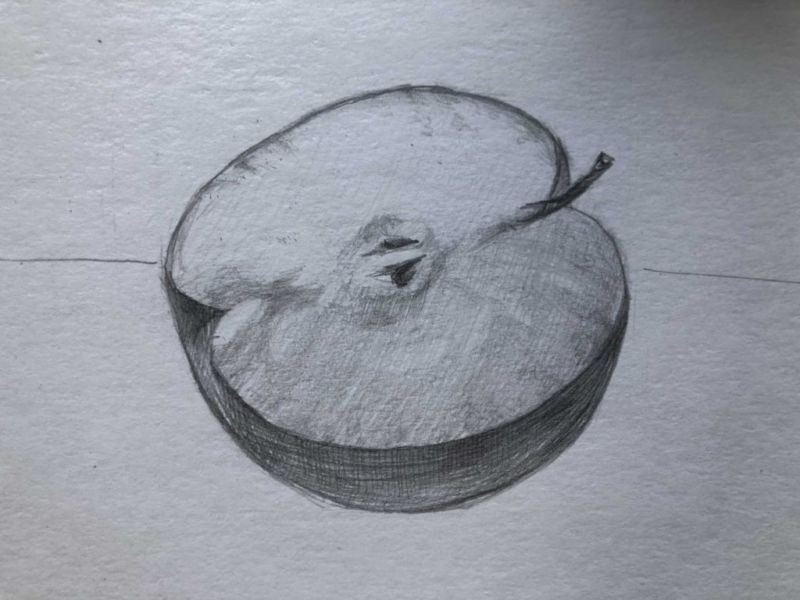
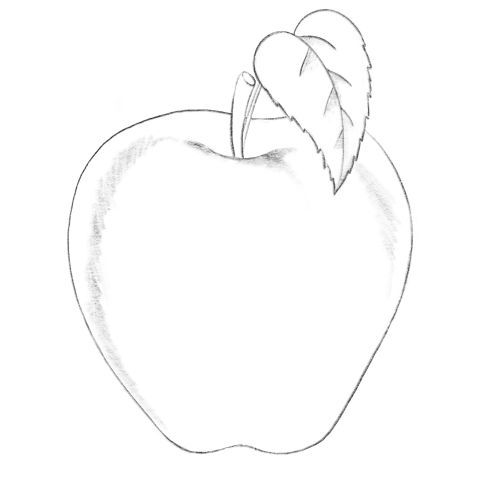
- To make the half and bottom of the whole apple look more voluminous, shadows are drawn. The same base color is used for this, but in a darker palette.
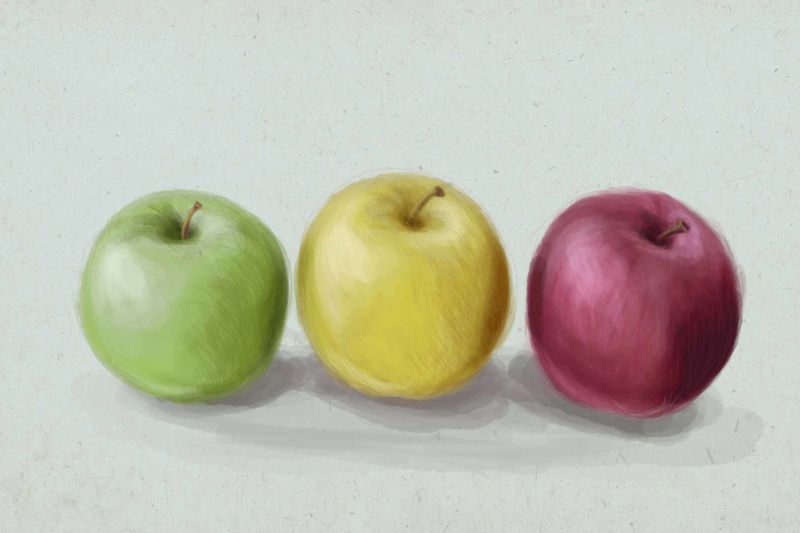
- If the artist draws from life, he should catch the location of light. Make some parts of the apple brighter.
- The process resembles layering, the more there is, the more realistic the final result will be.
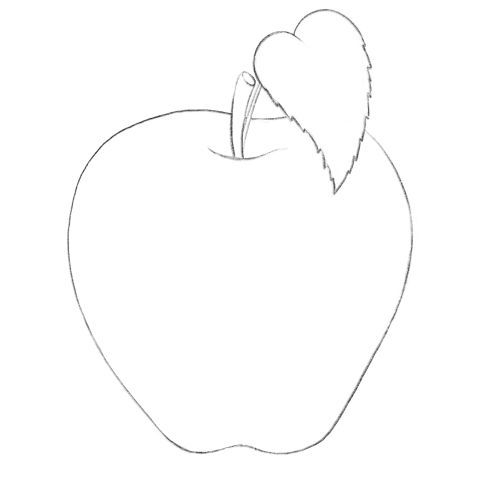
At the end, additional elements are added to the drawn apple - a twig, leaves. They also need to be drawn taking into account the shadow fall.
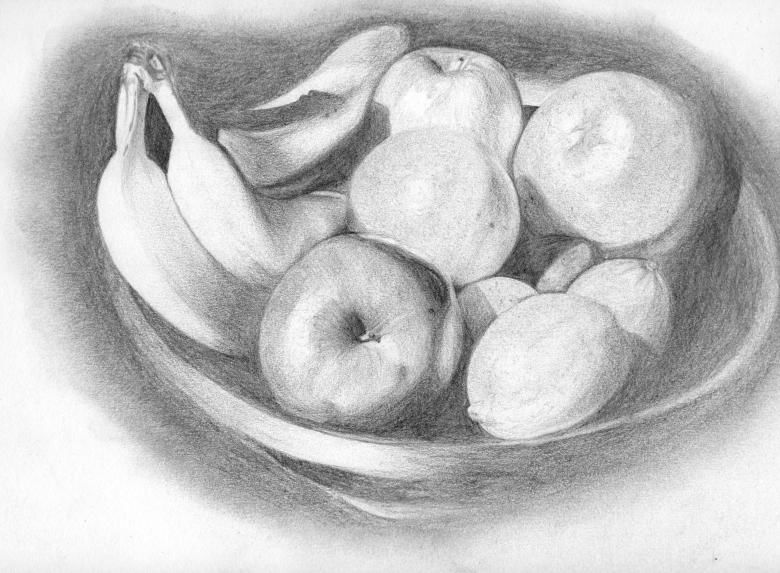
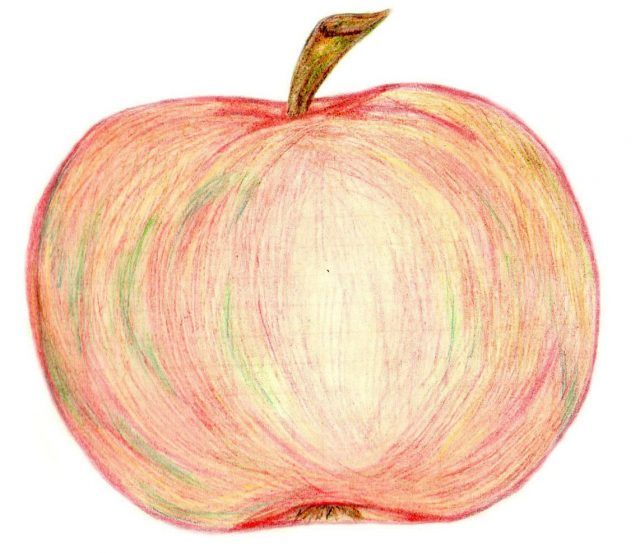
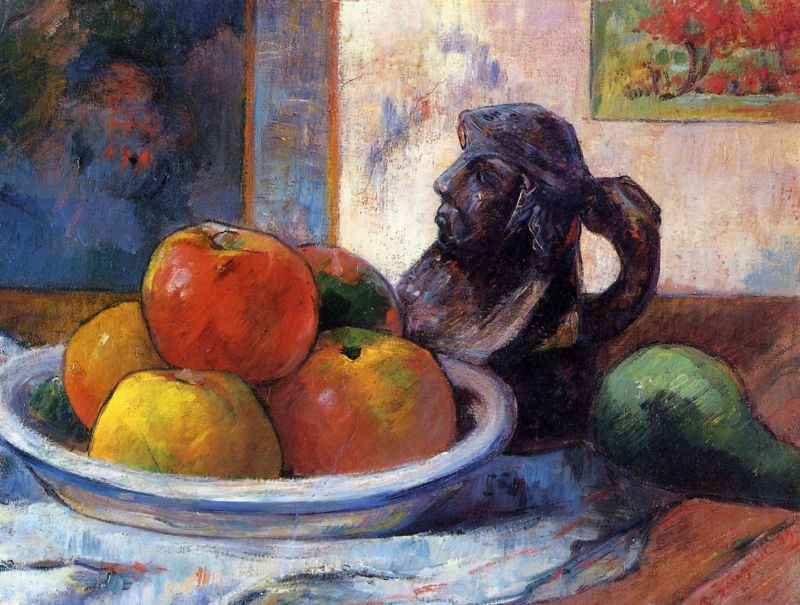
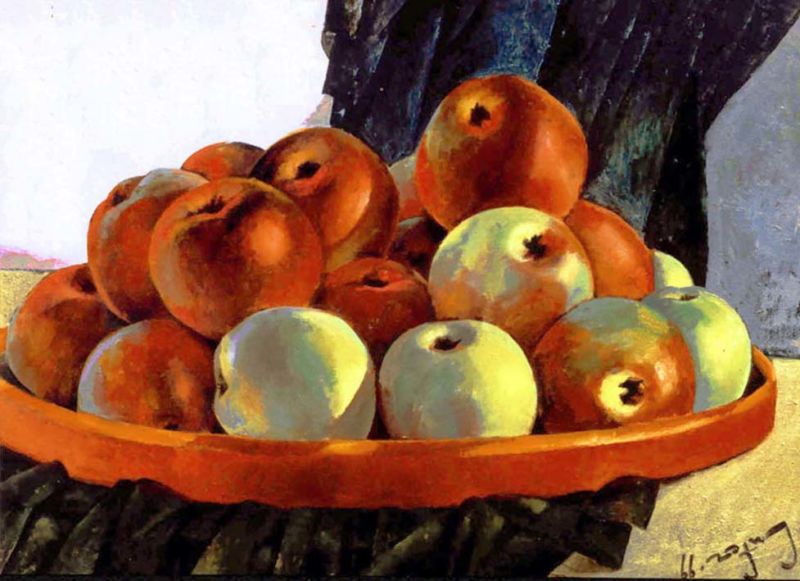
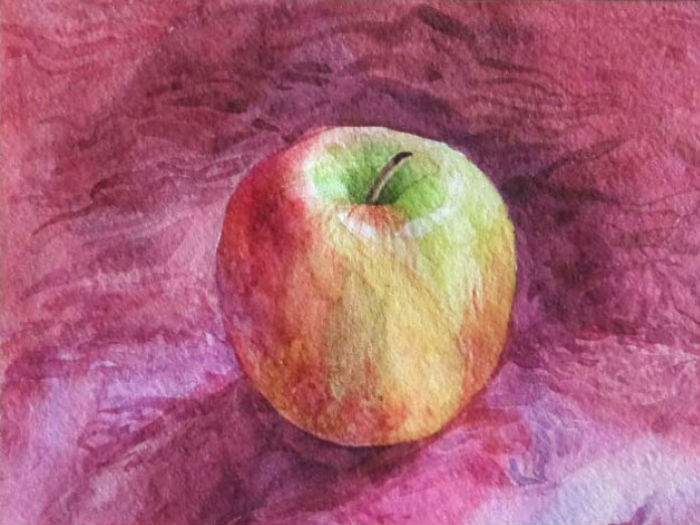
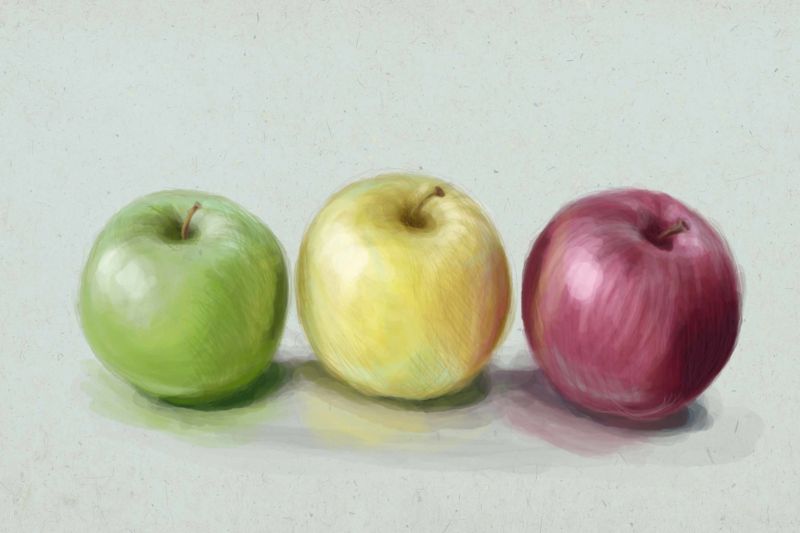
Drawing a ripe apple
With this master class, even a novice artist will be able to draw an appetizing apple. What you need:
- A pencil from the HB series.
- Ruler.
- An album-size sheet of paper.
- A compass and colored pencils.
- Some people use a white marker to add highlights.

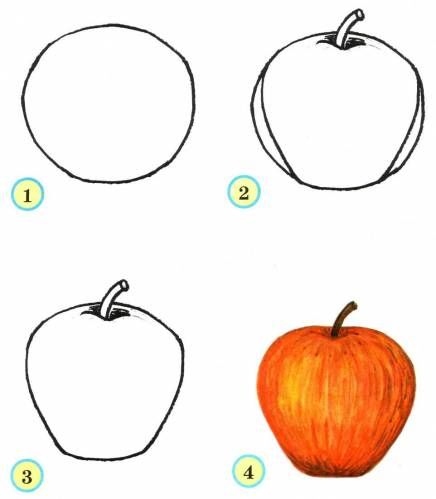
Drawing an apple for children how to start:
- The sheet is divided into 4 parts using guide lines that intersect;
- then draw a circle of any arbitrary shape (apples do not have a perfect round shape);
- Use an eraser to erase the auxiliary lines, add depressions at the bottom and at the top;
- add a twig with a leaf;
- then proceed to coloring, colored pencils are recommended;
- can be done in the style of shading, it will help to achieve the desired gradient combination;
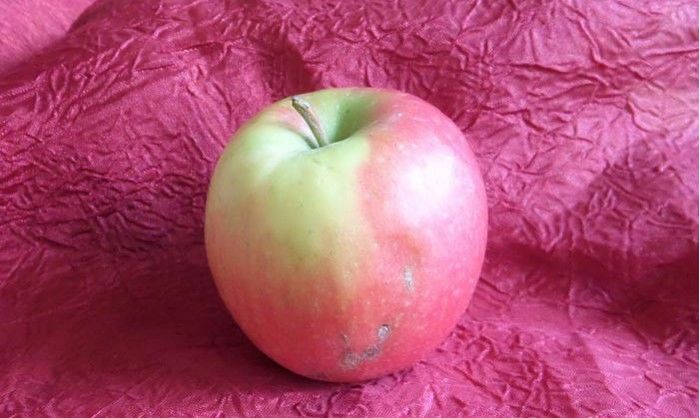
- ripe apple in the classic representation consists of yellow, orange and red;
- a photo can be taken as an example;
- Use a white marker to add highlights after coloring;
- You don't need to be afraid that the marker will slightly blur the colored surface, it will make the drawing look believable.
The shadow is added with an HB pencil in those places, as in the example (from a photo or other drawing).
Drawing an apple professionally
Real artists don't use guide lines because they leave traces afterwards. Here is a complete guide that will teach you how to quickly draw objects, including apples and other fruits.
Materials and tools
For the picture you will need:
- A plain sheet of paper - you can take an A4 size.
- Paints or colored drawing pens.
- A black thin pen for outlines.
- A simple pencil to draw auxiliary lines.
- An eraser.
- A compass.

Crayons are a great way to add realism to an image, just to get the right gradient and shadows. How to draw a three-dimensional apple can be learned in a step-by-step guide.
Step 1.
To begin, draw the basic shape, you can do this by tracing a normal lid or use a compass. The size of the fruit is chosen independently, but the classic version is 6*6 cm.
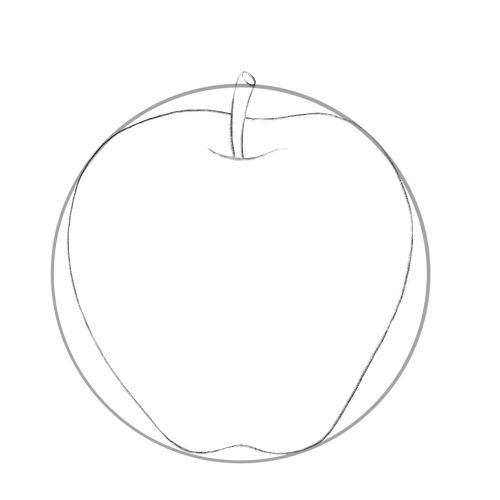
Be sure to leave a small distance from the top, draw a wavy pattern that descends to the center. In this groove the leaves and stem will be drawn a little later.
Step 2.
Next you need to draw another pattern, which will look like a wave. It is taken away closer to the center. The bottom curved part is where the stamen of the fruit will be located.
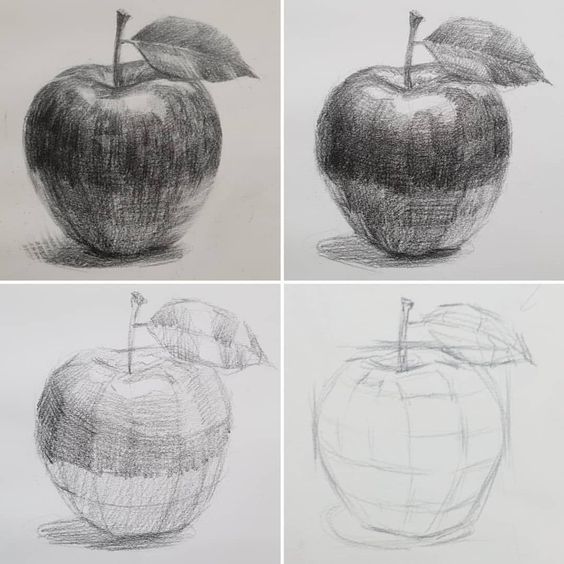
Step 3
Next, another curved line is drawn, which is below the gently sloping groove. Next, two curved segments are added that will go up from the center. They are then joined together. This is the future brown center, now it looks like a small triangle.
Now you can draw a leaf at the left base of the stem. The easiest way to draw it is to draw an ascending line from the stem, then another and connect them in the shape of a curved triangle. You need to add small incisors that are in the natural environment.
Step 4
Now you can start drawing the curved lines that will come out of the center. These are the veins of the leaves, then the auxiliary lines are removed with an eraser. At the end it is necessary to trace the outline with a black pen. The apple is colored in the usual shades - green, red, yellow or orange.
In this step, you can choose the type of coloring - shading or spot coloring. If you choose the latter, you need to find a large palette of colored pencils and sharpen them well.
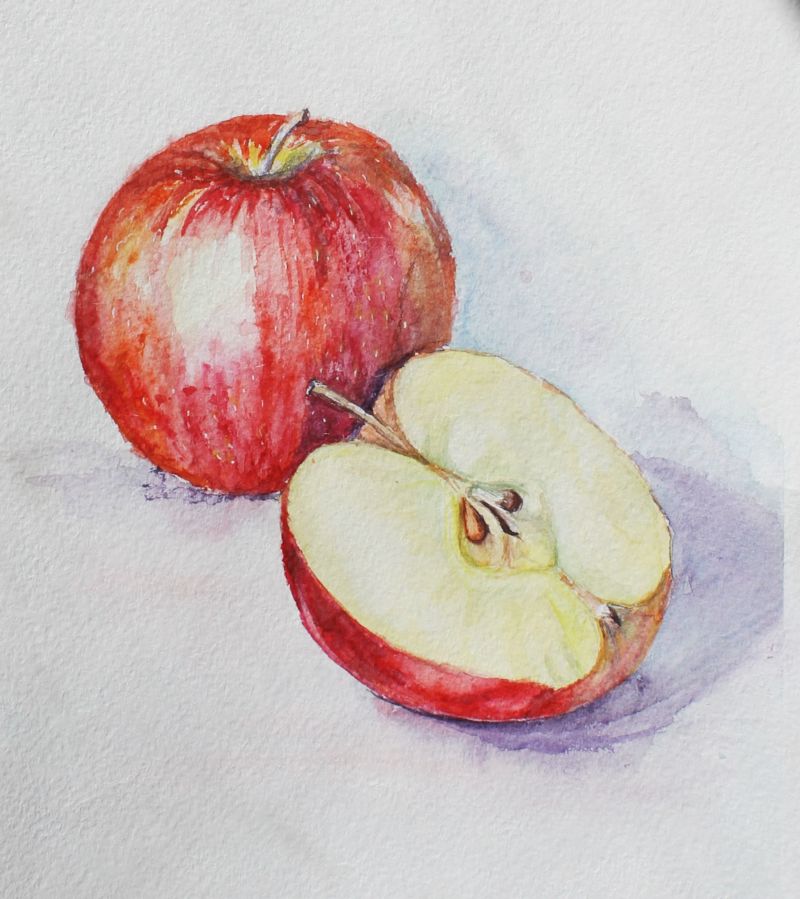
Such a way to convey naturalness, for example, you can take a photo or even a real object.
Be sure to leave room for glare, as a white marker will not be able to overlap the dot coloring.

Drawing an apple for kids
Children from 2 to 4 years old find it difficult to handle adult tools - brushes, compasses and rulers. That's why you can let your child realize their fantasies in a different format. What you can do:
- Find a drawing template.
- Print it out on a simple sheet of paper.
- Then glue the sheet to the cardboard, cut out in circles.
- Then your child can attach the template to the album, tracing and then coloring.
Such a variation will help to achieve interest in creativity. There are no rules in children's art, a kid can color and draw an apple as he sees it.
This simple guide will help children and adults learn how to depict the objects around them. Every masterpiece starts with a set of experiences and long months of practice. So you need to stock up on pencils, paints and paper.
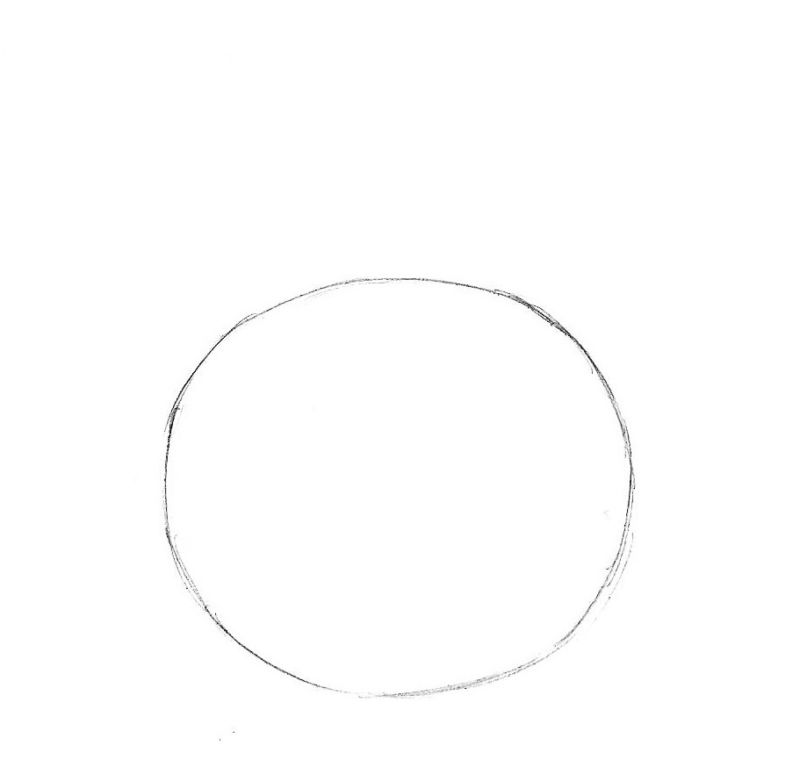
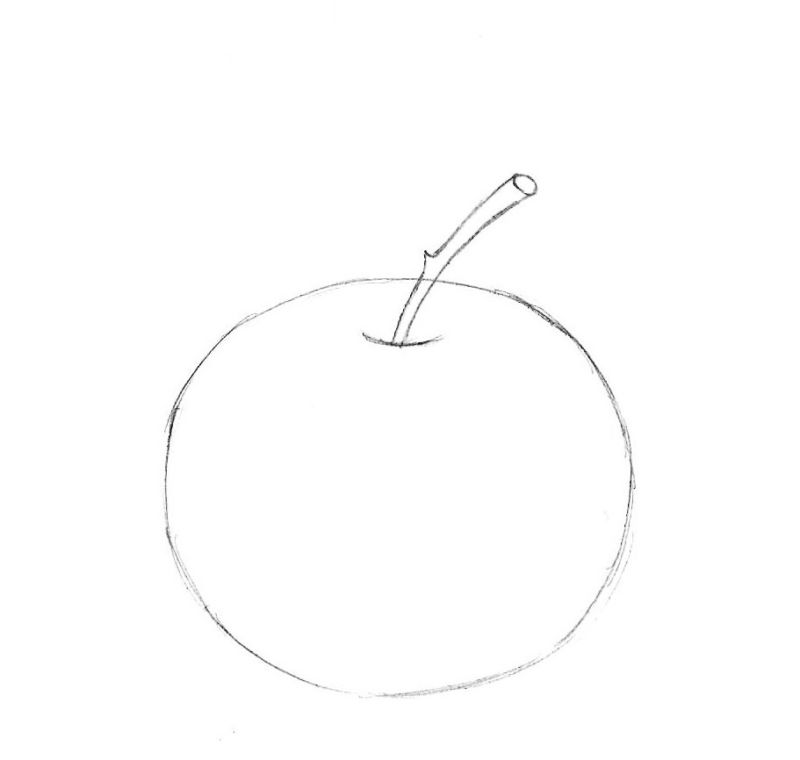
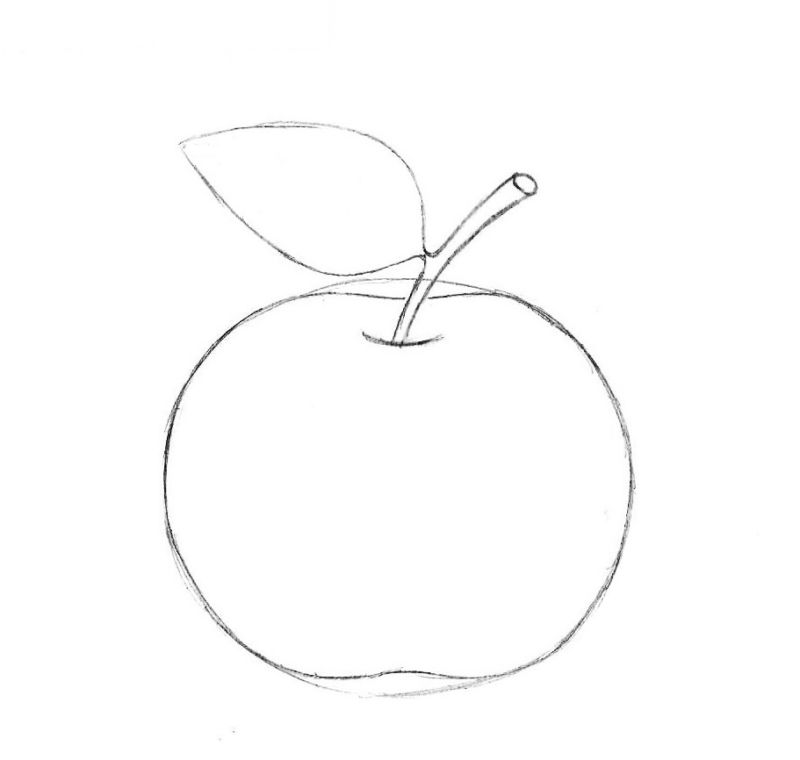
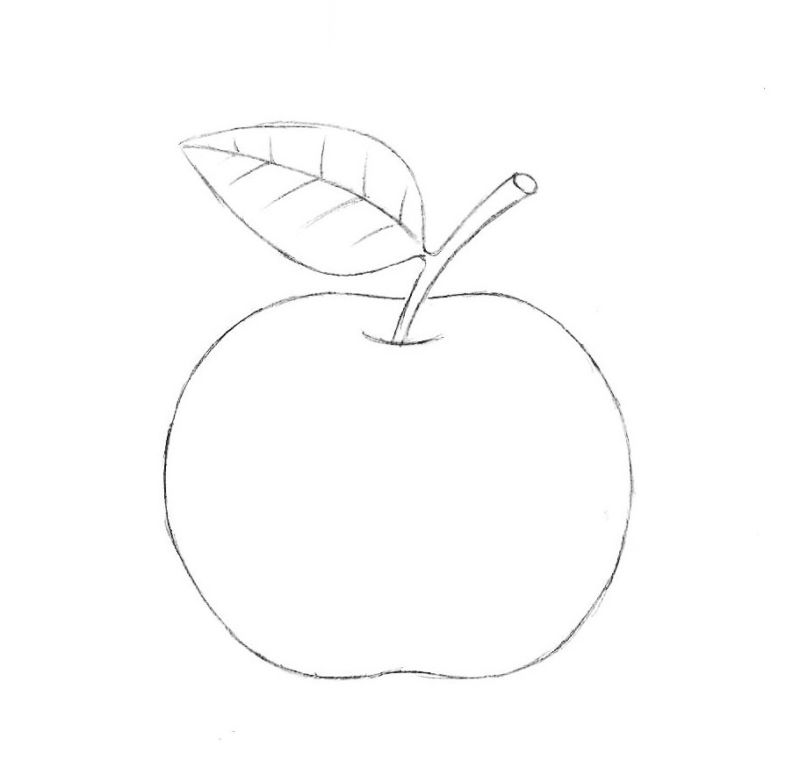
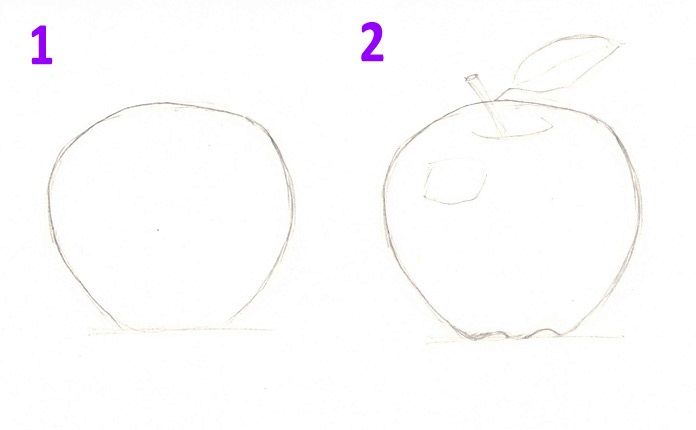
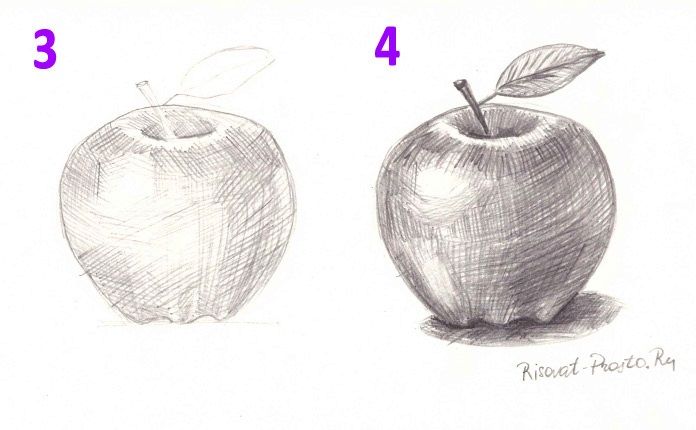
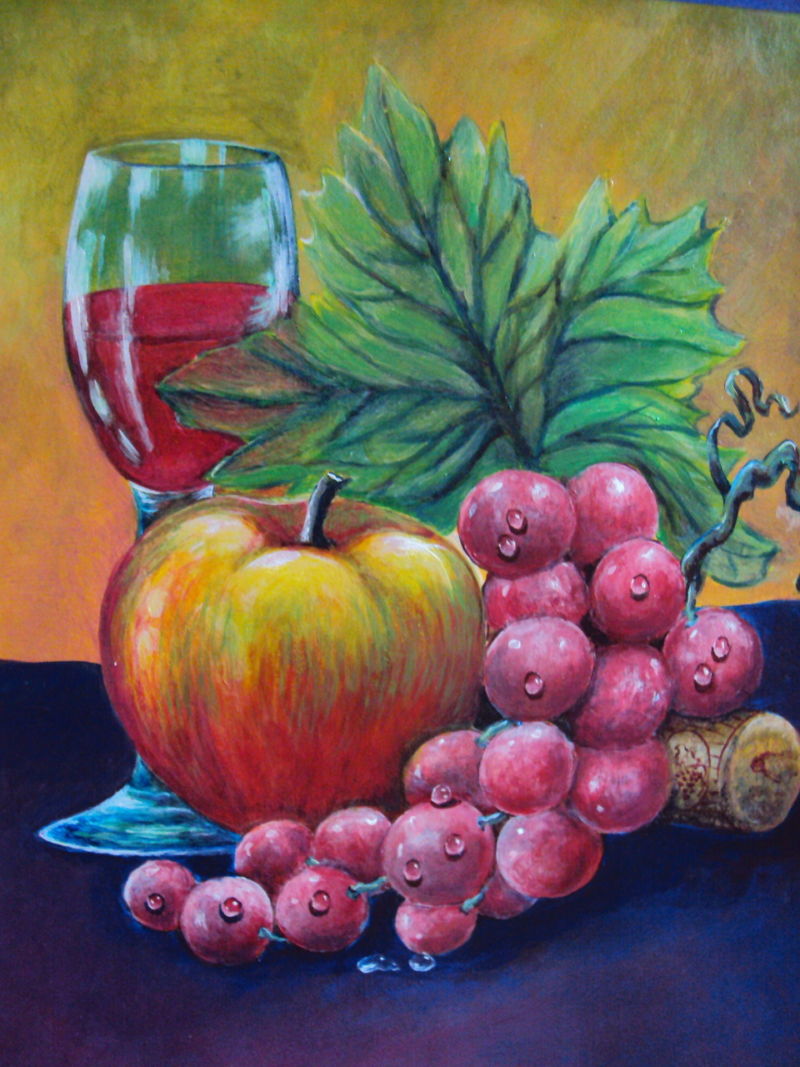
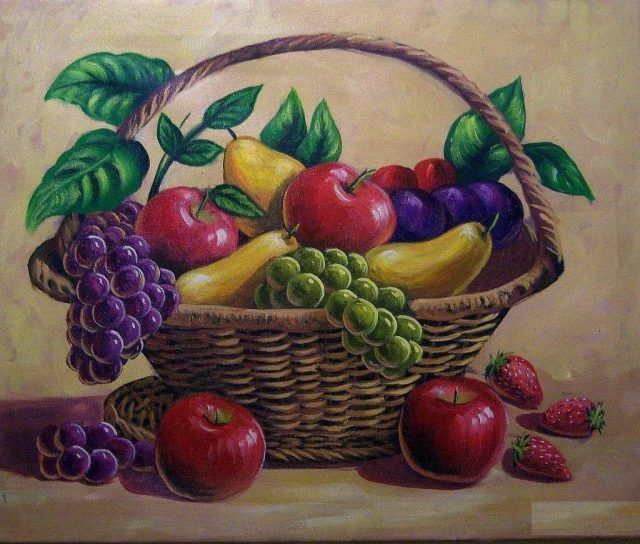
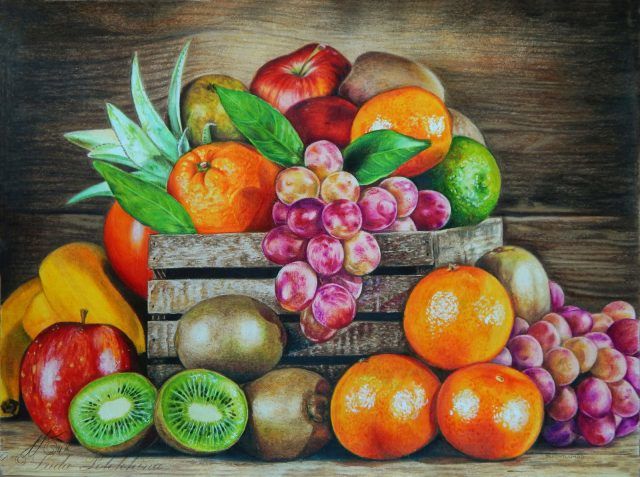
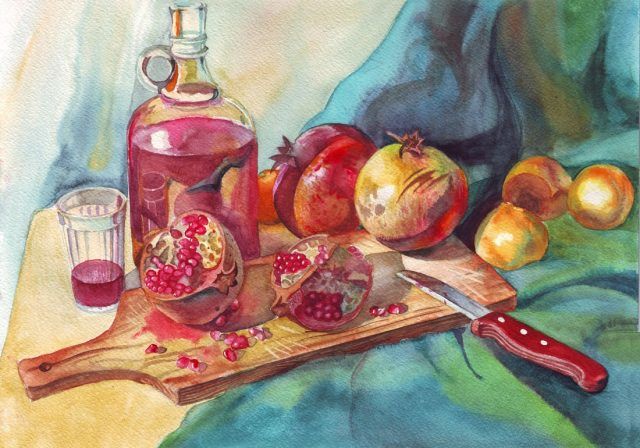
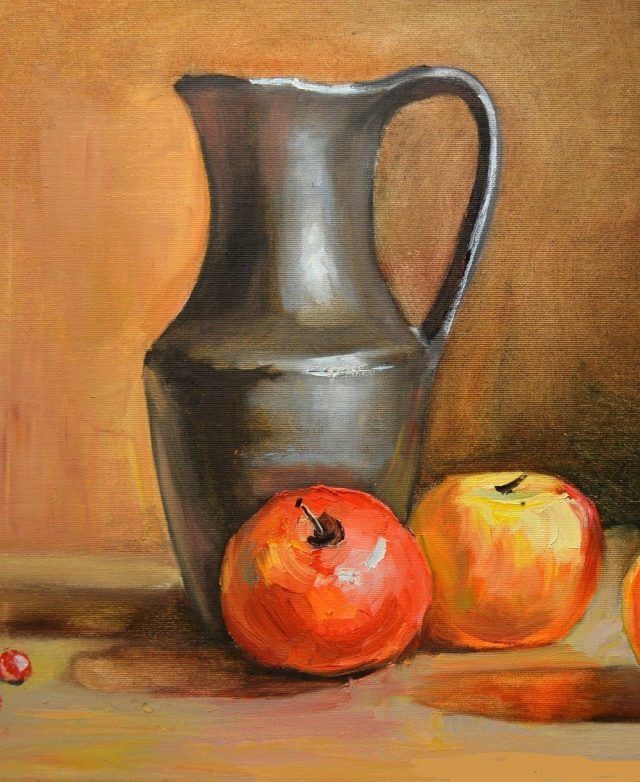
Photo of painted apples