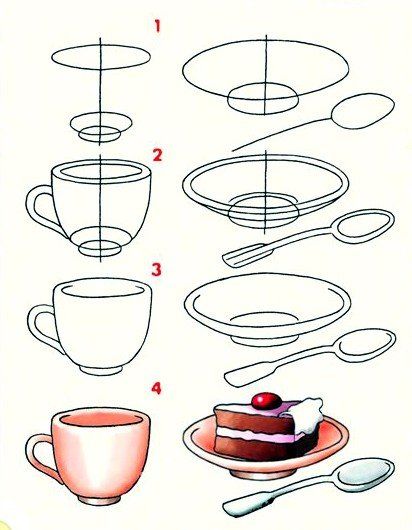
How to draw a plate with a pencil - step-by-step easy master classes with descriptions and photos
In art classes it is extremely important to devote time to depicting on paper objects that we use quite often in our daily lives.
Such items include cutlery, without which no meal can do without. In this article you will find detailed instructions for drawing different kinds of plates.

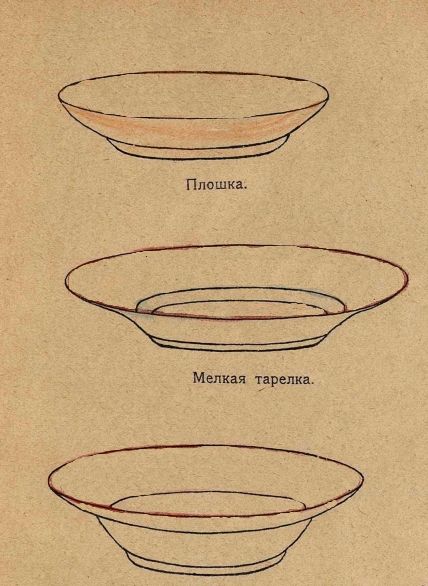
But first we need to remember, what kind of plates do we use every day? Deep plates are usually filled with soup. On the kitchen table you can always see a decorative plate with fruit.
Hot dishes are served on flat plates, and vegetable salads are placed on deep plates or so-called "pialas. In general, all kinds of plates are used by us for their intended purpose, which is very convenient.
Drawing a plate will not be a difficult task for children and adults, no matter how low the level of drawing is, since each of us encounters these objects every day.
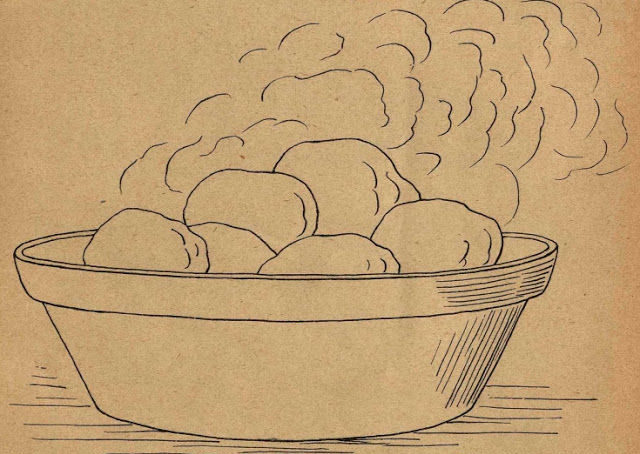
It may be more difficult to draw a plate with food inside, because it involves the ability to draw vegetables, fruits and other food, say, if you think how to draw a plate with porridge.

But if you follow the given instructions, the image will turn out in the best possible way. The drawn plate, moreover, if it contains fruit, can perfectly complement the interior of the kitchen.
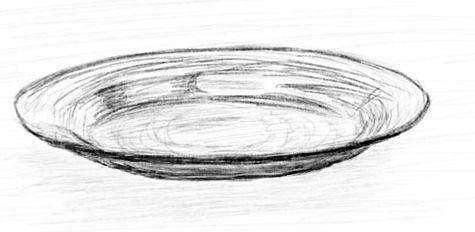
Flat plate in simple pencil
At the heart of any classic plate is a regular geometric figure - a circle. Drawing a plate can be tried from two different angles: from above and from the side.

Plate from above
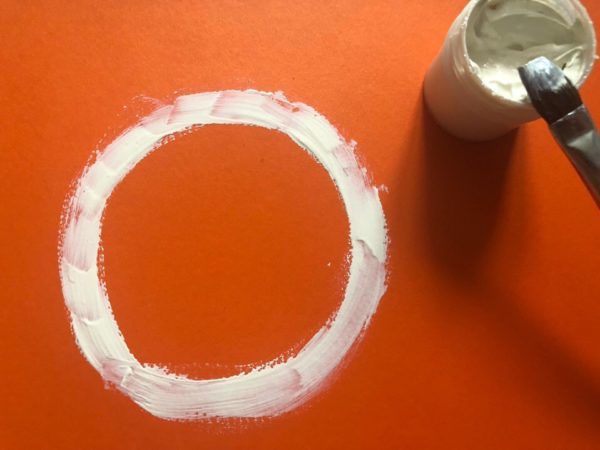
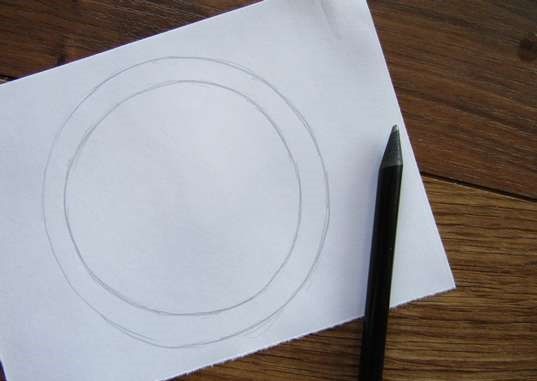
This is the easiest way to draw a plate with a simple pencil. First, you need to draw an even circle in the middle of the sheet. A circular is recommended, but those who are experienced in drawing regular geometric shapes will not need it.

If you want to draw a circle by hand, you can seriously simplify this task: initially you need to draw a square. In the corners of the square are drawn arcs, thanks to which an even circle is drawn, and the right angles of 90 degrees left of the square are erased.

It is also possible to take a simple cross sketch with equal lines as a basis for the future circle and, already guided by the ends of the lines, draw a circle.
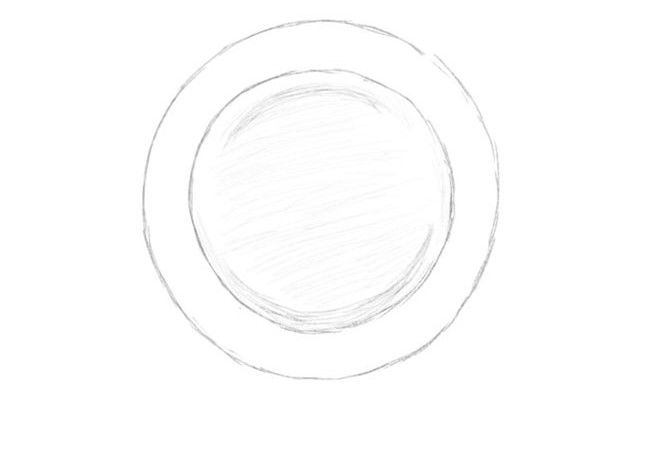
Another circle is drawn around the drawn circle, which serves as the side edges of the plate. The main part of the plate is ready. It remains only to give the image three-dimensionality, so that the drawing does not look simple.
Shadows and shading are used to give volume in space. In the main circle, which is inside, it is necessary to apply shadows with light and precise hand movements to mark the bottom and side walls of the bottom of the plate. The rim of the plate needs to be shaded with unobtrusive lines.
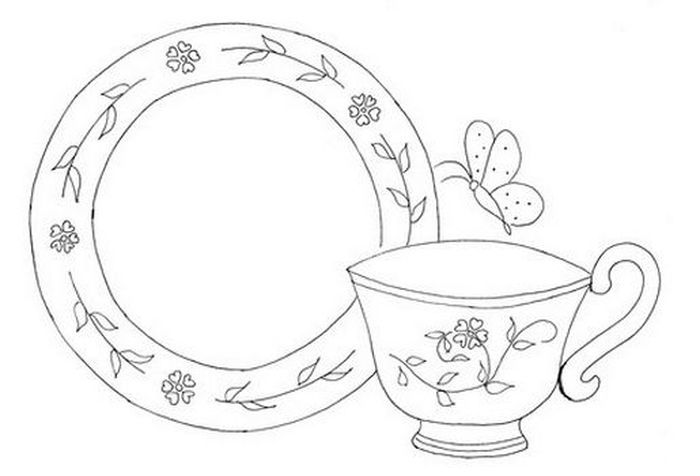
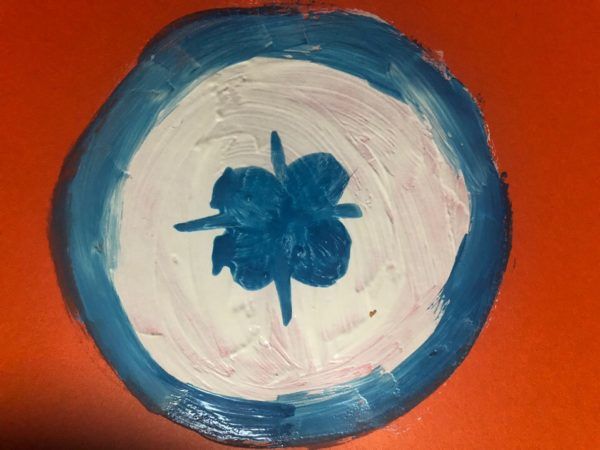
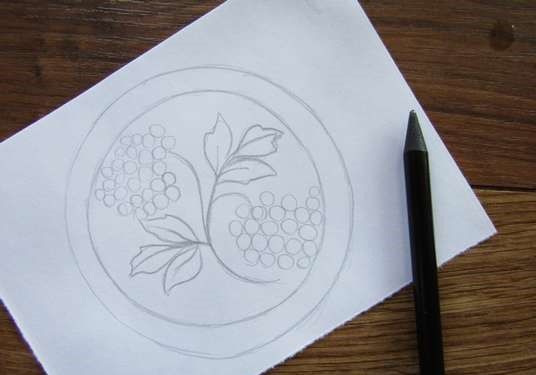
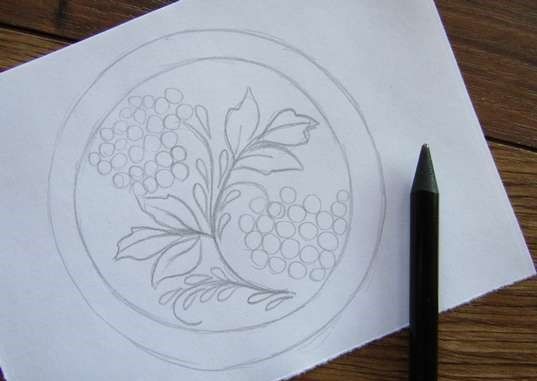
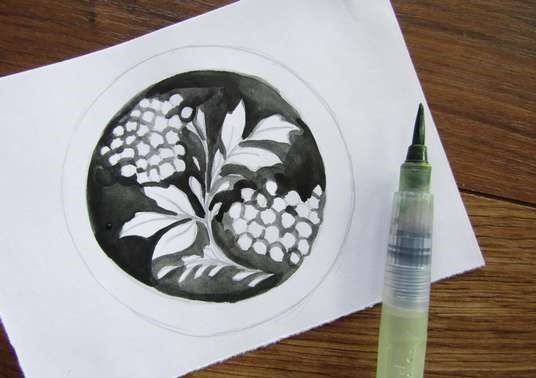
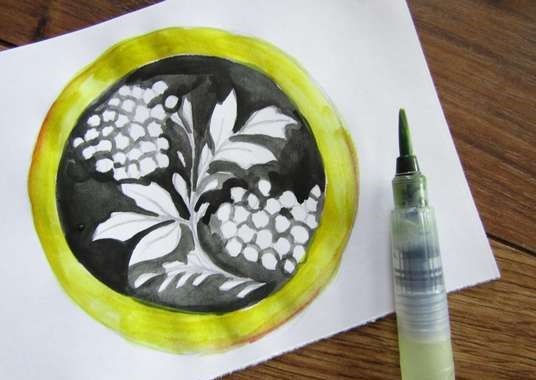
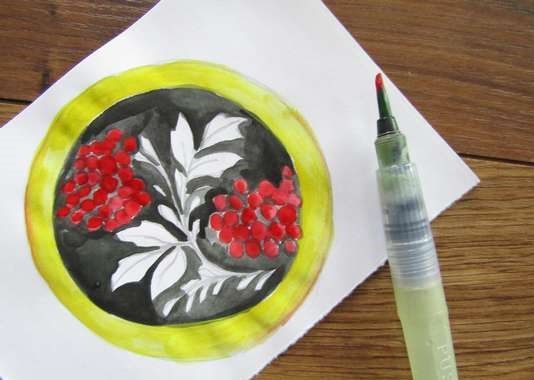
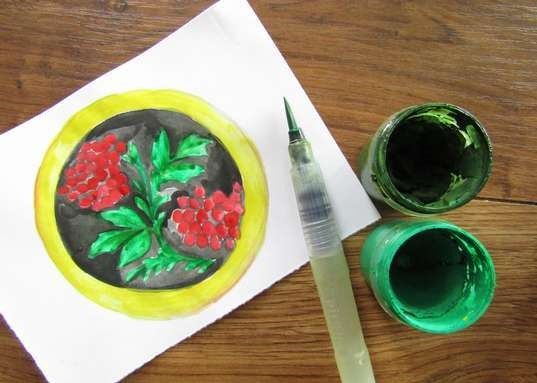
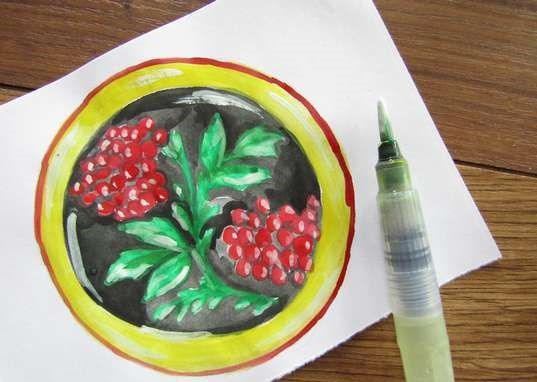
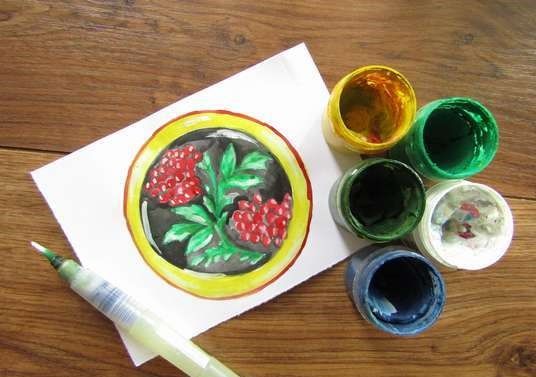
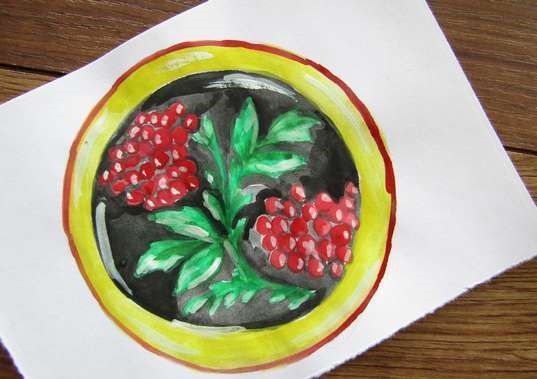
On plates, you can often find all sorts of patterns: geometric, floral, or even images with cartoon characters. We will focus on the floral pattern.
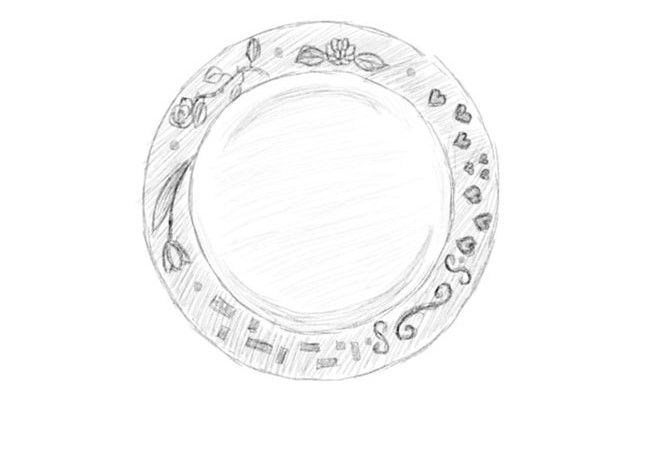
In the circle of the plate on the rim are drawn all kinds of flowers, stems, leaves, for the diversity of the floral pattern, you can add bees, butterflies and other critters.
For drawings to be as believable and proportional as possible, as in the original, it is important to pay attention in advance to finding images for sketching. In order to draw different objects qualitatively and believably without references and purely from your head, you need to practice a lot.
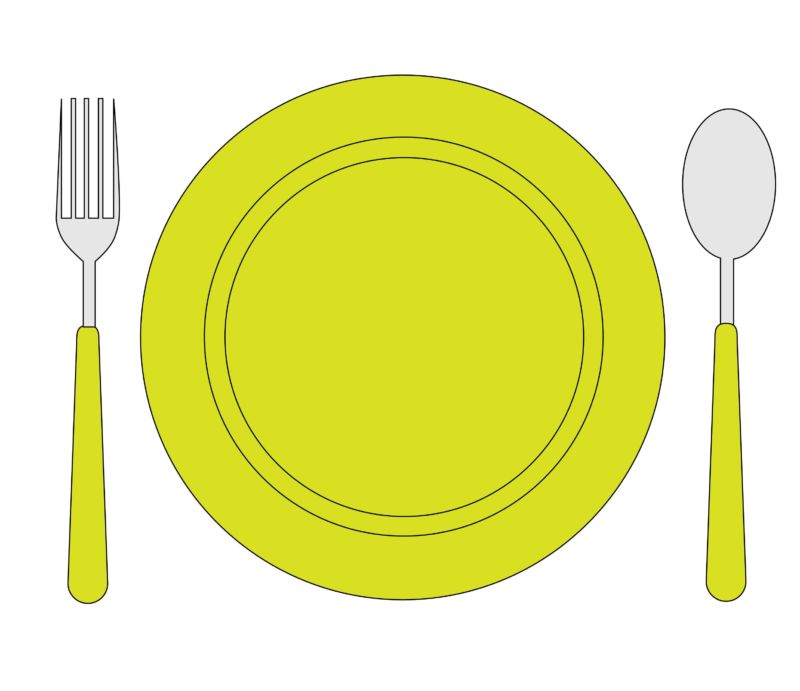
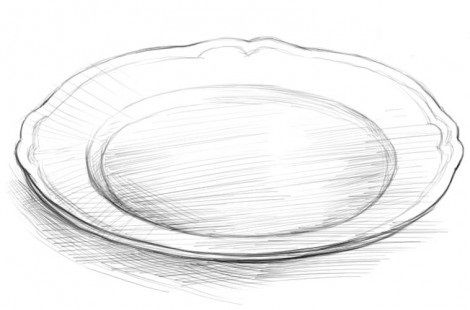
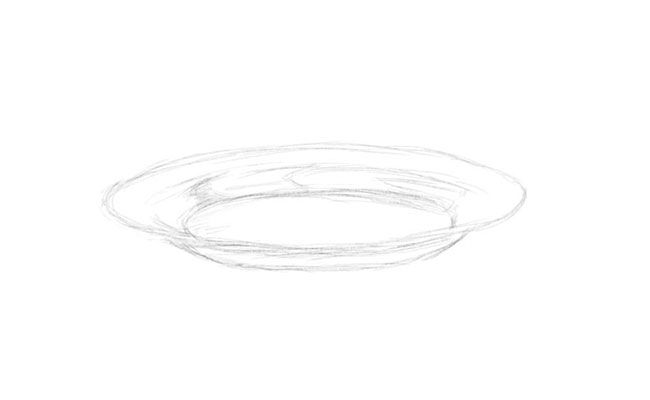
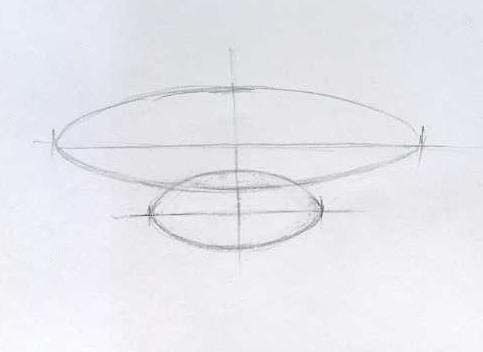
Plate from the side
At the base of the side image of a flat plate will lie an oval. In order for the oval to turn out even and proportional, you need to make auxiliary lines and marks with a soft and easy to erase pencil.
On the oval depicted at the top side, you need to lightly draw an arc, which will be the top of the wall of the bottom. Allocate the edge of the oval with a thin line of a few millimeters.
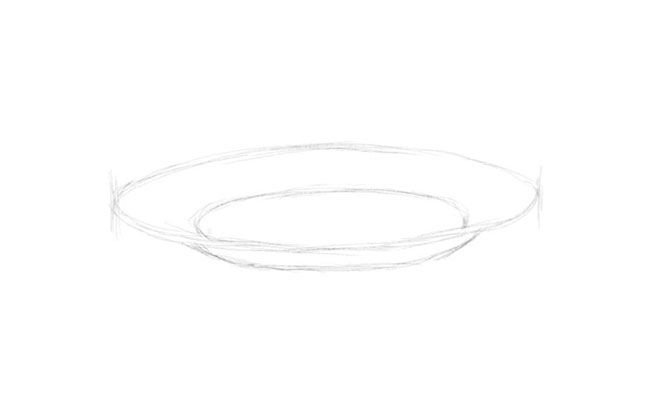
Inside the first drawn oval drawn another similar oval, but as close to the bottom arc of the main oval. The bottom of the oval is drawn.
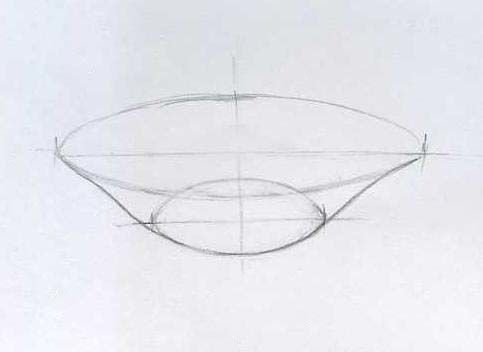
Then by tradition continues drawing shadows and highlights. The places where the shadow falls are outlined, and they are highlighted with a simple pencil by shading or blurring.

There is a trick to portray the shadows and other places that give the picture three-dimensionality correctly and naturally: the plate reference, which you previously found, must be processed in a photo editor, applying a black and white filter.
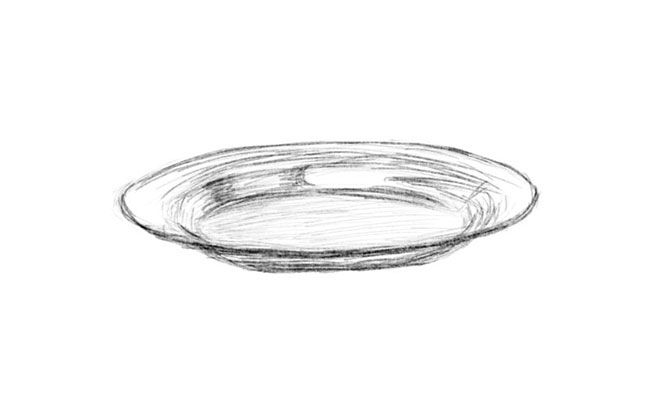
On the processed picture will be clearly visible the very places that need to convey the shading or blurring.
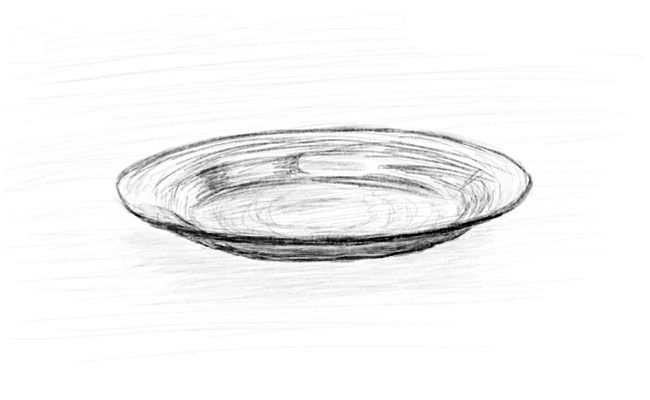
On the resulting image of the plate from the side, you can also try to draw a pattern, but you need to keep the perspective, ie, flowers or any other objects are drawn already more "flattened.
The easiest way to draw a plate
Drawing a plate using the past instructions turned out quite realistic, as all the natural shadows and highlights were applied, and the proportions and perspective were respected.
But there is no need to be discouraged if the plate did not turn out realistic enough. So it is necessary to consider an easier option.
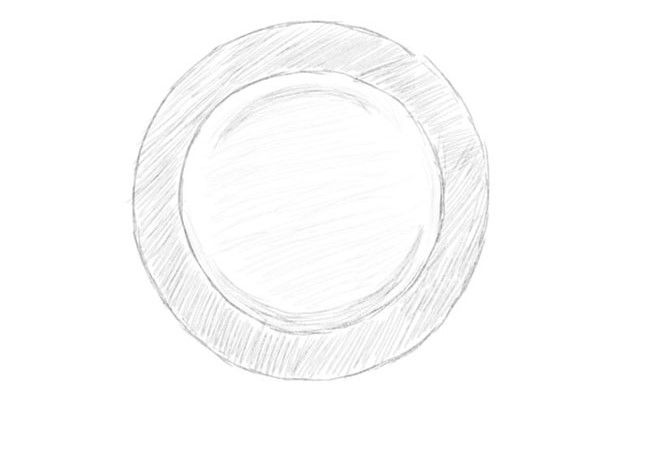
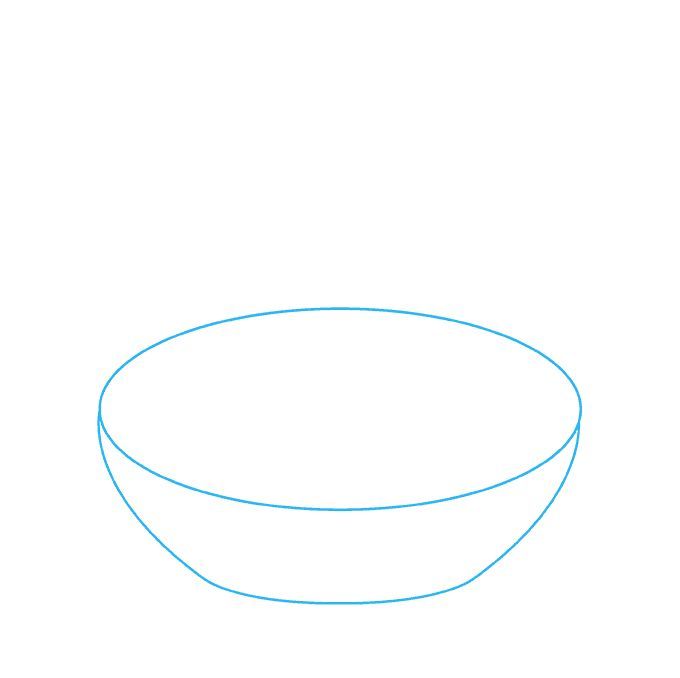
First, a simple oval is drawn. Inside, at the bottom of the oval, an arc is drawn that creates a smaller oval from the top, and the bottom resembles a crescent. The smaller oval is the inside of the plate, and the lower crescent is the outside.
At the very bottom of the crescent is drawn strip - a support, or bottom, which the plate is stable. Inside the top oval on the bottom side is drawn a small oval often, it is the bottom.
Then another rim is drawn along the radius - these are the side edges of the plate. And the last arc, which is drawn near the edge, will be the edges of the rims. The remaining rim near the edge is the line that marks the thickness of the plate.
Inside, you can draw a simple pattern in the form of swirling lines or the previously discussed flowers, stems and leaves. In a simpler version, it is not necessary to adhere to the naturalness of the shadows, you can even do without them at all. Armed with colored pencils, give colors to the plate.

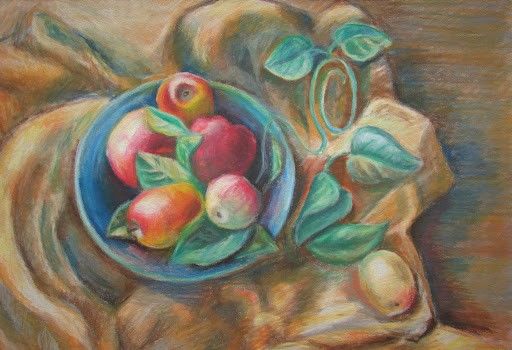
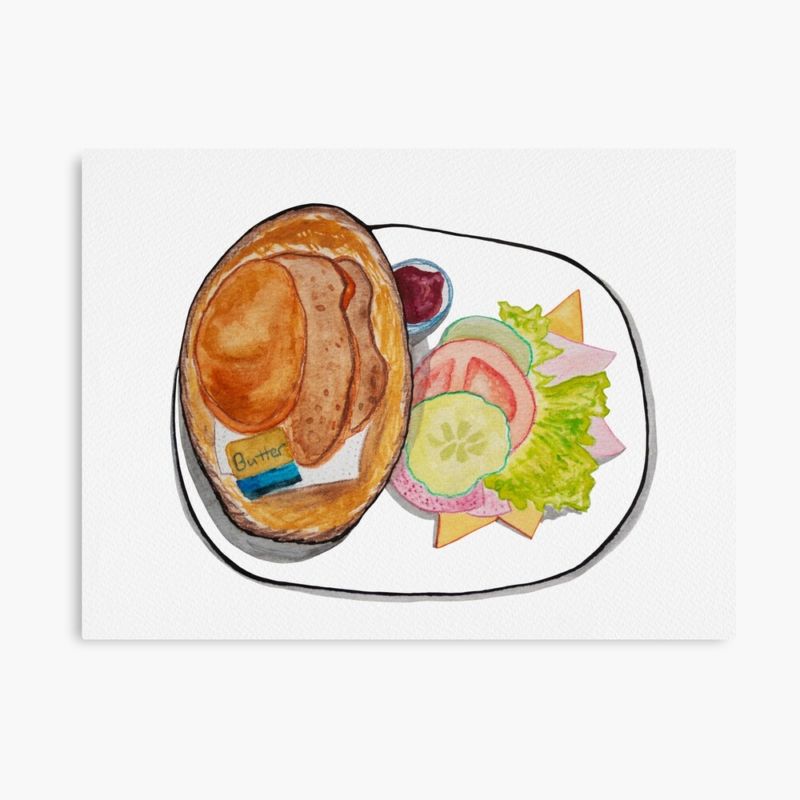
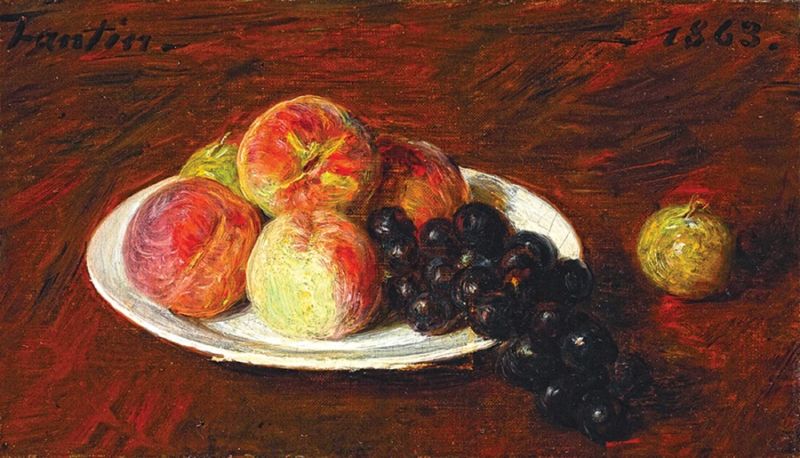
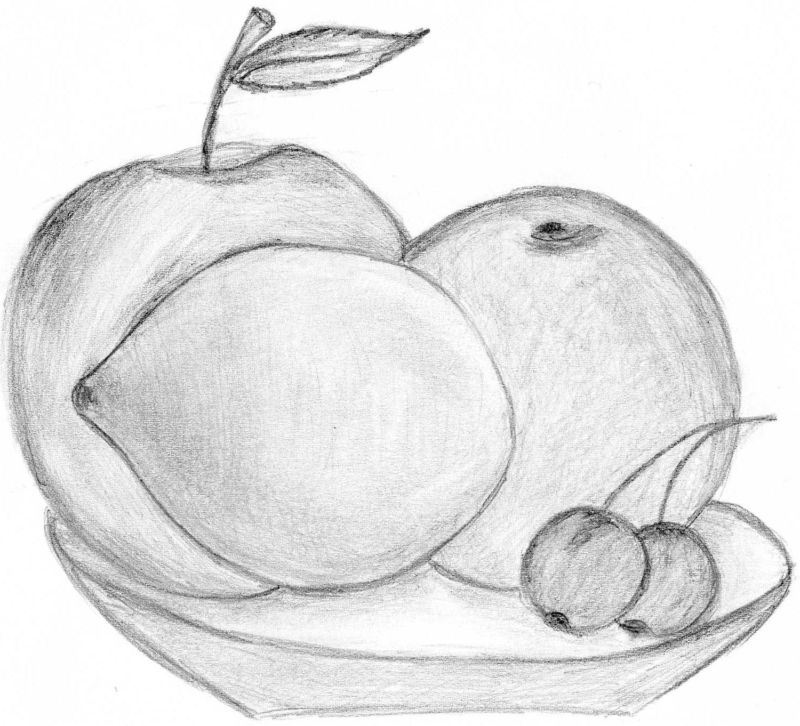
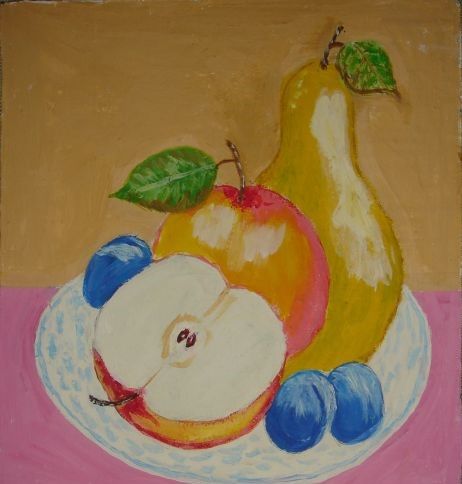
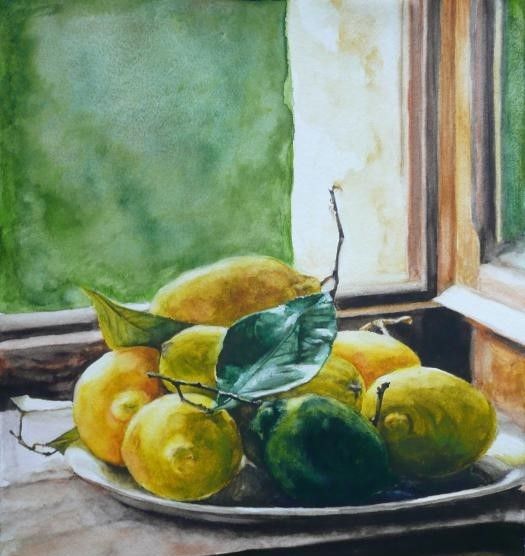
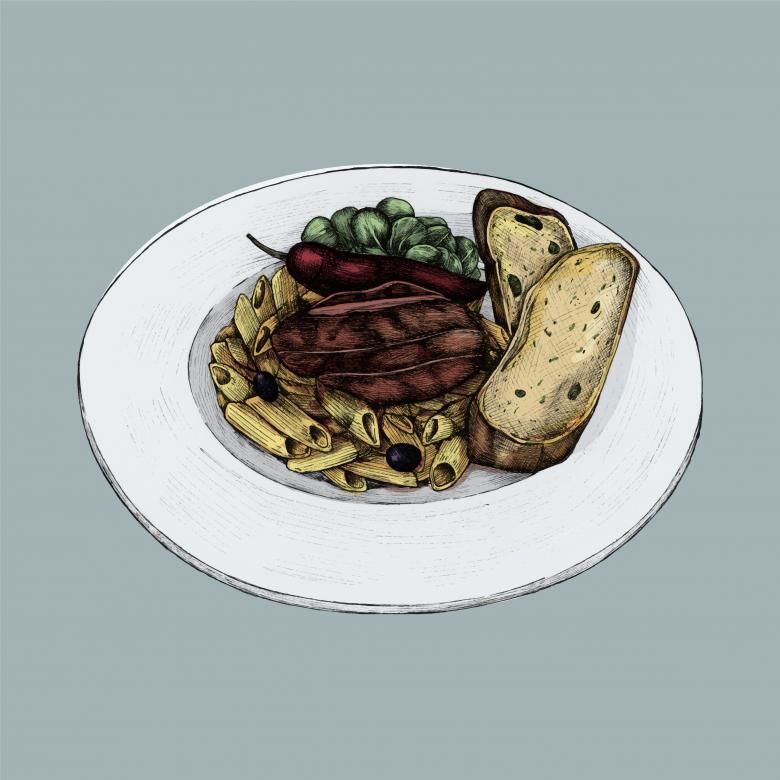
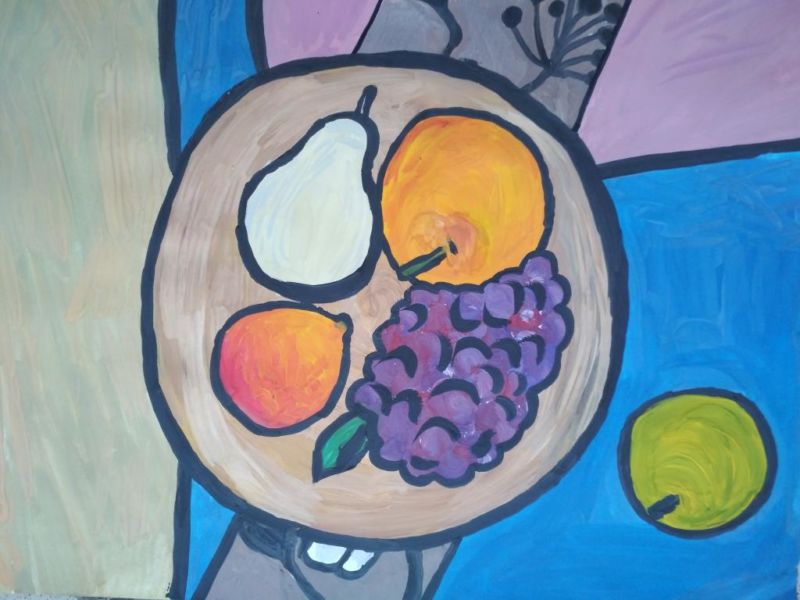
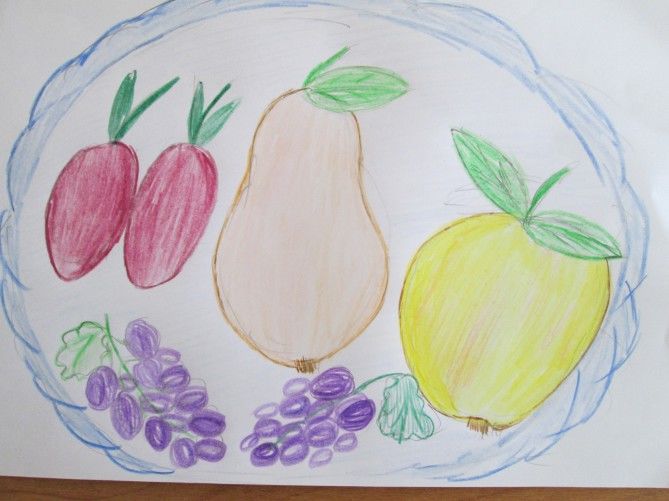
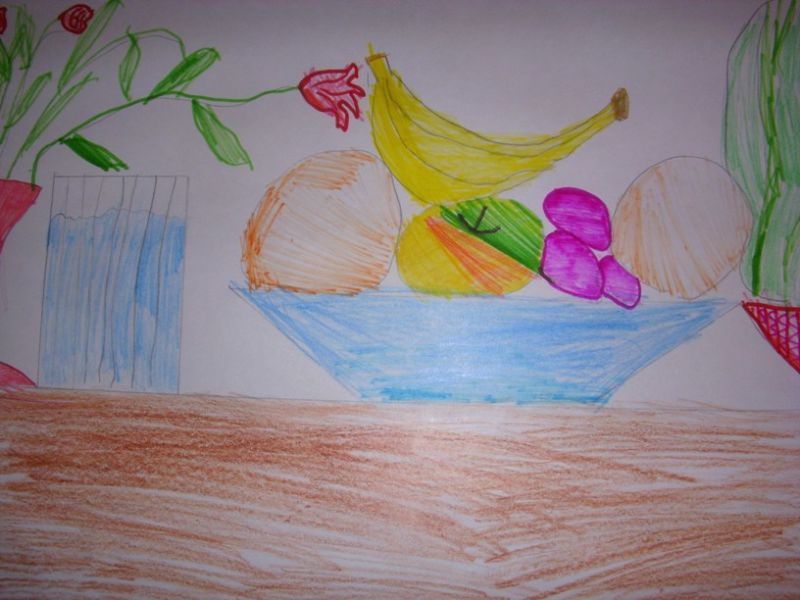
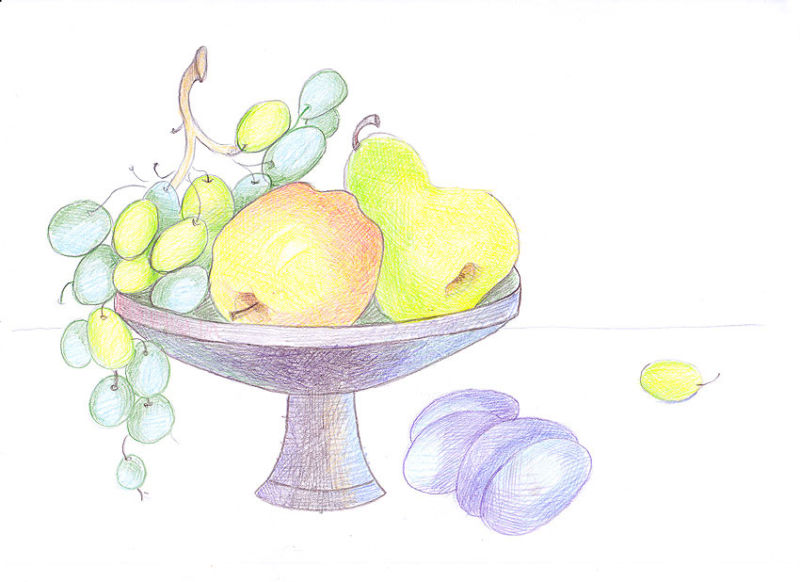
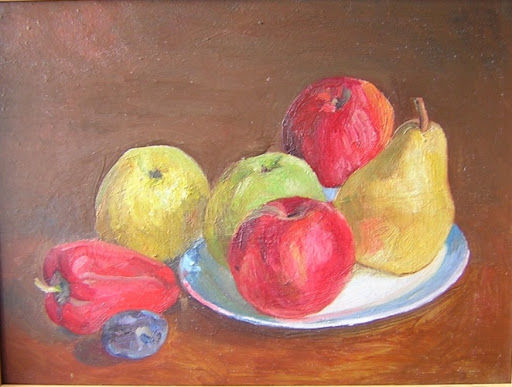
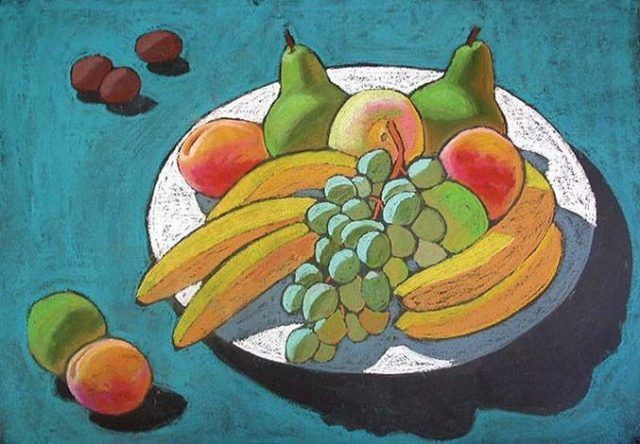
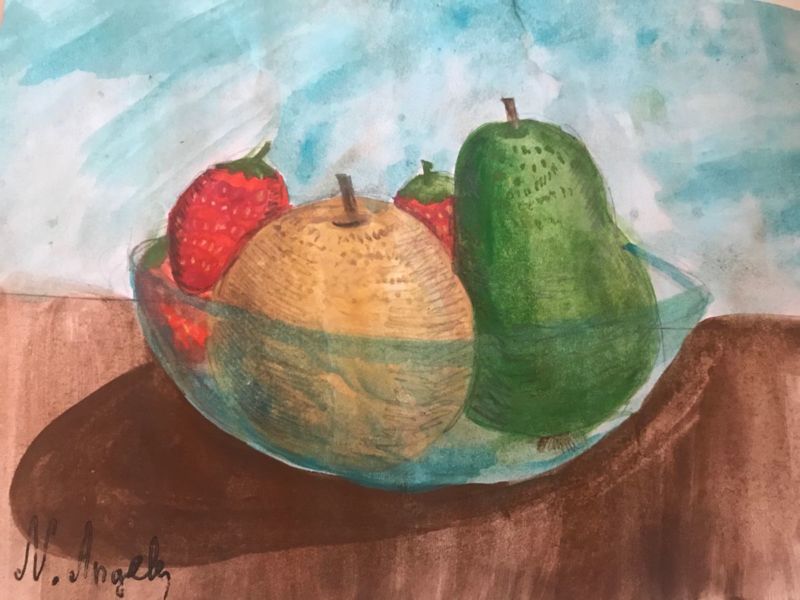
Fruit Plate
Many homes always have plates of treats on their kitchen tables for a quick snack. Most often such plates are filled with various fruits: apples, pears, bananas, peaches.
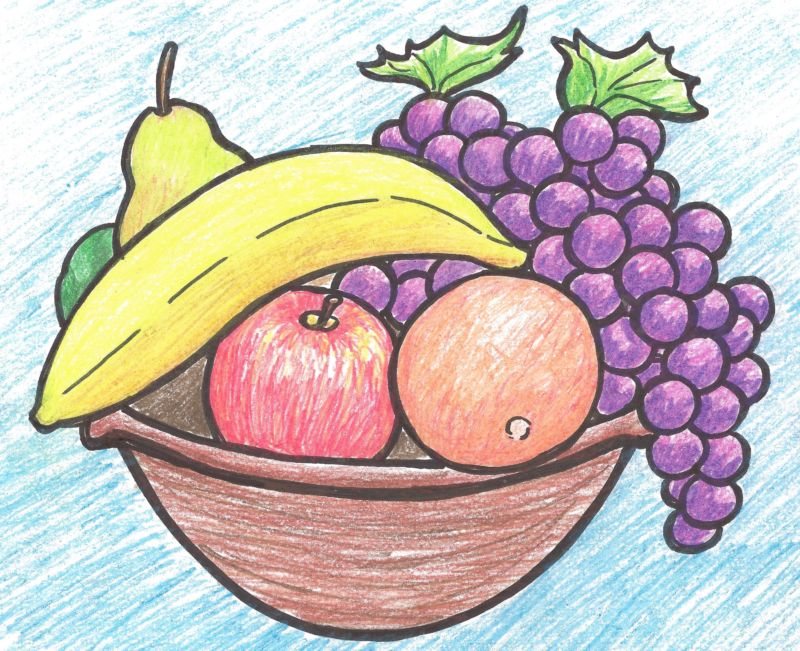
Fruit plates often become the main objects in still lifes. It is important to observe the proportions of both the plate and the fruit inside it.
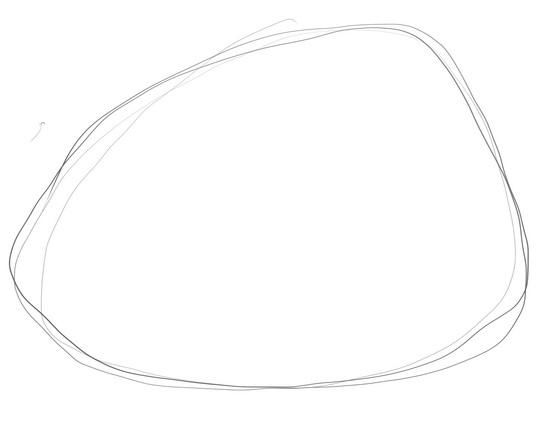
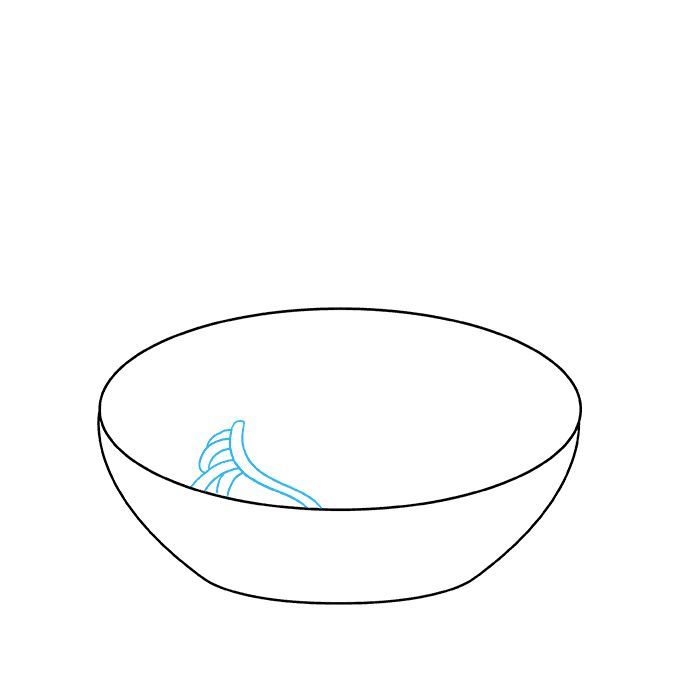
We are going to draw a plate with fruit from the side perspective. Already according to the usual order of actions we draw the plate, as it was described in the second variant, but there is no need to apply shadows and shading anything beforehand.
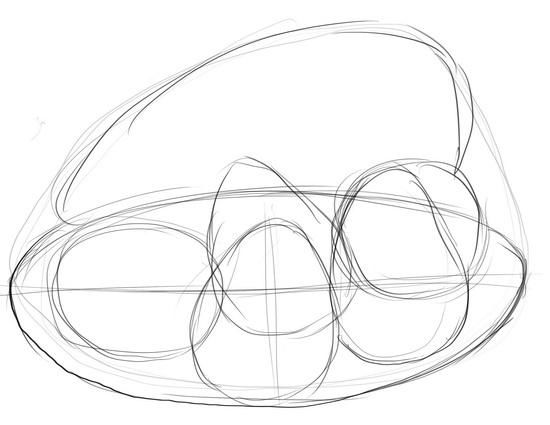
When the "naked" plate is drawn, you need to neatly and naturally place all the selected fruits in it. It is important to know ways to draw fruit. For example, the apple can be started with a circle, gradually adding new details. The pear is also drawn starting with a circle.
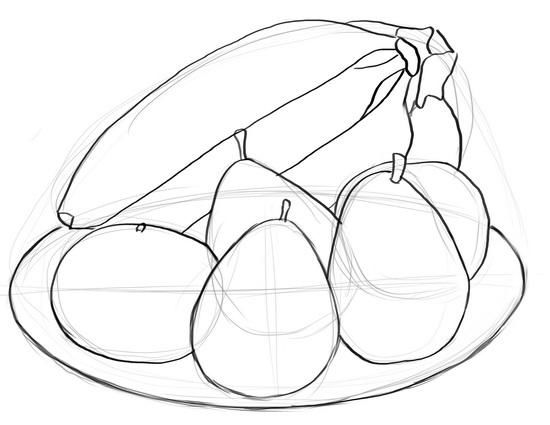
It is important to give it a peculiar pear shape, as if pulling the main circle, or you can draw a figure eight at the base and gradually bring it to your desired pear shape.

Grapes are drawn, starting with the stem, which is mostly not visible behind the rounded berries. The lemon has a semicircle at the base, but its top is more elongated.
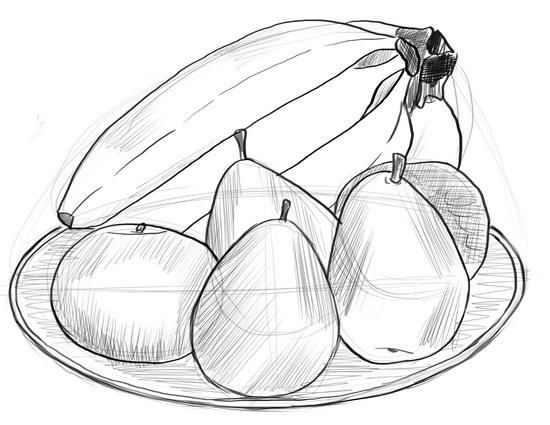
Do not forget to add a stalk with a leaf to each fruit. This way the pattern will look more colorful. It is important to pay attention to the texture of the coating of each fruit: an apple has a glossy surface, so it has glare.
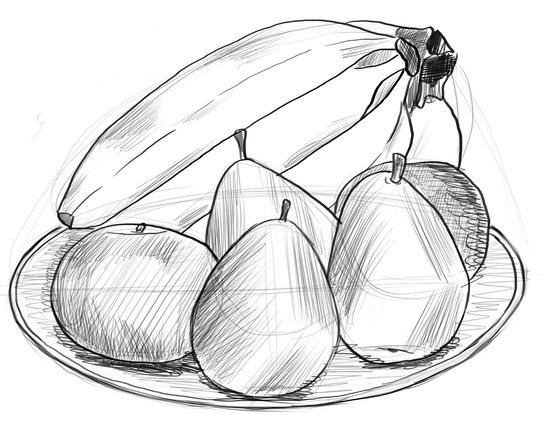
An orange or lemon has a peel that is speckled and porous. Kiwis and peaches have a fuzzy surface, so there is no need to depict glare on each fruit.

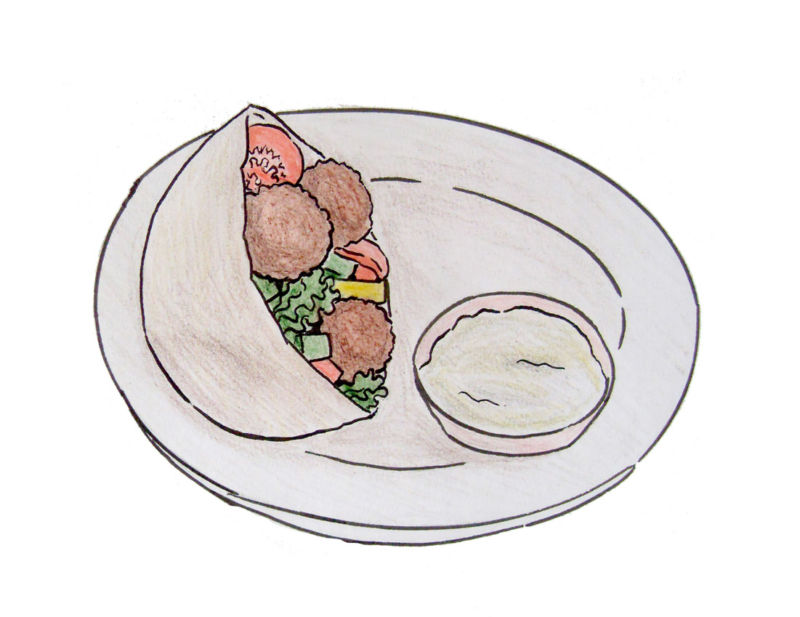
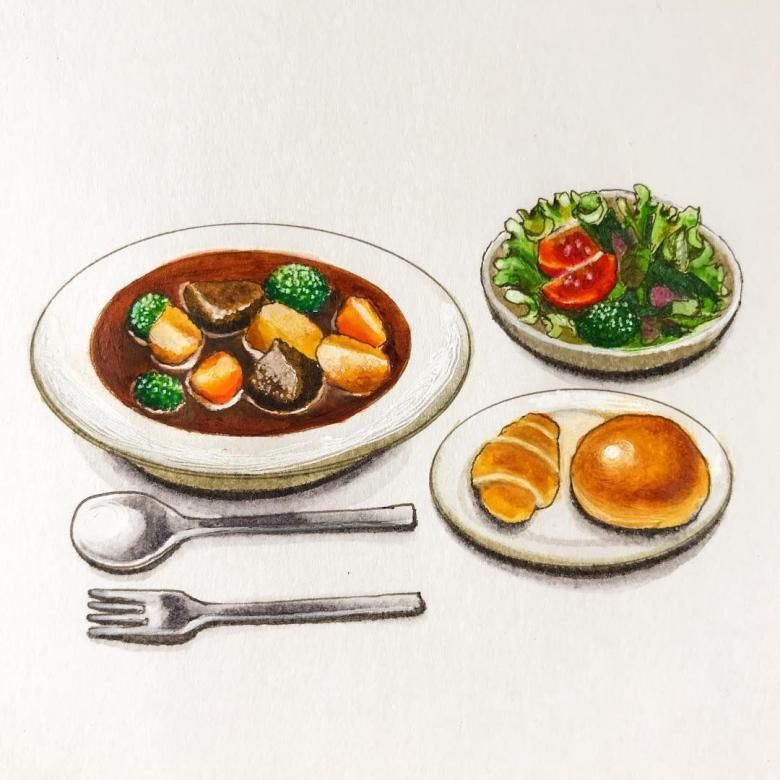
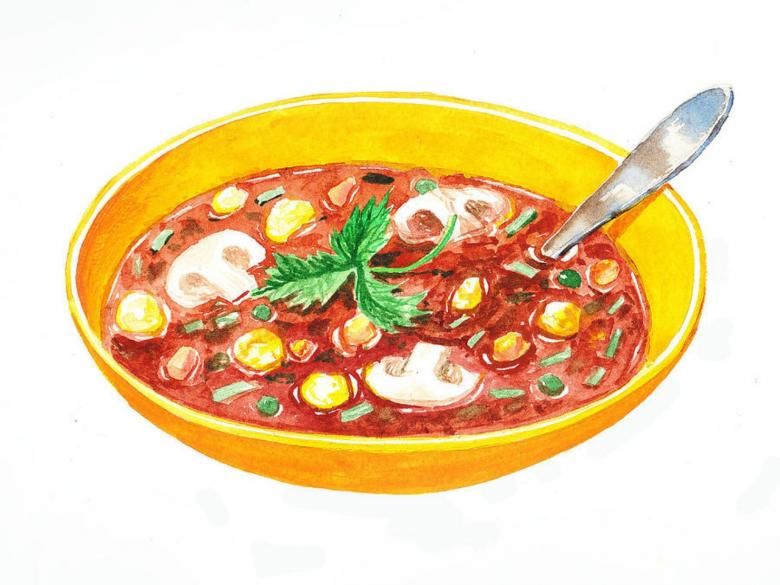
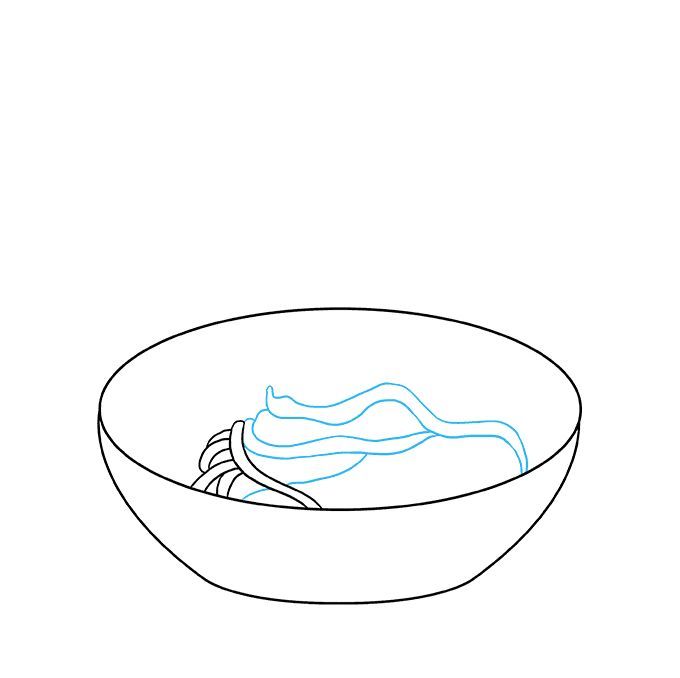
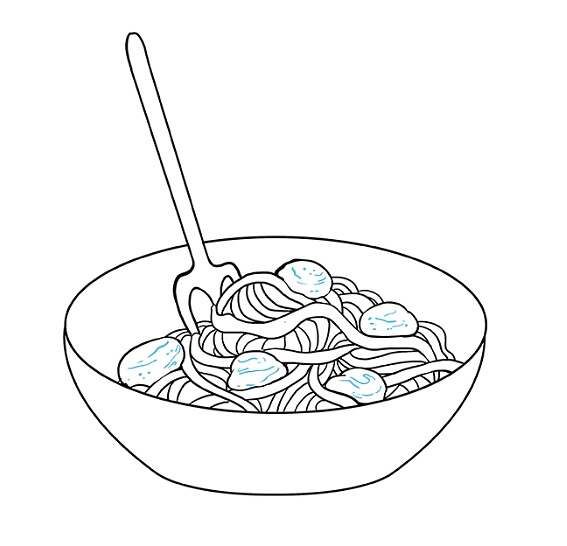
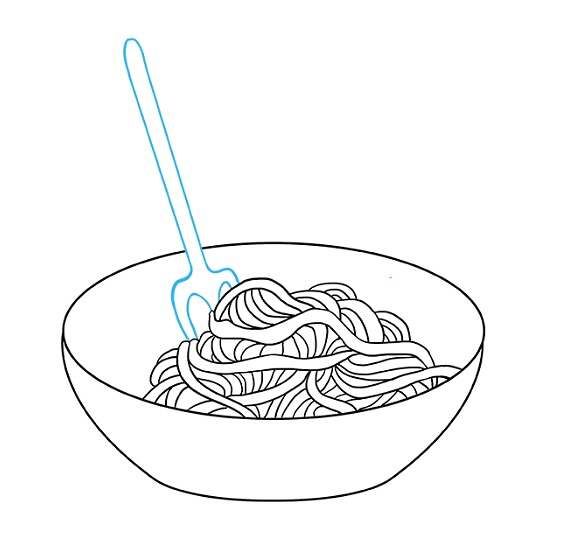
A deep plate of lettuce or pasta
Salads are usually cut into deep plates. This is very convenient, and the vegetable particles never spill out as they might with a flat plate.
This time we will try to draw the plate with the cross sketch. We start with the oval of the plate. Then, to divide it into zones for ease of further drawing and proportions, a soft pencil cross is drawn. Exactly in the center of the oval draws another oval with respect to the outline of the cross.
Along the edges of each oval carried out with the help of arcs of its side. Those sides that are on the edge, indicate the thickness of the plate. Those at the bottom indicate its bottom.

For now, we don't need to trace the bottom, as we did before. Inside we need to place the lettuce. Draw a lot of cabbage leaves, tomato slices, cucumbers, you can add some more greens.
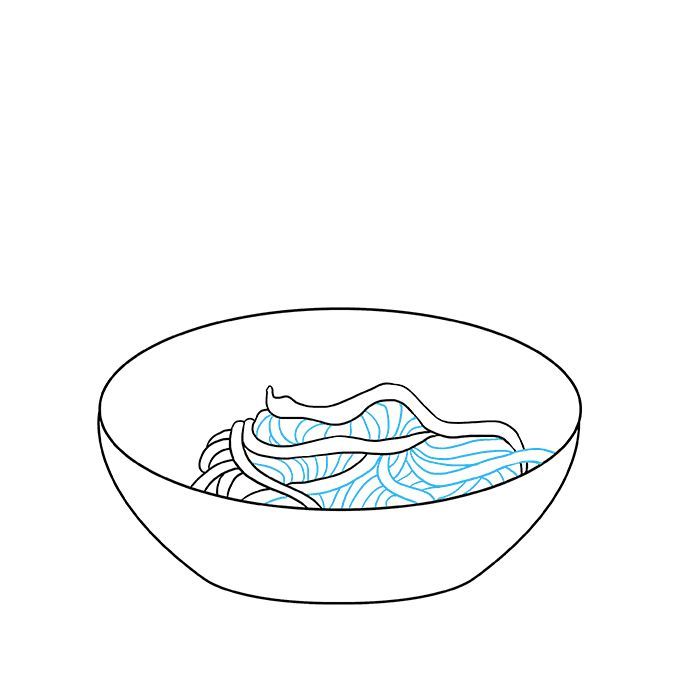
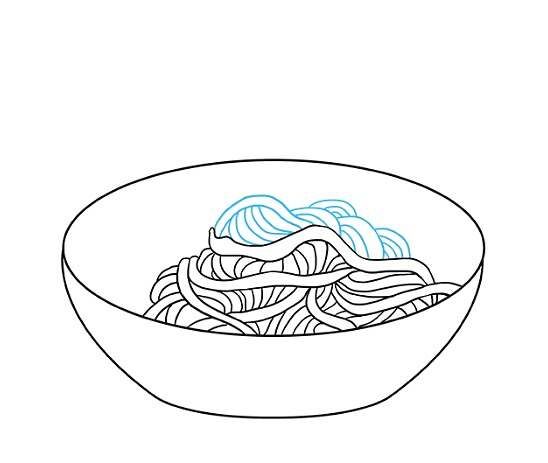

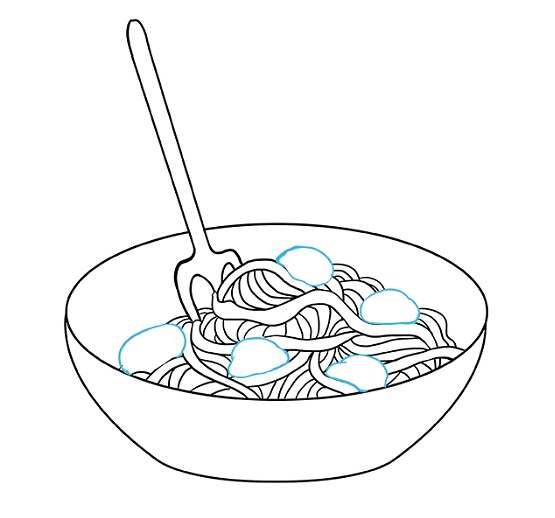
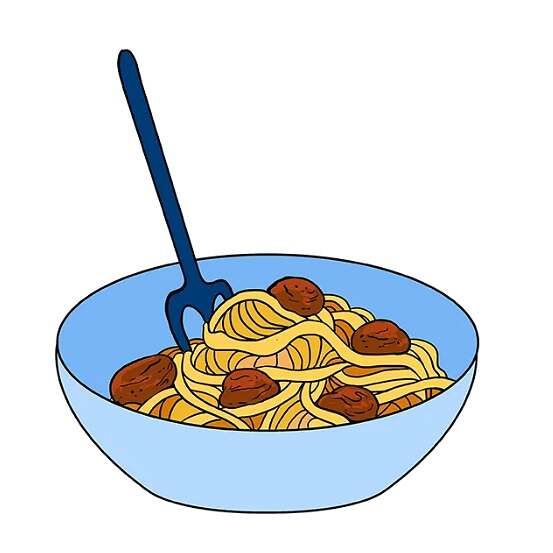
Parts of vegetables are colored with colored pencils, the sides of the plate on the inside, which remained visible, you can shaded in a certain way to give volume.
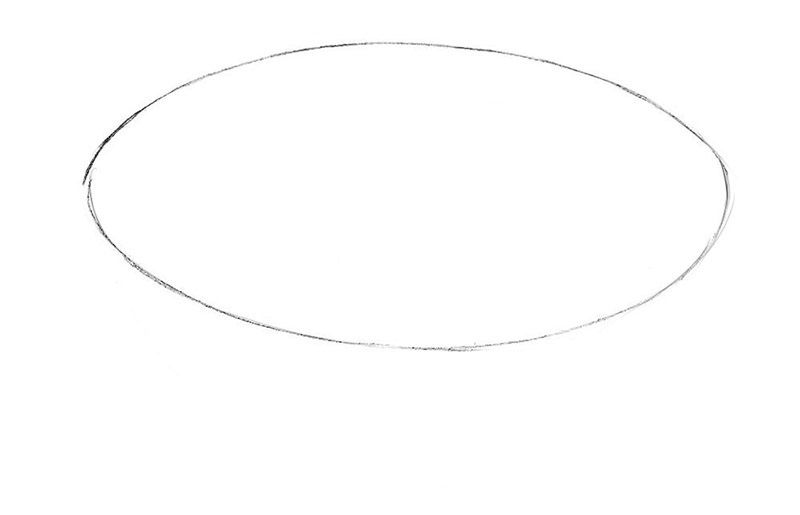
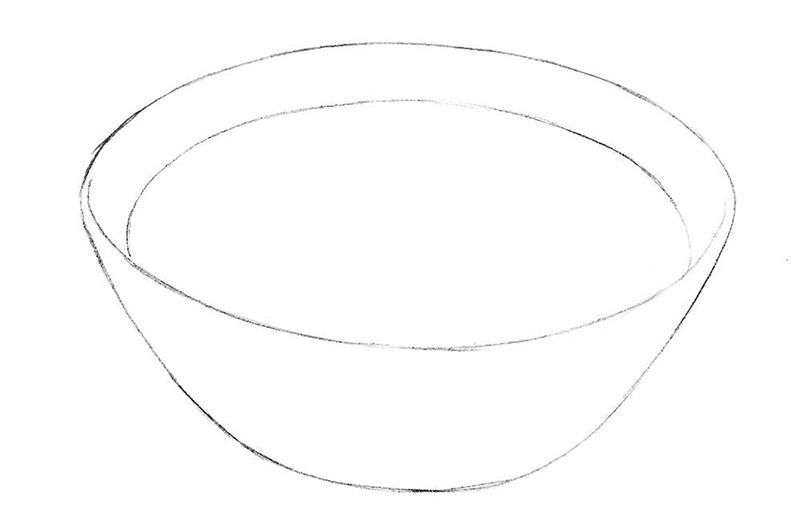
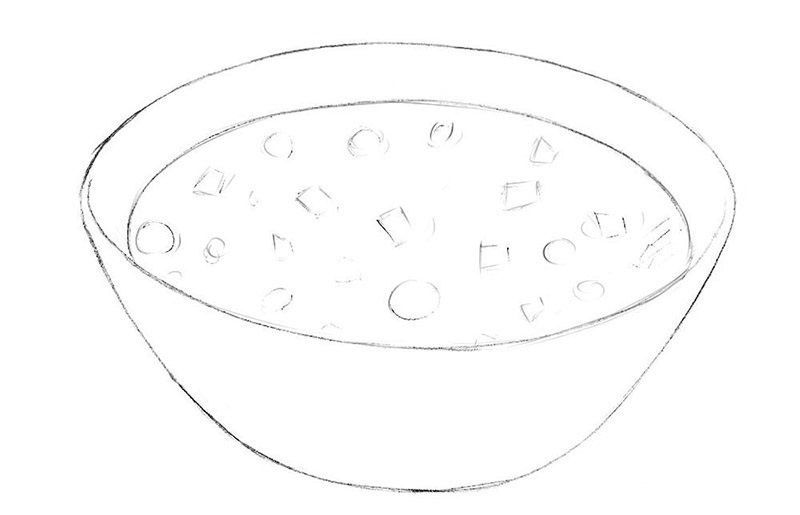
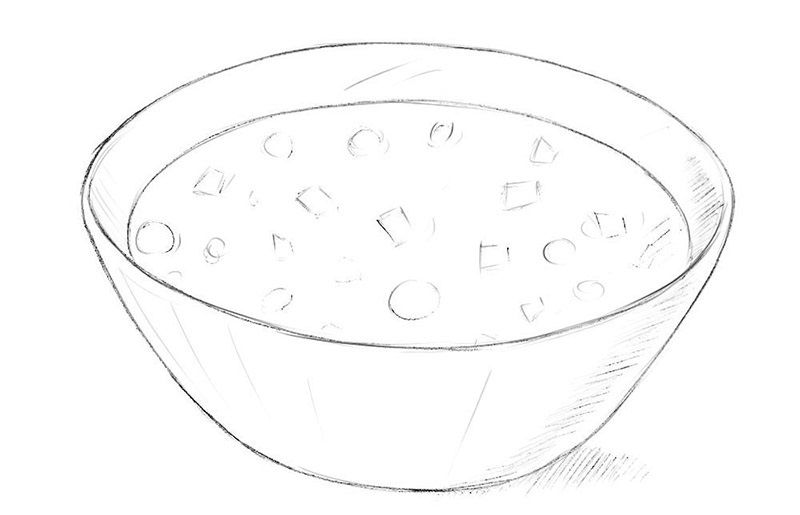
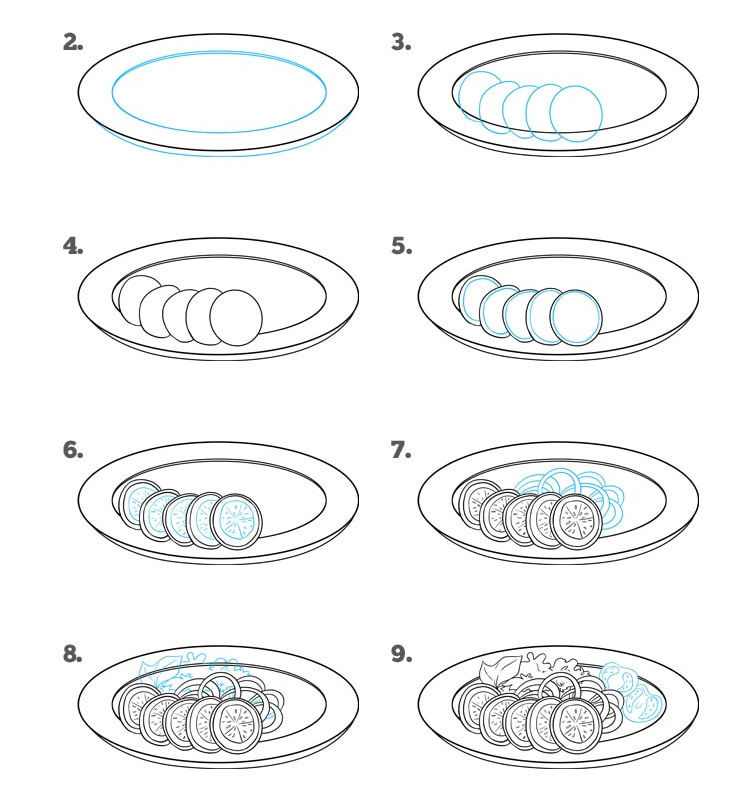
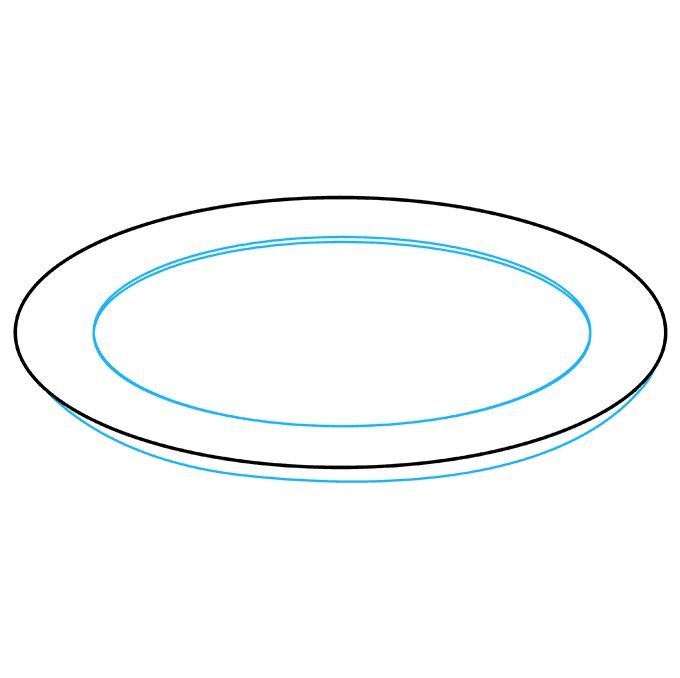
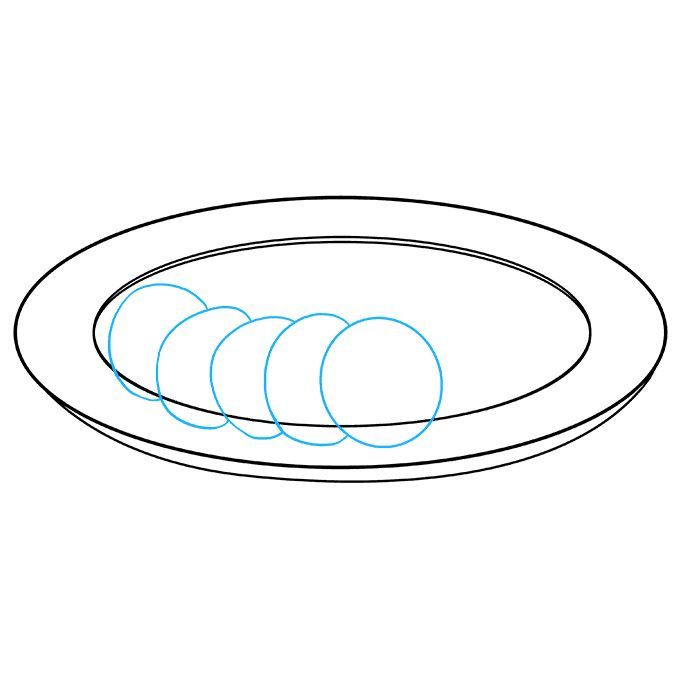
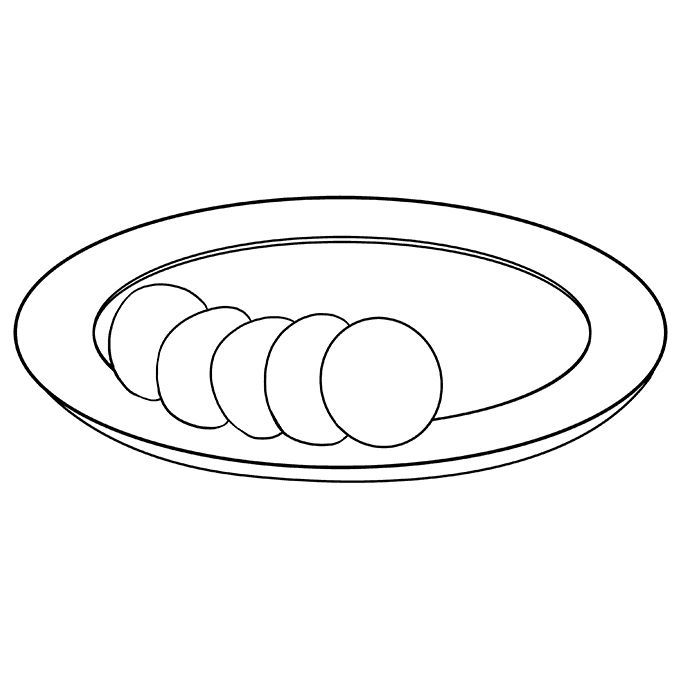
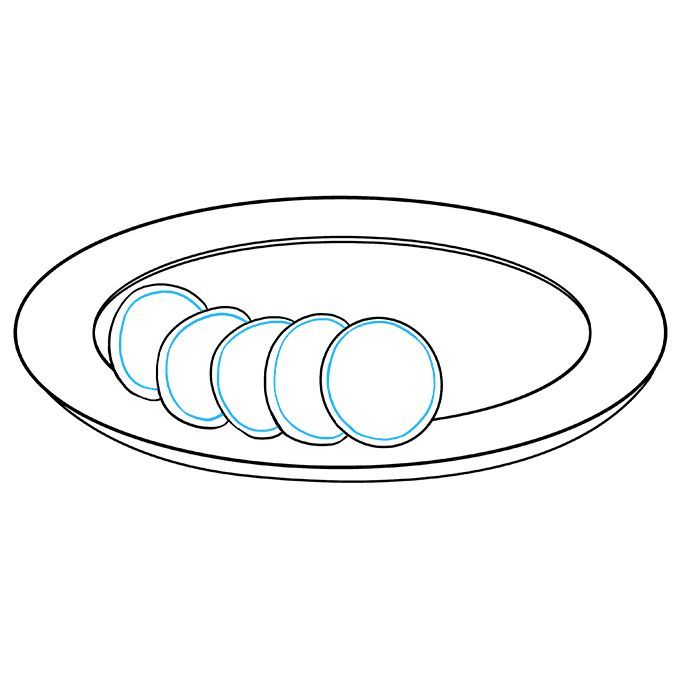
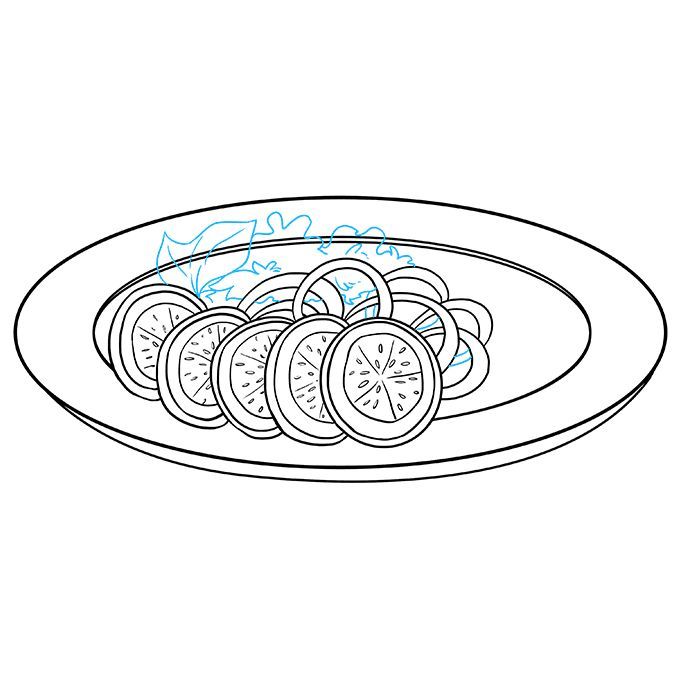
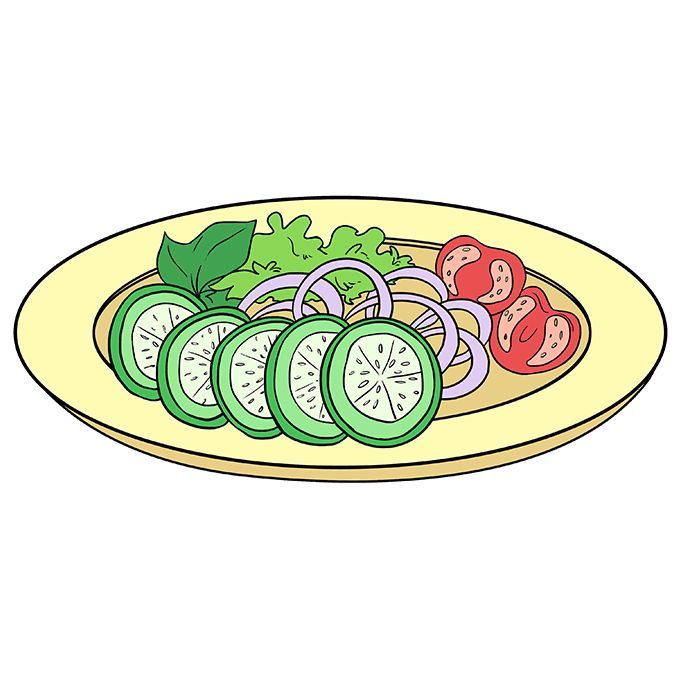
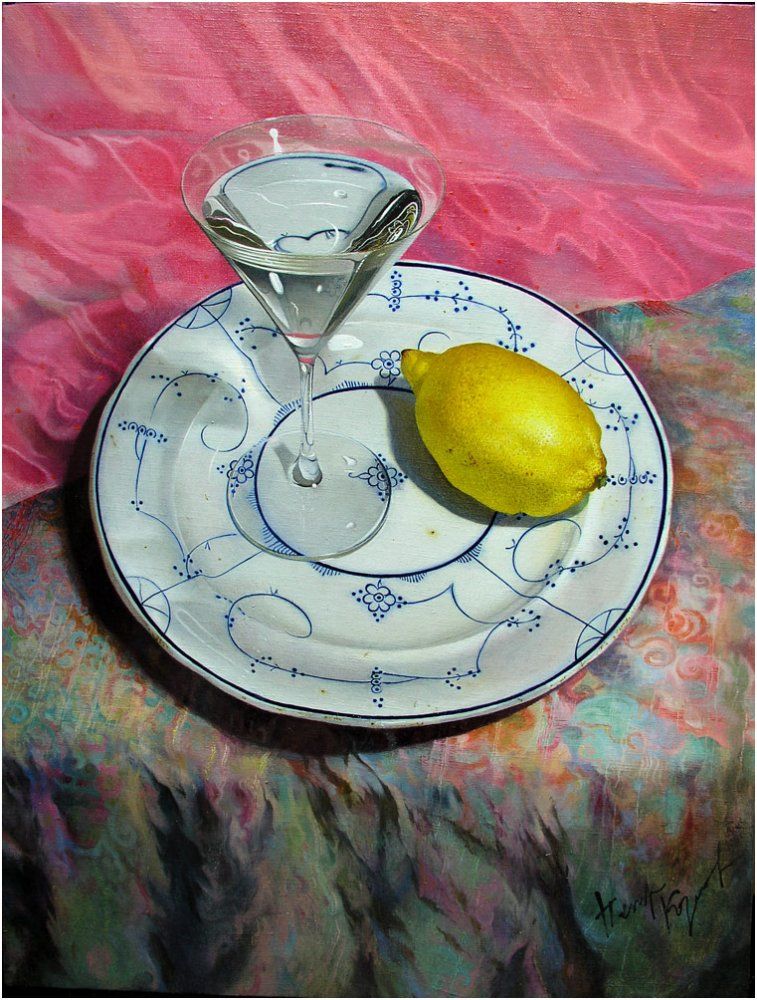
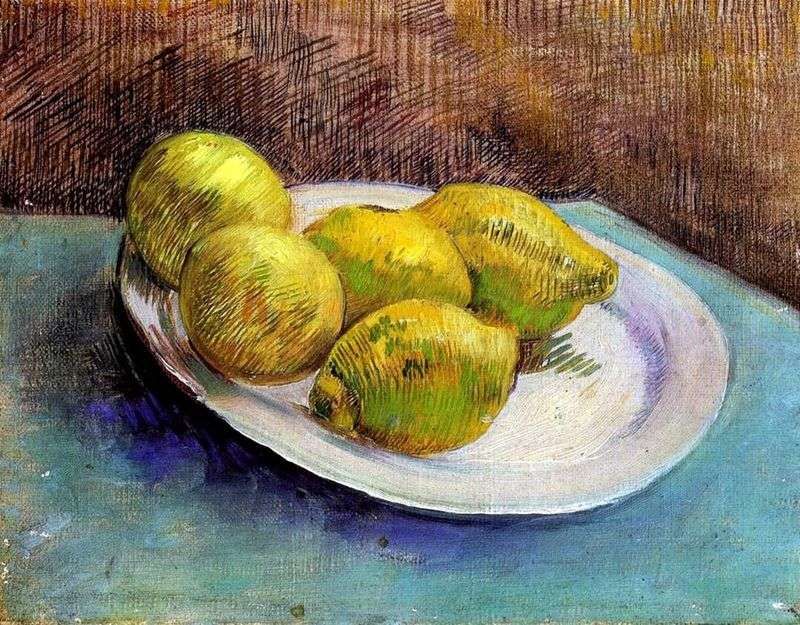
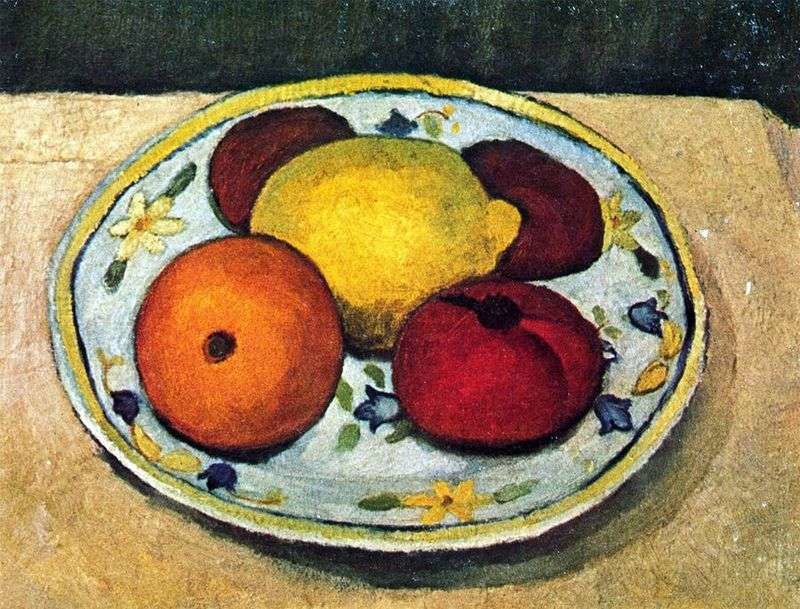
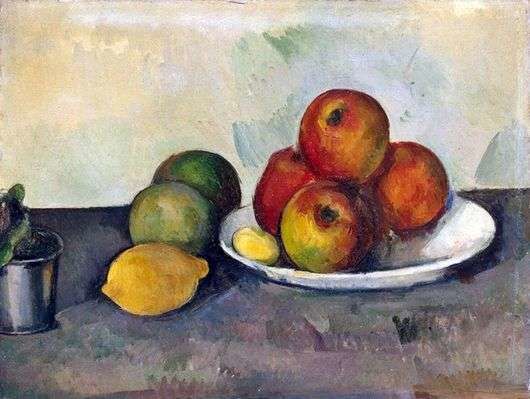
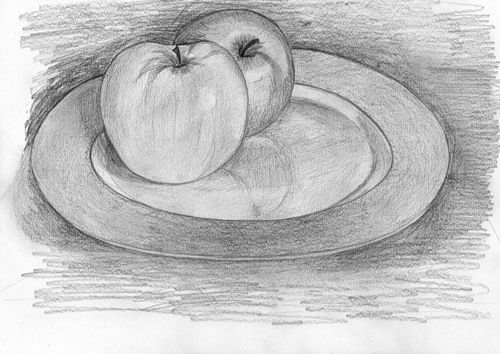
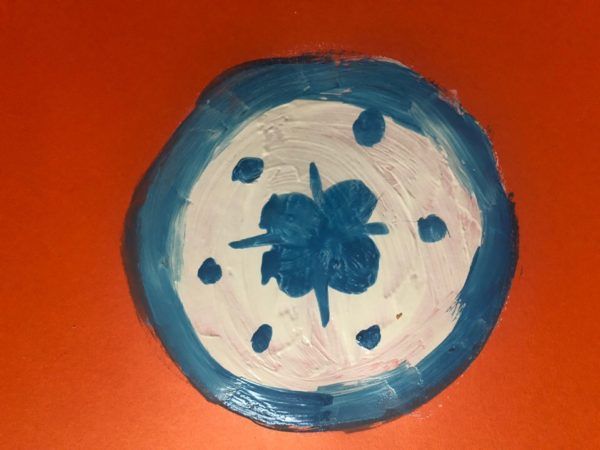
Photo of a painted plate