How to Draw Mountains: Easy Step-by-Step Master Classes for Children and Beginning Artists
Natural objects and landscapes have been the most powerful inspirations for creativity throughout history. Forests, rivers, deserts, lakes, mountains - these are all things that surround us and provide inspiration.
Many of the paintings that depicted this or that landscape have always been highly valued since ancient times, and now are kept in places of honor in the world's galleries and museums, bringing aesthetic pleasure to everyone who looks at the landscape.
Everyone can depict for themselves what is around them or what they would like to see. One of these objects can be mountains. There are many ways and detailed explanations of how to draw mountains.
You can also use completely different materials to get a truly unique image. It is only necessary to follow the method how to draw mountains step by step, and once everything starts to turn out, tutorials are no longer needed.
For further creativity after learning you only need a rich imagination, creativity and a practiced drawing technique.
For a beginner or child, it is better to start drawing using pencils, and later move on to more difficult to use materials.

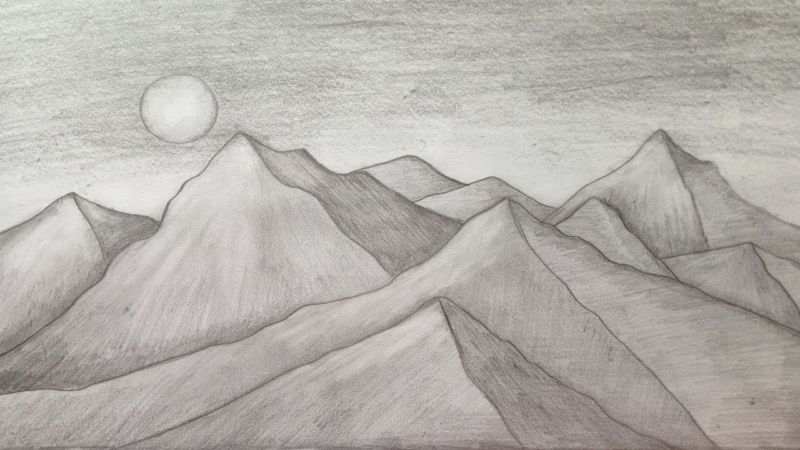
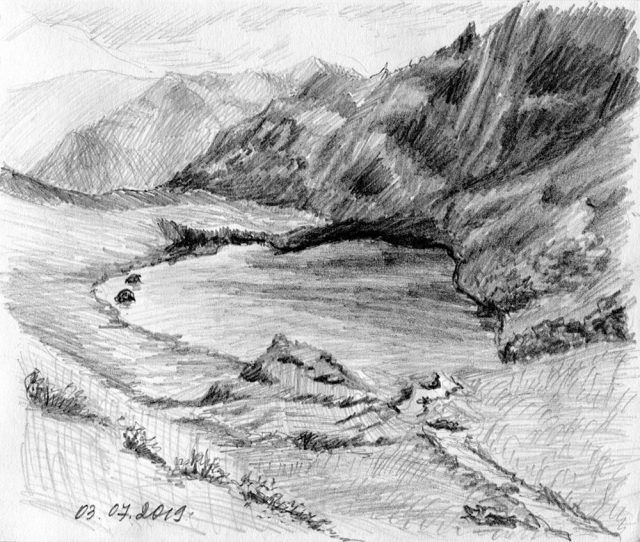
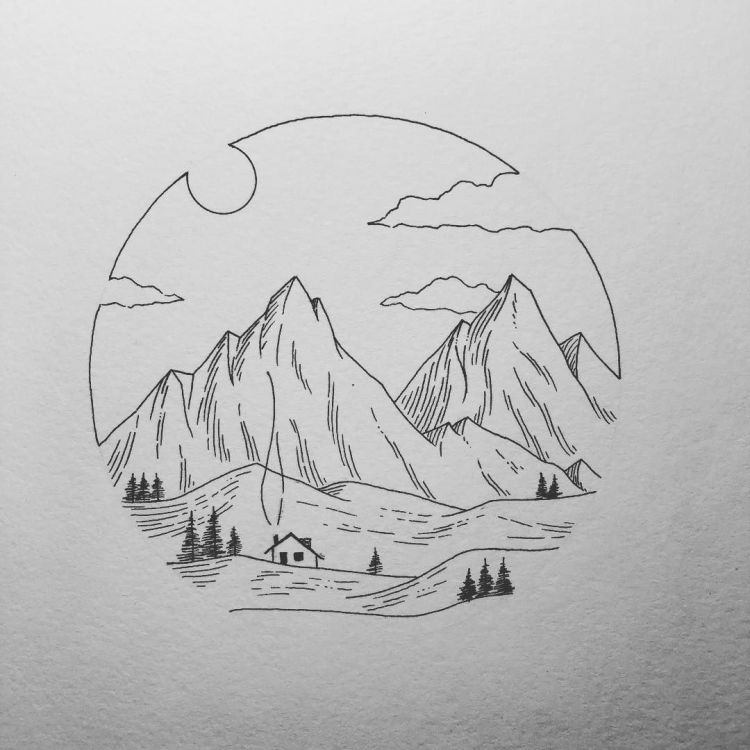
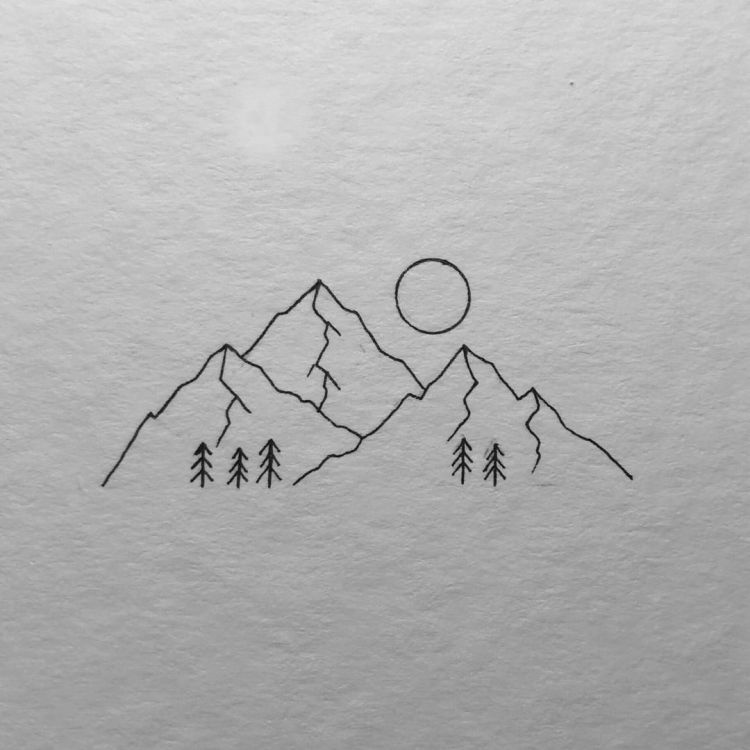
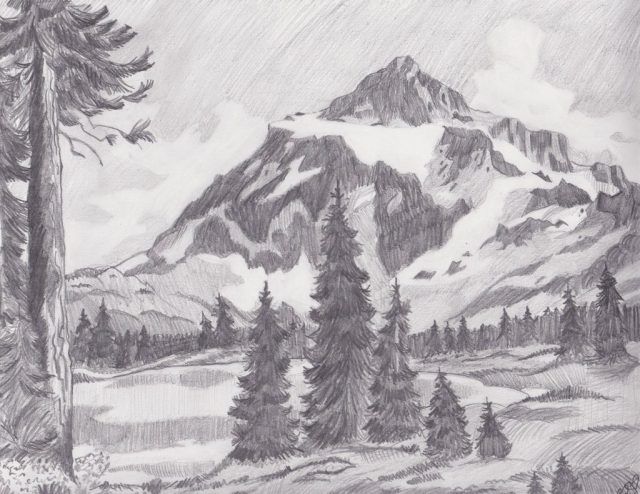
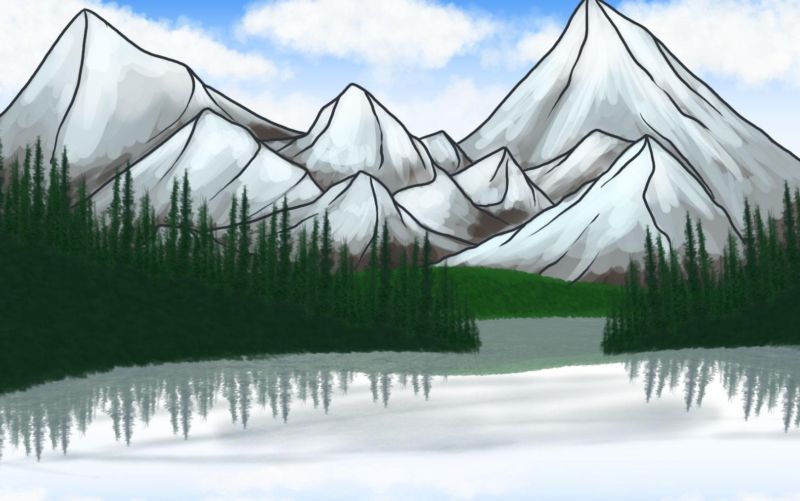
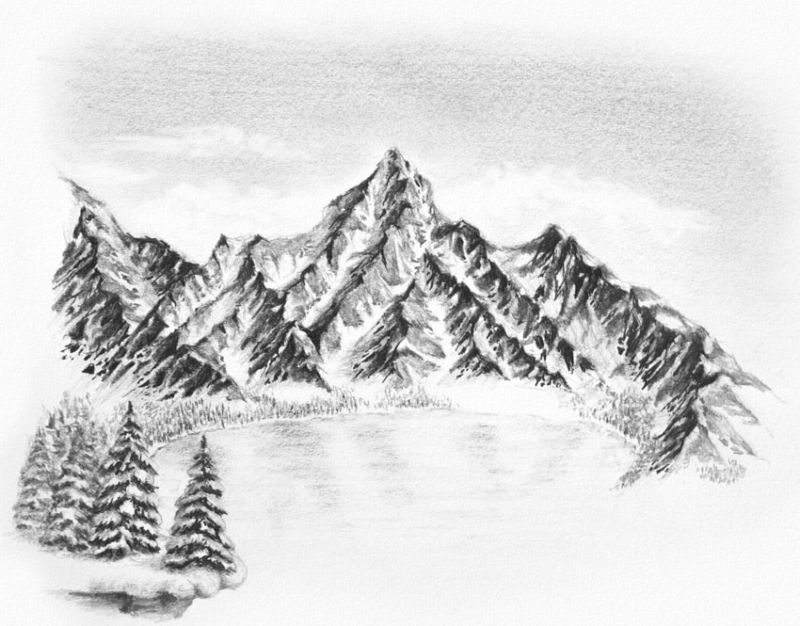
An easy way to draw mountains for kids
The easy way to draw a mountain will not turn out incredibly realistic, but if you are a beginner or want to teach a young child, this is the best way to start.
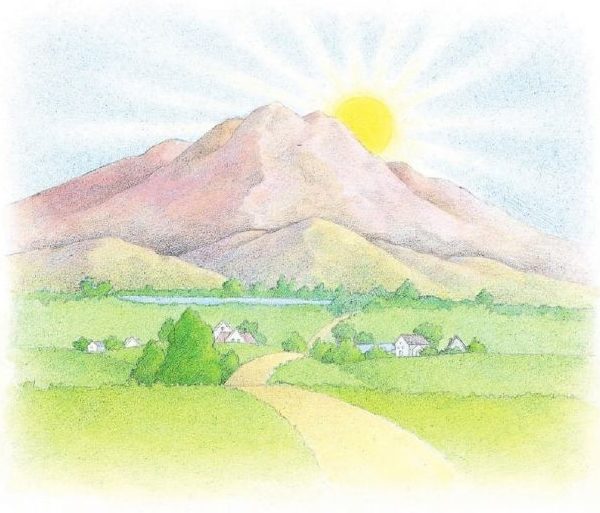
Drawing mountains for children will turn out rather cartoonish, but will still reflect the basic proportions and outlines of this natural object:
- To draw, you need to prepare a sketchbook, simple pencils of two kinds - soft, which is easy to erase, and hard, as well as colored pencils and eraser. It is advisable to arm yourself with a vivid picture of mountains, since in the first couple of years you need to have an example in front of mountains in order to understand how everything works.
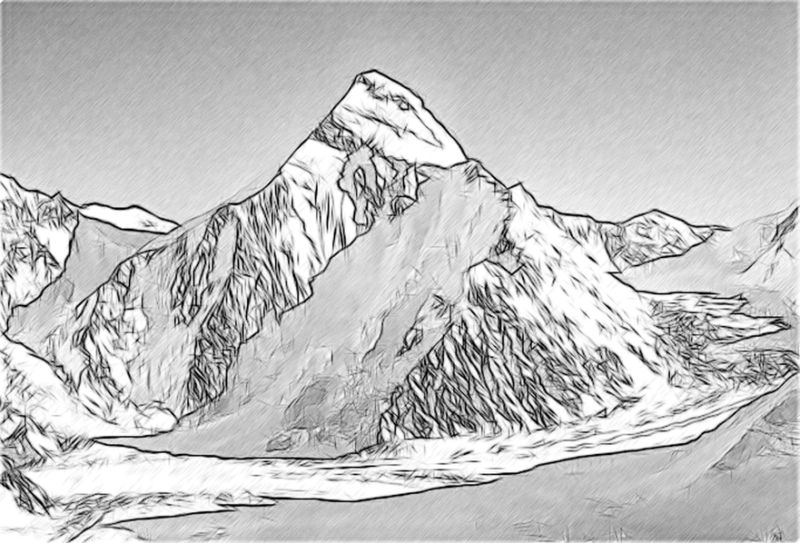
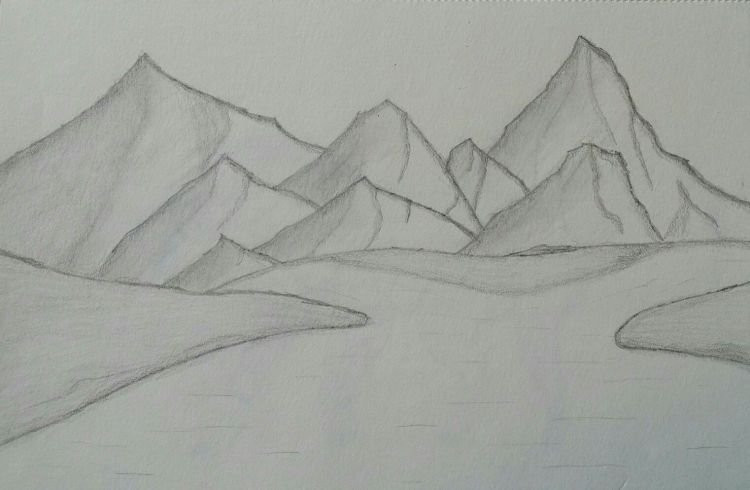
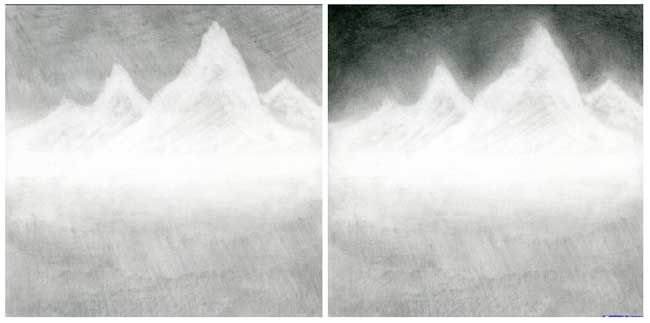
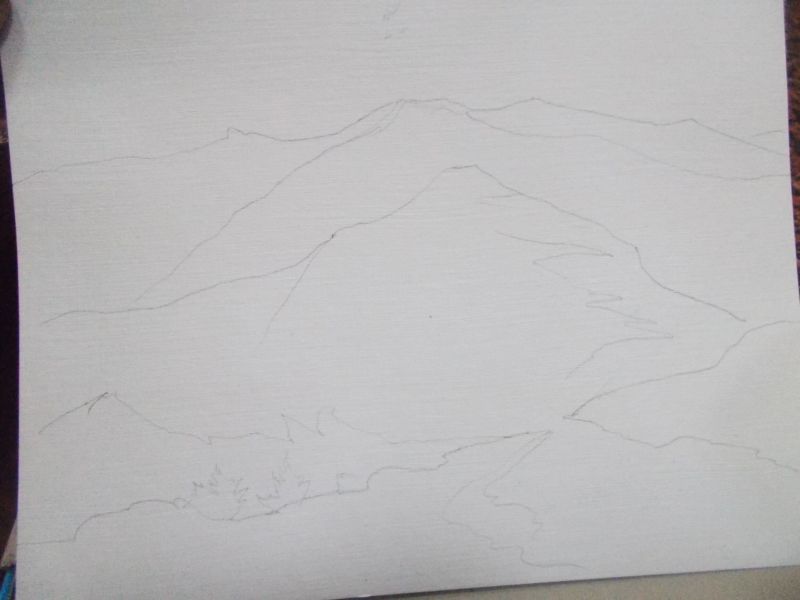
- With a simple soft pencil you need to carefully, not pressing hard, lightly draw the general outline of the silhouette of the mountains. Before drawing it, it is necessary to decide exactly how many mountains there will be in the drawing, what their sizes are and where each of them is located. Only then is the drawing carried out.
- After the basic sketch, it's the turn of detail. Carefully looking at the example image, you need to highlight key points and transfer them to the overall silhouette, well working out the details of each hill.
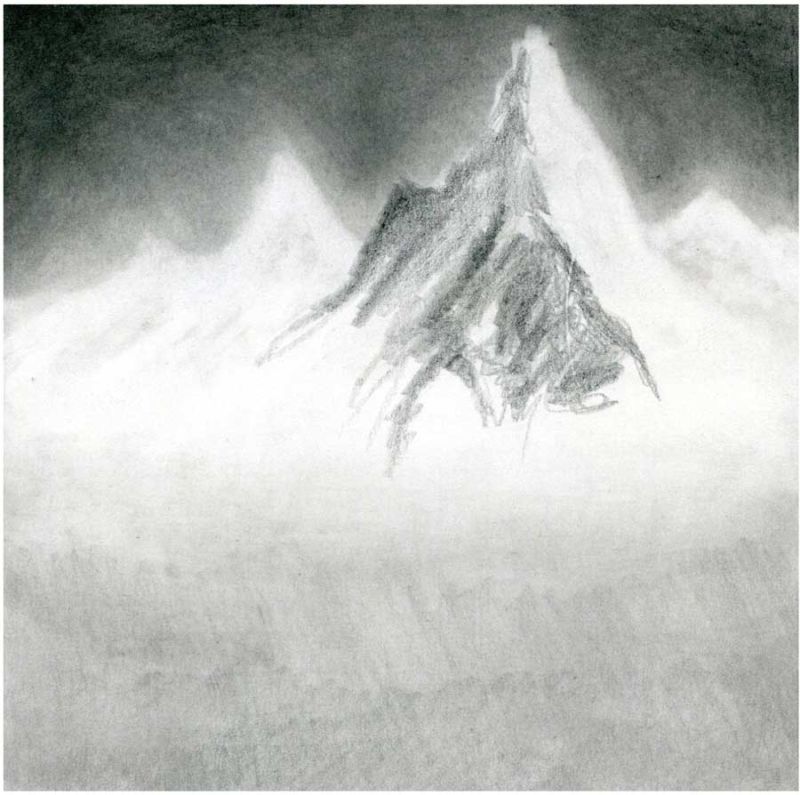
- Further lines of detail is worth highlighting a harder pencil or even a felt-tip pen, if you do not strive for full realism. You need to convey each cleavage, depression and shadow in the drawing of the mountain.
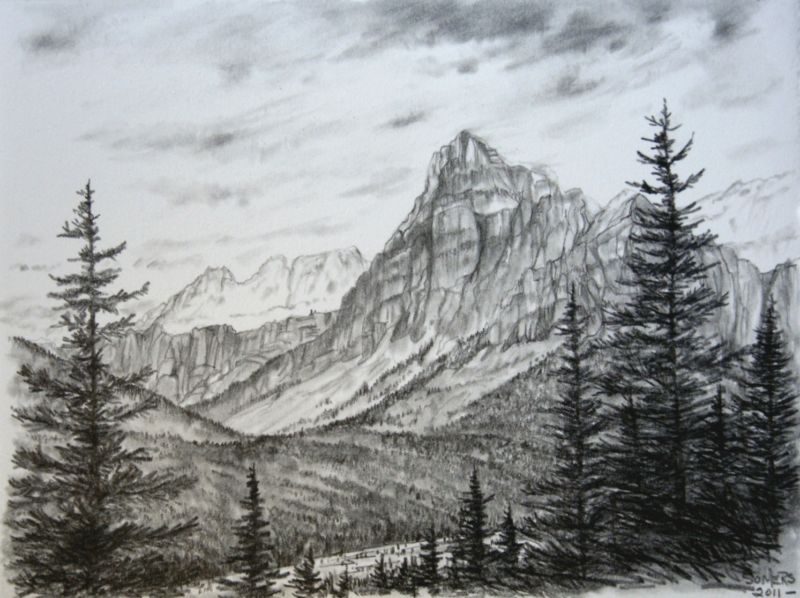
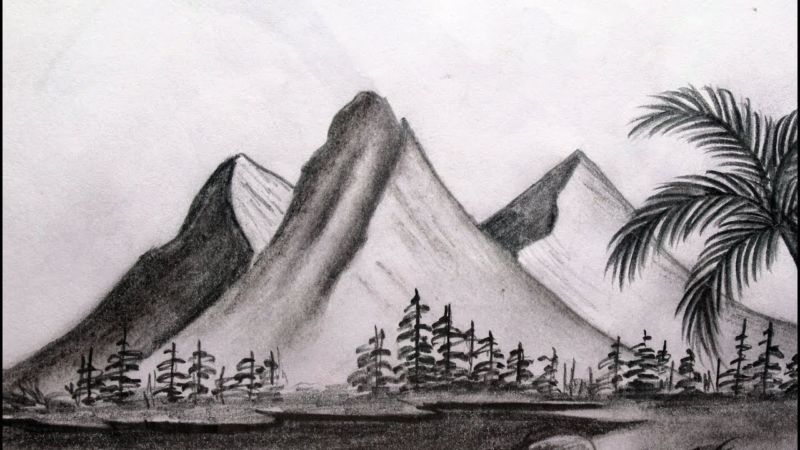
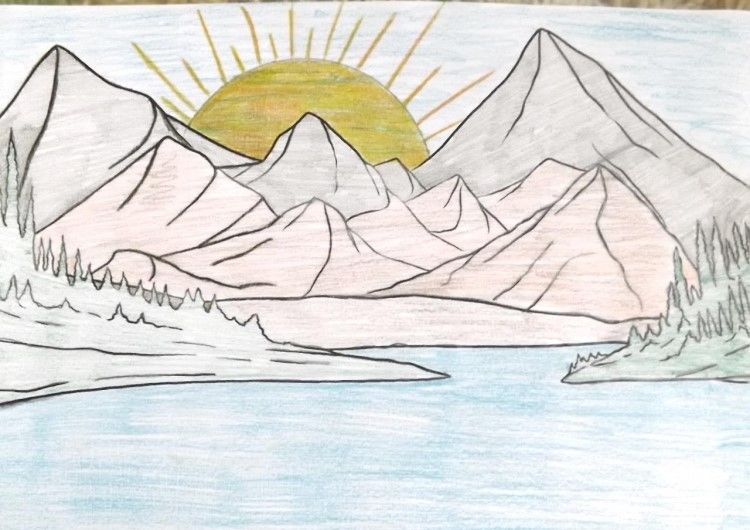
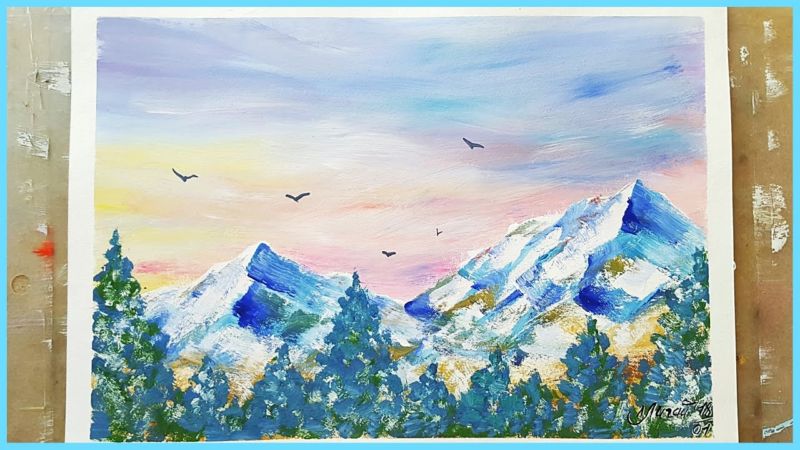
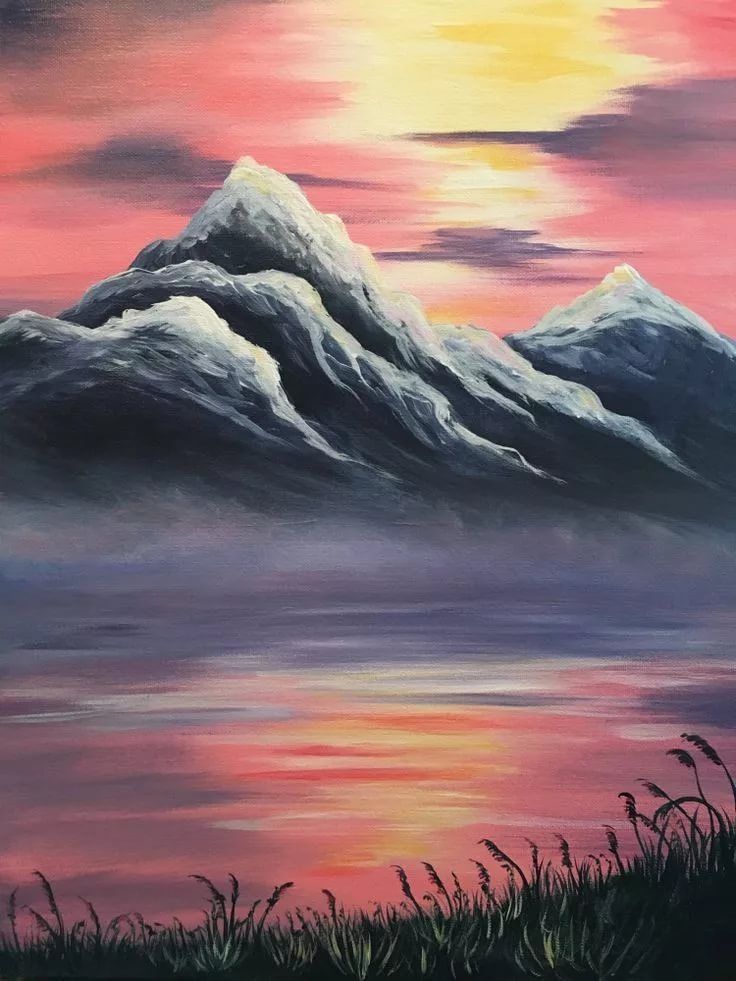
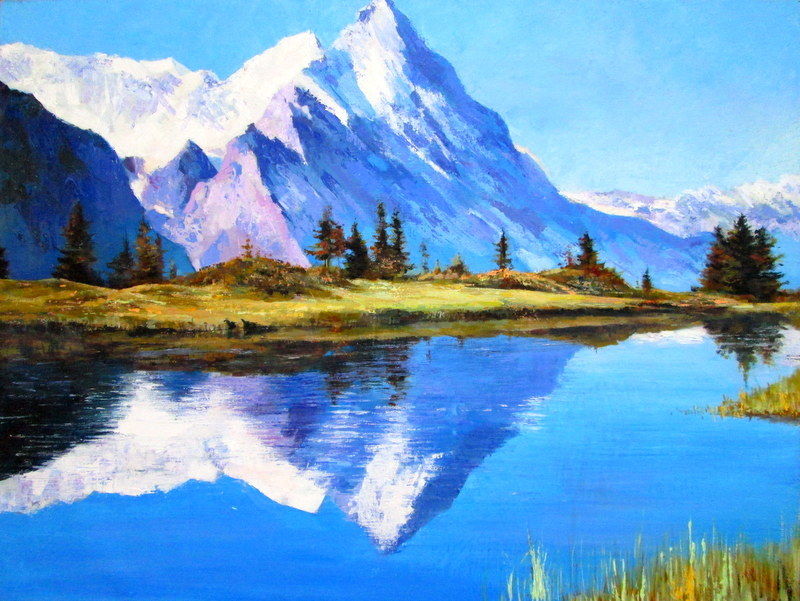
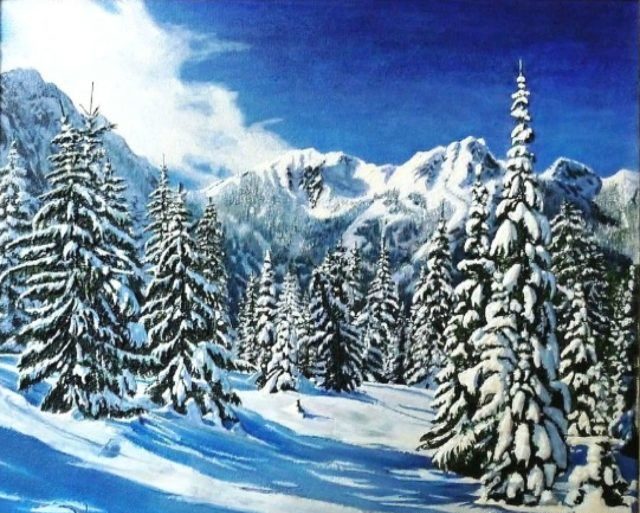
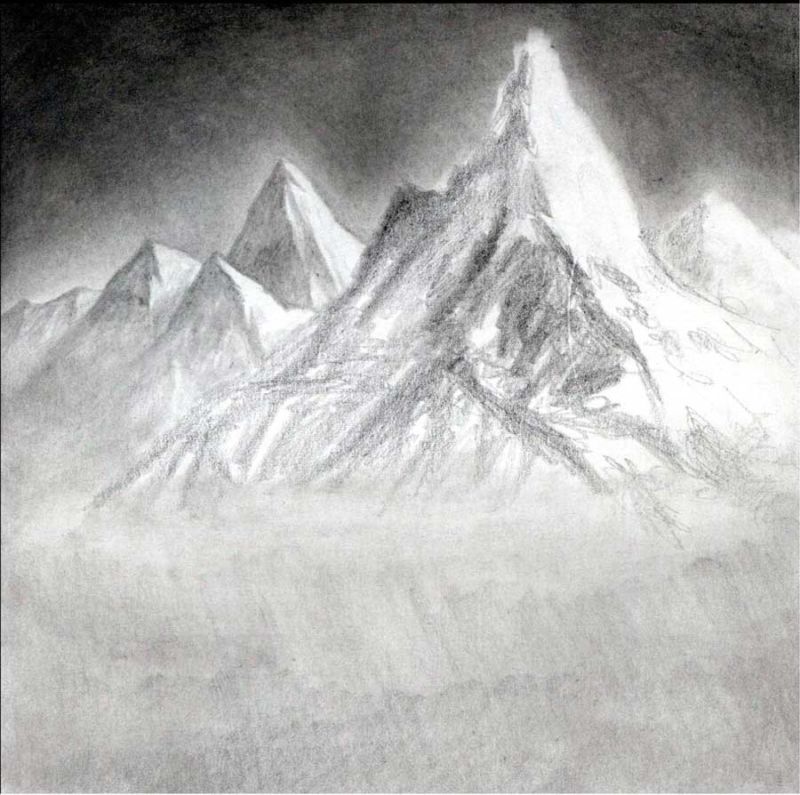
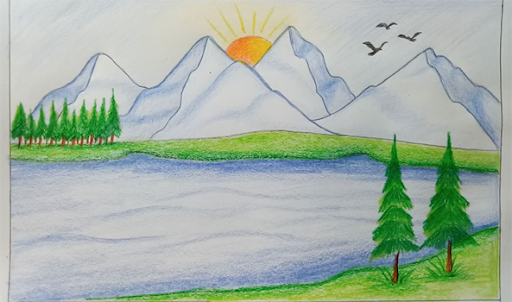
- It's time to give the mountains some color. For example, let it be snow-capped Alpine mountains. So the preferred colors for such mountains - white, blue, gray and in some places greenish (as a rule, the most snow-capped mountains at the foot have vegetation). Carefully looking at the example, you need to transfer the shades and correctly draw the shadows, in some places to do darkening, if necessary shading. If you have allocated a place in the drawing and the foot, then you need to draw herringbones and vegetation. You can even depict a stream or river flowing from below, in which the mountains will be reflected as in a mirror.
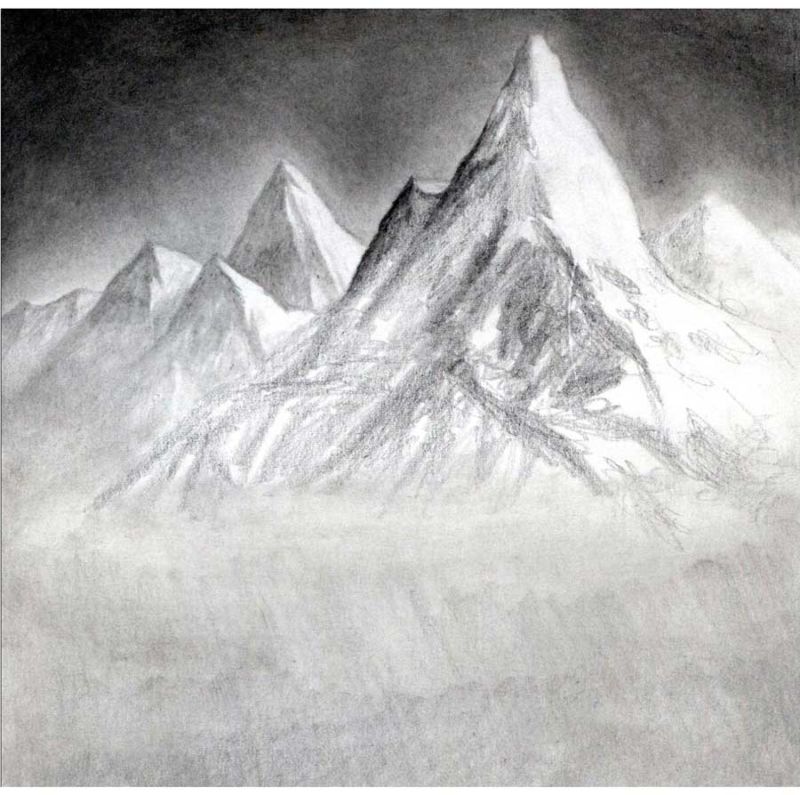
- The mountains always have a background behind them, so now you have to think about decorating it. For example, let it be a sunset. In northern latitudes, sunsets are frosty pink or frosty blue, gently transitioning to a shade of beige, where the sun sets. Here you have to be careful to get a smooth transition of color. This can be done with colored pencils, adjusting the pressure and shading.
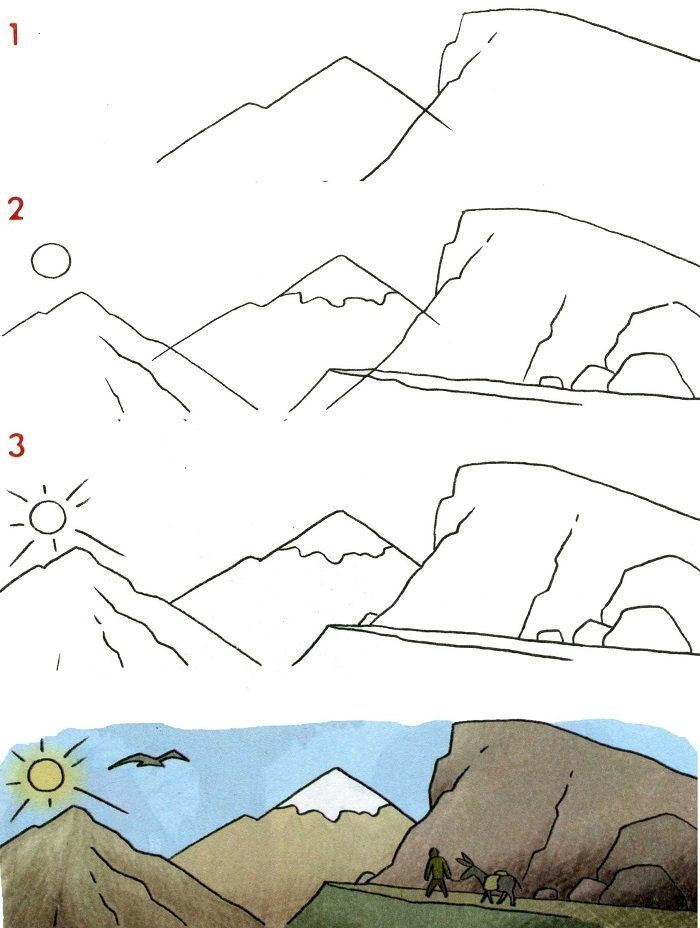
If you followed the instructions exactly, then the output will be a nice picture of the mountain landscape.
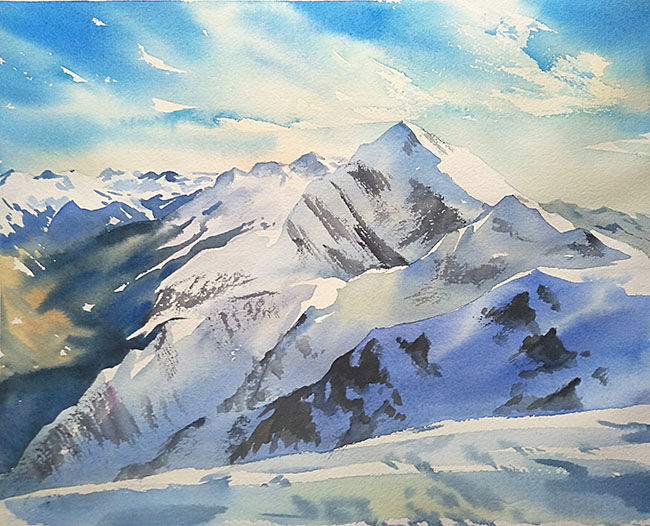
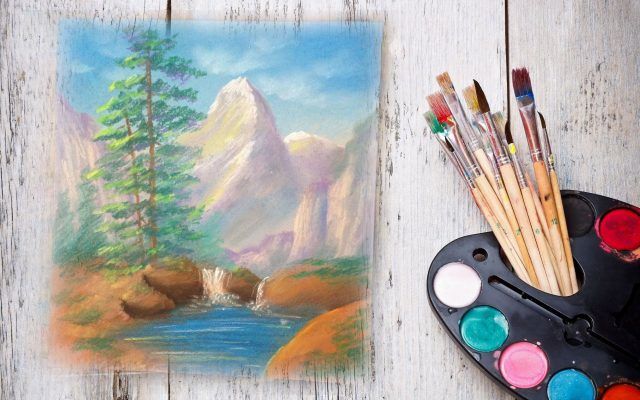
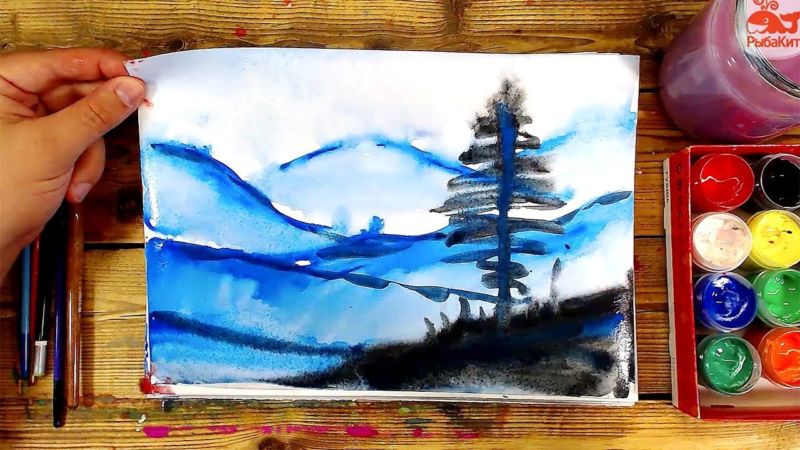
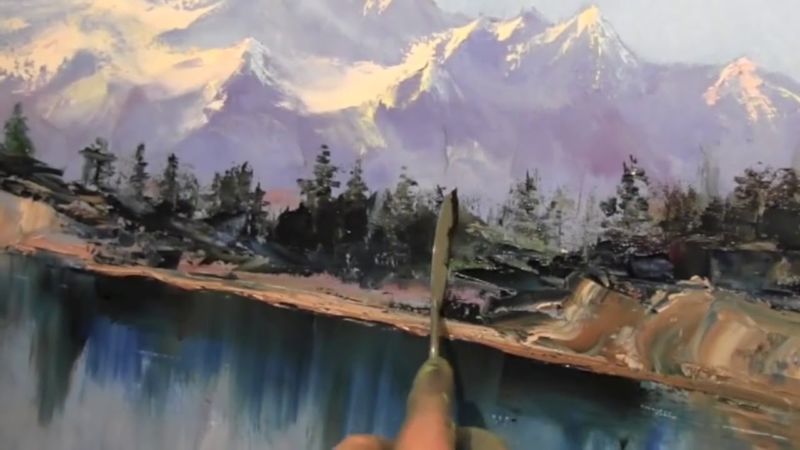
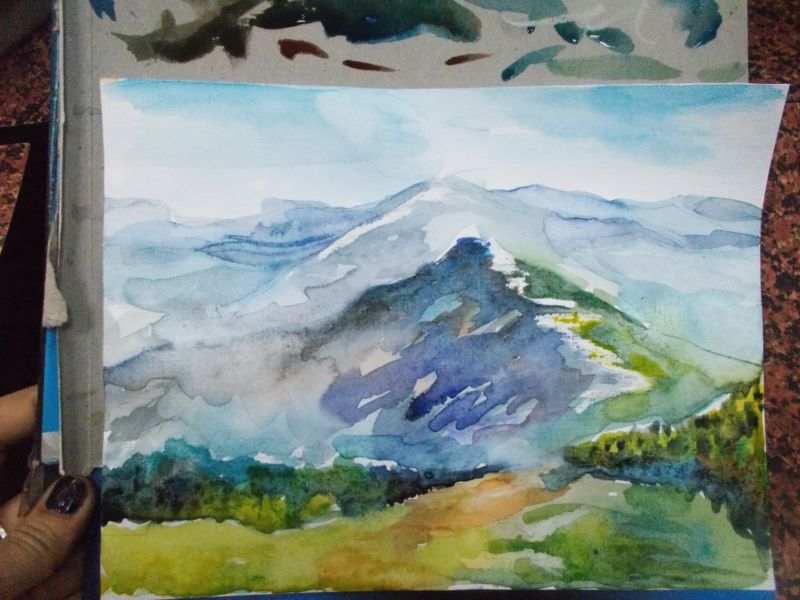
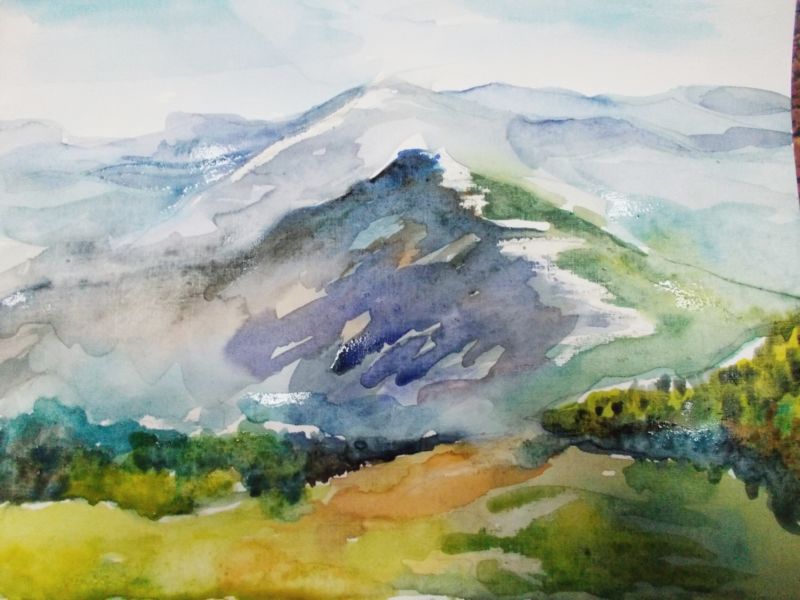
Drawing Mountains in Gouache
While everyone can hold a pencil in his hand, and it is easy to draw mountains with a pencil, it is sometimes difficult to do with gouache. But it can work, if you follow precisely the following step-by-step explanation:
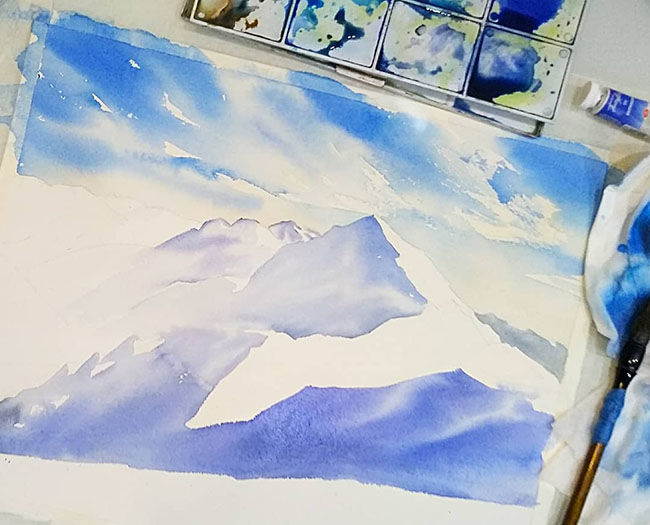
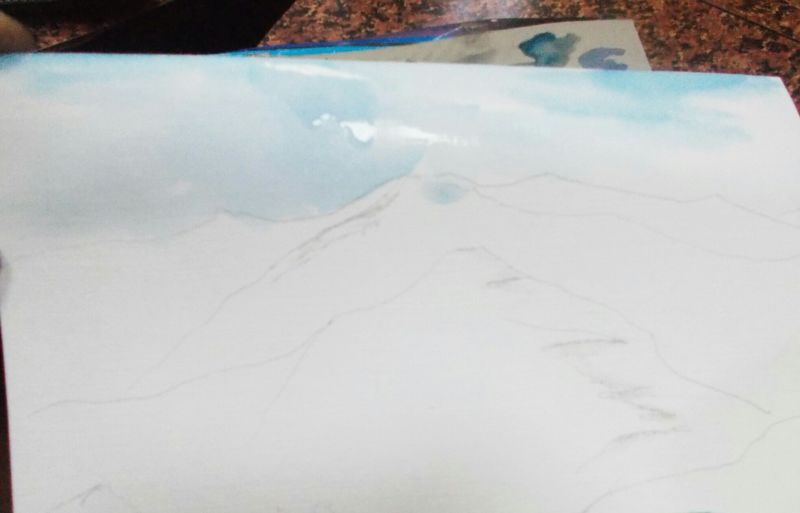
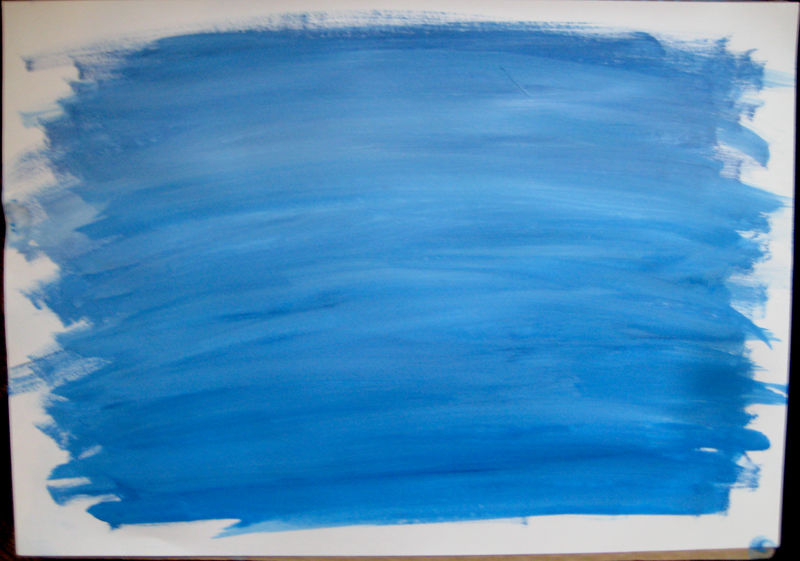
- To begin, as usual, we prepare the materials: a thick album page, several brushes of different thickness, a jar of water, a palette for mixing colors if necessary, and the gouache itself.
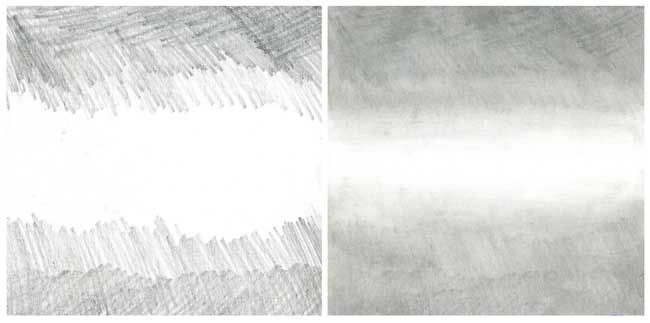
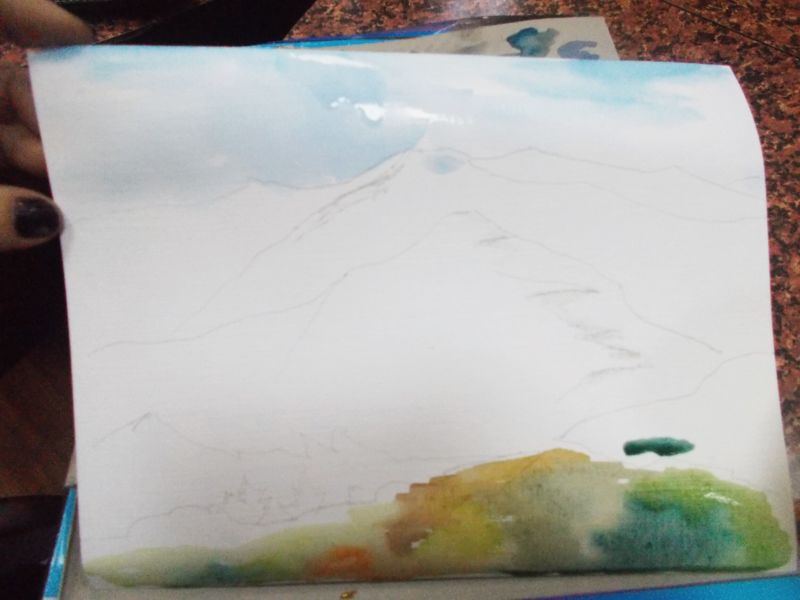
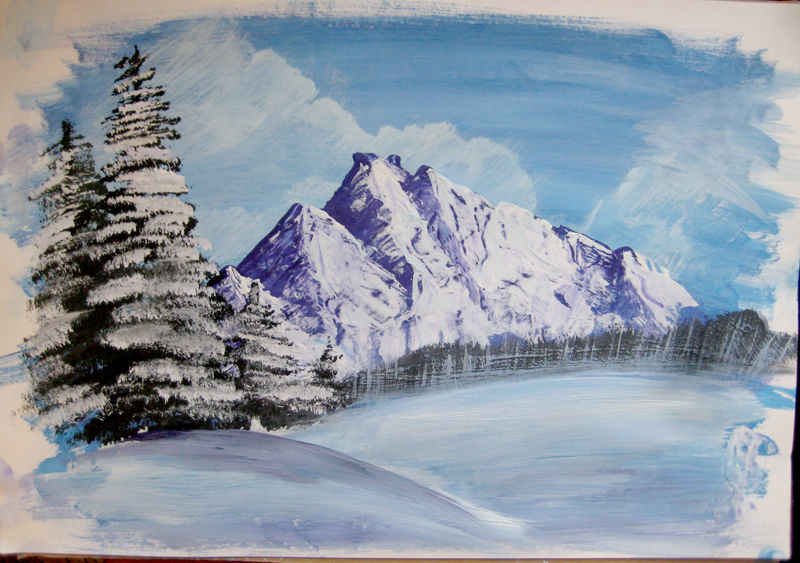
- Start with the basics - the background and the ground. Let the background be blue. We take a big brush, wet it and draw the background with blue paint, trying to paint evenly and make a smooth transition from the soft blue color to the barely noticeable light blue color on the horizon. To create a gradient, often moisten the brush with water, so the paint will lay more homogeneously and evenly on the paper. We draw the earth with a few light strokes at the bottom of the sheet, creating an outline of the foot of the mountain.
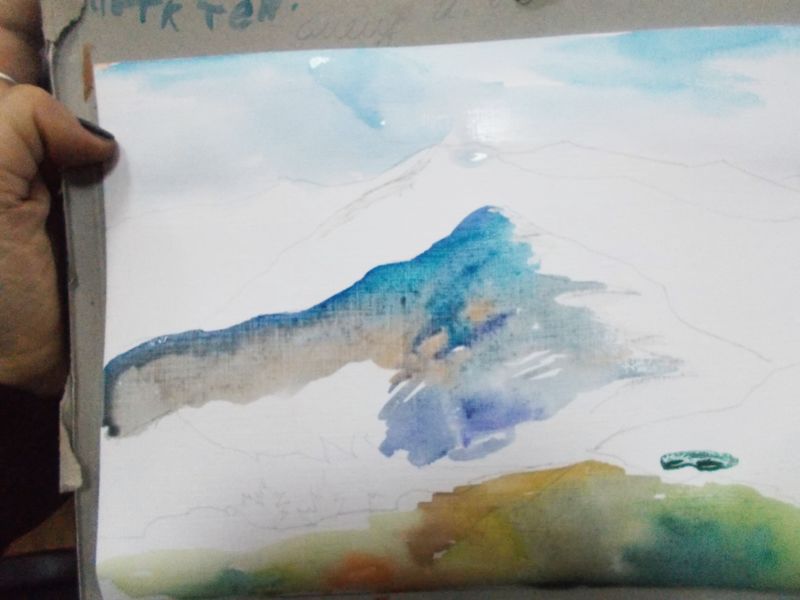
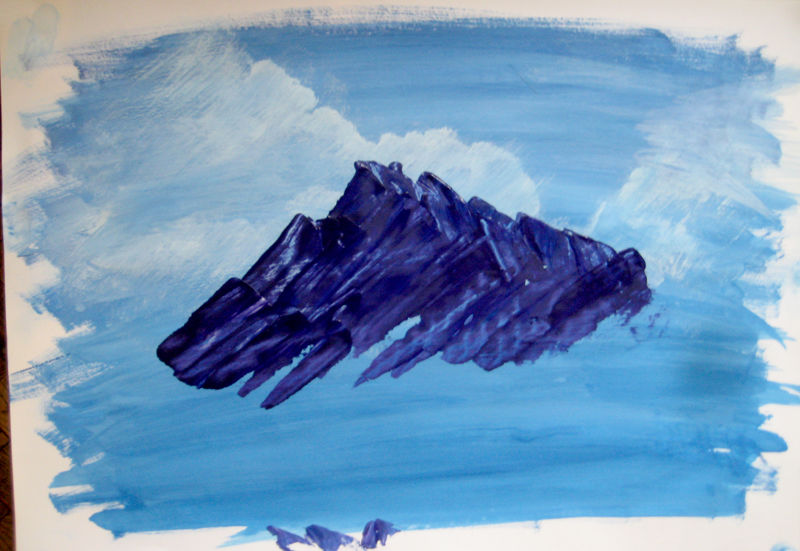
- On the resulting blue gradient background, with a more prominent blue color, without pressing hard, subtly make the outlines of the mountains themselves. With feeling and careful attention to the example for drawing, highlight the basic proportions and detailing some places. Also highlight the shadows and hollows, using not only one blue color, but also darker colors.
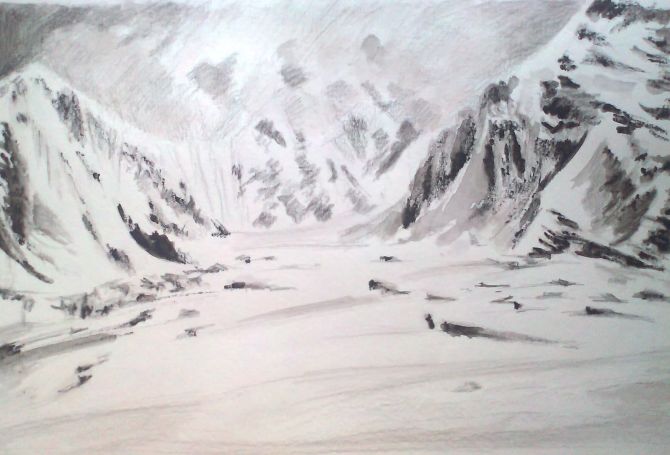
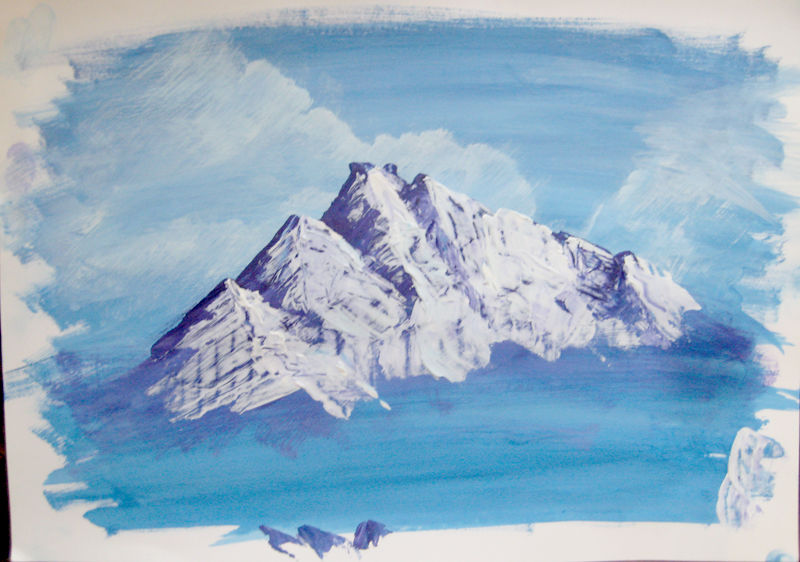
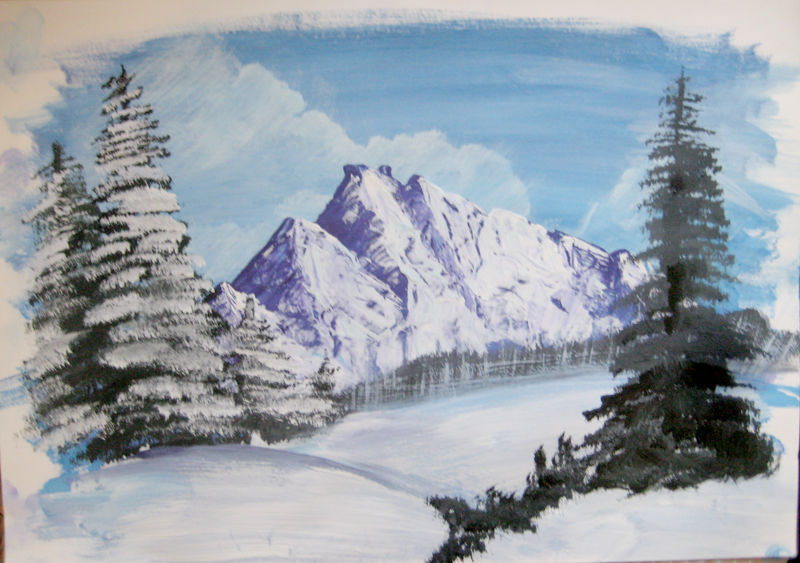
- Using white paint and a thin brush, detail the snow on the tops. At the foot near the horizon, apply a light color (like fog) with a broad brush. This can help create a sense of the mountains floating in the air.
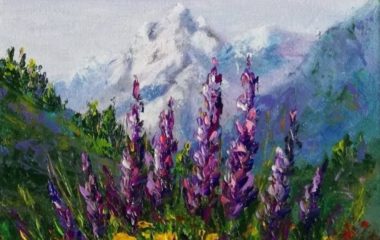
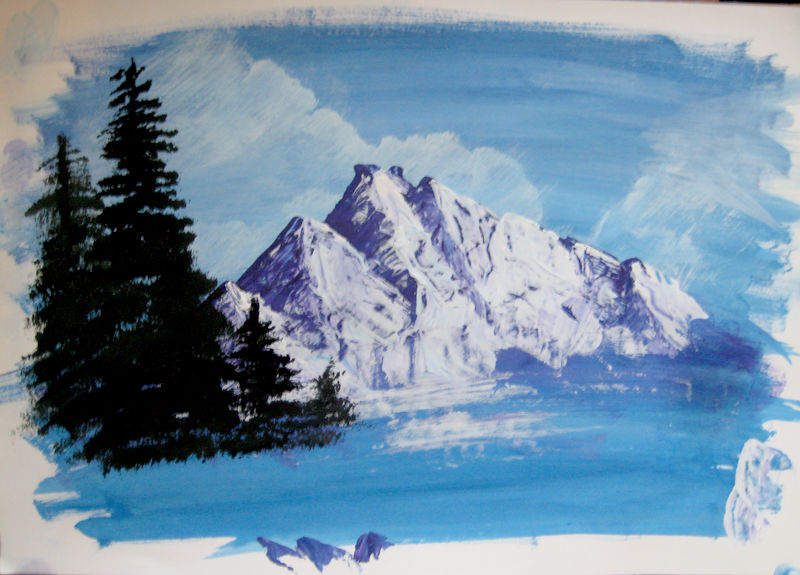
- When the mountains themselves are ready, you can diversify the foreground with spruce or other vegetation. It is necessary to use a thin brush again, and according to the example to make subtle and natural outlines, and then detail them.
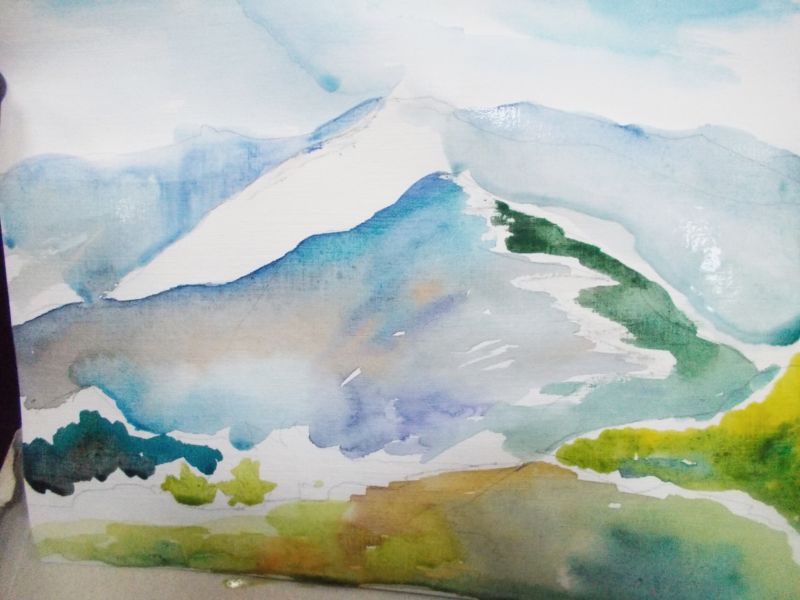
After obtaining the image, you can use colored pencils, refining the shadows and recesses with shading.
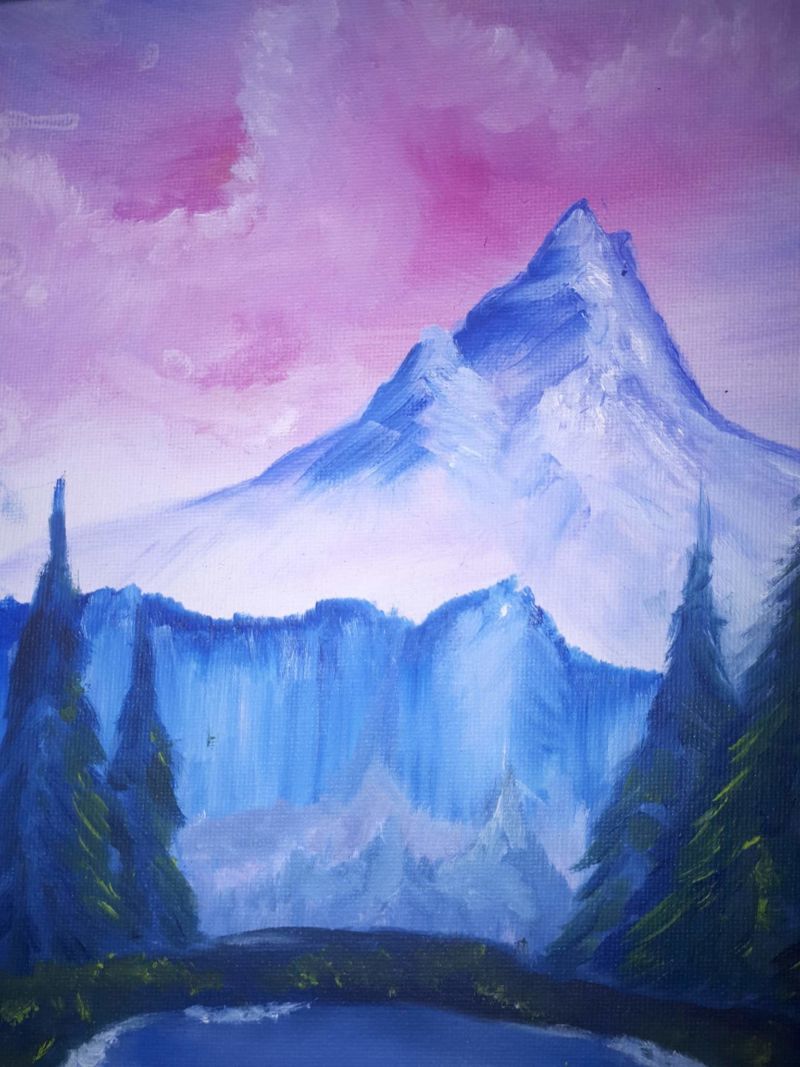
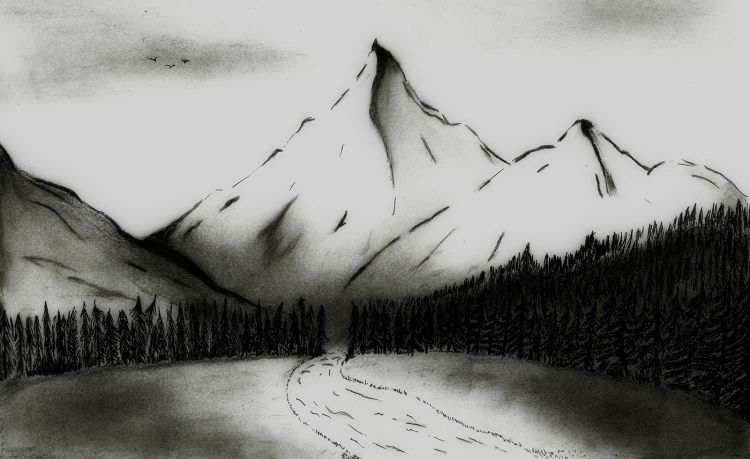
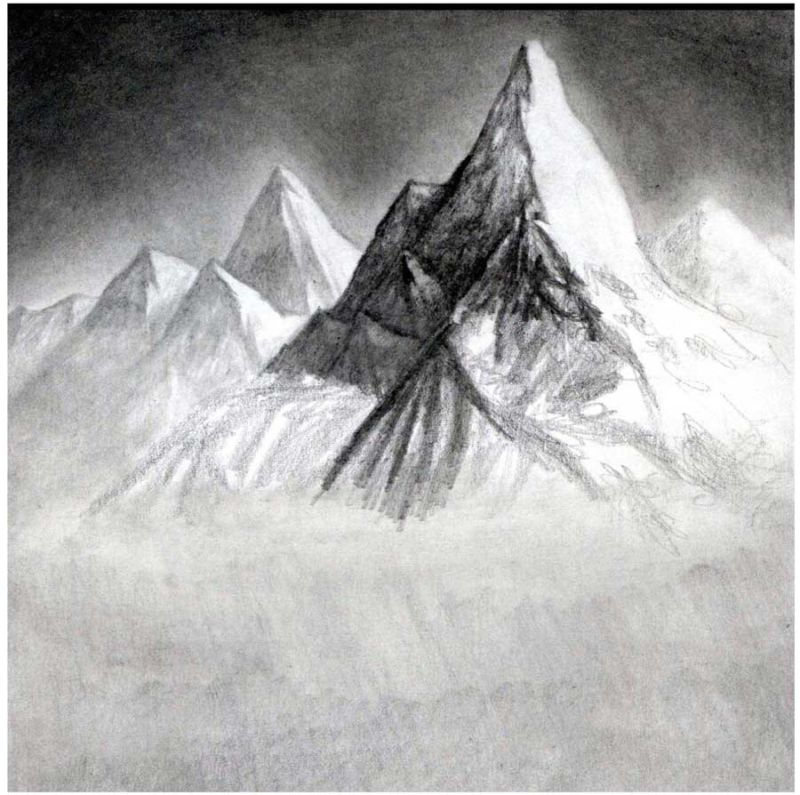
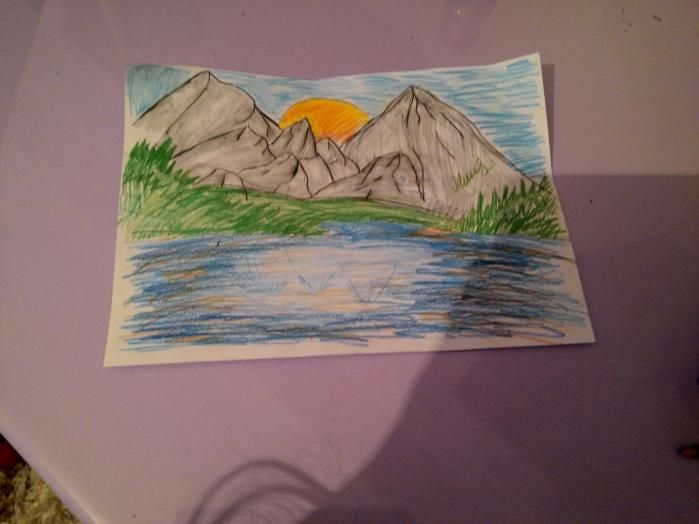
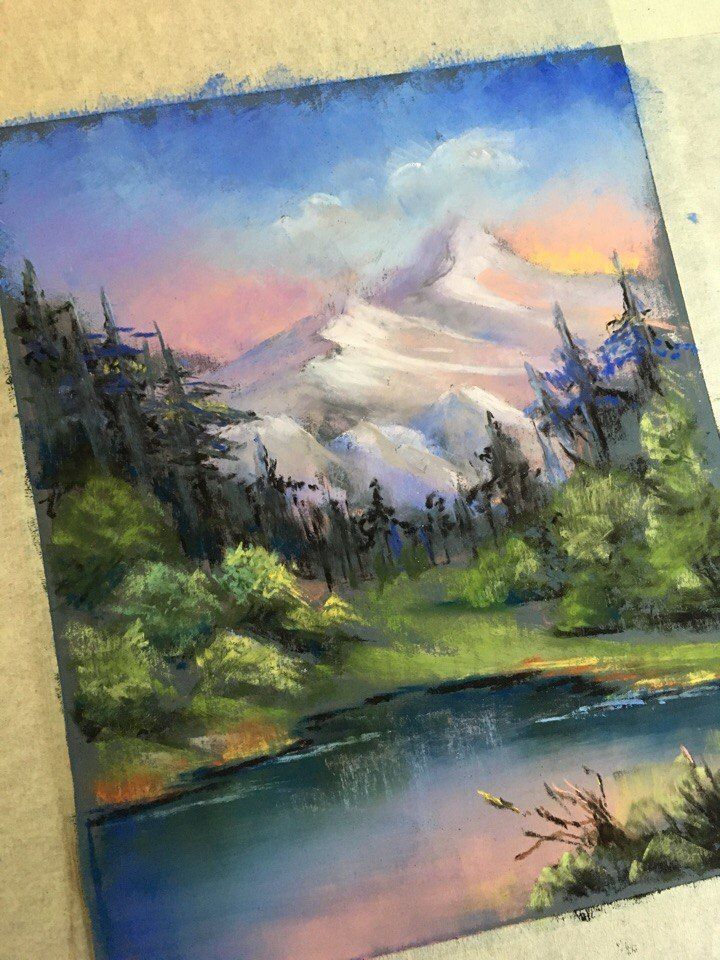
Drawing the mountains with dry pastels
For such a drawing you need to arm yourself with special paper for bedding and dry pastels. In the process of drawing we will use white, yellow, orange, pink, dark purple, dark blue, red and black colors:
- The paper should be placed vertically. Using alternating purple, orange, red and yellow colors, we make light strokes with pastel crayons. So we create a basic background. We do the strokes themselves from top to bottom.
- The strokes that we have applied, we need to turn into a smooth gradient transition. To do this, the borders of each color are shaded with a finger.
- On the sky in the upper part of the picture we make a gap with white and yellow refined strokes. They also need to be evenly shaded.
- To outline the base of the mountains let's take a lilac pastel crayon in hand and cover the central part of the image with it. Again, evenly shaded. After shading, on the lilac base already more precisely and firmly press the silhouettes of the tops of the mountains. These were the distant mountains.
- Let's go down slightly below the center, where the lilac mountains in the distance are drawn, and, using the blue pastel crayon, draw some more peaks, but visually they are closer and have larger dimensions. Between these peaks, we carefully bring in white pastel as fog or clouds and shred.
- In the very foreground, draw a few more mountains, but they will be larger and darker, so we take a dark blue crayon and depict the main silhouettes. The mountain that will be a little further away, let it remain dark blue, and the one that is closest at the bottom, you can refine with a black crayon, but without excessive pressure.
With fine lines, the tops should be refined and made sharper and more prominent. The white shades can be complemented with pink and orange colors.
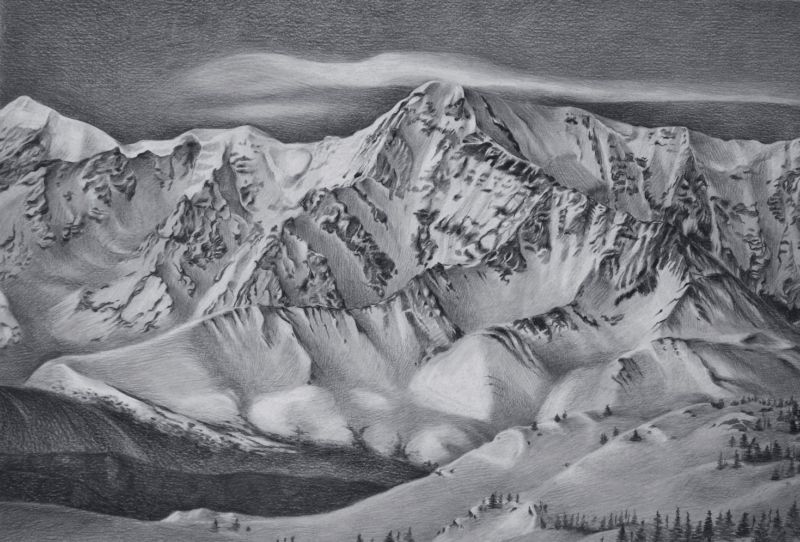
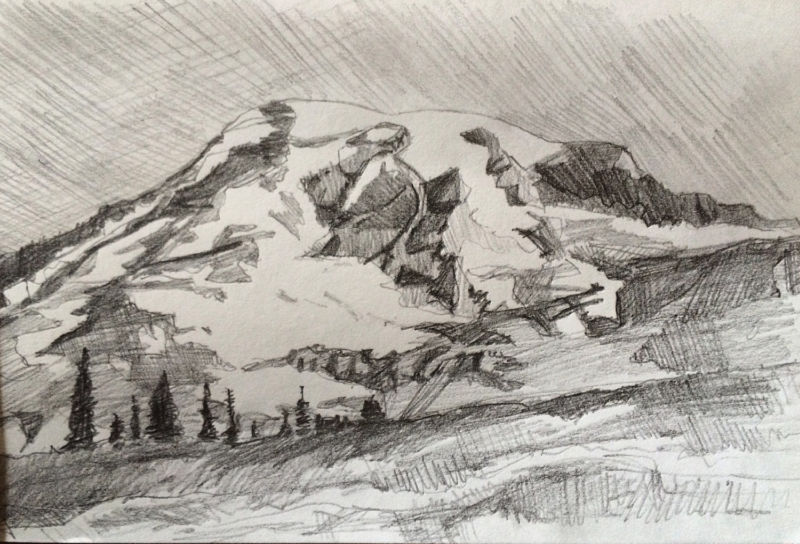
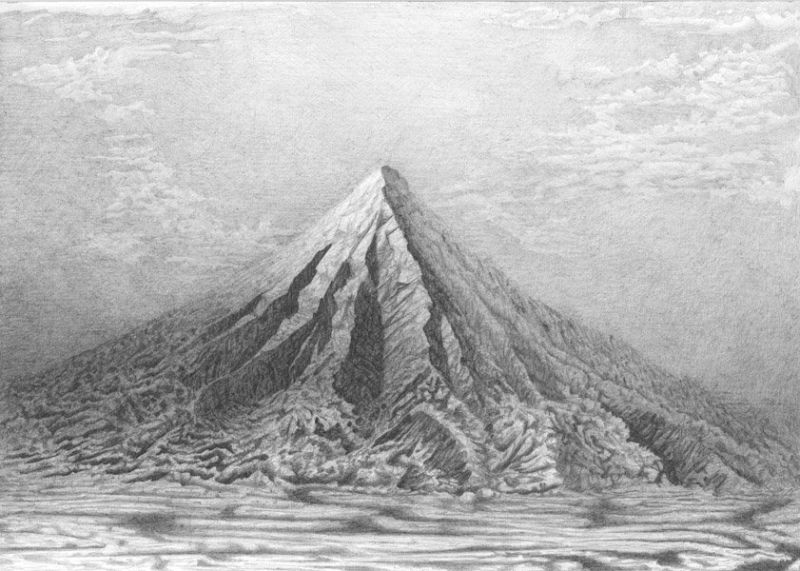
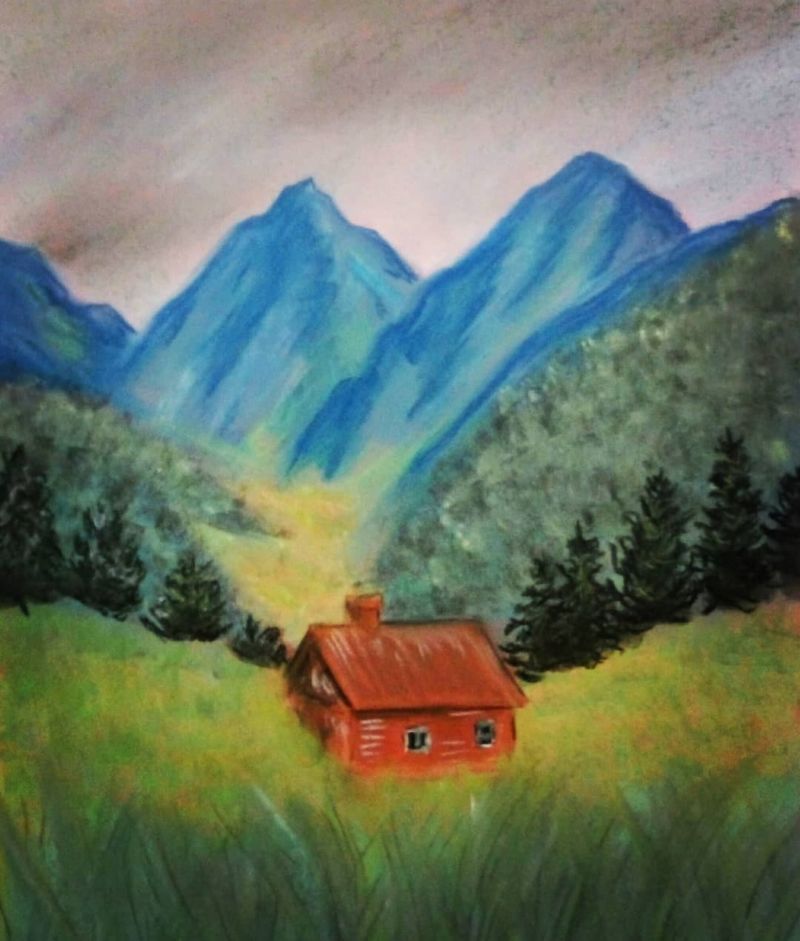
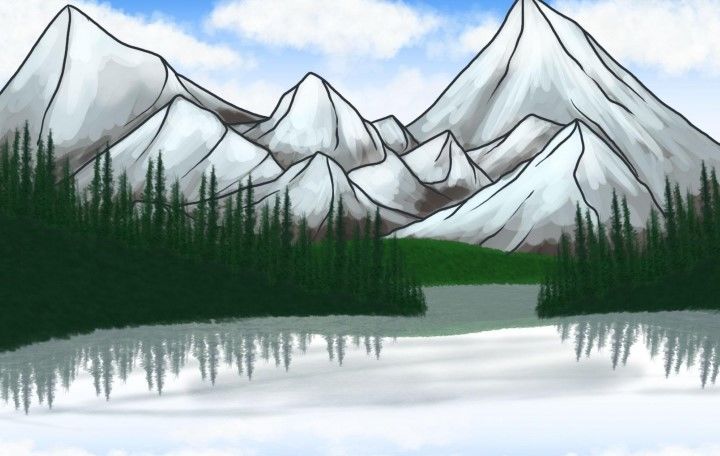
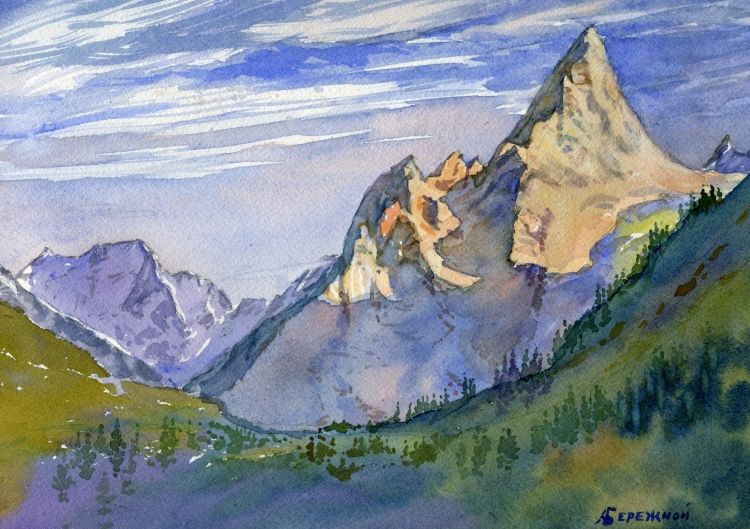
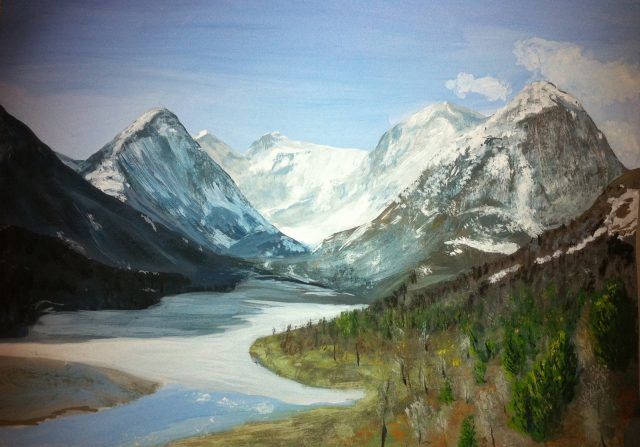
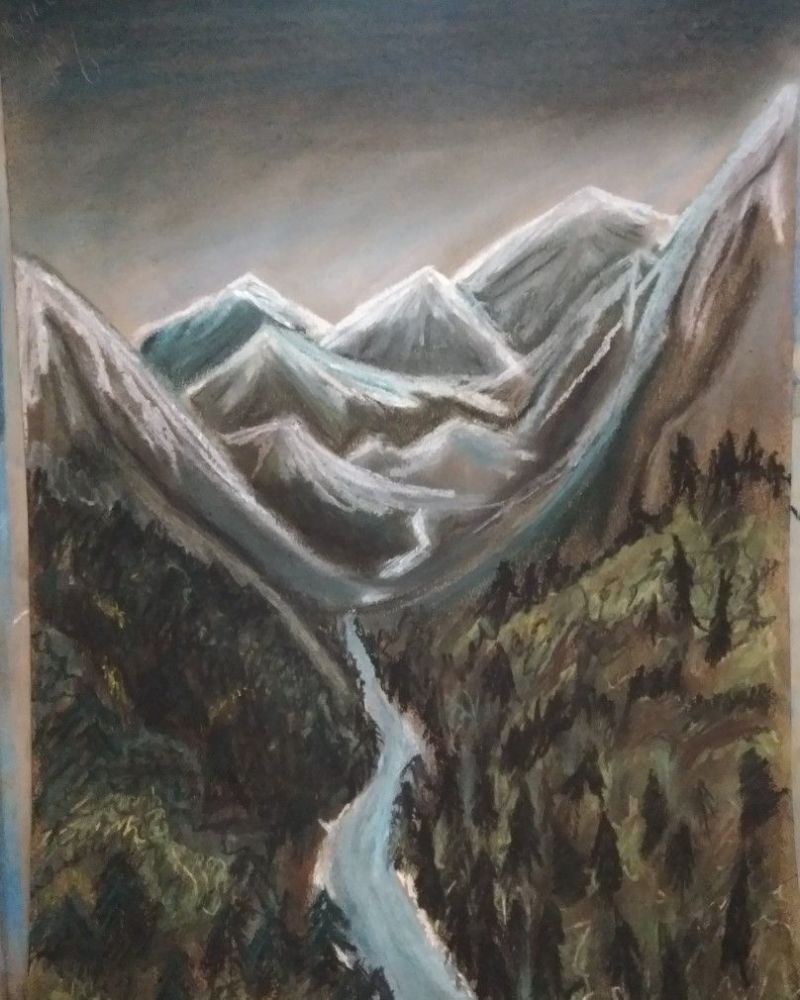
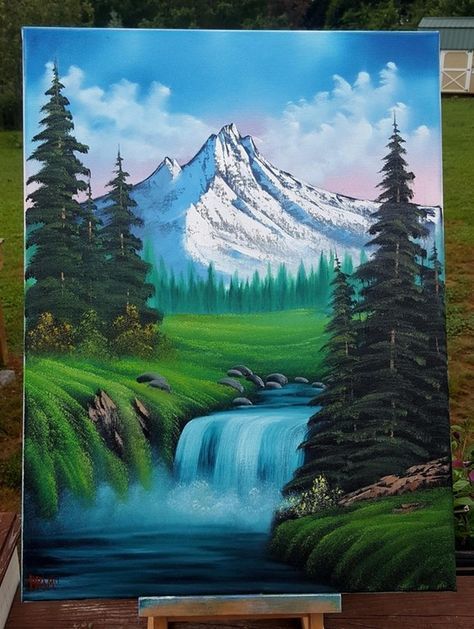
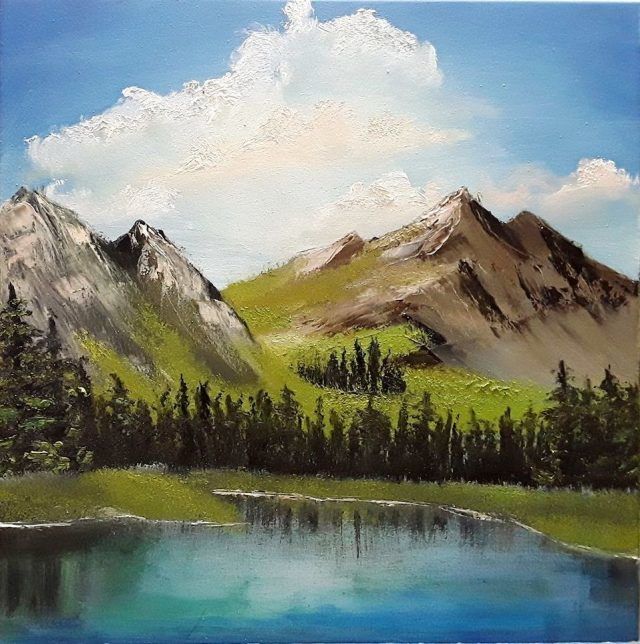
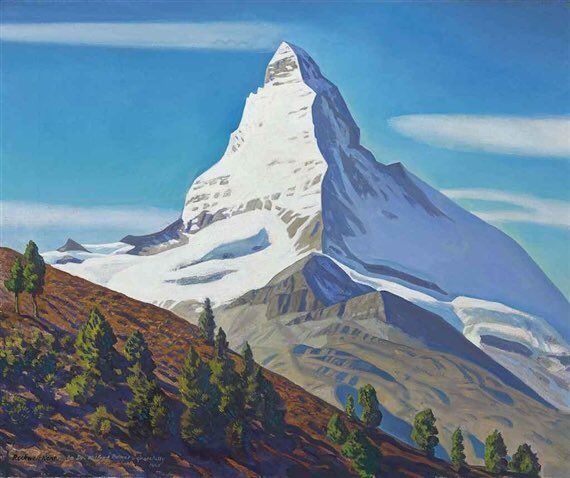
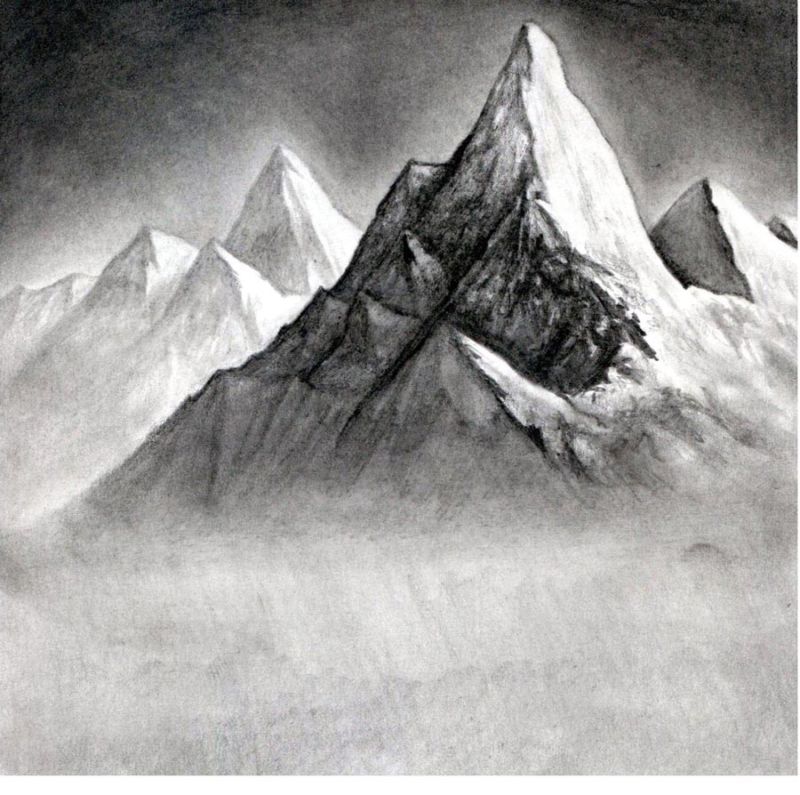
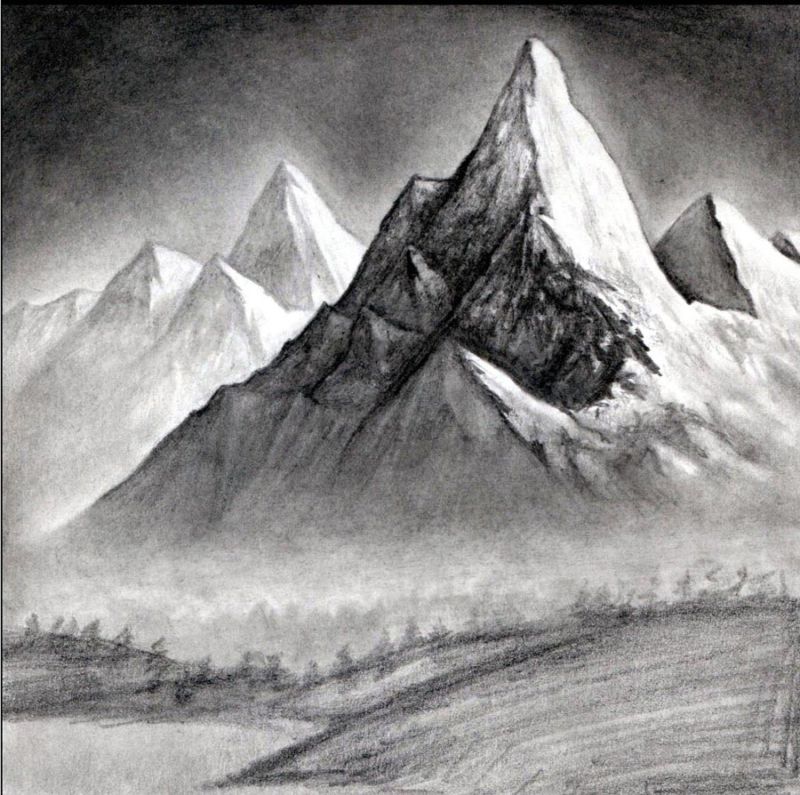
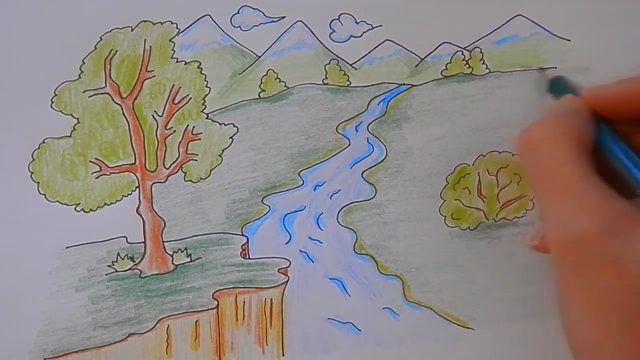
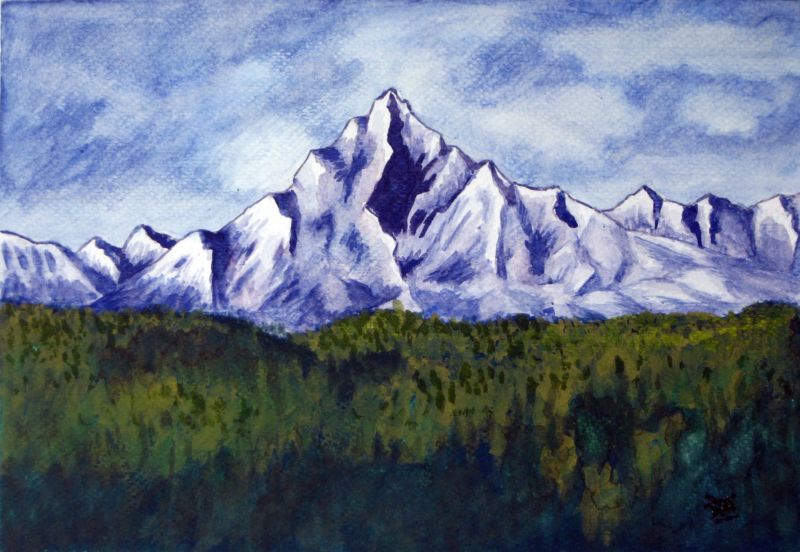
Drawing realistic mountains.
When the skills of using different materials are honed, you can also think about the realism of the image:
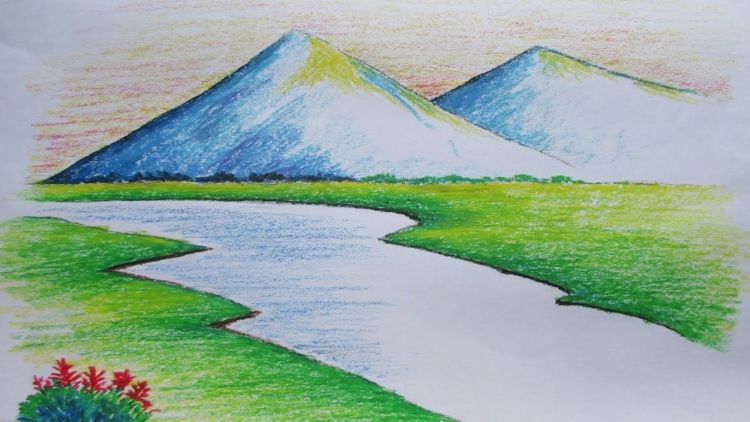
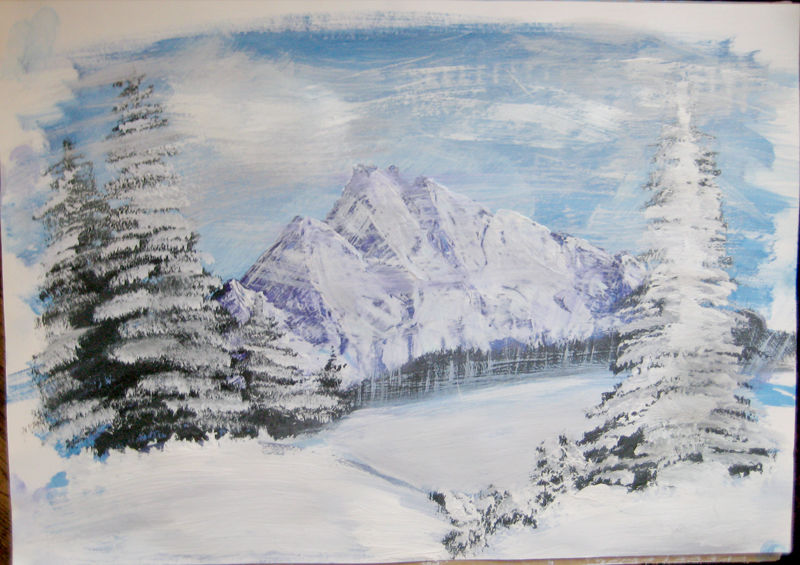
- We mix blue paint with whitewash and evenly, with smooth transitions, paint the background.
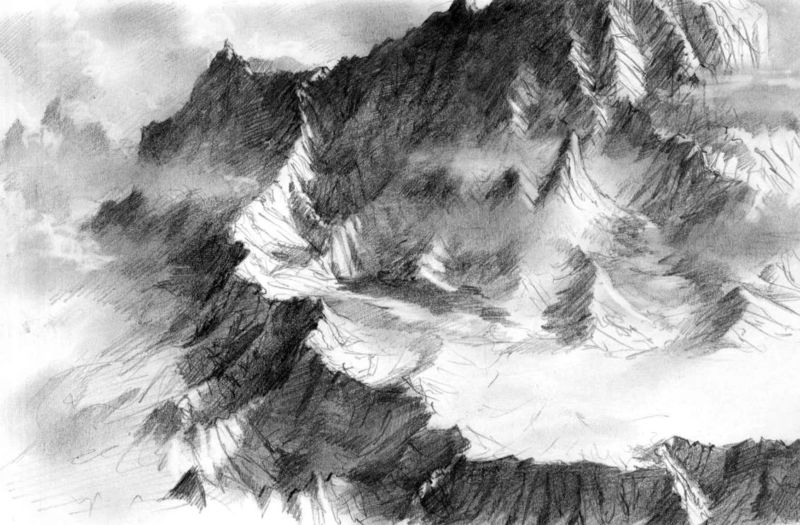
- Draw the mountains themselves. Use blue to draw a mountain in the background, and darker to draw another mountain in the foreground.
- Make the mountains in the foreground darker and darker. Mountains in the background we lighten, and those in the horizon we make barely visible.
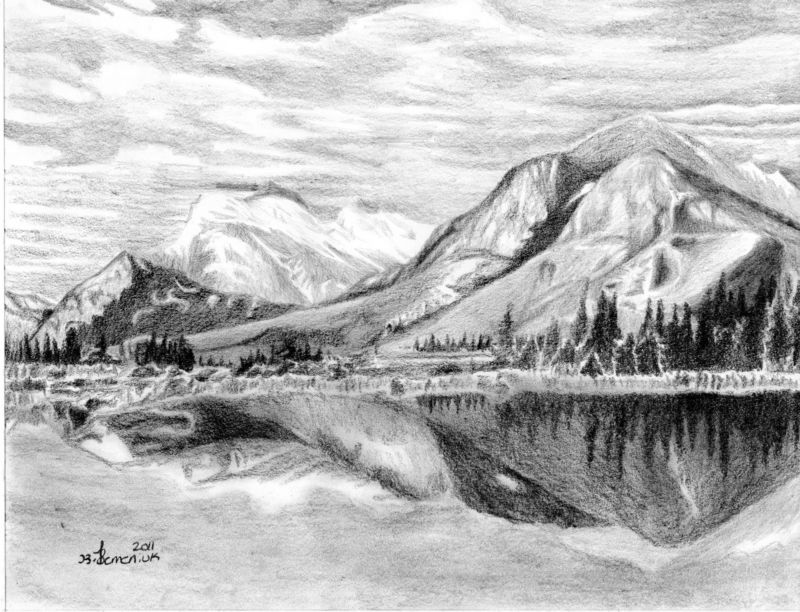
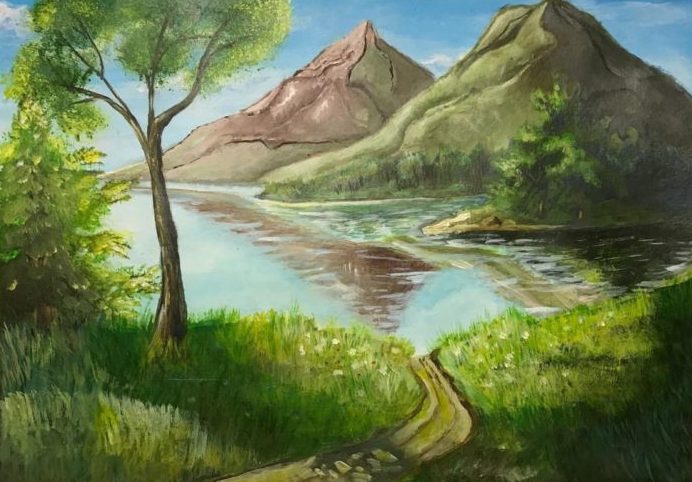
- In the process, we detail the true shape of mountains, finish drawing the vegetation growing on them. A kind of valley is created. You can add a river, which flows from afar, where there are hardly visible mountains. The river reflects the mountains like a mirror.
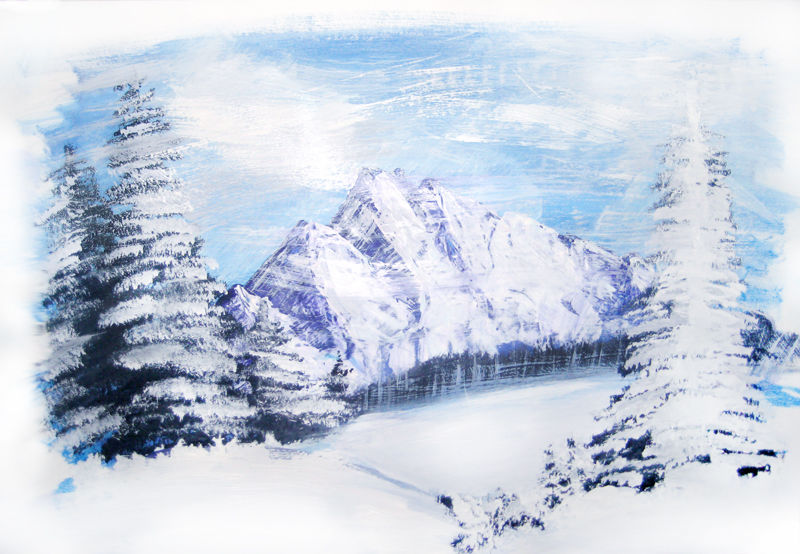

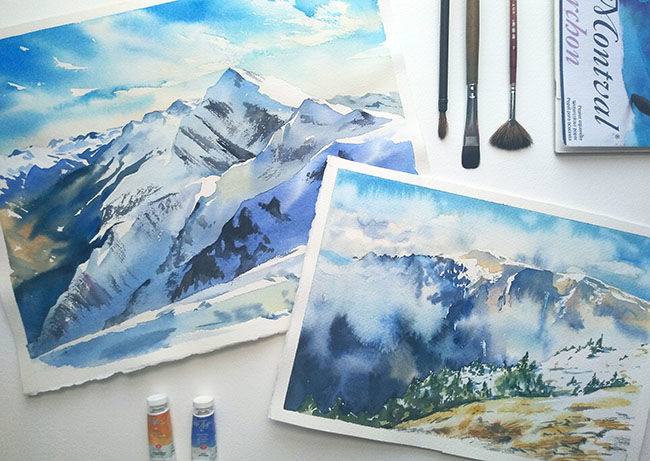
The resulting image of the painted mountains can be beautifully framed in an appropriately sized frame. Hand-painted picture will fit perfectly into any interior.

Photos of painted mountains