How to draw the sea with paints and pencil - a selection of easy workshops for beginner artists and children
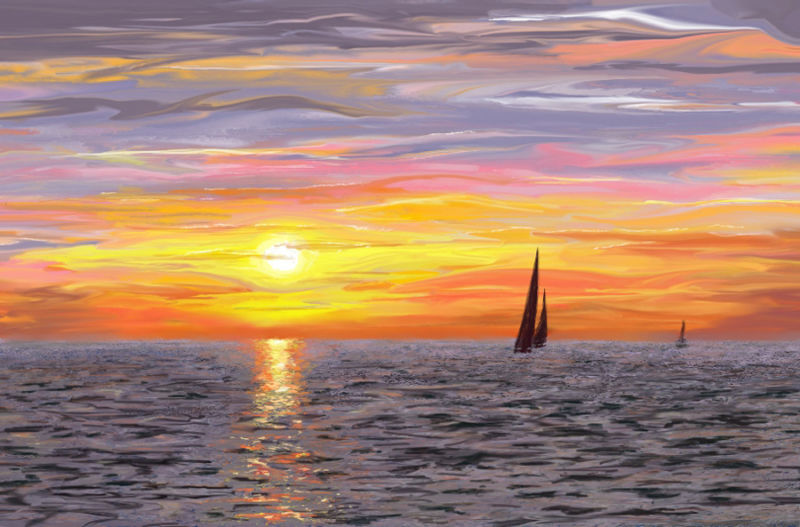
The sea draws your eyes, it dazzles with beauty and mystery. Probably no one who does not love the sea. They write poems, compose songs, shoot films about it.
Man has always been interested in what lies beneath the water, in this uncertainty. But the sea is silent in any weather, it doesn't reveal its secrets. On a beautiful sunny day it is calm, sometimes it is playful and affectionate, and sometimes it is menacing and frightening.
Contents:
First Steps
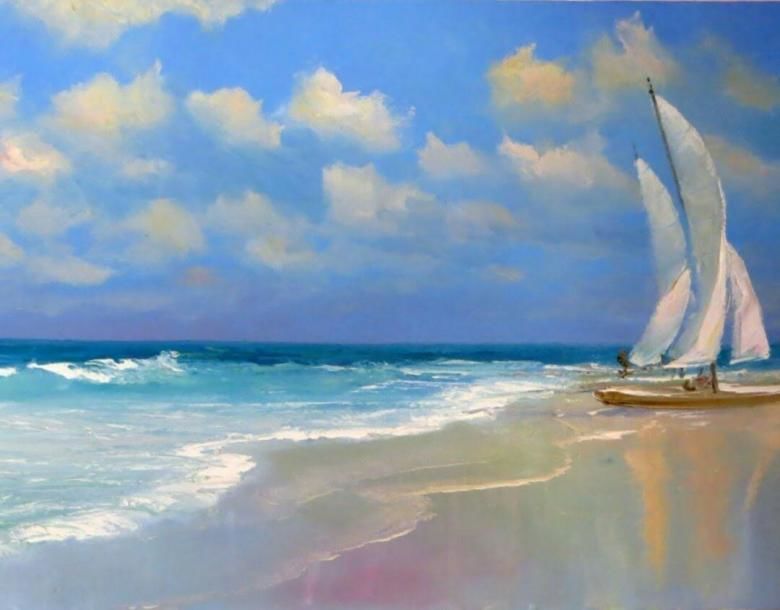
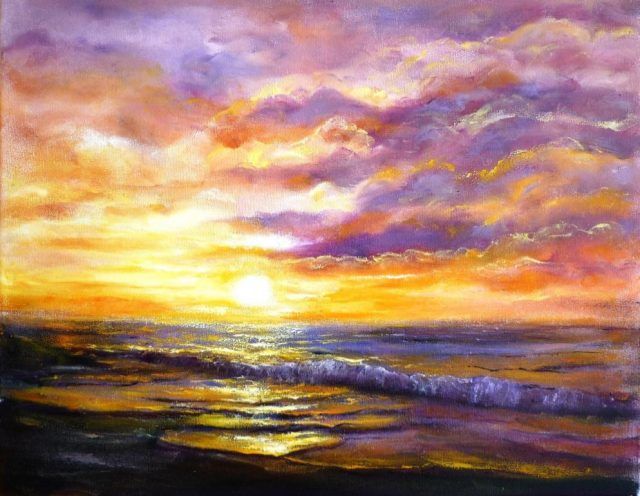
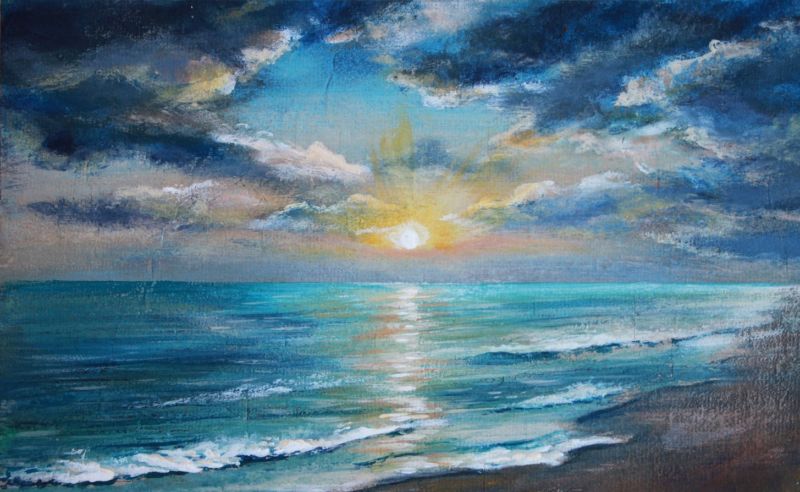
It seems that only an experienced marinist can make a drawing of a seascape. He will convey all the power of the elements, the richness, the tenderness, the depth of color. Professional paints the sea at different times - at sunset, at sunrise, in storm and doldrums, silent, rumbling, learning this art for a lifetime.
In the beginning you can try to draw the sea with a pencil. In this case, it is most important to convey wave motion with strokes. But it is not so simple. For best effect it will have to constantly rub the strokes with your fingers or a special eraser.
How to draw the sea step by step
It is better to take for work a thick sheet of paper, but in no case smooth. The slate on a smooth paper, as a rule, slips, and the shadows do not turn out. In addition, the necessary method of shading usually does not work on such paper.
Prepare pencils of different hardness and softness, and an eraser.
First, a sketch is made, on which the horizon line, the water's edge, and, if any, the mountains are determined. The horizon is marked just below the center of the sheet, this line should be much thicker, which in a certain way affects the depth and extent of the sea.
In the drawing it is necessary to show the movement of the waves with strokes of unequal length, thus filling the entire area of the sea. But this must be done at the right angle. Therefore the strokes will lie to the right in narrow rays and to the left in diverging rays.
Distant mountains and hills are indicated by convexities and dimples. Draw them not too big (because it's the background) in the form of triangles with a dark base. The ground line is marked at the foot of the mountains. Some parts of the mountains to leave the light, conveying a sense of joy of sunlight.
Finally, a thin soft pencil gently makes shadows on the water. Stroking at the same angle as originally. It should be remembered that the farther from the shore, the deeper, so the strokes are applied more often. They should not be made evenly, because the sea in life is not uniform. Each wave has volume and shadow.
Colored landscapes.
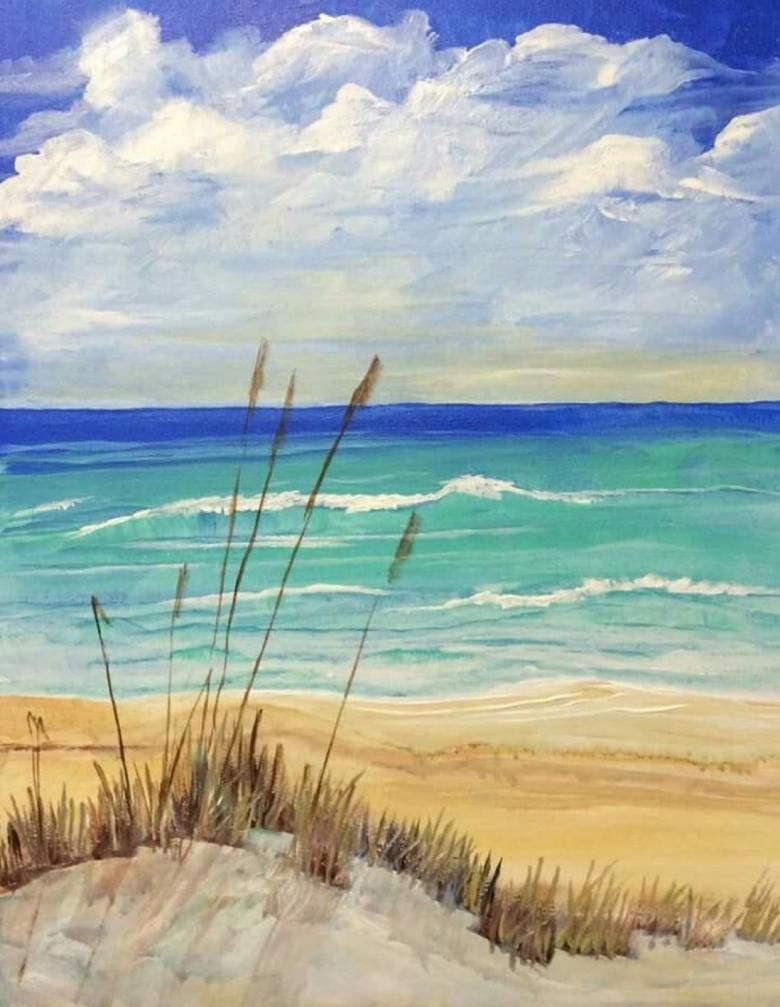
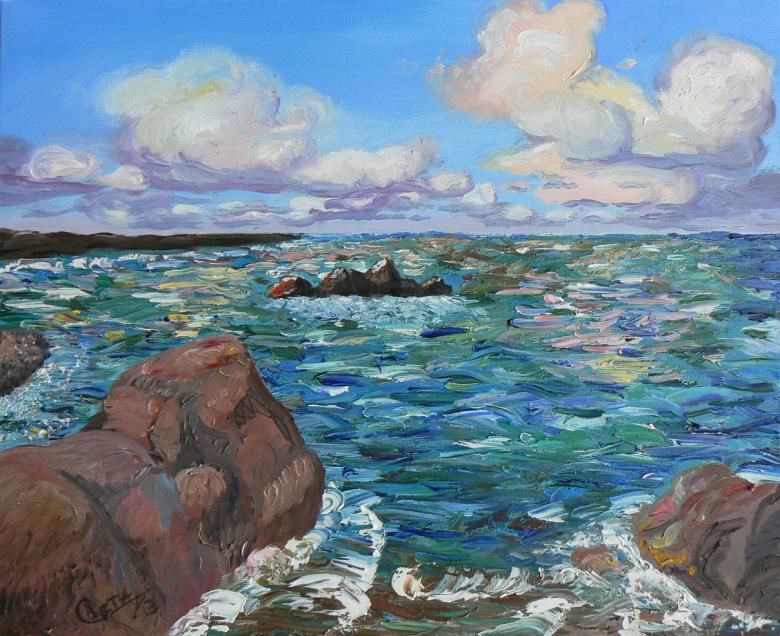
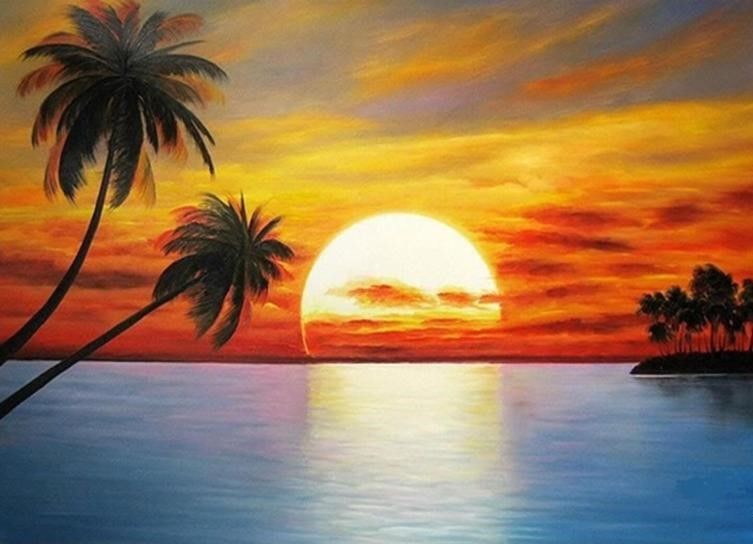
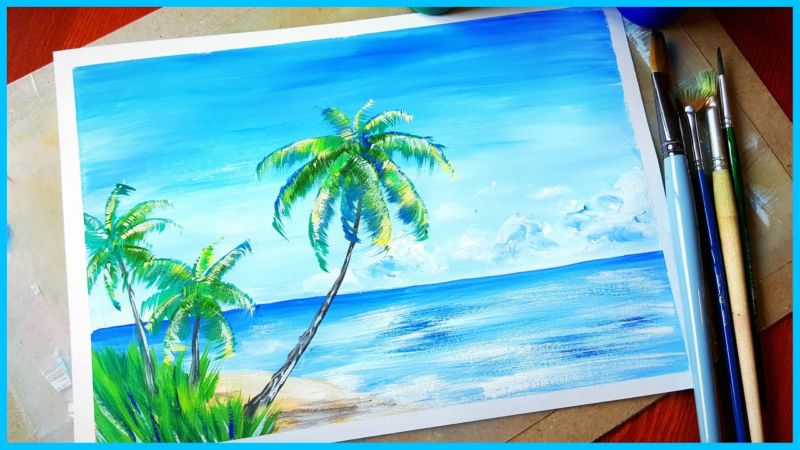
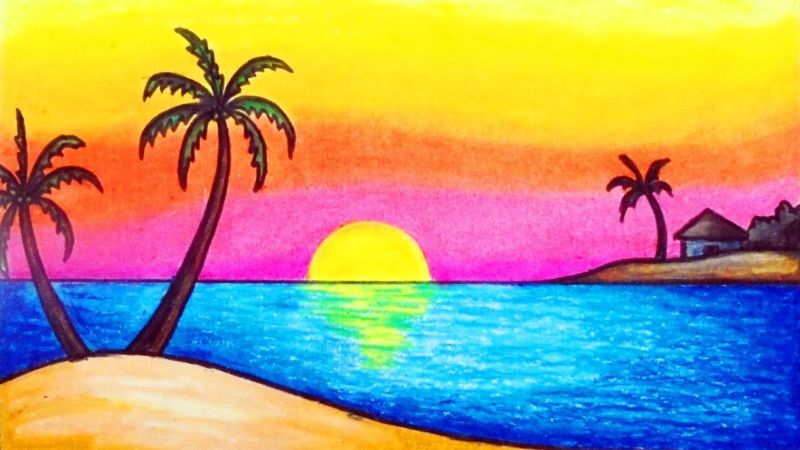
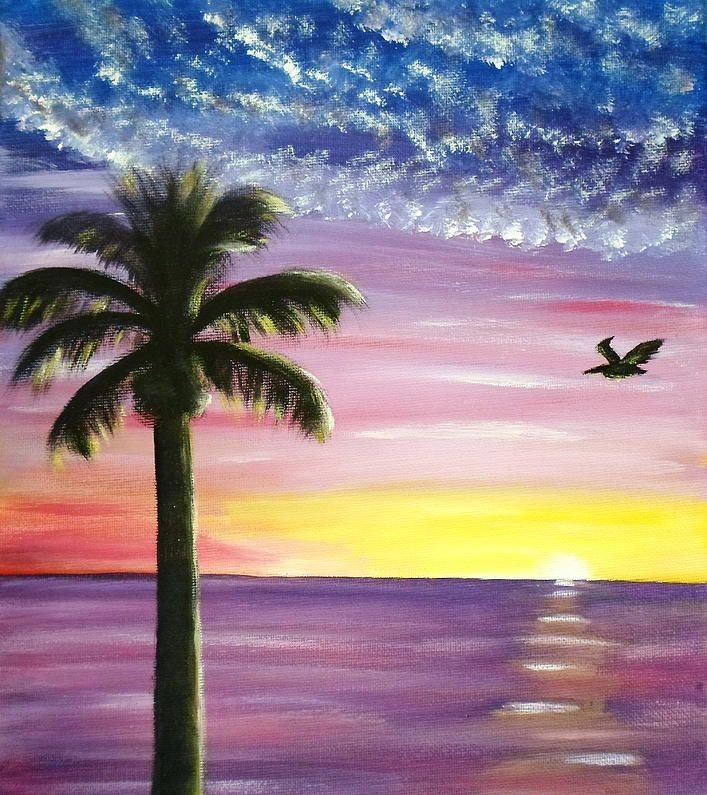
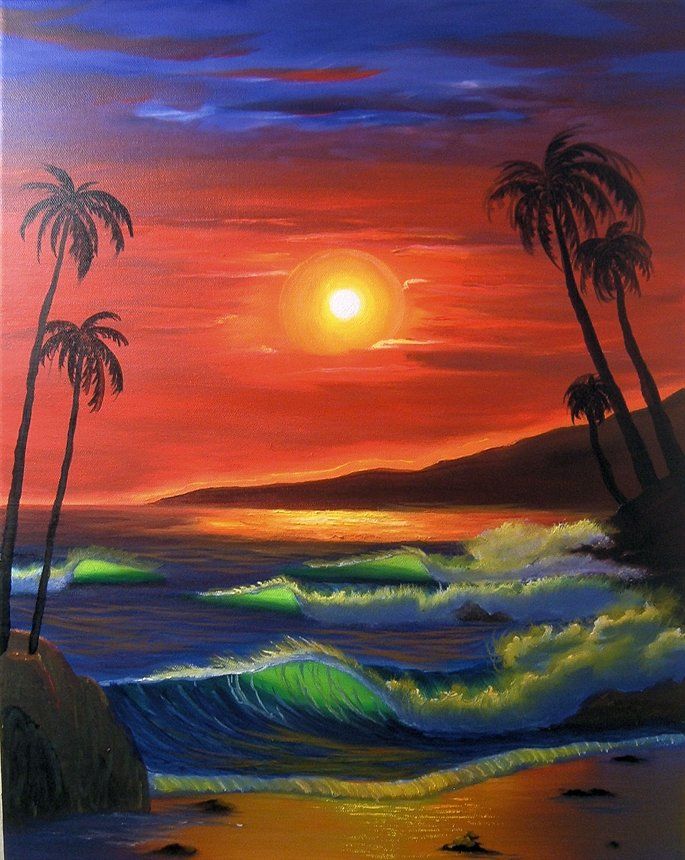
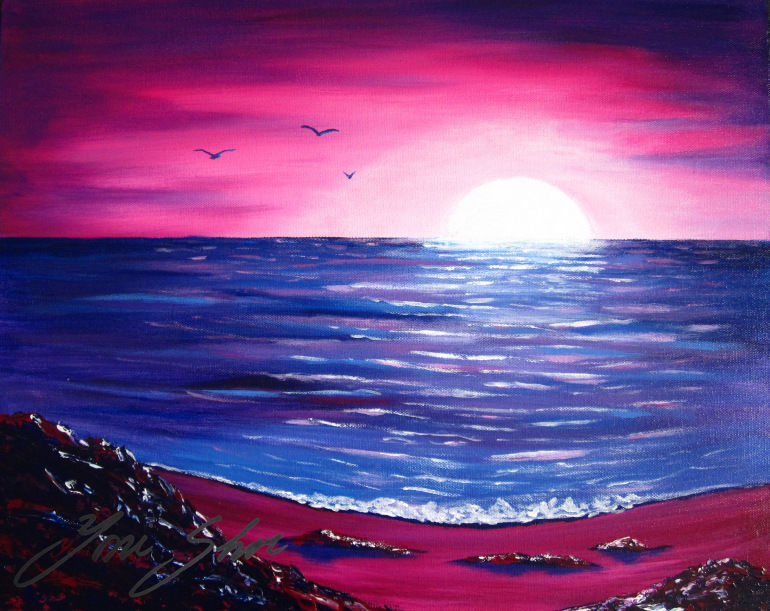
The sea may have different names: Black, Red, Marble, White, but the truth is that it is blue (or rather, a variety of shades of blue). Besides it is very difficult to represent the raging furious sea with a simple pencil.
Drawing sea waves, water surface every time becomes a real challenge for an artist.
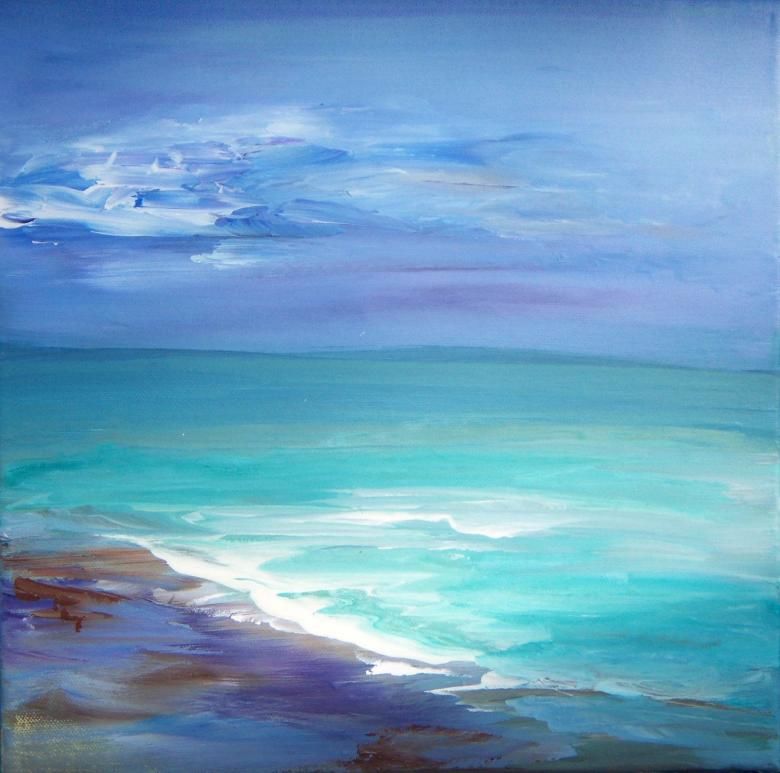
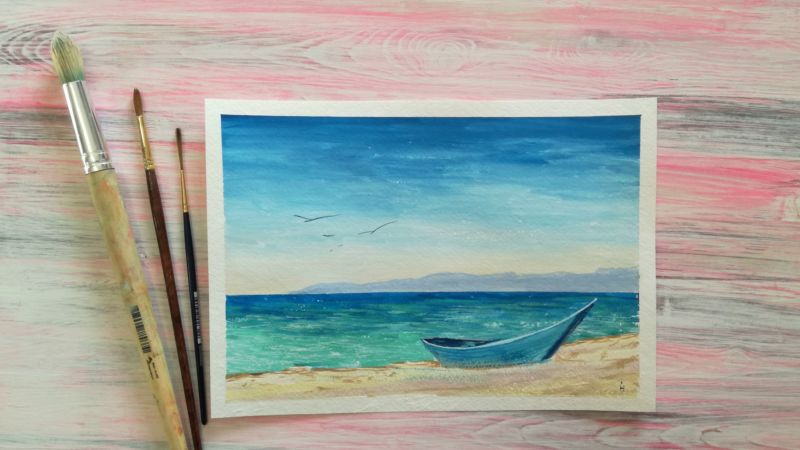
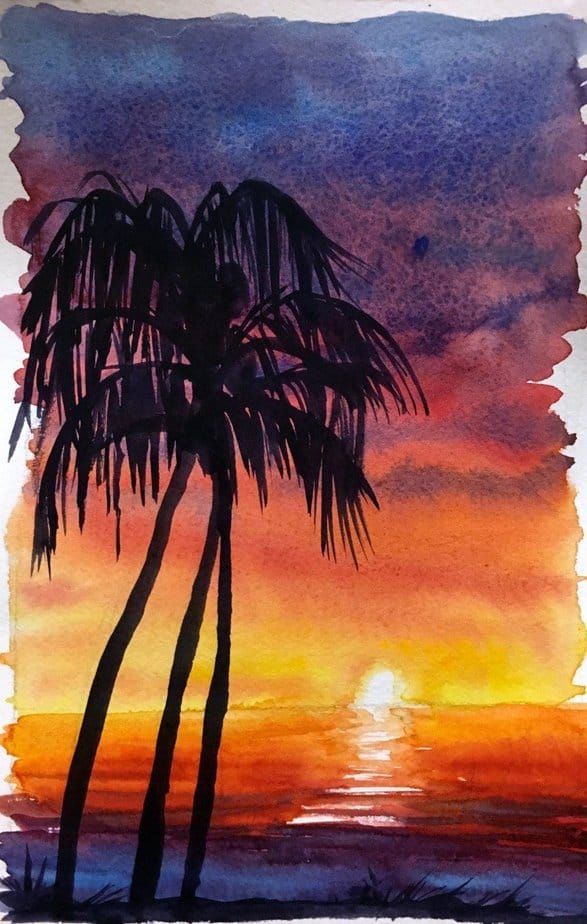
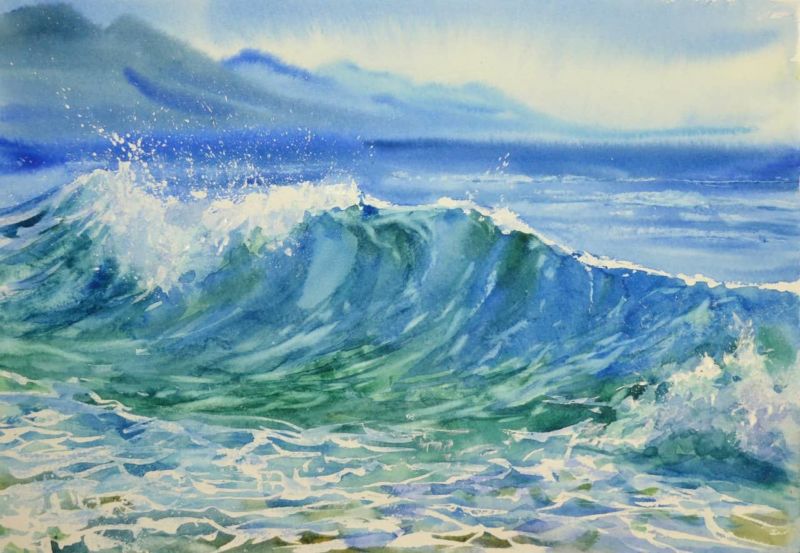
Watercolor
This is a distinctive painting technique and a colloquial term for paintings painted with watercolors, more often on absorbent paper. Watercolor paints consist of a dye and a water-soluble binder. Because of the specific nature of this type of paint, paintings are exceptionally delicate in color.
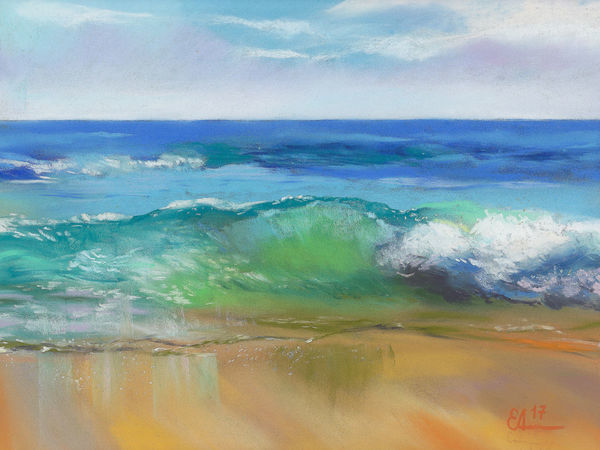
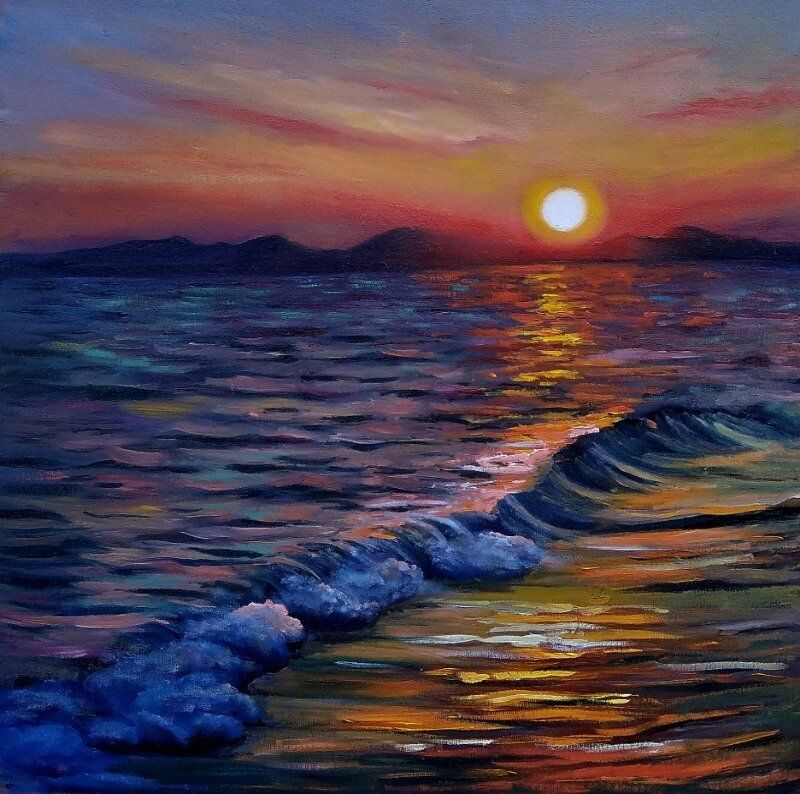
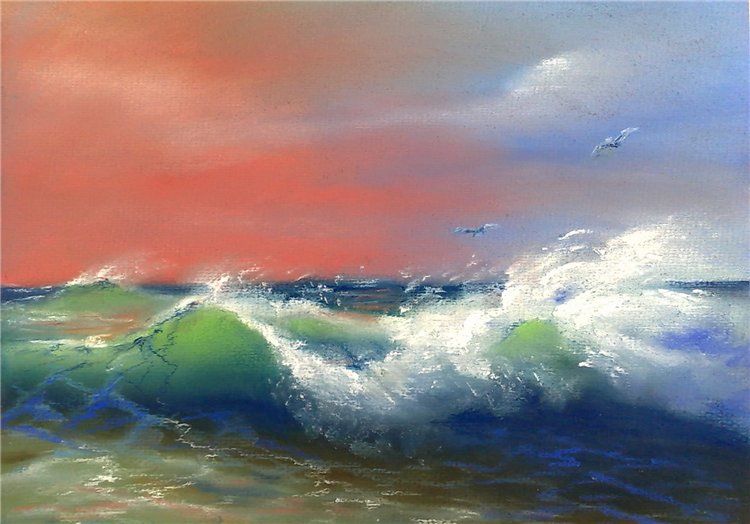
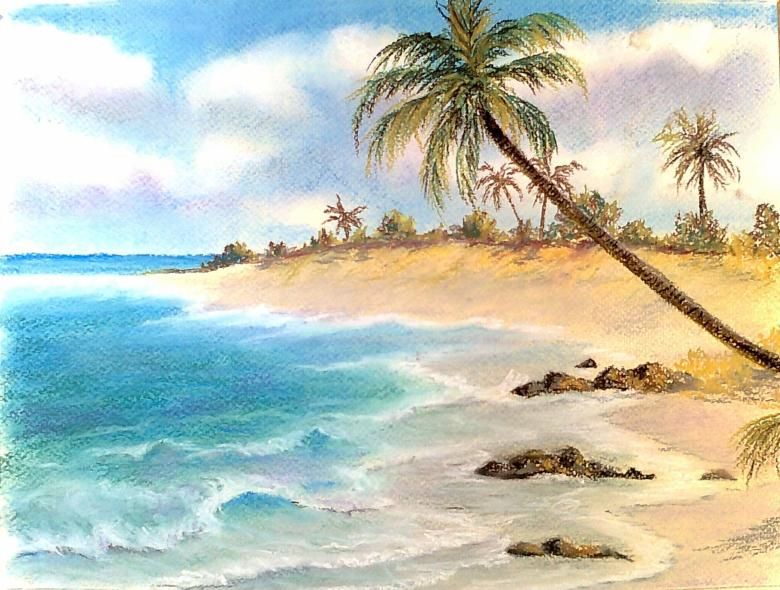
Pastel colors are ideal for painting pictures that convey the beauty of nature. Extremely attractive and mesmerizing seascapes. This is a complex technique that does not forgive mistakes.
Nevertheless, drawing the sea for children is better done in watercolor, which is easier and more beautiful to put on paper (unlike gouache), the colors are in a box or tubes in one place, it is easy to choose the right color.
Tips:
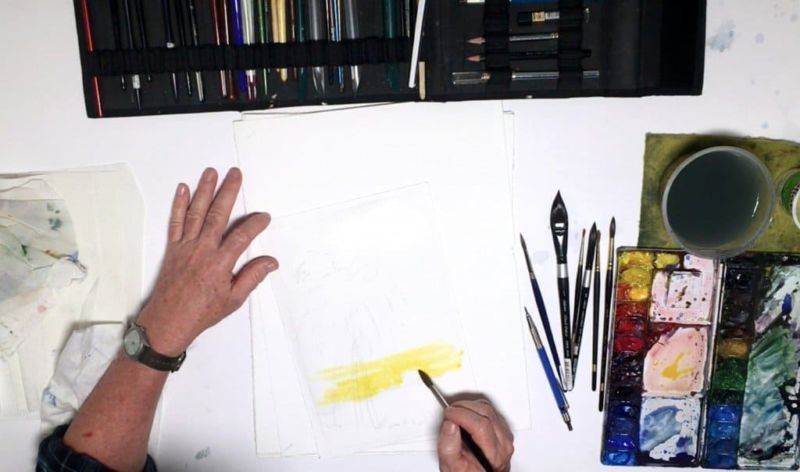
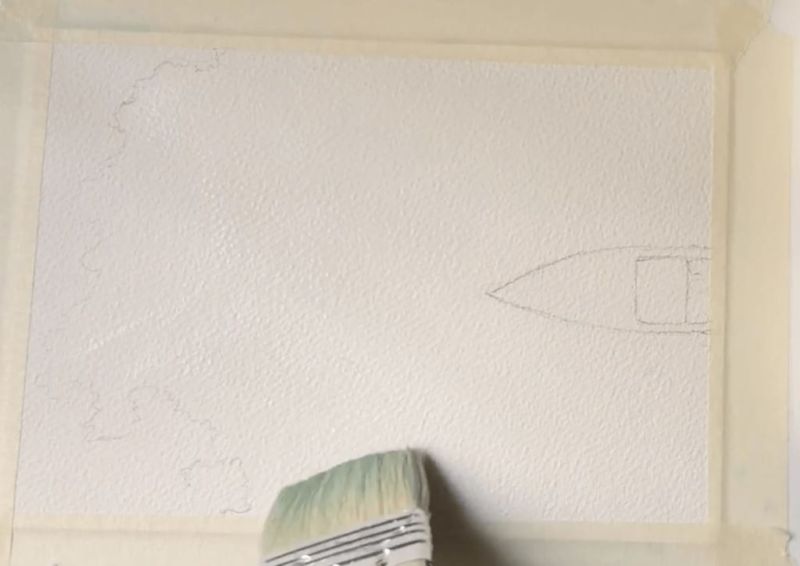
You'll need an album or separate sheets (the optimal density is 300 g/m² and higher).
It is better to choose paints in tubes. They are ready to use, no need to wait for them to soften. It is easy to create bright and dark saturated blends.
Brushes (two different sized round brushes, one flat), pencils to apply outlines.
Palette for mixing paints (such as thick paper or cardboard);
A jar of water;
Try playing with the paints: check how they behave on paper, how they mix with each other. It's worth trying out samples (because the color in the tube may be different from the color on the paper).
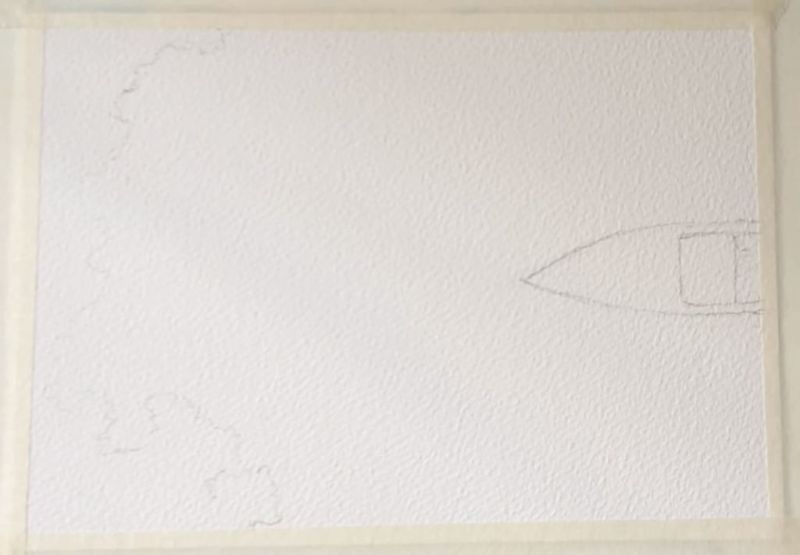
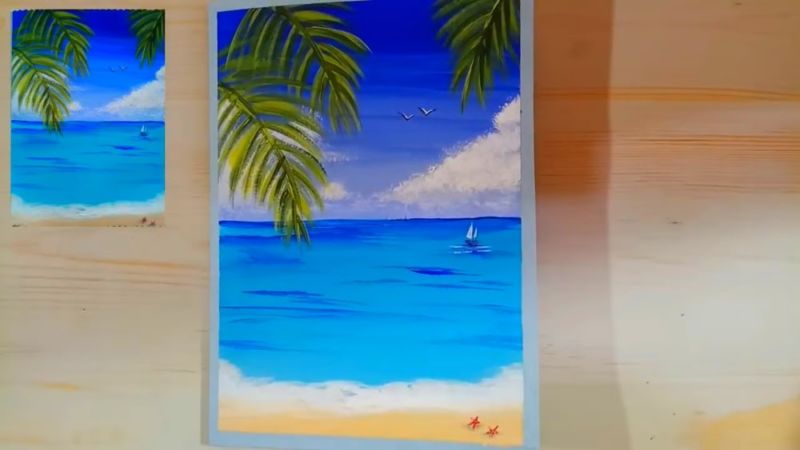
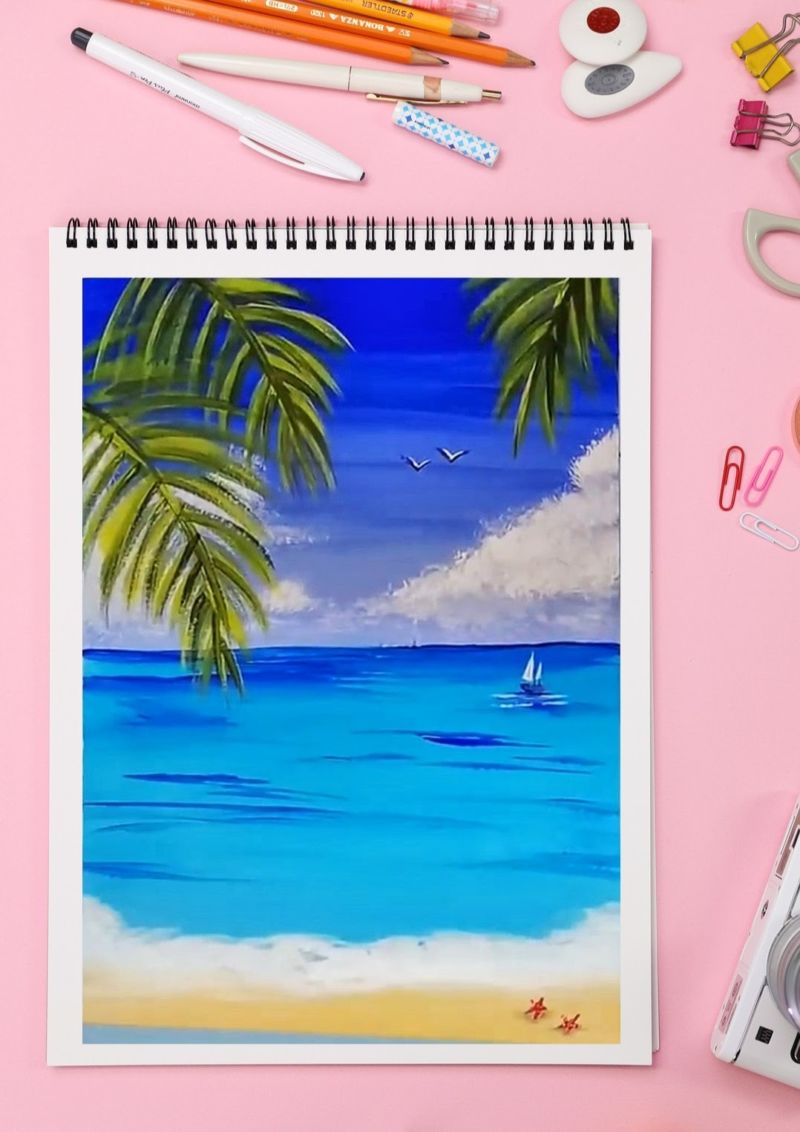
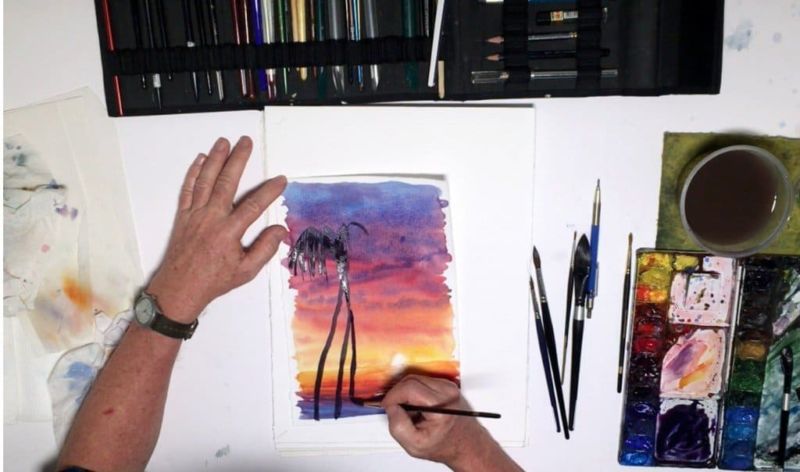
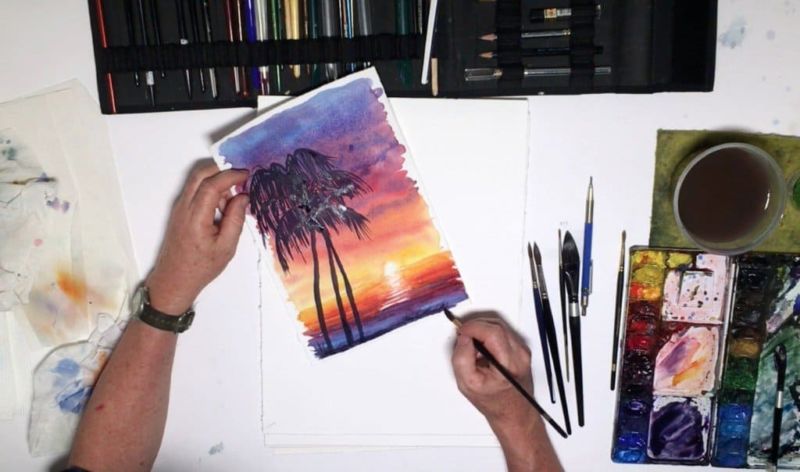
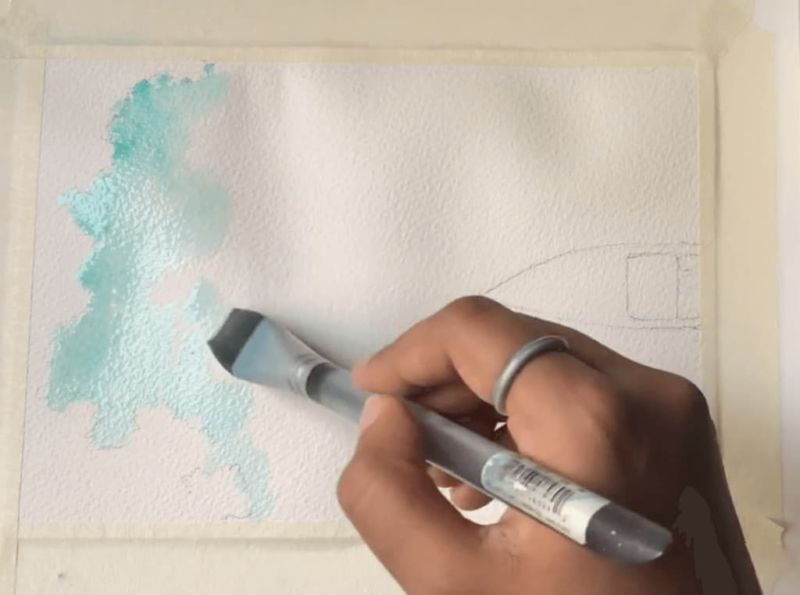
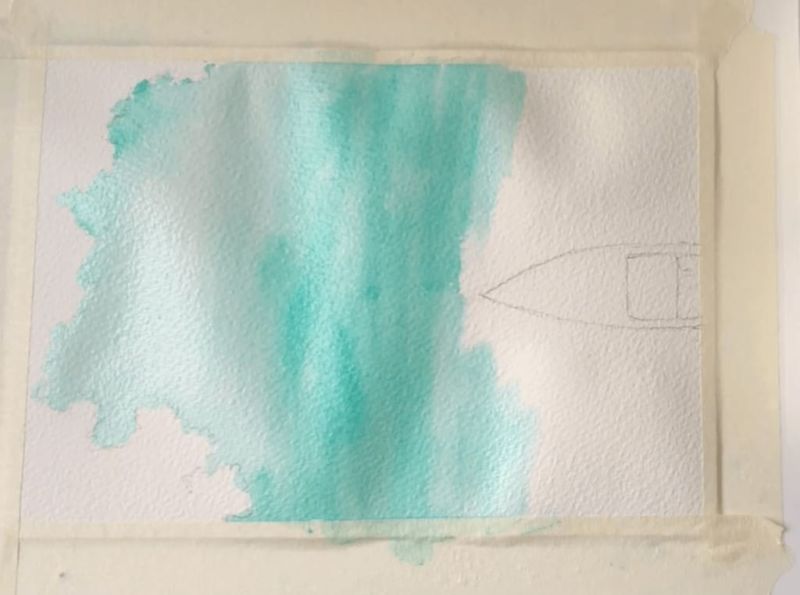
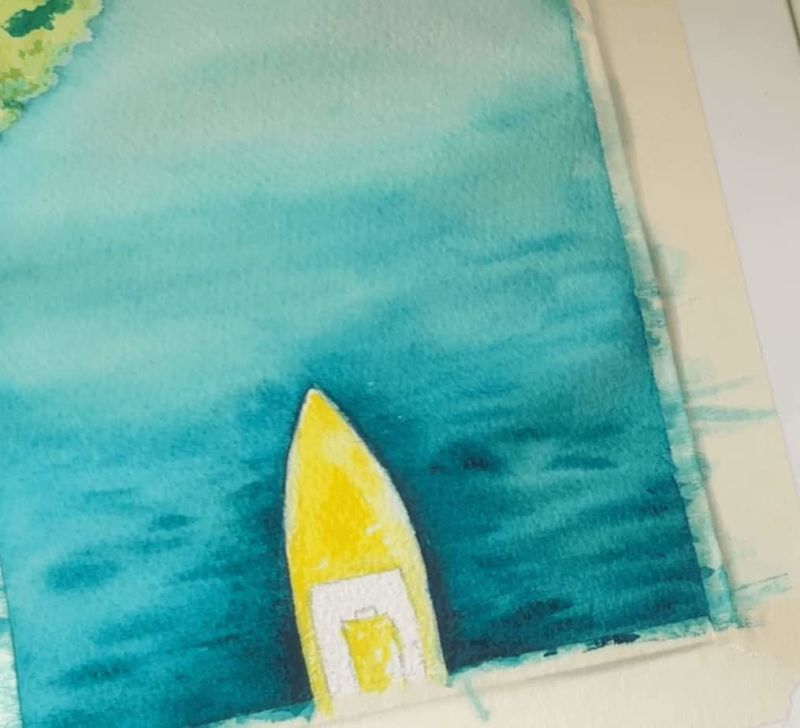
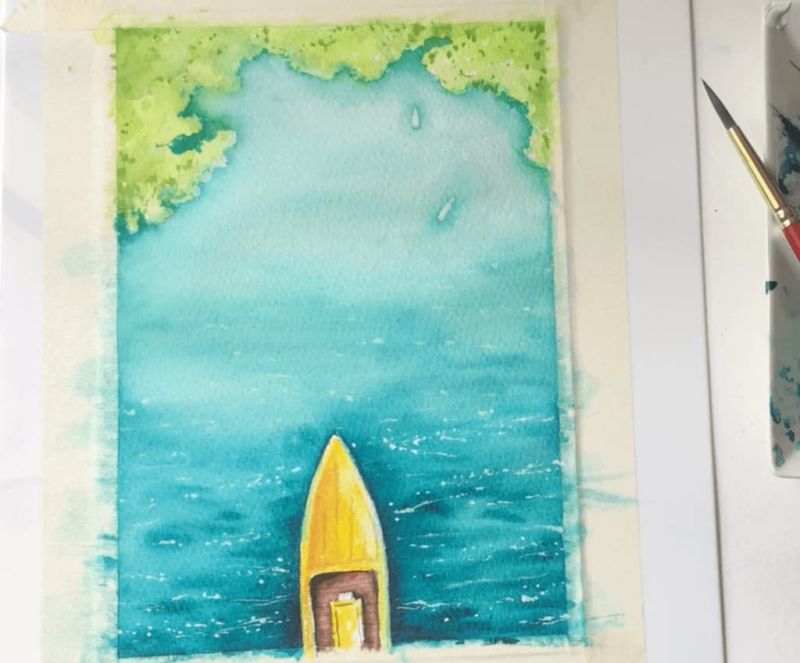
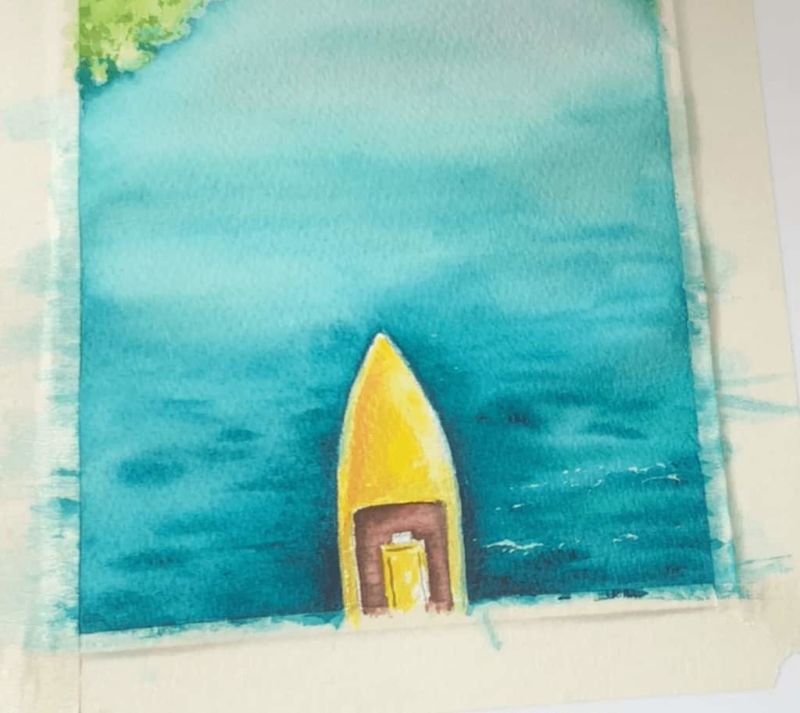
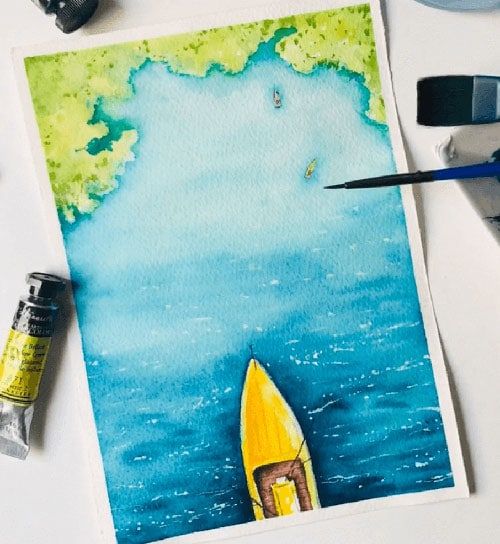
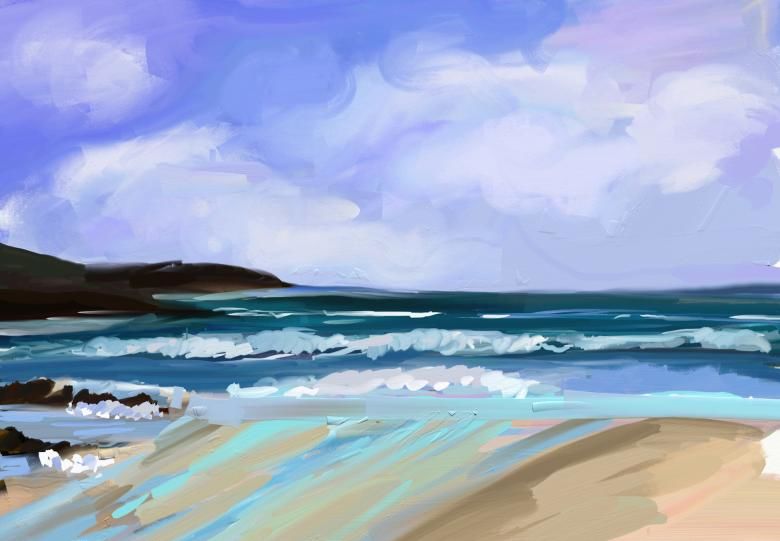
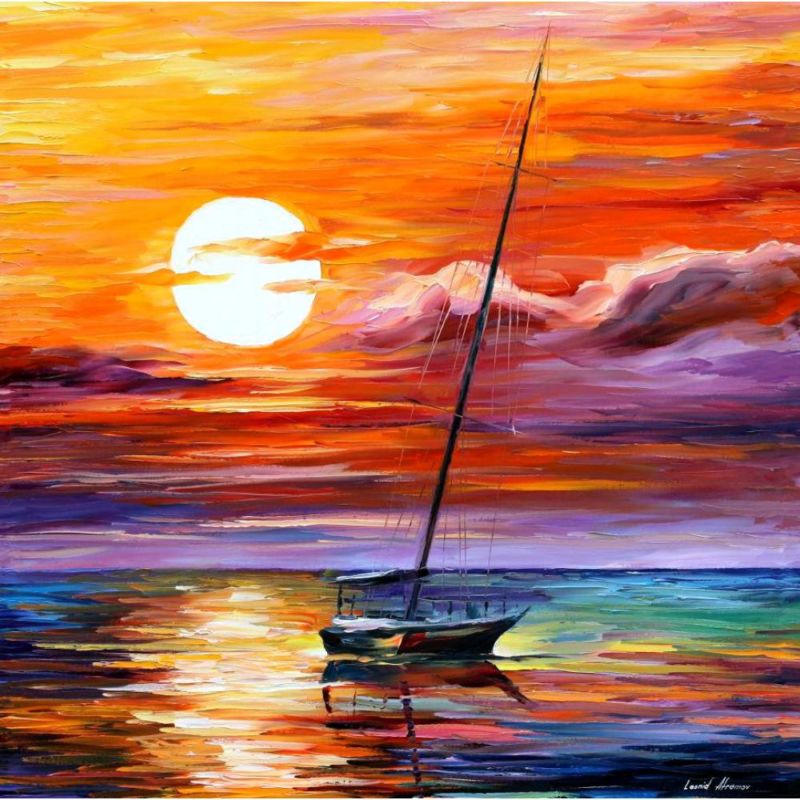
Make a sketch by separating the horizon line and defining the border of the shore. If you want, draw one or two or three boats.
The outlines can then be covered with concealer or a white marker, or you can initially apply them lightly and inconspicuously. Tip: It is worth buying a yellow color concealer. This is great for covering seafoam. It will give a yellowish tint after removal, which will improve the actual look of the water. Of course, it's not required, but chances are it will look much better than white.
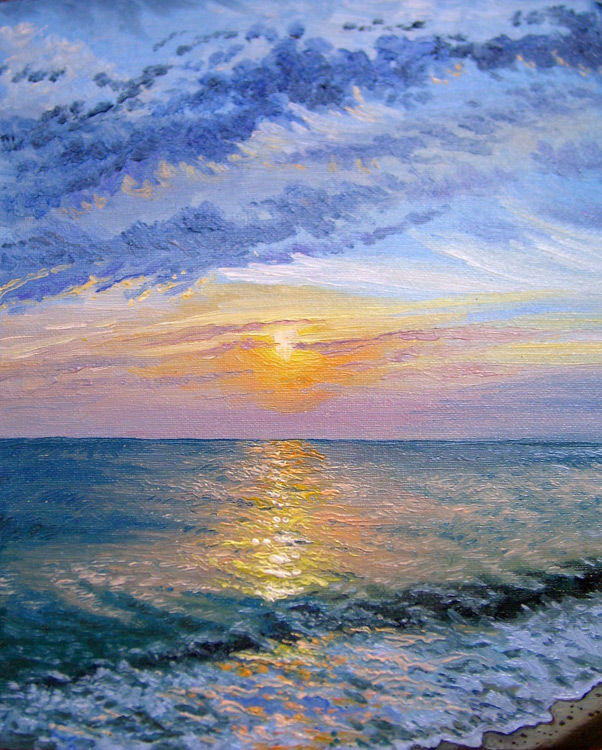
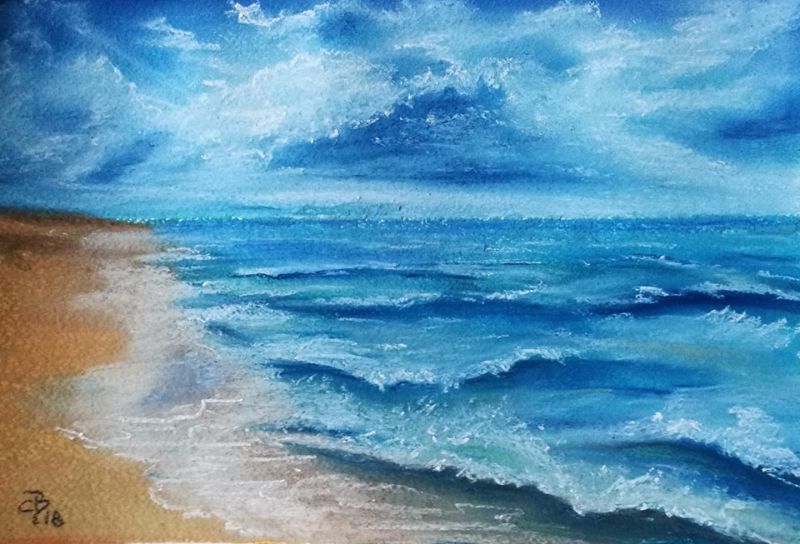
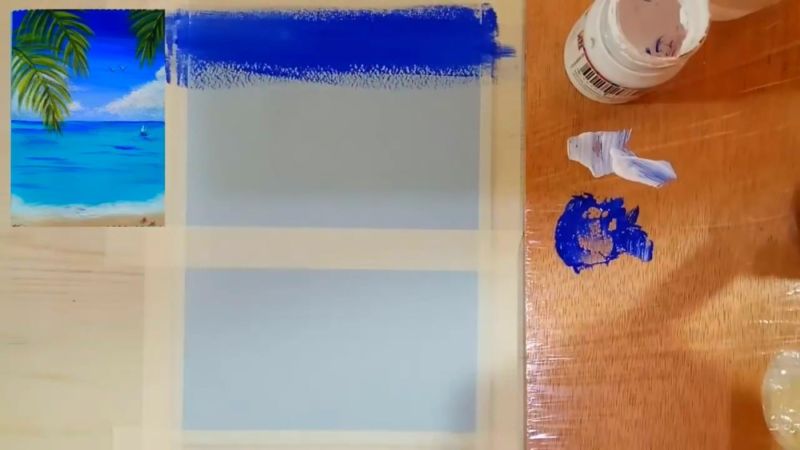
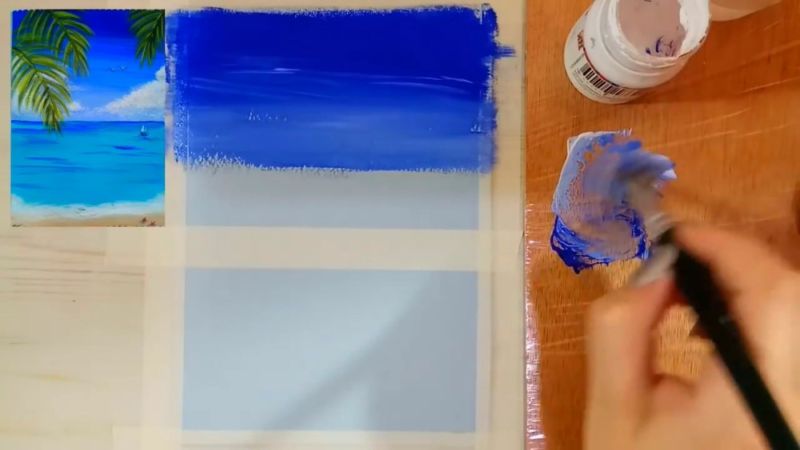
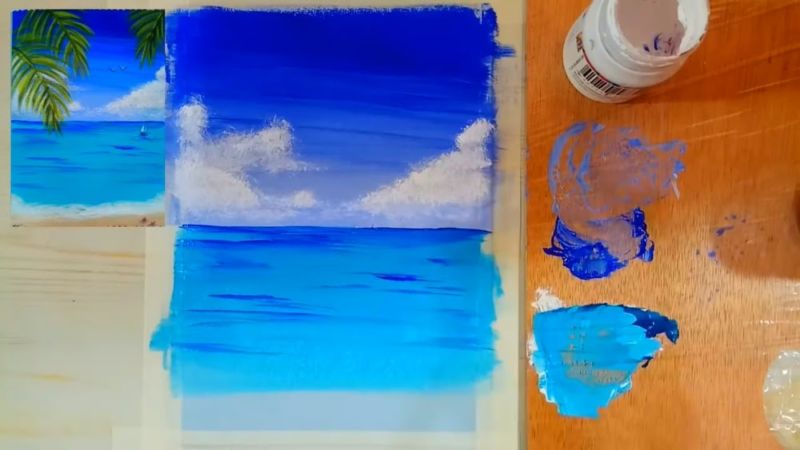
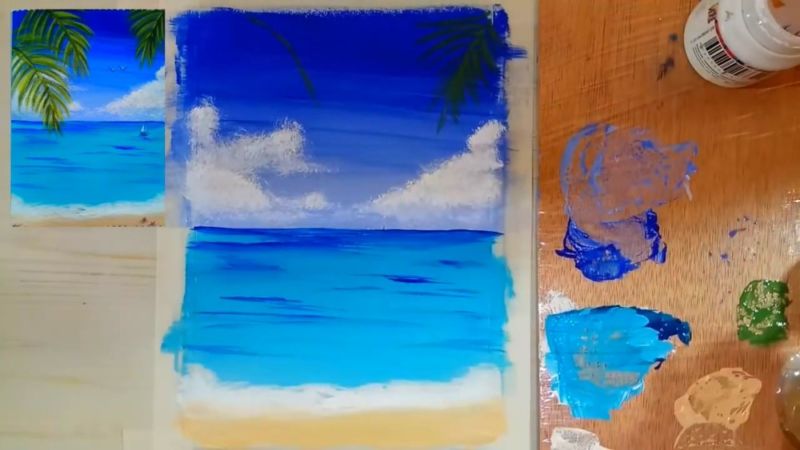
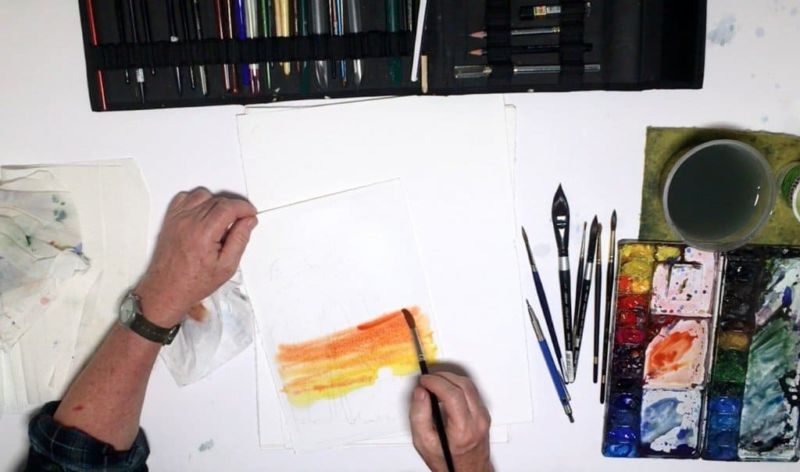
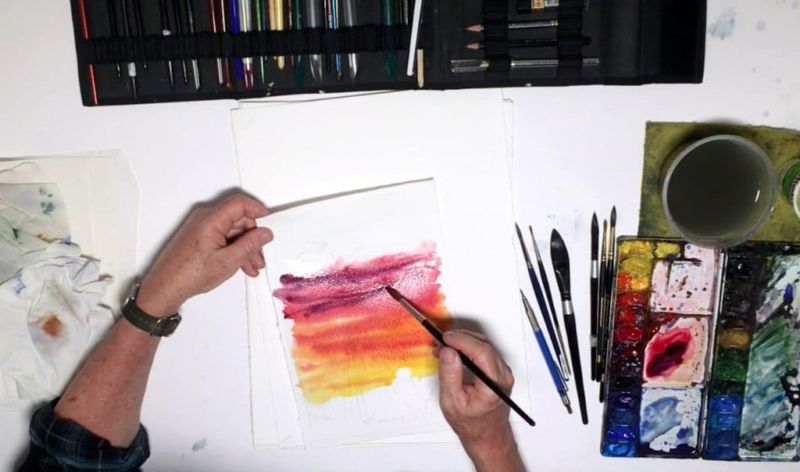
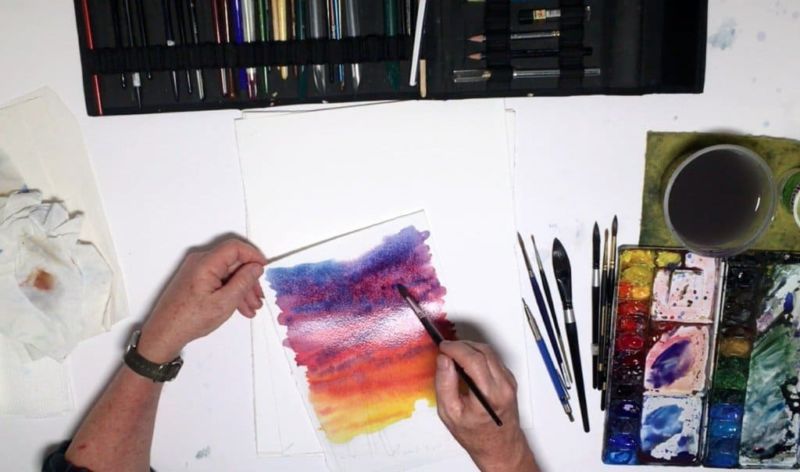
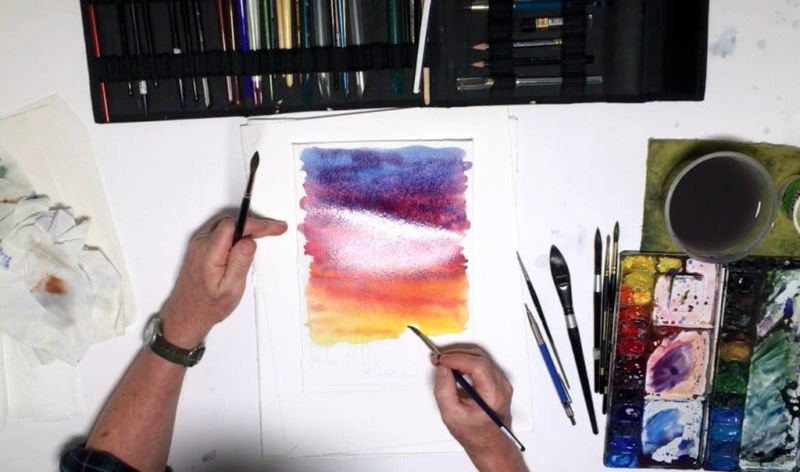
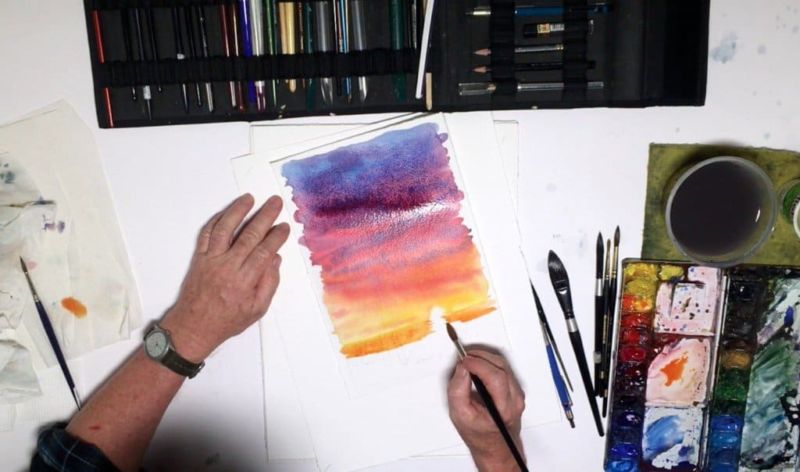
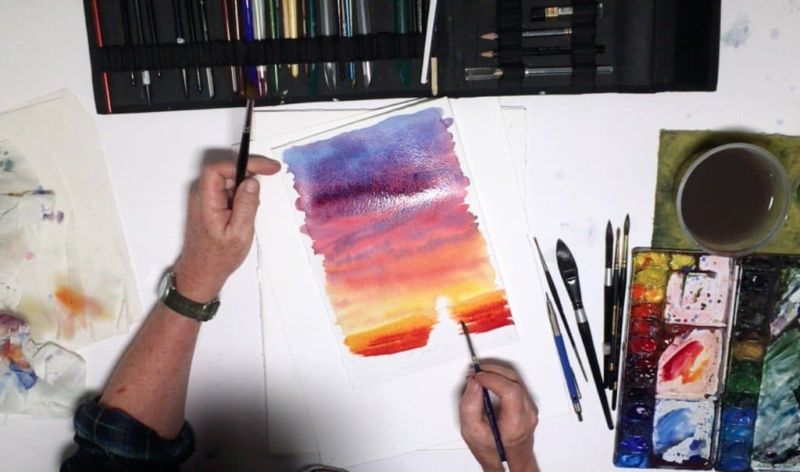
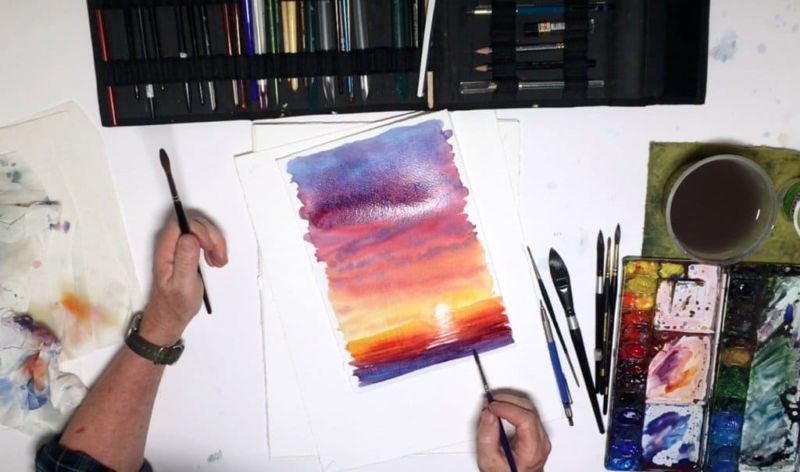
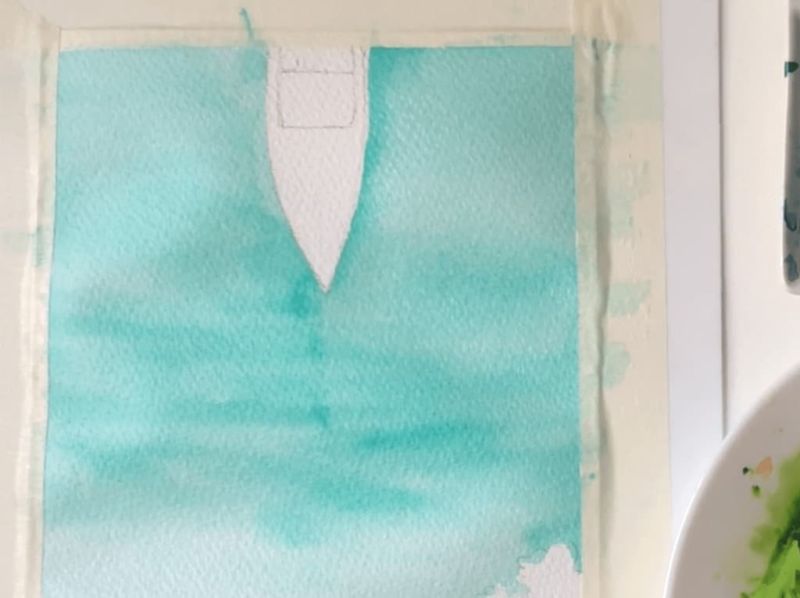
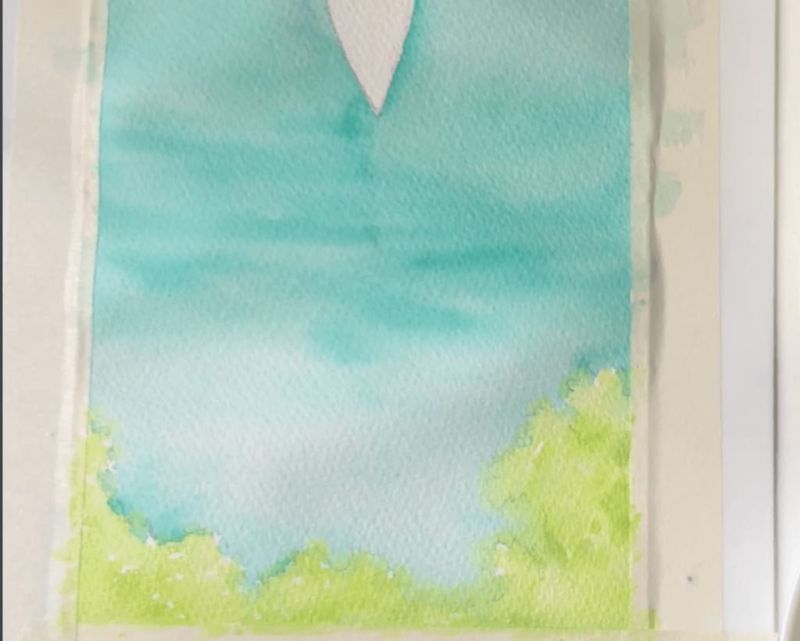
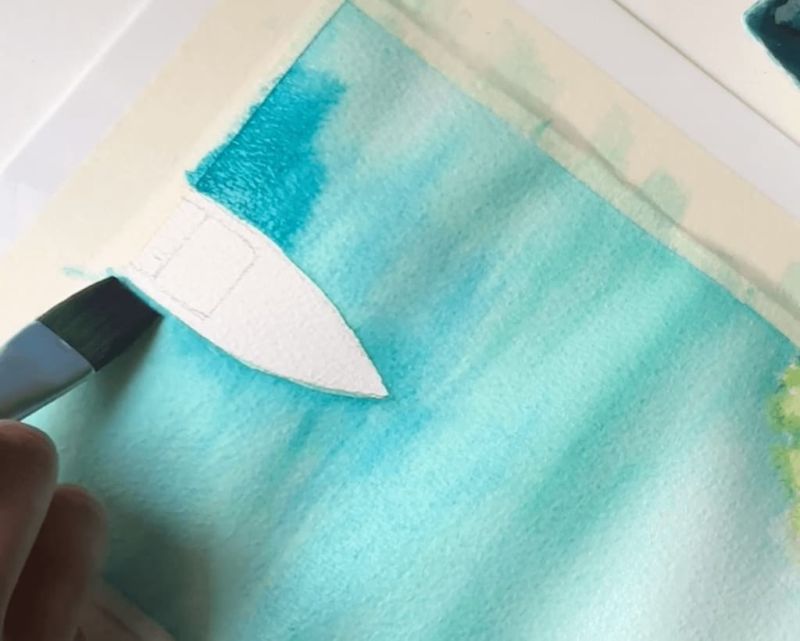
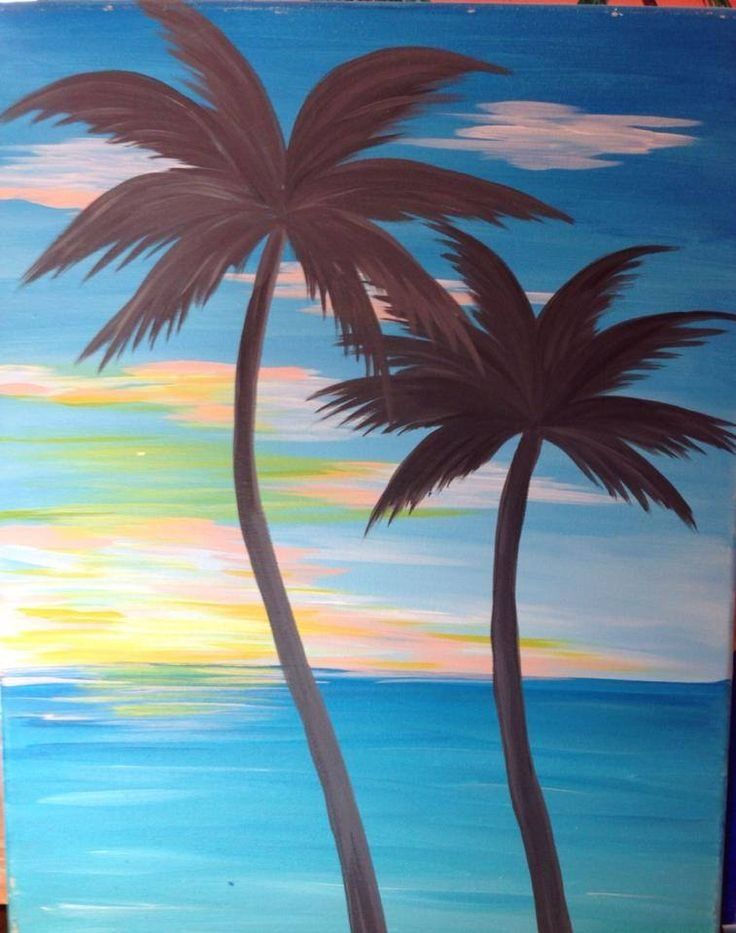
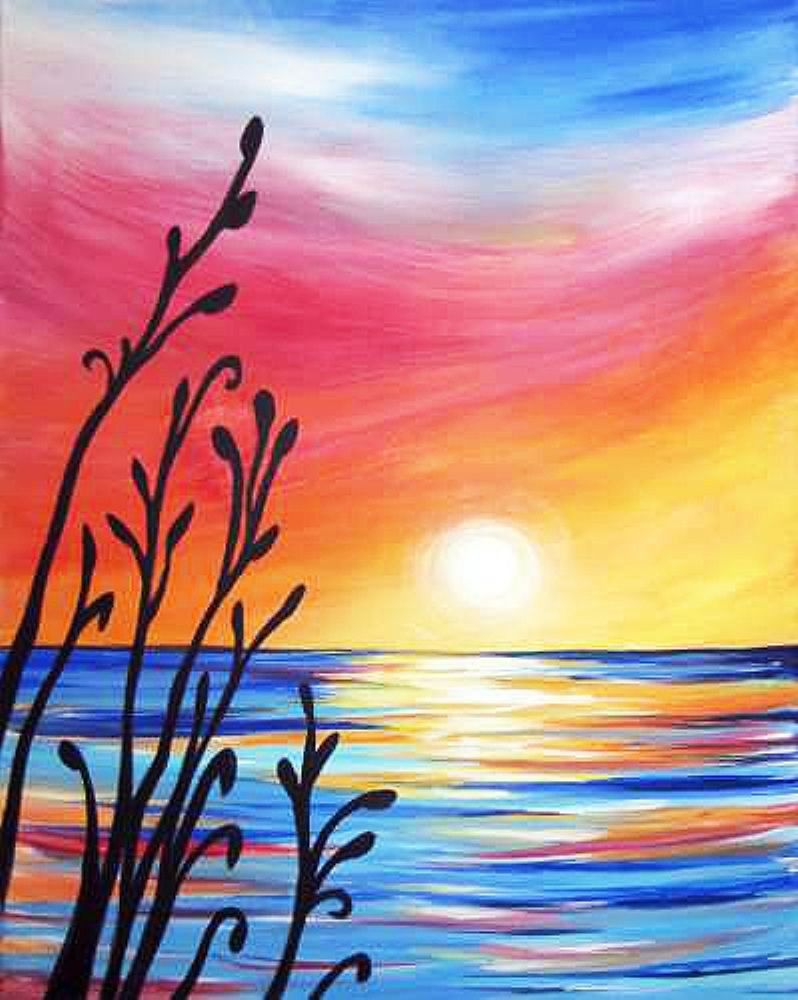
With a clean brush, moisten the area chosen for the sea expanse. Cover the water along the edge of the shore with diluted ochre, then use a light turquoise color. Farther from the shore, use bright blue and ultramarine. The same color, but more intense color to paint the rest of the sea-ocean. The closer to the horizon, the darker the water.
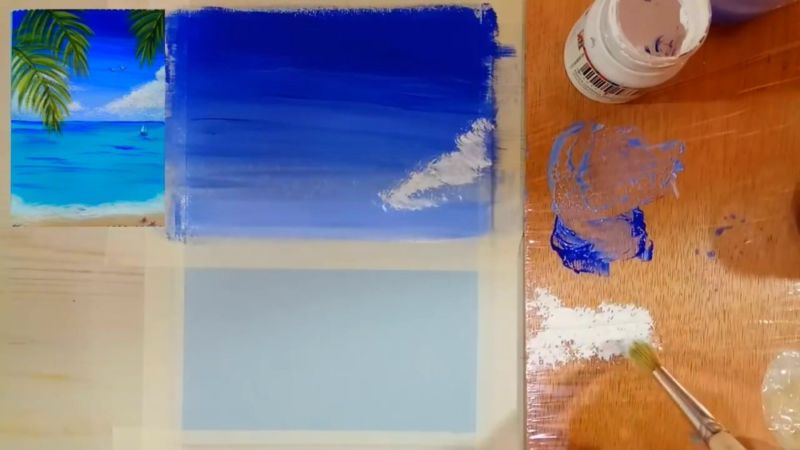
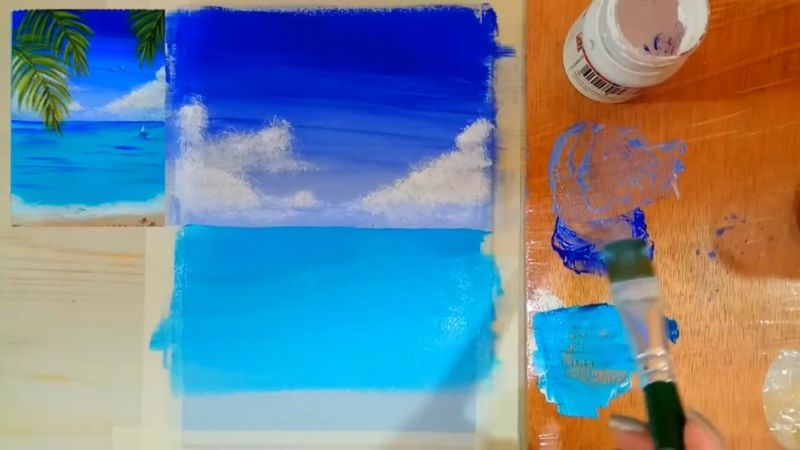
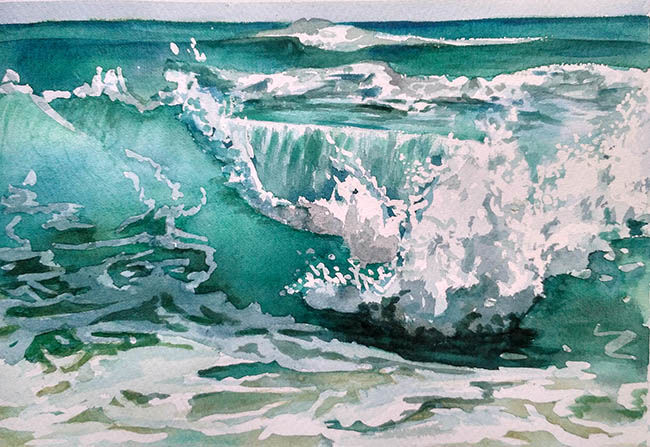
To create the appearance of sparkling water surface, blur some parts of the waves or do not paint the sheet thoroughly beforehand, leaving small white spots. The natural whiteness of the paper underpainting helps to achieve a play of light.
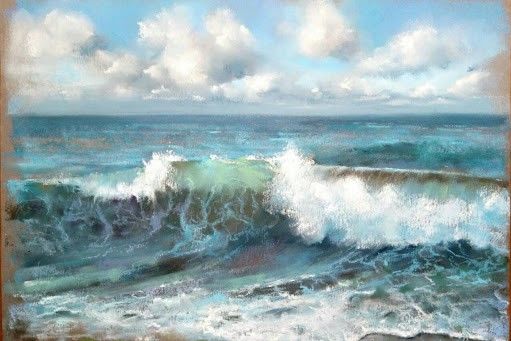
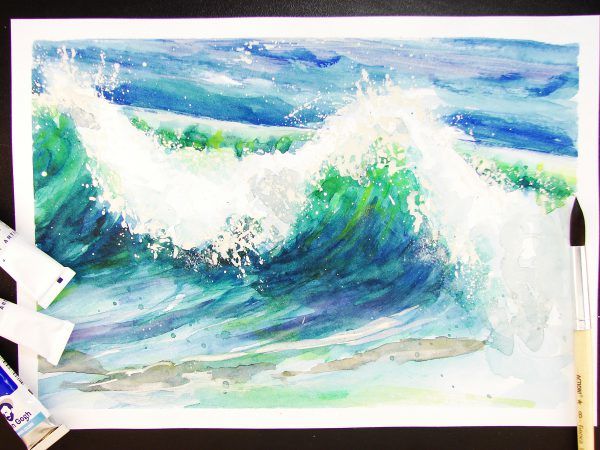
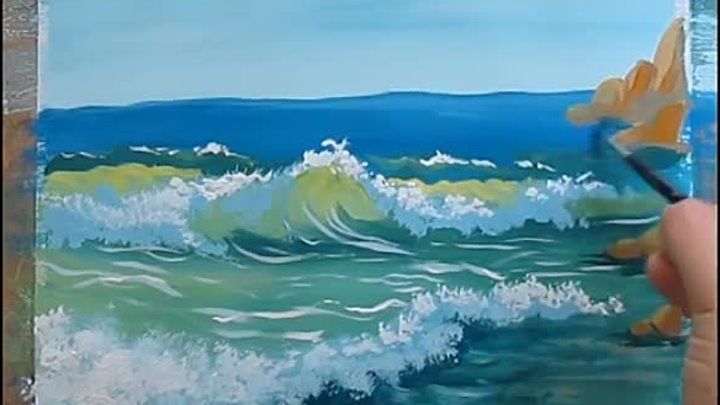
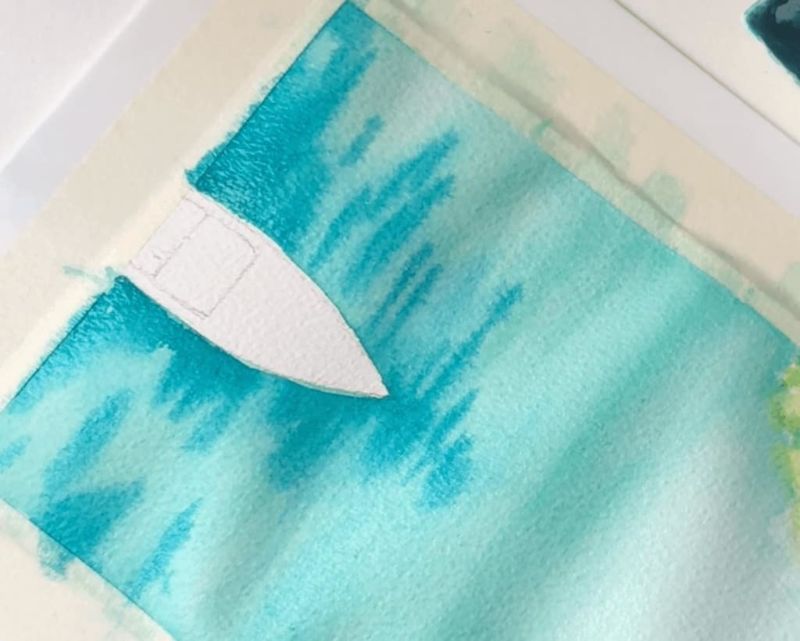
Places on the water that are foaming are flattened with chaotic strokes.
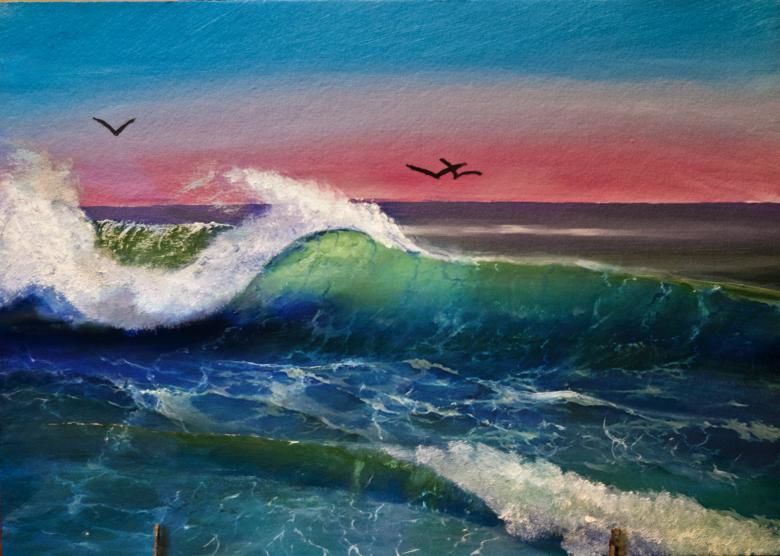
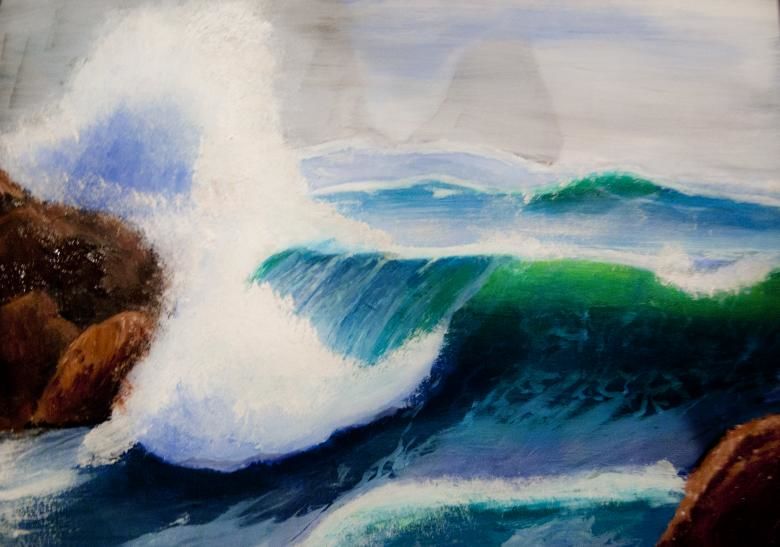
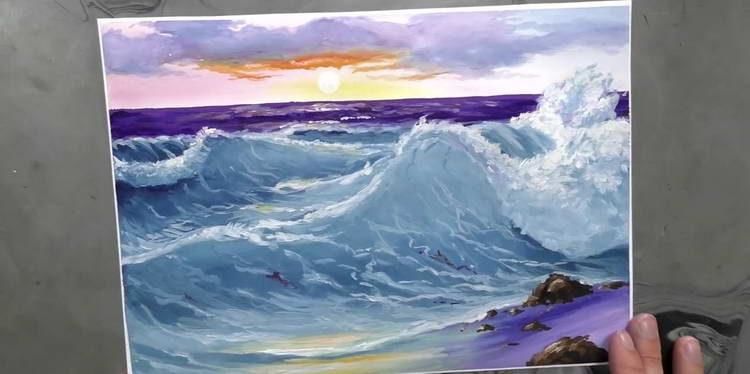
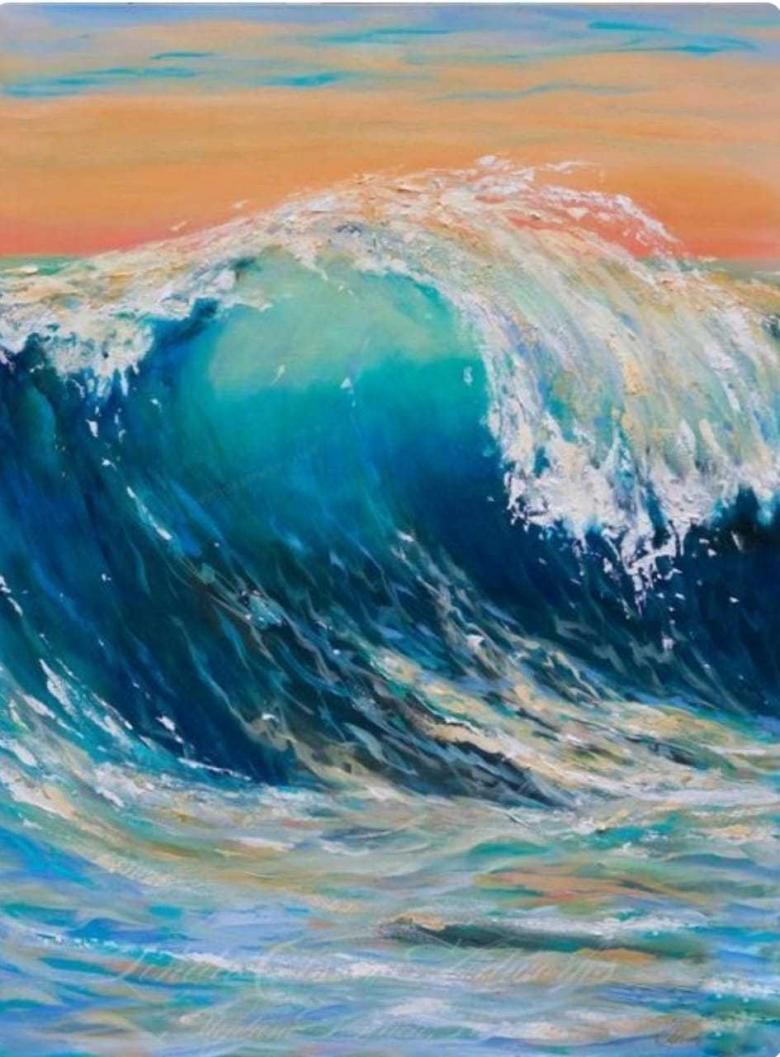
Depending on the intention of the plot to darken the color of the water, especially in those places where the wave breaks, ie in the recesses or just below the foam surfaces. It is very important to observe the direction in which the waves are moving. This will help shape the image better with the brush. So, the strokes should go in the direction of the wave (similar to hair). Alternate left to right, right to left, or forward and backward.
Darken the places of refraction on the water, that is, the recesses on the waves (if they are visible), as well as the spaces under the frothy water lines. The big "lamb" on the waves is "pulled out" with a brush with stiff bristles. The closer to the horizon, the smaller the "lamb" and the smaller the distance between the waves.
If you want to draw in color at once, use the technique of drawing without an outline. Watercolor doesn't like mistakes, but it allows you to work at a breathtaking speed. To remove inadvertently applied paint or to create highlights, specific areas are washed away with a clean, wet brush or sponge.
It's great to be able to experiment with unusual color combinations - the artist's individual vision is more appealing than photographic precision. And unlimited flight of fancy gives a sense of freedom!
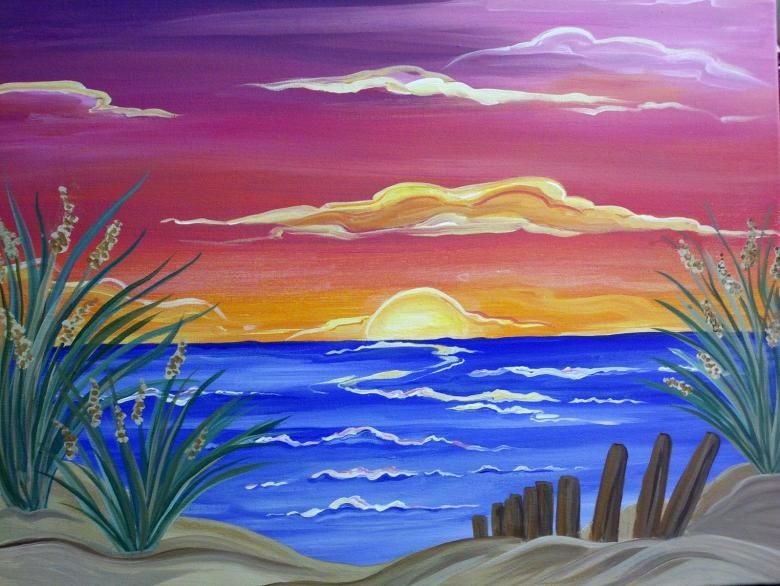
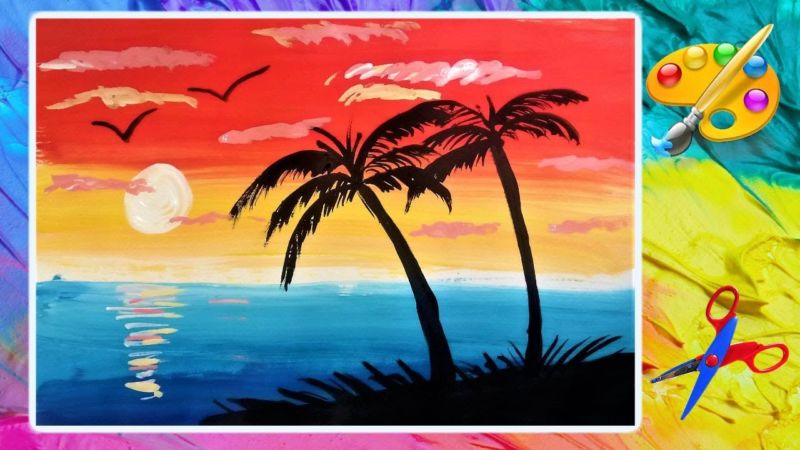
The technique of drawing in gouache
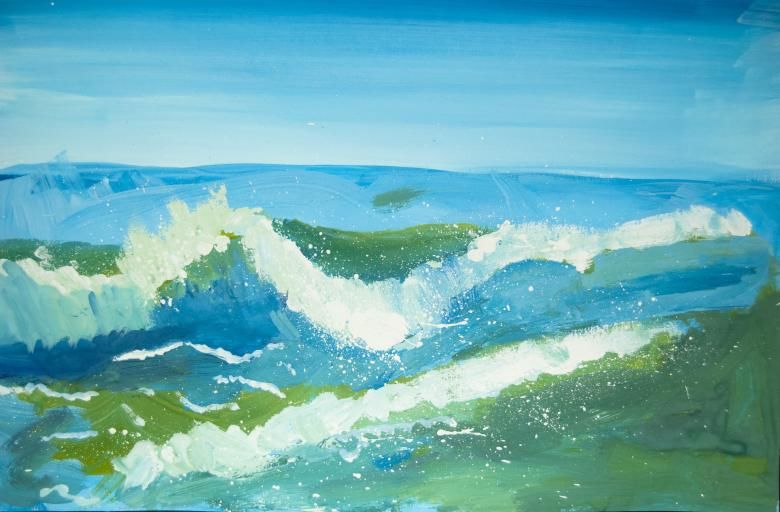
You can draw a bubbling sea in gouache, which has saturated colors, does not flow on paper (like watercolor), dries quickly (unlike oil):
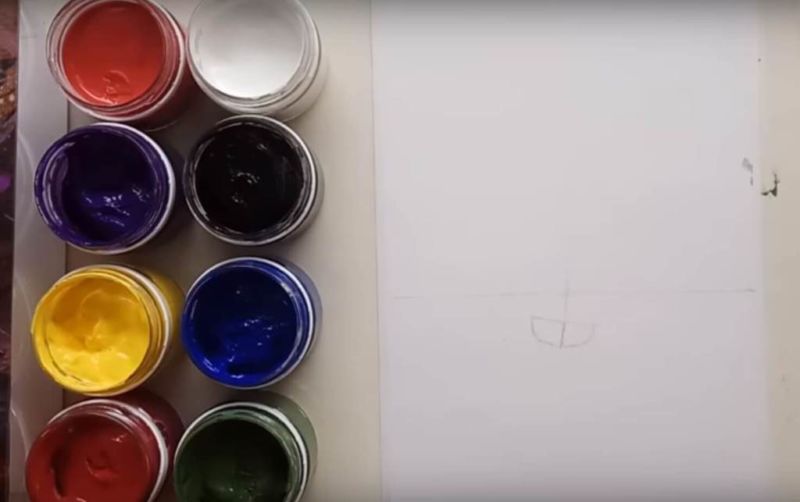
Before starting work, for convenience, place the paint cans in front of you according to the color scheme.
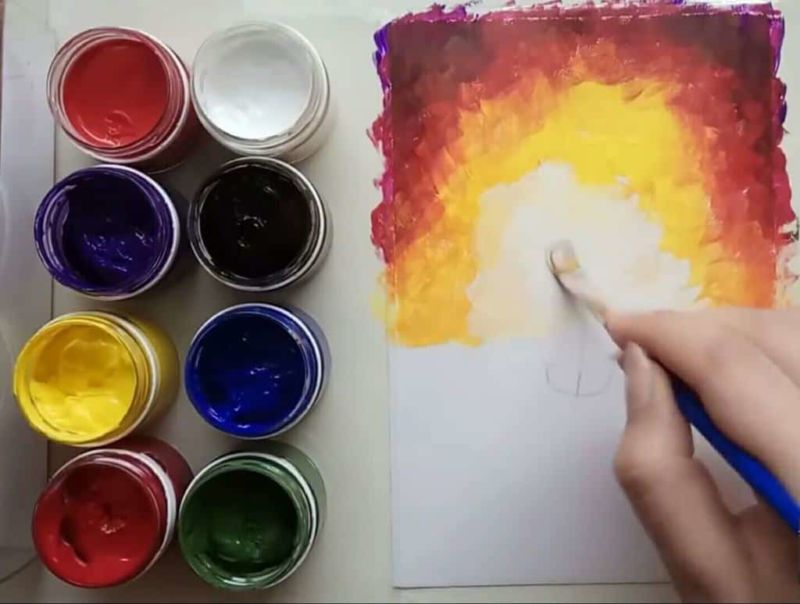
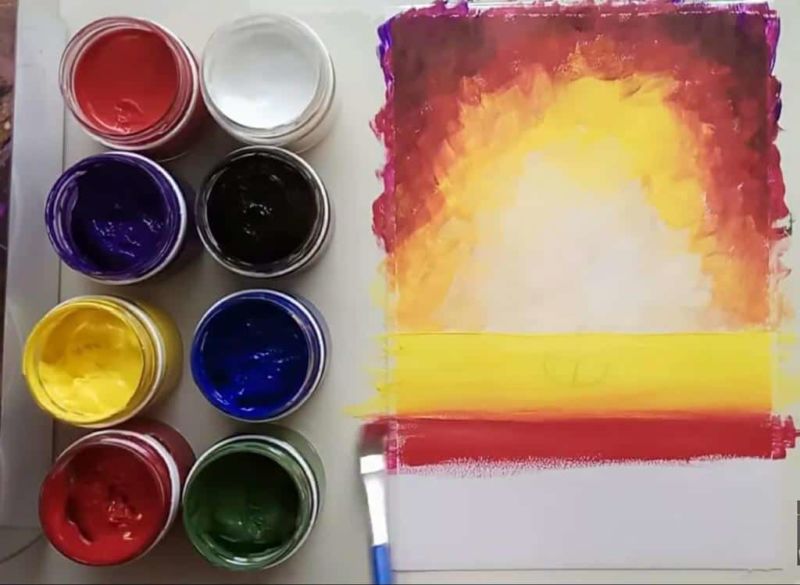
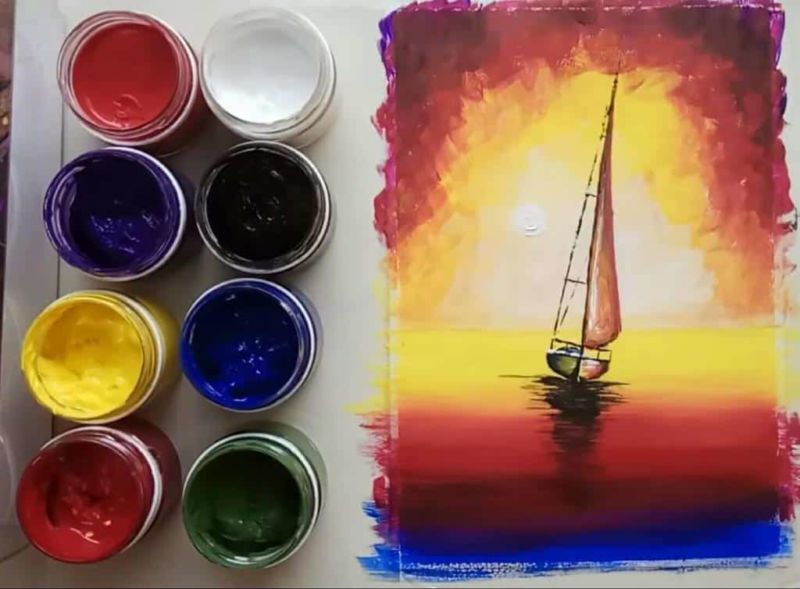
Cover the bottom of the sheet with blue paint, moving the brush from one edge to the other. Add a pale blue layer here. To emphasize the base of the wave, mix green paint with yellow paint, adding a little white.
A saturated purple shadow is applied under the wave that has already fallen into the sea. The top of the front wave is marked with white gouache.
Foam splashes can be drawn in the technique of the same name, which is very liked by children. Soak a toothbrush in water, dip it in white paint, run your finger along the bristles toward you so that the speck is on the paper. For creativity, use white toothpaste instead of gouache.
Unusual seascapes
Preschoolers will probably really enjoy creating a marina with salt. In addition to paints and paper will be needed:
glue,
salt,
wax pencils.
On paper, white wax draws waves, then green, blue, blue, purple paint the sheet. Before drying, sprinkle the drawing with salt. The divorces in the form of waves will appear.
You can complement the picture, drawing on another sheet of wax pencil sea residents, razrabatyvayut bright colors. After drying, cut out and glue to the first sheet.
Drawing the blue sea with fingers using toothpaste will make the little ones unspeakably happy. For this purpose, paints a background with a division of the shore, the sea and the sky. For the image of the shore, the colors used are yellow and light brown, and blue and green for the water.
Then with a finger on top, a two-layer paste is applied, highlighting the clouds at the top. In the same way, sea foam is created on the coast.
After reading this article, not only will you be able to answer the question of how to draw the sea, but you will also be able to cope with this seemingly difficult task yourself. Good luck!