How to draw a pine tree with pencil and paint - easy step-by-step master classes
Drawing trees can become a work of any complexity, depending on the skill level and experience of the artist.
Children often reproduce plants in their drawings quite schematically, but depicting a tree of a particular species, with its characteristic features is a more difficult task.
When sketching from life, the artist will need observation and careful study of the distinctive features of such a beautiful and picturesque tree as pine.

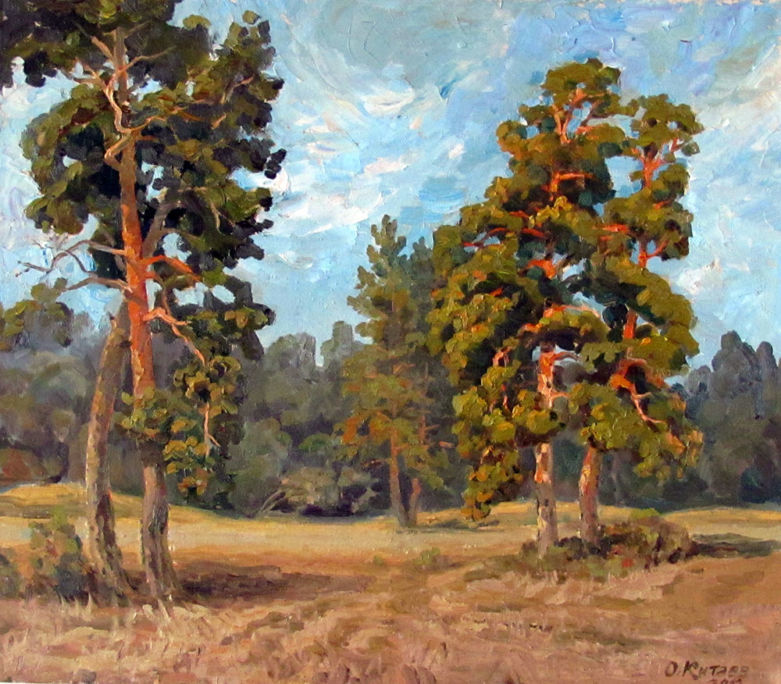
This plant can often be admired in nature, and especially beautiful landscapes with pine trees served as the subject for many paintings of famous masters of Russian and Oriental art.

General patterns in drawing a pine tree
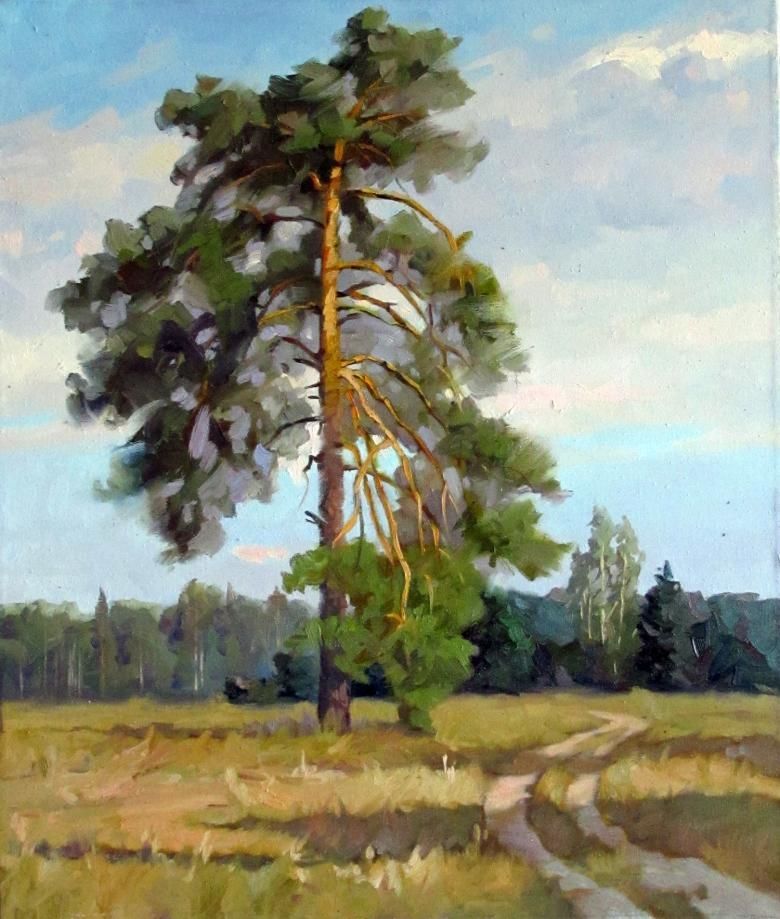
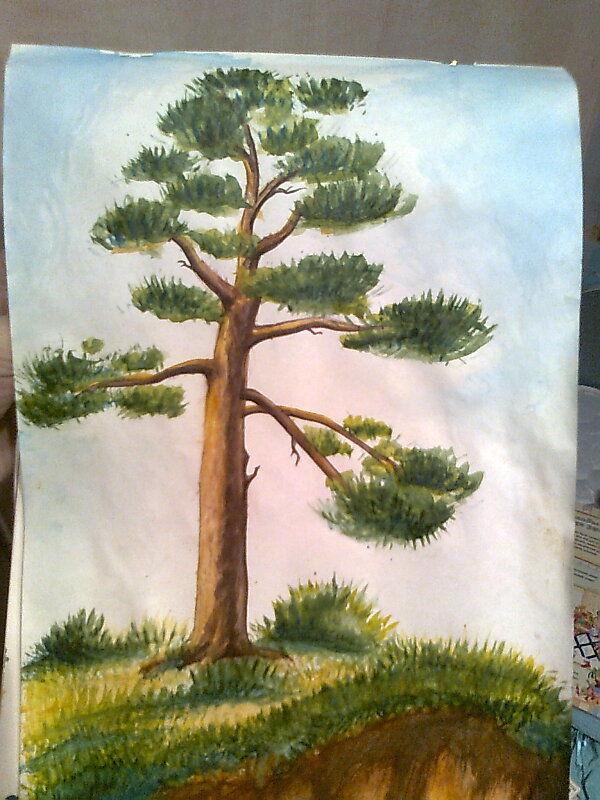
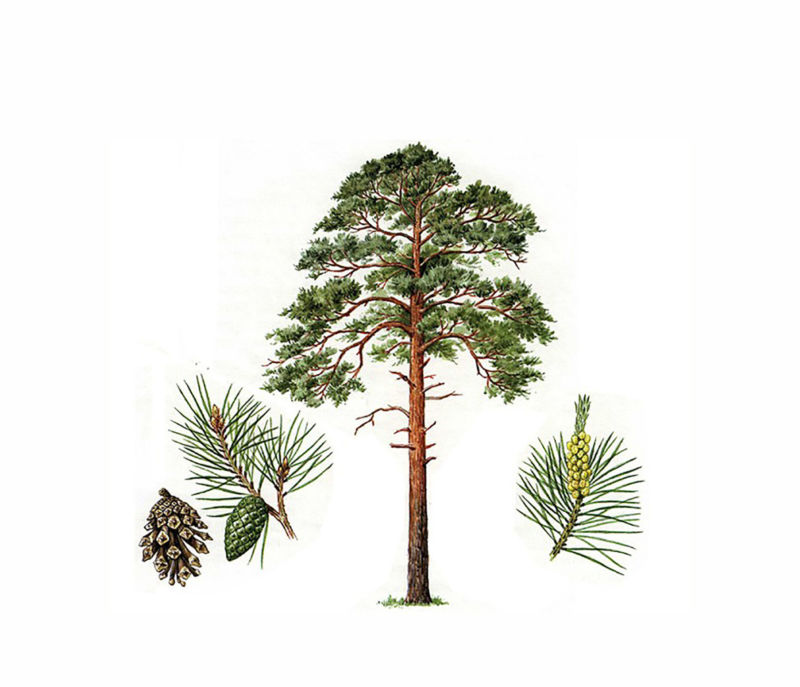
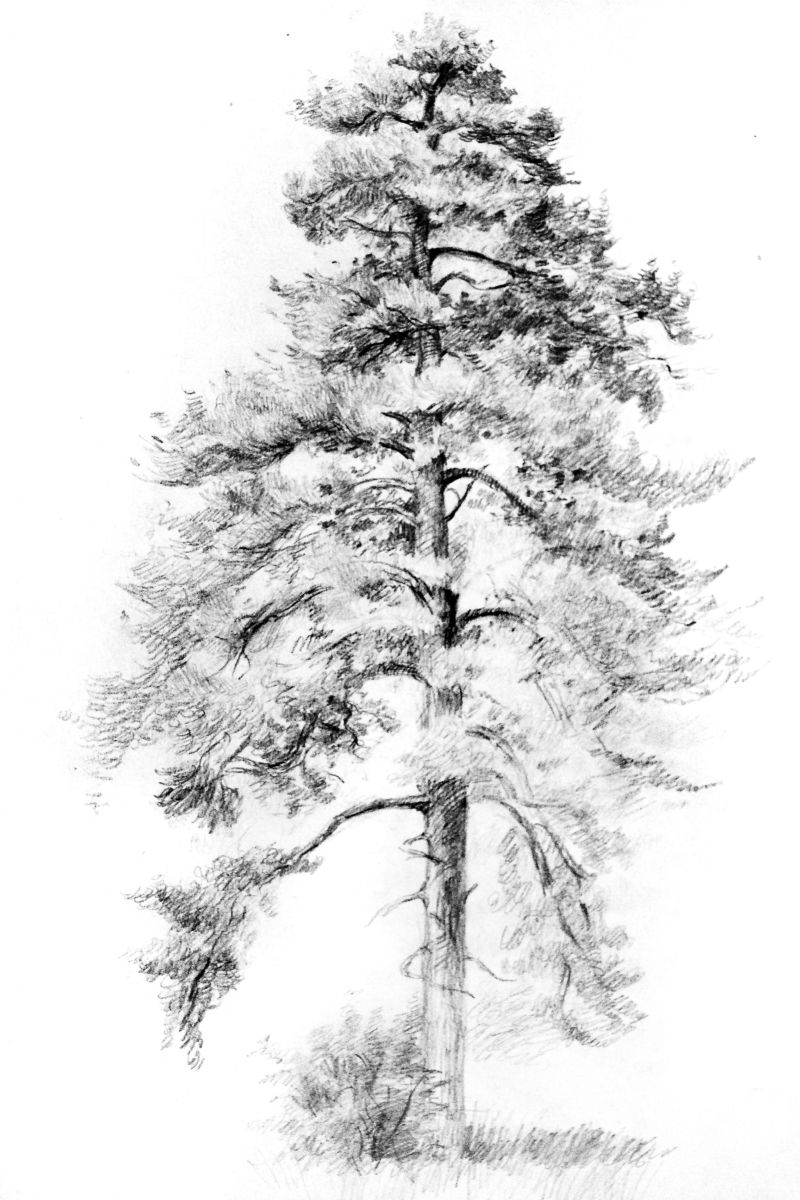
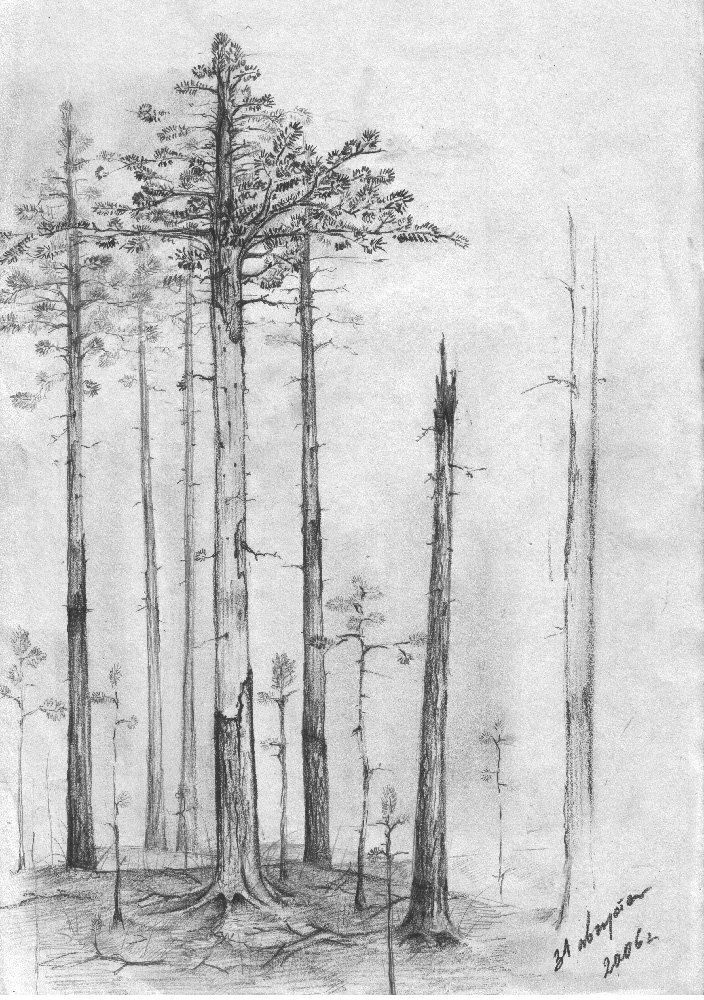
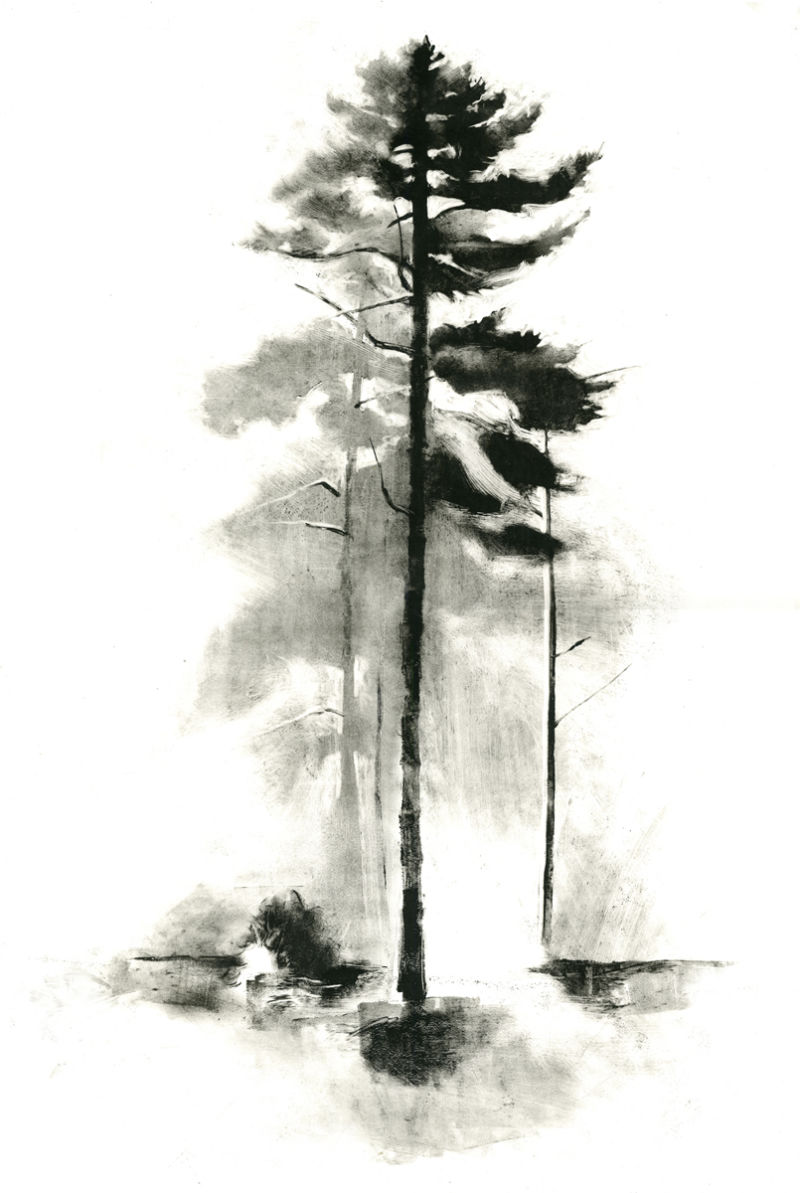
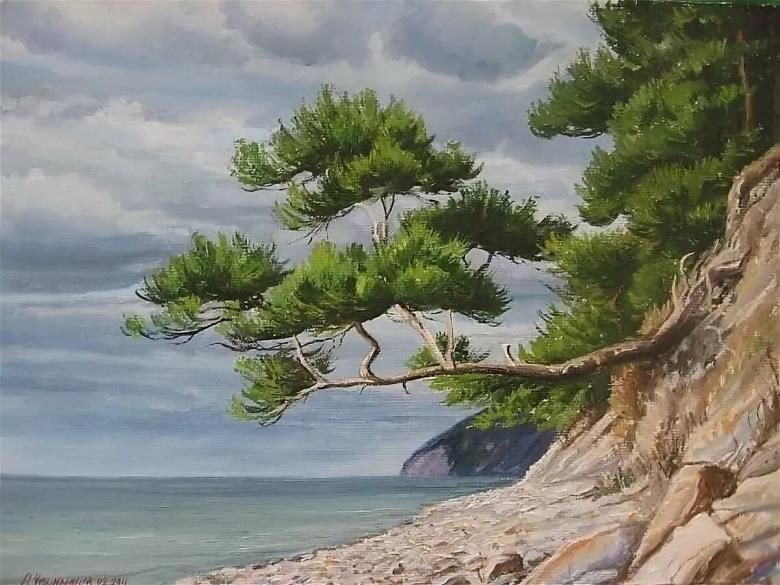
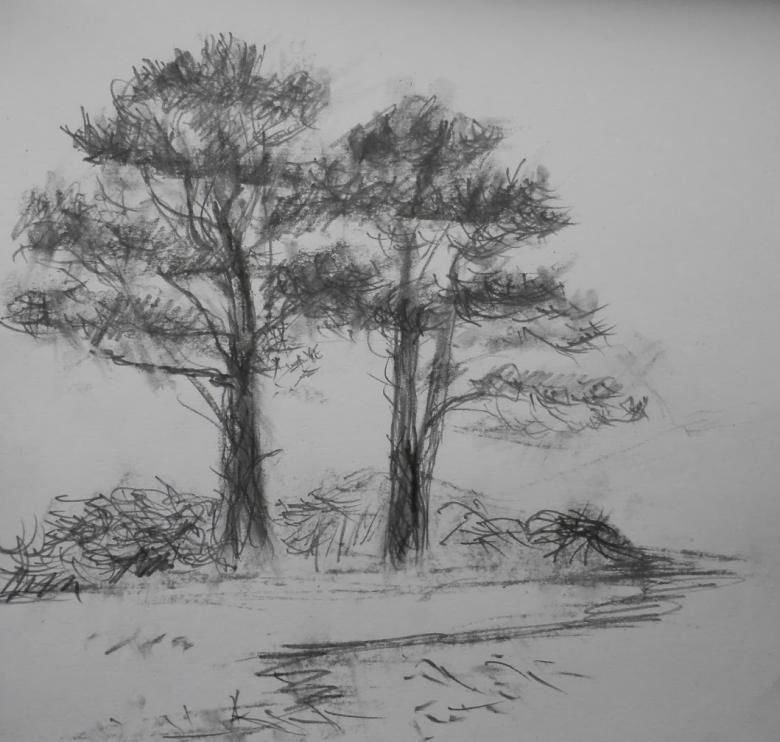
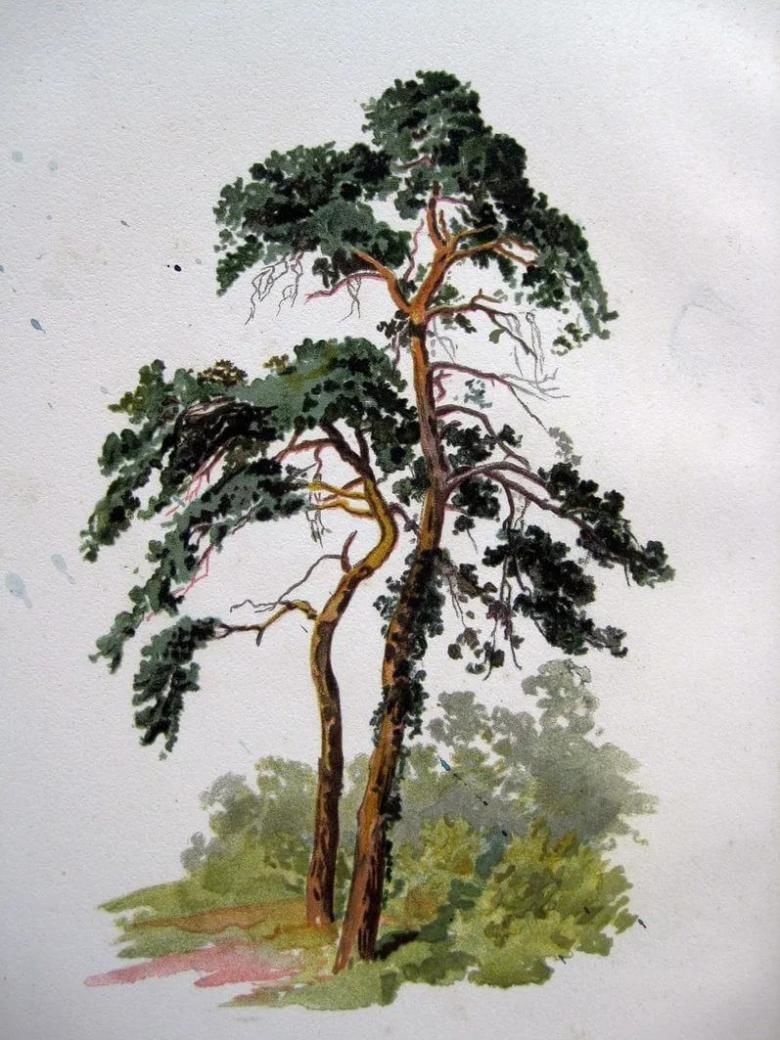
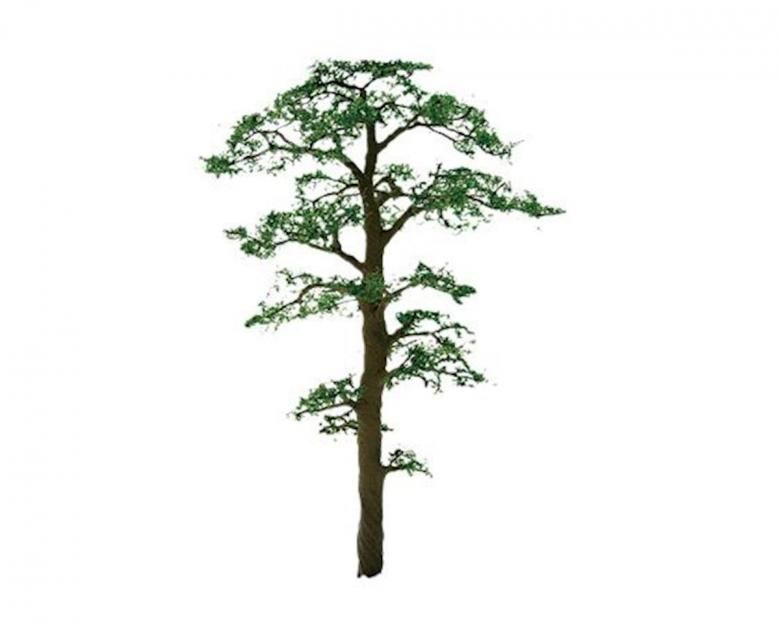
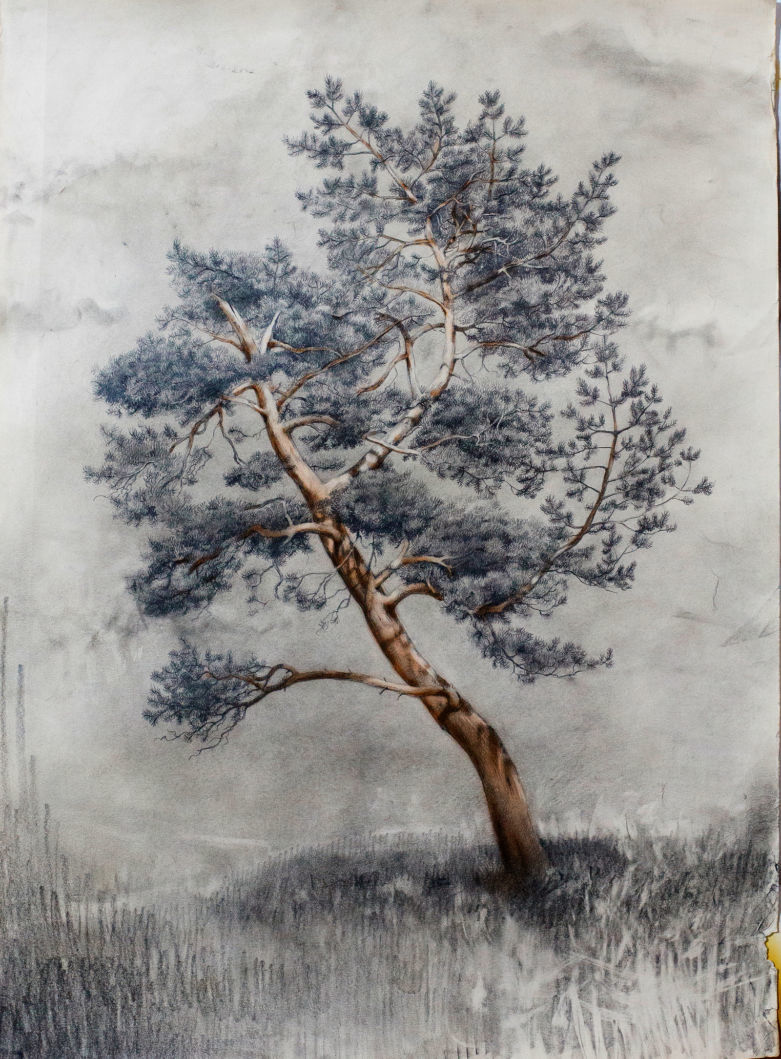
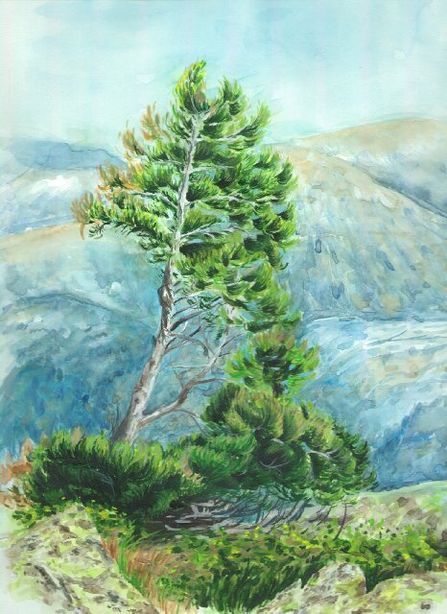
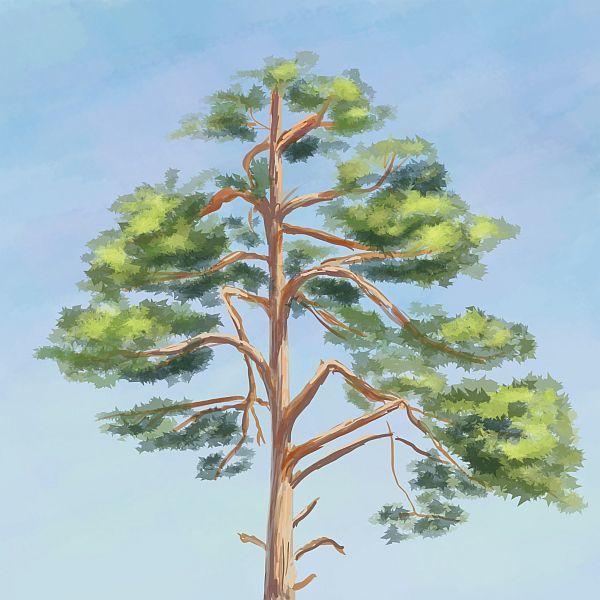
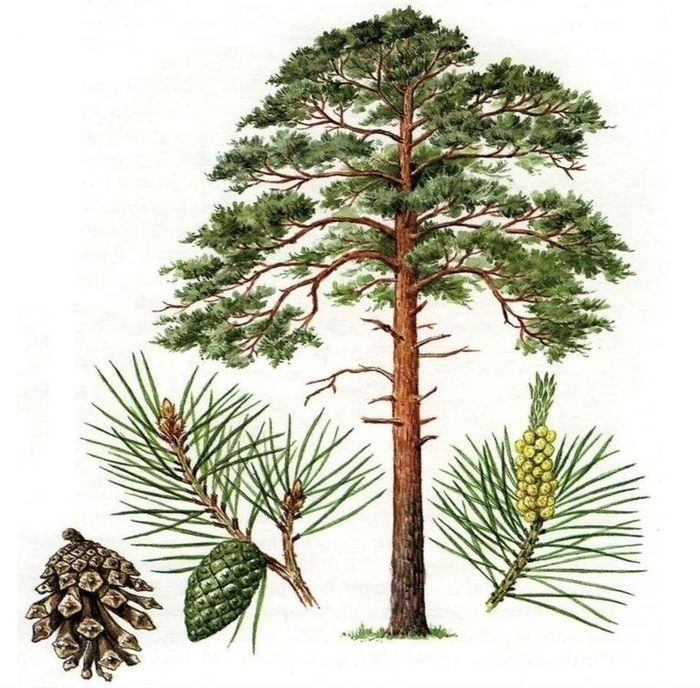
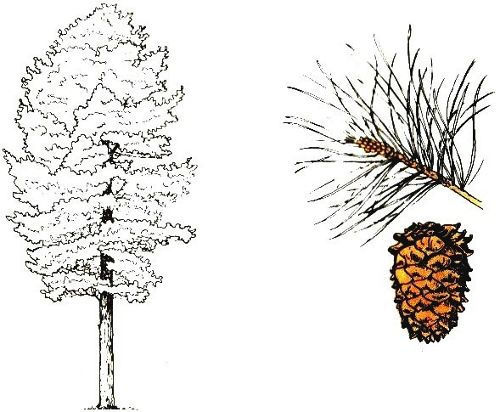
Ship pines with their straight and high trunks grow in forests and are always recognizable, thanks to the peculiar silhouettes created by the spreading branches with long thorns.
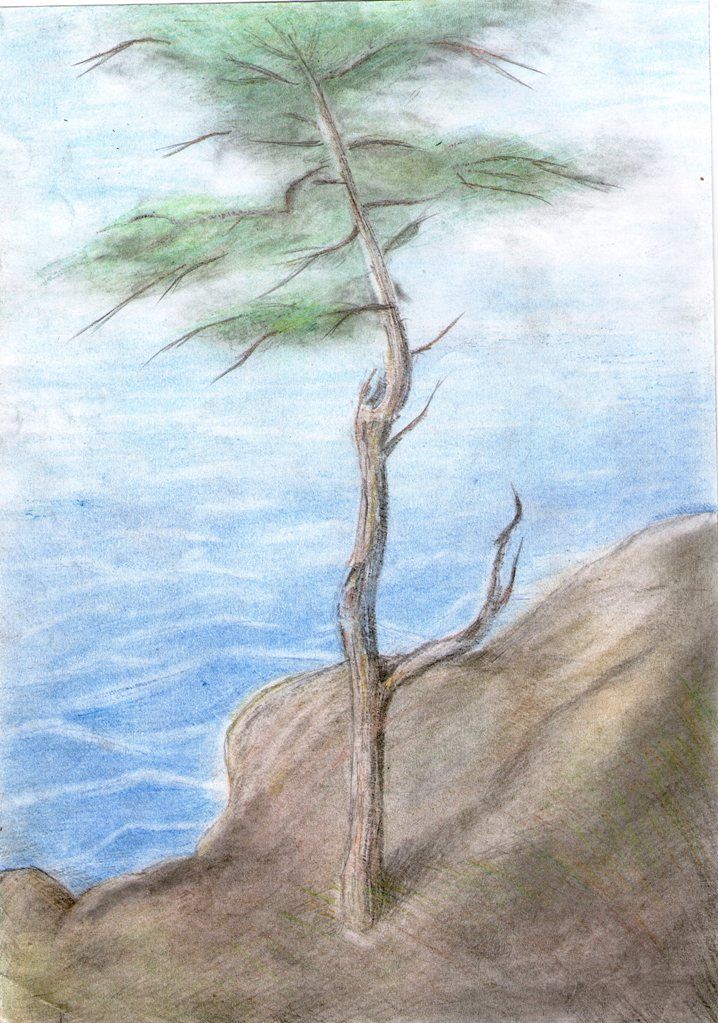
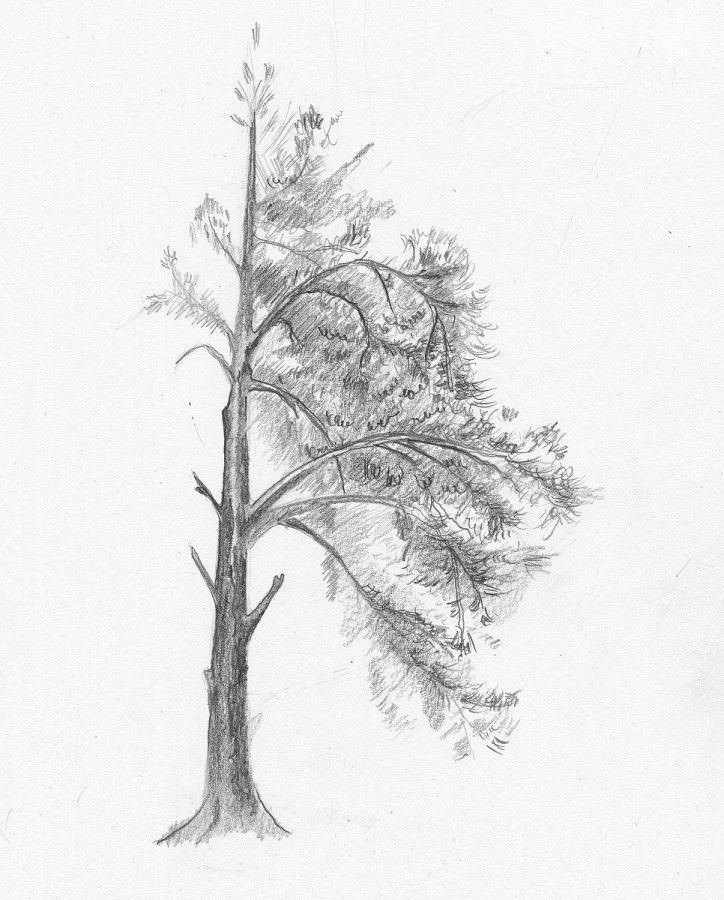
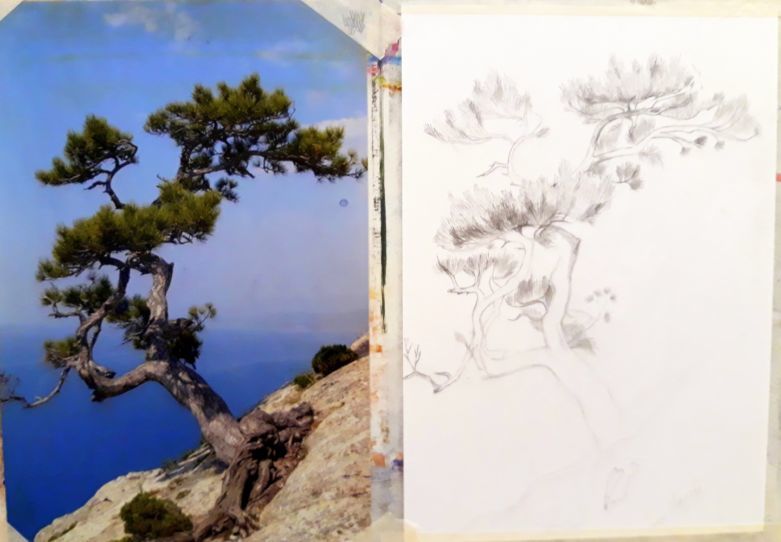
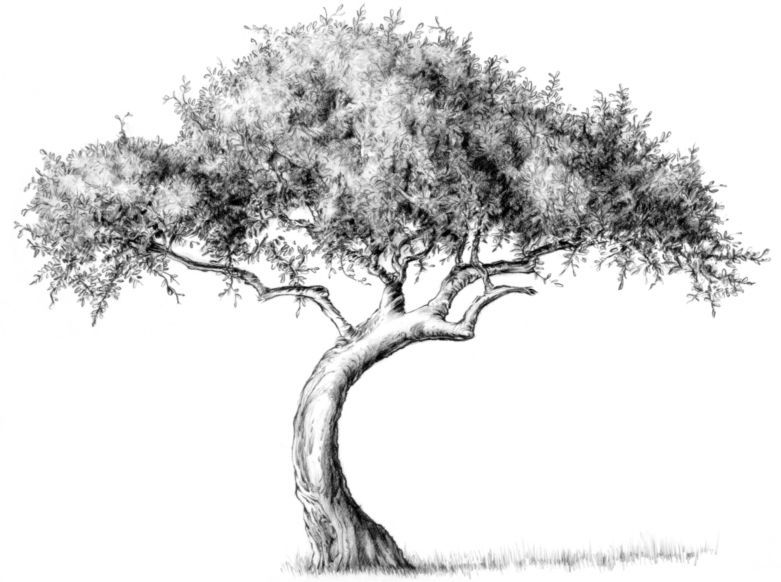
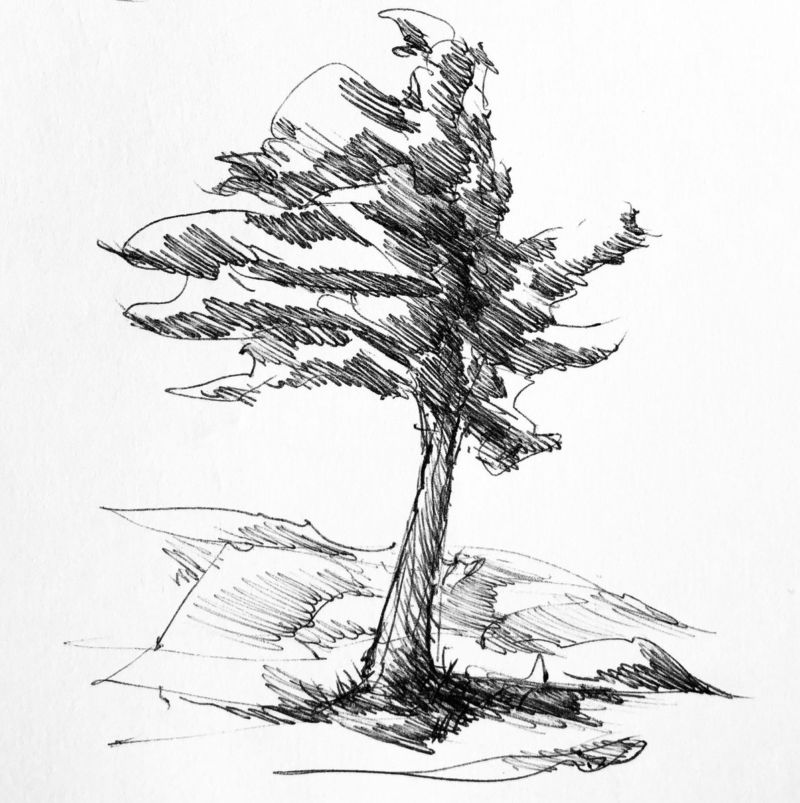
But there is another type of tree with unusual curves of the trunk, grown on the edge of a rock and subjected to harsh natural influences. Each of the species can be a subject of creativity and an element of the landscape painting.
To get the picture as realistic as possible, you need to apply in the work a few general rules for the image of pine trees, step by step, specific to this species of trees.

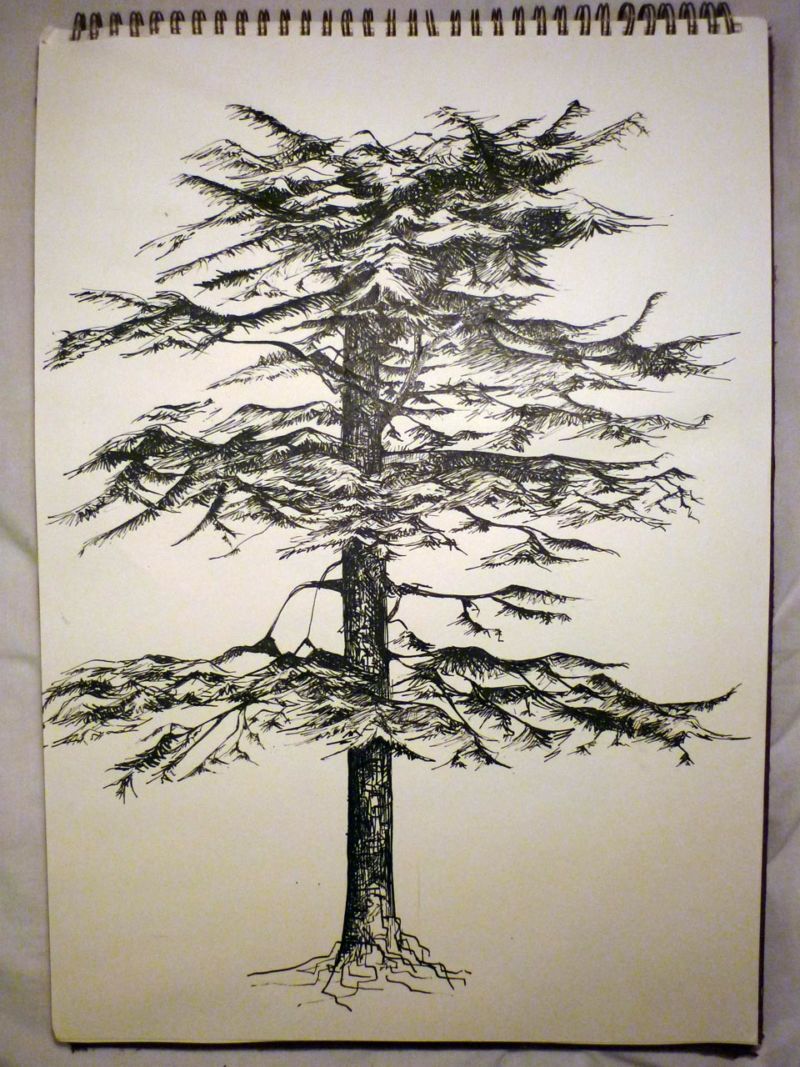
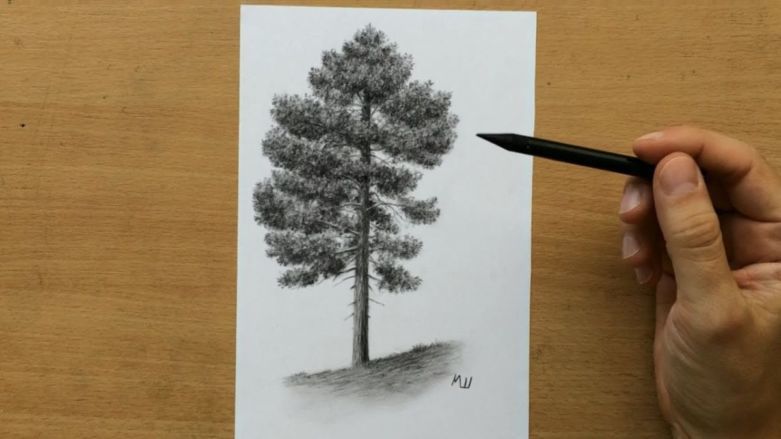
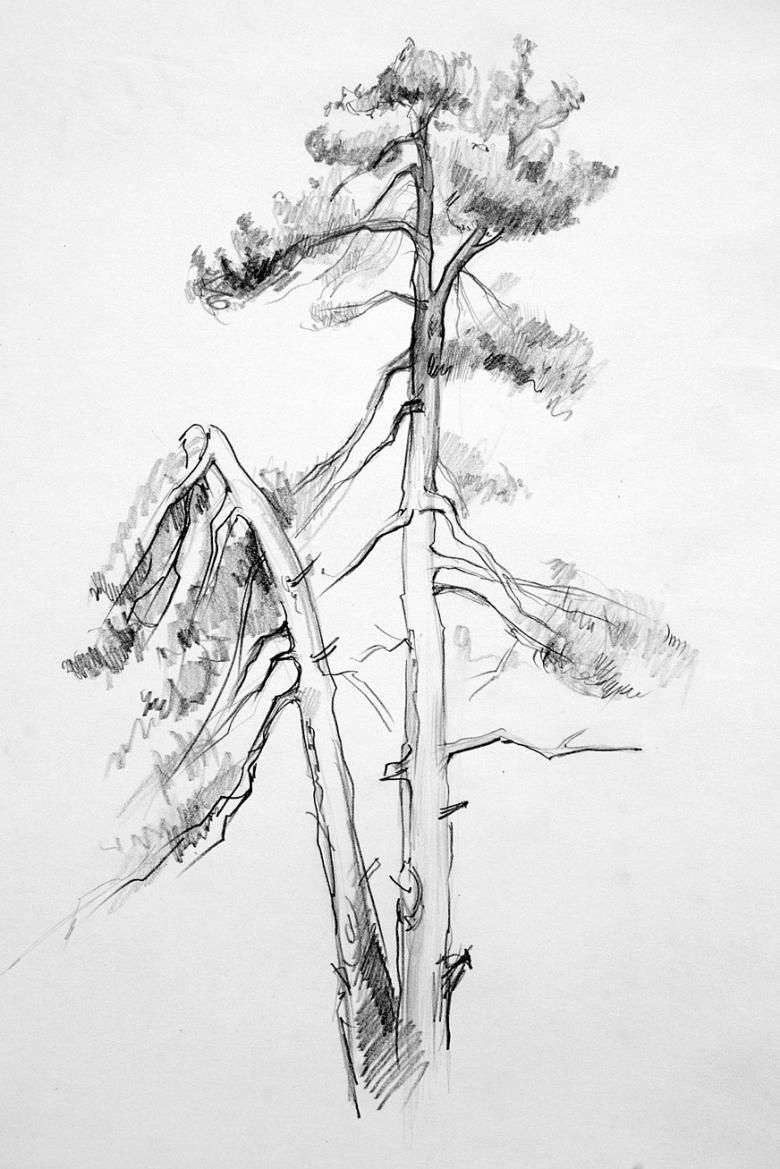
Drawing the trunk and bark
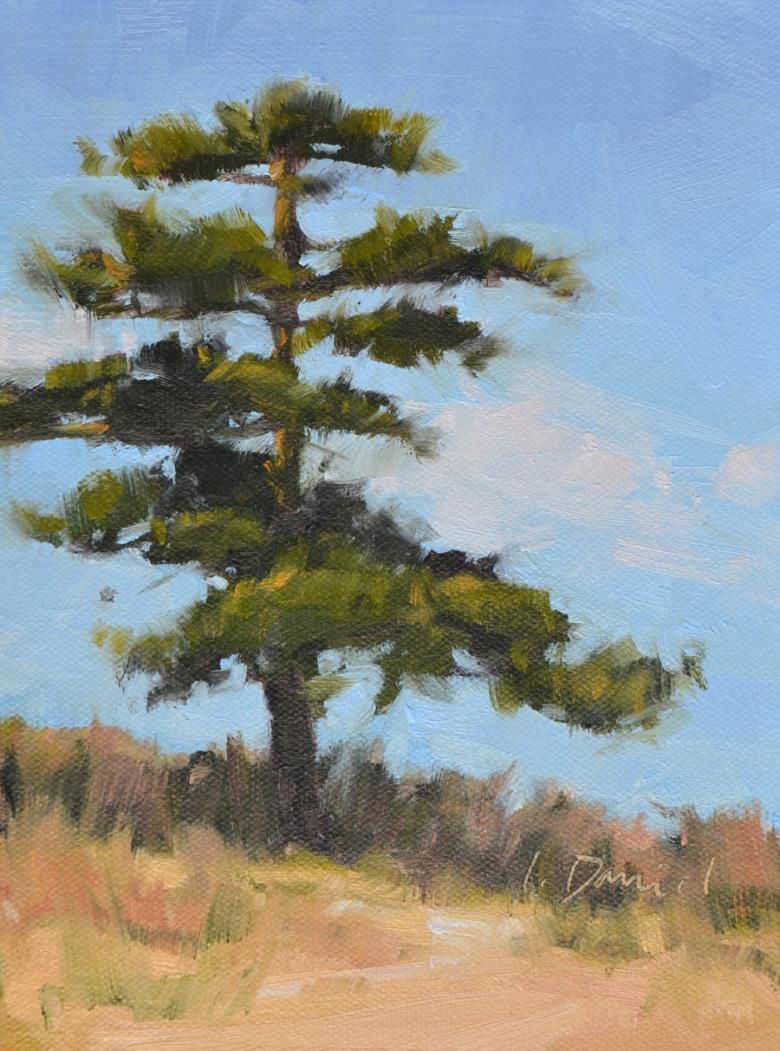
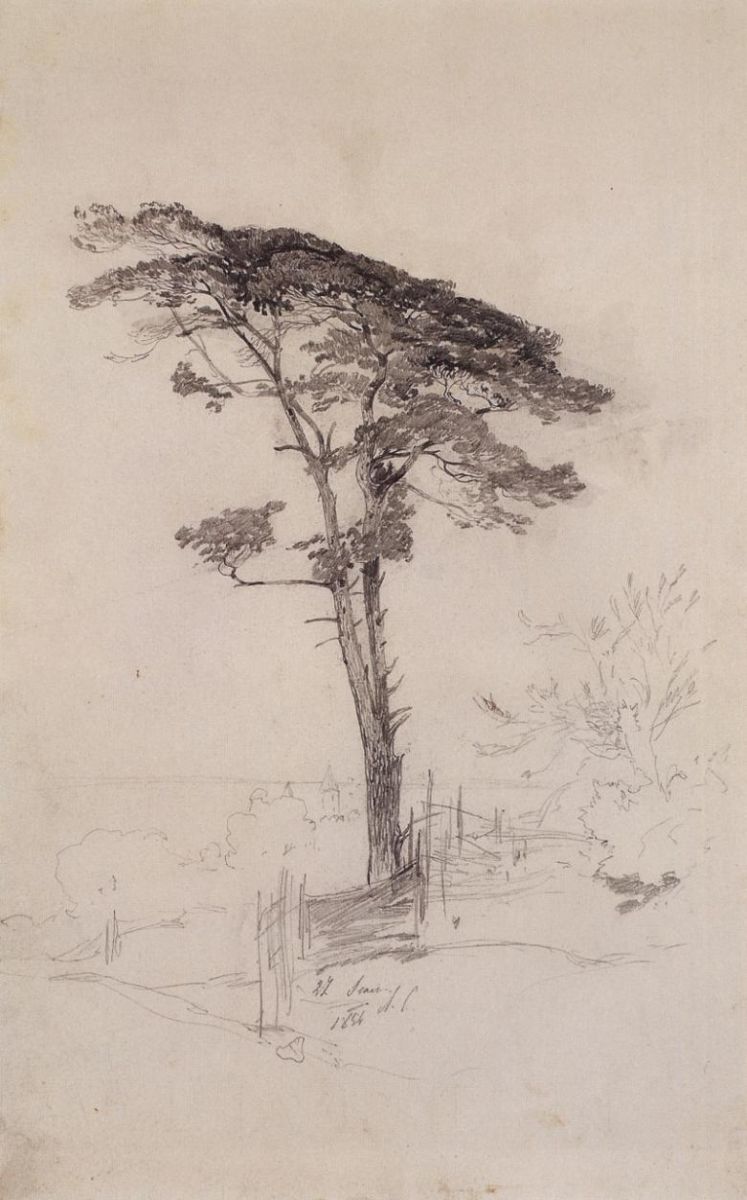
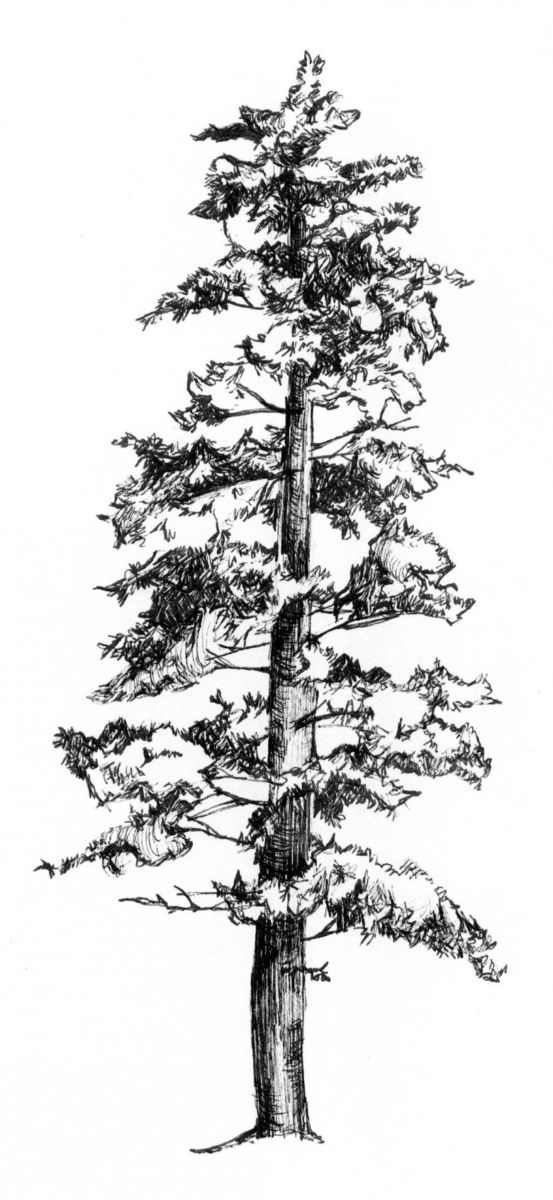
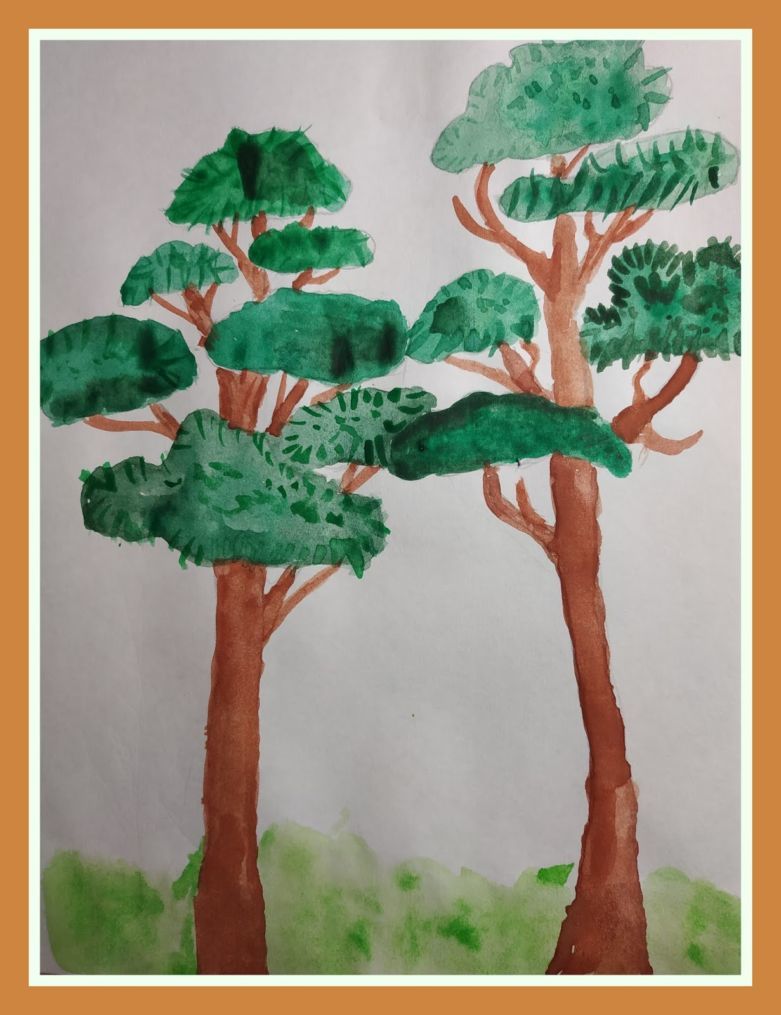
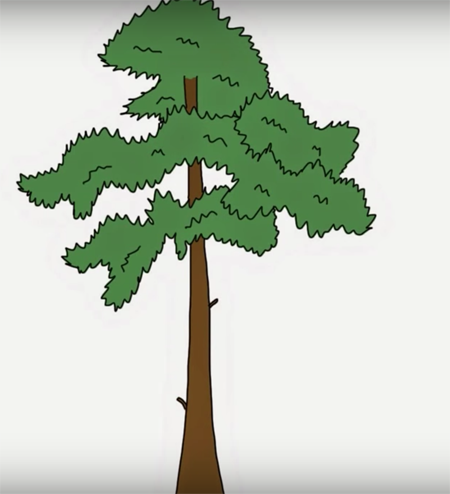
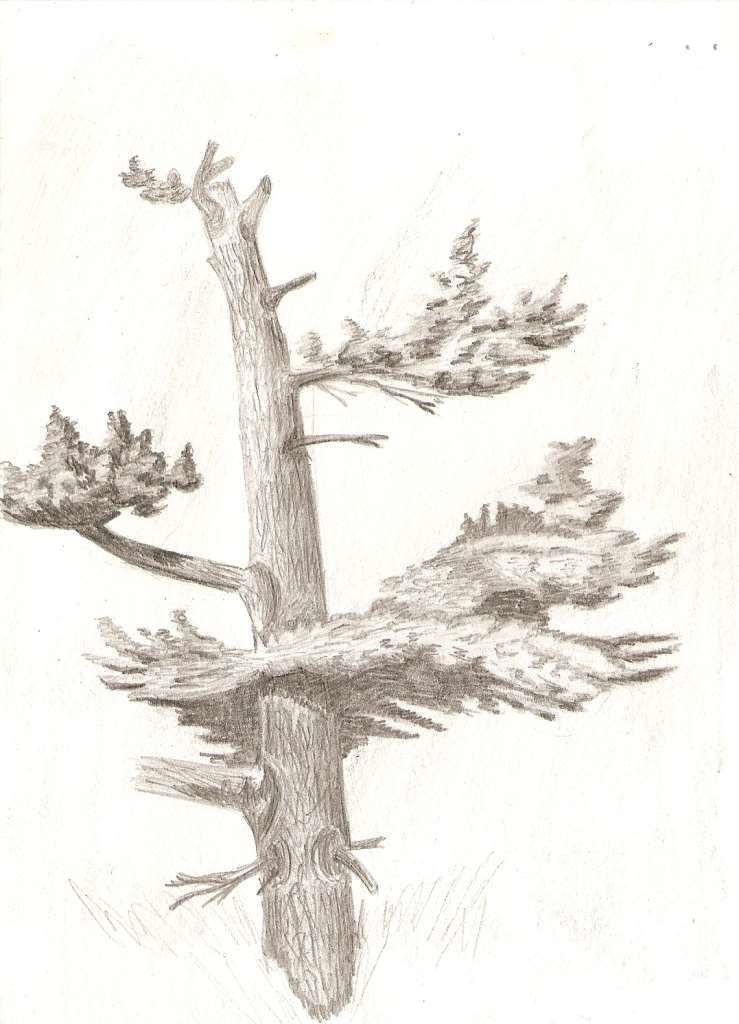
Pine trees have a rather rarefied crown compared to other conifers, so the characteristic features of each natural object is set by the trunk line. Field and forest trees have a tall, straight and thin silhouette trunk, occasionally bifurcating in the first quarter from the ground.
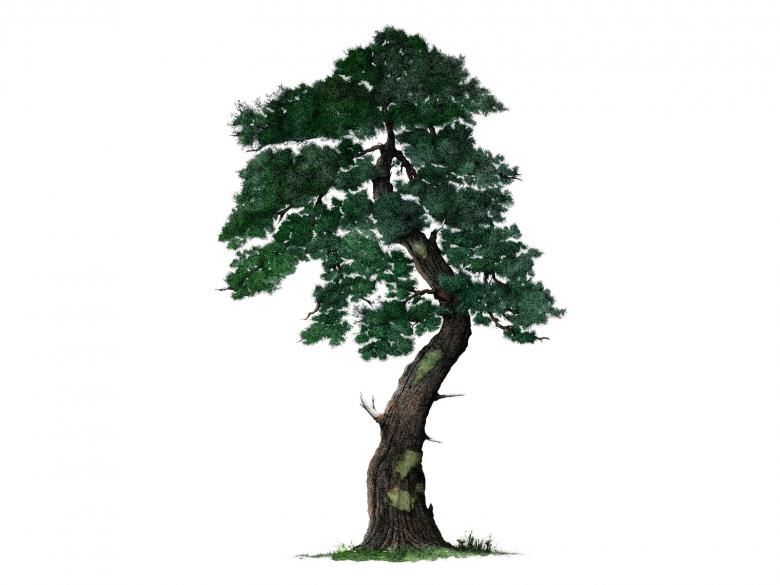
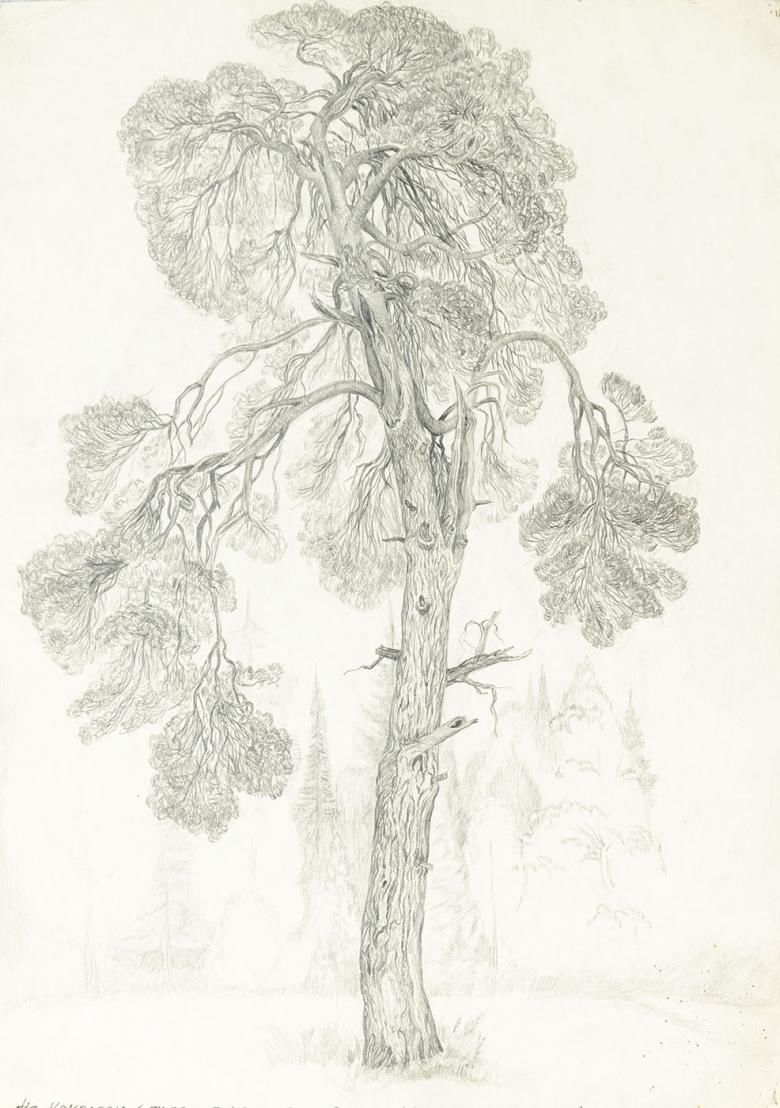
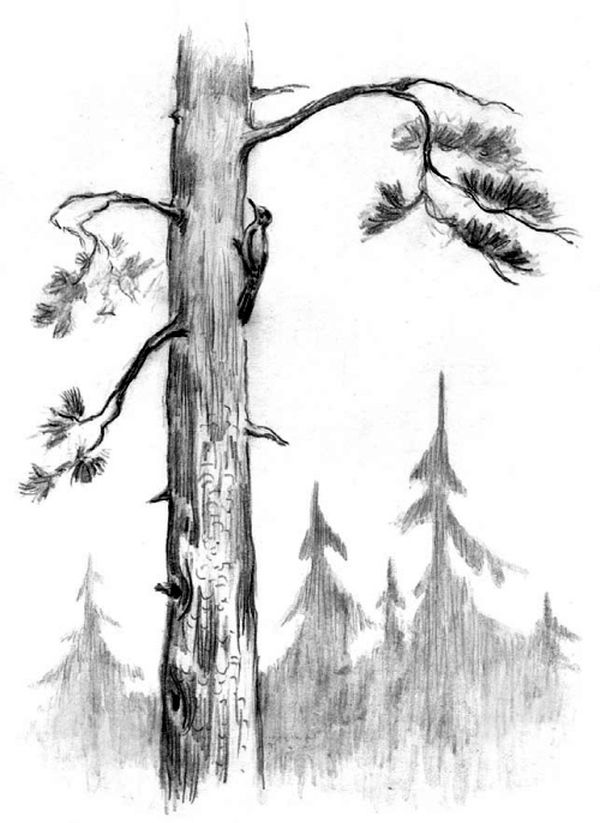
Pines often grow on rocky areas - in this case trunks can curve intricately and have knotty twists with a noticeably asymmetrical arrangement of branches.
The bark is covered with large scales and depicted with abrupt irregular strokes. To show the cylindrical shape of the trunk its sides are shaded.
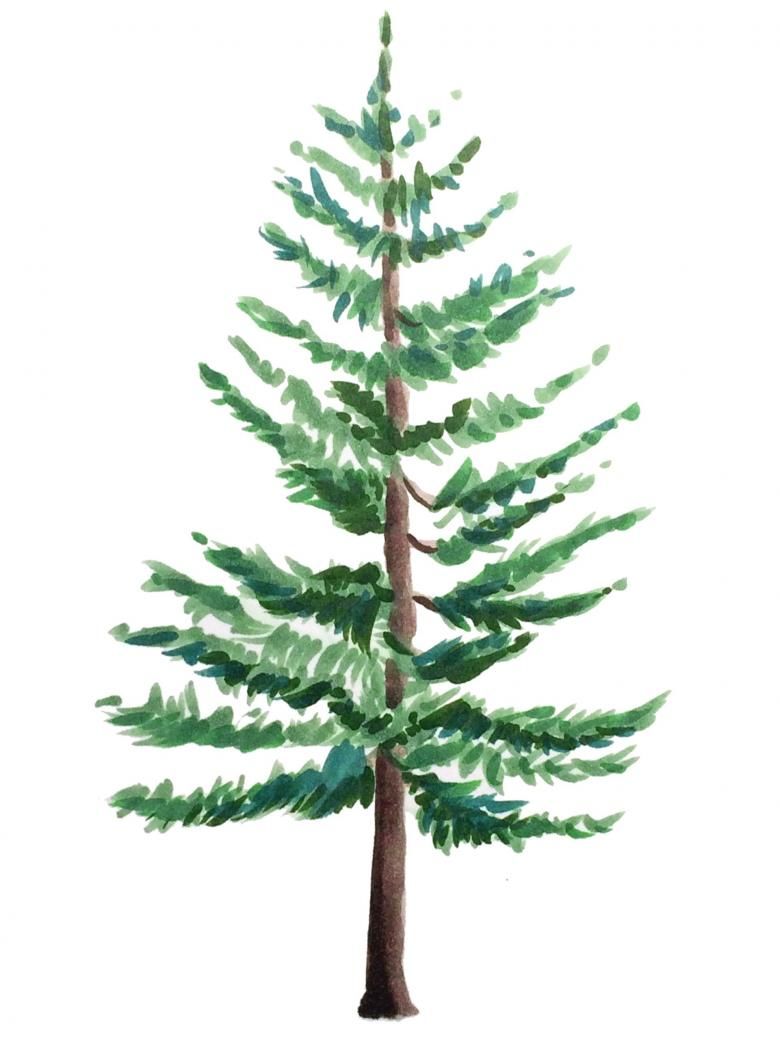
The crown and branches of a pine tree
The branches grow at a slight angle to the trunk and are never perfectly straight. The farther a branch moves away from the trunk, the more bends and branches appear on it, which creates the densest parts of a solid coniferous cap.
The crowns vary from pine to pine and can start at different trunk heights. But the shape of the whole silhouette narrows towards the top, as the branches do not have a lot of needles at the height.
To give volume to the drawing, in the sketch of the pine, it is necessary to depict not only the profile of the lateral branches, but also the branched branches in the foreground. These branches are drawn in perspective, which makes them appear more dense and short, but they are drawn with greater clarity.
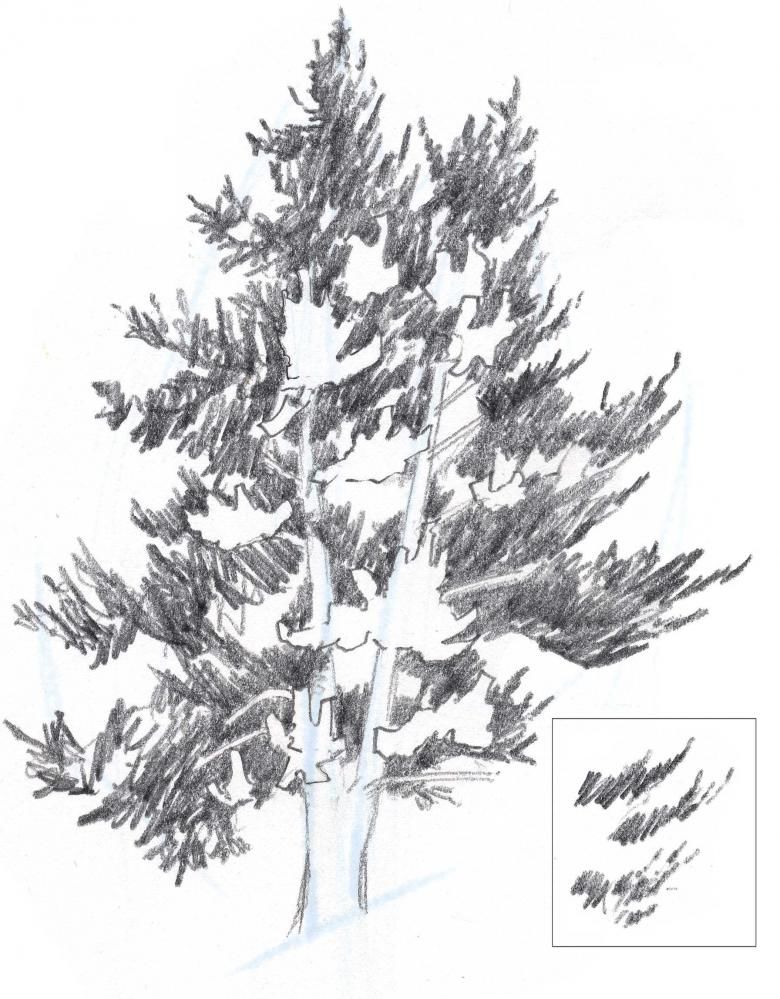
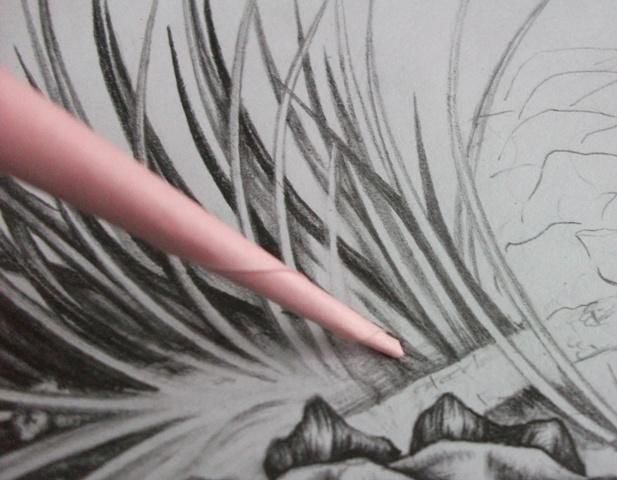
Coniferous needles are depicted with shading, and attention should be paid to the lower branches, which in this species of tree are often withered and devoid of green mass.

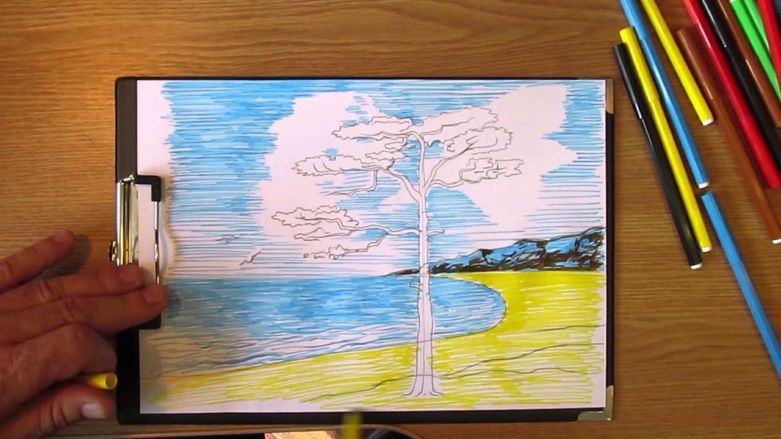
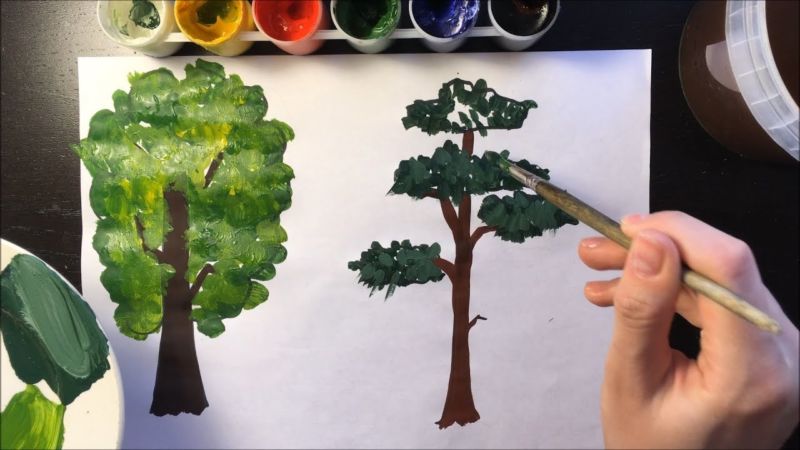
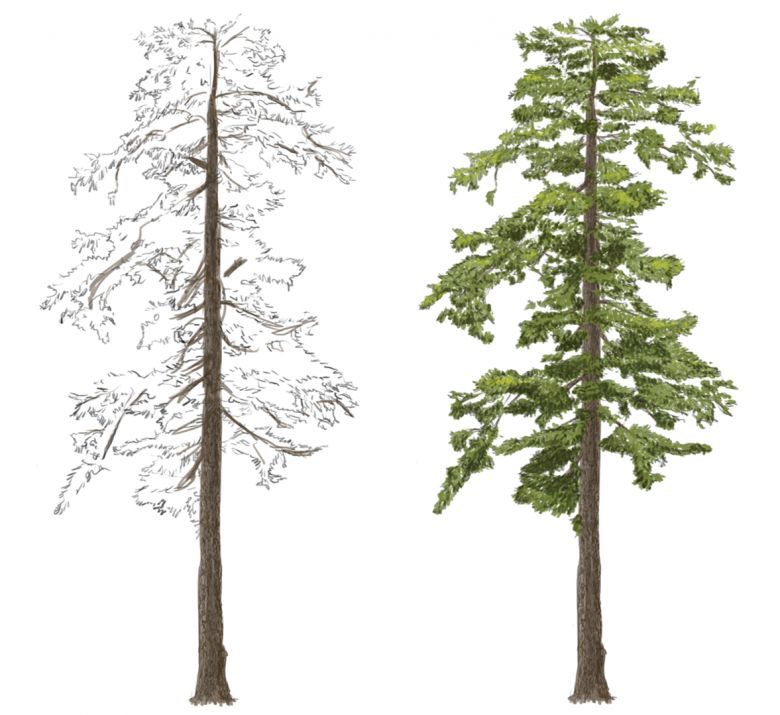
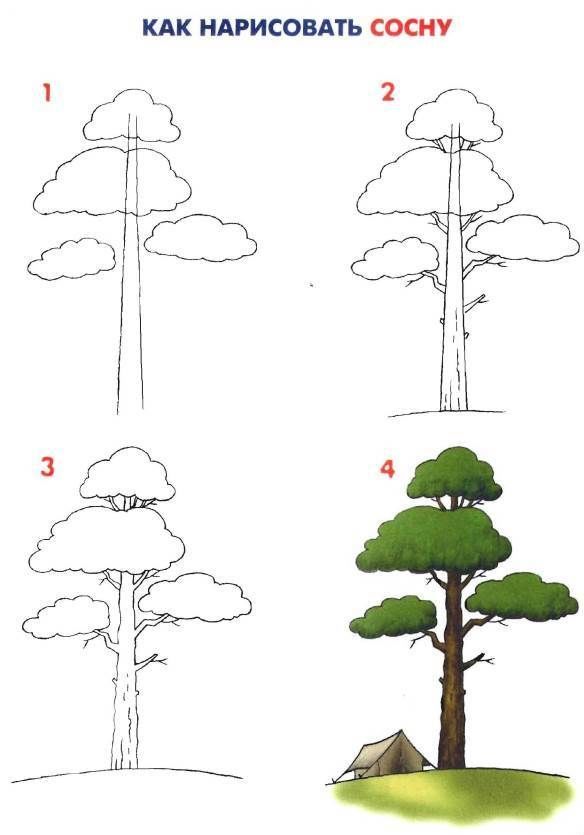
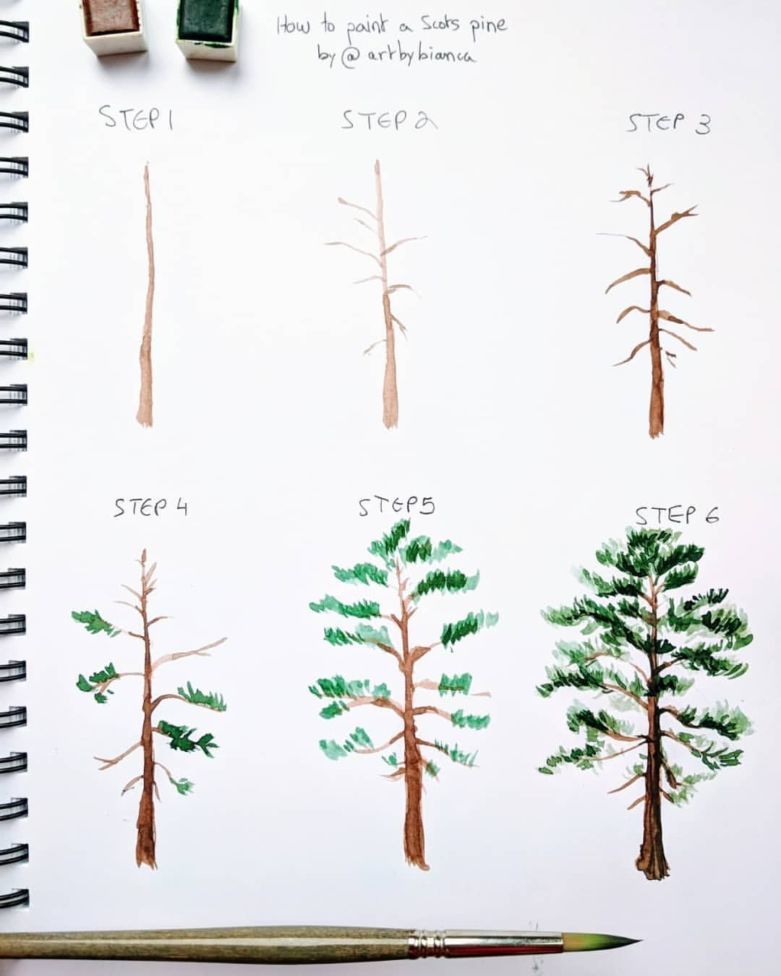
Step-by-step drawing of a tree
The image of a pine tree, drawing for children is performed in a certain order, which facilitates the task and guarantees a good result.
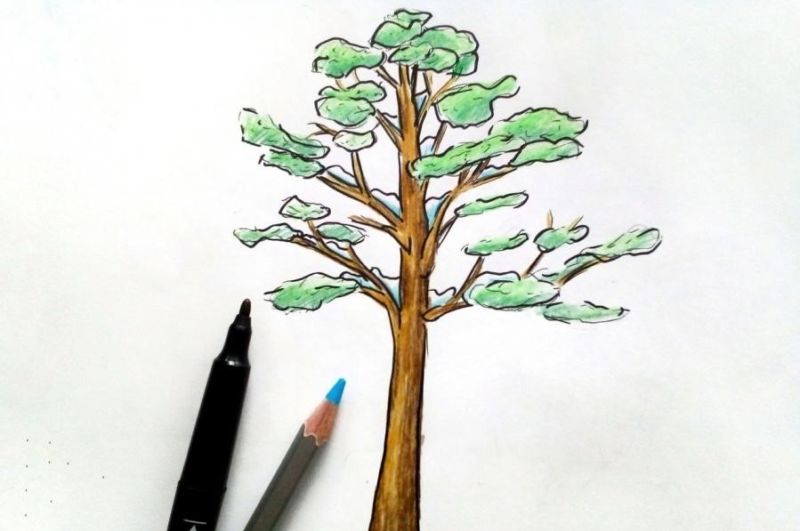
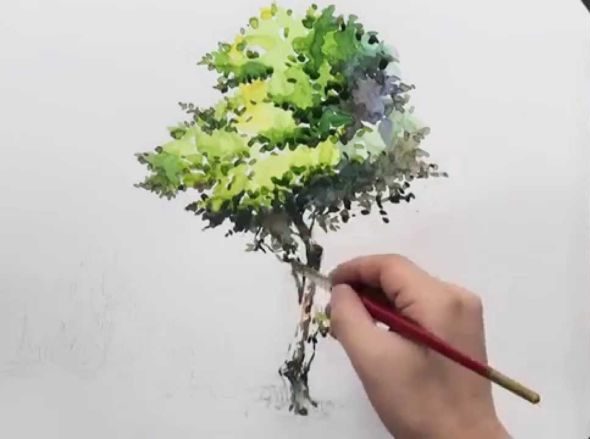
The work should start with large parts of the overall composition and gradually move on to their detailing, but subsequent coloring, on the contrary, begins with small elements that fit into larger shapes.

For drawing you will need pencils of different degrees of softness, eraser to erase unnecessary lines and sketchbook paper. The process of drawing a tree can take place in the following sequence:
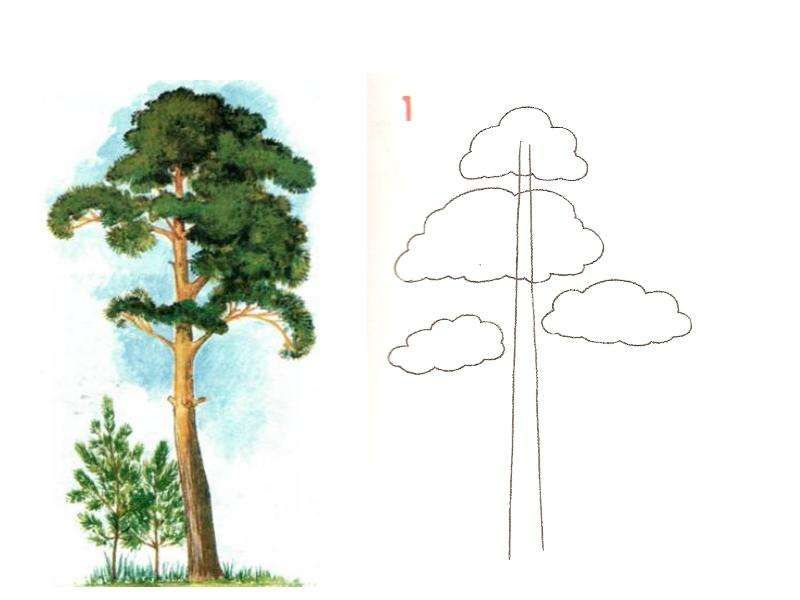
- First the trunk is outlined, which should be marked on a sheet of paper with two lines tapering upward.
- The main islands of green needles are first outlined by general stretched ovals in the form of clouds. If a novice artist is observant, you can notice in nature how the large lower branches of pine trees often cross the trunk, and the upper ones are noticeably thinner, shorter and directed sideways.
- If the drawing is intended to be generalized and the tree is in the distance, the green needles can be depicted in solid green with shadows on the bottom and sides. But in case of more detailed painting, the green part of the needles can be emphasized with brown and black strokes, especially contrasted in the foreground, with visible among the needles, areas of branches.
- After painting coniferous caps, you can begin to work through the trunk, which does not have a smooth surface and its roughness is visible not only in the foreground, but also on a slightly jagged outline.
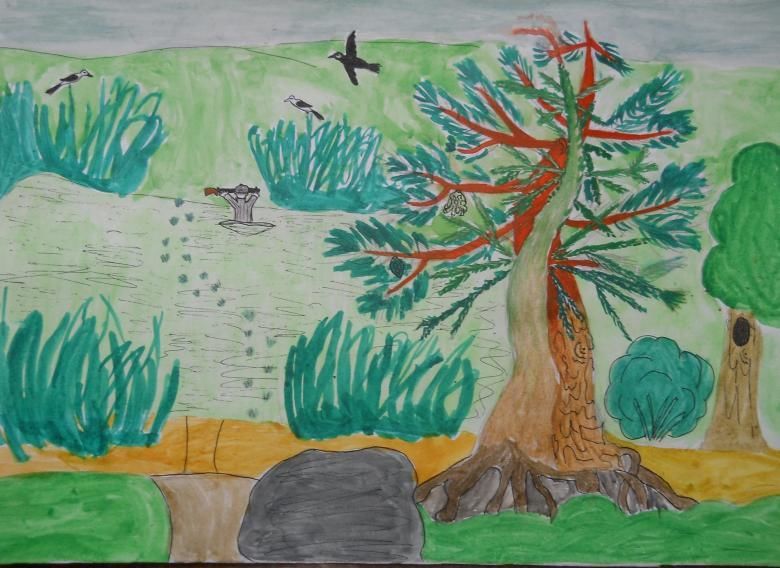
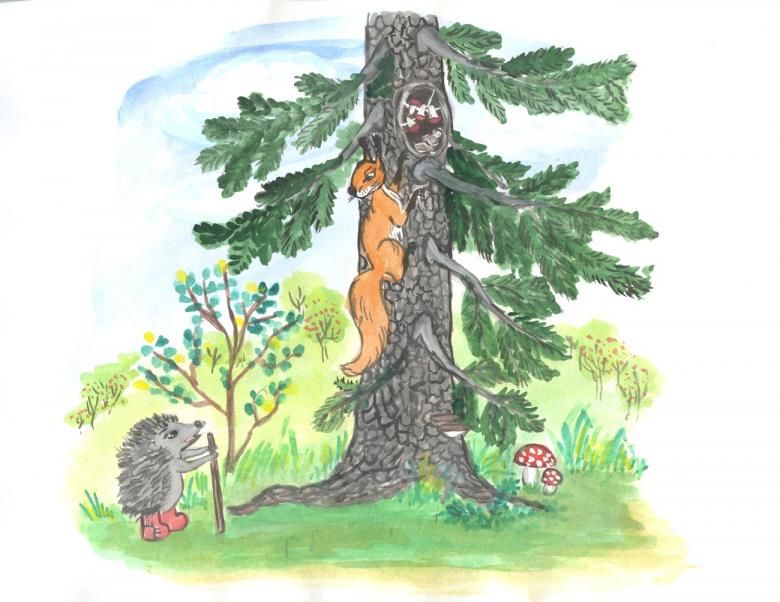
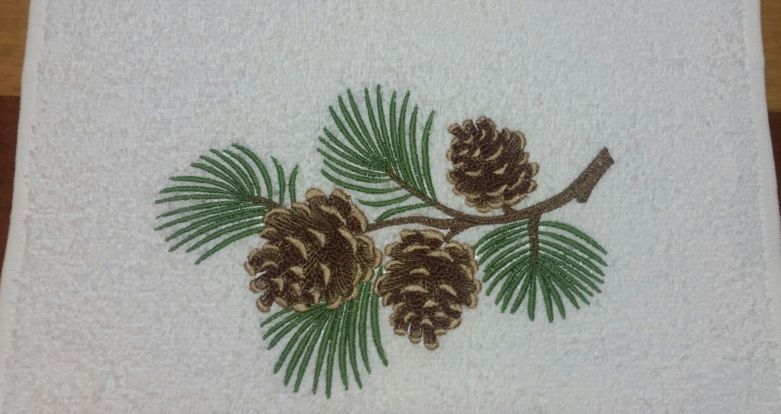
For more realism, children can draw a sitting bird or a hollow for a squirrel on the tree, as well as cones, which are often found under pines in large quantities.
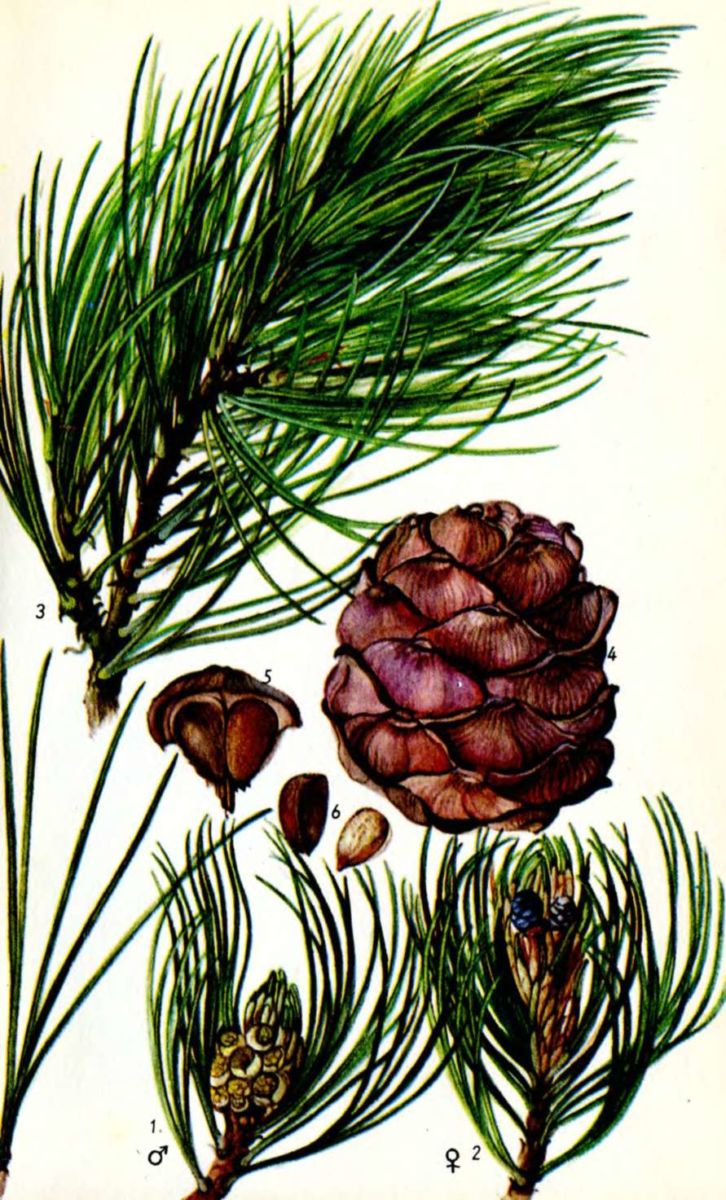
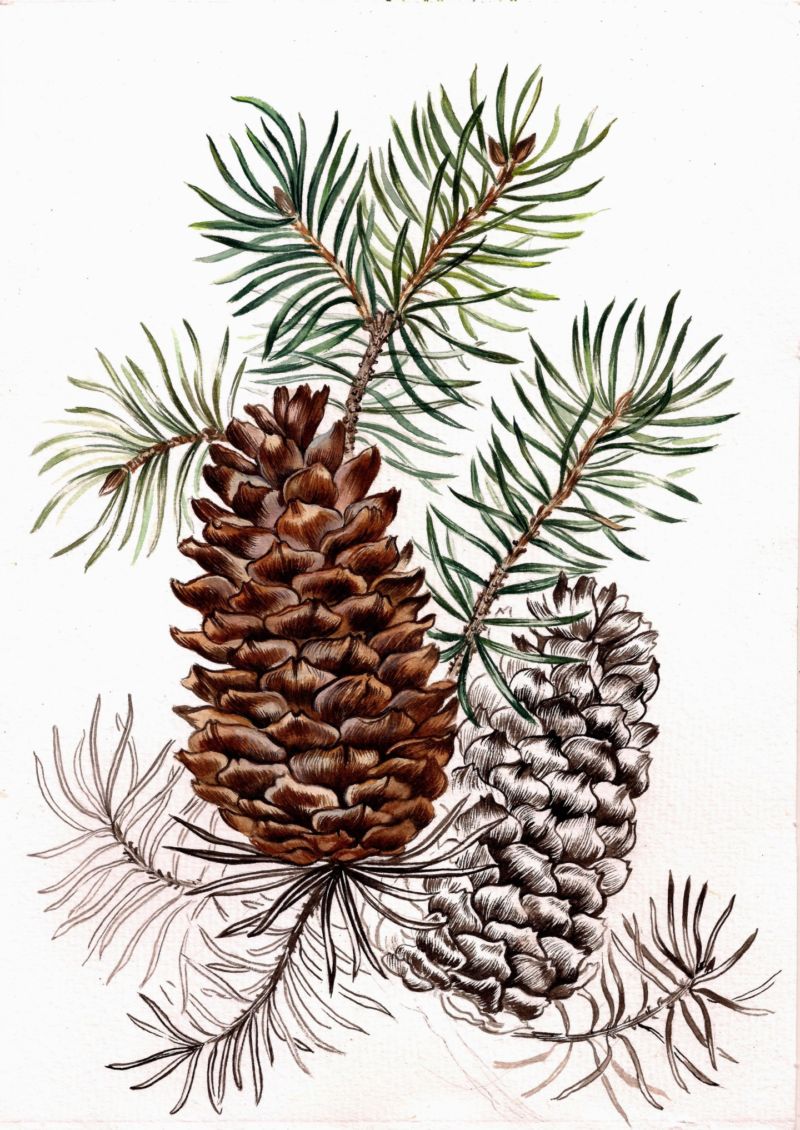
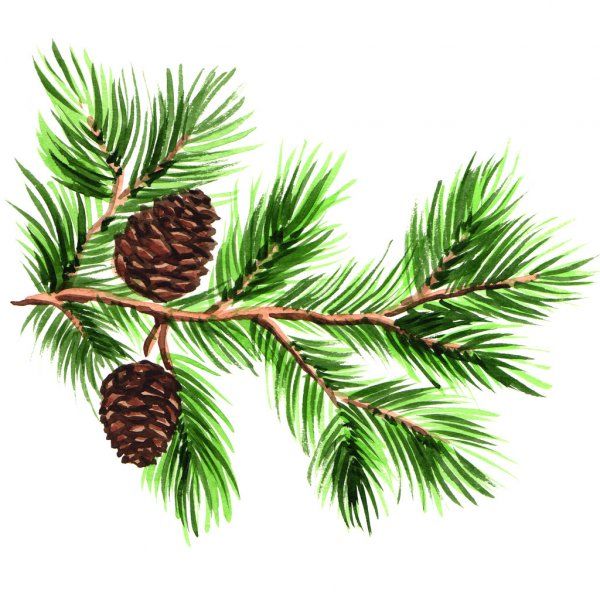
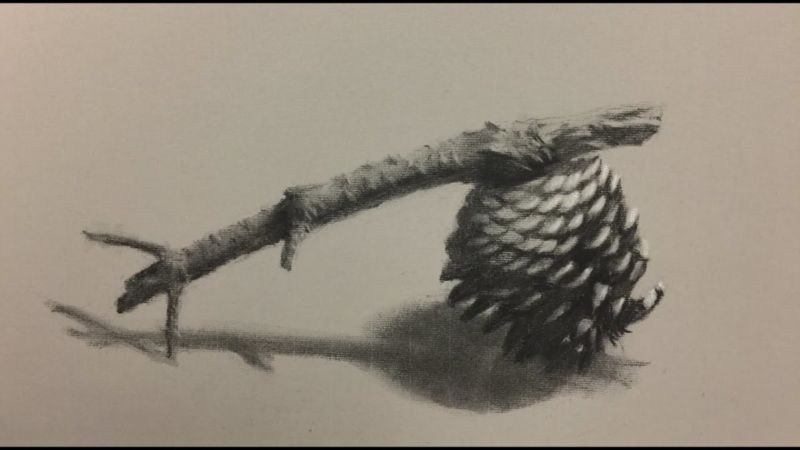
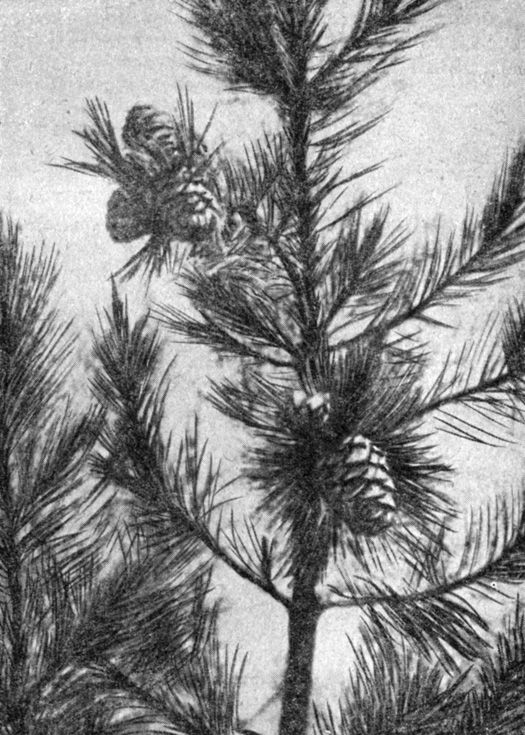
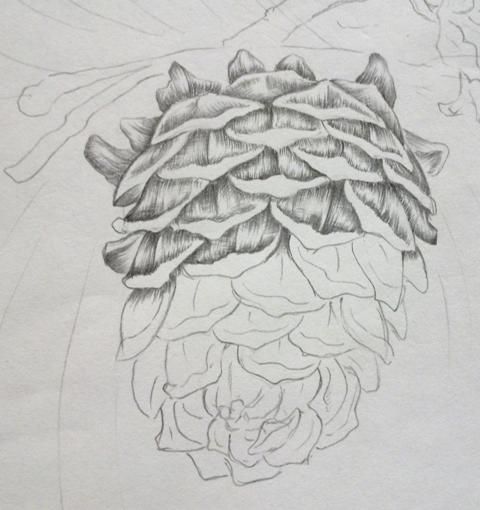
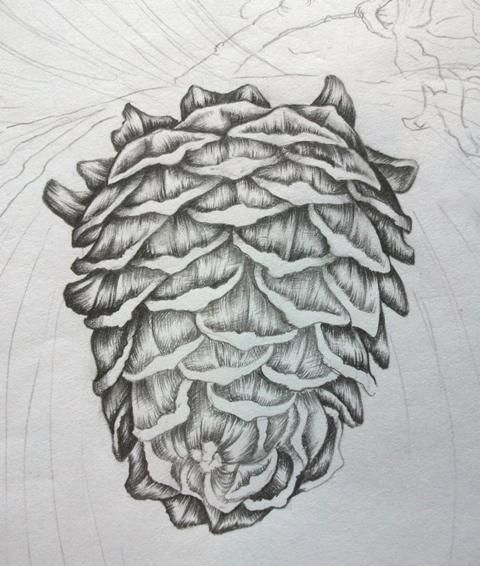
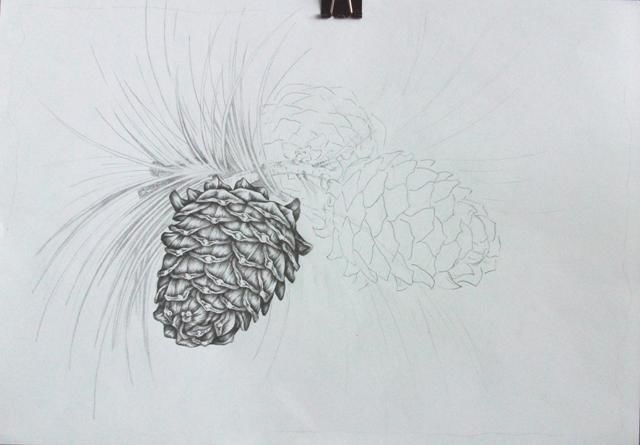
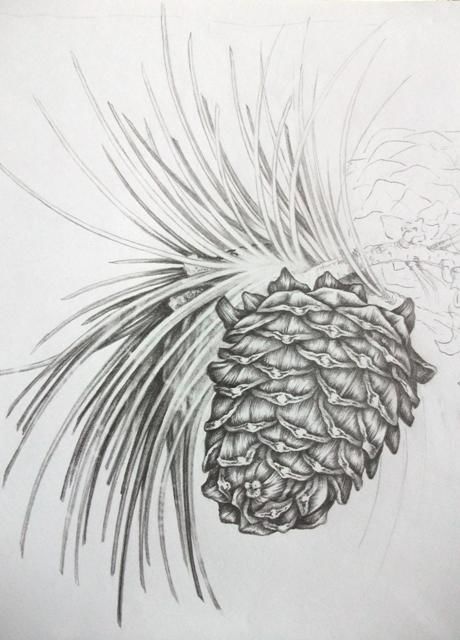
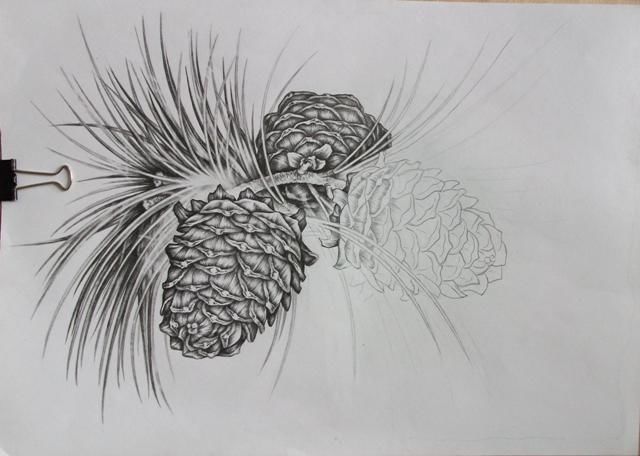
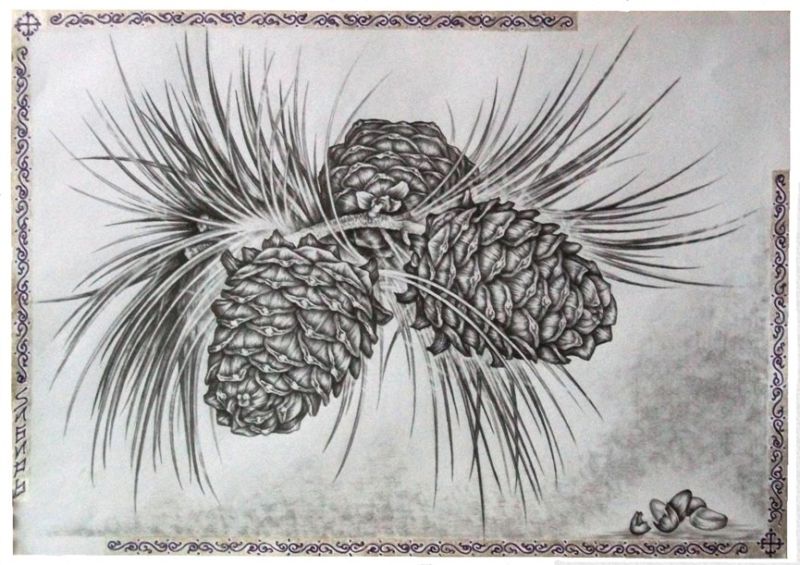
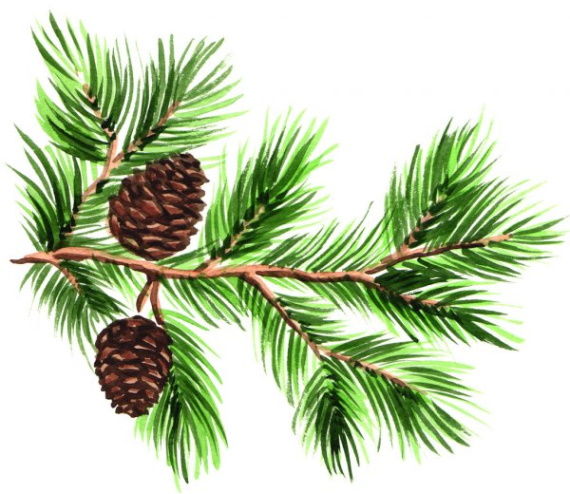
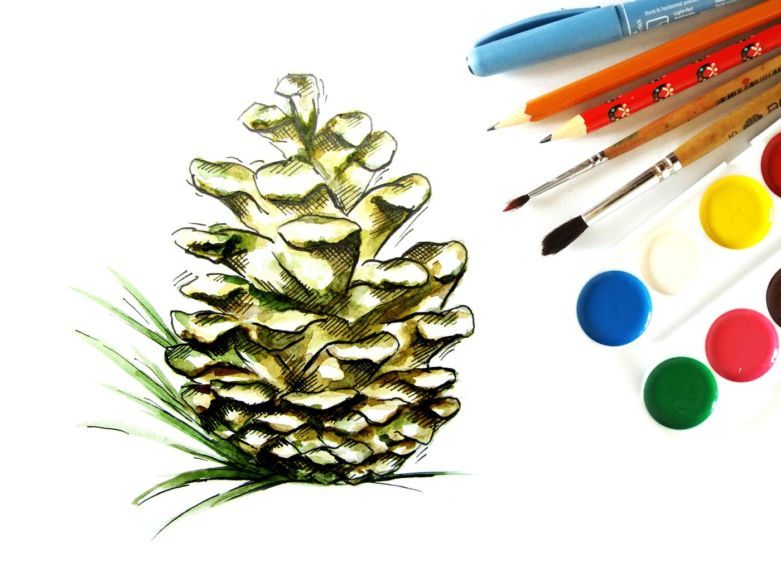
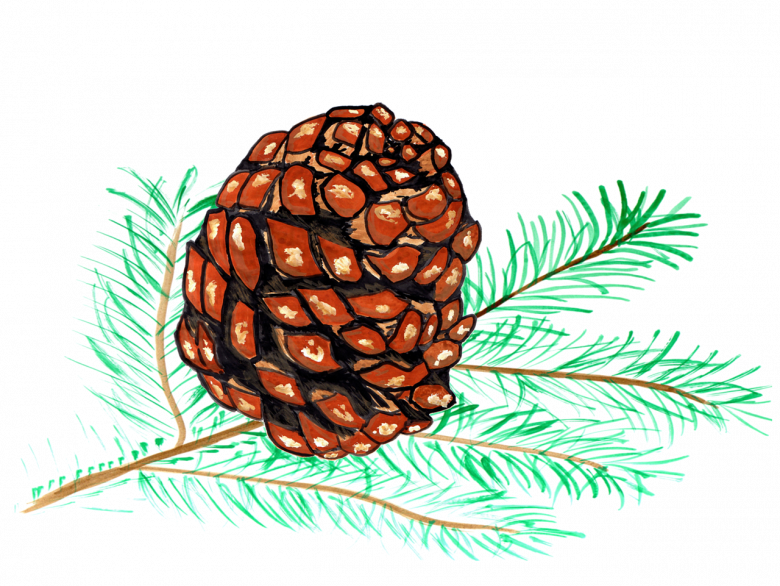
Pine with cones
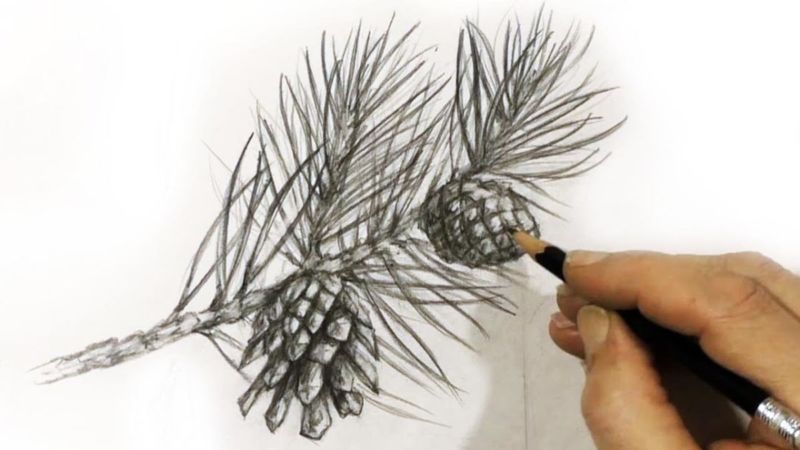
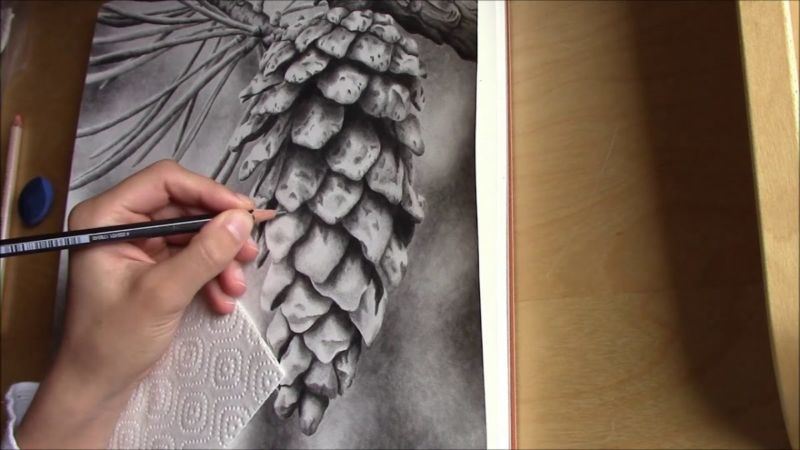
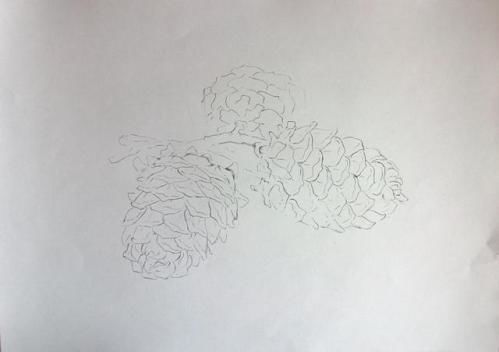
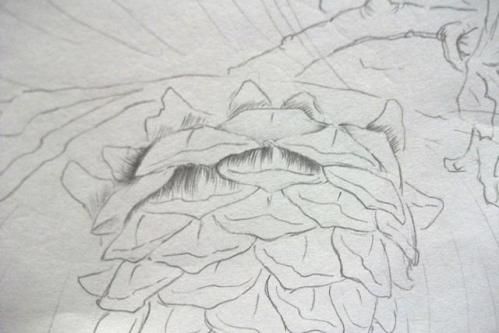
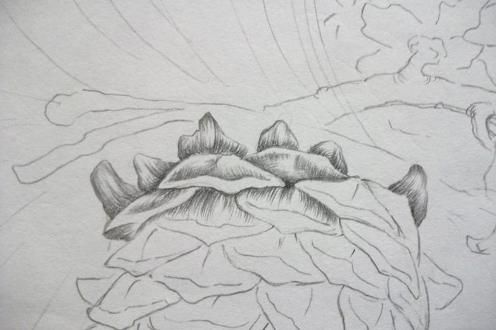
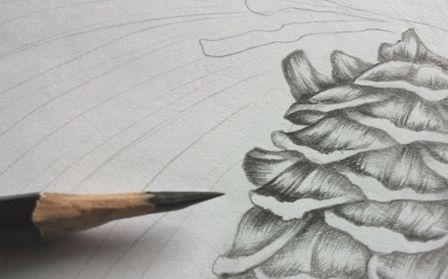
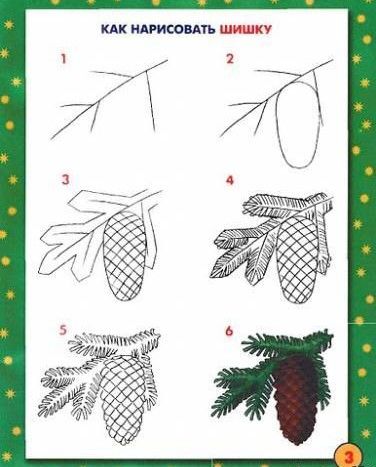
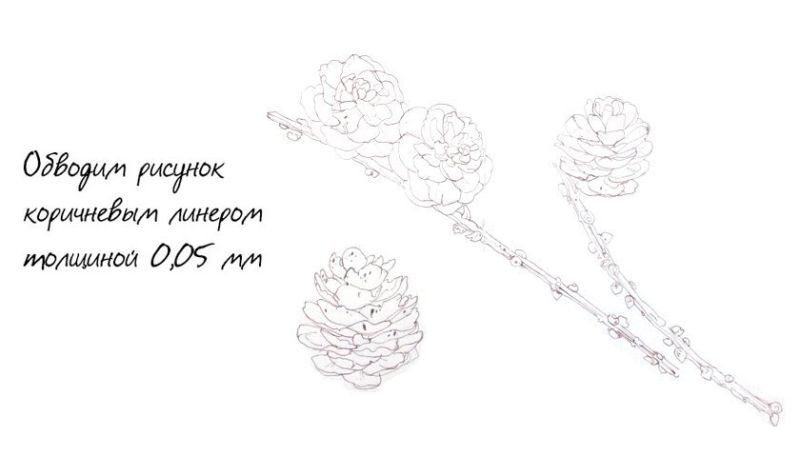
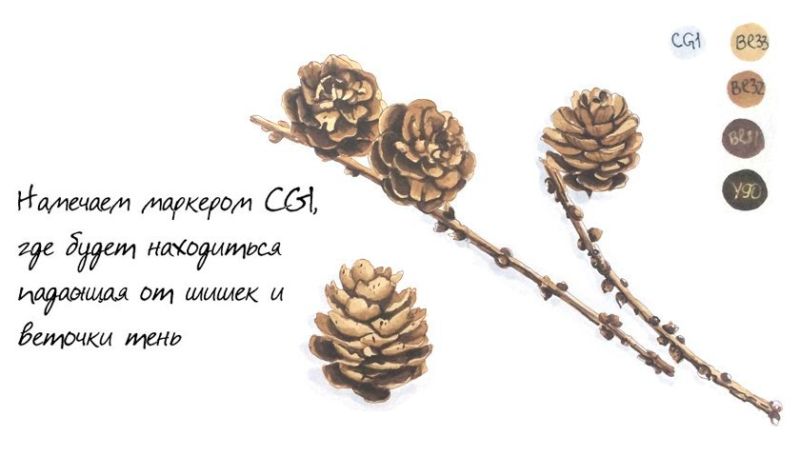
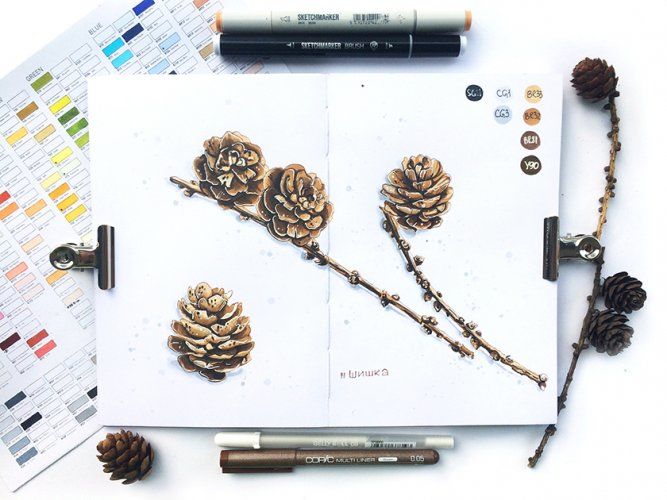
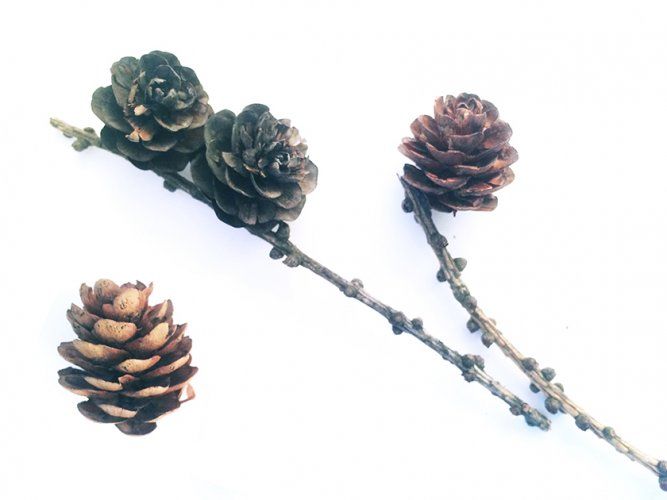
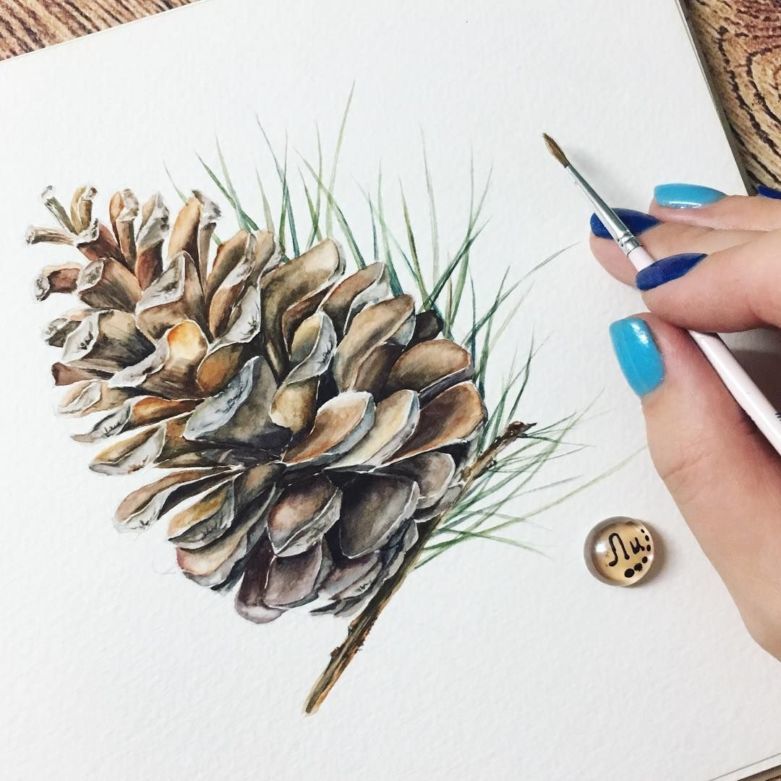
Picturesque and original look drawings of a tree or branch of a pine tree with its fruits - cones. To beautifully draw a pine with a pencil, you can find a detailed photo and study the structure of the needles with a cone. It is a slightly elongated oval with closed or open scales.
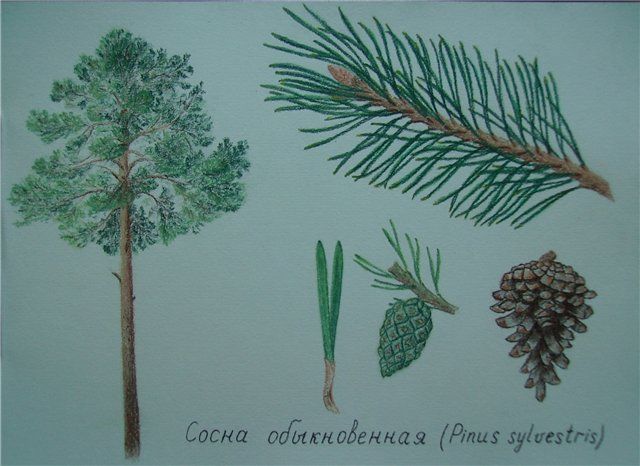
Start drawing the scales from the bottom of the cone, gradually reducing their scale to the top. They are arranged approximately the same way as fish scales, that is, each subsequent semicircle touches the middle of the two lower side ones.
But pine cones have a small triangular shaped pointed point in the middle of each semicircle. The top of the cone ends with three or four scales, elongated and sticking upwards.
When depicting branches or whole trees covered with cones, you must take into account their location at the ends of the shoots.
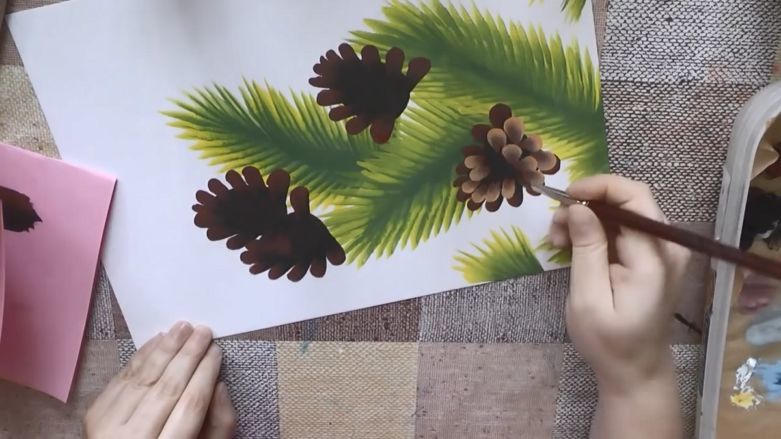
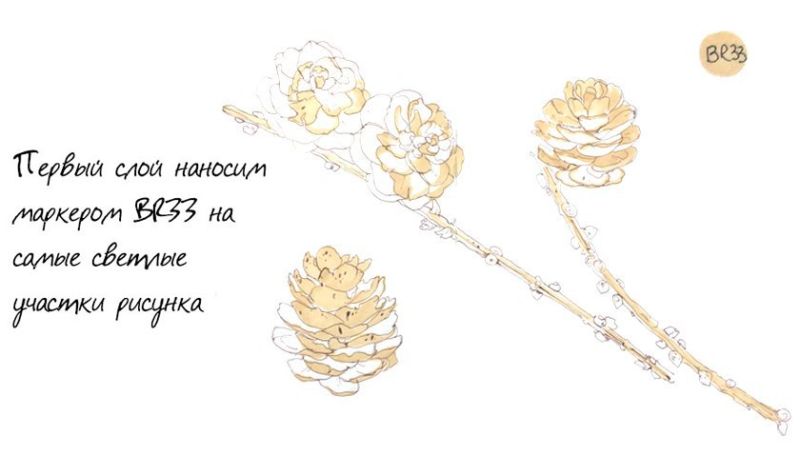
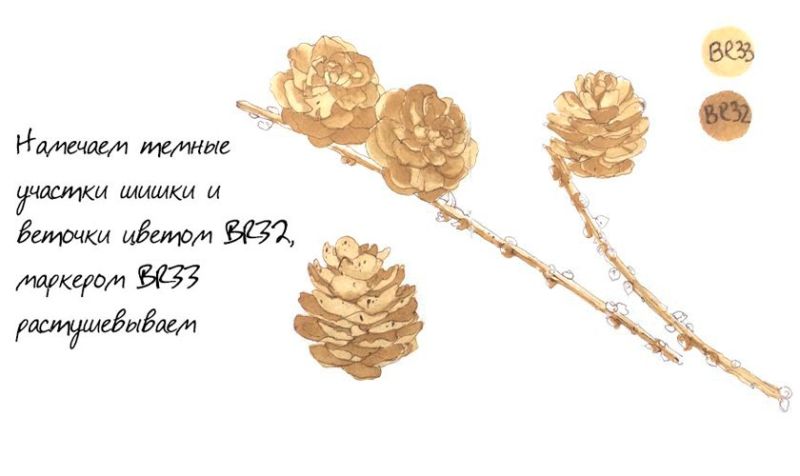
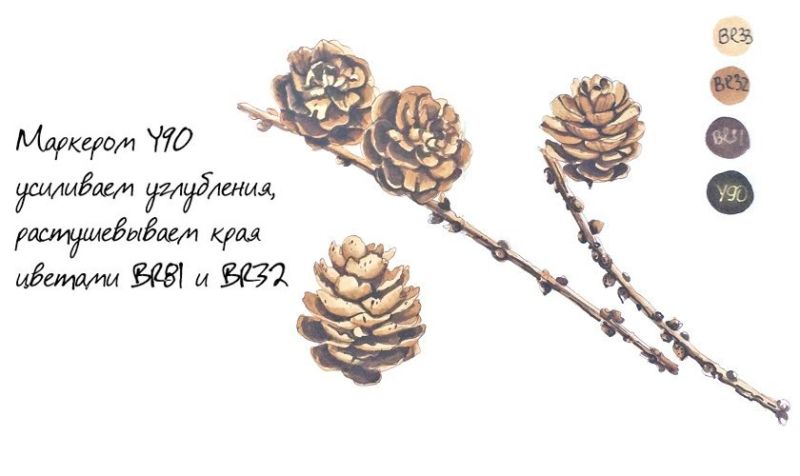
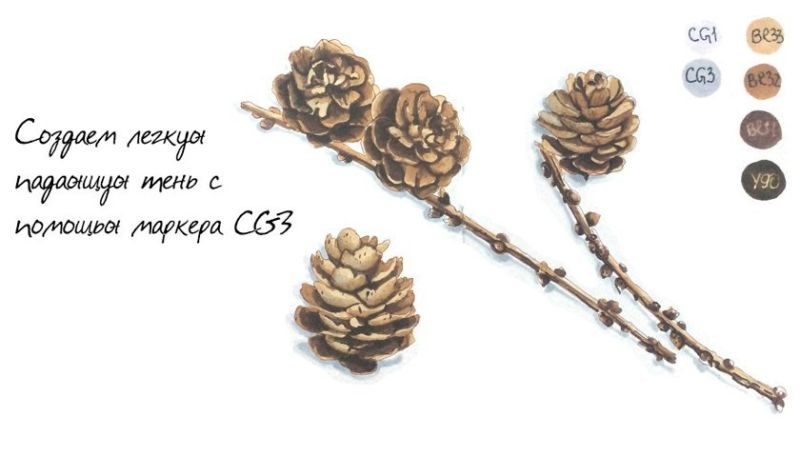
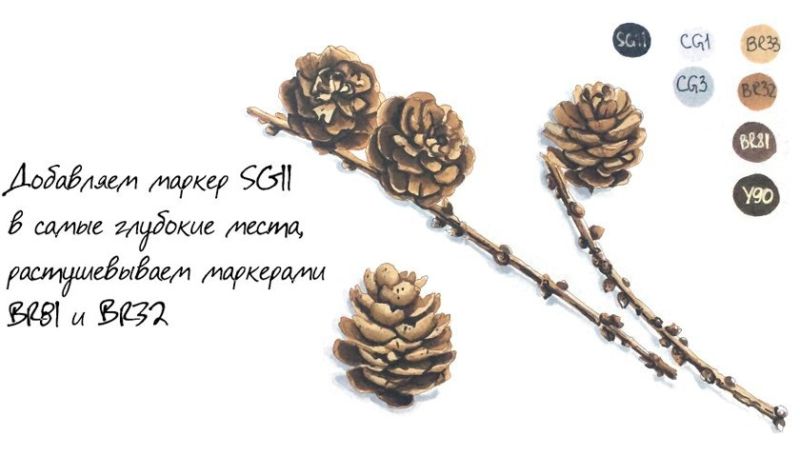
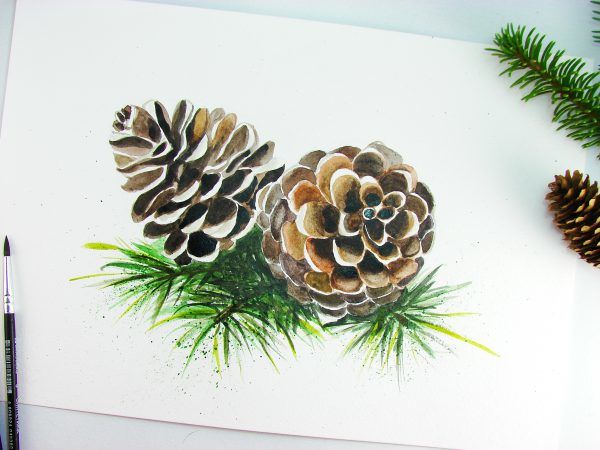
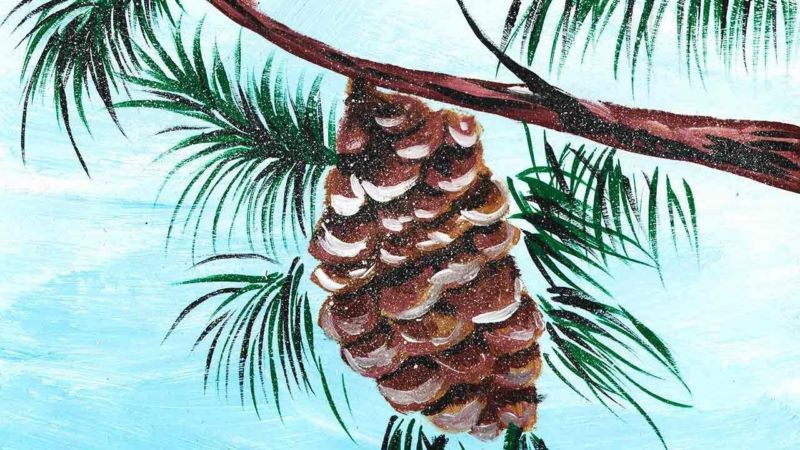
Coloring cones is also an original process, because in addition to the main volume, shadows and highlights can be shown on each scale, which will make the drawing most interesting and picturesque.

The contours in the recesses between the scales can, after coloring the general mass with brown paint, be emphasized with a black felt-tip pen, and the highlights can be specified with a white pastel pencil.

The coniferous cap is also painted over with green paint, and then the needles of the foreground are refined with brown and black felt-tip pens.
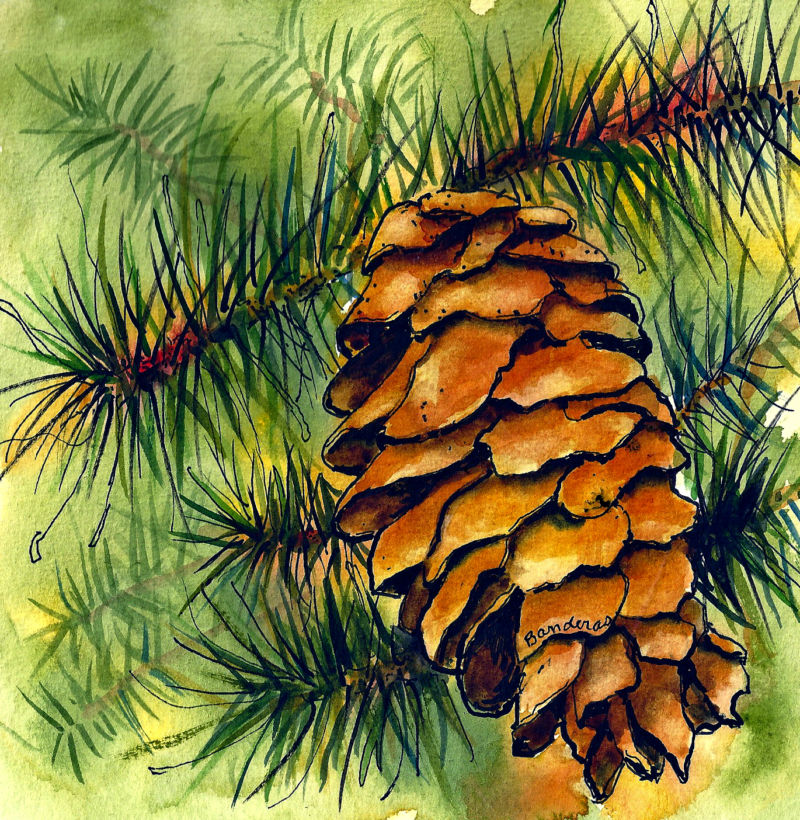
Still Life of a Pine Branch
When traveling in nature, you can stock up on a branch of an evergreen tree and use it to draw a still life. The composition can include only one branch or its combination with other objects.

Before you start you should carefully consider how pine branches are covered with pine needles, because from a distance they look like green clouds growing fragmentary on high trunks.
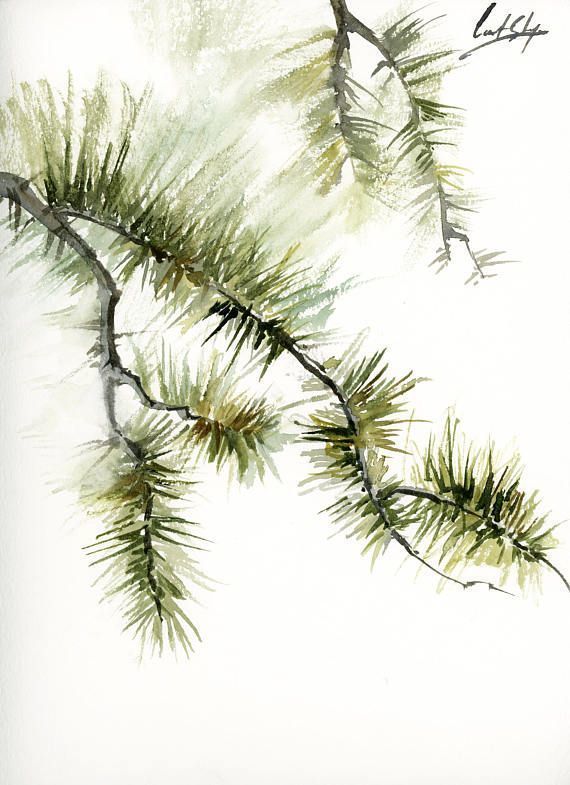
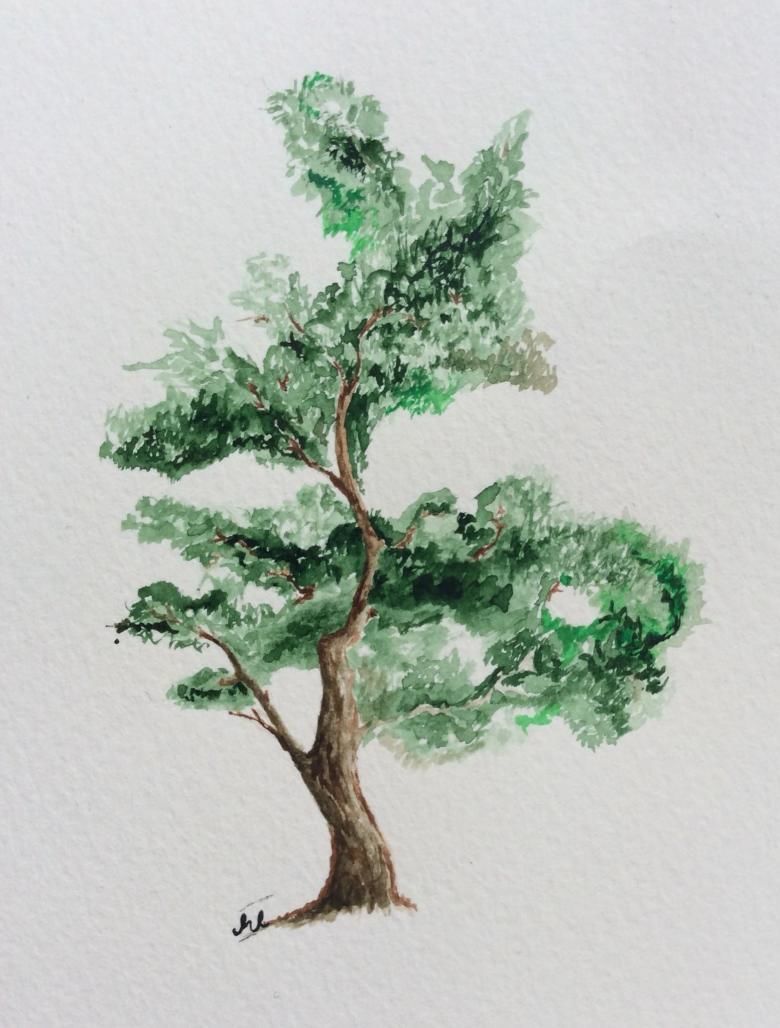
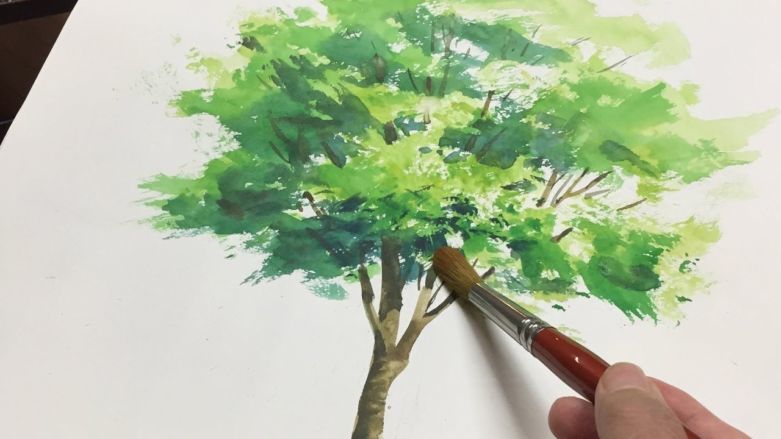
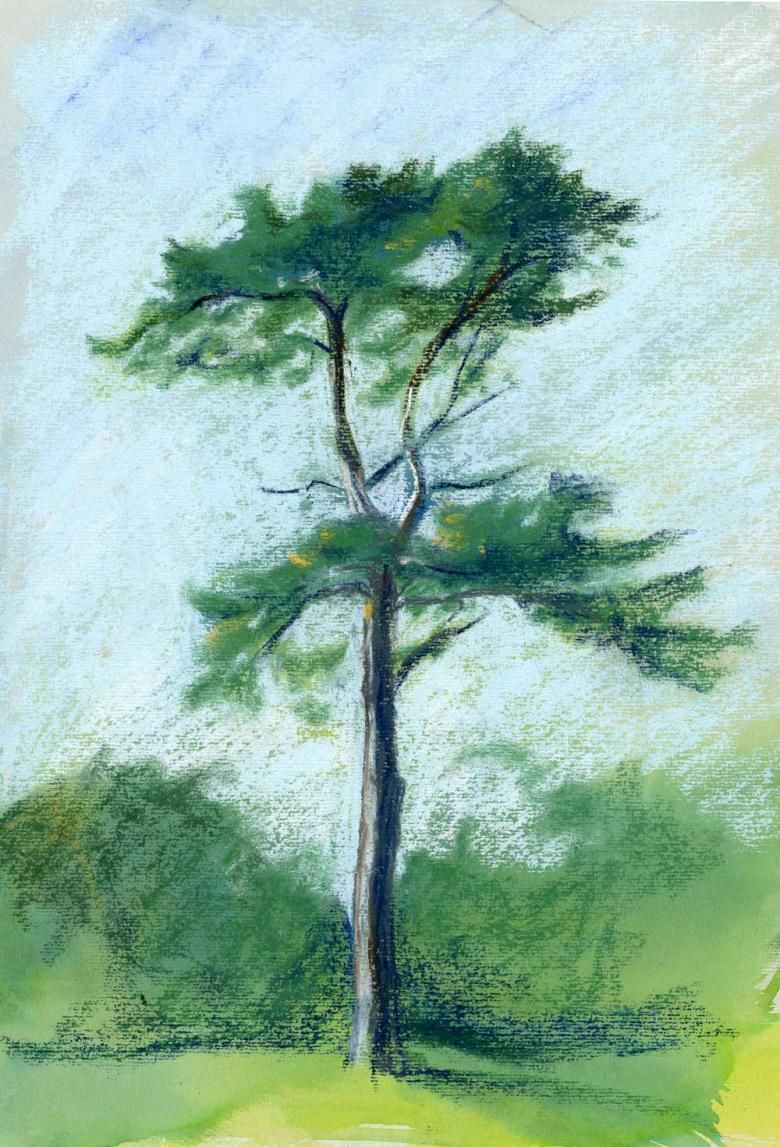
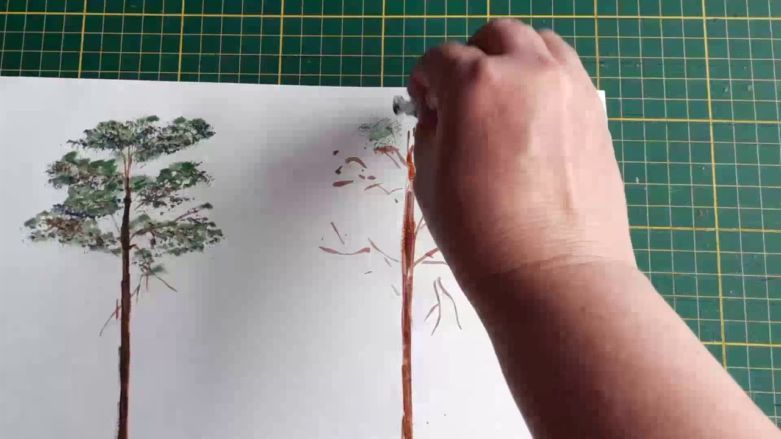
If the still life is conceived as a pictorial painting in colors, it can be done with watercolor, colored pencils, tempera, oil paints or gouache. To refine the details, you can use felt-tip pens or a thin brush with which to make dark strokes.
The novice artist is faced with the question of how to easily draw a pine tree, using a pencil and eraser. To begin with the general shape of the object is depicted, and for the nature it is better to take a branch with ramifications, rather than consisting of a single branch. Pine branches are usually uneven and knotty.
Additional shoots come out of knots of a big branch at different angles and without any straightness. Pine needles usually grow in pairs, which distinguishes them from other evergreens.

This peculiarity can also be shown in several parts of the drawing which are located in the foreground and are worked out in a particularly detailed and contrasting way.
The covering of bark throughout the skeletal formation of a tree is a rough surface, consisting of overlapping irregularly shaped particles.
When painting a picture of a pine tree, its trunk is covered with brown paint, going into darker, gray shadows on the sides to indicate the cylindrical shape of the branches. From the dried paint, you can clarify the intricate pattern of the characteristic bark covering the branches.
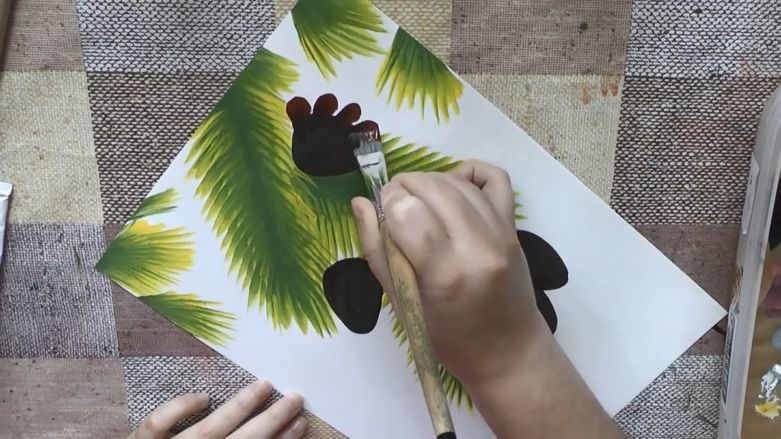
The coniferous cap is covered first with a general green background, on which the individual needles are then drawn. This can be done with a felt-tip pen or a thin brush. For a child's drawing, an interesting way to draw the needles of conifers is with the help of an ordinary table fork.
To reproduce this technique, it is necessary to dilute a thick green gouache or acrylic paint on a palette or in a flat container.
A fork is dipped into the paint stain, then the excess watery mass is allowed to drain off and the fork is placed with its external side against the paper on which the branch trunk is drawn. Overlaps should be chaotic and overlap picturesquely.
Using simple recommendations, even inexperienced artists can create a unique drawing of one of the most beautiful creatures of nature - the evergreen pine.
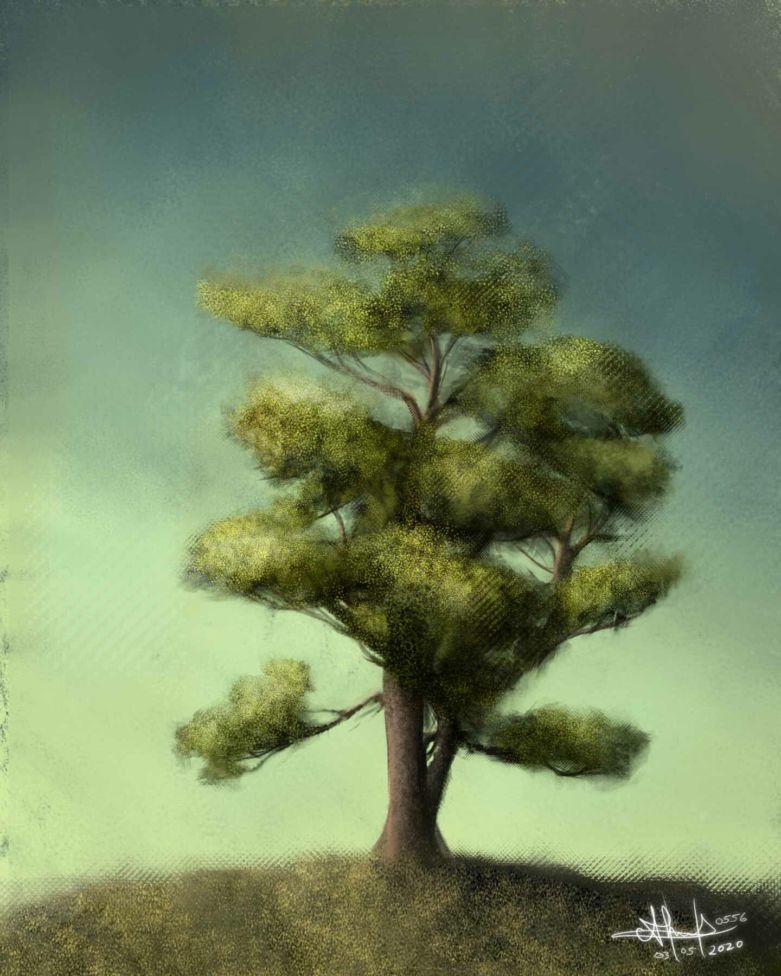

Picture of a painted pine tree