How to Draw a Vase - Step-by-Step Master Classes for Children and Adults
Drawing a beautiful vase with flowers may need even the youngest artist. Children often draw such objects as greetings for mothers, grandmothers and educators.
The vase is an integral part of many classical and abstract still lifes, architectural sketches and landscape sketches. This uncomplicated interior object can be found in almost every home and can be used to begin mastering the skills of drawing from life.
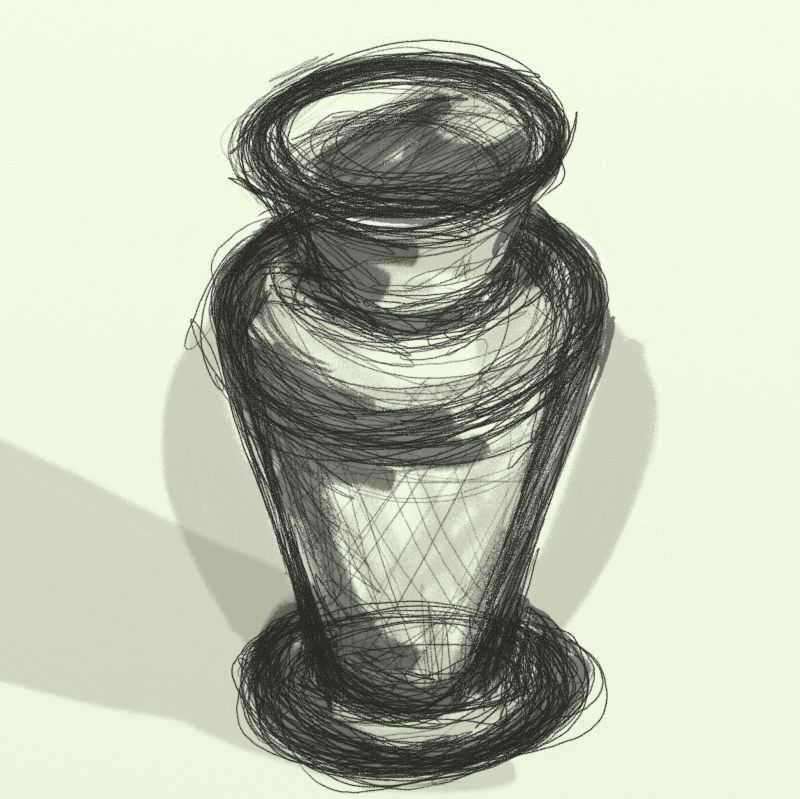
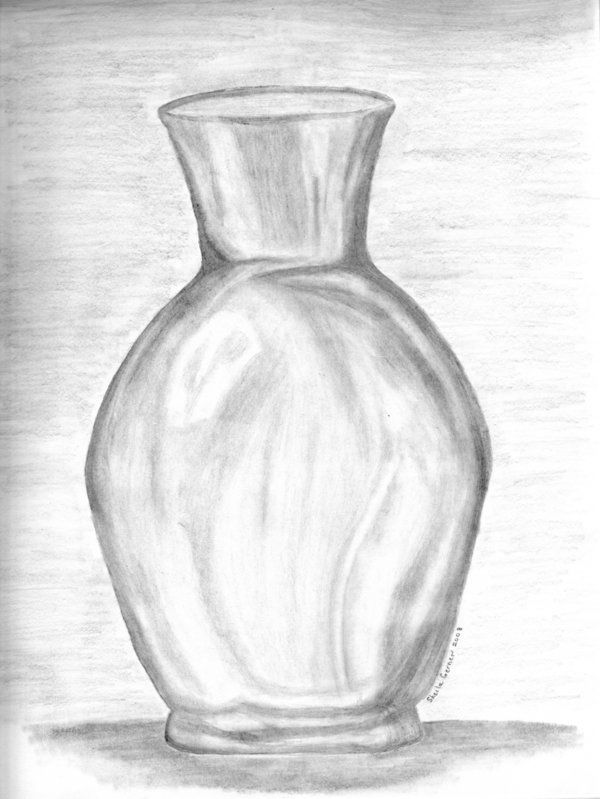
Drawing a vase for beginners
At first glance it seems that you can very quickly and easily draw a vase, but in the process novice artists learn how to correctly convey on paper the volume, symmetrical shape, as well as learn the basic rules of perspective.
The rounded forms of the accessory help them to understand the laws of light and shadow distribution, and the skill acquired will come in handy not only in drawing still life, but also in transition to more complex forms of compositions.
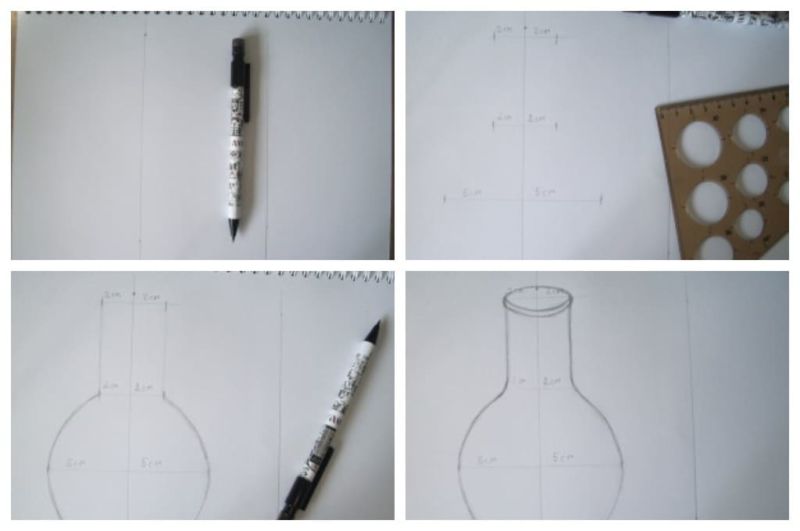
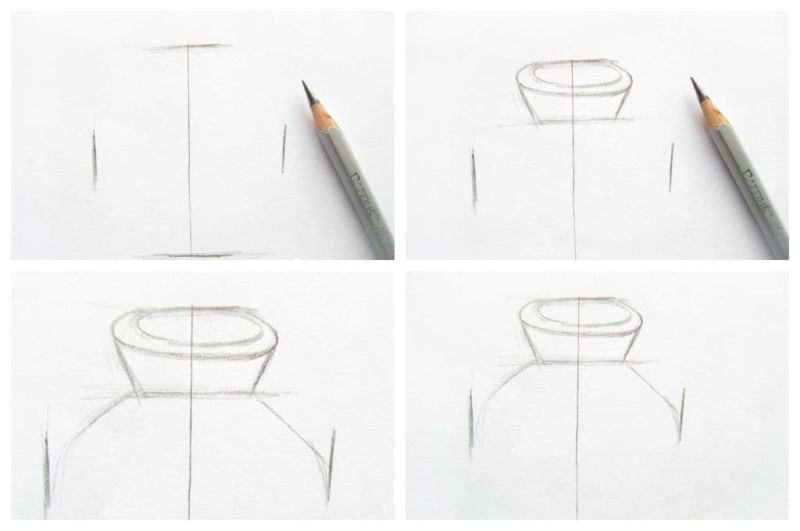
Drawing order
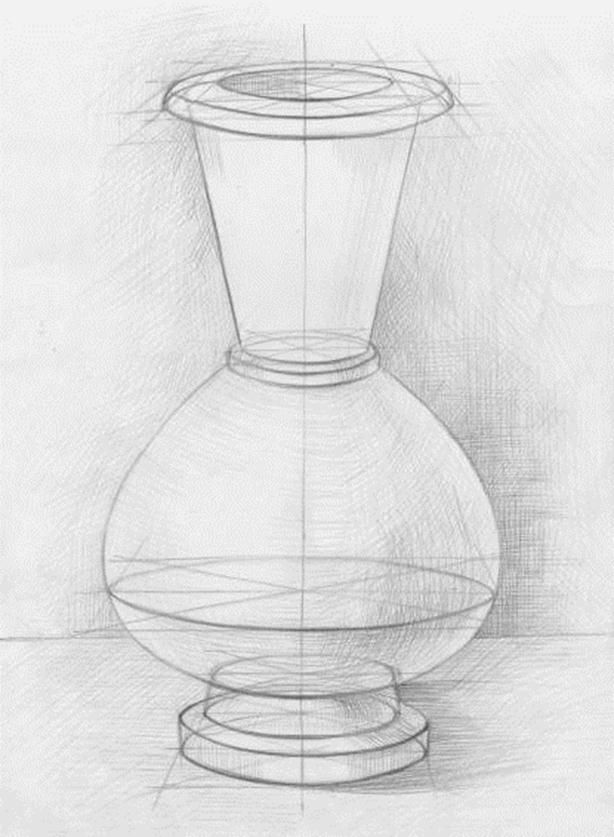
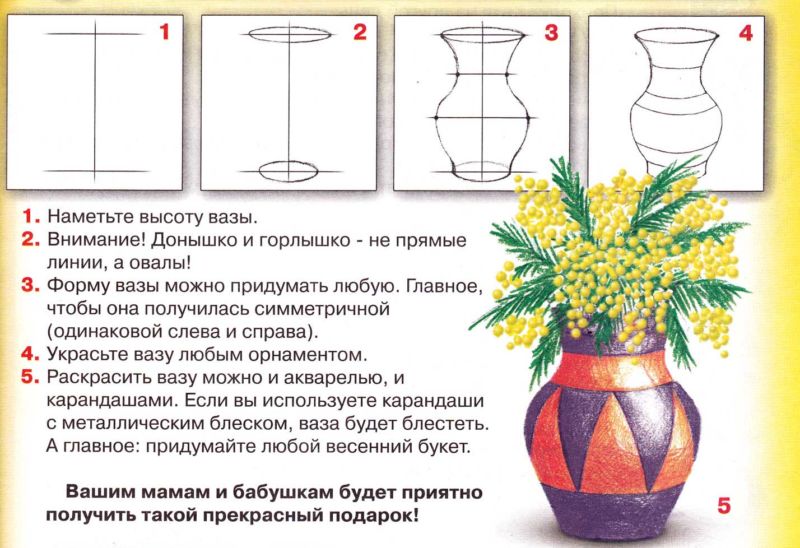
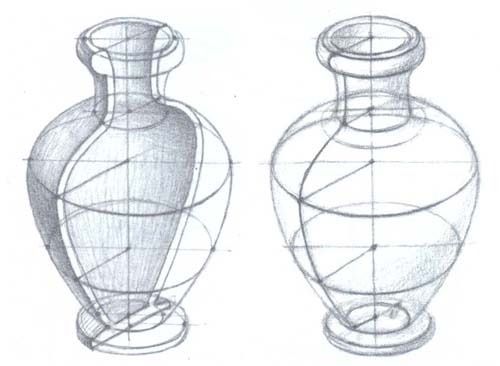
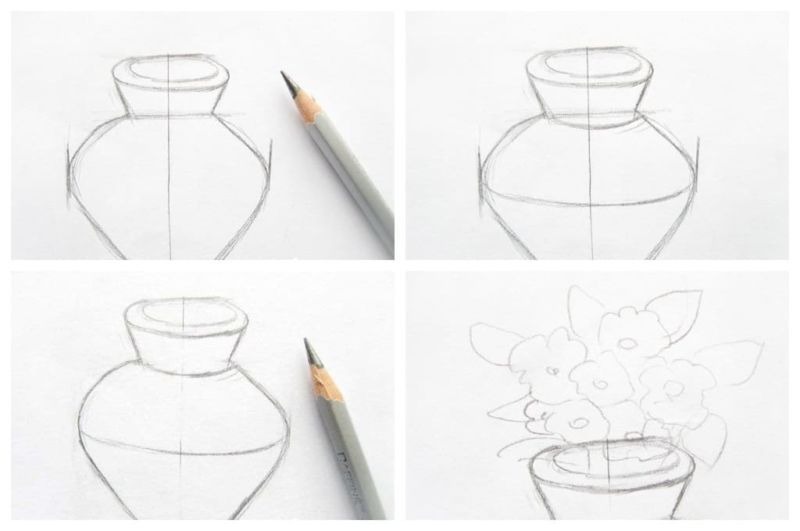
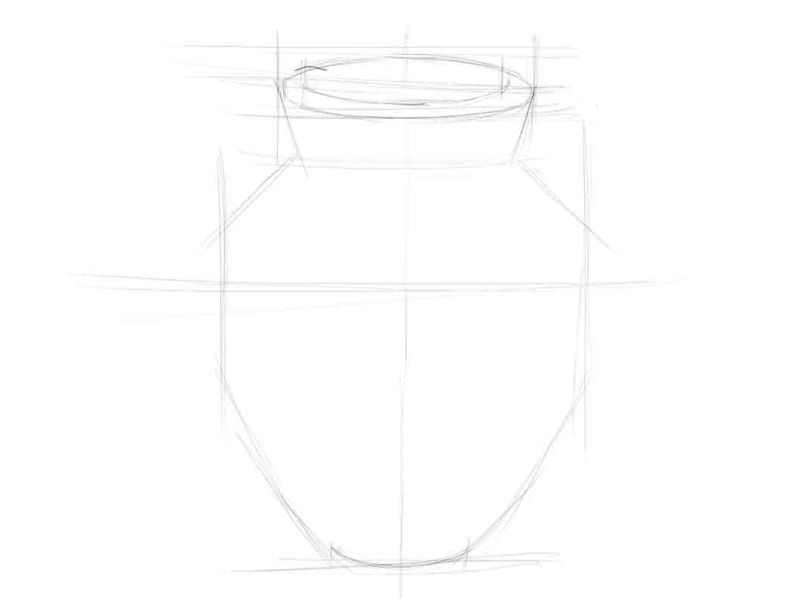
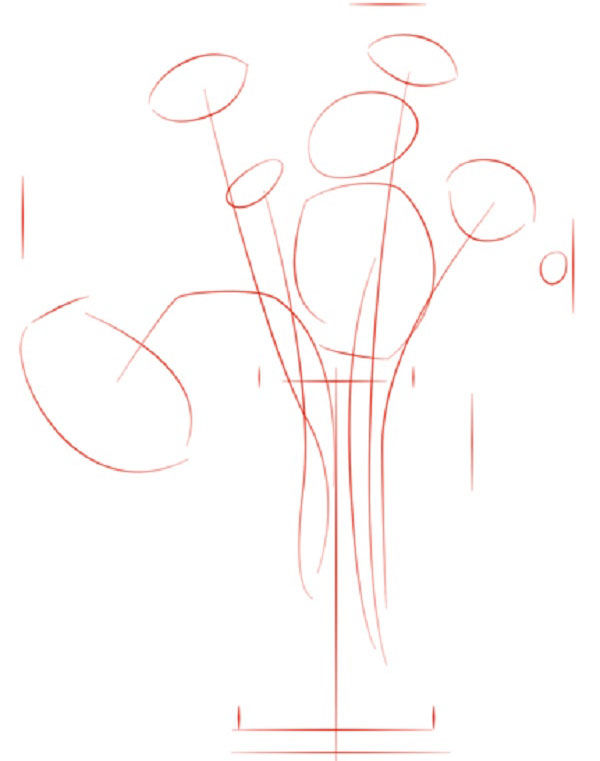
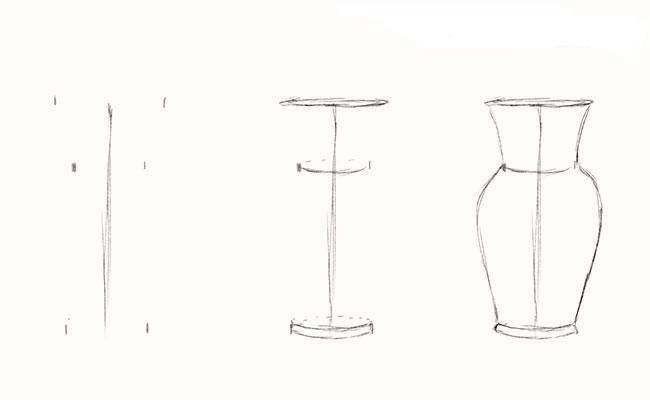
Each image begins with the layout of the sheet, which is called a layout. For this purpose, the elongated object should be placed on the main vertical line, which is the starting point of the drawing. Then draw horizontal lines indicating the bottom and top of the vase.
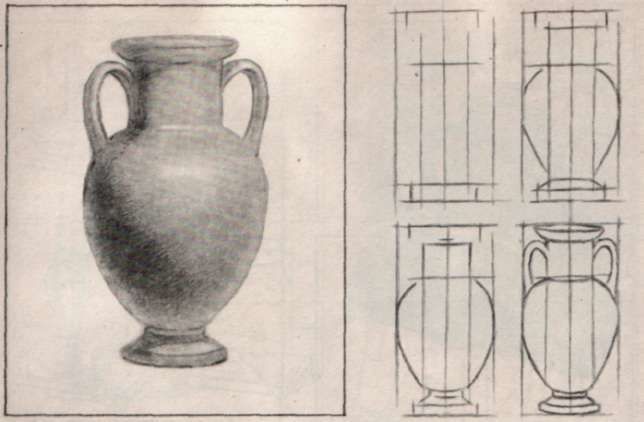
Additional horizontal marking divides the complex shapes of the container for flowers into component parts, such as a round bottom and a narrowed neck.
At the same time, the novice artist learns to determine by eye the proportions and ratios of all the constituent forms of the vase, so that it will turn out in the drawing as close to the original as possible.
When drawing auxiliary lines one should use a hard pencil, which should not be pressed too hard, and then you can easily erase it with an eraser.
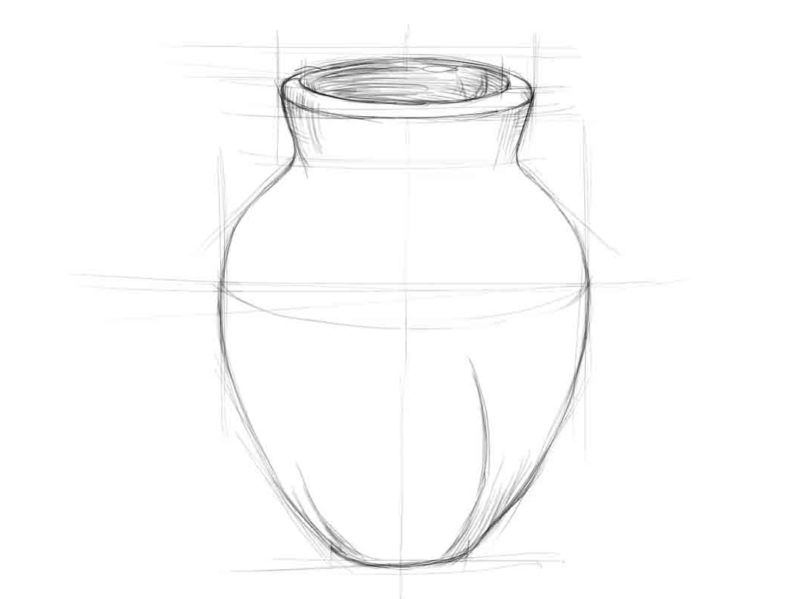
When the main dimensional points have been found on the preliminary marking, you can connect them with smooth lines that create the outline of the object. Elements of perspective are used to create ovals of the bottom and neck of the vase in relation to the plane of the table.
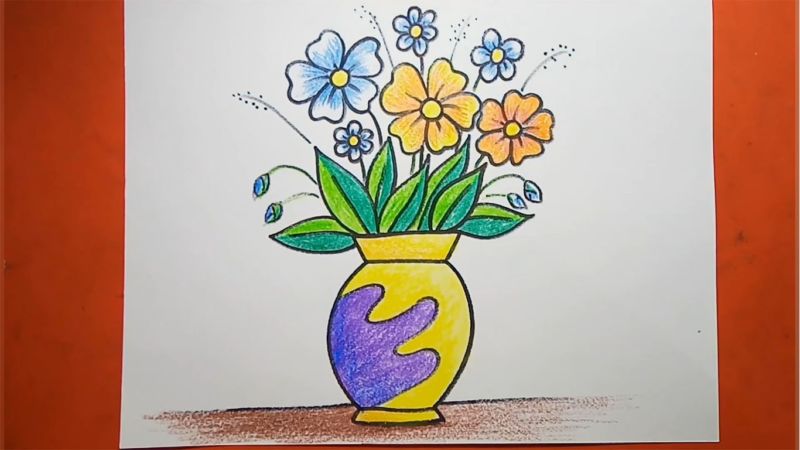
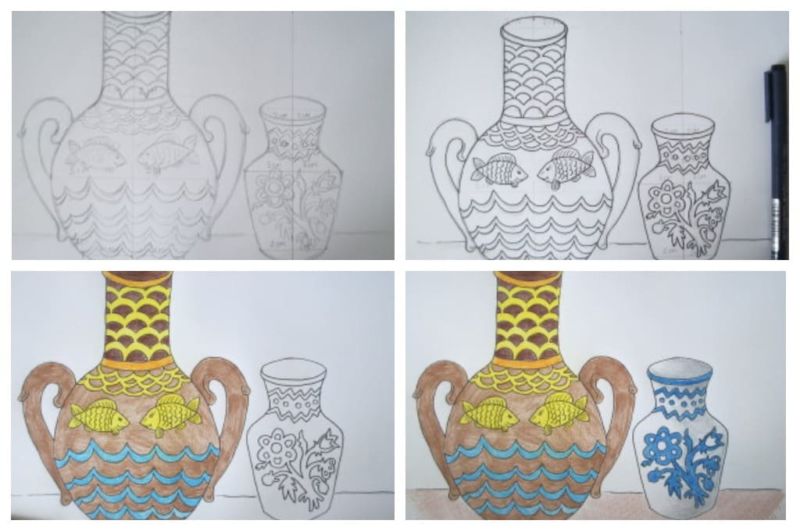
A child's simple drawing
If children set themselves the task of drawing a decorative vase, diligence and involvement in creativity is important, even if the result will not be too successful and similar to the original.
The complex proportions of an object are good for practicing skills and the accessory may not turn out symmetrical enough the first time, but the main thing is that the drawing should be colorful and unique. You will need the following items to work on drawing from nature:
- Plain pencils of varying degrees of softness and hardness - for sketching and final sketching.
- A ruler for constructing the form of the object.
- An eraser to erase unnecessary lines.
- Colored pencils, felt-tip pens or paints.
- A black marker can be useful for drawing an expressive outline after coloring a drawing.

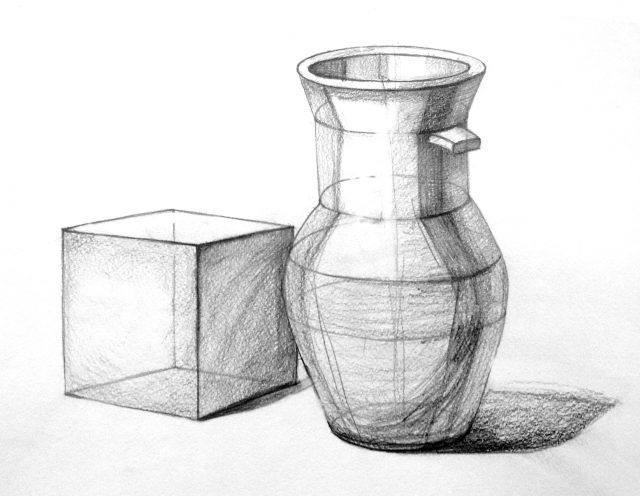
A ruler can be used to draw all the vertical and horizontal lines, which can then be connected by the main points. Centimeter markings on the ruler will help build a symmetrical basis for the subsequent connection by smooth lines of the main points of the shape of the object.
The top of the neck and bottom of the vase must be outlined with ovals to show the volume and fit it into the rest of the setting, which is shown by part of the table, wall, drapery curtains and other objects that create the entourage in the paintings.
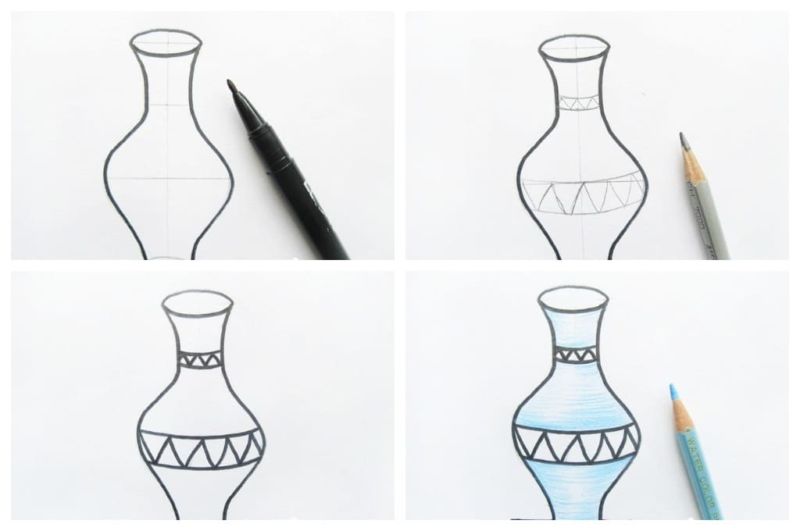
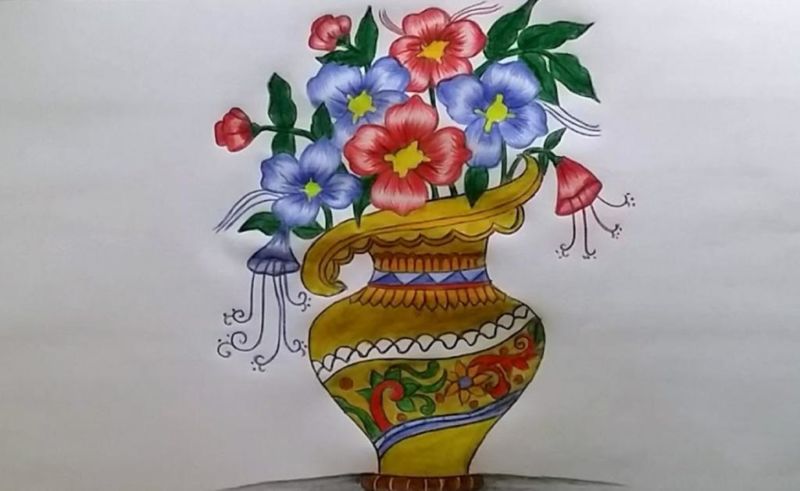
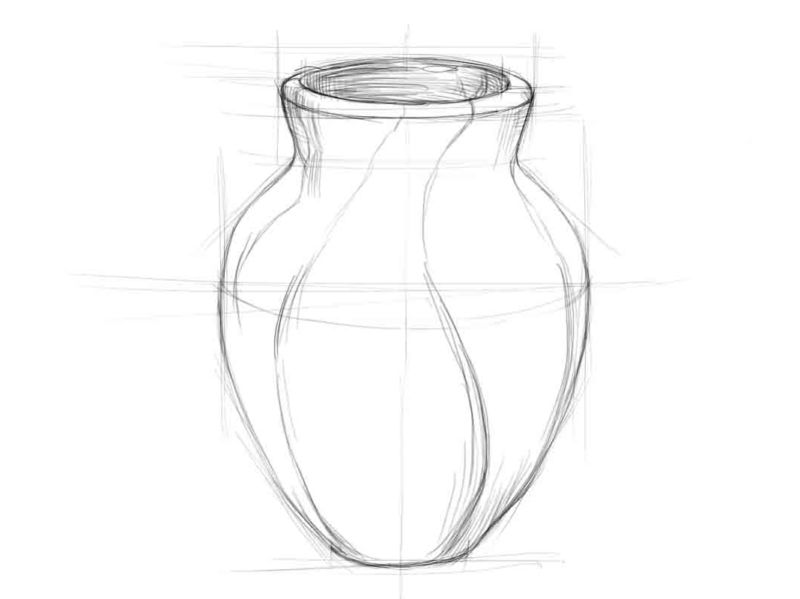
If there are decorative drawings and ornaments on the vase, they can also be outlined with a simple pencil, using a ruler, and then proceed to coloring.
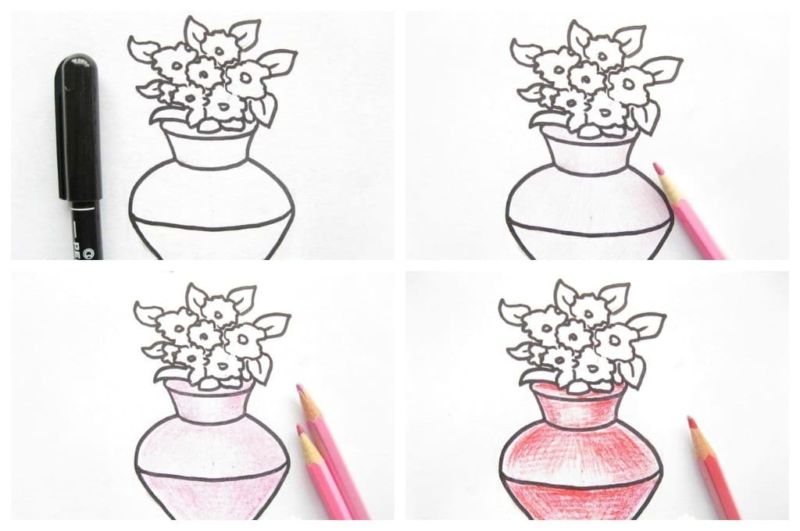
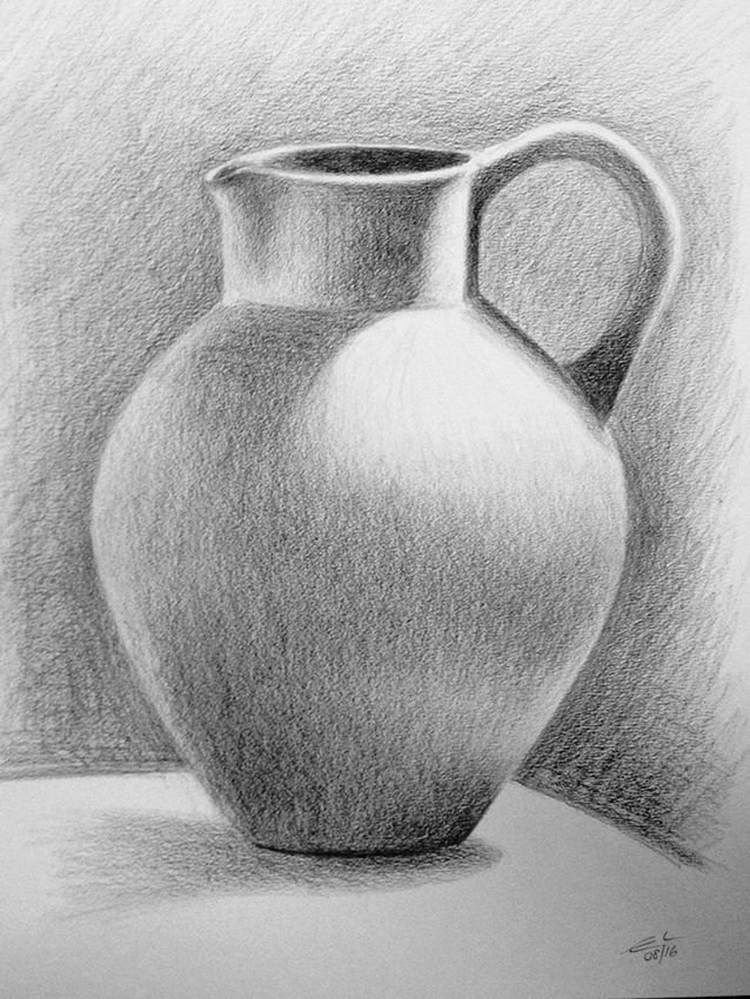
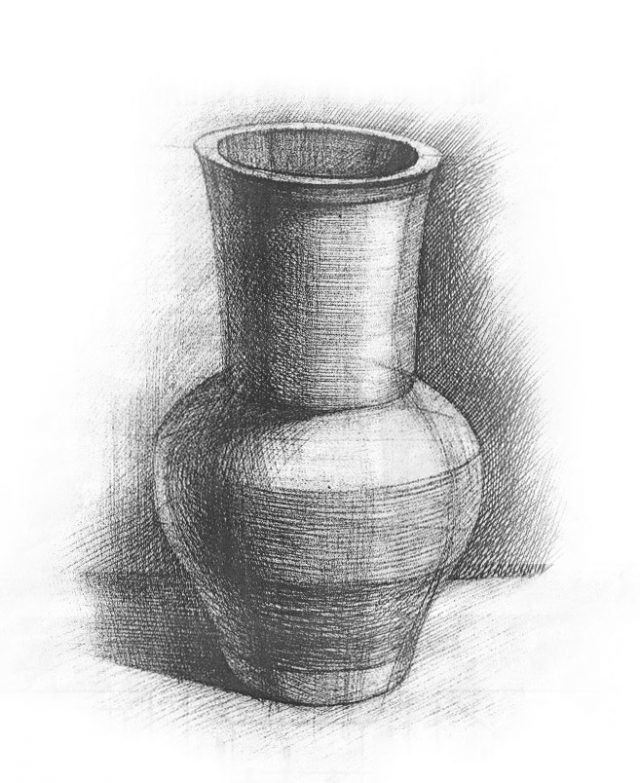
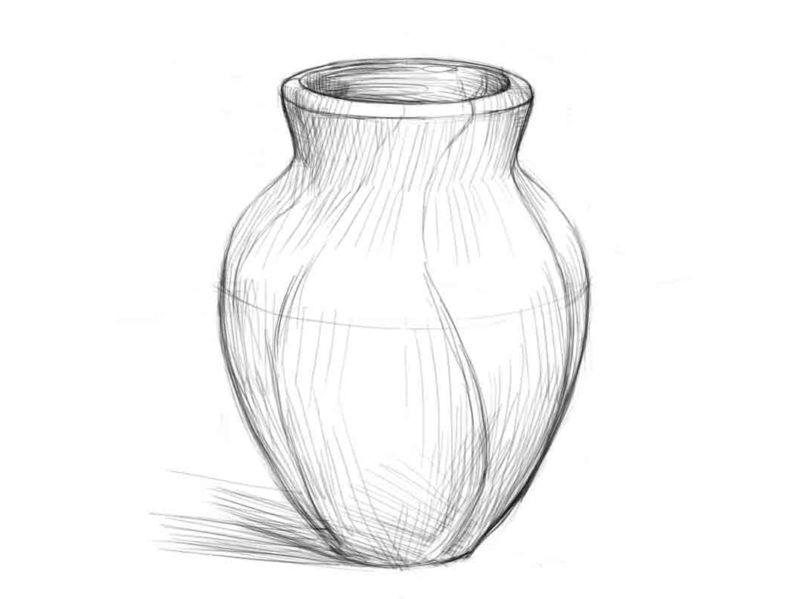
Once the outline is outlined, you can erase unnecessary lines of construction and outline the main locations of shadows - they will be painted or shaded with a darker shade.
It is also important to immediately determine the lightest spot on the side of the vase to leave a glare. With the help of shadows and highlights, objects acquire more realism, beauty and volume in drawings.
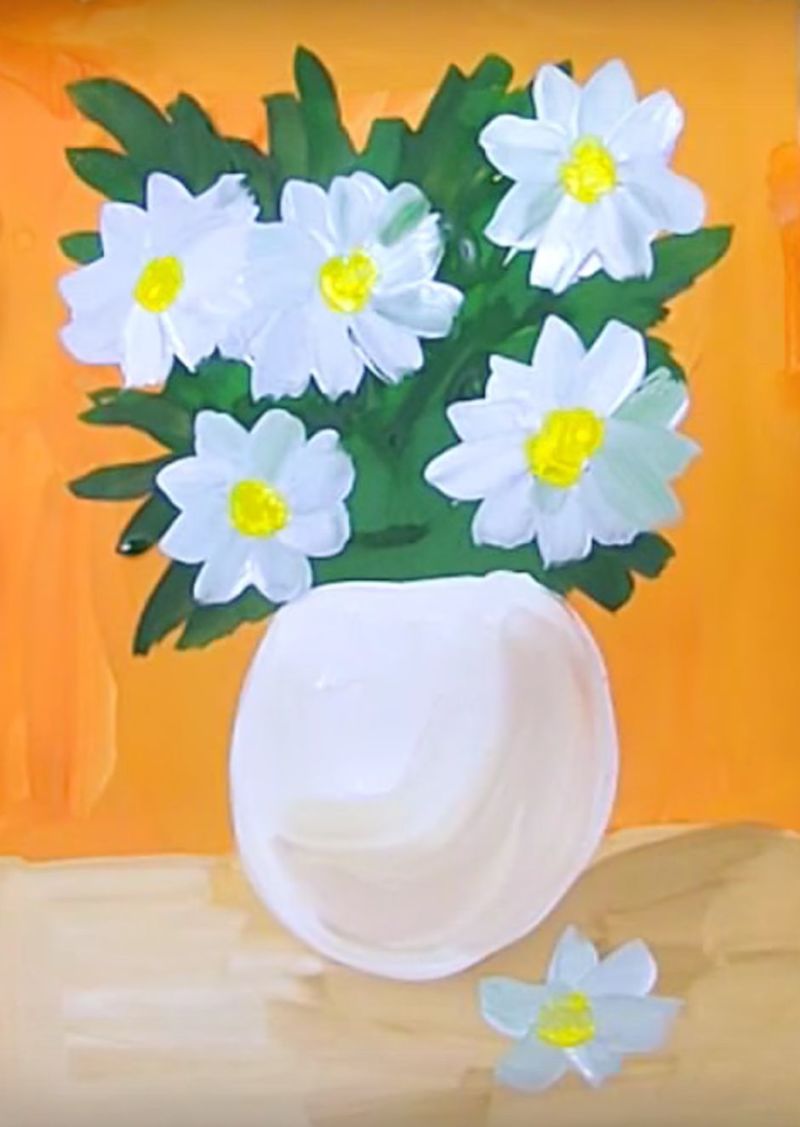
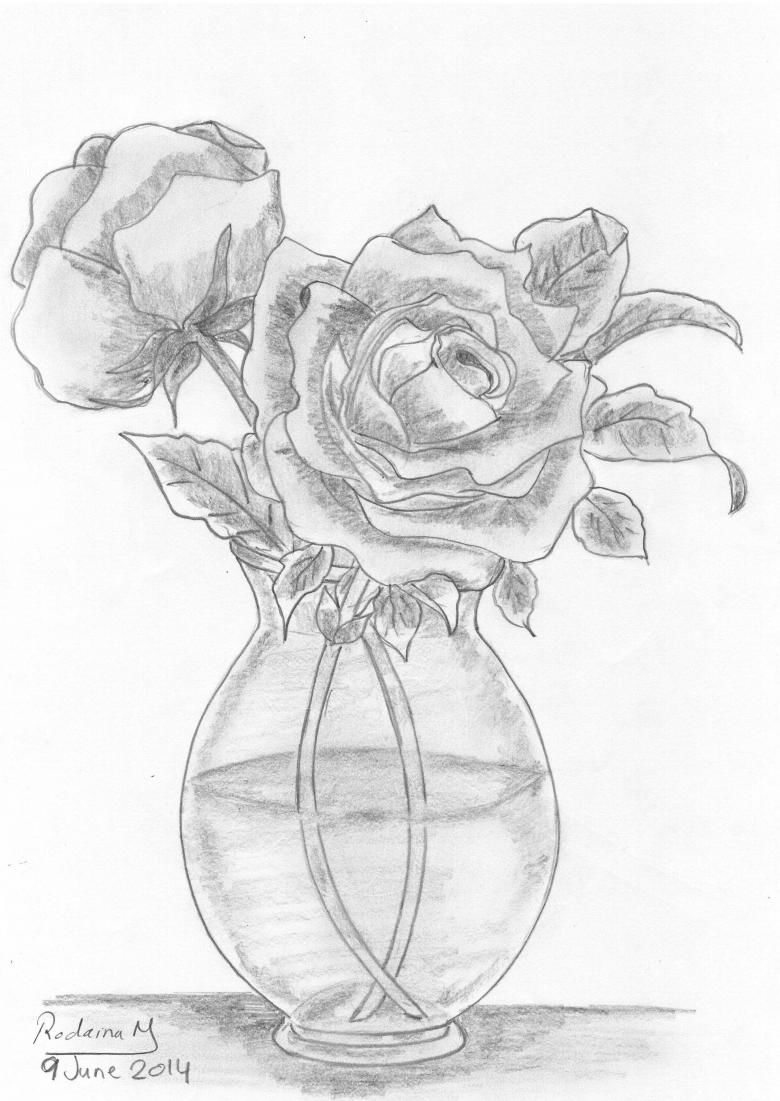
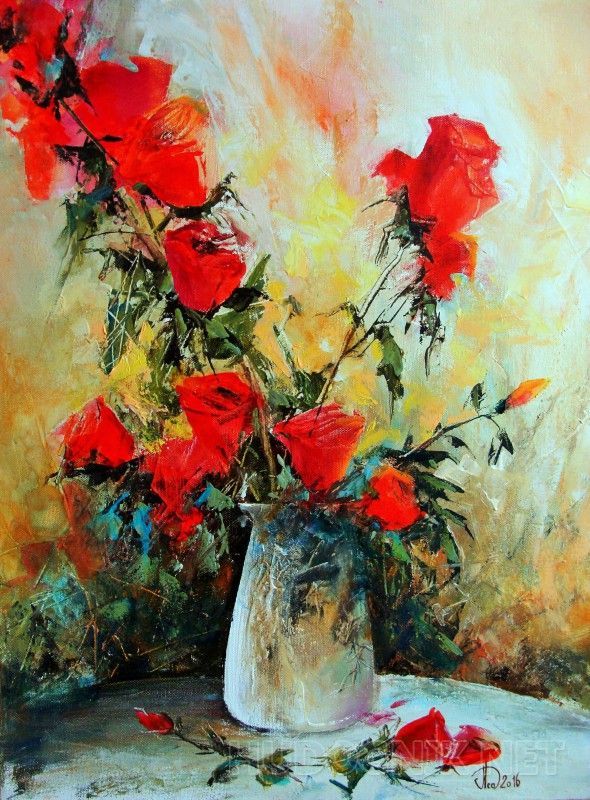
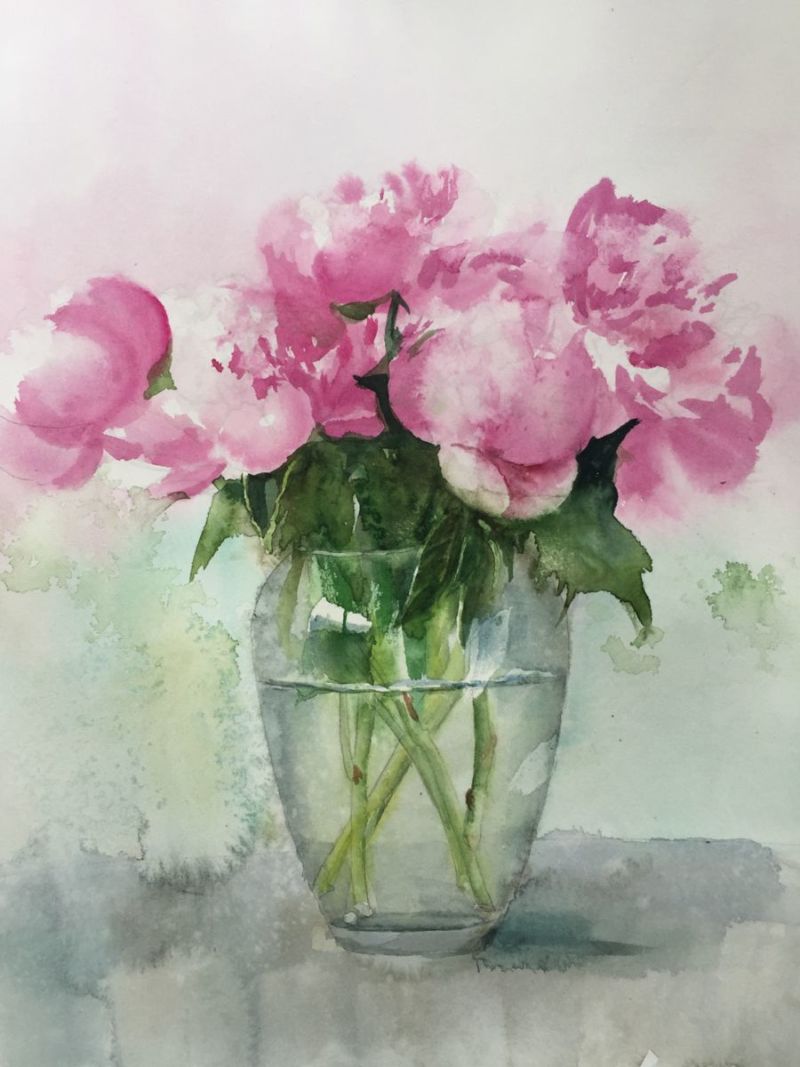
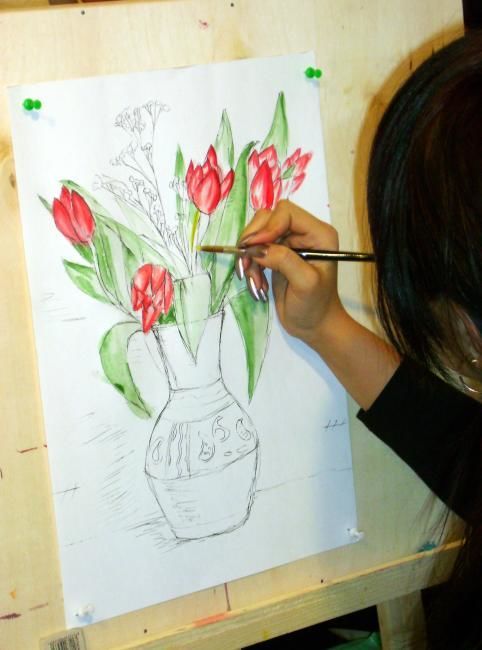
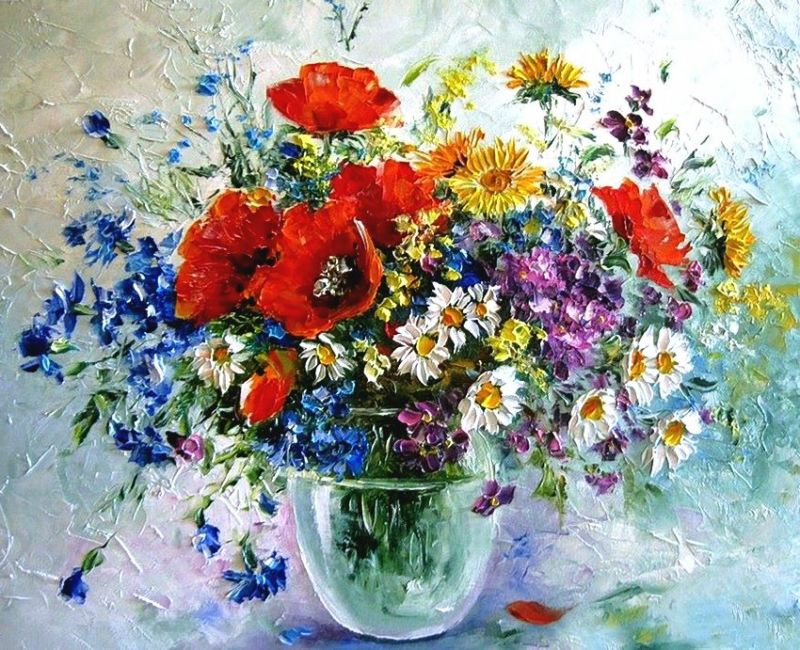
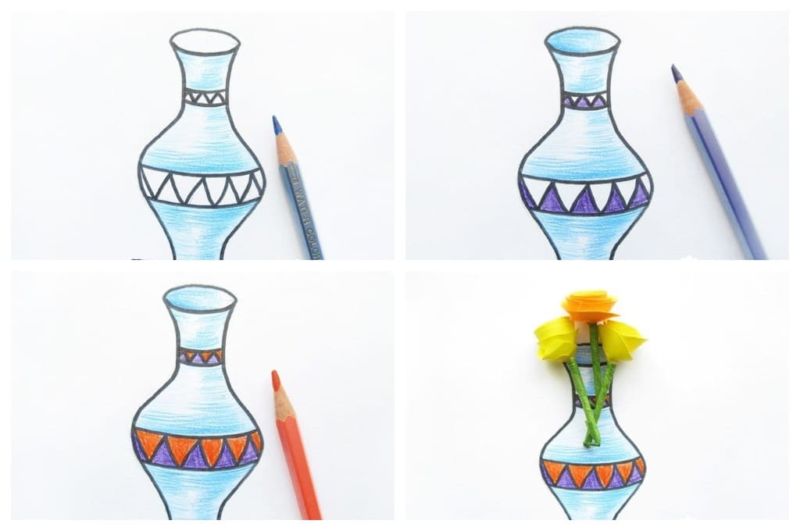
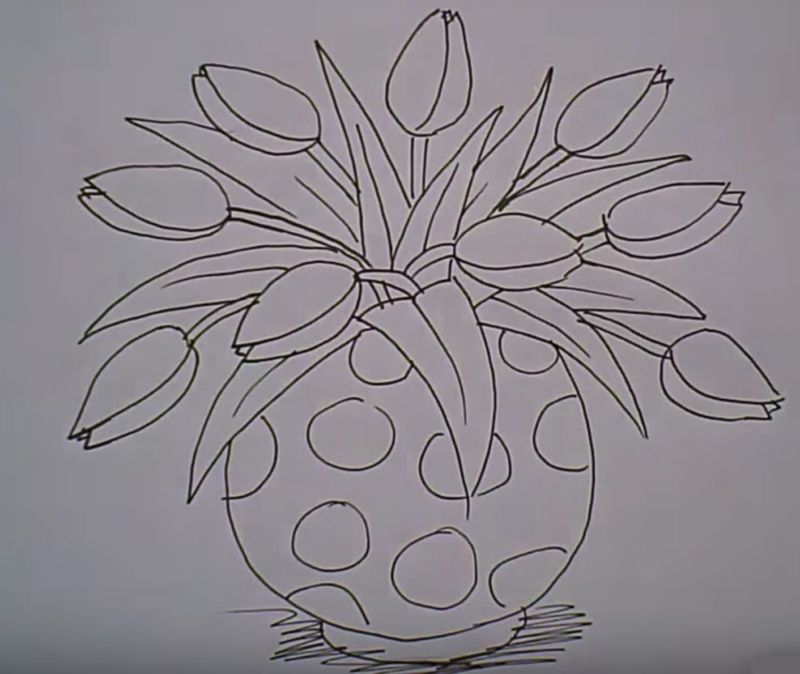
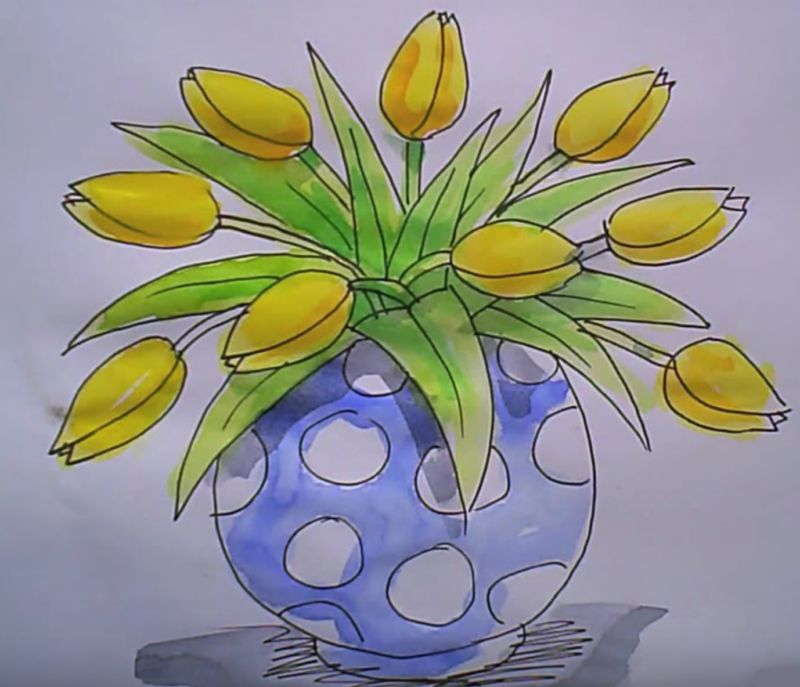
Drawing a vase with flowers
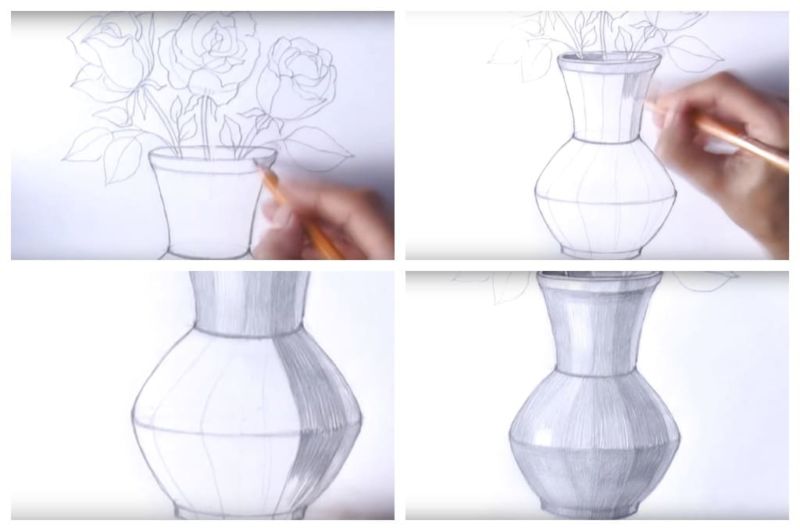
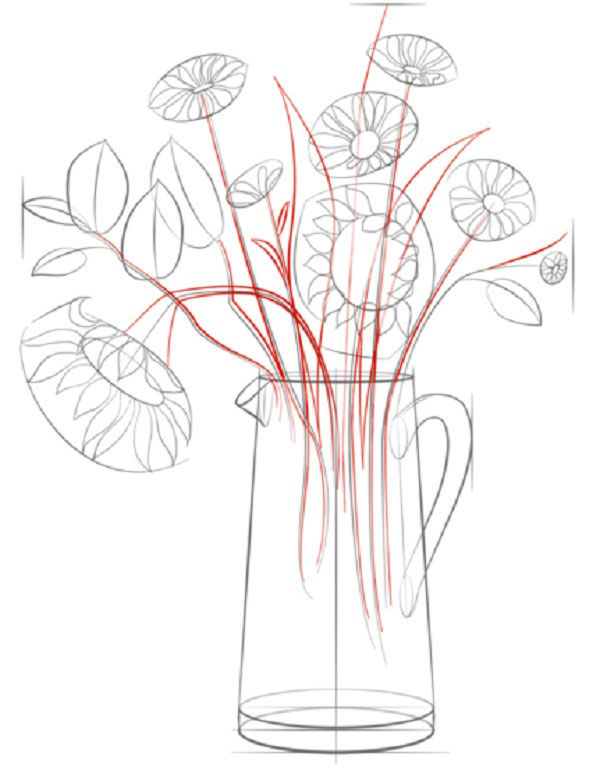
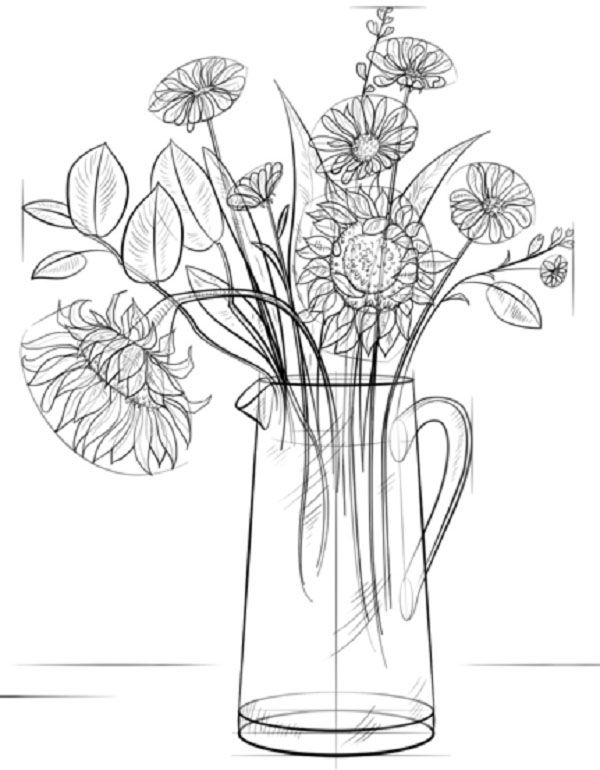
By following the correct sequence in your work, you can successfully draw a vase on a table with flowers. The task is more complicated because you need to place the vase itself and the flowers placed in it beautifully in the size of the leaf.
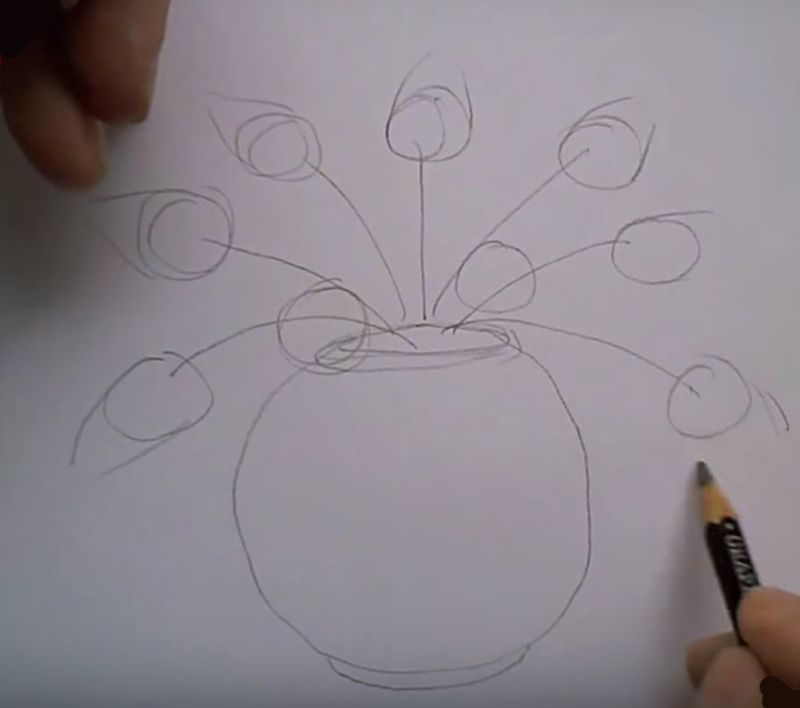
To do this, you must first outline the basic dimensions and position of the vase, and then calculate the space for flowers or decorative bouquets of dried leaves and branches.
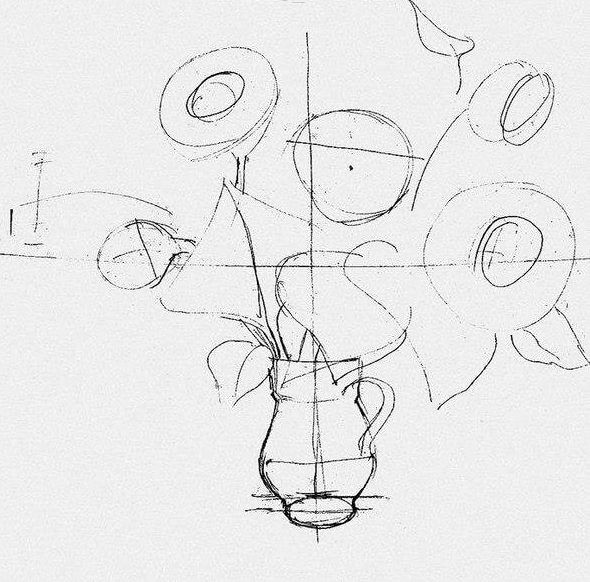
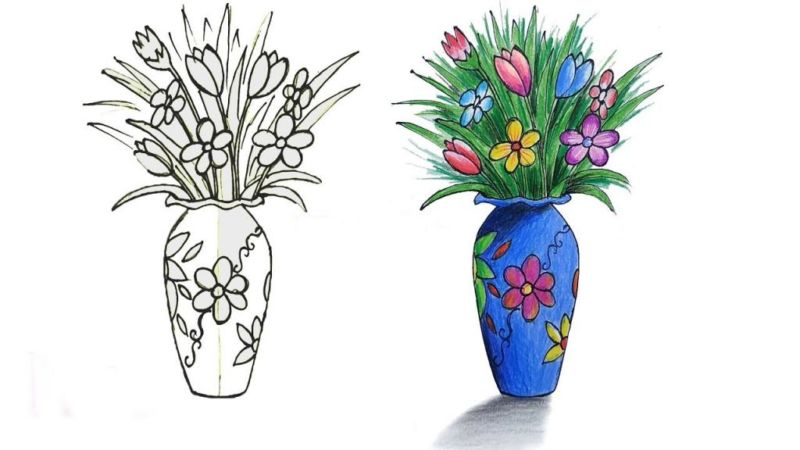
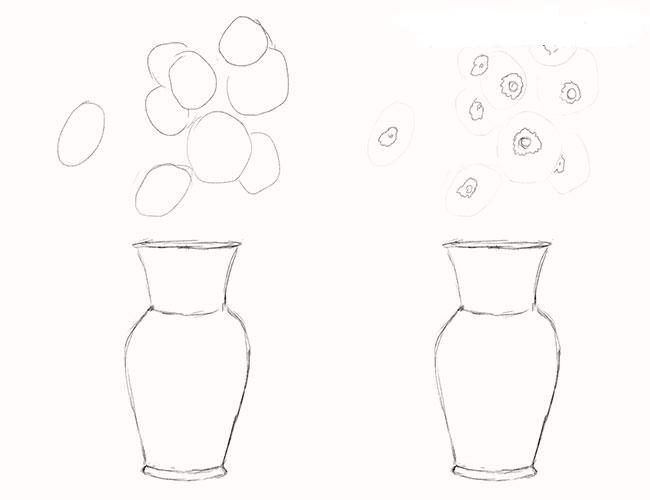
The neck of the vase, from which the stems of the bouquet will come out, should be easily outlined with a pencil, so that the extra strokes of the back wall can be easily removed after drawing the flowers.

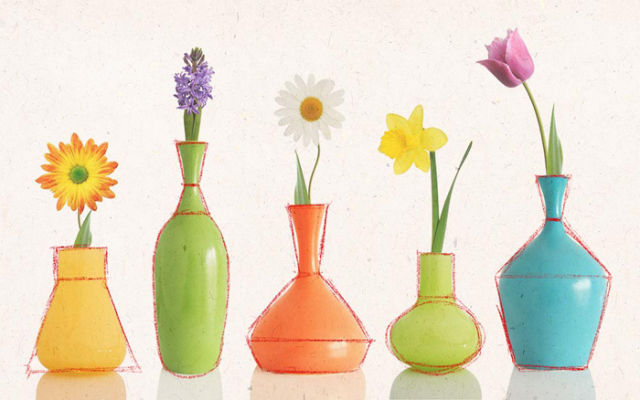
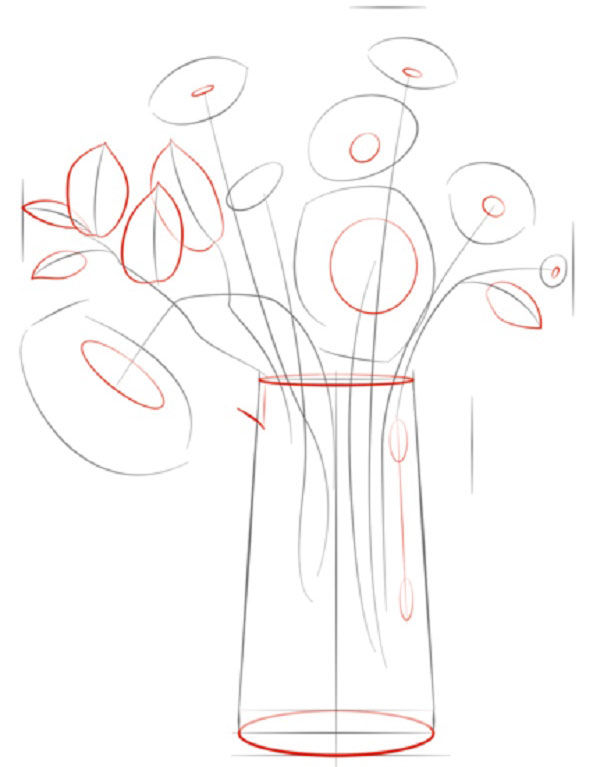
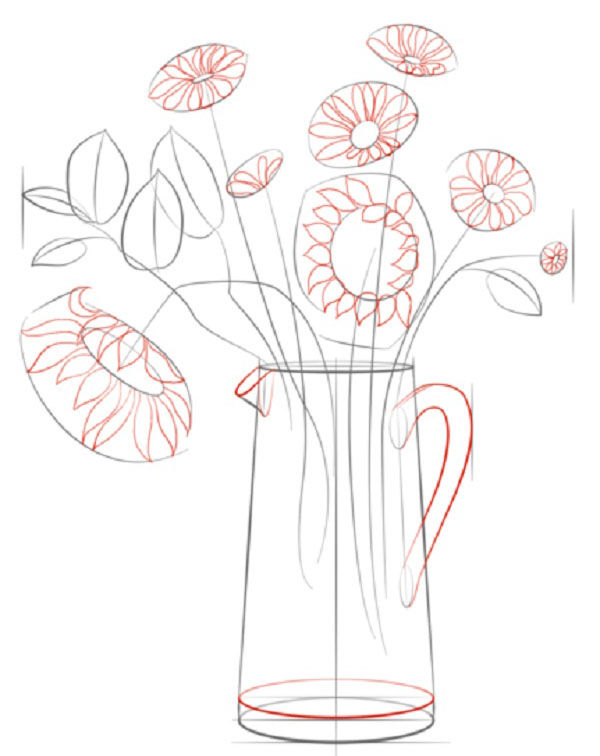
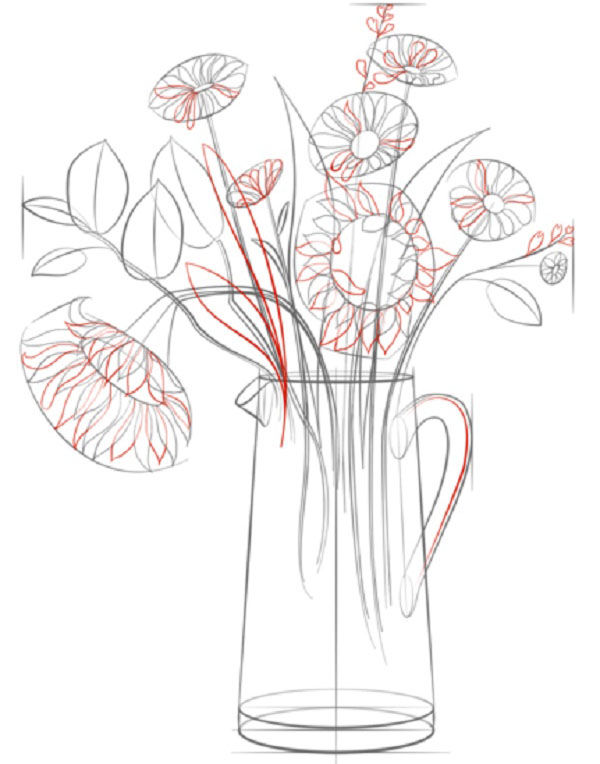
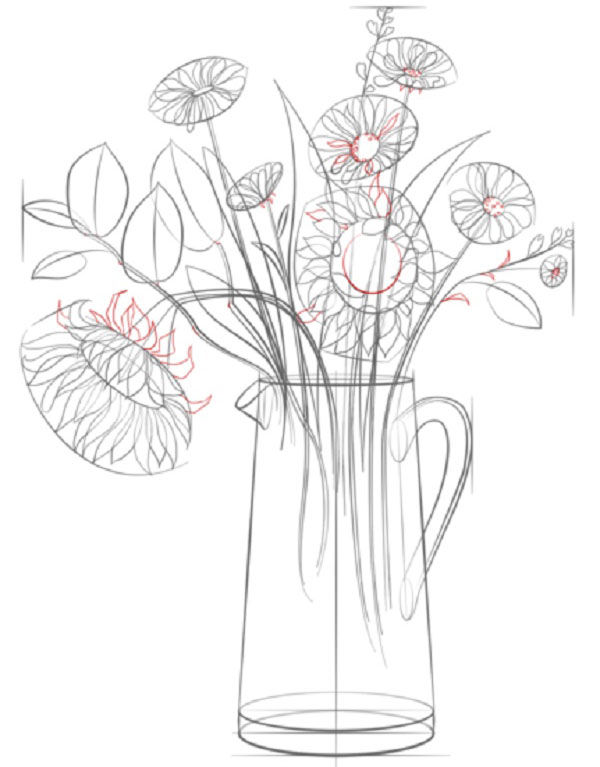
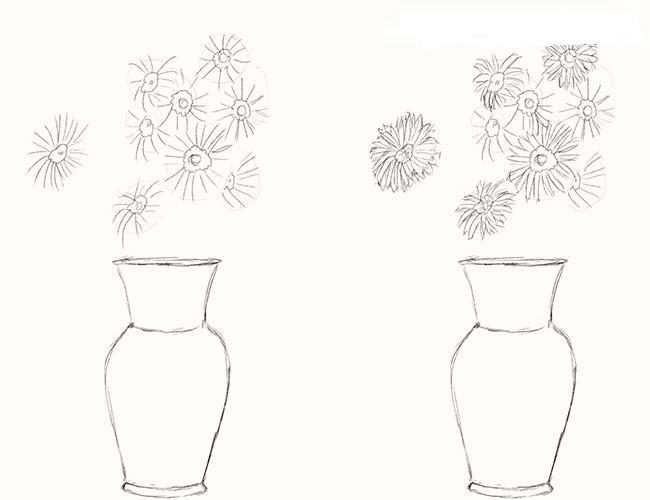
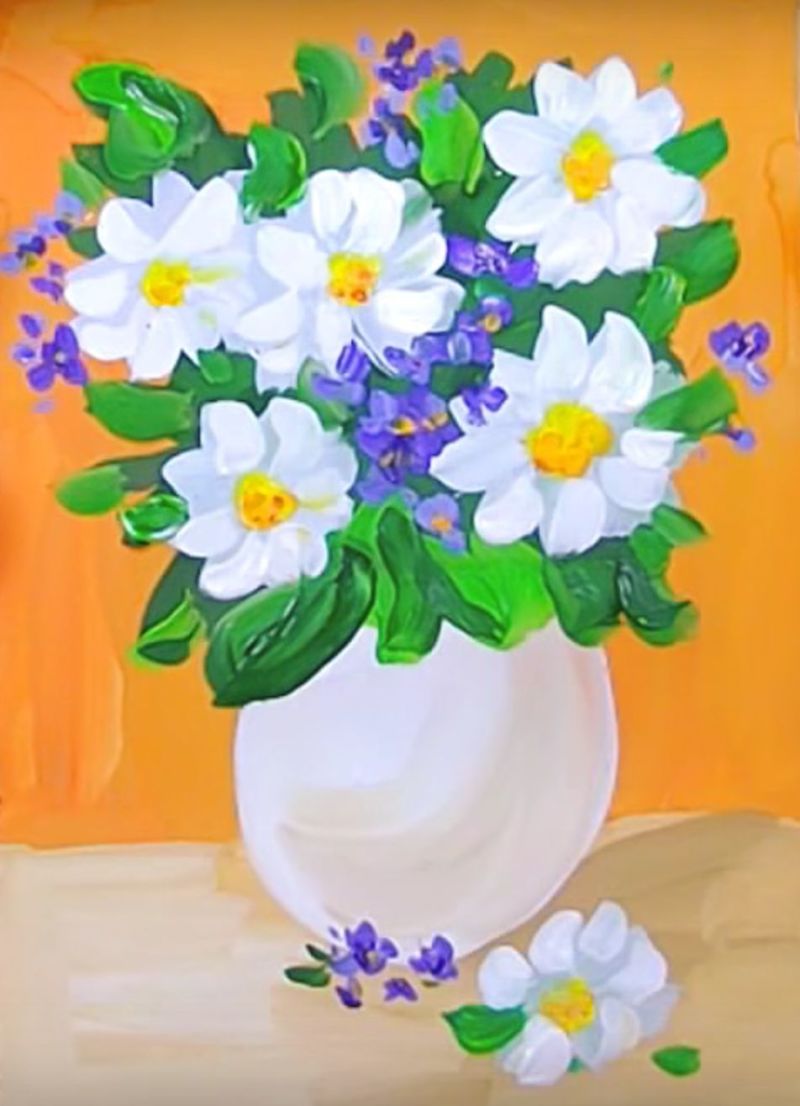
Then sketches of the individual elements of the bouquet are made, with locations in the foreground and background. Shapes of vegetation in the form of daisies are drawn in the form of circles, the middle of which remains solid, and the edges are divided into many petals.
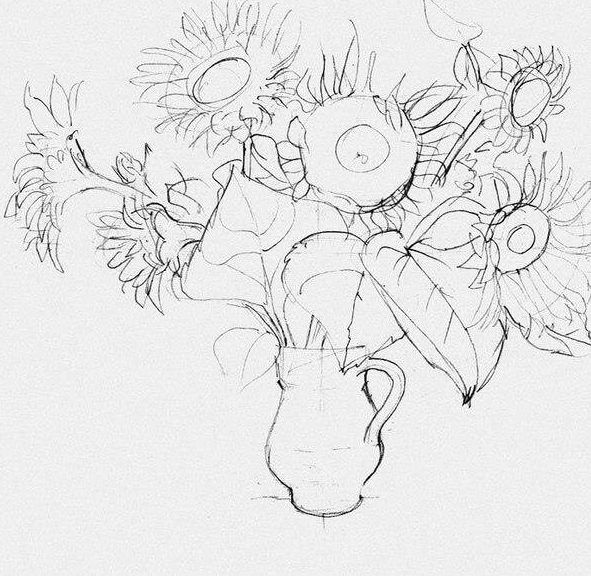
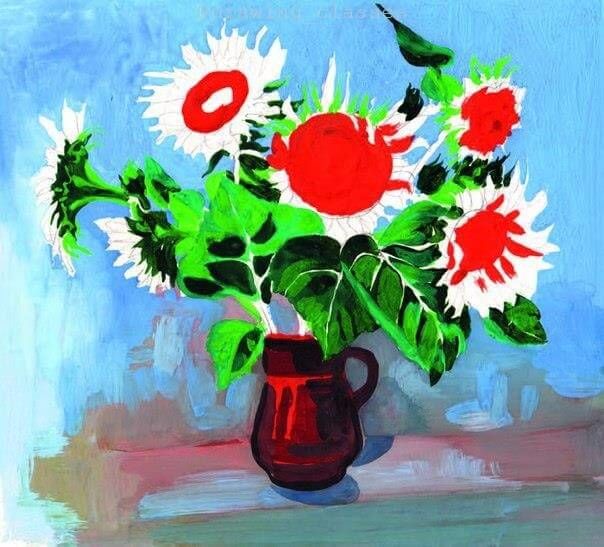
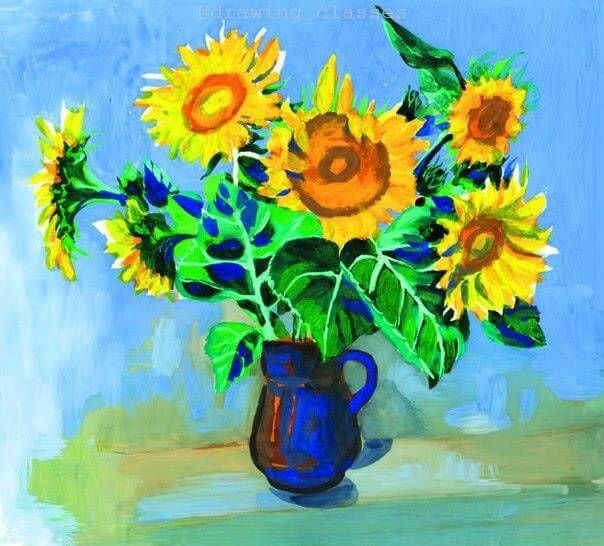
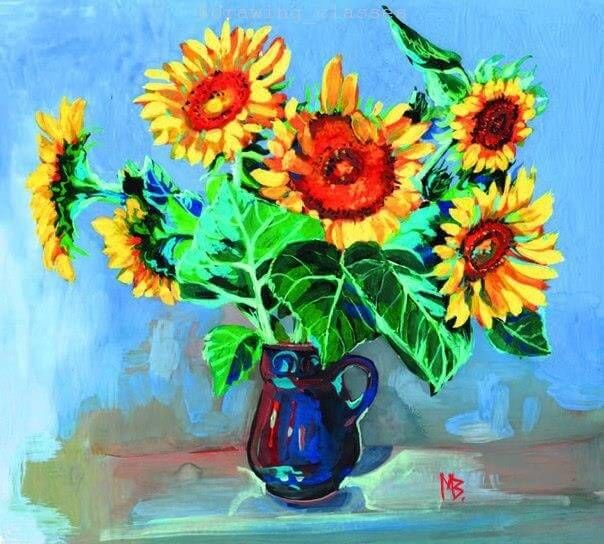
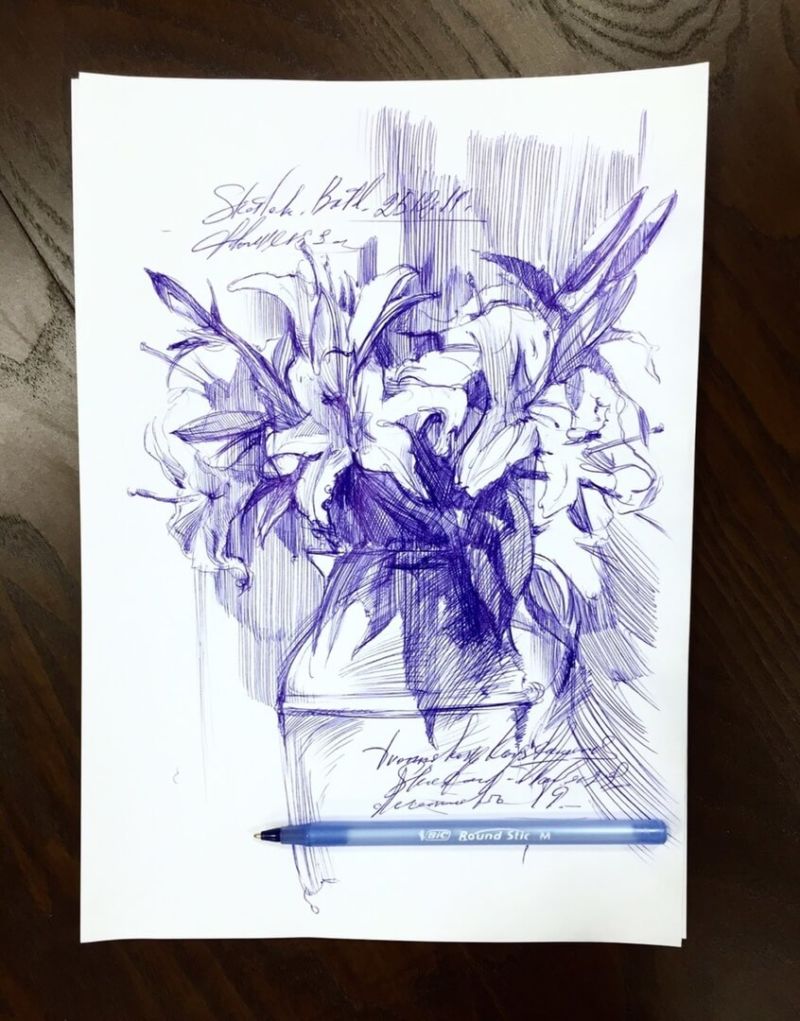
For a picturesque image, you need to arrange the flowers at different heights and at all kinds of inclinations.


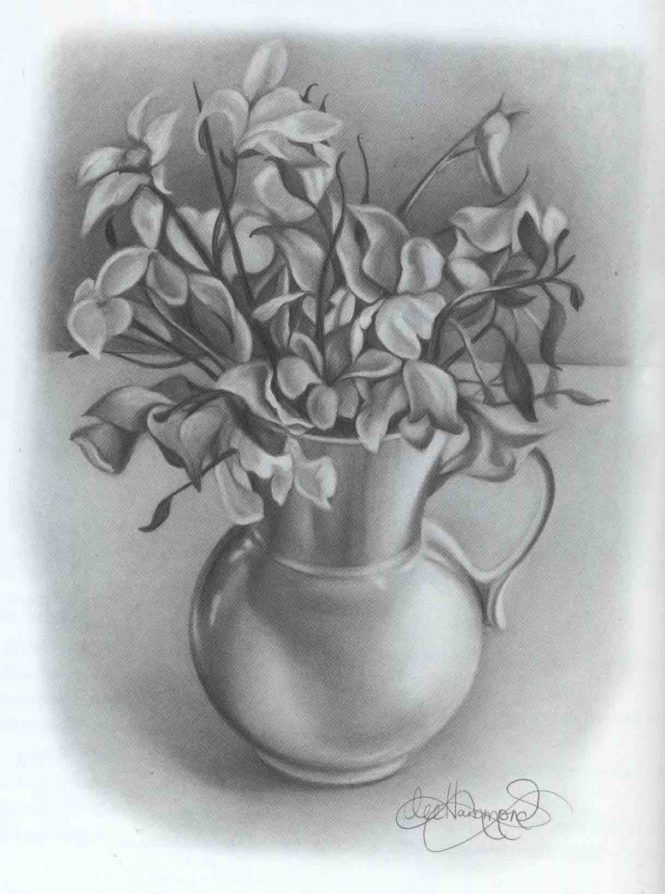
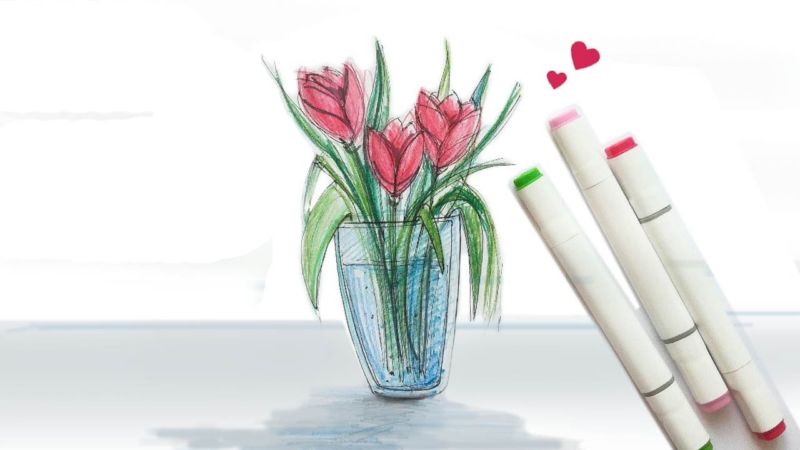
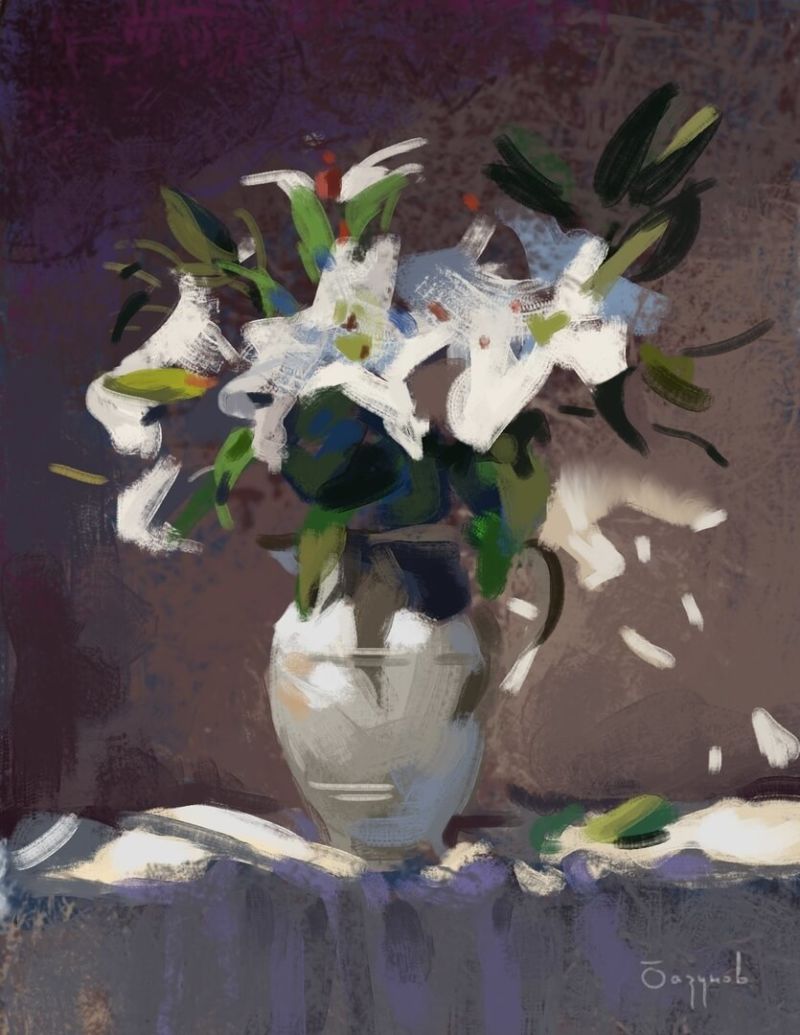
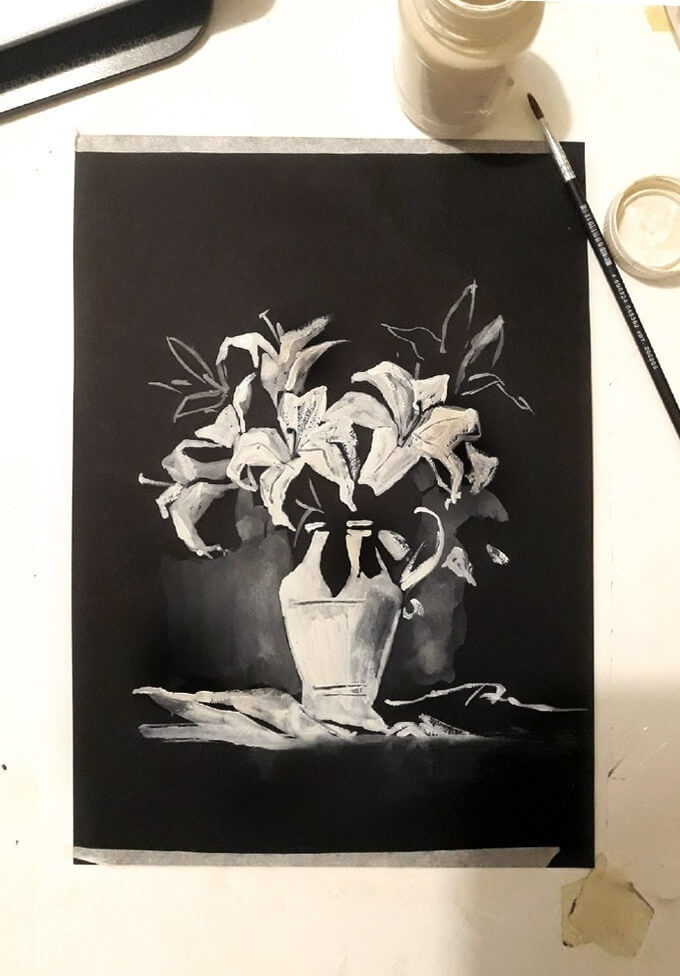
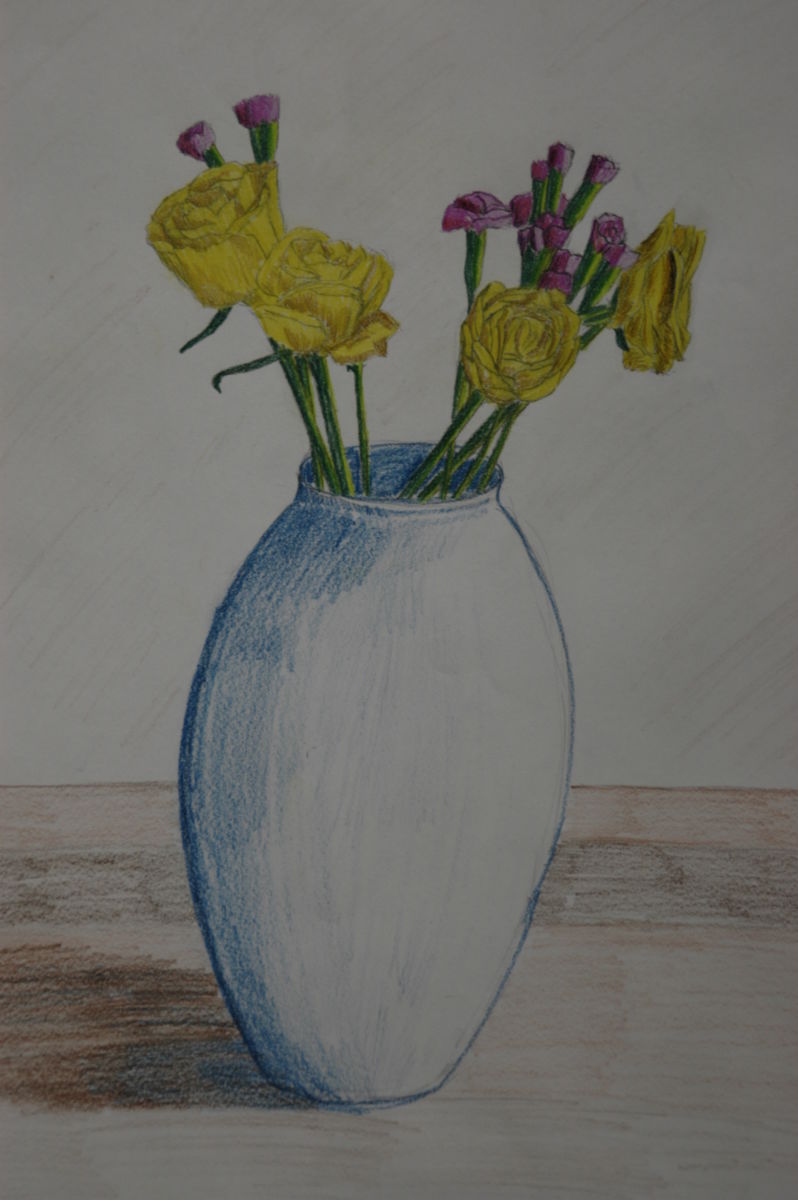
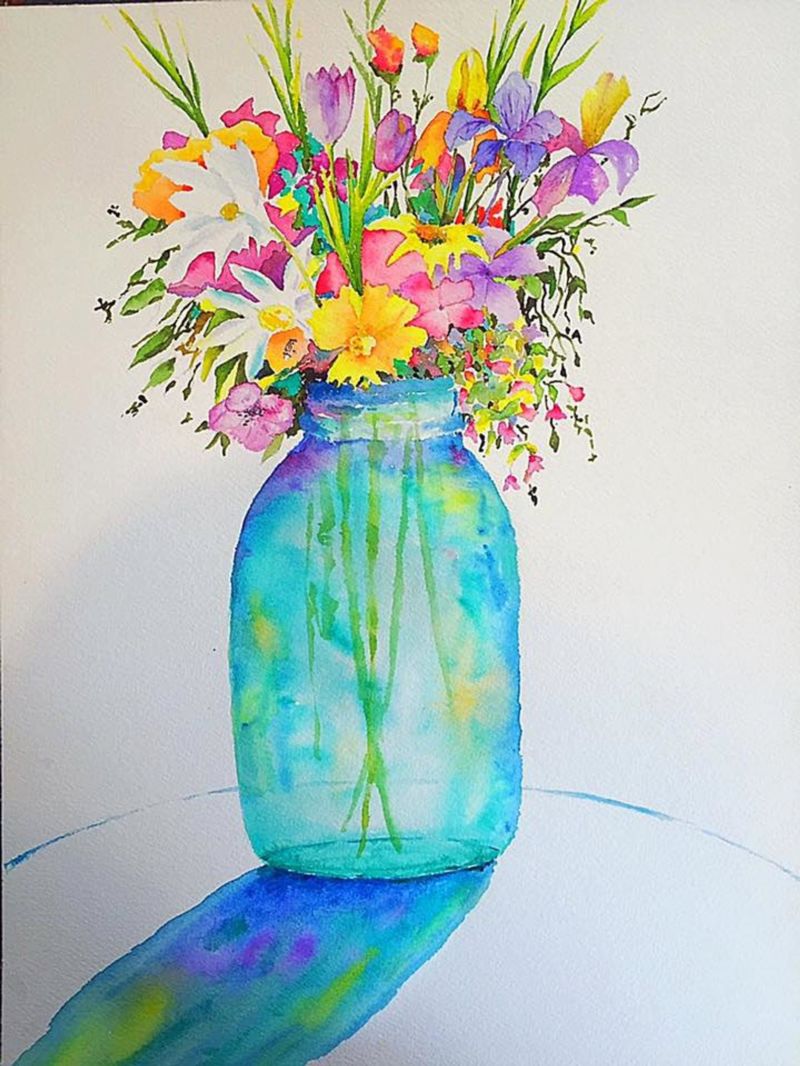
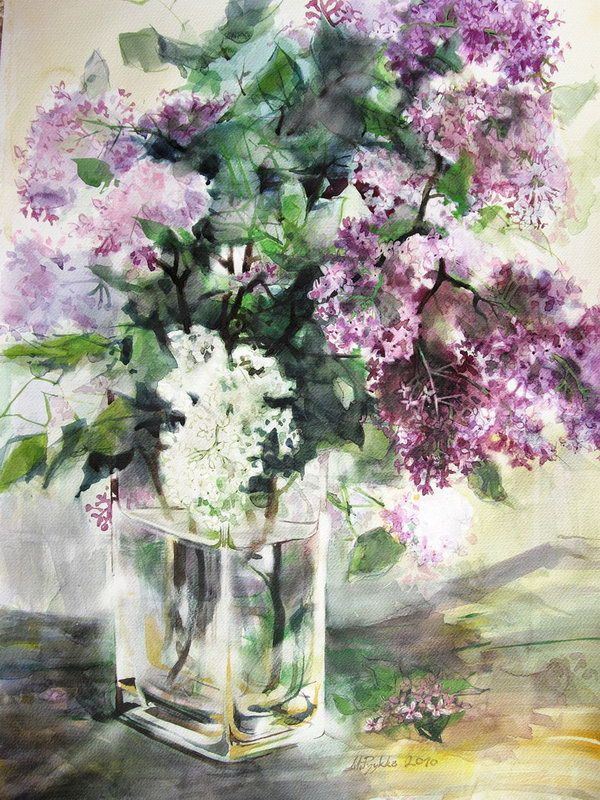
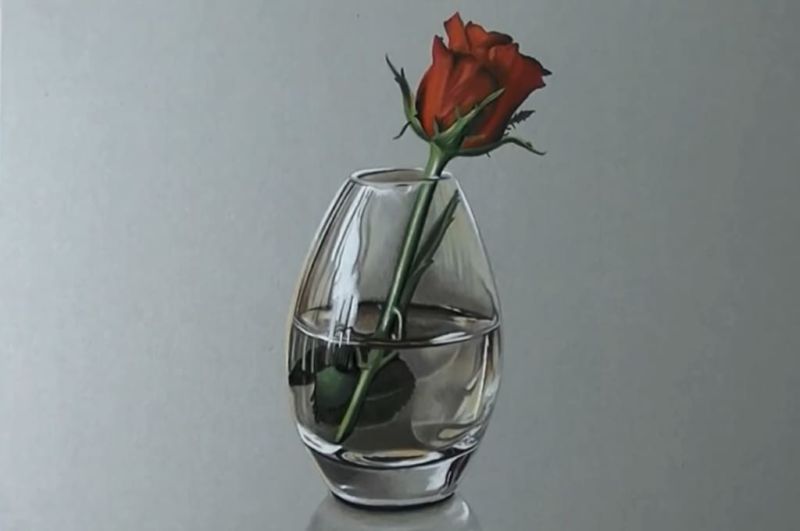
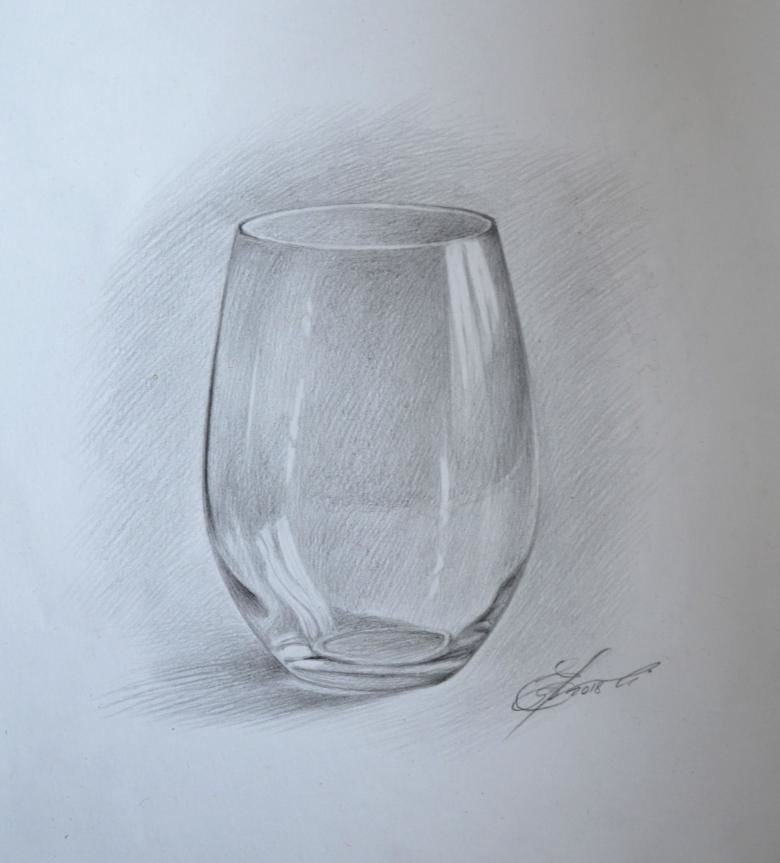
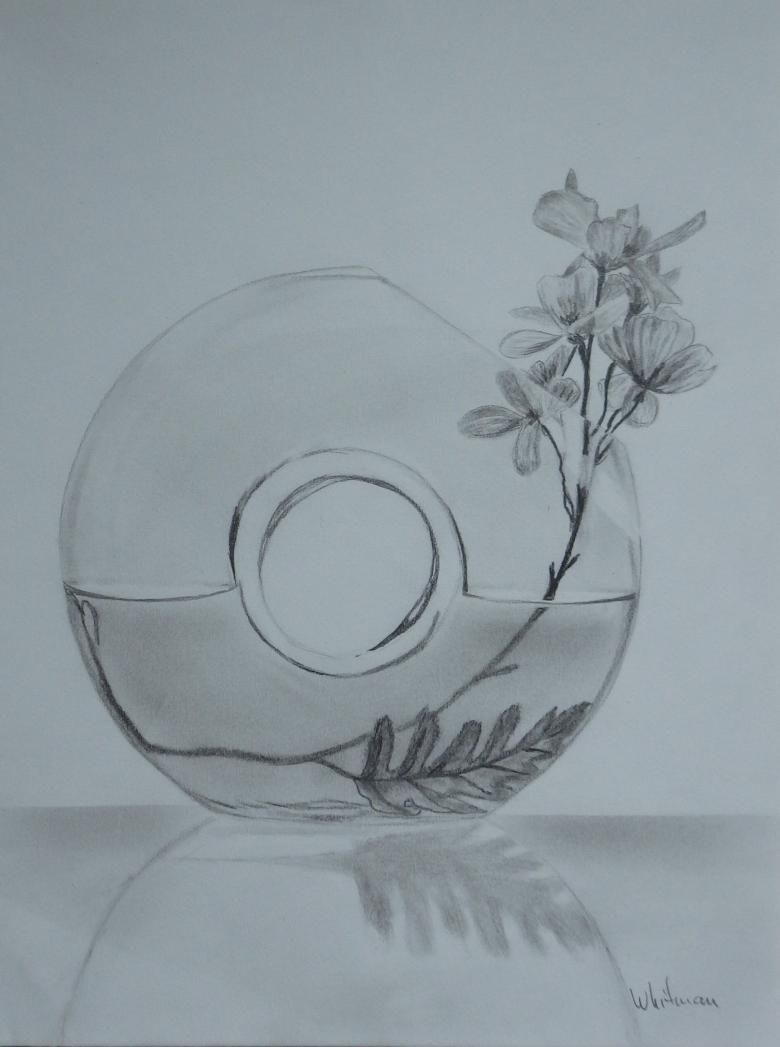
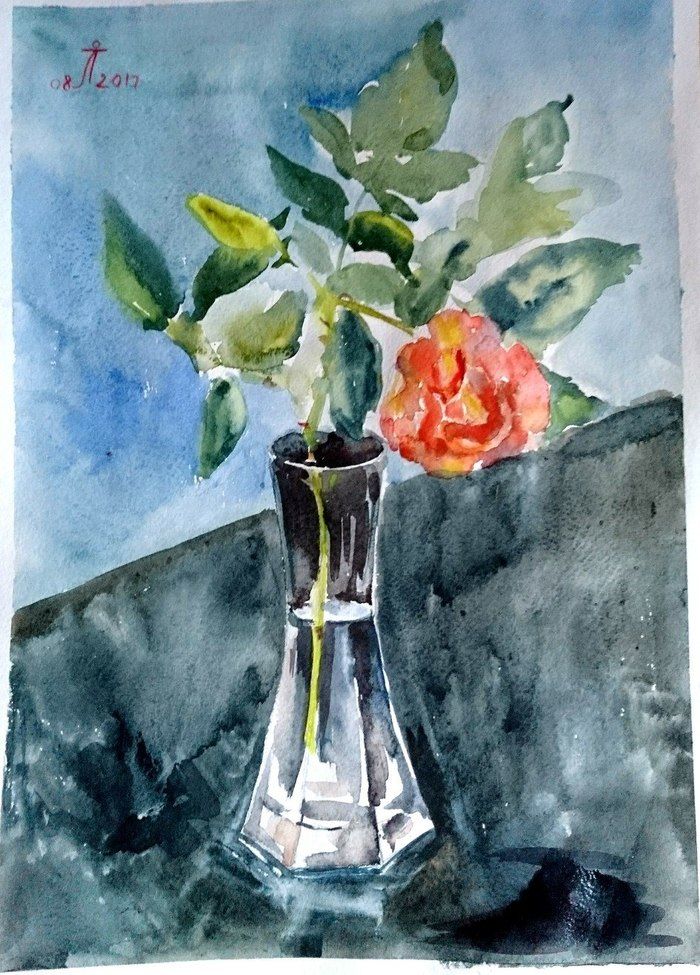
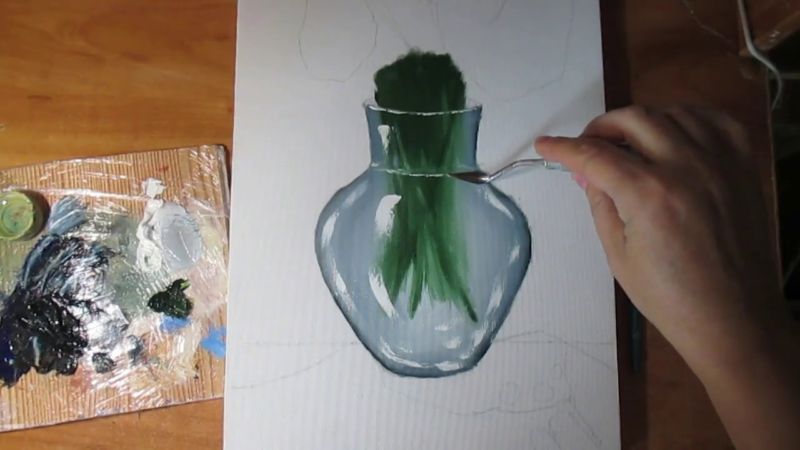
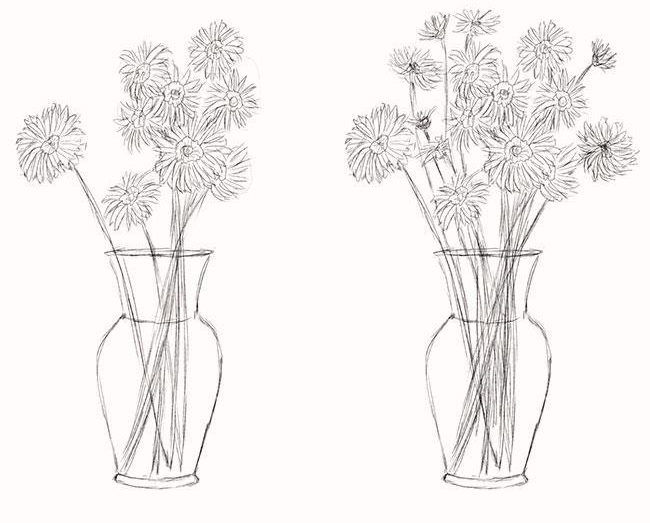
Painting glass vases
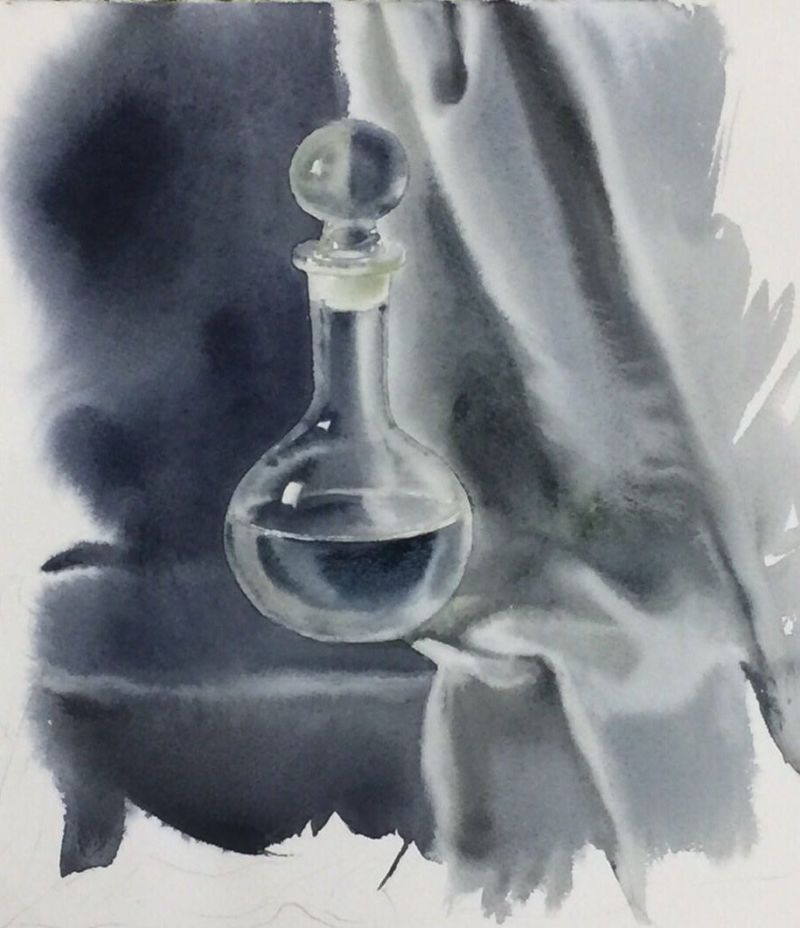
There are always many different reflections, highlights, dashes obtained in the places of thickening in the interior objects made of glass. This material is difficult to convey in a drawing using only theoretical knowledge about creating volume with the help of light and shade.
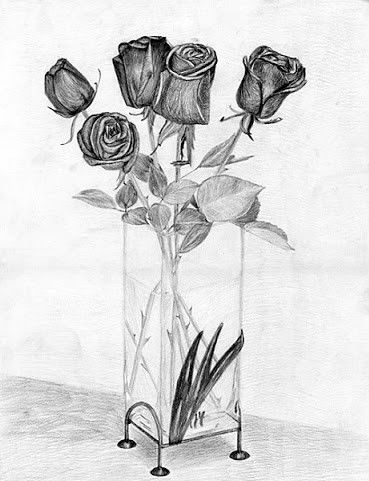
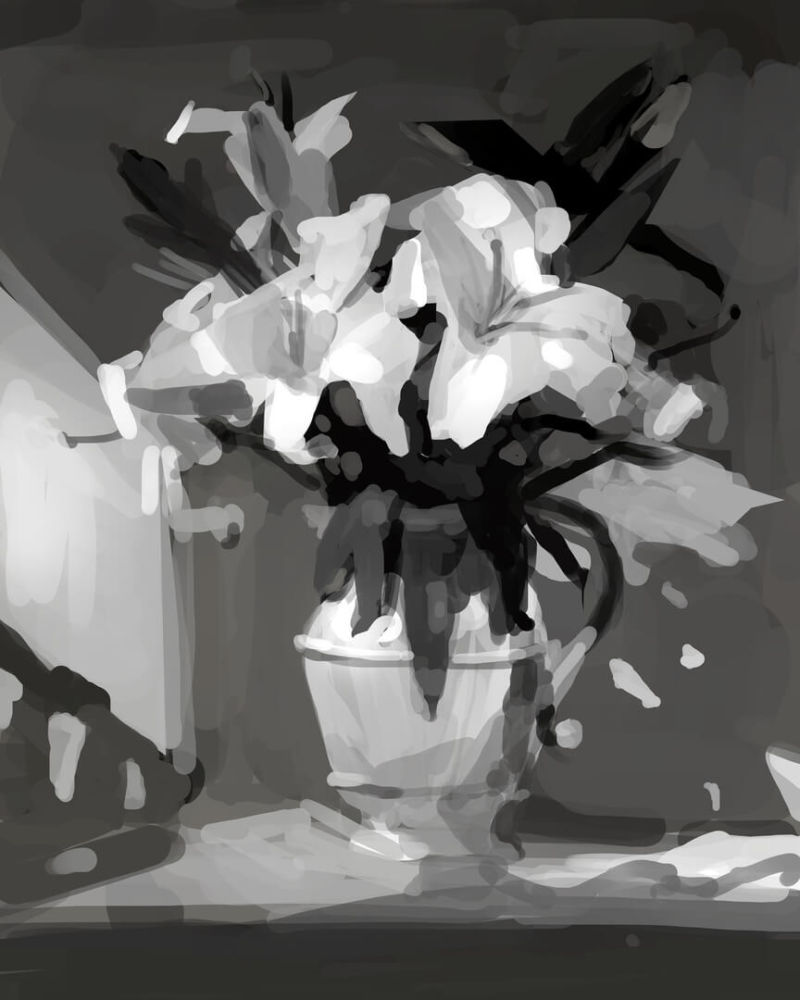
Ordinary transparent glass can be the basis for the drawing of a black and white vase. The difficulty is that the transparent walls allow you not only to see the entire internal structure of the vase, but also sufficiently distort the real size and proportions of objects.
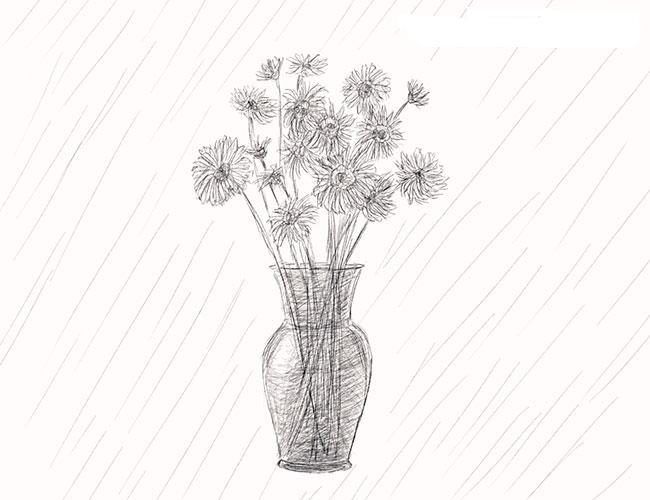
The thickness of the glass makes the bottom of the object deformed and even slightly blurred. The glare on the front wall is reflected on the back, but also with a change in shape.

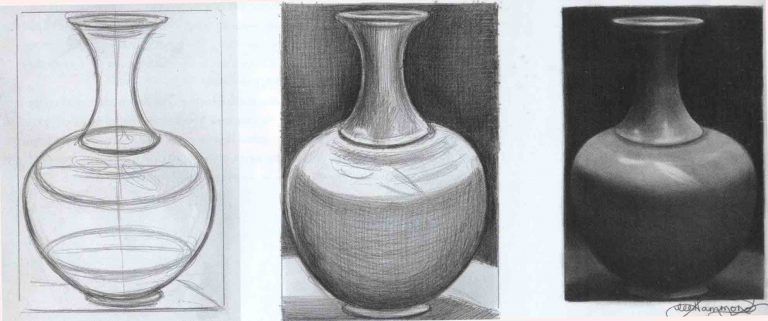
However, from the shape of the reflections you can see the real rounded shape of the vase and all its curves. The entire piece looks gray, with no visible shaded areas, and you have to look at it for a while to determine the lighter foreground, compared to the back wall.
The sides of the vase show the thickness of the glass and are the darkest areas of the pattern. If you squint and look at a glass object in a somewhat blurred view, you will see the darkest and brightest fragments better.

The glare is often on one of the sides of the vessel, reflecting in the bottom or back wall, depending on the tilt of the incident light. The simple pencil perfectly captures all the gradations of shadows on the glass from the light gray planes to the black strokes at the bottom, where the largest seals are located.
The brightness of the white highlights, for more expressiveness, can be enhanced with a pastel pencil. They wonderfully enliven the entire drawing, which in the gray areas should be shaded as uniformly as possible.
For this purpose, it is useful to stock up on pencils of different softness - from 2H to 4H, and constantly change them as necessary.
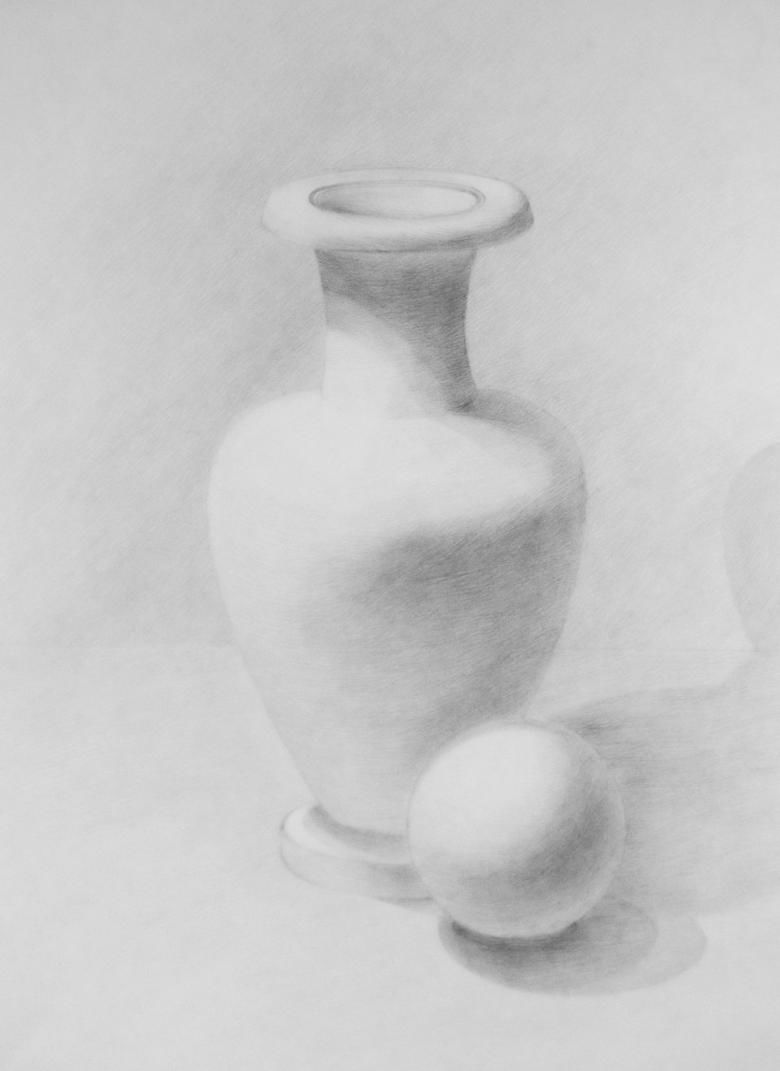
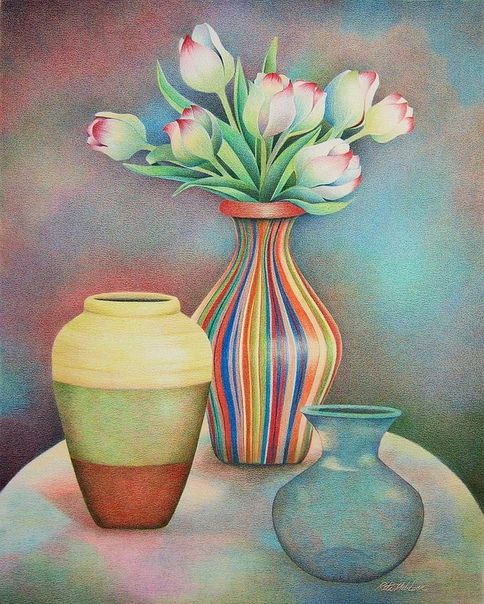
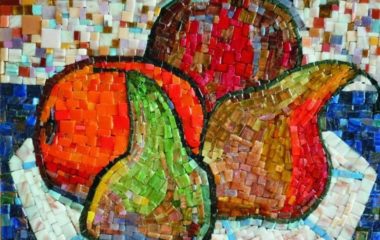
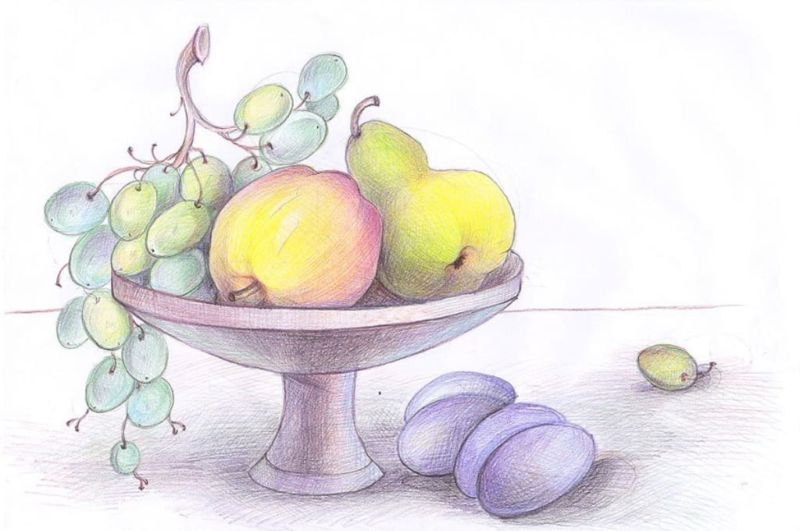
Vase on the table with fruit
By beginning to learn how to properly draw a vase with pencil sketches and drawings, you can create a colorful, picturesque still life of this utensil filled with colorful fruit.
Such a painting can be created without paint, using only regular or pastel colored pencils. For the work you may need:
- plain pencils of different hardness for sketching;
- An eraser for erasing;
- Colored pencils, a set of crayons, pastels, felt-tip pens, if desired;
- hairspray to fix the pastels to the drawing.

To begin the layout of the still life, it is necessary to draw two lines, horizontal and vertical, to find the location of the vase of fruit on the plane of the table. The front edge of the table is marked with another horizontal line below the first one.
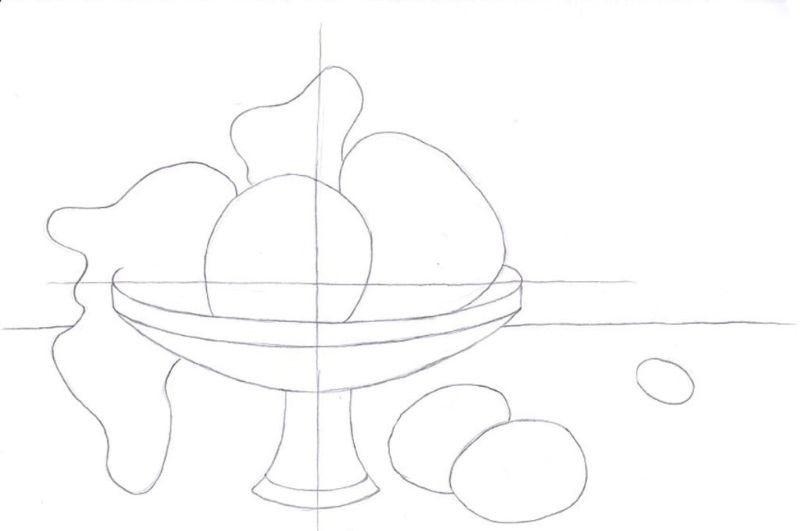
At the intersection of the upper horizontal and vertical lines is the location of the bottom of the vase. On the vertical line, mark its height, and then find the proportional size of the bottom and the maximum points of the sides' oval, which are located symmetrically in relation to the central line.
If the vase stands on a leg, you should immediately determine the ratio of its height to the total height of the object on the sheet of paper. All the extreme points of the convexities are connected by a smooth line according to the shape of the nature.
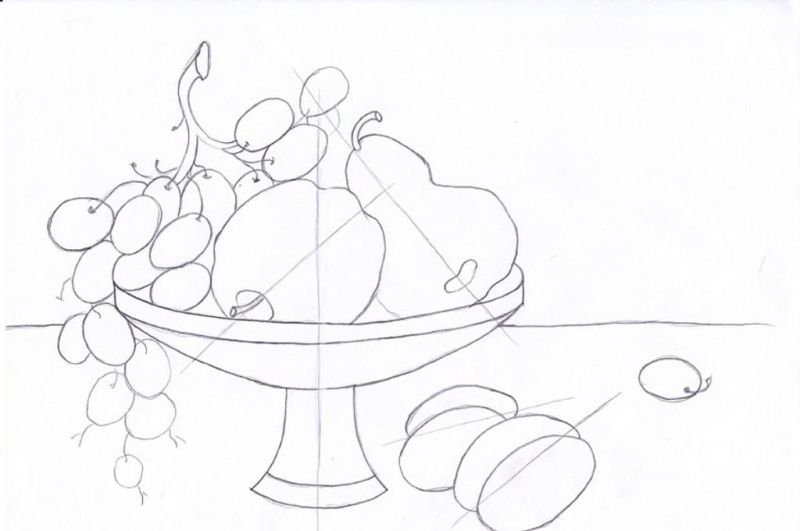
After the sketch of the vase is ready, you can distribute the position of individual fruits in it in general circles, outlining the banana with an oblong shape, and the brush of grapes with arbitrary outlines of the volume, which is then detailed to each berry.
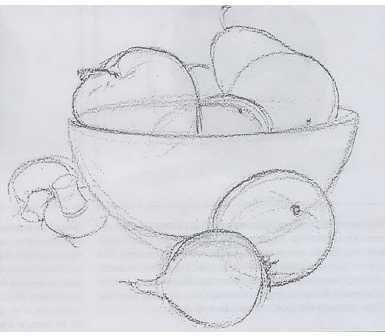
Apples, peaches and plums are easier to paint than pineapple or grapes, but each of these fruits has its own specific contours and size, which should try to depict in the most realistic way.
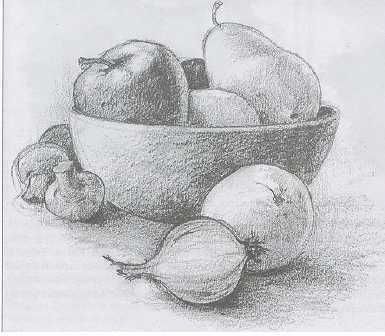
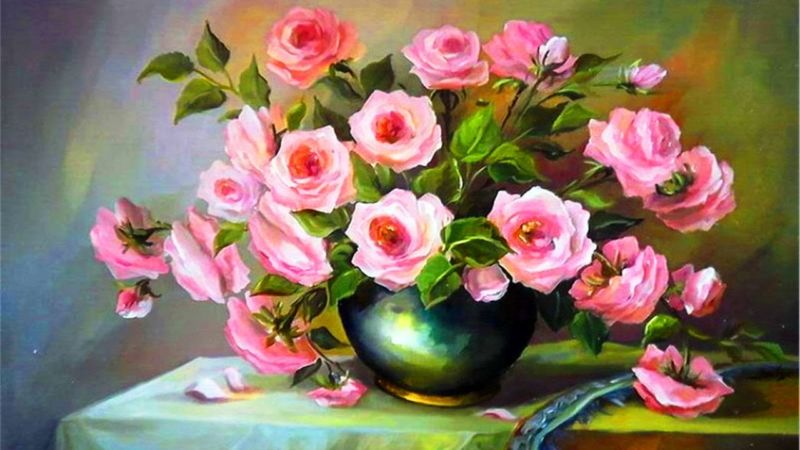
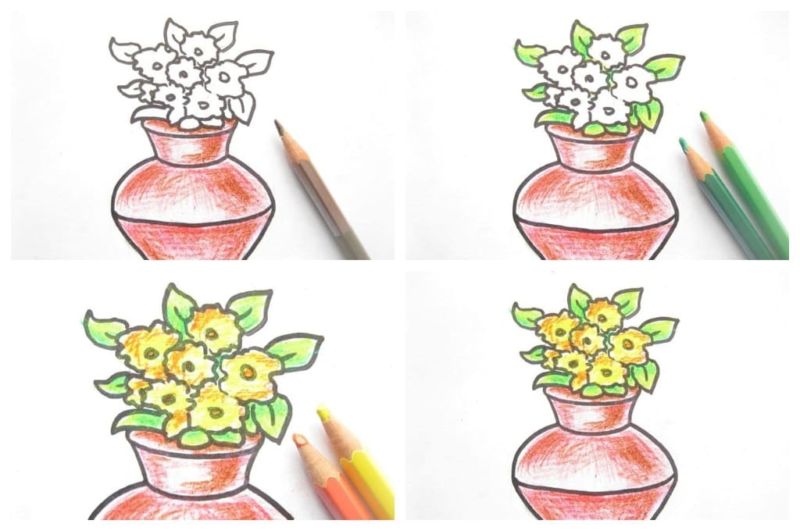
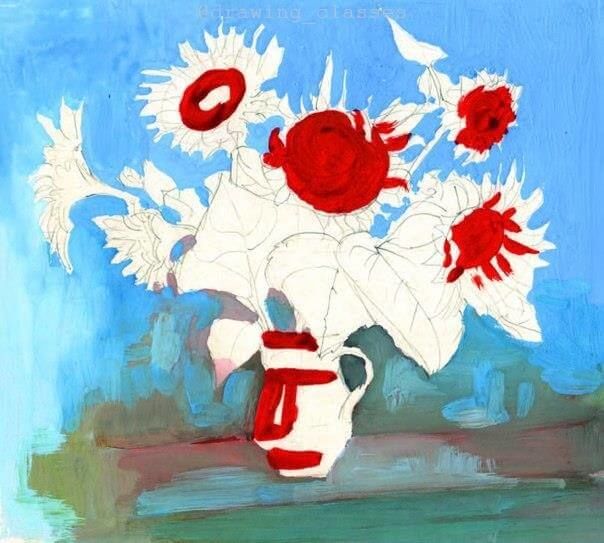
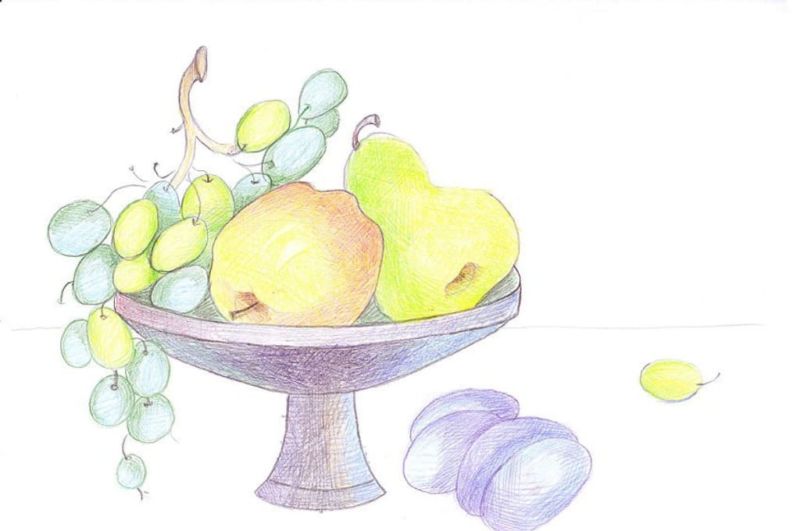
For a picturesque still life you can place one of the fruits on the table, next to the vase or draw a pair of fallen grapes. The coloring of the picture should start with light colors, carefully and without pressure, matching the colors to each fruit. Shadows can be depicted in browns and purples.
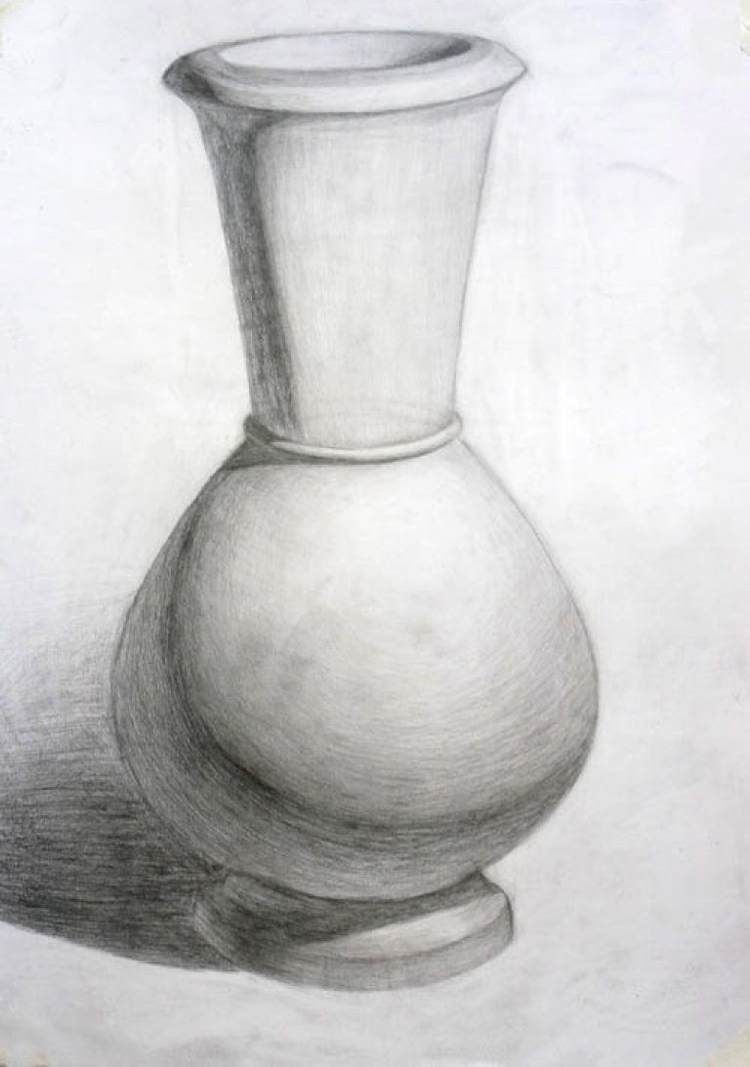
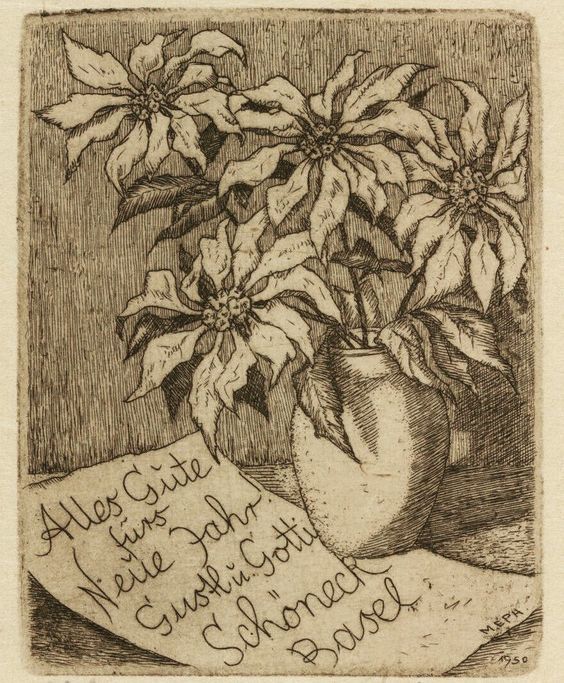
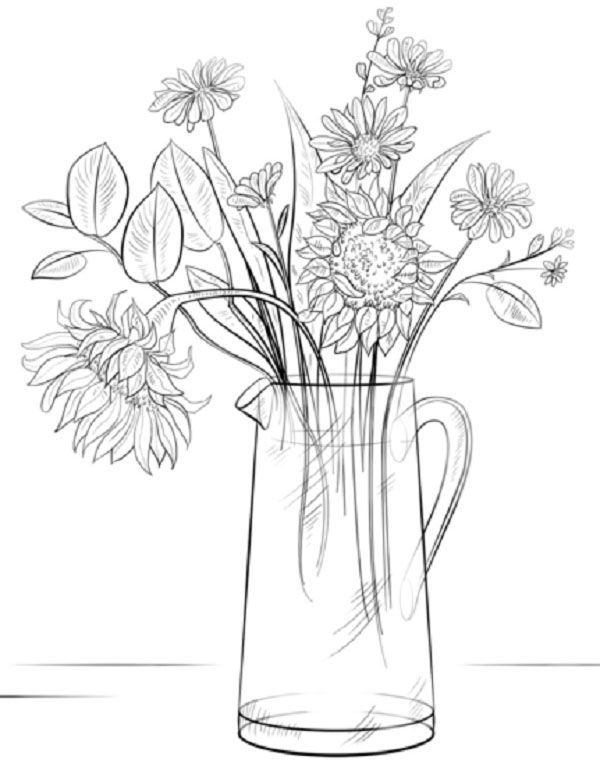
In order to better learn how to draw beautiful and unusual objects that are not at hand, you can use pictures of vases for sketching. This will help you better understand how shadows are placed or how ornaments are drawn on the voluminous, round sides of the object.
Picture of a drawn vase