How to draw fire in a step-by-step pencil: easy master classes for children and beginners
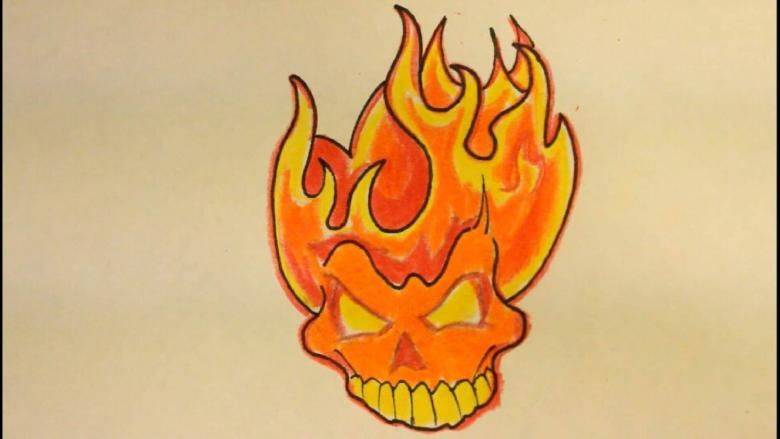
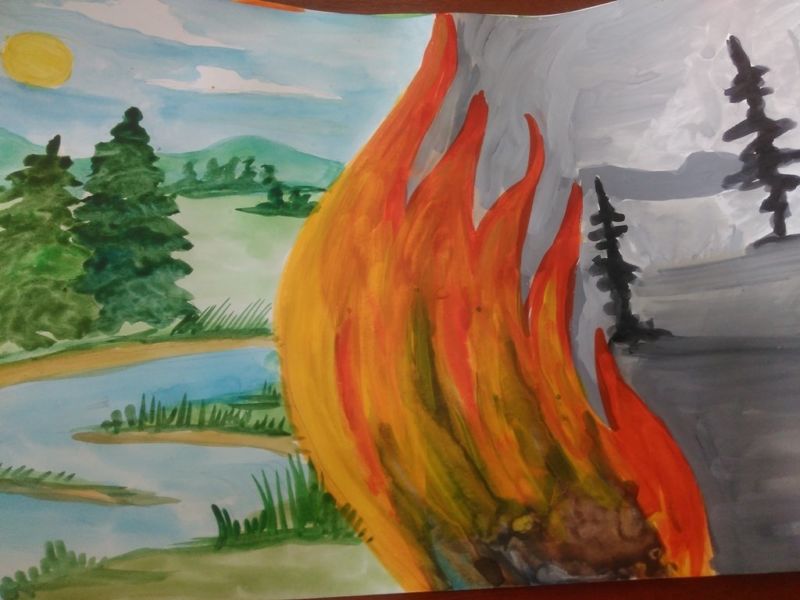
The ability to draw fire may be needed to depict landscapes, military panoramas, logos and posters. The peculiarity of displaying flame is that the object is constantly in motion and changing its outlines, intensity and brightness.
Therefore, it is necessary to know the basic techniques of drawing live fire theoretically in order to create its pictorial image in the most correct and realistic way.
Learning to create a live and three-dimensional fire drawing on your own helps develop abstract thinking and tactile skills in people of all ages.
Techniques for Drawing Fire
Nowadays, there are several of the most accessible and simple ways to draw fire. The beginning of any drawing for inexperienced artists begins with the obligatory pencil sketch.
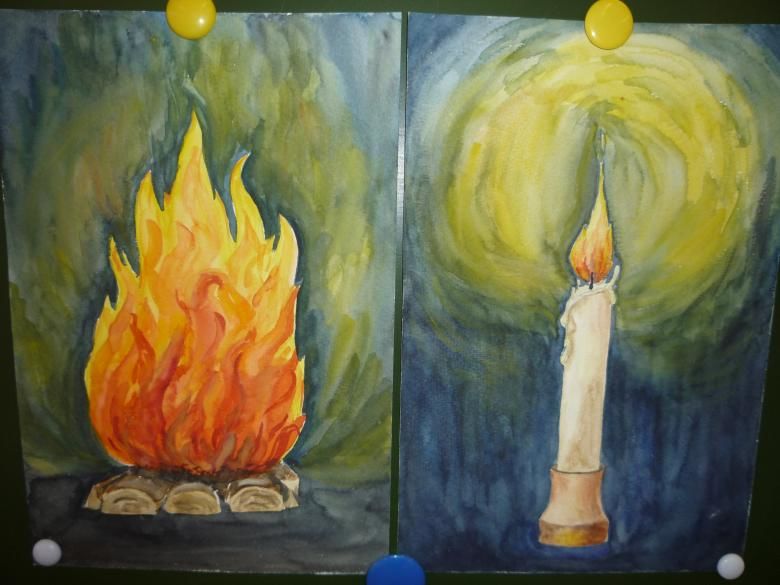
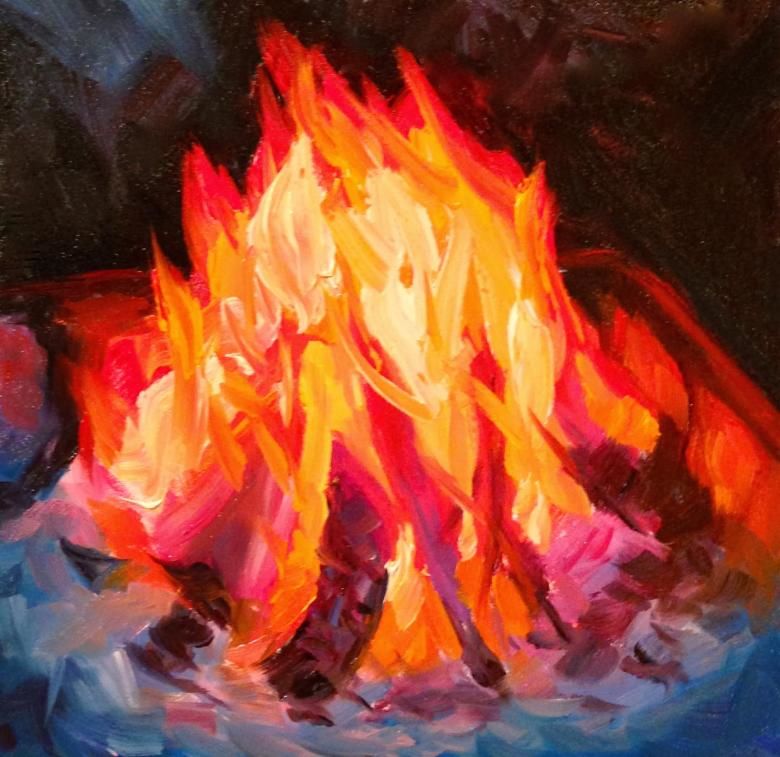
In some cases, the image can remain done in a monochrome technique, but it is possible to paint the built outlines with colored pencils, felt-tip pens, watercolors, gouache, tempera, pastels, and graffiti style spray paint cans.
Each of the ways a beginner artist chooses depending on the challenges he faces, and learn step-by-step drawing anyone can, if he shows a little patience and perseverance.
Sketching flames with a pencil
Students may be faced with the question of how to draw a fire for a school exhibition, the production of a play, the creation of greeting cards with the image of "eternal fire" or tasks on the theme of summer holidays and tourism.
For larger works, you may need to prepare several templates to layer different colors sequentially on a painting canvas or wall.
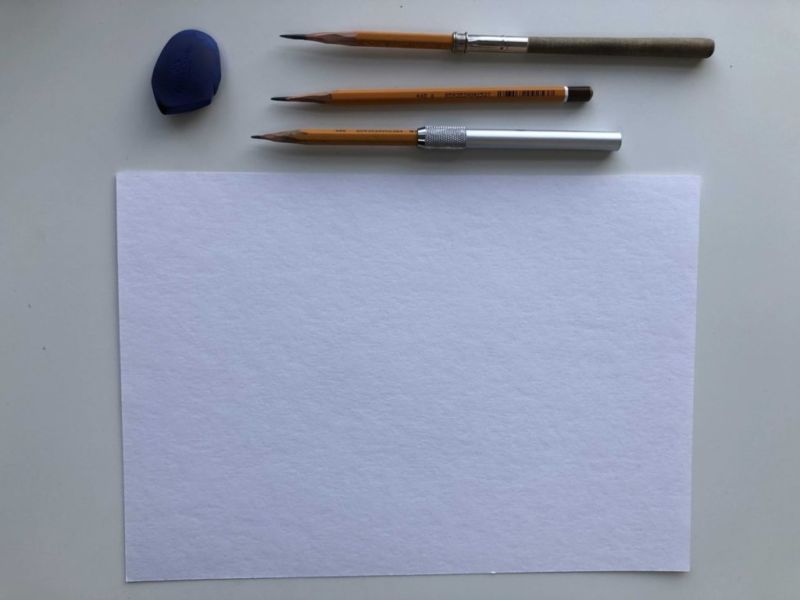
To create fire sketches, the following materials will be needed:
- The basis for drawing - paper, canvas, wall, wooden or metal shield;
- a sheet of A4 plain paper for sketching;
- simple pencils of varying degrees of hardness and softness;
- compass and ruler;
- An eraser to erase unnecessary lines.
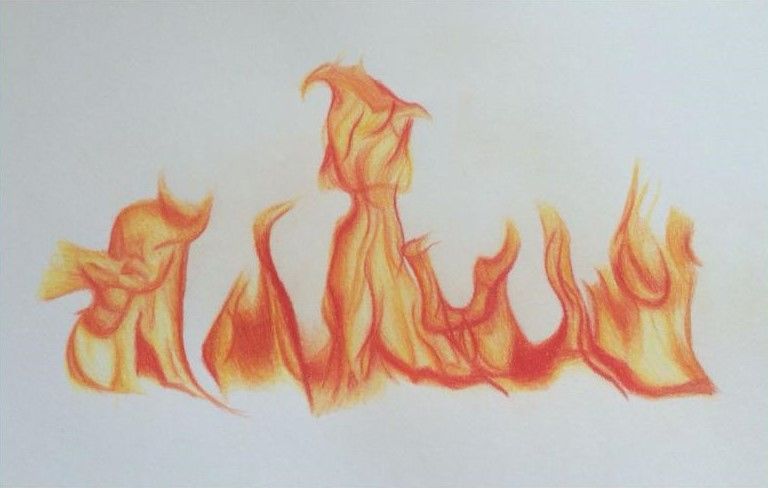
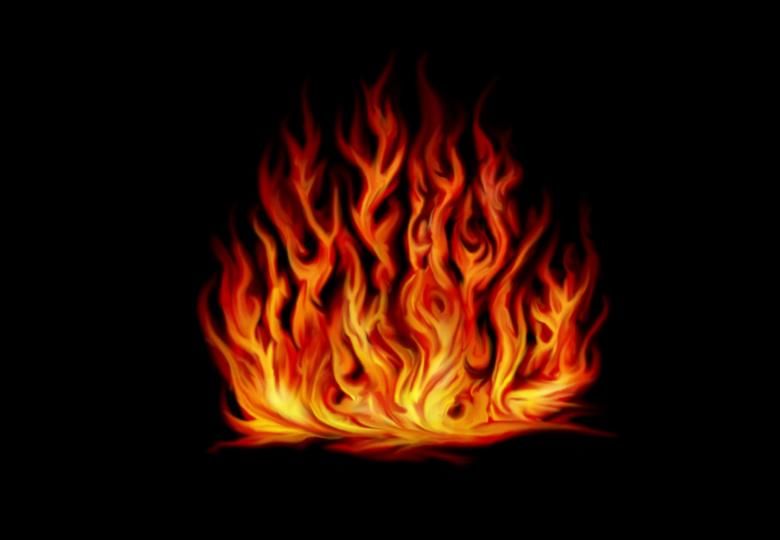
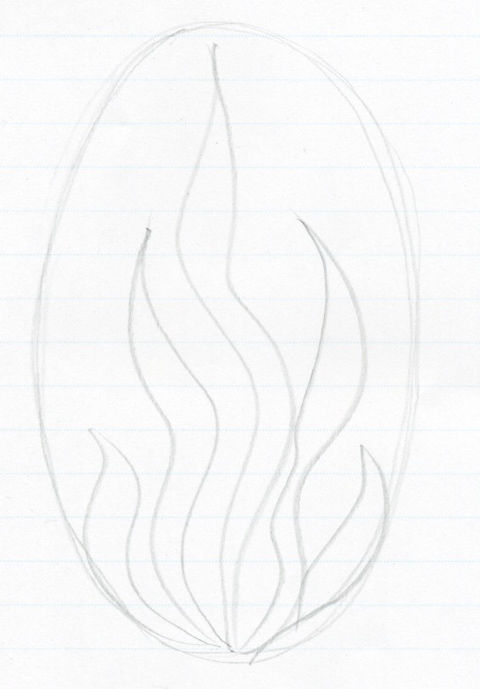
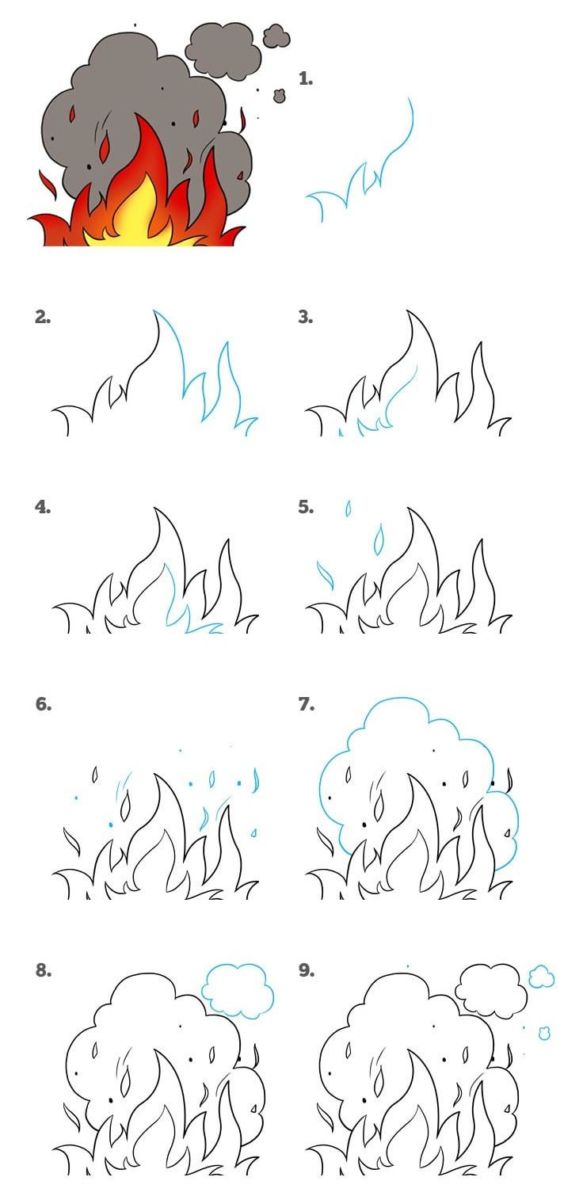
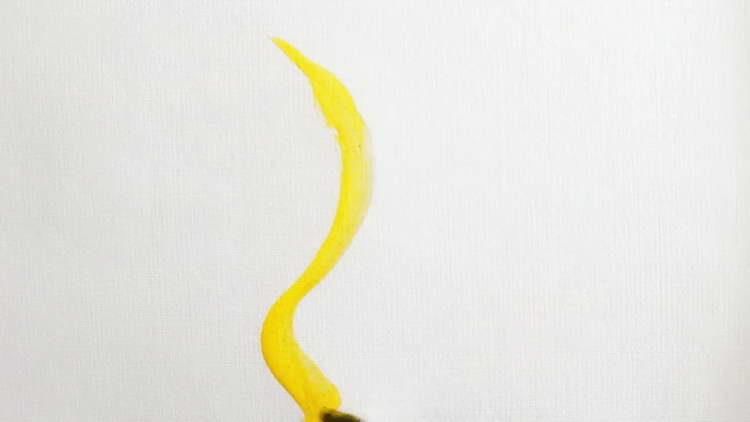
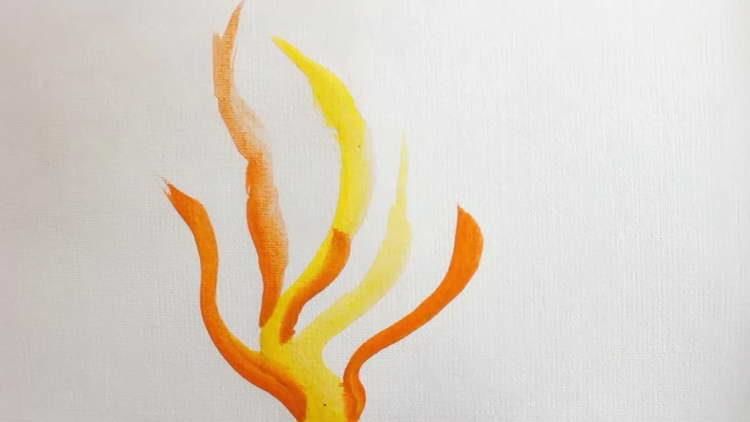
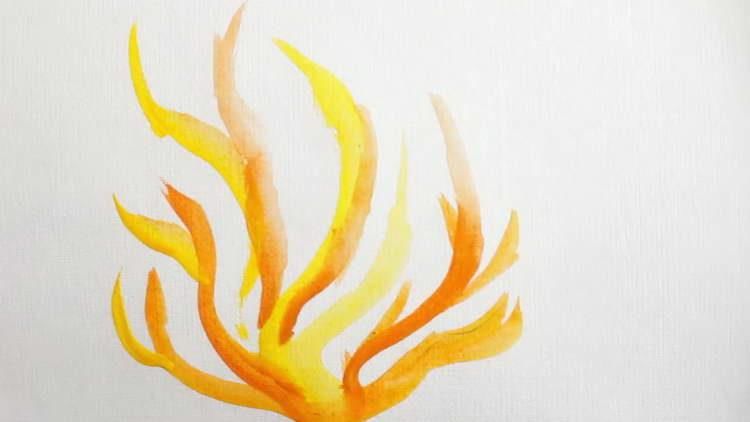
First you need to practice on a rough draft with a simple pencil. To do this, it is necessary to beautifully distribute the tongues of flame in a given volume and outline in them the gradations of fire intensity, which will help show its dynamics and naturalness.
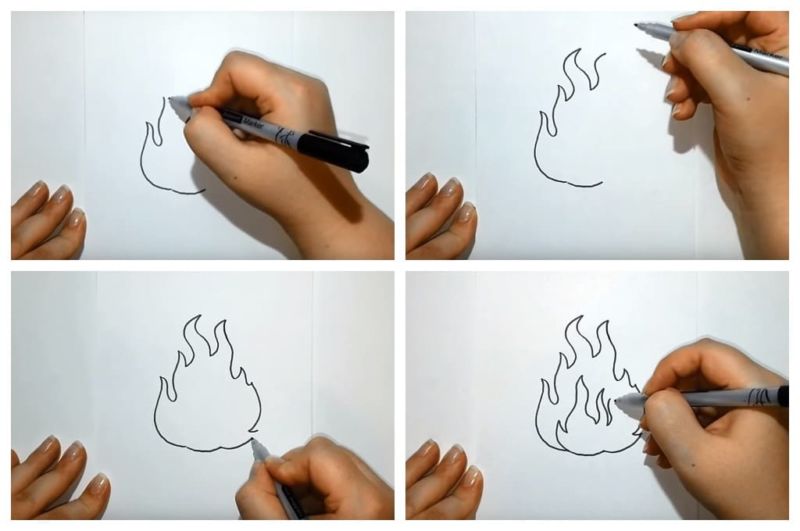
Even in an approximated and stylized drawing, fire becomes immediately recognizable due to the difference in strips of its brightness, which at the top gain the maximum red color, while directly above the burning object is almost white.
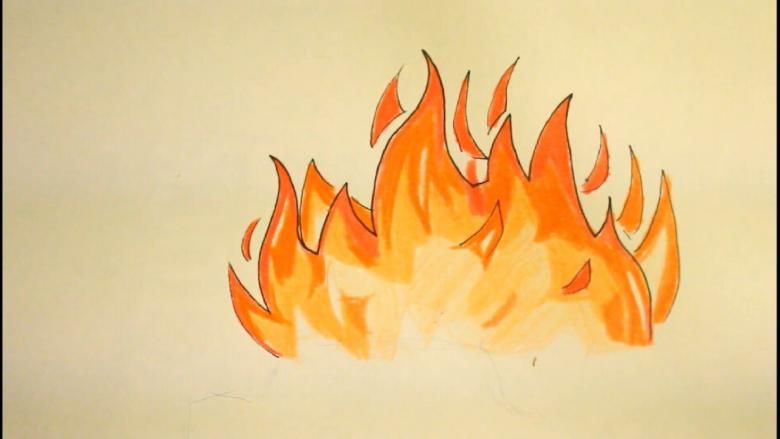
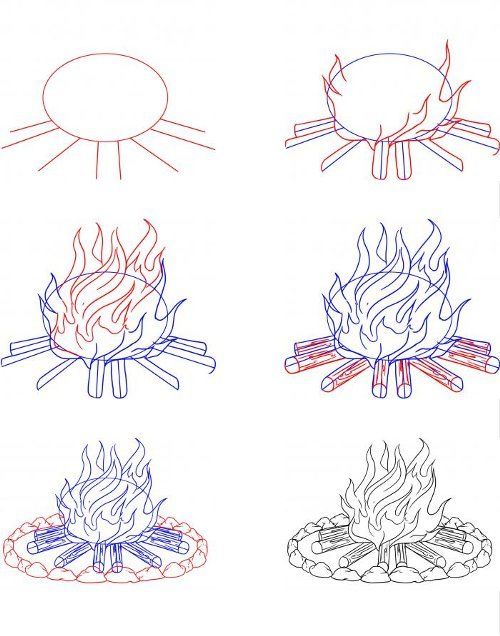
Depicting fire in children's drawings
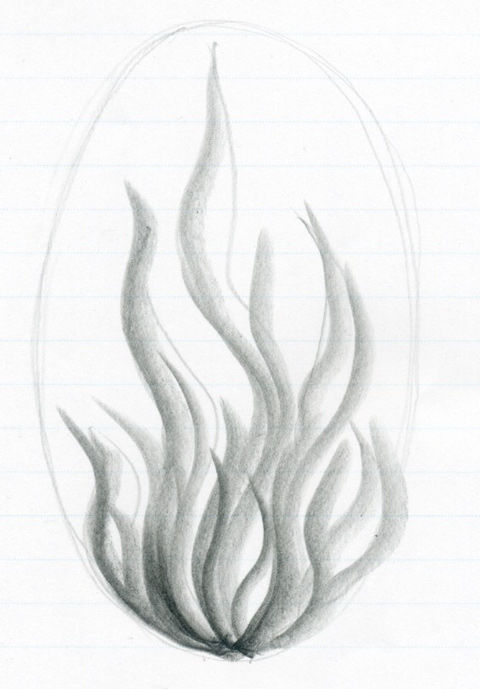
To easily learn how to do a drawing of fire for children, you will need a simple medium-hard pencil, which should not be pressed hard on the paper for sketching, in order to edit the work before coloring.
On a sheet of paper, in the place of the supposed image of a fire, one should trace a big circle with a compass. Inside the circle draw several tongues of flame of different shapes and heights, so that the highest one is in the middle.
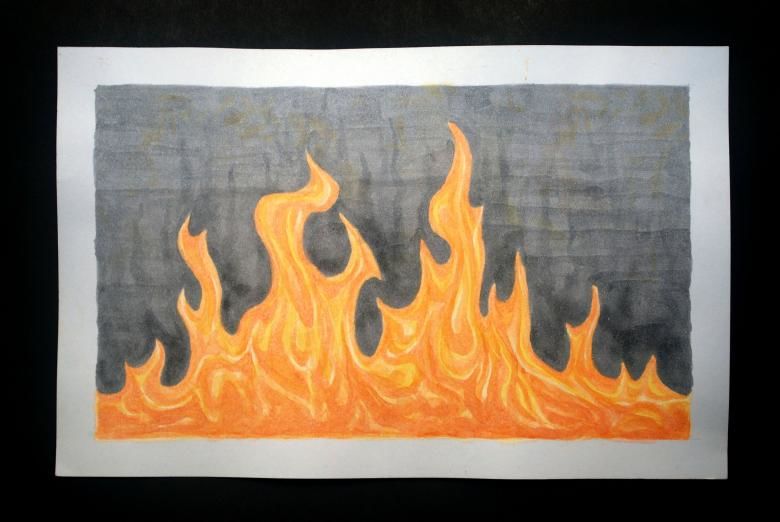
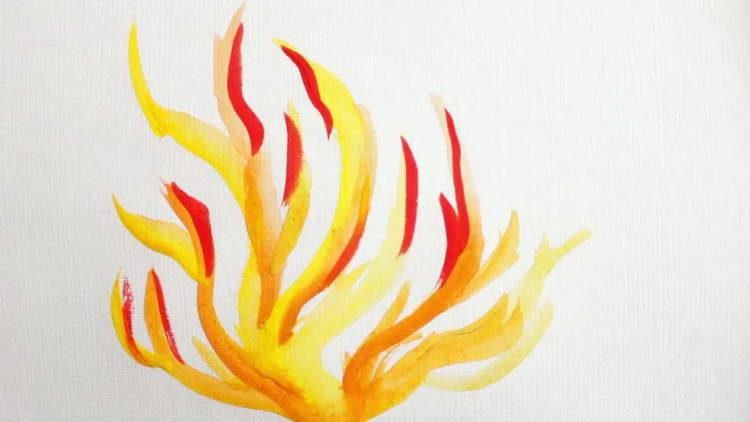
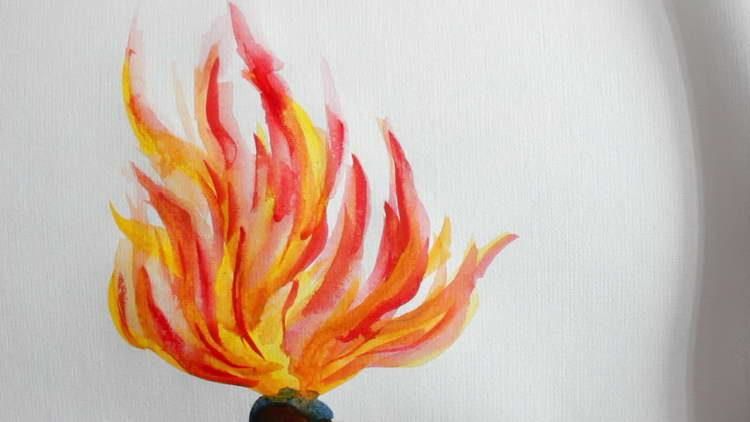
The flames are drawn in smooth lines, narrowing each piece of fire upwards. The drawing should have at least two colors or tones to represent its moving bursts.
The stripes should turn out lighter or yellow at the bottom, while at the edges and top they reach the greatest intensity, becoming dark red.
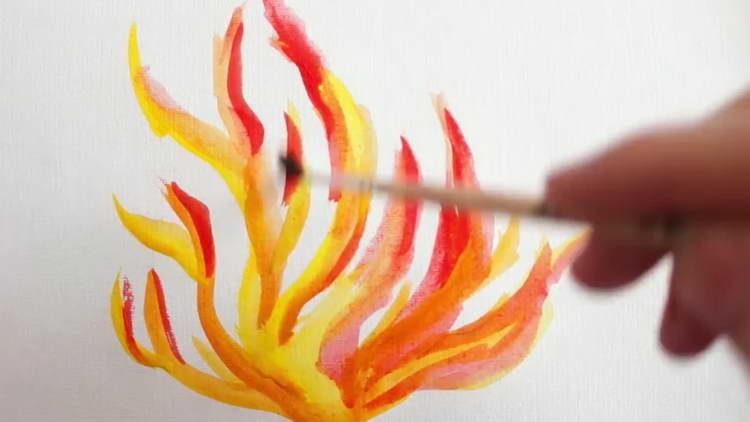
The outlines of the finished drawing can be outlined with a black marker or felt-tip pen for greater expressiveness.
Drawing fire with a pencil
In those cases where coloring is not required, but it is necessary to draw a fire with a pencil, the drawing can also turn out quite realistic - for this purpose it is not necessary to make a fire, and to do it step by step, using the description:
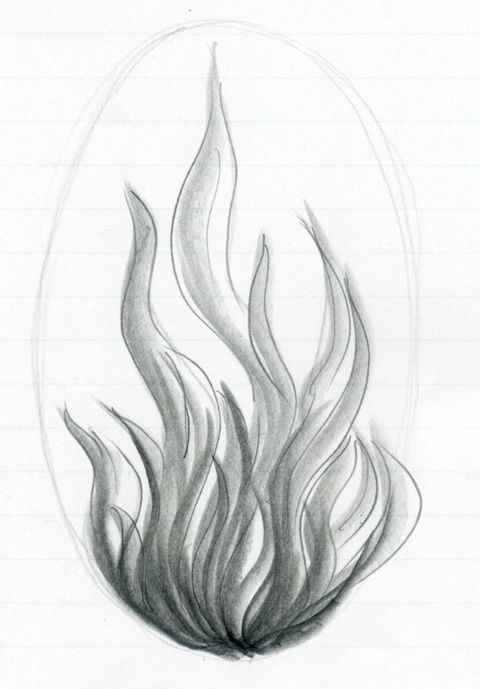
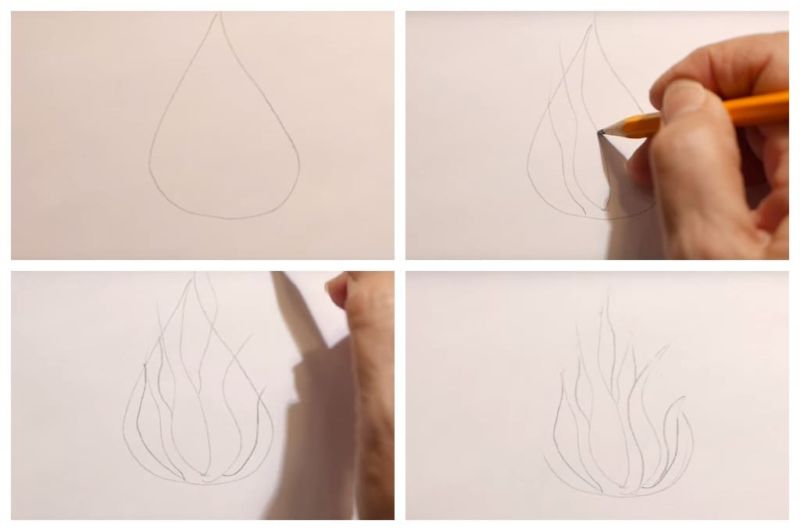
- The work should begin with a schematic and light sketch of barely visible lines with a hard pencil. It should have the shape of a petal with a rounded bottom and a pointed, elongated top. Such petals can be from one to several, depending on the composition of the image.
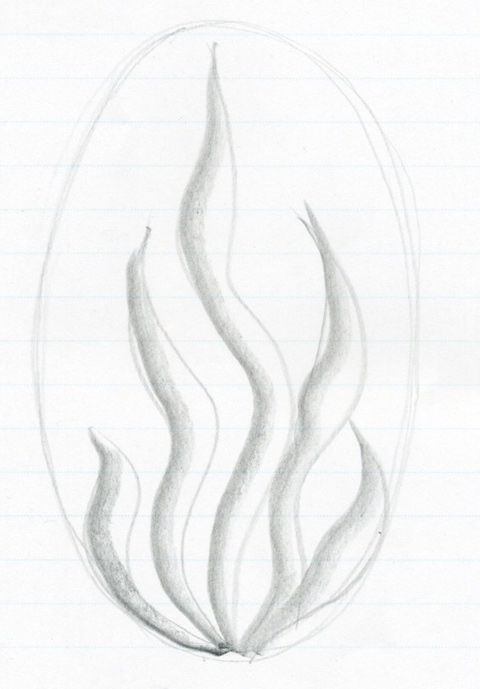
- Beautiful lines are added inside the petals, repeating the outline, but in different variations, creating the impression of moving, living flames.
- To make the drawing look three-dimensional, each top of the flame should be outlined with additional sharp dashes, which can bend in places, just as a real flame does from the blowing wind.
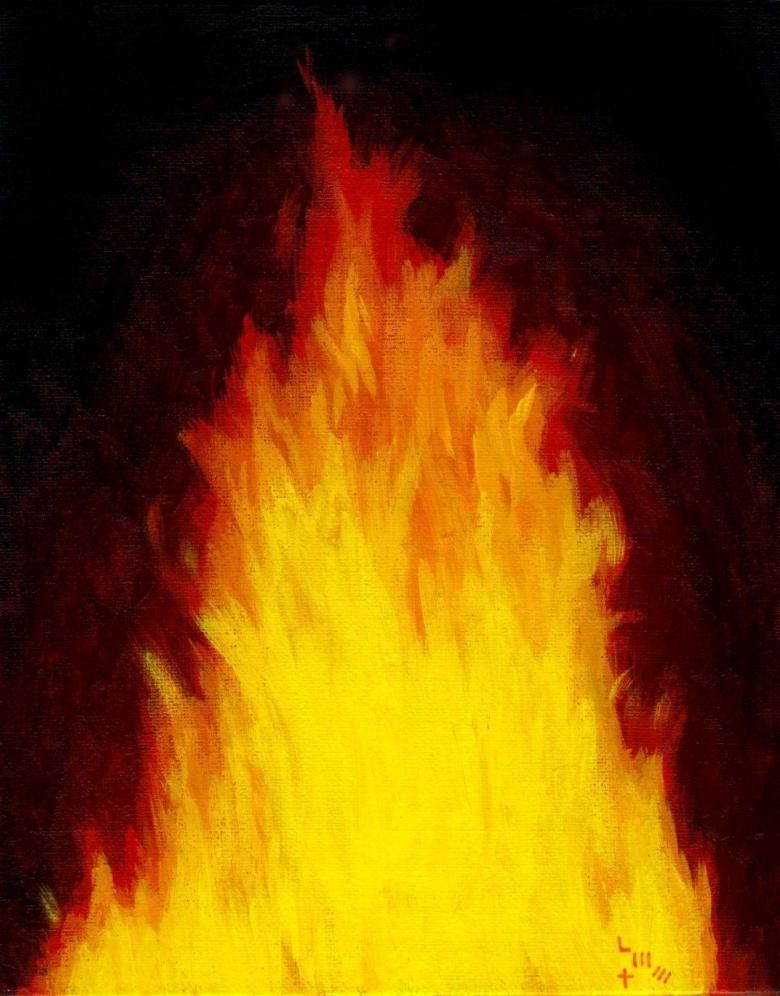
- When the basic outline is ready, extra light lines are erased with an eraser, and the final version is outlined with a softer pencil, you can begin hatching the drawing. It is necessary to take into account that even in drawing of a night fire there are the most shaded sides, as if light falls on it. This art method is necessary for giving three-dimensional character to the image of any subject or natural phenomenon. The lightest spot should extend from the fire toward the compositional center, for example, to illuminate the face or the figure of a standing person.
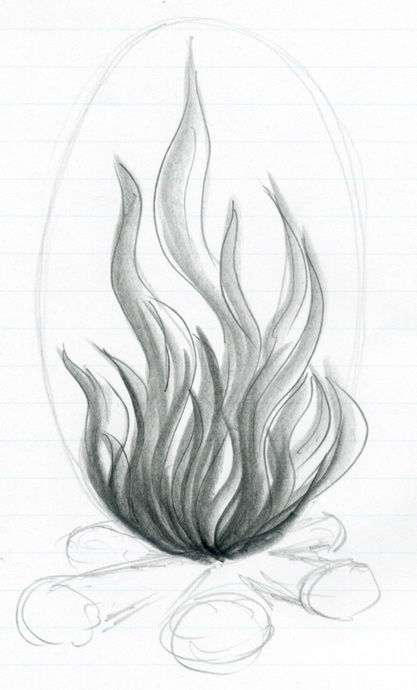
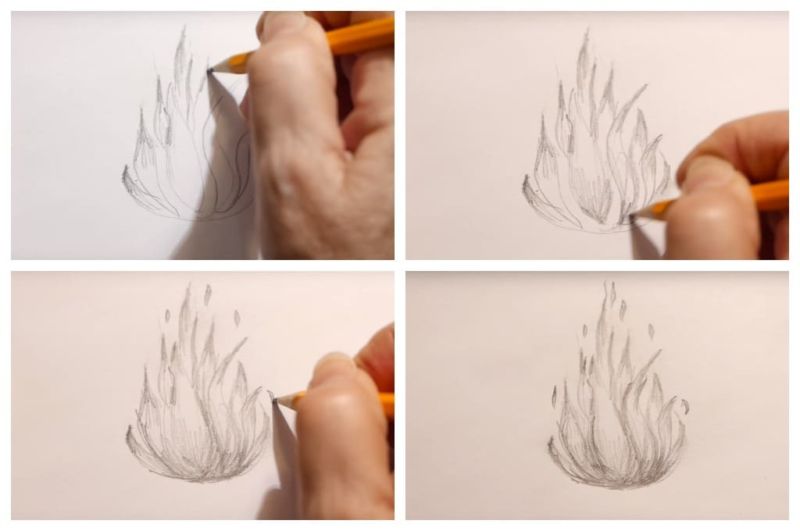
- Light strokes of a soft pencil first shade the central part of the flame. In the same semi-transparent tone, light stripes are raised in the middle parts of the tongues of the drawn flame.
- A soft pencil outlines the outline of the fire, with the greatest contrast between the darkest, sharpest lines and the almost white spot of light to be placed in the foreground to create perspective. The sharp ends of the tongues of flame can be carefully extended with sparks depicted with fine strokes.
After finishing hatching and underlining the shadow from the fire from one of its sides, and putting highlights with the help of an eraser or a pastel white pencil, the drawing can be considered as done.

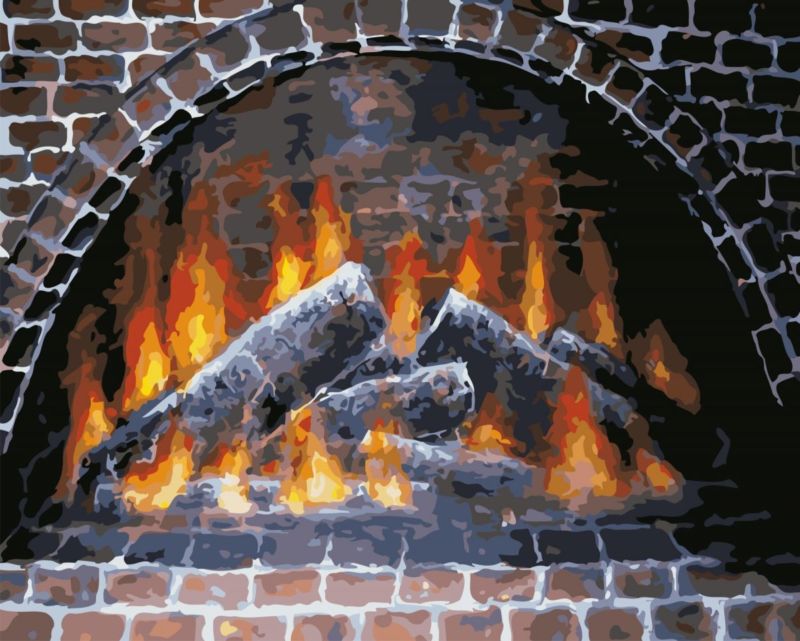
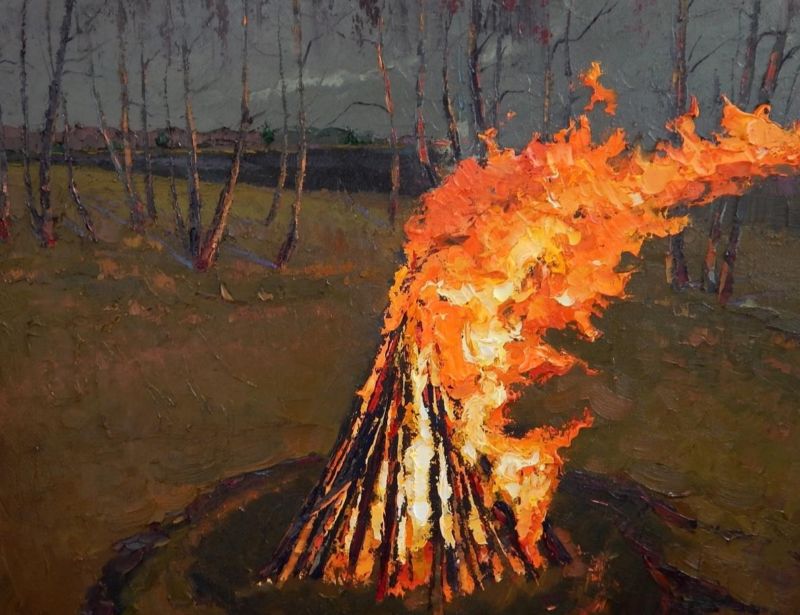
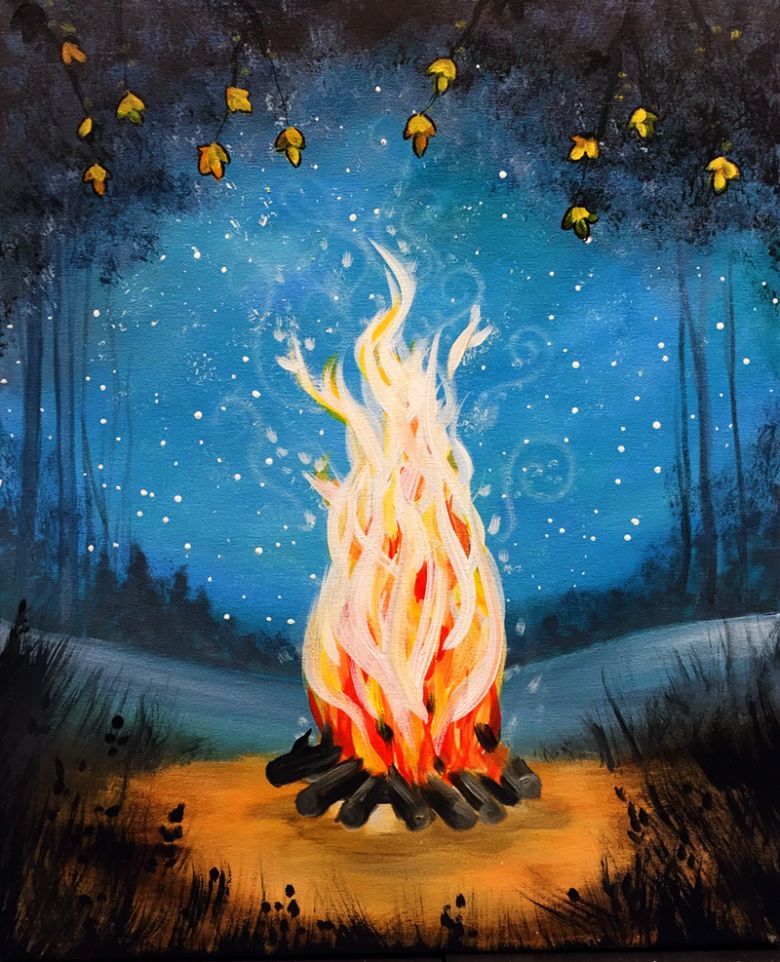
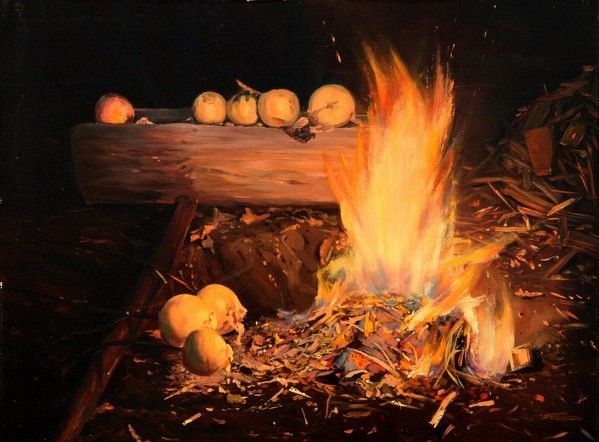
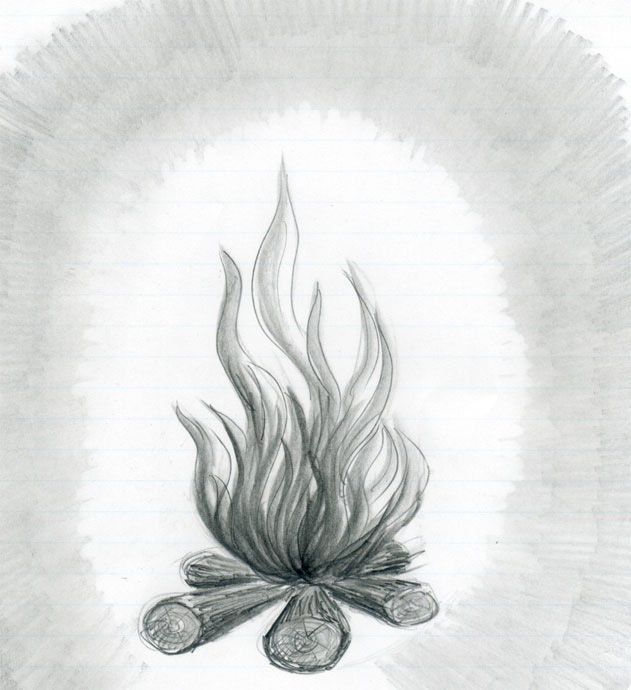
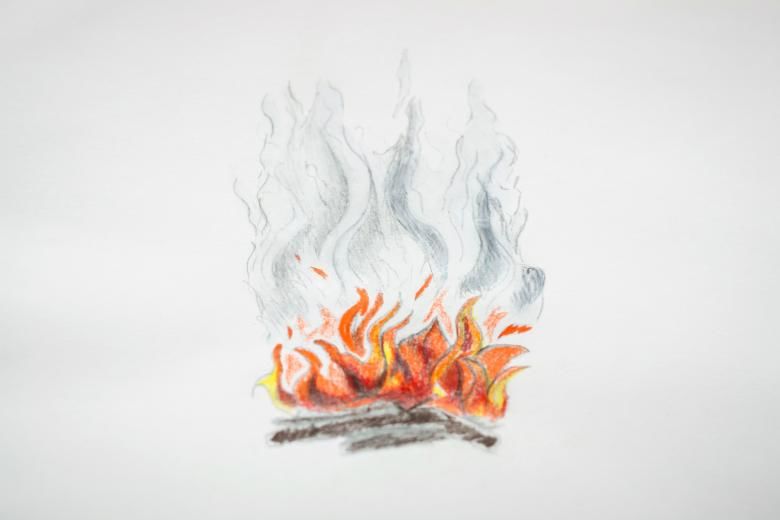
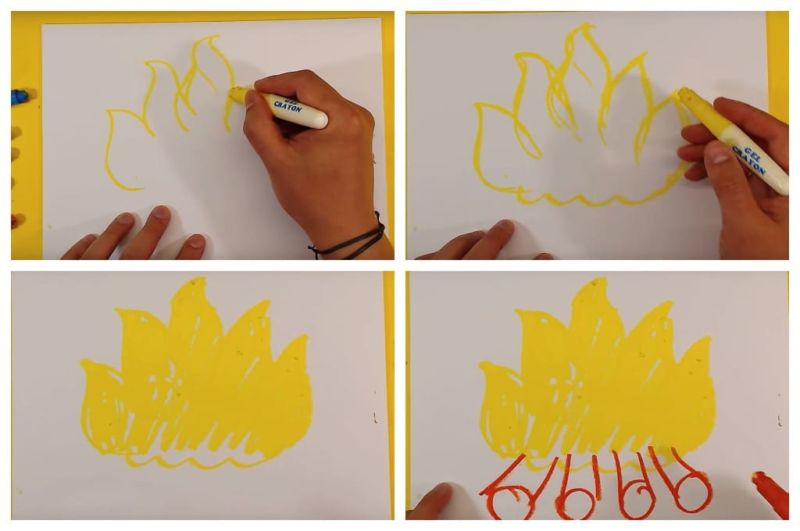
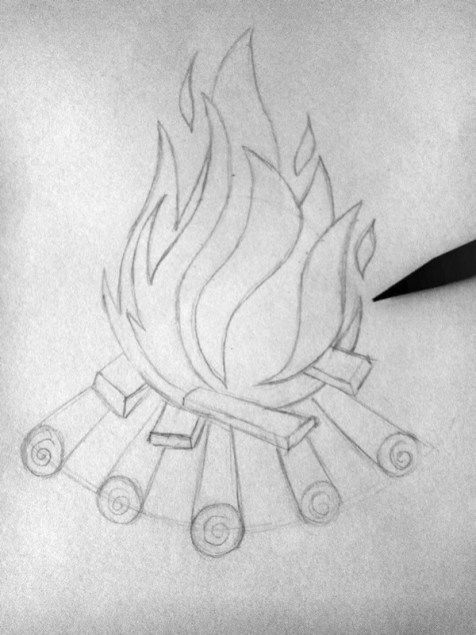
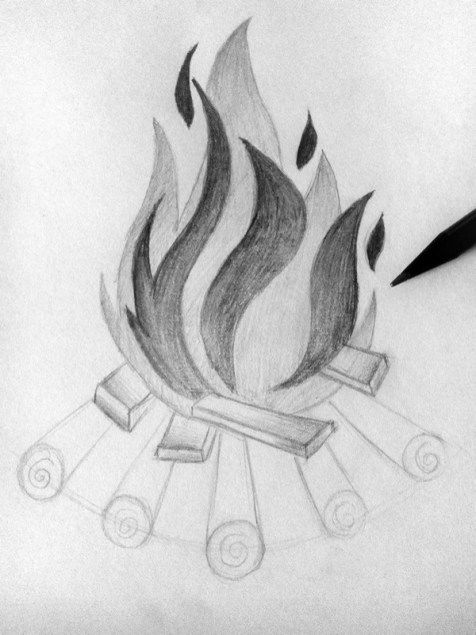
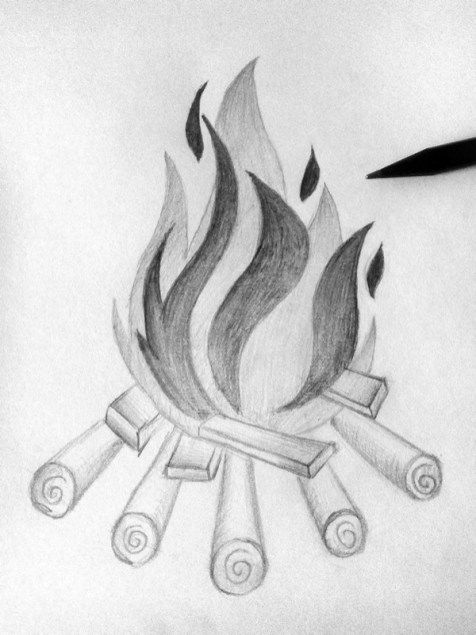
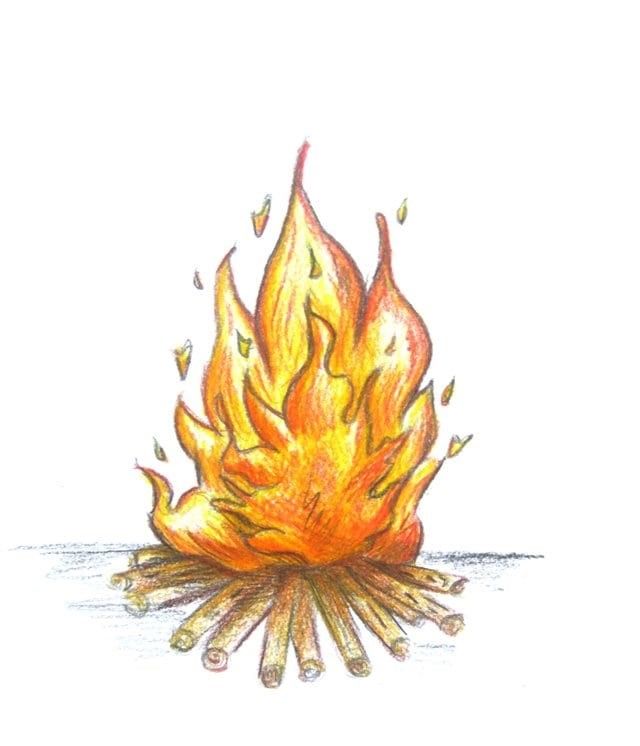
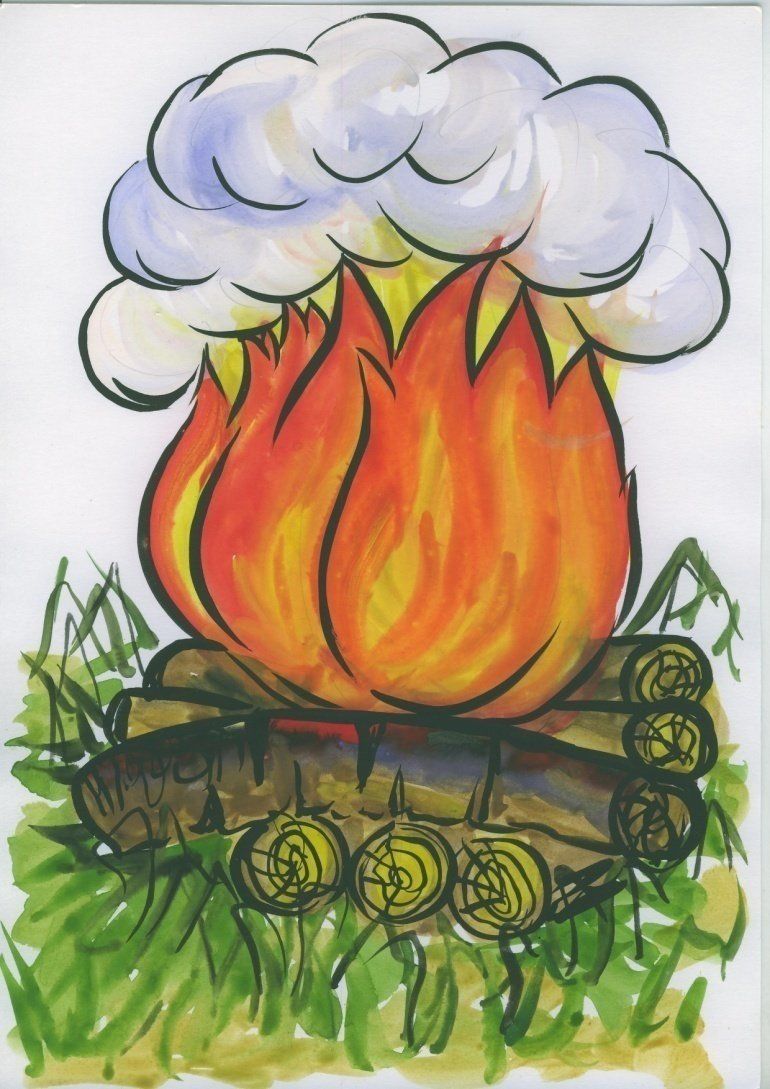
A campfire flame with firewood
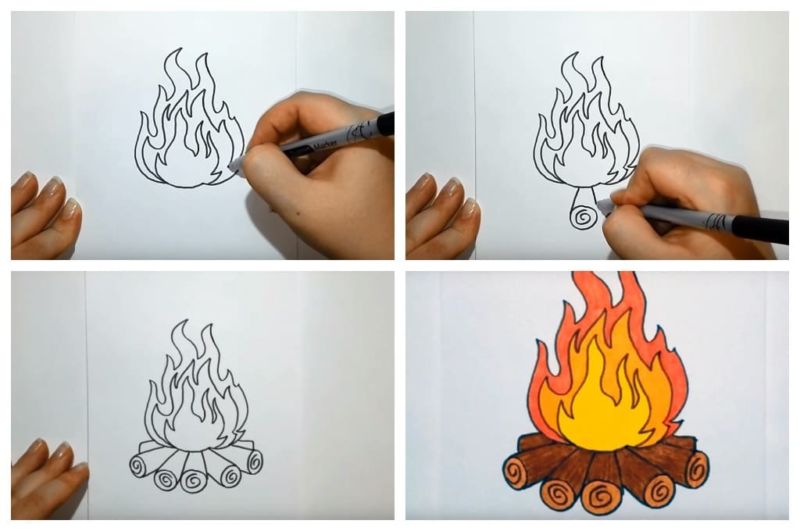
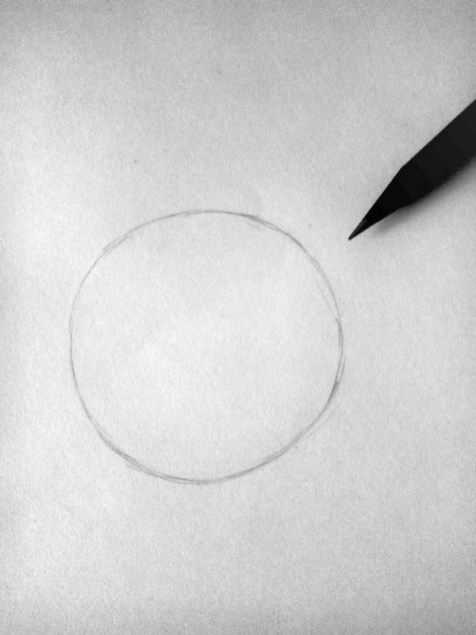
There is often a need to draw a fire step by step with firewood when children and young artists are busy creating a whole series of pictures and comics.
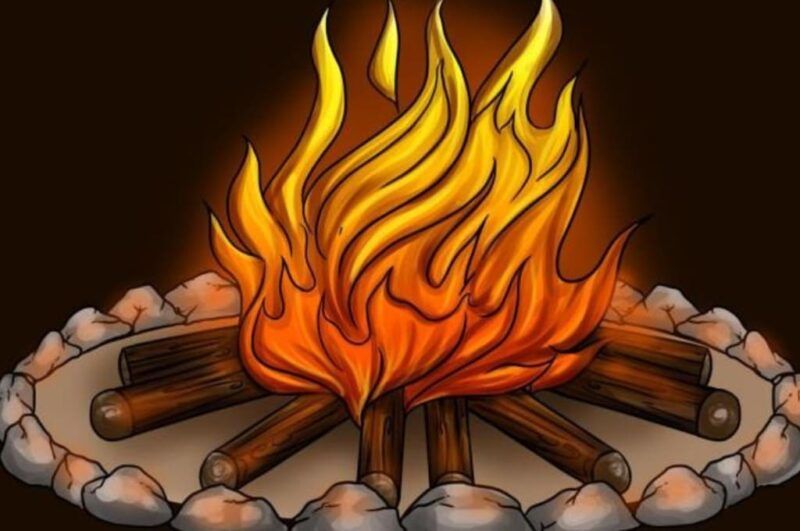
A fire with firewood will be built from two geometric shapes, one of which is a circle of fire tongues, and the other is a square or rectangular outline for the arrangement of burning logs.
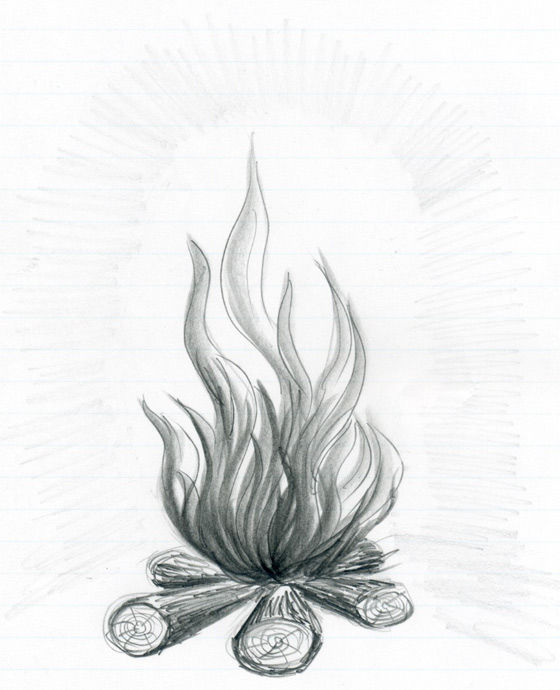
The silhouettes of the firewood should be arranged so that their cuts with annual rings and cracks are visible, which will give more realism and picturesqueness to the work.
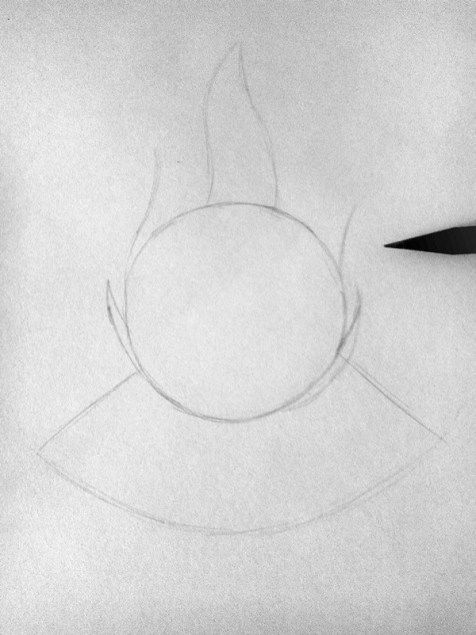
"Having "folded" the imaginary stack on a sheet of paper with a hard pencil, you can draw a circle over it and begin to depict the burning fire.
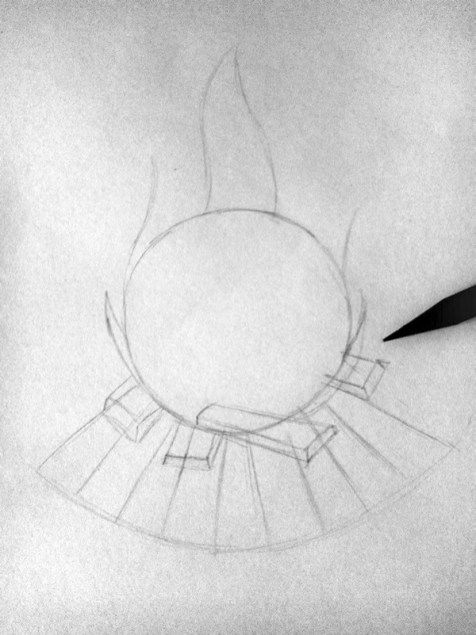
Inside the bounded circle one should draw zigzag fire tongues, which are slightly lower in the foreground and reach their highest height in the center of burning.
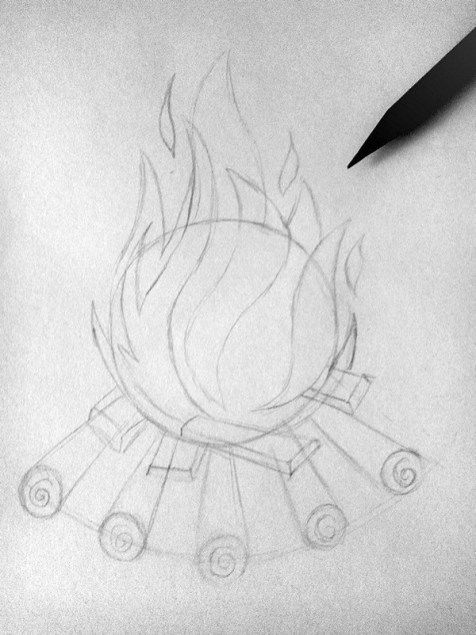
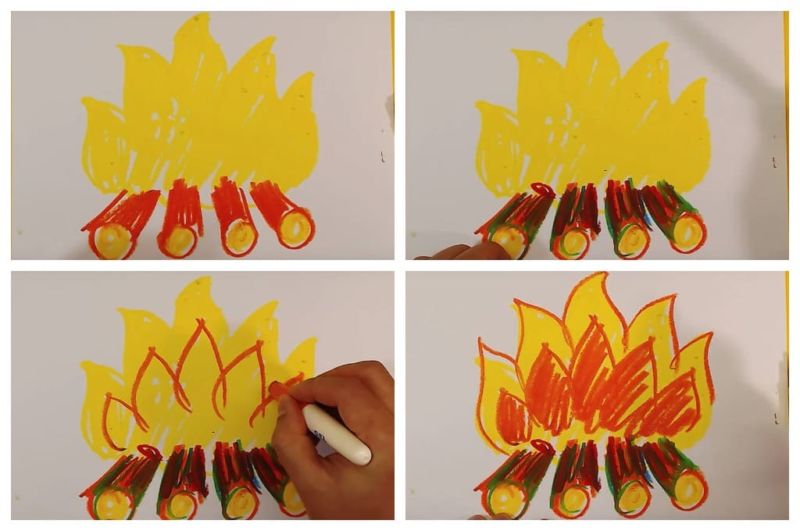
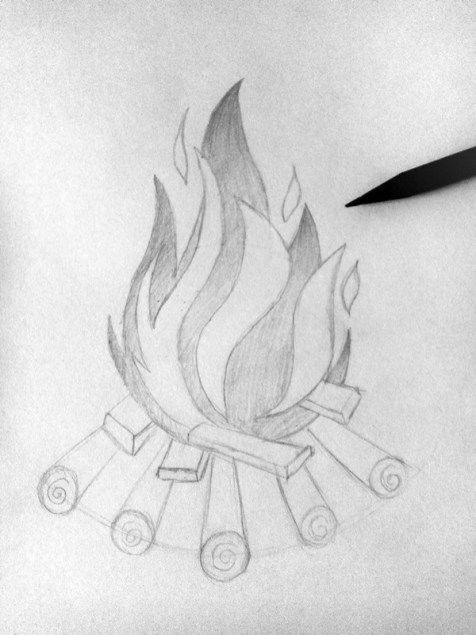
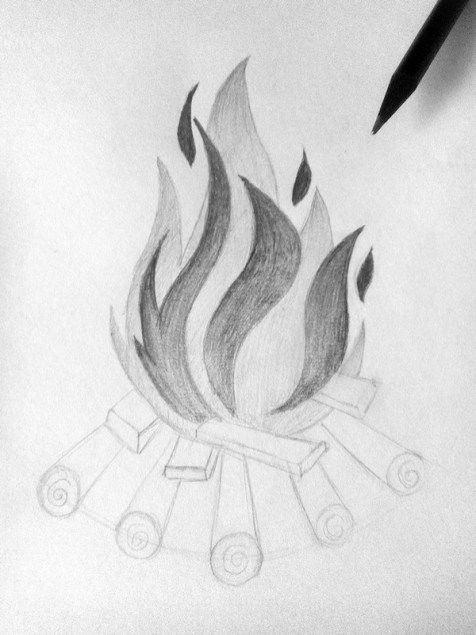
Use an eraser to erase all superfluous lines in the background and around the fire. Then the drawing is given the final clarity of the outlines. The wood is painted with dark brown pencils or paints with darker spots of bark, annual rings, and cracks.
The lightest spot will be the spot directly above the firewood, which can be left white for more contrast, and above it depict an intensely yellow middle of the flames.
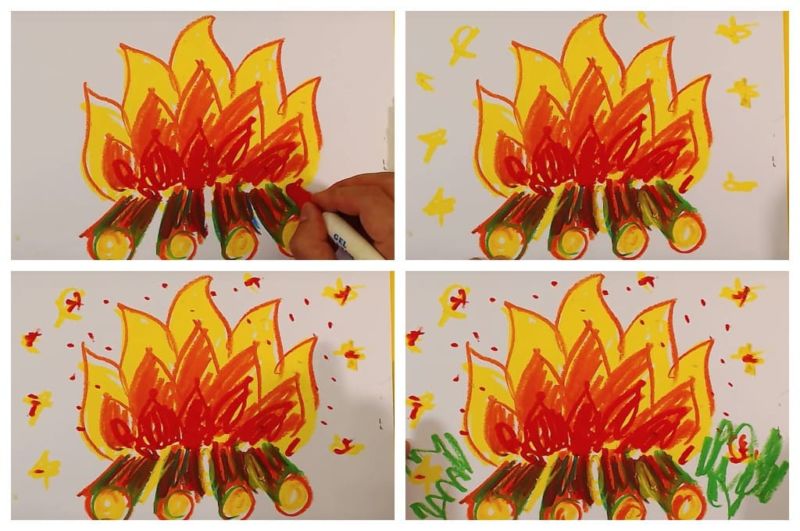
The top of the tongues is drawn in dark red, almost burgundy towards the edges. The smoke around the fire can be shown as white clubs with dark shadows inside them, or as a dark gray stream, shaded by light highlights.
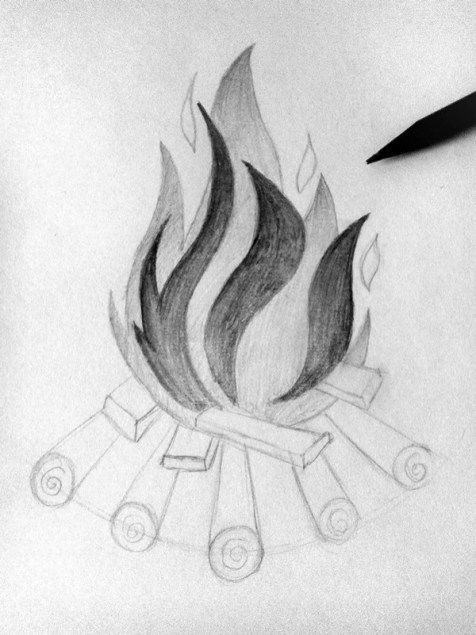
The surroundings are always changed by the light of the flame, and in the drawing this is expressed by the emphasized contrast of the shadows on the objects. The areas facing the flame will always be very light compared to the almost black shadowy sides.
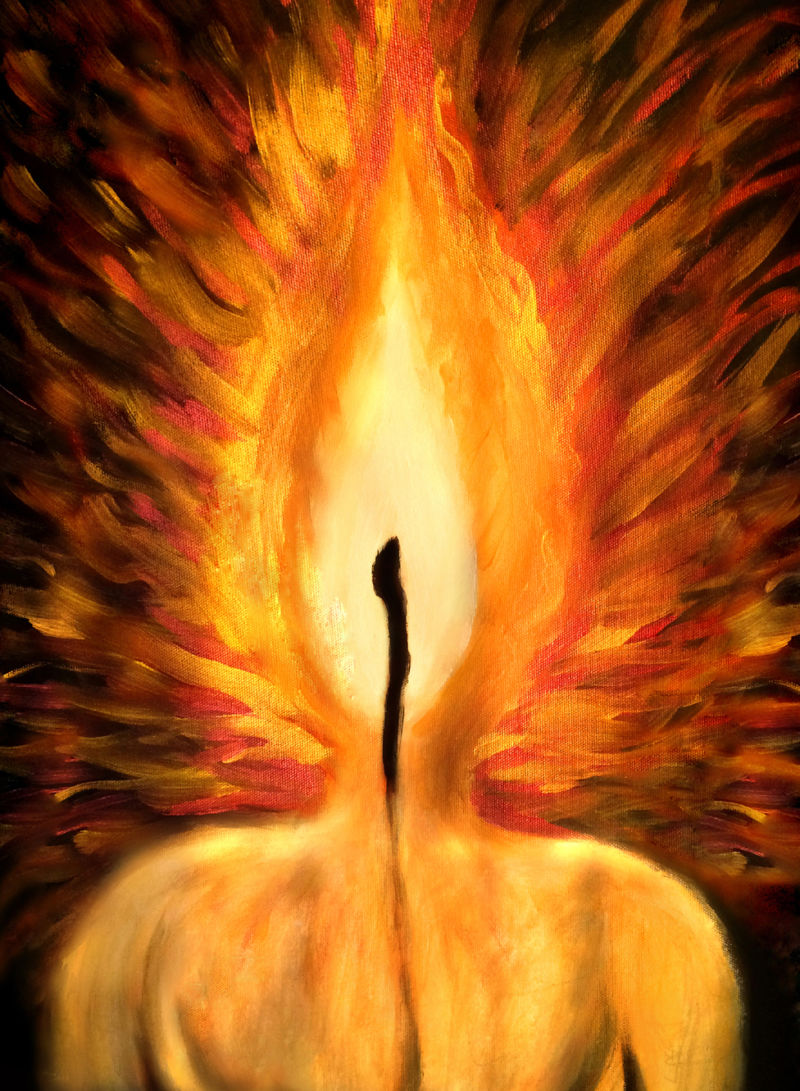
Postcard for a holiday
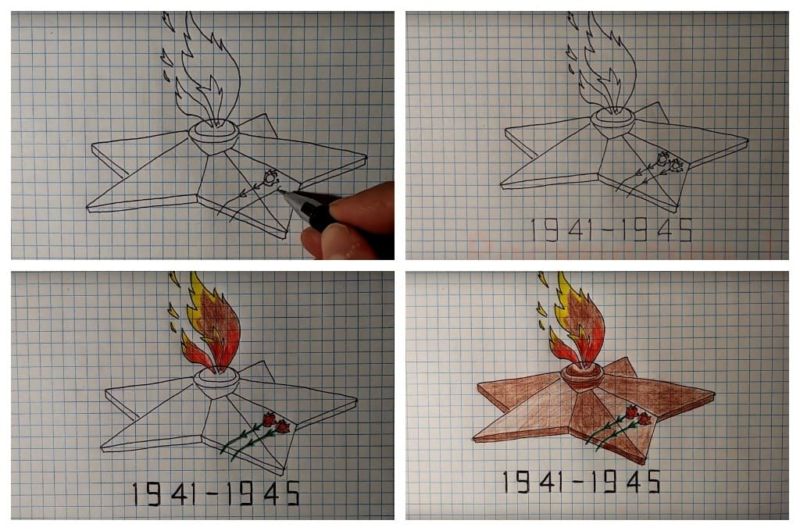
Drawing lessons assign students thematic tasks dedicated to holidays associated with military exploits and the eternal memory of heroes. The most symbolic in this case is the image of the "eternal flame" on a wall newspaper or postcard.
The ability to draw a stylized flame can be useful for beginner artists, especially to create a work for participation in school competitions or congratulations to veterans.
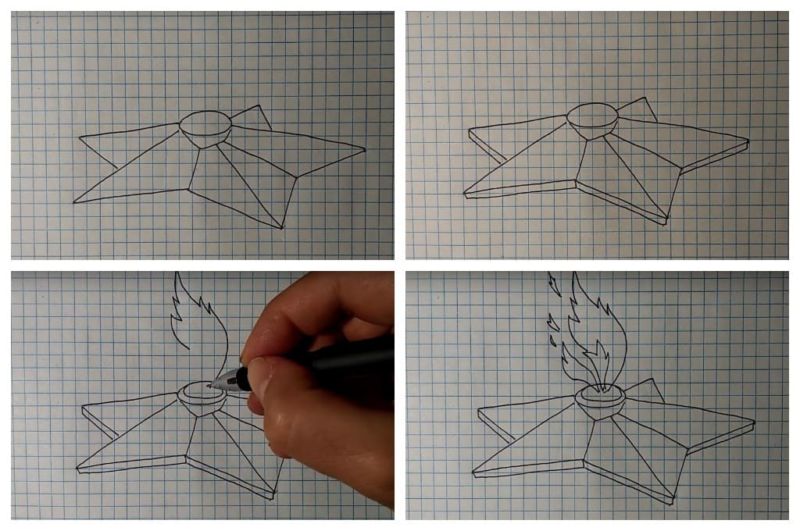
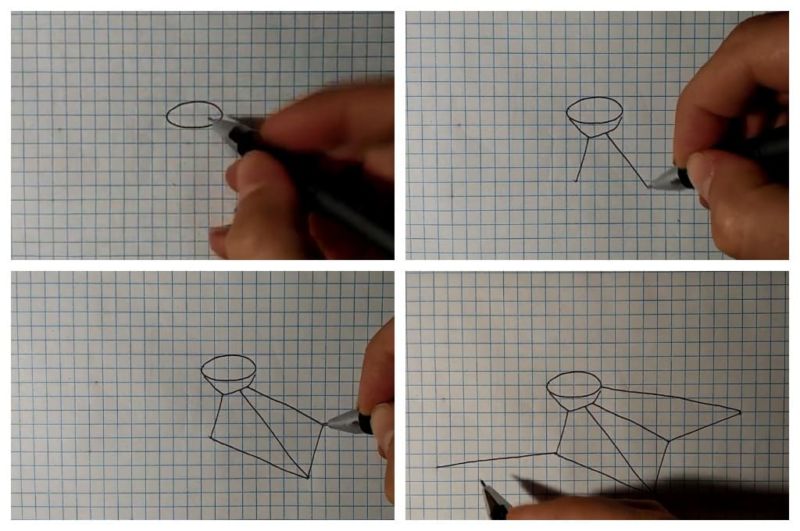
On a sheet of paper you need to depict a five-pointed star, the foreground of which will remain visible in the final drawing, and the back will be covered by fire. For greater clarity, the star should be constructed in its entirety, so that it looks as realistic and correct as possible.
In the foreground, the height of the ends of the five-pointed star should be the highest, compared to the sides. From the top you should draw the flame, starting with an oval, in the center of which the gas burner chute device is located.
Along the circle are different heights of flames with strips of brightness inside, which can be emphasized with felt-tip pens.
To satisfactorily depict flames in drawings, it is necessary to arm oneself with theoretical knowledge, for even having the opportunity to observe live fire, it is difficult to draw it from life, especially for inexperienced artists.
Part of the fire element will turn out the most vivid and realistic, if you correctly build the contours of the tongues of flame, and then do not spare the bright colors.
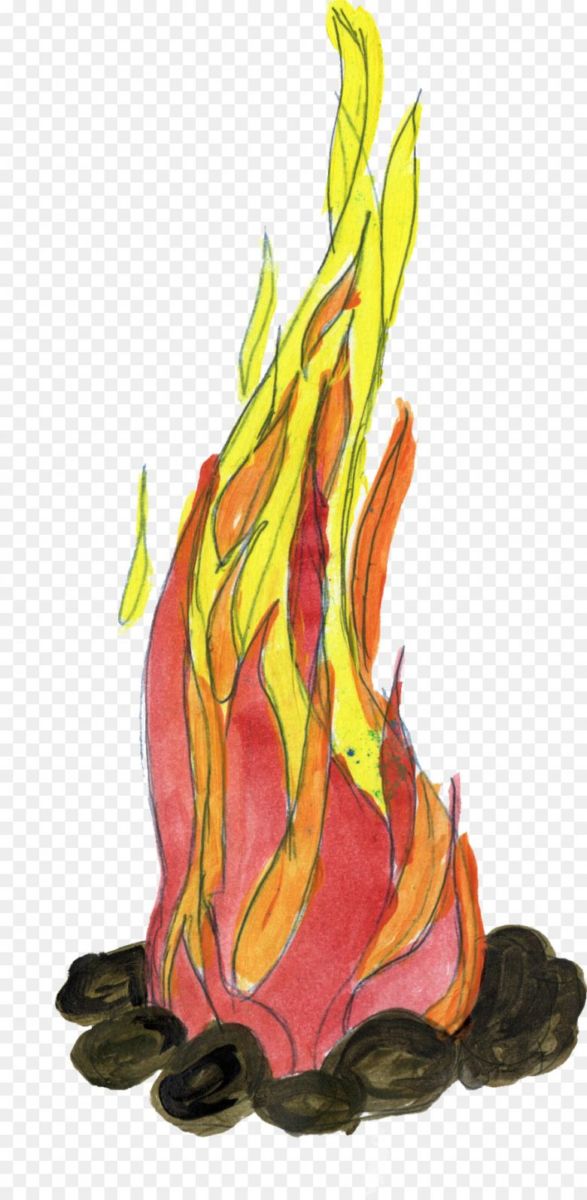
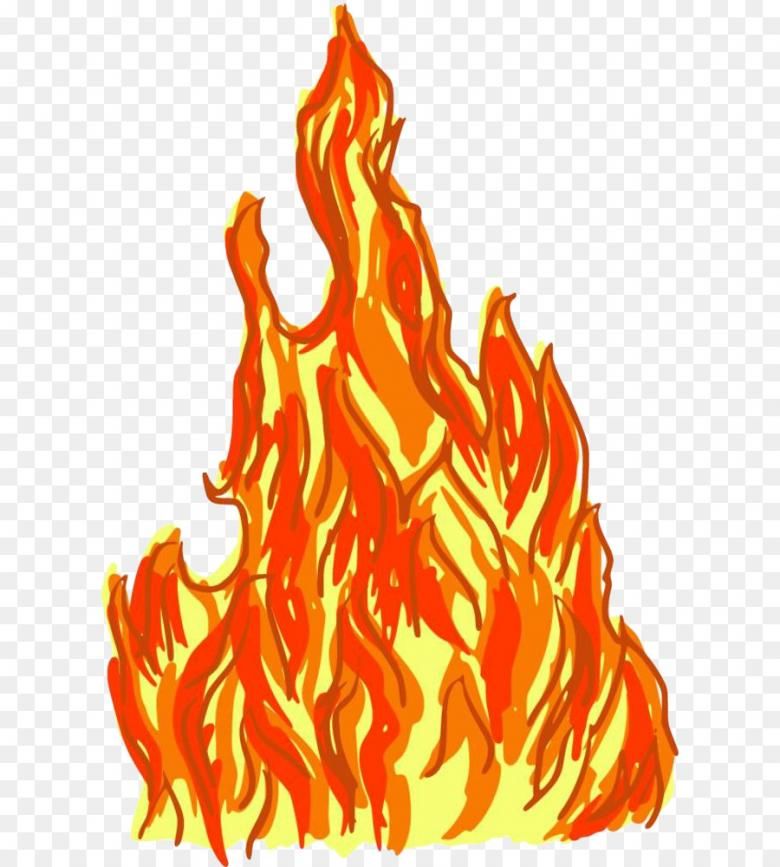
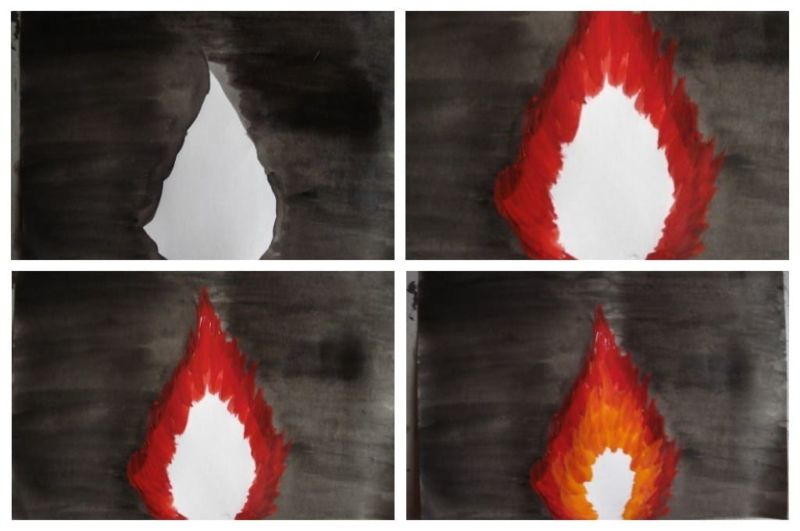
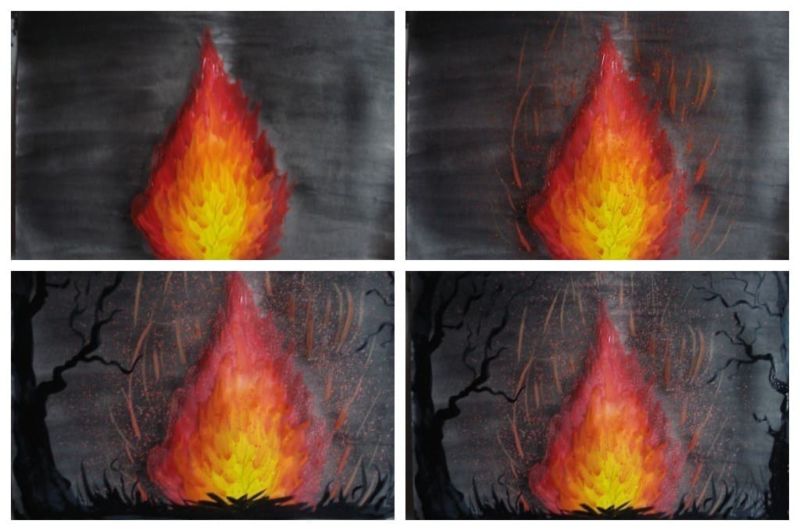
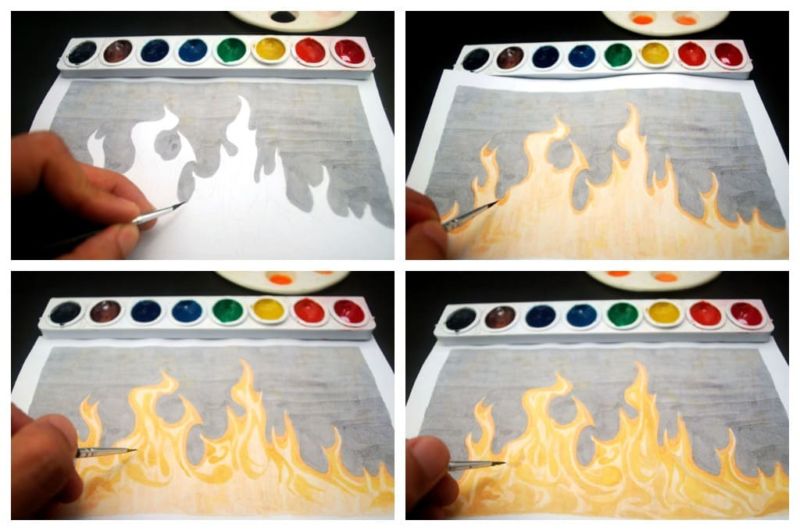
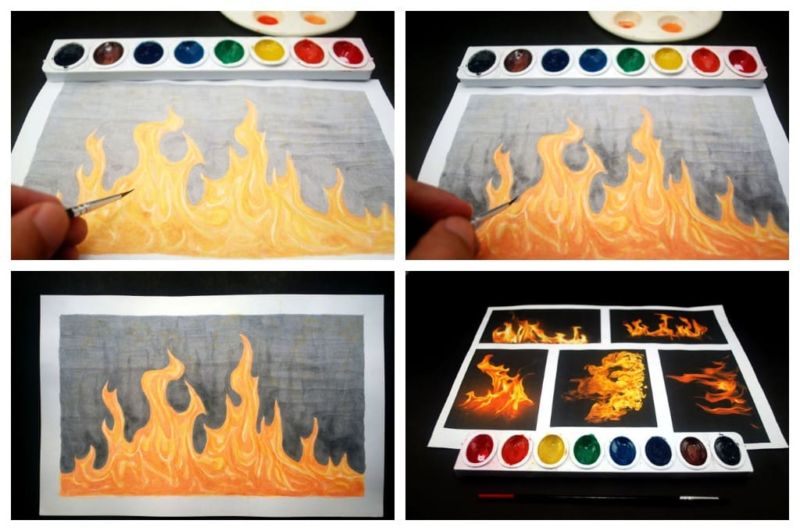
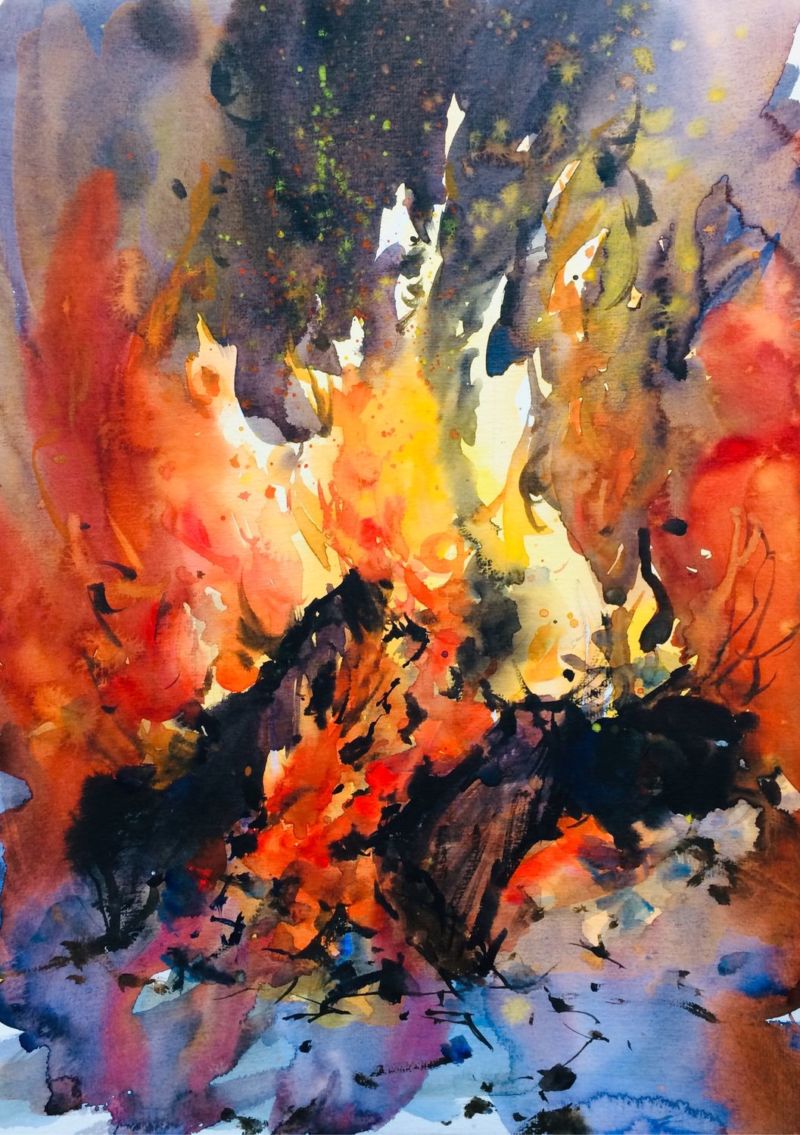
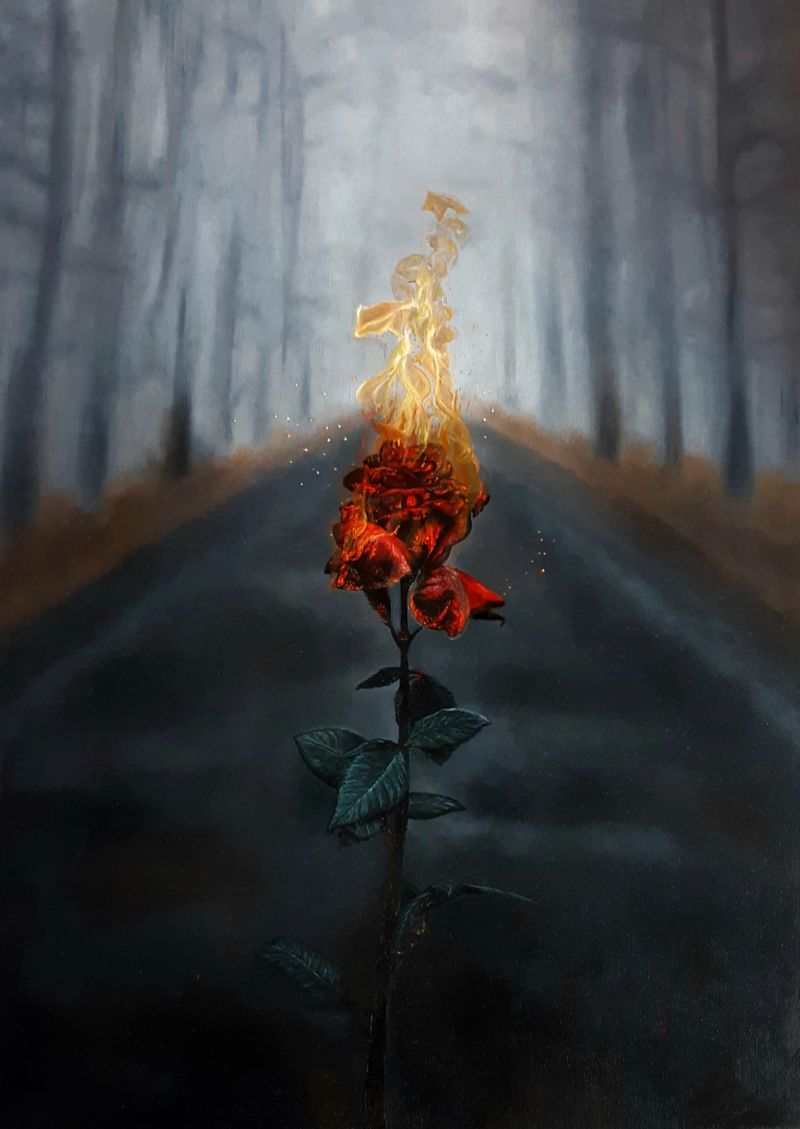
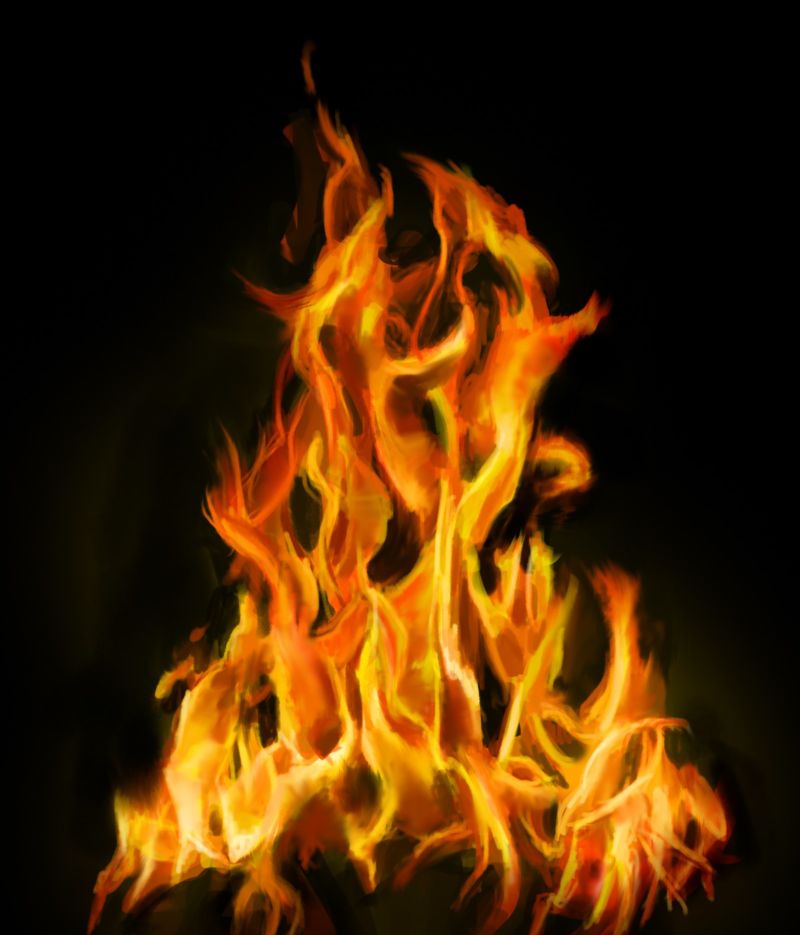
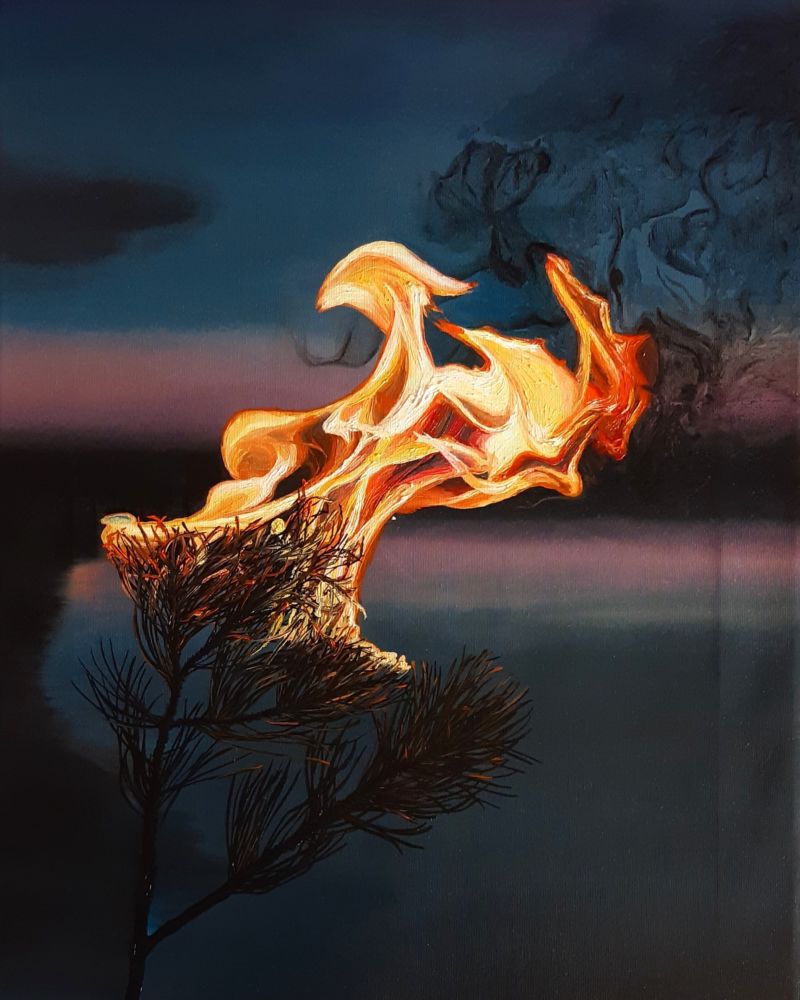
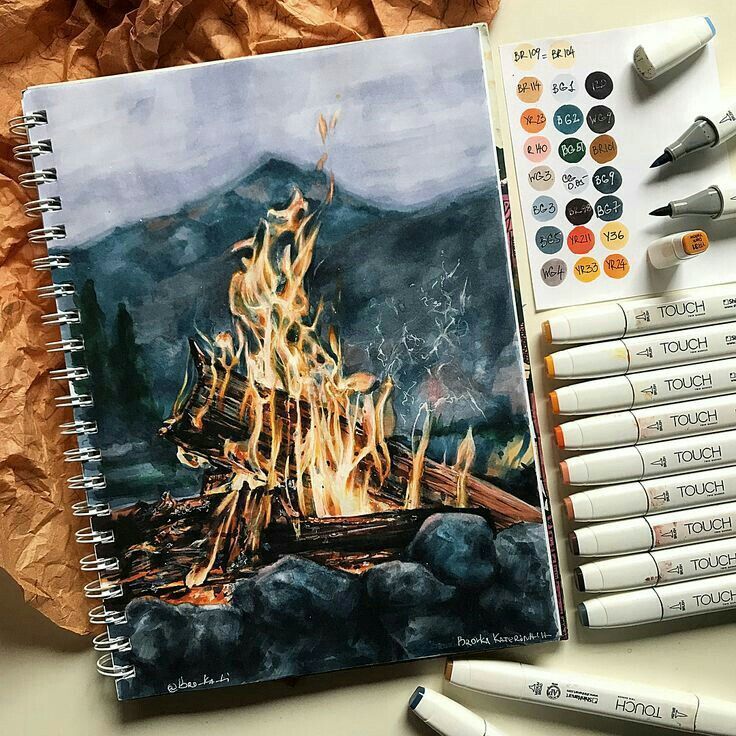
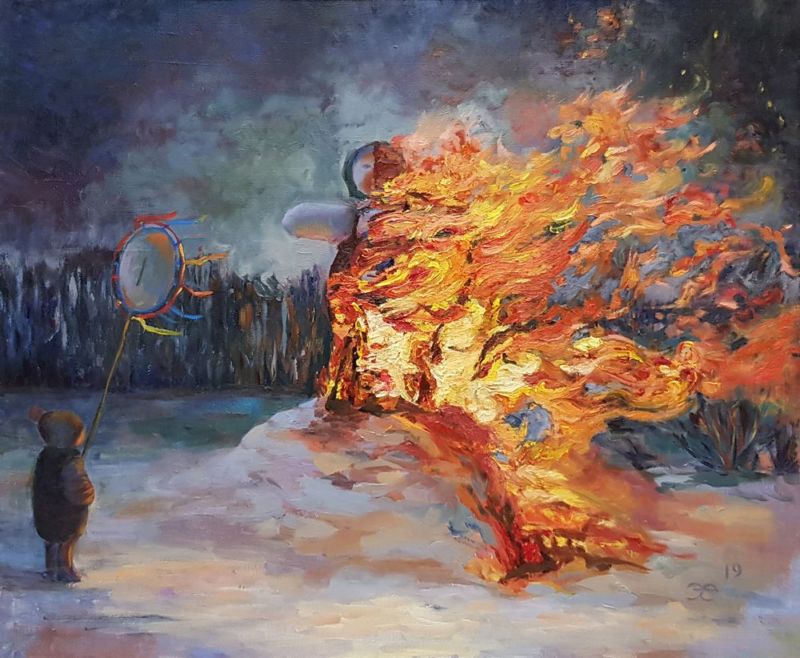
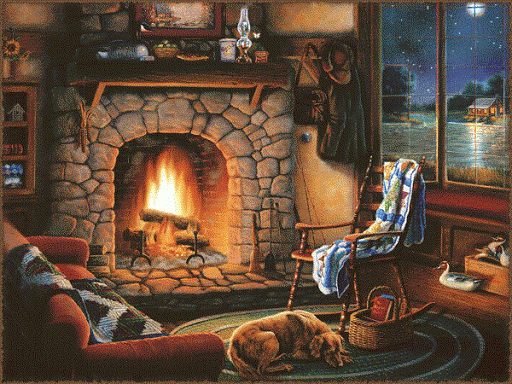
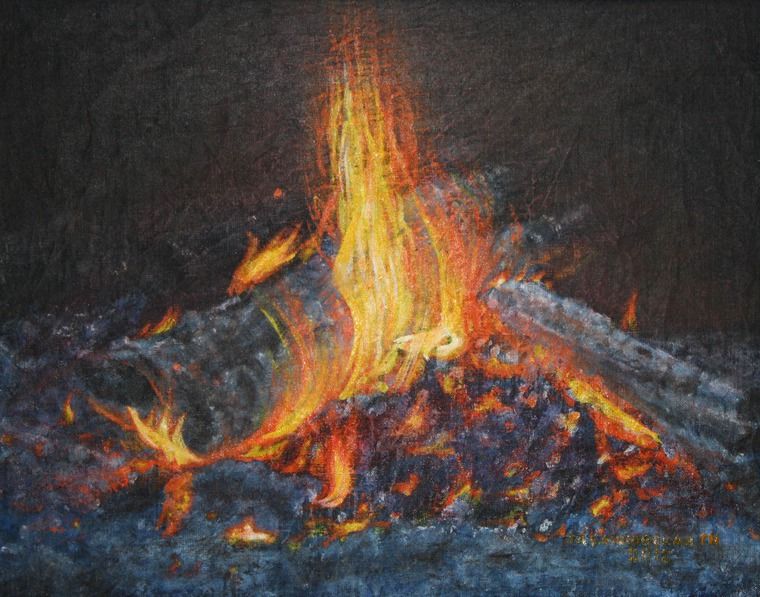
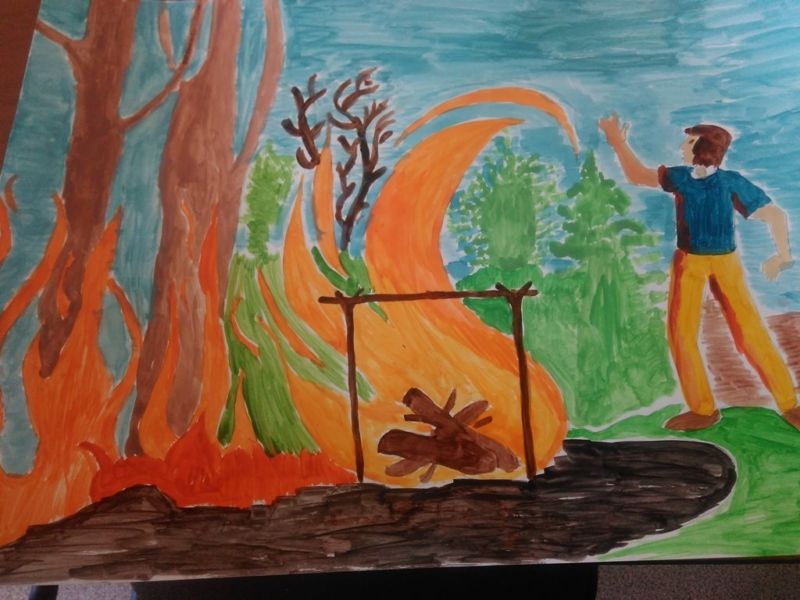
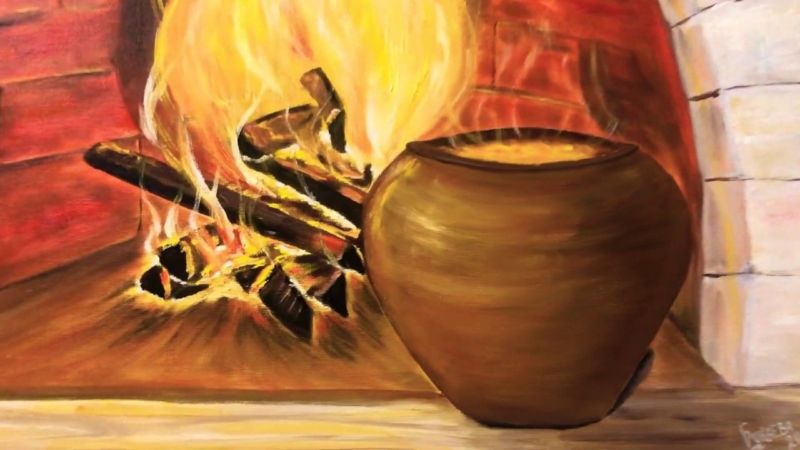
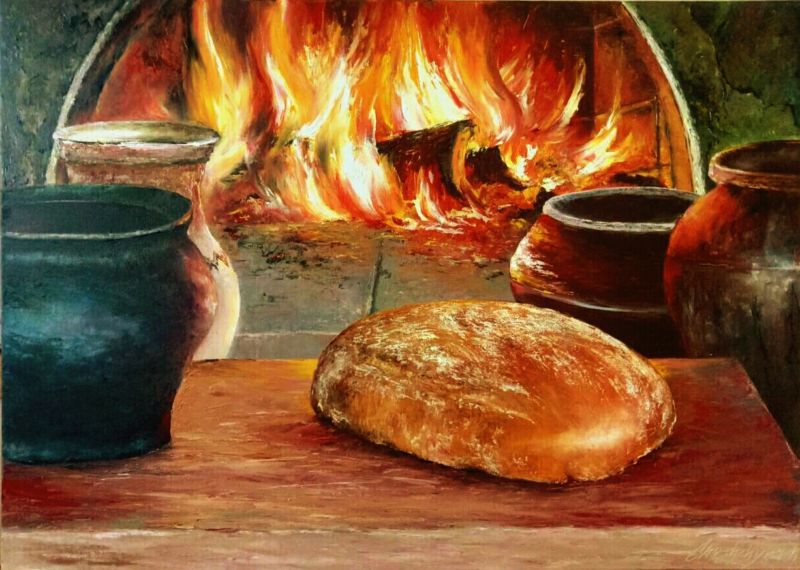
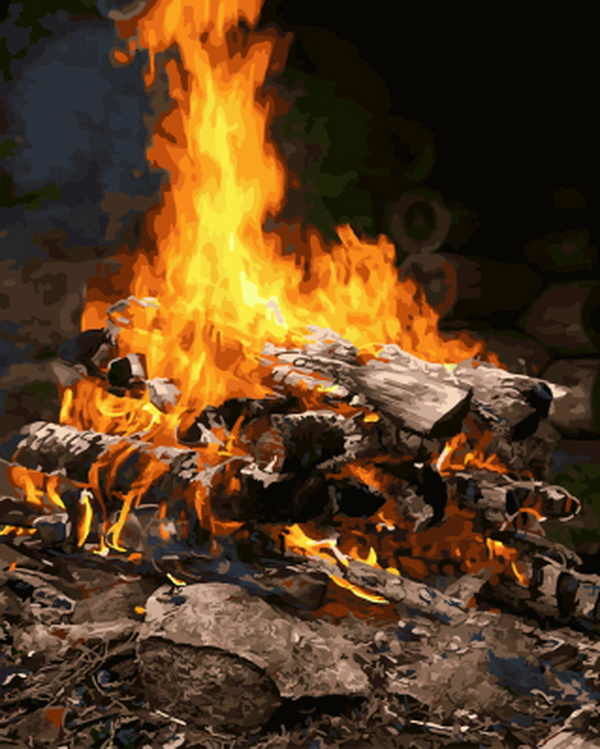
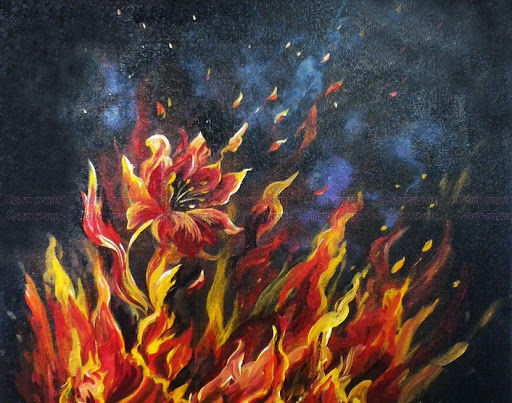
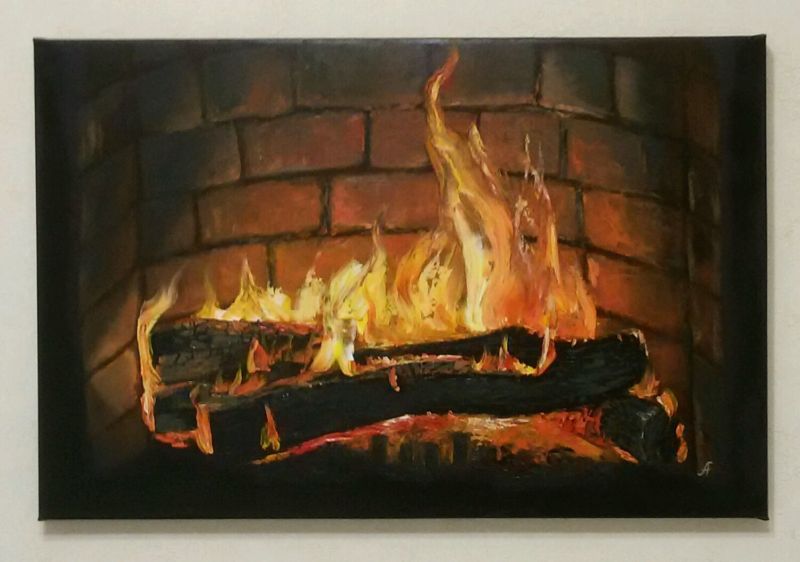
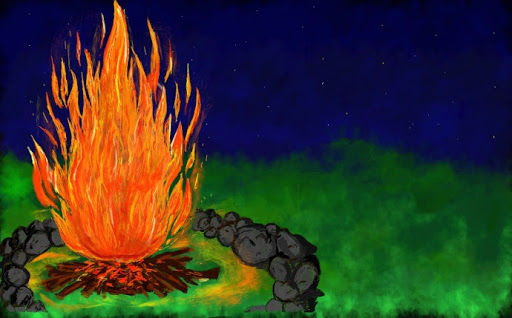
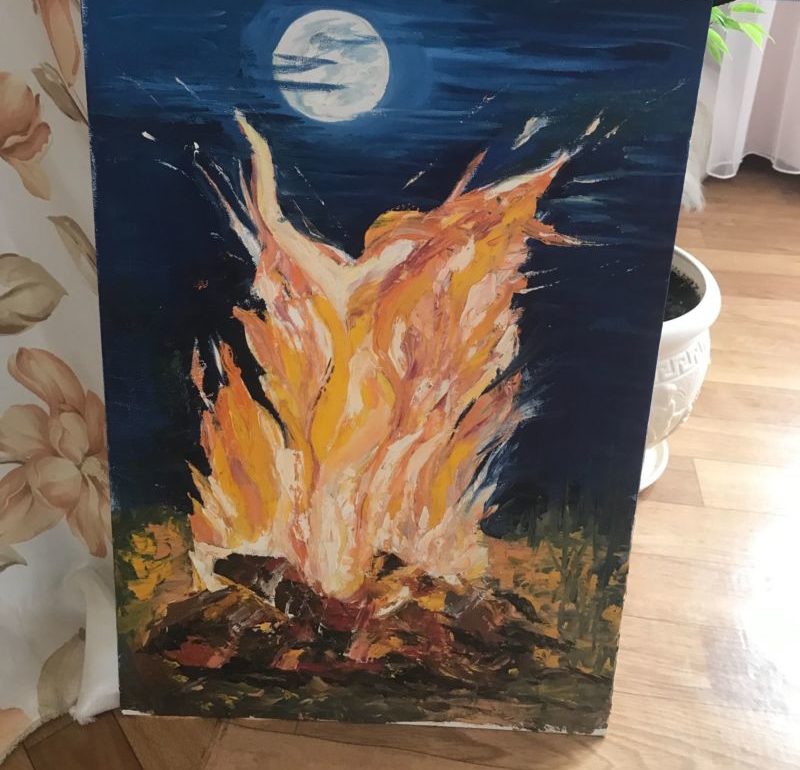
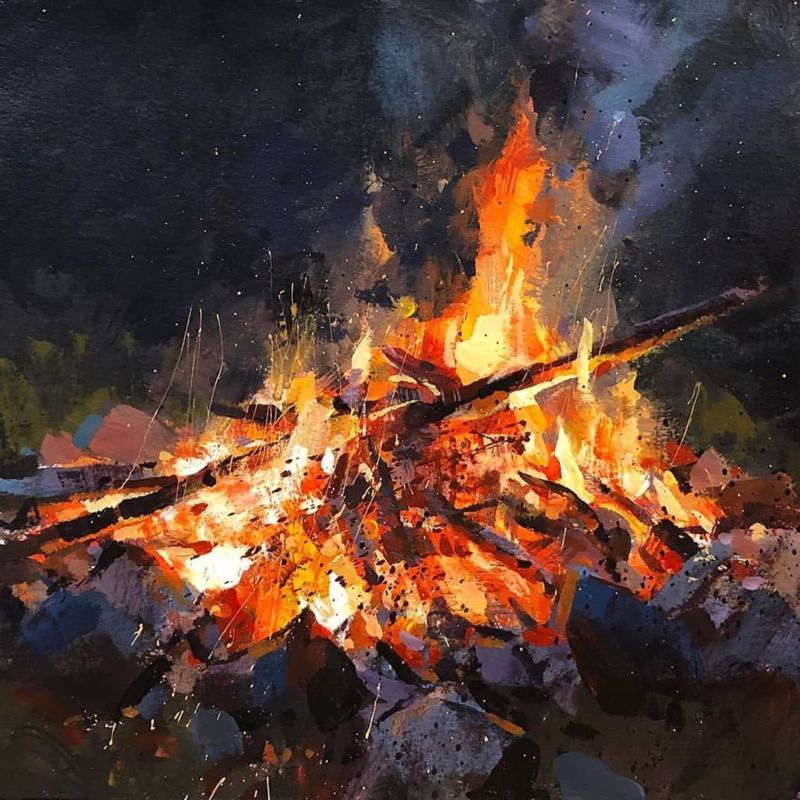
Photo of the painted fire