How to Draw a City in Pencil: Easy Step-by-Step Sketches and Tips for Beginners and Experienced Artists
Drawing is a special stage in the personal and creative development of every child or adult. The image of individual parts of the world around allows you to express your worldview, to provide a certain point of view.
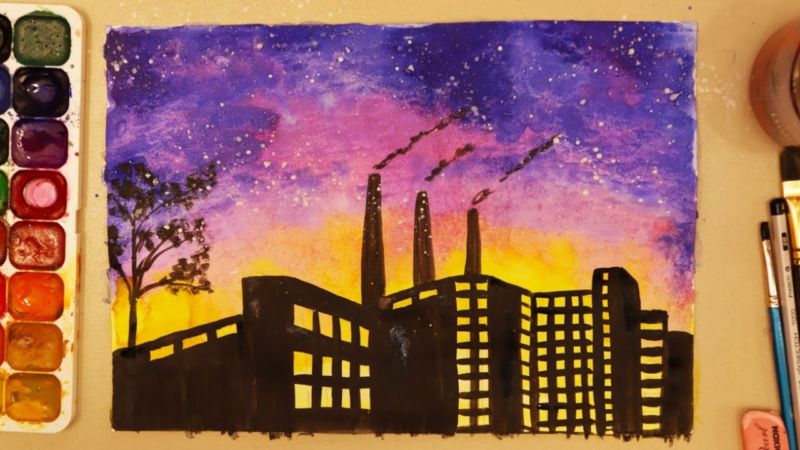
For a simple drawing of a city, a pencil or ballpoint pen is fine. For more complex creative projects, you'll need experience with paints (watercolor, gouache, stained glass paints) or pastel crayons.

Advantages of drawing a city
The very process of drawing a city in pencil or other ways contributes to the rapid development of abstract thinking and plot perception, especially in young children. However, choosing to depict the city and cityscape has certain advantages:
- The ability to depict the city (houses, streets, auxiliary elements - cafes, signs, benches) allows us to perceive and convey the perception of the surrounding world from different angles. For example, the image of the city is possible not only at right angles, but you can draw a view of the city from above. Or slightly fantasize and paint a fairy-tale city in the clouds. The imagination of a child or adult makes it possible to recreate the most unusual stories.
- Along with the generally accepted artistic techniques, the artist has the opportunity to choose original ways of depicting reality. For example, a forest town with funny inhabitants, drawn with fingers and paint. This technique is very popular among child psychologists and rehabilitation therapists.
- Using various drawing techniques, the artist can engage in the illustration of their own books, magazines, comics. Finished images can be a great decoration in a bedroom or living room.
Depicting a city usually involves drawing a large number of tiny details.
This is a great opportunity for children to learn perseverance and discipline.
What you'll need for work
Drawing is an extremely creative process, but even this process requires some organization. The master will need a workplace. For children, this is a wide table, a comfortable chair and quality lighting.
For an adult with proper artistic skills, an easel comes in handy. For comic book slides, it is better to stock up on a special table where the working platform is located at an angle of 35 degrees.
Also, depending on the chosen art technique, you may need:
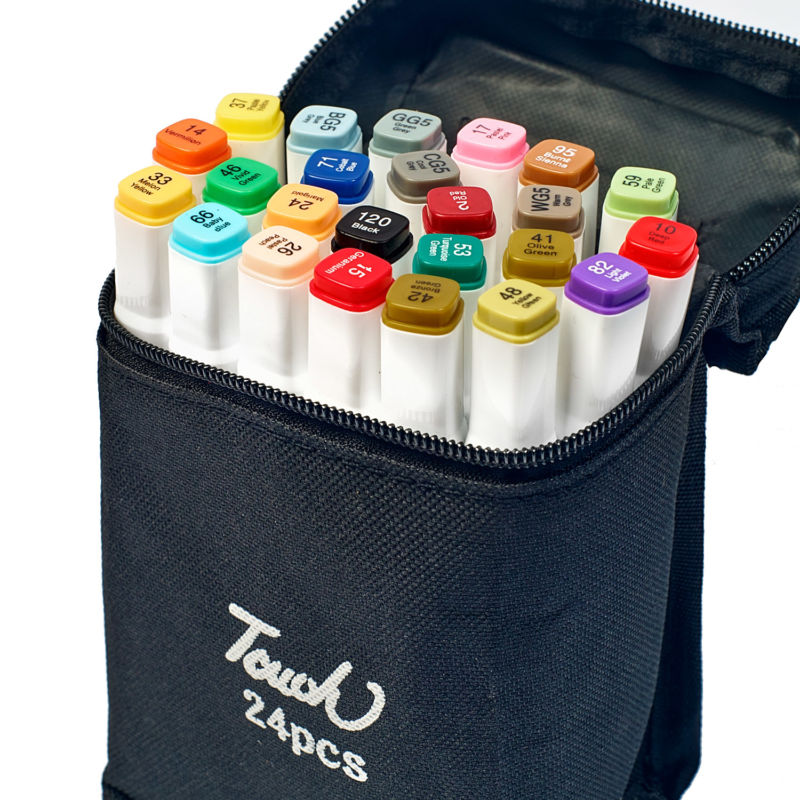
- Watercolor.
- Gouache or acrylic paints.
- Brushes of several sizes.
- Pastel crayons.
- Various sizes of plain pencils and colored pencils for children.
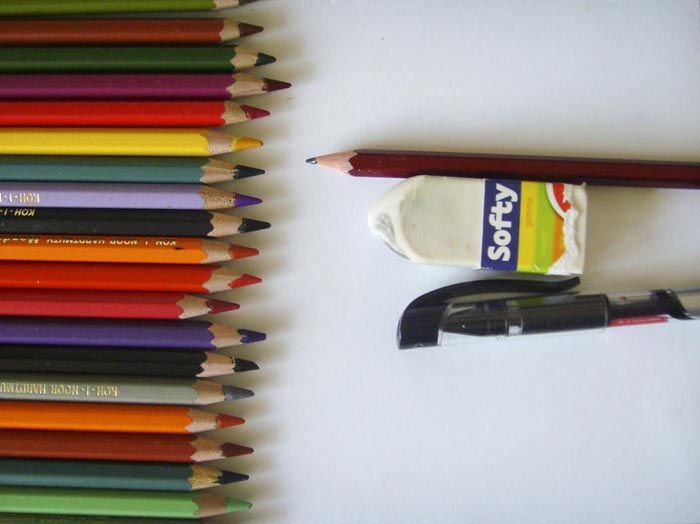
It is always better to have on hand an organizer in which cells it is convenient to store consumables and tools (brushes, bottles or tubes with paint, a hand rag).
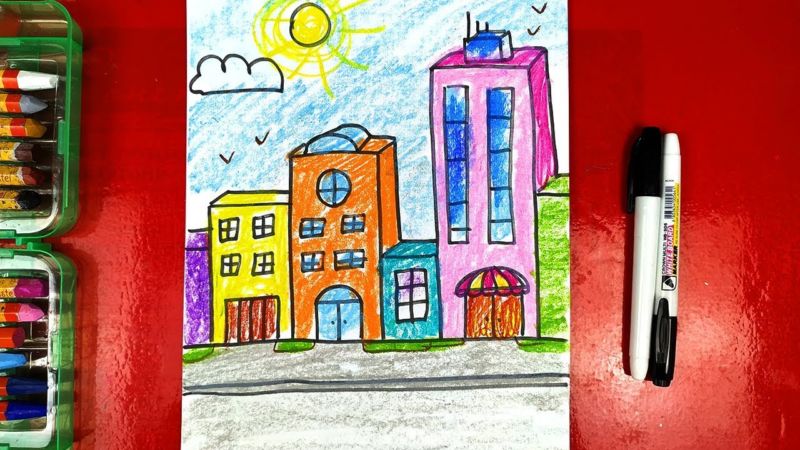
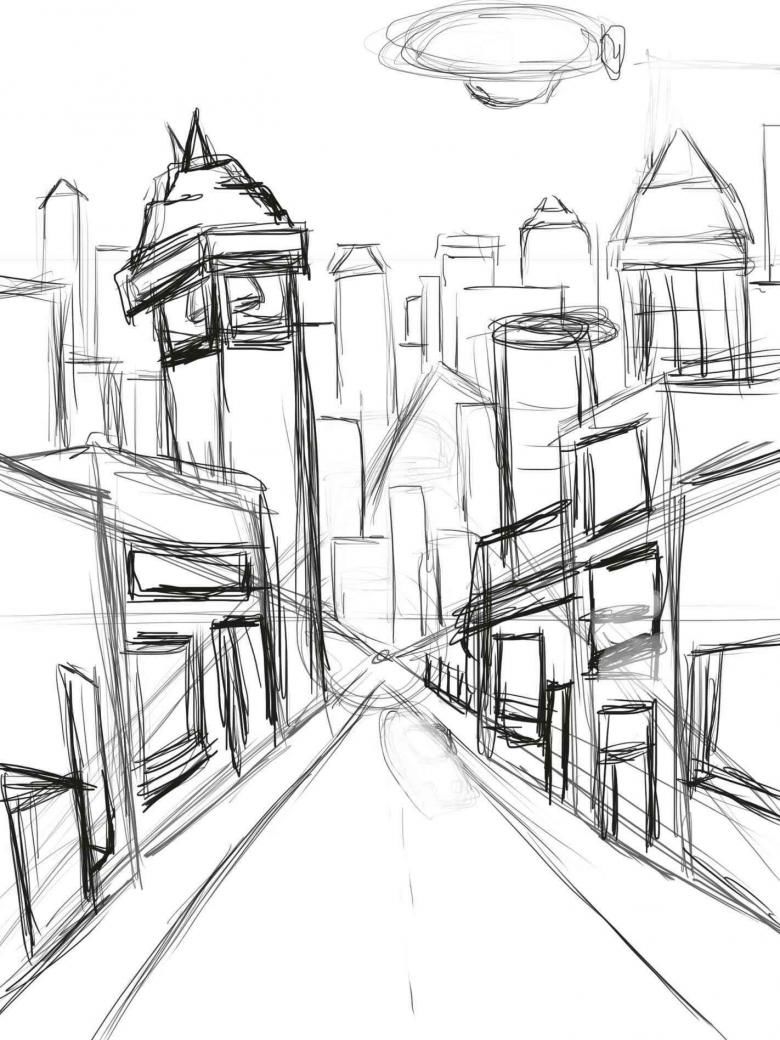
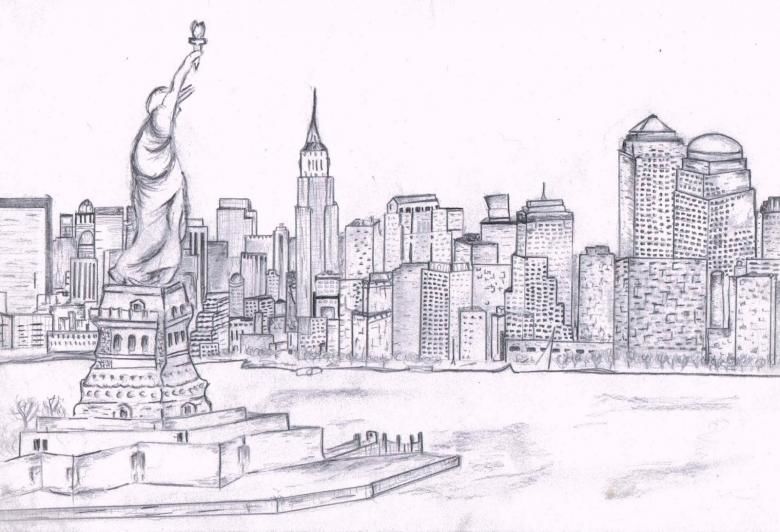
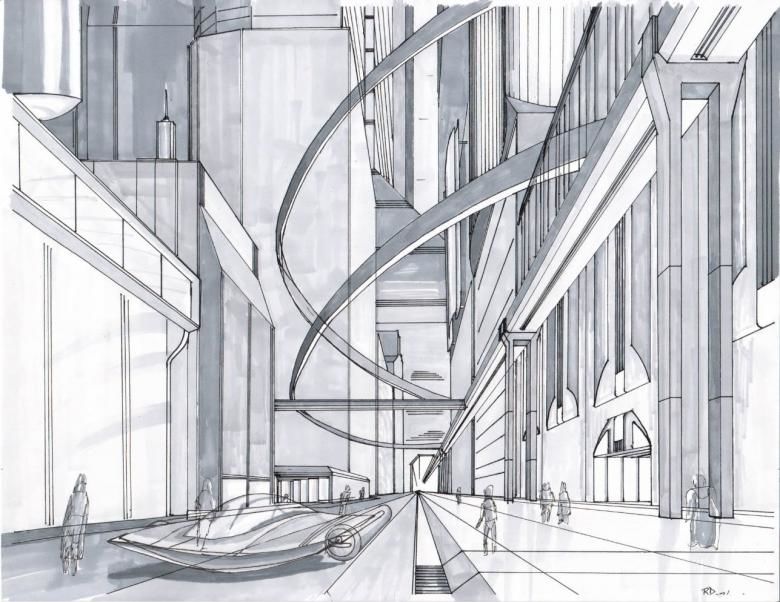
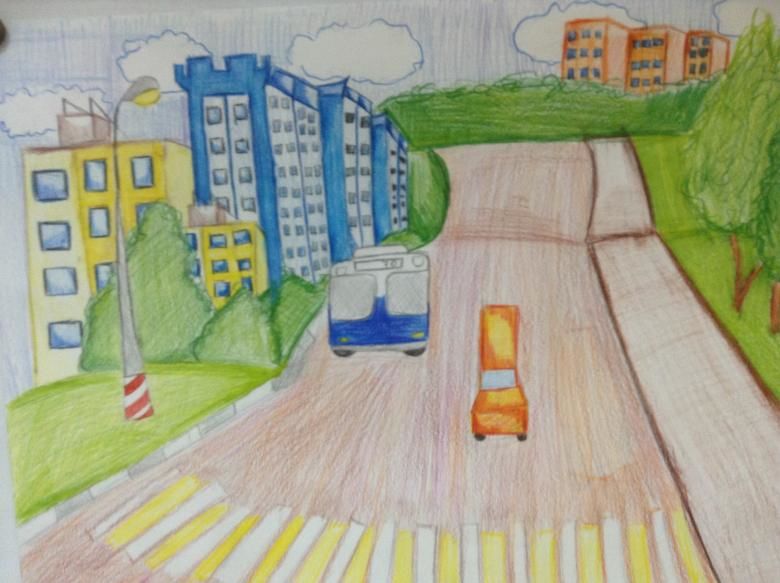
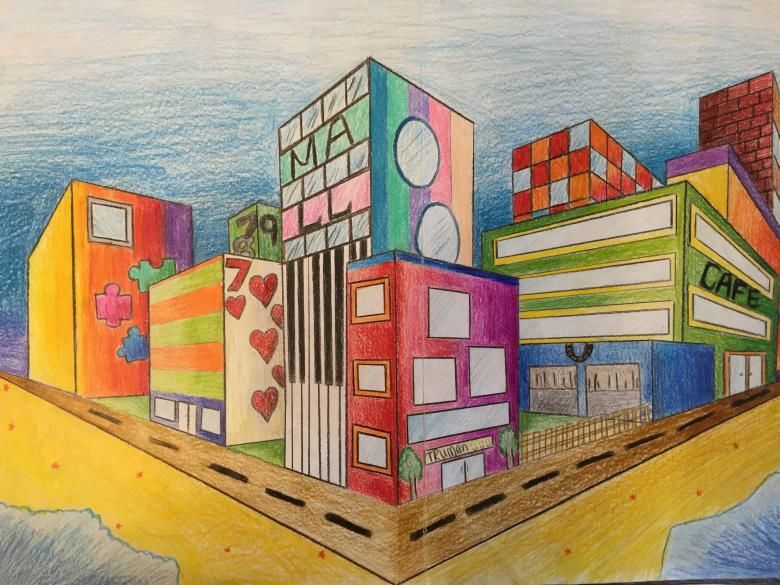
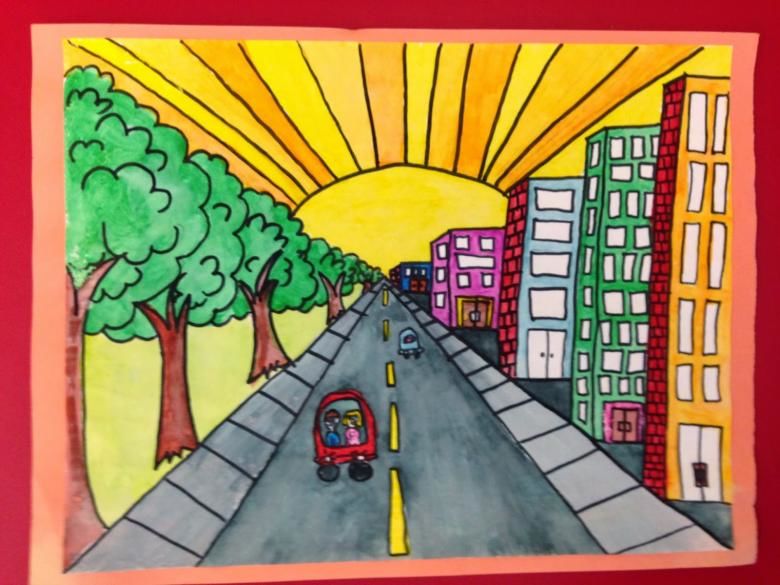
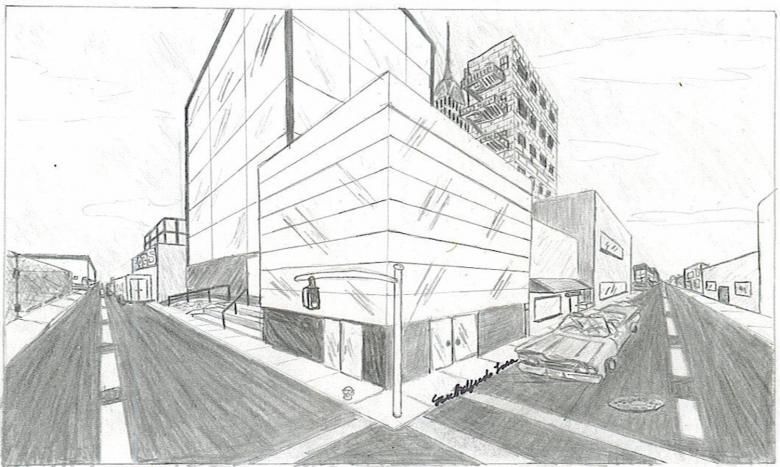
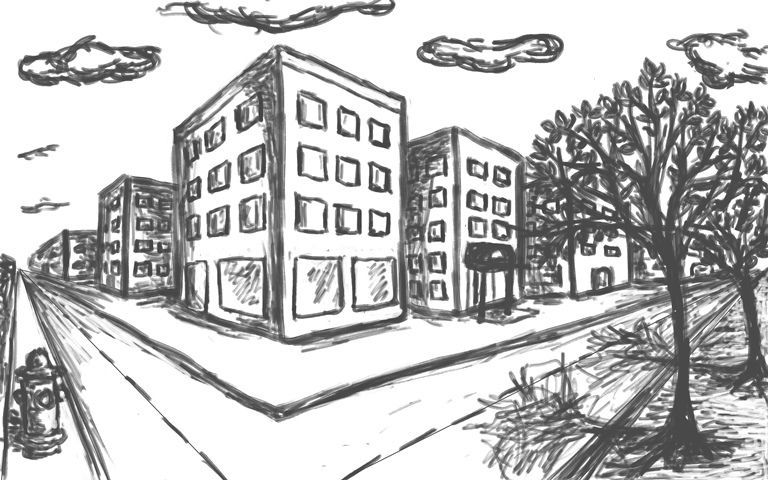
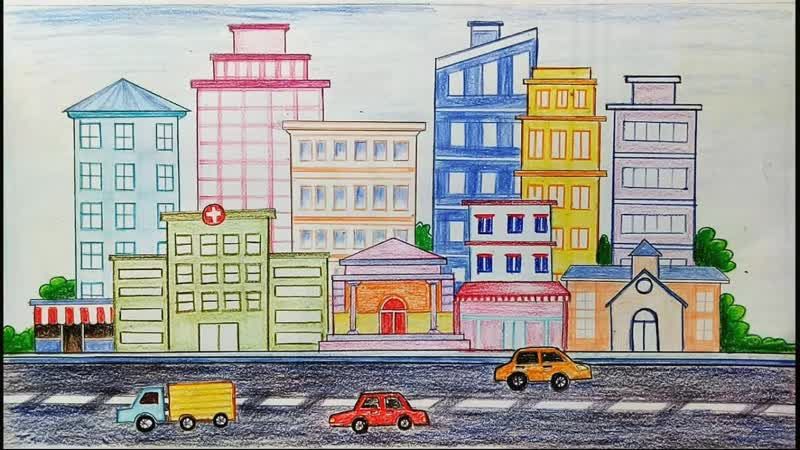
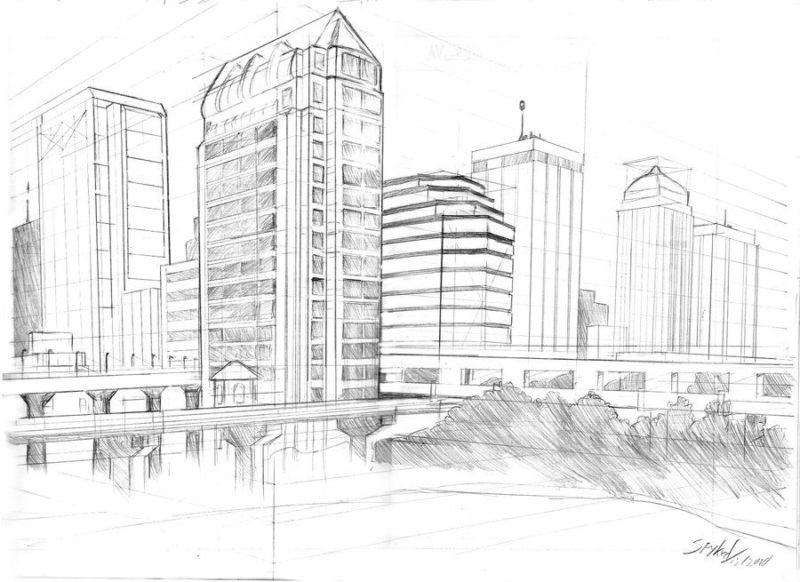
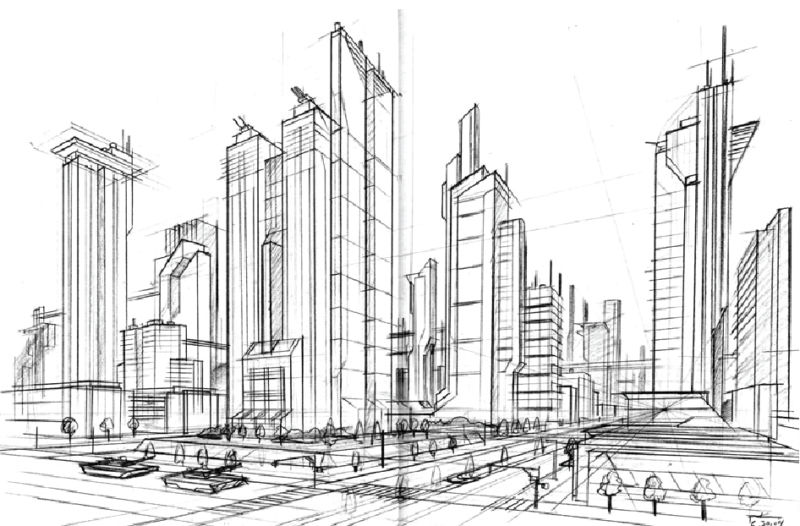
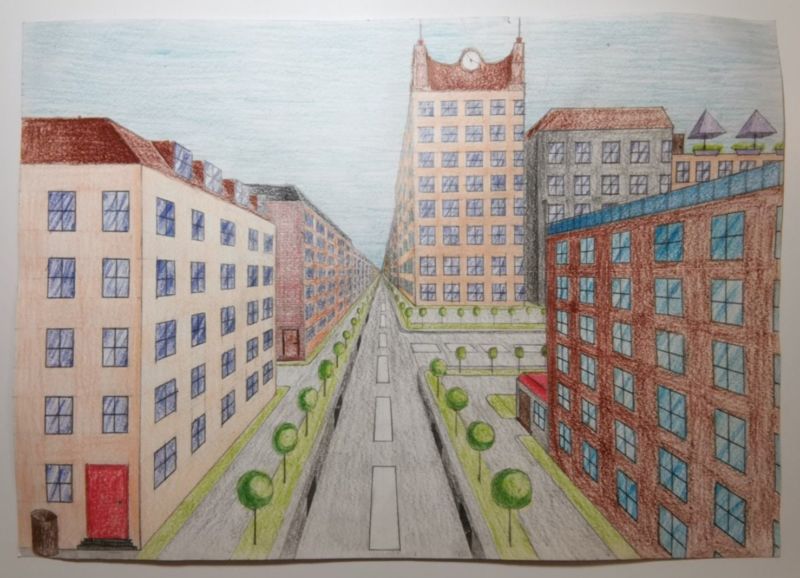
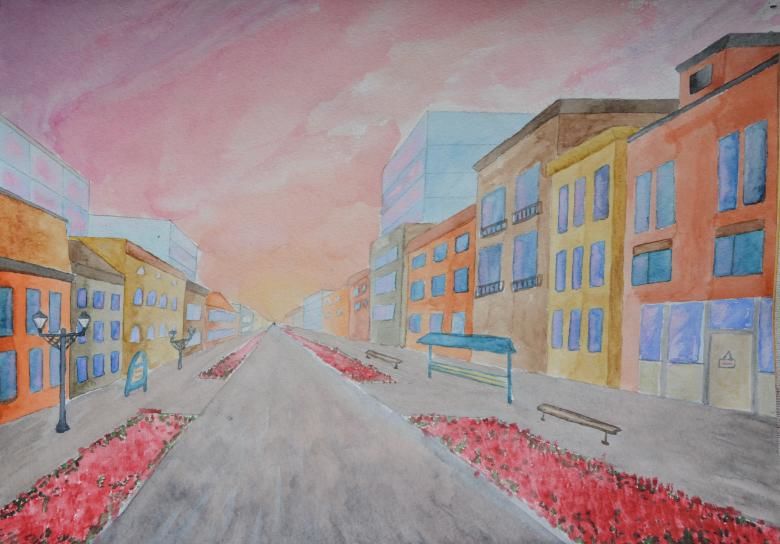
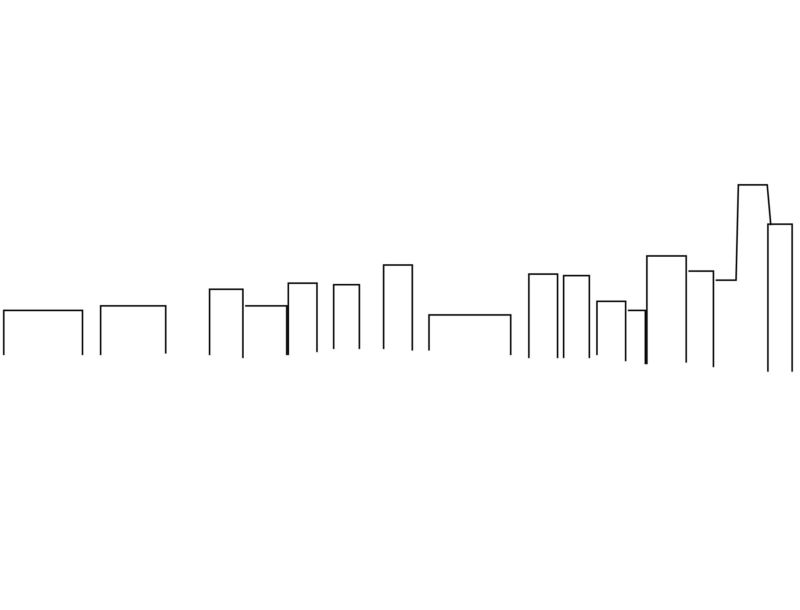
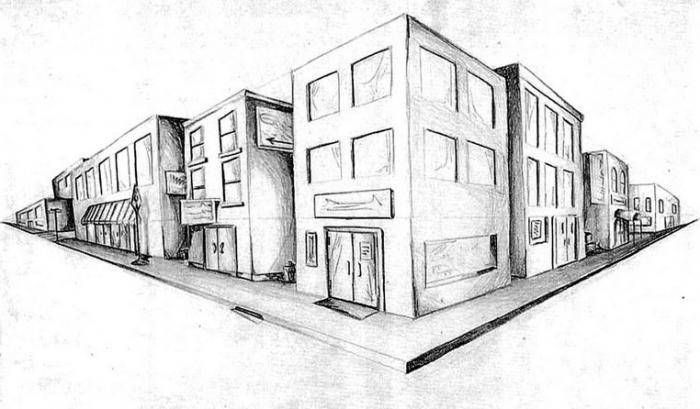
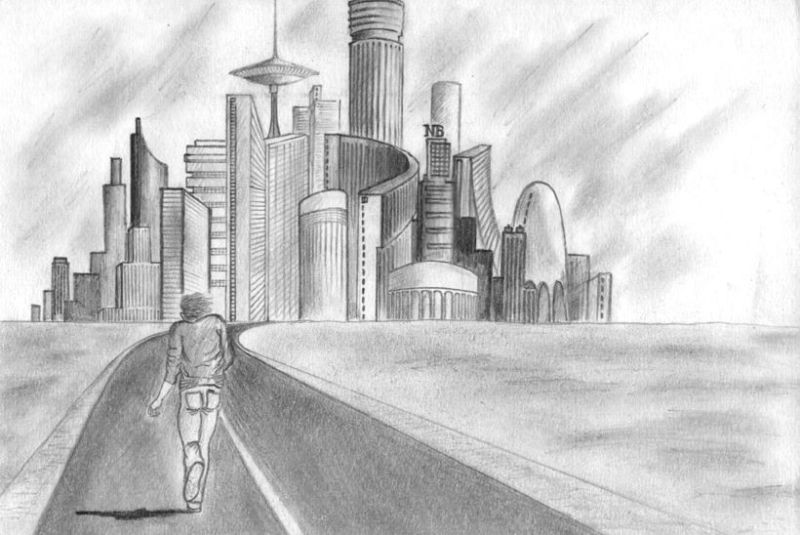
Drawing the city in full-face
The first and easiest project for the novice artist is the portrayal of the city in full-face. In this case, great attention is paid not to the drawing of details, but to the relative position of the lines.

The most important task of the artist is to depict the street and the surrounding houses as this view is perceived by the master's eye. Instructions on how to draw a city step by step in pencil:
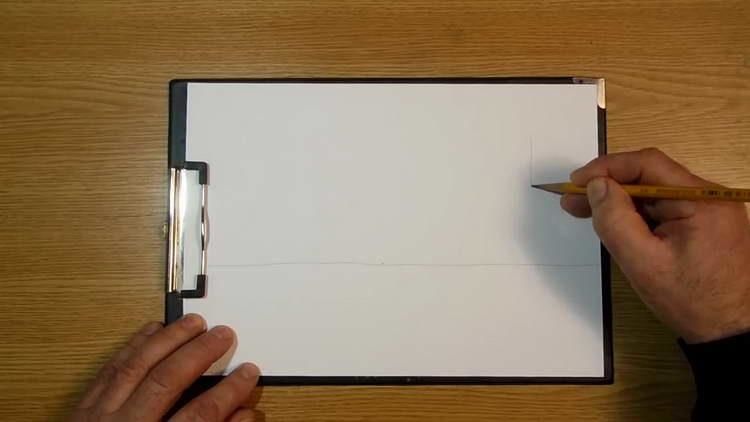
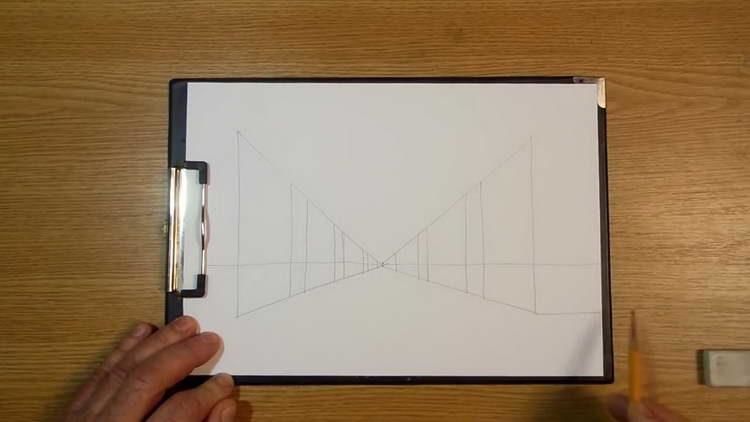
- A sheet of plain white paper is placed in front of you on the table (in its longitudinal axis). This creates more free space for displaying houses.
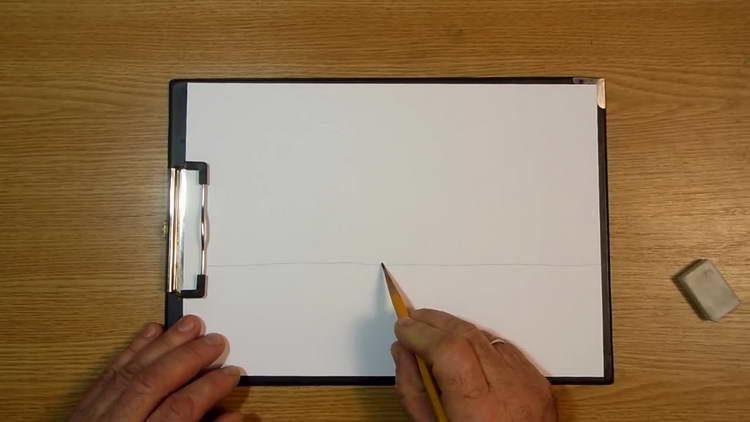
- Next it is necessary to visually mark the middle of the sheet. A horizontal line is drawn just below the marked plane. The line should go through the entire sheet.
- To the right and left, at the very edge of the sheet, two vertical lines are drawn.
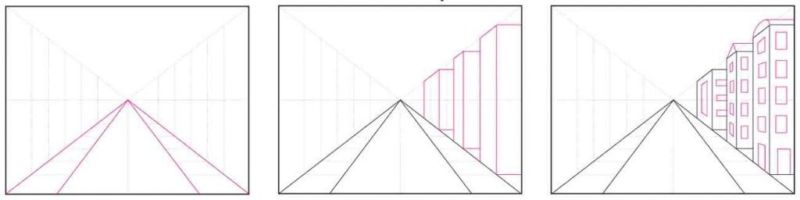
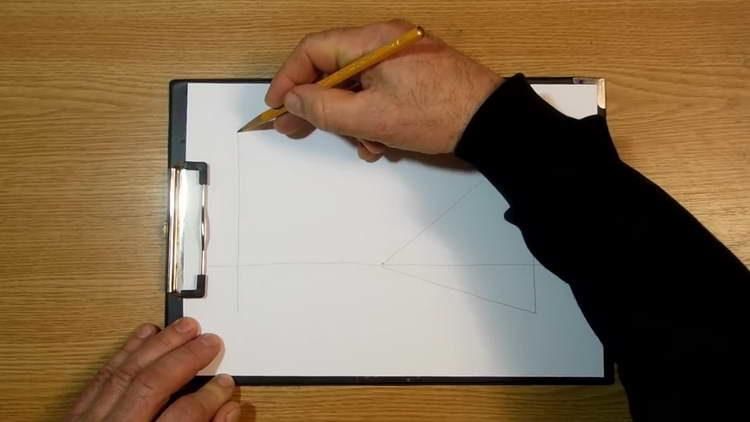
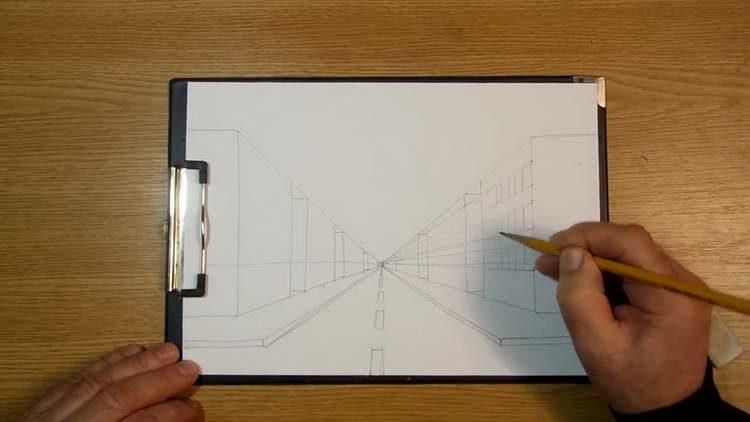
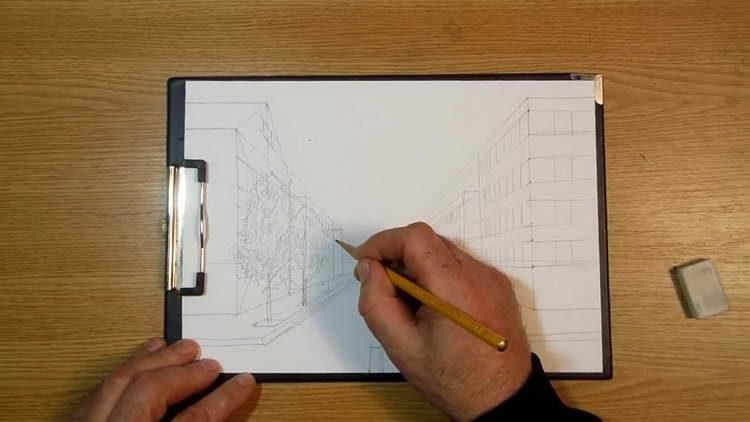
- A pencil marks the four outermost points on the vertical lines, and from these points lead four diagonal strips. All diagonal lines must converge at one point. This technique makes it possible to draw a city street in real space (at a desired angle).
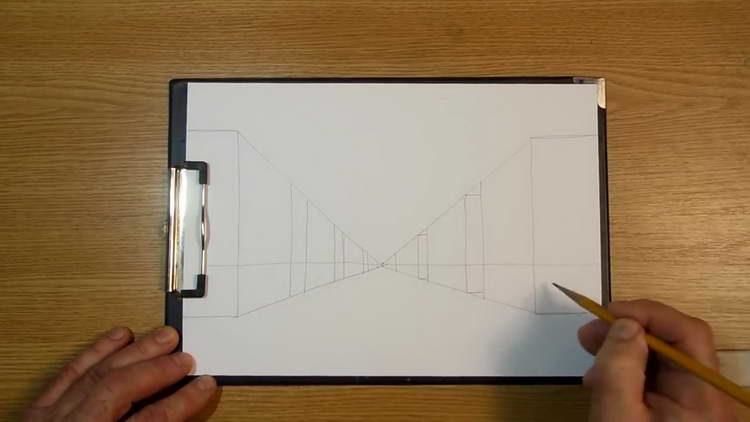
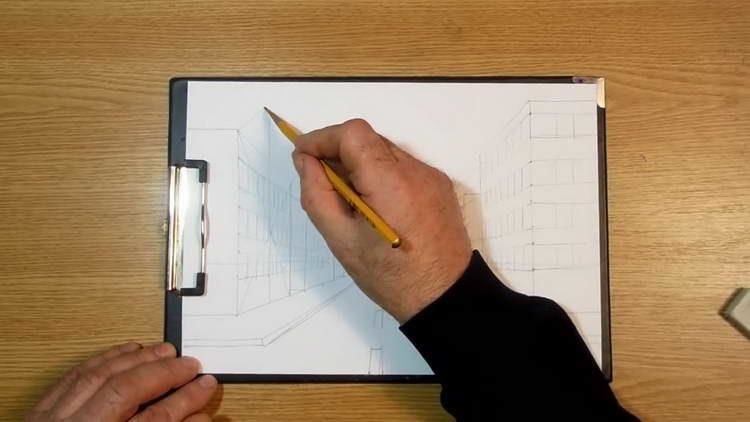
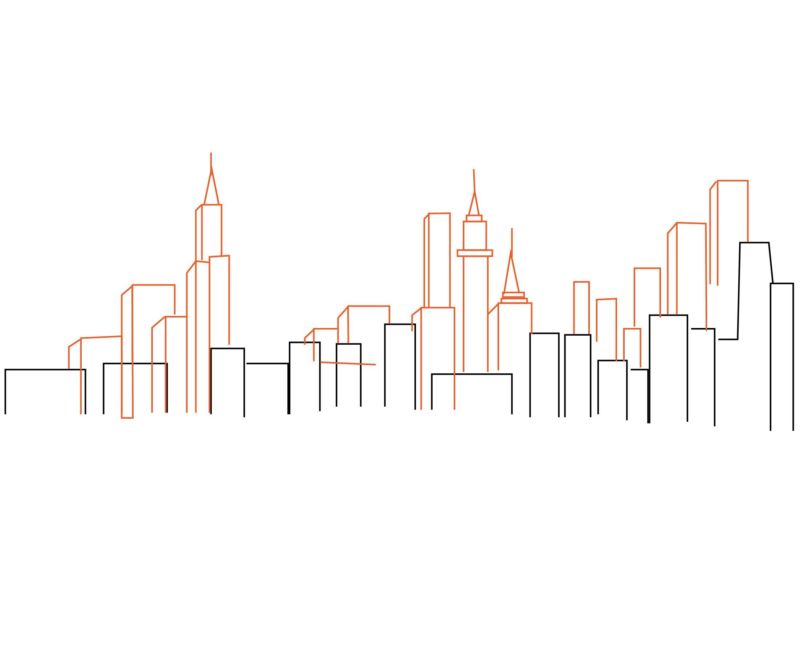
- The space between the two diagonals is to be filled with the details of the facades of the houses. To do this, a number of vertical strips are drawn inside, which mark the boundaries of neighboring buildings.
- To depict the side edges of residential buildings, it is necessary to draw several horizontal strips. Unnecessary lines in the future will be removed with an eraser.
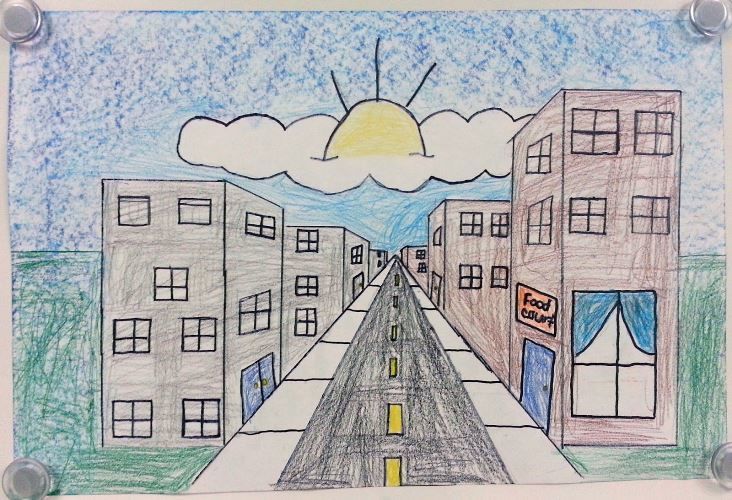
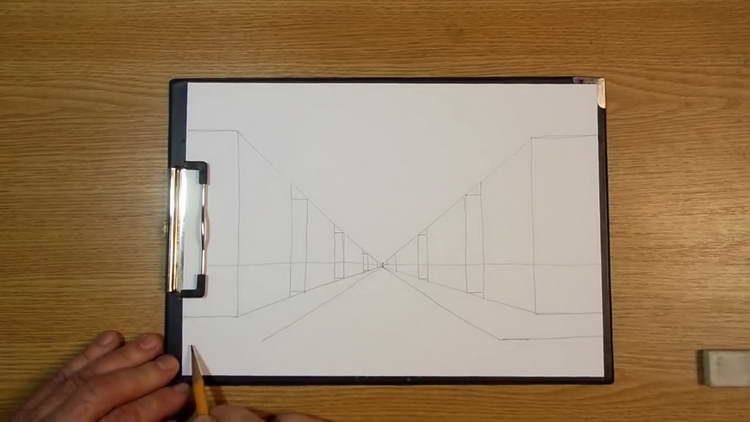
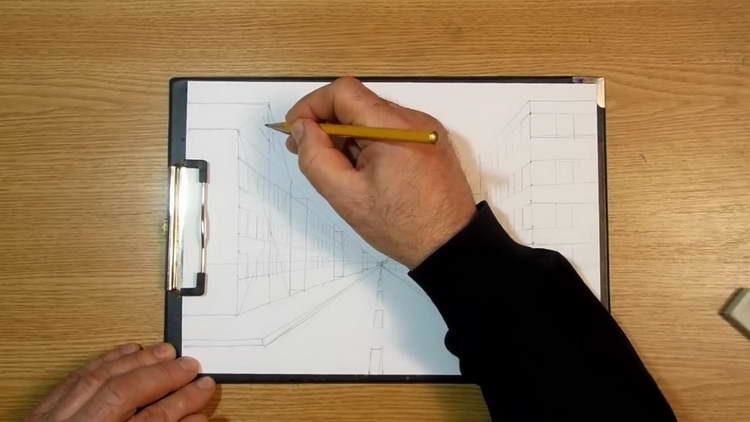
- The next task of the master is to draw the central avenue. From the central point, where all the diagonals converge, two more oblique lines are drawn. The drawn lines are directed downwards. Marking the boundaries of the sidewalk and the avenue.
- The oblique lines are drawn to points at an equal level, and from these points two horizontal lines are drawn. This method makes it possible to show the exit of the avenue on the central carriageway.
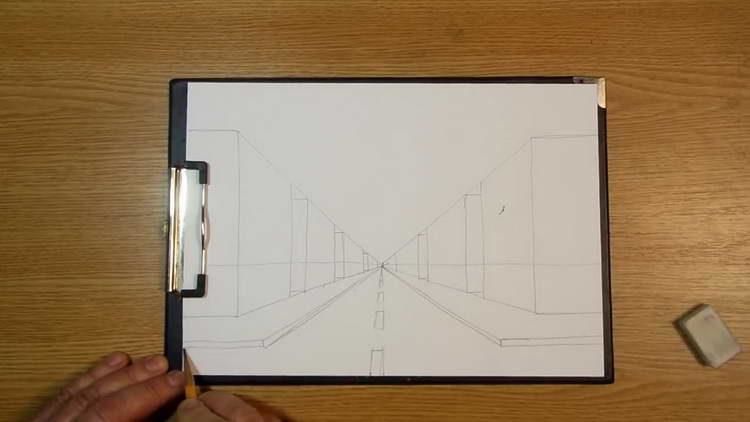
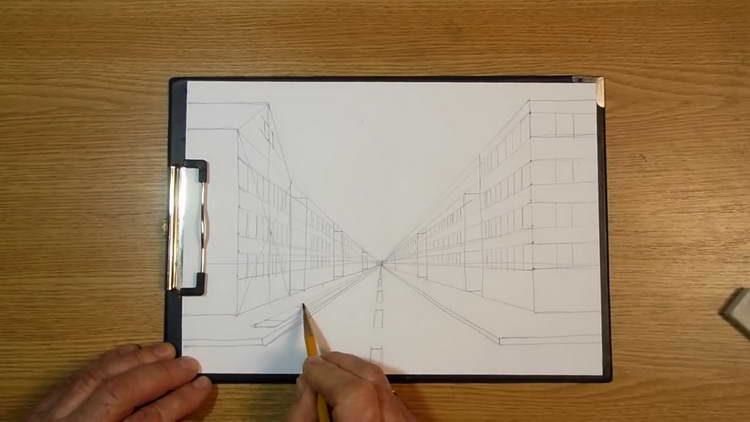
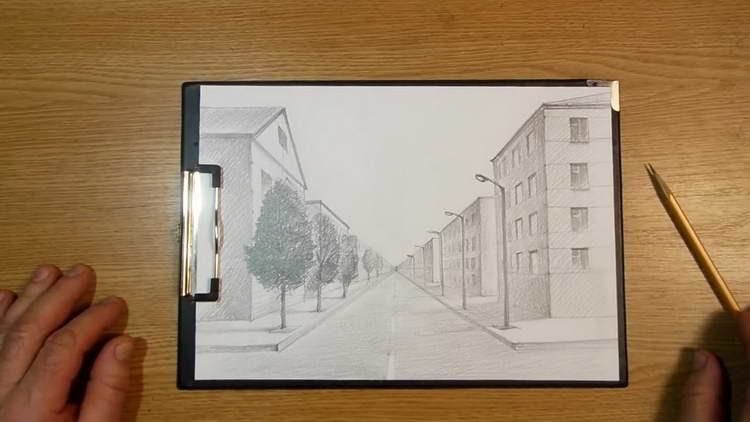
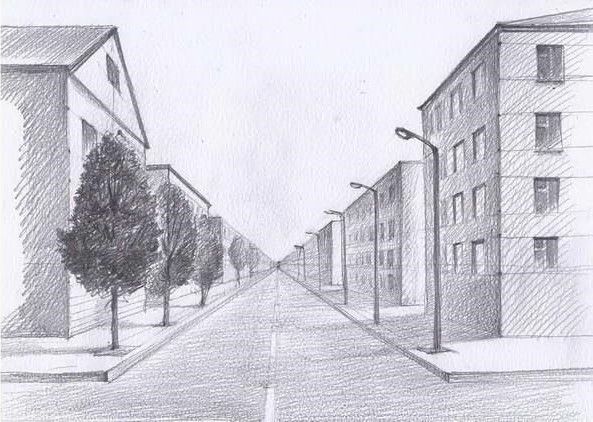
Further creative work is to draw the details. Using double lines give volume to borders, draw a double stripe in the center of the carriageway, the width of which increases to the bottom of the sheet.
On the facades of the surrounding buildings it is necessary to depict window openings, doors, maybe signposts that complete the image of the city.
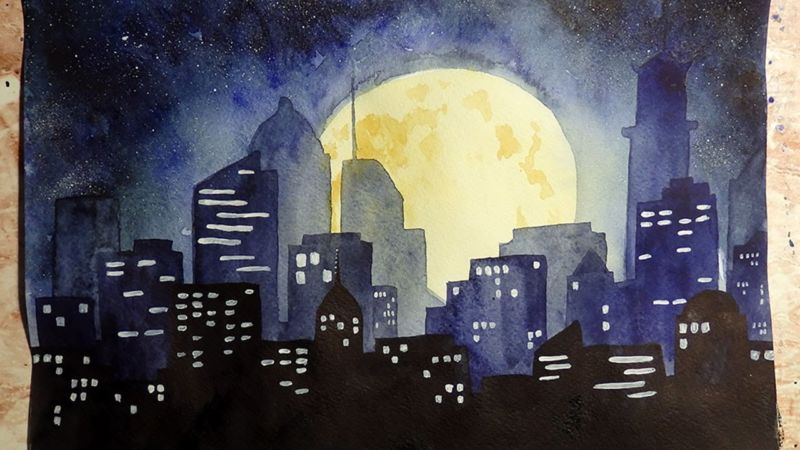
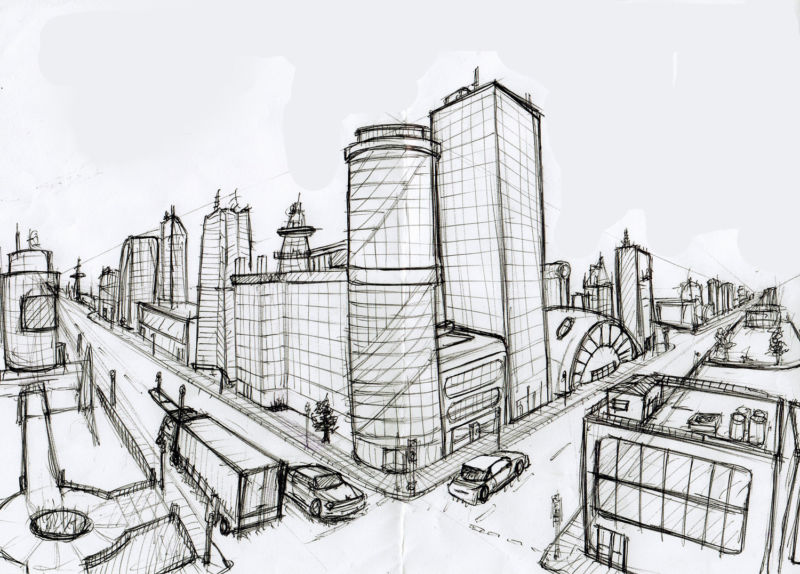
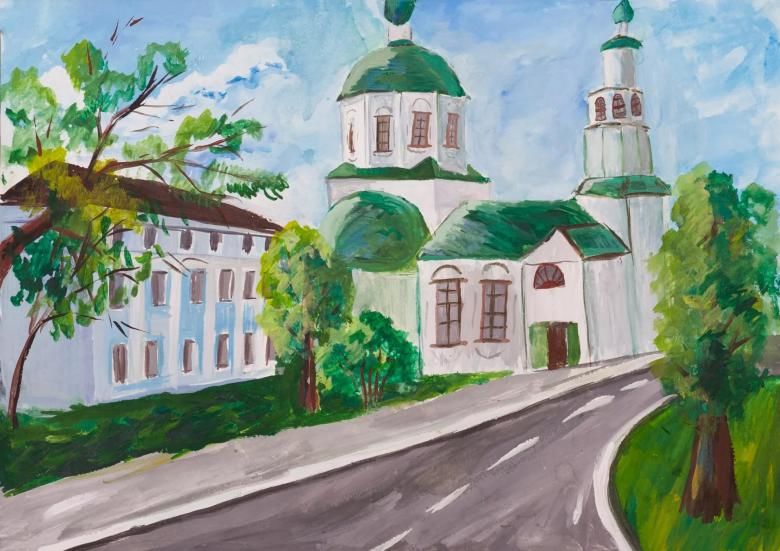
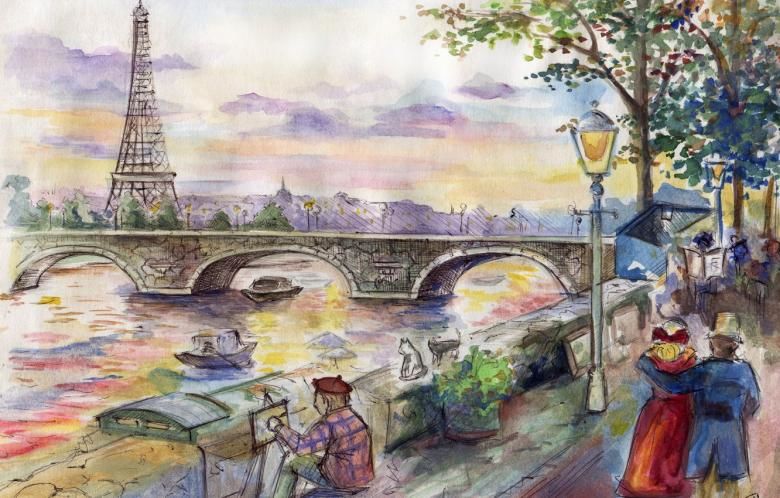
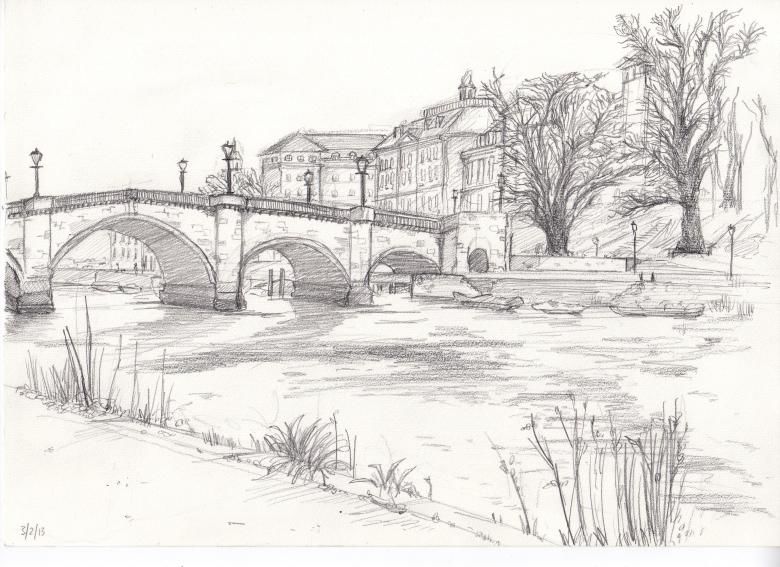
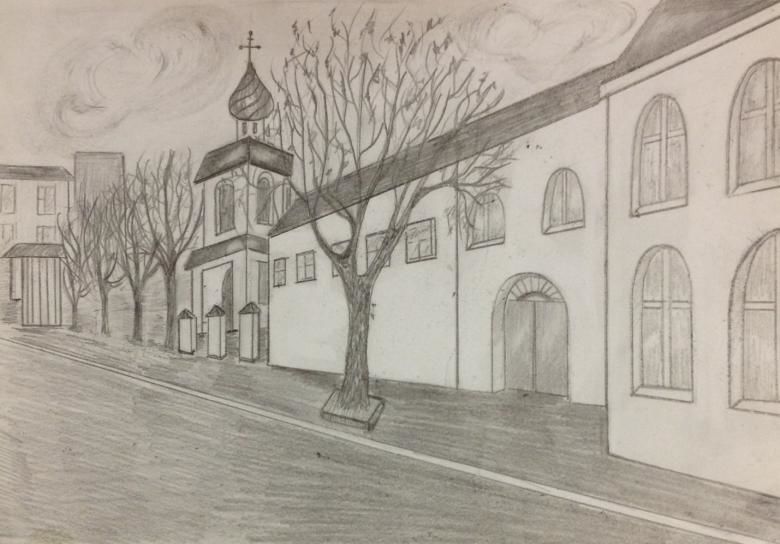
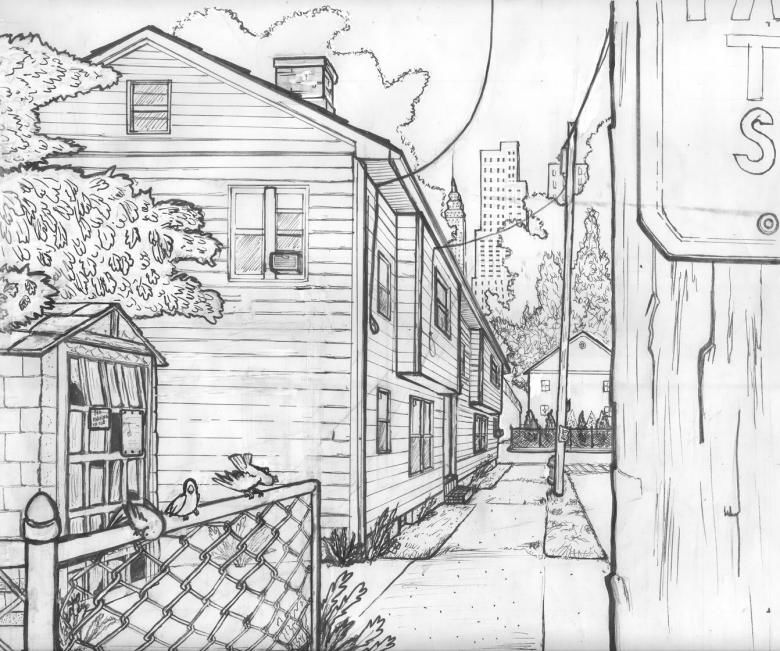
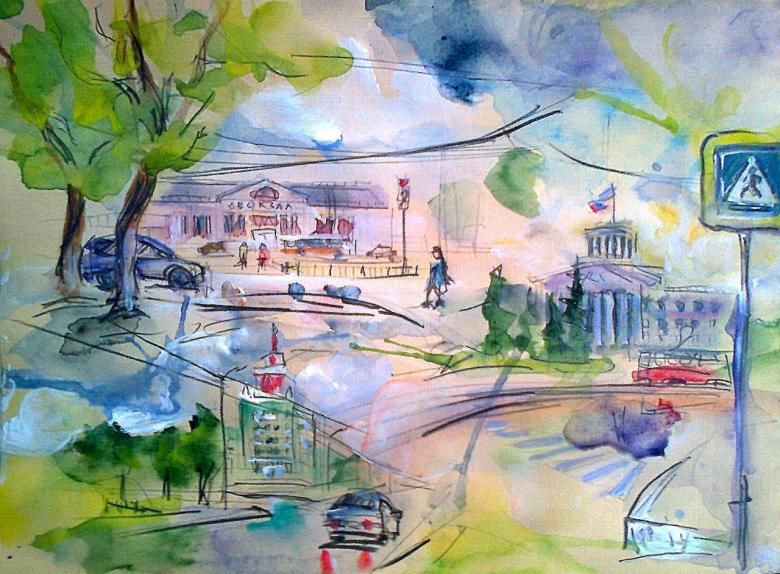
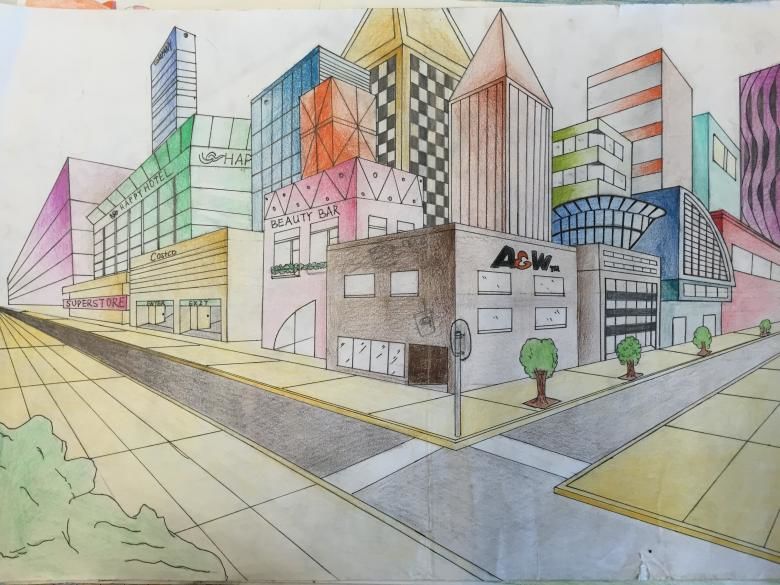
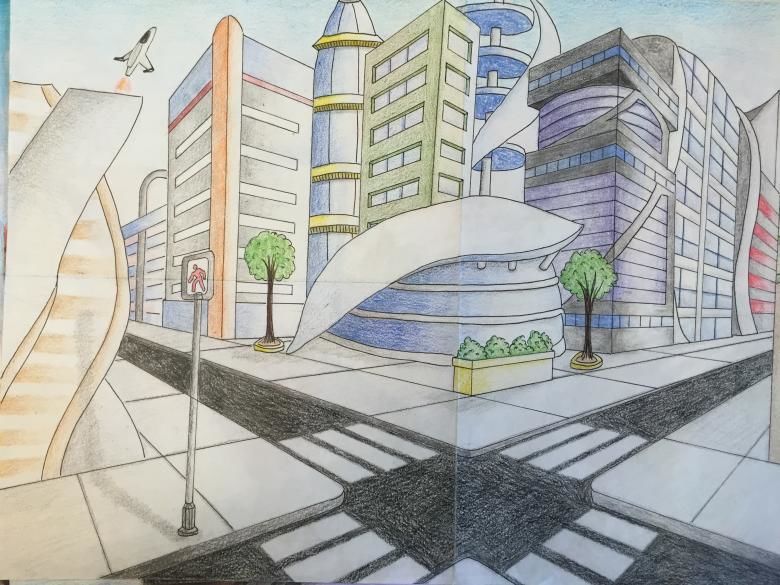
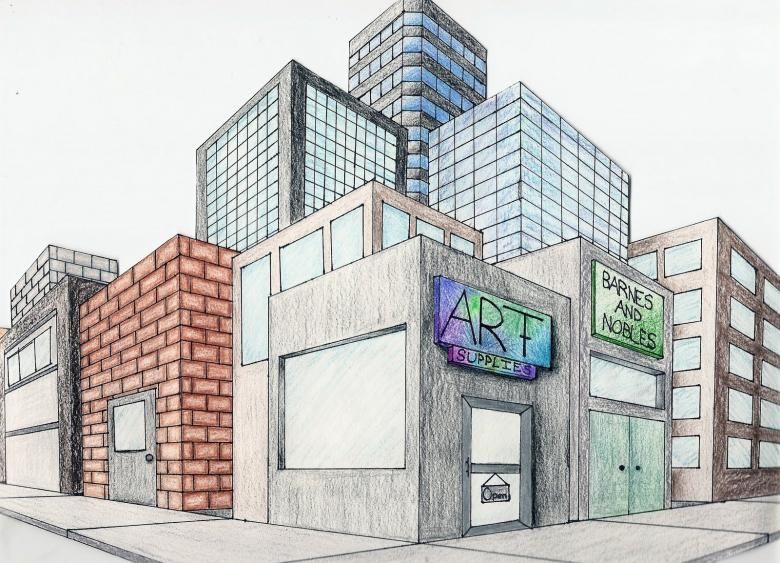
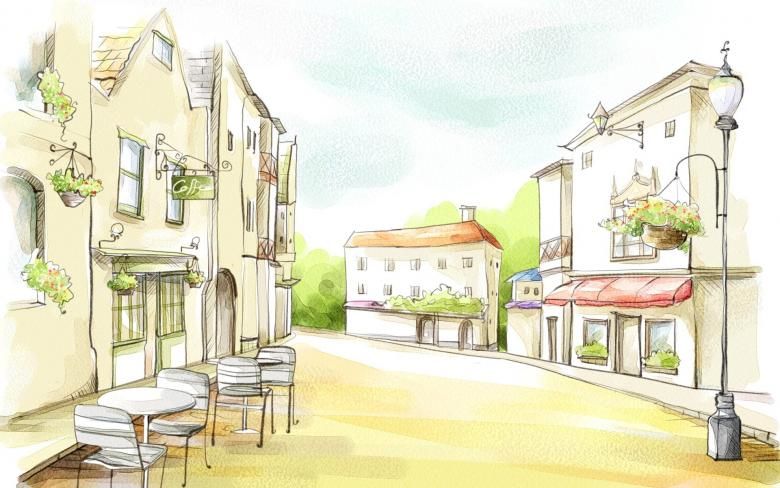
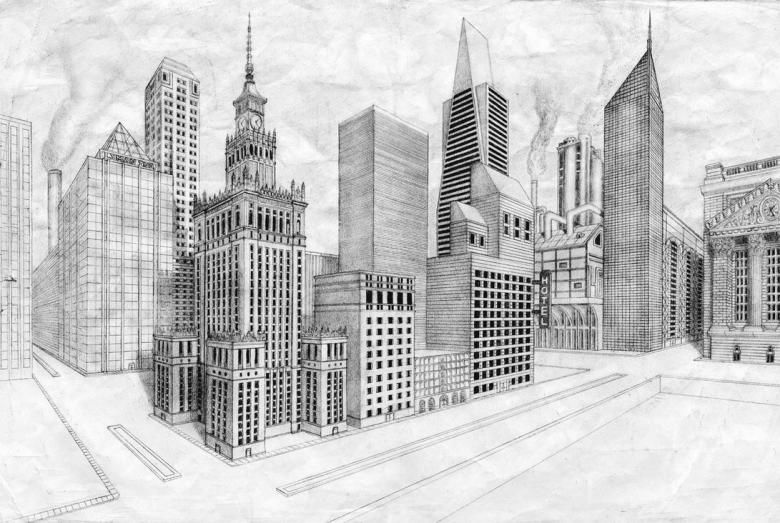
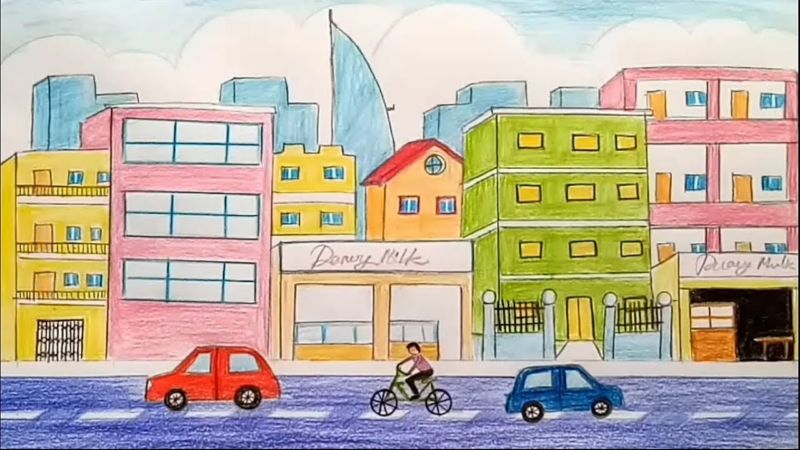
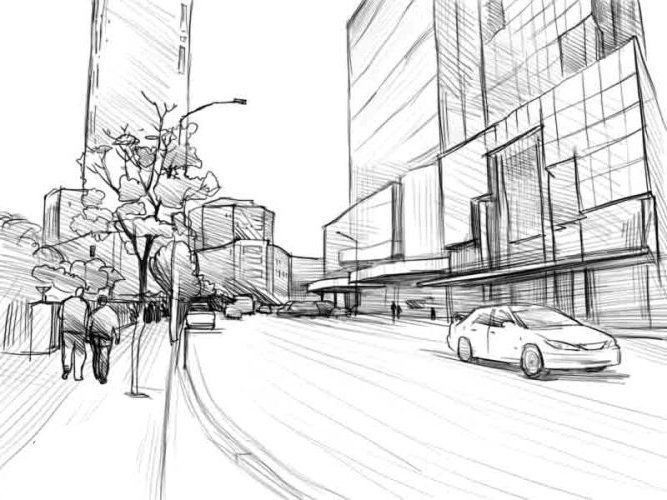
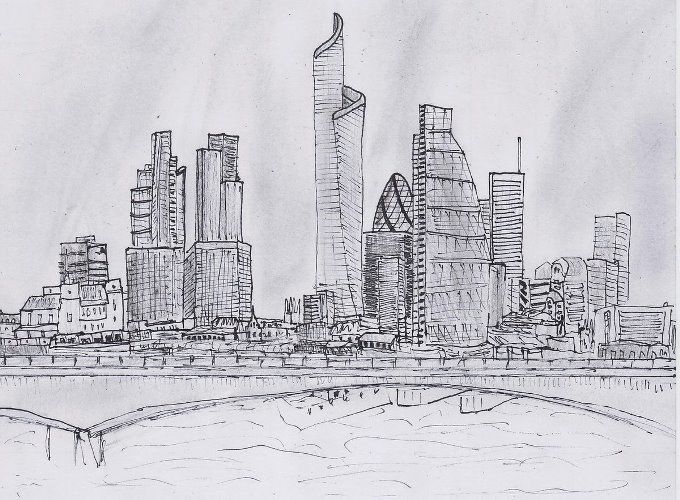
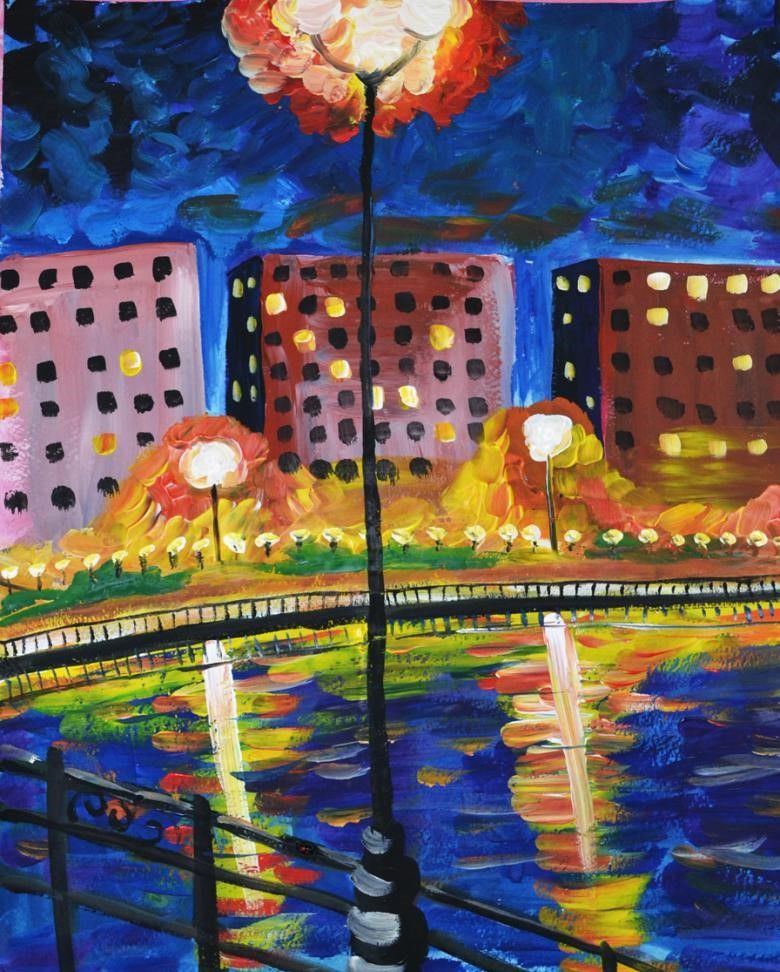
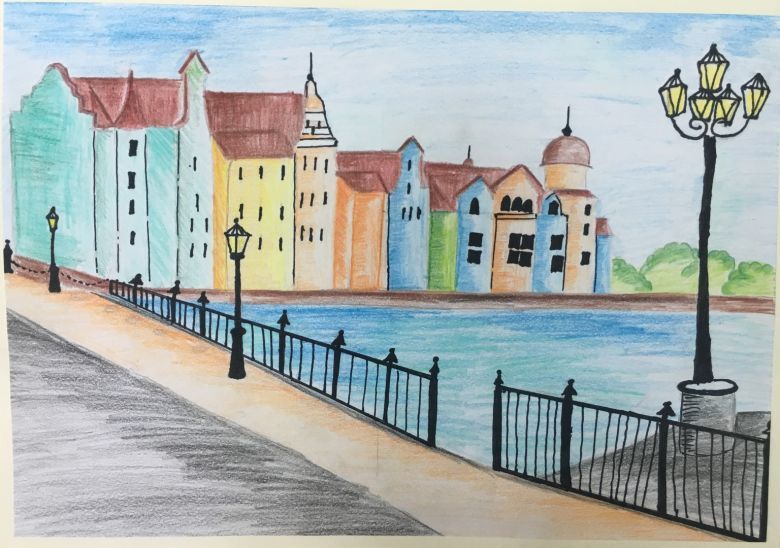
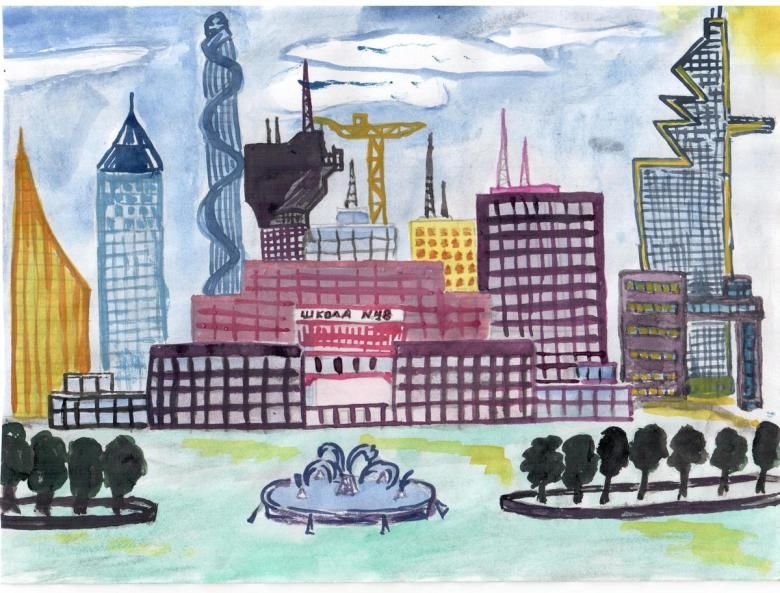
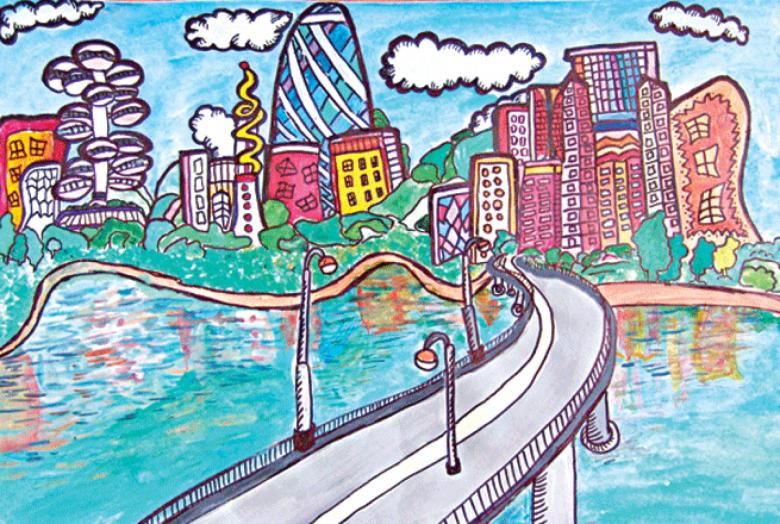
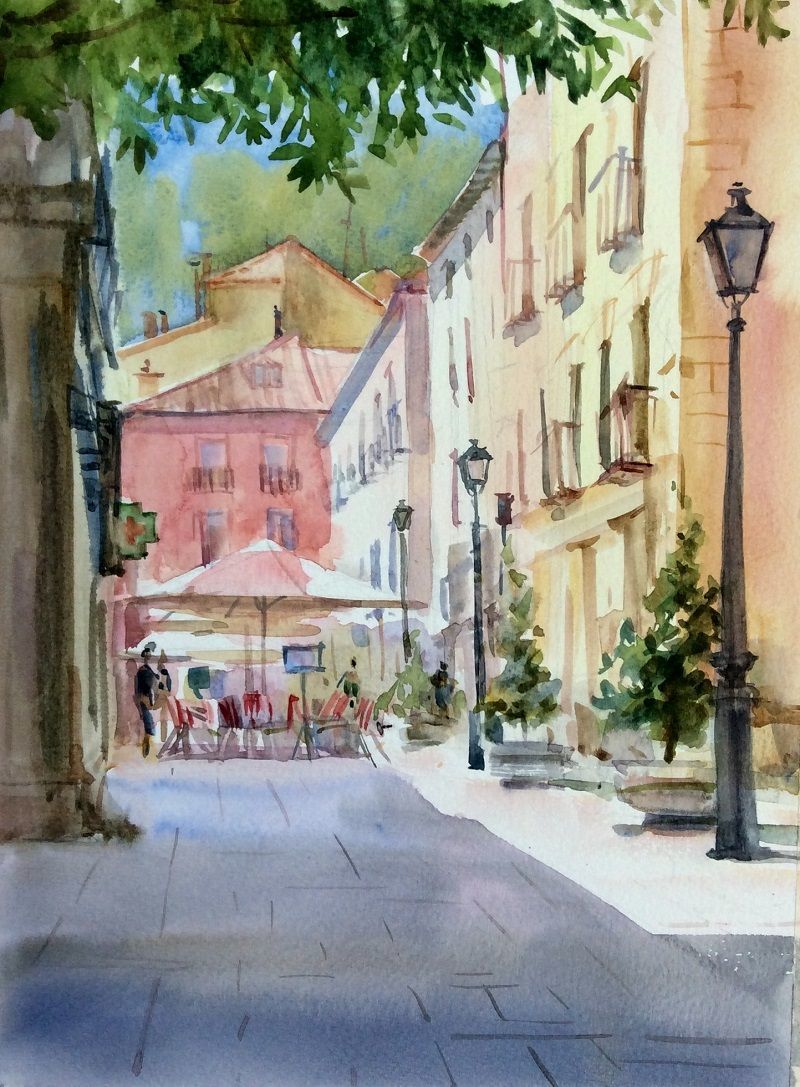
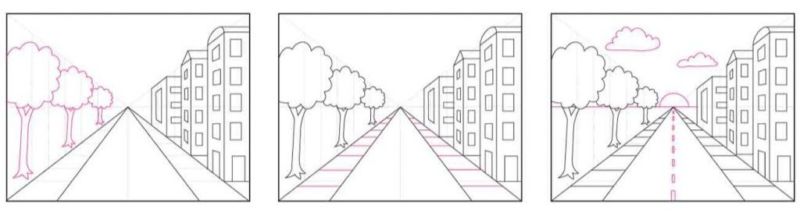
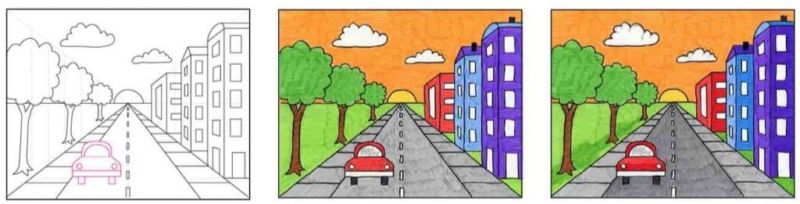
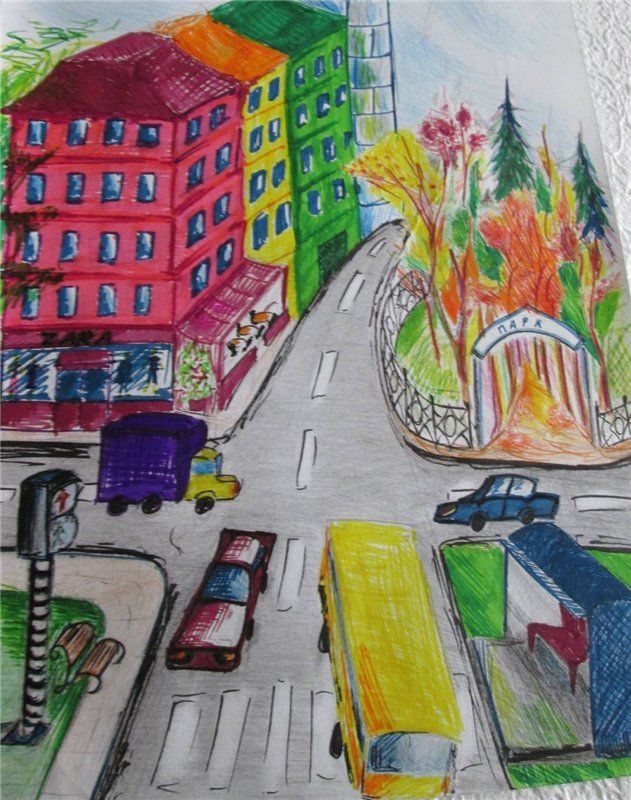
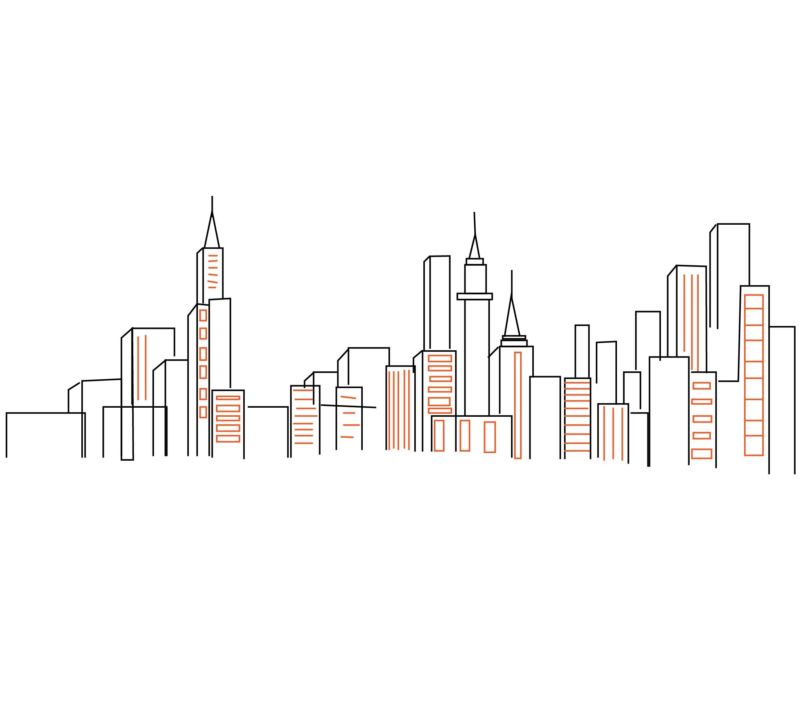
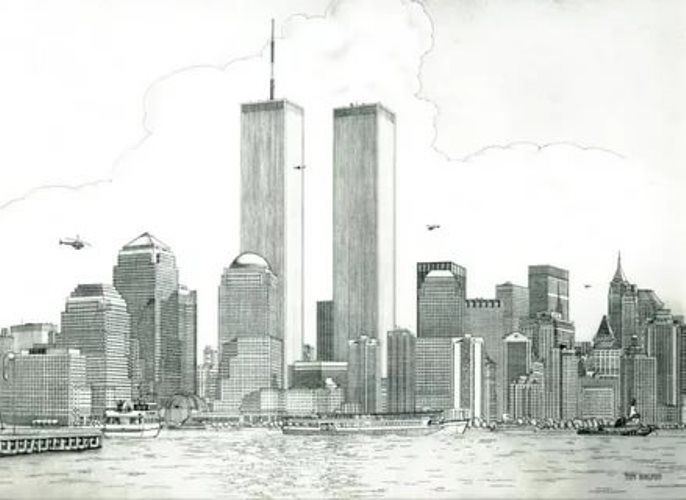
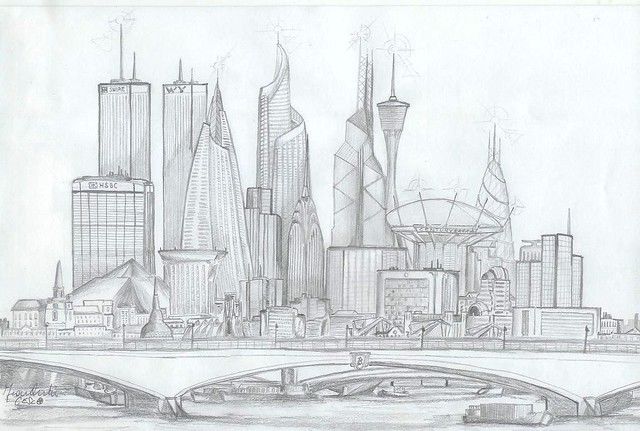
Drawing a cityscape
The second option of drawing is the image of the cityscape. In this case, great attention is paid not only to the relative arrangement of lines, but also to the smallest details that define the view.
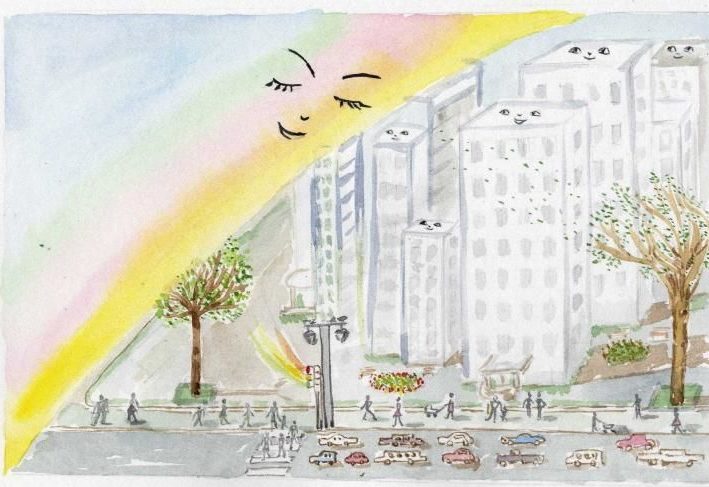
It can be a competition drawing "My city" or just a picture for home creation. Instructions on how to depict a beautiful landscape within the city:
- Place a sheet of paper in front of you longitudinally.
- Use a simple pencil to make six lines: two parallel lines straight down the center, two parallel lines on the left flank, one at the bottom right, and one broken line at the top right. These lines are the outlines of the future buildings.
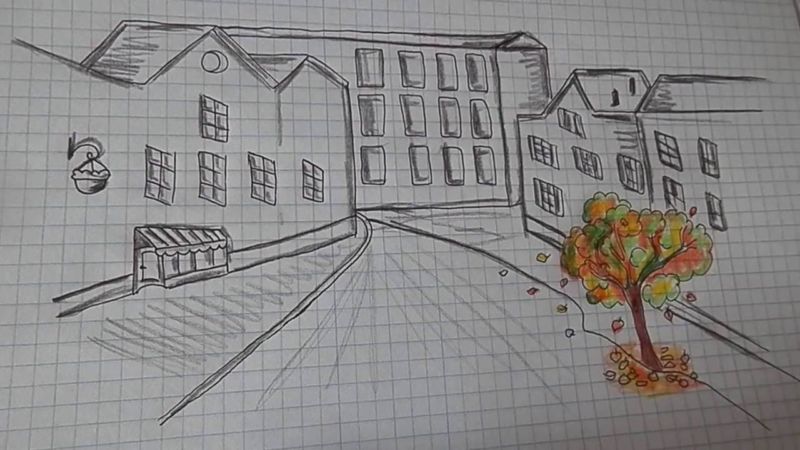
- Next, you need to give the buildings a more defined shape. To do this, all lines are brought to normal dimensions, draw the vertical boundaries of the buildings. The broken line represents the roof of a residential building. Using double and oblique lines give volume to the roofs, under the roof of one of the buildings you can draw a loft window. By adding curtains, you can indicate that the attic is a living space.
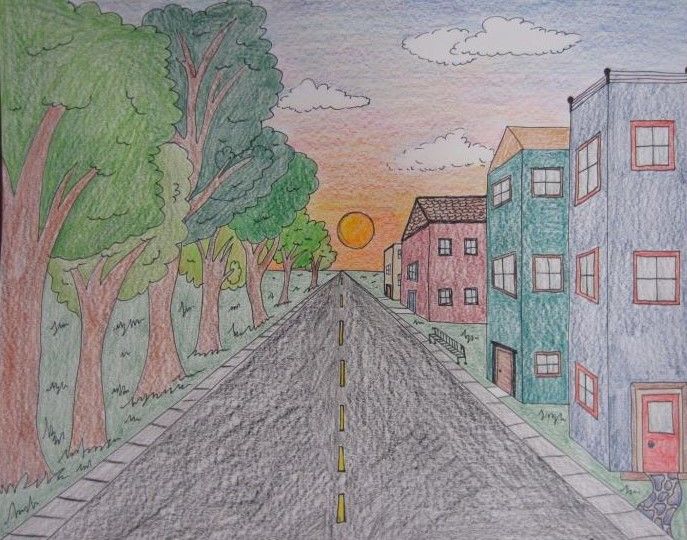
- In order to get a beautiful cityscape it is necessary to abandon the straight central road with markings. The best option is a cobblestone road that turns from behind the facade of the building. To do this, draw a smooth line that originates between two adjacent buildings. Add a second line, marking the height of the sidewalk. To complement the image, stormwater systems and grates on the sidewalk can be drawn.
- Do not forget details such as street signs, road signs and store signs.

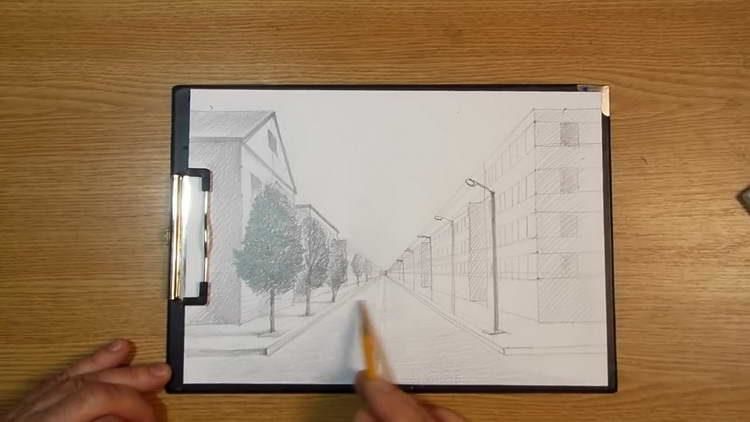
Near one of the sidewalks, draw the trunk of a branched tree. To draw the leaves, you will need to trace the contours of the future crown as a broken line. Small strokes will be added later, and superfluous lines will be removed with an eraser.
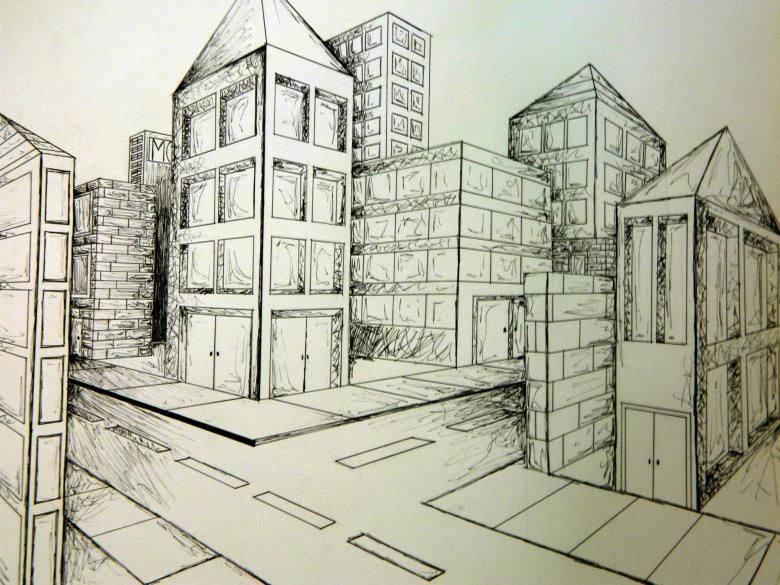
View of the city from above
Another interesting project for creativity is a drawing of the city plan. This image allows you to see the city from above. The sheet may show a real city, and then the artist will need a real plan project.

Or it can be an illustration for a storybook or comic book, showing a fantasy plan. Instructions on how to get an image of a city plan:
- On a sheet of paper (in the longitudinal axis) outline the contours of the city boundaries.
- All available area must be divided into districts. On the map of such a division is in the form of double lines, which indicate the roads.
- The depiction of residential areas depends on the scale of the map. The roofs of multi-storey buildings are depicted as squares.
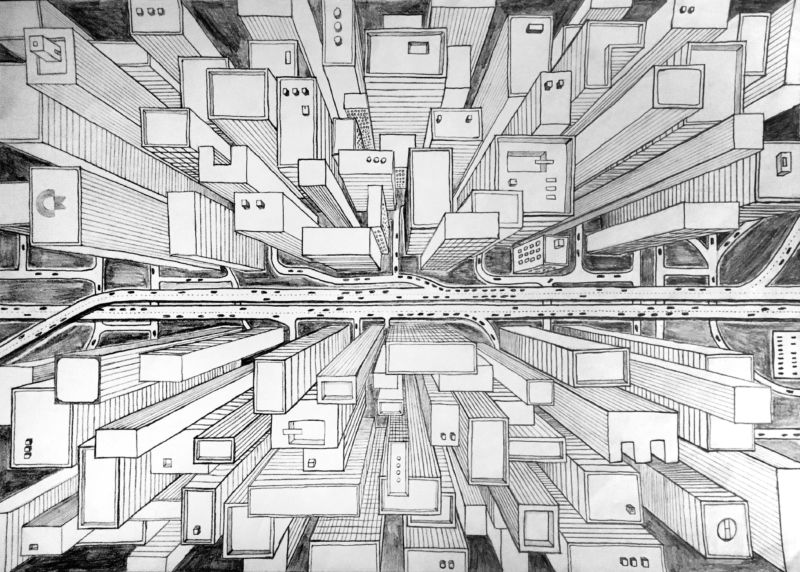
The top view of the city includes overpasses, railroad tracks, which are drawn as a double line with parallel sleepers and rails. If the scale used allows, then display road markings and city park.
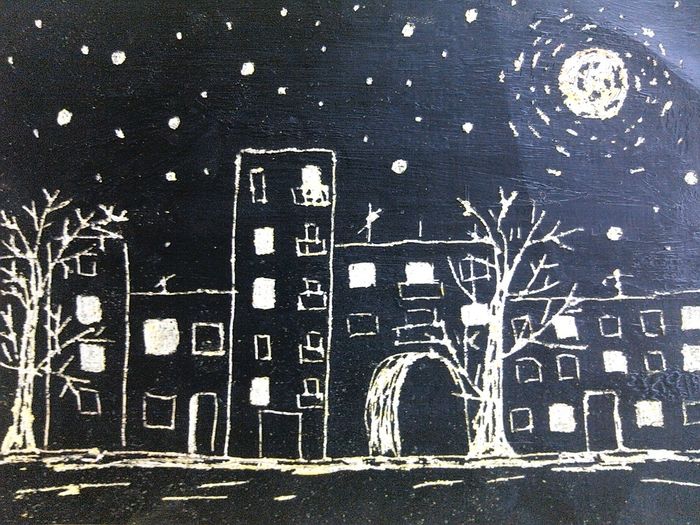
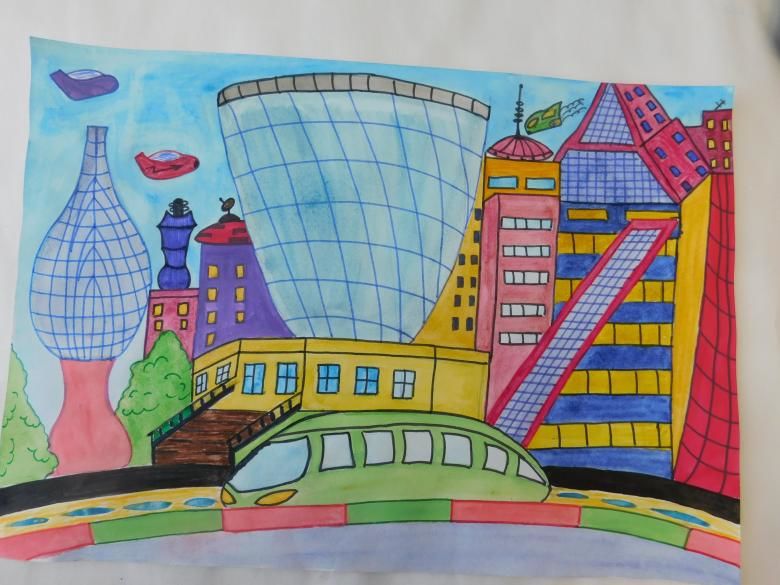
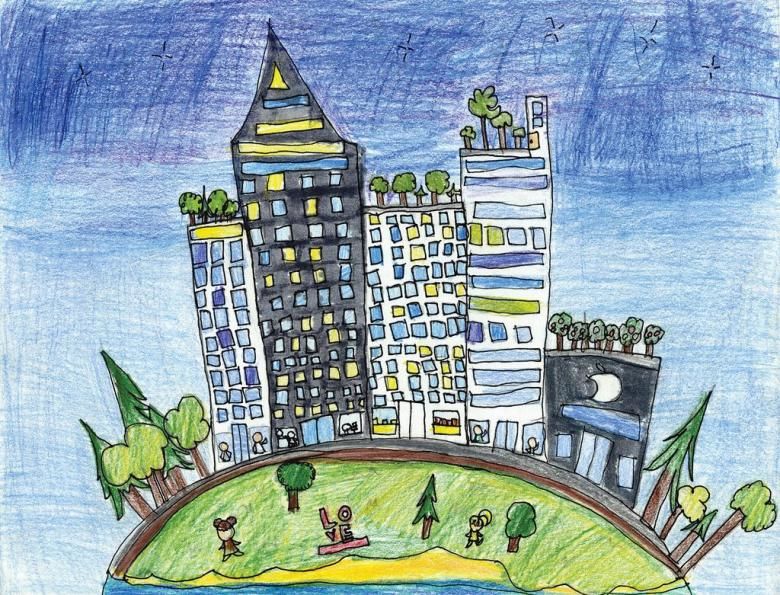
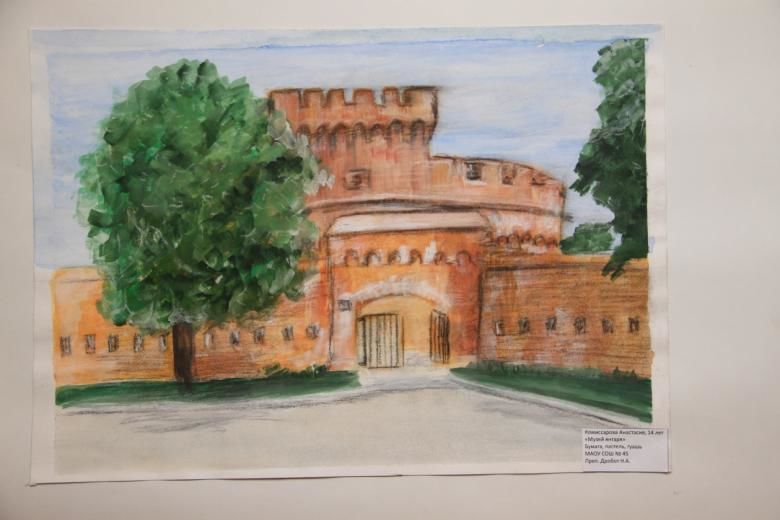
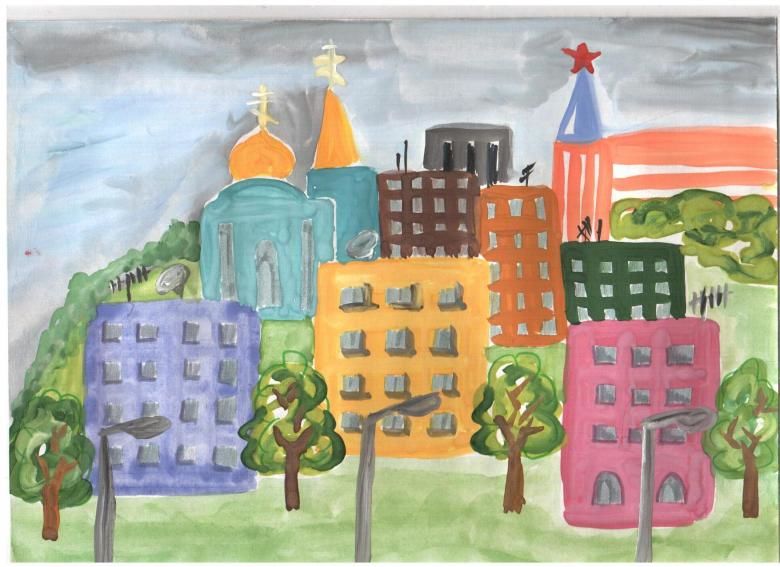
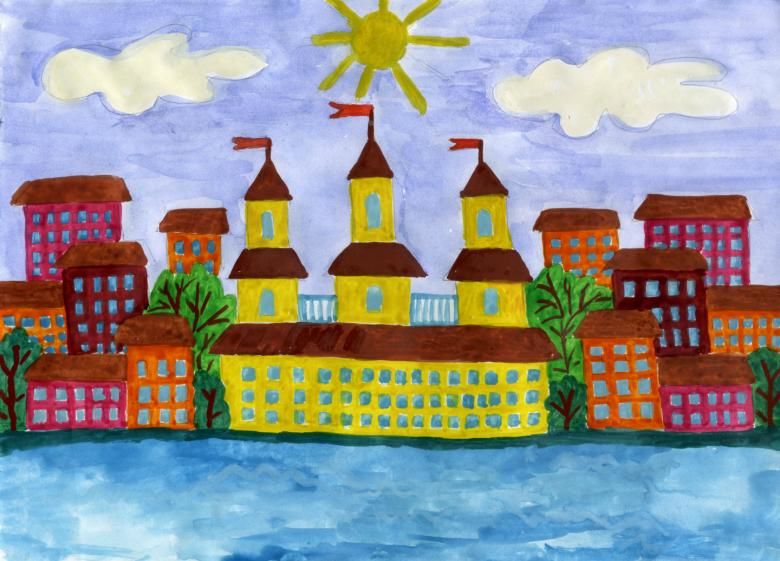
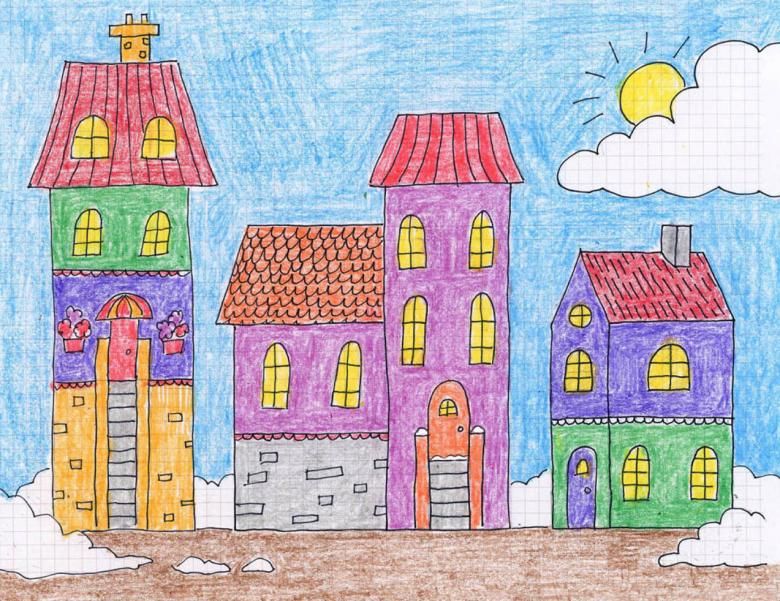
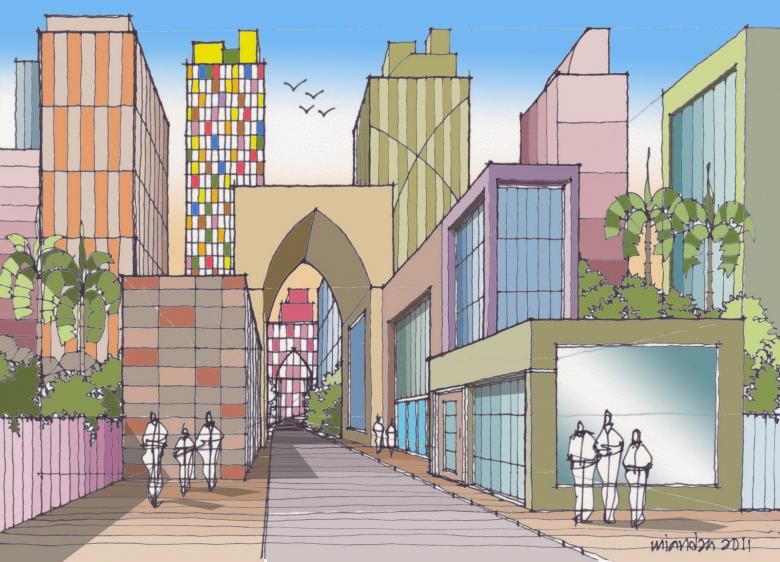
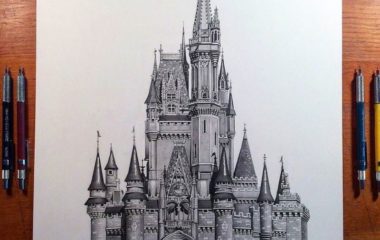
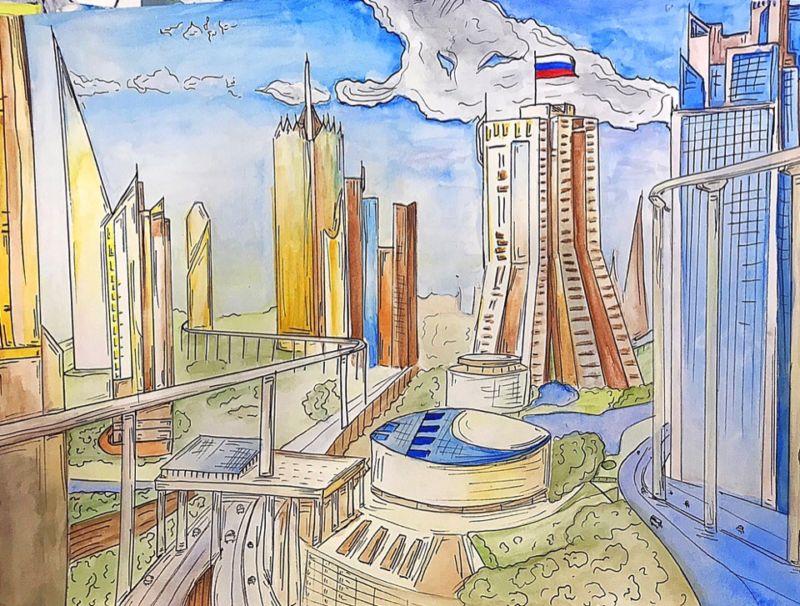
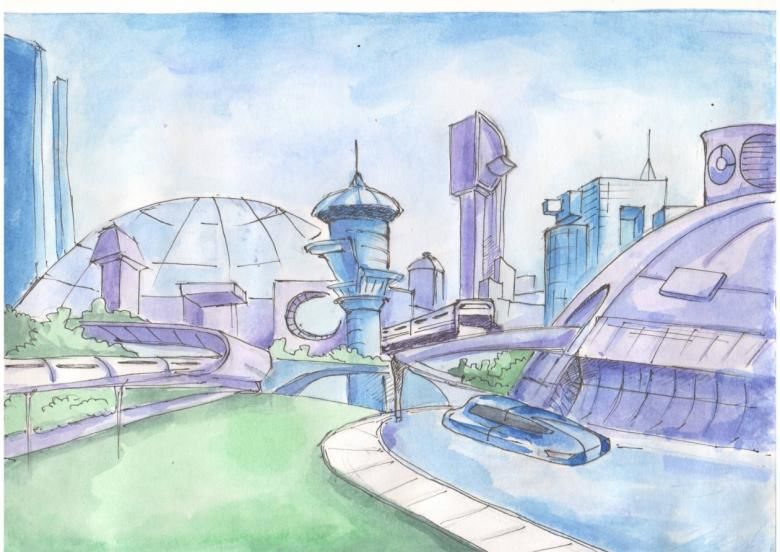
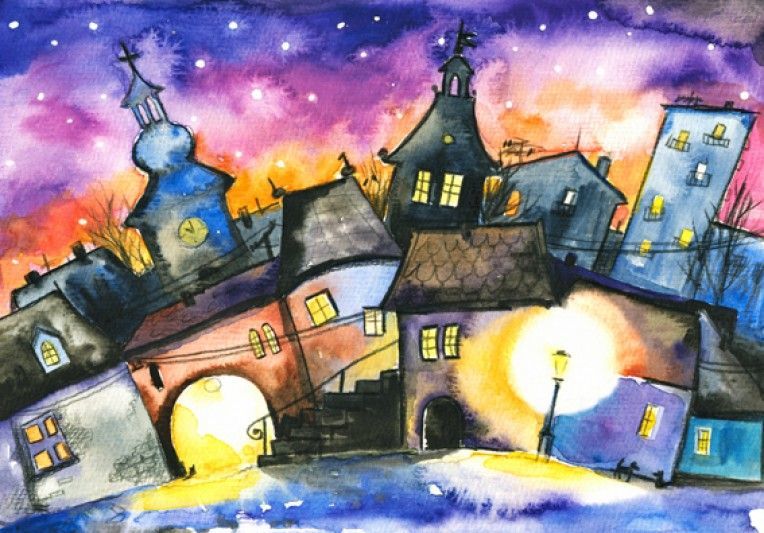
City in the clouds
Image fabulous city, floating in the clouds, requires more painstaking and diligence of the master. In addition, colored pencils are definitely needed for drawing details. Instructions on how to depict a drawn city:
- On a sheet of paper, draw two lines coming from one point. One line goes to the right, the second to the left and up.
- The two vertical lines drawn from the extreme points allow the walls of the buildings to be displayed. The fairytale city will be surrounded by a high wall with towers at the ends.
- Inside the base figure formed, details are drawn: the central entrance to the city. To do this, draw an arch in the form of a double arc, steps - double strips, the size of which decreases to the bottom.
- To depict the end towers, you need to draw three vertical strips, the center of which has a smaller height. The upper points of the lines connect to each other, marking the observation deck of the tower. The lower points will be hidden under the clouds.
- One spire of the end tower will remain hidden beneath the clouds, the second one is drawn as a cone located on the upper platform.


The contours of the cloud veil are drawn with a simple pencil (the shape, and size depends on the artist's wishes). It is necessary to achieve that the clouds envelop not only the lower steps and the bottom of the city walls, but also partially hide the spires of the towers.

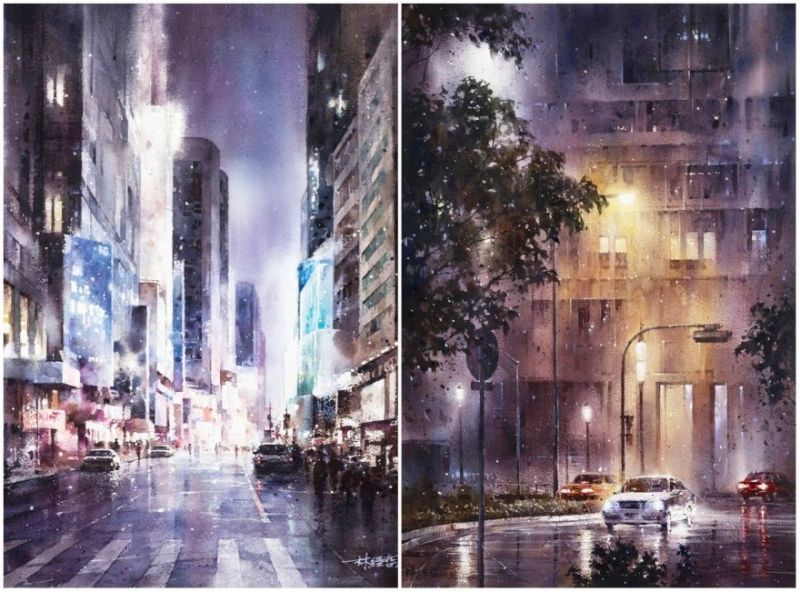
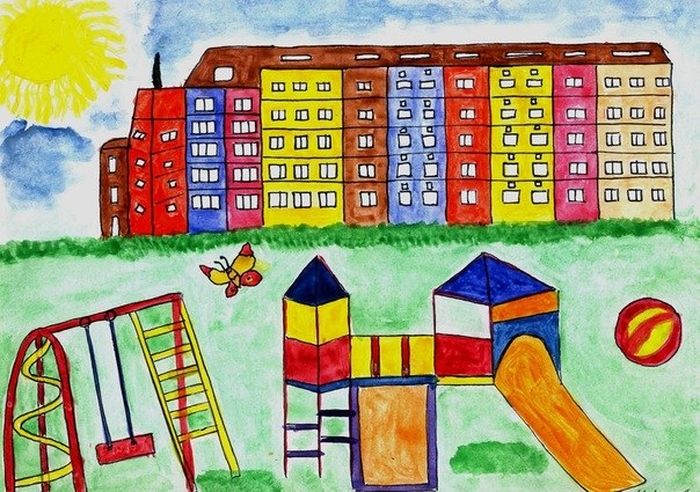
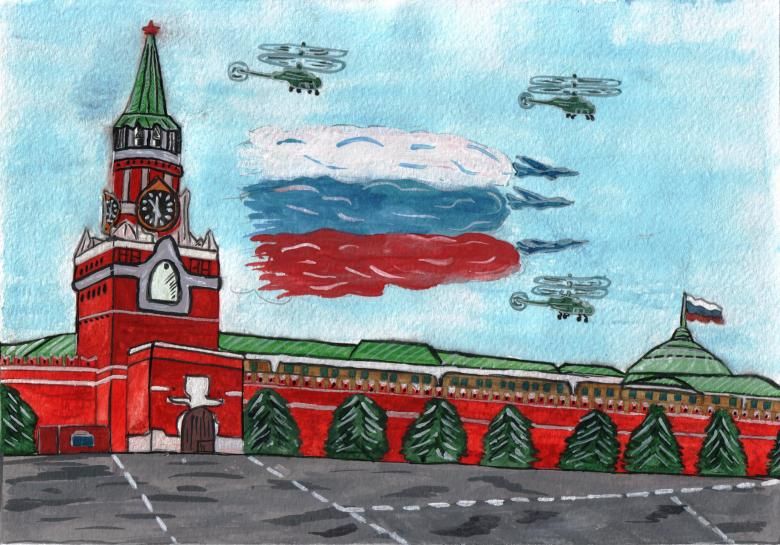
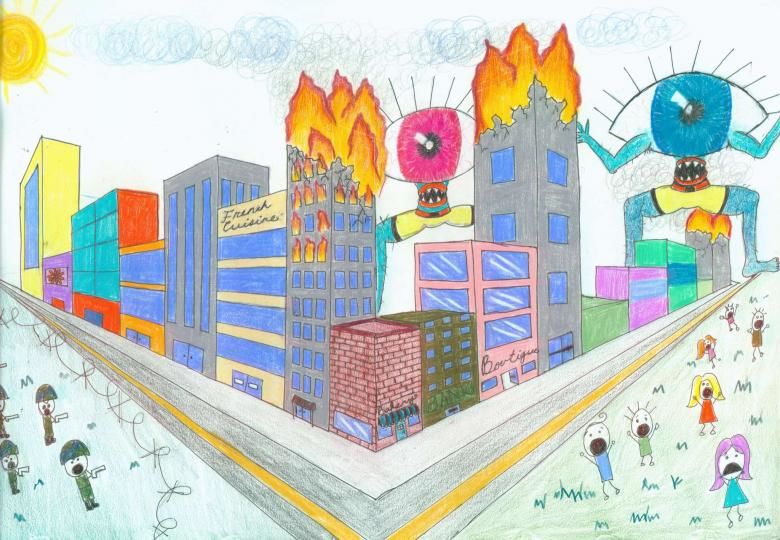
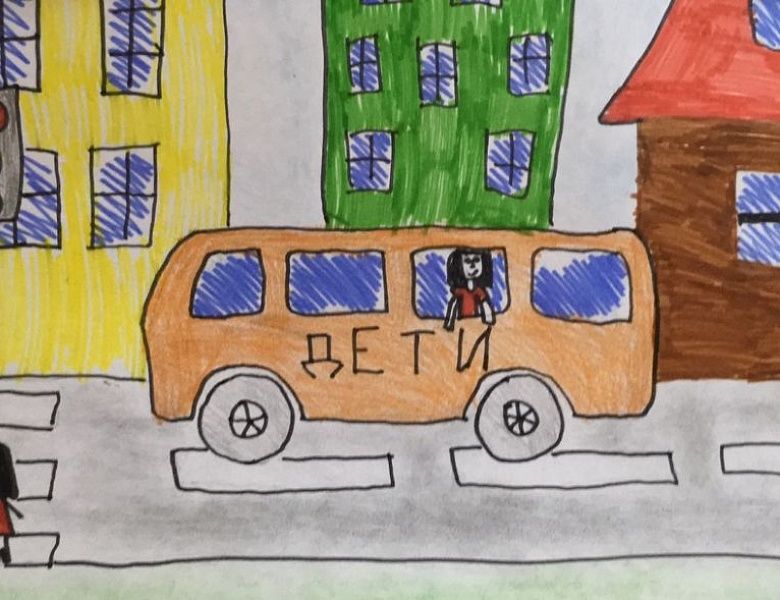
Interesting drawing techniques
All of the techniques studied for depicting the city do not require special skills or skill, but only regular practice. For children, it is possible to provide simpler ways to draw, for example, a town from a favorite cartoon.
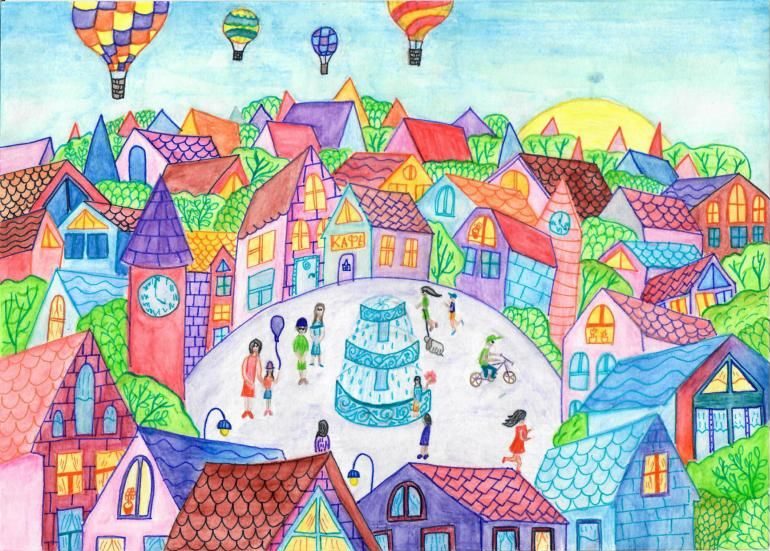
For this purpose, the technique of drawing with paints without brushes (with fingers) is perfectly suitable. All you need from the artist is assiduity and patience, as well as a creative positive attitude.