How to Draw a Parrot - Step-by-Step Pencil and Paint Master Classes for Children and Beginners
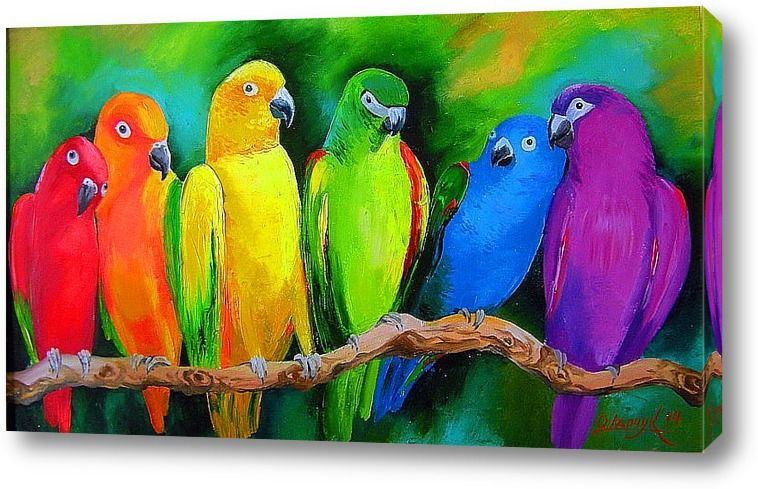
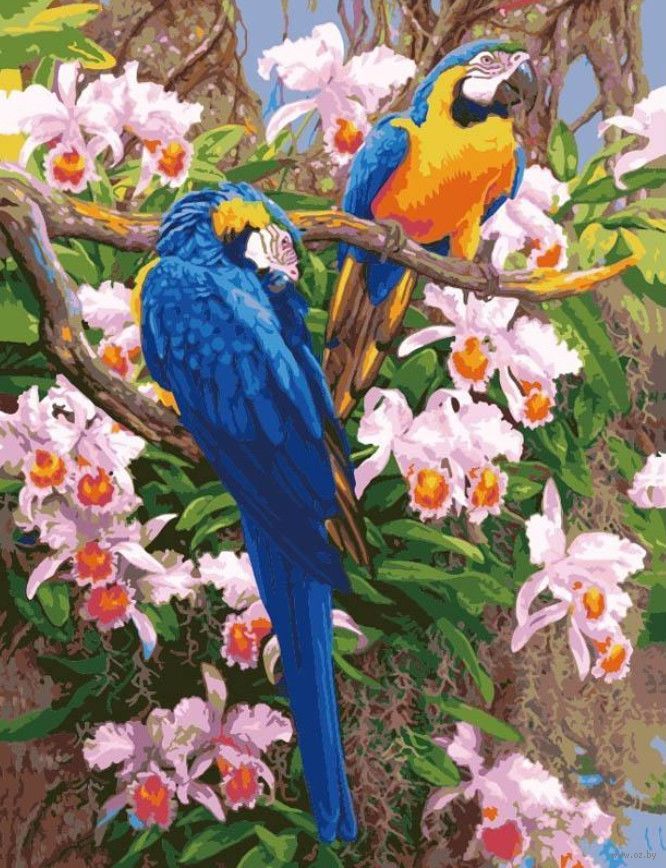
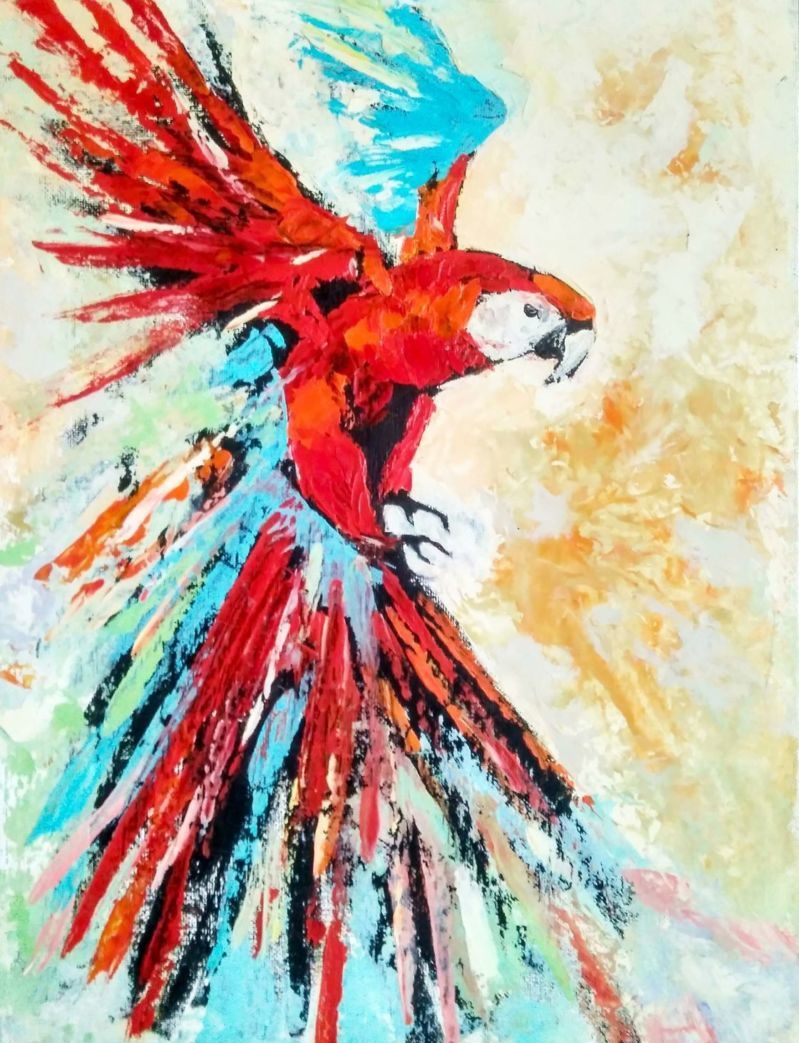
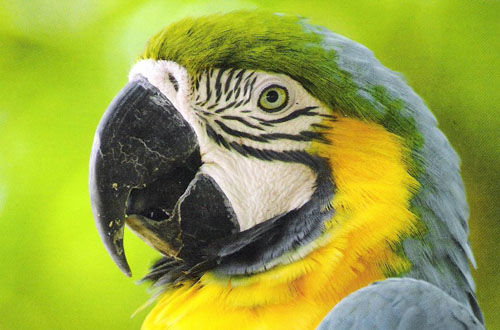
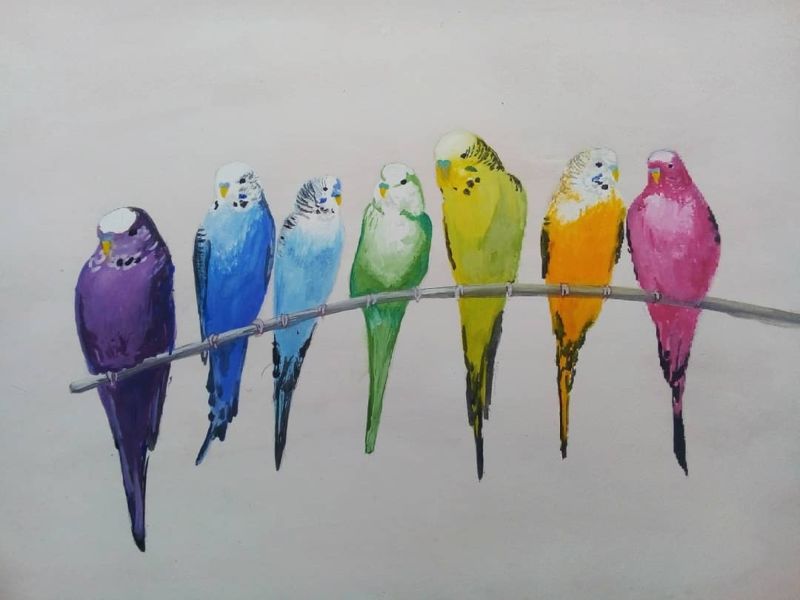
Parrot - a bright bird, widely known throughout the world. This representative of birds is a recognized symbol of hot countries, southern regions and exotic holidays.
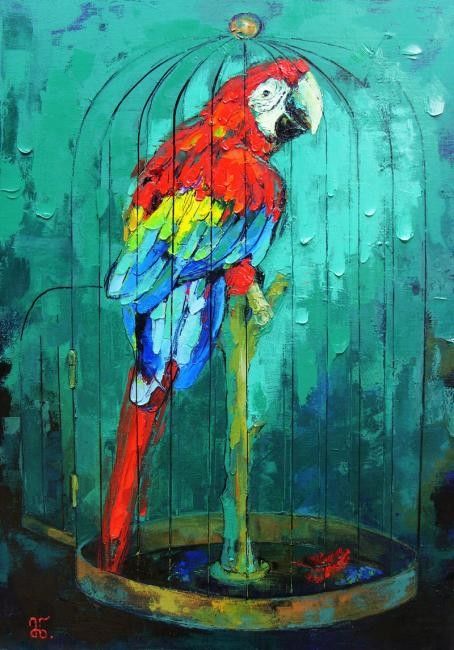
Drawing a parrot can be used as a practice piece, for an exhibition of independent creativity, or to denote the symbol of a particular group, sports, intellectual team.
Tools and materials needed
For any creative process will need a well-organized workplace with a comfortable tabletop, chair, quality lighting. Also in the work will come in handy:
- A set of simple pencils.
- An eraser.
- Colored pencils or felt-tip pens.
- Paints, brushes. You can draw a parrot using both classic watercolor and gouache or acrylic paints.
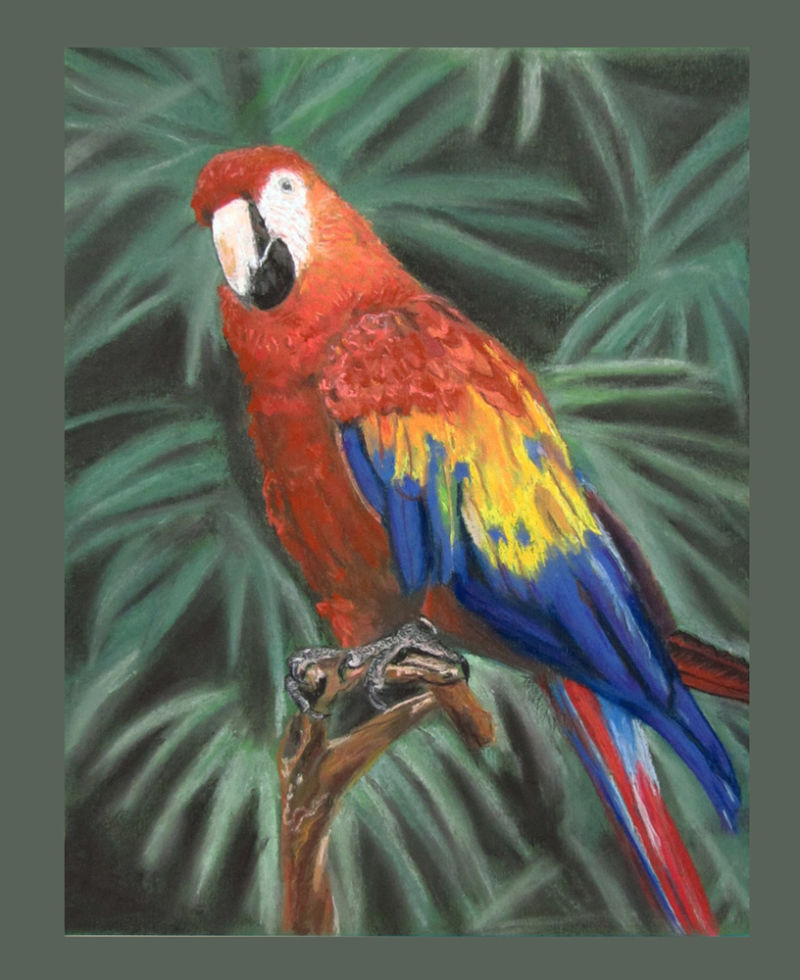
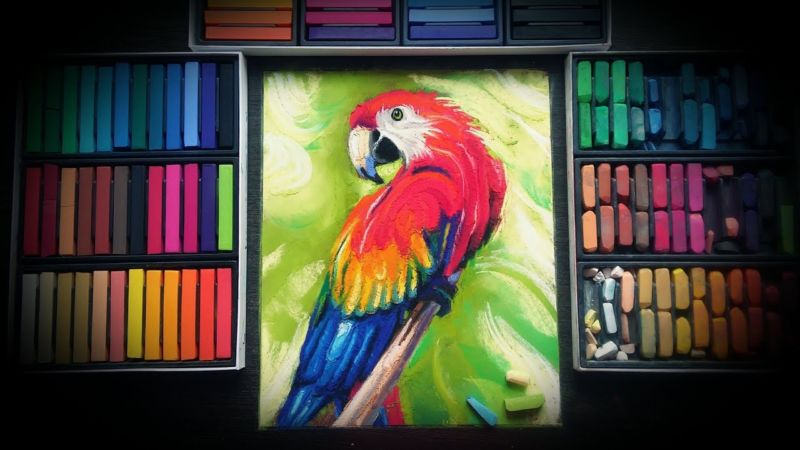
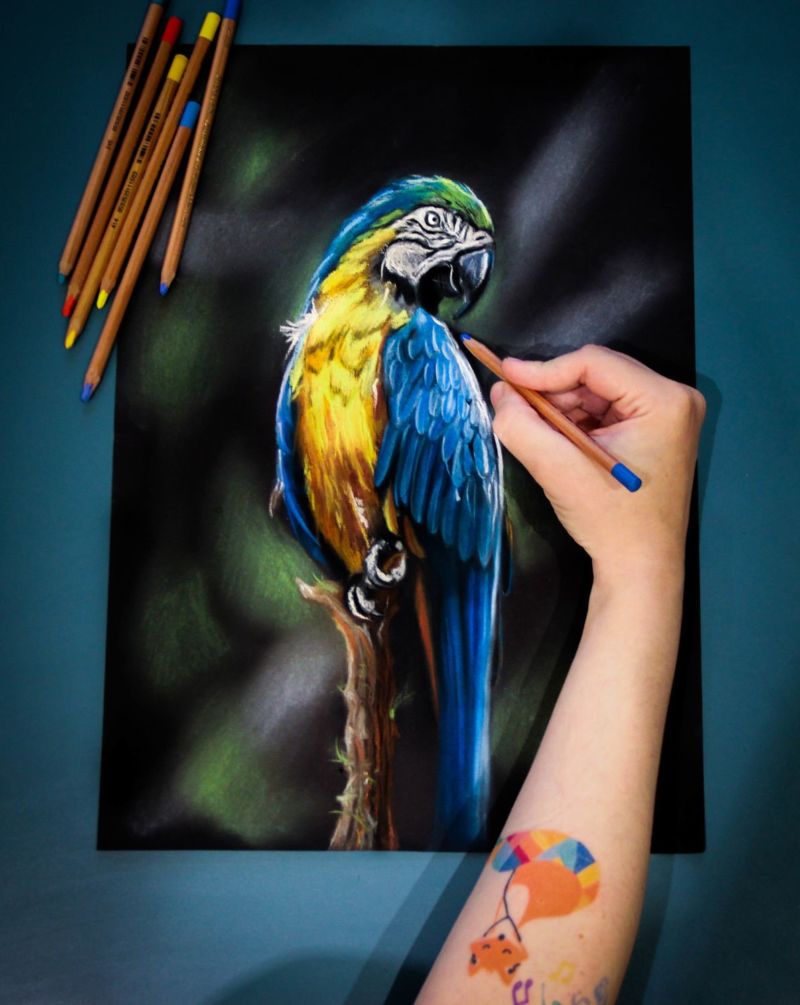
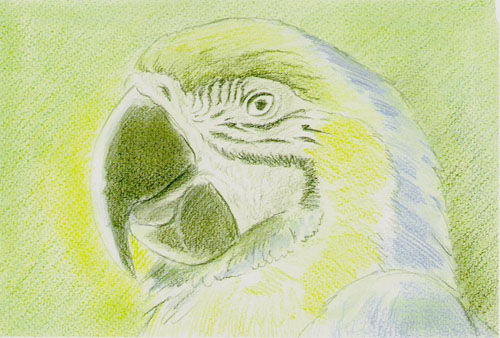
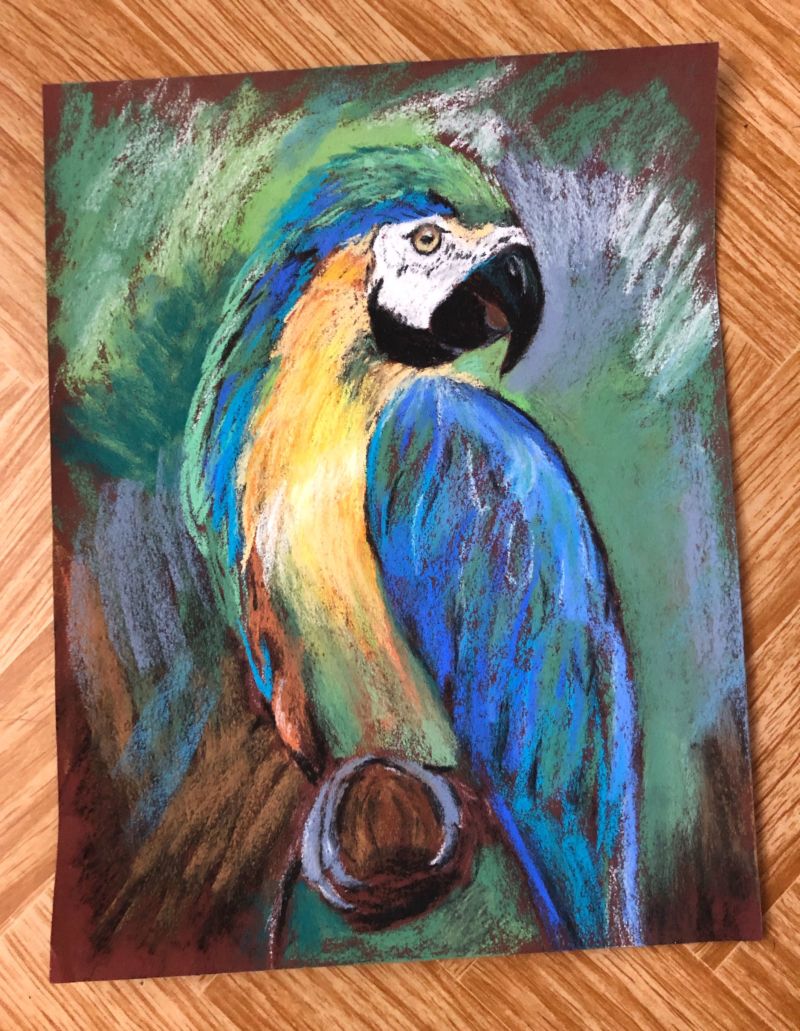
If you want to achieve the most realistic result, you can use pastel crayons.
Drawing a bright bird step by step
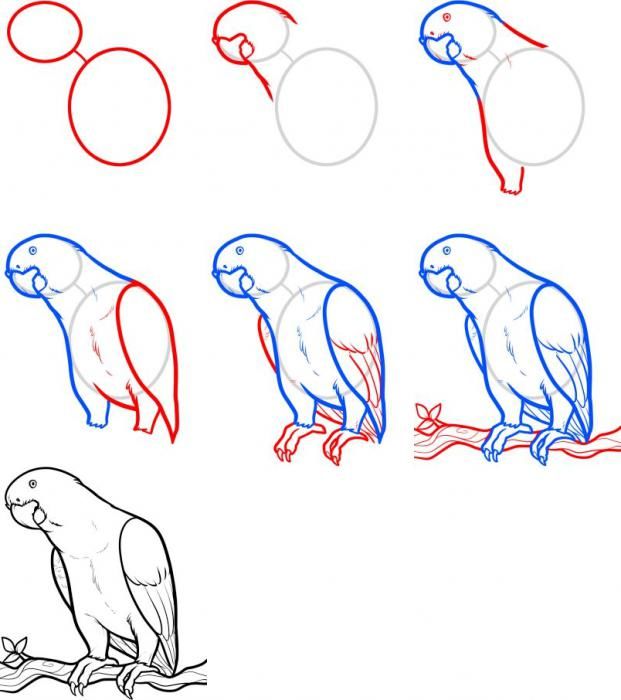
The first art lesson always requires detailed attention and patience. All strokes in the process of independent work should be erased with an eraser, and the contours of the body, head, beak and tail, on the contrary, to allocate lines. Instructions on how to draw a parrot with a pencil step by step:
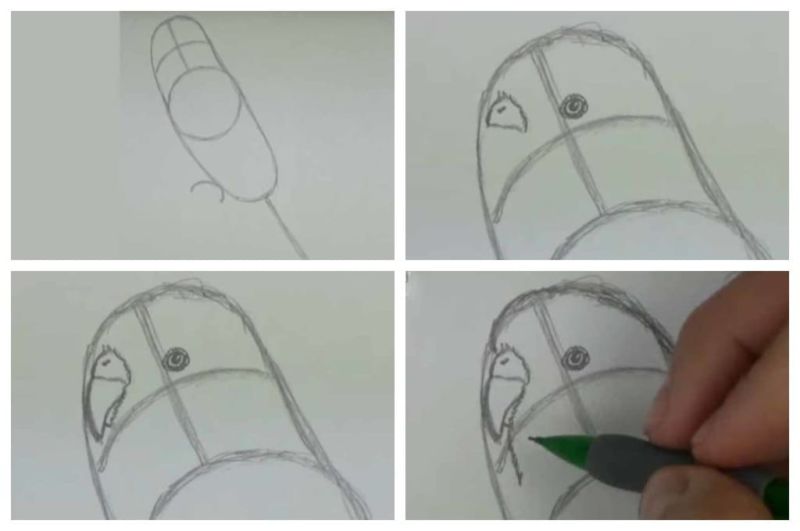
- Place a sheet of white paper in front of you in the vertical axis.
- Visually or for convenience, divide the sheet into four squares.
- A small circle should be drawn in the upper left square.
- Just below and slightly to the right draw an oval, which has greater dimensions than the original element.
- Between the two geometric shapes to draw a smooth line that will indicate the direction of the neck of the bird.
- Then the two circles are connected to each other at the extreme points to get a realistic image of the neck.
- On the large circle, on the right side, draw the wing in the form of a flattened ellipse. Light pencil movements, without additional pressure, draw the plumage on the wing.
- Down from the chest and abdomen draw two legs, the upper part of which is covered with dense plumage.
- Each leg ends with three toes with long curved claws.
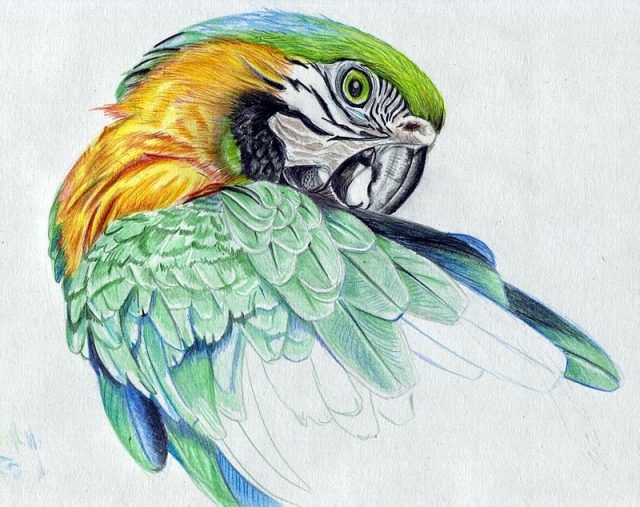
The next step is sure to draw the bird's beak and eyes. In this approach to depicting a bright bird, the parrot seems to bow its head sideways (a very characteristic gesture for parrots of various breeds).
From under the paws, smooth lines lead to the sides, which should be duplicated. Thus, the artist gets a massive branch on which the character of the drawing sits.
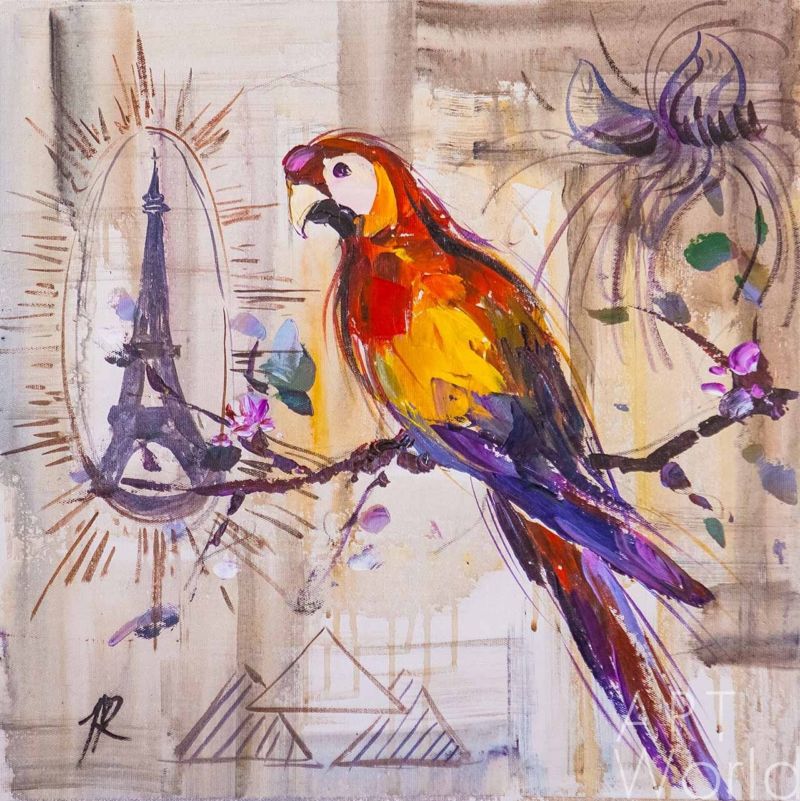
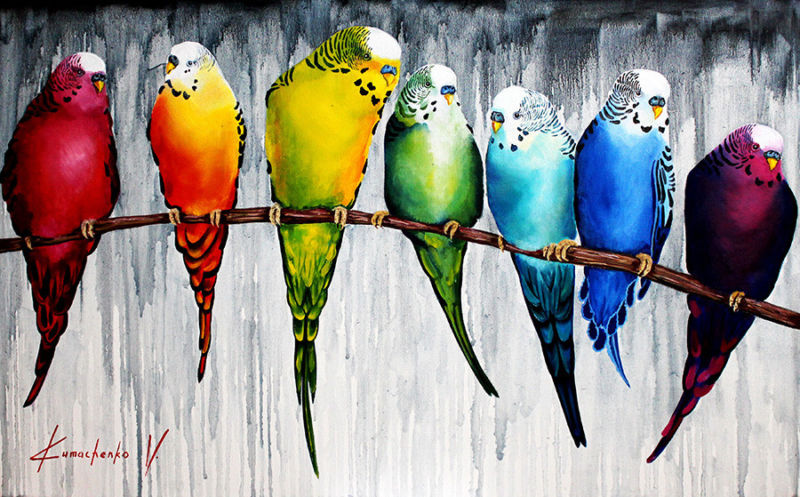
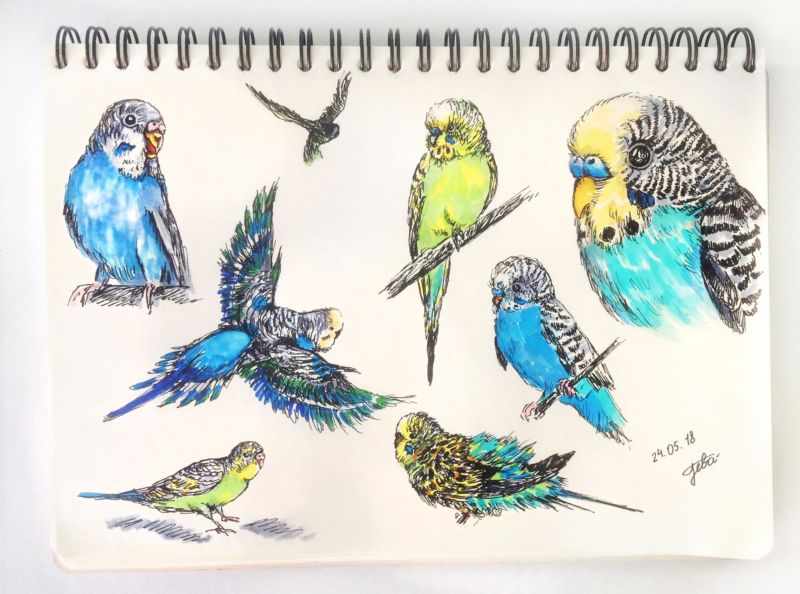
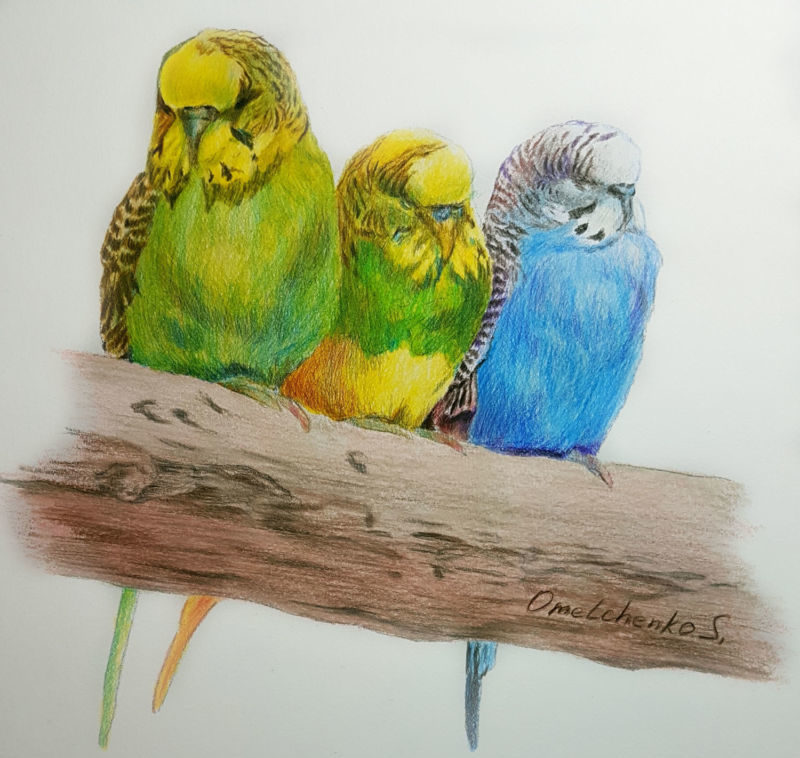
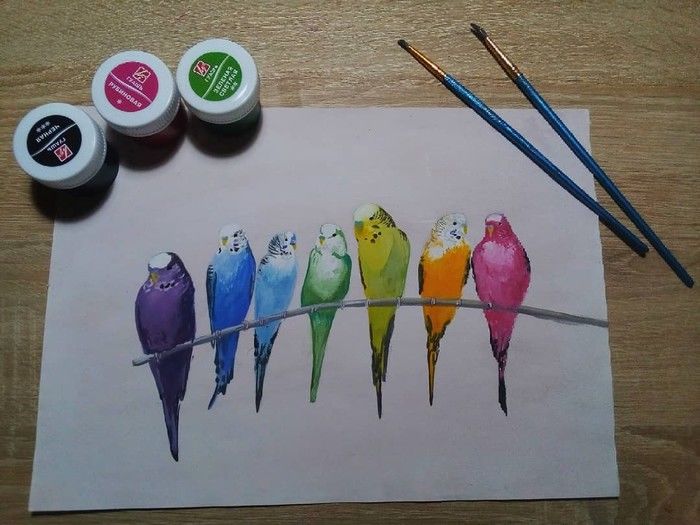
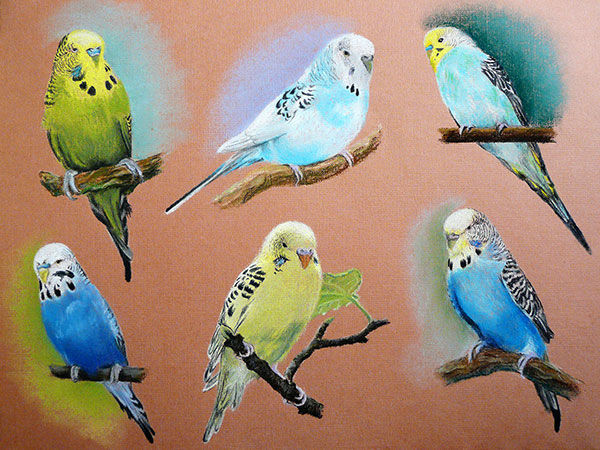
Image of a wavy parrot
In the middle regions of the country, classic wavy parrots are very popular. Birds of this breed have bright plumage, playing with a variety of colors. The representative of the family is able to learn simple words and minimal phrases. Instructions on how to draw a wavy parrot step by step:
- A sheet of paper should be placed in front of you in a vertical axis.
- Approximately in the middle of the sheet draw a smooth line, which has a slightly oblique direction.
- The original band crosses a vertical line.
- Along the vertical line two circles are depicted in sequence. The lower geometric figure has a larger diameter.
- Start drawing the parrot's head from the upper figure. On the left edge of the circle, a beak and one eye visible to the observer are depicted. Behind the beak, begin to draw short and parallel strips that mimic the characteristic pattern of the bird's plumage.
- The edges of the lower circle are slightly narrowed, highlighting the contours of the two wings folded on the back. The plumage on the back of a wavy parrot has the same characteristic coloring, for which the successive stripes are depicted.
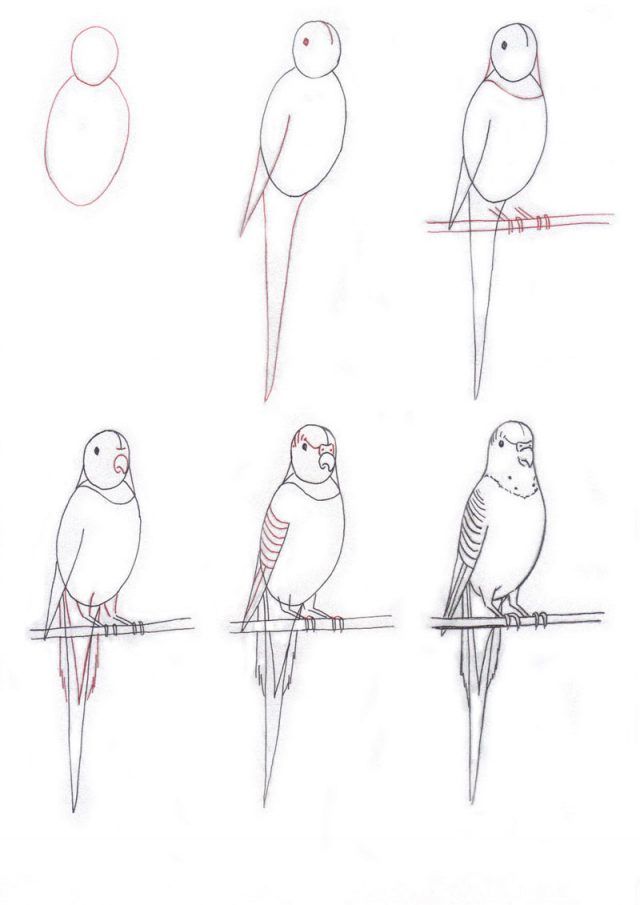
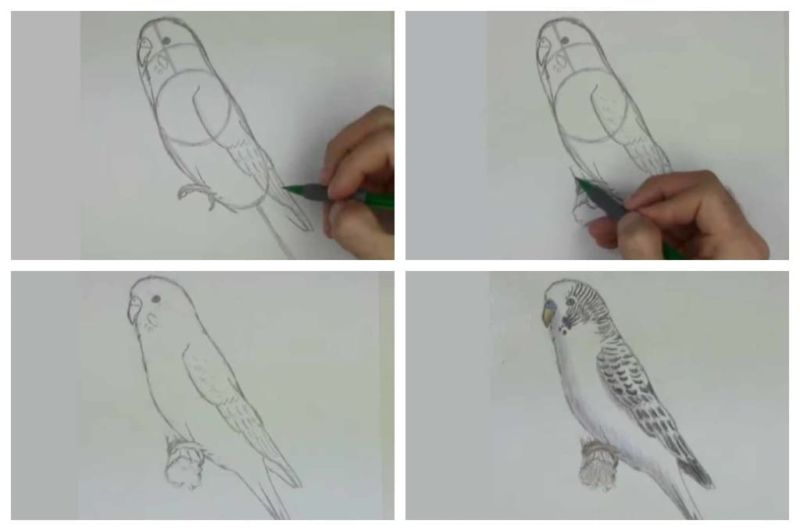
One of the most responsible moments of independent creativity is sketching the tail. In wavy parrots, the tail plumage is relatively long, with a few of the longest feathers standing out.
The rest of the feathers are grouped around, but for the drawing it is sufficient to depict a cone pointing downward at the sharp end. Using several vertical strips divide the cone into rows of feathers, the length of which increases as you approach the central point.
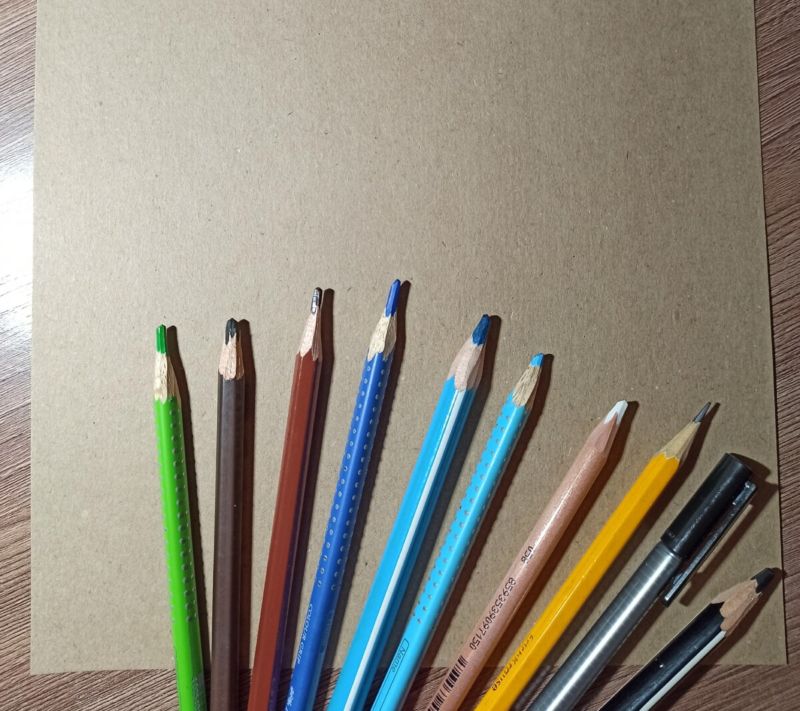
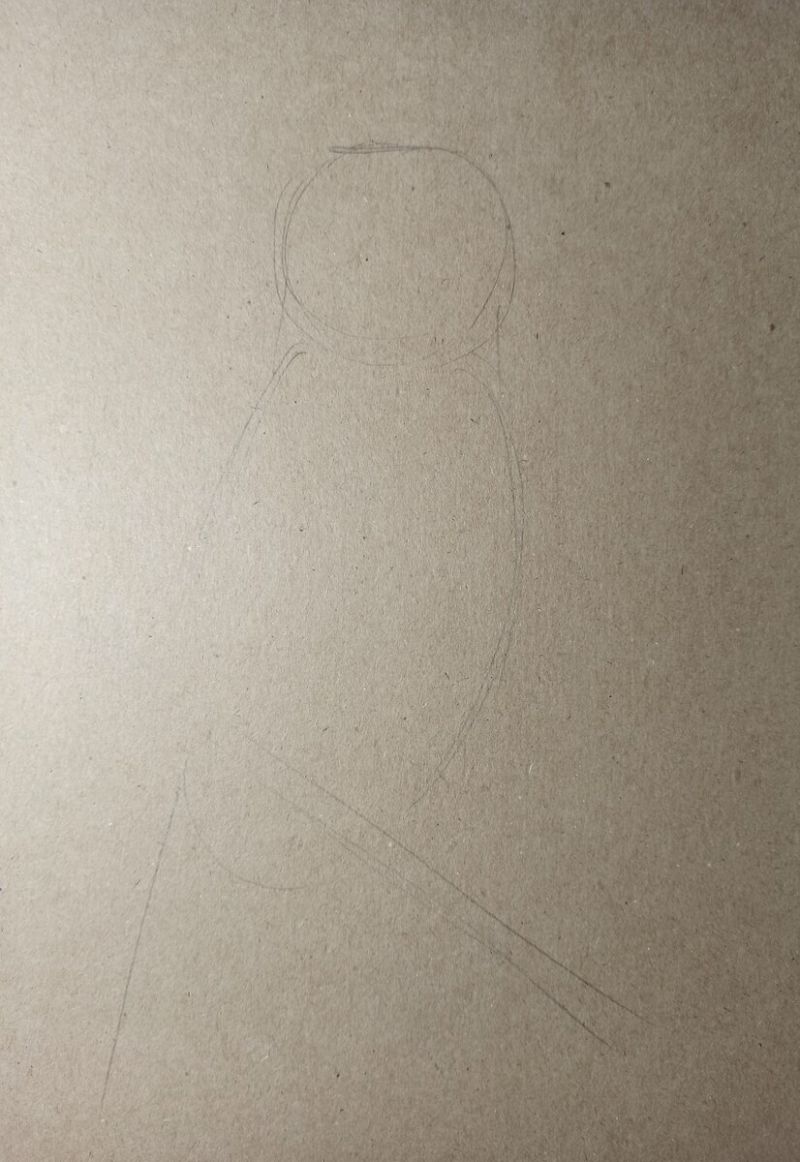
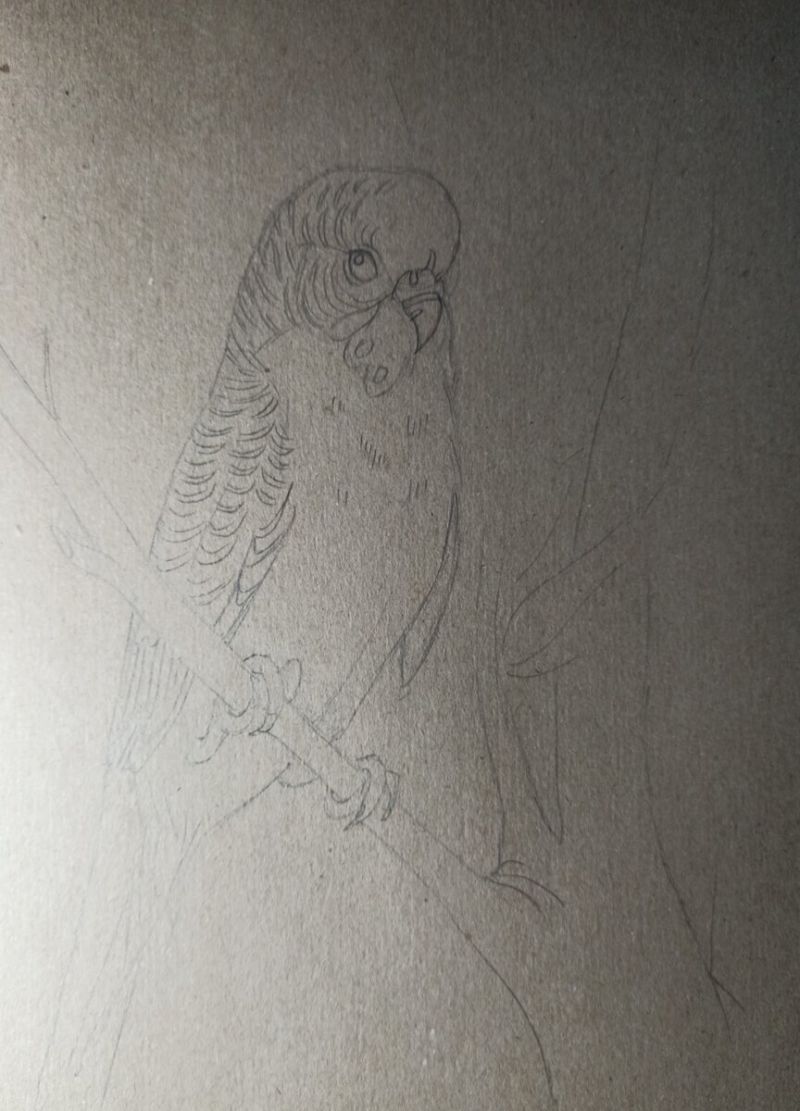
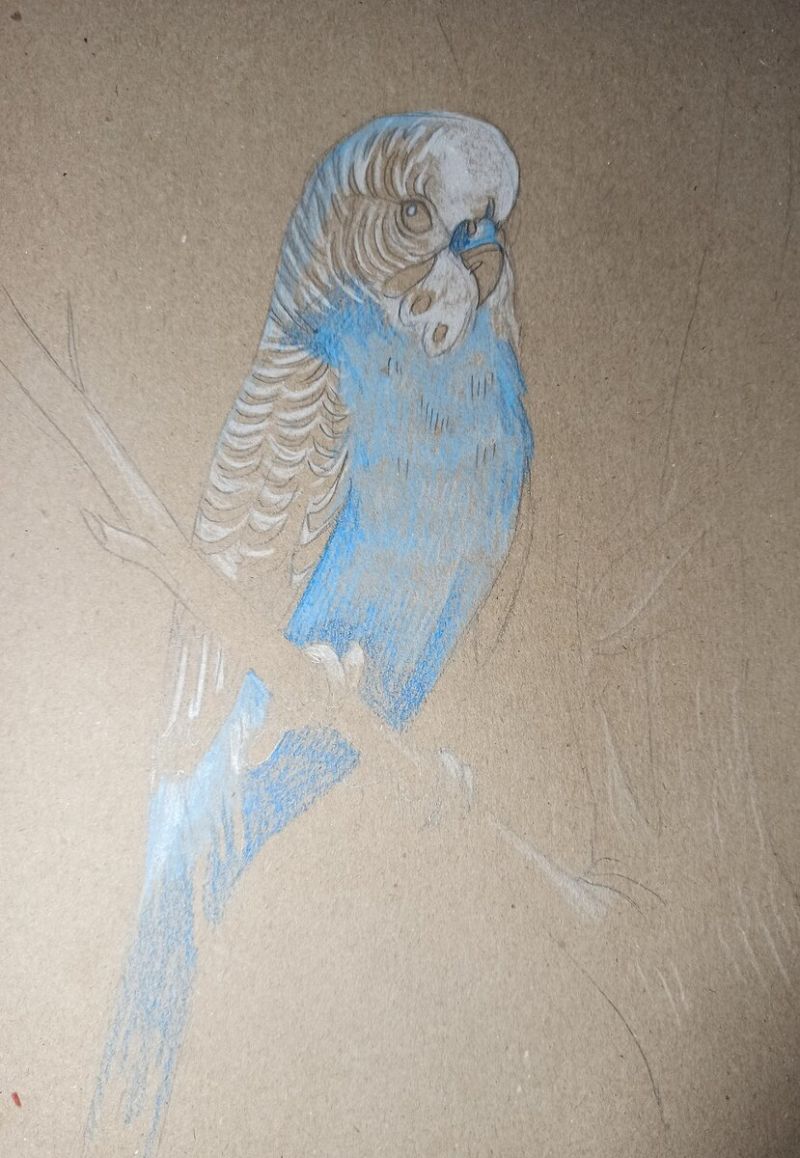
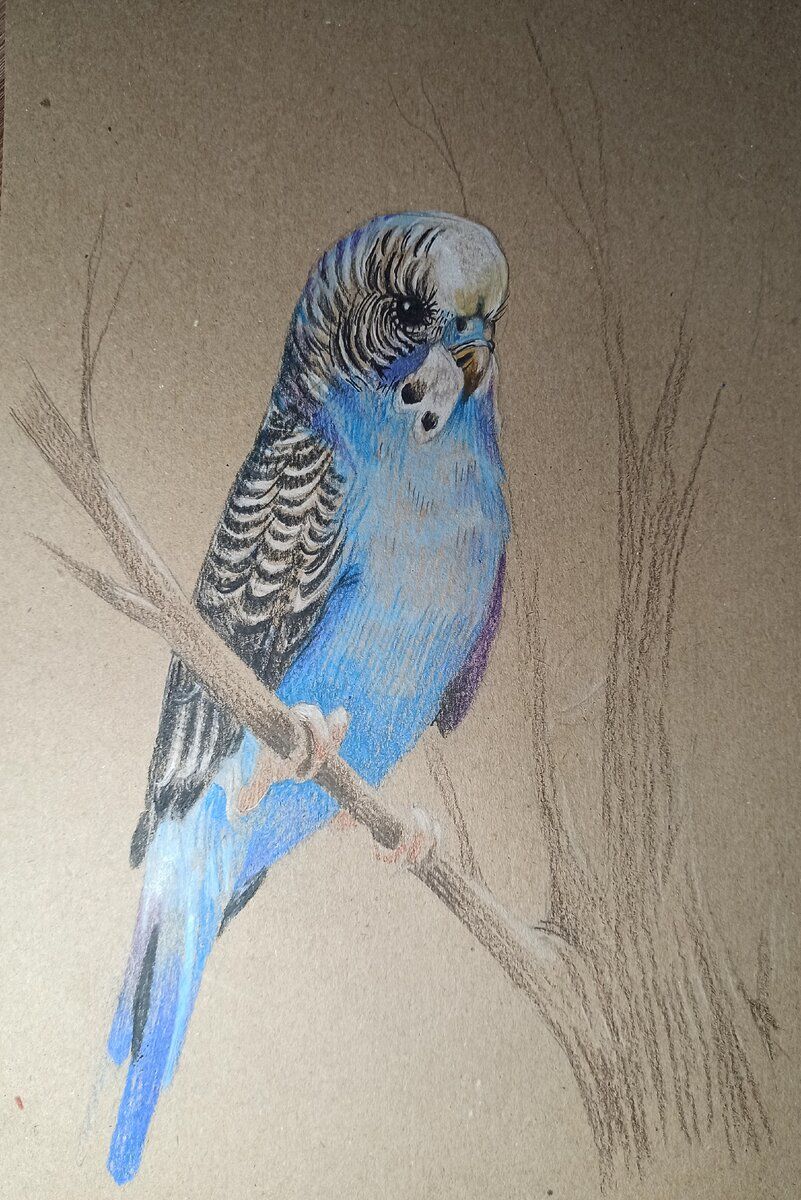
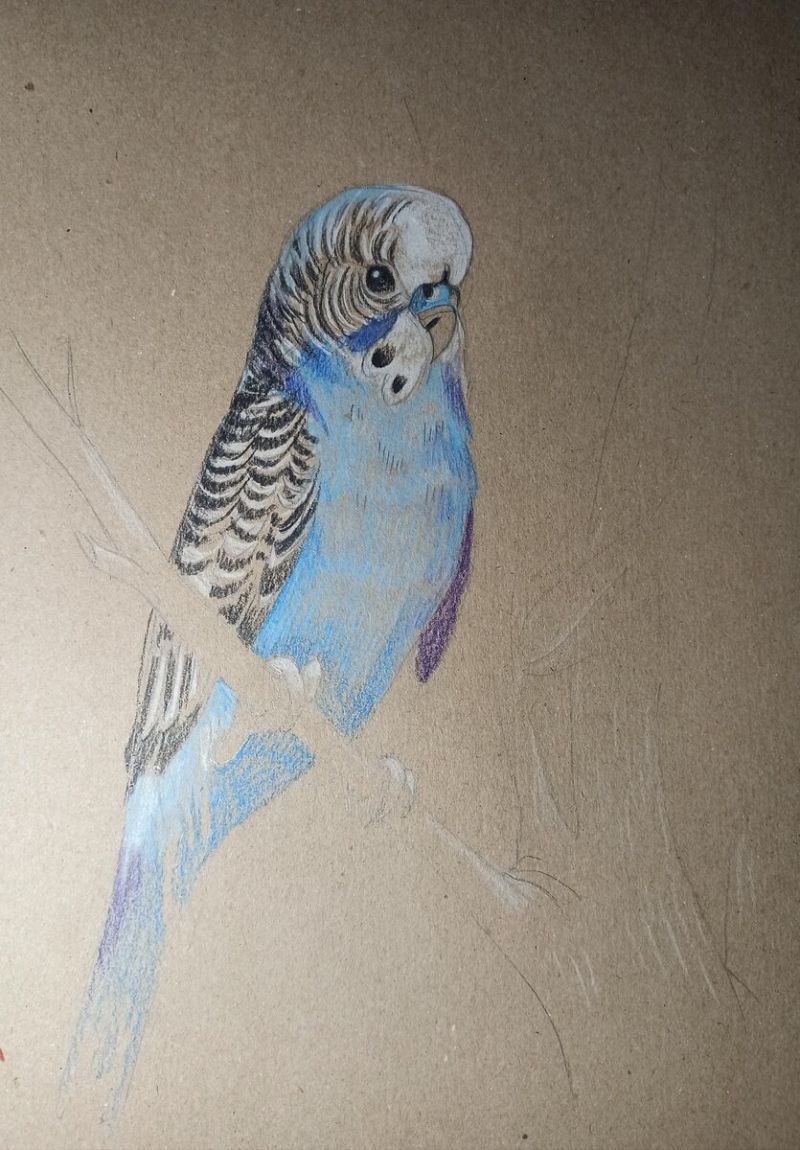
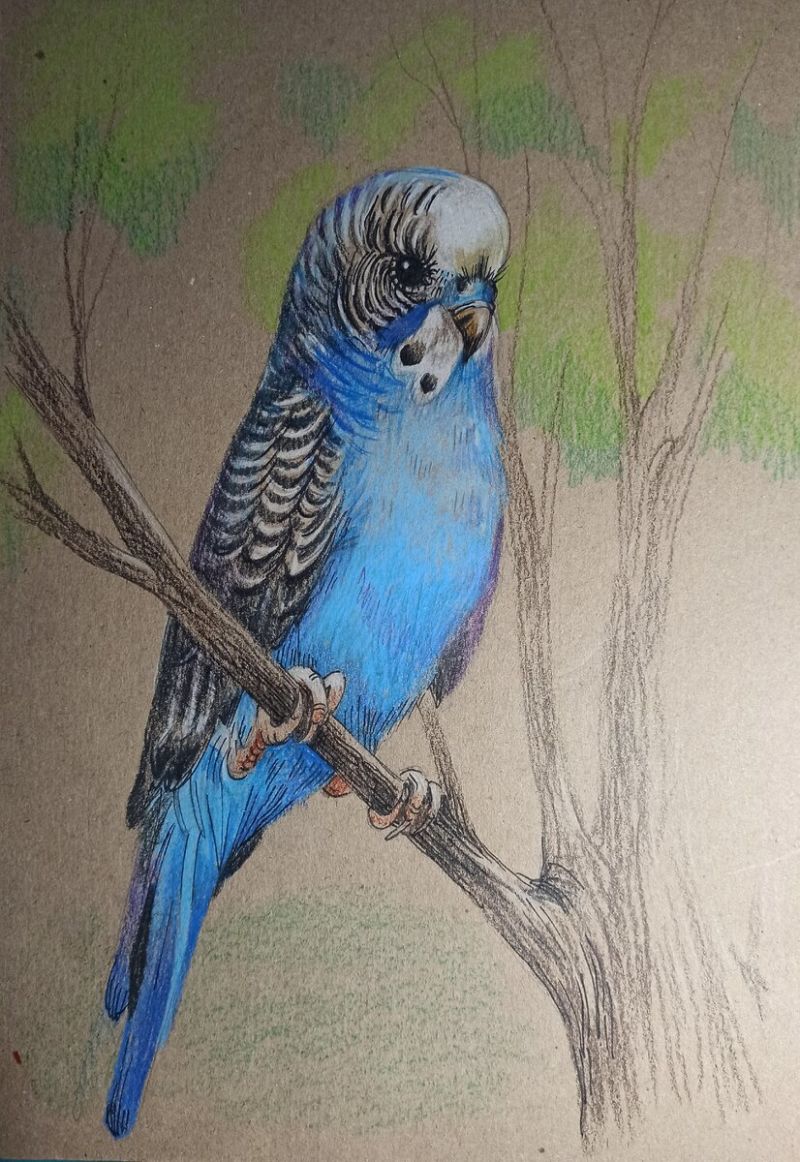
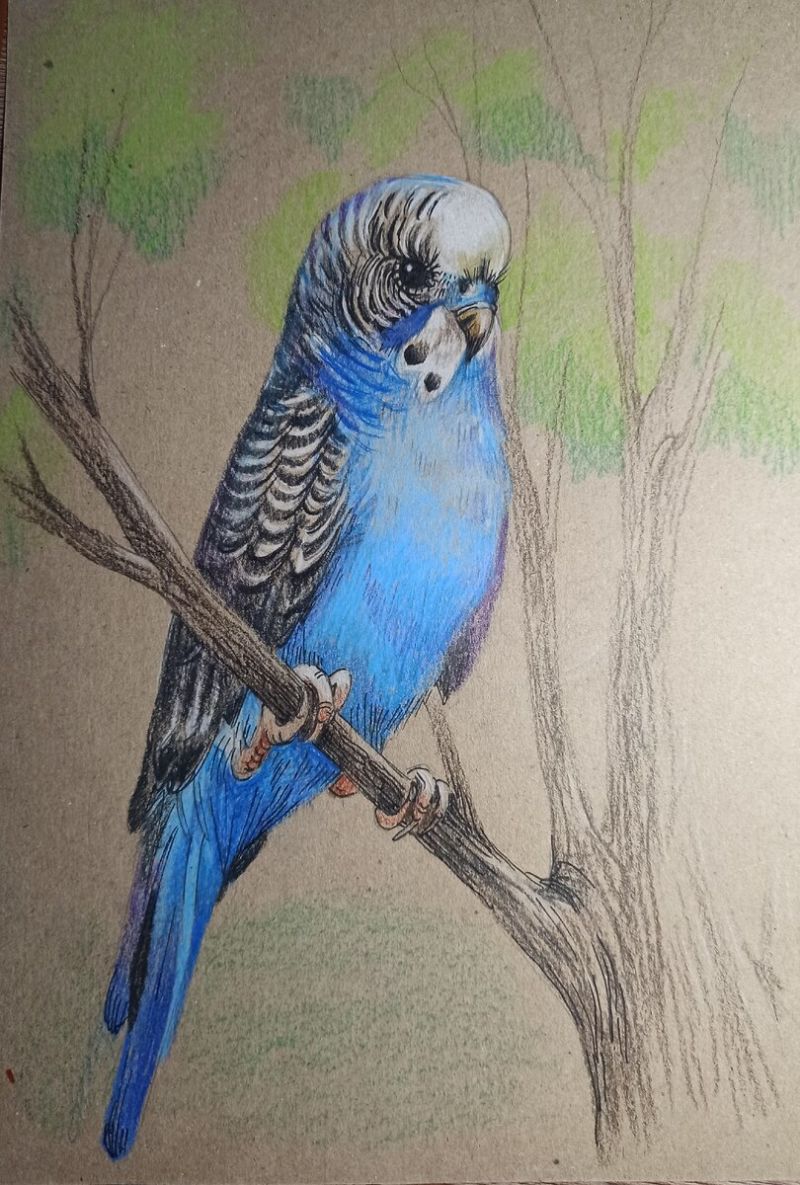
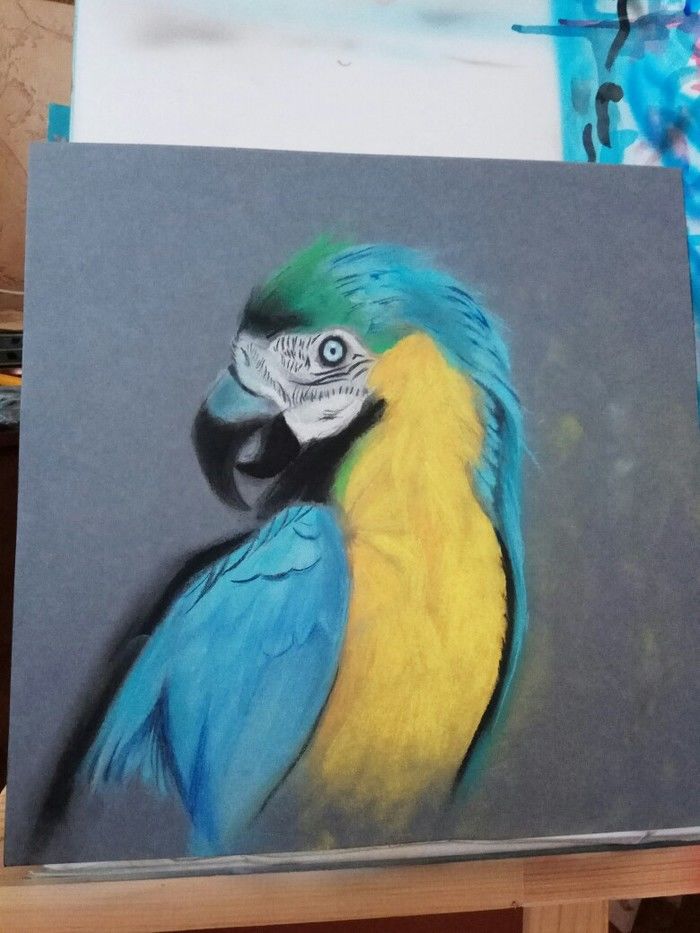
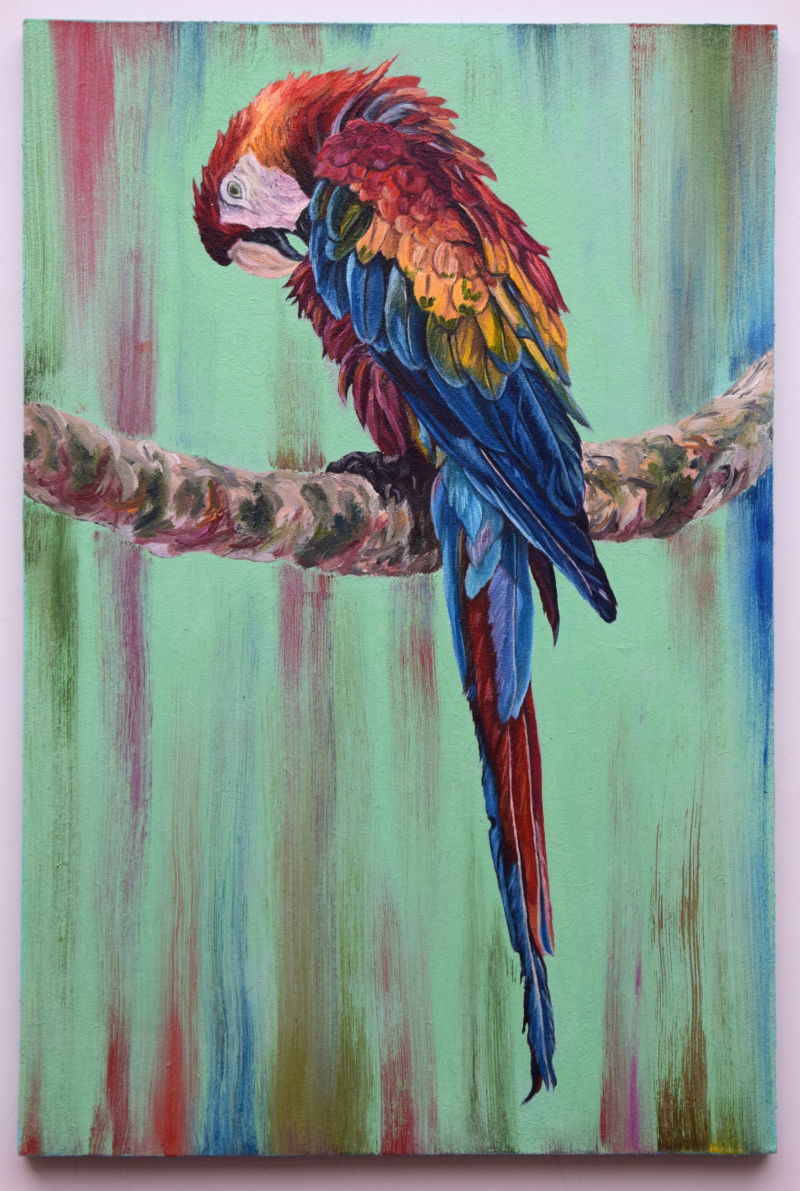
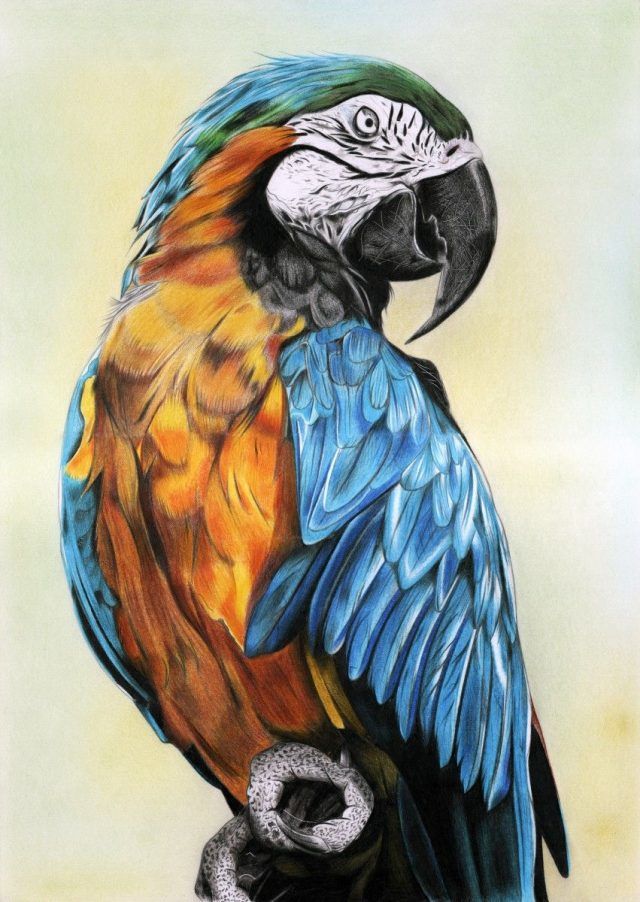
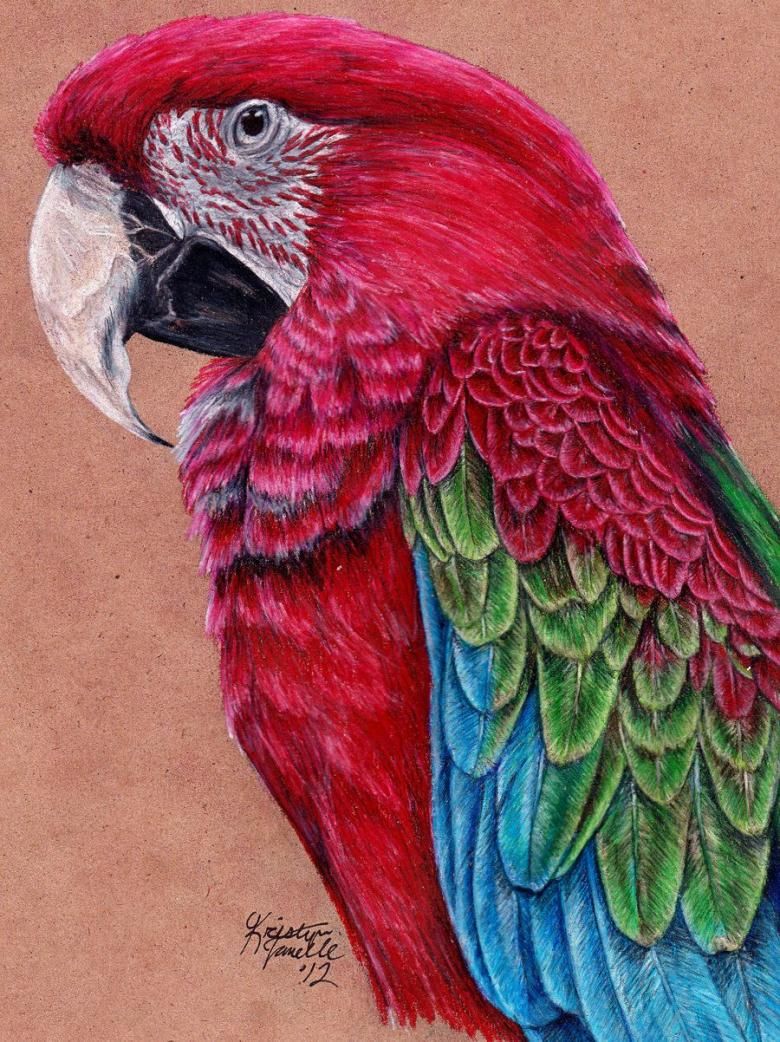
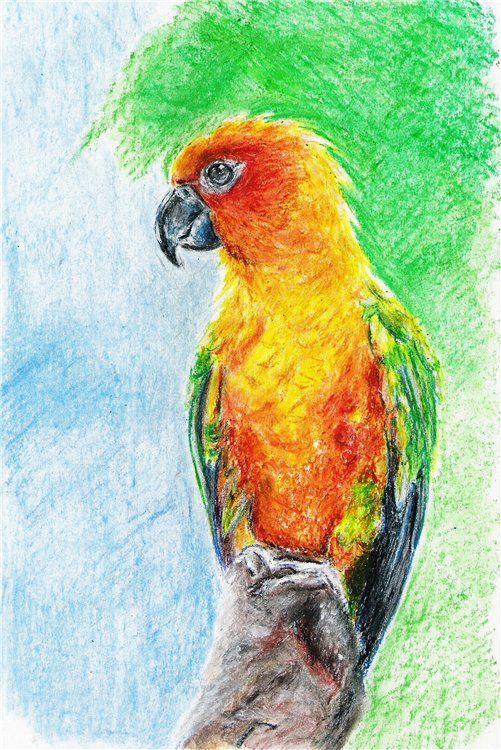
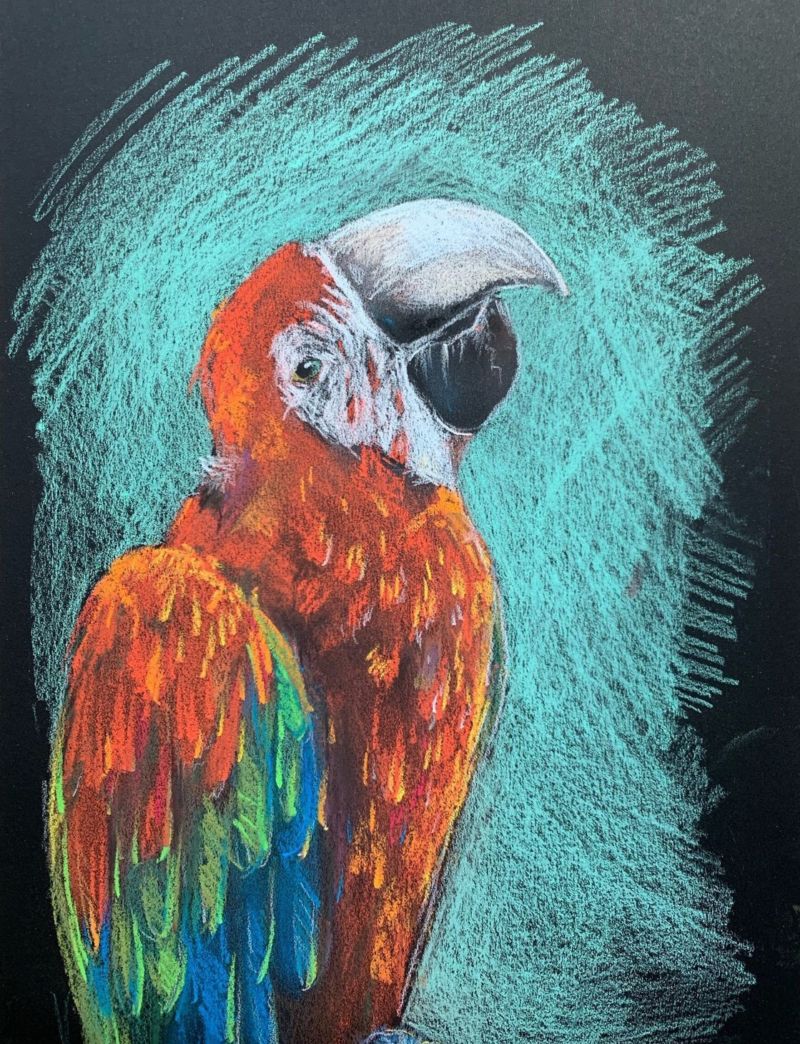
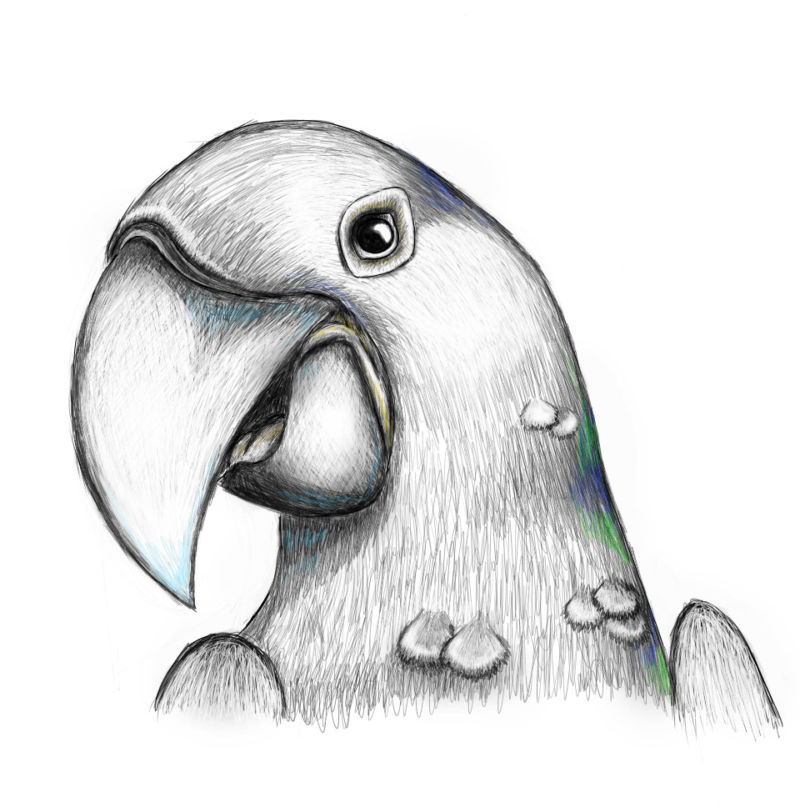
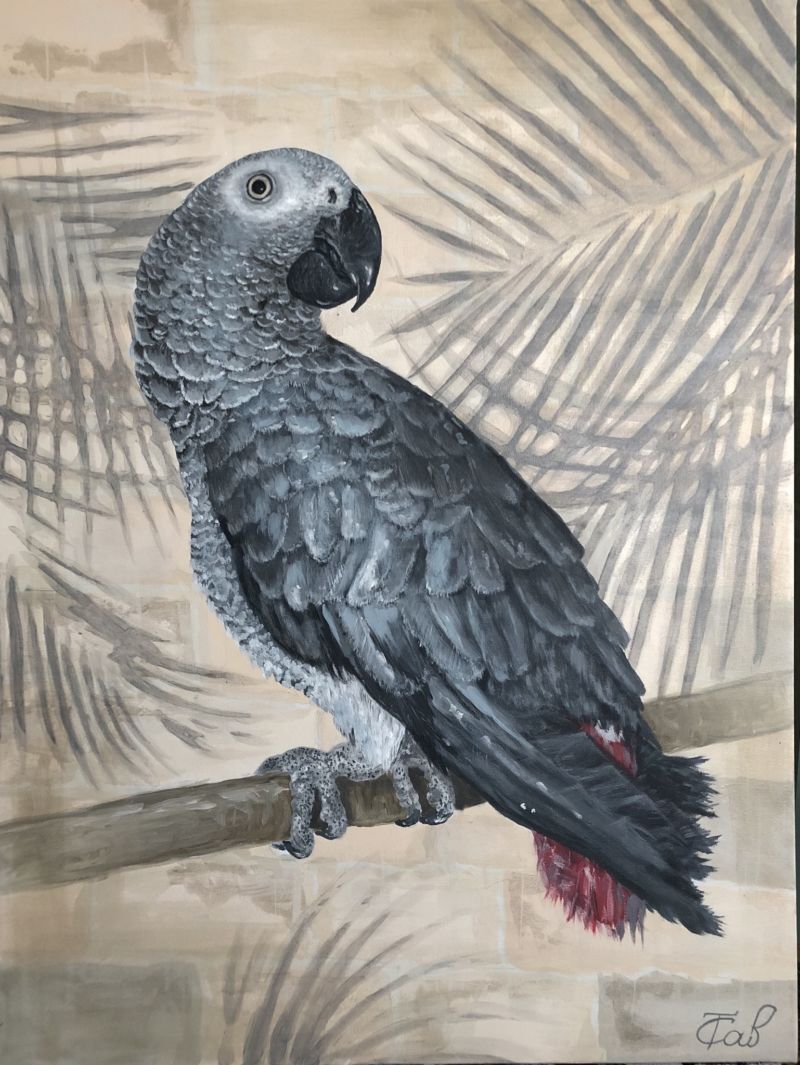
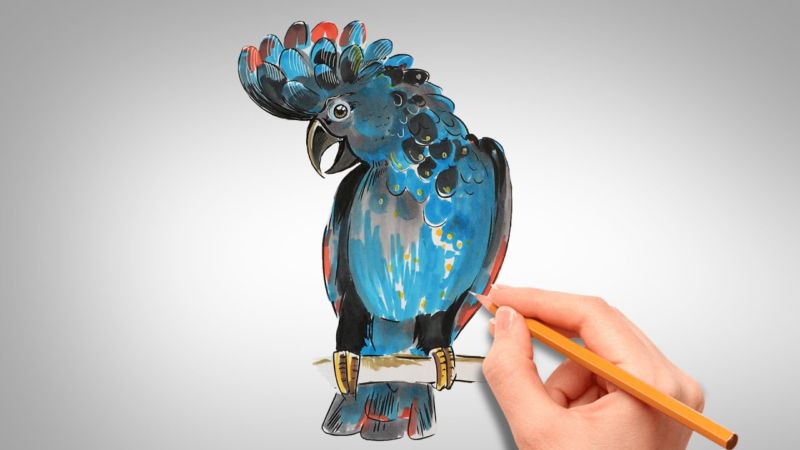
Image of a jacko parrot
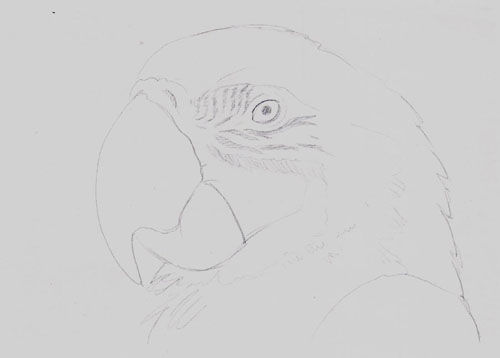
Jacko is one of the exotic parrot breeds. A distinctive feature of this group of birds is a powerful beak curved to the front. In the process of drawing, most attention is paid to drawing the details of the head: the distribution of plumage, the location of the eyes and the shape of the beak.
Instructions on how to draw a parrot step by step:
- On a sheet of paper, draw an oval.
- One of the sides of the geometric shape is carefully erased with an eraser. In place of the outline with a pencil depict sharpened beak halves. The upper horny plate should overlap the lower plate of the beak.
- Above the beak draw the holes of the nostrils, and still further depict the eye. Plumage around one (visible to an outside observer) eye should be monochromatic, and ideally, painted white.
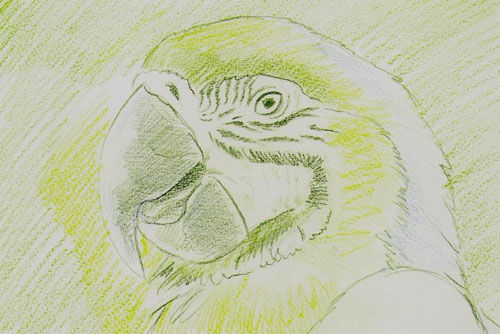
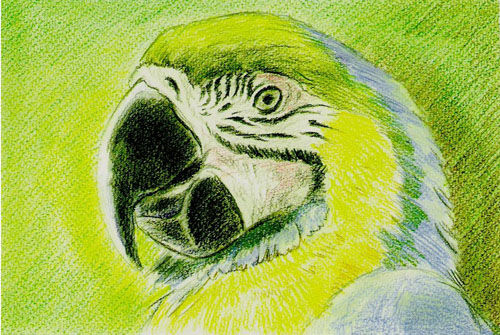
Down from the oval they draw the continuation of the neck, which due to the lush plumage acquires the proper volume. The final stage of independent creation is the most important, and allows you to bring the image as close as possible to the real prototype - a jacko parrot.
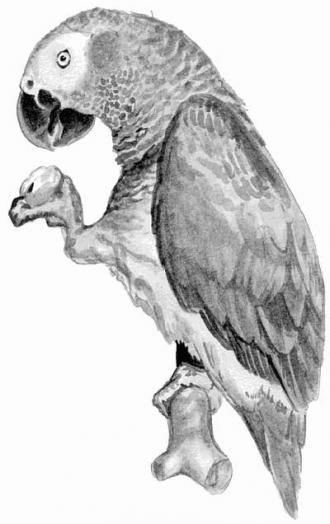
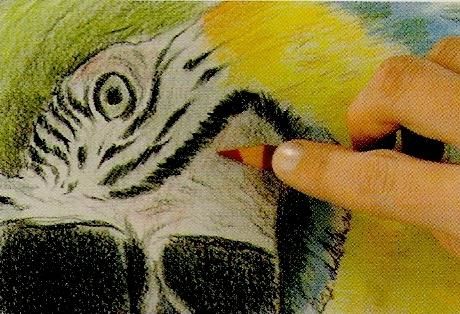
Starting with the head and continuing along the course of the neck, fine wavy lines are drawn. All lines have the same direction, which creates a characteristic wavy relief or pattern.
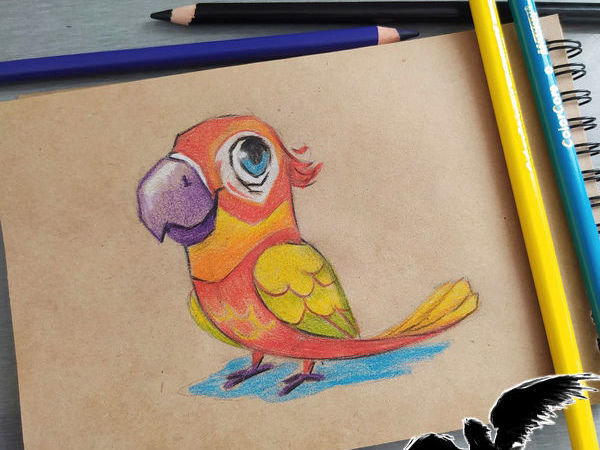
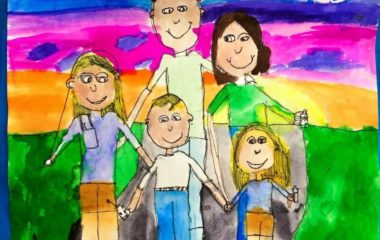
A fun character for children
The process of drawing brings children not only joy and a lot of positive impressions, but also contributes to the active psychological development of the child. With the help of bright colors and various story lines, the child displays the details of the world around him and gets to know him.
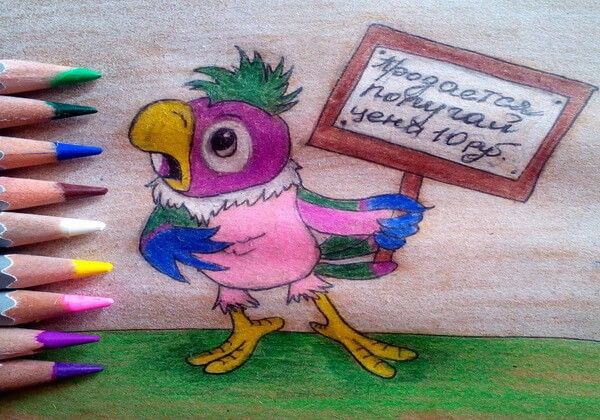
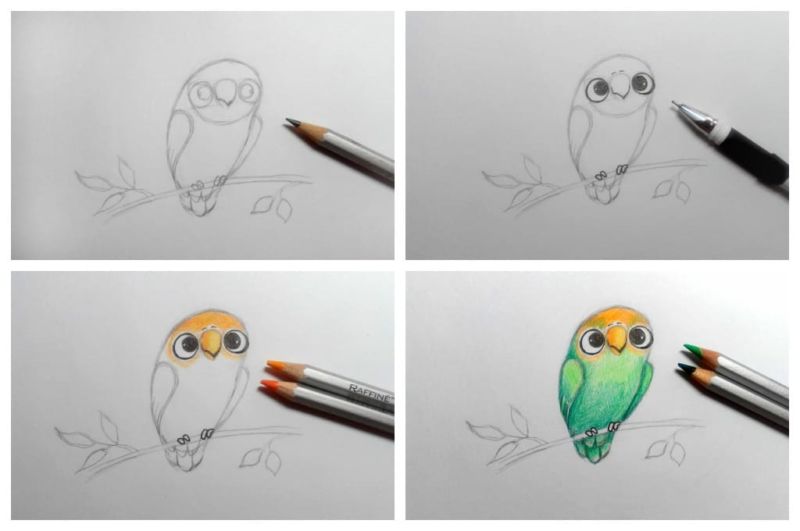
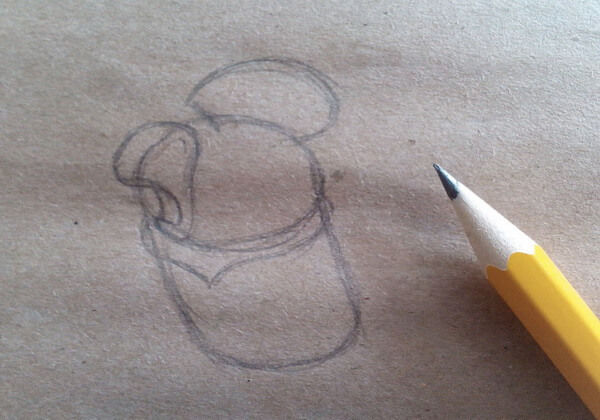
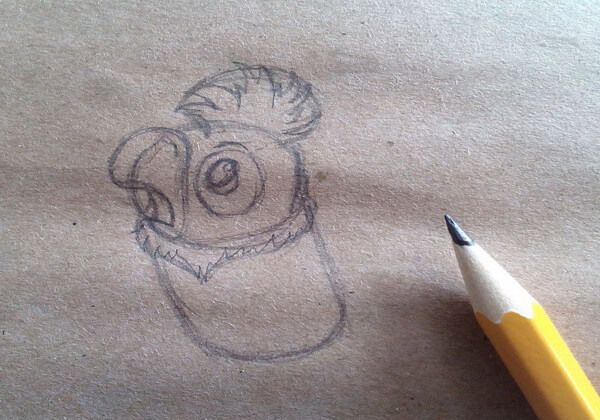
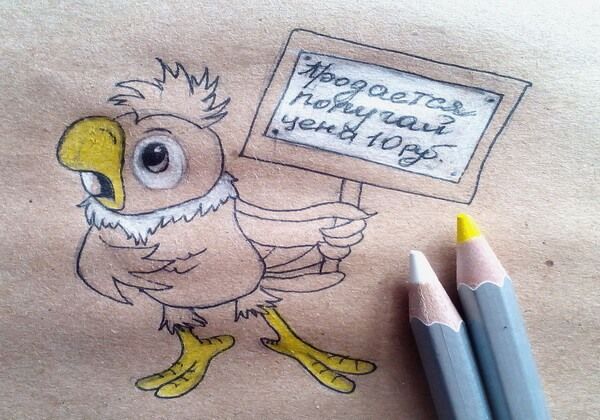
Therefore, as a change, you can prepare felt-tip pens and a set of simple pencils, and depict a cartoon character. Instructions on how to draw a parrot for children:
- On a sheet of paper, it is necessary to depict two circles (according to a similar scheme with the first technique considered).
- Smooth lines connect two geometric shapes.
- On one side of the bottom circle depicts a wing (flattened ellipse).
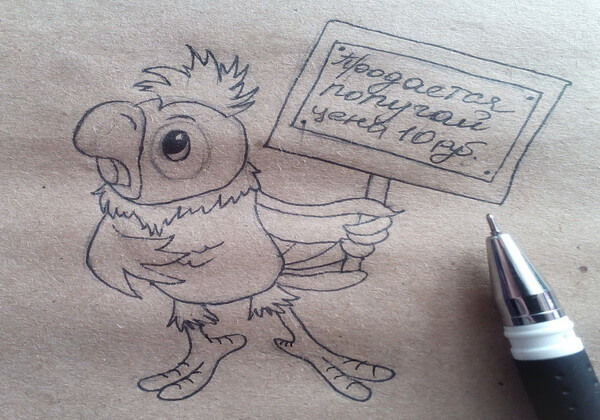
- Then carefully erase all unnecessary strokes and pencil strokes.
- The child (and his or her parents with their participation) should prepare felt-tip pens.
- Using yellow felt-tip pens, draw a funny tuft on the head of a parrot with several parallel strips.
- Use a black pencil or felt-tip pen to draw a rounded dot - the bird's eye.
- The outline of the beak can not be displayed with a regular pencil, and immediately begin drawing with bright colors or felt-tip pens.
- The bird's breast has bright red plumage.
- On the surface of the wing visible to the observer, plumage is drawn with strokes (it is possible to give the feathers a slightly wavy shape).

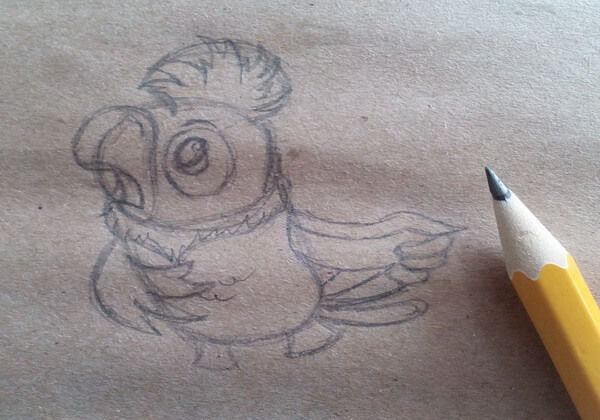
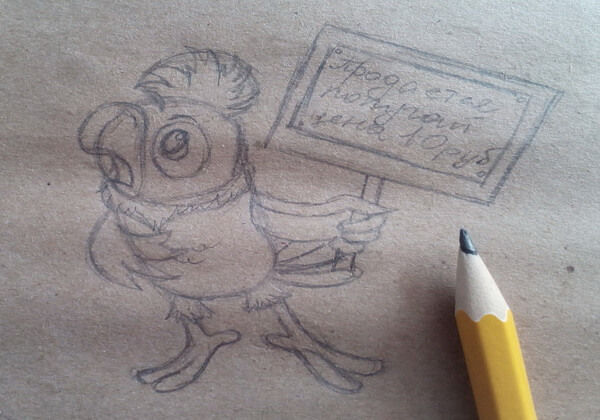
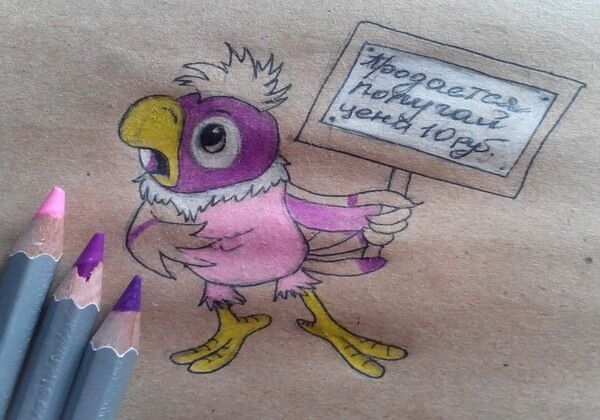
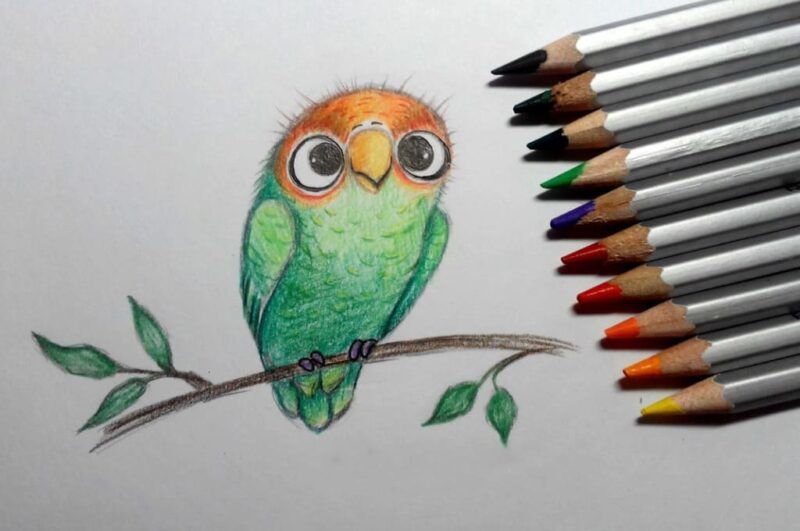
The upper half of the wing should be painted red by analogy with the breast, but the lower part can be painted blue. The tail plumage is also colored to match the color of the wing. For children, you can use more than just a picture of a bird on a branch.
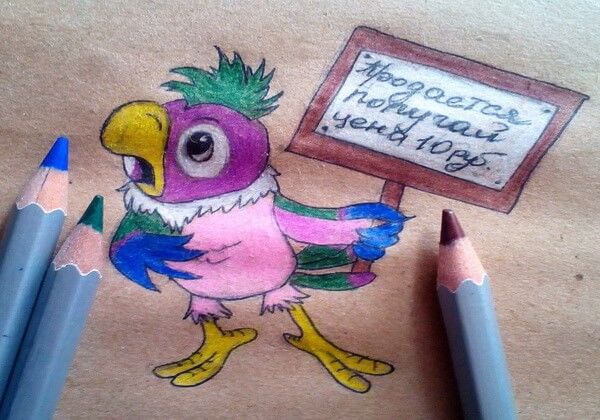
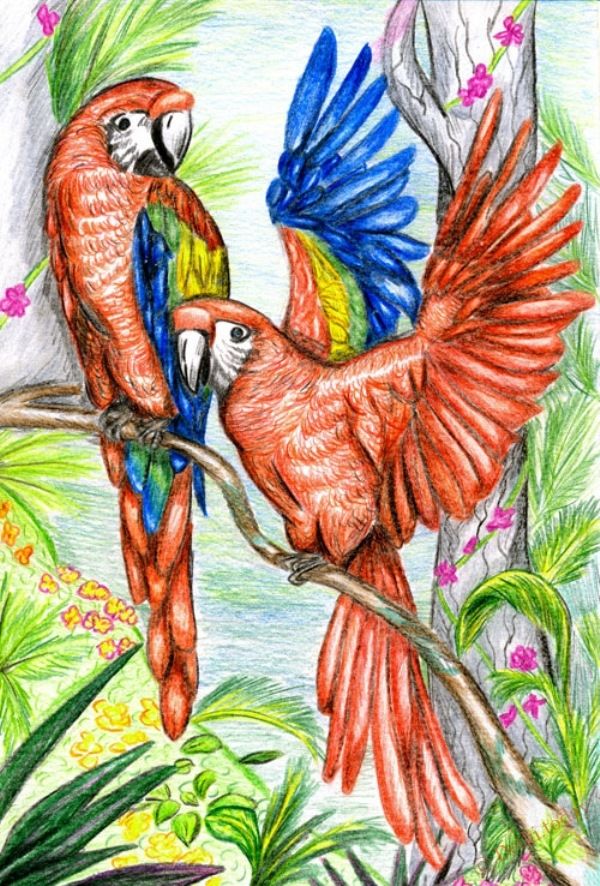
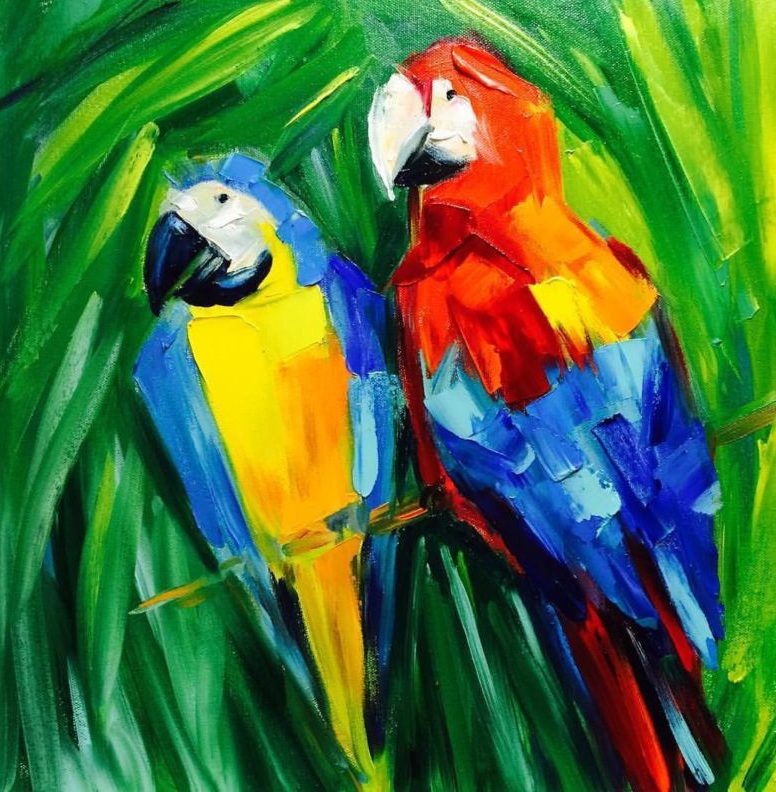
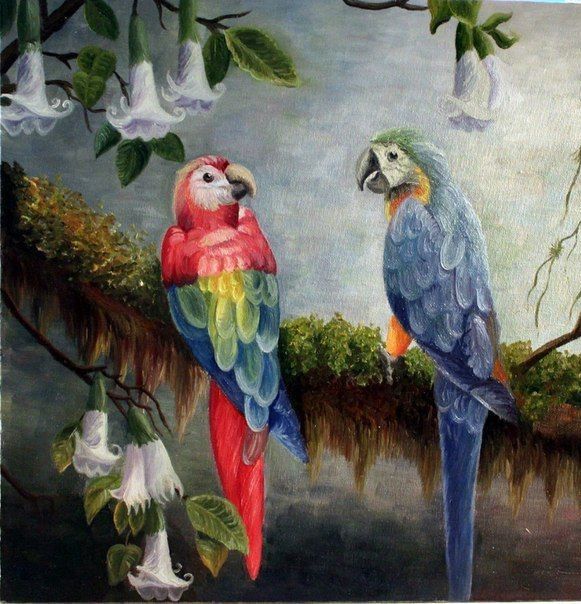
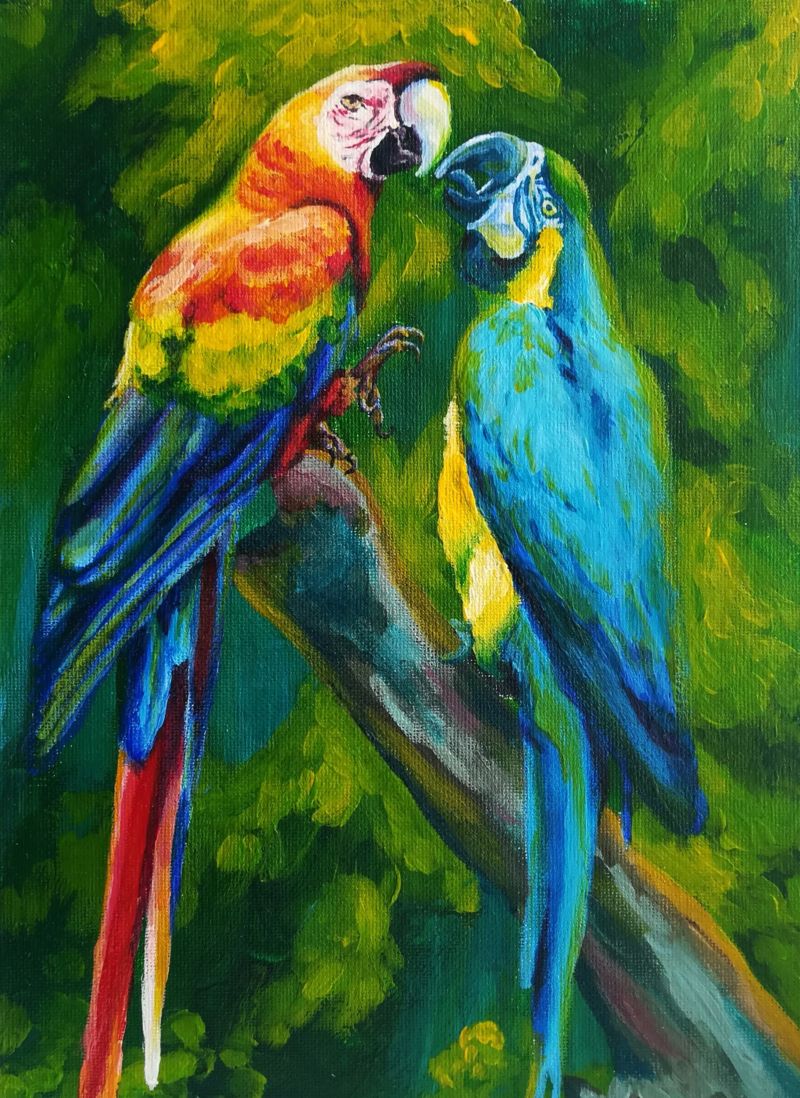
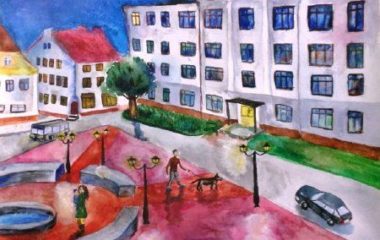
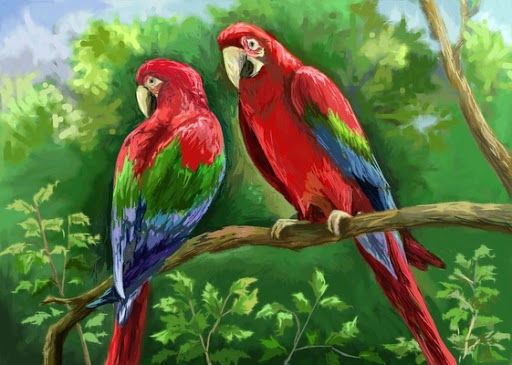
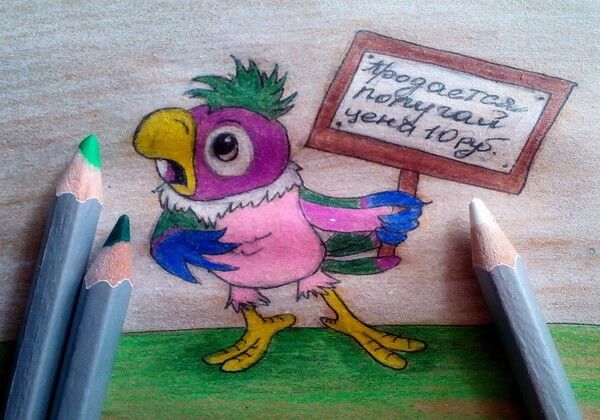
It is more useful to draw a parrot in a composition. For example, branches of tropical trees, vines, exotic fruits on a tree can be depicted around the bright jungle inhabitant.
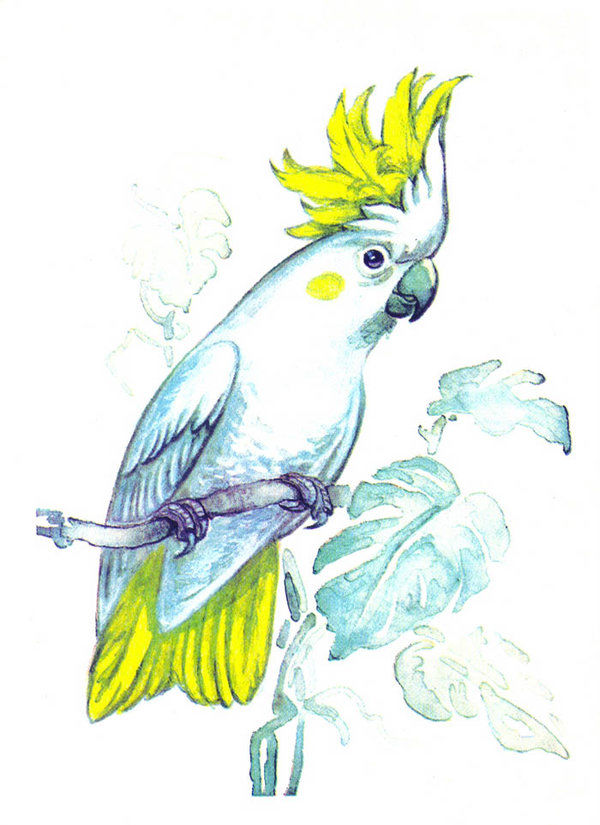
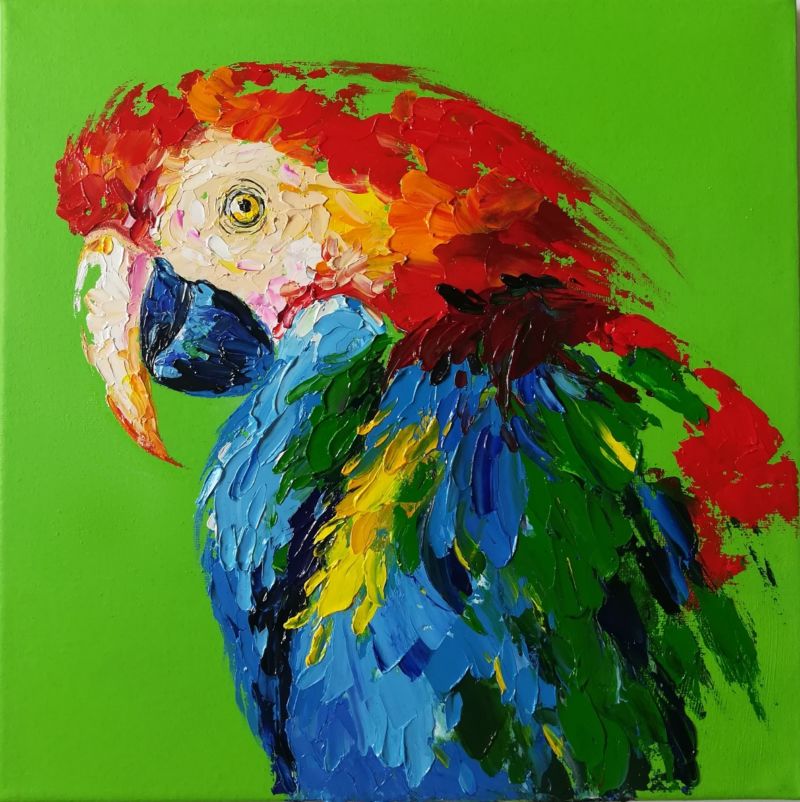
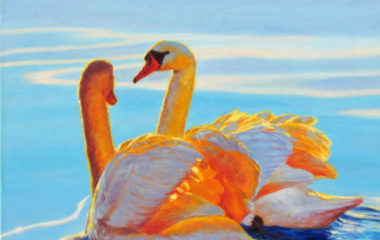
Cockatoo with paints
Young children prefer to work with paints, because bright colors attract attention and have a positive effect on the psychological mood of the child. A cockatoo parrot with a high crest will be recognized by every adult, teenager or younger child.
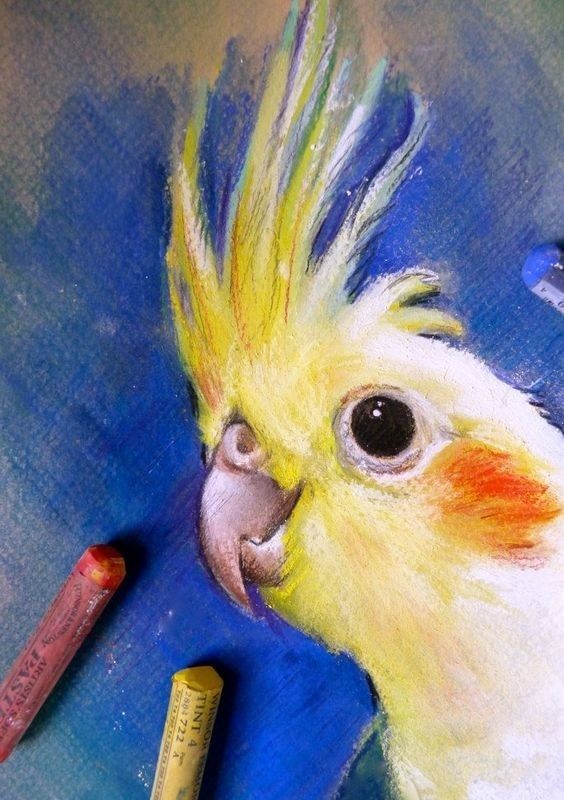
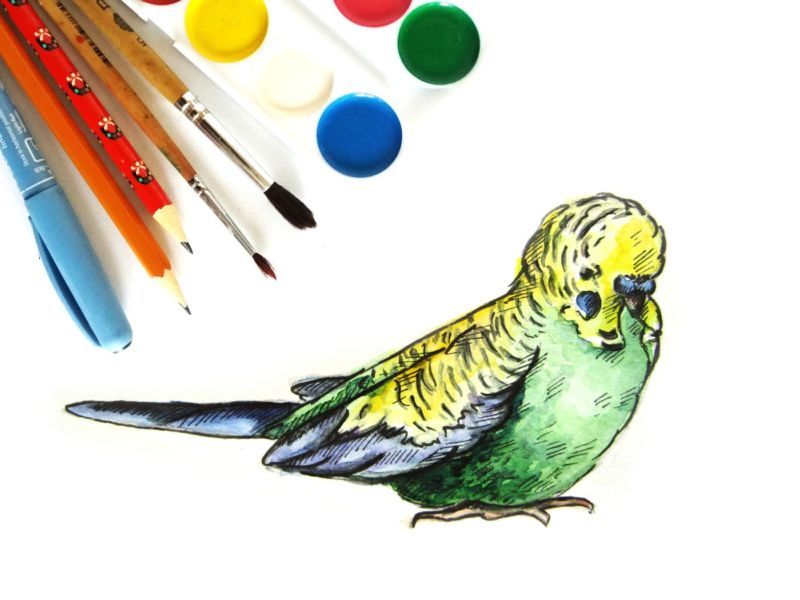
For a simple drawing lesson, you'll need paints (gouache or watercolor, you can use acrylic-based stained glass paints), brushes of different sizes, and paper. Instructions on how to depict a bright bird with your own hands:
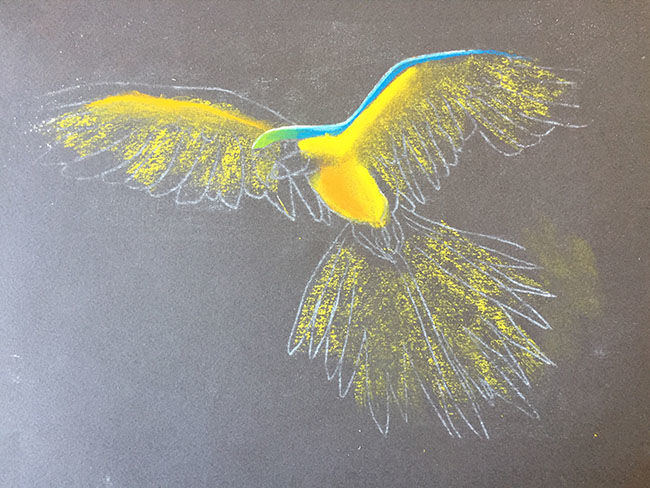
- With a few strokes of the brush draw the head of the bird.
- On the side surface (usually on the left) draw a beak. It is better to make the beak black or dark gray, which will be very effective to contrast with the main colors.
- The eye is drawn as a double ring (inside - a black circle, around which a white rim is depicted).
- Next, the master will have to switch to yellow paint. With a thin brush, they draw the plumage of the crest, which diverges upwards and to the sides in interesting ways. As a variety, you can add bright colors, and draw a pair of red or blue feathers in the crest.
- Breast, abdomen and wings are depicted with white paint. A few yellowish strokes can be added along the plumage of the torso to give a realistic look to the painted bird.
A few yellow feathers are allowed in the tail plumage. You shouldn't forget about depicting the surrounding picture as well. The young artist should show his own imagination, bring bright colors and figures to the drawing.

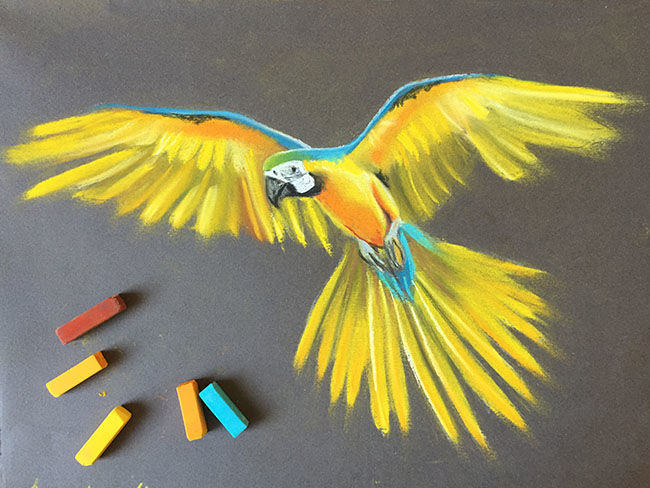
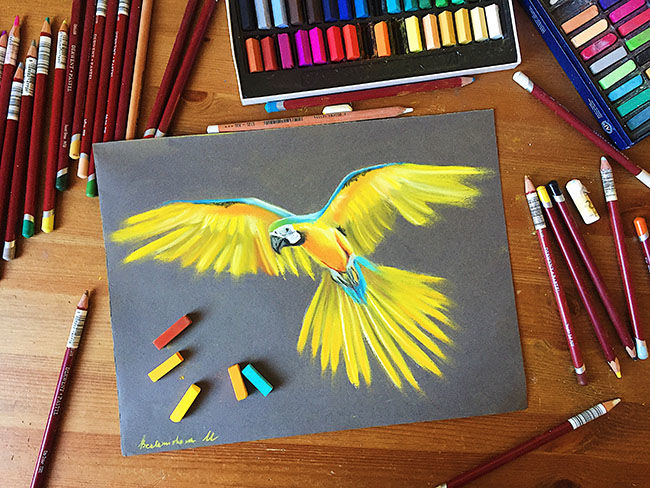
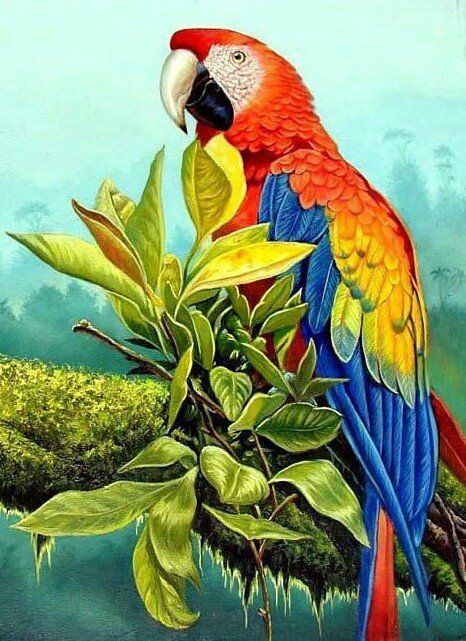
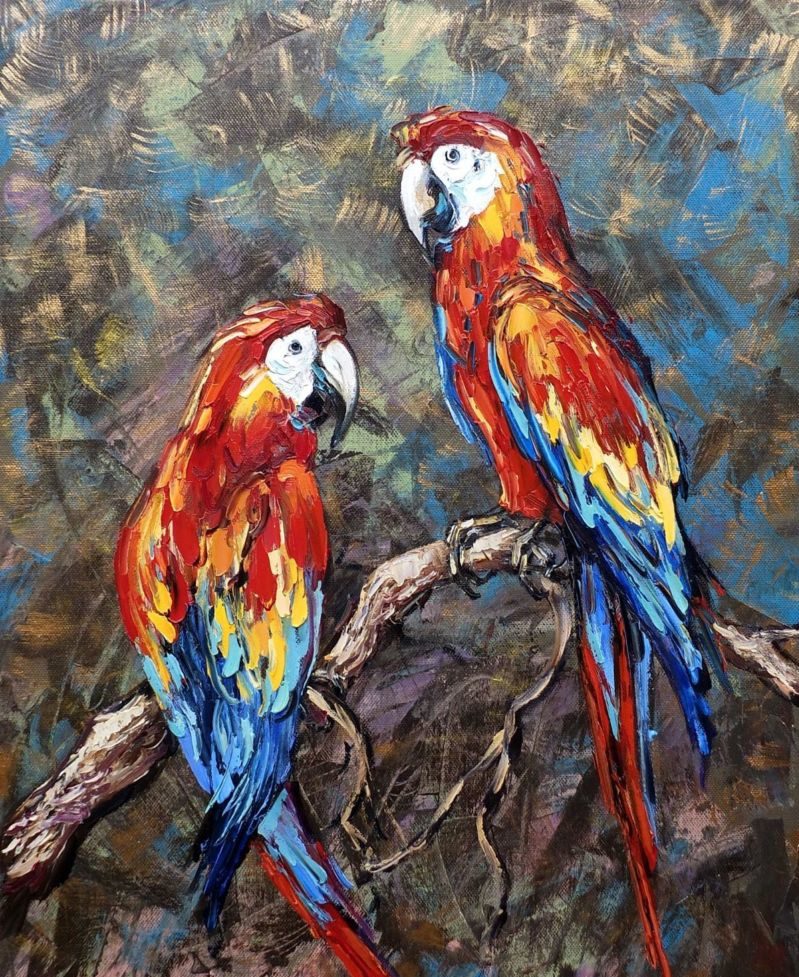
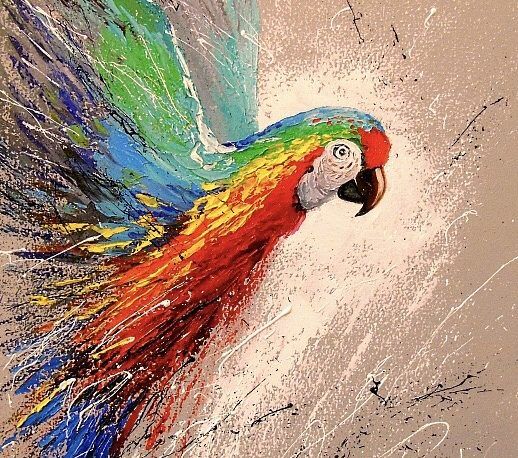
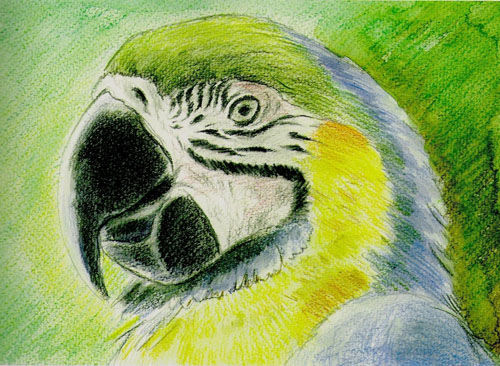
Picture of a painted parrot