How to draw a dolphin for beginners and children: easy step-by-step master classes with pencils and paints
What could be better than spending time with your child. For example, draw different animals, dolls or cars with him. And if your baby loves sea creatures, or you want to please him a colorful drawing of a friendly dolphin.
Then this article, which includes different options for drawing a sea dweller, will come to your aid.
Curious
According to statistics, 90% of people love dolphins. And it is not in vain, because the animal is a "good psychologist", able not only to bring a young child to the right development and liberate him. But also help adults to overcome their fears and complexes, gaining peace of mind.
Psychotherapy with dolphins was first mentioned in 1978 in England. Seeing the positive dynamics of the communication with the sea dweller first of all in children. Russia adopted such a non-traditional method for the treatment of various diseases in children and adults only in 1998.
What helps dolphin therapy:
- Helps to establish contact with the outside world;
- Stimulates the development of interest in the environment;
- Activates the work of the brain and the body as a whole;
- Activates the development of speech and hearing;
- Fills the lack of positive emotions.

How to draw a dolphin
At first glance it may seem that drawing this animal can take a lot of time and effort. But it is not. In fact, to depict a mammal, you need to have a little patience, and somewhere even wit. And start drawing a dolphin step by step.
There are many options for depicting the sea dweller, which will give peace of mind by its mere appearance.
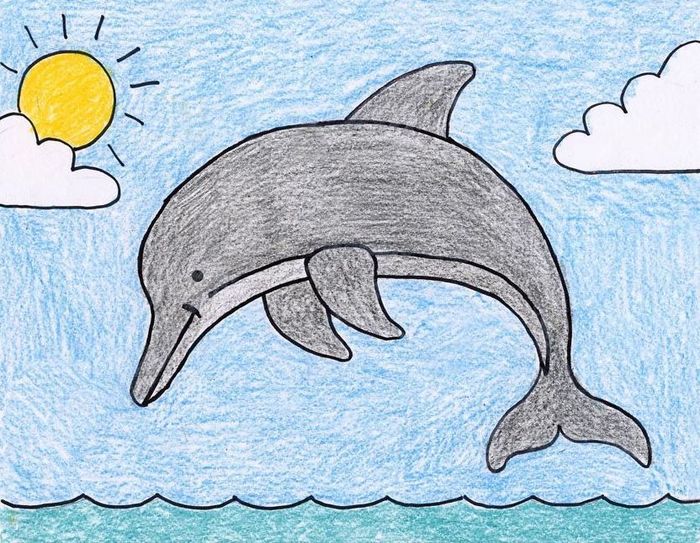
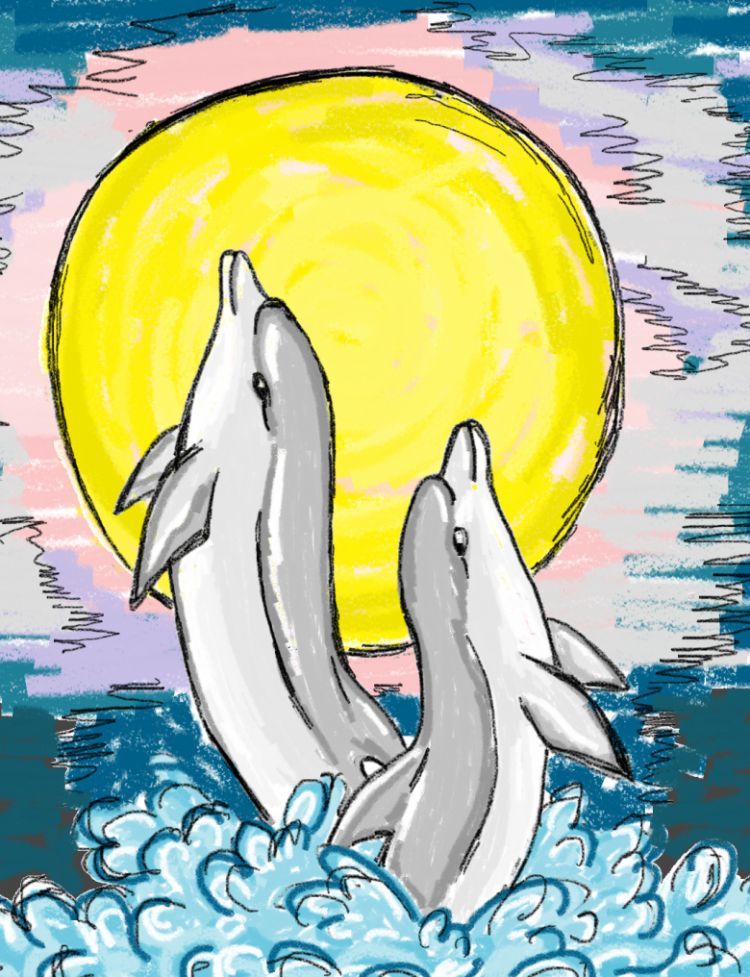
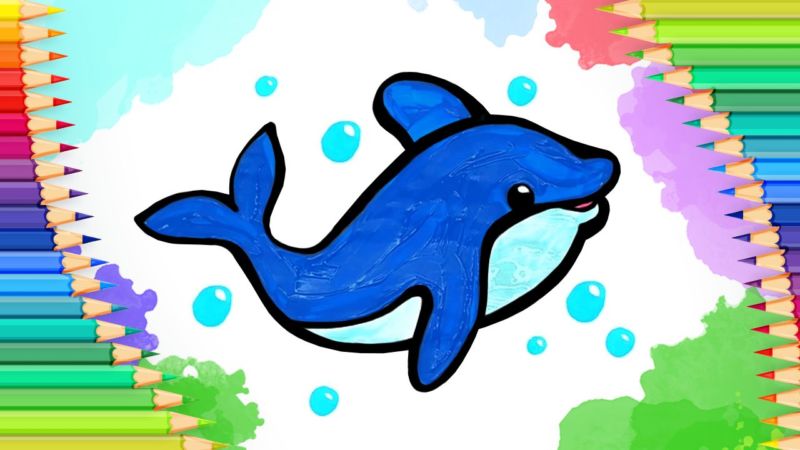
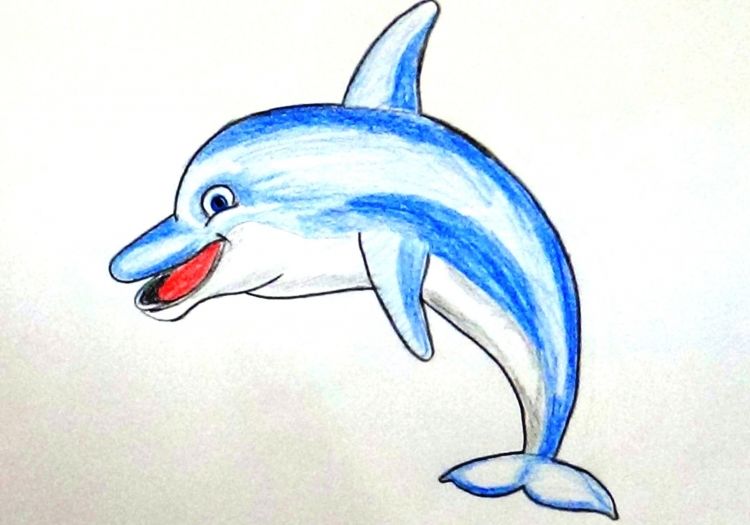
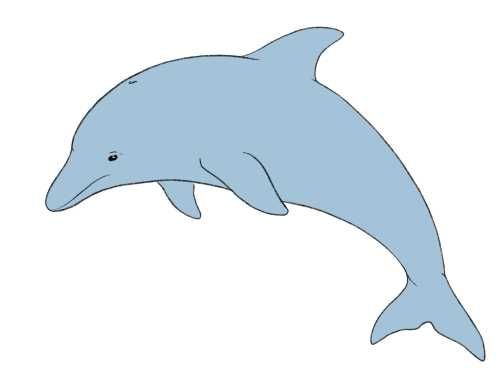
A simple way
This method of depiction is suitable for joint art of a child and an adult, as well as for independent performance of the work.

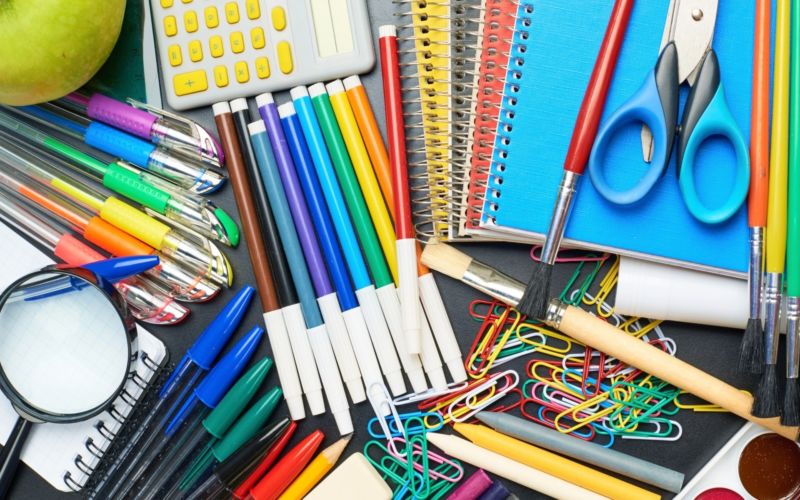
Armed with the necessary stationery, you can begin the performance of the drawing. So, for drawing you will need the following items:
- A pencil;
- Eraser;
- Sheet A4;
- Paints, felt-tip pens, colored pencils.
Getting comfortable, we begin to work.
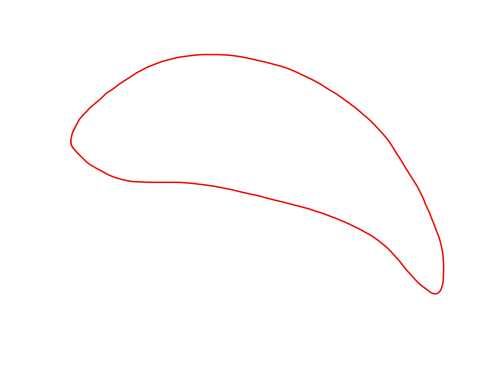
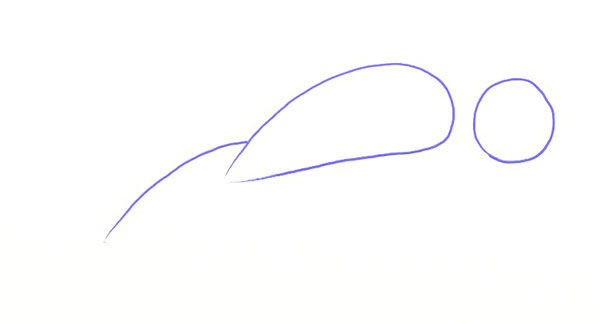
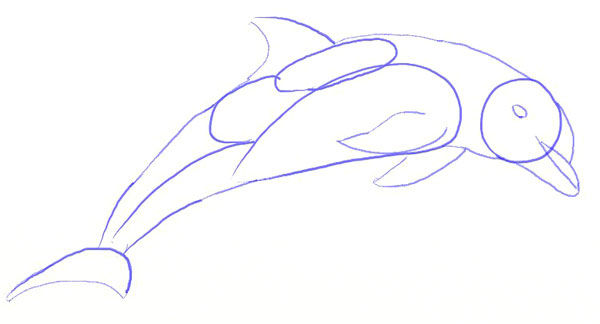
To begin with a simple pencil and draw a small elongated oval, which will be the beginning of the nose mammal. Then from the top of the spout we draw a curved line downwards, thus getting the beginning of the body for the dolphin.
We depict the tail at the bottom, applying the method of drawing by connecting the petals.
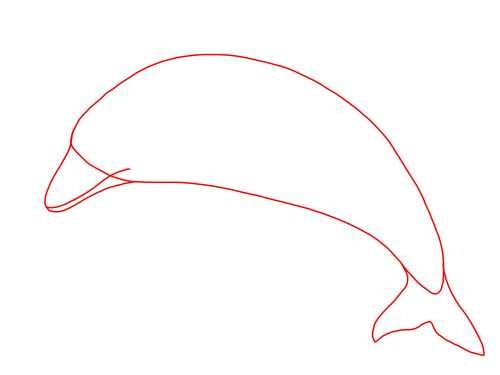
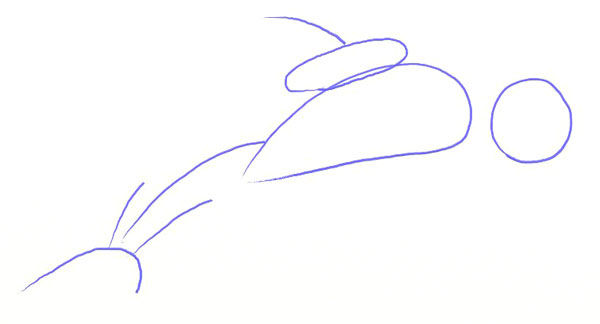
Then we return to the nose of the animal, drawing a curved bottom line to the middle. Then in this place we depict the fin, making its end tapered. Draw this line up to the spout.
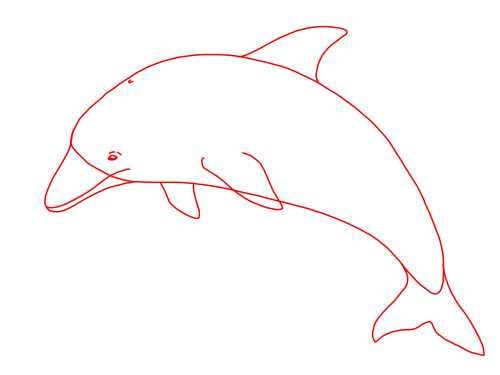
Then draw the second line below, making the curve for the mouth under the nose and depicting another fin to the above drawn. The main part of the drawing is ready. It remains only to draw the upper fin on the back of the dolphin somewhere in the middle. And draw the eye of the animal.
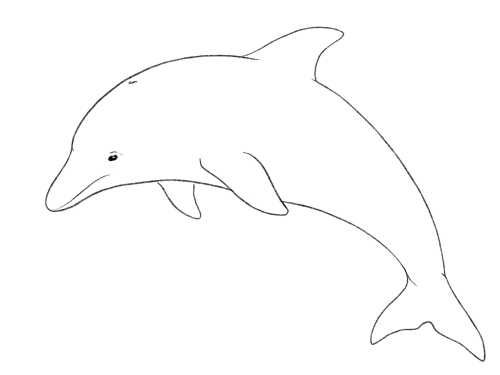
To do this, draw the upper fin, which should not differ significantly from the other two lower parts of the body. Then you can paint the dolphin with any kind of stationery.
It's all optional, here you can apply any fantasy ideas. Do not forget about the eye of the animal, depicting it closer to the spout with a big circle. The eye can be simply painted over with black, or you can apply glare to brighten the organ of vision. The drawing is ready.
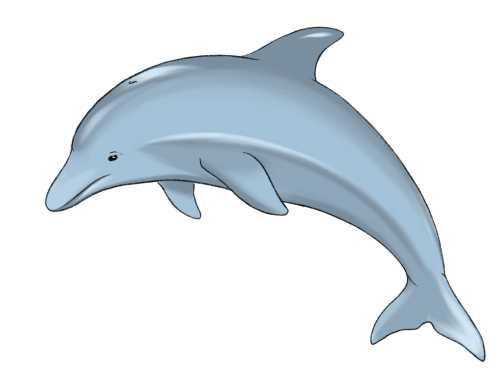
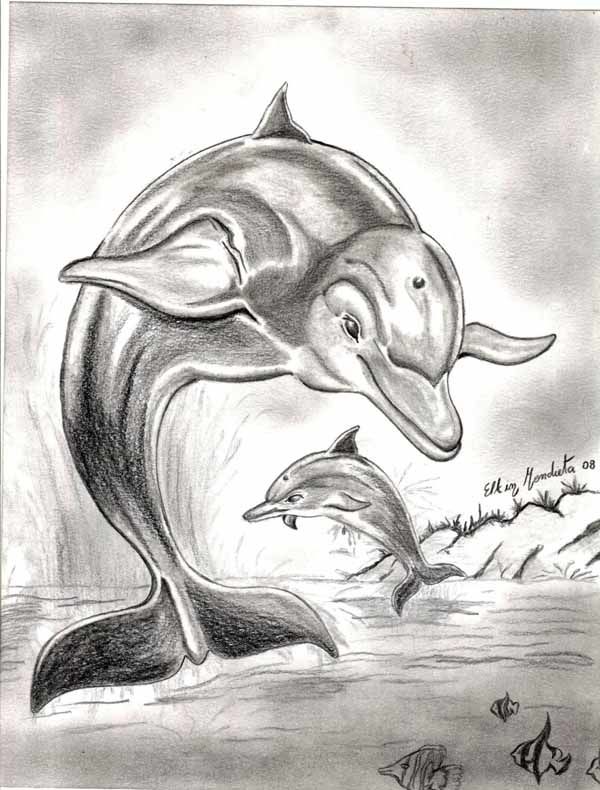
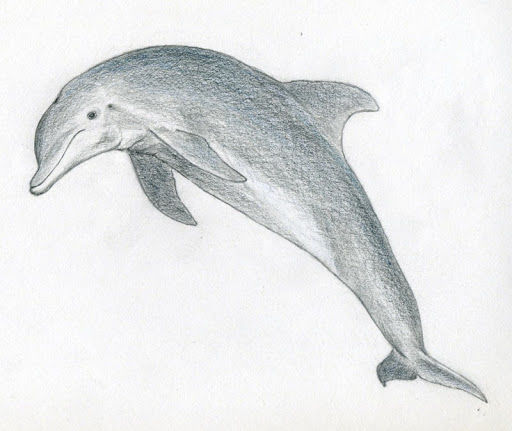
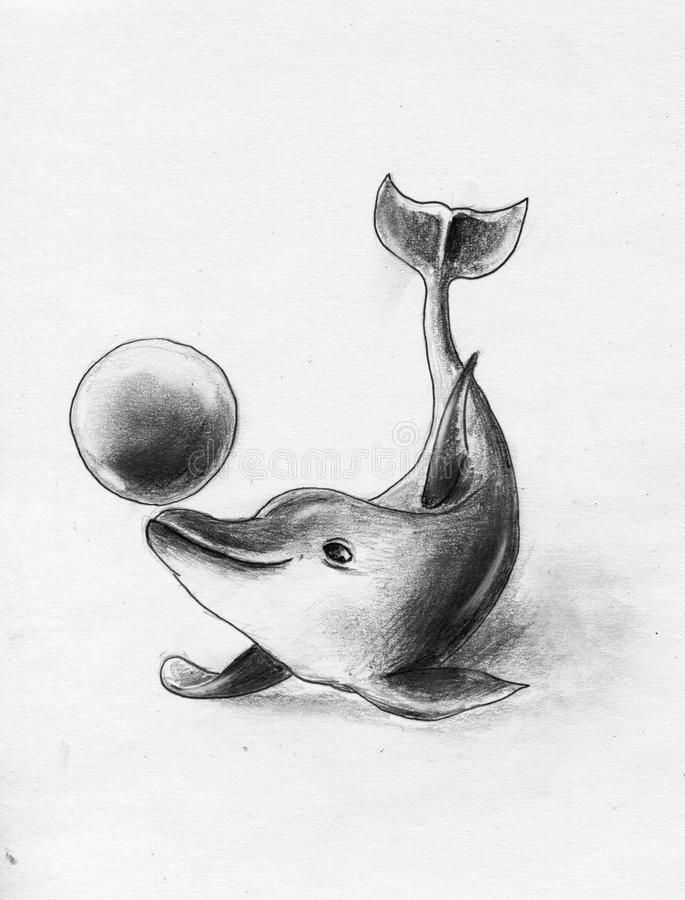
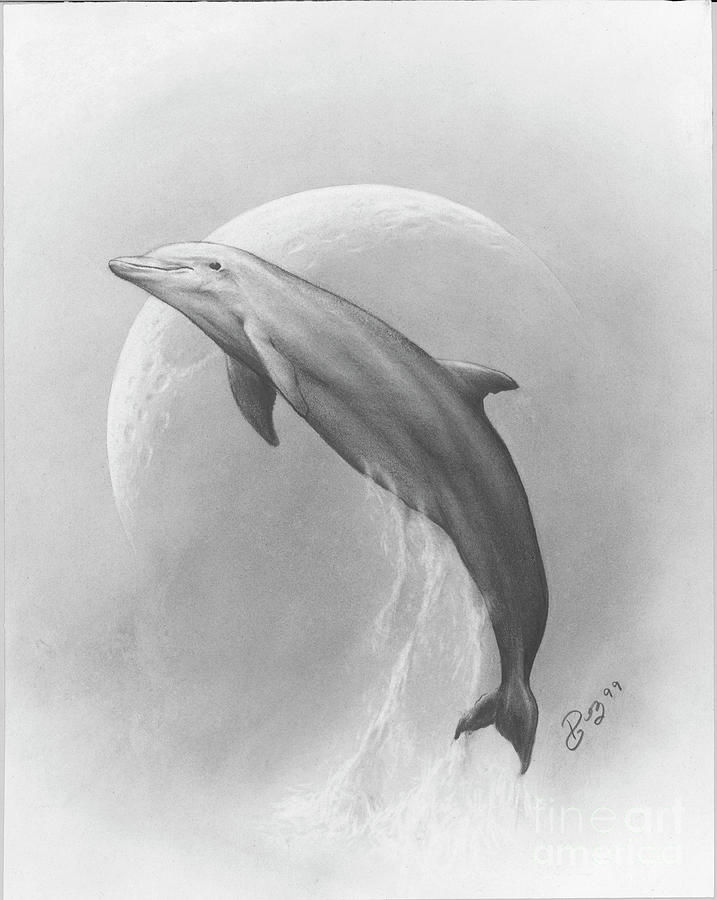
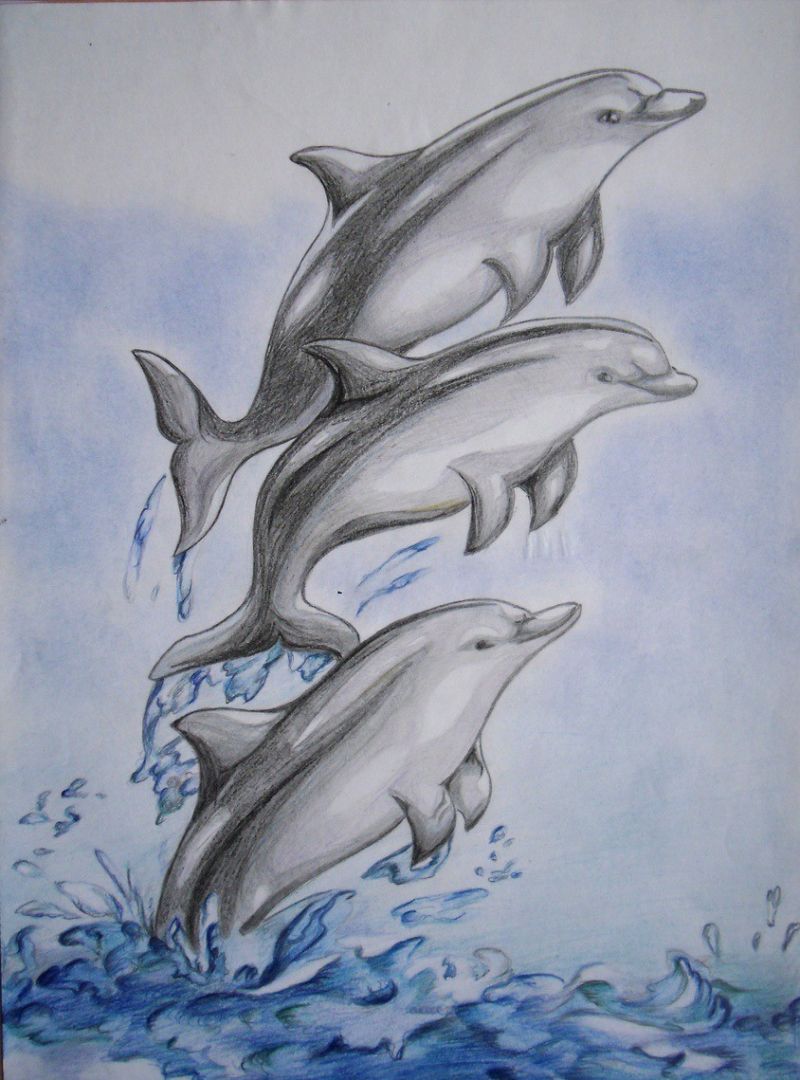
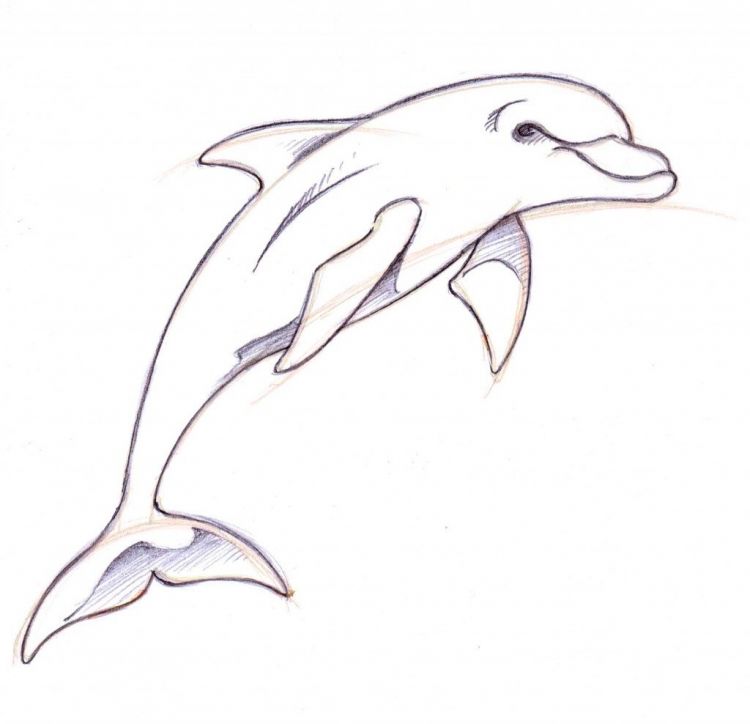
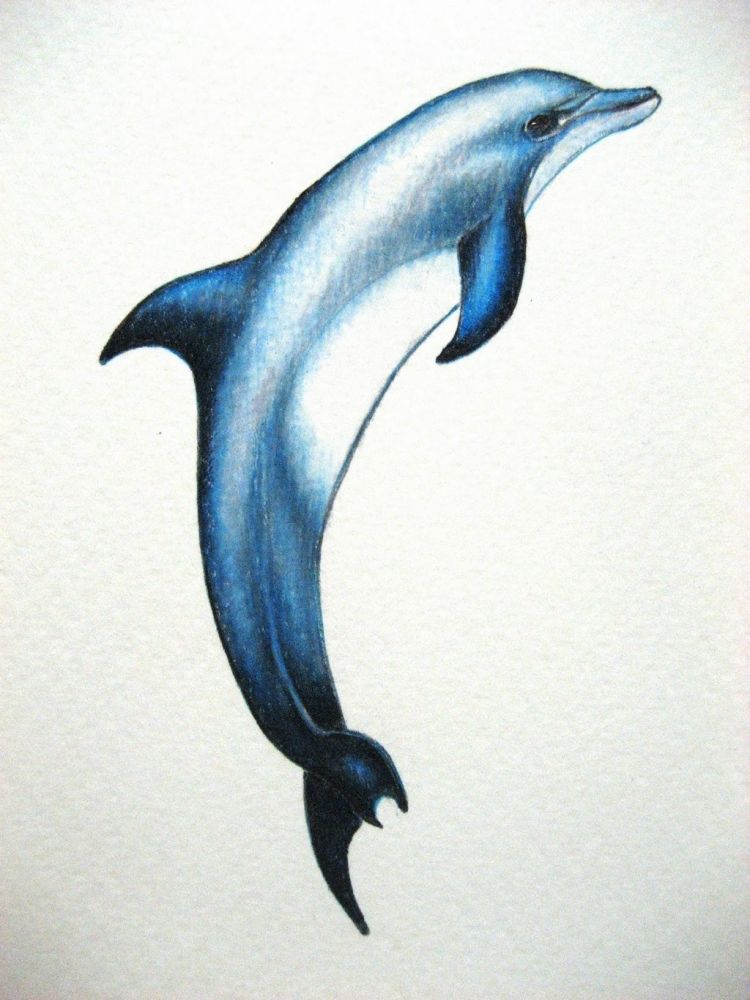
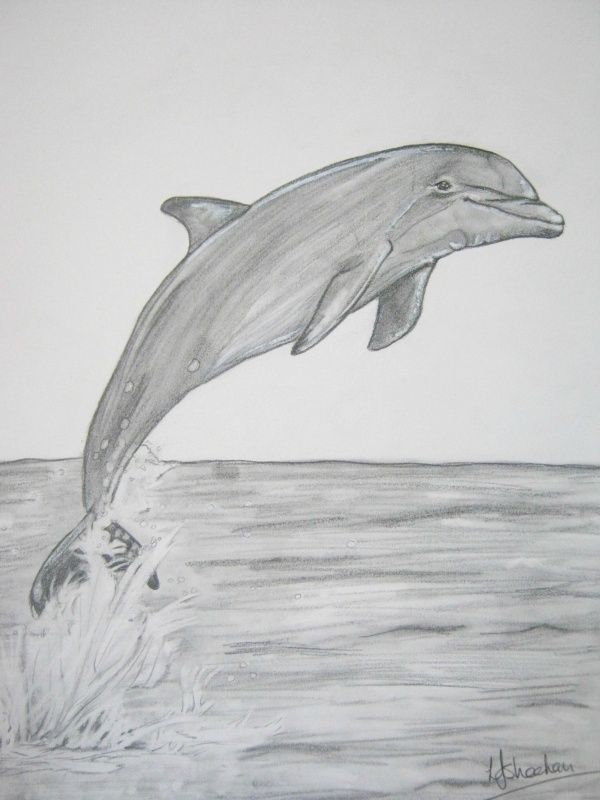
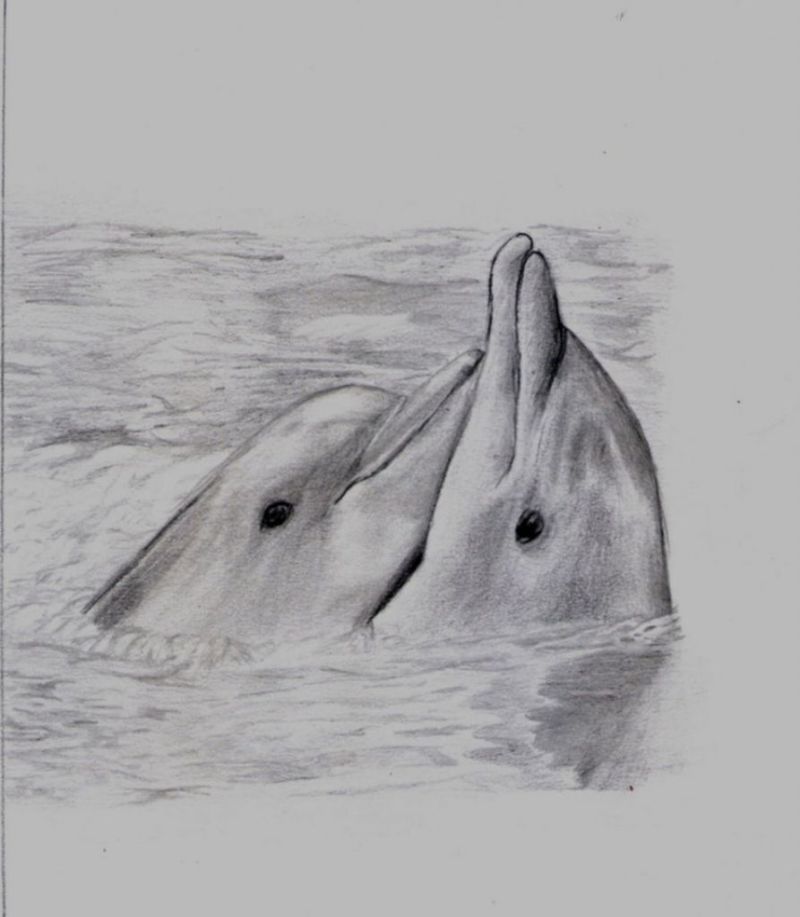
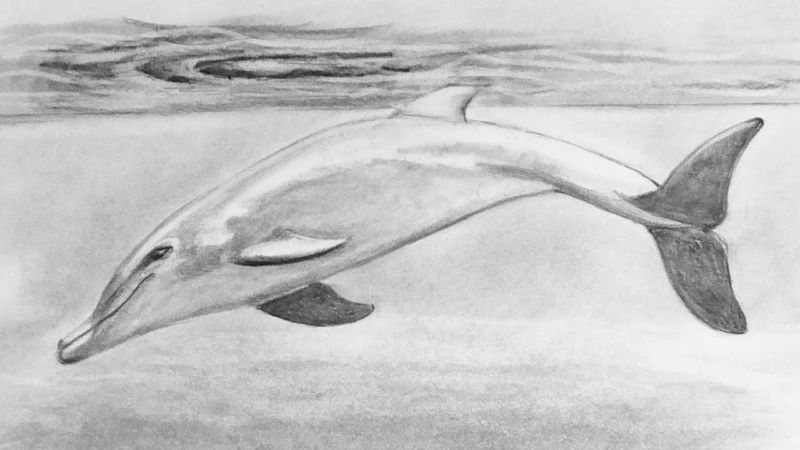
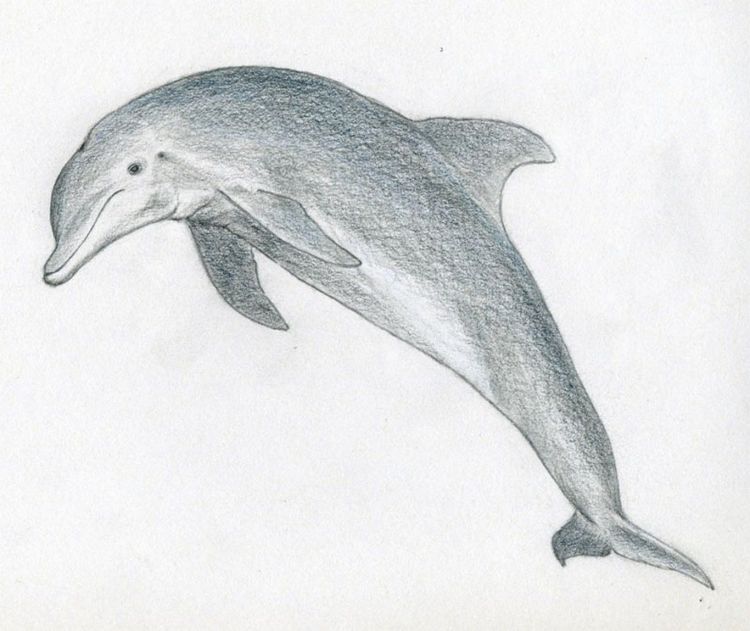
Pencil illustration
This is the easiest method to depict a sea animal. As here goes drawing a dolphin with an ordinary graphing pencil, using a sheet of paper and an eraser.
We begin to work, choosing a convenient place for the location of the parchment, begin to draw the spout of the animal. To do this, on the right side of the paper depicts the nose, like a cap visor.
Next we draw the oval of the head and draw two curved lines from the head: one at the top of the sketch and the other at the bottom. Connecting these lines in the tail part, depicting the tail as a pair of connected petals.

Next, we draw a line in the middle of the animal. It will be a separating link between the upper and lower parts of the dolphin. In the upper half, closer to the nose depict a small eye in a circle.
Then proceed to draw the fins. At the top of the image dorsal fin in the form of a triangle, but only rounded slightly top corner of the figure.
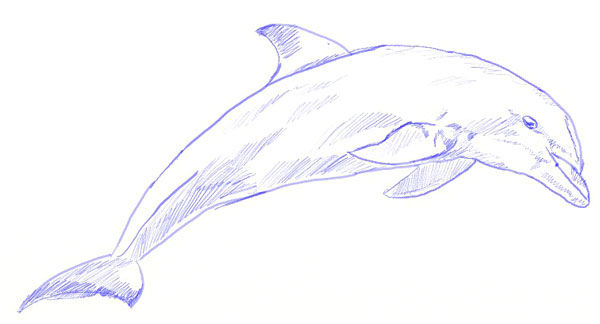
Below draw two more fins. One closer to himself, opposite the upper fin. The second away from you, placing it at the level of the upper fin. Do not forget to round off the ends of these parts of the body. Delete flaws with eraser, traced a clear outline of the dolphin. Job ready.
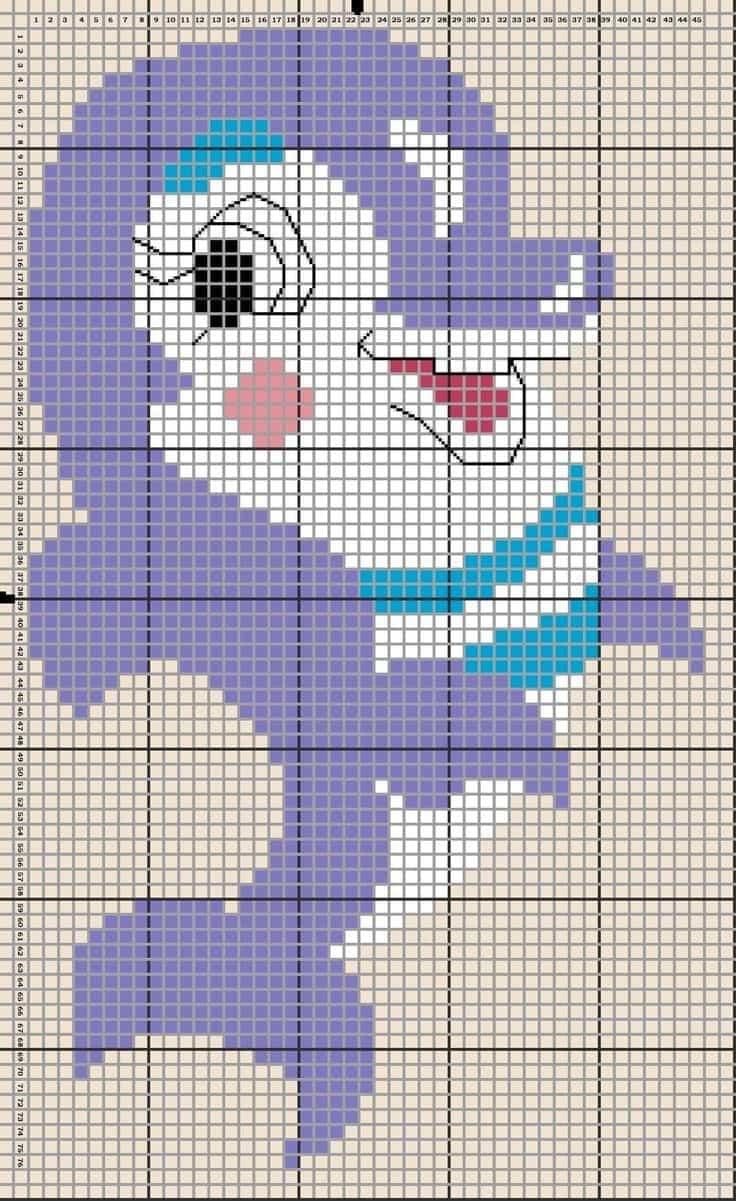
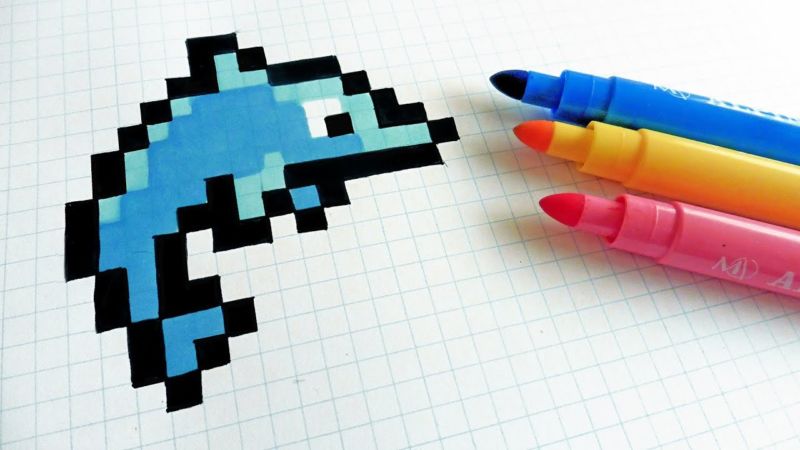
Drawing on the cells
A very interesting variant of drawing a dolphin for children, which promotes the development of motor skills and logic. To perform the sketch on the squares you will need a minimum of stationery:
- A checked notebook;
- A black pen or simple pencil;
- A marker or multicolored felt-tip pens;
- An eraser.
Work on this drawing can be done immediately with a pen or a simple pencil. It all depends on the preferences of the young artist. Cells shaded, painted or encircled themselves cells. Here, it's up to whomever is comfortable.
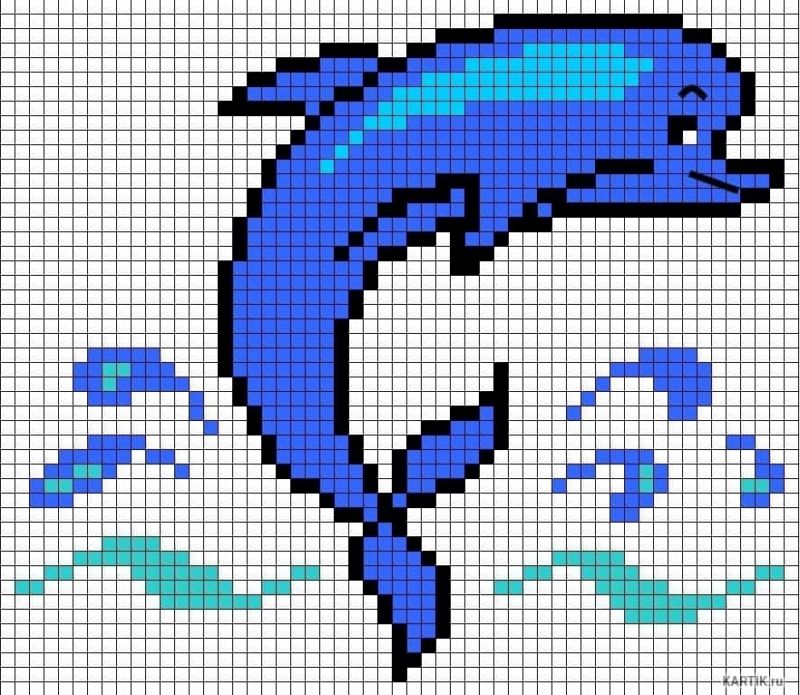
Drawing is done from the top vertically, the rows are not skipped, following the instructions.
Let's get to work. We take a notebook or a separate sheet of paper in a cell. And start a cell report from the leftmost row:
- To begin, we find the first left row of the sheet, shading one cell from the top.
- Then we take the second row, shading the first and second from above.
- Proceed to the third row, shading the first three cells and the eighth after them.
- In the fourth row shading the first four cells and the eighth with the ninth after them.
- Fifth row: fill in all ten cells.
- Sixth row. Read off the second left and shade the second through the seventh.
- Seventh row. Read off the second and fill in all the cells up to the fifth.
- The final eighth row. Shading the second and third cell.
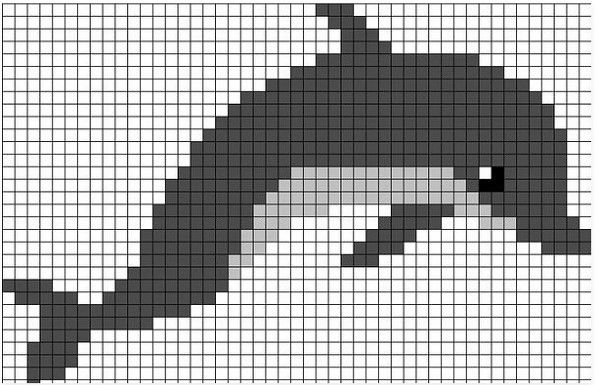
Drawing is ready. Cells may wish to fill with felt-tip pens or a marker. In any case, we get a very interesting work.
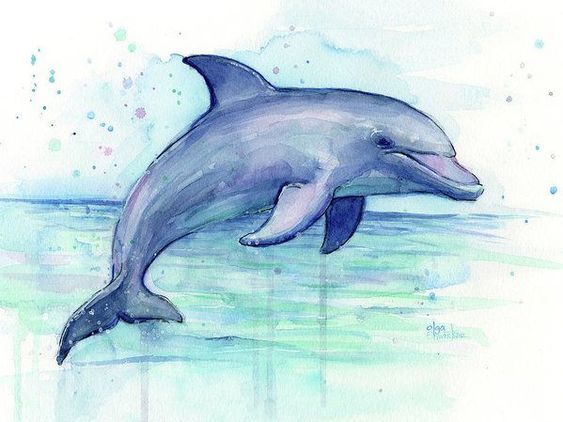
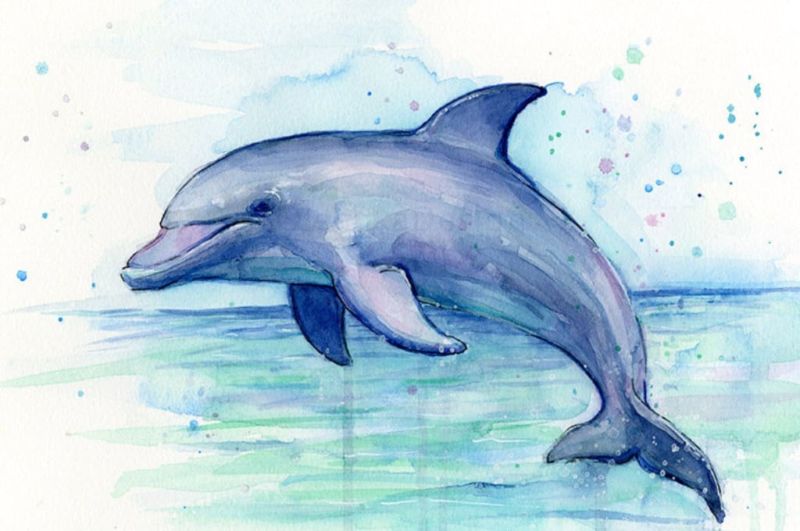
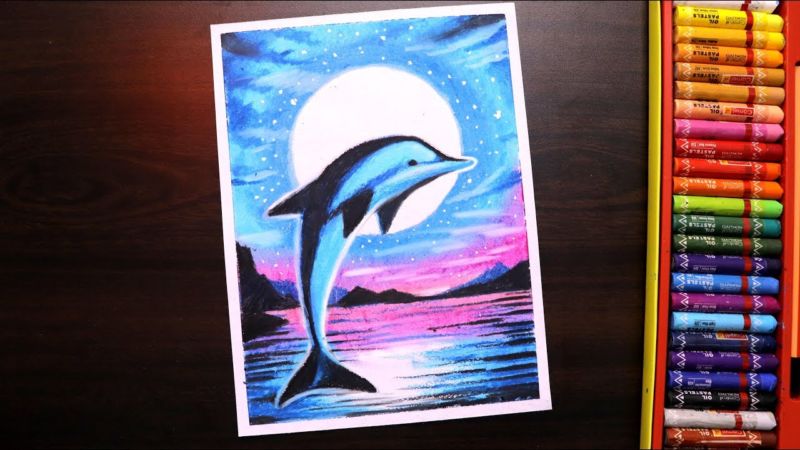
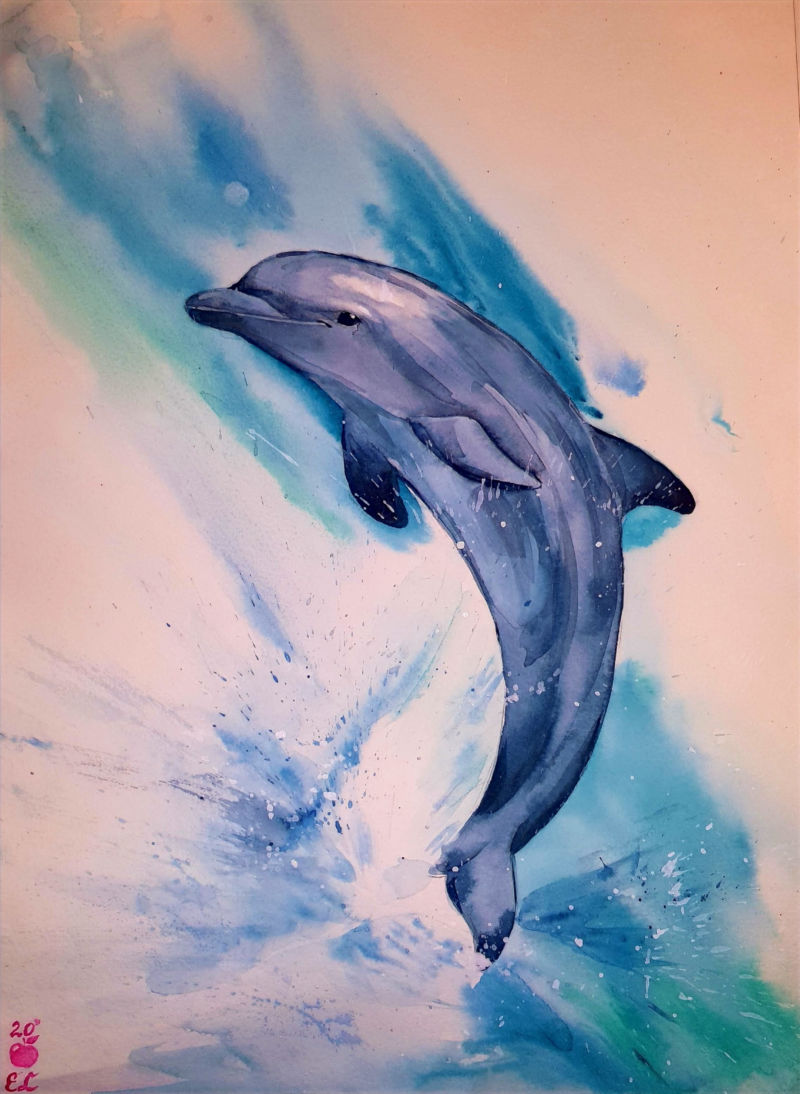
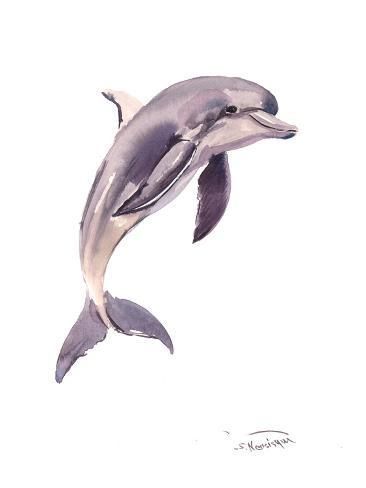
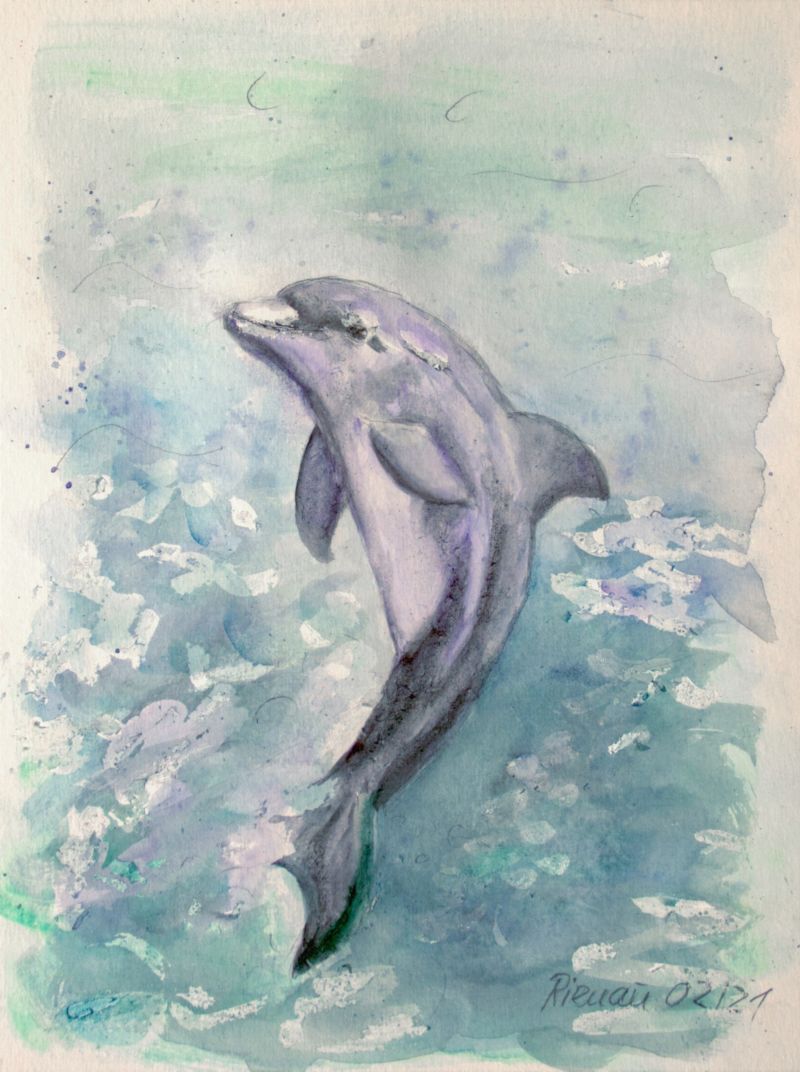
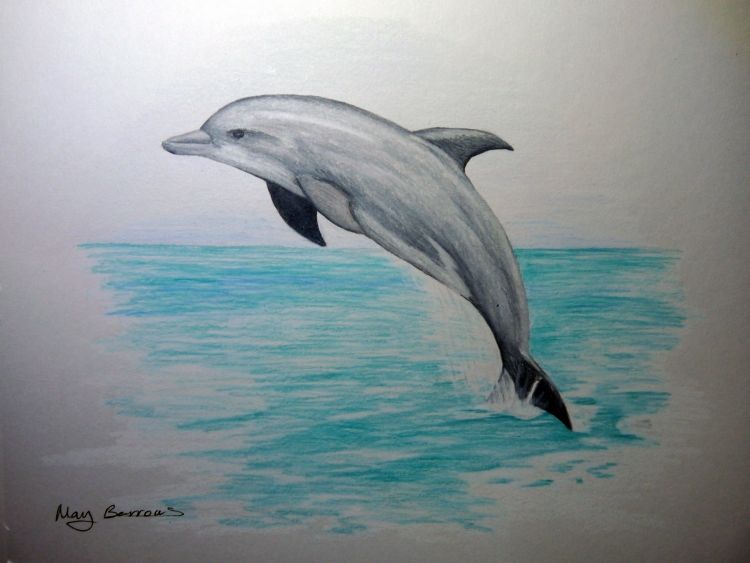
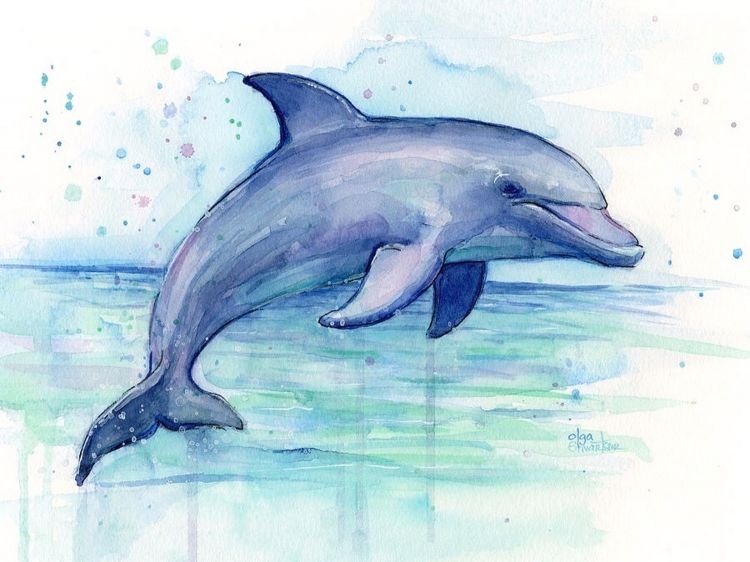
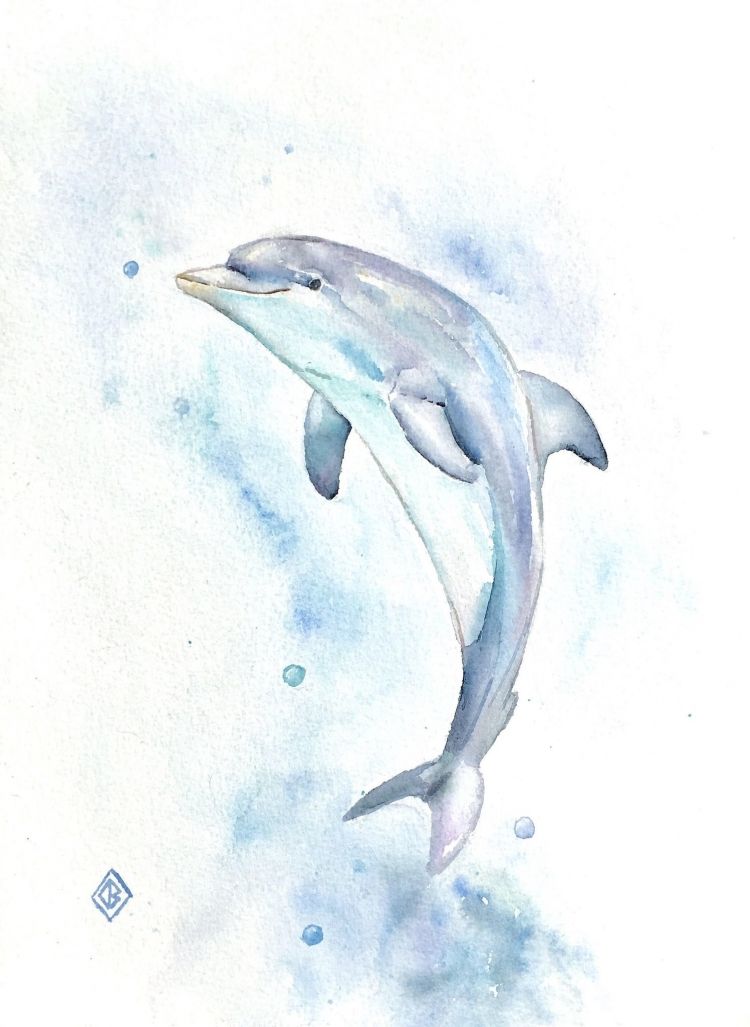
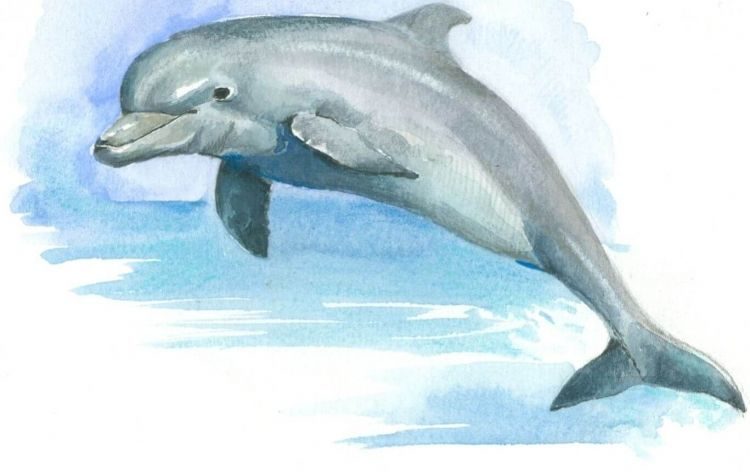
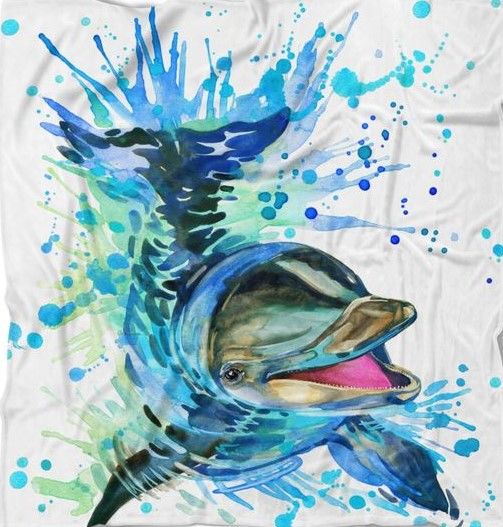
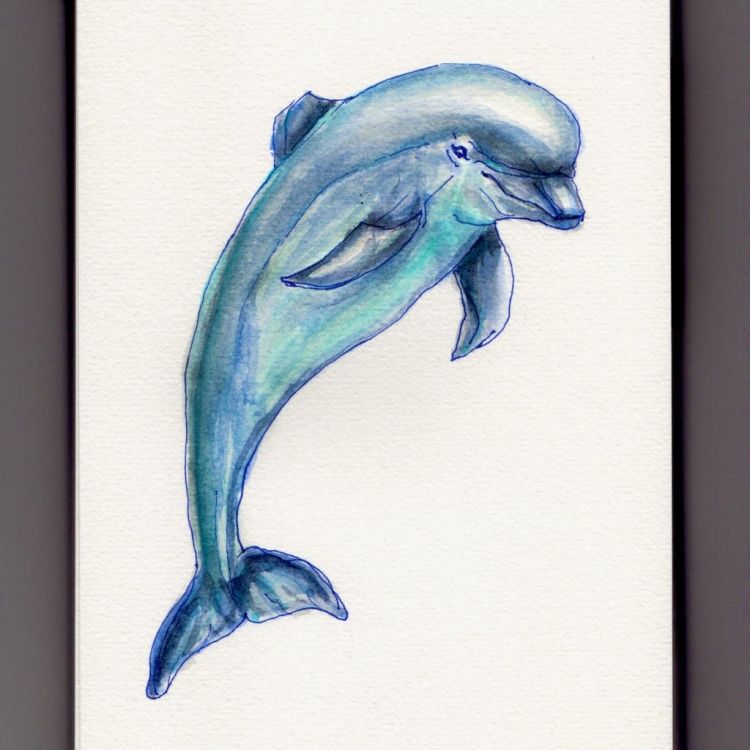
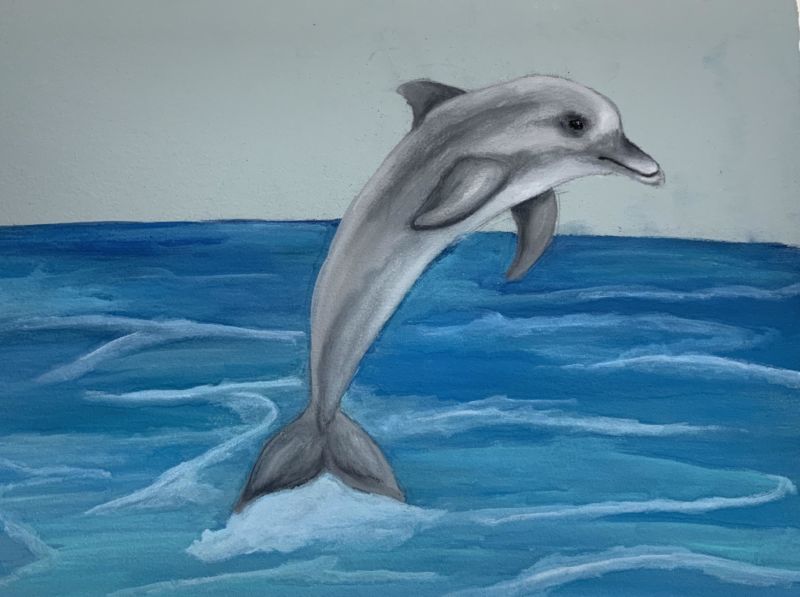
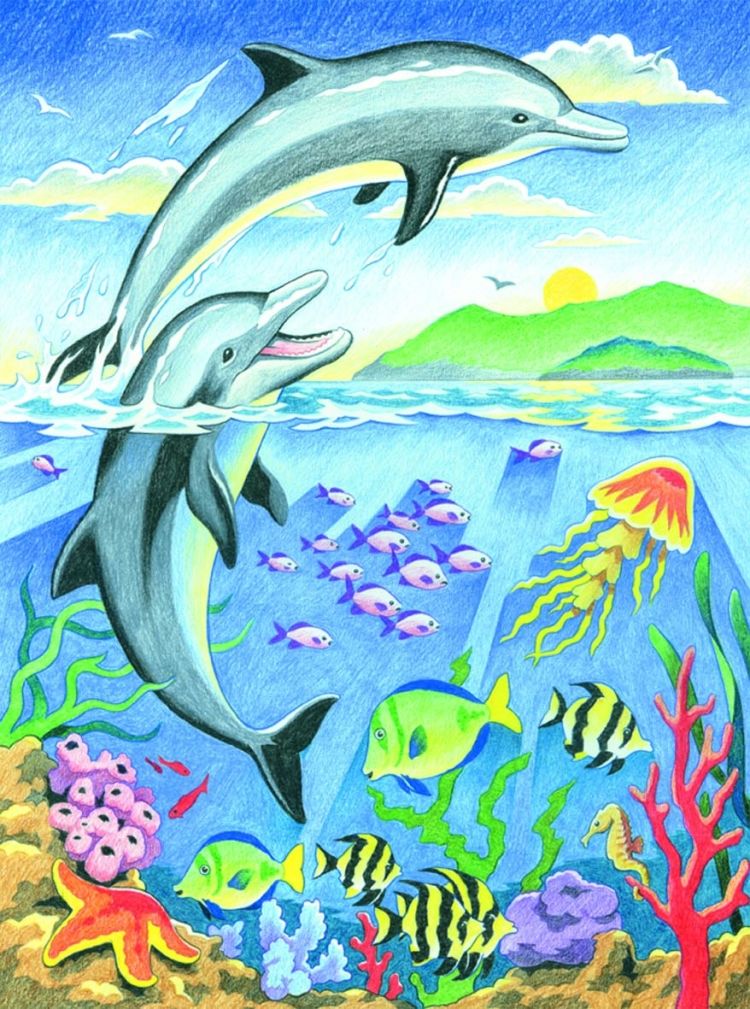
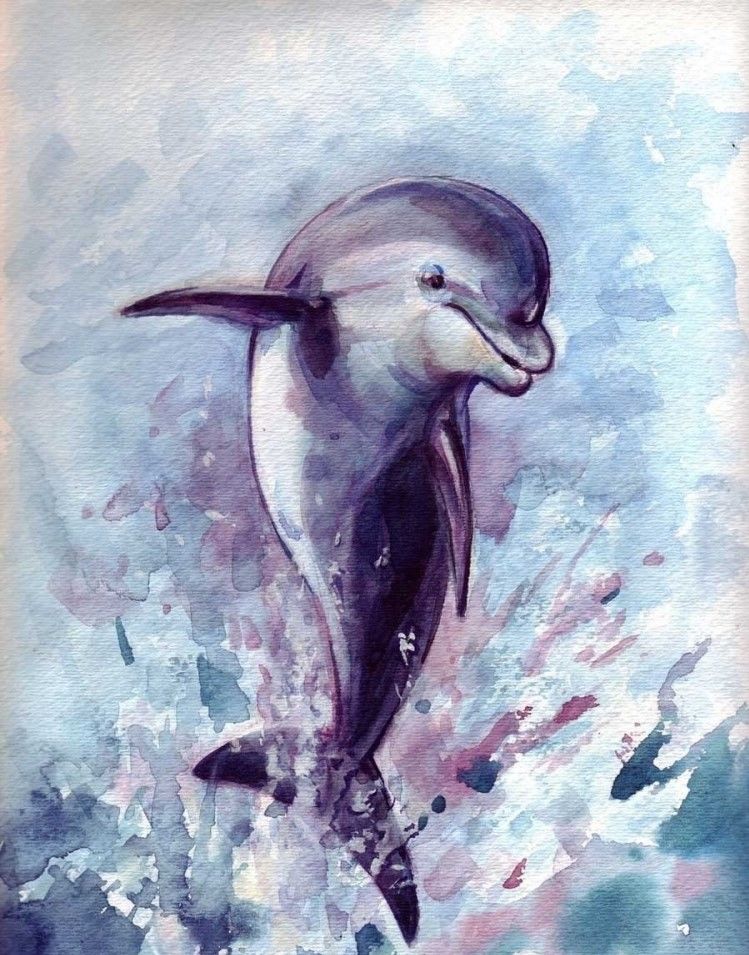
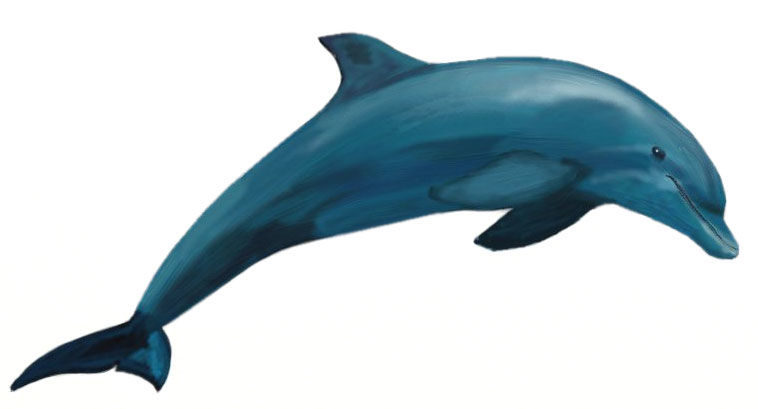
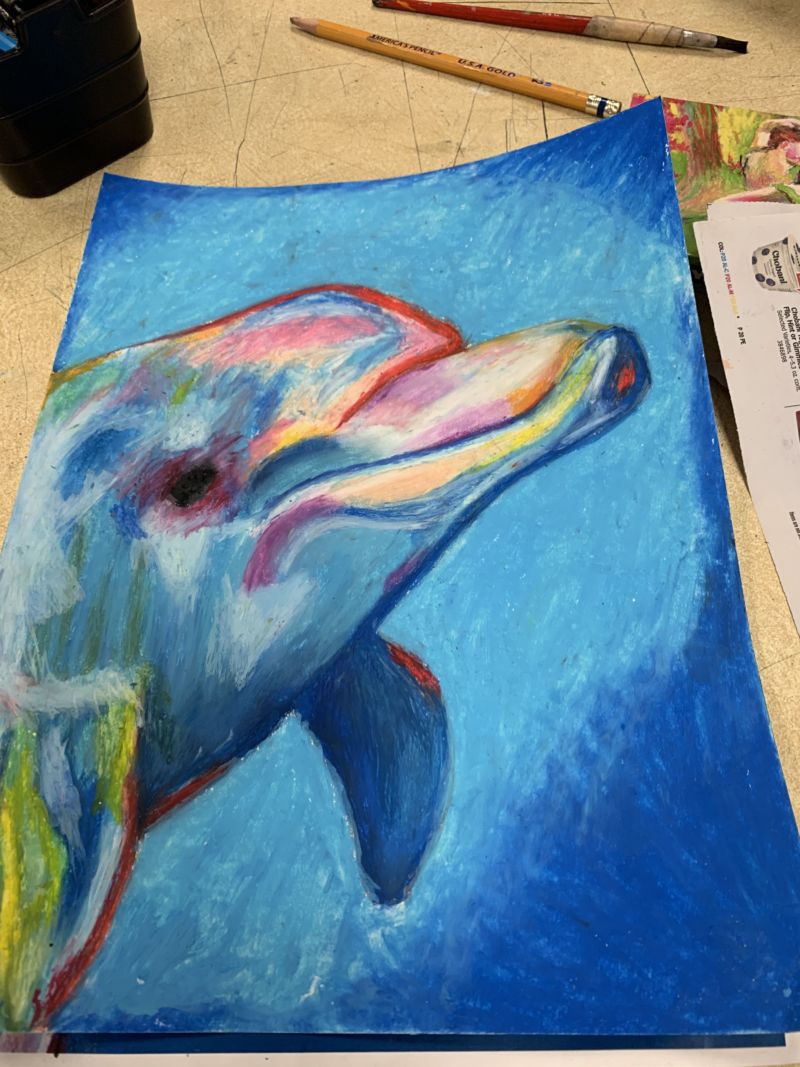
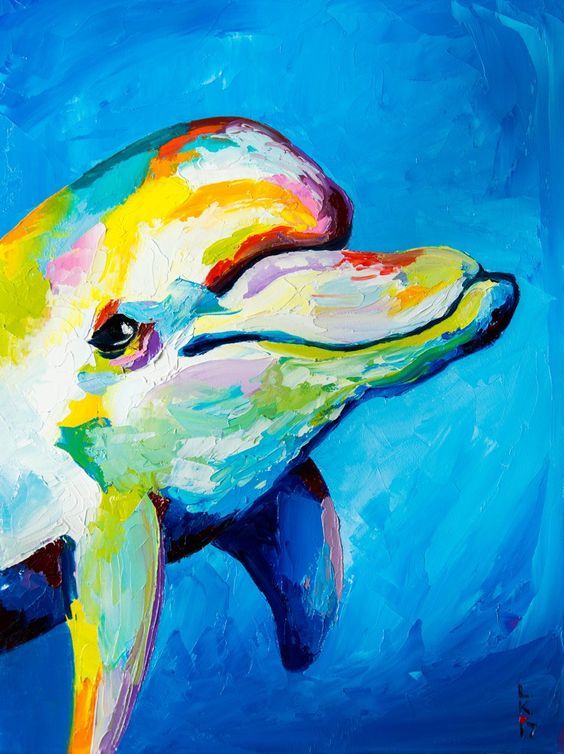
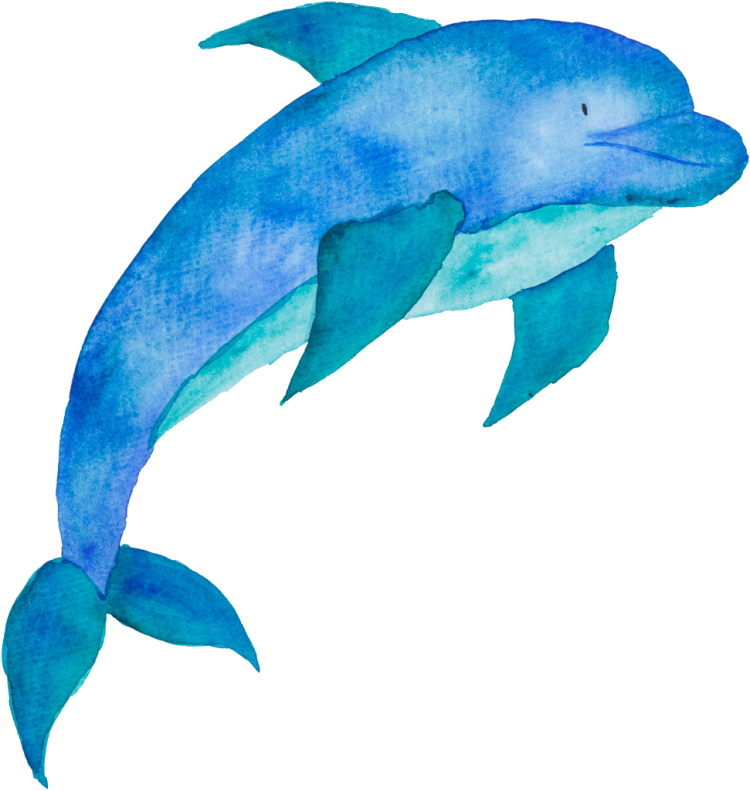
Watercolor drawing
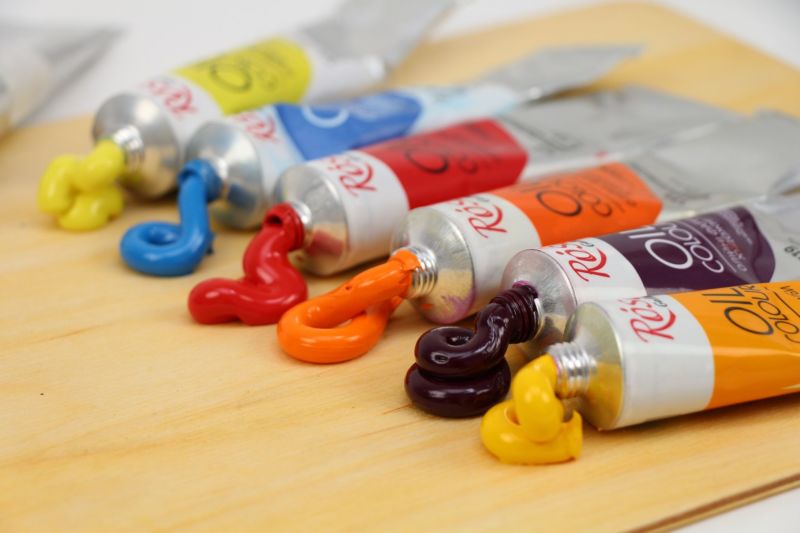
The art craft involves many techniques for making a drawing, armed with a variety of stationery. Watercolor or gouache are popular with both amateur and professional artists for the brightness and richness of the sketch.
Drawing with gouache is not difficult, if you follow the instructions and have a clear idea of how the future painting will look like.
Items needed:
- Gouache;
- Painting brushes;
- Parchment or watercolor parchment;
- Palette;
- A container of water;
- Paper towel or thick cloth napkin.
Tip! When painting, it is recommended to use masking tape to fix the paper on the surface.
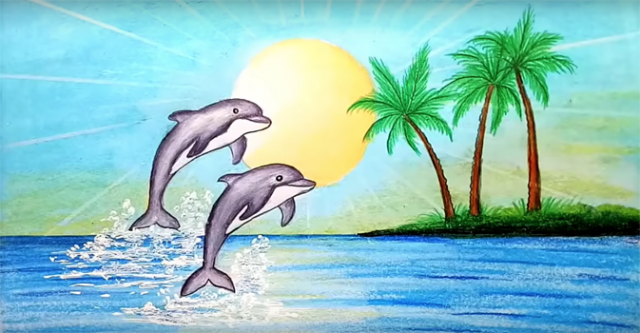
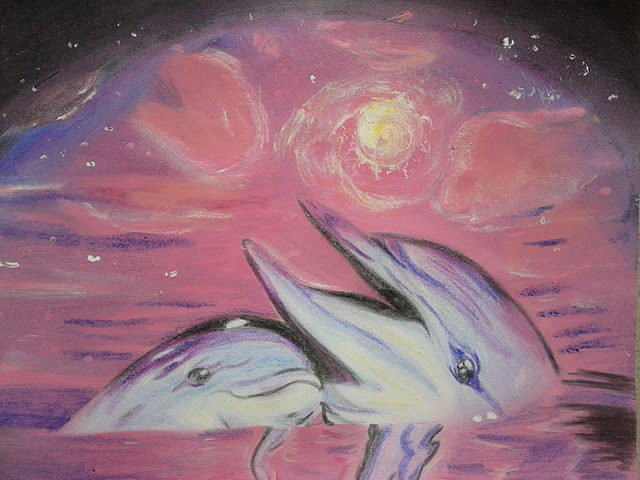
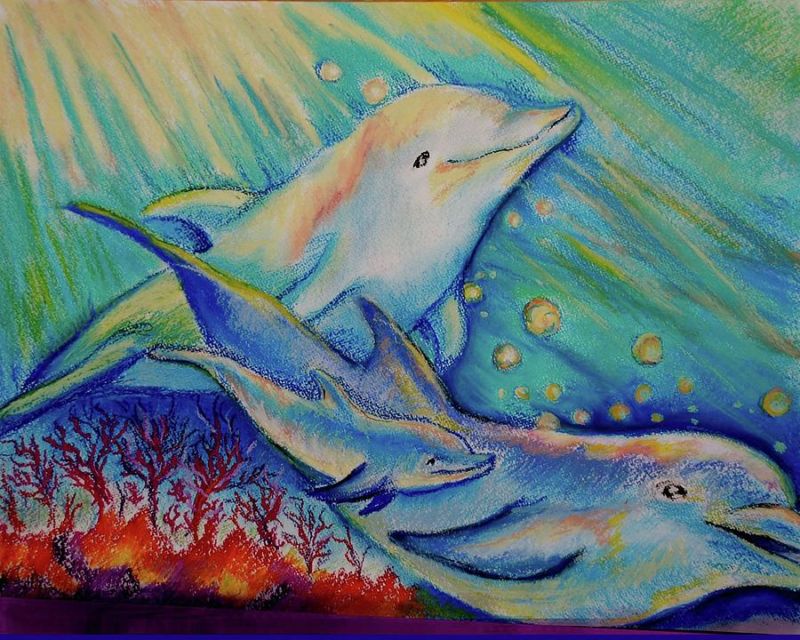
So, with a good mood, let's get to work. To start, place the parchment on the table. Then we start drawing the sky. To do this, take a palette, mixing whitewash and blue shade in it.
Begin applying this color from the top of the sheet with a large brush. Trying to paint each row of the sky lighter than the previous one, adding a little whitewash to the paint.
Next, combine the white and yellow color. Take a thin brush, draw a small sun on the left side of the parchment, not forgetting to make the sun's reflections. To do this, add an orange shade to the above palette.
After that, mix blue, emerald and white. This will be the shade of a wave. Which is drawn very simply. Draw a thin line from the left with the resulting color, and begin to gradually increase its center. To do this, make vertical strokes, getting on the right side of the picture, the highest stroke.
Then paint the bottom of the sketch. To do this, we make strokes to the top of the parchment, i.e. creating the effect of water movement. Then we add yellow and white tints to the color used.
Frame the top waves with the resulting shade, applying paint from the larger to the smaller part of the wave. Add highlights all over the water surface, shading the paint with a clean, damp brush in the direction of the water.
Tip! Before using the new color, it is advisable to wash the brush well and dry it with a kitchen towel or paper towel.
In the same way as above, darken the water surface, using the blue, emerald color. Having completed this stage of painting, we move on to the next drawing of highlights with white gouache.

To do this, lighten the top edge of the wave with white and put some highlights at the bottom of the wave. The base of the picture is ready.
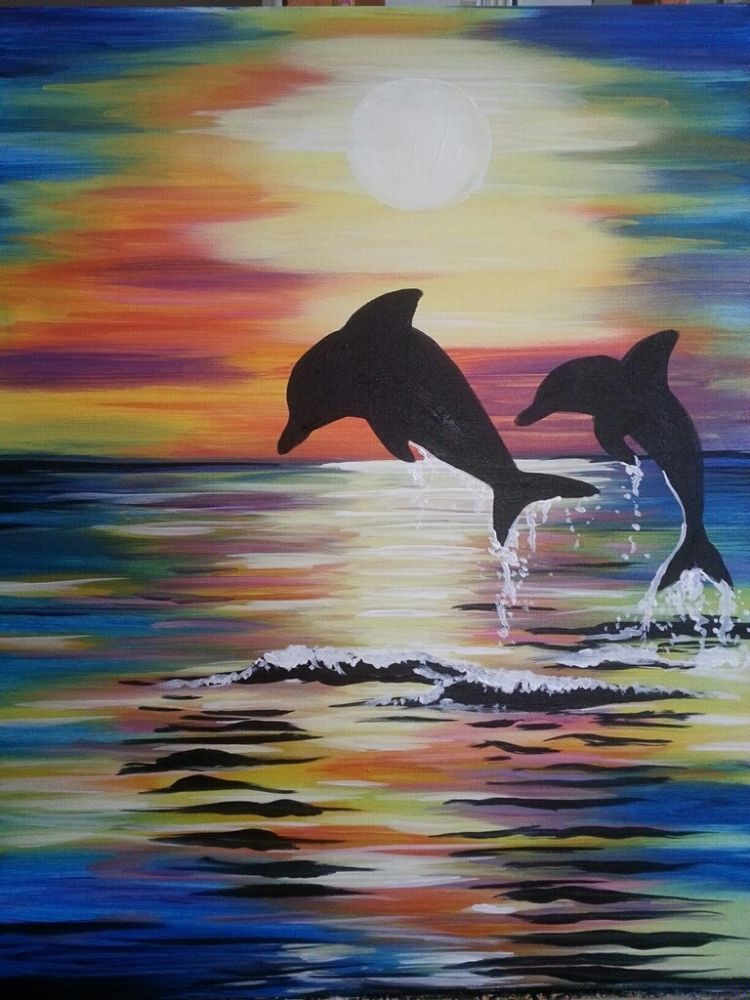
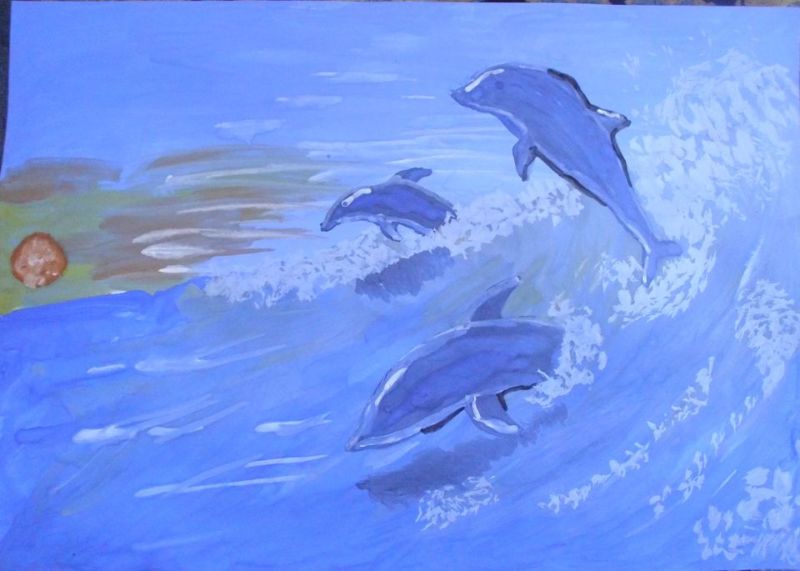
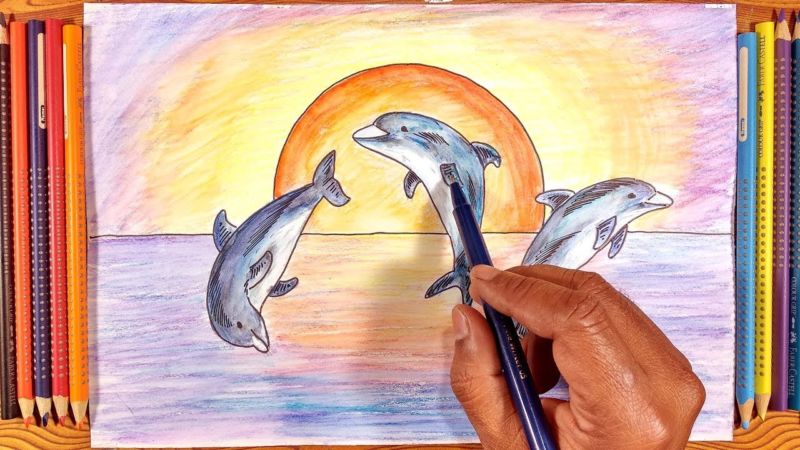
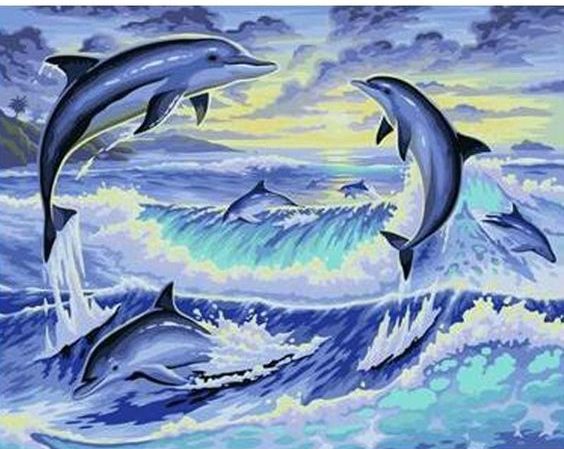
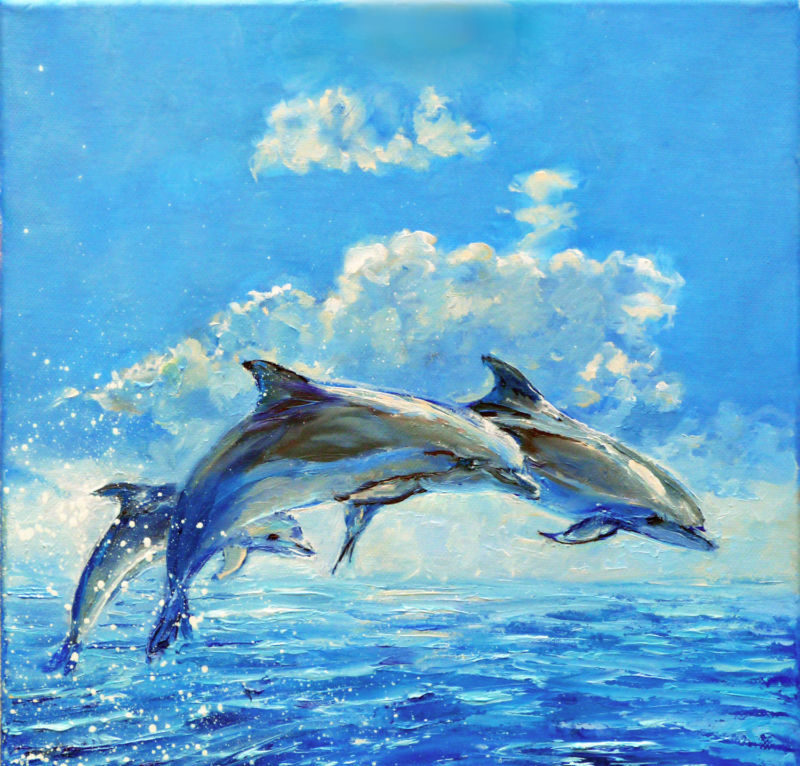
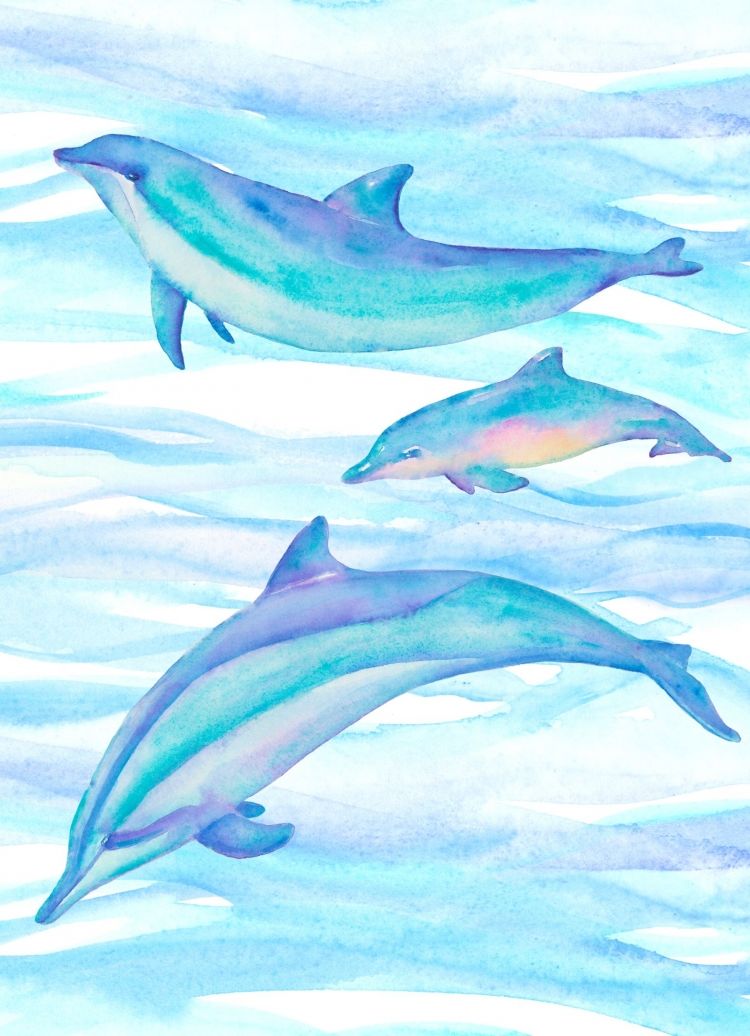
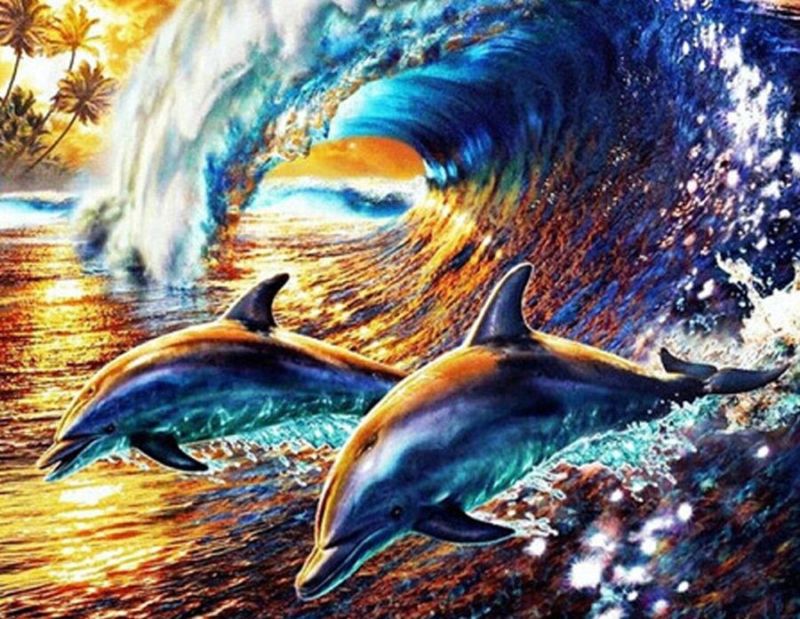
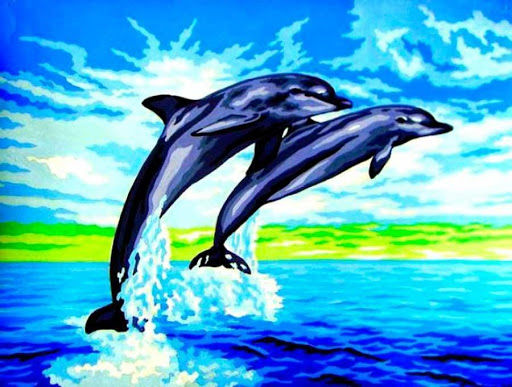
Let's proceed to the image of dolphins, which in this drawing are planned for three. Tip! The first can be placed closer to the sun, the second above the wave, and the third can be at the bottom of the wave. All this is optional, you can portray a single animal or a couple of mammals rising above the wave.
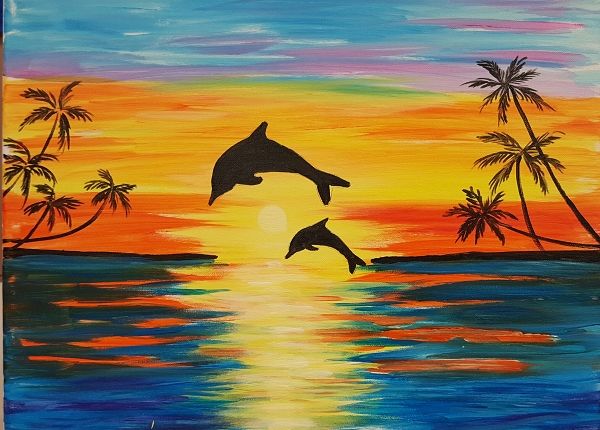
The dolphins are also drawn with paints, using a thin or medium brush. First, we combine black, white and blue. And make a silhouette of the animal (which resembles a drop). From this we draw the nose and fins. Then we add whitewash to the color used.
With the resulting shade, mark the edges of the fins, the upper part of the body and the tummy. And draw a little eye with black gouache. The work is ready, including a little fantasy, you can depict other objects in the sea (a ship, a lighthouse).
This article not only gave a comprehensive answer to the question. How to draw a dolphin easily and with little time. But also explained the impact of this animal on the human psyche.
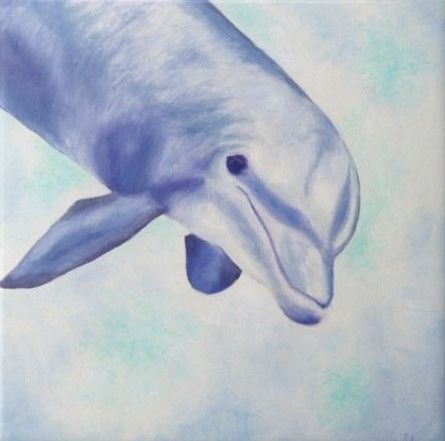
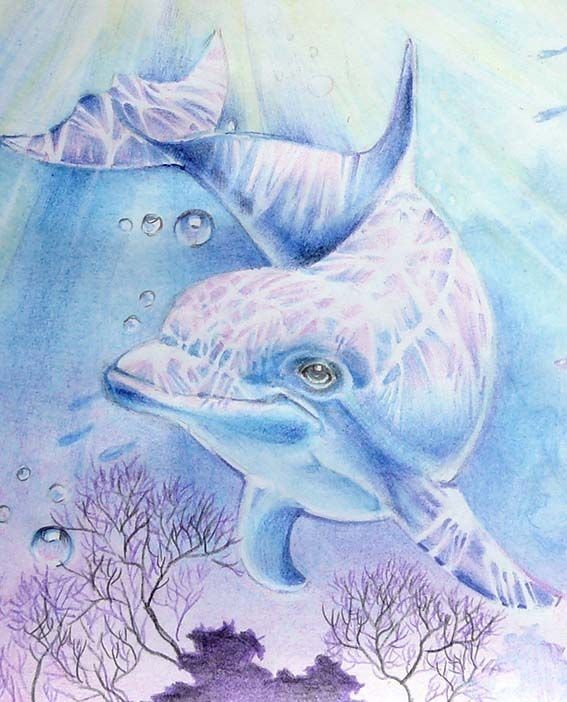
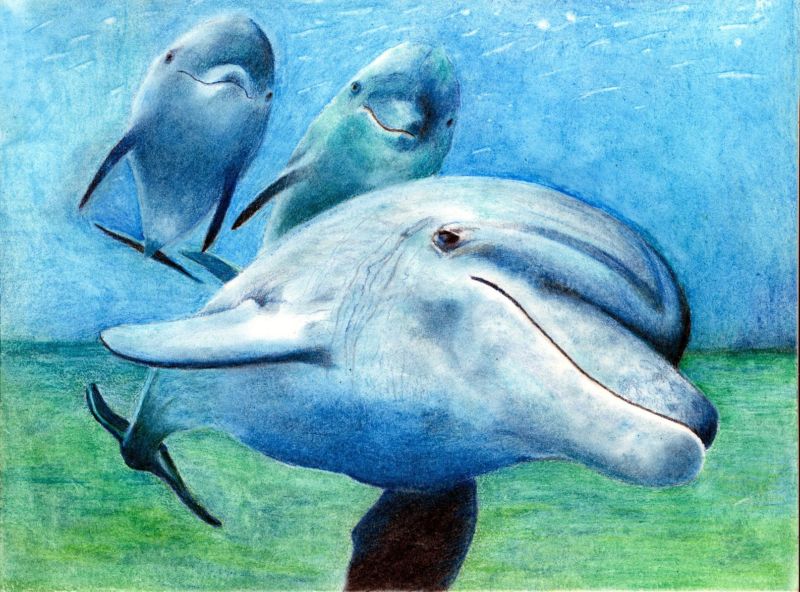
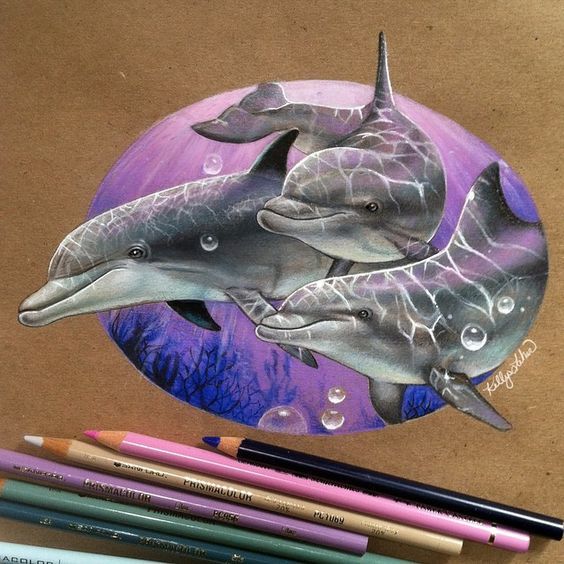
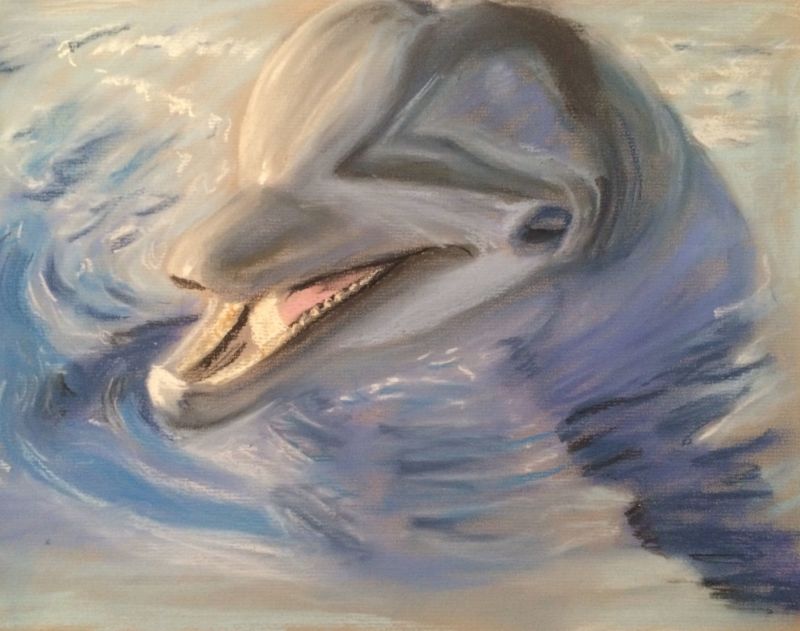
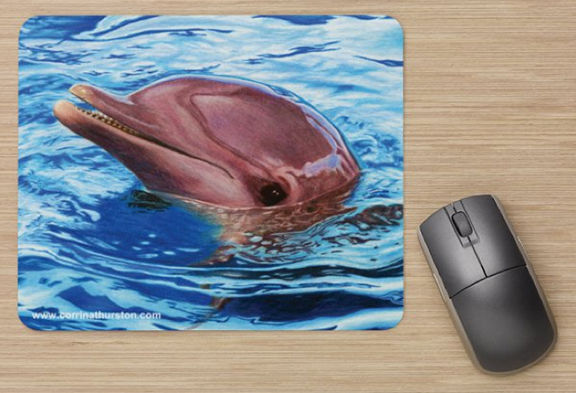
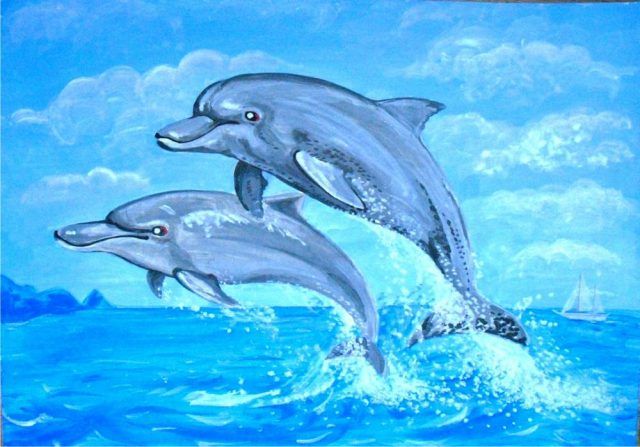
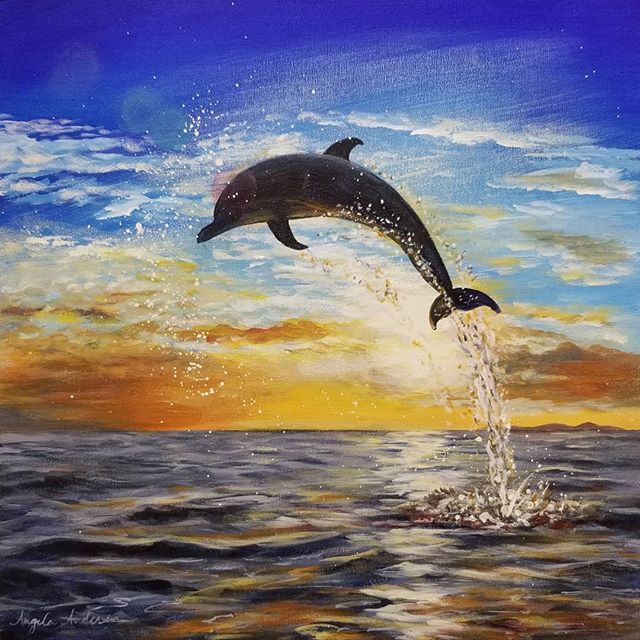
Photo of a dolphin drawn with pencils and paints