How to Draw a Forest in Pencil and Gouache: the Simplest Workshops for Beginners
The forest is a favorite subject for many artists. Many dream of learning to draw it on their own. Instructions will tell you how to draw a forest step by step.

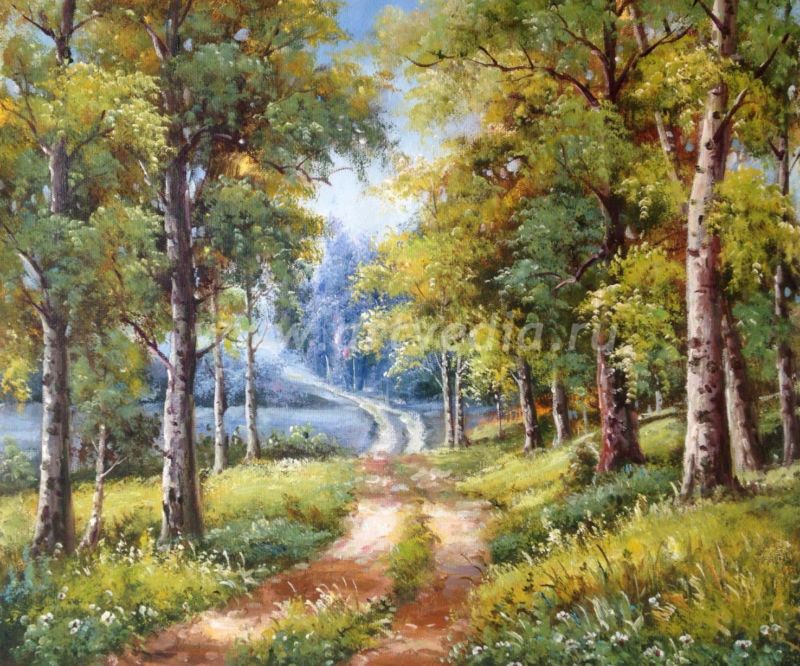
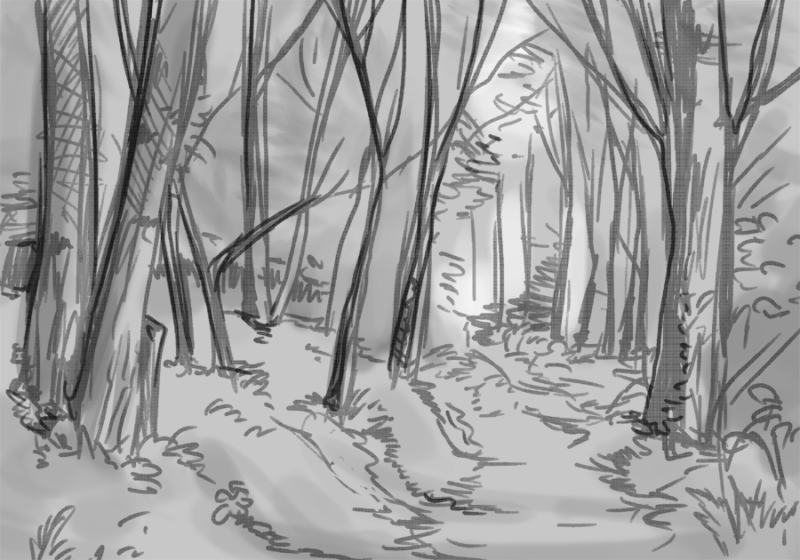
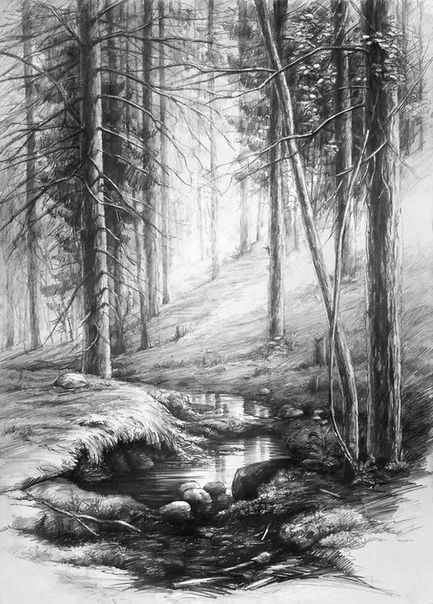
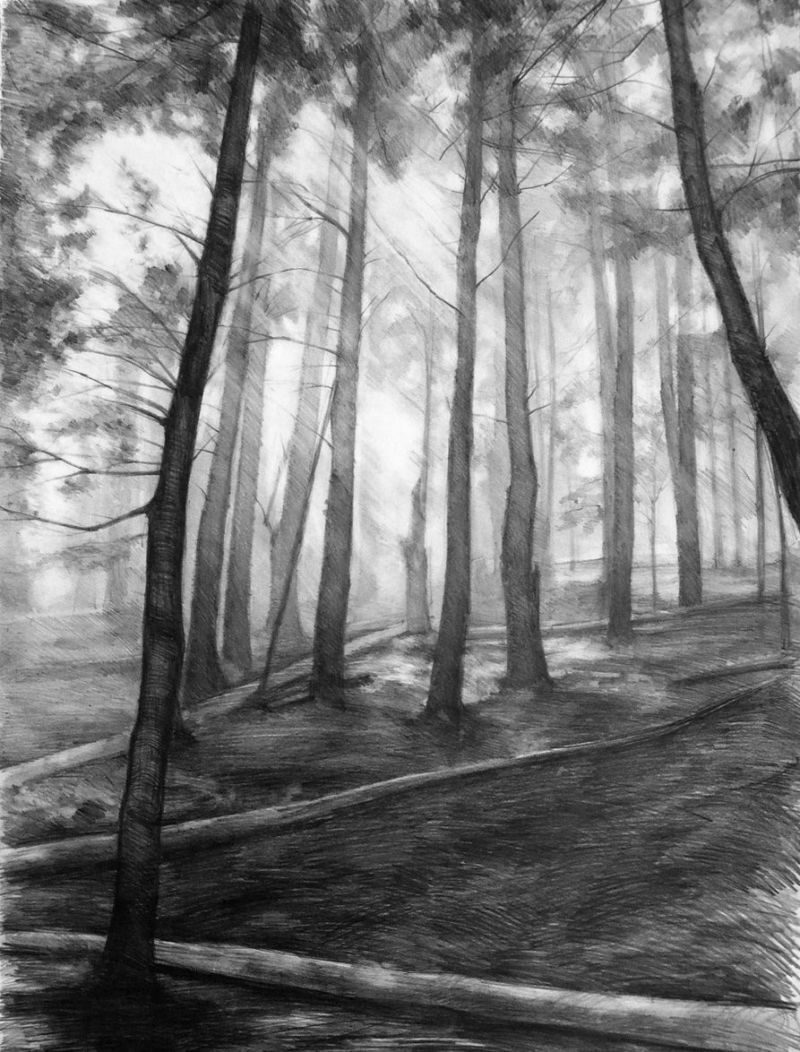
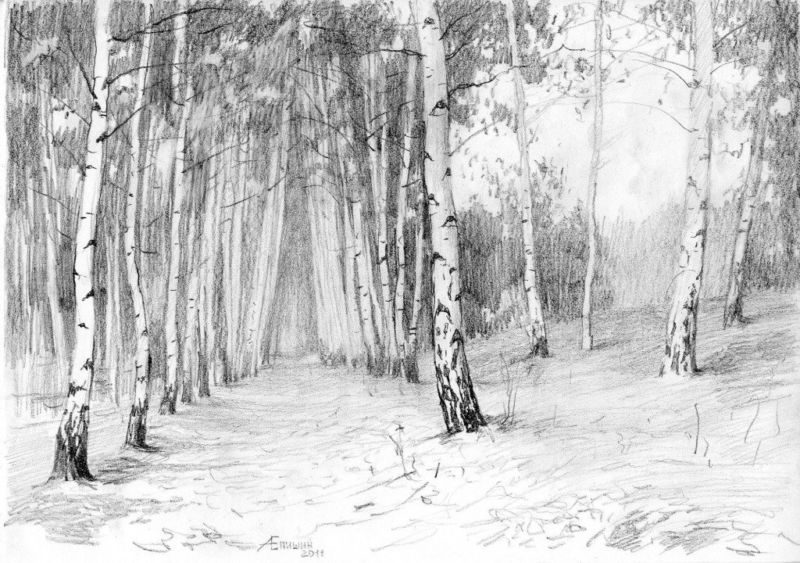
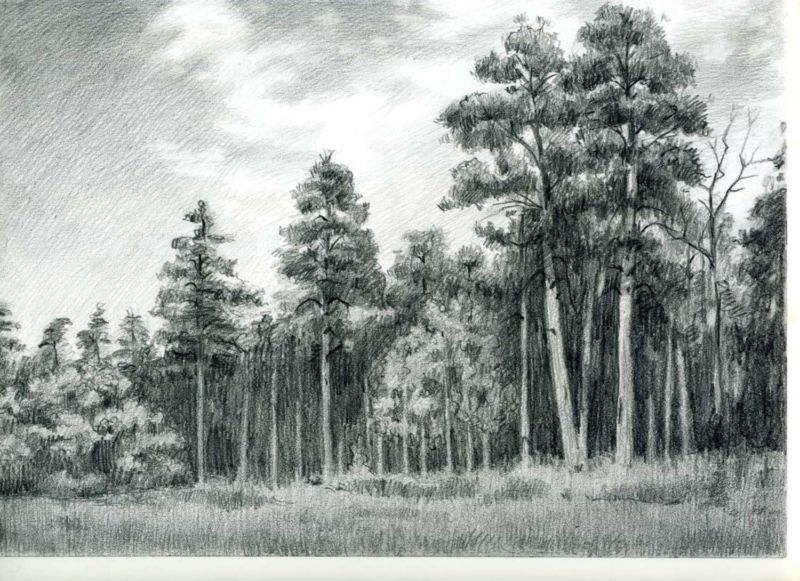
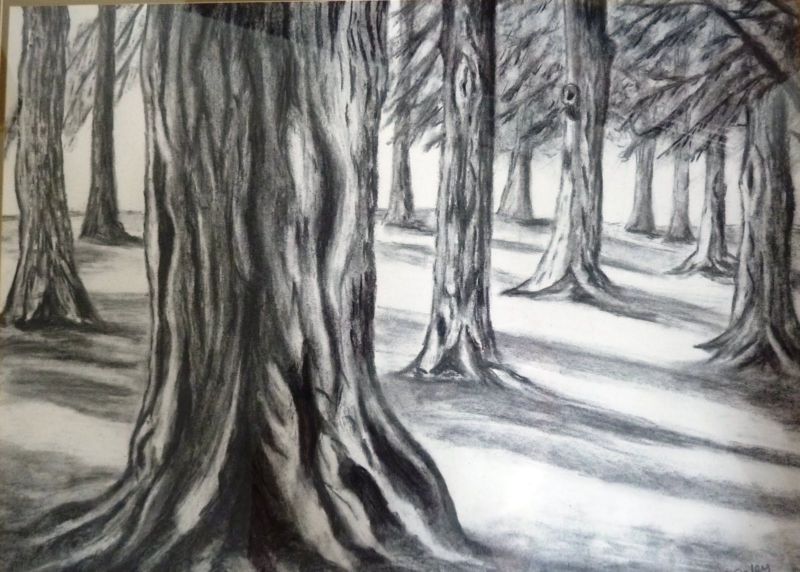
Pencil drawing of a forest
It doesn't take much effort to draw a forest in pencil. Even with a general outline, it can look like a real one:
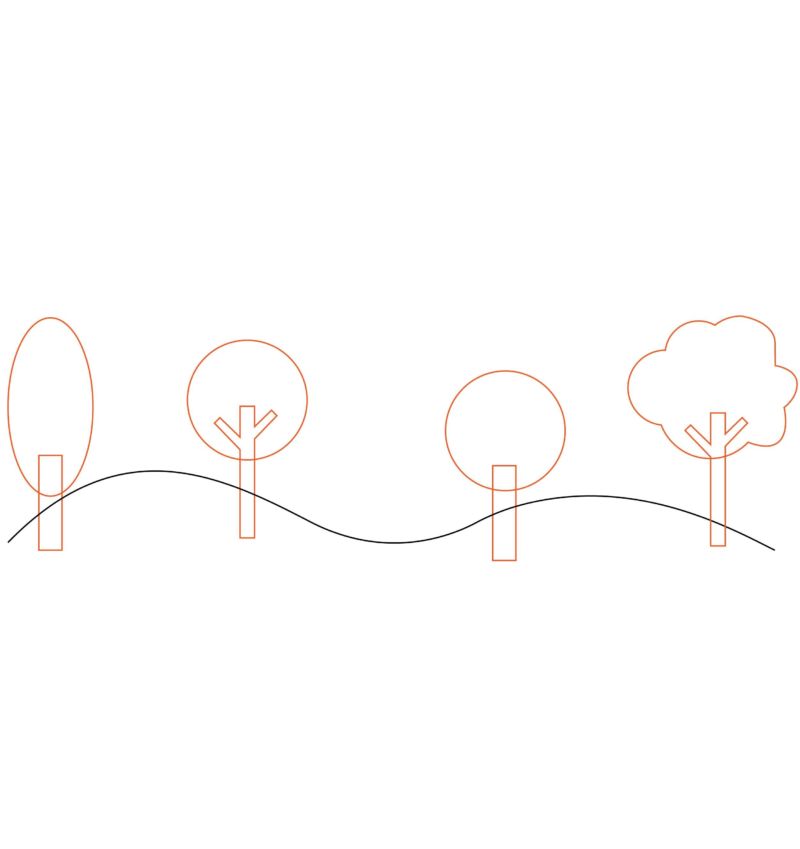
- Draw a path leading to the horizon. Draw a horizontal line across the entire sheet, with two vertical lines leading to it.
- On both sides of the path, draw the bases of tree trunks of different thicknesses.
- Let's continue the trees upward. Shading the bottom part. Strokes add grass next to each tree.
- Dorishem tops with the branches and the crown. Add shadows to all parts of the picture.
- Let's make a stronger pressure, to increase the shading of areas.
A simple pencil sketch of the forest is ready.
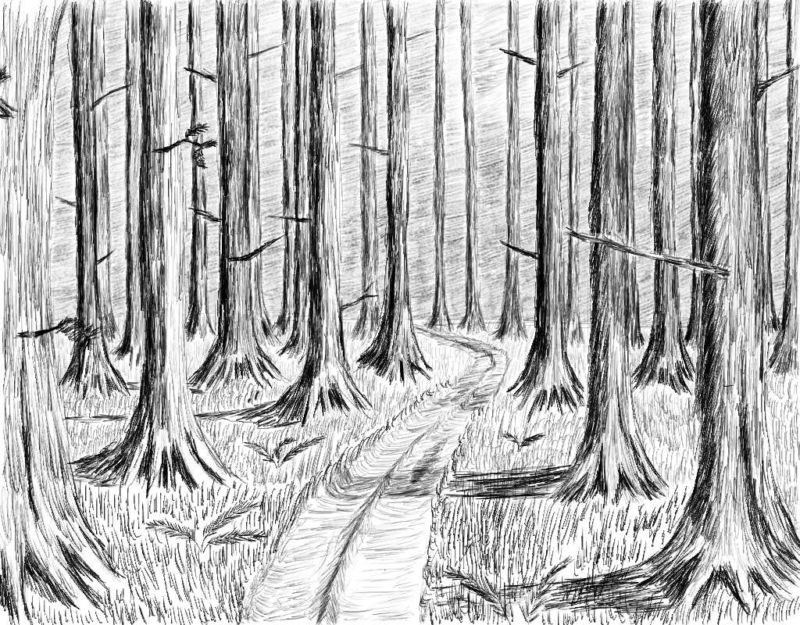
Let's make another similar forest sketch, but in a slightly different way:
- Mark the road and the horizon. Let's make a sloppy line in the middle of the sheet. Draw two wavy lines to it, converging at one point.
- Draw tree trunks with vertical lines. The closer (lower on the leaf) the trunk is, the thicker it should be. The horizon line, beyond the trunks, erase.
- Draw branches and leaves for the trees. You should outline them clearly in the foreground and only outline them in the distance.
- Bark and roots on the foreground trunks. Draw stones in the path.
- Draw grass. Paint the trunks and the road with a light pencil stroke.
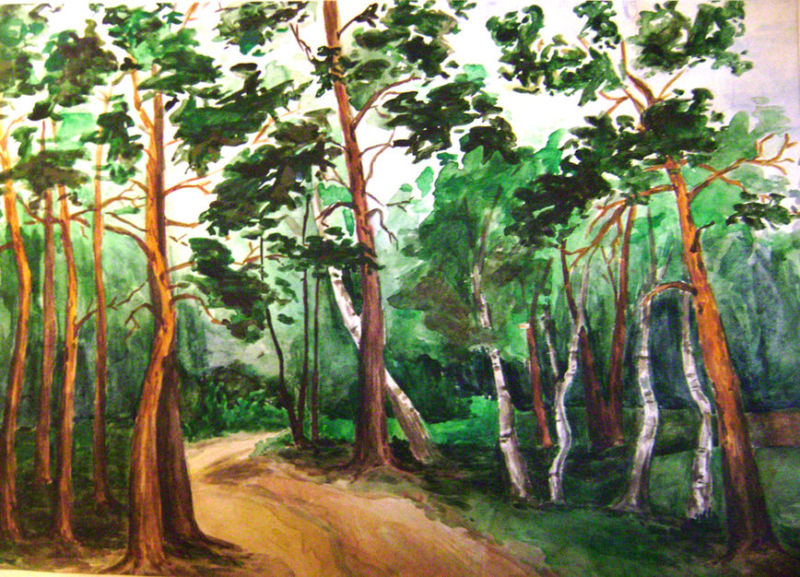
We have another mini forest landscape.
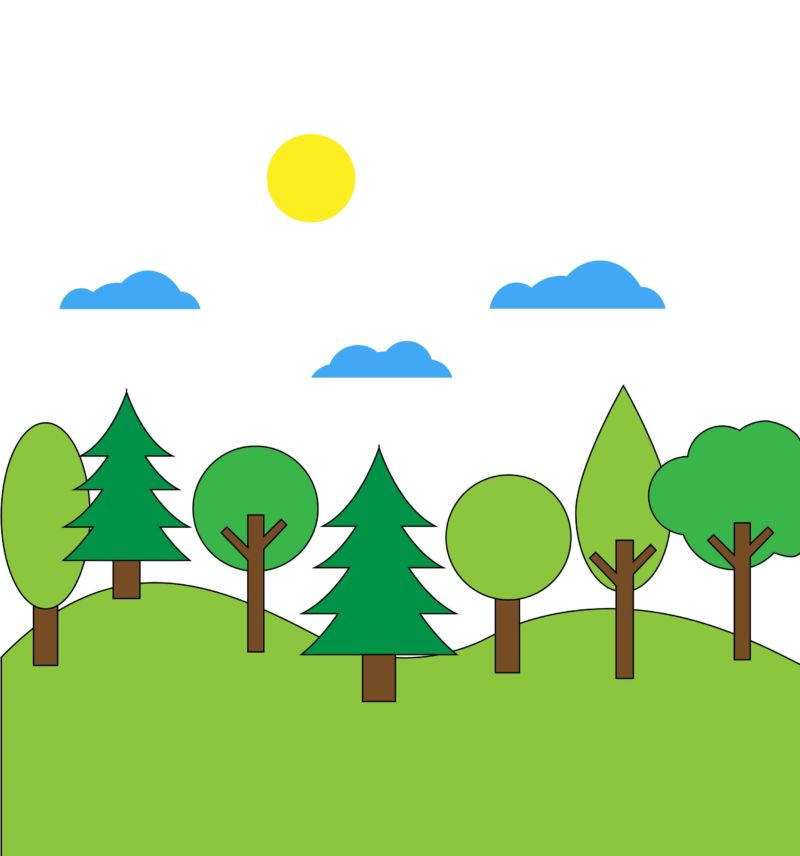
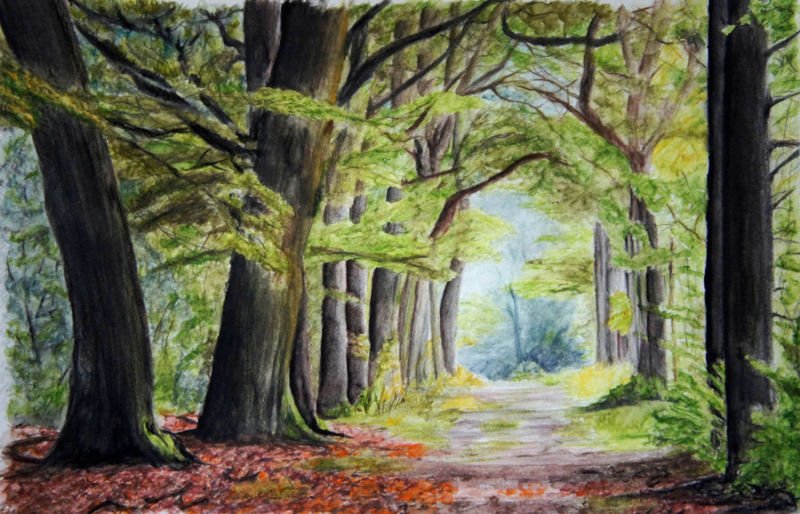
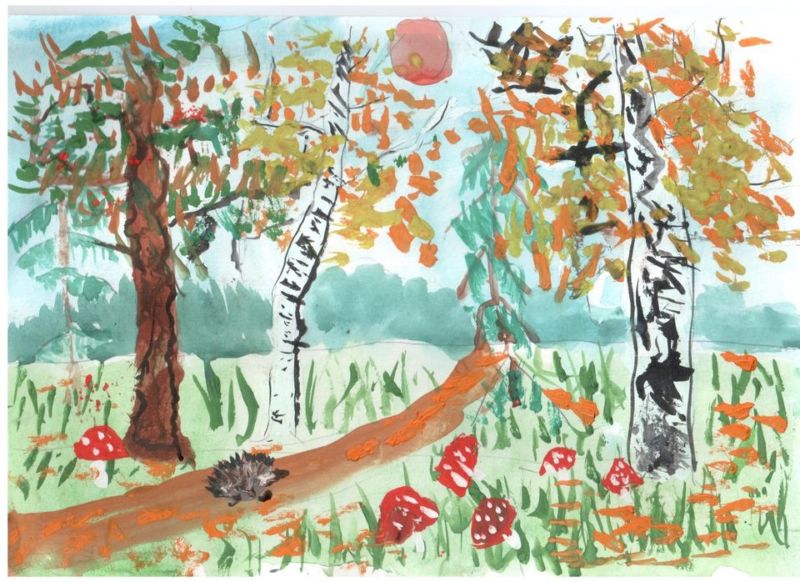
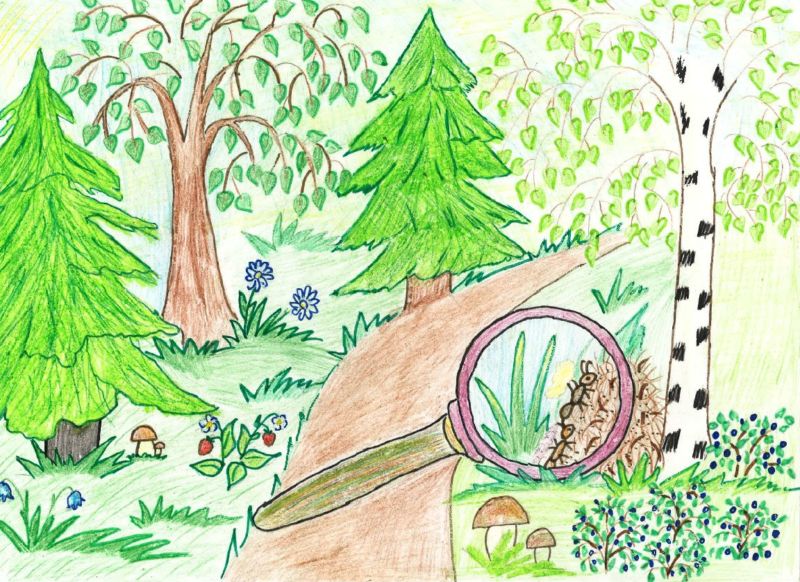
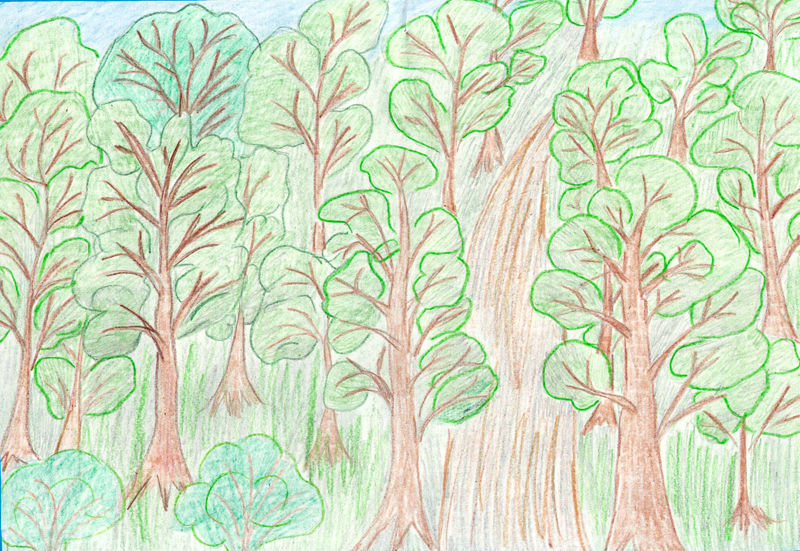
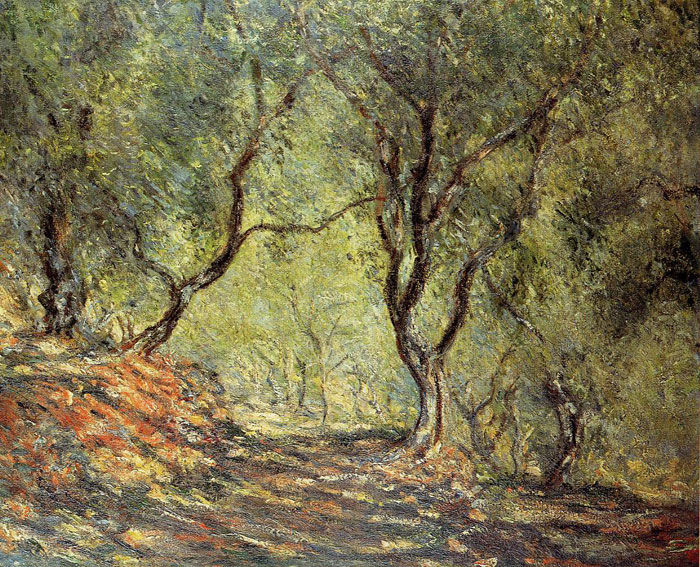
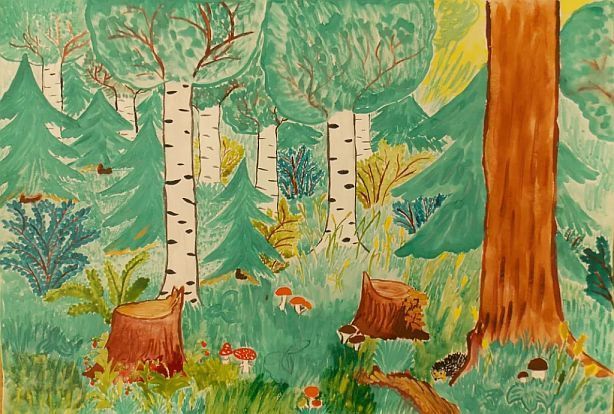
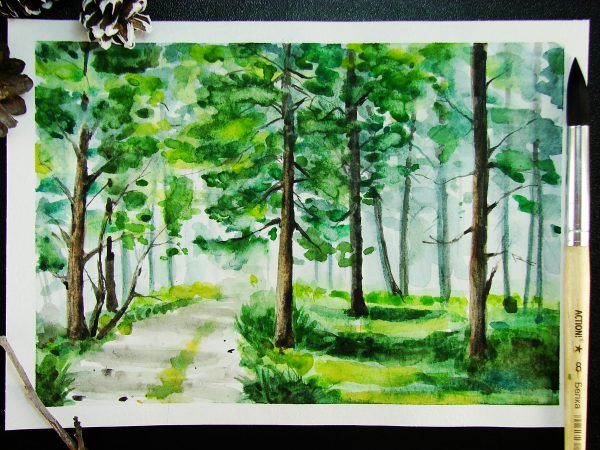
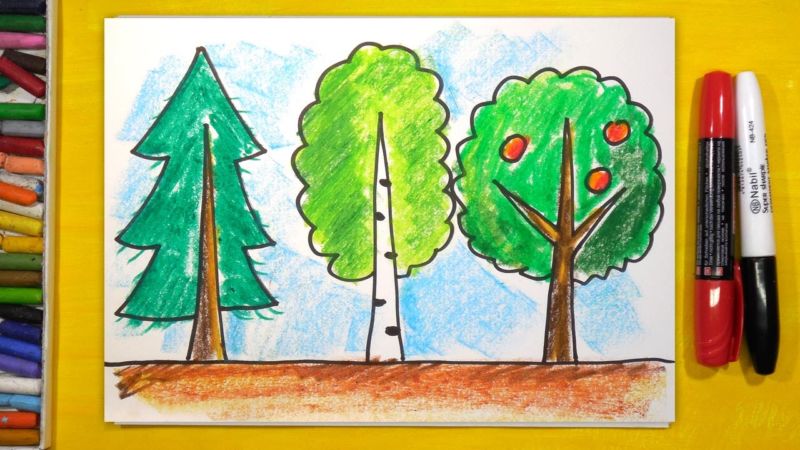
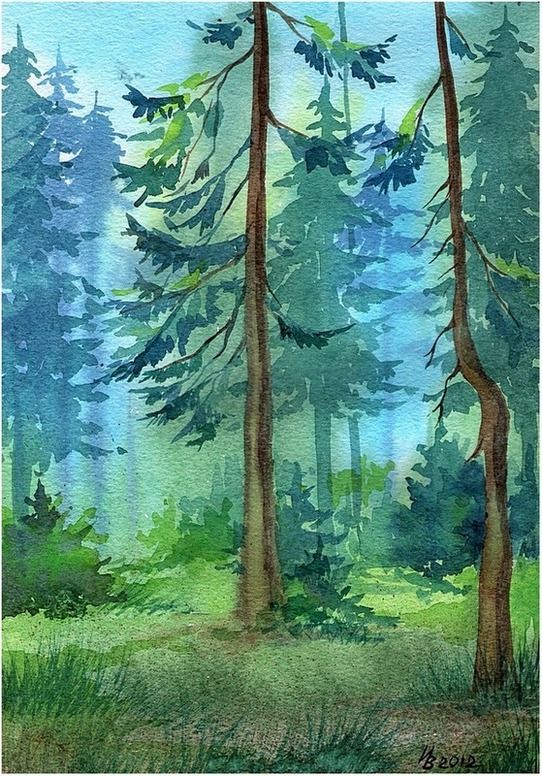
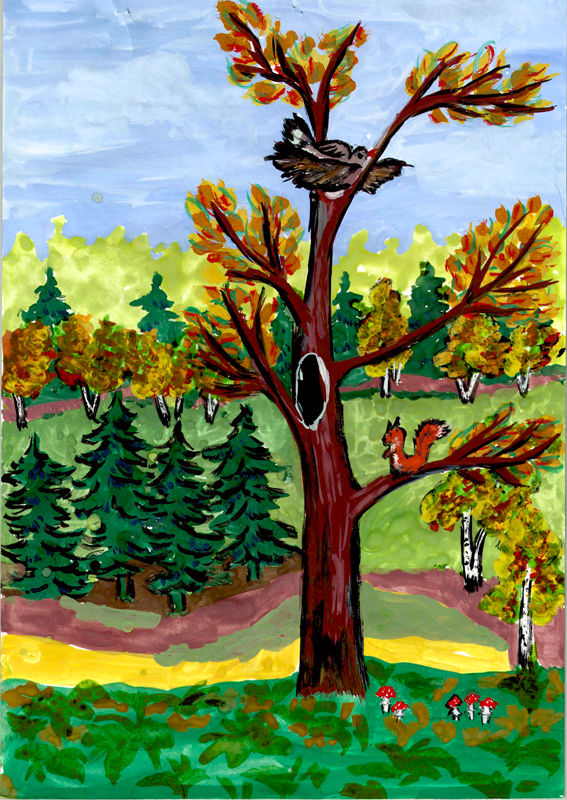
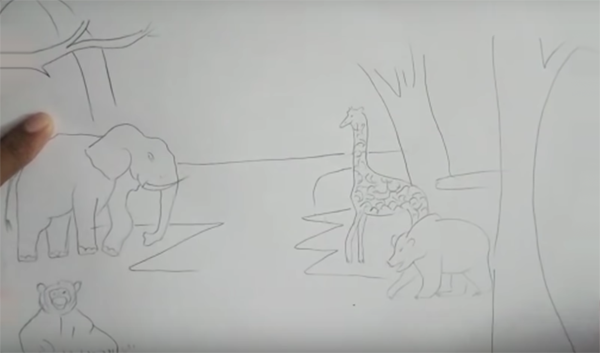
Colorful forest picture
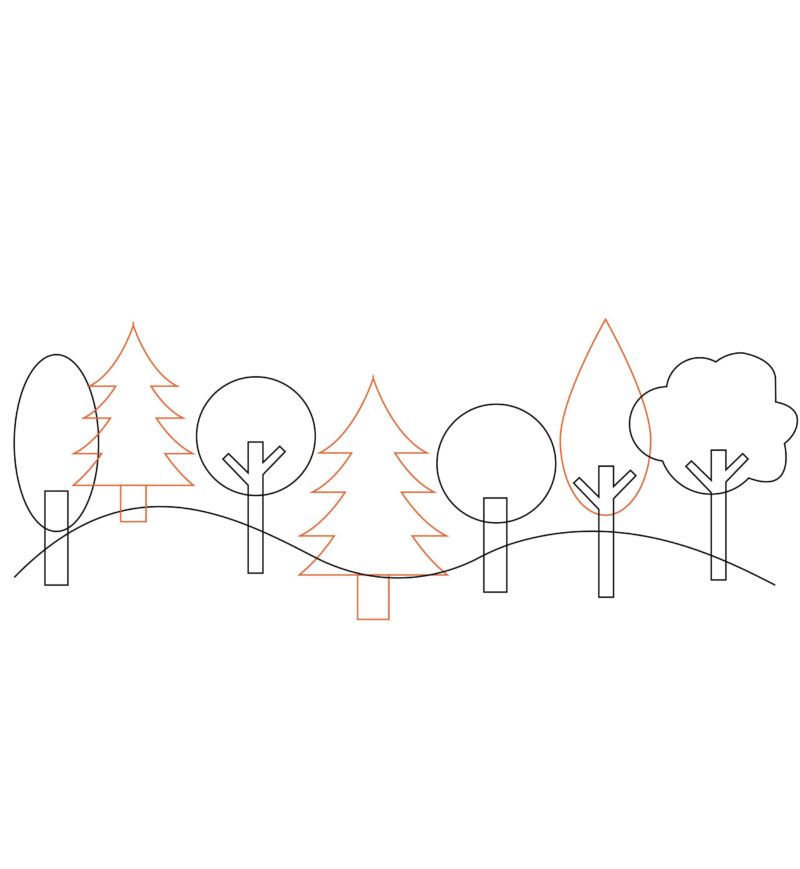
Let's make a cute drawing of a forest that both adults and children will like. This time, let's depict the forest in color. For a clear outline, you will need a liner:
- We denote the hilly line of the horizon. To do this, we draw two arcs beyond the edge of the sheet.
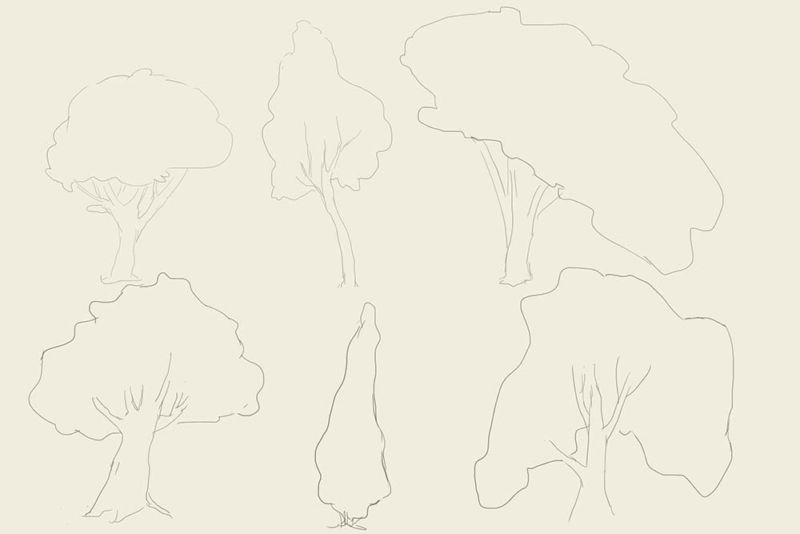
- Draw the outline of trees. We add the outline of the branches.
- Let's make a single tree Christmas tree. For this purpose, we will draw slanting lines to the trunk with a fringe at the bottom.
- Another tree will turn into a birch, adding strokes on the bark.
- From the next tree we will make an oak. Draw its massive branches and trunk.
- In the background draw other tree trunks without detailing.
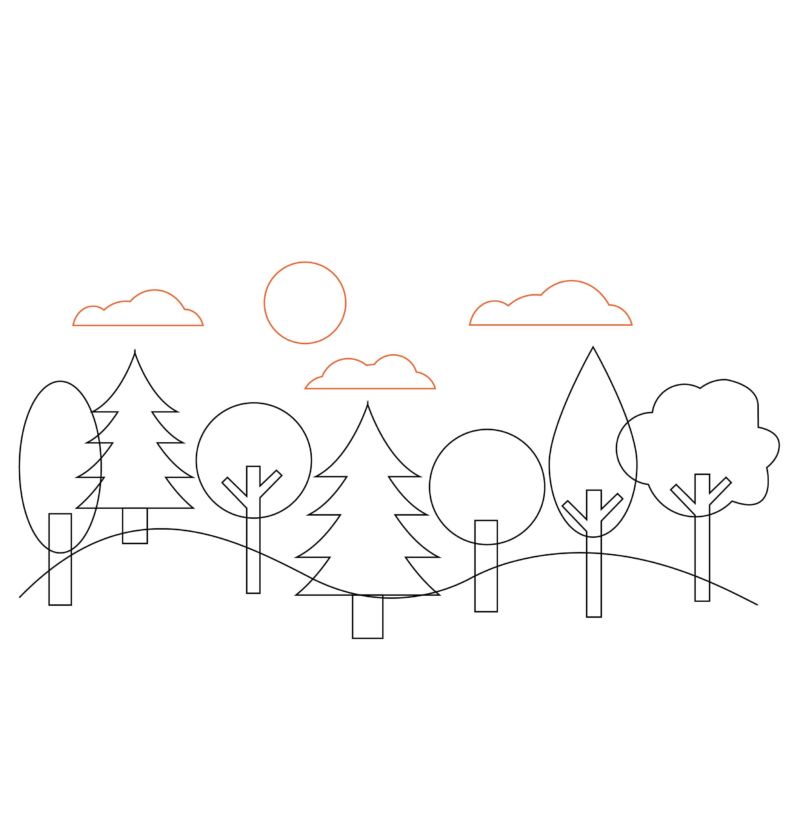
- Draw grasses and mushrooms in the foreground.
- To give clarity to the drawing sketch with a ruler. After that, we erase the pencil trace.
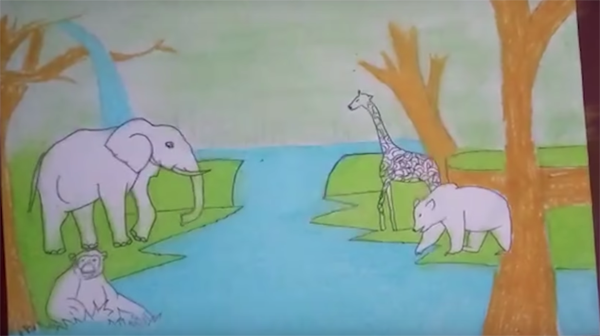
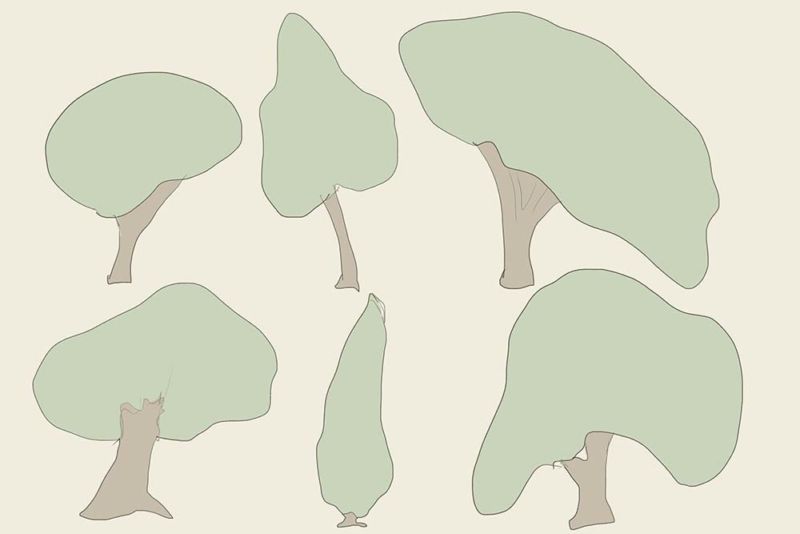
- The trunks are painted in shades of brown. Hollow is painted a dark brown. Cones - a light brown pencil.
- The trunk of the birch is covered in light gray and dark gray. At the same time there should be unpainted white areas.
- The distant outlines of the forest are not traced. For depiction of forest distances, the band above the horizon is painted in blue-green. The rest of the sky is tinted blue.
- The grass is painted in a lettuce shade of green, some grasses are highlighted in emerald. Paint in different colors on mushroom caps.
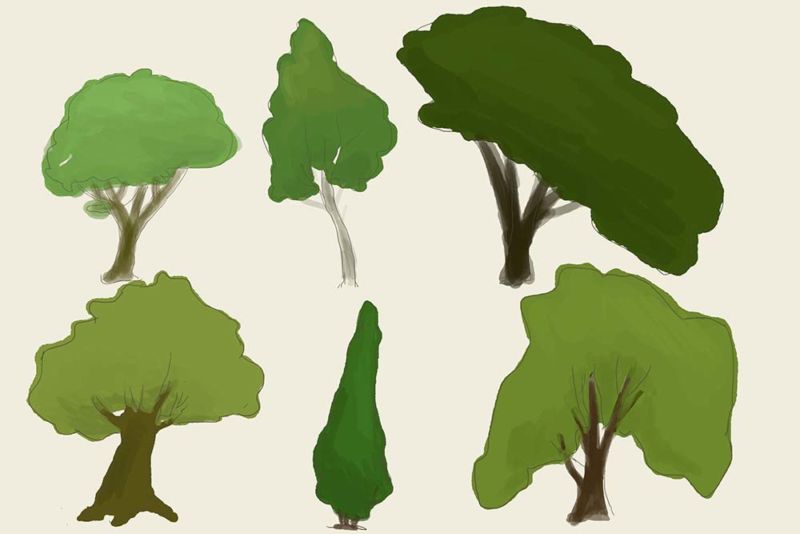
- Crown of deciduous trees painted a vibrant green. Fir needles do dark green.

We have a beautiful colored picture, which can be hung on the wall in a child's room.
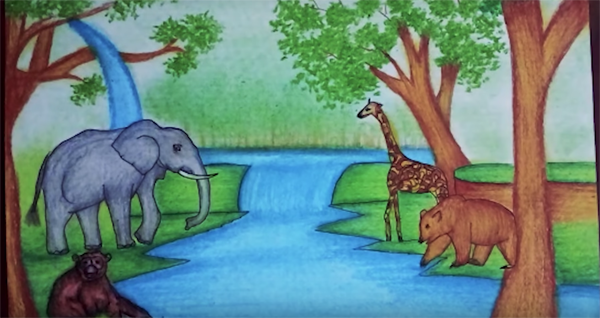
Instead of pencils can use felt-tip pens or paint.
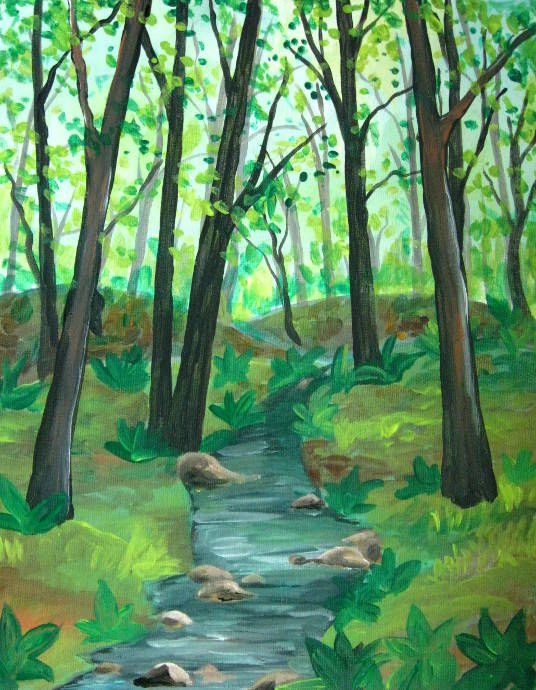
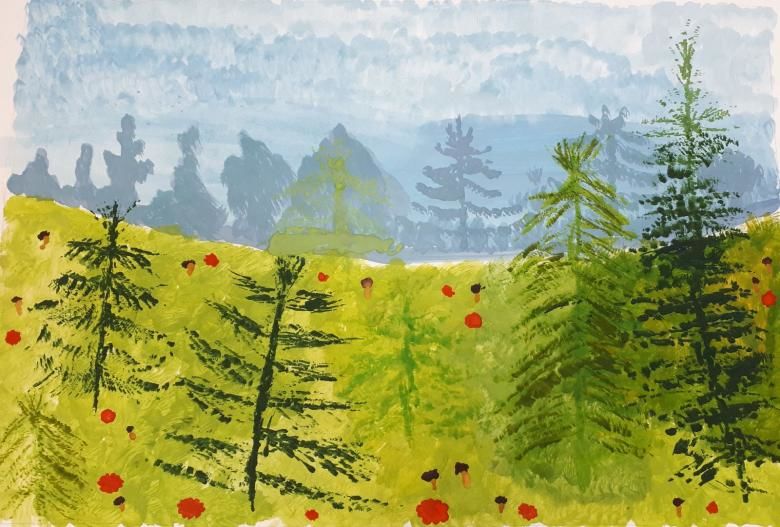
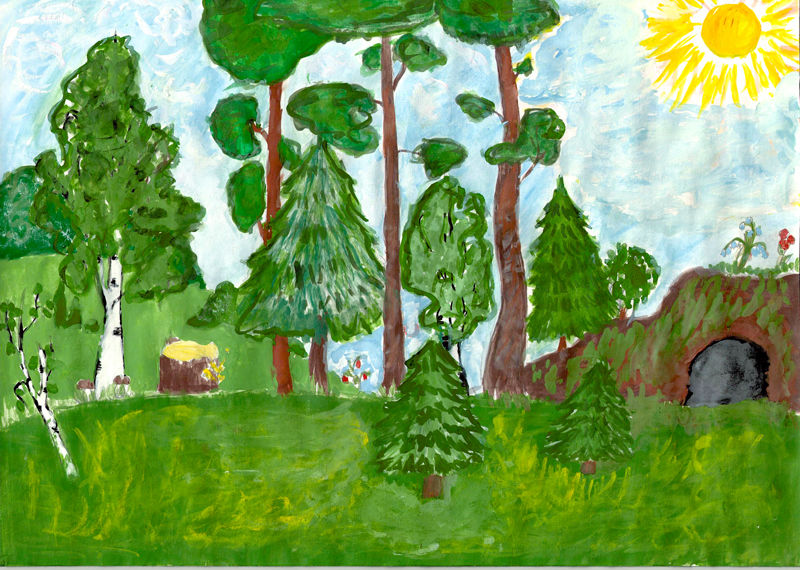
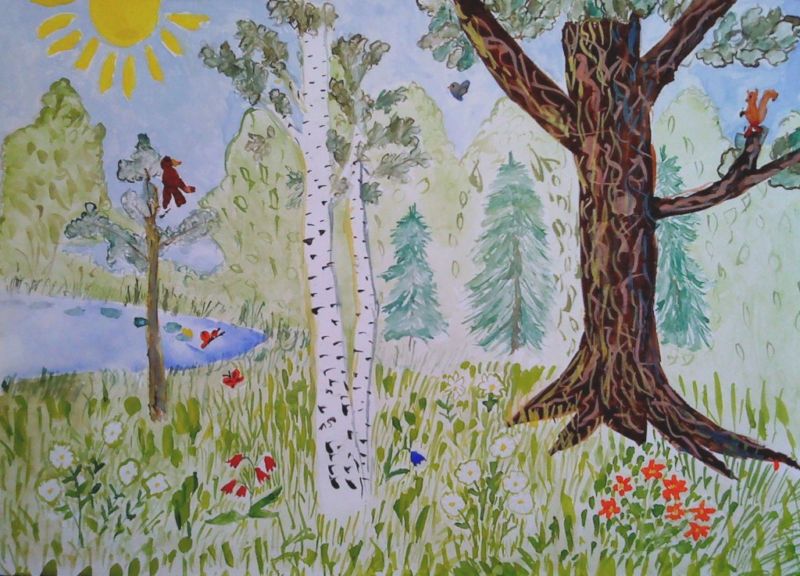
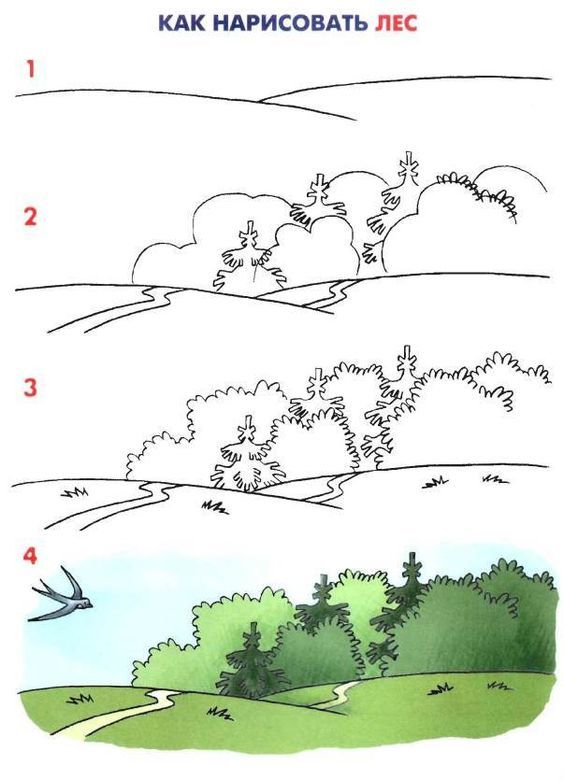
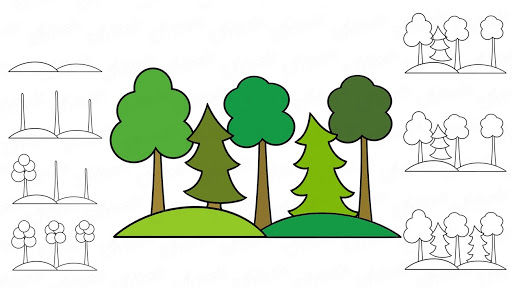
In a simplified version of the forest can draw even a child. Here is a simple example of a drawing of a forest for children:
- Draw a straight line, on it put two arcs in the form of hills.
- From the middle between the hills comes out a slightly curved line, then gently descends downwards. It turns out the trunk of a tree. The same trunks are drawn on the left and right hills.
- To each trunk are drawn small circles, overlapping one another. This is the crown of trees.
- Now let's draw conifers, putting a couple of Christmas trees between the trunks. To draw a spruce, we overlap the triangles. The sides are bent inward. Erase unnecessary lines.
- We draw the trunks of Christmas trees, or hide them behind the hills.
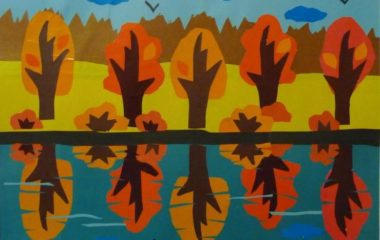
- It remains to paint the finished drawing. Color crowns of deciduous trees depends on what time of year to portray. If it is an autumn landscape, the leaves are colored yellow, red or brown. If it's summer, it's green. Spruces always remain green, you can also make them bluish.
The children's drawing of the forest is complete. Drawing it is very easy. Even a preschooler can cope with the task.
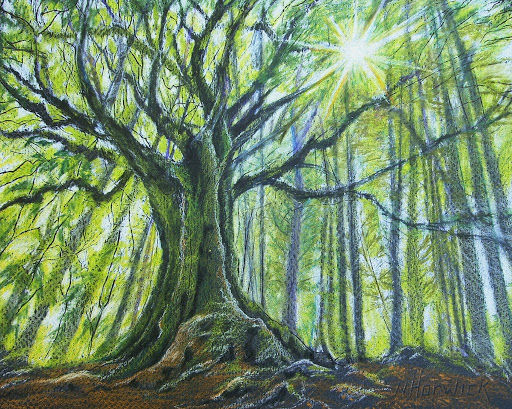
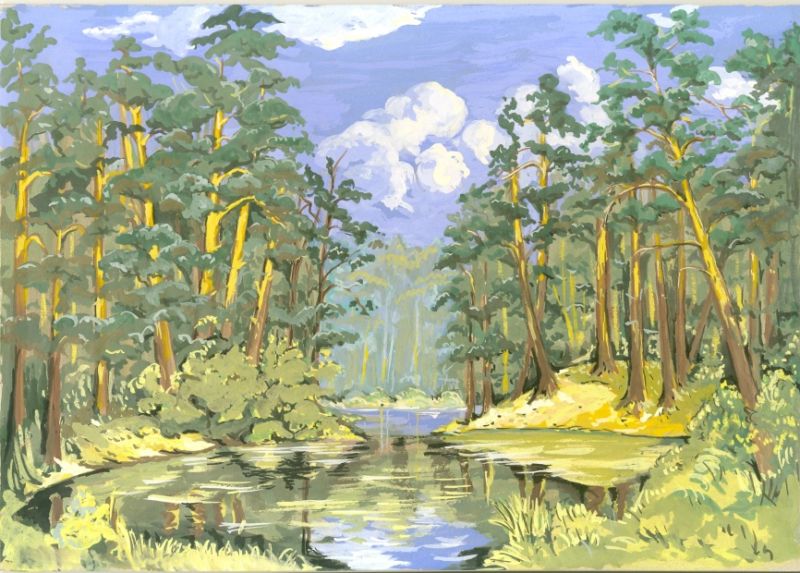
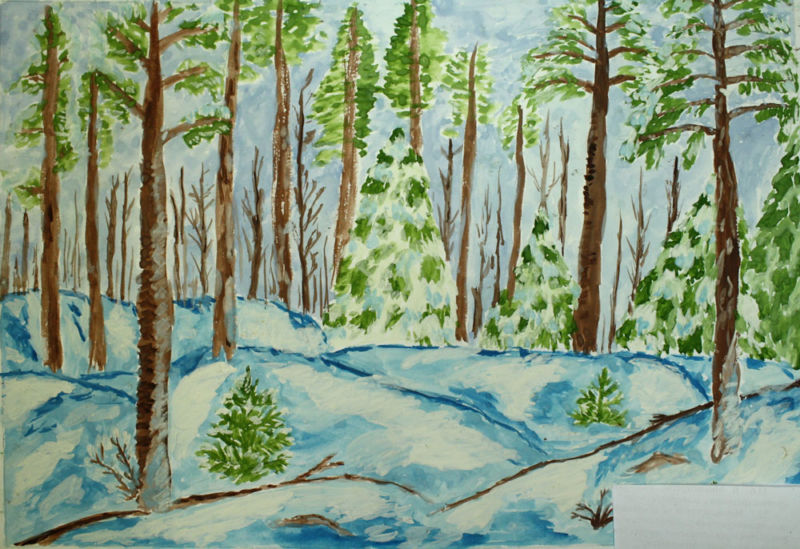
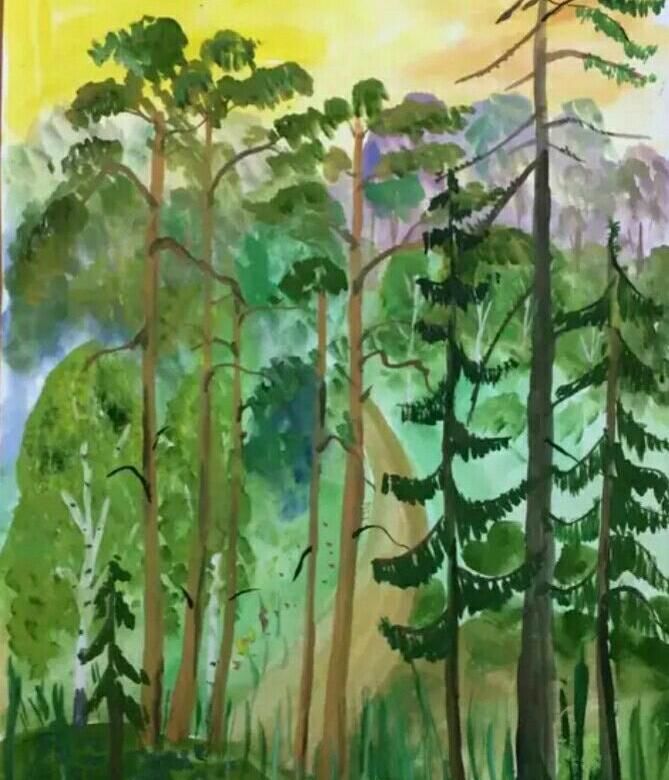
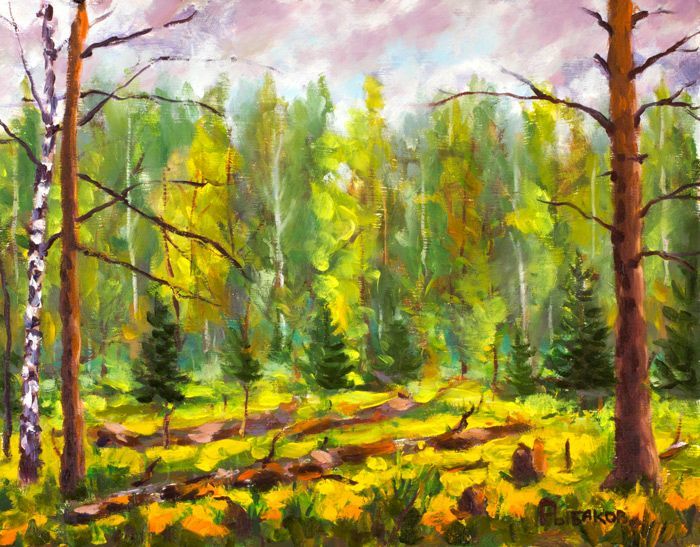
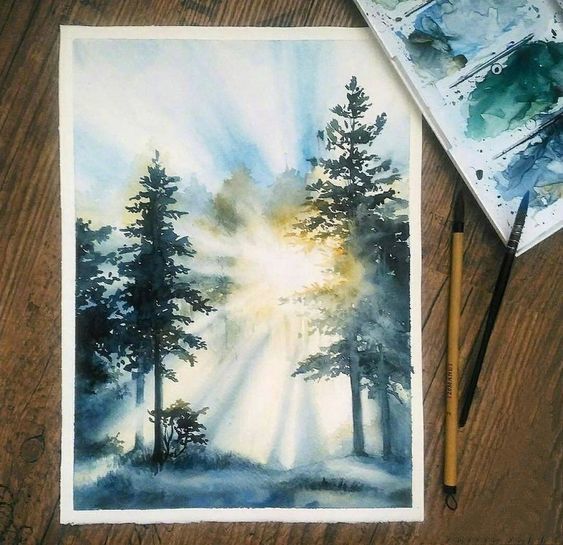
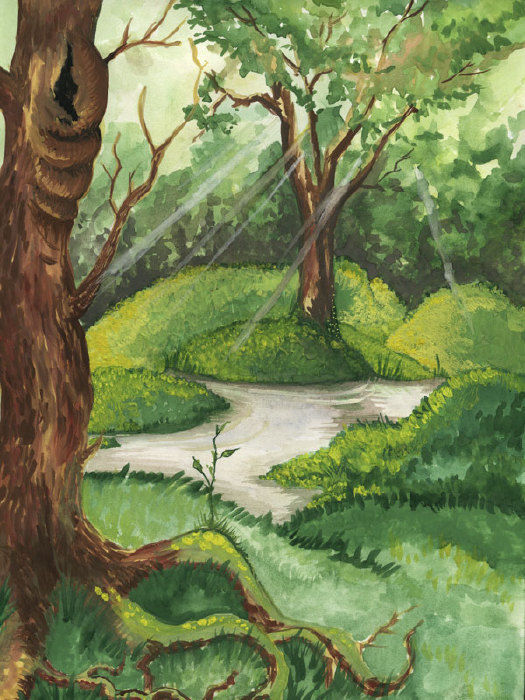
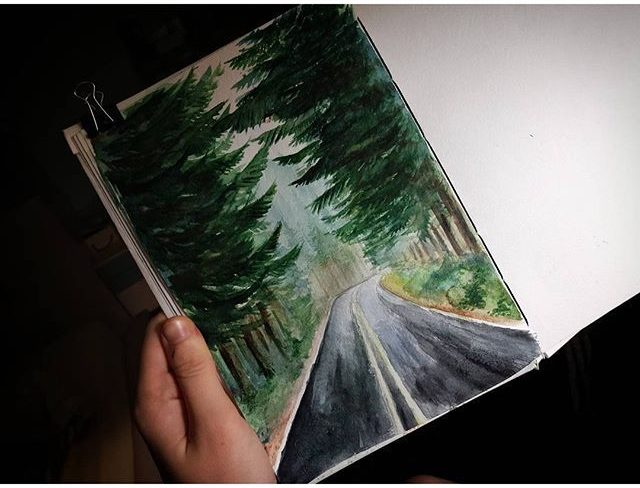
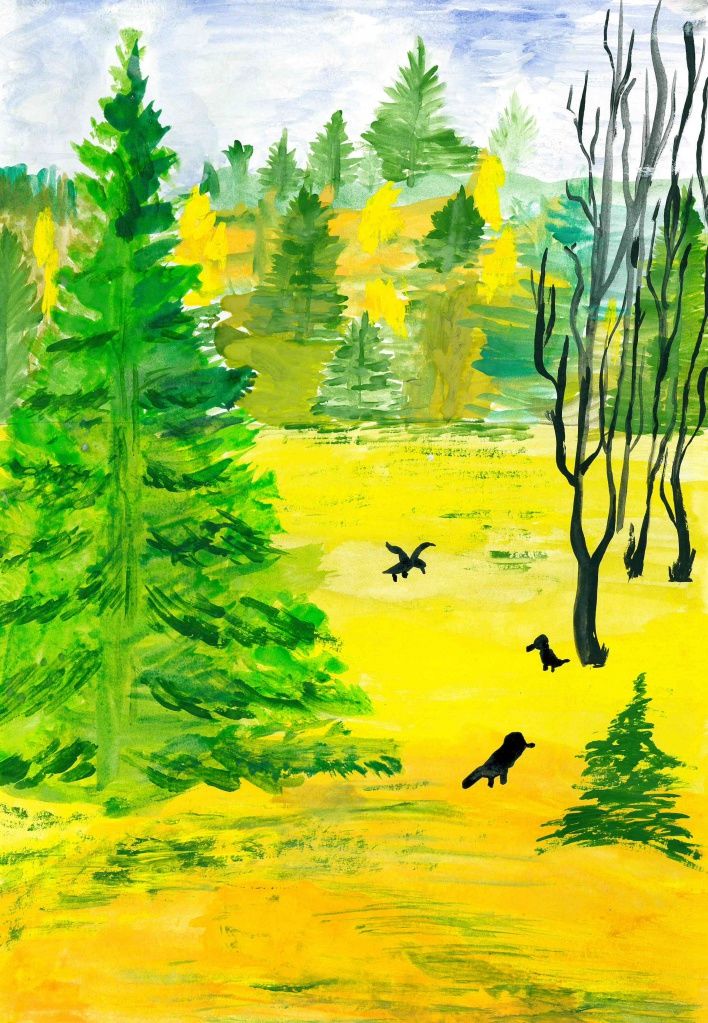
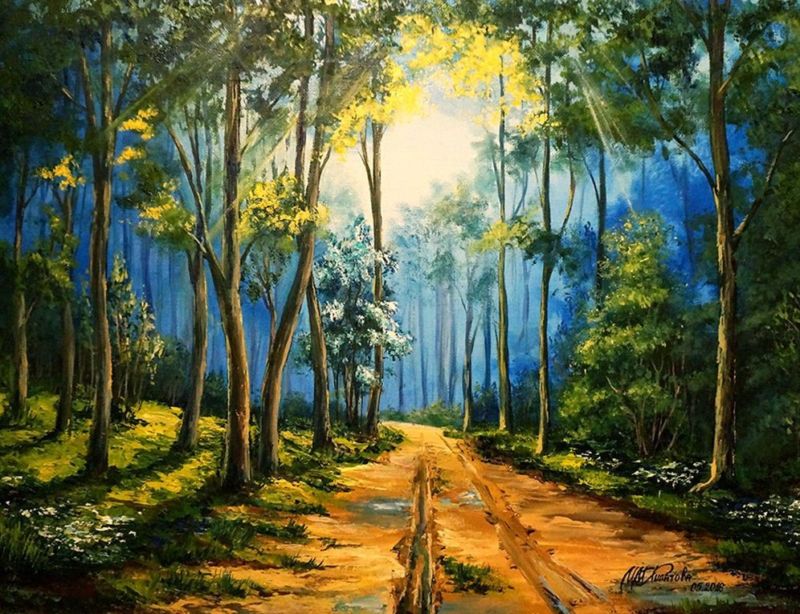
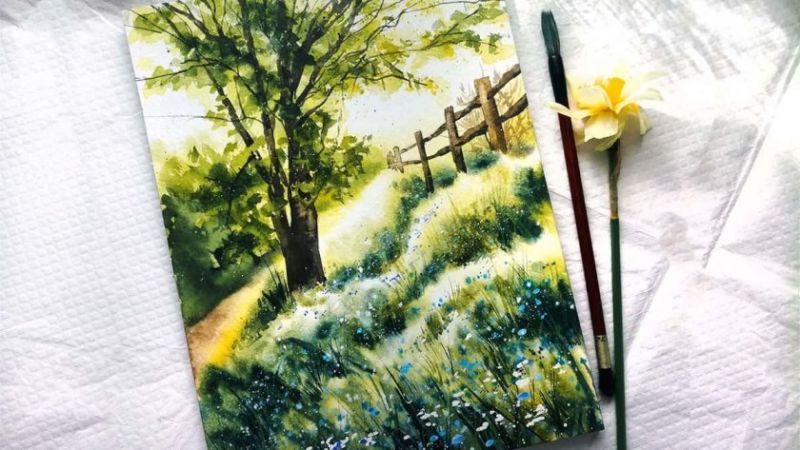
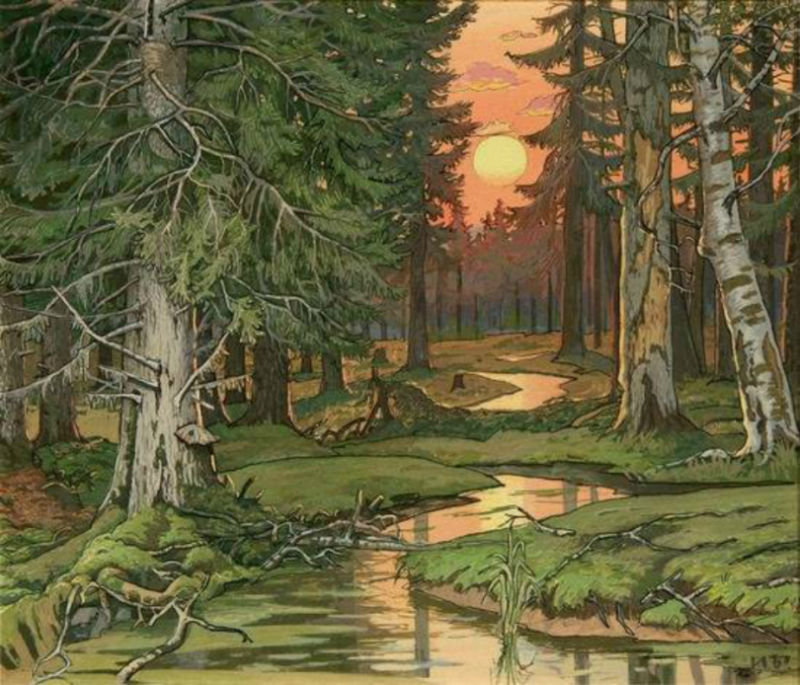
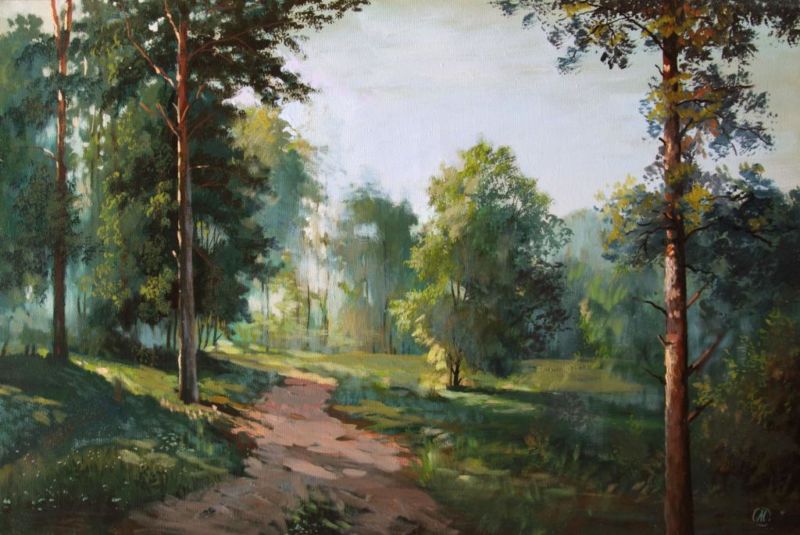
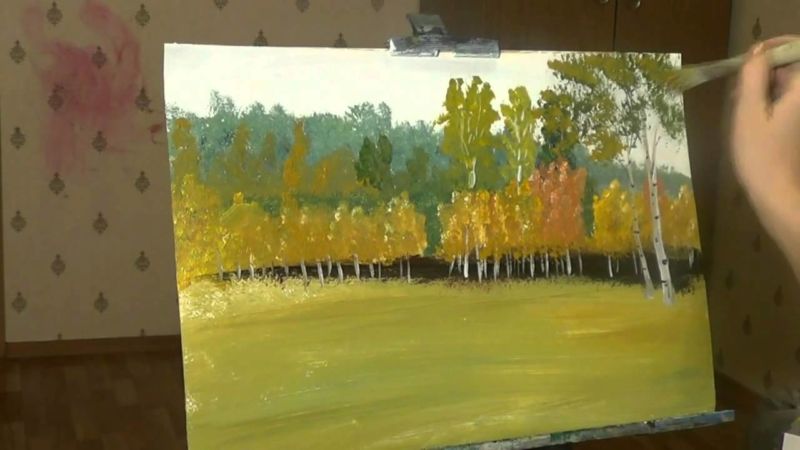
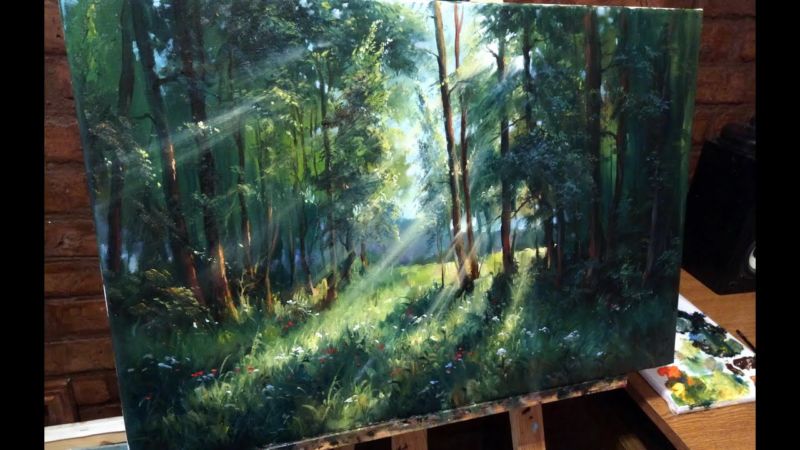
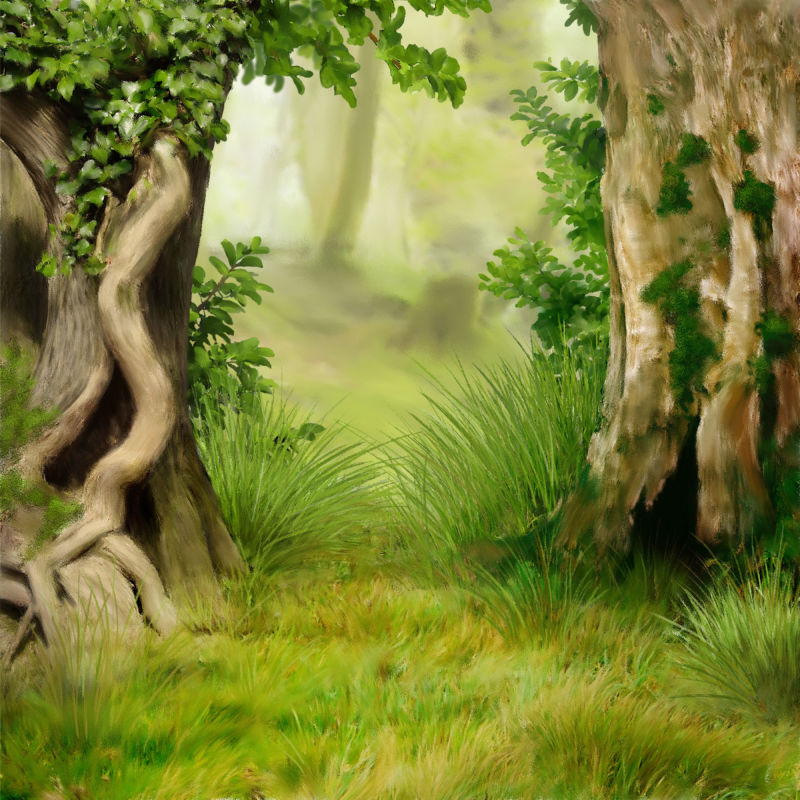
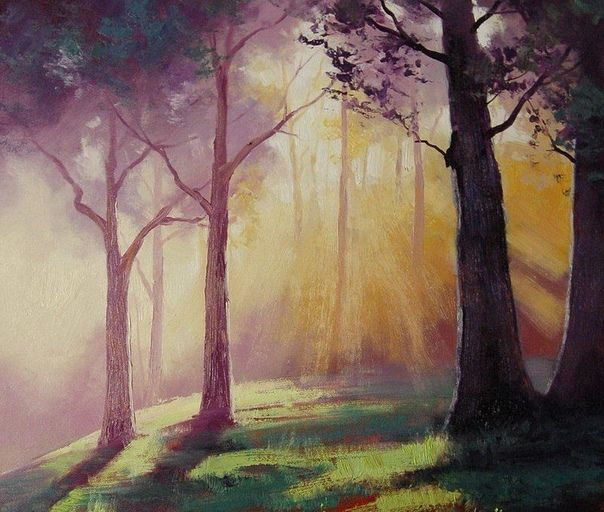
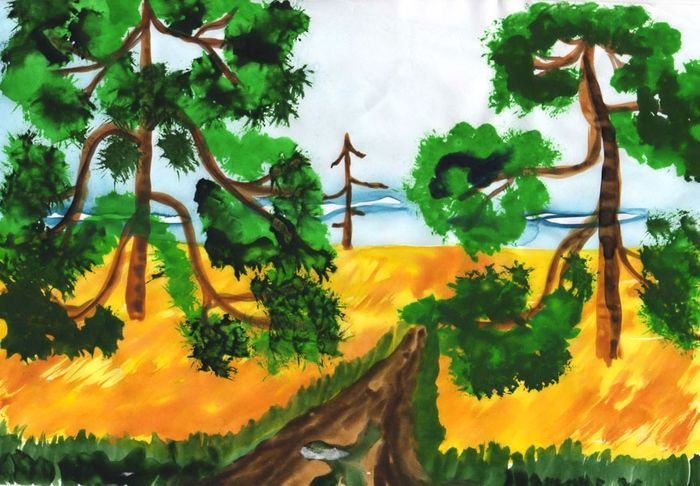
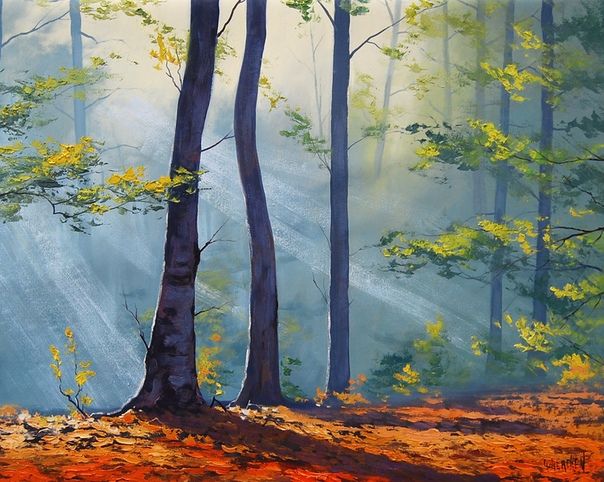
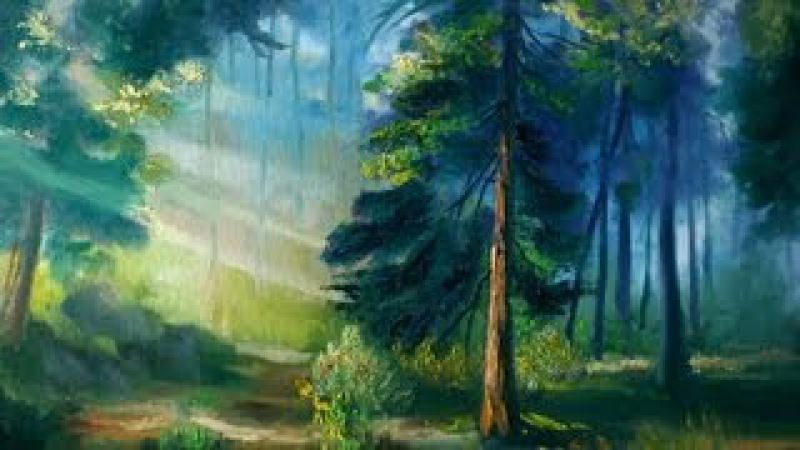
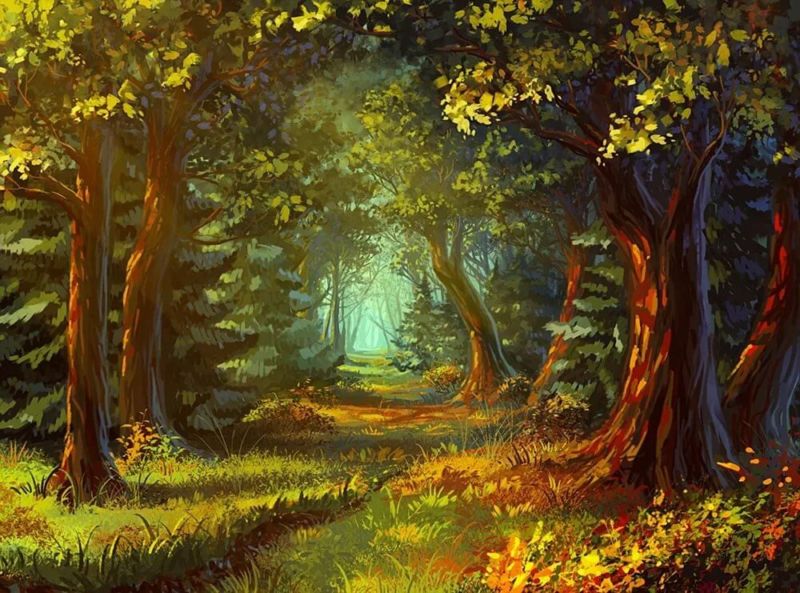
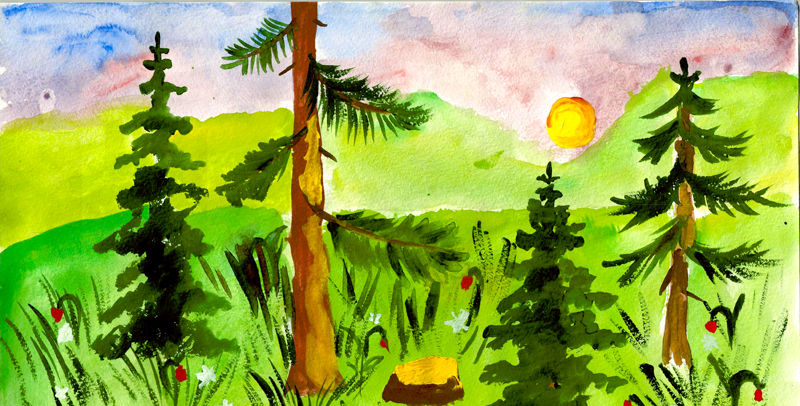
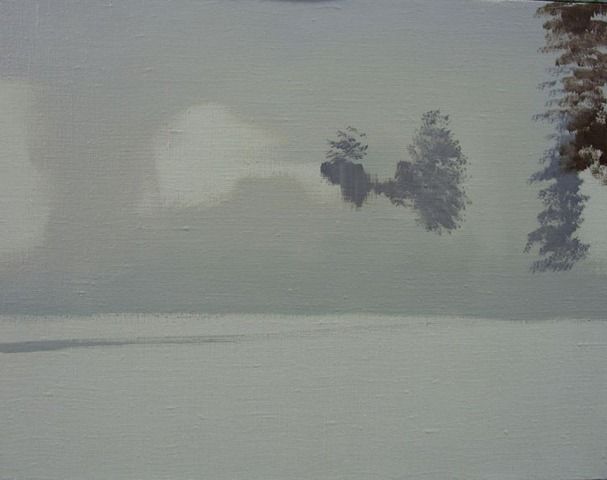
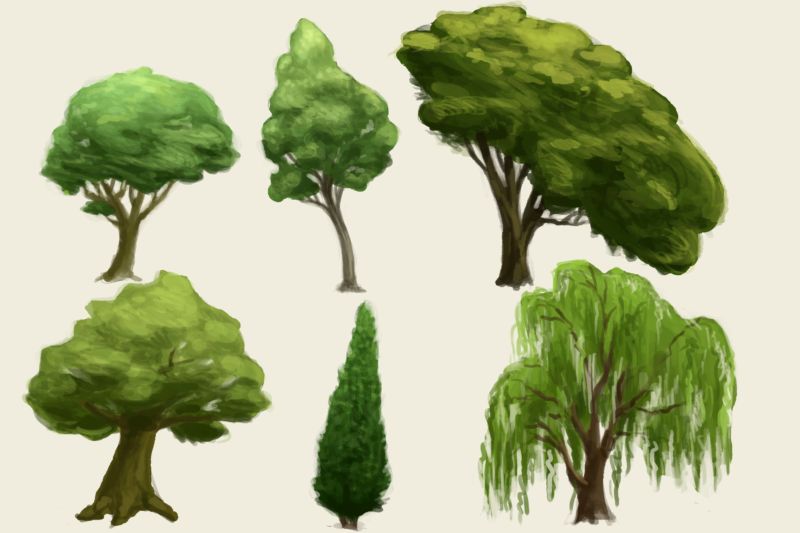
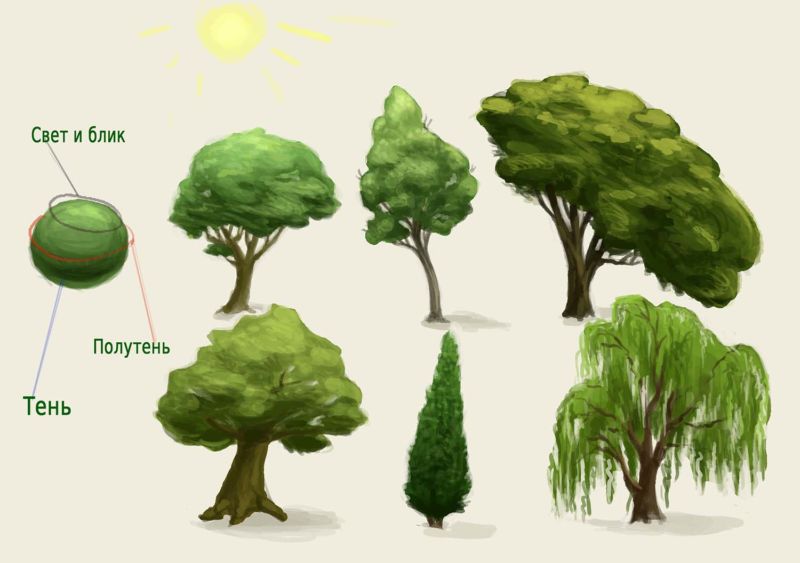
Sunny forest in gouache
Let's depict a fairy-tale forest, mottled by glittering sunlight. You will end up with a beautiful forest edge, covered in greenery and sunlit. You will need gouache paints for this picture:
- Divide the top half of an A4 sheet into two equal parts. In the middle will be the tree trunks.
- To depict the sky, use white and yellow shades of gouache. Areas of the sky are painted with mixed yellow and white shades, passing one into the other.
- In the center of the leaf are drawn trunks. For their image we use brown gouache. The first trunk is represented by three lines coming out of one. These are the thick branches of the tree. The second trunk is indicated by two smooth lines.
- The left branch is given to the foreground by lightening. Until the gouache is dry, you can add yellow and green to lighten the brown.
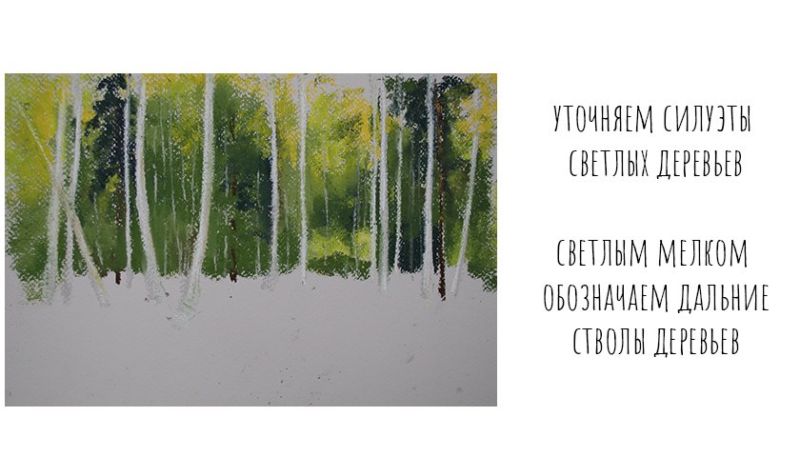
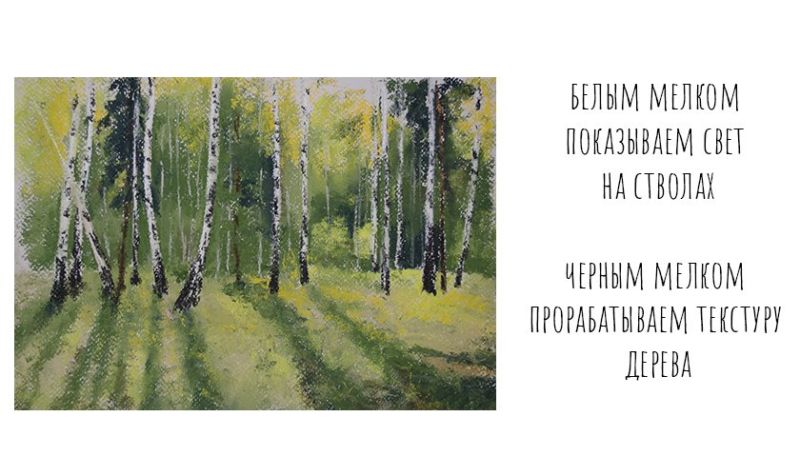
- We draw small branches on the trunks. Create texture on the bark without detailing. Mark the highlights with white paint.
- Paint the second unbranched tree according to the same principle. Add small branches to it.
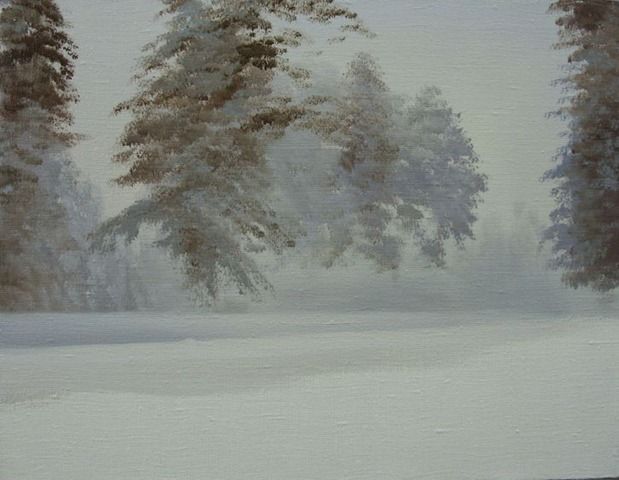
- Let's depict the tree crown. To do this, take a large brush and apply gouache in large strokes, without going into detail. The desired shade is created by mixing the green, blue and yellow paint. For depth of color in many areas of the picture it is worth using a dry brush.
- Other trunks are drawn with a thin brush in the background.
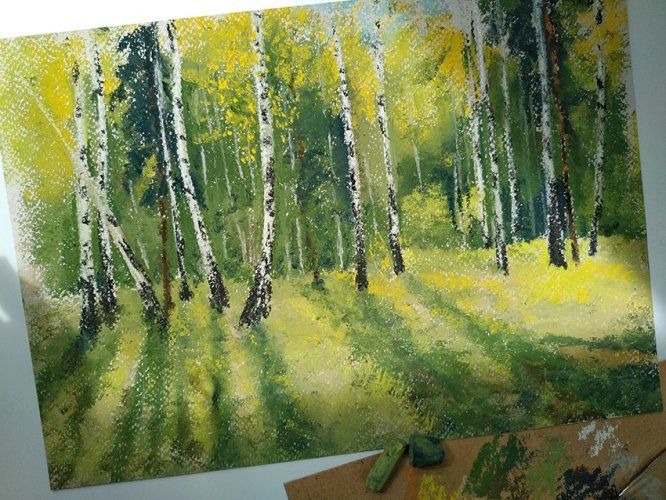
- Leaf details are sprayed on the sheet in small dots. You can use a toothbrush or a flat, stiff brush for this. We use mostly dark green gouache to create sprinkles. Yellow and white shades can be added to the main color.
- To create smooth color transitions, use a thin brush. Dip it into the dark green, white and yellow and touch up the leafy areas.
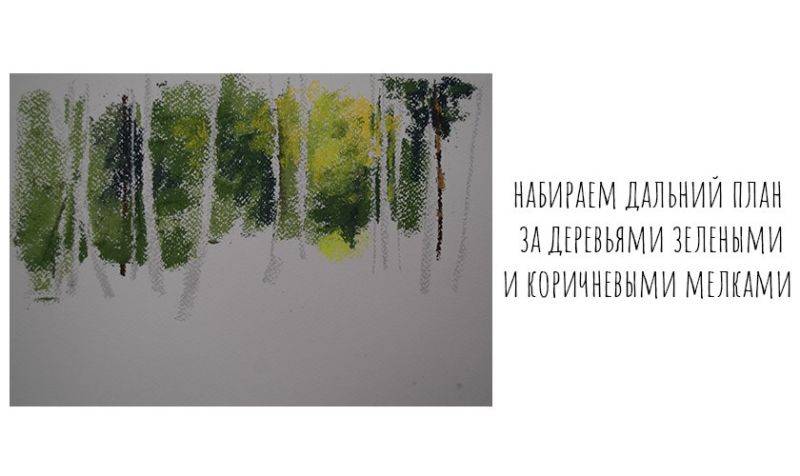
- Let's depict the far forest on the right side of the picture. To get the desired shade, mix the colors blue, yellow and white. Mark the edges of the leaves in light yellow.
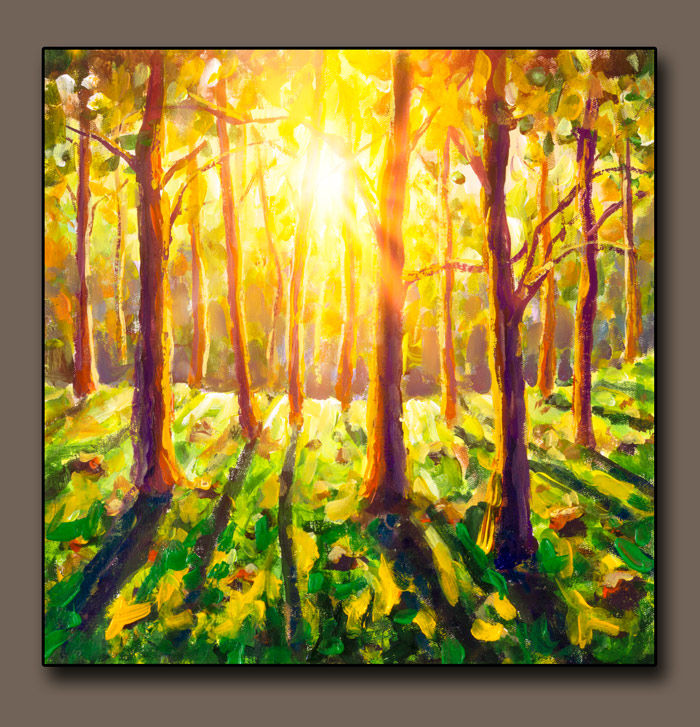
- Create a sunny glow in the gaps between the branches. To do this, we put yellow spots all over the leaves, then add white paint on top.
- A thick yellow line is drawn to indicate the line of grass.
- Draw the forest in the background on the left side of the picture. Leaves are created by mixing green and yellow paint, a blue shade is used to draw the branches. Sprinkle white highlights.
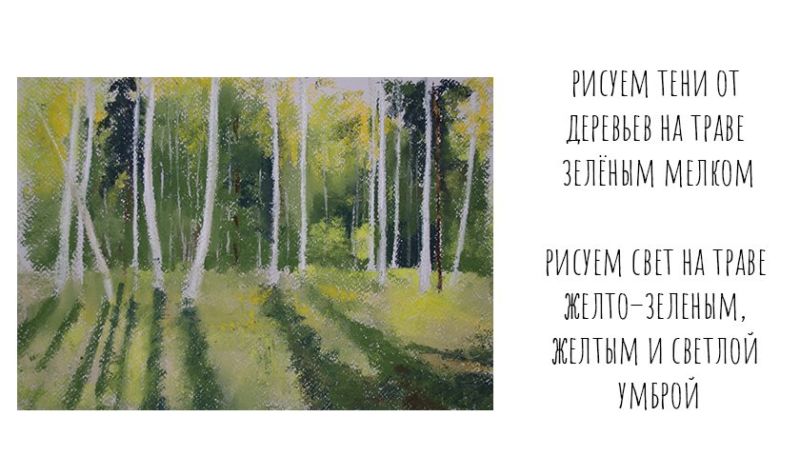
- Extensive strokes going up to the roots paint the ground.
- Under the tree, put yellow highlights with white strokes. A splash of white gouache on the ground.
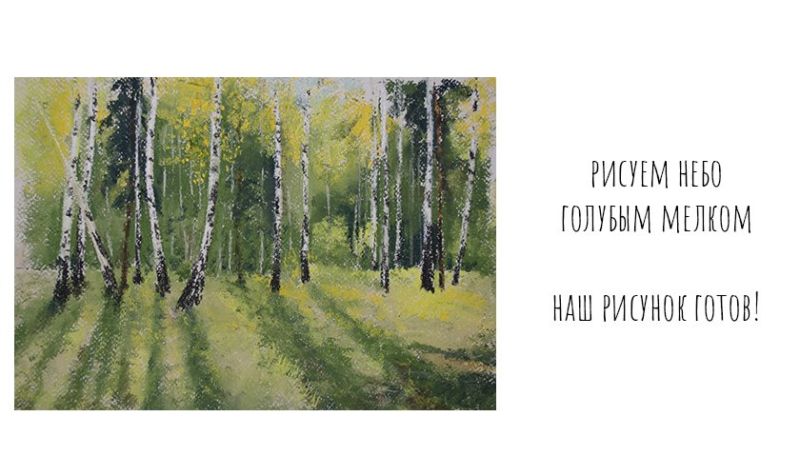
The painted forest is indistinguishable from the real one. The sun peeking through the branches creates a touch of magic.
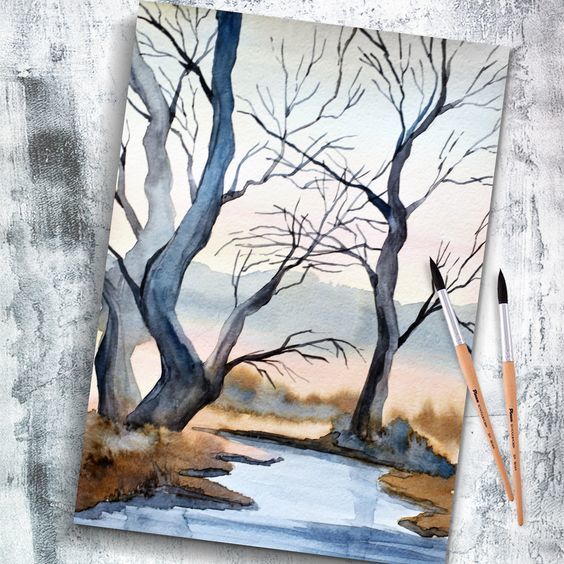
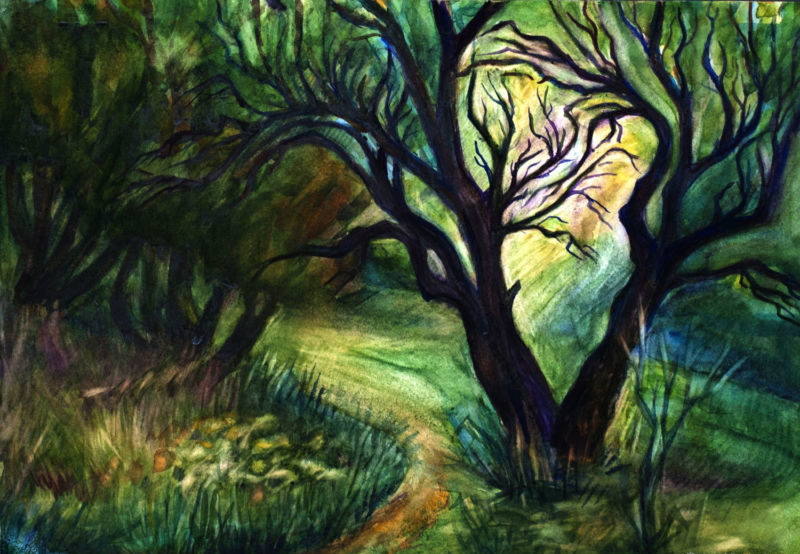
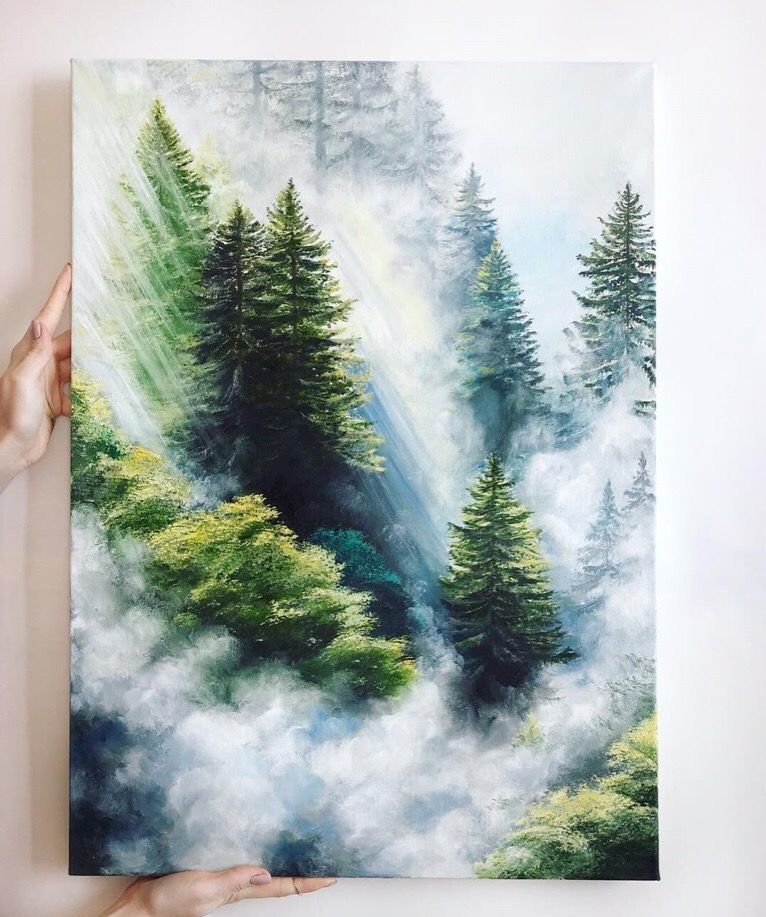
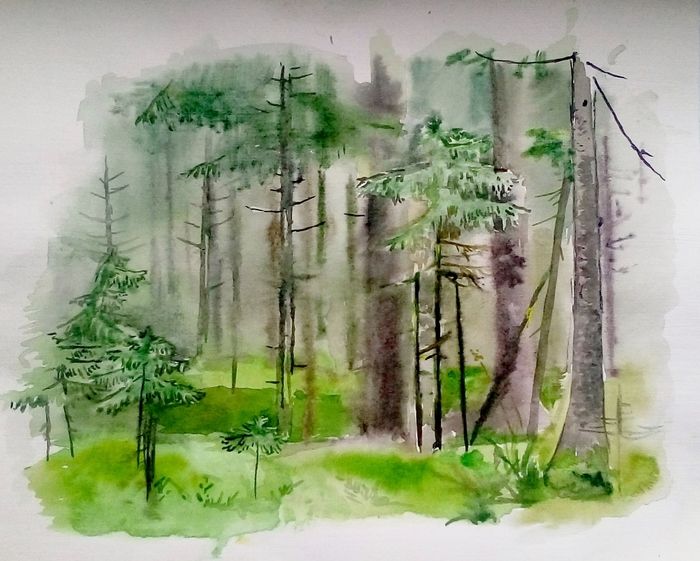
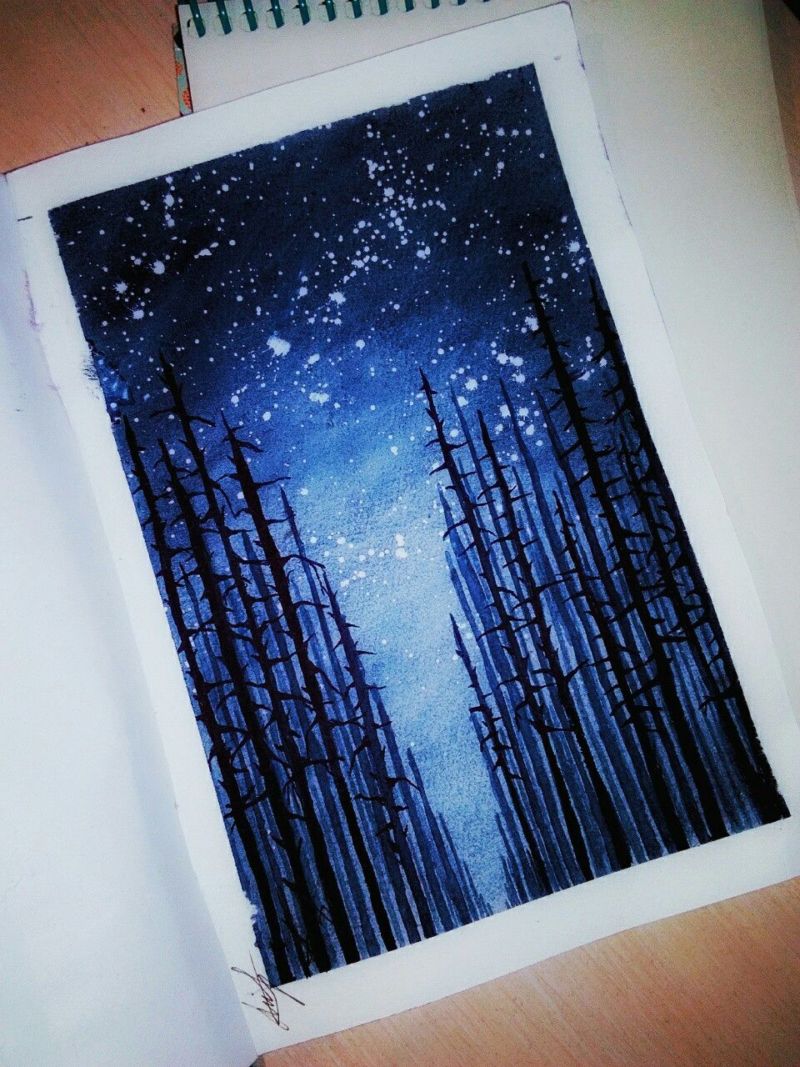
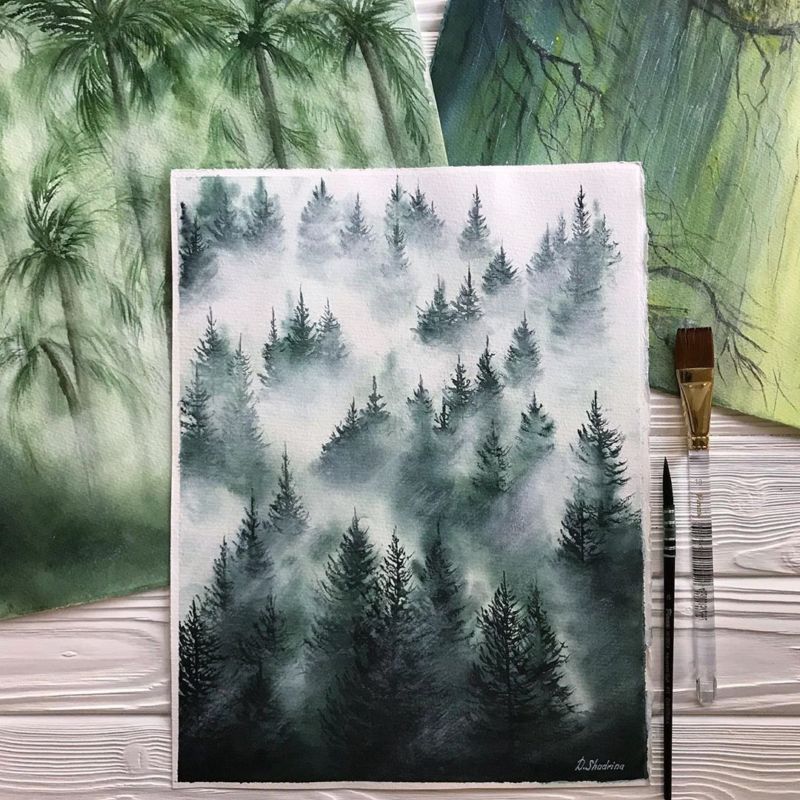
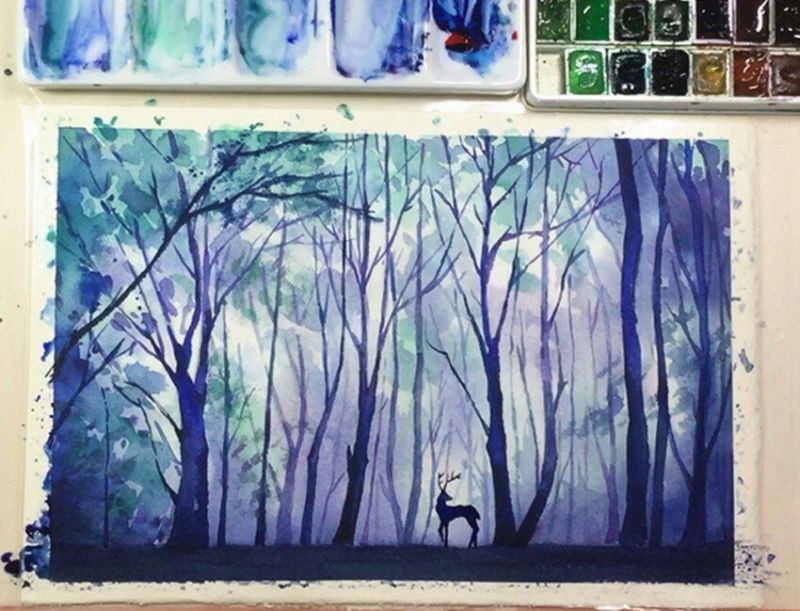
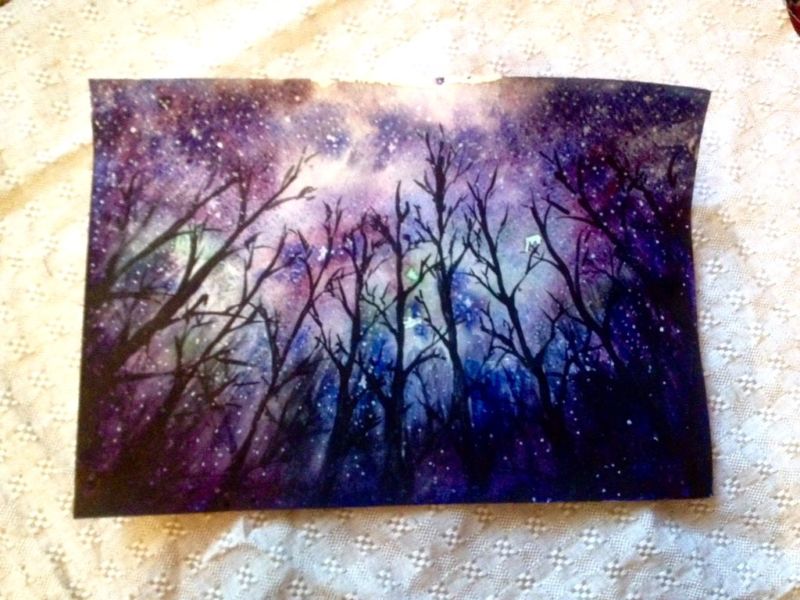
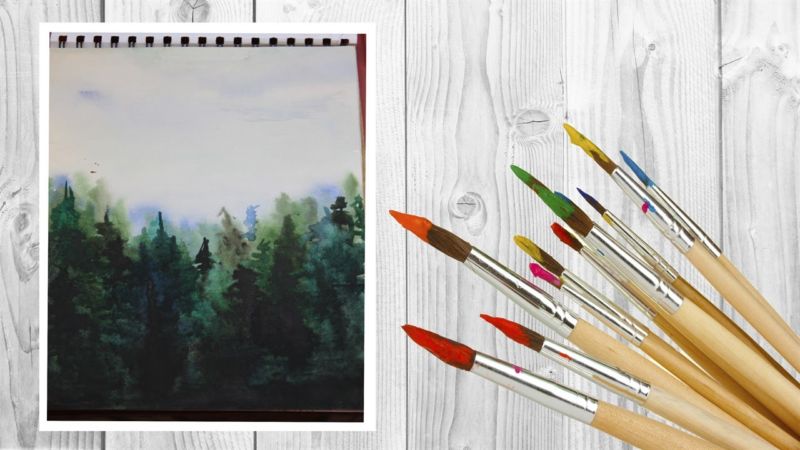
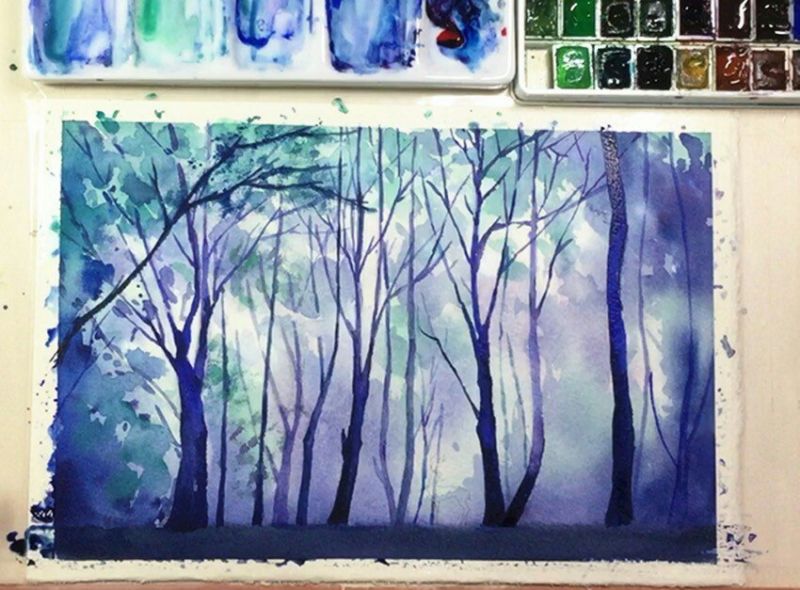
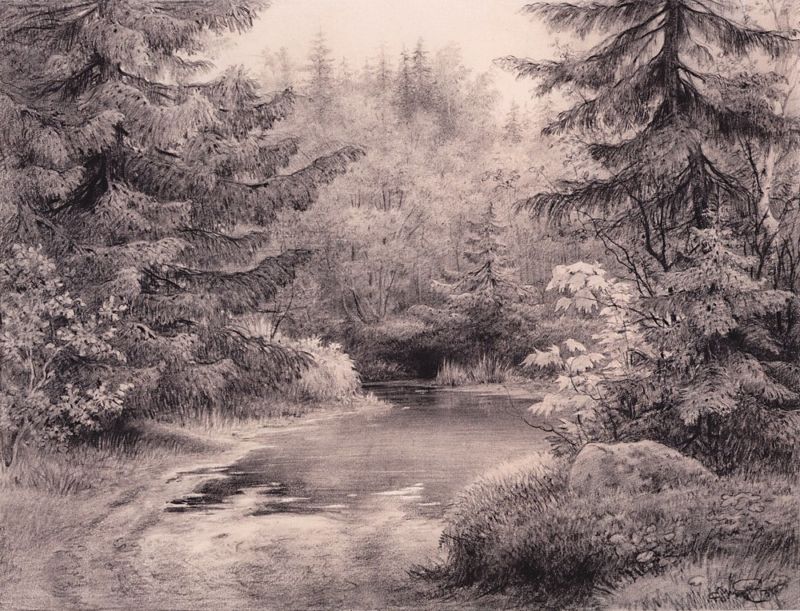
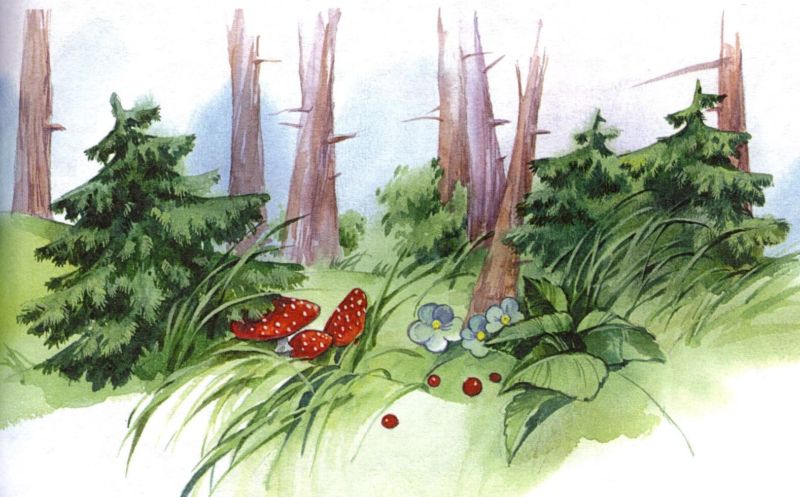
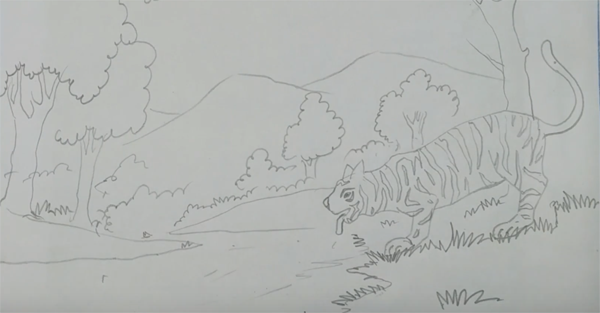
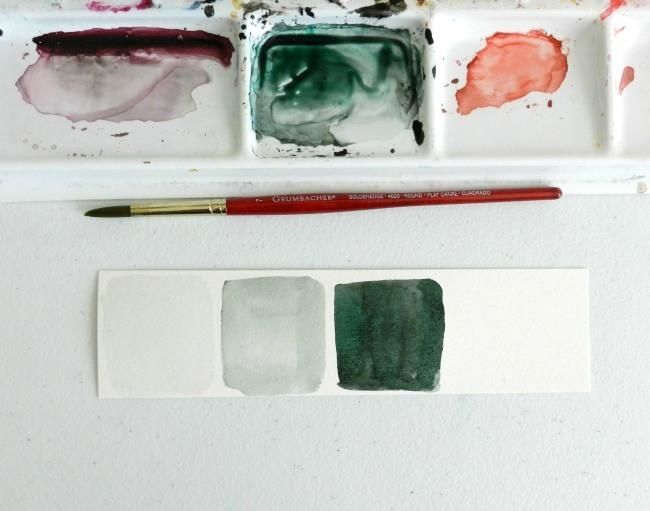
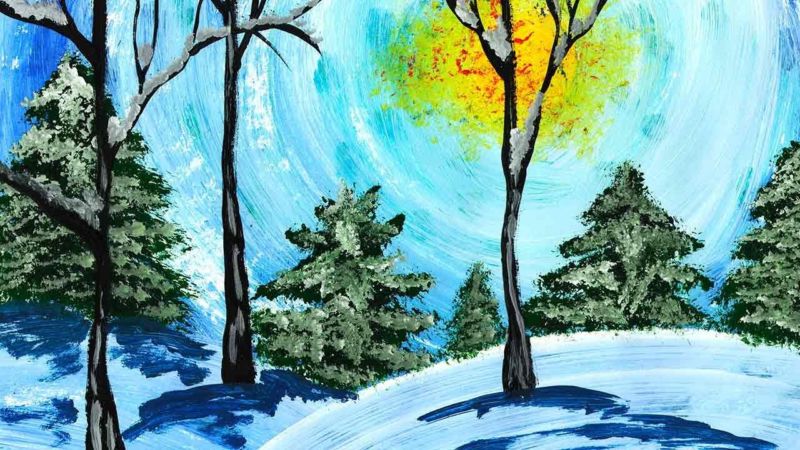
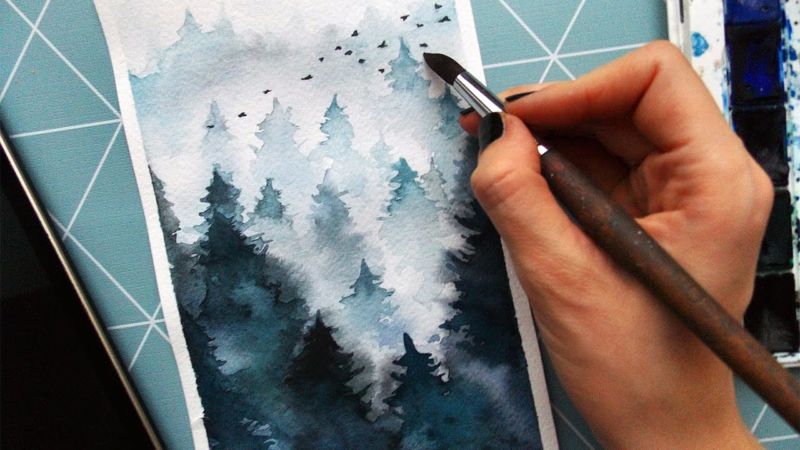
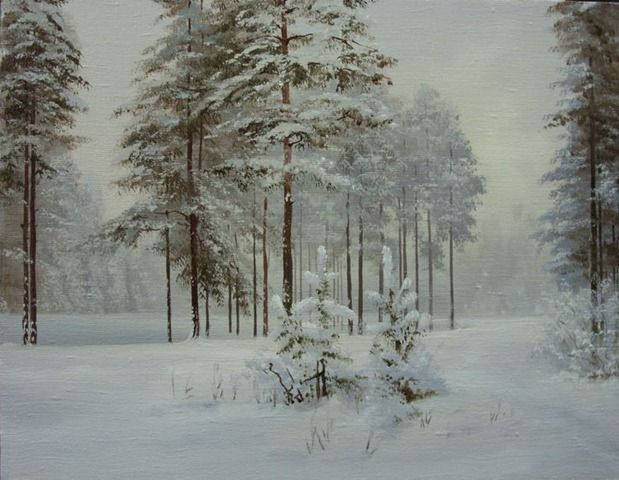
Let's depict a mysterious winter forest on a sheet of paper. This picture is painted with watercolors. The picture will be kept in a monochromatic tone:
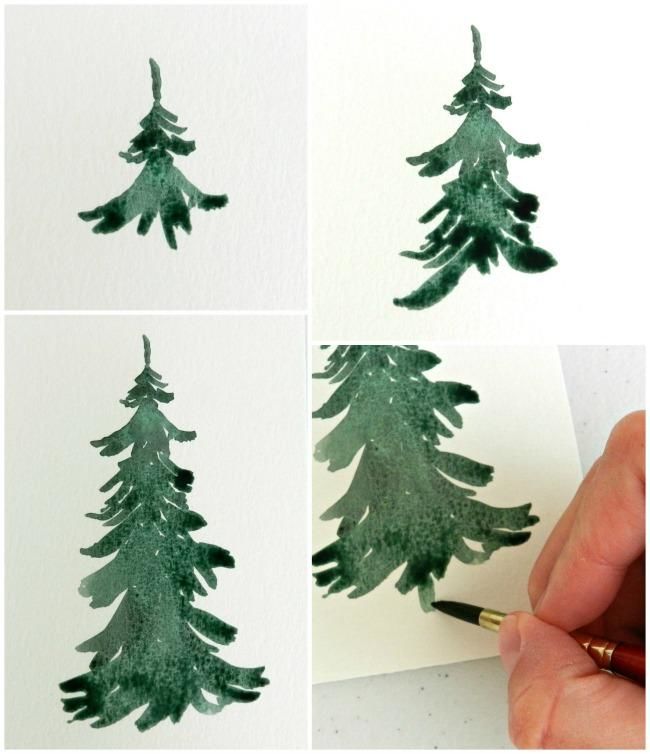
- First we will learn how to draw a fir tree. We will mix the paints so as to get a dark green shade.
- Let's draw the top of the tree. Draw a short vertical line, from the top of which derive several short oblique lines, each longer than the other. At the end they should widen and curl a little.
- Let's depict the next levels of needles in the same way. When drawing the needles, you should remember that the lower branches should be wider than the upper ones. At the end of the needles should completely cover the trunk.
- Draw the base of the tree as a short vertical line at the bottom of the spruce.
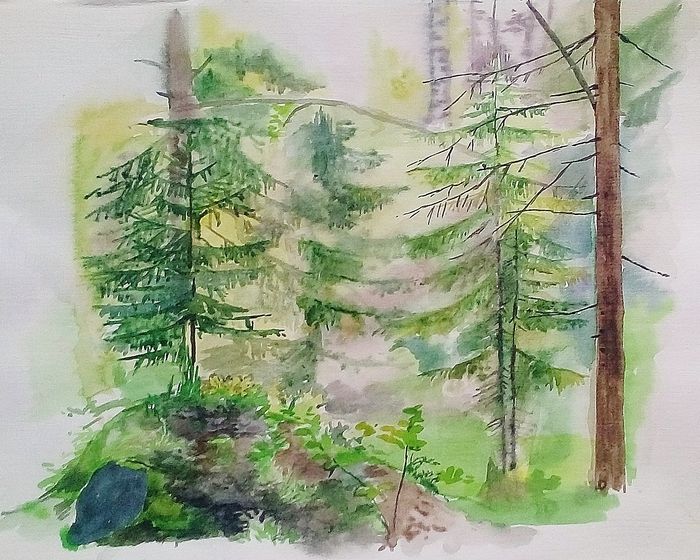
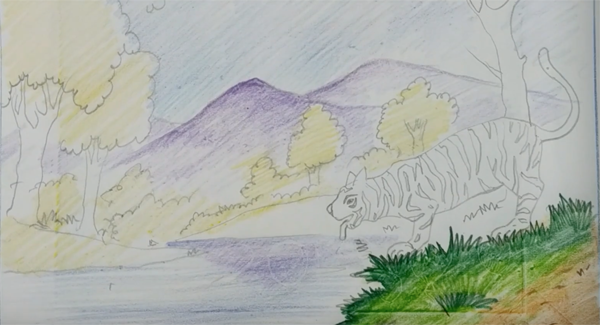
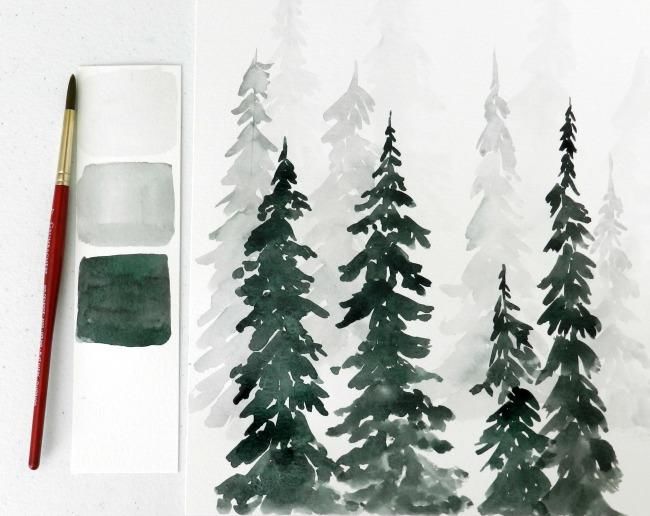
- Now create a color scheme of three shades. Let's mix a light, medium and dark shade of green.
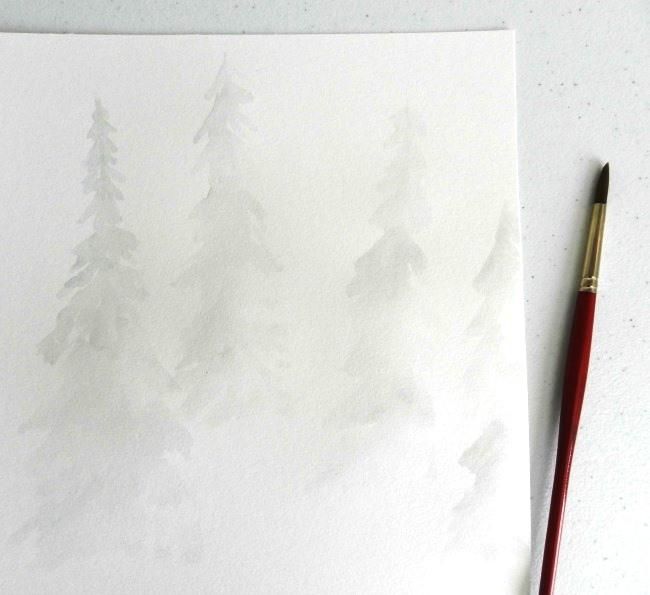
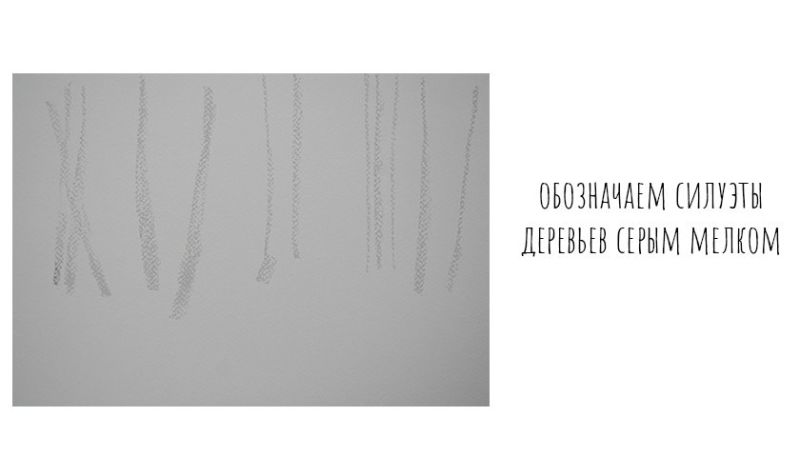
- Let's draw some spruces in a light shade of paint. Let's put the bases just below the middle of the leaf. The tops should touch the top edge of the paper.
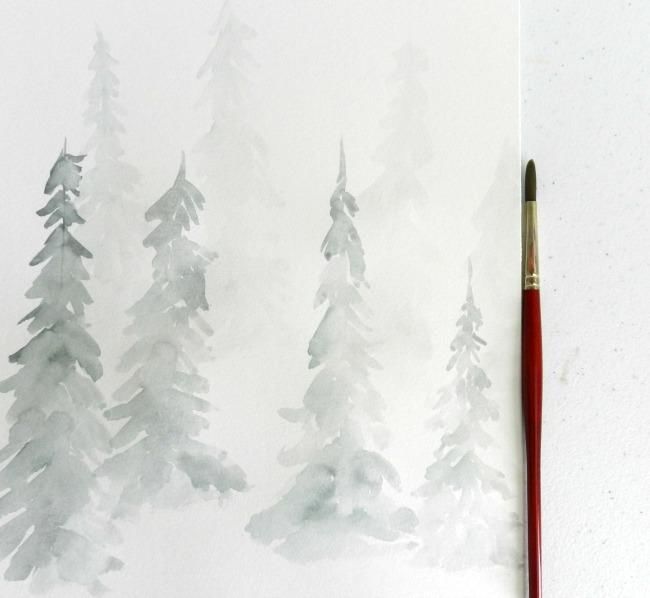
- On top of the light row draw spruces of medium shade. The tops start just below the previous ones, the bases are drawn at the bottom edge of the sheet.
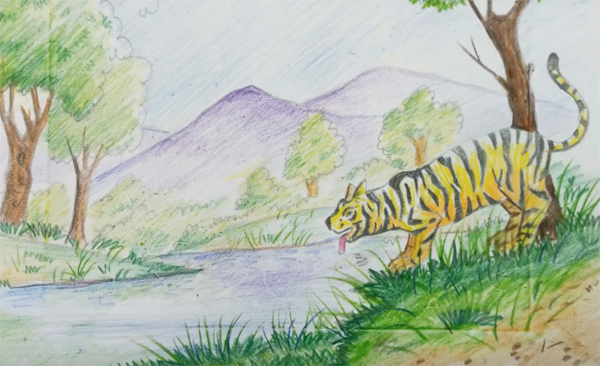
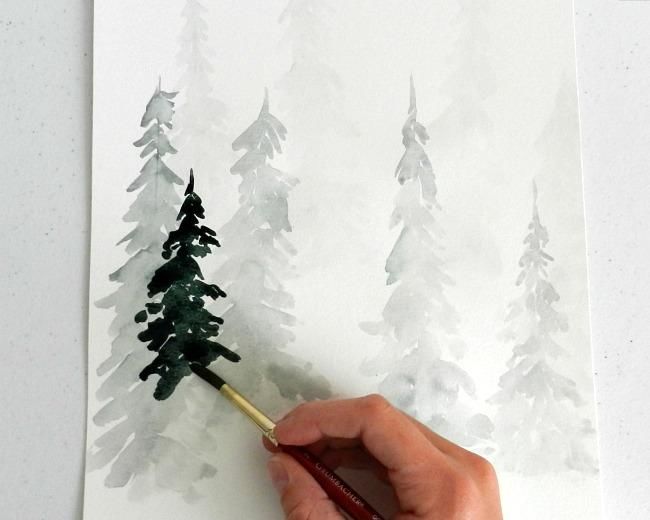
- Draw the last, darker row of spruces in the foreground. The bases of the dark trees go beyond the borders of the pattern, the tops are even more low. All the trees should be unevenly spaced, but still maintain the approximate height of the row.
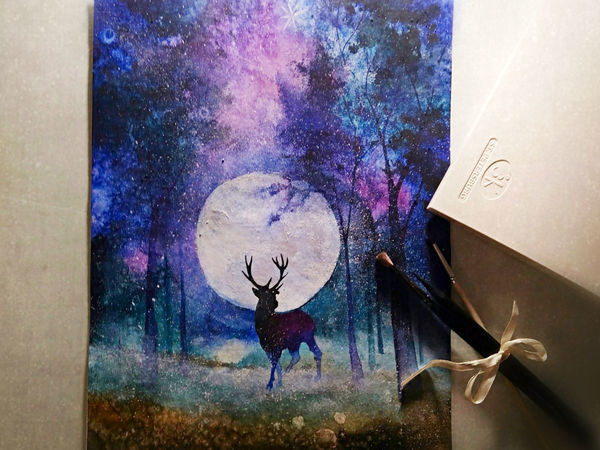
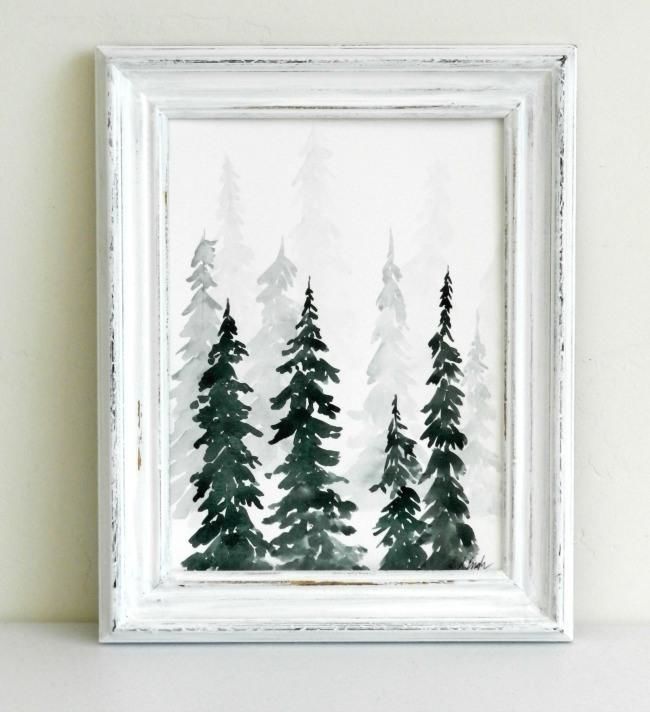
Watercolor winter landscape is complete.
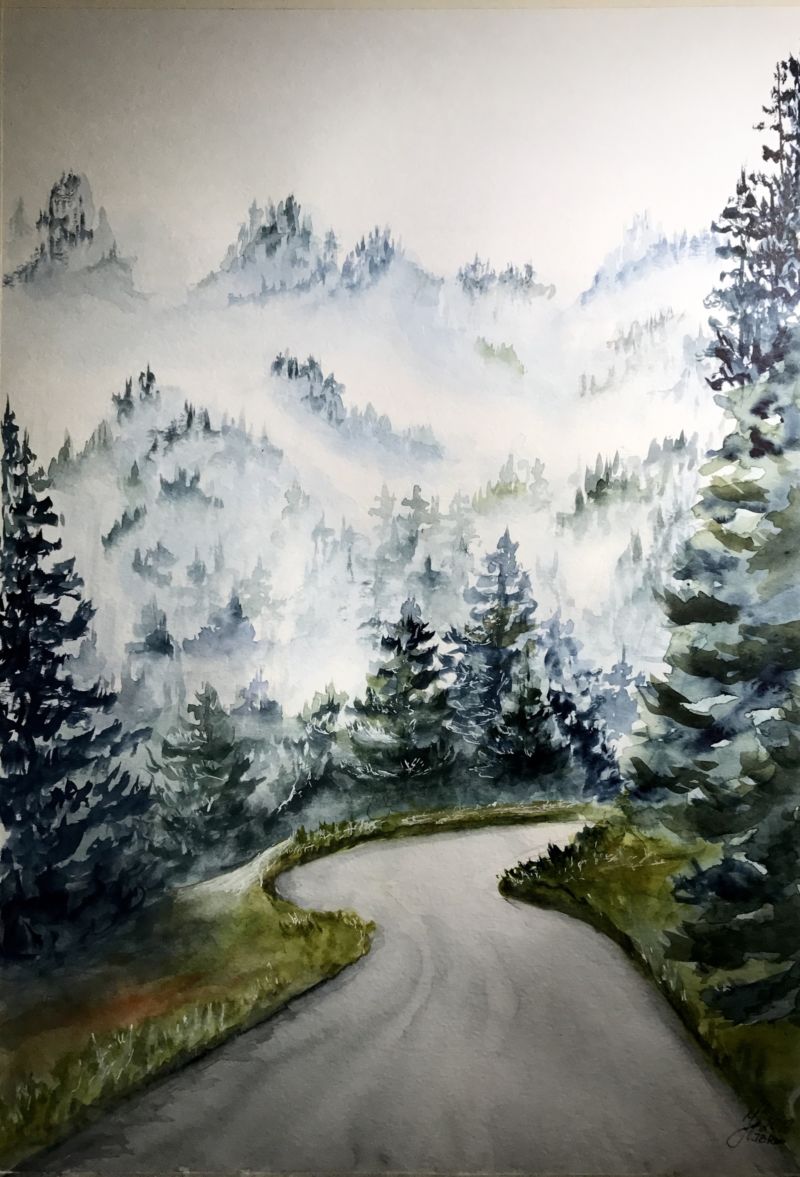
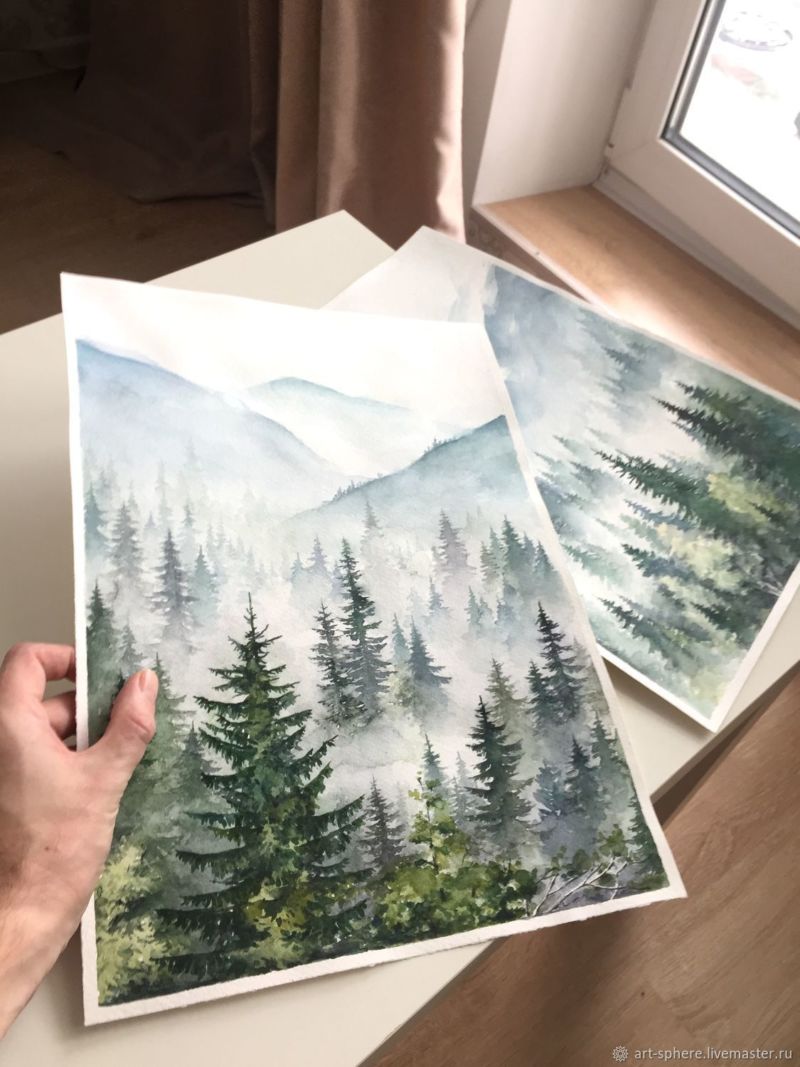
Several similar paintings can be framed and displayed next to each other. They will perfectly harmonize with each other. The monotone range has a soothing effect on the eyes of the beholder.

Knowing the drawing technique, it's easy to draw a forest on paper. Following the step-by-step instructions, anyone can do it.

A picture of a painted forest