How to draw fruit with pencil and paint: easy step-by-step instructions for children and novice artists
Appetizing images of fruit often adorn the walls of our home kitchens and public dining rooms. This is for a reason: juicy fruits are not only tasty and healthy, but also very popular in art.
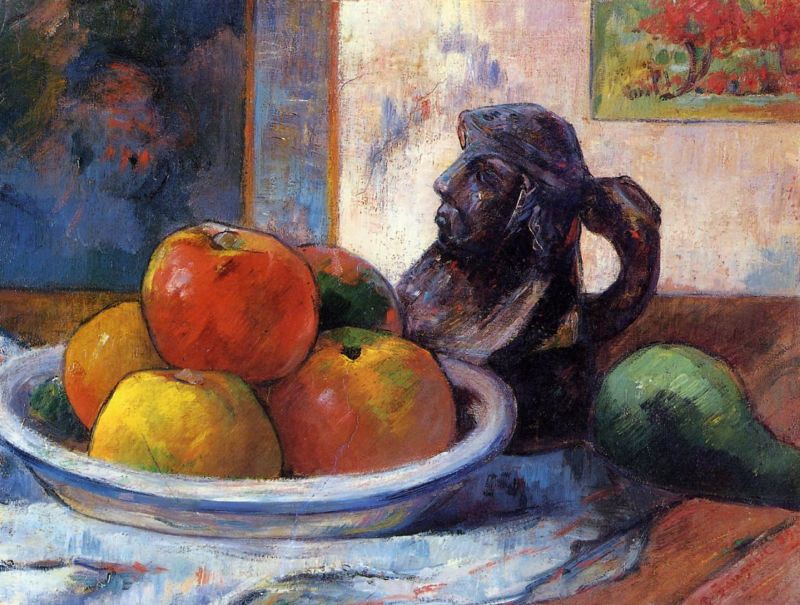
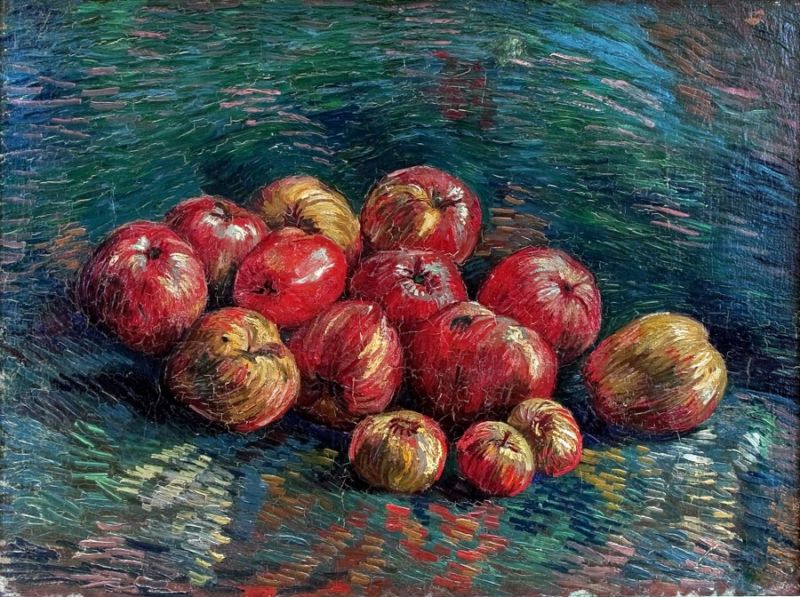
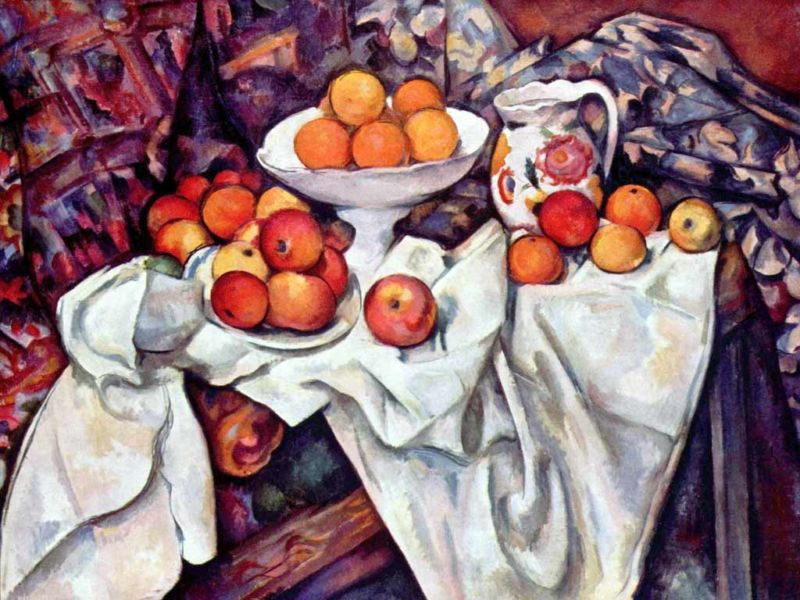
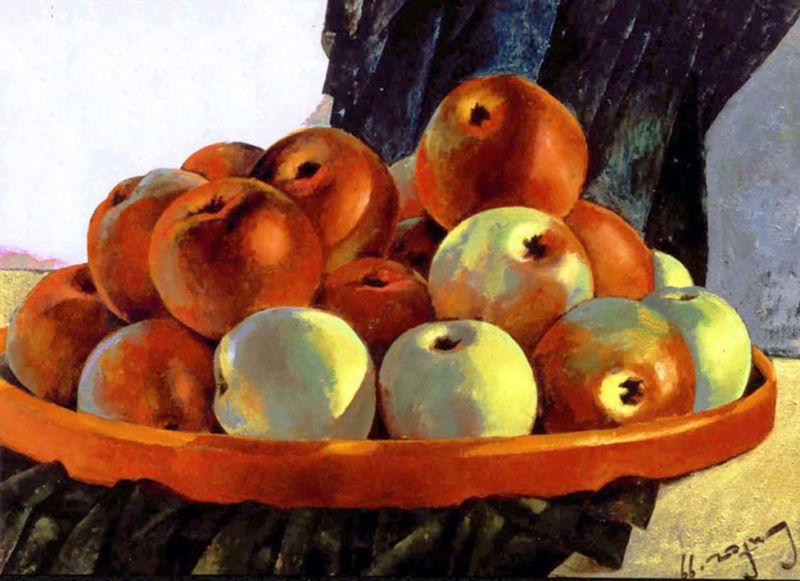
The most famous and talented artists, such as Paul Cézanne, Willem Claes Heda and Pablo Picasso loved to decorate their still lifes with juicy fruits.
You don't have to purchase still life paintings. A great idea would be to show your artistic talent and paint such a painting yourself.
Drawing fruit is not as difficult as it may initially seem. There are complex still lifes consisting of many fruits, each with its own unique hue, shape, position in space and proportions.
But first you should learn the simpler images, and only then proceed to the more complex and multifaceted ones. It is only necessary to follow a certain order of action.
Examples of how to draw various fruits
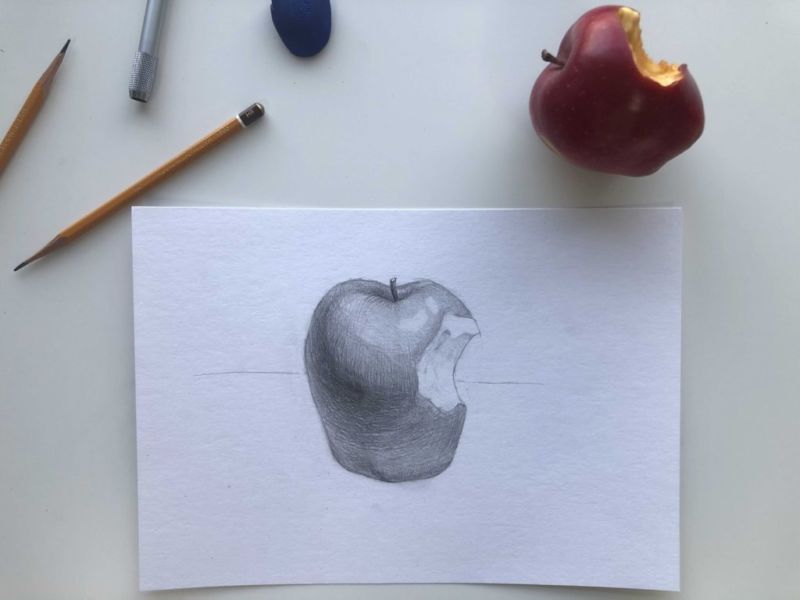
Before you start the creative process, you need to arm yourself with a white sheet and an eraser. Any materials can be used, but beginners should first draw fruit with a pencil of a certain hardness (preferably hard and soft).
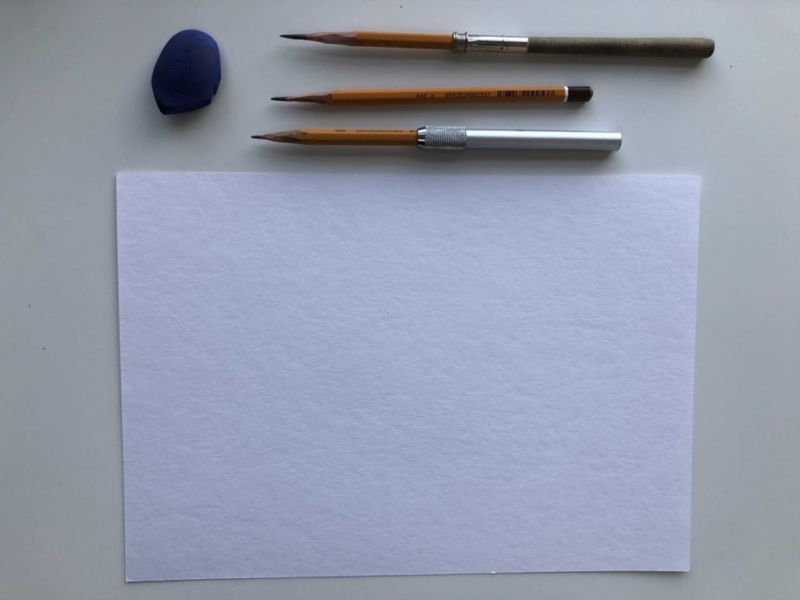
It is also necessary to bring with you the object for drawing, because at the initial level it is recommended to have a so-called "reference" in front of you. As a reference, you can use both pictures of fruit for sketching and the fruit itself in its physical appearance.
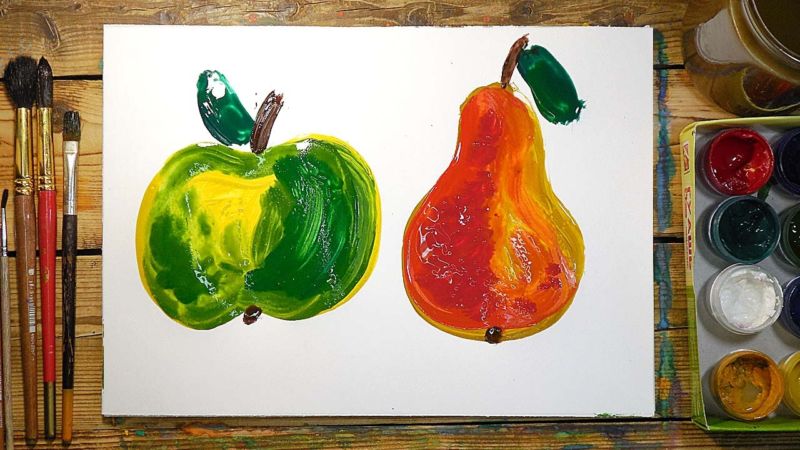
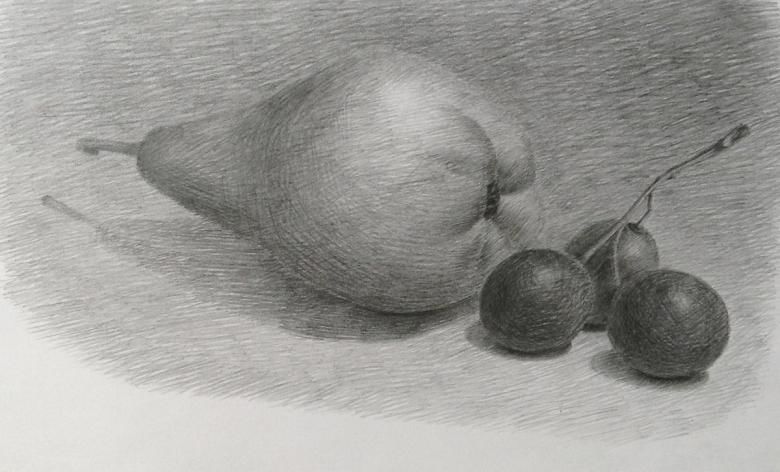
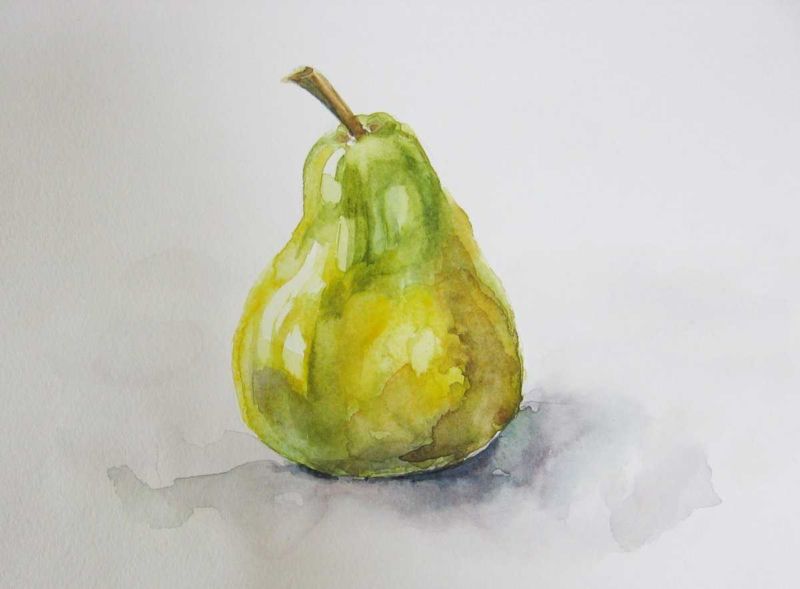
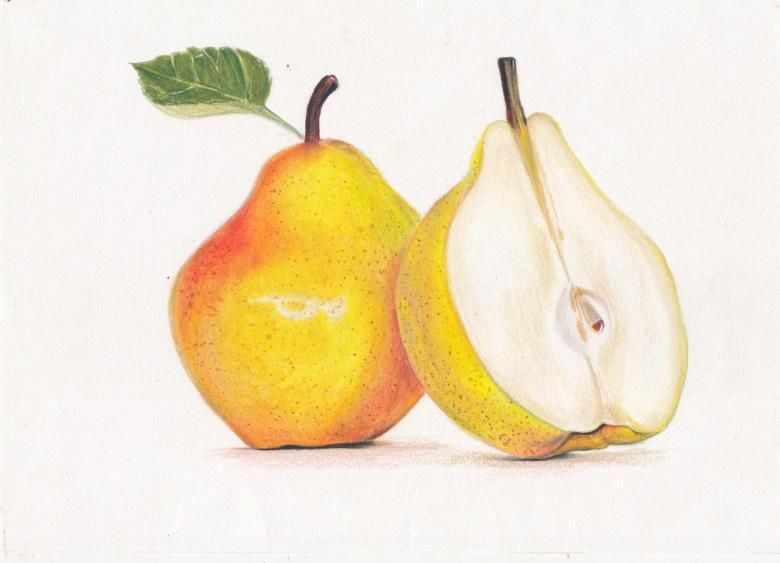
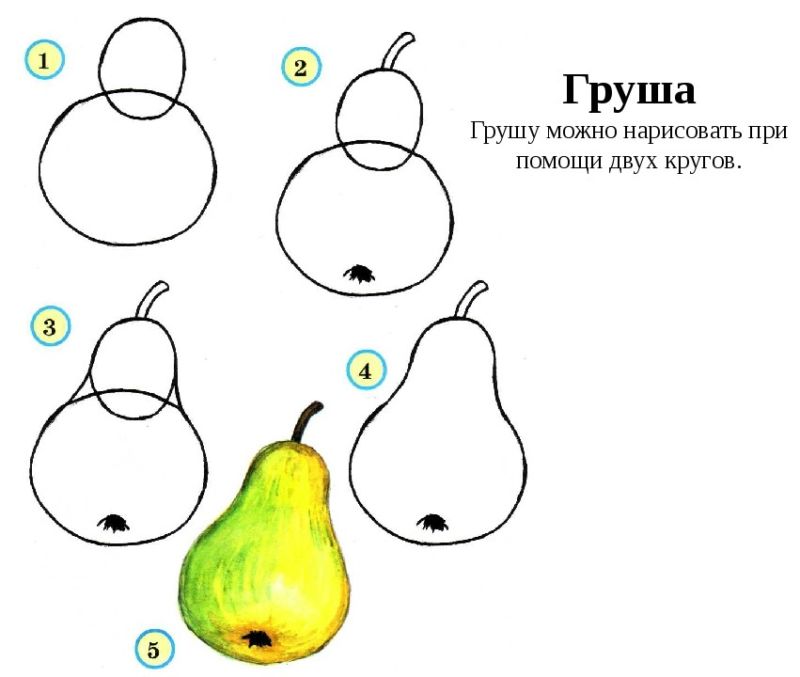
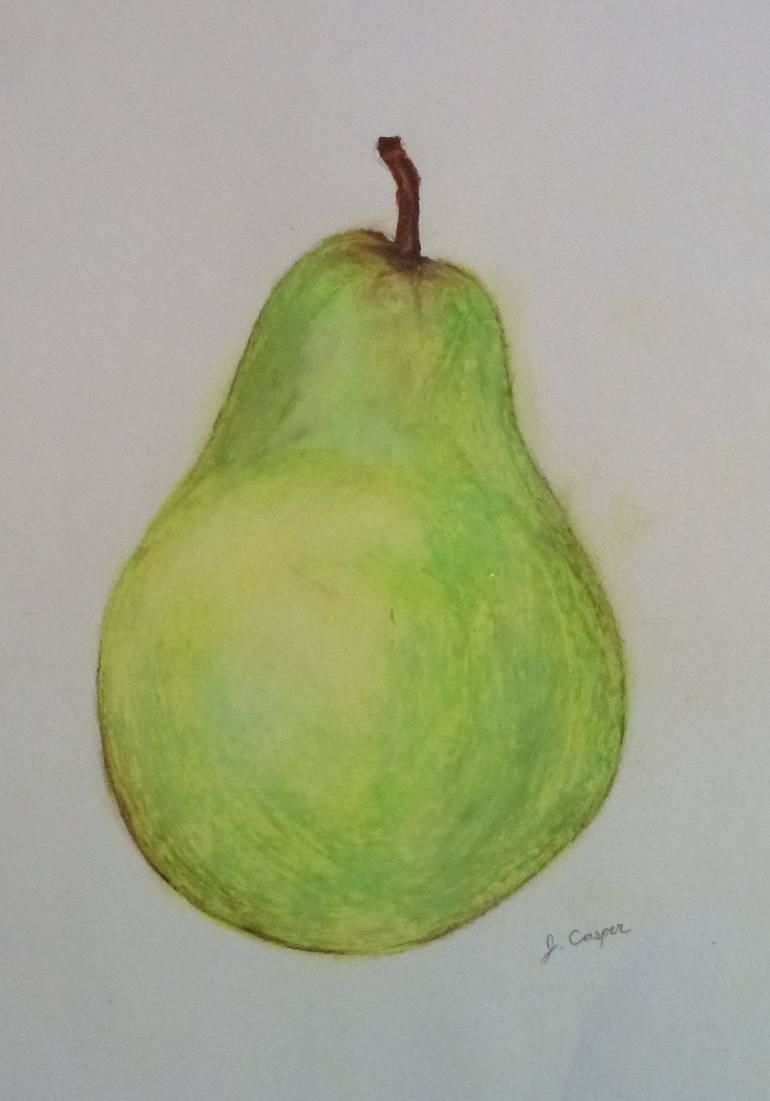
Pear
We could take the apple as an example, but this fruit is considered too often in such drawing tutorials. Drawing an apple is already boring to many and has long been put off in the minds of artists, while there are many other more interesting options.
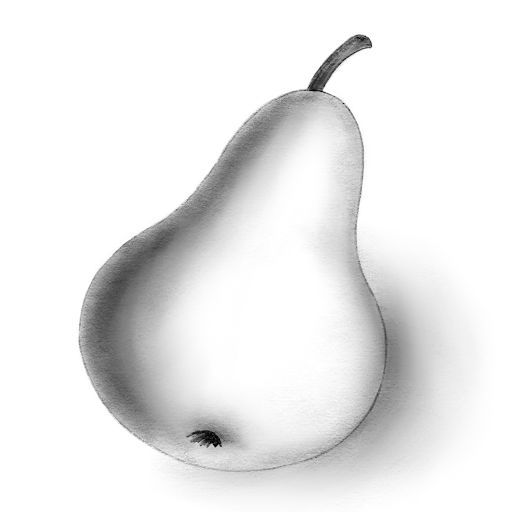
The pear has an irregular but original shape.
To begin with, you need to look closely at the fruit and assess its shape in all the details. Then with a soft pencil sketch the first outlines. There may be mistakes, but this is normal.
Few people can do everything perfectly the first time. In order to notice mistakes, it is necessary to distract a little and after some time to assess the work with a new look.
After drawing the basic geometric form, it is necessary to detail the image. Look closely: which places stand out, where are any holes, and are there stems and leaves? All of these details need to be conveyed.
Next comes the turn of contours, which can make a flat image three-dimensional.
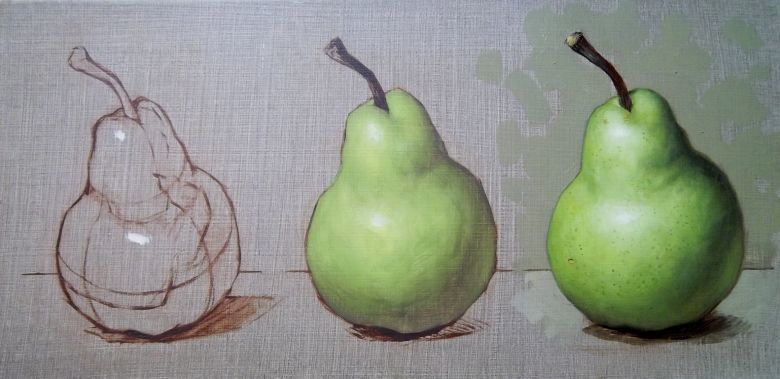
Maybe you do not know where to start. So you need to look carefully at the object of sketching and with the help of lines to convey contours. Lines can be any kind: long, short, intermittent. The main thing is not to strain the hand and do the shading with feeling and naturally.
After drawing contours, it's the turn of shadows. It is necessary to identify where there are highlights and where there are dark places and recesses.
Places of glare should not be touched, and when drawing shadows it is necessary to adjust the pencil pressure, so that in the right places to create a so-called "gradient", because the shadow is not always uniform. Also, we must not forget about the shadow that the fruit itself creates on the surface where it is placed.
The final touches are shadow shading and refining some points, but without fanaticism. When refining, you need to compare the resulting drawing with the original.
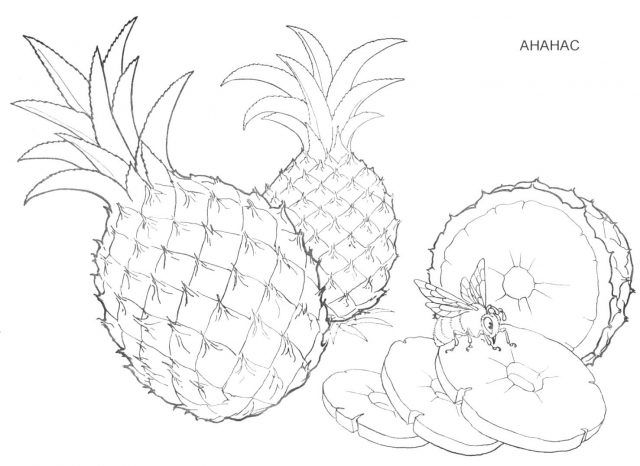
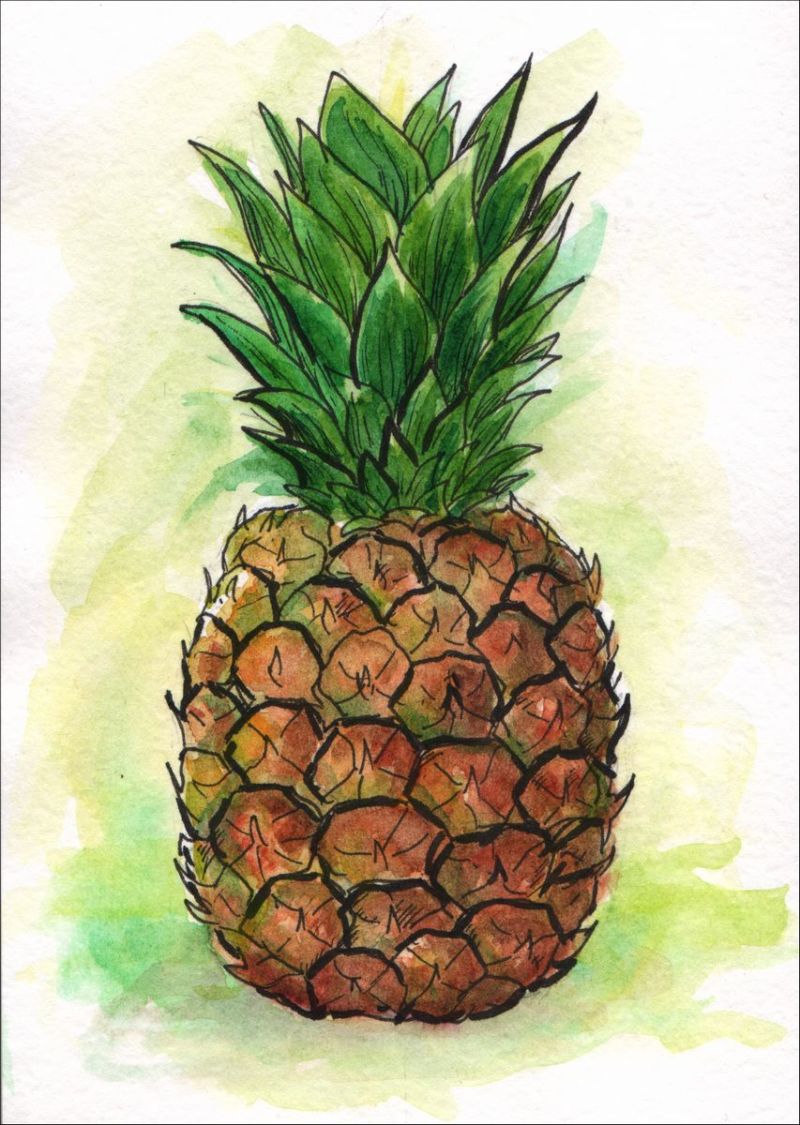
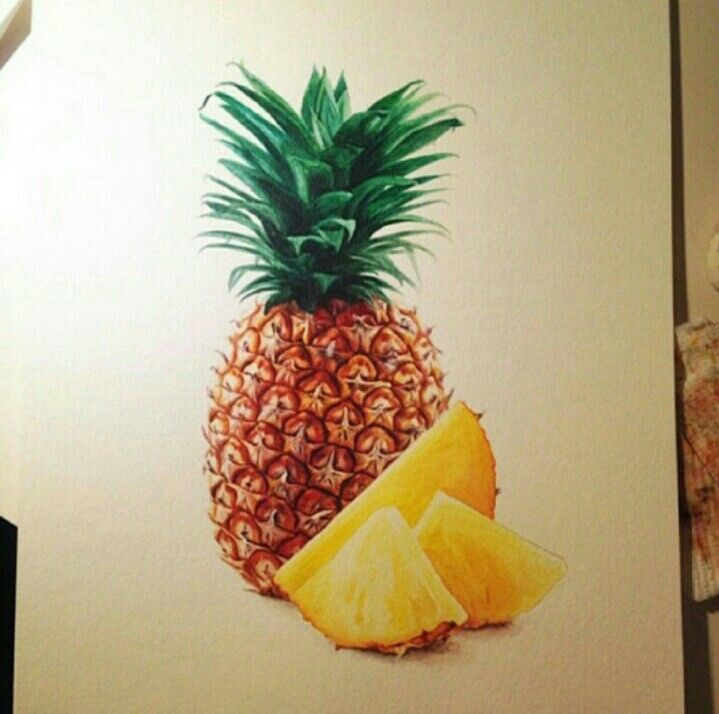
Pineapple
This tropical fruit is an excellent example for learning to draw, because it combines many details and shapes.
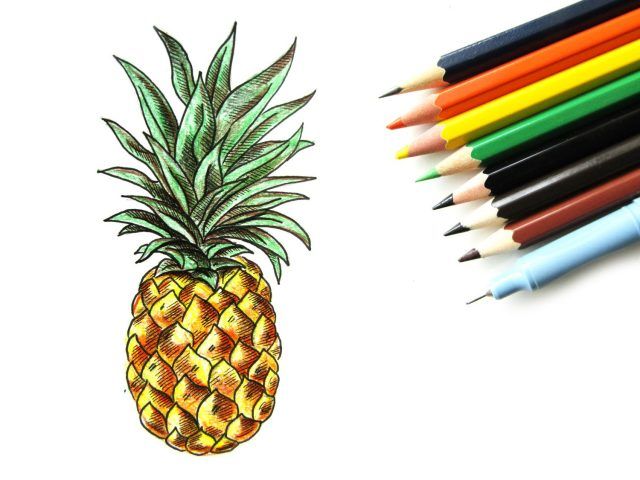
At first, as usual, the general shape of the fruit is drawn. In the case of the pineapple you draw an oval, where the edible part is, and then you sketch the leaves on top, paying attention to where the leaves connect with the fruit itself.
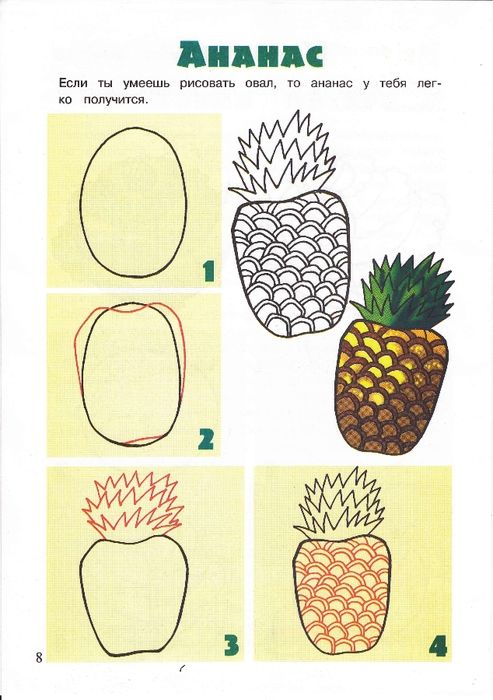
When detailing, take into account the shape of the leaves and the scales with which the pineapple is covered. Leaves are usually arranged in several rows chaotically on the surface of the fruit.
Scales are better to draw as follows: you need to draw stripes obliquely oval, and then the same number of strips as obliquely, but in the other direction, so that rhombuses or squares are formed.
Each rhombus or square need to work out the details in the likeness of the scales of the fruit. Pineapple scales have spikes, they can be depicted as dots.
Complete the drawing by adding shadows and shading in some places.
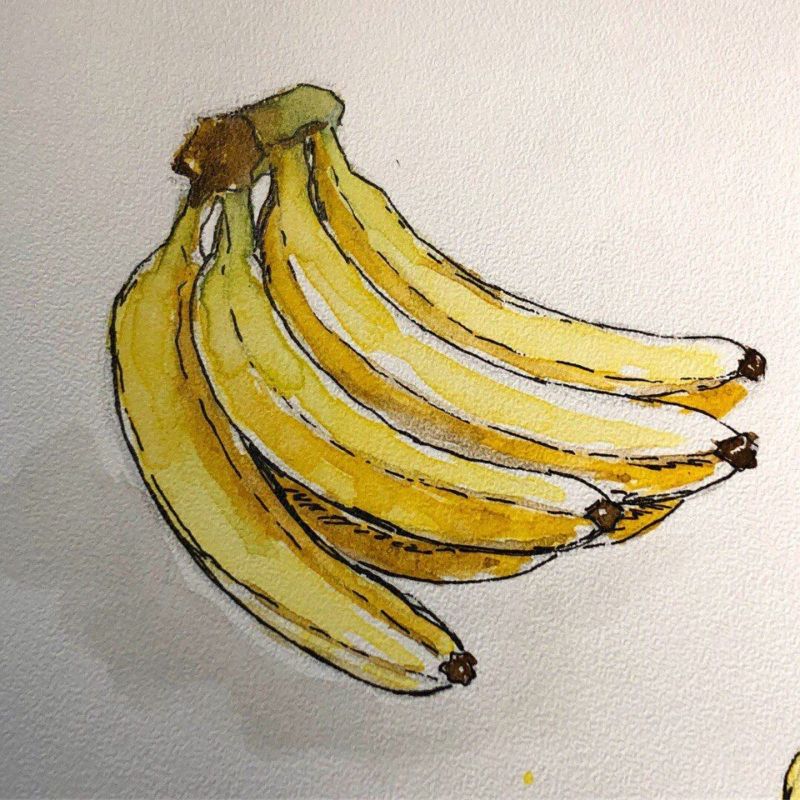
Banana
In this example, you can draw a whole bunch of bananas when using a grid. This fruit has an oblong shape and peculiar angles and contours. If you draw them in a bunch, there is an opportunity to work out the shape of the banana several times.
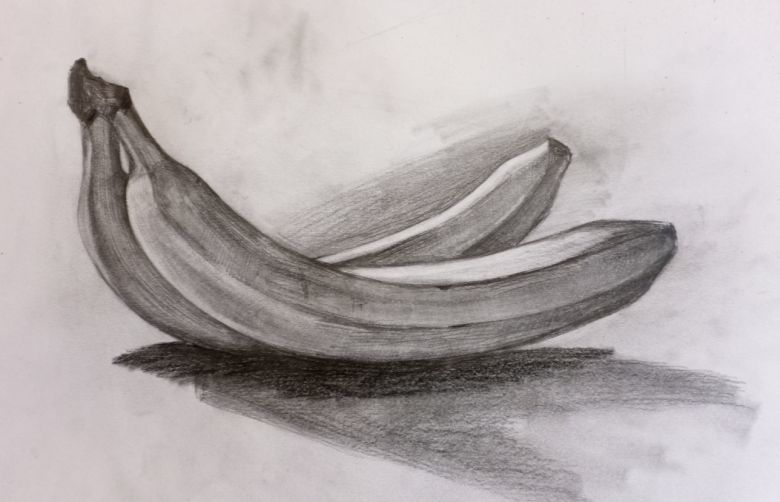
To start, a light touch draws a grid, and on top of it the general shape of the bunch. It is drawn as it looks in general. Only then are the rest of the proportions drawn with natural lines.
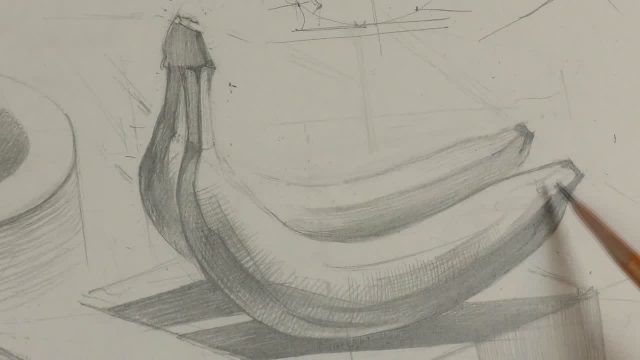
During the detailing, you need to pay attention to the top of the bundle, where bananas are fastened, angular places of bananas and their tips, where there is a kind of "button".
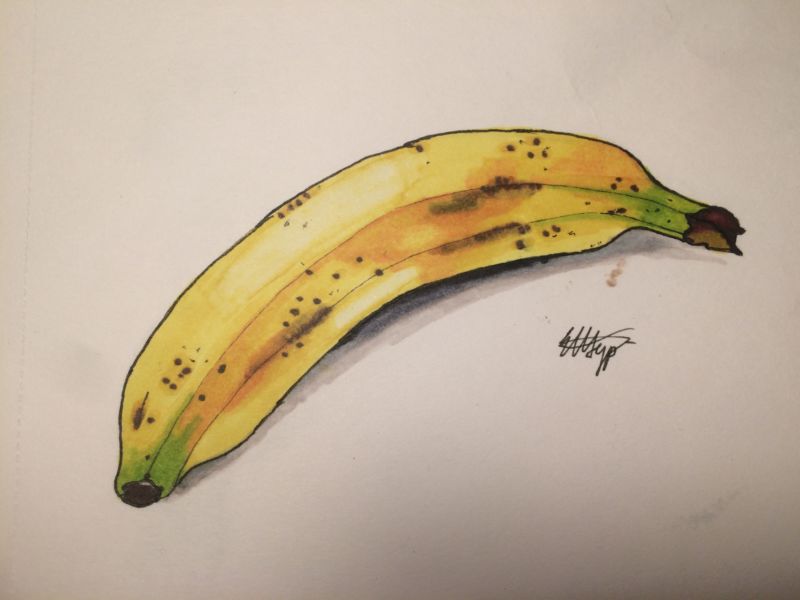
Adding more and more details, you need to draw shadows and other strokes, focusing on the image of the bunch of banana.
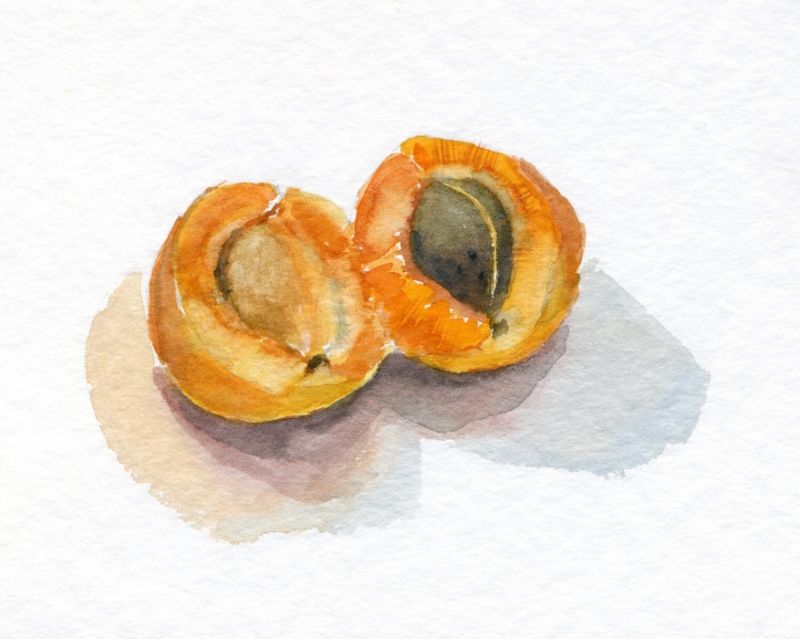
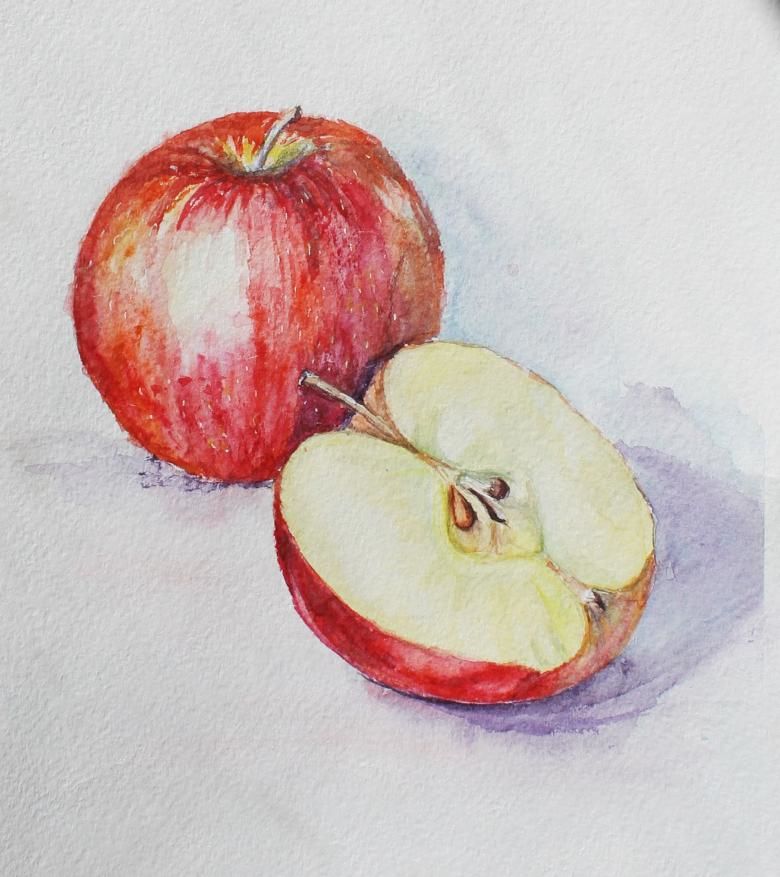
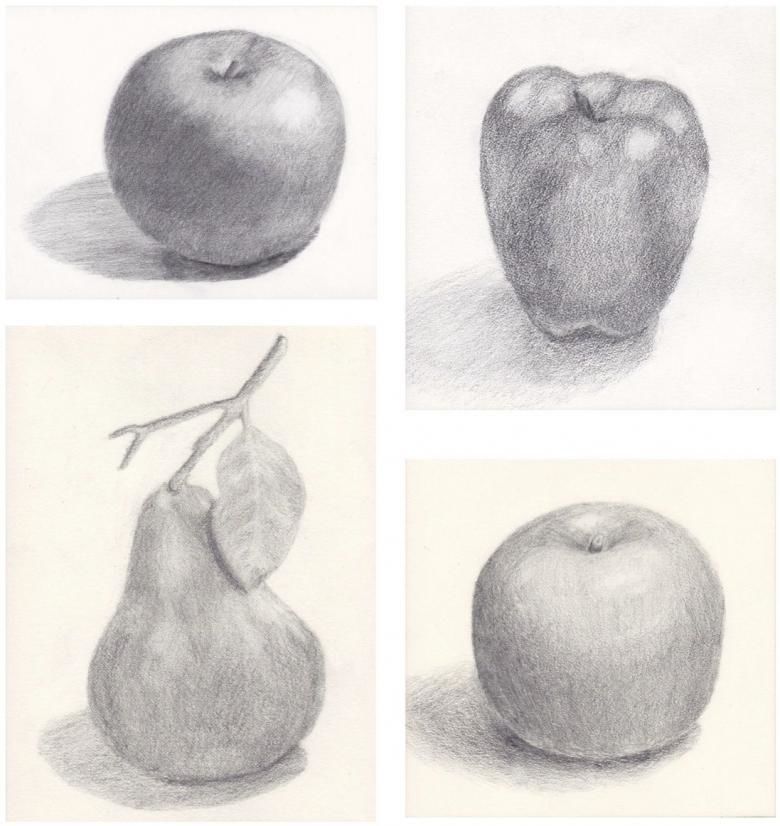
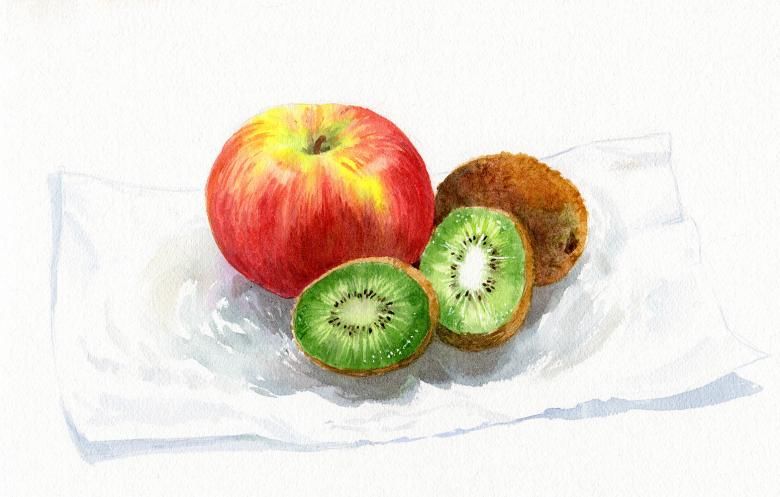
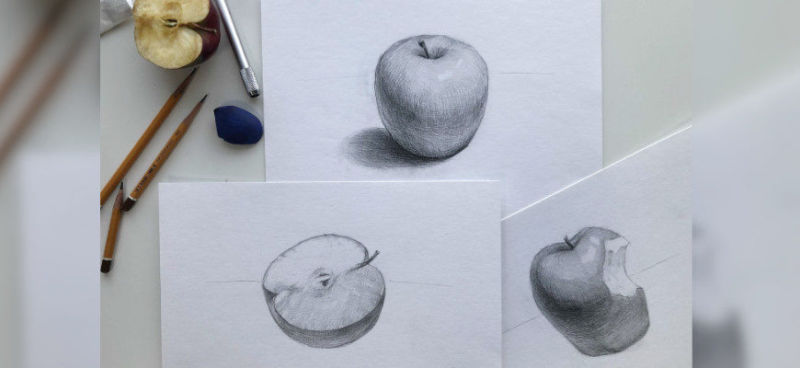
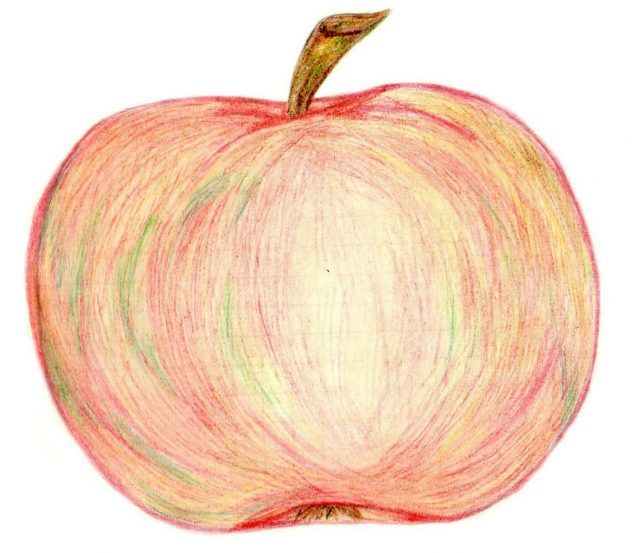
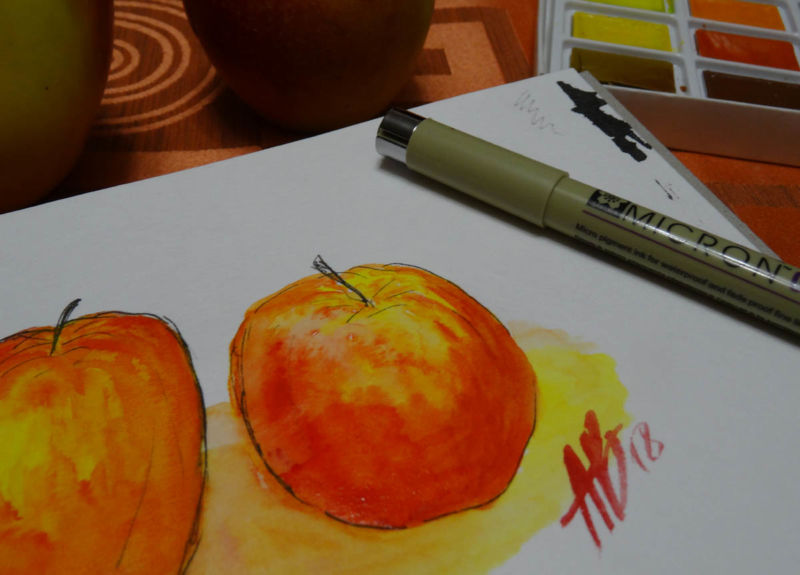
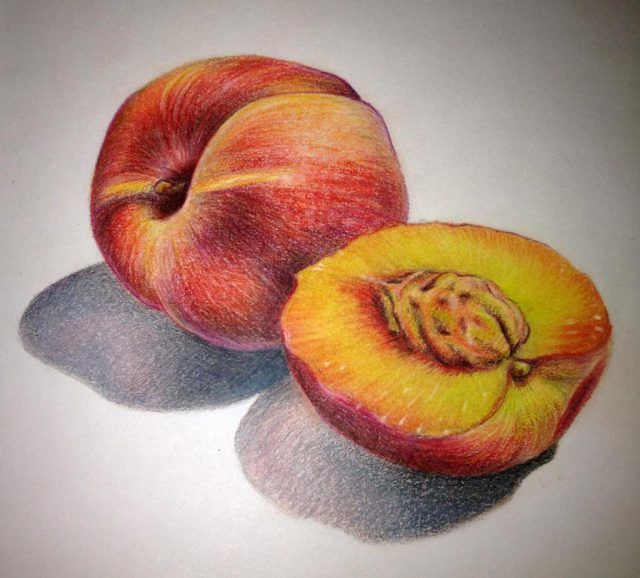
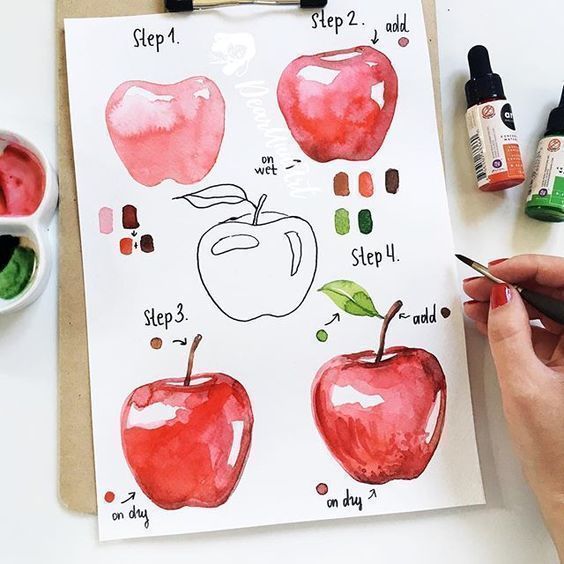
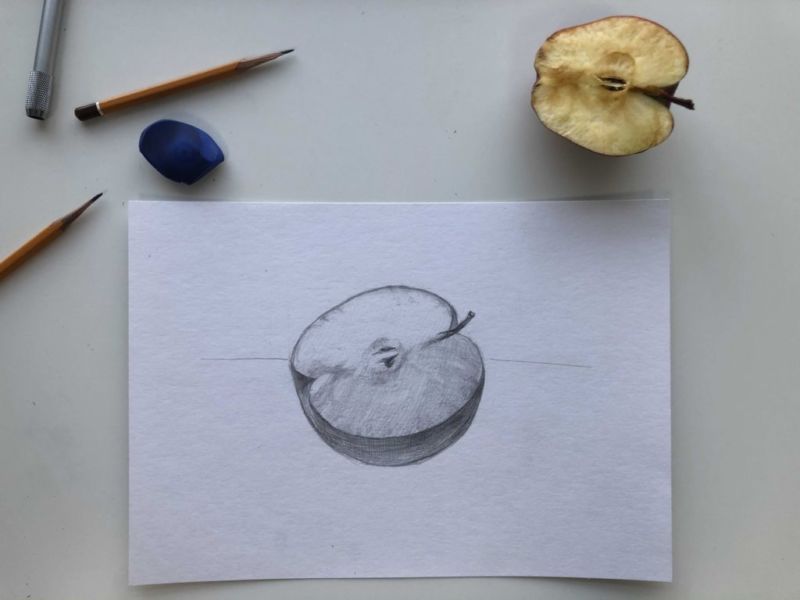
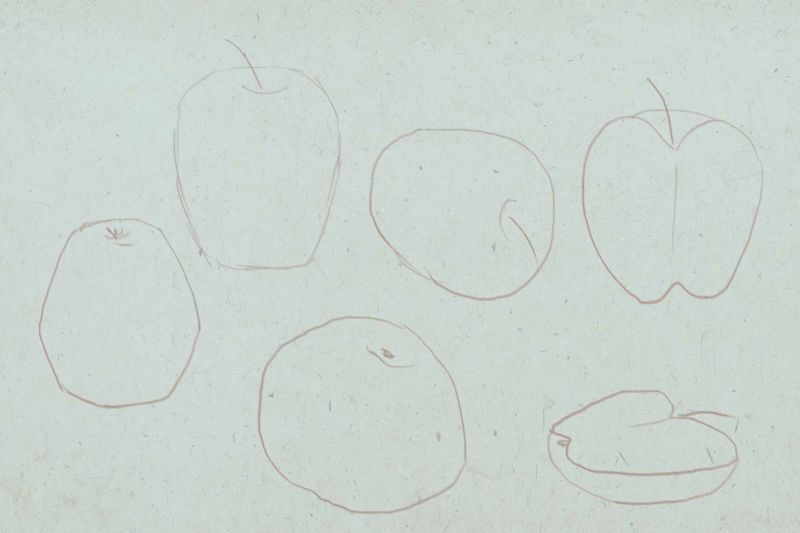
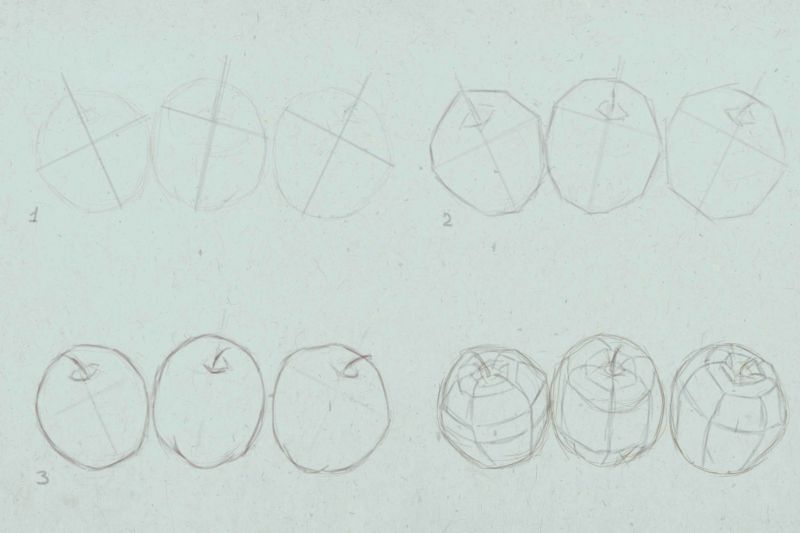
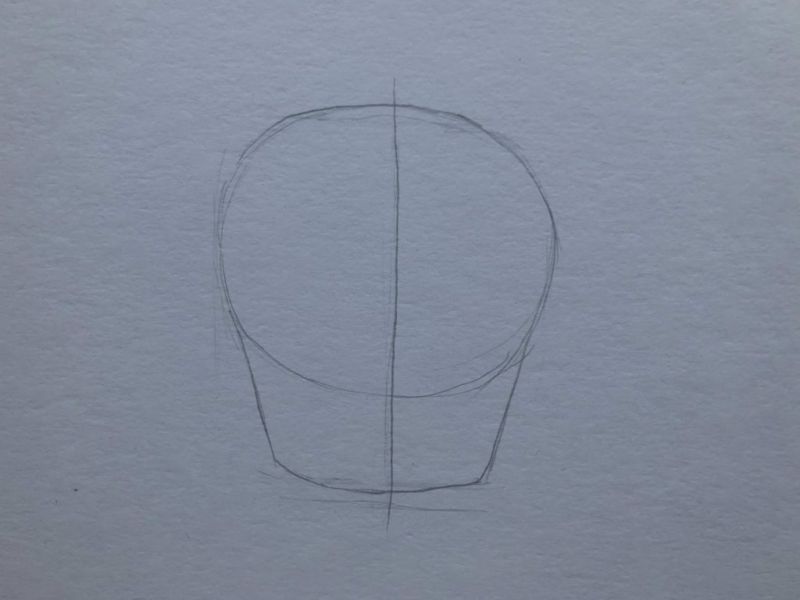
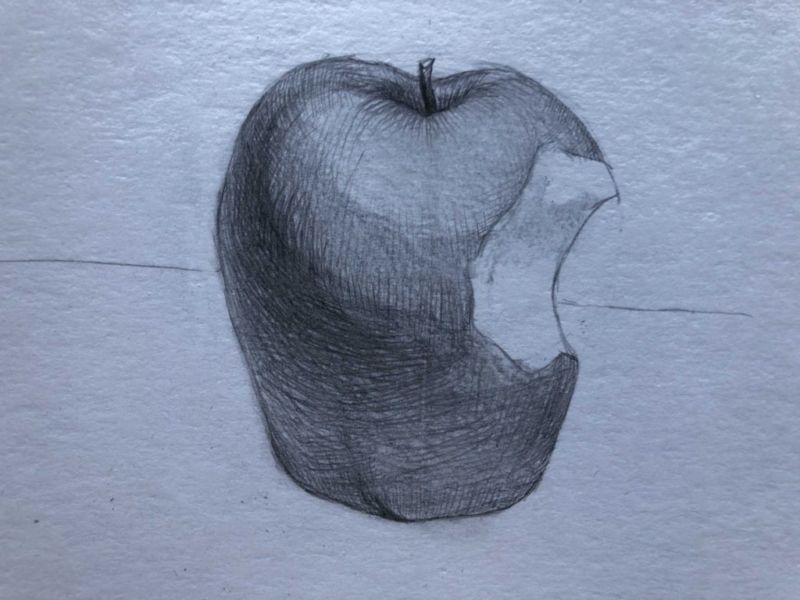
Apple
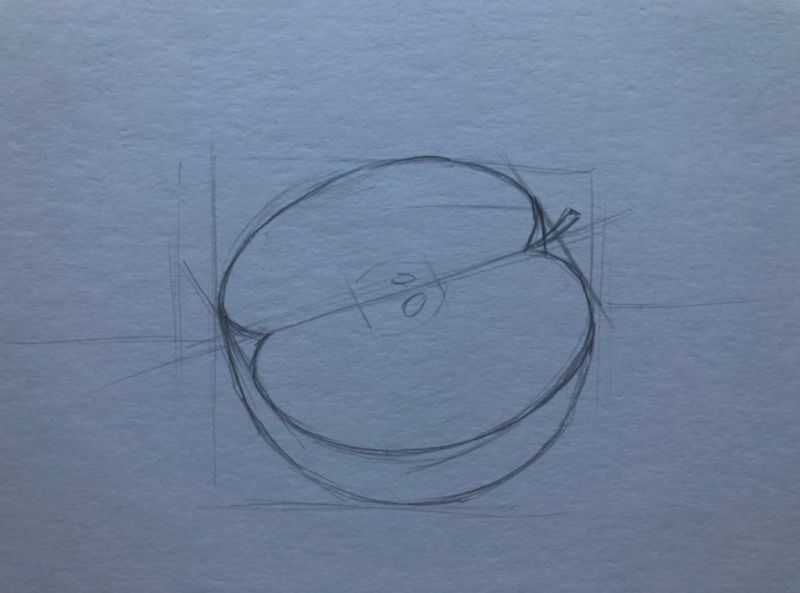
This sweet fruit with juicy flesh is the easiest to draw! The peach is based on the well-known geometric figure, the circle. After sketching the circle, you need to highlight the basic shapes of the apple within the sketched circle.
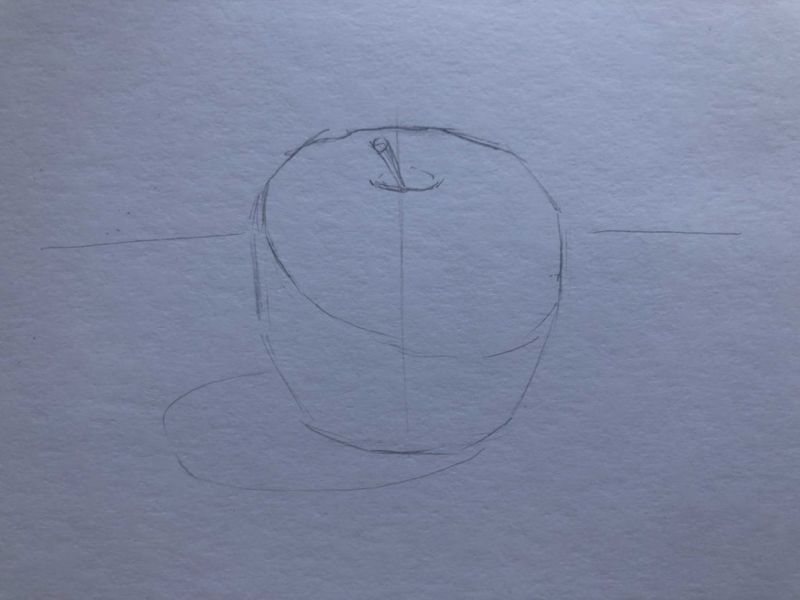
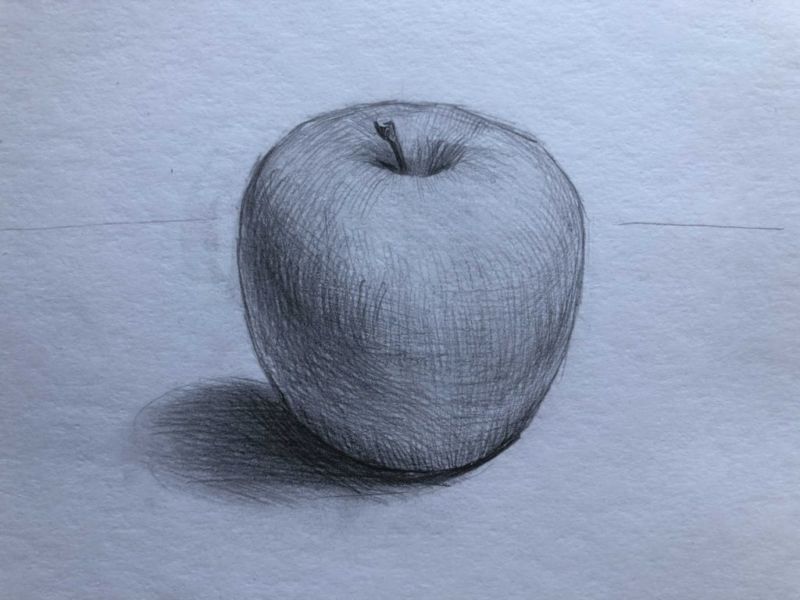
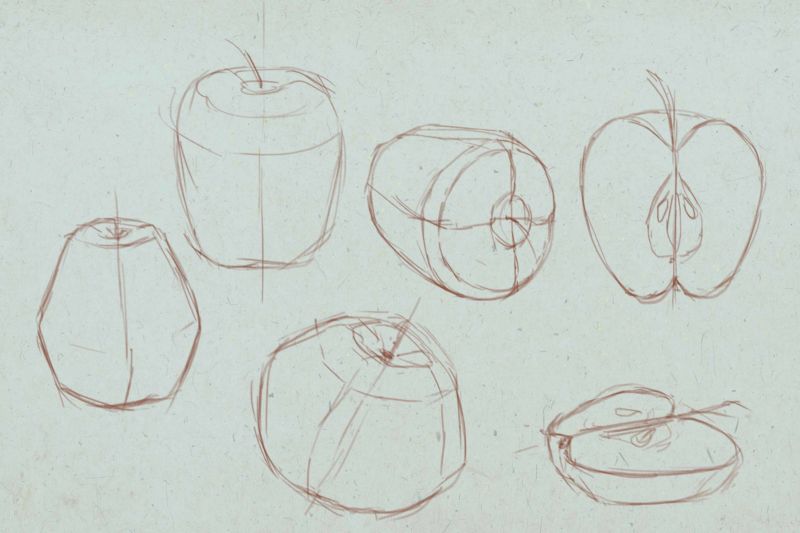
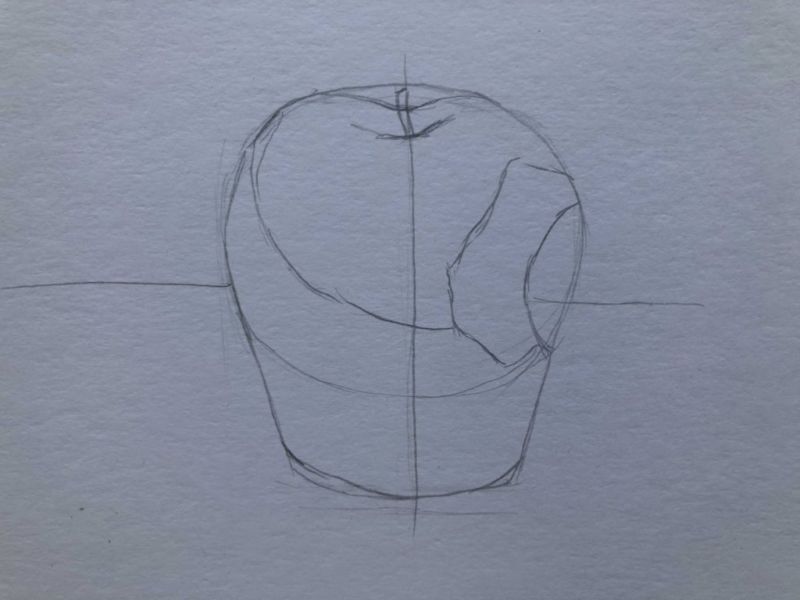
In the middle of the fruit should draw an arc, which seems to divide the fruit into two parts, and at the base of the arc on top to make a recess, which puts a twig. On the branch outlined a leaf.
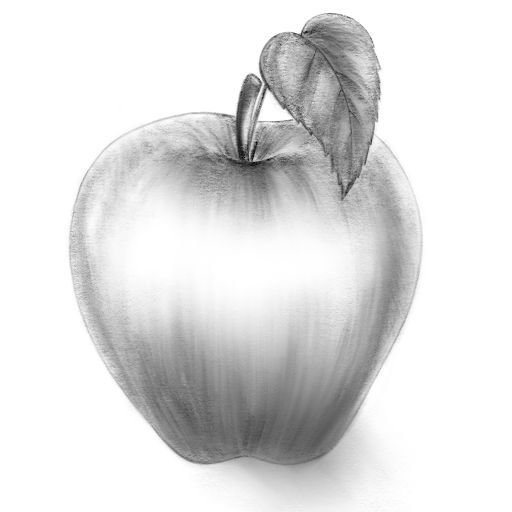
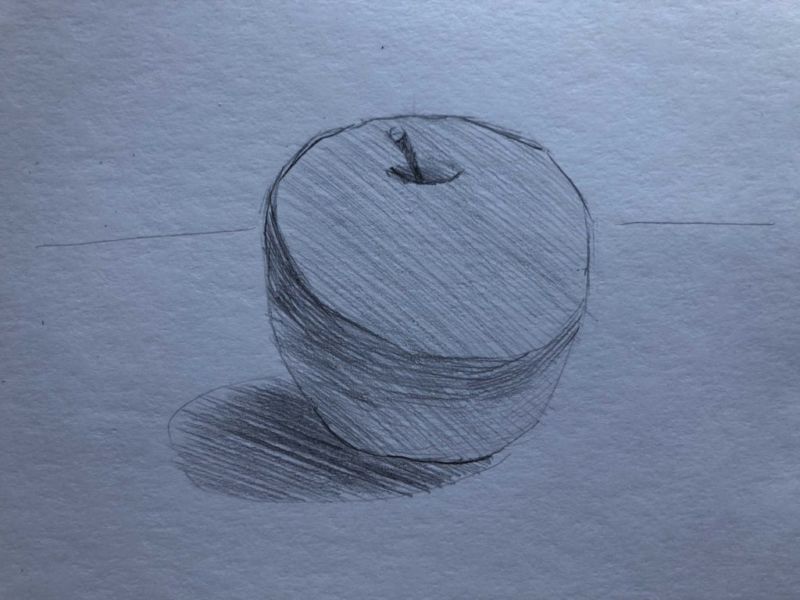
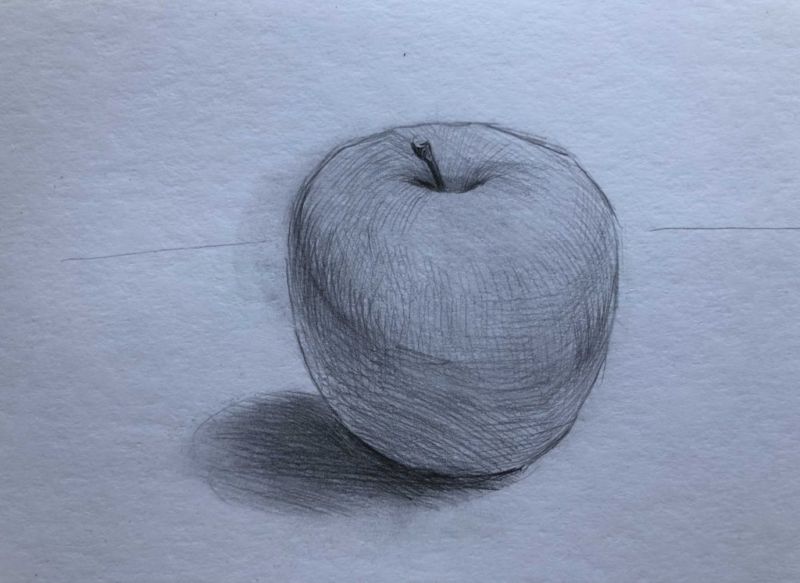
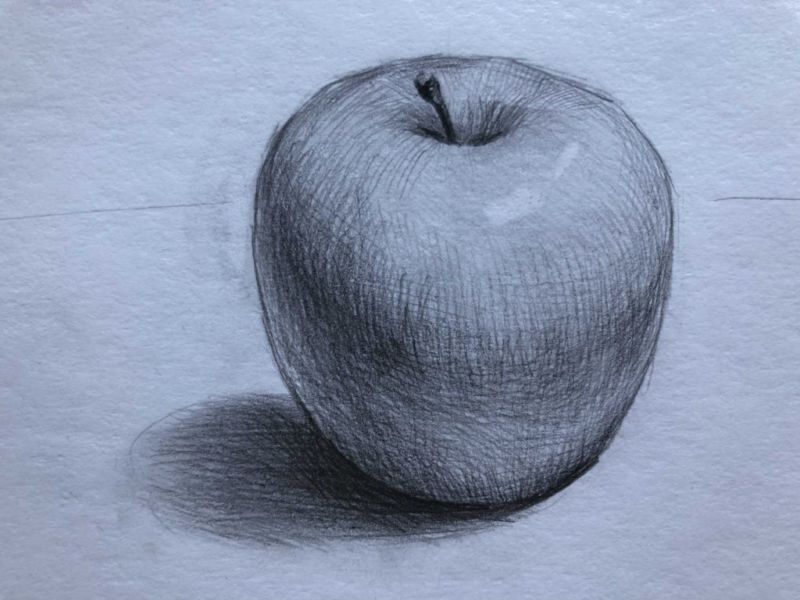
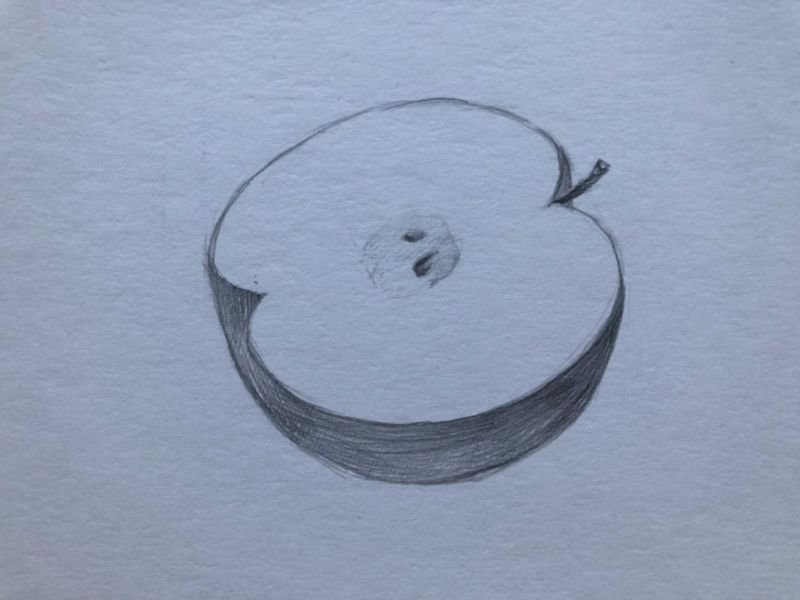
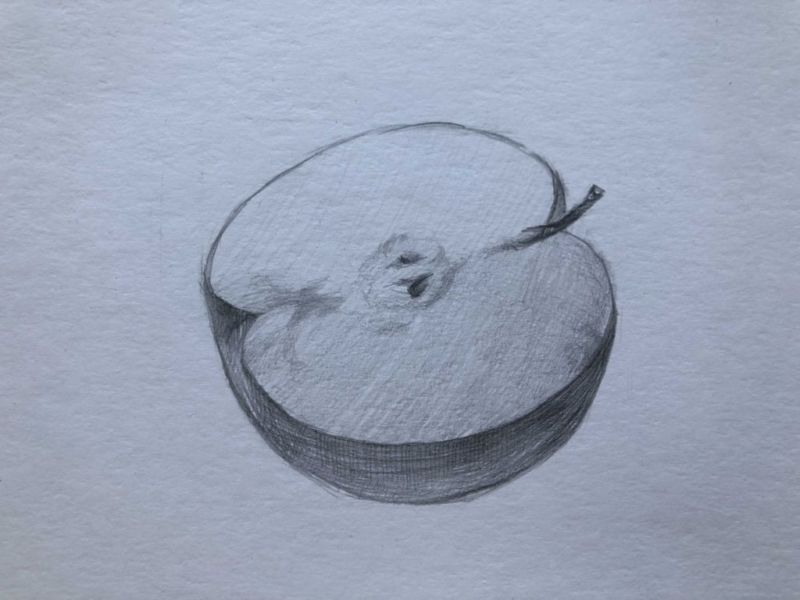
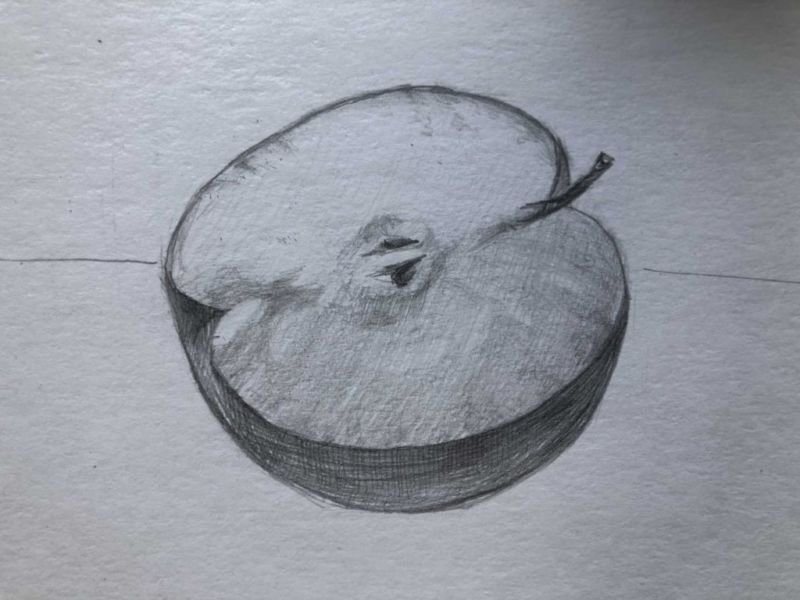
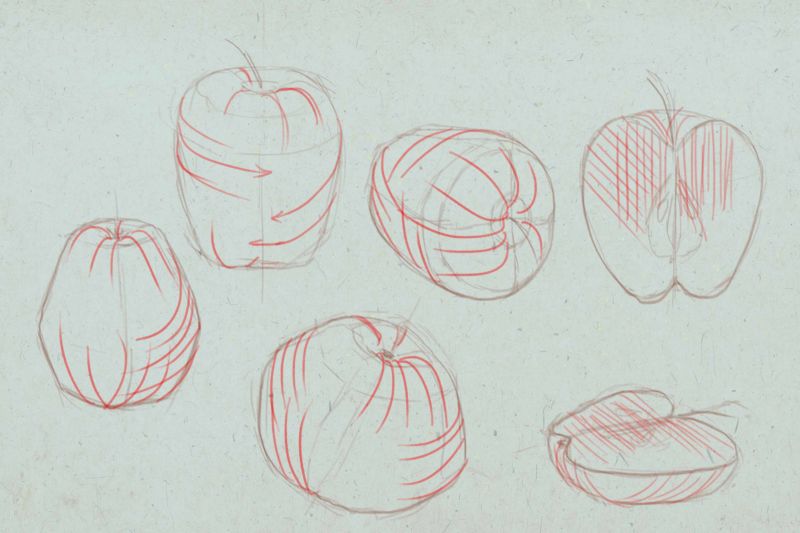
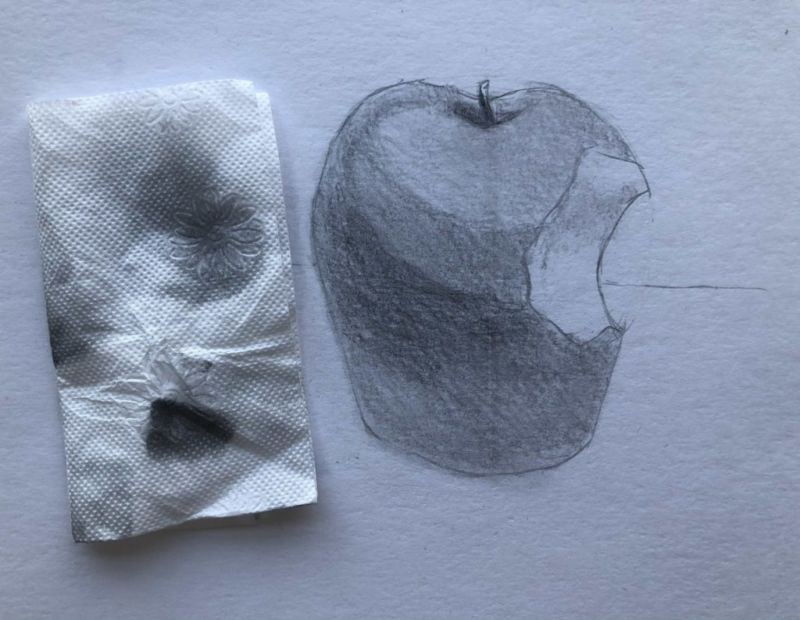
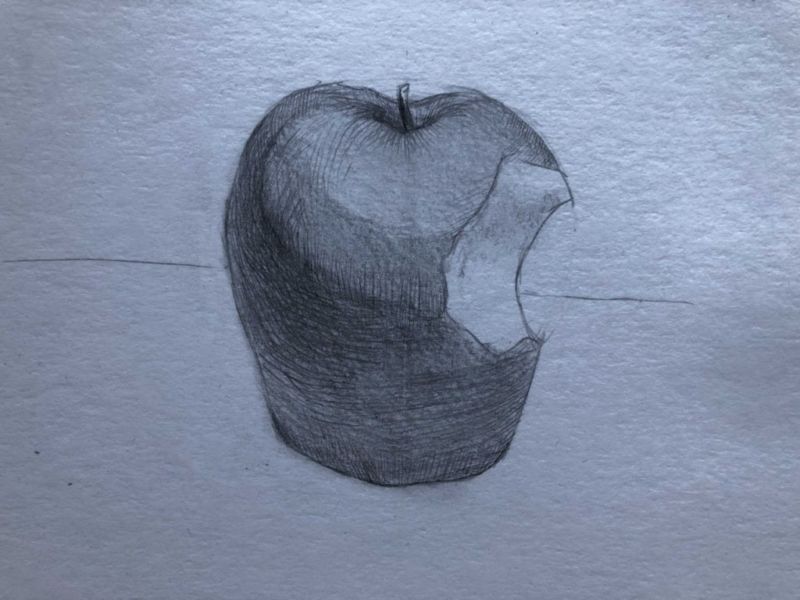
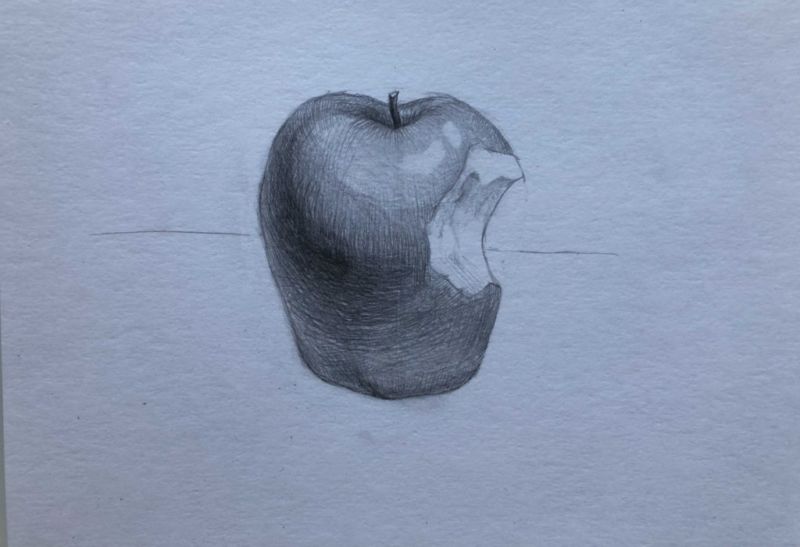
When painting it is important to trace the shadows, as well as paying attention to the contours and the recesses.
If you want to draw an apple in section, then special attention should be paid to the pit and the area around it. The pit has a lot of detail, and the flesh around it is darker and veins can be seen.

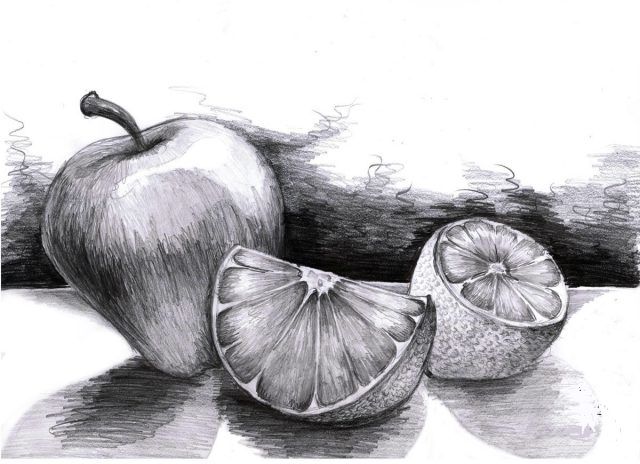
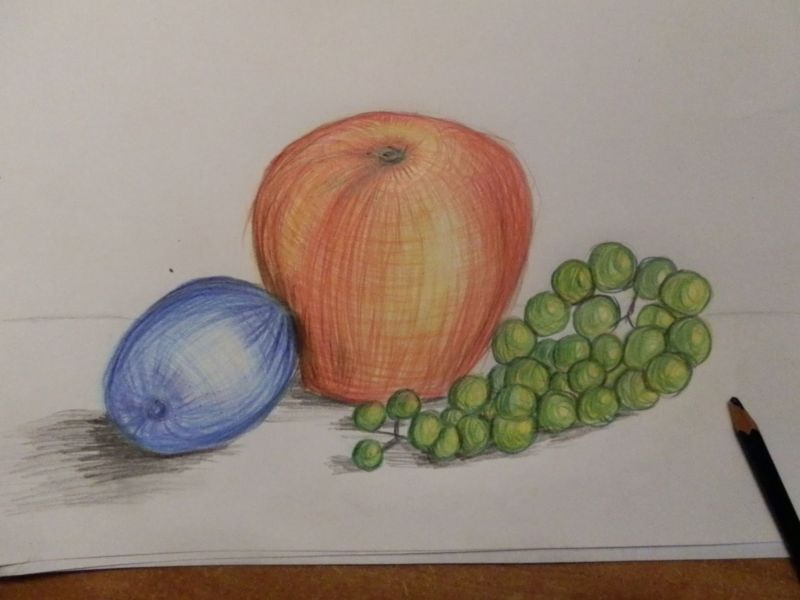
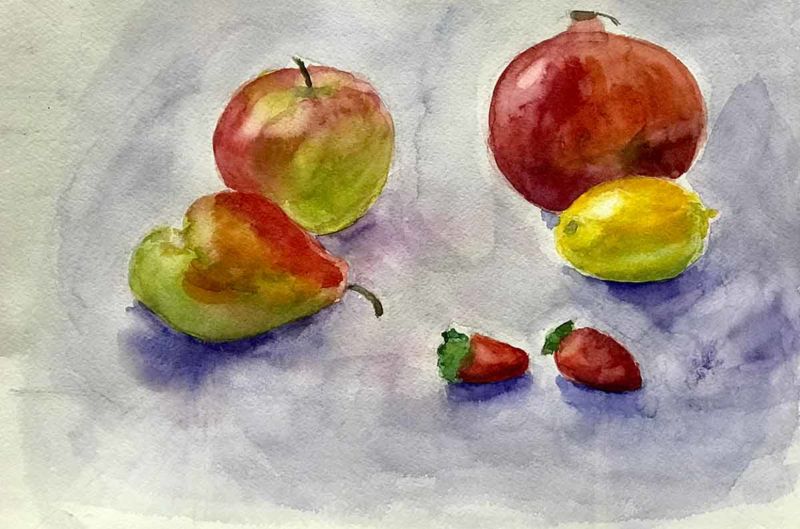
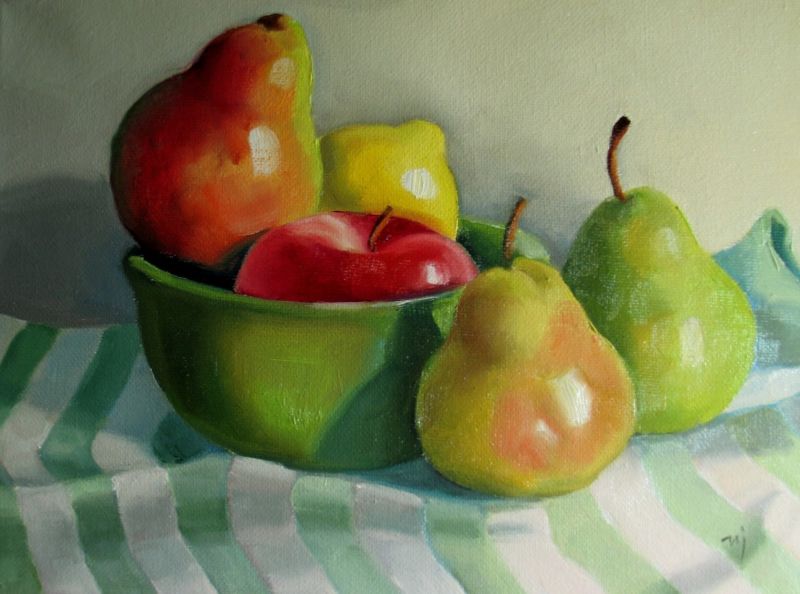
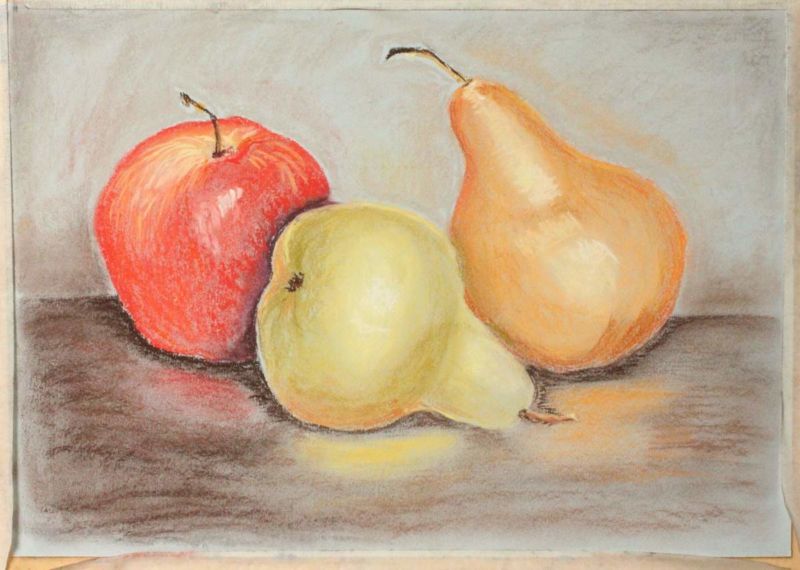
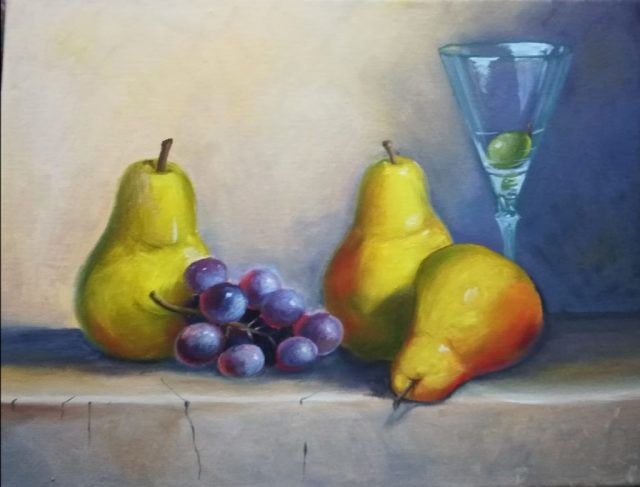
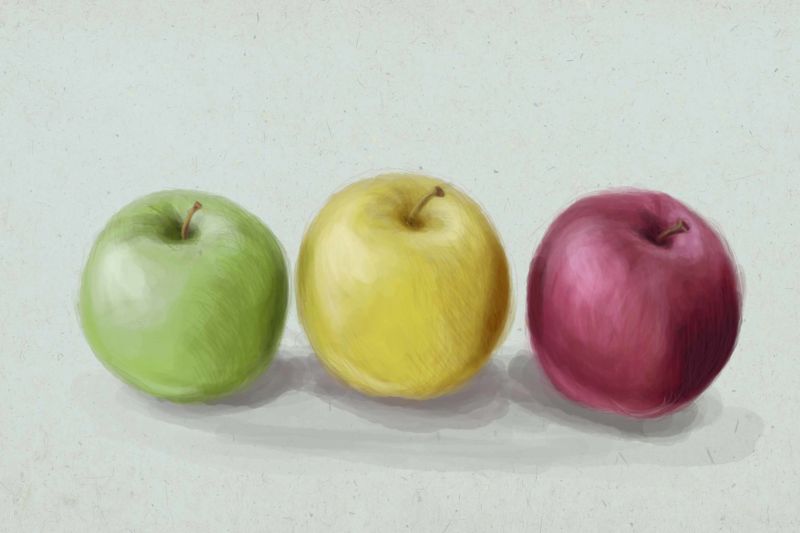
Still Life
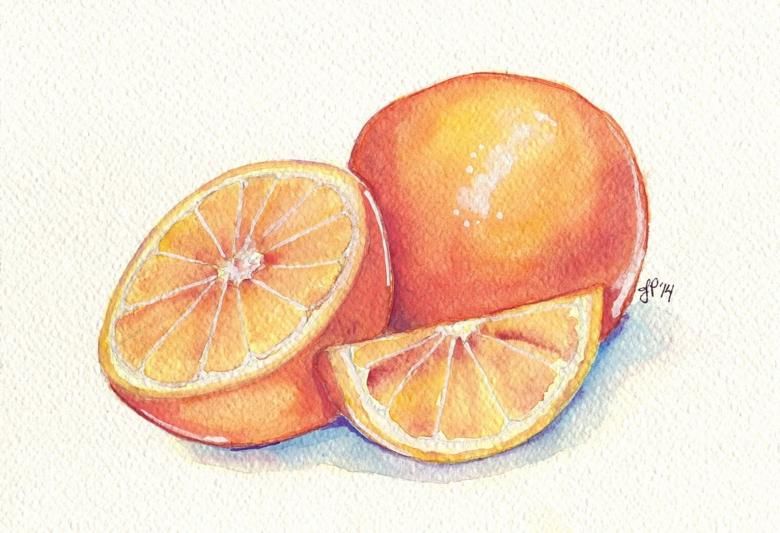
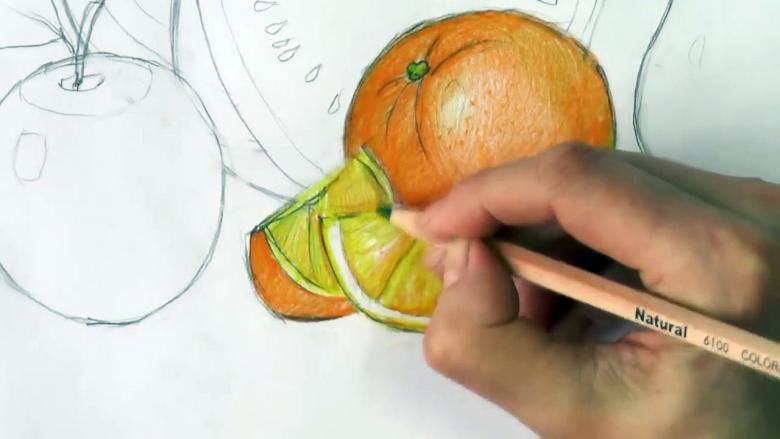
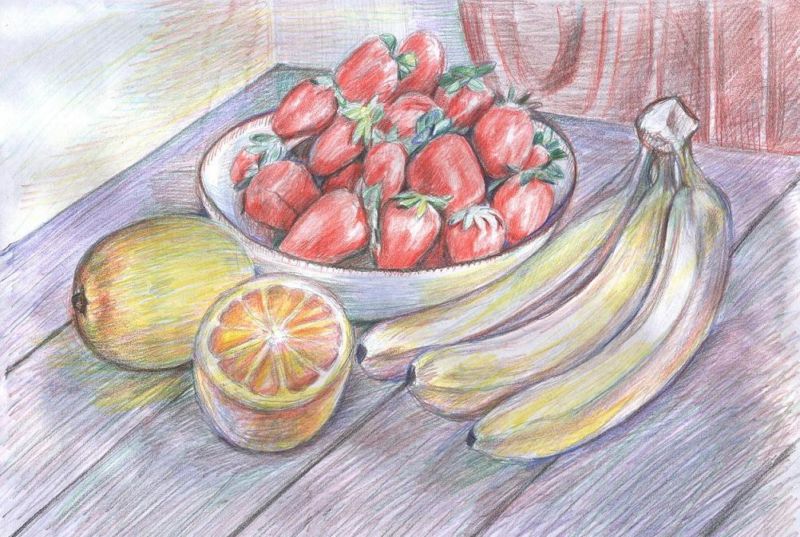
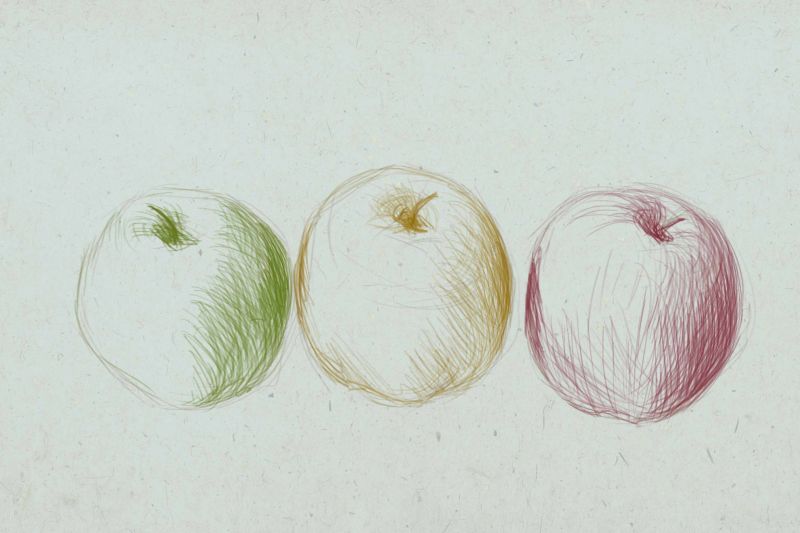
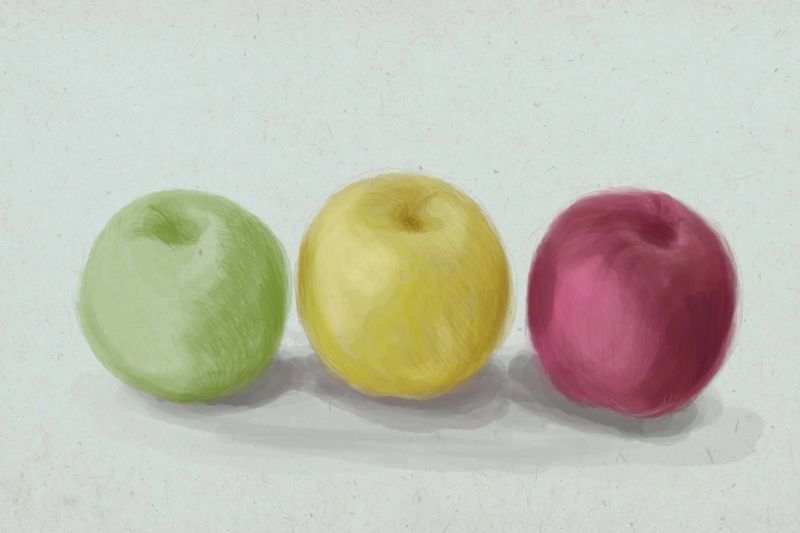
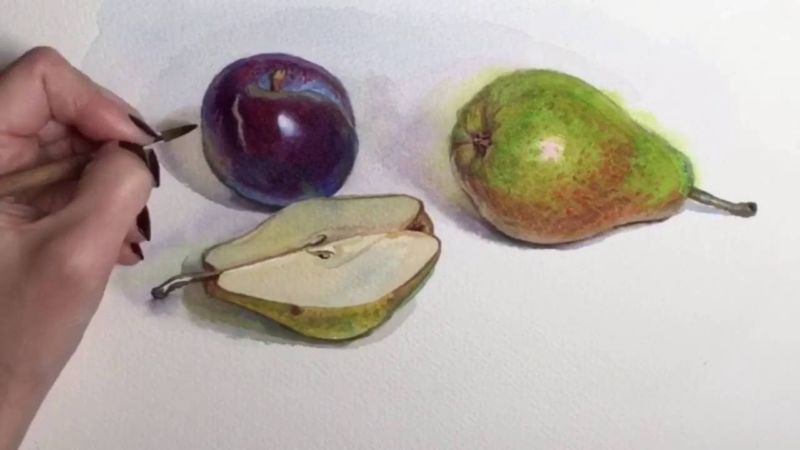
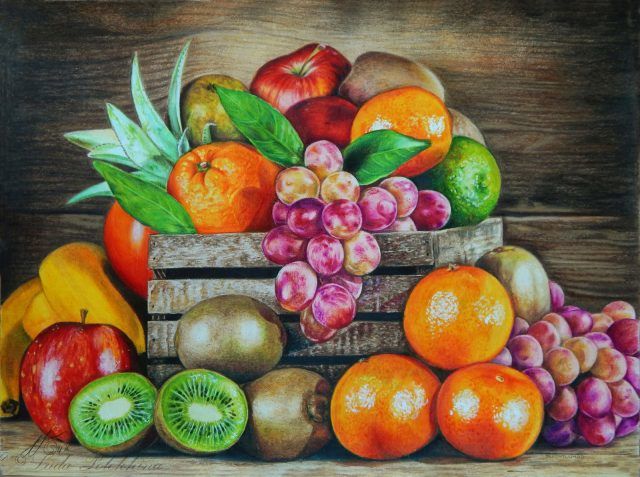
When you've learned how to draw different fruits one by one, you can start with still life. It's also worth trying to work with colored pencils. This will help add realism to the succulent fruits.
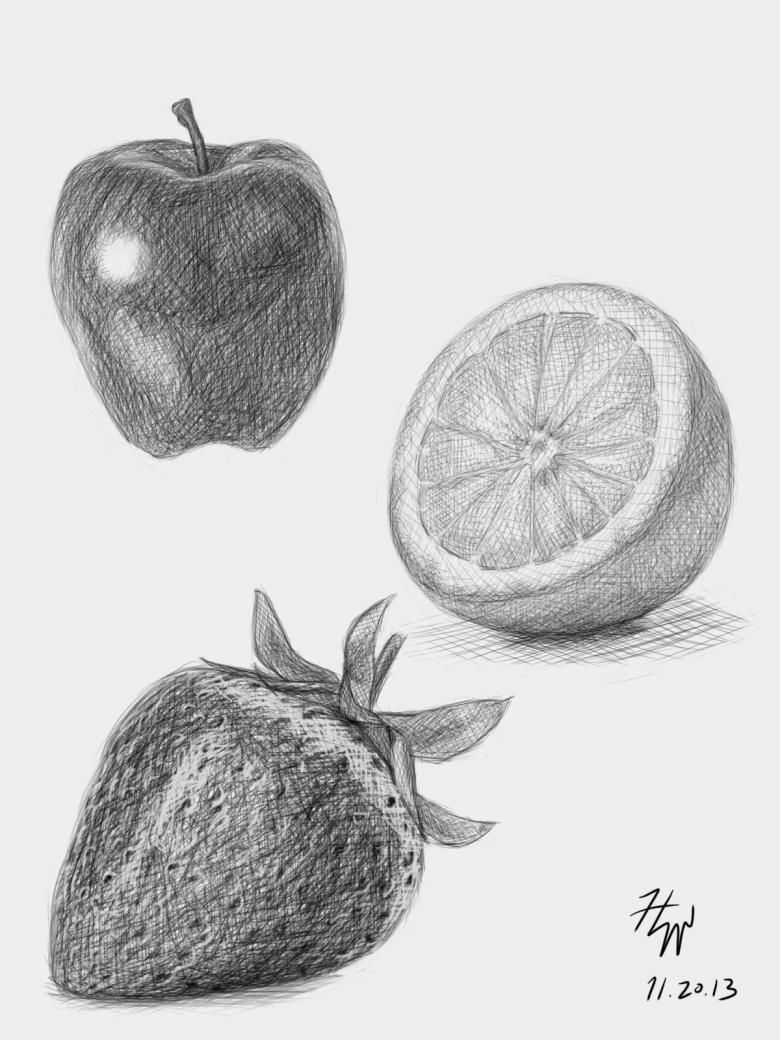
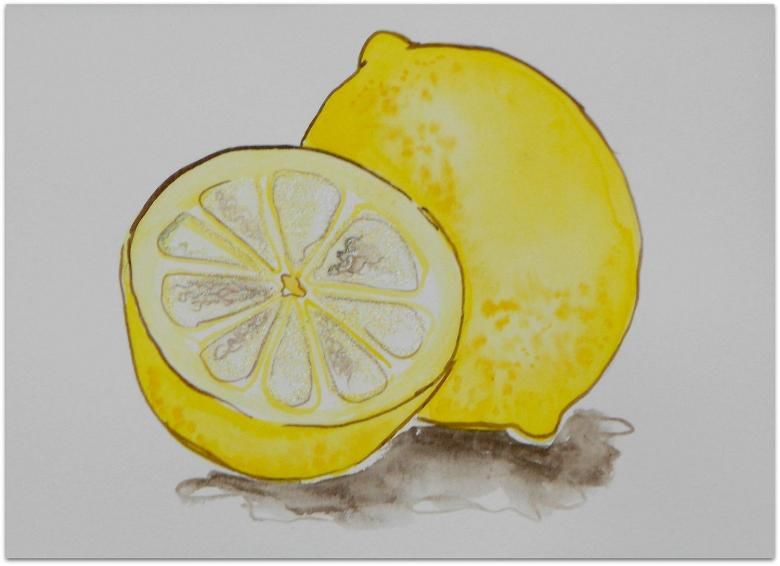
First, let's define the components of our fruit still life. Let it be pear, apple, strawberry, lemon, watermelon and orange.
Step 1 is to draw the geometric shapes of the fruit with a soft pencil and arrange them in space. To create volume, you can place some of the fruit behind others, so that one part of the fruit remains as if in a blind area.
Geometric shapes are as follows: pear and lemon - a simple oval shape to begin with, apple, orange and watermelon - a ball, strawberry - the shape of an inverted drop.

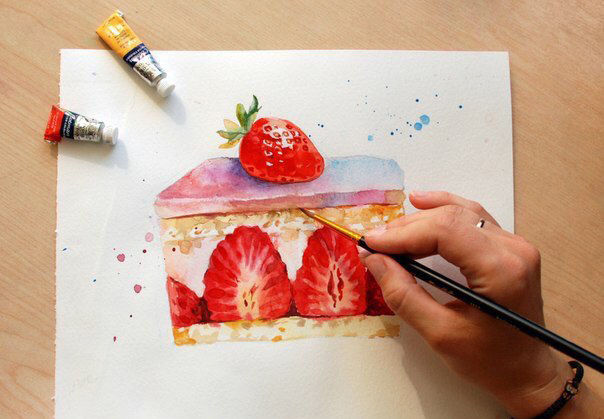
Step 2 is detailing. The most complicated objects in this regard are the strawberry and watermelon. The apple is drawn in section, so it is important to draw the seeds, it is also important to mark the glare area, the hole for the stem, the stem itself and the leaf.
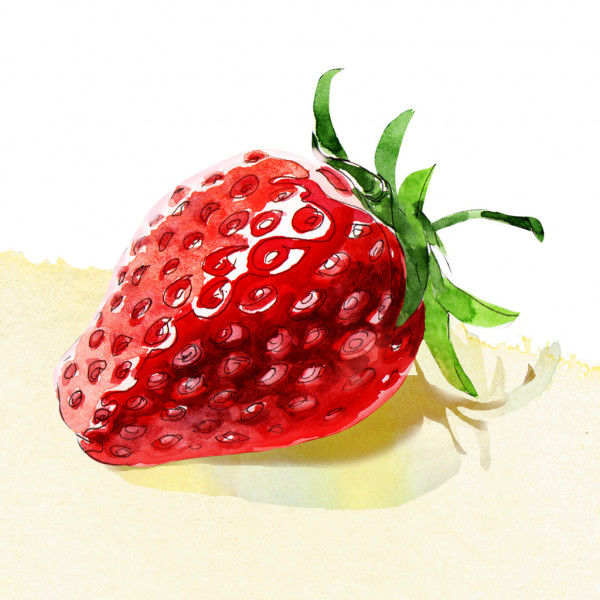
Strawberries are covered with small speckled seeds and a stalk of leaves on top. The peel of the orange and lemon should be painted with small, hardly noticeable specks. On the watermelon crust, it is important to depict the inherent coloring in non-uniform stripes.
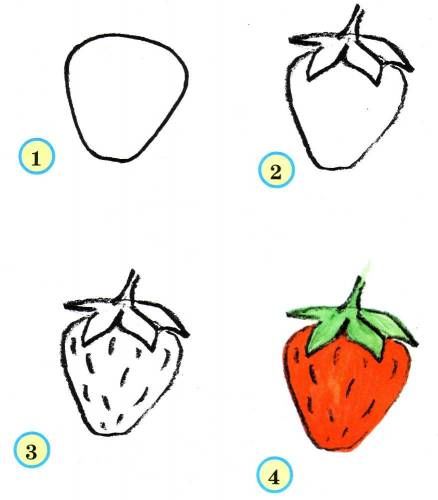
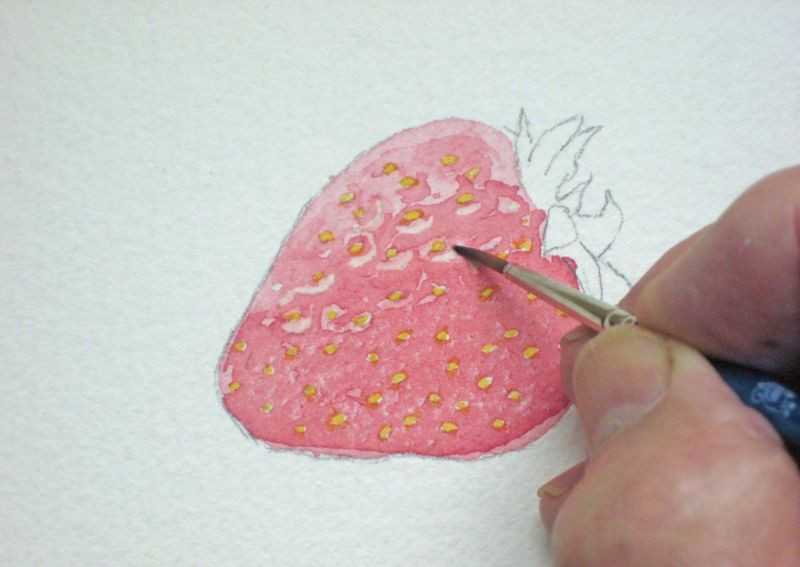
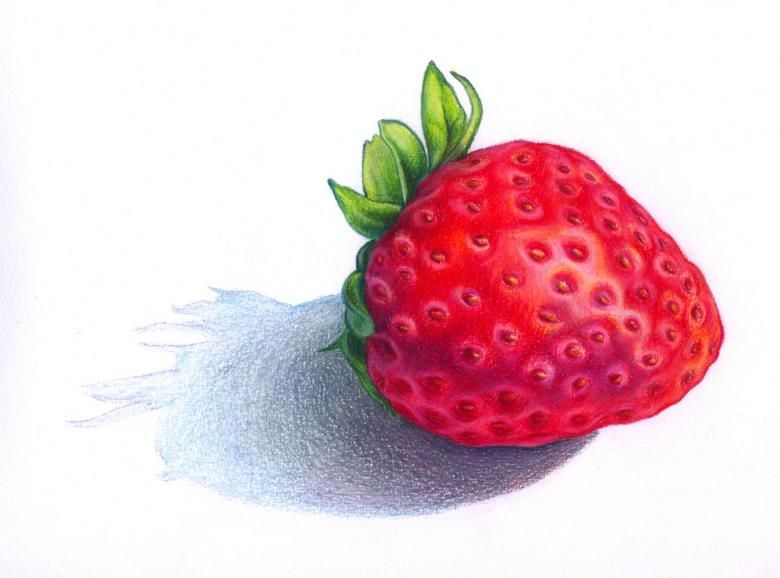

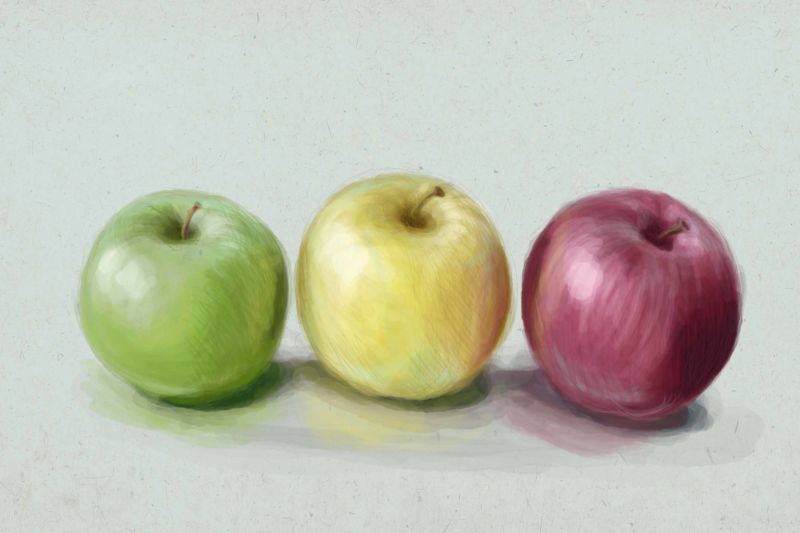
Step 3 is coloring, shading, and refining the other important places. When coloring fruit with colored pencils, the main thing is to observe the places where the glare and shadows fall, so as not to lose the volume of the image.
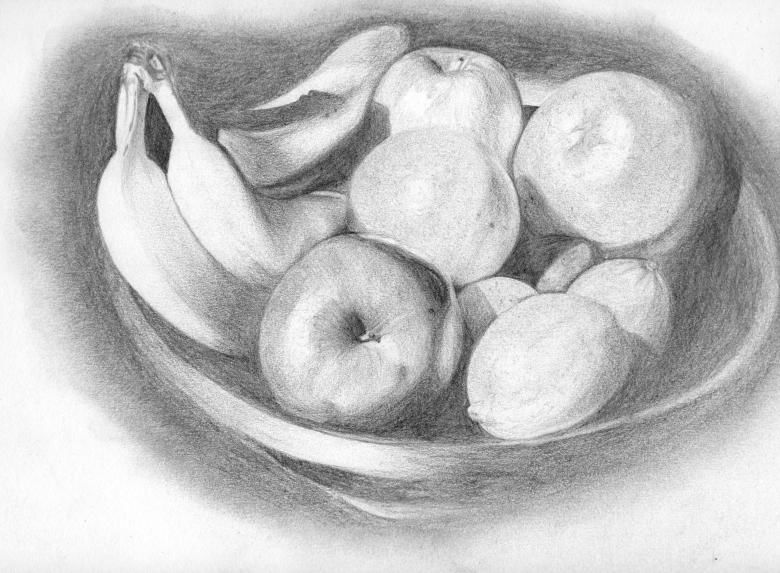
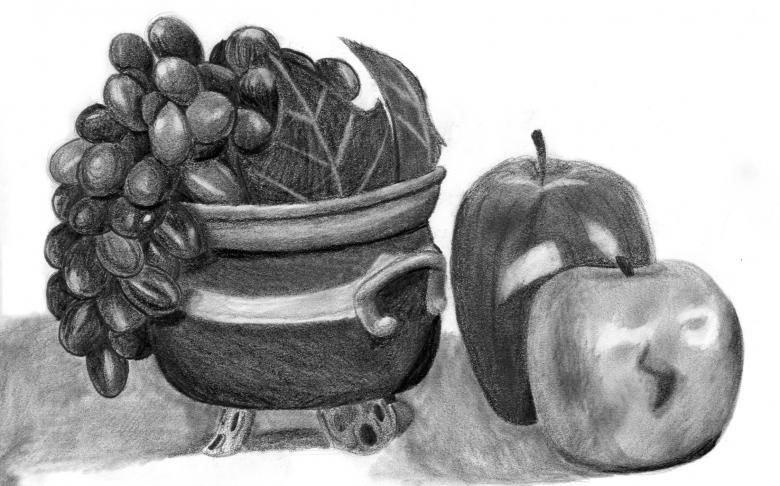
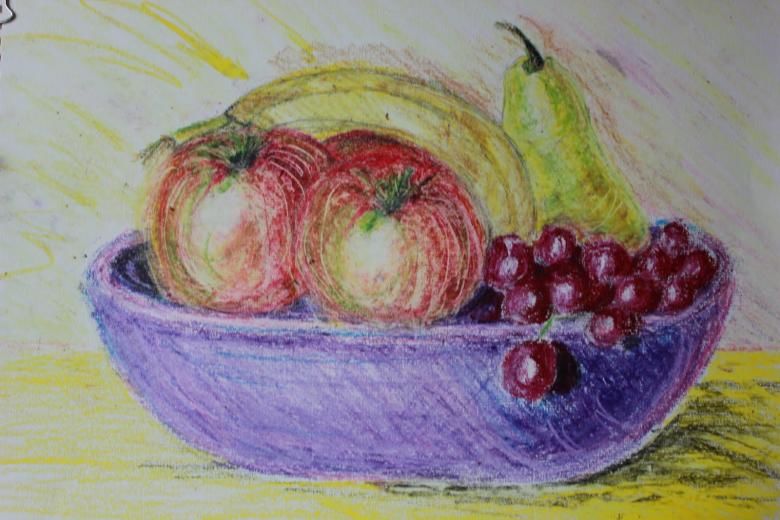
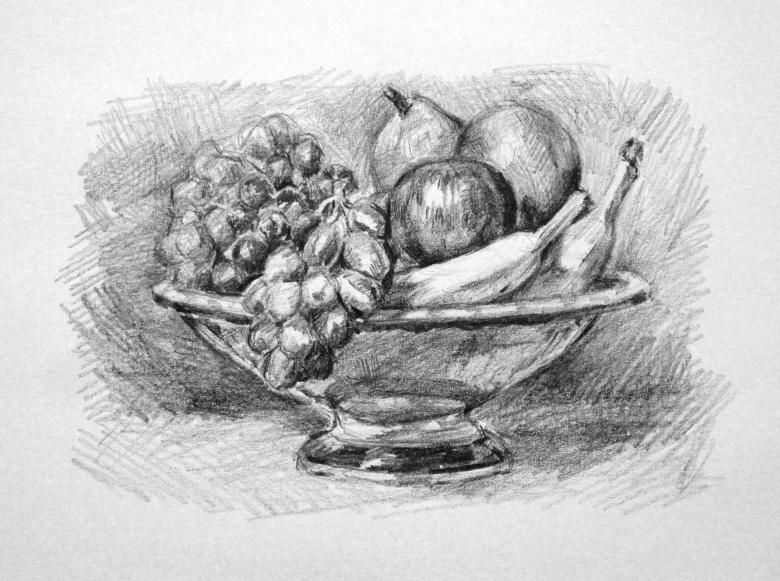
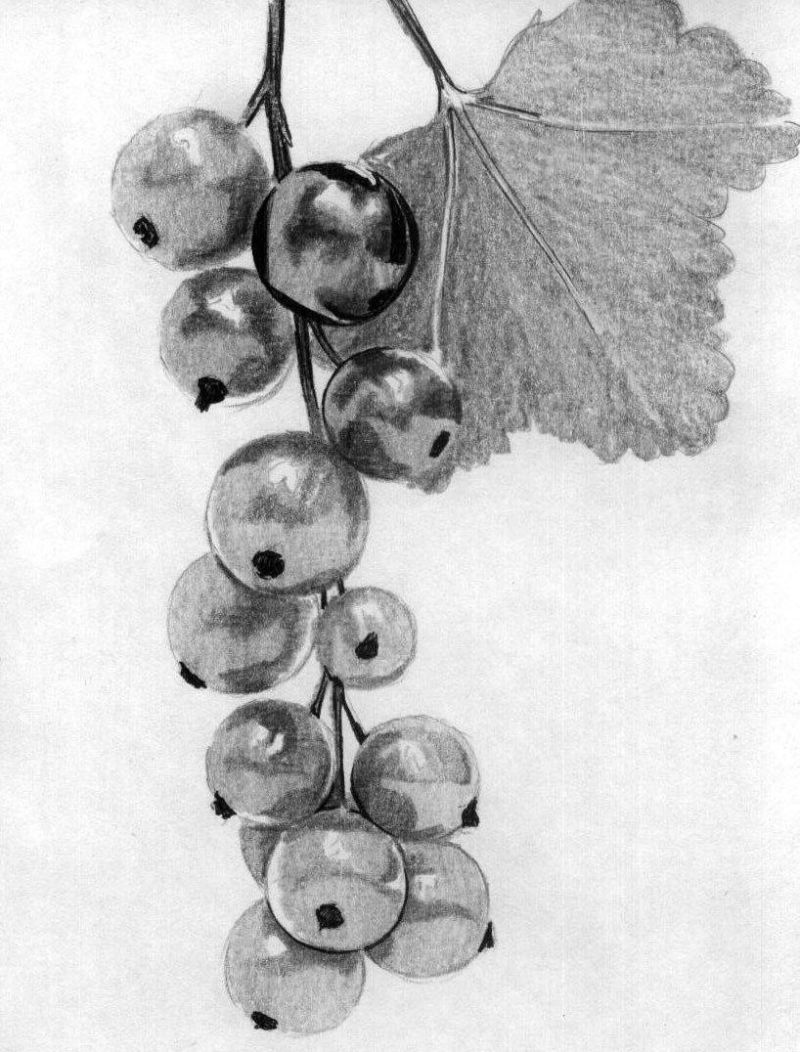
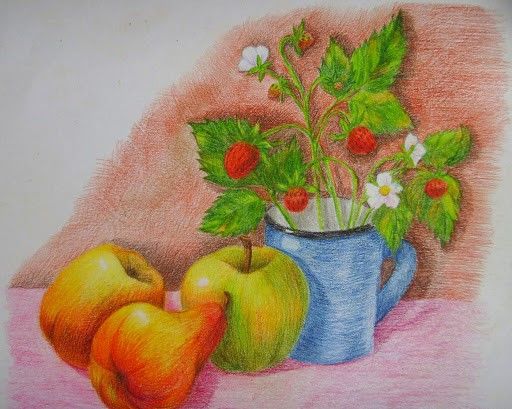
Basket of fruit
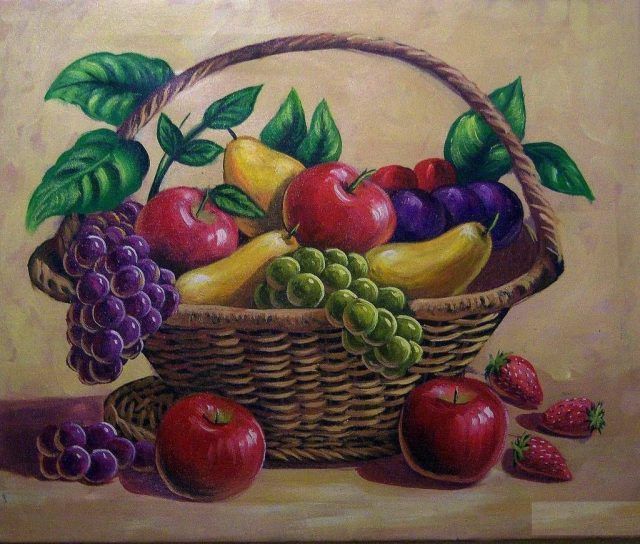
The depicted fruit in the basket in the drawing, as well as still life, will perfectly complement the kitchen interior and will cause appetite at the mere sight of the image.
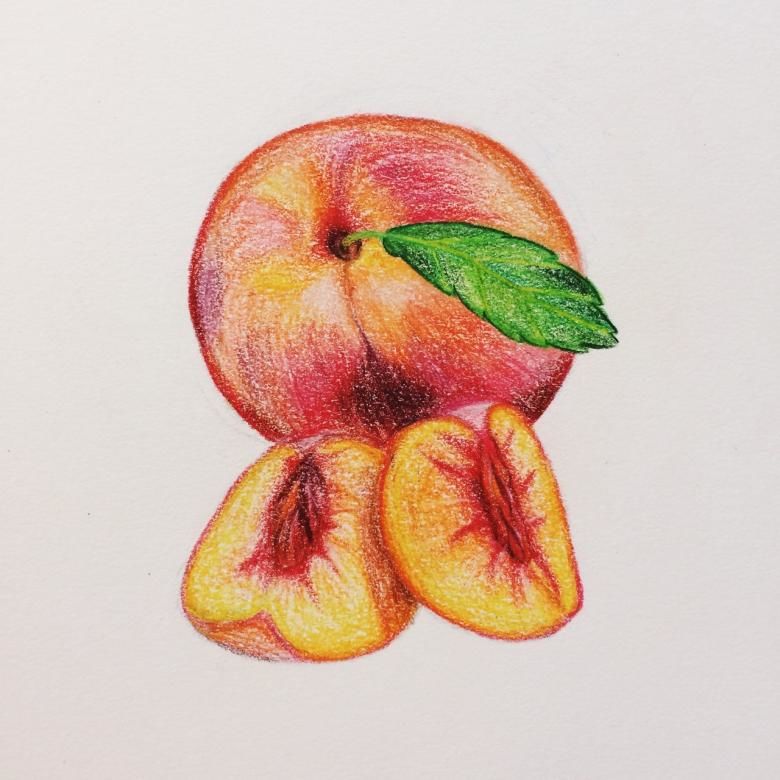
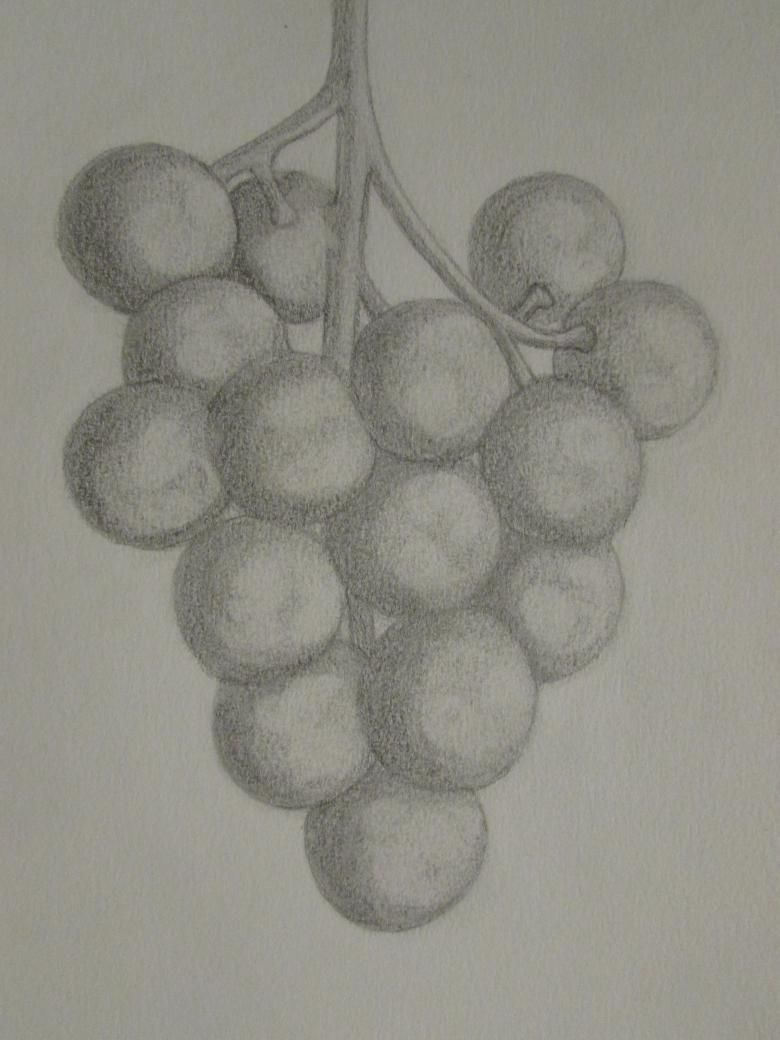
In the basket we will place the following fruits: many bunches of grapes, a peach, plums and a pear:
- First, we draw a barely visible line, and around this line we draw an equally barely visible oval. This oval is the outline of the basket, from which the fruit will be visible.
- Smoothly draw the silhouettes of fruit and the basket itself. It is worth observing the symmetry, so you can help yourself barely visible lines.
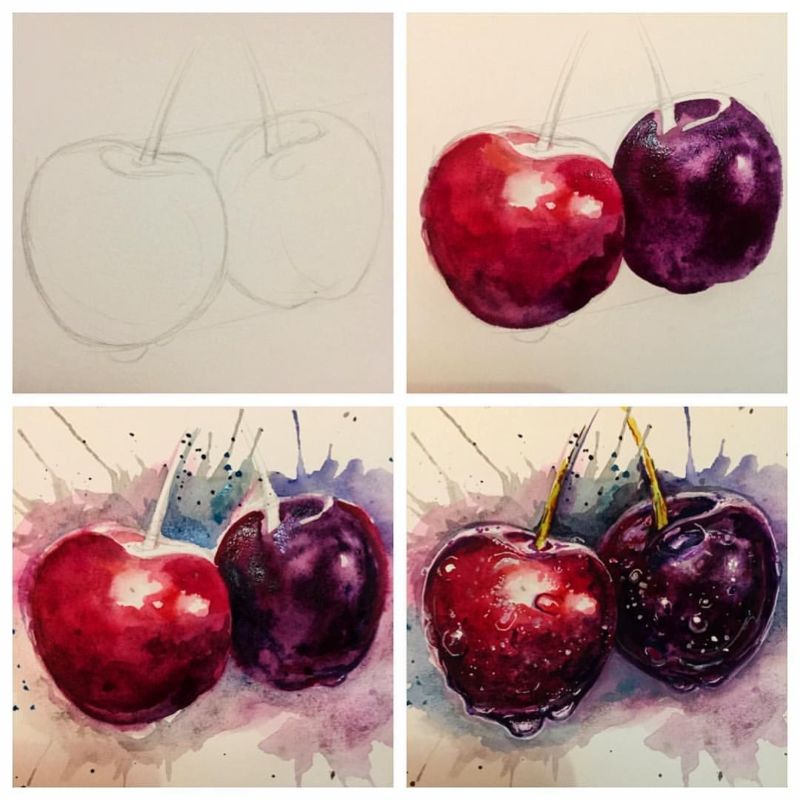
- Next, as usual, there is detailing. Every berry of the grape and plum, every crease and depression in the peach, the outline of the pear, and the features of the pear that we have discussed before are drawn in detail.
- Shadows and highlights are drawn. It is very convenient to trace them using shading, not pressing the pencil hard.
- Some places are brushed to achieve a gradient and smooth transitions, and the omitted details are finalized.
- It is the turn of the basket. It's important to pick the right color and fully work through the weave.
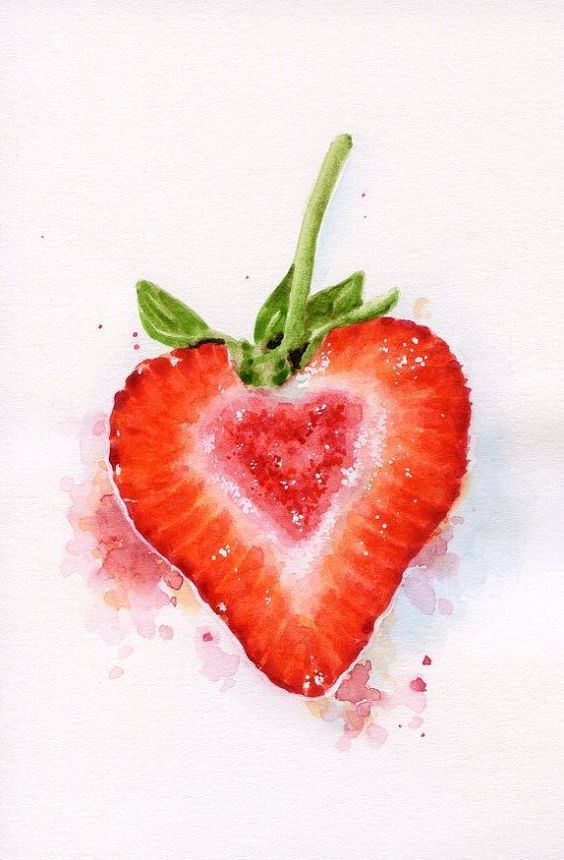
Your own hand-painted fruit will be a great decoration for your kitchen. Your loved ones and guests are sure to appreciate this artistic work.
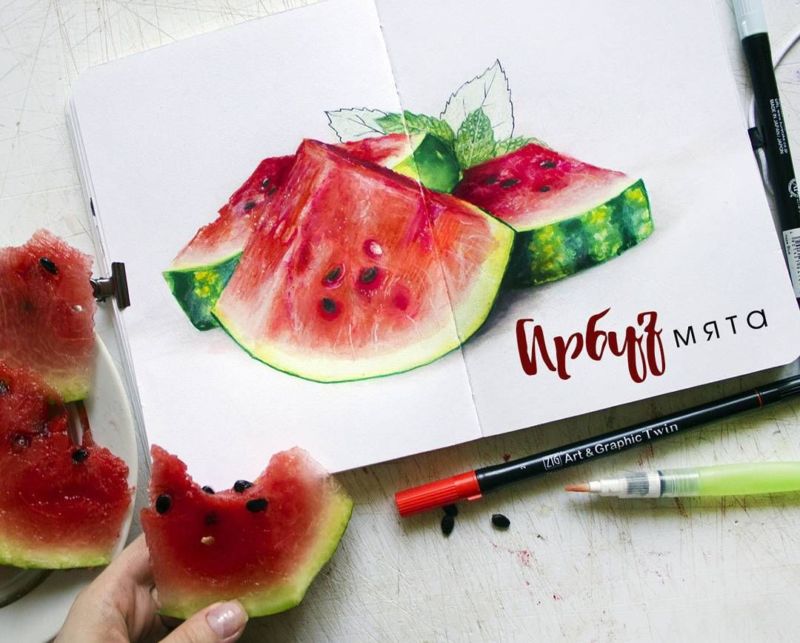
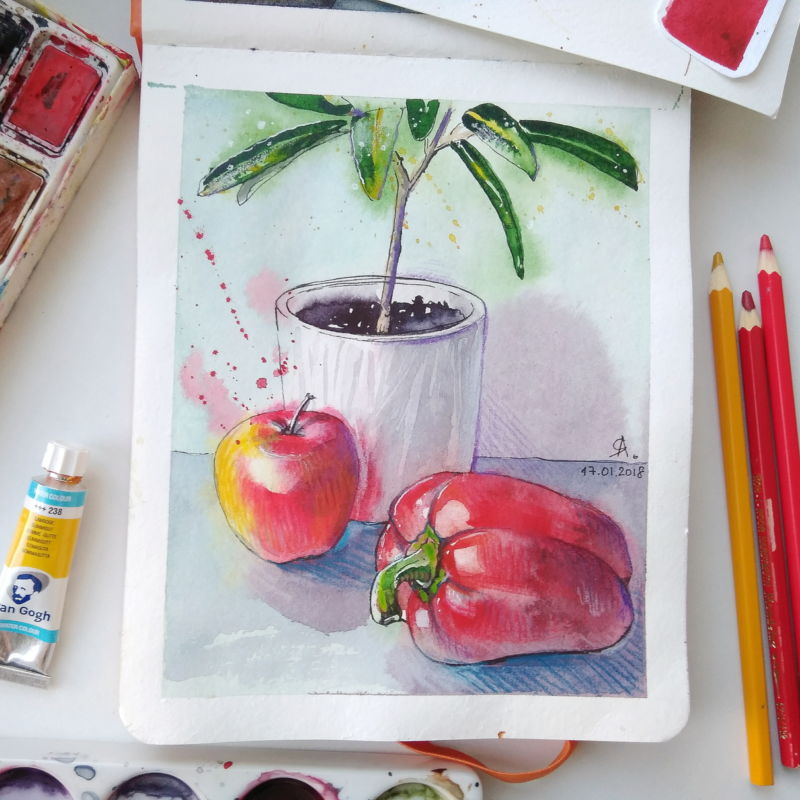
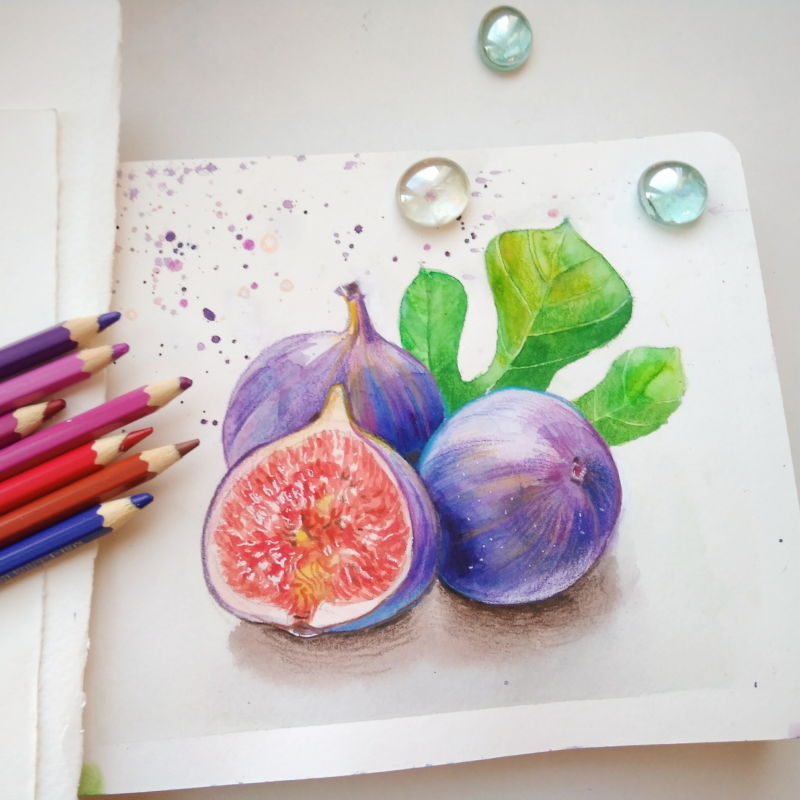
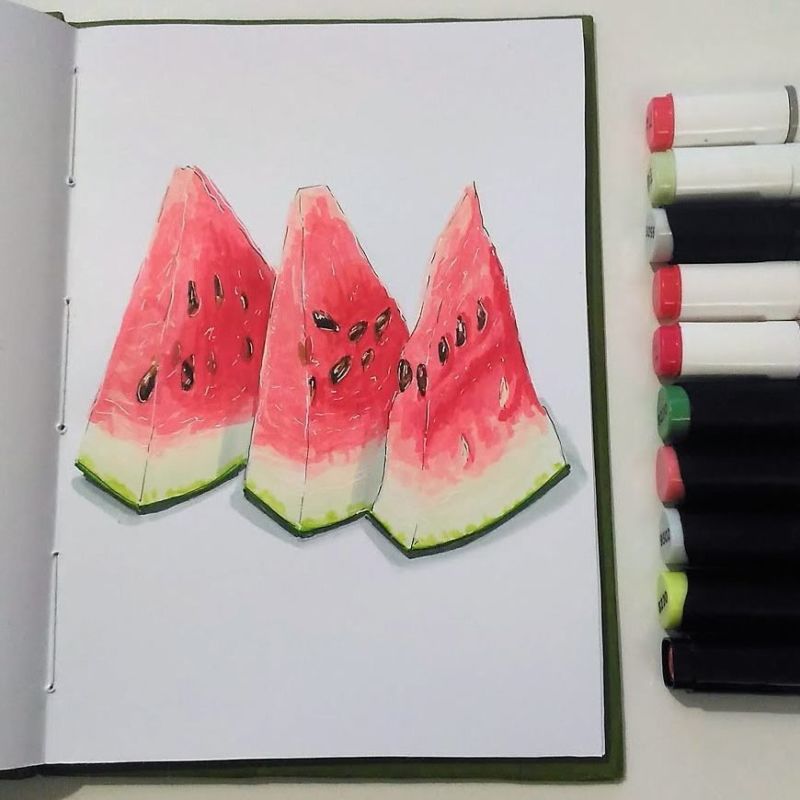
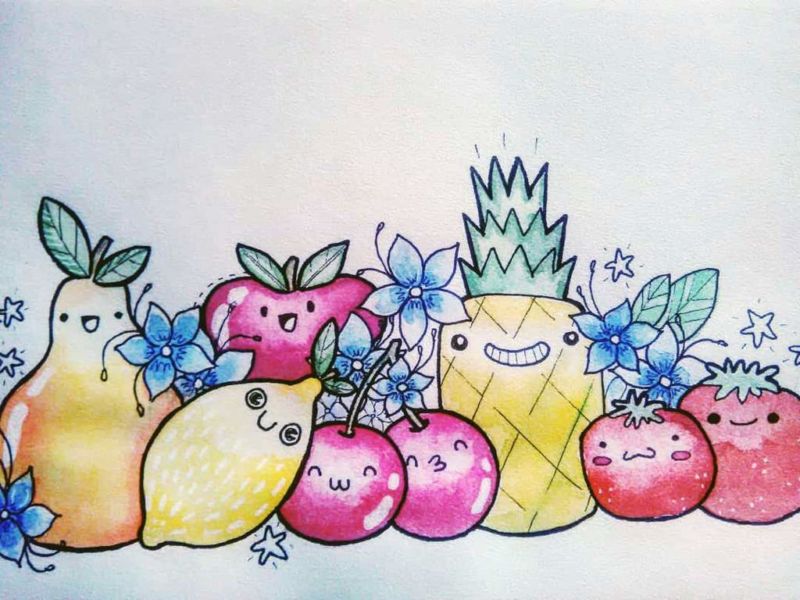
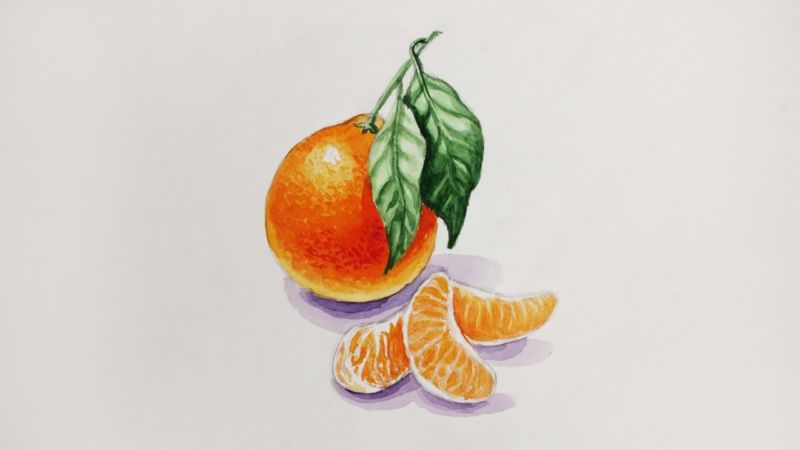
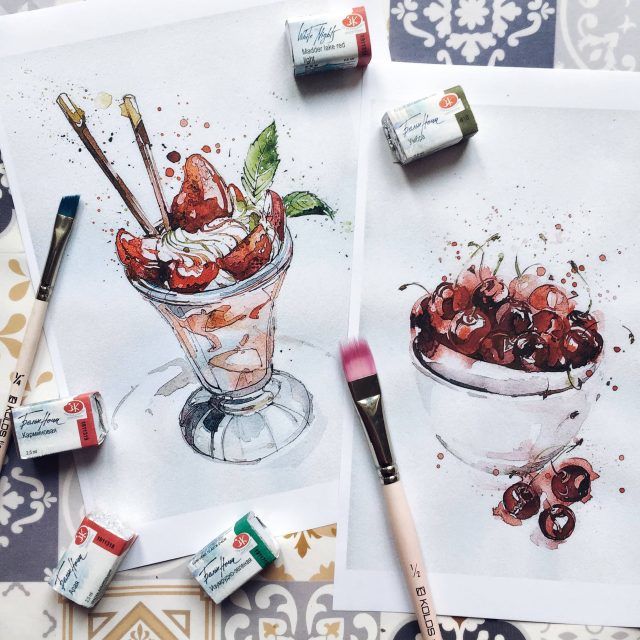
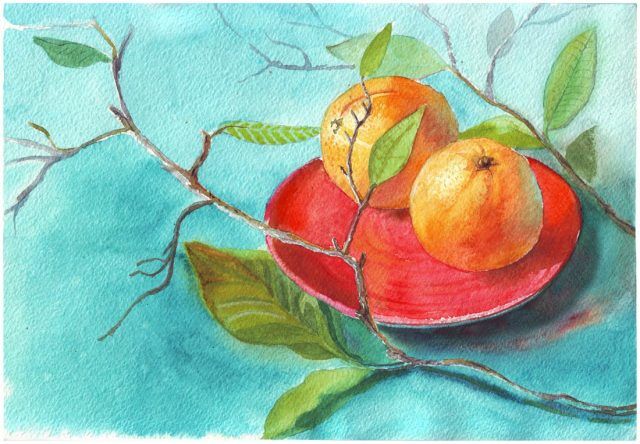
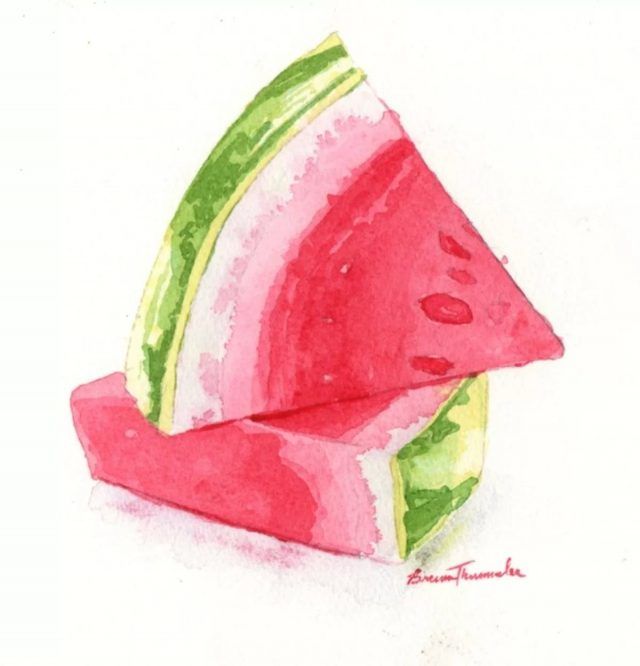
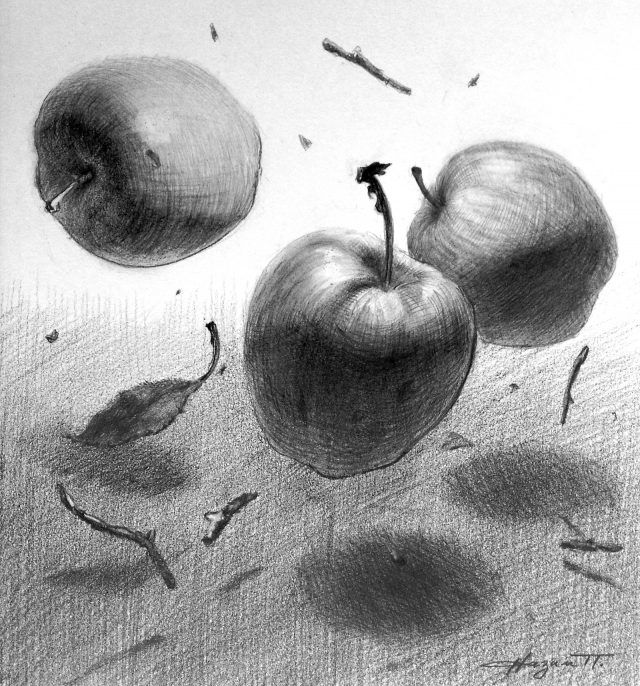
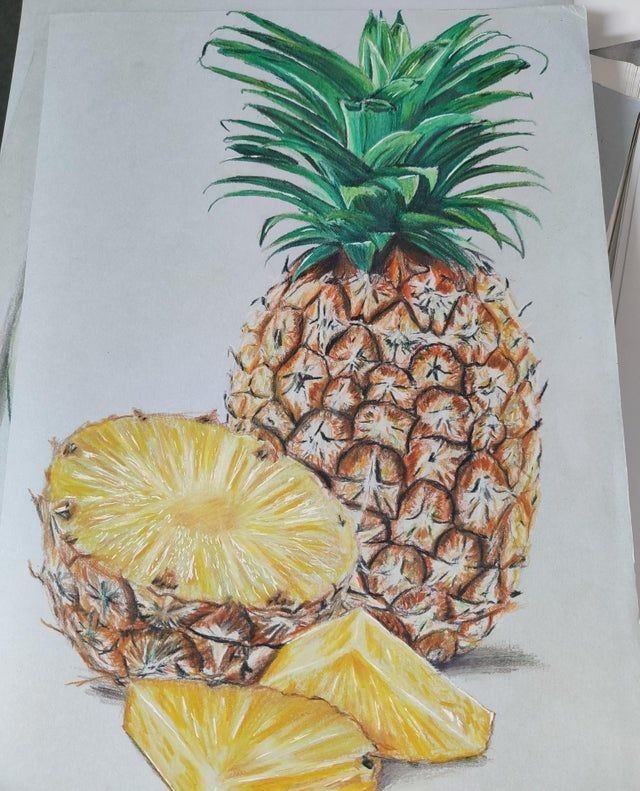
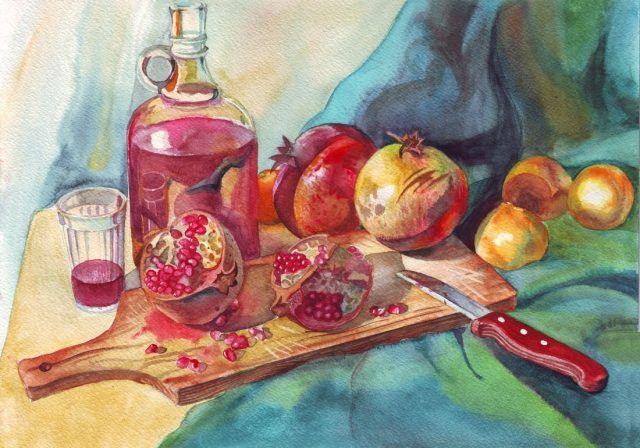
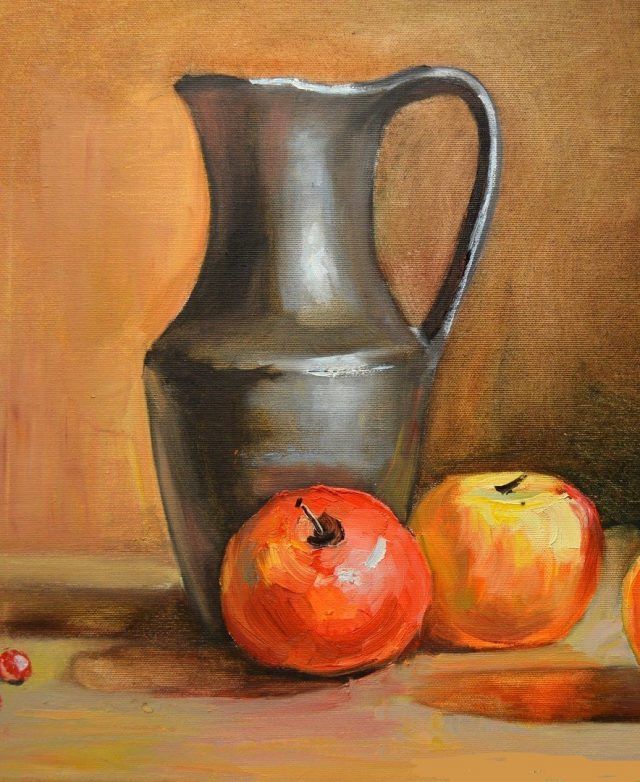
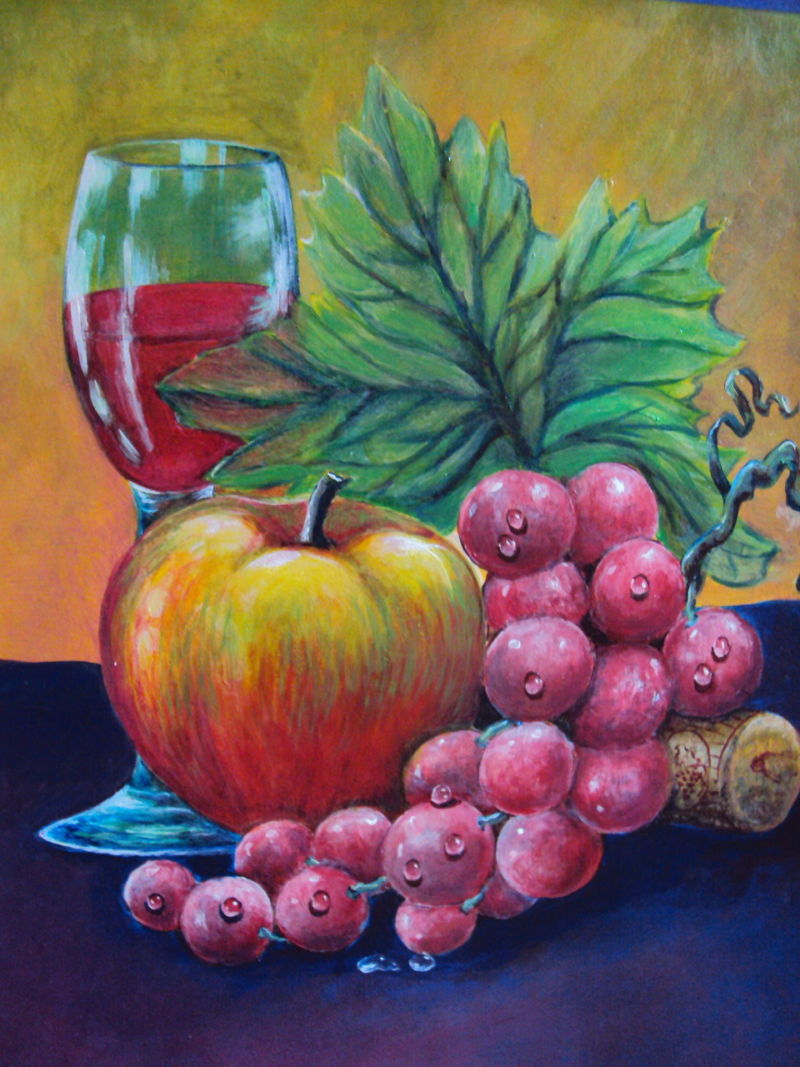
Photos of painted fruit