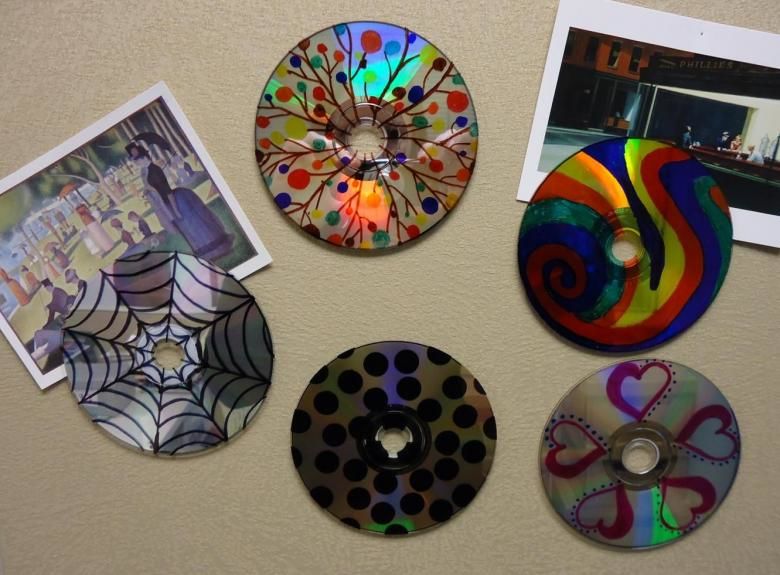
Computer CDs crafts: original lamps, frames, flower vases, curtains and other useful crafts
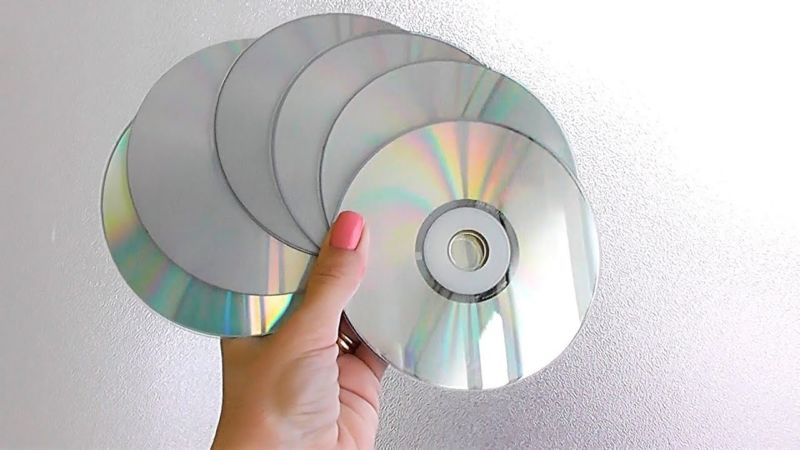
Almost everyone has left CDs, like video tapes in the distant past, which have become unnecessary. But throwing out such disks sorry (because the money paid for it), and they look very nice.
So it is not surprising that folk craftsmen began to make from disks all that the soul desires. And in this article contains the most popular crafts from cds with his hands, which can translate into reality anyone.
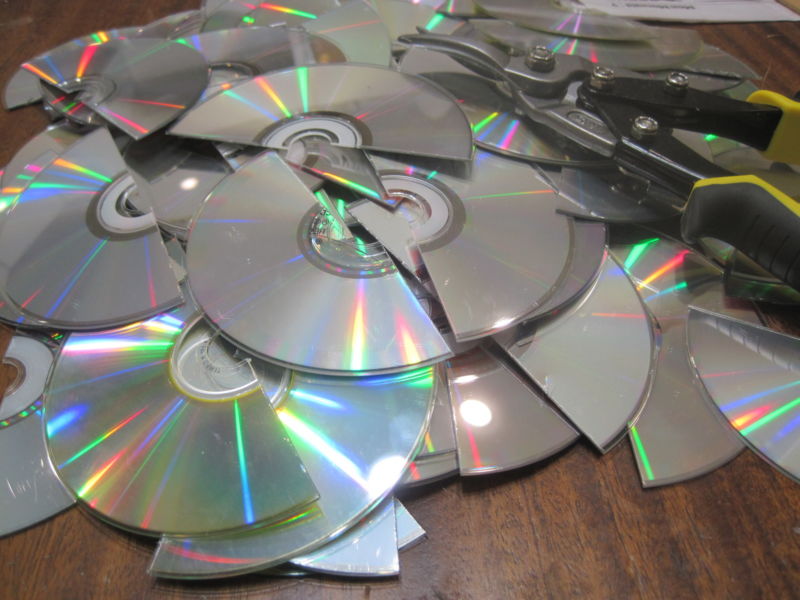
For safety reasons, any handling of CDs (especially cutting into pieces) should be done while wearing safety glasses. The sharp edges of cut pieces should be filed away to avoid the risk of cutting.
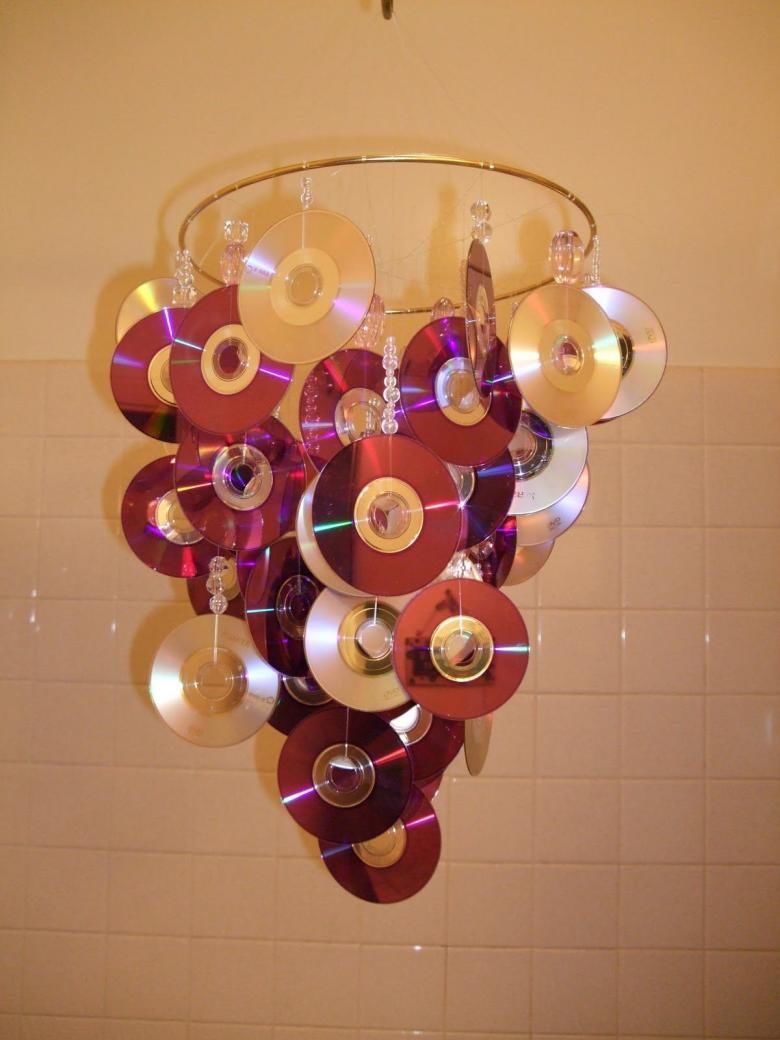
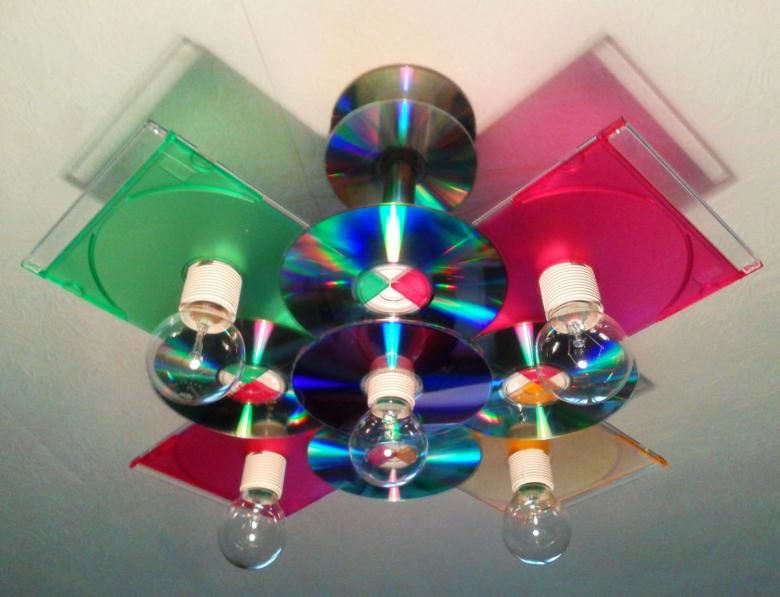
Lamp
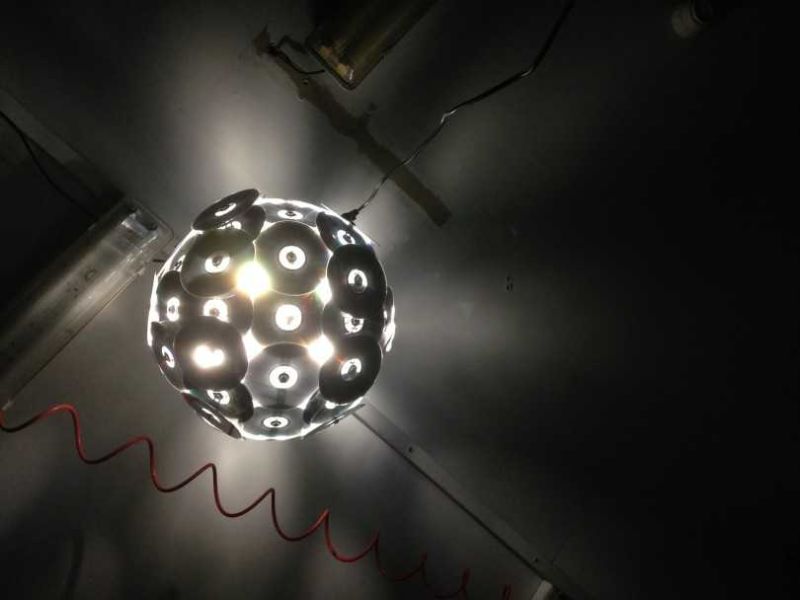
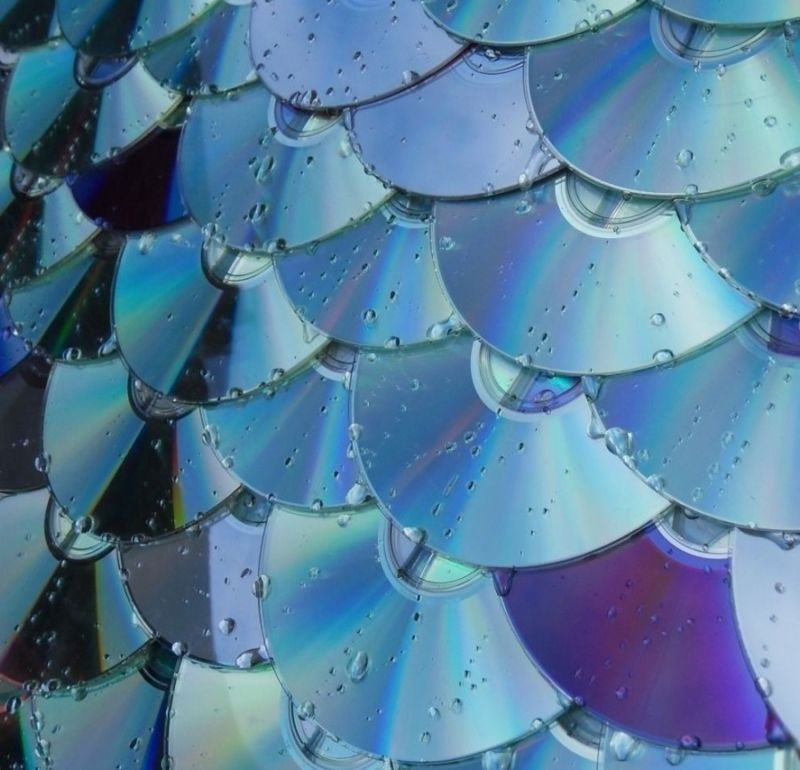
Looking at these beautiful pieces of plastic, it is impossible to tear your eyes away from the way they shimmer in color. Therefore, making a lamp is the first thing that comes to mind.
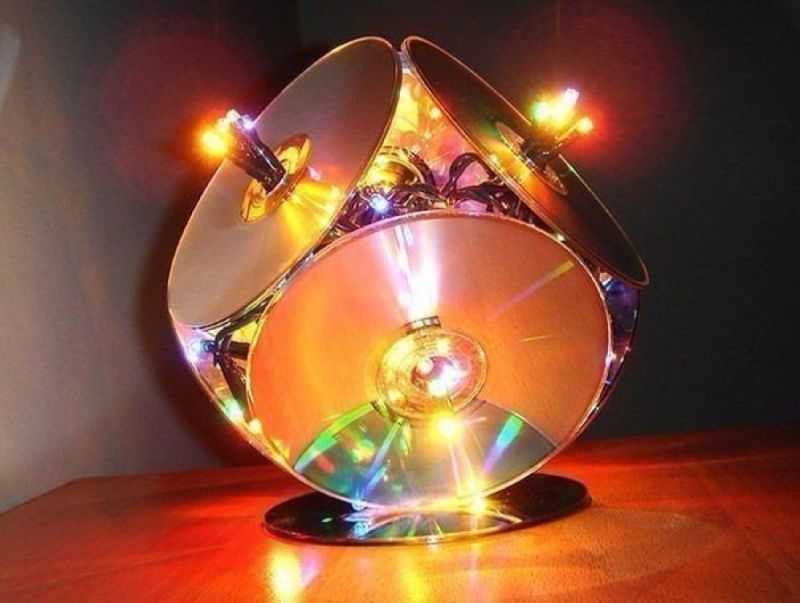
The appearance of the product itself is limited only by your imagination.
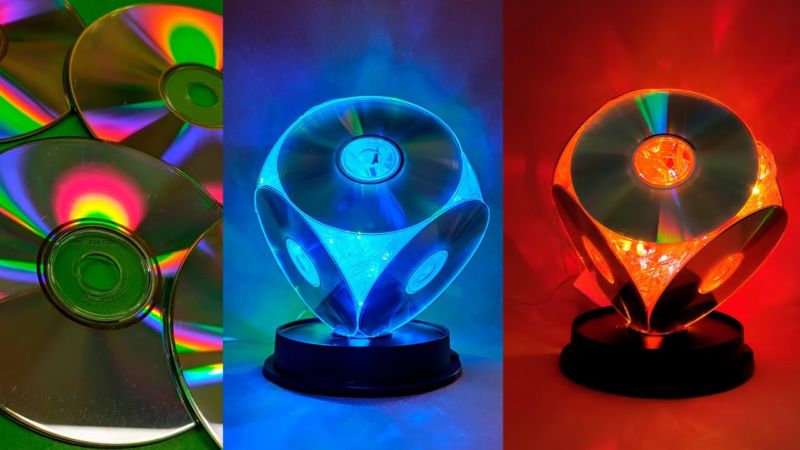
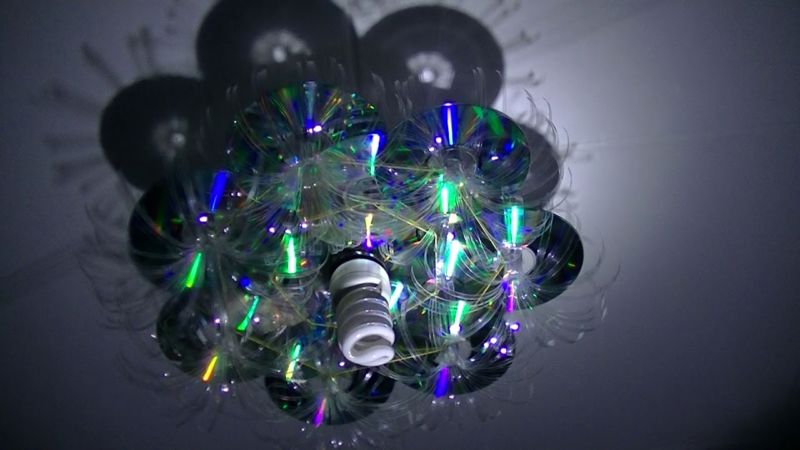
In addition to the discs you will need a working mechanism with a fluorescent lamp, which will hang on the ceiling or stand on the surface.
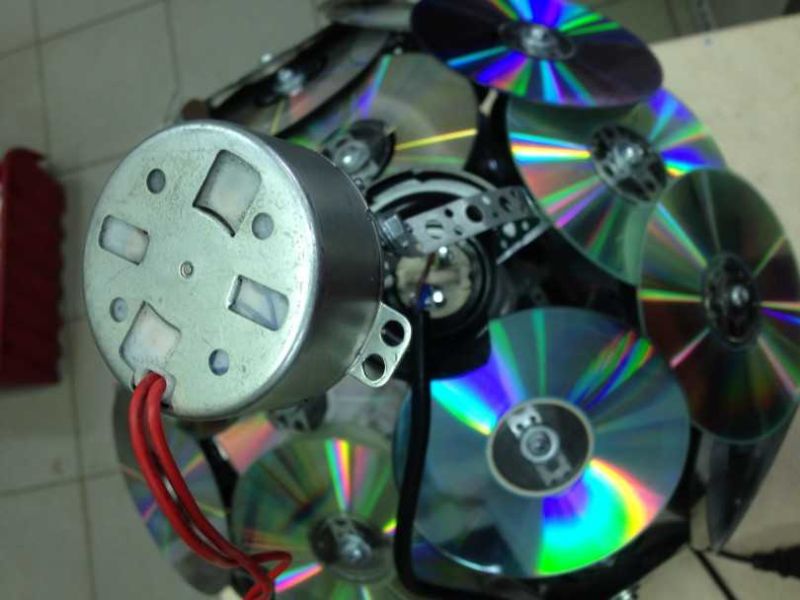
An incandescent bulb gets too hot and can have a lot of unpleasant consequences, from unpleasant smells to fire.
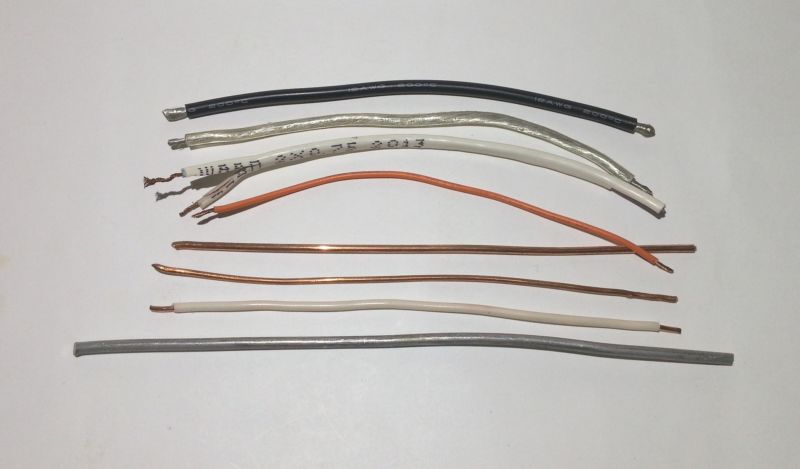
You will need soft wire or paper clips as a binder. Preferably, the shiny side should be turned towards the light source.
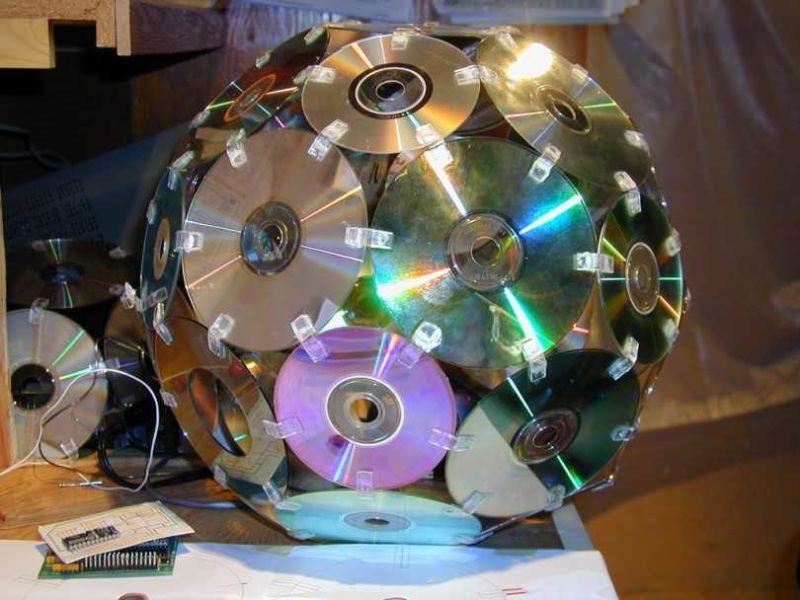
The first thing to do is to drill the necessary number of holes so that the discs are connected by the wire and form a frame. All the holes are made with a drill, and the disk itself should lie on a wooden plank. You need to work carefully, because the discs are fragile.
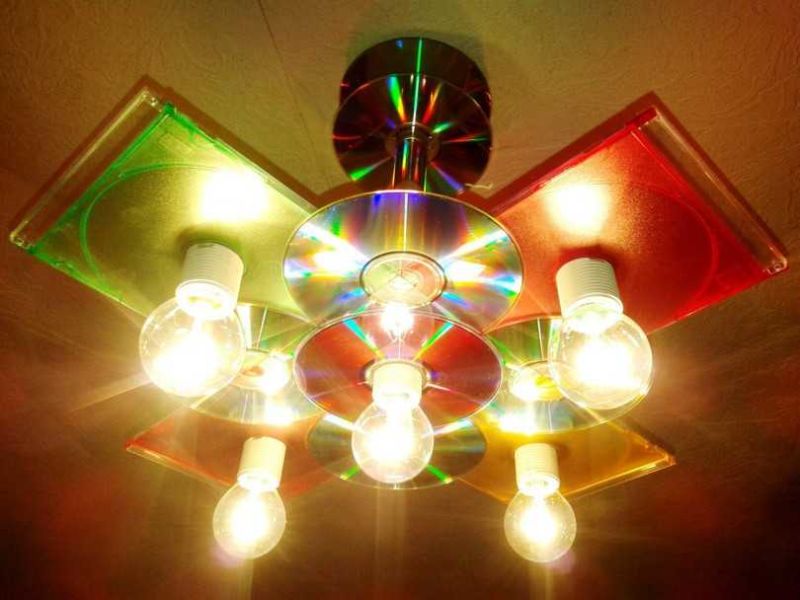
You should not make a chandelier of too many discs.
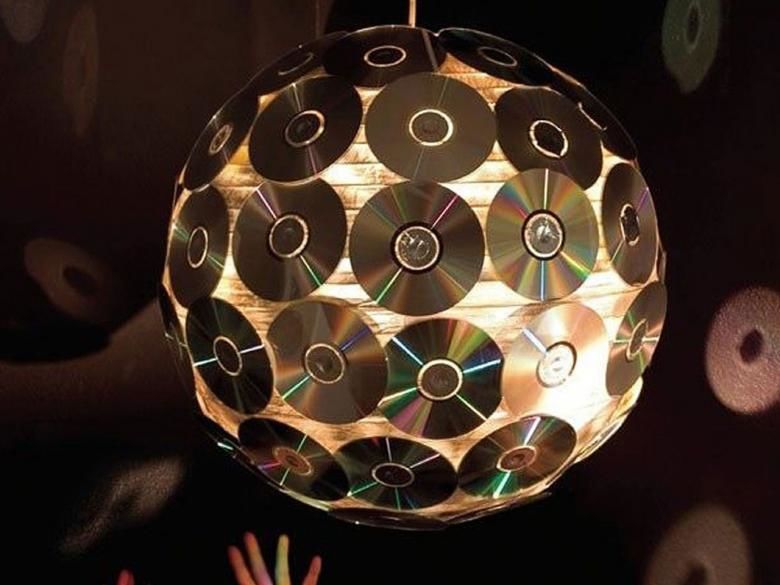
The finished product is fixed with the same wire. Of course, you can cut discs and form all sorts of shapes from them.
If you want to decorate the chandelier disks, but do not want to masters, it is enough to put such a bright and eye-catching product directly on the chandelier with superglue, designed for sufficiently high temperatures.

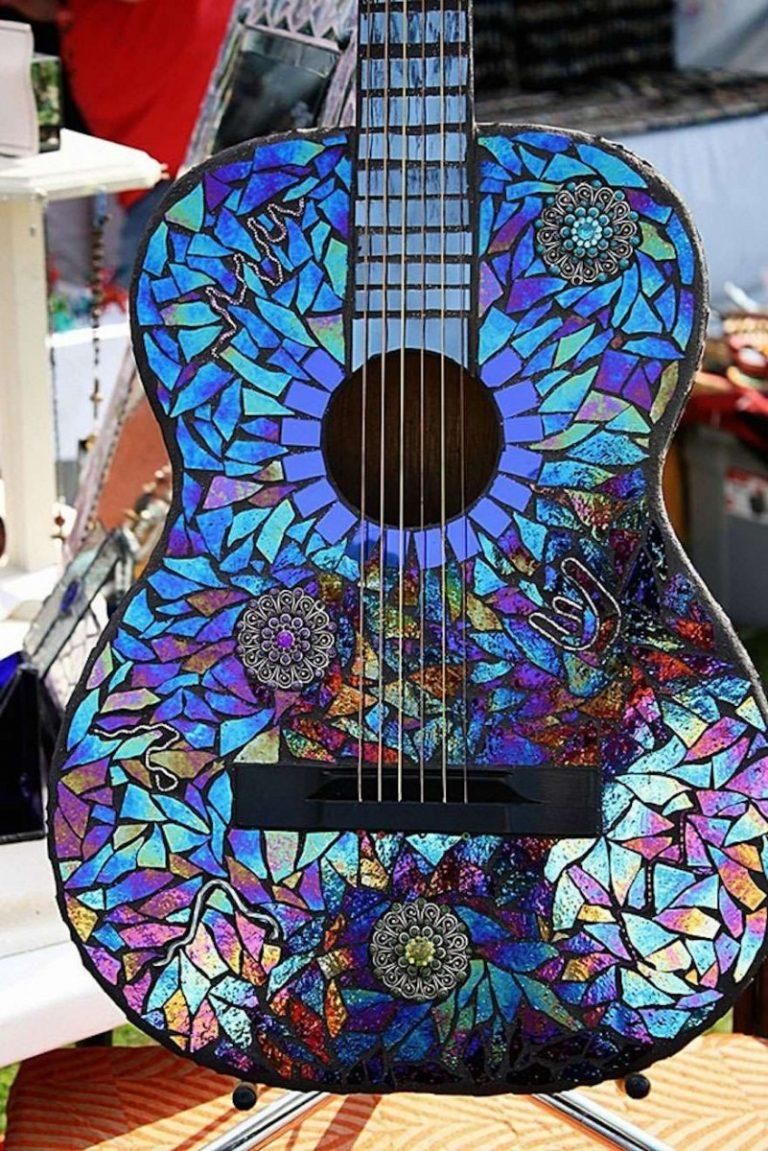
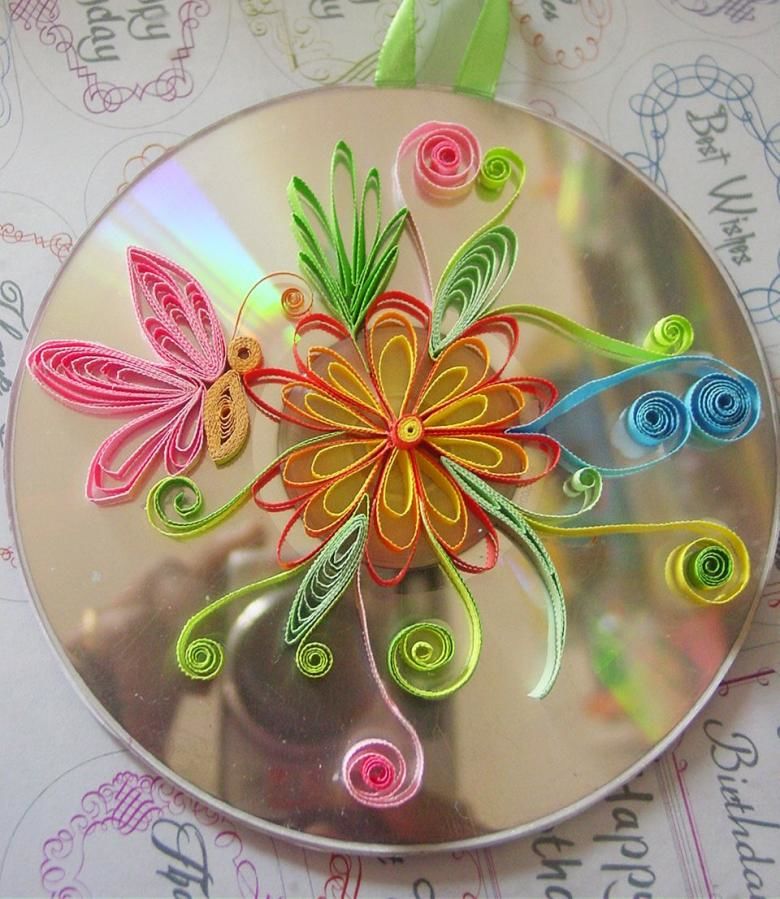
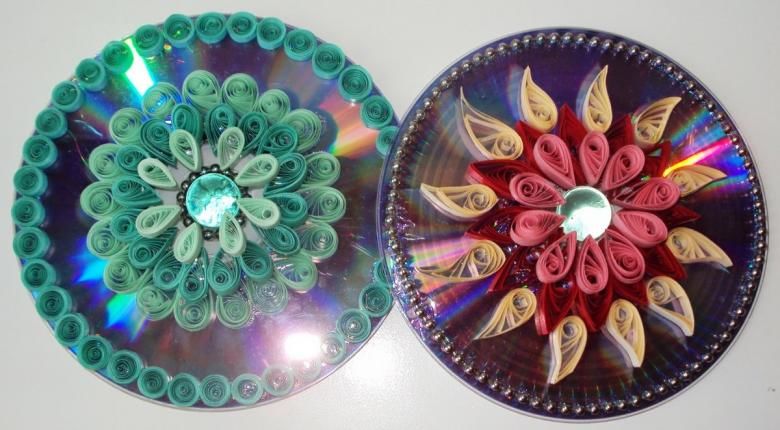
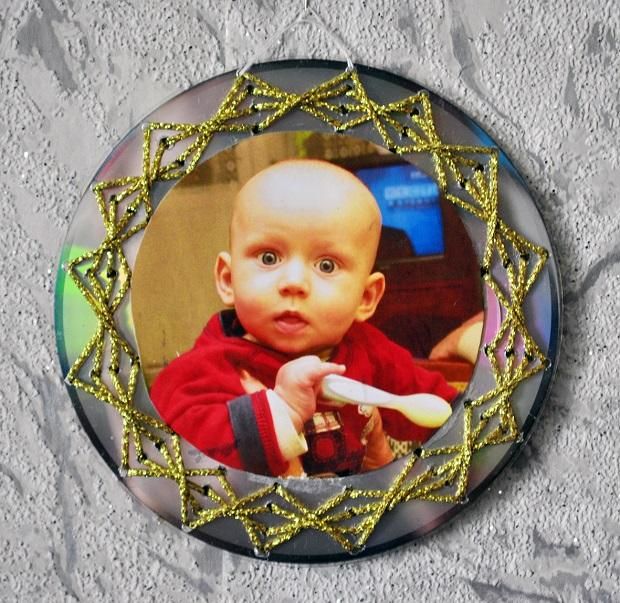
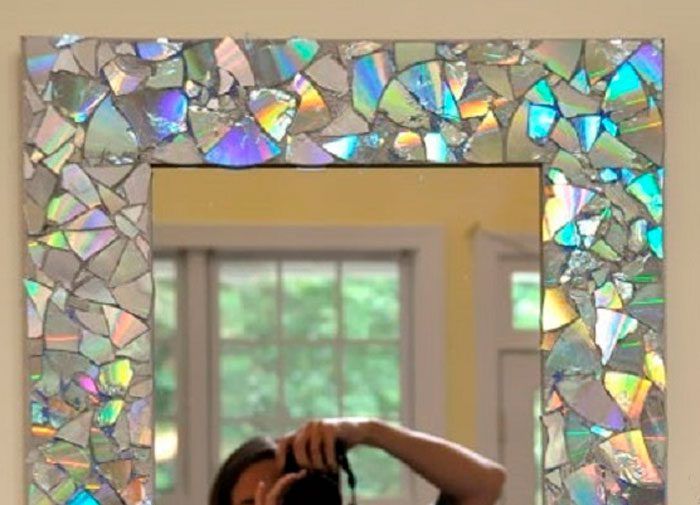
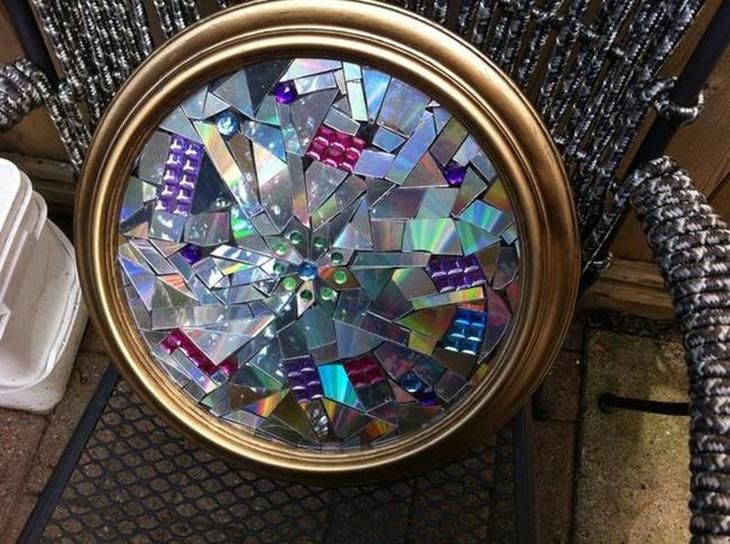
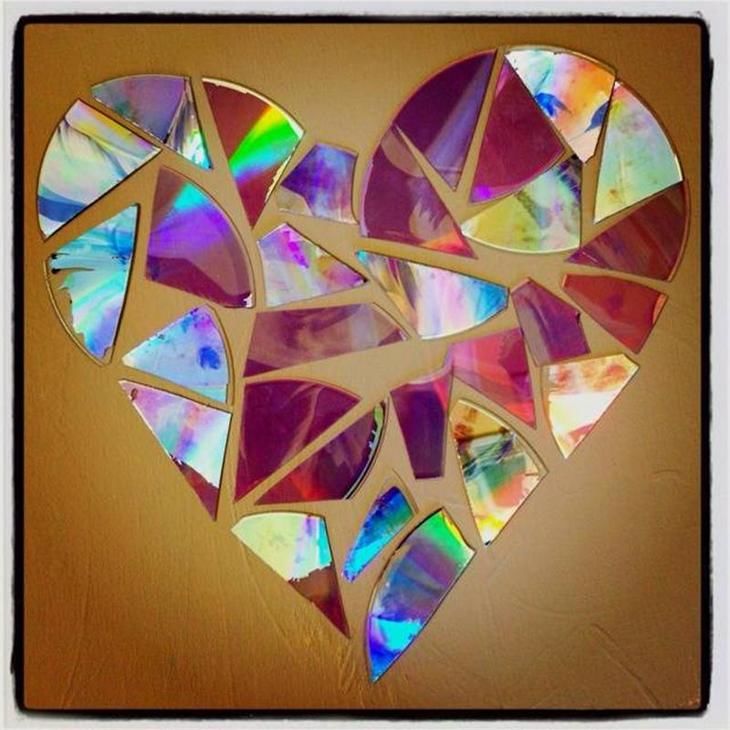
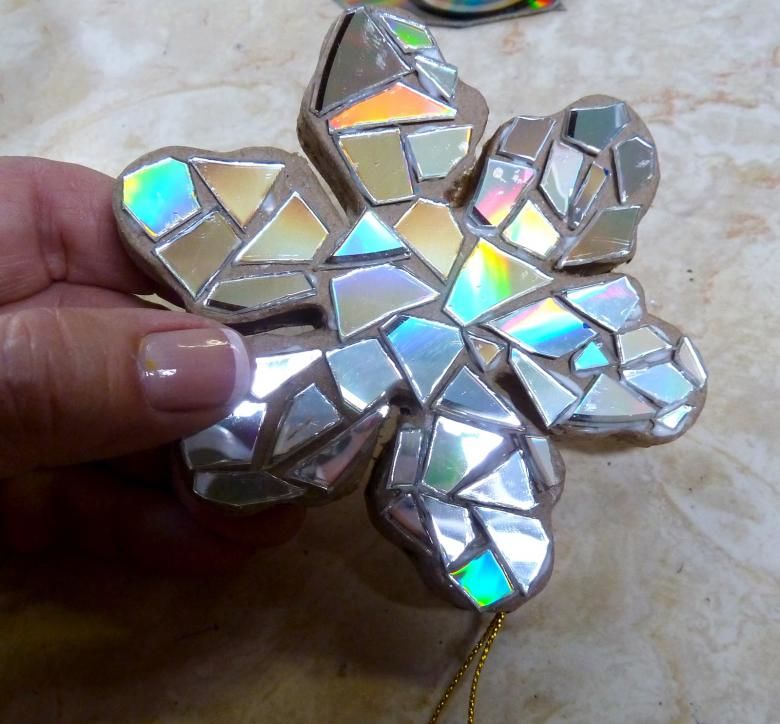
Frames
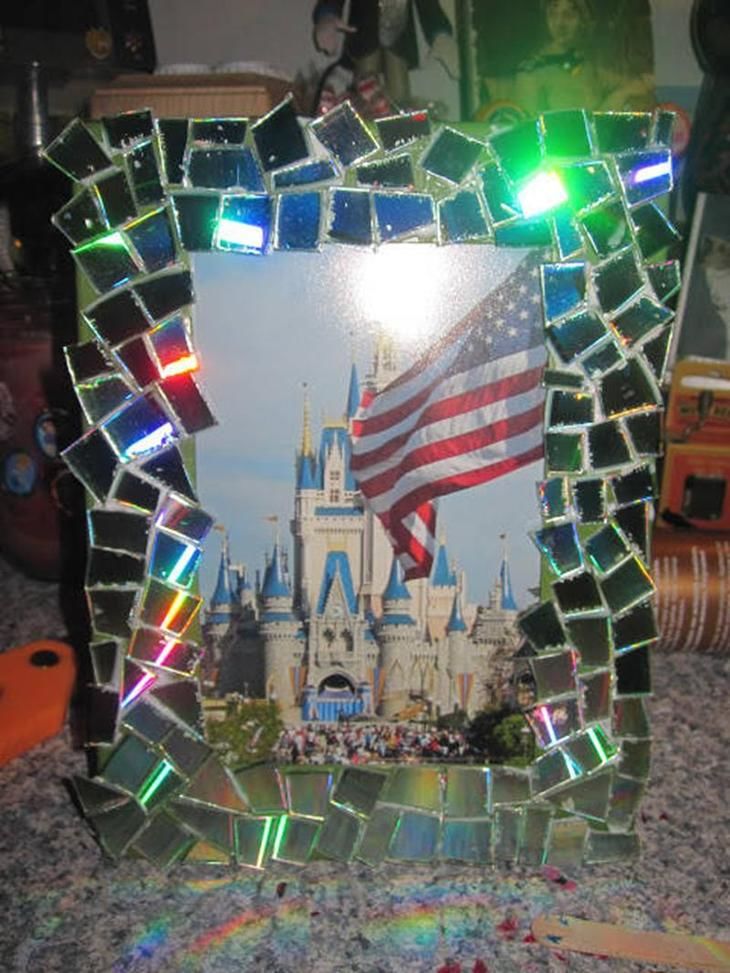
Frames for mirrors, collages and photos will look great. This is especially true of a mirror that can harmonize with the surface of plastic products.
To make a frame, you need to have:
- A large supply of source material;
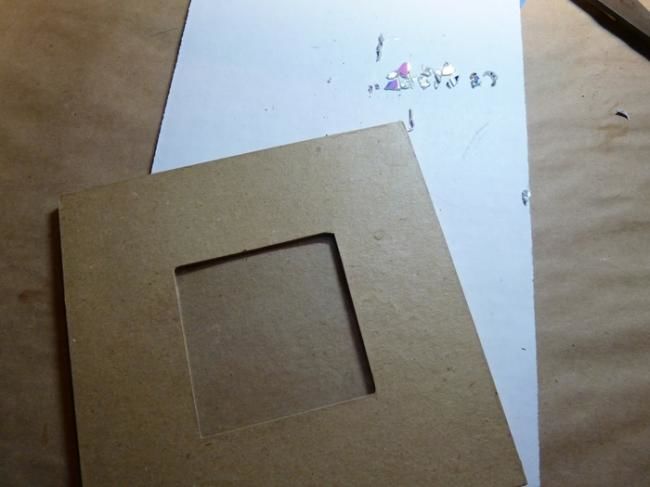
- Cardboard or other frame, amenable to cutting;
- Tools for cutting, gluing, as well as painting and varnishing.
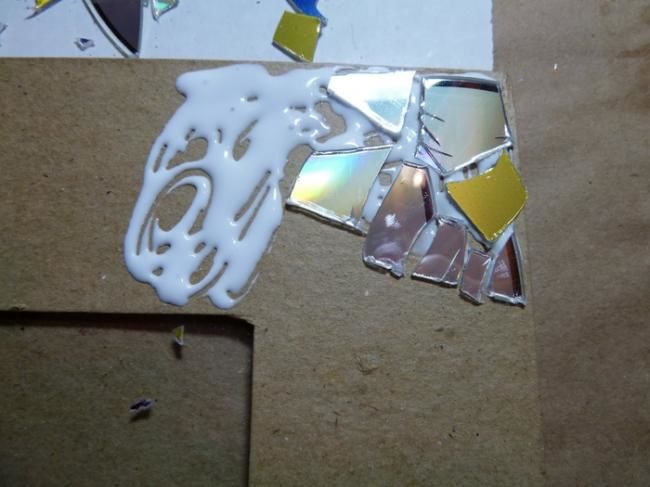
The process of creating a frame:
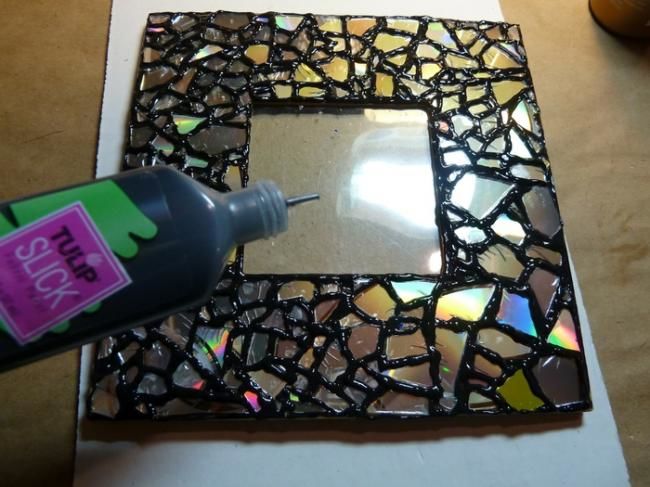
- Cut out a frame of the desired size (shape arbitrary);
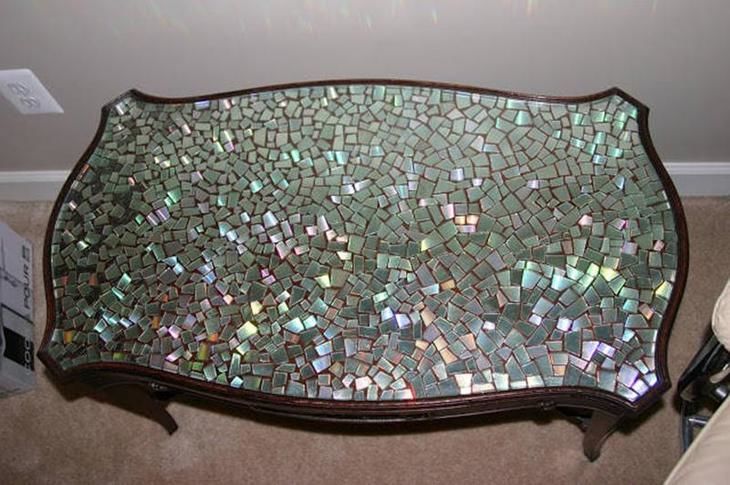
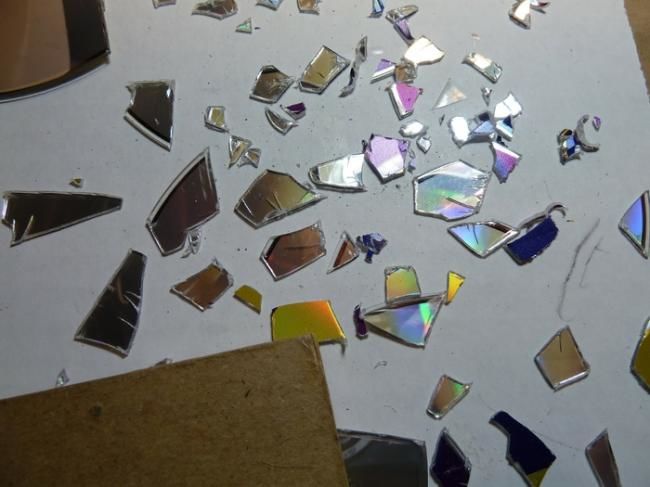
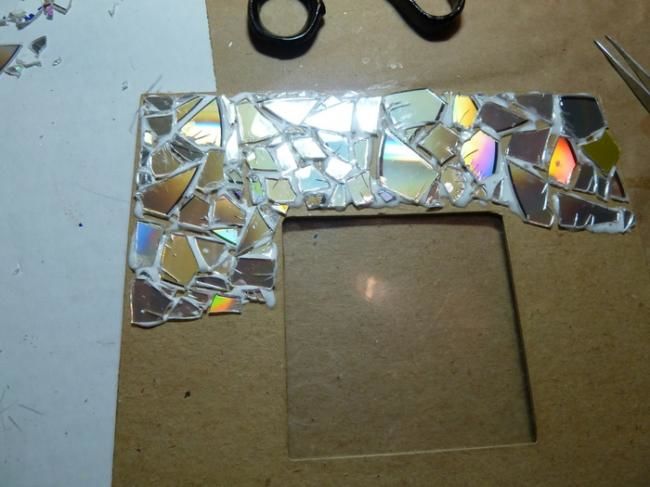
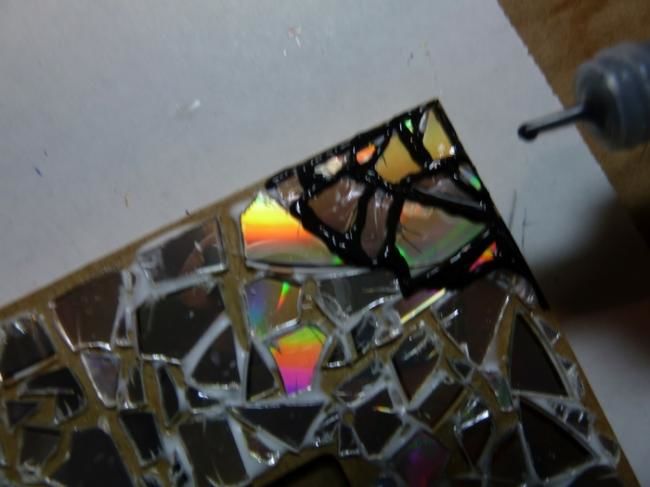
- Randomly cut the discs;
- Arrange the pieces cut out on the frame so that the resulting composition is as pleasing to the eye as possible;
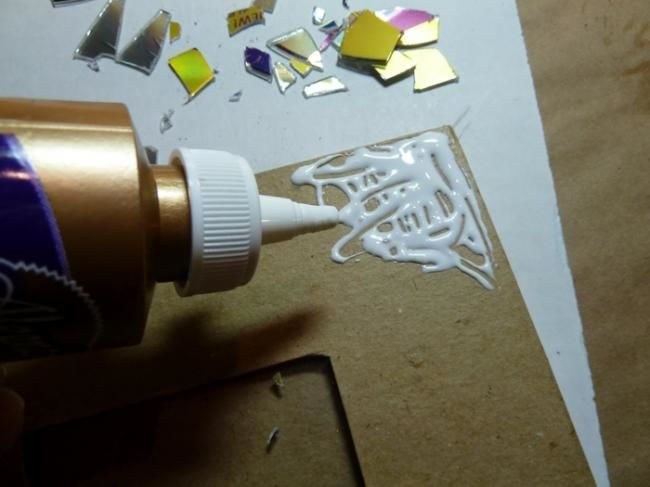
- The pieces are glued to the frame;
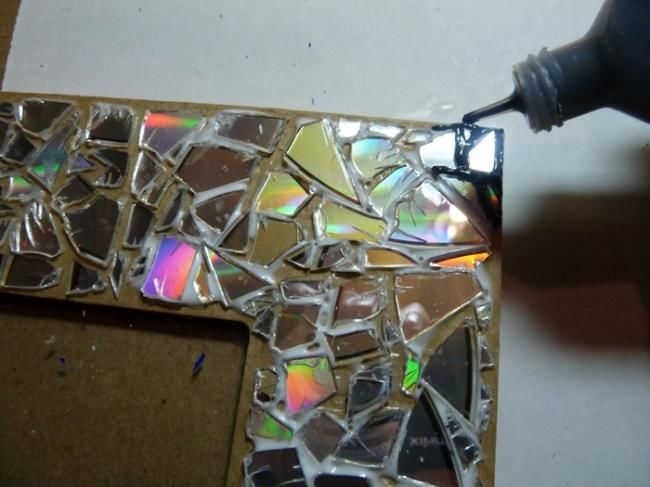
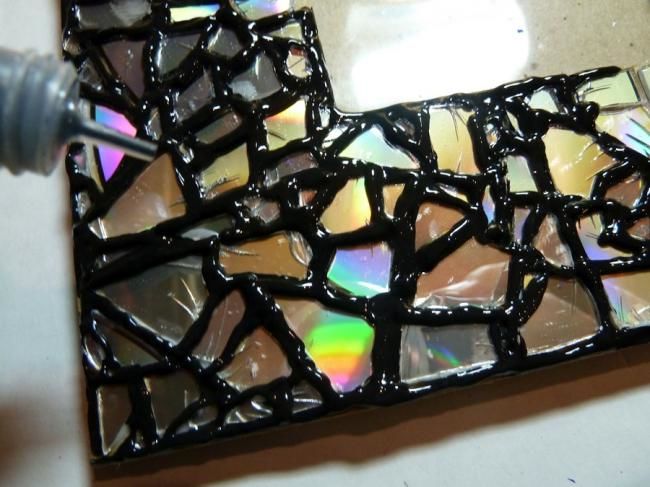
- If there are gaps between the parts of the composition, you can fill them with any color of your choice;
- Coat the entire piece with varnish and leave it long enough for the entire composition to dry completely;
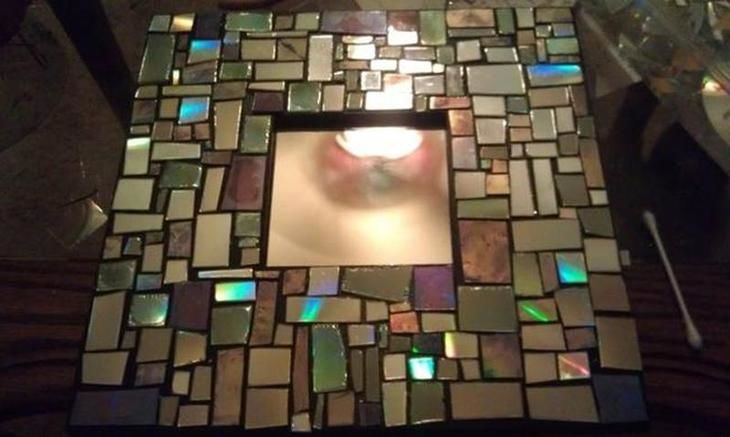
- Insert a mirror, photo or illustration into the frame.
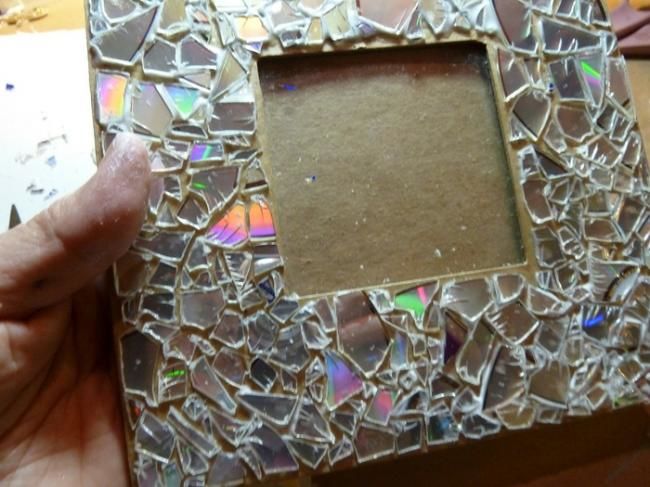

It looks unusual, but very beautiful.
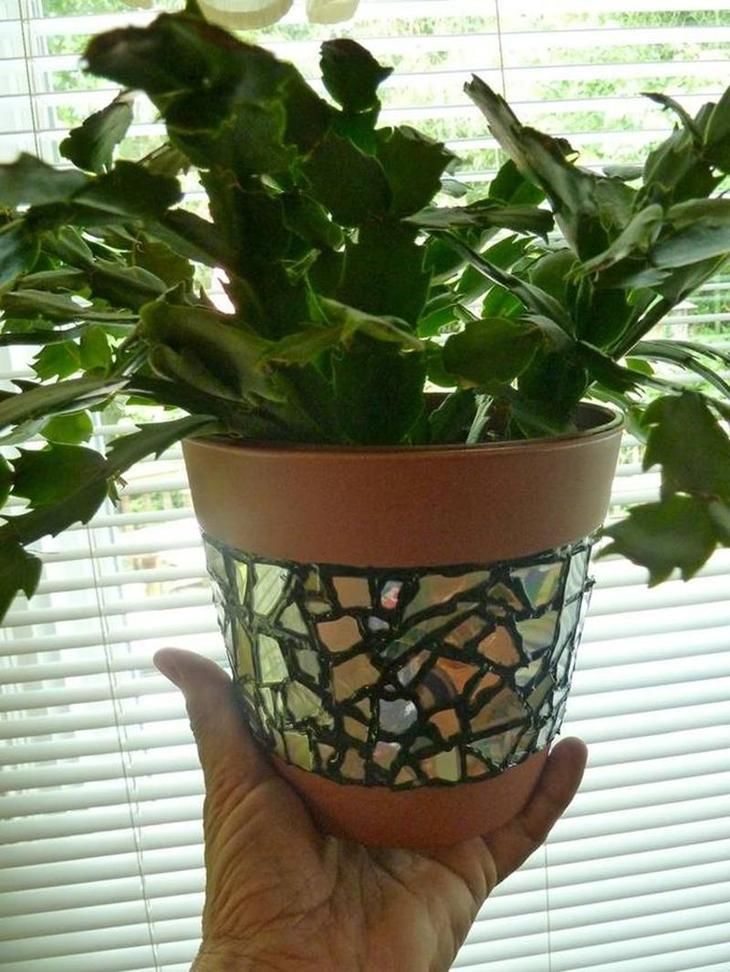
Flower vases
Flower vases or pots are decorated in a similar way. The whole process is similar to that involved in the making of the frame.
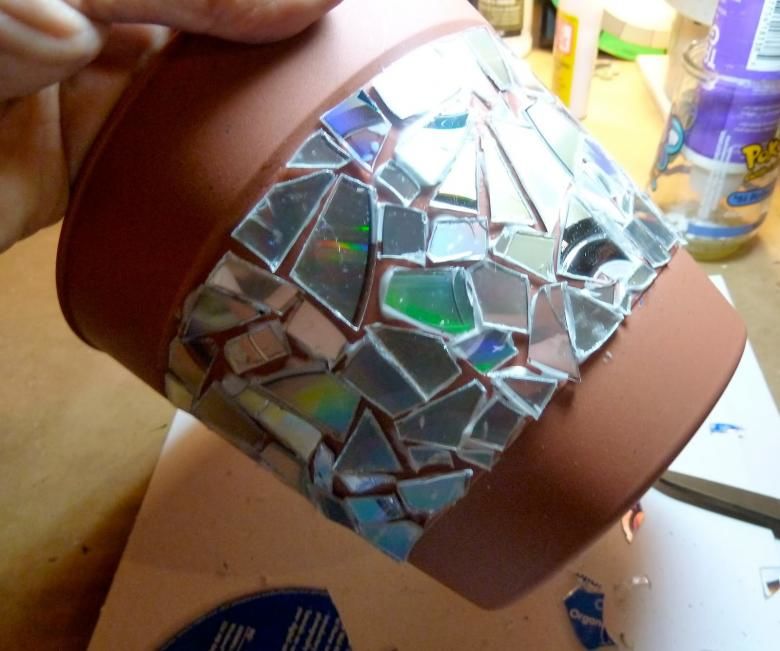
Given the fact that the pots have a rounded shape, cut the pieces from the CDs should be quite shallow to avoid the risk of ripping the pieces off during use.
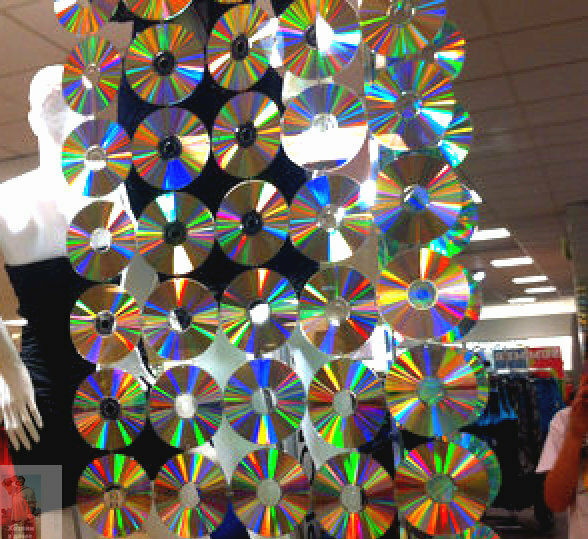
Curtains
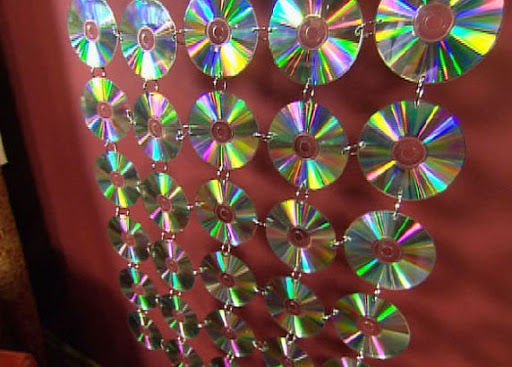
These curtains look stylish and eye-catching. The size of the curtain itself depends on your desire, imagination and the amount of supplies.
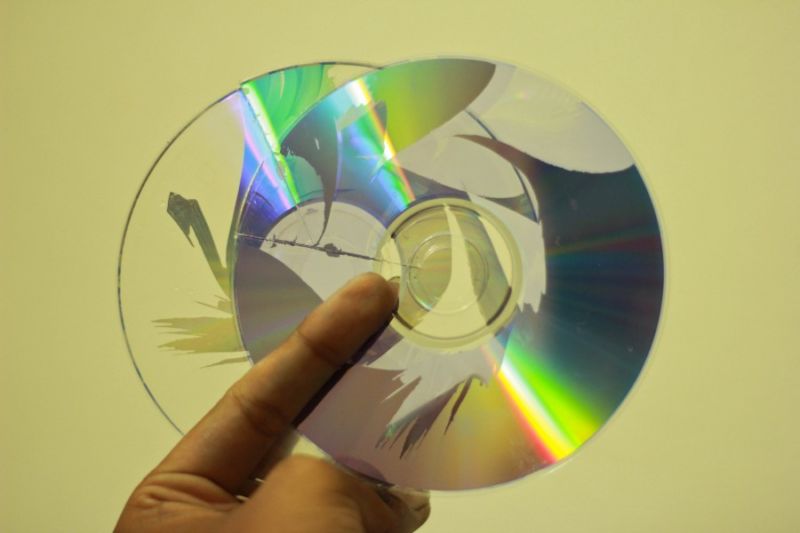
If there are scratches on the plates, you should remove them with technical vaseline. It is necessary to apply petroleum jelly to the disk. After a few seconds, the disc is thoroughly wiped clean. It is not uncommon for such manipulations to remove the external defect.
The process of creating a curtain takes several steps:
- It is necessary to determine the dimensions and calculate the necessary number of media. The diameter of the disc is 12 cm, and therefore it will not be difficult to determine how many plates can be arranged in width and height;
- Next, you should lay out the discs in a certain order, as they will hang in the future;
- It is advisable to number the discs with a marker. During installation, the written numbers can be erased with ordinary alcohol or vodka;
- Use a drill to make four holes around the edges to put a paper clip through them;
- The whole structure is assembled with the help of ordinary paper clips;
- The resulting curtain is hung with the help of paper clips or hooks for curtains.
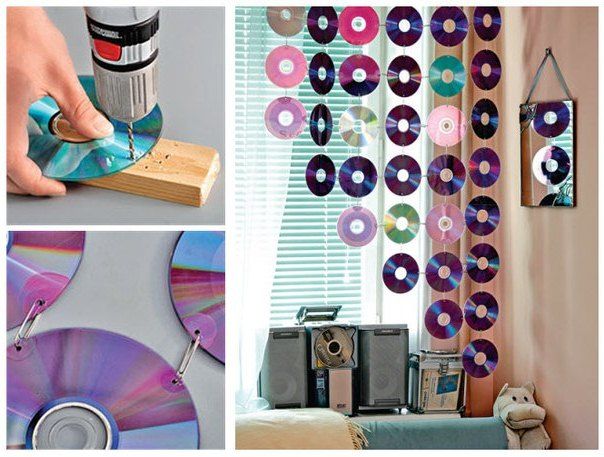
It is desirable to hang the curtain with the mirror part towards the room; when the light hits, they will immediately attract attention.
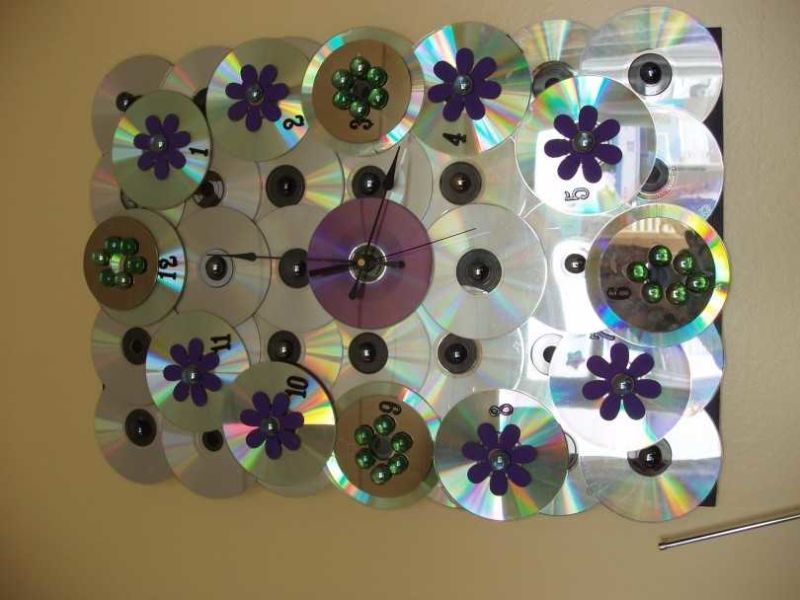
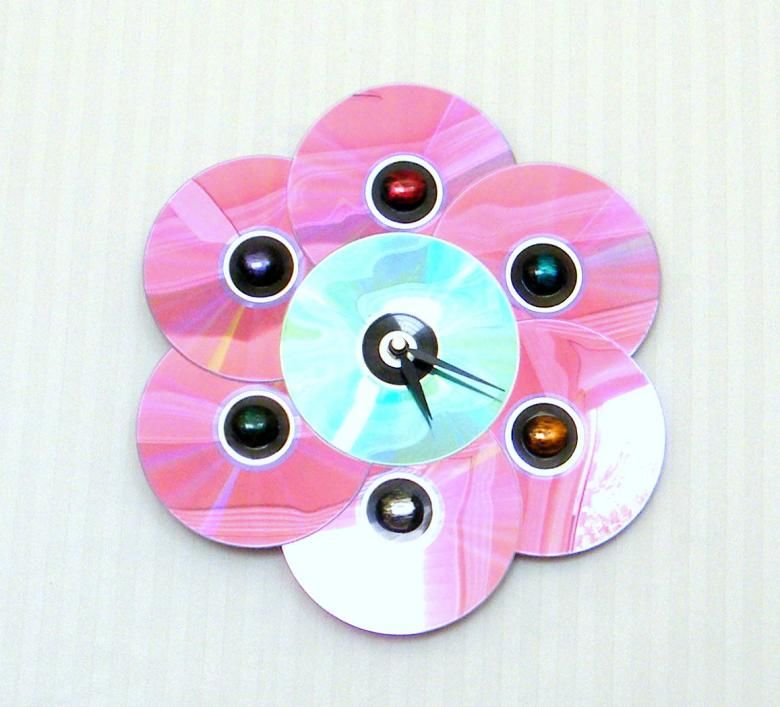
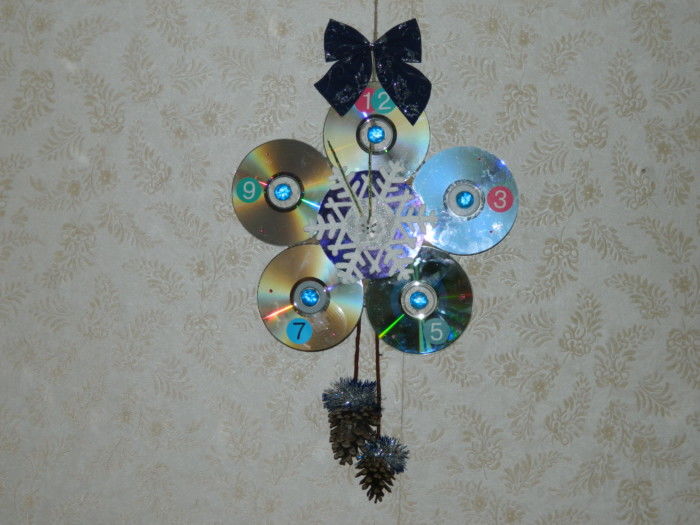
Wall Clocks
Wall clocks are available in every room. There are craftsmen who create clocks out of unnecessary media.

To carry out the idea you will need:
- CD/DVD- disc (you can take several discs if you want);
- Glue gun;
- Screwdriver;
- Working clock mechanism;
- Figures for the dial;
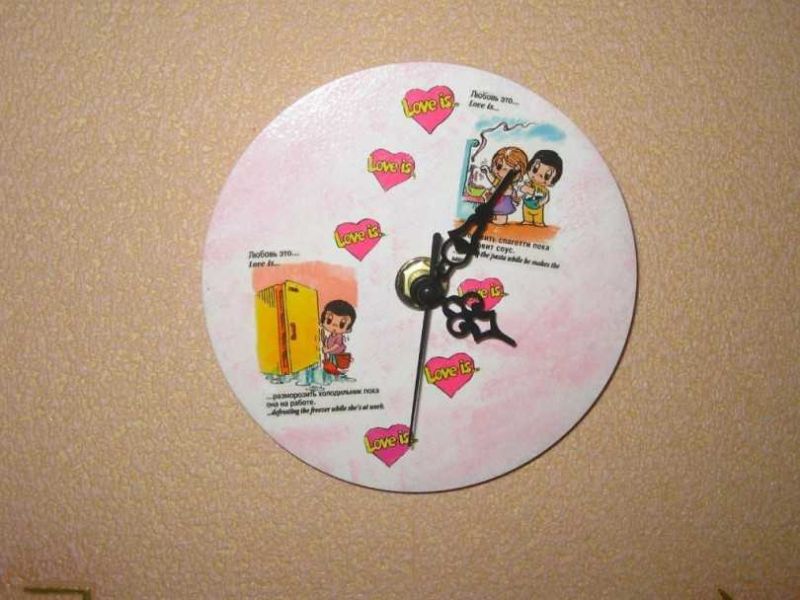
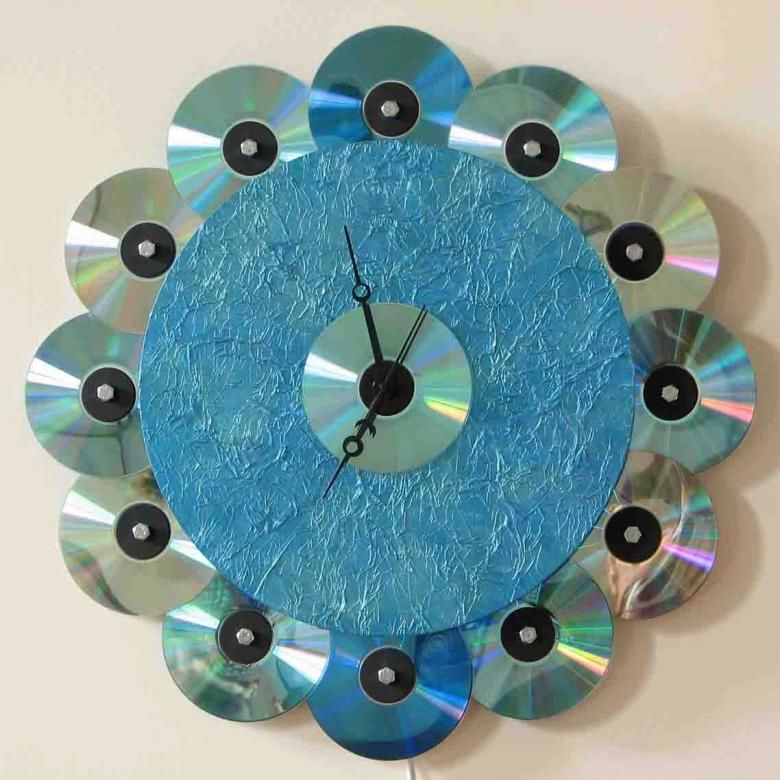
The appearance of the clock is limited solely by your imagination.
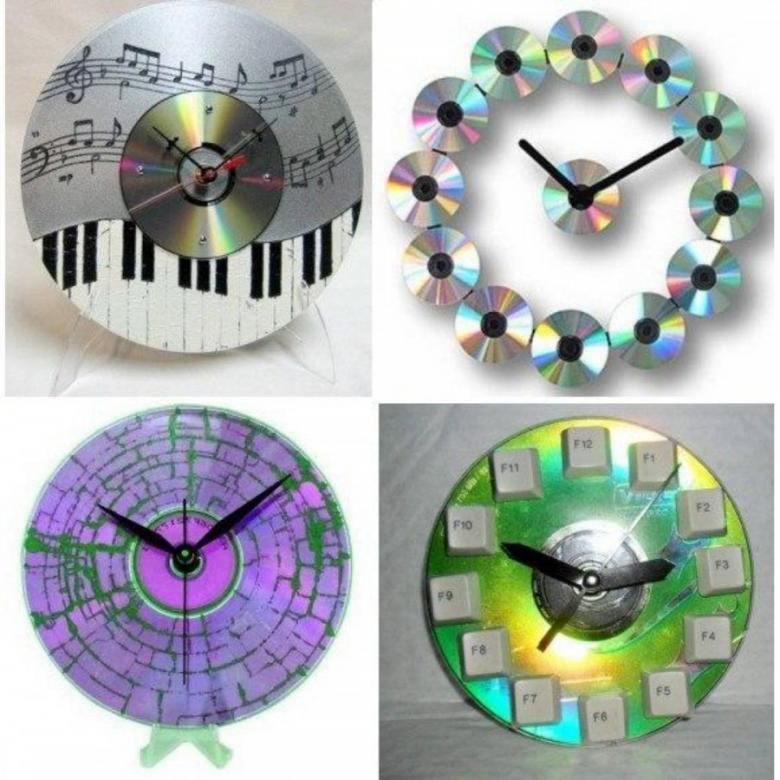

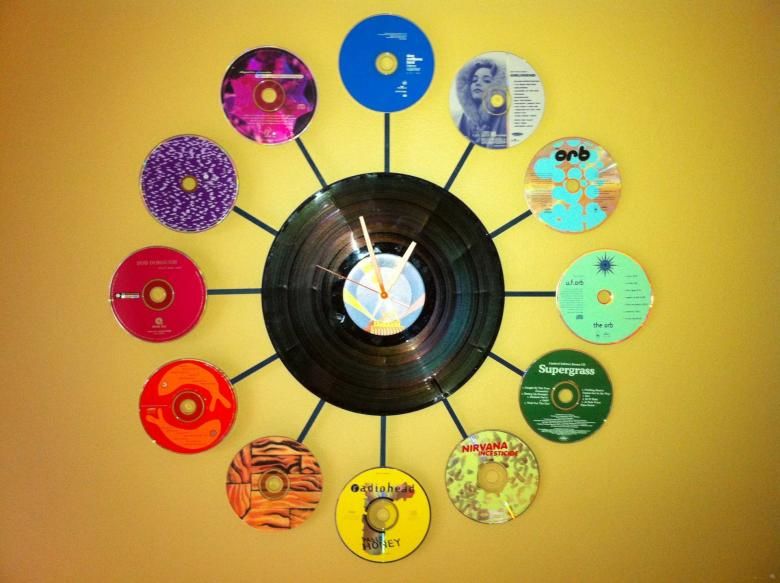
The process of assembling the dream watch:
- Removing the clockwork itself from the old clock; don't forget to remove the hands and remember their location on the clock roll;
- If a single disc is used for the craft, simply attach the plate prepared in advance to the back side. If several discs were originally planned, a composition is created with a glue gun;
- The dial disc is prepared using a protractor;
- Adapt the resulting clock for surface mounting or for mounting on the wall.
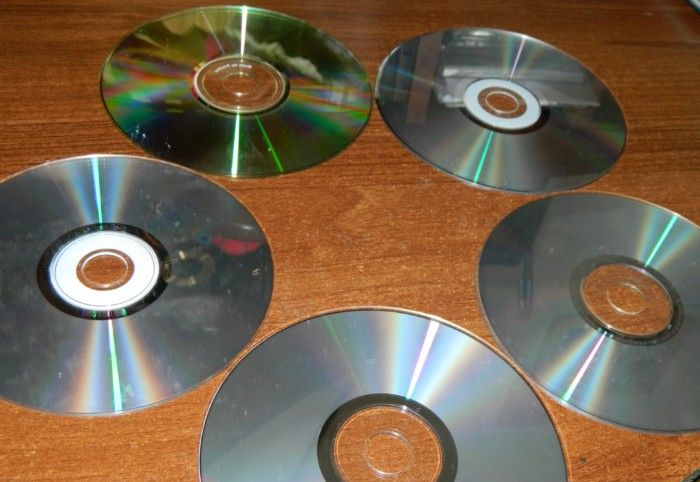

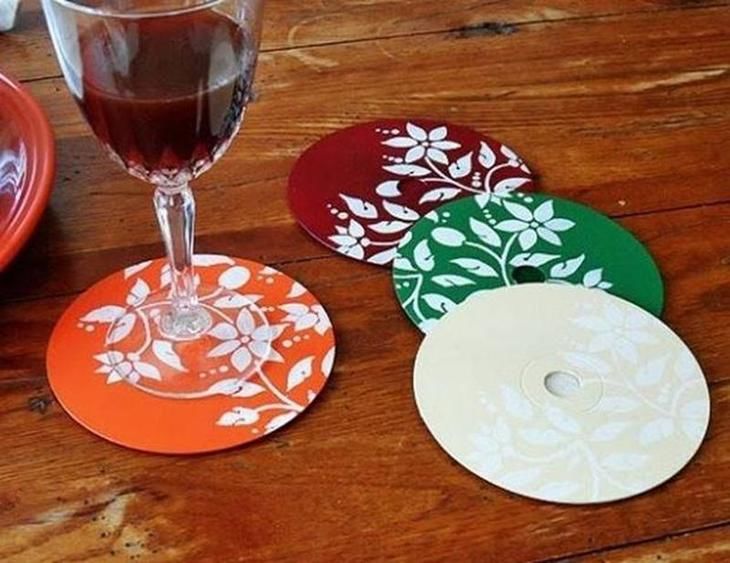
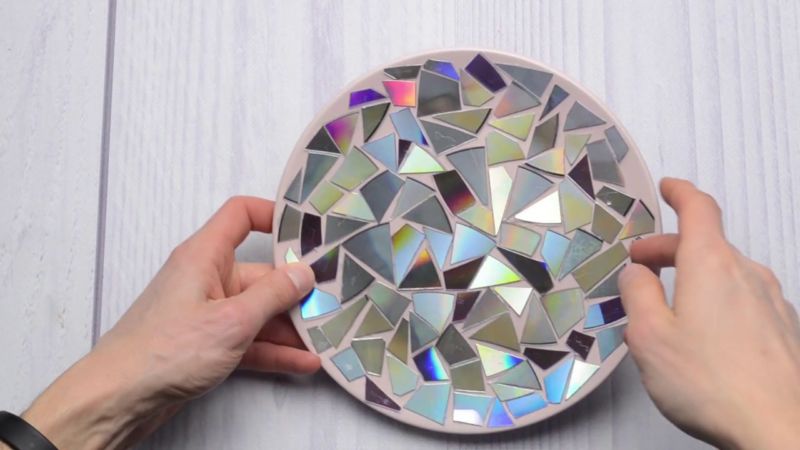
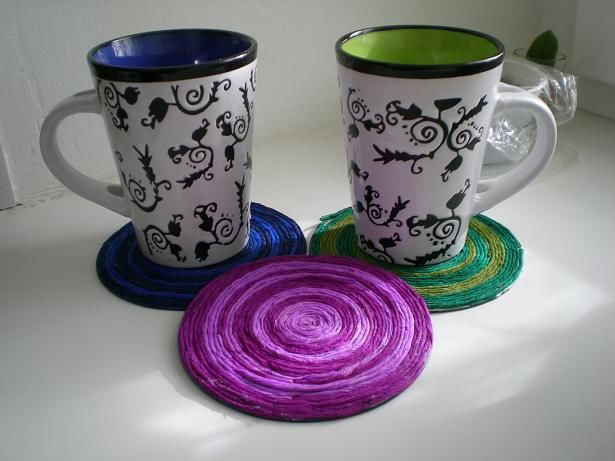
Hotplate stand
Since the disk is round and small in size, why not adapt it as a coaster for hot dishes. To accomplish what you have in mind, you will need:
- Two discs;
- Paper napkins
- Glue
- A box cutter.
The process itself is insanely simple:
- Prepared discs are smeared with glue, covered with tissue paper
- For reliability the tissues can be covered with varnish.
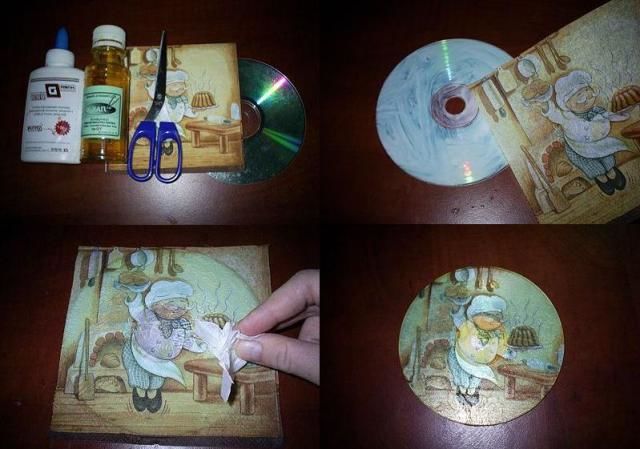
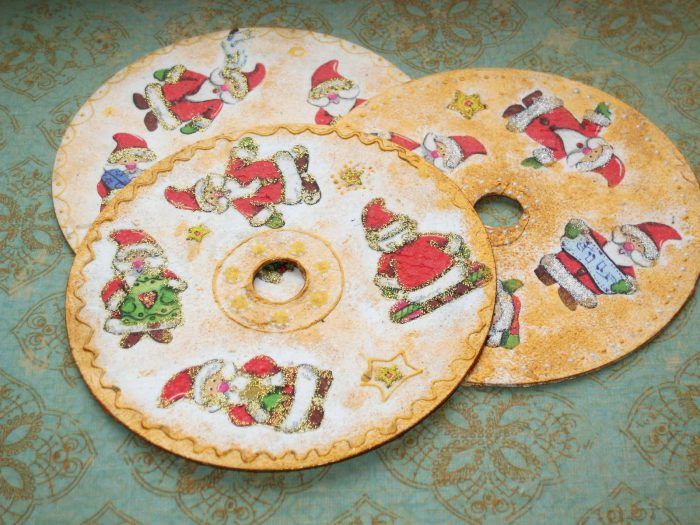
Also discs can be covered with twisted napkins, or paper bunches:
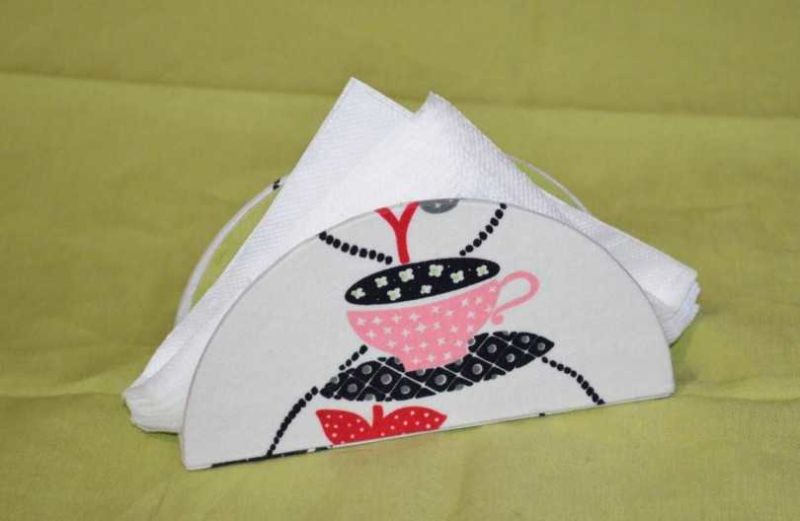
Napkin holder
There are two ways to make a napkin holder. For the first one, you need a disk and a small piece of thick cardboard or plywood; for the second one, only one disk is needed. And in the first and second case, you need scissors and a glue gun.

The first way:
- Cut the CD into two equal parts;
- Cut a piece of cardboard or plywood of the necessary width and length, corresponding to the diameter of the disk;
- Using a glue gun, both halves of the cut drive are glued to both sides of the base.
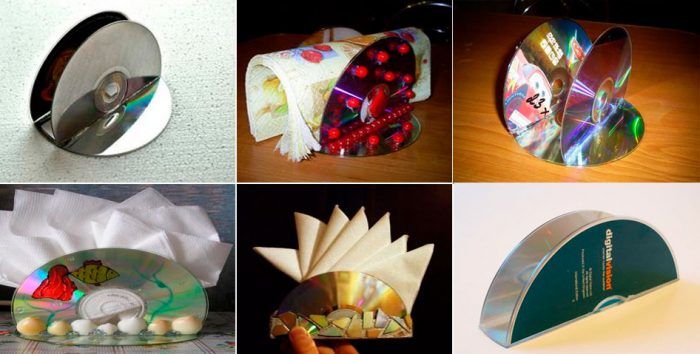
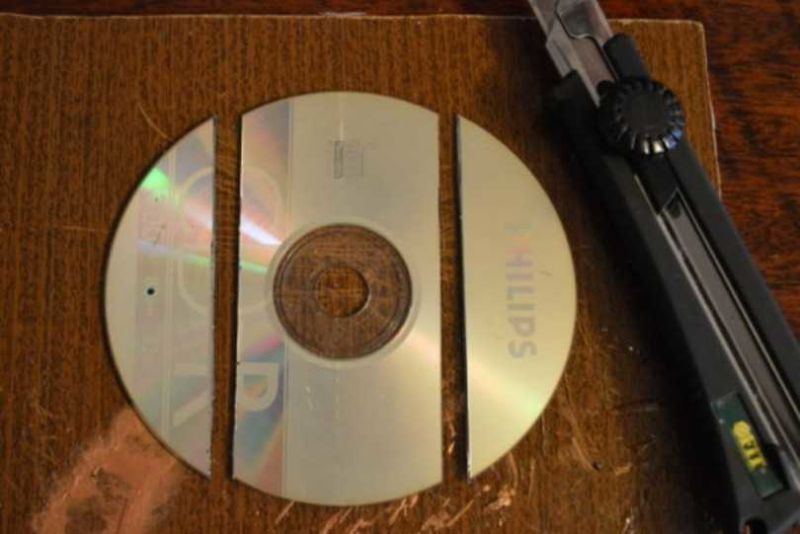
The second way
- Two parallel lines are marked and drawn on the disc at a distance of 1.5 cm from the middle;
- The plate is cut into three pieces according to the drawn contours;
- Semicircles are brought to the base at an angle of 90 degrees and connected with a glue gun.
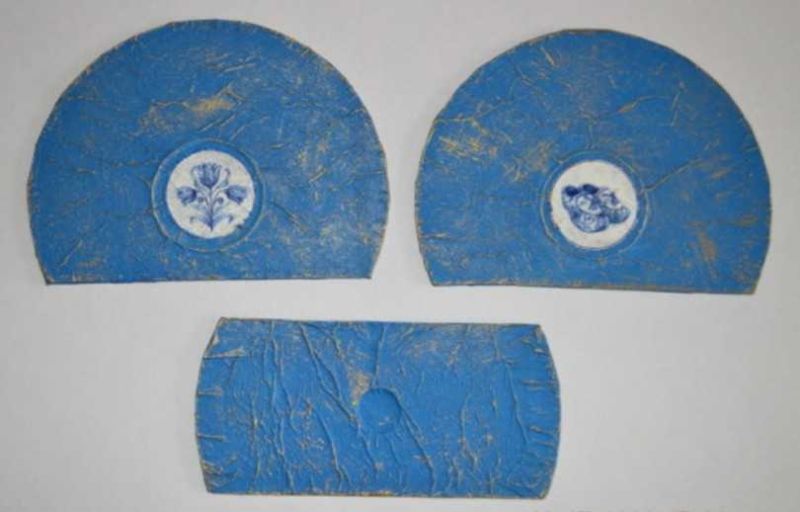
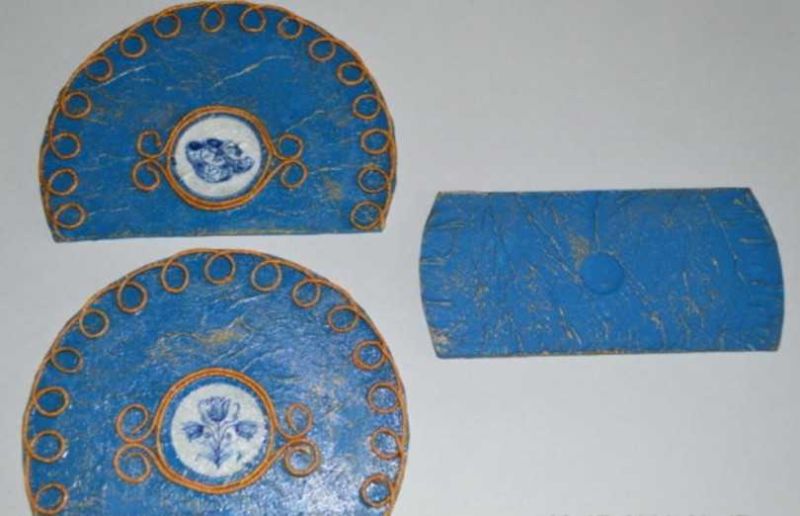
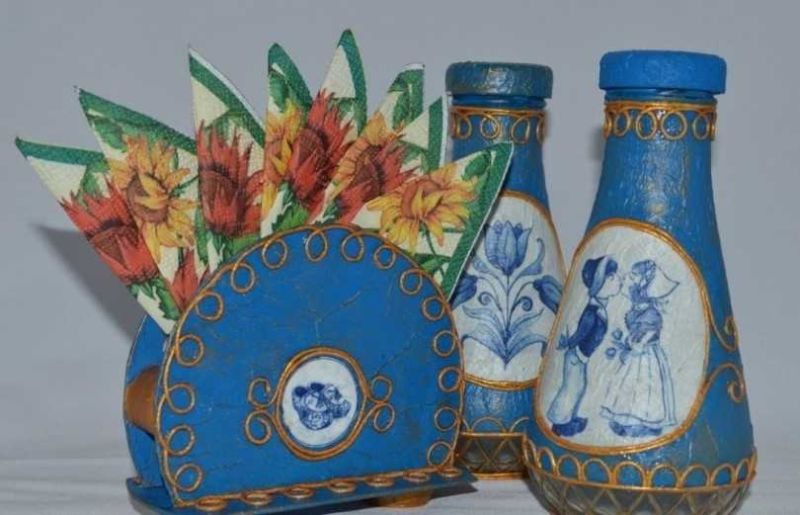
Of course, you can decorate and color the resulting billet at will.
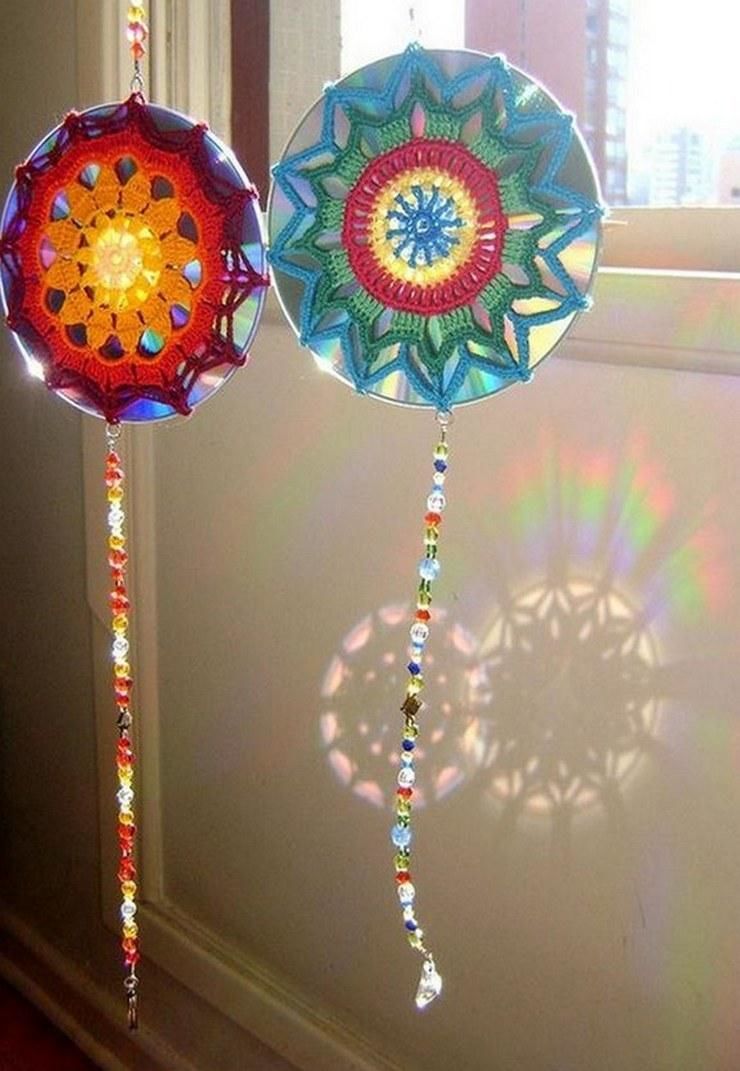
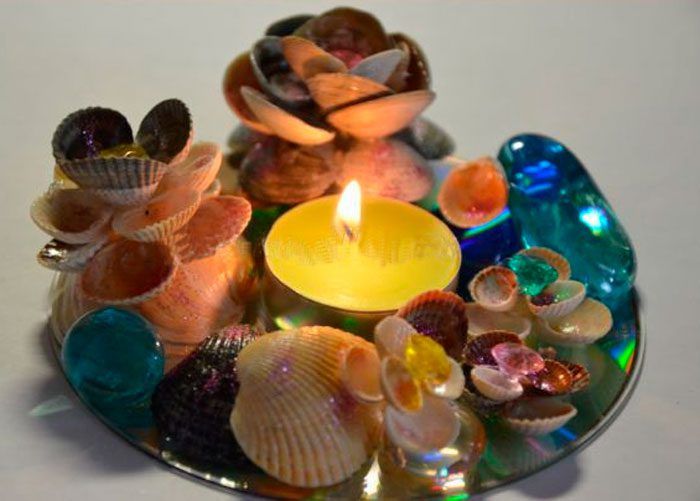
Candleholders .
Since we touched upon the accessories, why not make and creative candlestick, able to play with colors from the moment the candle is lit?
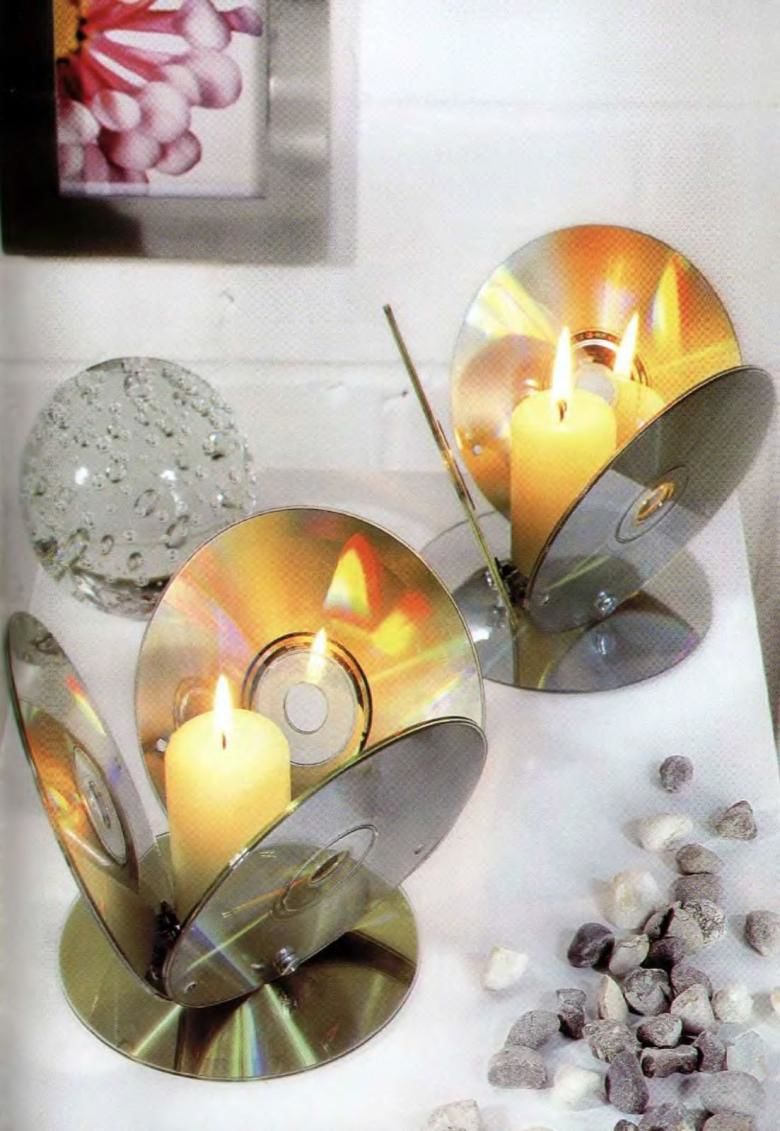
You can use any decorative elements: rhinestones, beads, stones. Of course, all these elements should be fixed on the base, and a good glue can do it perfectly.
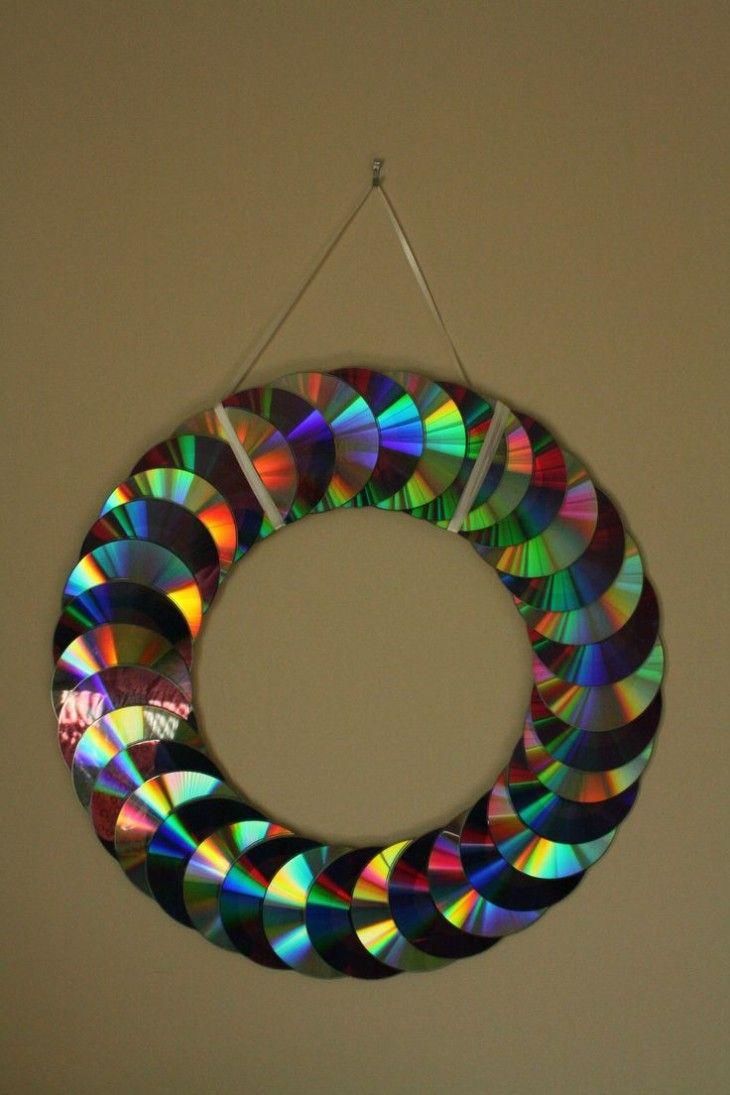
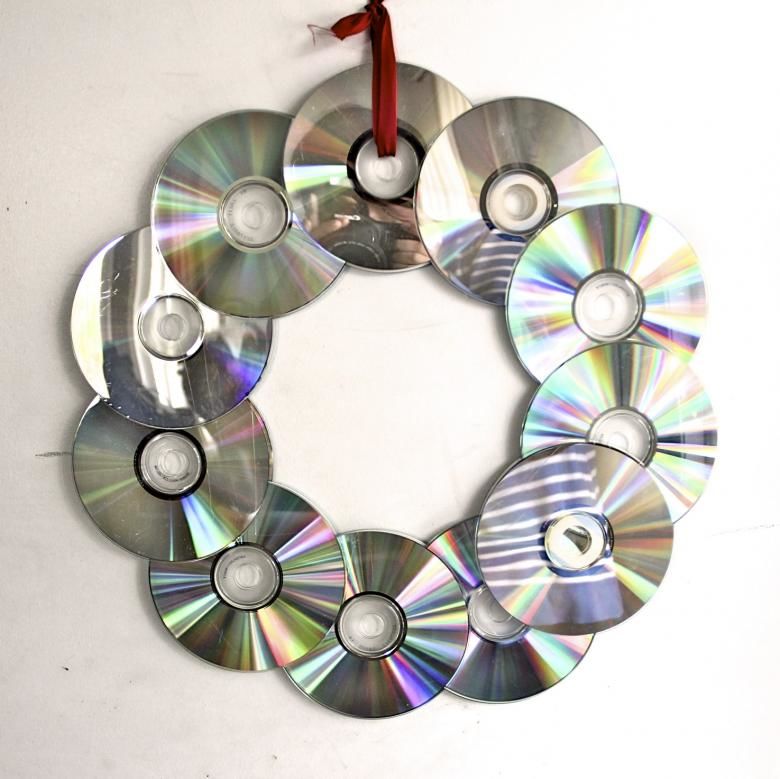
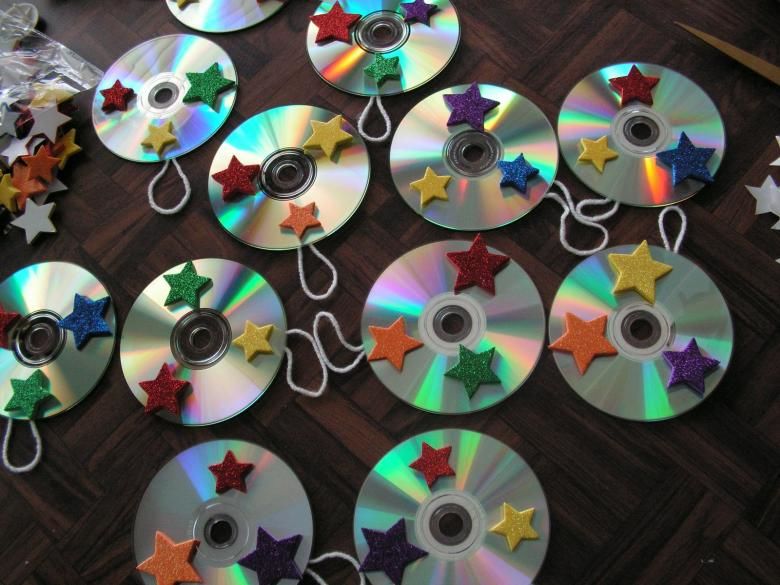
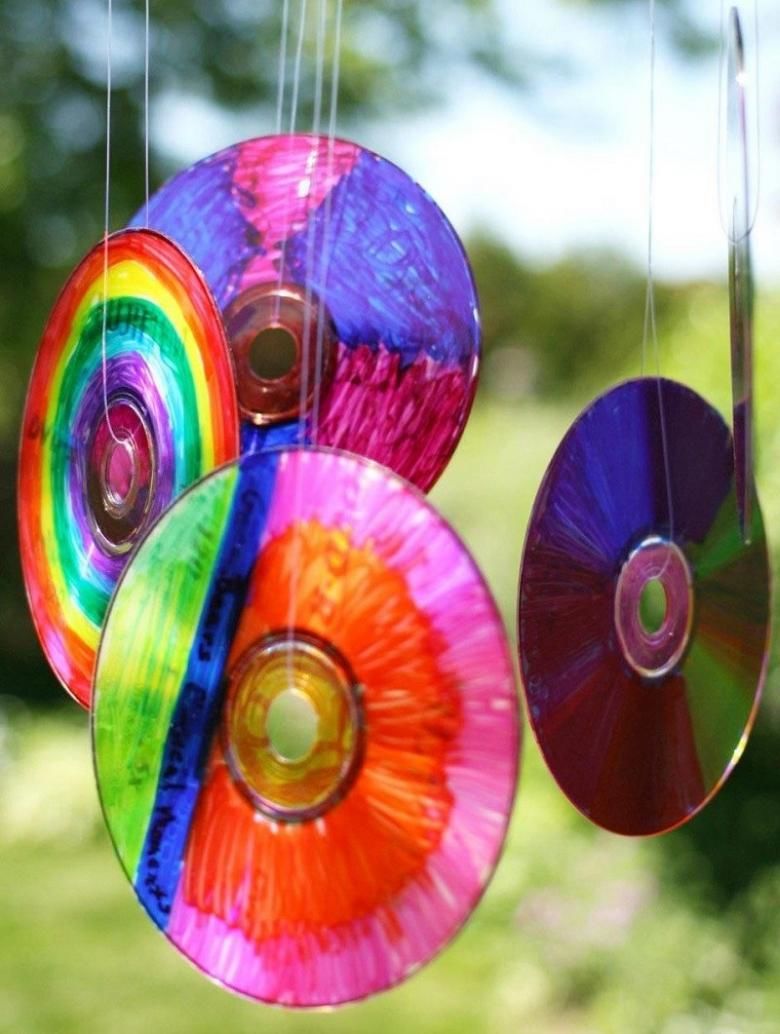
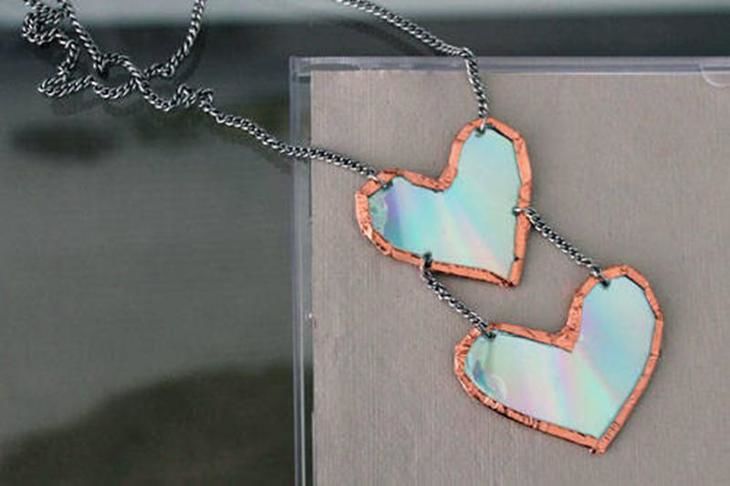
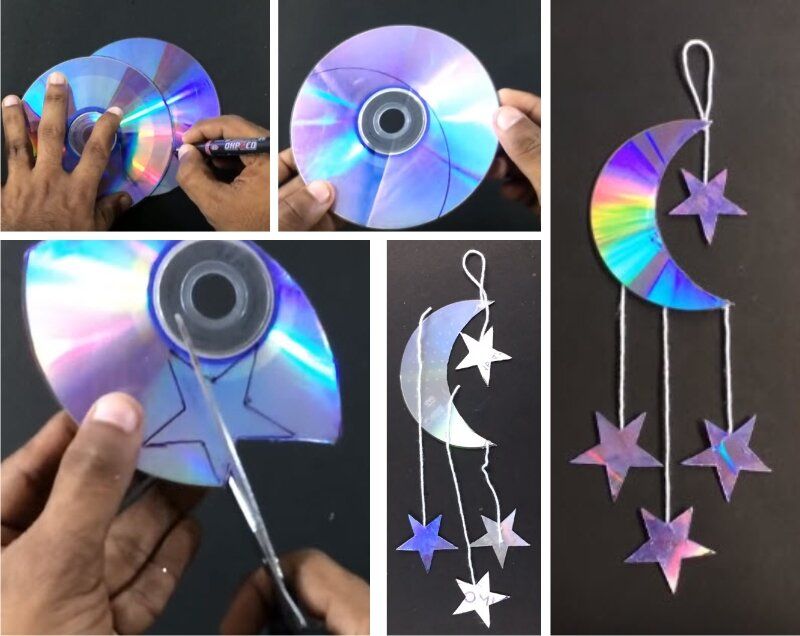
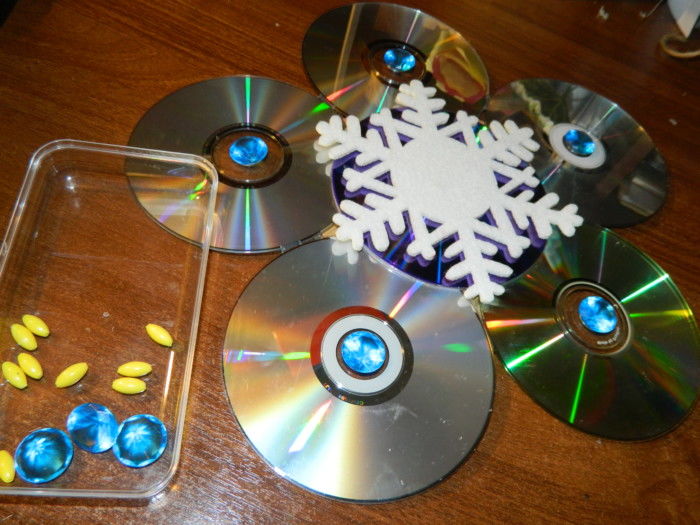
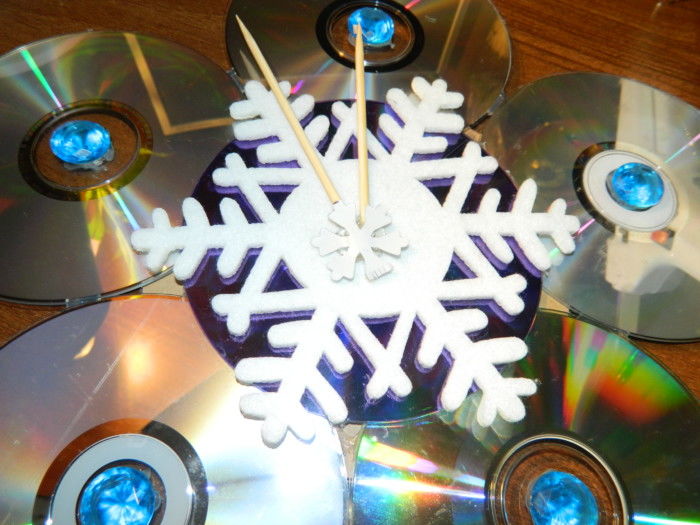
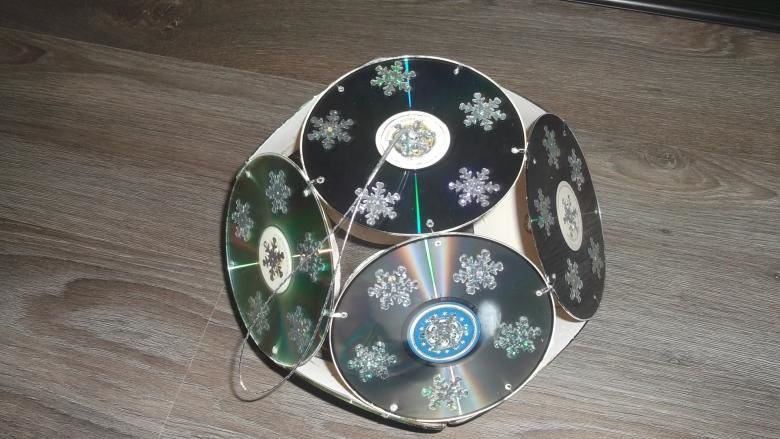
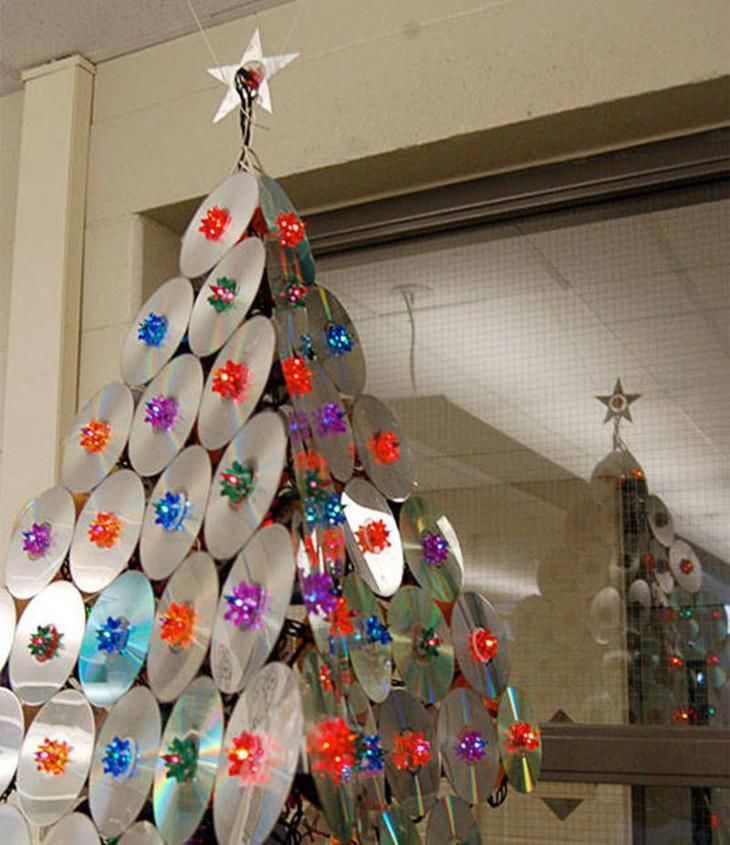
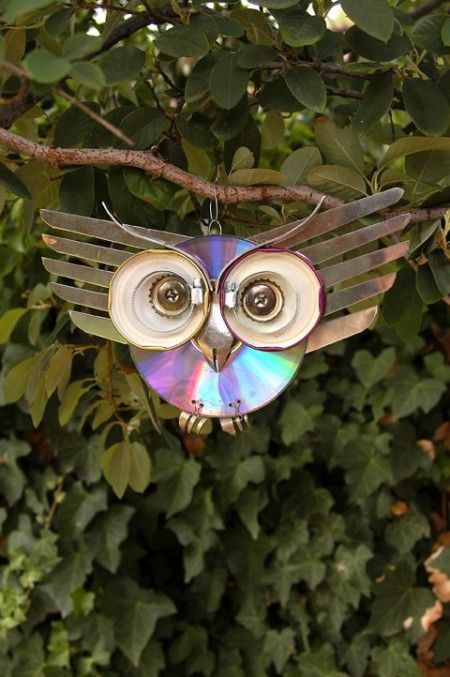
New Year's toys
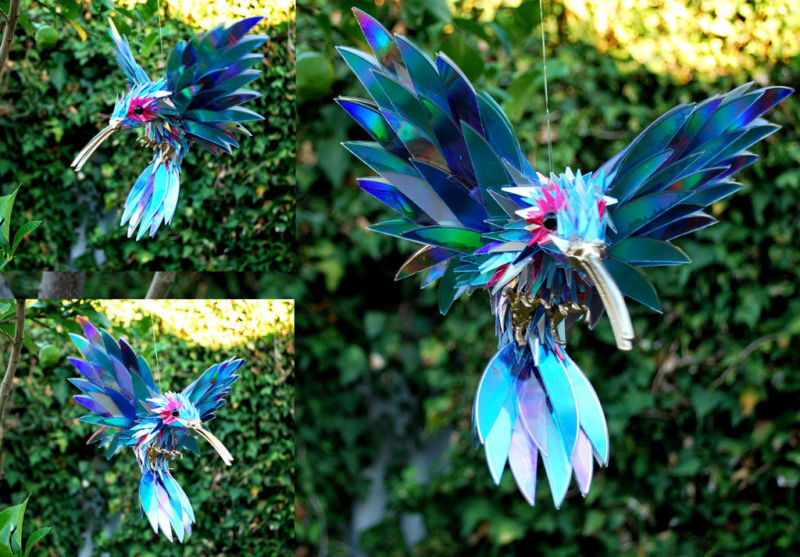
Moving on from rather mundane things, it is impossible not to mention the possibility of making Christmas toys. Their shimmering brightly colored surface just begs to be made into a Christmas toy.
Any figure can be easily cut out of the disk. The resulting garland is best decorated with something. For example, to draw something or glue an ornament.
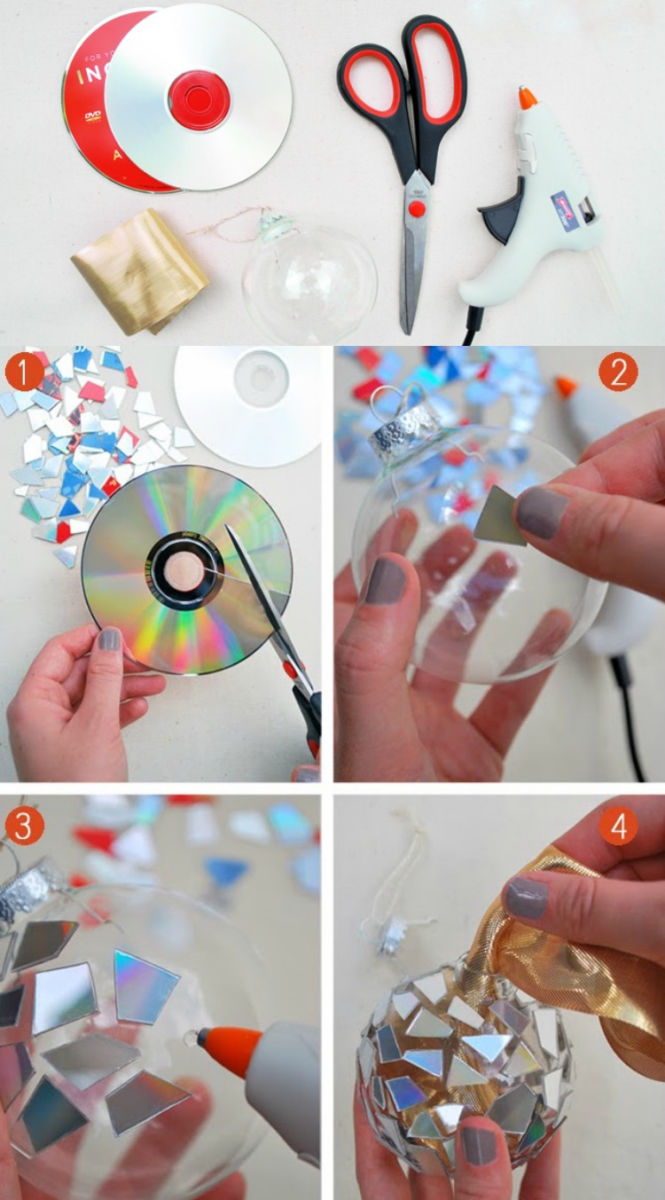
You can glue discs pre-cut into small pieces, like splinters, on the New Year's Eve balloons.
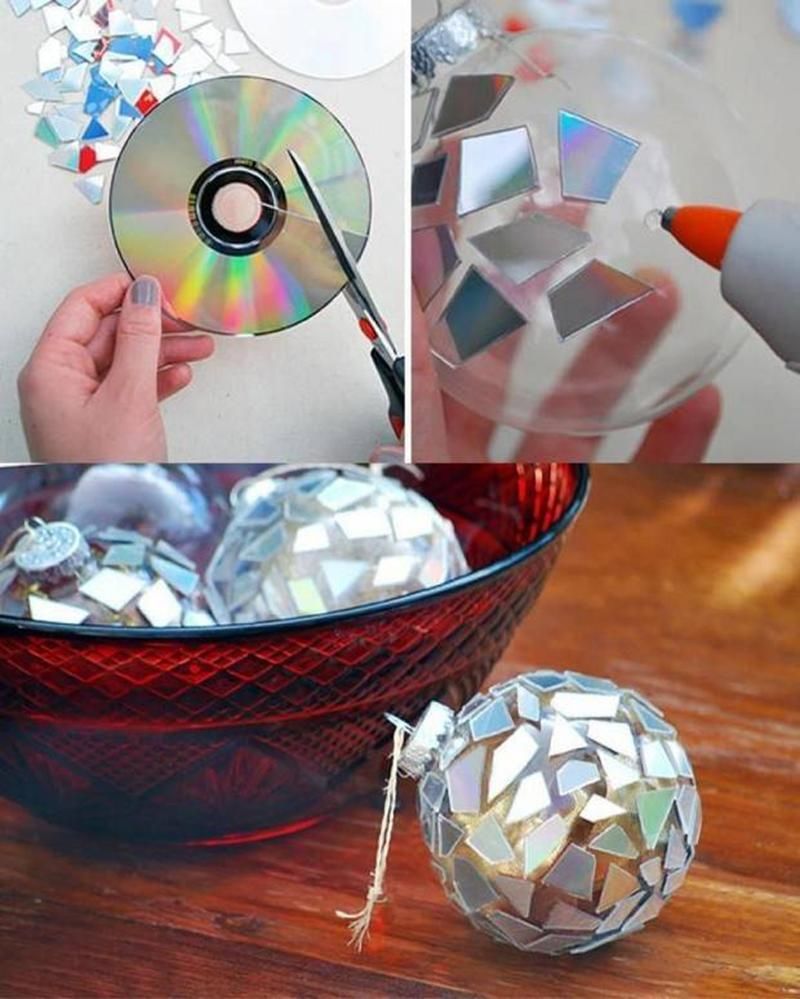
Such crafts should be treated with varnish - such small fragments can be highly dangerous to others, if they come off the toy for one reason or another.
With a large number of unnecessary disks and a glue gun is always possible to make a Christmas tree, able to attract the attention of no less than a real and decorated Christmas tree.
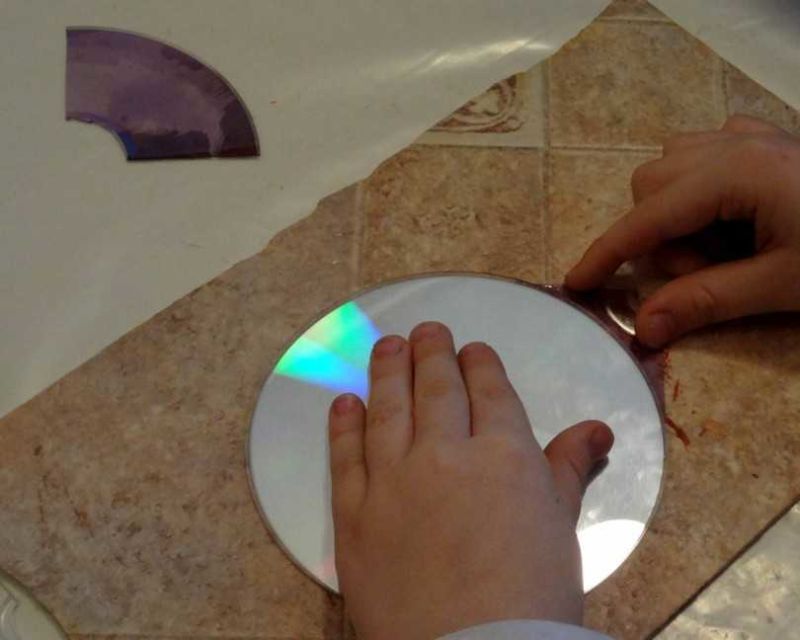
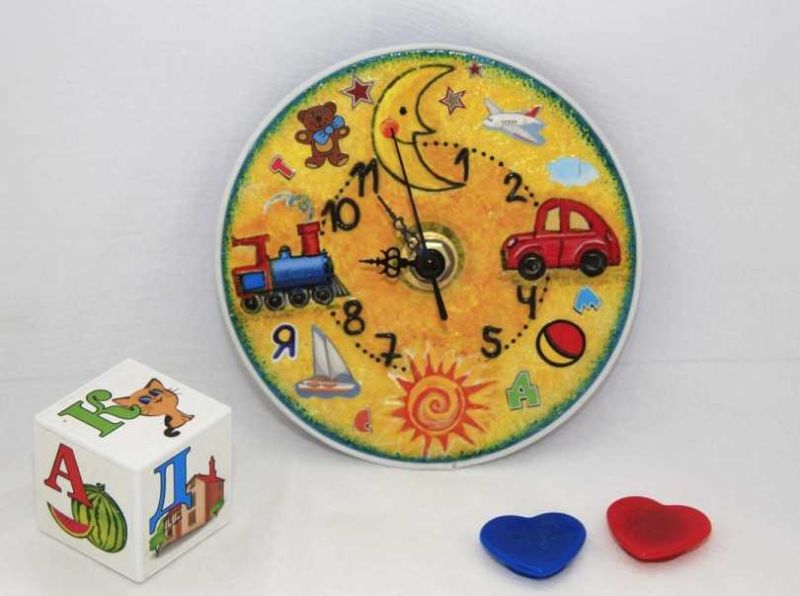
Disk crafts for children
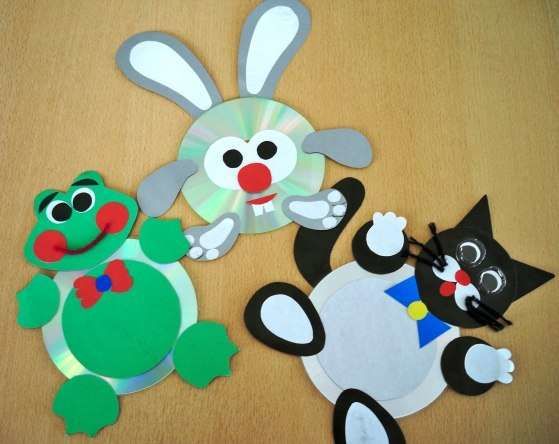
And now that it came to the toys, how not to make something for our kids. Computer disks crafts for kids will attract their attention.
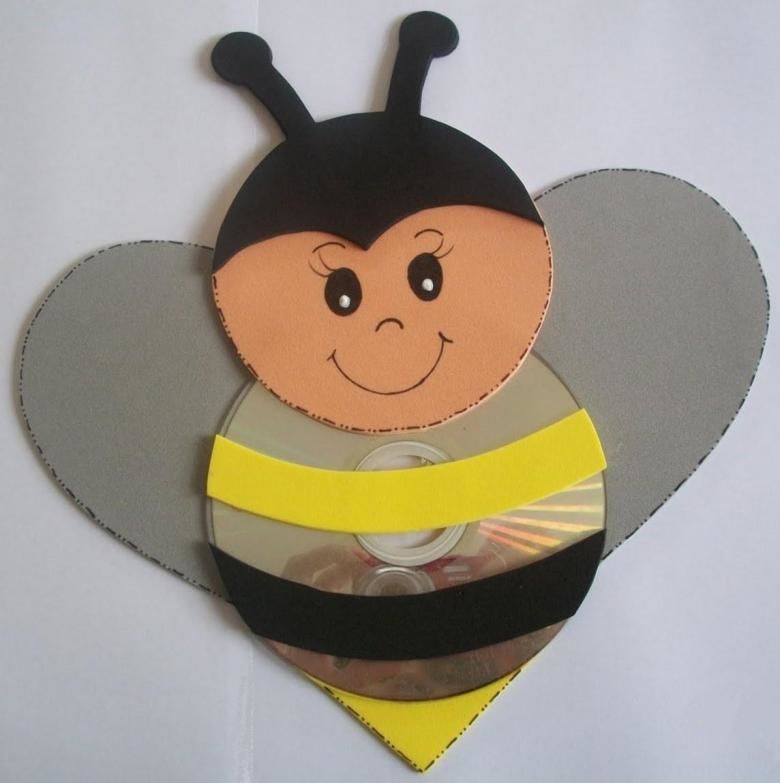
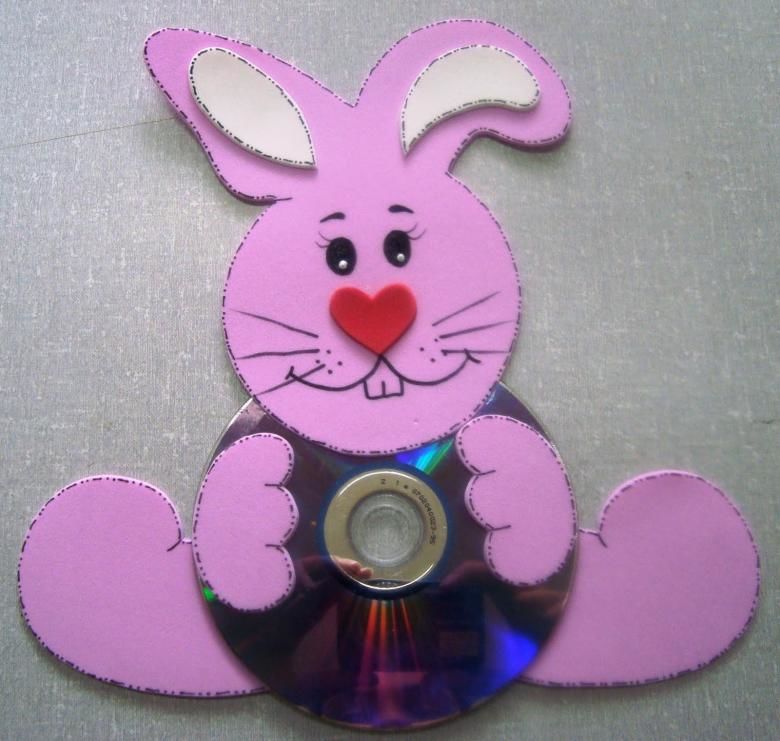
To kid not to cut himself, it is better to use a whole disc when making crafts.
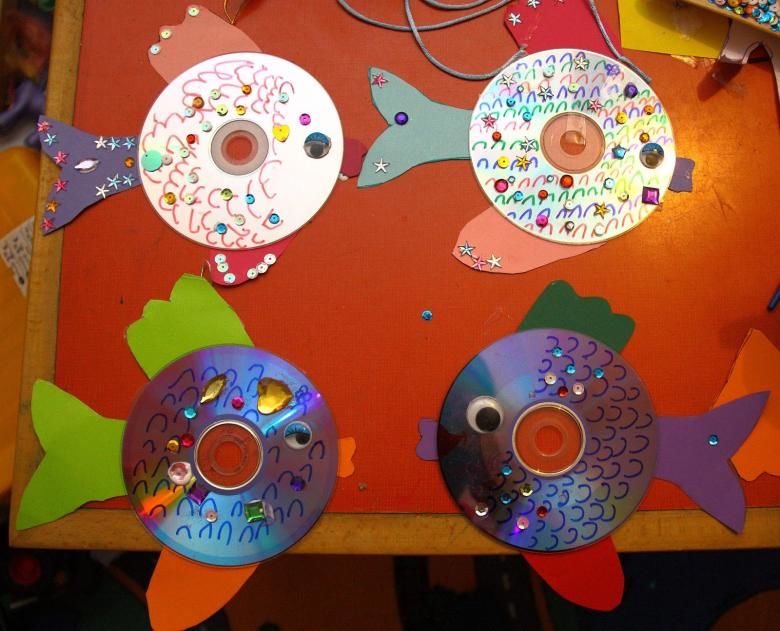
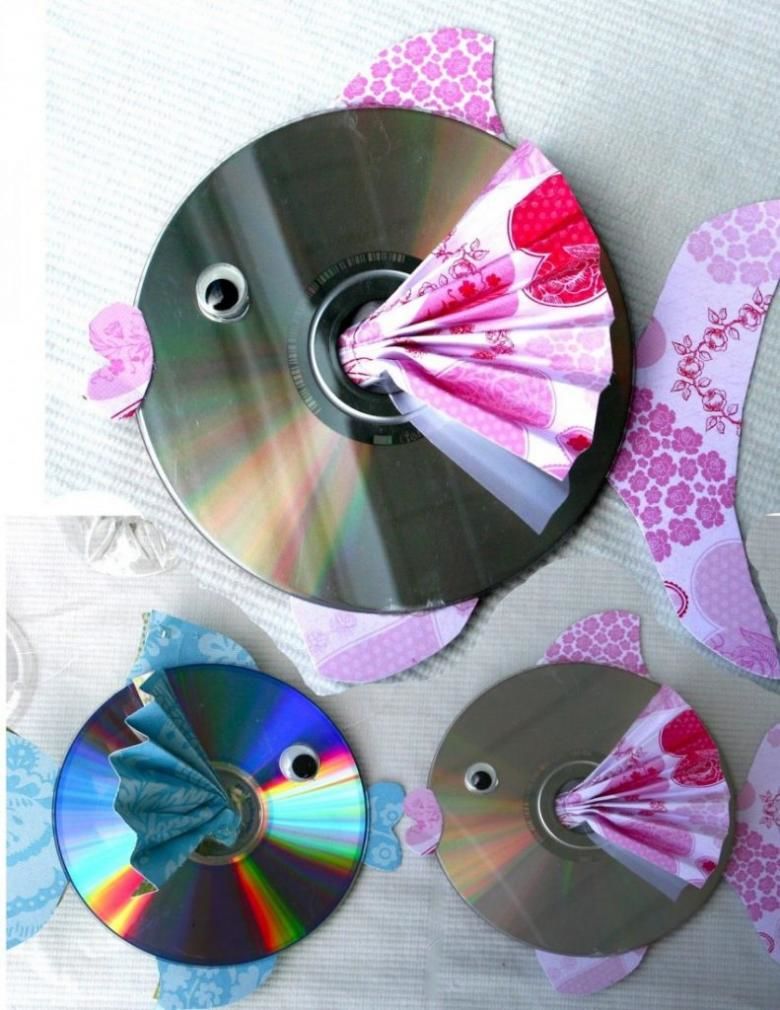
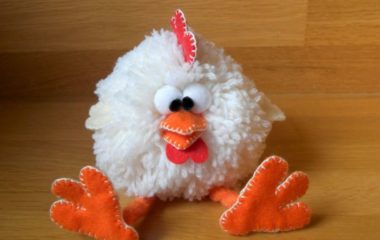
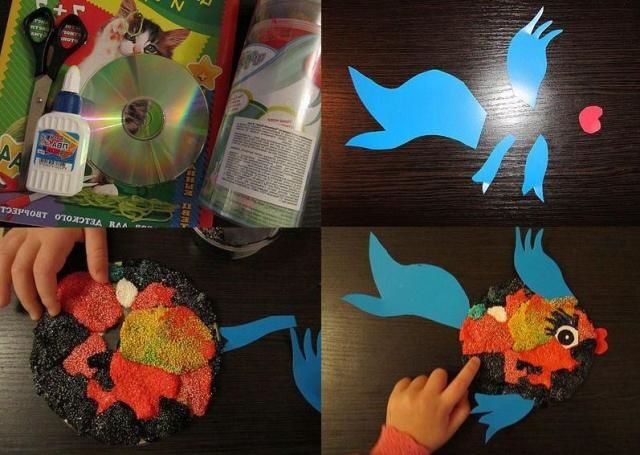
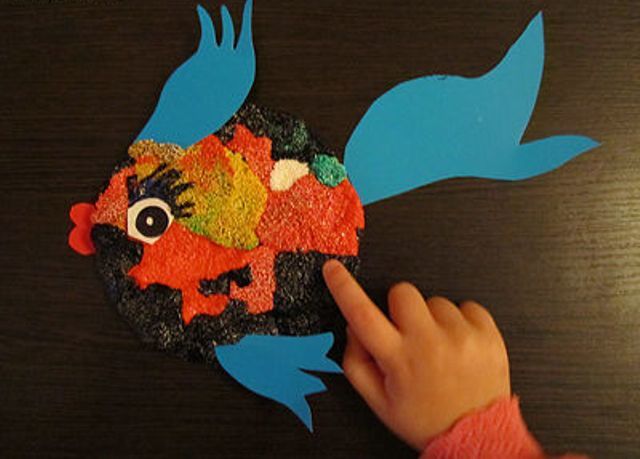
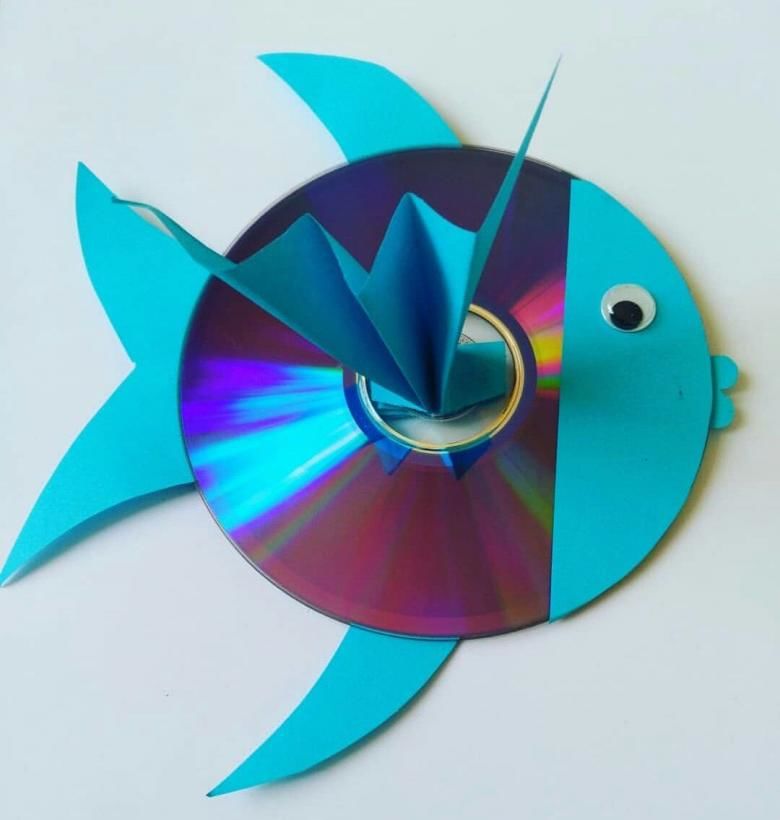
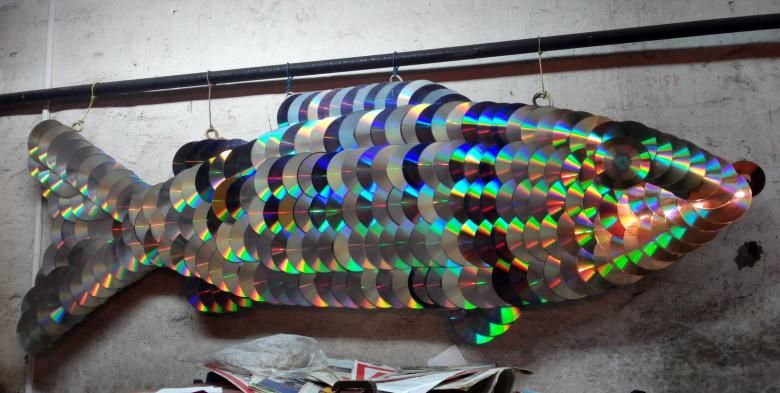
Fish
A classic example of a successful toy is an ordinary fish. The disk is used as the torso, and the fins, tail, eyes and mouth can be made from any safe material.
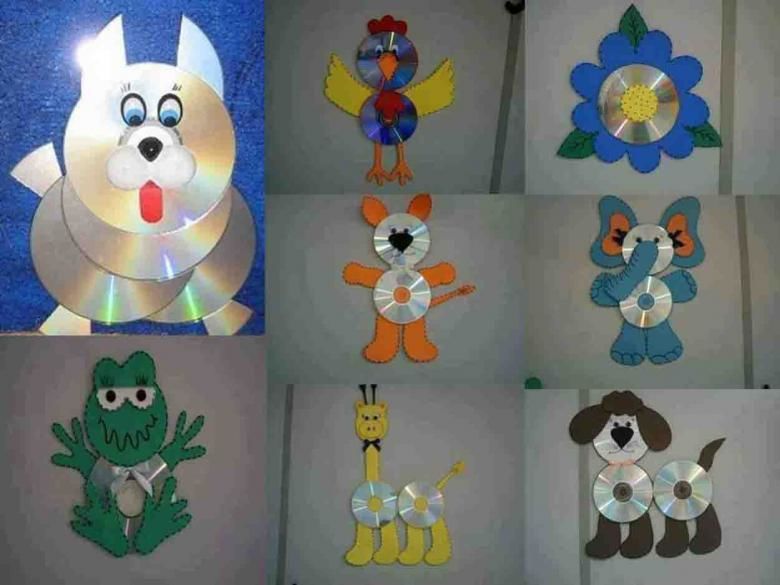
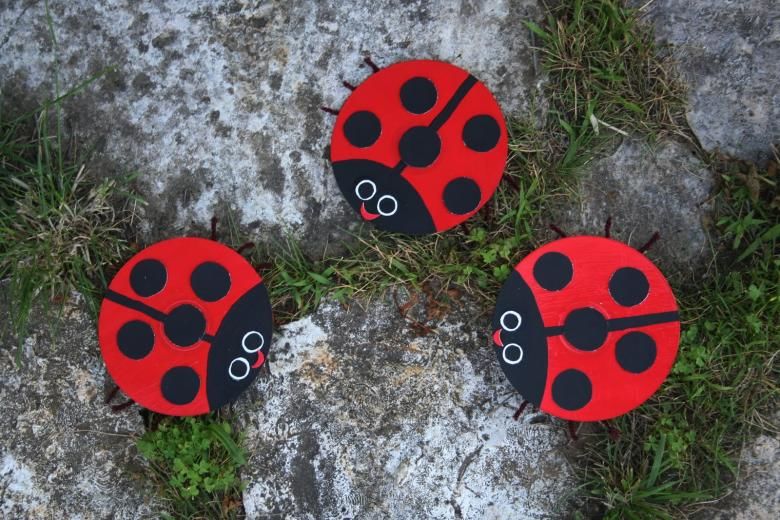
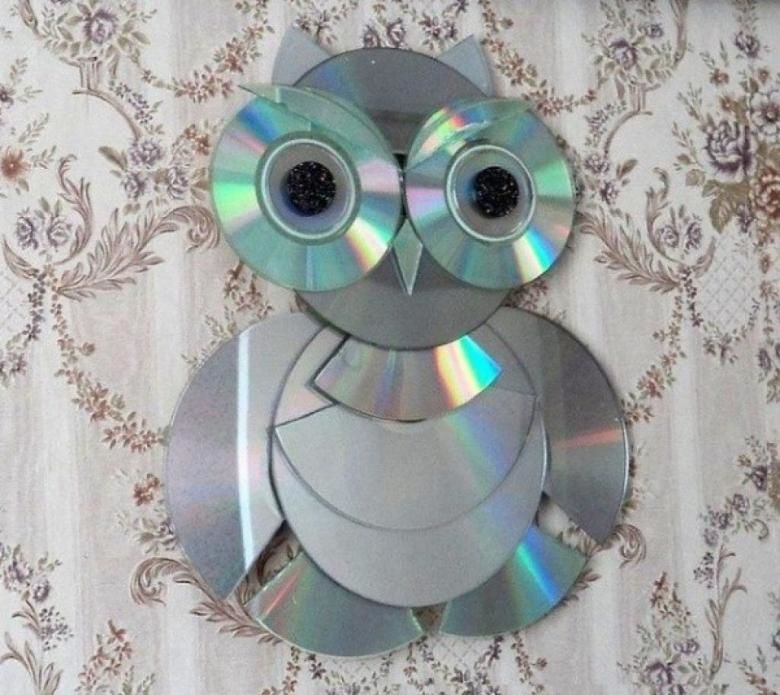
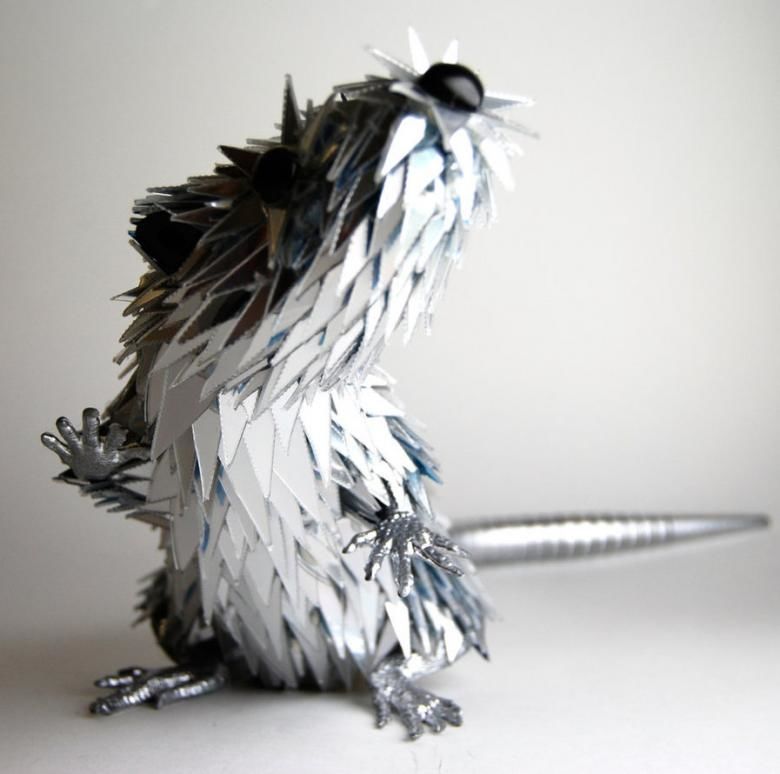
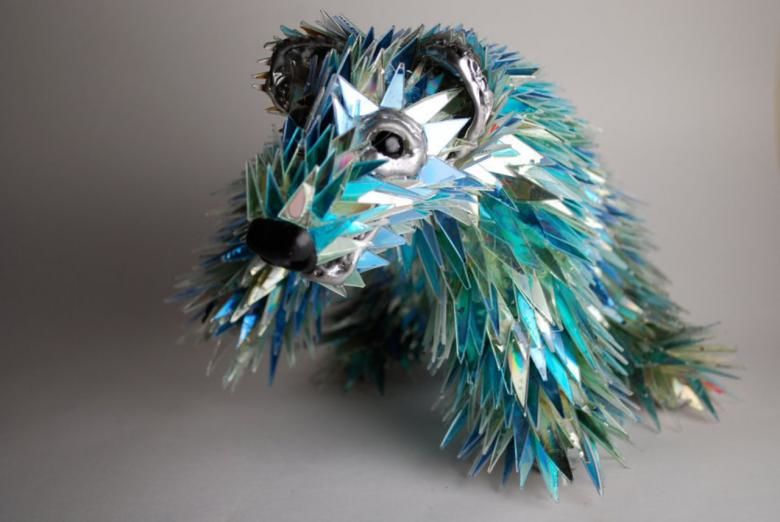
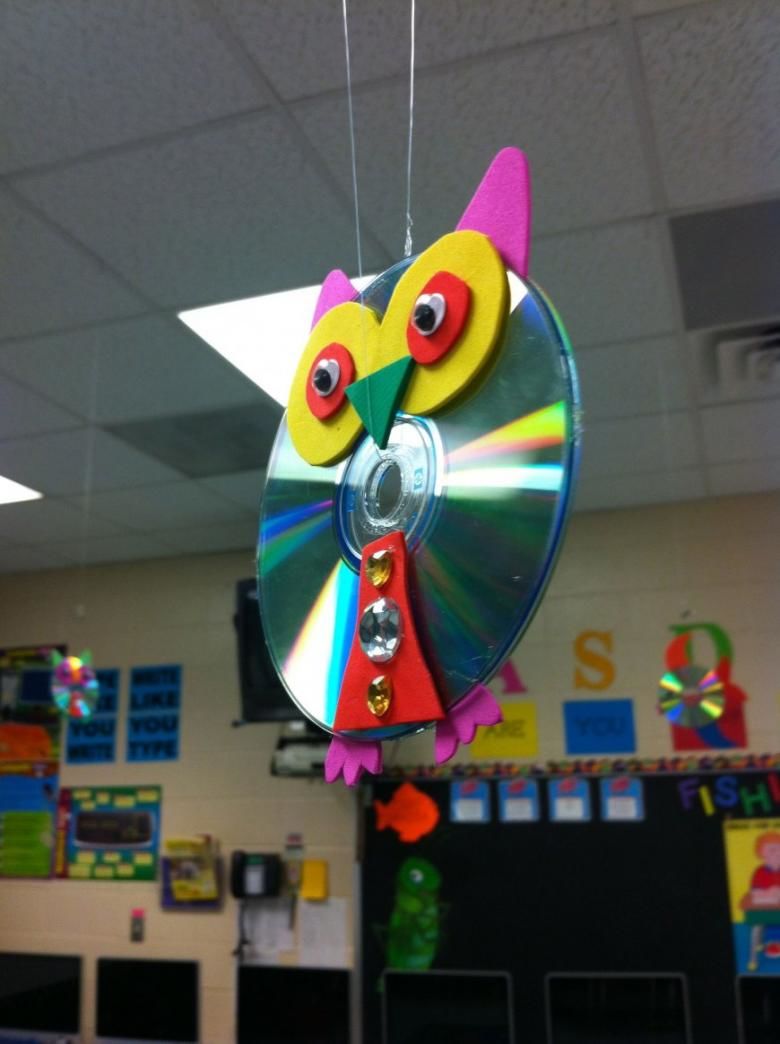
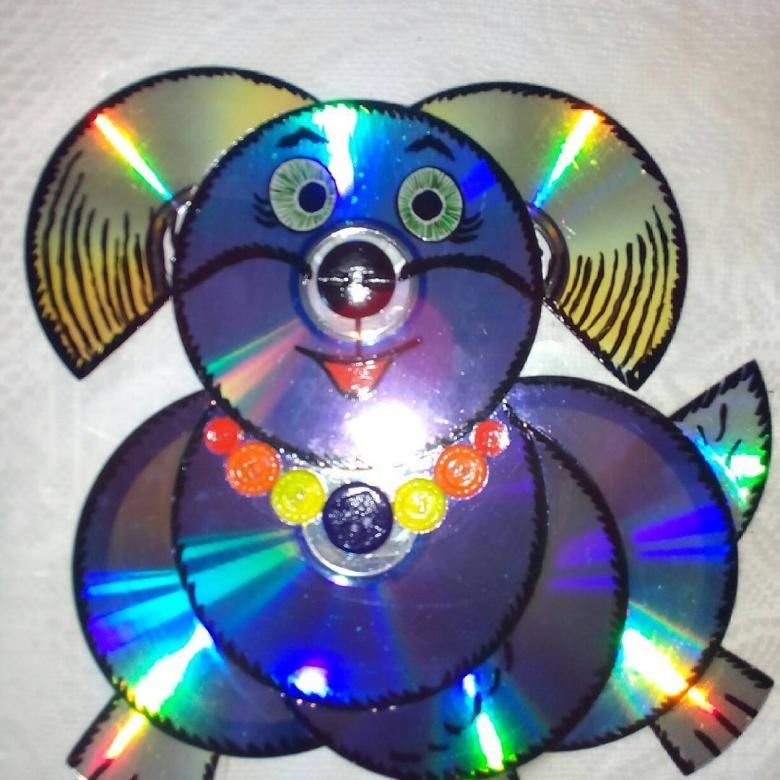
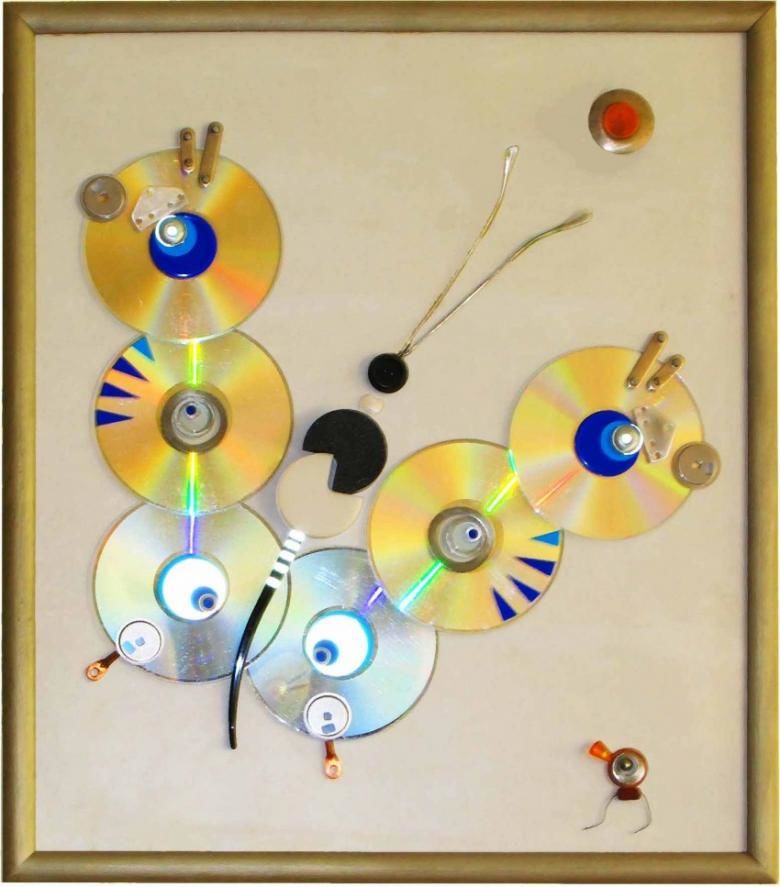
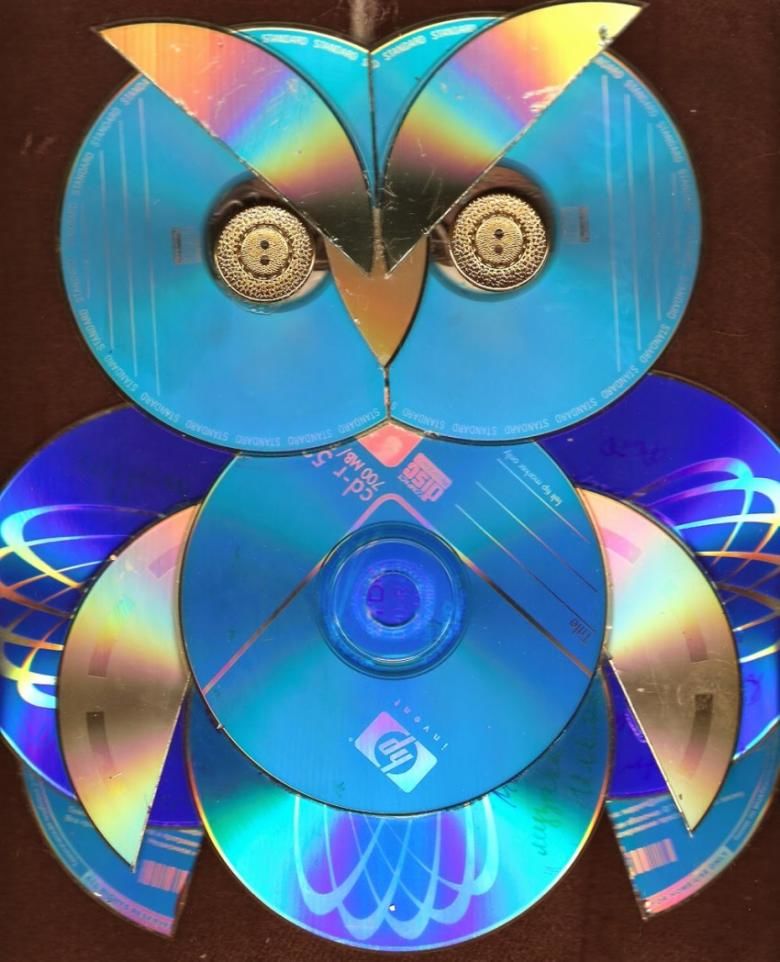
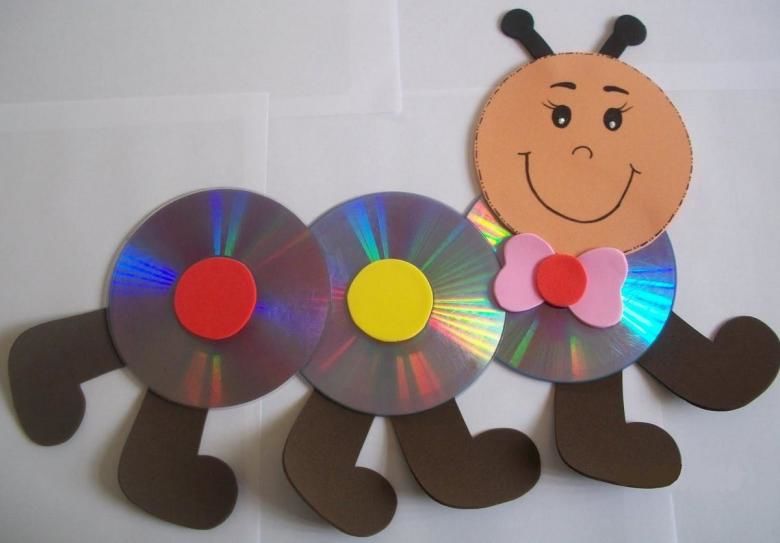
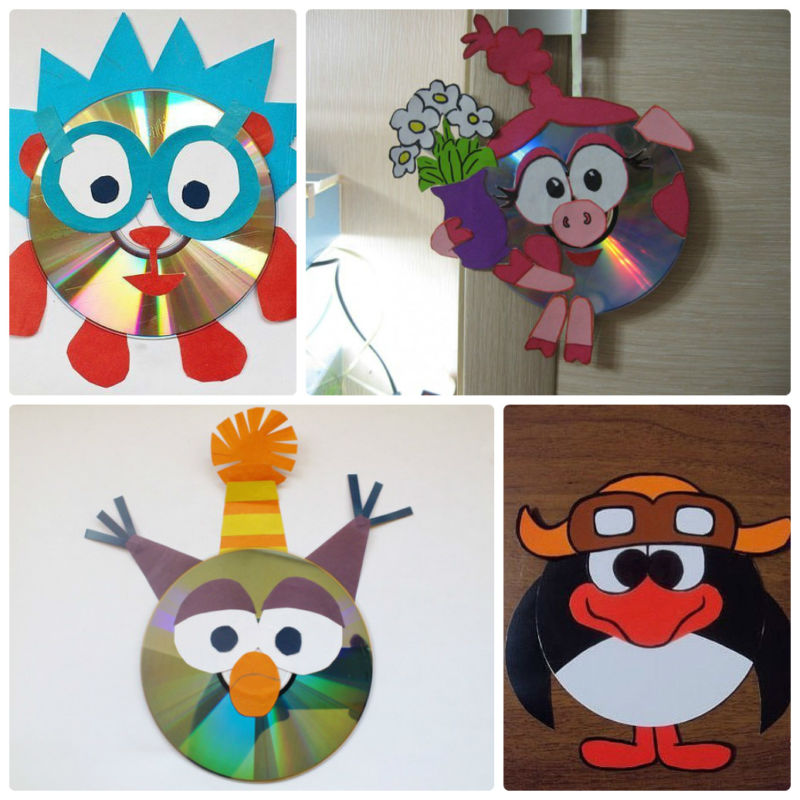
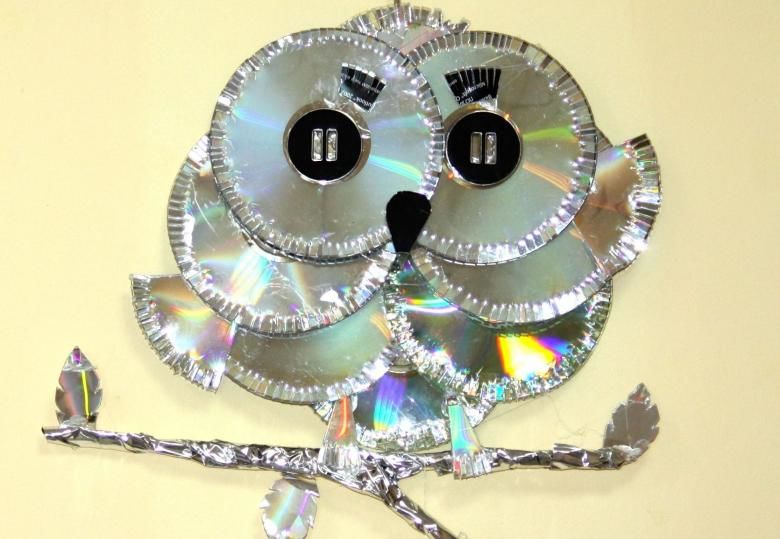
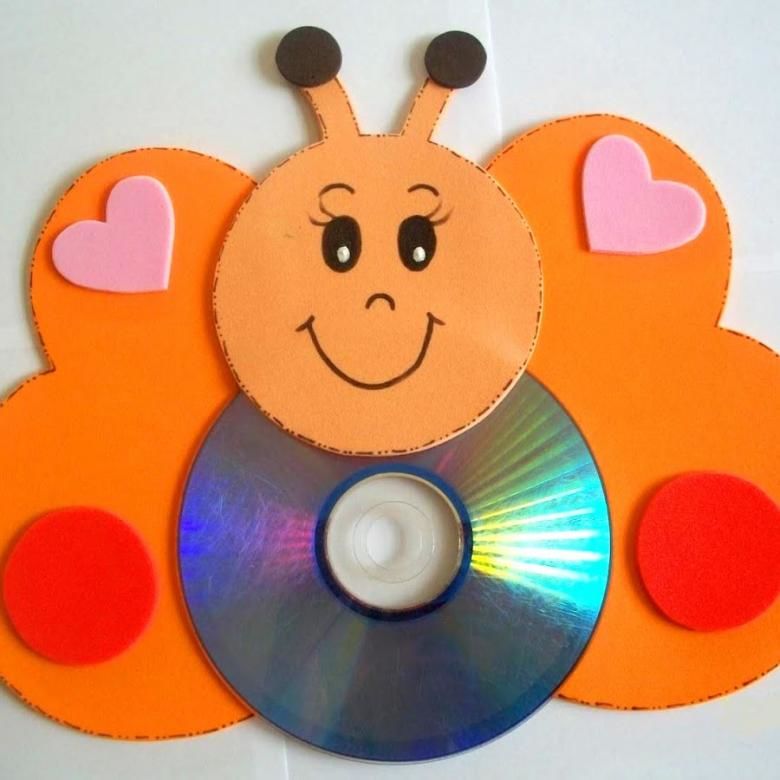
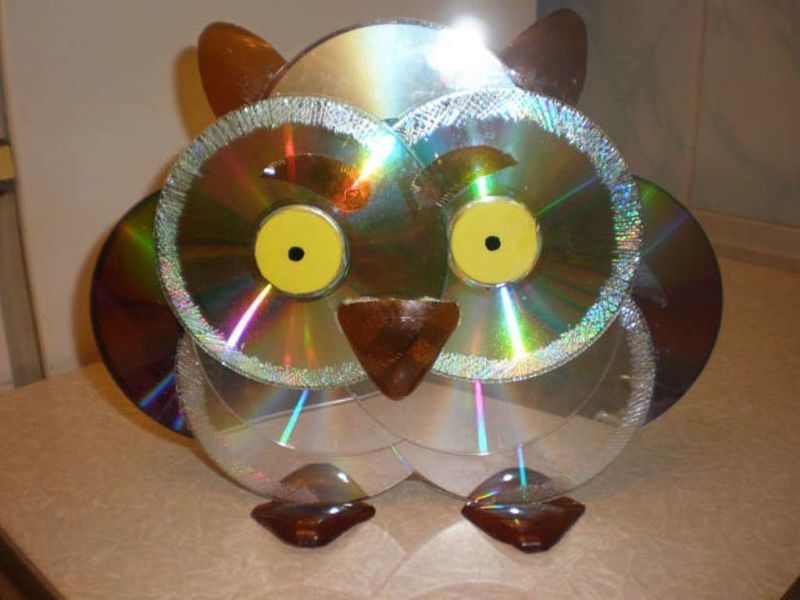
Smeshariki and animals
These funny characters are as if created to make them themselves out of CDs. It is only necessary to prepare all the necessary elements and body parts.
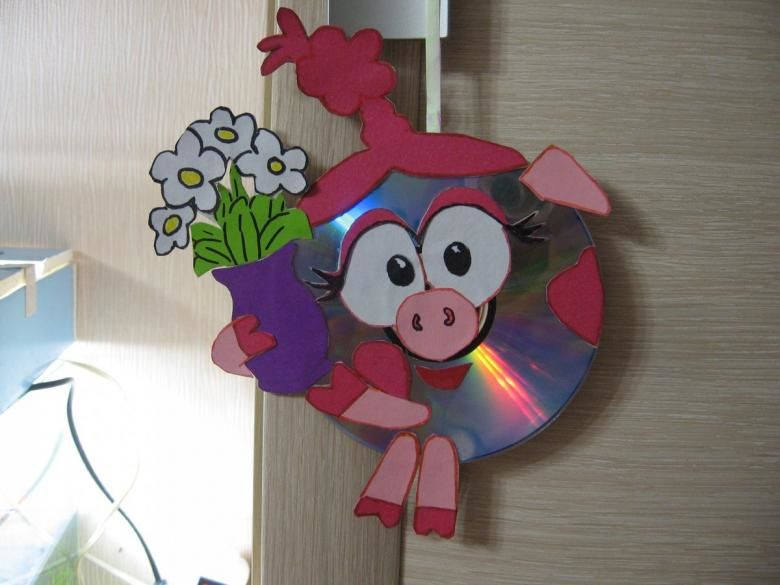
If you want to make the character in the color you want, you can paint the disk itself or, using as a stencil, cut out the desired shape on a colored piece of paper. All the elements of the design can be secured with ordinary glue.
Such a toy will attract the child's attention and put him in a good mood.
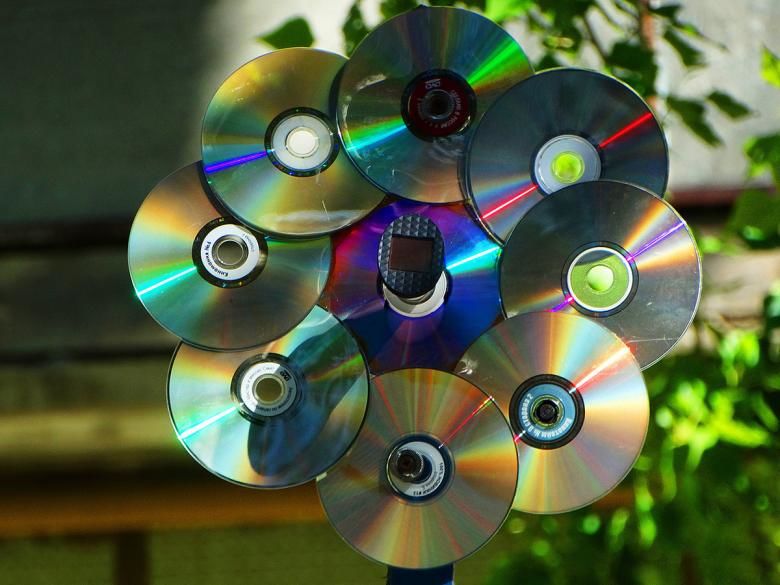
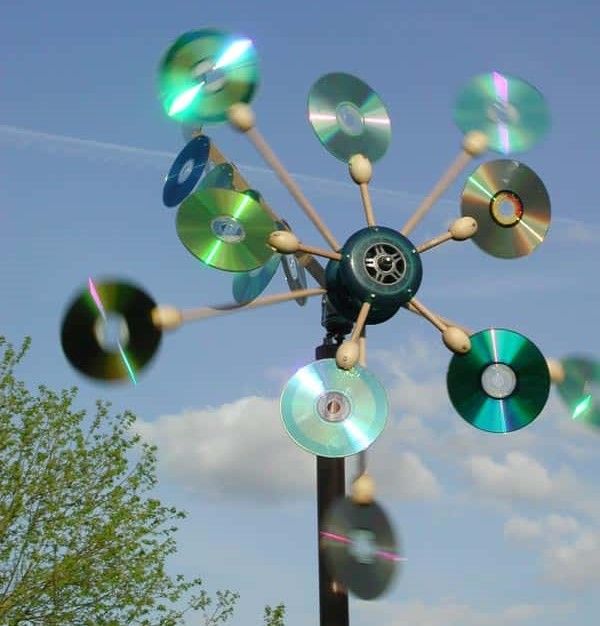
Scarecrow for the country
It would seem that the CD is the most useful object, able to decorate the room and attract the attention of others.
But you can use it outside the house as a garden scarecrow. After all, the bright glare will easily scare away birds, and therefore you can adapt these plates and for the garden.
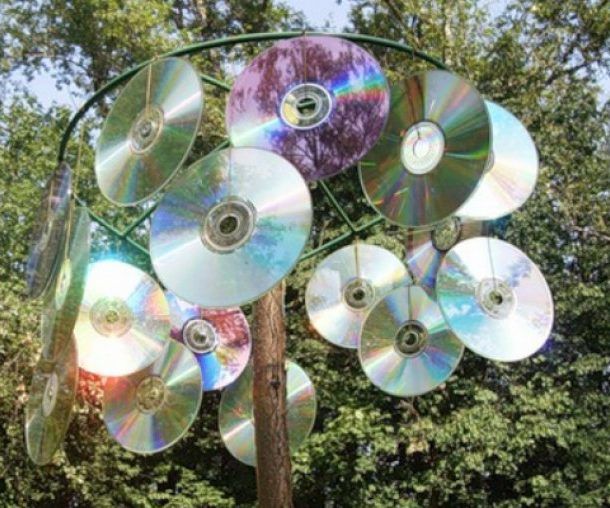
It is enough to construct a structure on which you can fasten the discs, so that the glare is visible from all sides. Fix the CDs themselves can be anything: paper clips (you have to make holes at the edges), fishing line, string, and so on.
Conclusion
As you can see, a lot of useful things can be made from CDs, which will not only make you happy each time you start using them, but also be very useful in everyday life.
In addition, the process of creating all these crafts will give a lot of pleasure to you and your loved ones.

And what would you make out of CDs first of all?
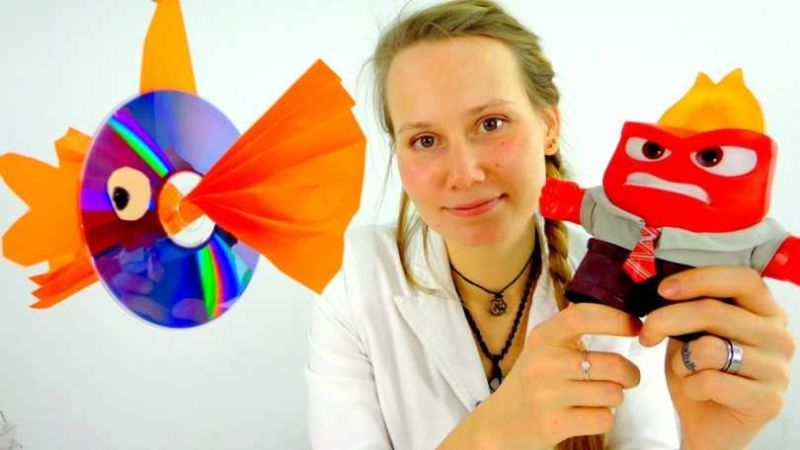
Photo of computer CDs crafts