Knitting heels for beginners: tips for choosing yarn, needles, schemes of work
Properly and qualitatively knitted heel in knitted socks - the key to a long and, most importantly, comfortable wear. Those who are just beginning to knit socks, there may be certain difficulties in knitting this element.

There are many simple and complex options and everyone can choose the way depending on their skill level.
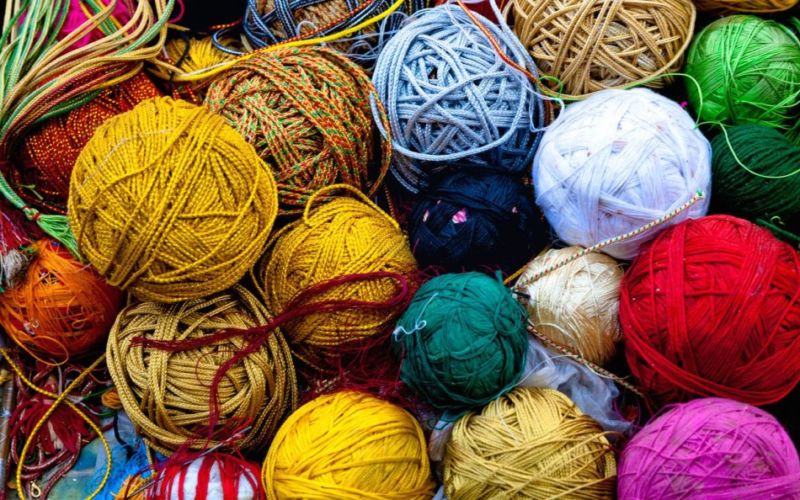
Choosing yarn, knitting needles and additional tools
Choosing yarn for knitting socks requires a special approach. Hygienic, durable, comfortable, elastic, hygroscopic, with stable coloring - these are the general requirements. Additional material criteria depend on the purpose of the product:
- thick socks designed for low temperatures - sheep or camel hair with the addition of polyamide or nylon;
- summer, with an openwork pattern - cotton thread with the addition of synthetics;
- children's products - rabbit down with the addition of cotton yarn;
- gift socks for rare home wear - angora, velour, mohair for items with arabesques, braids, interlacing and acrylic for jacquard pattern;
- heel and toe reinforcement - polyester or polypropylene sock yarn, an additive to the basic yarn. Fluffy, non-twisted, different shades;
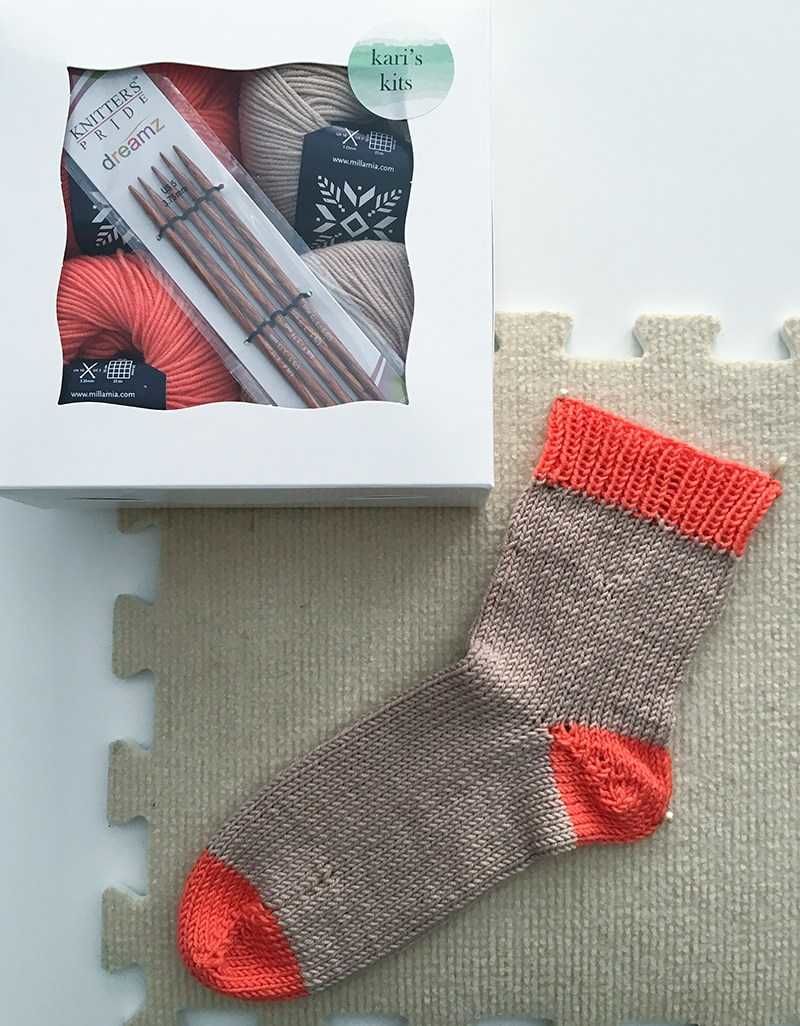
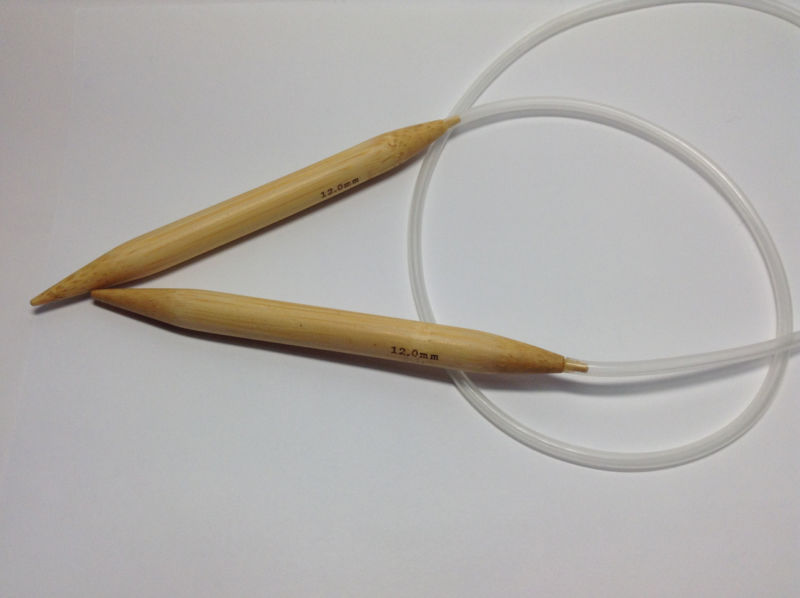
Now about the needles. A special set of five, pointed at both ends, is used. Length - 20 cm, diameter depends on the thickness of the yarn, the most common - 2.5-3 mm. Material depending on the type of yarn:
- wood - viscose, silk yarns (strongly slip);
- metal - a variety of wool and acrylic;
- plastic - universal;
Additional tools:
- An extra needle with two tips or a safety large pin for putting off loops while knitting;
- tips on the pointed ends to keep the buttonholes from slipping off;
- plastic markers to mark the end of rows or the required number of loops;
- thimble with grooves for distributing threads when knitting a jacquard pattern;
- a short needle with a hole in the middle to drop stitches when knitting arabesques and braids;
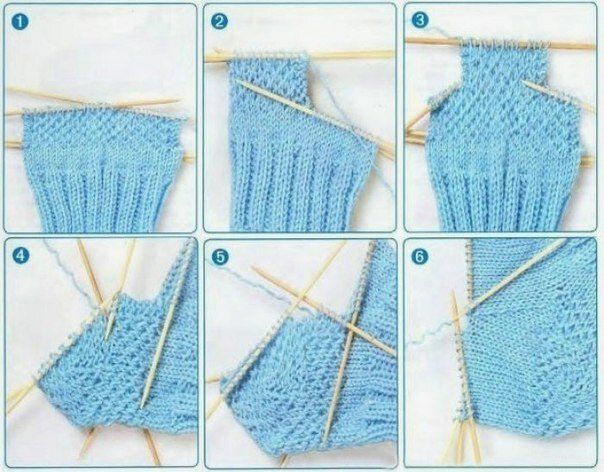
Knitting patterns and options for heel sock
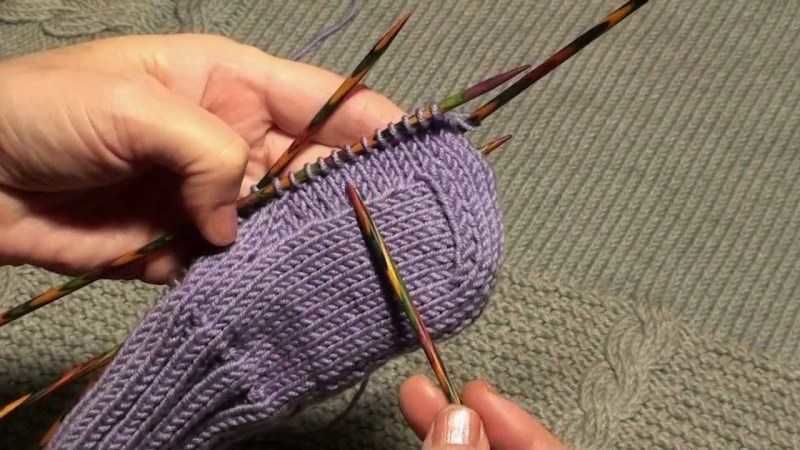
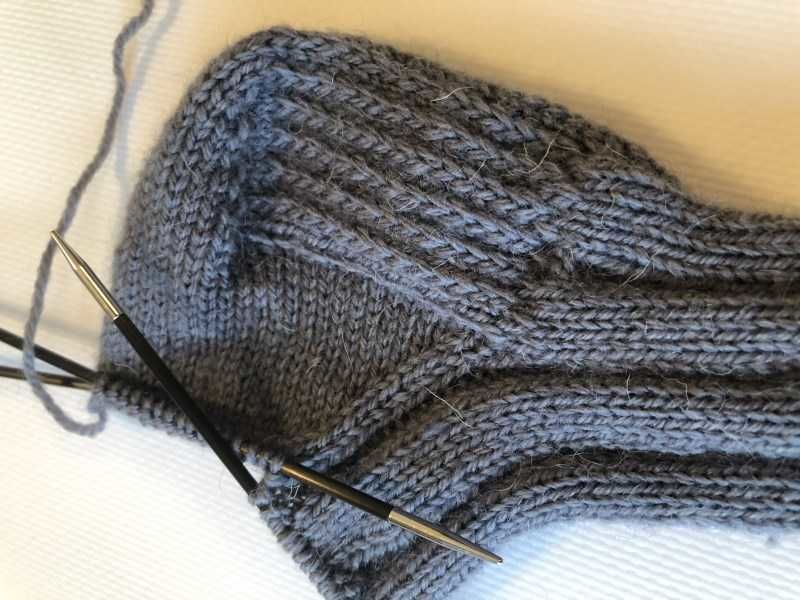
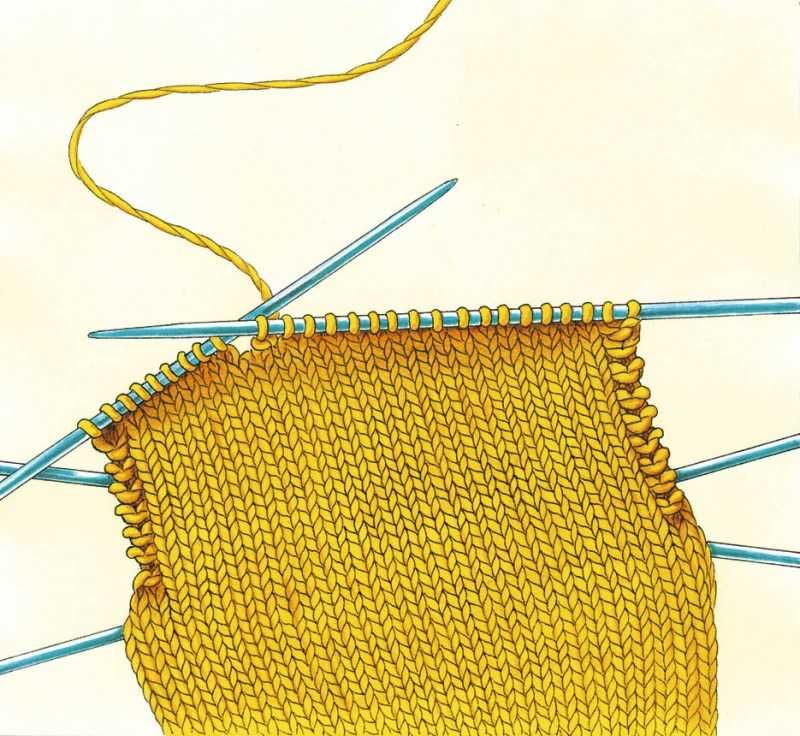
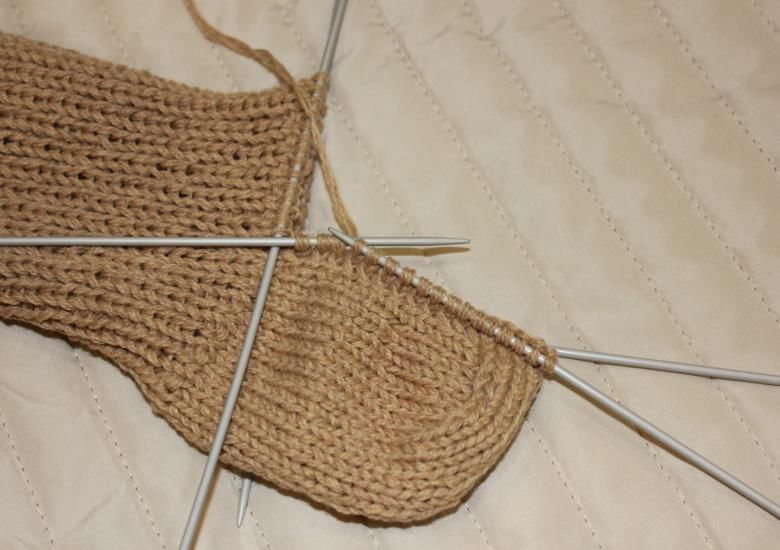
After knitting an elastic band and ankle (pagolink) with five spokes, heel is knitted directly. The main thing is to correctly calculate how many loops are needed and understand how and where to add and remove them.
Unlike the whole sock, the heel is knitted not in a circular fashion, but by a rotary method, that is, there is a face and a wrong side of the work and, accordingly, the same rows.
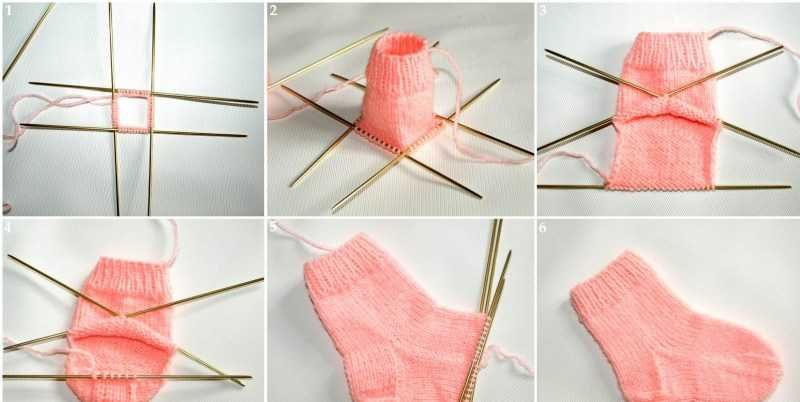
The beginning of knitting in all varieties is the same:
- leave half of the loops as is or take off on an auxiliary thread, and gather the other half in one row;
- knit the back side (wall) of the required height, which can be calculated individually, or you can use a universal method - the number of rows knitted is equal to the number of stitches taken;
Choose the pattern as desired, but it must be resistant to abrasion:
- stocking knit;
- front thickened ironing (described in the model "double");
- a pattern where the removed loops are in staggered order;
- shawl reinforcement pattern - both on the face and on the wrong side the loops are knitted in the face, and the principle is the same as in the usual thickened knitting. If knitting the heel with this pattern, it is better to make the wall a little higher, because the pattern stretches the width of the product;
- shawl "chessboard", where the stretched yarn is in front of the knit;
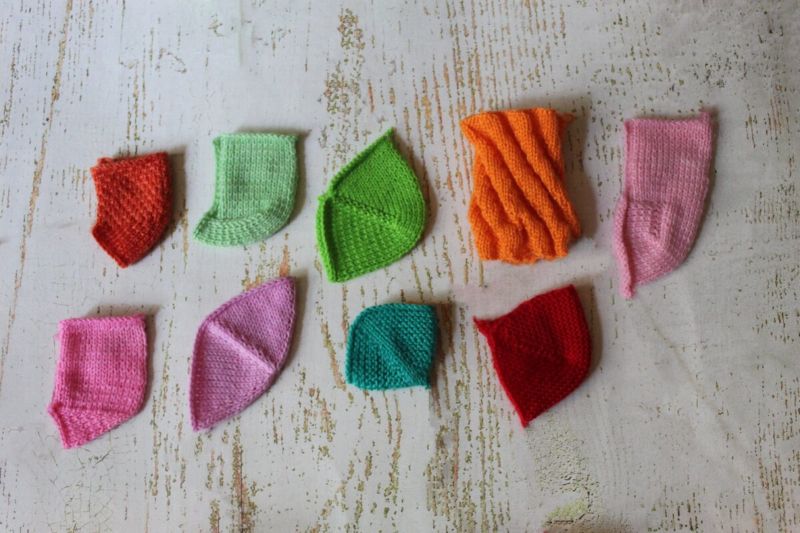
There are many ways to knit the turn or bottom side of the heel, also called "cup" or "cup".
Straight
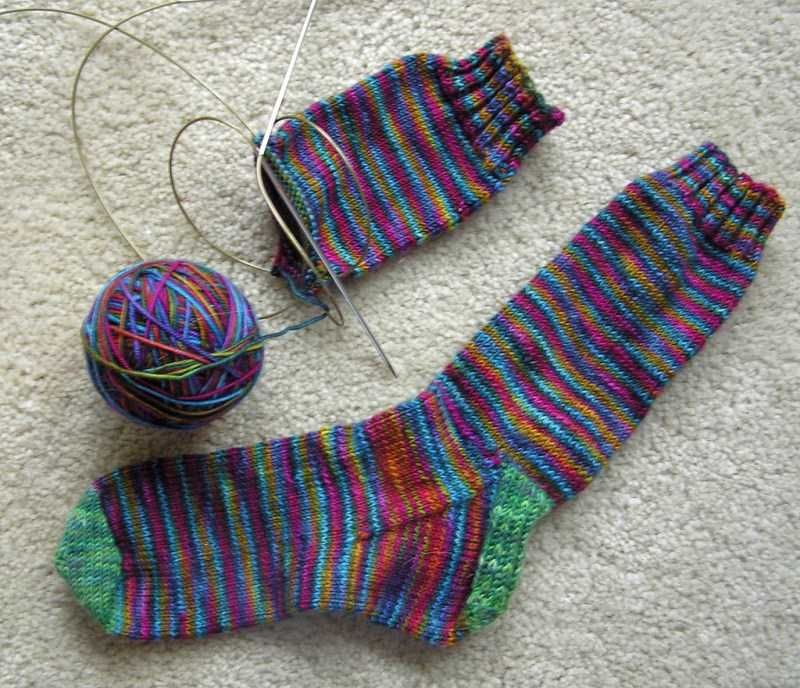
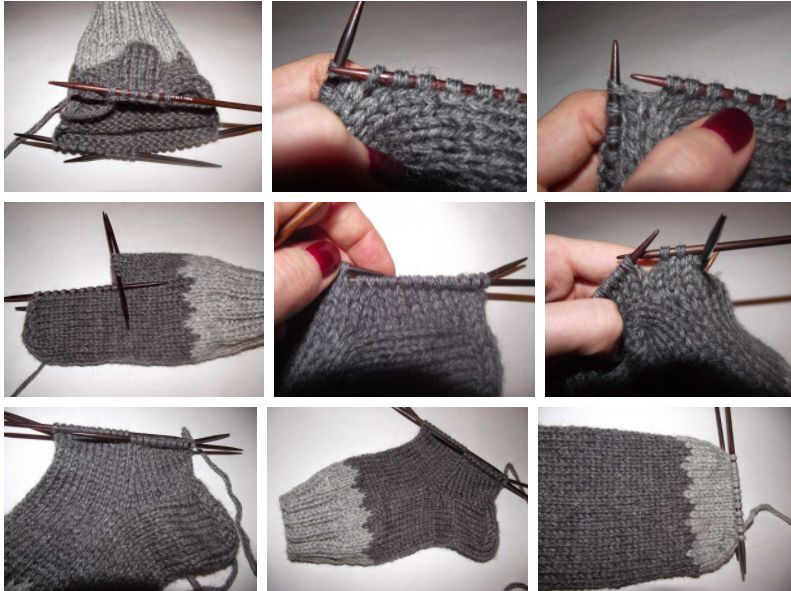
The most popular and easy to perform model, which has long been considered a classic, is often used when knitting socks from the sock:
- Tie the wall in any way that is convenient for the craftsman;
- Divide the used loops into three parts, if there is an extra loop left, its take into account in the middle. The middle part is better to mark with markers for clarity, it will be the sole of the heel;
- First, sew the back row to the beginning of the middle, then knit only the middle;
- From the wrong side do the subtractions (knit the last loop of the middle with the first loop of the side) to the point where all the loops from the sides will not be knit with the last ones in the middle;
- From the edge loops of the sidewall again dial up to the required number, divide in half and knit the product further conceived pattern;
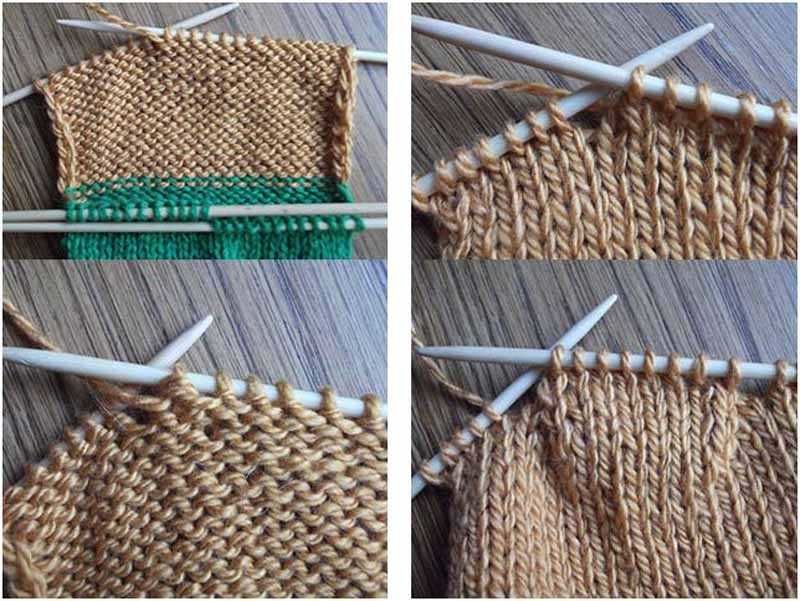
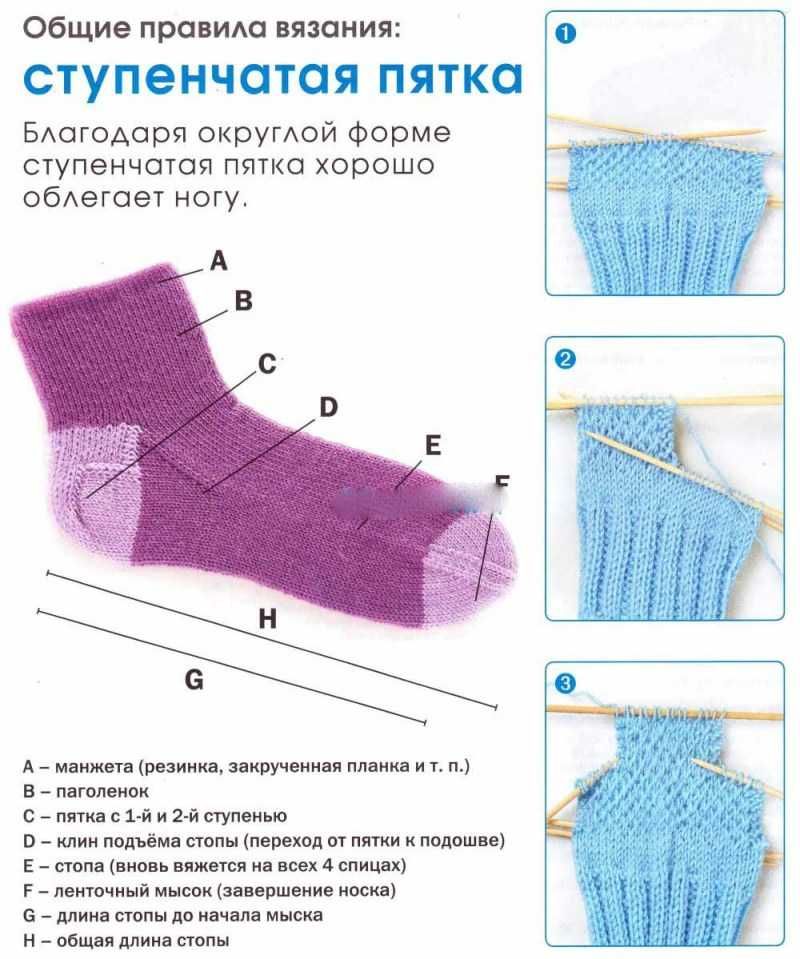
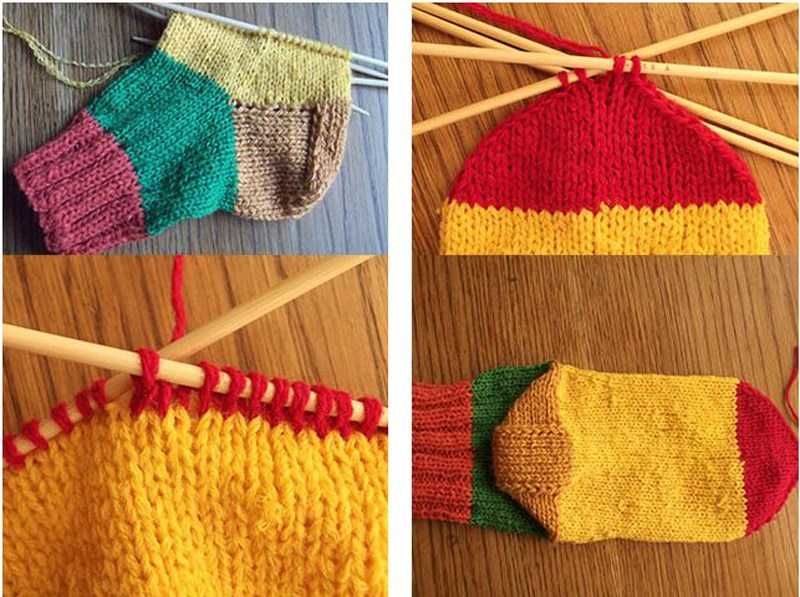
Stepped .
An interesting model, fits snugly around the heel, and if the wall is connected by a strengthening pattern, it is very resistant to abrasion:
- Knit the first part of the wall (the number of rows of the entire wall equals half of the total round number, rounded to an even number): half of the rows in any chosen pattern;
- The second step in height is equal to the first, but the number of loops it is less. To determine their total number of loops to divide by four parts. If you can not divide evenly, then round down. Two parts will make up the central part of the turning heel, and one part each - the edges. Remove the edge pieces onto extra or shaped needles, or safety pins;
- Knit the second part of the wall from the loops of the middle part at a height equal to half of the original;
- Move on to rounding with shortened rows;
- Knit the last row of the center to the end, then pull the loops from the edge rows, picking up on both sides (then there will not be large holes);
- In this way reach the stitches removed on an auxiliary needle;
- Then cast on the last stitch and pull it through the first stitch;
- Turn the work, go to the edge of the row, also gain the missing stitches from the edge and knit together the last pulled out and the beginning of the removed stitches from this side;
- In this way, knit a cup (by knitting pairs of stitches from the edges together) using all the available ones;
- After completing this step you have a stepped heel. Next, dial in the missing from the outermost edges and continue the work in the planned pattern;
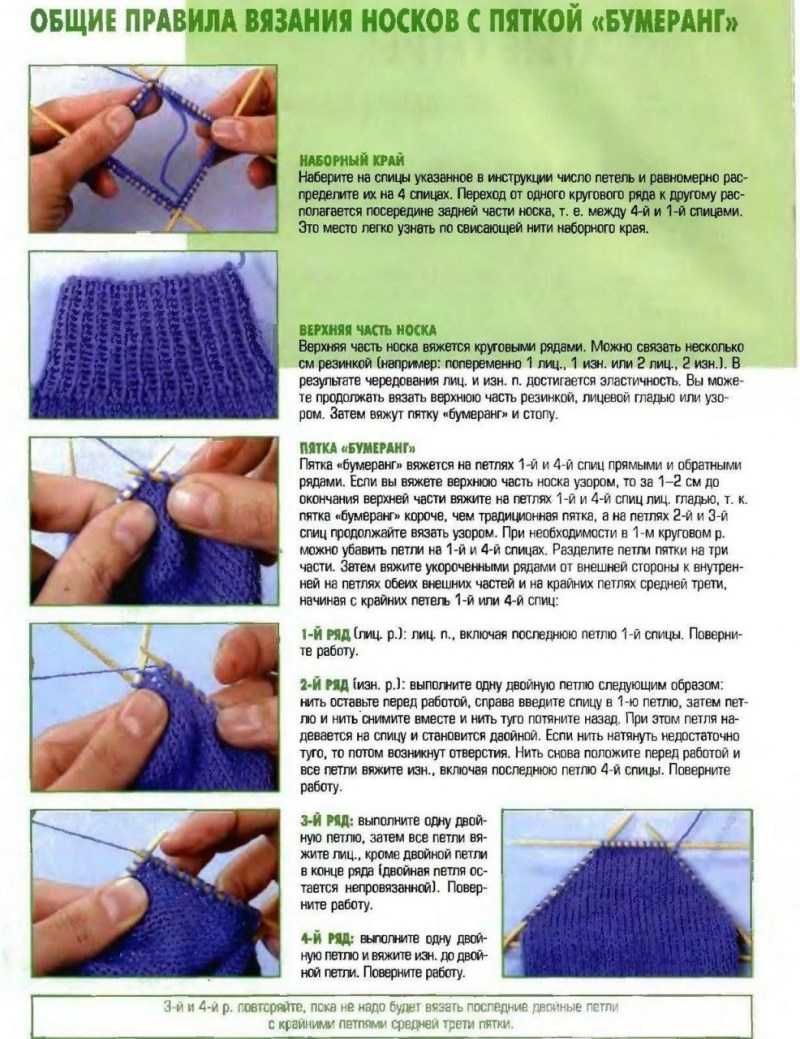
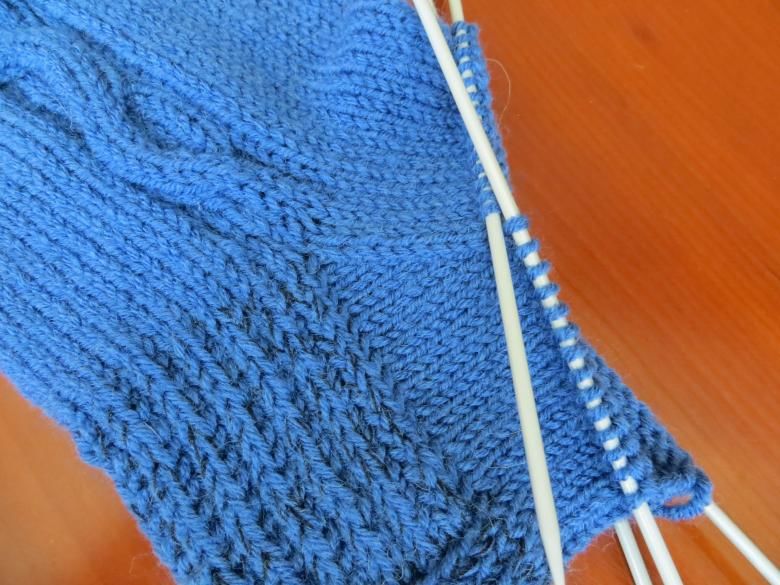
Boomerang .
The peculiarity of this model is the absence of shortened rows, due to which it has the appearance of factory production:
- Divide the loops into three parts. Those that will be in the remainder, add to the middle. Mark with markers;
- The beginning row should be almost finished, leaving two stitches that are tied together in the right side of the knit;
- Unfold the work, and continue the last two loops also together in the same way, regardless of the method of knitting the entire row;
- Deduct the rows in this way until only the part marked with markers remains. The end result will be a trapezoidal shape;
- Removed from the edge at the beginning of the row and knitted two at the end, be sure to tighten well to avoid the formation of holes;
- Proceed to the formation of the turn;
- From the edge through the two walls of the yarn pull out the extra stitch;
- Turn and continue knitting from the added stitch. At the end of the row also take out an extra stitch from the edge of the yarn;
- Unfold the work, continue to the end and from the next edge stitch pull out a new stitch again;
- Do the same for all edge stitches. Remove the stitch from the beginning of the row, at the end, pull out an extra stitch from the outermost stitch;
- Lift the stitches from all the edge stitches to the total starting number;
- Continue work as planned;
Double
A very firmly knit heel, ideal for socks designed for very low temperatures:
- Take an odd number of stitches;
- Beginning with the face, the first row should be knit as follows: the front, the next remove, and so on (i.e., tie the loops through one, leave the thread at work). The last one in any case, do not knit;
- The next whole thing with the wrong side;
- Tie the back of the desired height;
- Then knit the same pattern with shortened rows, as the classic straight version;
- If the front rows are knitted by alternating the removed loops, that is, in each row remove opposite the row above, you get a reinforced staggered pattern, which adds aesthetics;
French
Otherwise, this pattern is called a "horseshoe" because the underside forms a semicircle. Due to the smooth shrinkage and the small number of loops in the middle, the "horseshoe" effect is achieved. The heel of this model is very ergonomically shaped foot and is suitable for those with a high rise of the foot:
- Tie the wall in the chosen pattern to the desired height;
- Divide the buttonholes into five equal parts. On the sides in two. In the middle one (narrow, mark the markers), it should have an even number of loops;
- We begin the work on the face;
- Knit out the side and middle. The last stitch from the middle and the first from the other side to knit together at the back of the thread, so you get the slope to the left, And another one from this edge is just pleasing also to the right;
- Turn the sock, remove the loop, and knit the middle. The last one from the middle and the first one from the side to the front of the thread. The next one also to the wrong side and turn the work;
- Continue knitting in the same shortened rows with the addition of one stitch every row, until the loops on the sides run out;
- Then move on to knitting a sock, the missing stitches to gain from the edge;

"Scythe"
"Cosca" is knitted in much the same way as "horseshoe". On the side of the sole, it looks like a triangle because of the small number or lack of loops in the middle and it gives her originality:
- Half of all the loops are transferred to one needle and knit the heel wall in any pattern to the desired height;
- Then divide into three parts: on the sides should be the same number of loops, and in the middle from zero to five and highlight them with markers;
- Then knit only the middle stitches, in turn, together with one from the sides, and additionally knit one more from the side;
- Due to this, the bottom of the heel expands and takes the form of a scarf;
- So knit until the side rows are complete;
- Add the missing stitches from the stitches and continue knitting;
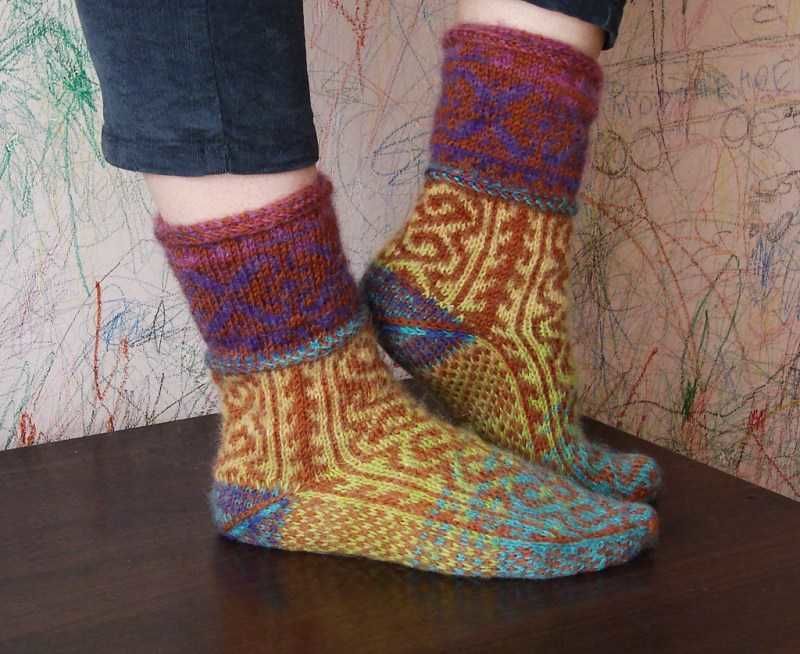
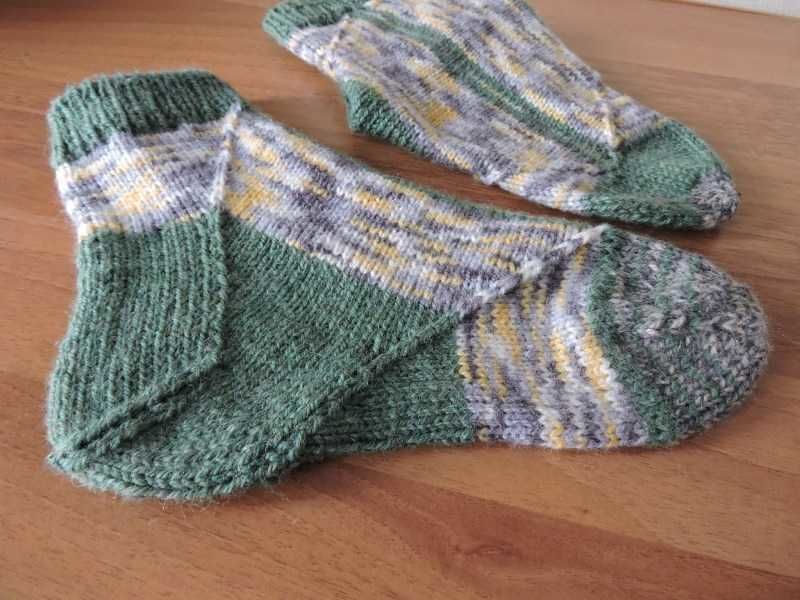
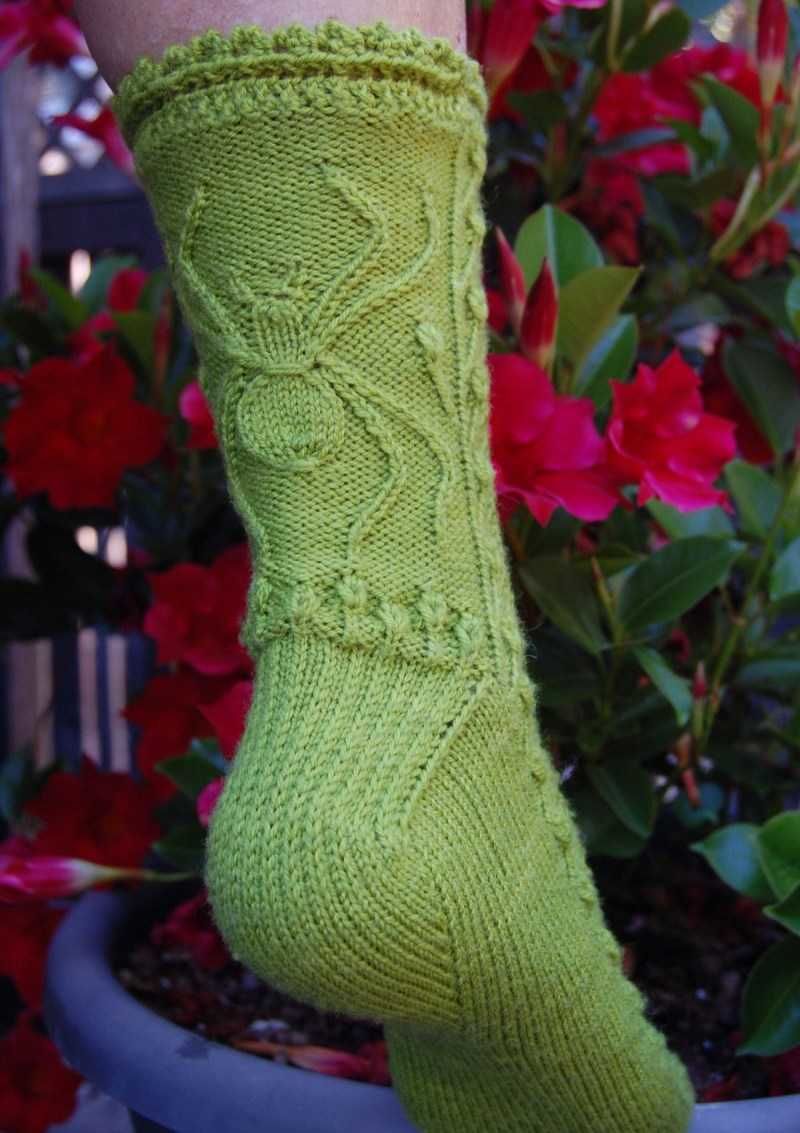
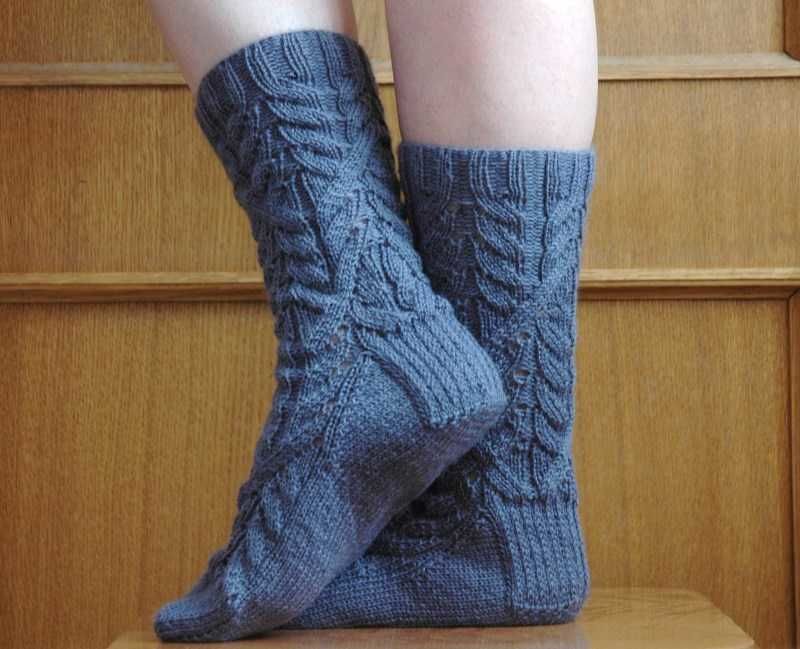
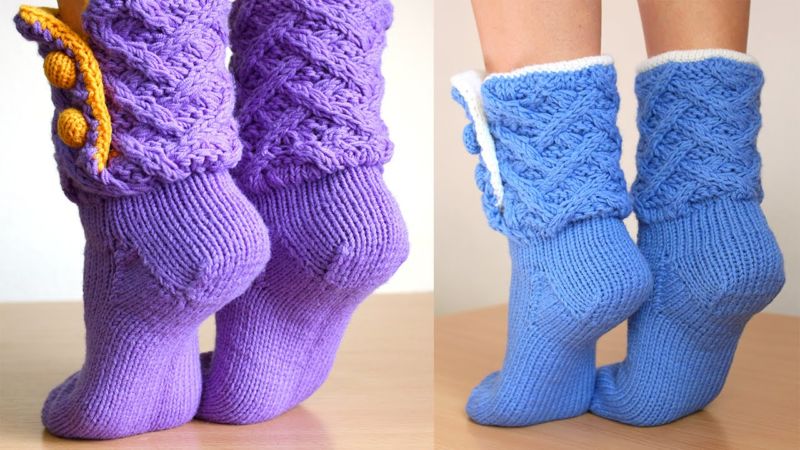
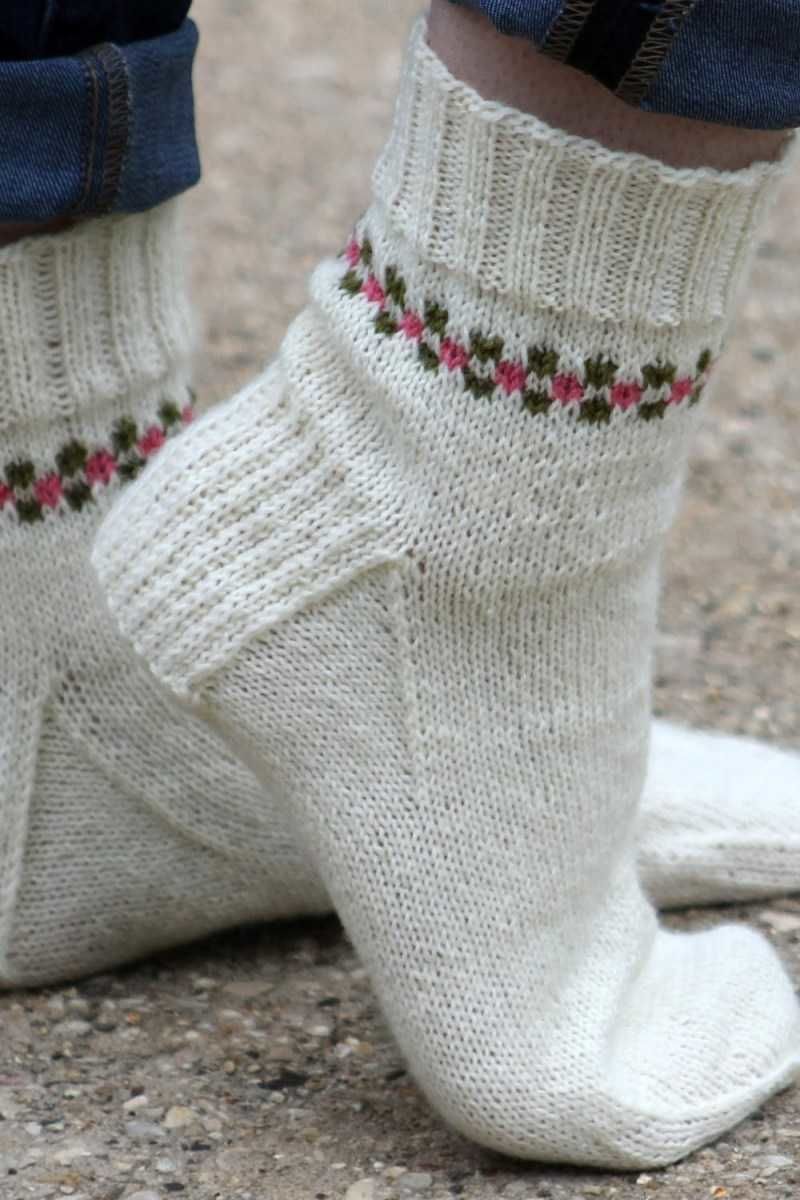
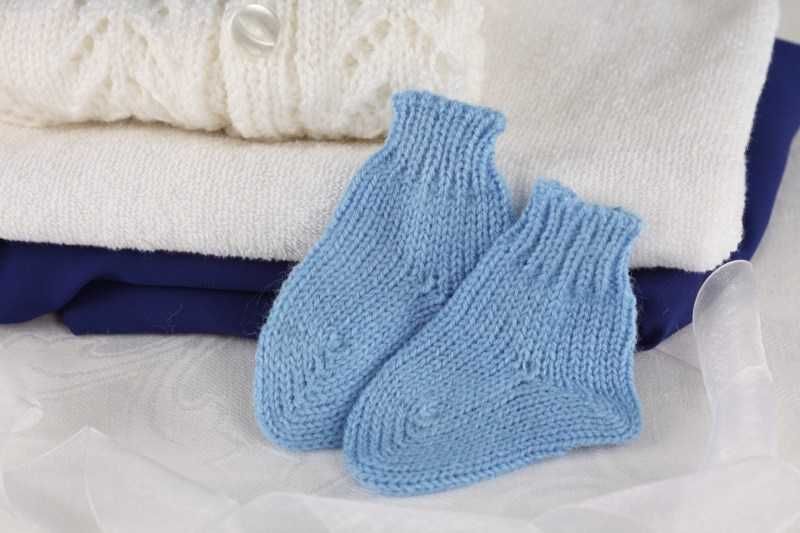
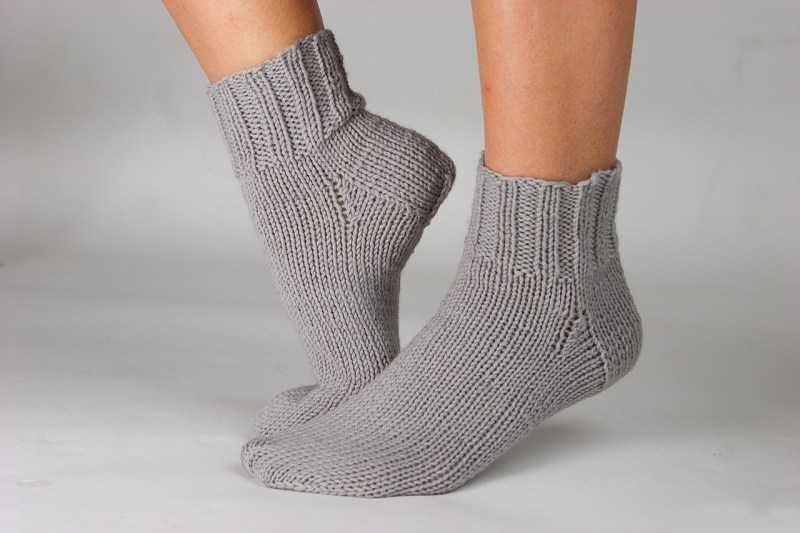
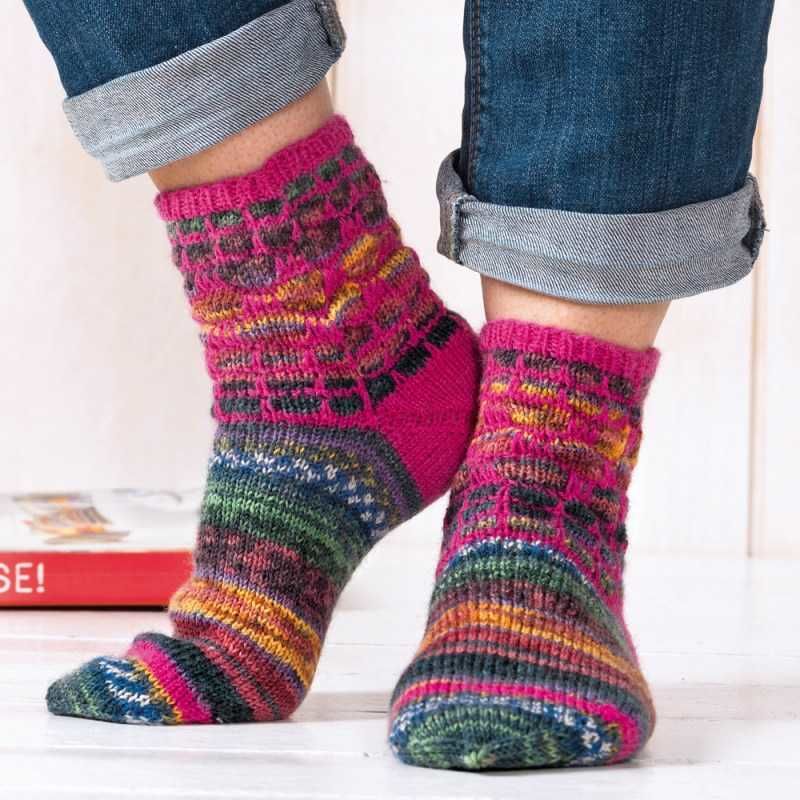
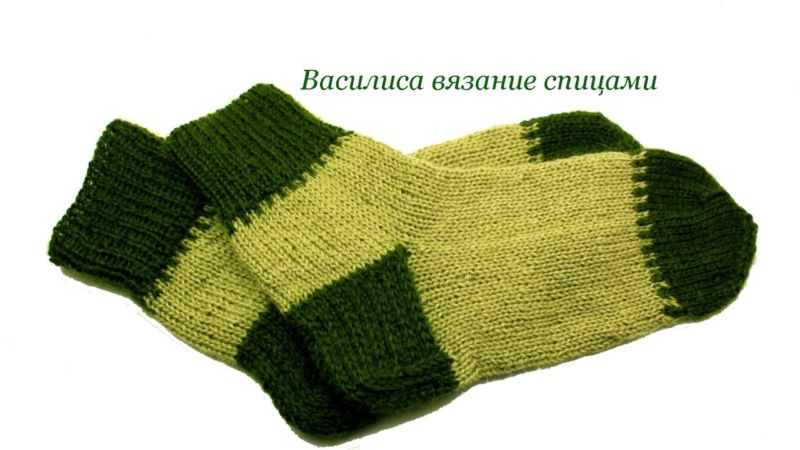
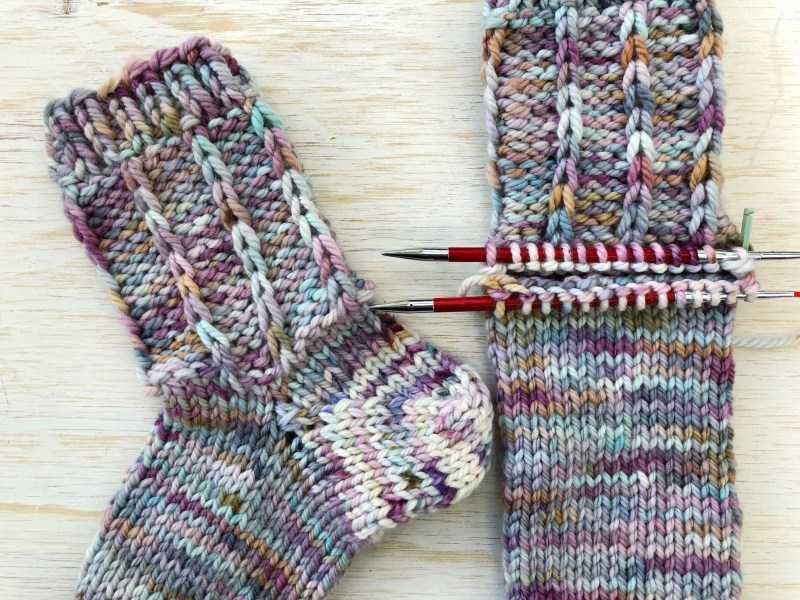
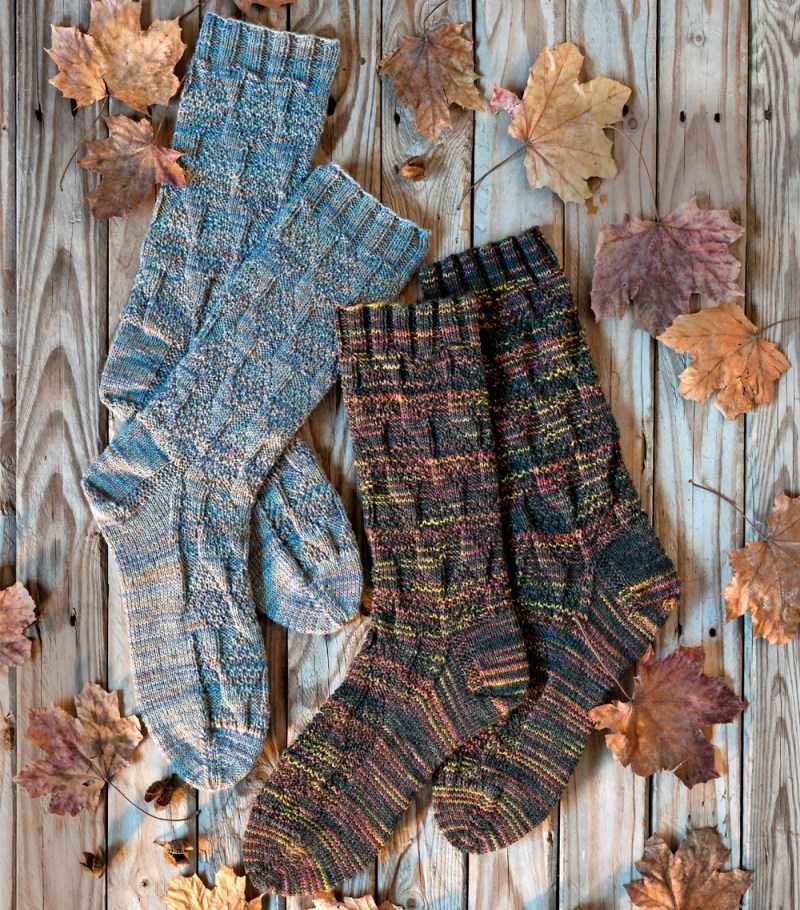
Properly bound heel is practical, looks good, the well chosen pattern will play up the purpose: the continuation of the openwork pattern of the sock will add beauty, and the use of reinforcing knits will increase the durability.
For experienced knitters to master all these methods will not be difficult, and beginners will have to pore, but the result will be a long time to please.
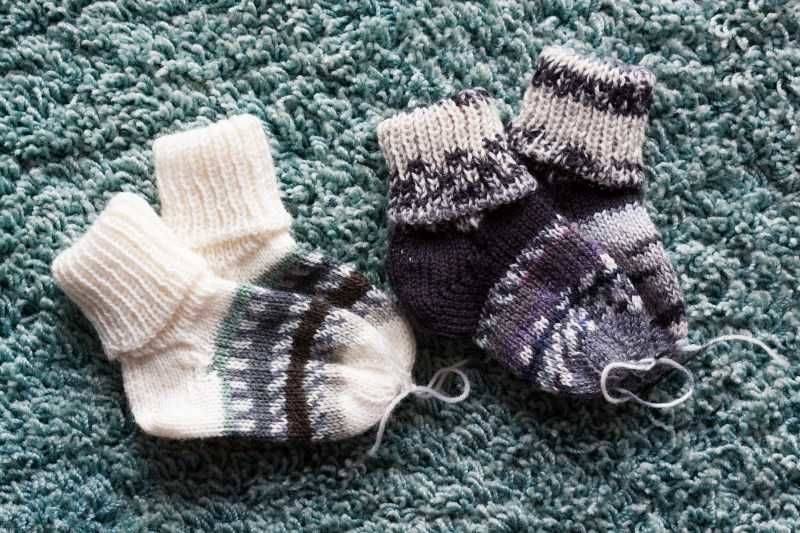
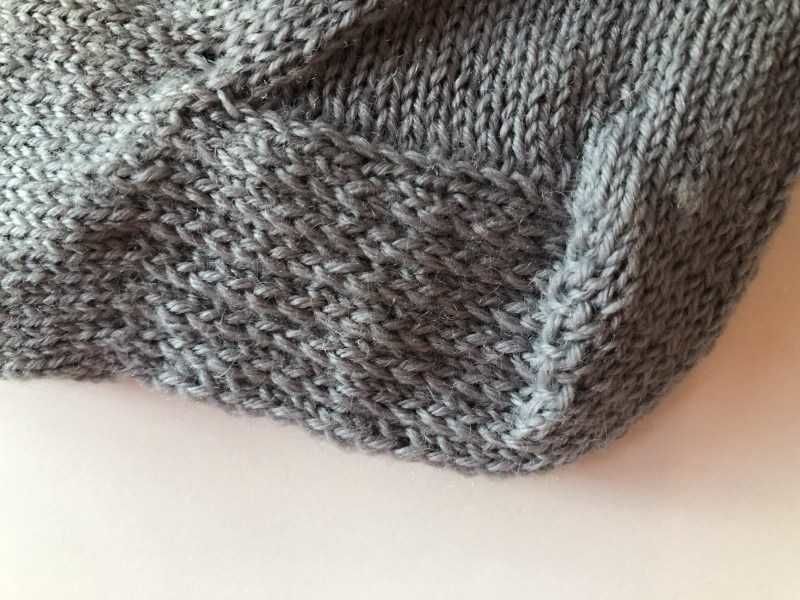
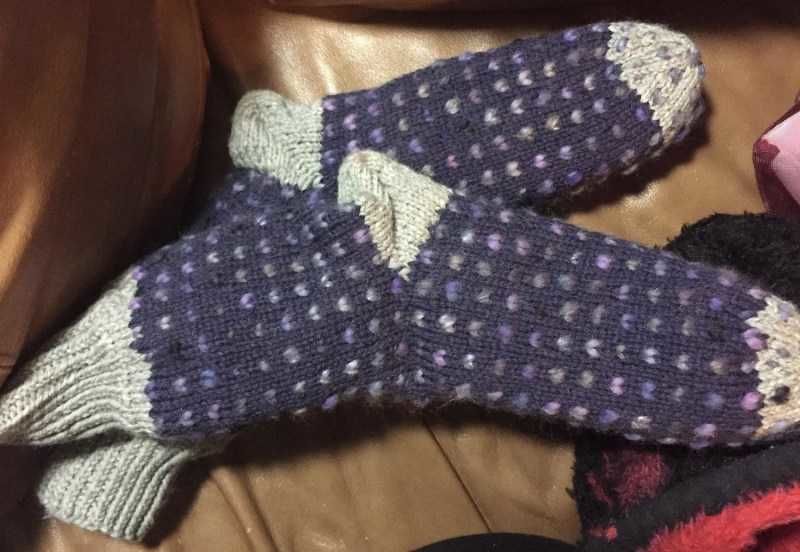
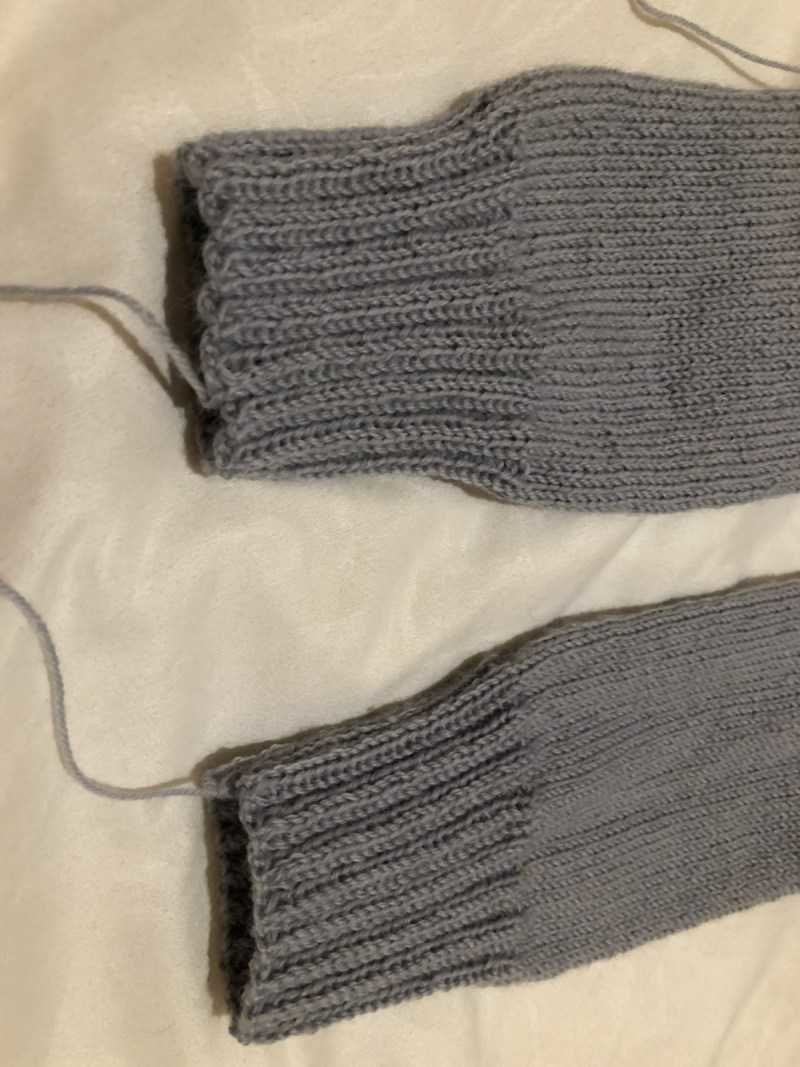
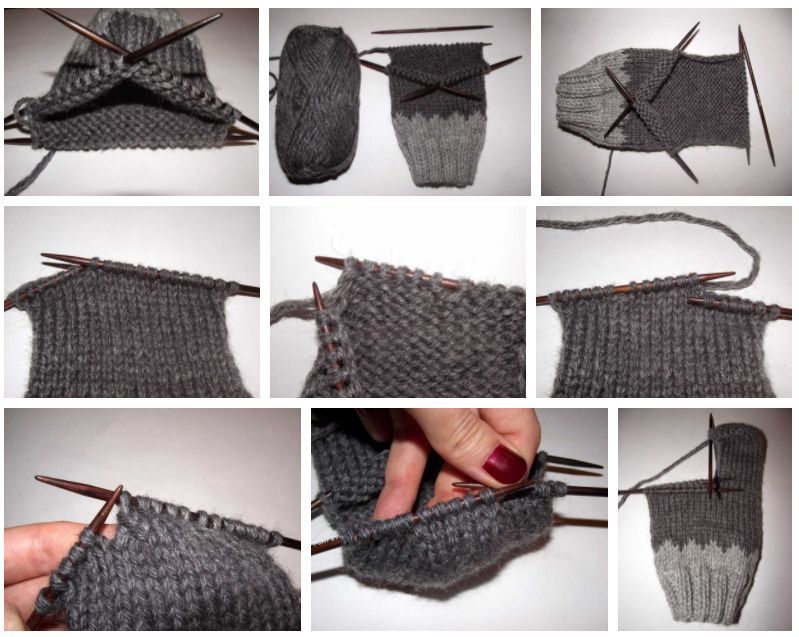
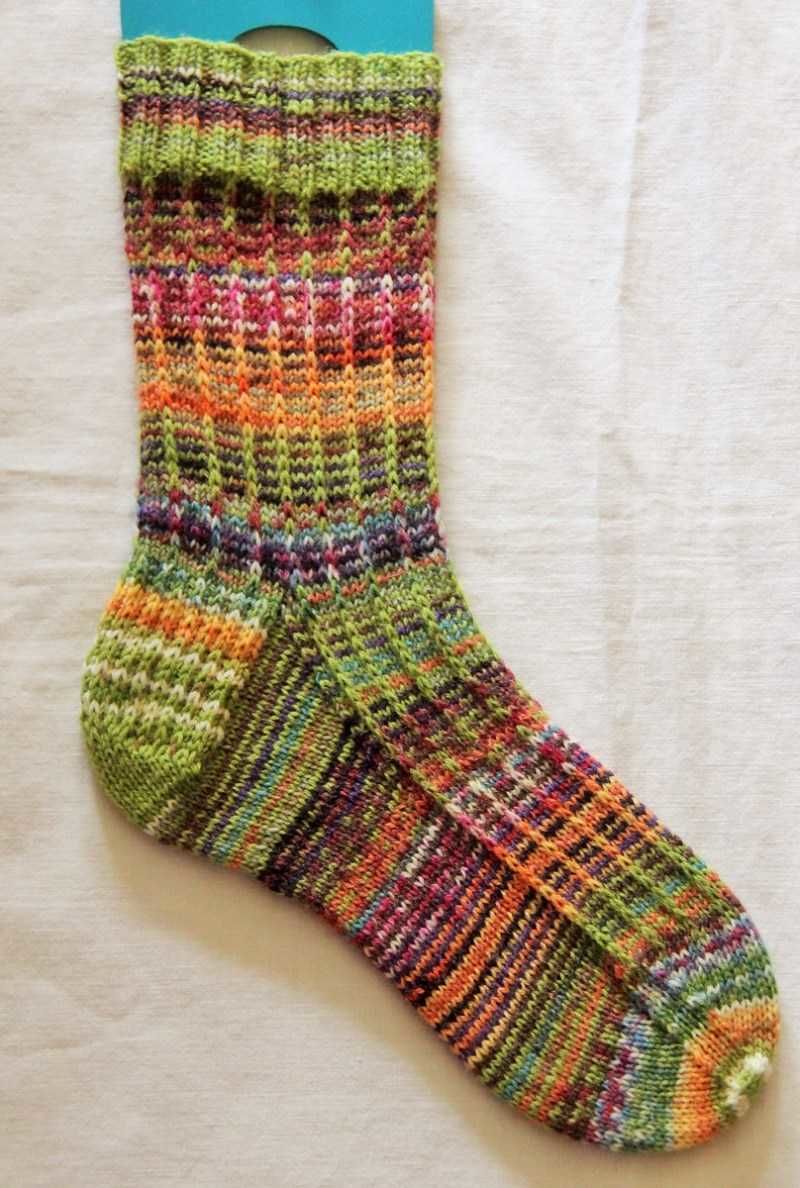
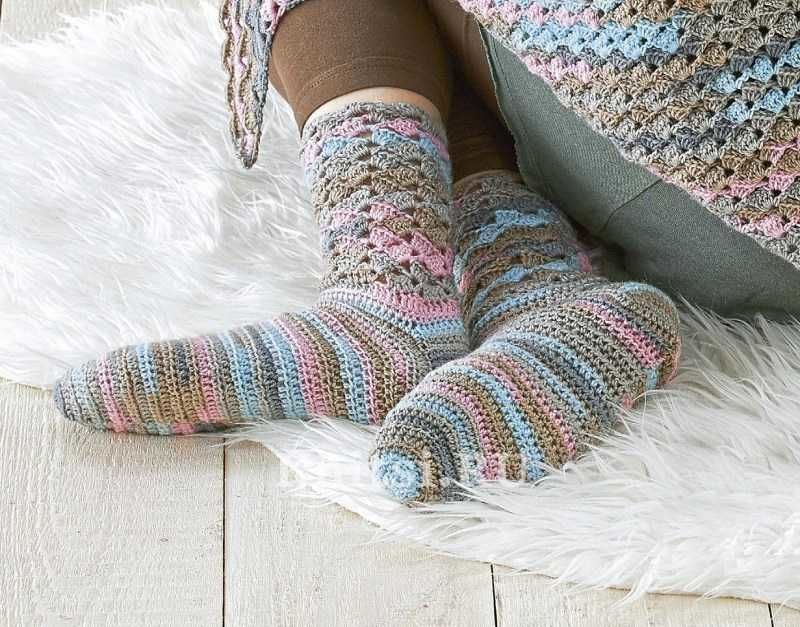
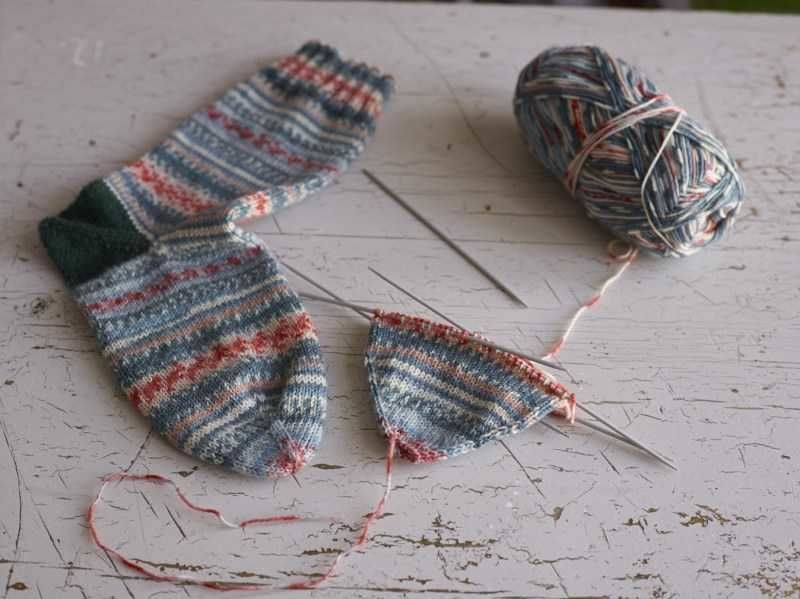
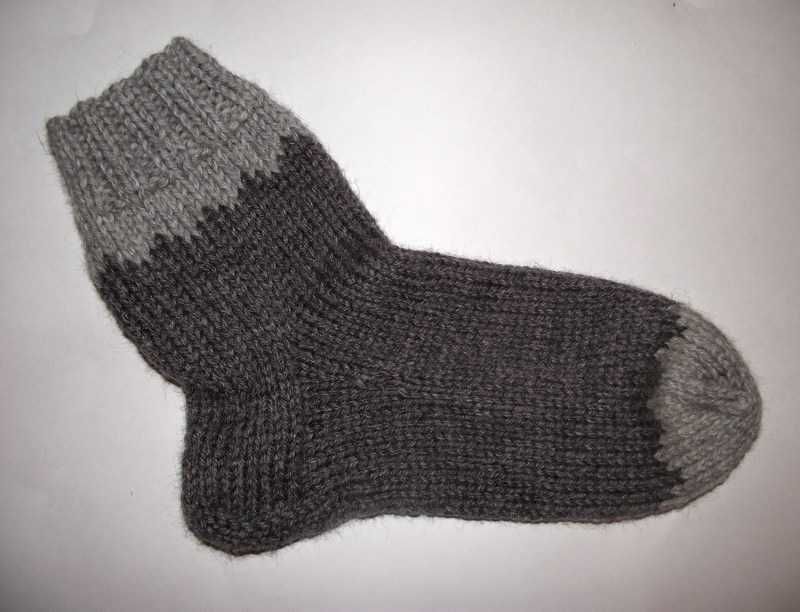
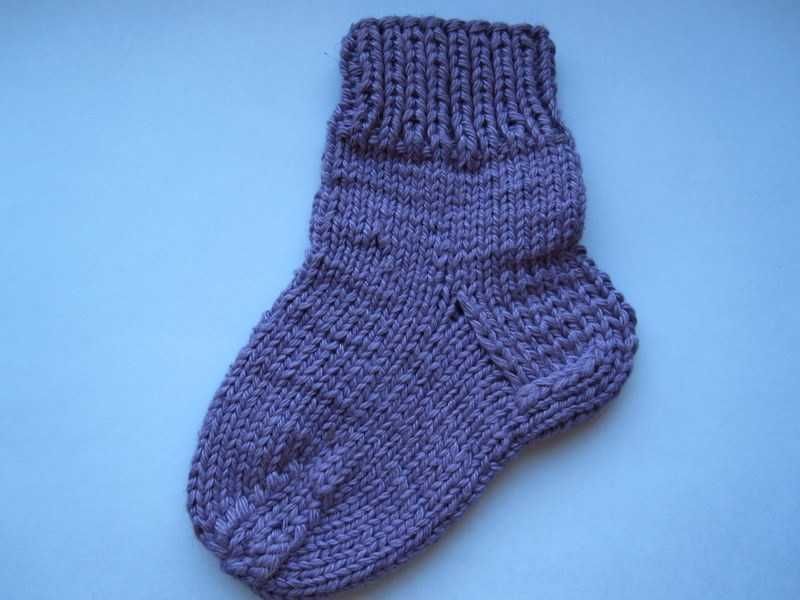
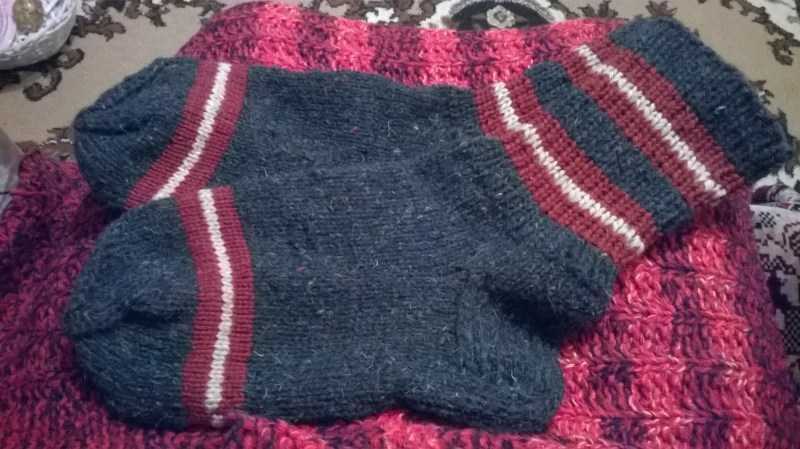
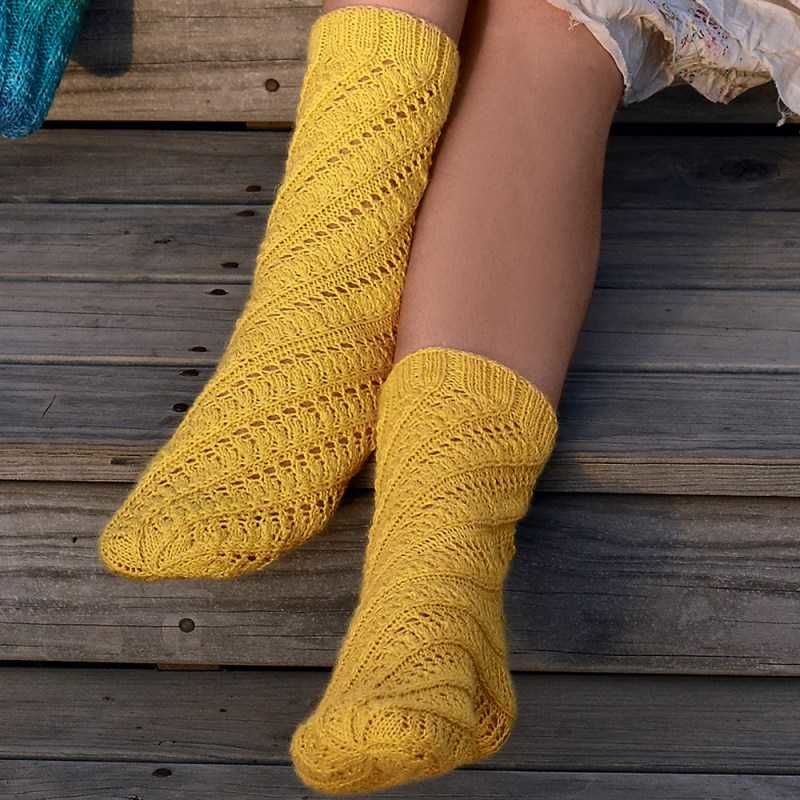
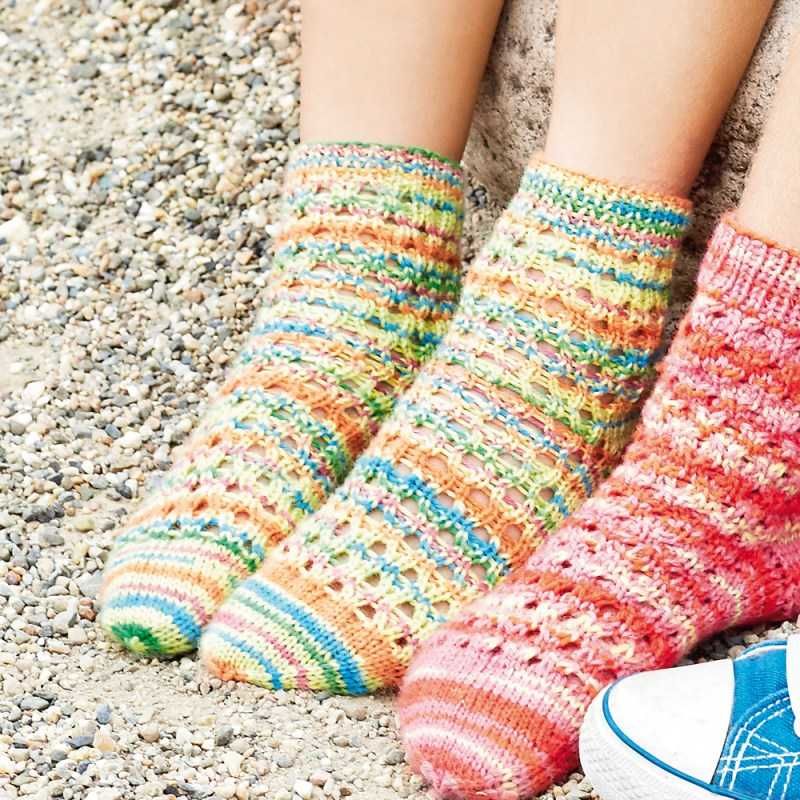
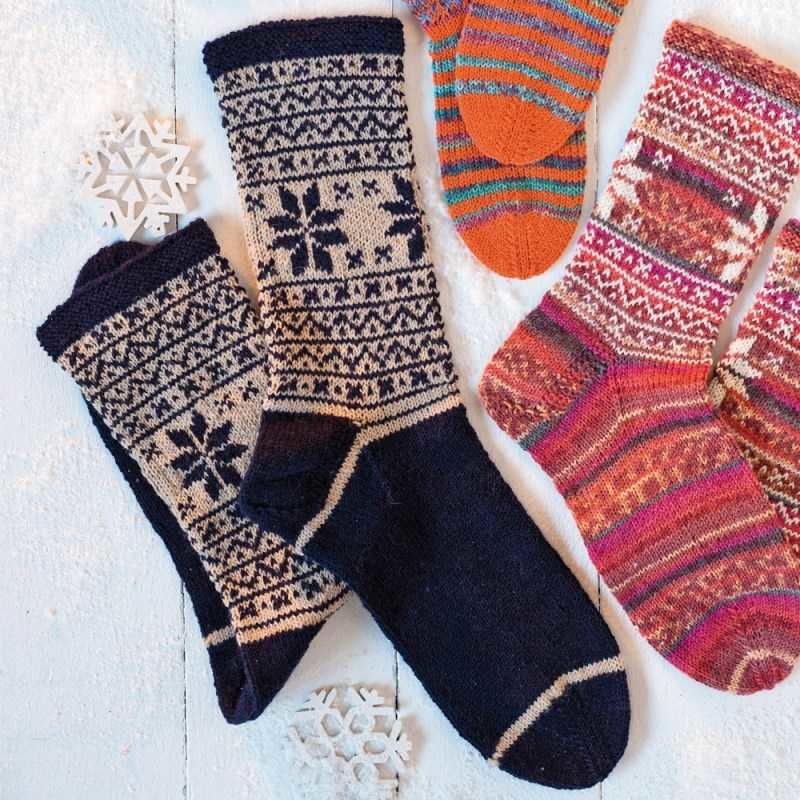
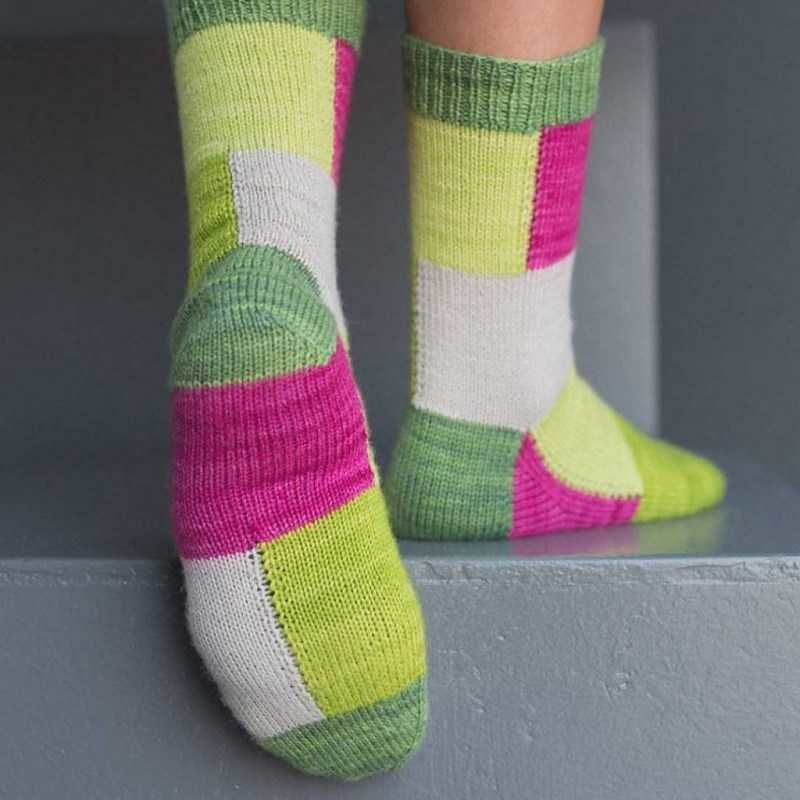
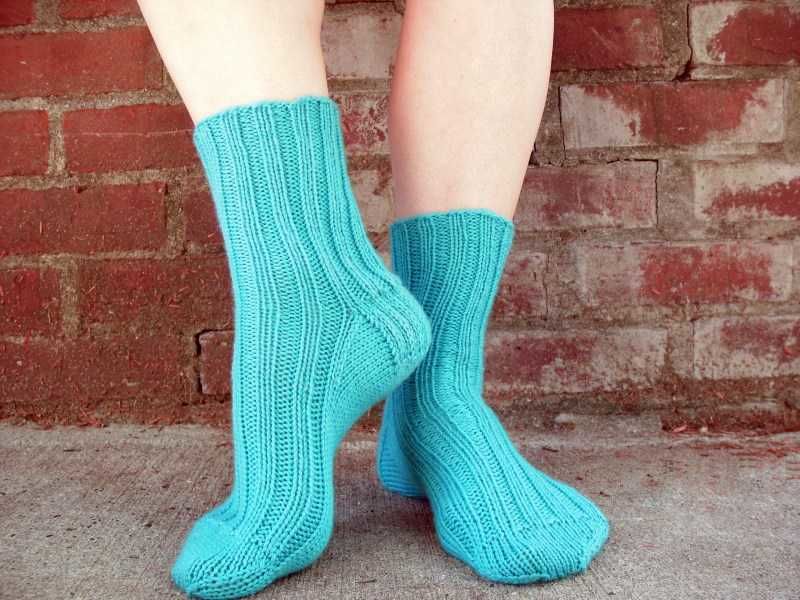
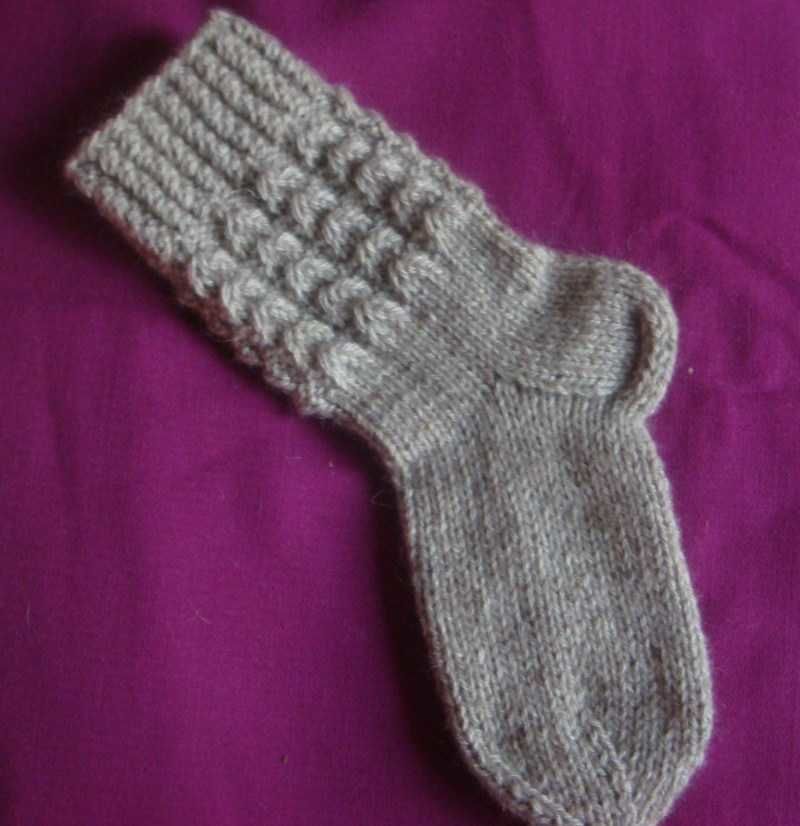
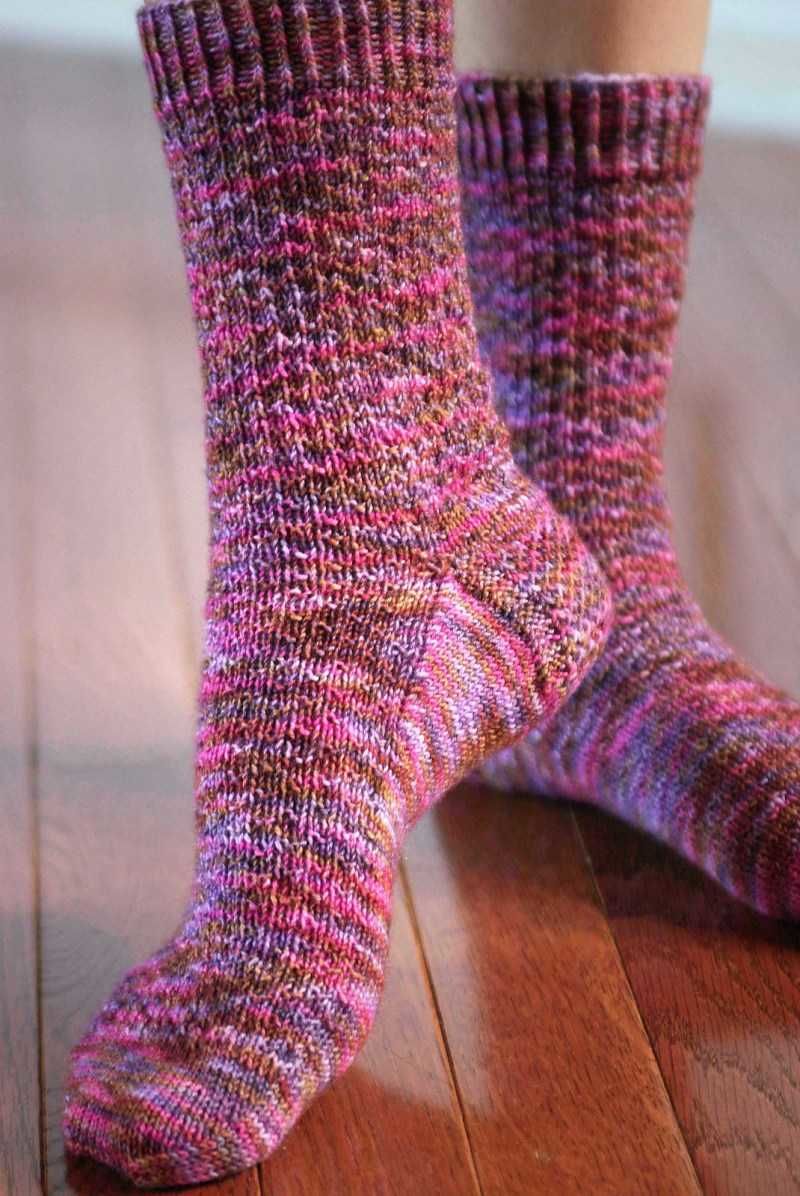
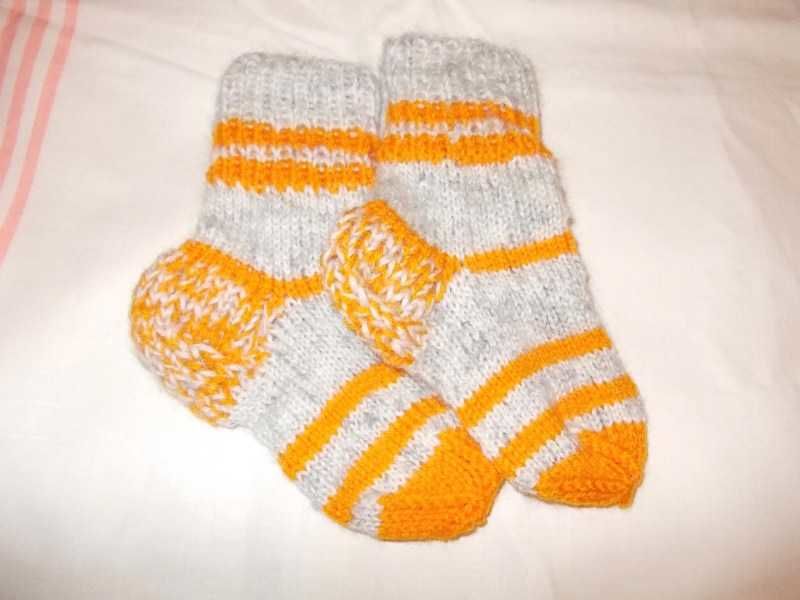
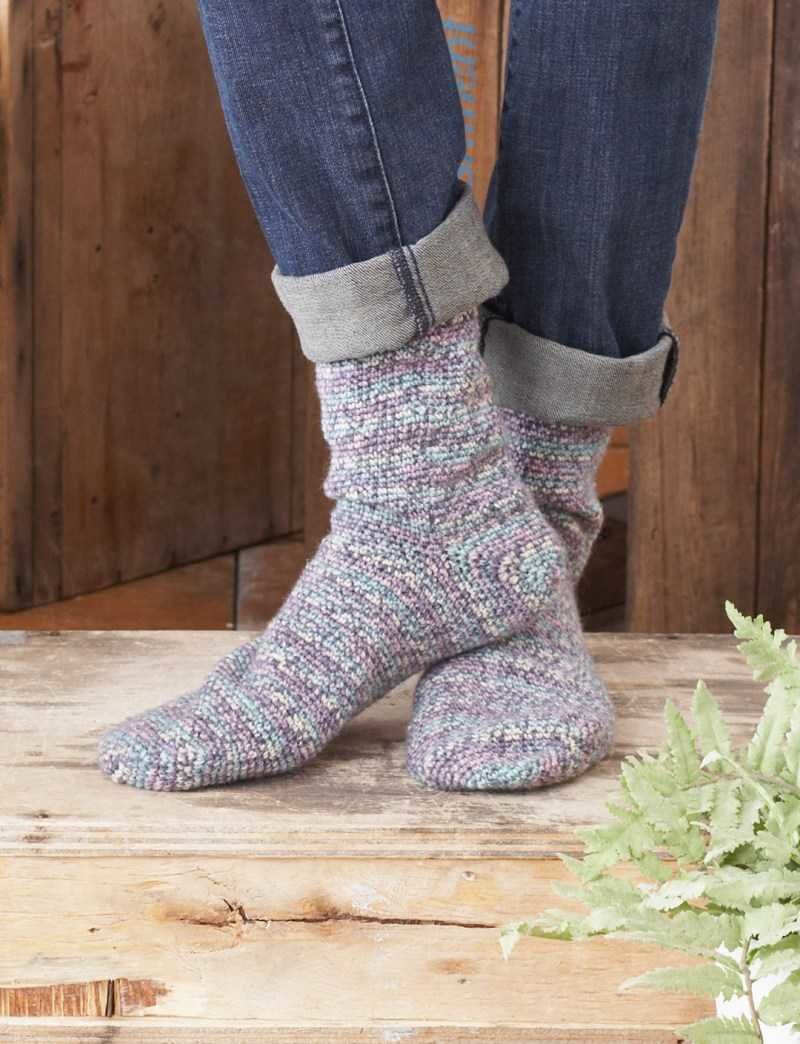
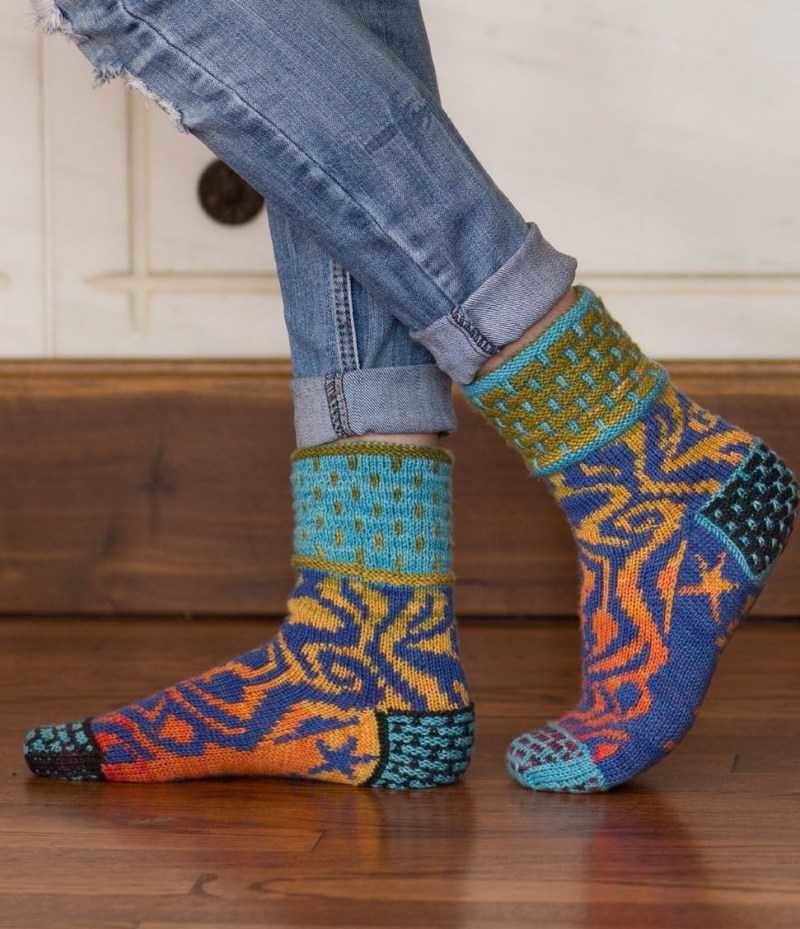
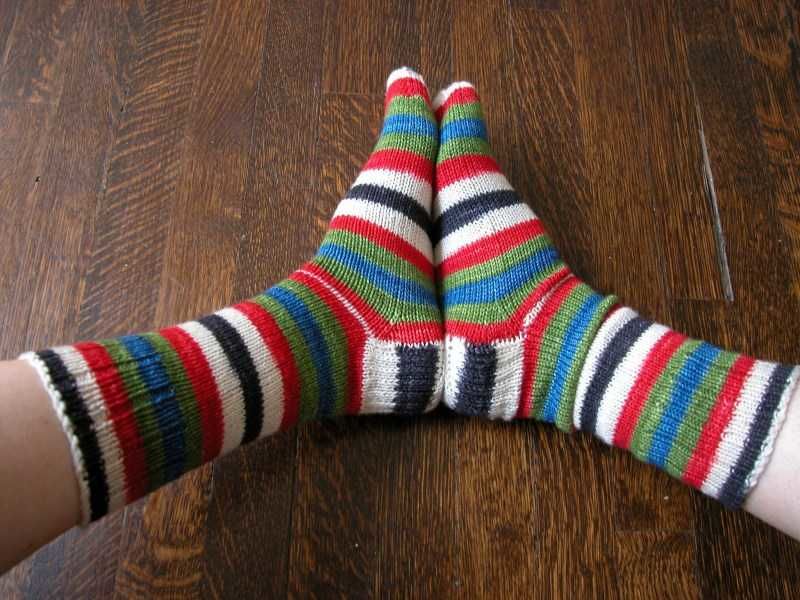
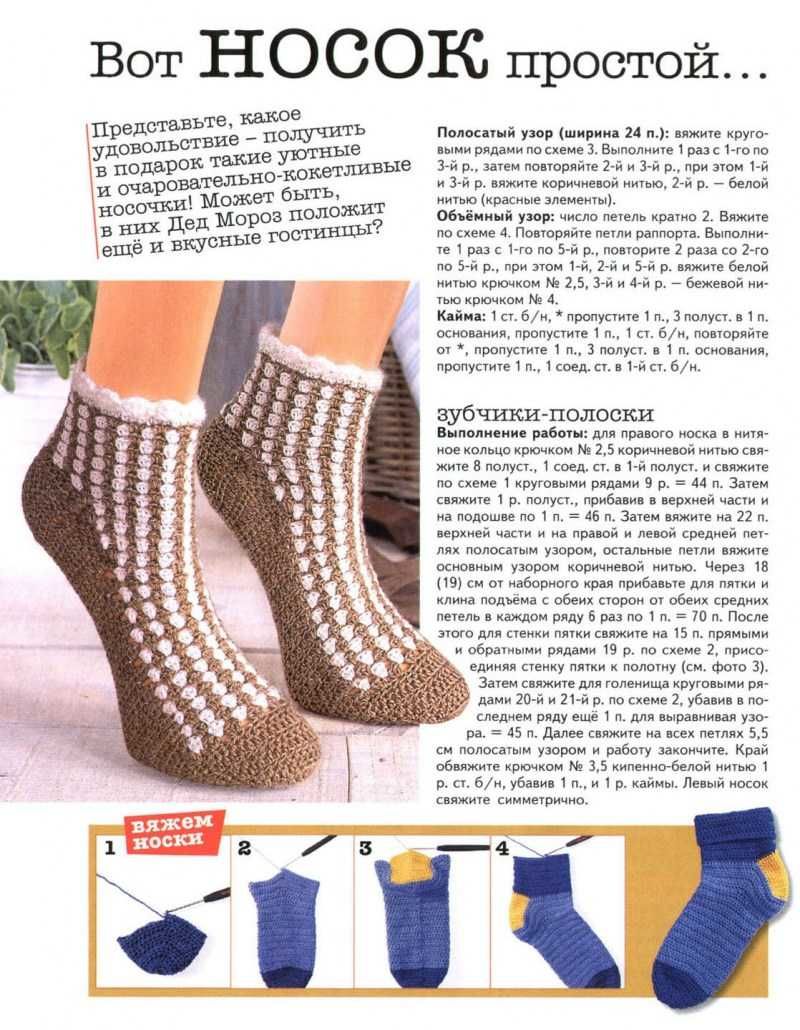
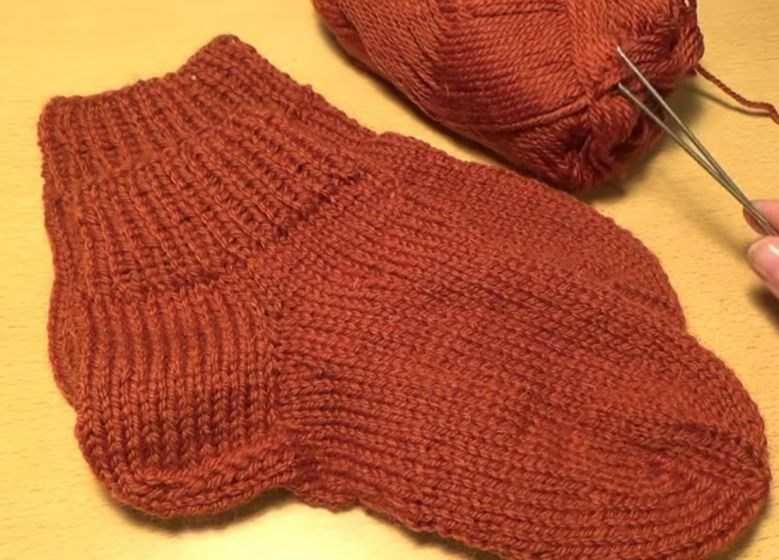
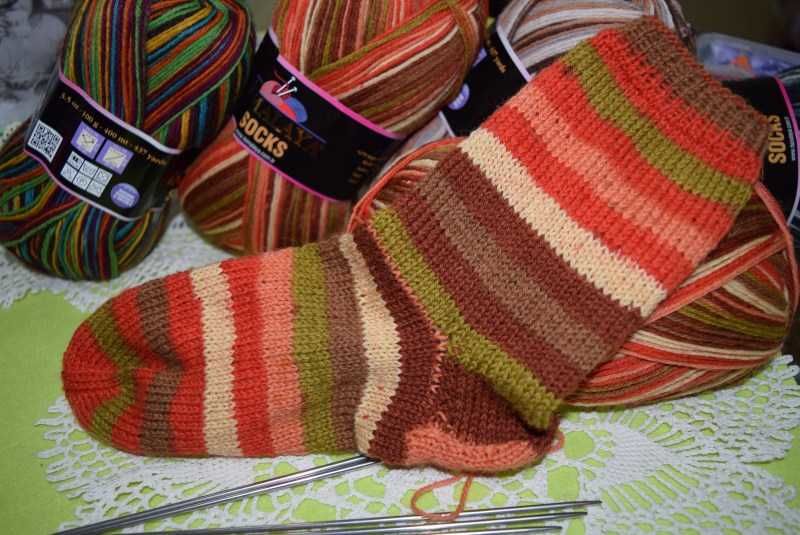
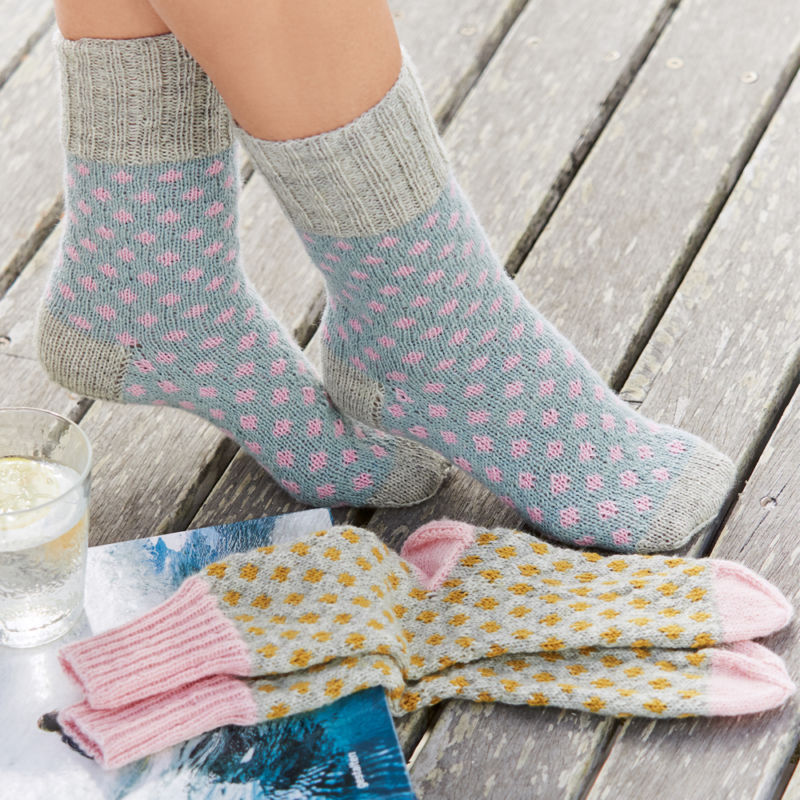
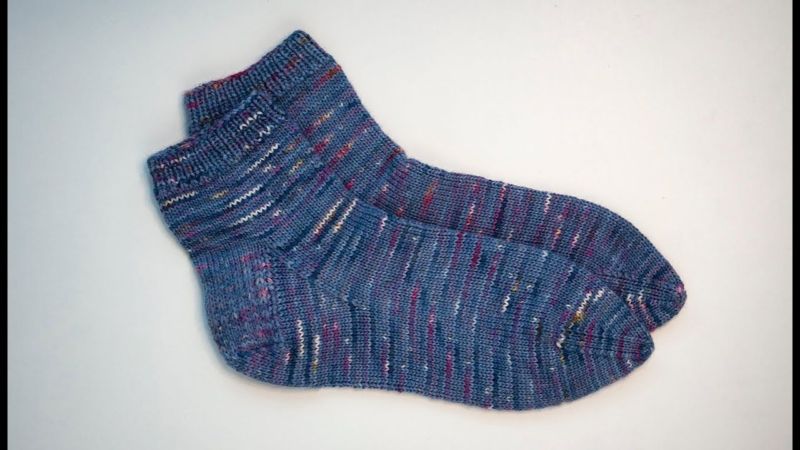
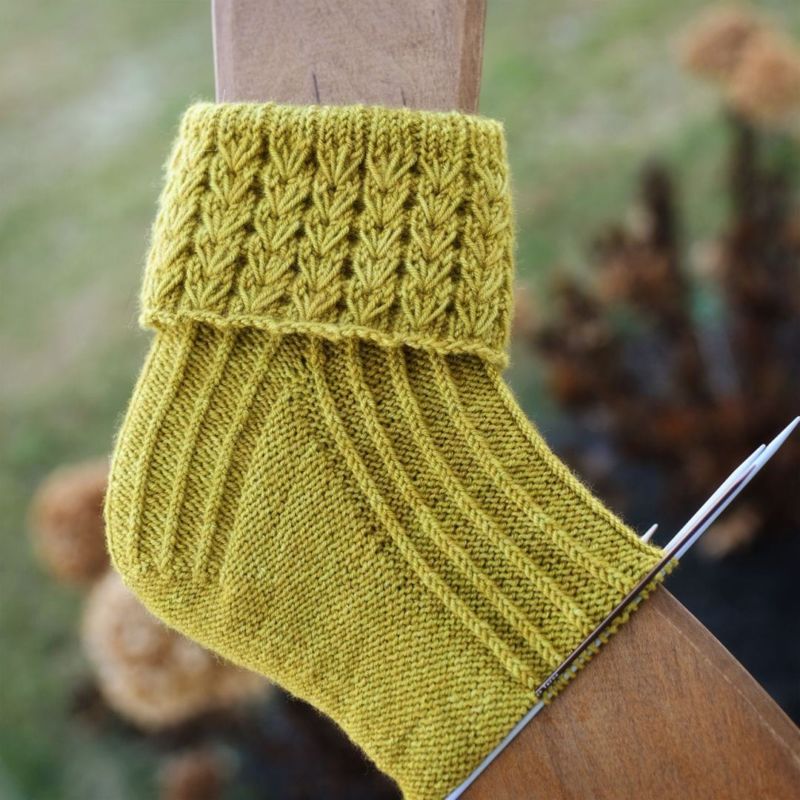
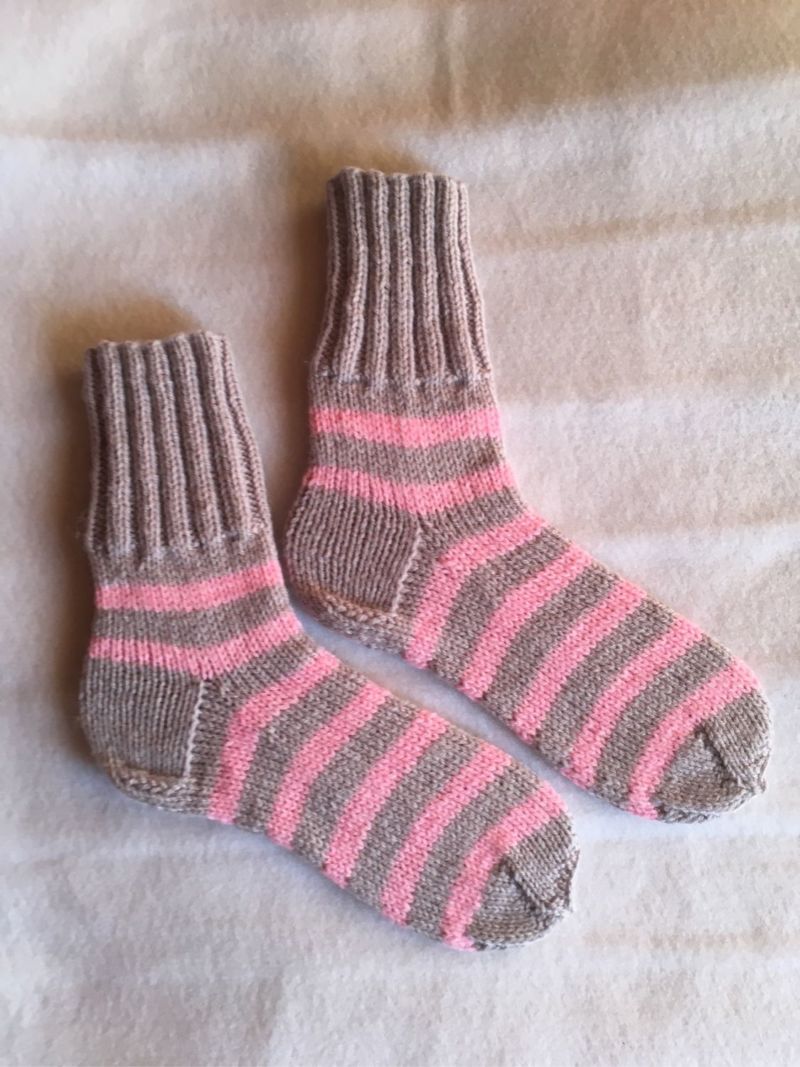
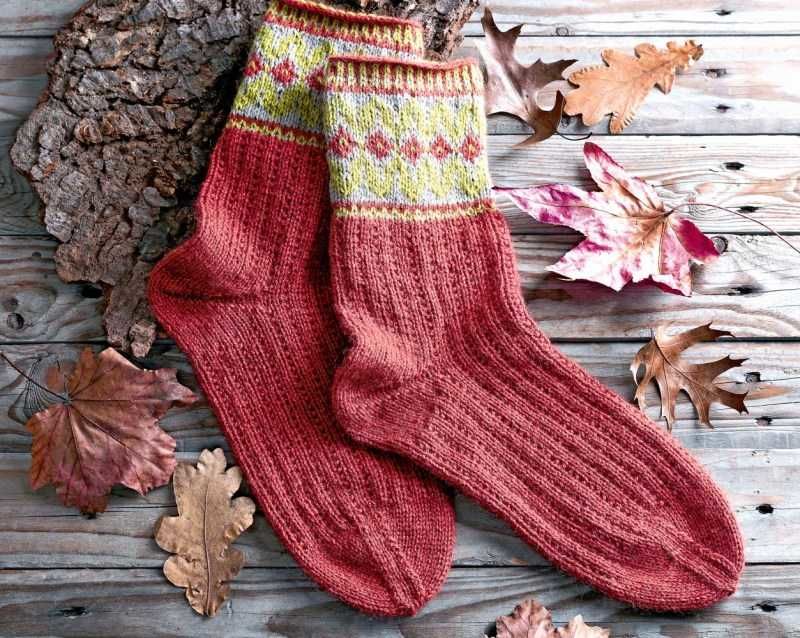
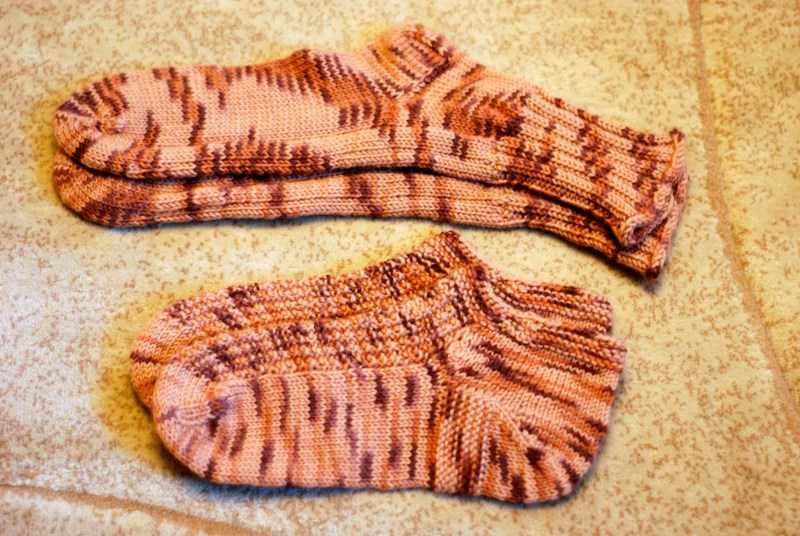
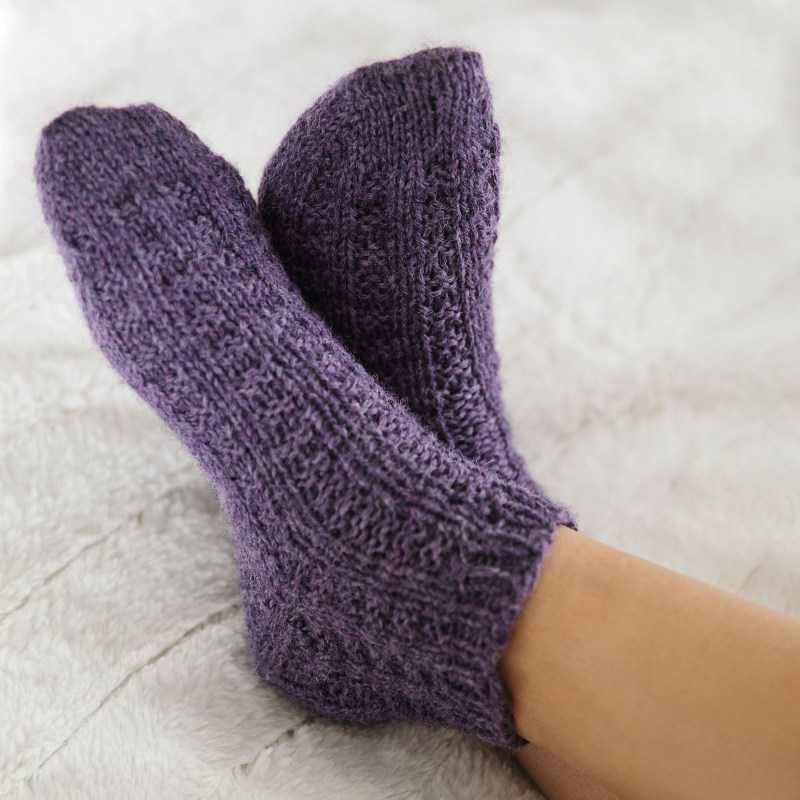
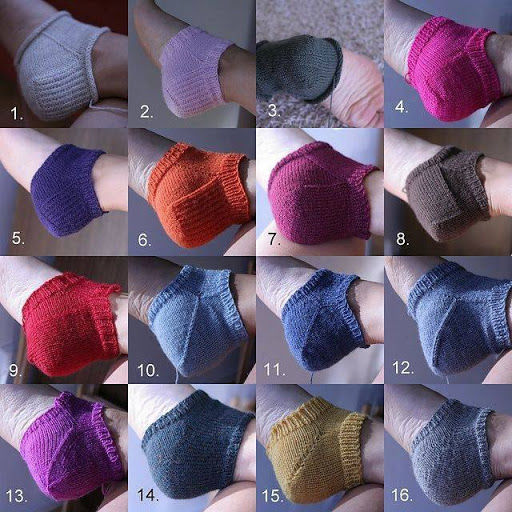
Photo examples of knitted heels