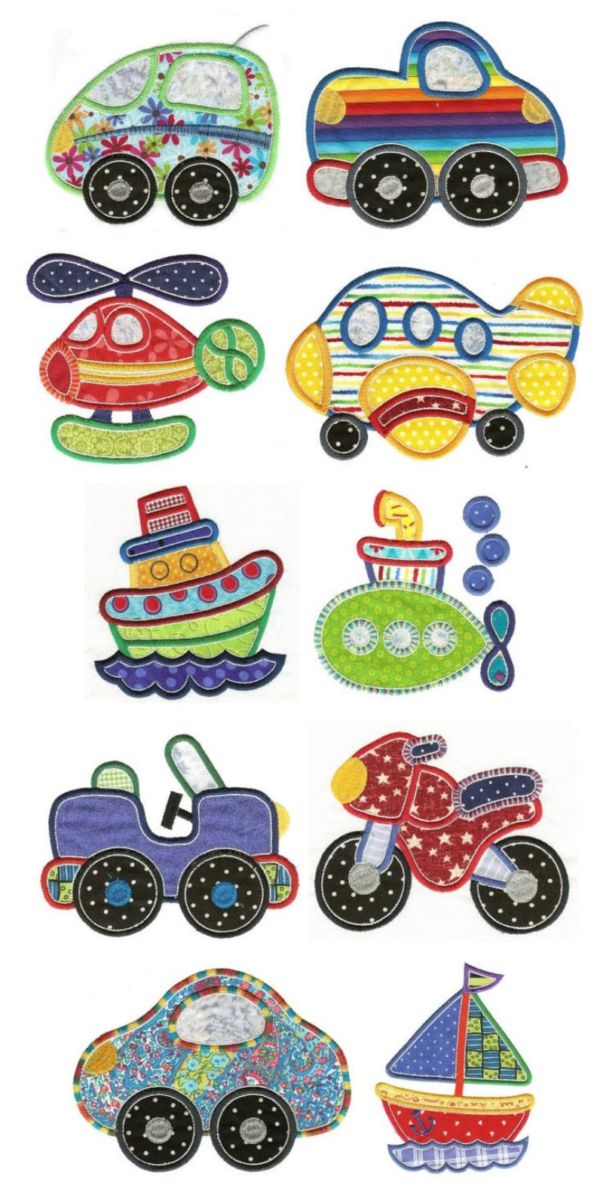
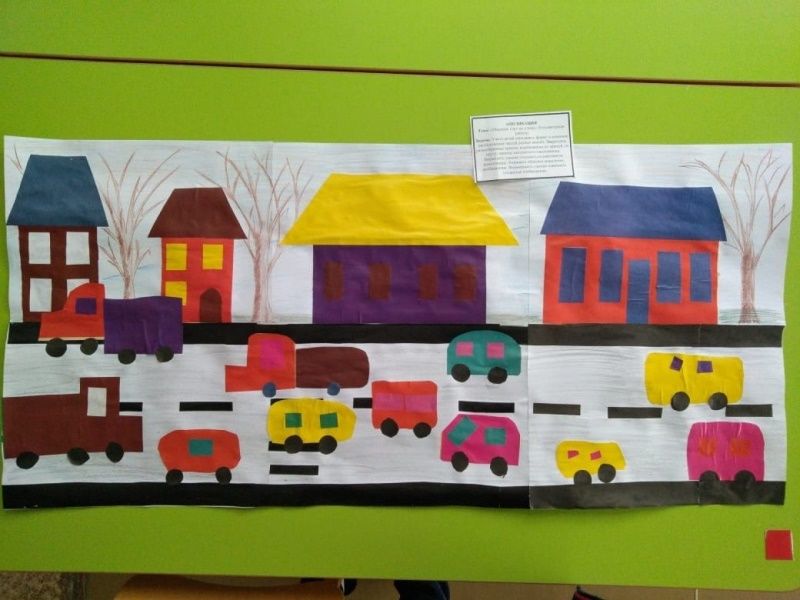
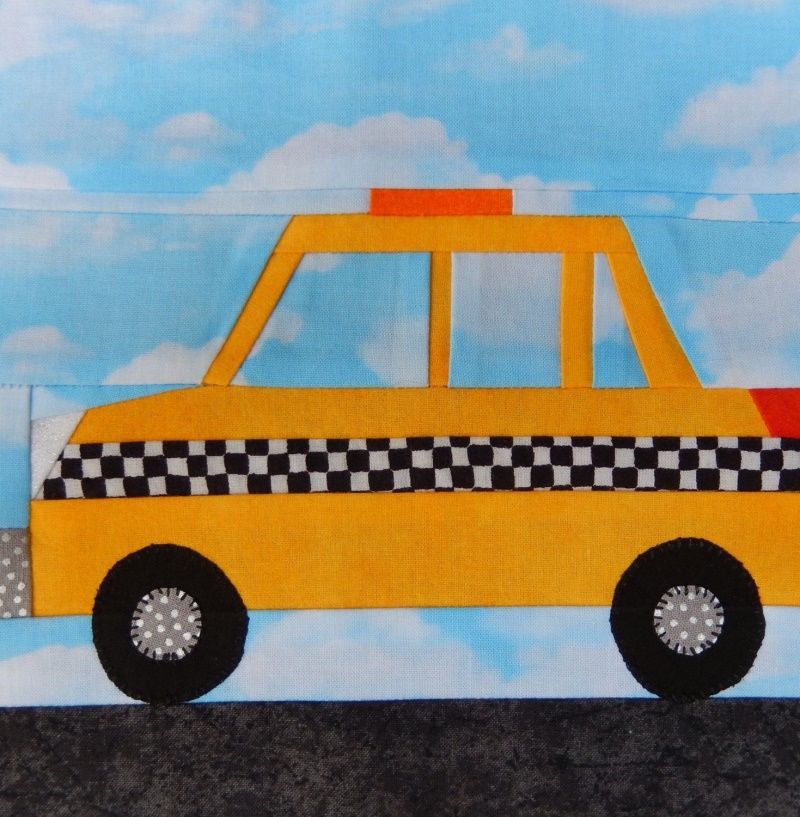
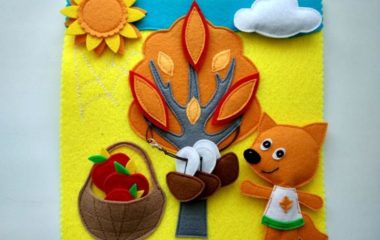
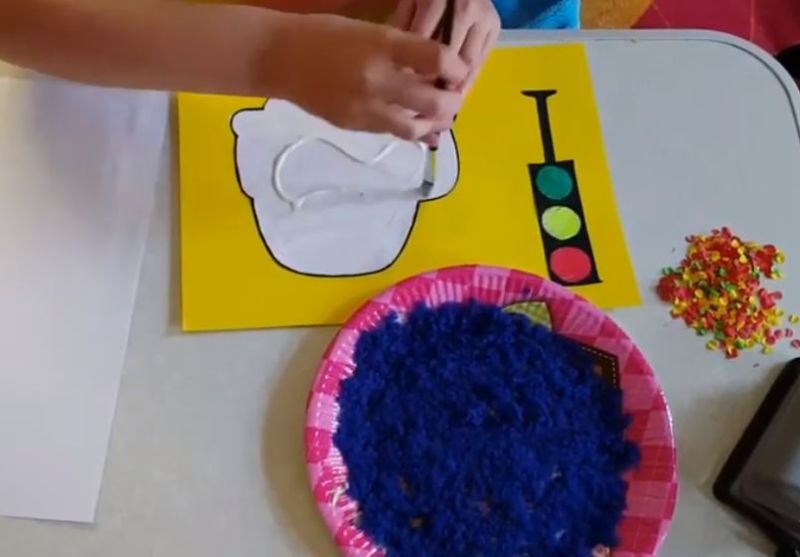
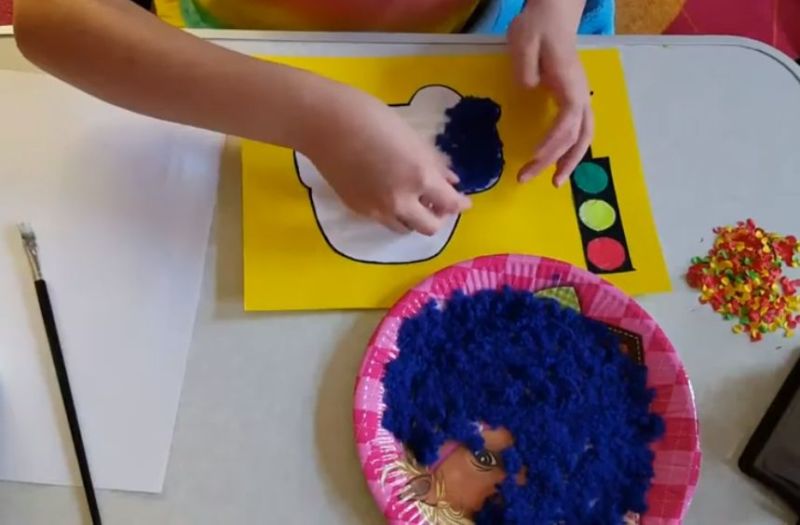
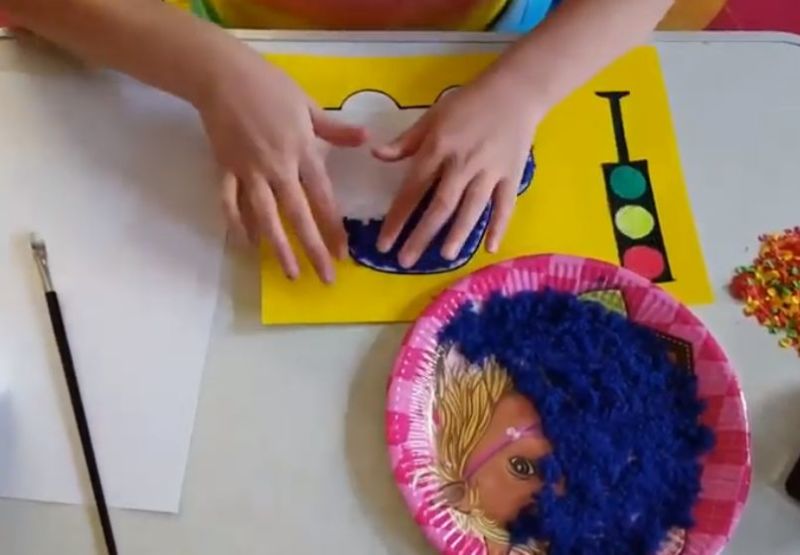
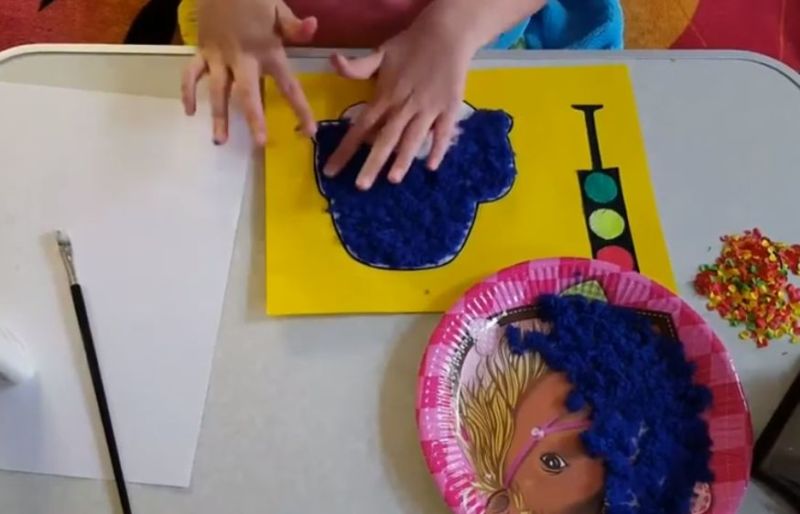
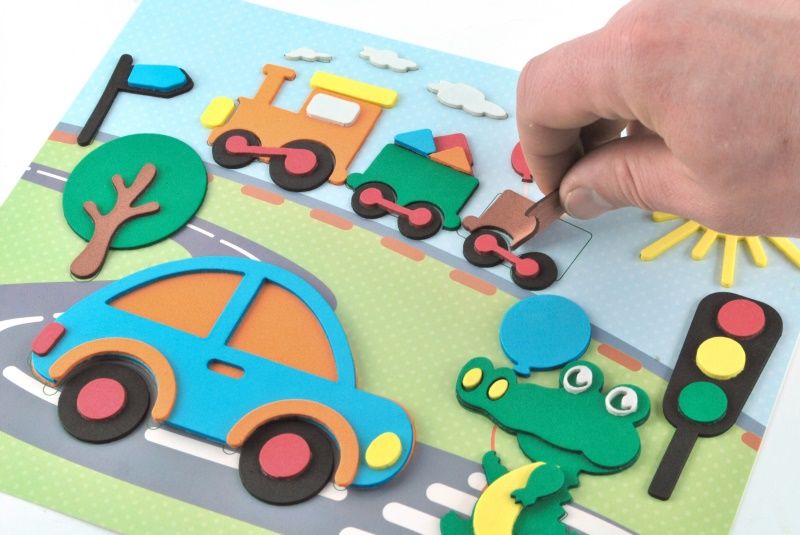
Machine collage in different techniques and with a variety of materials
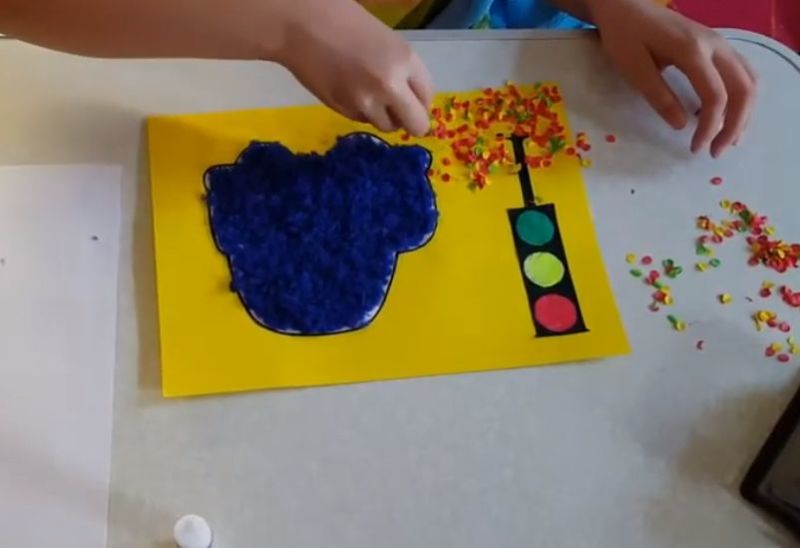
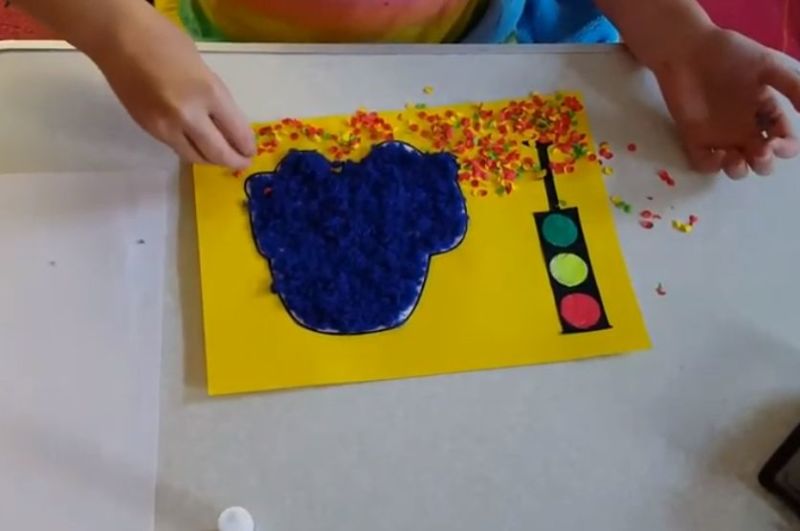
Applique helps to develop creative skills and motility of the hands. Such art is relevant to all ages and problems, but most often, educators practice this process in kindergartens and junior high schools.
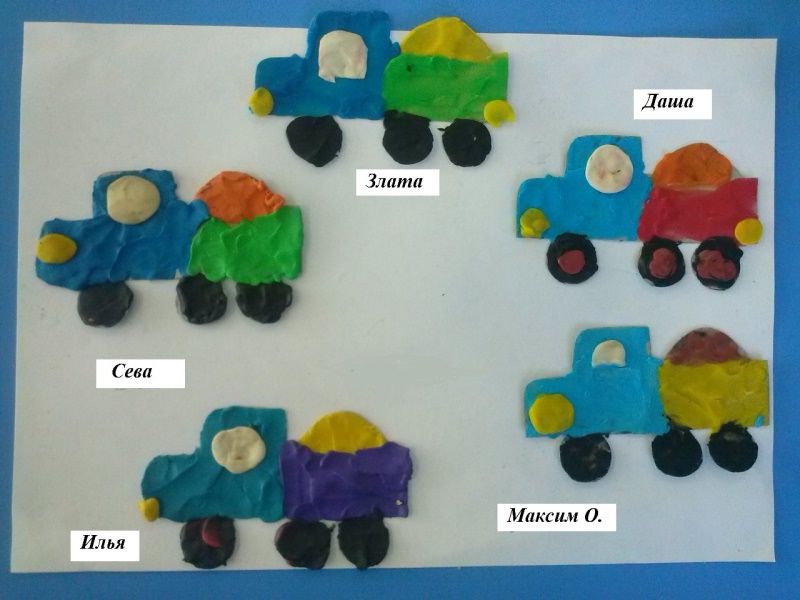
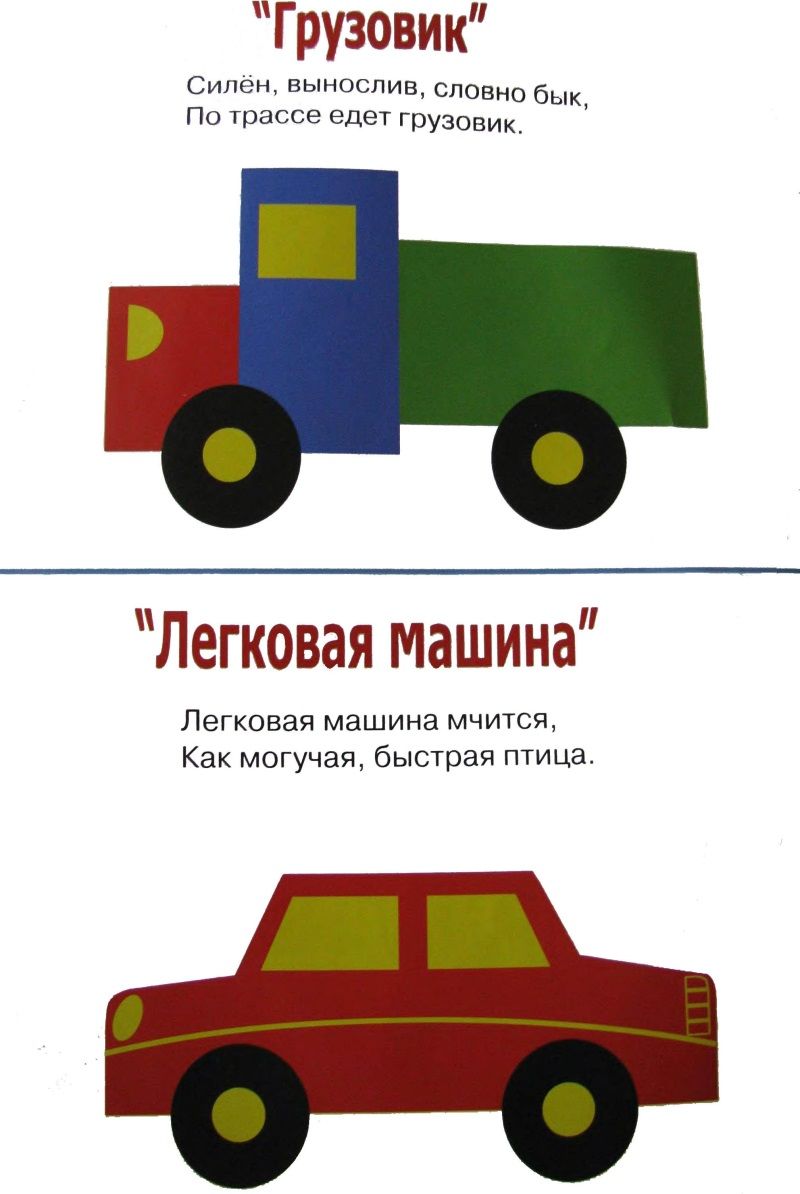
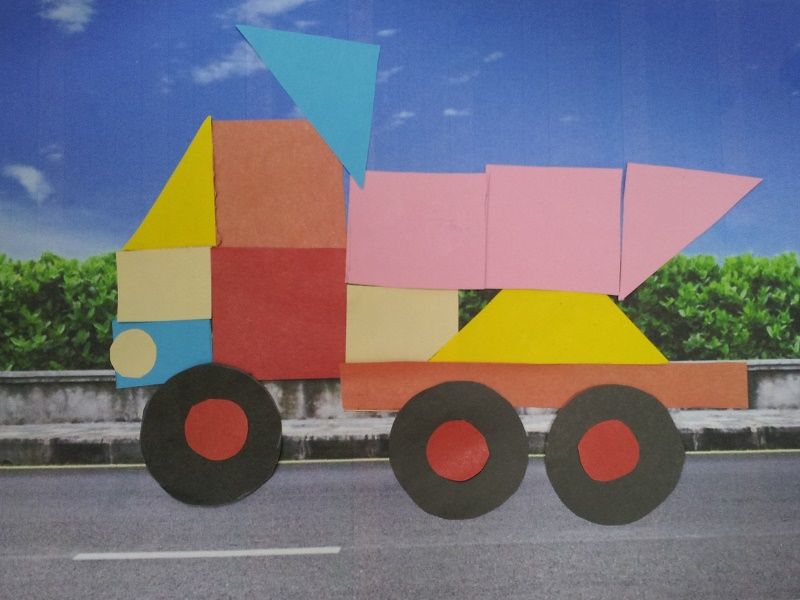
To occupy the boys for a few hours or fun and useful to spend time with them, make panels of cars from improvised materials. Now it is to consider patterns of machines for applique for children of different ages.
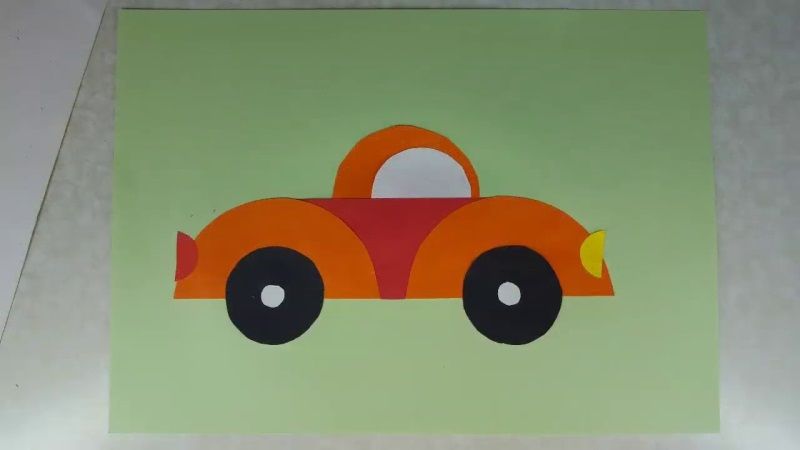
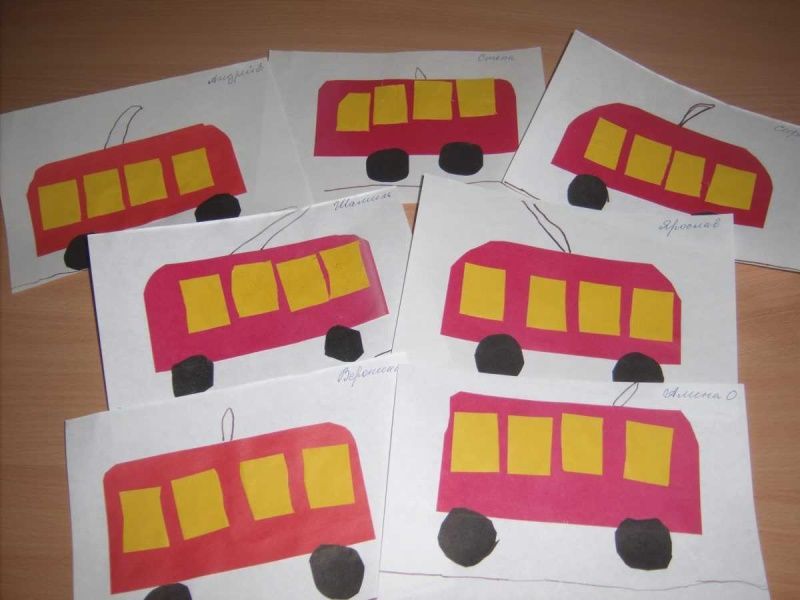
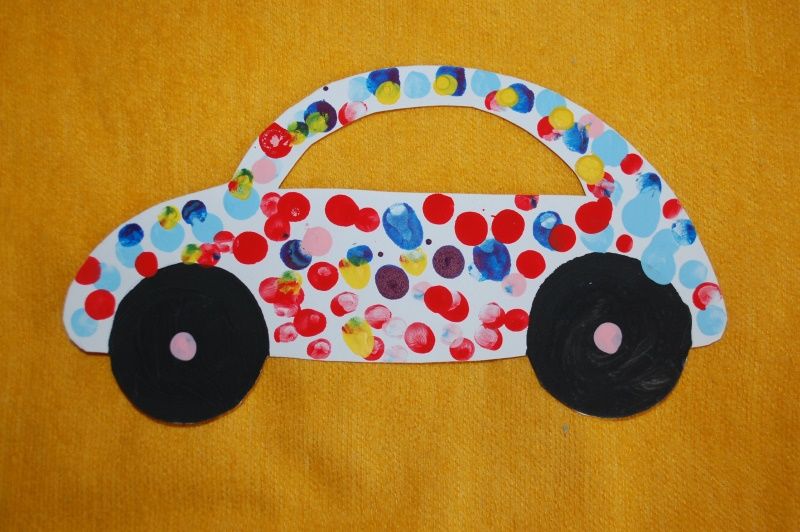
Simple car applique for kids
This simple option is suitable even for young children from 2 years old. For the work you need to find the material:
- Colored paper - the more shades, the better. It is better to develop color perception from infancy.
- Safe scissors - plastic scissors.
- Glue pencil.
- The basis - cardboard or a thick white sheet.
It is difficult for children to draw figures, in the early stages they are printed with a printer on colored paper. Parents should be involved in the process, so that the baby can observe the actions and repeat. Instructions for a simple applique:
- Cut out 2 small circles, 1 rectangle and a square;
- from red paper cut out small ovals, which will indicate the presence of headlights (since the panel will be two-dimensional, you will need only 2 pieces);
- Then begins the process of assembling - each piece is dabbed with glue, placed on the base.
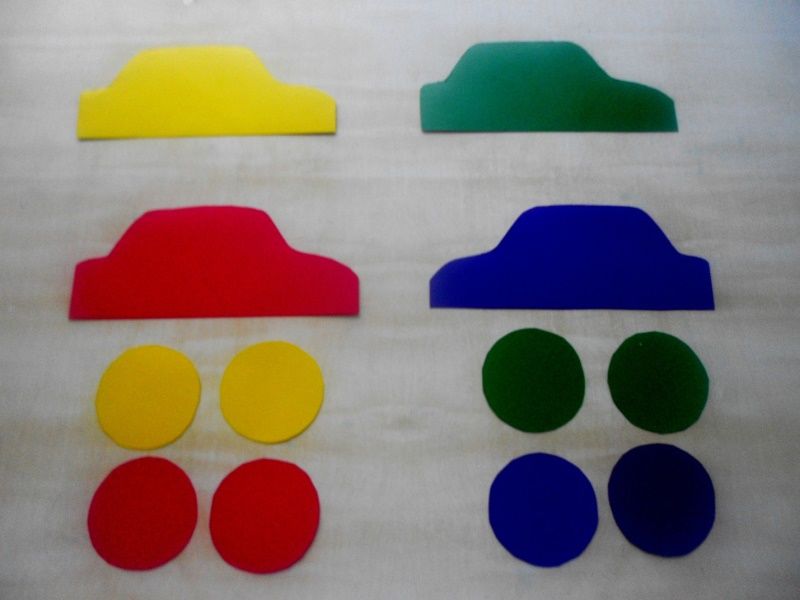
The shape of the car, the colors are chosen only at will. The main essence of such work is to develop motor skills by working with small parts.
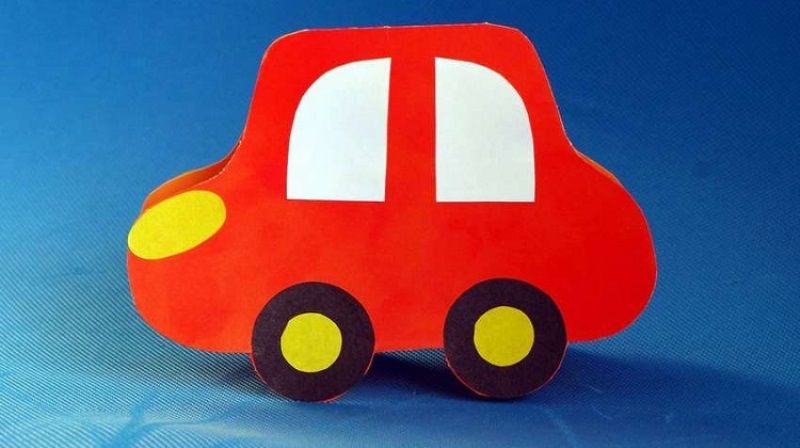
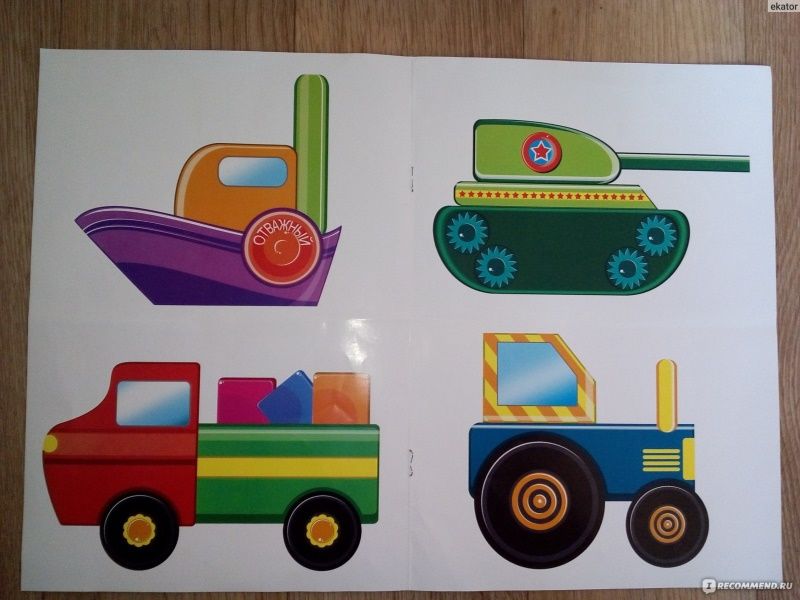
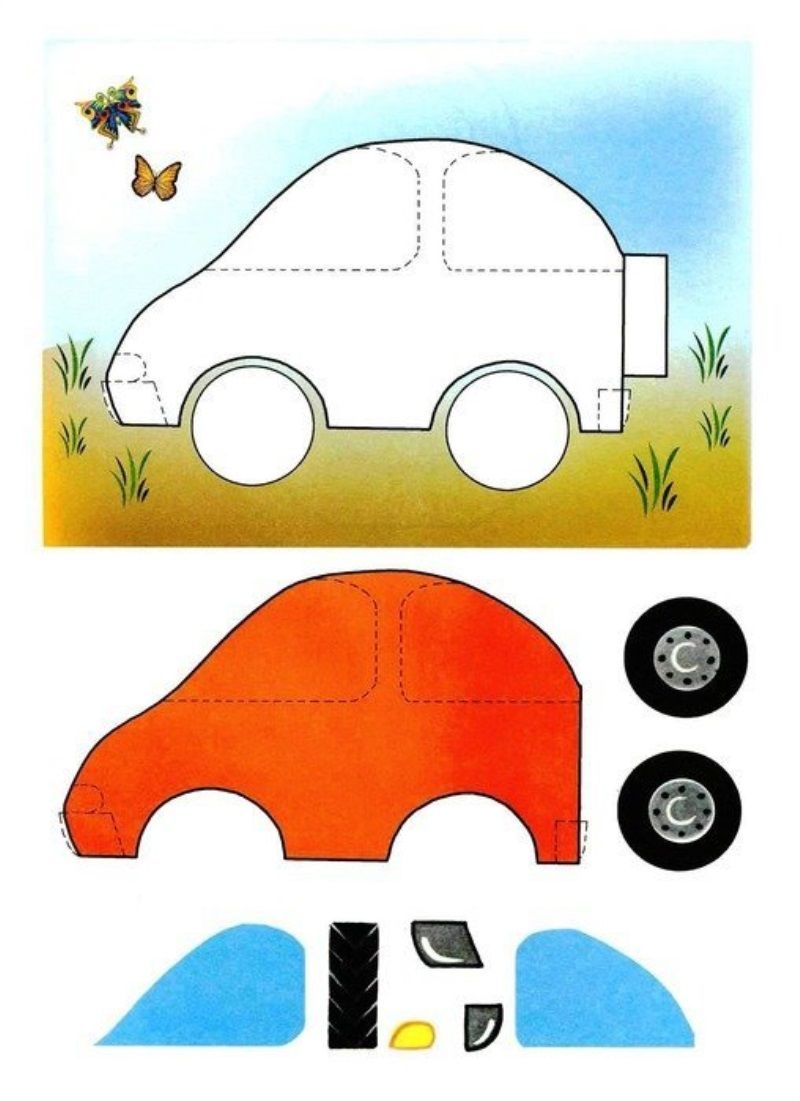
Volumetric applique of a car
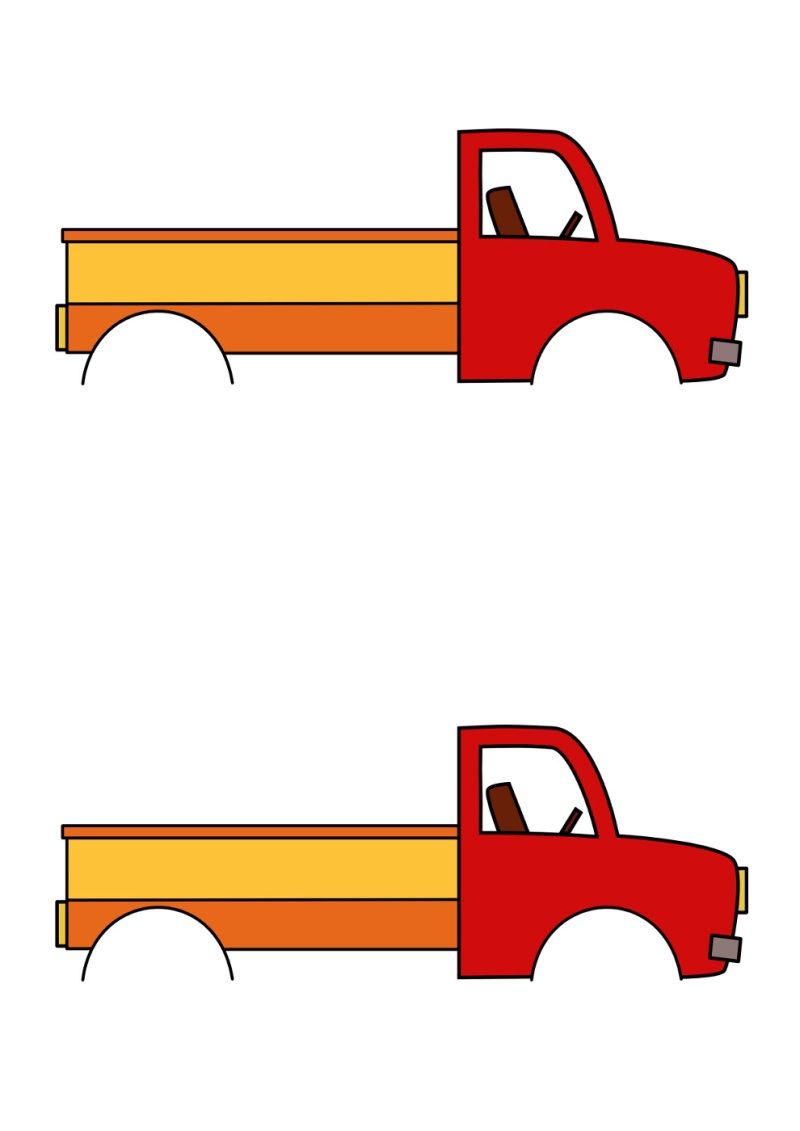
This option is remembered by many adults. In the past, children's magazines were on sale, where the authors put special templates of a car for applique for children, from which they gather a full-fledged car.
Today it is difficult to find such a thing, adults can print out any model themselves on the printer. The instructions for assembly are simple:
- You can use the suggested options.
- Next, the vehicle is printed out on a thick sheet of A4.
- After that, it is cut out on the dotted line.
- For convenience, use a ruler, it will help make the folds even.
- Then the parts are glued together with scotch tape or PVA glue.

Thus, you can make any model, which will become a full-fledged interior decoration. The work is suitable for older ages, as gluing and folding parts requires skill.
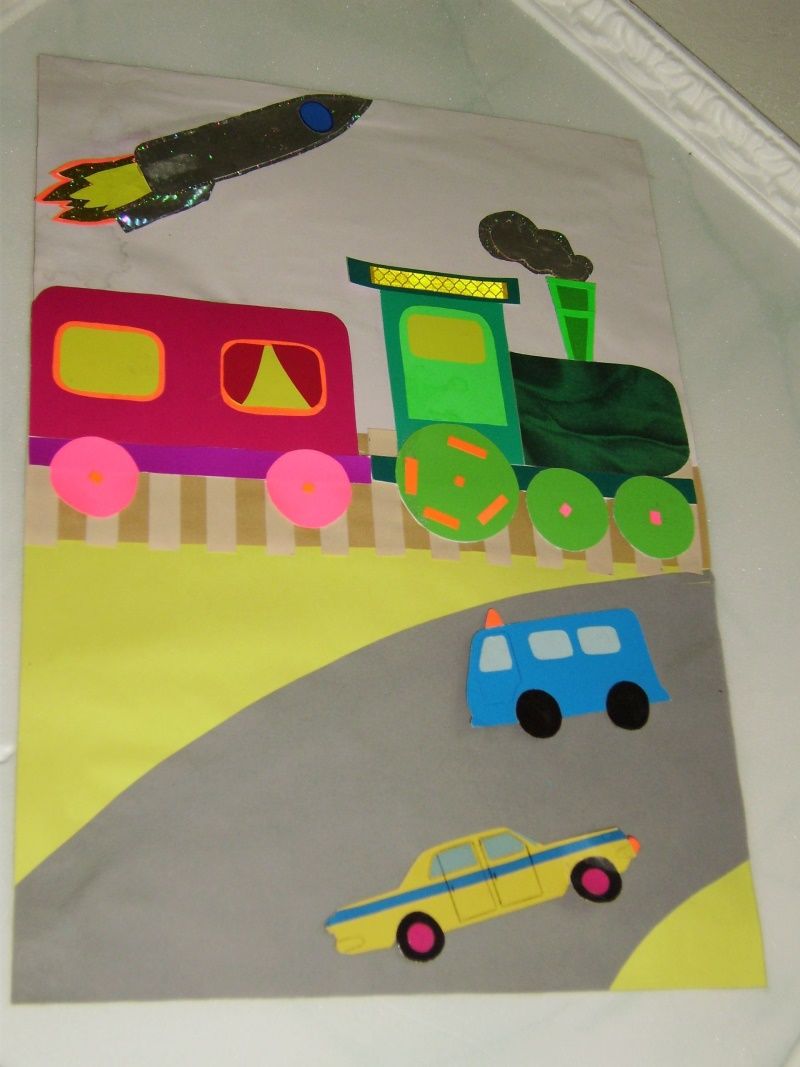
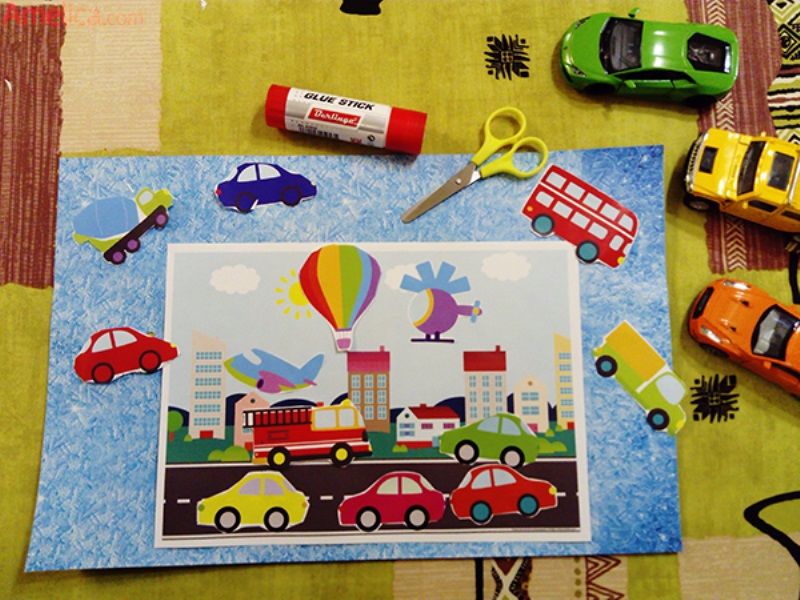
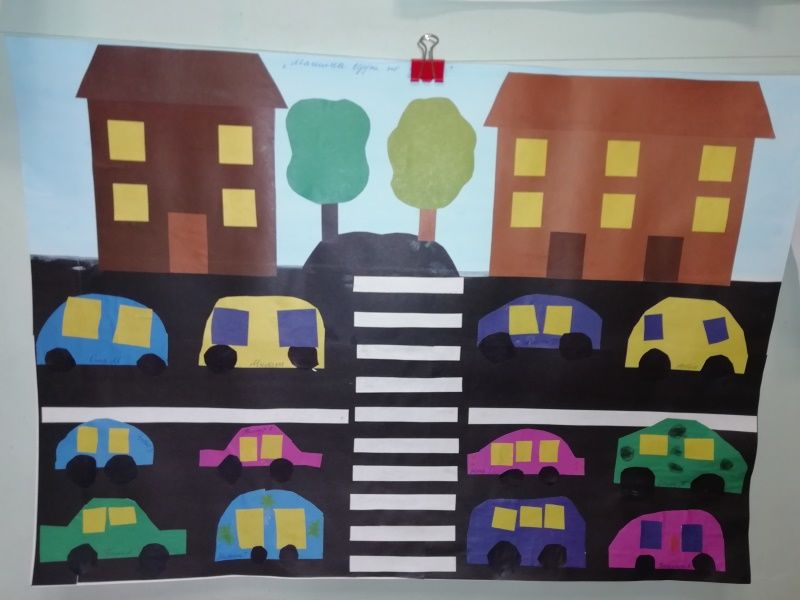
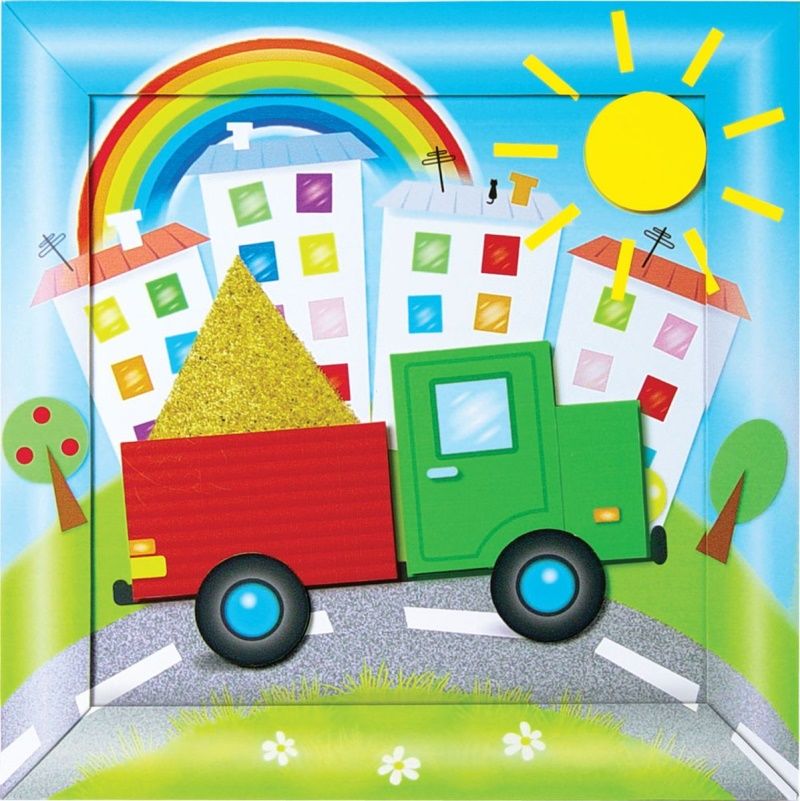
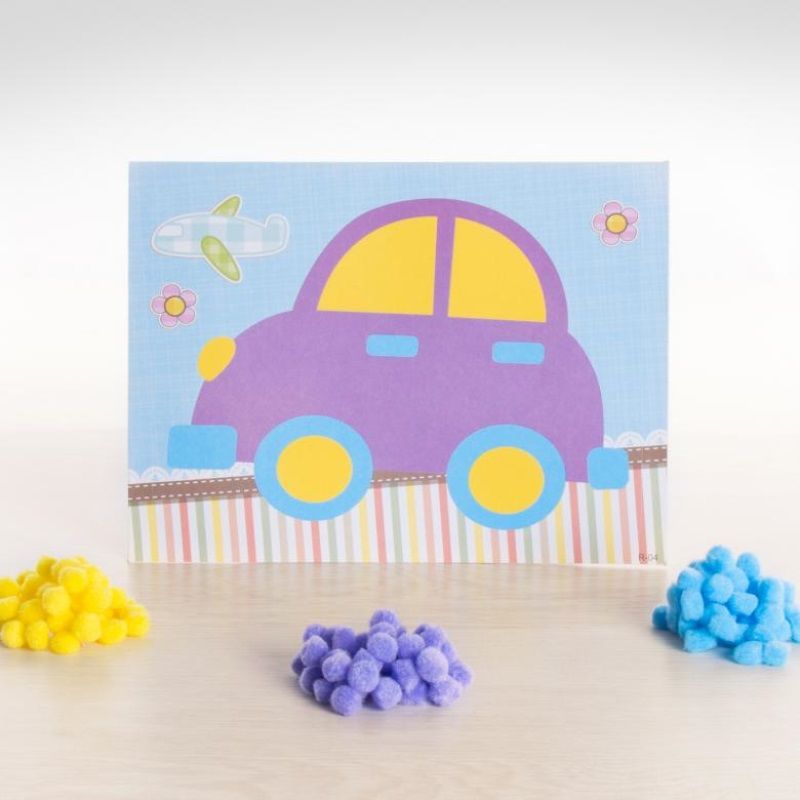
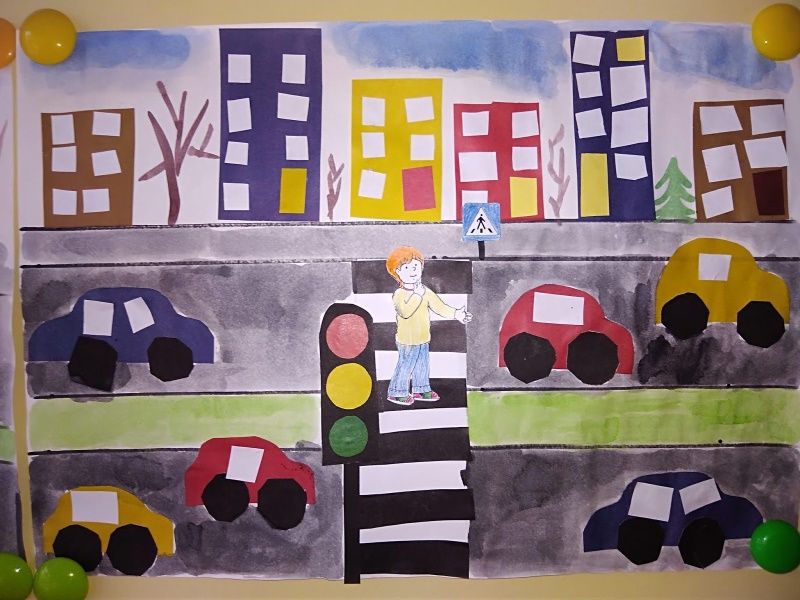
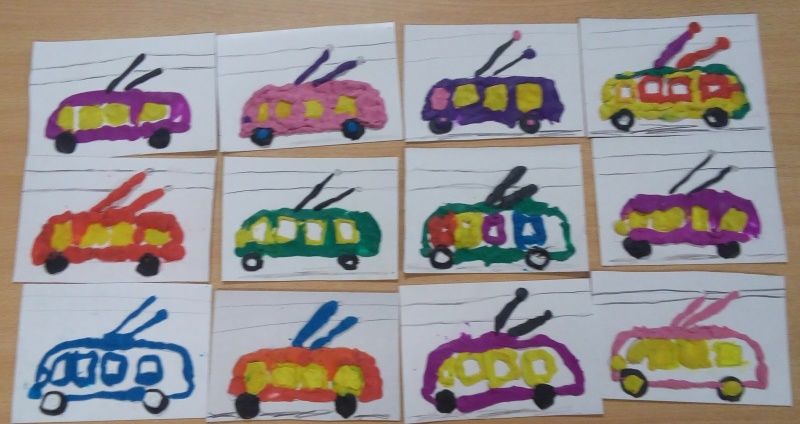
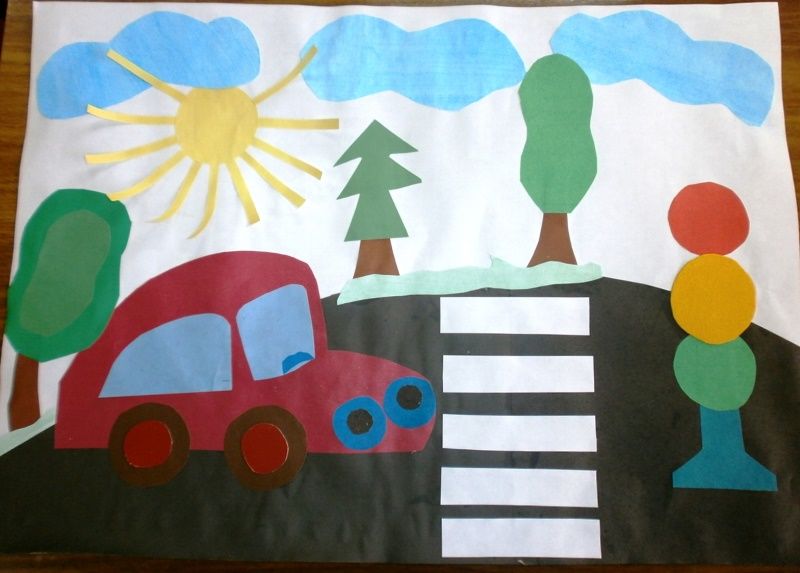
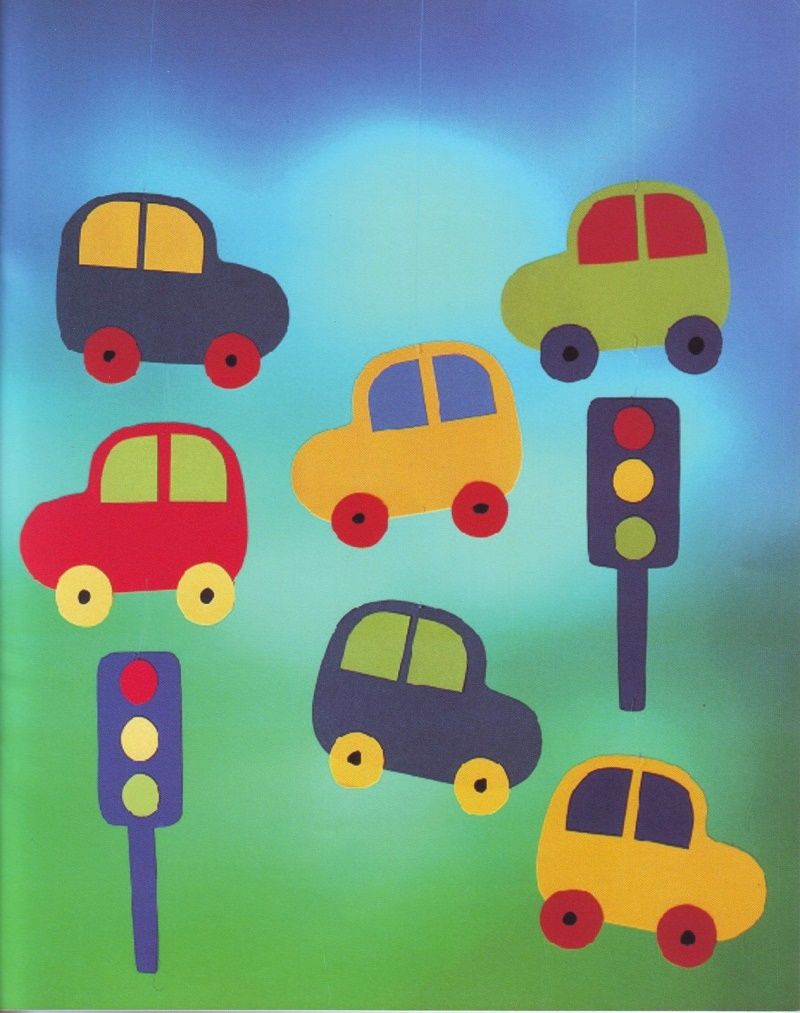
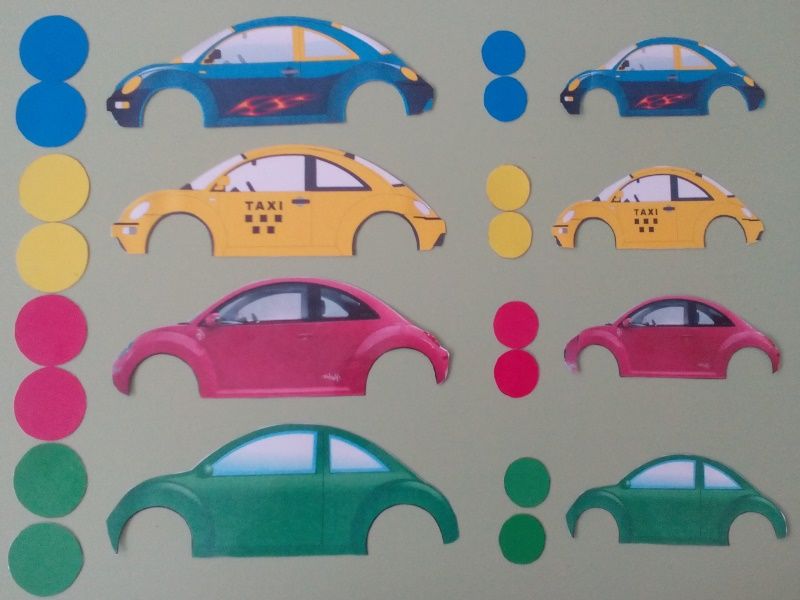
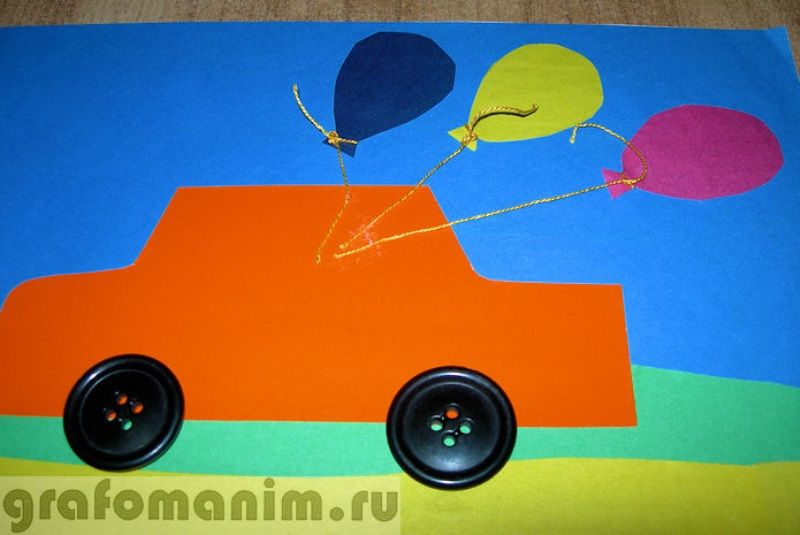
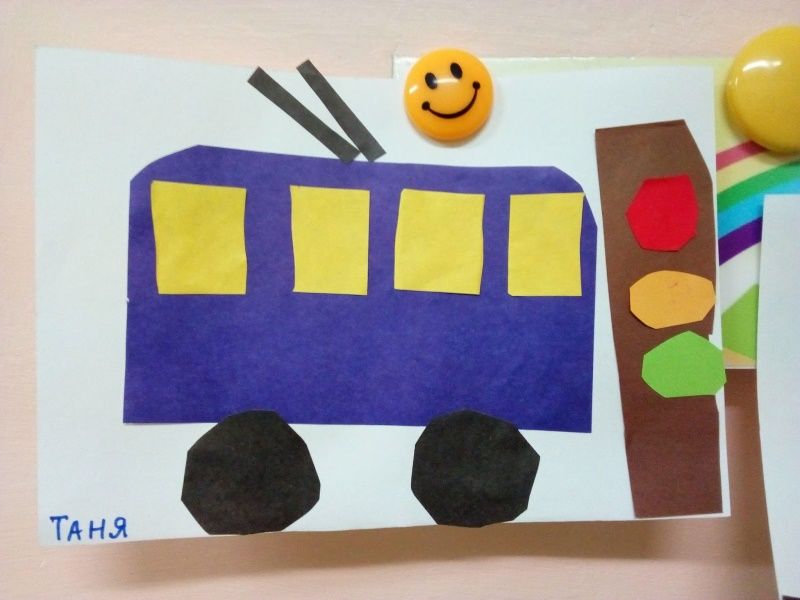
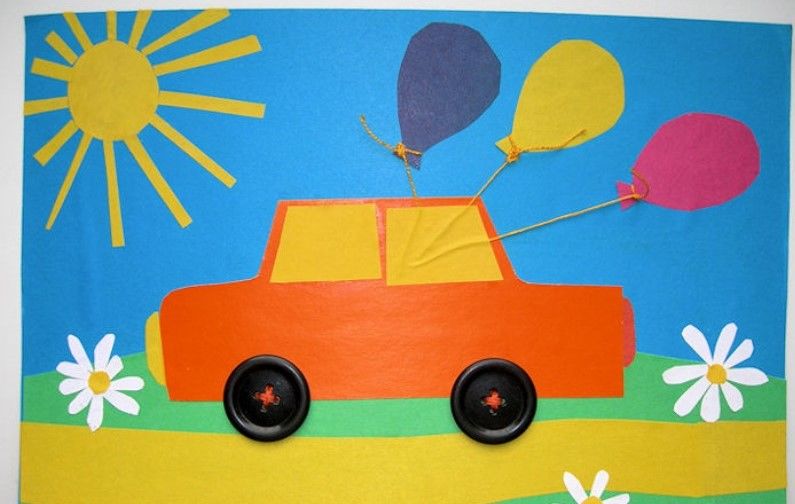
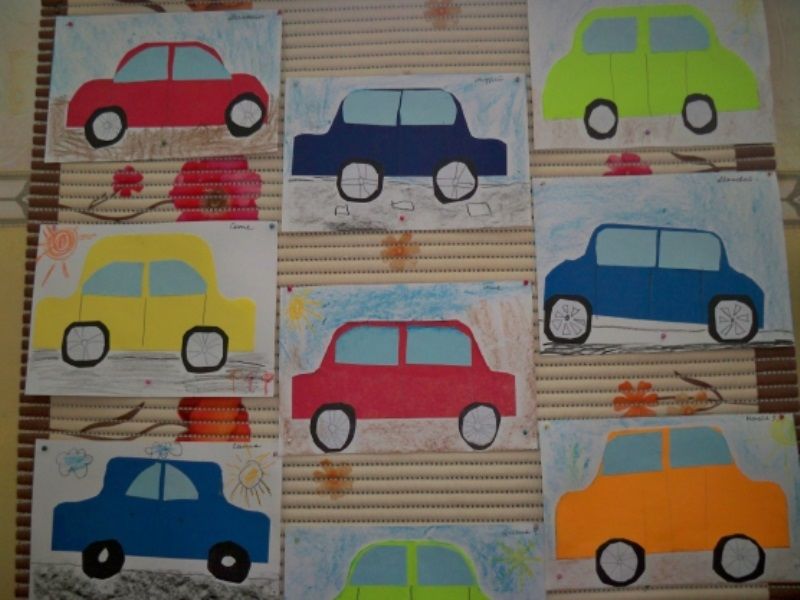
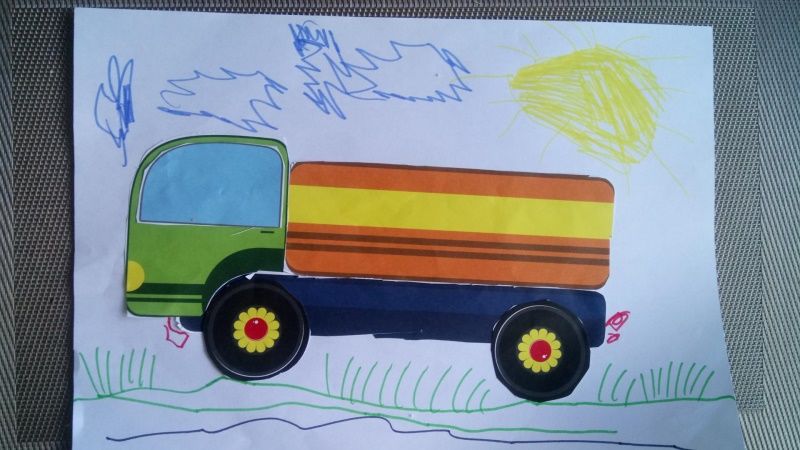
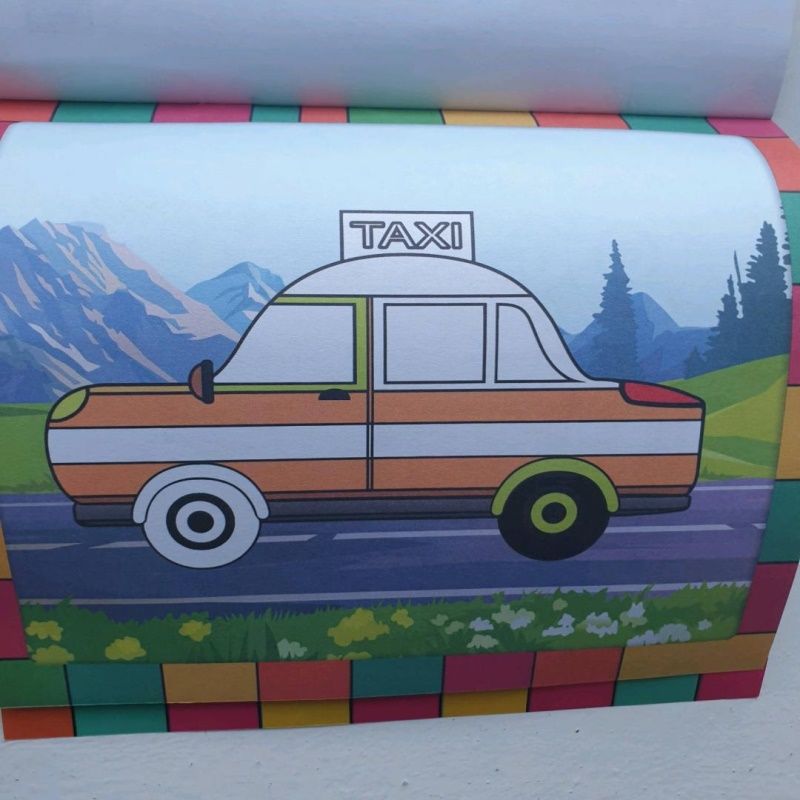
Applique of a passenger car
This option is well suited for all ages. To inspire your baby, you can make a small walk around the city, where he can observe the movement of transport. Next, it is recommended to study the master class:
- Parents often develop creativity with the "observe and play" technique.
- Children see the world in different ways, with the help of art they can show it to adults (in between, applique often helps to detect worries or anxieties, this method is used by psychologists).
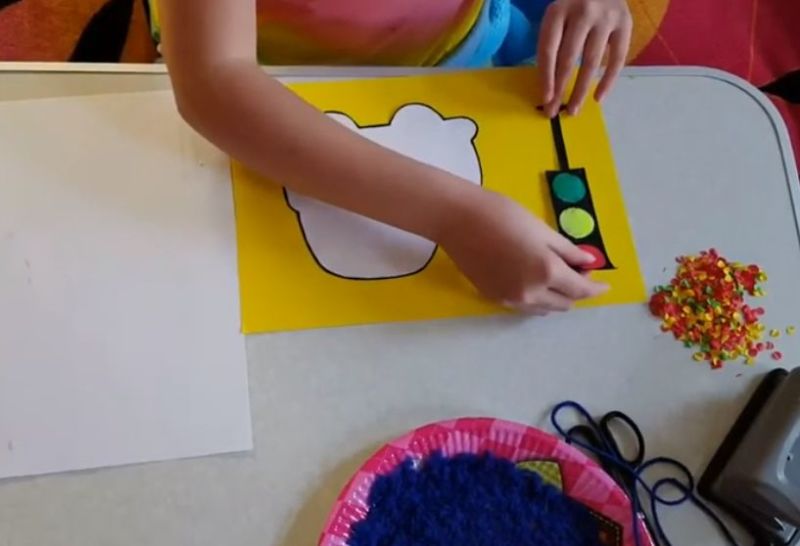
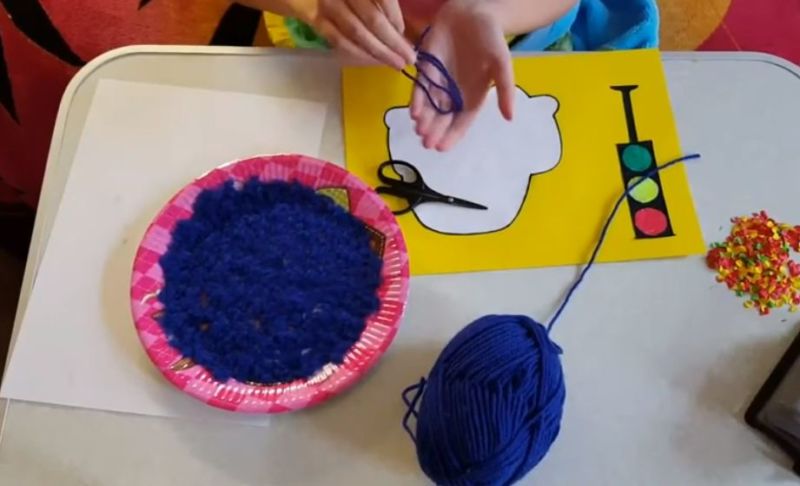
- You will need colored paper, safety scissors, glue sticks, rulers, and a compass.
- Using the compass, you draw the wheels and the sun on the black paper.
- Next, using a ruler, the main elements are formed - the trunk, windows, doors, body, etc.
- It is necessary to make a background - it is made with colored paper.
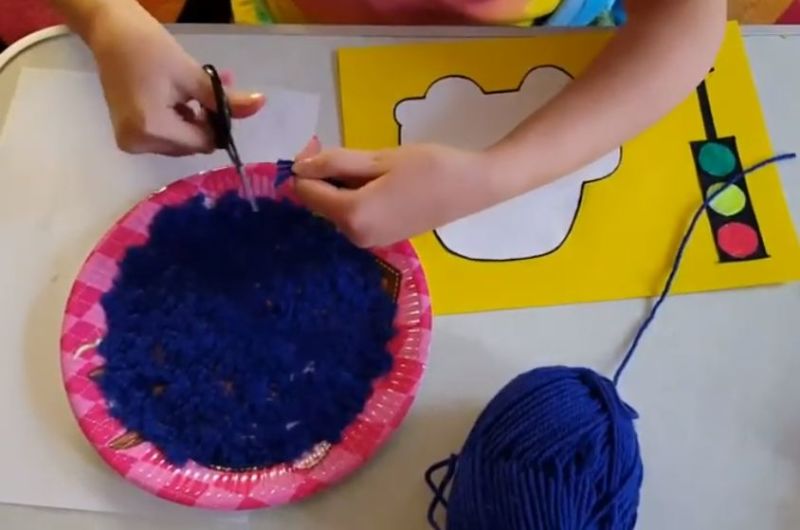
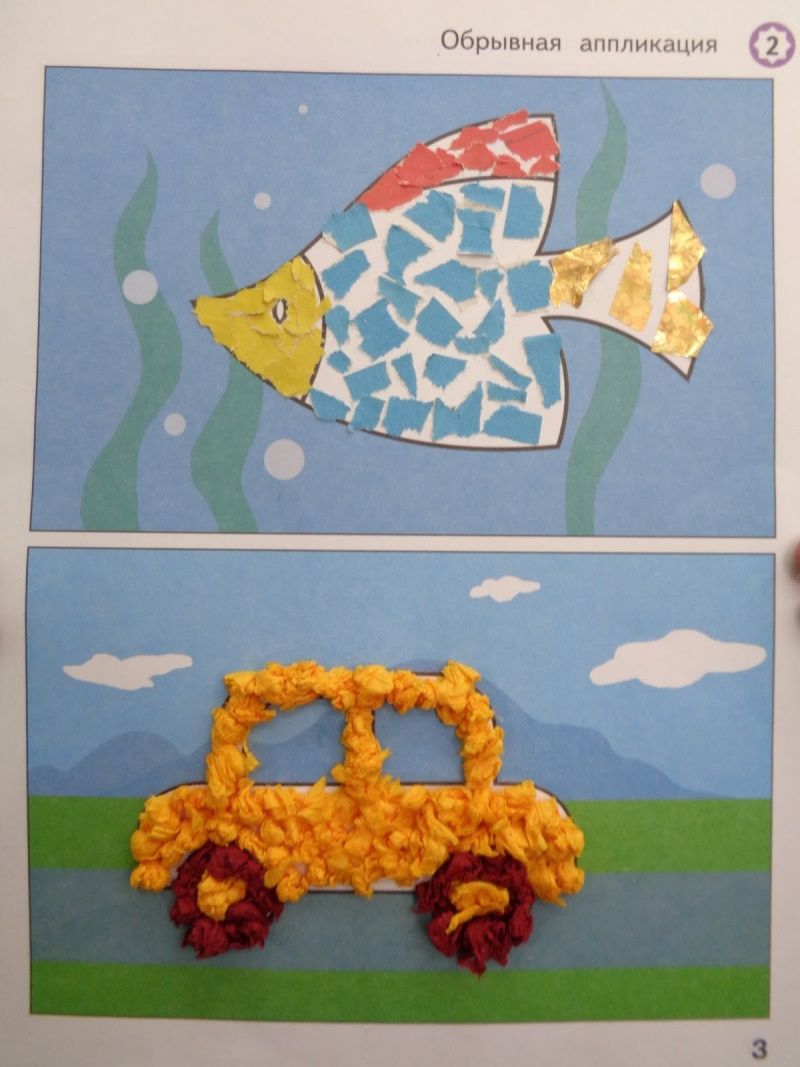
- Clouds or a gas emission are made by the ripping technique - neatly tear the colored material, the kid can create any interesting shape.
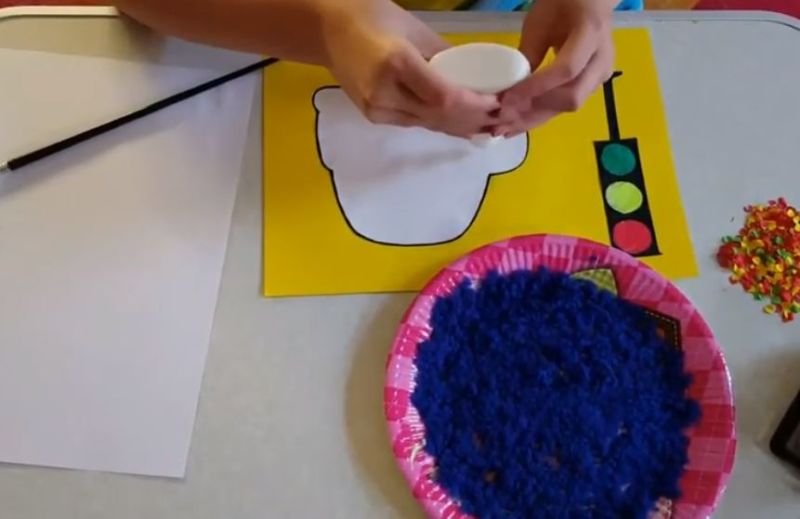
- Then all the details are cut out and folded on the background, and then glued.

Such work can even be submitted for a contest in kindergarten.
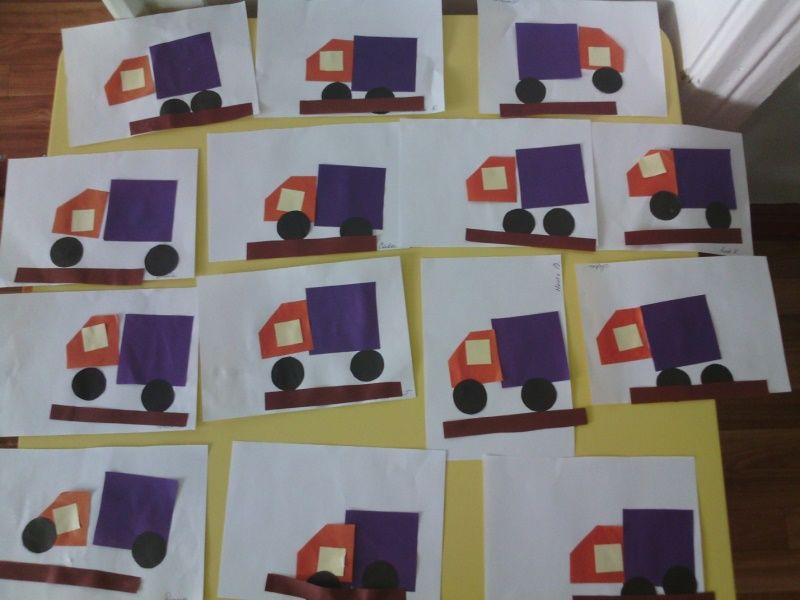
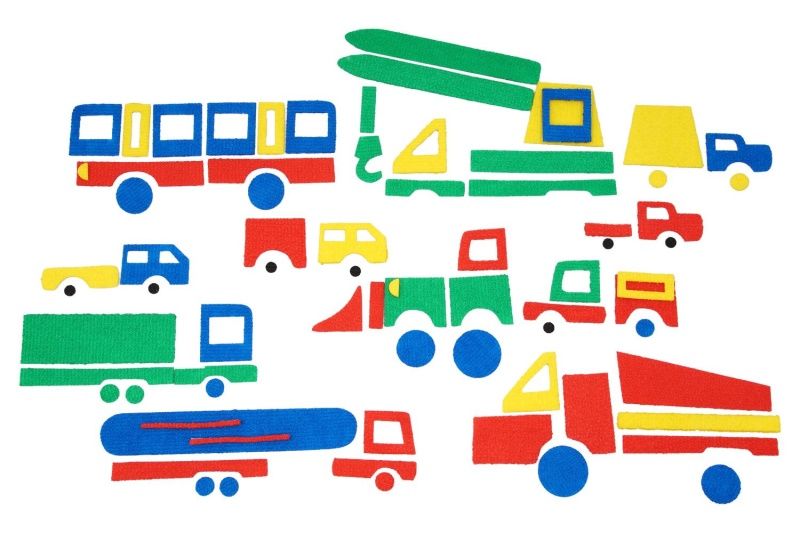
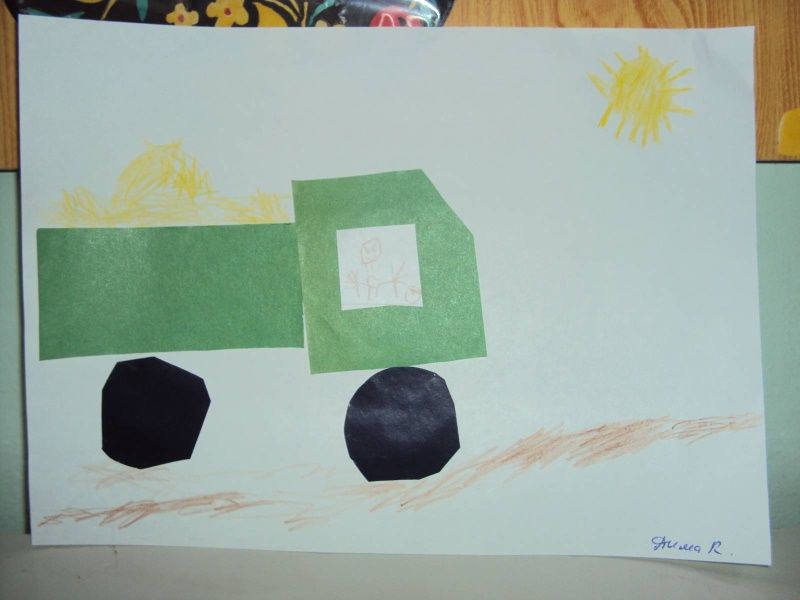
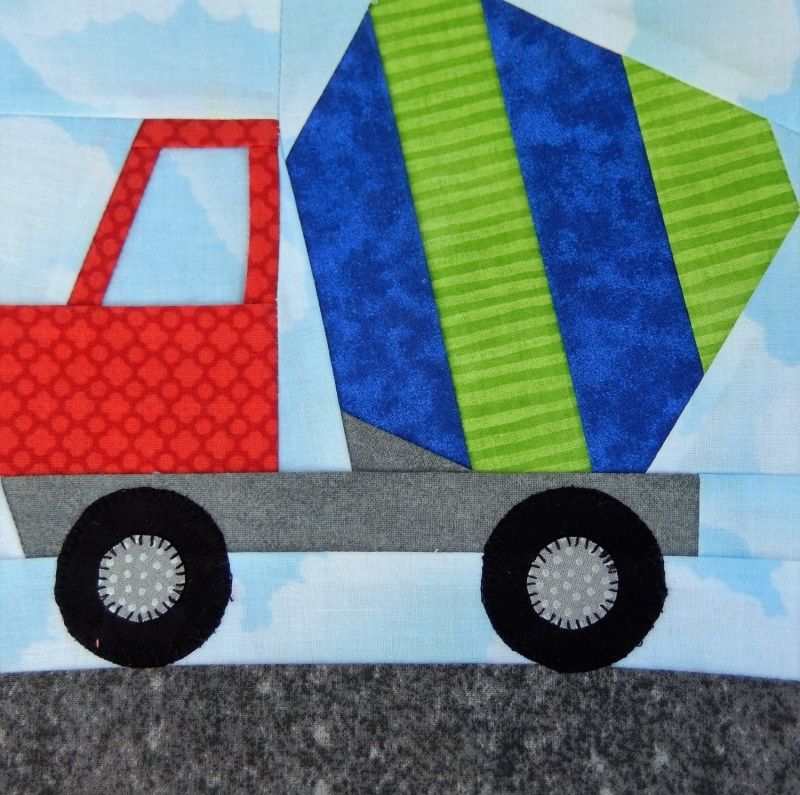
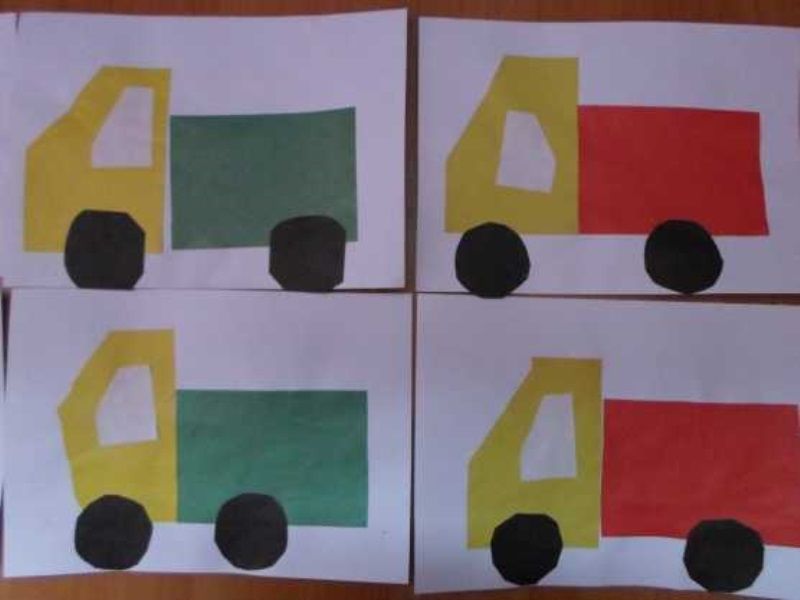
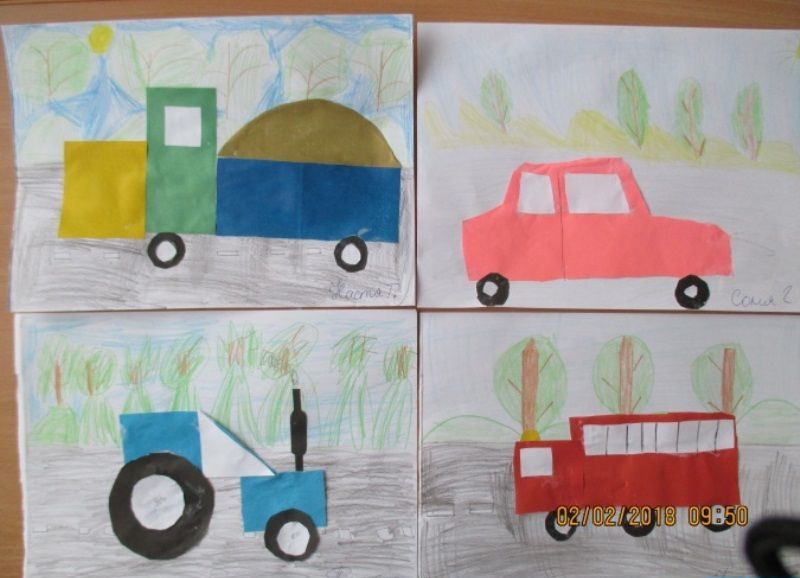
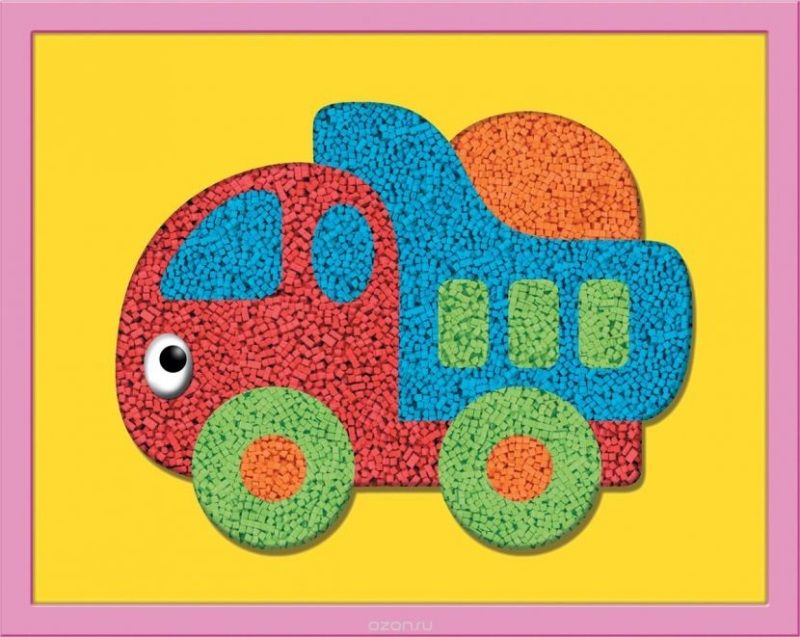
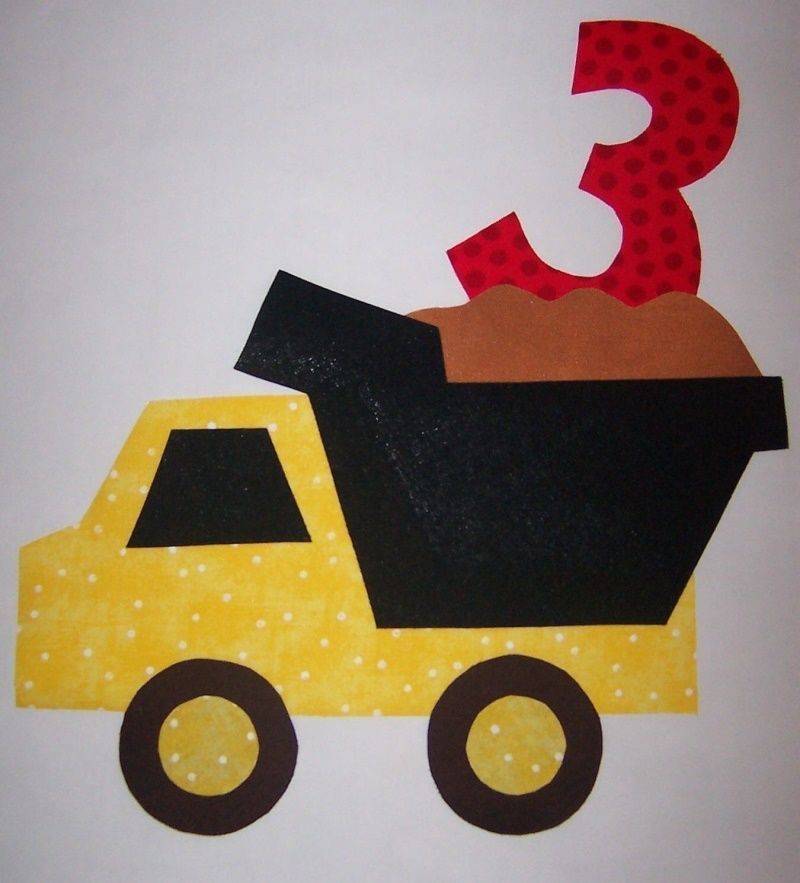
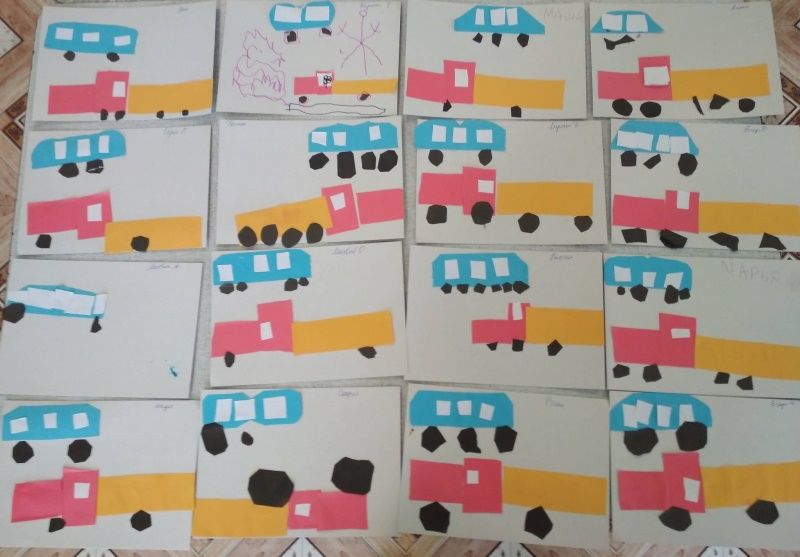
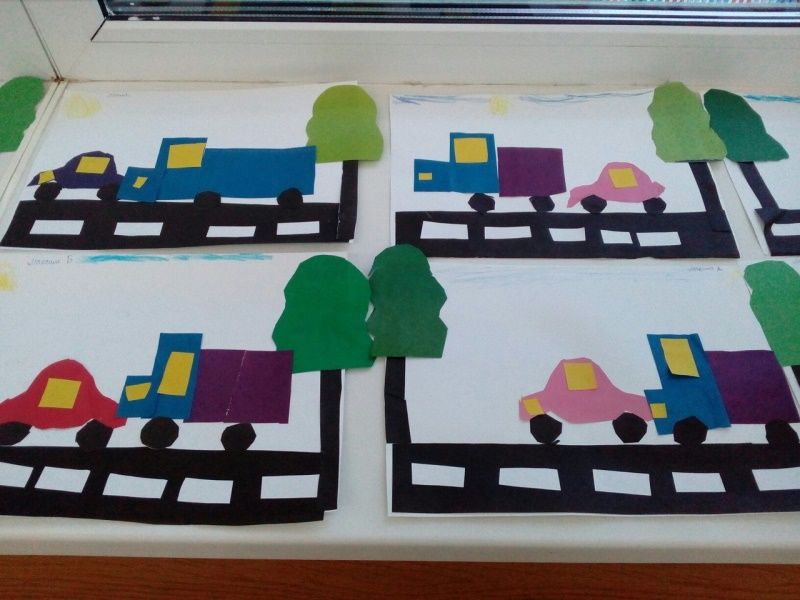
Applique truck
Children love to watch massive and large vehicles that amaze them with their majesty. Therefore, if the child is impressed on the street with what he saw - this is a great reason to make a collage with him at home. Materials needed:
- Drawing.
- Cardboard.
- Scissors.
- Pens or pencils.
- Glue.
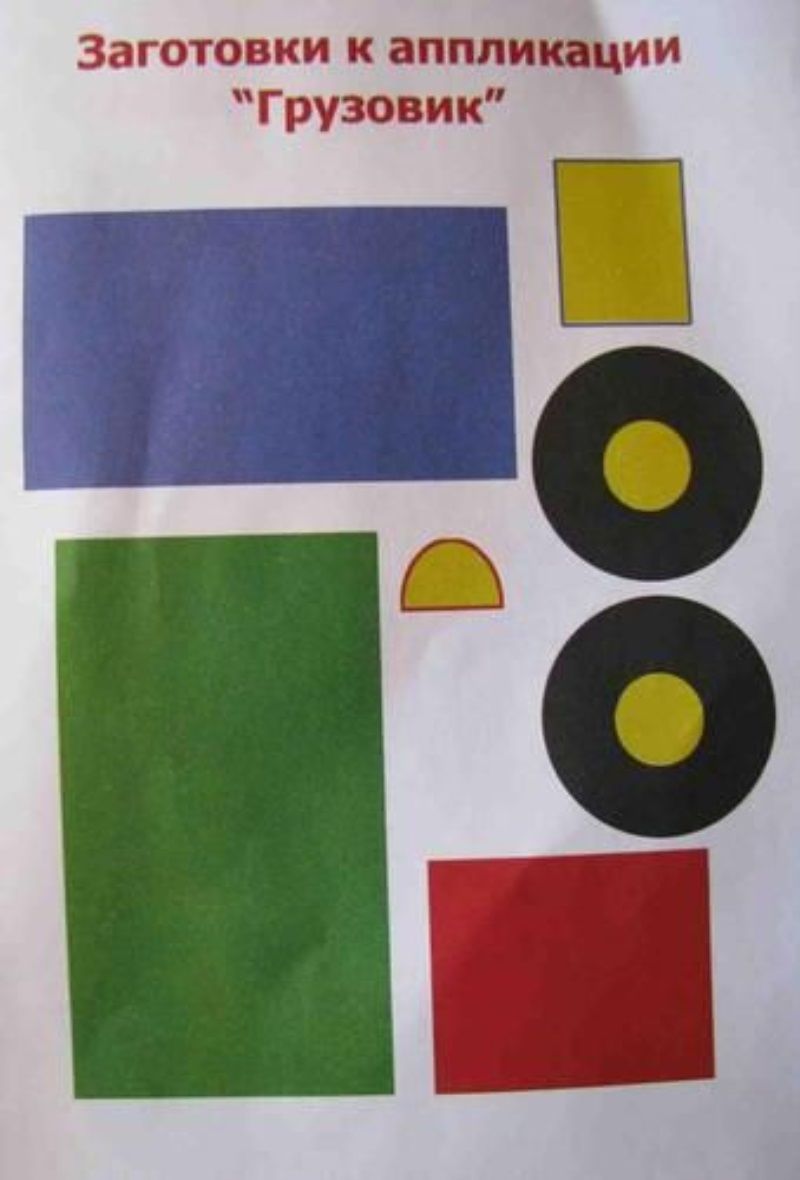
First you need to download a template of a dump truck made of heavy paper, which many people have already assembled. This will facilitate the process of preparation, the child will not lose interest in the work. It is recommended to print the template on white cardboard .
If you only have regular printer paper, this will also work. However, cardboard is better, it is thicker and more durable. It will make it easier to draw the pattern on the colored heavy paper, and it will keep its shape for a long time.
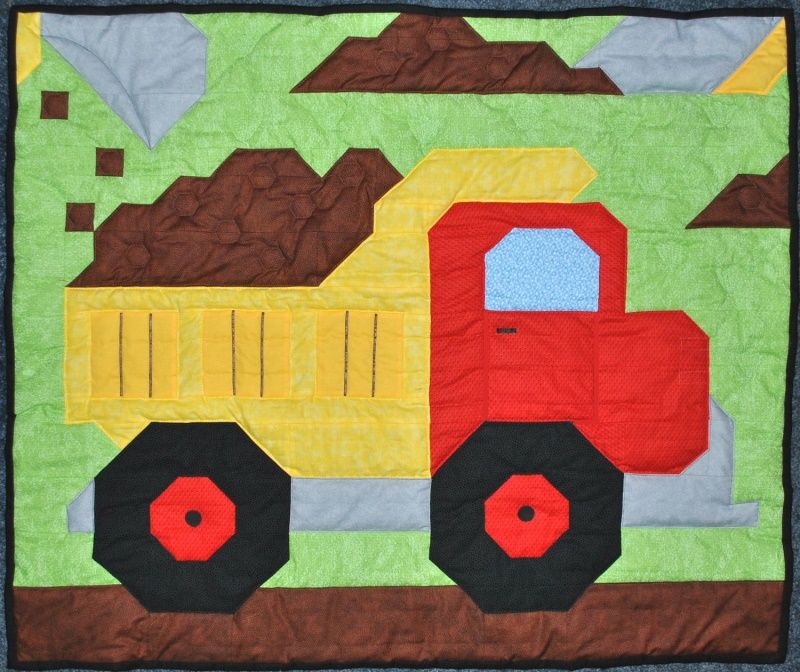
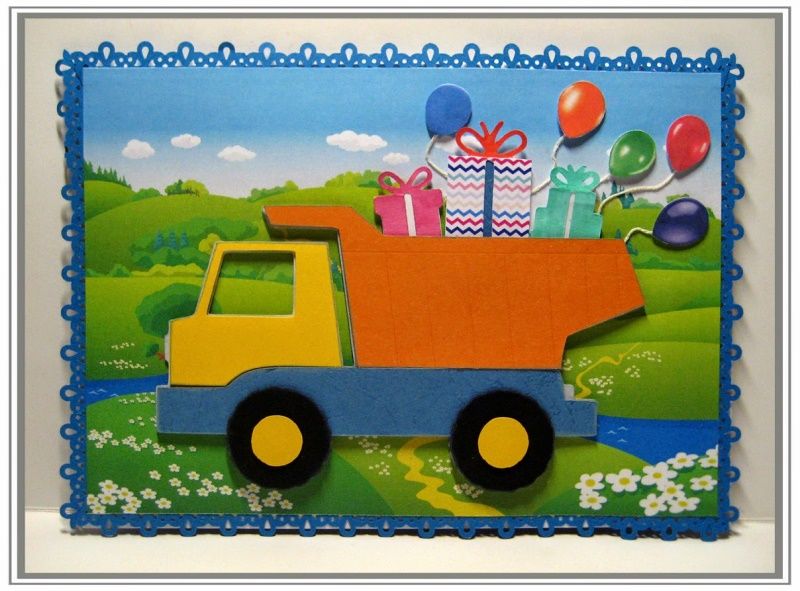
After the pattern is printed, then you need to cut out the details with scissors. For realism add a little brown color for the ground, this is done as desired.
Torn technique it can be added to the very bottom, each part is glued with a pencil glue. All parts are first placed on the base, and then glued with ordinary PVA. You can complement the concept with watercolor, drawing clouds, houses, the sun, etc.
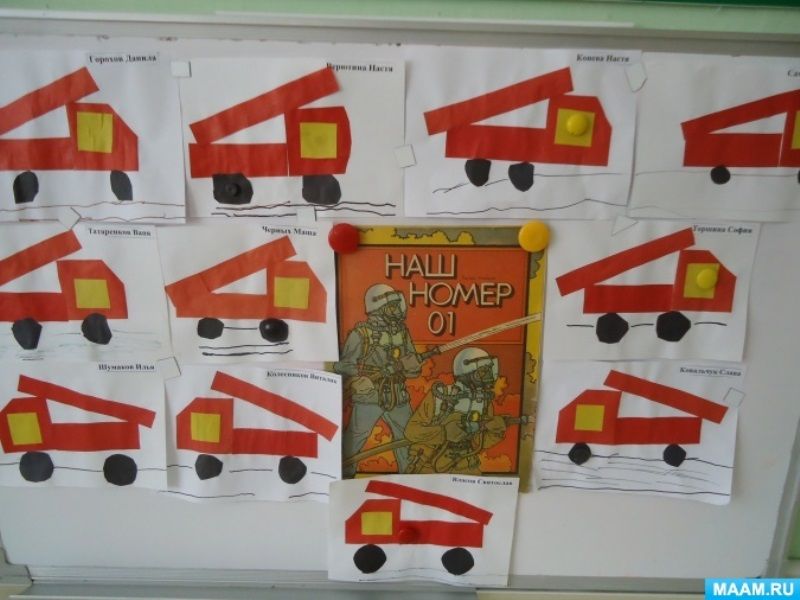
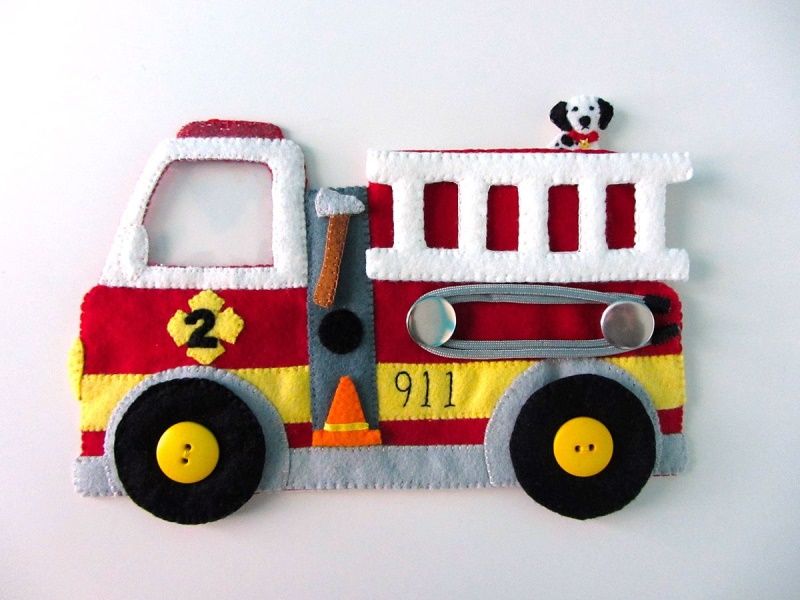
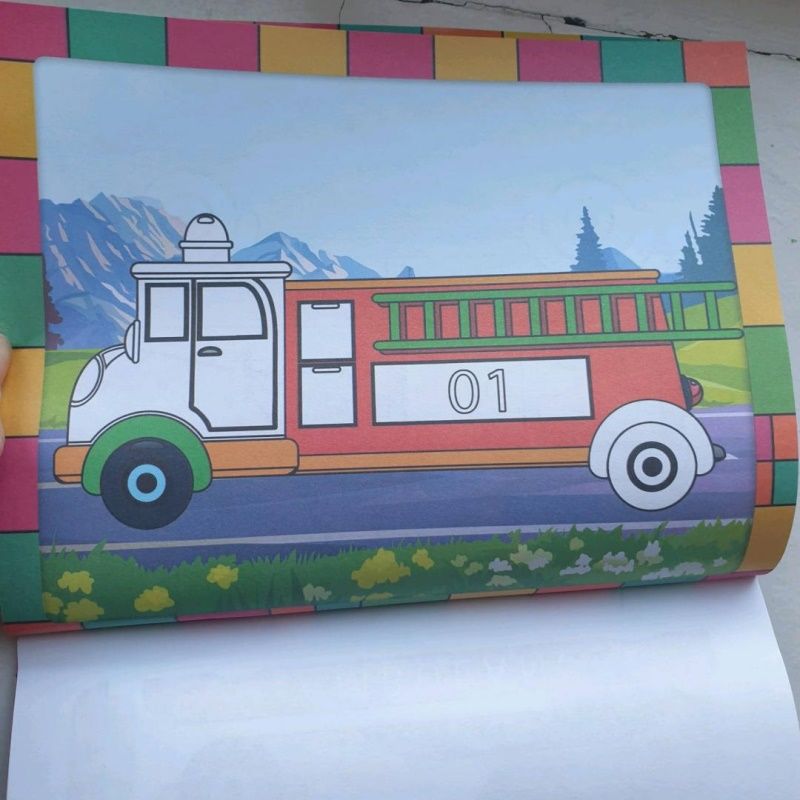
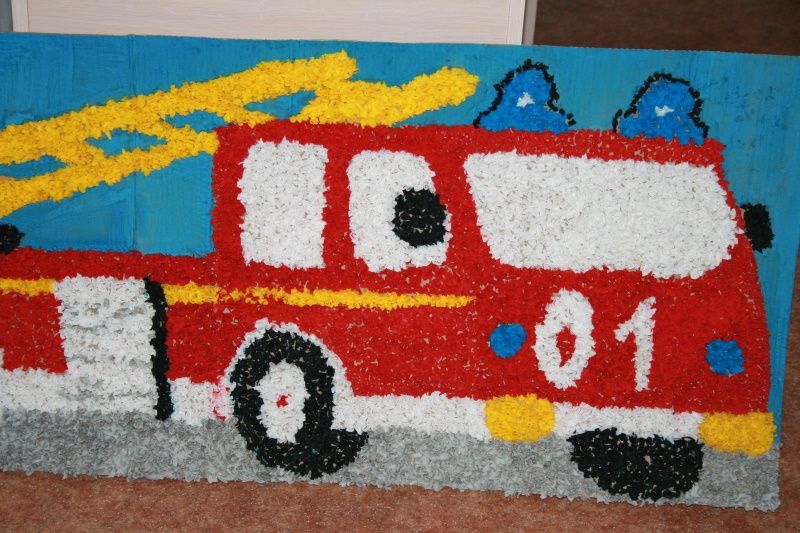
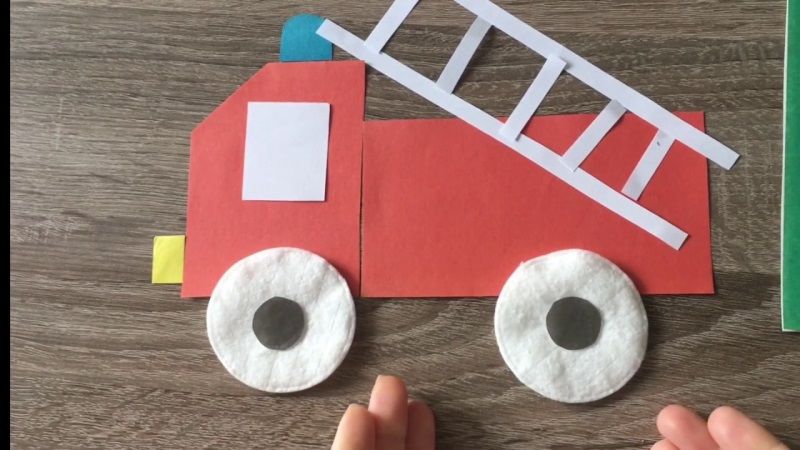
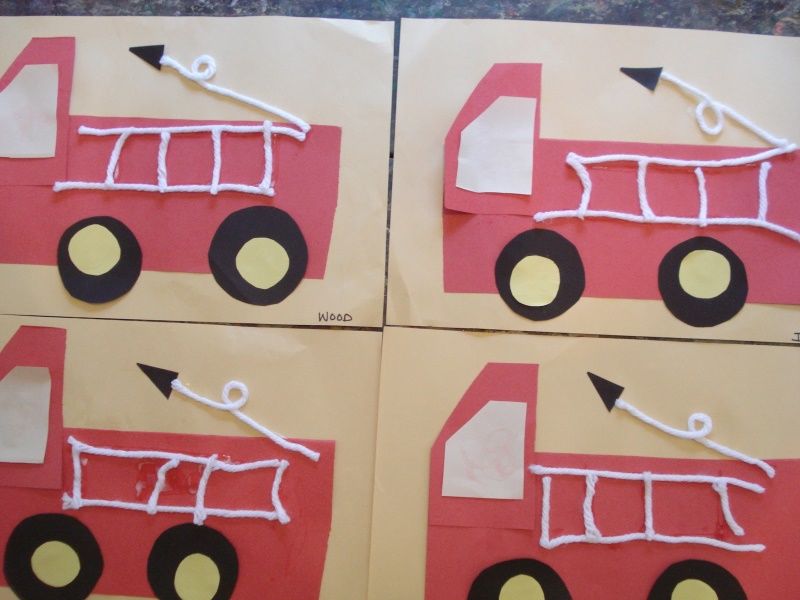
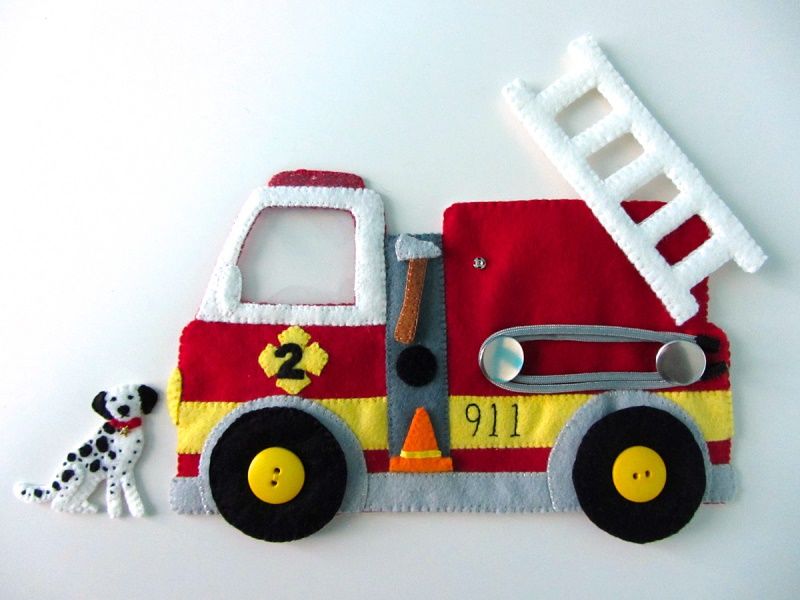
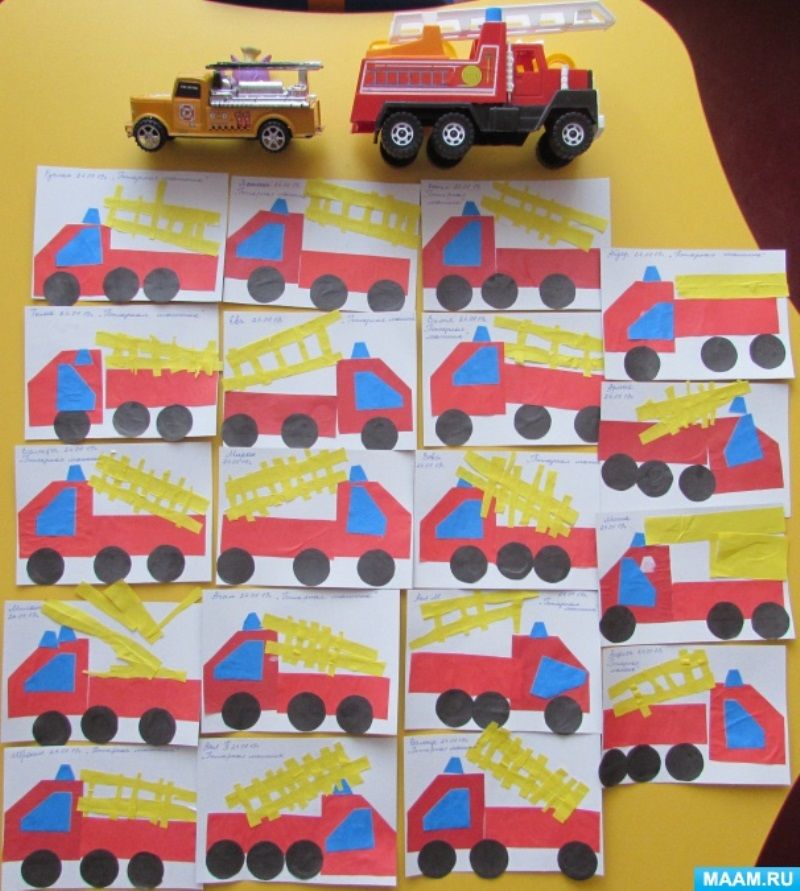
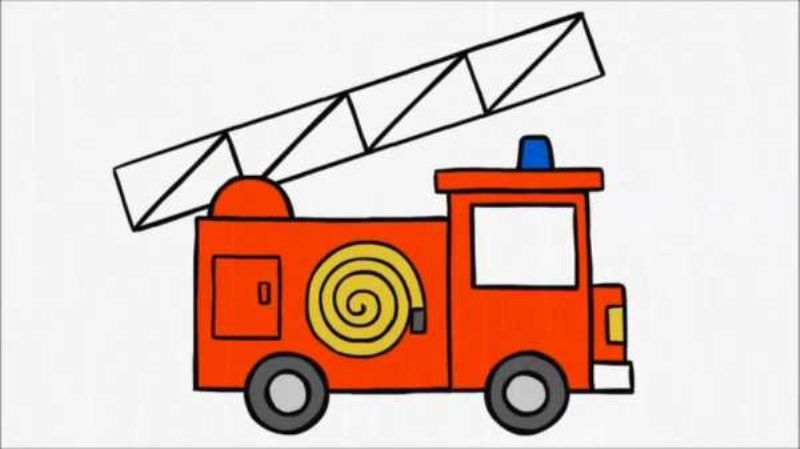
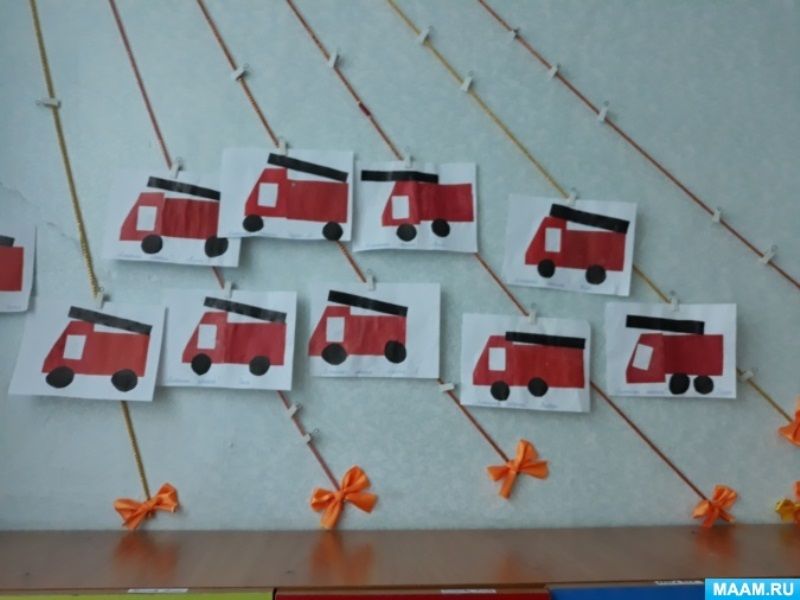
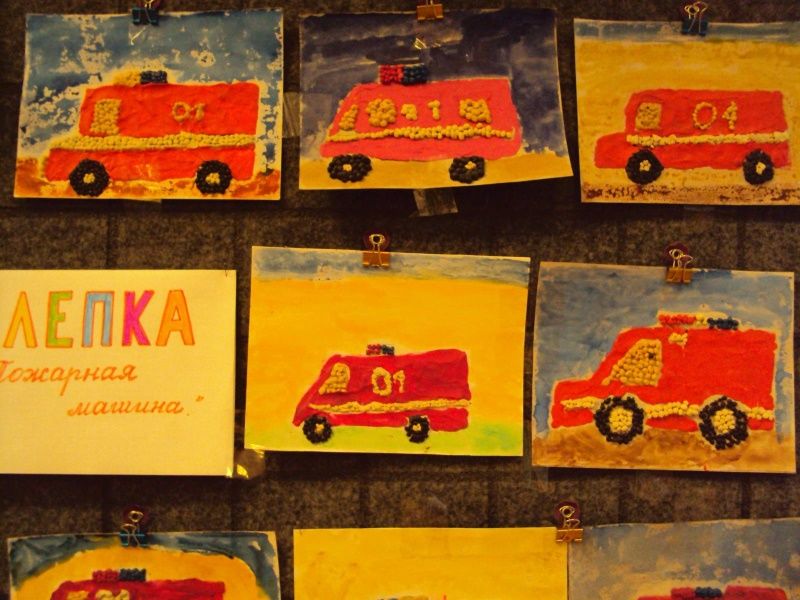
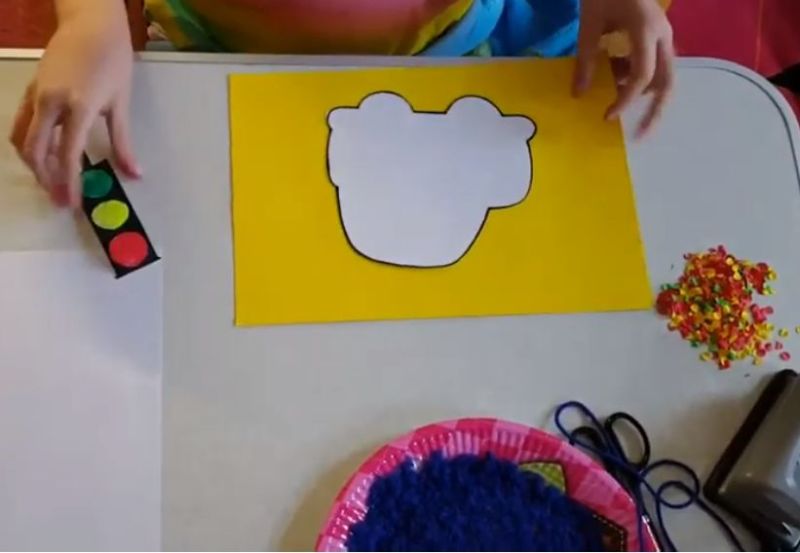
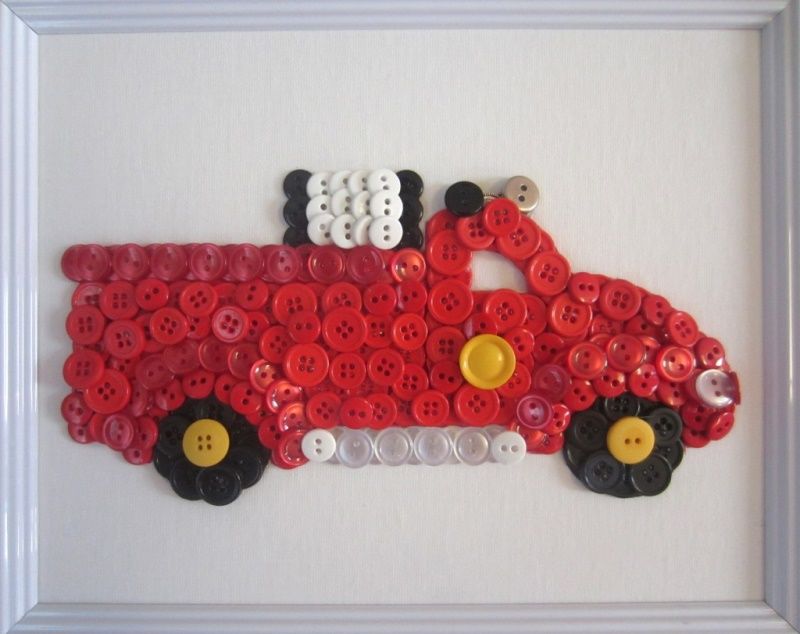
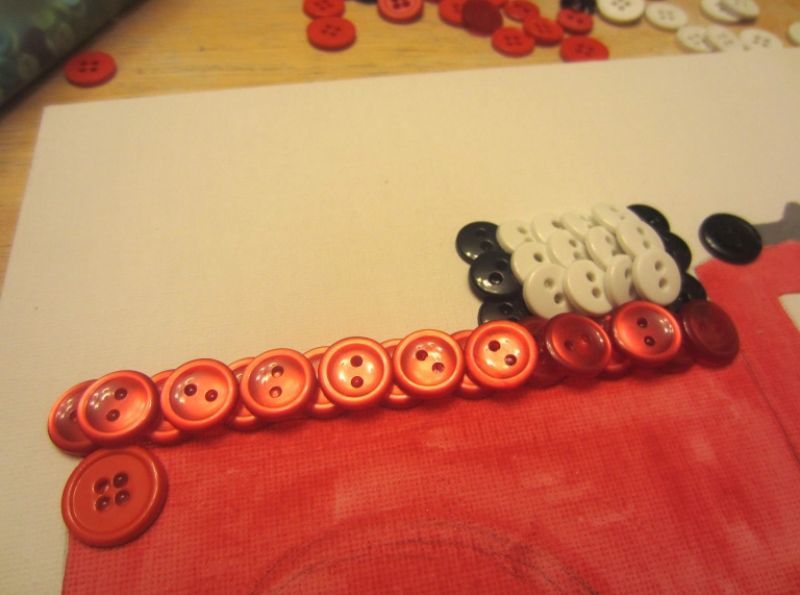
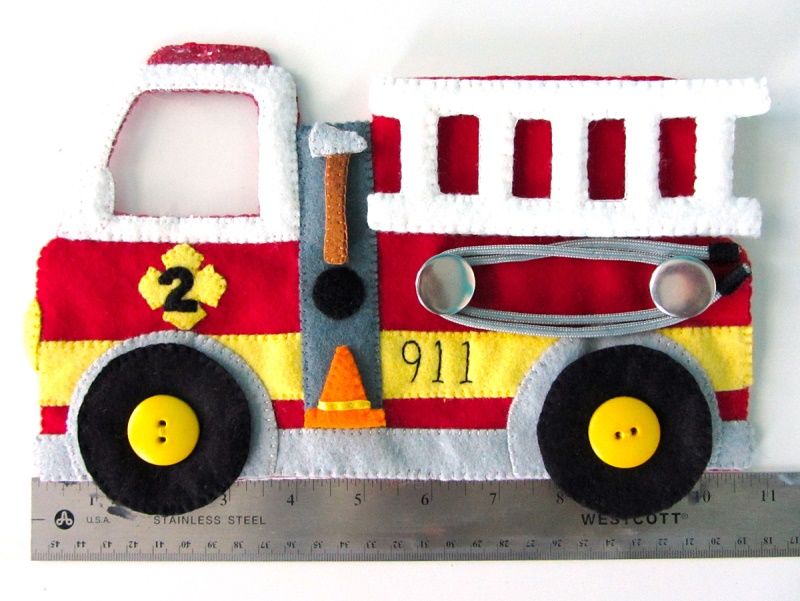
Appliqué of a fire engine
This craft is so simple that even small children can make it. And if the child is a little older, he can even help to cut out and trace the template. The necessary materials for applique in the senior group of a fire engine:
- Drawing.
- Cardboard.
- Scissors.
- A pen or pencil.
- Glue.
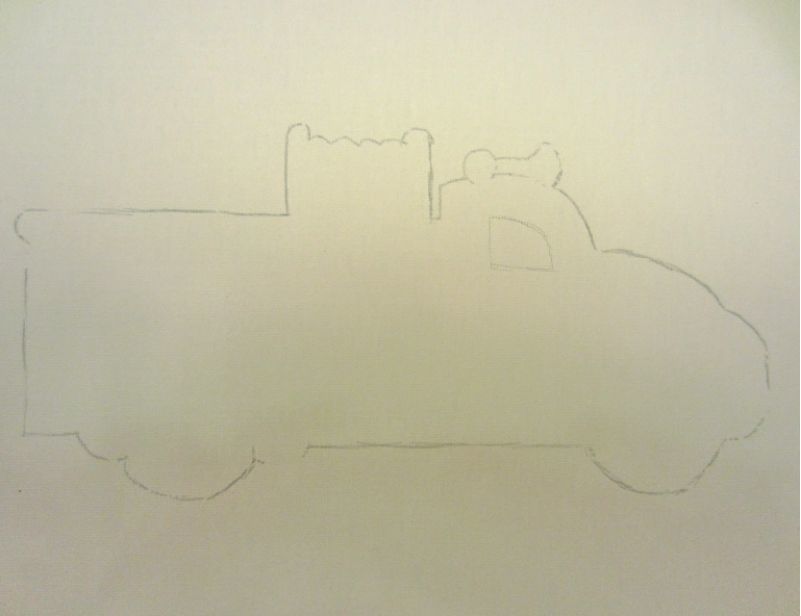
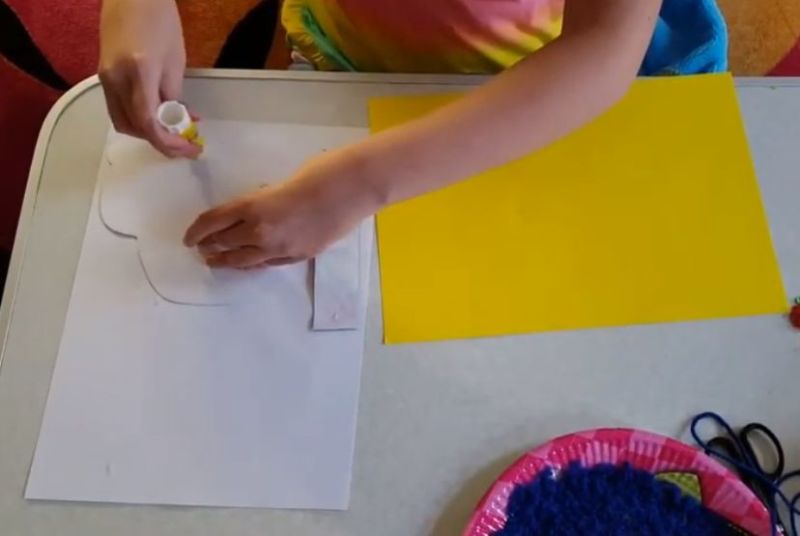
As in the last option, it is recommended to print the template on cardboard. You can also use regular printing paper if the printer does not take heavy paper, but cardboard is an economical and convenient option that can be used many times in the future.
After the pattern is printed, the child simply cuts out the shapes with scissors.

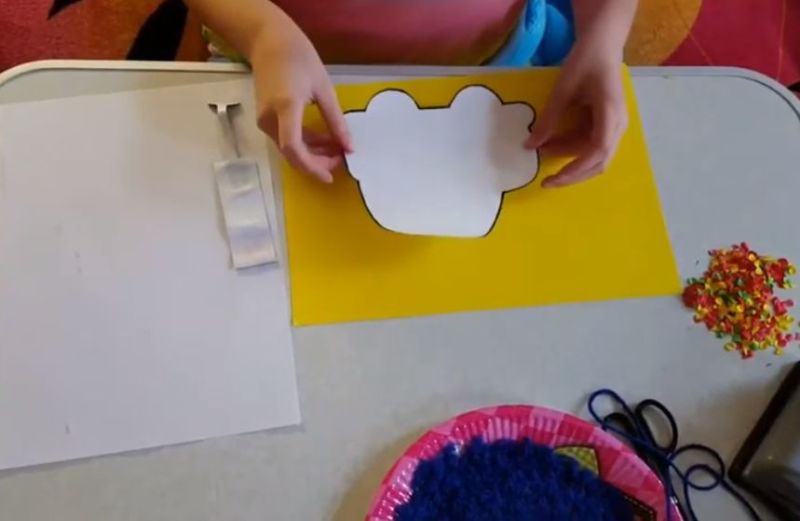
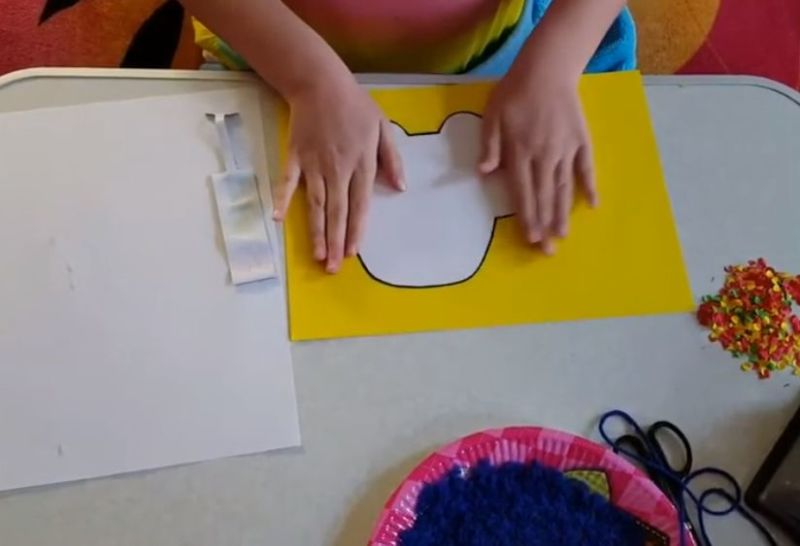
Once all the shapes are cut out, you can begin to choose a background color. Most often it is blue, as it resembles a clear and bright sky. On this basis, the red details will look even more spectacular.
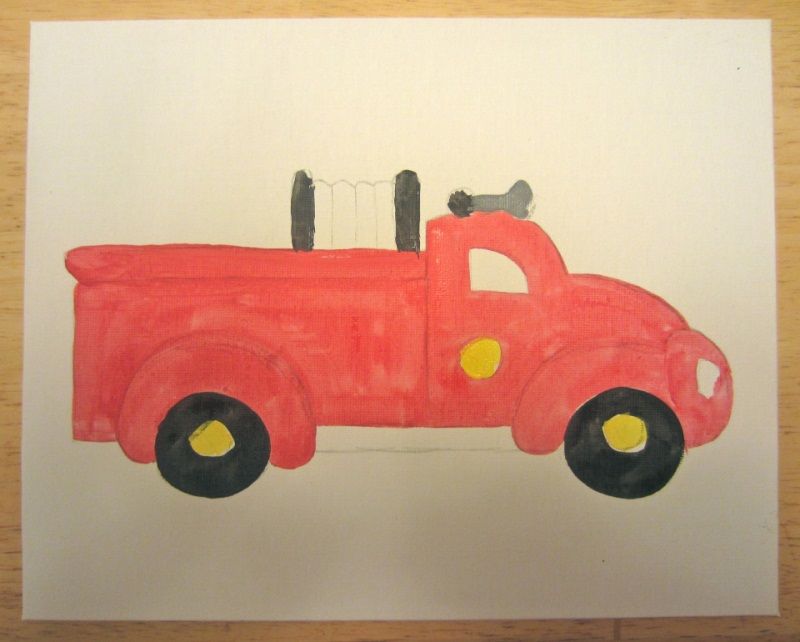
The first thing - the children glue the body to the base. Then the two black outer tires and the center tires. Two windows, a staircase, and finally a yellow light at the top are added.
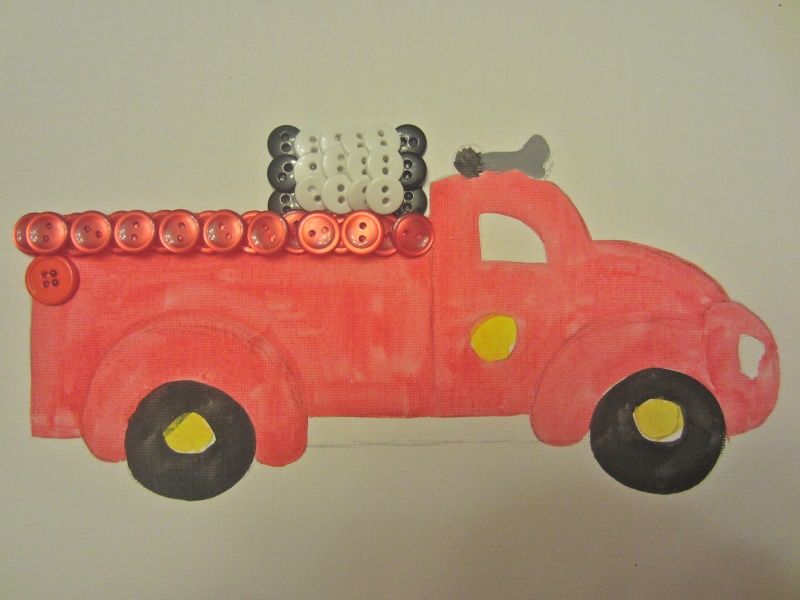
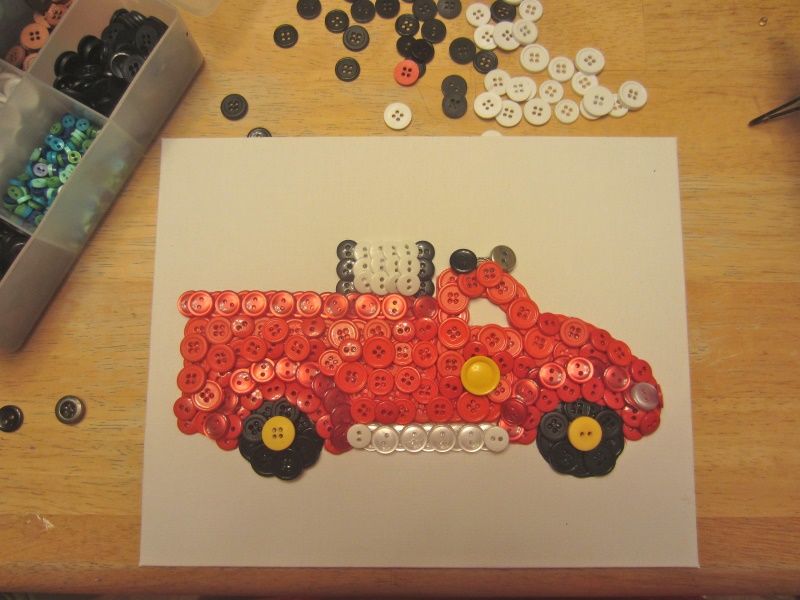
You can add a road under the fire engine or clouds in the sky to complete the scene to your liking. A fire truck applique is a great way to tell your child about this profession while working.
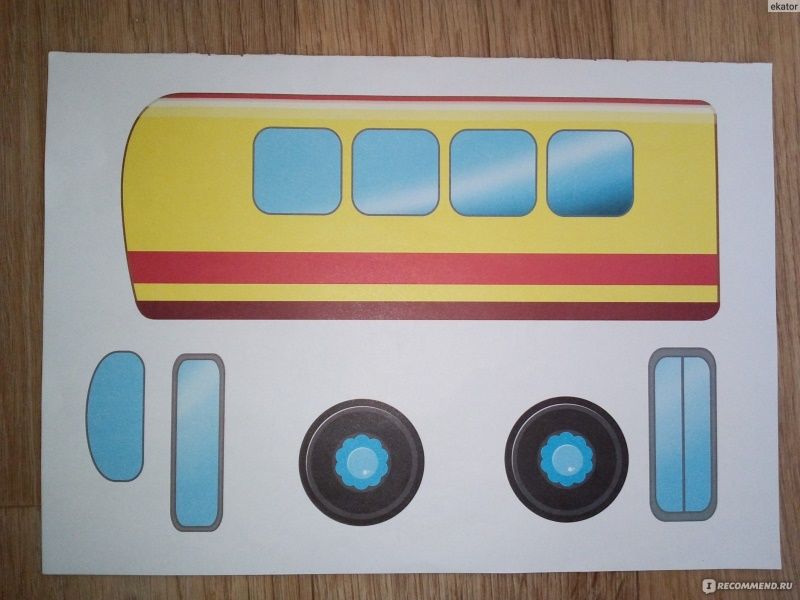
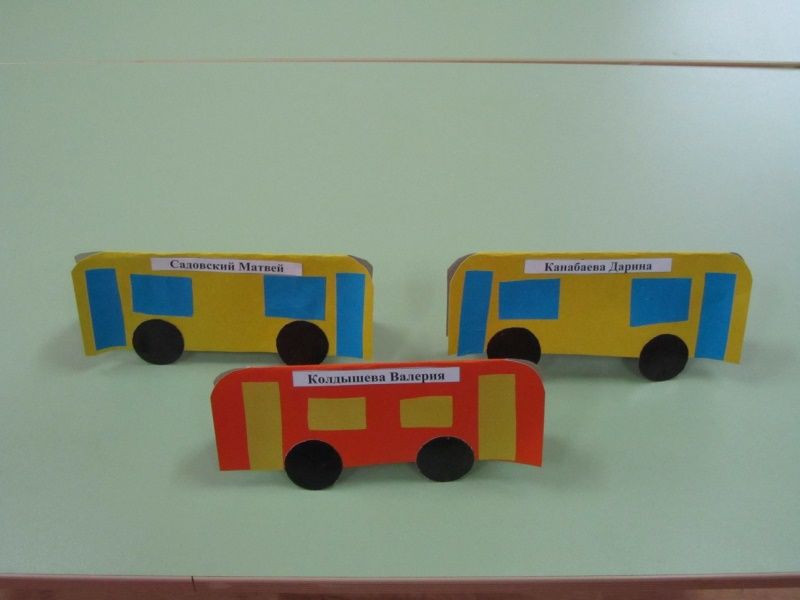
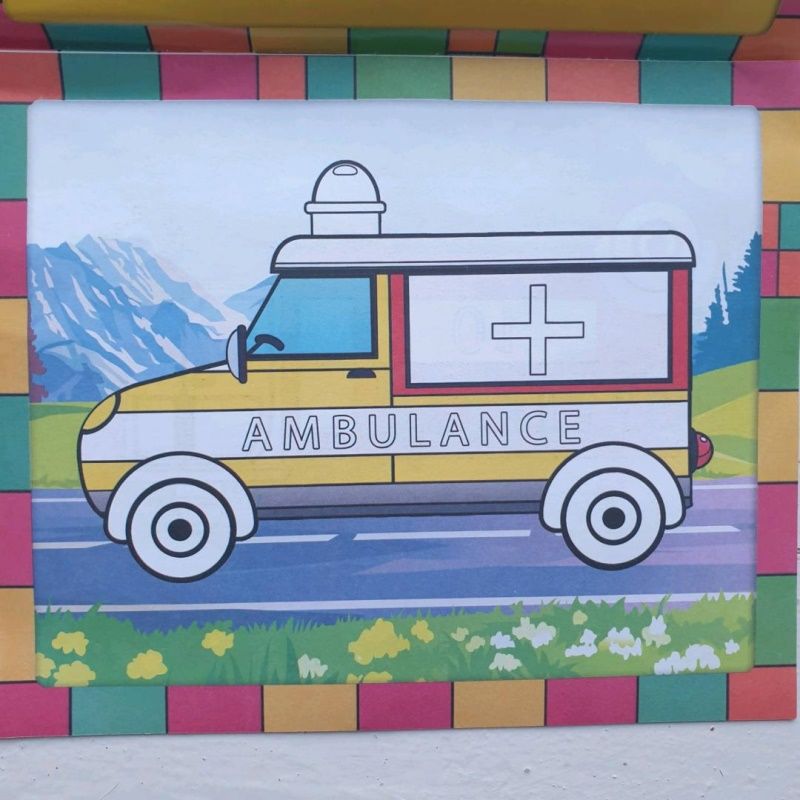
Ambulance Applique.
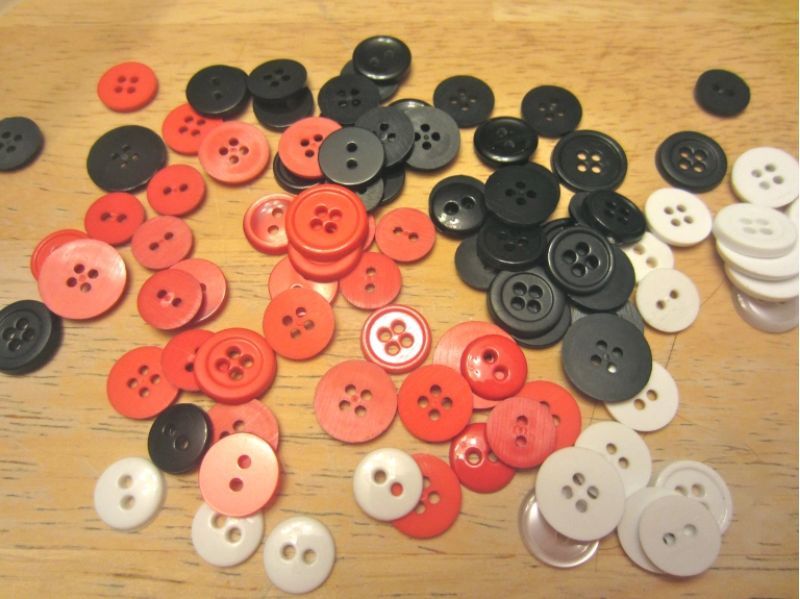
The sound of the ambulance can be heard from several hundred meters away, such a car attracts attention. To make it at home with the technique of applique is simple enough. We need for applique car from colored paper:
- Colored paper.
- White cardboard.
- Scissors.
- Glue.

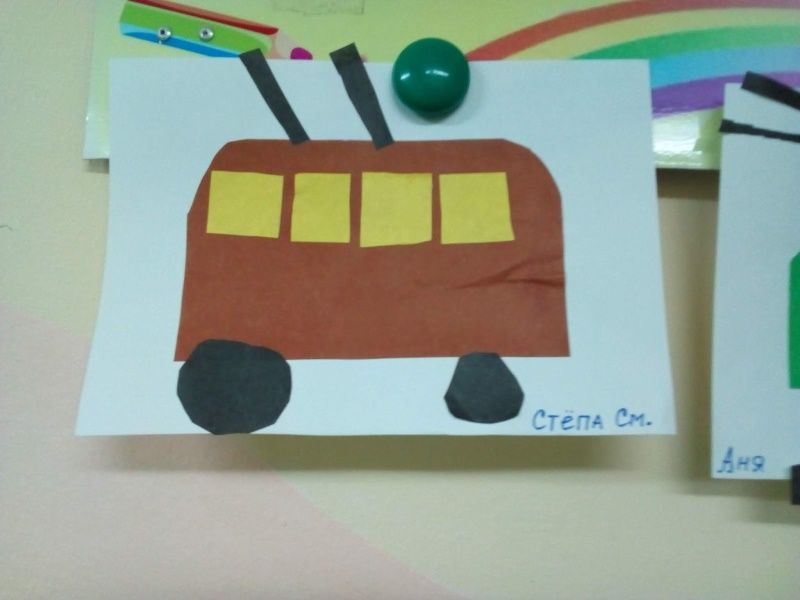
Let's start with a template of a minibus. It consists of two parts - the body and the frame with wheels. First we make the body, pre-marking the size on paper. The rear part of the body is also made separately and glued to the roof with glue.
After that we have to cut out the cross separately and put it on the body. Separately cut out the red flashers and black wheels, depending on the size of the overall part.
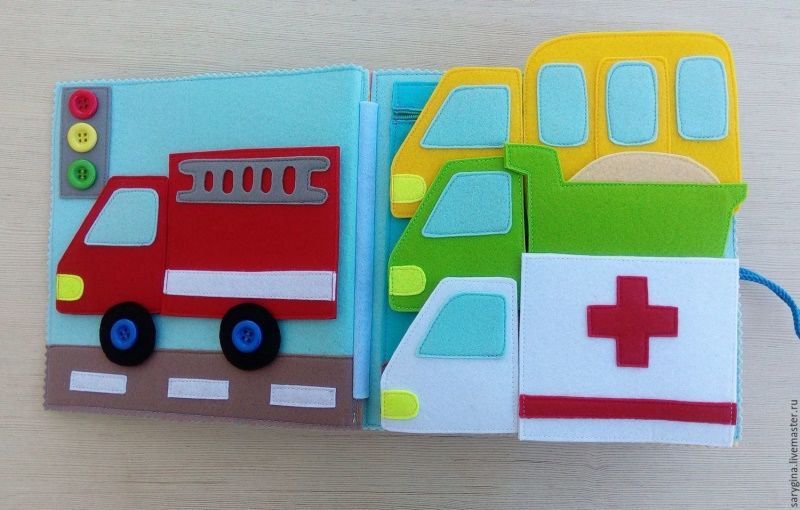
All parts are neatly glued to the cardboard. If there is an old stencil at home which can be used to make the letters, you should definitely use it.
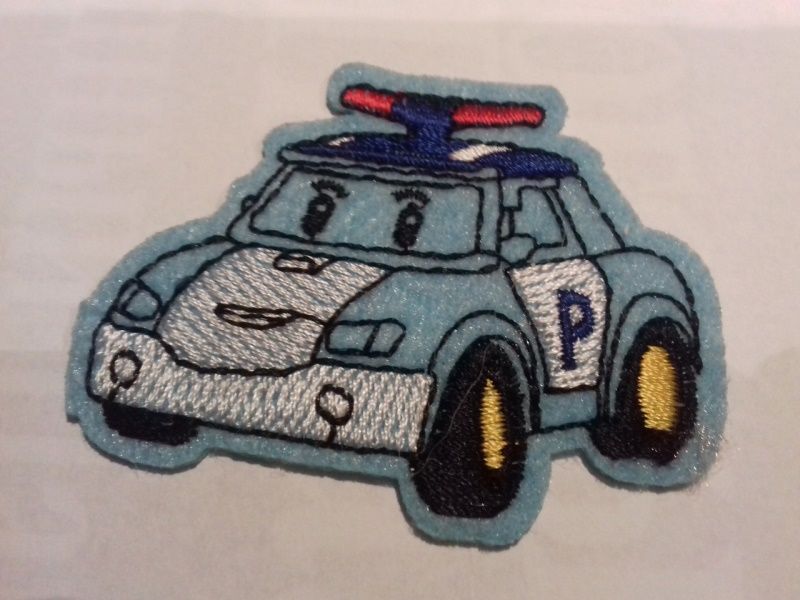
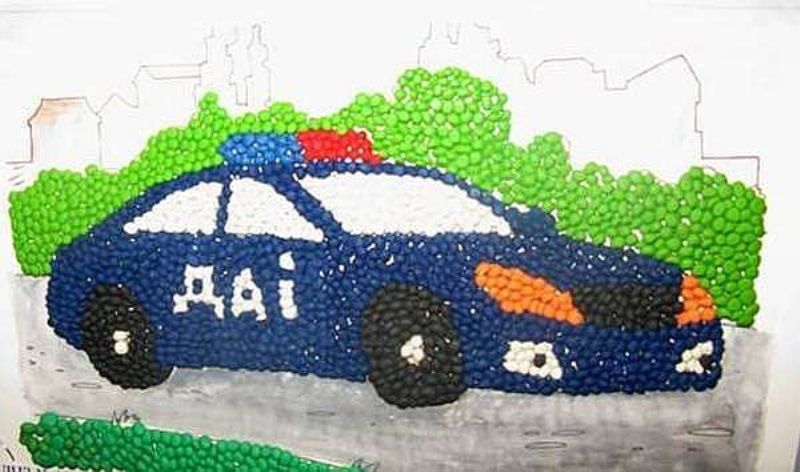
Applique of a police car
This is an entertaining activity - to make objects out of paper with their own hands. Parents need to: download and print a template, cut out, fold along the lines, glue.
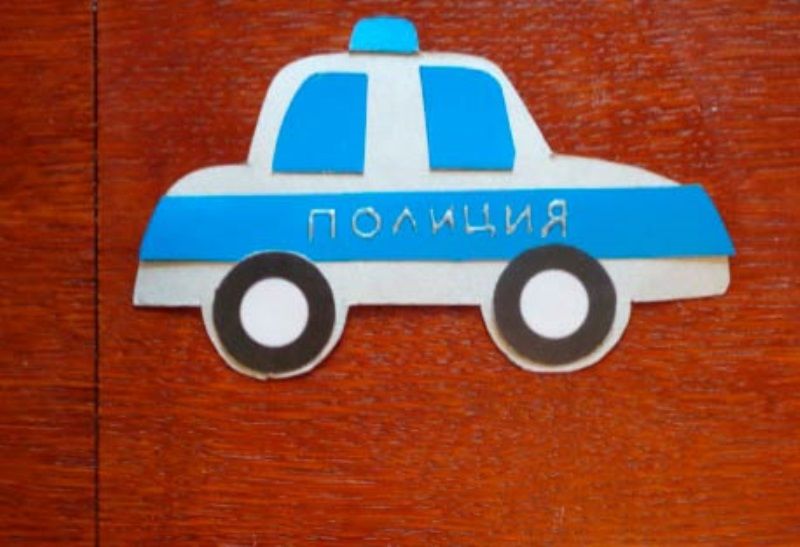
You can also paint the car yourself, having previously printed out a drawing in black and white. The car will be unique. The main point of assembling a car in the technique of origami and applique - the possibility of playing.
If you make it from dense cardboard, the vehicle will be stable and strong.
Such a car can be made even from an old cardboard shoe or equipment box. What are some ideas:
- Cut some holes for the windows.
- Next, trim the parts for the doors, do this so that they can open.
- After the construction is simply covered with colored paper.
This version of the craft can become a full-fledged toy or work for a contest. This work is similar in technique to the applique of a fire engine.
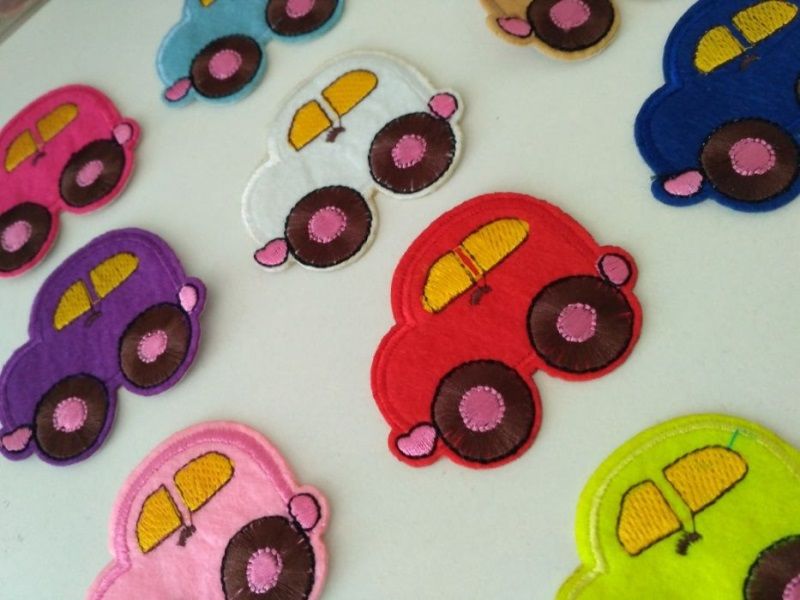
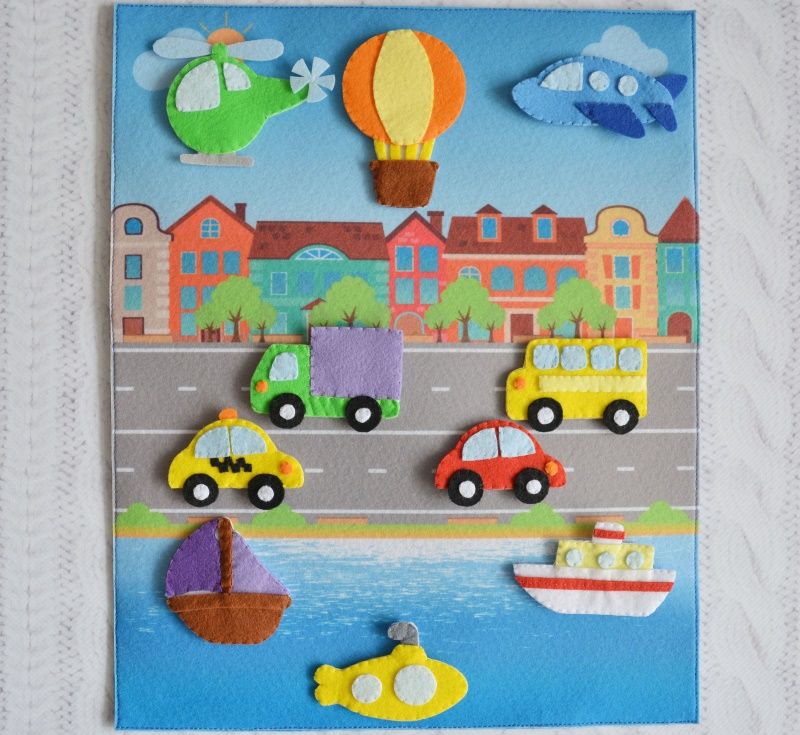
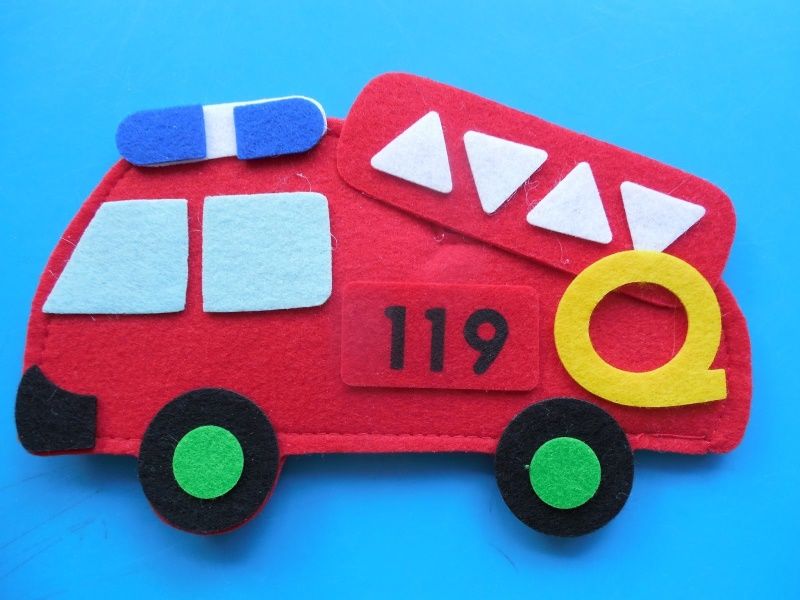
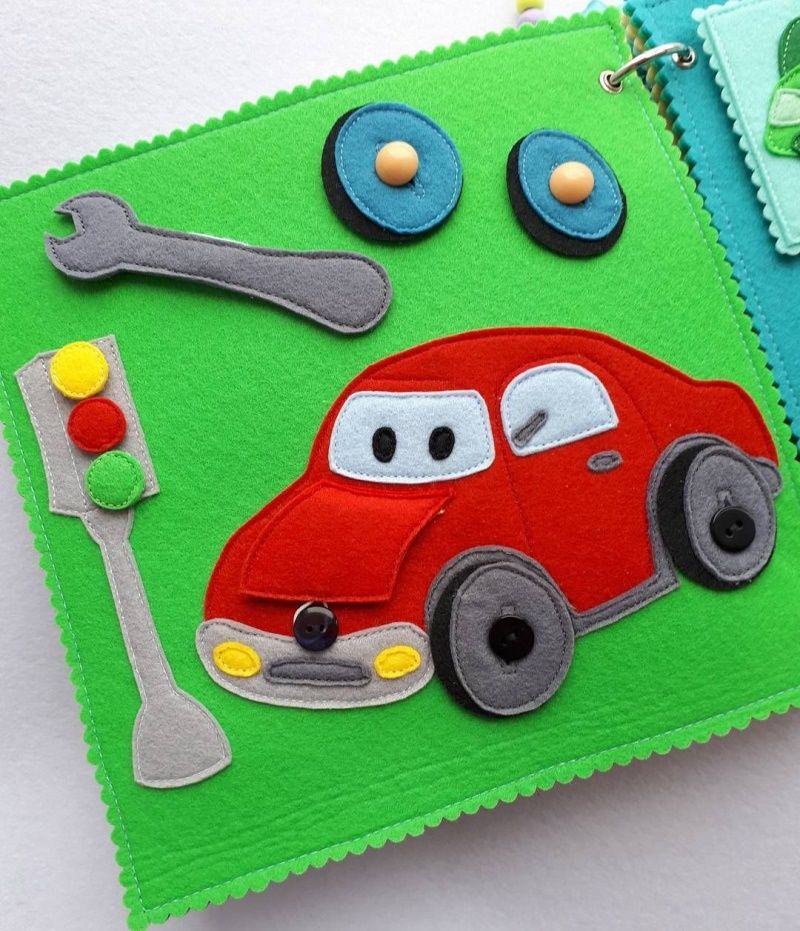
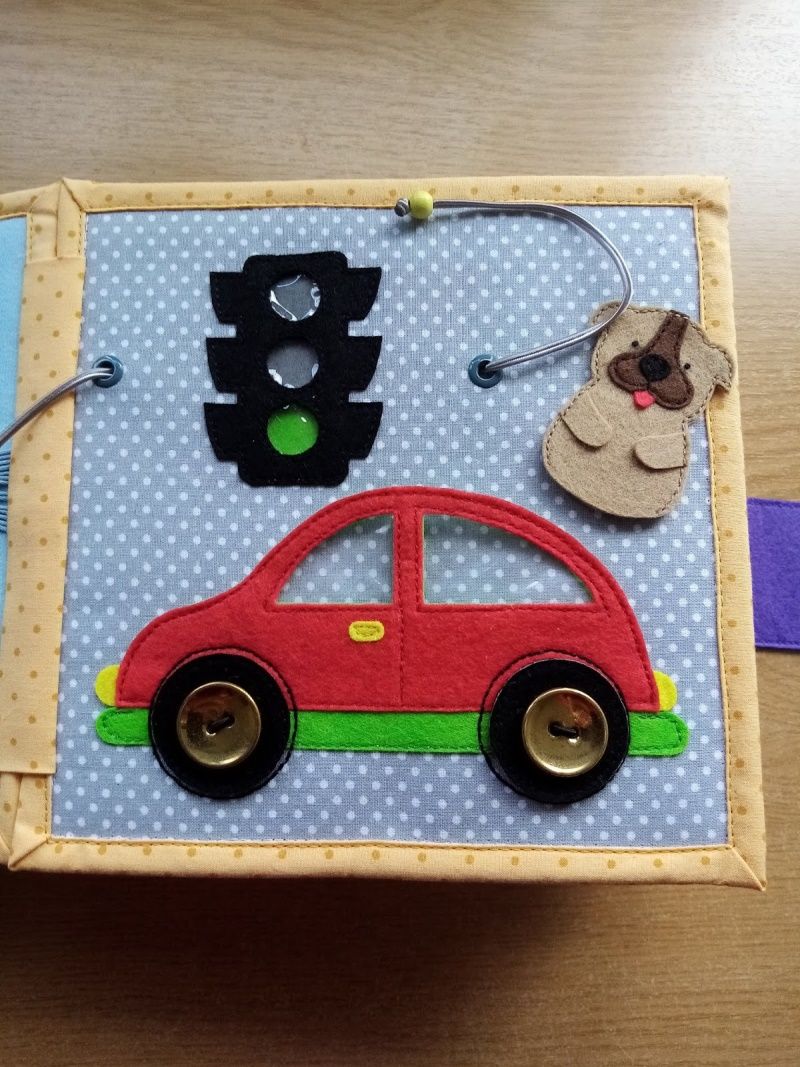
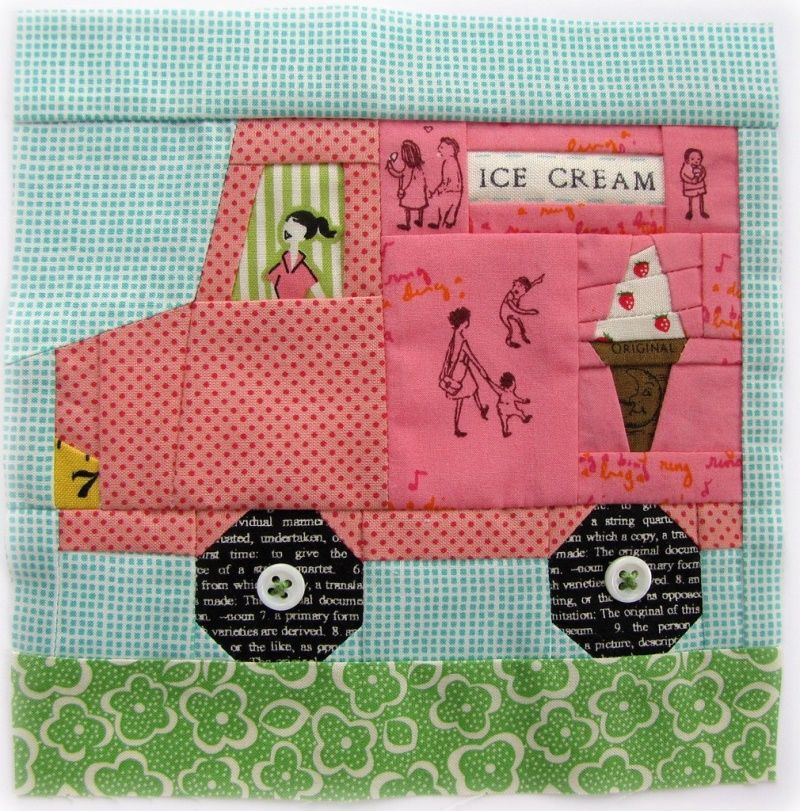
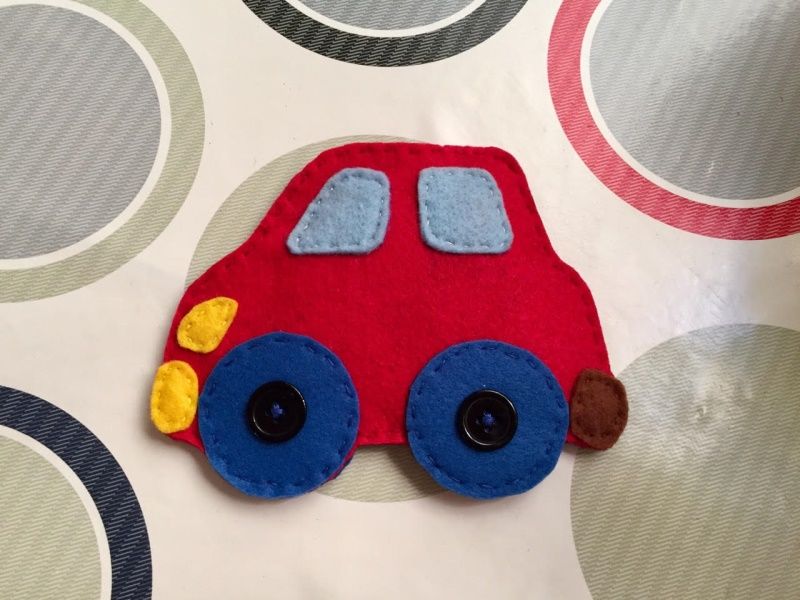
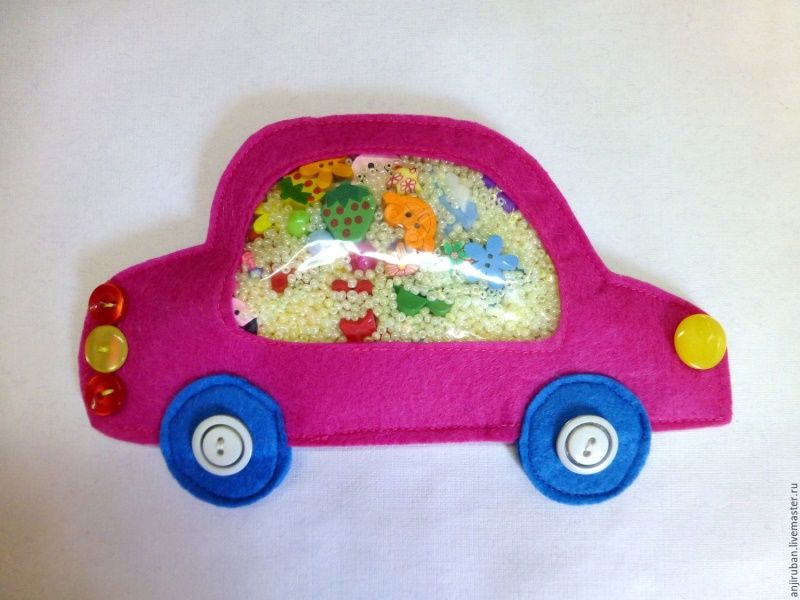
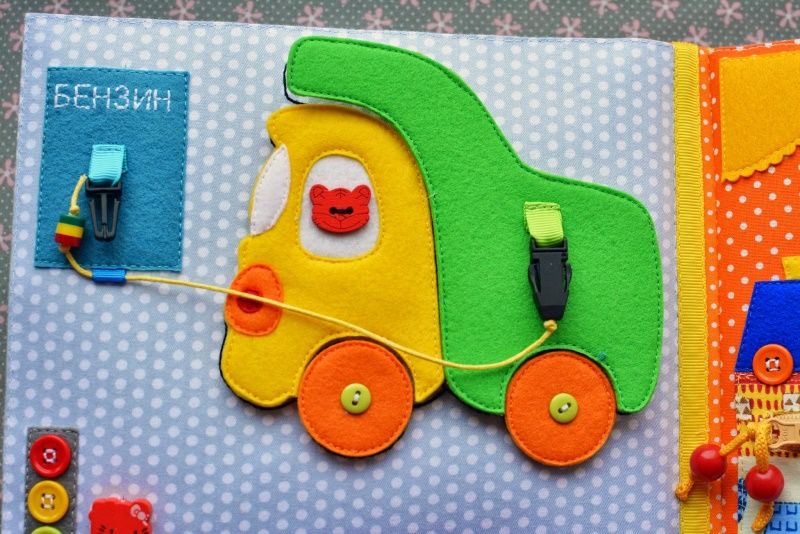
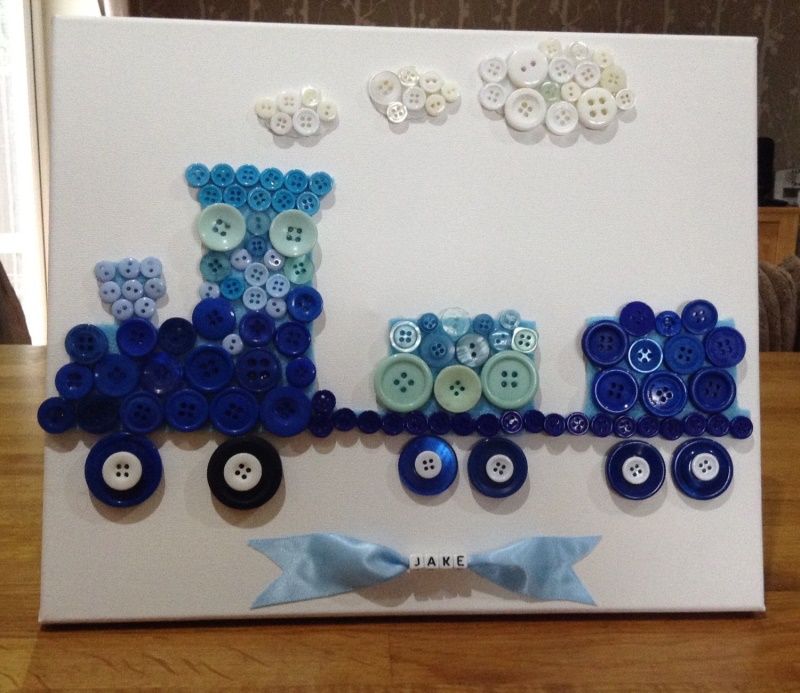
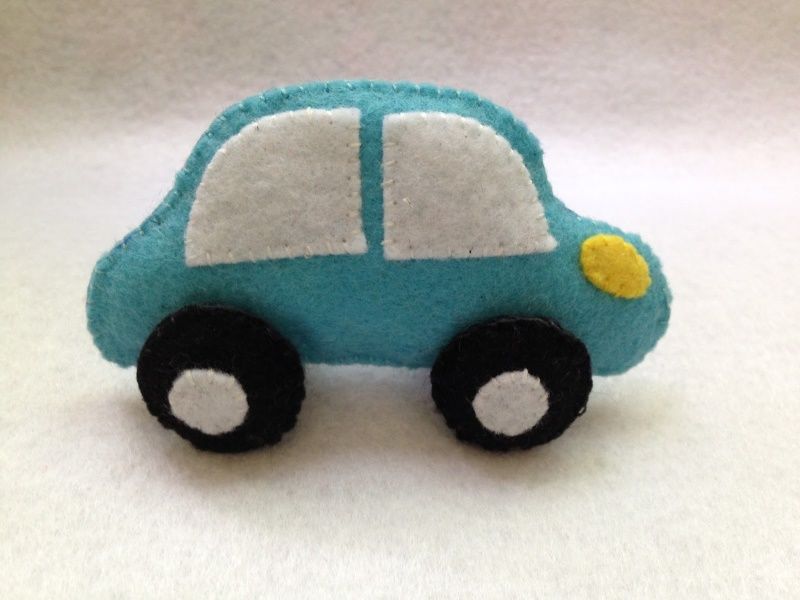
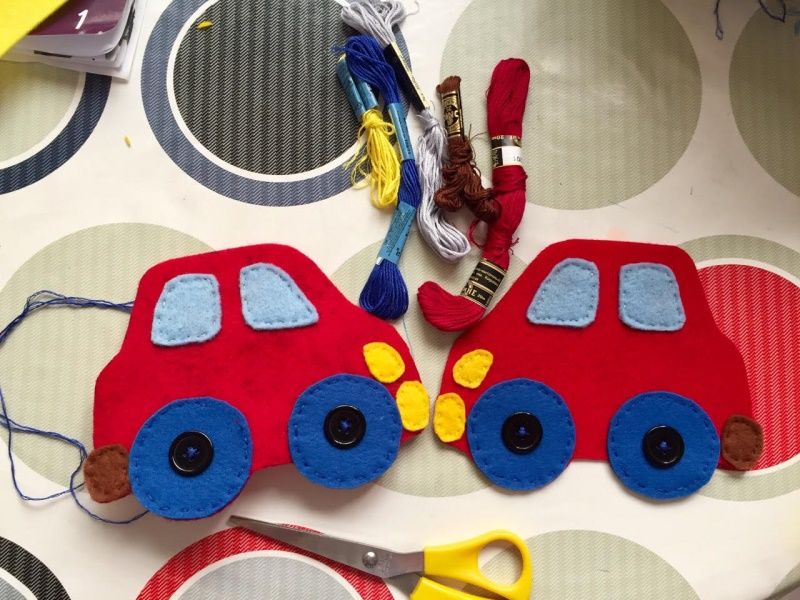
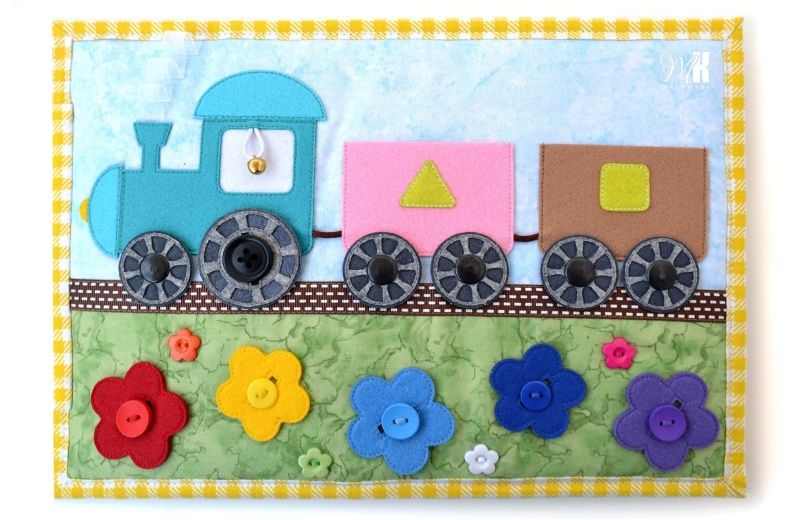
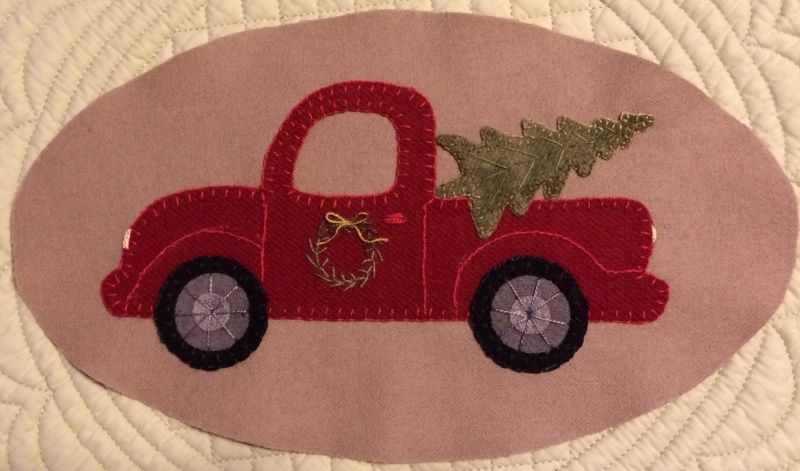
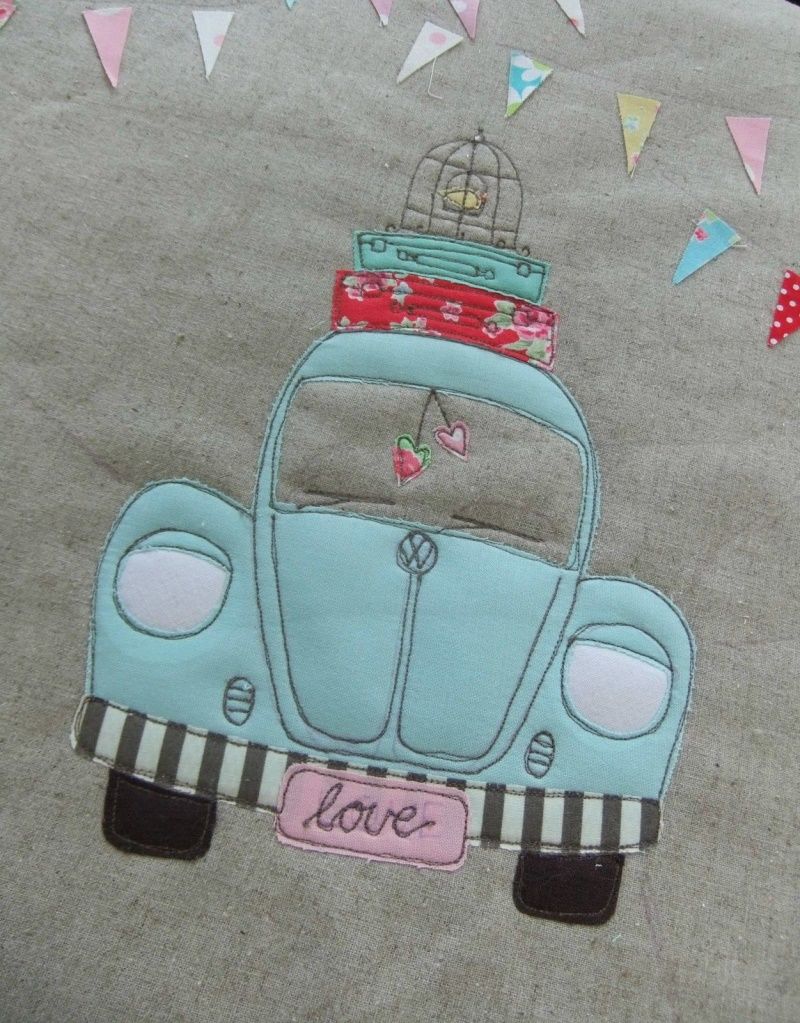
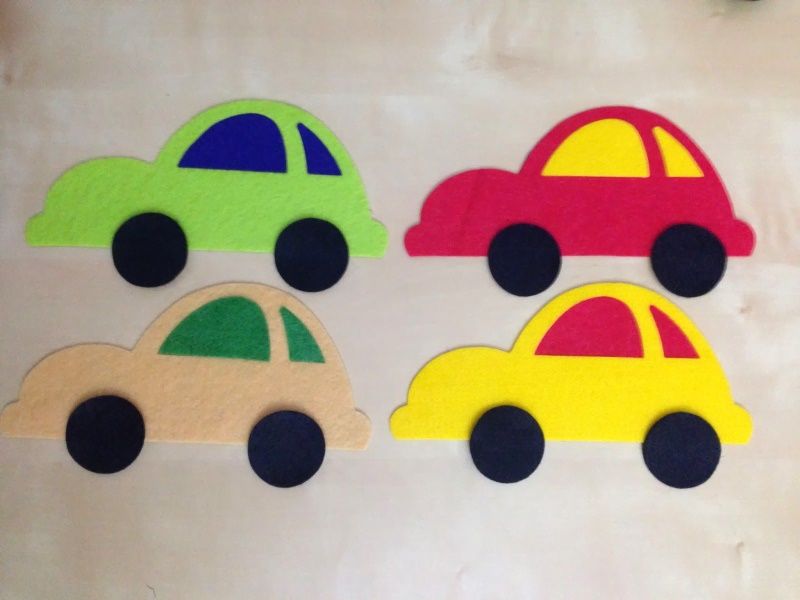
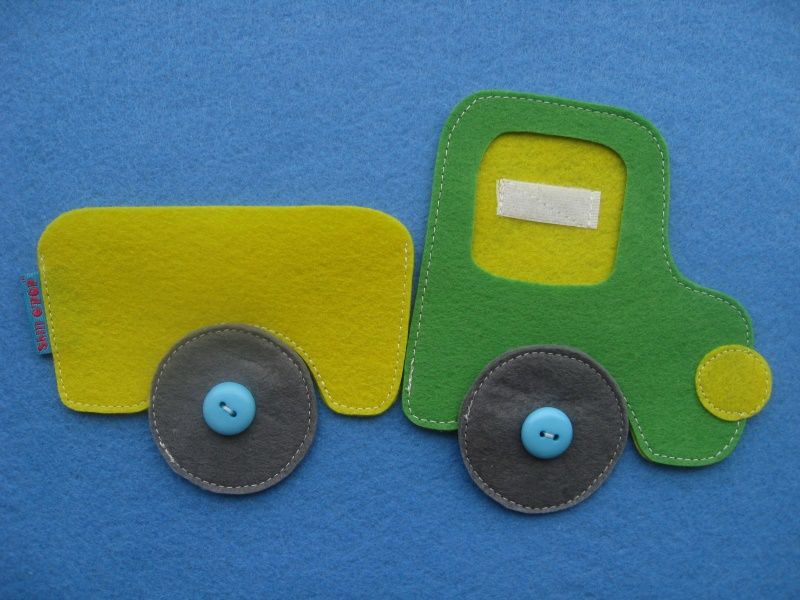
Applique of a car from fabric
This part of the master class is suitable for mothers who want to decorate towels or bedding for their kids. Patchwork is often used to determine in kindergartens, educators can ask to buy them or make them themselves.
The technique is quite simple, especially if you have a sewing machine at hand:
- First, you need to choose the bedding or clothing on which the embroidery will be made.
- Next, you need to download and print a special machine template for applique. He will greatly facilitate the work.
- After that, the selection of threads is made.
- Tucked in the sewing machine, you can get to work.
- Each detail is neatly stitched.
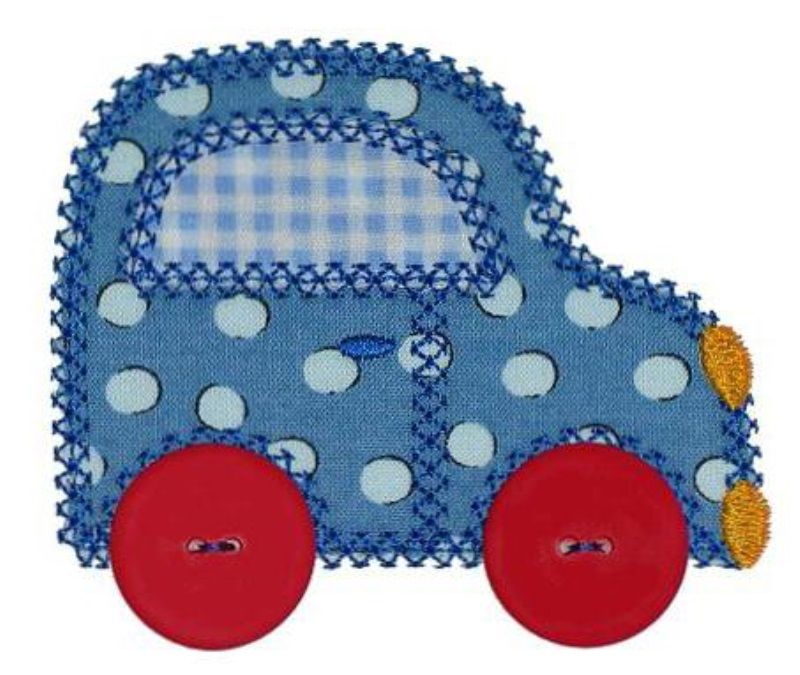
You can also do this work on a separate piece of fabric to use the machine as a patch. If the work is for a kindergarten or camp, it is appropriate to add a name or the first letters of the initials. This can also be done with standard stitches.
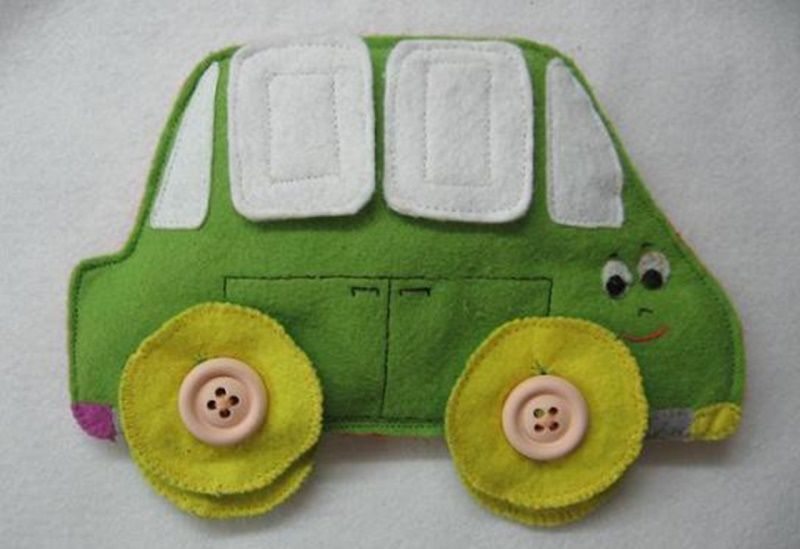
If there is no machine at hand, then the applique is done by hand, it will take more time.
Applique is a great way to develop motor skills and creative skills in a child. Working together brings adults and children closer together, which will have a positive impact on the relationship in the future.
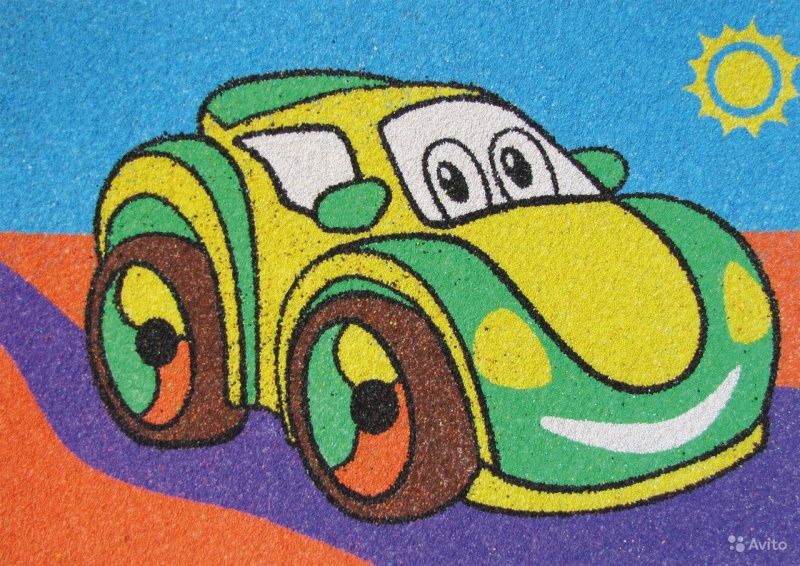
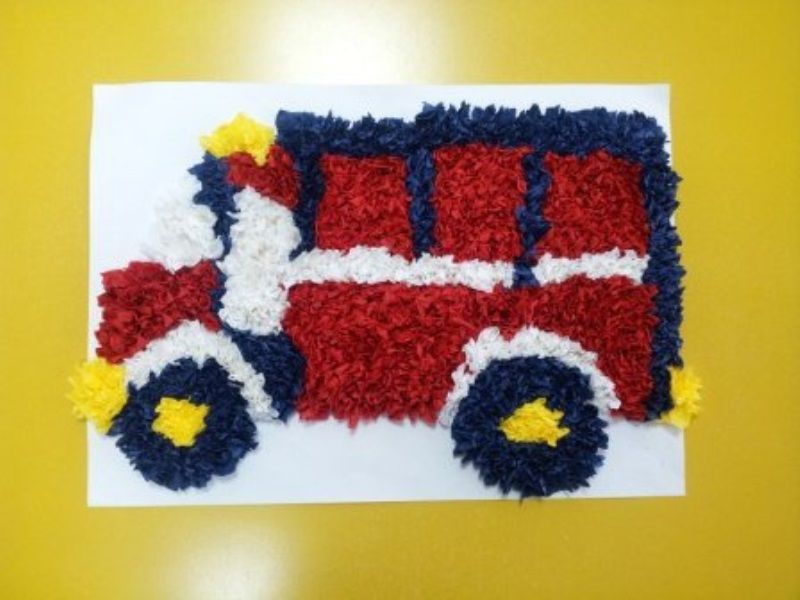
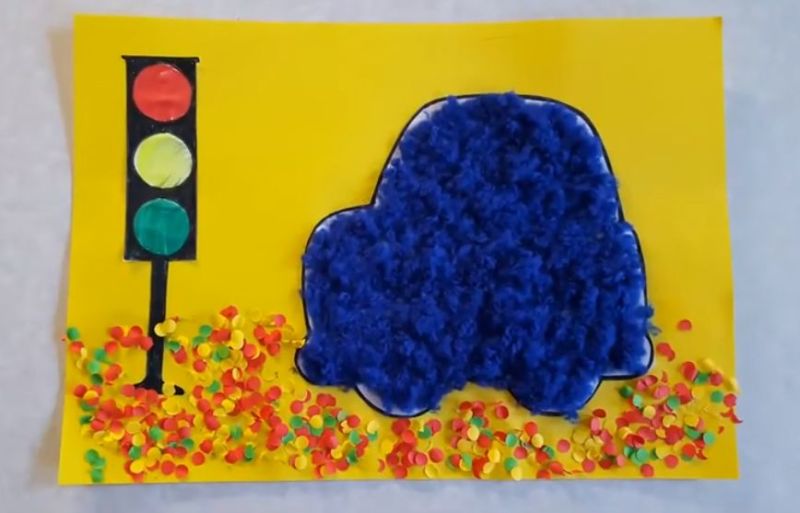
Photo collage of the car