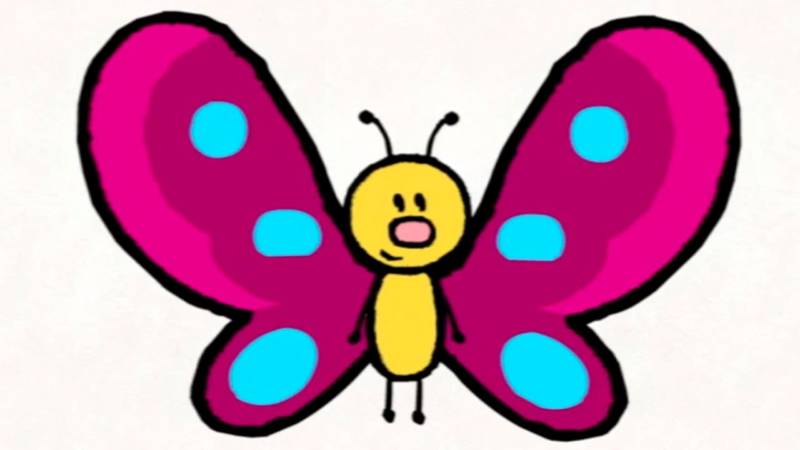
How to draw a butterfly with pencil and paint - step-by-step master classes with photo examples
Butterflies - an ornament of nature. They are admired by children and adults, and the variety of colors leads to delight. No wonder there is a desire to depict the magnificent creation of nature on a sheet of paper.
Step-by-step drawing.
With step-by-step drawing, you can learn how to draw, regardless of ability. This method is widely used in teaching drawing, then there is no doubt that the drawing will work out.
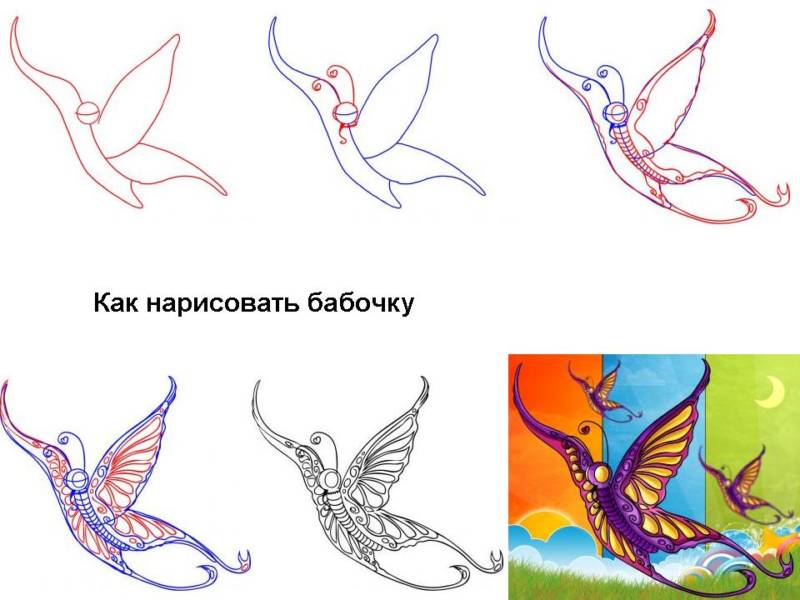
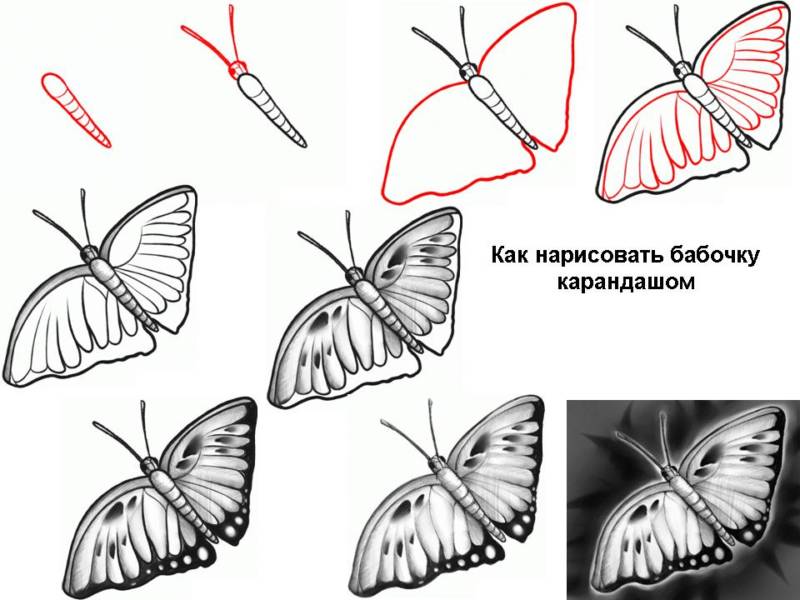
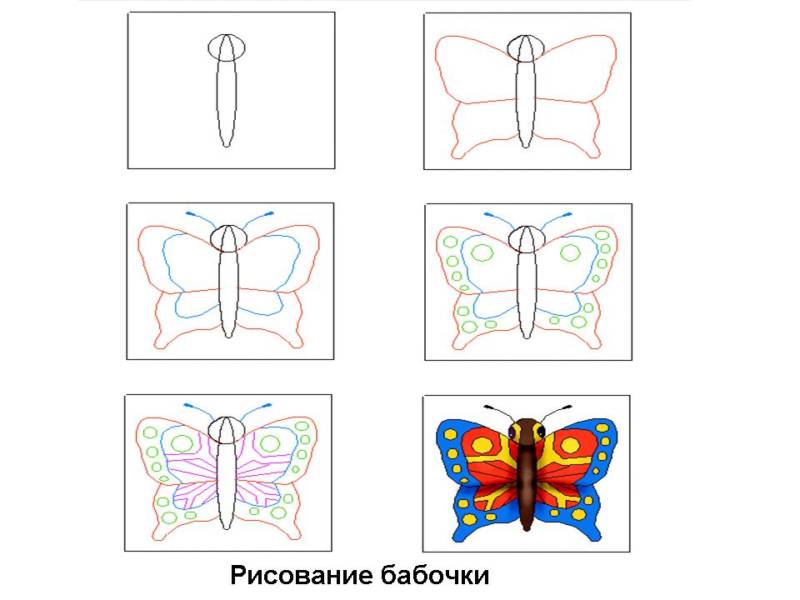
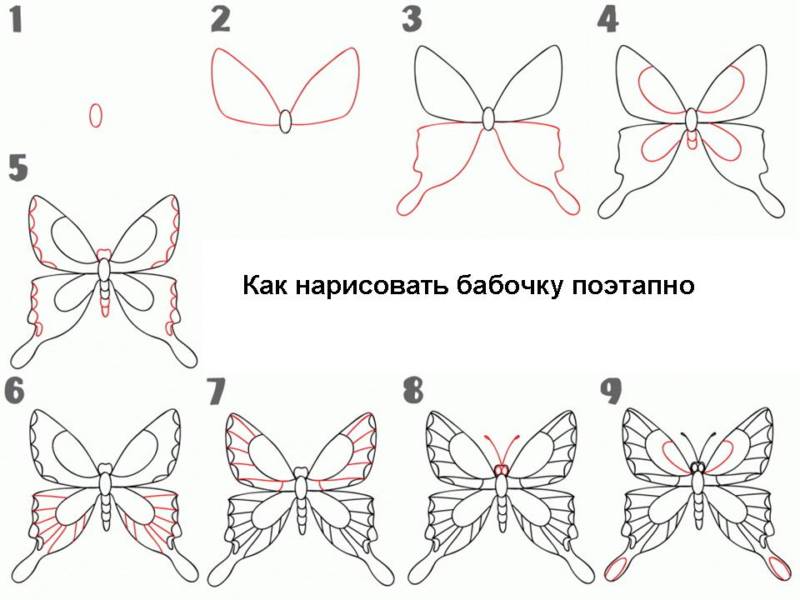
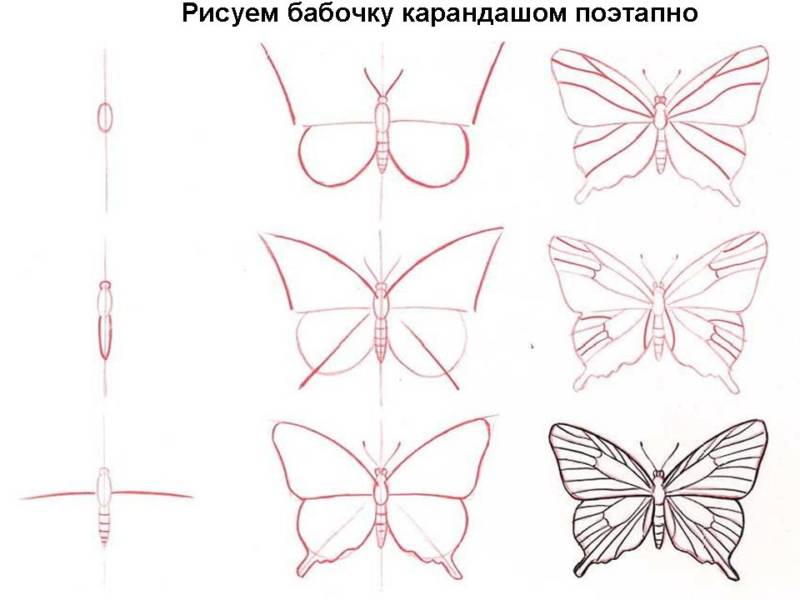
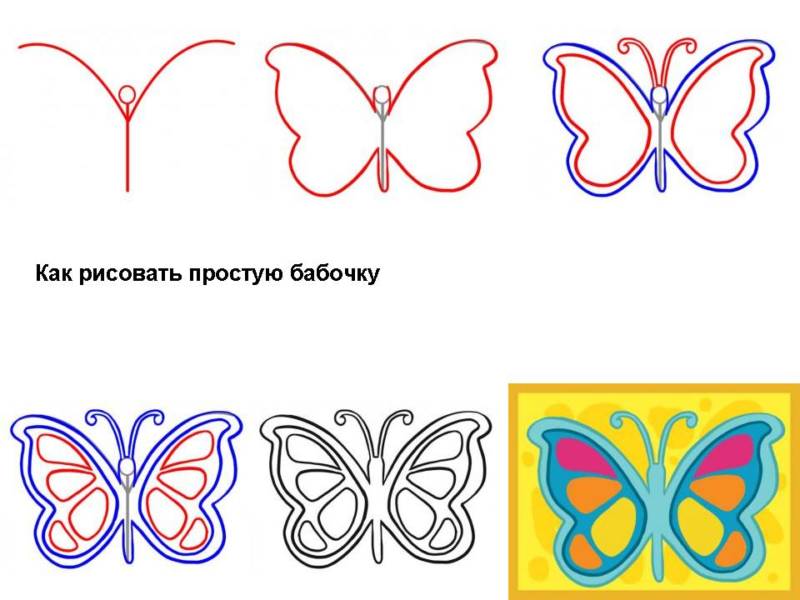
First variant
Place a landscape drawing sheet horizontally, draw in the center of the sheet with a simple pencil. We draw without a scheme:
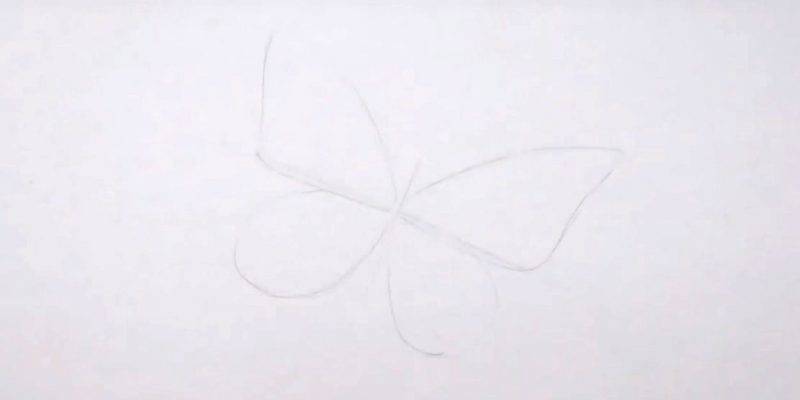
- We begin to draw with a small round head, about 0.5 cm. in diameter, in the middle of the sheet, up spend two thin tendrils, down from the head draw the body of the butterfly, it will look like the shape of a skittles, the upper part of the torso is less than the back, length about four times the head.
- From the upper part of the torso draw a smooth line to the upper right corner, then to the upper left corner - the lines of the front wings of a butterfly, the length of the lines is three times longer than the body.
- Mark the lines from the middle of the torso on both sides, and lead them down slightly in a smooth arc, the length of these lines is shorter than the length of the upper lines by half.
- Now connect the top lines to the bottom side wavy lines. We got the front wings of a butterfly.
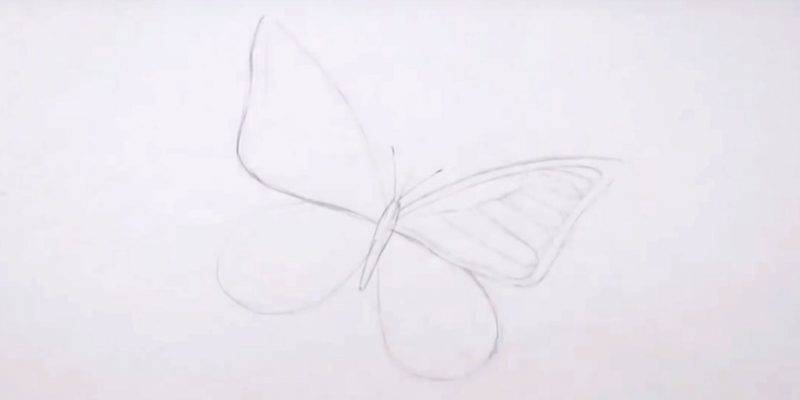
- From the junction point of the short bottom line with a side wavy line, start drawing the bottom wings: lead the wavy line down, rounded toward the torso, and connect to the smooth line coming from the end of the torso toward the wavy line.
- The same on the other side.
Slight asymmetry in the drawing is allowed, since there are no strict proportions in nature.
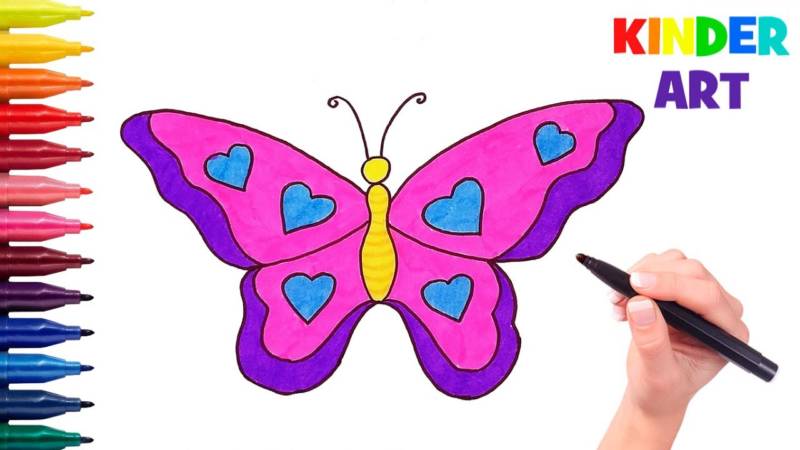
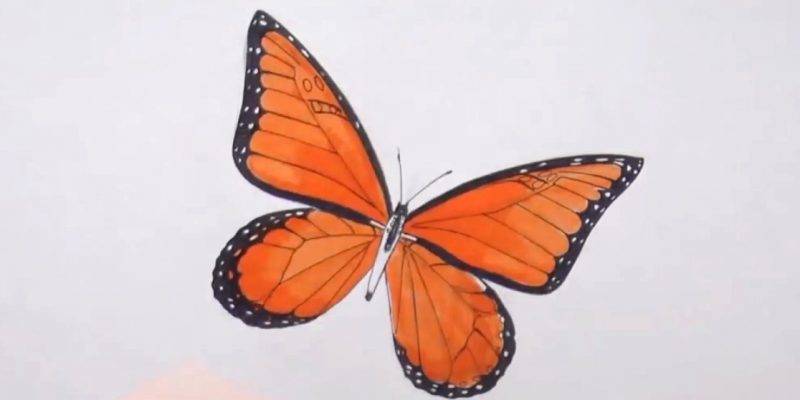
Draw a symmetrical pattern on the wings:
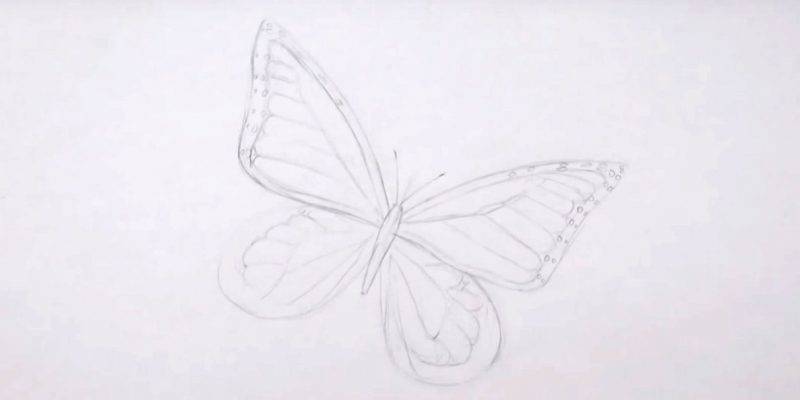
- Draw parallel lines along the silhouette of the wings of the butterfly, 1 cm from the edges;
- closer to the center, draw identical circles, or hearts, matching the number, size, location on the paired wings: identical patterns on the front wings, and on the two back wings.
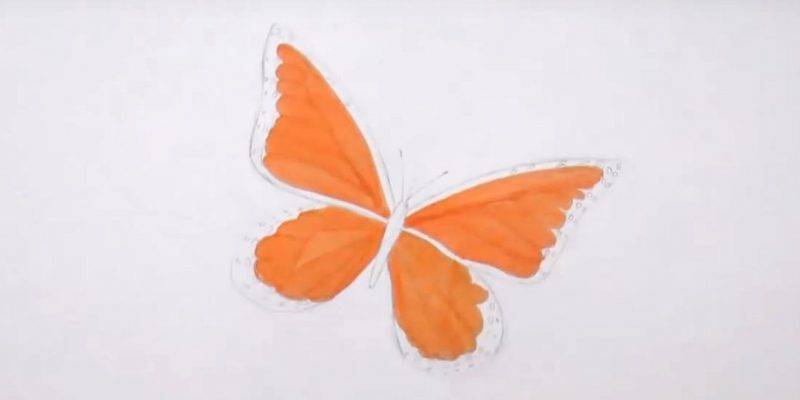
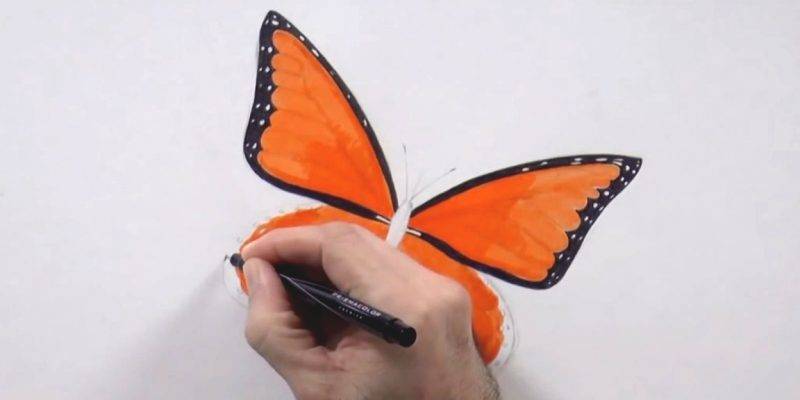
- Paint the butterfly with pencils or felt-tip pens, starting with the body, then patterns, then the background of the wings, and decorate the edges of the color patterns.
- The colors should match each other.
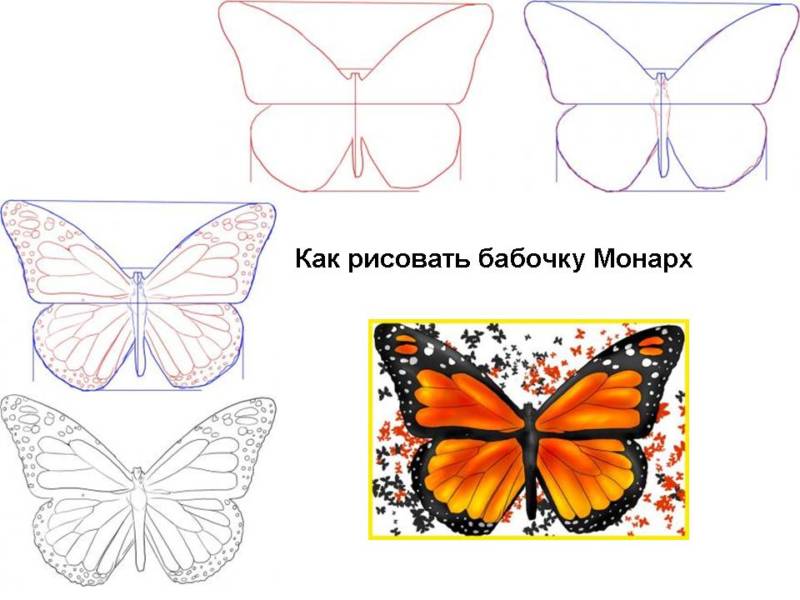
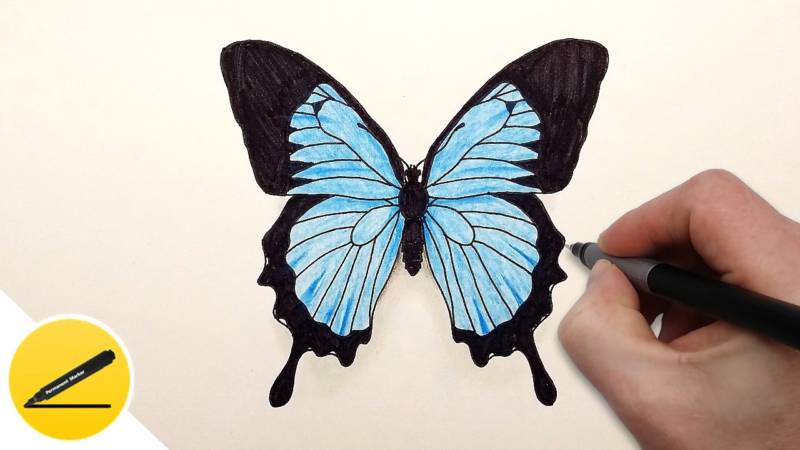
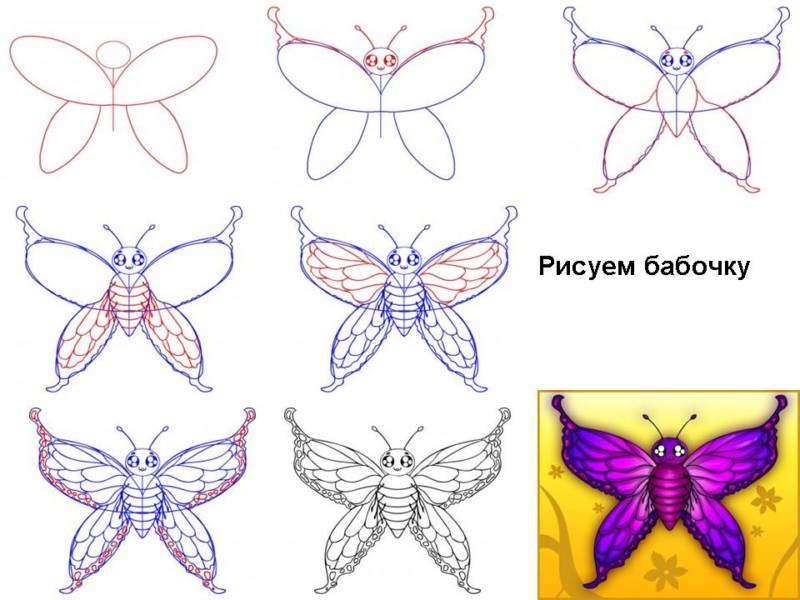
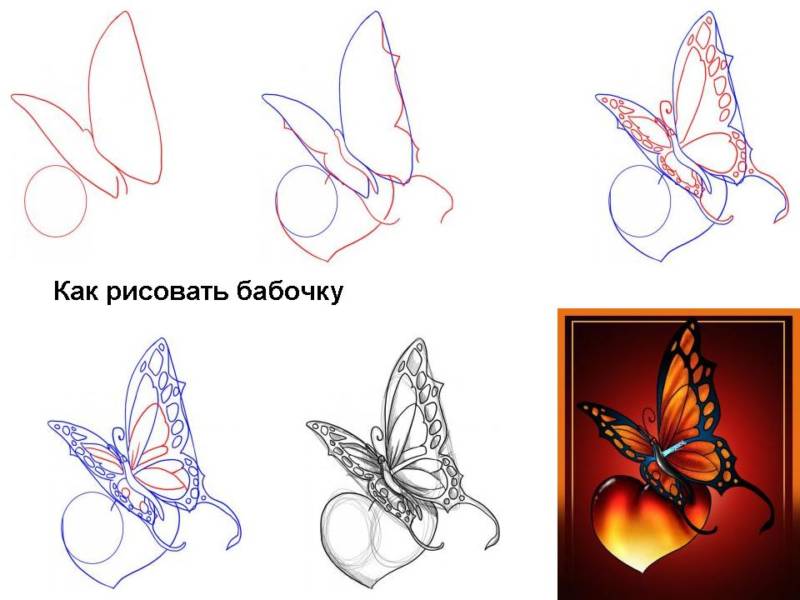
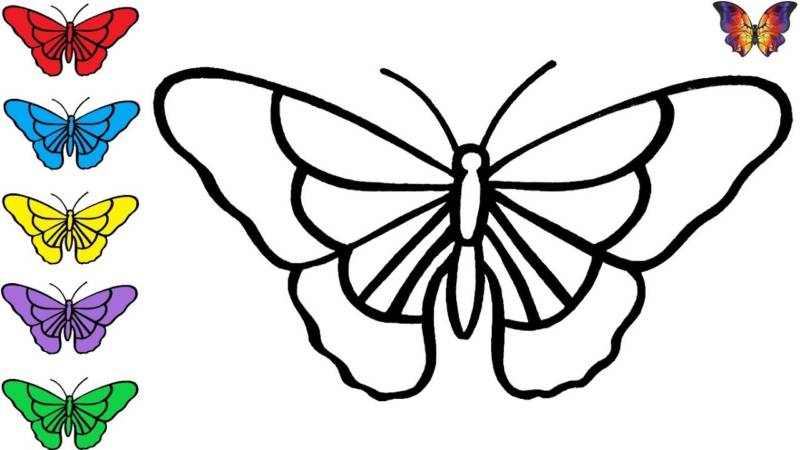
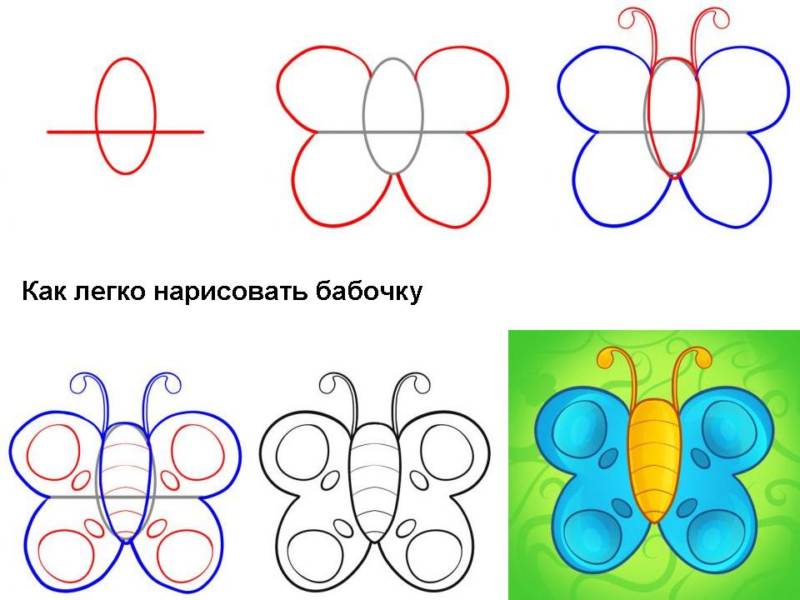
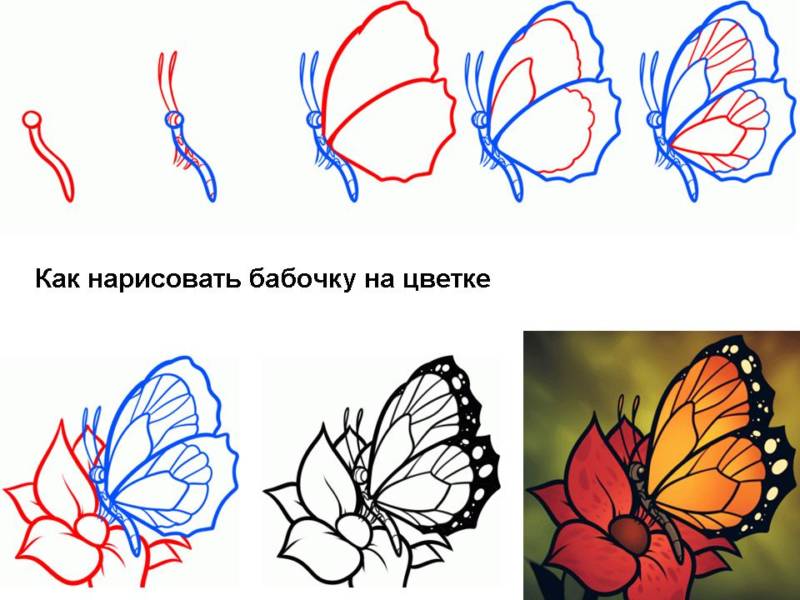
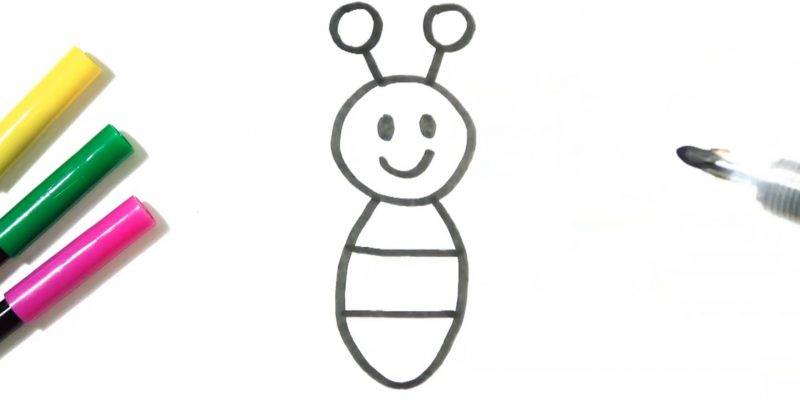
Second variant
On a scrapbook page, draw a horizontal and vertical line in the middle with a pencil. Let's draw the main contour:
- On the vertical line, at the top of the intersection lines, draw the head and torso.
- Next, we draw the wings, they depart from the silhouette of the head, going up to the right and left corners of the sheet, rounded, and lead smooth lines down, slightly sloping to the middle, and stopping at the horizontal line.
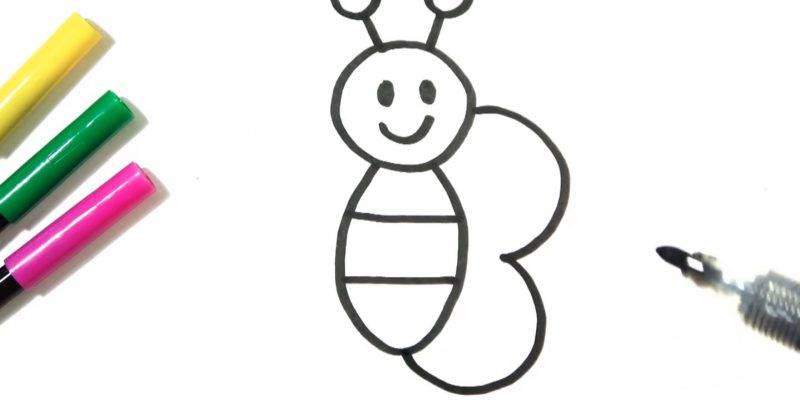
- From the point of connection with the horizontal line, draw a semicircle, connect to the torso below. Same on the other side, we have two lower wings.
- Now delete auxiliary lines eraser, and proceed to form patterns. They can be different: elongated ovals, circles, droplets, and other details.
- The patterns should be identical in paired wings.
Color of patterns and wings.
Butterflies are usually bright, but you can also use discreet light colors, it is optional. Felt-tip pens, paints, pencils, crayons, and combinations thereof will do for painting.
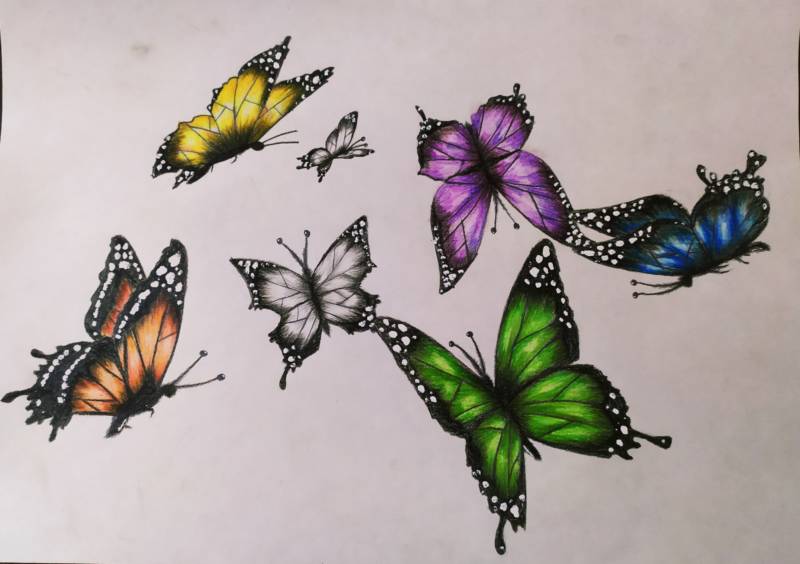
Examples of color use
There are many acceptable options:
- For example, the abdomen is yellow, the patterns are blue, the main wings are blue, and the border of the pattern is blue, as are the patterns.
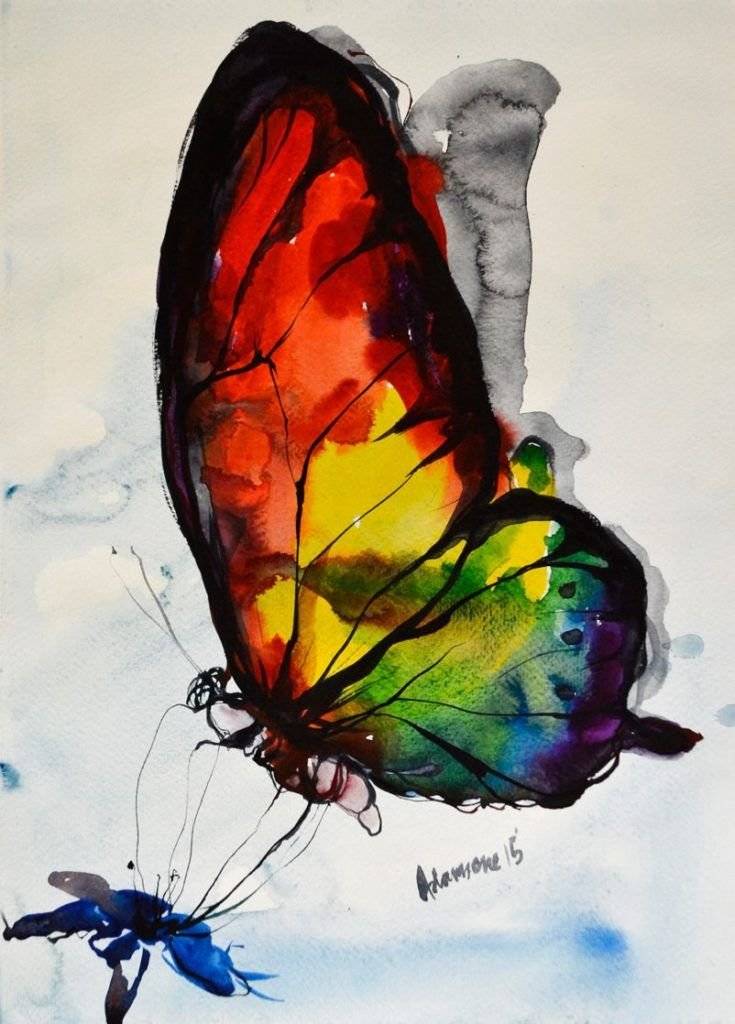
- Black abdomen and head, yellow wings, patterns of red, green.
- Butterflies with blue, yellow, red, and multicolored wings look beautiful.
- Patterns on the wings are painted in bright colors, different from the main color, or use a primary color with a darker or lighter tone.
- On the edges of the wings it is better to use a darker shade of the main color, in the middle a lighter tone.
- The body of the butterfly is usually brown, gray, or black.

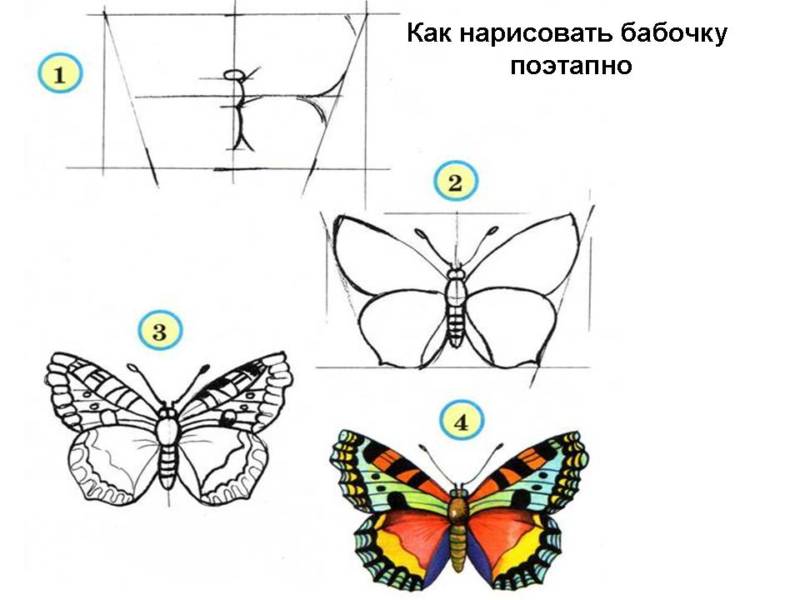
Realistic coloring
You can copy the coloration of real butterflies, such as cabbage lady, lemon lady, nettle lady, observe them in nature, look at the picture.

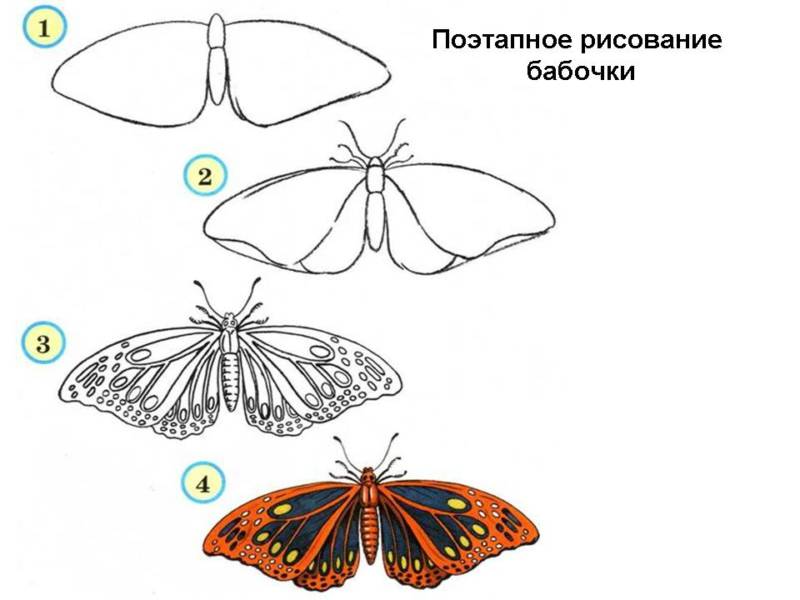
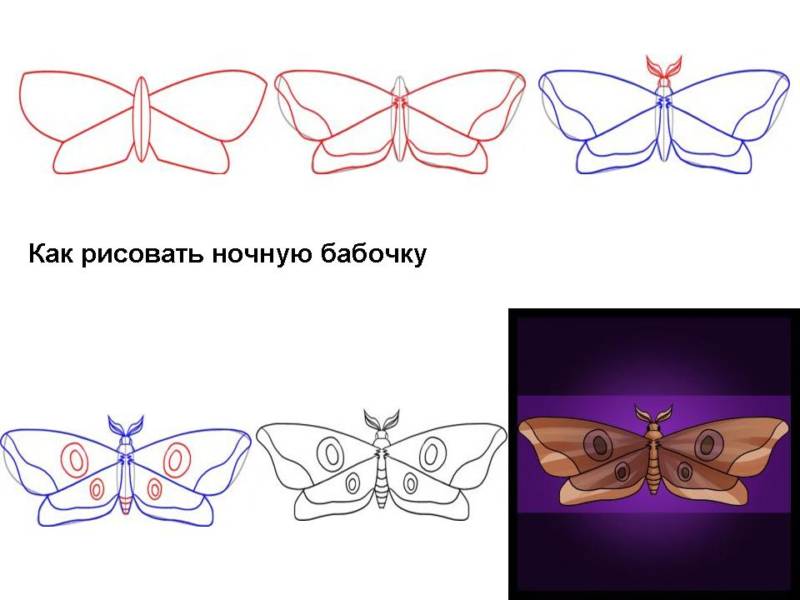
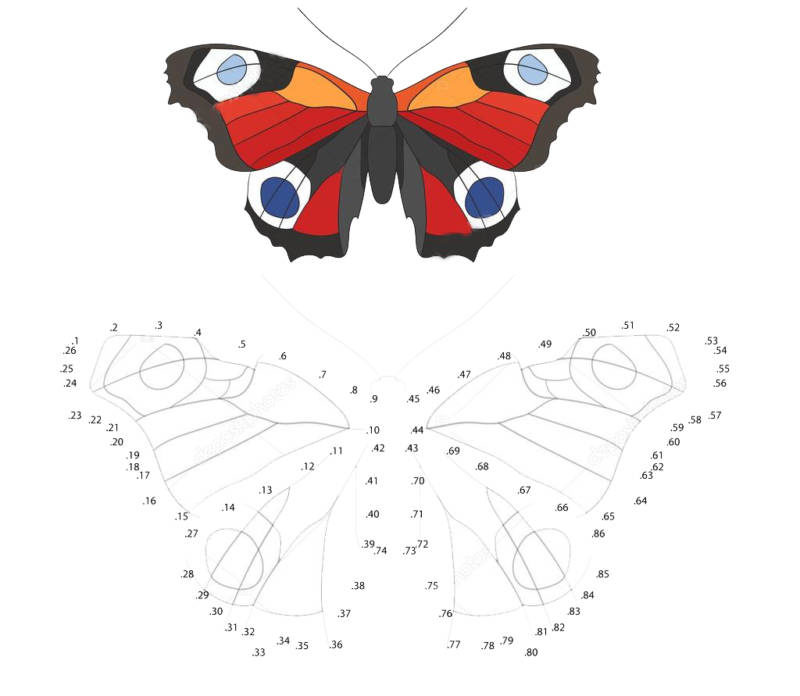
"Peacock Eye.
A butterfly of admirable beauty, a miracle of nature:
- Draw large symmetrical circles on the front wings, you can take a coin, and circle it.
- The second circles are placed in the center of the first circle.
- On the lower wings we also draw circles, and in them one more.
- Stripes, small circles, as throughout the wings, and in the already drawn large circles.
- On the body draw a short transverse stripes, the head is painted with black felt-tip pen.
- Also highlight the contours of the marker patterns.
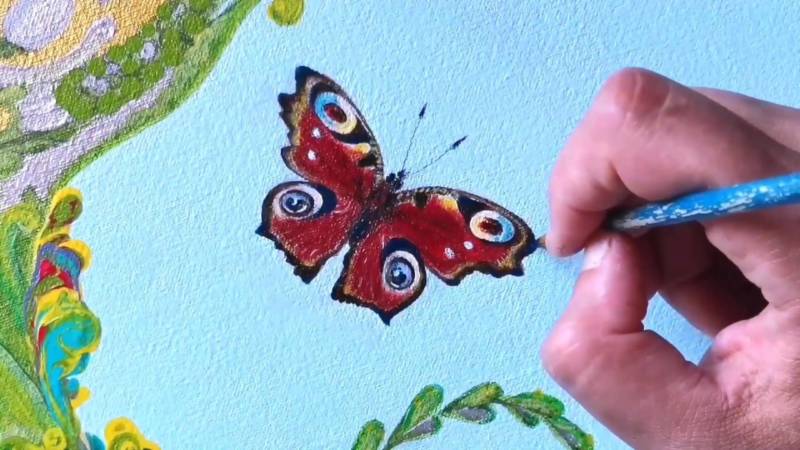
- And the second circle on the lower wings painted in black, leaving one or two circles white, characteristic of these butterflies.
- Now take a thin brush, and paint a blue circle in the middle, the edges of the big circle leave white. This is on the front wings.
- On the lower wings, we paint the rest of the circle in blue.
- Then you can paint the rest of the patterns in yellow.
- The base color of the wings is orange, we draw in the paint, paint over.
- You can add red and yellow.
A great butterfly will turn out.
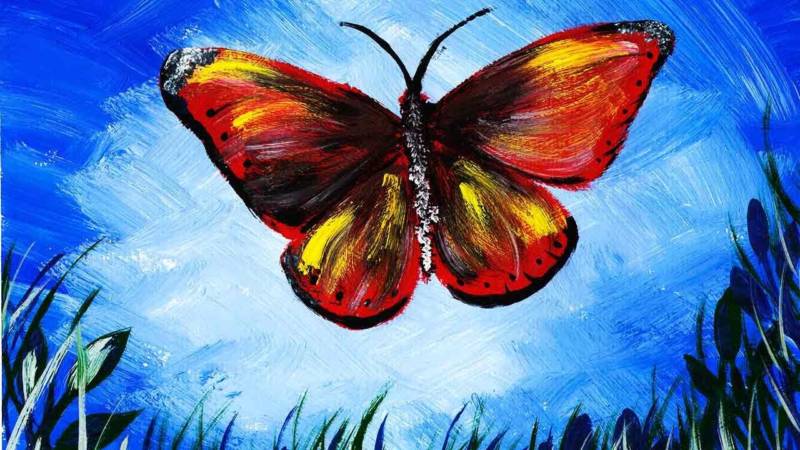
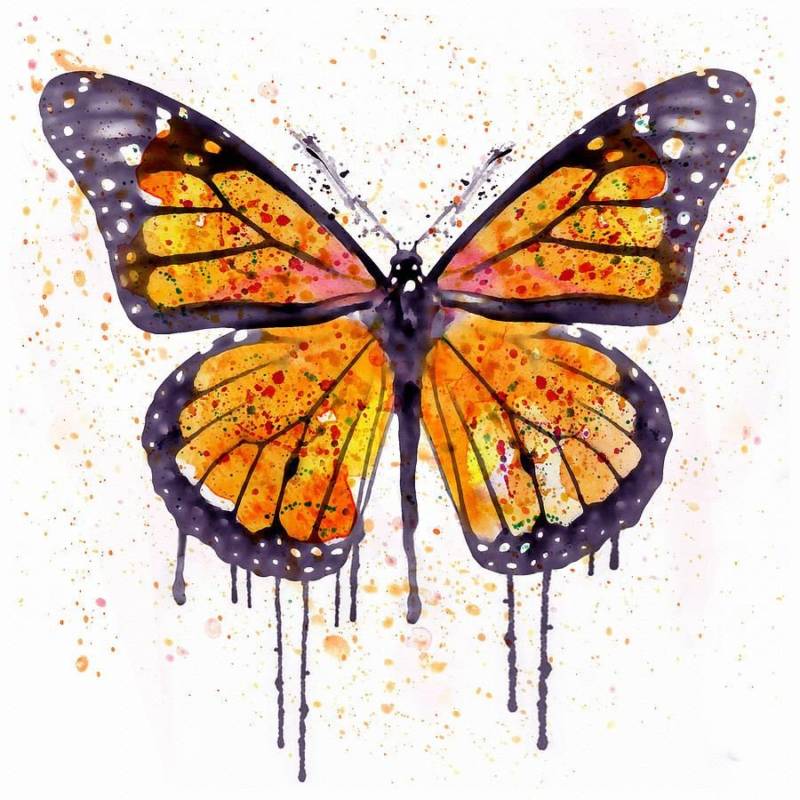
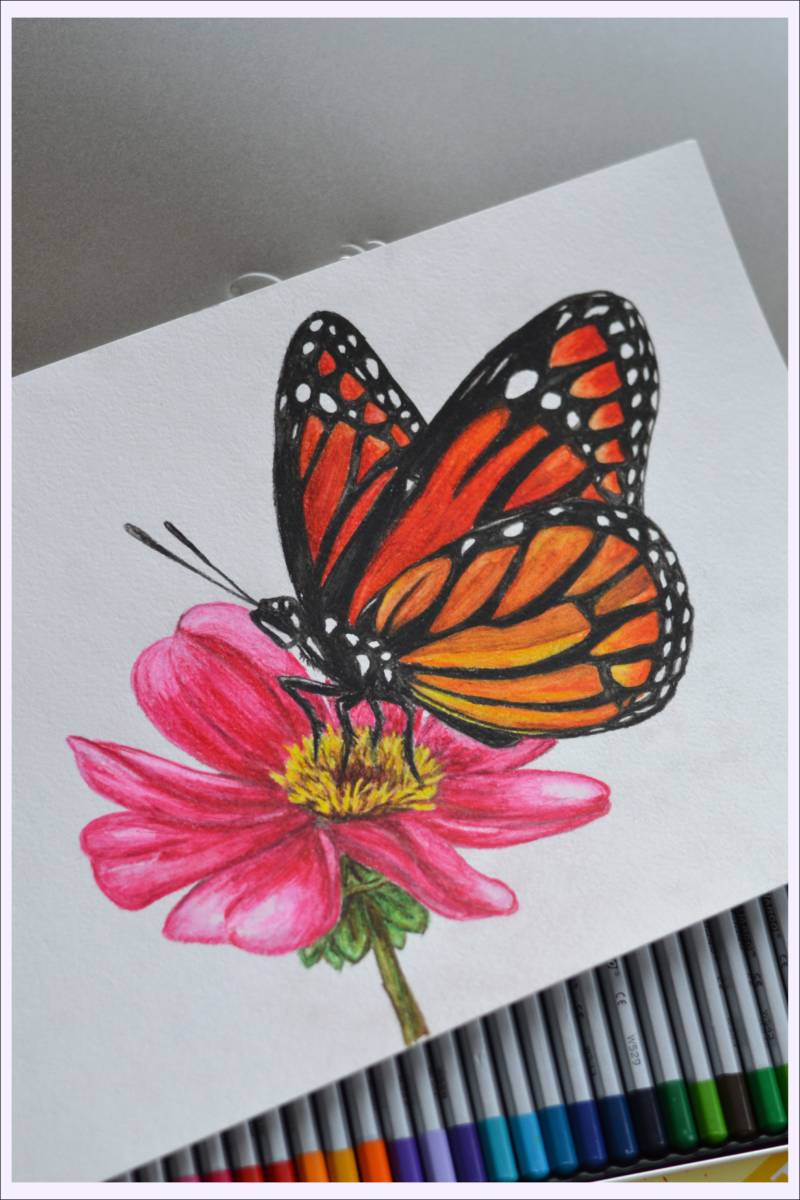
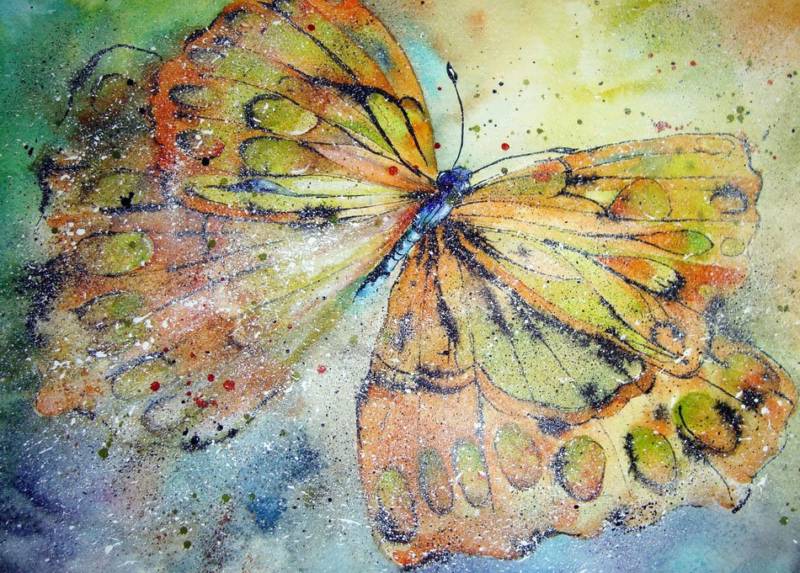
"Nettles."
The coloring of this butterfly consists mainly of orange and brown, as well as black and gray-blue:
- We draw the body of the butterfly in dark brown, and paint half of the lower wings in light brown.
- The rest of the coloring in orange.
- The front wings are orange, with the upper part of the border alternating with yellow and black stripes.
- A few dark spots all over the front wings.
- The fringe of the rest of the wings is black, with blue or gray speckles.
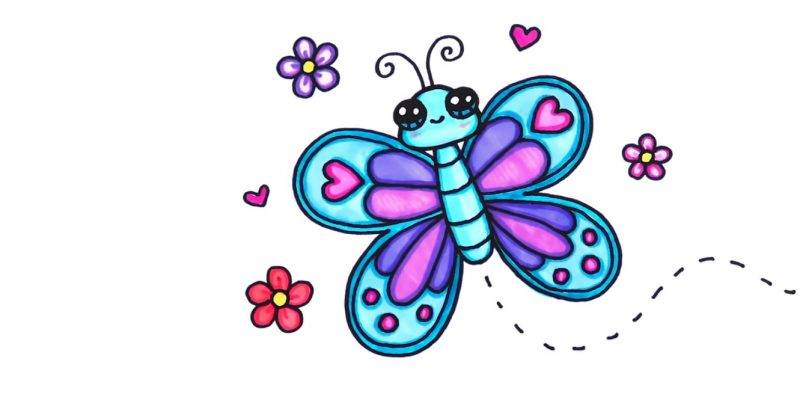
Drawing with preschoolers
Drawing with children has its own peculiarities. Preschool children ages 3-5 are not yet sufficiently skilled in drawing and working with a simple pencil. Therefore, for younger children, they use ready-made images that need to be painted in gouache or they draw with paints, without a pencil silhouette.

It is necessary to watch the correct use of a brush and pencils.
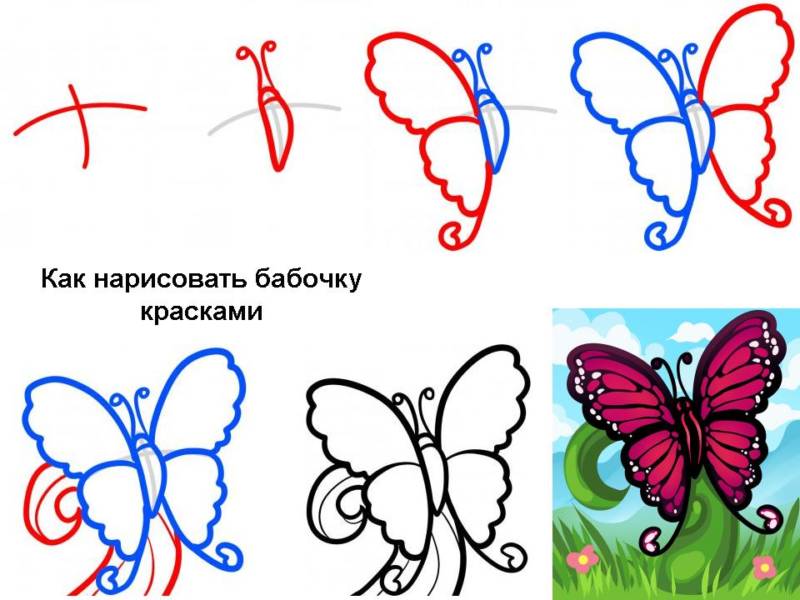
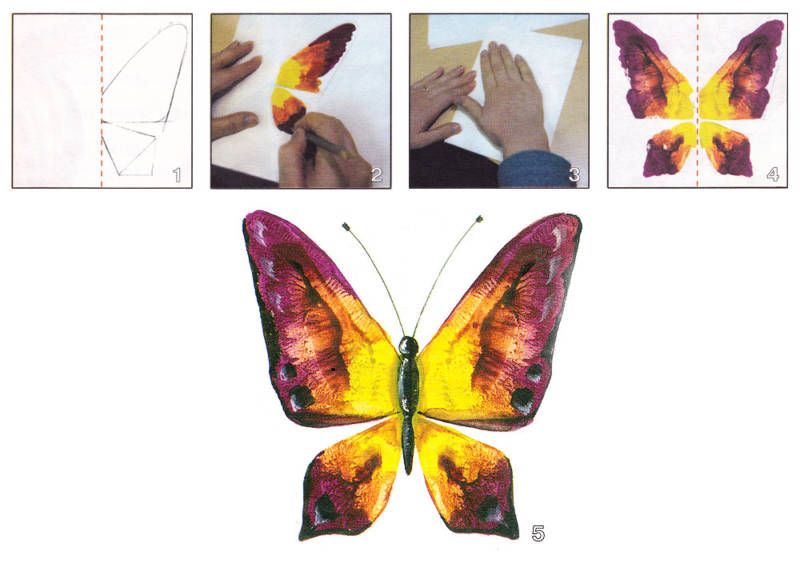
Simple drawing with paints
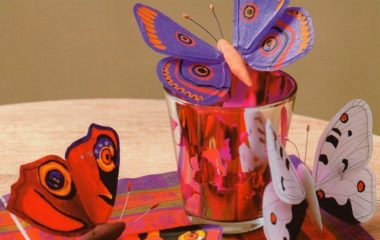
Using a template
Draw red, blue, and green strokes on one side of the white paper, fold the butterfly in half, the teacher will help so that the paint on one side is imprinted on the other side. It turns out the same coloring of the wings.
Wait until the paint and dry, and you can lay out all the butterflies on the green meadow.
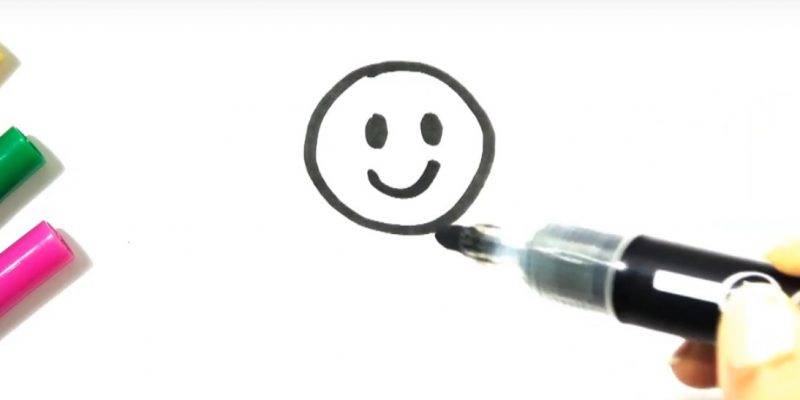
Painting in gouache
The process of drawing:
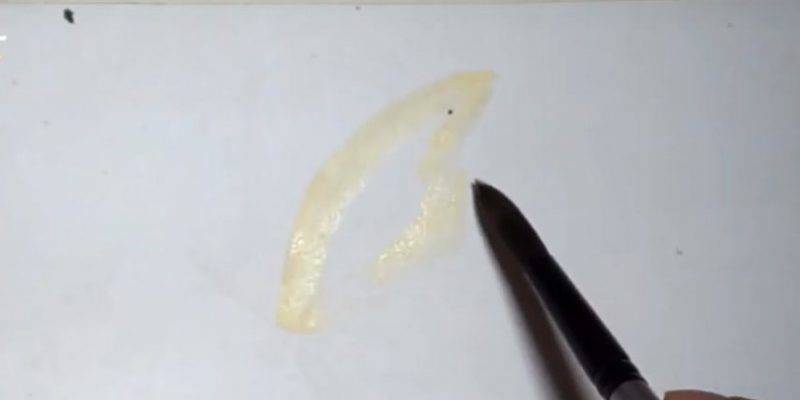
- We take a landscape sheet, put horizontally, and place the drawing in the center.
- We'll dial the brush yellow gouache, draw first one circle, and close the second, paint the paint, it is the front wings.
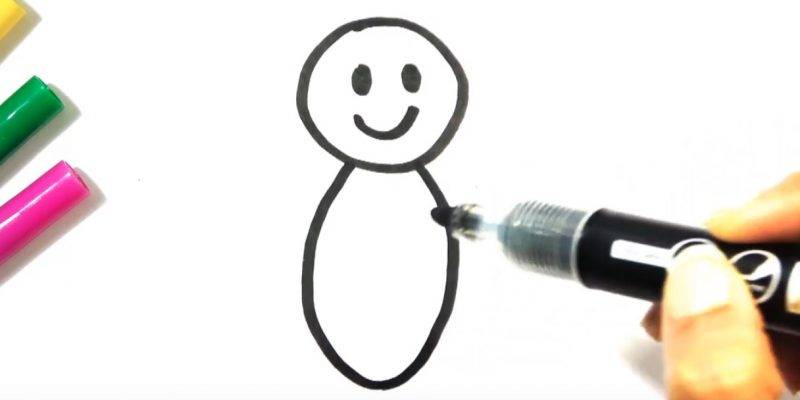
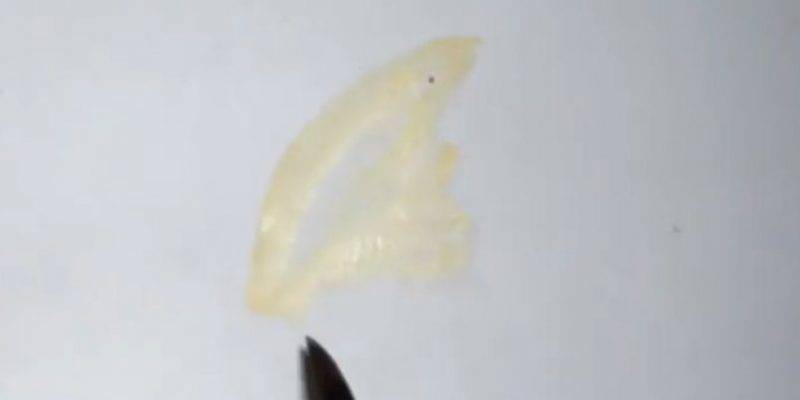
- Below, under the yellow circles draw two more circles, smaller in size, these are the back wings.
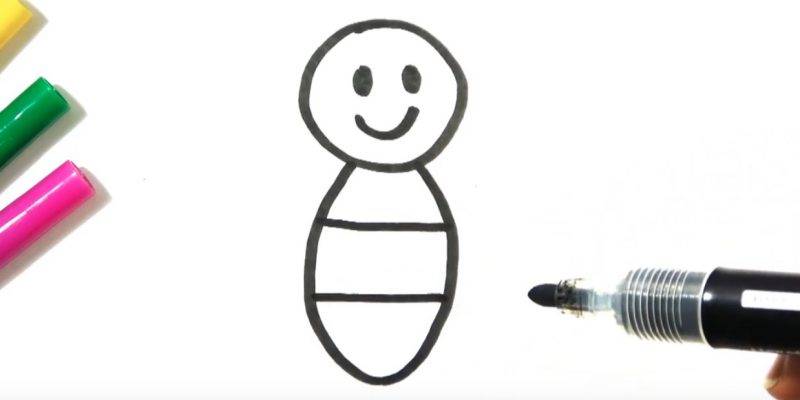
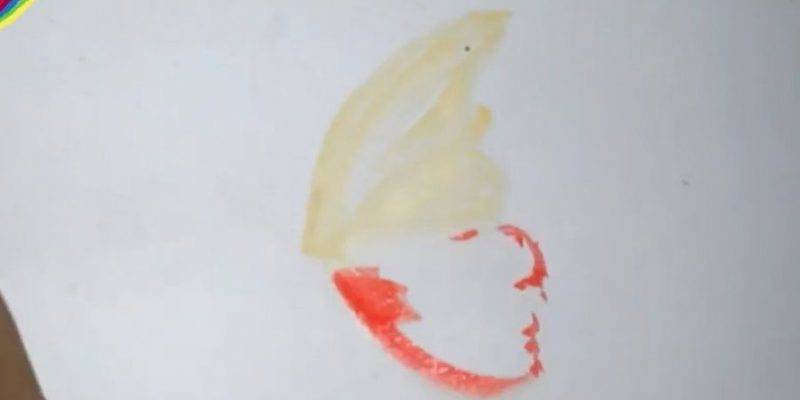
- We wait until the paint dries, and draw small circles in red gouache, the same on the two front and two back wings, add blue and green circles. Do not forget to rinse the brush well.
- Use brown or black gouache to draw the head, body, and antennae.
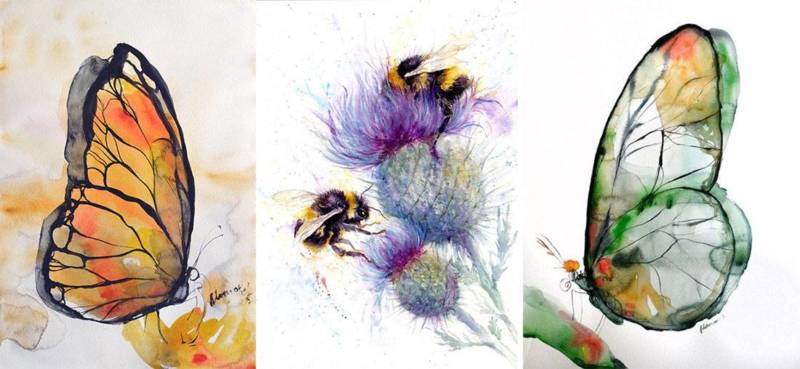
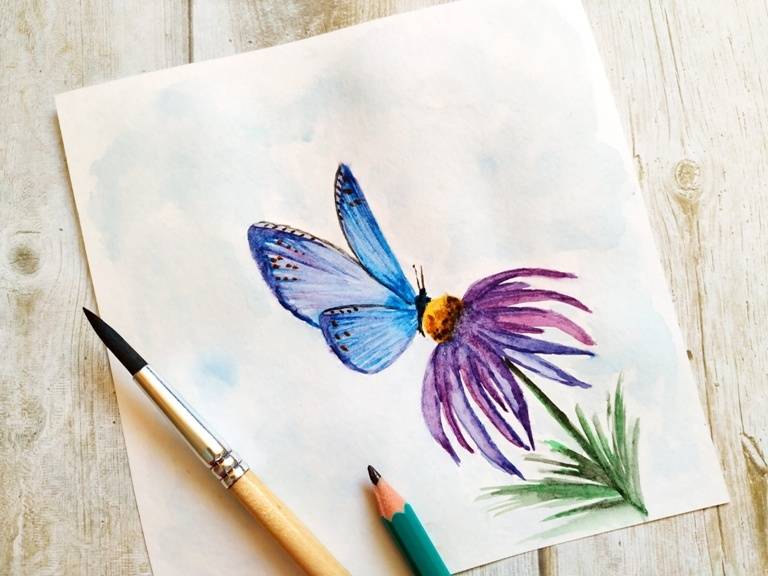
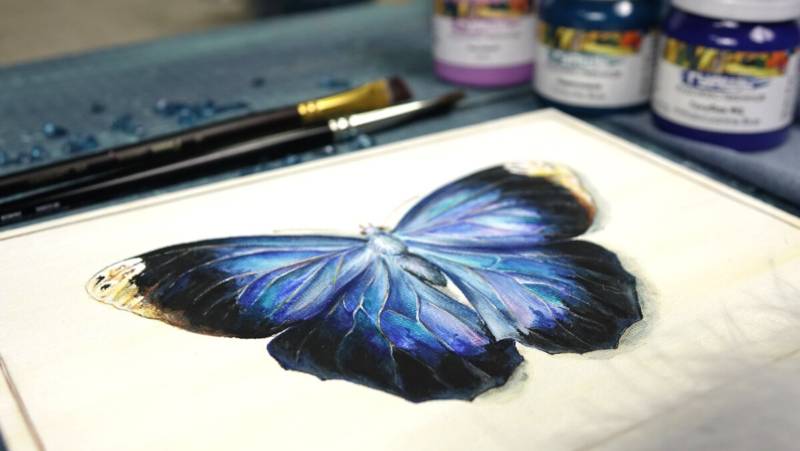
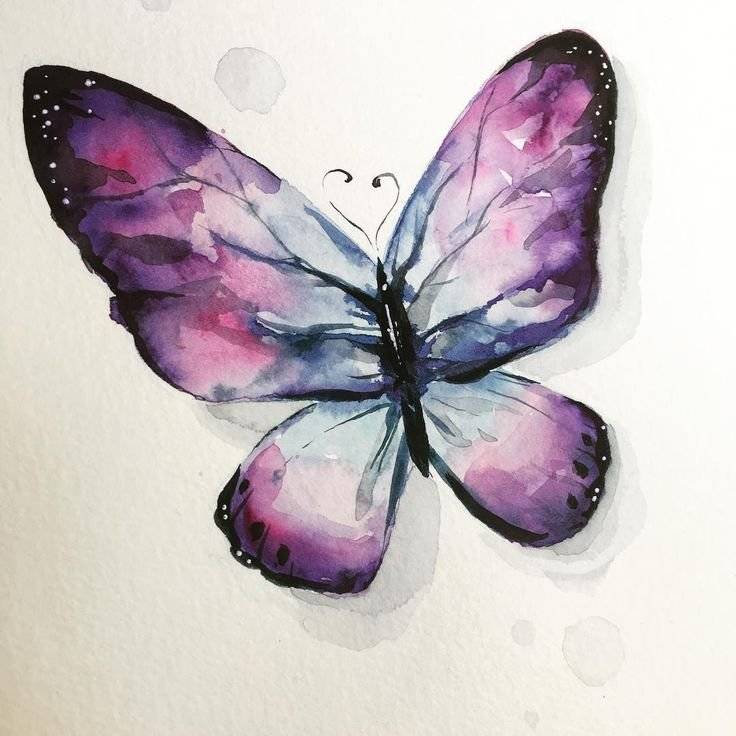
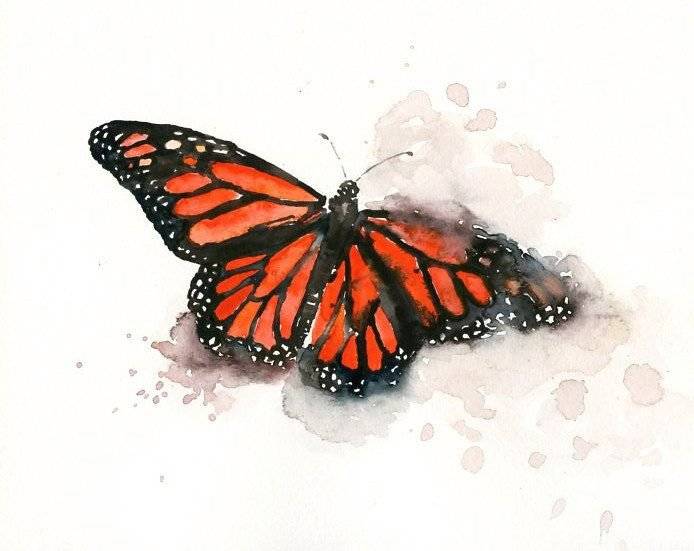
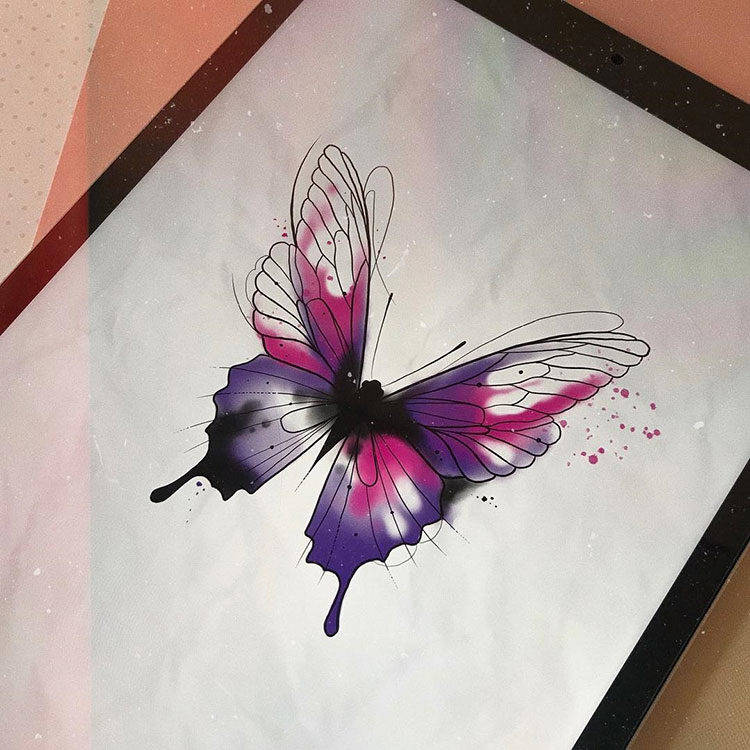
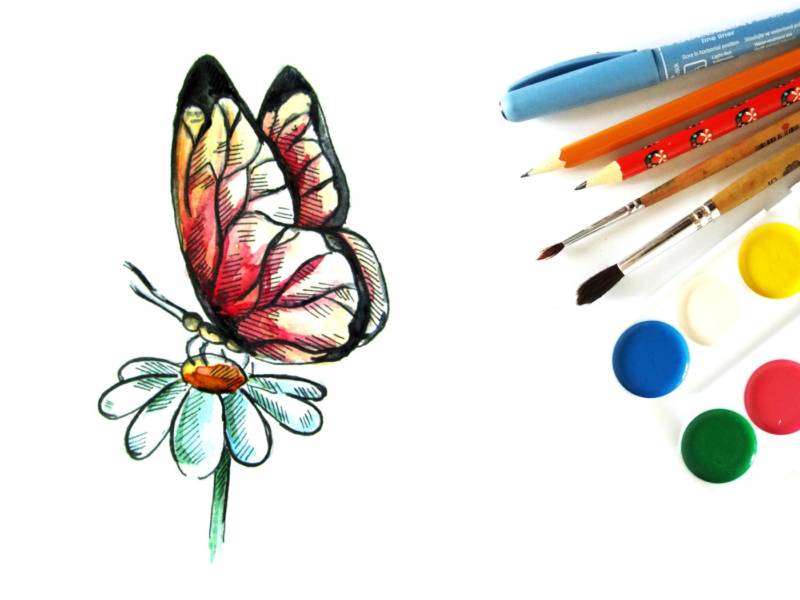
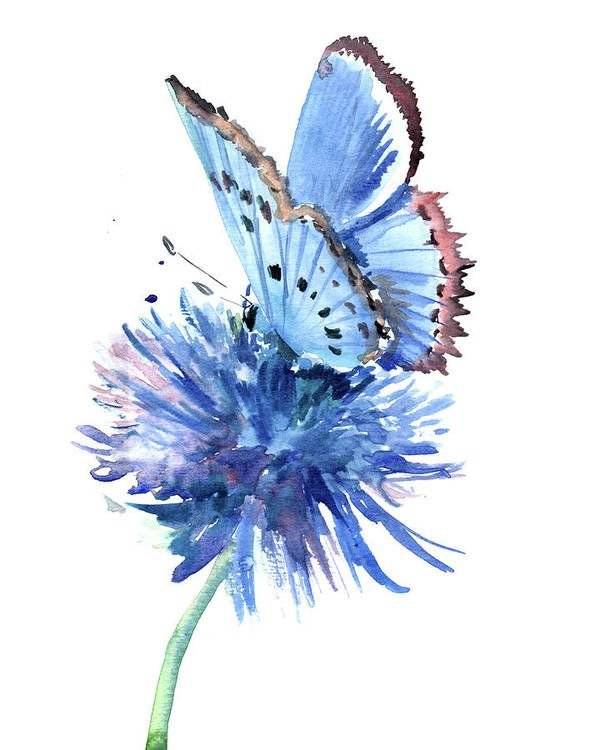
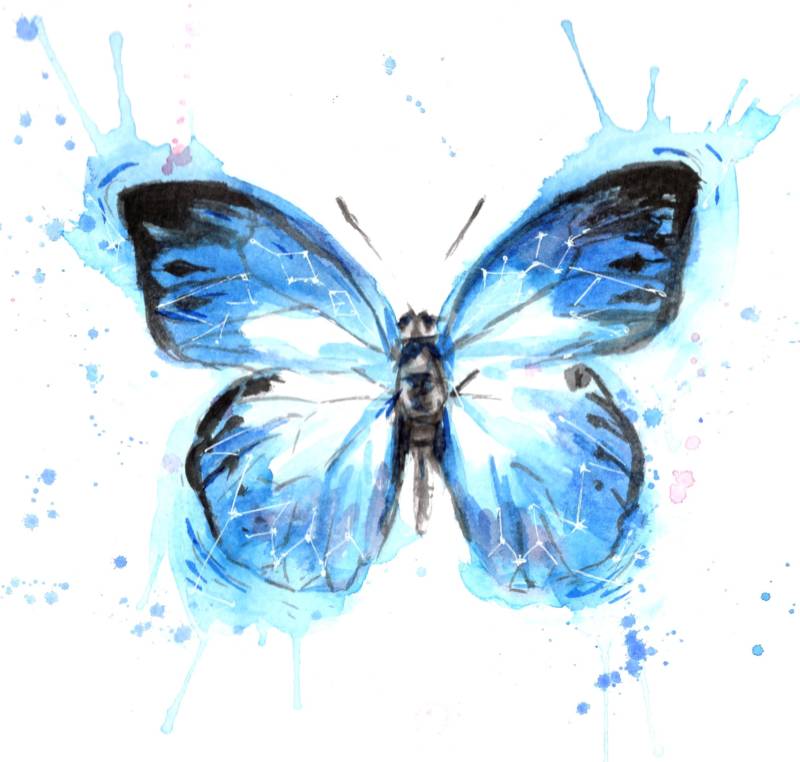
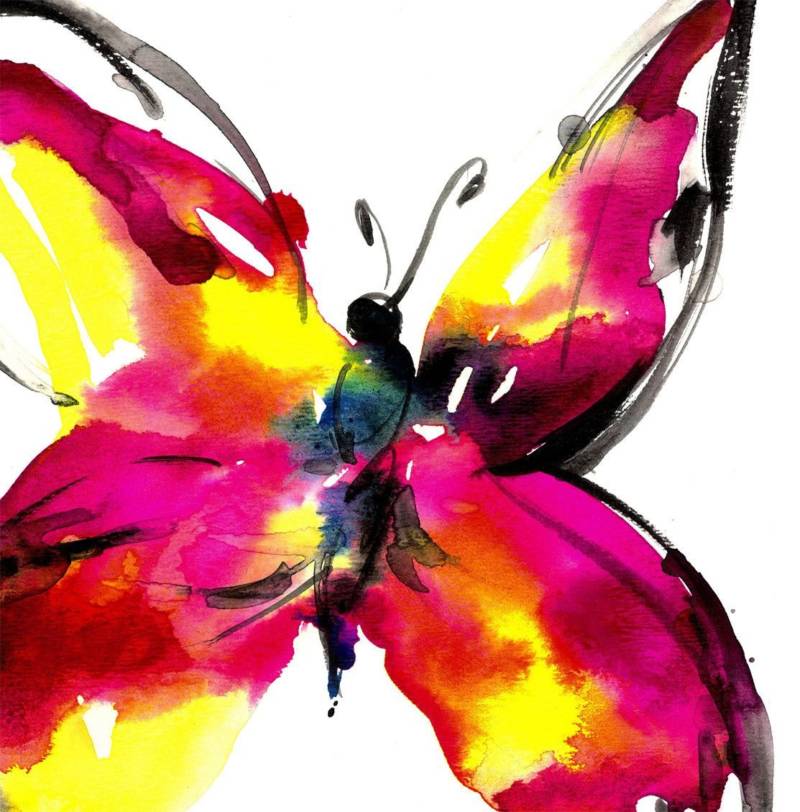
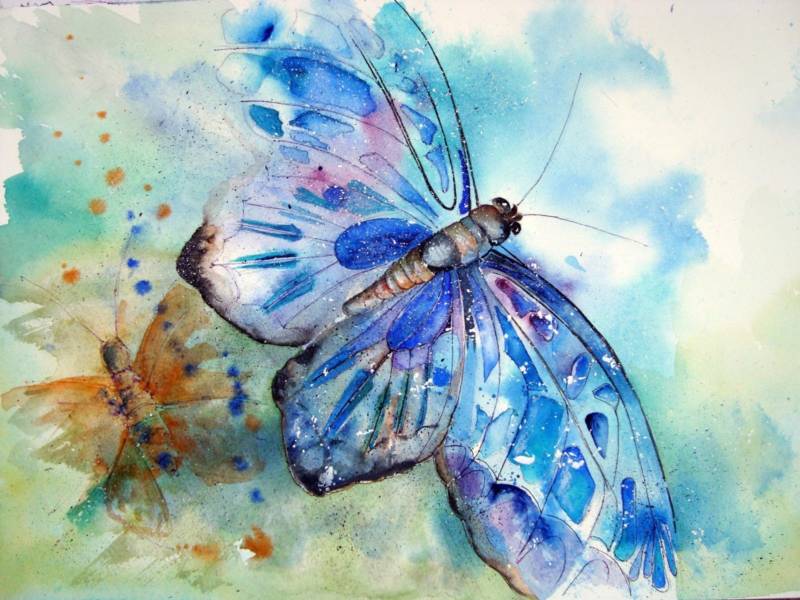
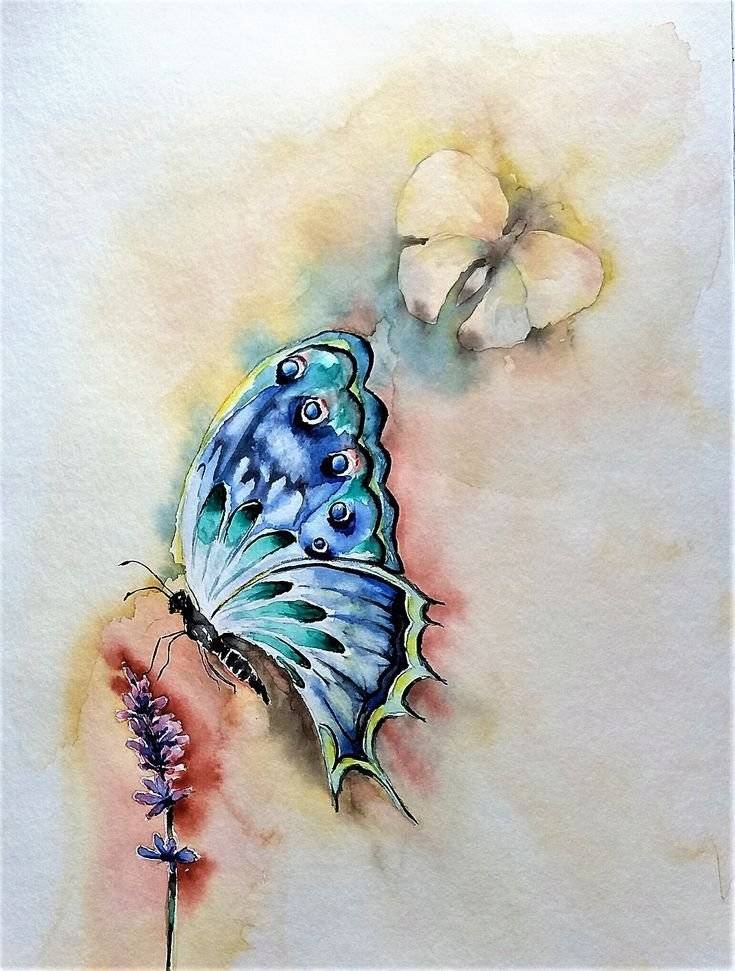
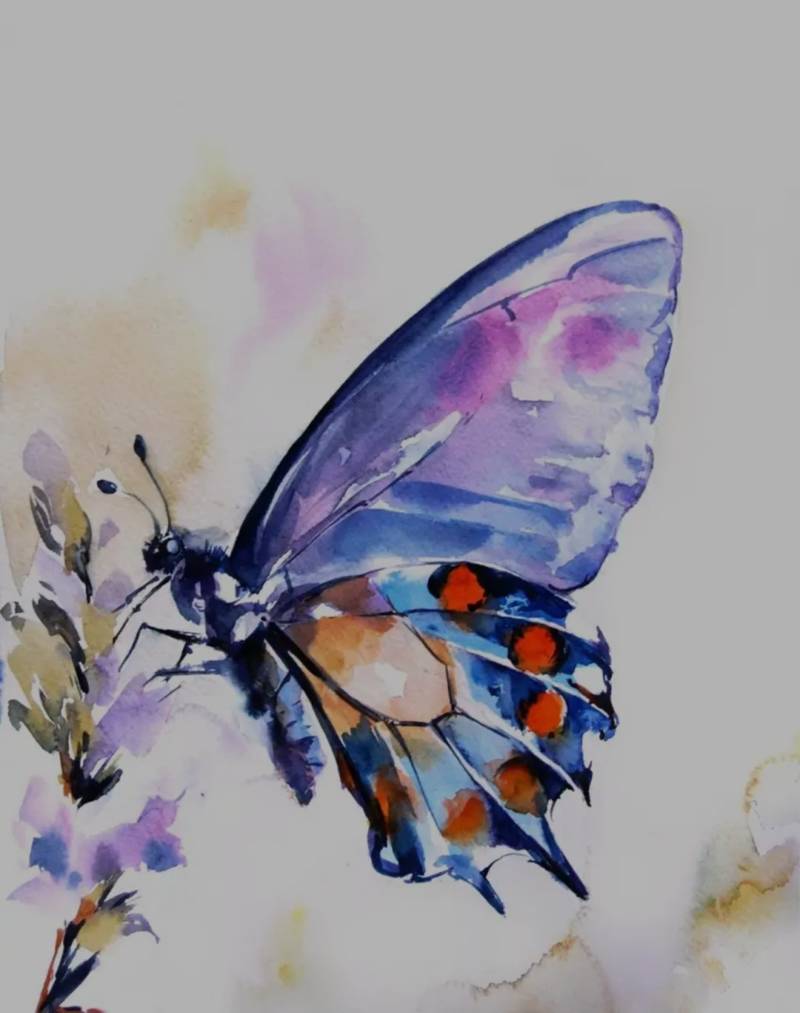
Drawing in watercolor
Drawing in watercolor requires special skills. The outline is drawn with slightly visible lines. An adult should help if necessary.
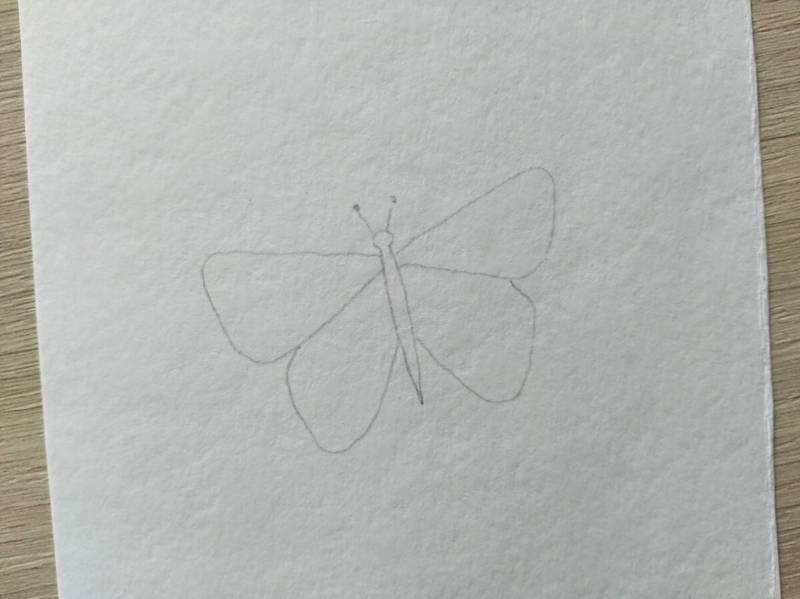
Draw an insect, you can use a stencil:
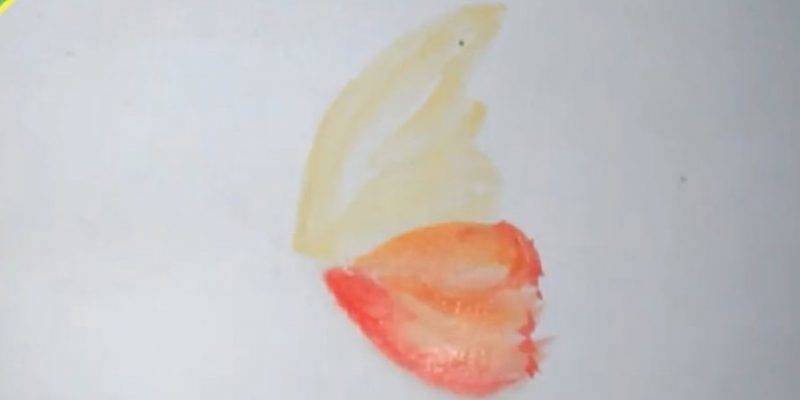
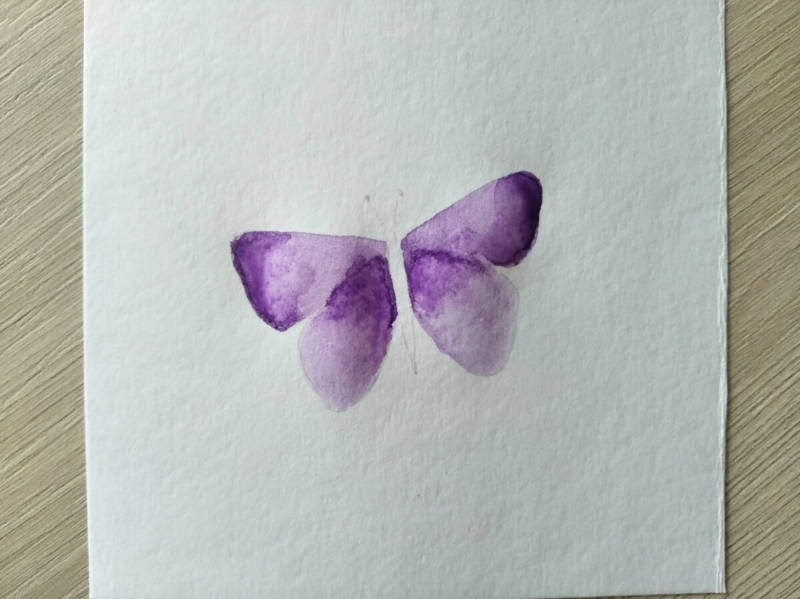
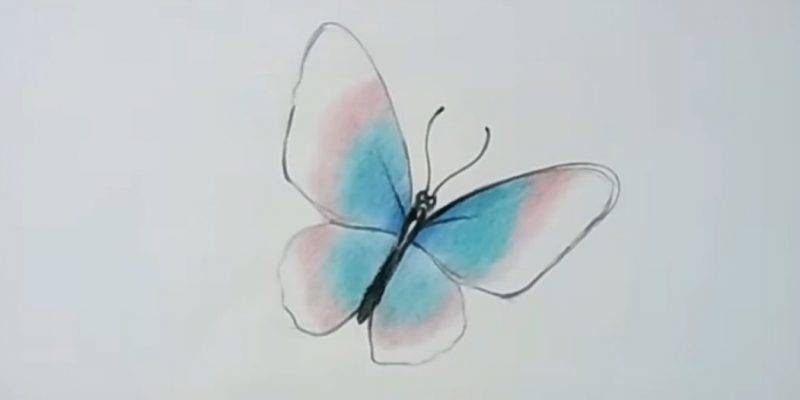
- We choose a color, cover the drawing with a brush with water, this is so that the paint is well laid, paint the main color, preferably blue, or purple.
- Add the base paint on the front contour of the wings, and the rear wings closer to the body. It should be a darker shade.
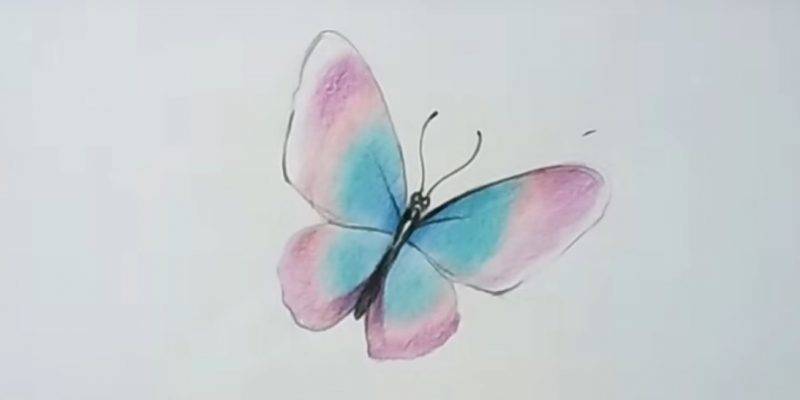
- Slightly dilute with water, so that the paint is smoothly transferred from one color to another. We wait until the picture dries.
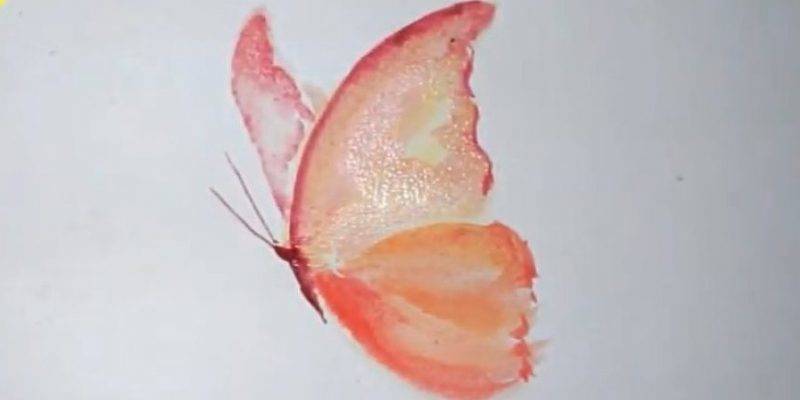
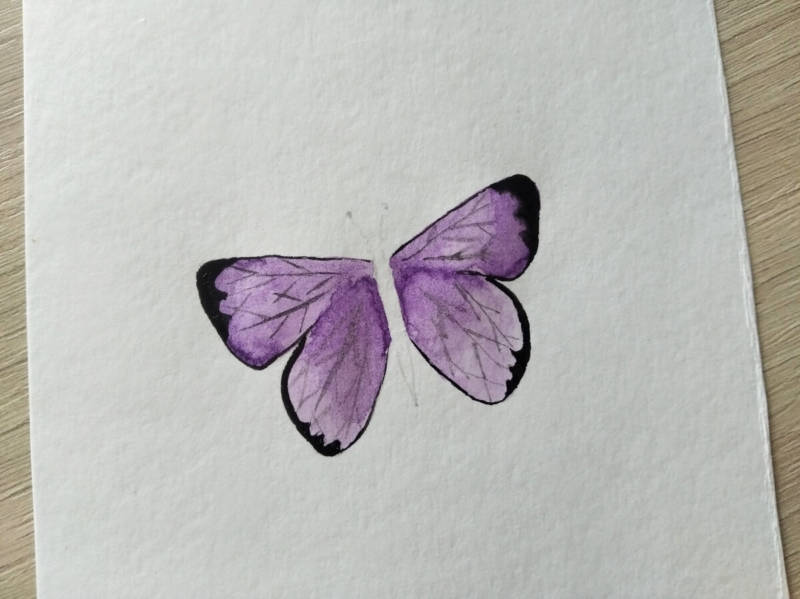
- Black pencil draw fine lines and strokes - veins.
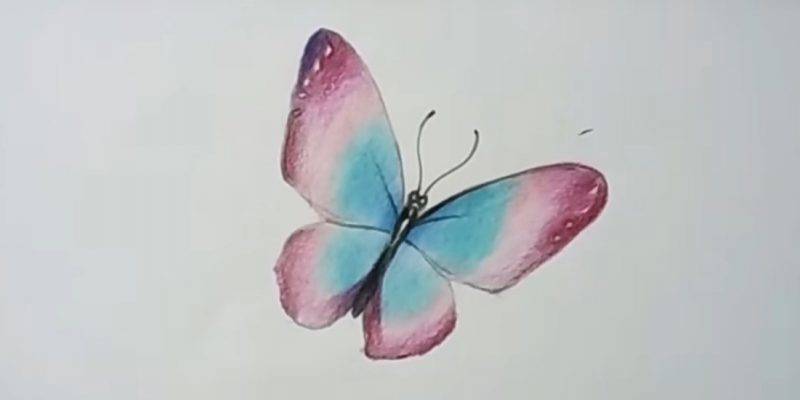
- On the tips of the wings we are going to outline the contour with black paint with a wavy line, and also put some small black dots on the back wings.
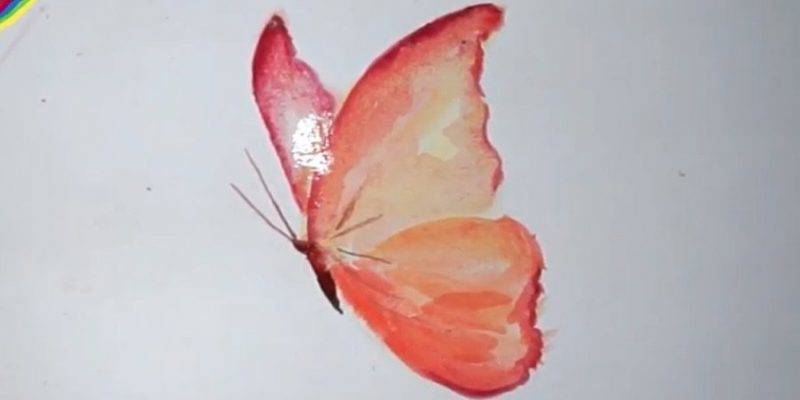
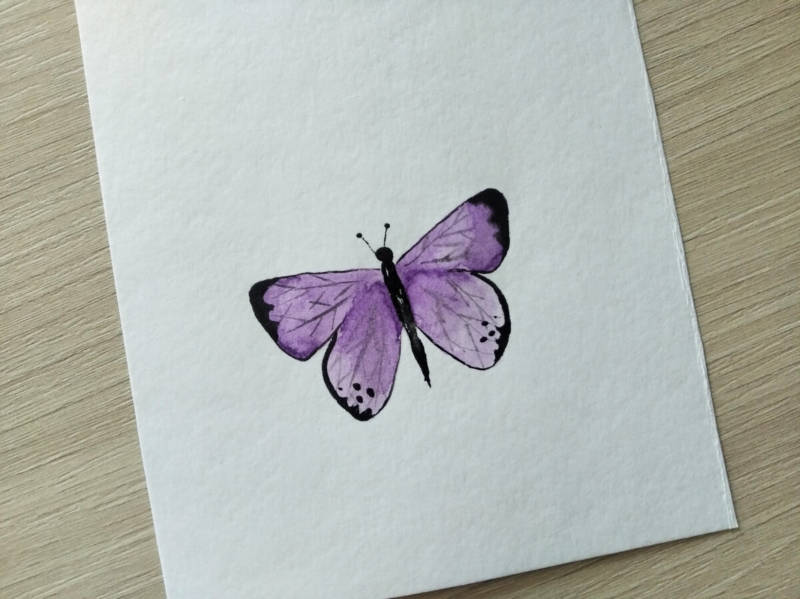
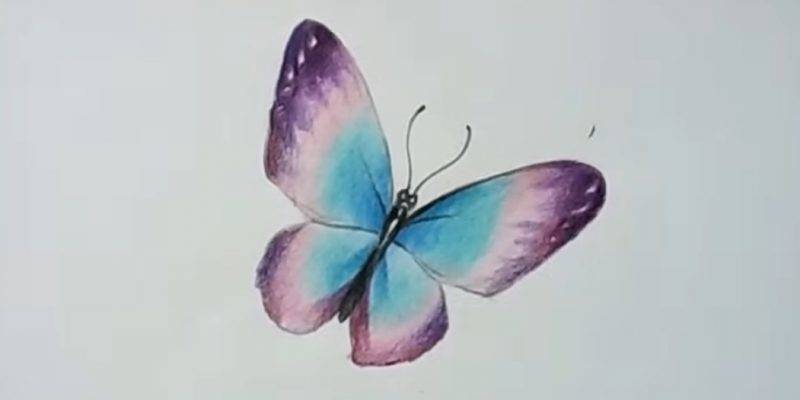
- Paint the torso, leaving a few white highlights.
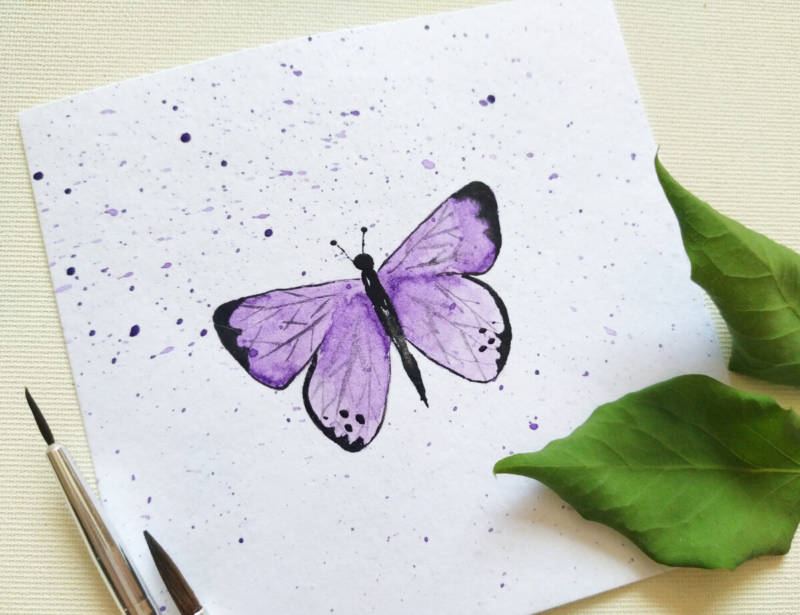
- Sprinkle watercolor all over the sheet, you get a beautiful background with the image.


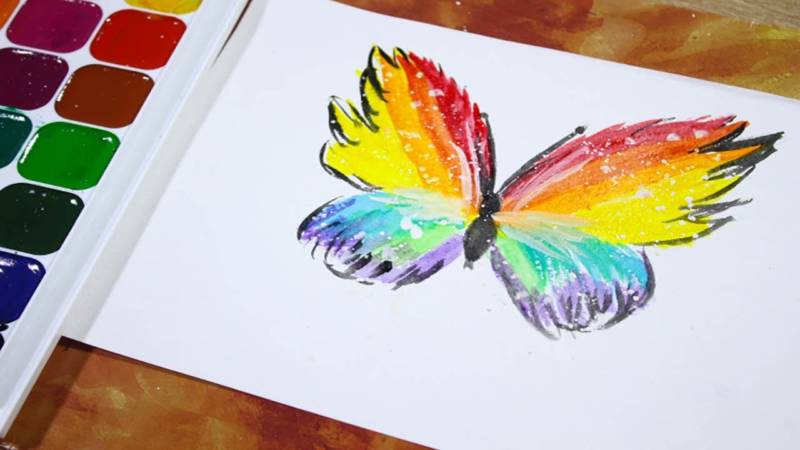
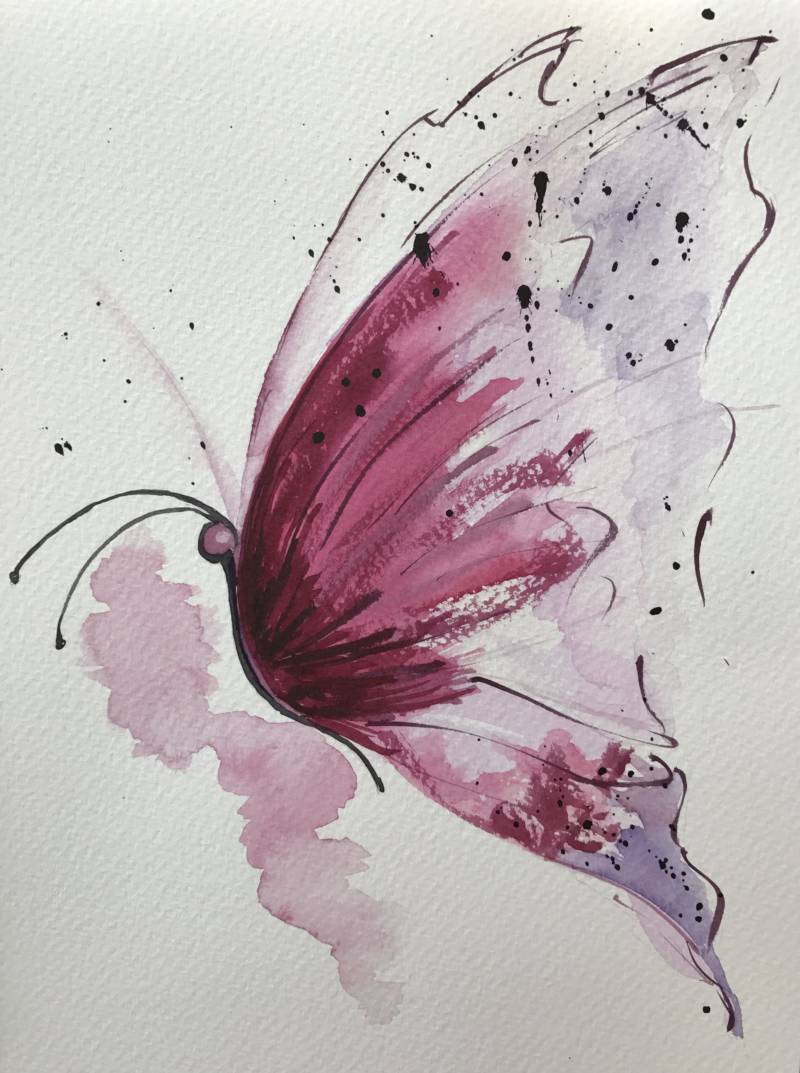
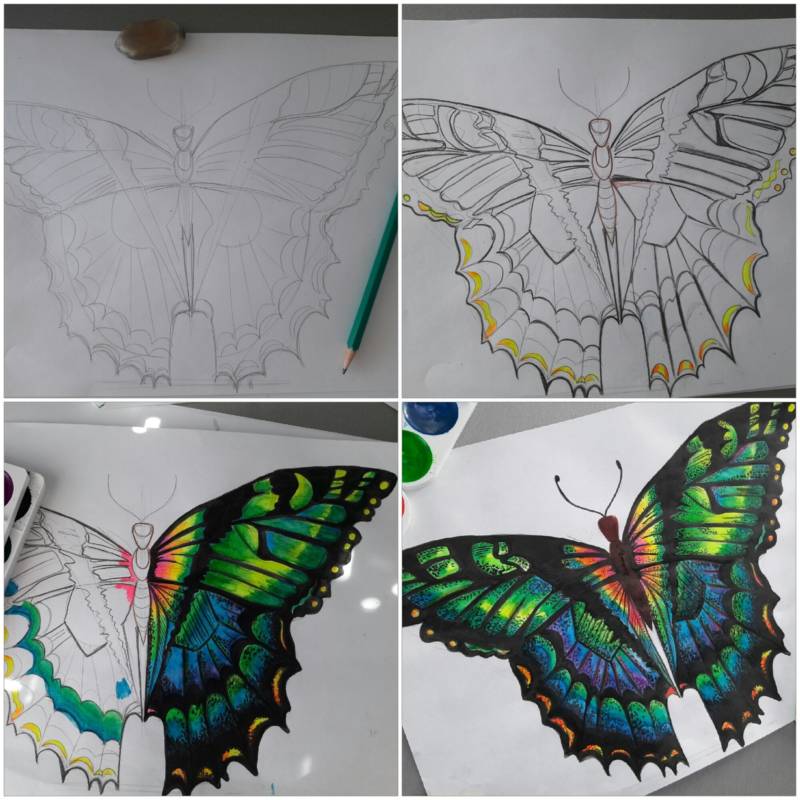
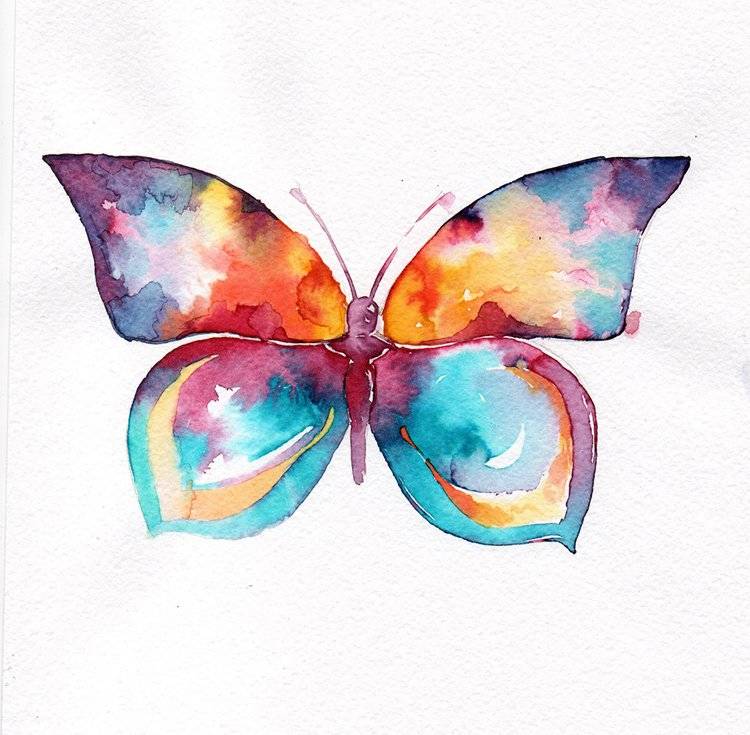
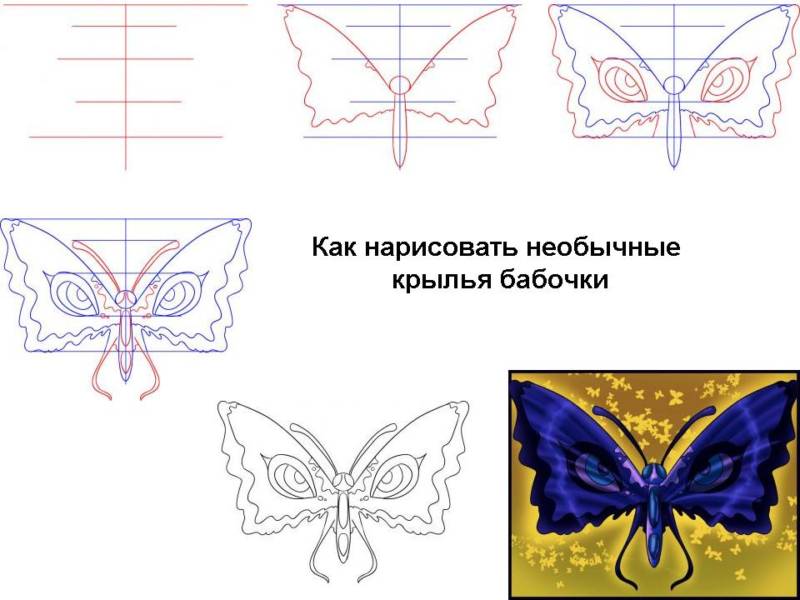
Unconventional drawing
This kind of drawing can be done by children in older groups. Use wax crayons and watercolor paint:
- Draw a barely visible vertical line with a simple pencil, and on both sides draw the wings, draw the head and torso on the center line.
- We use wax crayons, trace the outline with them, make patterns. Patterns can be a variety, it is good to seek symmetry, but allowed and uneven distribution of patterns.
- We take watercolor paint, dip the brush in water, paint the entire area of the butterfly, including the patterns.
You can suggest using whitewash, then when you mix the colors, you get light shades: white and blue - blue, white and red - pink, yellow and white - lemon, whitewash can add strokes, dots, circles.
You can come up with a whole plot, "butterflies in the garden", "meadow butterflies".
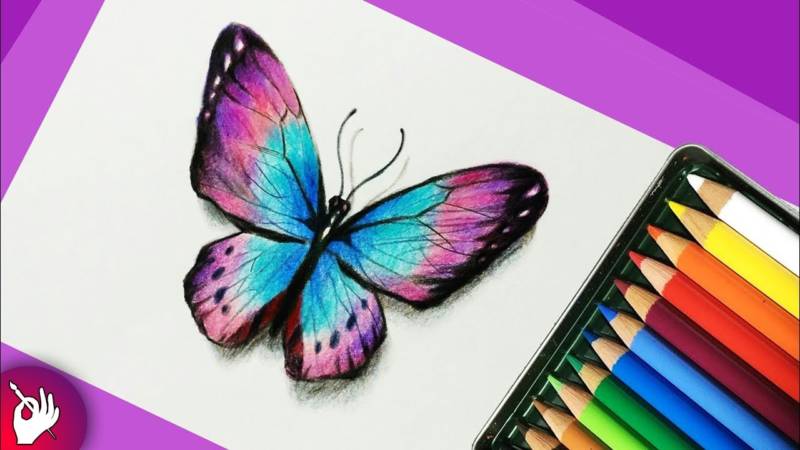
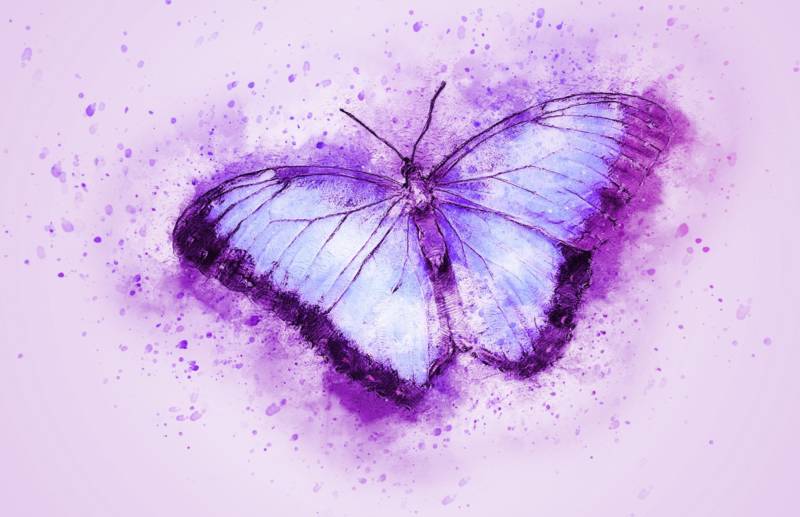
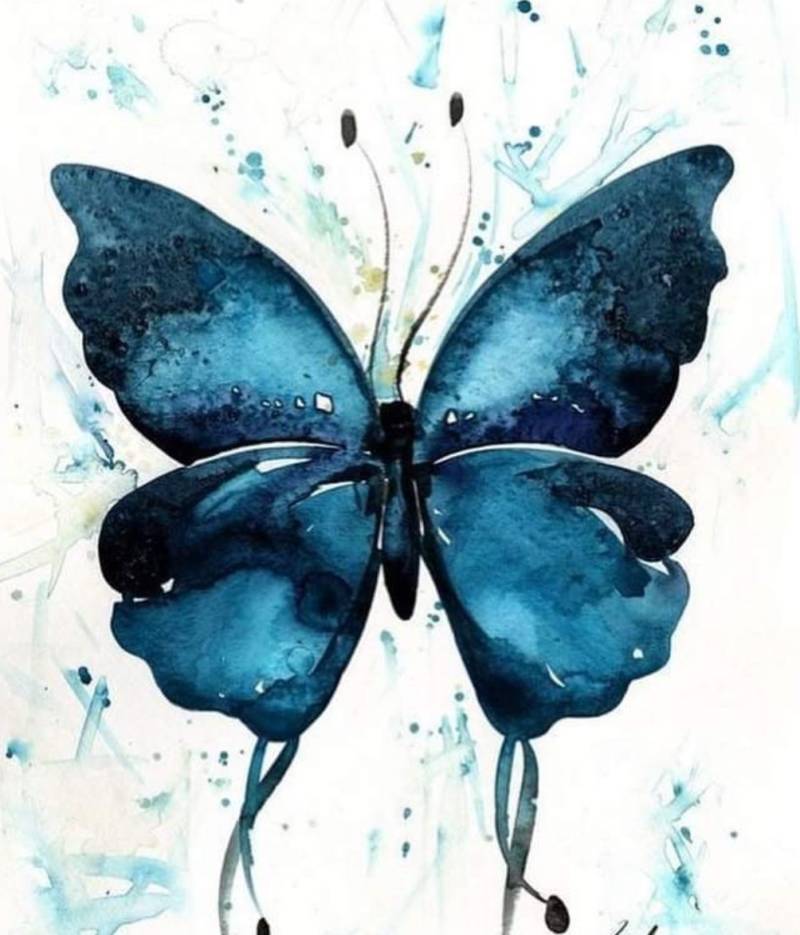
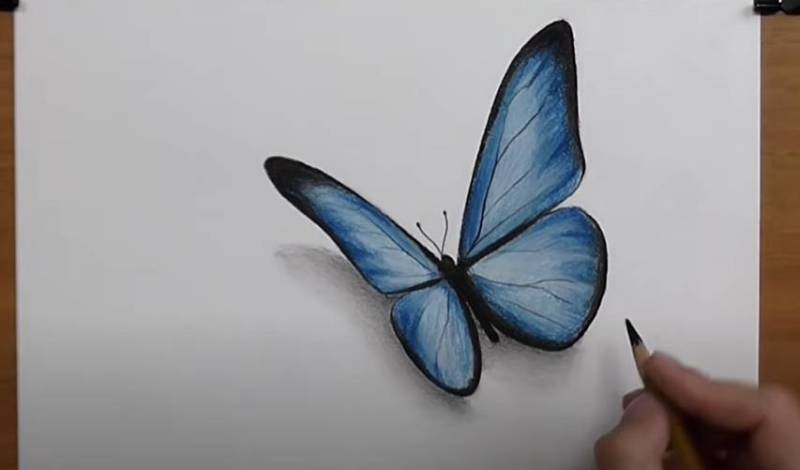
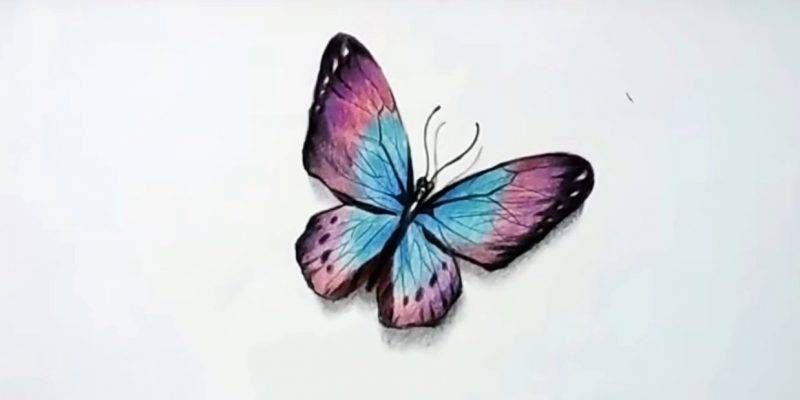
Butterfly in 3D
This type of drawing is for schoolchildren and adults.
A magnificent butterfly can be drawn in 3D image. This illusion is achieved by a certain arrangement of the wings, and the shadow.
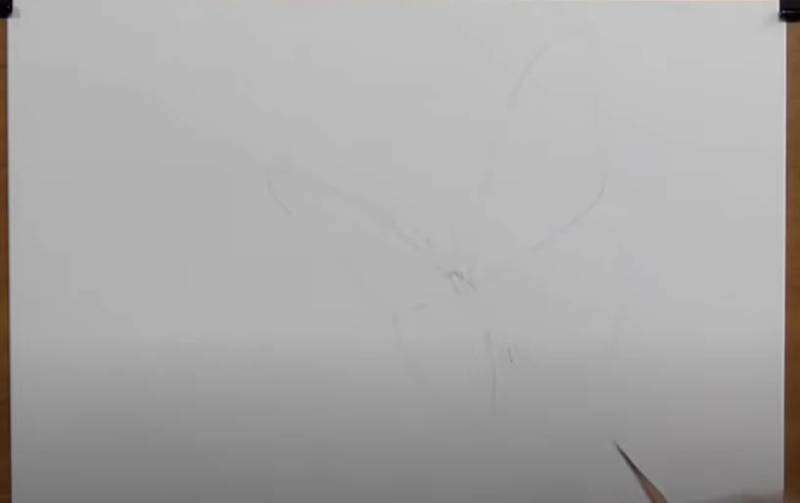
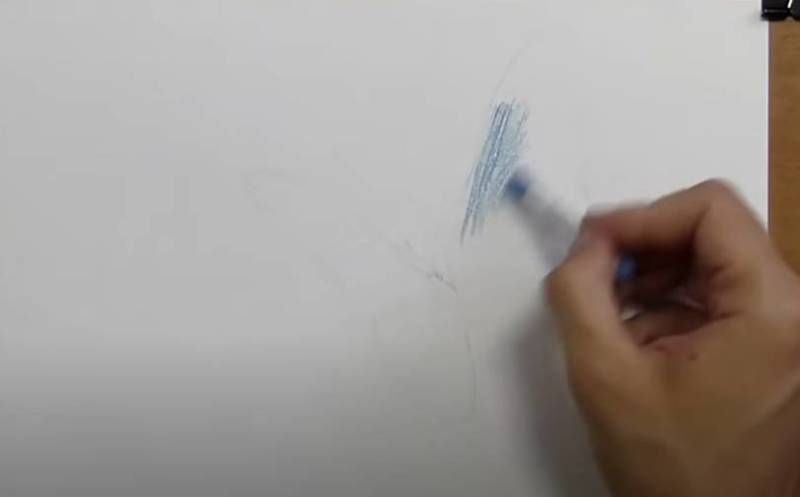
Use a simple pencil, and charcoal, dry pastel, cotton swab or rag to lightly rub the strokes on the drawing:
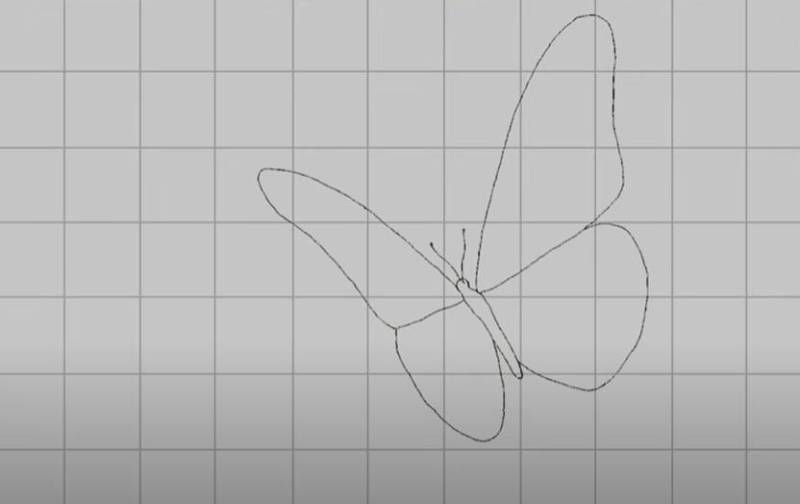
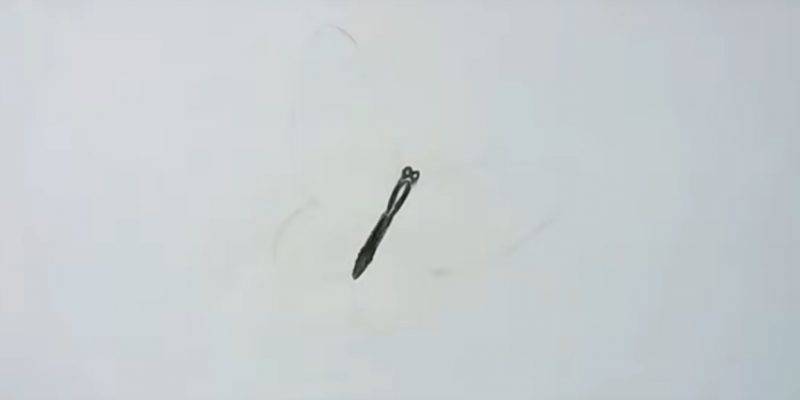
- The body of the butterfly is drawn on the right side of the sheet from the center, at an angle of 45 degrees to the left, then we draw the lines of the wings up, slightly to the right, this is the right wing, and the line of the left wing is directed to the upper left corner.
- It is necessary to mean, that the right wing is longer than the left one and a half cm, and is 6,5-7 cm, and the widest part is 3,5 cm, the left wing has 2 cm width.
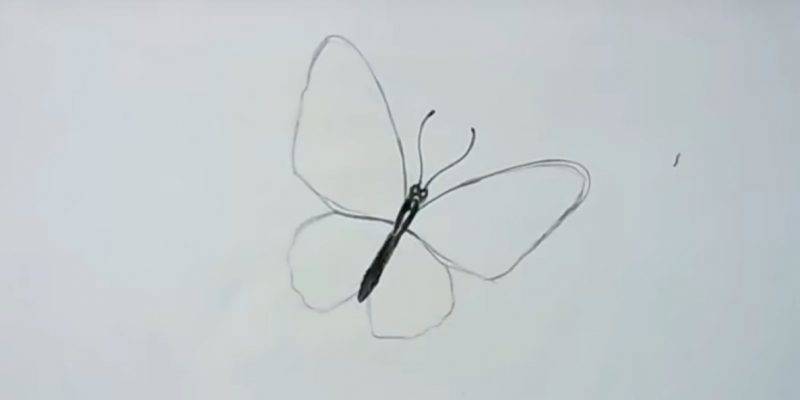
- Accordingly, the lower wings: the right is wider than the left, the same length.
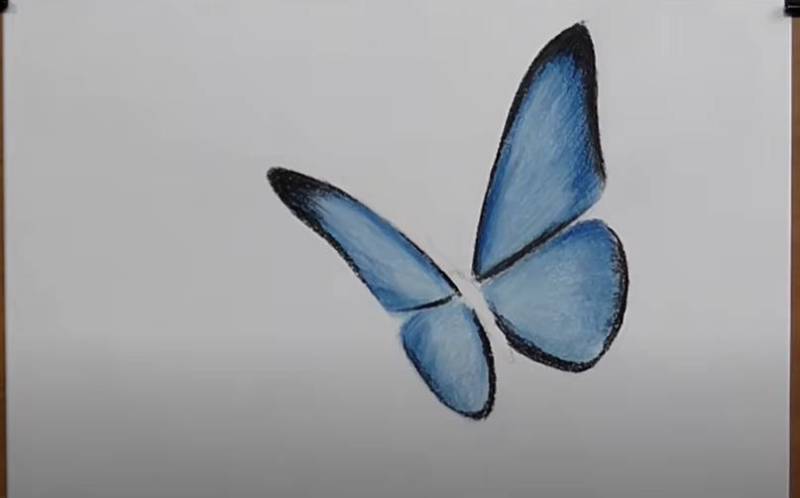
- We take a light blue pastel and paint the wings from the center of the picture to the edge of the wings of a butterfly.
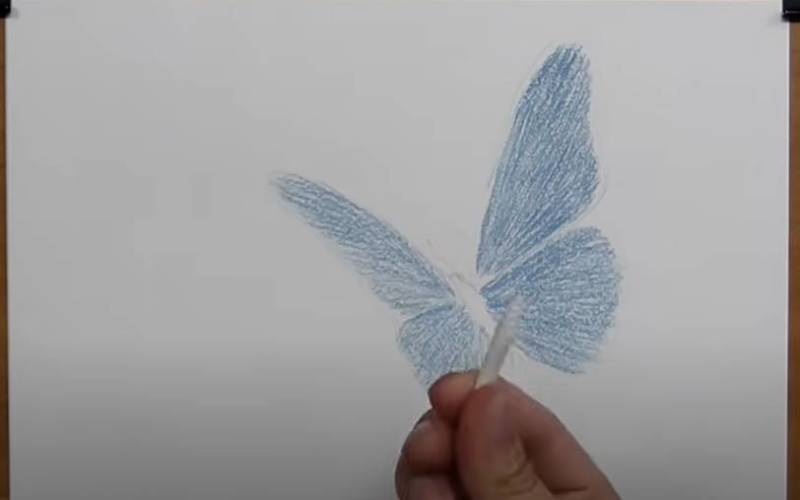
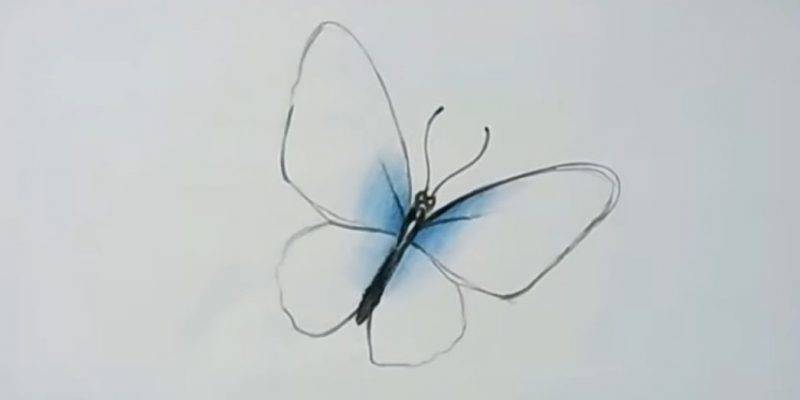
- Now rub the paint for a more even color.
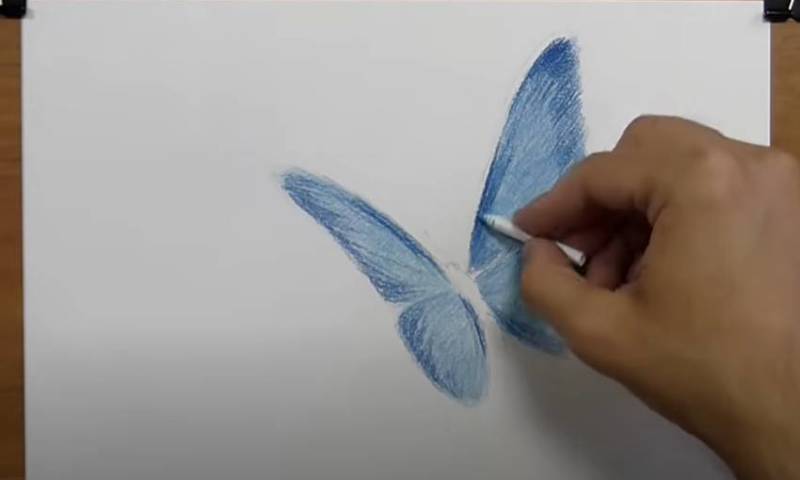
- Next, we take a darker blue crayon, and stroke the wings around the edges, and again we rub the paint so that the colors flow smoothly into each other.
- We add some more strokes of blue around the edges.
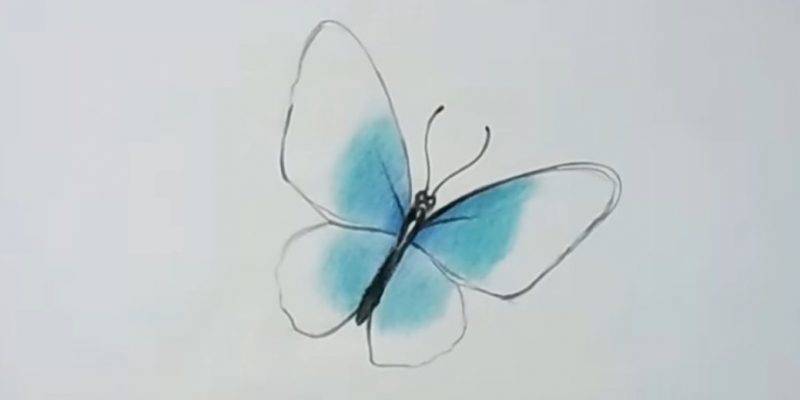
- We take a white pastel, we pass it over the places of the wings, not touching the blue edges.
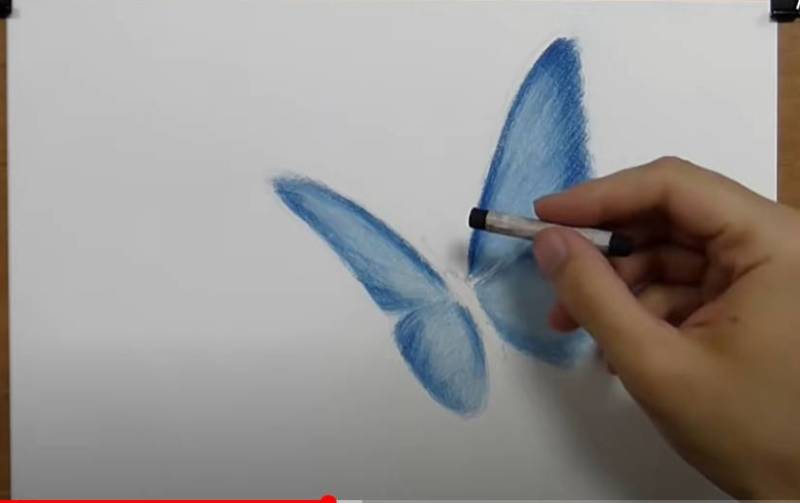
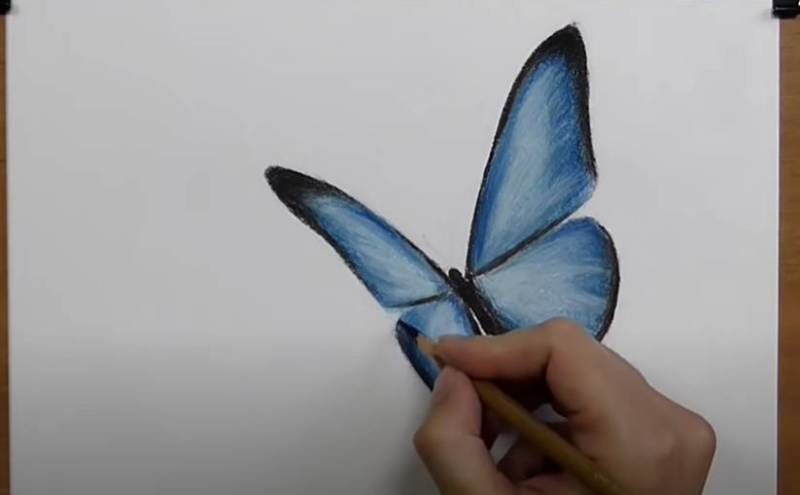
- Now we are going to use a black crayon color, and start to draw the edges of the wings, drawing carefully, rubbing with a clean cotton swab.
- Let's remove all unnecessary things around the drawing with an eraser.
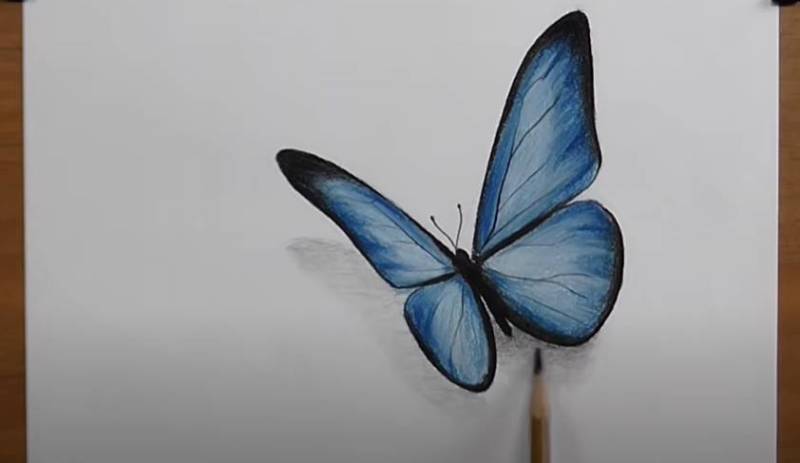
Make a shadow on the picture:
- Mark it with a pencil around the upper left wing, 0.5-0.7 cm wide, starting below at 2 cm, repeating its shape, going down to the lower left wing, finishing at the bottom of the wing.
- We draw a shadow under the bottom edge of the lower right wing to the neighboring one, leaving a little white space between the neighboring shadows.
- The shadow becomes lighter as you move away from the drawing, shade it with a charcoal pencil, then smear it with a clean rag, and so on several times for effect.
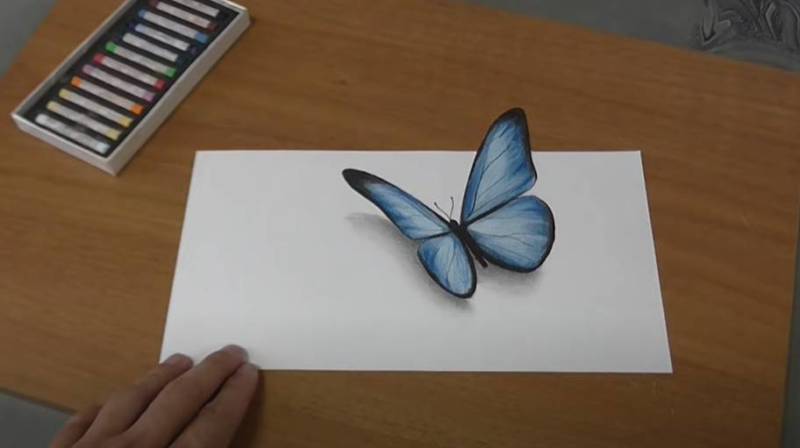
The drawing looks realistic. The right wing protrudes forward, and if you cut a strip of paper and cut out half of the wing, the volume effect will be provided on all sides.
Drawing is an entertaining and useful form of art. This type of art develops all the mental processes of children, gives the opportunity to convey emotions, feelings on a sheet of paper, helps to adapt to the world around us.
For adults, it's a way to distract from the unresolved problems, deal with a range of feelings, and just enjoy the process of creating a drawing, contemplating the images.