How to draw a hamster in pencil: creating realistic and simple drawings step by step
These cute fluffy animals amaze many animal lovers not only with their cute appearance, but also with their interesting behavior. Many people breed hamsters as pets, because they are like little lumps, with which it is pleasant to spend time.
But, it is worth noting, these rodents need care and organization of suitable conditions for life: cleanliness in the dwelling, good food, water regime, sufficient motor activity and absence of stress.
Not everyone has the opportunity to get a hamster as a pet. Not everyone is able to provide a hamster with good living conditions and not everyone is able to devote a lot of time to it.
If your child is frustrated that there is no way to keep a hamster at home, you can try drawing a cute hamster. If you don't know how to properly draw a hamster, you should just follow the instructions below.


Features of hamster breeds
To beautifully draw a hamster step by step, you must first become familiar with the most basic breeds of these wonderful animals. Each breed has its own outstanding features and a special coat color.
It is advisable to get acquainted with the breed and immediately arm yourself with a drawing of a hamster for sketching in order to depict the rodent on paper in the most believable way.
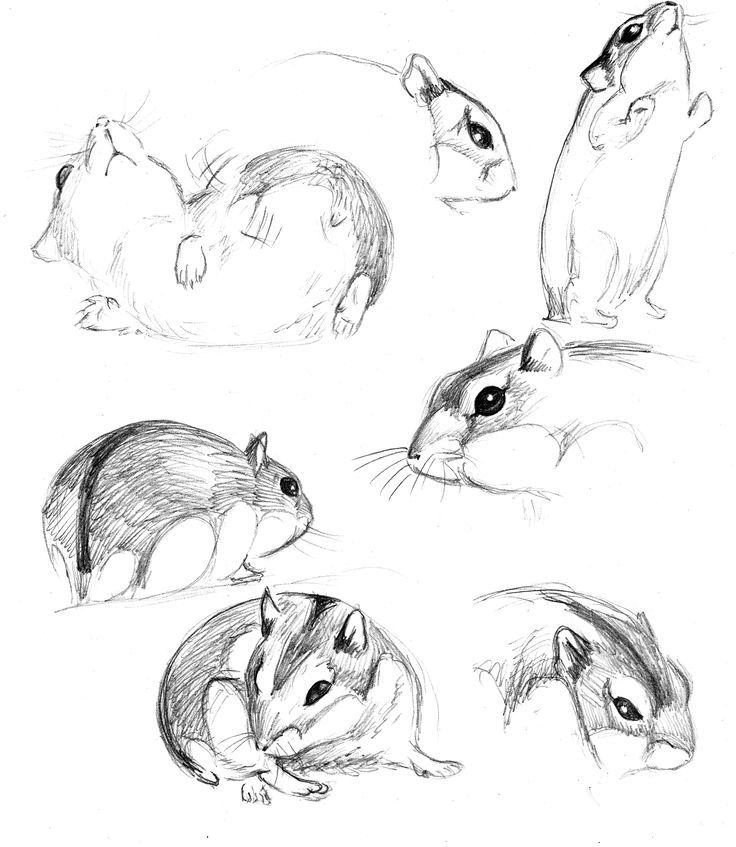
It is equally important to know the character of the animal and the way it behaves, so that you can play out some peculiar plot in the artistic process. Some of the most popular breeds of pet rodents include:
Dungarees
Jungar hamsters are not too big. They are quite petite in their size, and they are also very agile and active. Their coloring is different: from snow-white fur and pumping dark fur with interesting patterns on the back and in the area of the muzzle.
Dzungariki are very prolific: one female can give birth to about 10-12 babies. The place of origin of Dzungariks is considered Kazakh, Altai, Siberian and Mongolian steppes and tundras.

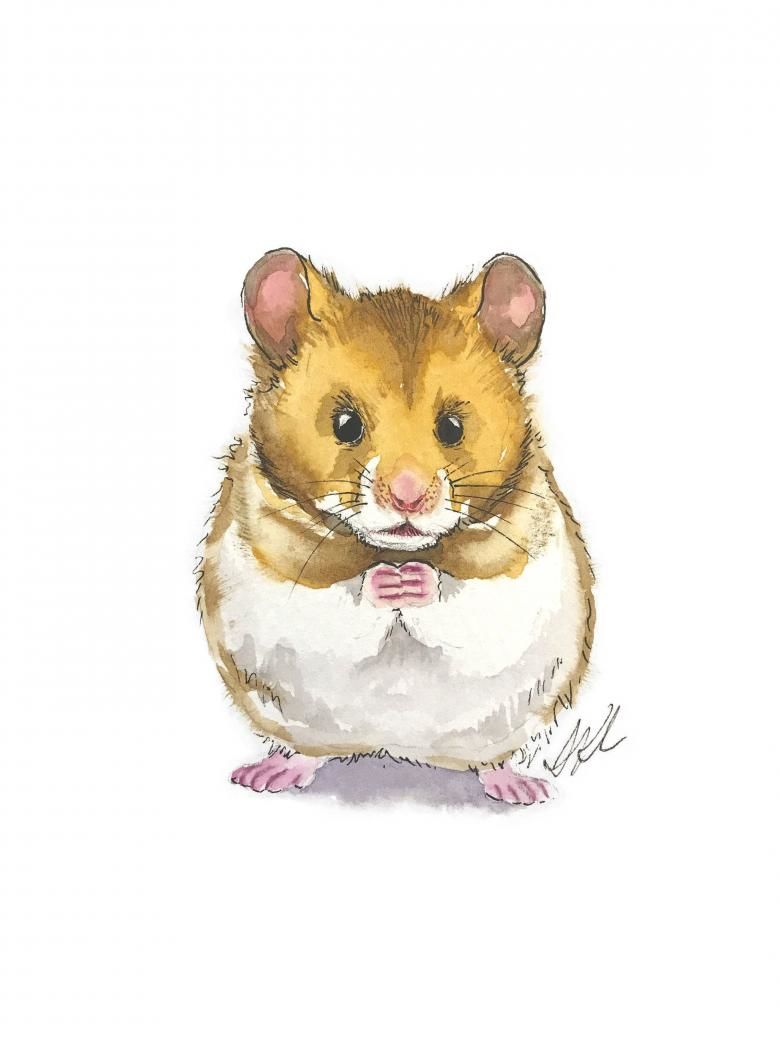
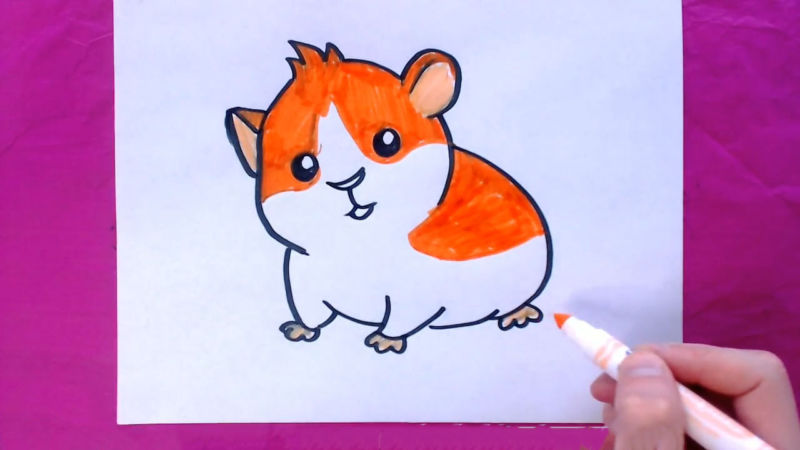
Syrian
This breed of hamsters was first discovered in the Turkish and Syrian lands, which gave them their name. Syrian hamsters often have a reddish or golden hair color with elements of white fur.
They are quite large in their size.
If the hamster is given proper care and living conditions, it can live for about 4 years.

Roborowski hamster
Roborowski hamsters have grayish and brown colored coats, but the abdomen always remains white. These rodents are social animals, so they will not tolerate a lack of attention.
It is best for them to live in a cage with several individuals, so they will constantly fill the need for companionship. For small children such hamsters are not suitable, because they are very brisk and can run away from hands and hide in the unknown direction.
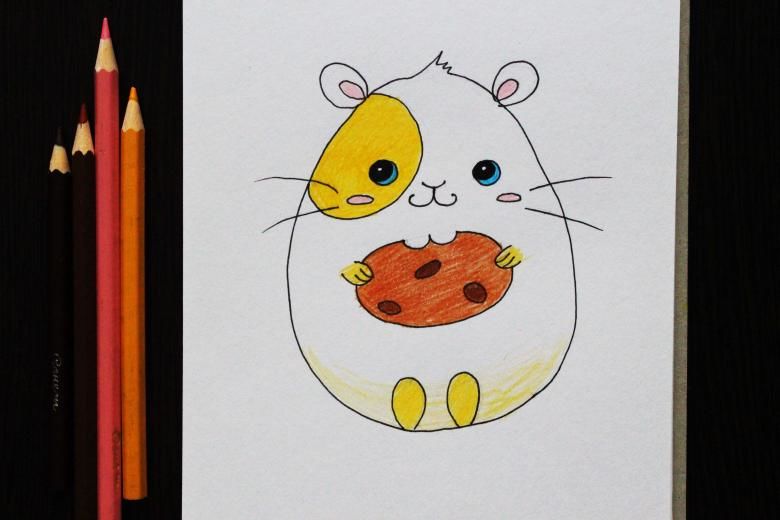
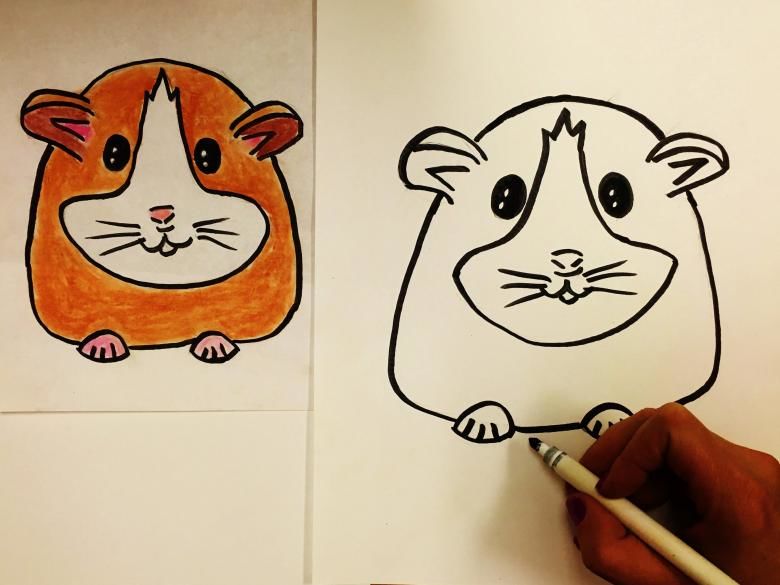
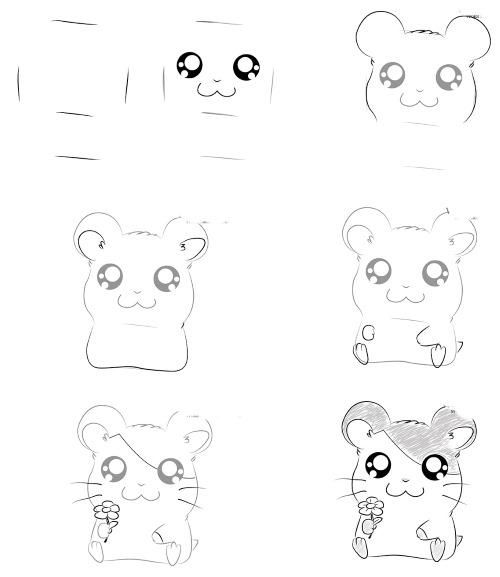
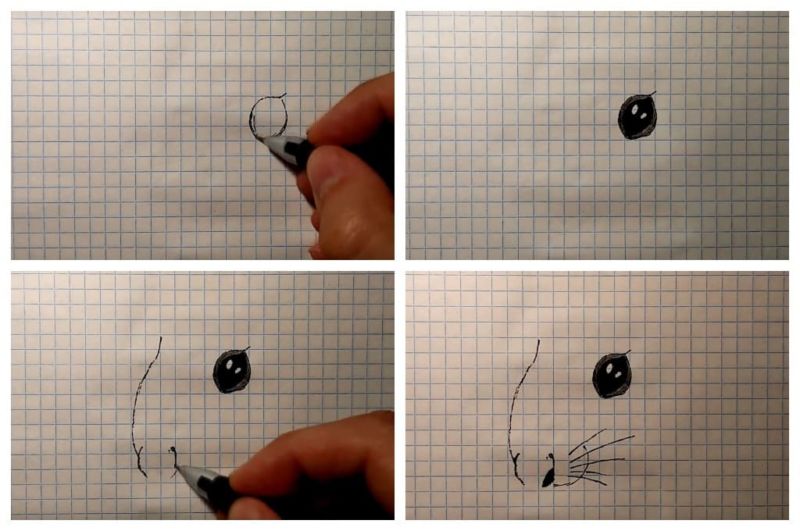
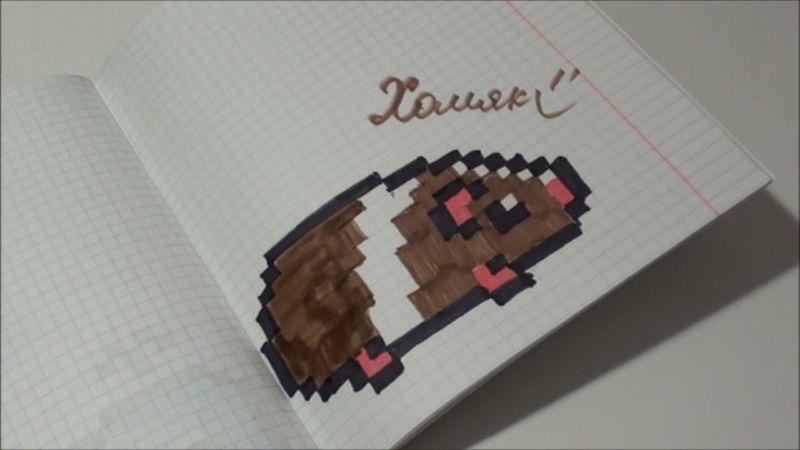
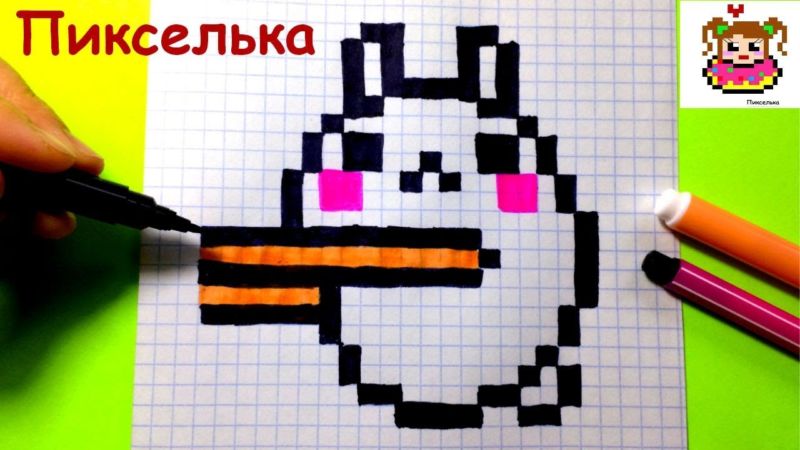
An easy drawing of a hamster on cages
For beginner artists, the best option would be to draw a cute hamster on a checkered sheet of paper. Such a hamster can be offered to a child to draw, with which he is more likely to cope even without help.
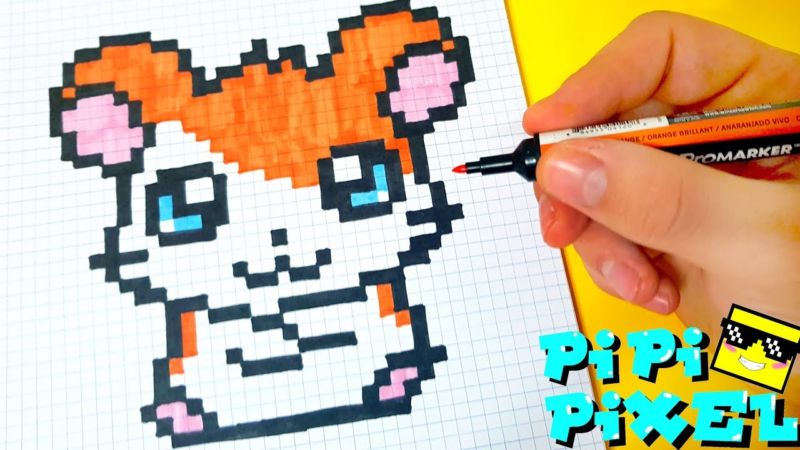
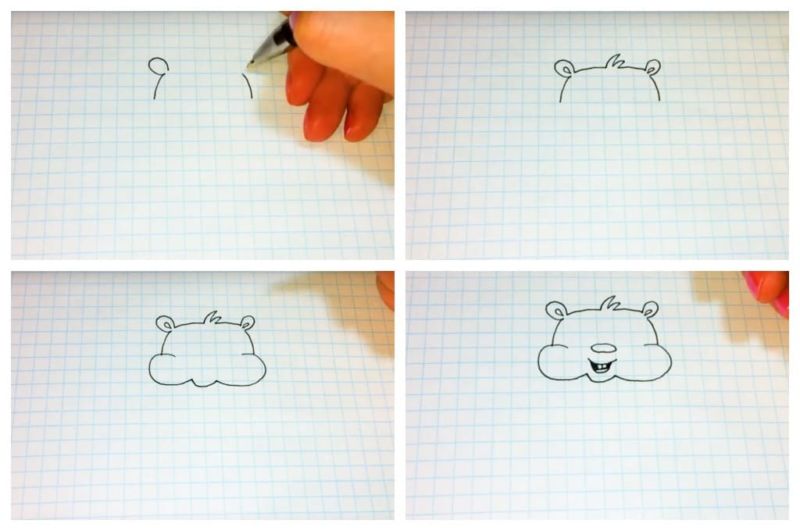
The hamster will initially be drawn in pencil and then colored with colored pencils:
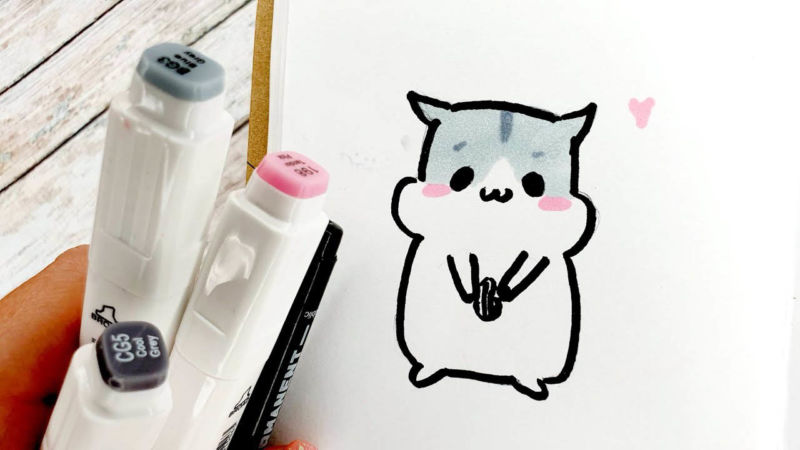
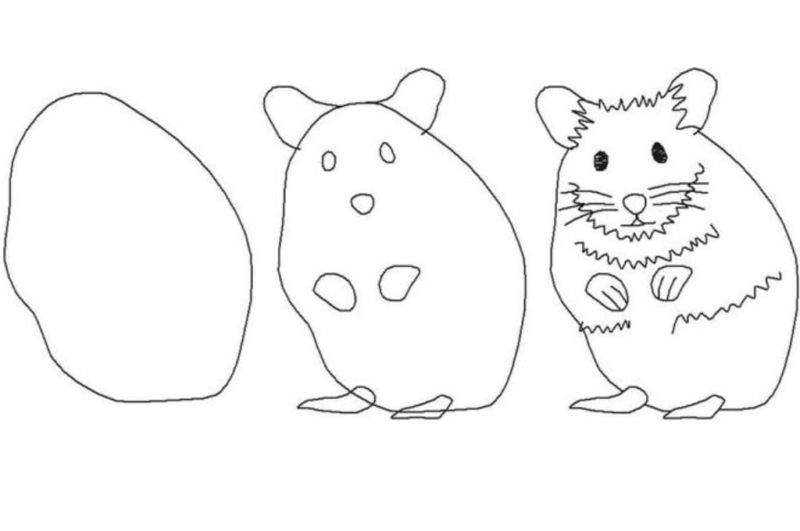
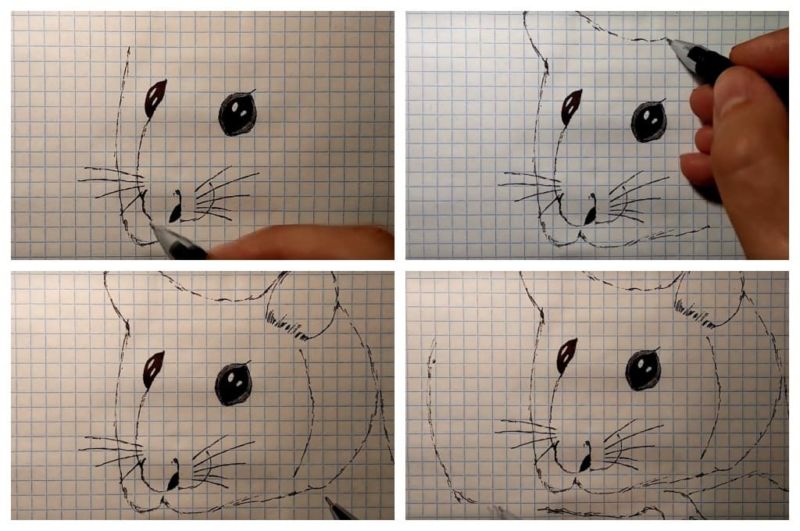
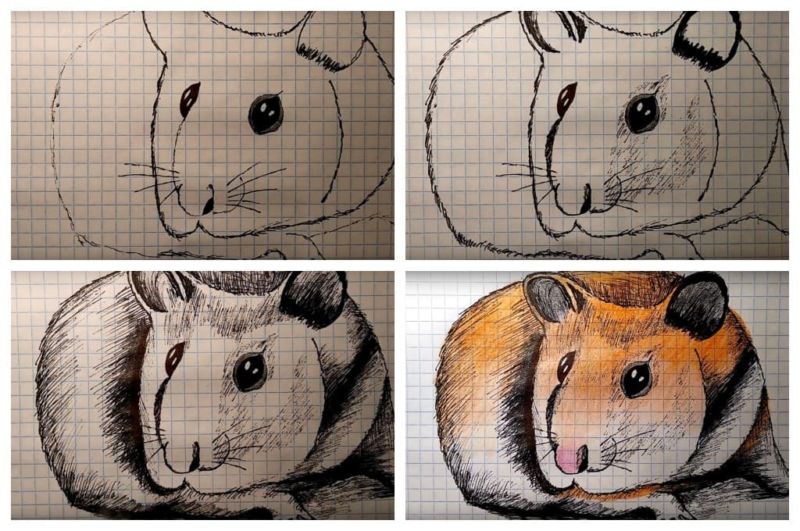
- Just above the middle of the sheet at a distance of 7 cells, draw two vertical arcs, occupying 2 cells, and finish them with drawing the ears, which have an oval or round shape. Inside each auricle is drawn a droplet, turned sharp side toward the base of the auricles. These droplets are the auricles.
- From the base of the ears arcs connected and form the head. You can before joining the arcs draw a piece of hair sticking out on the head of the hamster, because the fur is always highlighted in many places in fluffy animals.
- Then we go down to the top of the already drawn arcs and from them draw big cheeks. Between the cheeks down draw a chin. Between the central parts of the cheeks draw an arc pointing convex side down - this is the upper lip, starting from the edges of the arc down draw a wide smile or open mouth pet. Inside the mouth, 2 front teeth are drawn, with which rodents mainly grind solid food, and the tongue.
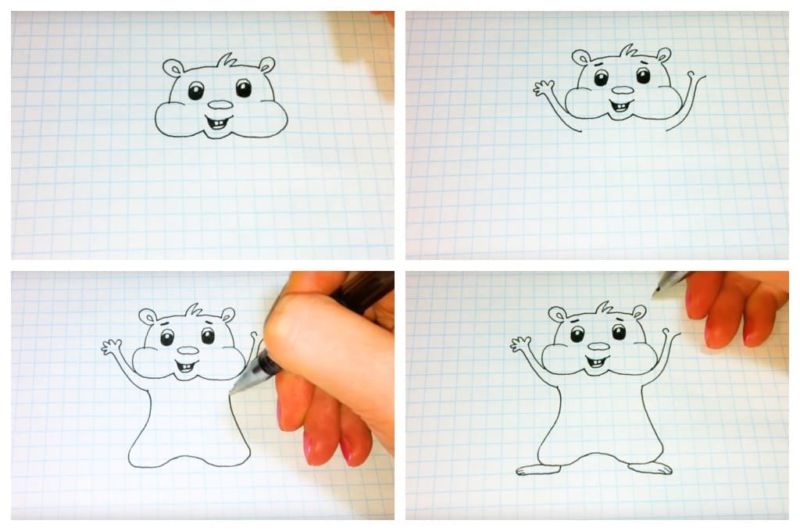
- At the level of the upper border of the cheeks draw the nose in the form of an oval, so that it is symmetrical to both sides of the muzzle.
- Going up to the upper level of the head, symmetrically to each other draws oval eyes. The ovals are arranged vertically. Inside the ovals we draw the pupils, and inside the pupils we leave the glare.
- Just below the bottom of the cheeks, or even touching their line, paws are drawn, raised down. To draw the paws correctly, you need to be familiar with the anatomy of the structure of hamster feet. To do this, it is enough to find an appropriate picture on the Internet.
- From the base of the paws begins to draw the abdomen. After you have outlined the abdomen, you must proceed to the feet and also, based on the prepared picture, draw them.
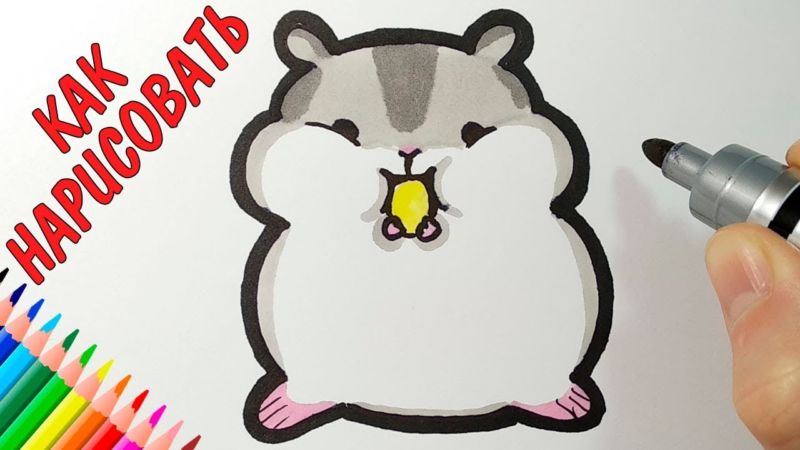
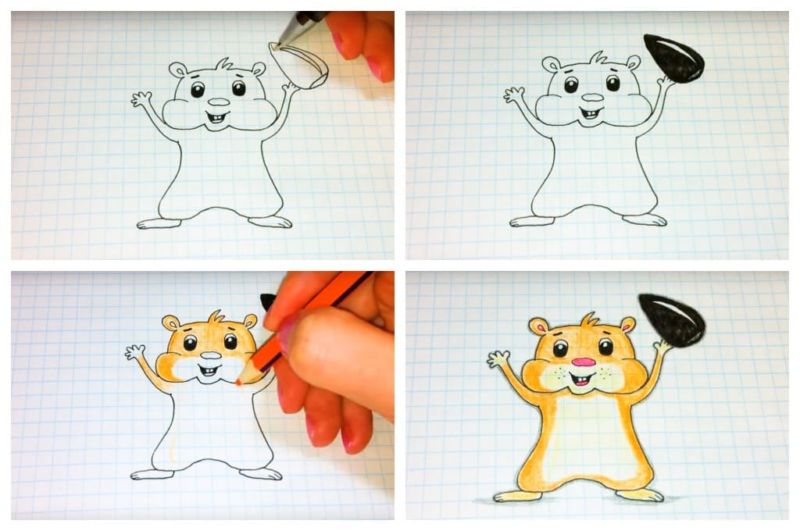
- For variety and coloring it is necessary to put a seed in a foot, because rodents have the greatest appetite for seeds. The outline of the seed is drawn in the left raised paw, and then it is detailed by adding a white stroke and a brown stripe at the base.
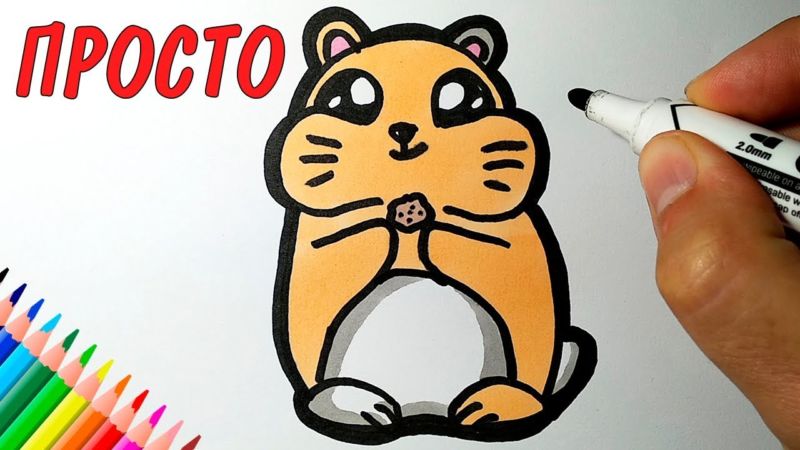
- Now it's time to detail and color the hamster. First, the entire silhouette and all lines drawn are outlined with a black felt-tip pen, black pen or well-sharpened black pencil. Immediately the main part of the seed is painted in black, not counting the brown stripe at the base and the white stroke.
- Next we need an orange pencil. Adjusting the pressure, we un-paint the whole face except for the place below the nose. The place left, you can then lightly pressing paint a light beige or yellow shade. This shade is also painted paws. Near the cheeks are drawn areas where the antennae grow, and very thin lines themselves antennae.
- The body is painted in orange pencil mostly on the edges of the silhouette, and the abdomen remains completely white. When going from orange to white, you need to carefully adjust the pressure of the pencil.
- The only thing left to do is to use a pink pencil to color the nose. To give the image three-dimensionality, you need to draw shadows under the paws with a simple pencil.

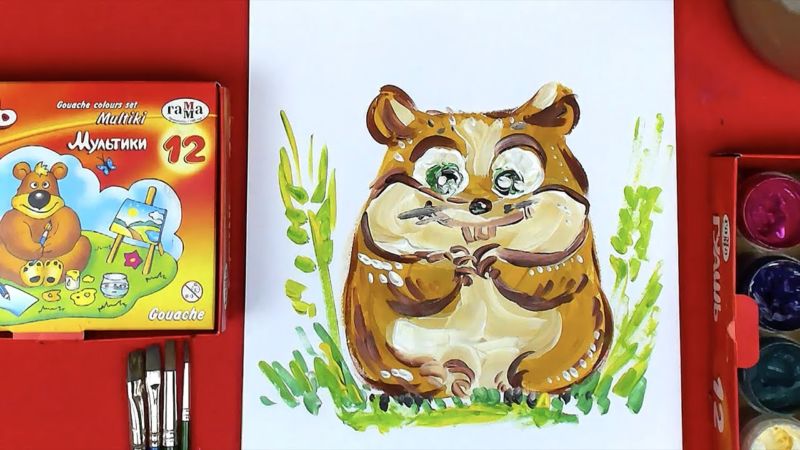
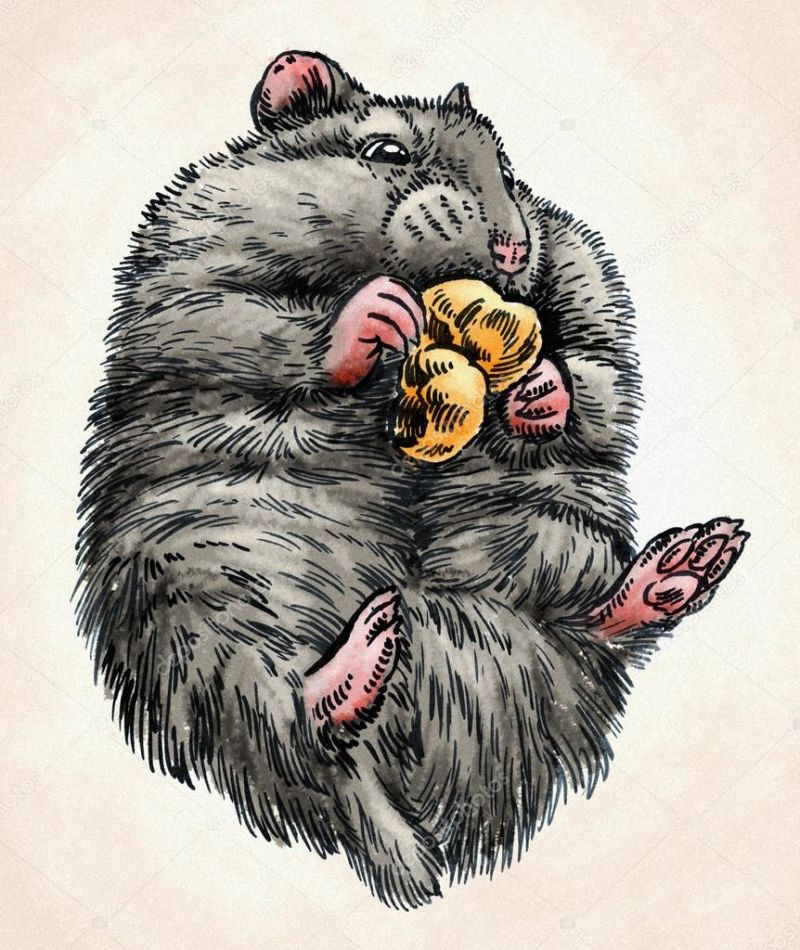
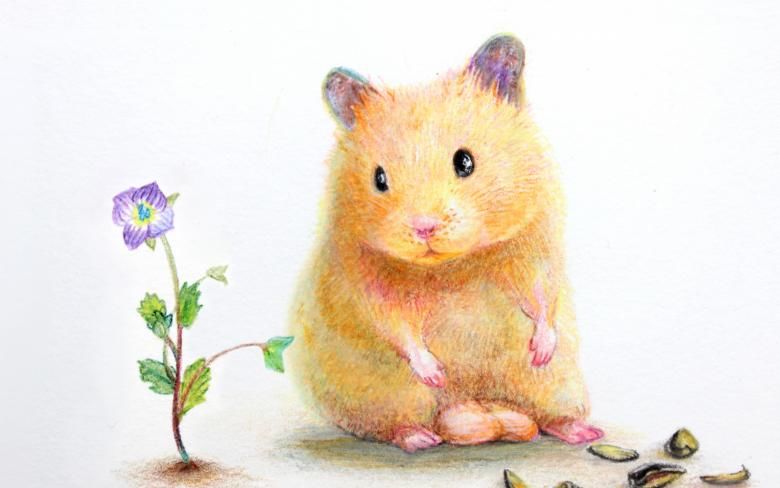
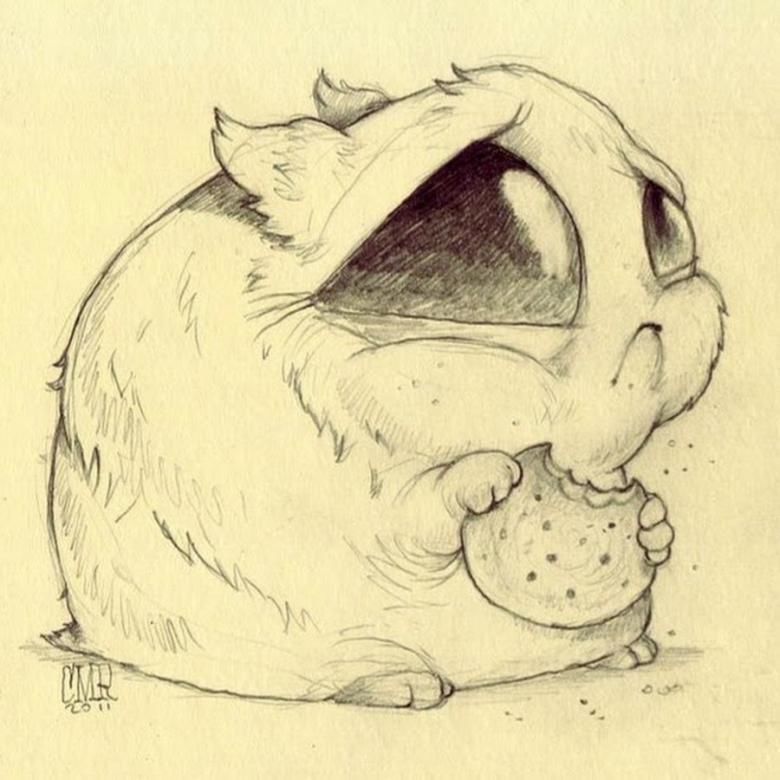
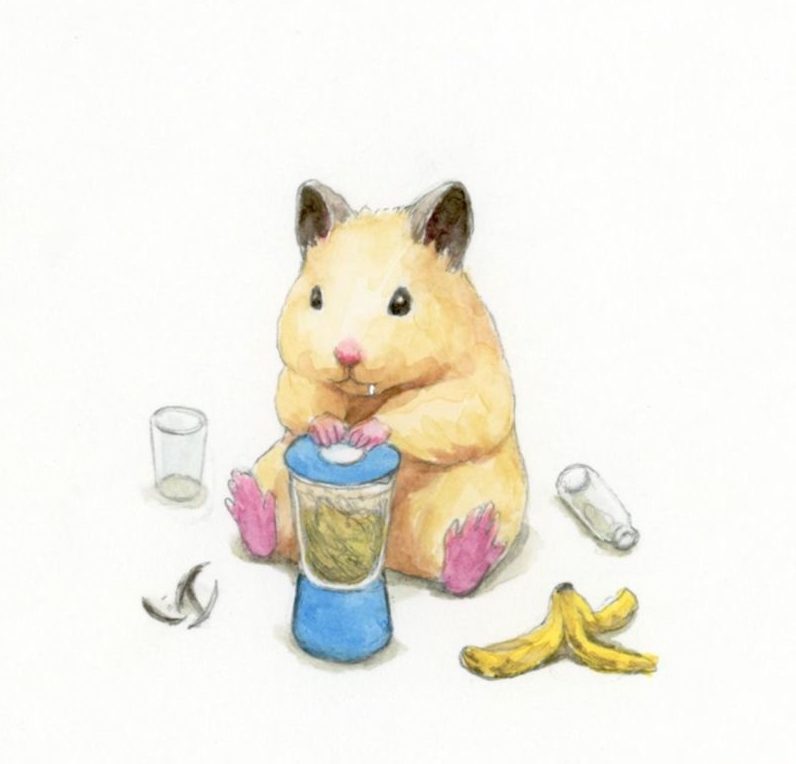
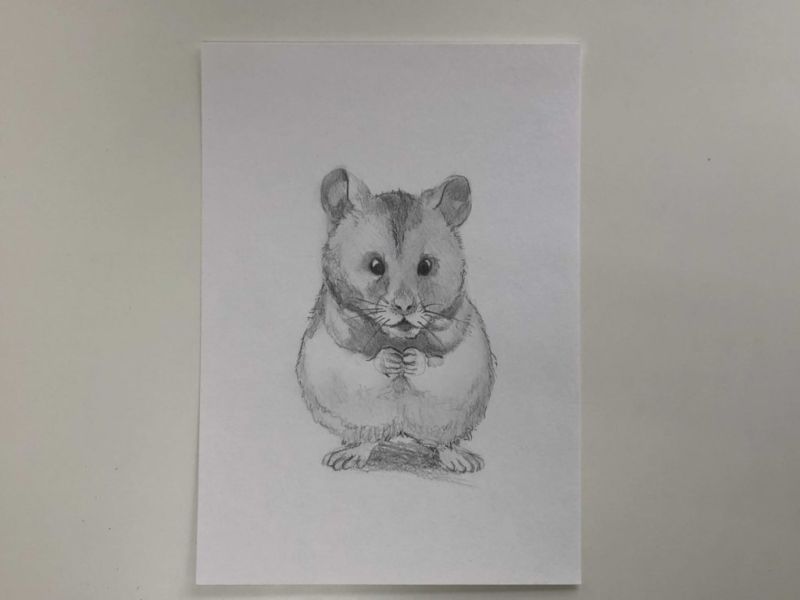
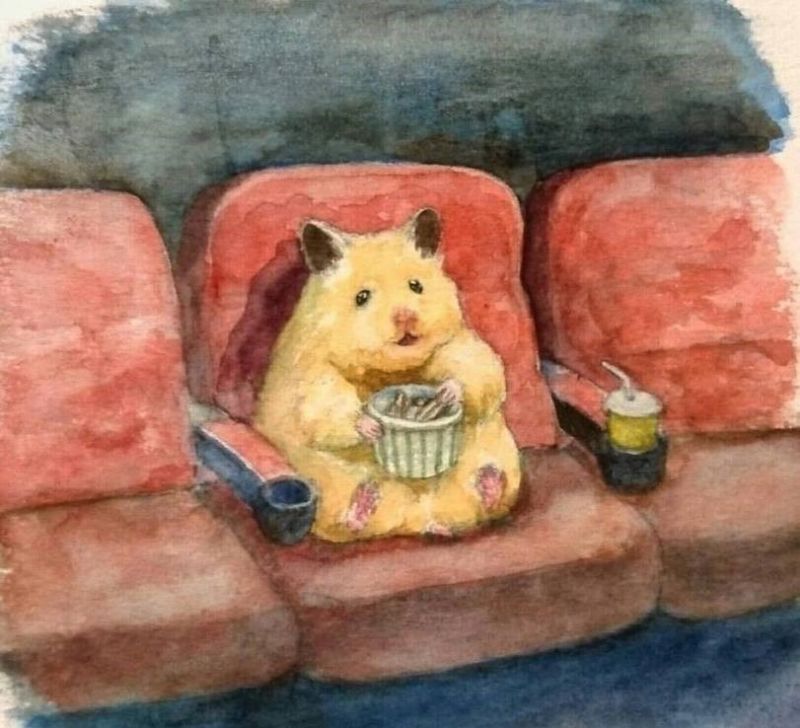
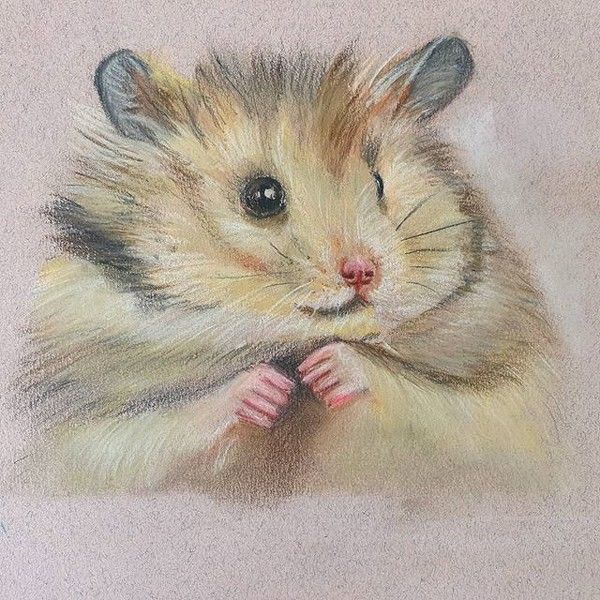
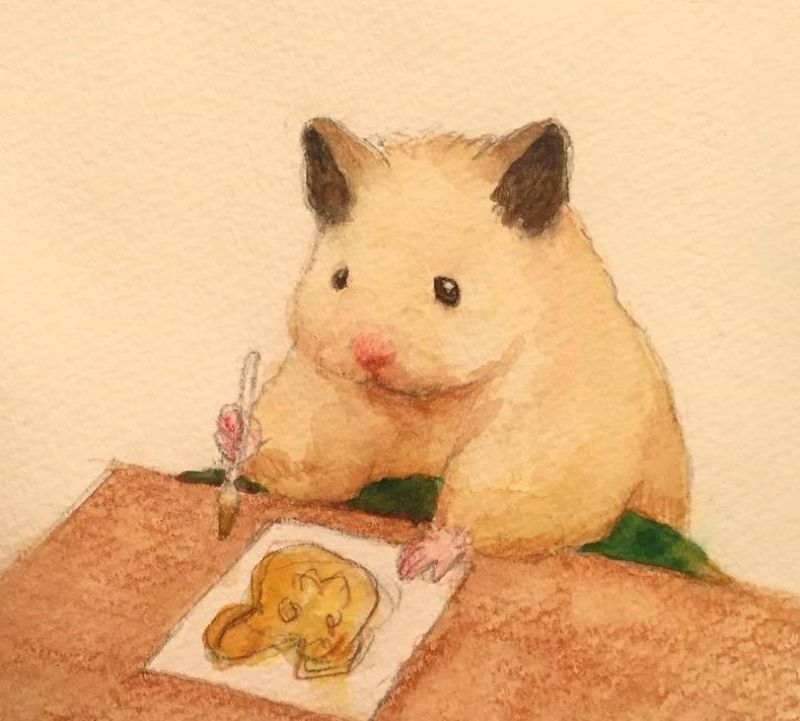
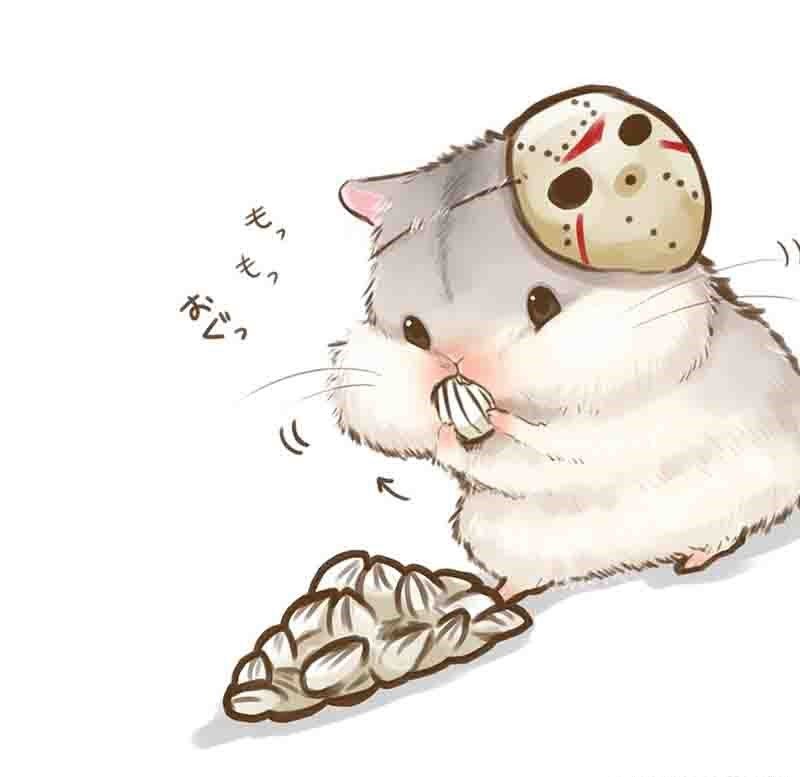
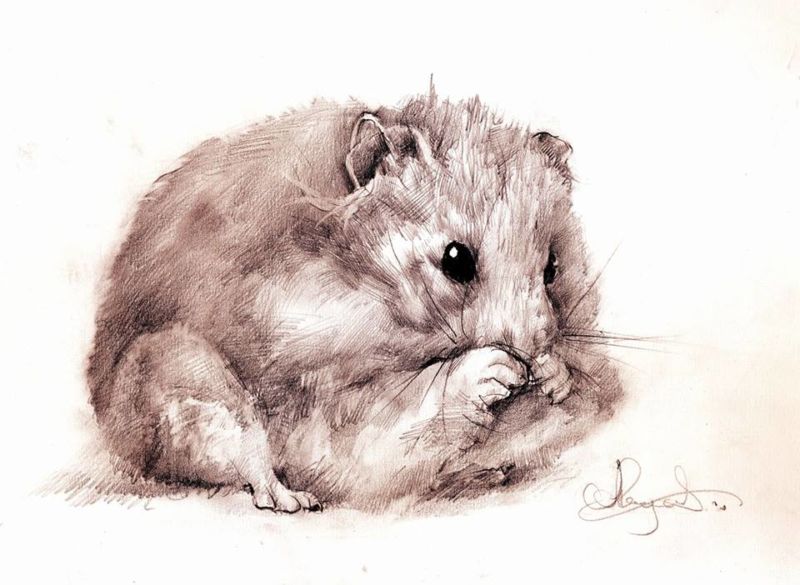
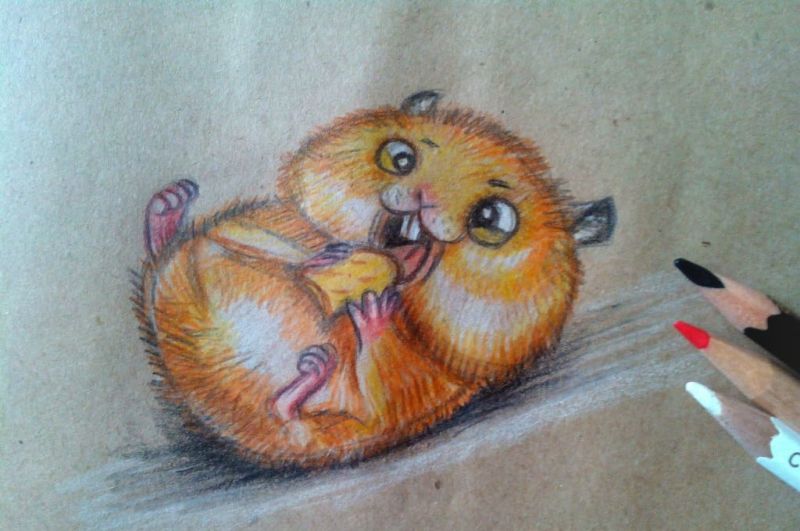
Realistic hamster with a cookie in his paw with pencil
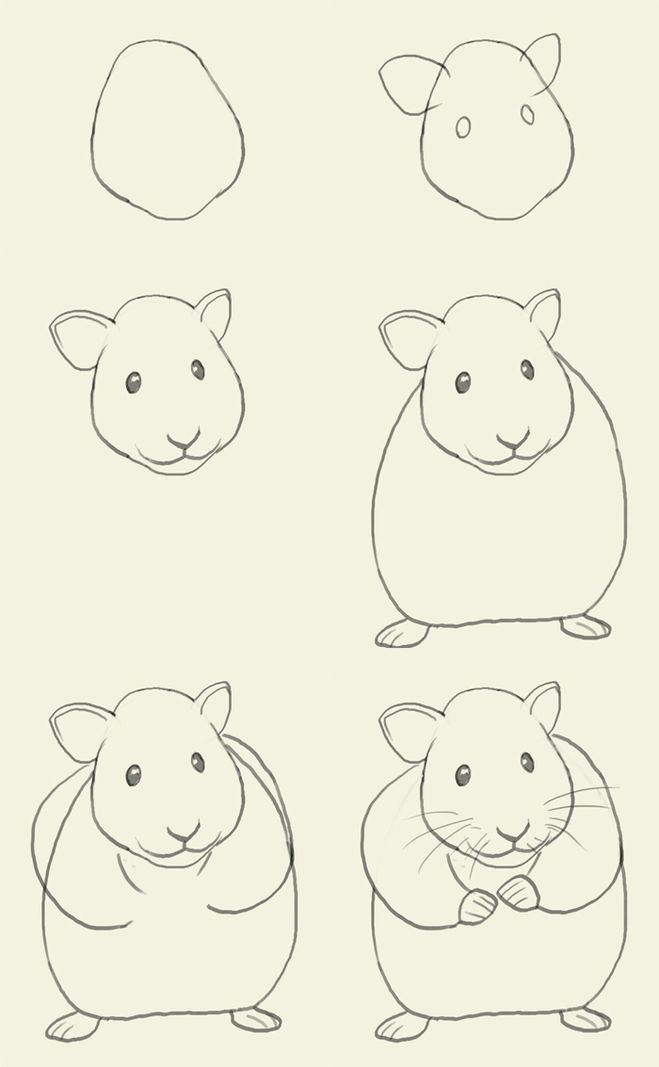
After a rather cartoonish image of the hamster, it's time to try a little harder and try to draw it more believably and proportionally:
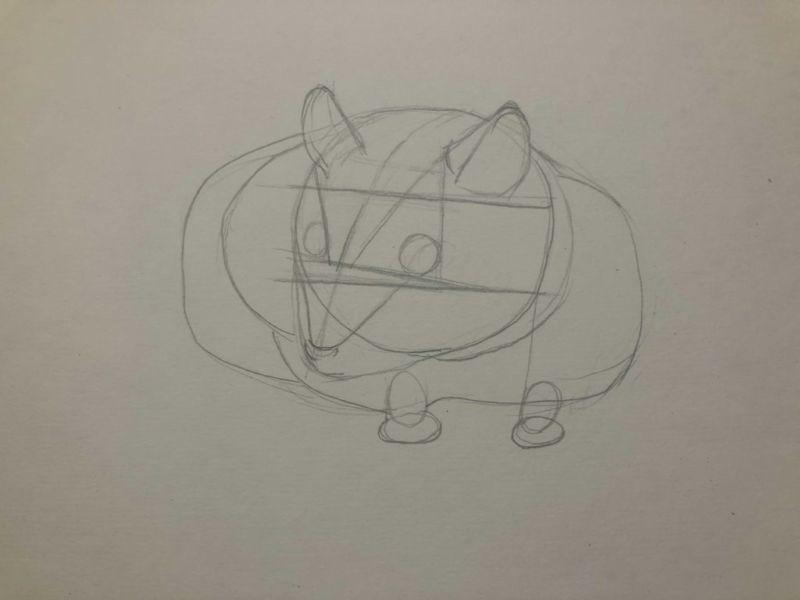
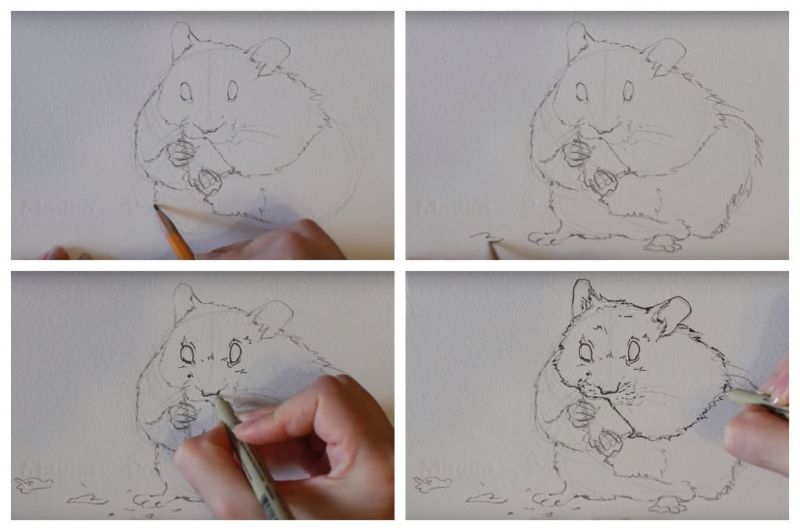
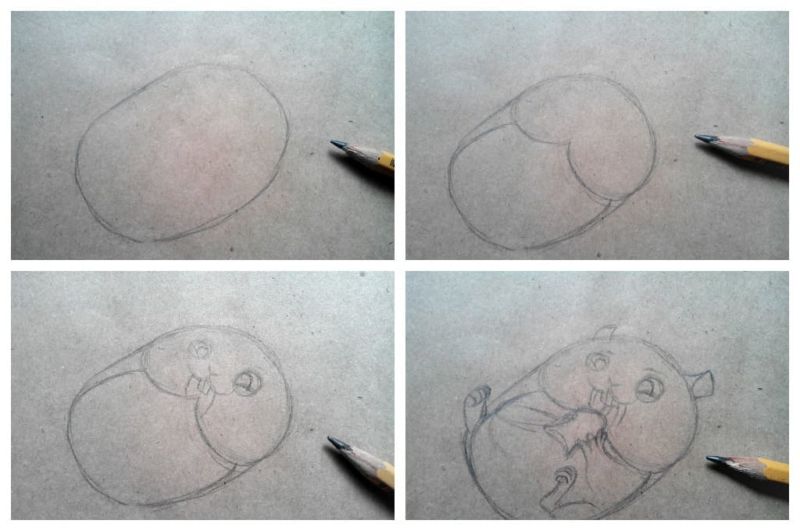
- You'll need a soft pencil to draw auxiliary lines and sketches, and a hard pencil for further detailing. With light lines make a cross outline, which will determine the correct proportions of the muzzle.
- At the base of the head is a circle. On top of the circle you can immediately draw ears semi-oval shape. On the outer side of the head you can just mark the fur and pieces of wool, which rise up a curl.
- The circle is divided into two parts. Symmetrically to each other are drawn eyes round or oval shape. At the end of the vertical line pre-drawn cross marked the bottom of the nose.
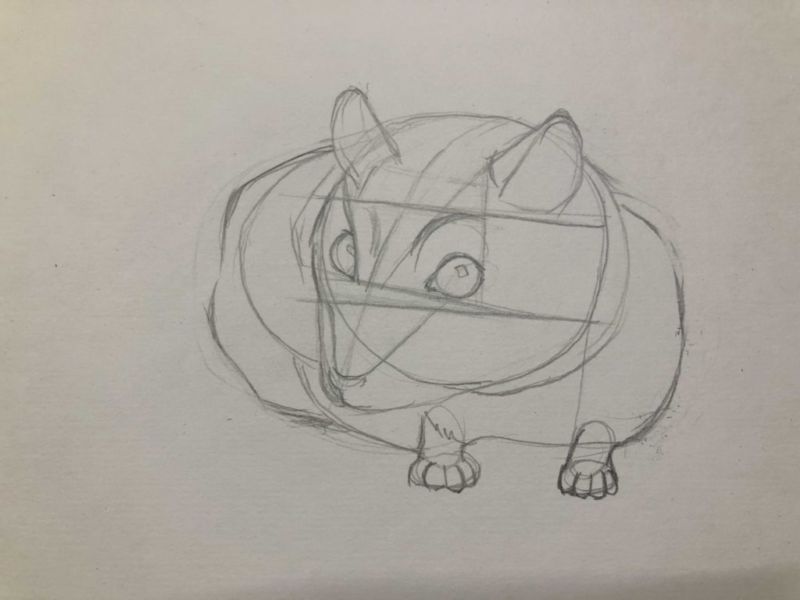
- Rather large cheeks are drawn at the bottom of the round base of the head. You must also set the base of the muzzle. Draw a mouth and 2 front teeth, hamsters gnaw food.
- Now going down and touching the bottom of the head, draw a large horizontal oval. It will be the torso. Immediately you can start tracing the outer contour of the wool body, doing it in zigzag lines.
- In the muzzle place a cookie, hamster holds on to paws. One paw holds a little higher, the other paw a little lower. Cookie has a triangular or rectangular shape. Draw the texture of the cookie. It is important to know what kind of cookies you want to represent: if they are sandy, then the surface is homogeneous, if they have specks and pieces of chocolate, then we draw the elements of chocolate. You can also depict crumbs and a few more pieces of cookie on the floor near the hamster.
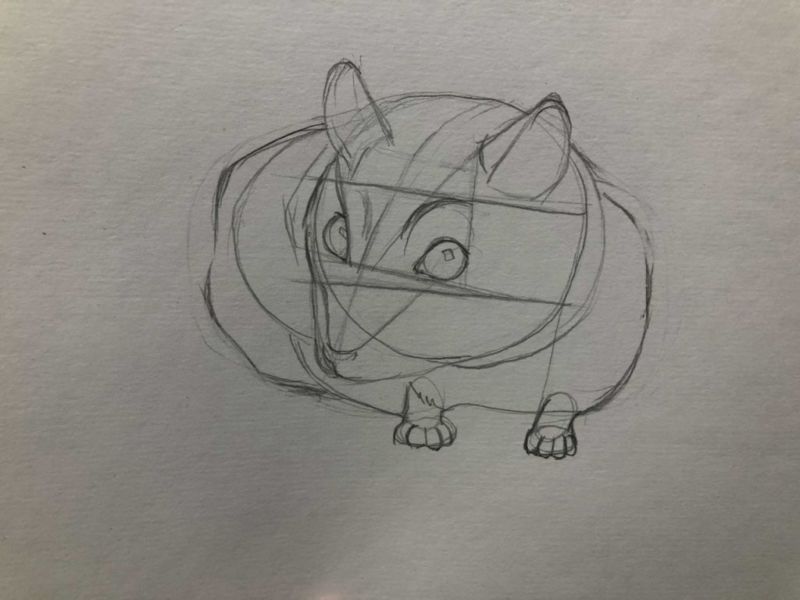
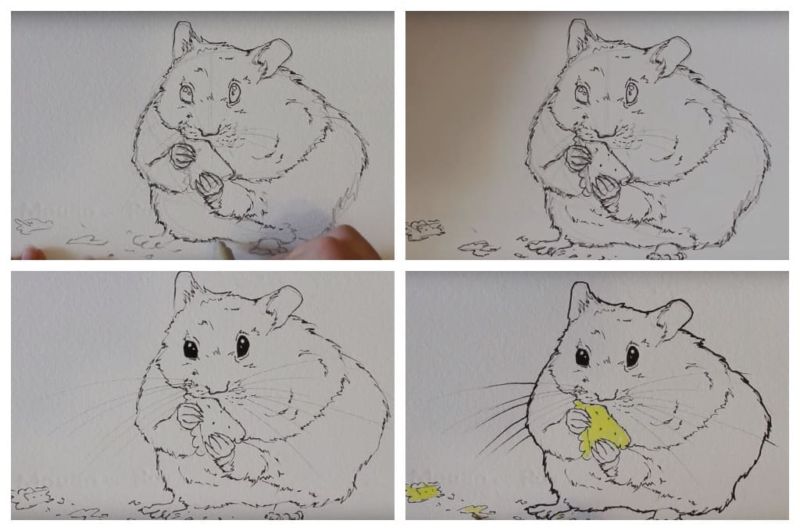
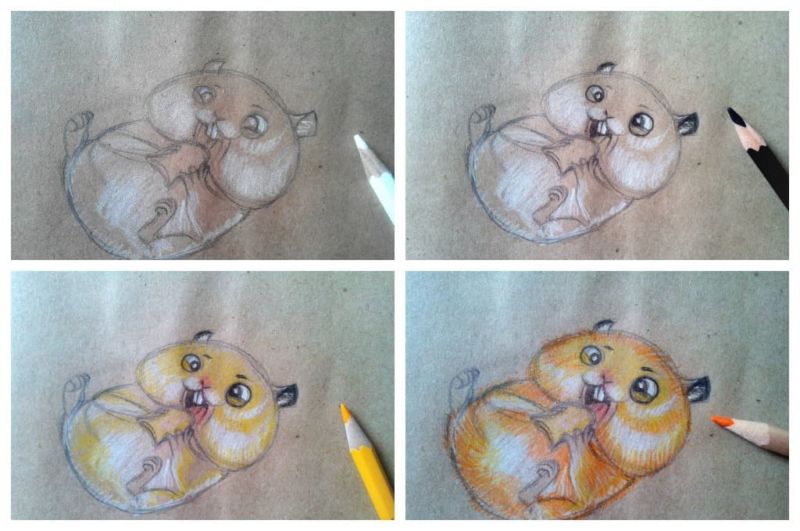
- It is important to pay attention to the main body and draw strokes on the wool surface of the body, and folds on the various places where the body parts touch each other.
- Numerous antennae are drawn with thin and natural lines on the underside of the muzzle.
- The entire drawing with all the strokes, folds and other elements are detailed. If all the elements are ready, you can trace them with a harder and well-sharpened pencil.
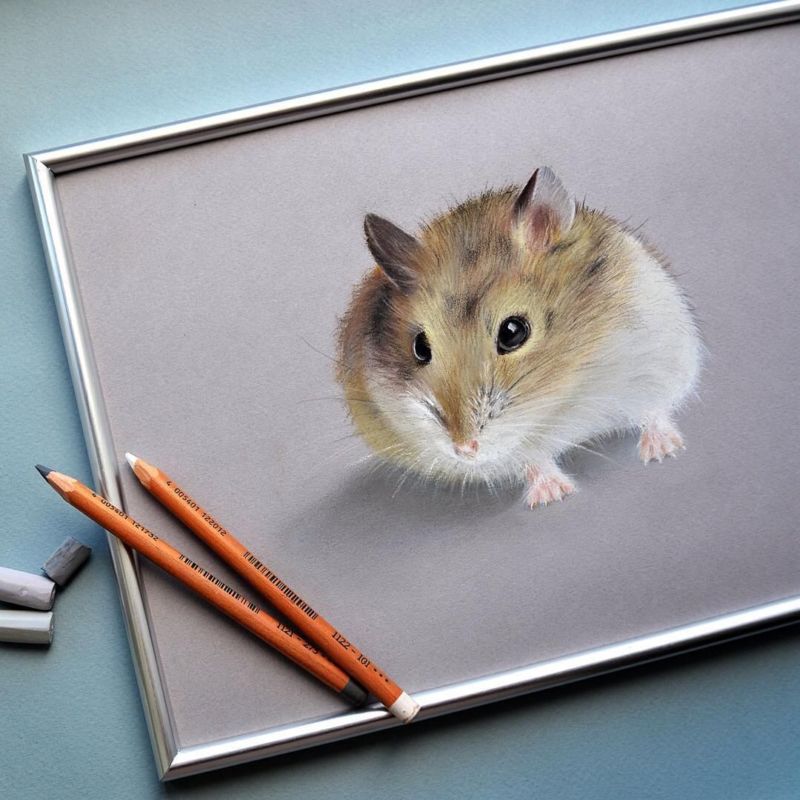
- In the last stages it is necessary to use the correct shading and to draw the shadows, as well as dark and light places. This should be done, guided by the drawing prepared in advance for sketching.

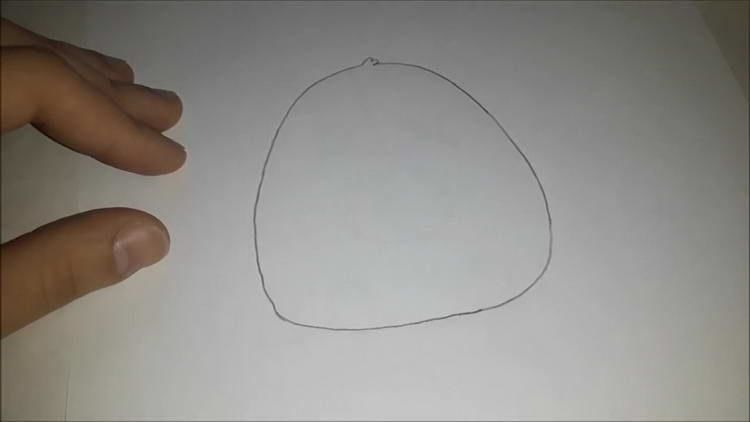
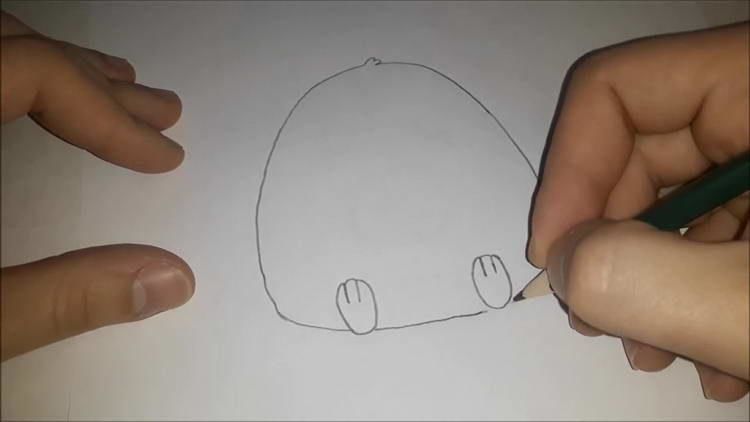
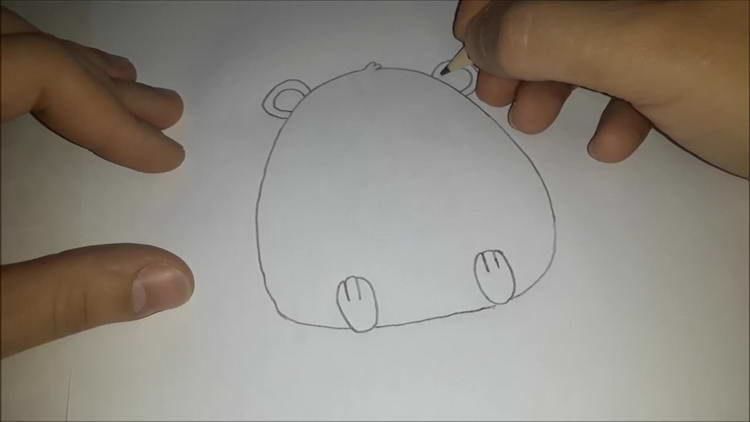
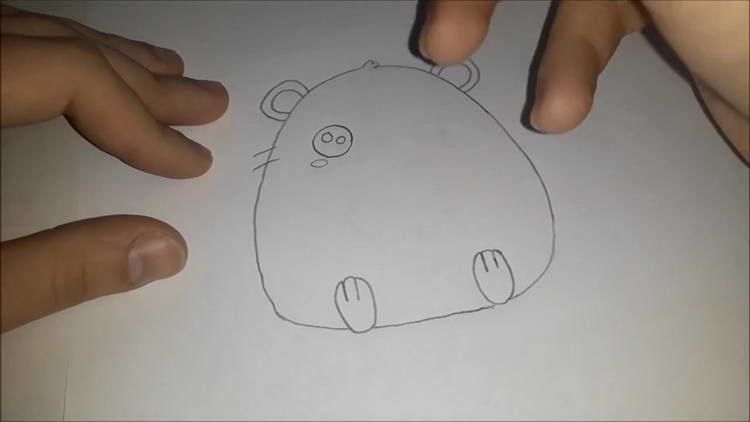
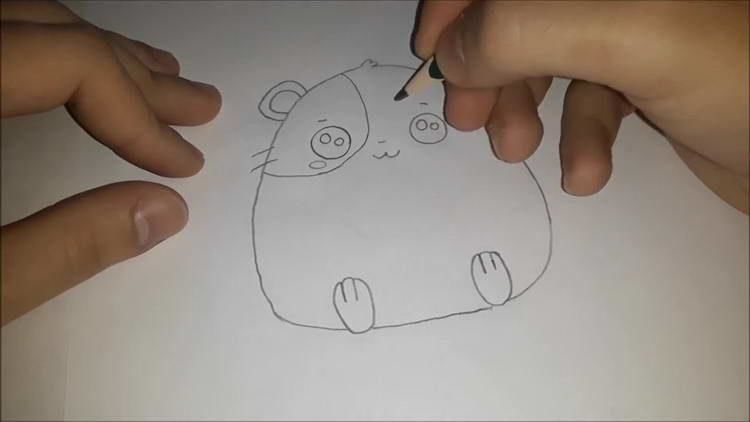
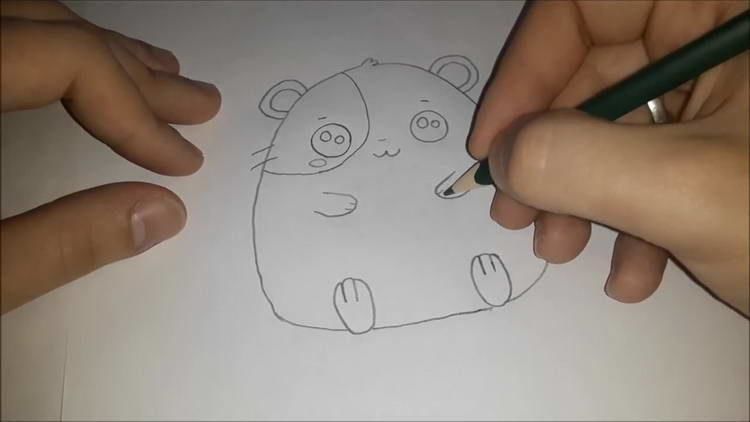
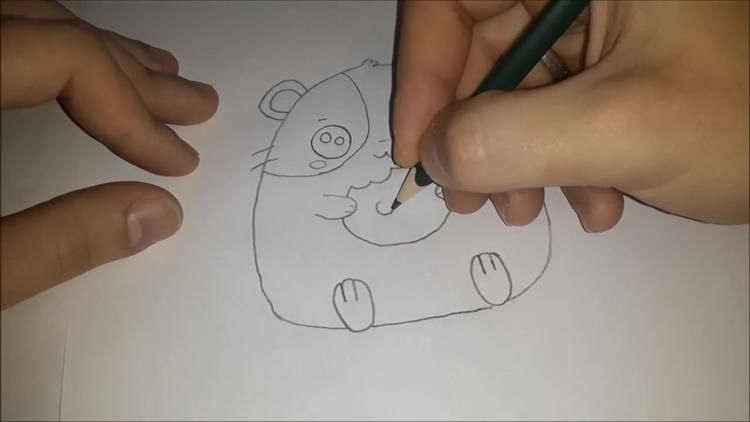
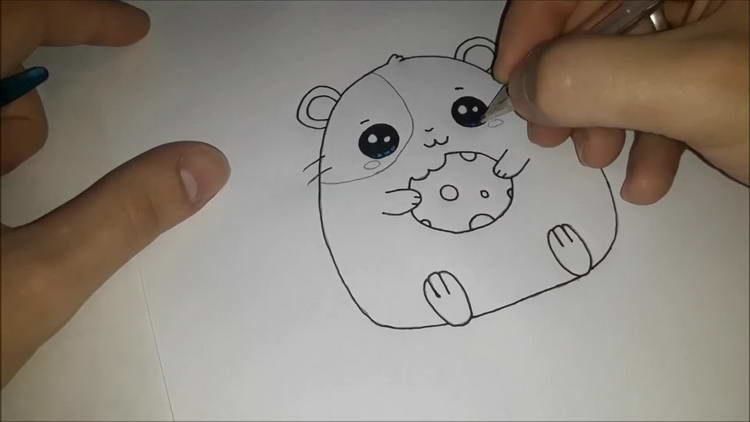
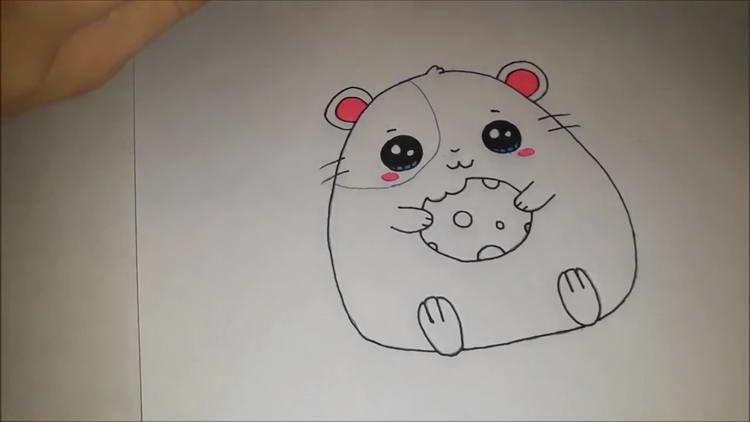
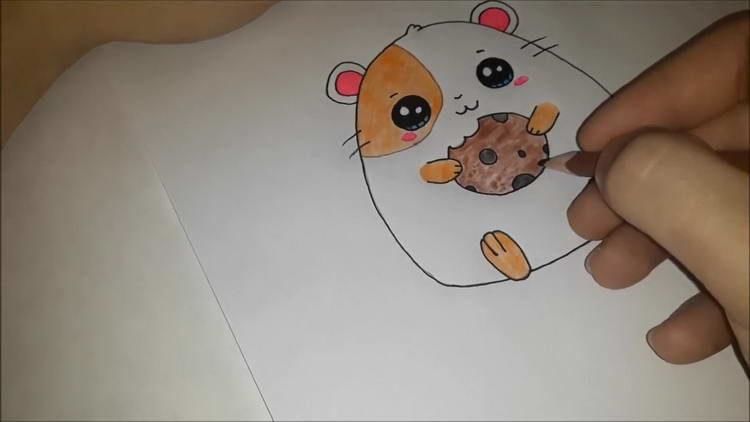
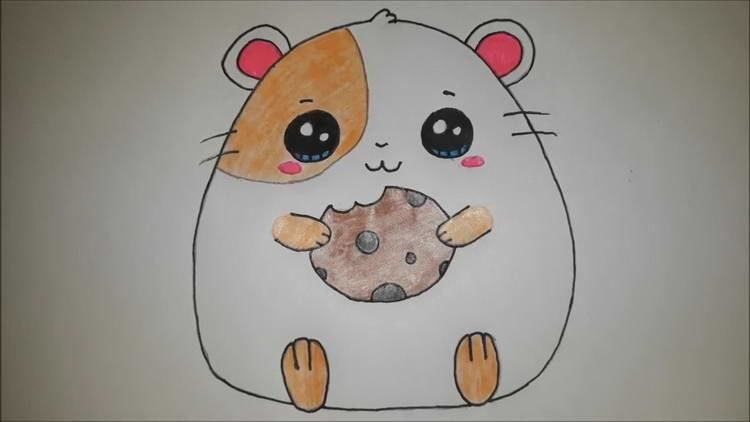
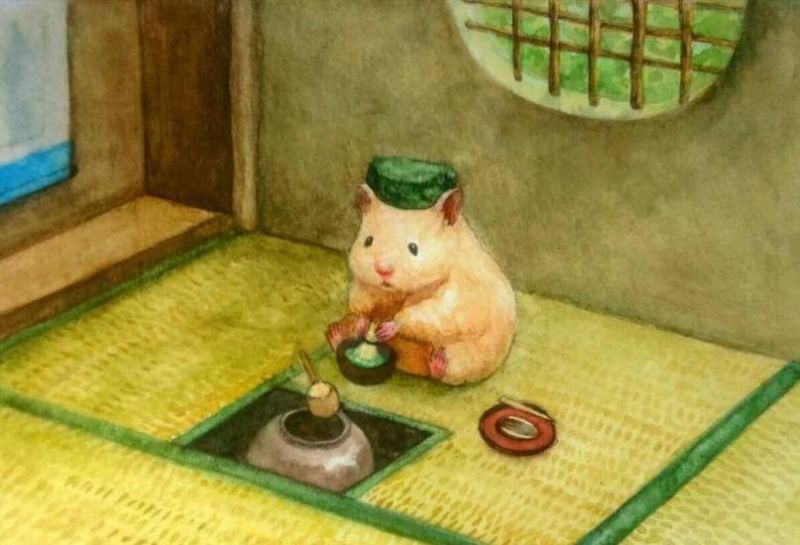
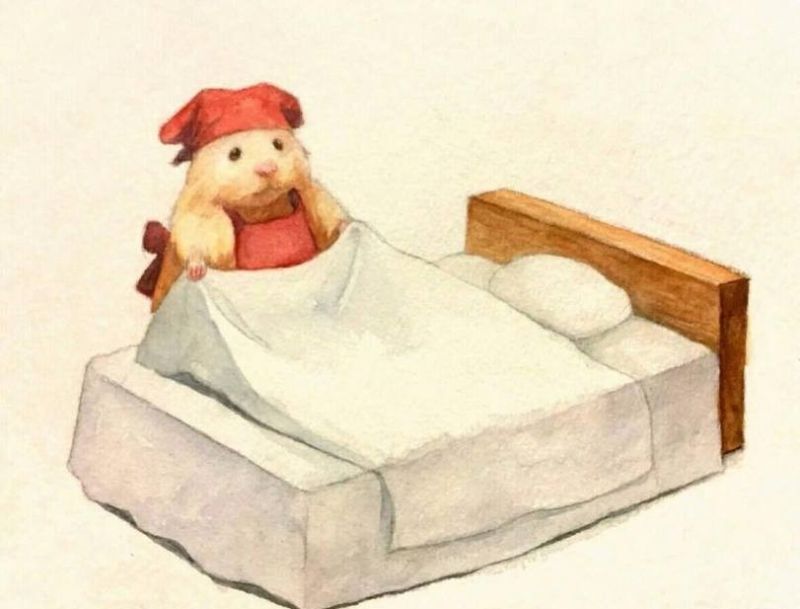
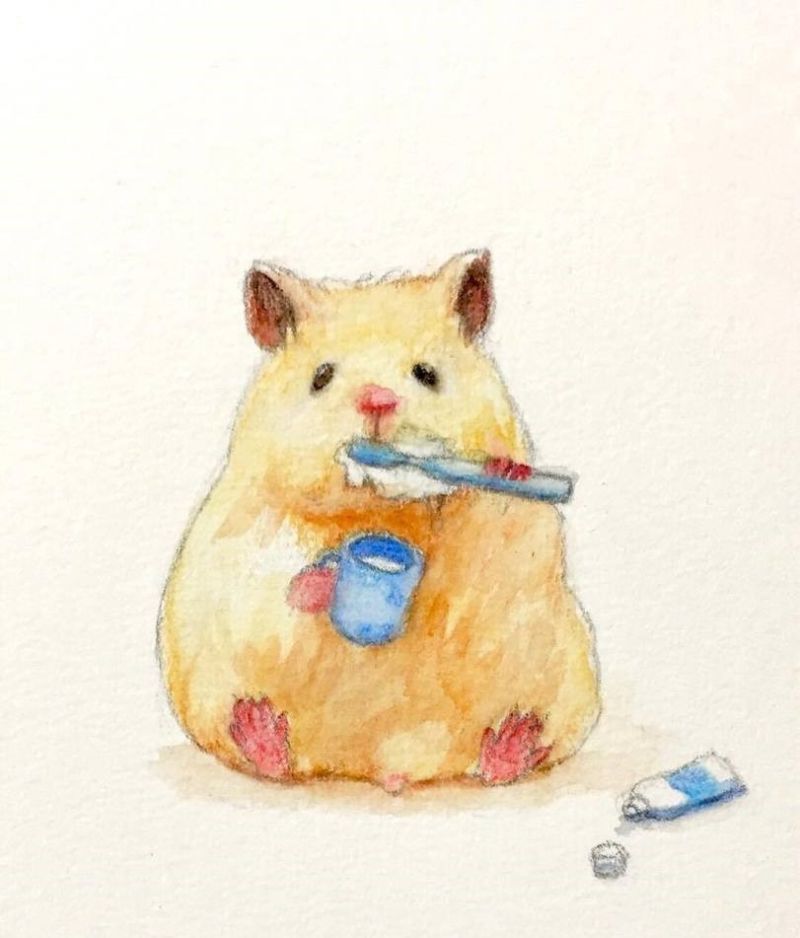
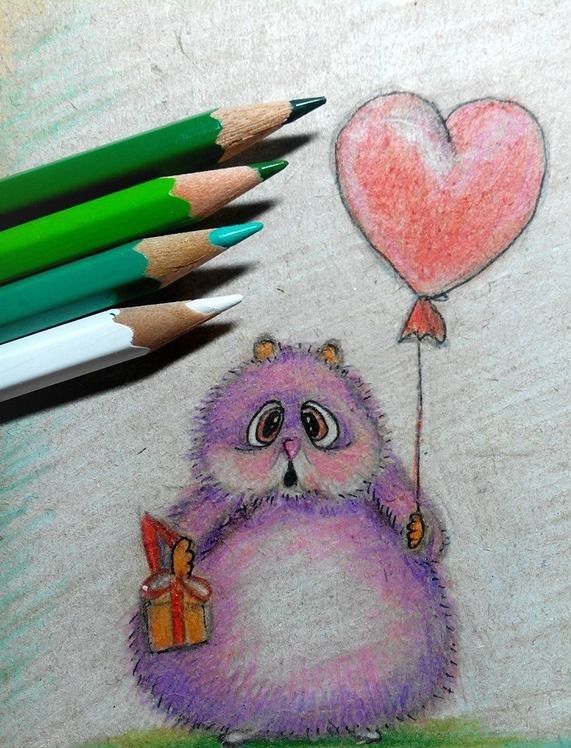
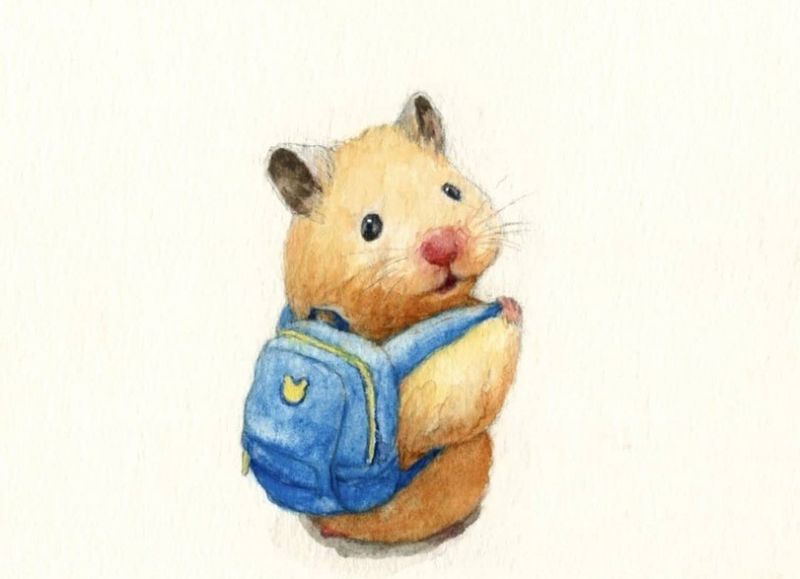
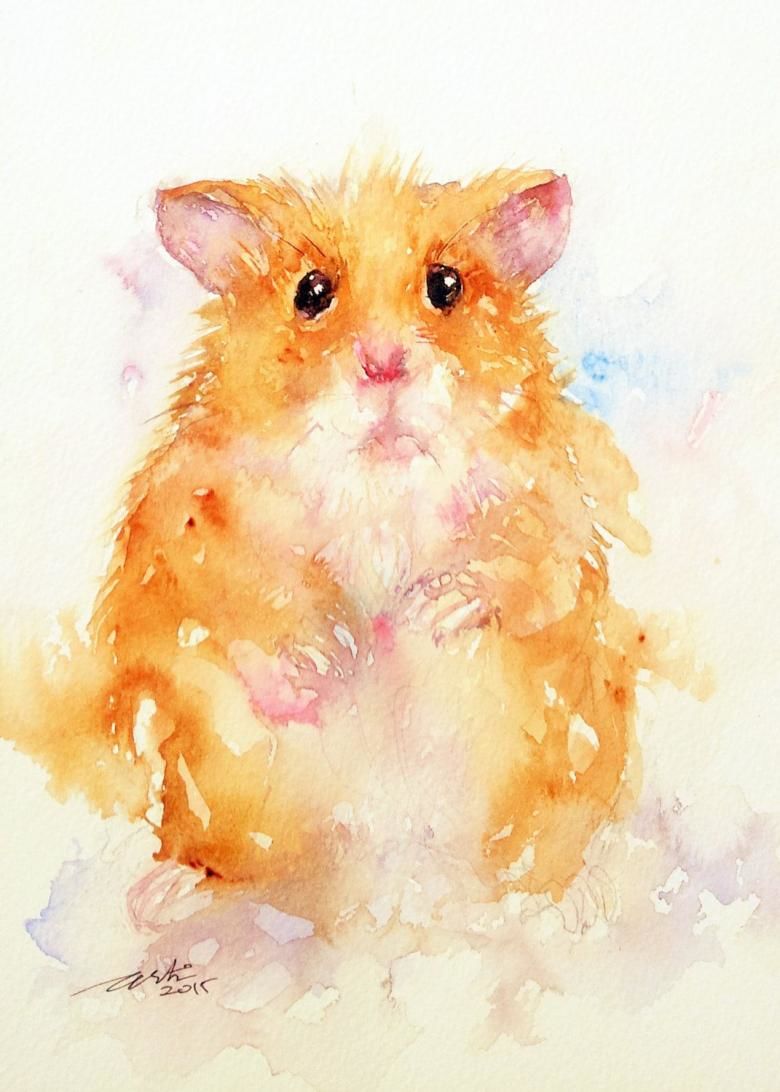
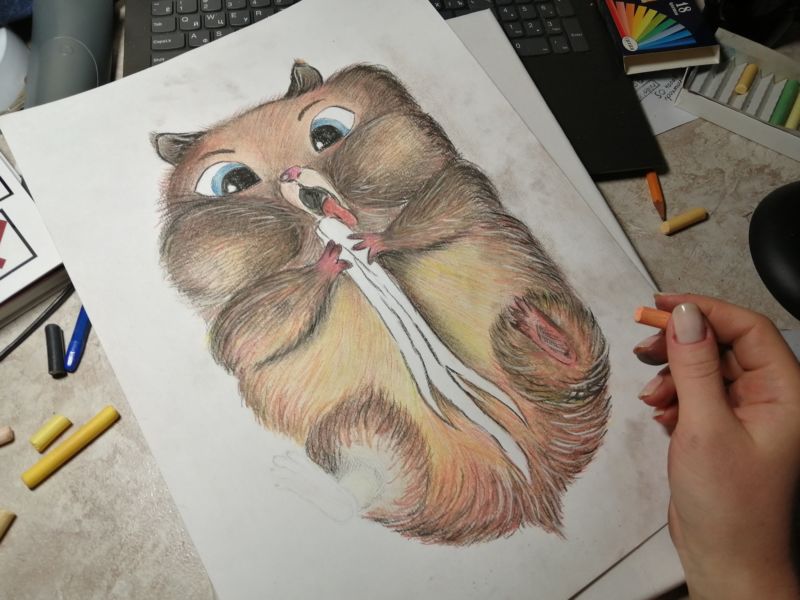
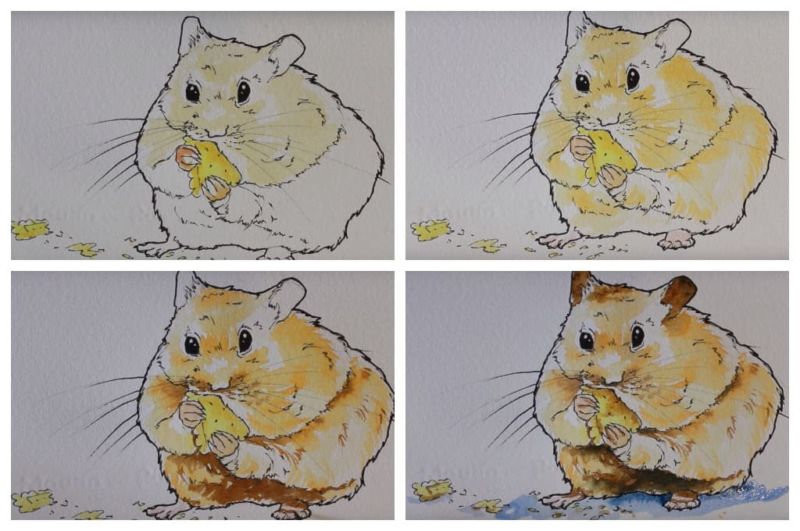
Photo of a drawn hamster in pencil, paint and felt-tip pens