How to draw autumn with paints and pencils - easy techniques and workshops for artists without experience and children
Autumn is a golden time. Its variety of colors and beckons to transfer what you see on paper. Where to begin? How do you draw an autumn landscape? And how to do it beautifully, if you're not an artist after all? I'll suggest a few simple but helpful options for drawing this theme.
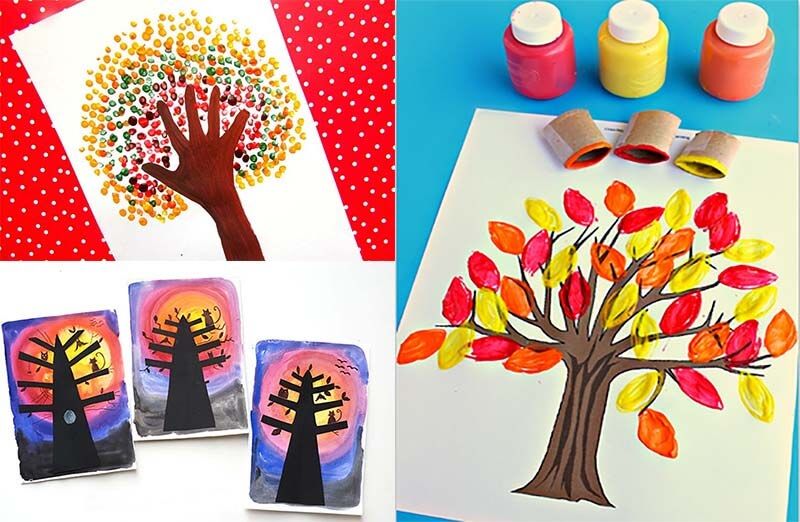
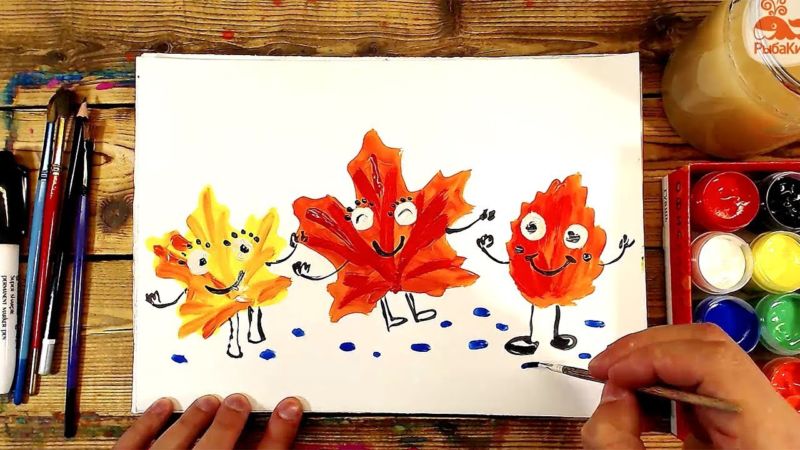
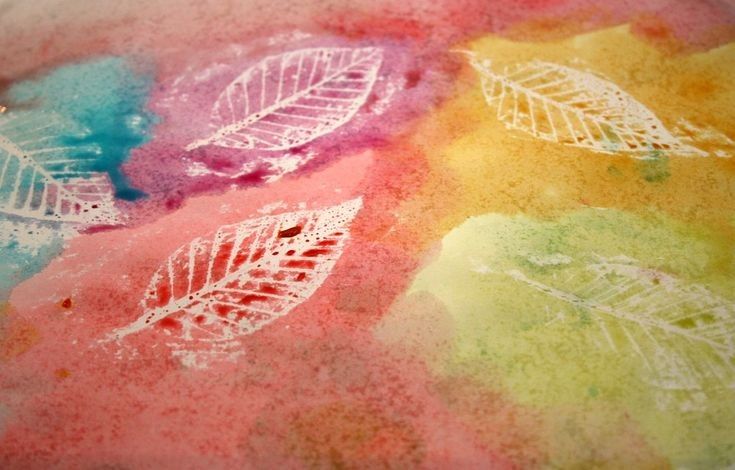
Autumn leaves - a print on a piece of paper
One of the most common drawing techniques. While walking in the park or in the woods, collect the leaves you like. Try to keep the leaves whole, clean and of course not dried out. Prepare a clean sheet of paper (you can even color), watercolor paint or gouache, a brush and water.
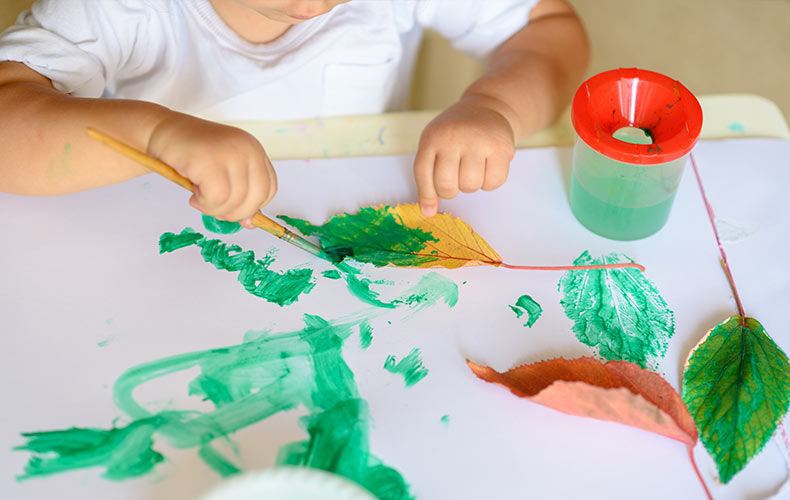
Carefully apply the paint on the protruding (so-called front) part of the sheet. Try to make sure that the paint is thick and doesn't spill out. Then carefully, pressing the sheet to the paper, make an imprint. Then remove the sheet.
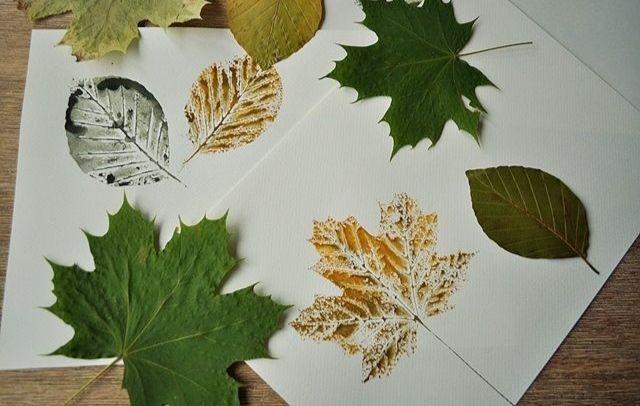
This technique allows drawing beautiful and unusual pictures. If desired, you can add missing details of drawing with a brush on the same sheet.
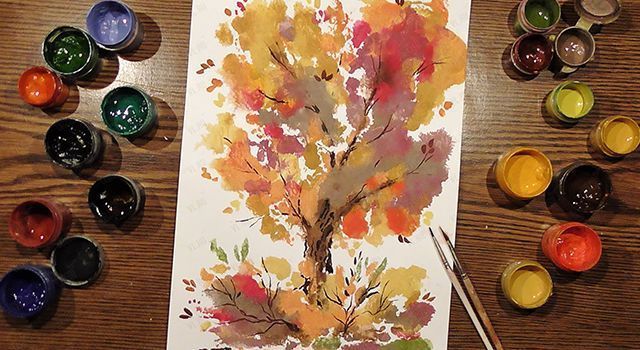
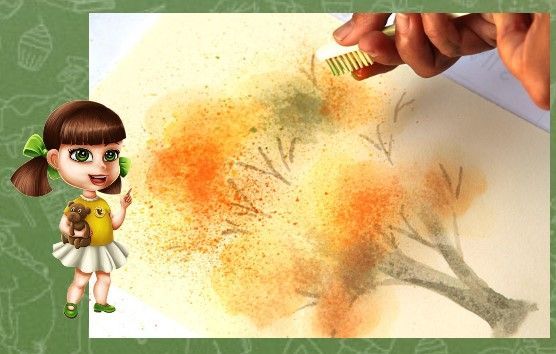
Autumn landscape with cocktail straws
Take two cocktail straws. One side of the cocktail straw is cut in several places, creating a fringe. The length of the cut is 4 cm. Then we bend these sliced edges and create a star. This is what you will use to make the stamps.
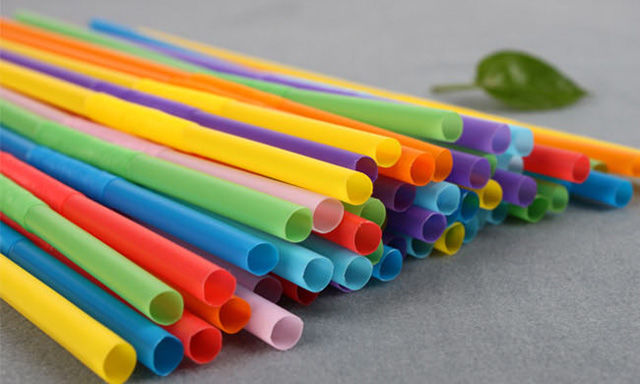
In this technique, let's try to draw an autumn tree. On a sheet of paper is placed a large (orange) blot. It is necessary to blow through the tube (which is whole) and the blot will be in front of the tube to leave behind a path. If you turn the sheet of paper and blow into the tube again, the trunks will branch out.
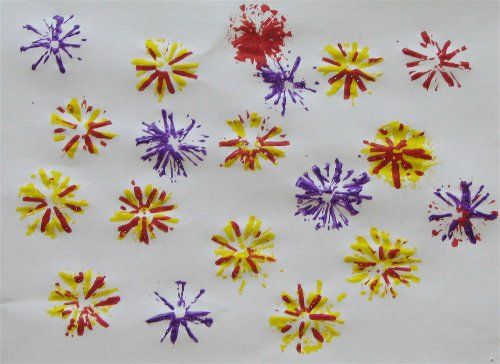
Now take the second cut tube. We dip it in a pre-prepared container with the color you want (for example bright orange). Transfer to a sheet of paper and put a print. And so in several places, applying your imagination.
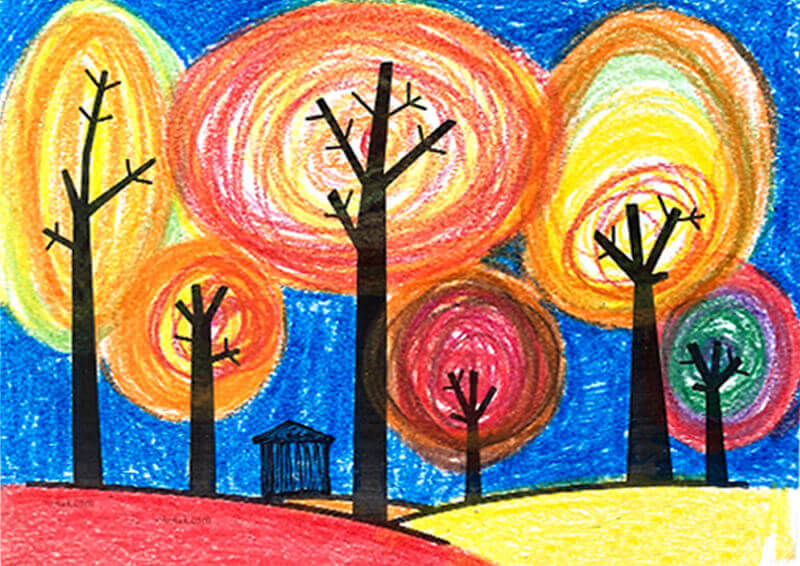
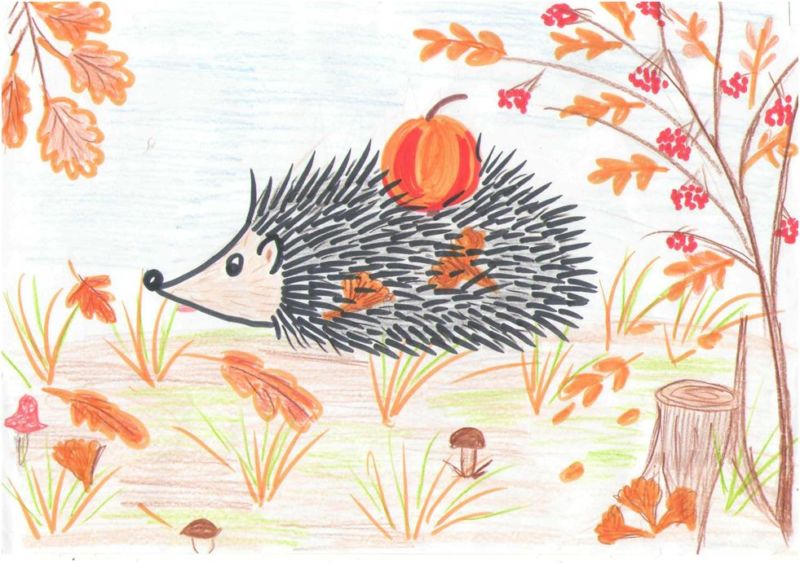
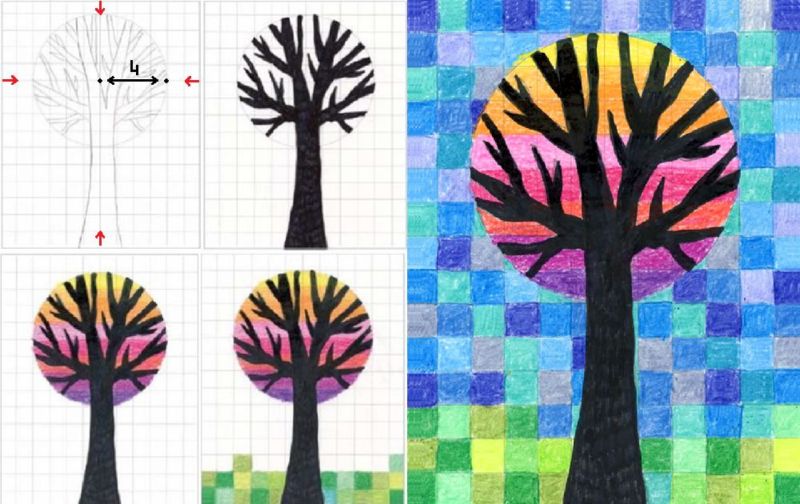
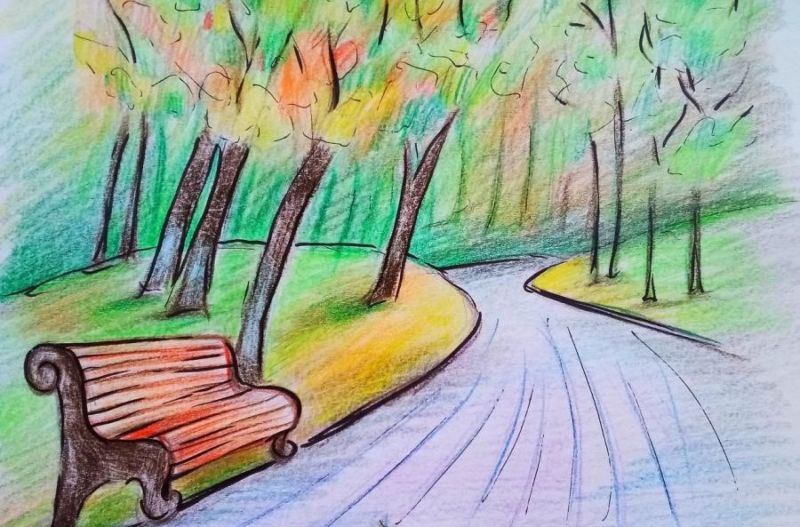
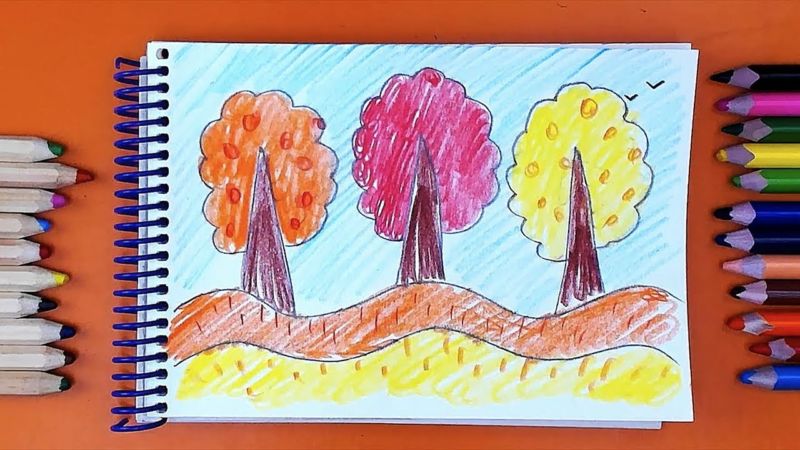
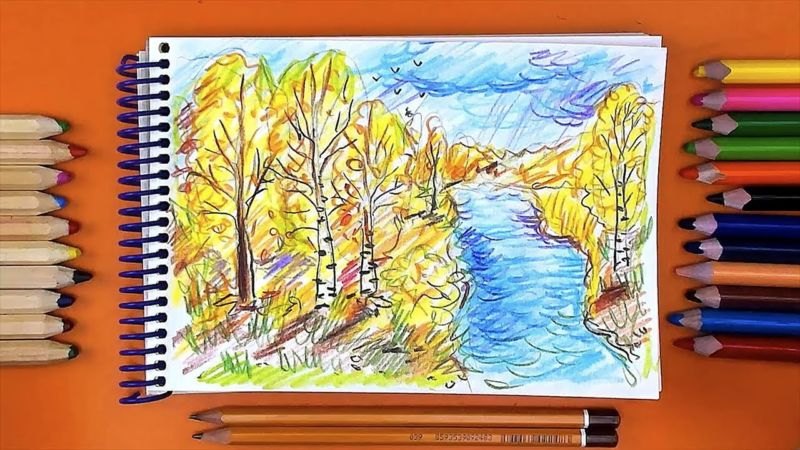
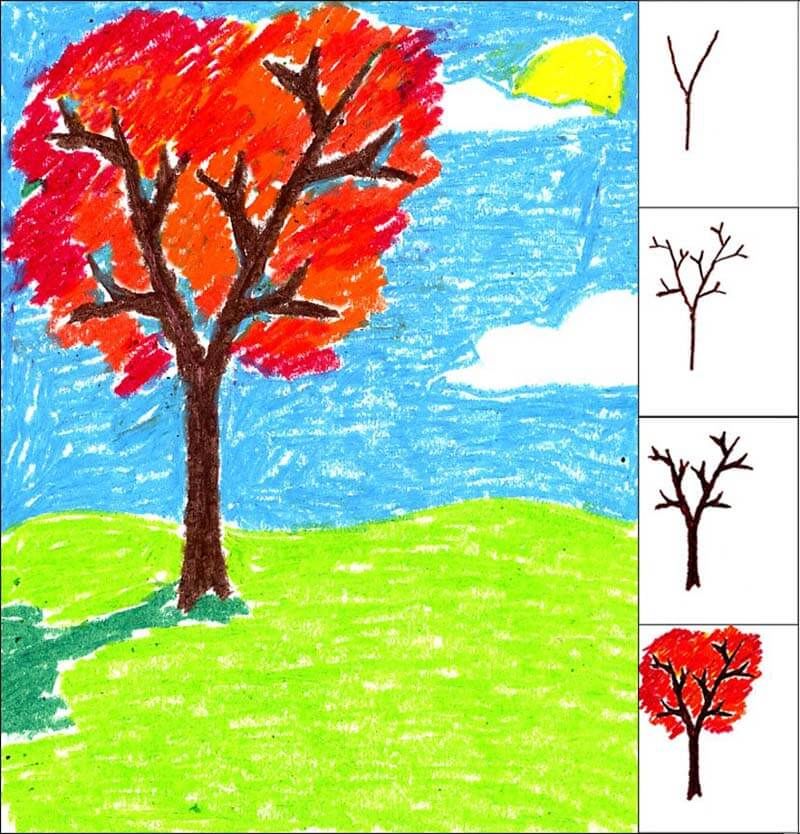
Drawing Autumn in pencil.
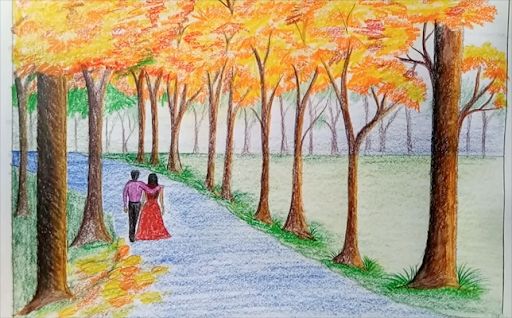
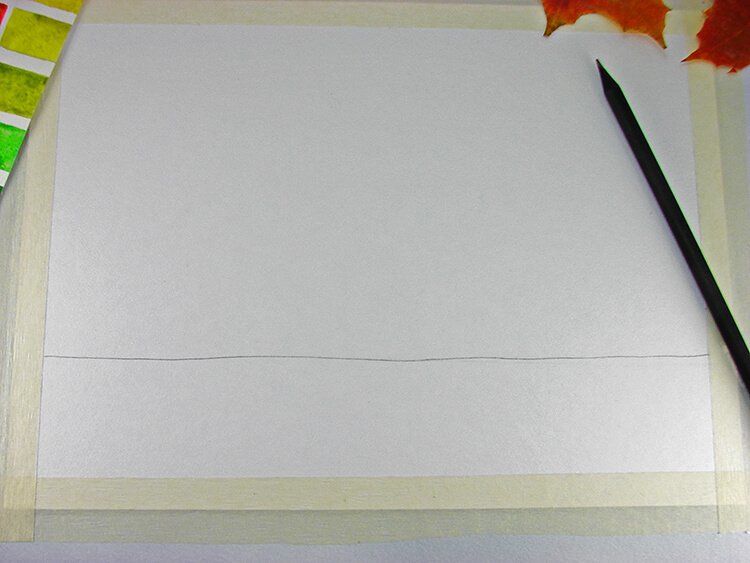
Get ready for a classic drawing method. You will need colored pencils, a piece of paper, an eraser and a normal plain pencil. Let's try to draw autumn with the children. Draw a line in the middle of the sheet with a simple pencil (draw the horizon).
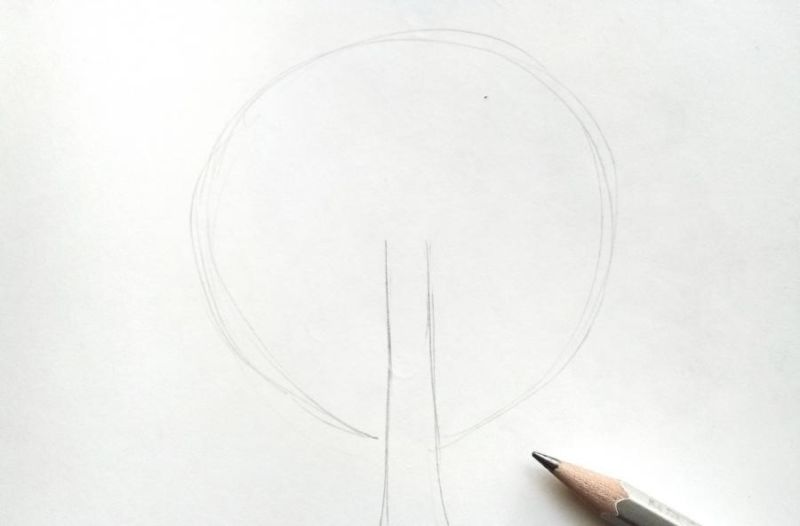
Behind the horizon line draw trees (visually suggesting a forest in the distance). Just below the line, draw two wavy lines, representing a small river. In the foreground, in front of the horizontally drawn line, draw a large tree.
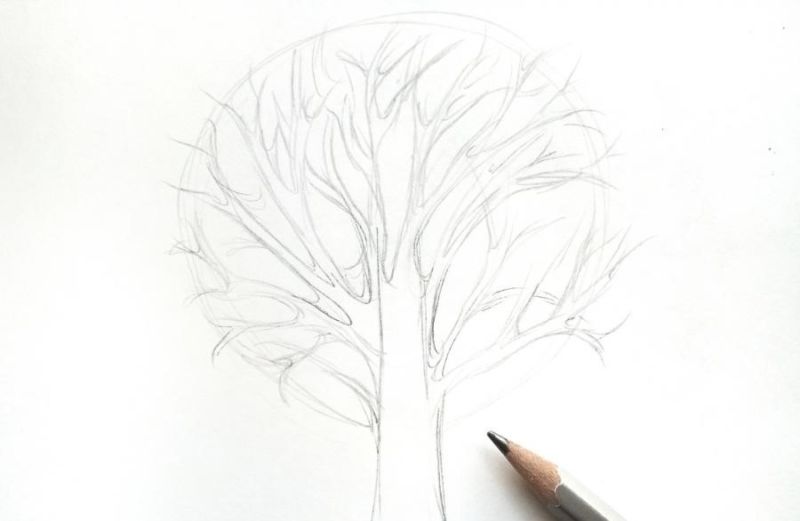
The trunk of the two vertical straight lines is not difficult to draw. The upper part of the tree, i.e. the crown, is drawn in a circular wavy line, drawing ovals of irregular shape. With the help of colored pencils with a predominance of colors "golden autumn" is colored.
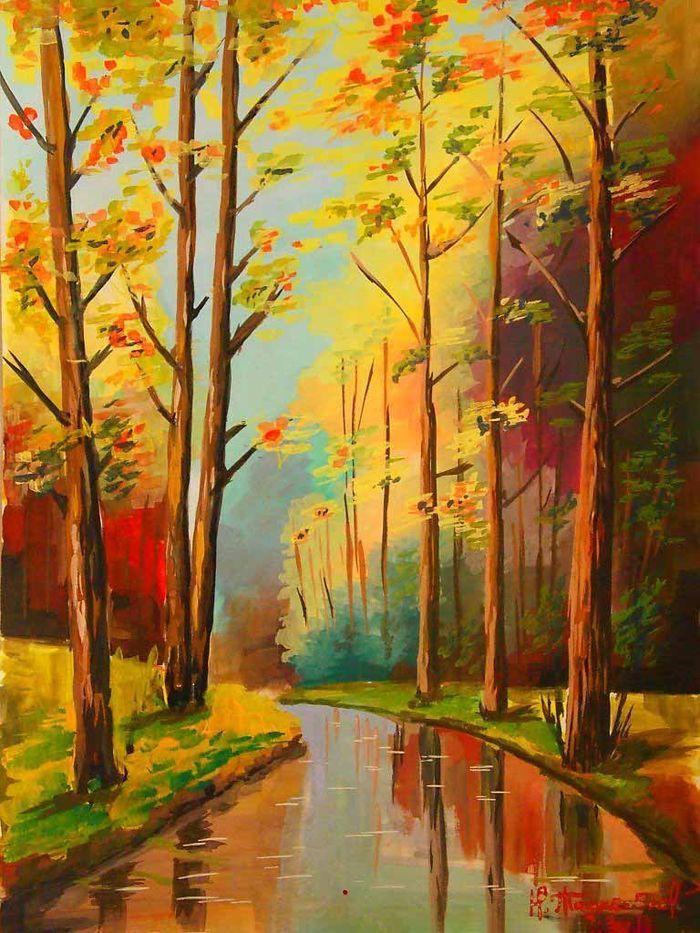
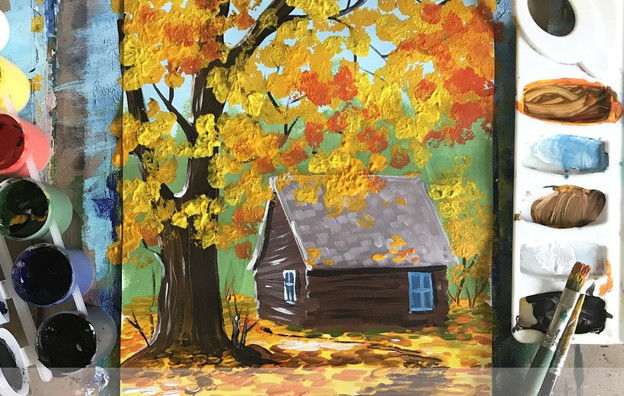
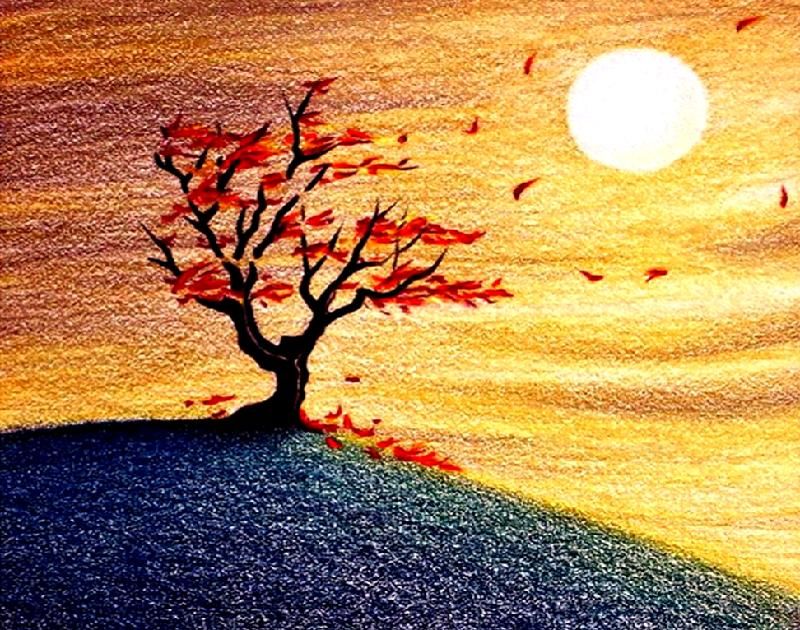
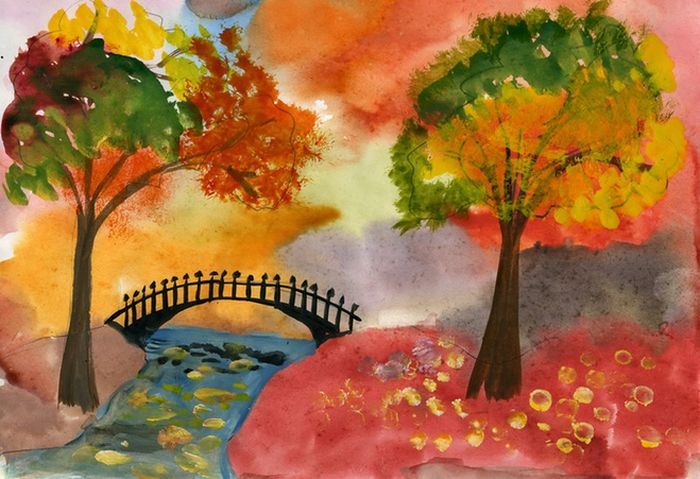
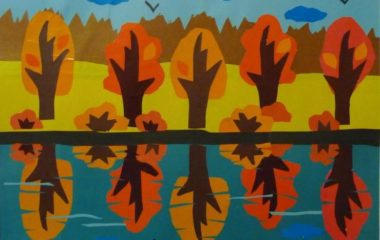
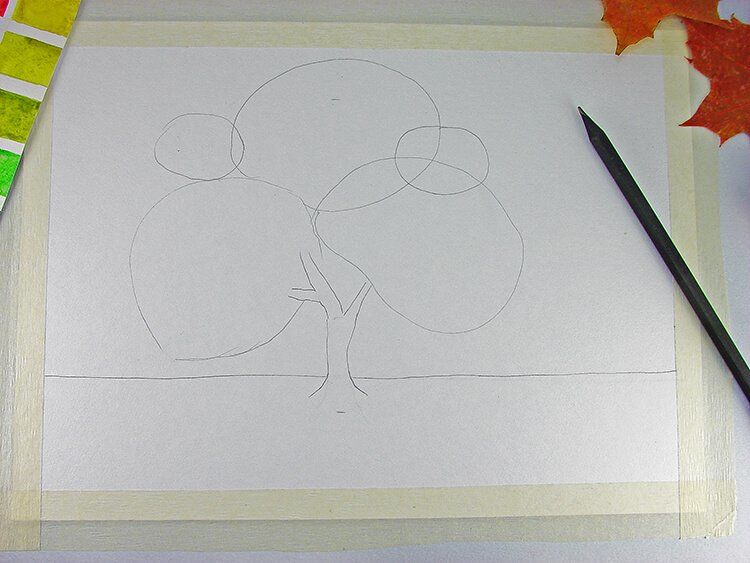
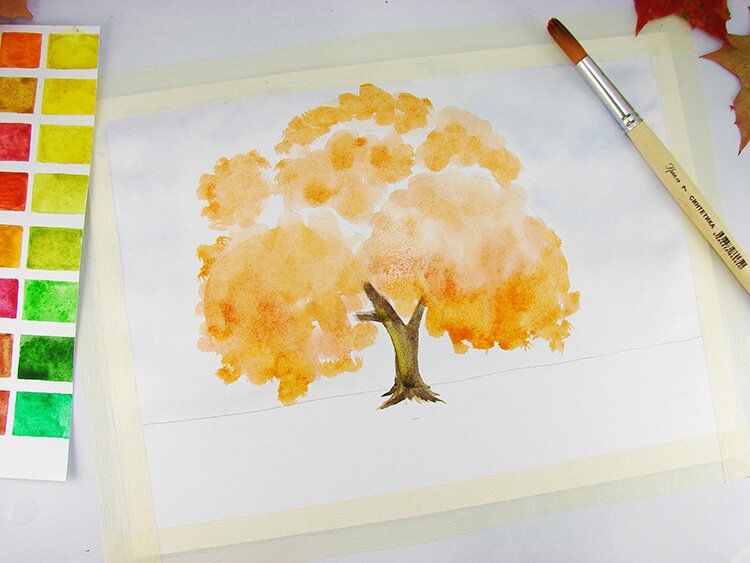
Autumn forest colors.
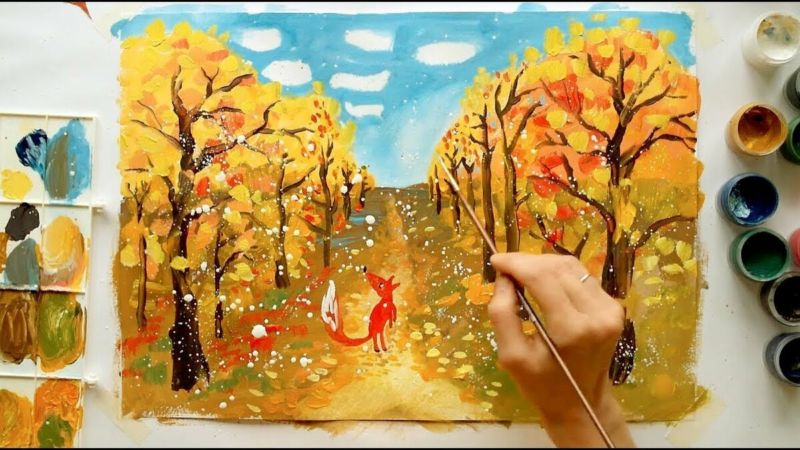
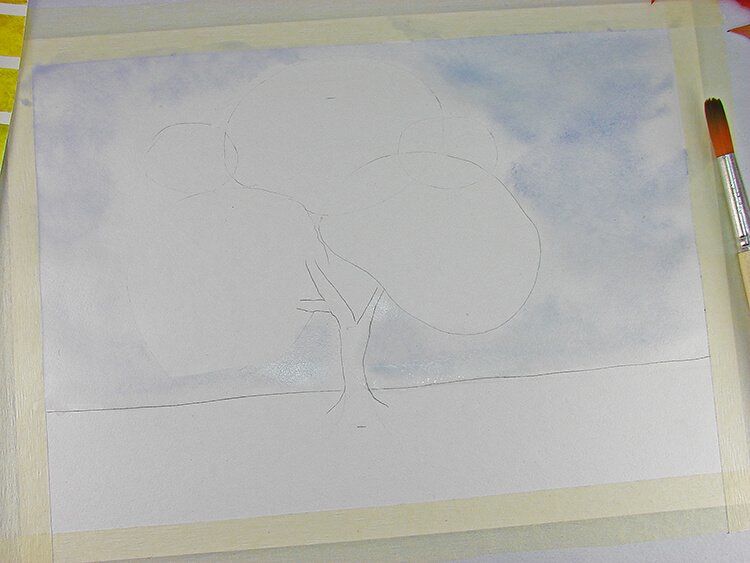
Prepare gouache, watercolor paper and brushes. Just as in the previous technique to draw a line in the middle of the sheet, but already with the colors. On top of the sheet of paper with a brush, paint a dark blue color. It will be the sky. You can add white clouds.
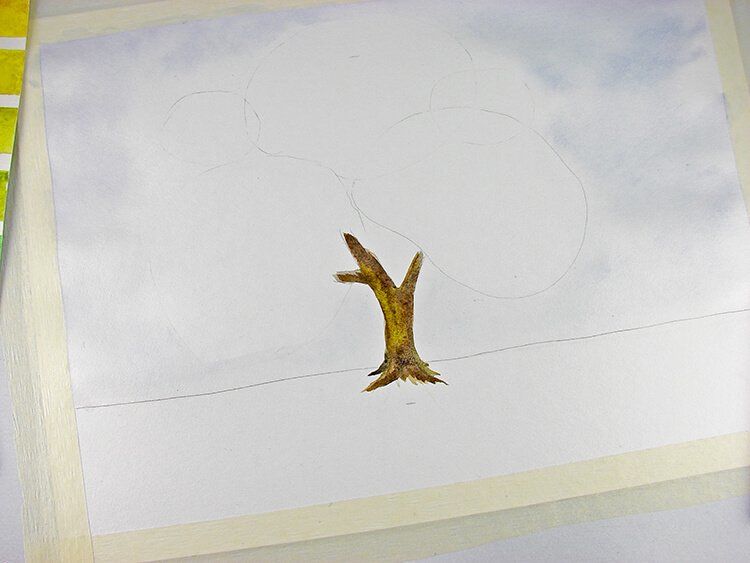
A little lower to the horizon line, paint the background a lighter blue color. The bottom part of the picture is painted in blue, representing the lake. Using a brush and brown watercolor in different shades, make strokes in the middle of the sheet. Our island is ready.
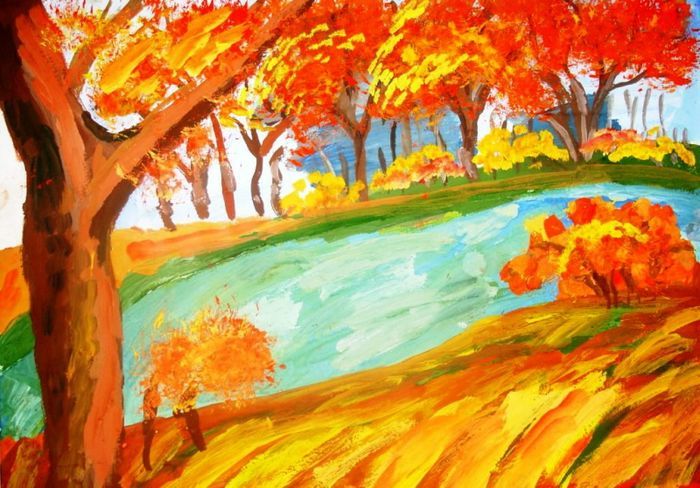
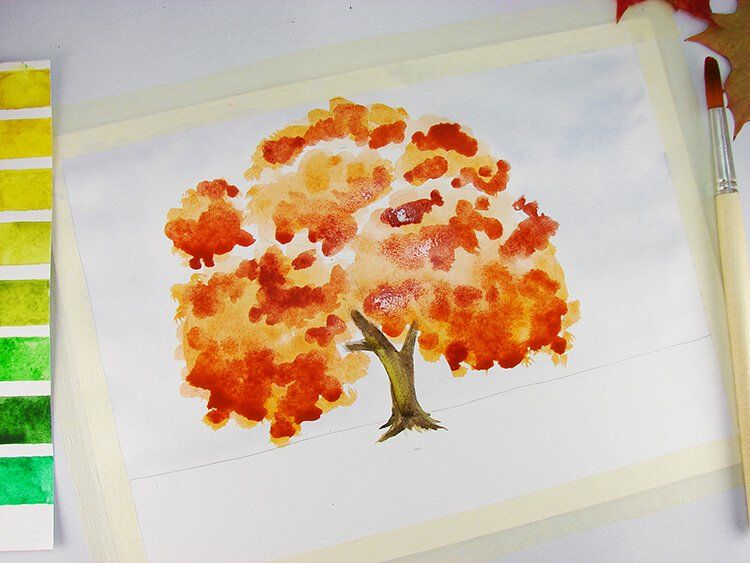
Add the tree. Transfer its reflection on the water. If desired, you can draw several trees. Let's saturate the crown of trees with bright orange colors. Reflection in the water less saturated shades of the same colors.
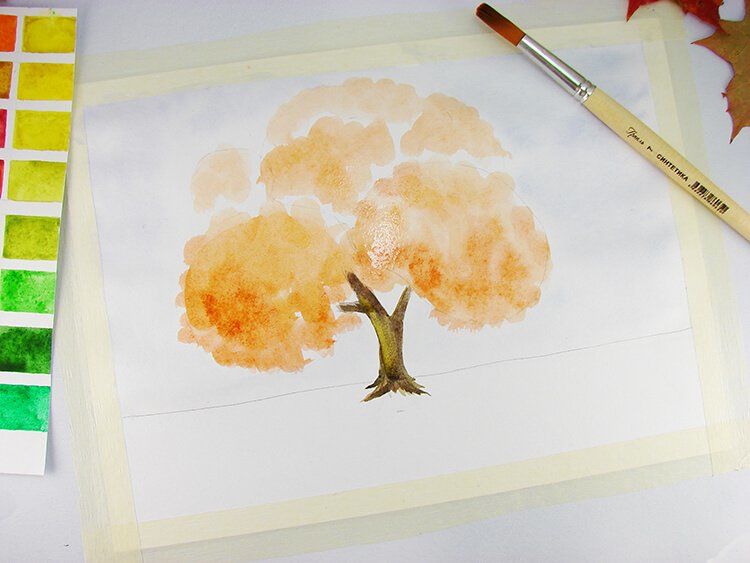
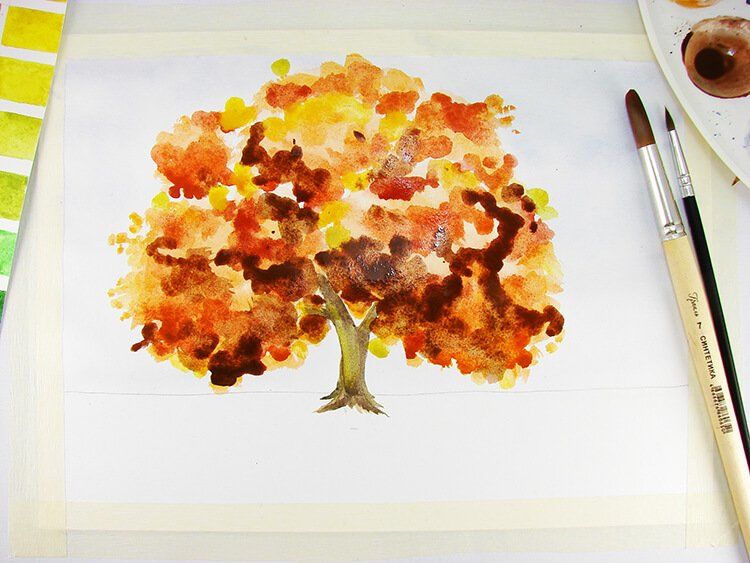
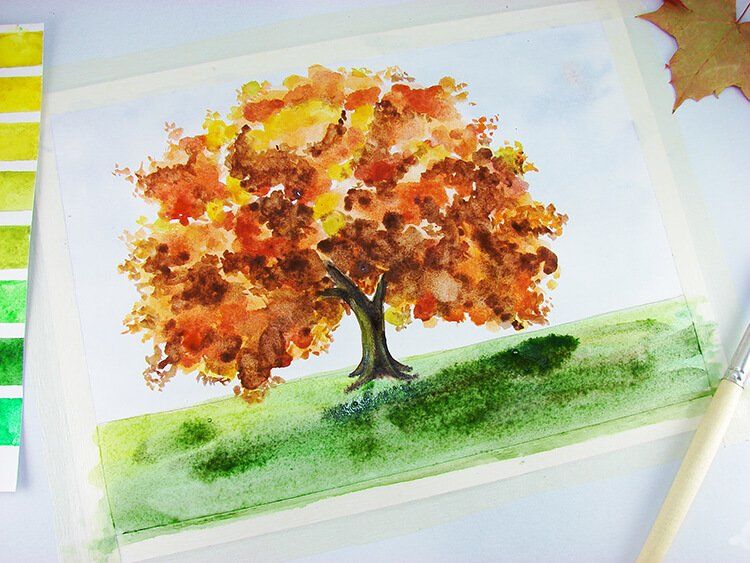
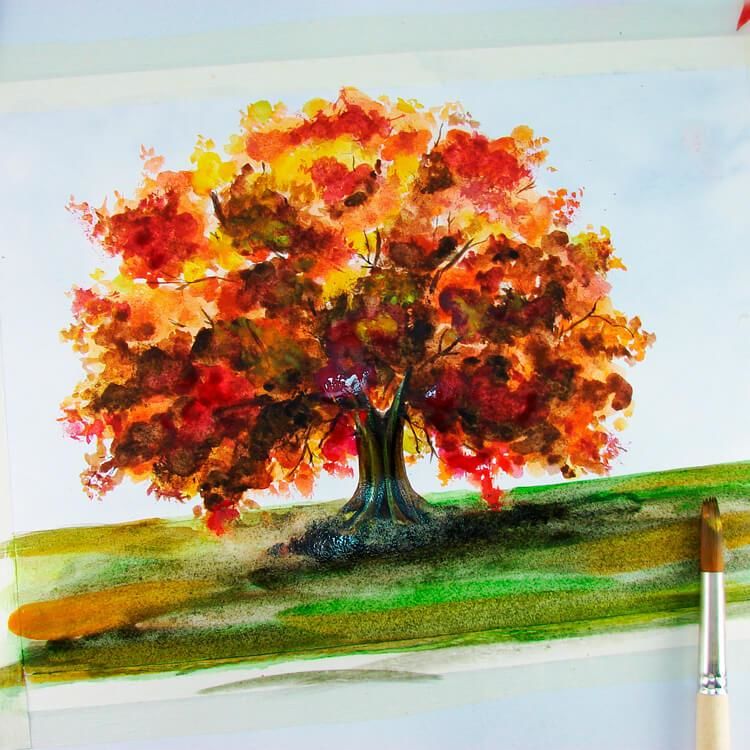
On the ground beneath the trees you can depict fallen leaves in paler colors (using the same poke method).
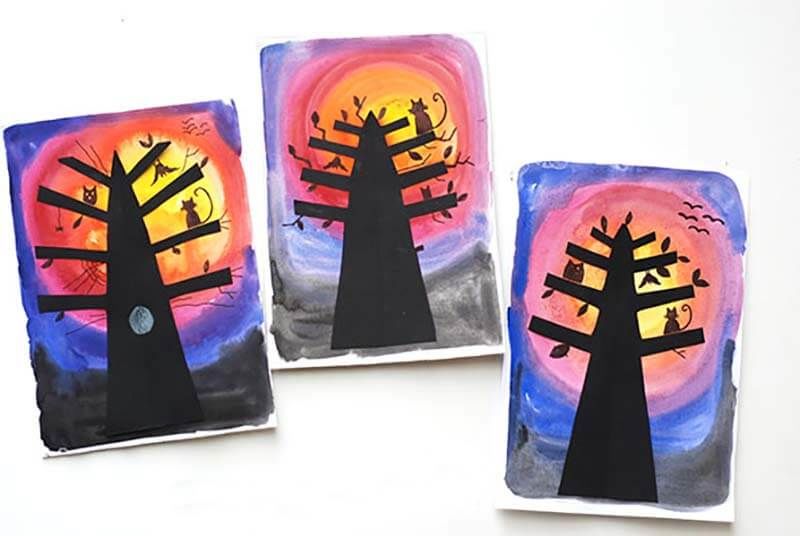
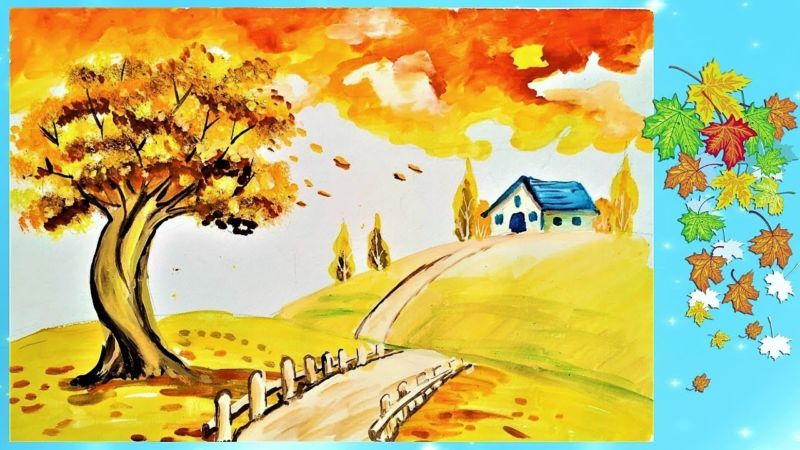
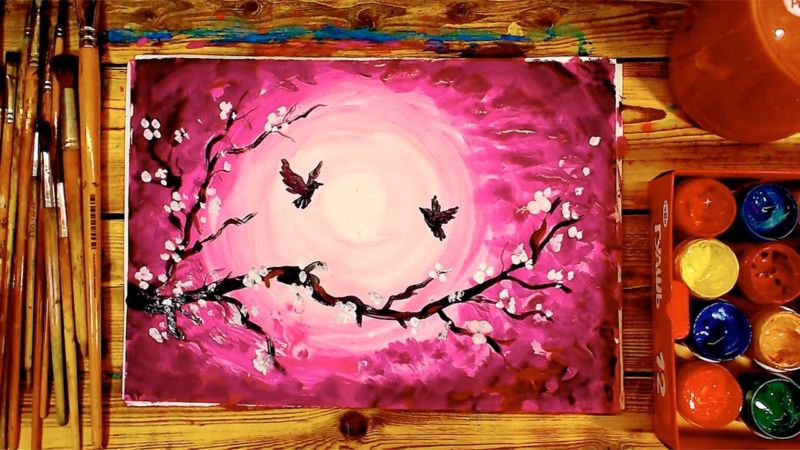
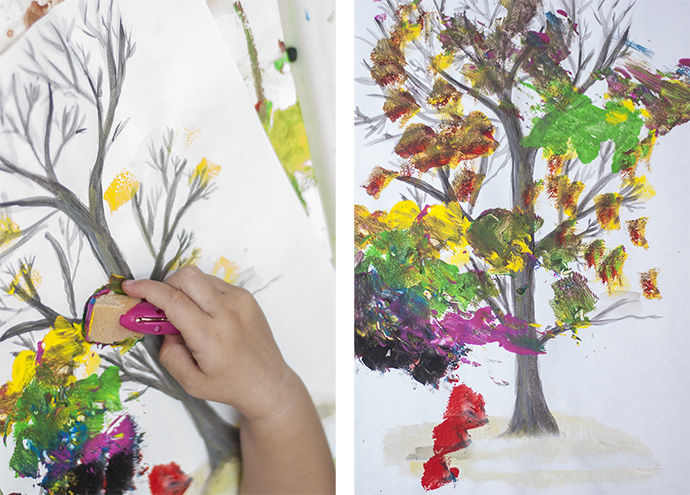
Autumn landscape with cotton swabs
As you have already guessed we will need cotton swabs, gouache and scrapbook paper. You can depict the whole picture with this technique, but I suggest diluting our artwork with watercolor. By mixing the two colors of watercolor, pink and blue, we apply the pale shades on paper.

Missing somewhere and leaving the white sheet unpainted. We get pinkish clouds and the evening sky. The surface of the ground at the bottom of the sheet is drawn in brown. Draw the trunks of the trees with a brush with a shade of brown and start working with sticks.
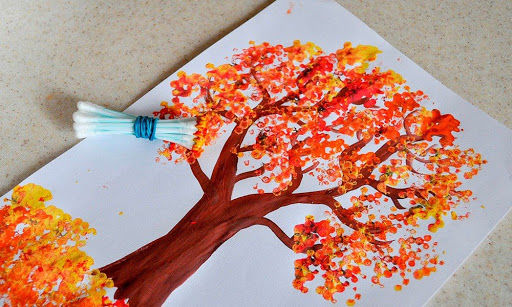
Tie them together with a rubber band in a bundle of five. Choose a more "golden shade" and dip them into the paint. With dotting motions, add colorful leaves to our trees. Under them, draw the fallen leaves of the same color. A very interesting and original picture of autumn is ready.
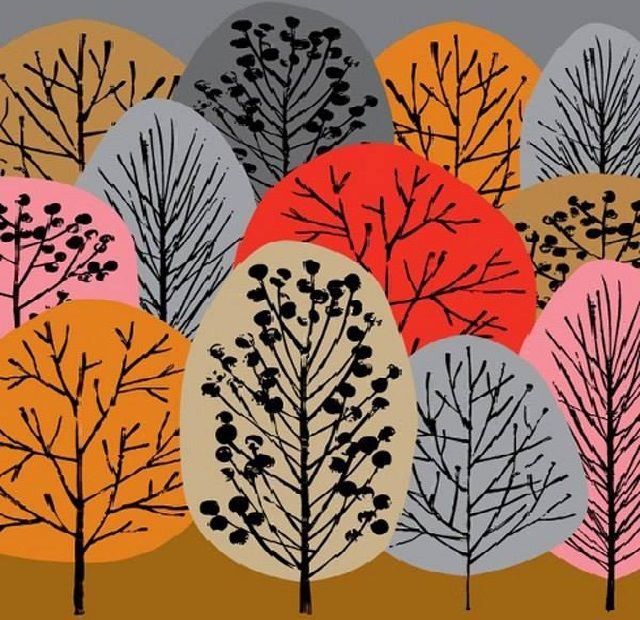
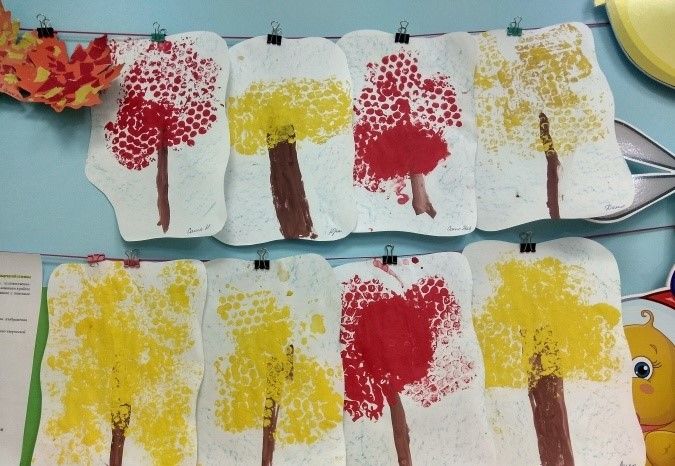
Autumn forest with a dishwashing sponge
I think that this way of drawing is suitable for the youngest children. You will need two or three dishwashing sponges, gouache, brushes, scissors, felt-tip pens in yellow, brown, and orange, water, and a white sheet of paper. Dilute the gouache with water to a sour cream consistency.
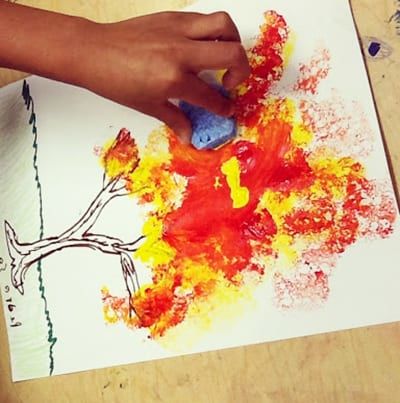
Draw small trees on the sponge with a felt-tip pen. Carefully cut out the shaped trees along the outline you have drawn. Then use a paintbrush to transfer the paint to the small trees.
Try to moisten the sponge liberally, so it leaves a better imprint on the paper. Transfer the different trees in different colors to the sheet. You have a great fall forest. You can paint the sky and yellowed grass with a brush.
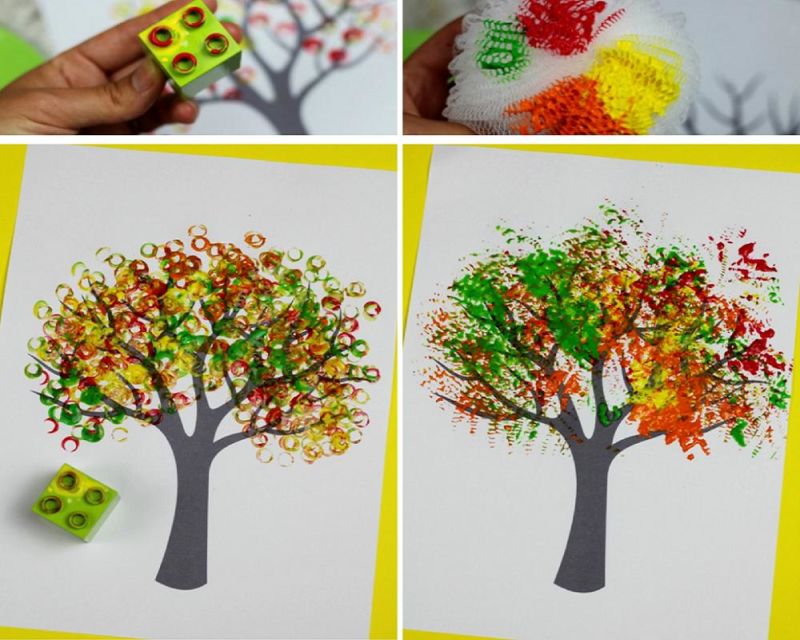
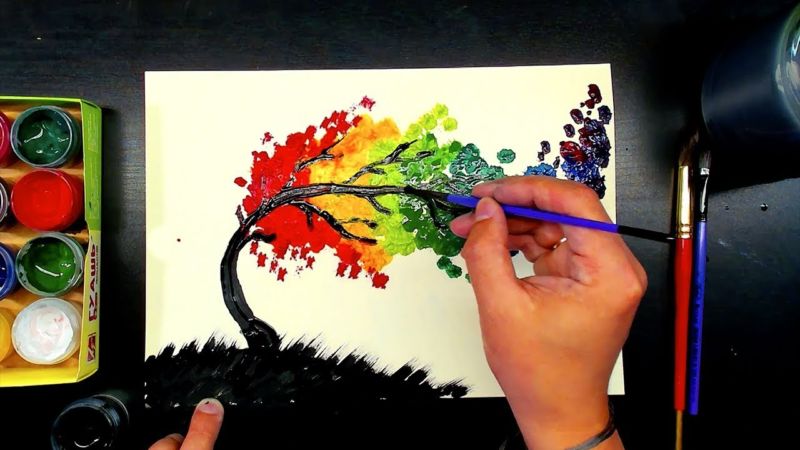
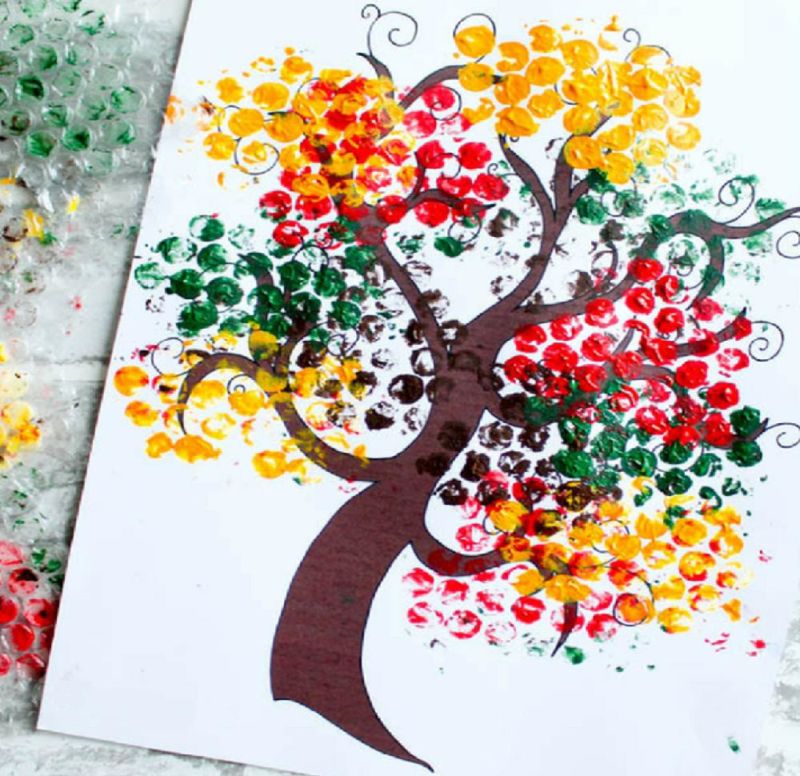
Autumn Painting with Bubble Wrap
I had an unusual method of painting after buying a phone charger that was wrapped in bubble wrap. As you have already guessed we will need bubble wrap, gouache for painting, a brush, scissors, a brown pencil, a sheet of paper, you can color.
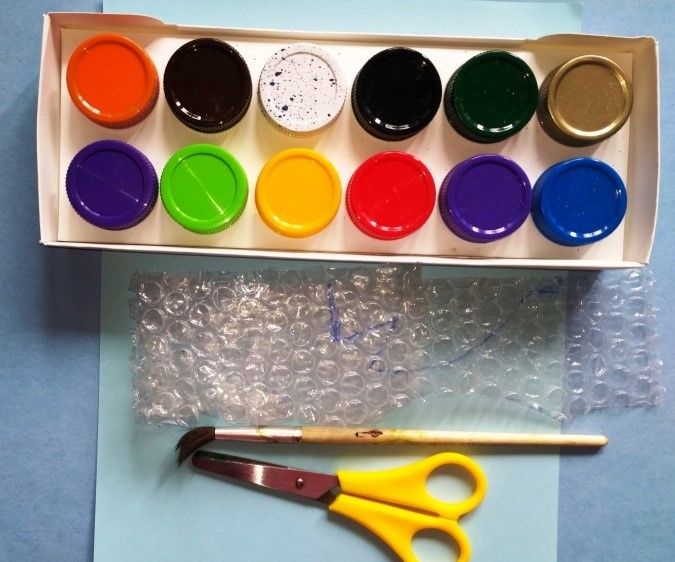
Draw the trunks of the trees with a pencil. Color the trunks with paint or pencil. Cut out ovals, circles and even triangles from tape. Apply different colors of gouache to the convex circles.
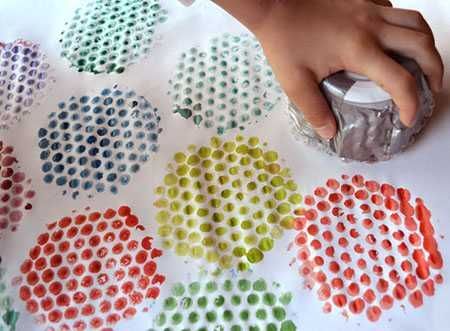
And now put on top of the trunk of the top part of the tree. It turns out we have different colors and desired size. It is preferable to paint in yellow or orange colors, since we are drawing autumn. The original painting is ready!
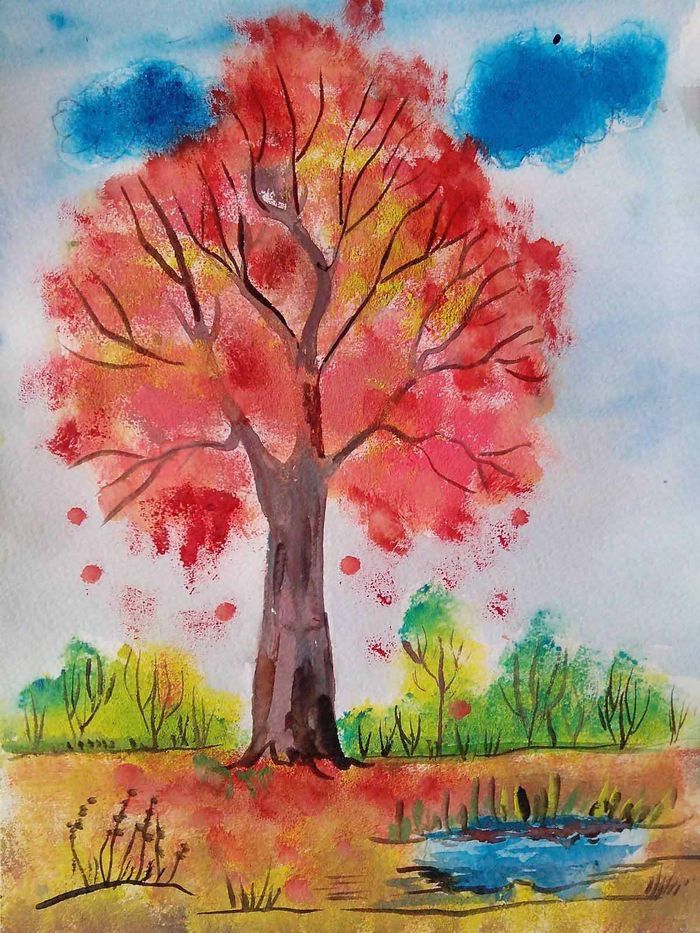
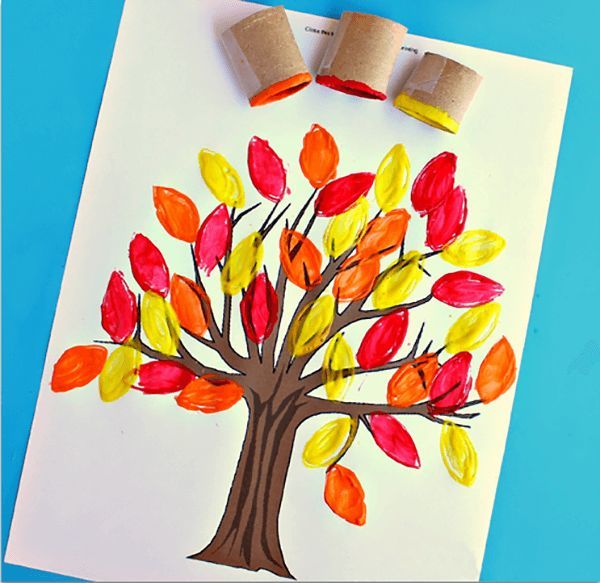
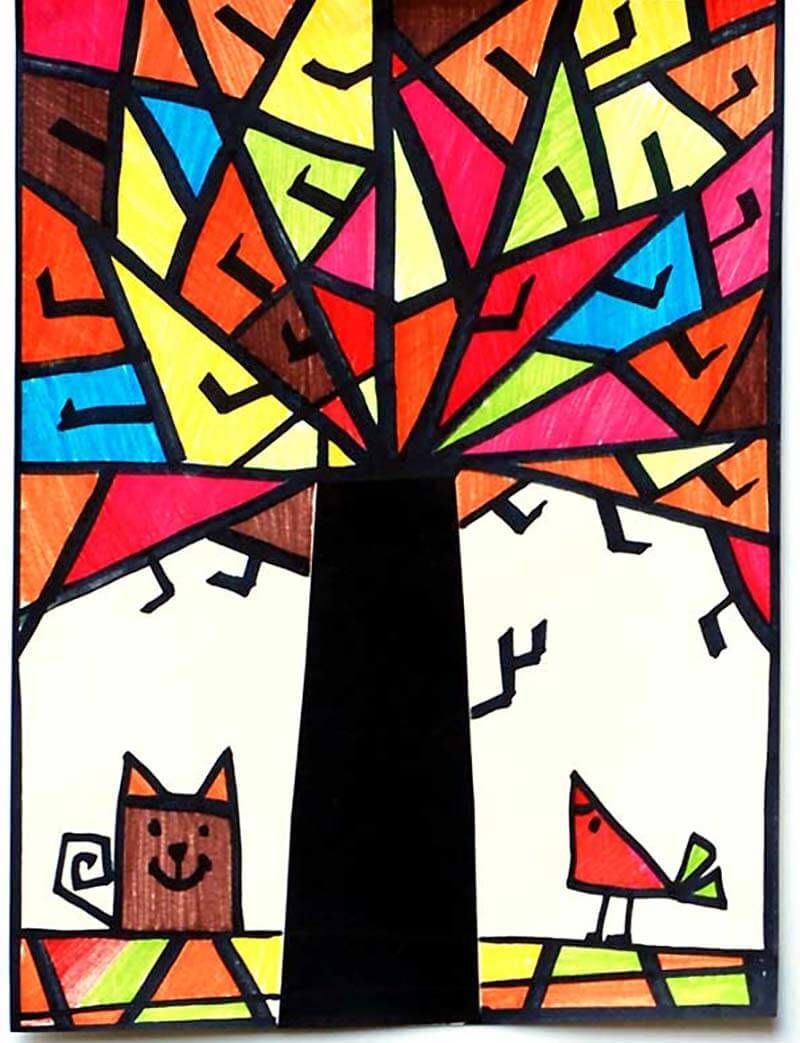
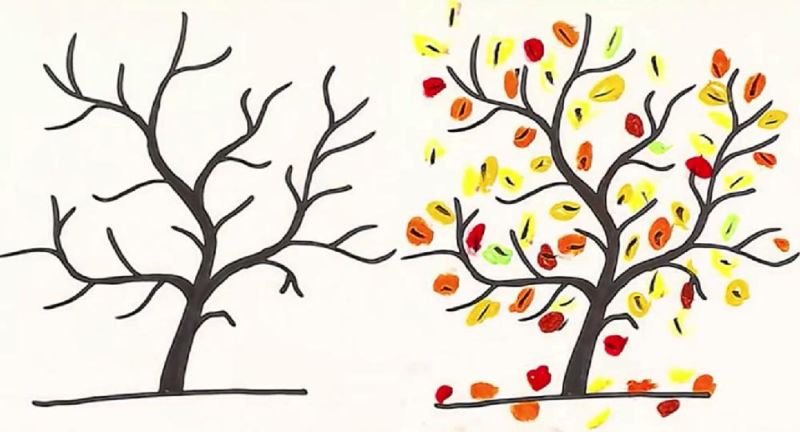
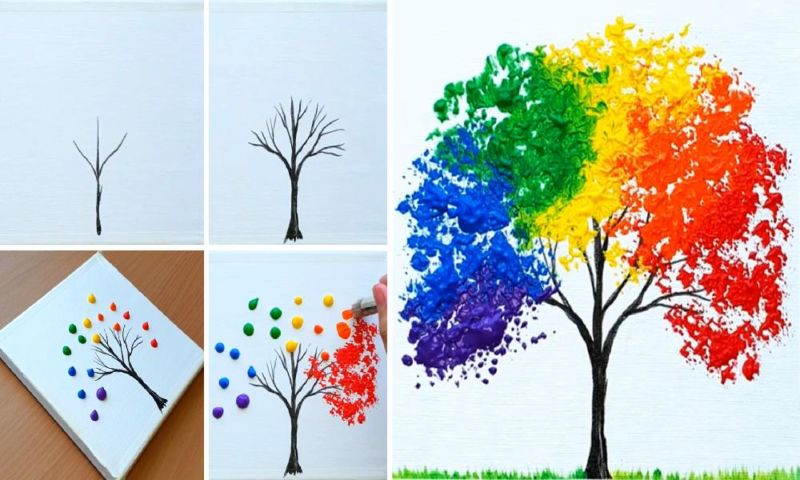
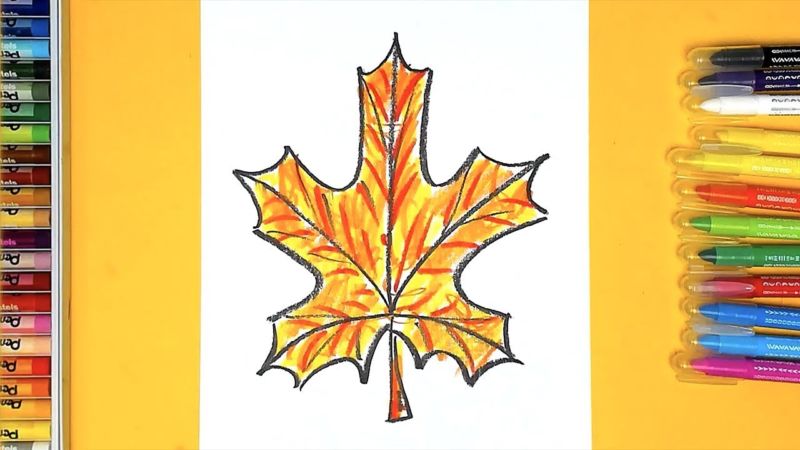
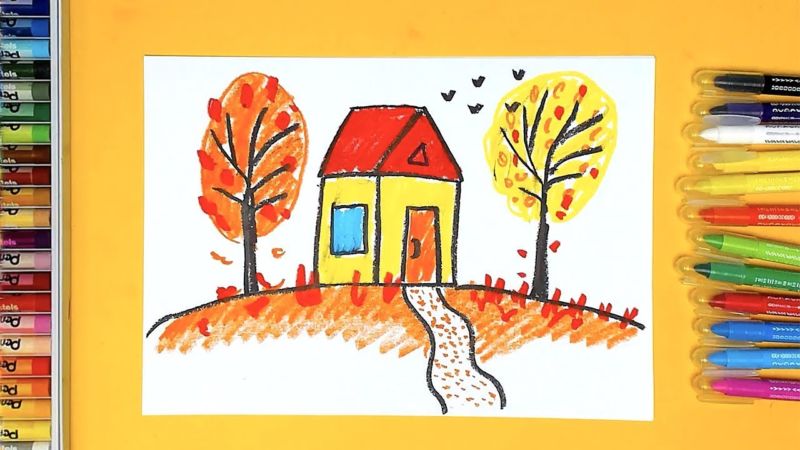
Autumn tree with felt-tip pens
It is necessary to prepare felt-tip pens and a white sheet of paper. This technique is the most classic, but requires minimal drawing skills. Use a brown felt-tip pen to draw the trunk of the tree, gradually adding branches. Immediately dissolve the branches with the same marker.
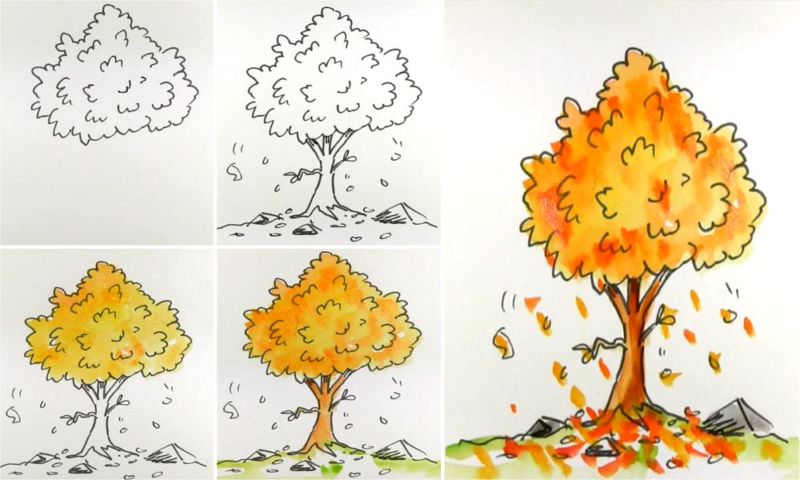
Now move on to adding autumn leaves. It is not necessary to draw the correct leaf shape and output them accurately. You can just make wavy shapes on the trees, gradually adding a drawing of different colors to match the theme and your mood.
Under the tree you can finish drawing a small pile of fallen leaves, as well as leaves falling to the ground.
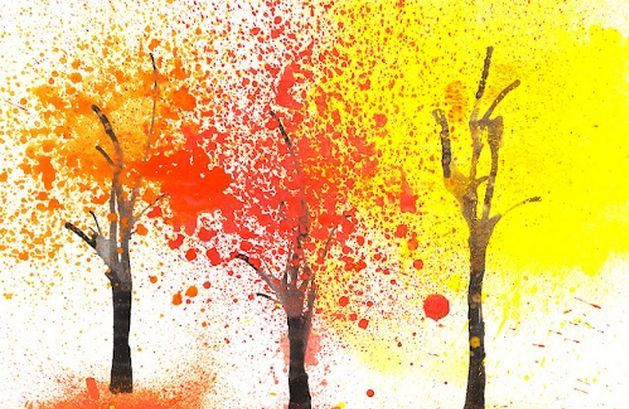
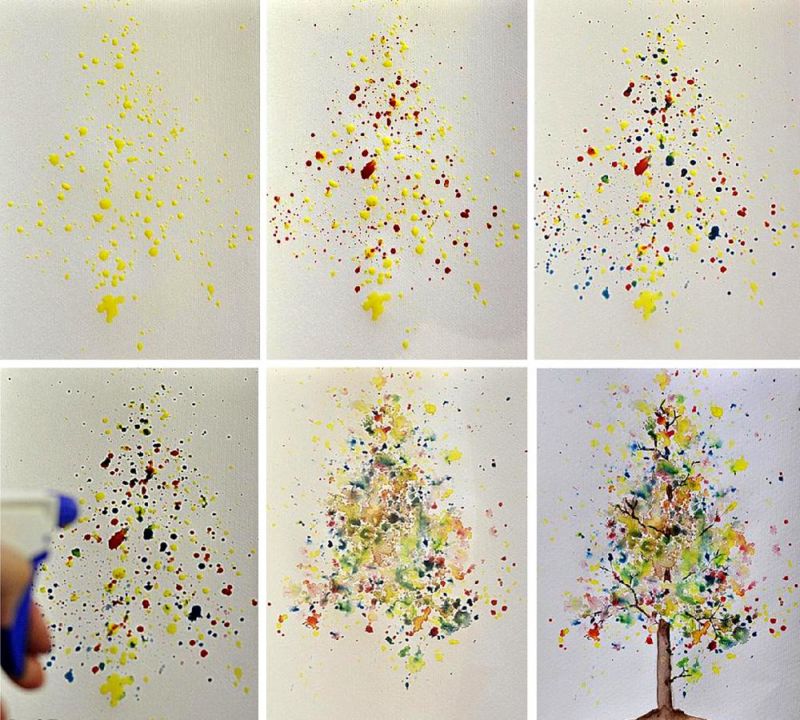
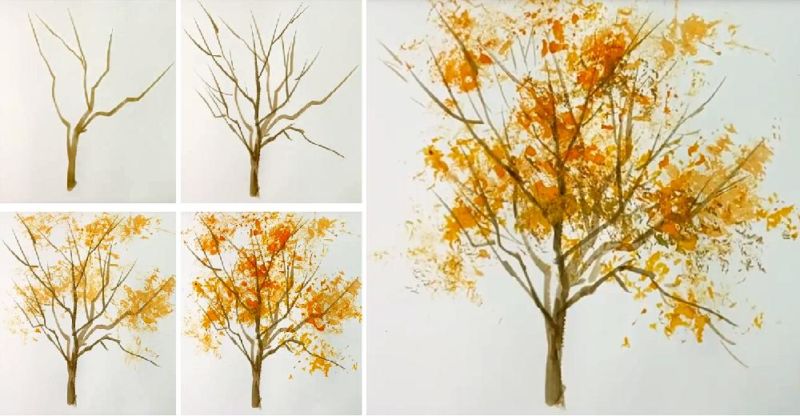
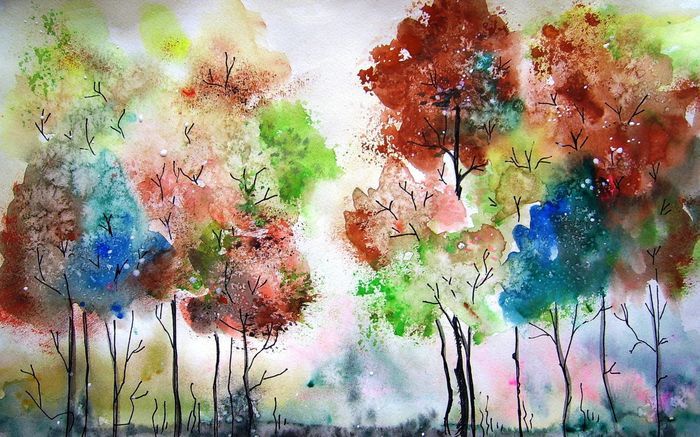
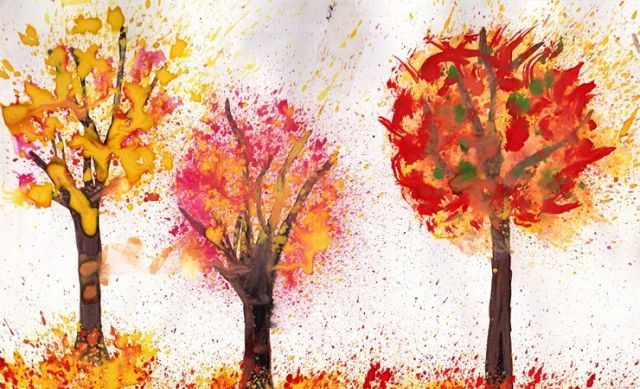
Autumn with a toothbrush
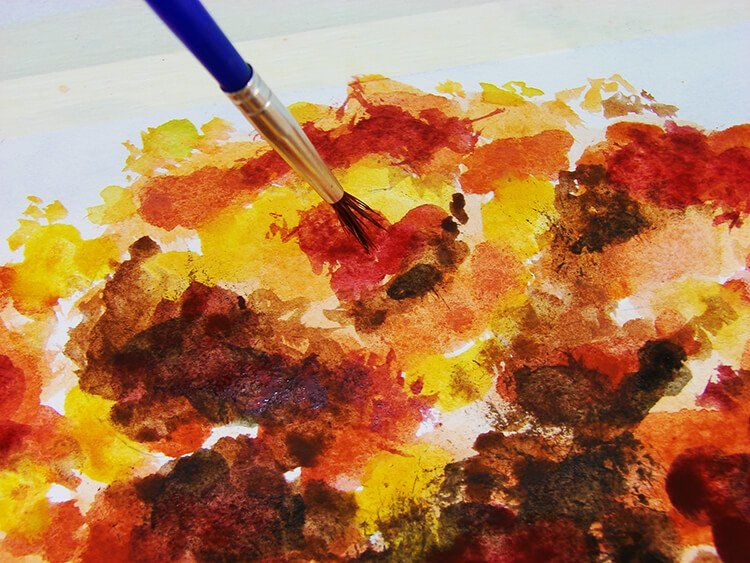
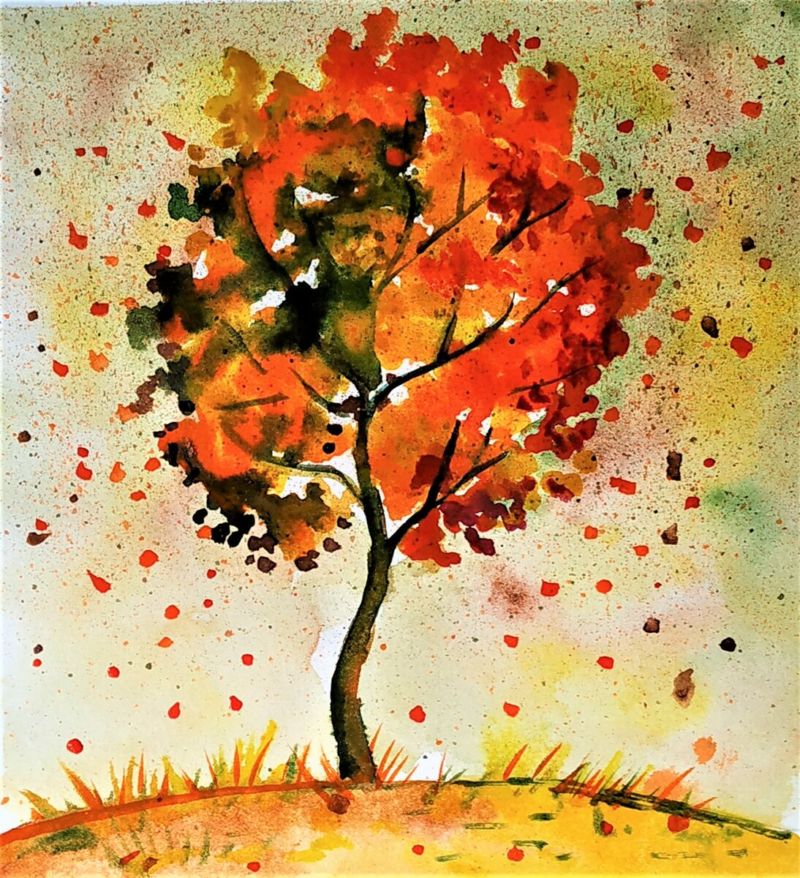
In general, this technique is simple to use, but very interesting. For this, we take a simple toothbrush, watercolor paints, a jar of water, a brown felt-tip pen and a white or light yellow sheet of paper. First, we draw the trunks of the trees with a felt-tip pen in brown and immediately color them.
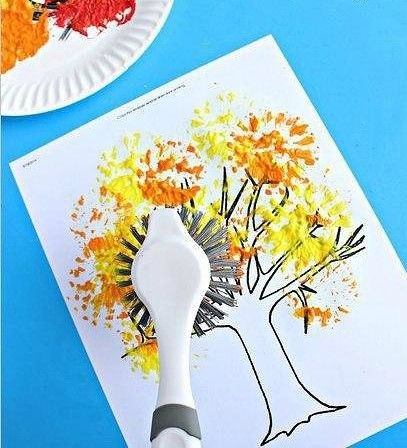
You get a rich, bright trunk without gaps. Then we dip the toothbrush in water and then in the paint of the color you want. I think the colors orange, yellow and red would be preferred.
With the bristles in several places we make prints on the trees, thereby giving them a plentiful multicolored crown. All the trees are painted. Autumn landscape ready.
Autumn for the very little ones.
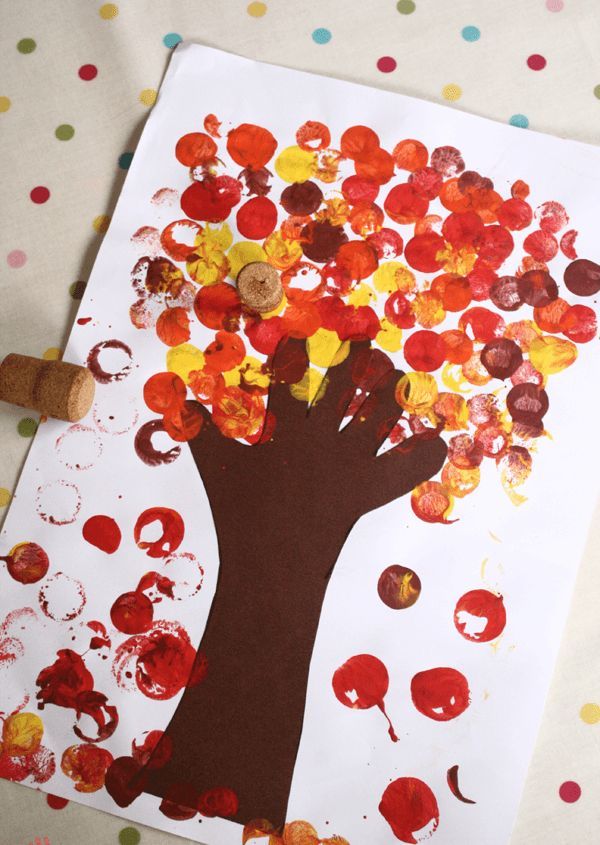
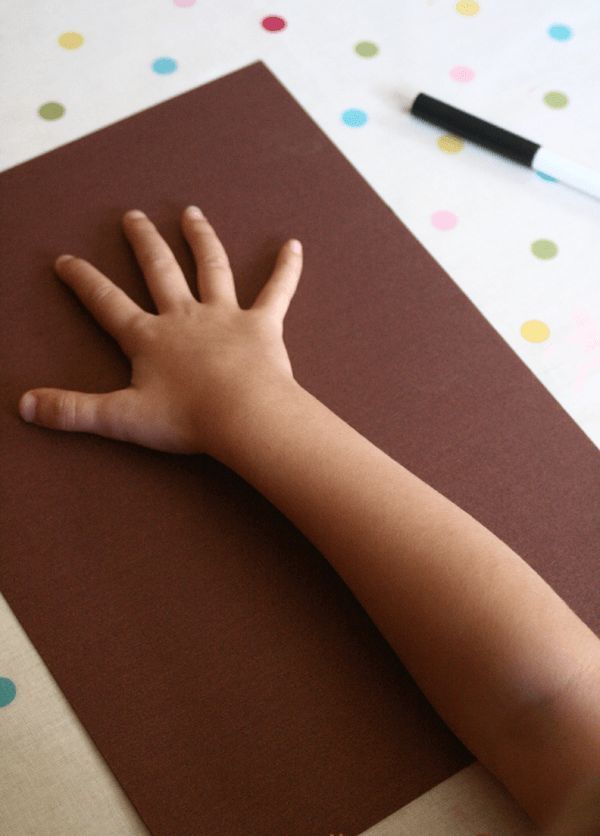
Very often young children want to draw, but do not know how. For this, it is necessary to simply entice them and interest them. The way of drawing with the palms of the hands for them will certainly work. Prepare paints of different colors, a jar of water, brushes and poster board. Here you will need another adult who will help the child.
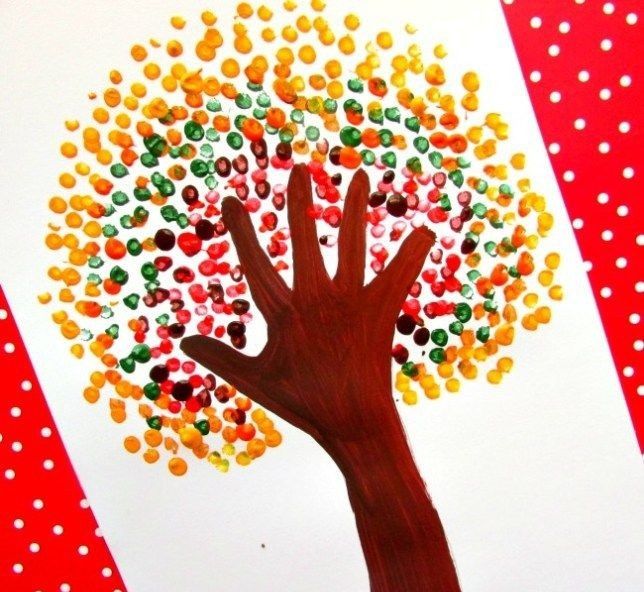
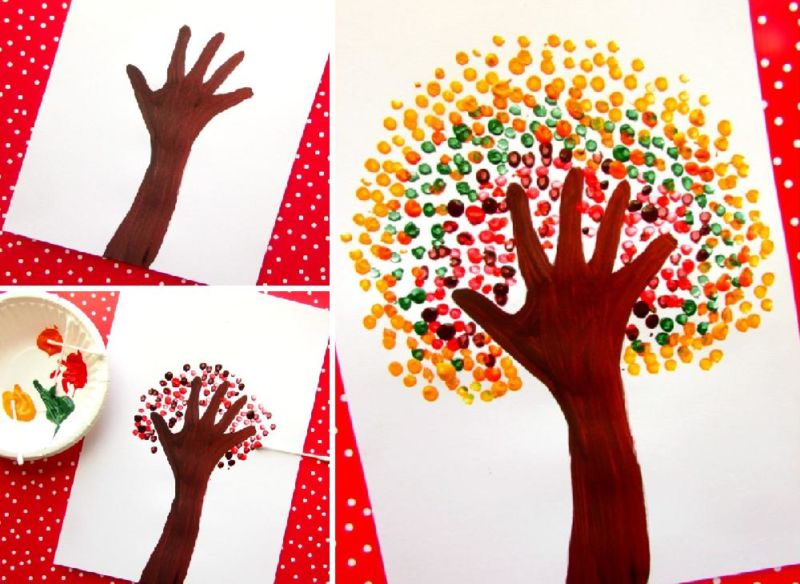
It is necessary to paint with brown paint palms of the child. You have to do it carefully so that the print will be beautiful and pronounced. Put your hands on the paper and make an imprint. You can also cut out a palm from colored paper.
We have very interesting trees. Let them dry. Now, with a brush and paint, we draw the leaves on the trees. It can be either drawn or the method of "poking". The sky and grass add as you wish. Autumn landscape is ready!
So, we have considered several options for the technique of drawing autumn. I think that at least one will definitely help you to cope with drawing. Do not be afraid and bravely get down to business! The main thing is that your desire is stronger than even your abilities. I wish you success! You will succeed!

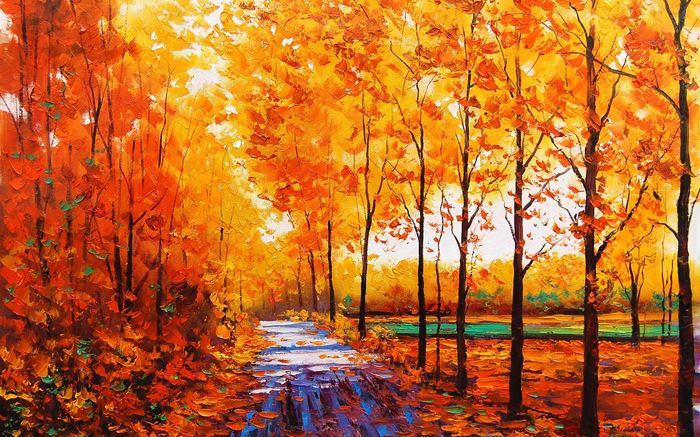
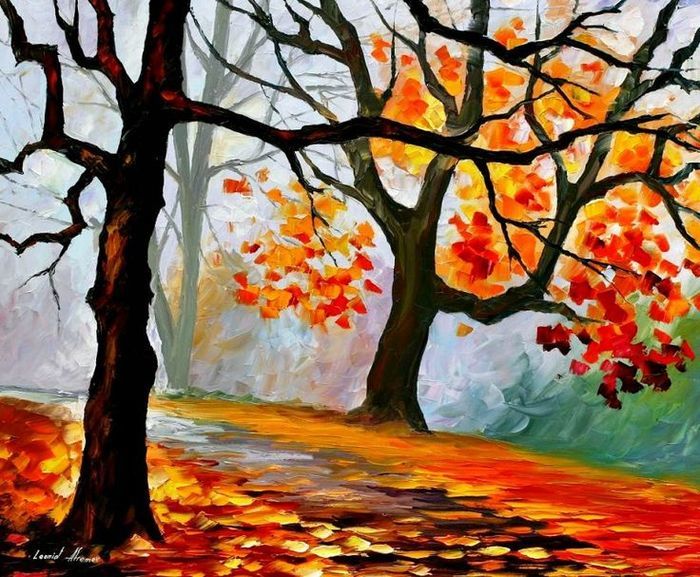
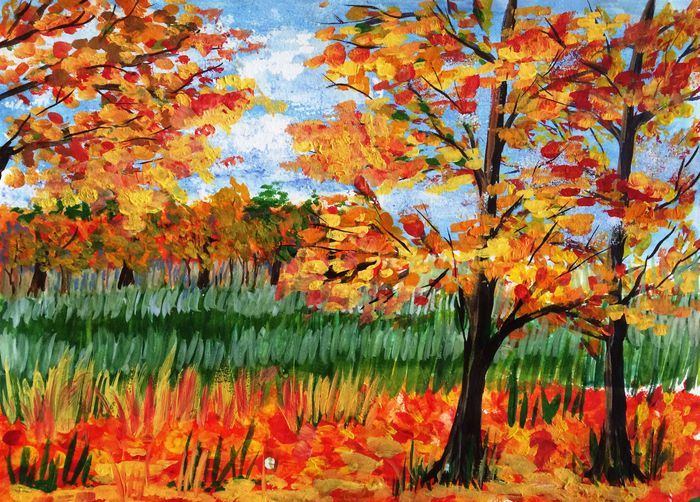
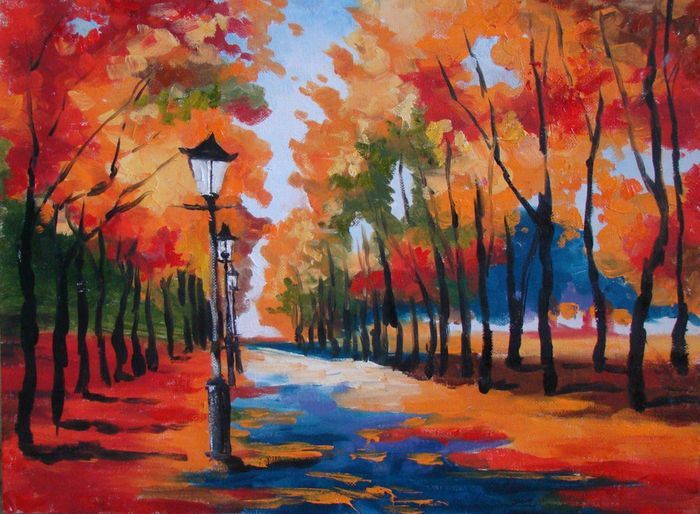
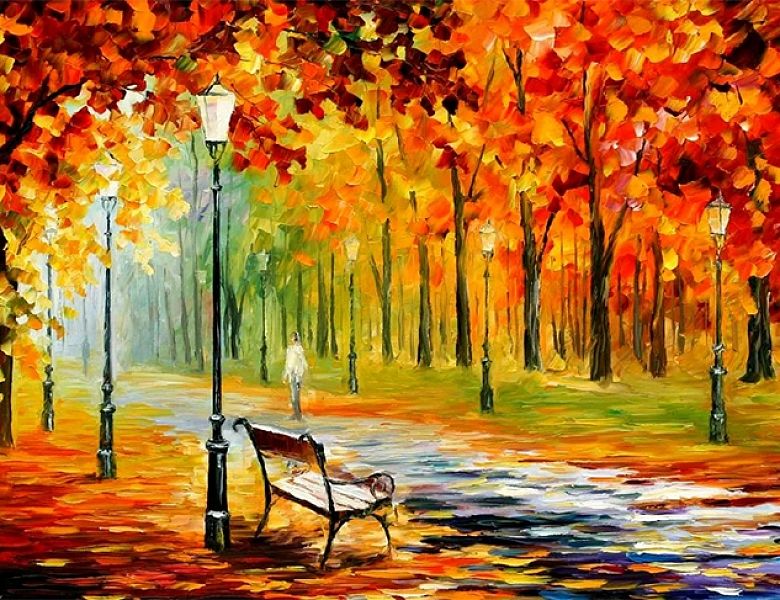
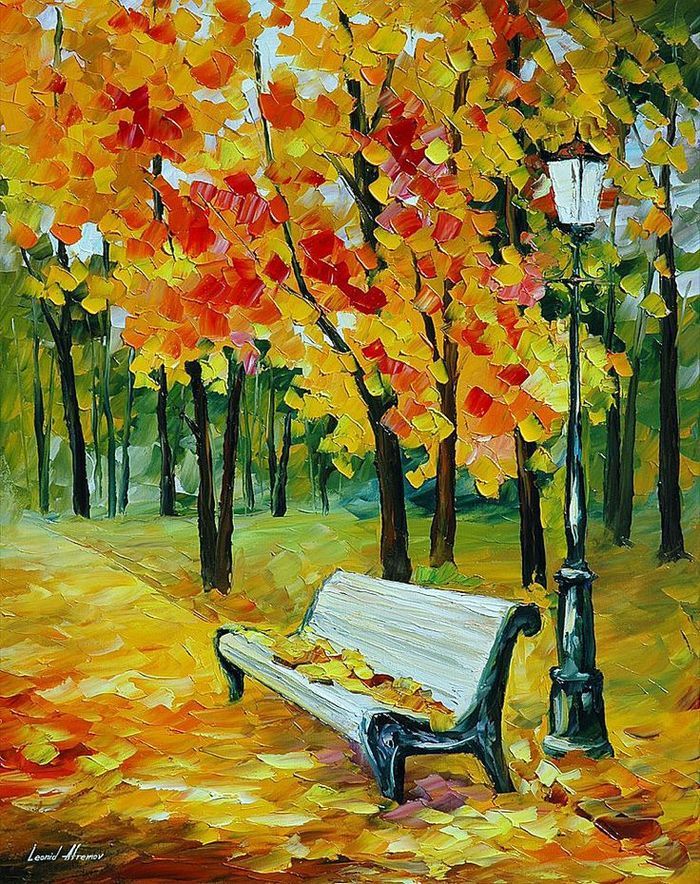
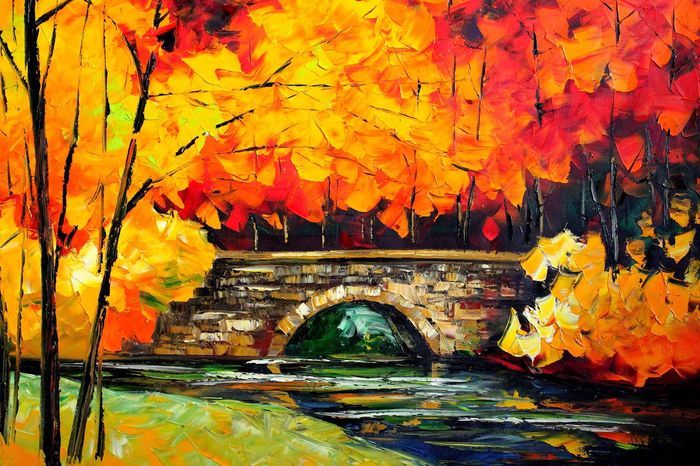
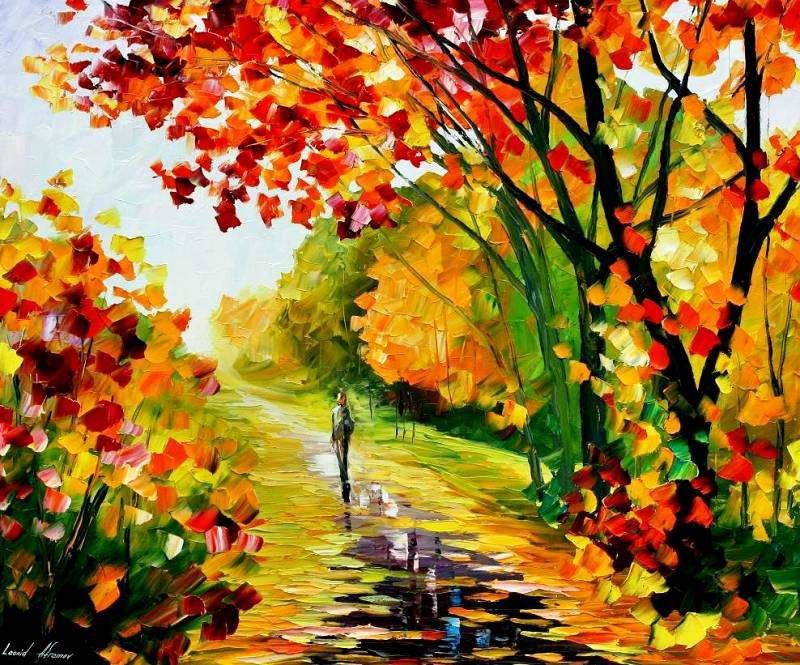
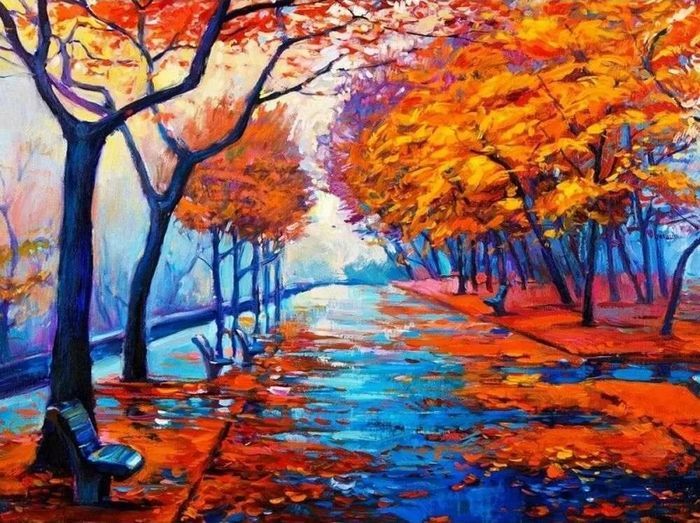
Pictures of painted autumn landscapes