Sea crafts from seashells, pebbles and plain paper with their own hands: easy master classes for children and beginners
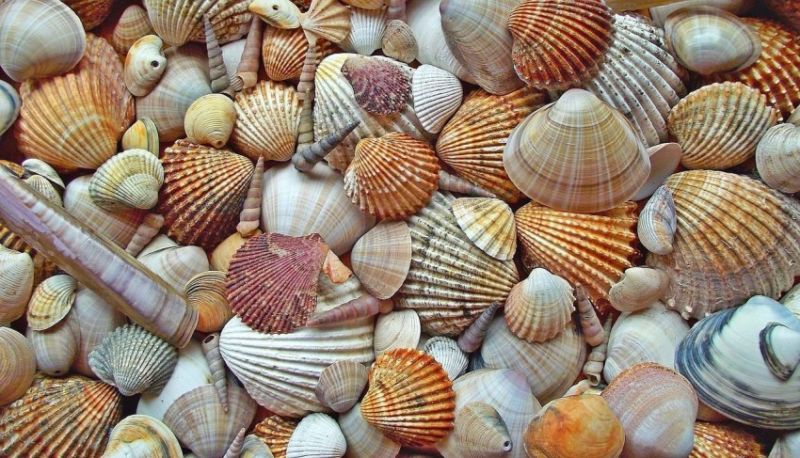
If you like to make something with your own hands, then you probably bring whole bags of shells and small pebbles that you collected on the beach from your vacation at the coast.
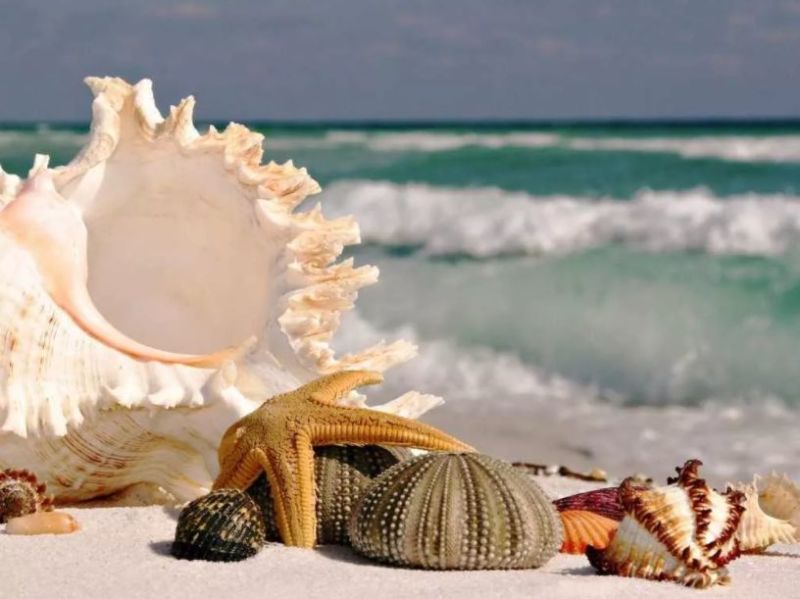
The souvenirs made of them will remind you of your vacation, and the process of working on them will give creative satisfaction.

In this article, you can get ideas if, for example, your child needs a sea craft for kindergarten, or if you just want to have fun with the creative process.
Even if you do not have natural materials - no problem. Crafts on the sea theme can be made from more accessible materials.
Sea Arts and Crafts
All of the crafts proposed in this article is very simple to make, they do not require any very rare or expensive materials. Most of them can be bought in a stationery store, and shells and pebbles can be picked up on the beach or, if there is no such a possibility, you can buy them in a souvenir store.
Everything you will need for each particular souvenir will be listed separately.
Sea-themed paper crafts
This is ideal if you need a craft for a child in kindergarten or elementary school. All you need is available. The manufacturing process is very simple.
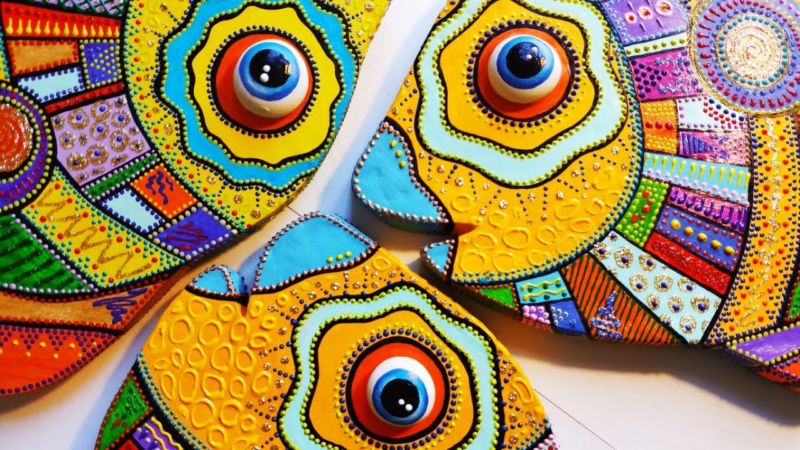
Fish
You will need:
- white and colored paper;
- heavy cardboard;
- foil;
- glue;
- old newspapers;
- cloth;
- small disposable plates.
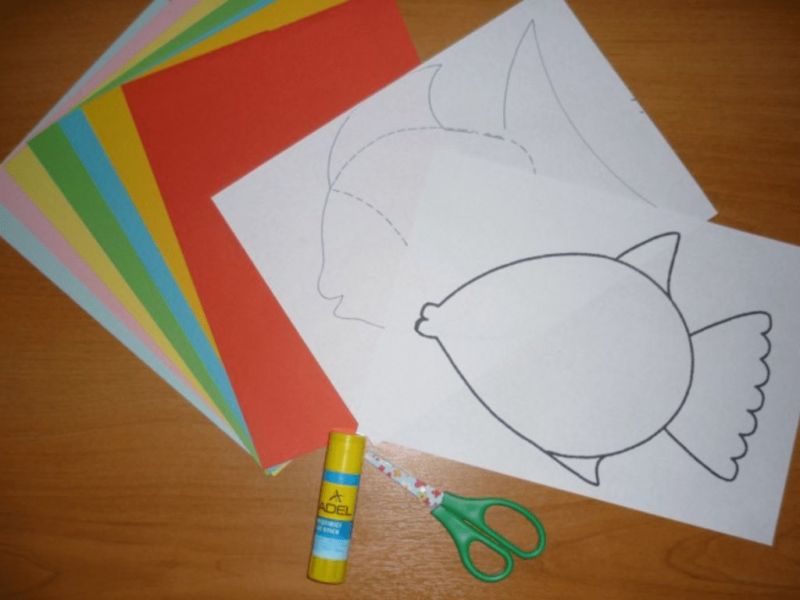
The easiest option is to draw a fish figure on cardboard and cut it out. Then decorate with colored paper or foil. The fish is ready!
Fish made of papier-mâché
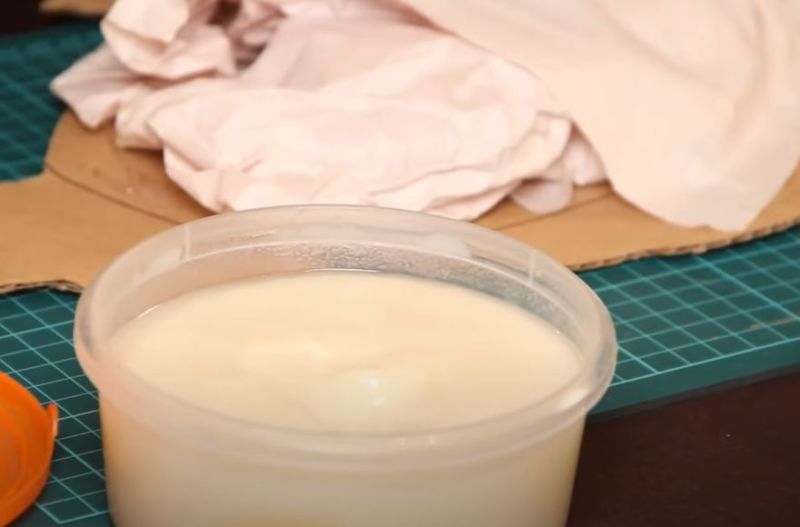
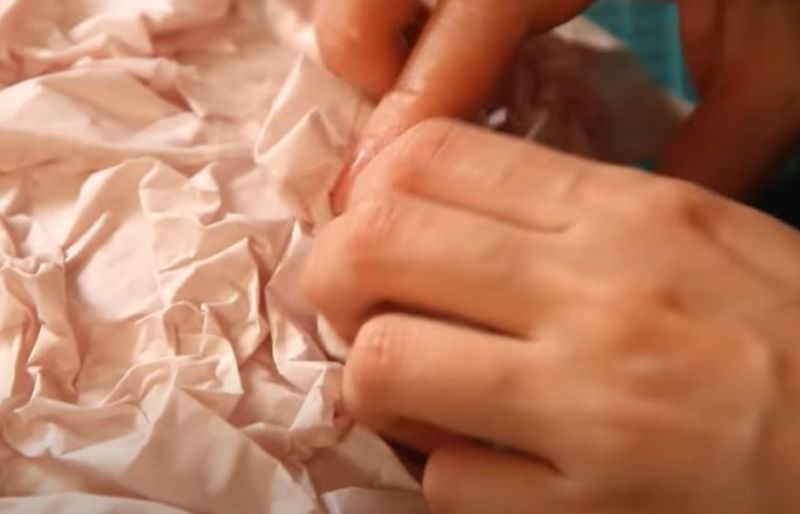
Cut old newspapers into small pieces, crumple them up and mix with PVA glue. The consistency of the mixture should resemble thick sour cream. Cut out the silhouette of a fish from cardboard.
Apply the mixture to the workpiece to form a three-dimensional fish like a real one. Allow the workpiece to dry completely.

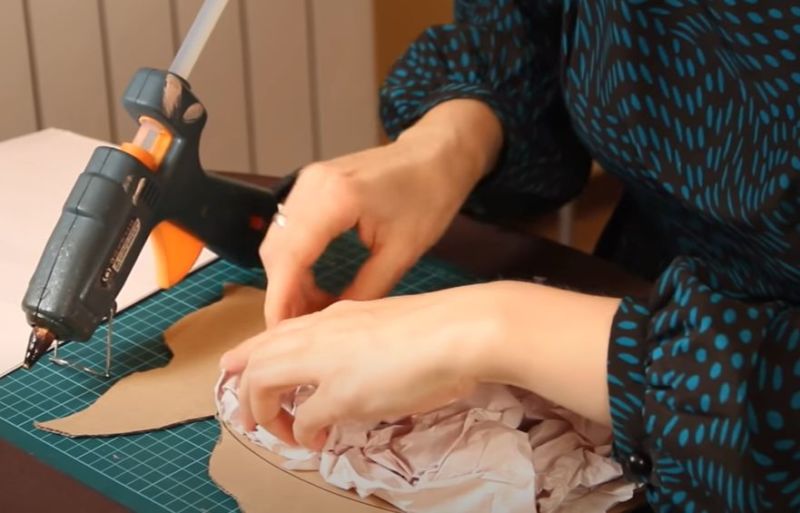

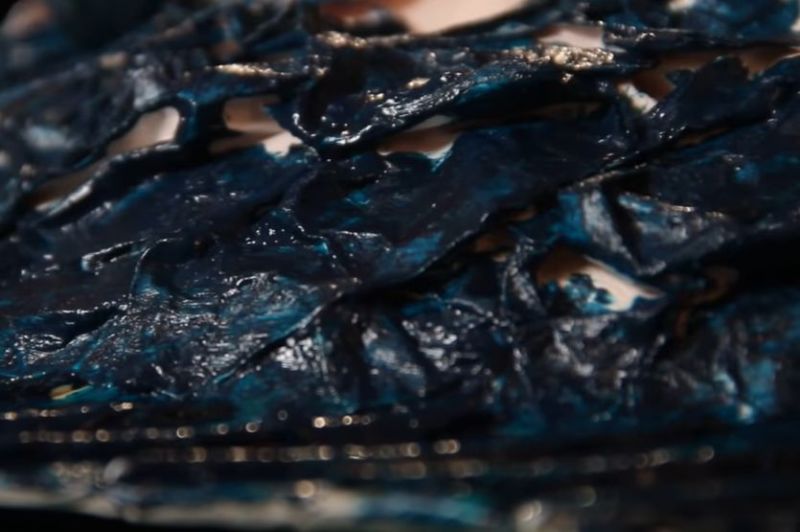
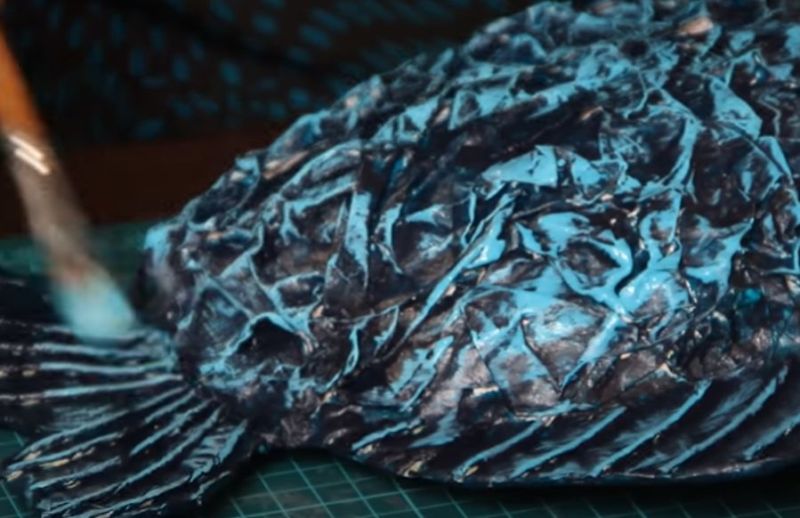
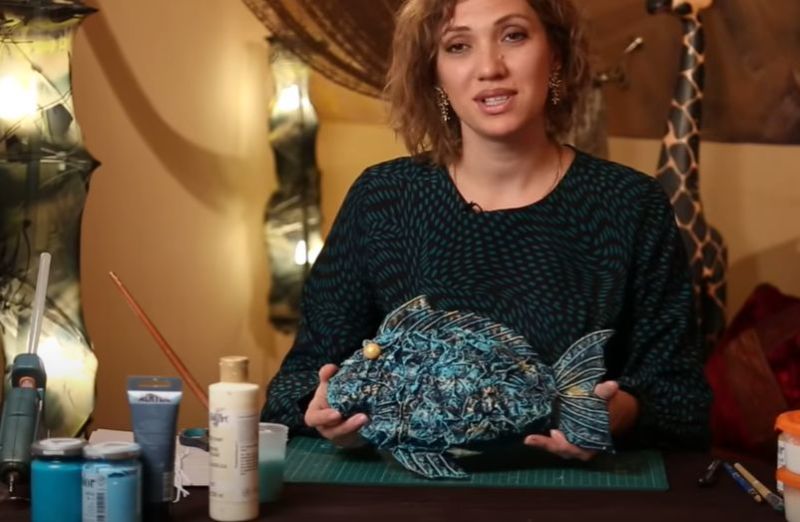
Cut the decorative paper in strips, round the edges with scissors to resemble scales. Decorate the fish by gluing the "scales" overlapping. Finish with foil fins and tail.
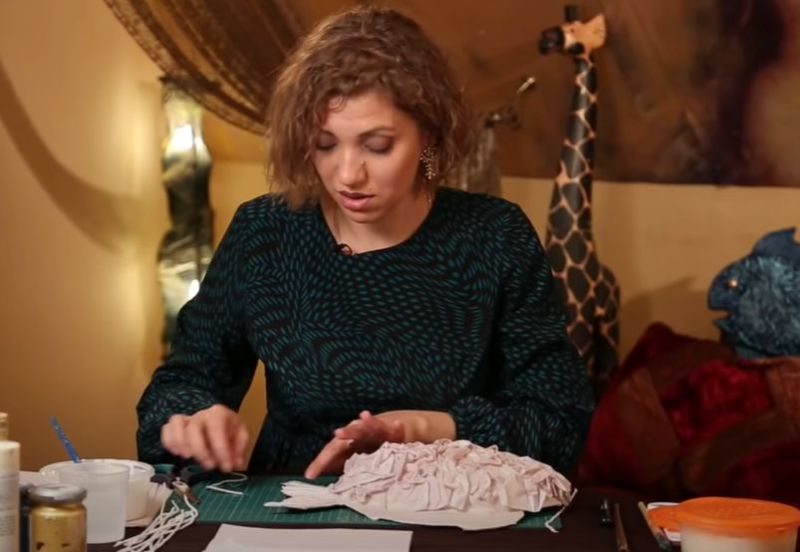
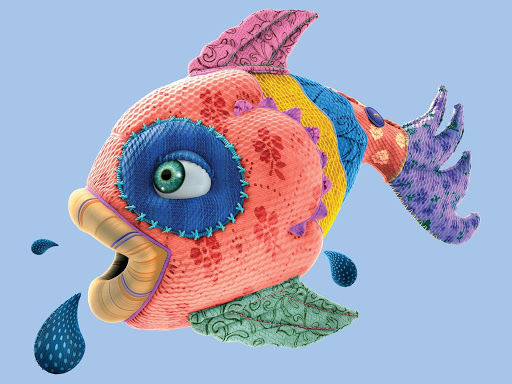
Fish out of fabric
Cut out fish silhouettes from matching texture fabric. You will need two identical blanks:
- Fold them face to face with each other and sew, leaving a small area unstitched.
- Turn out the blank, fill with absorbent cotton. Carefully sew up.
- Let's proceed to decorating: "eyes" can be made from buttons or beads, "scales" - from a different fabric than the one you took for the base. You can do embroidery.
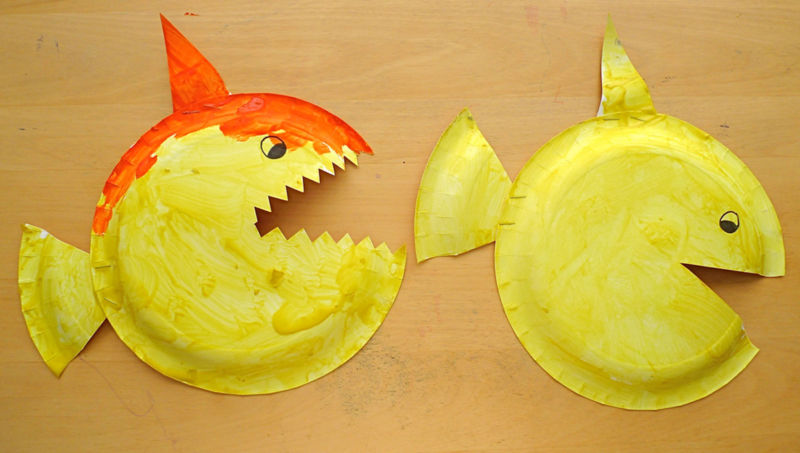
Fish from disposable plates
Put an upturned plastic plate on cardboard, trace it with a pencil. Doris the fish head, fins, tail. Cut out the resulting blank, glue the upside-down disposable plates to it on both sides. It remains to decorate the fish.
Octopus
Needed:
- stationery;
- foil;
- ribbon.
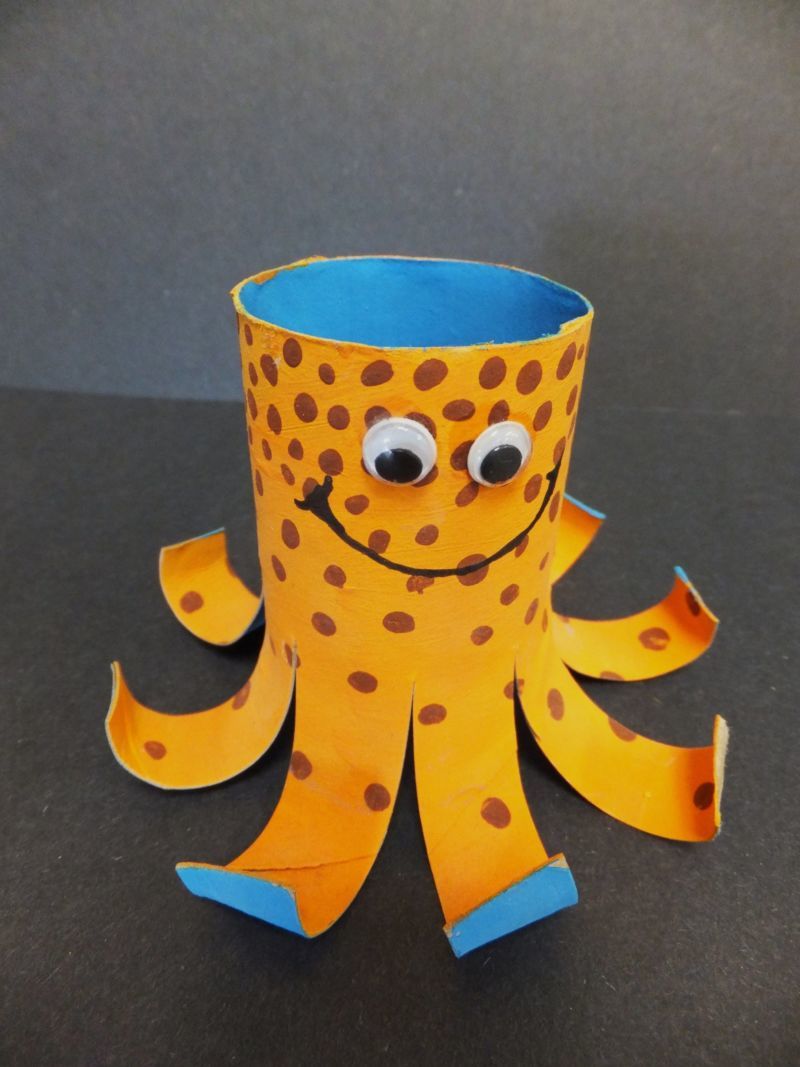
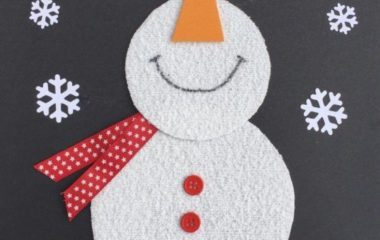
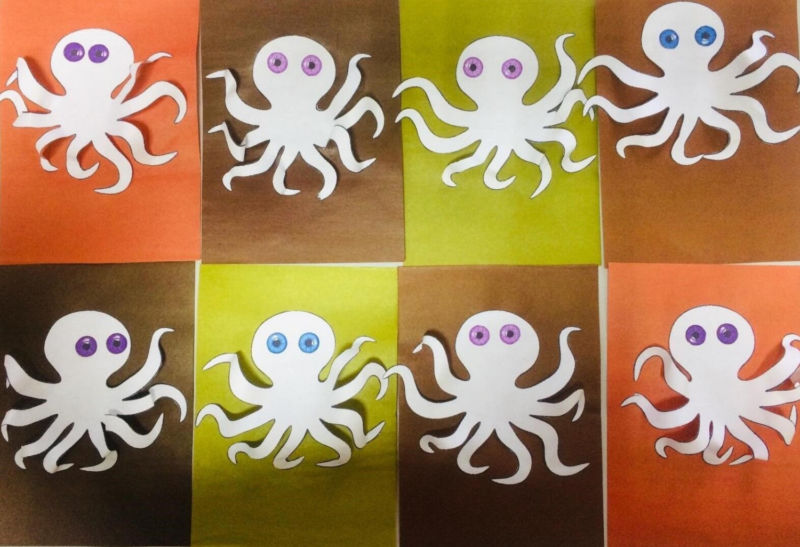
Christmas toy "Octopus"
Cut out a silhouette of an octopus from heavy cardboard. Give the blank a volume with the papier-mâché technique, or leave it flat.
Attach a loop of ribbon. Decorate with silver or gold foil.
The toy can be hung on the tree. Similarly, you can make decorations depicting other sea creatures, and let the memories of the sea remain with you even in the New Year!
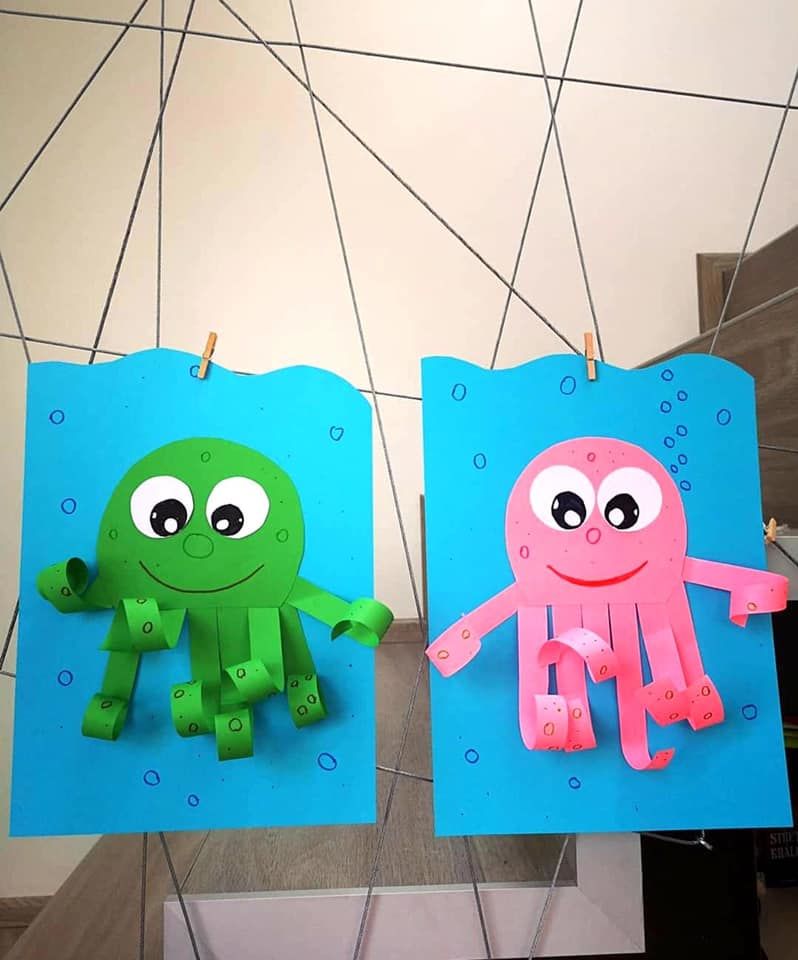
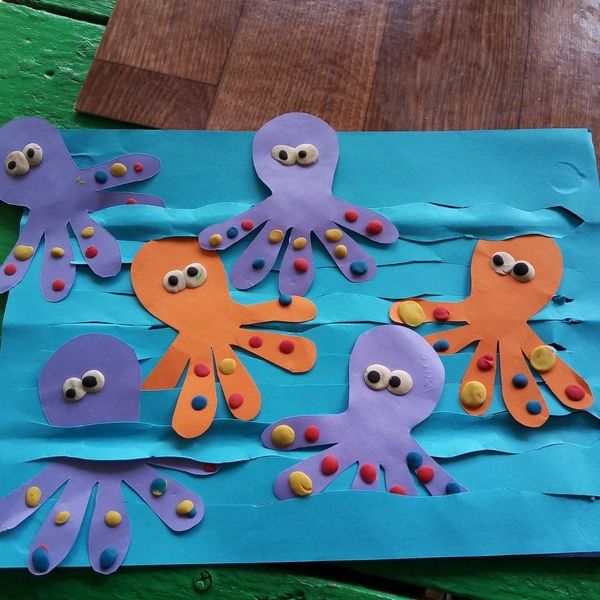
Octopuses" collage
Prepare a base of blue cardboard. Cut out a few octopus silhouettes of other colors. For the application, you need to prepare elements of the "ocean floor": seaweed, colorful coral, stones - all can be cut from decorative paper. Give free rein to your imagination!
For example, why not "settle" octopuses with other ocean inhabitants? And maybe you want to place a treasure chest on the "ocean floor"? When everything is ready, left to assemble the application, gluing all the elements.
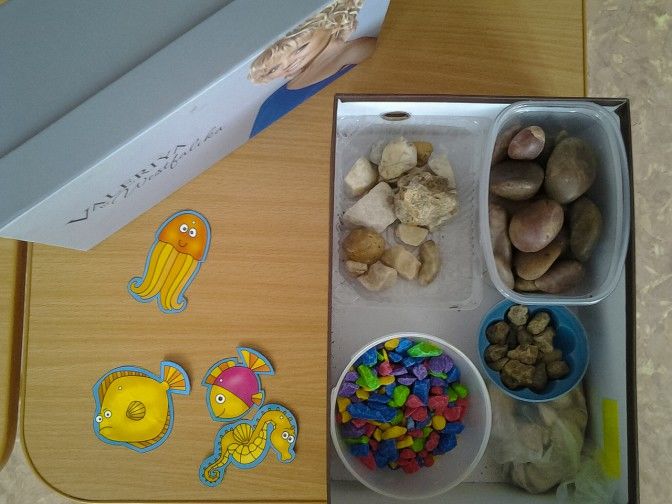
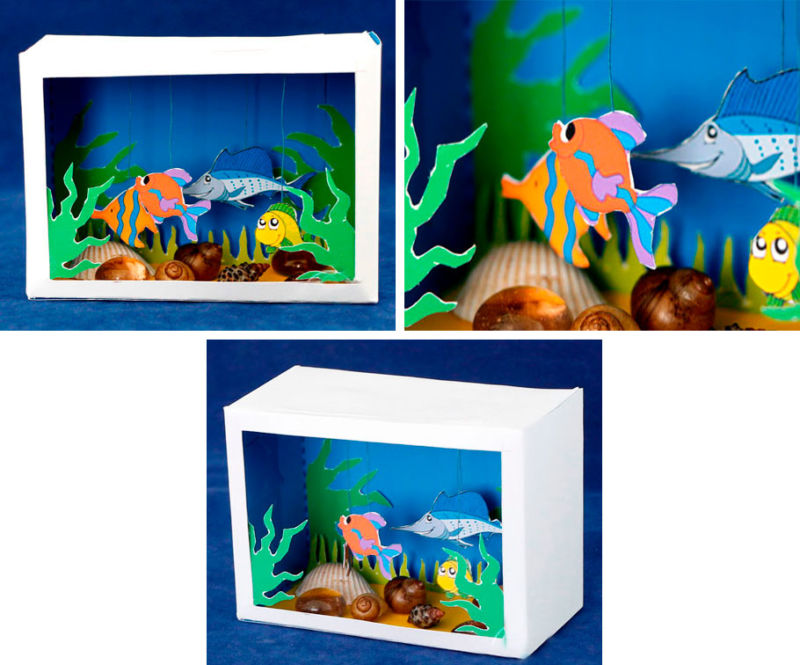
Volumetric Sea
You will need:
- A cardboard box 15-20 centimeters wide, length and height - at your discretion;
- stationery;
- fishing line;
- Artificial seashells and stones for decorating (you can also use natural ones).
Step by step instructions:
- Remove one side of the box to make it look like an aquarium.
- The rest of the sides from the inside decorate the images of underwater landscapes, they can be made in the technique of applique, you can draw with paints, pencils or felt-tip pens.
- Prepare figures of seaweed and coral and glue them with their base to the bottom of the box, then place shells and pebbles at the bottom.
- Create different inhabitants of the ocean, using the methods described above.
- Place figures of octopus and starfish at the bottom, to the figures of fish, jellyfish and seahorses attach different lengths of fishing line, the other end of which will be attached to the "ceiling" of the box.
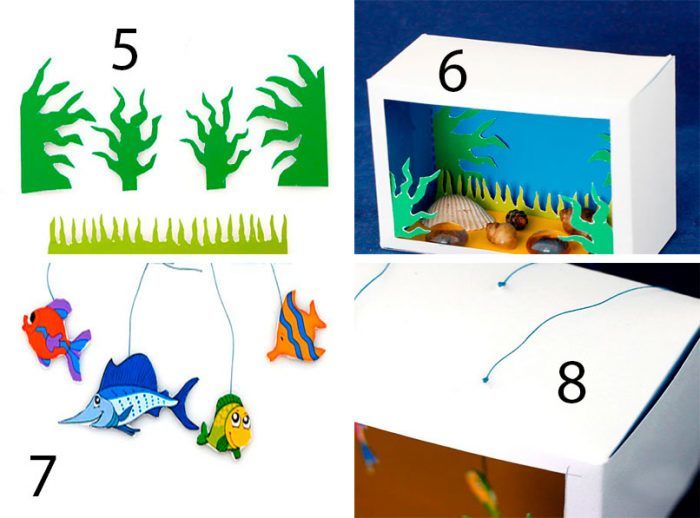
The result is a three-dimensional model of the sea! Complete it using your imagination and fantasy.
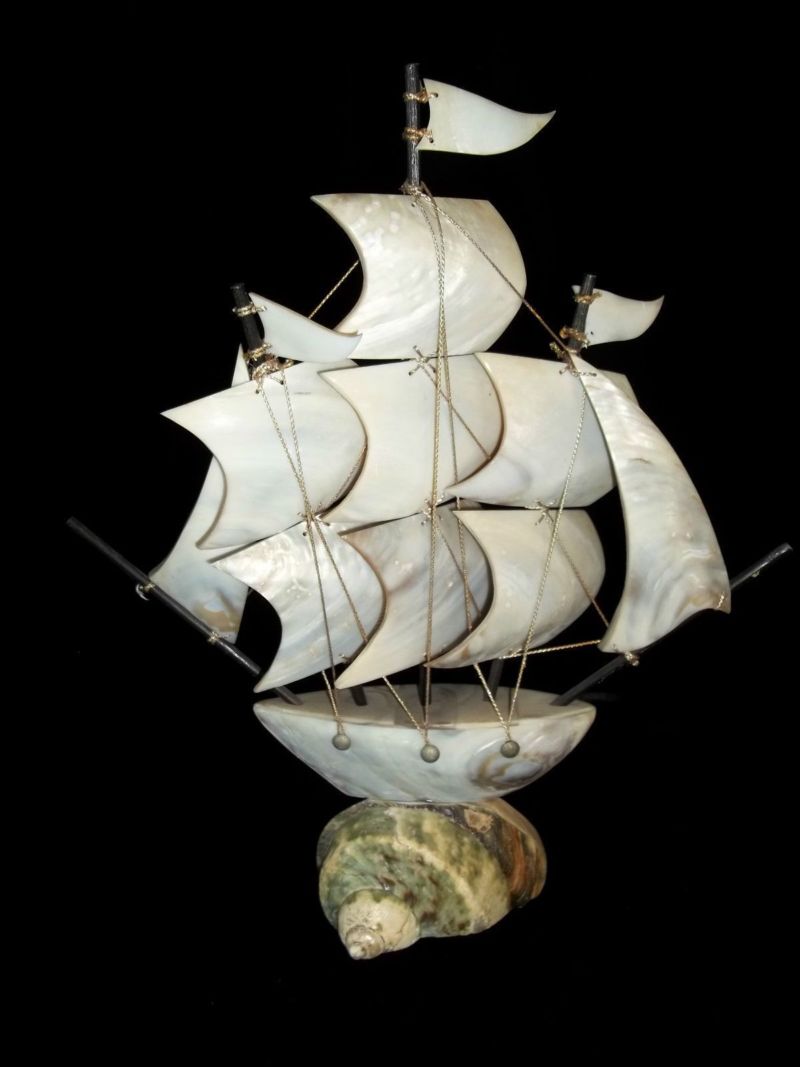
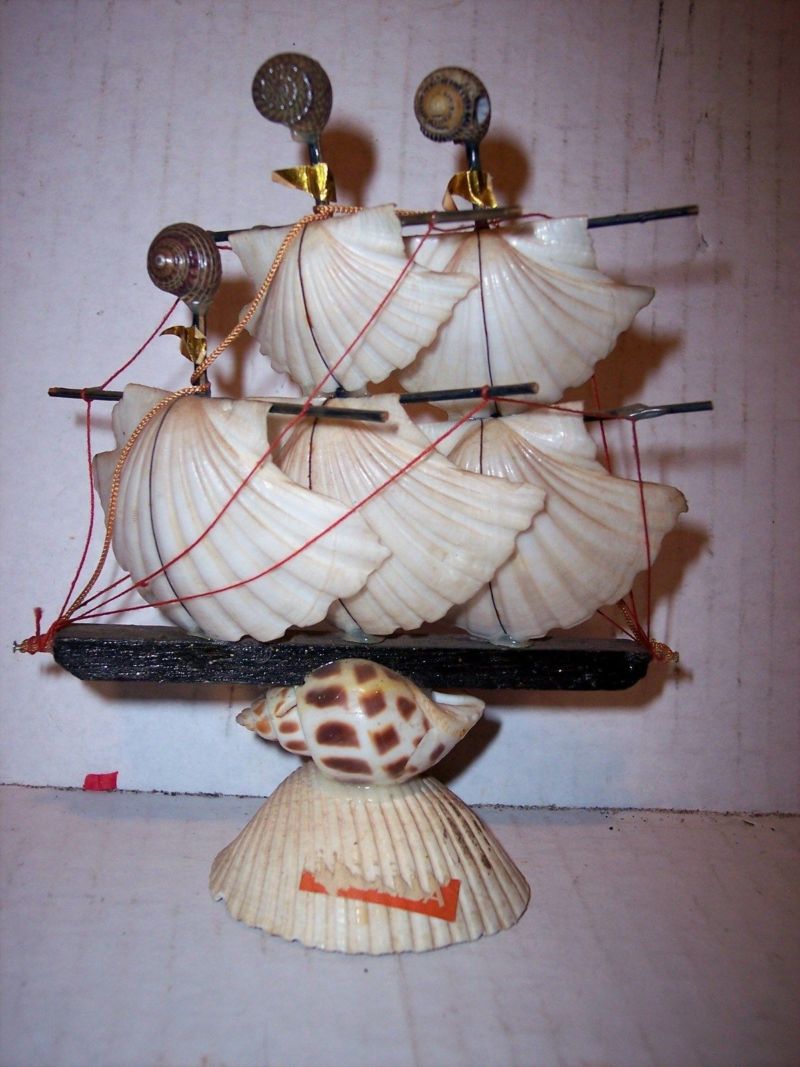
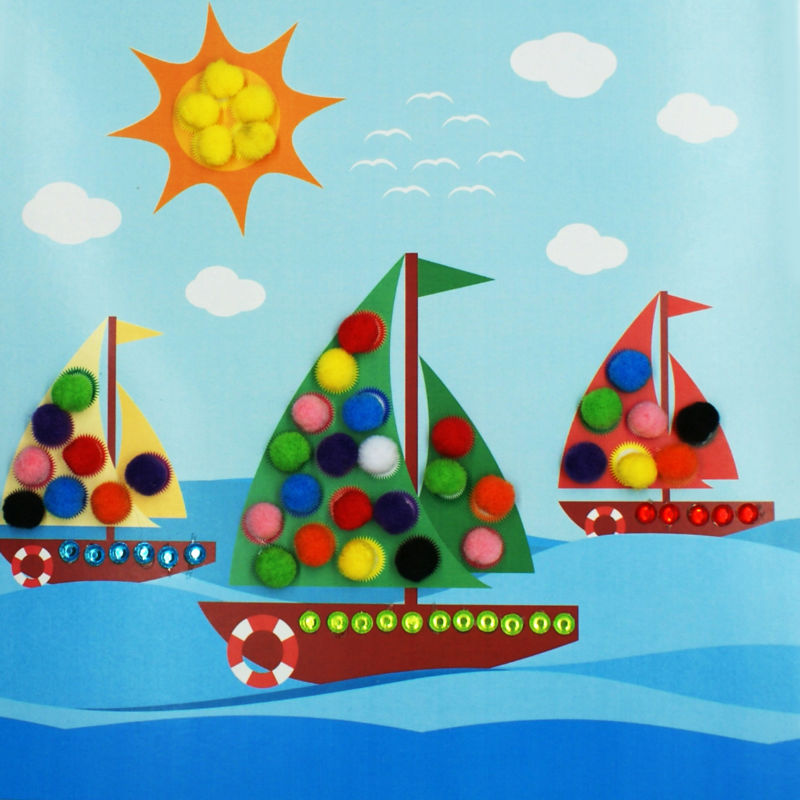
Ship
You will need:
- paper, white and colored;
- colored cardboard;
- glue;
- scissors.
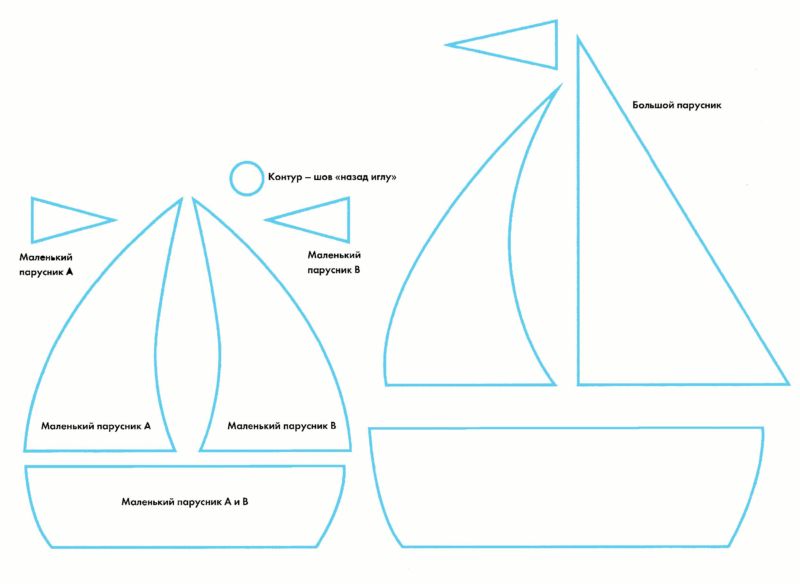
From blue or blue cardboard, prepare a base. From blue paper, the shade of which should be slightly different, cut out wavy narrow strips and glue them to the bottom of the future application - these will be the "waves":
- Cut out the "hull" of the ship, the "mast" and the "sails" from paper of any other color. Glue all elements on the base to make a sailboat.
- If you want the souvenir to look three-dimensional, glue the "sails" only at the corners so that their center is slightly elevated, and it looks like the sails blown by the wind.
- Think up and write, as will be called your sailboat, you can also glue on his "board" image lifebuoy. Complete the application figures of the sun, seagulls, dolphins jumping out of the water.
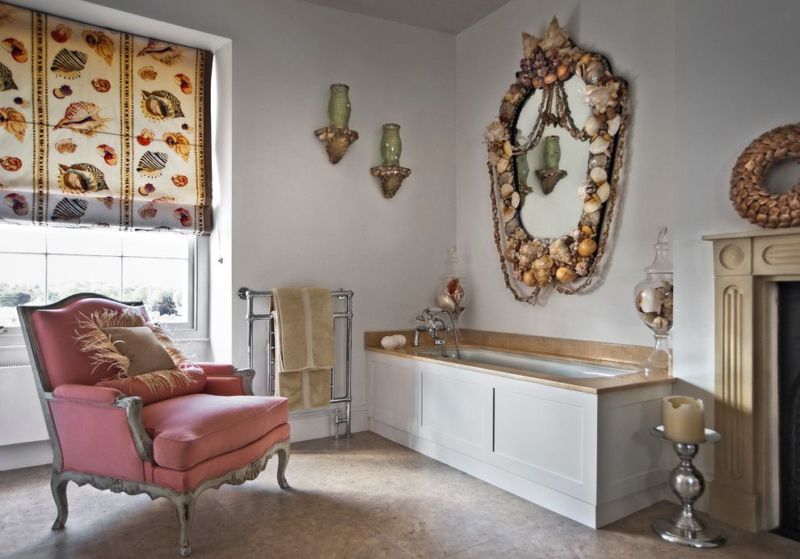
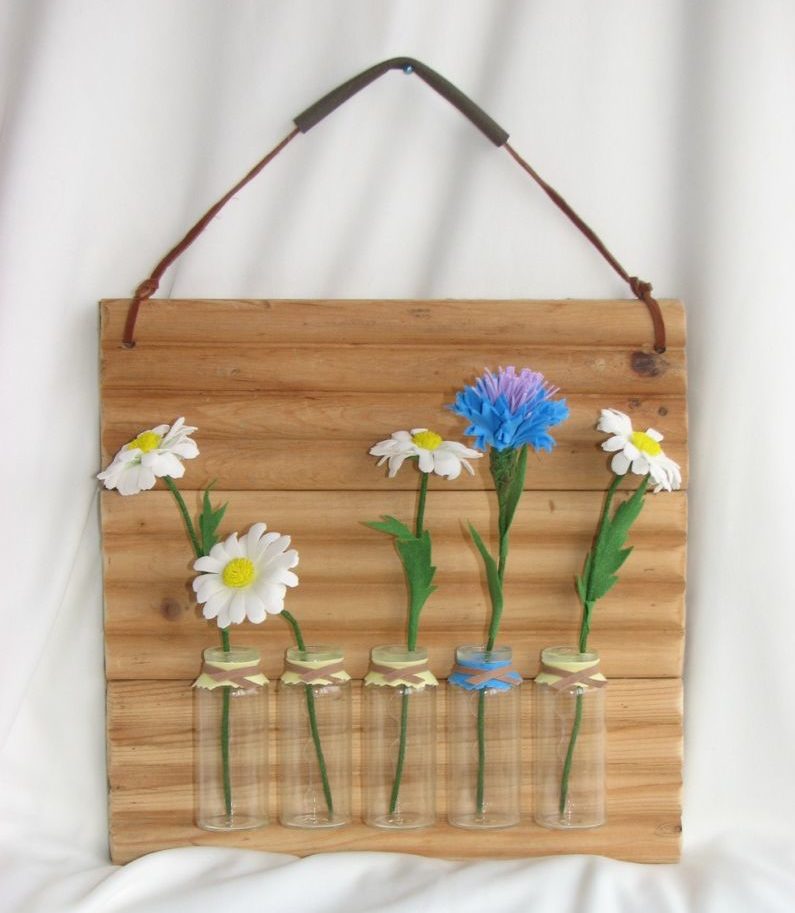
The panel "Summer vacation"
Needed:
- a rigid base, for example, from plywood;
- different decoration materials;
- fabric;
- glue gun.
First, think of the story you want to depict on the panel:
- The base of the future panel is covered with a matching color fabric, fix the fabric on the back side of the base.
- Next, you need to create the elements for the panel, and what kind of elements depends on its subject. It can be an underwater world, a coastline and a lighthouse in the distance, a beach with multicolored umbrellas, a competition of yachtsmen.
- Materials for the elements and the technique can be different, including those described above. When all the components of the panel's plot are ready - place them on the base and fasten them. It is preferably to make a frame for the panel.
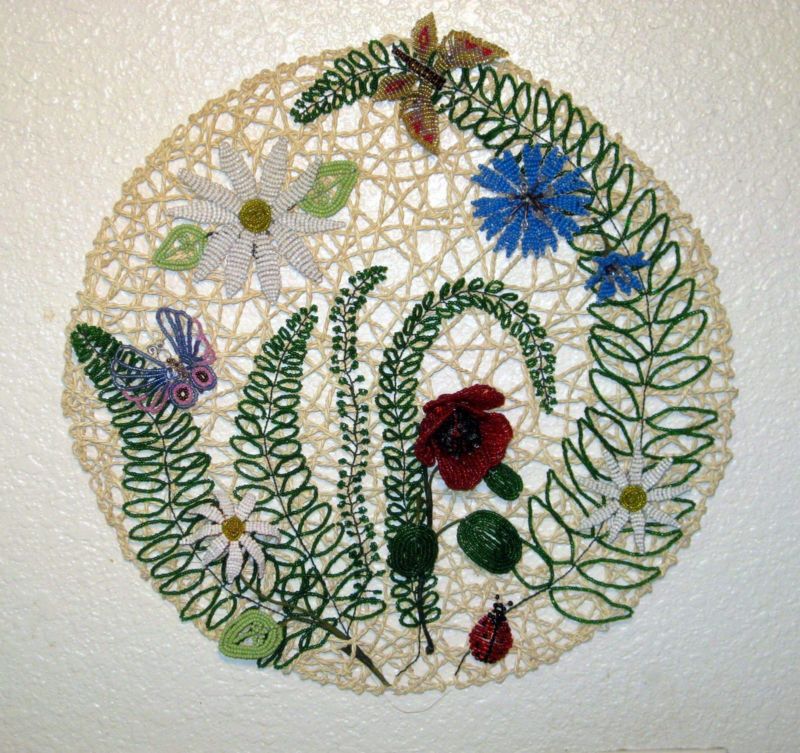
The easiest variant is to make it from any material for decorating, simply fixing it around the perimeter of the base. A strip of fabric or braid will work great. If possible, use a frame made of wood.
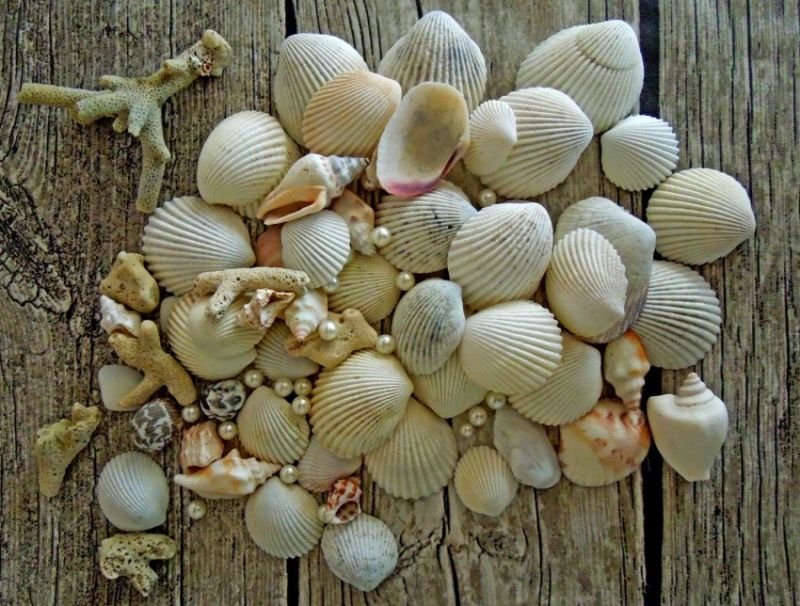
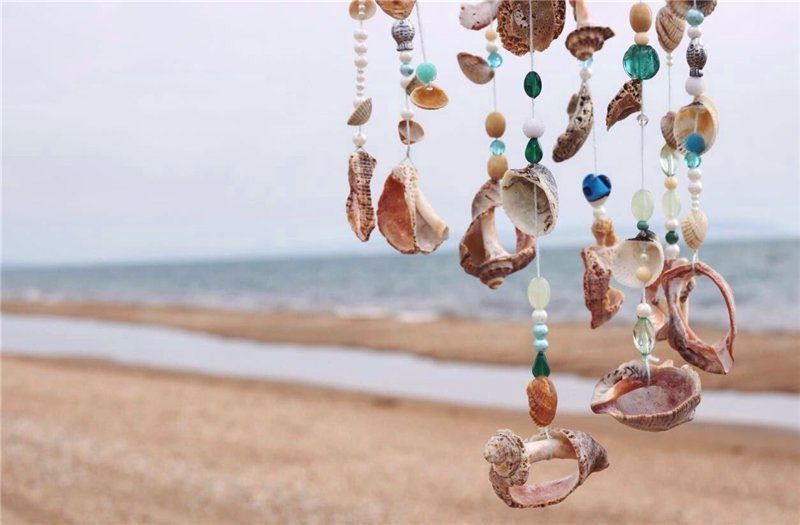
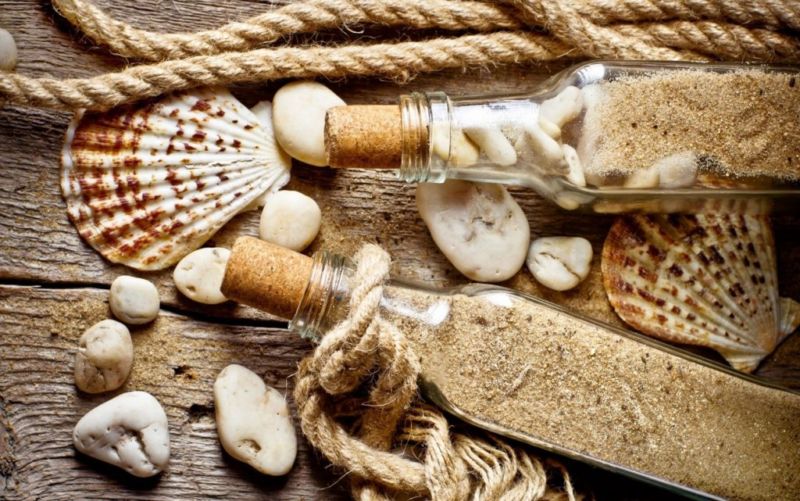
Shells and pebbles crafts
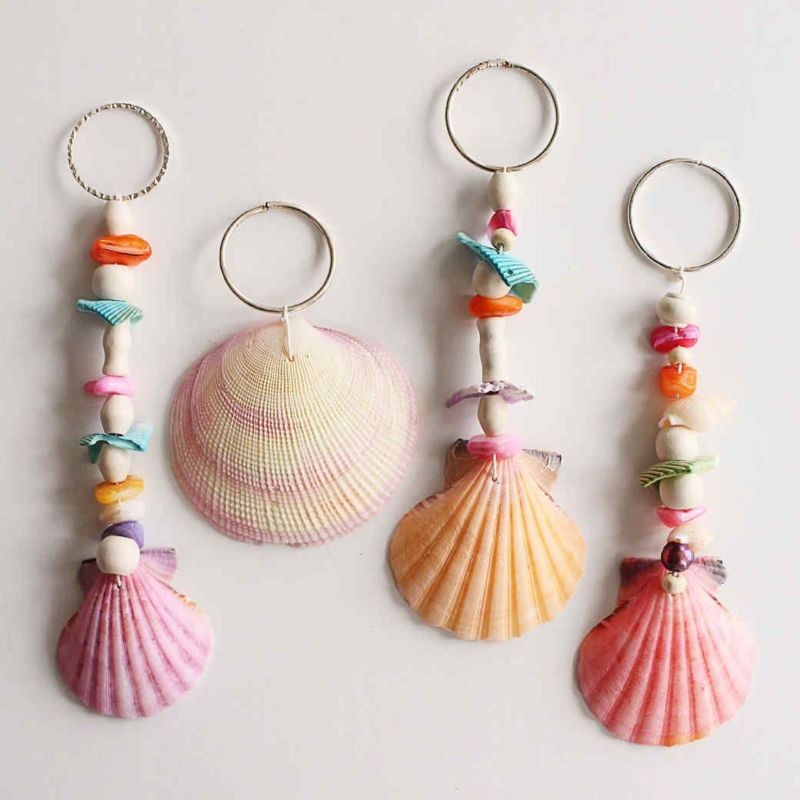
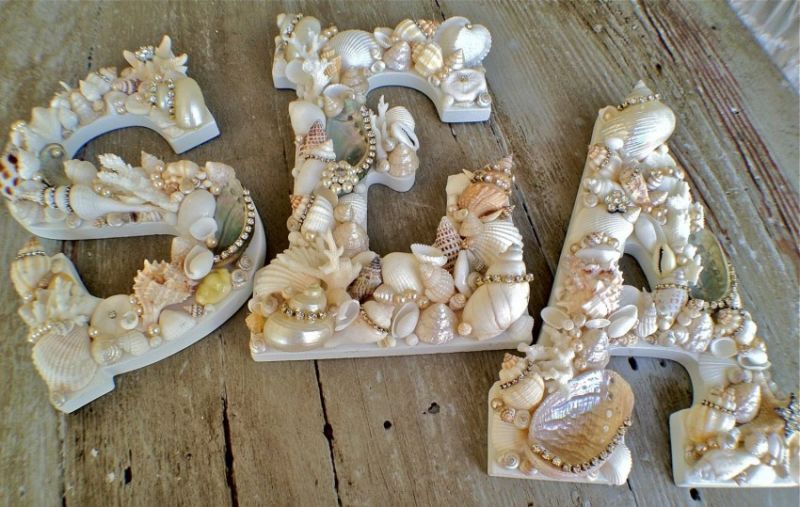
Any made of paper children's crafts will be much more interesting and original, if you decorate them with natural materials - sea pebbles and shells of mollusks.
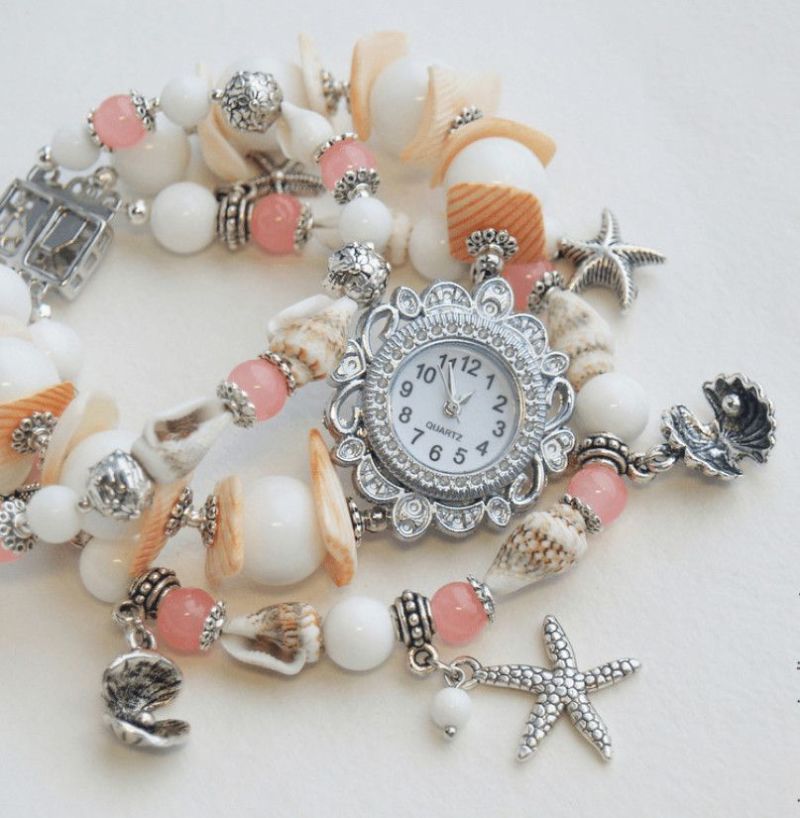
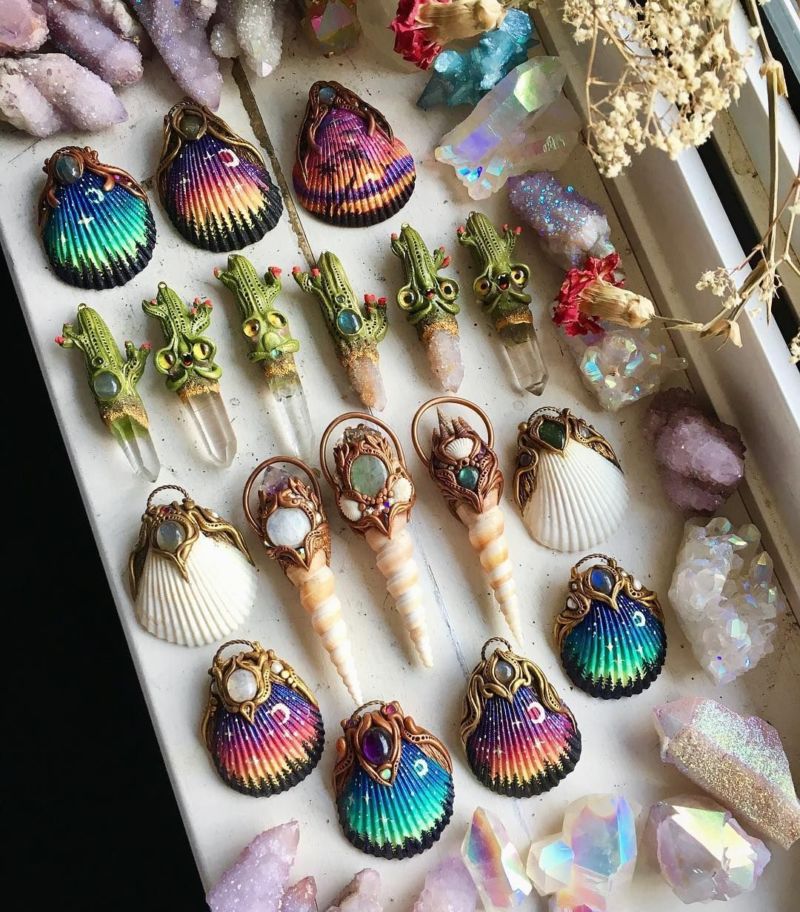
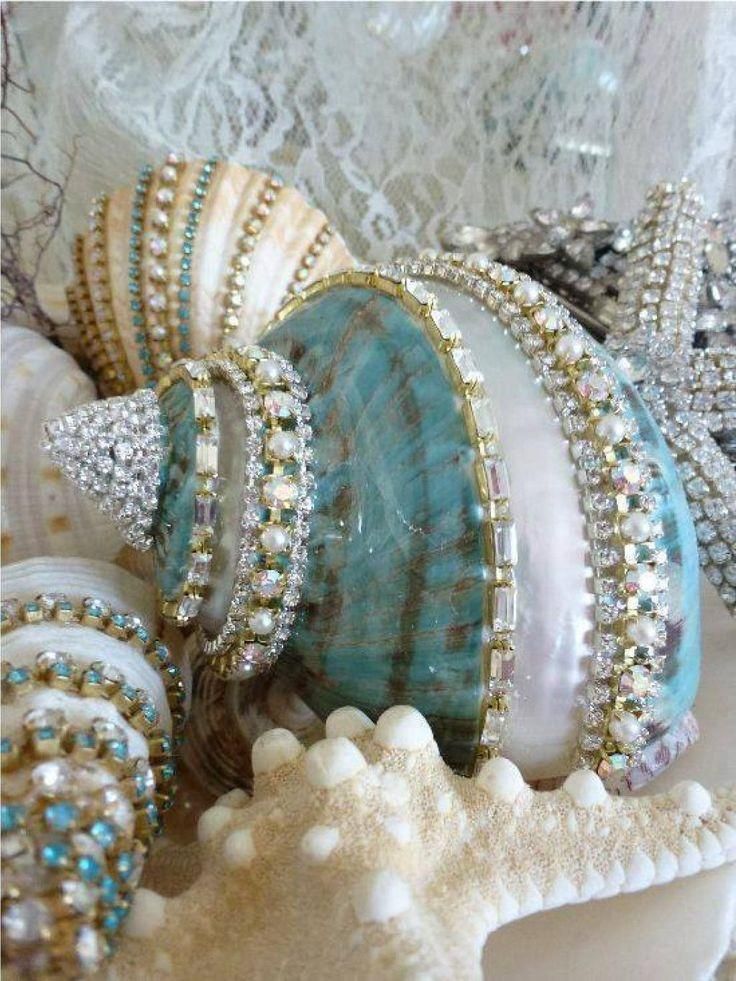
These gifts of the sea are used to decorate more complex souvenirs, making that can interest not only children but also adults.
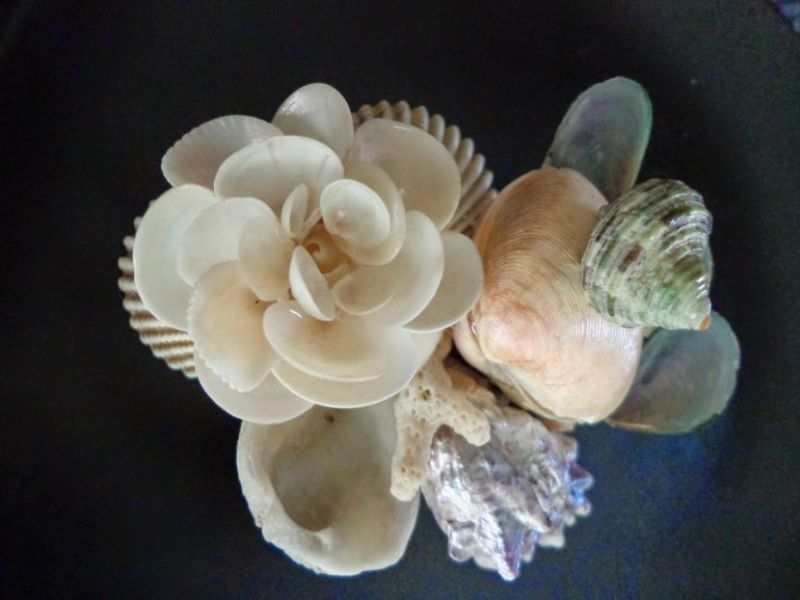
Figurines of animals
You will need:
- clam shells, pebbles;
- plasticine;
- heavy cardboard;
- glue gun.
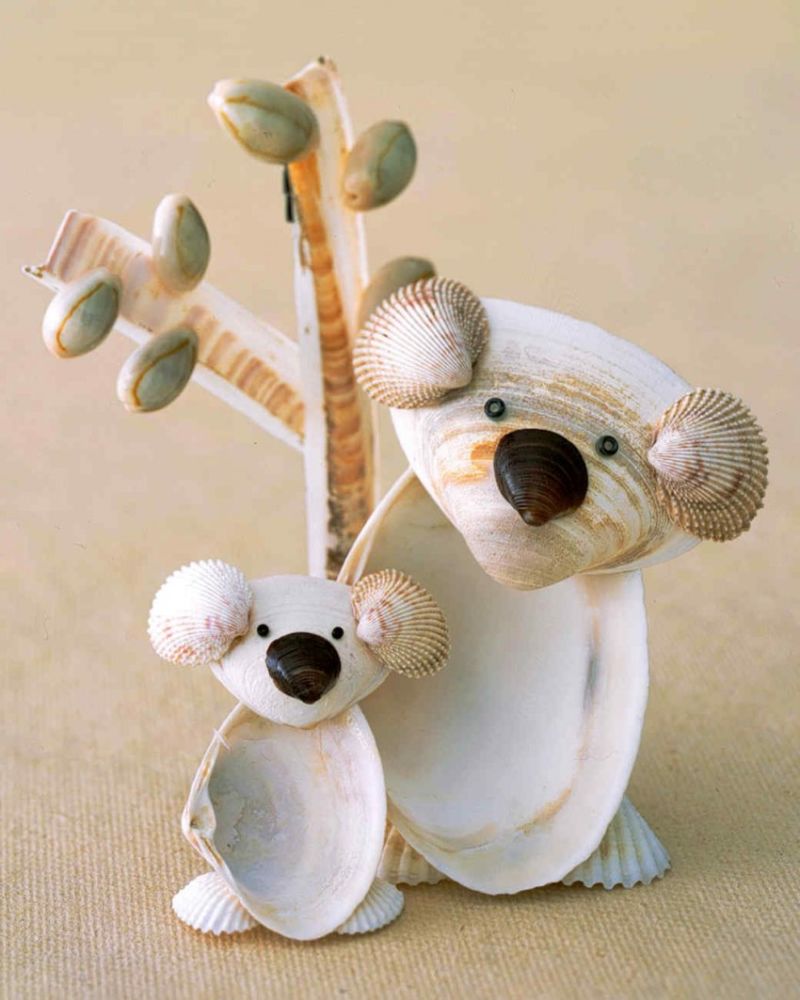
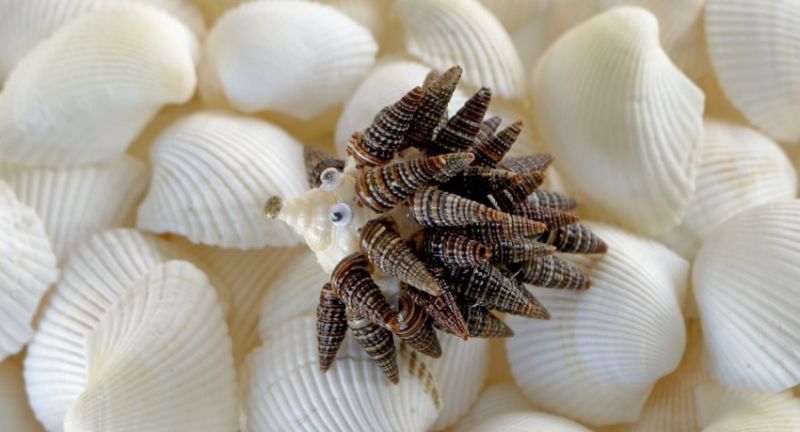
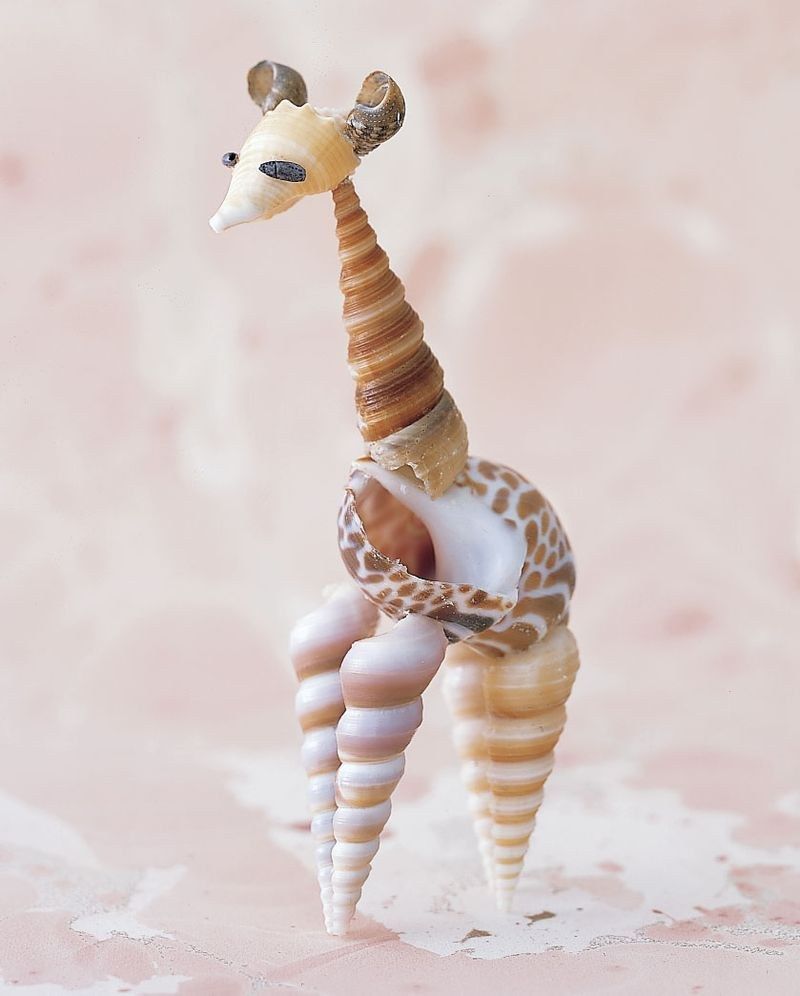
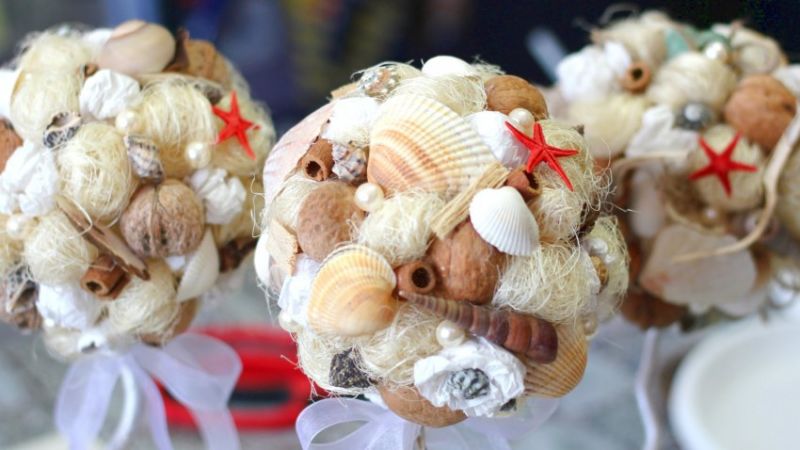
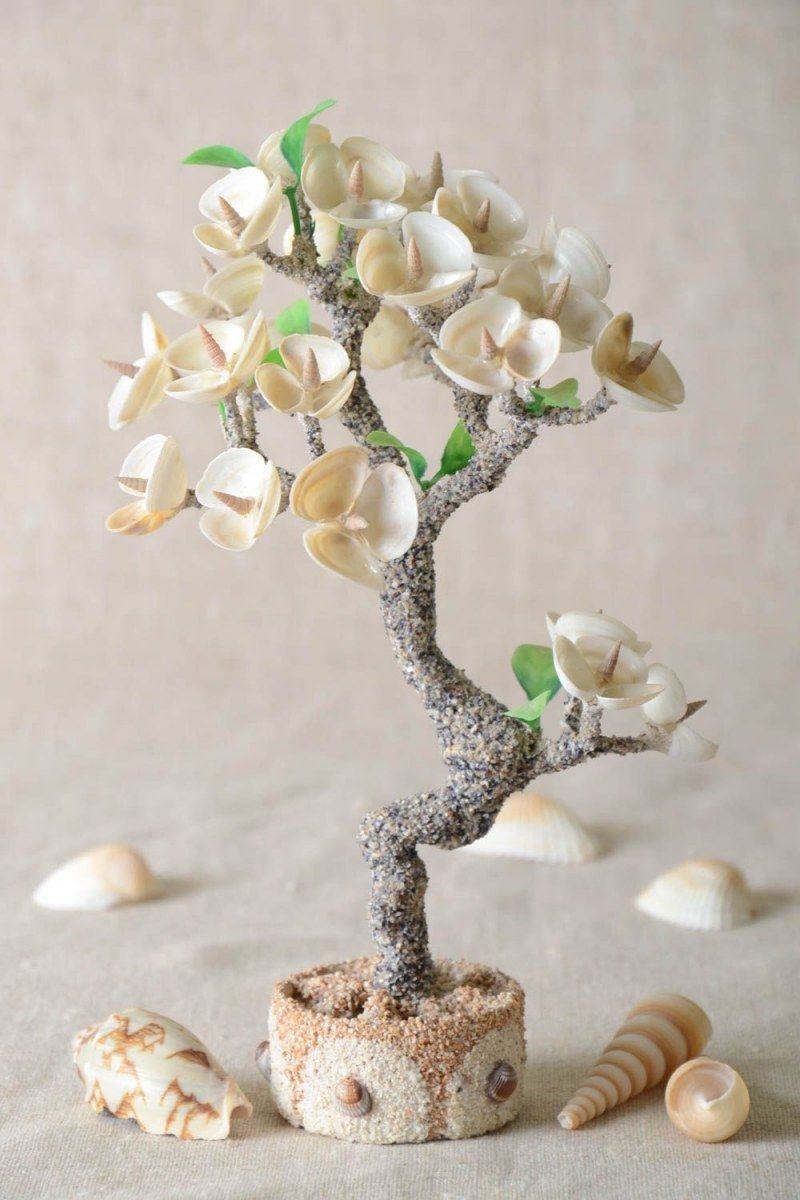
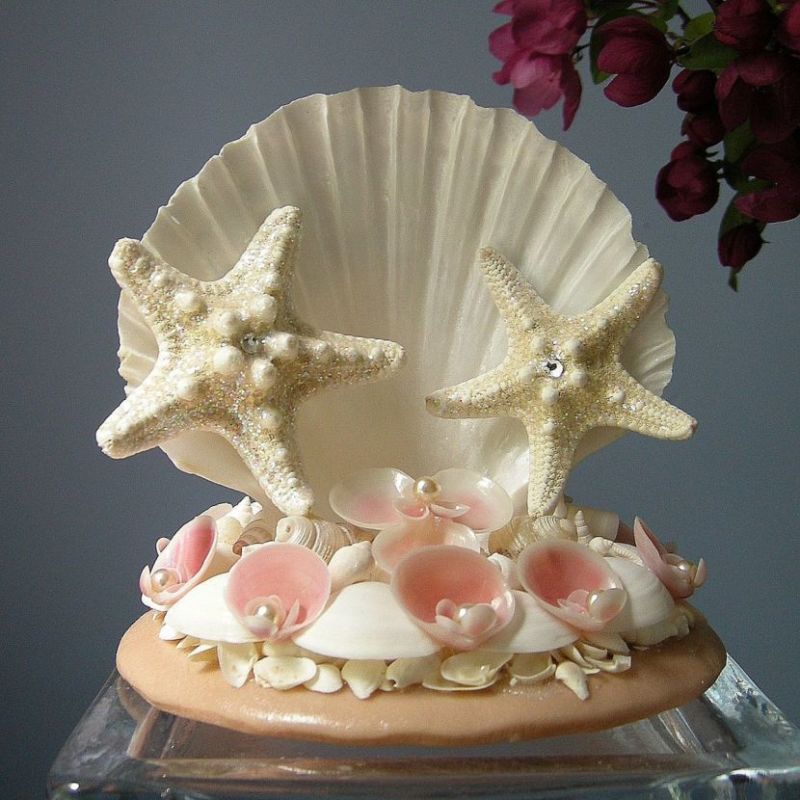
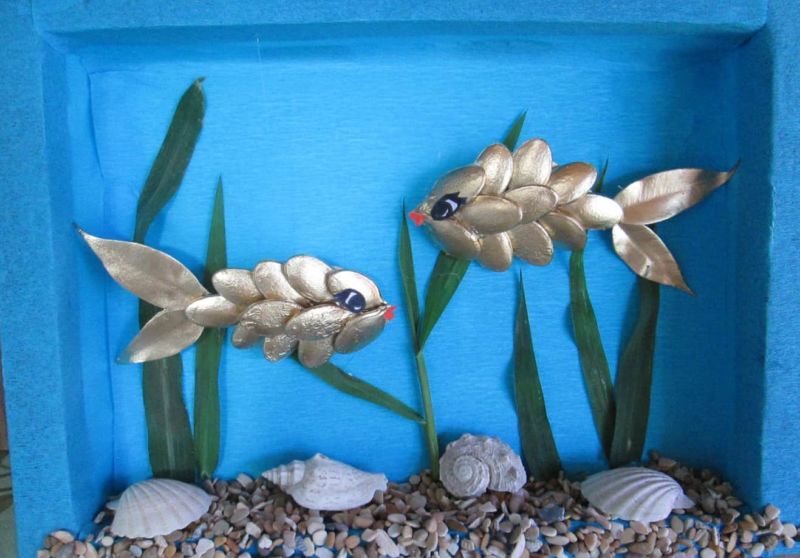
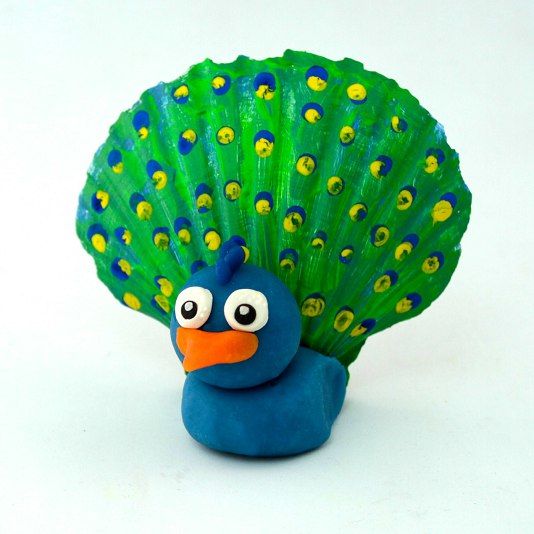
Three-dimensional animal figurines
Mold animals out of plasticine of a suitable color, using shell decorations. For example, a large fan-shaped shell could be the "tail of a peacock."
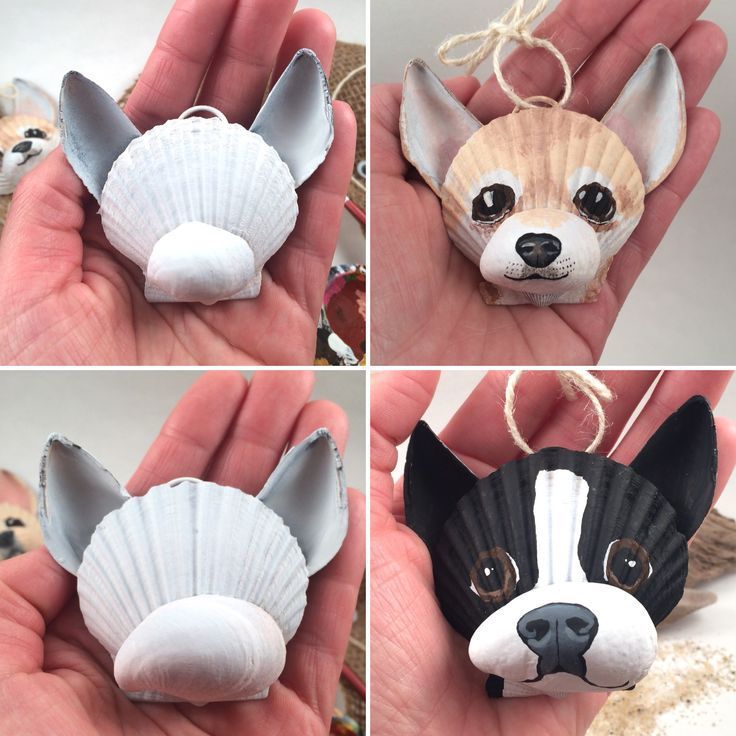
Two identical seashells can be used to imitate the dog's ears. Try decorating a "tortoise shell" with mollusk shells.
You can mold a fish with scales from small clam shells and fins and tail from larger ones. Do you want to create a dragon and decorate it with seafood? The creative possibilities are endless!

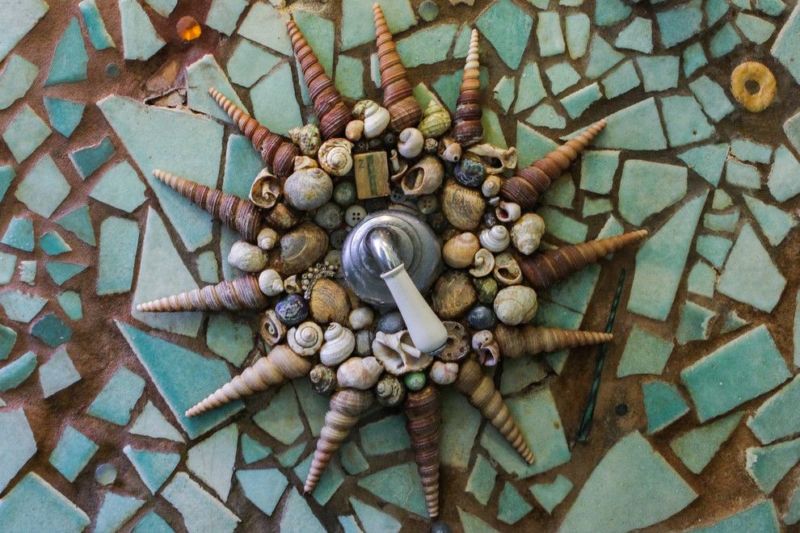
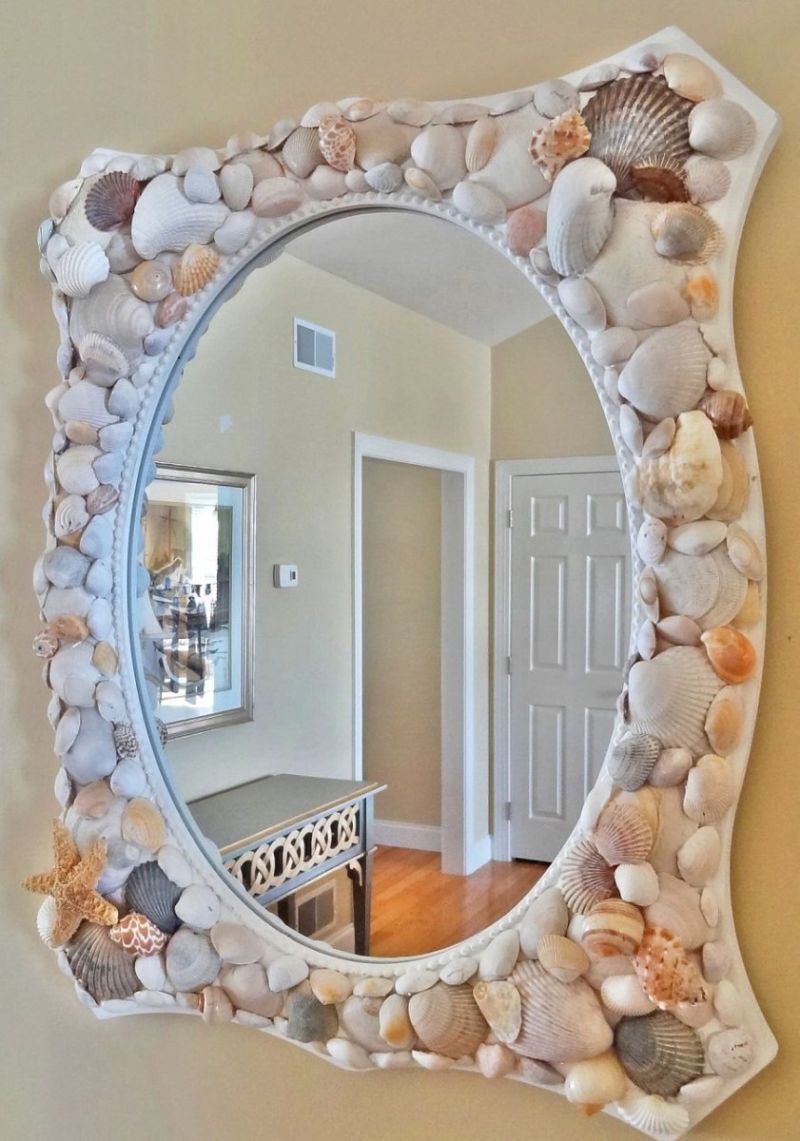
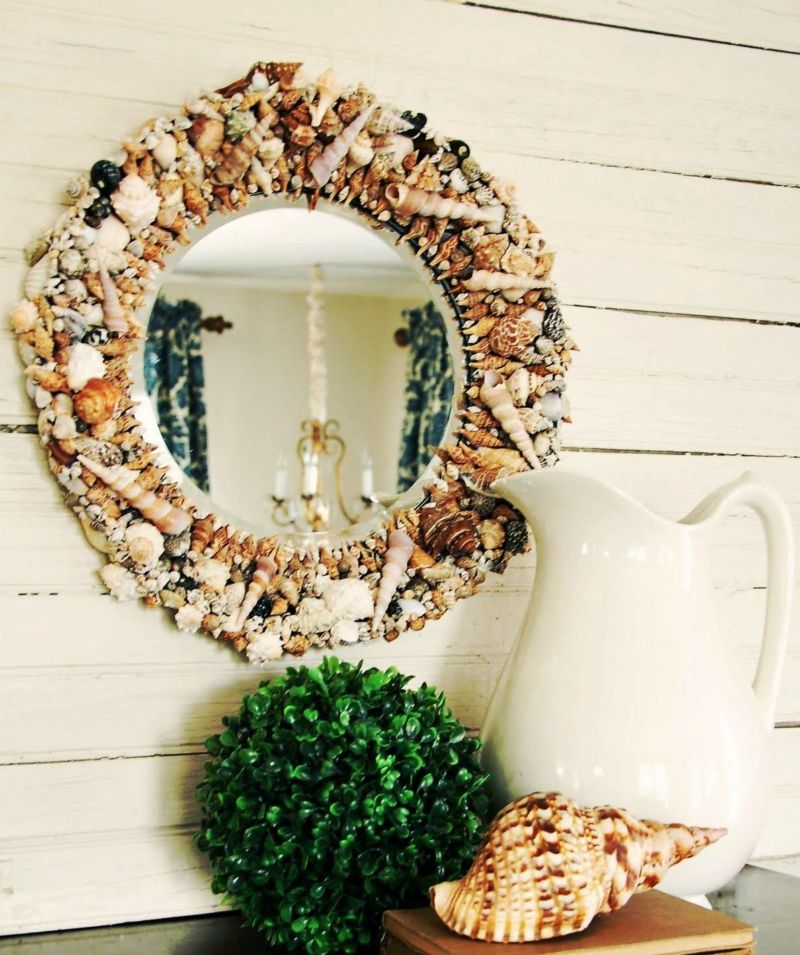
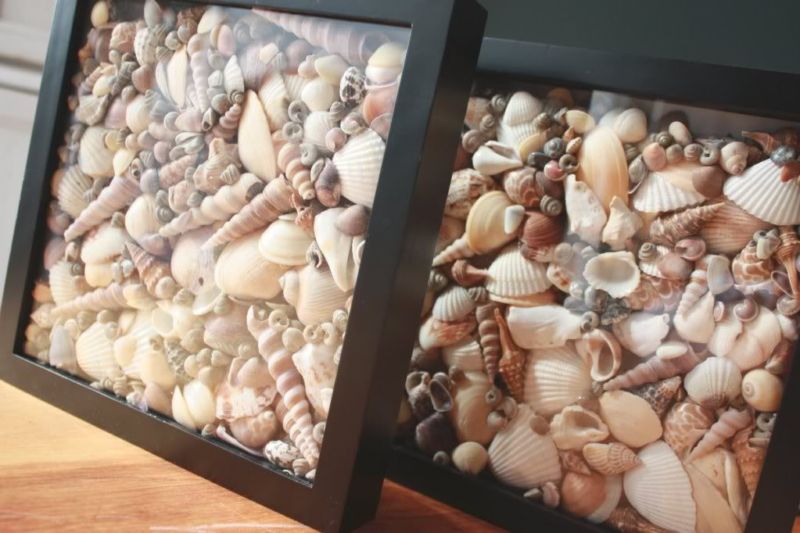
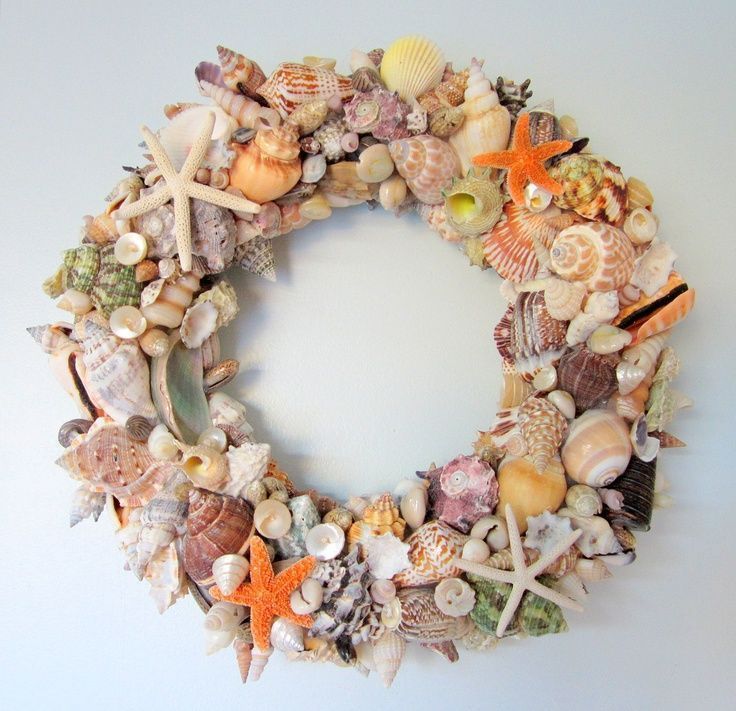
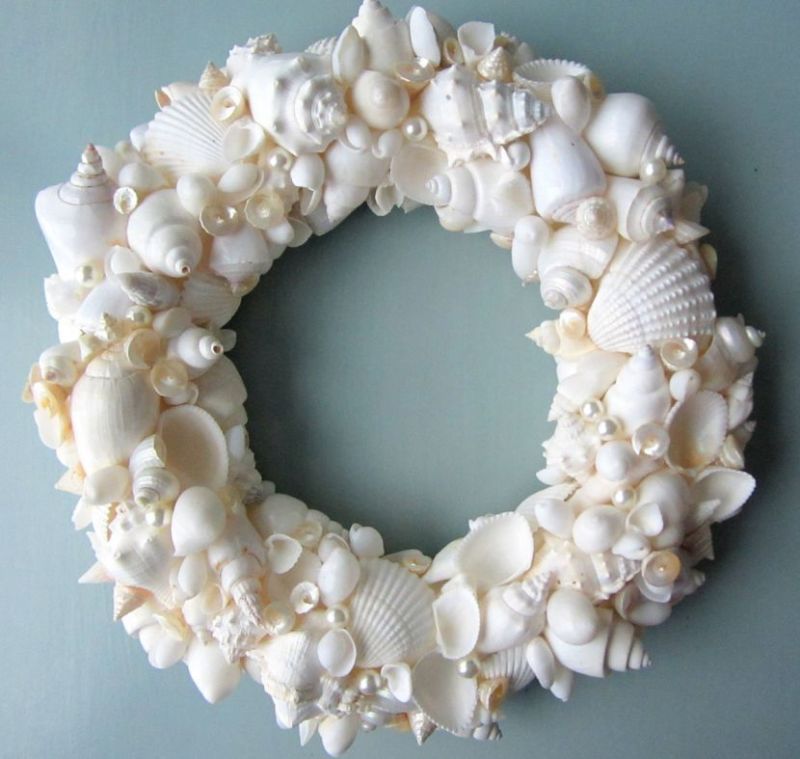
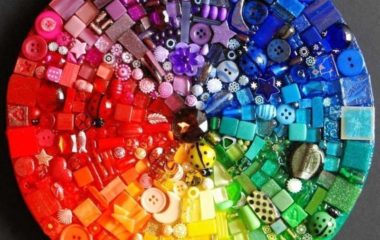
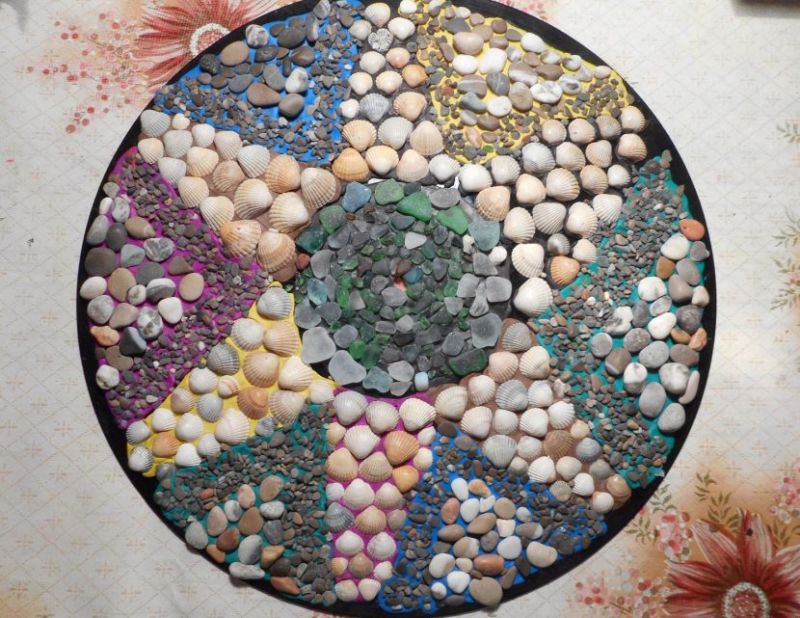
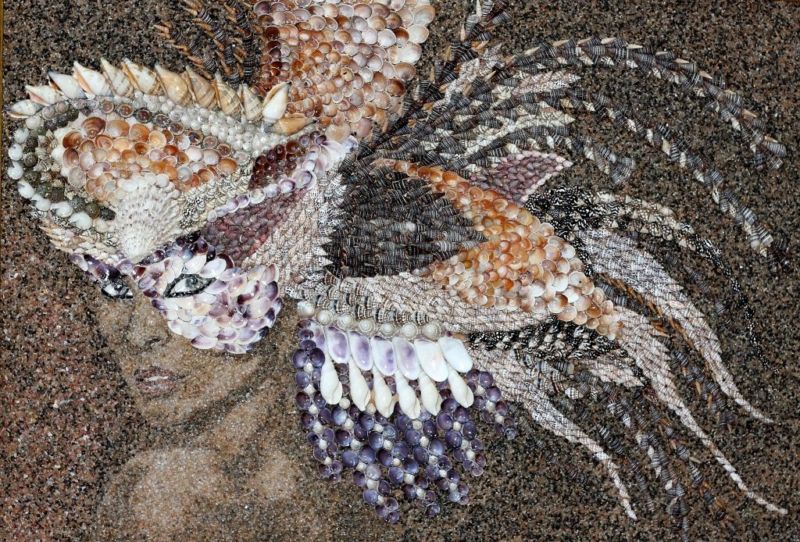
Mosaic with shells and pebbles
Make a mosaic out of sea rocks and shells. Prepare a solid base for the work:
- Draw a sketch. Keep in mind that the larger the figures in the mosaic, the better they look.
- When the sketch is ready, think about which elements will be made of clam shells and which will be made of pebbles.
- First lay out the mosaic without attaching the elements to the surface to see what the result will be and to make sure you have enough materials.
- When you have achieved your desired result, fix each element of your mosaic. Make a frame for your masterpiece.
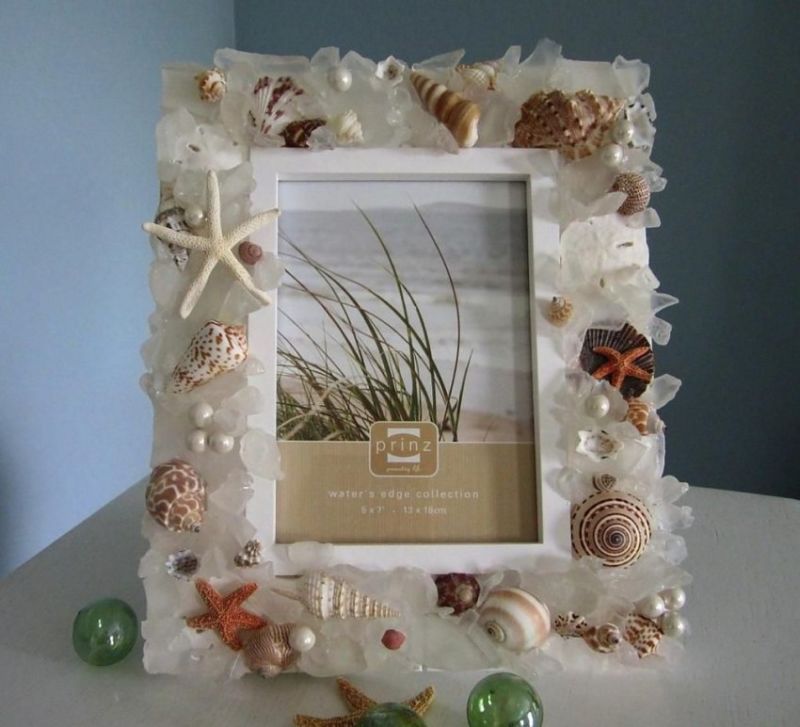
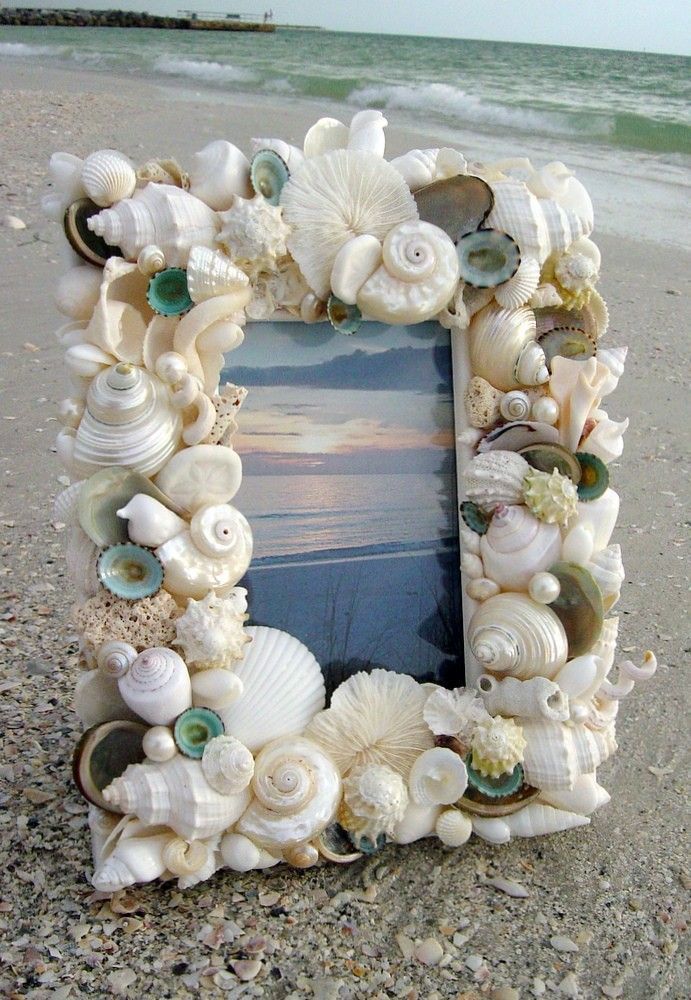
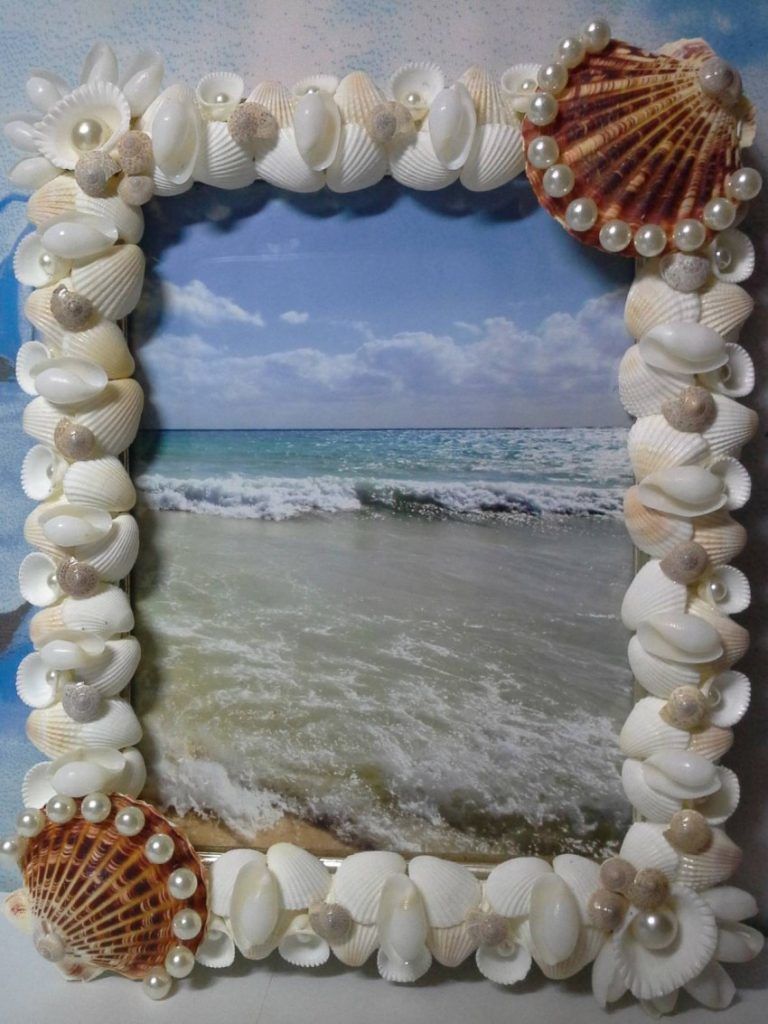
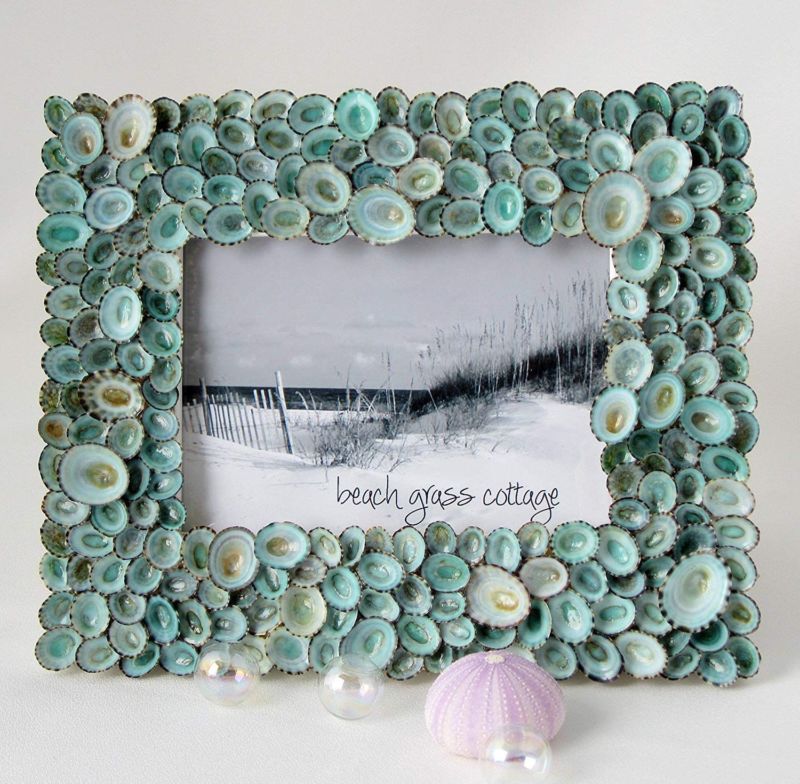
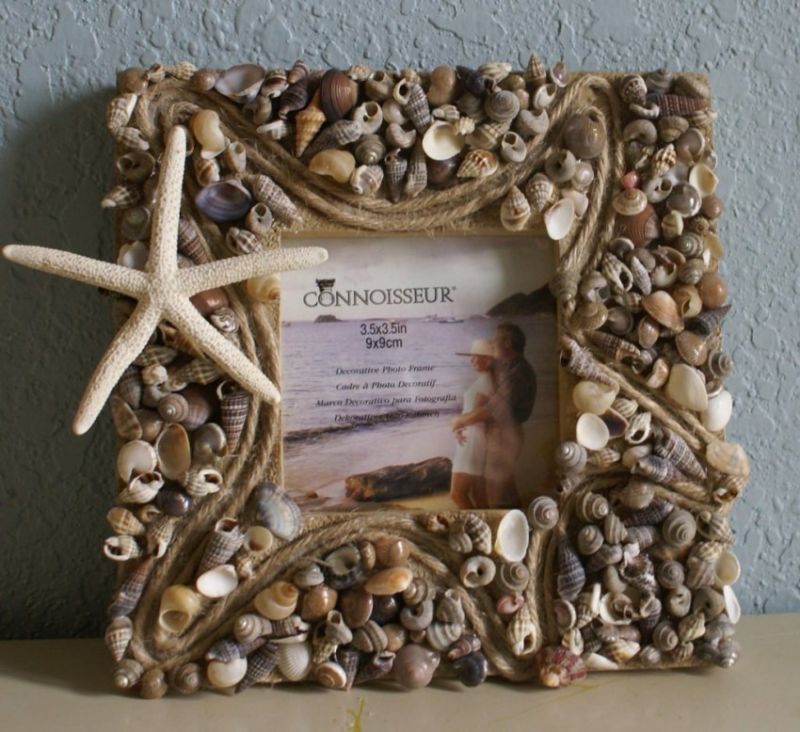
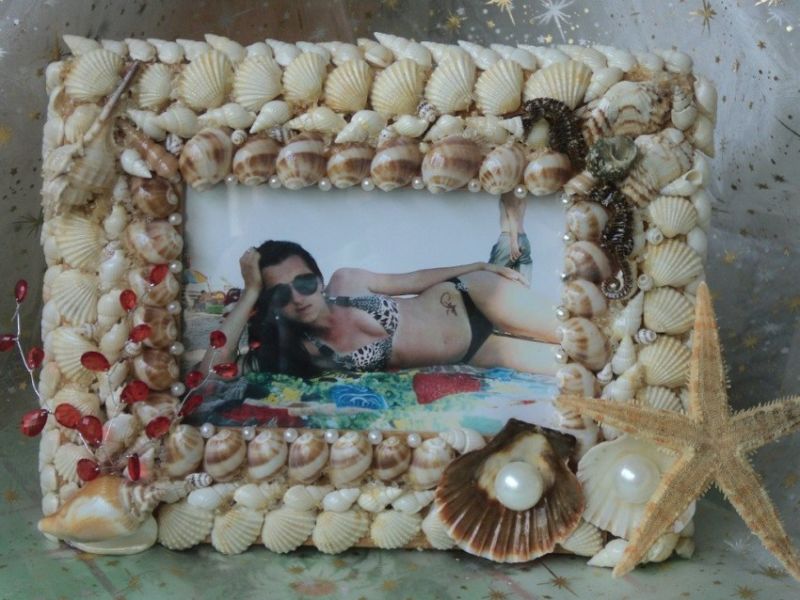
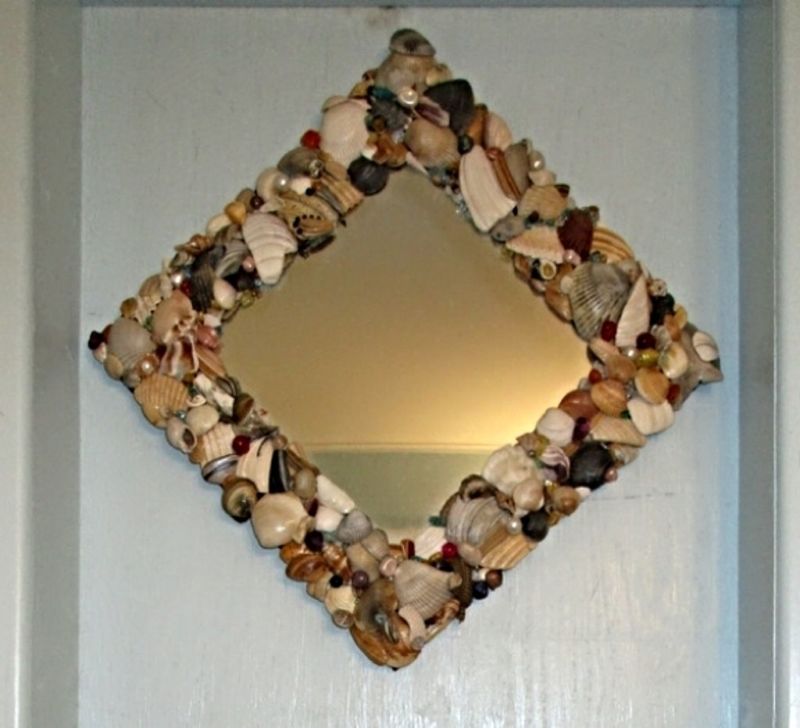
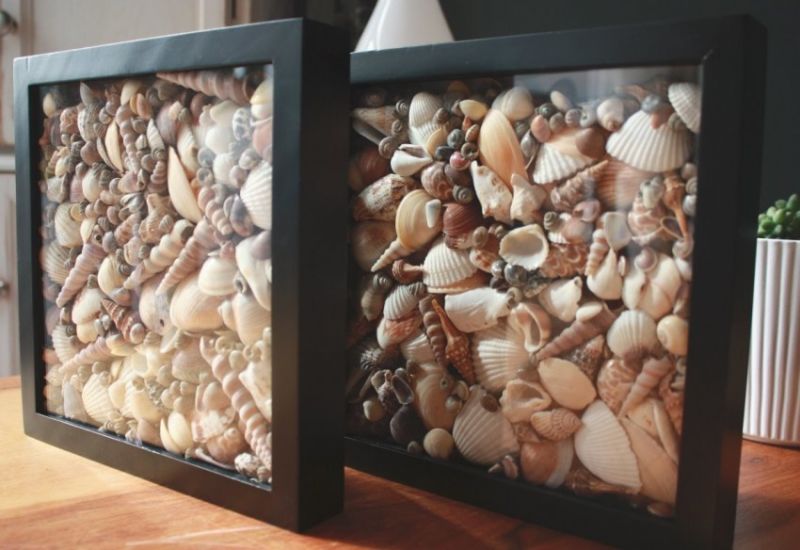
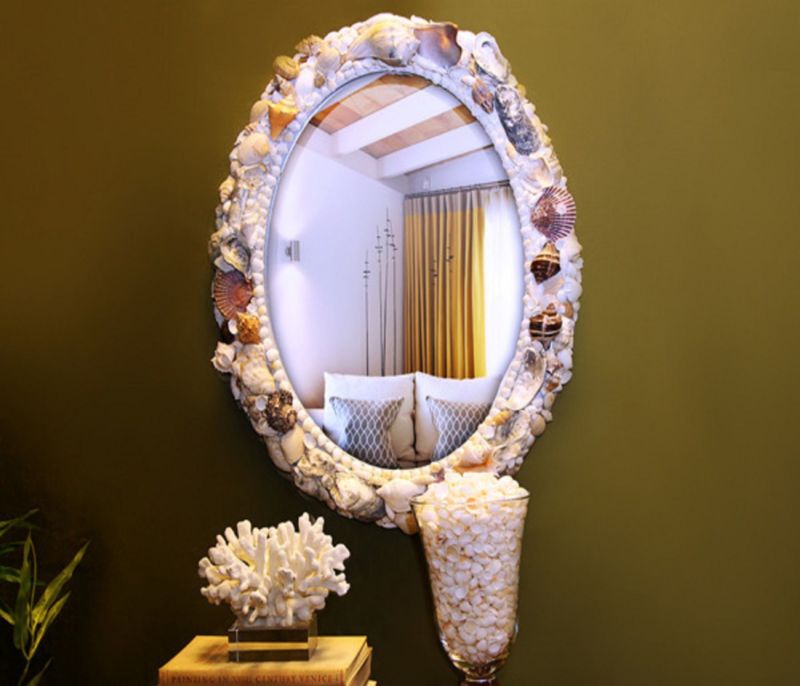
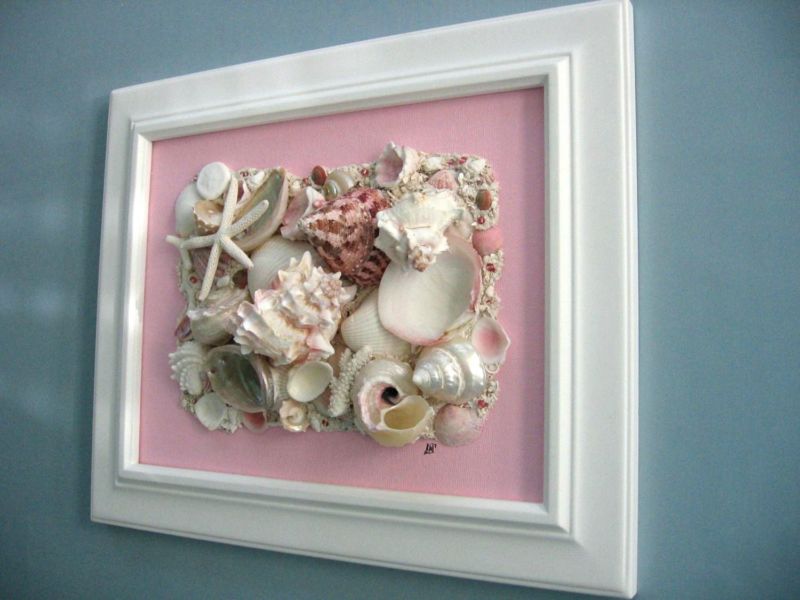
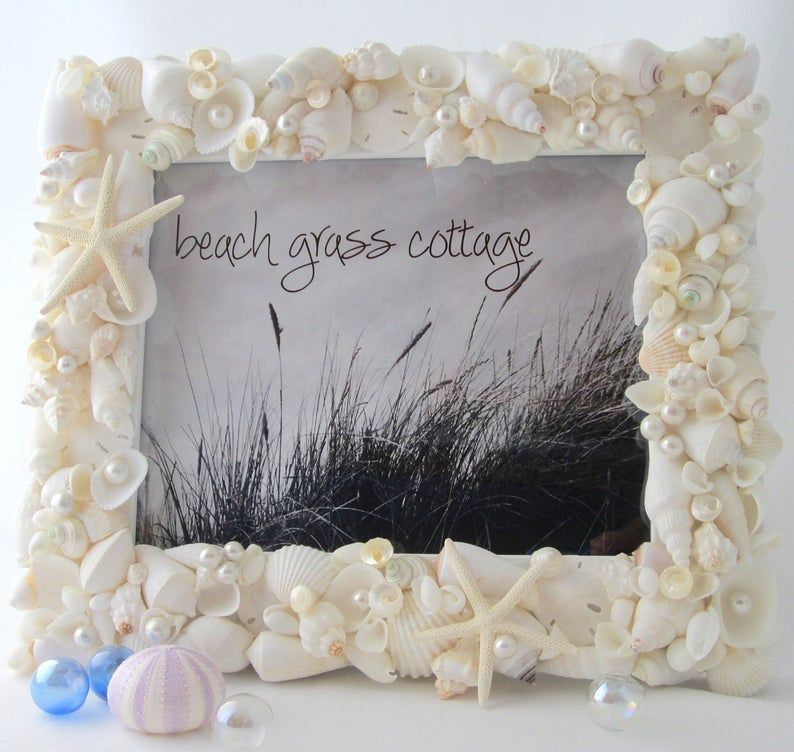
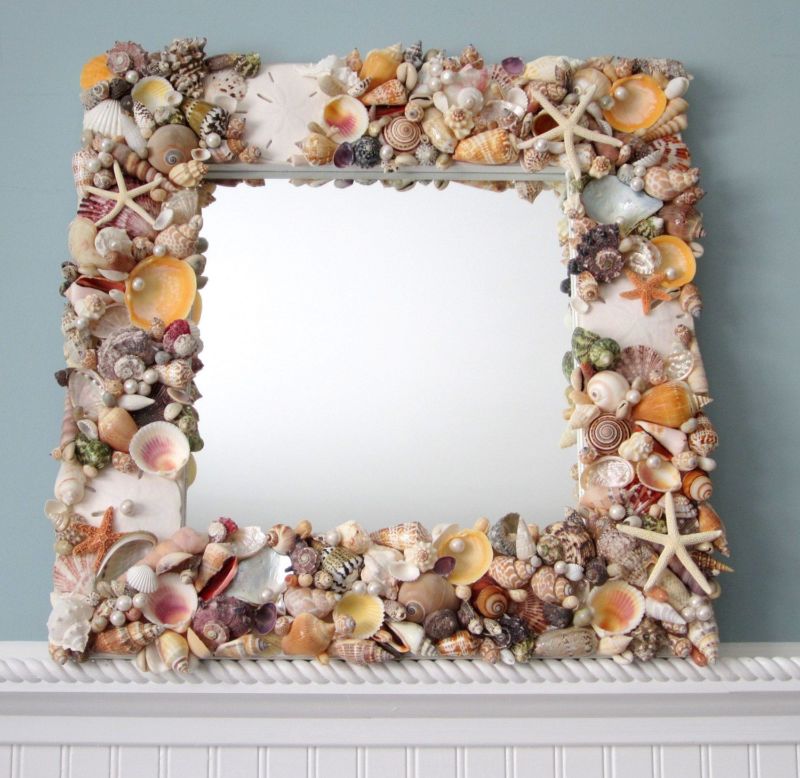
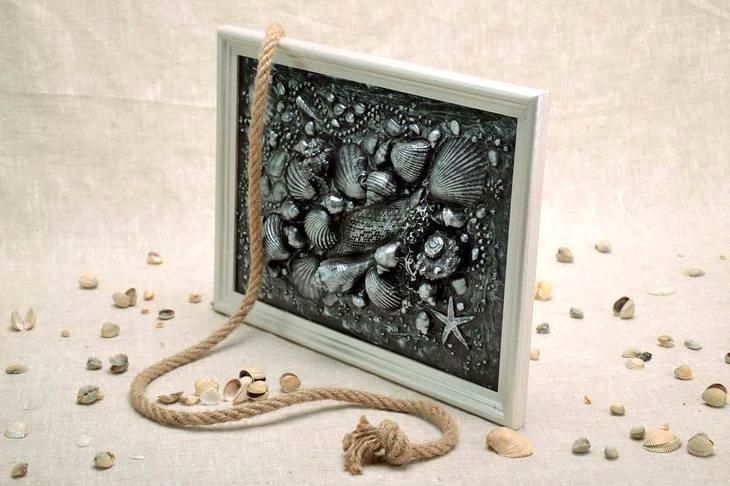
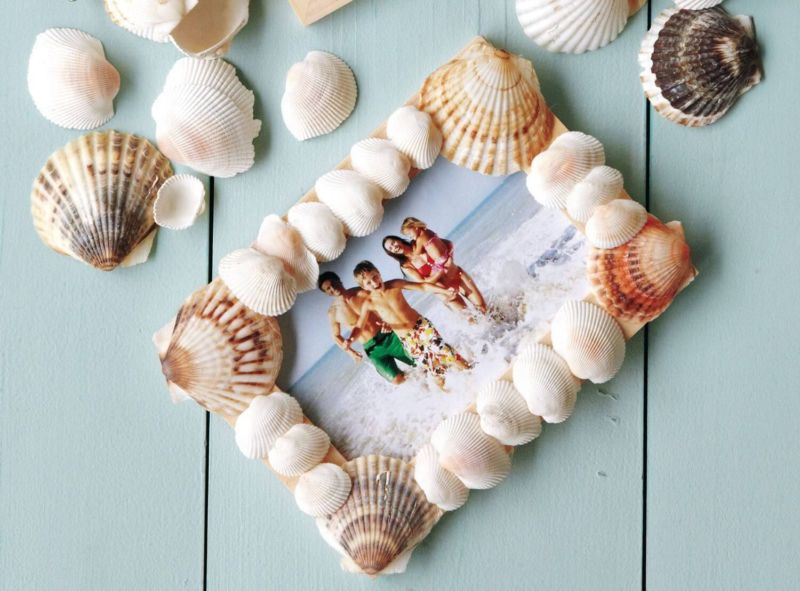
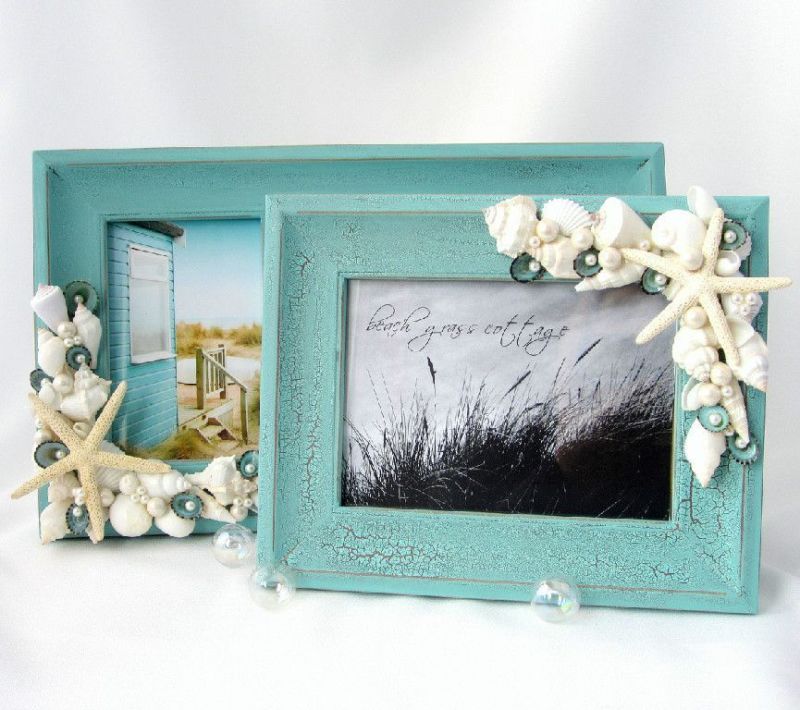
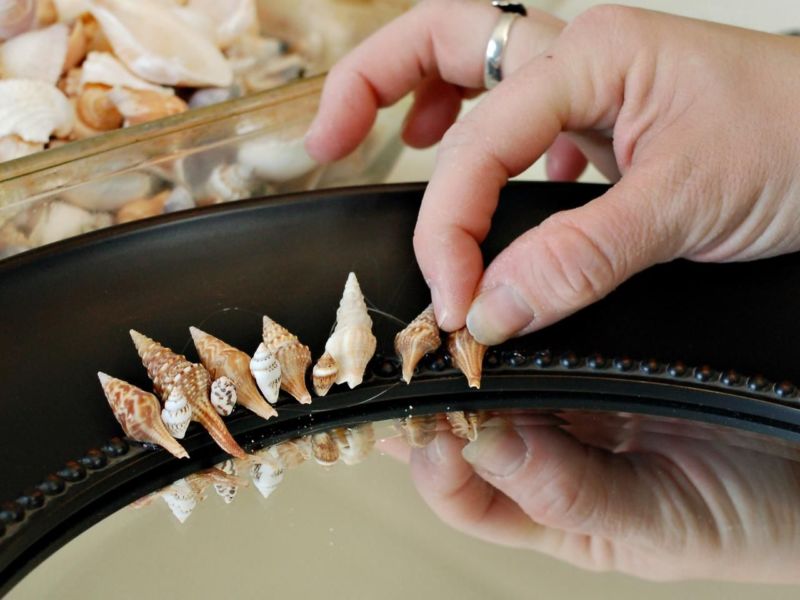
Frame for a photo
You will need:
- wooden photo frame without decorations;
- seashells;
- Glue gun.
If you do not have a frame, you can make one yourself:
- Simply cut out a rectangle from a dense material of such size that around the photo on each side there is a space of 2-3 centimeters wide. Make slits into which the corners of the photo will be inserted.
- Decorate the frame with clam shells and small pebbles, disguising the slots so that they are hidden under the decoration. Attach a stand leg to the back of the frame.
- If you are going to decorate a ready frame, simply arrange the decorative elements on it beautifully and fasten it.
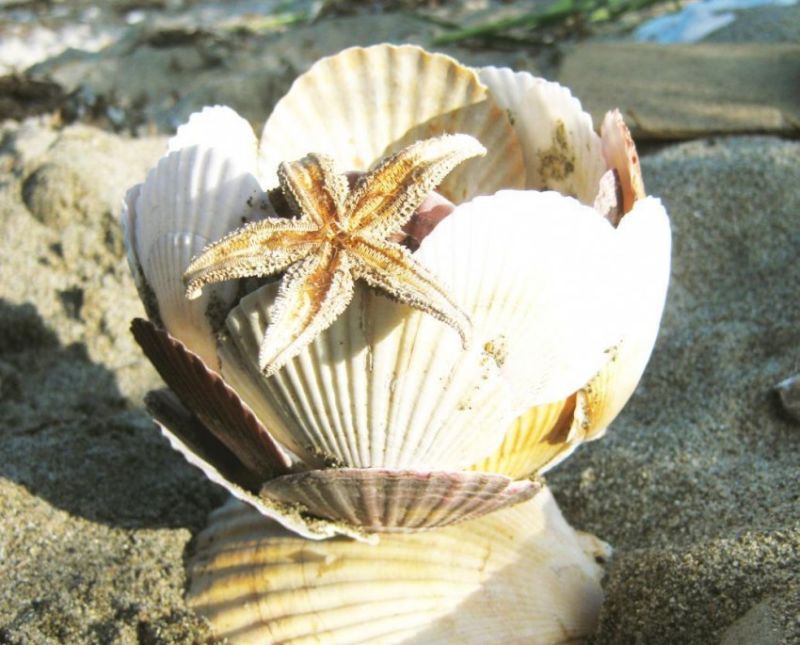
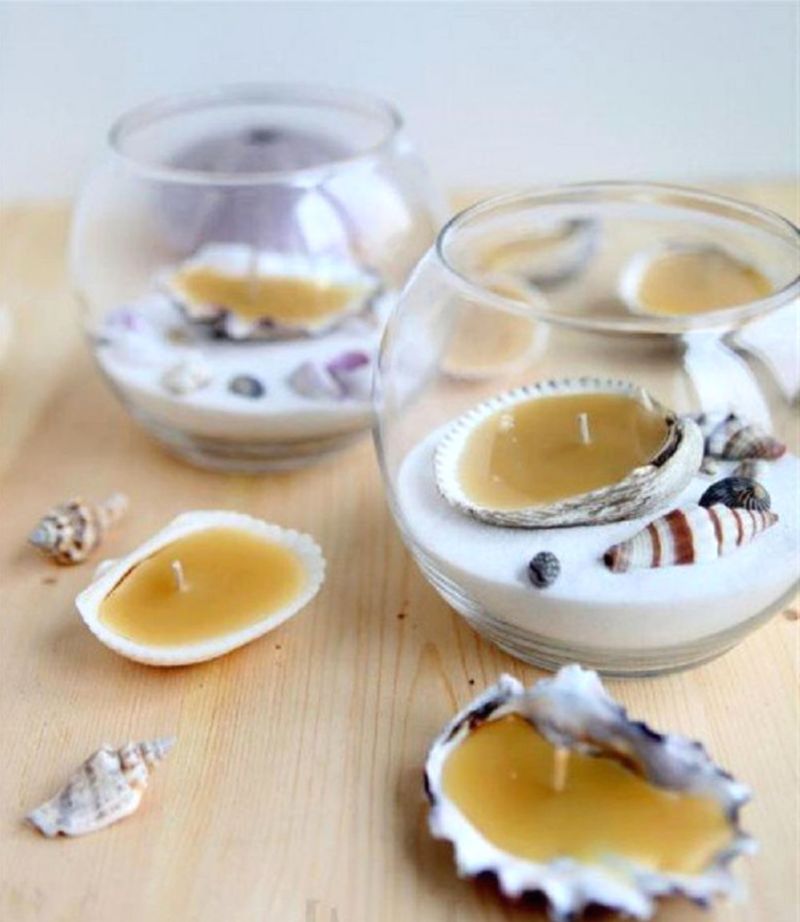
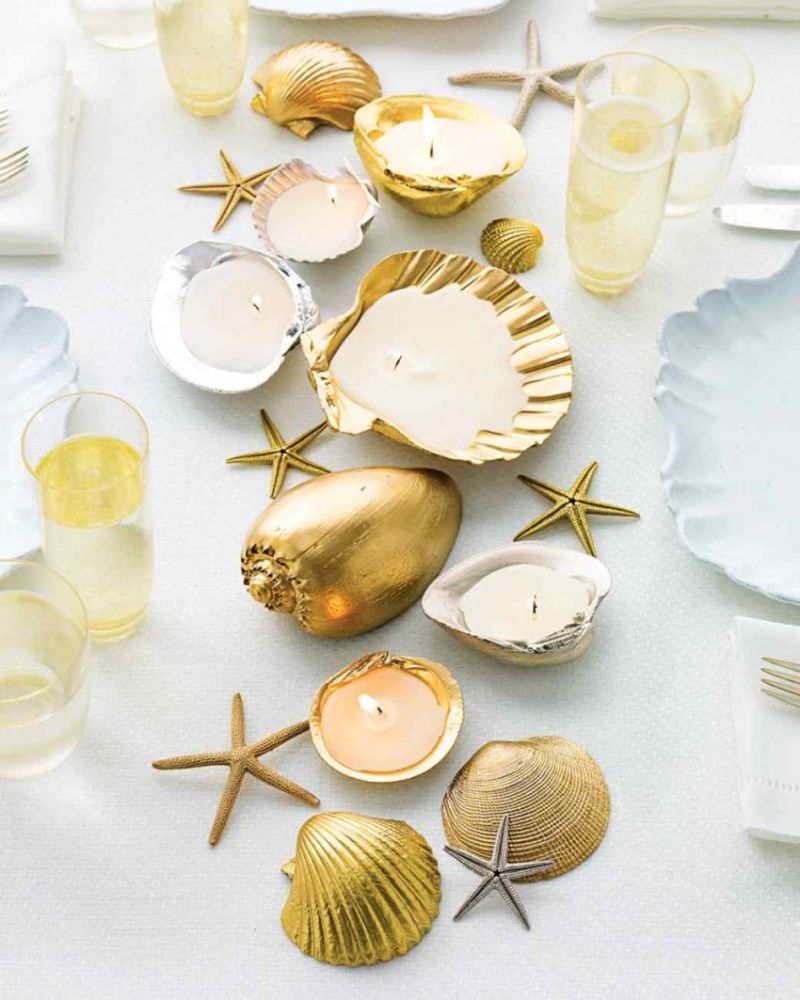
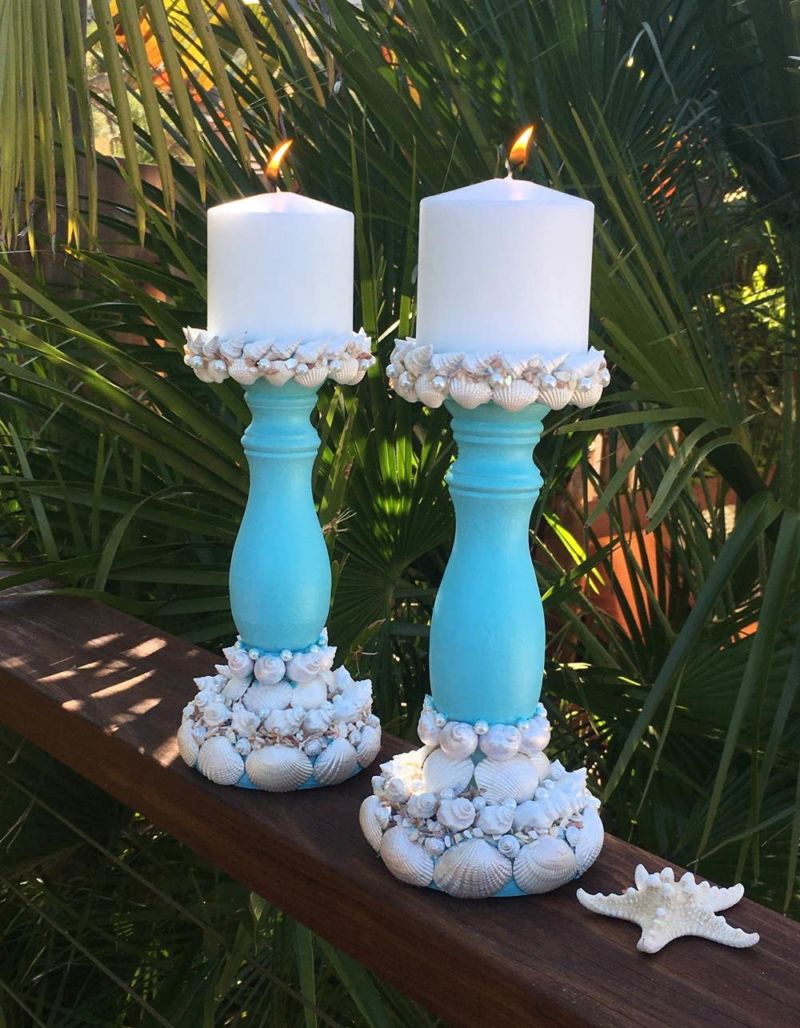
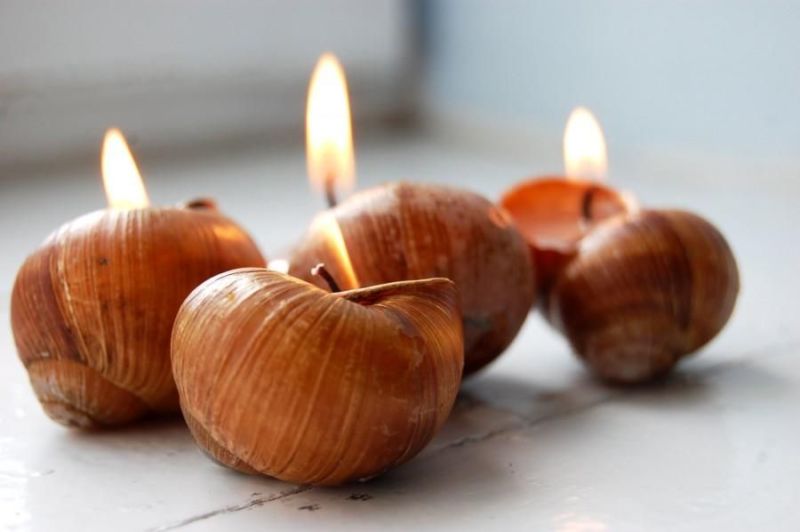
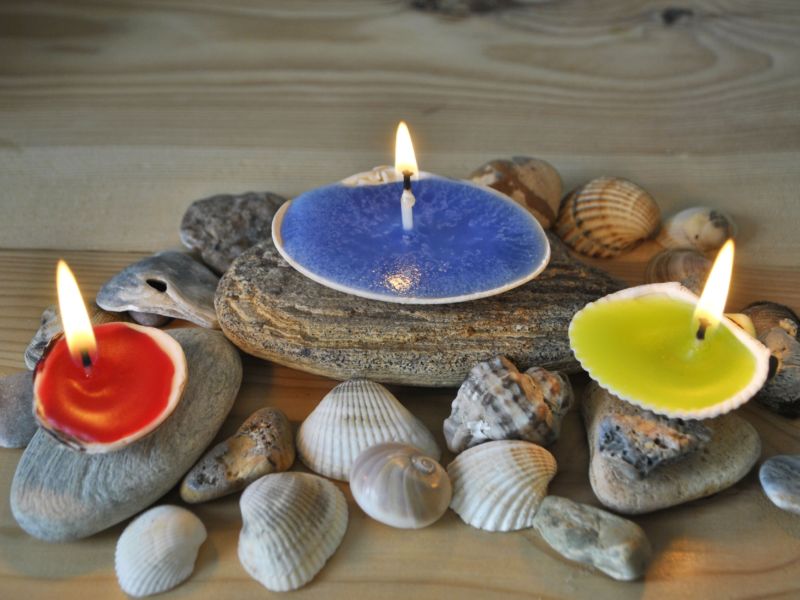
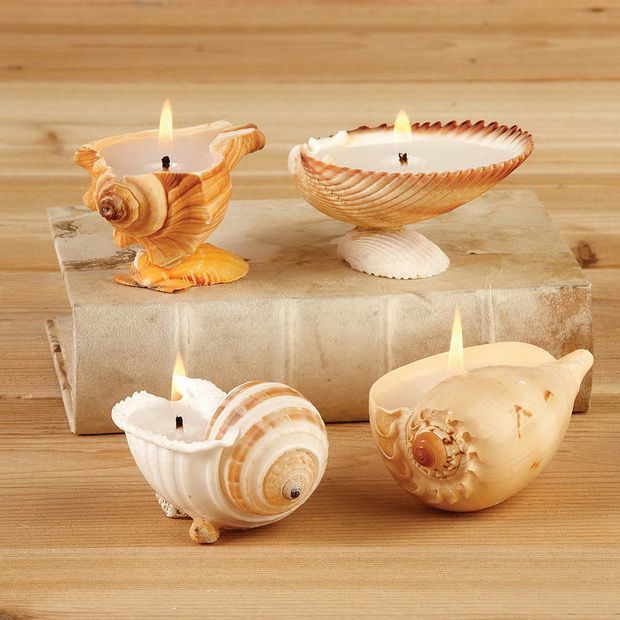
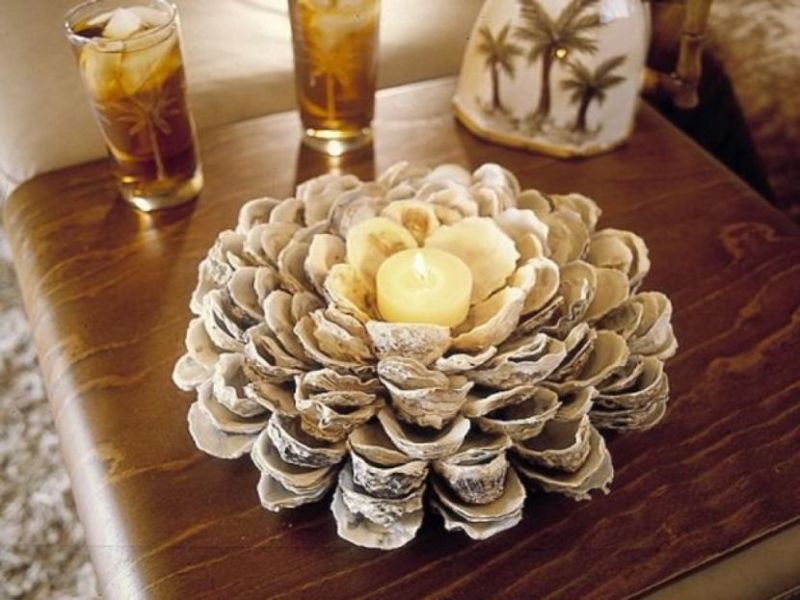
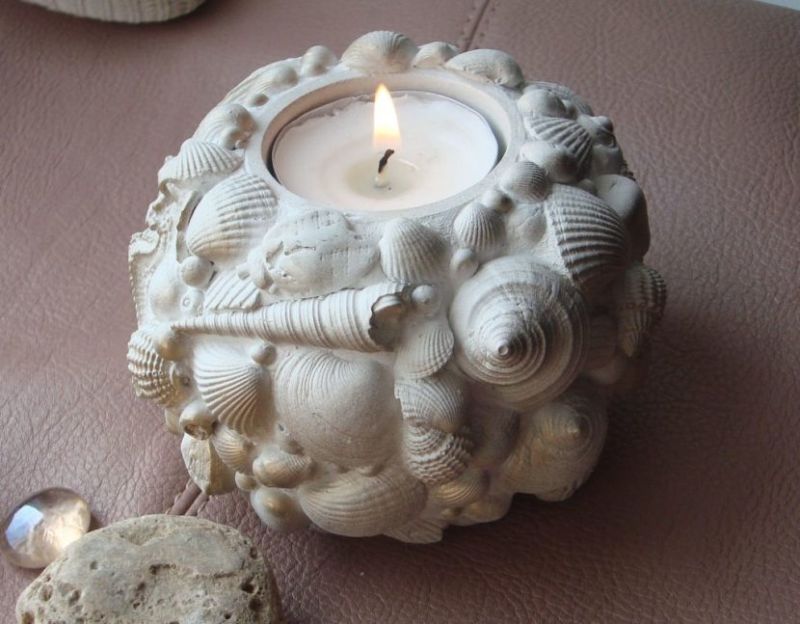
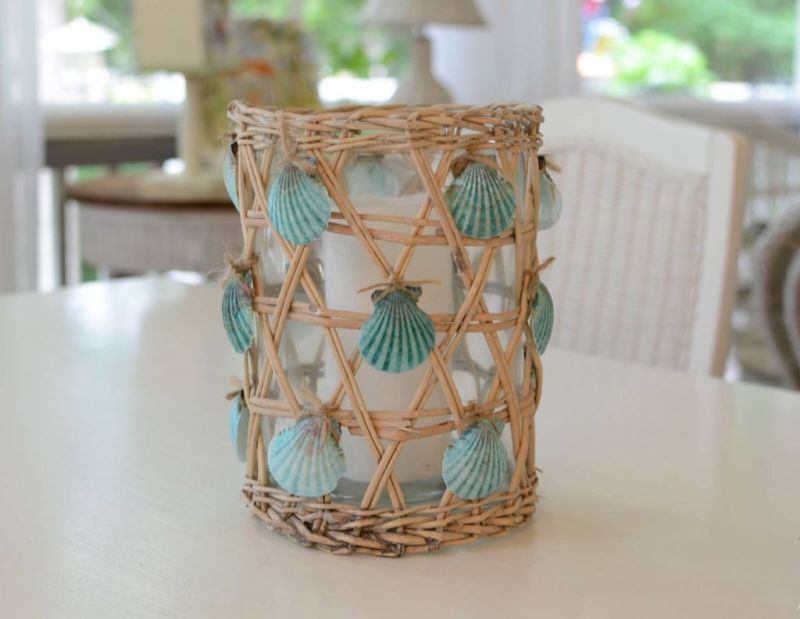
Candle holder
You will need:
- A small glass jar;
- water-based emulsion paint;
- Gouache, brushes;
- clam shells;
- Glue gun.

As a candle holder, take a suitably sized coffee or baby food jar:
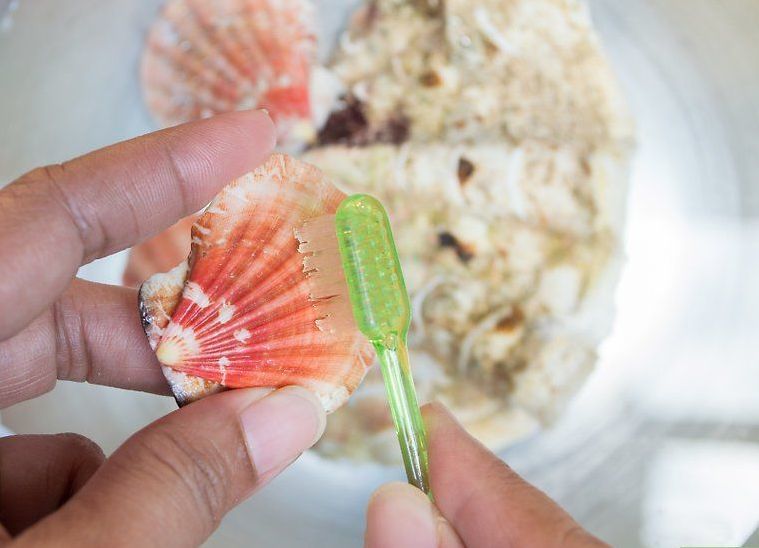
- Thoroughly clean it of labels.
- Paint it with water-based emulsion paint and let it dry. Then paint the surface in gouache.
- Decorate with a story or abstract design.
- Attach seashells in some places. They can be in harmony with the image or just placed on a line around the candlestick.

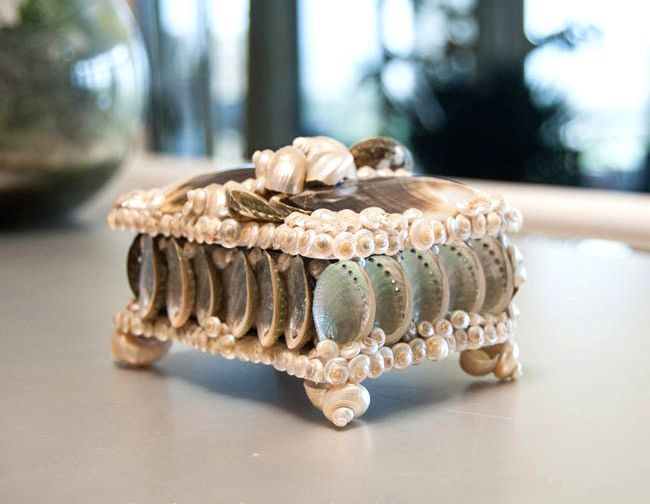
A box for small things
You will need:
- cardboard;
- old newspapers;
- glue;
- paints and brushes;
- clam shells, small pebbles.
Glue together a cardboard box of the shape and size you want. Cut old newspapers into small strips and glue them over the whole surface of the box in 6 or 7 layers, letting each layer dry:
- If there are any interior dividers, paste several layers of newspaper over them as well. This will give your jewelry box the strength it needs.
- Once it is completely dry, paint the box. You can decorate the interior with fabric.
- Glue the exterior of the box with clamshells and you can place stones here and there.
- You can also make some papier-mâché seabed figurines and place them on the lid of the box among the shells. When the box is ready, varnish it.
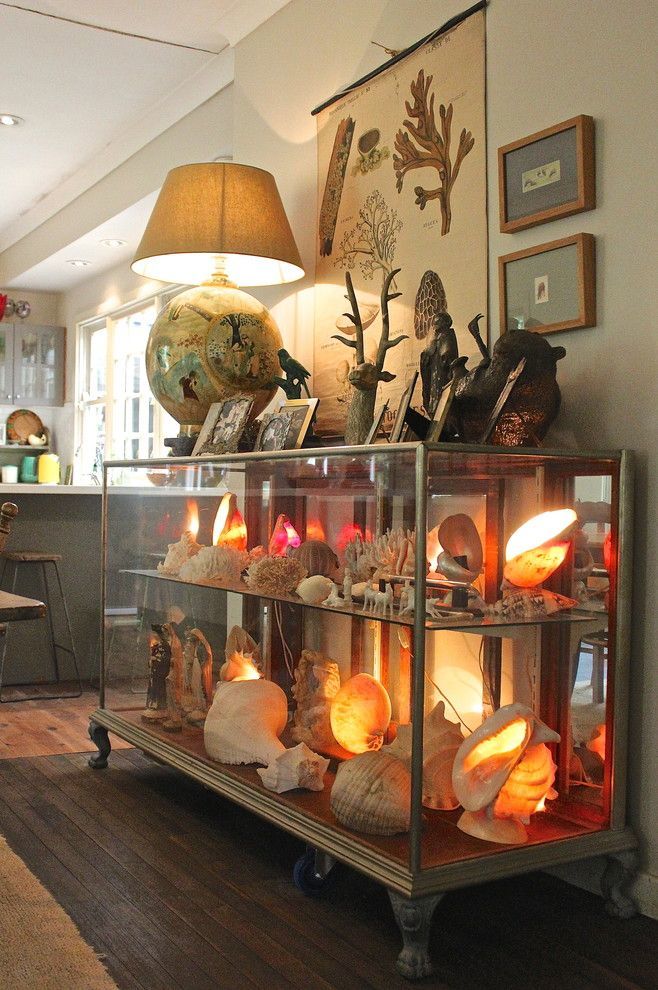
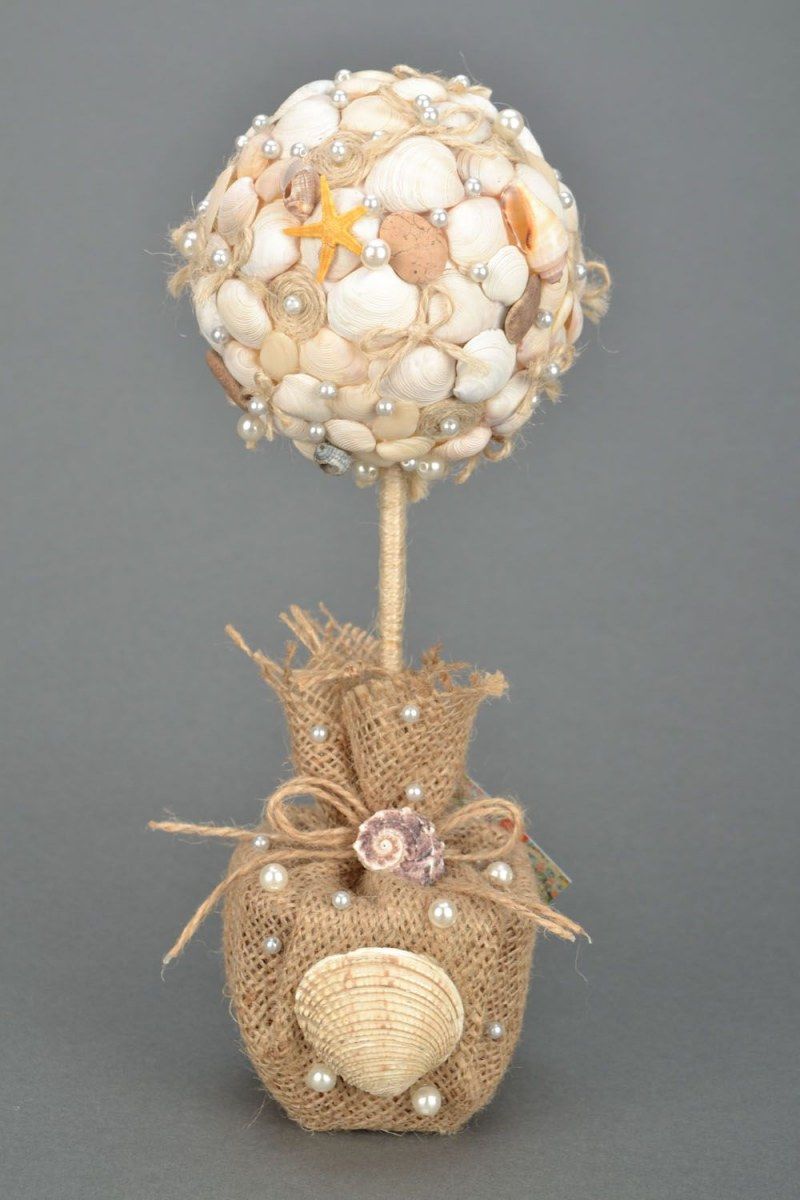
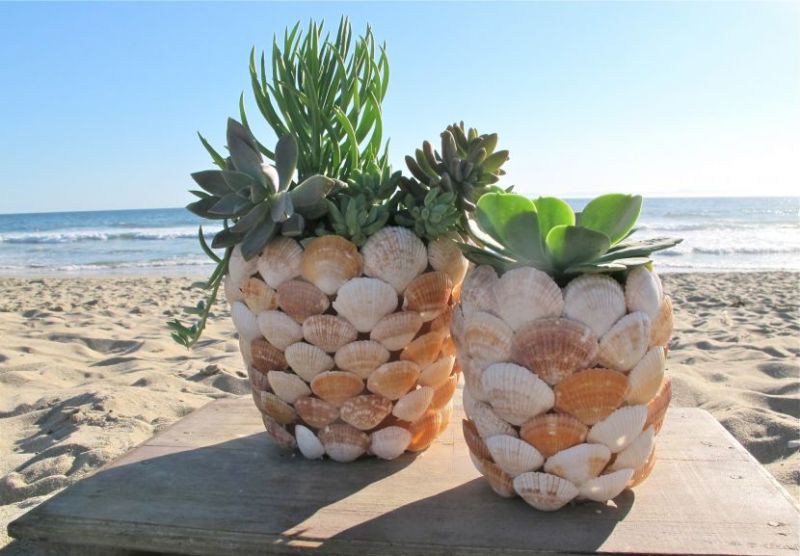
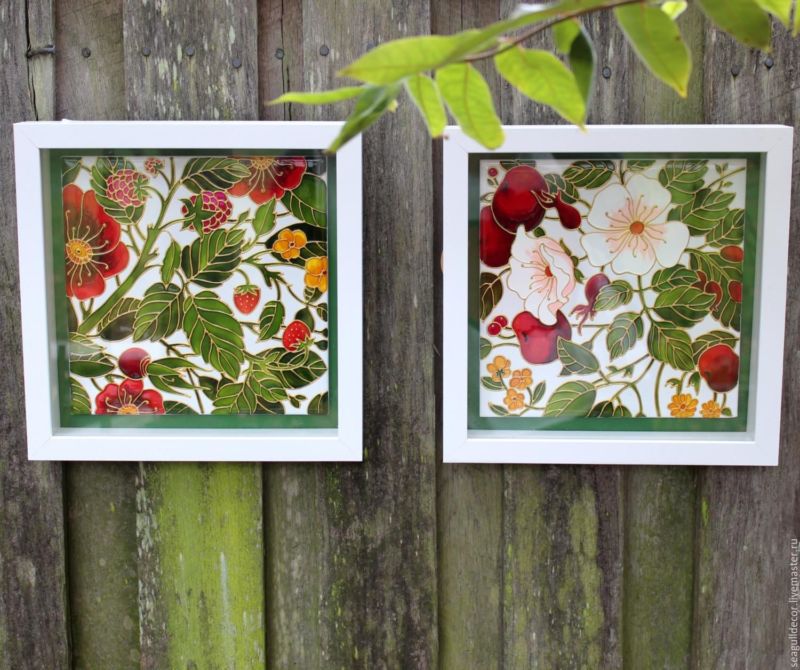
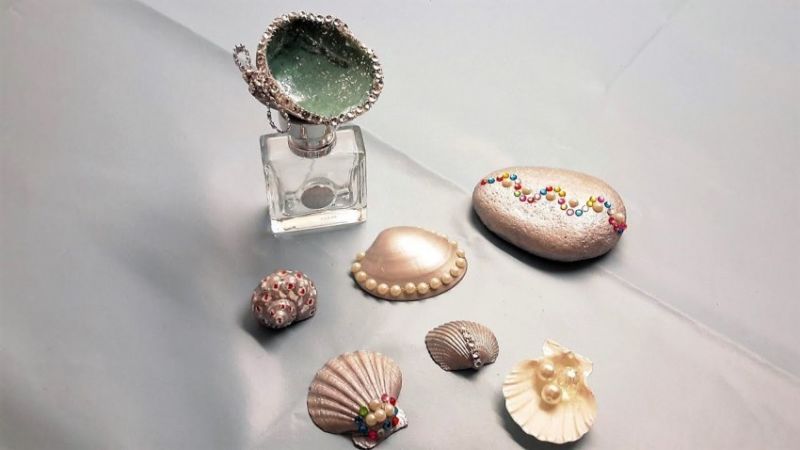
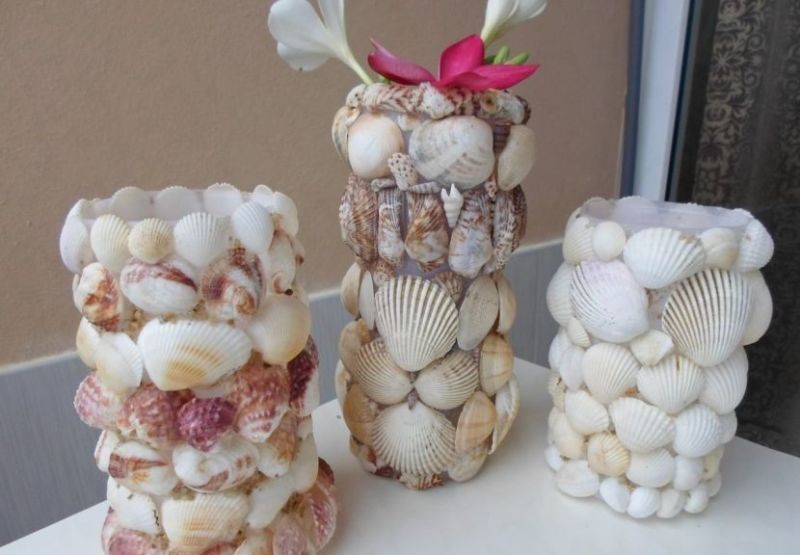
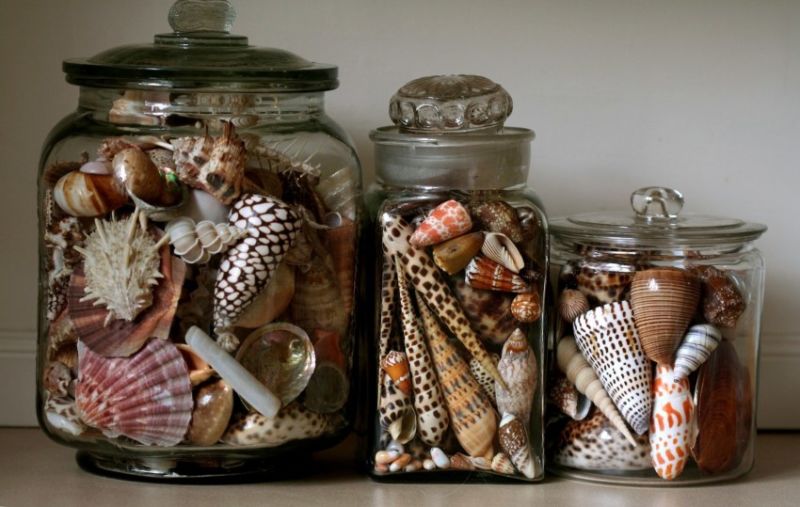
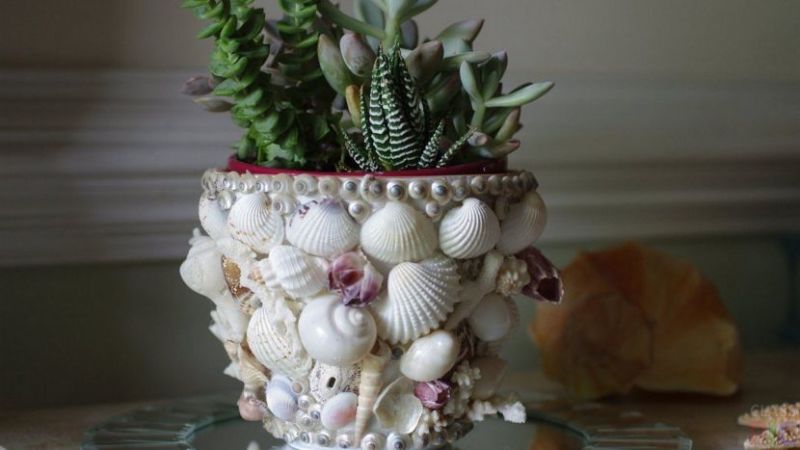
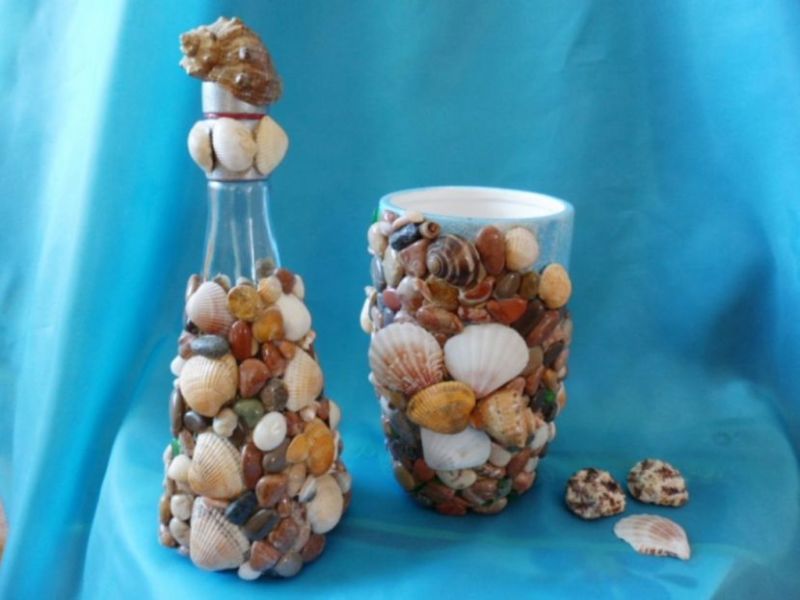
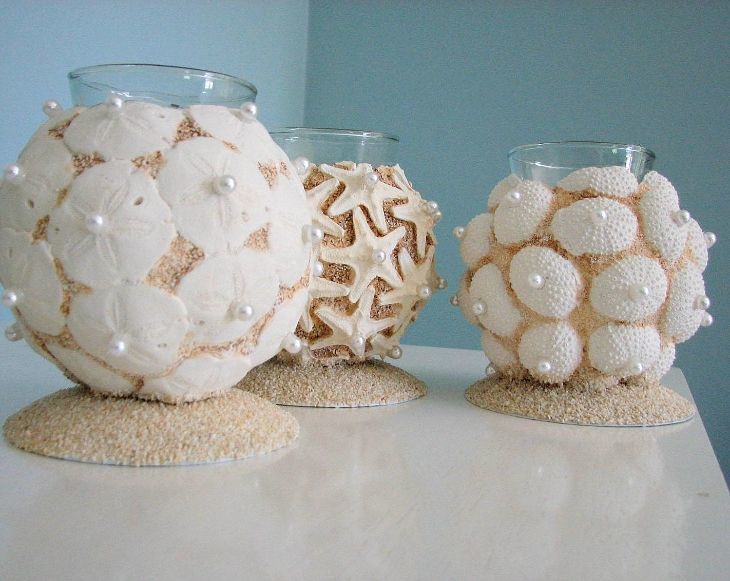
Decorating containers
You will need:
- A container for decorating (a bottle or a transparent vase without pictures);
- water-emulsion paint;
- gouache, brushes;
- clam shells;
- glue gun.
If you are using a bottle to decorate, first completely remove the labels:
- Paint the bottle with water-based emulsion paint and wait until it dries.
- Then apply a monochrome gouache background and wait again for it to dry.
- Next, apply a discreet pattern, such as an image of seaweed or coral. Try not to use a lot of different shades - too colorful craft loses its appeal.
- When the gouache dries, carefully glue seashells in several places. If you have a lot of them, you can glue them all over the container without making any pictures.
- And if you lay out of the shells any image in the mosaic technique - you get a real masterpiece! Cover with lacquer and admire to your health!
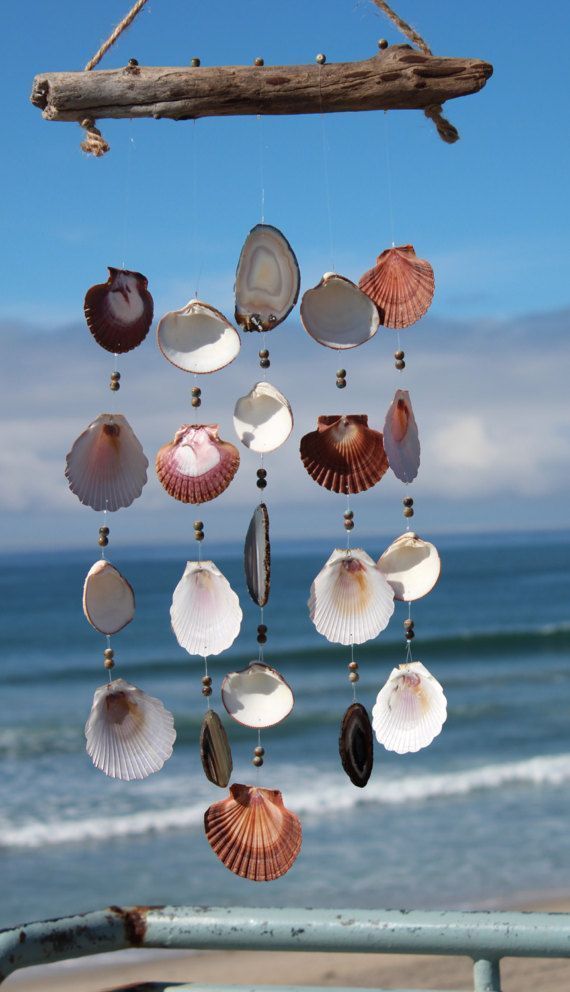
Making articles of seashells and pebbles, you can spend your leisure time with pleasure and profit. The very process of work as if returns you to the sunny beach, to the warm sea.
And the result can be a truly exclusive gift for a loved one or, having taken its rightful place in your interior, will give memories of the vacation for a long time to come.
Inspiration to you and creative success!
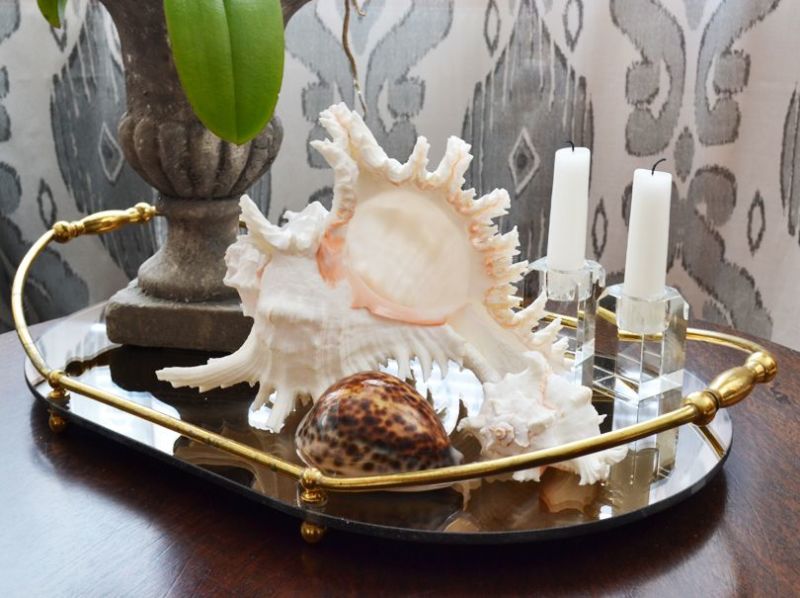
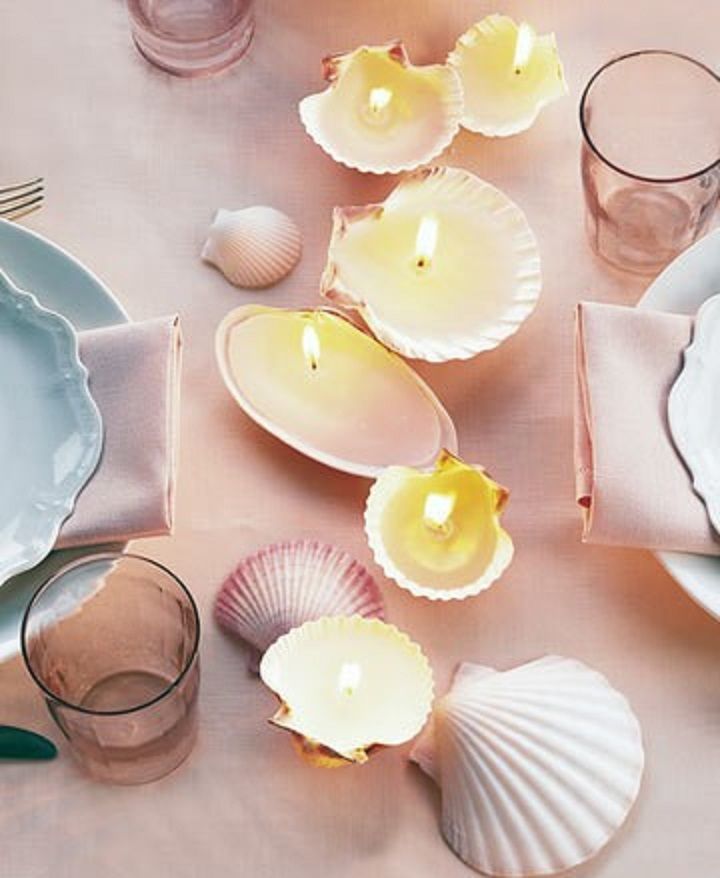
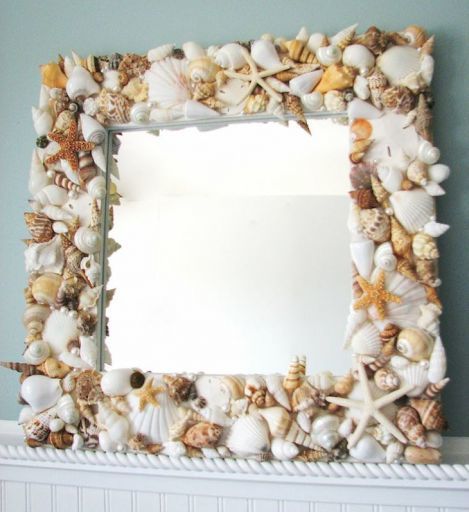
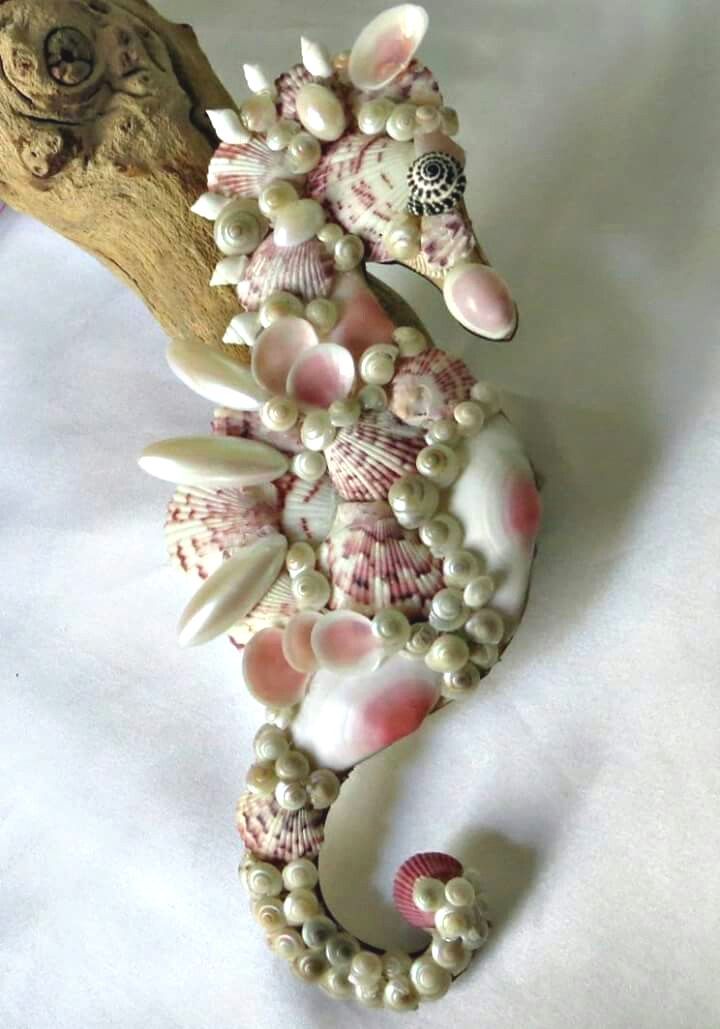
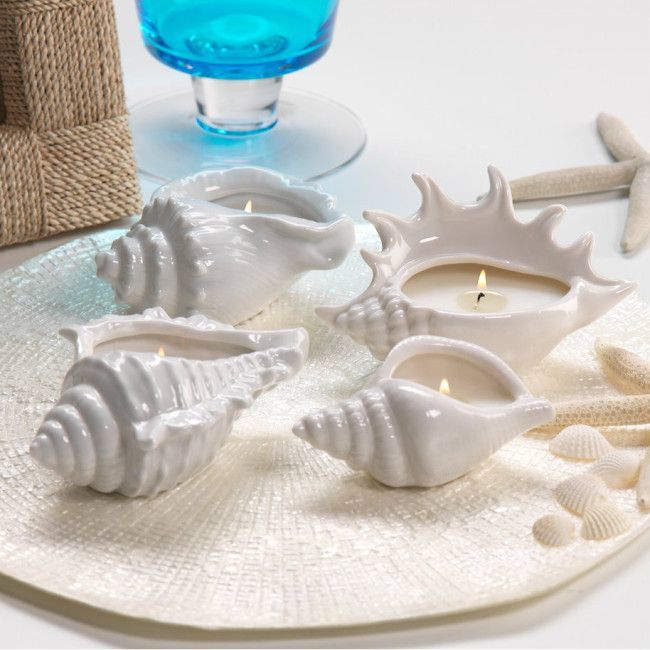
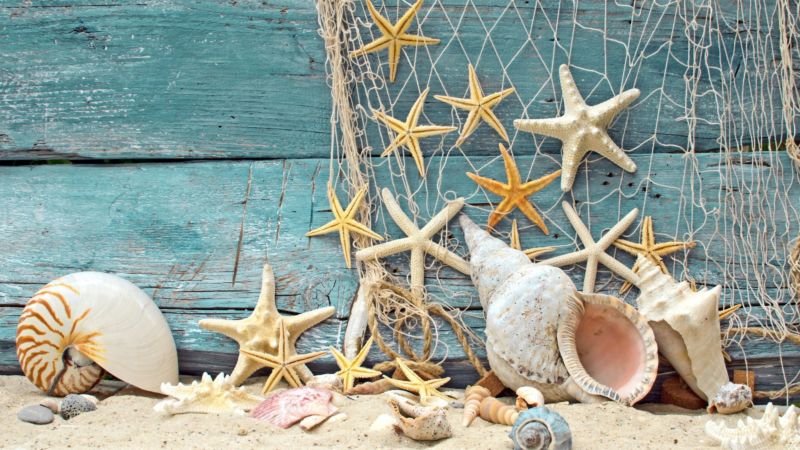
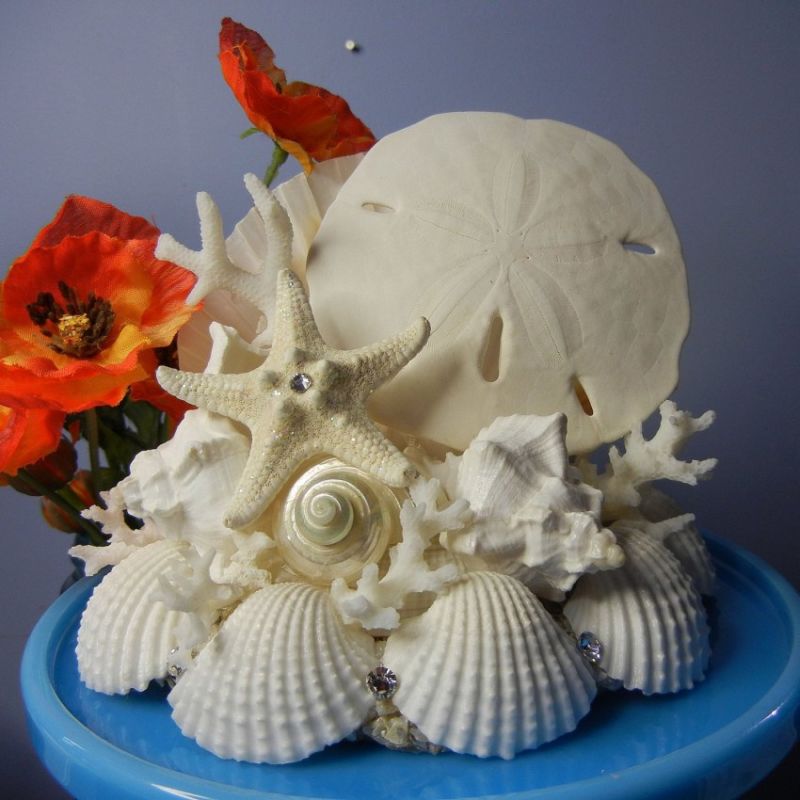
Photo ideas of homemade seafood crafts