Handmade crafts for children 6 years old: interesting ideas and easy step-by-step master classes for young craftsmen
If you are the parents of six-year-olds, you know that children can't live without creativity. Intuitively they are attracted to drawing and modeling. They make up clothes for dolls out of candy wrappers, build garages and houses out of empty boxes.
These activities form the skill to enjoy their actions and the result. And while working together with parents and peers, children learn to build relationships, respond to criticism, and share responsibilities.
Materials for crafts
Create interesting crafts can be made from everything at hand. In the house where preschoolers live, you will always find paints, colored paper and plasticine.
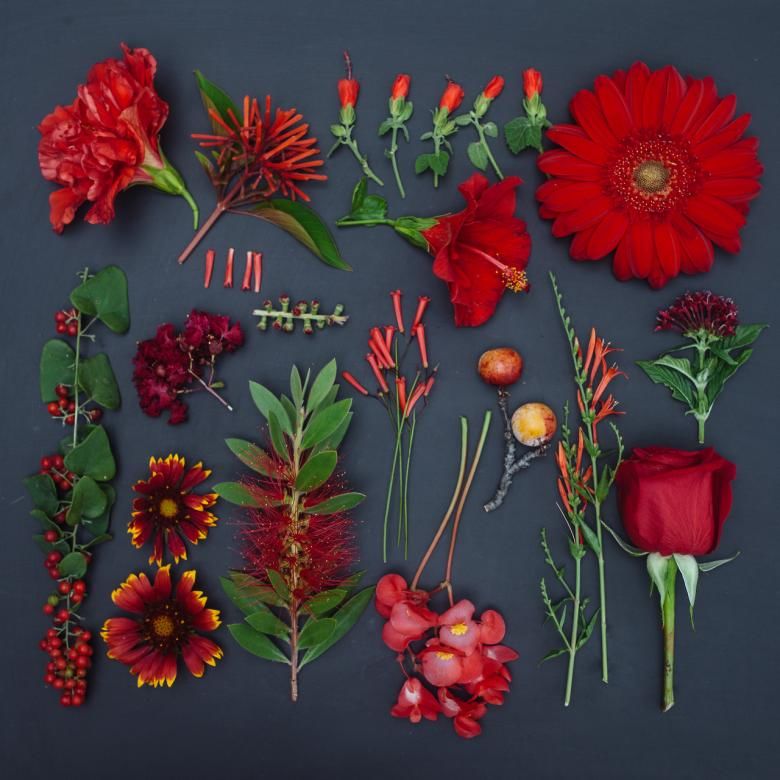
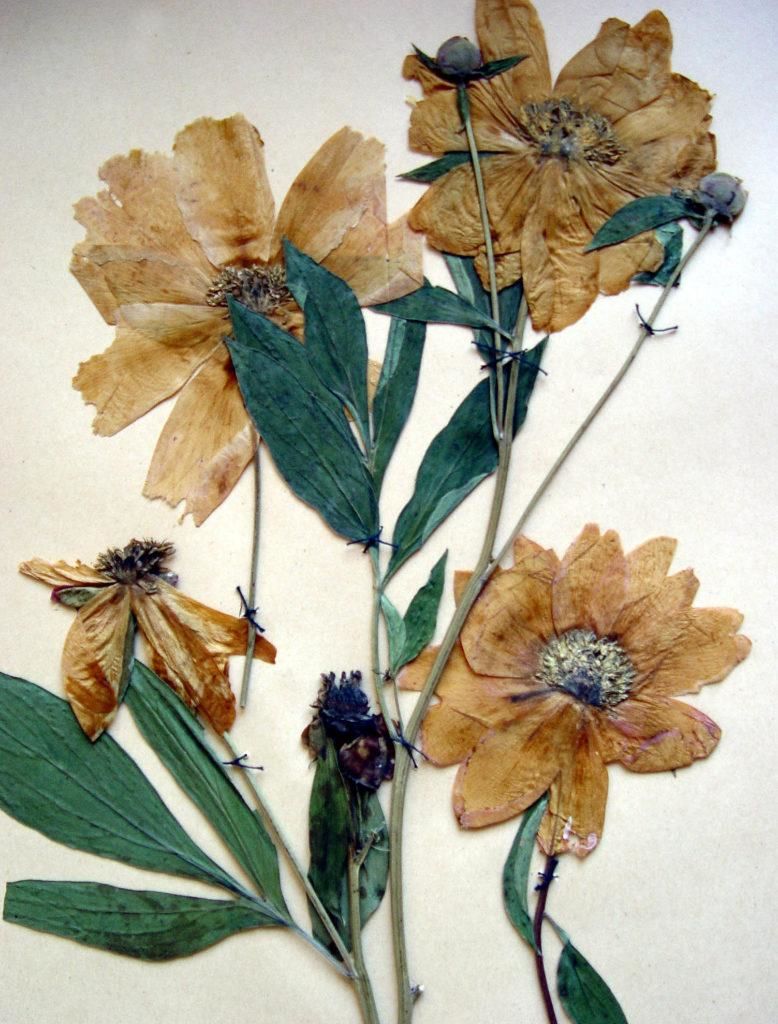
Use these stationery in combination with natural materials - nutshells, cones, seeds, coffee beans, cereals, dried flowers and leaves.
Good for crafts are disposable plates and cups, paper baking sheets, plastic bottles, colored napkins, cotton swabs, and juice tubes.
Experiment! There are no rules. A child in any case will have fun creating a craft.
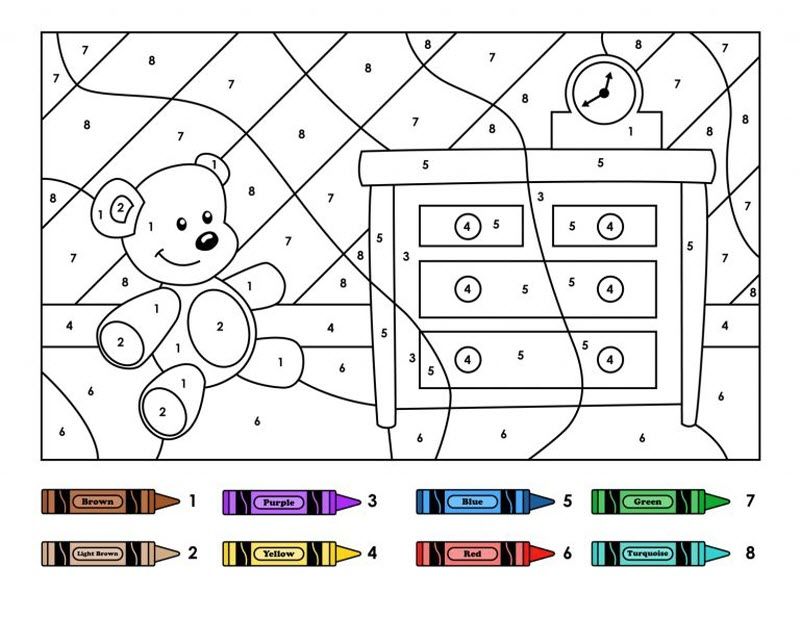
In addition, you can find a huge number of kits for creativity in stores, from coloring by numbers to fragrant handmade soap.
They are designed with a child's age in mind, contain detailed instructions and diagrams, templates, and a full set of supplies. All that remains is to choose the one that corresponds to the hobbies of the young creator.
Ideas for crafts for children 6 years old from different materials
Sometimes it can be quite difficult to decide exactly how to make a craft and what material is more suitable for this. Let's try to make this choice a little easier.
Make it out of paper
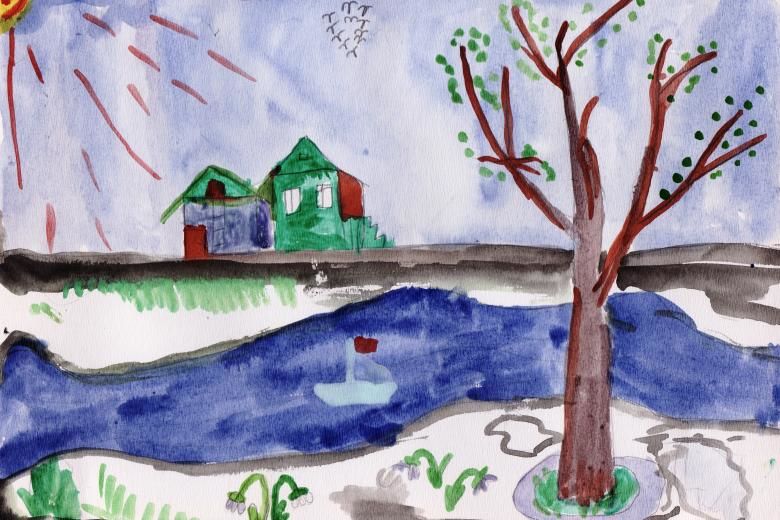
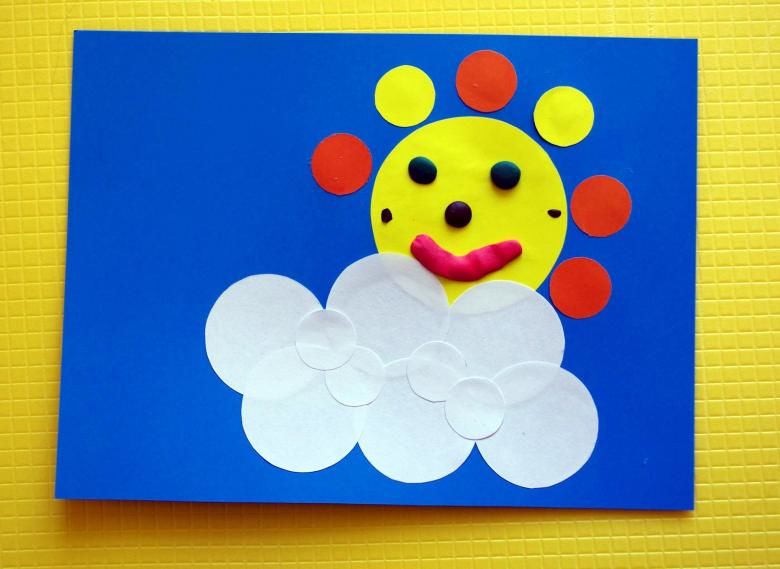
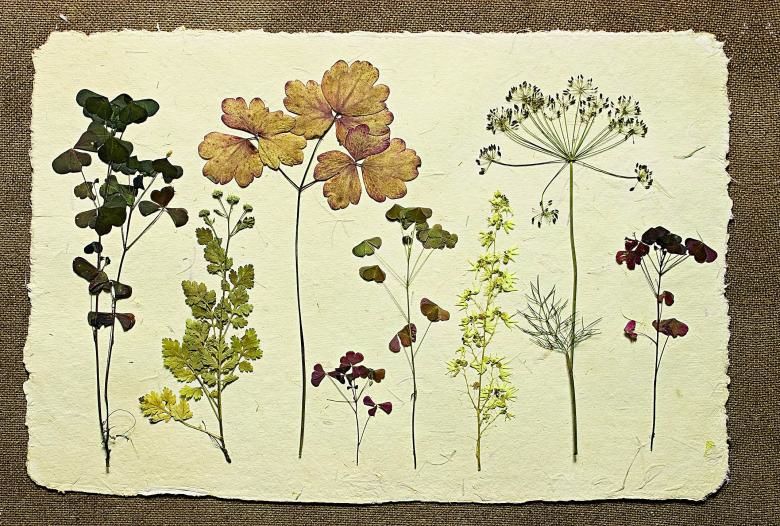
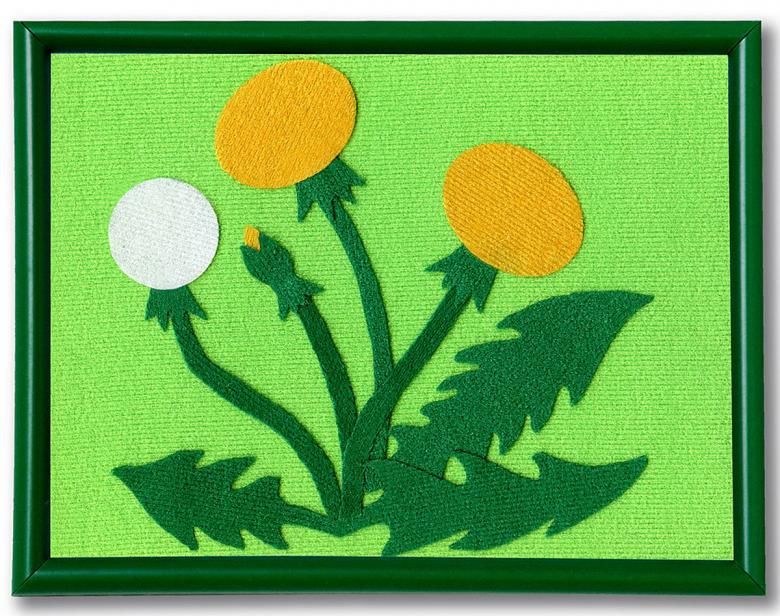
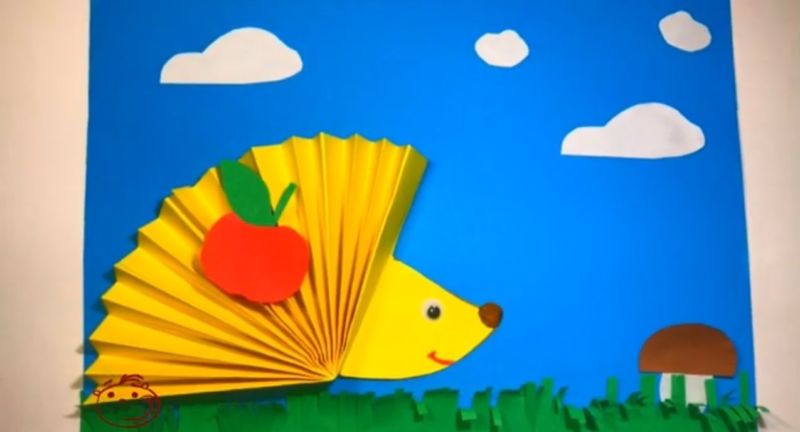
The easiest kind of crafts from paper - it's applique. At 6 years old children are fairly even cut parts and know how to use glue. You can safely offer a child to make an application with three-dimensional elements. For example, add live (in the sense of dried) berries and leaves to the landscape.
Given the scale of the finished work, a birch leaf can become a whole birch, and several pairs of pine needles - a Christmas tree or grass. Dress up a hedgehog in needles made of sunflower seeds, and a heron - in feathers made of pumpkin seeds. Or enliven the card with three-dimensional flowers, leaves, and stars.
There are three simple ways to do this:
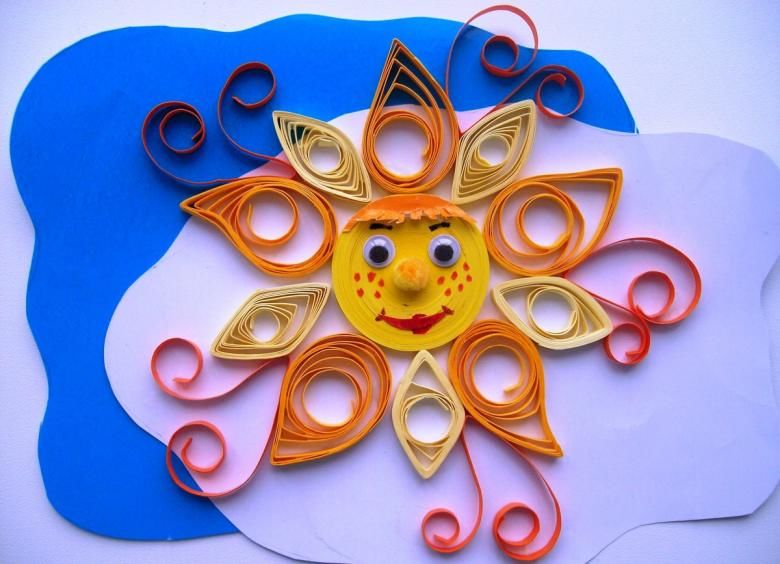
- Twist strips of colored corrugated cardboard from quilling kits into a circle, fix the free end with glue. It is important not to twist too tightly, let there be 1-2 mm gaps between the layers of the spiral. You can give the part a drop shape - pinch the 2 edge layers of strips of the finished circle on one side with your fingers. It will be a leaf. If a few of these droplets connected by points to the center, you get the most real flower. Glue the finished piece with a slice to the background of the future appliqué. Don't have any quilling on hand? That's okay! You can use thick double-sided cardboard and carefully paint the visible cut with gouache.
- Wind the petals of the flowers. To do this, put the blade of open scissors flat against the base of the petal and run to the edge, pressing the paper firmly against the blade. Petals curled inside or outside the flower will look equally beautiful. When you glue the "curly" flower, leave the ends of the petals free. You can do the same with leaves, grasses, colorful strands of hair, Santa Claus' beard - with everything that happens in nature with curls.
- The following method is suitable for shapes with corners - triangles, squares, pointed stars. Convex part will be in the middle, and the edges - glued to the background. The principle of creating volume comes down to making the bends that connect all the corners of the part with its center. A square bend on both diagonals, and more complex details provide the necessary folds before you cut them out.
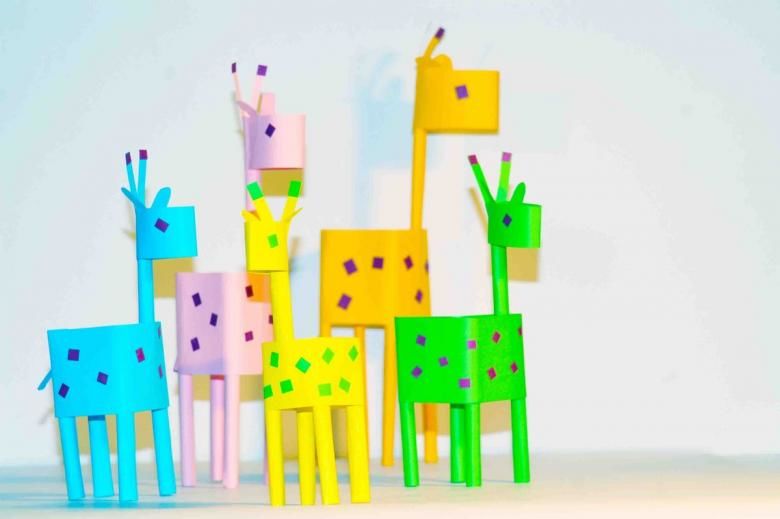
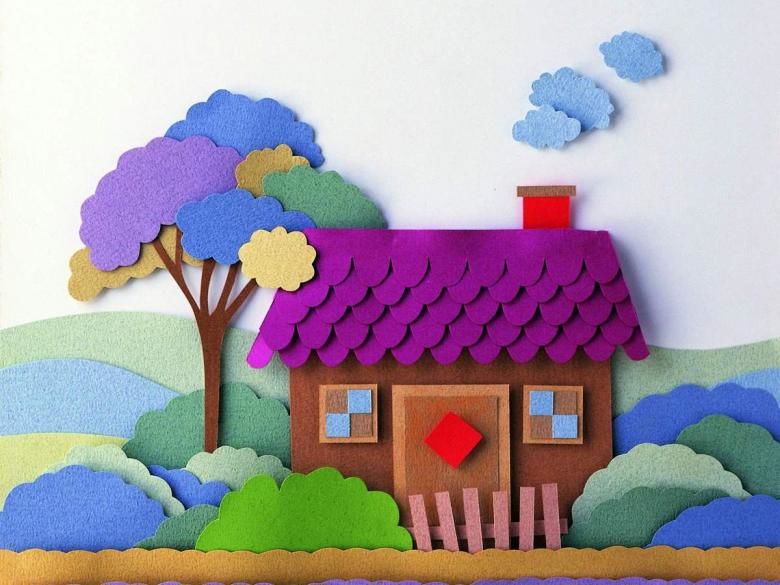
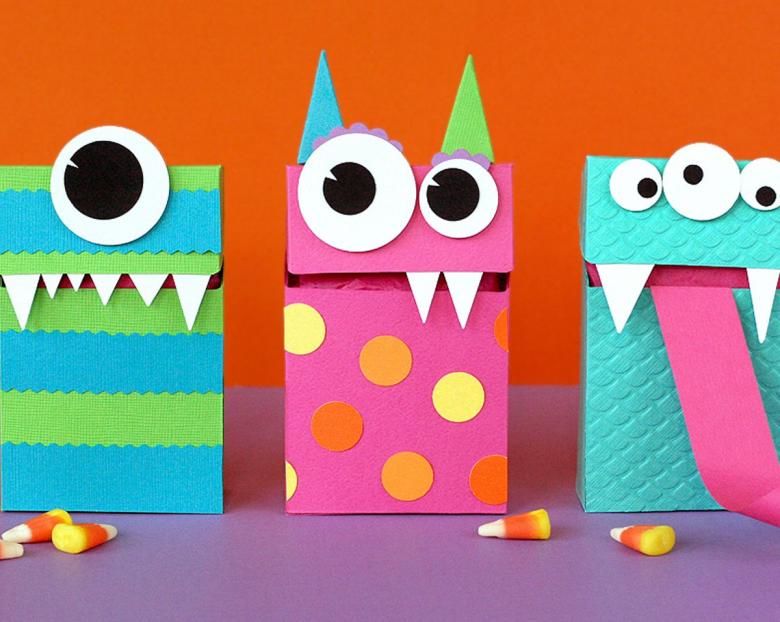
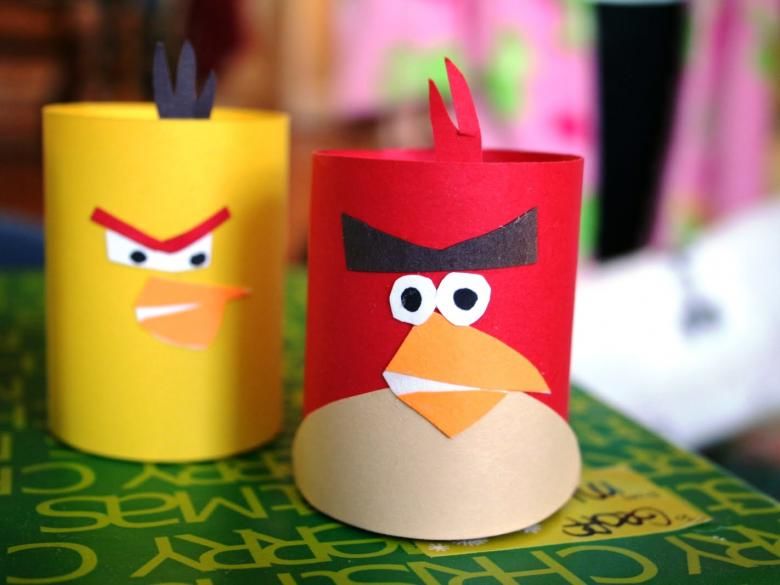
Volumetric can be not only individual elements of applications, but also the whole craft. This includes animals and humans, cars and buildings - whatever you make up with your little inventor:
- Take a cone or cylinder of heavy paper, empty cardboard boxes.
- Make hands and feet out of smaller cones, or out of tubes, or out of absorbent cotton sticks.
- Use plasticine, colored paper or just draw with colored markers to decorate faces and muzzles.
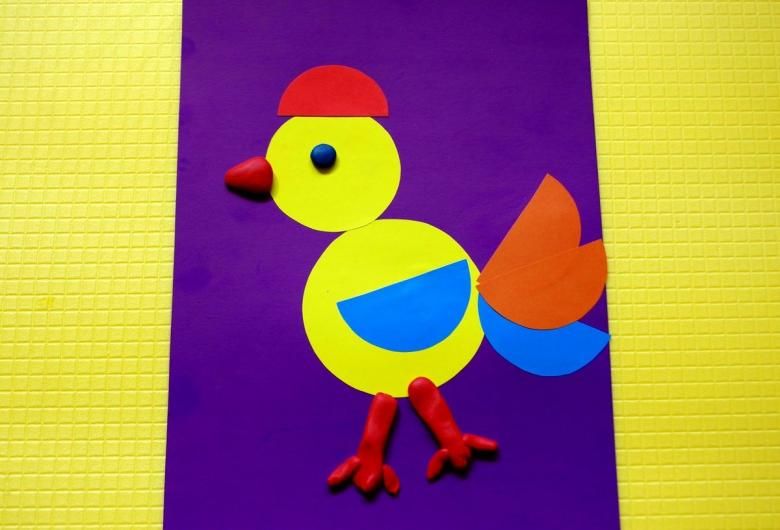
- For example, you decide to settle his paper bird yard.
- Of the large brown or white cones make chicken and rooster, small yellow cones - chickens. Wings, tails, scallops, beaks and eyes cut out of colored paper and glue to the finished birds.
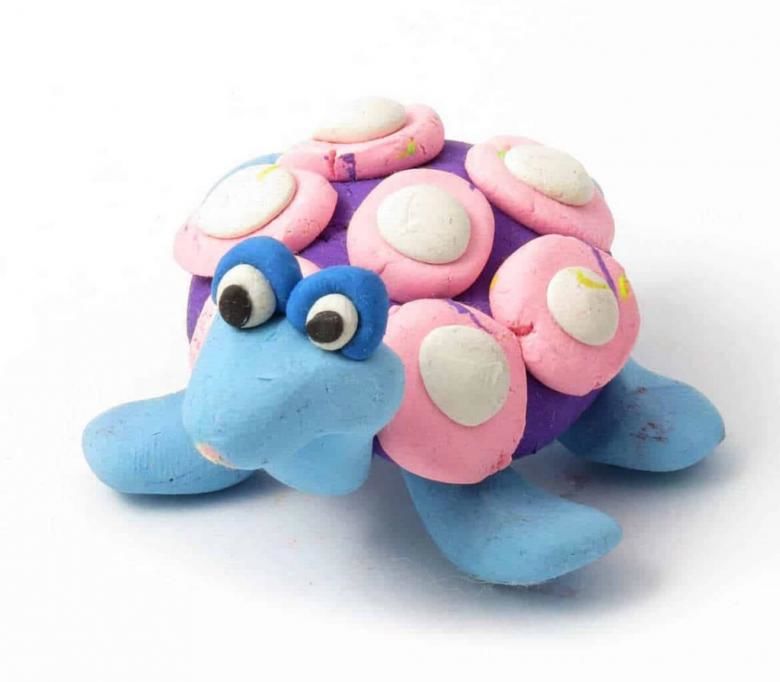
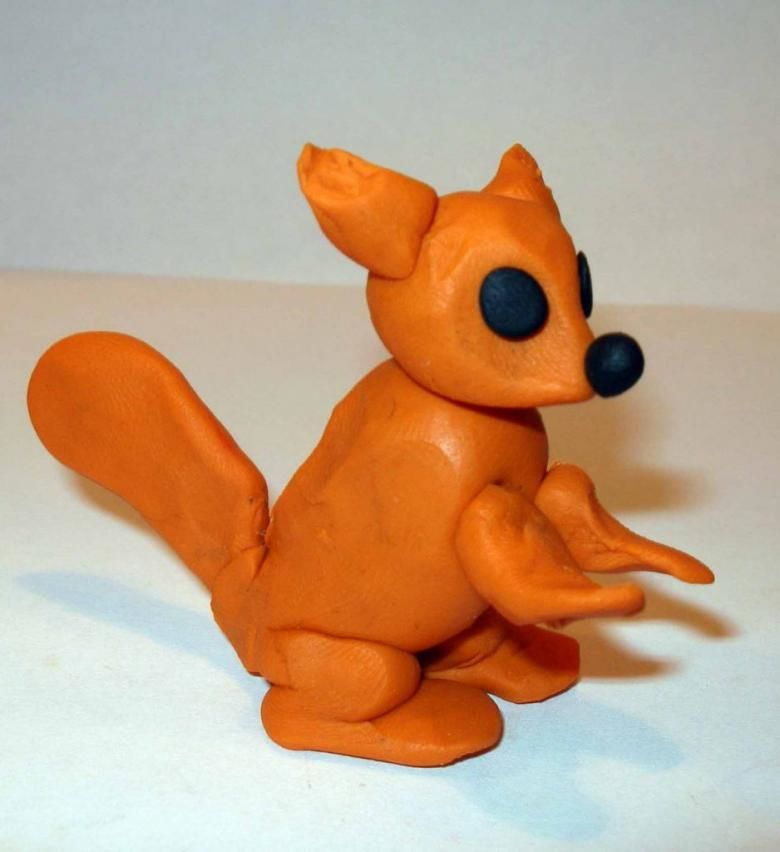
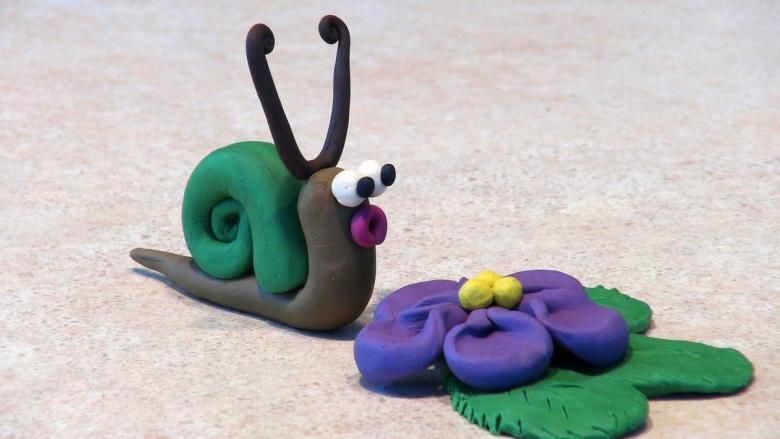
Plasticine - modeling and drawing
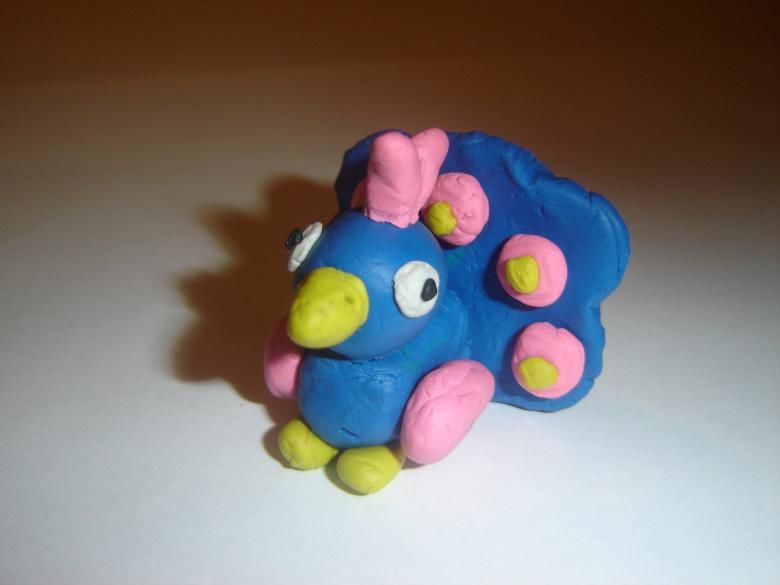
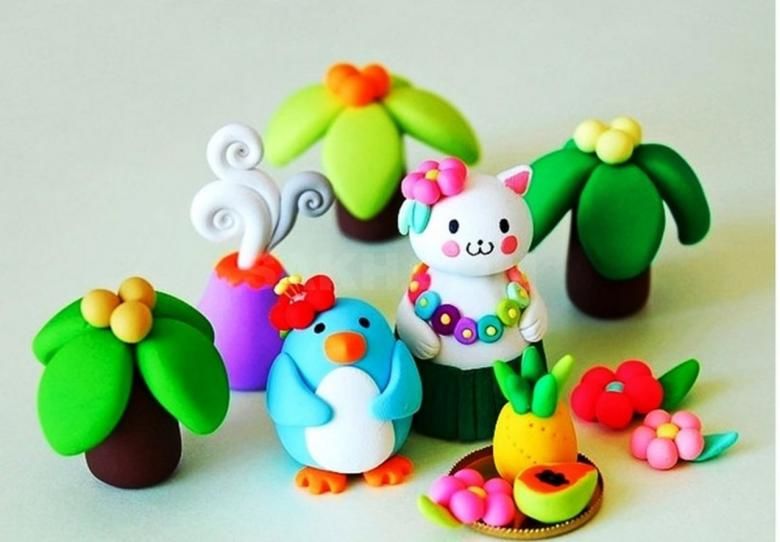
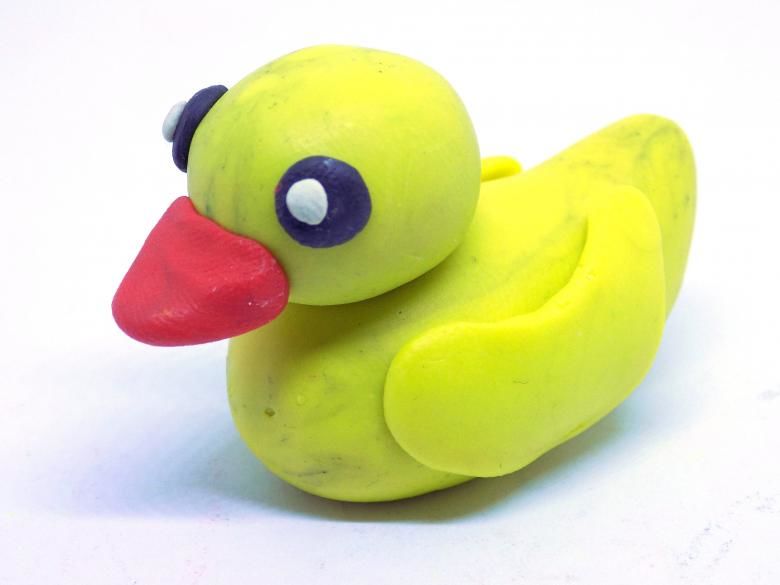
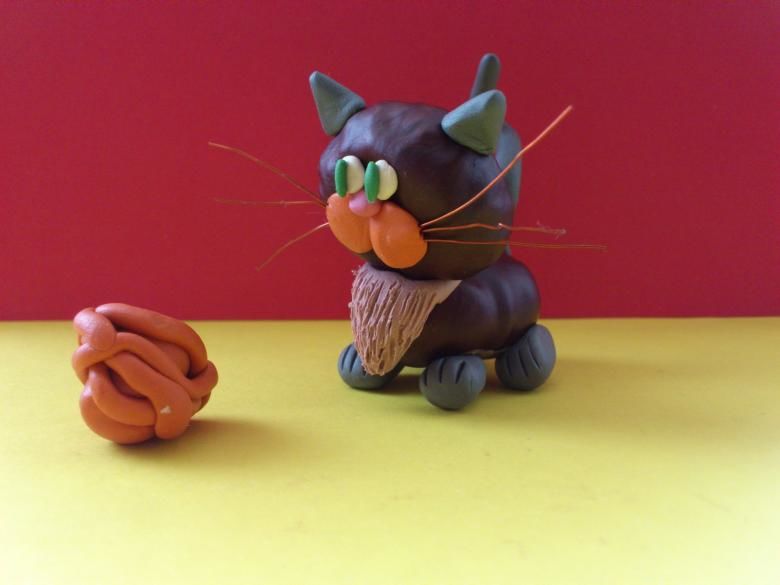
Plasticine crafts look more interesting when they are not made only of plasticine.
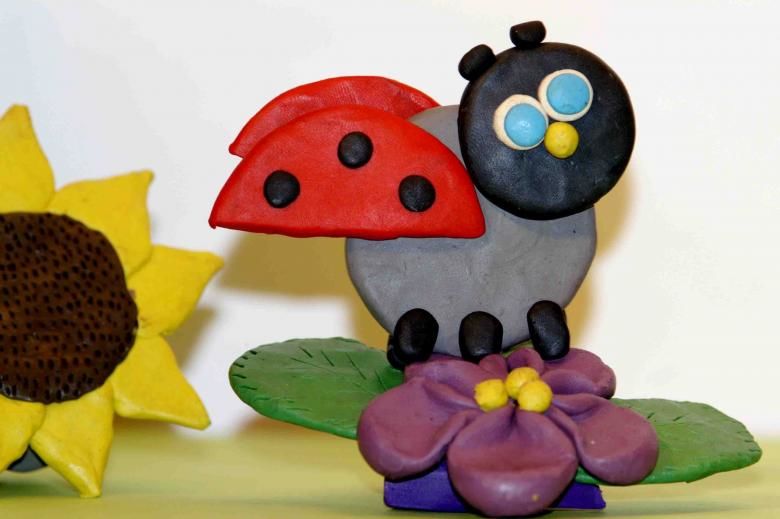
For example, the body of man - the spruce cone, head - plasticine, hands and feet - twigs, a hat - a paper socket from under the candy. Plasticine in this respect - the material is very handy.
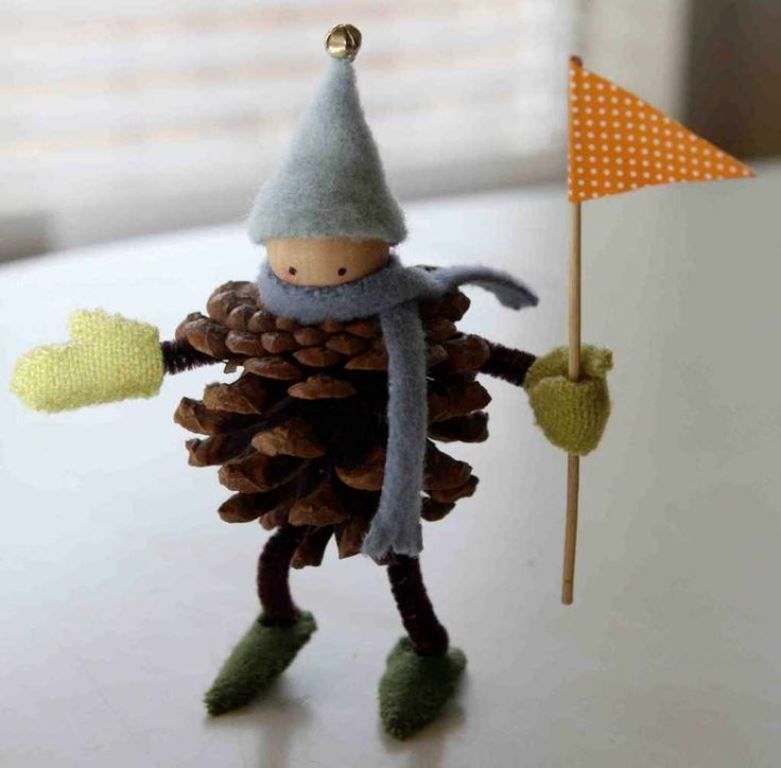
No need to think how to connect the parts of the sculpture with each other, how to attach small elements. No need for glue or scissors. Only your fingers and a stack.
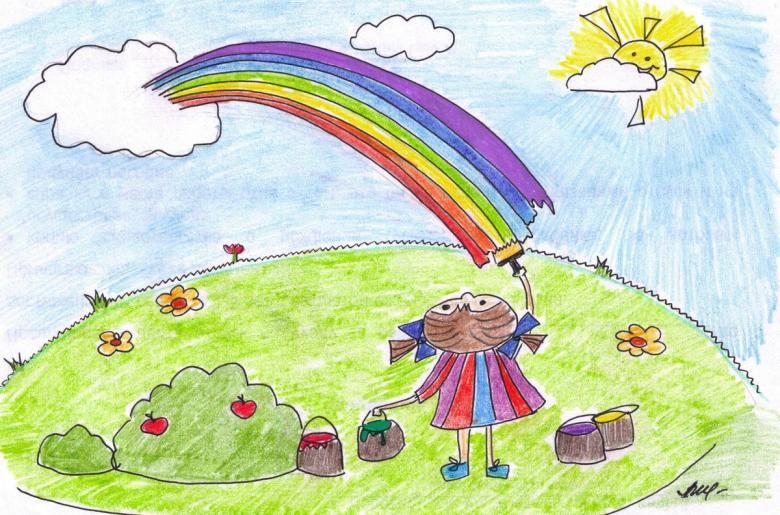
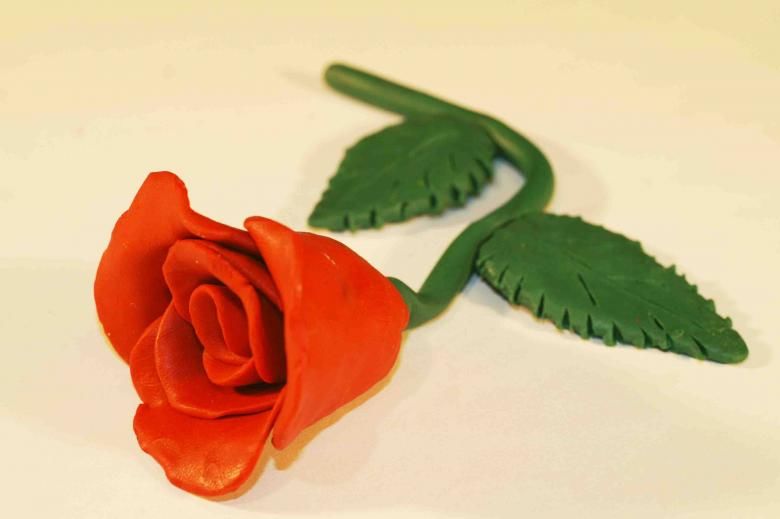
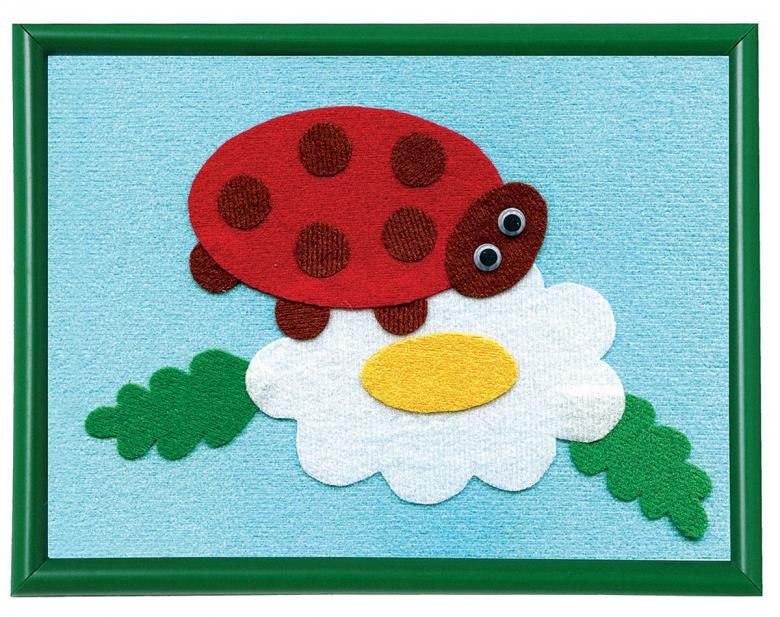
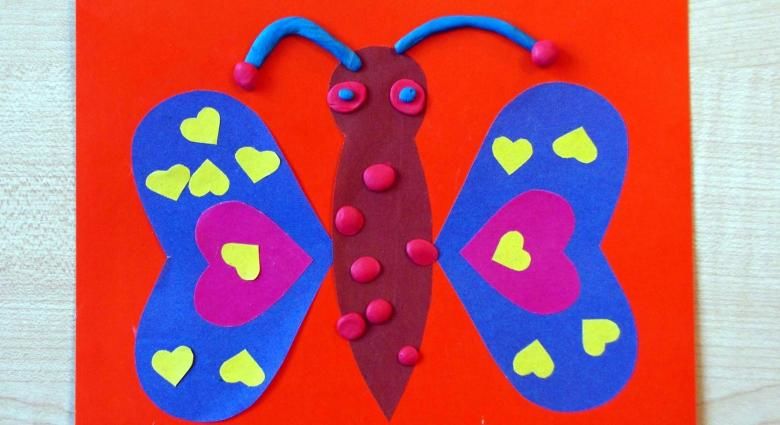
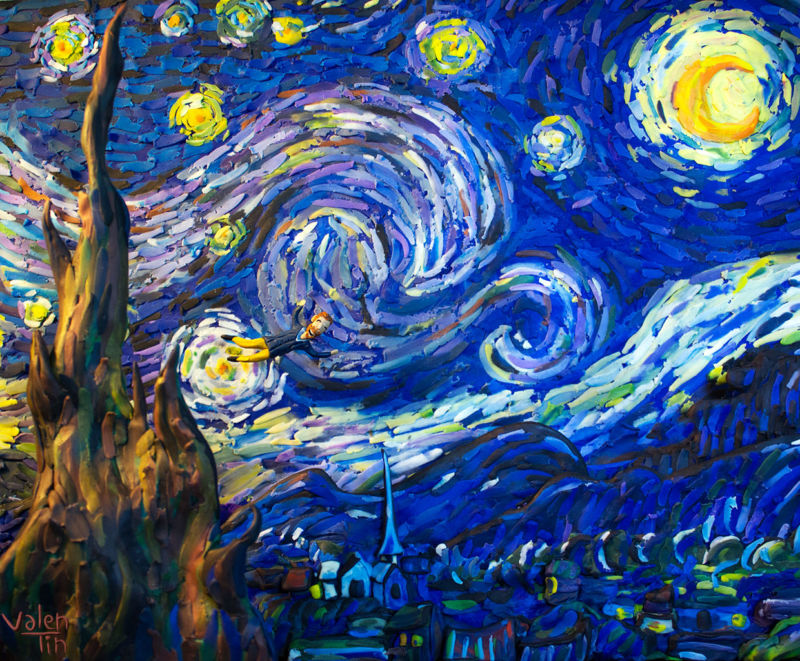
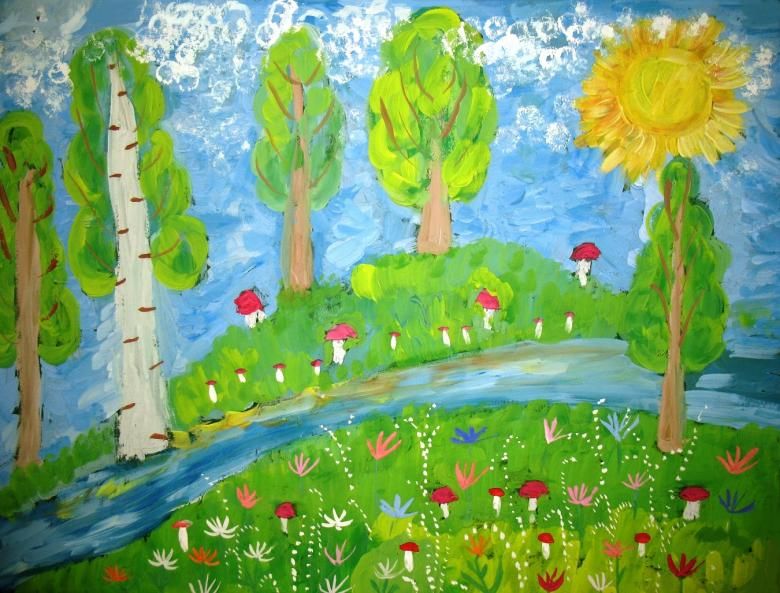
From plasticine you can create not only sculptures, but also paintings. This is a separate type of art called plasticine painting.
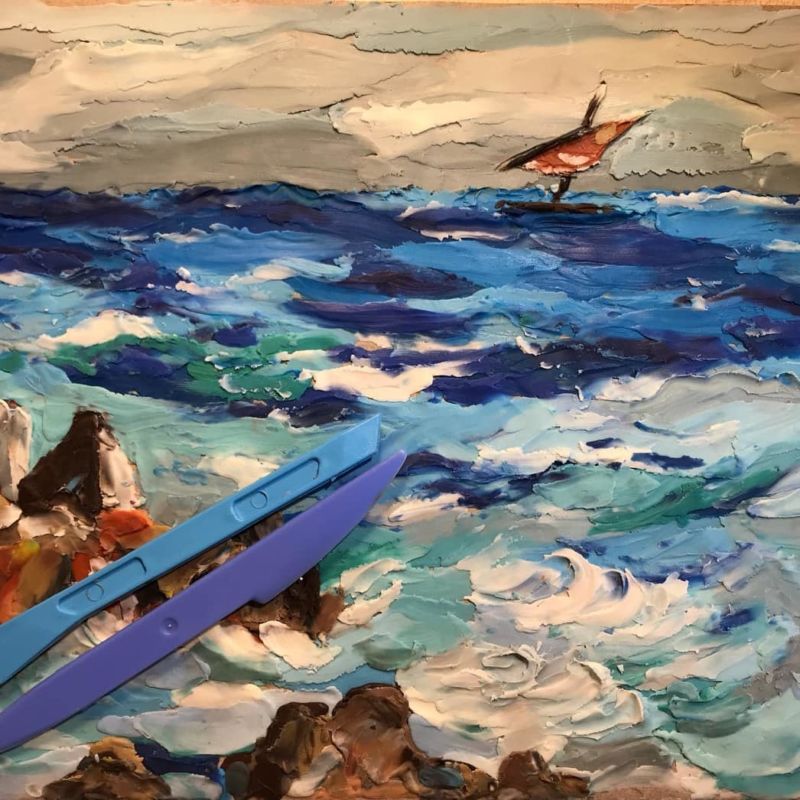
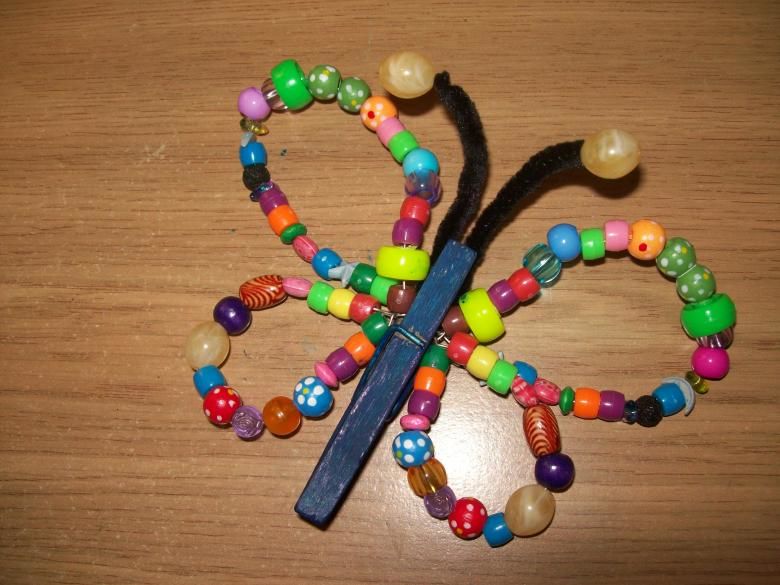
In the same way as in traditional painting, first you sketch with a pencil, then fill in the background, and then the details of the drawing, from large to small. Different buttons, beads, seeds will add originality plasticine masterpieces.
And in sculpture, and in painting the main thing - a good kneading material, that is plasticine. Already at this preparatory stage, your baby trains fingers. After all, future first graders need strong fingers for successful learning to write.
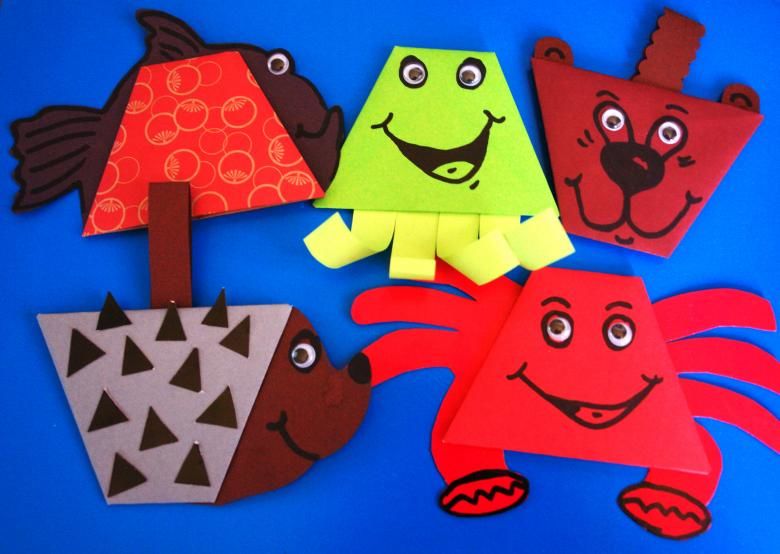
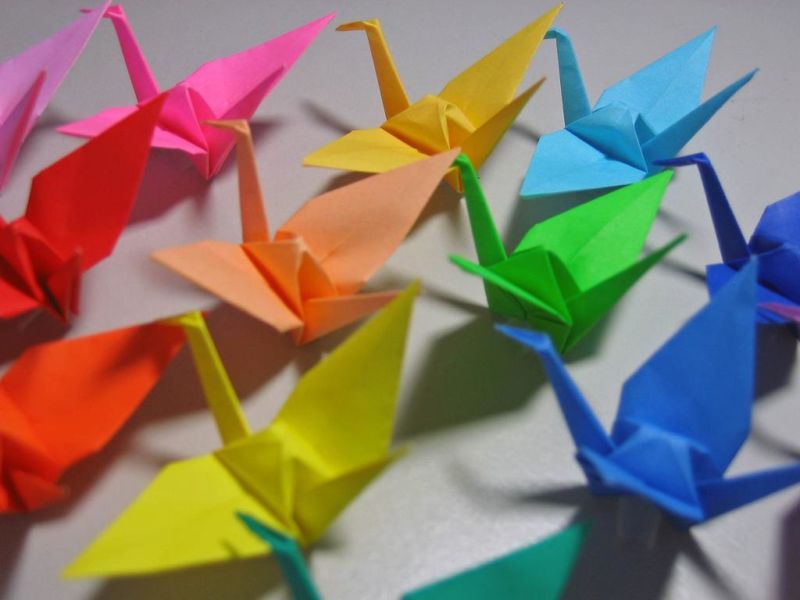
Origami
Origami is a technique of creating paper compositions without using glue and scissors. Traditionally, the basis is a square. With a lot of folds get a beautiful figure, sometimes even endowed with some options. Origami birds flapping their wings, and frogs jump.
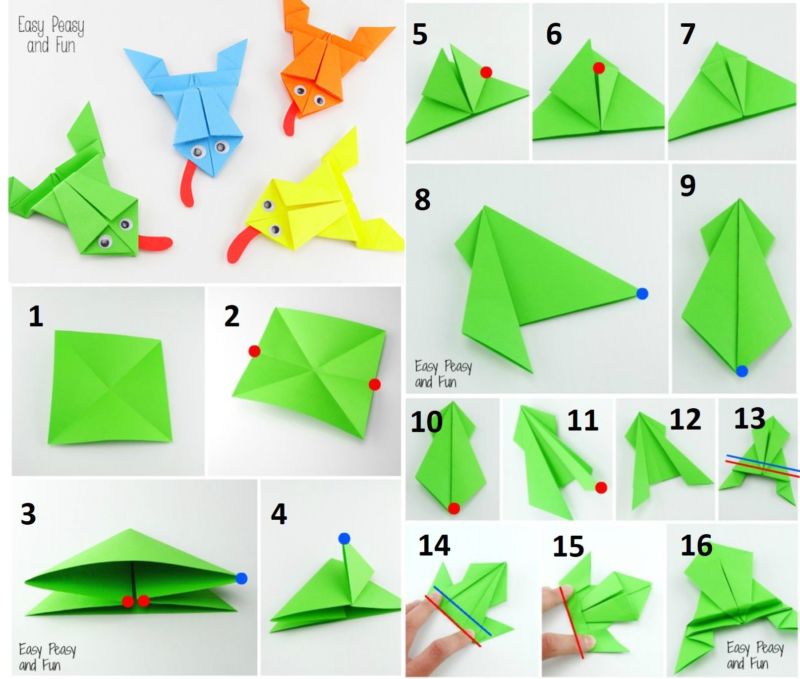
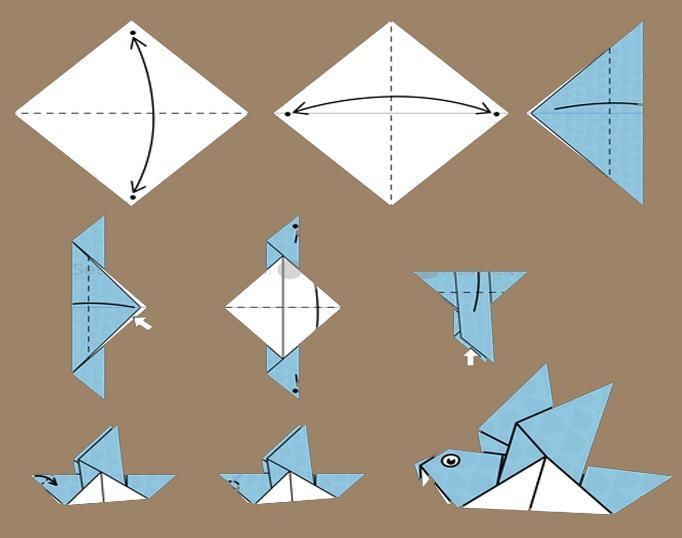
Before you start doing complex origami models, try to make simple and the most popular - a crane, a crab, a dog, a tulip or a boat.
Origami teaches you to be patient and diligent. We must bend the paper in a strict sequence and very smoothly, trim and paint mistakes in origami will not work.
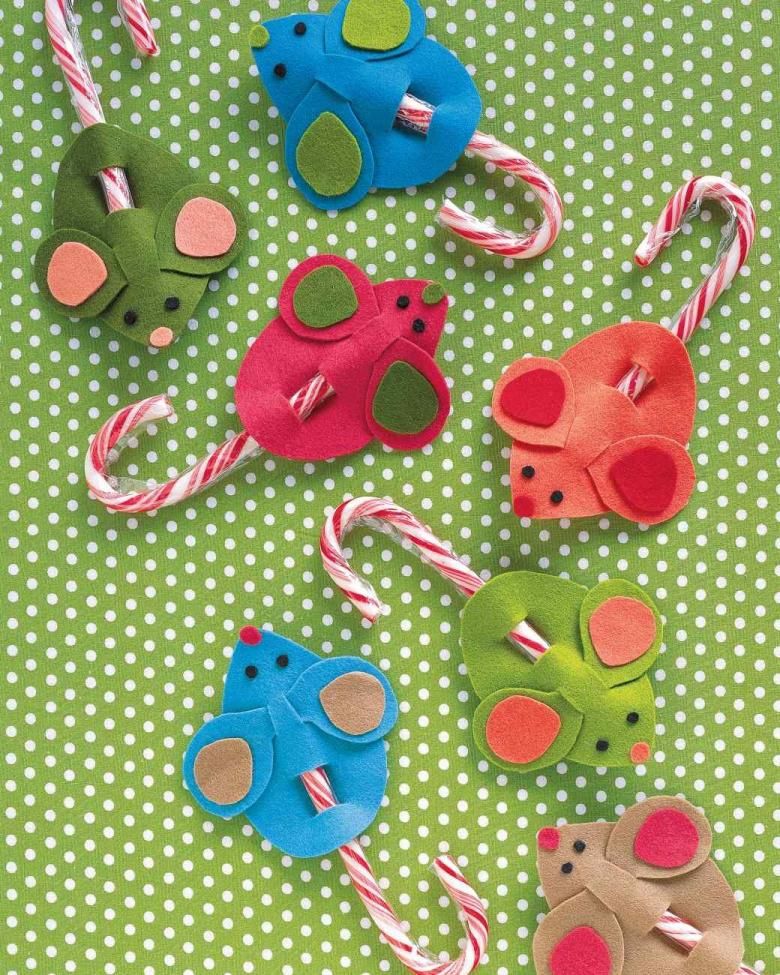
Interesting handicrafts
If you like ready-made step by step instructions, this section is for you. Without further ado, just read and do.
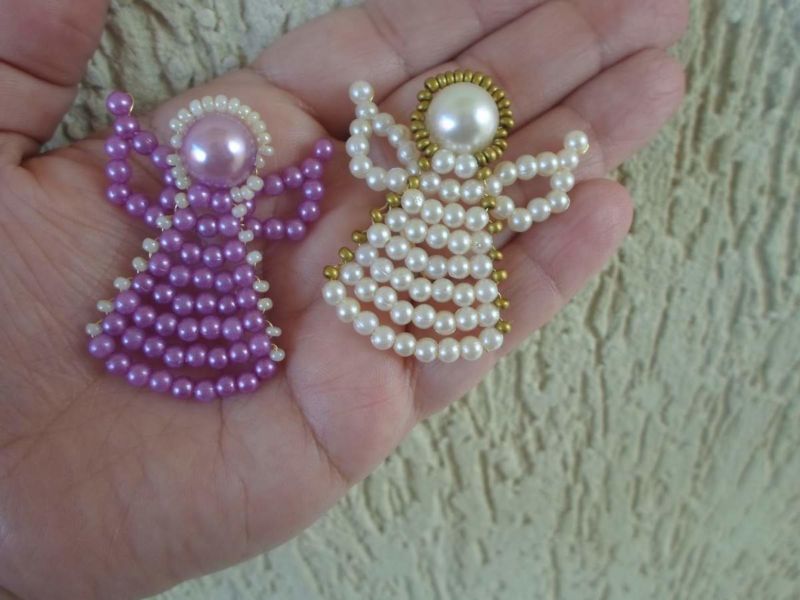
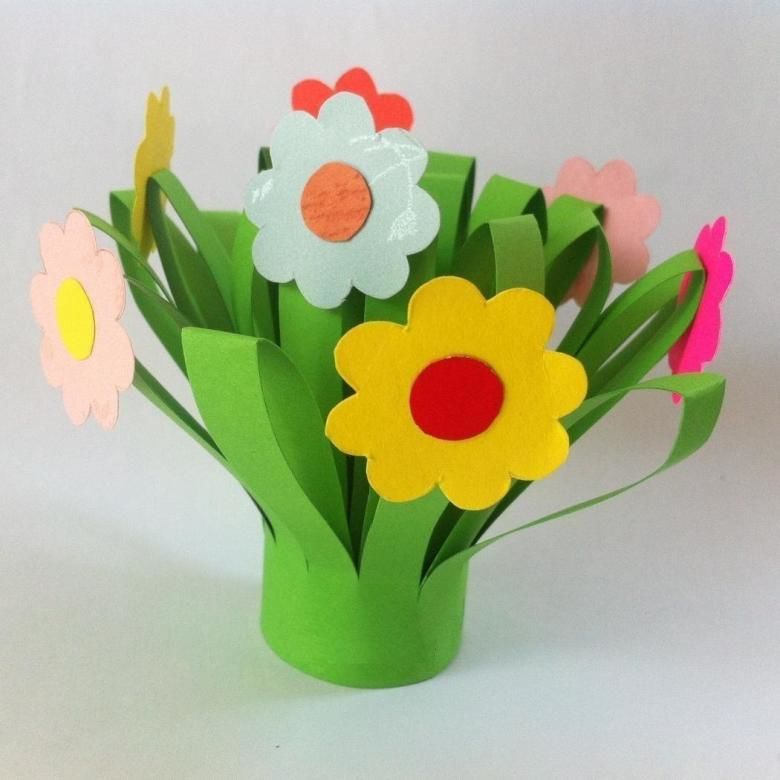
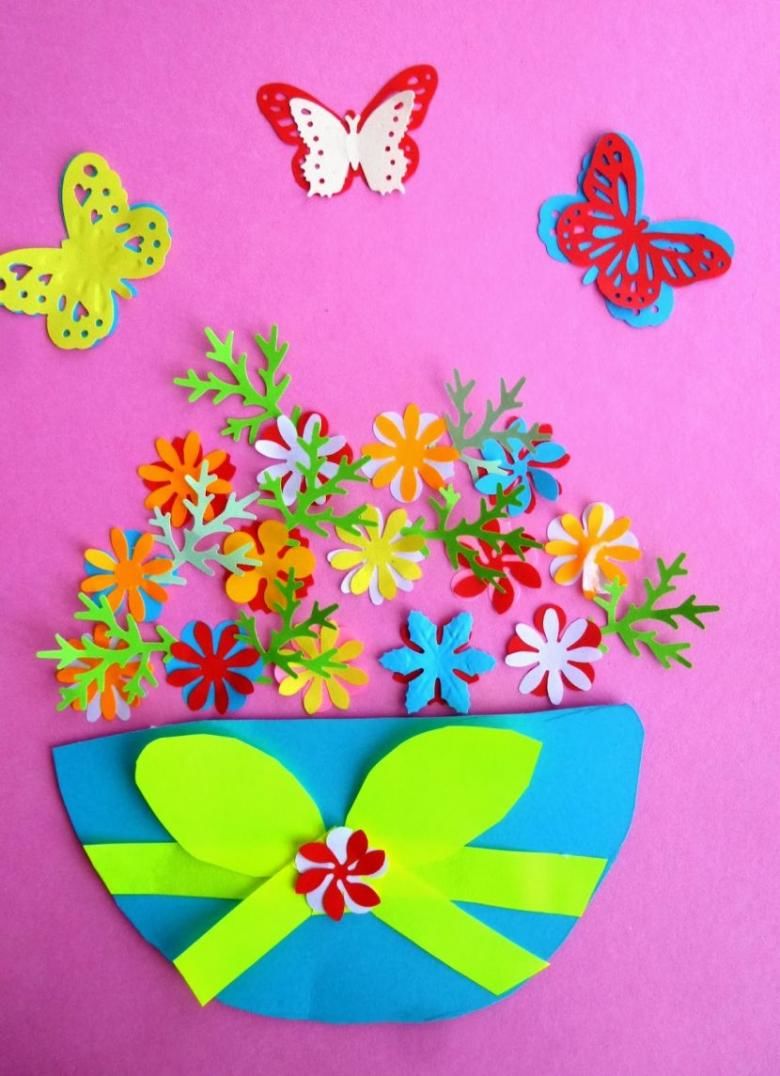
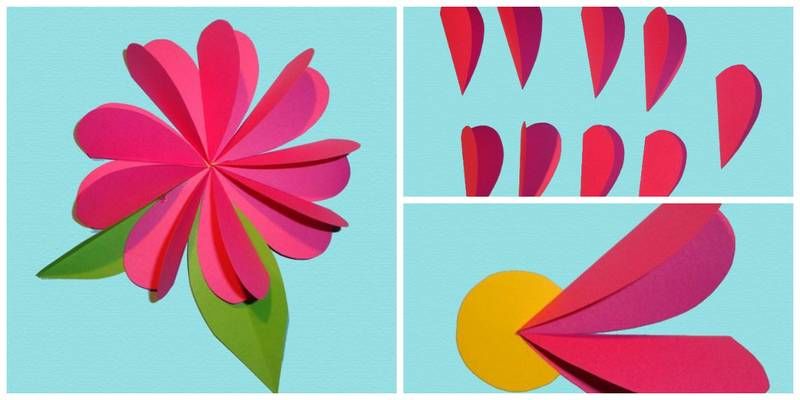
Flowers from paper. Variant 1
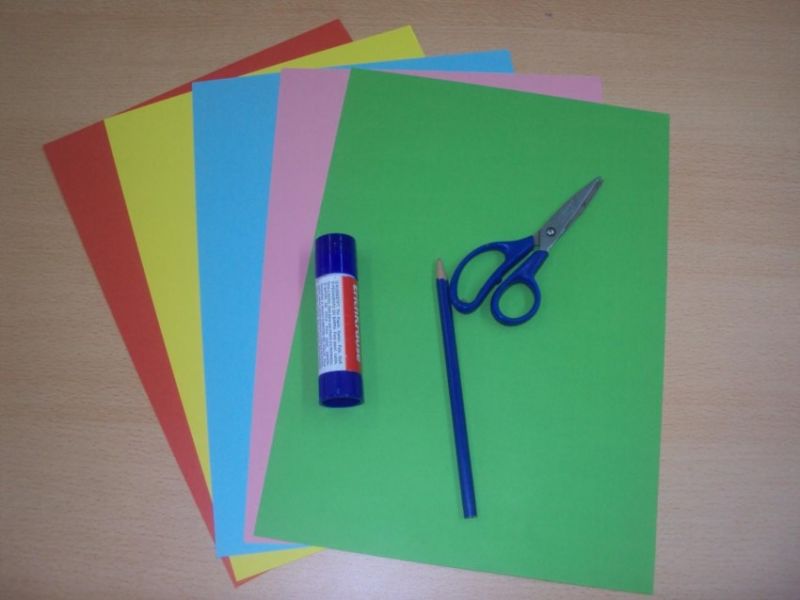
You will need red and green colored paper, PVA glue, large beads (you can take small ones, use 3-4 for each flower)
- Cut 16 hearts from the red paper, fold each in half.
- Glue each 4 hearts together. To do this, half of the bent heart dab the glue, put it on the second. Then the free half of the second, already glued, as well grease, attach to it the third heart, to the third - the fourth. You will have a three-dimensional petal. There will be four petals in all.
- Cut out a circle - the base of the flower.
- Glue the finished petals to the base, placing the sharp sides toward the center.
- Place a bead in the center of the flower on a generous drop of glue. From the green paper cut out three sheets of any shape you like. Fold each leaf accordion. This will add volume to them.
- Plant leaves on the basis between the petals. Flower ready.
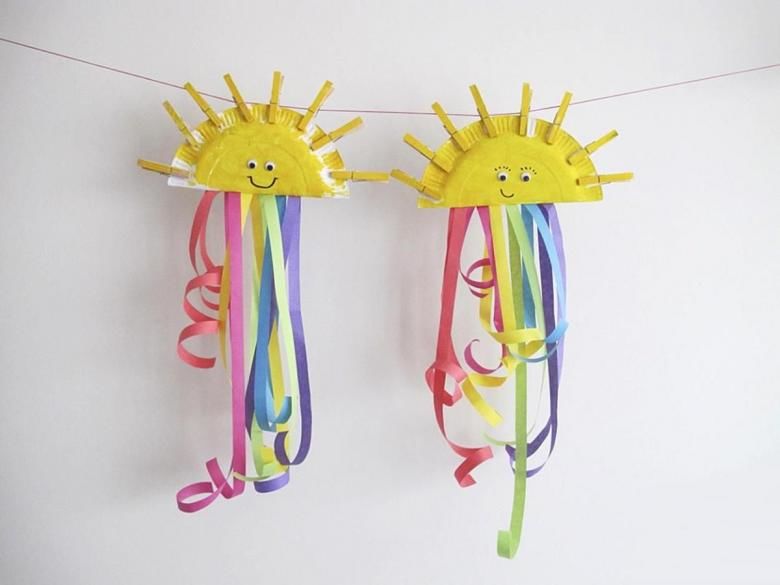
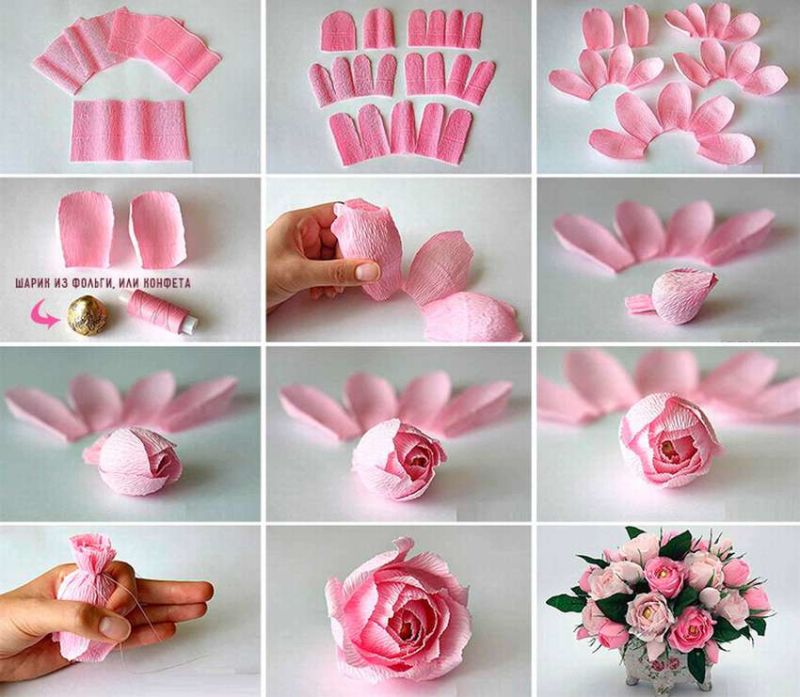
Flowers of paper. Variant 2
You will need corrugated paper of two colors (for example, white for the petals and yellow for the stamens), some glue, a wooden stick (you can take it from a sushi set), and green threads.
- We make the blanks. Cut a strip of yellow paper in the manner of a fringe, not reaching the edge of about 1-2 cm. Prepare a white strip in a similar way, but so that it is wider than the yellow, and the fringe elements are larger, with rounded edges. You can just cut corners. These are the future petals of your daisy.
- Put a drop of glue on the tip of the stick and wrap the yellow fringe around it. Use glue to keep the layers of paper together. Wrap white paper over the stamens. Be sure to fix the ends of the strip with a drop of PVA. Decide on the number of layers at your discretion. The more there is, the more puffy the flower will be.
- Wrap the base of the flower and the stem (i.e. the stick) with green thread. The tighter the coils fit together, the more beautiful it will look. If the thread is thin, you can wrap it in 2-3 layers. The end of the thread planted on the glue.
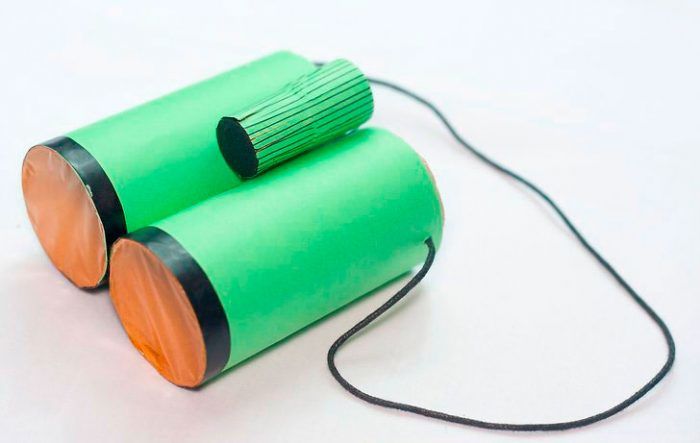
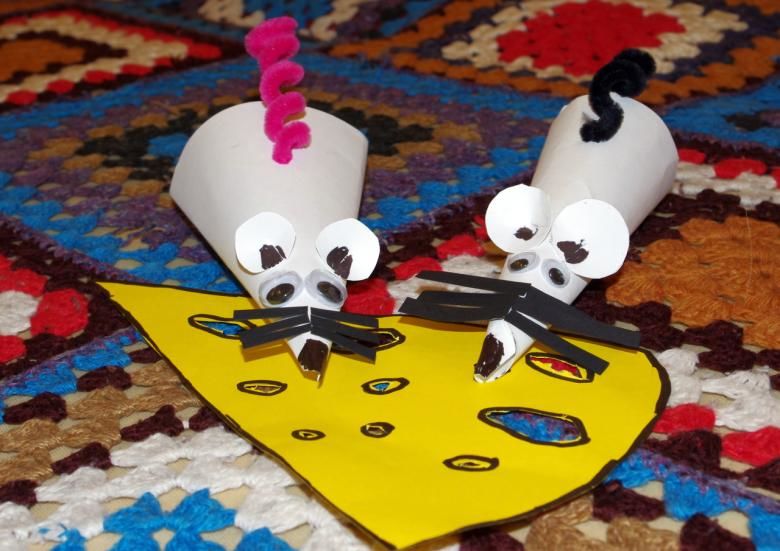
Binoculars out of sleeves
Yes, yes, we mean the sleeves from the toilet paper. Prepare:
- paper in two colors (blue and black, for example);
- A colored cellophane bag (supermarkets have them in the vegetable department);
- black gouache;
- glue gun, PVA, duct tape;
- rubber band (black is best);
- The wine cork (it will serve as a decorative element, instead of it you can take any small object of the cylindrical form).
So, everything is ready. Let's get to work:
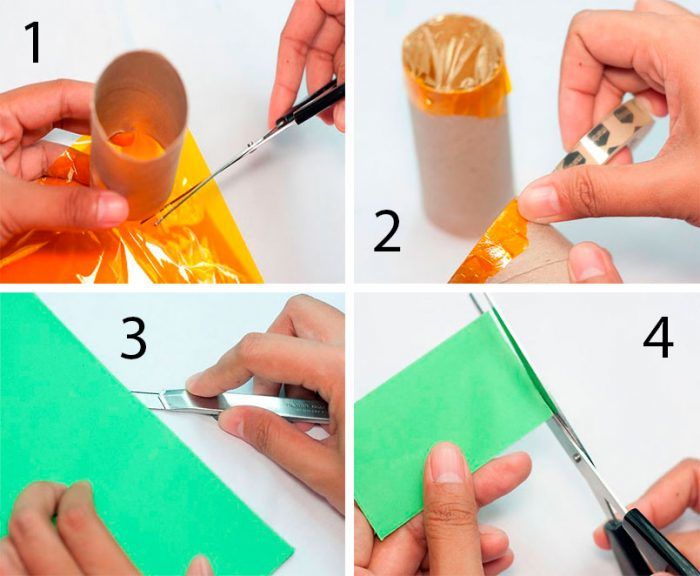
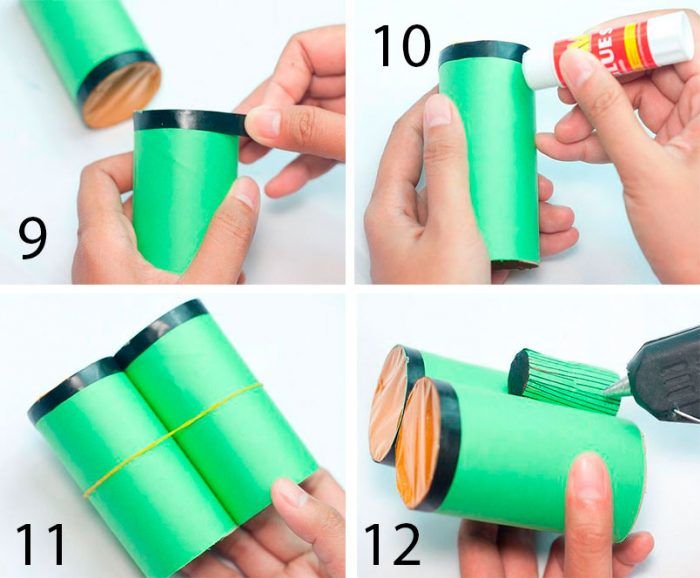
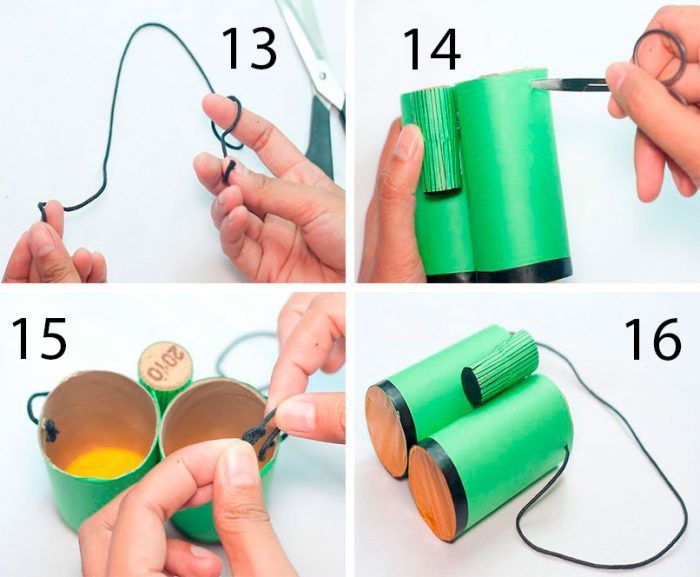
- Stretch film over the cut of each sleeve and tape around the perimeter. These are the glasses of the binoculars.
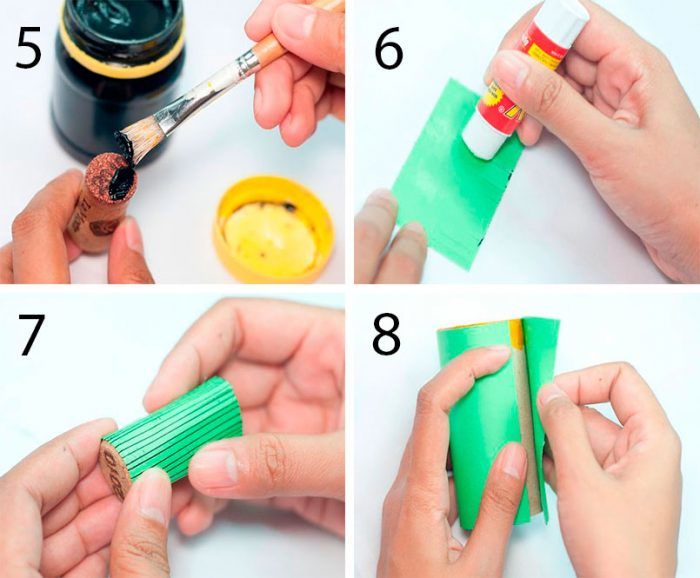
- Apply PVA glue to the entire surface of the sleeve and wrap with blue paper, and use black paper to make a border for the edge with the "panes".
- Paint the slices of the cork with black gouache, and cover the rest of the surface with blue paper.
- Assembly. Connect the sleeves with hot glue. On top, between them, place the cork, also with hot glue.
- Thread the rubber band into the edges of the sleeve, free from foil, and tie the ends with a knot, so that they do not jump out of the holes. For safety you can burn rubber slices with a lighter. Binoculars are ready.
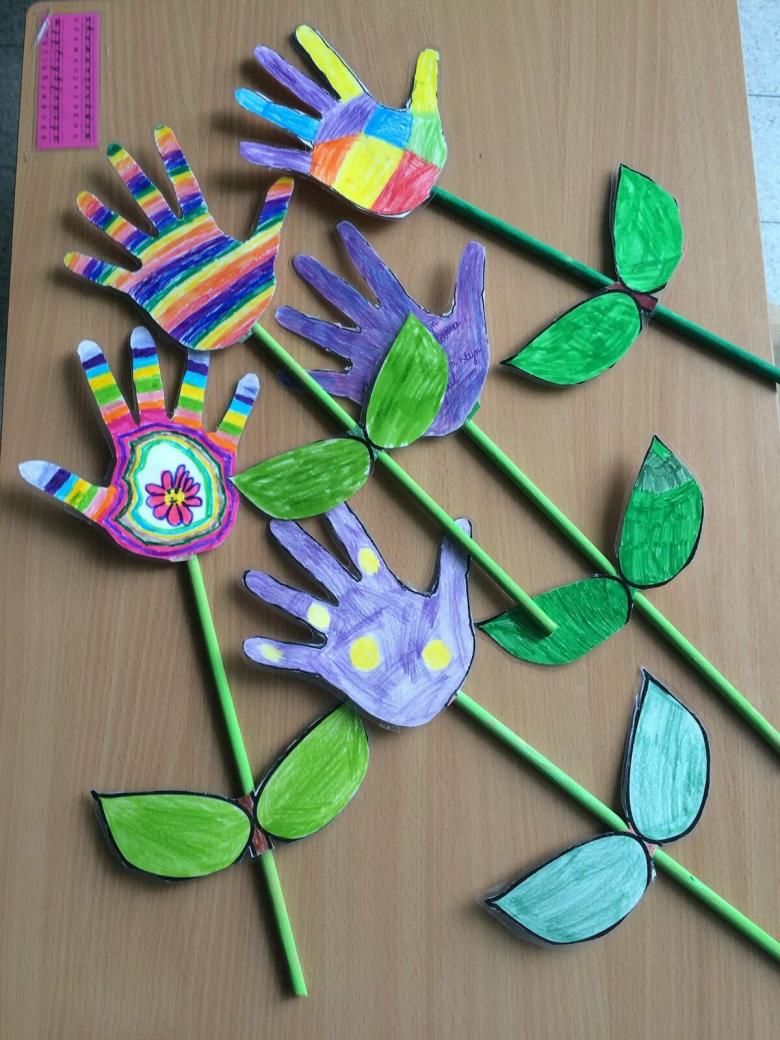
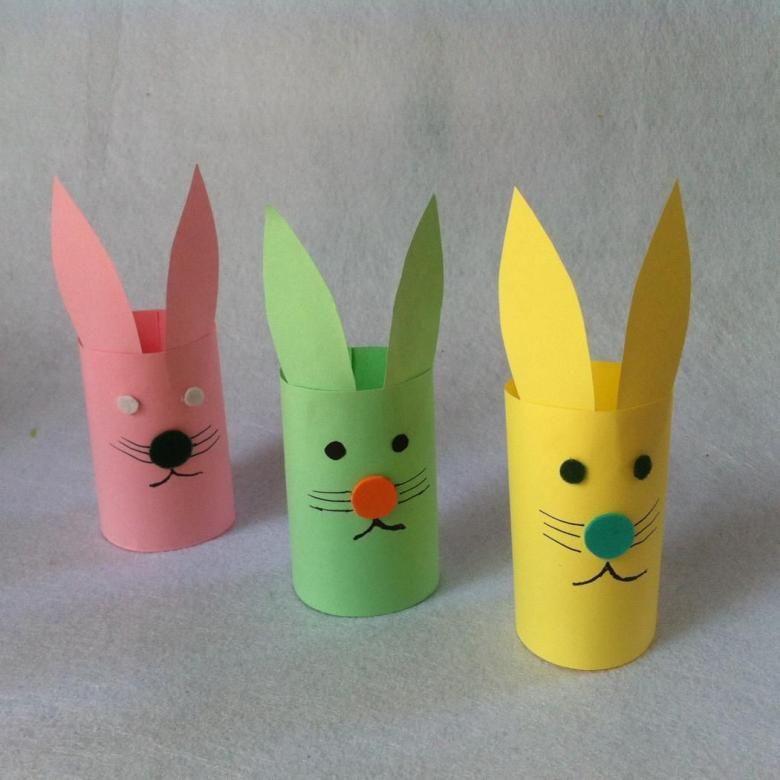
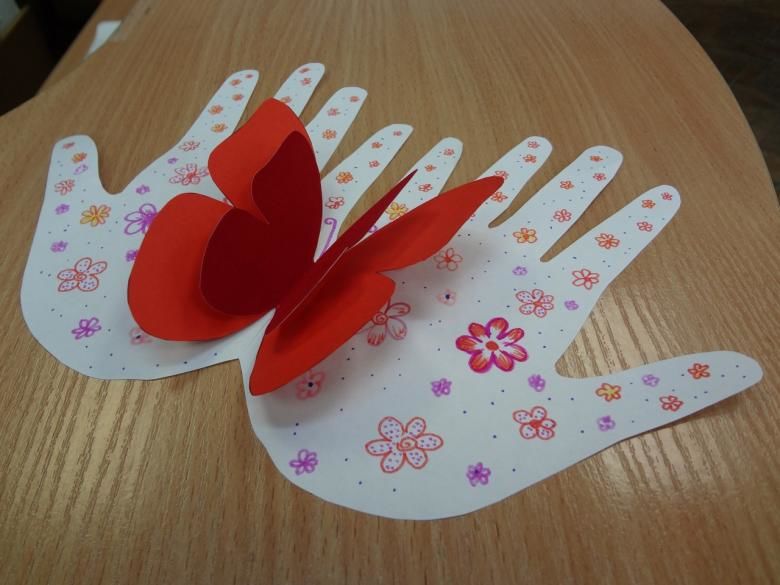
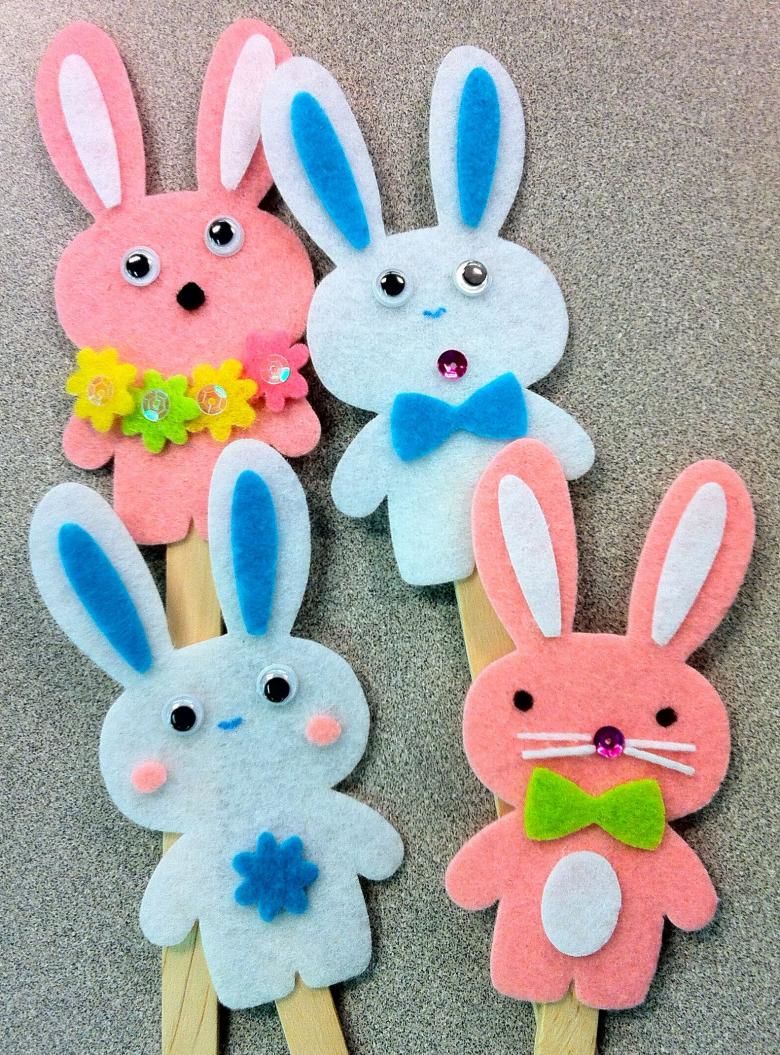
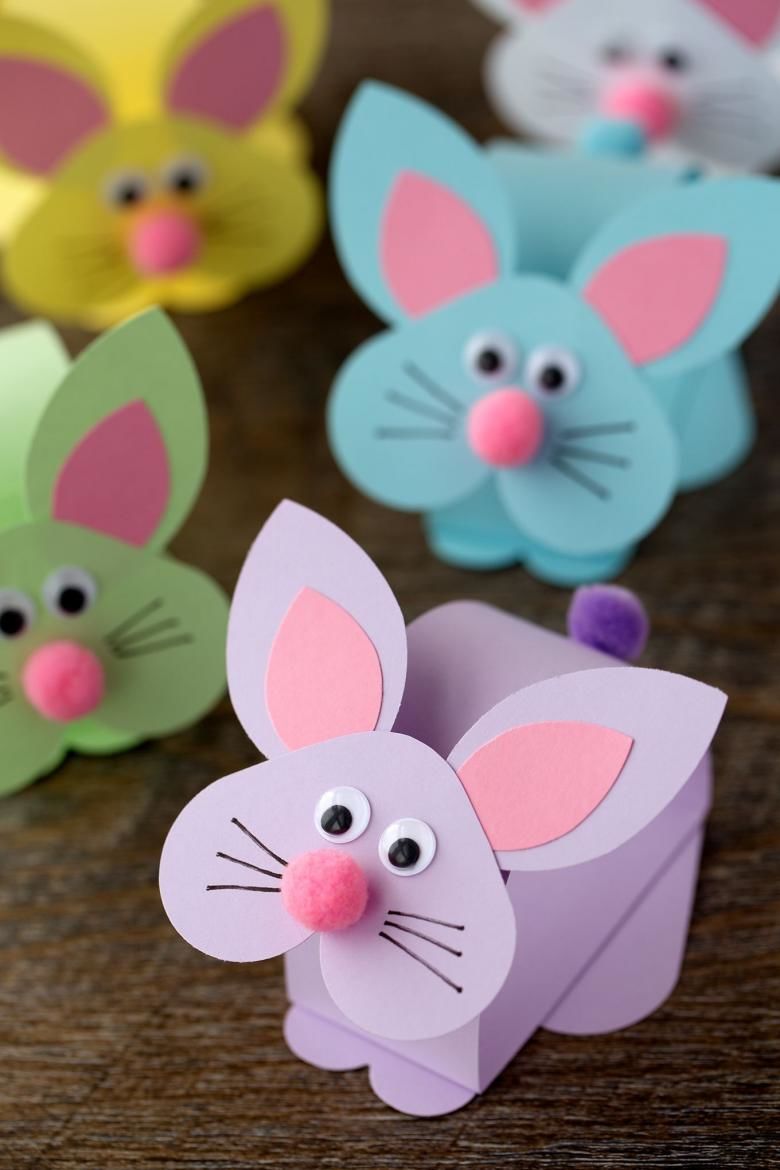
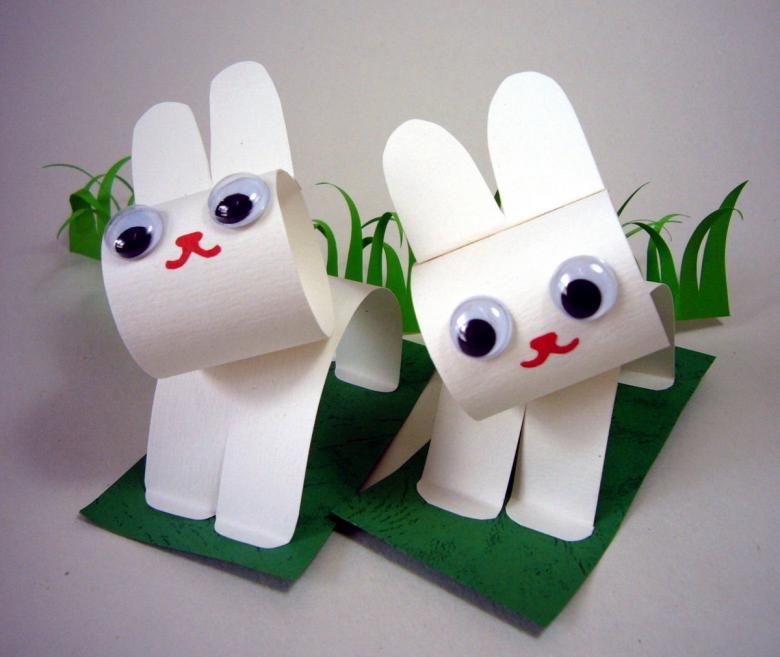
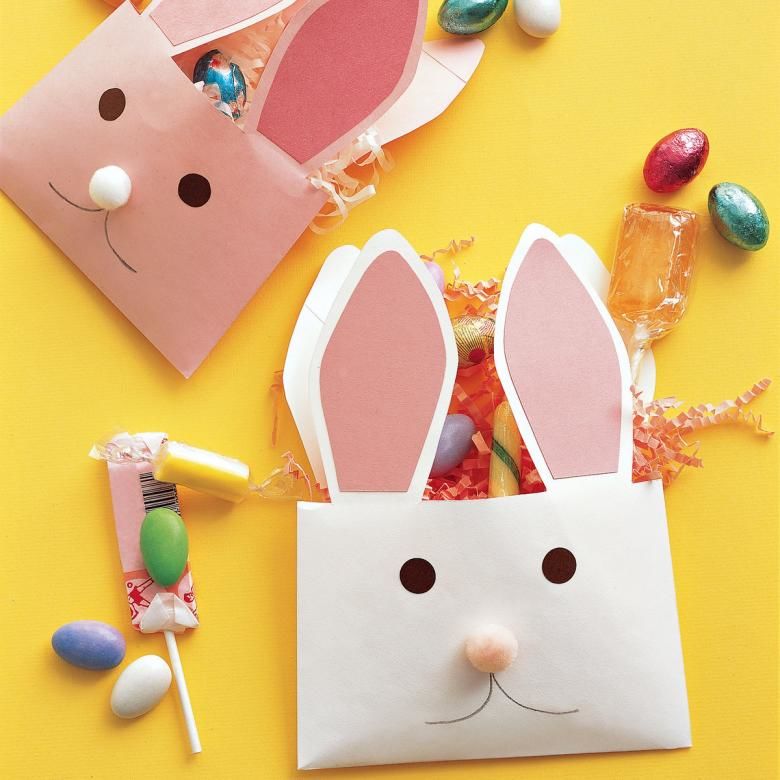
A bunny out of the palm of your hand
A very simple and fast handicraft. Take a sheet of colored double sided paper:
- Printer paper will do.
- Trace around the palm with outstretched fingers, cut out the outline.
- Cut off the middle paper finger.
- Little finger and thumb - a paw, bend them to the center of the palm and glue together.
- Draw a muzzle. That's it!

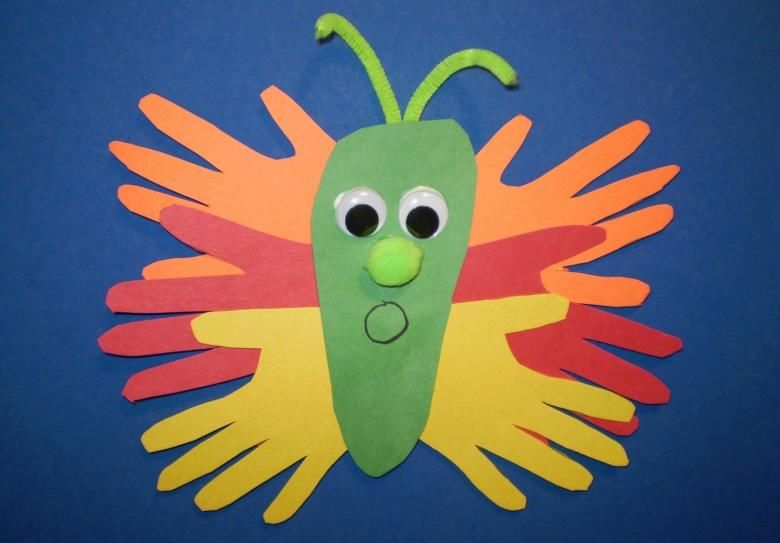
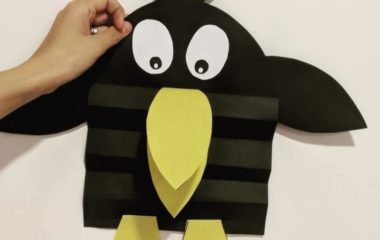
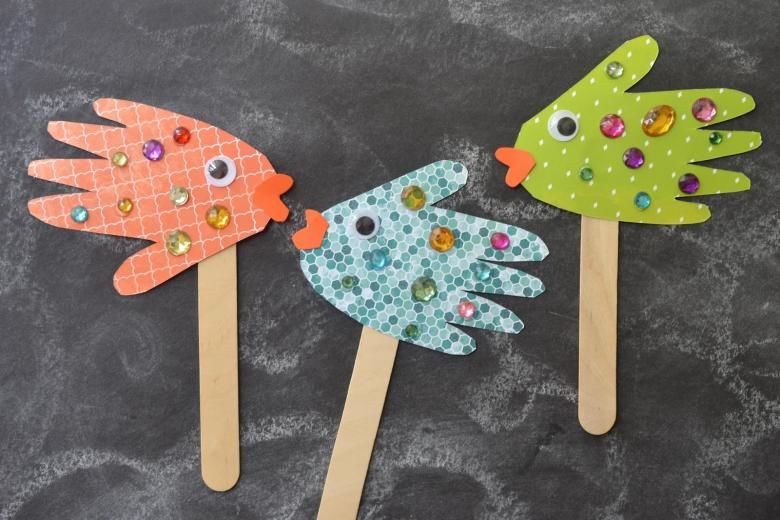
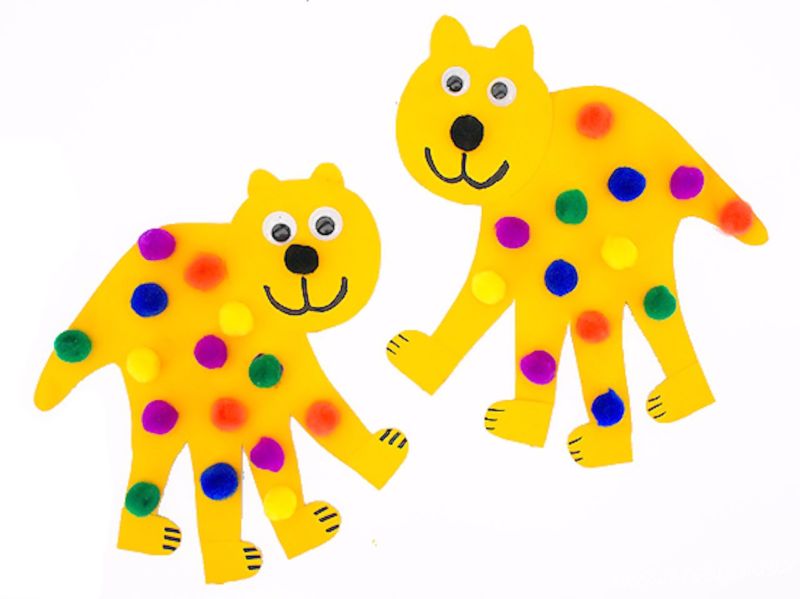
Animal drawings on a template
Other animals can also be drawn on the palm. The principle is the same as with the bunny.
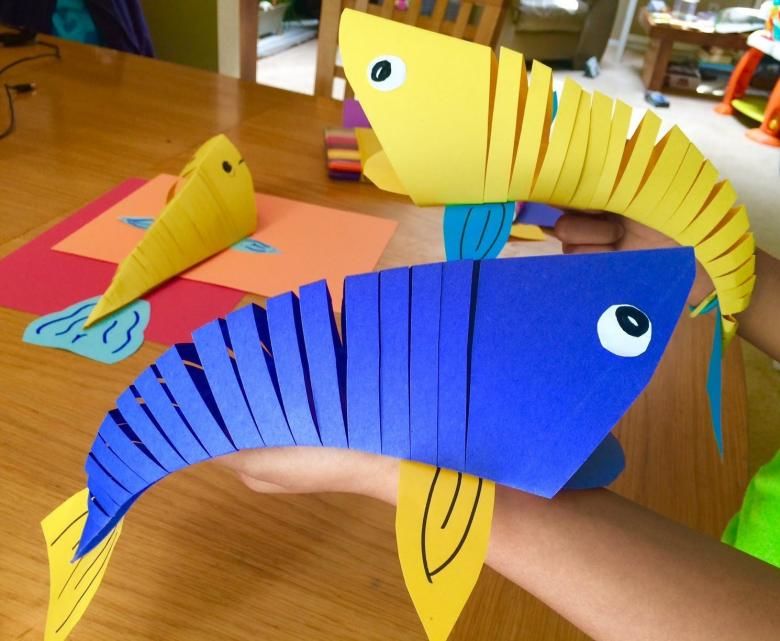
- Fish. Arrange your palm horizontally. Fingers are the tail, the back side - the head.
- A jellyfish. Fingers down. Now it is the tentacles.
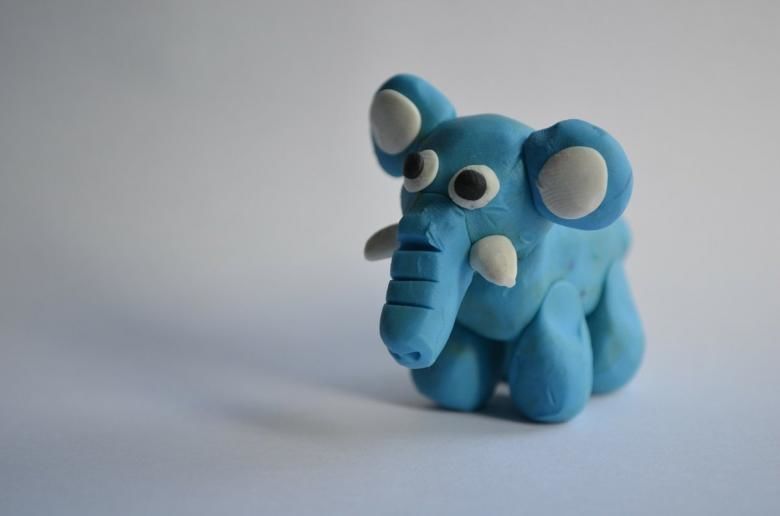
- Elephant. Thumb should be taken as far as possible, it is the trunk. The others - legs, tail just draw.
- Cat. Thumb tail, the other - paws. Draw the head above the back side.
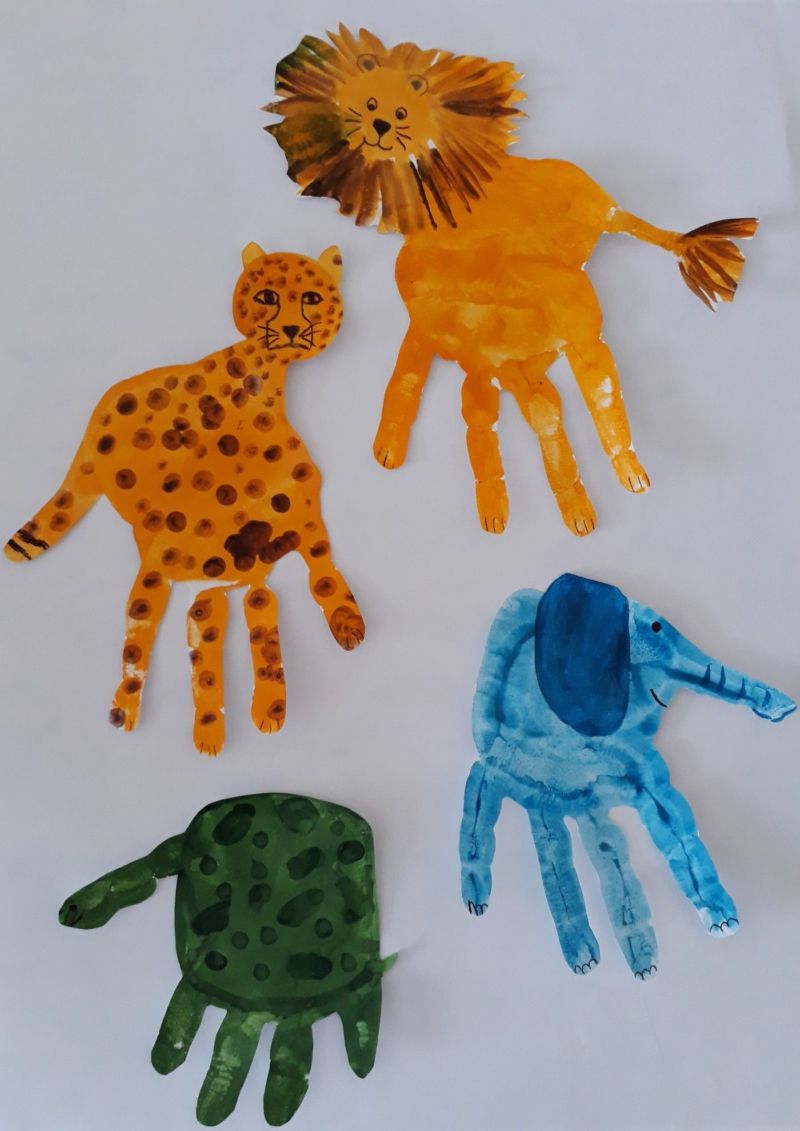
Fantasize together with your child. Invent new images.
A little about motivation
Children are much more interested in creating something that they will definitely use, praise and thank for.
If they see that the fruits of their labor tossed on a shelf and grow dust, the desire to create gradually fades.
Until the crafts come to hand only when the teacher or teacher asks them as homework.
Create cards for relatives and friends. Make invitations for family parties with your own hands. Build incredible toys, decorative little things together. Encourage children's creativity!
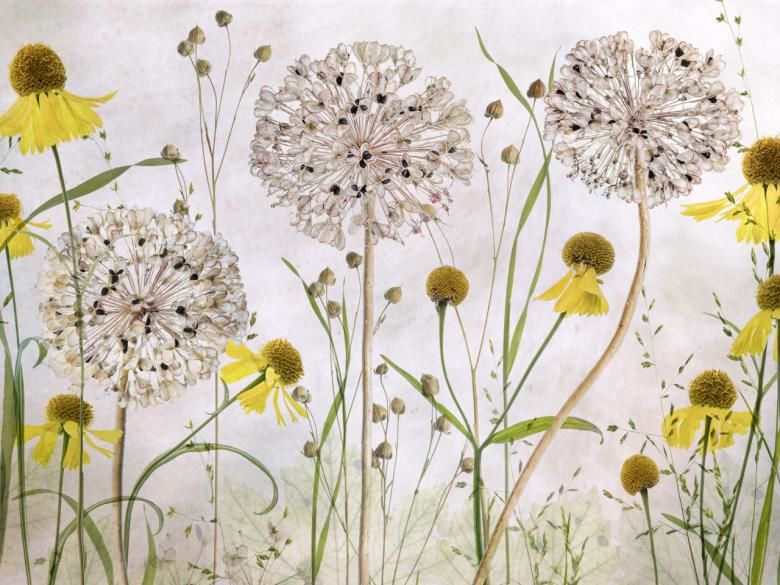
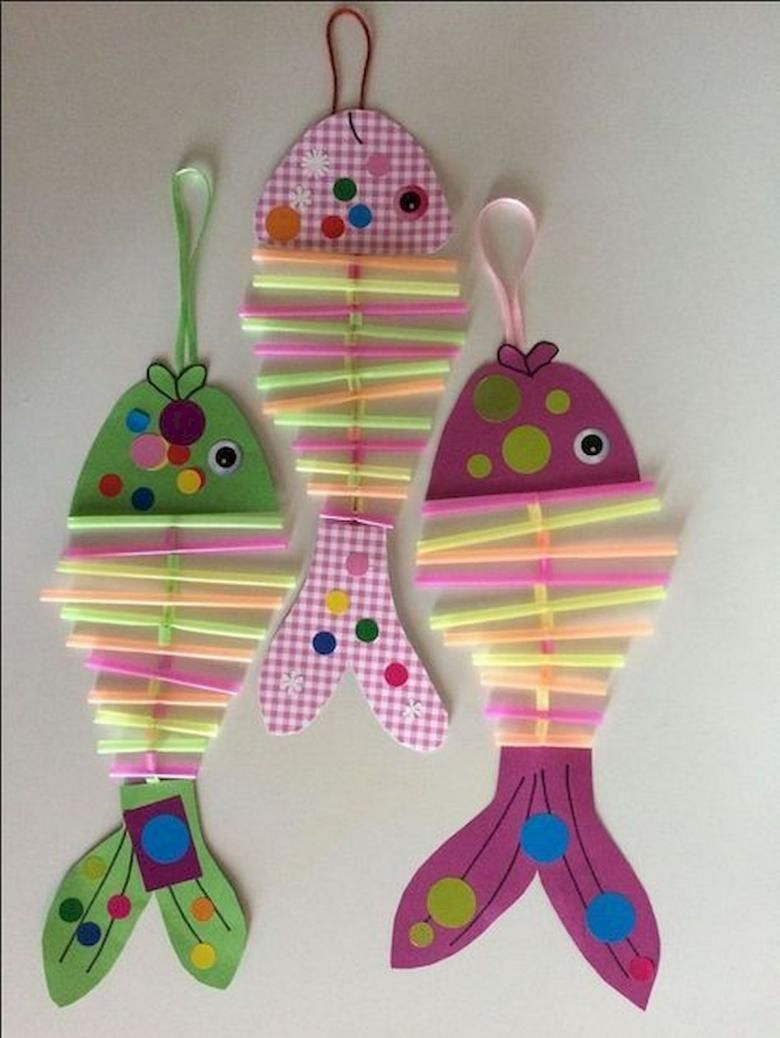
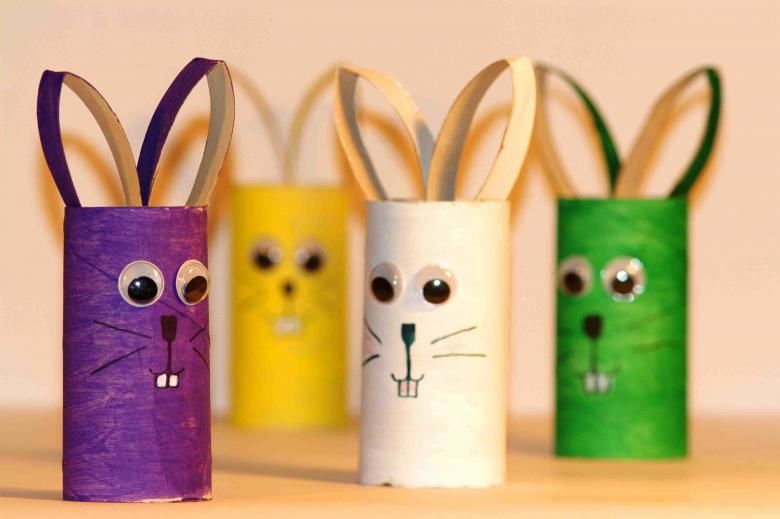
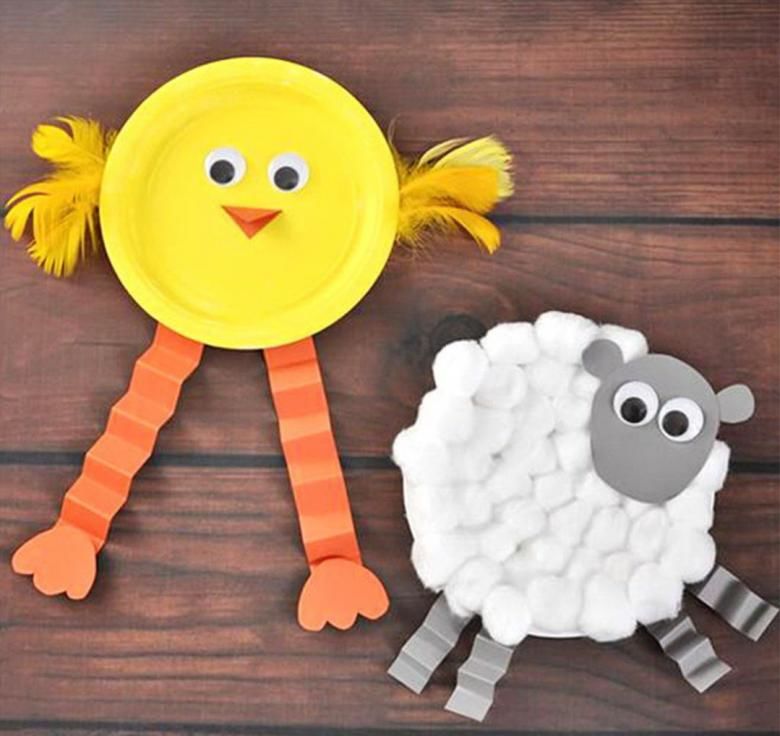
Photo ideas of crafts for kids 6 years old