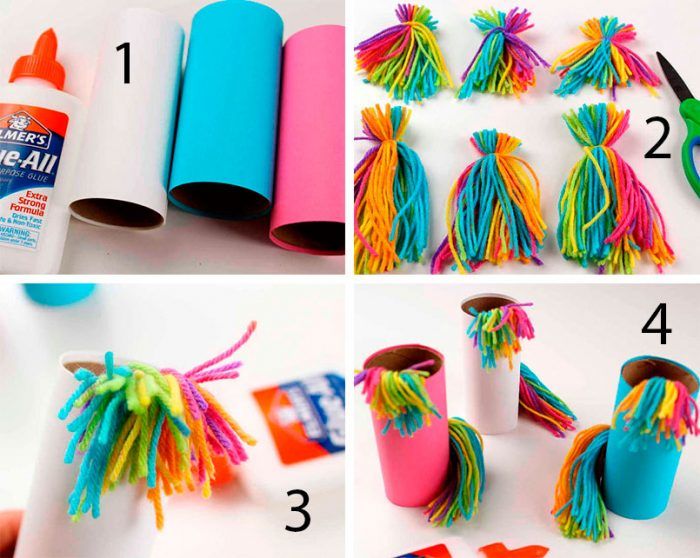
Toilet sleeve crafts: practical and interesting handmade crafts for children and beginners with photo examples
The sleeves from toilet paper are usually disposed of, but if you do not throw away the cardboard products and include wit, from them you can make various useful crafts - practical or creative.
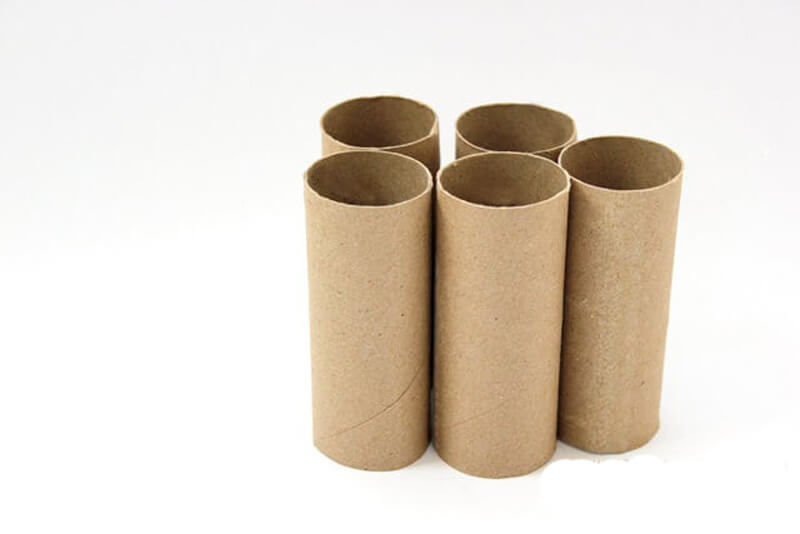
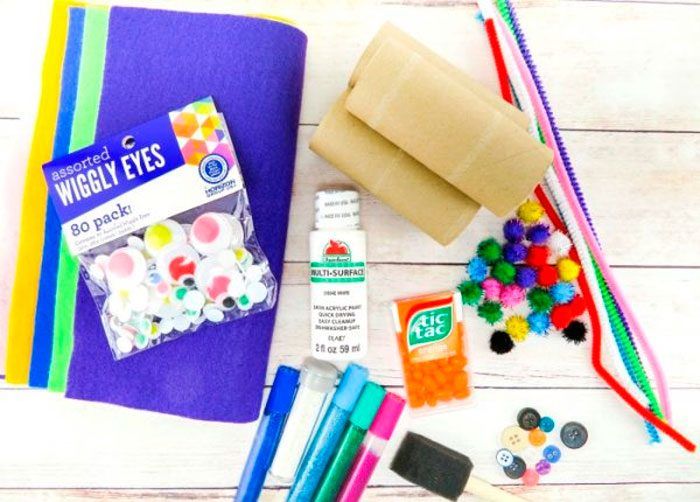
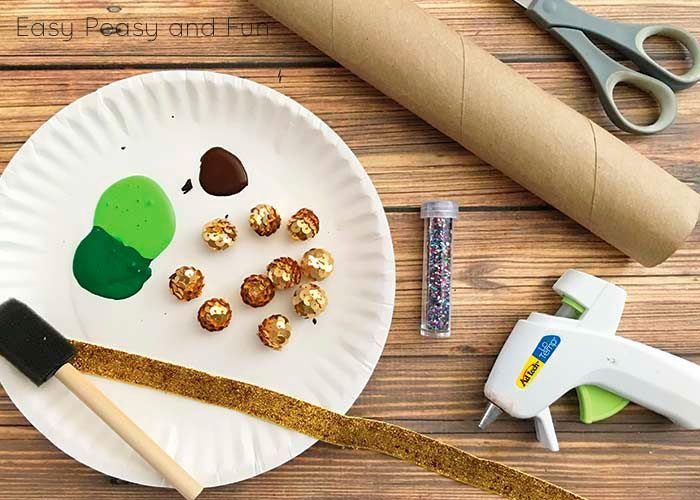
Tools for working with the sleeves
To create the works you will need simple and accessible material and ordinary stationery tools:
- scissors;
- PVA glue;
- colored paper, cardboard;
- paints (watercolor, gouache, acrylic);
- absorbent cotton, glitter;
- a simple pencil;
- duct tape;
- Small decorations for needlework.
Working with paper and cardboard is always good for the hands, because the material itself is warm and pleasant to the touch. Simple crafts from the toilet paper sleeves can be mastered with young children. Older kids are happy to do the tasks themselves.
Practical crafts
In the economy comes in handy everything, even what at first glance seems like unnecessary trash. Such a thing as a sleeve of toilet paper - just such an object, which if you want to turn into a useful thing.
Bird feeder
Caring for birds - a good thing and teaches children to show compassion for the little brothers. Of course "beauty" and practicality bush-feeder can not boast, but as an emergency remedy for starving birds, will do just fine.
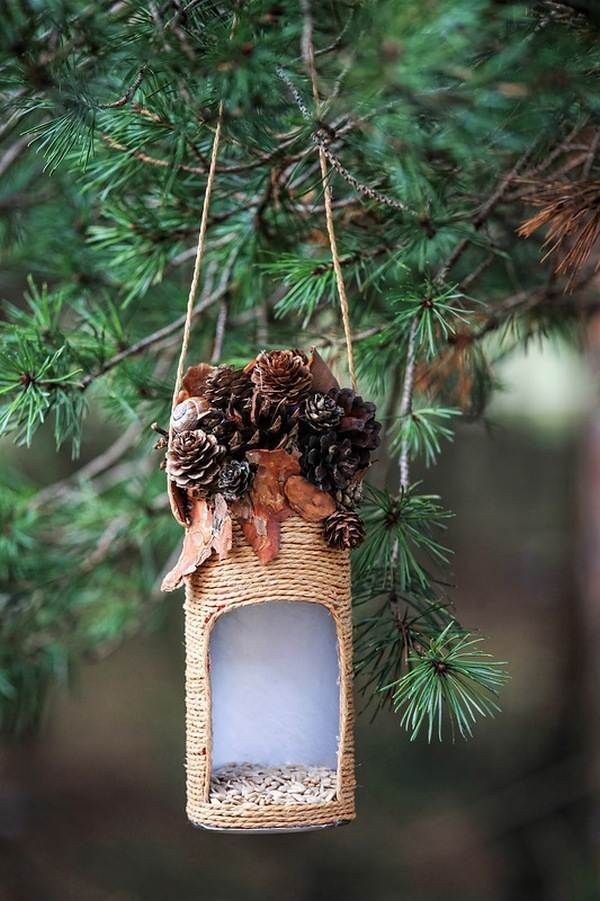
The process of creation looks like this: they take clean cardboard tubes, smear them with something sticky (edible - condensed milk, jam, peanut butter) and sprinkle them with bread crumbs or grains.
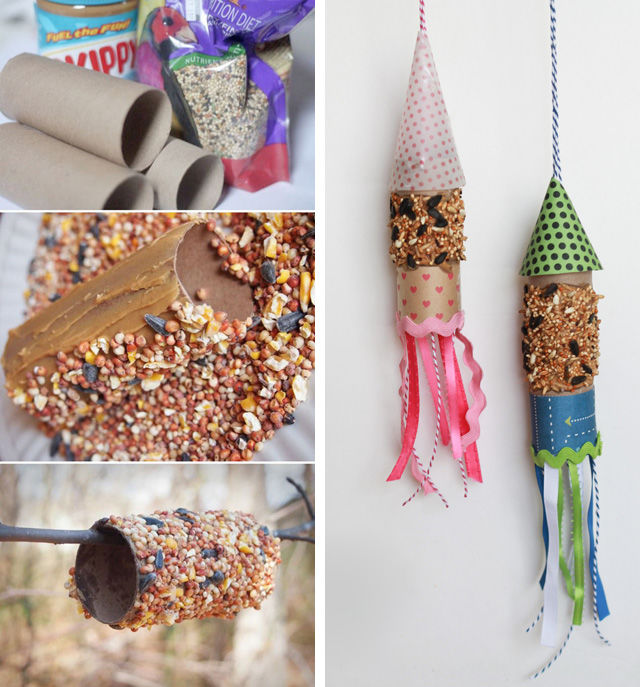
The resulting construction is tied to tree branches with strong strings. Birds, flying up, will nibble on the treats.

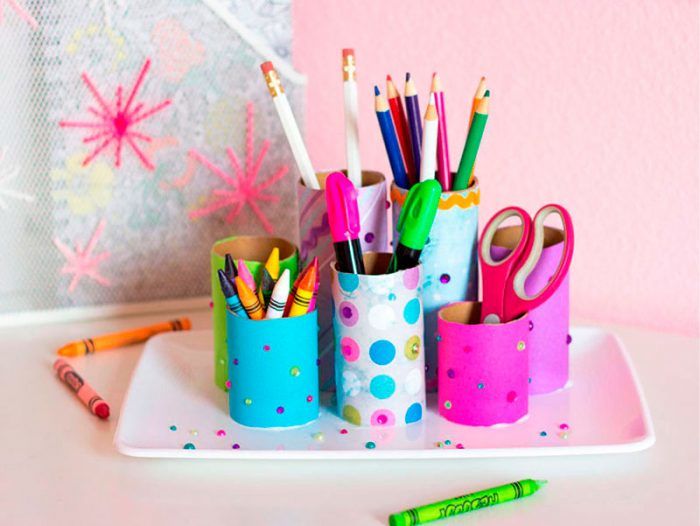
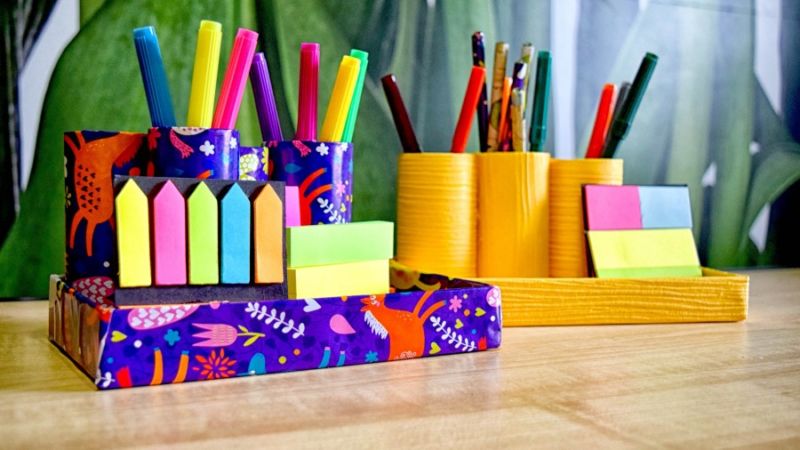
Organizer
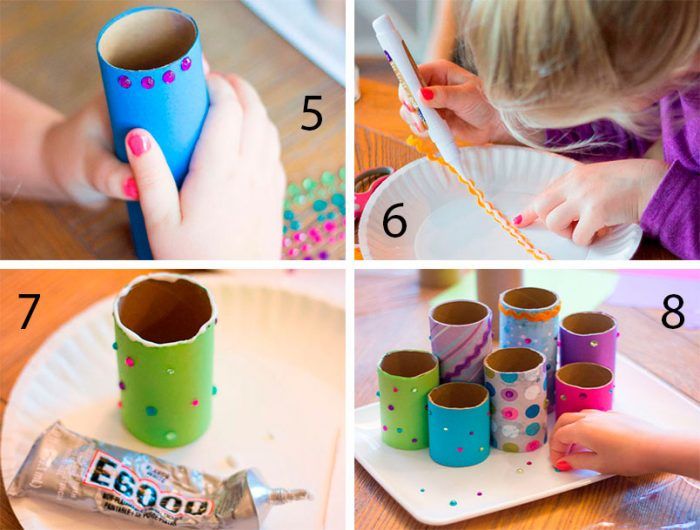
To maintain order on the desk we need an organizer - you can make it yourself also from cardboard bases of toilet paper:
- To create it, they take 6 tubes, wrap them with colored paper, pre-cut leaves of the right size, decorate them at will with ribbons and other decorative elements.
- Put the rolls on top of each other, gluing them together at the points of contact. The upper sleeve can be made with slits for business cards, envelopes and paper cuts for notes.
- To prevent objects from falling out of the back of the organizer if you accidentally touch it with your hand, this part is glued with cardboard. To do this, each roll is cut to the size of the circumference of the round "closure" and glued it (preferably with hot glue) or connected with a piece of scotch tape.
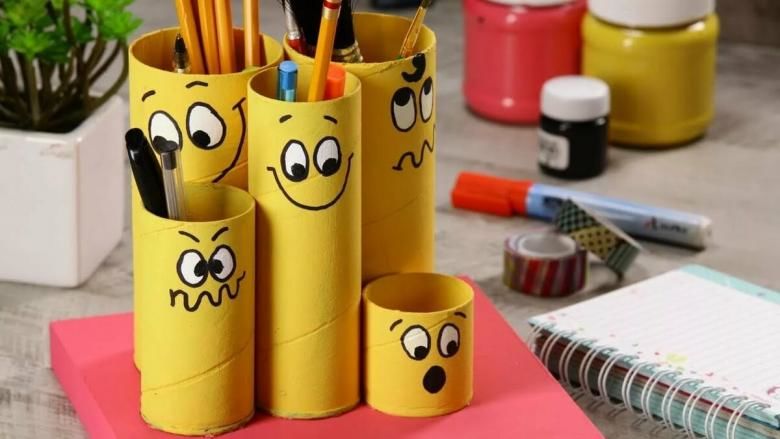
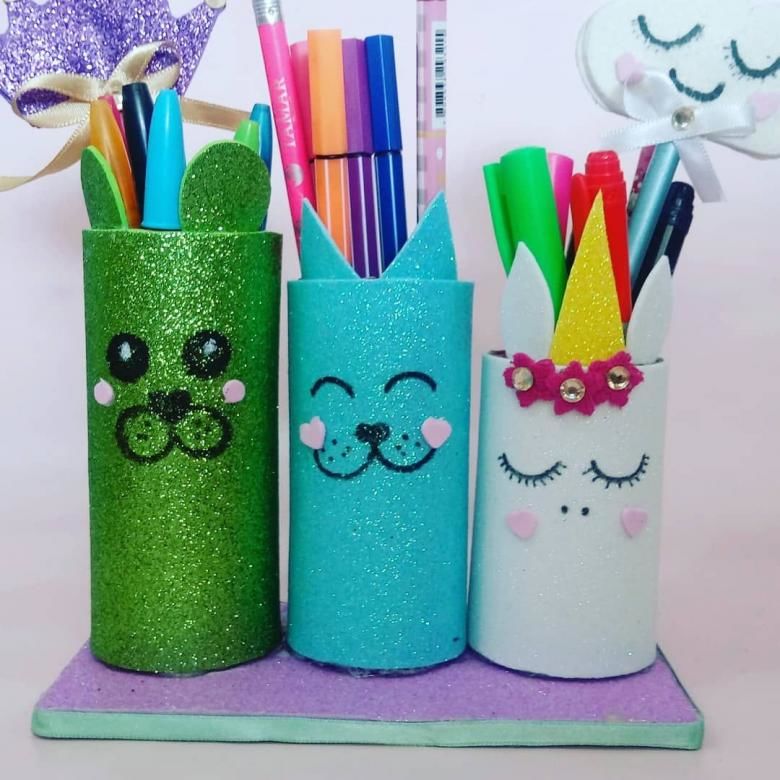
Pencil holder
Children are very fond of drawing with pencils and felt-tip pens, so in their rooms there is often a slate "army", which needs somewhere to fit. For this purpose, a pencil case made from sleeves is excellent.
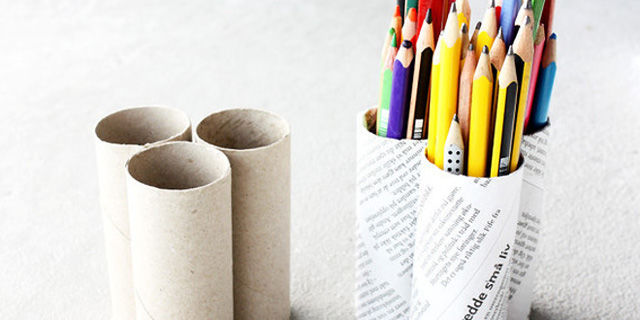
To make it you will need:
- 6 toilet tubes;
- colored paper;
- glue;
- a simple pencil;
- scissors;
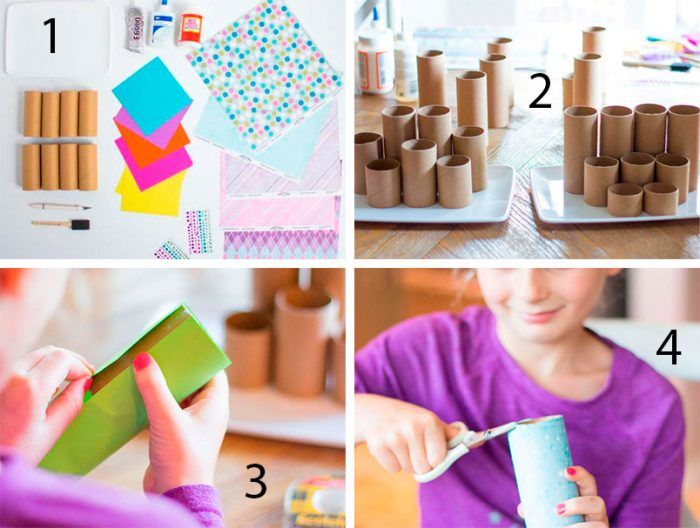
From paper of different colors cut rectangles to the height of the paper roll and glue them around the sleeves. Connect the resulting towers with glue on the side line.
The first hub attach the head of the caterpillar with eyes of paper and a smiling mouth. Caterpillar can be glued colored paper flowers.
To pencils do not fall out at the bottom, the caterpillar should be planted on the base in the form of a cardboard leaf (make an imitation of grass).
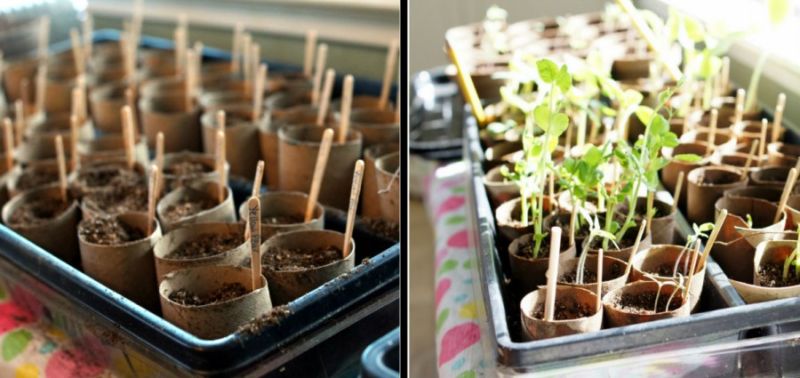
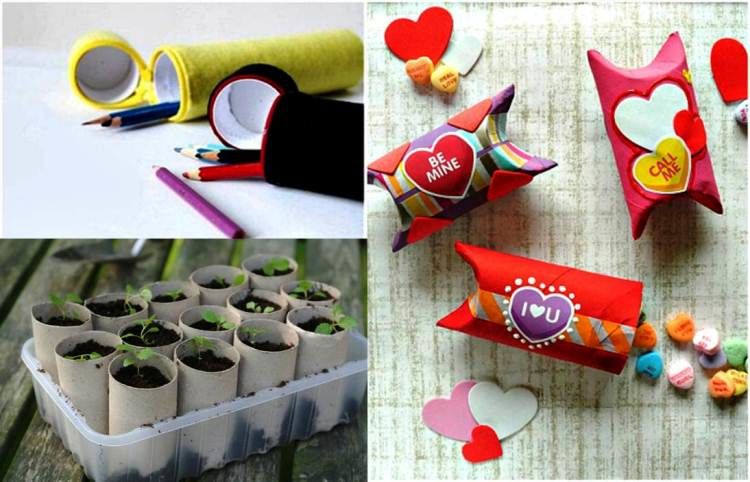
Container for seedlings
Every spring, avid gardeners grow seedlings. Sometimes it is problematic to find good seedling trays, and you do not want to spend money. A great solution is to use cardboard tubes from toilet paper. And on the money saved, you can still buy seeds:
- To grow seedlings on the windowsill, take the sleeves accumulated over the winter, place them in a container (basin, tray) and fill with soil.
- In each "pot" put a seed and water from time to time.
- Cardboard is good to hold the shape and a lot of wet soil does not swell (if not overwatered with too much water).
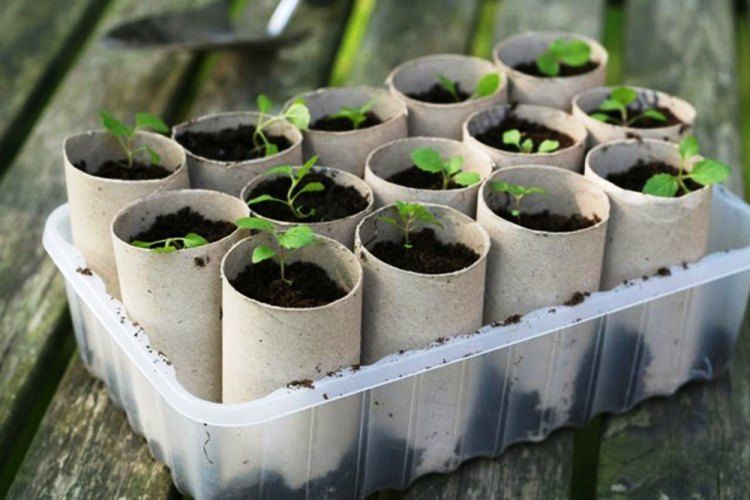
Such pots will last exactly as long as necessary to grow vegetable seedlings. Then they are thrown away.
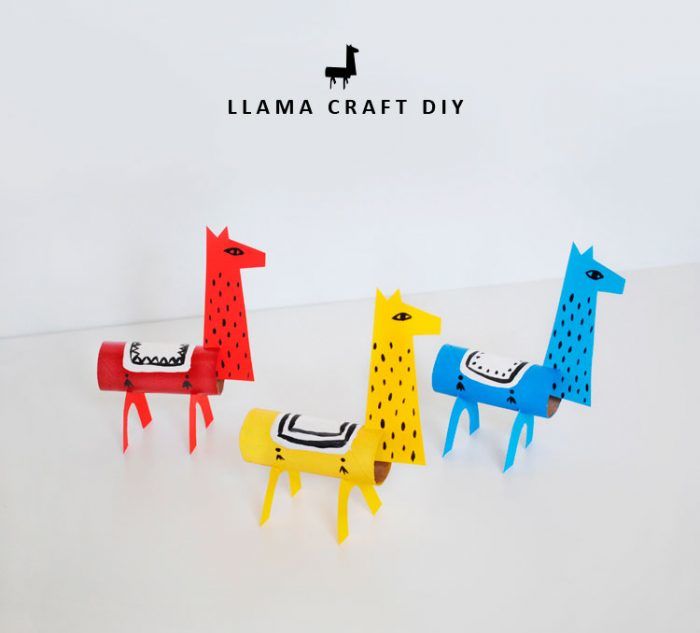
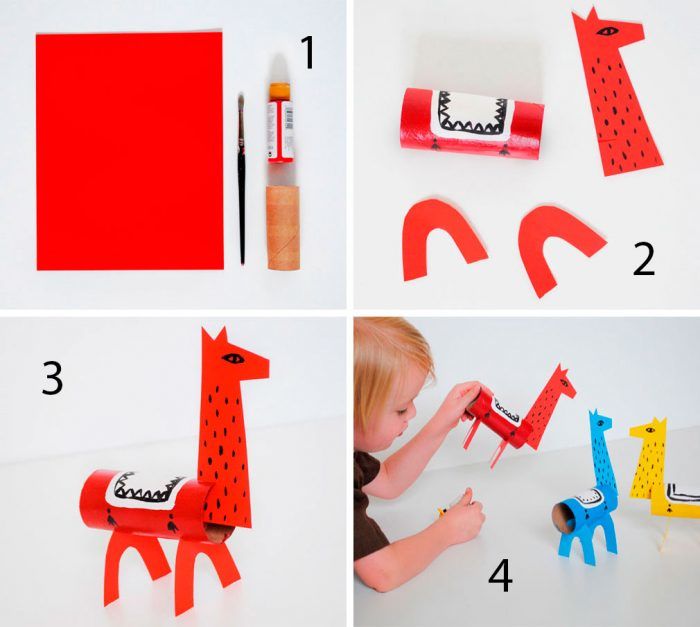
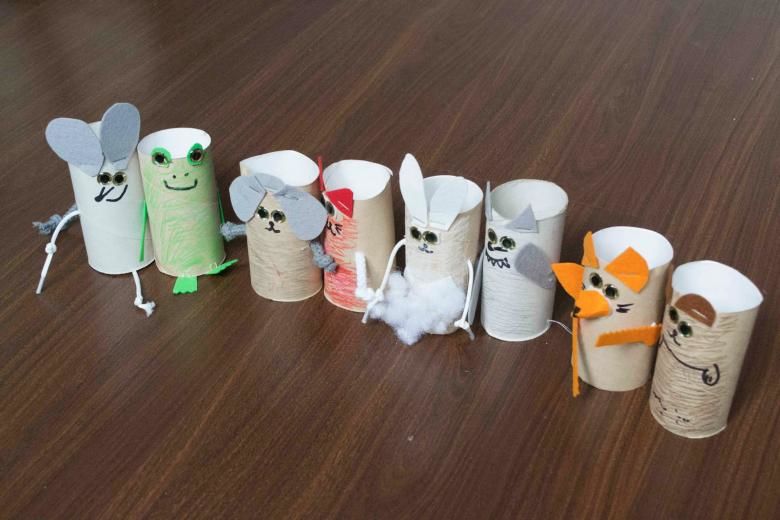
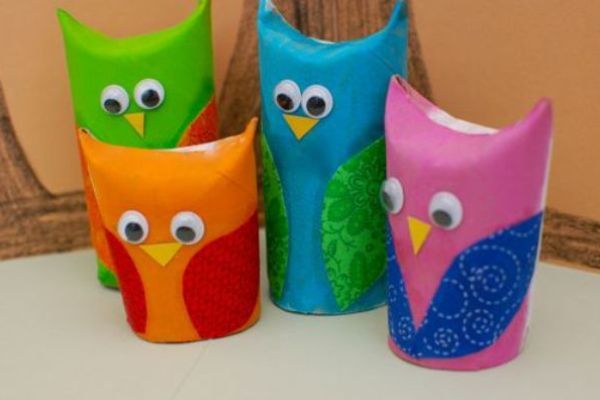
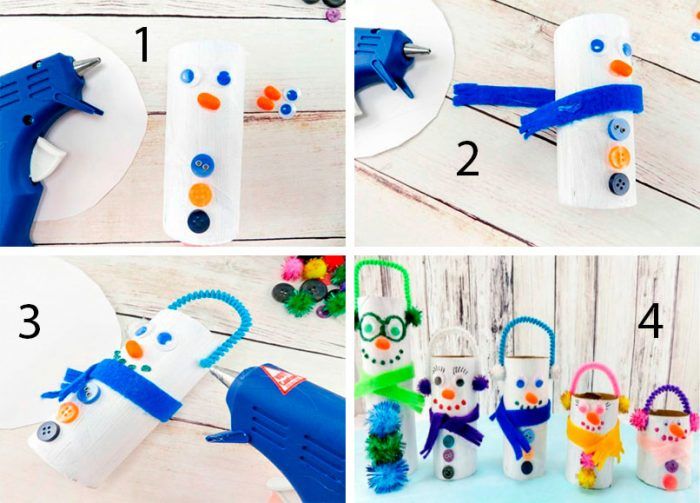
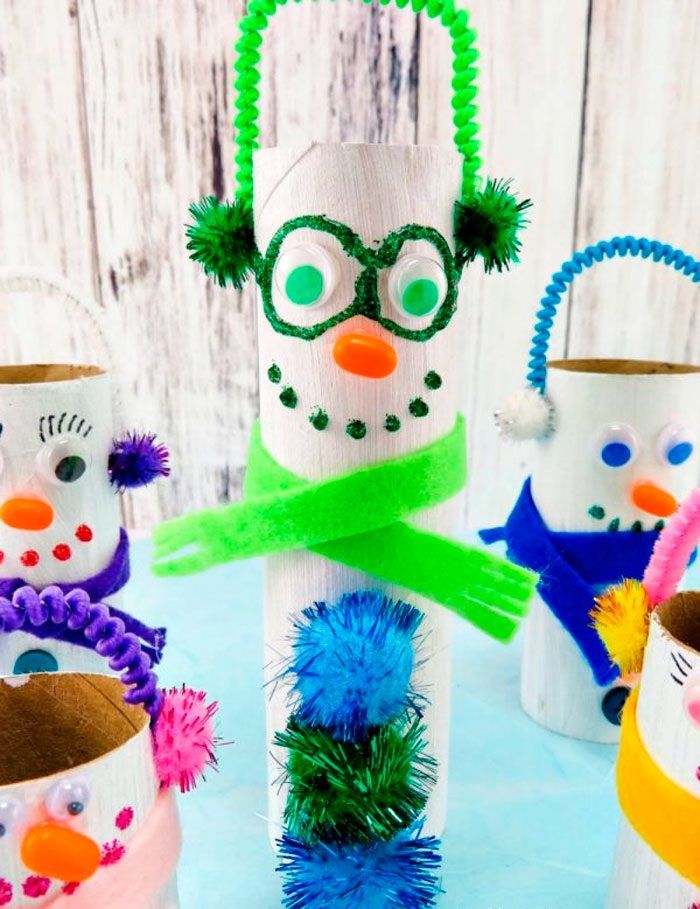
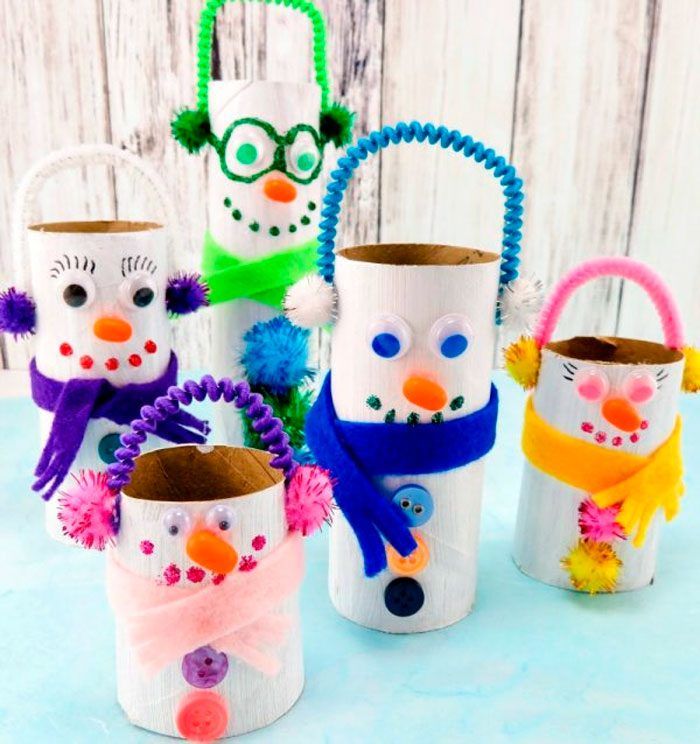
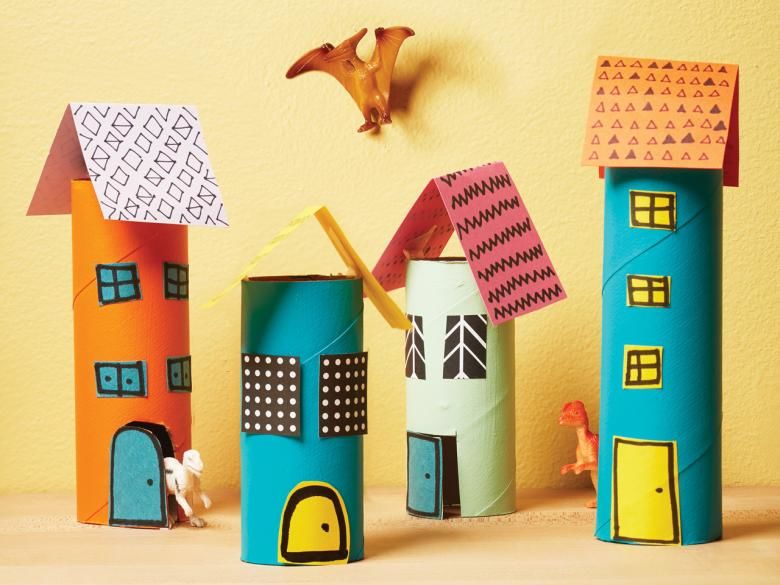
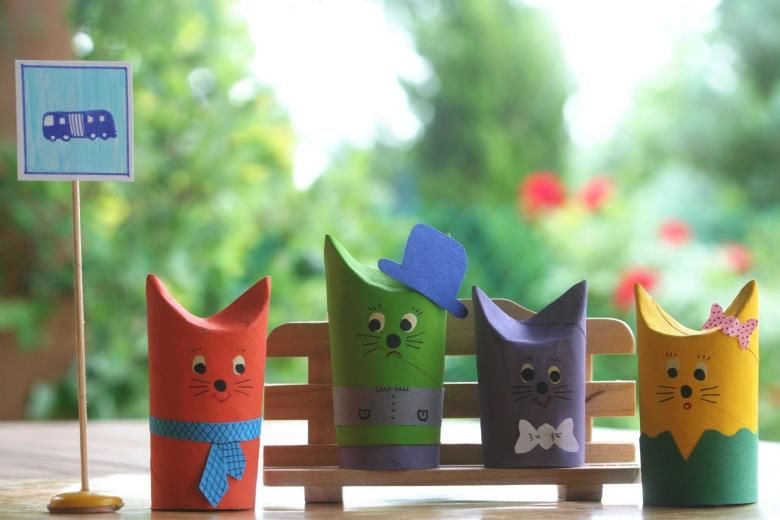
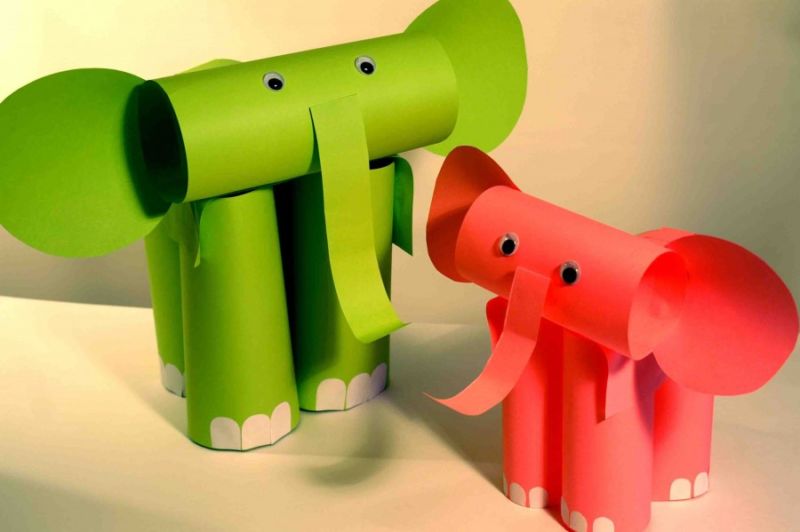
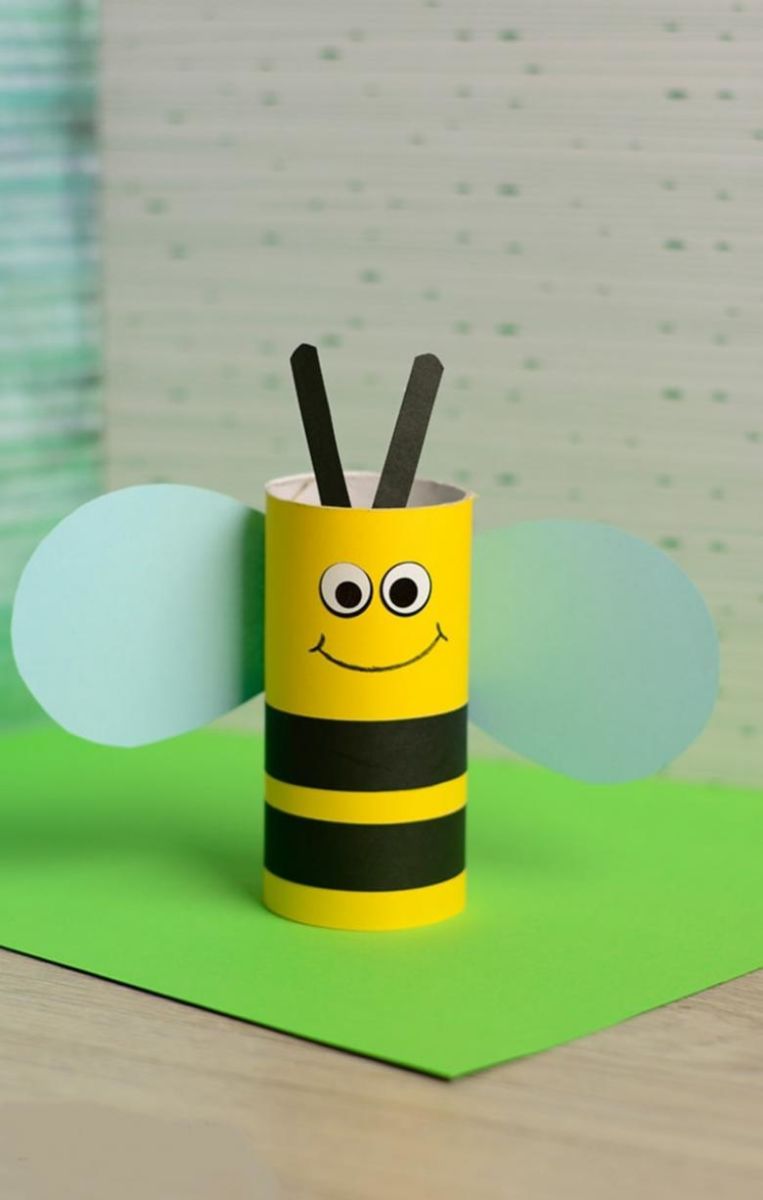
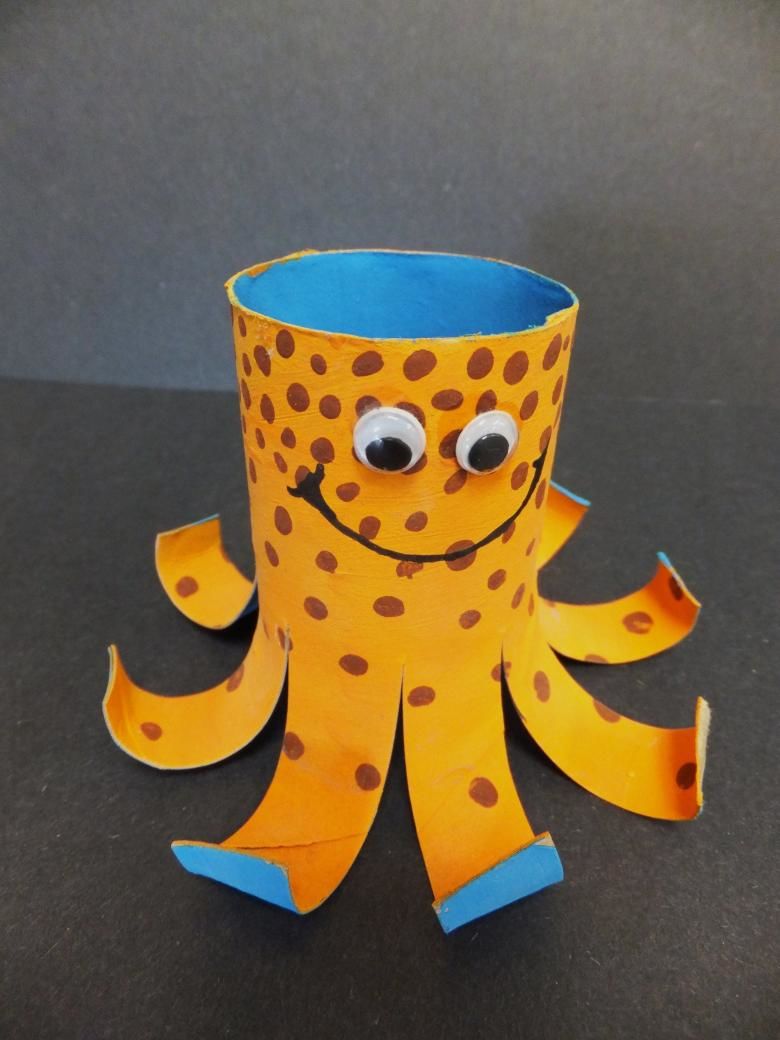
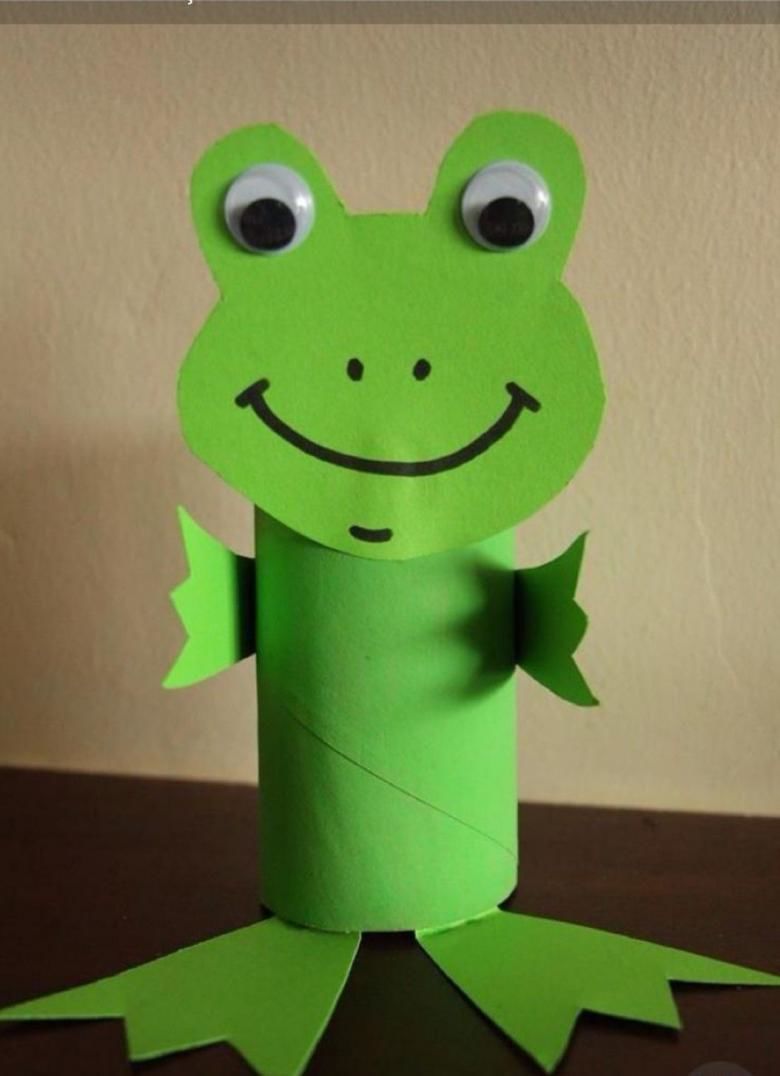
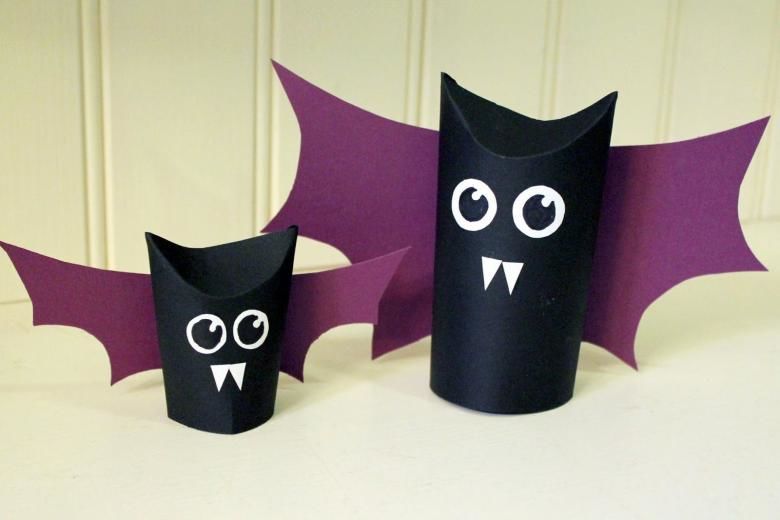
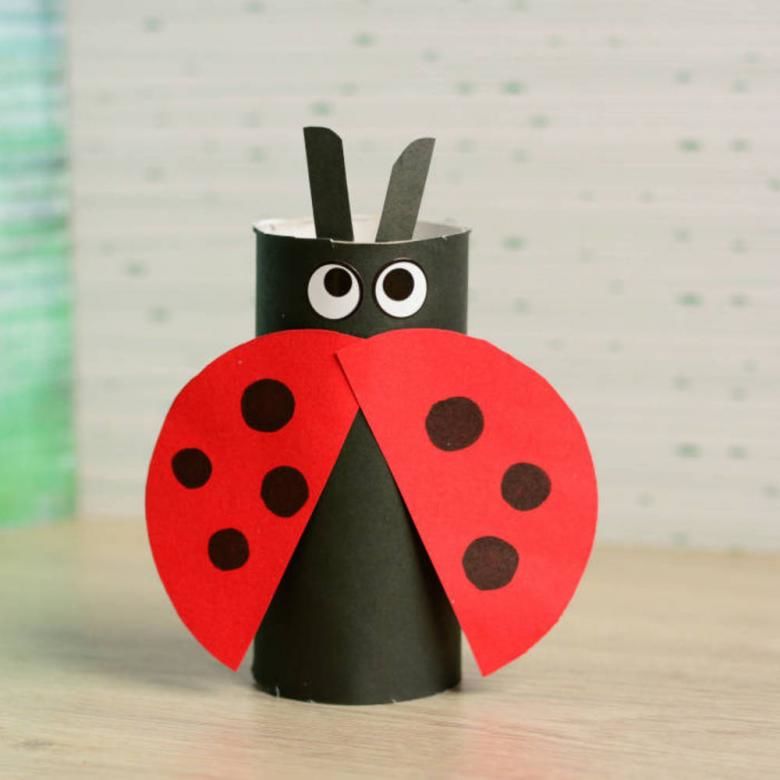
Ideas for crafts with children
Toilet paper sleeve crafts for children are very beautiful, bright cardboard toys, with which it is pleasant to play and which are interesting to make themselves or with adults.
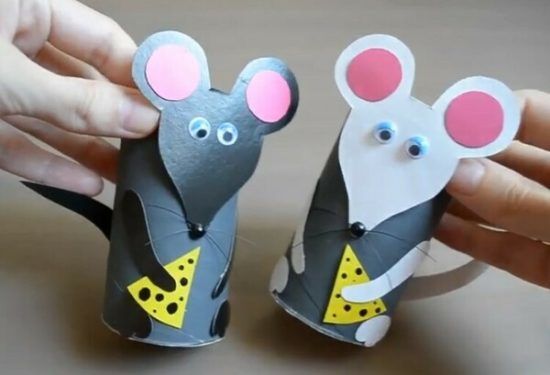
Mouse
The sleeve can make a funny mouse. For the work you will need:
- gray, black, pink and white paper (if quite loose, take cardboard);
- gray or black cardboard;
- scissors;
- PVA glue.
Creating a handicraft:
- Cut out of gray paper rounded ears and paws and a long ponytail-strip. Glue the sleeve with the same color and attach paws, ears and tail.
- To make the eyes, cut out two small black circles, two white circles slightly smaller and very small black circles for the pupils. Glued alternately.
- Round nose cut out of pink paper. Also pink circles decorate gray ears and tummy.
- From gray or black cardboard cut out antennae and glue them to the snout under the spout.
- Two sharp teeth are made from a white triangle, separated by a line of separation, drawn in black felt-tip pen.
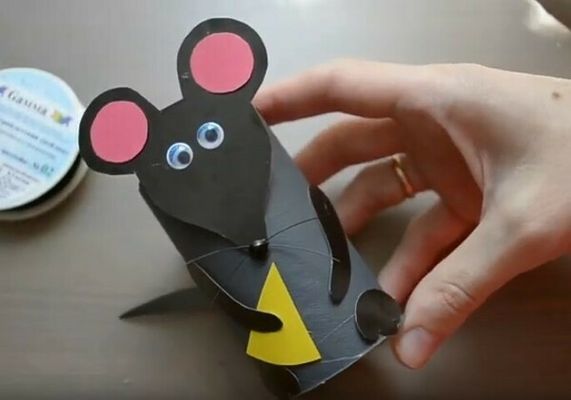
Funny mouse is ready!
Squirrel
Kids love squirrels! This animal would fit perfectly into a homemade cardboard "zoo". To make it, too, will not be a huge difficulty. Prepare for work:
- orange (mustard) and brown (chocolate) colored cardboard;
- a simple pencil;
- scissors;
- Black felt-tip pen;
- white and black paper or moving plastic eyes which can be bought in a needlework store;
- glue.
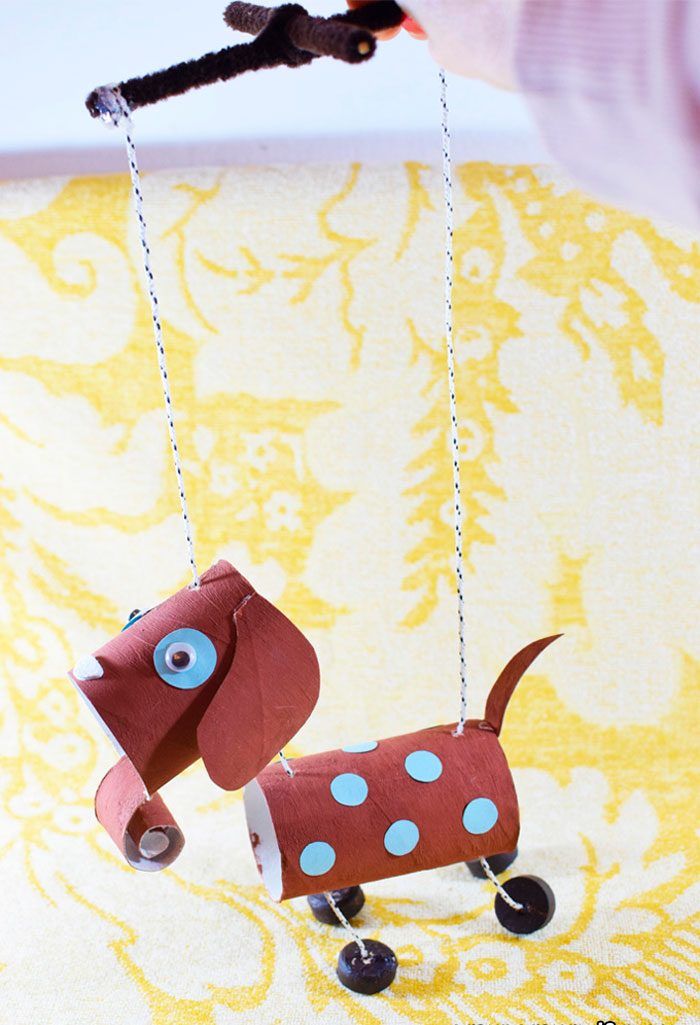
Dog
The best friend of man to make is very simple. To make a doggie take a sleeve, colored paper of yellow and black colors or cardboard:
- Yellow cut out a rectangle of the right height and width glue the torso.
- Of black - cut out round ears and four legs, oval shape with a wavy edge on one side, as well as a triangular nose.
- Paws and nose glued, and the ears are inserted into the slits made at the top.
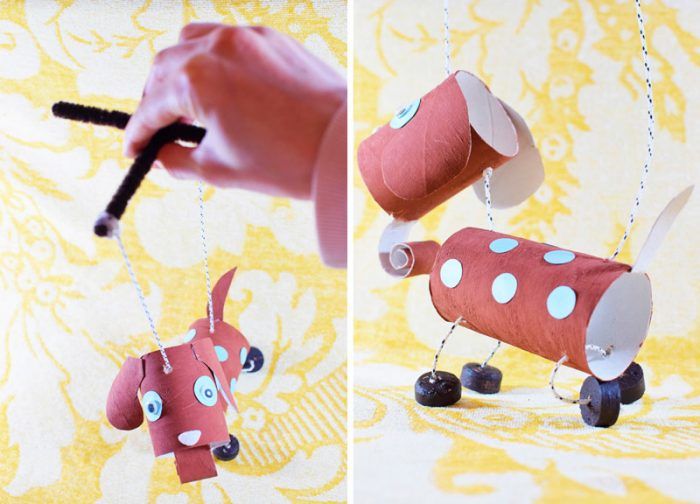
Eyes are made of white and black paper or draw on a white or make moving. Cute doggy ready!
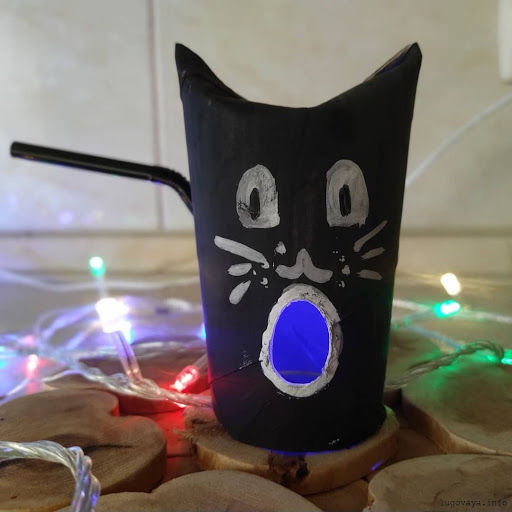
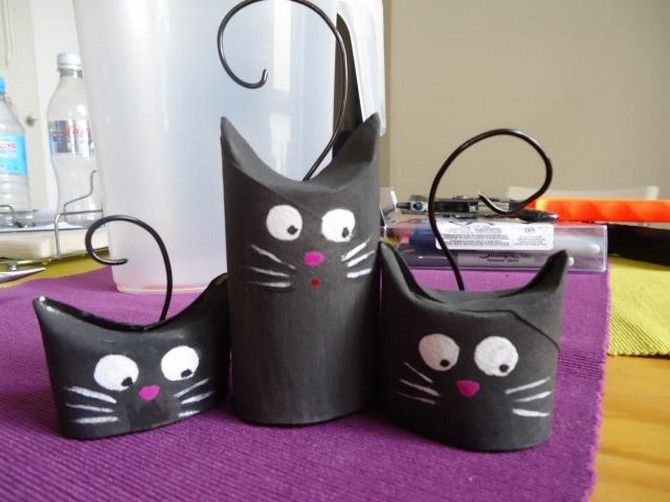
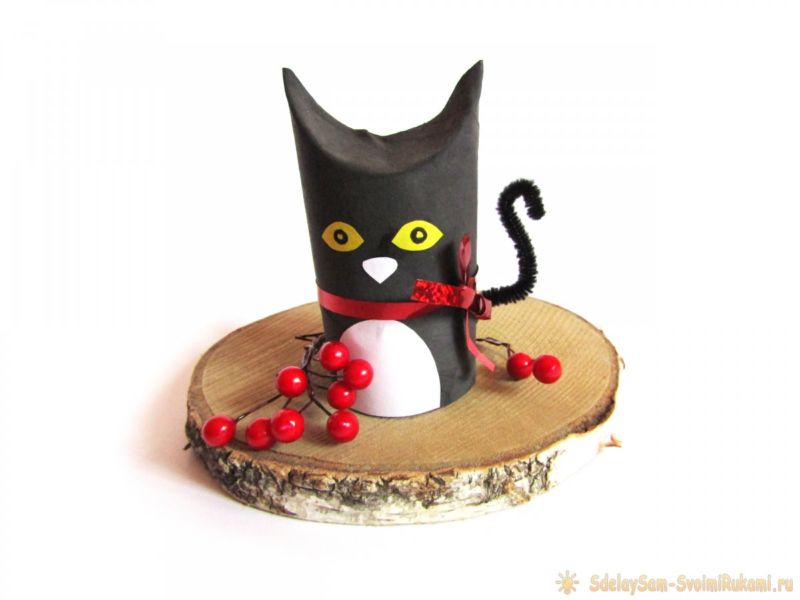
Cat
Cardboard pets are not difficult to make. This time the technique will be a little different.
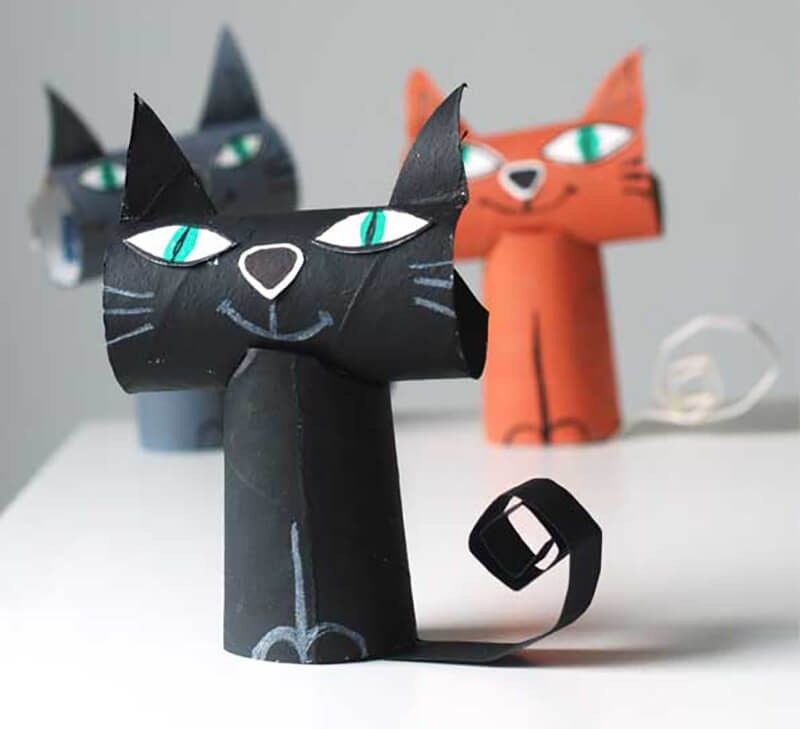
The cat's ears do not need to be glued or inserted into the slots. Their function is performed by folded edges of one side of the roll.
Pretty and bright looks red coquettish Murka with a pink bow on her ear and a belt of the same color.
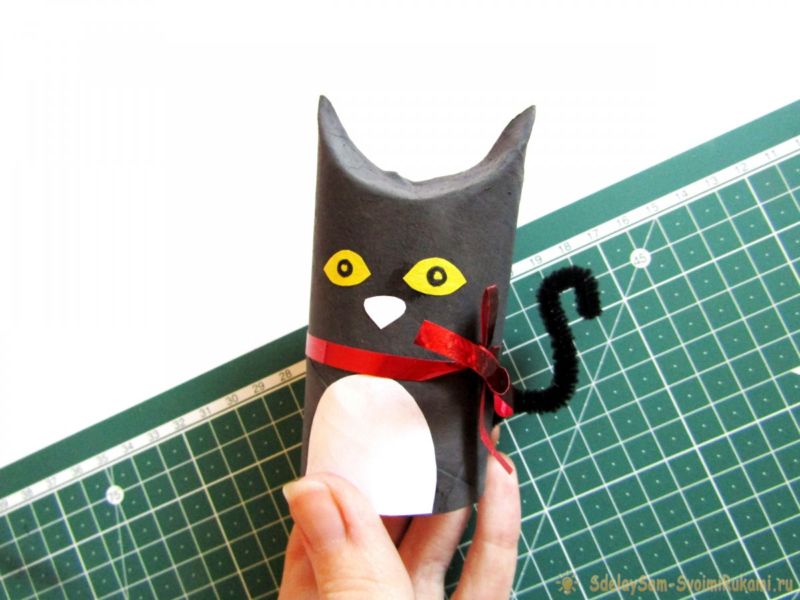
To create a cute creature, prepare orange and pink paper, glue, scissors. Proceed to the implementation:
- The sleeve is wrapped with an orange sheet, measured with a pencil the right size and trim off the excess.
- Then glued to the base - the body is ready!
- Determine where the head will be, and fold their ears origami method, bending smoothly first one edge, then the other so that there was no gap.
- Also out of orange sheet cut two circles, about the size of a ten-ruble coin - it will be muzzle.
- Glued prefabricated eyes. Under the eyes form a muzzle of two circles.
- At the junction between them attach a pink nose and draw a black marker mustache.
- Next turn for paws. To make them appear, two red hearts are cut out and attached to the base of the body, bending inward.
- The tail is made from a long orange piece and fastened, as it should be, at the back.
- The final touch is left - decorate: a bow and a sash of pink.
The cat charm is ready!
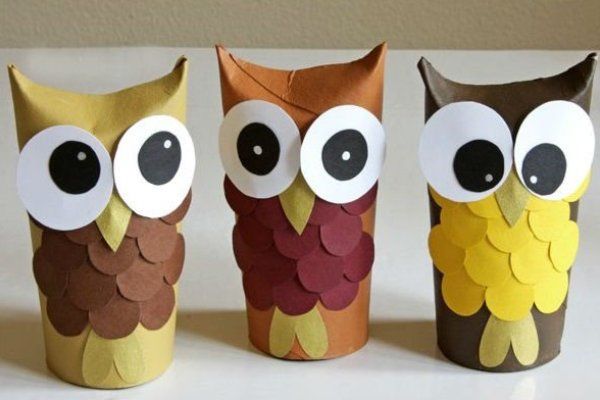
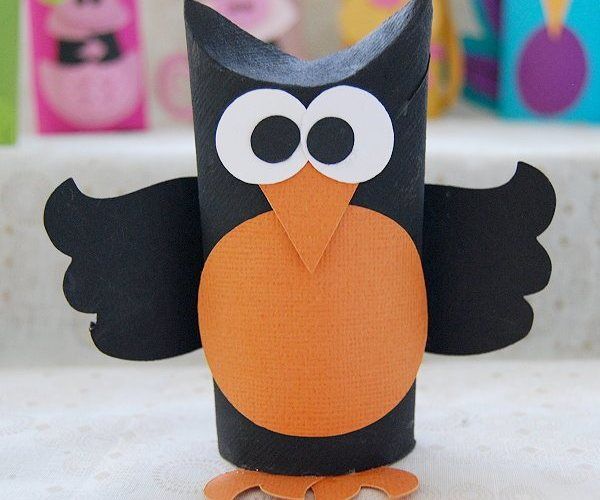
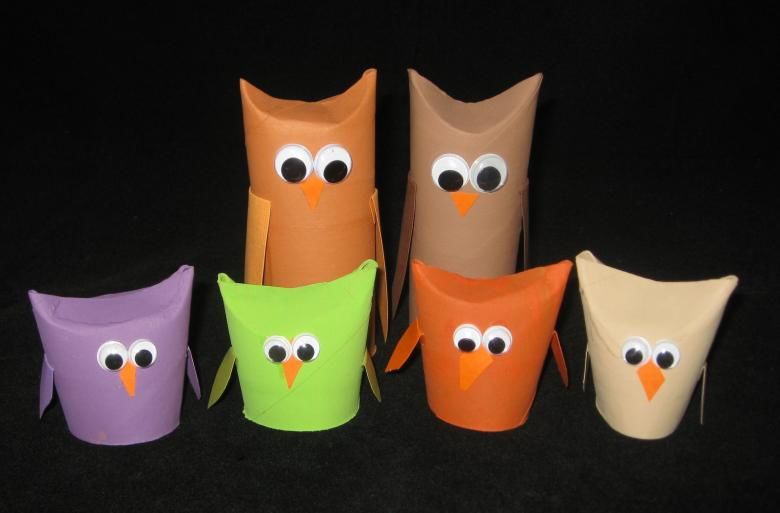
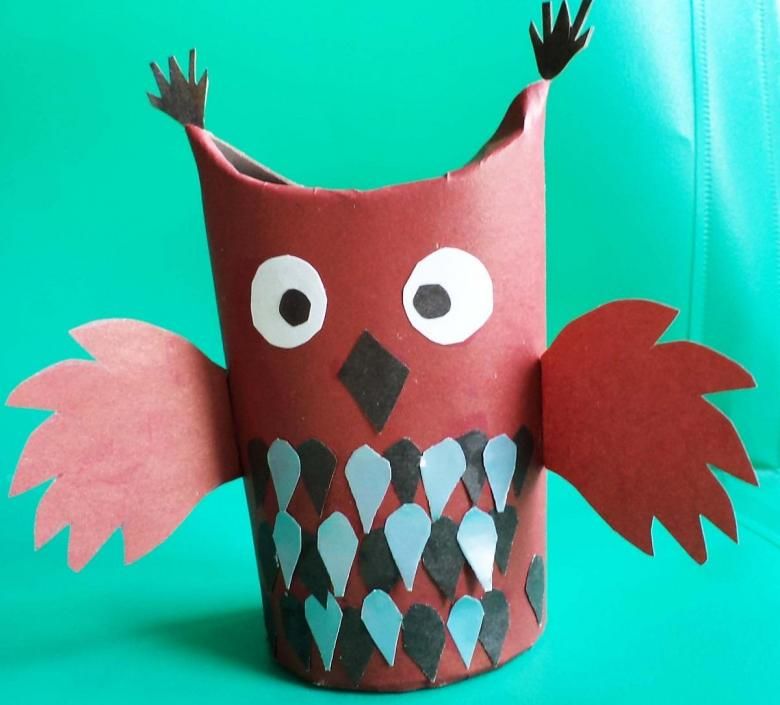
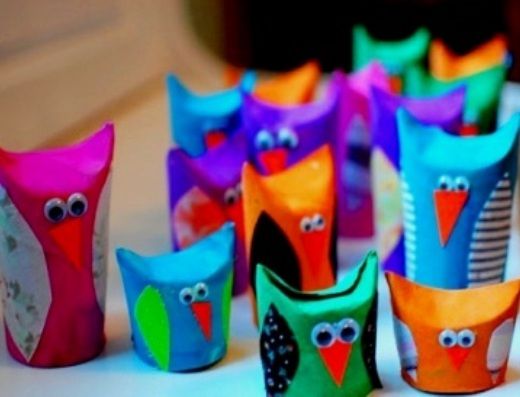
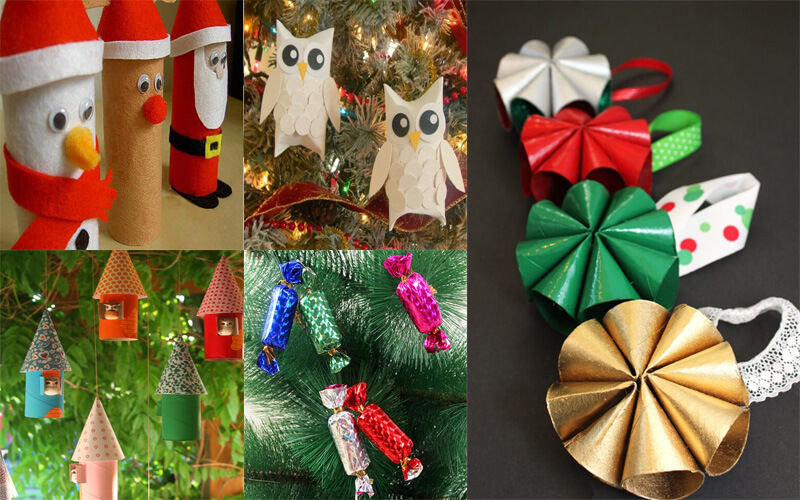
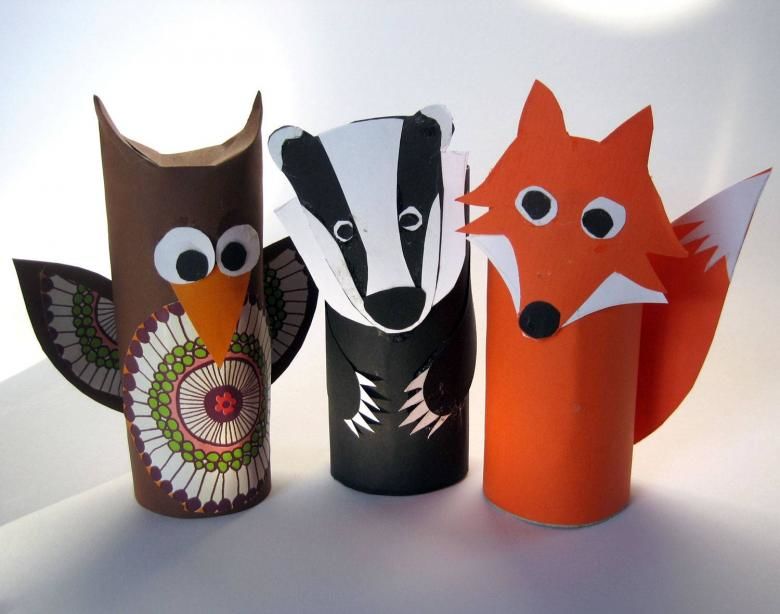
Owl
A very popular handicraft. It is made in the same technique as the cat (folded ears sticking out), but the color will be chocolate:
- Instead of a muzzle attach a triangular red beak, add orange color and on the tummy.
- Wings are cut out of brown paper and attached to the sides.
- Eyes - round, large (you can also draw eyelashes).

And the last point - red colored paws glued underneath, like a cat, but the shape is different - with sharp edges. If desired, the owl can be made more fashionable: it also "put on" beautiful decorations.

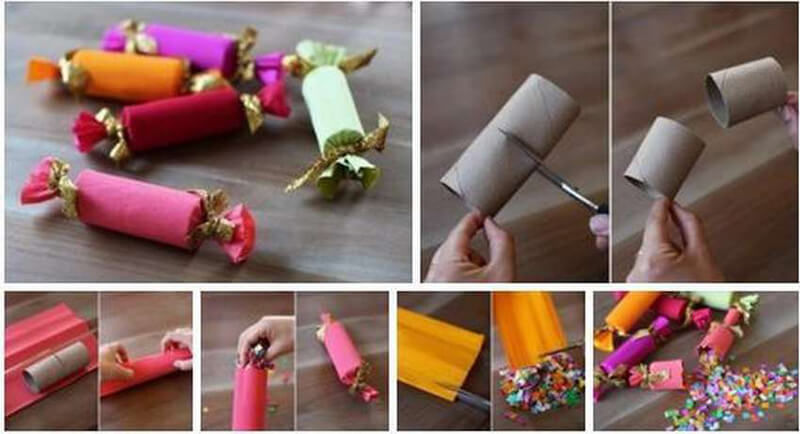
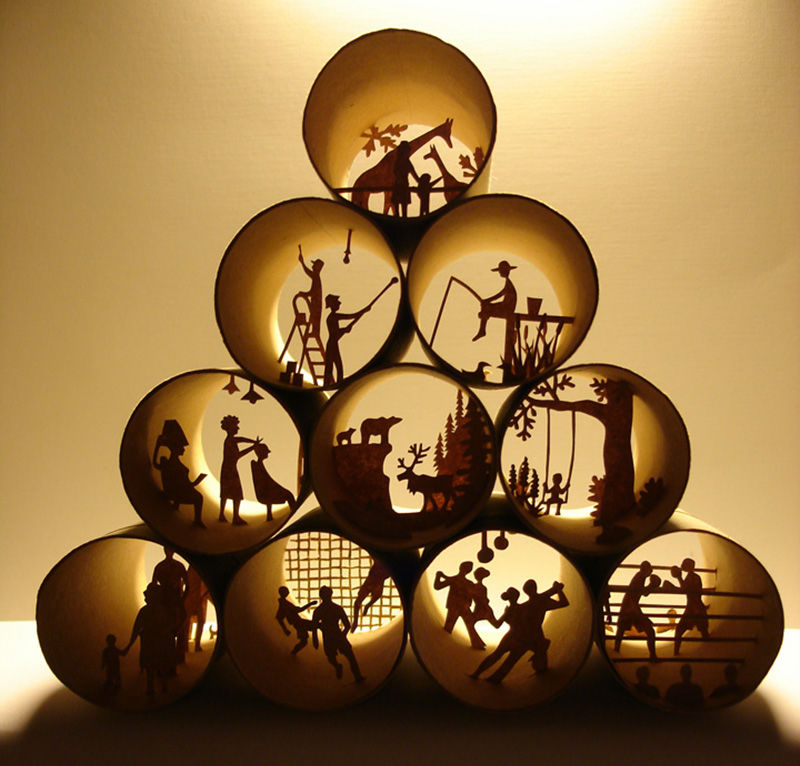
Creative crafts
What you can make from the toilet paper sleeves in a creative impulse - Christmas tree decorations, packaging for small gifts or even paintings.
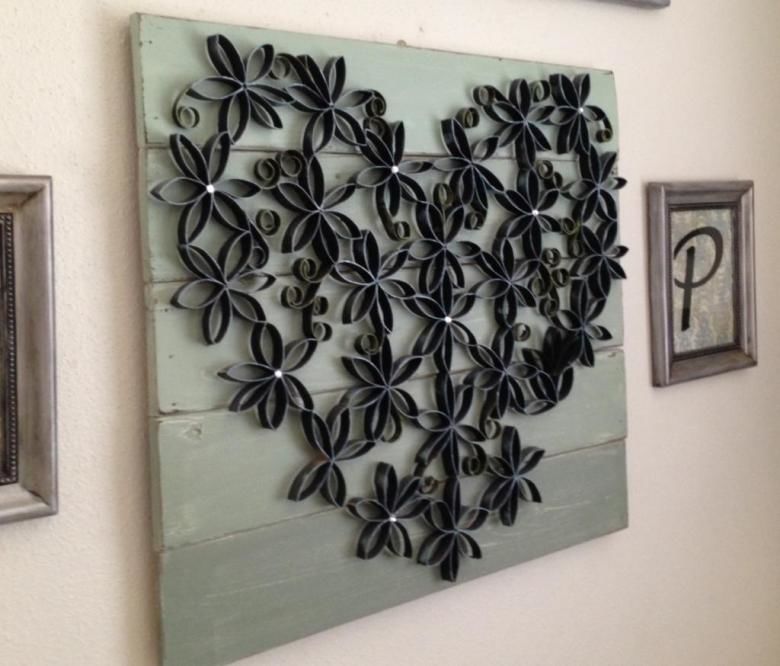
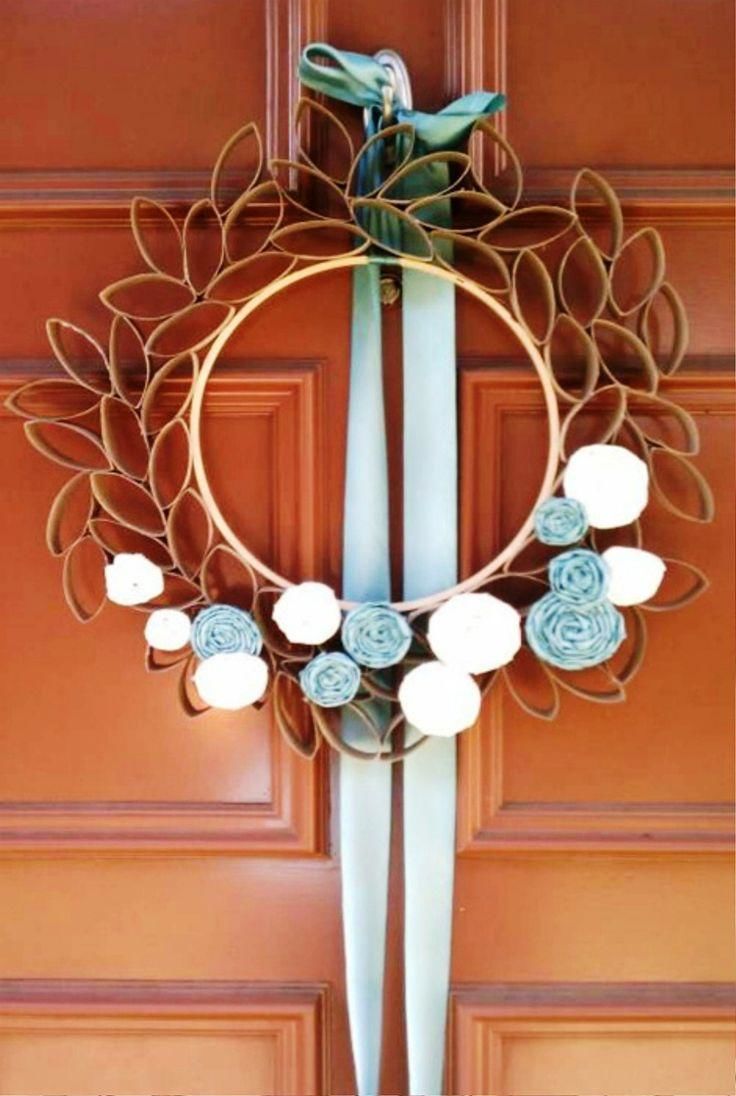
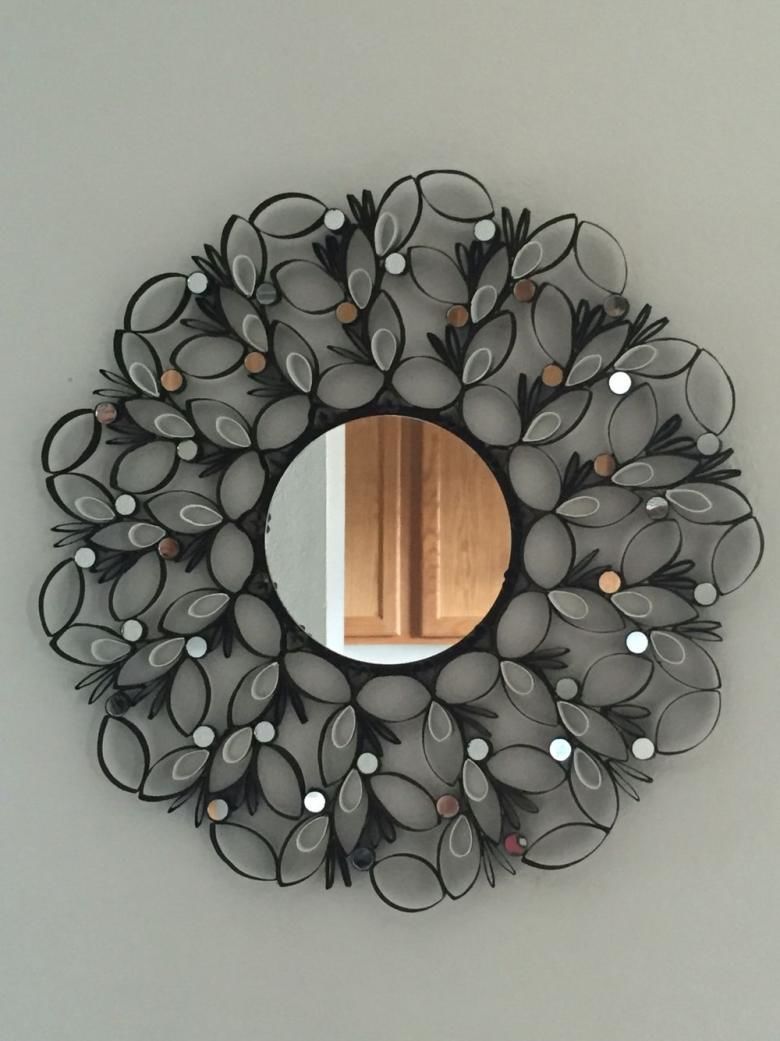
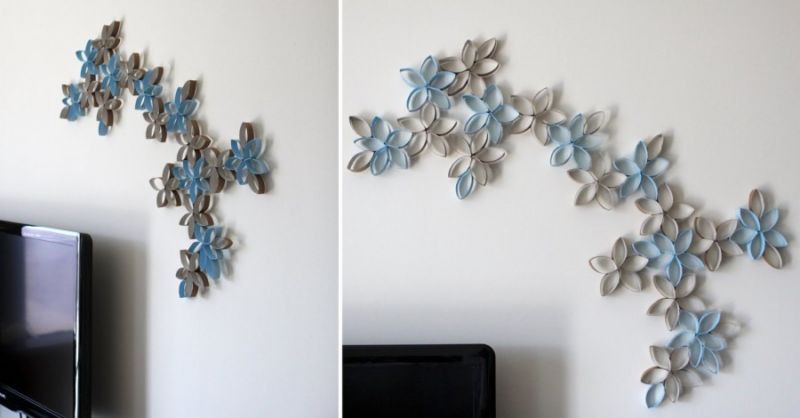
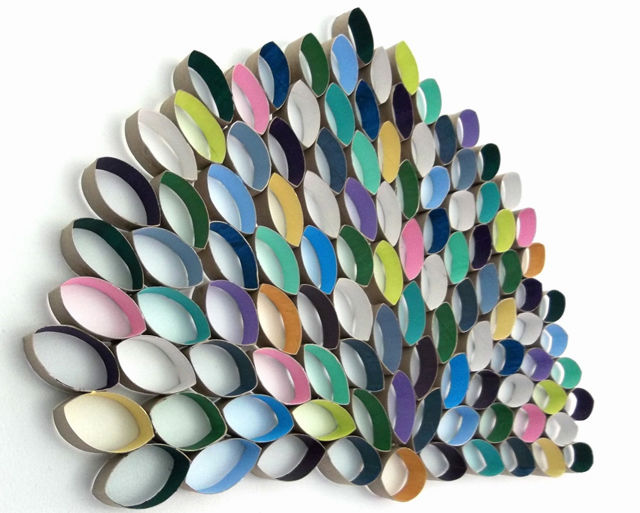
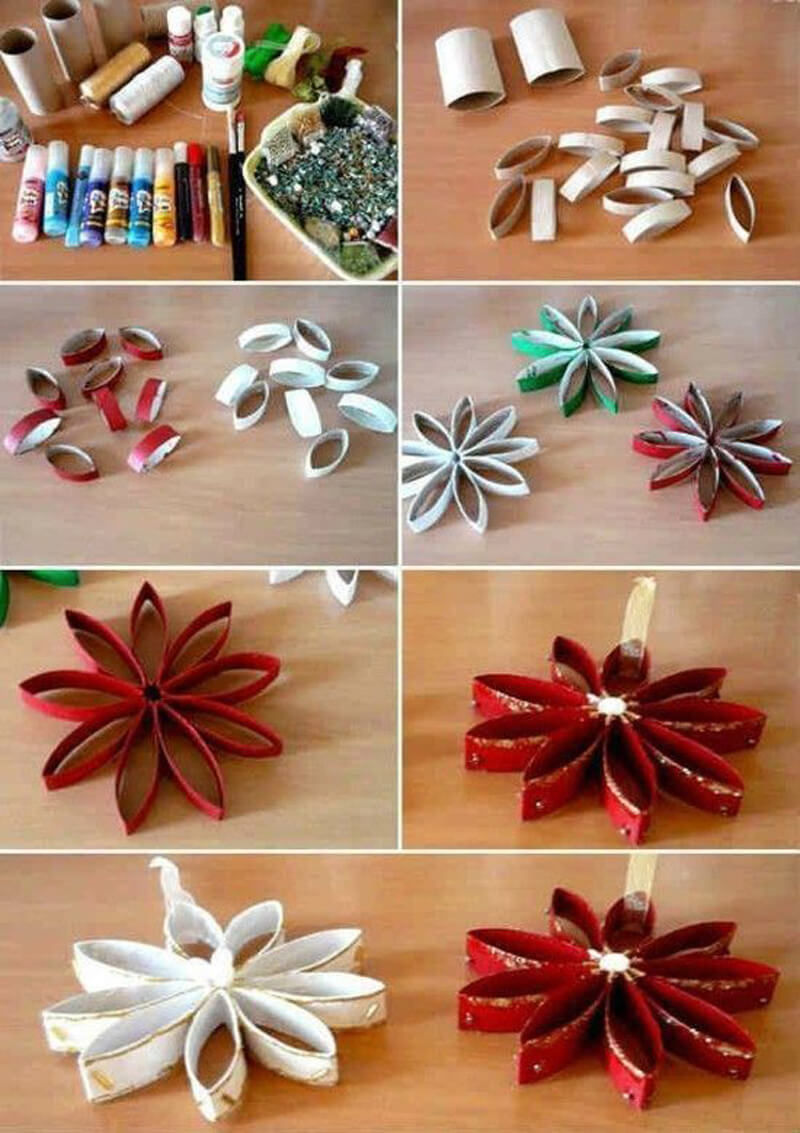
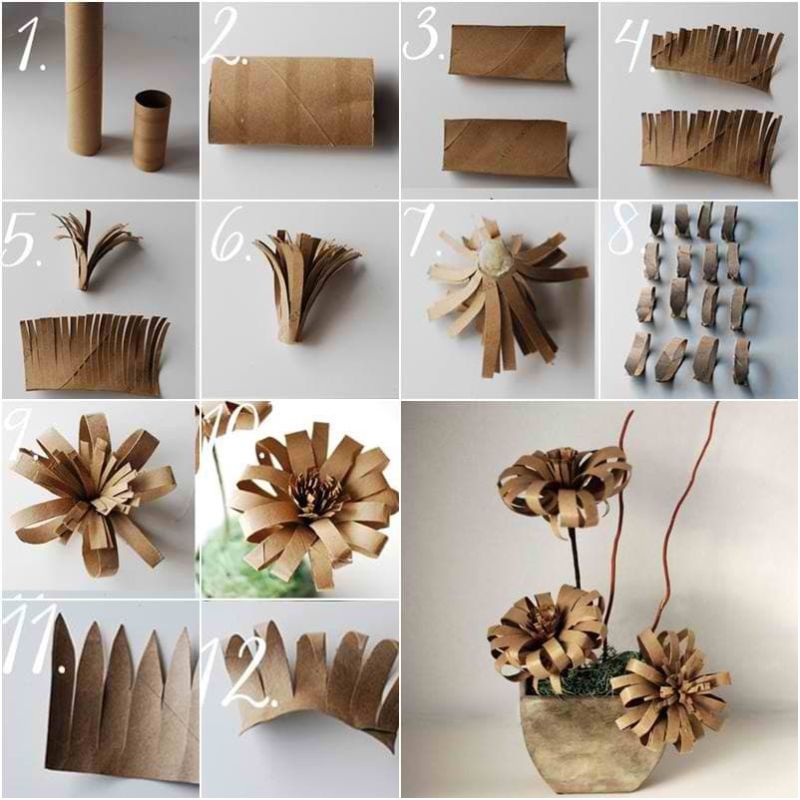
Painting
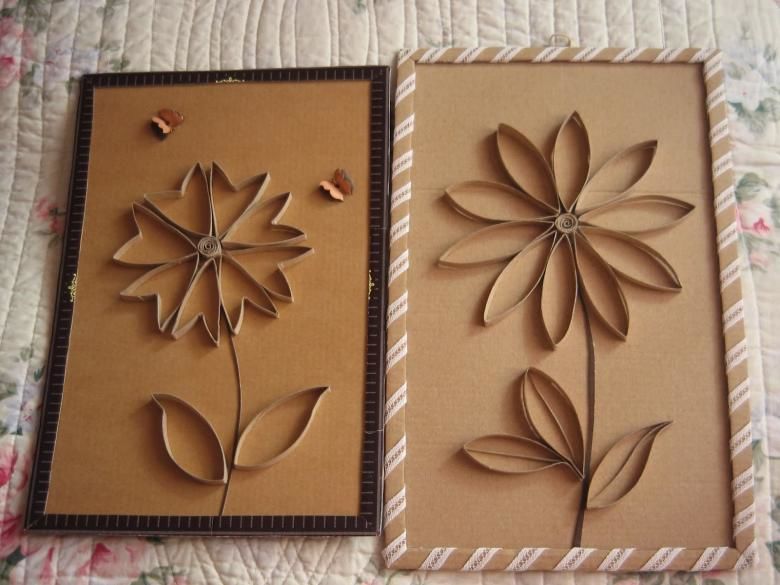
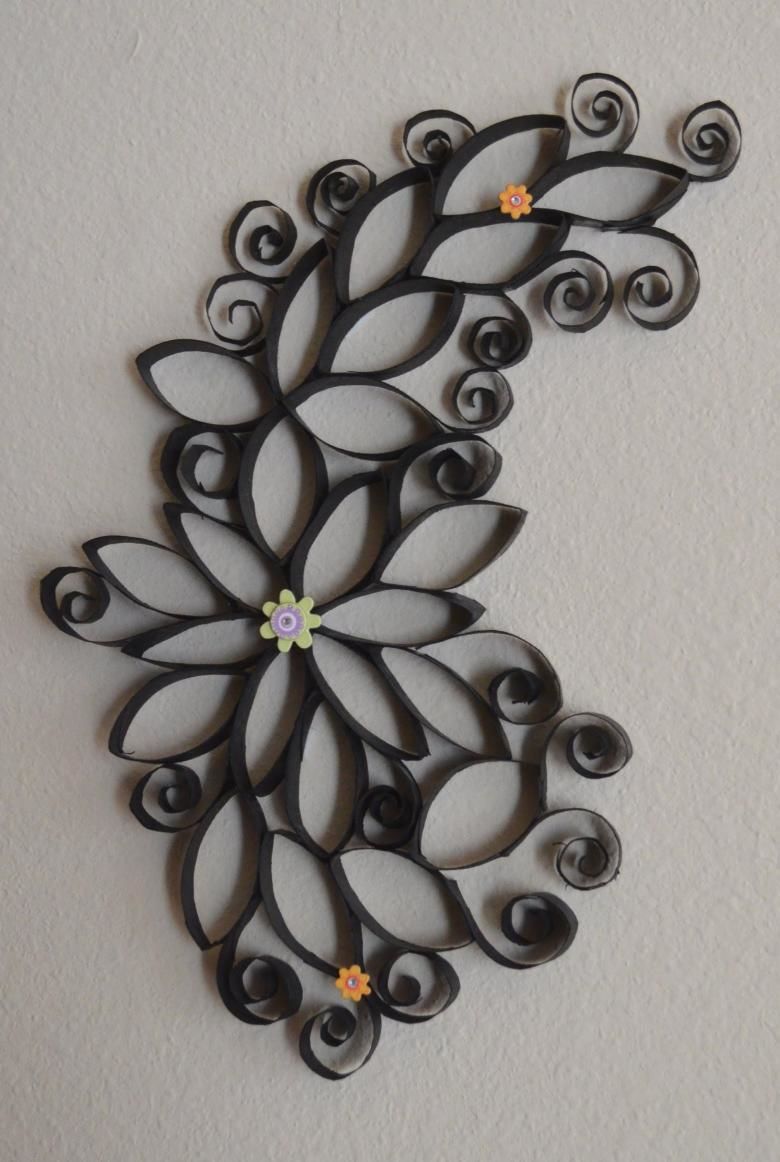
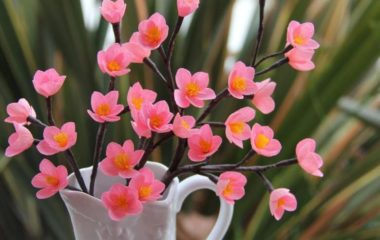
Very beautifully obtained from the sliced tubes from toilet paper is a floral panel. To make flowers and leaves, take a few tubes, flatten them out and cut into circles about 1 cm wide:
- The sliced pieces are once again well ironed by hand, so that an even bend is obtained on both sides.
- To create a special canvas, you will need a base in the form of a cardboard sheet, or canvas, or ready-made picture frames with glass removed.
- Sometimes glue directly on the wallpaper (especially if the craftswomen are lovers of frequent repairs), but it is still better to prepare the base.
- For the hearts of flowers cut from cardboard strips and twist them into snails, fix with hot glue or PVA.
- When assembling the petals and leaves to each other, you can use stationery glue, but a hot gun fixes better, especially when you need to attach to a sheet of cardboard or canvas.
- Gluing paper rings folded in half to each other (the side parts), form a flower. Do not forget about the middle. At one flower leaves five rings.
- Leaflets are collected in two parts, four pieces in each design and top in the middle add another leaf. There are other fancy options for making leaves and flowers.
- Collected paper herbarium need to give color. In this case, the flight of fancy is not limited. Red, yellow, purple, blue, gold - petals can be any. Use any paint that suits you. Leaves - all shades of green.
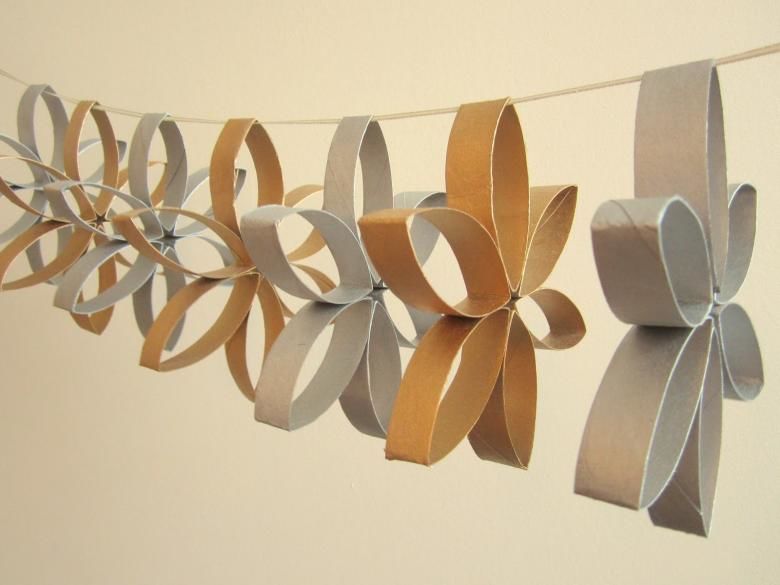
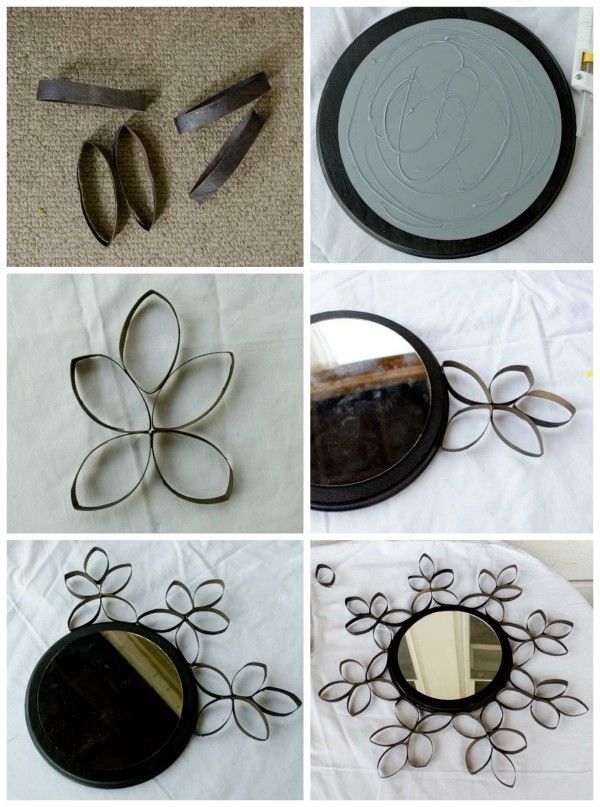
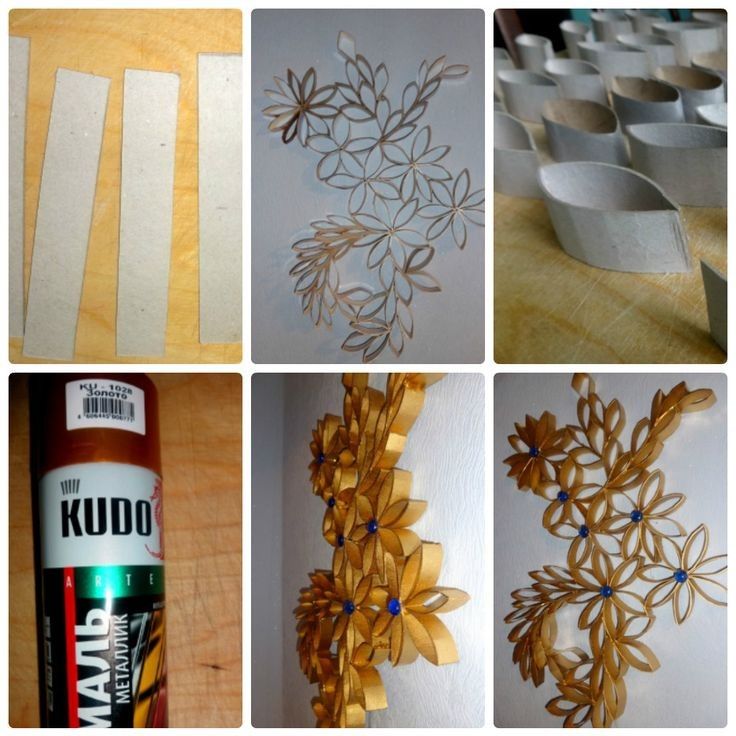
At the end of the work not superfluous would be to cover the elements with varnish - so the picture will last longer.
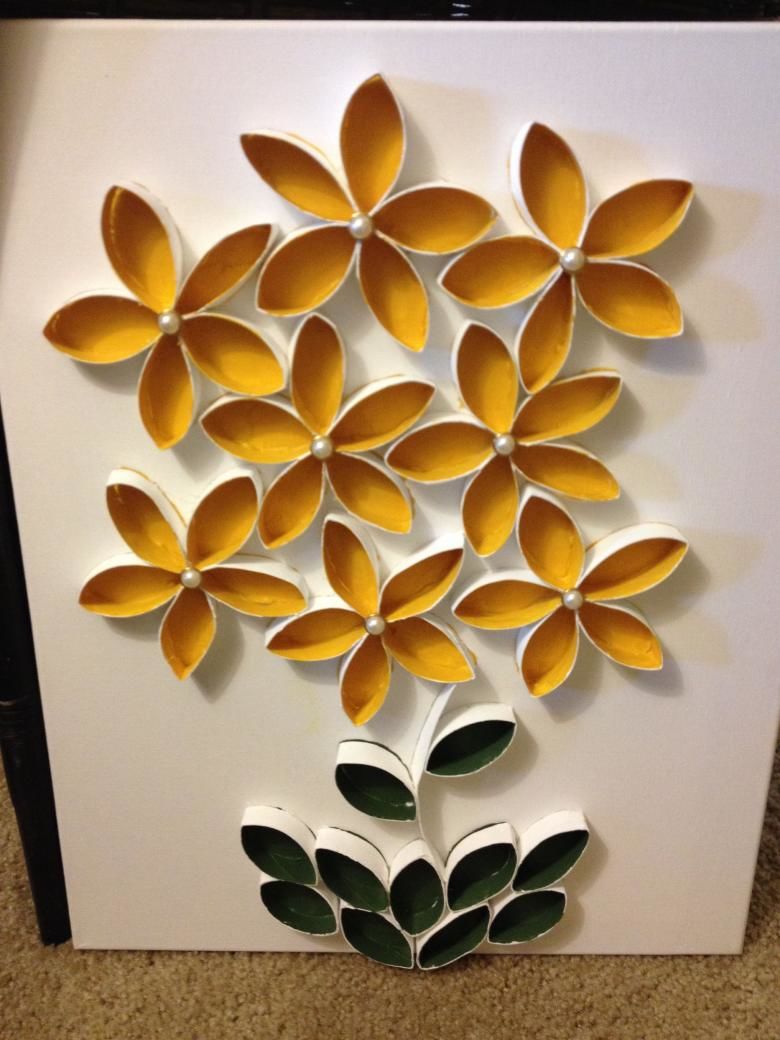
From the painted and dried from the paint elements form a panel. Here, too, they trust their imagination or turn to examples from the Internet. Ready-made paintings of such a plan look very original on the walls. Such a panel will decorate a romantic, classic or rustic interior (country, Provence).
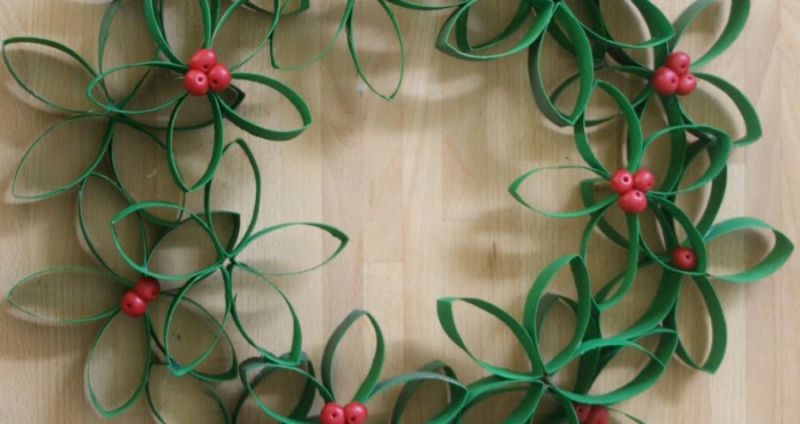
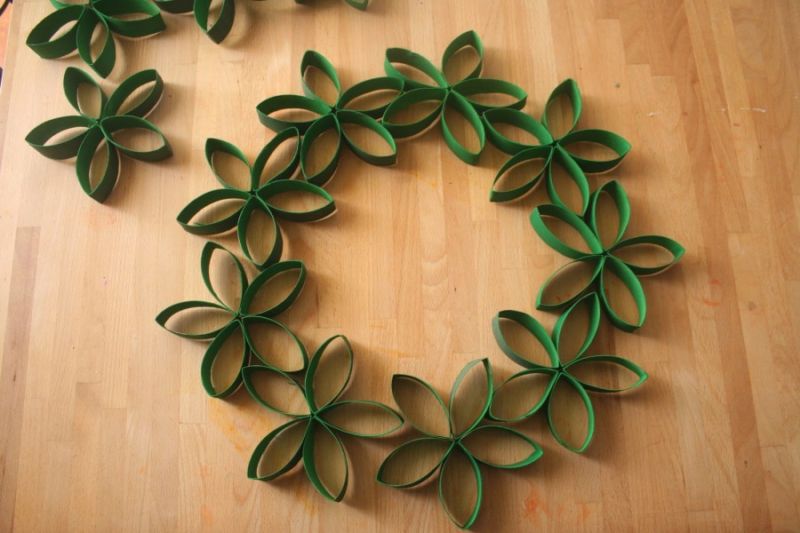
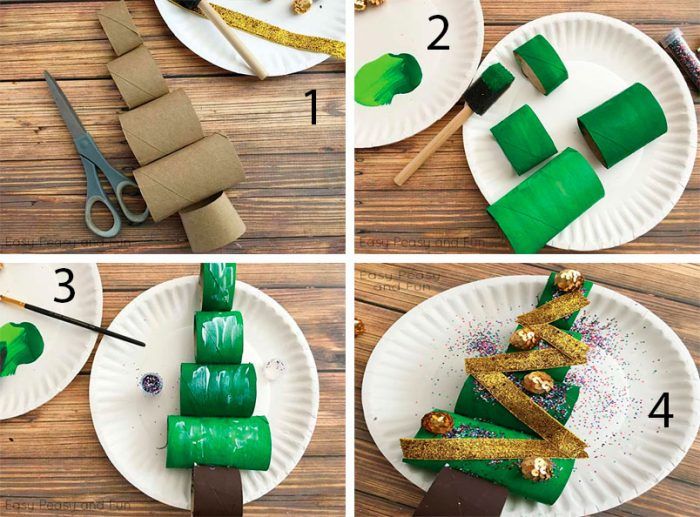
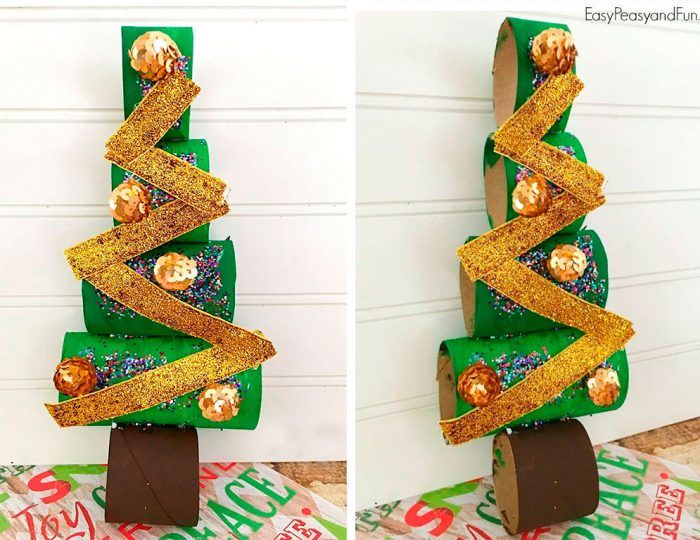
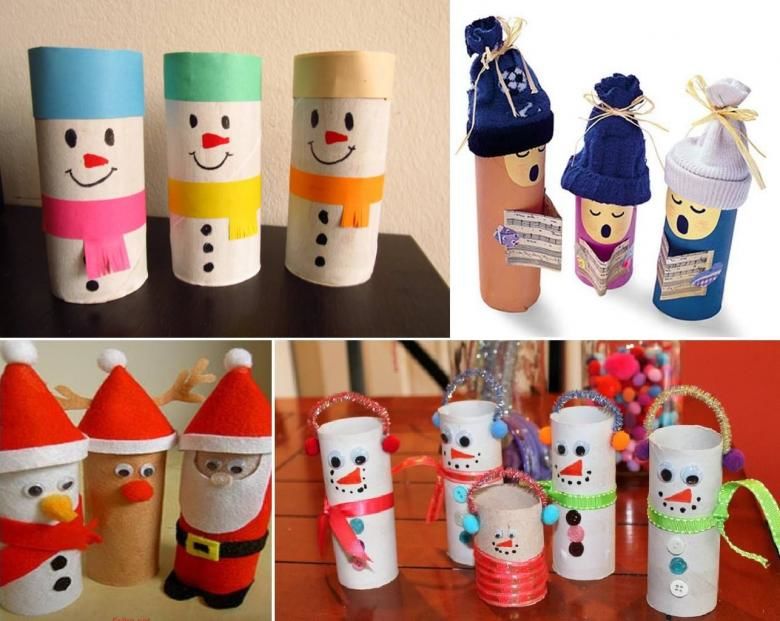
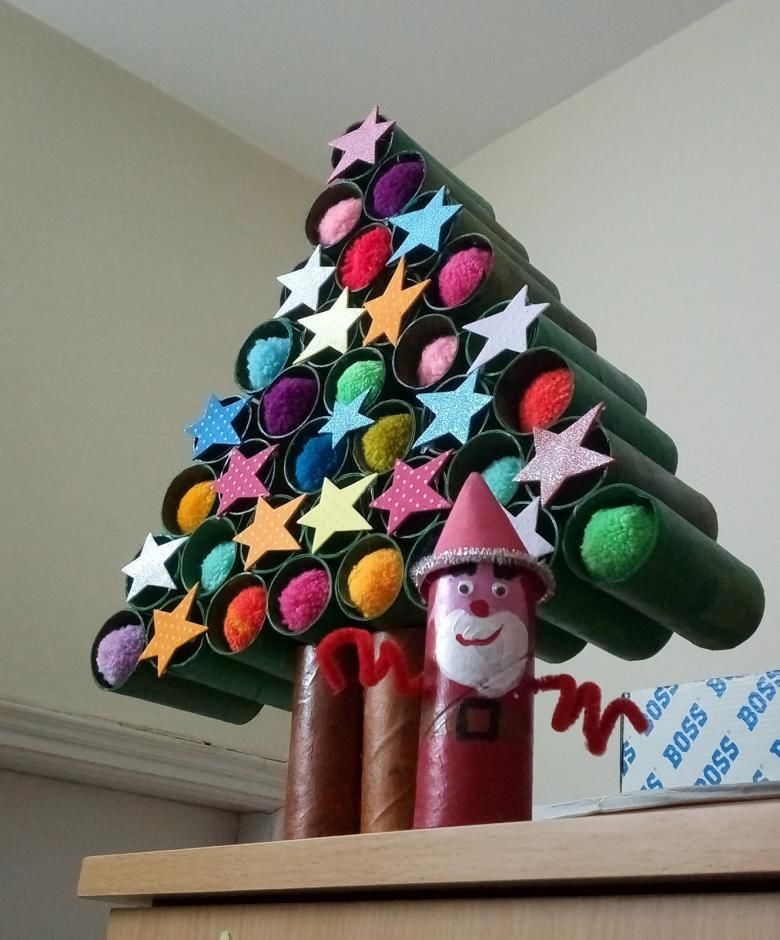
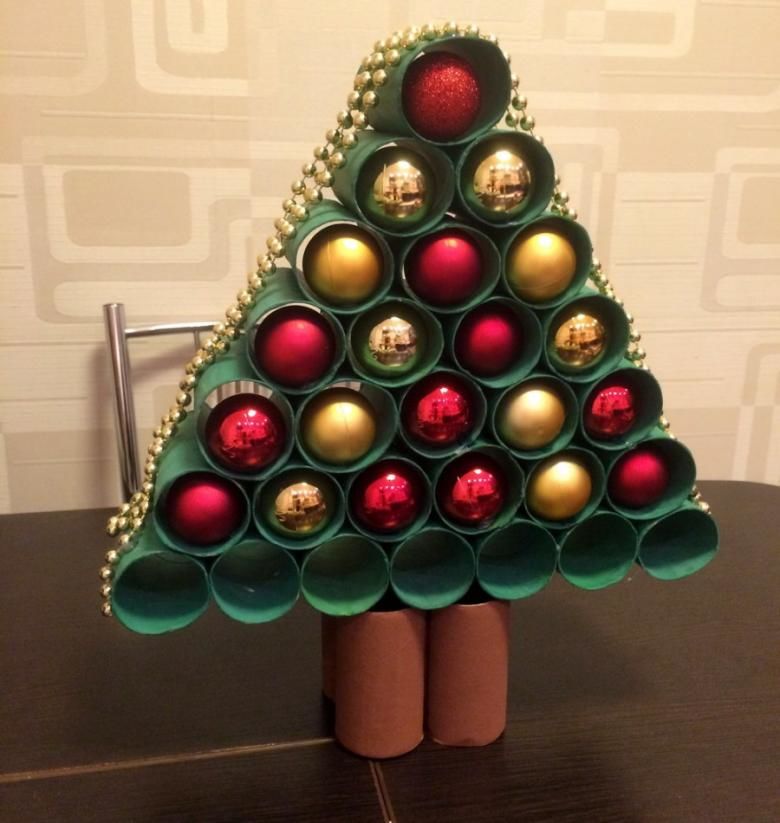
Christmas tree decorations
New Year is a favorite holiday for almost all adults and children. Decorating a Christmas tree with toys is a pleasure, especially if they are made by your own hands. Making Christmas decorations out of cardboard and paper is a tradition, but the toilet paper sleeves were not so long ago.
Previously, people simply did not realize that they can make gorgeous Christmas toys for the Christmas tree, and they will look just as good as store-bought.
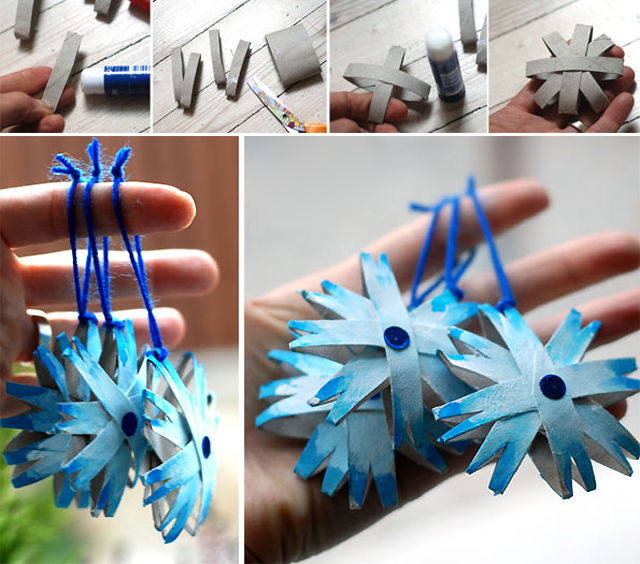
Snowflakes out of cardboard tubes look charming and gentle. To create them, the sleeves are flattened and cut into rings.
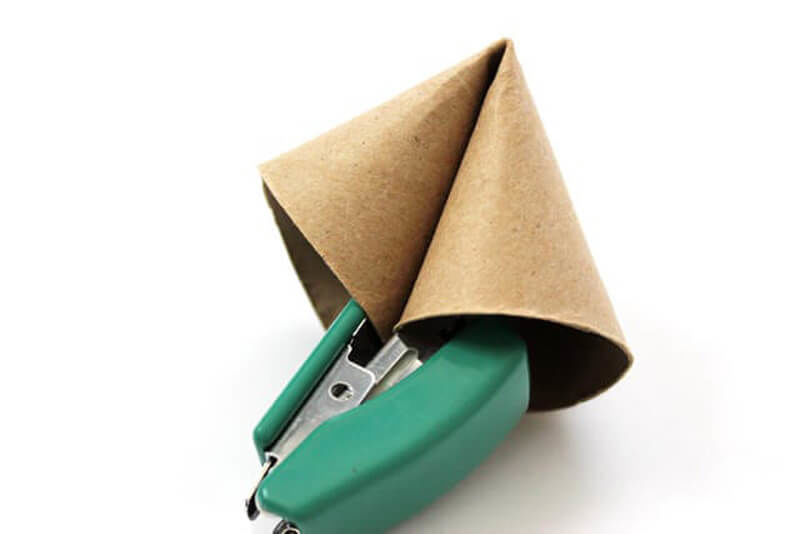
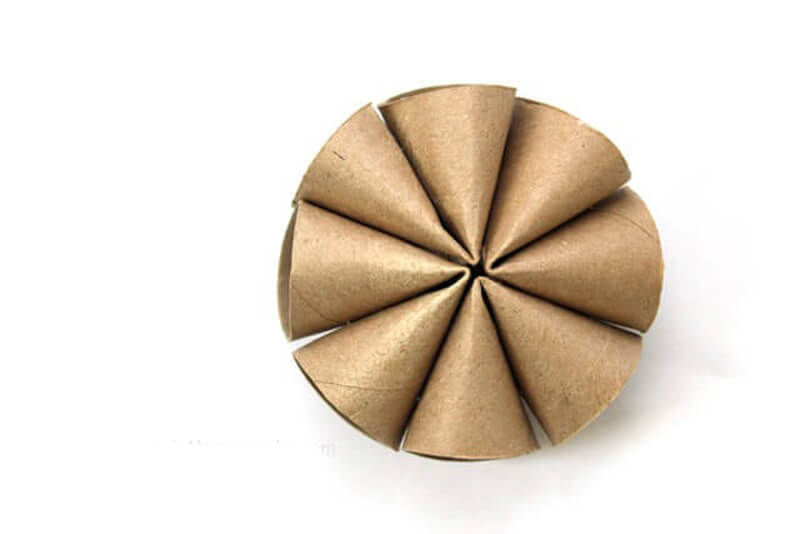
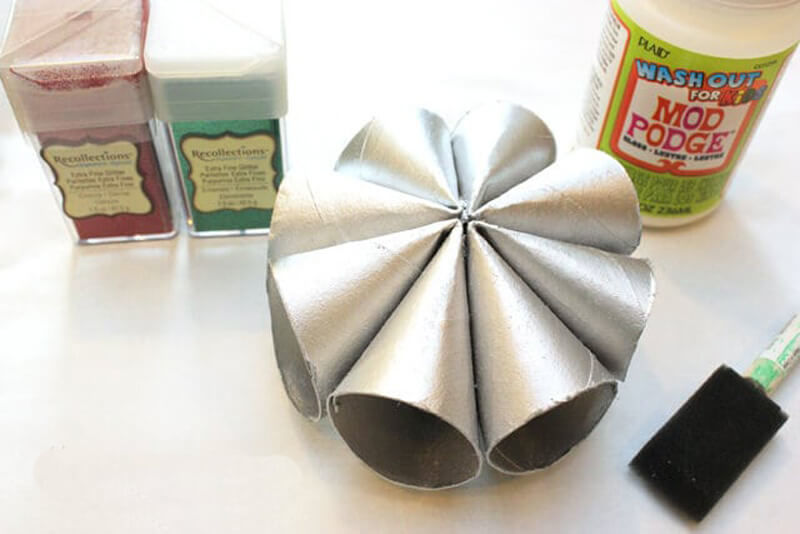
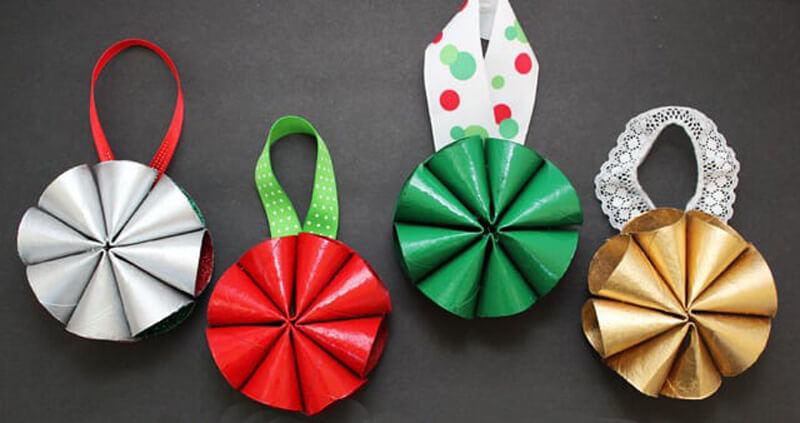
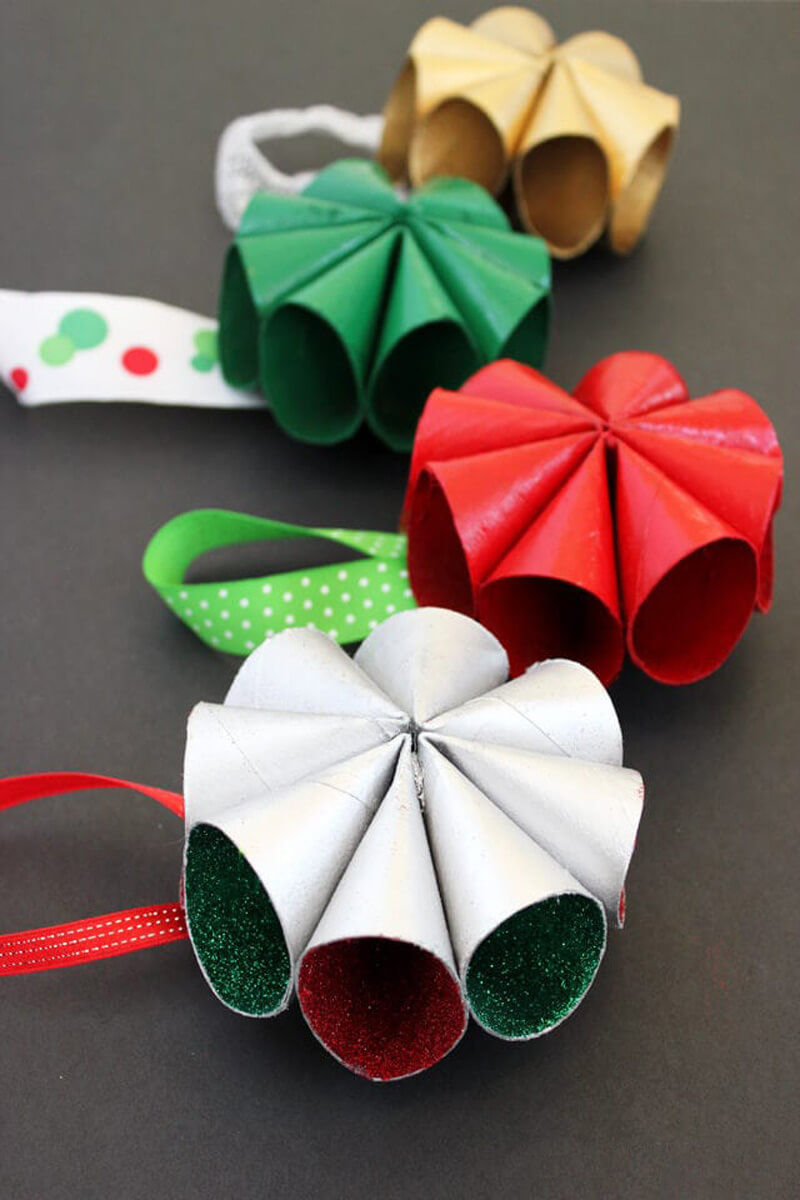
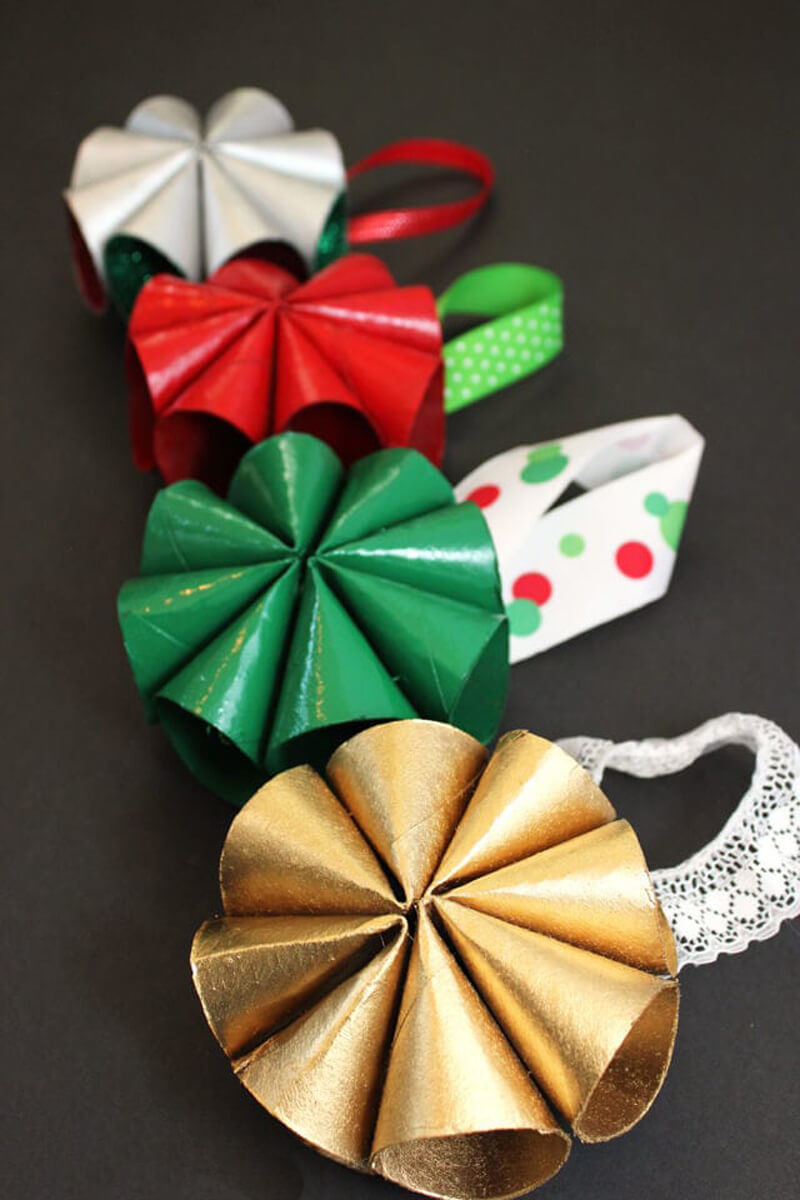
Shape snowflake like a flower, but the "petals" make four long and four short double (folded petals in half).
Fasten between them with hot glue. The color is given with white, blue or silver paint - gouache or acrylic.
The edges are smeared with glitter, and in the middle attached a pearl bead. Hang up on the Christmas tree or on the walls/curtains on satin ribbons or strings (threaded through one of the "petals"). The original and absolutely free Christmas tree decoration is ready!
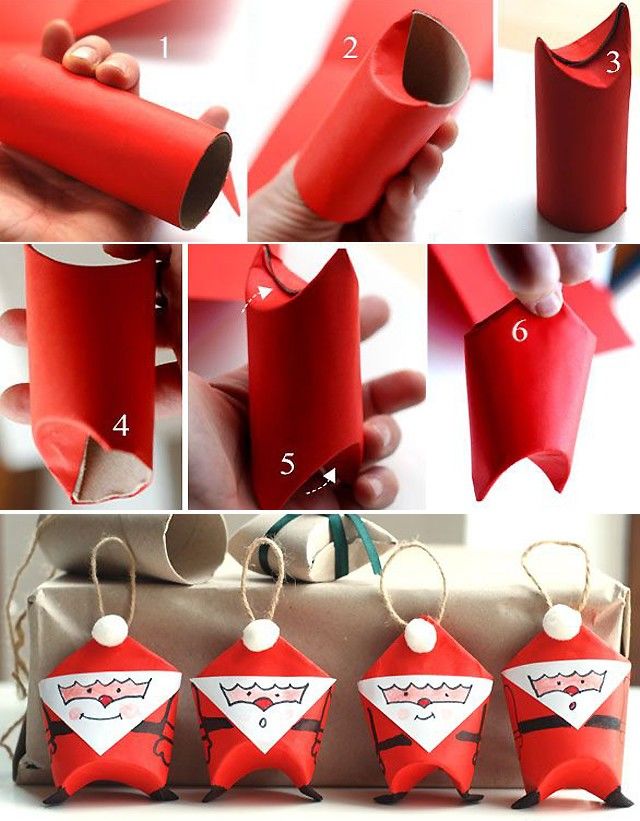
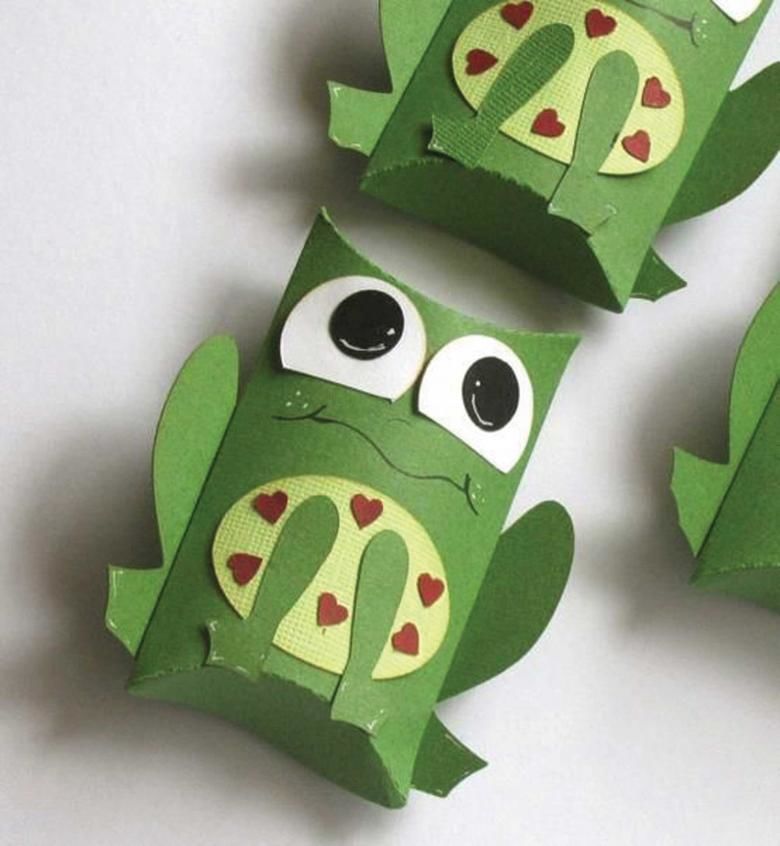
Gift wrapping
The sleeves make beautiful boxes for wrapping small gifts: jewelry, jewelry or candy with notes-wishes, etc.
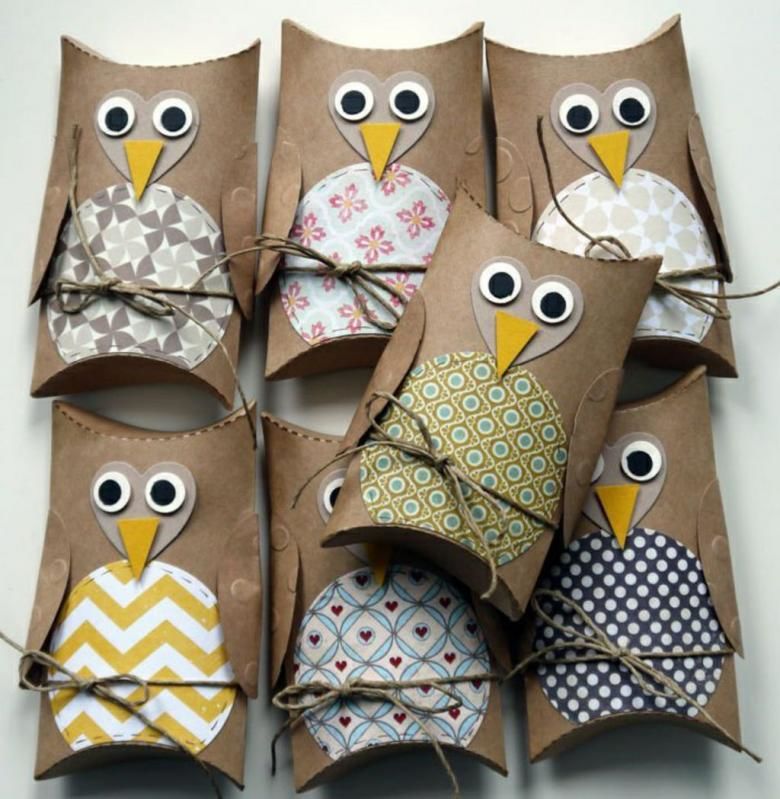
The technique of this creative craft is to form a kind of package-box from a tube.
To do this, each edge is bent inward on both sides, but do it extremely carefully and carefully, to avoid gaps and cracks and uneven seams. The more carefully to perform this action, the better will look the finished product.
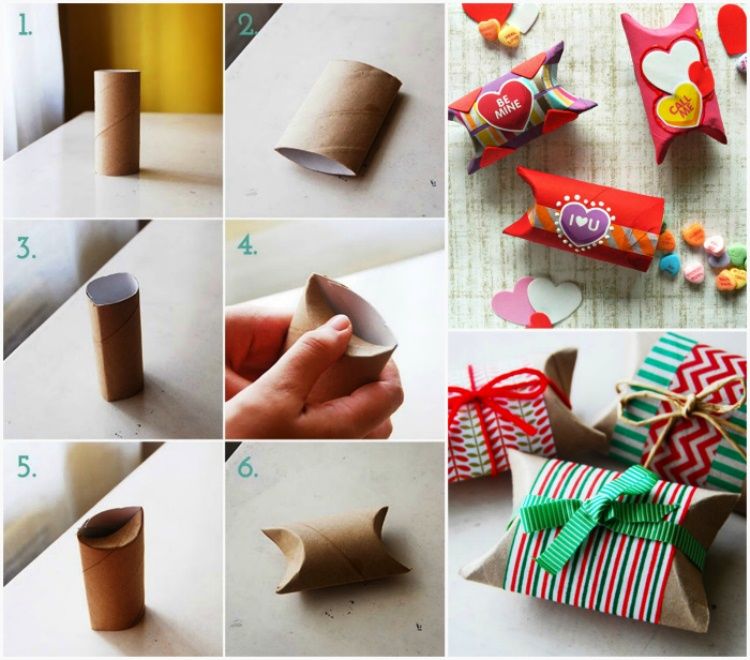
After that, proceed to the decor. Cover with any paper. Wrapped with scraps of fabric. Tie crosswise with natural thread or satin ribbons, like cake boxes and gifts.
On top you can glue small decorative elements - beads, bows, figurines, sequins, rhinestones, berries, fruits, candy, etc., etc.
The sleeves from the toilet paper were very useful. It is a shame that many people just throw them away. How many beautiful and useful things can be created out of them! The main thing - the desire to create something new and unusual!
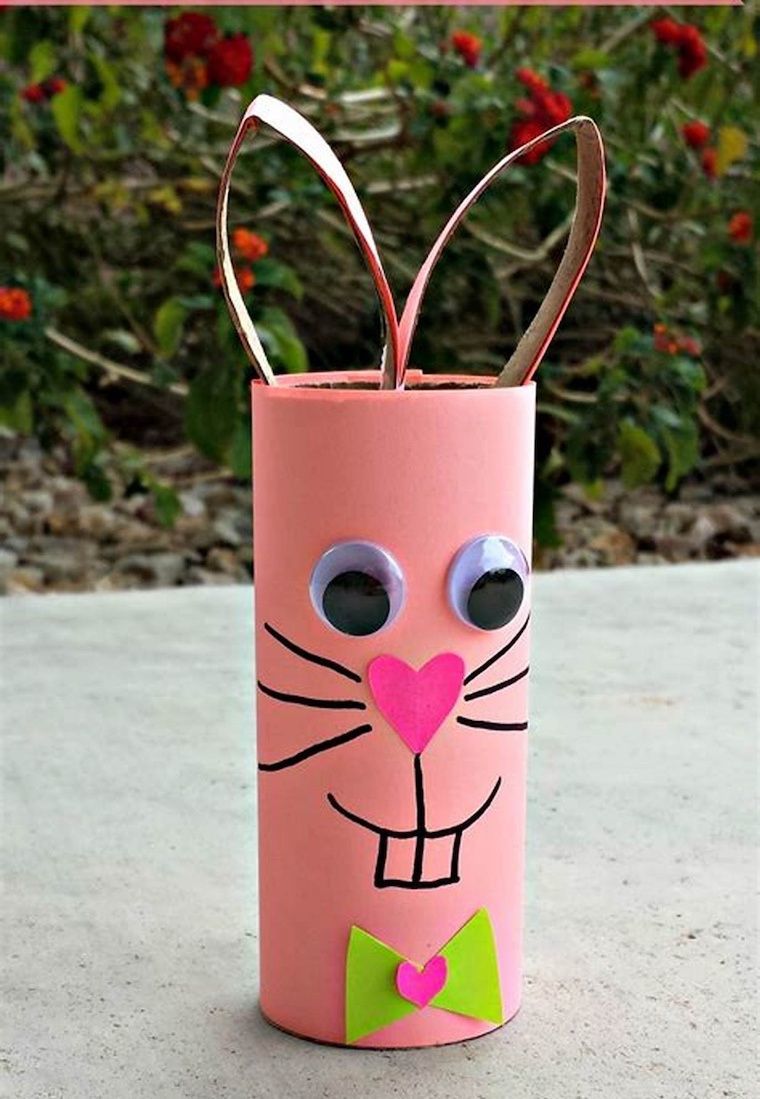
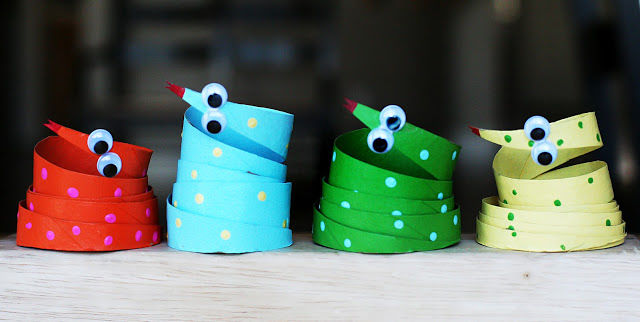
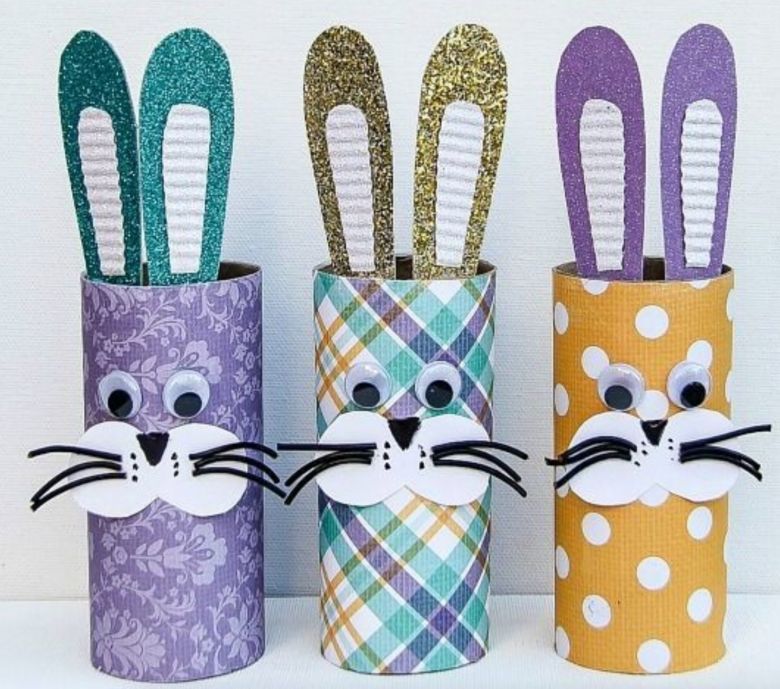
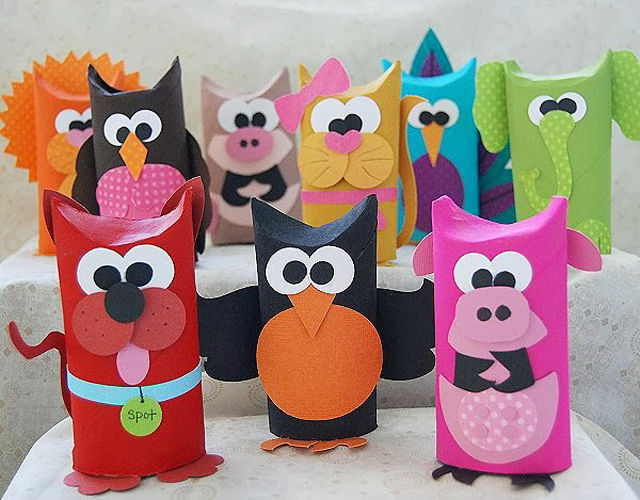
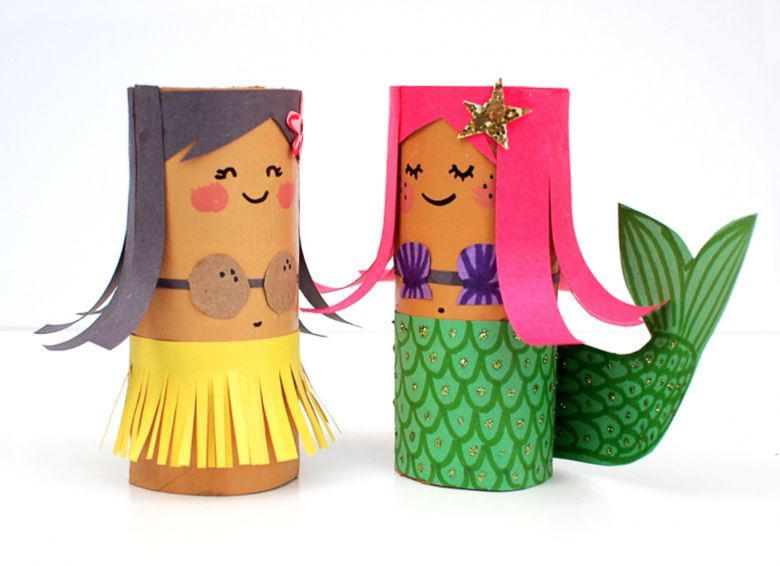
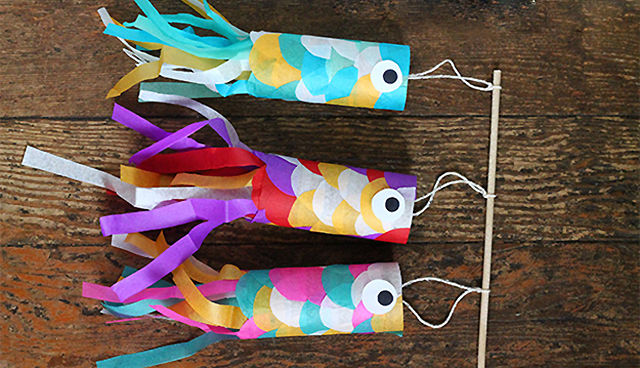
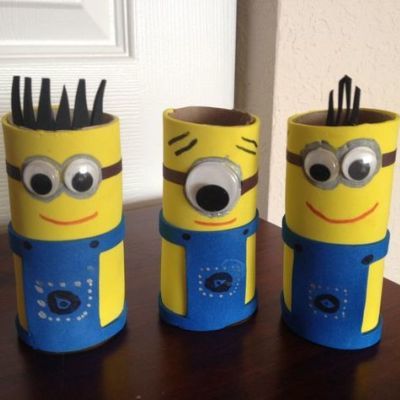
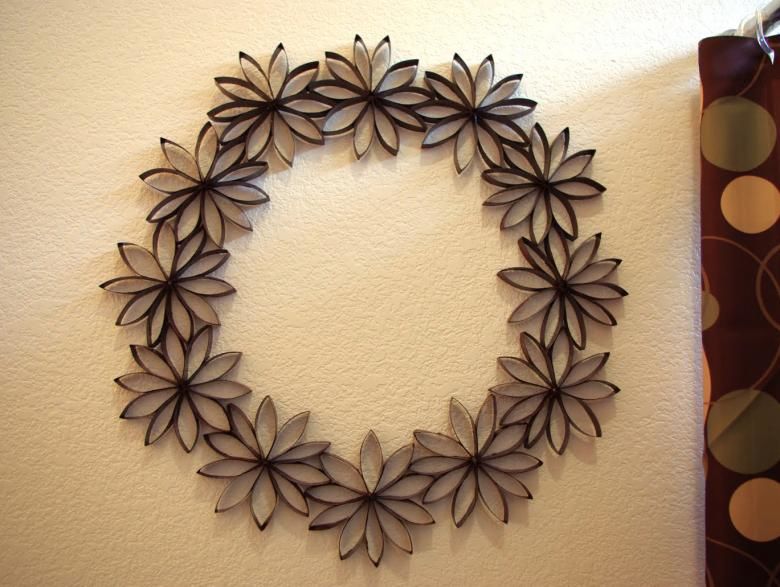
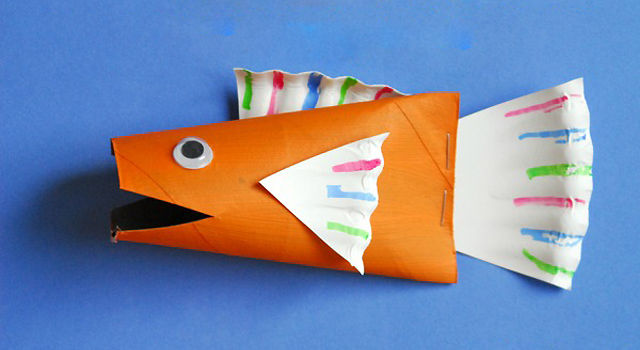
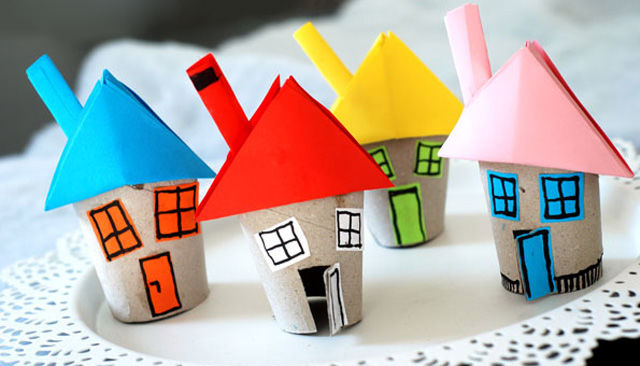
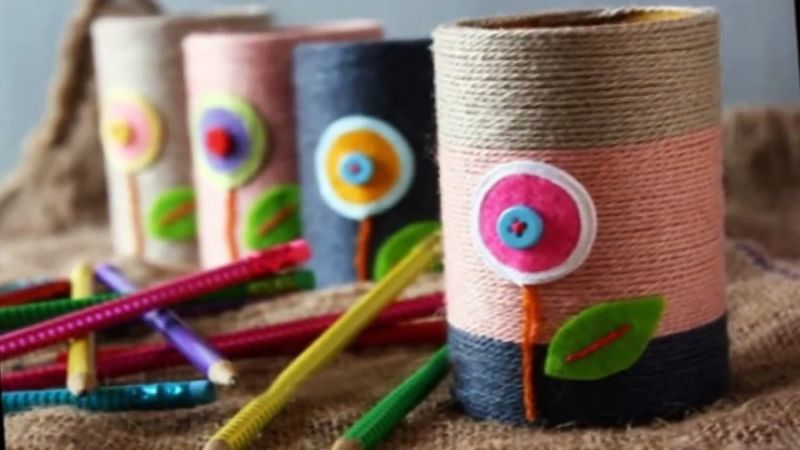
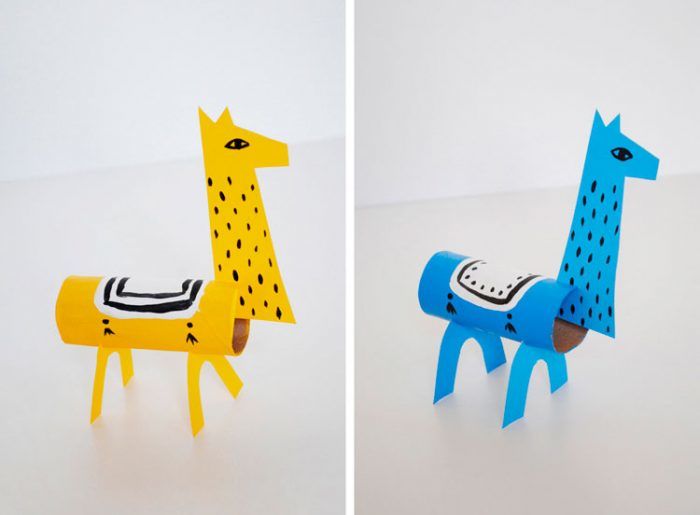
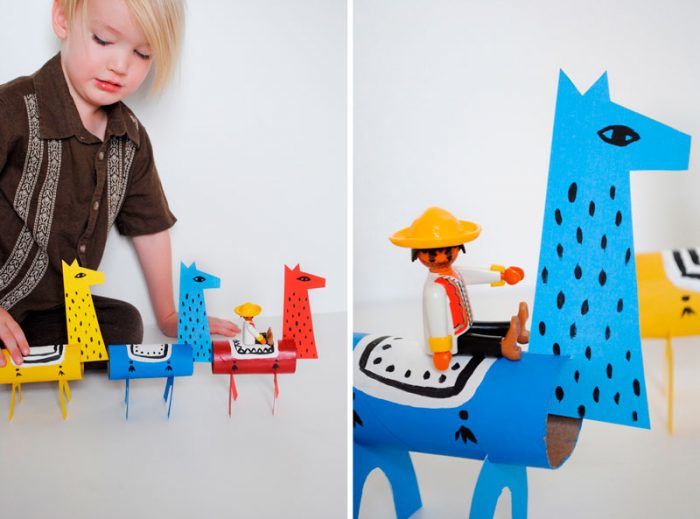
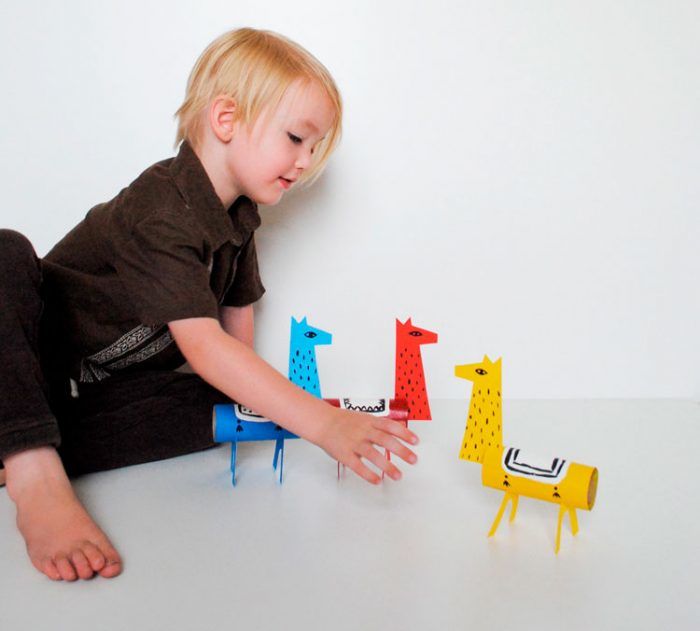
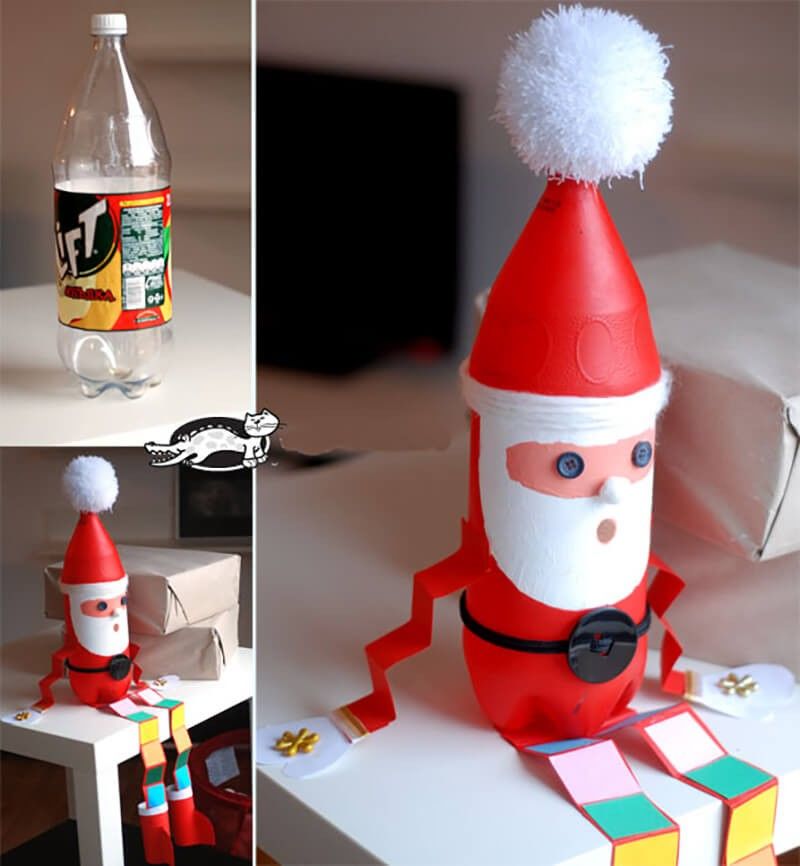
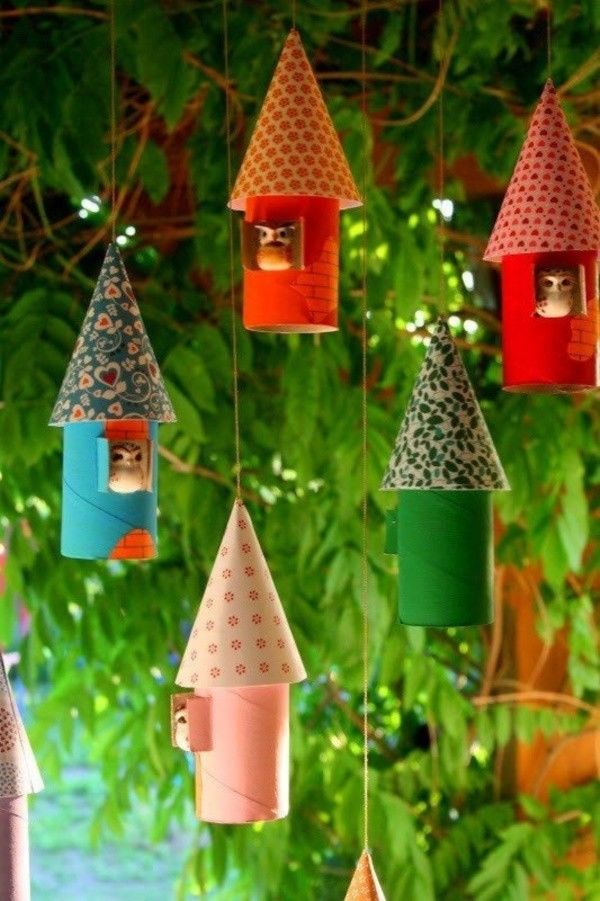
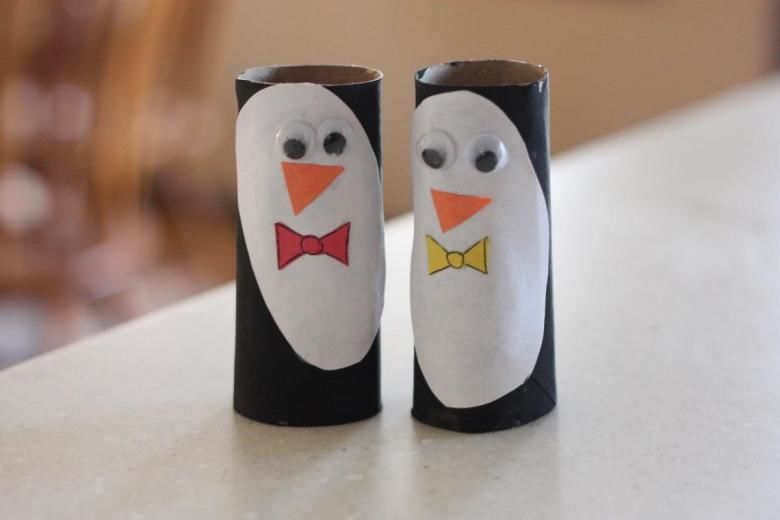
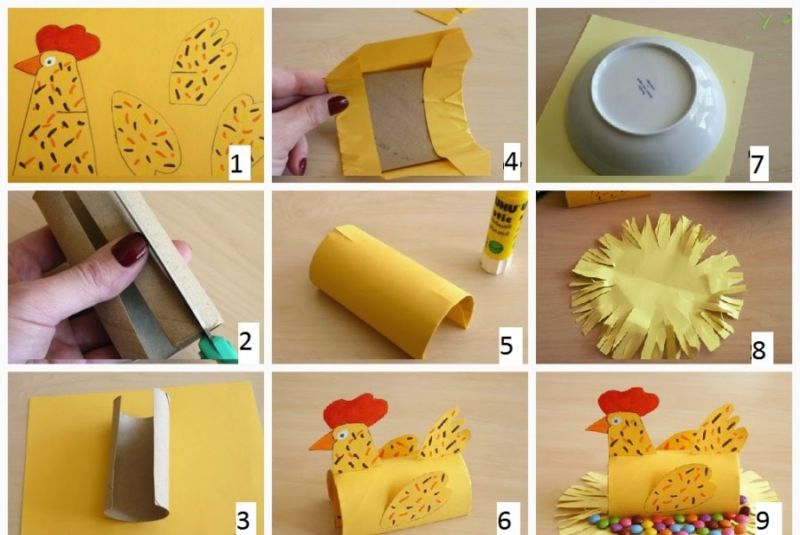
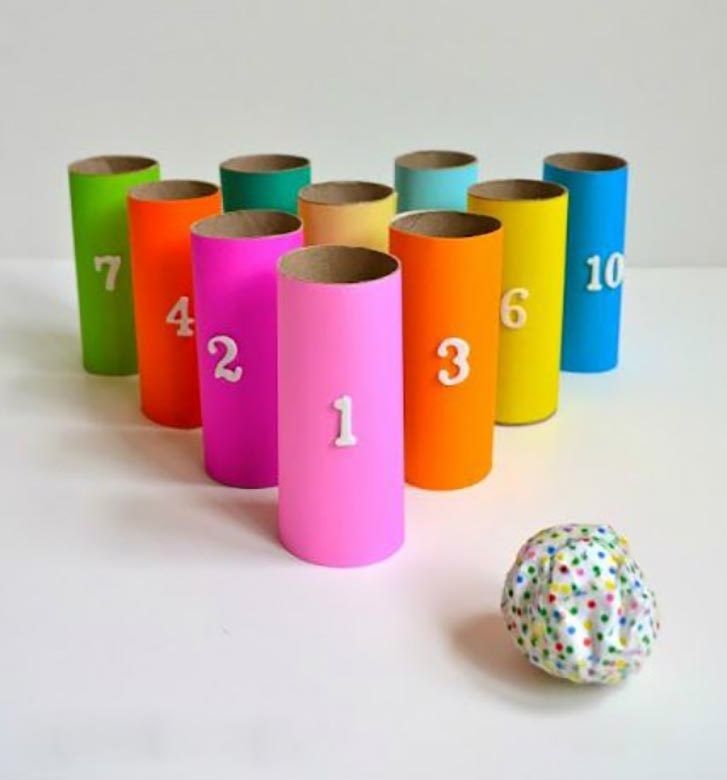
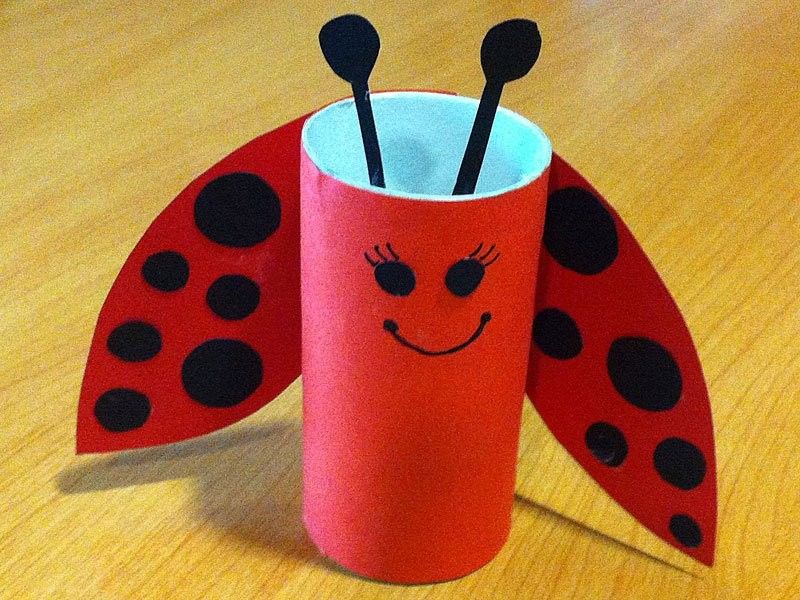
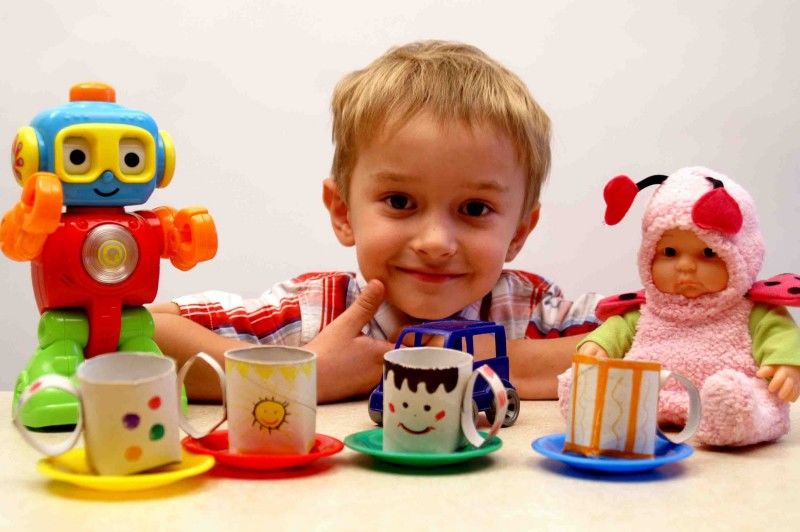
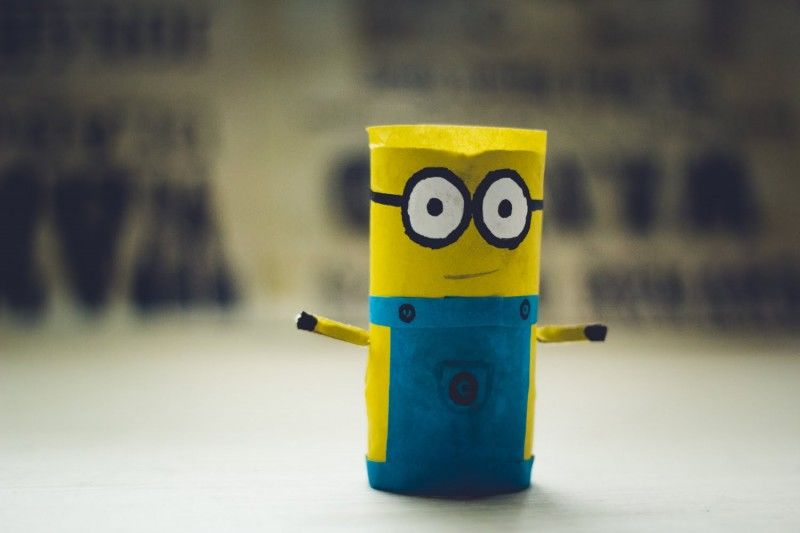
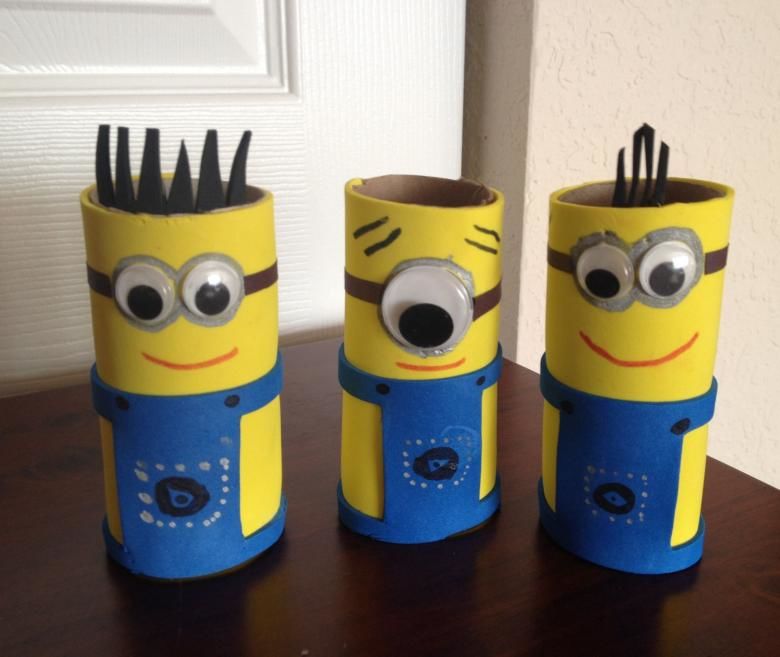
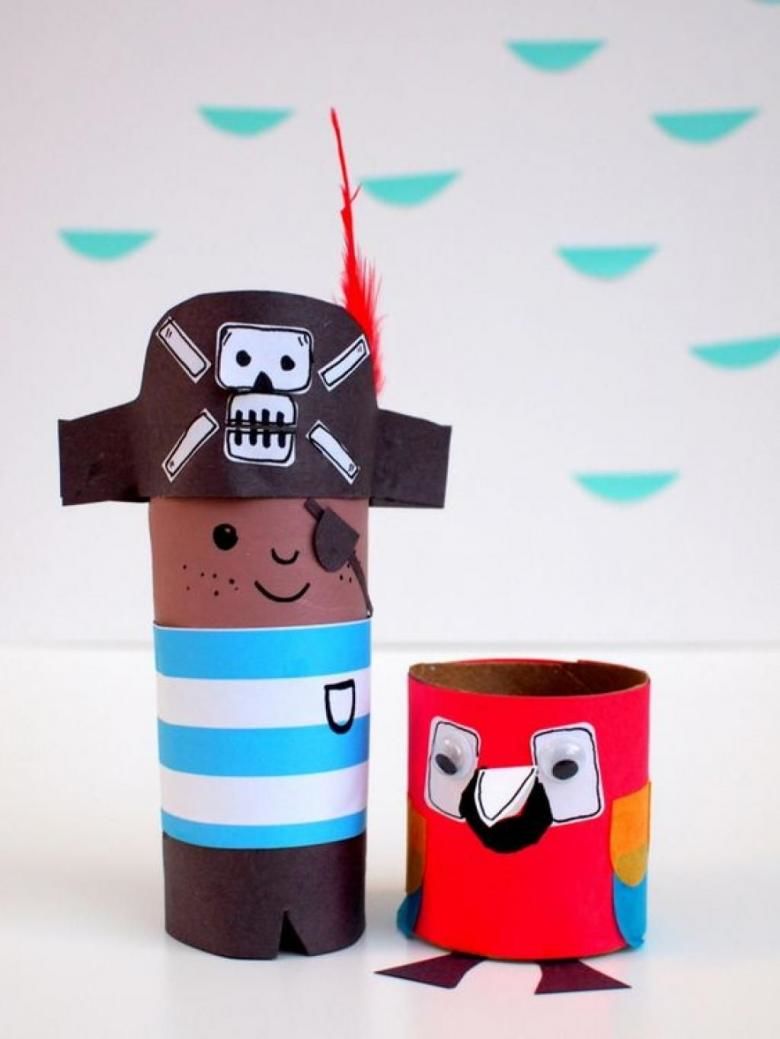
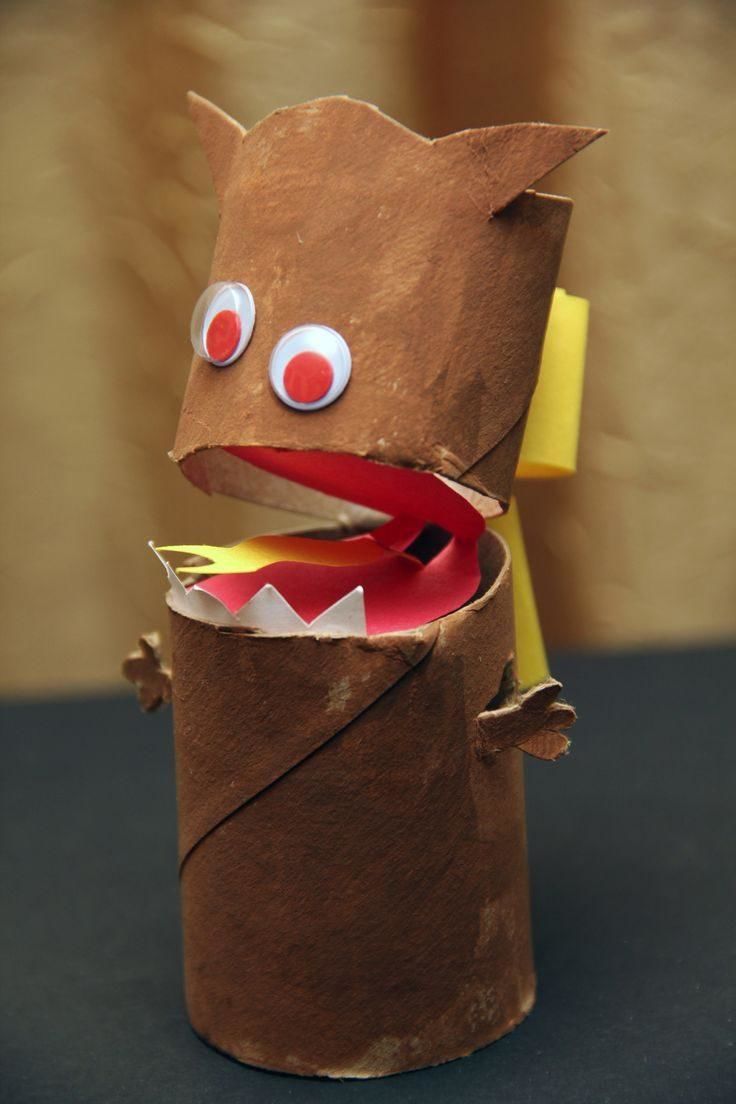
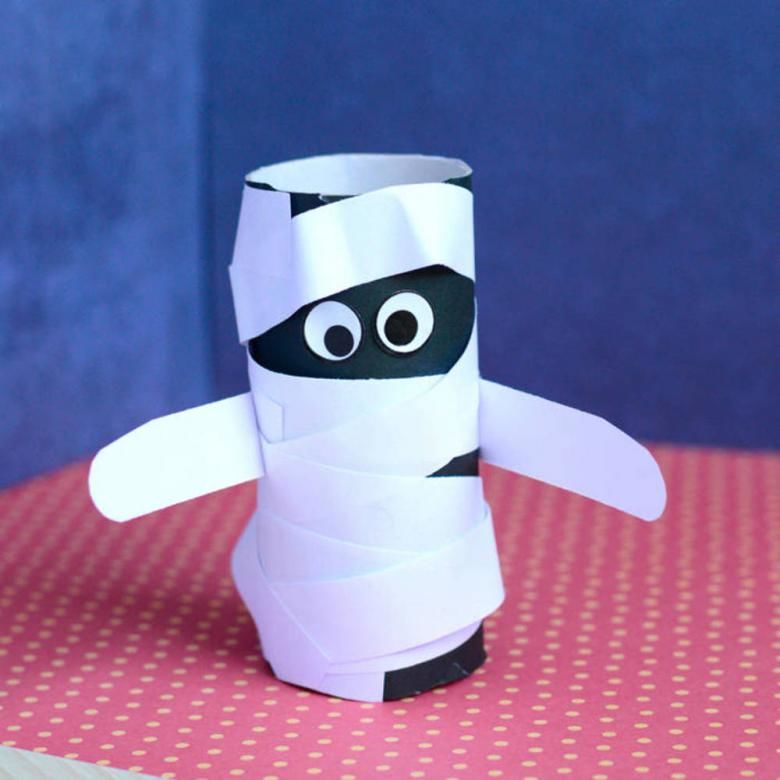
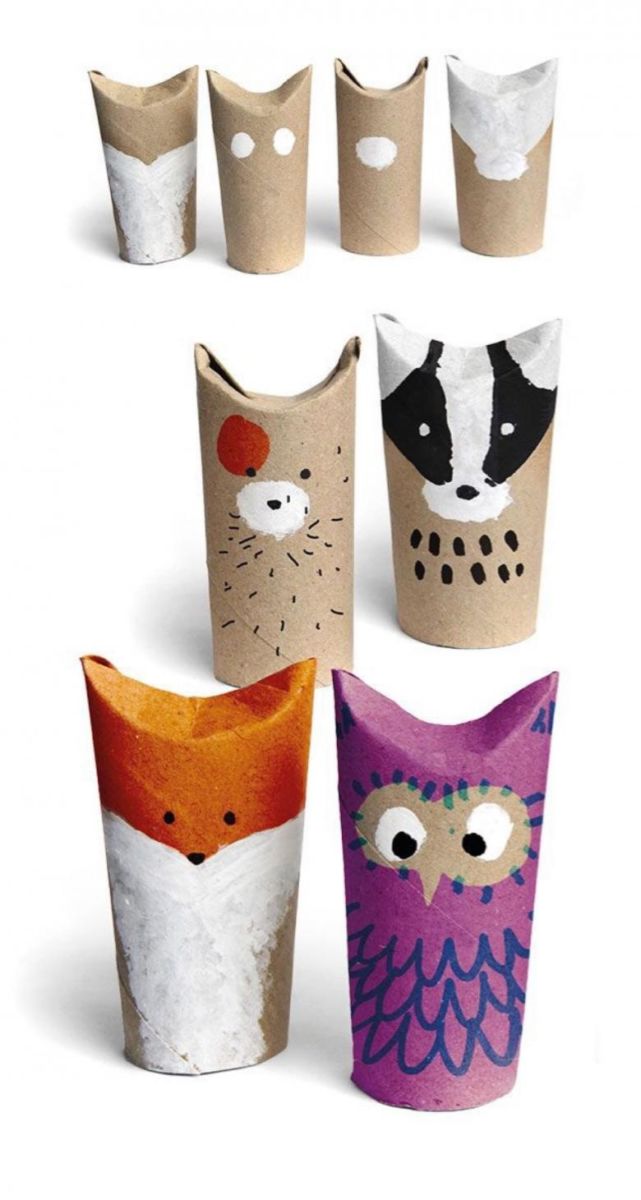
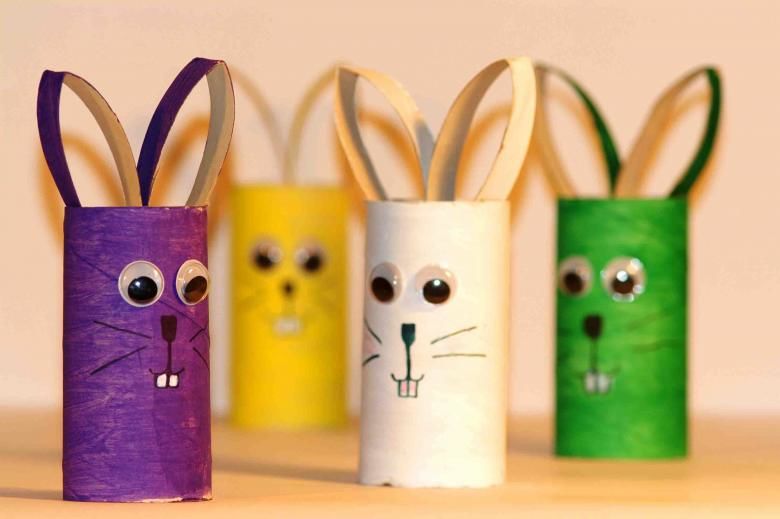
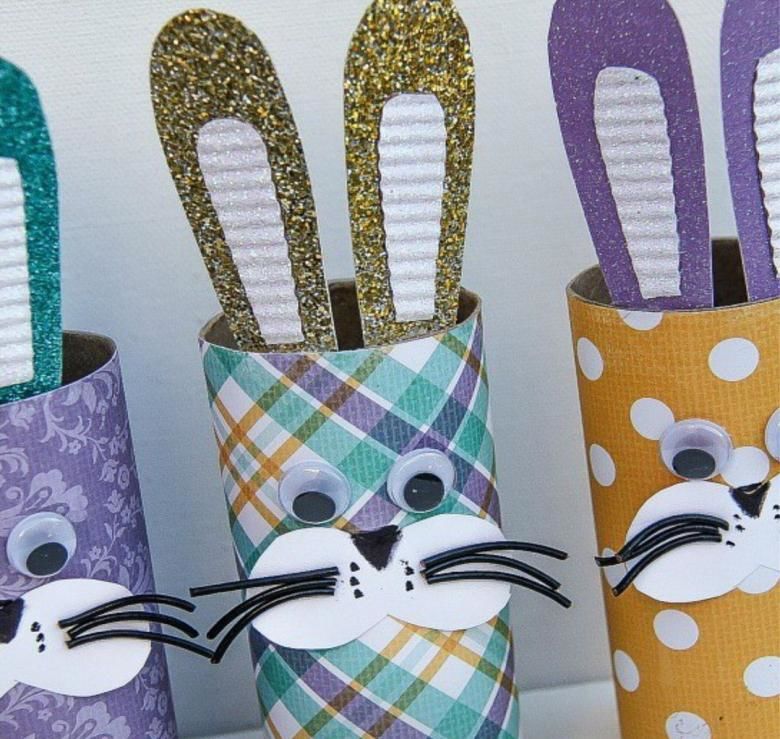
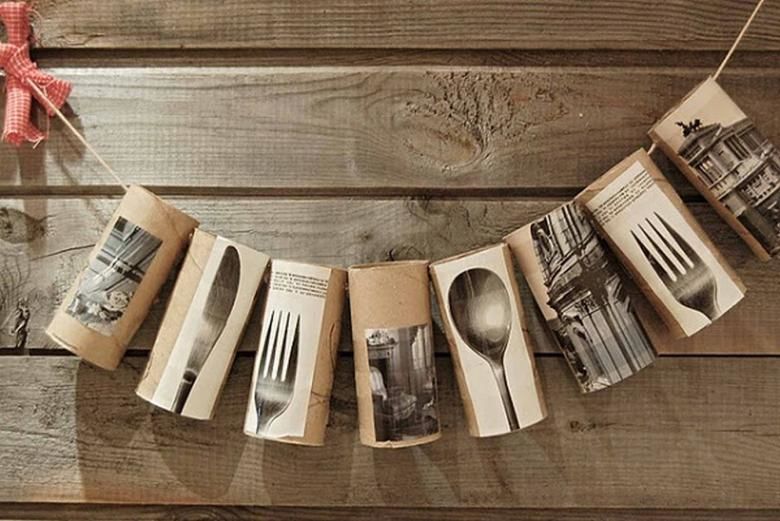
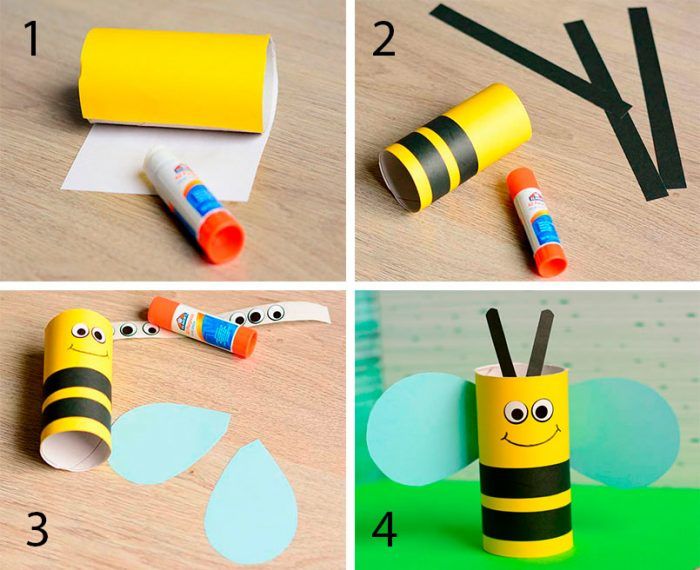
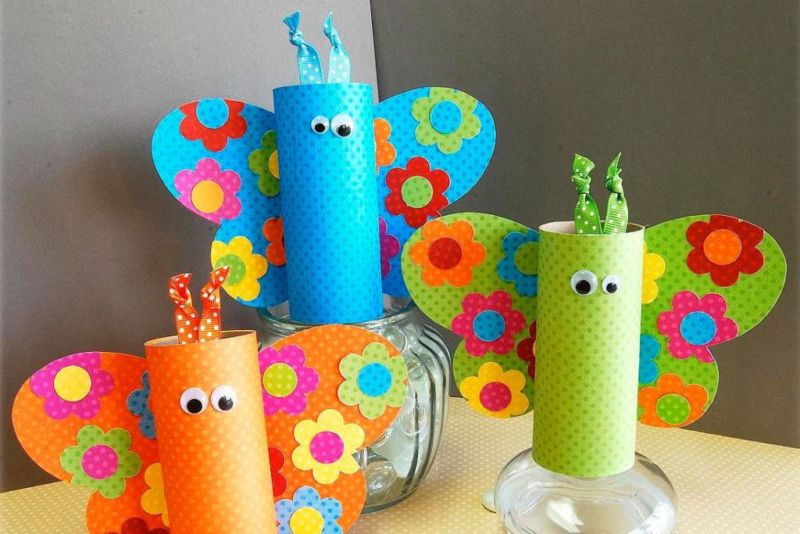
Photo ideas of toiletry sleeve crafts
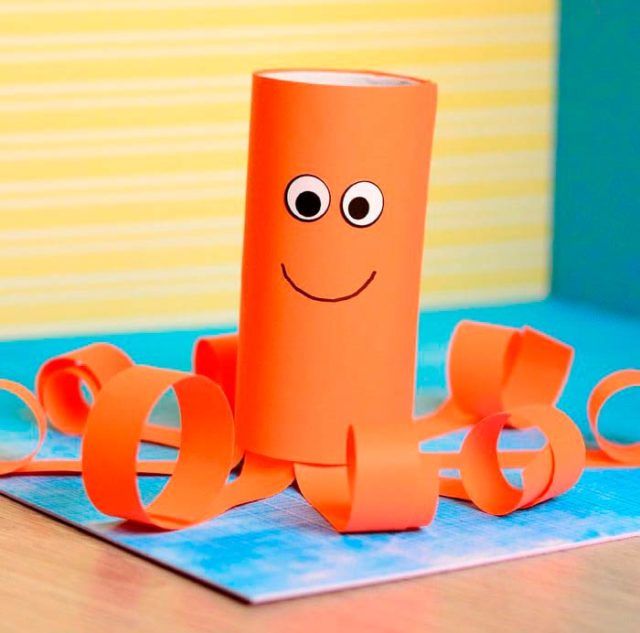
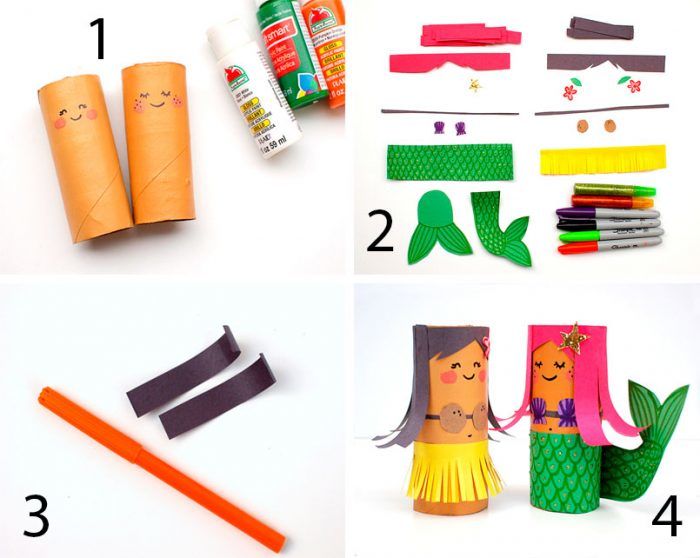
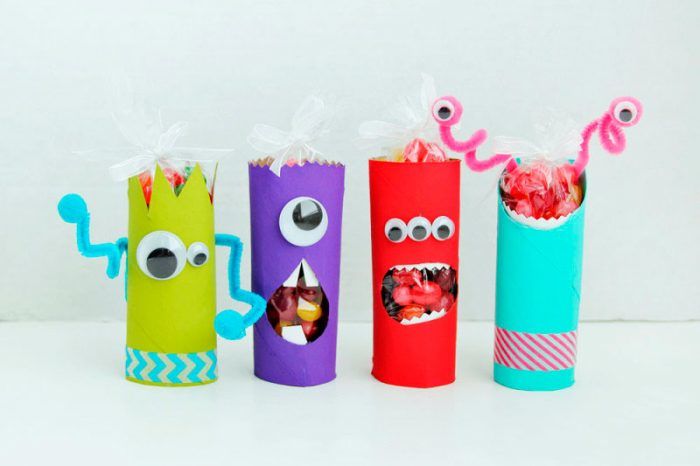
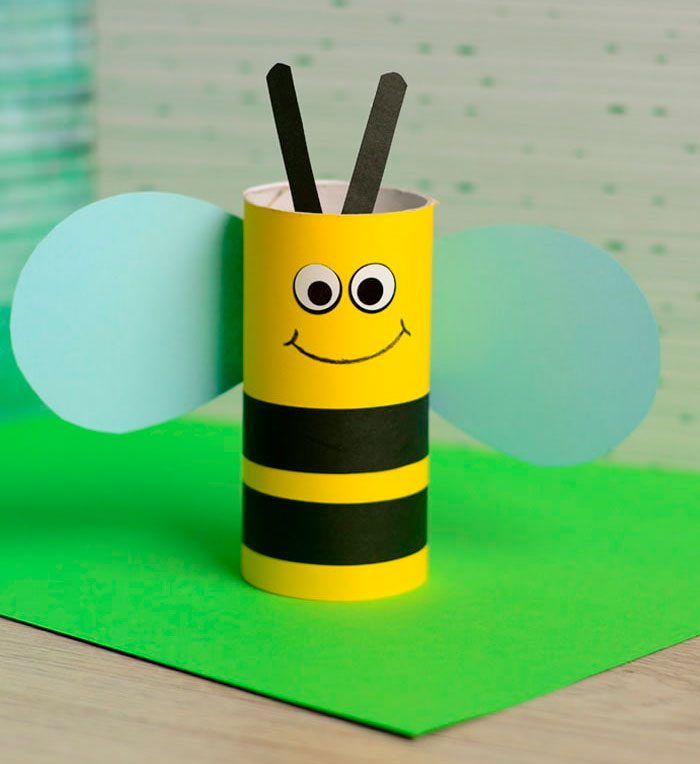


Cool ideas, but most of them are just puppets, but cool