How to make flowers from paper by hand: a selection of the best templates for creating volumetric and flat options
Everyone loves flowers, but not everyone knows how to take care of live plants. Many can not afford to buy themselves or as a gift of live fresh flowers as often as they would like.
But this is not a problem: you can make them yourself. They are made from a variety of paper using different techniques. The finished product decorates the interior or give paper bouquets for the holidays to friends and family.

Methods and patterns of making flowers from paper
Many methods are devised. They differ in the way the petals are created and the assembly of flowers. Material for crafts - colored and corrugated paper, kitchen paper napkins, old newspapers and magazines, etc.
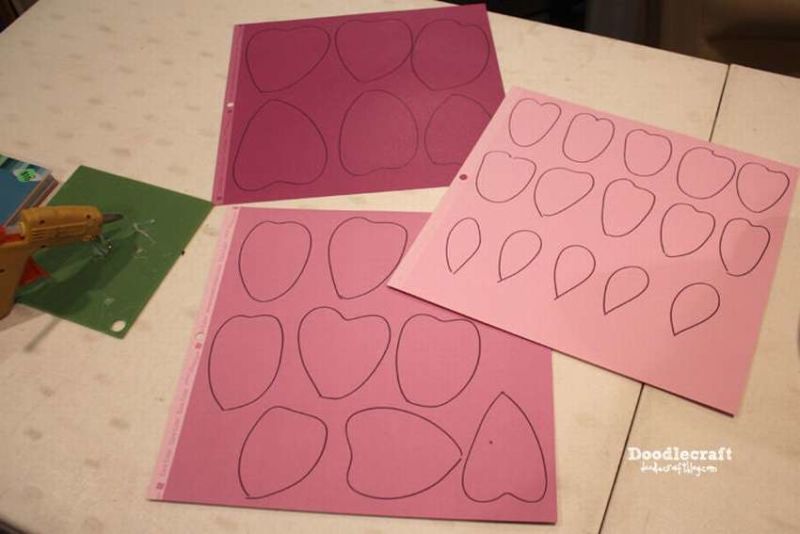
Patterns of petals draw themselves or take from the Internet.
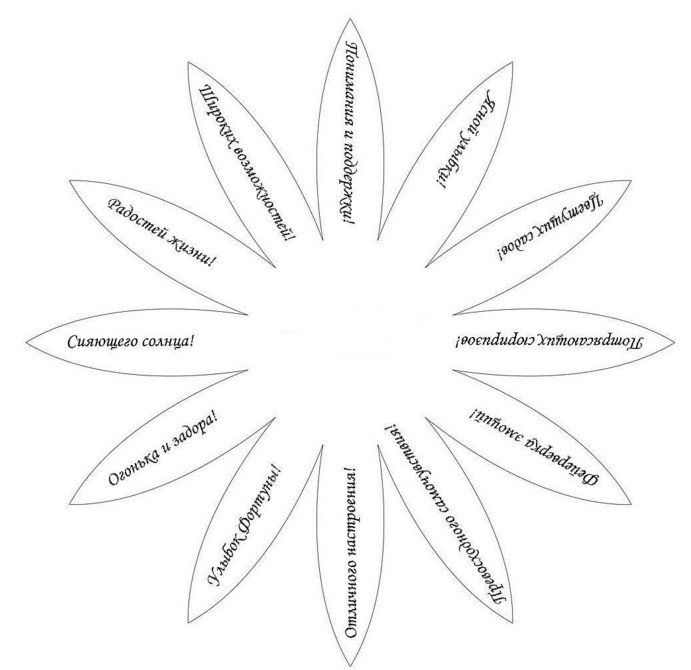
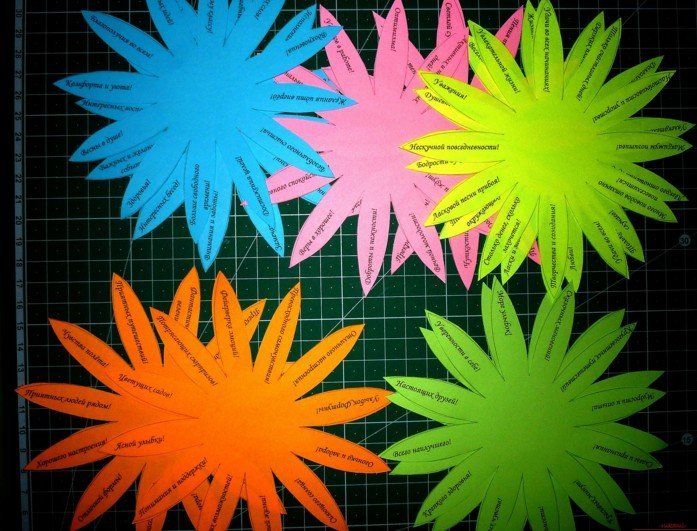
The simplest scheme of work is to draw on a sheet of colored paper several identical flowers, but differing in size from each other.
Then cut them out and glue them together in the middle.
Another option is to make cardboard templates in advance or cut out on printed ready-made diagrams.
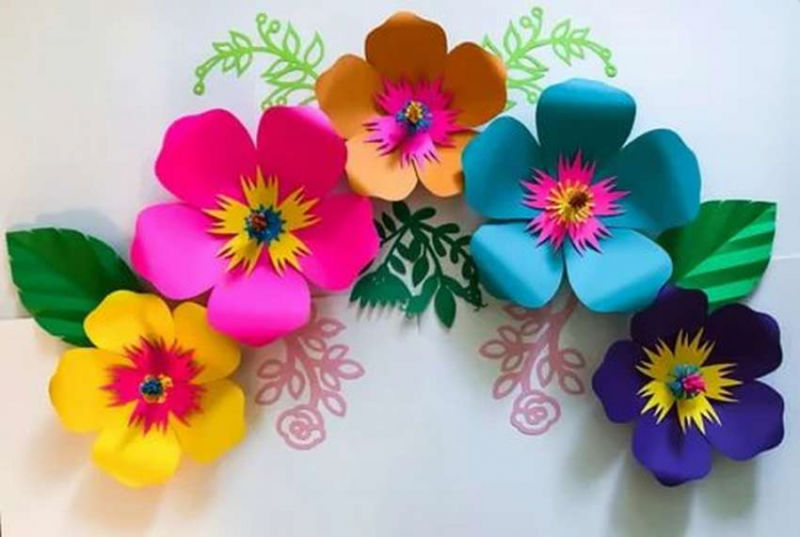
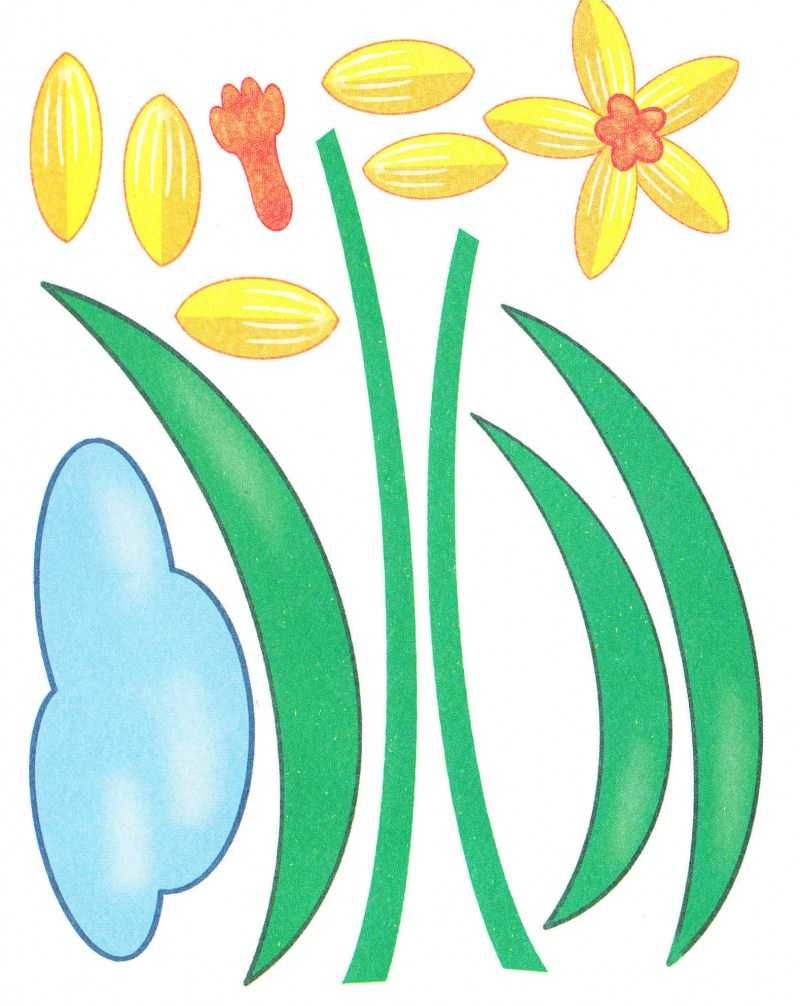
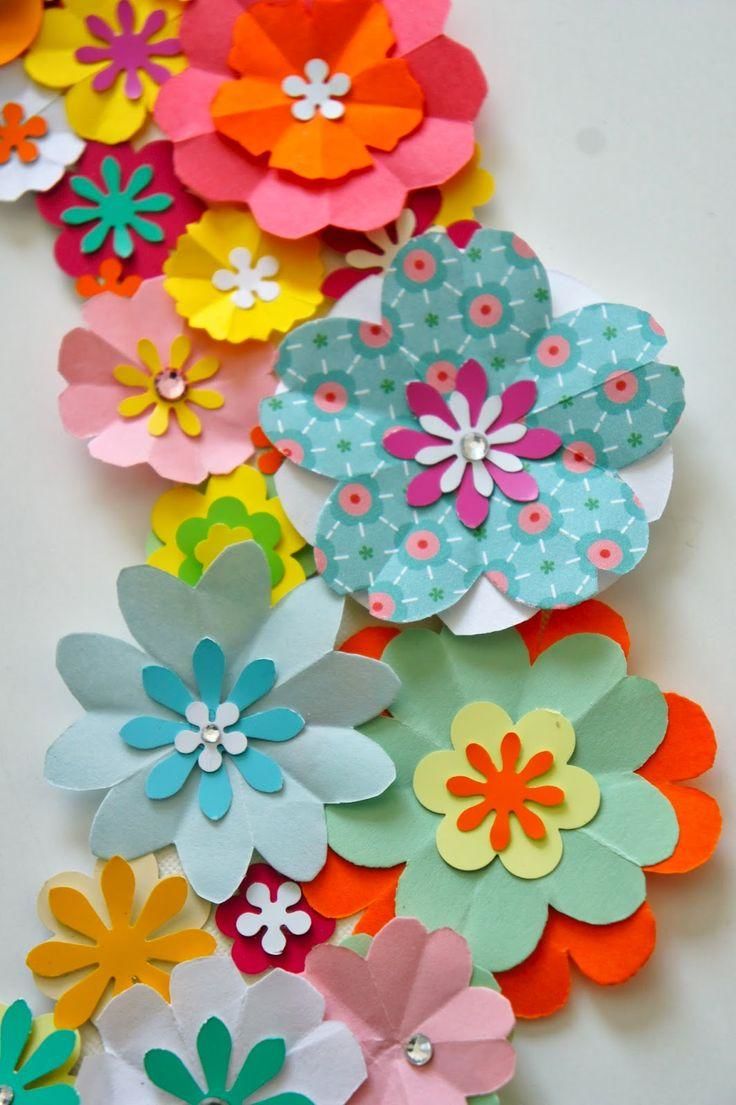
Flat flowers
An unpretentious version of such a flower is a daisy drawn on a white sheet and cut out with a circle of yellow paper in the middle.
Flat flowers create on the principle of the cut out pattern without giving volume to the product, ie in one, maximum two layers.
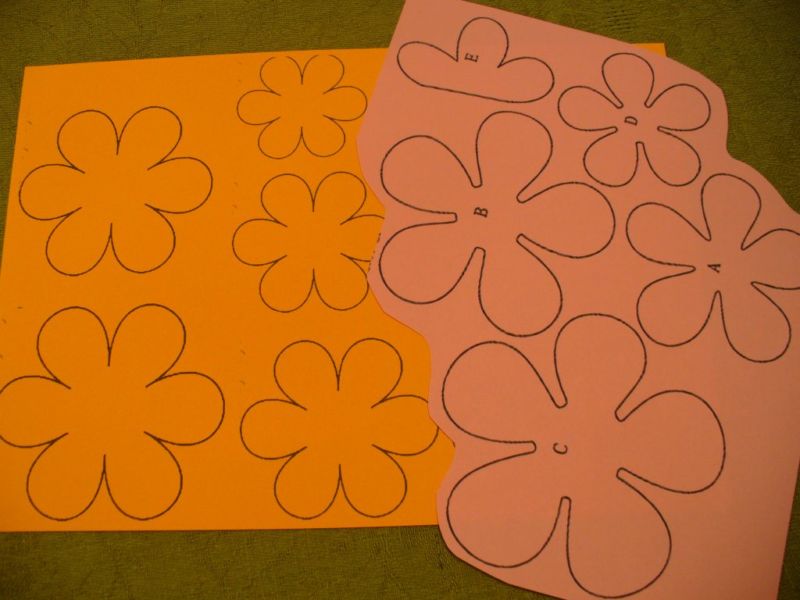
They are suitable for greeting cards (especially if you want to put flowers inside a greeting card) and for applique, as well as for mastering with children a quick way to create florets.
This technique is used to make paper daisies, violets, geraniums, and phlox. To make such plants is very simple. For the work will be required:
- pink (or yellow) paper for notes;
- a simple pencil;
- office scissors;
- glue stick (PVA).
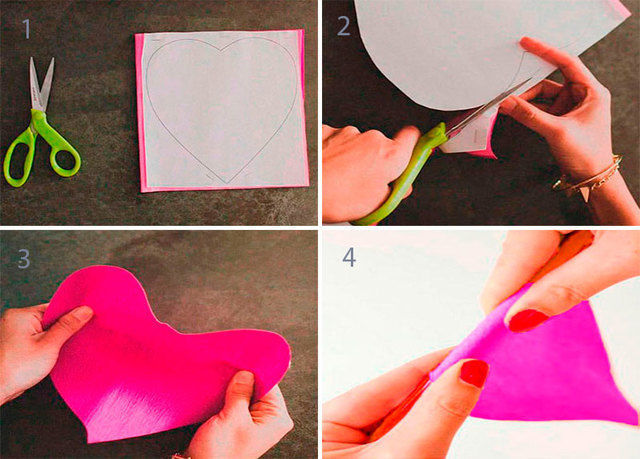
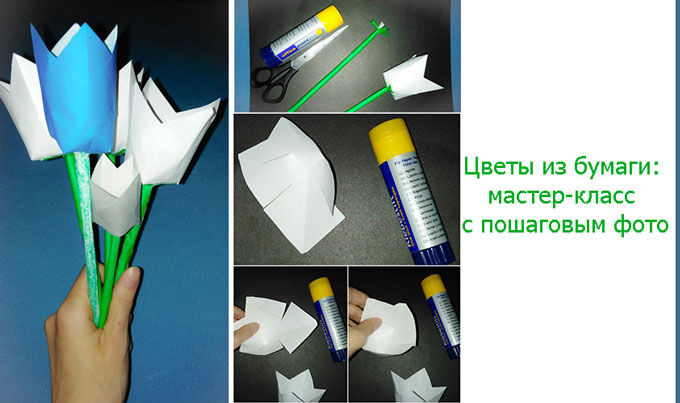
Follow these steps to make the flat flowers:
- First, separate one sheet of pink (yellow) paper from the block and fold it in half, and then again in half and round the edges with scissors, as when making a snowflake.
- Next pencil outline the heart on one side, and then cut it out by cutting along the center line in half.
- Cut out a leaf unfold and get a flower.
- To decorate the heart, cut out a circle from yellow paper (or other paper) and glue it on.
Thus make flowers of pink and yellow leaves, creating them different in size.
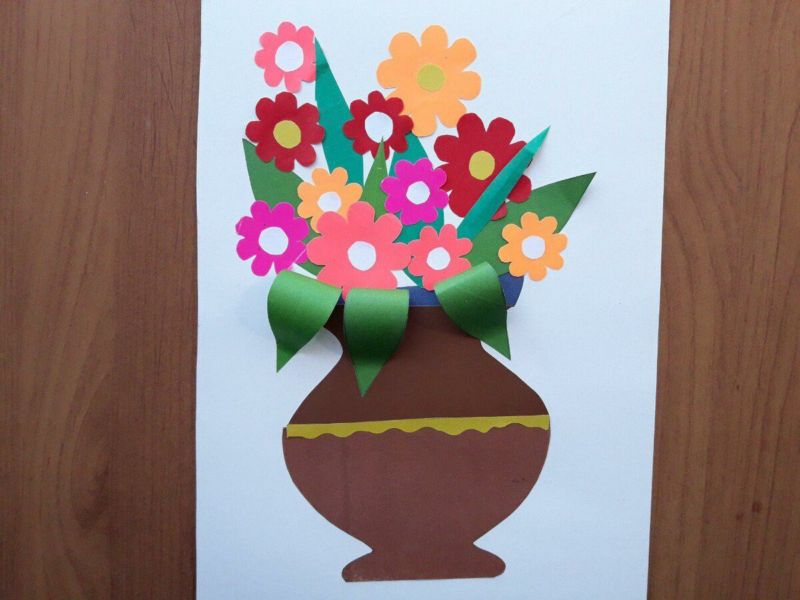
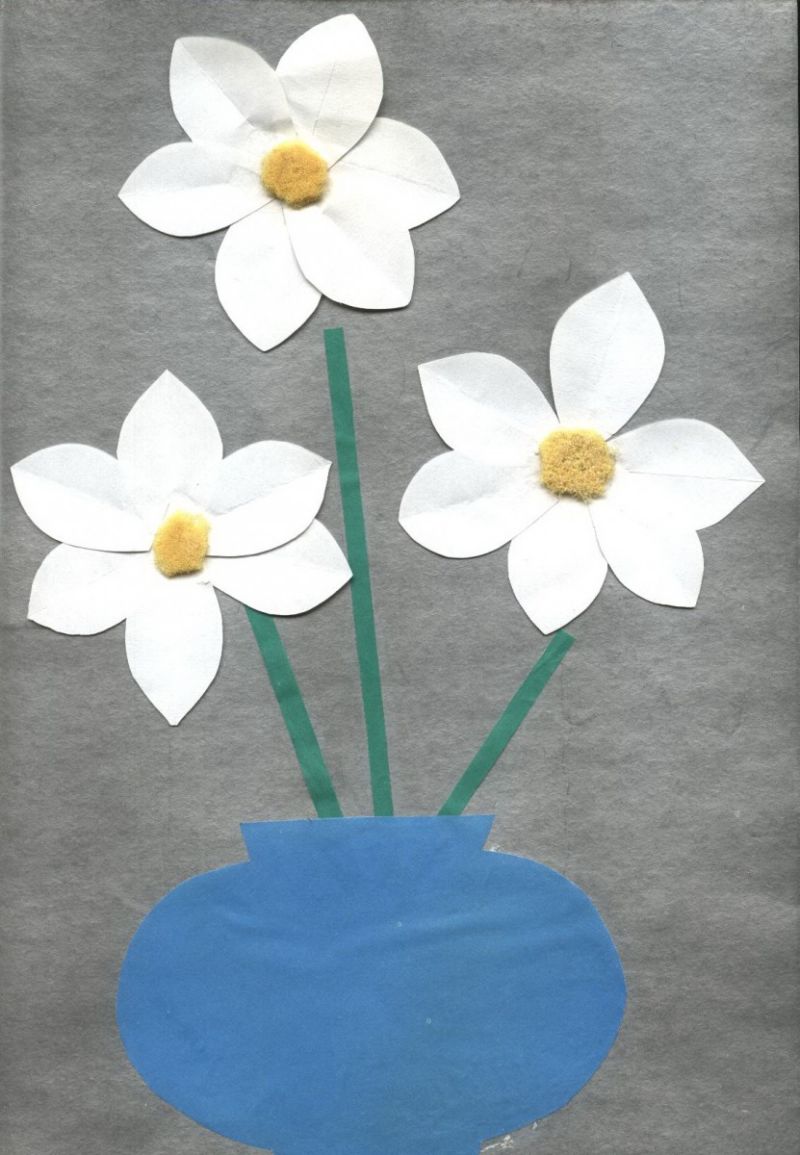
Applique .
To get a simple application cut out of colored paper, painted flowers and glued to a white sheet. Green paper is cut out from a plant leaf and glued to the sides. More difficult, but more beautiful and original make three-dimensional applique.
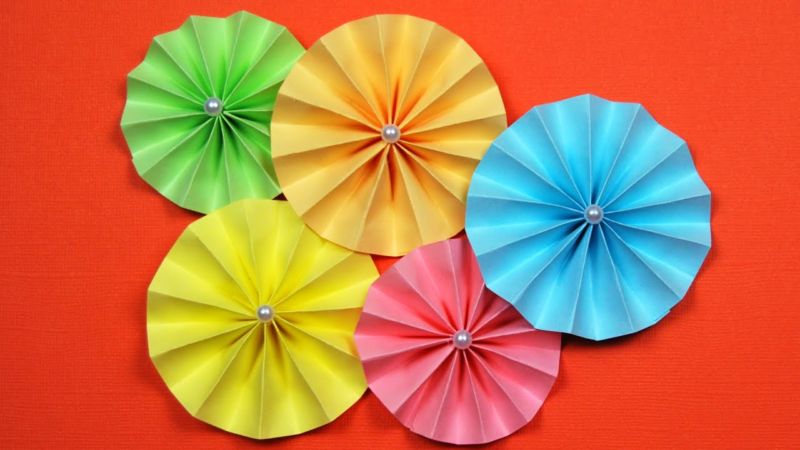
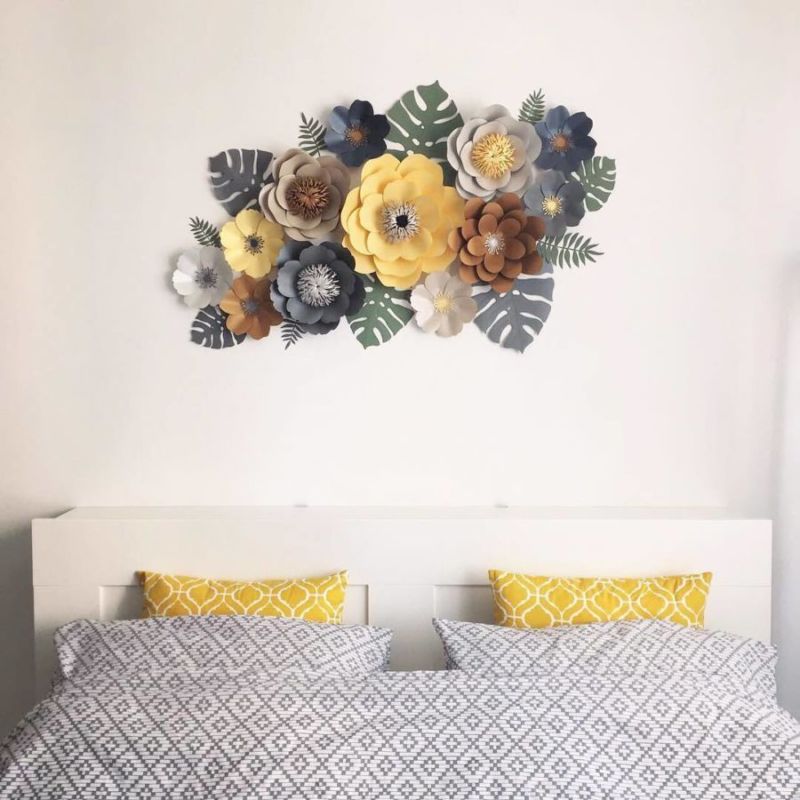
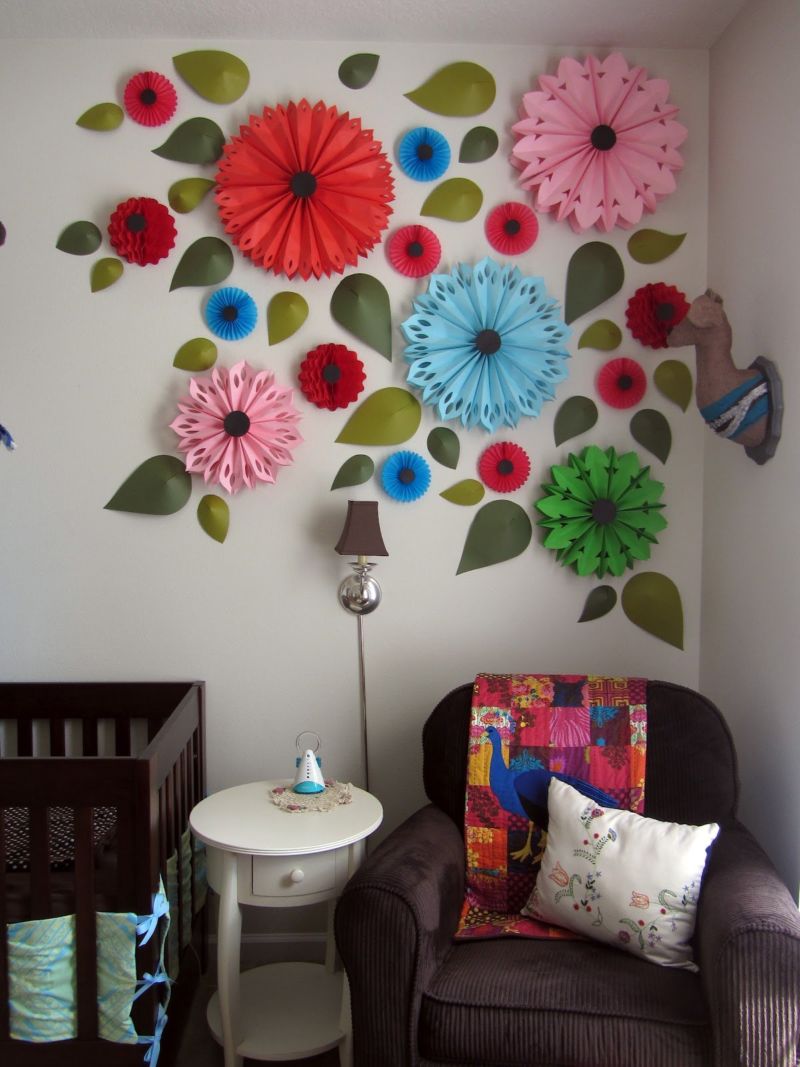
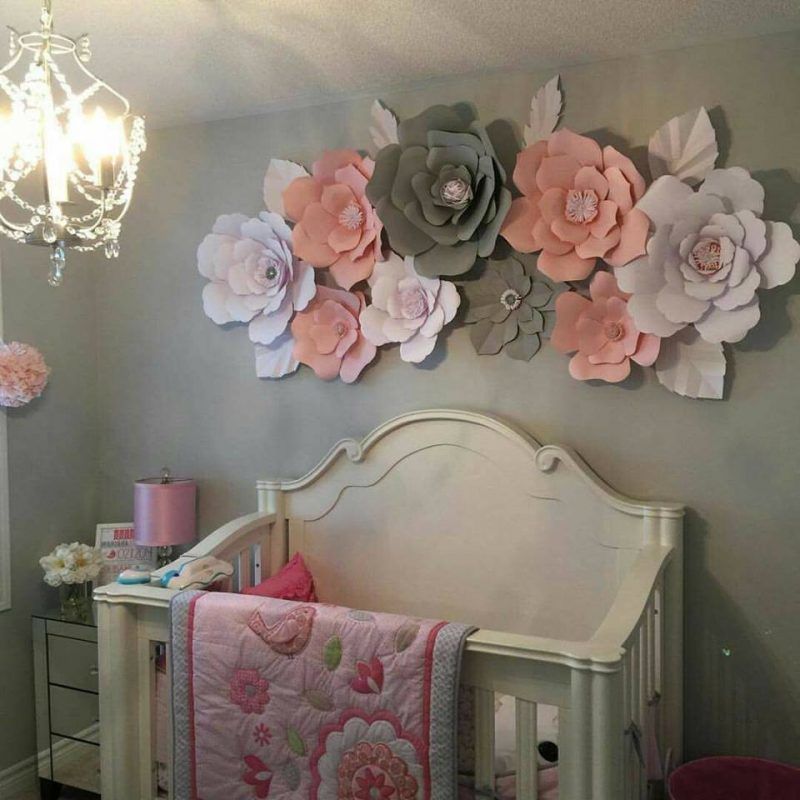
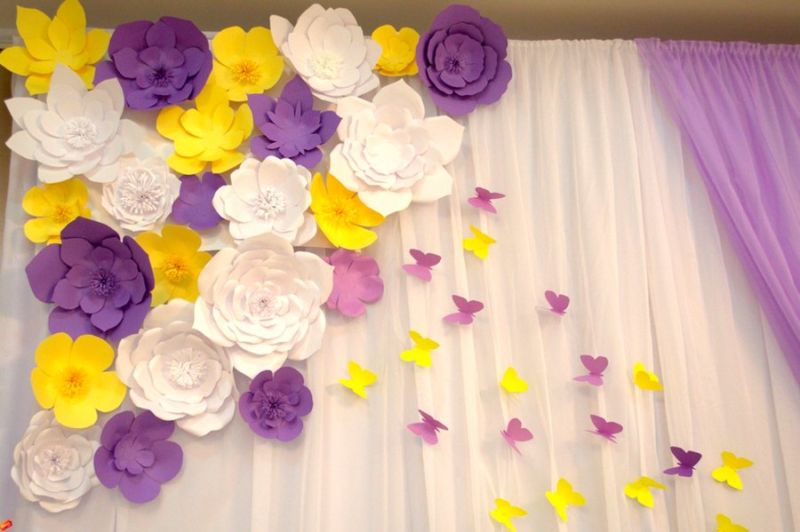
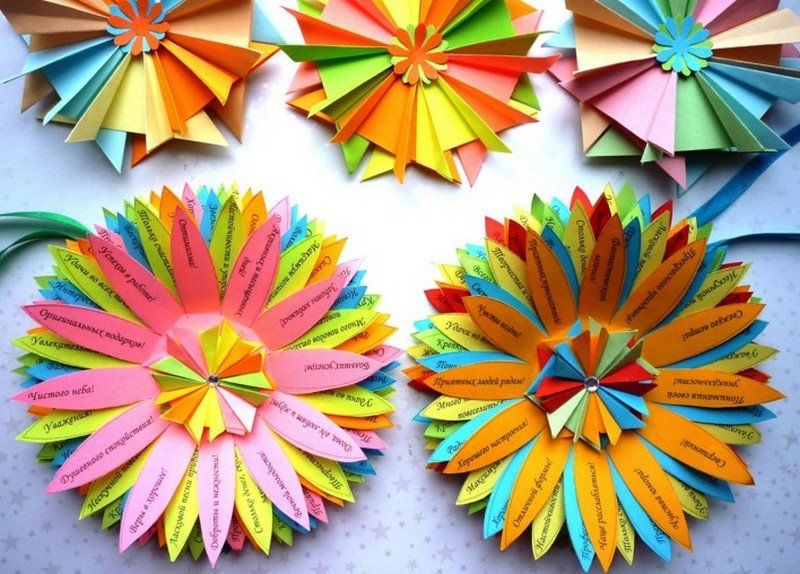
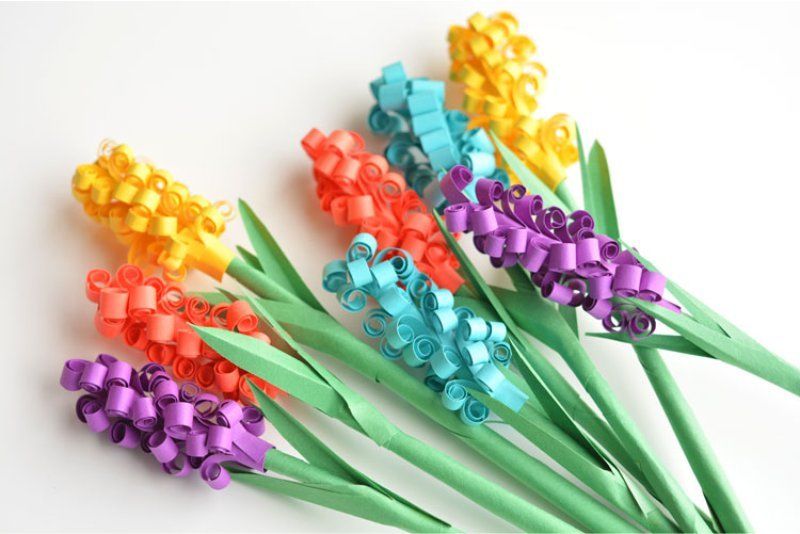
Unusual and beautiful picture-panels of different three-dimensional flowers from paper. For this technique is used "paper puff" or "spiral" and other methods.
Flowers are placed on paper, relying on their own artistic taste and sense of aesthetics, or inspired by other people's work.
Add different sized leaves, stems (if required by the picture) and get the original composition-applique.
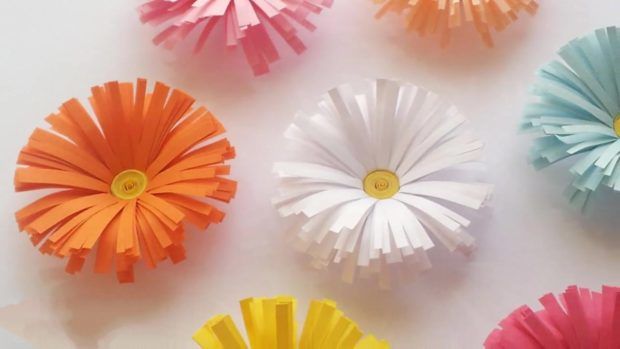
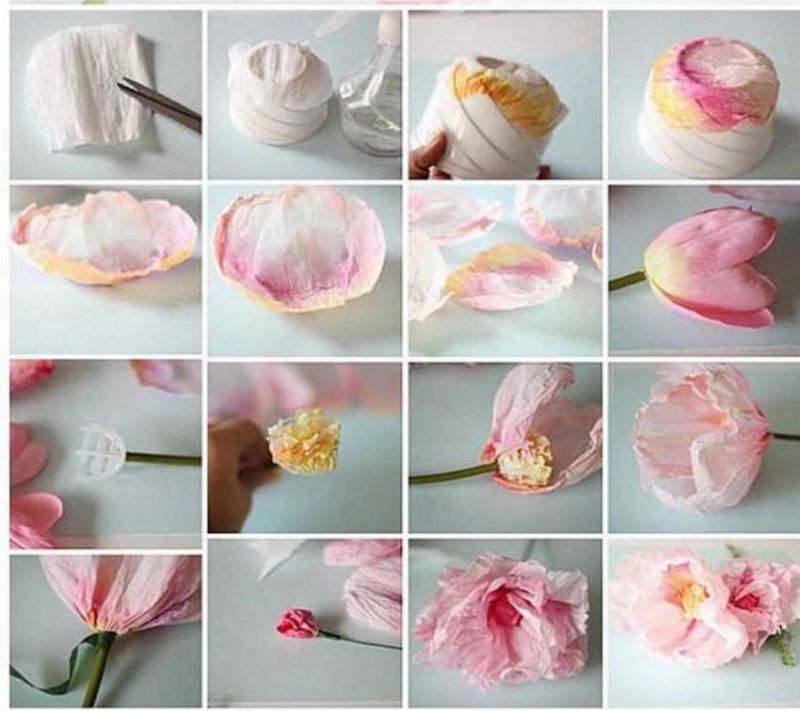
A simple flower from corrugated paper
To decorate a festive table or room, create simple flowers from corrugated paper. For this take:
- Corrugated paper in red, yellow or any other color (90 cm of paper per flower);
- scissors;
- PVA glue;
- wire;
- beads.

Creation method:
- Cut a long ribbon of 5-7 cm (for an average flower, but for larger plants, the width do more and the length of the ribbon, too) from the cloth.
- Fold the ribbon in half, then again in half and again in half until you get a strip of 8-10 cm.
- The edge of the strip on one side is trimmed with a zigzag.
- From the wire measure and cut off 15 cm (if desired more if you want a long stem).
- The beads are strung on the wire, leaving at one end of the future stem of 3-4 cm. A short wire segment is wrapped around a long wire under a bead, so it is well fixed and does not dangle on the wire.
- Start assembling the flower. To do this, the twisted base is coated with glue and glued one edge of the corrugated zigzag strip, twist the corrugation around the stem, not forgetting to fix it with glue, so that the flower will not disintegrate.
- When all the paper is wrapped around the stem completely, then the base is squeezed tightly and tighten the center of the flower around the bead.
- The floral ribbon is tightly wrapped around the base of the flower and the stem itself. Beautiful and bright decor is ready.
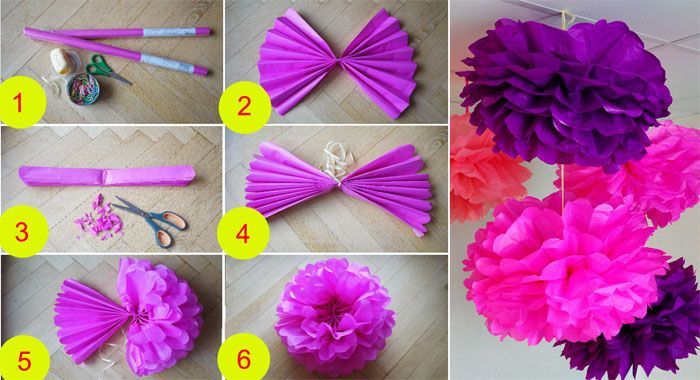
If you make the stem longer and attach leaves to the sides, you get a long flower on a stem. From such flowers in different colors can be assembled a great bouquet.
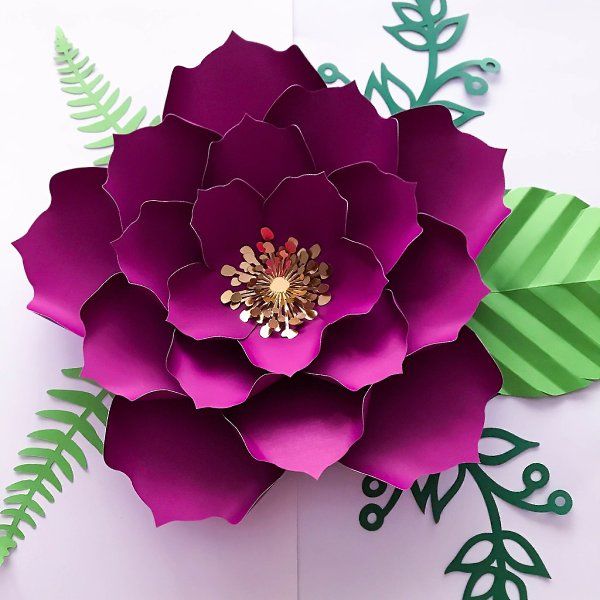
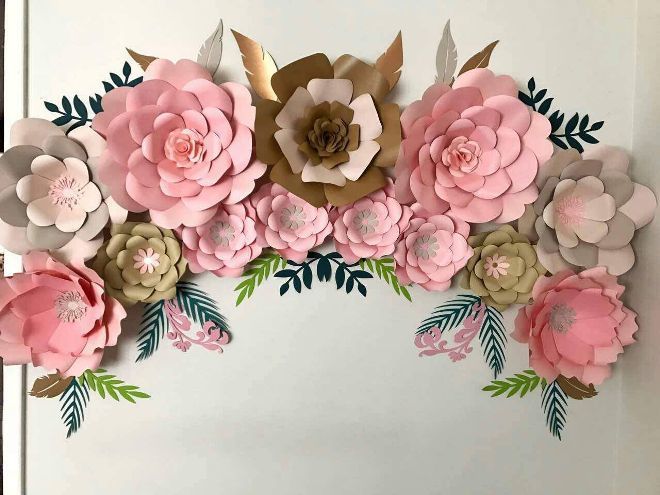
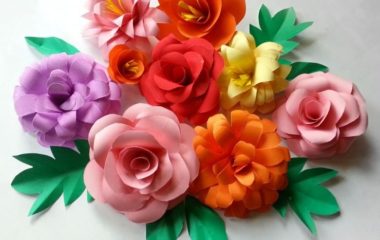
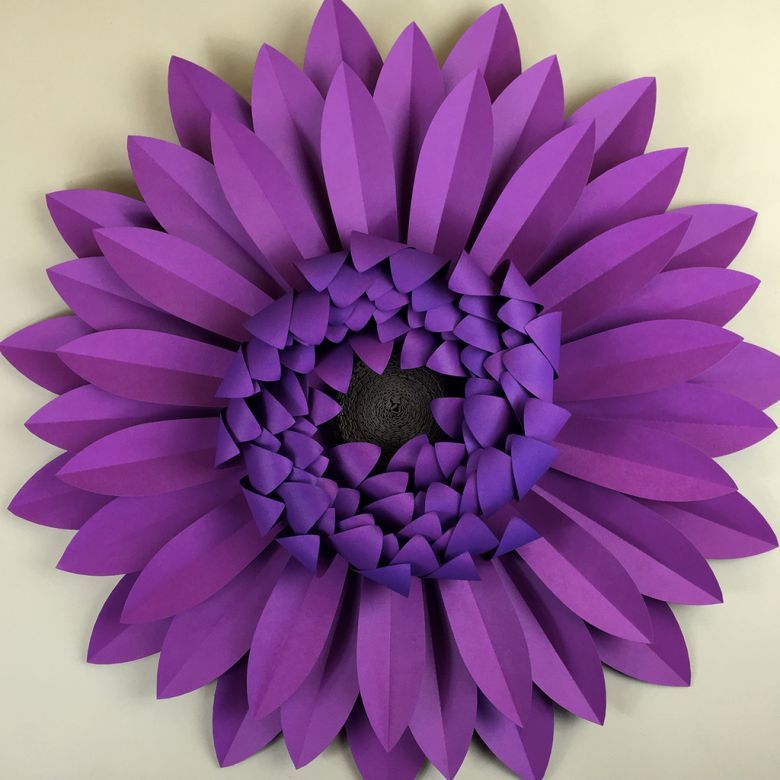
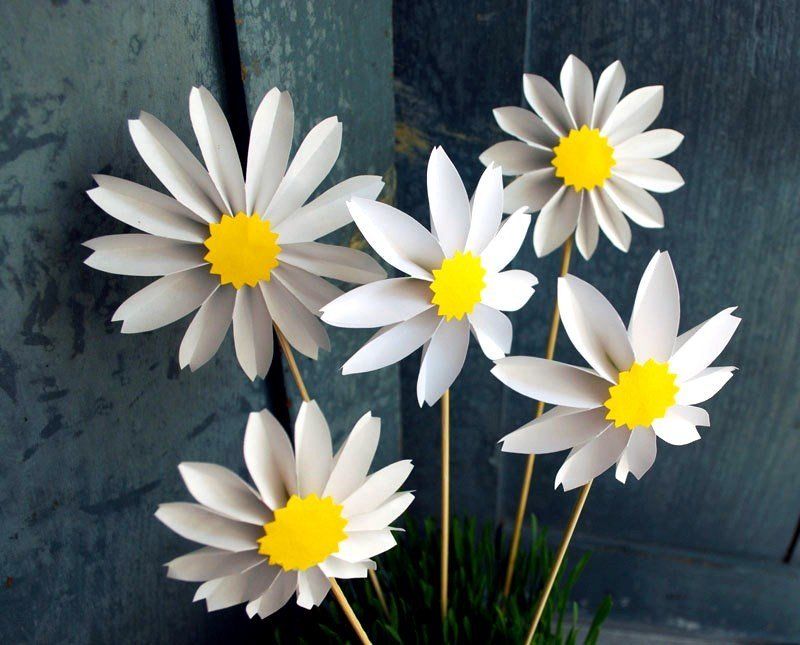
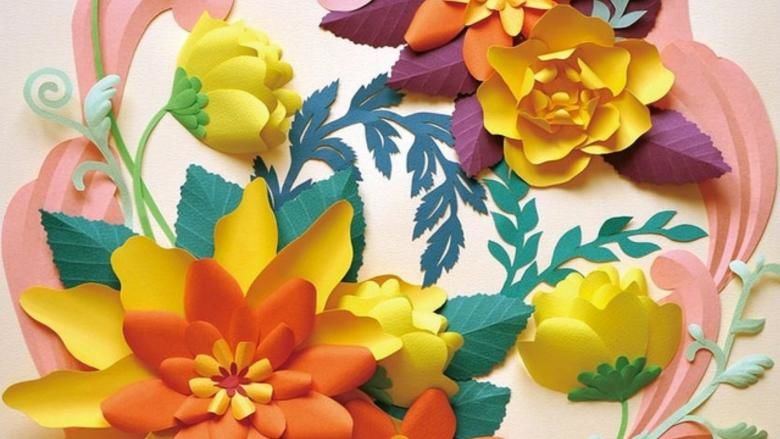
Volumetric flowers
To make a volumetric flower, several techniques are used.


Aster in the technique of "paper puff"
To make such a floral masterpiece will require:
- orange (or other color) colored or crepe paper;
- scissors;
- a simple pencil;
- glue.
Creation method:
- Cut 8*8 cm squares from paper. (for medium flowers), then respectively squares smaller by 1 cm next. The size will respectively be 7 * 7 cm, 6 * 6 cm, 5 * 5 cm, 4 * 4 cm, 3 * 3.
- All squares are added in half and again in half.
- Draw a petal on one side and cut along the contour. The edges of the petals sharpen.
- Then glue layer by layer, starting with the largest and ending with the smallest.
- The edges give the natural appearance of a living plant, bending slightly in the middle. A beautiful bright aster is ready!
You can make a multicolored one if you mix layers of paper different in color.
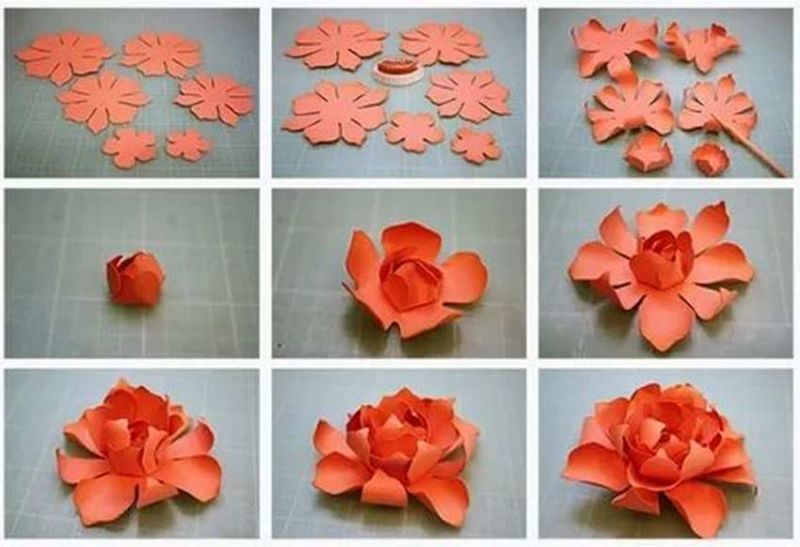
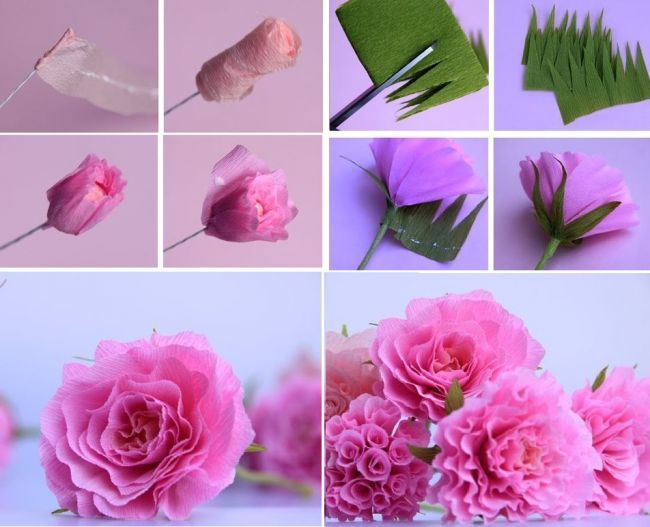
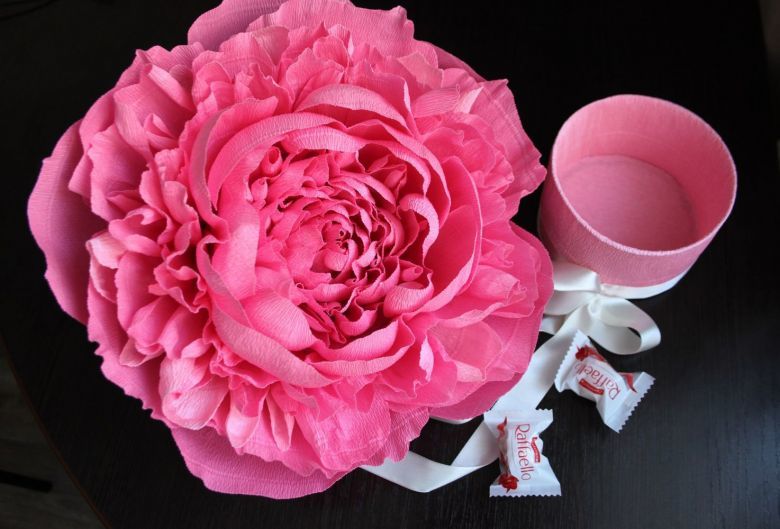
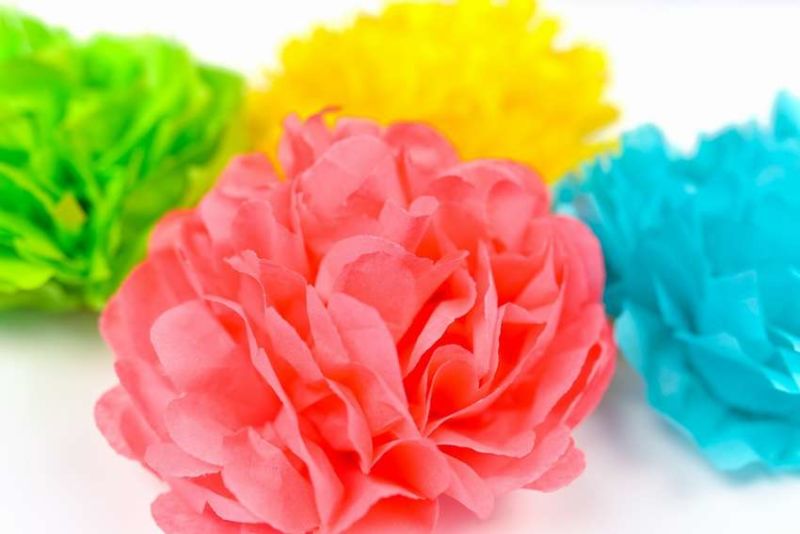
Peony from crepe paper
In making a peony, a slightly different technique of creating volume is used. The petals are not layered on top of each other, but multiple layers of paper are cut into strips and spread out to simulate puffiness.
To "blossom" a beautiful peony from paper, take crepe paper, cut a strip of desired length and width (depending on how big the bud will be), fold it in several layers and make incisions-petals at the top and bottom, not reaching the middle.
They cut out the petals, fold the strip and tie it in the middle with string. Then spread out neatly each petal.
Lush bright peony ready!
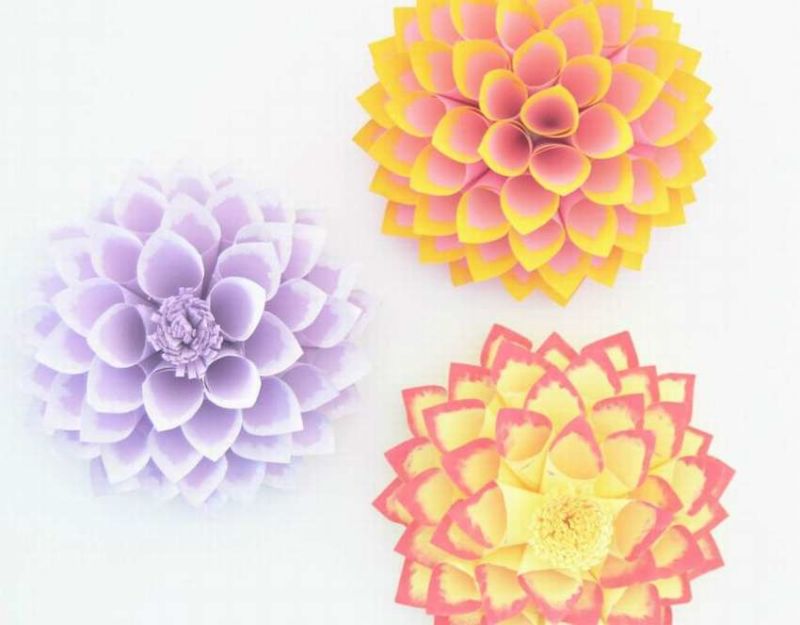
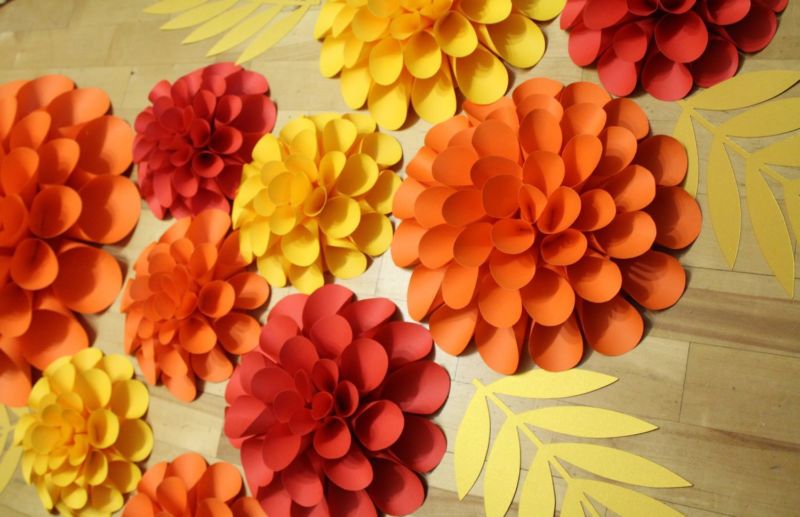
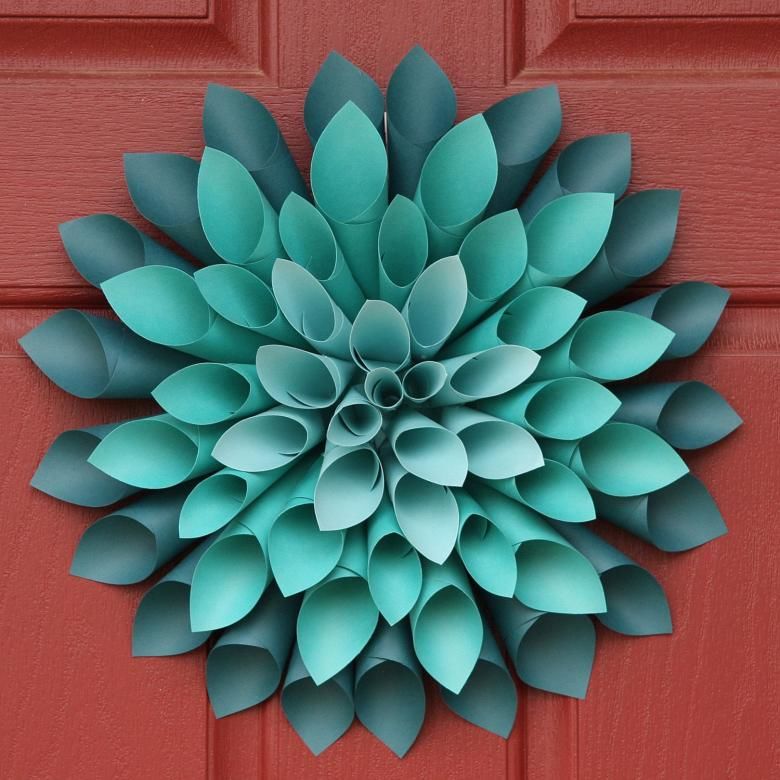
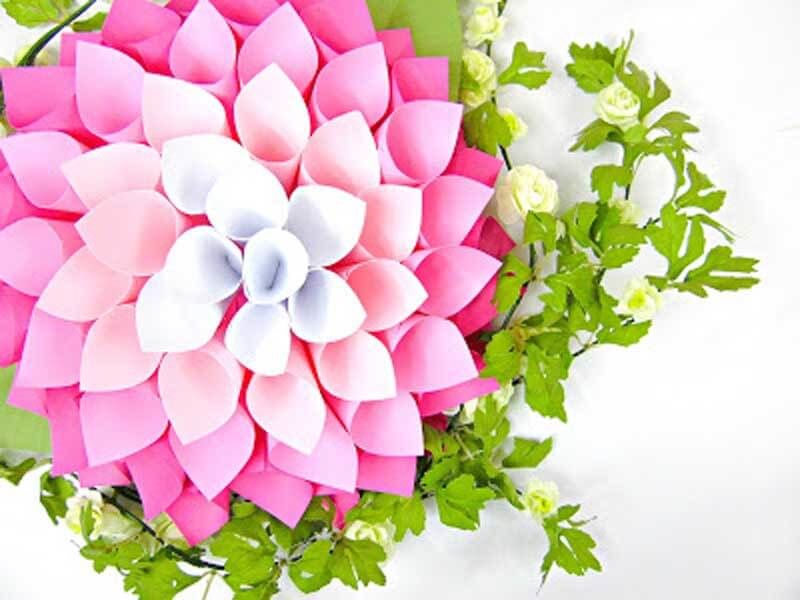
Dahlia from paper petals-squares
Making dahlia also occurs in layers, but the assembly needs to glue each petal. They take the paper and cut squares of it, which rolls into a cone-cup.


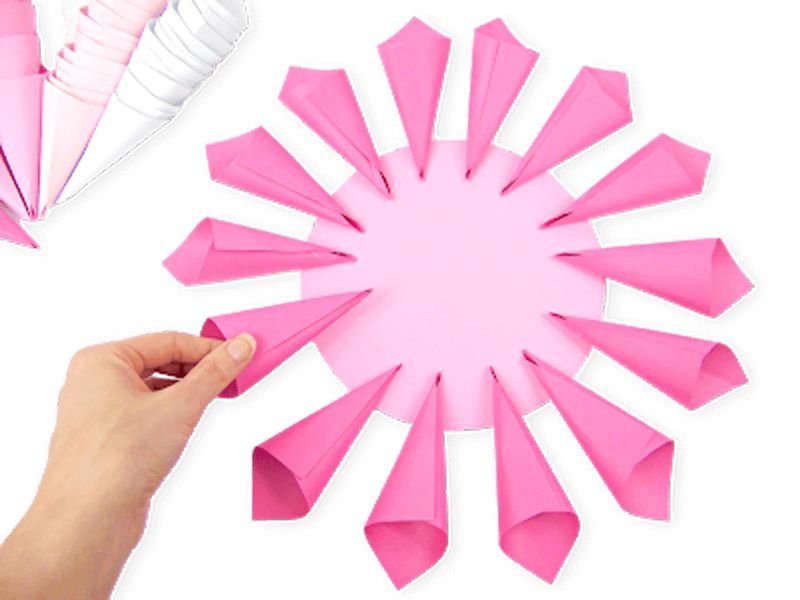
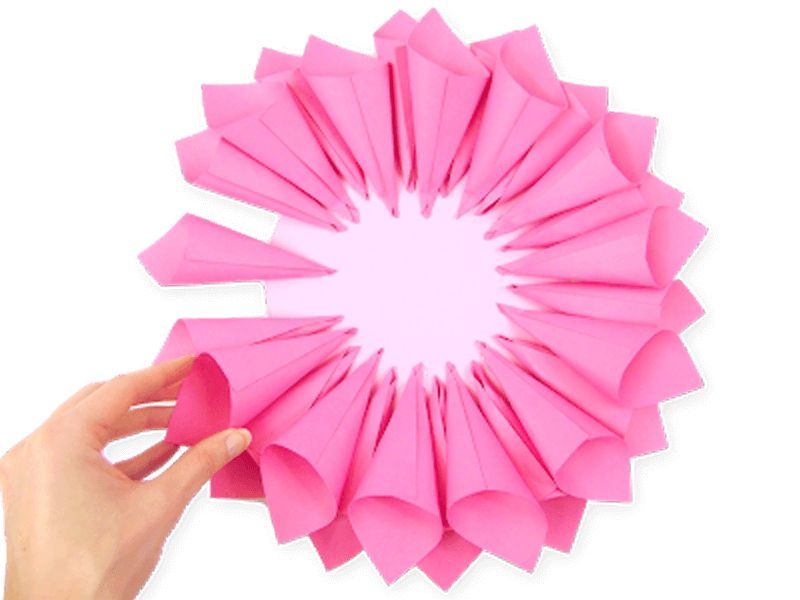
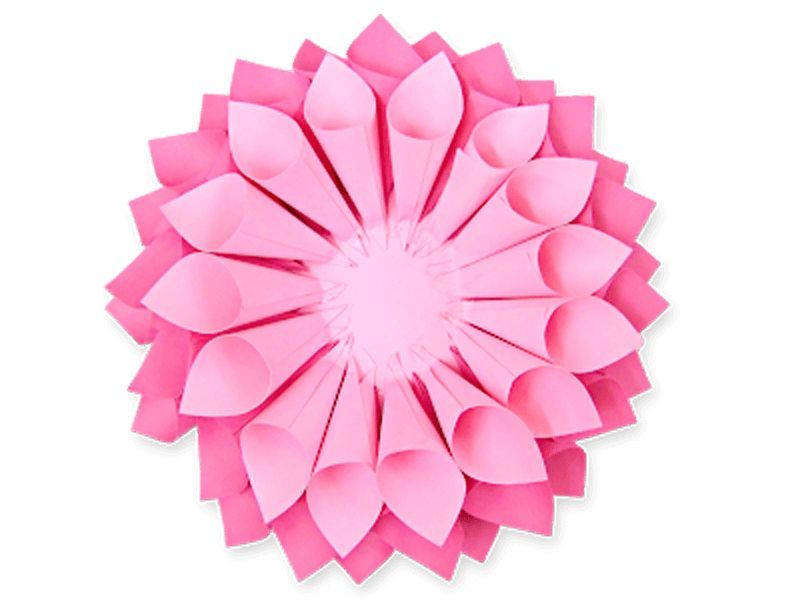
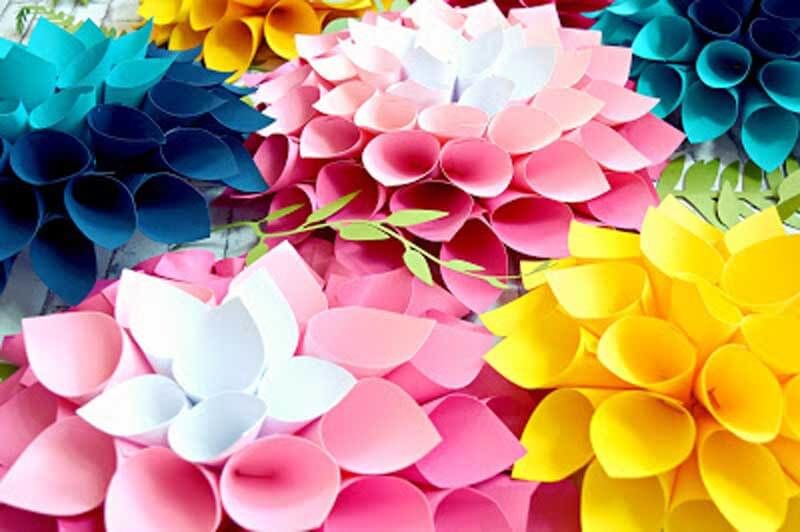
At the base of the circle glued alternately in a circle of each cone, gradually filling in layer by layer, trying not to make gaps. Of these dahlias with peonies, with the addition of various dimensional leaves are beautiful combination-applique for decorating the rooms.
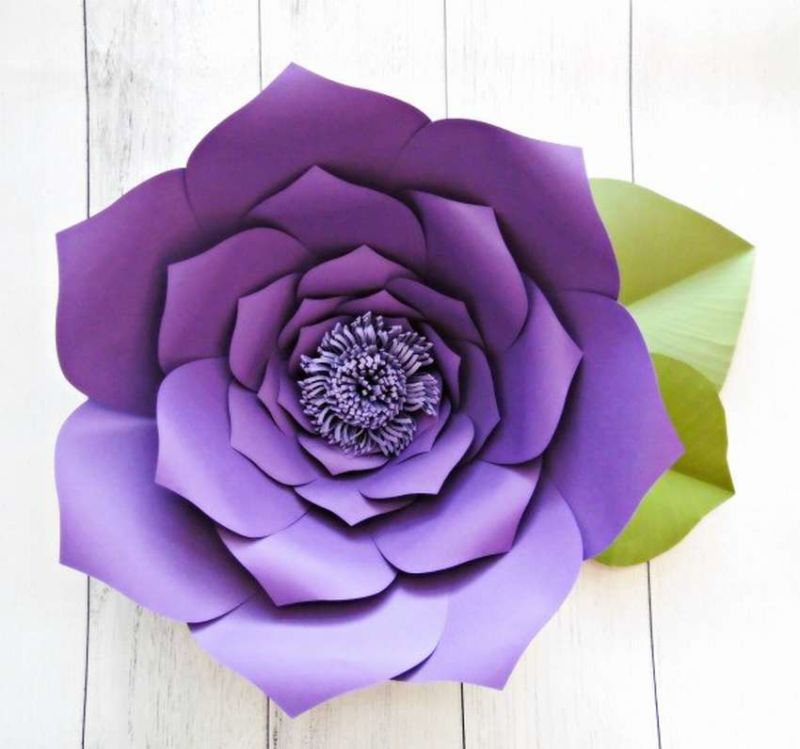
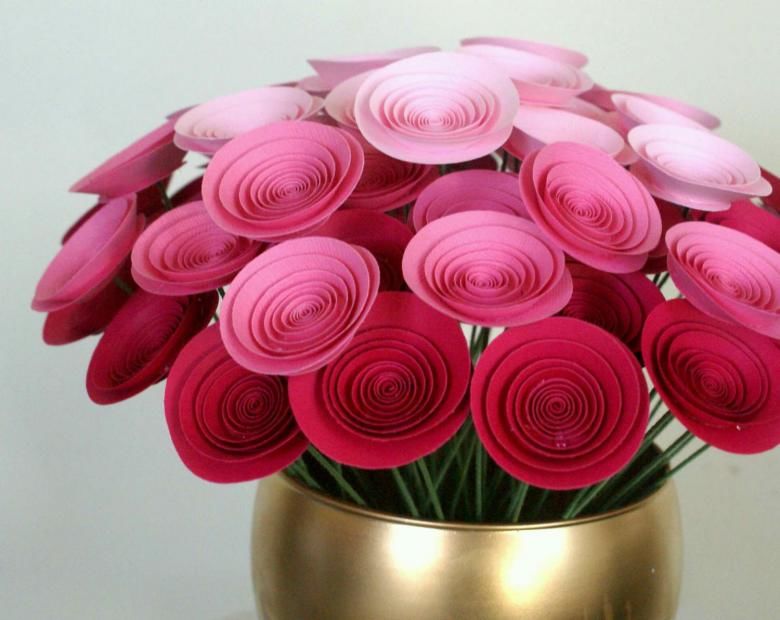
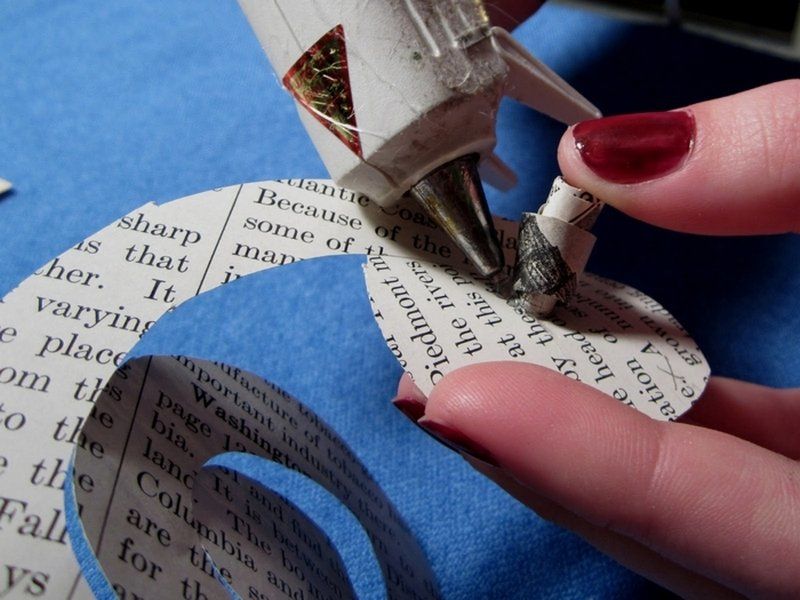
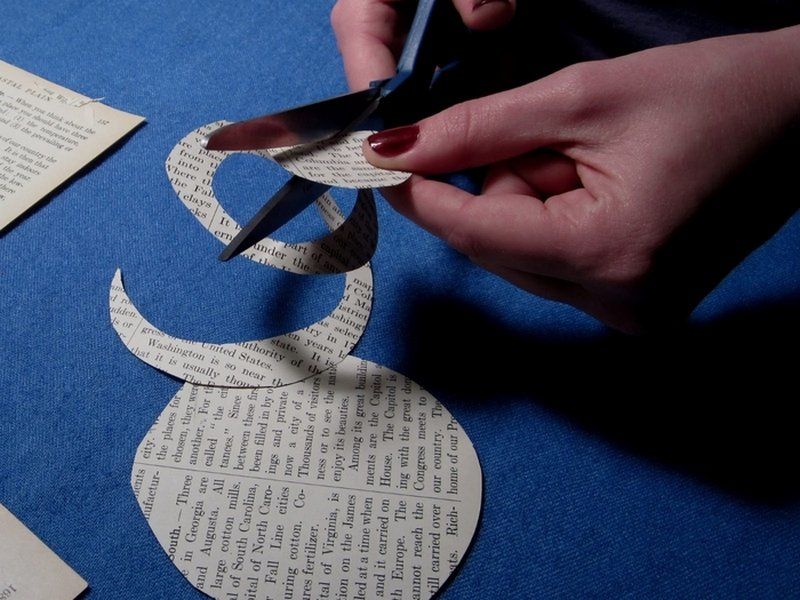
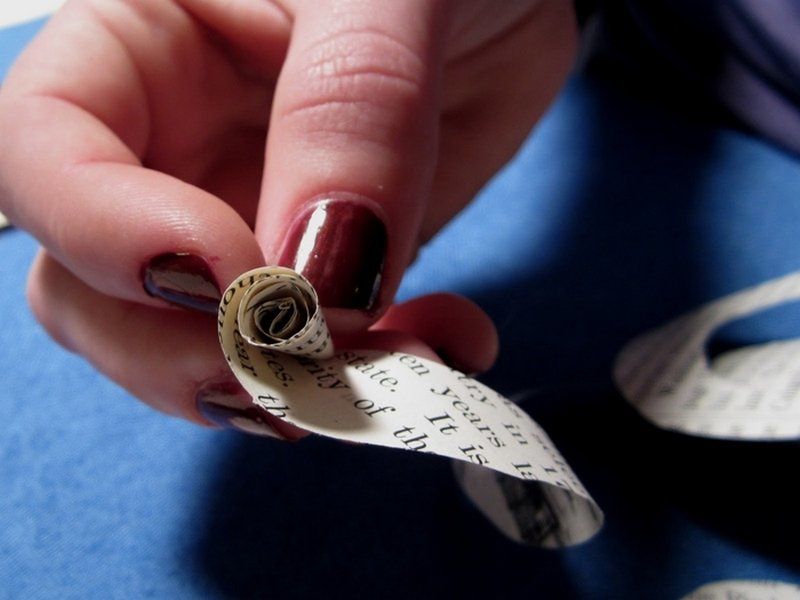
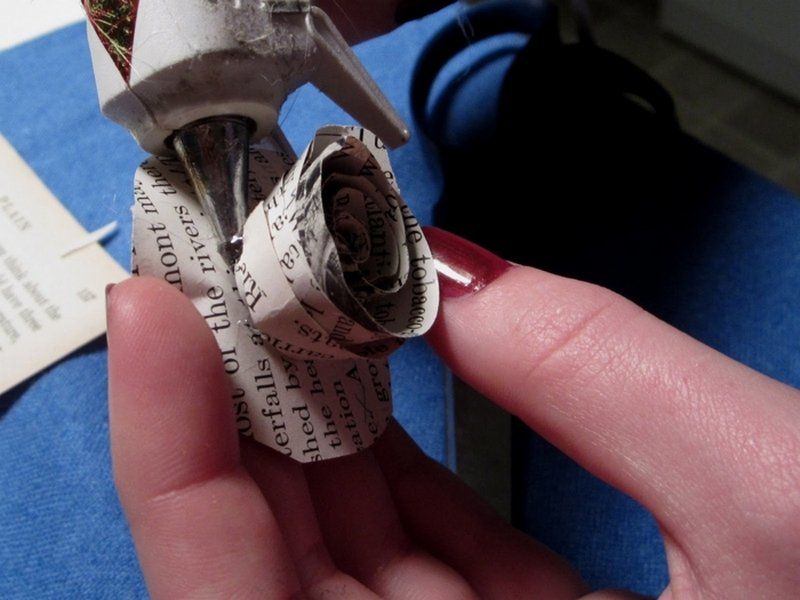
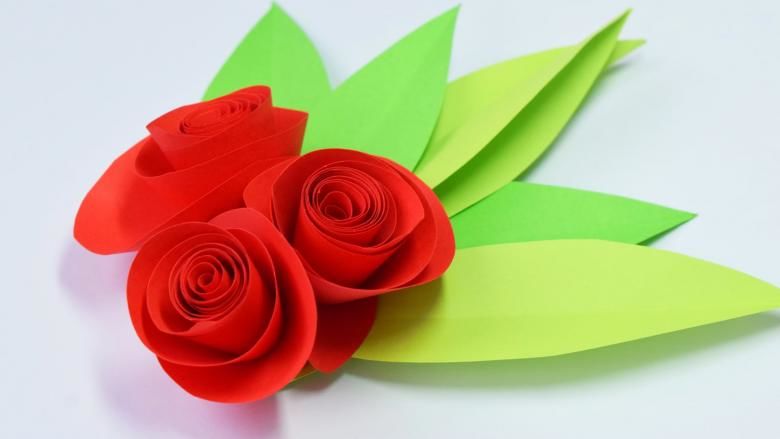
Spiral Rose
Another technique for creating a three-dimensional flower. This time, a rose:
- On colored paper (it is better to take a thick paper) draw a spiral in a circle and then cut it out.
- Roll it up, giving the shape of a rose.

You can glue the bud to the stem of a wooden skewer. In this case, the inner edge of the spiral glued directly to the "stem".
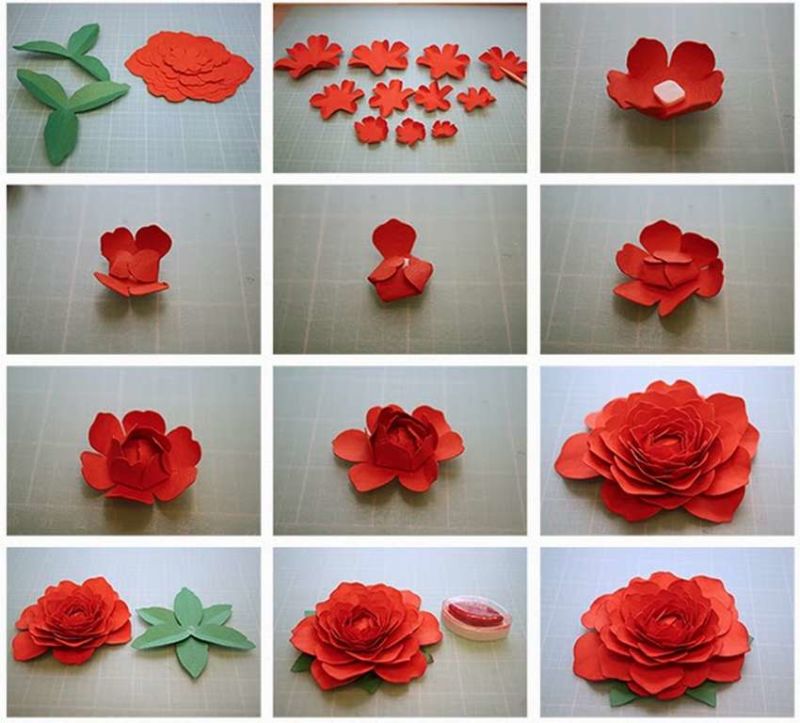
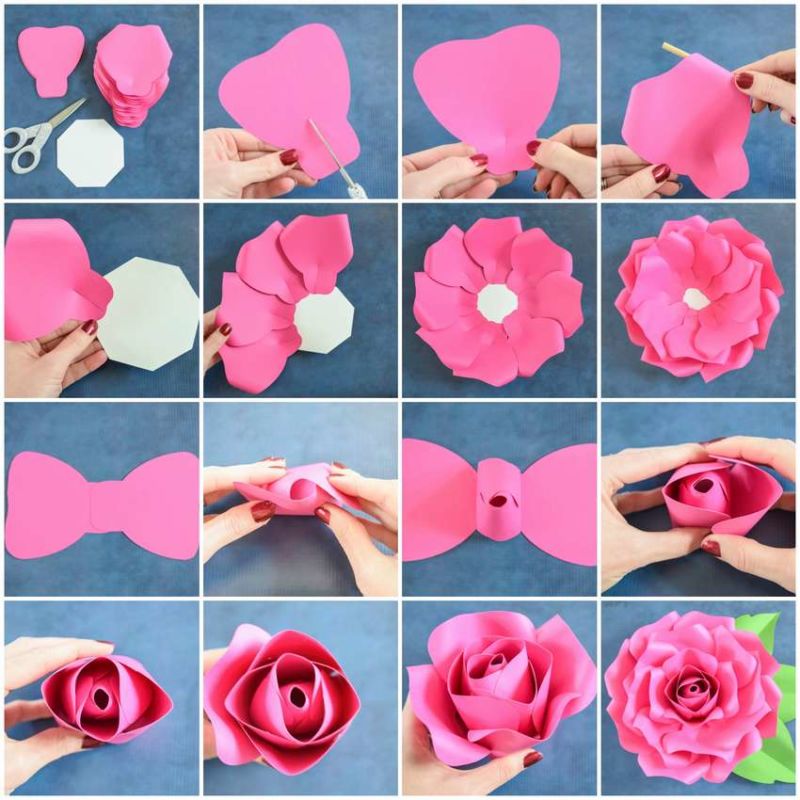
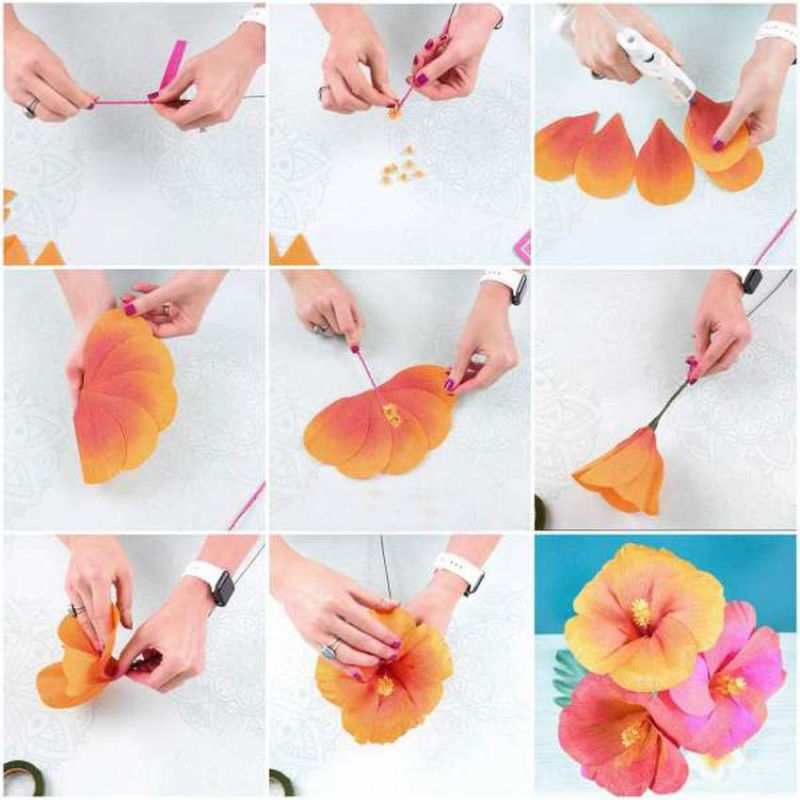
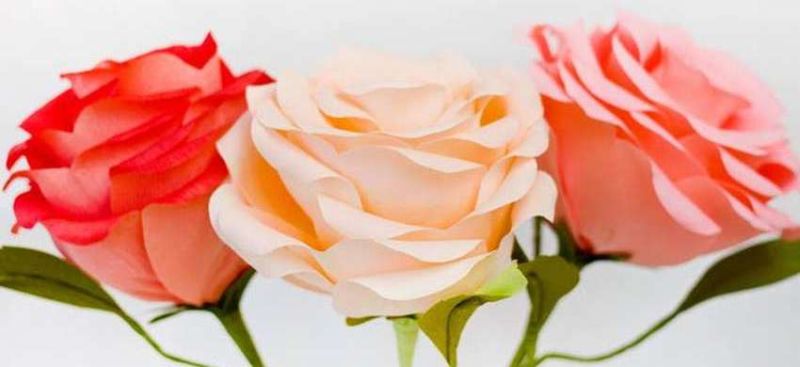
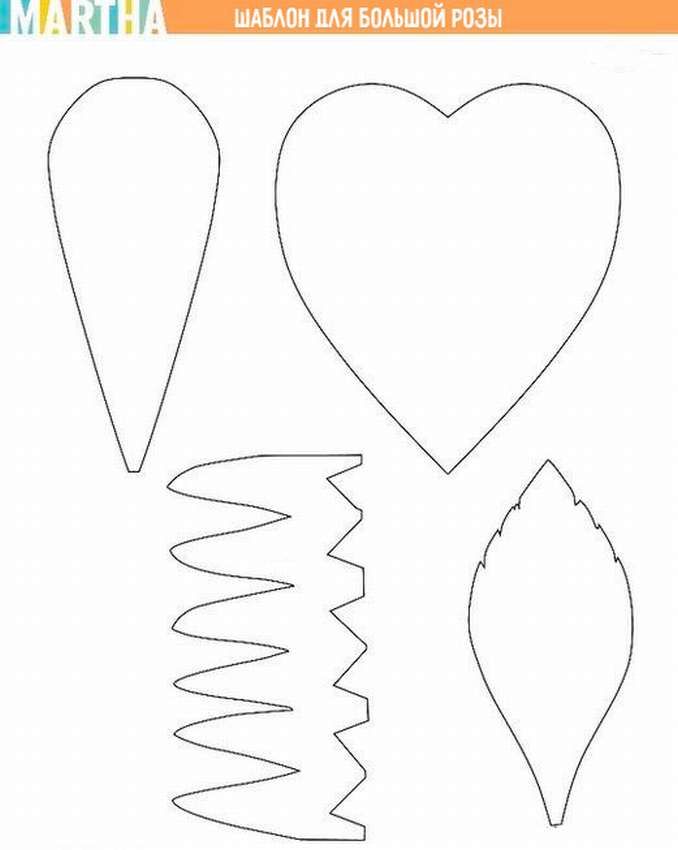
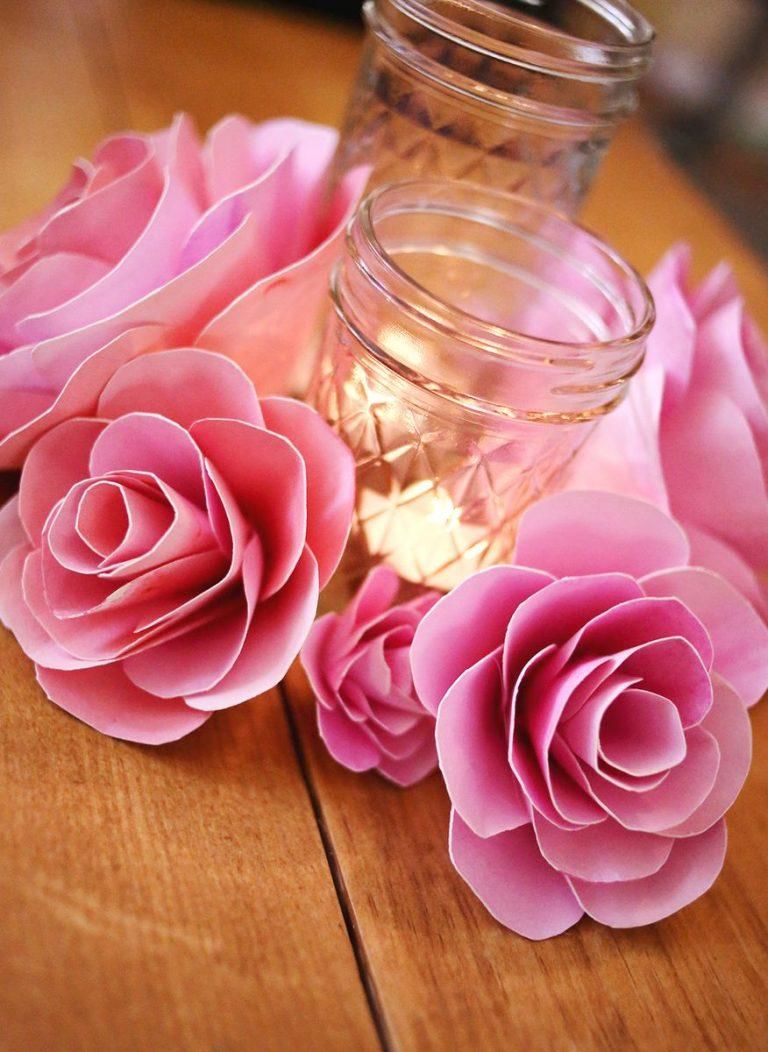
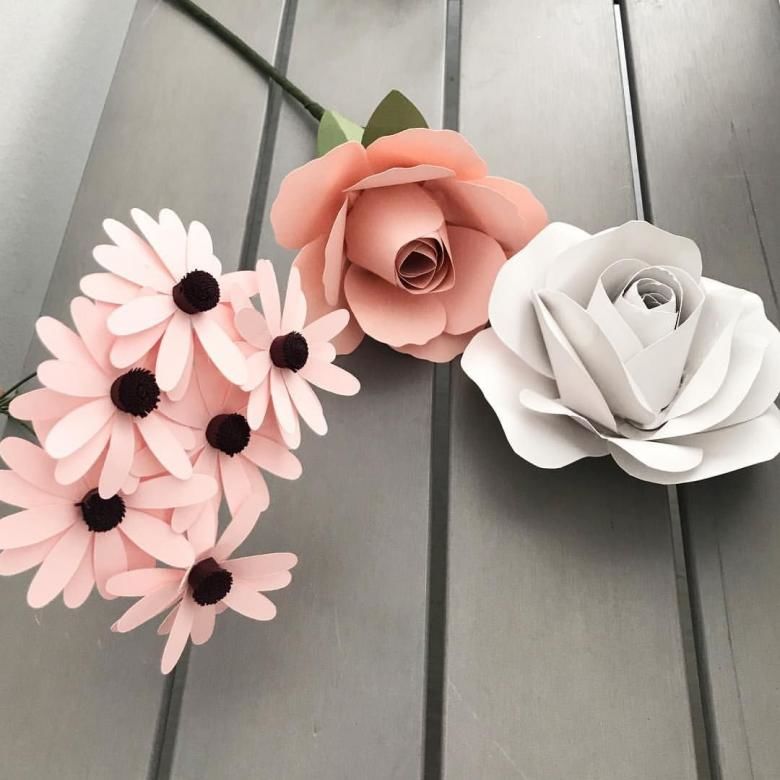
Rose of colored paper
To make a large beautiful rose, you will need:
- colored pink paper (thick);
- scissors;
- glue;
- pencil.
Creation method:
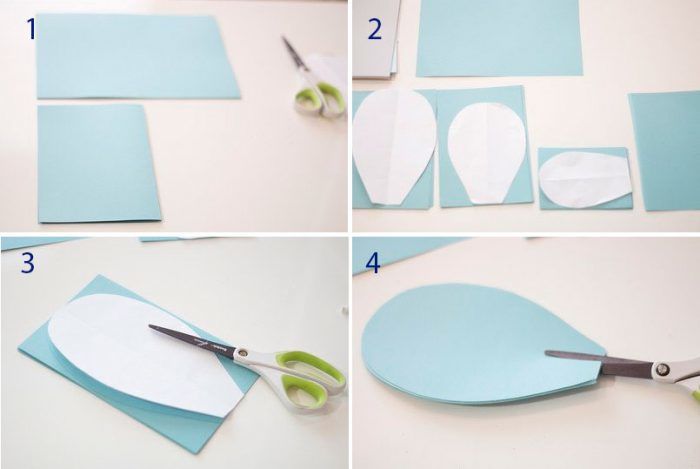
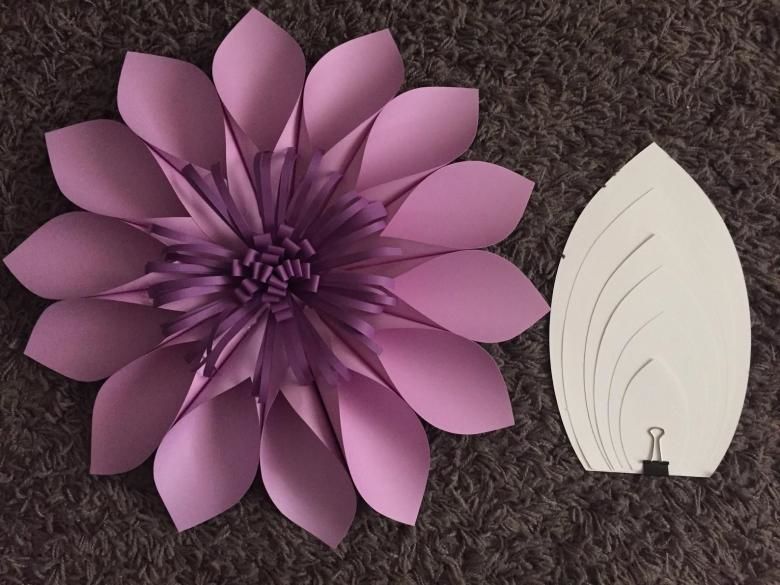
- Rectangles are cut out of pink paper, and equal petals are drawn on them (or outlined on a cardboard template prepared in advance).
- At the bottom make a small incision, the edges of which are glued overlap to add a naturalistic form of petals.
- Cut out a piece of white cardboard in the form of a hexagon.
- Start assembling the rose, gluing about 8 pieces in each circle, with the edges of each should go behind each other.
- In the middle of a lush rose, attach an unopened bud made from the same blanks by twisting the first tube-petal and gluing on it (as if wearing in an overlapping circle) a few more rose petals.
- Using a wooden needle or pencil, give the rose a natural look by twisting each petal from the inside.

Such a rose looks very spectacular and will please your loved ones for the holidays.
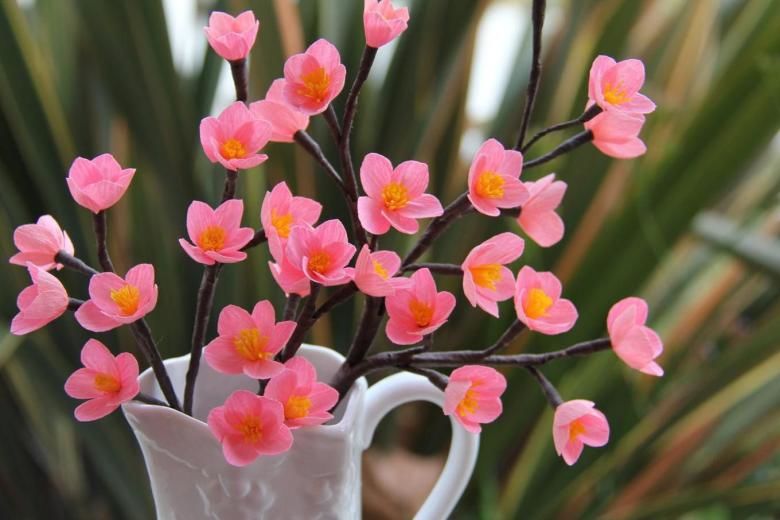
Easy bouquet
Theoretically, you can assemble a bouquet from almost any paper flowers, which are easy to plant with glue on a skewer or fasten with wire.
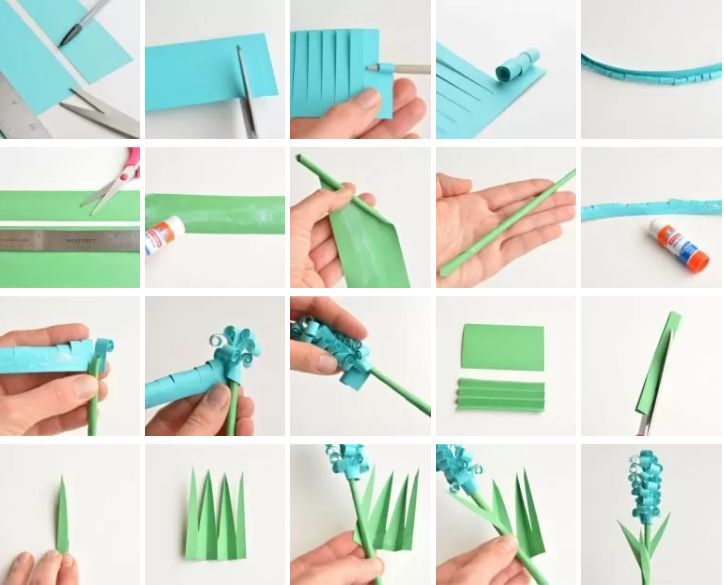
For an easy bouquet, colored spiral roses on wooden sticks or even on twigs of trees, to which green leaves are attached, will work great.
It would be nice to combine in a bouquet of different flowers, made in a simple technique, and add to them artificial grass.
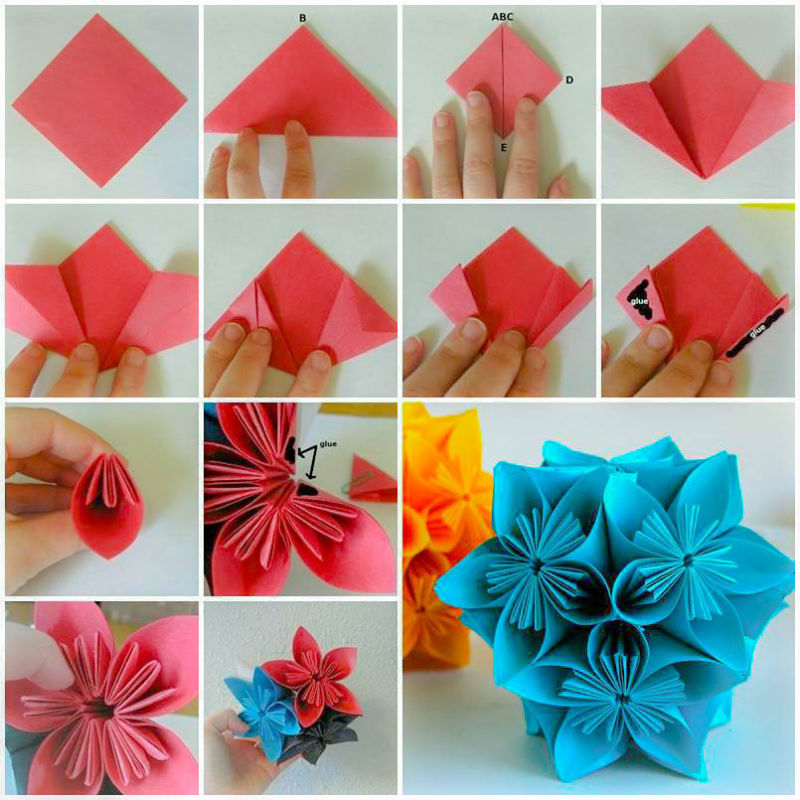
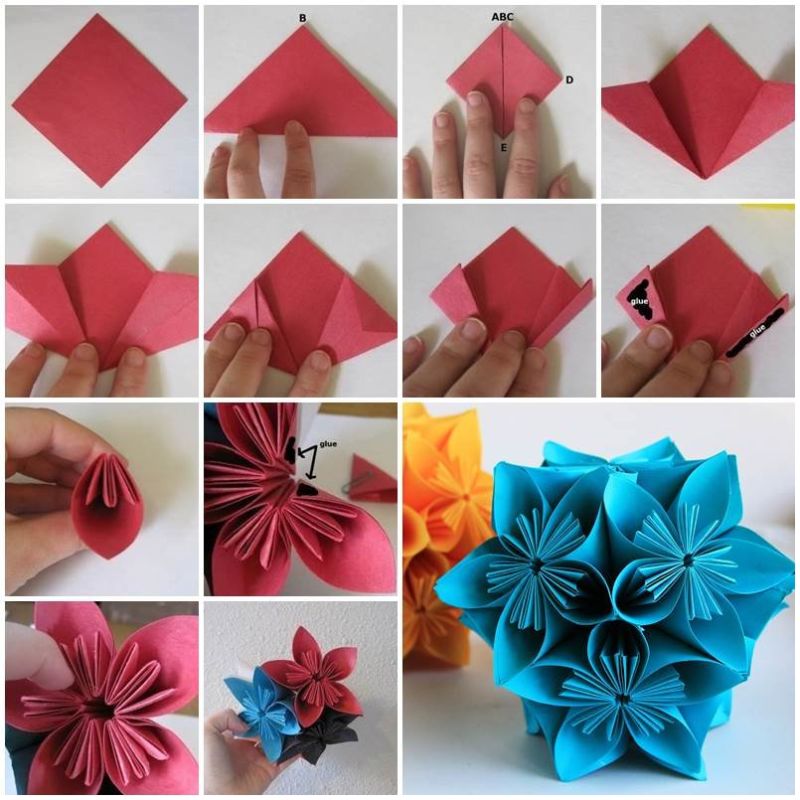
Origami
In the art of origami is not difficult to make a daisy. For this purpose, prepare a white sheet of paper and cut it into squares:
- A rhombus with bent edges is folded from the square.
- The workpiece looks like an airplane, which just started to make.
- Need to make more petals to get a beautiful daisy.
- Similarly, fold the leaves. Petals glued on a round base.
Flowers from muffin cups
Paper cupcake molds are great for creating flowers. For the craft will need the following:
- Several pieces of mini cupcake molds of different sizes;
- absorbent cotton;
- scissors;
- floral wire;
- glue;
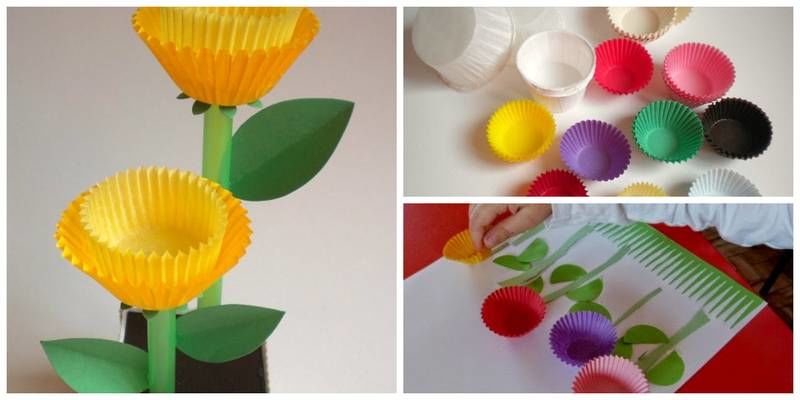
To begin, form the middle - stamen:
- To do this, take absorbent cotton (or a piece of Styrofoam, or cloth) and wrap it like a candy in a paper mold. Or you can, if you want, in colored paper of a different shade.
- From the wire make a flower stem and on it fix a ball.
- Next, rectangles-petals are cut out of molds and glued each petal to the ball in turn.
- Then the stem and base of the flower is wrapped with green ribbon. The flower is ready!
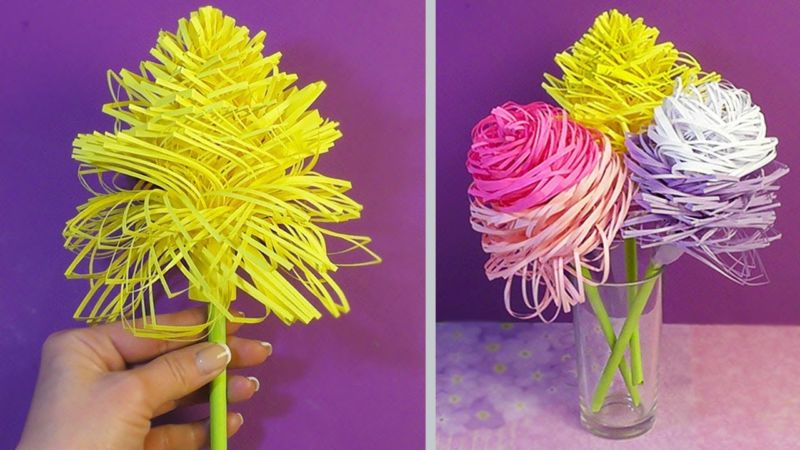
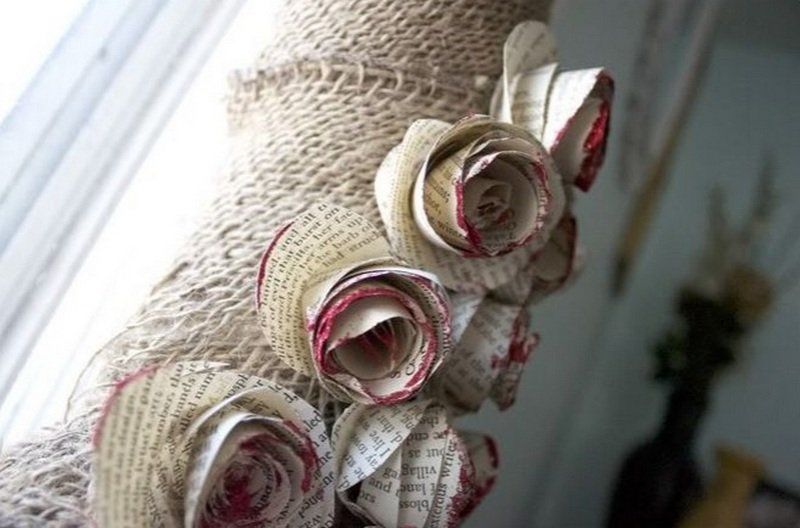
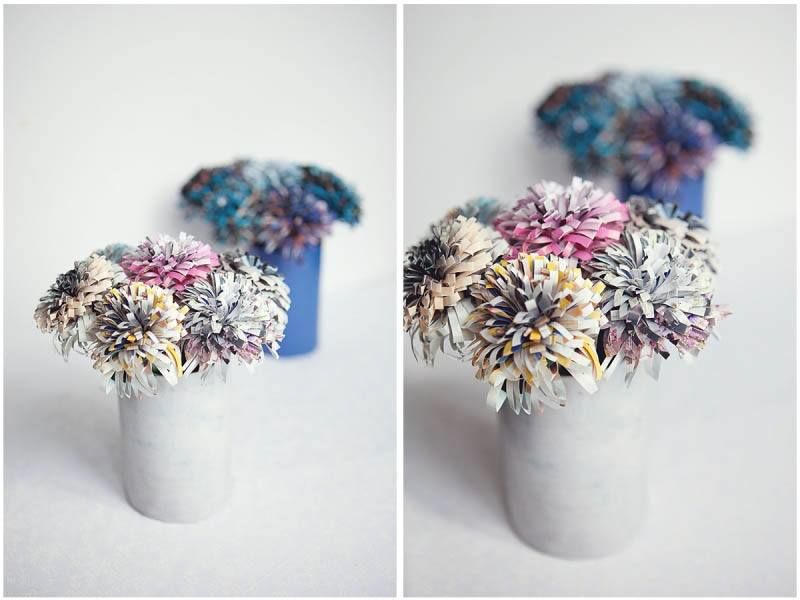
From newspaper
Very original look artificial paper flowers, if instead of the usual colored or corrugated paper, take newspapers. In this style, you can make a lot of floral crafts. This is a spiral rose, and aster with pointed petals, and dahlia, collected from tube-cone, etc.
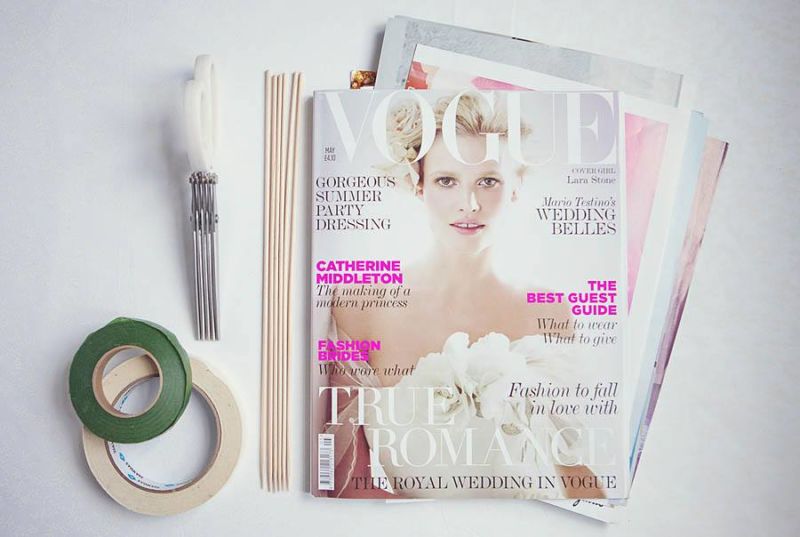
From a glossy magazine.
Give a second life to old and unnecessary glossy magazines by making flowers out of them. To make an original craftsman will be required:
- magazines;
- skewers;
- PVA glue;
- a special ribbon for flowers;
- scissors (or scissors-shredders to create a lot of notches).
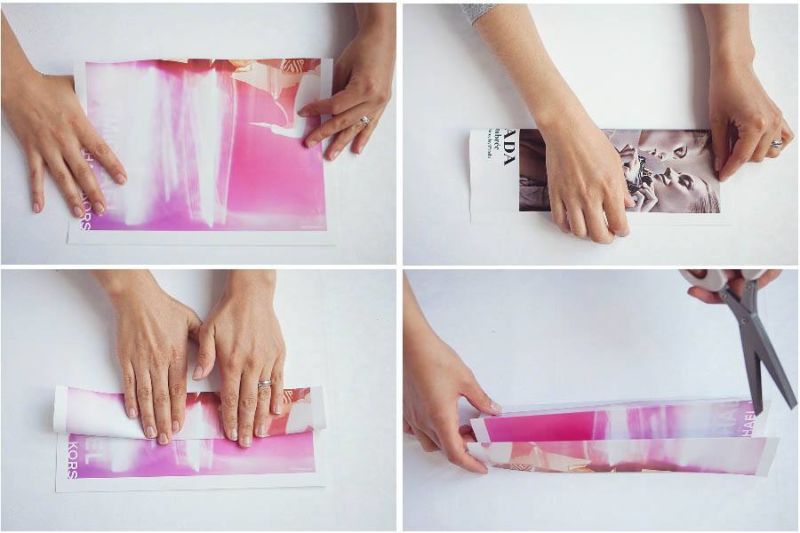
Method of making:
- Cut out or tear out magazine pages in matching colors.
- Fold magazine sheet vertically into three folds.
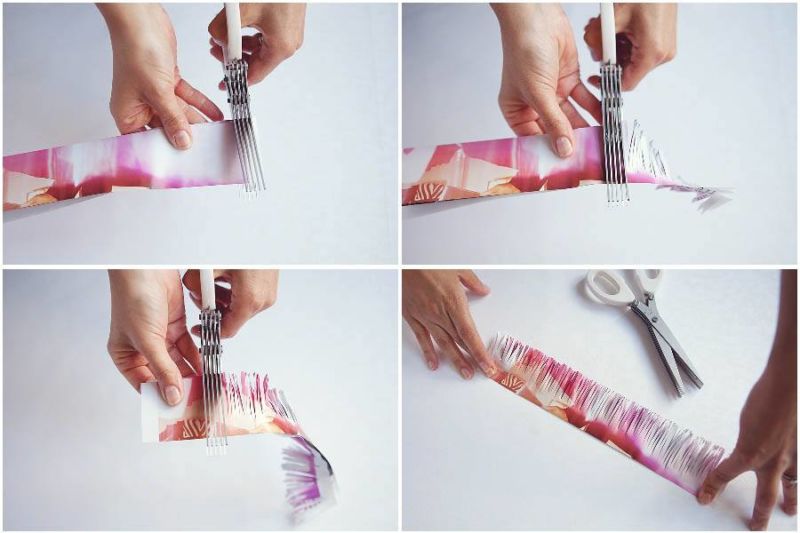
- Using scissors along the entire length of the sheet, but only on one side, cut many strips about 0.5 cm wide without cutting all the way through, leaving 1 cm to the edge.
- Then take a wooden stick (skewer) and fix the cut page on one edge. Start winding the paper on a skewer.
- Floral ribbon forms the base of the bud and wraps the entire stick-stem.
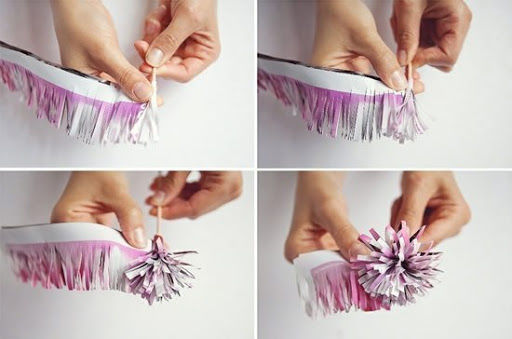
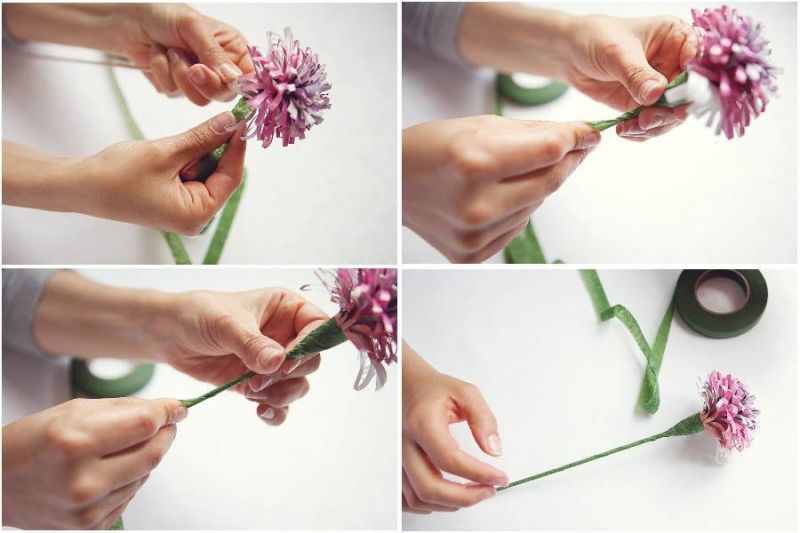
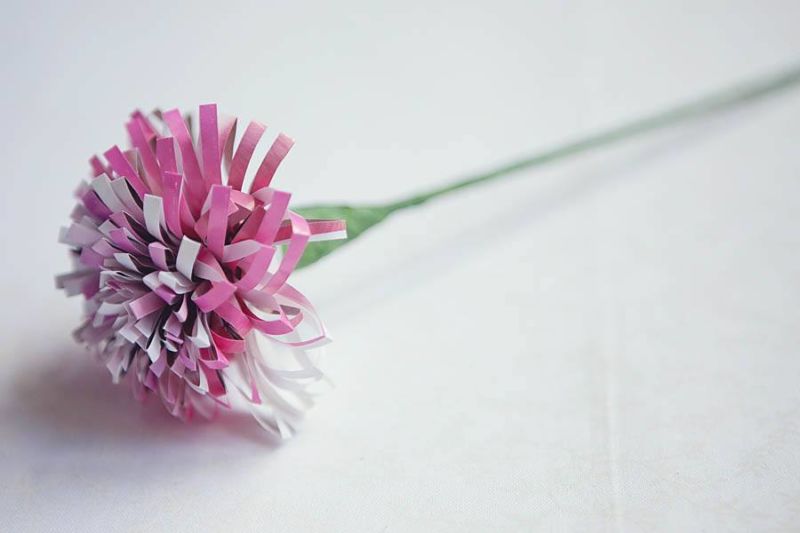
Beautiful and original such flowers from magazines look in a bouquet in a vase.
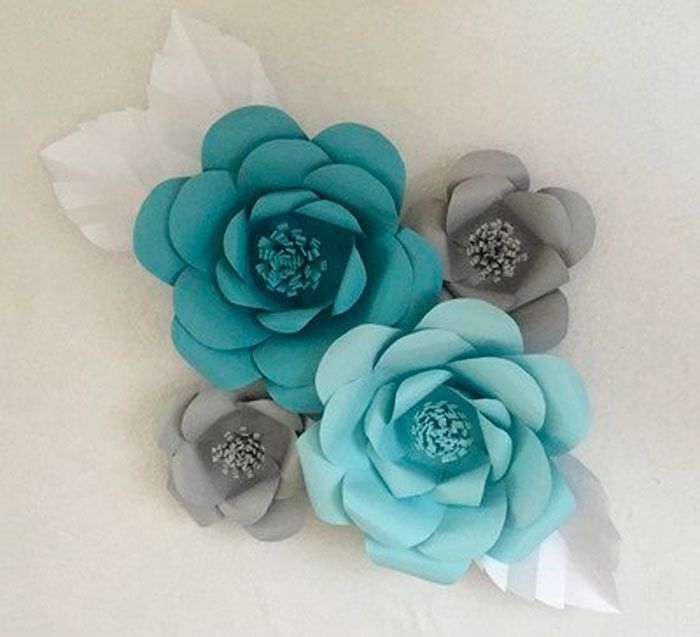
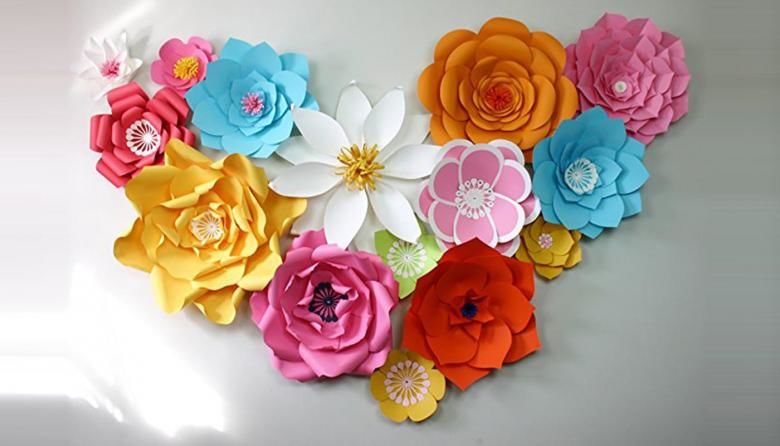
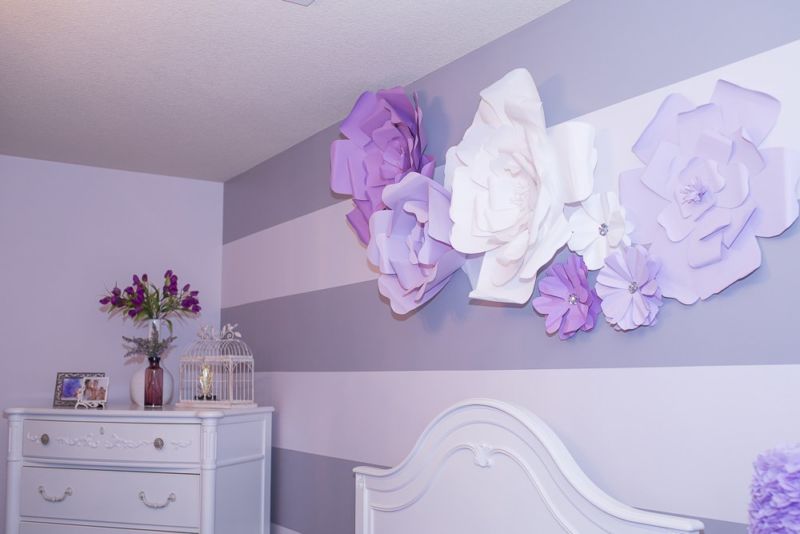
When you want to cheer yourself up or create a cozy romantic or festive atmosphere, paper flowers can help.
Some masters are so skillfully make flowers from paper that flowers can look better than live ones. They can help make a boring interior original, beautifully congratulate on a holiday and make this world a little more beautiful.
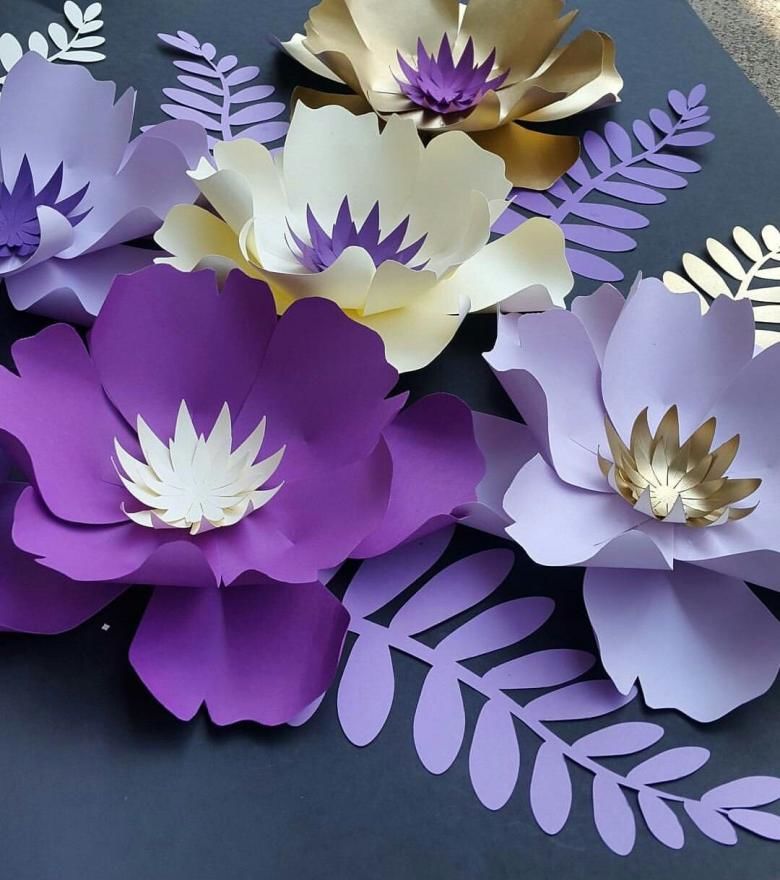
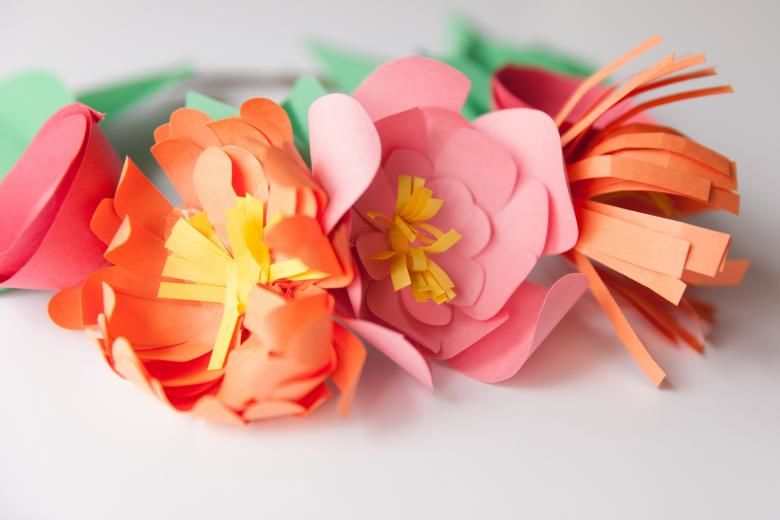
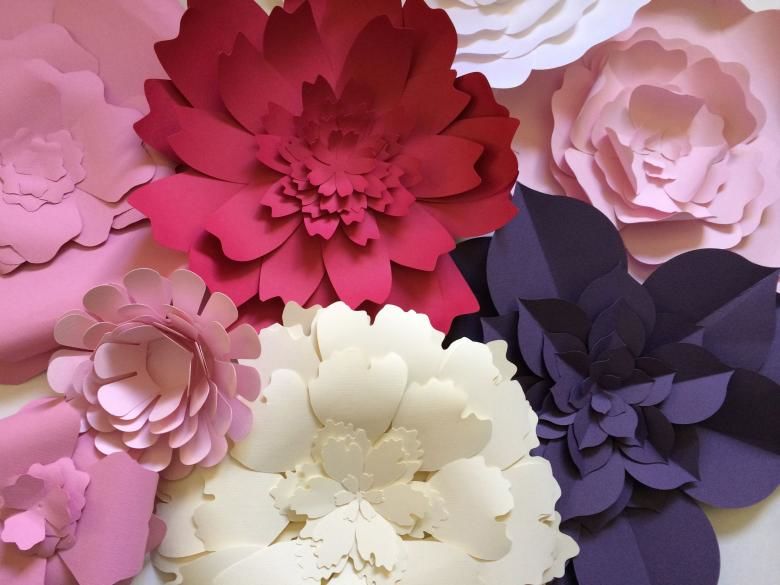
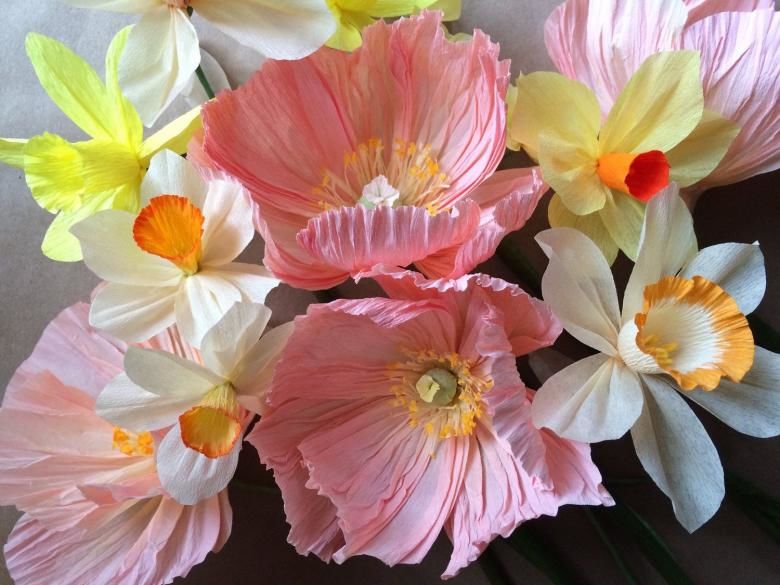
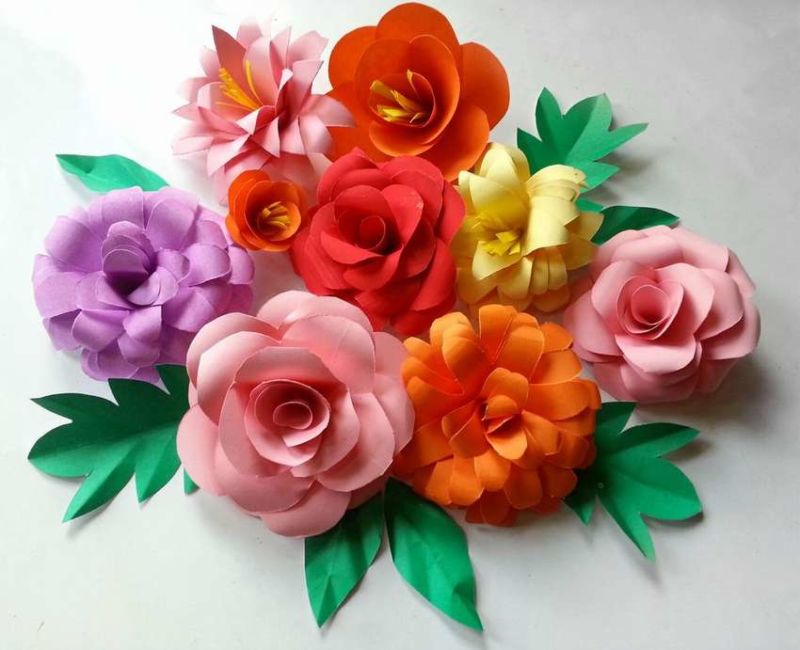
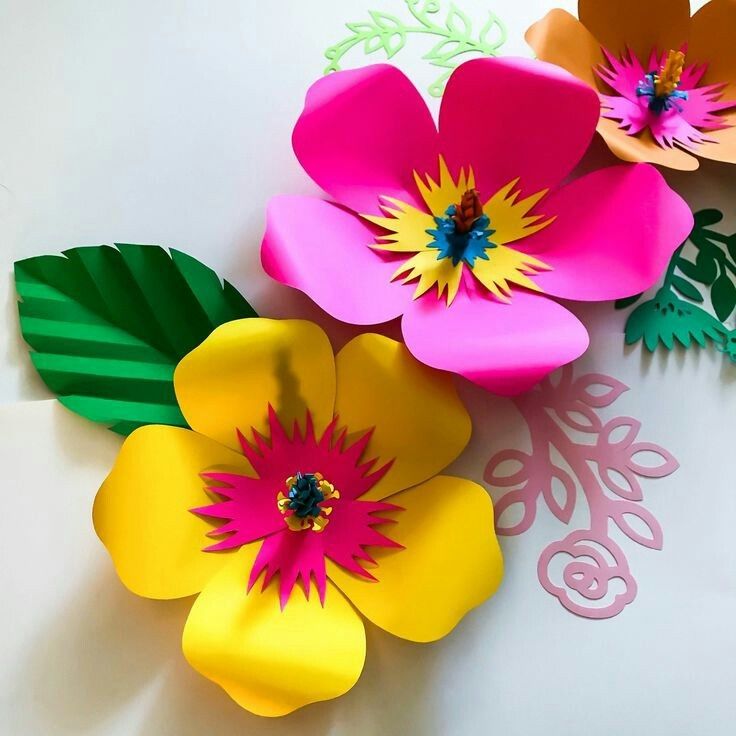
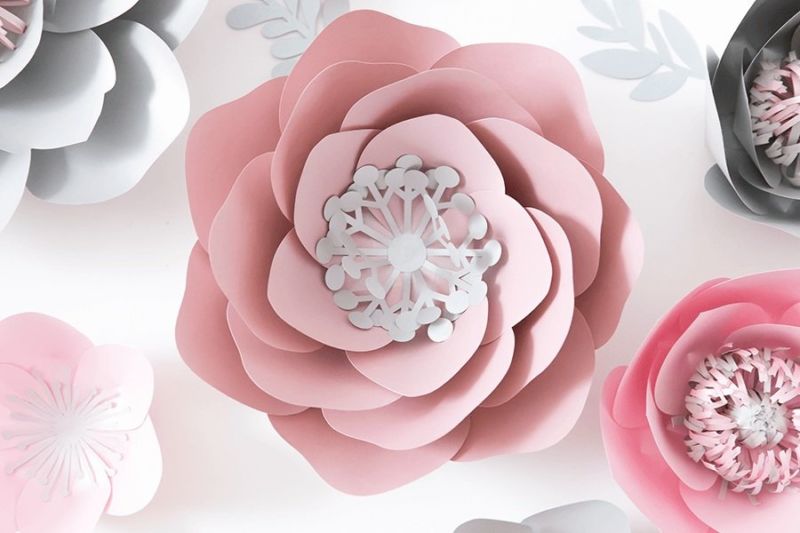
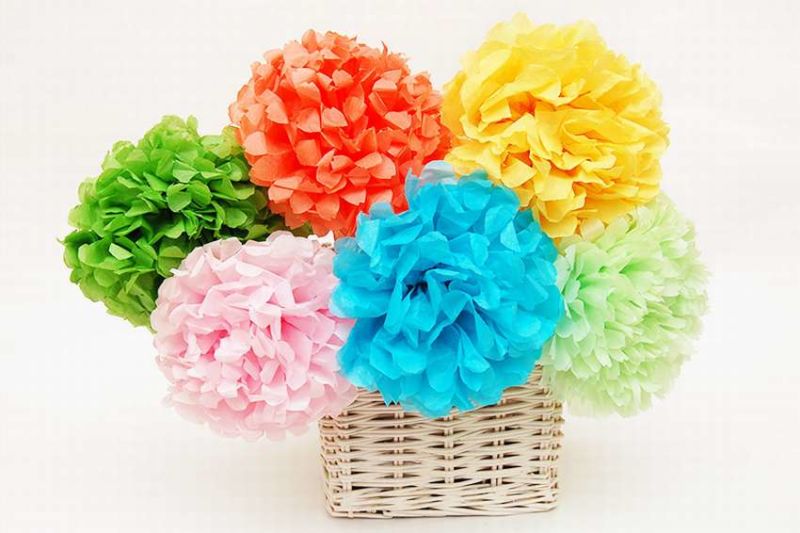
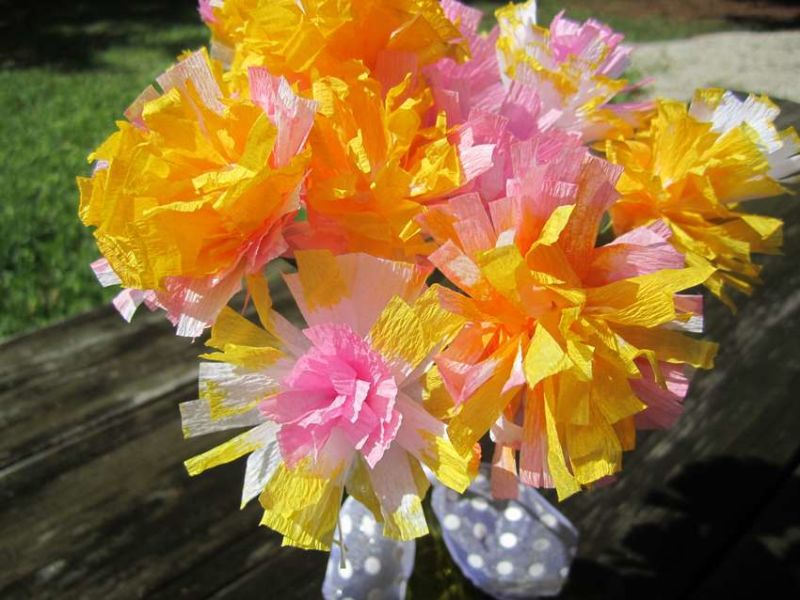
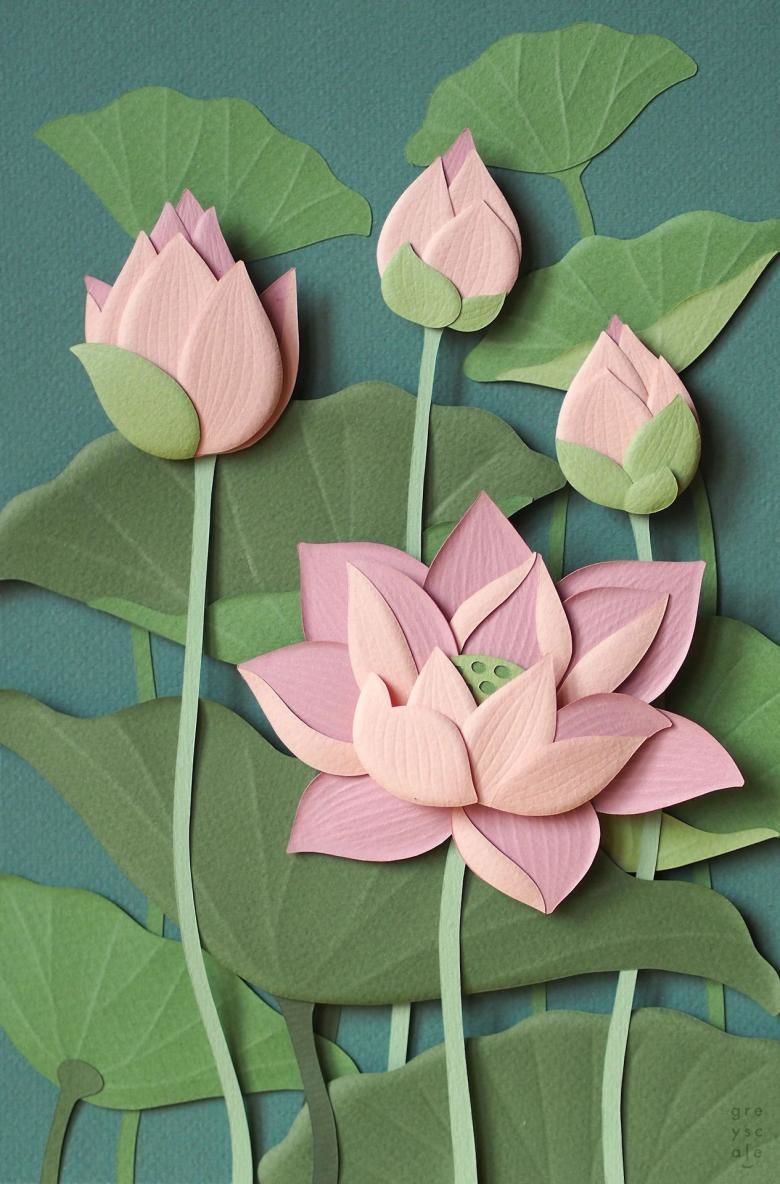
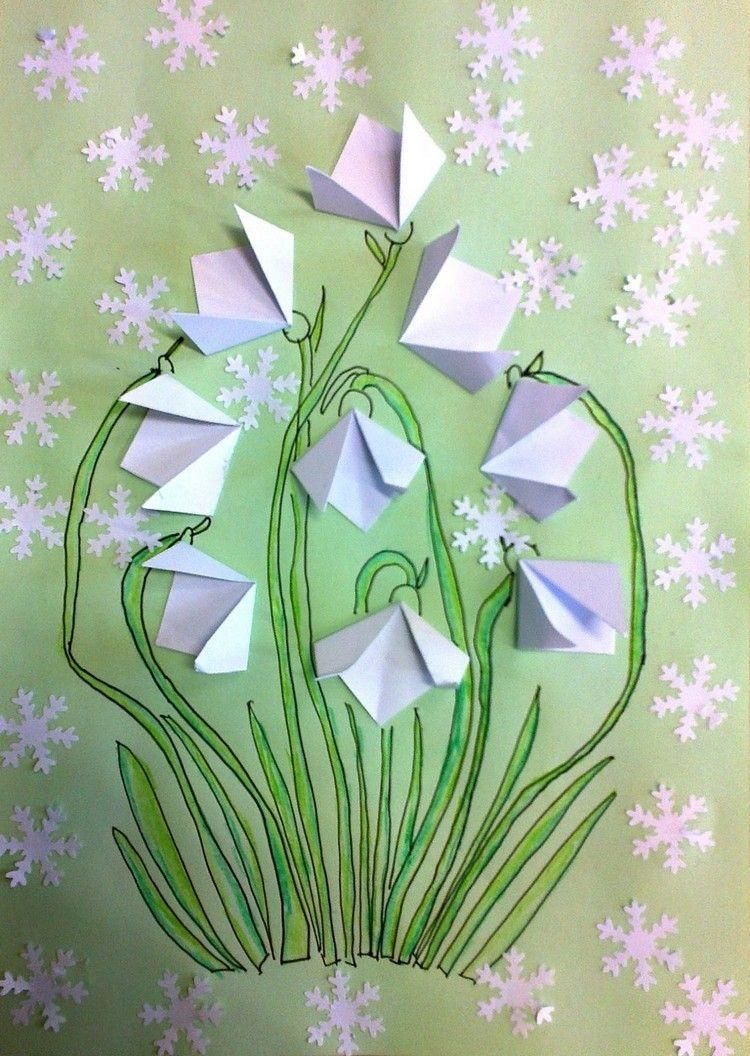
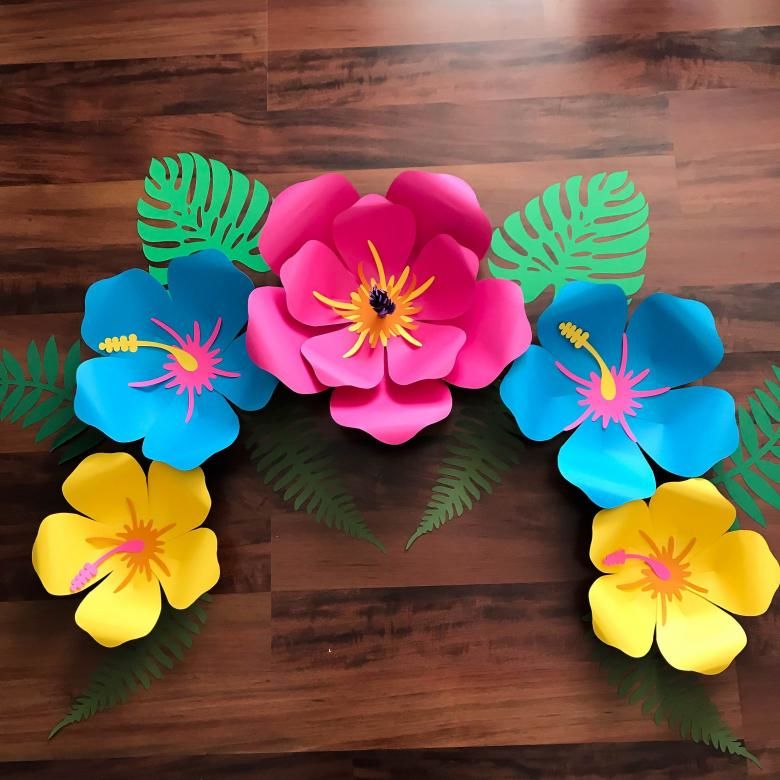
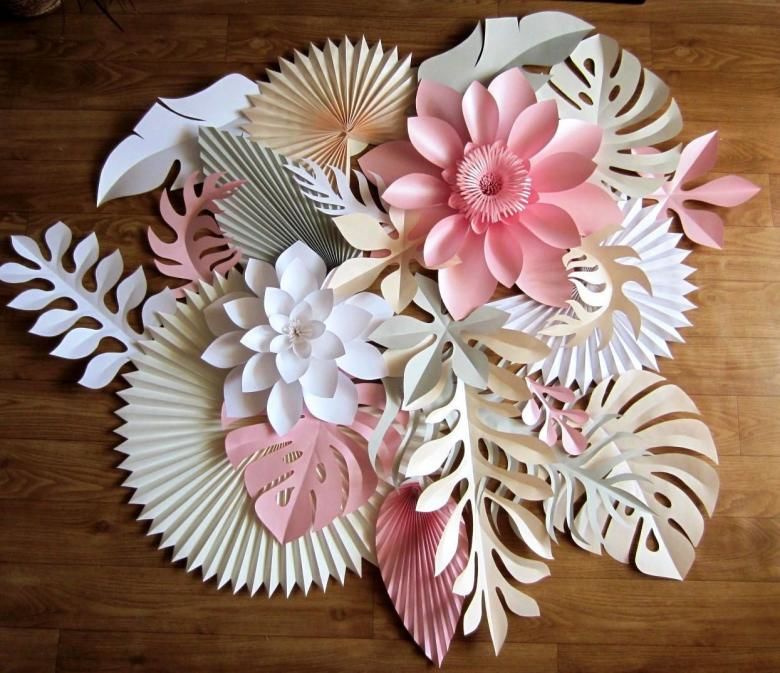
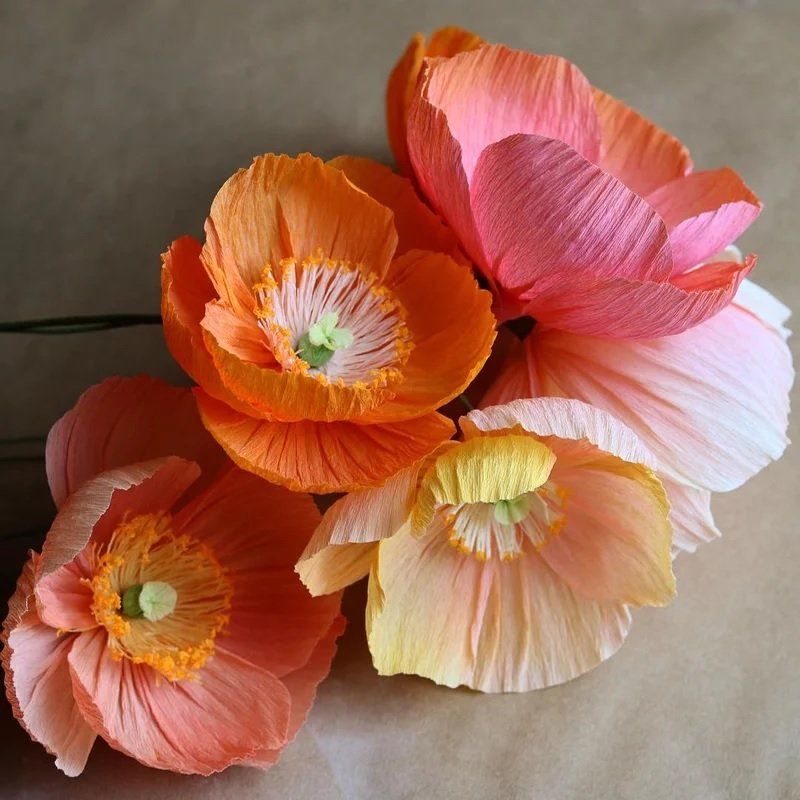
Pictures of volumetric and flat flowers from paper