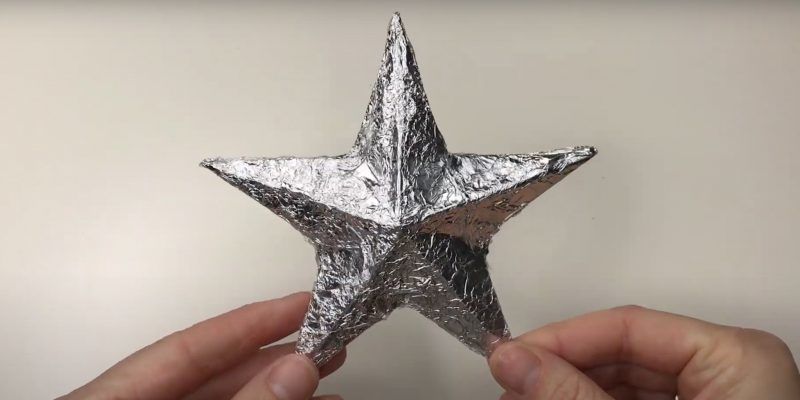
Handmade crafts out of foil: step by step master classes on making flowers, animals, snowflakes, garlands, decorations
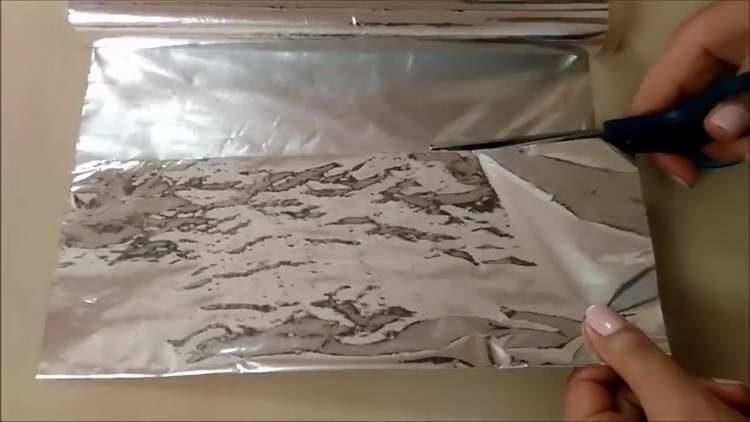
Foil is a thin metallized "paper" that can be cut, folded and glued.
Ability to take different forms without damaging the structure, a wide range of colors and effects allows to call foil an excellent material for creativity.
With a minimum of tools to work with, it is easy to make things that will amaze children and adults alike with the brilliance and clarity of shapes.

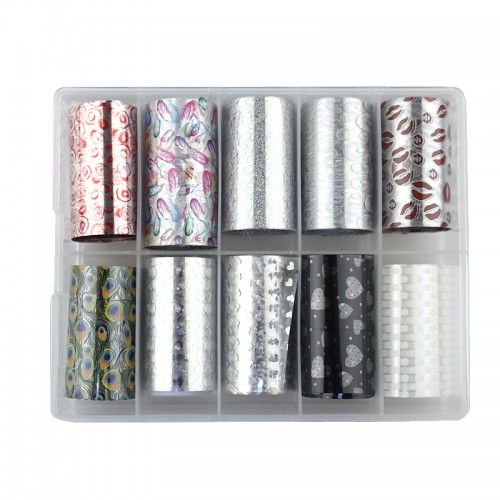
What foil is suitable for crafts
The most popular types of foil for creativity are:
- Food;
- colored;
- holographic;
- self-adhesive;
- rainbow.
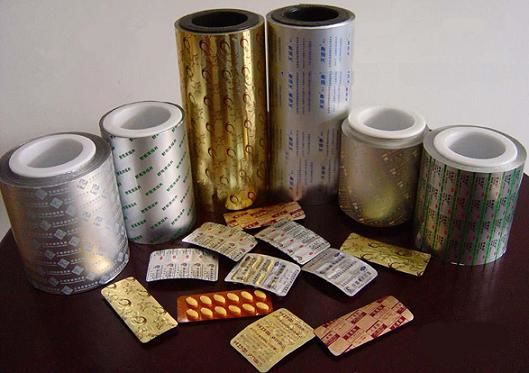
In office supply stores you can buy not only individual rolls of different kinds of metallized foil. Manufacturers produce special kits for creativity that include colored, gold and silver foil of different textures.
Proceeding to the creation of a craft for children for the first time, you can do with a simple foil from chocolate.
Postcard made of foil
No matter how far progress has advanced, beautiful cards made with love will forever remain a symbol of a holiday or a significant date. Before you make a foil craft, you need to prepare the following materials:
- A piece of rough cloth;
- Lemon-colored cardboard;
- foil;
- polymer glue;
- light satin ribbon;
- scissors.
Master class:
- To obtain the base of the card, it is required to bend in half the prepared sheet of cardboard;
- cut a rectangle out of foil, the sides of which are 2 cm smaller than the outside of the card;
- from a rough, textured fabric, cut out a rectangle slightly smaller than the foil figure;
- then glue the foil rectangle to the cardboard base in turn, first the foil rectangle, then the cardboard one;
- it is recommended to put a light press on the glued elements until they are completely dry;
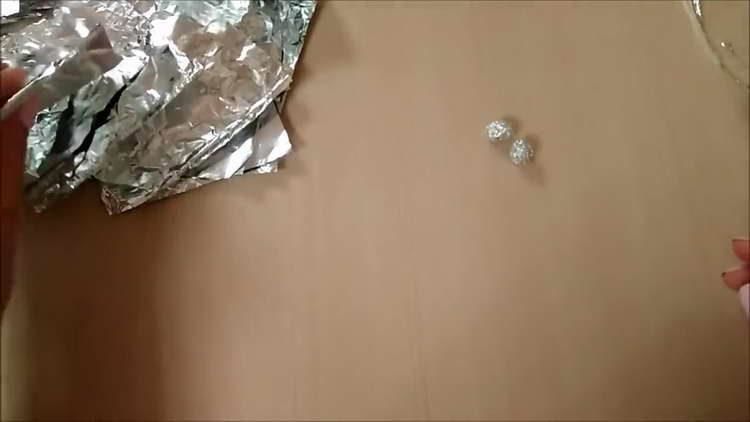
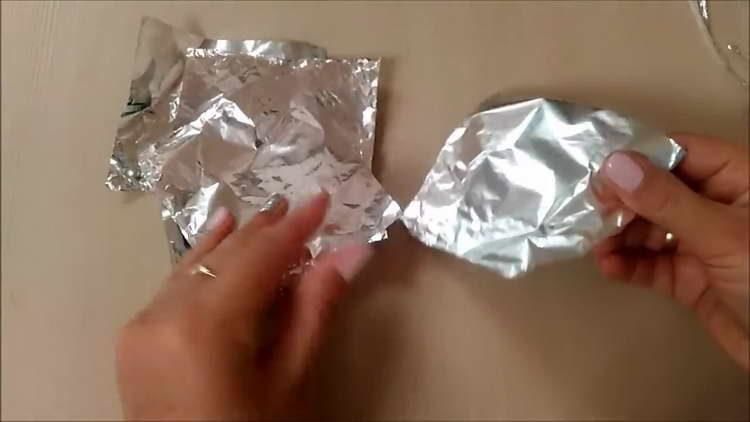
- form several flattened balls from the foil;
- glue them in the arrangement you like on the textured fabric;
- tie a beautiful bow from a satin ribbon and glue it to the bottom of the card.
The result will be a festive bouquet of glittering balloons, which the giftee will appreciate.

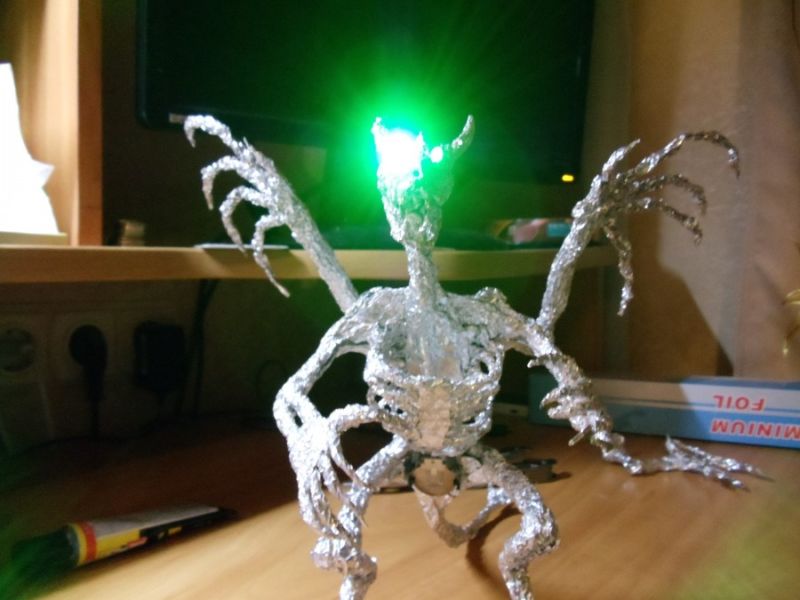
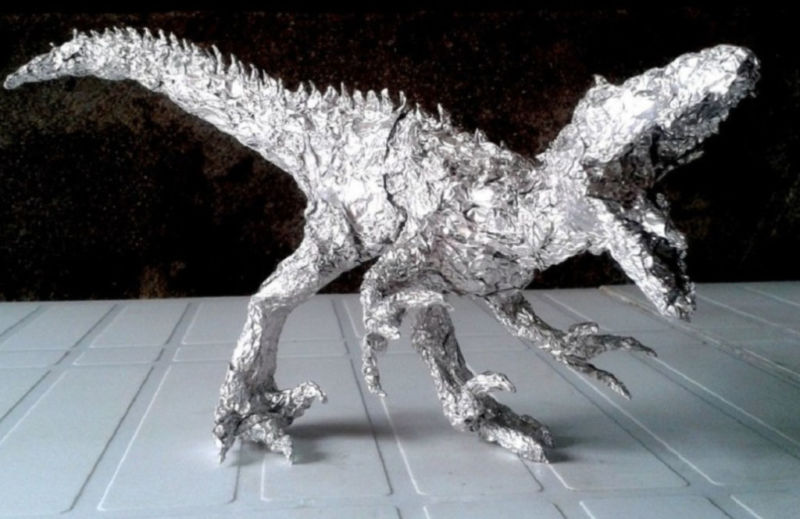
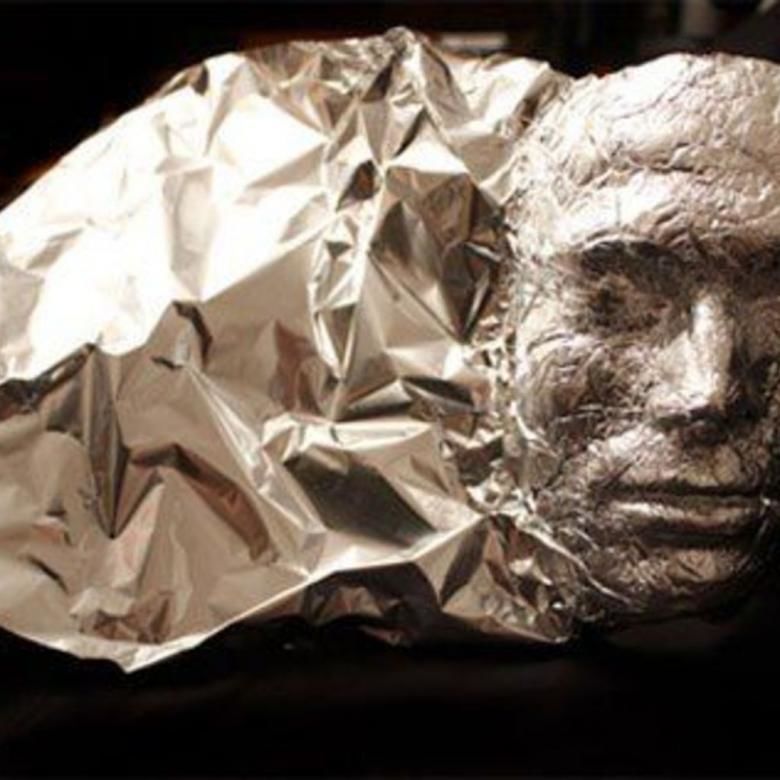
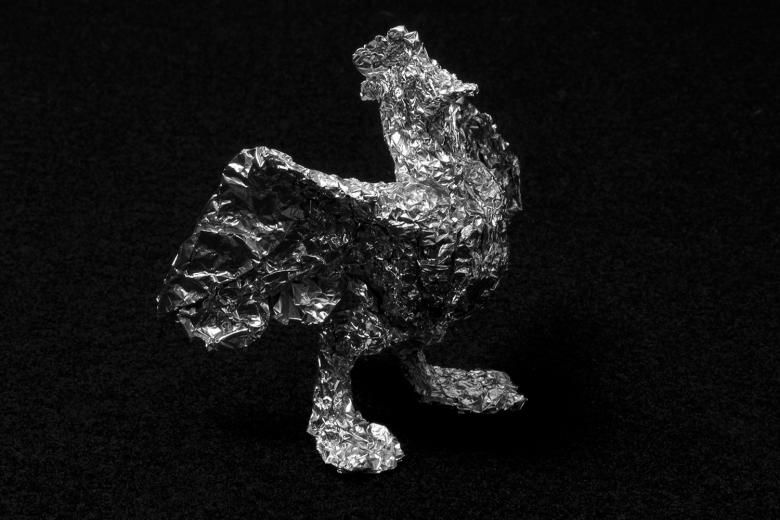
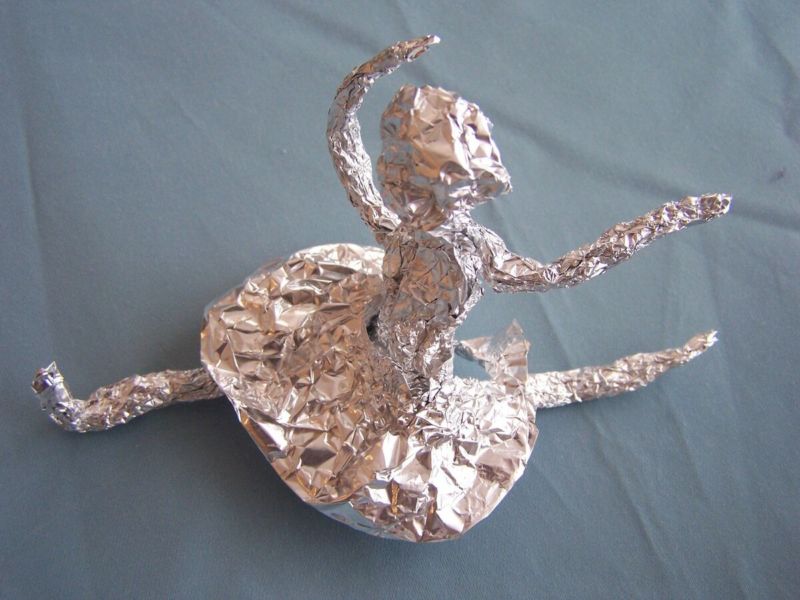
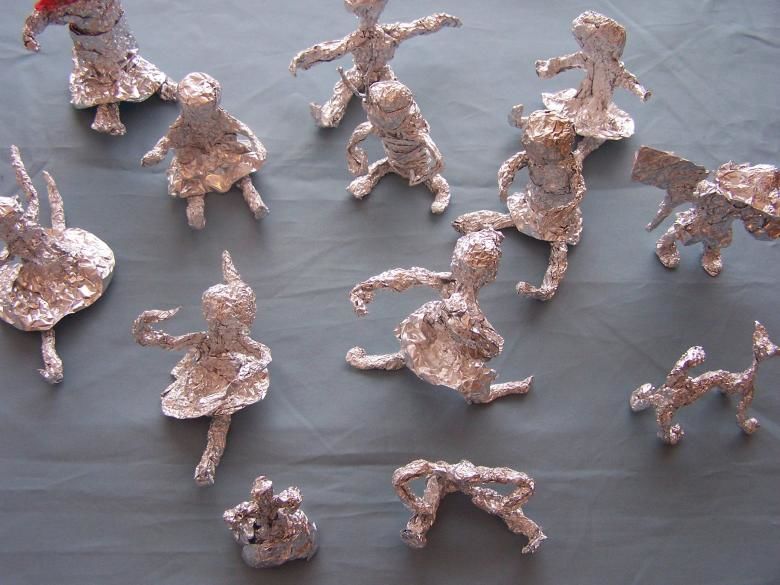
Foil figurines of men
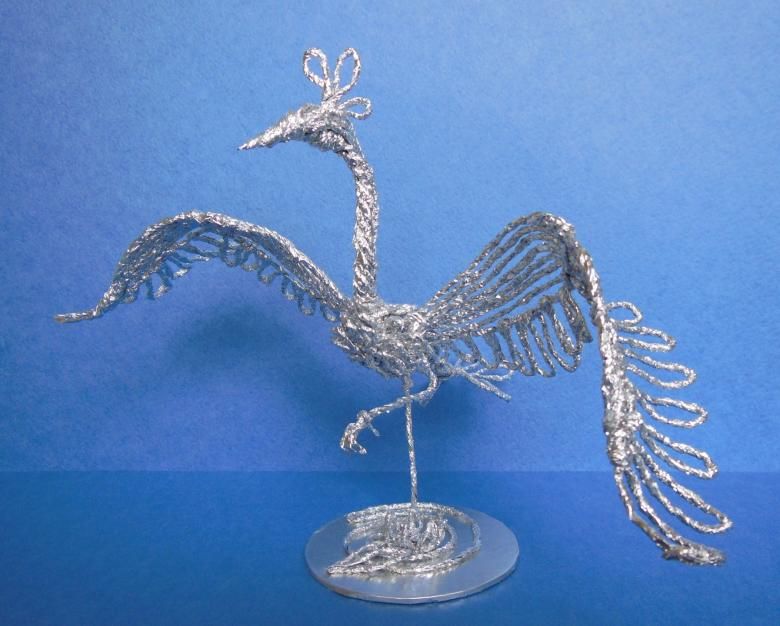
A special property of metallized paper is its plasticity when curled. Preschoolers and elementary school students can make human figures.
To make the handicrafts will need scissors, a sheet of silver foil and a great desire to make the images of favorite characters a reality.
The course of the work:
- Cut strips of foil 10 cm wide and 40 cm long;
- Twist each strip in turn, avoiding damage to the ornamental material;
- the formed tubes are bent in half;
- in the area of the bend form the head of the man;
- To create the arms symmetrically bend the ends of the tube;
- The free ends are twisted to form the body in the size of 3-5 cm;
- twist the waist;
- The last step is to bend the feet.
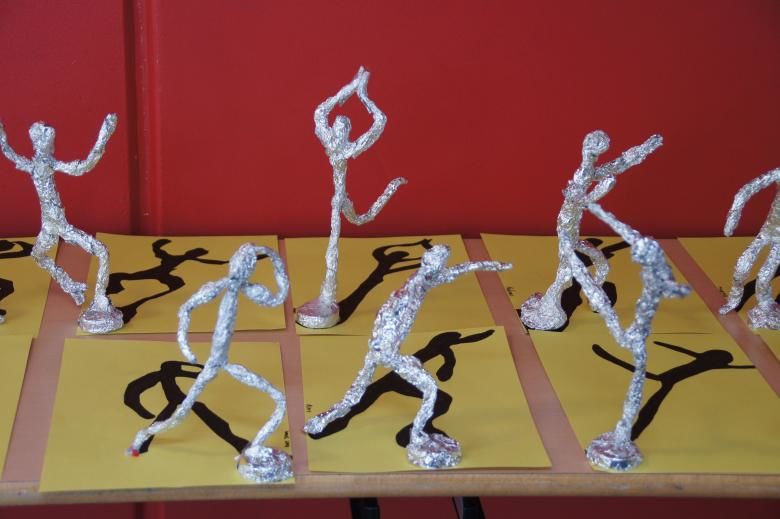
Easy crafts out of foil ready. Young craftsman can make knights, air gymnasts, pedestrians and enjoy playing.
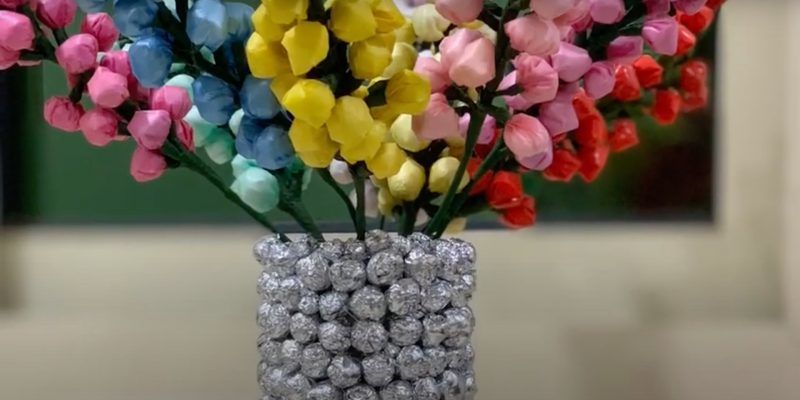
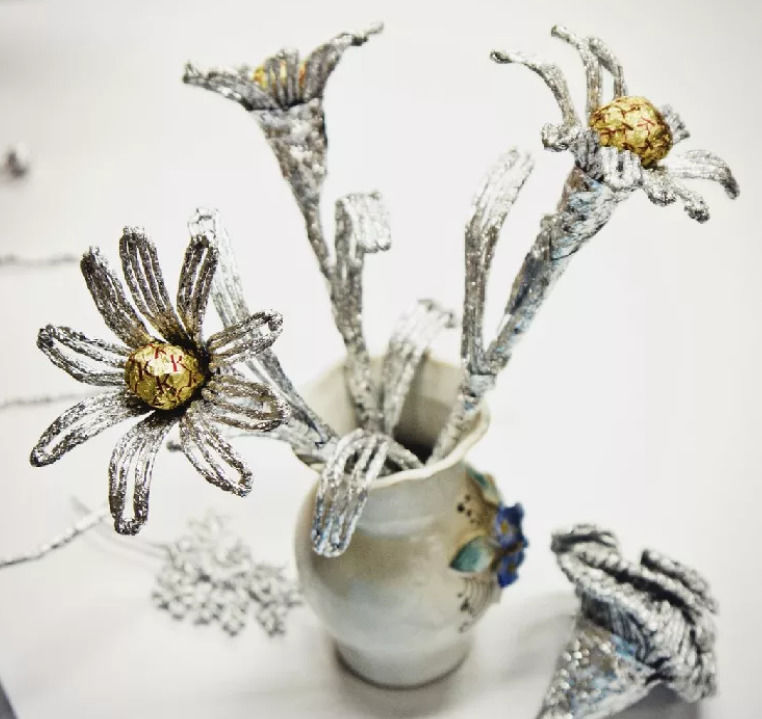
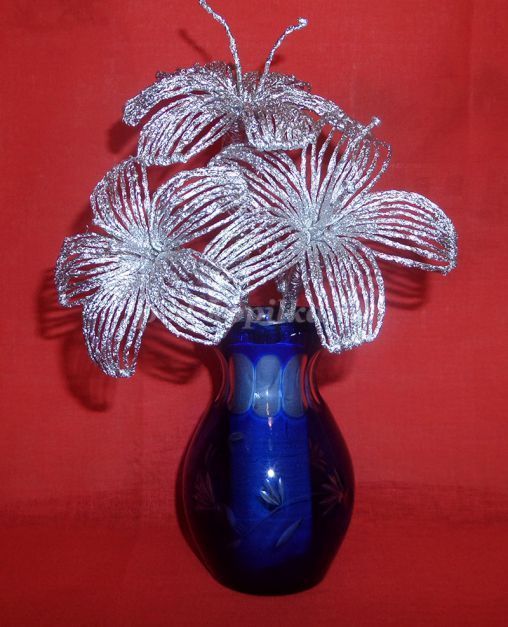
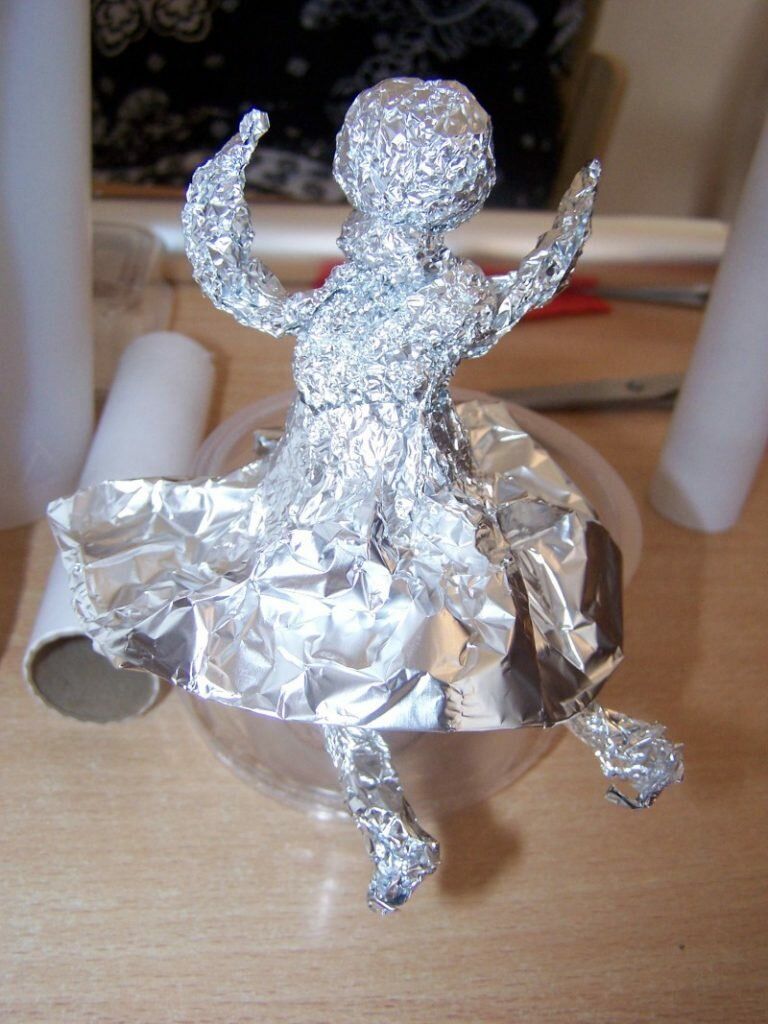
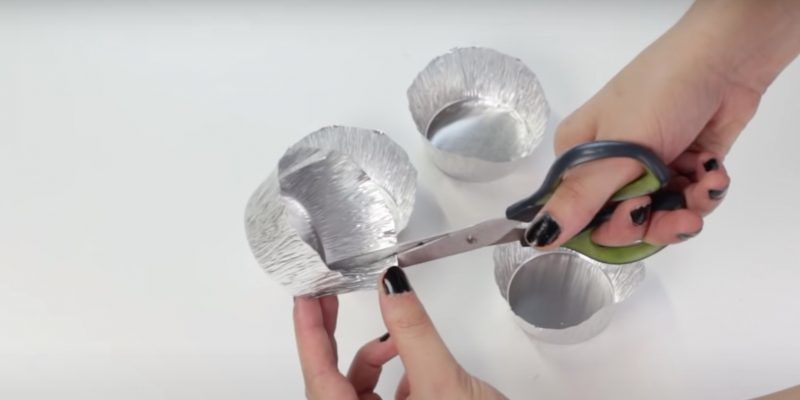
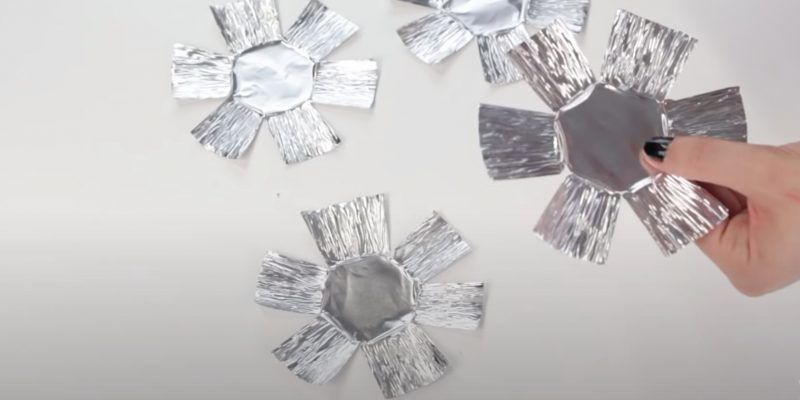
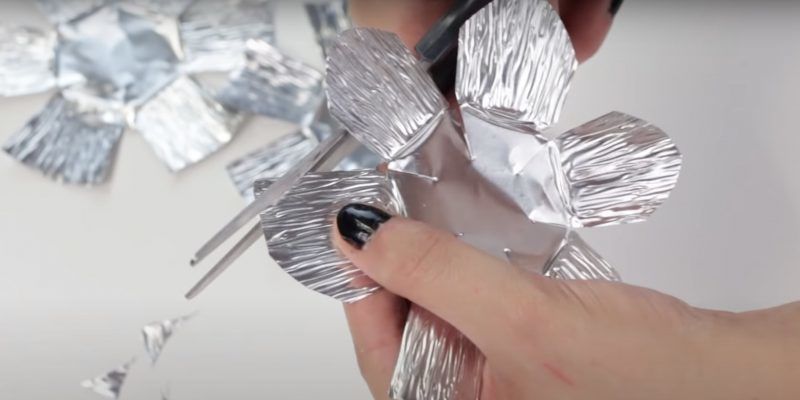
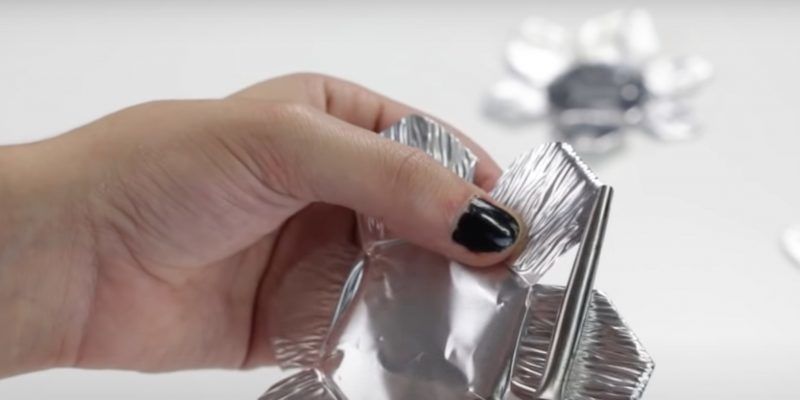
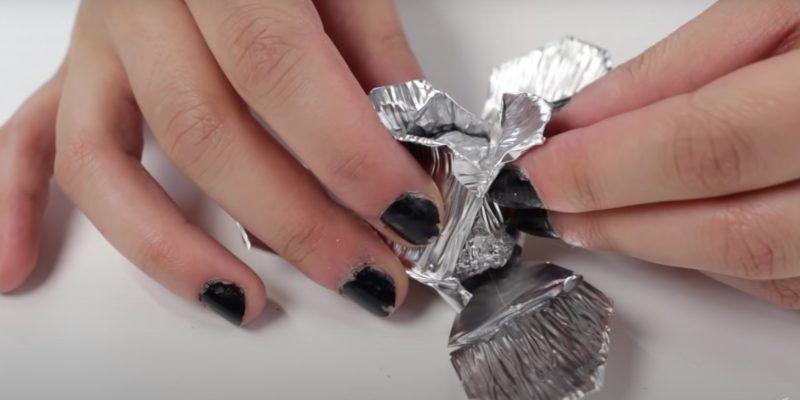
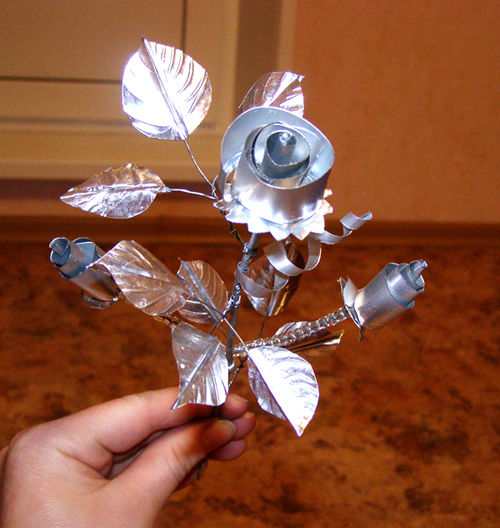
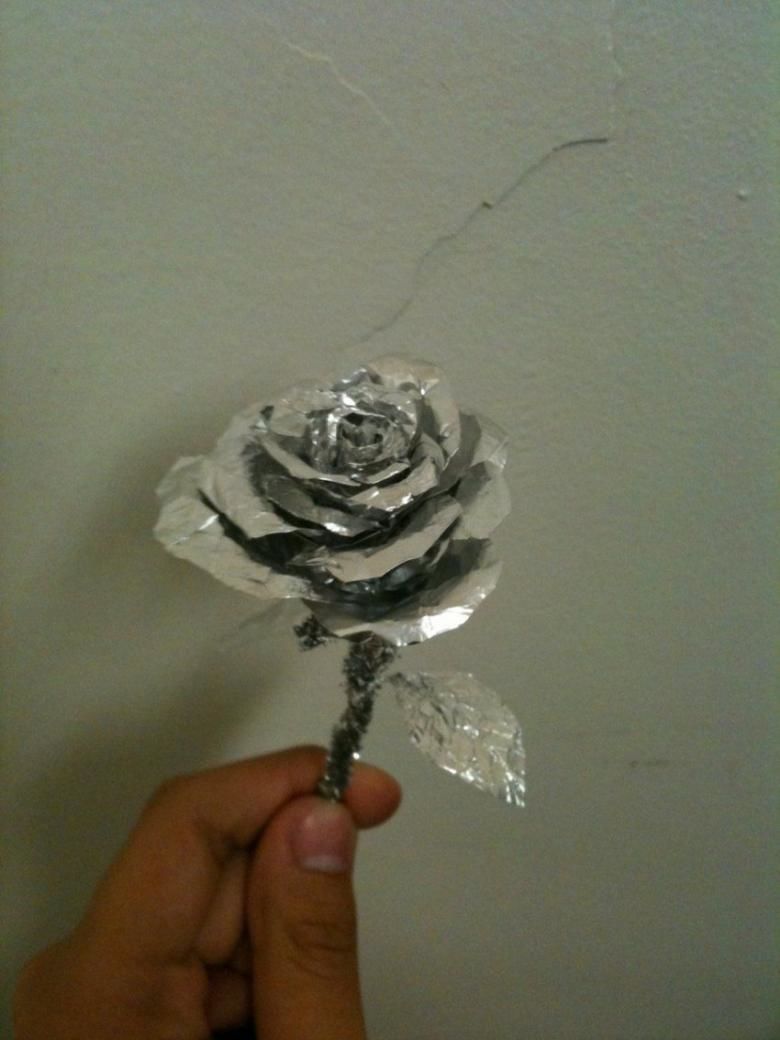
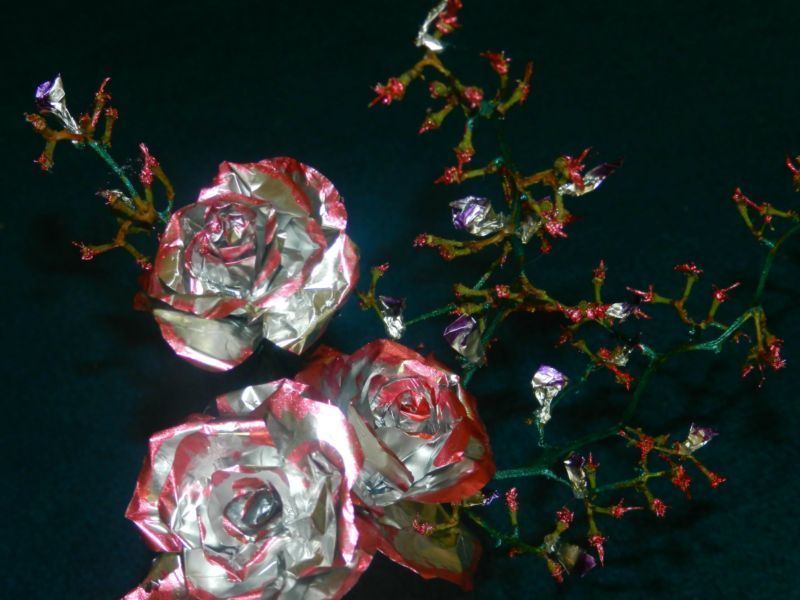
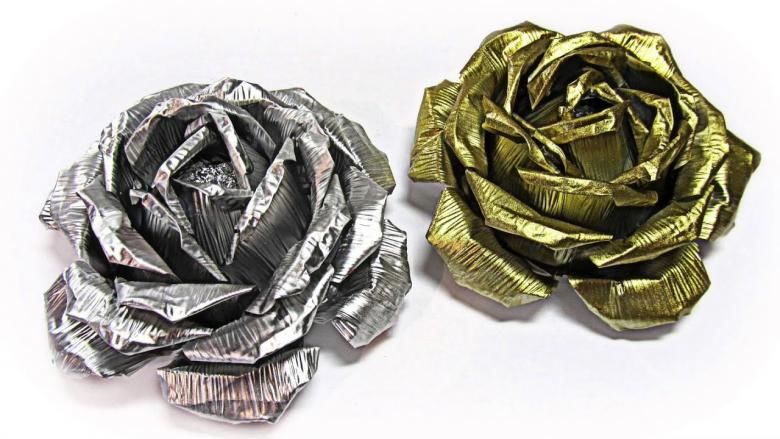
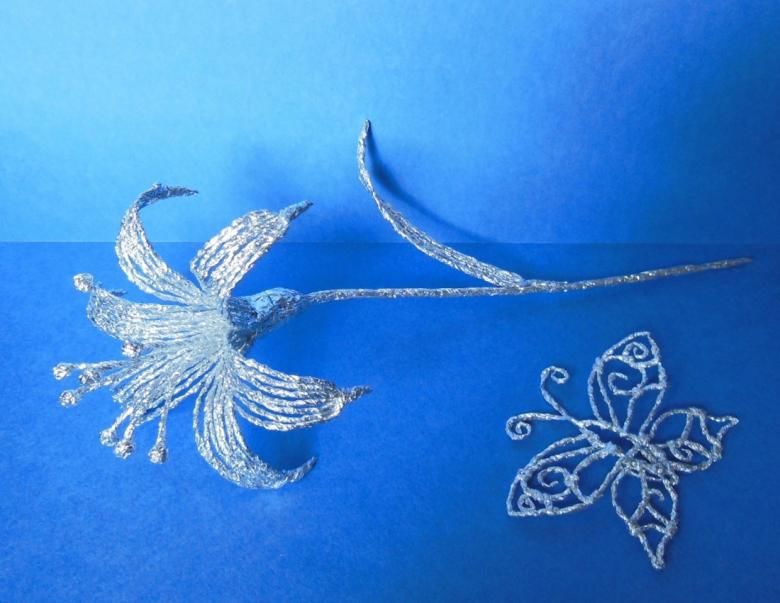
Flowers out of foil
A great gift will be flowers made with their own hands out of foil. Fragile flowers made of silver or other shades of foil will look especially spectacular in crystal vases. Even a beginner can make such a beauty.
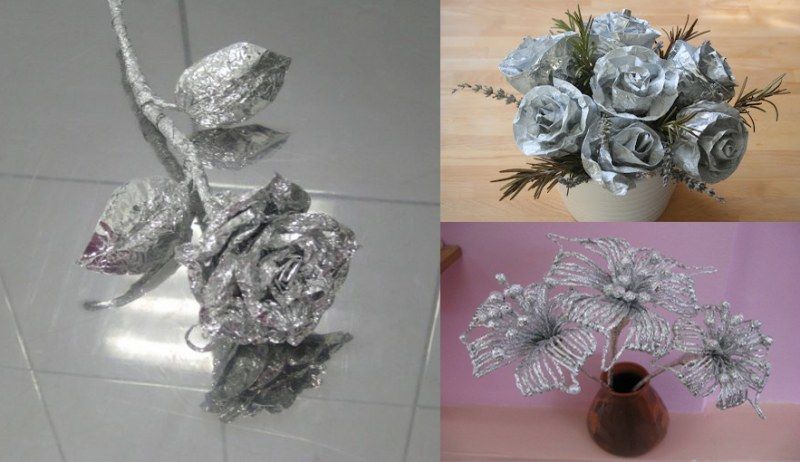
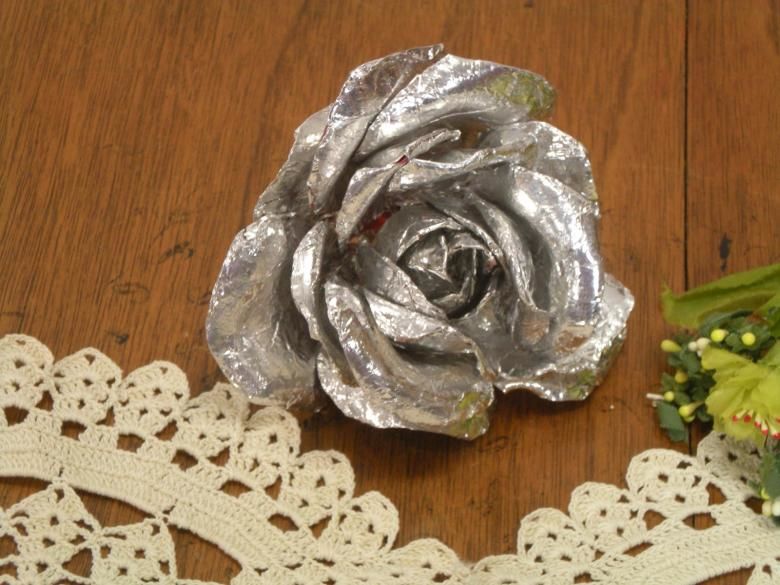
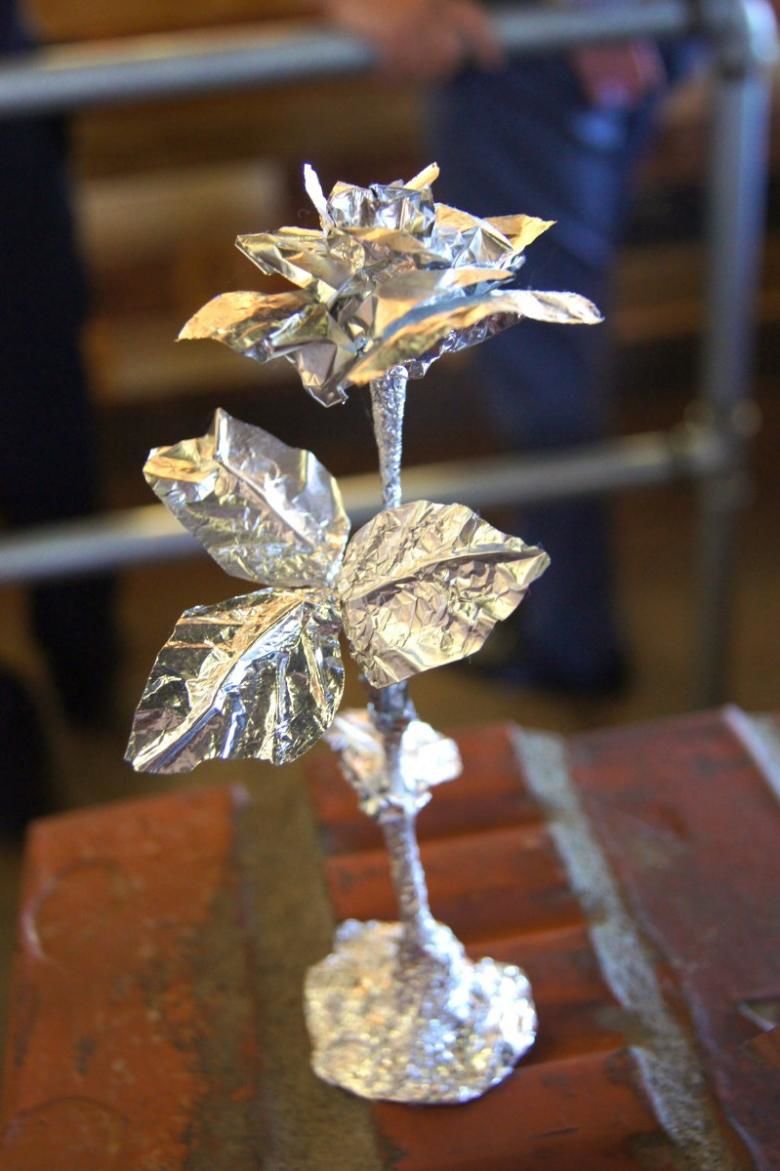
Roses
To create foil roses you will need:
- Floral wire;
- foil;
- Polymer glue;
- wooden skewers;
- silk threads.
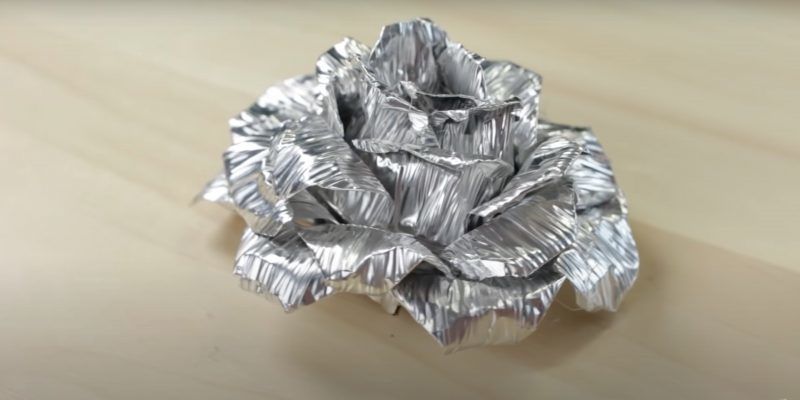
Making Process:
- Cut 9 28×10 cm strips from foil.
- From the floral wire cut 8 strips.
- From three strips of wire make spirals, winding them on a pencil.
- To create the buds take 3 cut strips 28 × 10 cm, fold them in half. Gather in light folds of the lower parts.
- Floral wire is attached one by one to the foil elements and gently twirl them around the wire with a finger.
- To create the leaves of the roses are cut into 2 strips 15 × 5 cm. Then each strip is cut into 3 squares.
- The square bend the upper side parts inward toward the middle, and the lower part of the arbitrary crumple and twist into a thin flagellum, imitating the stem of the leaf shoots.
- Made leaves are attached to the stem by twisting around it.
- Springs of wire are also wrapped around the stem.
- Form a bouquet of roses, twisting the stems of the plant.
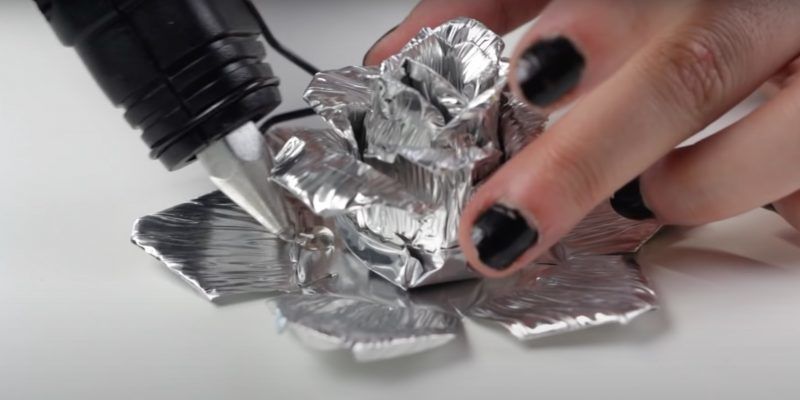
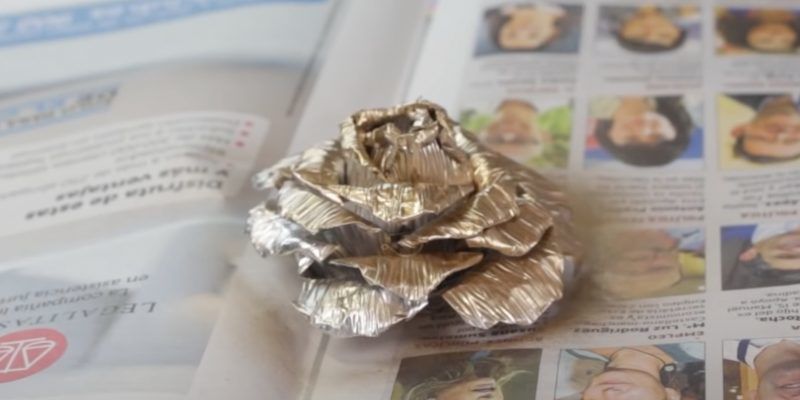
At this point the work is complete.
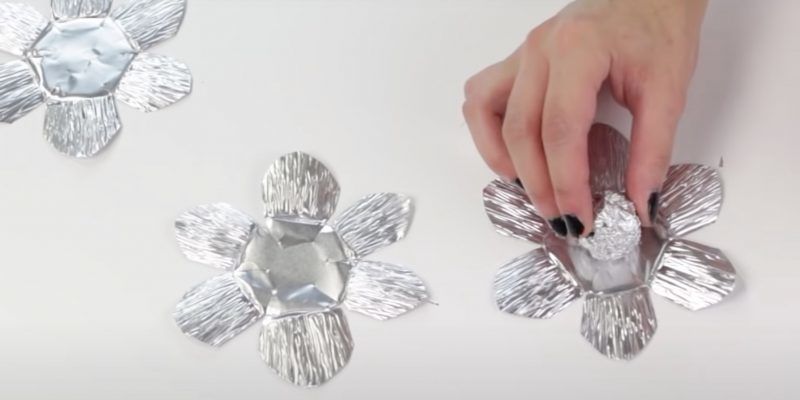
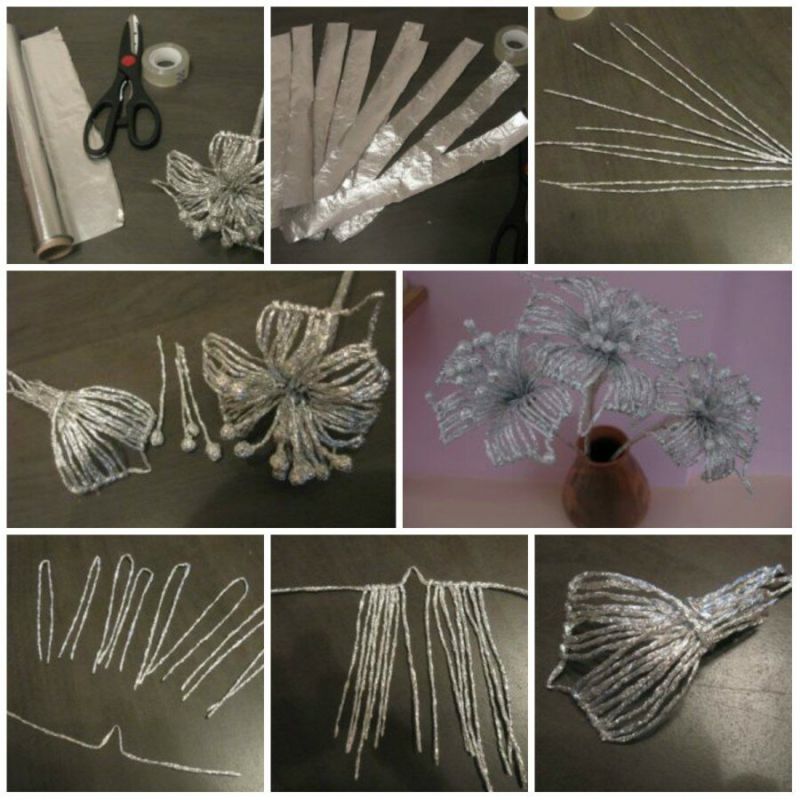
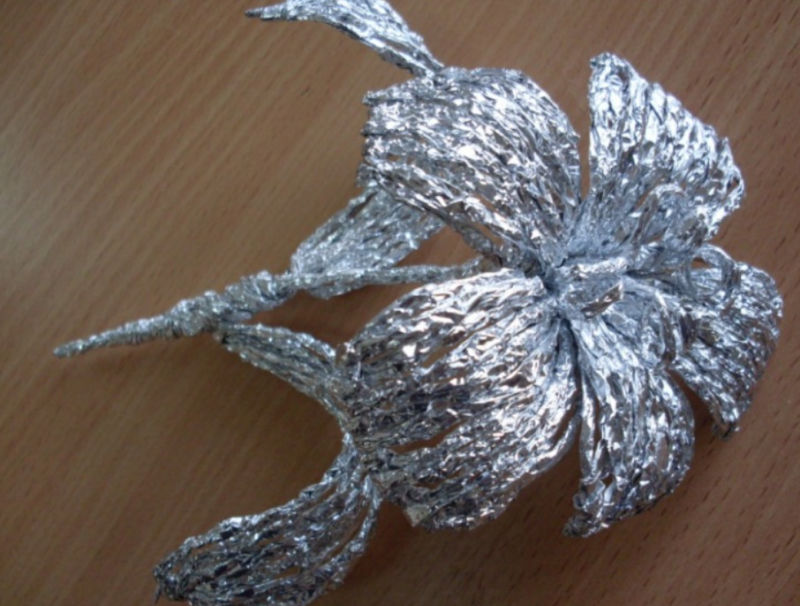
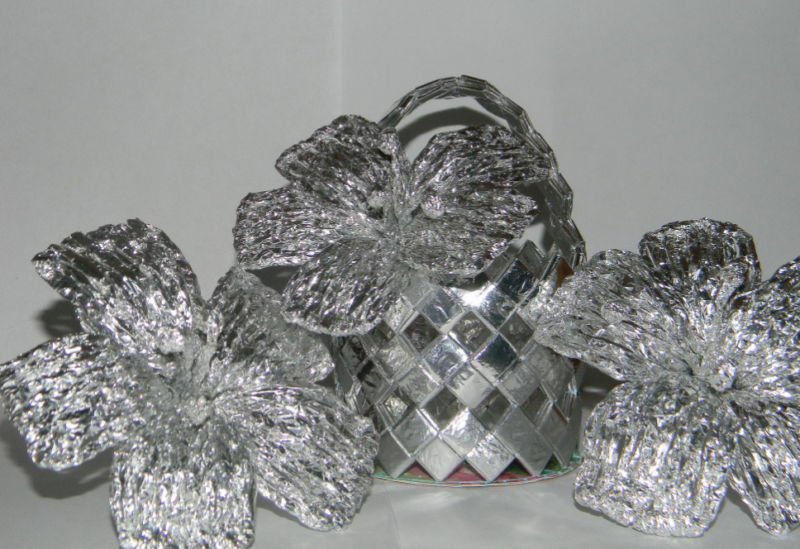
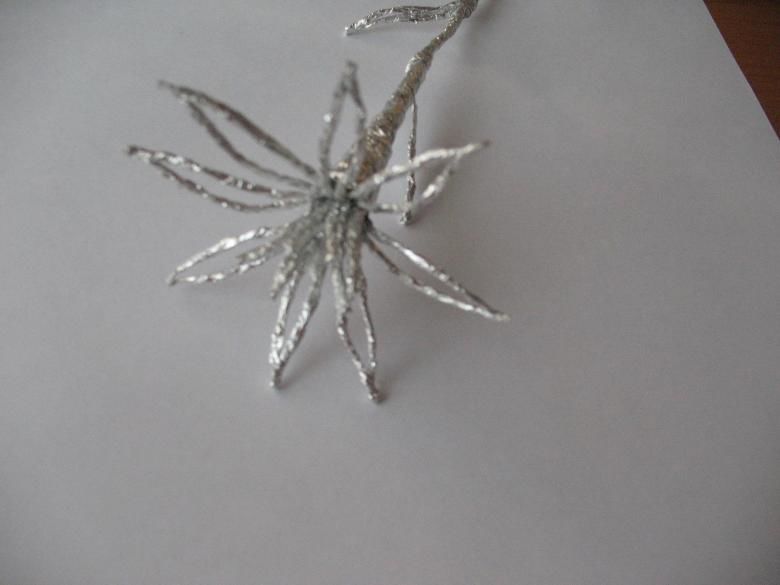
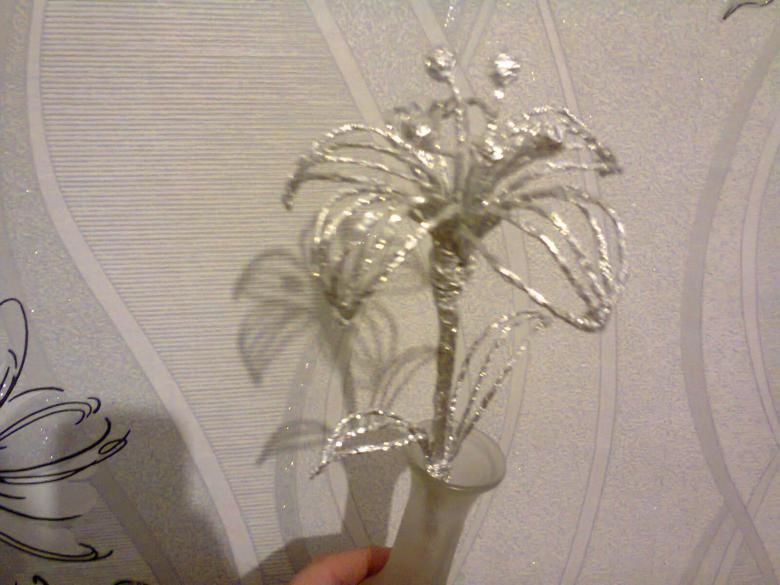
Lilies
You can weave a spectacular silver lily from foil and present it as a presentation to colleagues or relatives. Also such flowers will organically fit into the decor of the home interior.
Necessary materials and tools:
- Food foil;
- scissors;
- duct tape;
- hard pencil;
- wooden skewers;
- ruler.
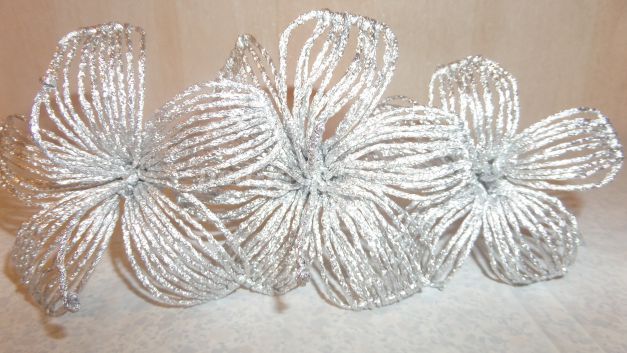
Step-by-step execution:
- On an unwrapped roll of food foil, draw strips 3 cm wide and then cut them out. Leaves require 1 strip, stem - 4 pieces, stamens - 5 pieces, petals - 15 pieces of strips.
- Take one of the strips and twist between the palms of your hands crosswise along the length.
- Made crumpled strips should be twisted into thin plaits.
- To decorate the petals should take three plaits and cut them into two equal parts. Thus there should be 6 small flagella. Then the tails are combined, curled and bent in an arc, giving the shape of this petal. Need to make 5 petals.
- To create stamens lily takes foil strip and is divided into two parts. One part is crumpled and twisted into a wire, the second is crumpled and formed into a small ball, imitating a stamen, which should make 5 pieces.
- The next stage of creative work should collect a flower. To do this, stamens and oblong petals are attached to the stick. Use your fingers to adjust the appearance of petals, giving them a realistic look.
- To make a leaf, you need to take one bundle, divide it into three equal segments and twist the tails using the same technique as when creating petals. Then tightly wrap the foil stem with the tourniquet and fix the leaf.
- The stem should be wrapped with foil plaits to the end. Then the buds and leaves spread out.
The lily is ready and you can give it as a gift.


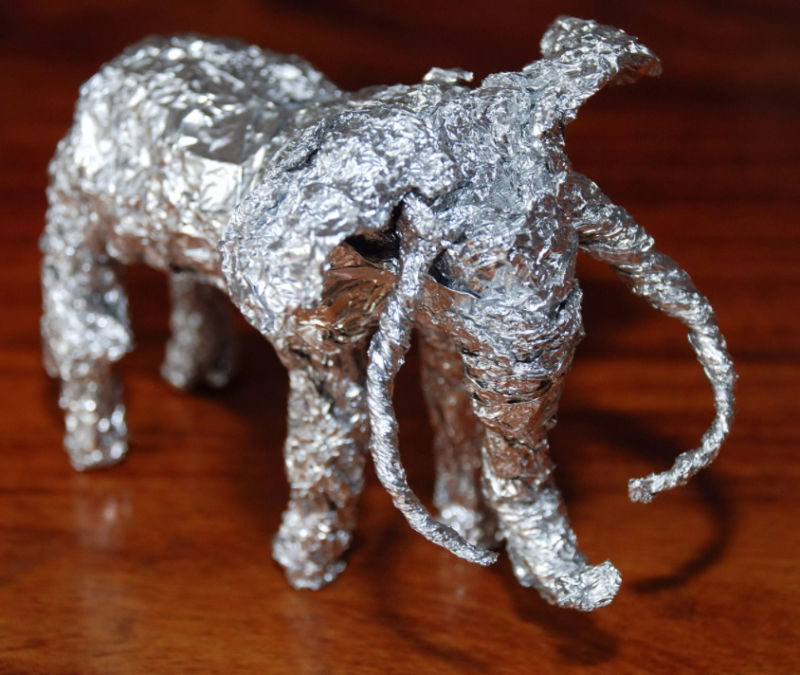
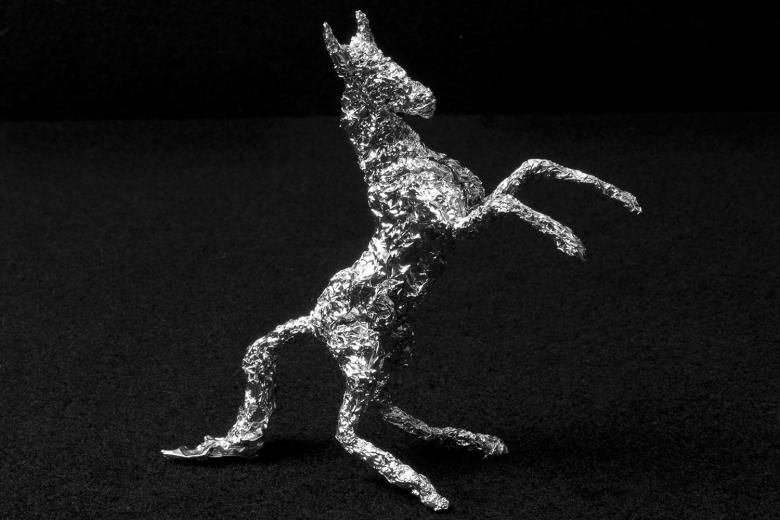
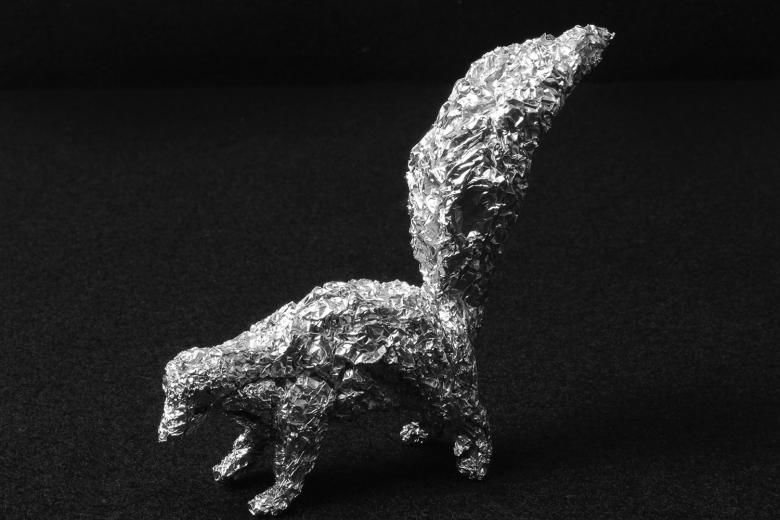
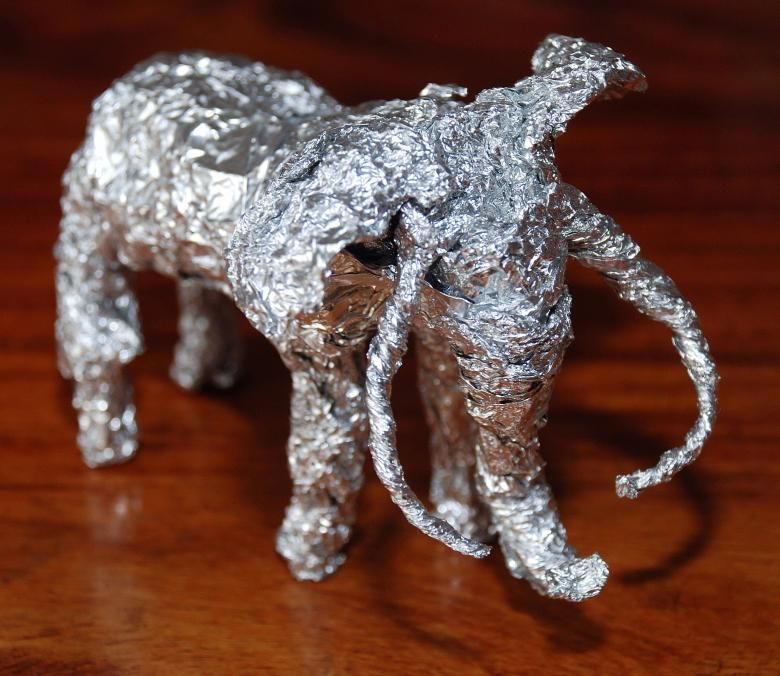
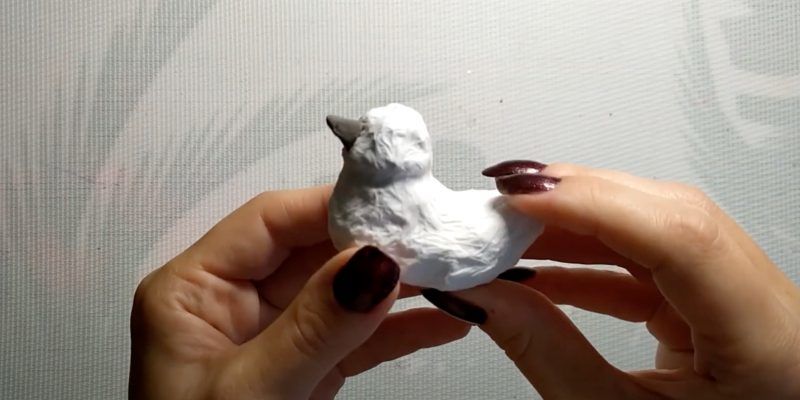
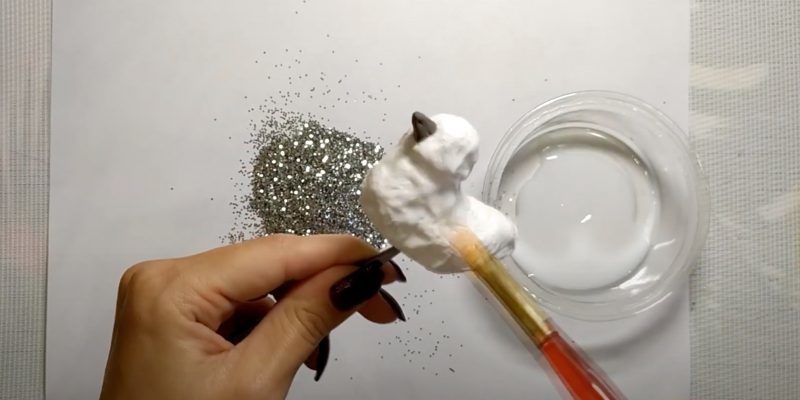
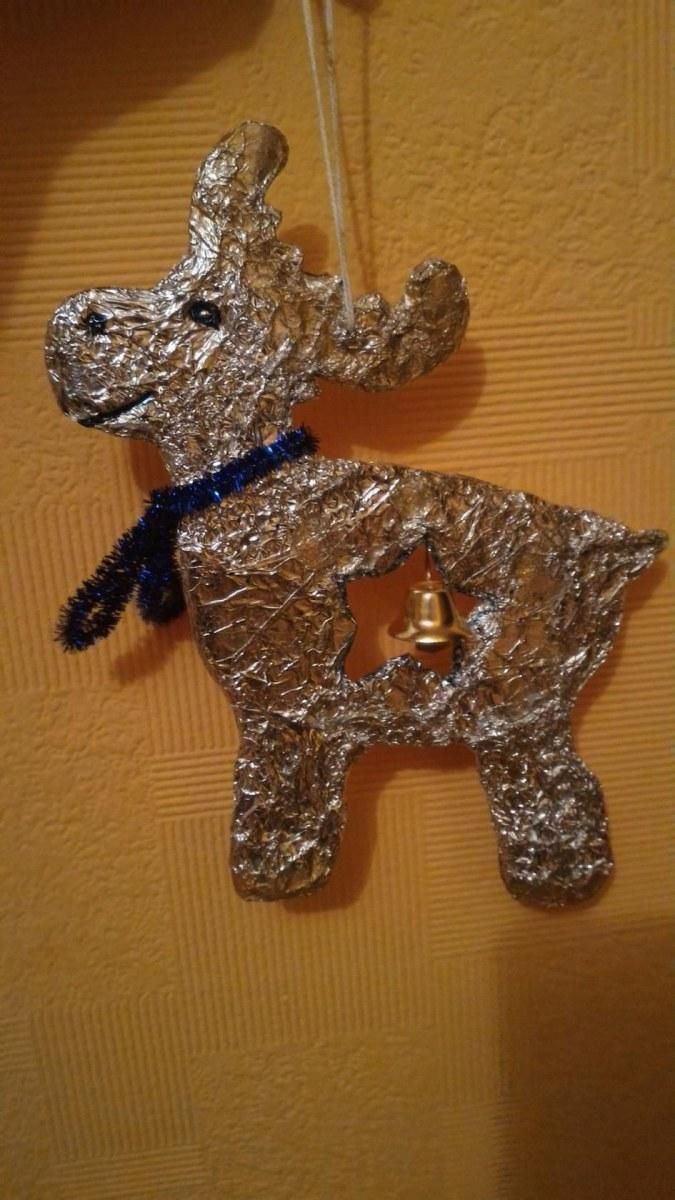
Animals
Creative works of foil turn out shiny and beautiful in appearance. You can inspire a child to create representatives of the animal world. Time for this will not take much, and the child will be able to play with figures for a very long time.
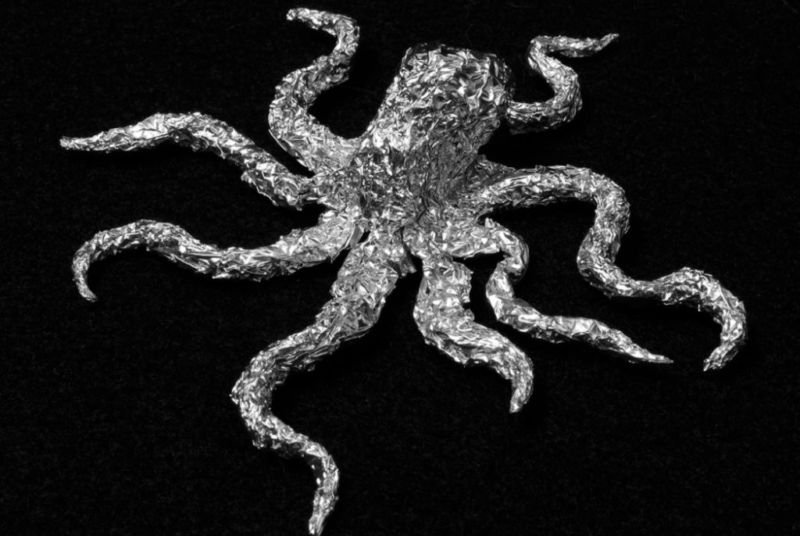
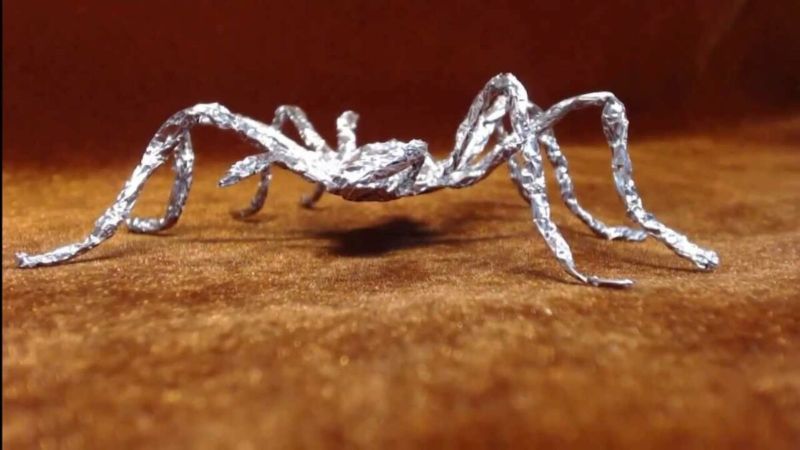
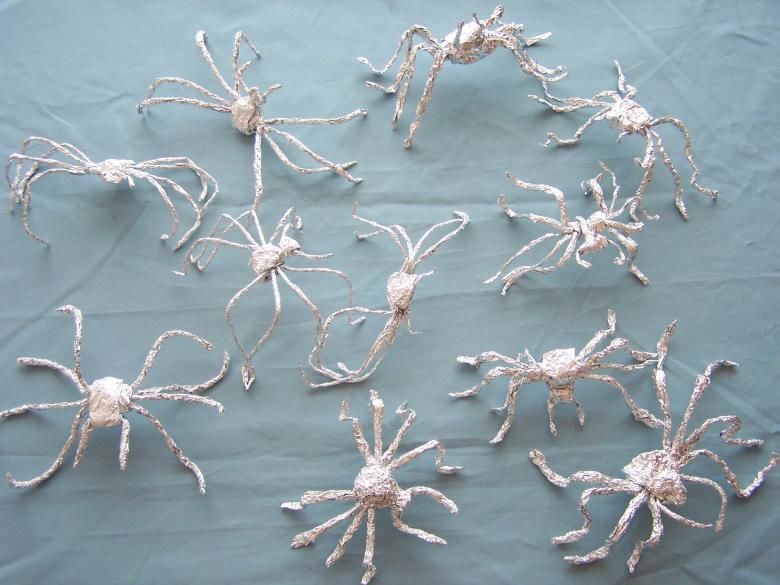
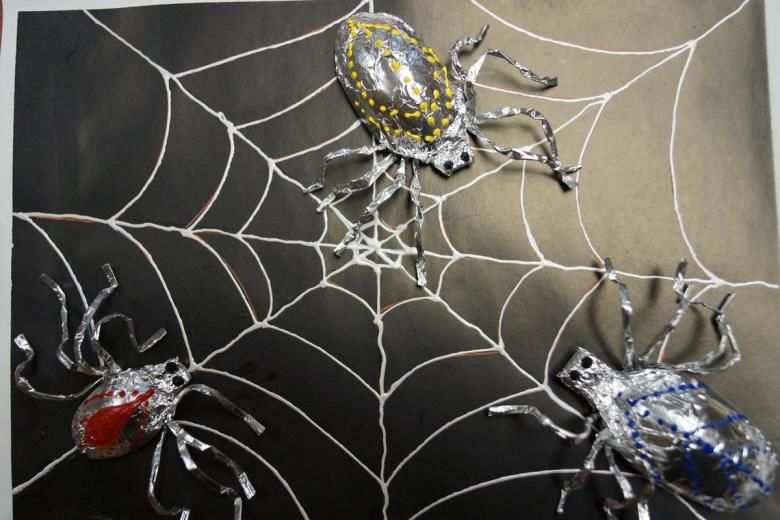
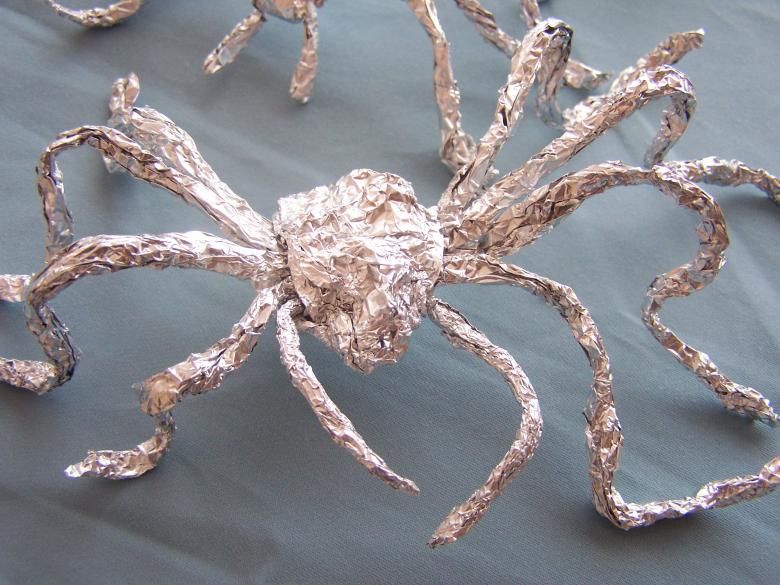
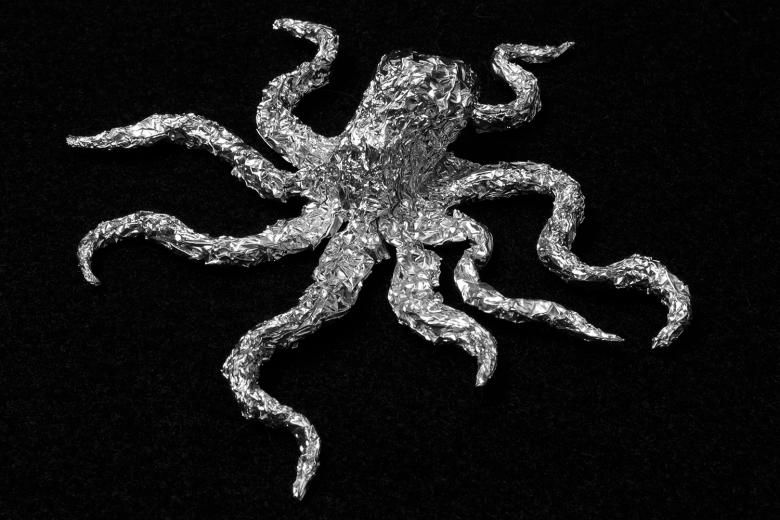
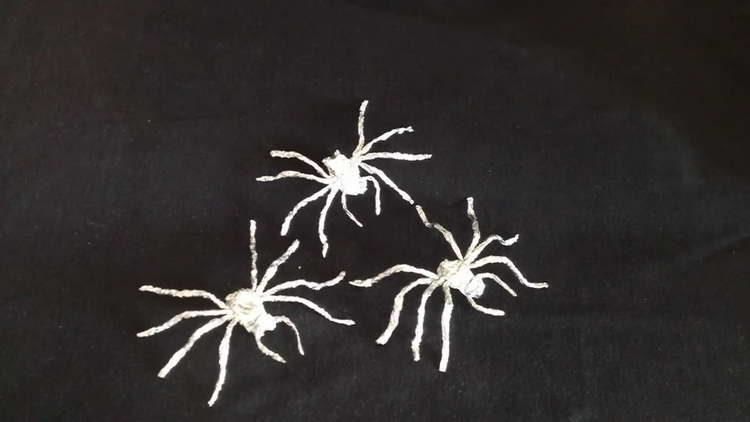
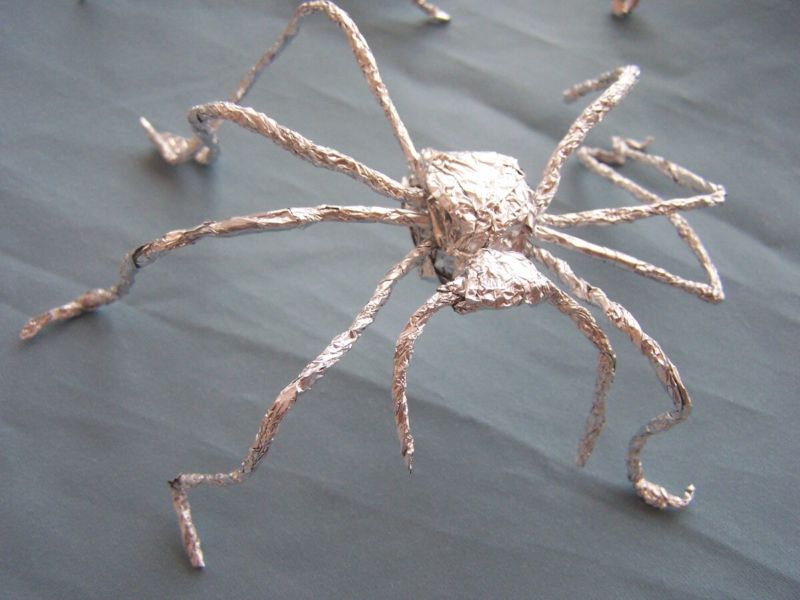
Spider .
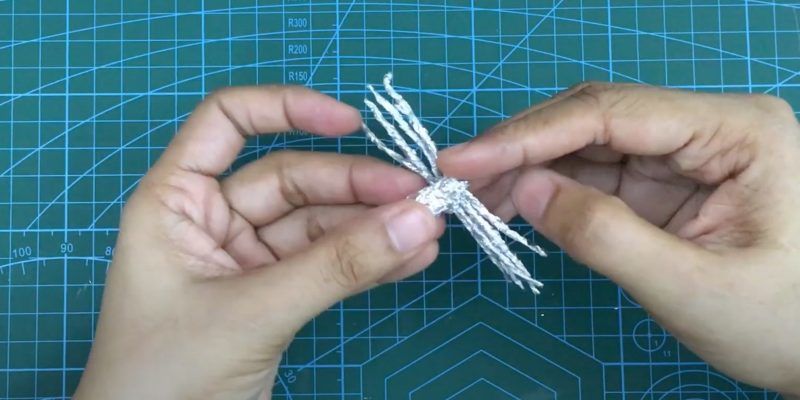
Any young naturalist will love the shiny spider. Tie a thin fishing line to it, the spider will be a funny "bogeyman. To work you will need only scissors.
Sequence of work:
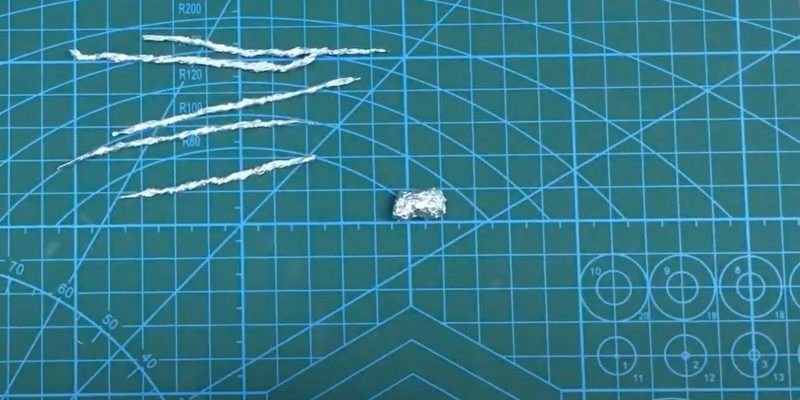
- A piece of foil with an area of 14 cm will be needed;
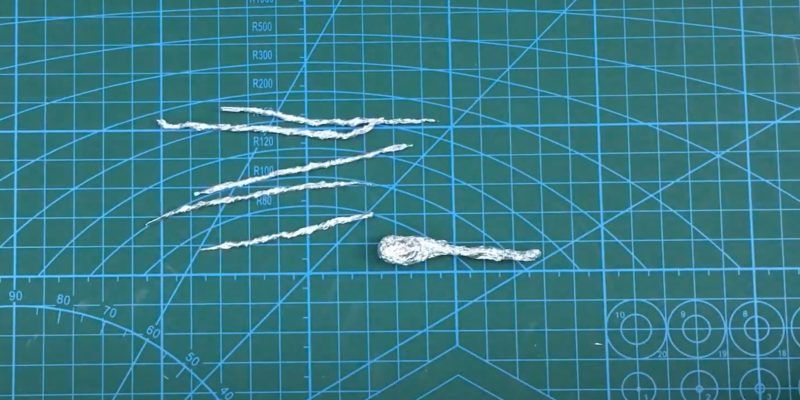
- Cut from a common piece of 4 strips with a width of about 4 cm. They will be used to form the legs of the little predator. The remaining small piece will be used to make the body of the spider;
- The cut strips are crumpled along the entire length to form tight harnesses. If necessary, the ends of the harnesses can be trimmed with scissors;
- form the body of a spider from the remaining foil in the form of an oval;
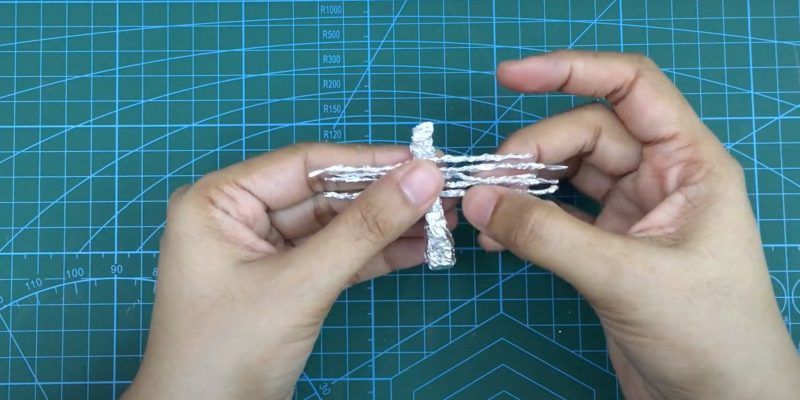
- in the center of the oval place the flagellum-"legs" in such a way that they go over the edges;
- The ends of the oval should be rolled up to the middle, overlapping the flagella there;
- then form the spider's body, abdomen and head;
- form the legs by bending the flagella in an arc;
- The ends of the flagellum bend on the left and right sides of the spider's body.

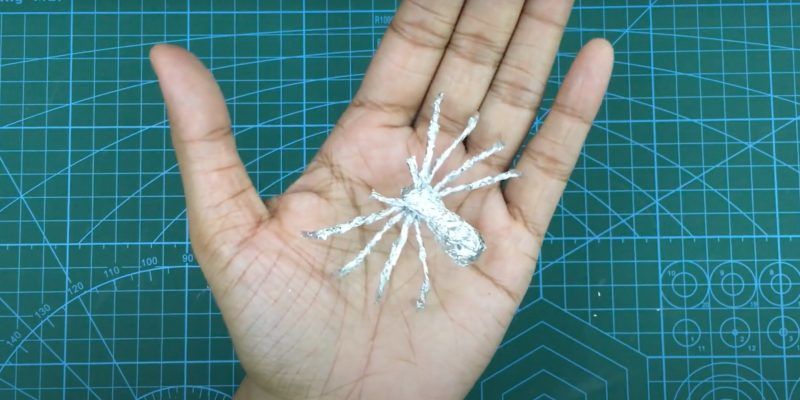
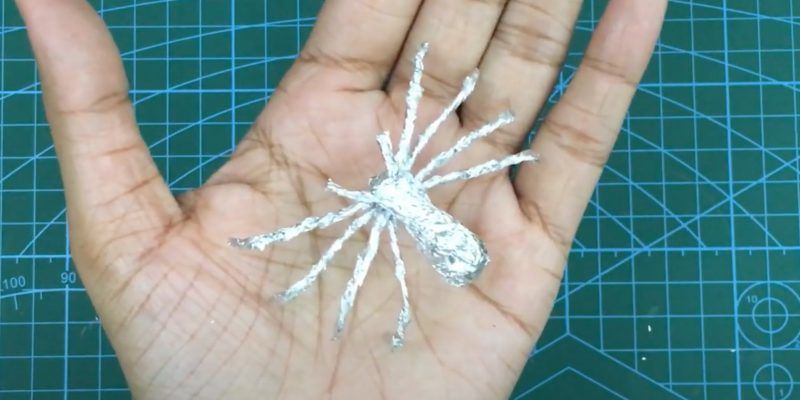
Handicraft foil for children ready.
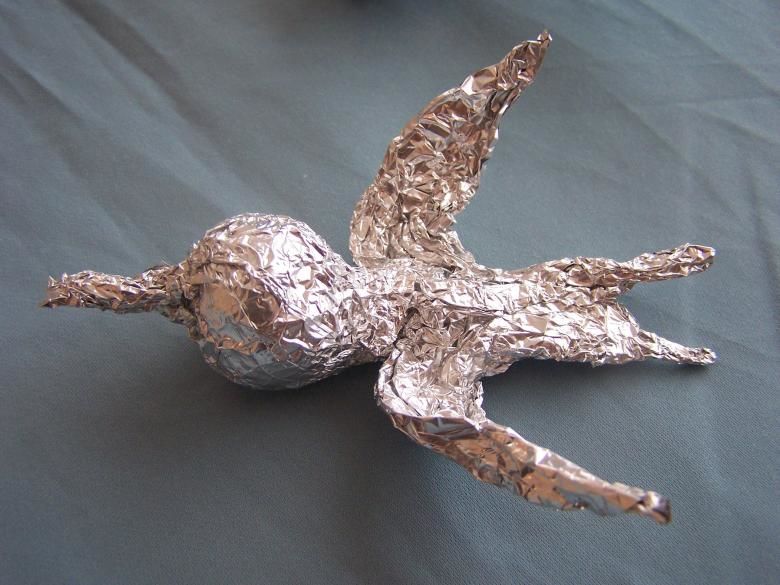
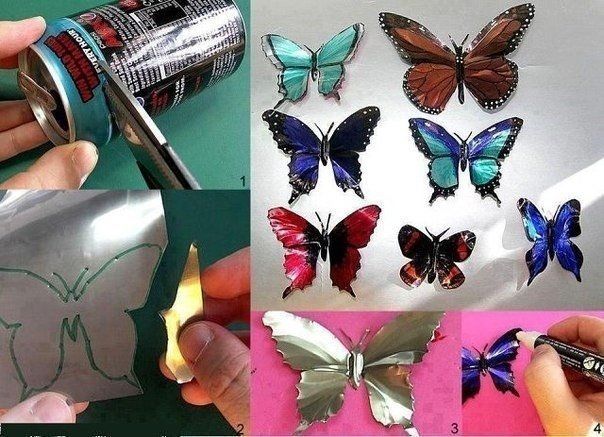
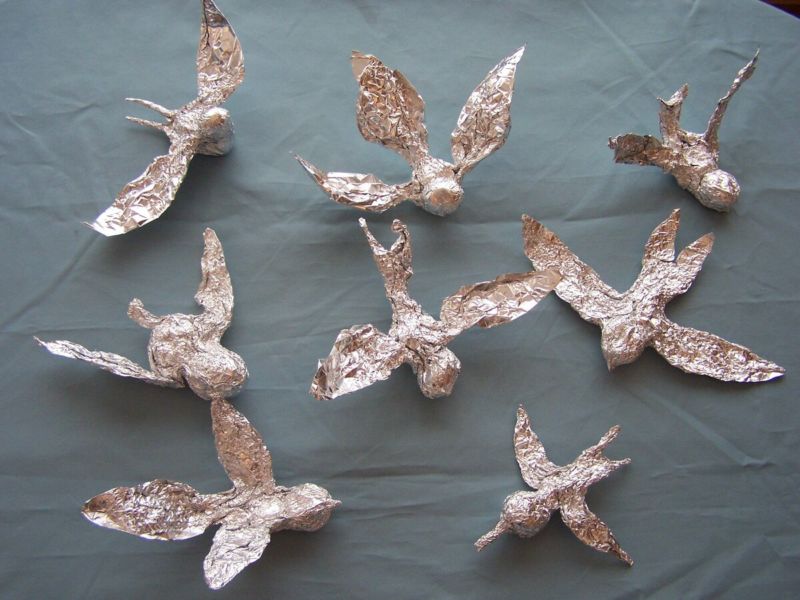
Butterfly .
A simple work is recommended for classes with children of preschool age. The main goal: to show the child twisting skills and try to make the simplest parts on their own, developing fine motor skills. The teacher cuts foil strips of 25×7 cm in advance.
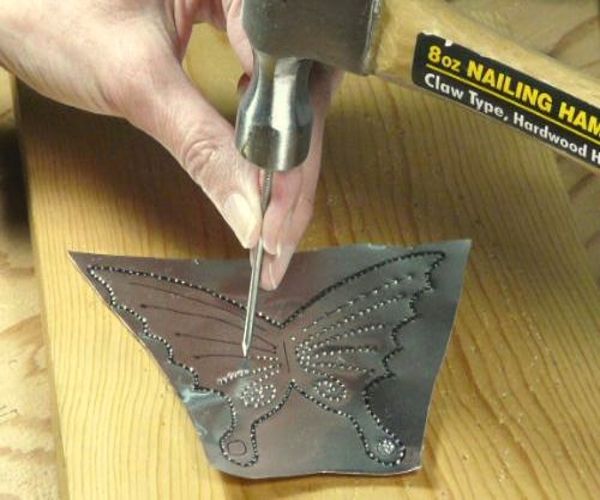
Master - class:
- Tubes are rolled from foil strips;
- The first strip is folded twice in half, then twisted clockwise to obtain the body of the butterfly;
- After that, the remaining parts are twisted back into narrow tubes and wrap them made butterfly body, departing from it by 2 cm on each side and forming the wings of the insect.
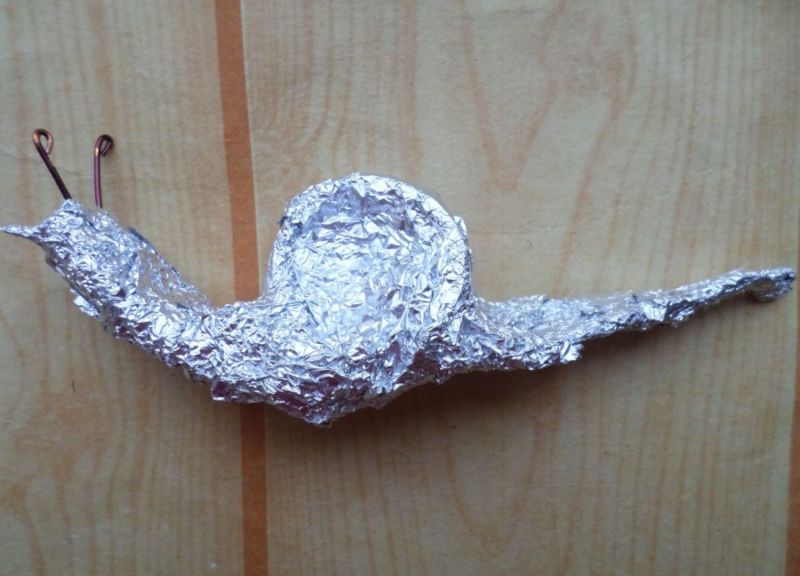
Snail
A good idea for beginners is to create a snail from foil.
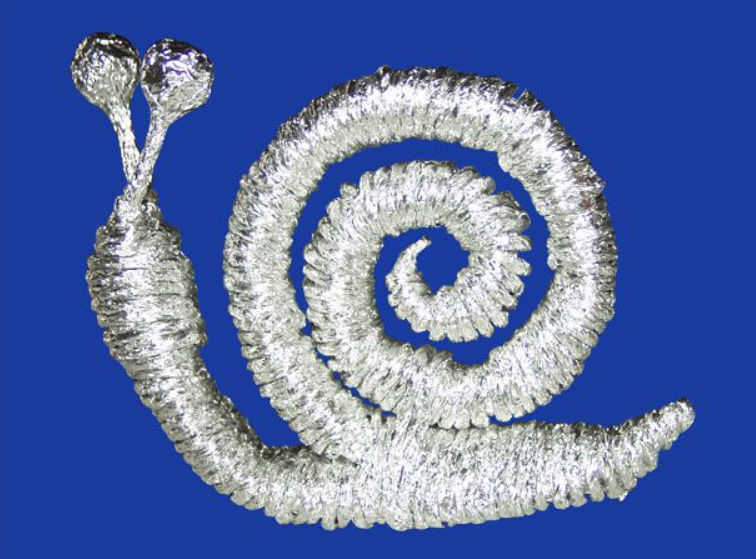
The technique of making is very simple:
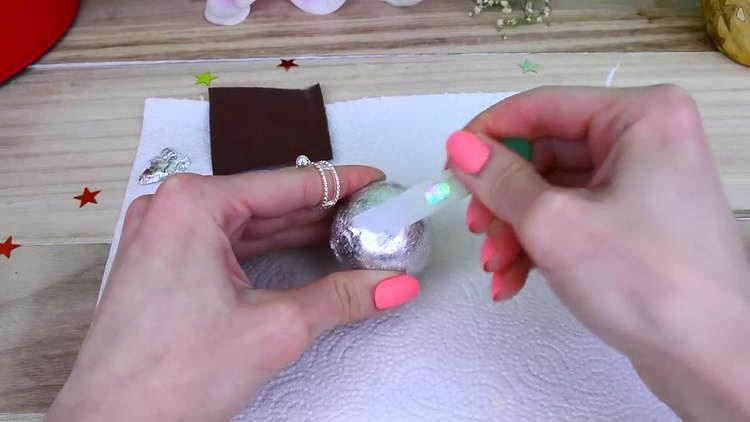
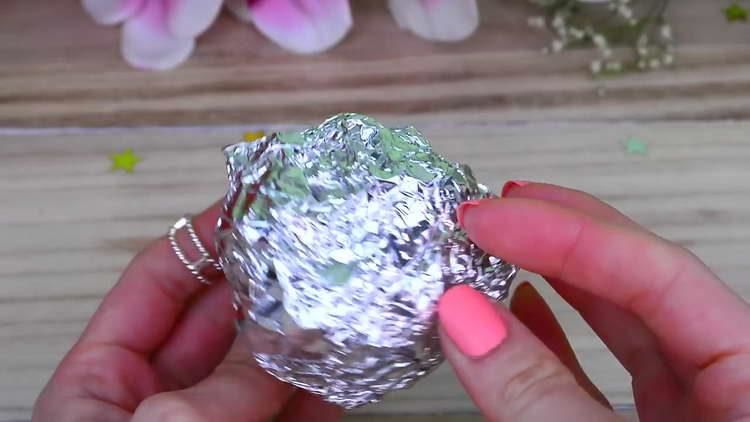
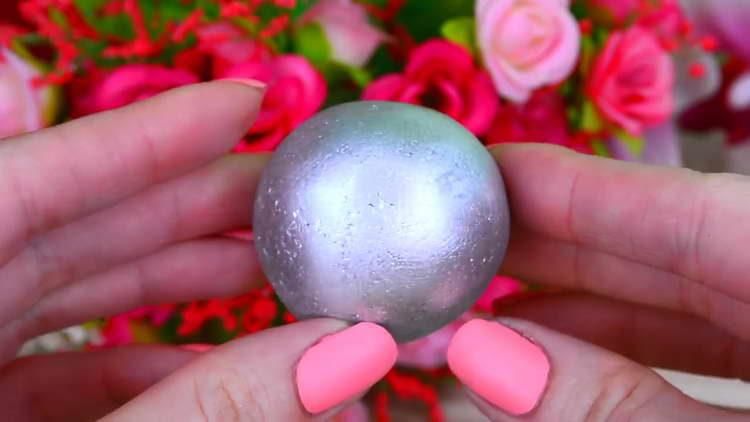
- Roll a ball of dense structure of the desired size;
- The resulting "ingot" is wrapped in a wide piece of foil paper. "Shelter" for the mollusk is ready;
- from another scrap of foil form a dense strip with sharpened edges;
- the "house" is attached to the back of the snail;
- then the construction is wrapped with a wide piece of foil;
- On top you can attach carefully twisted horns.
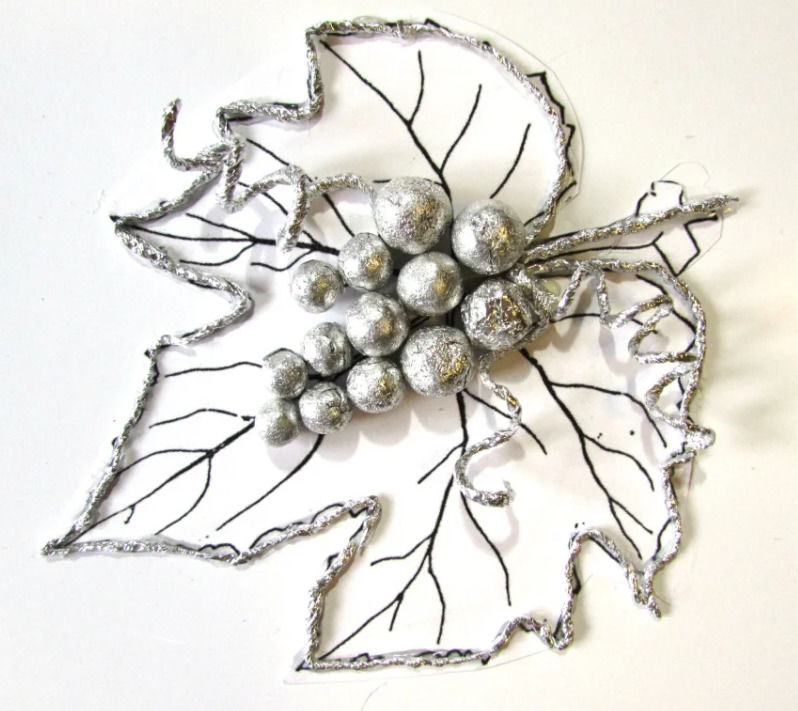
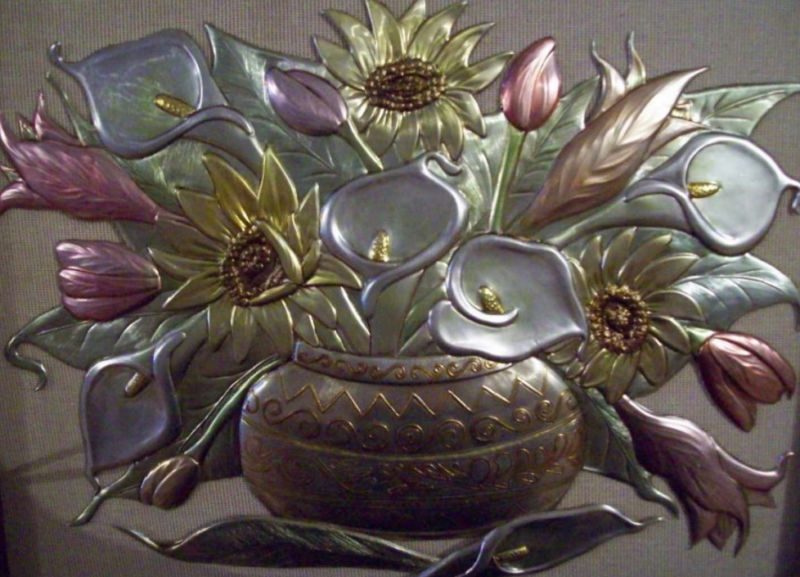
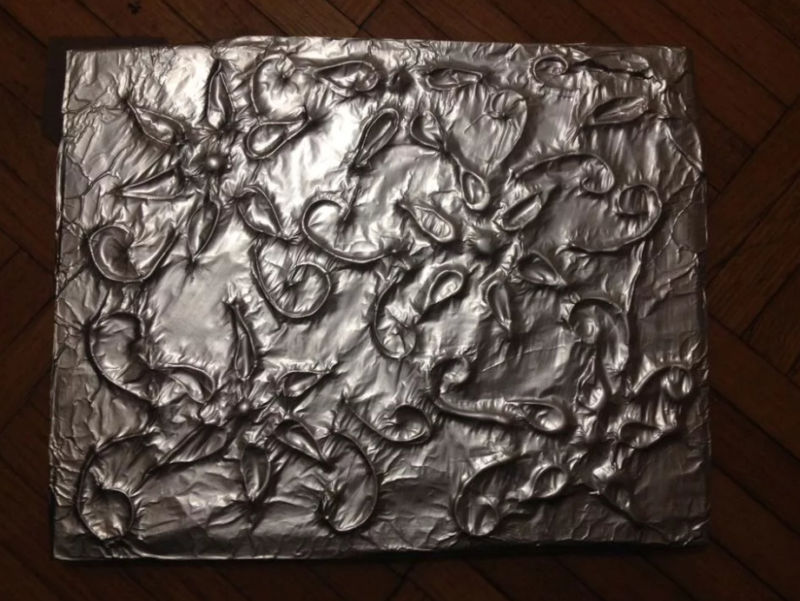
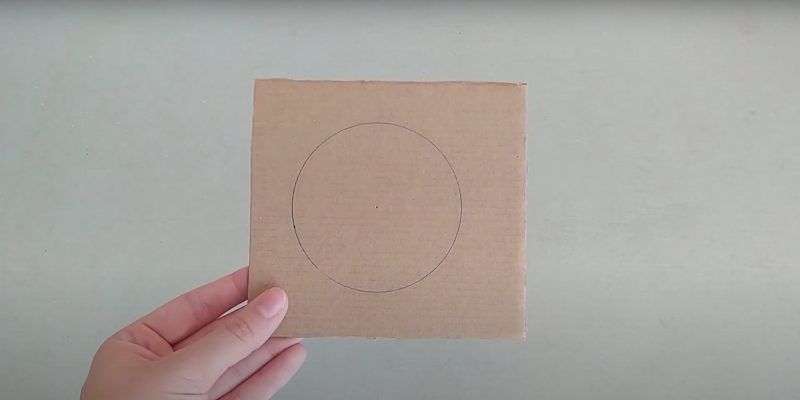
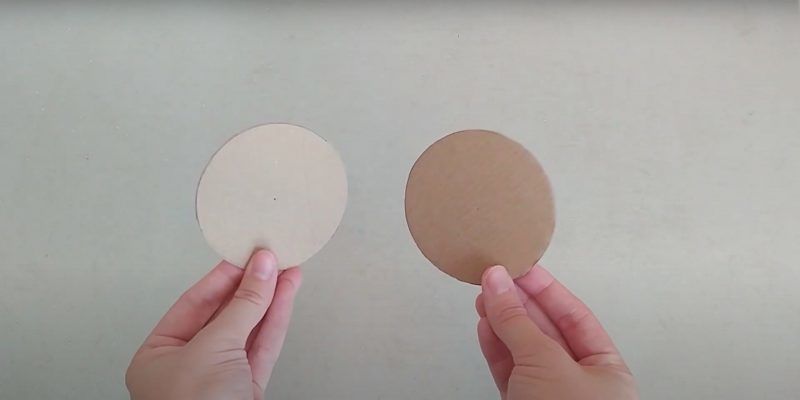
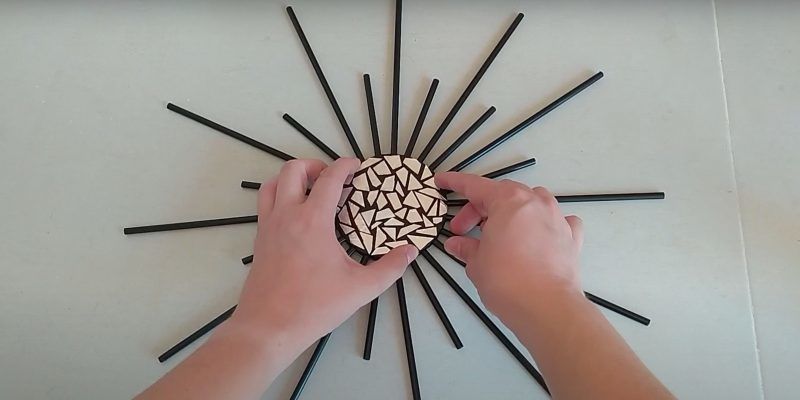
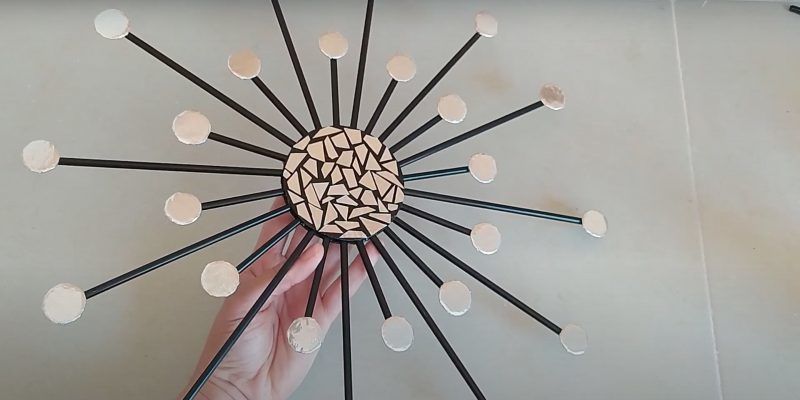
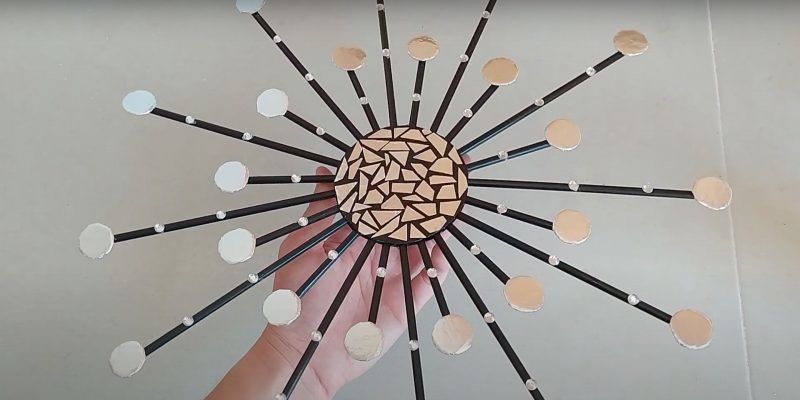
Painting a mosaic out of foil
There are many different techniques for making pictures from non-traditional materials. The works are so harmonious and aesthetic that they can be used as interior decorations.
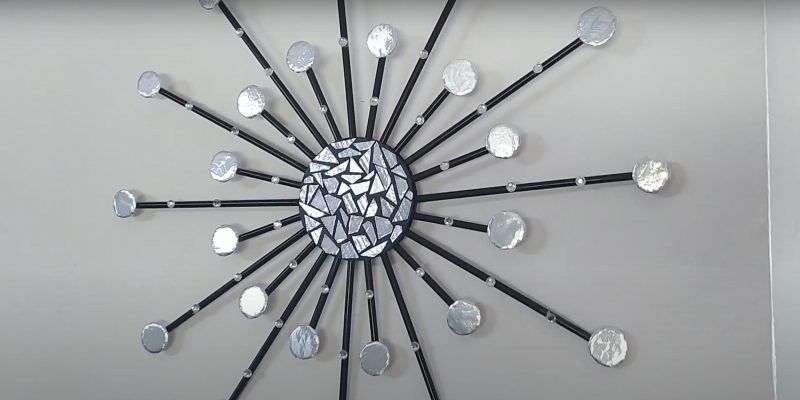
Materials and tools for work:
- Finished pieces of foil in the form of seashells;
- Heavy cardboard;
- glue;
- felt-tip pens;
- stapler.
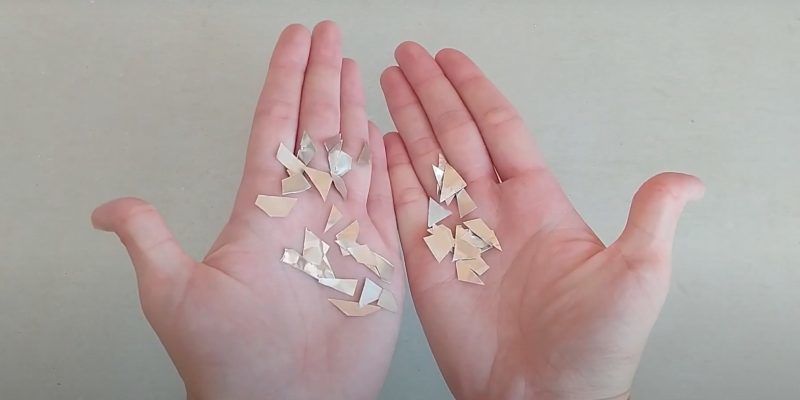
Workflow:
- First of all, all the details in the form of shells are laid out in the preferred version.
- Then, in turn, each element is smeared with glue and carefully fixed to a cardboard base, without allowing excess glue to flow out;
- It is advisable to begin the work with the edges of the cardboard base, gluing foil shells tightly in relation to each other.


Important! "When working on the details of the mosaic glued in one direction.
To make the picture turn out bright and shimmering, it is recommended to glue the elements of the foil mosaic with the colored side. At the end of the creative work, you can glue a beautiful bow! It remains only to choose a place on the wall, where to hang the picture - mosaic.
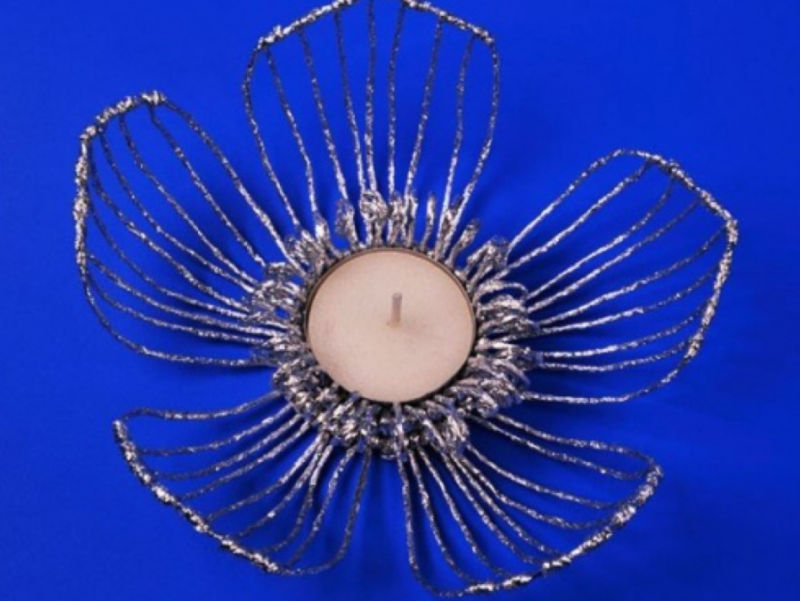
Decorative candle holder
Make a candlestick out of foil can both adults and schoolchildren.
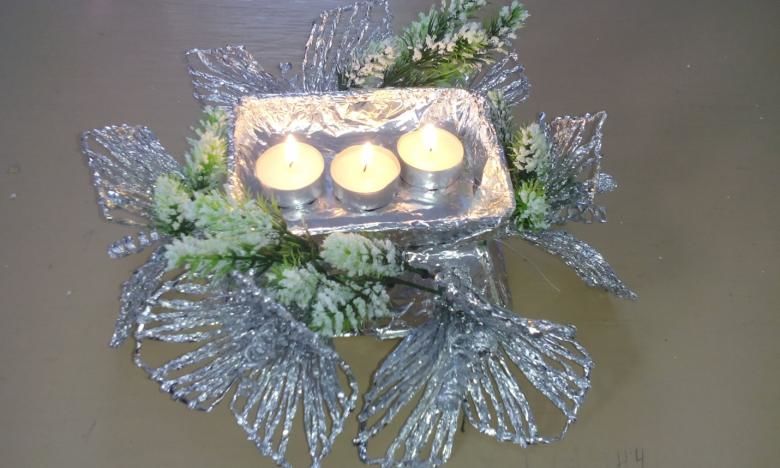
The process of making:
- They cut strips of foil paper and twist them into long bundles;
- Further, from the prepared bundles construct a rectangle, the edges of which are glued with plastic glue;
- Similar thin plaits are twisted into a spiral shape;
- The spiral-shaped plaits are attached to the bottom of the basket and to the sides;
- The candle holder can be completed with a thin handle.
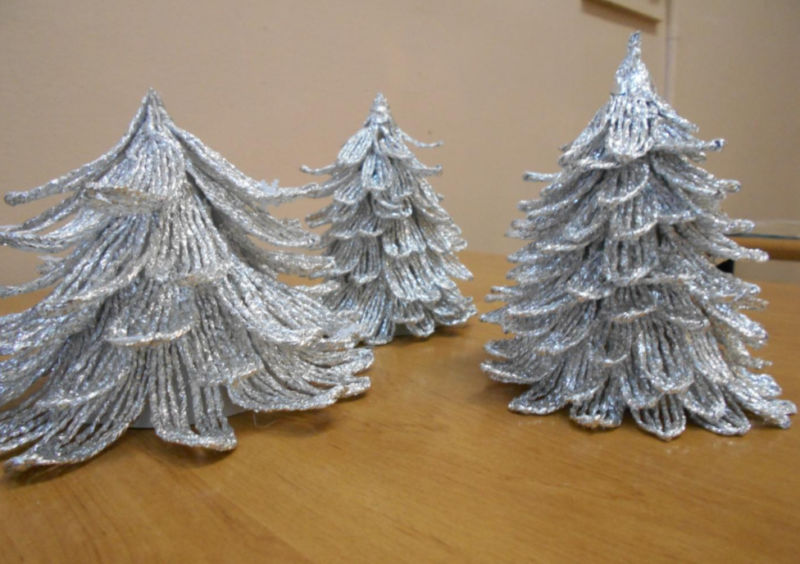
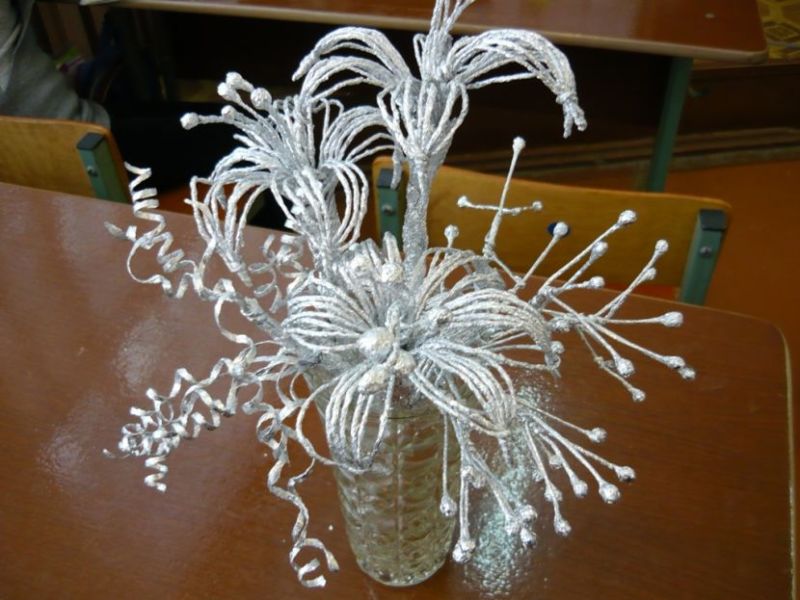
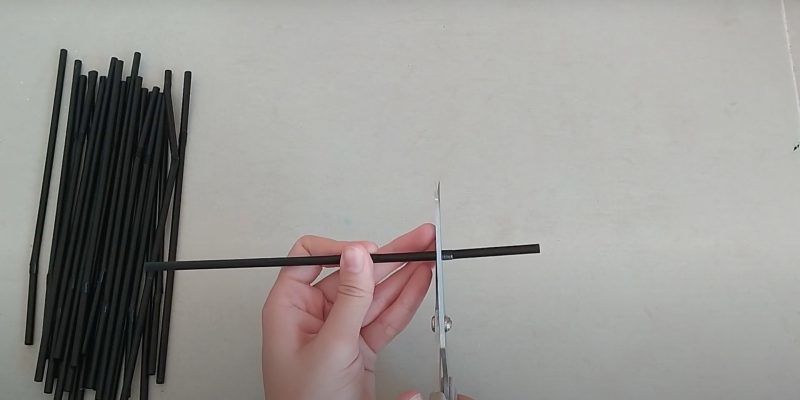
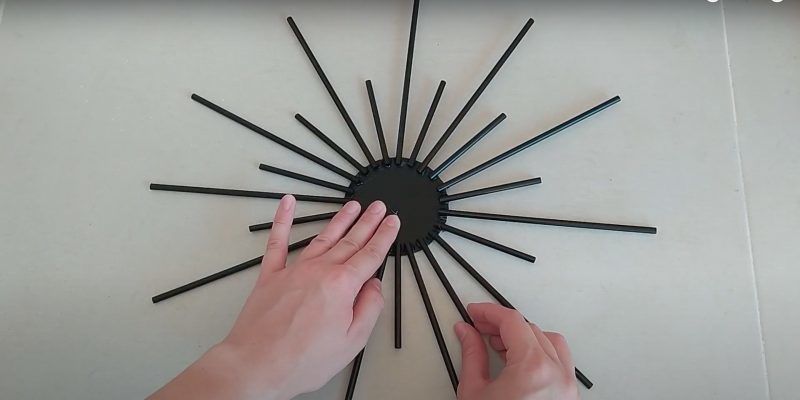
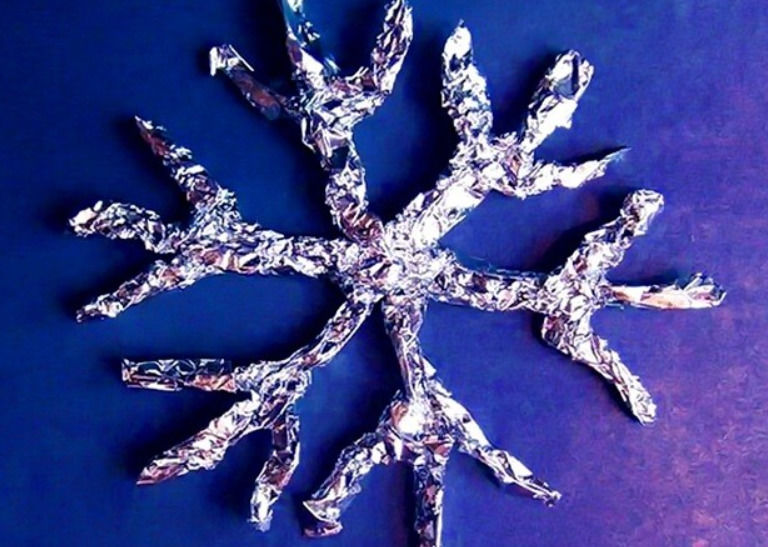
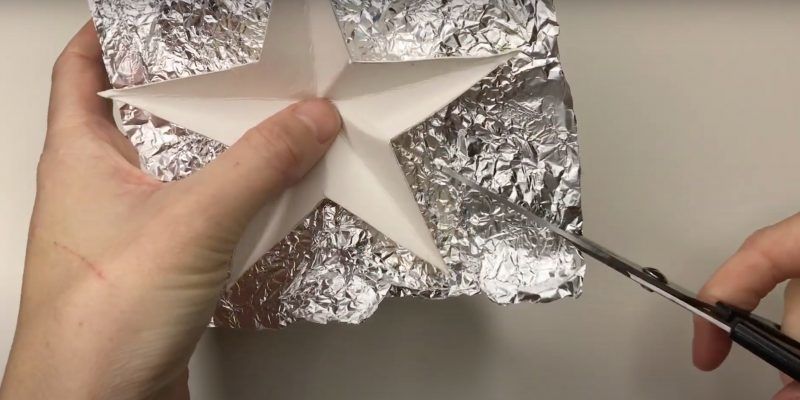
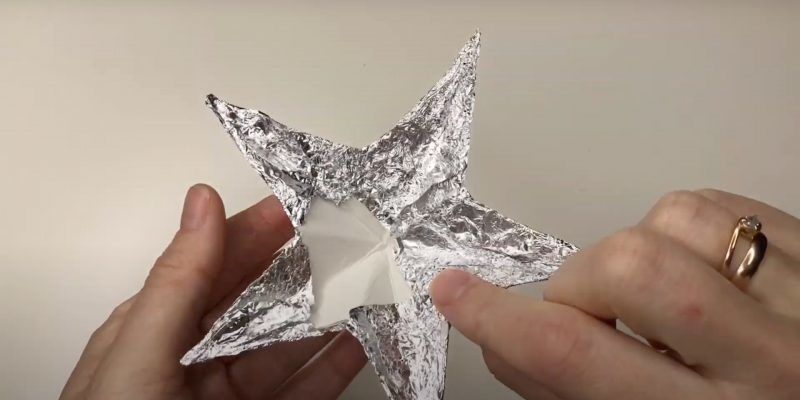
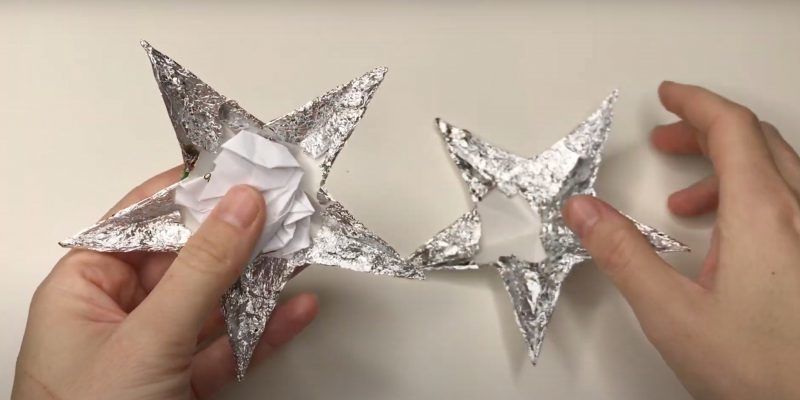
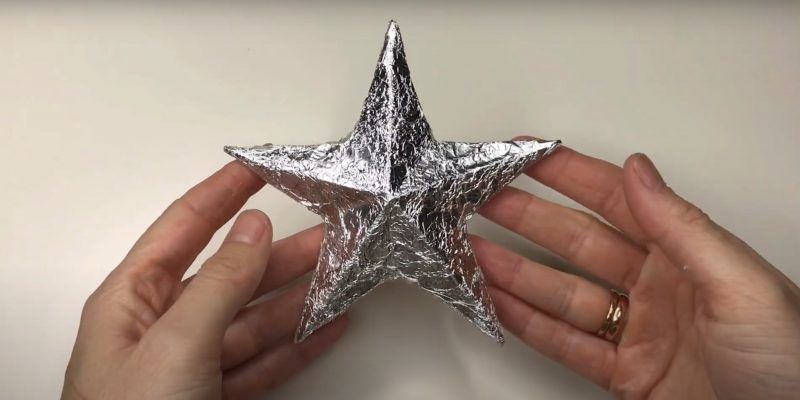
Snowflakes
New Year is a special holiday, preparations for which many begin in late autumn. Snowflakes are an essential attribute of this holiday. They can be made of foil and dress up the whole room.
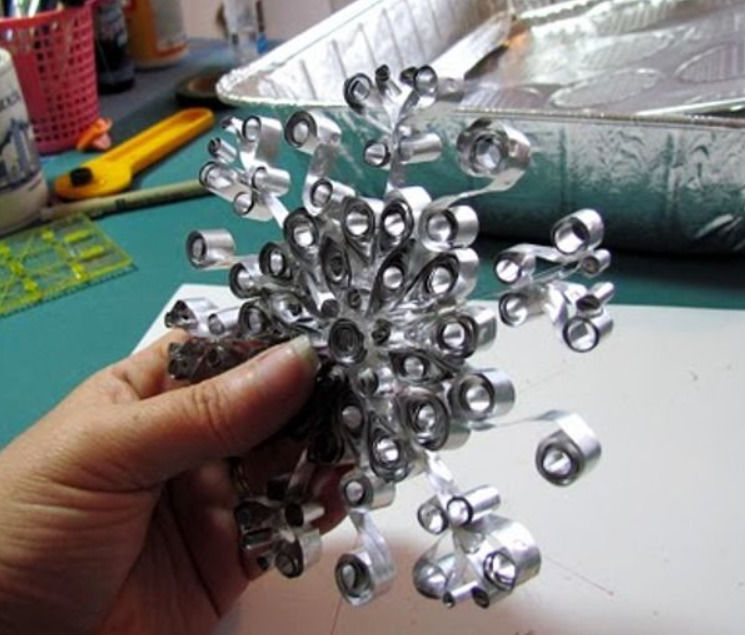
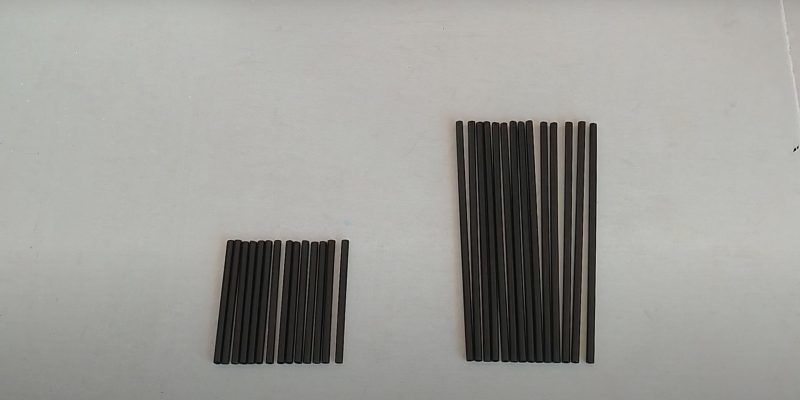
Technique of execution:
- Construct a wire frame;
- Connect a few wires in the center of the frame;
- Attach additional pieces of wire to the free ends to increase the size of the rays of the snowflake created;
- Cut thin strips of foil and carefully, without haste, wind them on a framework of wire.
These snowflakes are distinguished by their beauty and high durability.
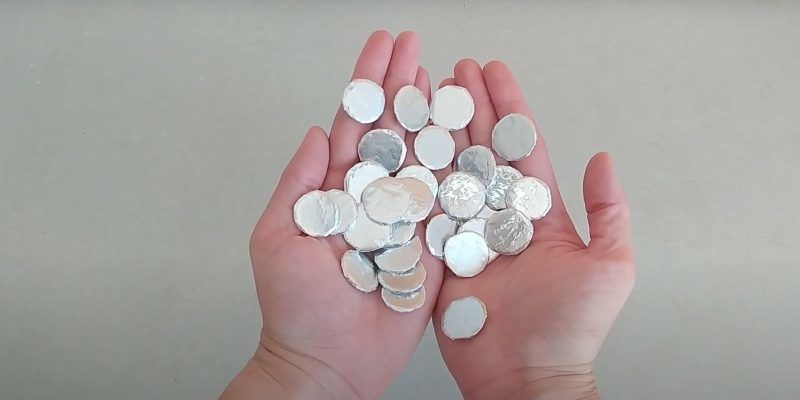
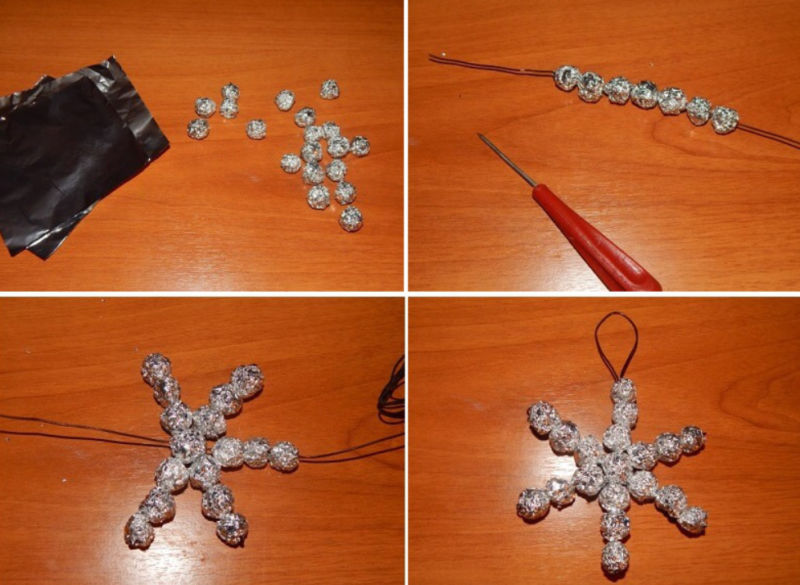
Garlands
Preparing foil and a long strong thread, the winter decoration can be made in minutes:
- You need to mold balls of colored, textured foil. The number of balls depends on the length of the future garland.
- Make holes in each ball.
- Then they are strung on a silvery strong thread.
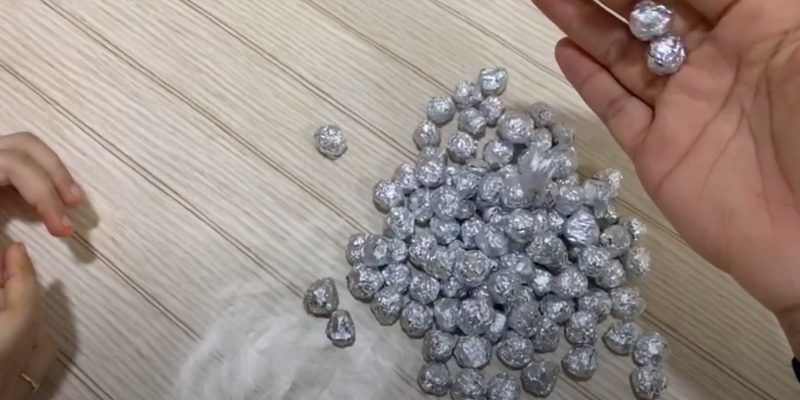
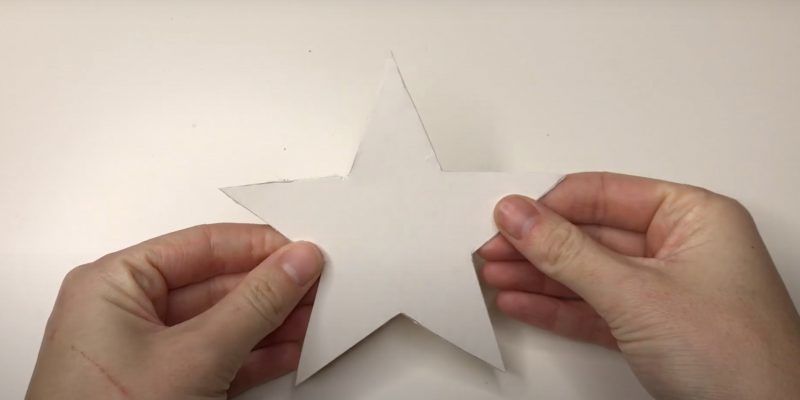
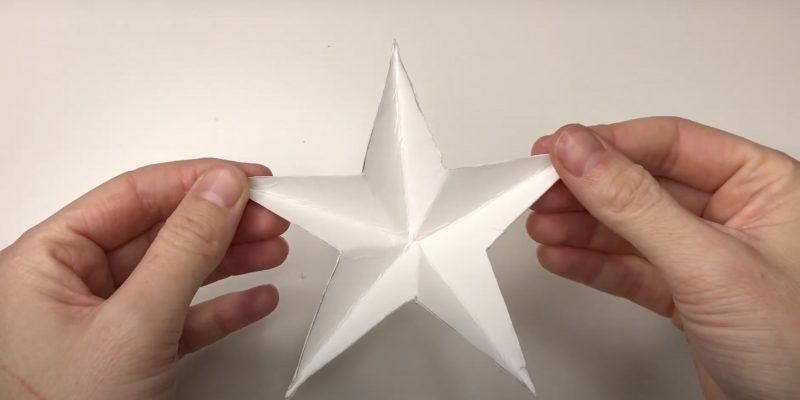
A flight of fancy and allows you to come up with additional shiny decorations in the form of small snowflakes, stars, icicles or tinsel.
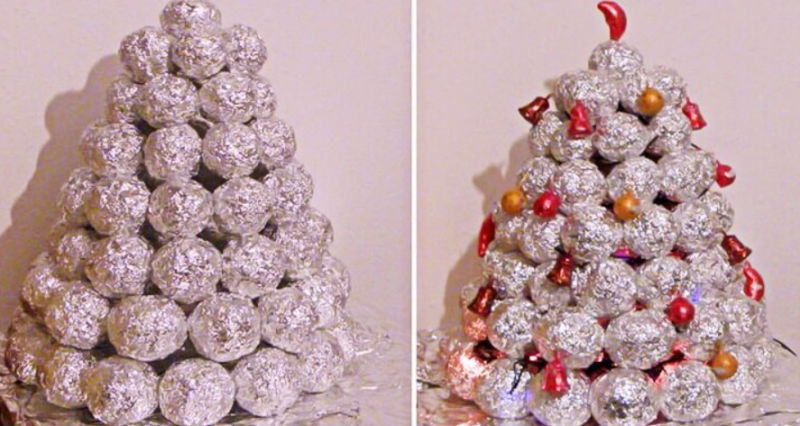
Christmas toys
There are a great many options for New Year's Eve crafts. If a child makes a craft on his own, adults can inspire him with all kinds of ideas. It is best to start with a simple work. For example, a walnut wrapped in foil. Attaching a string, you can hang the craft on the Christmas tree.

Will not leave any boy indifferent to the idea of making a model of an astronaut out of foil on cardboard. To work you will need:
- a piece of gold foil;
- a thick sheet of black cardboard;
- polyethylene lid;
- glue;
- photo of the future astronaut (child);
- scissors.
Step by step execution:
- To give volume, knead the foil and then smooth it out. After this procedure, the surface of the foil will be uneven, but dense in characteristics. For smoothing, the rings of scissors will do.
- Cut out the silhouette lines of the astronaut costume and use polymer glue to glue it to the cardboard.
- Cut out a "spacesuit" from foil and glue a photo of a child to it.
- Cut not wide strips of foil, which will be the sleeves of the suit.
- Handicraft made of foil and plasticine, with the help of which molded a symbol of the USSR.
- Helmet is formed from a plastic cap, and the rim around the helmet is made from a piece of white plasticine.
- Fix a white circle made to the helmet. The result is an imitation of a transparent top of the helmet.
- On the chest of an astronaut in a spacesuit have different buttons. They can also be made of dark plasticine.

It is acceptable to hang the craft on a Christmas tree or decorate the wall by gluing a loop on the back.
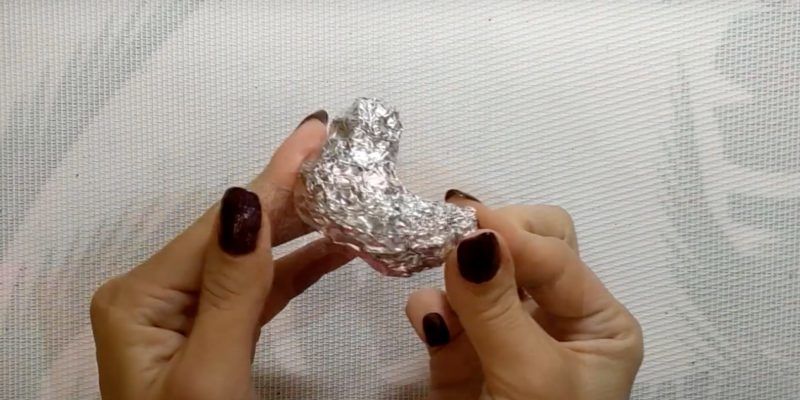
You can give a second life to an old toy. To do this, simply cover it with colored foil and give it your own shape.
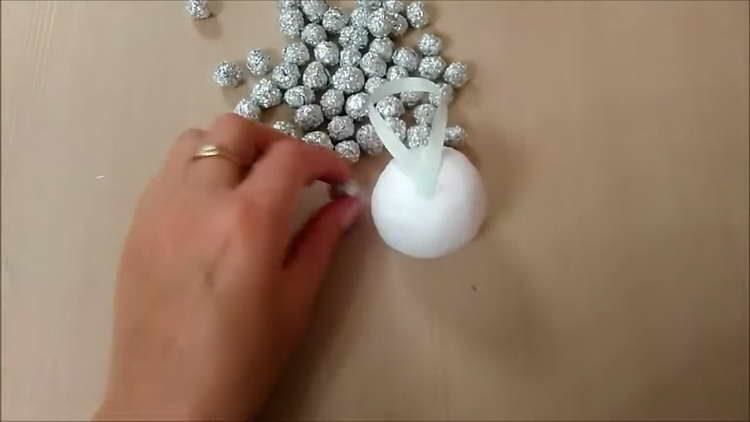
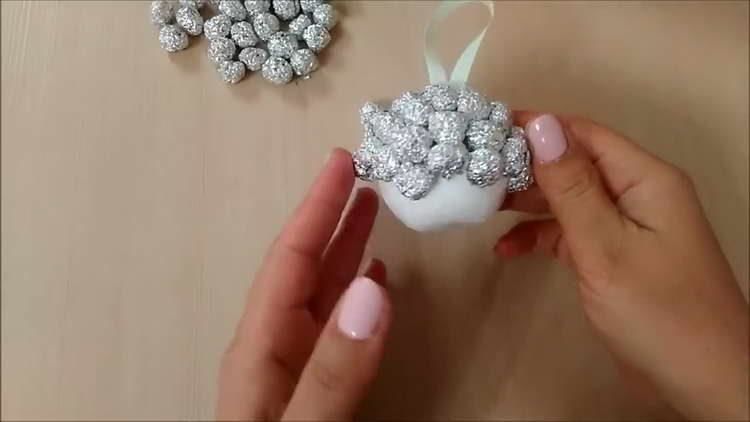
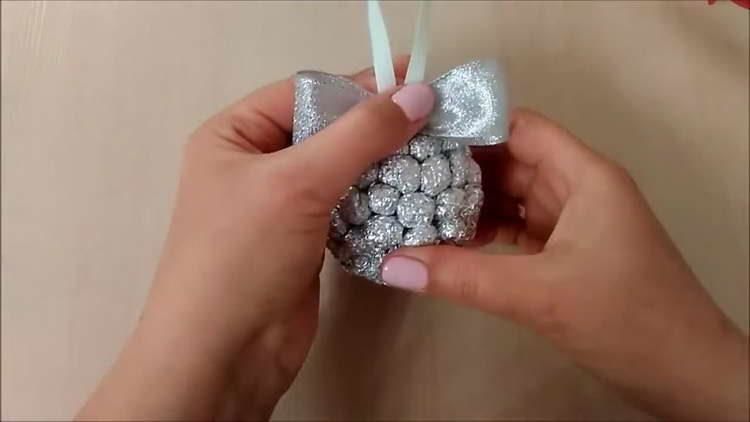
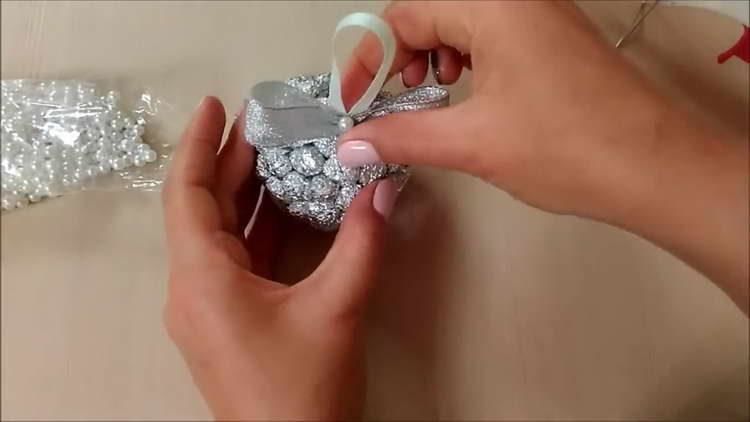
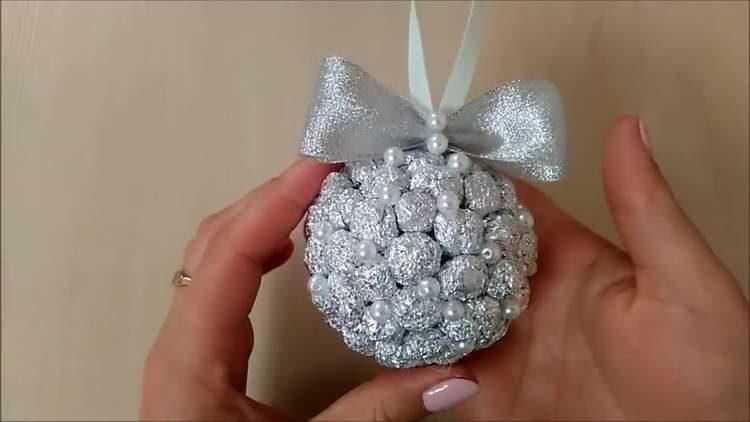
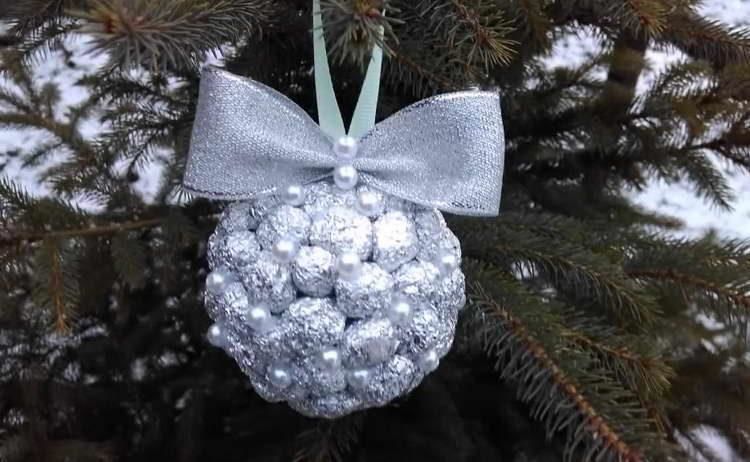
Taking the ball, you can wrap it in foil, decorate it with beads, satin ribbon and you can hang it at any height.
Making crafts out of foil step by step, you can gain experience and turn this activity into a favorite hobby. Each time the work will get better and will certainly cause sincere admiration from others.
Pictures of homemade children's crafts out of foil