Balloon crafts with their own hands - features work, step by step master classes and photo ideas
Balloons are such a simple, but familiar decor. And recently it has become increasingly popular. Because masters have learned to create very interesting and unusual handicrafts from them.
Using them, you can easily create a festive atmosphere in any room. Working with such "material" is not as difficult as some believe. Let's try to figure out how to do it correctly.
Description of the working material
Many people have memories of what beautiful crafts come out of balloons. After all, as a child, many received them from the hands of clowns, visiting the circus or the zoo. But then everyone thought that everyone to make such a handicraft is unlikely to get.
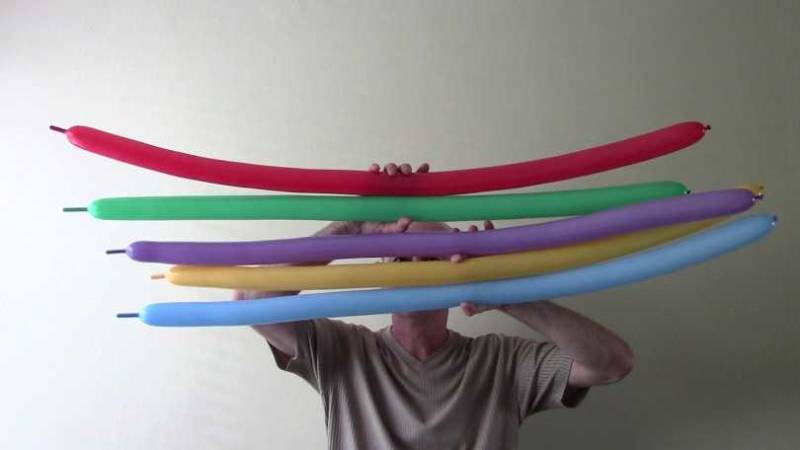
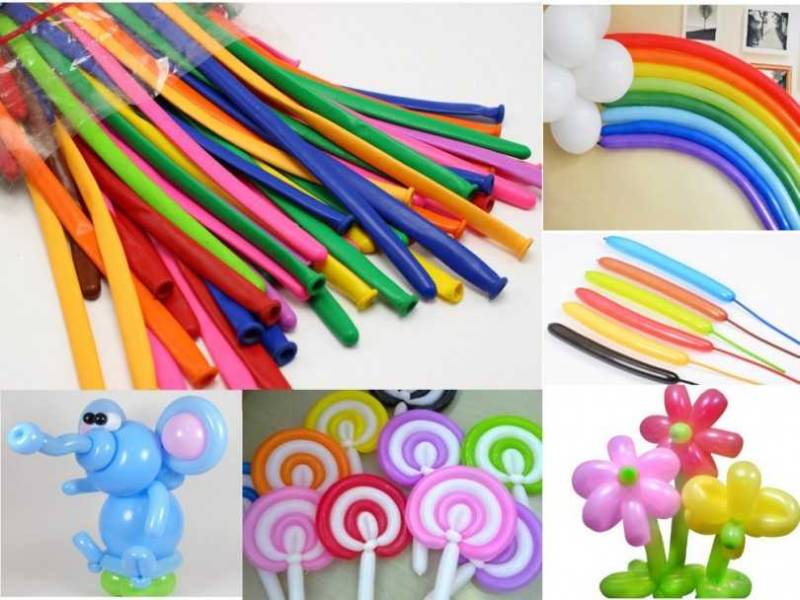
It should be noted immediately that for the work should use the so-called balls-balls. Of them it is easier to form figures and give them the necessary shape, so they are more suitable for work.
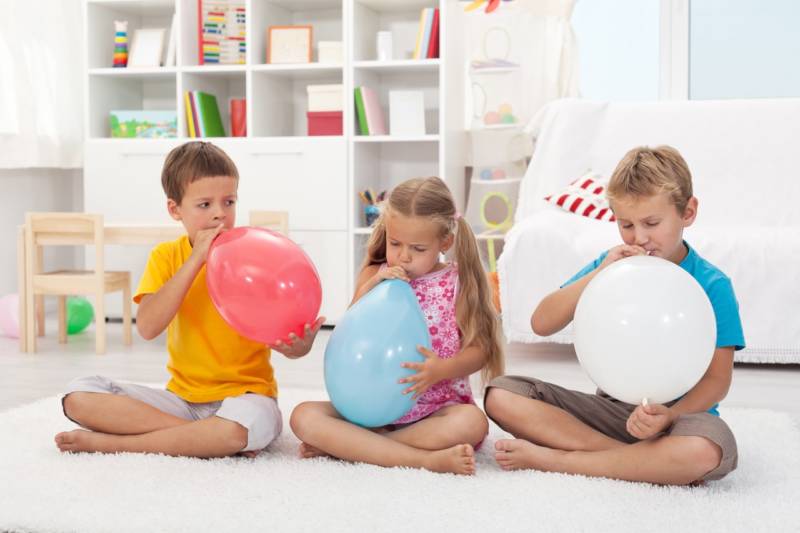
Important! Constructing such crafts develops creative thinking in children. They quickly learn the subtleties of working with quite fragile materials.
Where to buy balls
So, having decided to engage in any creativity, each potential master encounters the first problem. After all, you need to find the material from which to create further masterpieces.
It is true that sometimes it is difficult. But not in this case. You can buy balloons in any department with children's toys, conventional kiosks and even in wholesale markets.
Often on sale are also special sets that include not only colored balloons, but also devices for their more rapid inflation. Of course, you can buy just balloons. After all, there are several ways to inflate them. And each master himself will decide which is more convenient to use.
Important features.
There are different inflatable balloons on sale. The price segment is quite wide. And some novice masters make one mistake, which is a common one. They simply buy the cheapest balloons, thereby complicating their task.
After all, working with thin material is always difficult. And the case with the use of balls is no exception. Therefore, it is recommended to give preference to a denser material. This will reduce the chance that the balloon will simply burst during inflation or in the process.
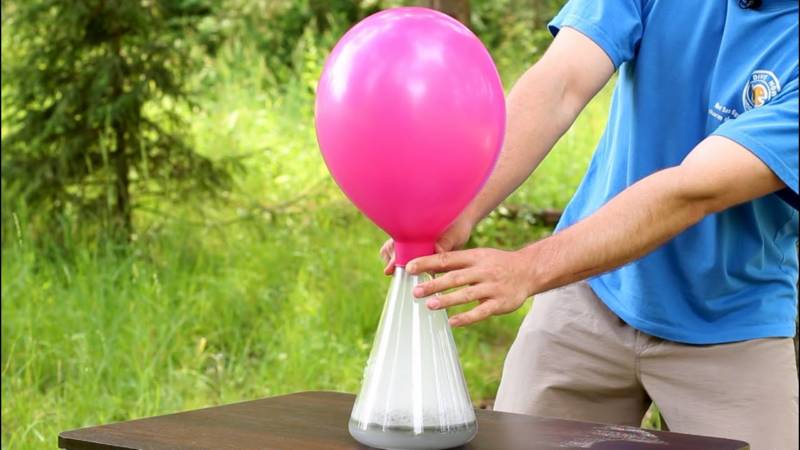
How to properly inflate balloons
As written above, you can inflate the balloon in more than one way. That's just the method must be chosen correctly. After all, it can both simplify and complicate the work. Therefore, it is necessary to think beforehand which method will be more appropriate.
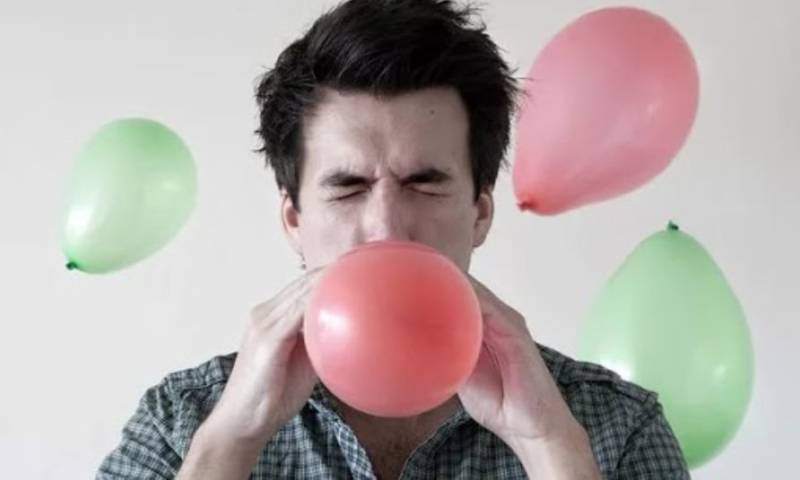
Inflate balloons by mouth.
The simplest and most budgetary method. It is not necessary to buy any additional means. And this is a great advantage.
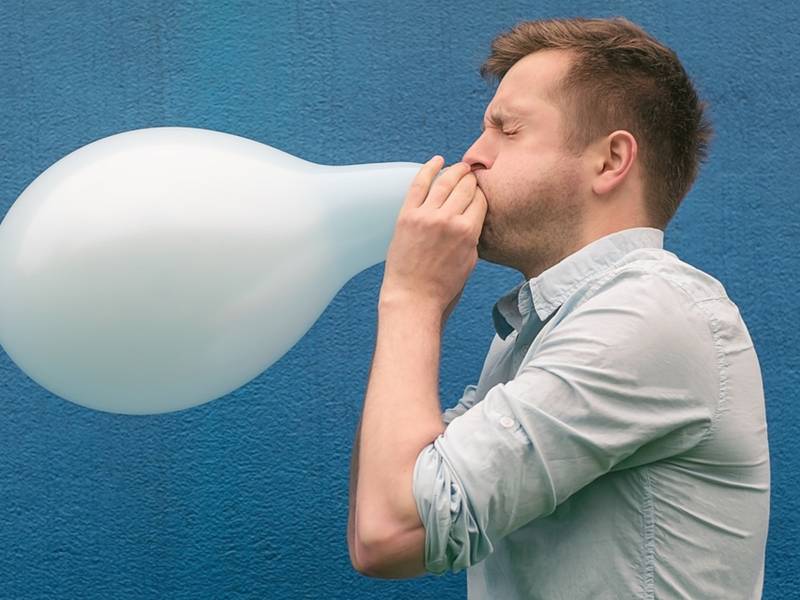
In addition, it seems that there is nothing easier than to do it. But here, too, there are some nuances. In order for the balls not to burst, it is necessary:
- to warm up the material well - to do this, it is enough to rub the ball in your hands. It is not necessary to do it intensively. It is only necessary to slightly "warm" the surface of the material;
- Stretch the material by pulling the edges of the ball a few times so it stretches a little. This will greatly reduce the likelihood that the balloon will simply burst.
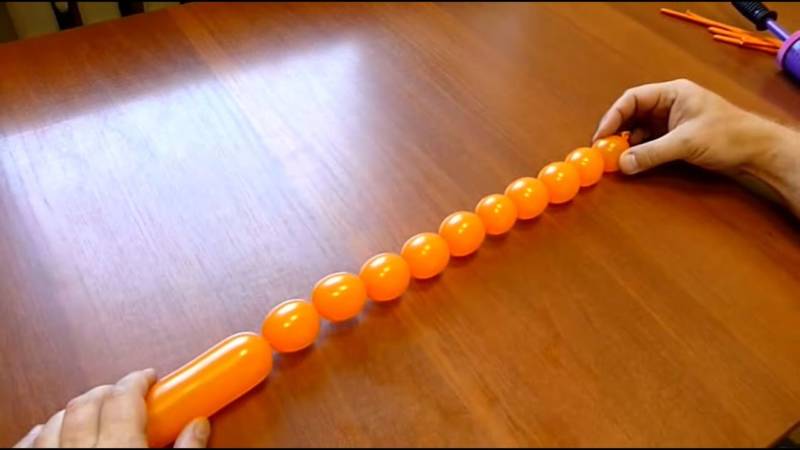
After that, the balloon can be inflated. To do this, squeeze the balloon no more than 8 cm from the edge and inflate the first part of the sausage. Moving your hand along the length of the balloon, you need to gradually inflate the other parts. You should do so along its entire length.

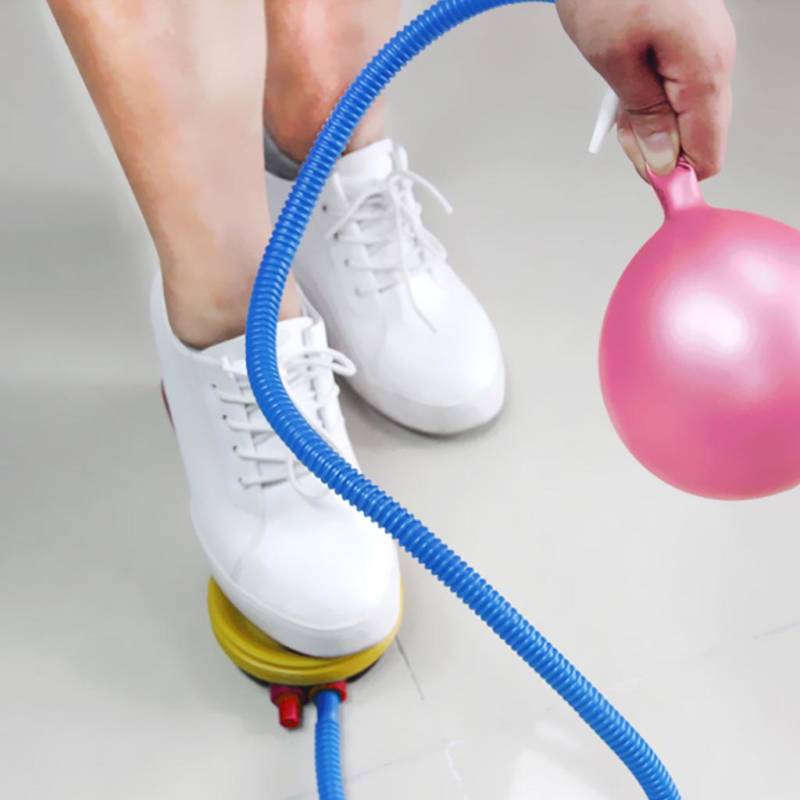
Using improvised means
It is faster and easier to inflate the balls, using a special pump. It is usually sold with the balloons.
However, you can simply use an ordinary bicycle pump or a blower, which is used to change the pressure. Such a device is sure to be found in the home of any craftsman.
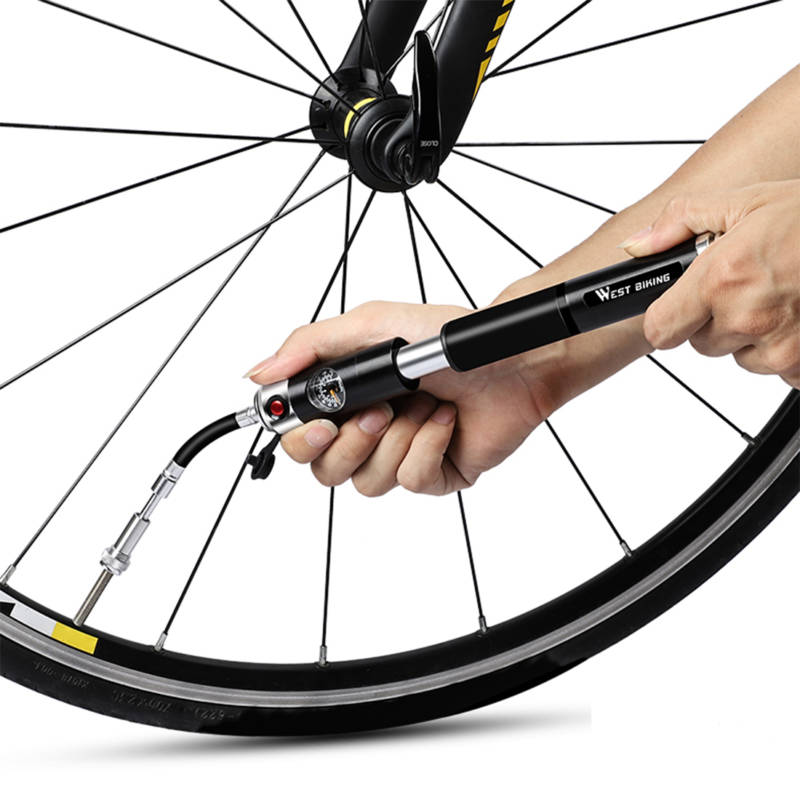
Of course, and in the case of using any improvised means, it is necessary to warm up the material and inflate it evenly. Haste in such a case is superfluous. Therefore, it is better not to hurry and to do everything measuredly.
Important! It is not allowed to inflate the balloons too tightly. Otherwise work with them will not work.
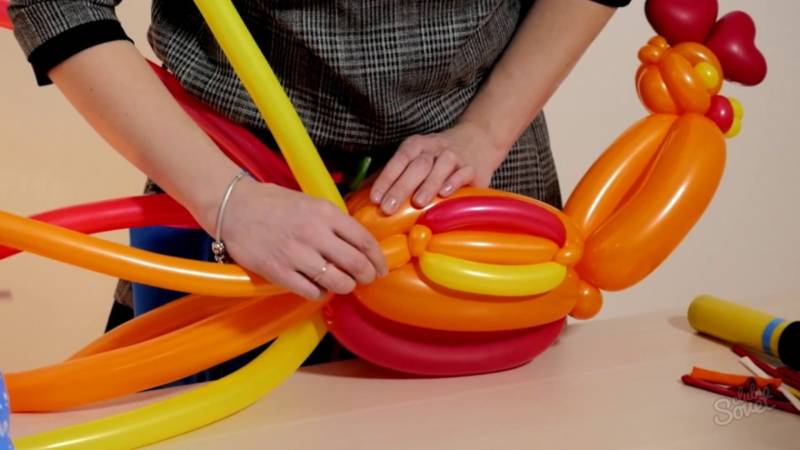
Twisting techniques for modeling
It is not enough just to inflate the balloon, it is necessary to twist it correctly to be able to further model. And often at this stage masters already face the first difficulties.
To avoid such problems, it is enough just to decide which method to use. We present to your attention the most accessible options, with the study of which there will be no problems.
Simple twisting
If you need to form separate parts of different lengths, then this method is ideal:
- We measure the desired size of the future "sausage" from the balloon and clamp with our fingers and a small distance from the knot made.
- Holding the short end at the curling point, turn the long end of the balloon around its axis with your hand. A few turns will be enough. Do not try too hard.
- Gradually twist all parts of the ball, measuring in advance the size of each of them.
Pay attention to one important aspect. It is necessary to twist the balls in one direction and not to change it in any case. Otherwise, the workpiece simply will not hold its shape.
Twisting with a "lock"
If the future craft is quite complex and involves the fixation of several bubbles, going in series, then you can't do without simple twisting. In this case, use a different method.
It involves creating a kind of a castle. Therefore, the figure is more securely fastened. It is usually used if it is necessary to fix not two but three or more bubbles:
- Having twisted the necessary number of bubbles, the last two are put together.
- It is necessary to fold in such a way that the bend of the ball goes exactly on the place where the bubbles are connected.
- Now the only thing left is to make a few circular twists. This is the castle.
Although it is easy enough to make such a curl, it provides the most secure fixation. And that is why it is used very often.

Twisting with a kink
The peculiarity of this method is that the last two bubbles are not twisted together. They are simply bent.
That is, you need to make the required number of bubbles, measure the gap for the last two and bend them without using a lock. The bend must be made at the junction. Only then will the fixation be as secure as possible.
Poet's masterclasses
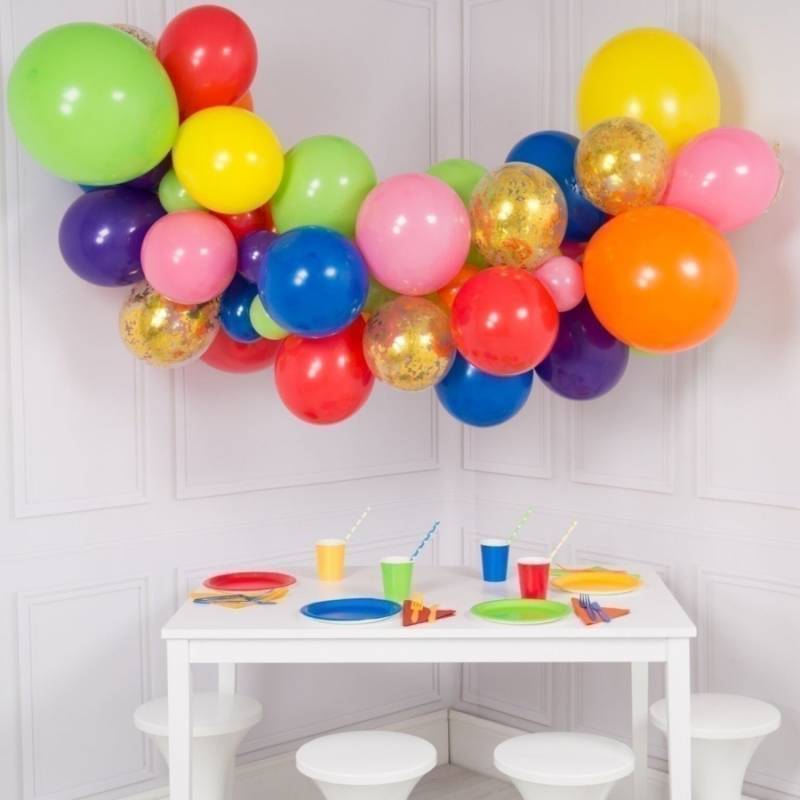
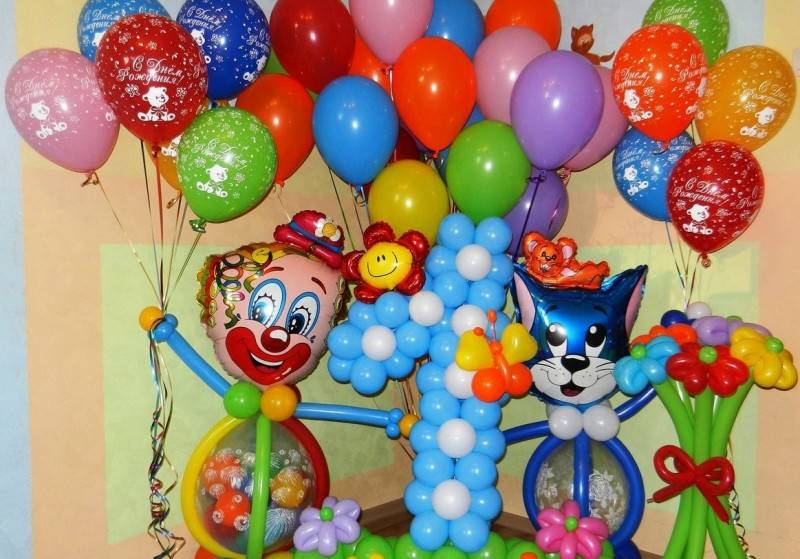
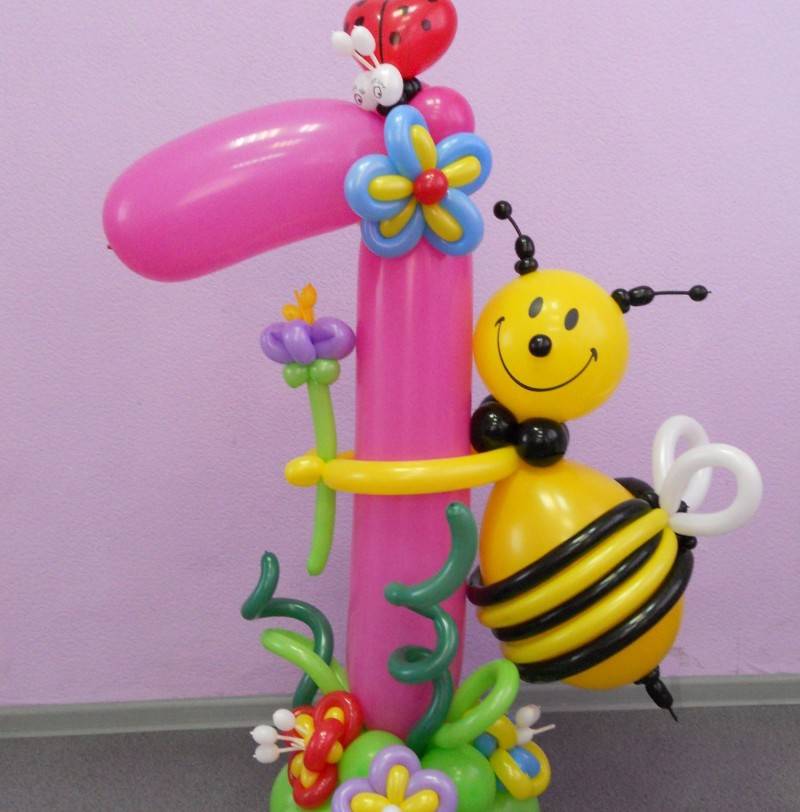
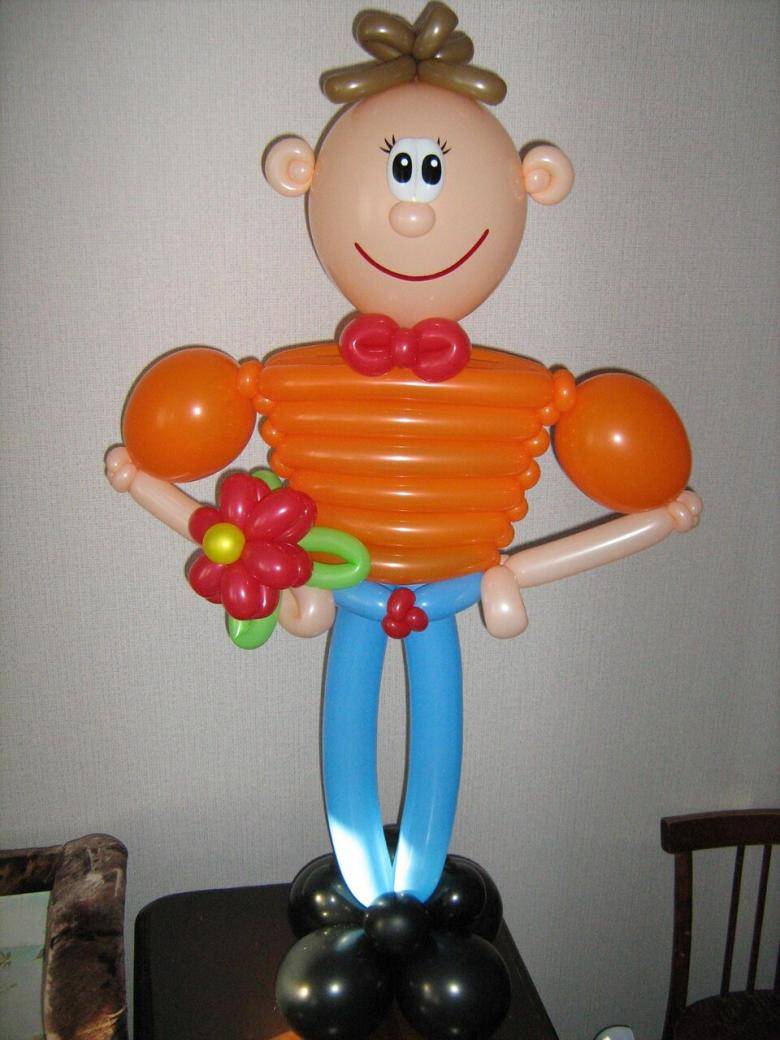
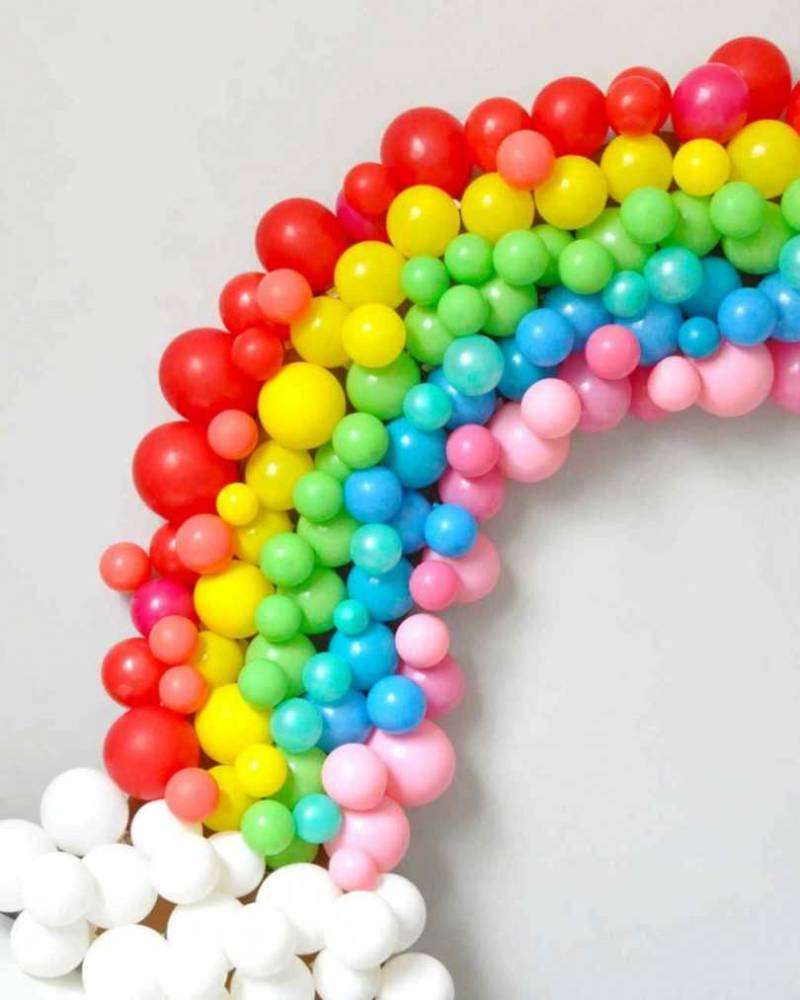
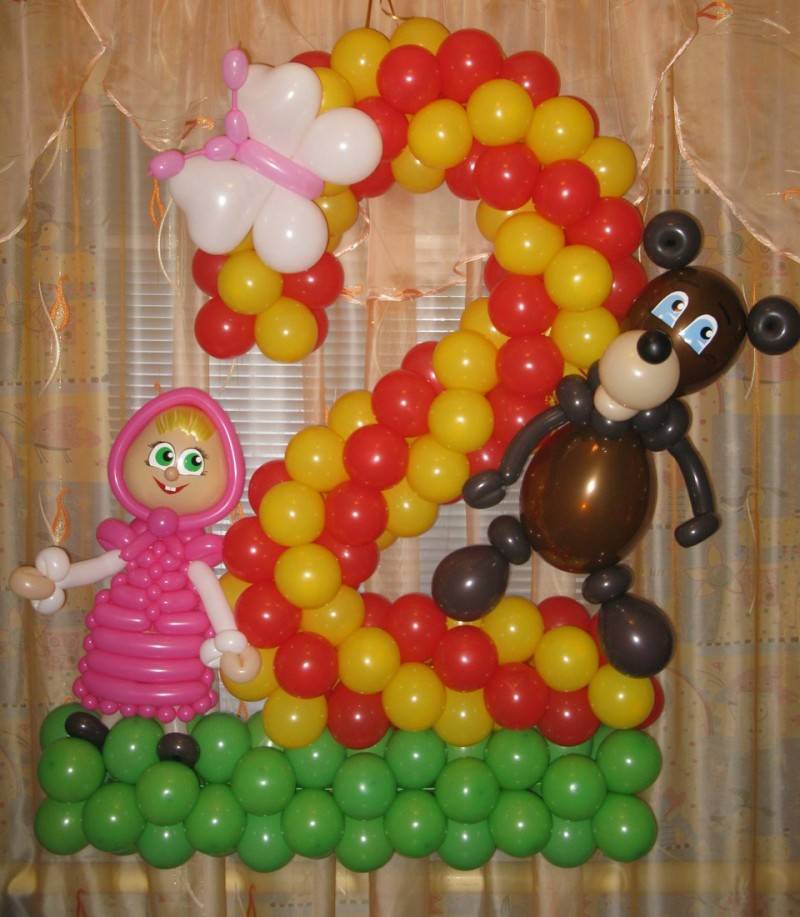
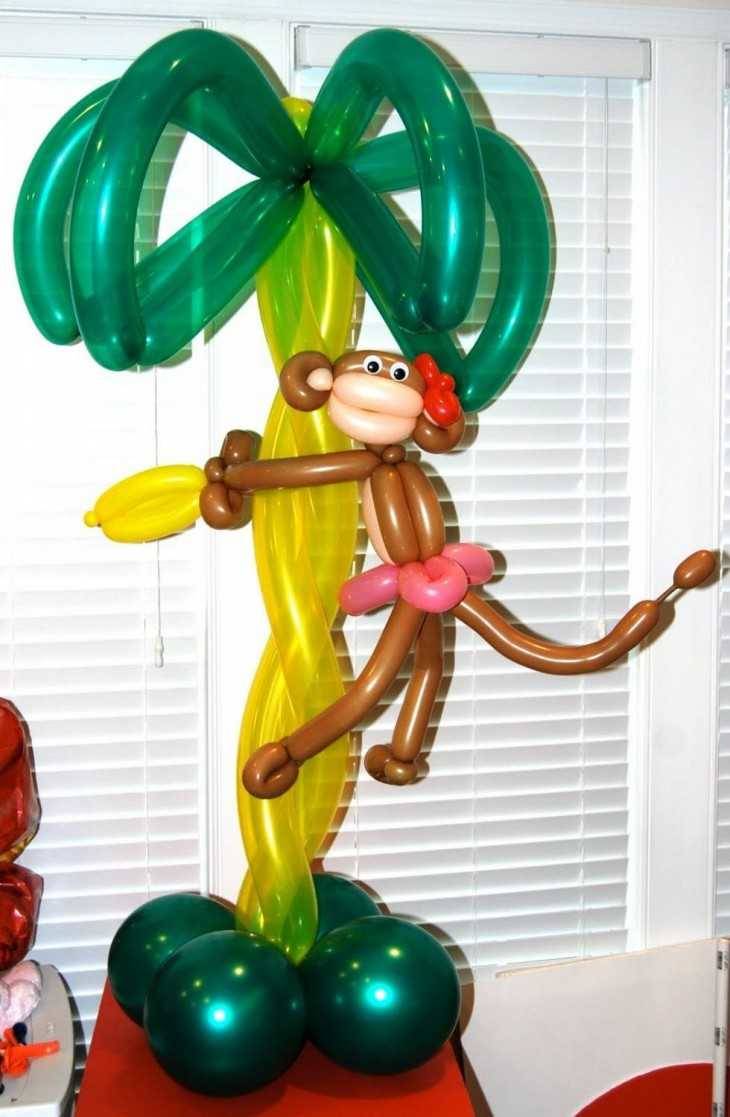
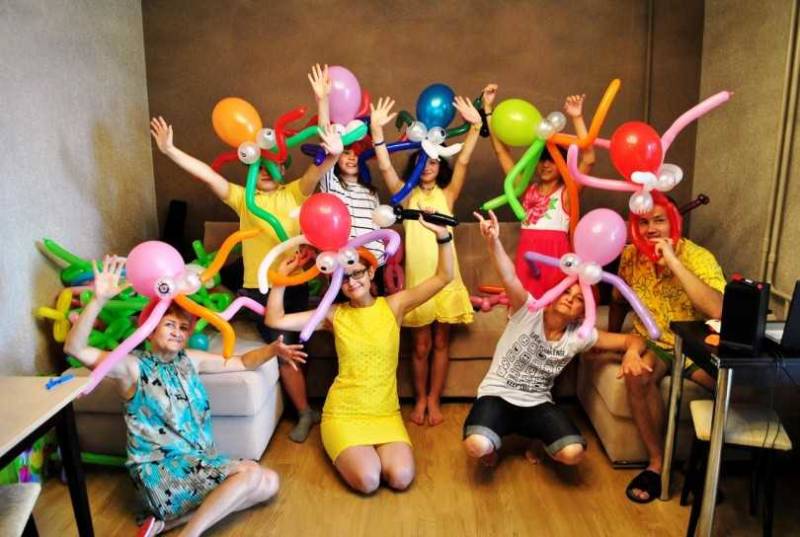
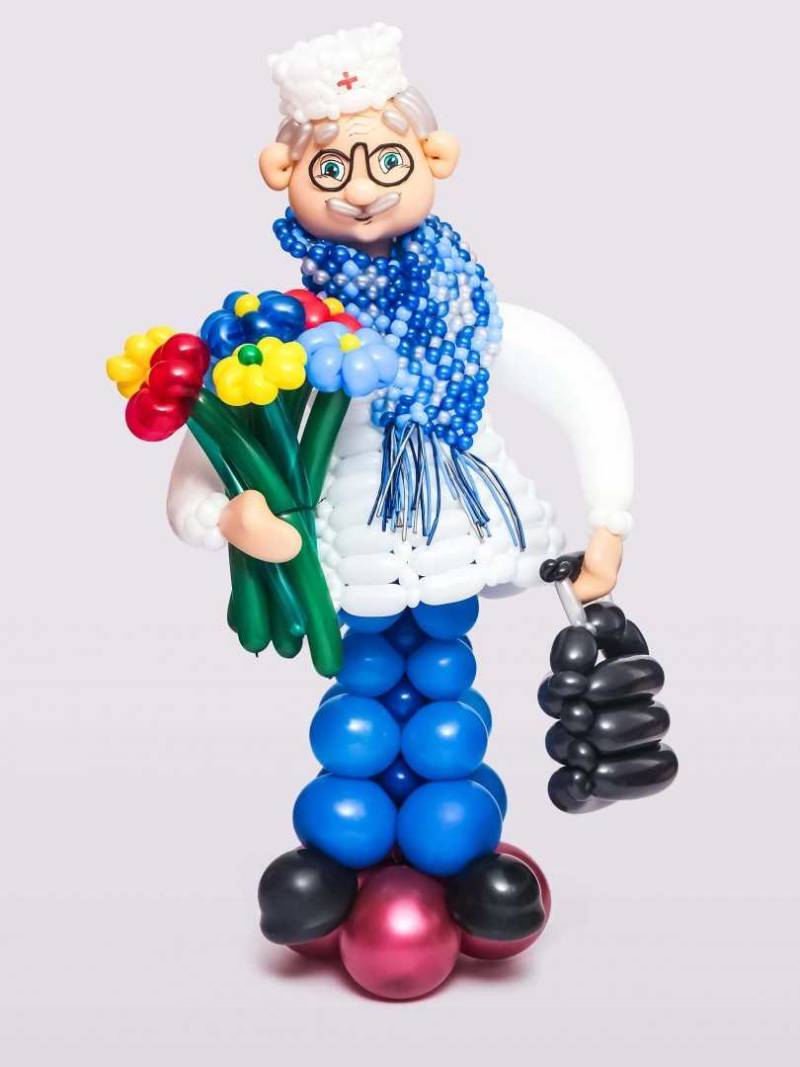
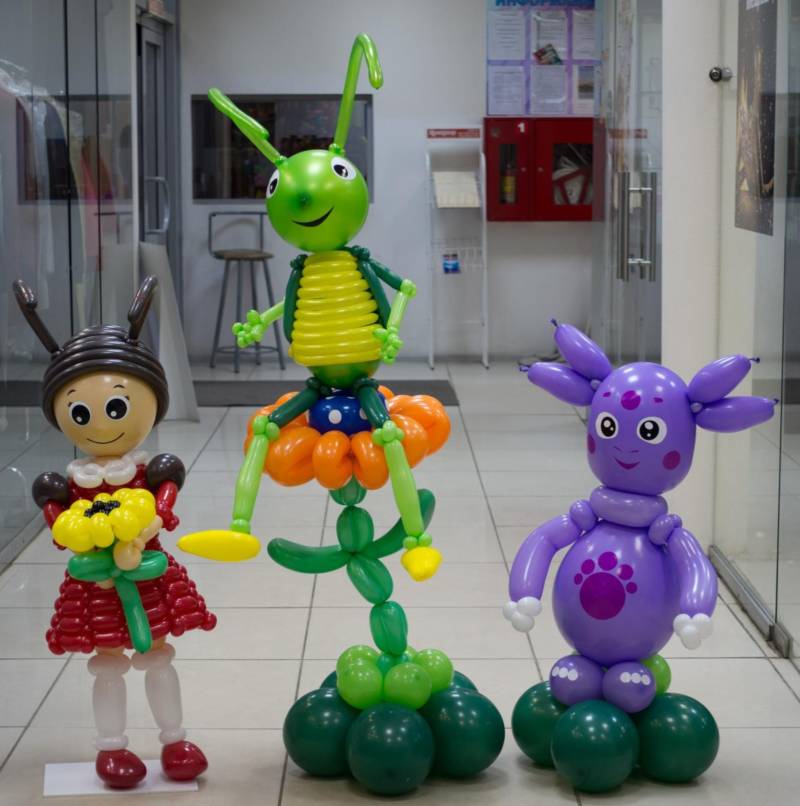
Having studied these important basics of work, you can proceed directly to the creative activity. Today, with the help of balloons decorate banquet halls and apartments.

From them you can make absolutely any decor. Let's consider the most interesting options. All of them are simple enough, so they are ideal for beginners to master.
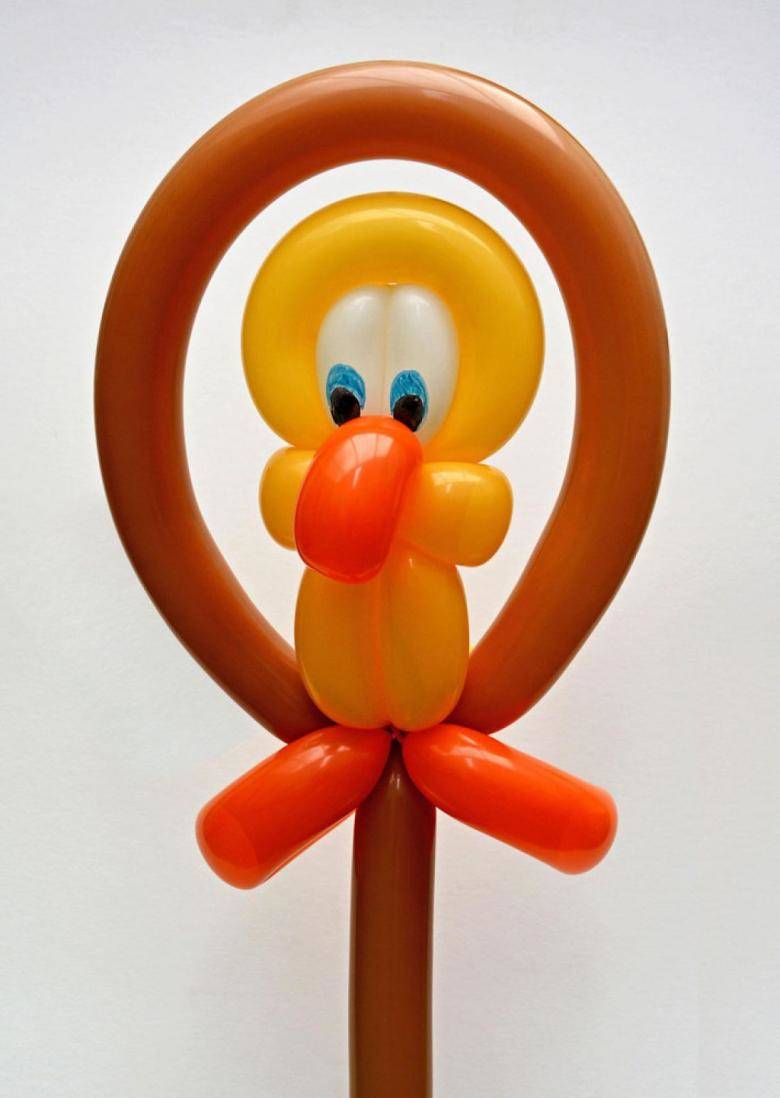
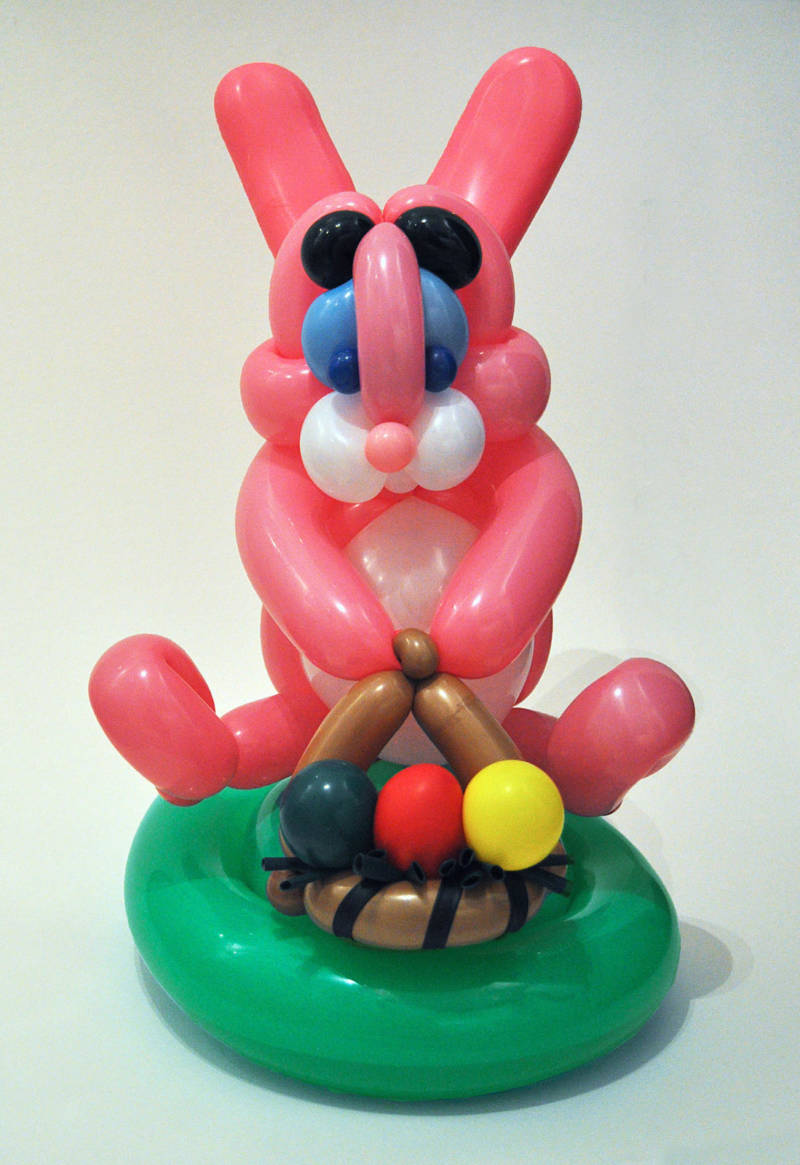
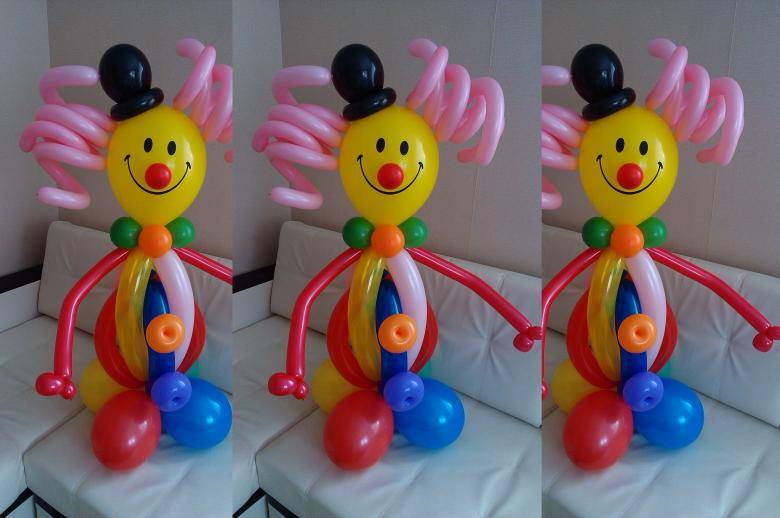
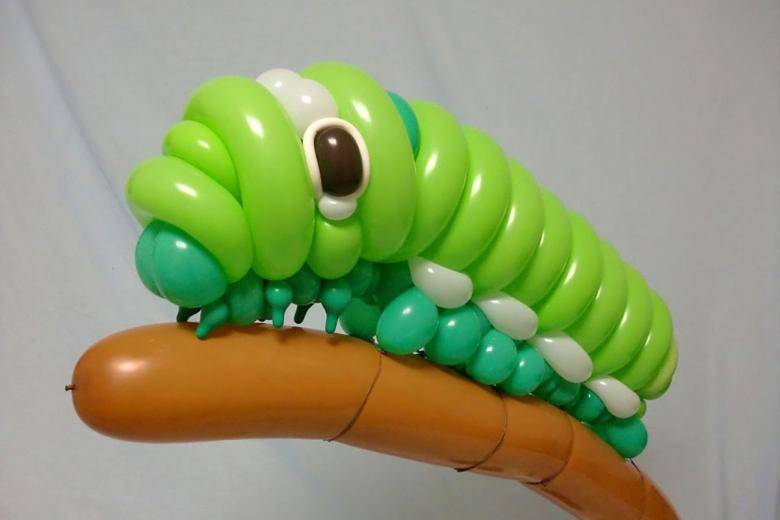
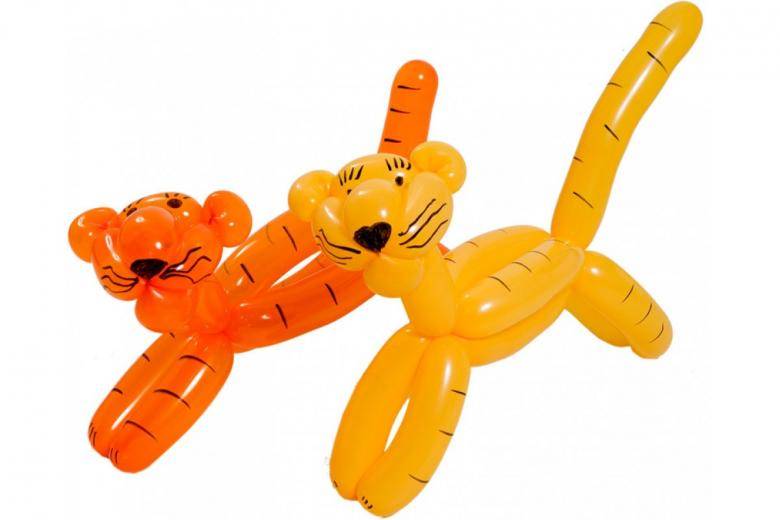
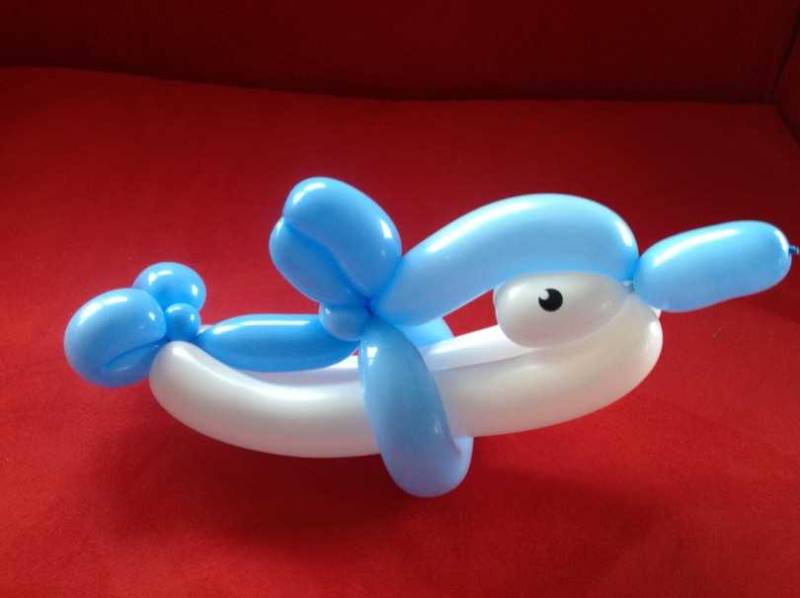
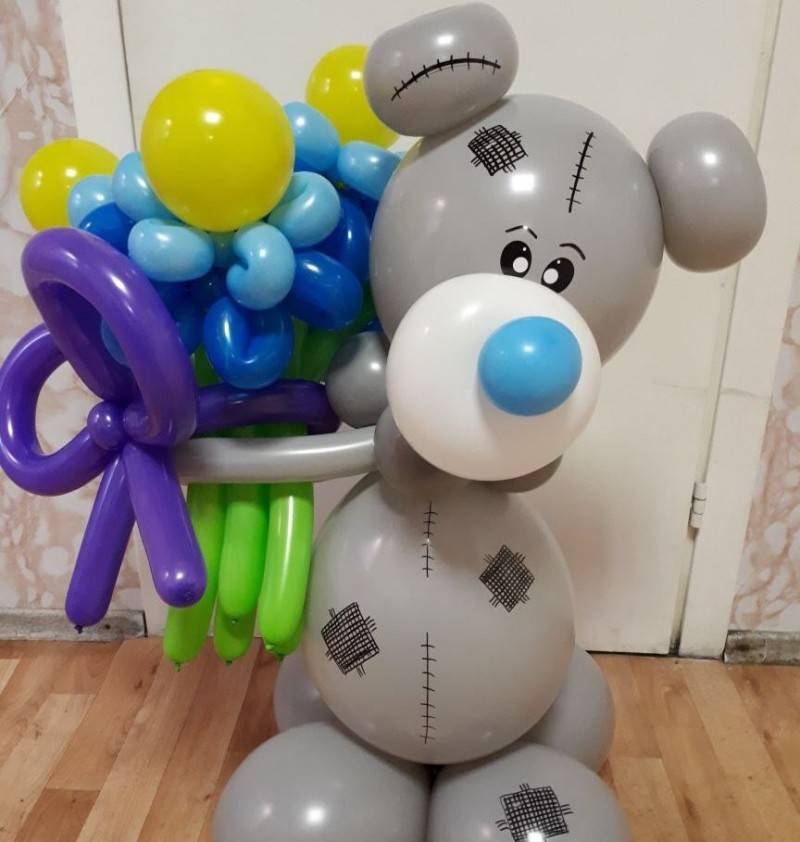
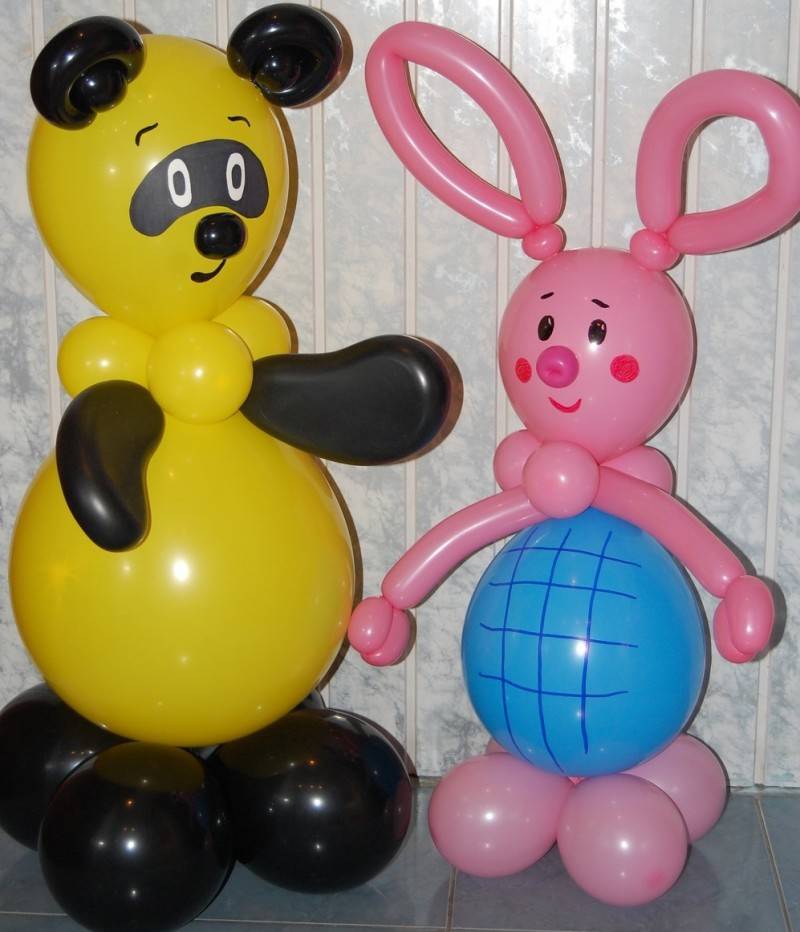
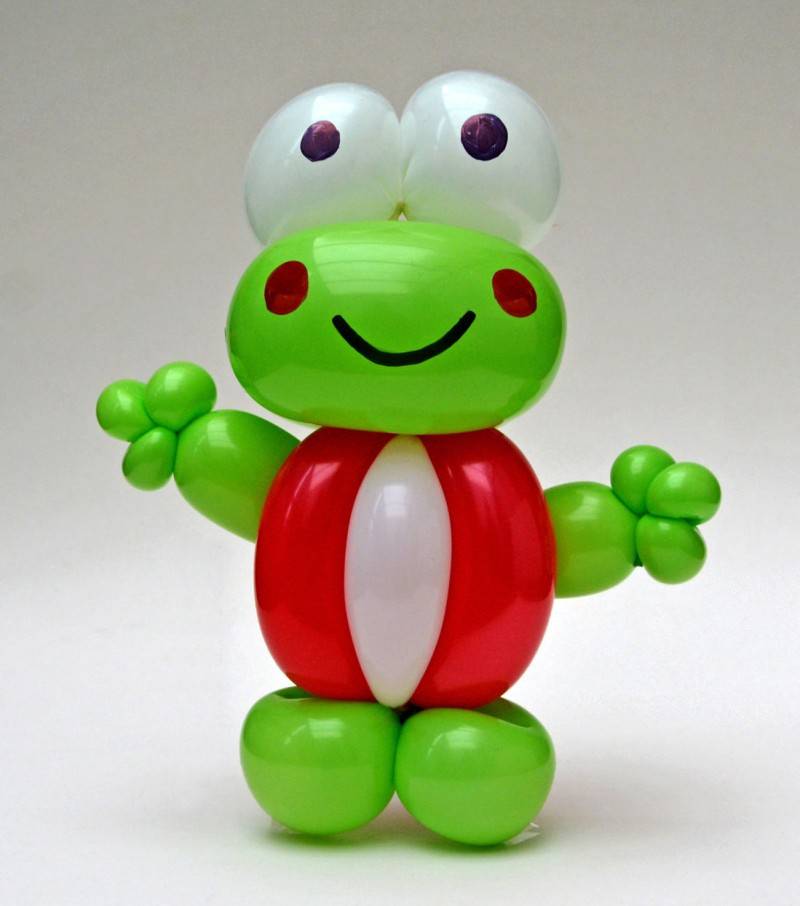
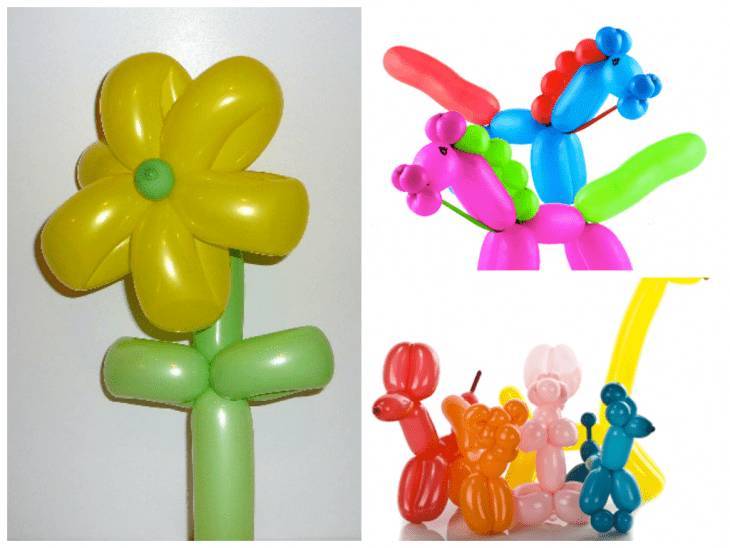
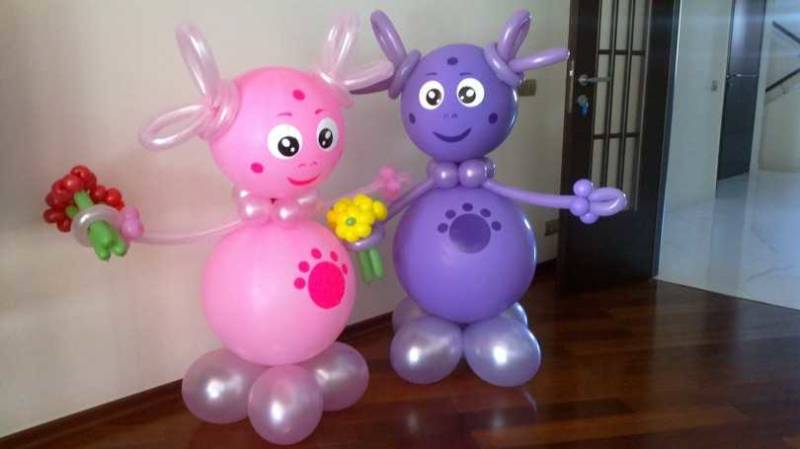
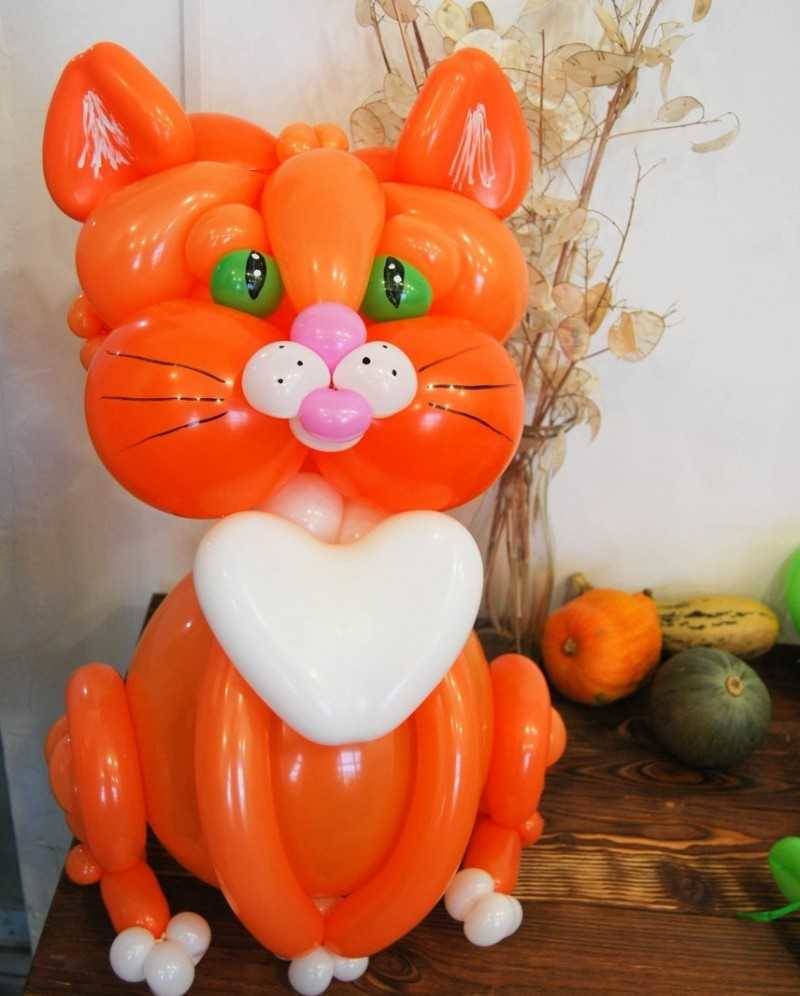
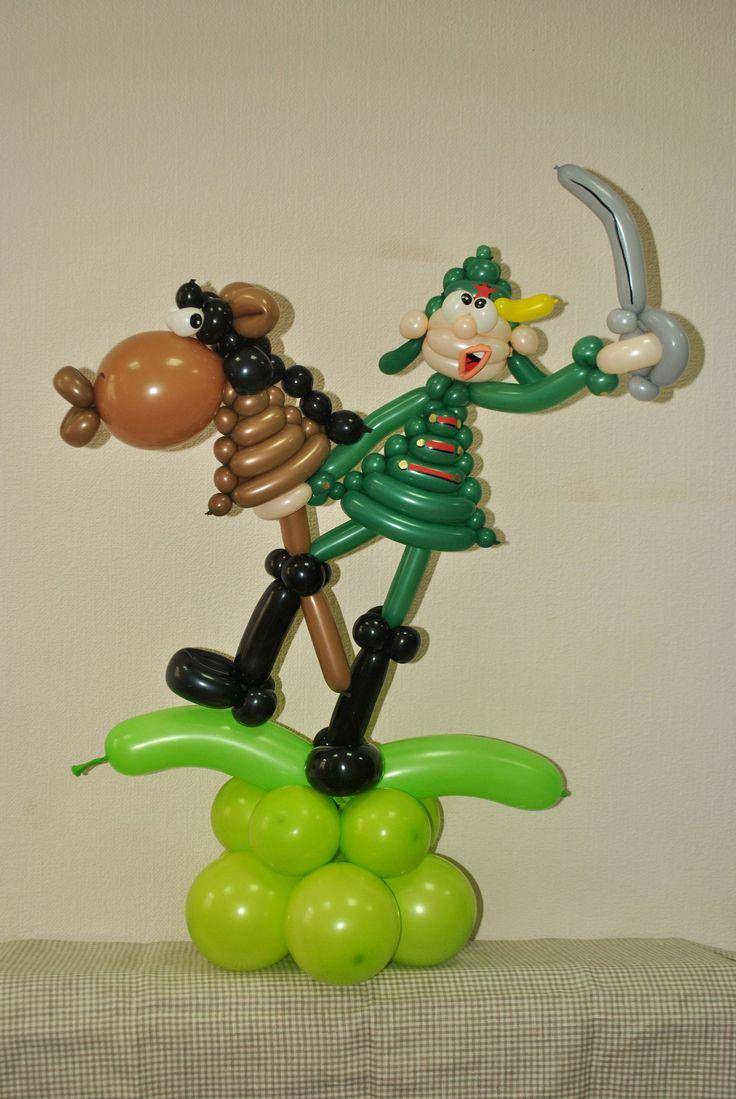
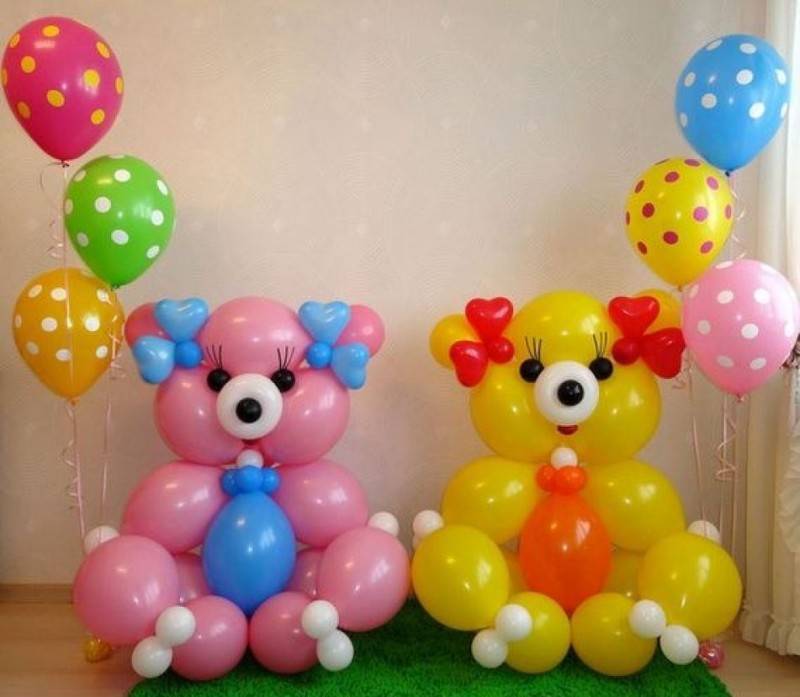
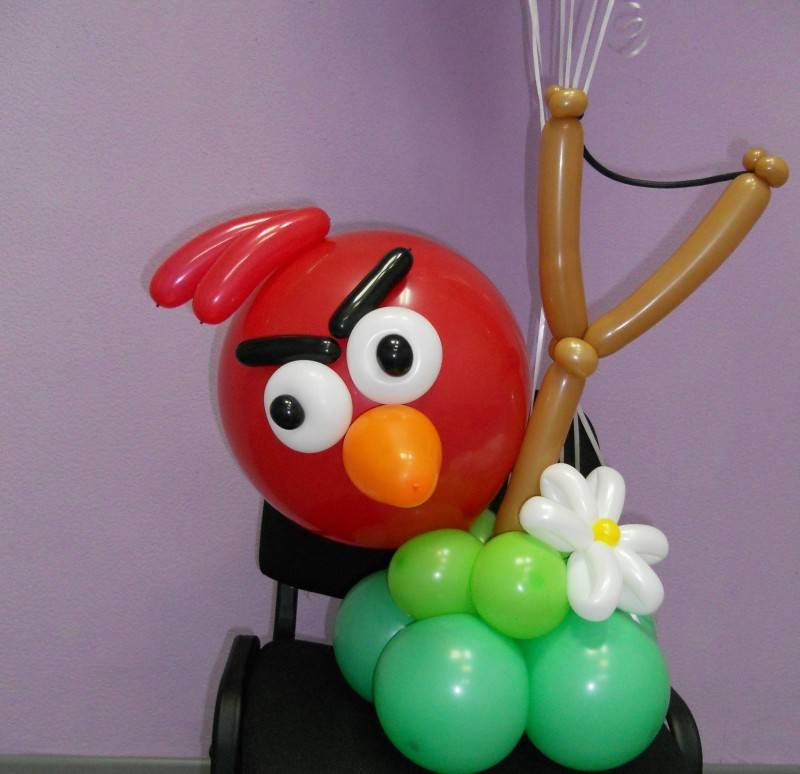
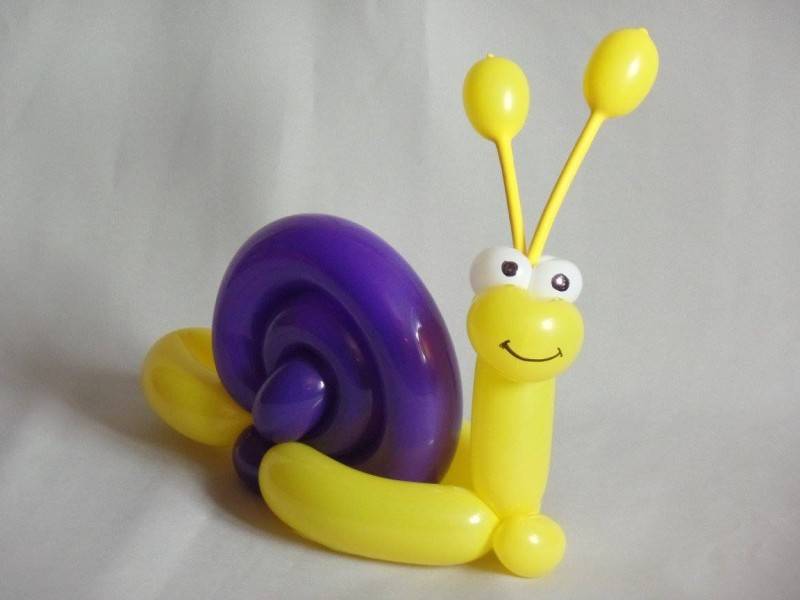
Funny animals
Such a handicraft can be made with children. It is very simple in execution, but it looks very interesting and unusual.

First you need to choose the color of the balloon. The brighter the color, the more noticeable the craft will be. Next, you should inflate this balloon, which will be both the head and the torso.
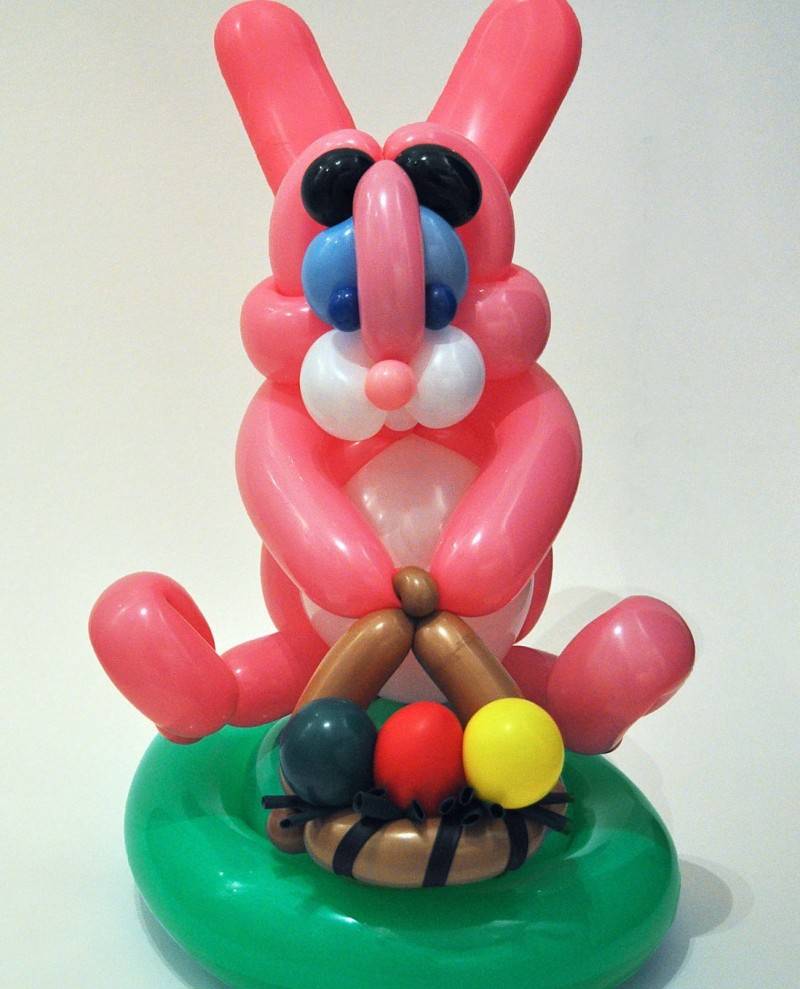
You can make a nose, ears and other elements from ordinary paper and glue them to the surface of the ball. It is better to offer your child to choose how exactly the finished workpiece will look.
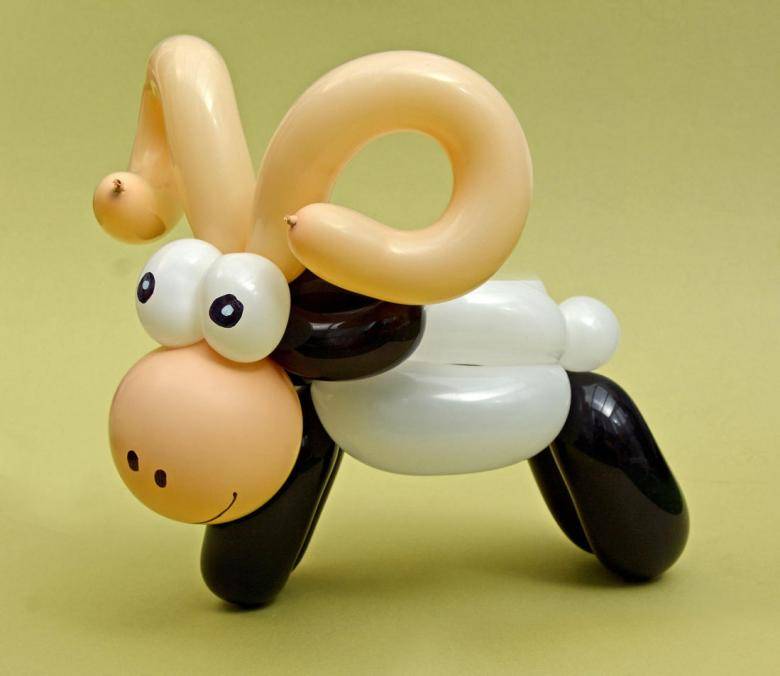
In such a simple technique, you can make a dog, a cat, a sheep and even a pig. They will all look fun and childlike. This is a great option for a craft for kindergarten.
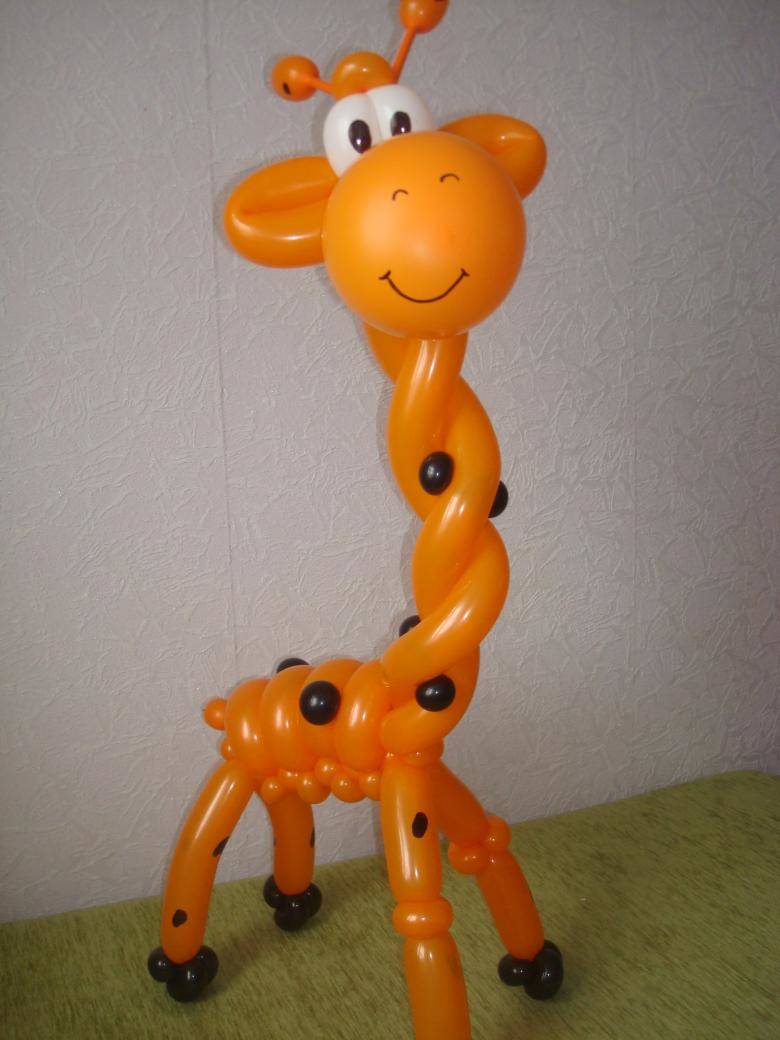
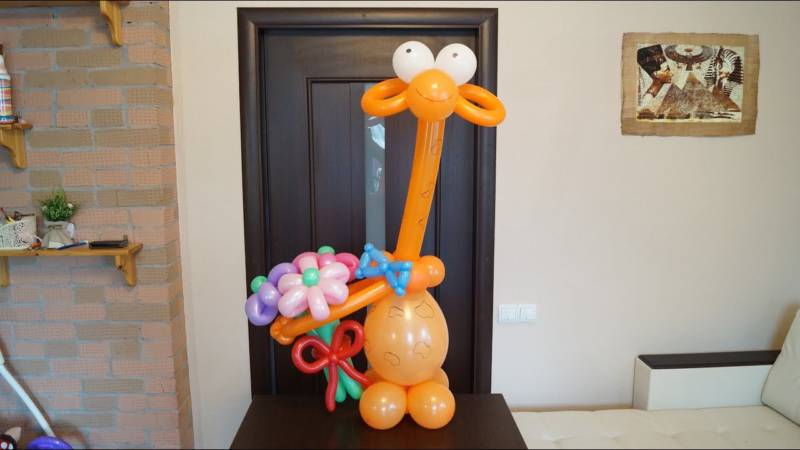
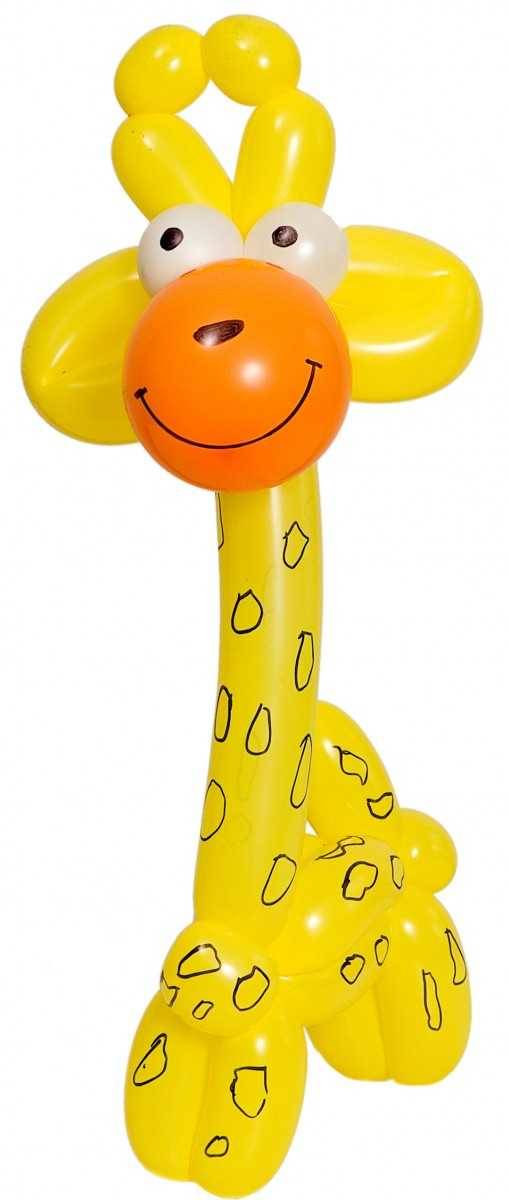
Giraffe from a balloon
This is one of the simplest figures. Even a small child can make it himself. After all, to create it, you need to use the basic technology.
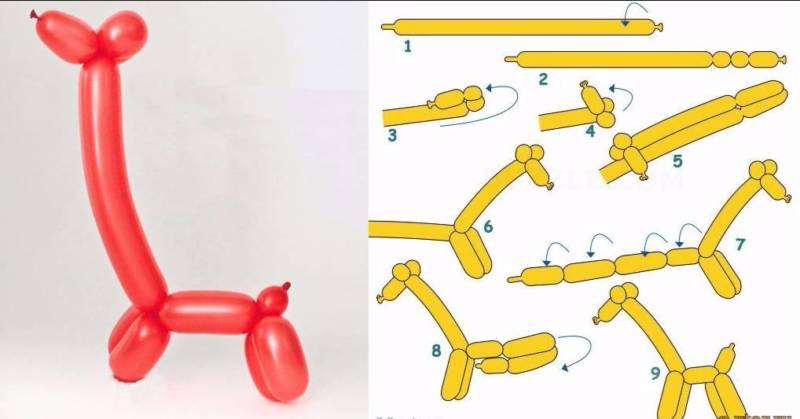
You just need to twist a few small pieces at once to create the head, and leave the long part of the balloon - it will be the neck of the animal. To make the figure look more beautiful and really resemble a giraffe, you can use markers to color it.
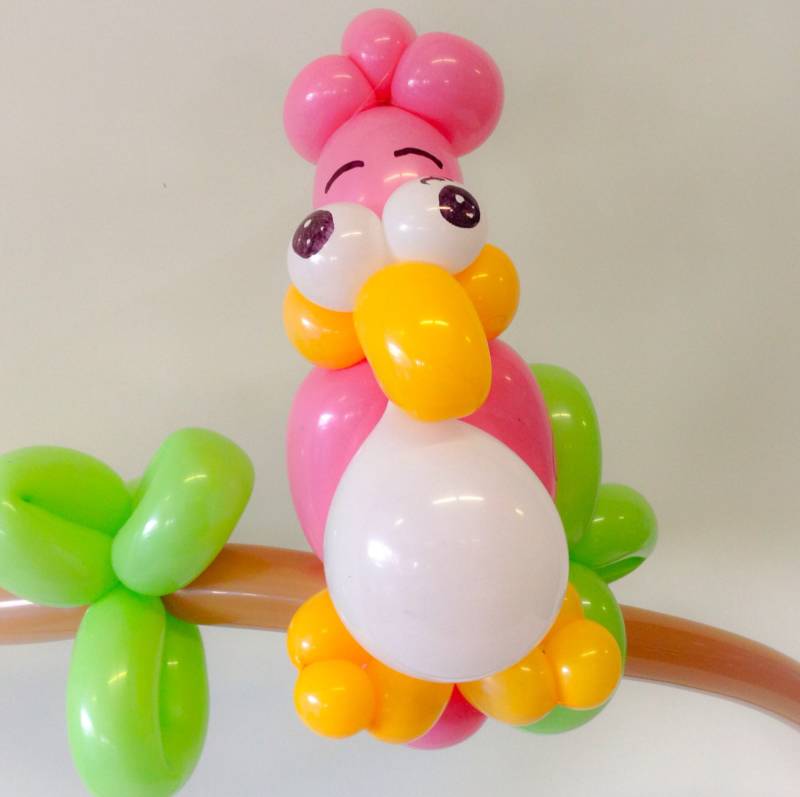
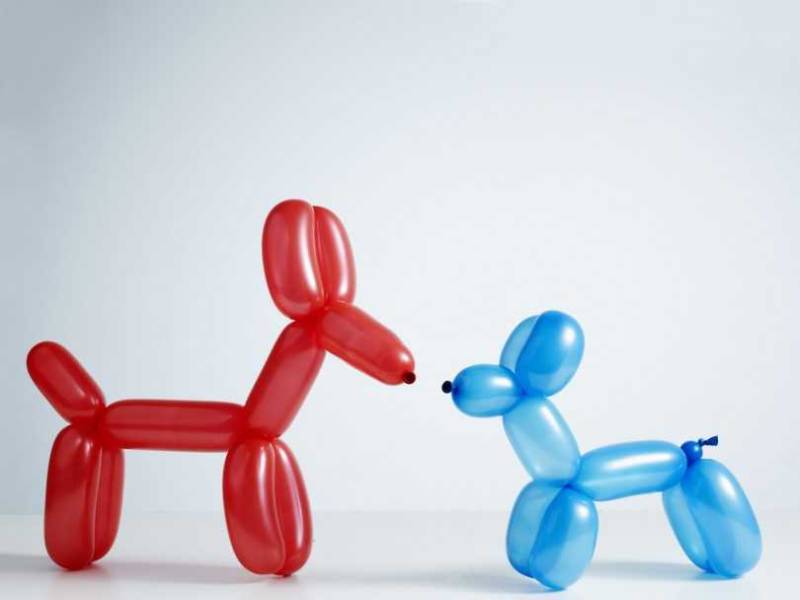
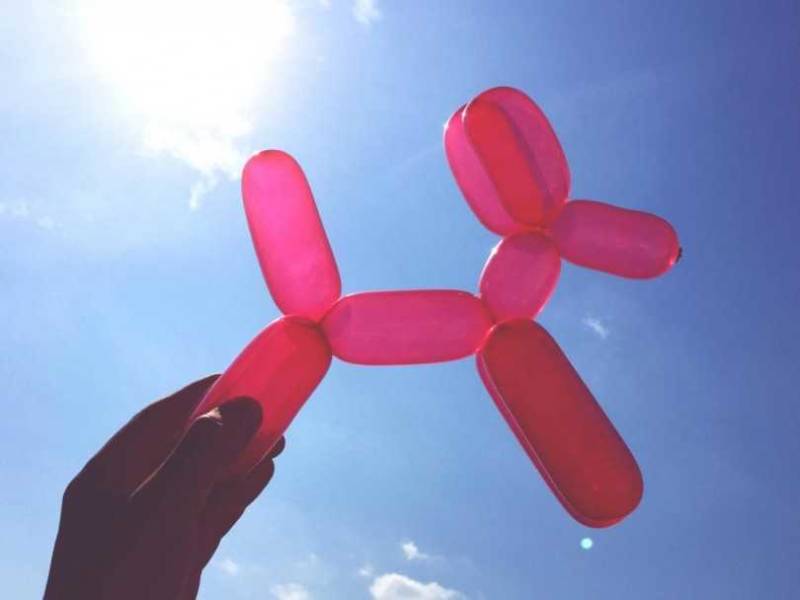
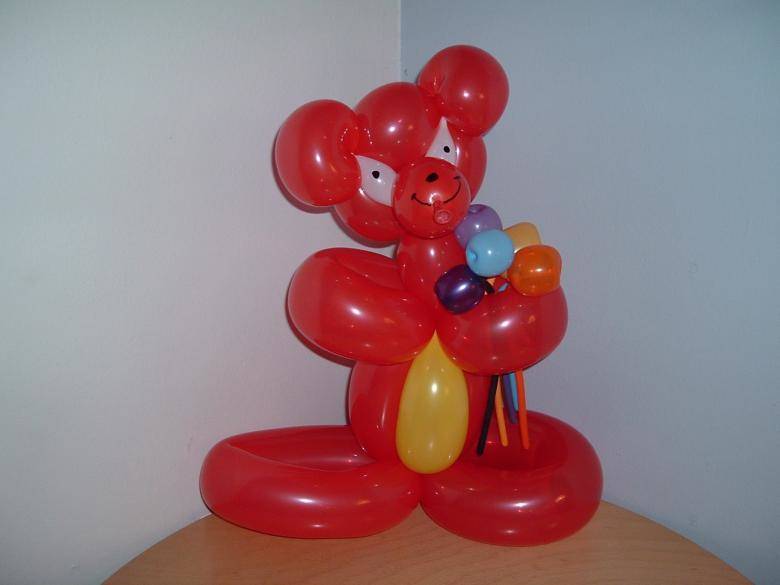
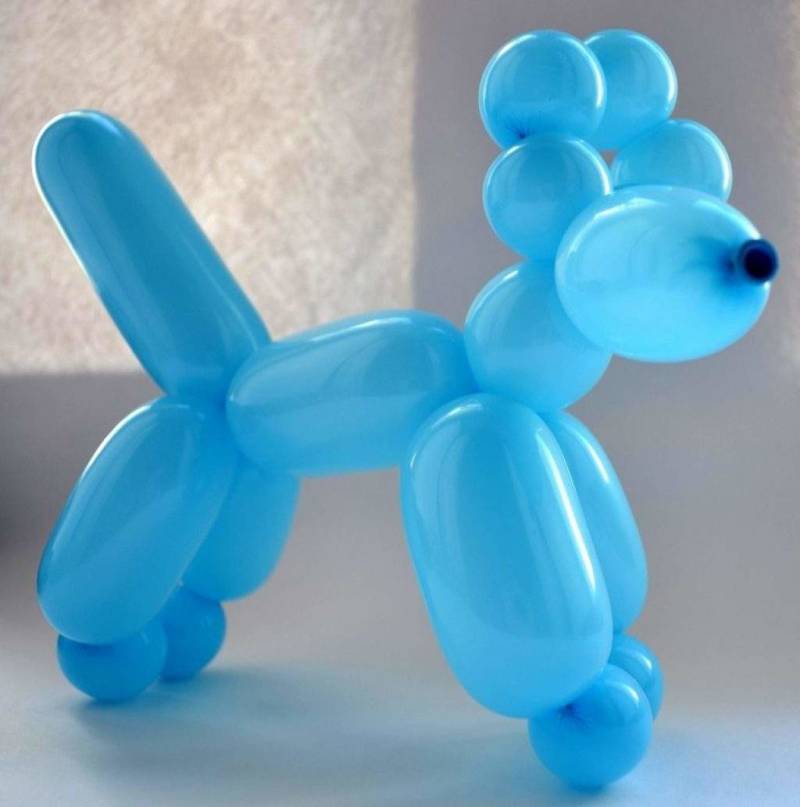
Jolly puppy
- Twist three "wieners".
- Twist the 1st and 3rd segment to make a muzzle of the animal.
- Step back from the last twist no more than 7 cm, and do another one.
- Measure 8 centimeters and again makes a twist - it will be the front paws of the dog.
- Step back from the paws of a dog, about 10 cm, make another twist.
- Now you can make back legs on the same principle as the front.
- Fasten a small tail on the body and the handicraft is almost ready.
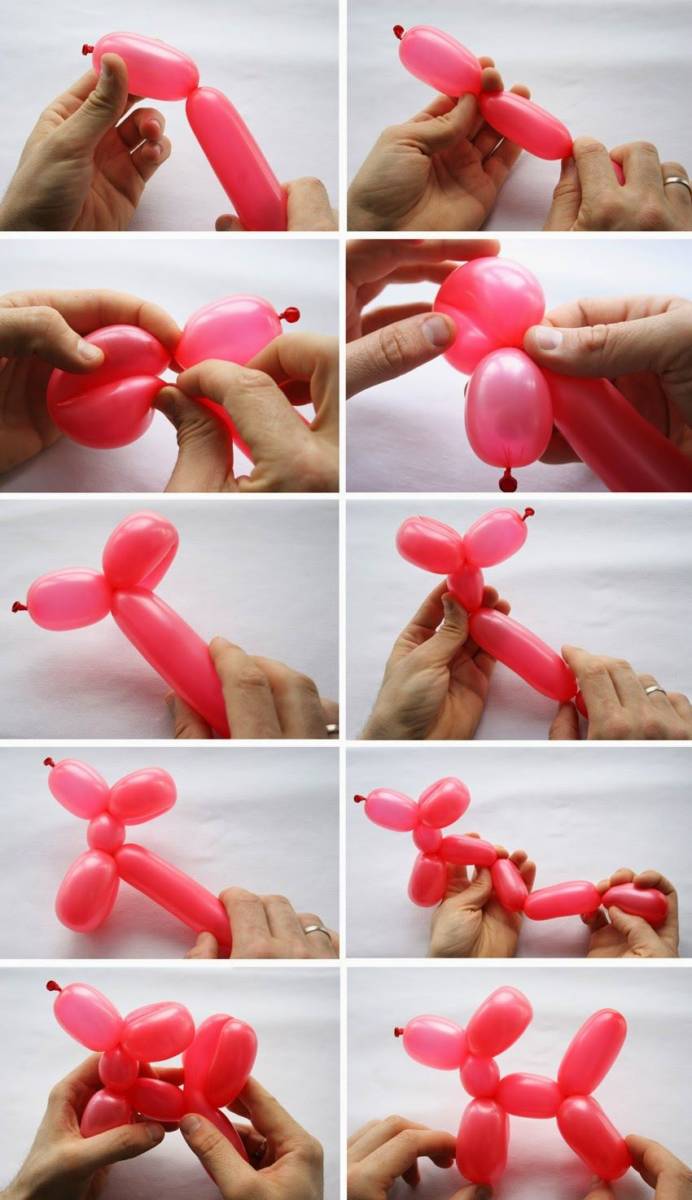
It remains only to give it a more realistic look. To do this, you can use a standard marker, with which to draw the eyes, nose and mouth on a snout.
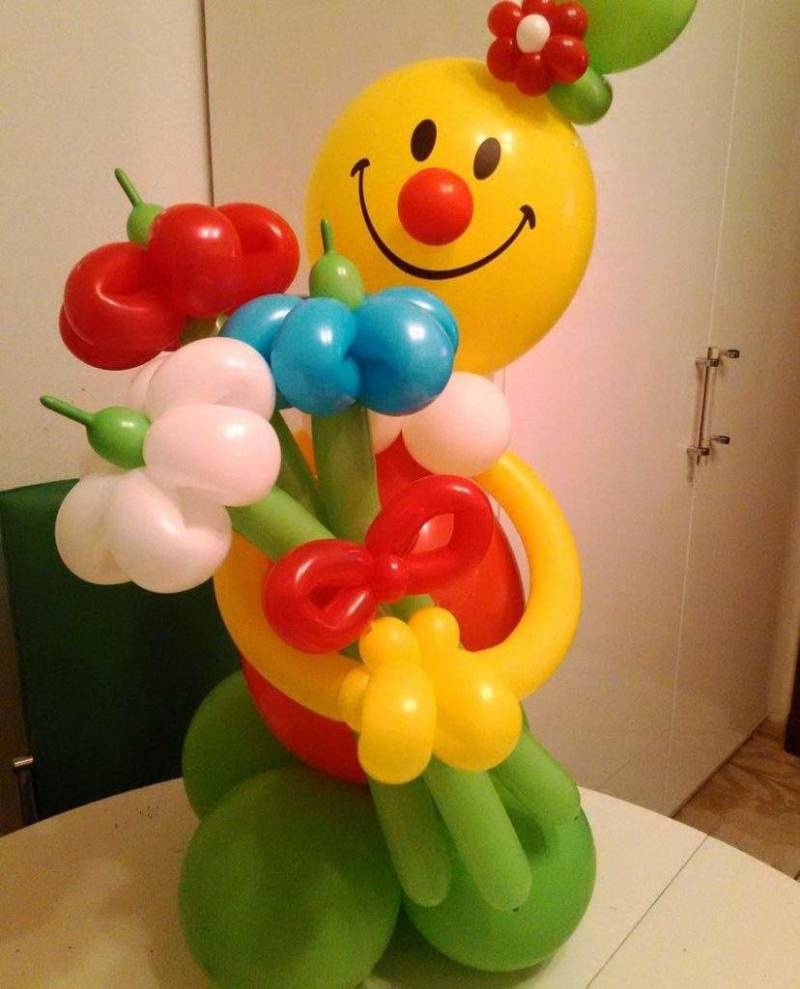
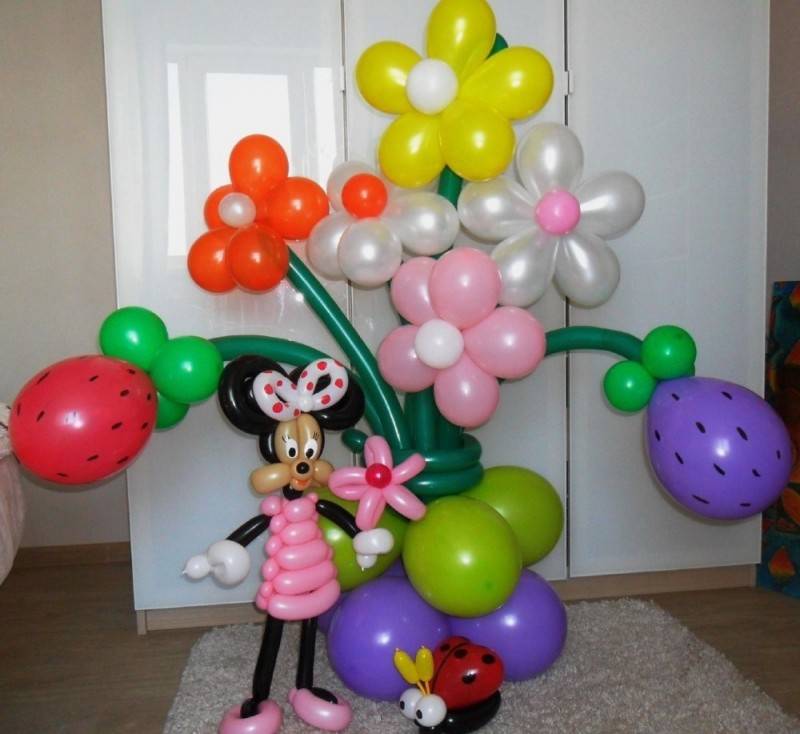
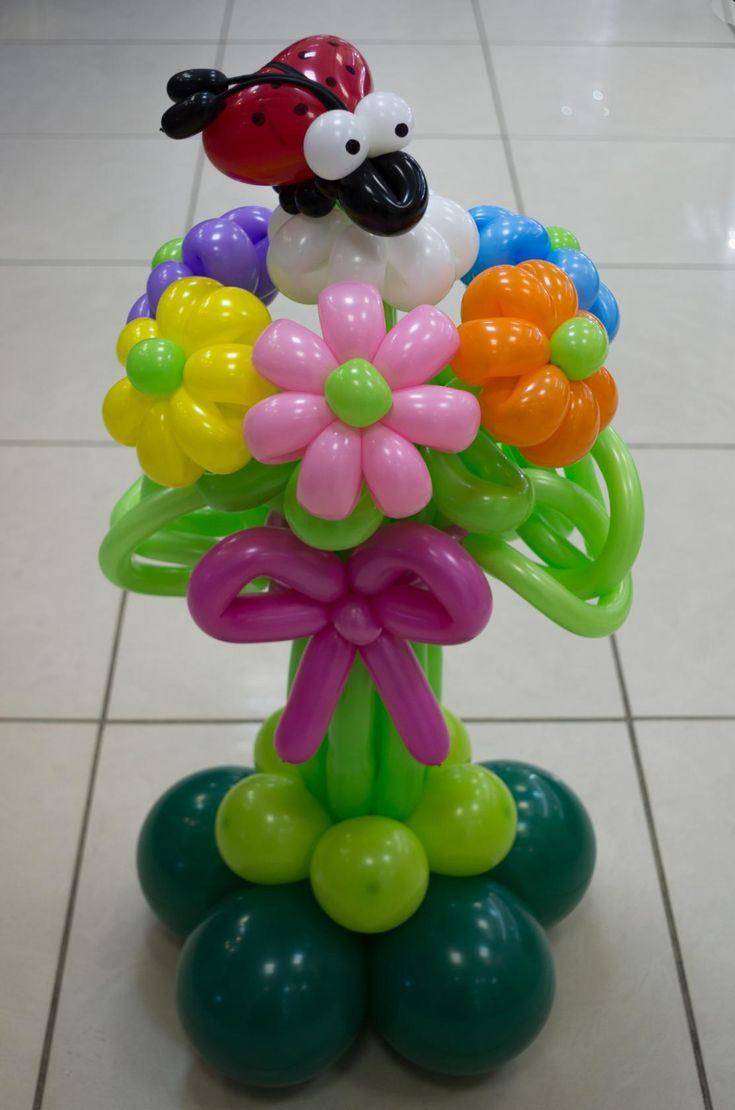
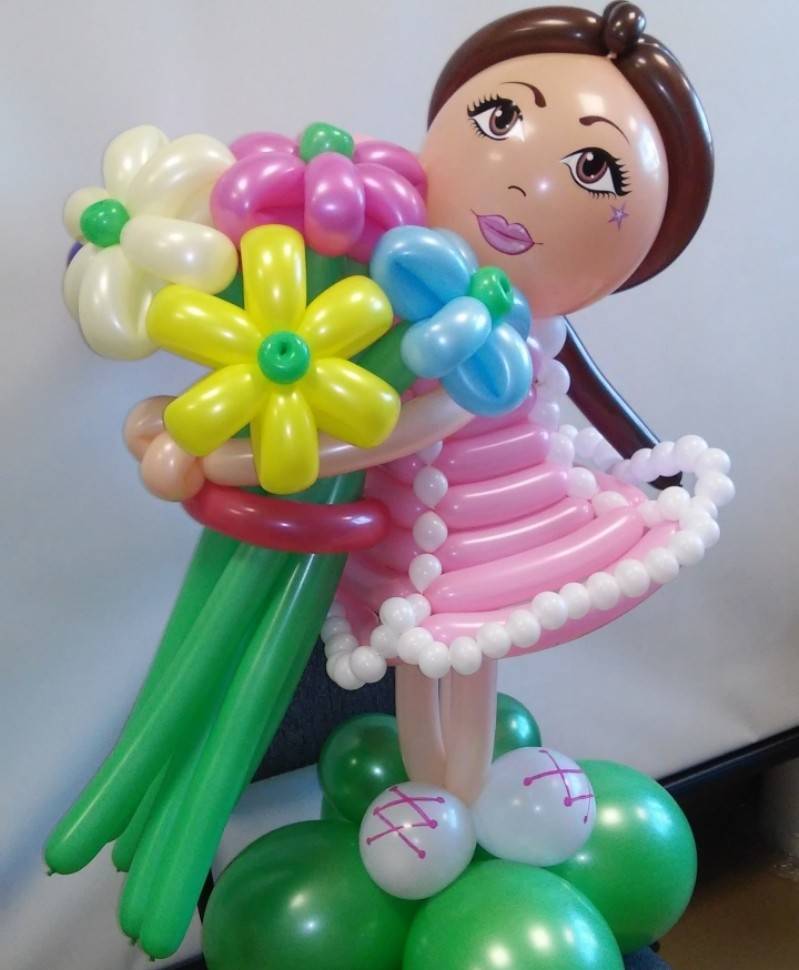
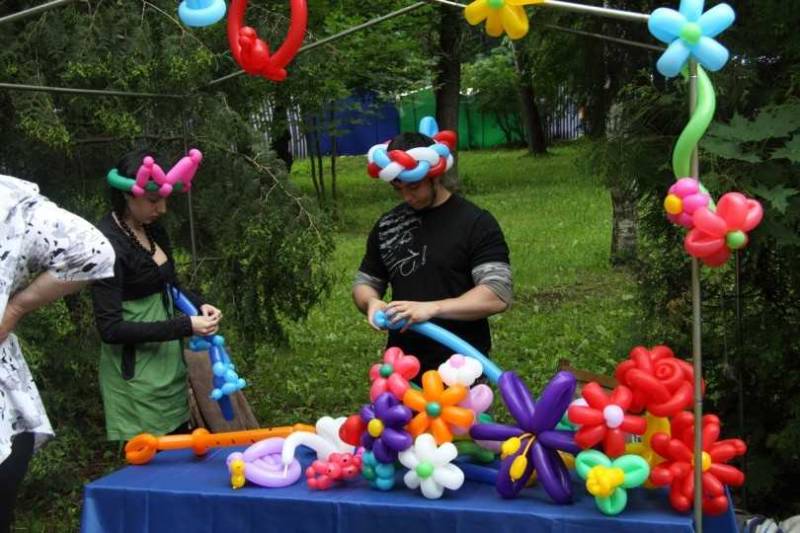
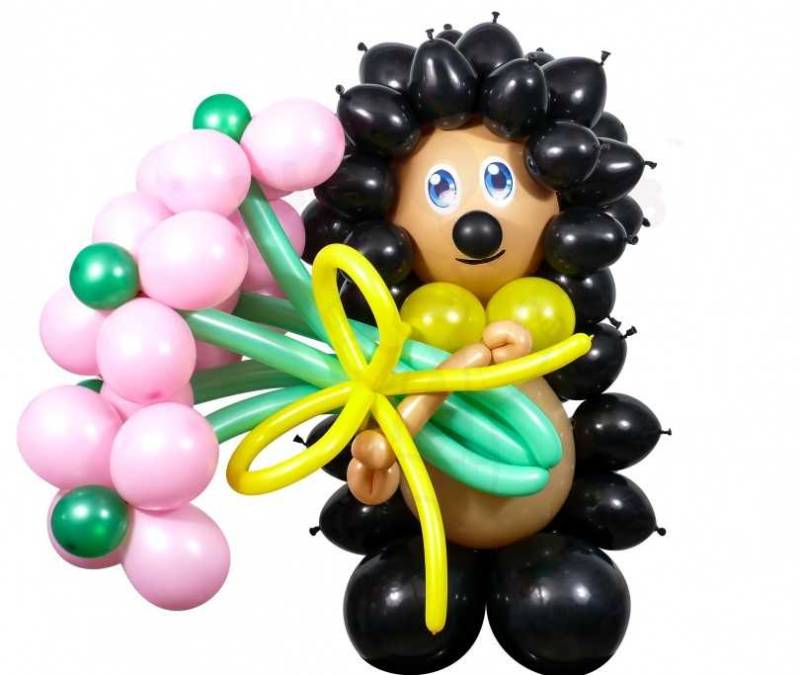
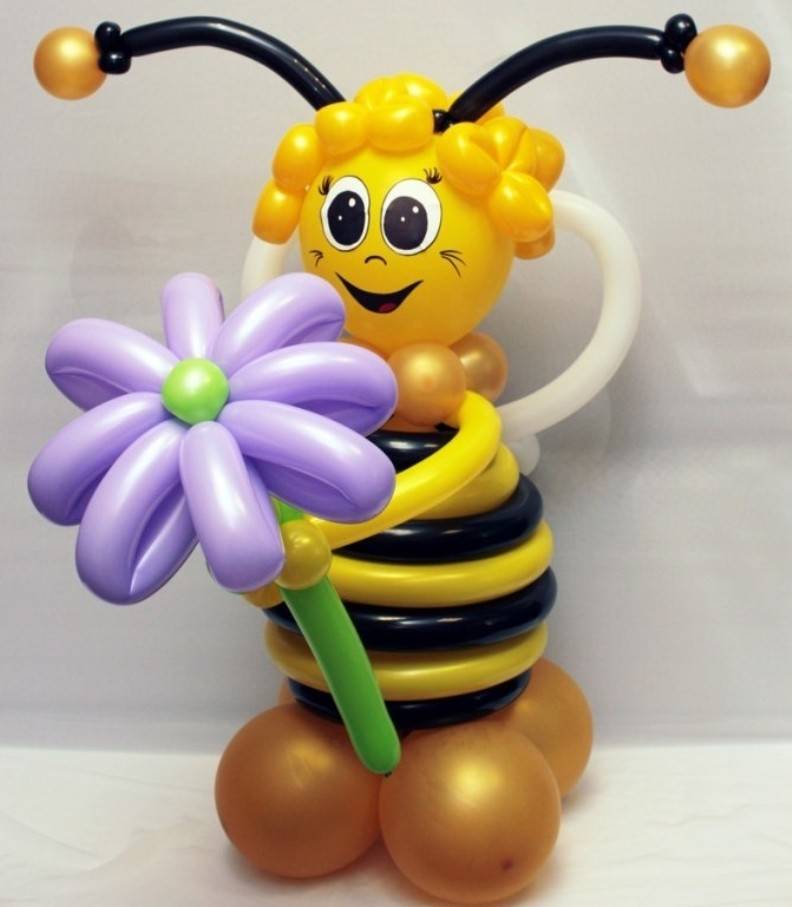
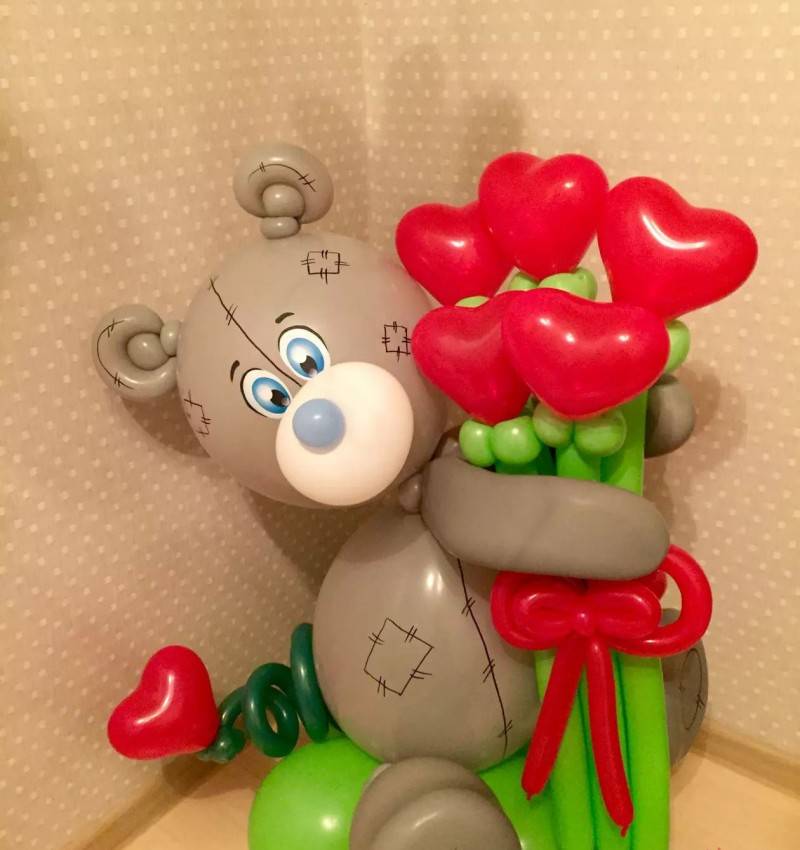
Modeling leaves
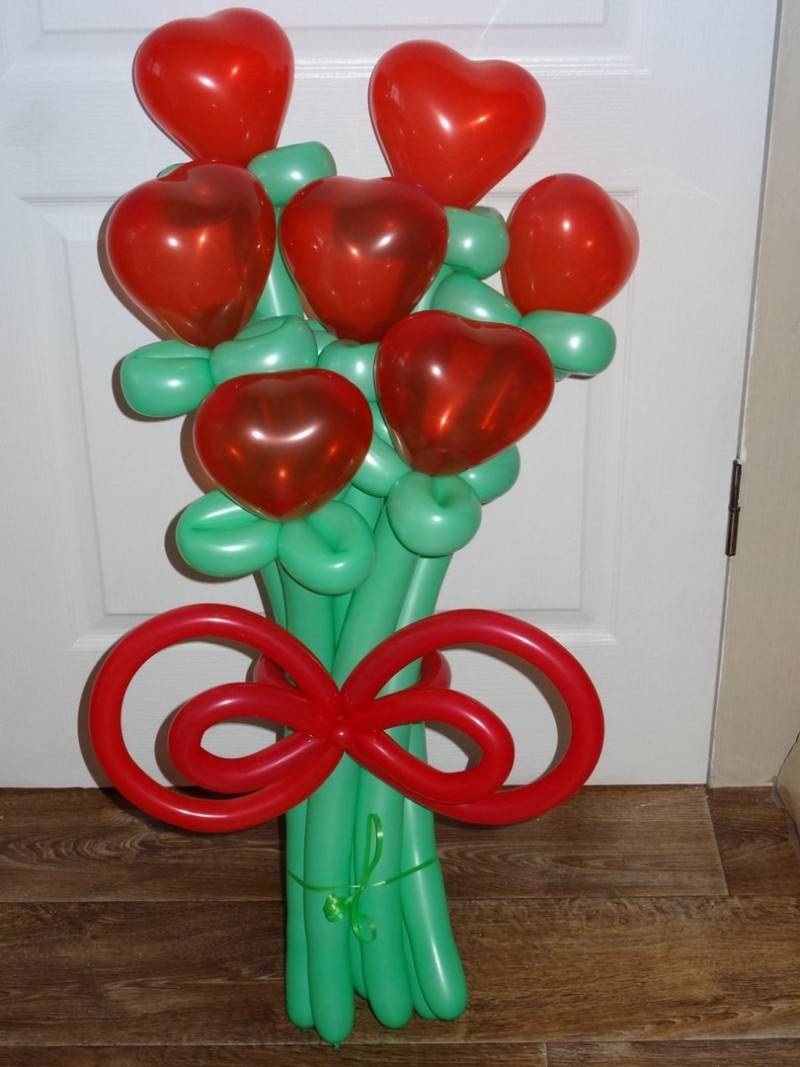
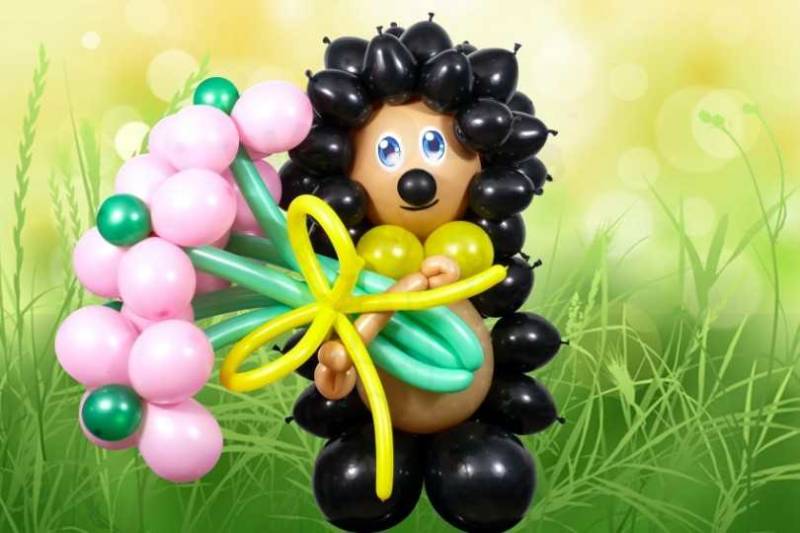
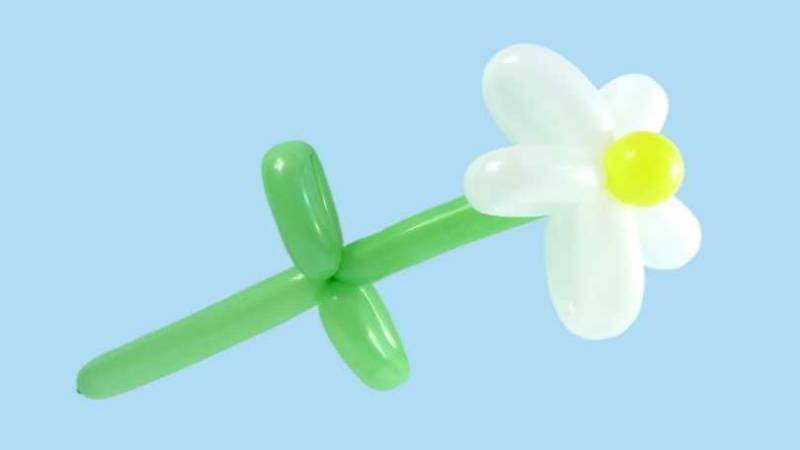
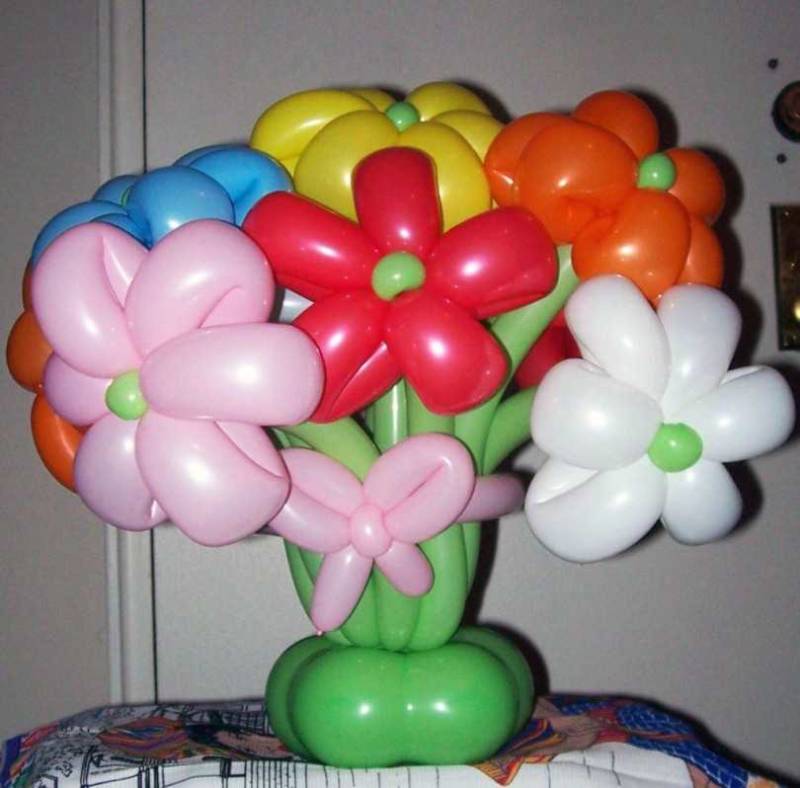
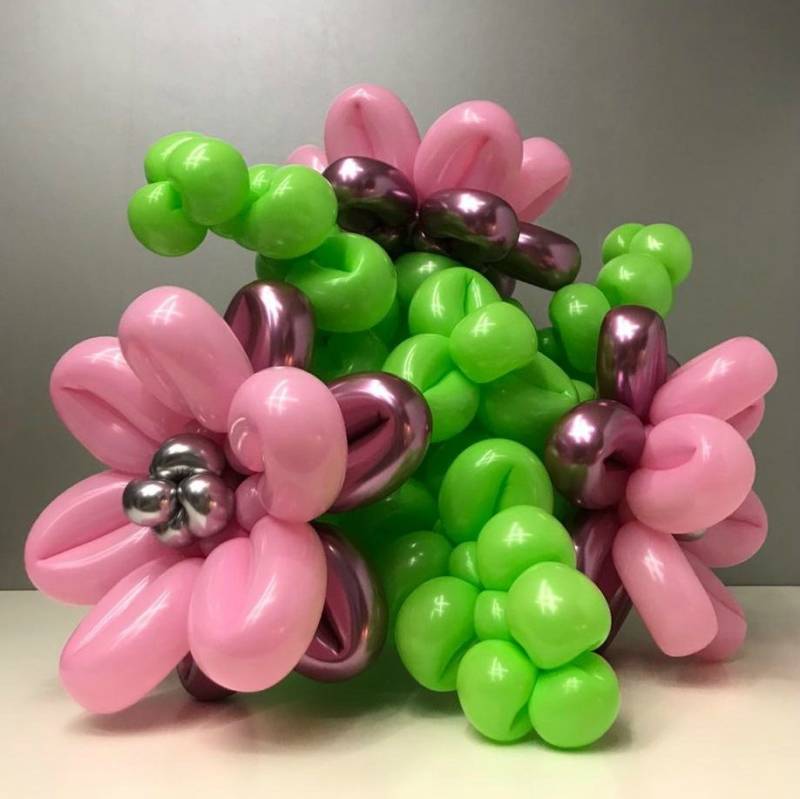
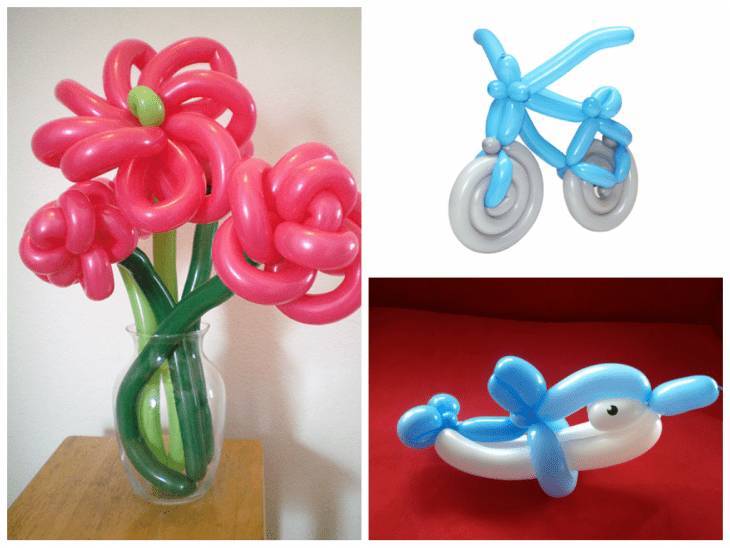
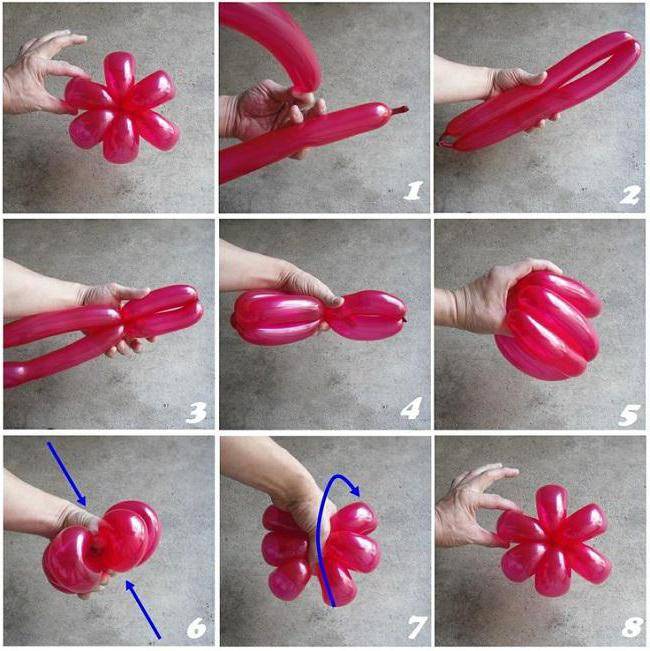
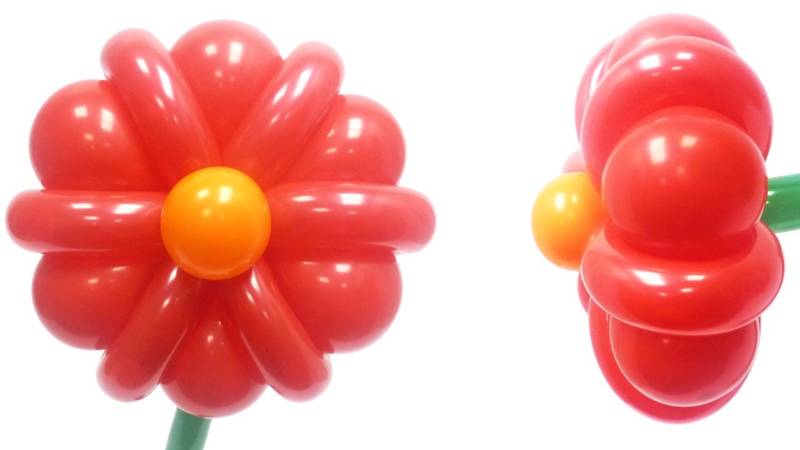
Another very popular decor from inflatable balloons is to create beautiful flowers. But to be able to make a flower quickly and correctly, you need to learn the principle of modeling leaves.
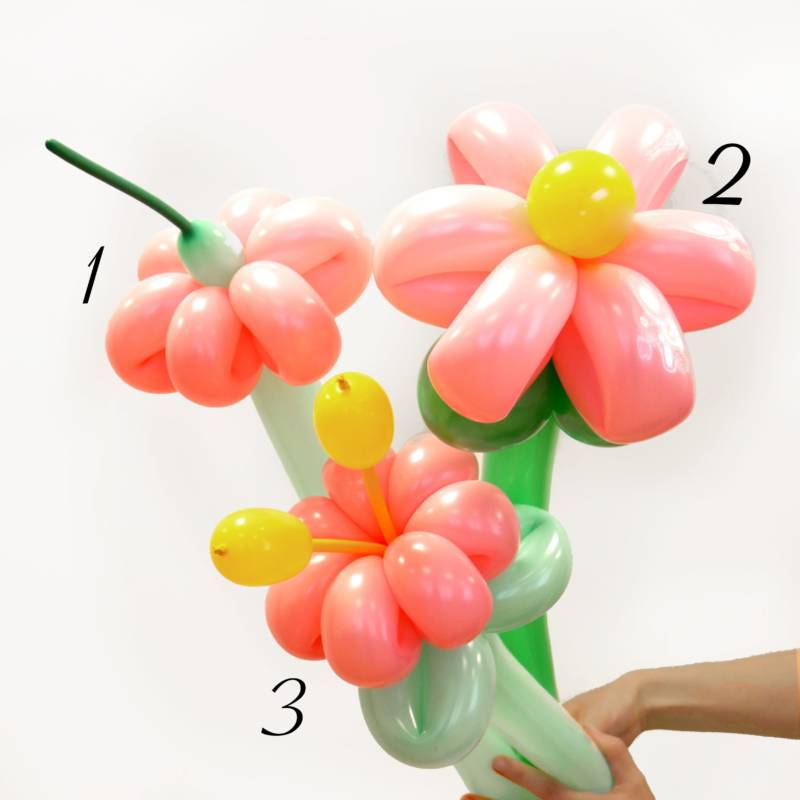
The easiest way is to form loops directly on the stem itself. To do this, you need to bend the stem and twist in the very center of the resulting "accordion". In this way you can form not one but two or more leaves.
Just remember that there are certain subtleties in choosing the length of the leaves. After all, in this case, much depends on what kind of flower the master makes. If it is lilies of the valley, then the leaves should be longer than, for example, the chamomile. Then the flower will look realistic.
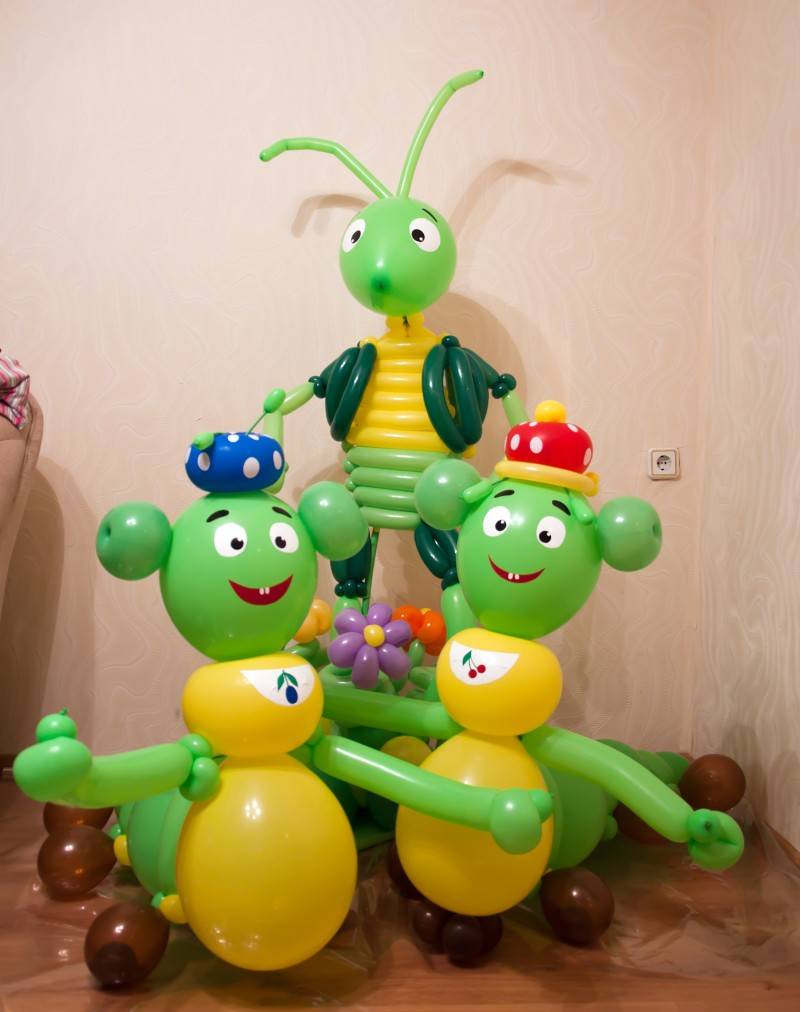
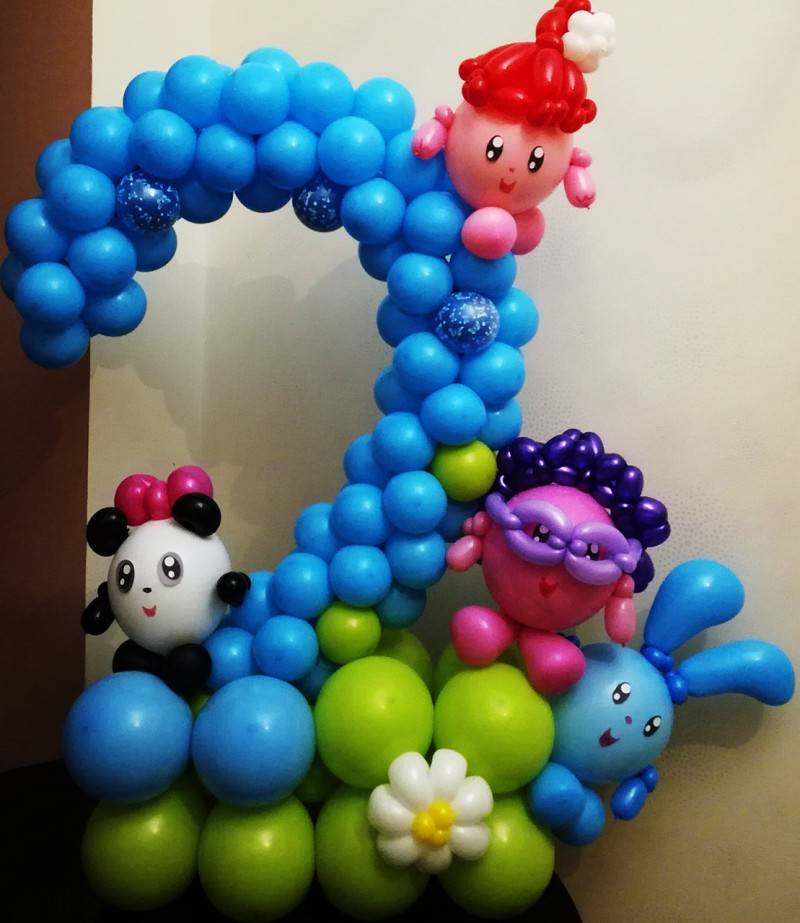
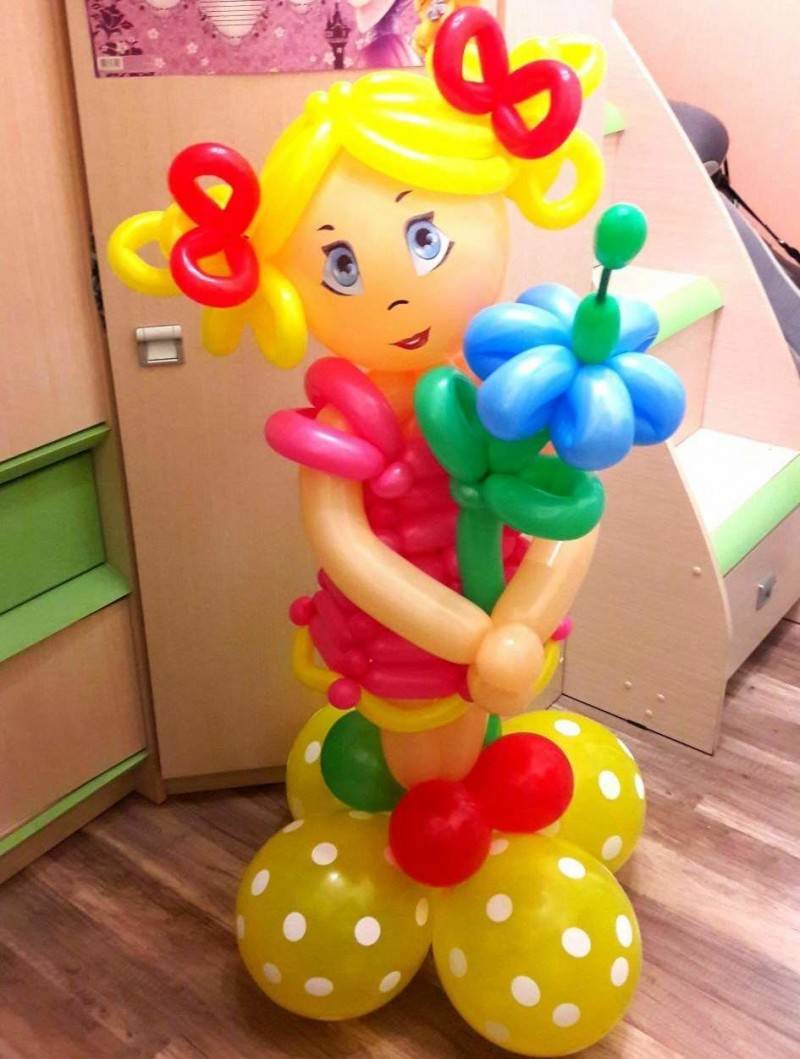
Since creating handicrafts out of balloons is not only easy, but also very interesting, you can join the kids in decorating the premises for various celebrations. They will definitely like it, and they will want to show their creative imagination.
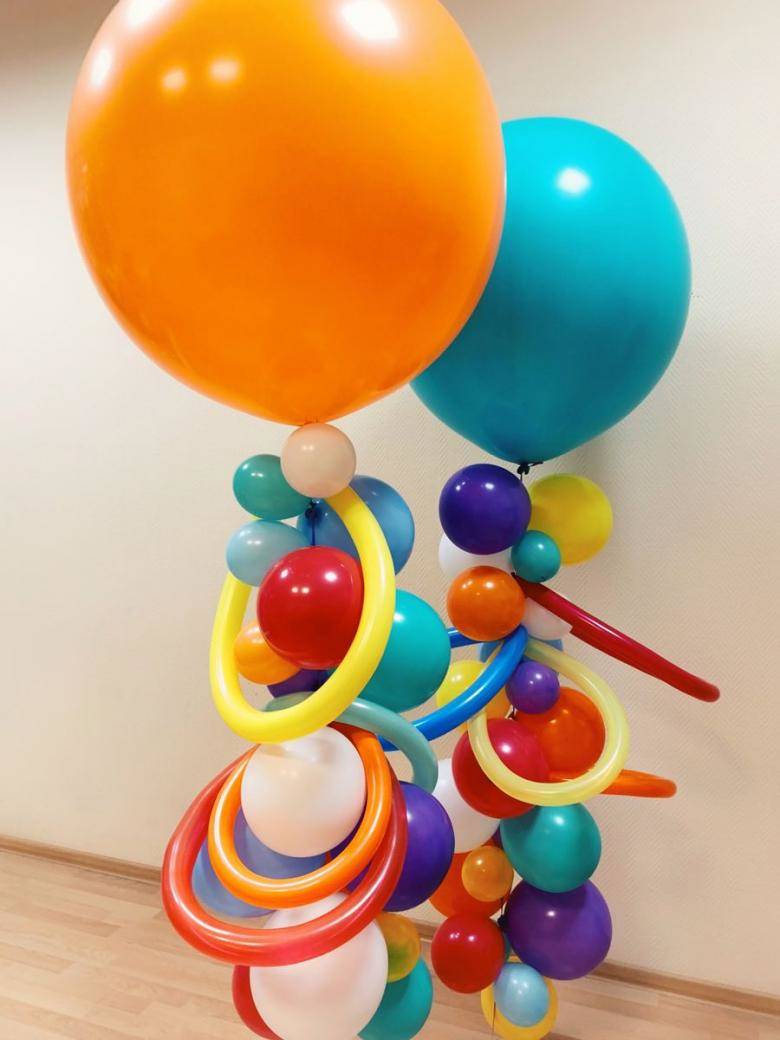
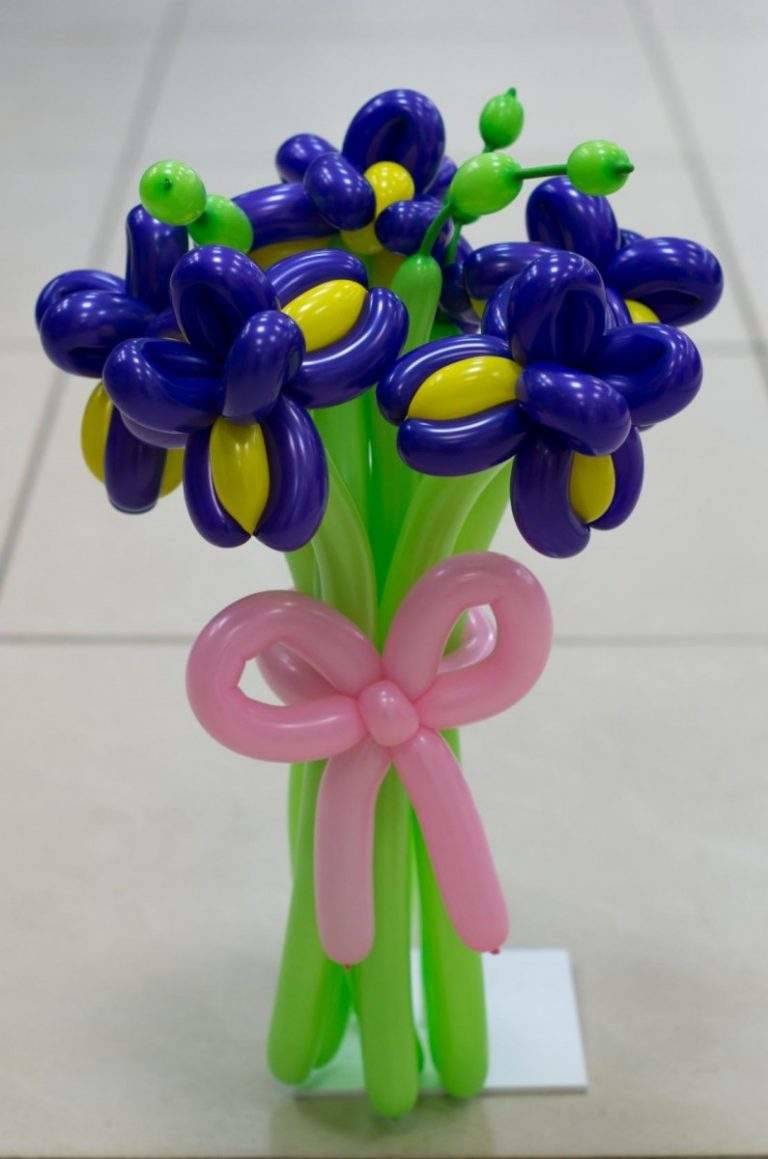
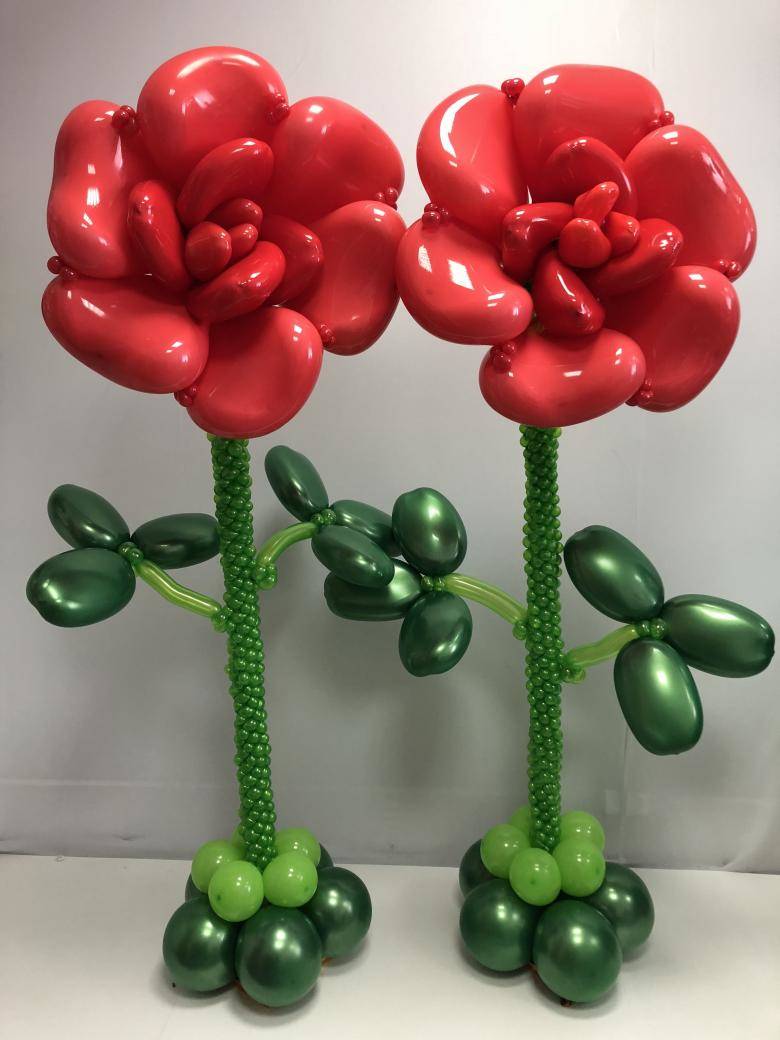
Original photo ideas of balloon crafts