How to crochet with a crayfish step by crochet: a scheme for beginners with a step-by-step description
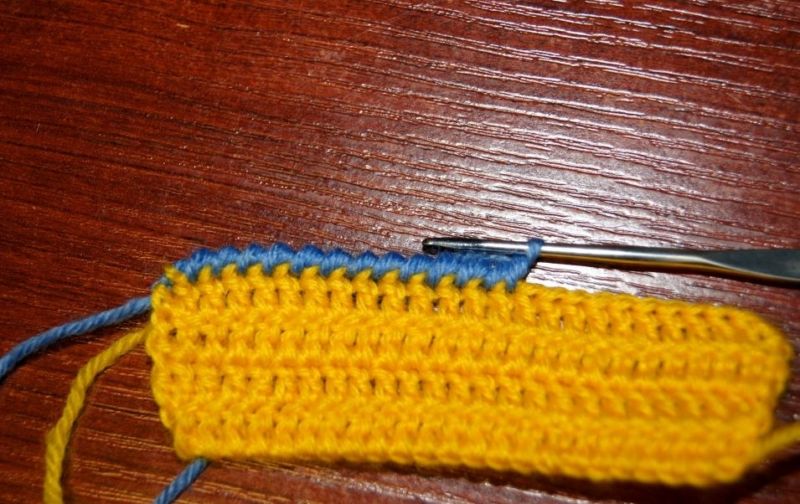
The rachy step is a way of tying any thing with a crochet hook. It is quite popular and is often used to decorate crocheted items.
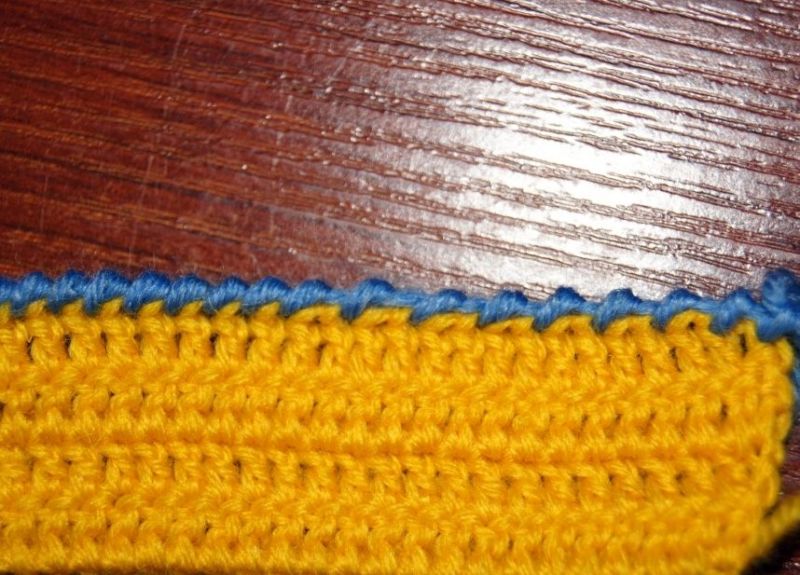
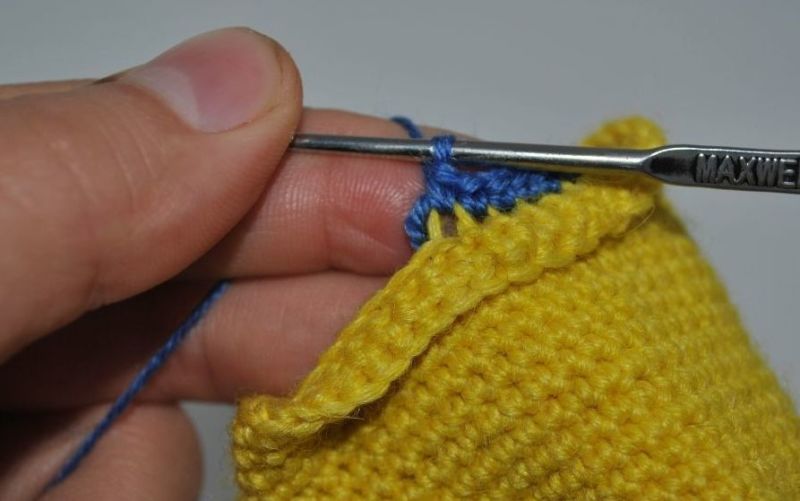
Thanks to the rachey step edges get the necessary neatness, roundness and in the future will not be spoiled, not stretch and not deformed. This finish can be done in different ways, and each species differs from the others in appearance and density of knitting.
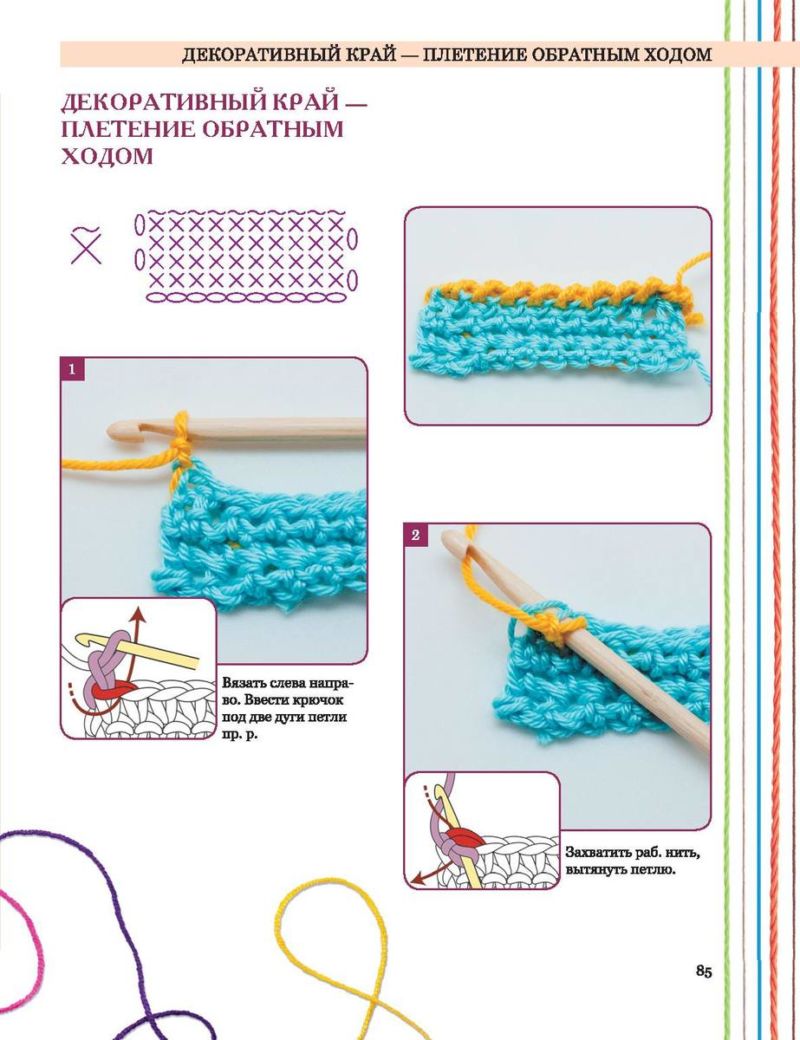
The whole essence of creating a rachetta step is clear by its name. Finishing the product will have to "backwards". Normally the knitting is from right to left, but here it is done in reverse - from left to right.
Crochet step by crochet: a description and schemes for beginners
In fact, this method of finishing is a classic, as it is quite often used in the decoration of finished crocheted things.

The rachy step has earned such popularity and frequent use not only because of its attractive appearance - thanks to this method products are well protected from deformations and stretching.
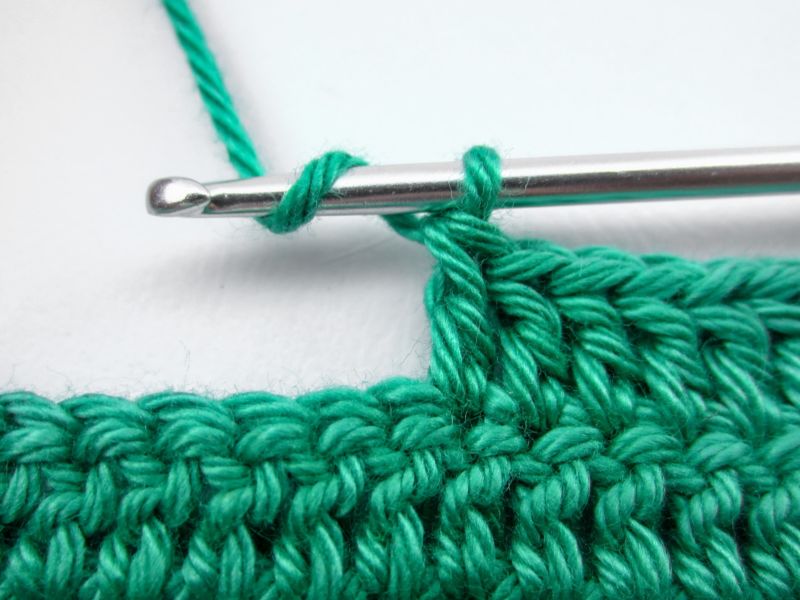
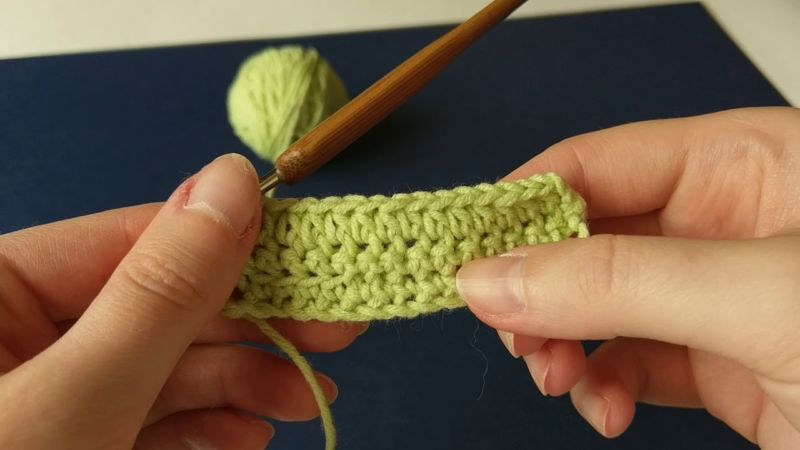
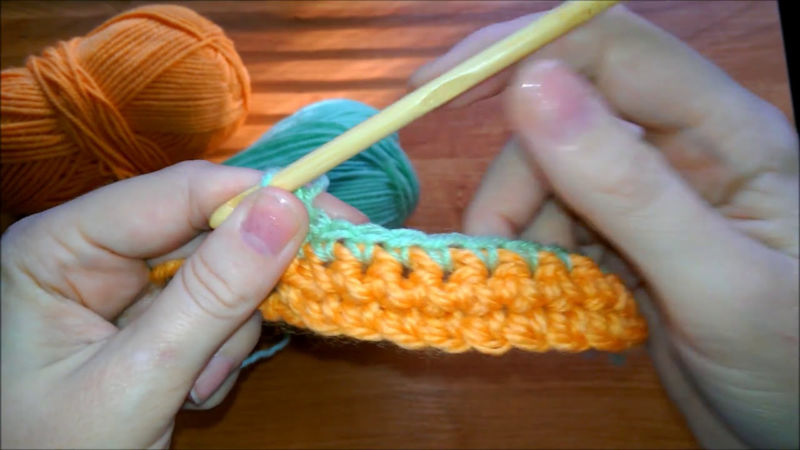
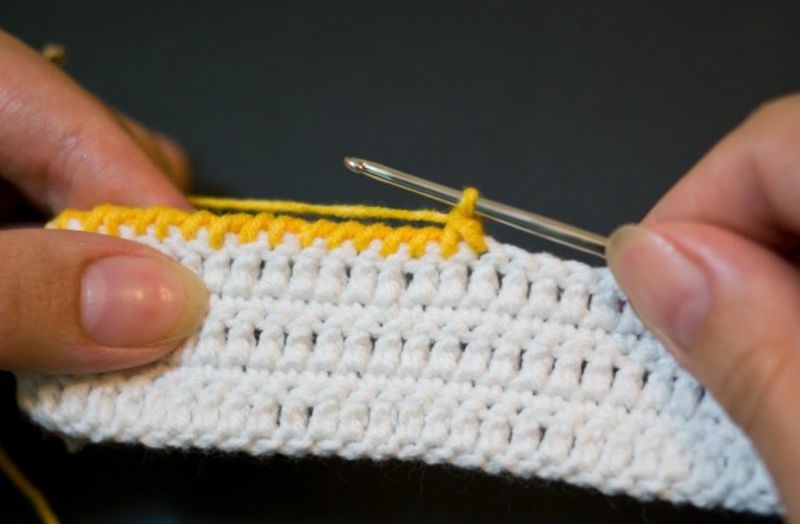
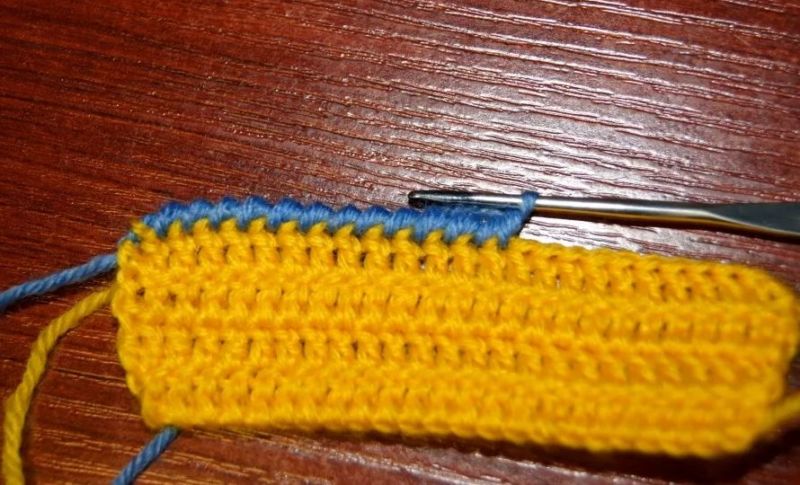
This finishing element is the most common columns without a stitch. The difference is that they are performed backwards - from the left side to the right.
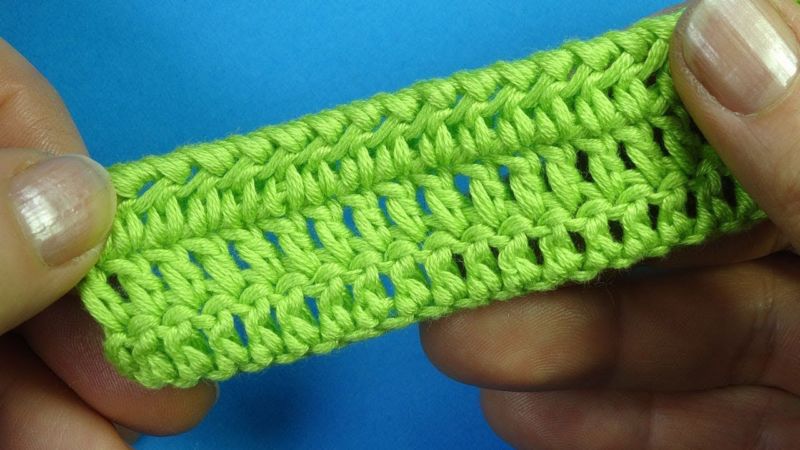
Because of this, the threads begin to cross, and this greatly changes the appearance of the knitted surface - it becomes more interesting and entertaining, gets volume. And thanks to the columns, the shape is securely fixed, protecting the knitted fabric from stretching.
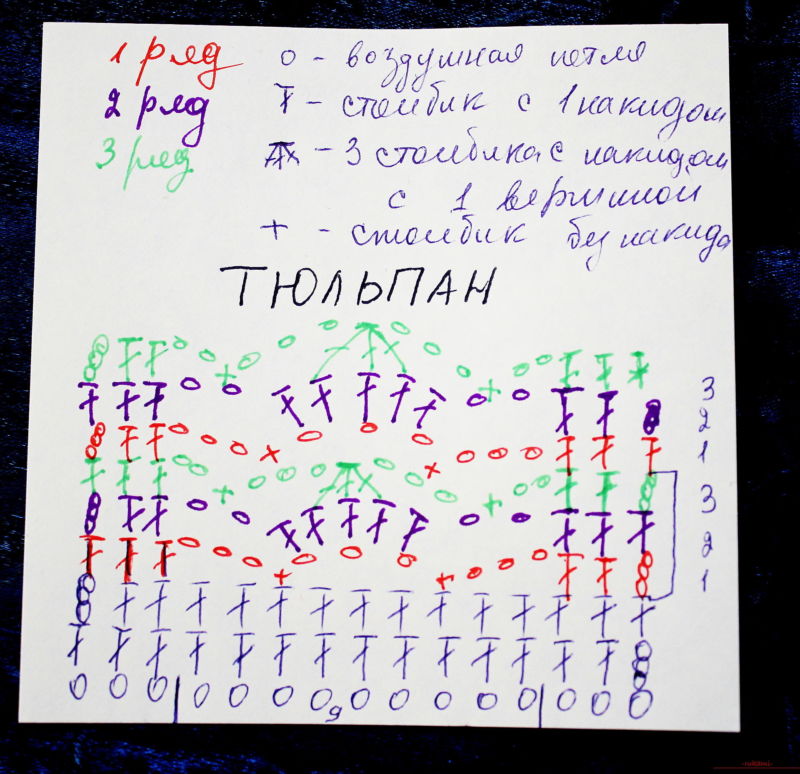
There are many schemes, which describe in detail how to knit a crayfish step. Thanks to them, you can learn how to perform such a technique and use it in creating your own knitted creations.
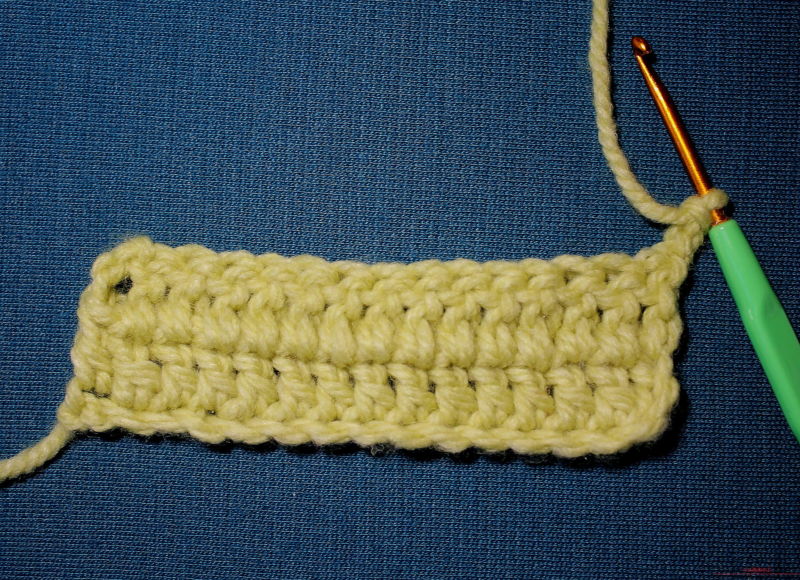
Tip: It is recommended that before starting to work on the creation of this trim element, you should have a row to prepare, which will consist of columns without a stitch.
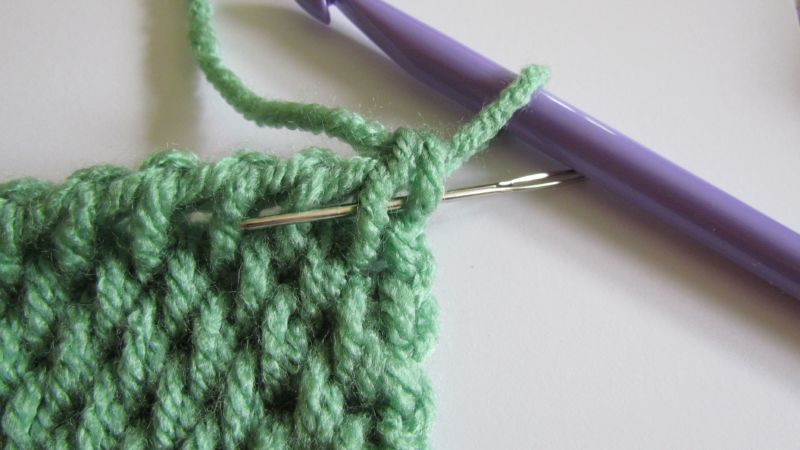
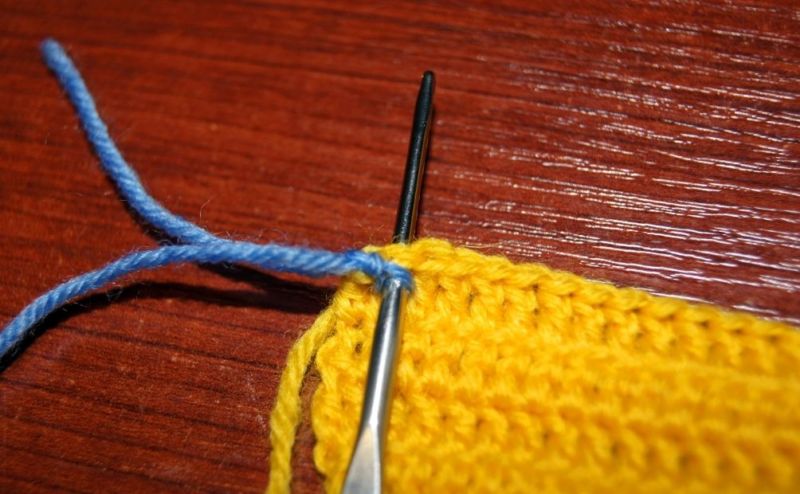
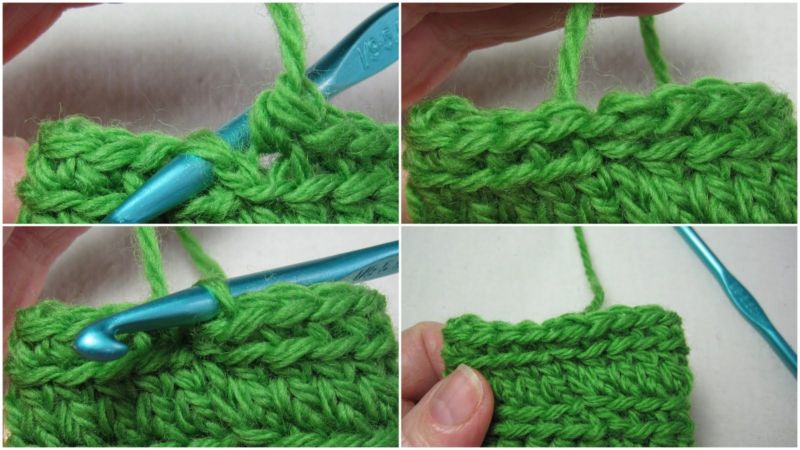
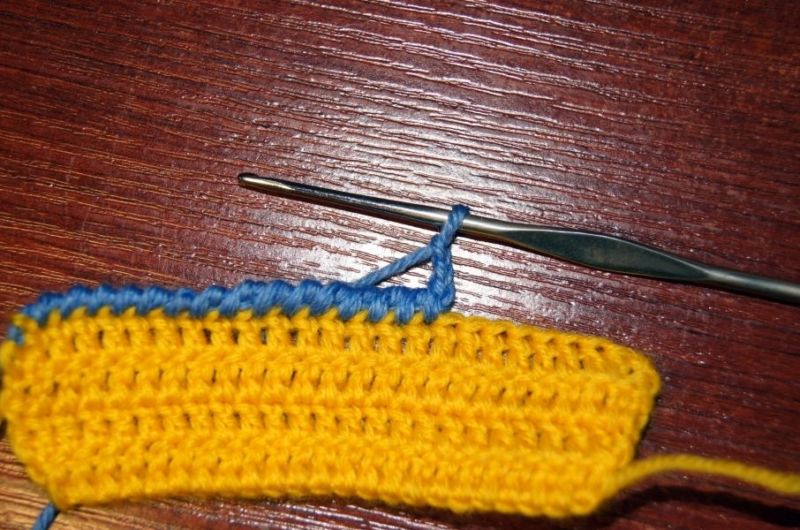
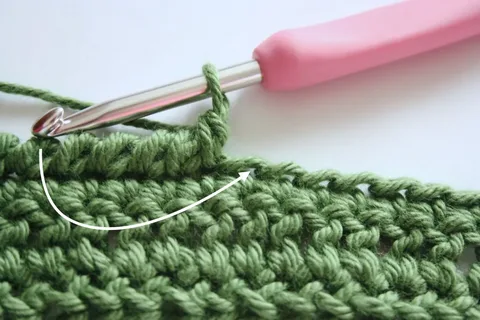
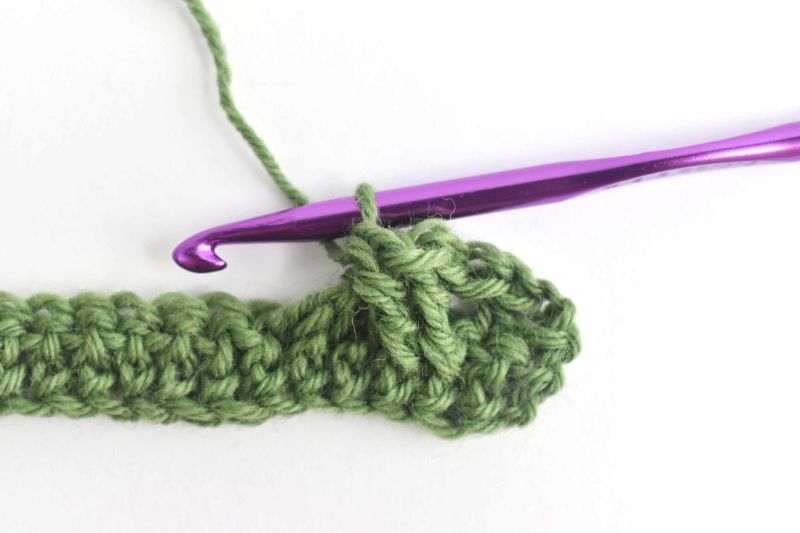
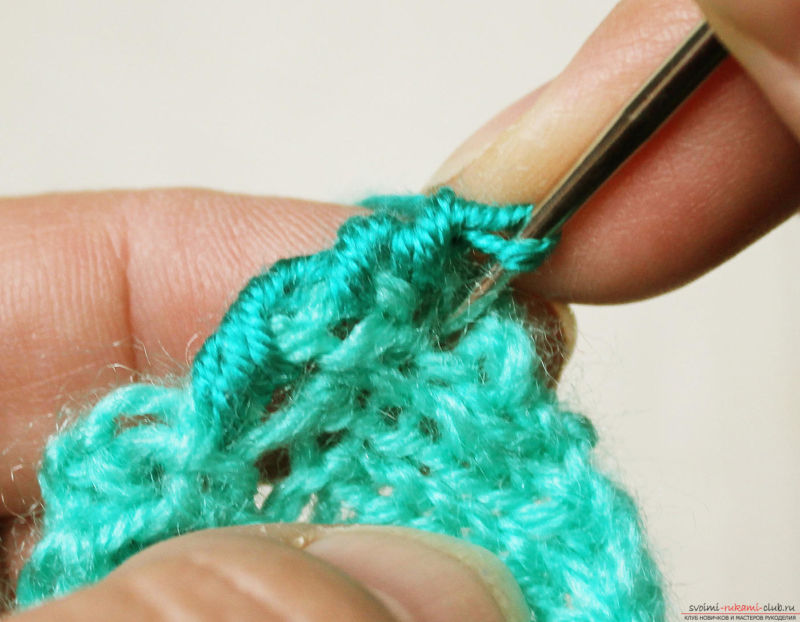
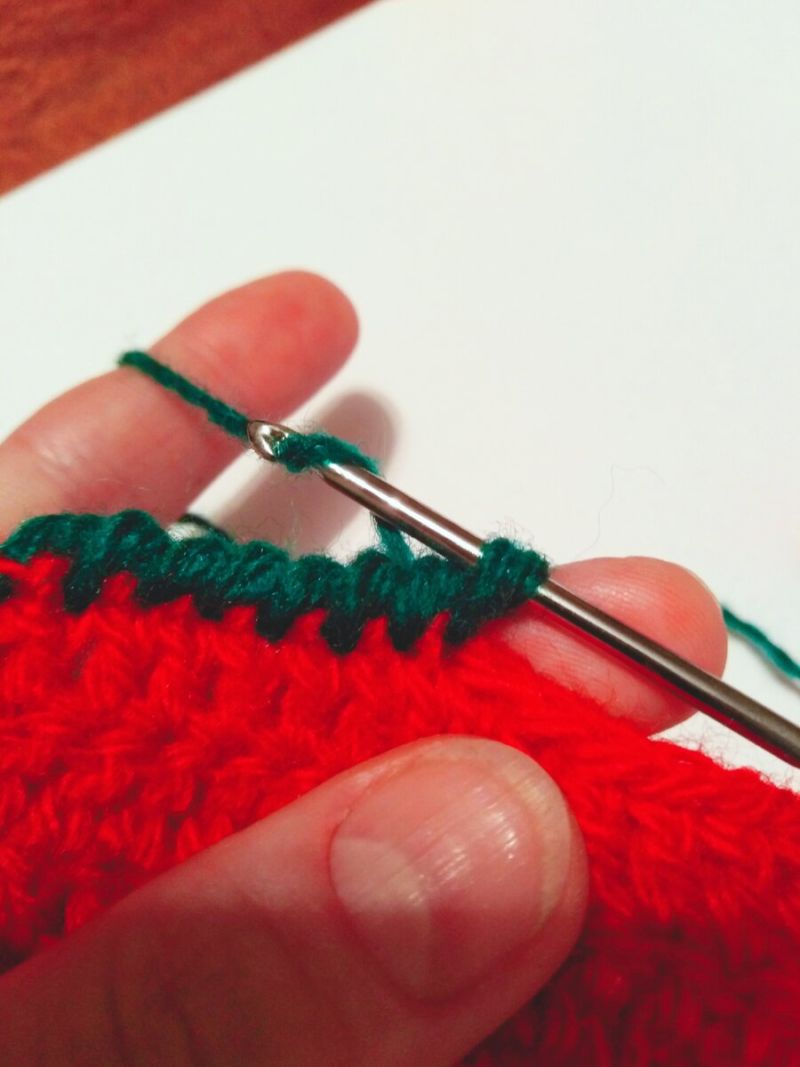
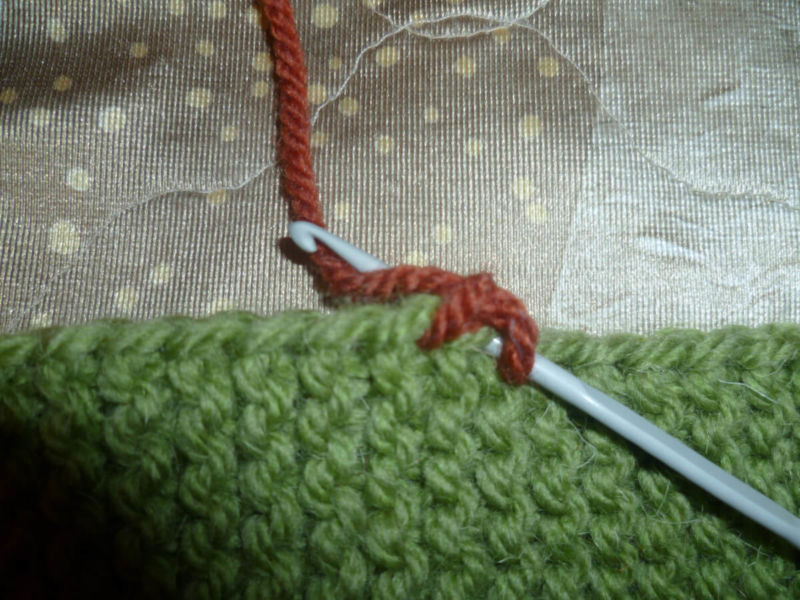
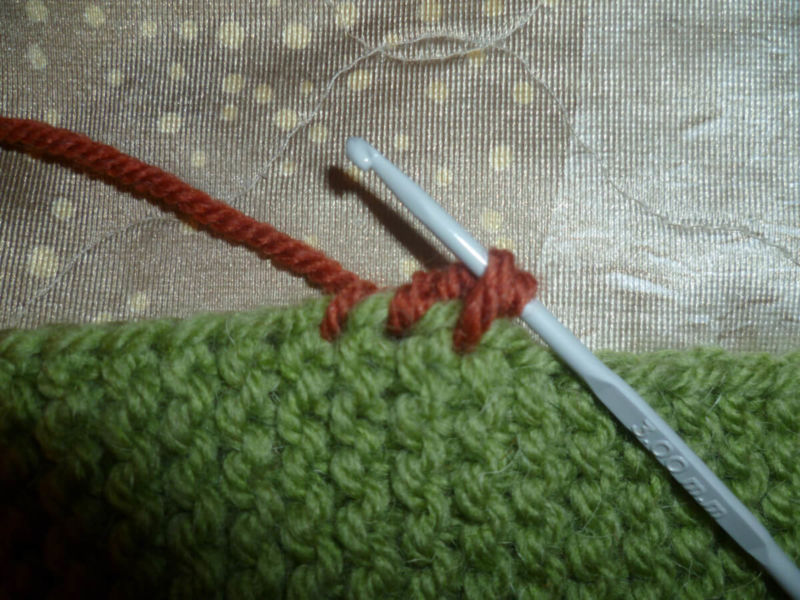
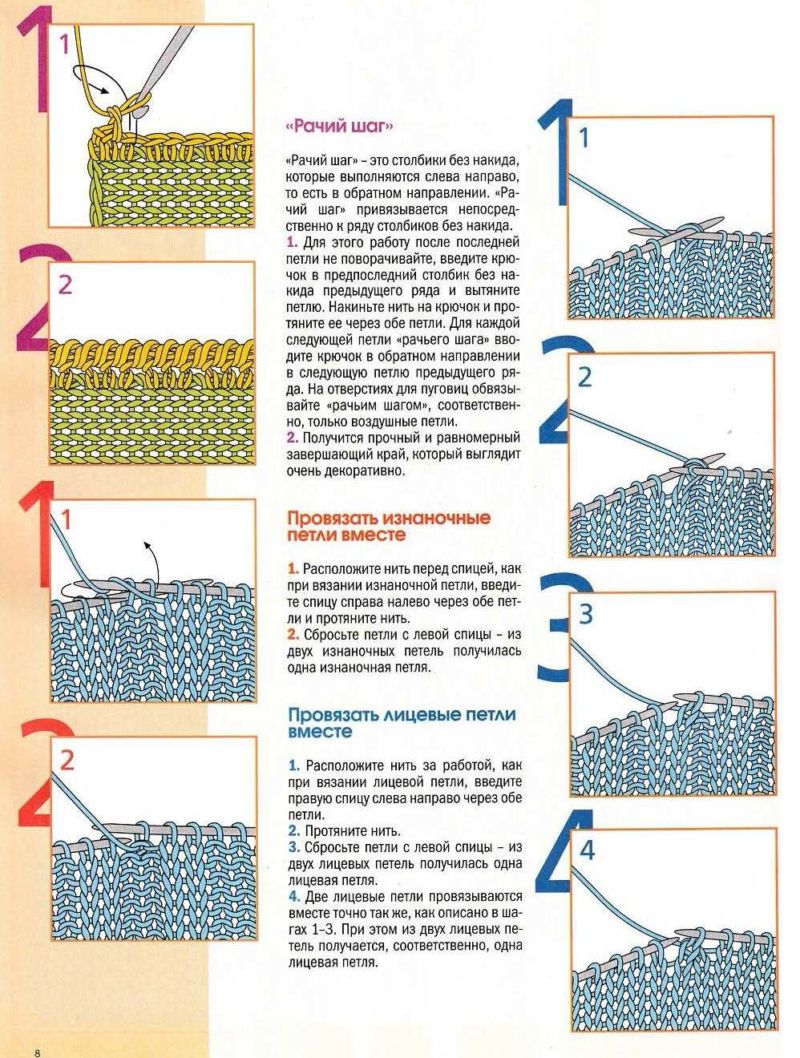
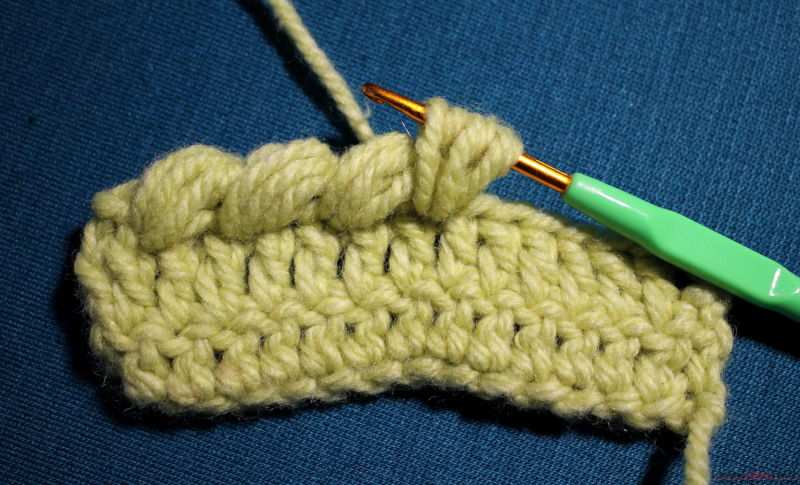
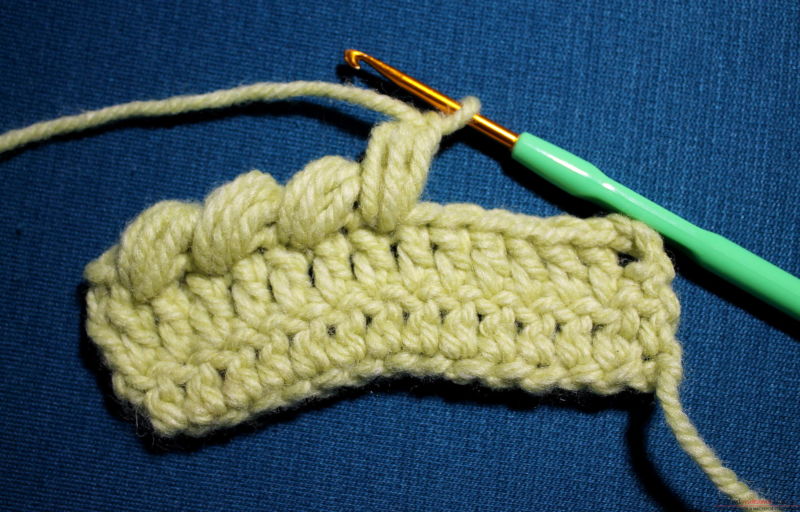
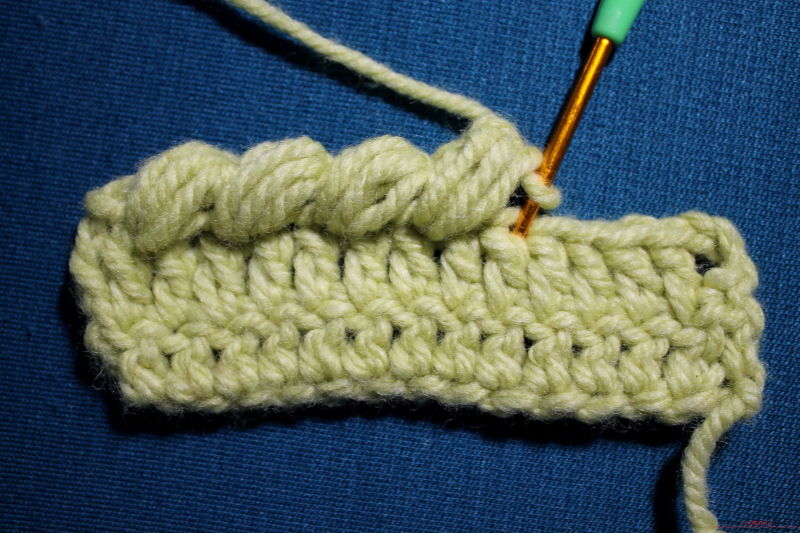
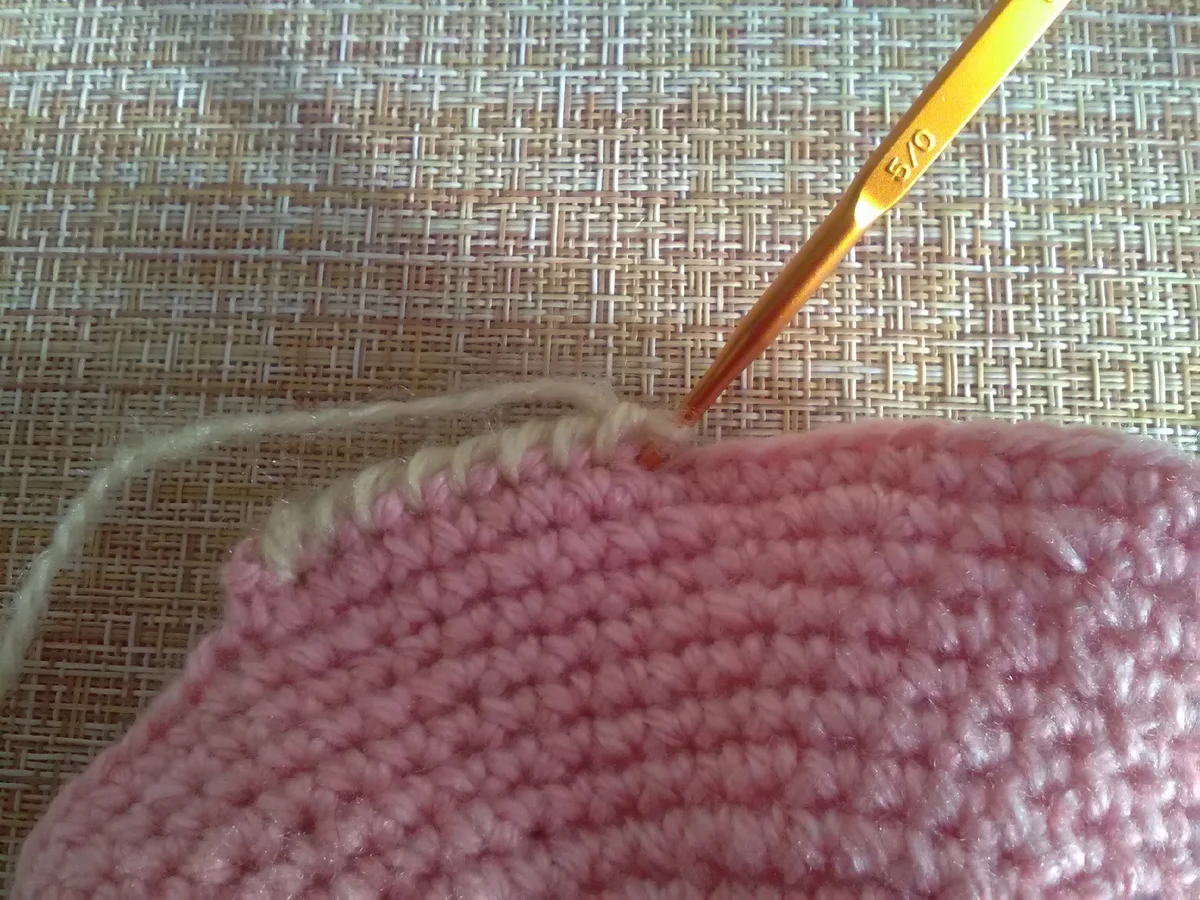
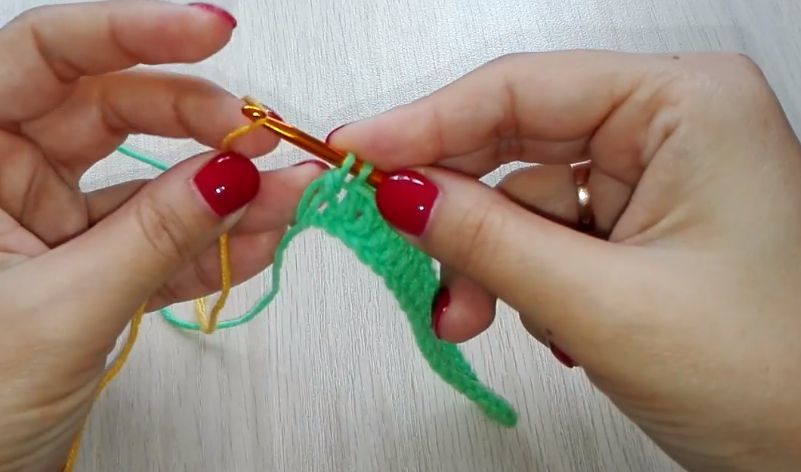
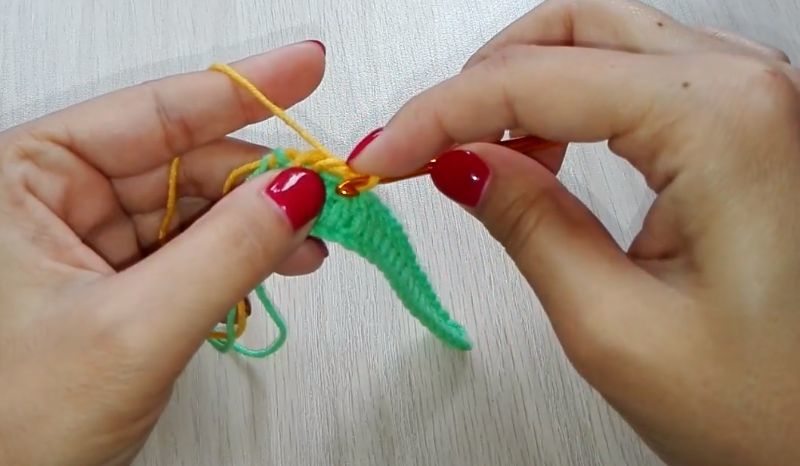
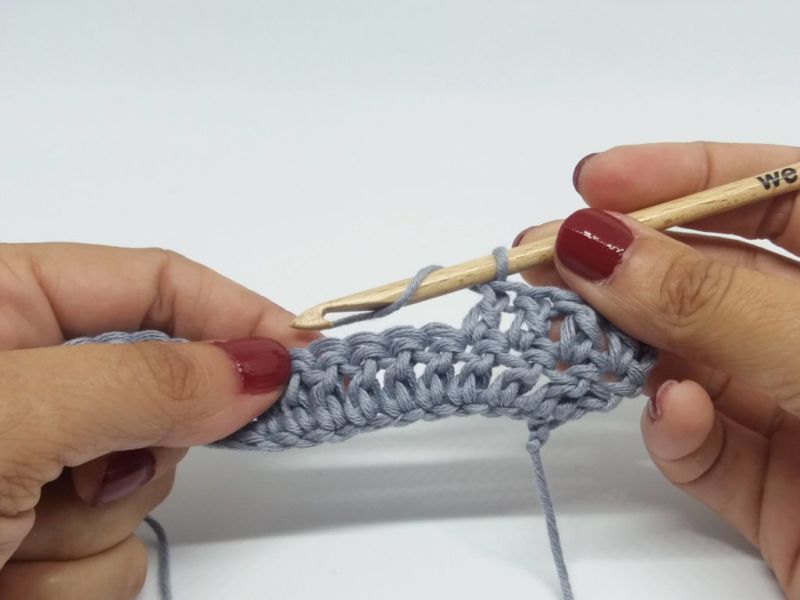
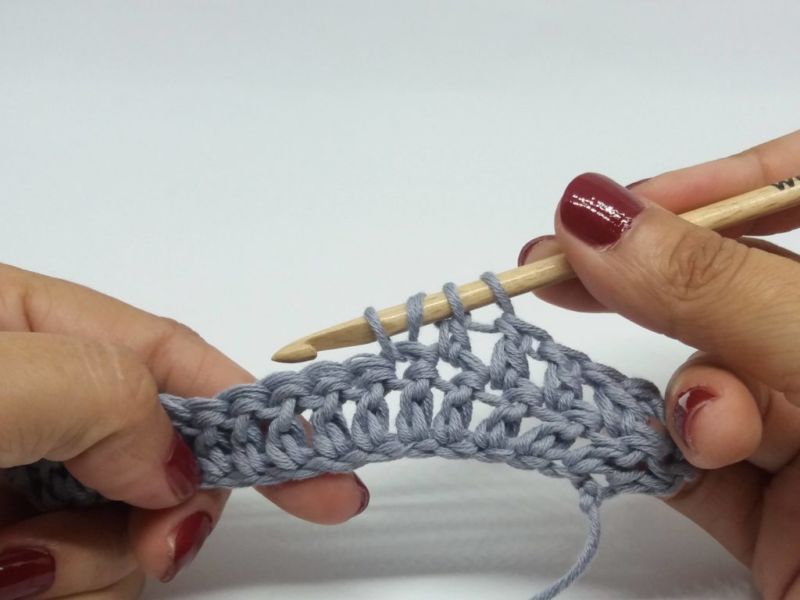
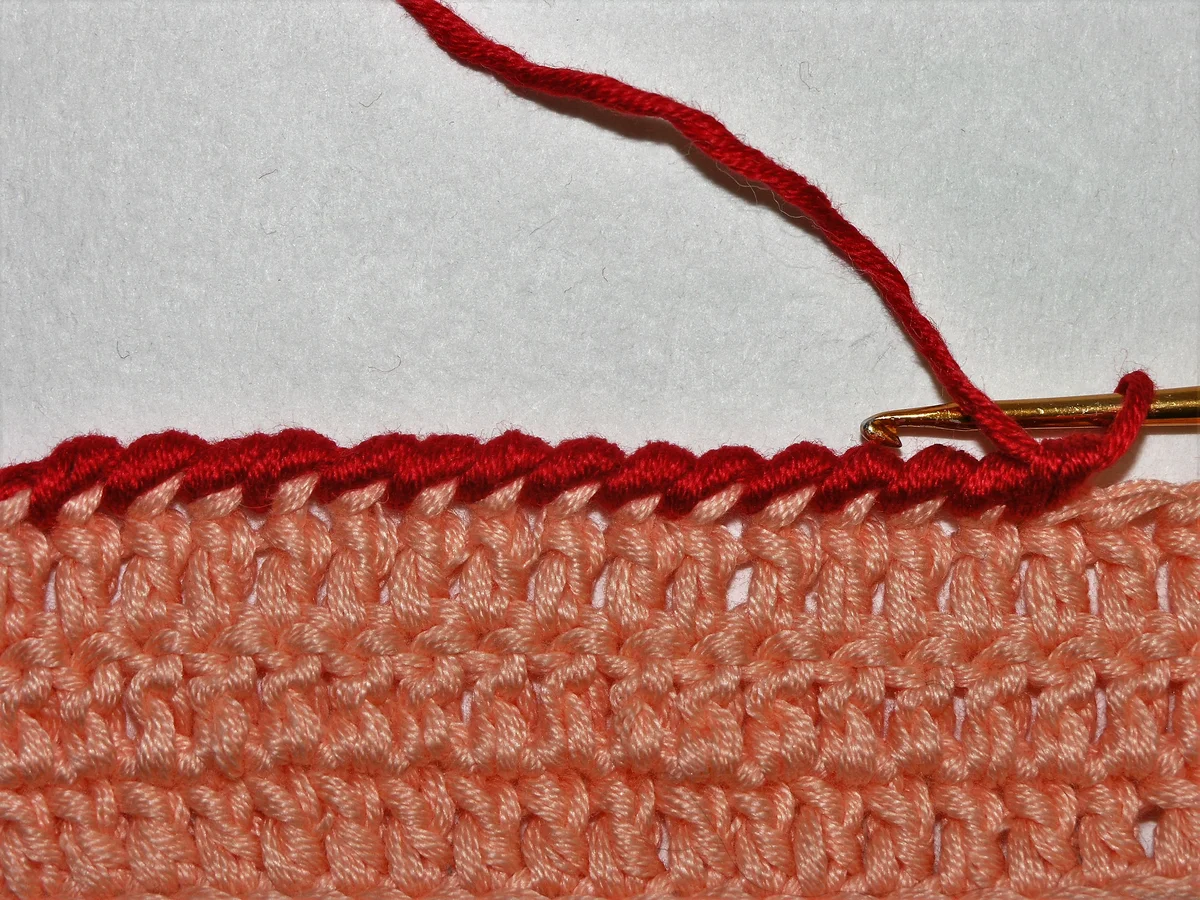
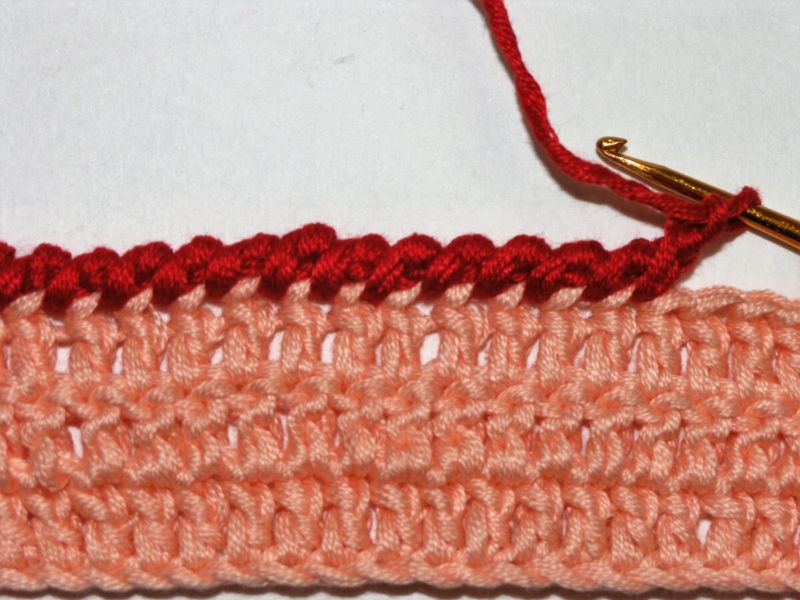
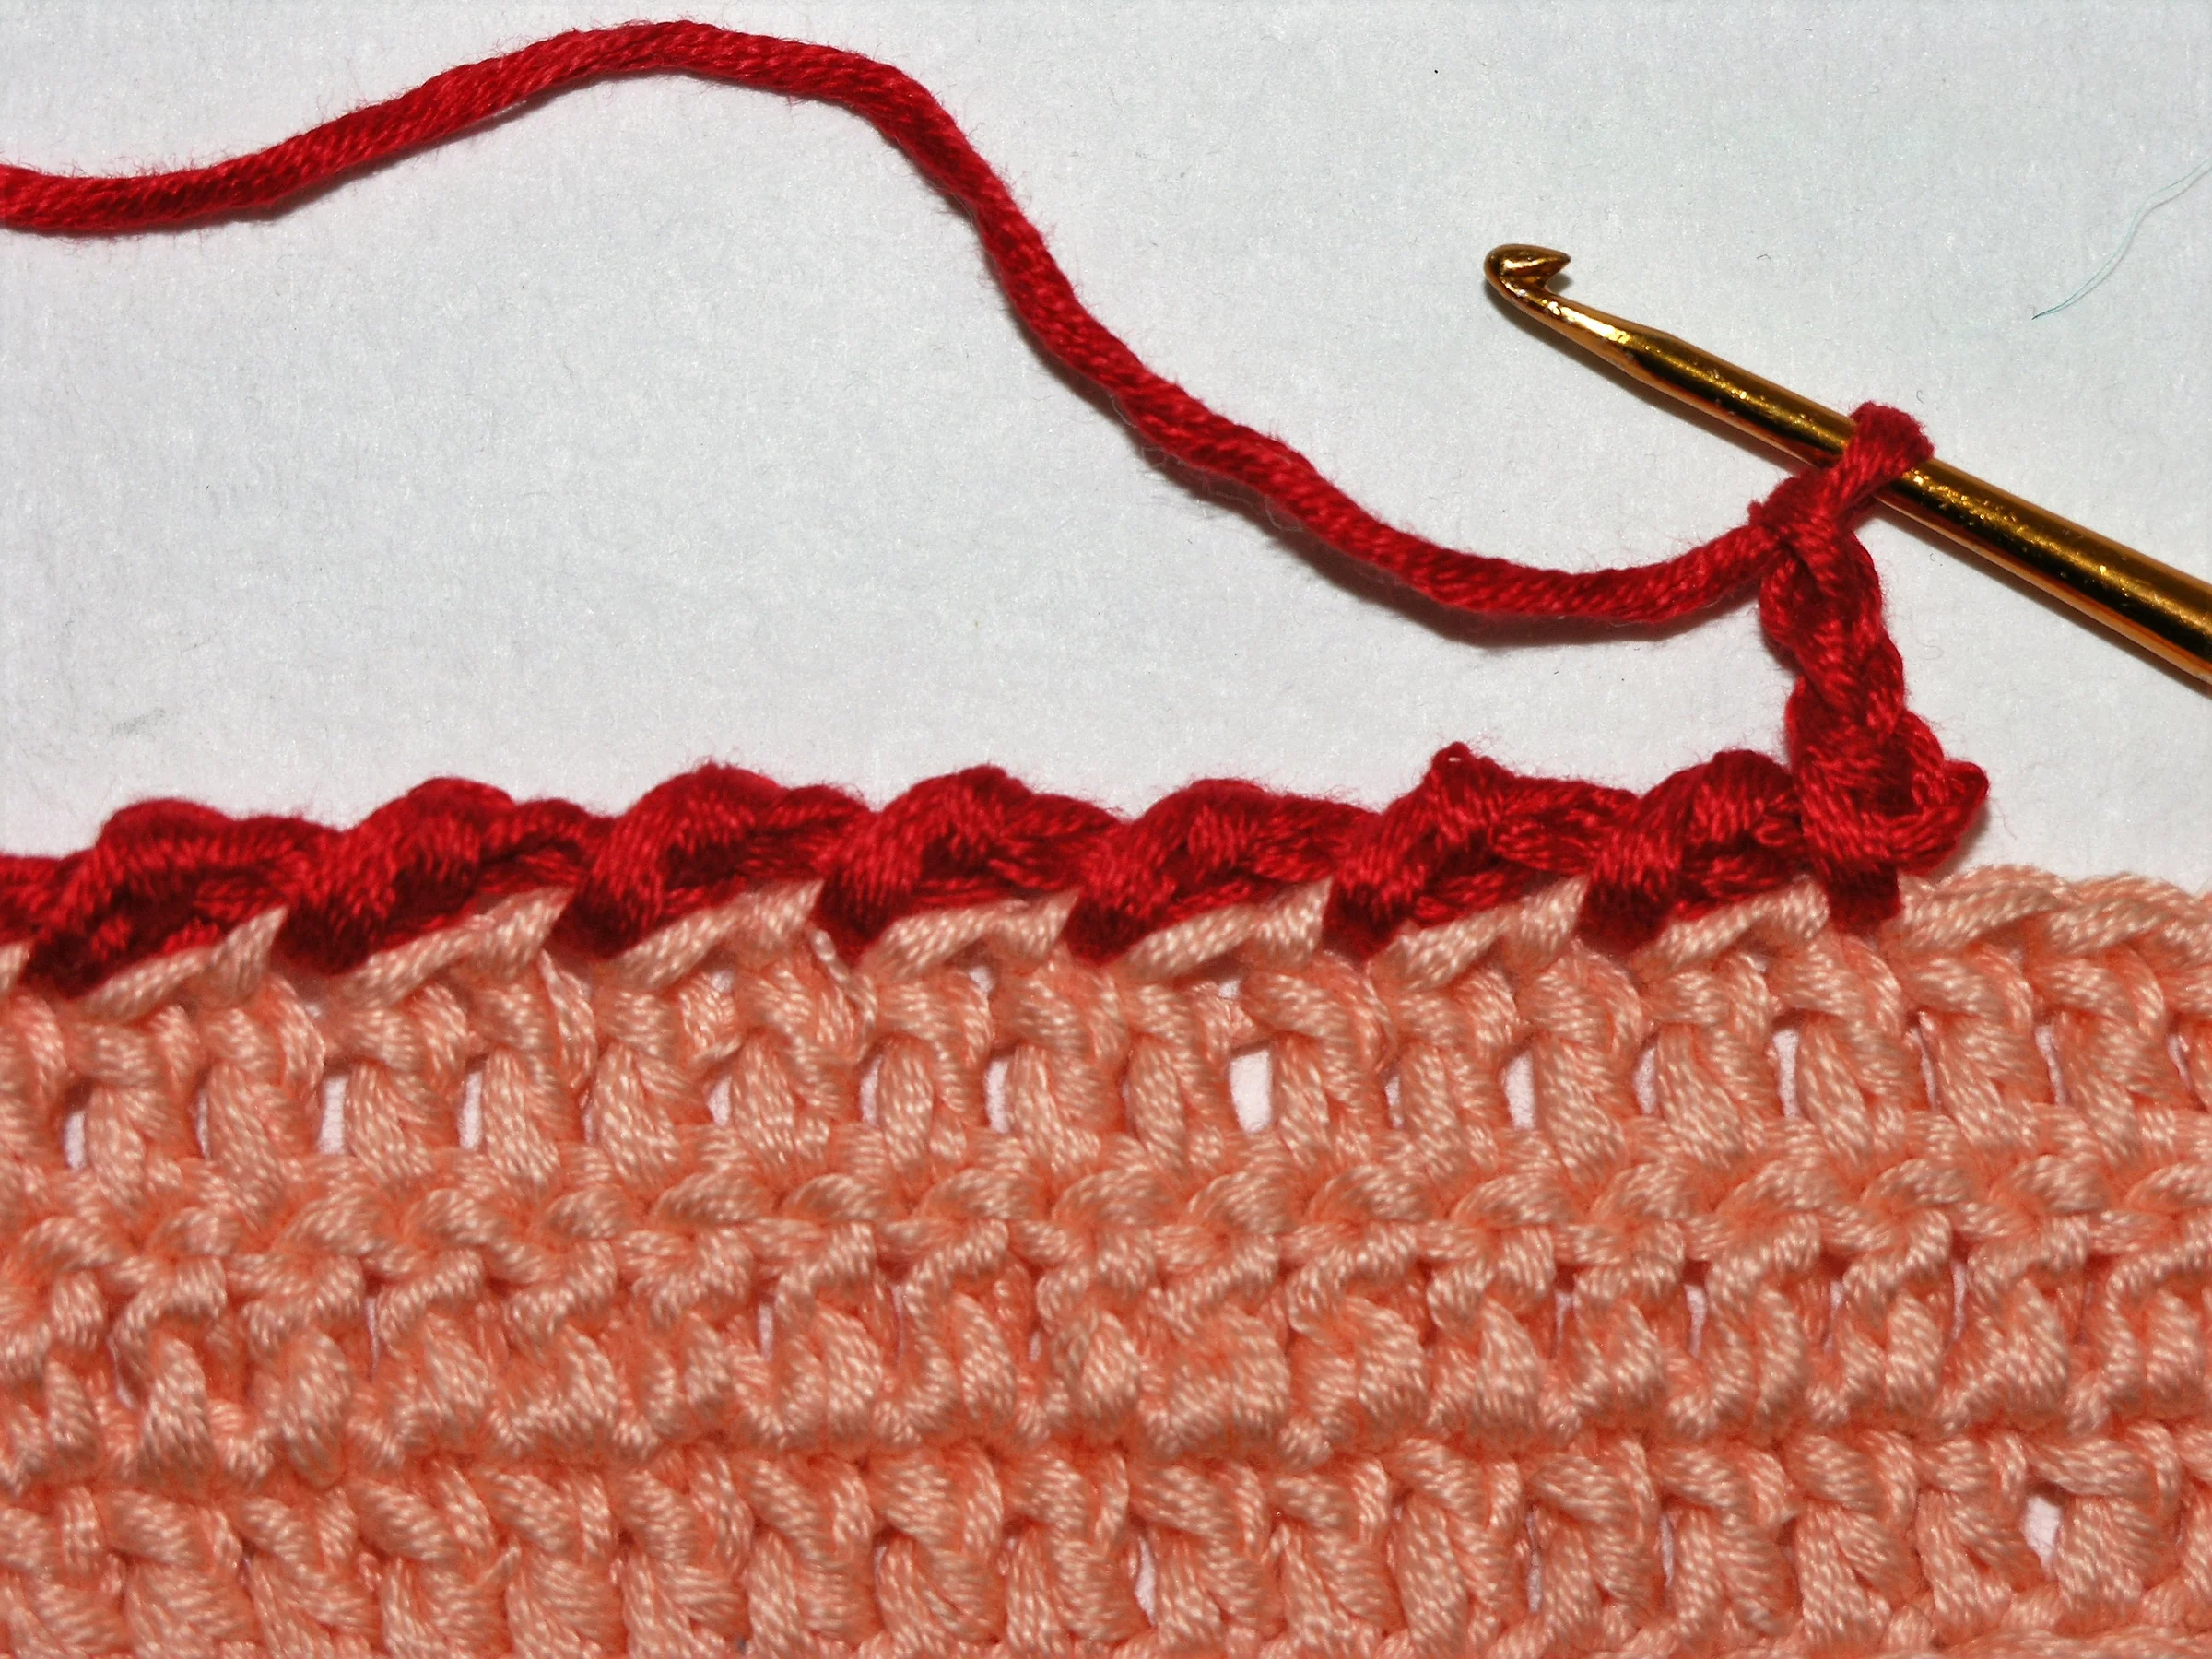
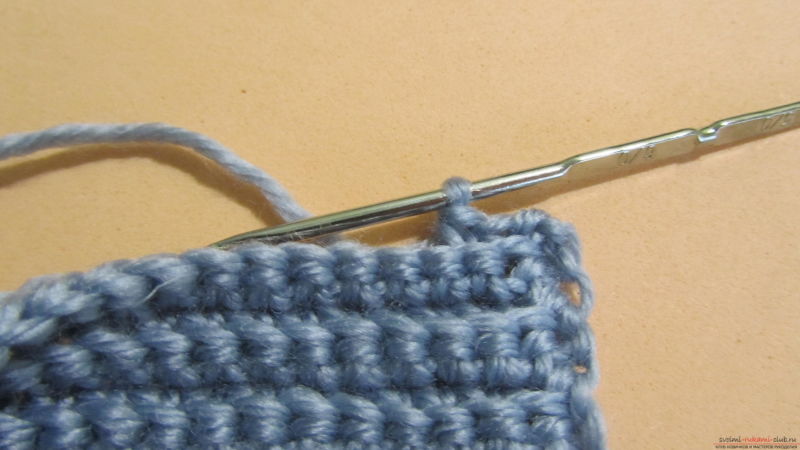
- As mentioned above, the rachis step is done in reverse compared to classic knitting. Therefore, it is not necessary to unfold the thing after completion. The hook is introduced into the loop, located on the right side.
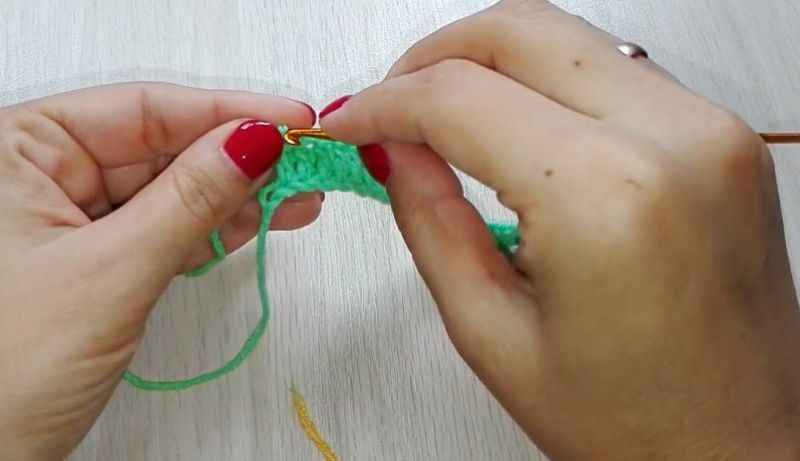
- The first thing to do is to attach the thread with which the trim will be made. The hook is inserted into the buttonhole, the thread is caught and pulled out.
- Now a stitch should be tied to start the next row.
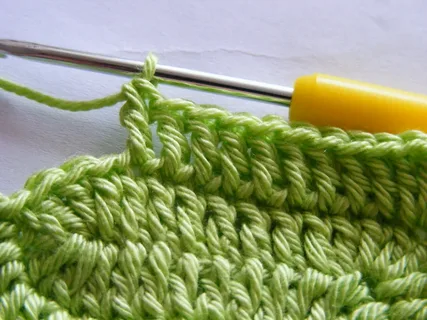
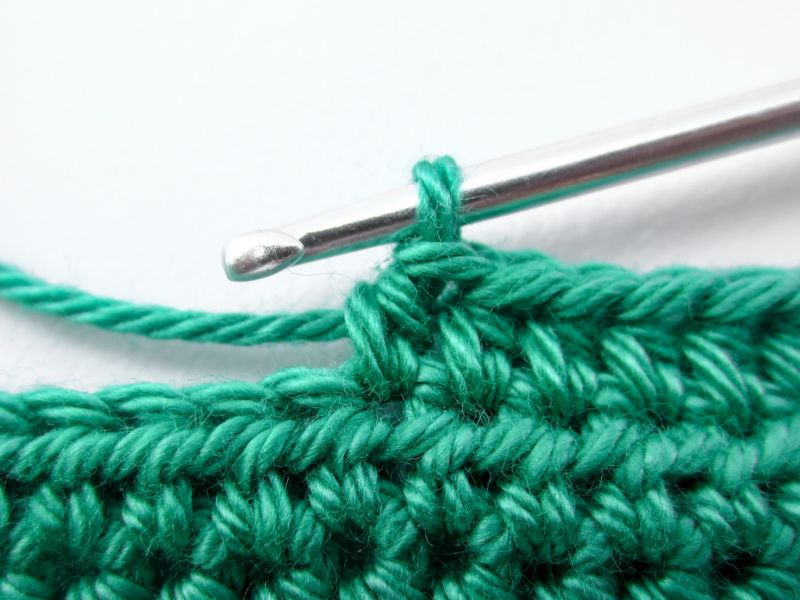
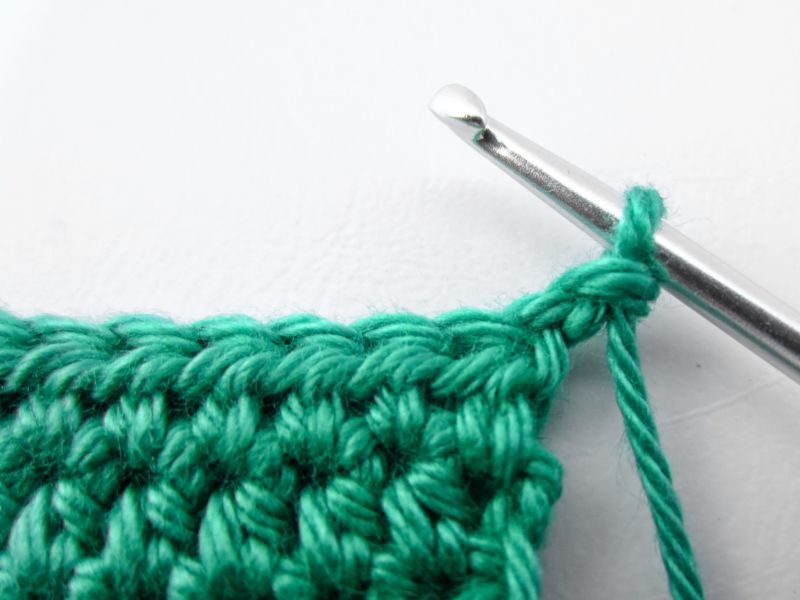
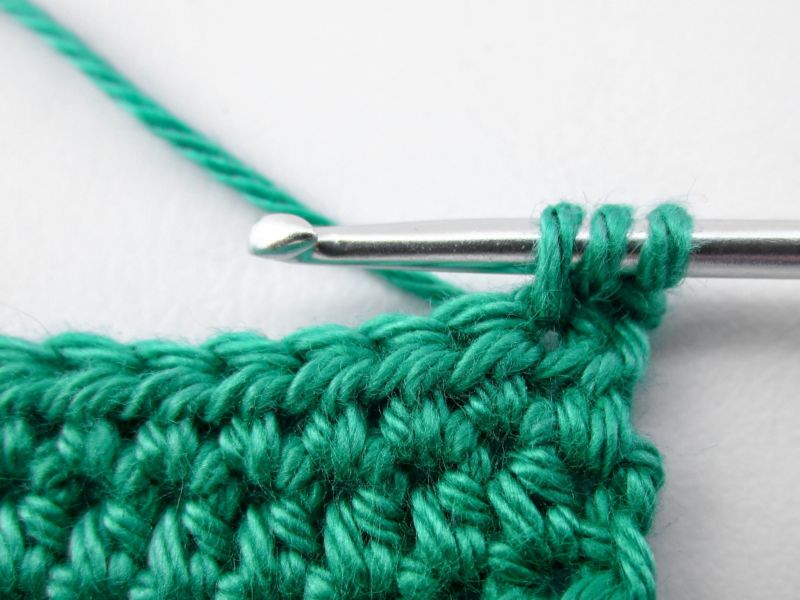
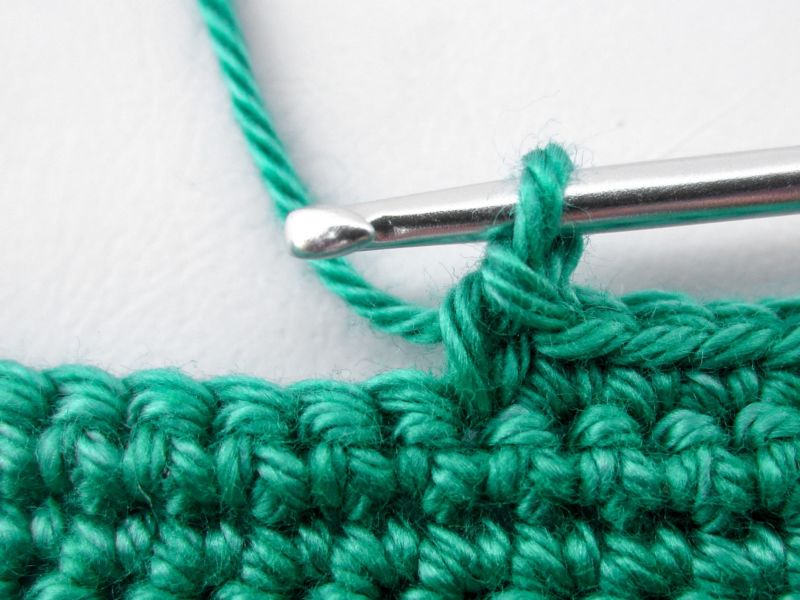
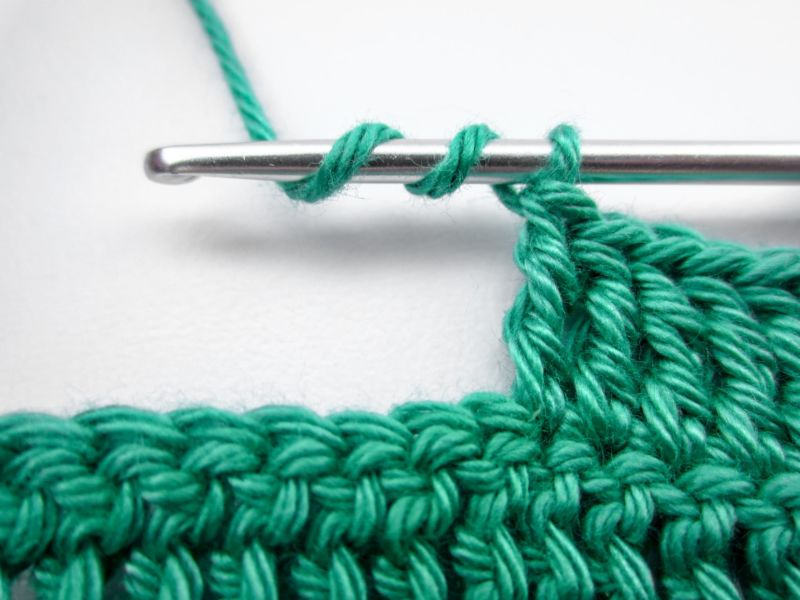
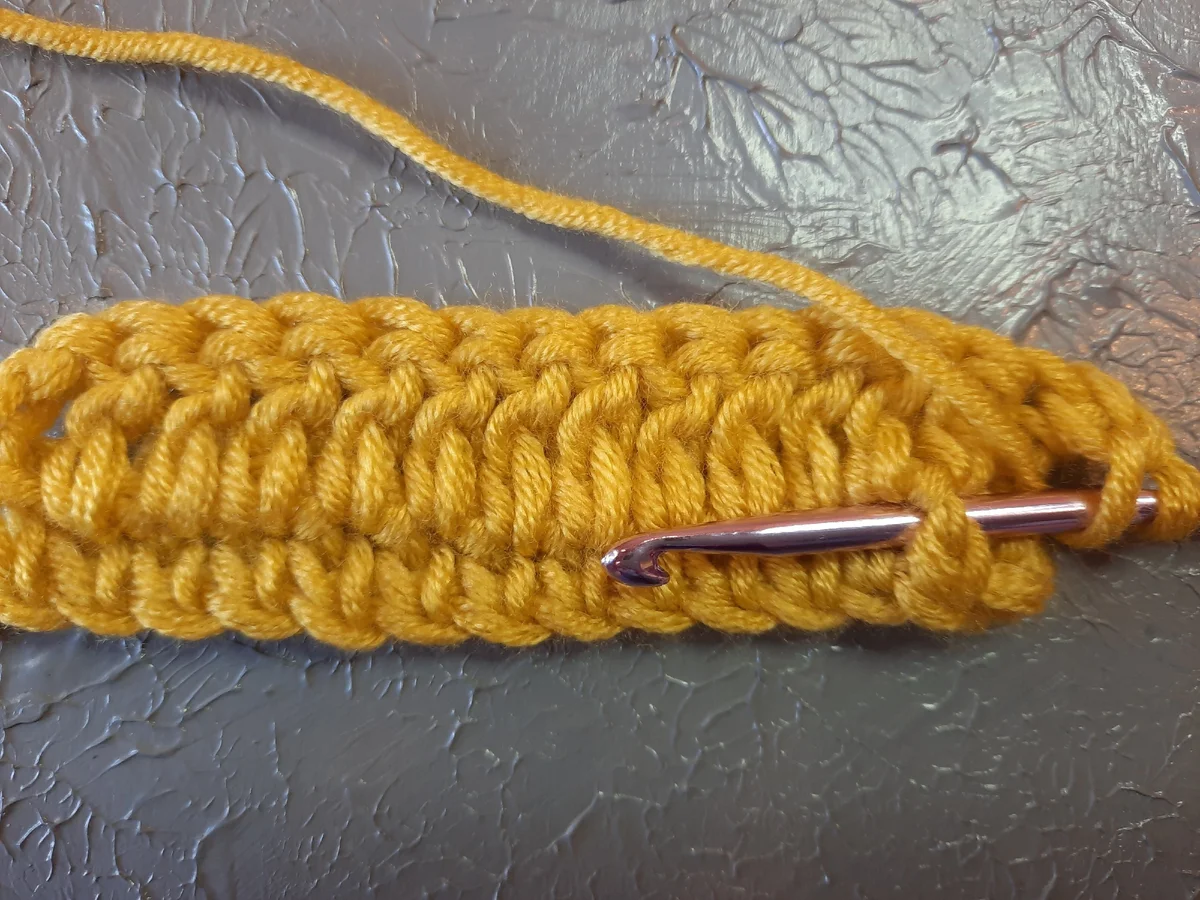
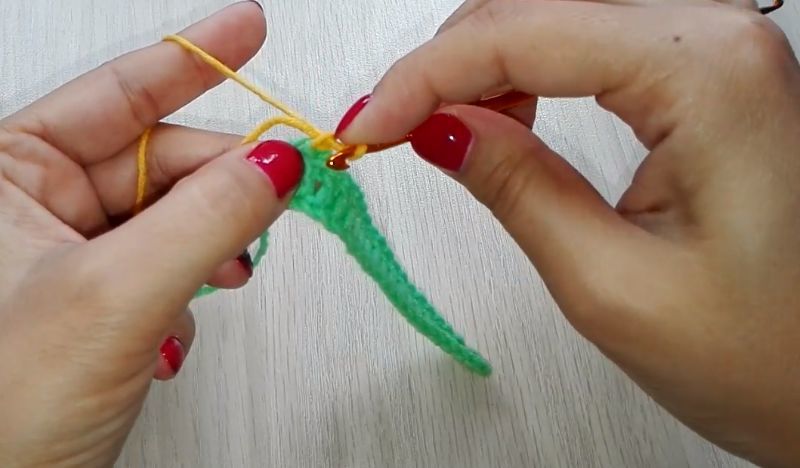
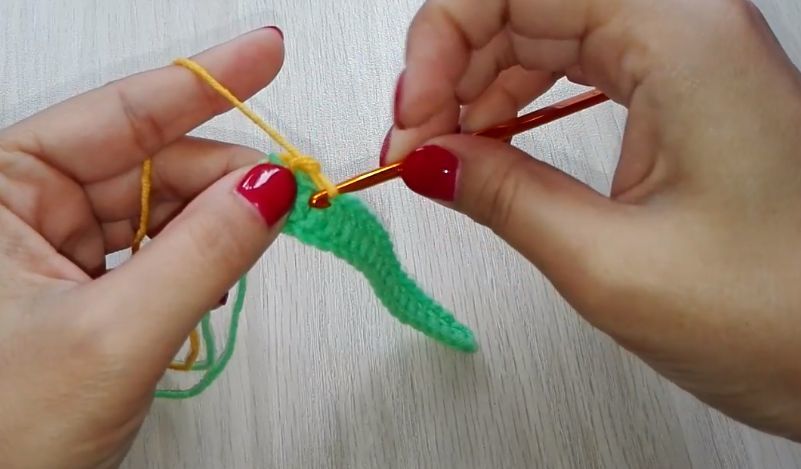
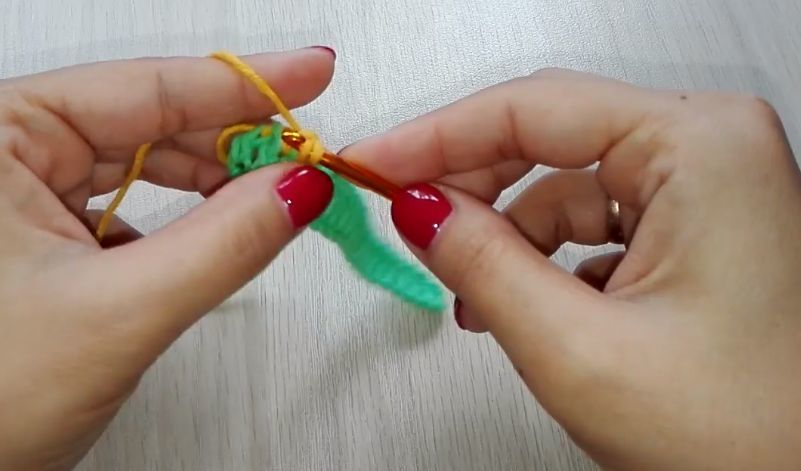
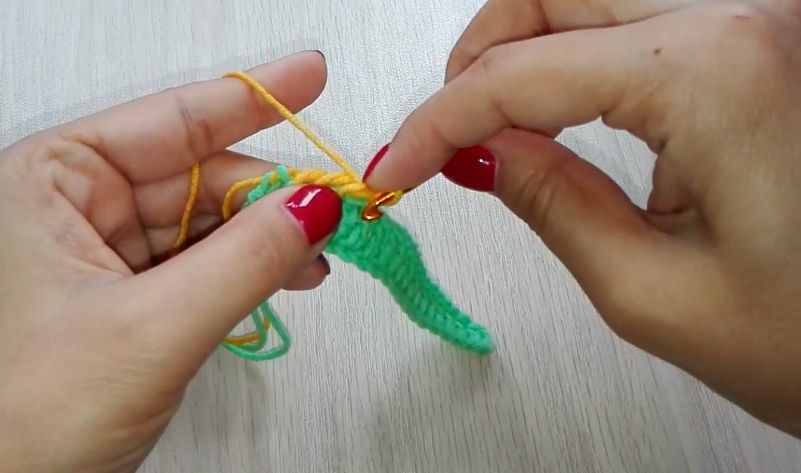
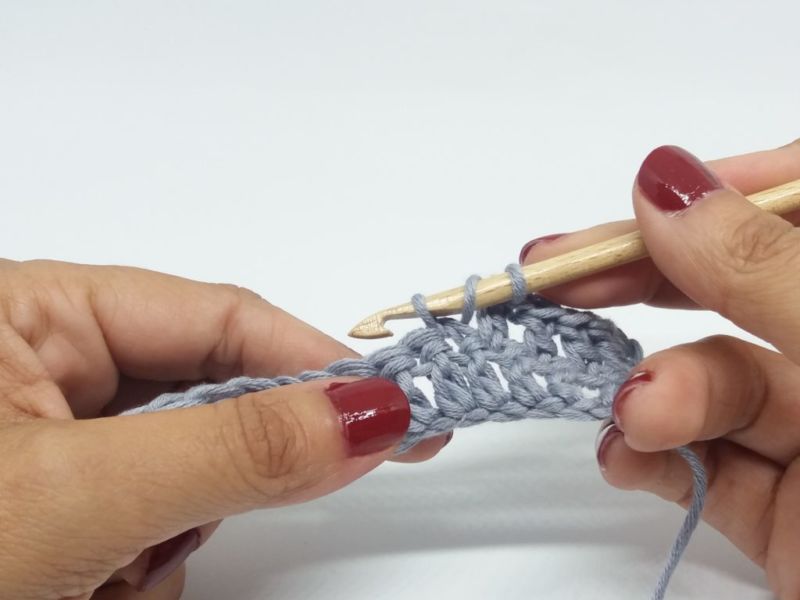
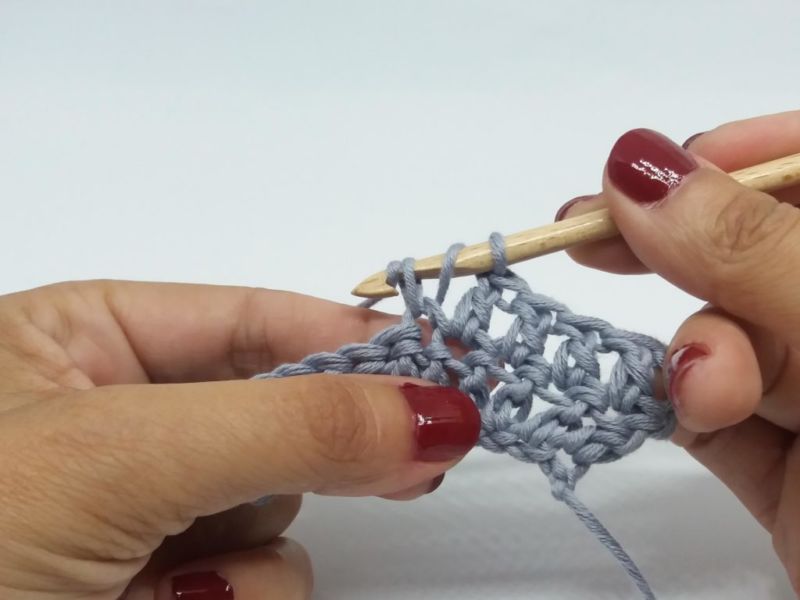
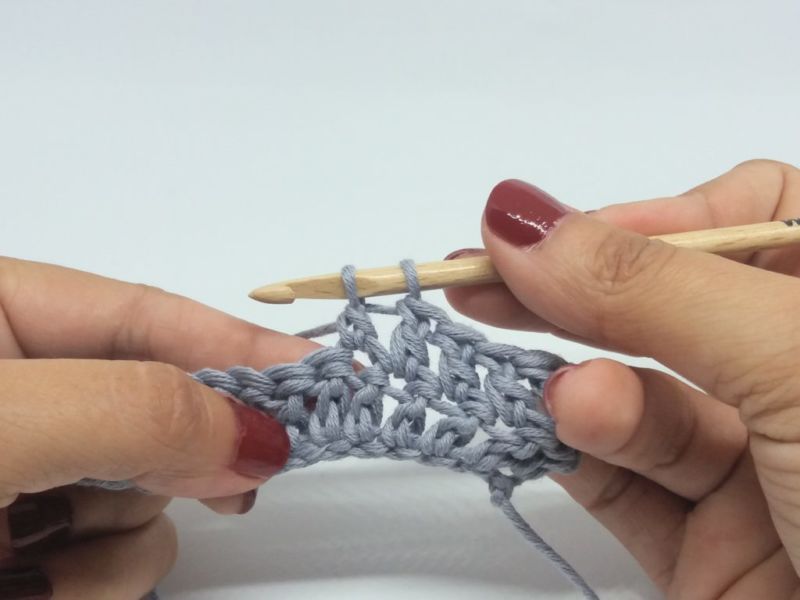
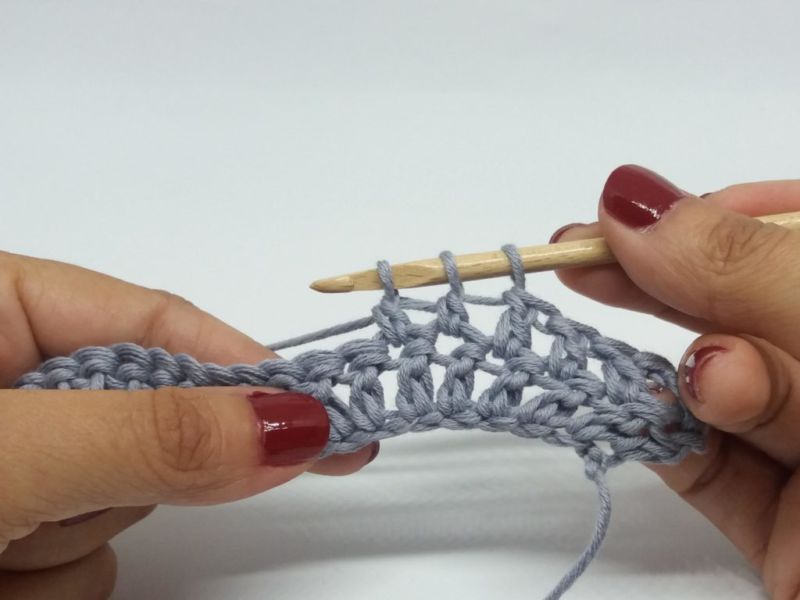
- Then the hook is inserted into the buttonhole to the right of it. The thread is caught and pulled. At the same hook should get two loops, and they must as if crossed over each other.
- Then you have to grab the thread again and pull a couple of loops at once.
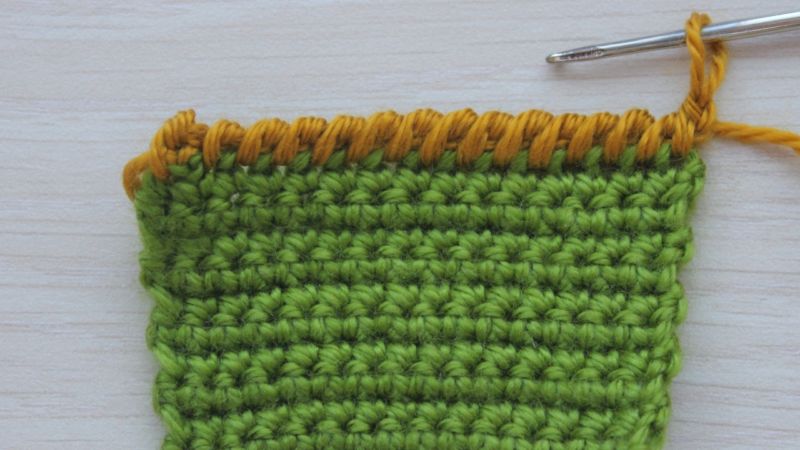
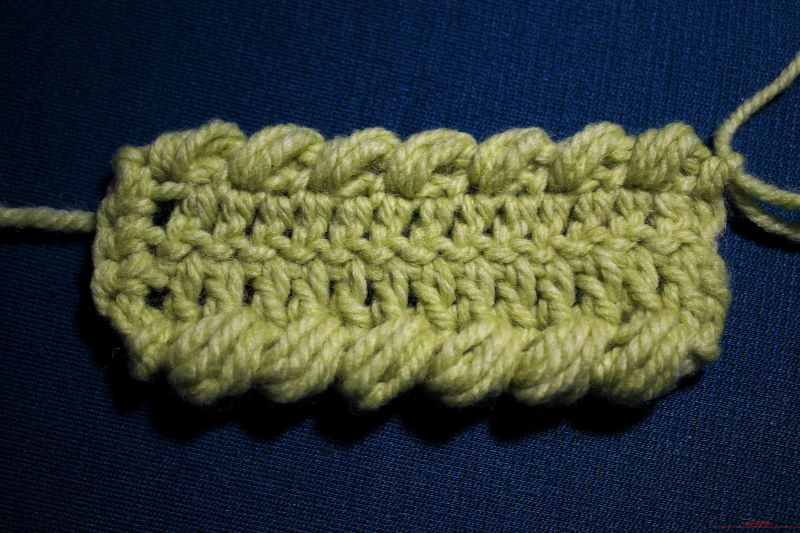
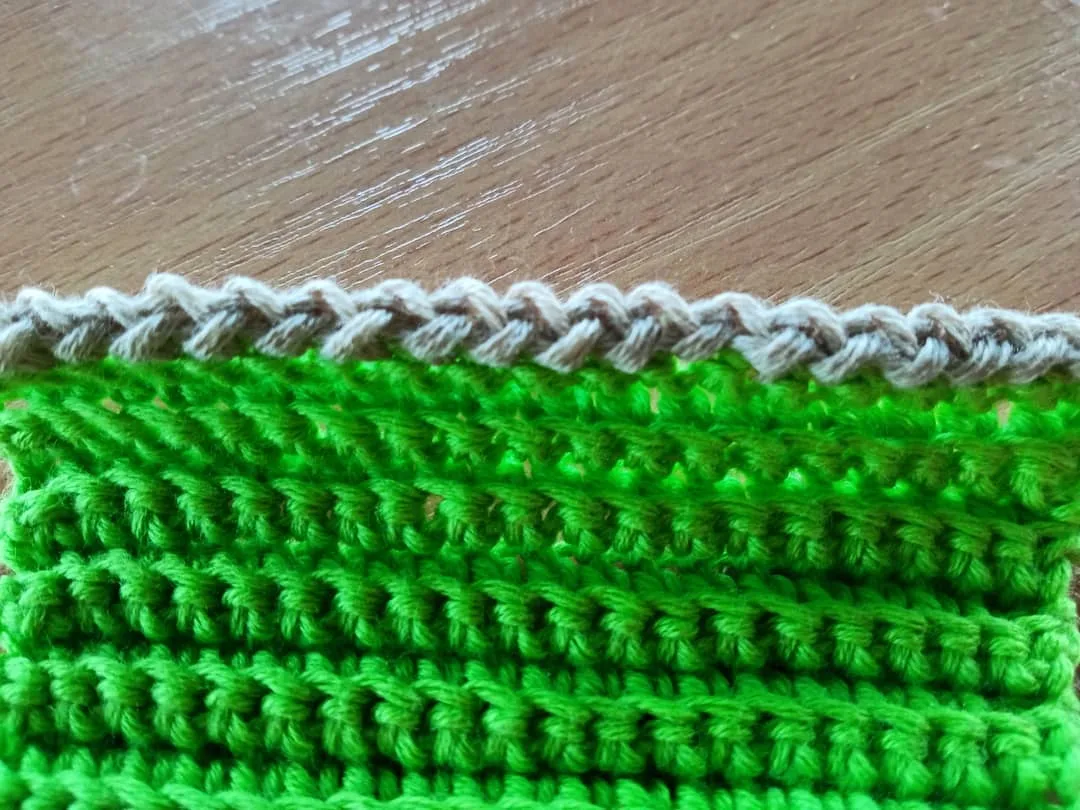
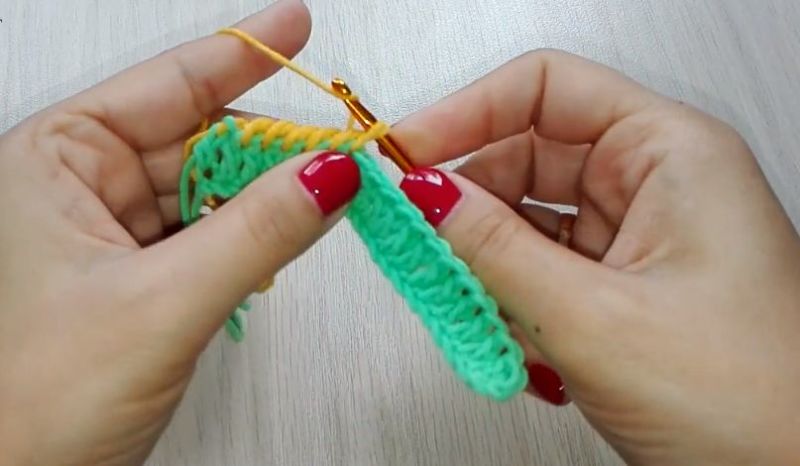
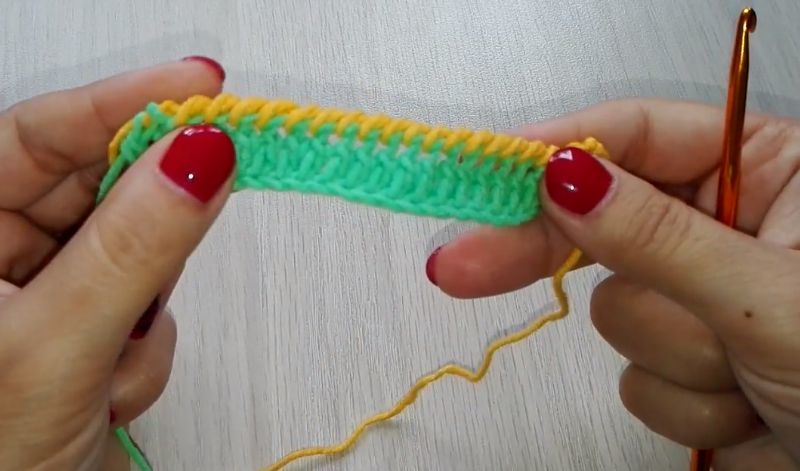
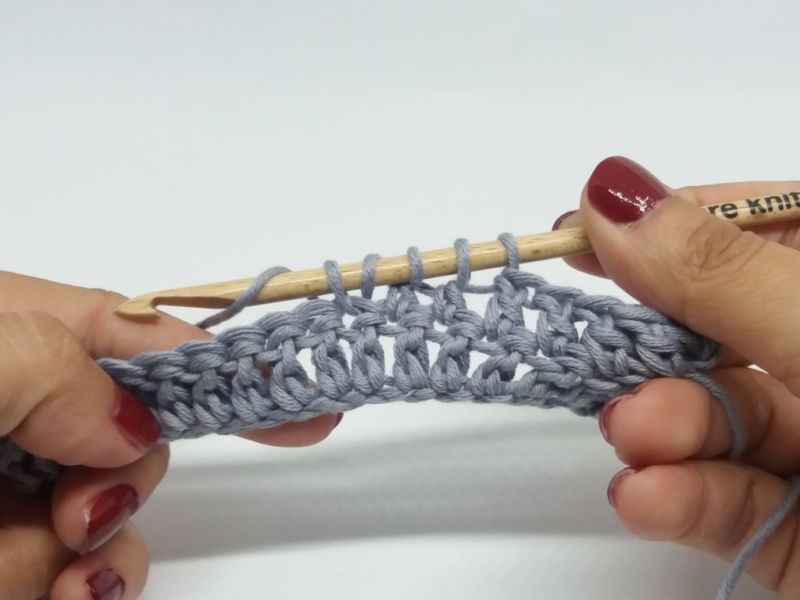
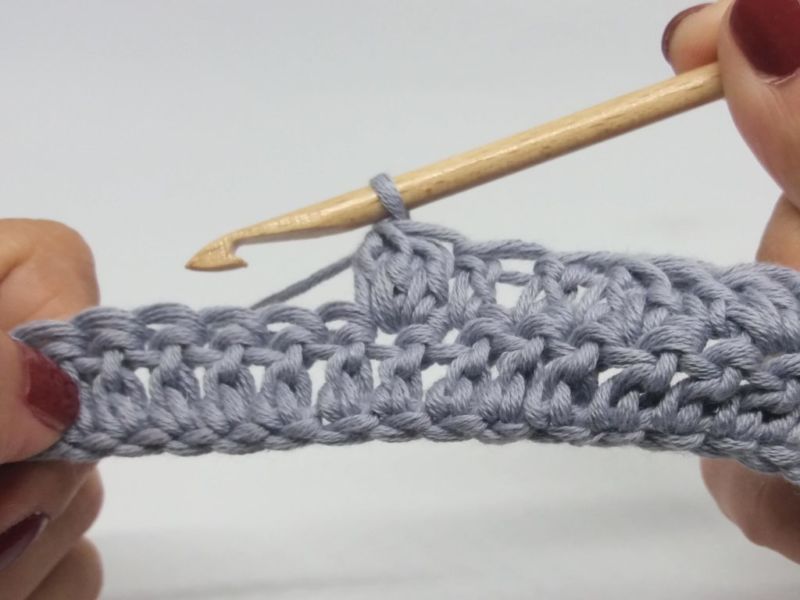
- This procedure is repeated as many times as necessary. The result is a beautiful banding around the perimeter of the knitted product. This is the rachii step.


The first times you create an element of trim can be a huge number of problems, but when you fully master its knitting and get a good hand, everything will work the first time. The method is not complicated, so that the time to learn a lot is not spent.
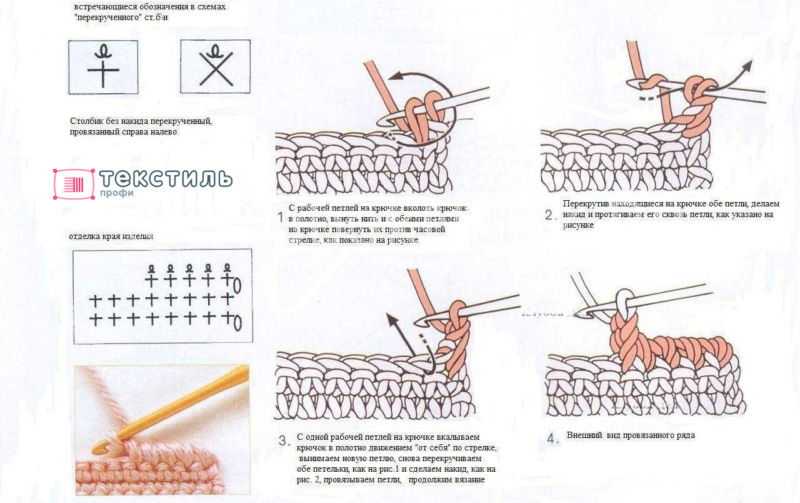
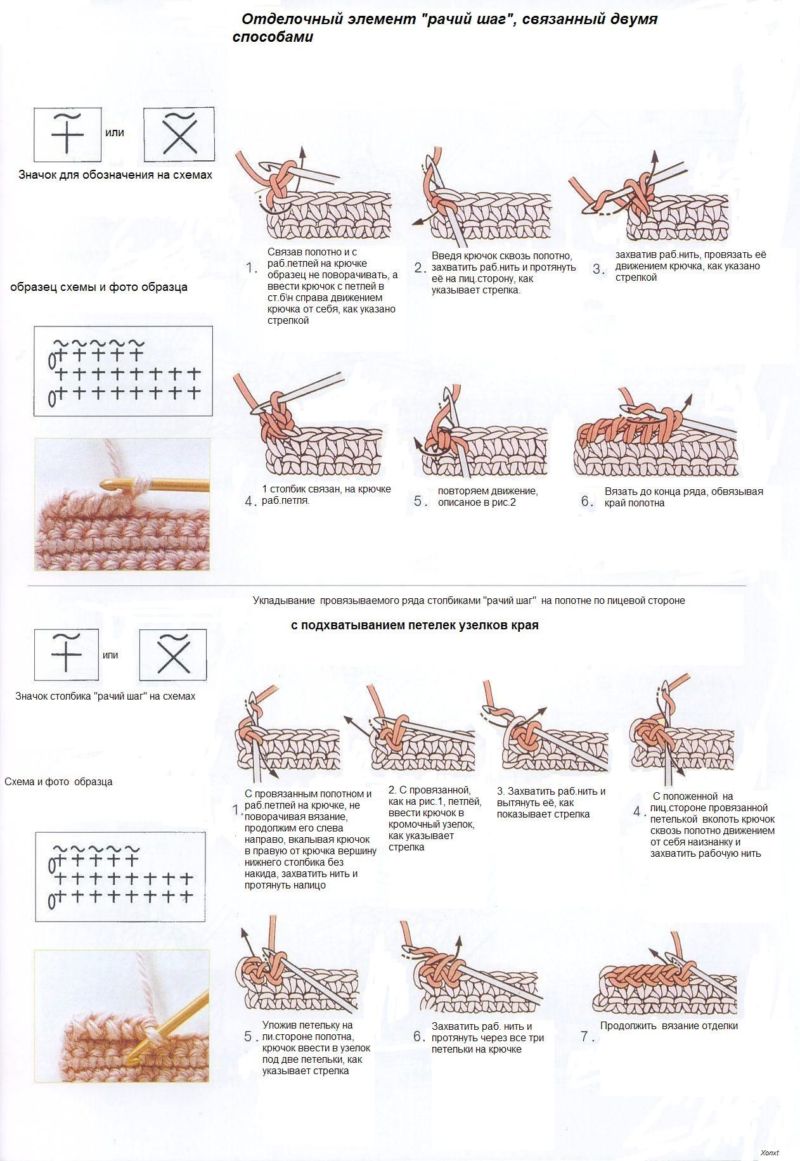
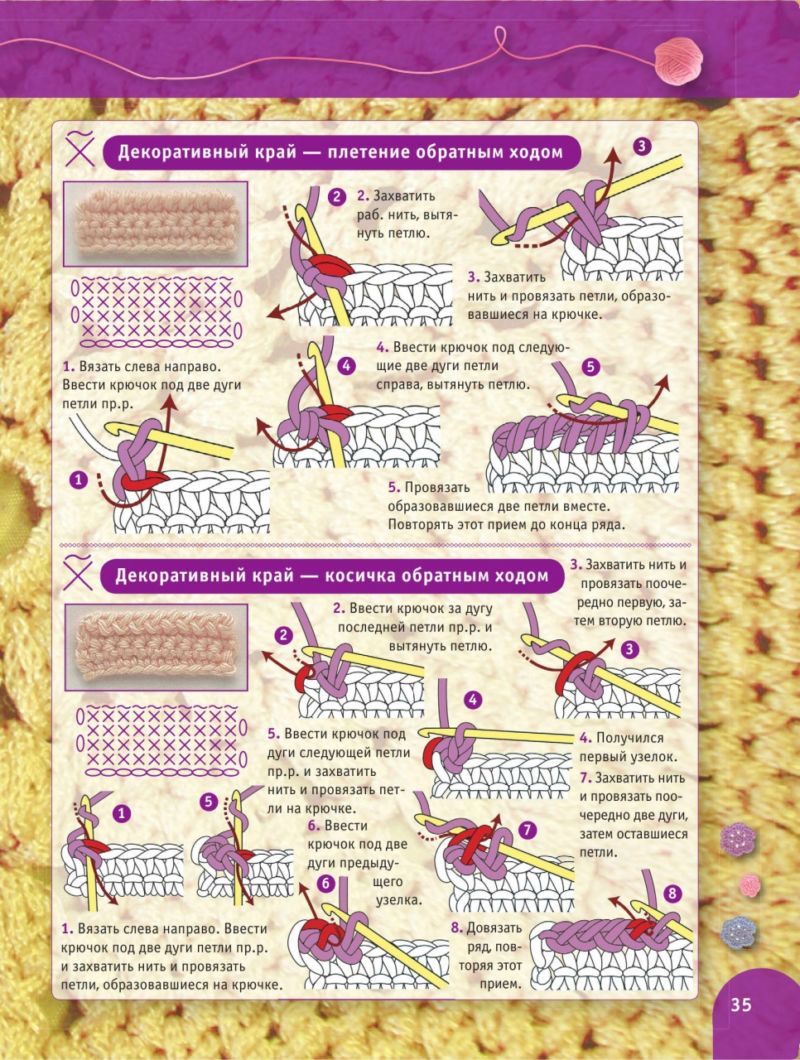
Technology strapping the edge of the rachetta step
There is more than one technique for strapping products rachetstvennym step. There are a huge number of them, and they all differ from each other in some nuances.
Any technique is easy to learn if you look carefully at the diagram and try to repeat the process several times. After practice, you can easily decorate your own creations with delightful patterns.
By the way, the crab step has another name - reverse weaving.
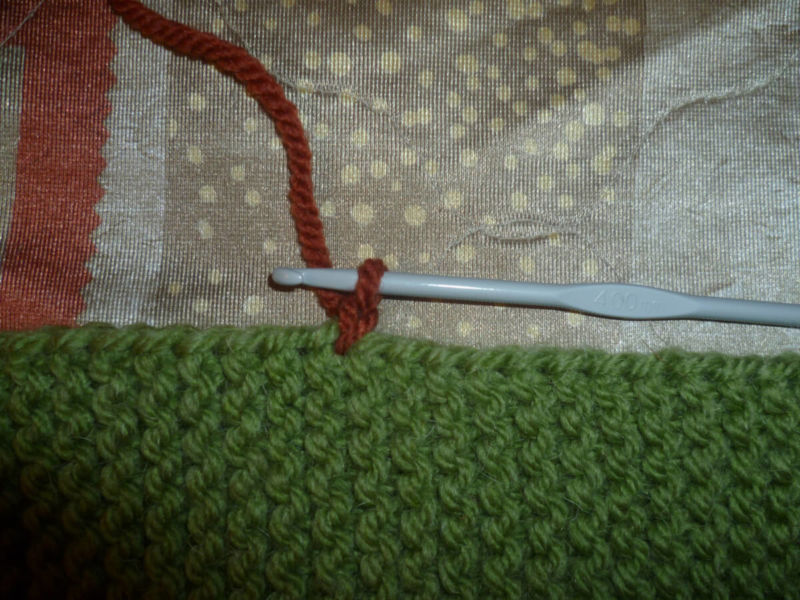
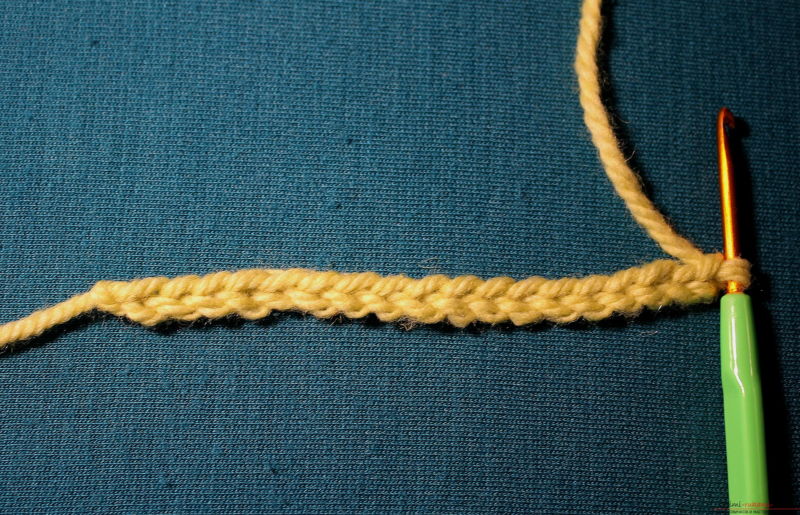
The air loop
It is not difficult to repeat this if you approach the work carefully. To create an air loop, you need to:
- Insert the hook under the work loop located on the right side.
- Grab the working thread and pull out the buttonhole.
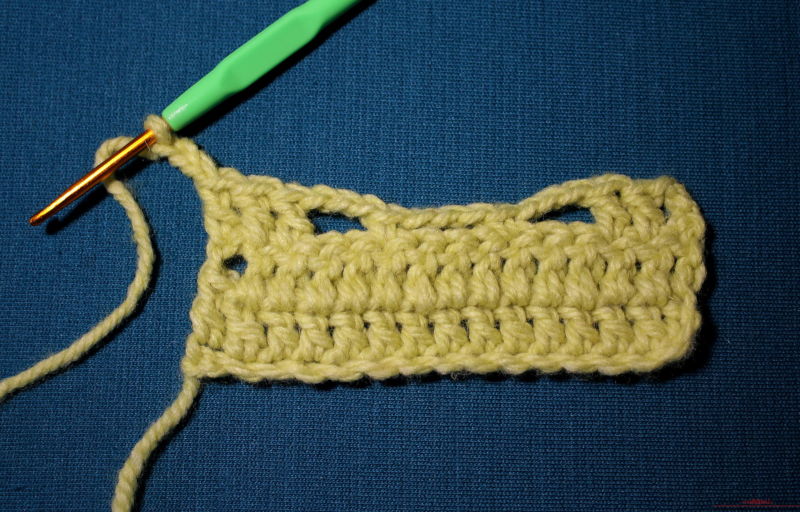
- Knit the loops that are left on the hook - you should get the usual columns without a stitch, but done in the opposite direction.
- Make an air loop and thread the hook into the next working stitch, again on the right side.
- Repeat the same steps as last time.


The procedure is repeated until you have knit the entire perimeter of the knit. The edge will turn out much more interesting and noticeable, it will look more ornate.

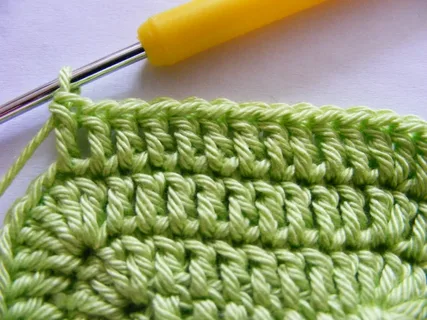
Volumetric
Here will be used not columns, and half-columns with a stitch, as well as an air loop. You will need to do the following steps:
- Attach a thread to finish the edge of the piece and make one lifting air loop.
- Make a cast on and pass the hook under the work buttonhole, placed on the right.
- Grab the working thread, pull out a stitch.
- Knit the resulting triplet of loops formed on the tool.
- Repeat all the above steps until the desired length is reached.
When using this technique, the edges are similar on both sides, and also gain a noticeable volume.
Two air loops
Knit them immediately after creating a pair of loops at the same time. In this version, the knitting of the fabric is much larger and more voluminous.
It somewhat resembles festoons, the decorative edges of things that look like prongs. If you use the pattern, the process doesn't seem difficult.
Puffy column
Masters embroiderers love to invent new patterns and techniques, making their creations more original, more attractive.
Achieve an interesting appearance of the fabric can be achieved by adding additional details to the classic version. For example, a greater number of air loops and stitches are introduced into the rachy step.
There are three varieties of these finishing elements, distinguished by a particular opulence:
- Classic variant + extra air loop;
- Classic variant + a couple of extra air loops;
- The classic variant + four or six stitches.
To understand the principles of knitting each technique, it is worth carefully considering the schemes and trying to do the work yourself. Beginners are advised to try each method and choose the one they like best for further study.
To reproduce the first one, you have to knit the row backwards from the familiar side and pull a loop from the base. After a couple of loops have been knit, an extra air one is added at the same time.
The second technique is similar to the previous one, but not one, but a couple of extra air ones are added at once.
The third method is done with voluminous columns, resembling small cones in appearance. To do this, it is necessary:
- Make a hinge on the hook.
- Pull a loop out of the base.
- Repeat the procedure.
There should be four loops left on the tool. They will need to be knit at the same time and fastened with an additional air stitch. You can create even more stitches - the fabric will become more puffy, more voluminous.

Tip: it is not necessary to do the crab step in all the loops of the previous row. If you skip one at a time, the result will be no less beautiful - more subtle, light and airy.
The mirror method
It happens that the classic version of the crab steps is impossible to produce. In such a situation it is possible to knit this technique in a mirror way. When knitting, it is necessary to move in the familiar direction, not "backwards". To create a finish:
- Slightly pull out the final loop of the fabric.
- Insert the hook under it, grab the yarn, and pull out a longer loop.
- Twist the tool around its axis and pull a couple of loops at a time.
- Repeat the procedure until the edge is completely tied.
This technique is often used to finish triangular fabrics, symmetrical pieces, and Irish lace. When studying it, follow the schemes, and then everything should turn out without problems.
It is easy and simple to make an incredibly beautiful, delightful finish to any item.
The result is always an original and attractive decoration. It is not so difficult to make the tying yourself, if you carefully study the schemes and practice a little.

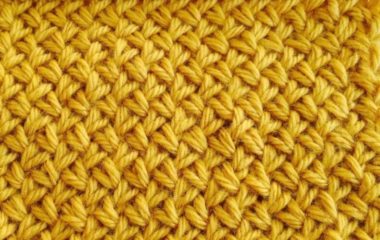
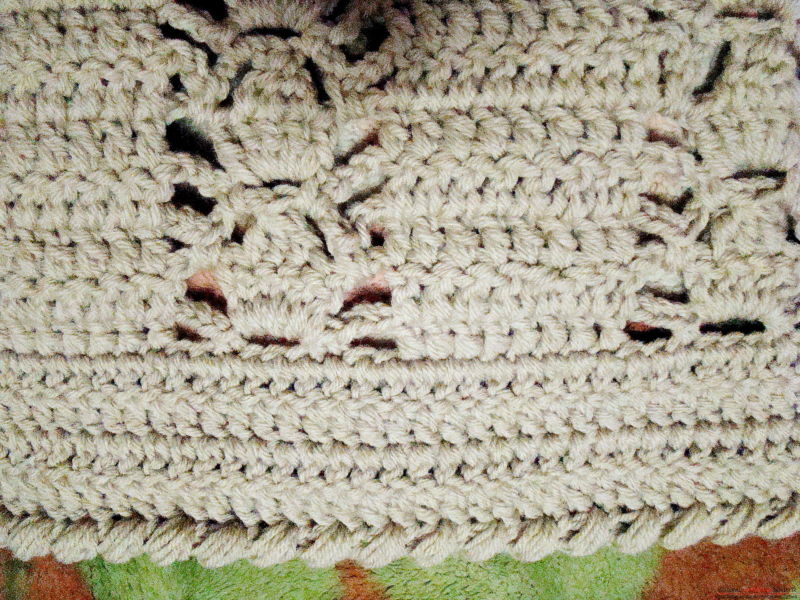
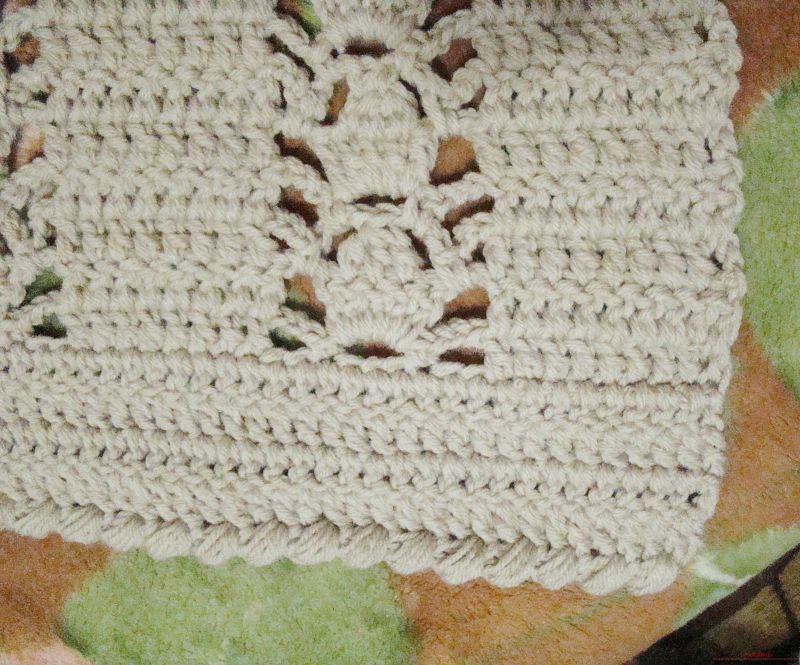
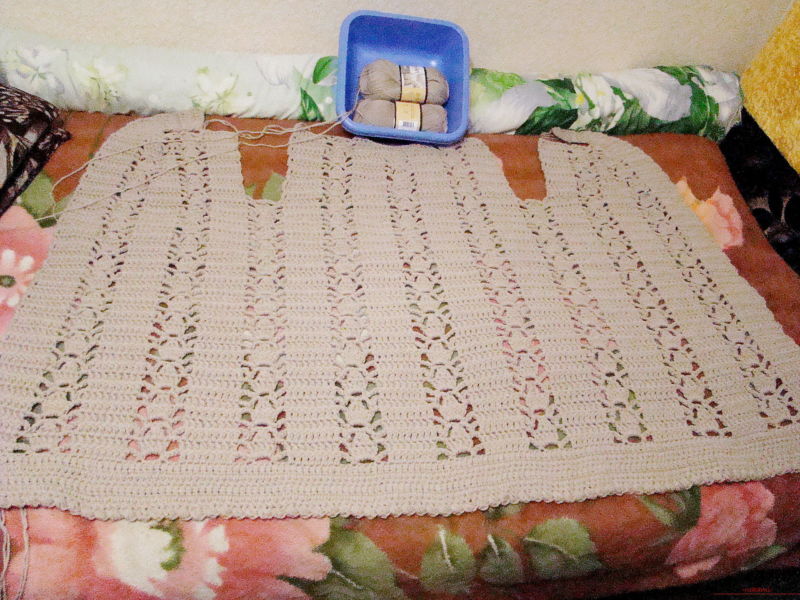
Photo of the crab-step pattern