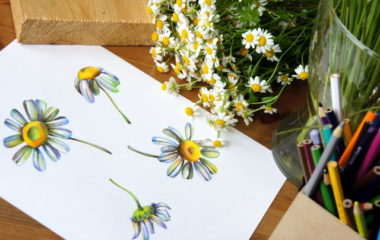
How to make a daisy out of paper with your own hands: templates and stencils to work with a step-by-step description and photo examples
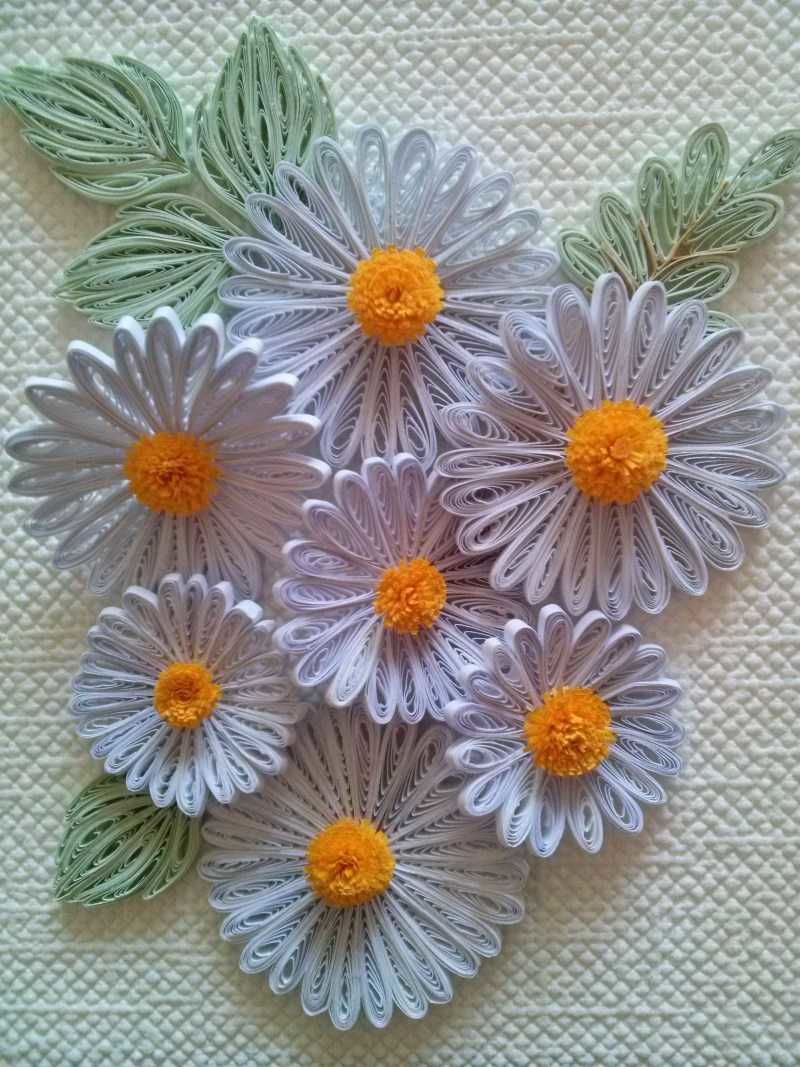
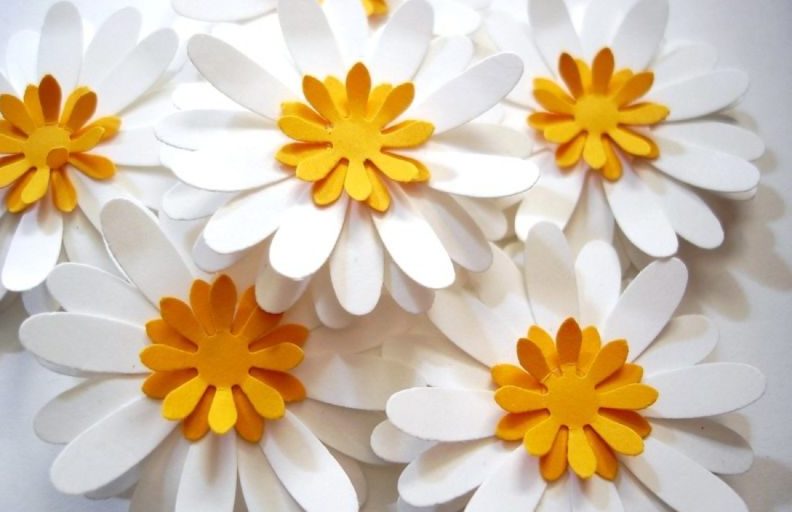
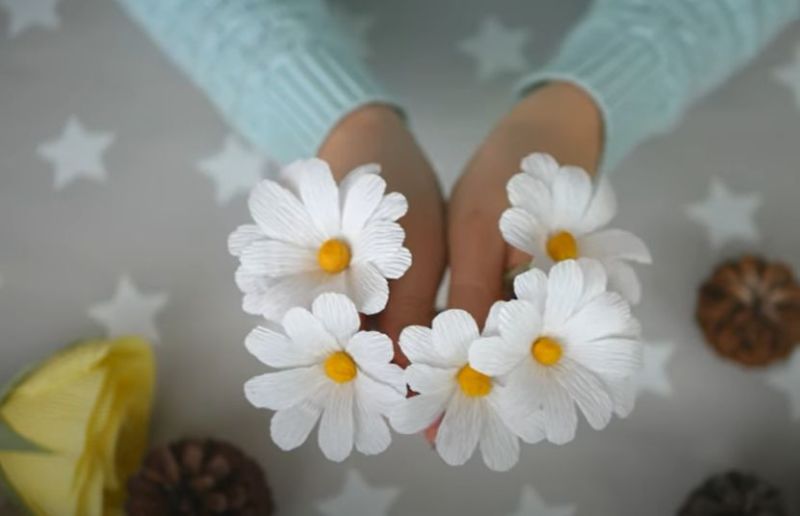
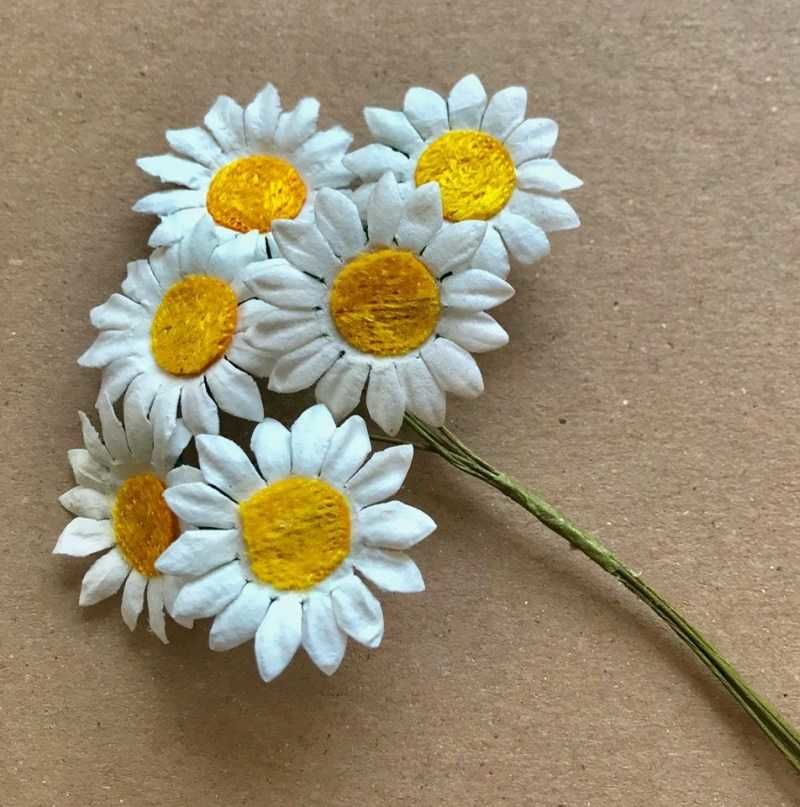
Chamomile is always associated with beauty and innocence. This delicate wildflower gives memories of summer and brings sincere joy.
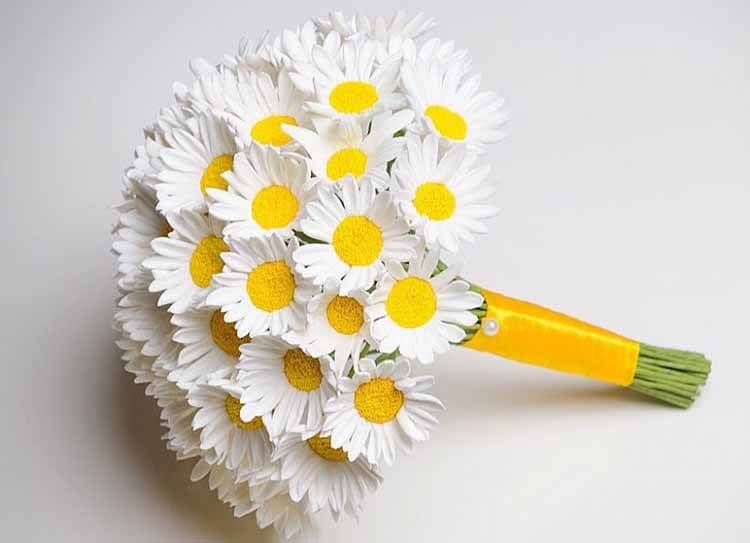
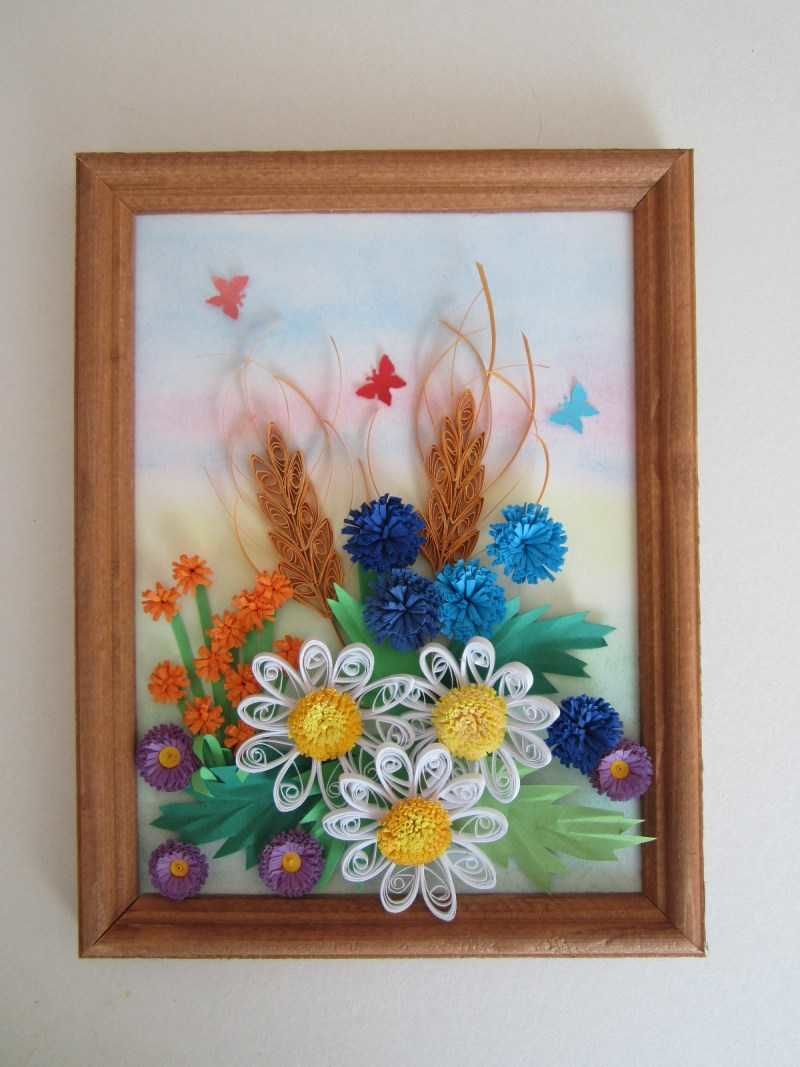
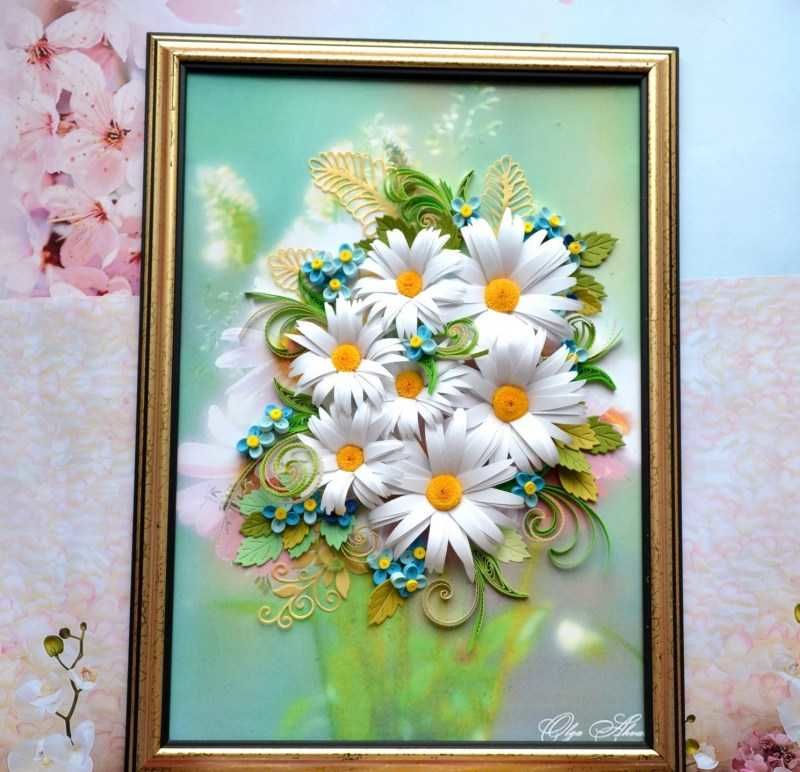
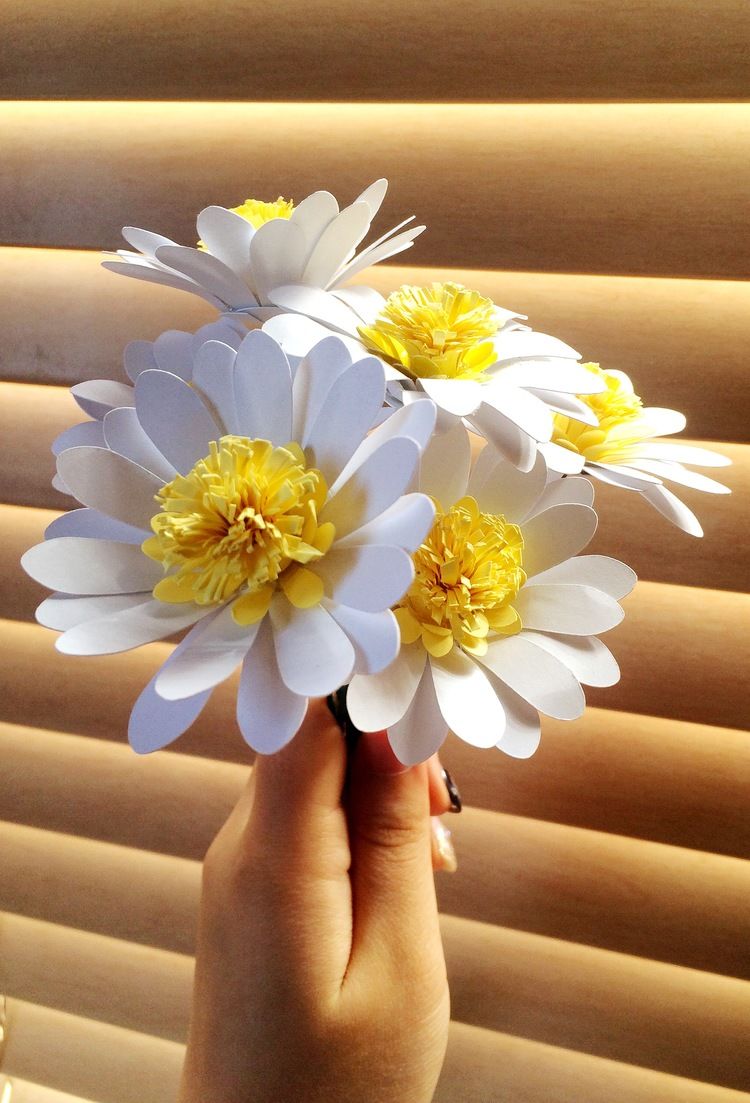
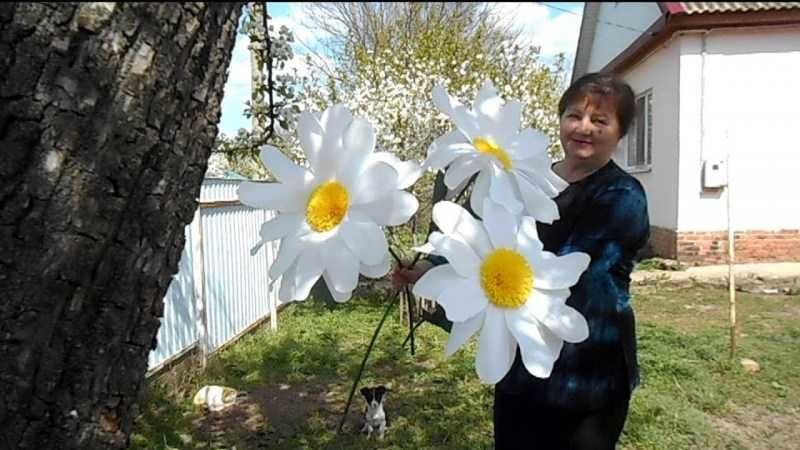
Bouquet of paper daisies can be presented to the loved ones for their birthdays, not only in summer, but also in any season of the year. Such a handmade product will bring pleasure and become a decoration for the holiday.
Many simple and original ideas with a step-by-step diagram, collected in this article, will be an assistant in creating daisy compositions, both for children and adults. Everyone will be able to choose the method that will suit them.
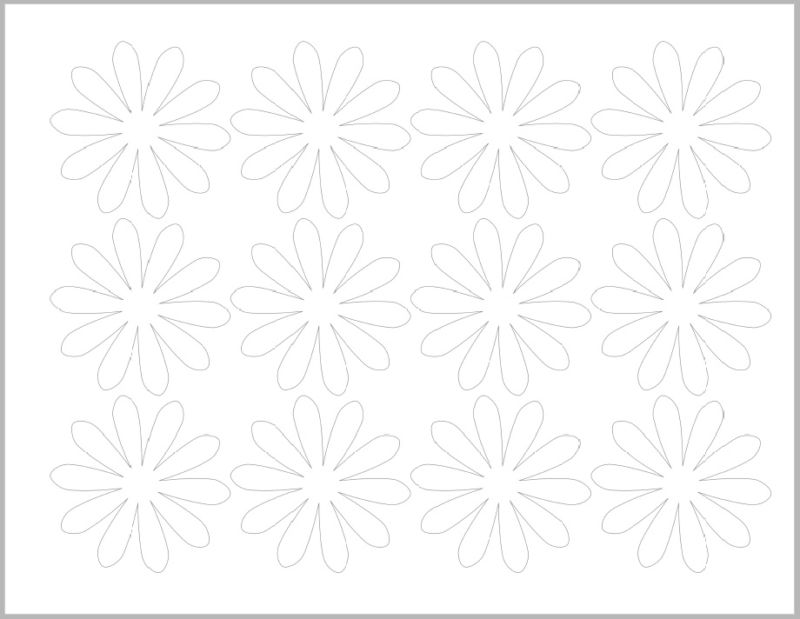
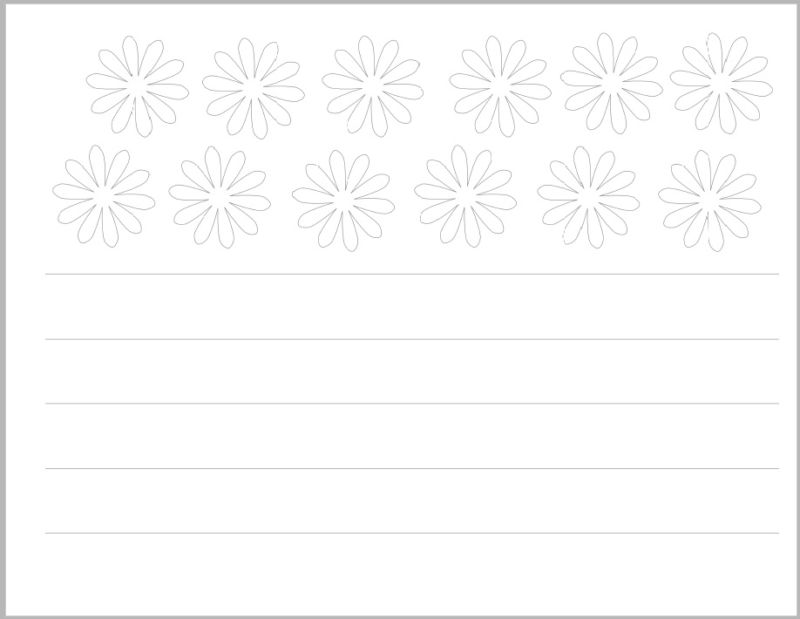
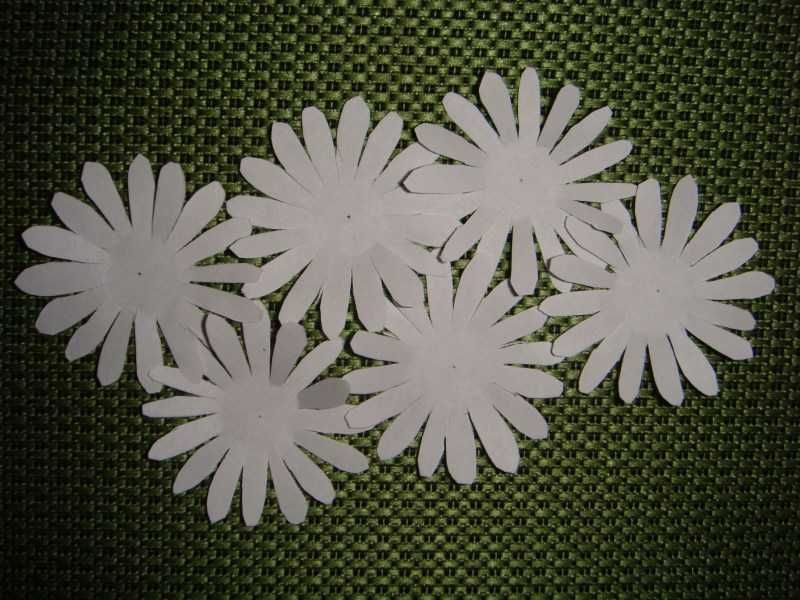
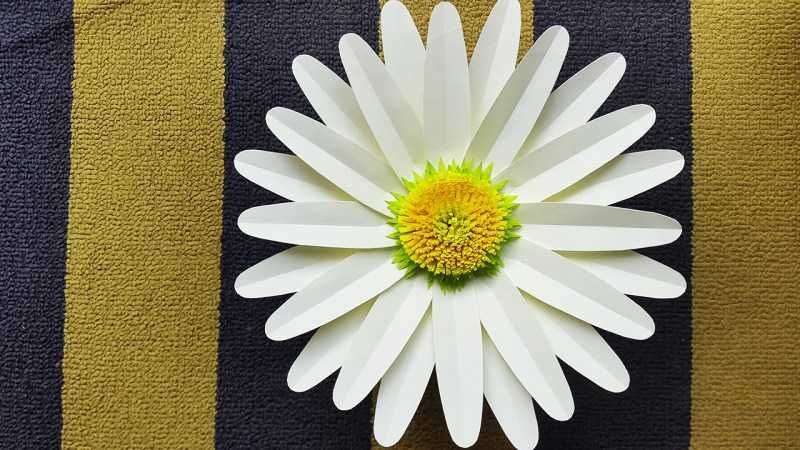
Paper templates and stencils for carving daisies
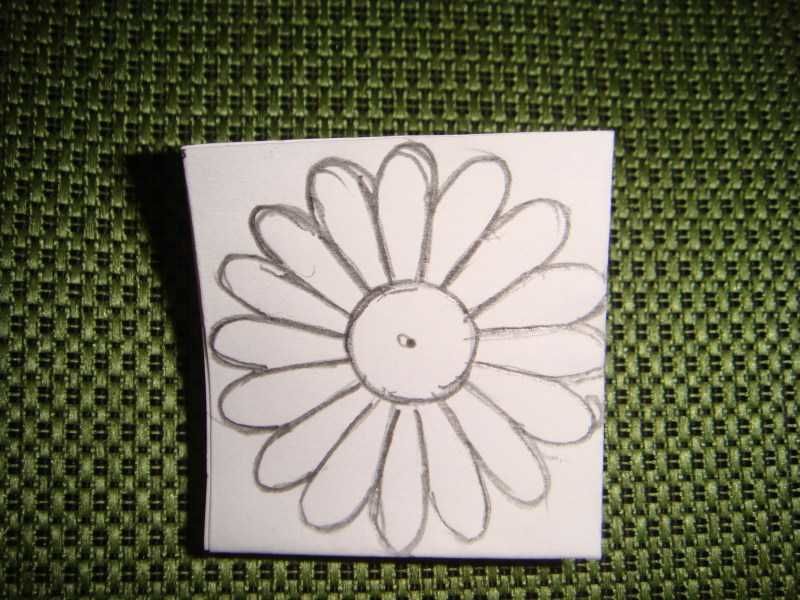
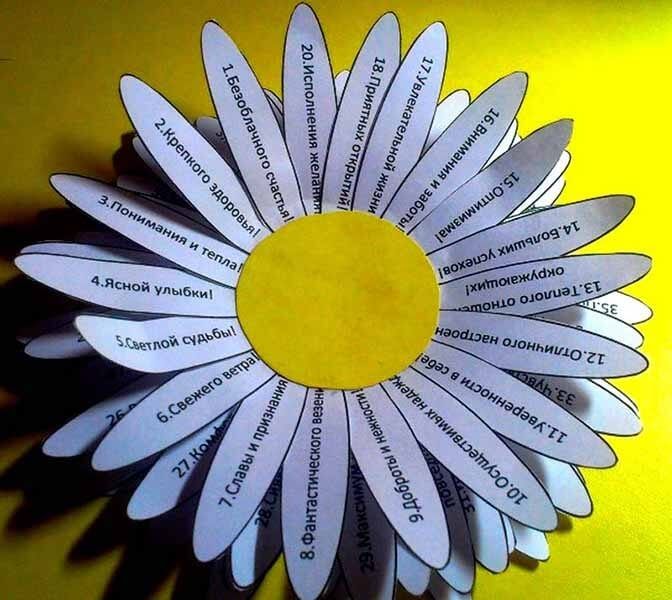
For anyone who likes to create unpretentious and simple flowers, stencils or ready-made templates of daisies are useful. You can download and print them from the Internet or draw yourself.
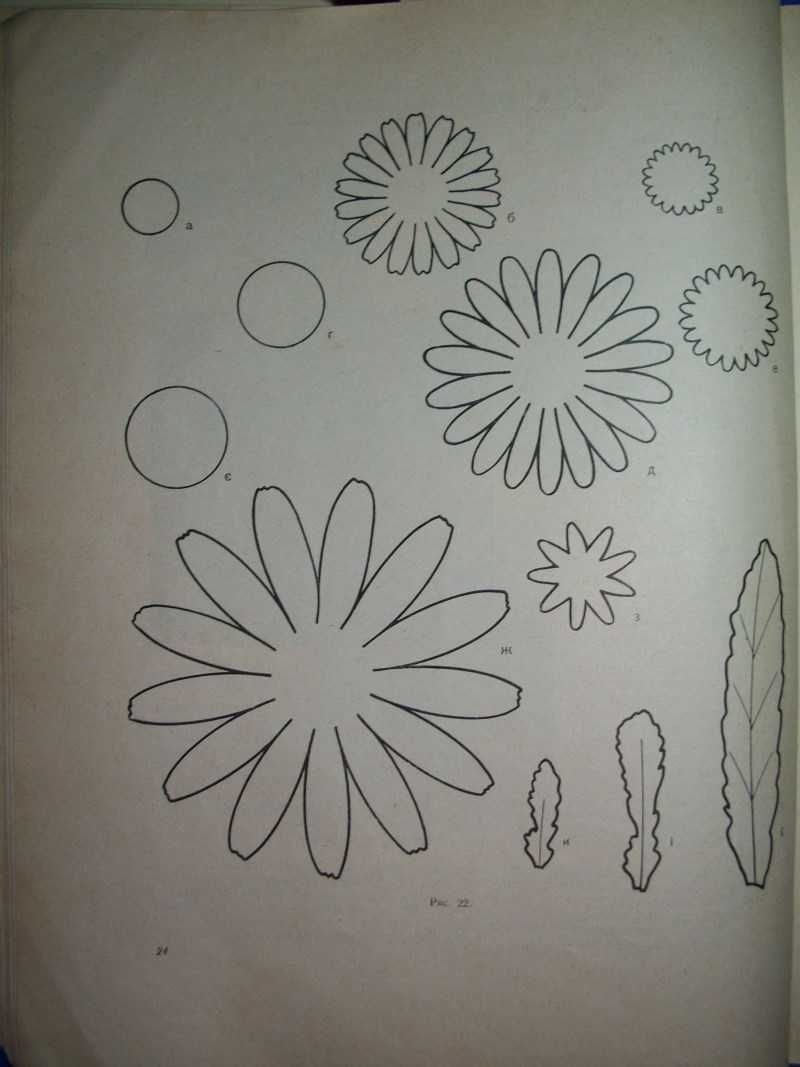
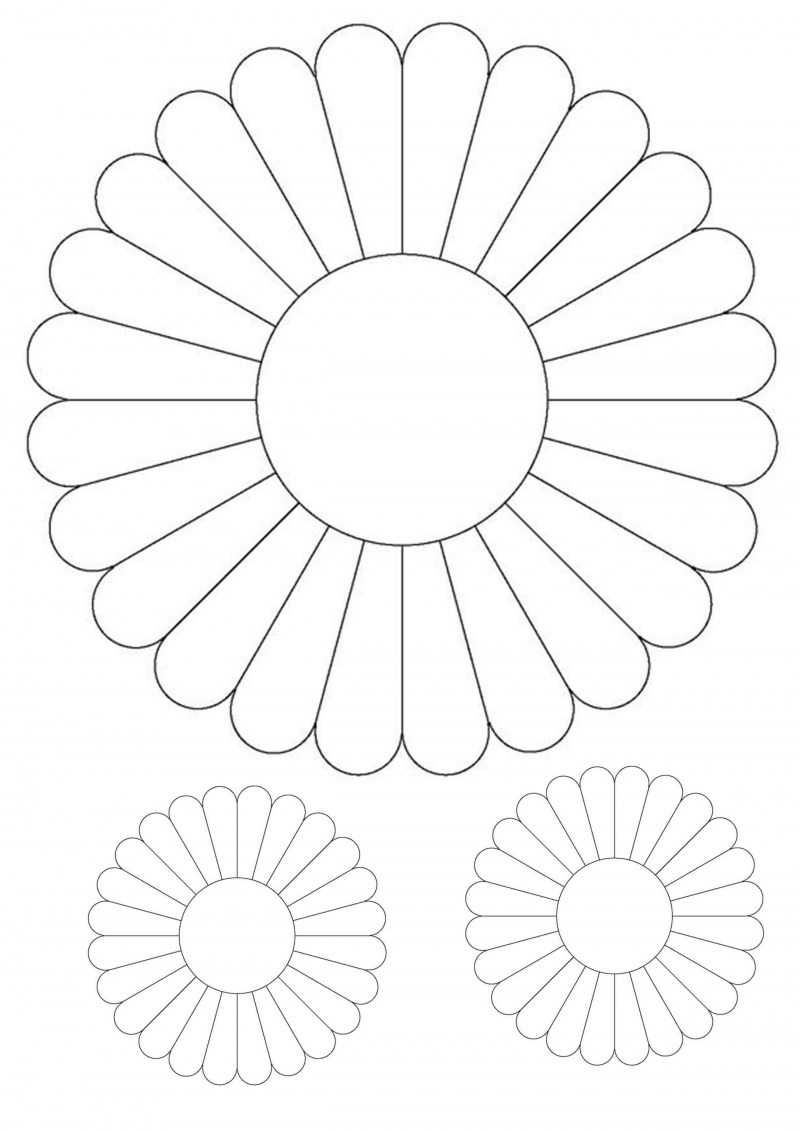
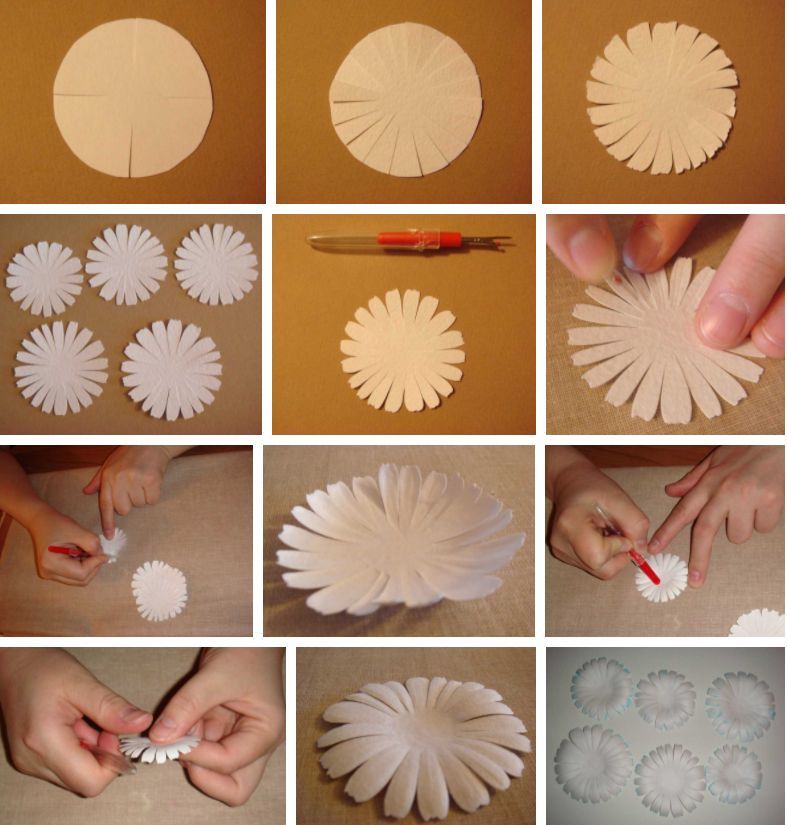
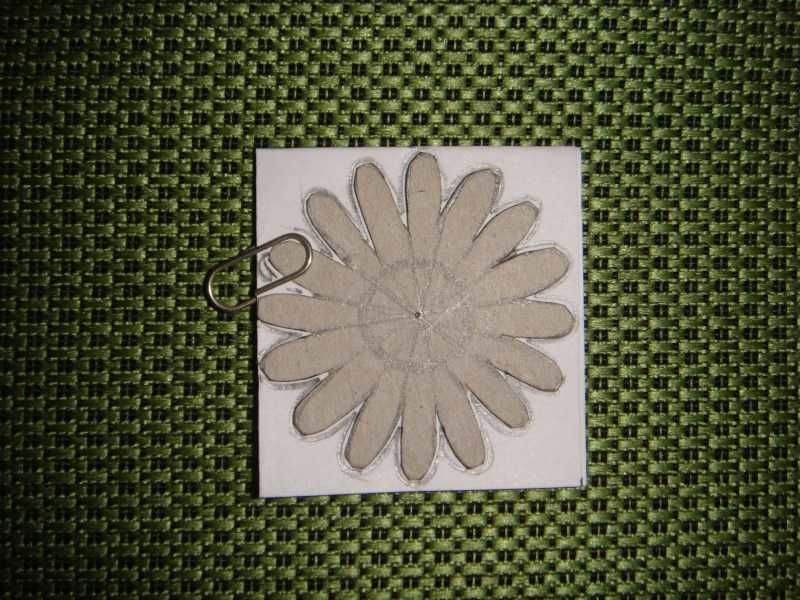
If it is still not possible to print blanks, you can make a template of a flower this way:
- On the sheet draw a circle with a compass or other handy tools (cups, saucers).
- Draw the middle for the flower.
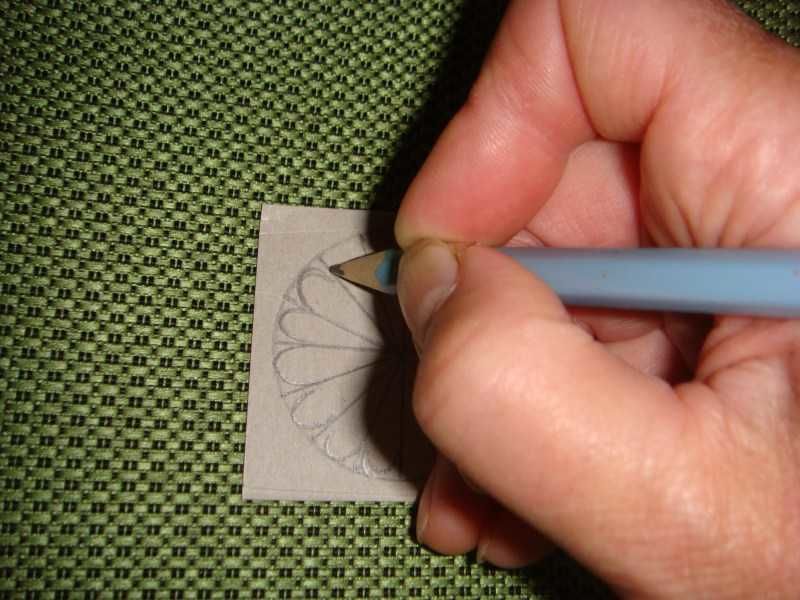
- Cut out a circle. Fold it in half twice to make one fourth of the circle.
- Draw four petals with a pencil.
- Cut the petals to the middle with scissors.
- Unfold the workpiece to make a beautiful daisy with 16 petals.
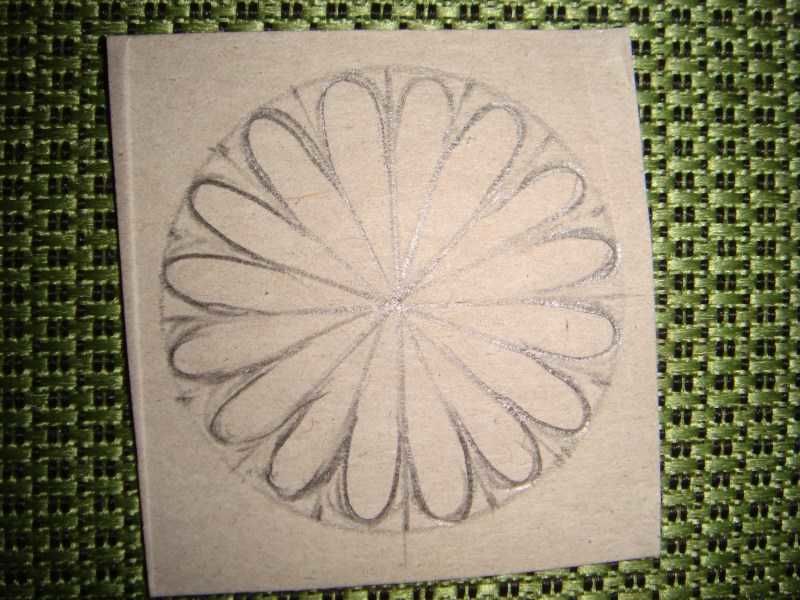
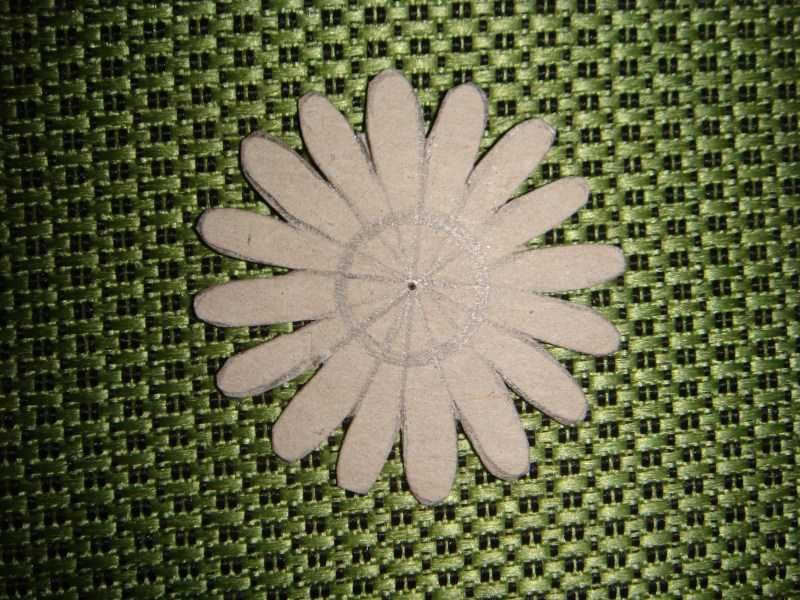
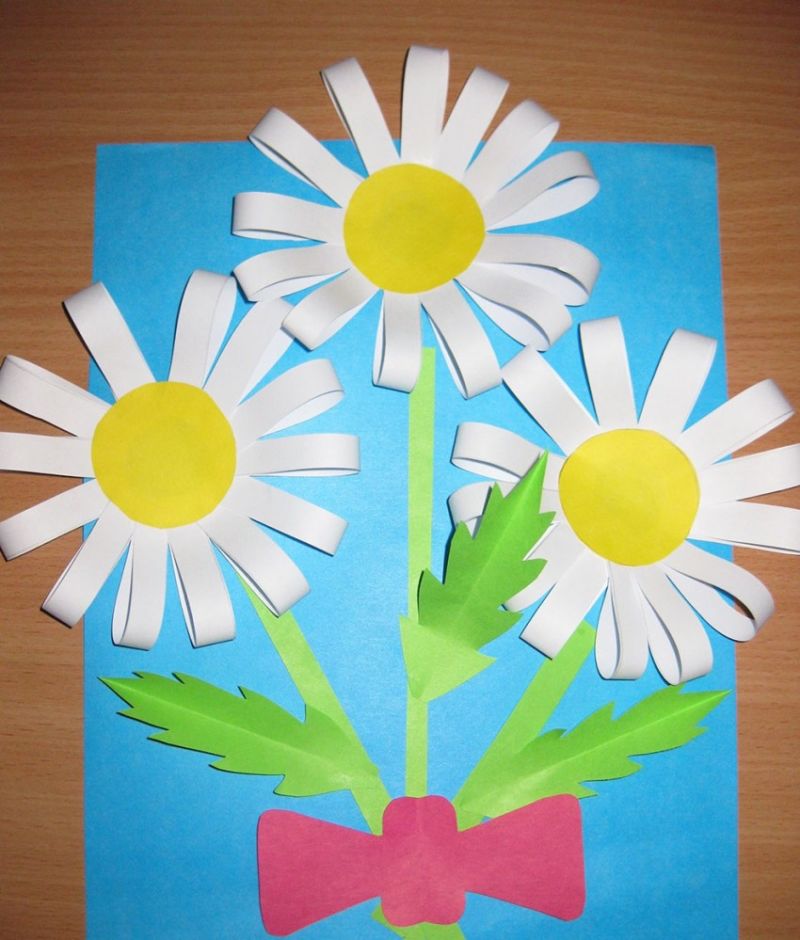
A simple template is ready. Petals will be almost flat. Using stencils and templates in the creative process, you can create entire daisy compositions or bouquets.
Ideas for making a daisy with your own hands
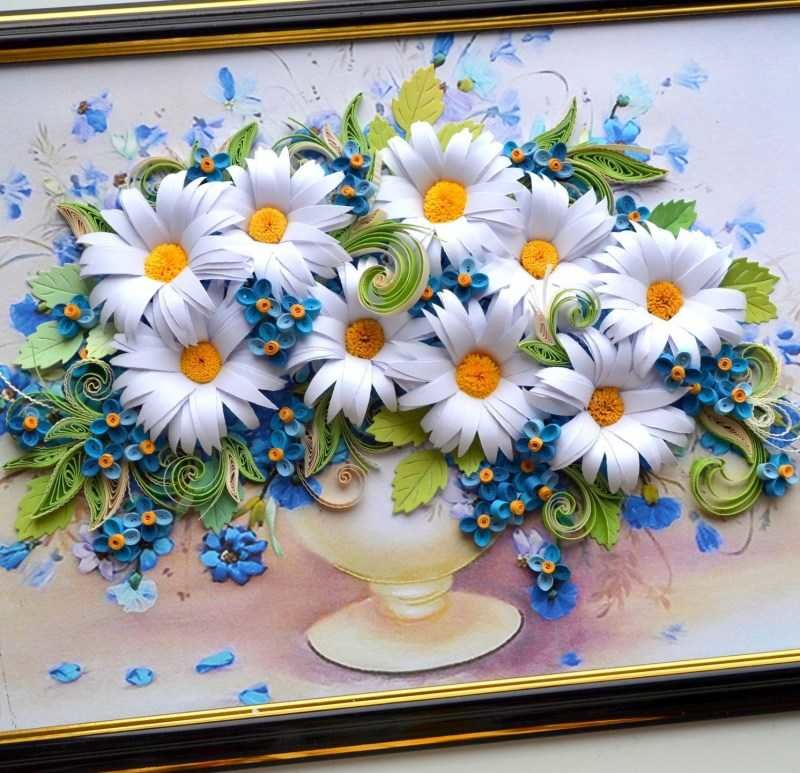
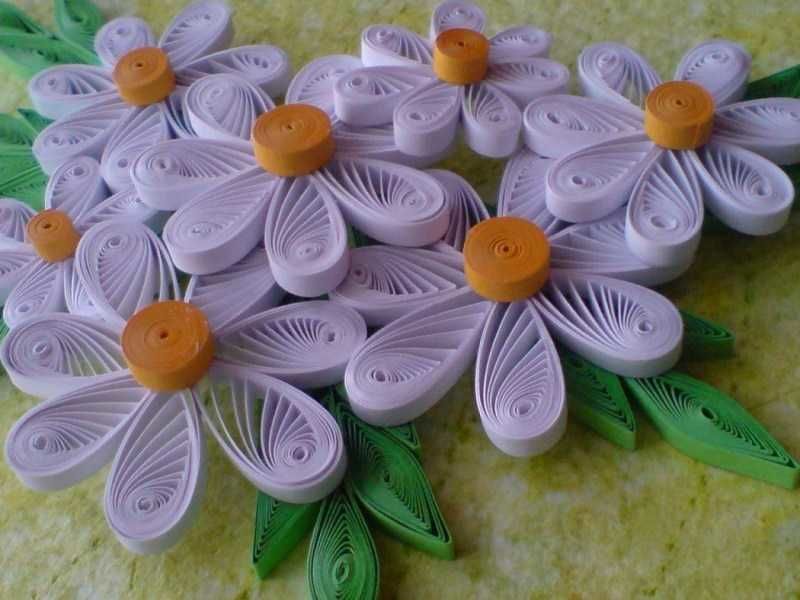
There is a wide variety of ways to create their own paper daisies - from the simplest products from strips of paper to modular origami.
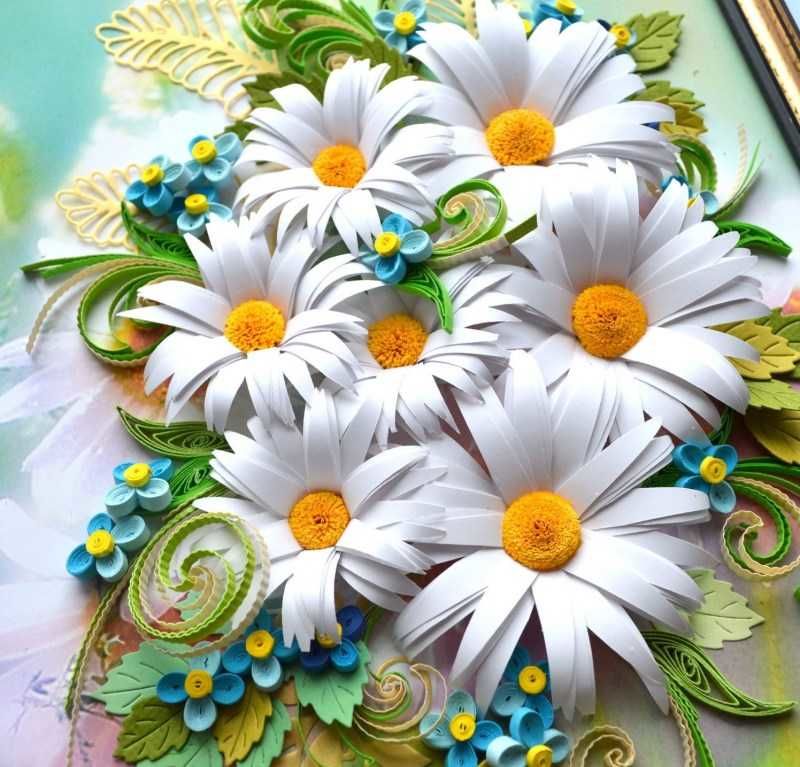
You can create a whole composition of corrugated paper or a single flower using candy, make pairs of daisies or just a flower head. Everyone will find one to their liking.
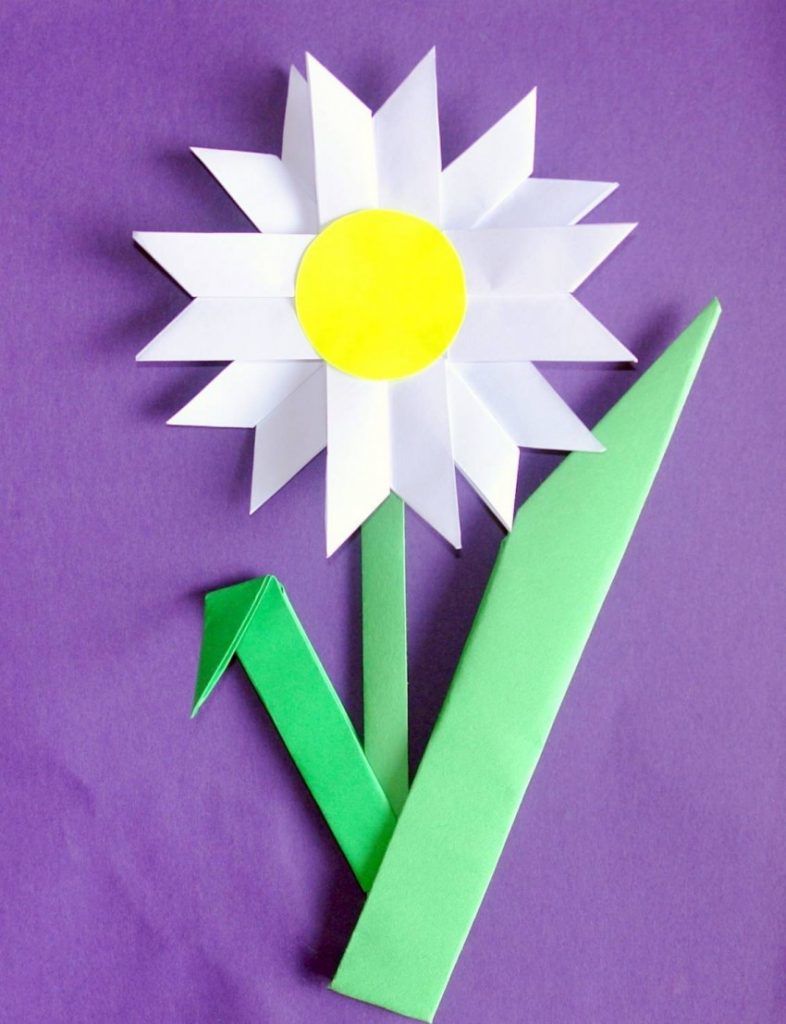
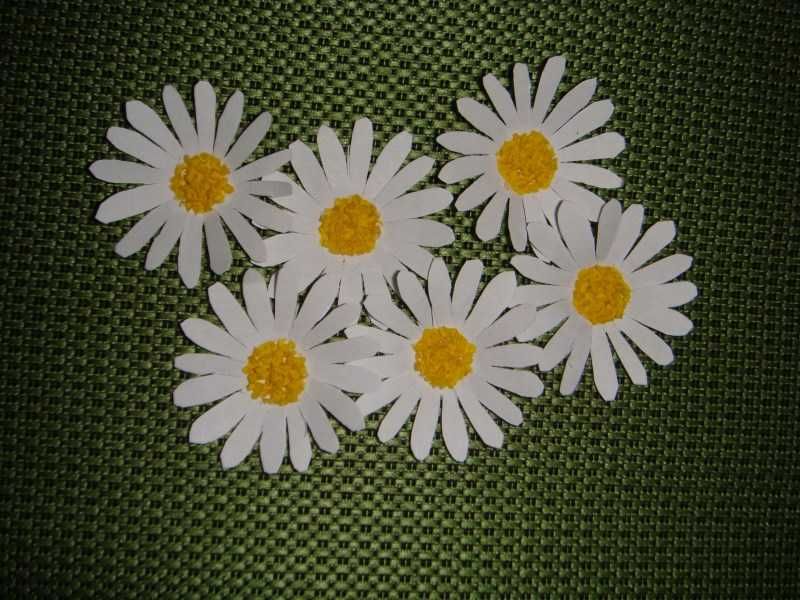
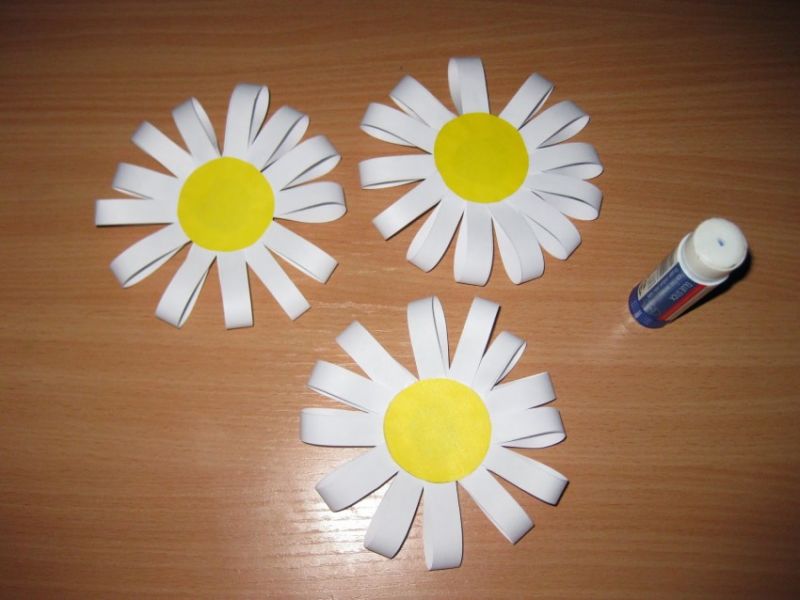
A quick craft out of paper strips
The easiest option for a quick craft is a daisy made of paper strips. It can be made even by small children without the participation of adults.
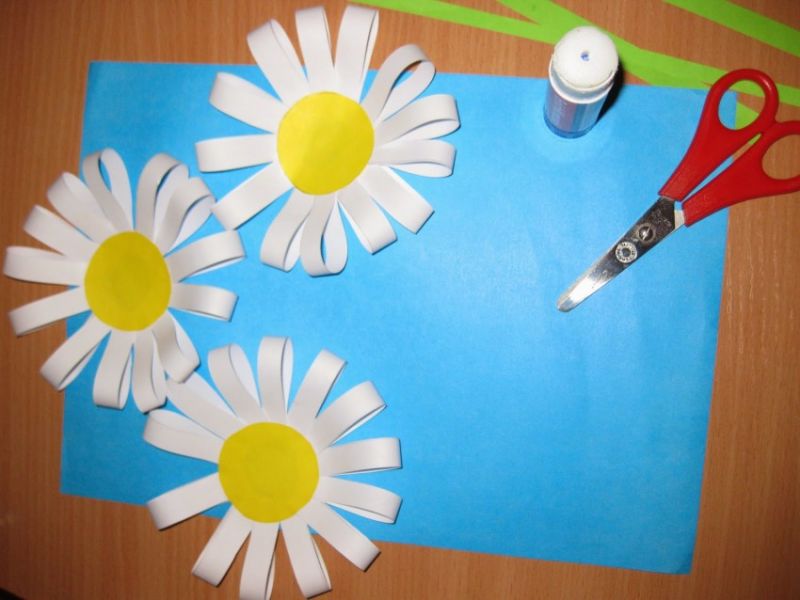
For it you will need:
- A paper green and white sheet;
- A small piece of yellow cardboard;
- scissors;
- glue.
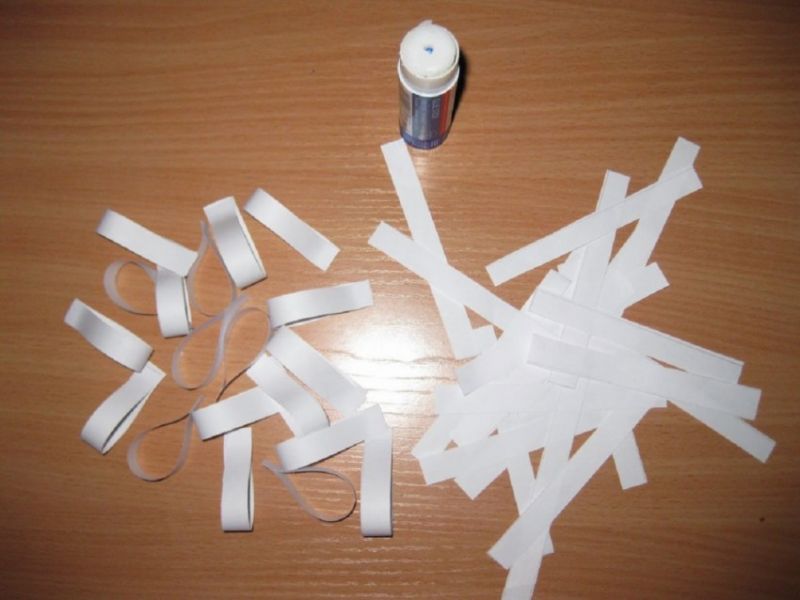
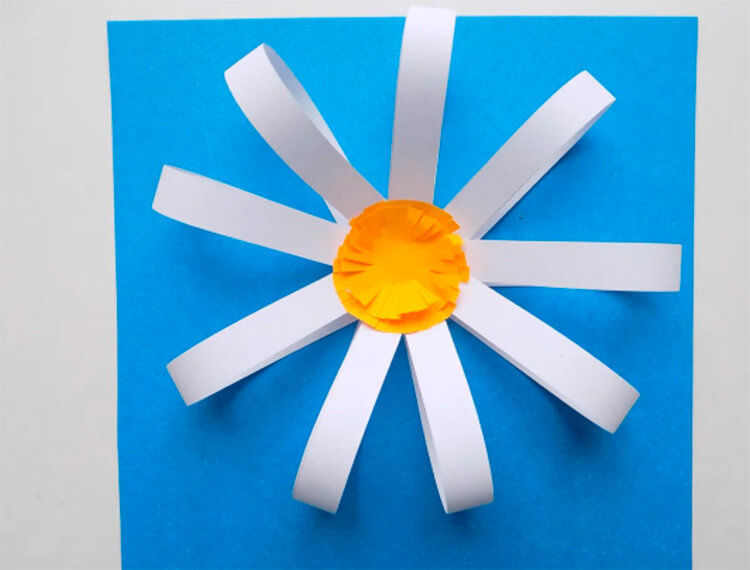
To make this product, you need:
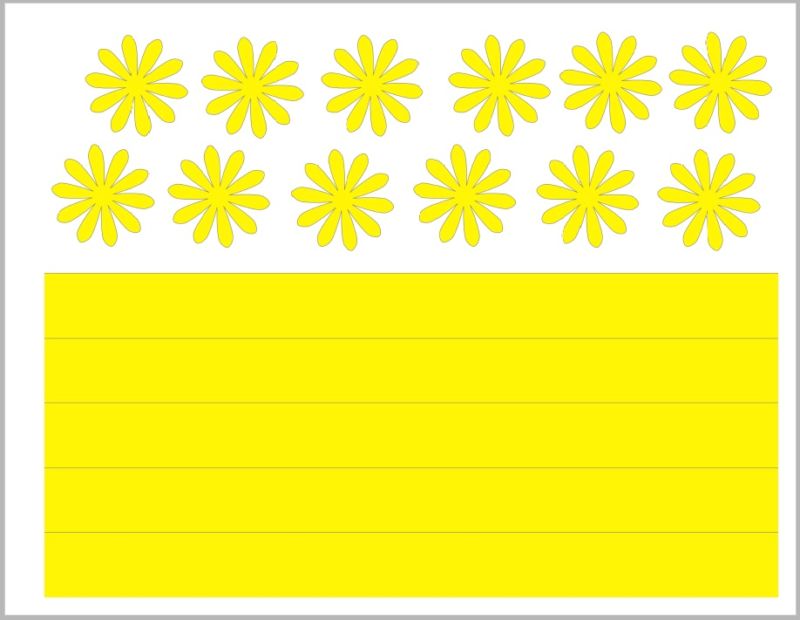
- Prepare with scissors from the white leaf four strips.
- Glue the strips in rings.
- Connect the rings crosswise with PVA.
- Make a core of yellow cardboard. Glue it to the blank.
- Make two green leaves. Glue them to the bottom of the flower head.
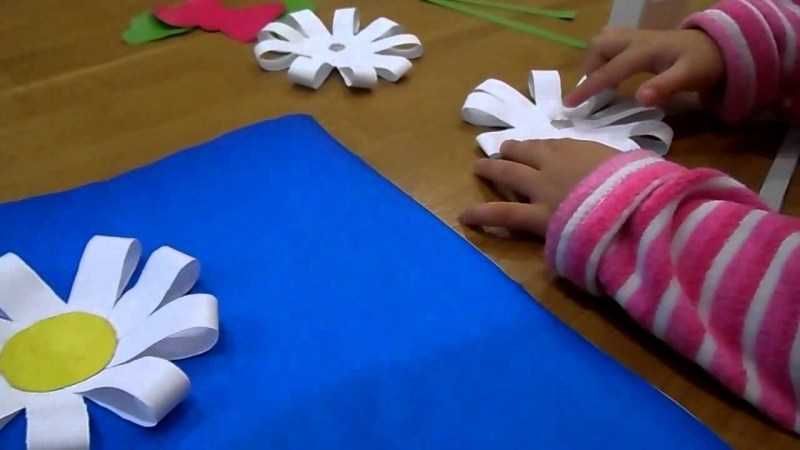


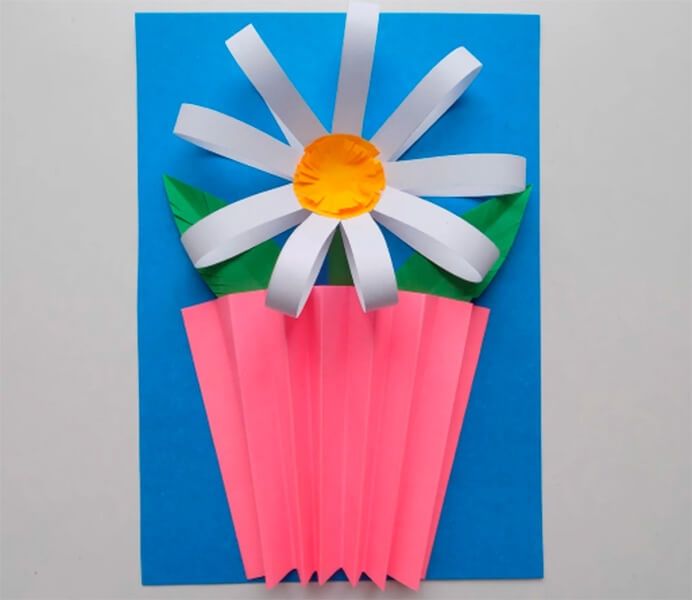
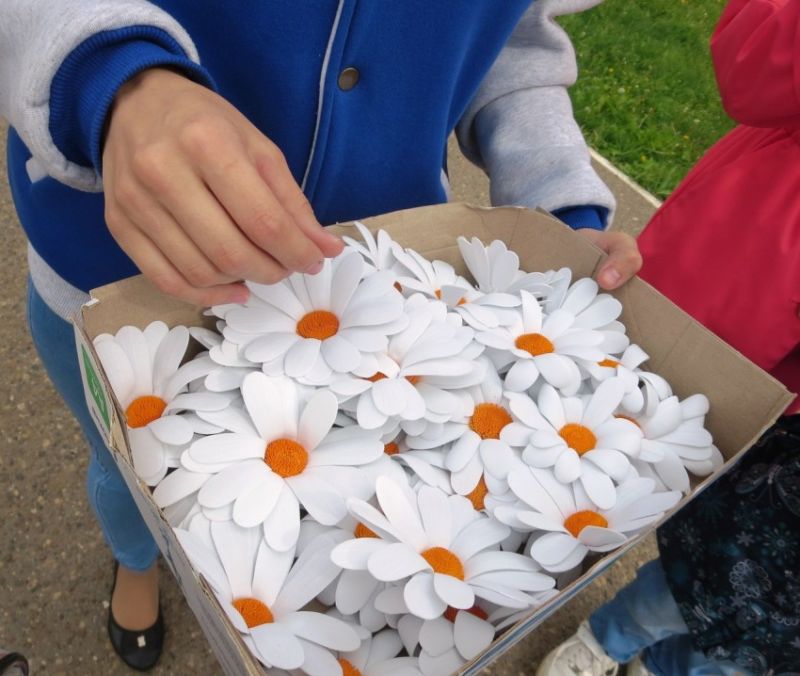
Cute paper daisies are ready! This method will come in handy when you need to create a large number of flowers.
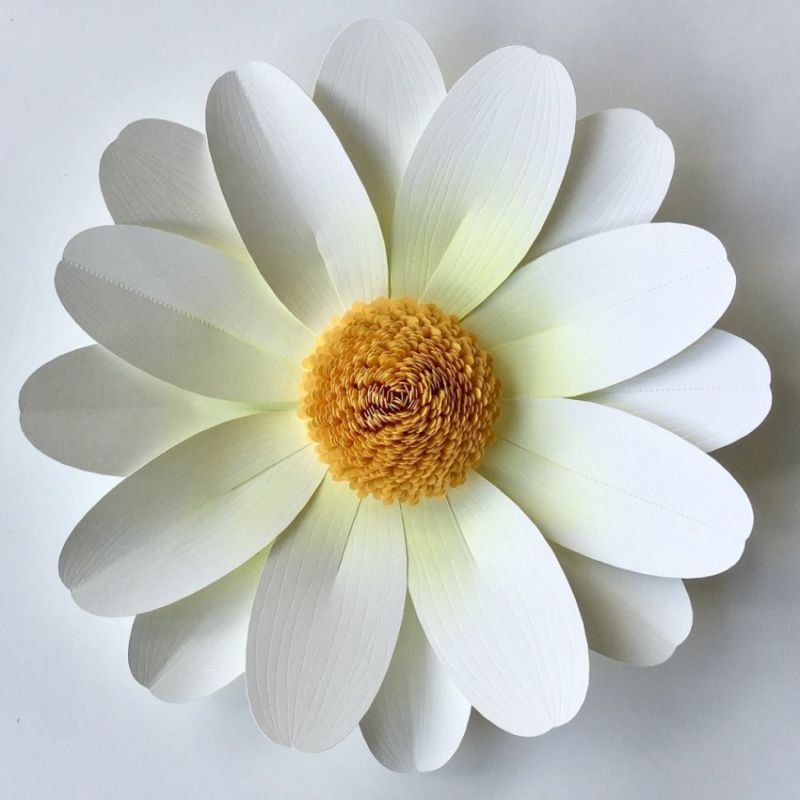
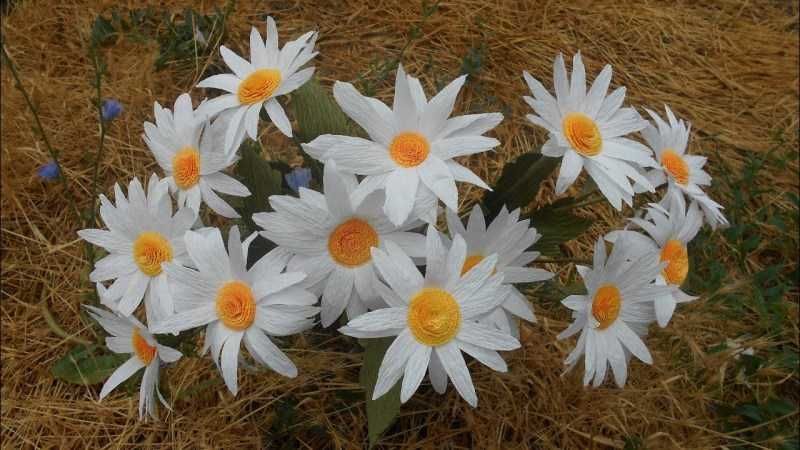
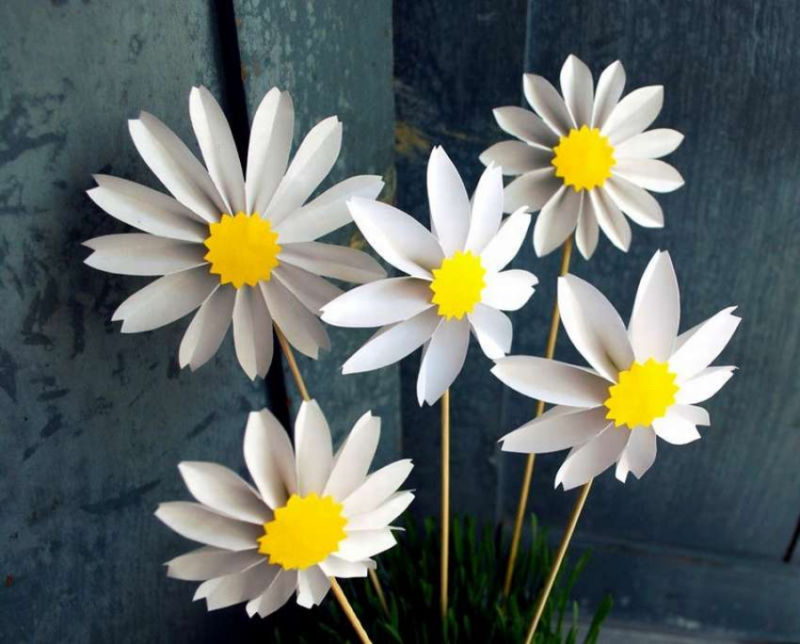
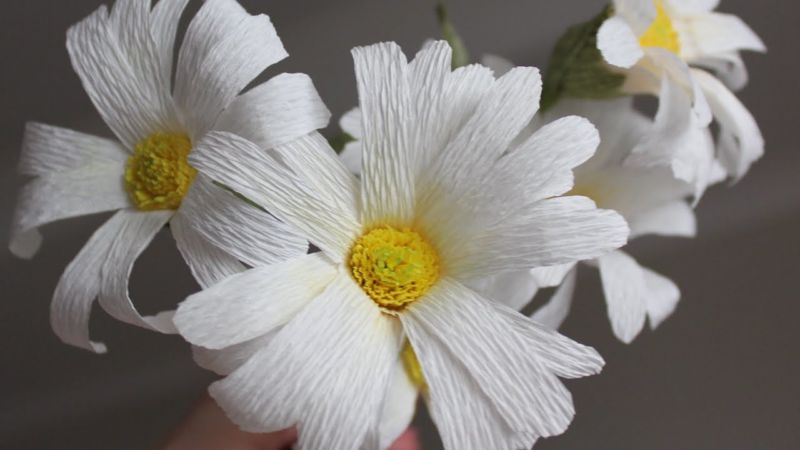
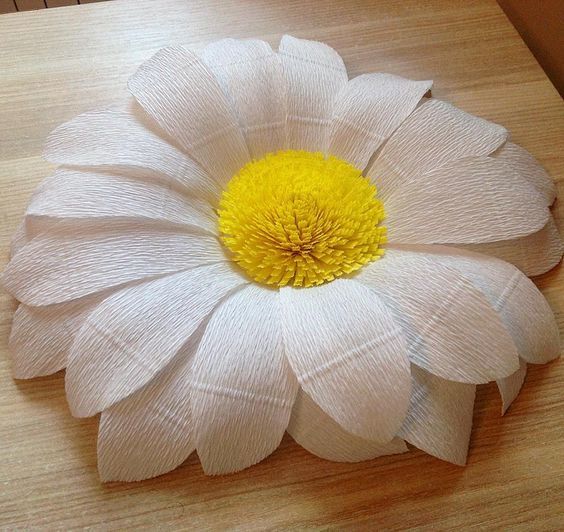
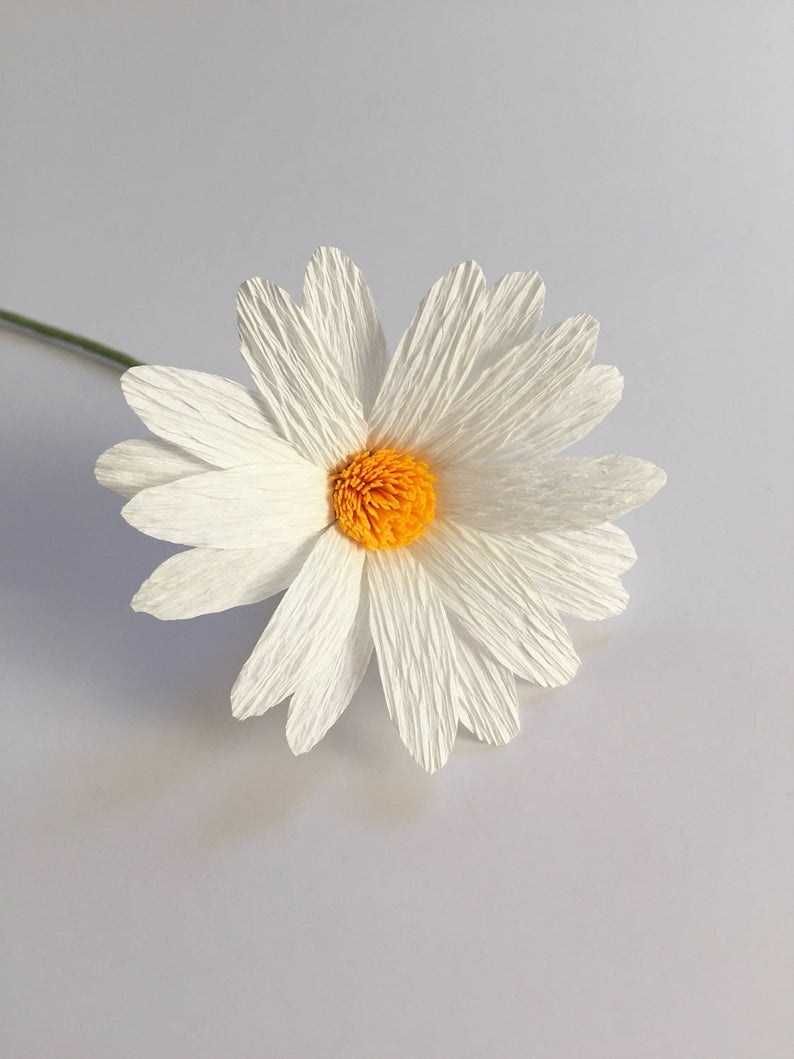
From corrugated paper
Thanks to the flexible and pleated structure of corrugated paper, you can create a realistic product. The daisy will turn out almost like a real one!
Working with this material is quite easy, so you can join such creativity of children. To create the product it is necessary to take:
- corrugated paper leaf of yellow, white and green coloring;
- scissors;
- glue;
- bamboo stick.
Step by step execution:
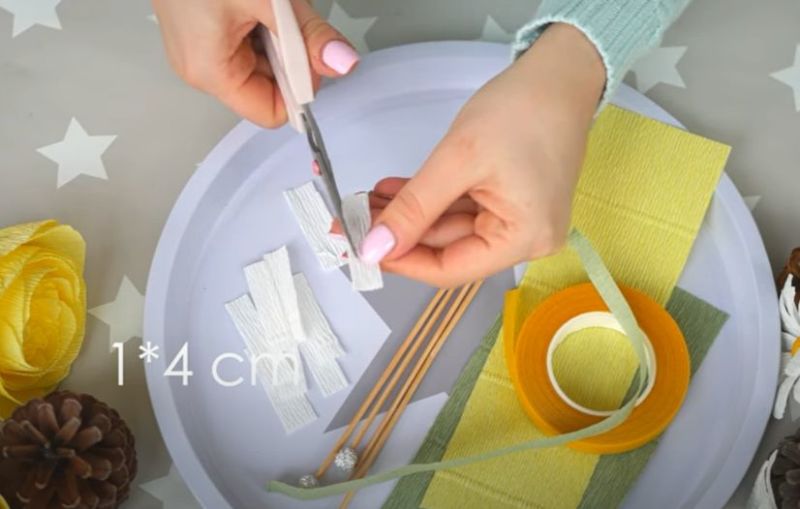
- For the heart of yellow corrugated paper, prepare a strip (width 10 cm). Gently stretch it, increasing its size.
- Fold in half. Cut into small strips from the bend to the middle of the piece.
- Brush a piece of corrugated leaf with glue and glue the halves together well.
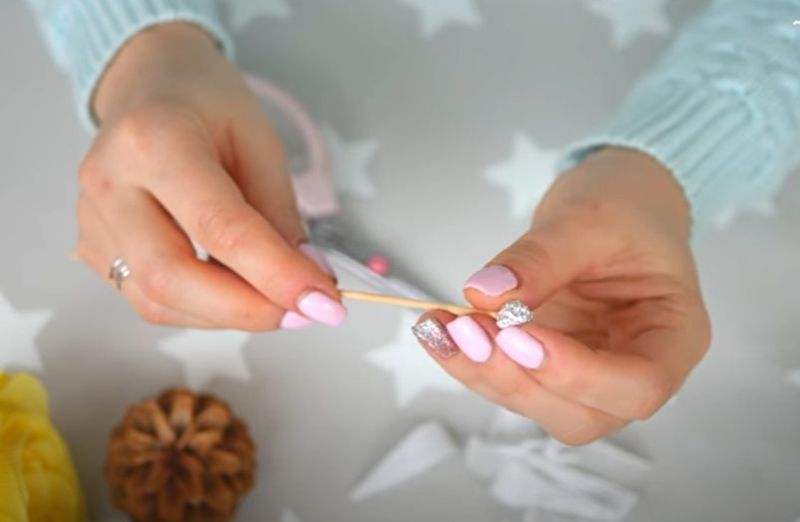
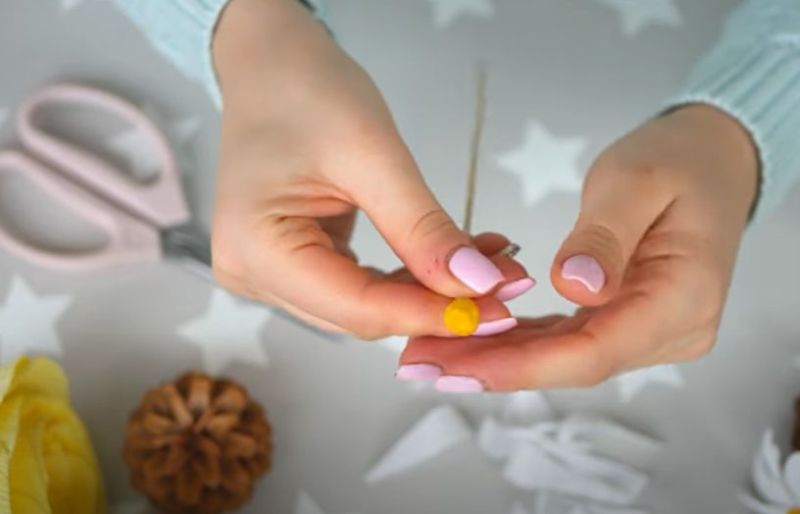
- Once again dab the whole part with glue. The resulting part is screwed on the edge of the stick. The central part is ready.
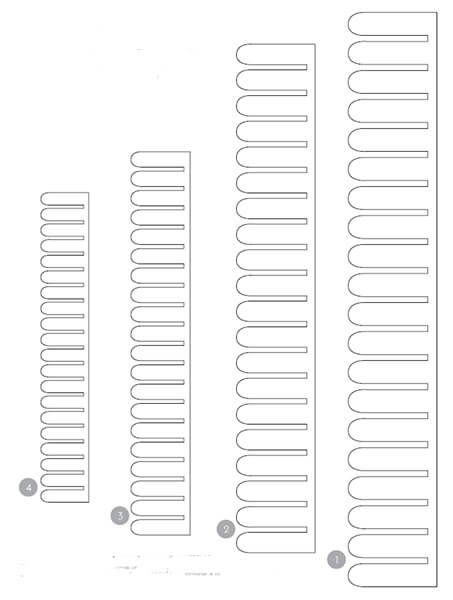
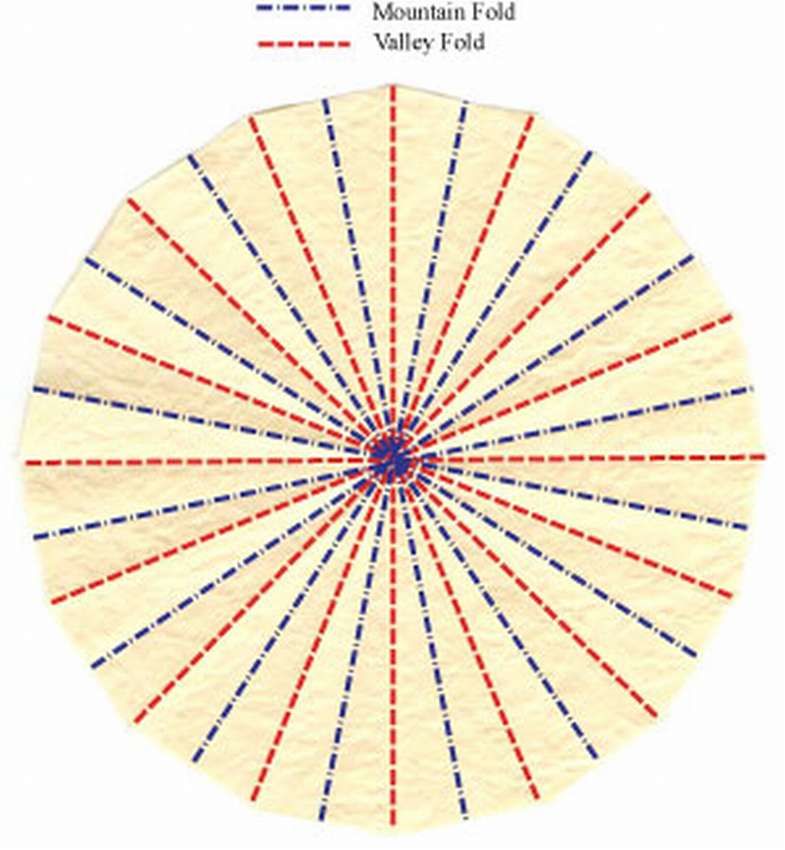
- From snow-white corrugated paper to make a rectangular piece of 10x50 cm. Wrap it several times, reducing the size to 10 cm.
- Without reaching the end, form petals, giving them a rounded shape. You can use a stencil.
- Unwrap the piece. You should get a lot of petals.
- Gently run your fingers over them, to make the petals more realistic.
- Prepared blank generously smear glue (solid part), and wrap it around a bamboo stick under the yellow center.
- From a corrugated green leaf prepare a 2 cm wide strip, and soak it with glue. Wrap the piece on a stick to form a stem.
- Cut out a green leaf using a template. Glue it to the flower stalk.

We have a beautiful homemade dimensional daisy. It can be presented as a gift to mom or sister.
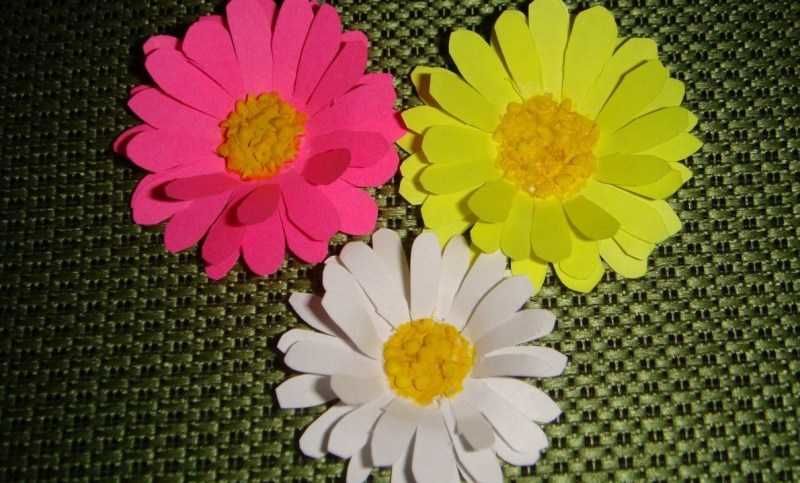
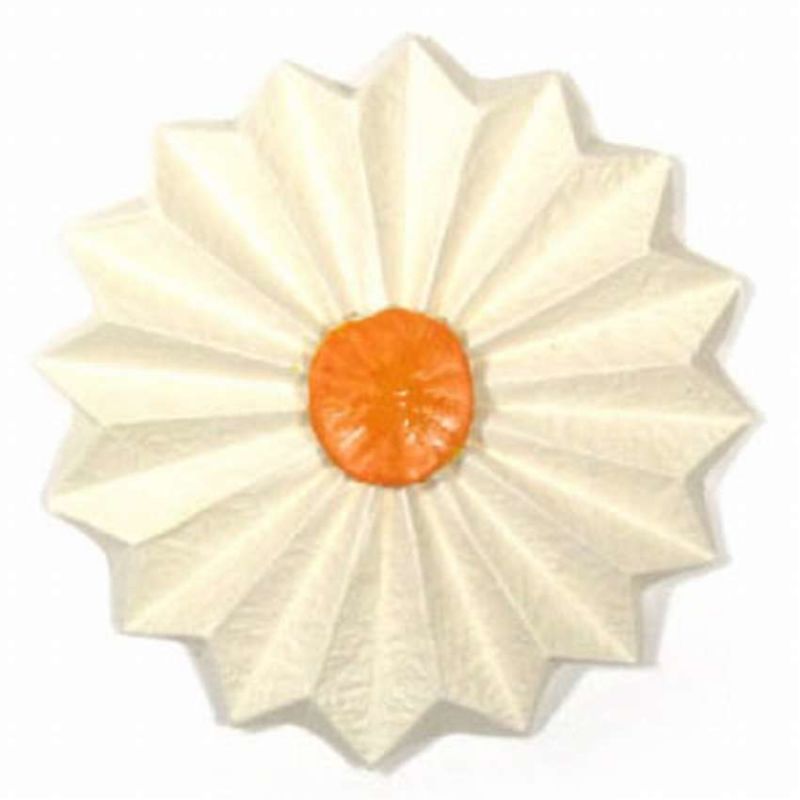
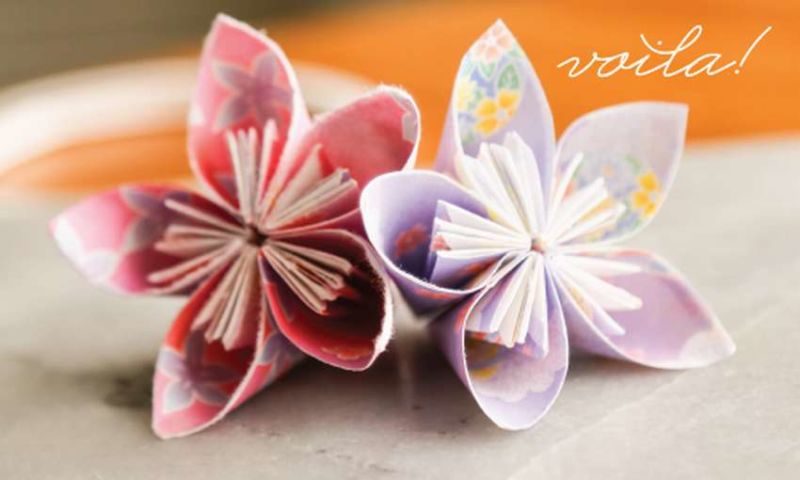
In the art of origami
Unusual daisy easy to make and without stencils and templates. To do this, use the Japanese technique of origami.
For the product need:
- Colorful colored paper leaves;
- glue;
- a simple pencil;
- a used ampoule left over from a pen;
- scissors.
The process of making:
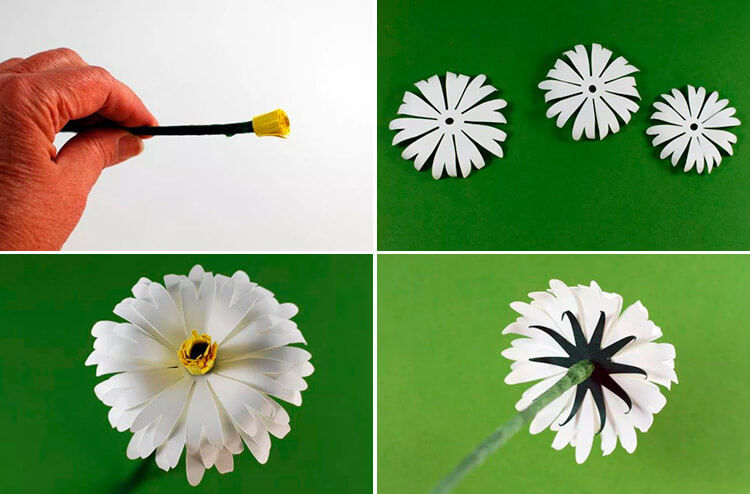
- First we make the details. From the snow-white sheet procure 2 squares 10x10 cm from the yellow - a square 4x4 cm from the green - strip 4x21 cm.
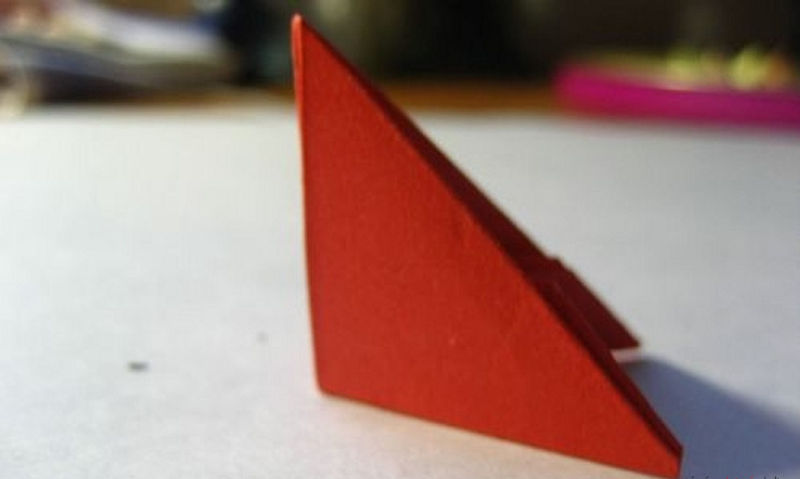
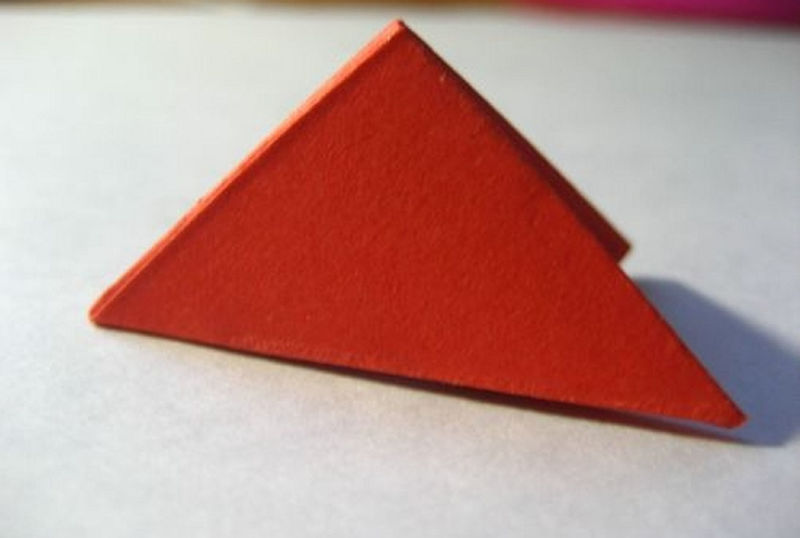
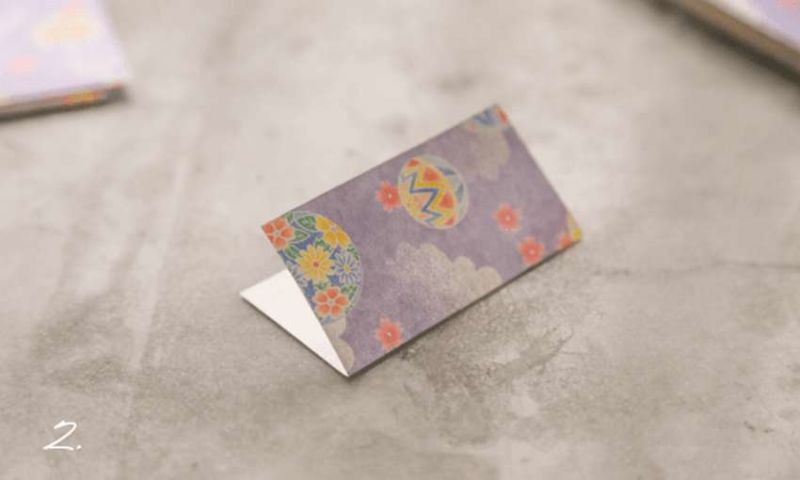
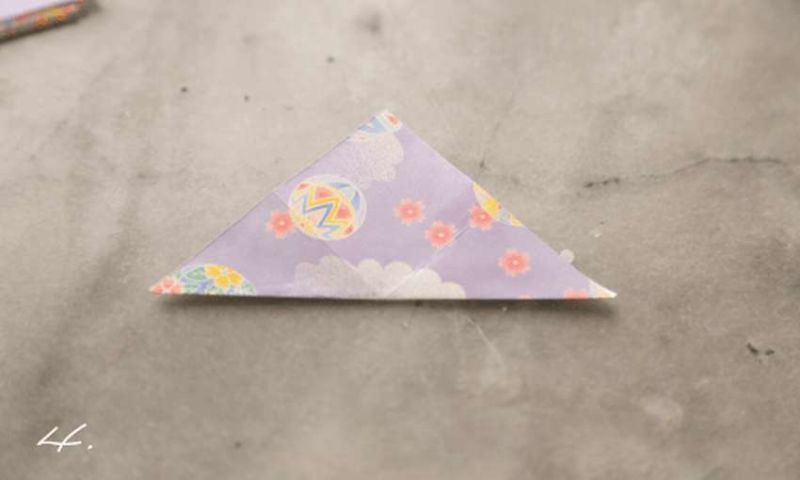
- Fold the white square in half twice. Small square fold on the diagonal. Should be a small triangle.
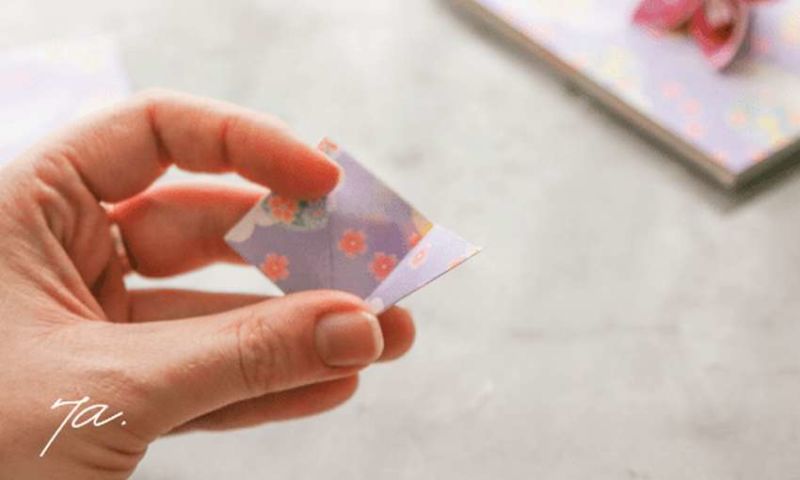
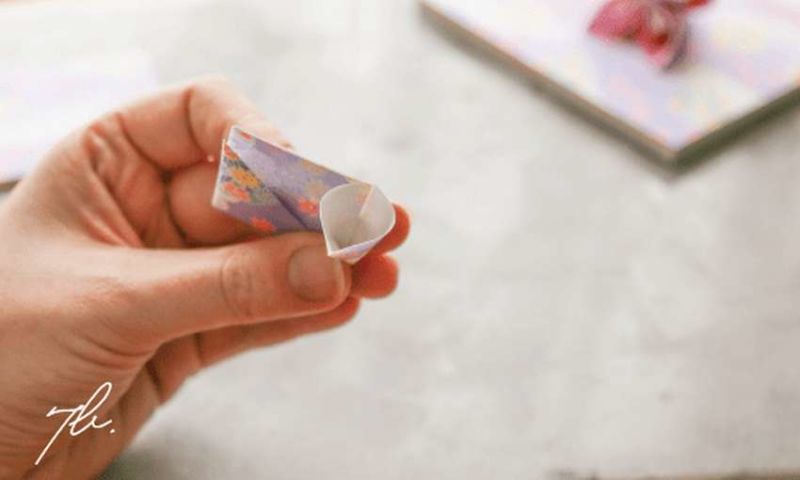
- Scissors make a cut from the middle to the top of the triangle, cutting out the two halves of the petals.
- Do the same with the other white square. Unfold the parts. We have two flowers with beautiful identical petals.
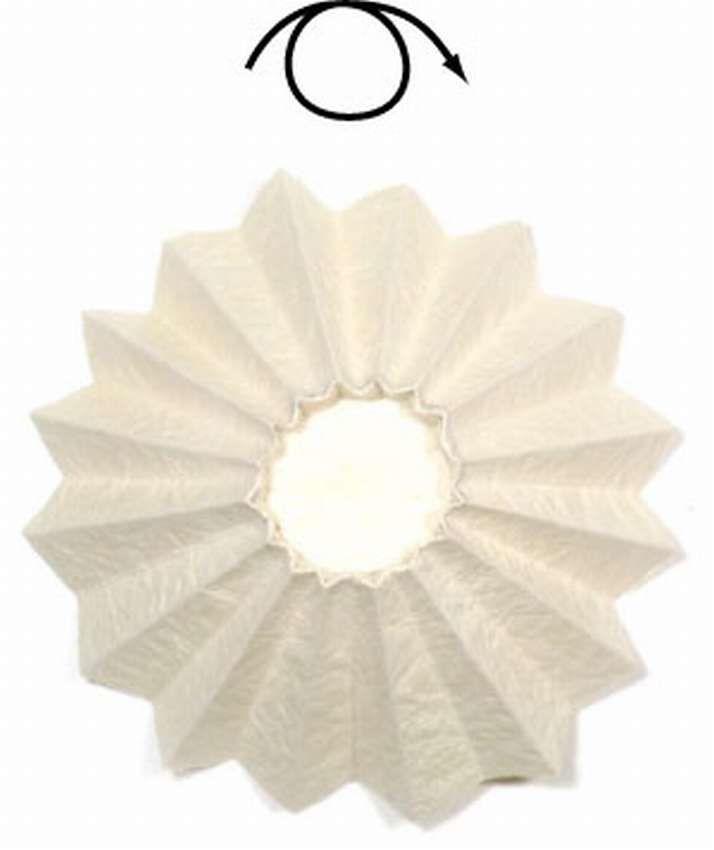
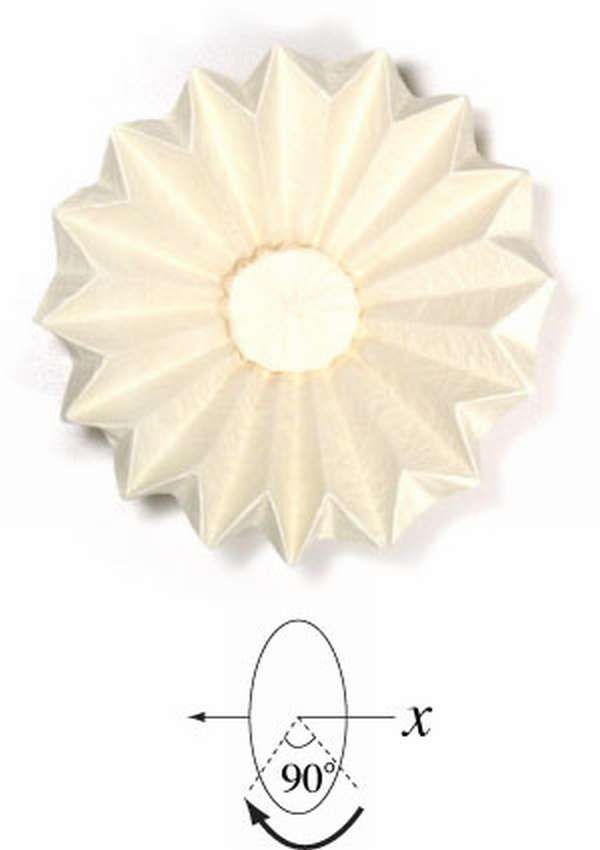
- For the middle, draw a circle on a yellow square with a diameter of 0.5 cm. Cut out a circle, adding another 0.5 cm at the edge. Cut small strips from the edge to our first circle and fold them down one by one.
- Turn over the middle. Should form a circle with strips sticking up as a "fringe".
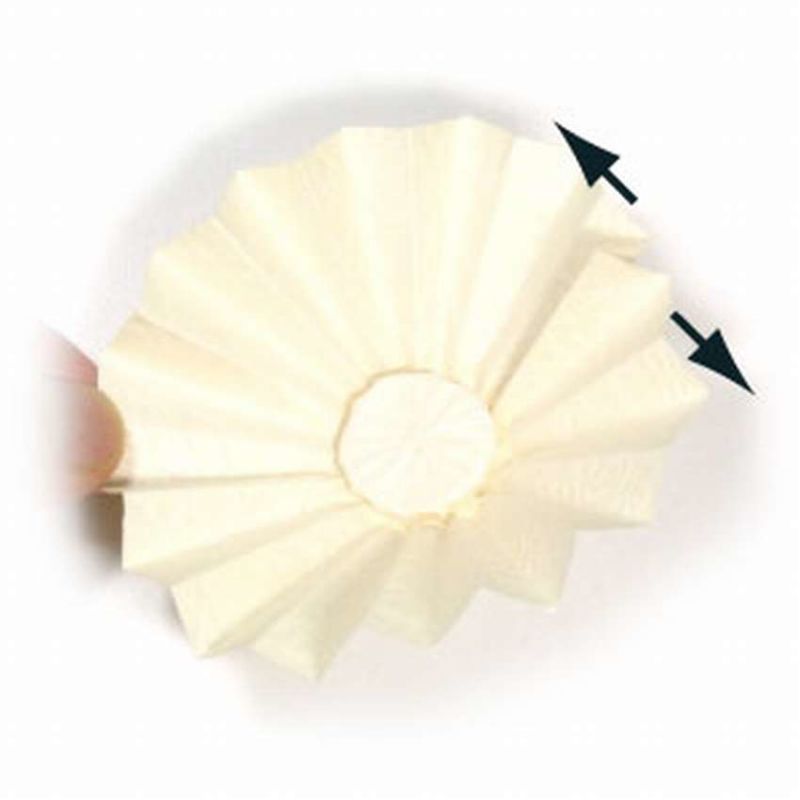
- Take the green paper rectangle and wind it on the unnecessary ampoule, which was left from under the pen. Secure the edges with glue. We get the stem.
- Make incisions in its upper part, and fold the edges out.
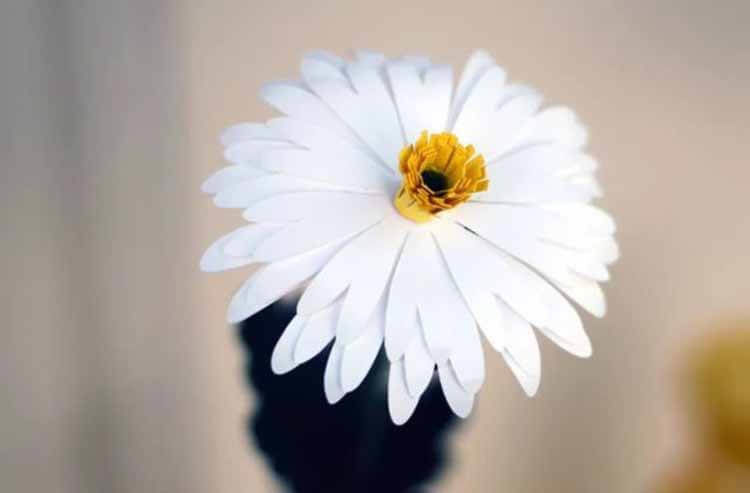
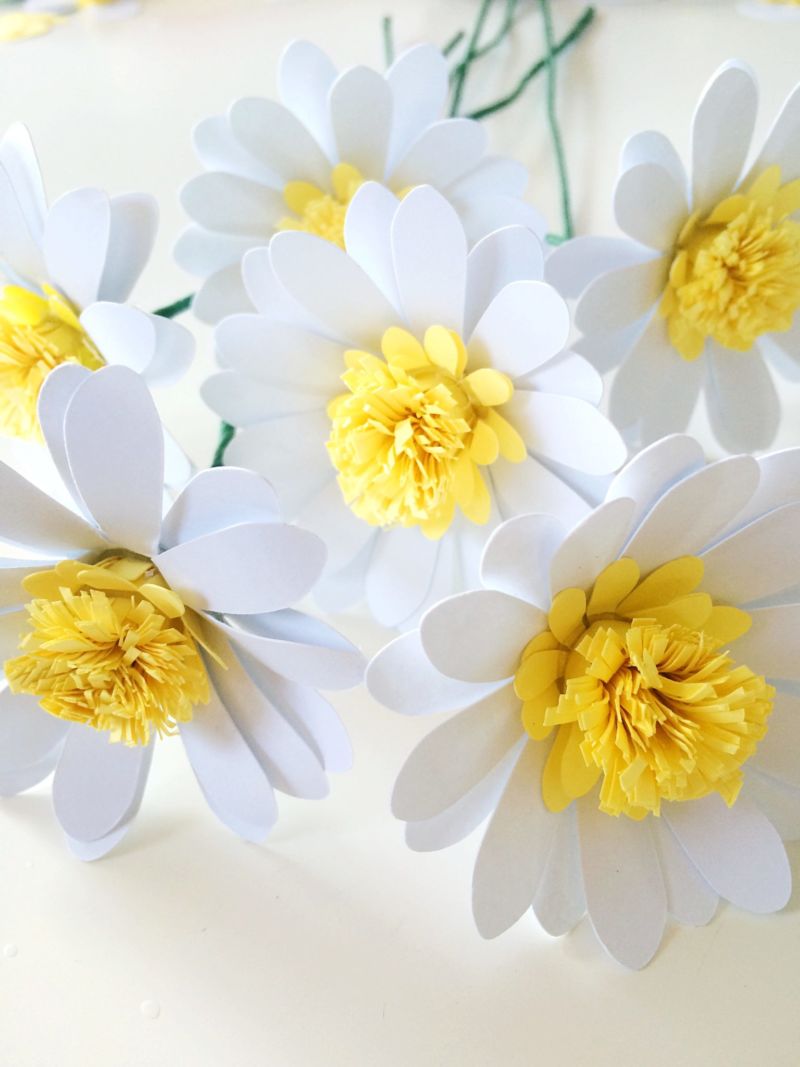
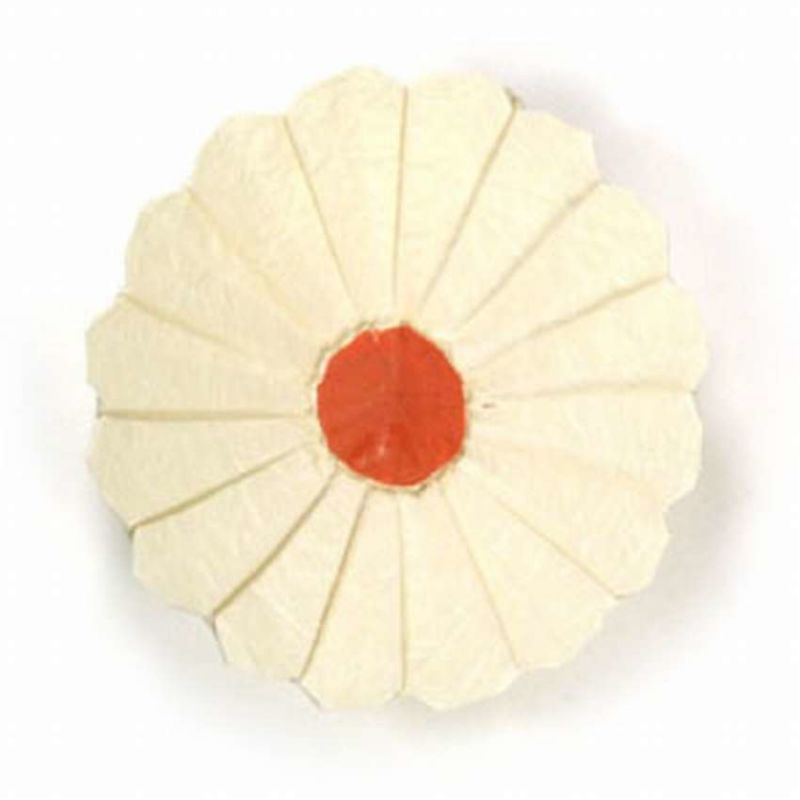
- Connect the white pieces, smearing them in the middle of the glue. Arrange them so that the petals of the lower part peek out from under the top.
- Glue the yellow center. Connect the head to the stem with glue.

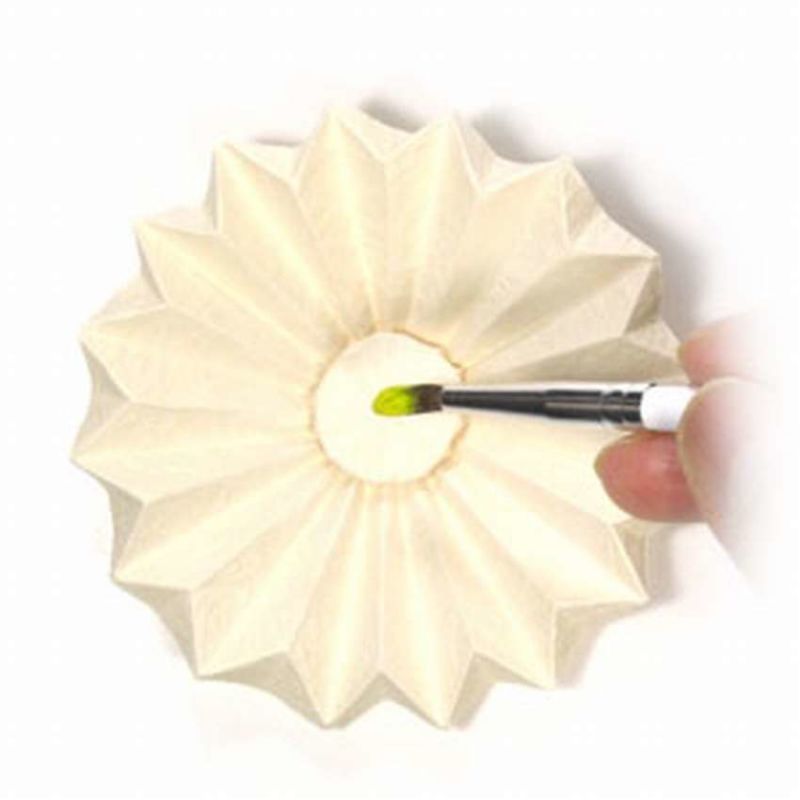
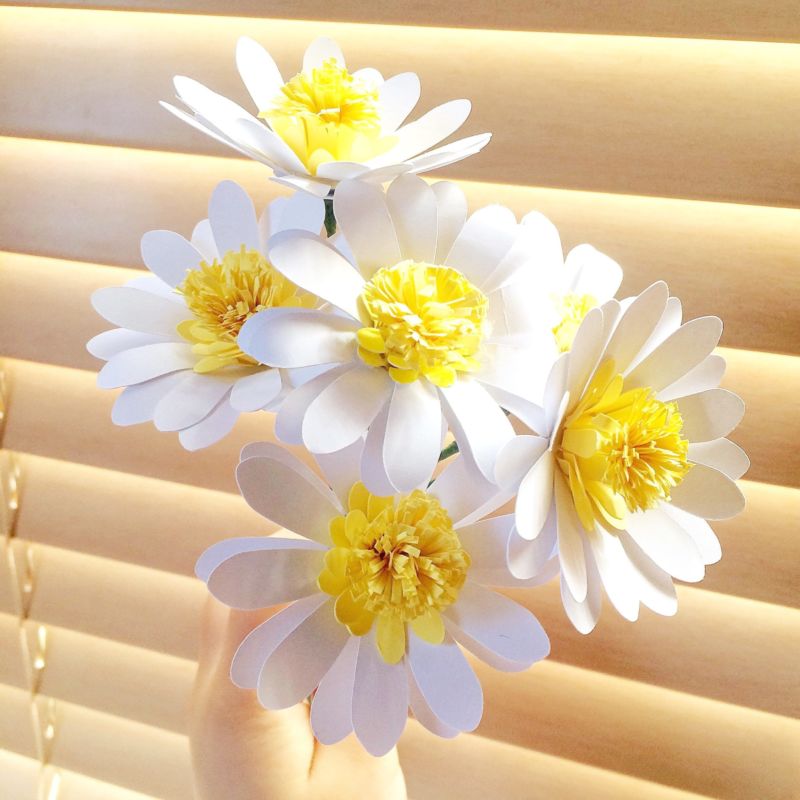
Our handicraft is ready! It can be put in a vase or give to a loved one.
Modular origami
Using the technique of modular origami, you can make an unusual flower crafts. Such a product is not difficult to make, but the preparation of parts will need time and patience.

The most difficult thing in this work - to make the modules. And the assembly process itself is quite simple. In the manufacture of the flower head glue is not needed.
For one daisy you need to prepare 150 triangular modules (90 white and 60 yellow). To make them the same size, you need to use the same sheets.
To make the triangular pieces, you need:
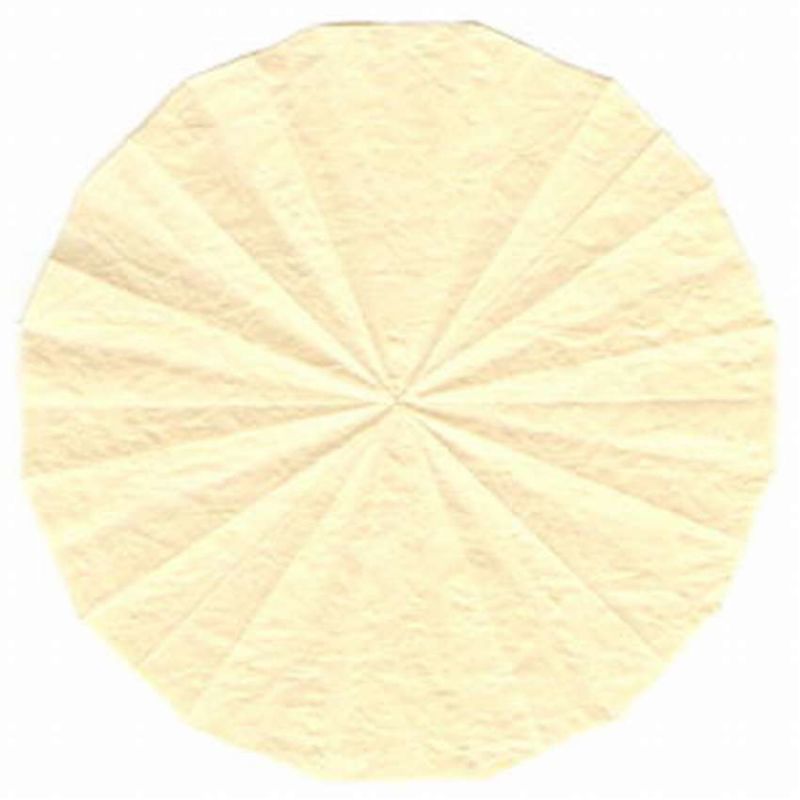
- Take a rectangular leaf (its size will depend on the size of the flower you want to get at the output), and roll it in half lengthwise.
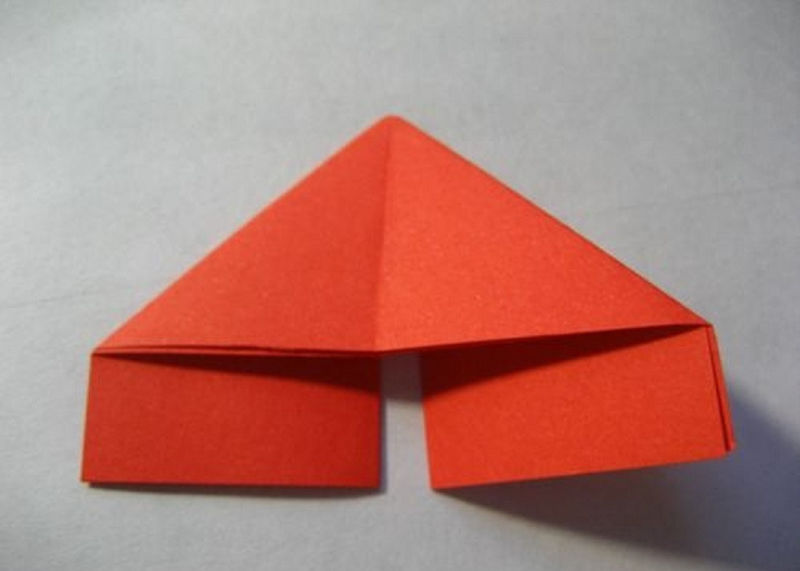
- To mark the middle, fold it in half, and then unroll. Unfold it so the corner is at the top.
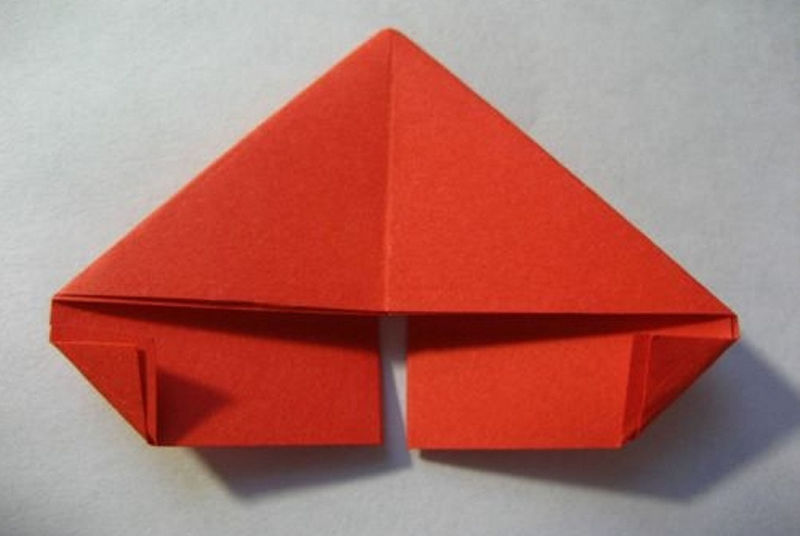
- Both edges wrap to the middle. Turn the workpiece on the front side.
- Protruding parts wrap up.
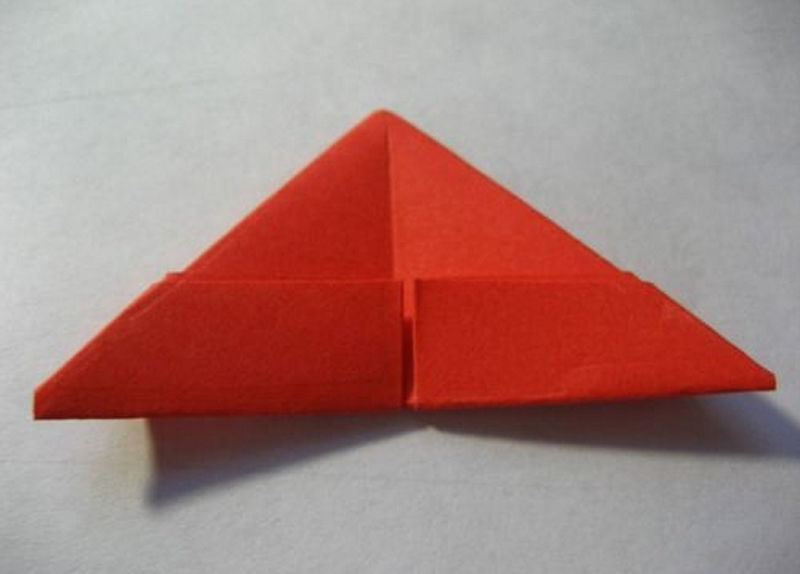
- Fold the corners, bending them through a triangle.
- Lower elements and corners to unfold. According to the resulting outlines fold them again, raising the lower parts to the top.
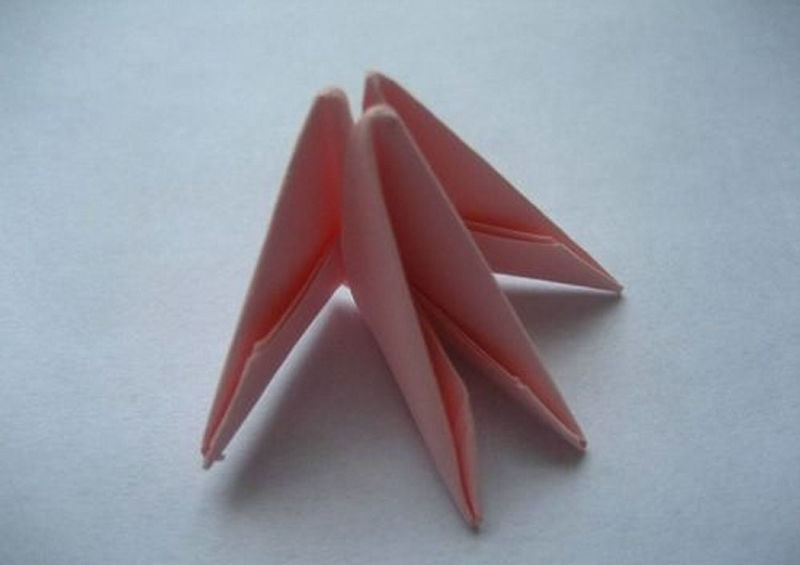
- Fold in half.
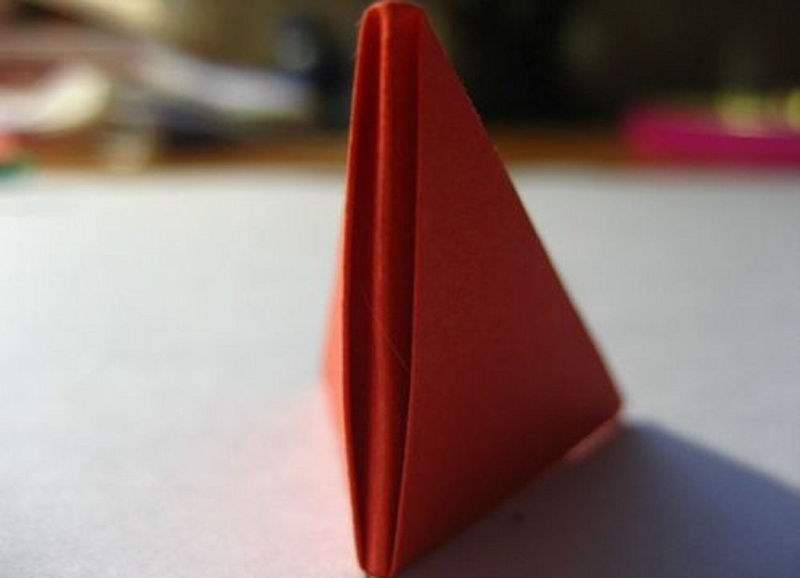
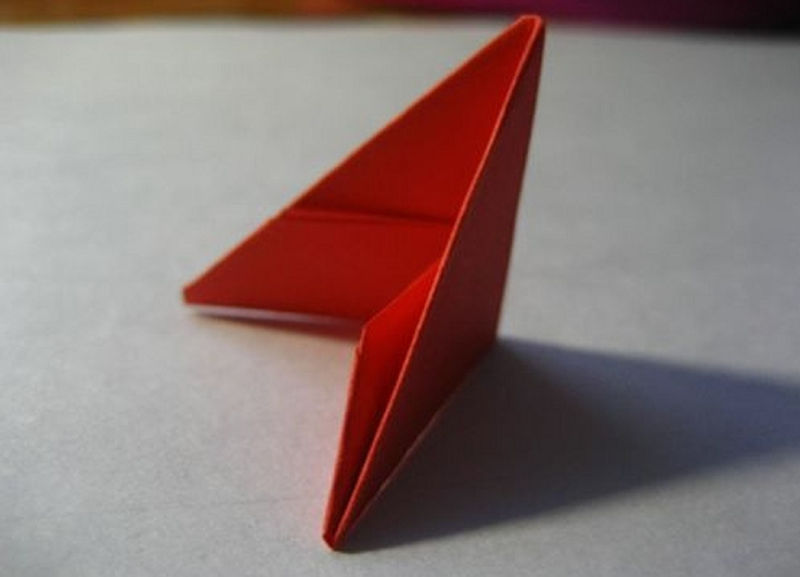
Thus, a triangular module will consist of two pockets and two corners. The side that is located against the corner of 90 degrees, called the long, and the other - short. These details are easily connected to each other.
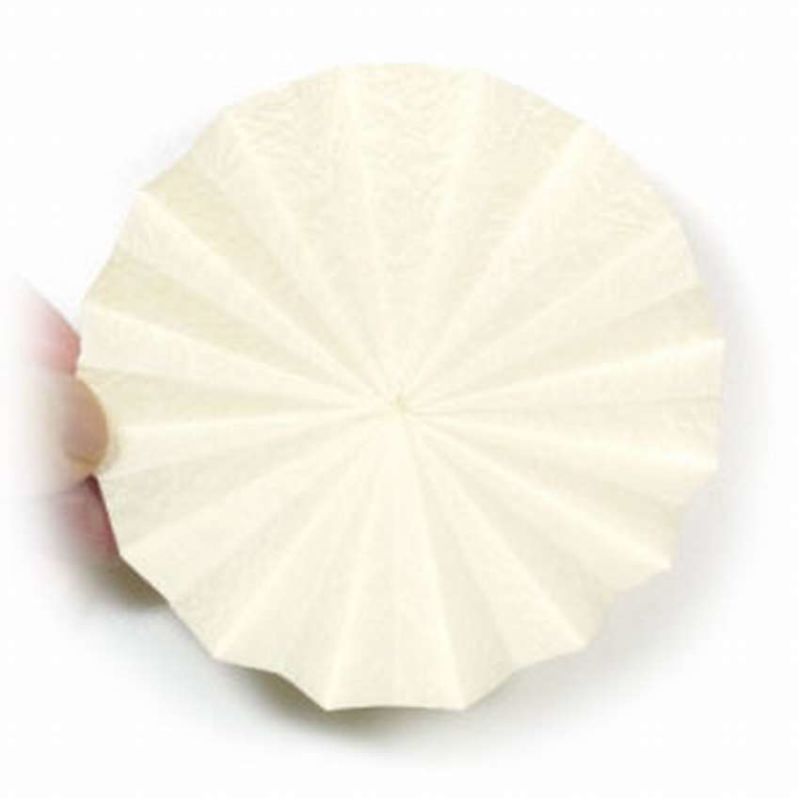
Now you can begin to create a craft:
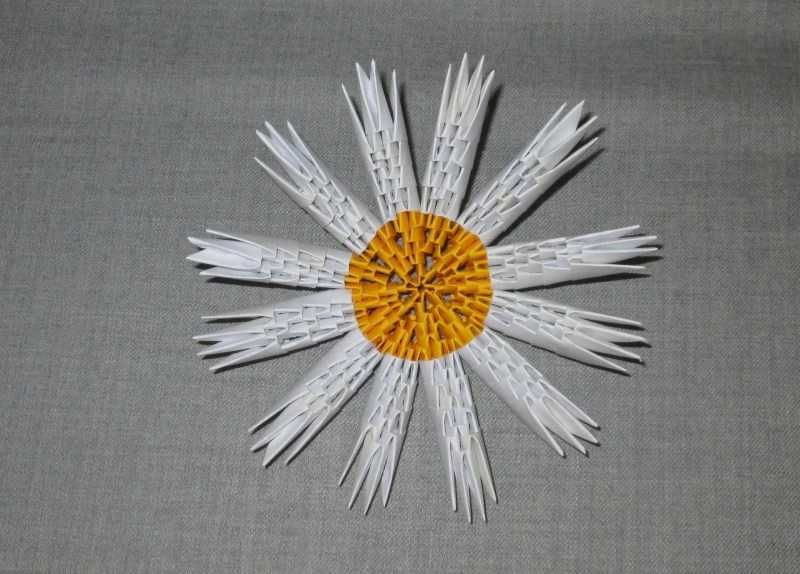
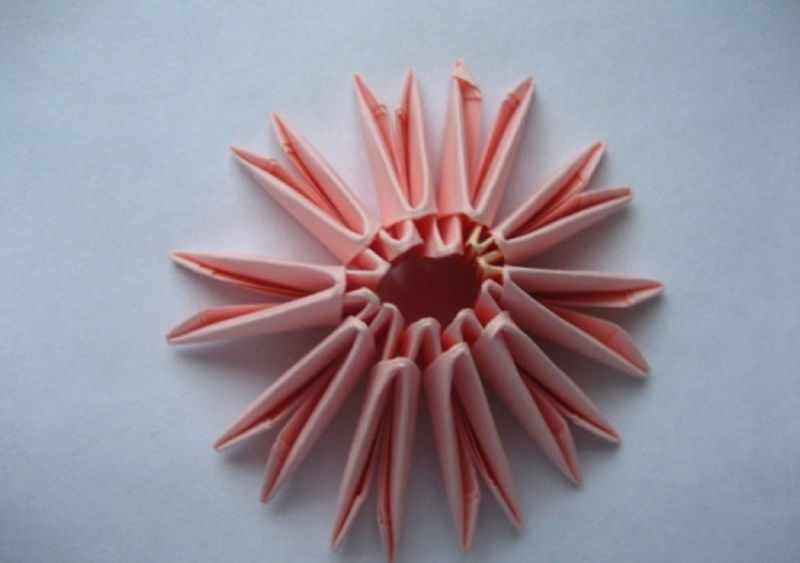
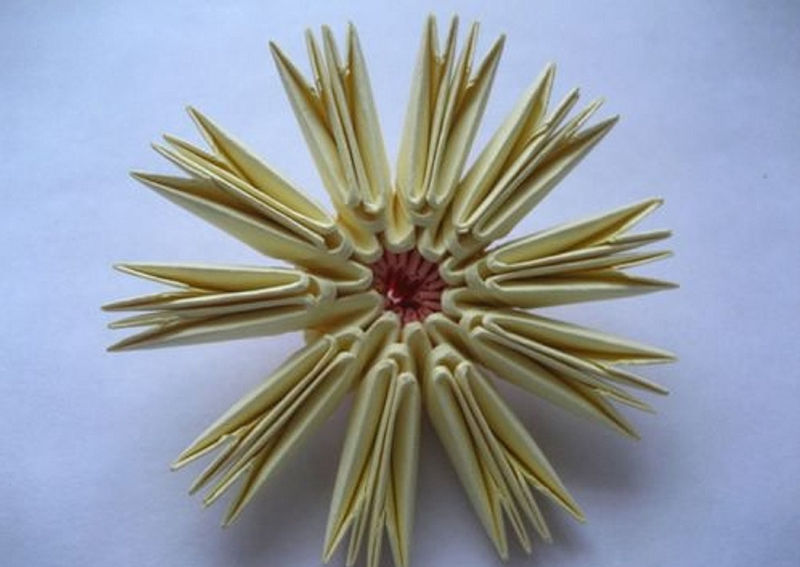
- Assemble the flower head begin from the middle. The first row of yellow modules in the amount of 20 pieces put on the short side. In the second and third rows put the same number of yellow modules on the long side.
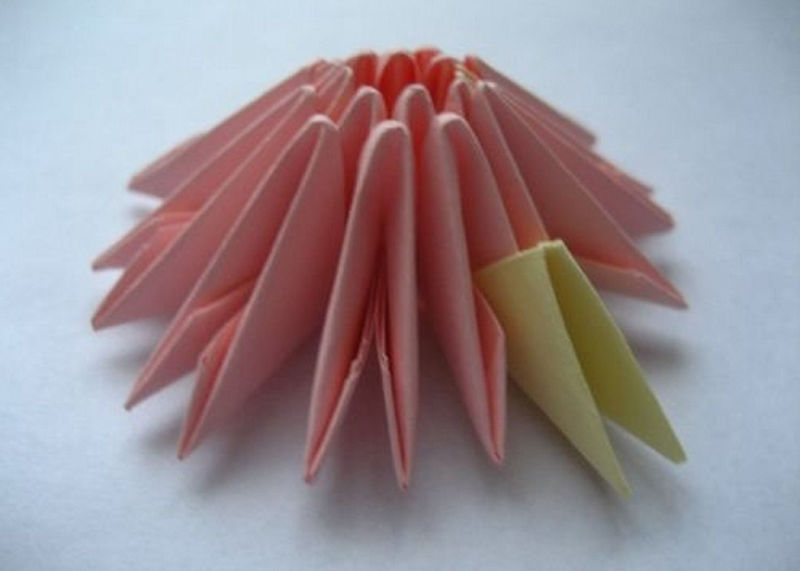
- All three rows are connected in a circle and turn the product on the other side.
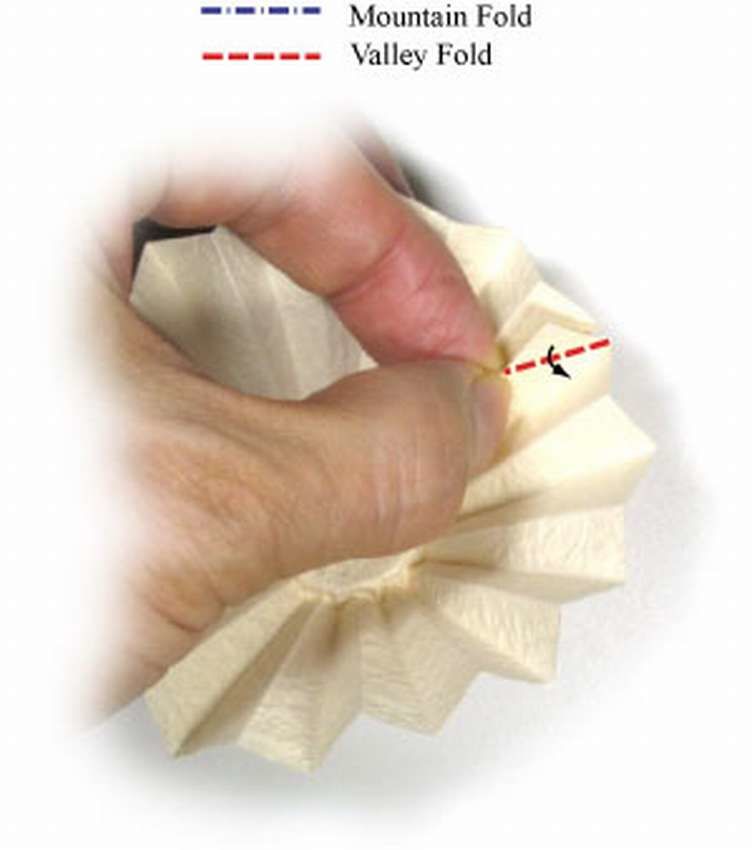
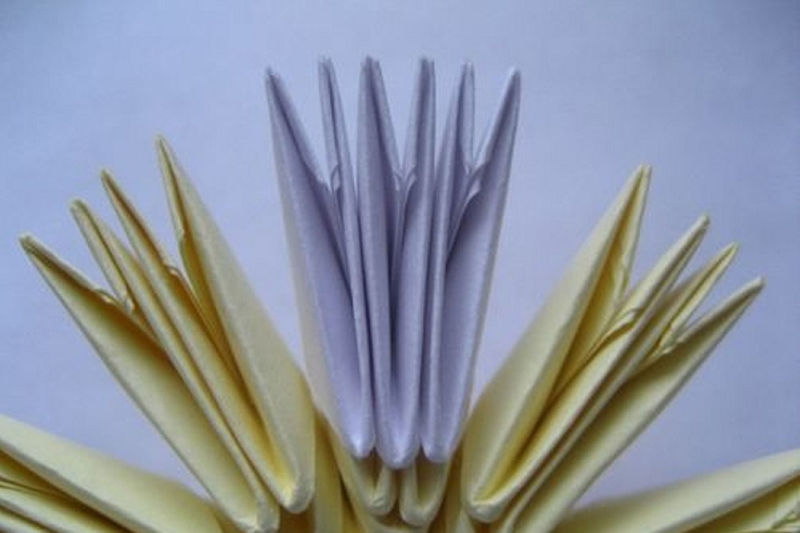
- Petals are formed from snow-white modules. In the fourth row use 20 pieces, and in the fifth 10 pieces, putting them through one module.
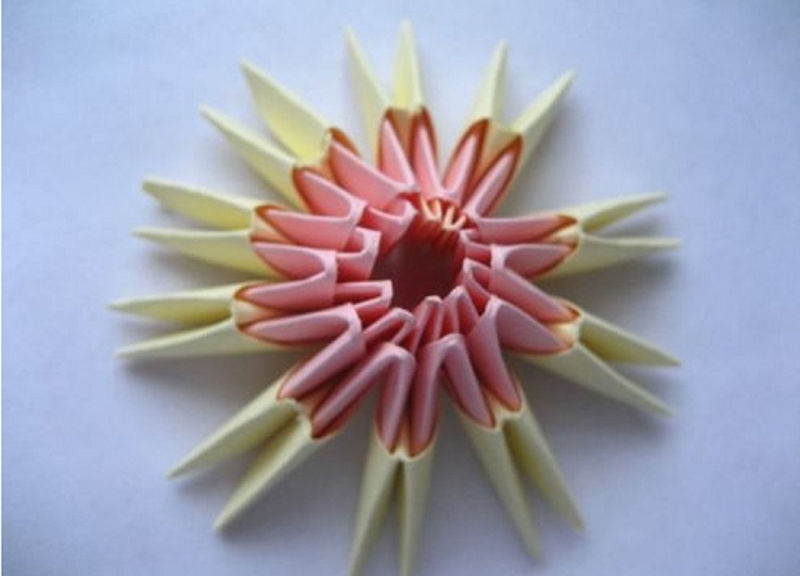
- In the sixth row of 20 modules of white one pocket put on the corner of the module of the fifth row, and another - on the free corner of the fourth row.
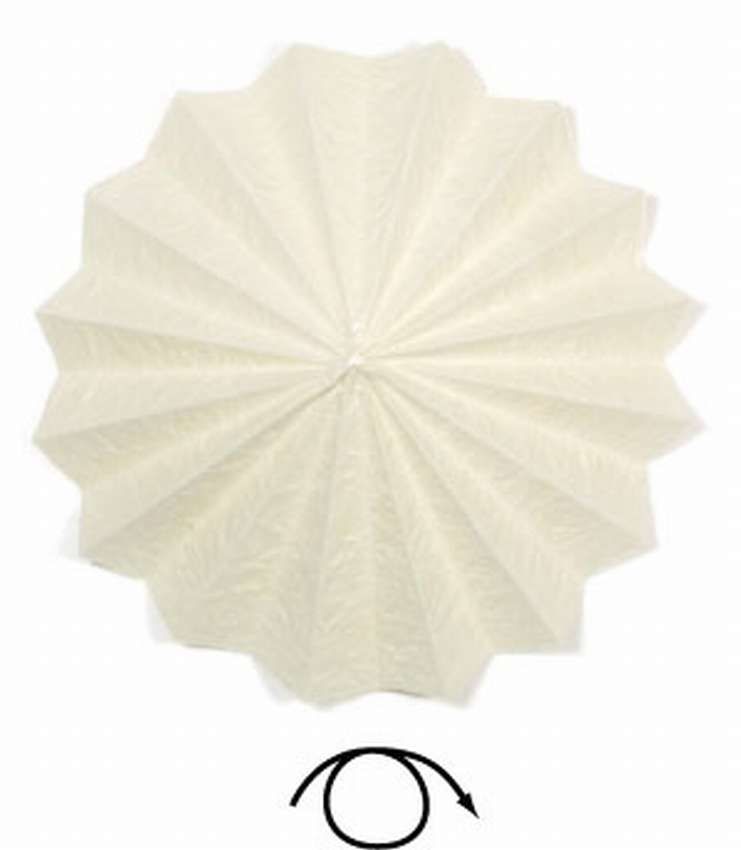
- In the seventh row repeat the procedure of the fifth row, in the eighth - the sixth row, and in the ninth - again the fifth row.
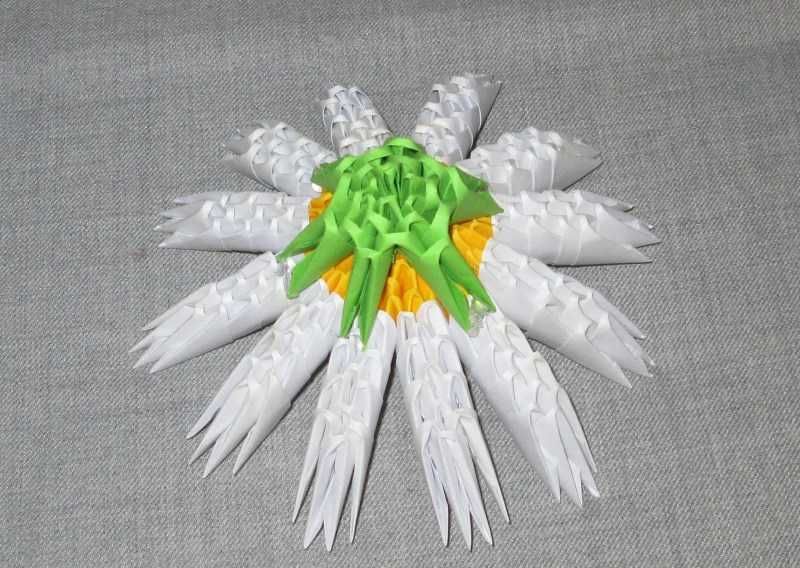
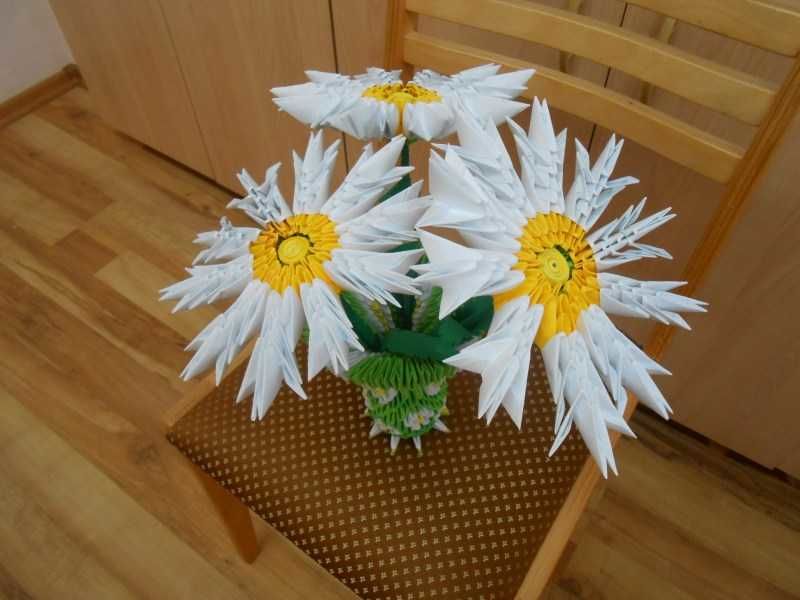
- For the stem, you can use a wooden skewer wrapped in a green paper sheet. Wrap the top with a yellow leaf and put a flower head on it.
- Glue the green leaf to the stem.


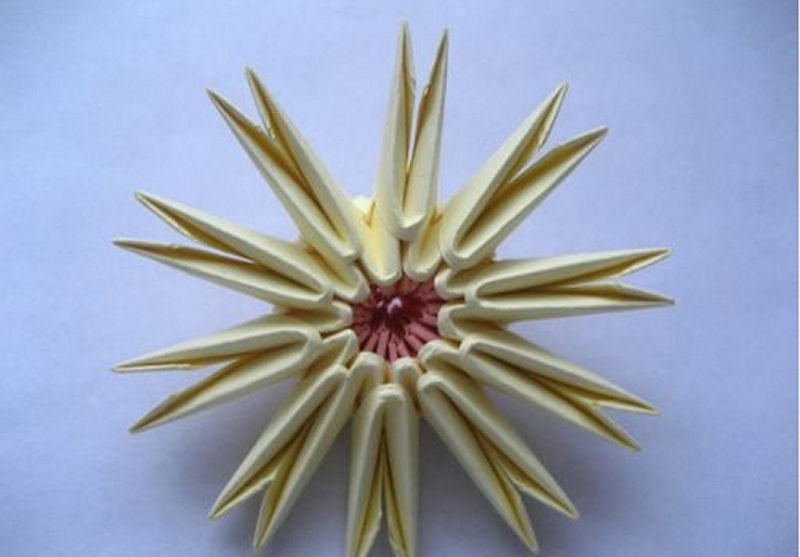
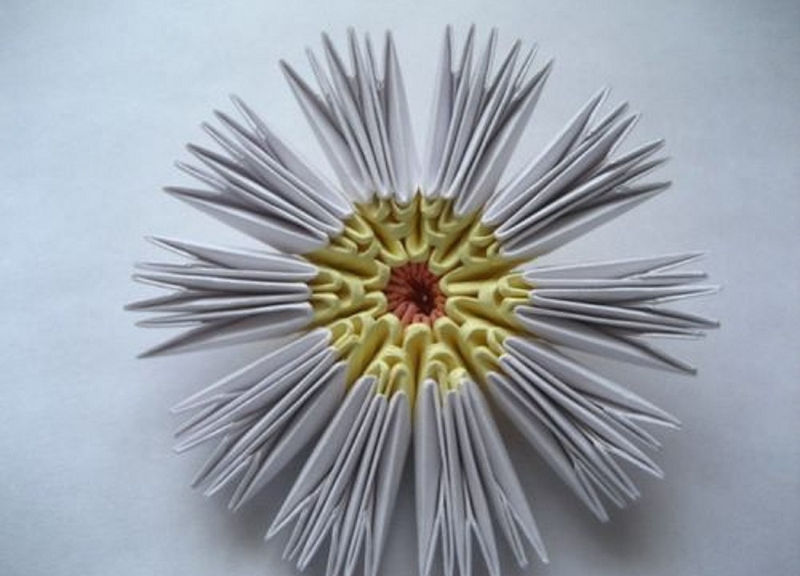
Lush beautiful modular daisy is made! Such a handicraft looks original in a vase designed in the same technique.
Kusudama daisy
In Japanese, kusudama means "medicine ball". This ancient decorative product, which is used for traditional crafts in Japan, is a kind of origami.
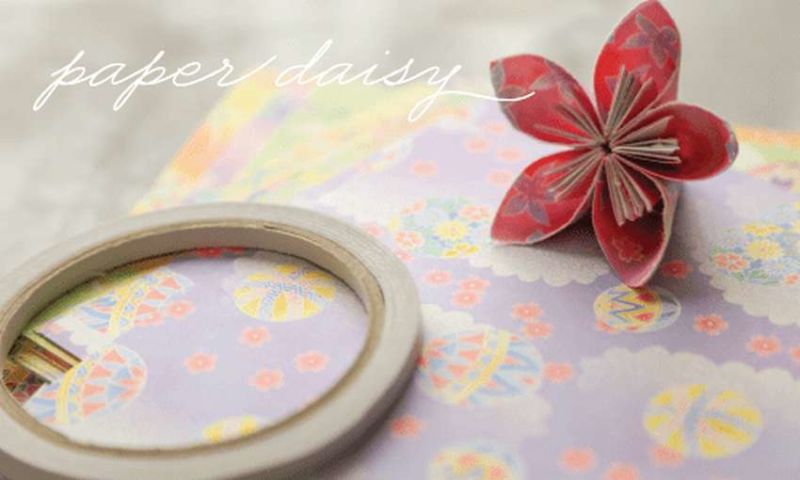
These are such figures, most often spherical in shape, which are collected from small flowers or a variety of parts without filling the base. To do this work will need to prepare dozens of modules.
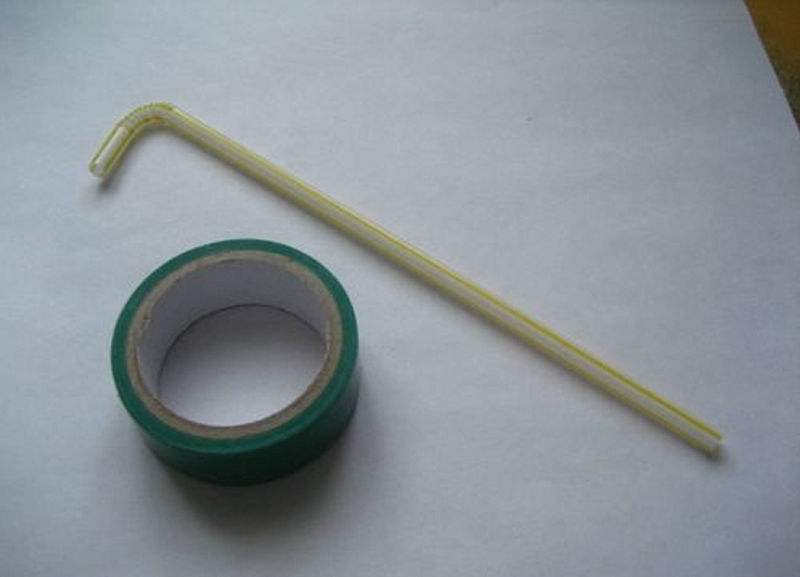
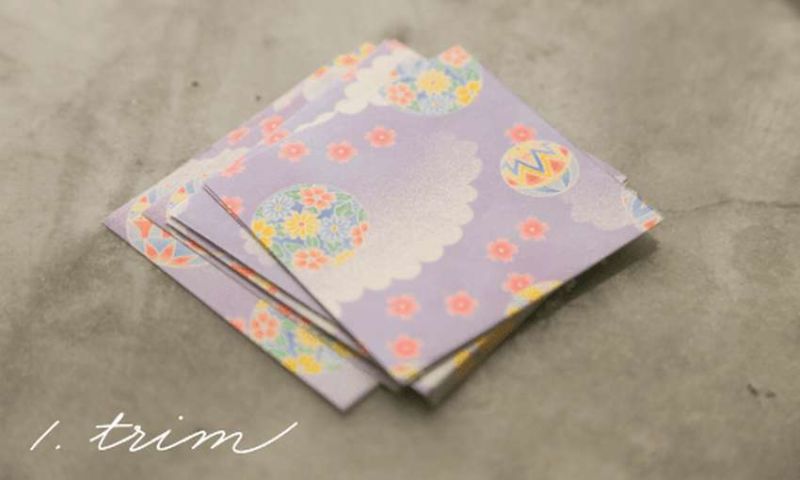
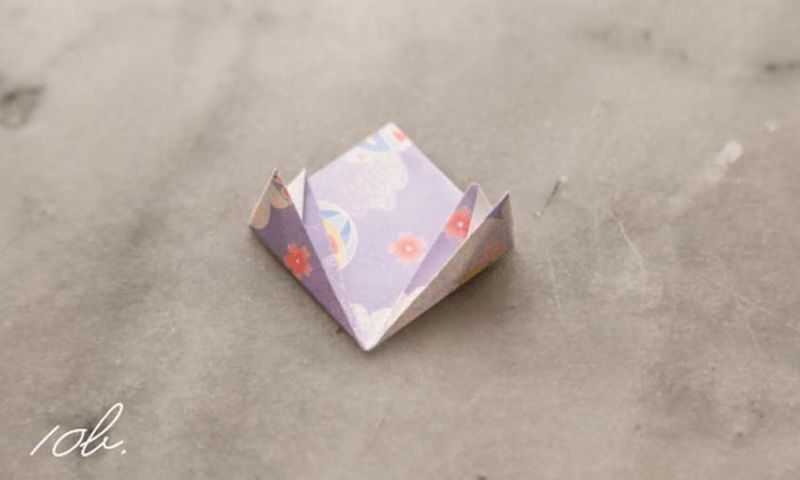
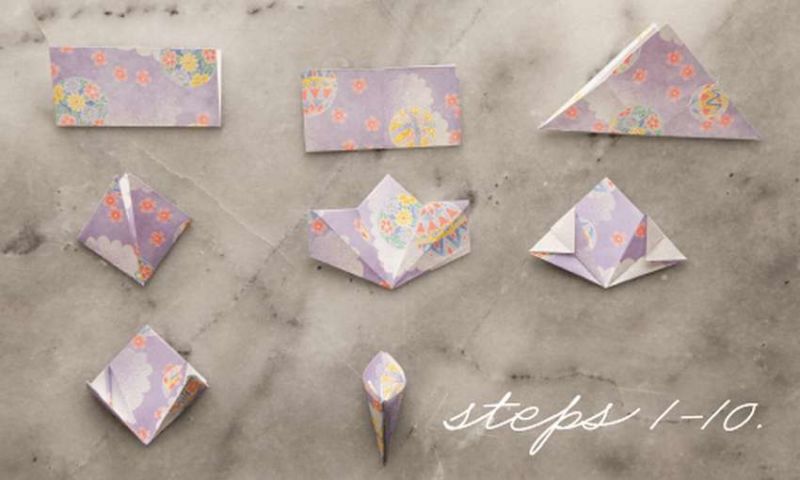
To make daisies in the kusudama technique, you need to prepare colorful leaves and double-sided tape. To create a module it is necessary to adhere to the following steps:
- A square leaf to roll in half.
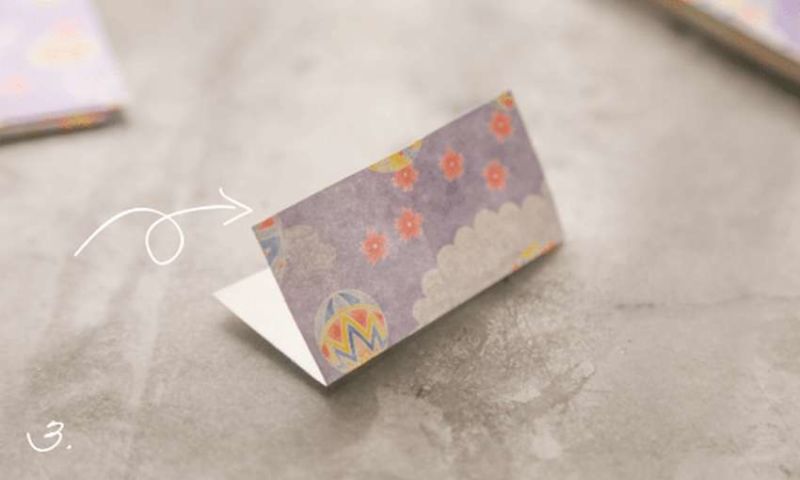
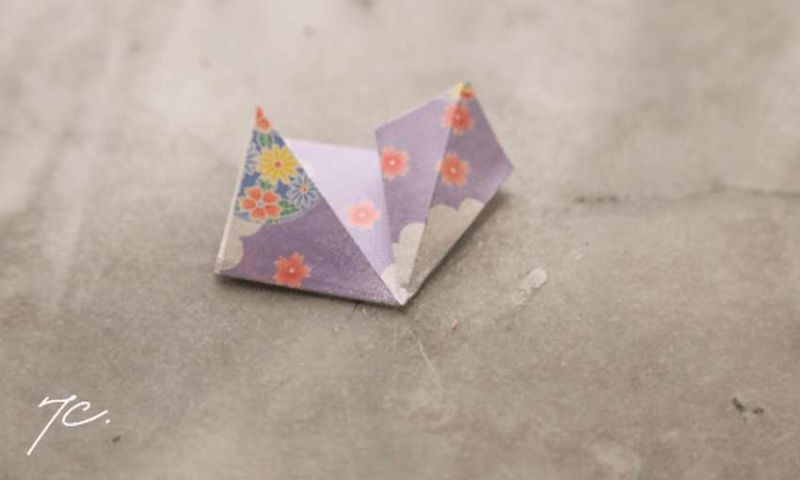
- Then unbend it and fold the resulting lines in a triangle. Lower corners to wrap up.
- One corner of the bend and open it. Should get a small cube.
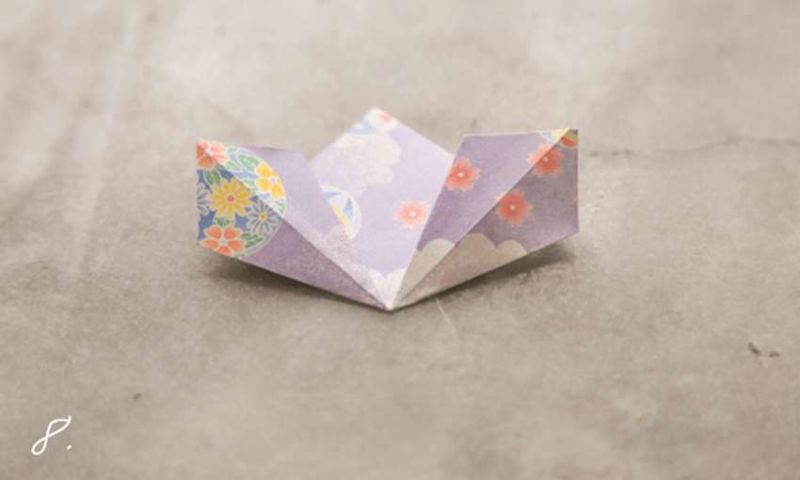
- Corners of the cube bend down outward.
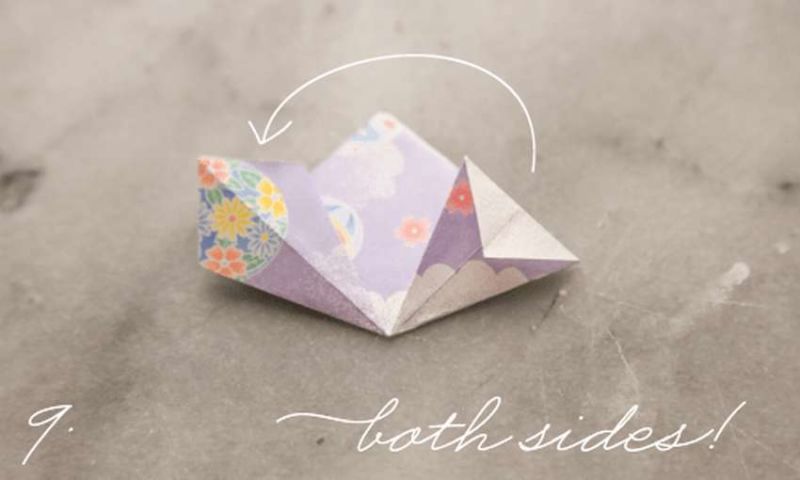
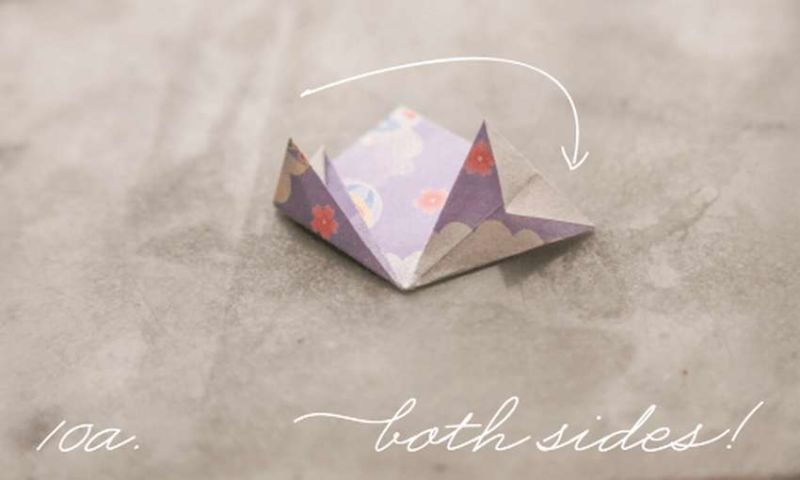
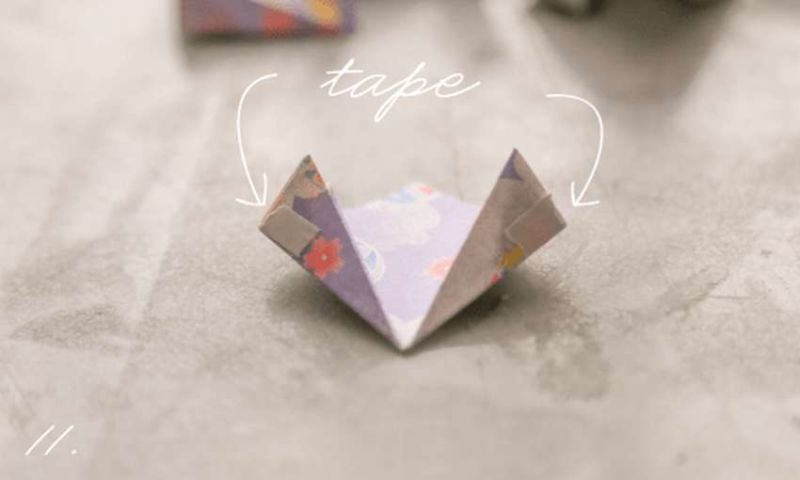
- Cups bend inward. Glue small pieces of double sided tape on the edges and connect them together.
- Make four more parts in a similar way. Join them together with duct tape. You get a beautiful daisy flower.


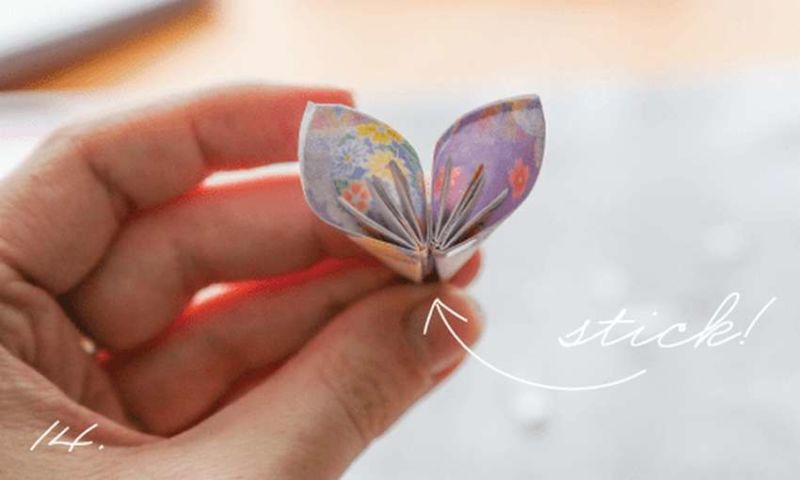
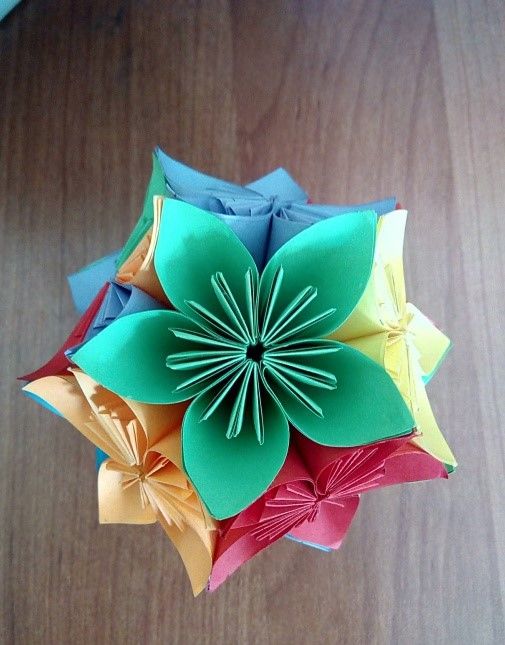
From such blanks form a bulk kusudama daisy. Such a handicraft will certainly be useful for decorating any interior.
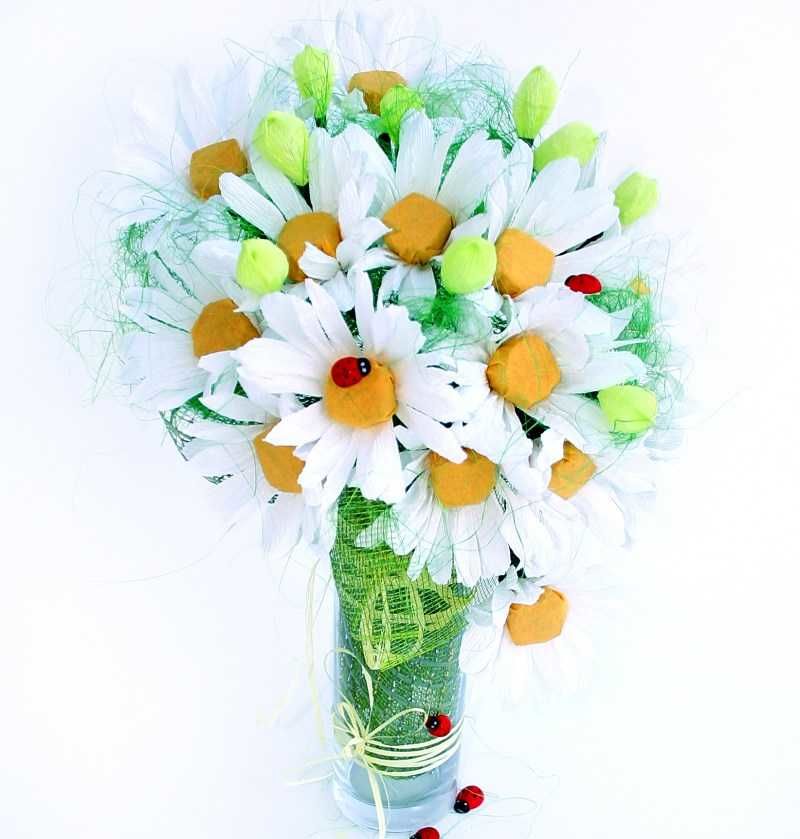
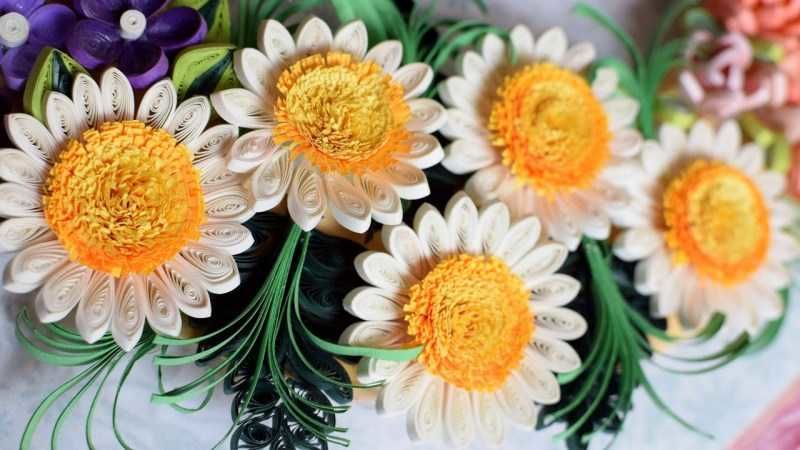
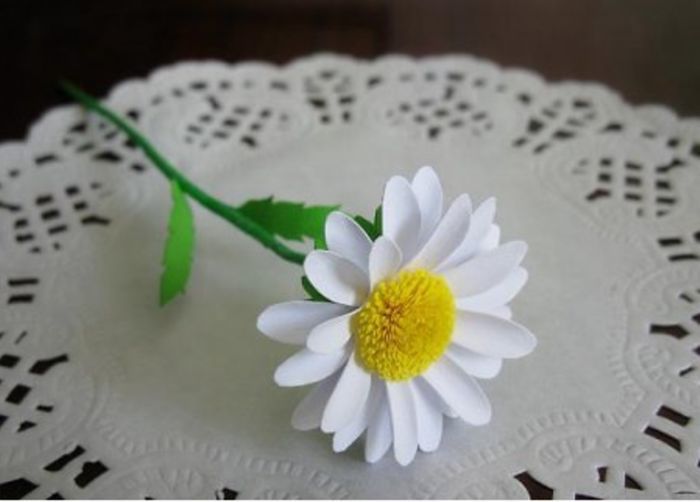
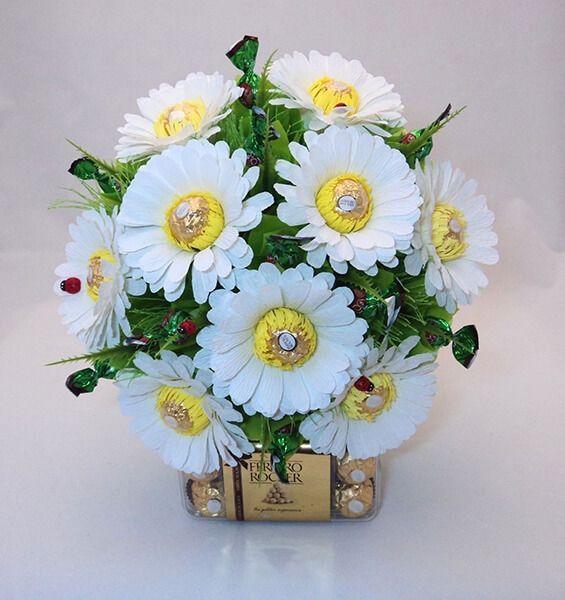
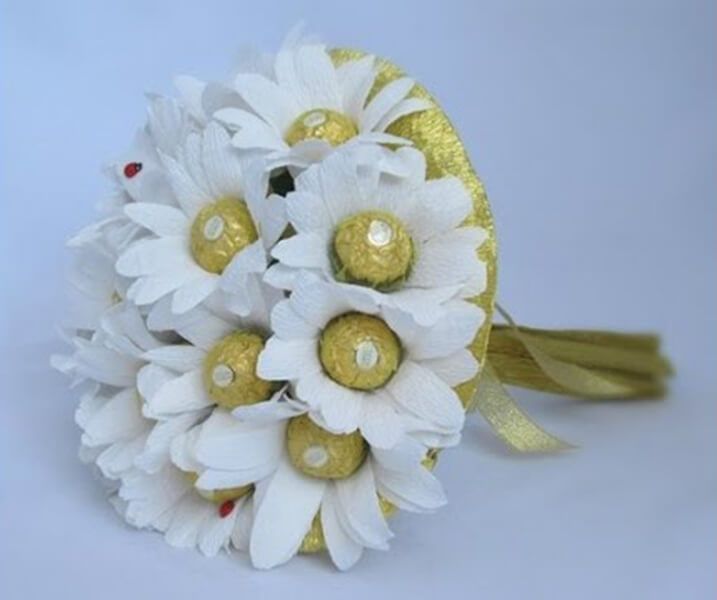
The basis of the candy
To make a summer bouquet of daisies, candy is often used. They are used as the basis of the craft. It is easy and simple to make.
For the product you need to take the following materials:
- dome-shaped candy;
- white and yellow corrugated paper;
- glue;
- scissors;
- thread;
- yellow velvet dust.
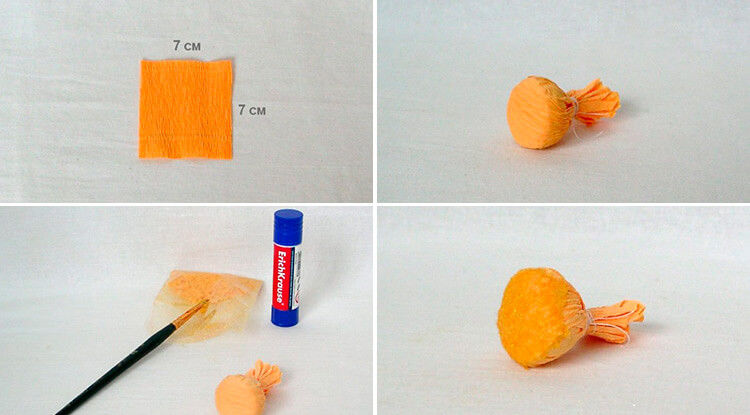
The process of creation requires these steps:
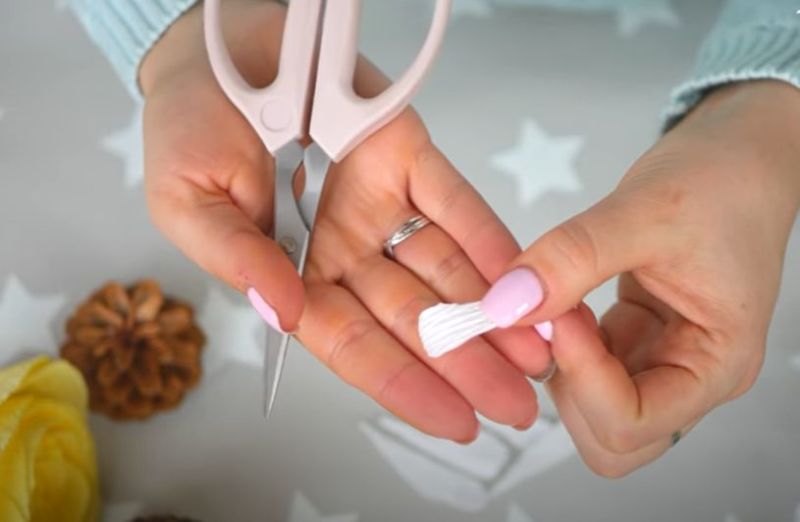
- We cut a small square (7x7 cm) of yellow leaf and wrap the candy in it. On top we apply glue and sprinkle with velvet powder. The middle is ready.
- For the petals, cut out a rectangle 8x18 cm from white corrugated paper. Wrap candy in it. It should be a tube, which we fasten with thread.
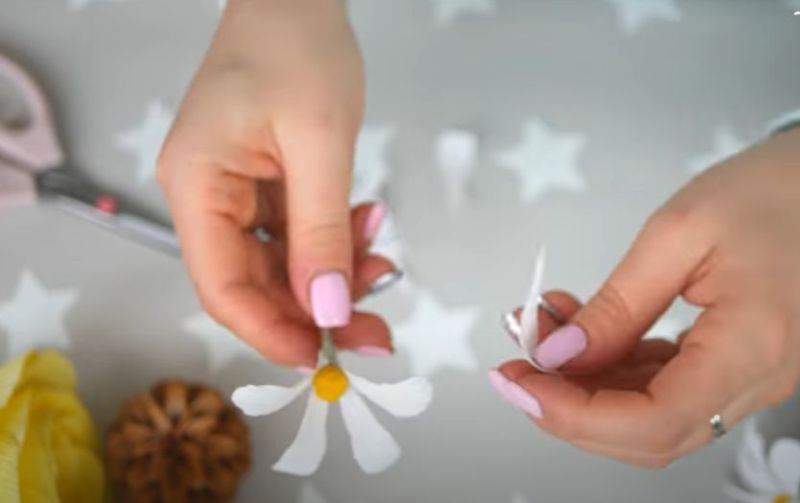
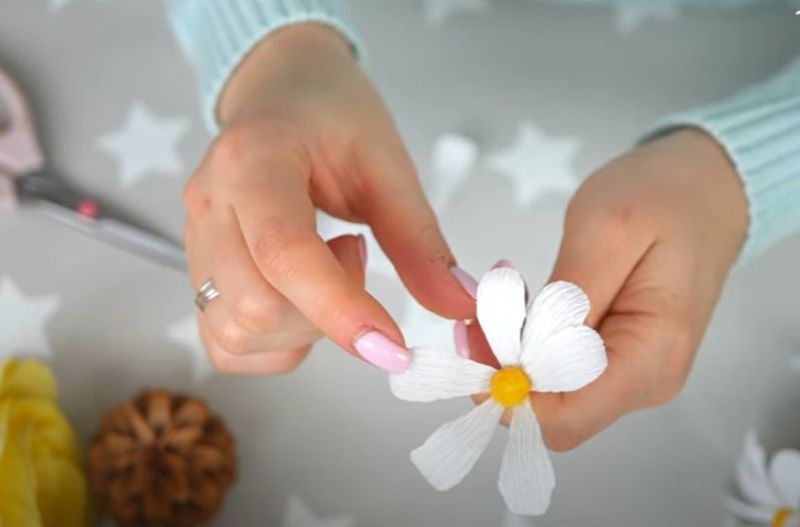
- Paper edges wrap down. Using small scissors, preferably manicure, cut the petals, giving them a round shape.
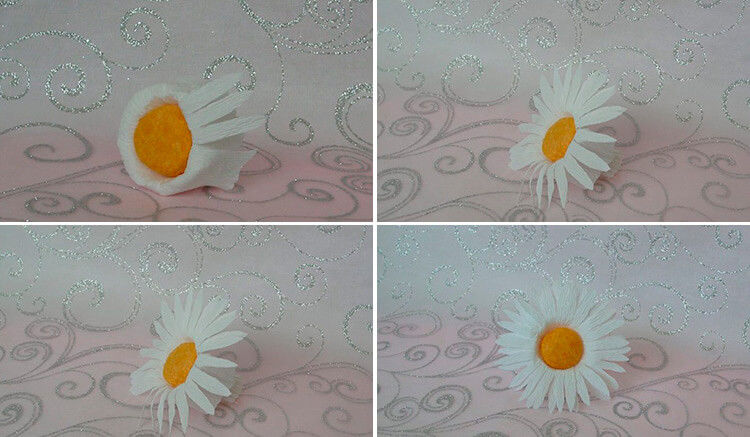
Our amazing daisy is ready! In this way you can create entire compositions and decorate festive halls.
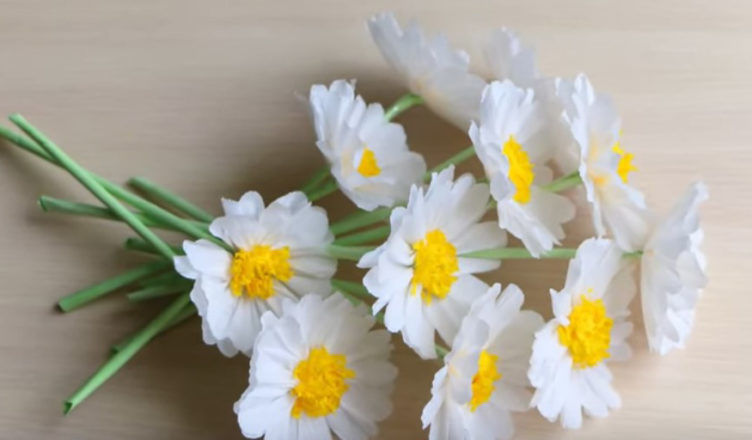
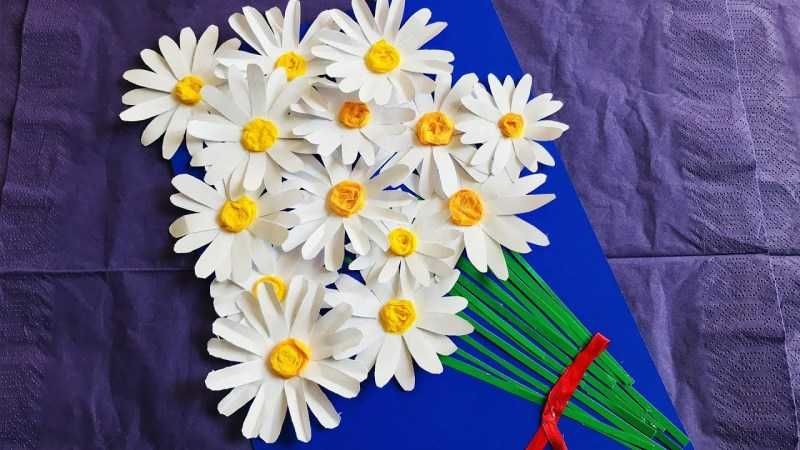
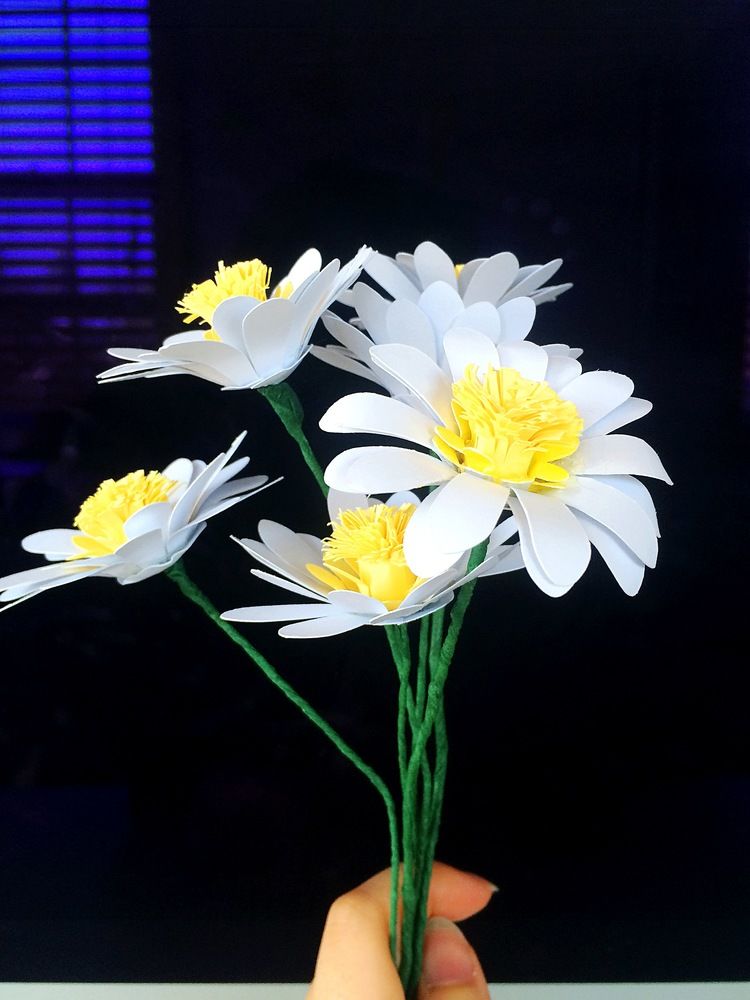
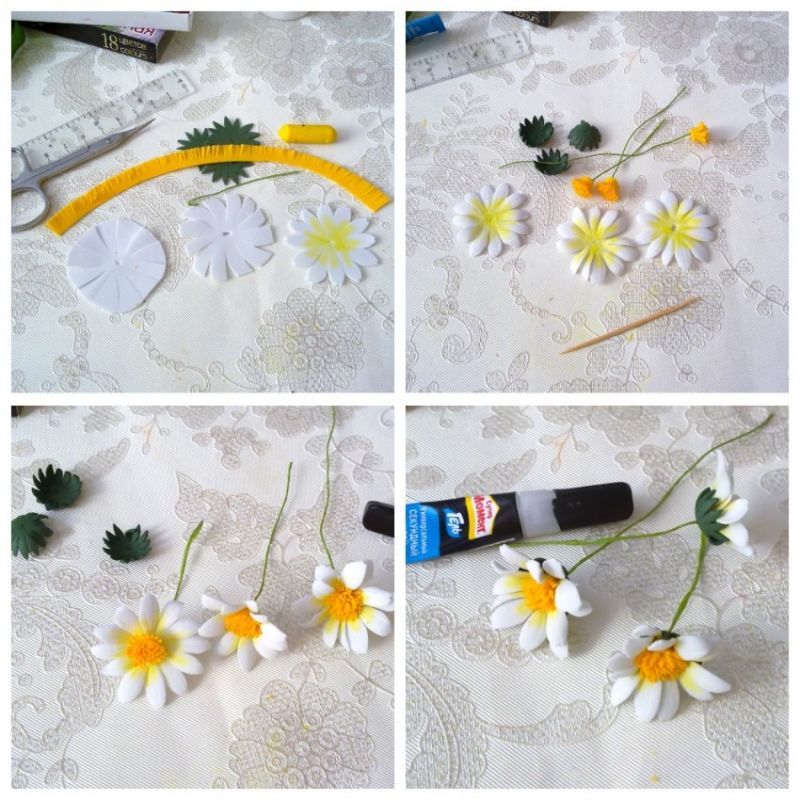
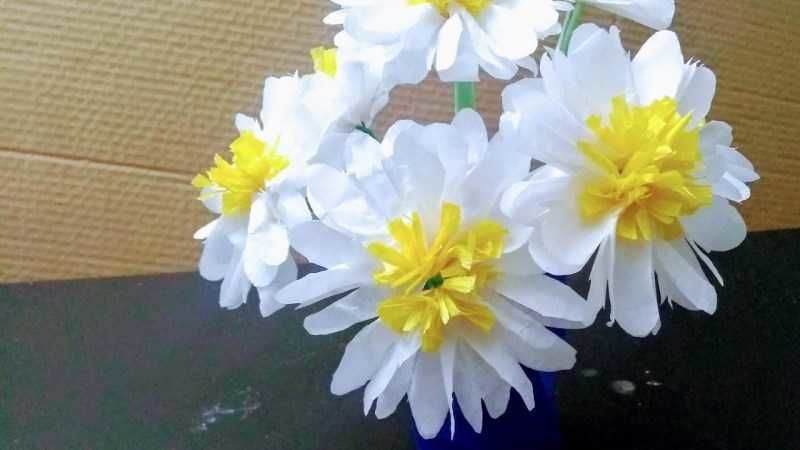
From paper and napkins
Using ordinary white napkins and paper, you can make original daisies that will please your family on any occasion.
For the craft we need the following materials:
- napkins (white and yellow color);
- green paper;
- glue;
- toothpick;
- scissors;
- wire.

The creative process is performed in this sequence:
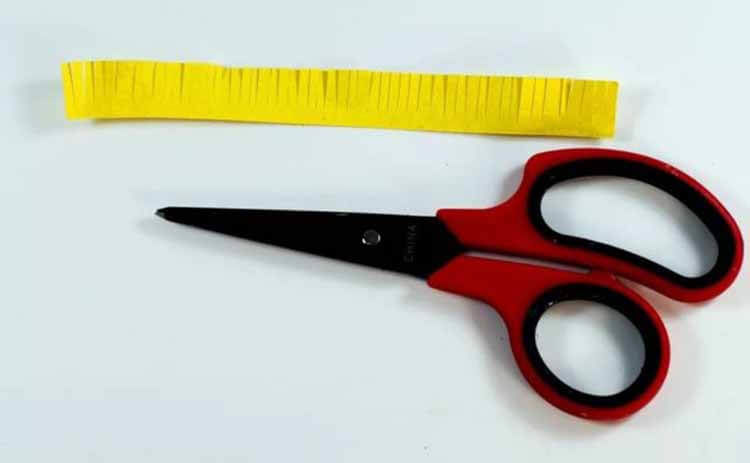
- From the yellow napkin make a central part. Prepare a strip of width 2x9 cm.
- Make small incisions along its length, and twist it on a toothpick. Lubricate with glue, so that it sticks tighter.
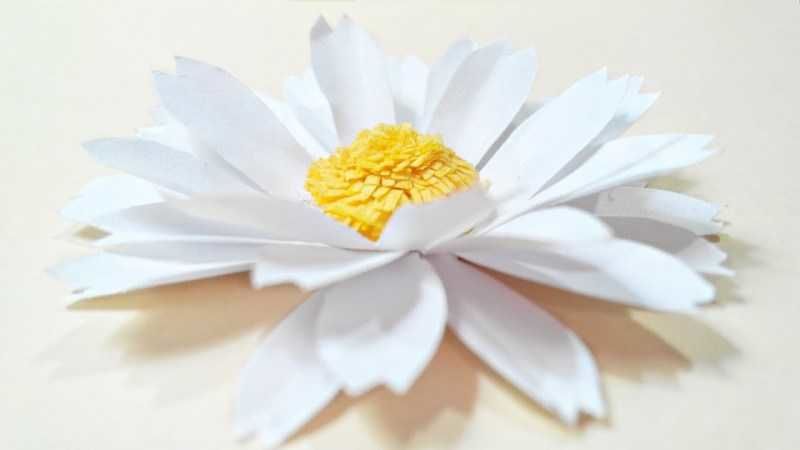
- From the snow-white napkins make flowers. To make the handicraft was lush and realistic, you need to prepare a few layers.
- Glue the core to the flower head and leave to dry.
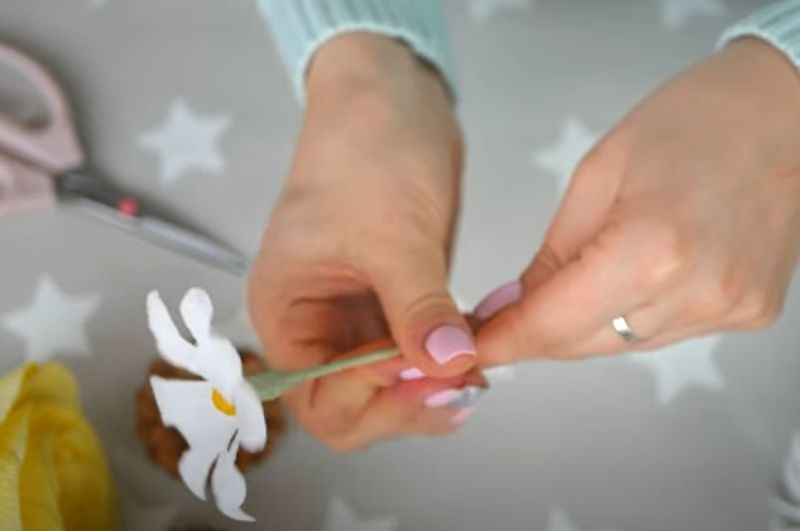
- Cut green strips for the stem. Make small cuts on one edge.
- Wind them on a wire, smearing them with glue. Fluff up the finished stem, so it looks natural.
- Make leaves, attach them to the flower stalk.
- Glue the head to the stem.
Creative work is complete.
Handmade paper daisies - interesting and useful activity, both for adults and children. Joint creativity not only brings together relatives, but also gives unforgettable emotions.
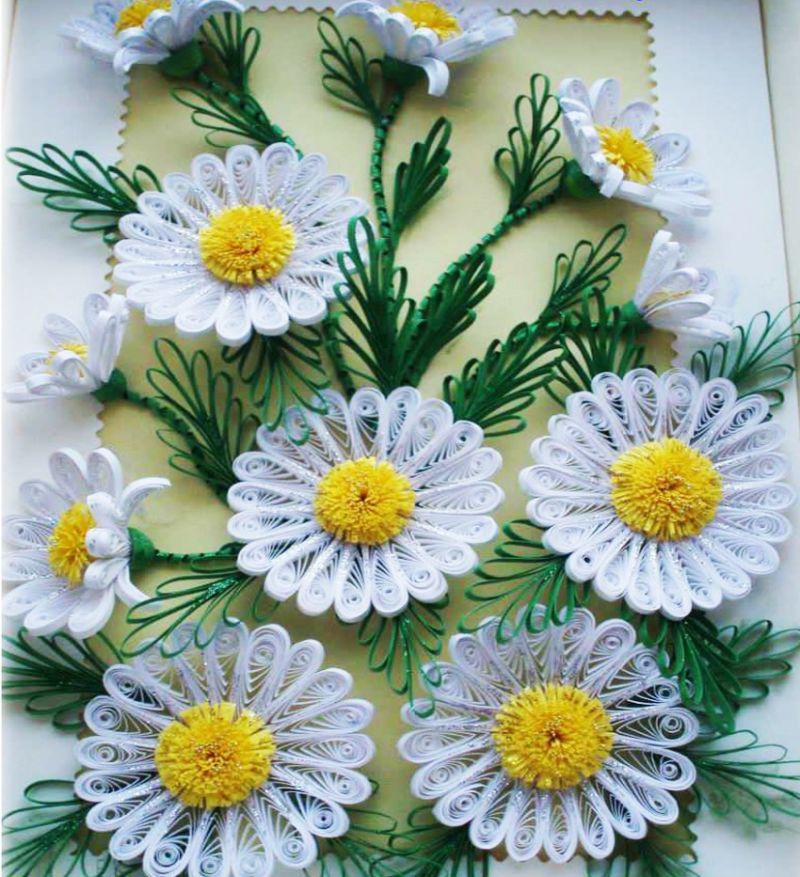
Origami crafts and beautiful daisy compositions can be a wonderful decoration of the house or an original gift that will bring joy and cheer.
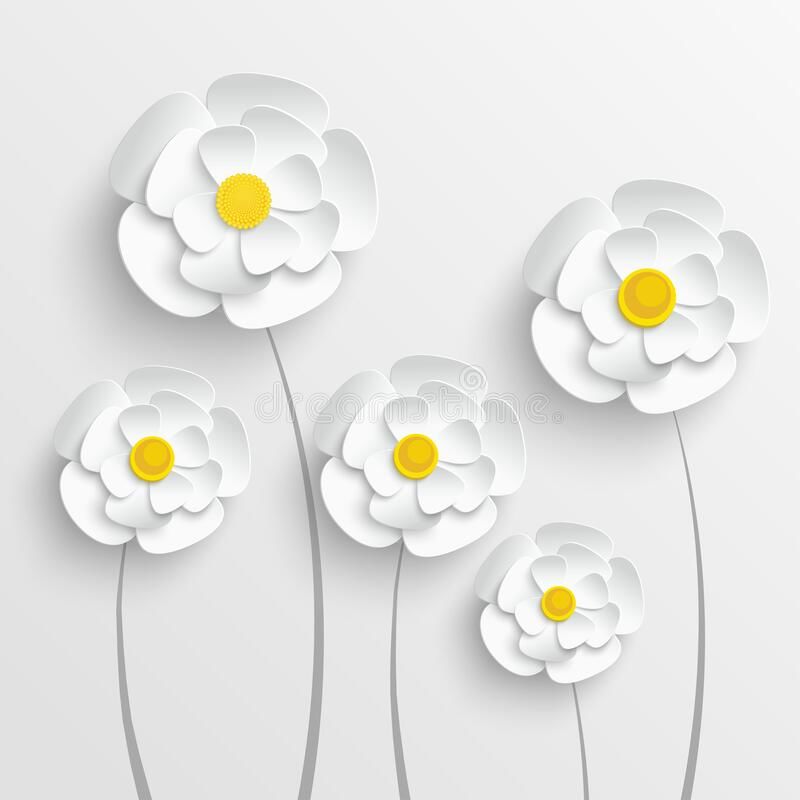
Photo ideas homemade paper daisies