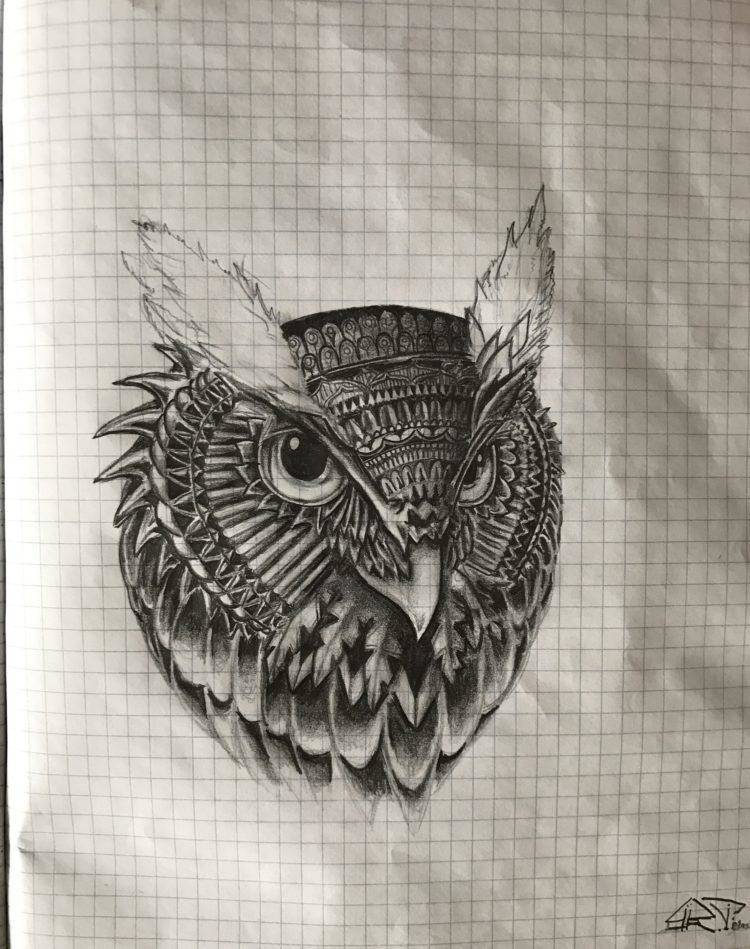
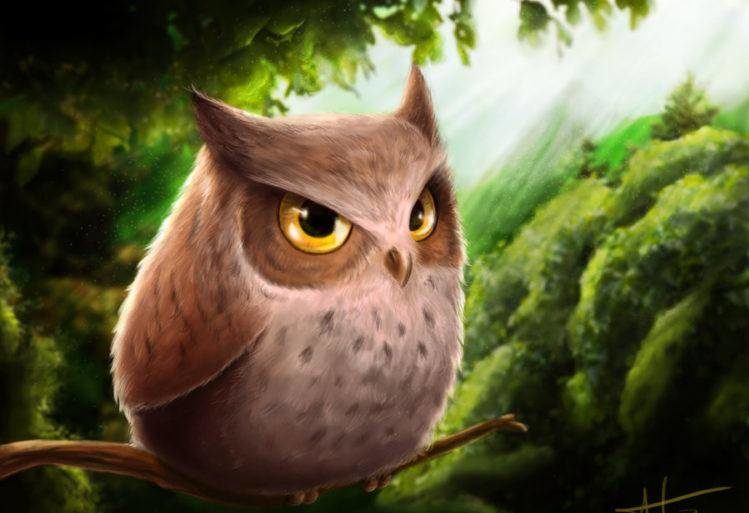
How to Draw an Owl in Pencil - Easy Step-by-Step Instructions for Children and Beginners
If you love drawing, but are just starting out as an artist and don't know how to draw an owl, this article is for you. Here you will learn how to beautifully draw this feathered animal, using the usual materials and tools.
To create an image, an ordinary pencil and a sheet of paper will come in handy. In this case, the result will turn out to be unusually attractive.
The article suggests several options for drawing the bird. You can use any you like to depict a delightful wise owl.
What will be needed in the work?
Before you start drawing, it is better to prepare all the necessary tools and materials in advance. Then during the work you will not be distracted by anything, because everything will be at hand.
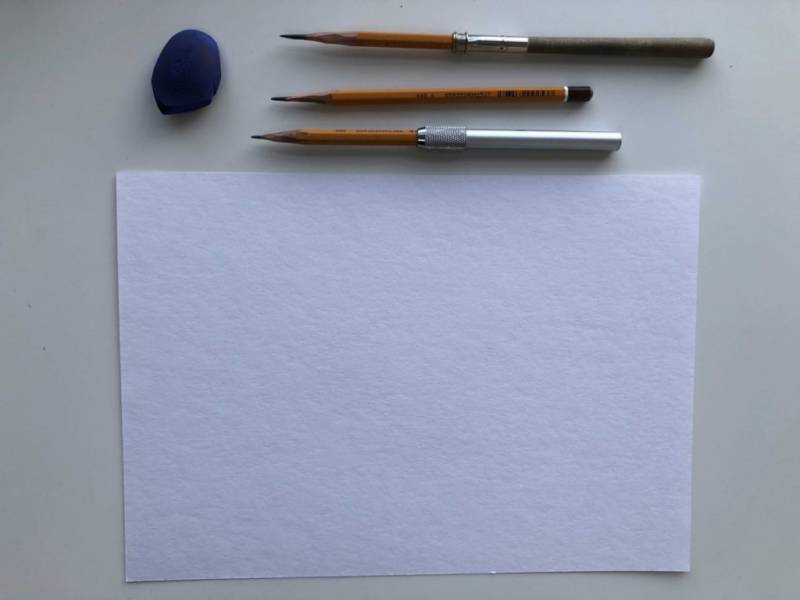
To create a beautiful picture of an owl, you do not need any special tools or materials. You can use a simple pencil and a piece of paper.
Tip: If you want to create an owl using one of the following paintings, use watercolor paper. For example, if you use scrapbook paper, it's not going to be very handy.

You will need two pencils: one medium soft and one fairly soft. To erase unnecessary lines and to get rid of mistakes, grab a good eraser.
Once you have prepared everything you need, you can start working with the picture.
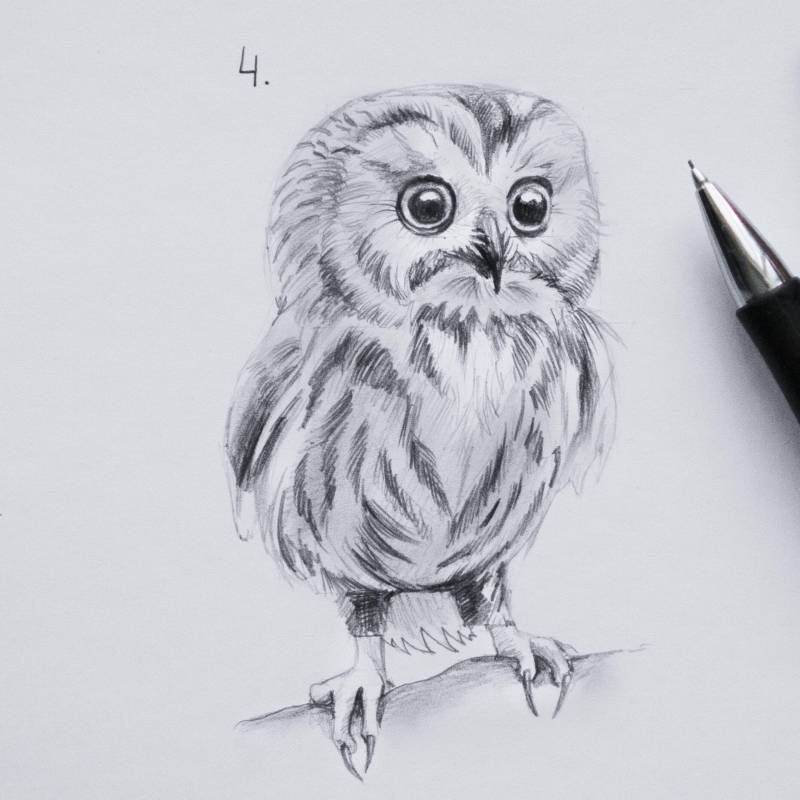
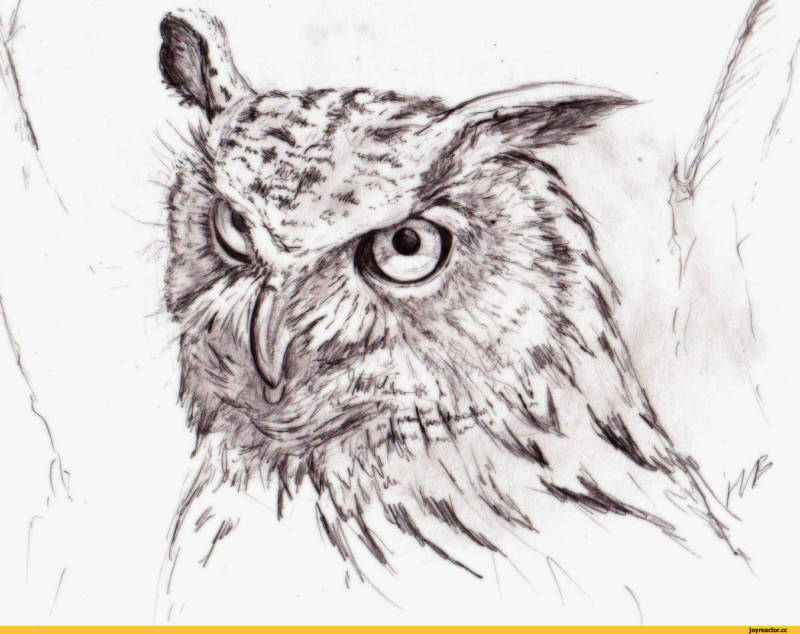
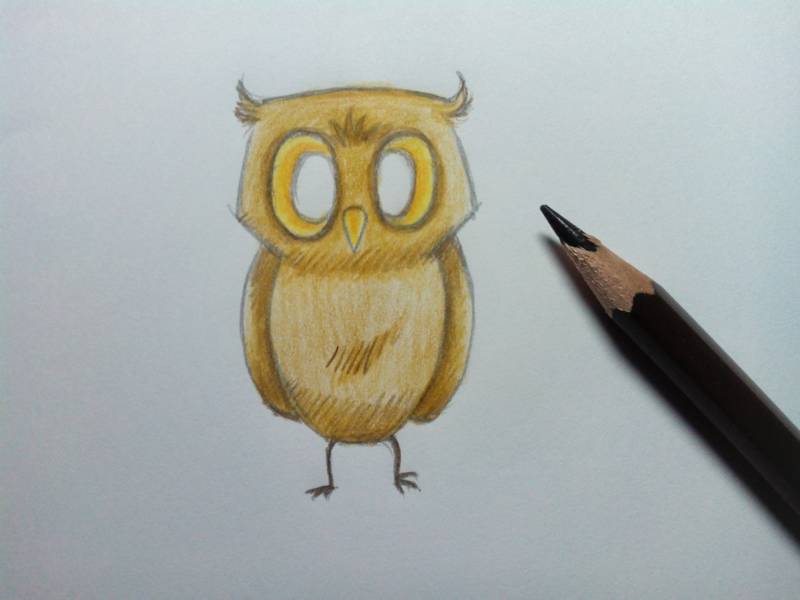
The easiest way to draw an owl
Even a beginner can cope with this task, because there is nothing difficult at all. Drawing a feathered animal in this way is very easy and simple, so feel free to get to work and create your own masterpiece.
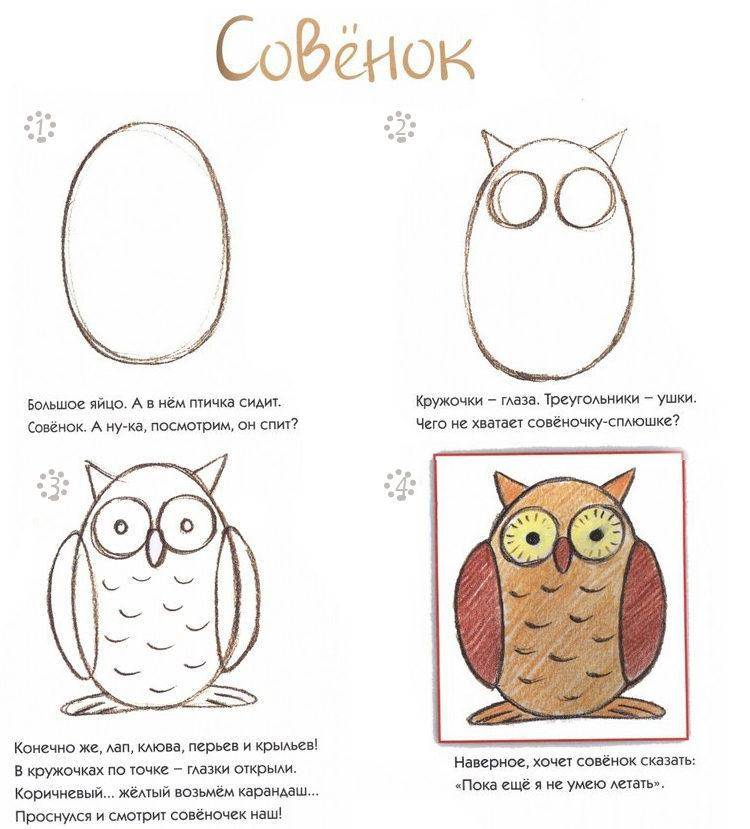
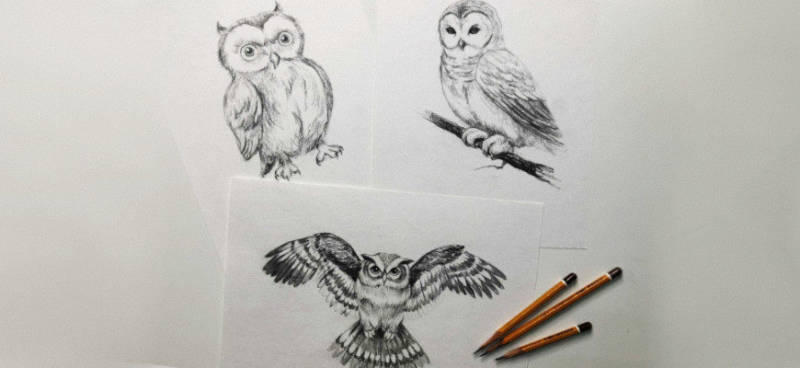
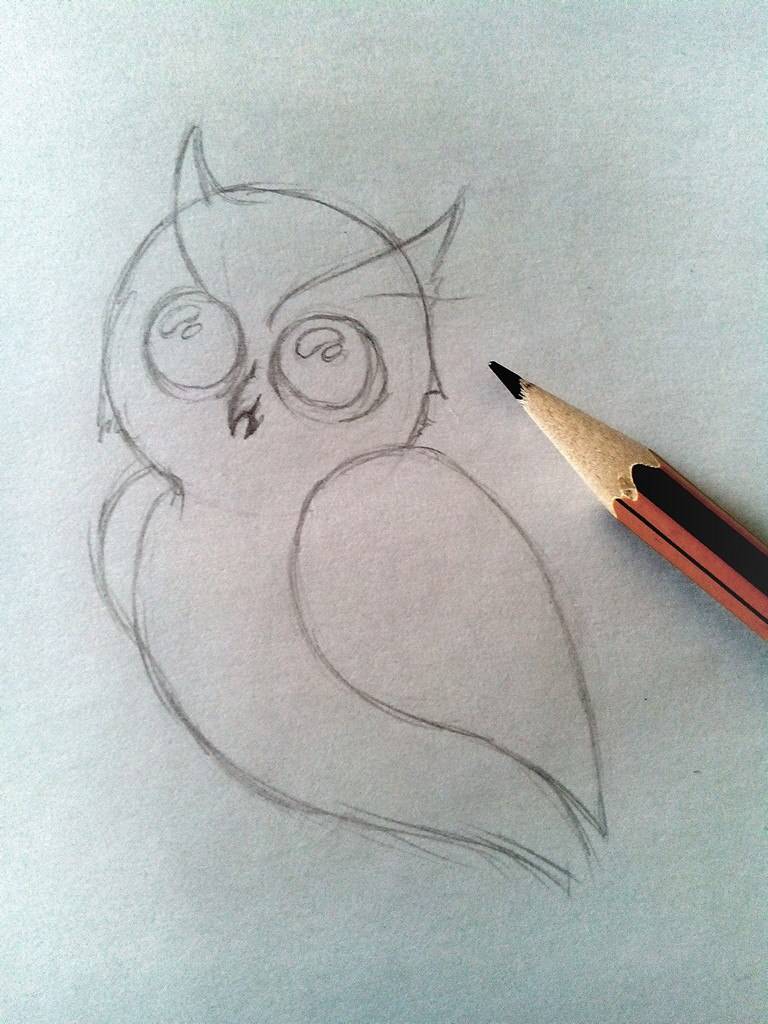
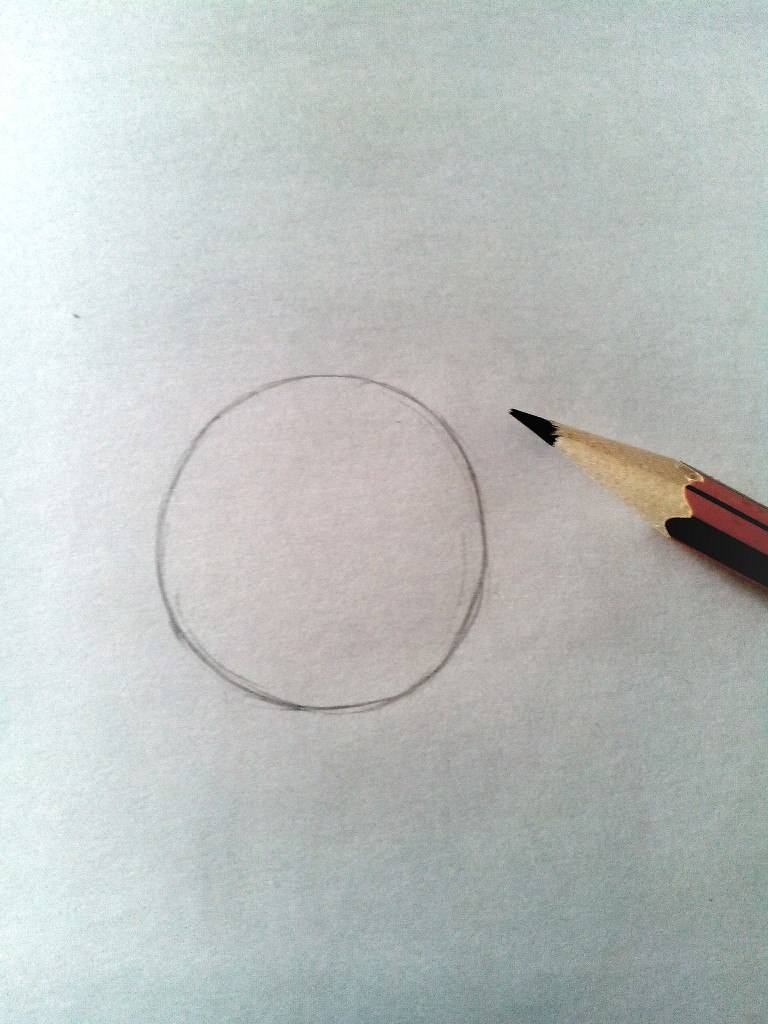
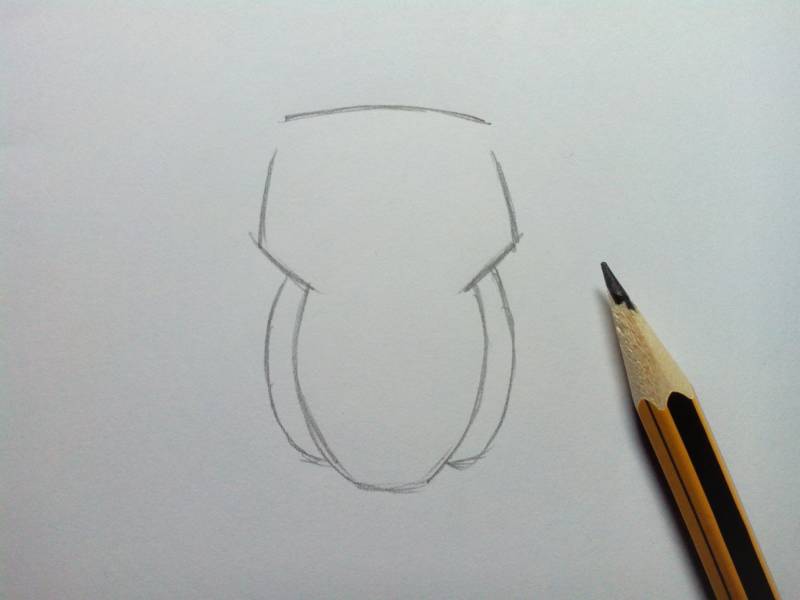
Step one: create a basic shape
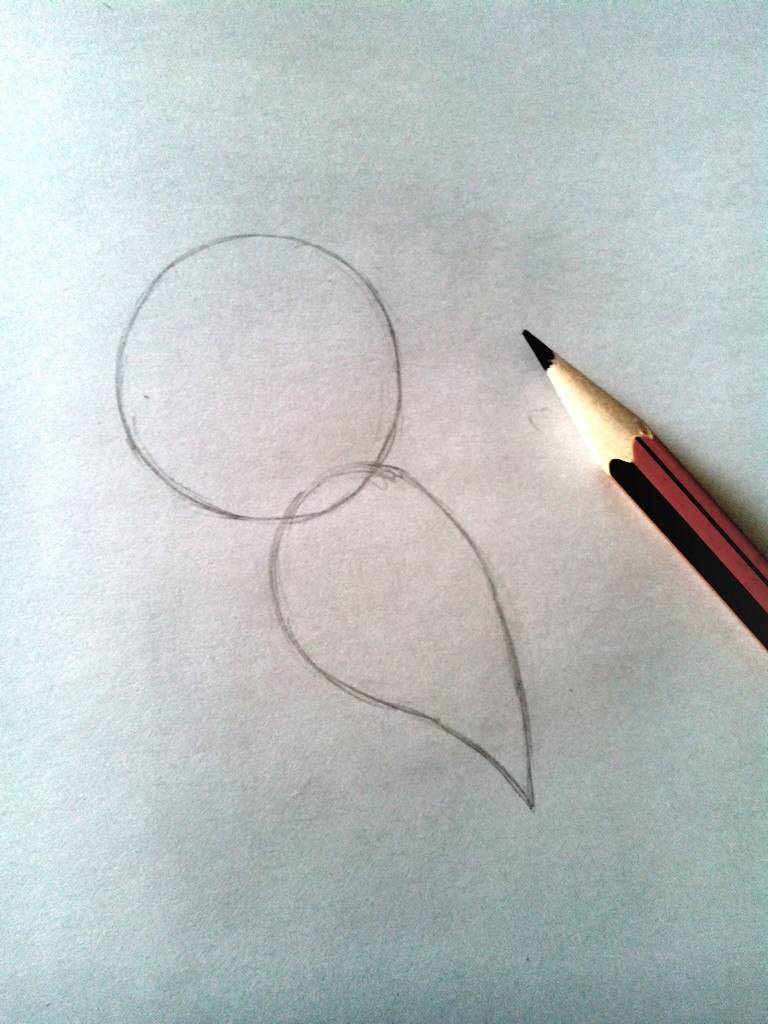
The basis of almost any drawing are geometric shapes. To draw a beautiful owl, you should depict it schematically. The head of the bird is an oval and the body is a circle. Draw these figures with a pencil medium soft. Further continue to work with them.
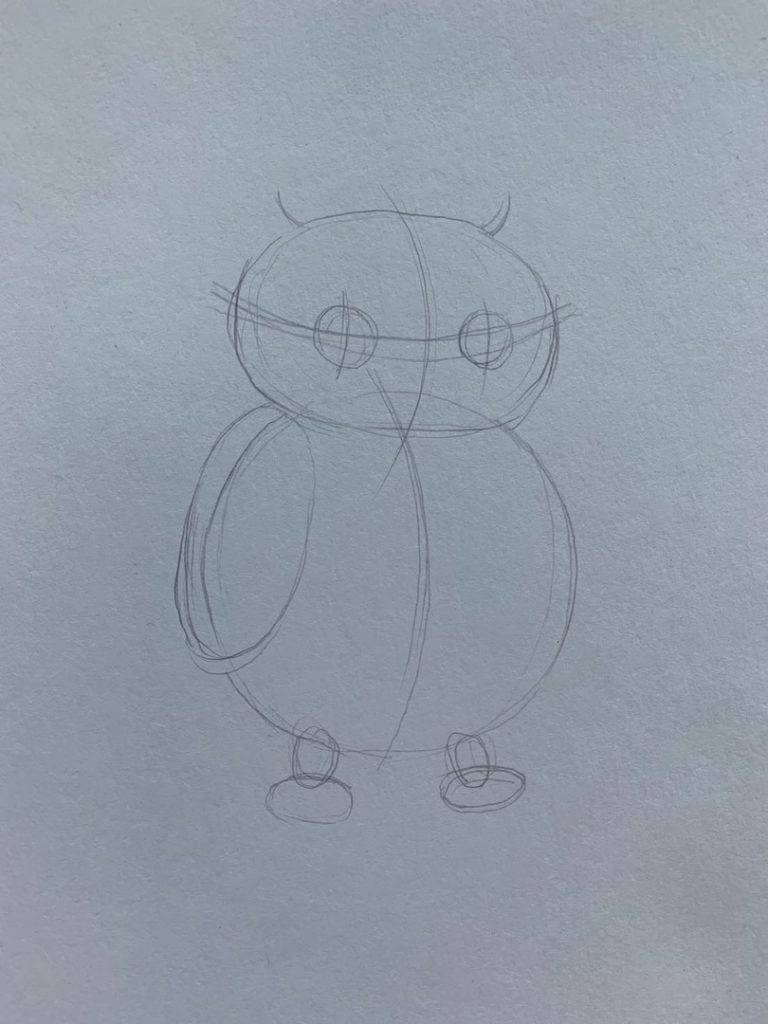
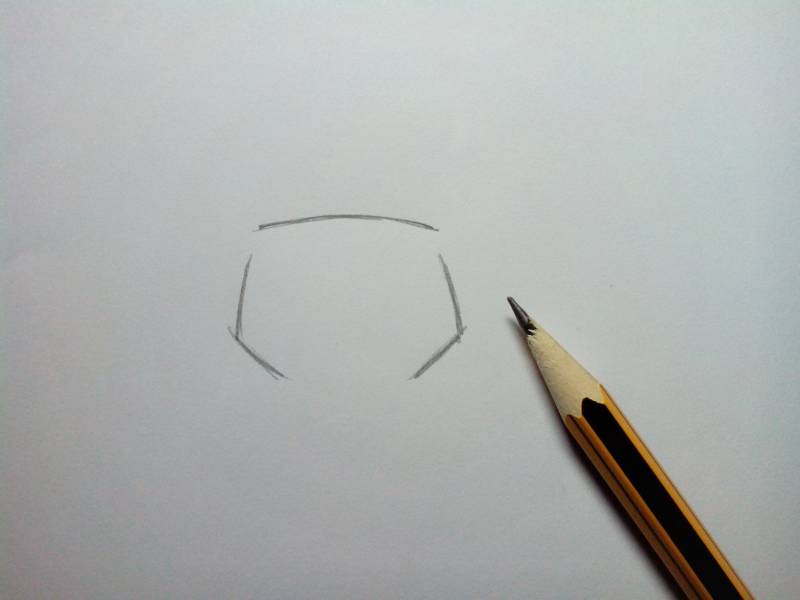
Then draw a line through the circle and the oval. This straight line will play the role of the axis of the body. In addition it should be marked owl neck by connecting with semicircular lines head and torso.
Now draw the eyes of the drawn bird. They will have a round shape. Inside the eyes also need to show the centerlines. It remains only to outline the other details: wings, tail and feet.
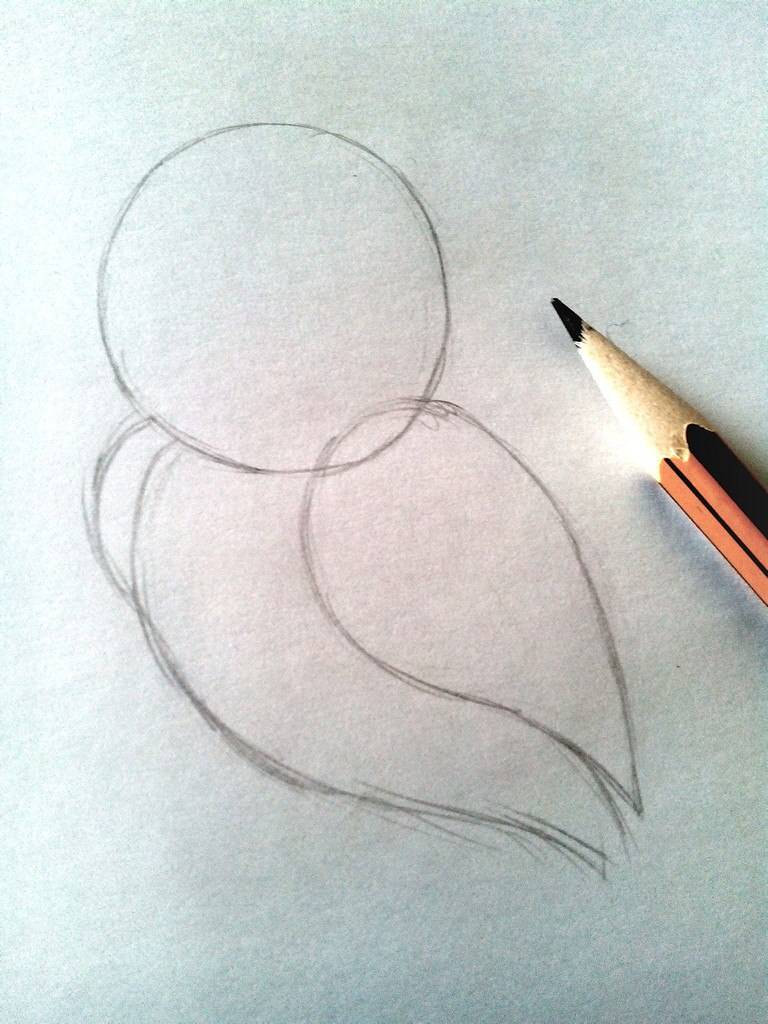
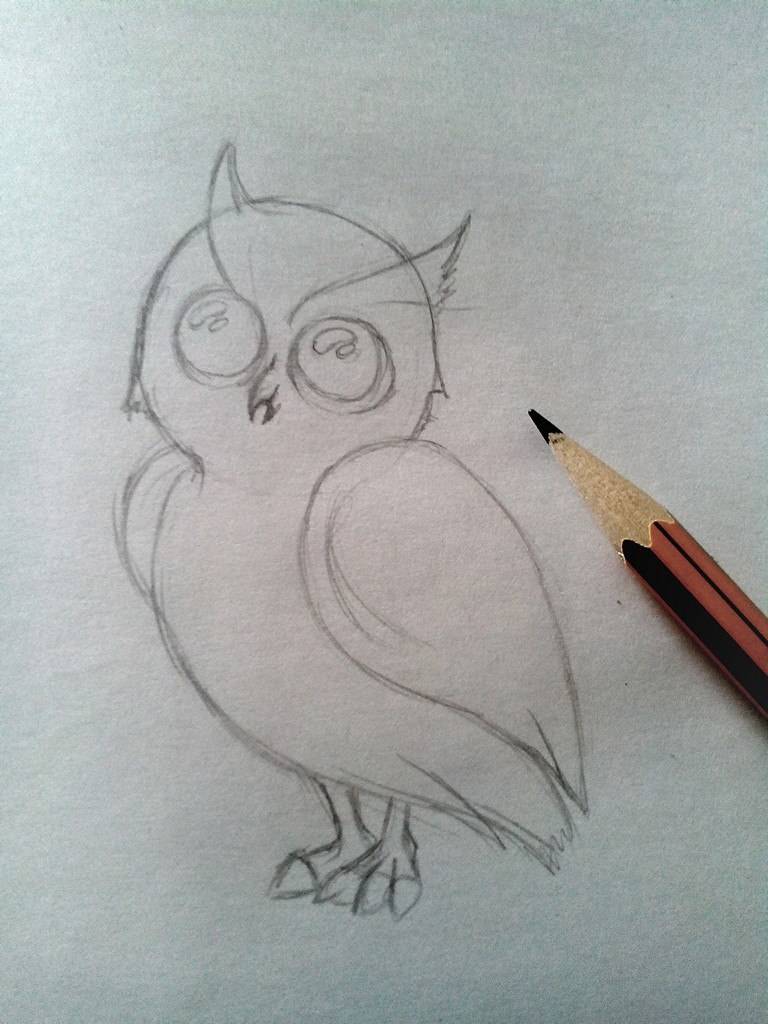
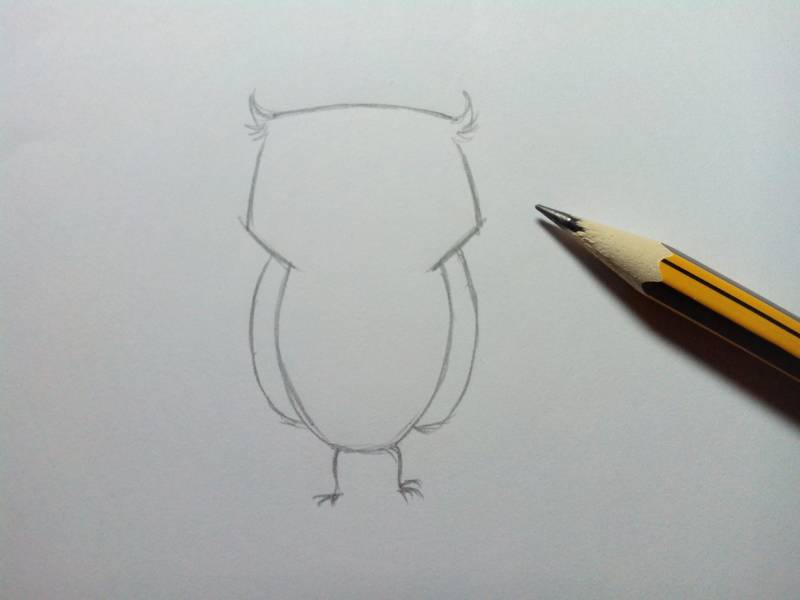
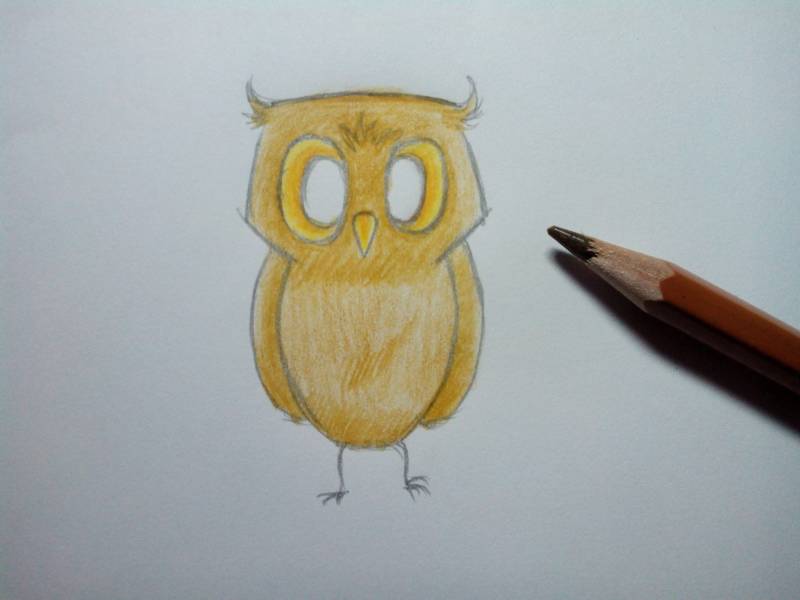
Second step: drawing ears, beak, eyes and feet
Give more detail to the resulting bird. At this stage, you should show the owl's ears, draw its beak, more clearly indicate the eyes and pupils inside them. In addition, more clearly traced wing. On the paws add finger ovals. Engage also and the tail - it too must be traced. Rear wing will peek out from behind the body of the owl, so it is worth showing his edge. Large forms clarify the light part on the head of the owl.
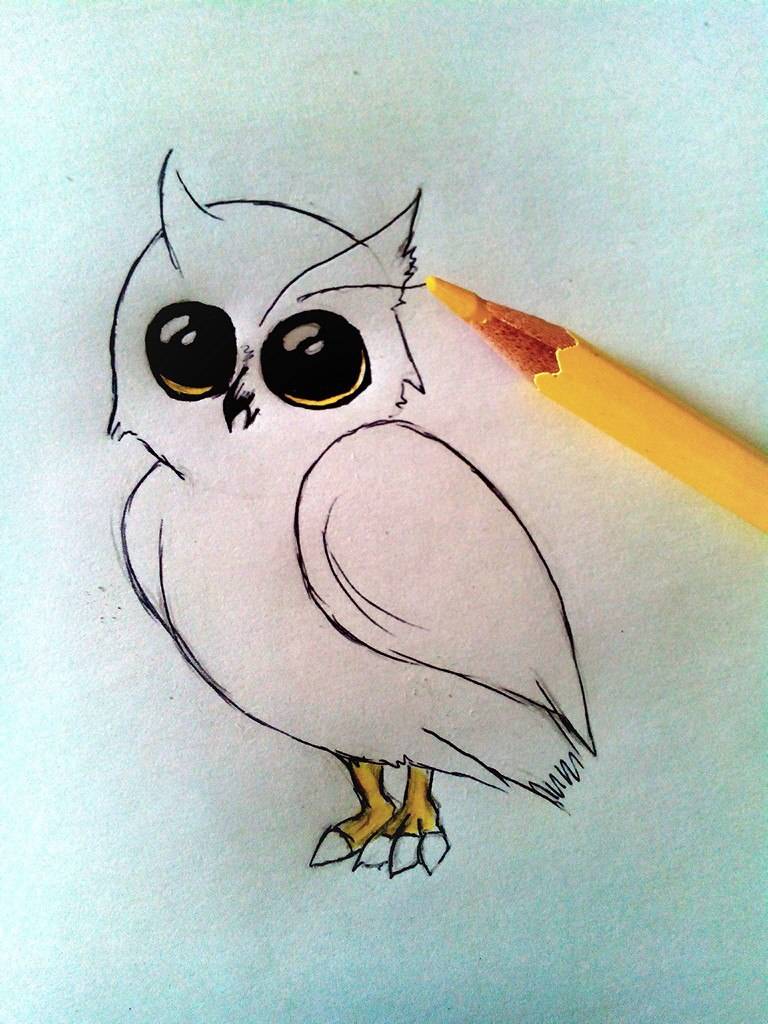
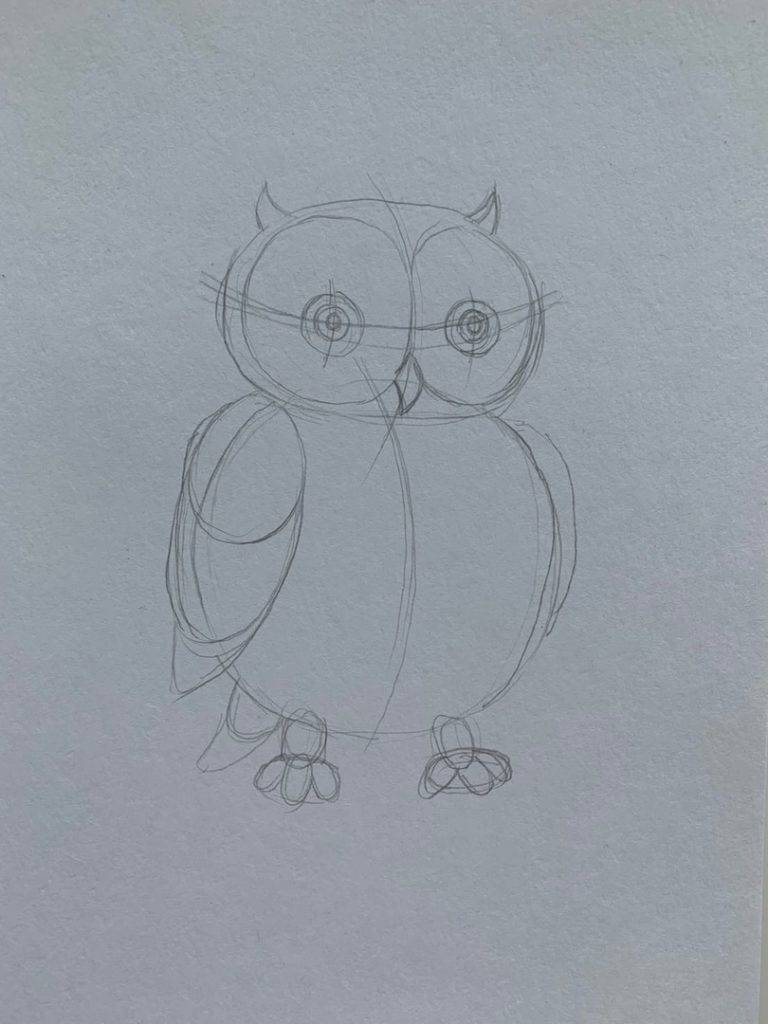
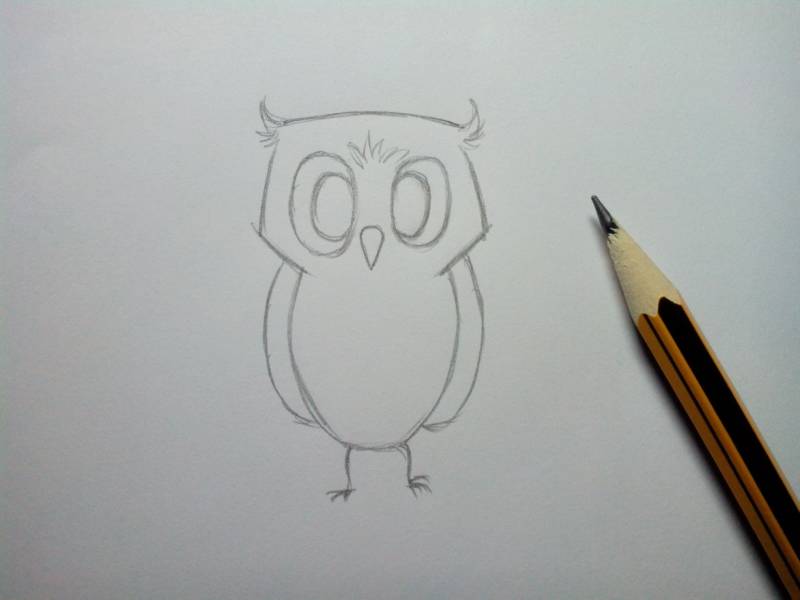
Third step: getting rid of excess, drawing feathers
It is better to specify all the forms, sharper indicate the transition, trace feathers. After that, you can erase unnecessary lines, using the eraser. When you get rid of unnecessary strokes, show the character of the owl's eyes, add more detail.
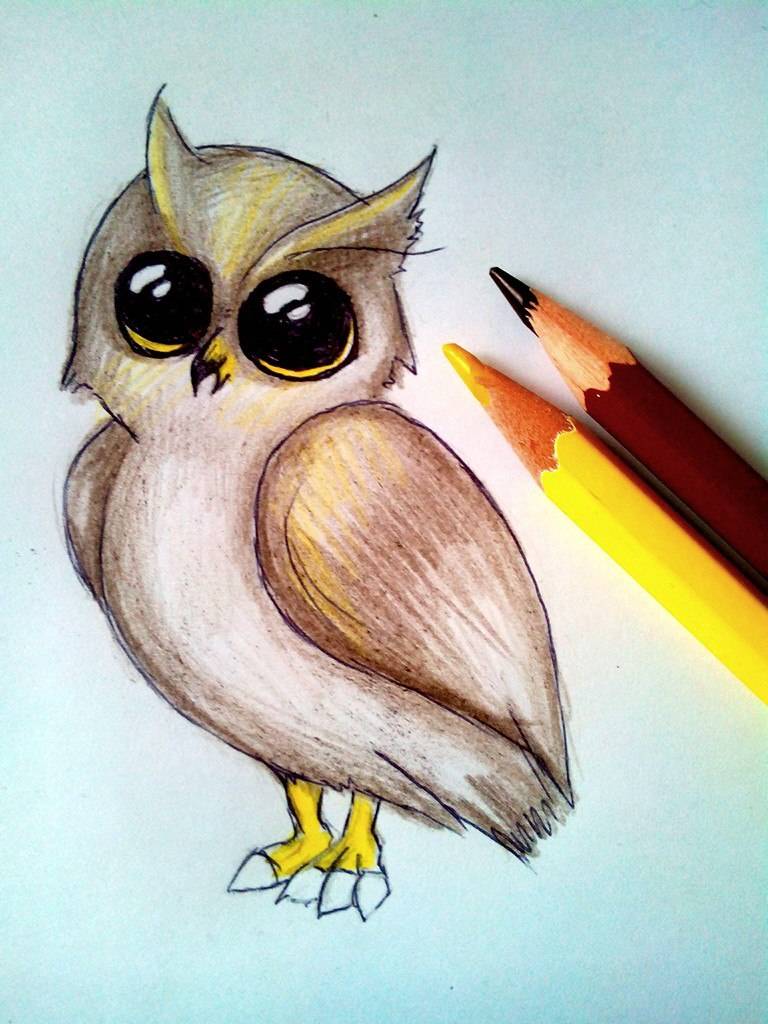
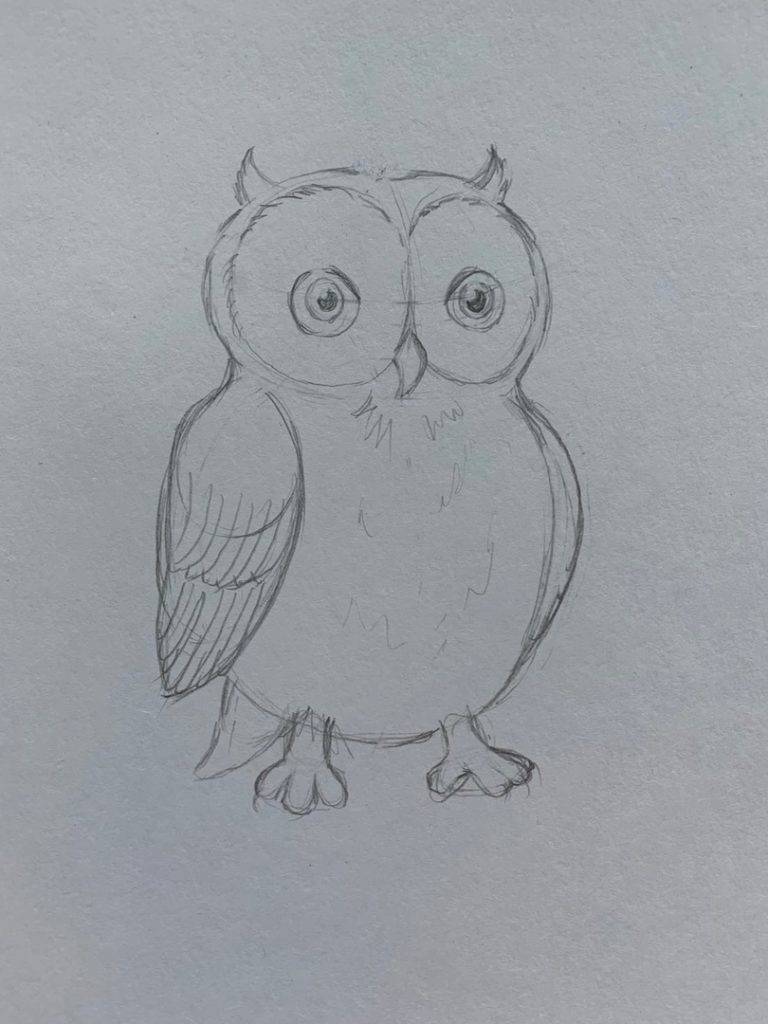
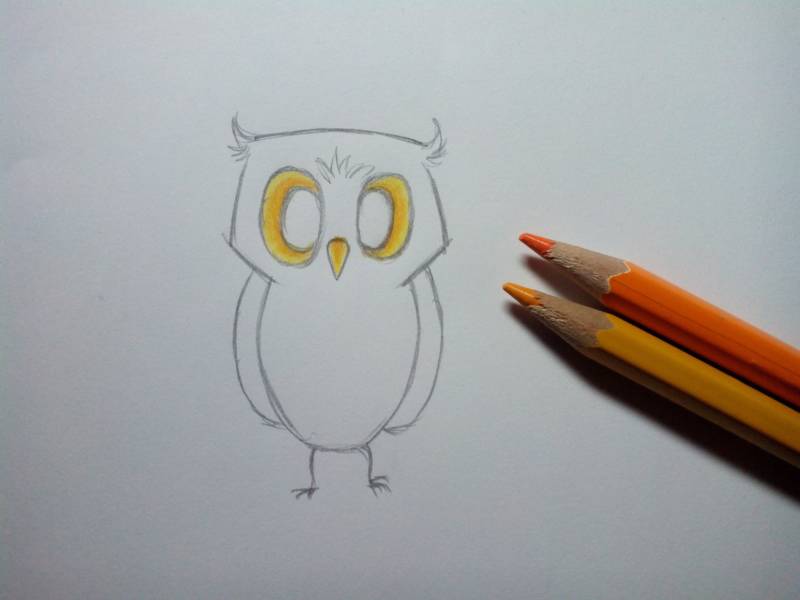
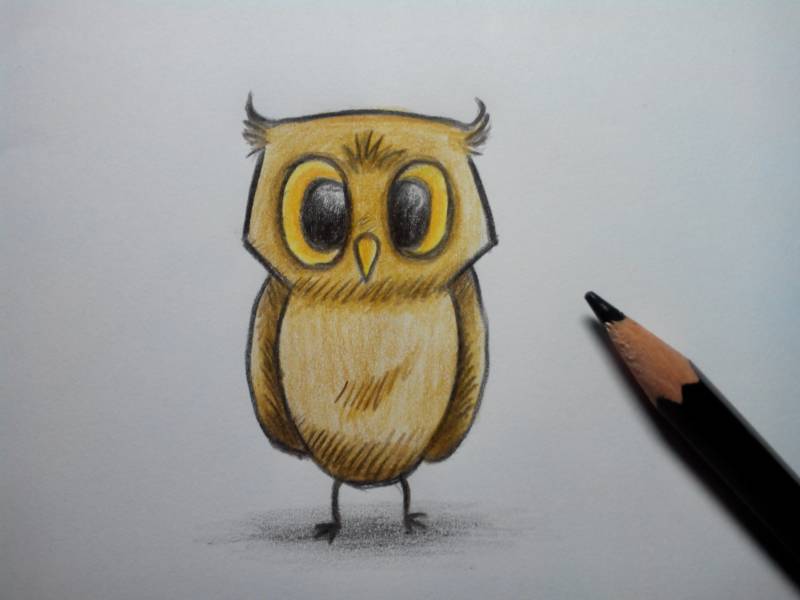
Step four: shading, fading, accentuating
This is the last step that uses a pencil with a soft slate. With its help add tone, draw the feathers. It is necessary to use the flat side of the tool, called the touch-up.
To highlight the wing, draw a shadow under it. Tone need to denote the claws as well. To make the white part of the head became visible, paint everything else, darken the ears. Pupils to do as dark as possible. After that, put some accents sharpened end of a pencil. They should be on the wing, chest and legs.

This ends the creation of the masterpiece. As you can see, drawing a beautiful picture of an owl is not difficult - it is enough to follow the instructions and believe in your strength.
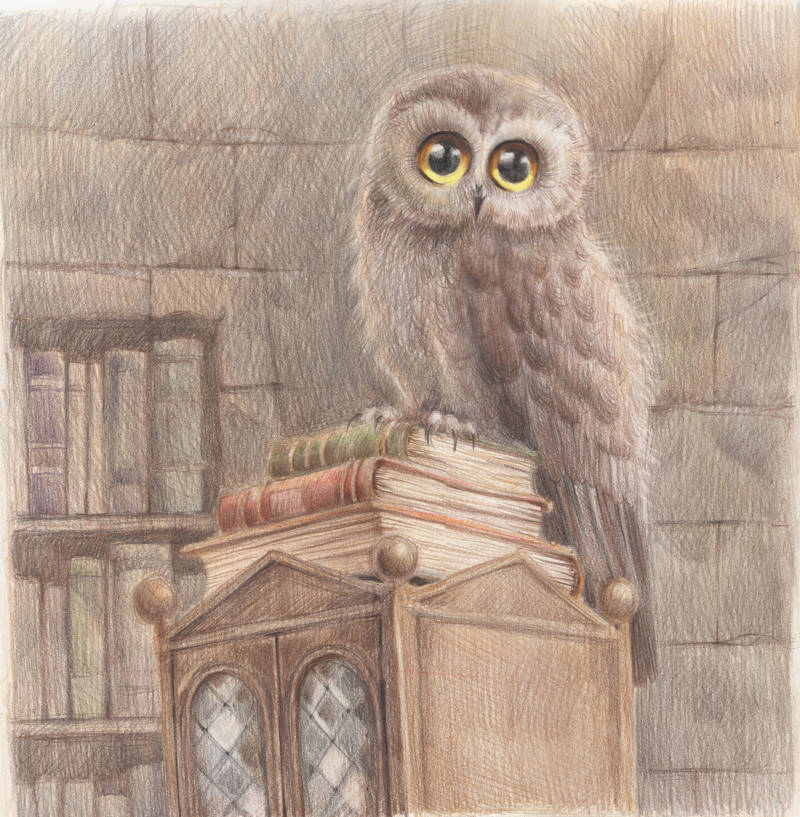
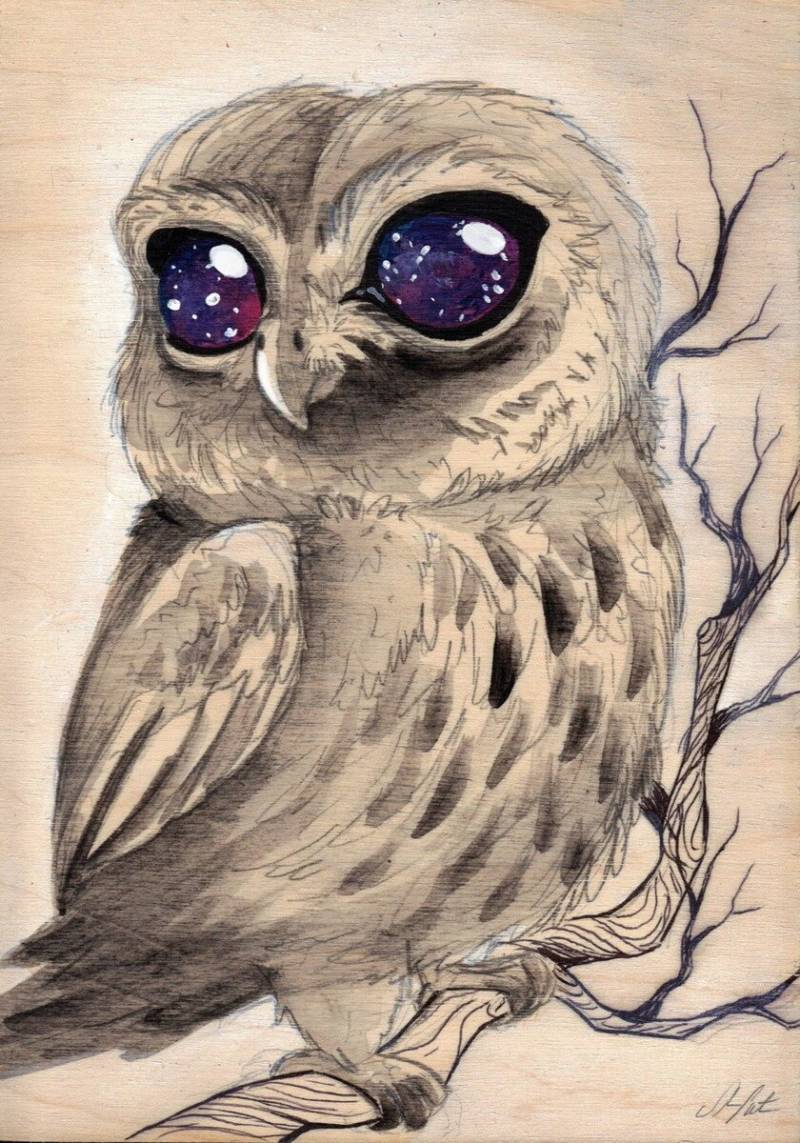
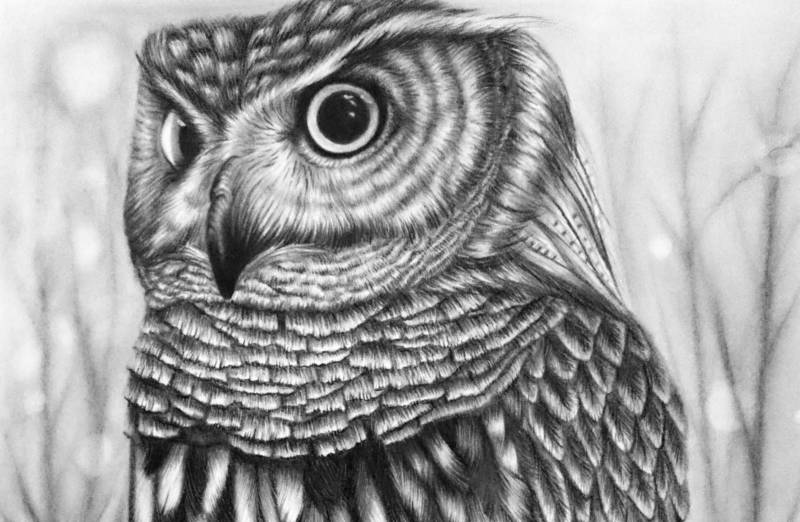
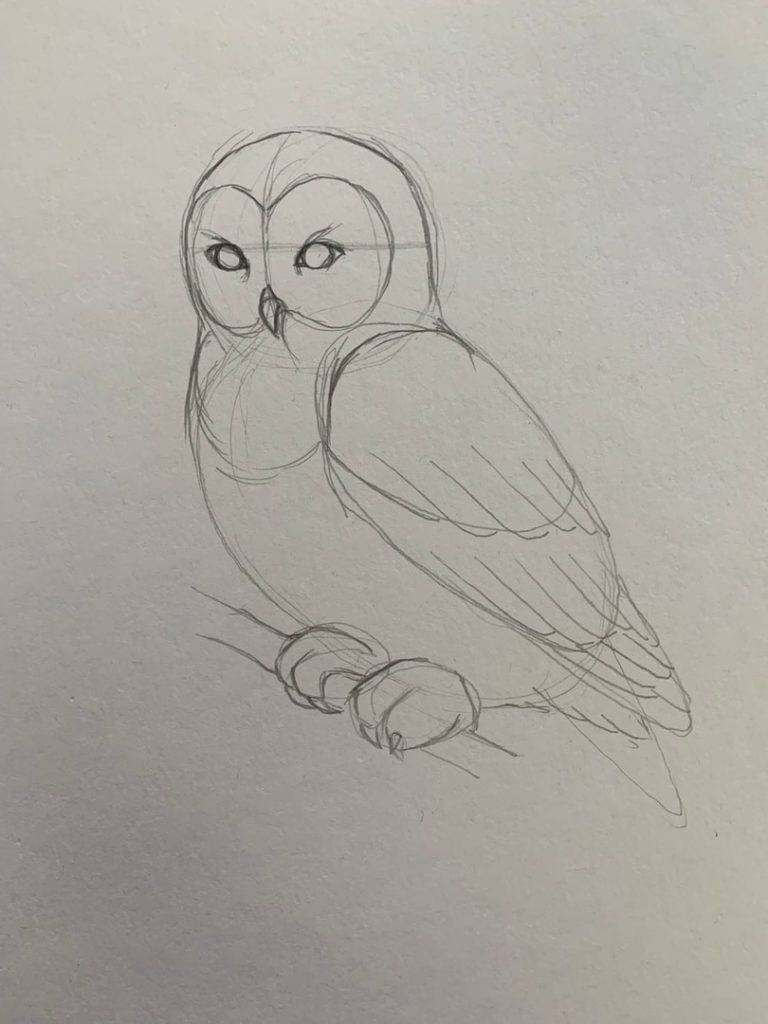
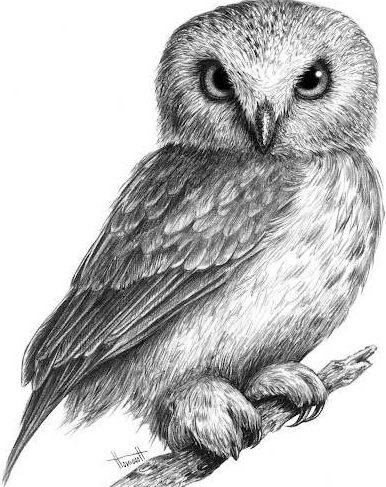
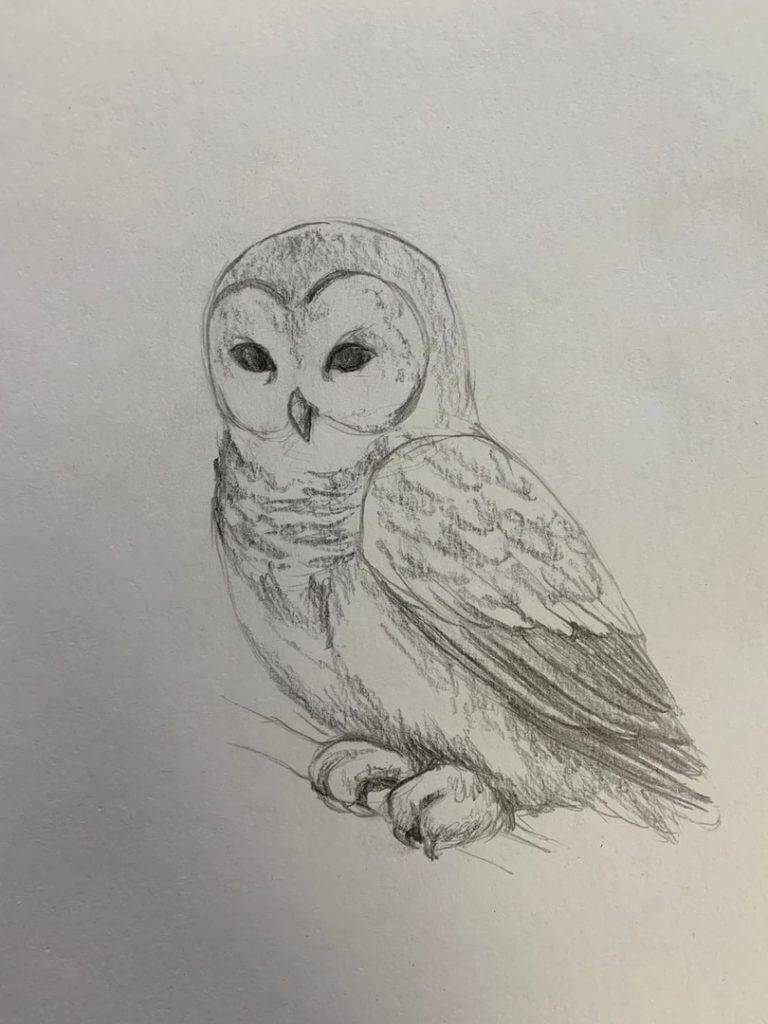
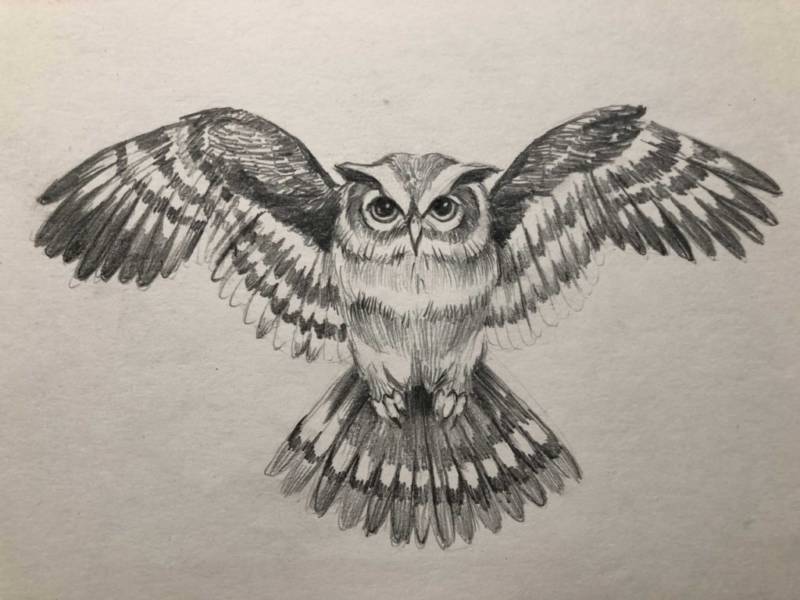
Polar owl on a branch
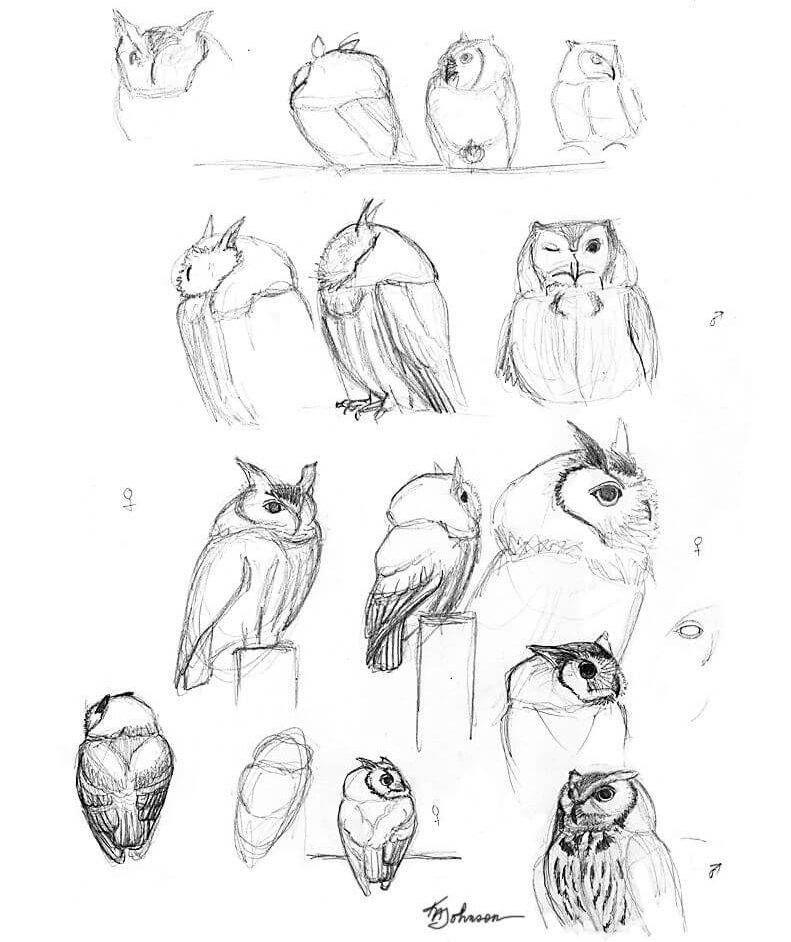
Here is another way to draw a wonderful picture of an owl. In this image, it will be located on a tree branch. Begin with a sketch, as you did last time. Try to find a picture of an owl on a branch and place it in front of you as a model.
Step one: depicting the main parts of the bird
Arm yourself with a medium soft pencil and sketch the outline of the owl. Use the simplest geometric shapes for this. Use a circle for the head and an oval for the torso. Wings also need to indicate the oval. It should also add a sharp tip on the underside. After that, oval shapes show legs, a triangle - the edge of the tail.
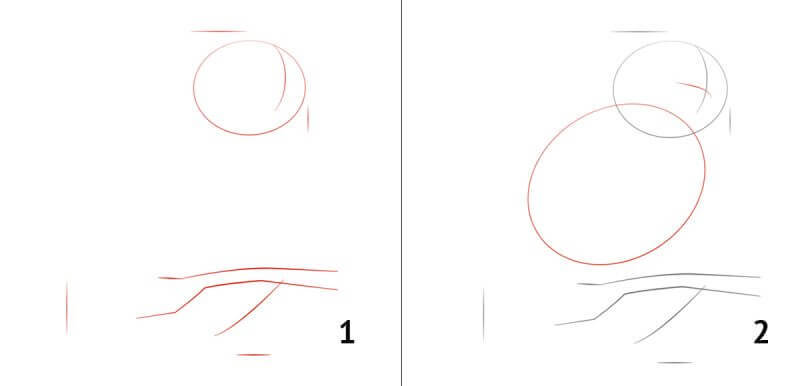
Now divide the head into two halves, and the line giving them away, should be held at a slight slope. Then the bird will be as if tilting its head. This will help make the image more vivid and realistic.
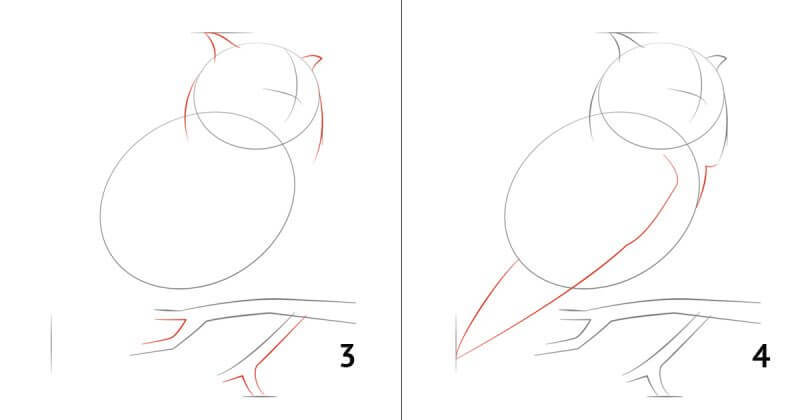
Draw the axis of the owl's head - it should not shift too much to the left side from the middle, because the bird's head is three-quarter turned. Focusing on the centerline, draw a pair of circles - they will play the role of glasses of the feathered animal. It remains only to outline the lower part of the head beak, a more detailed drawing of the eyes.
Second step: shaping bird parts, drawing branch
Draw the head and all its parts in more detail. Pay special attention to beak and eyes. Show the location of the breast, feathers on the wing, and draw the claws.
After detailing, draw the branch. Initially outline it with strokes, and then draw its contours more clearly.
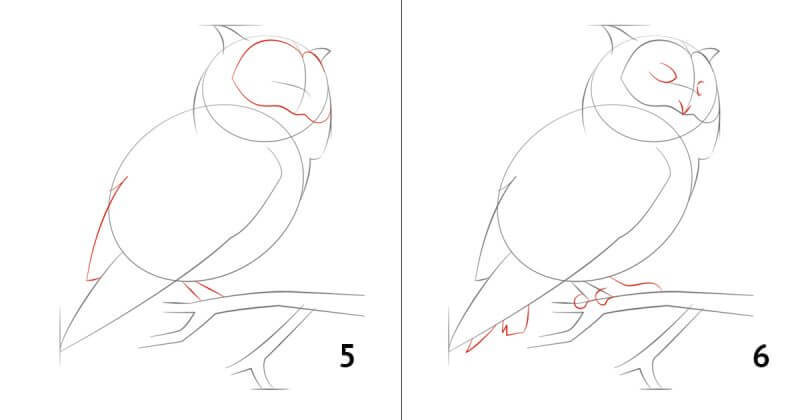
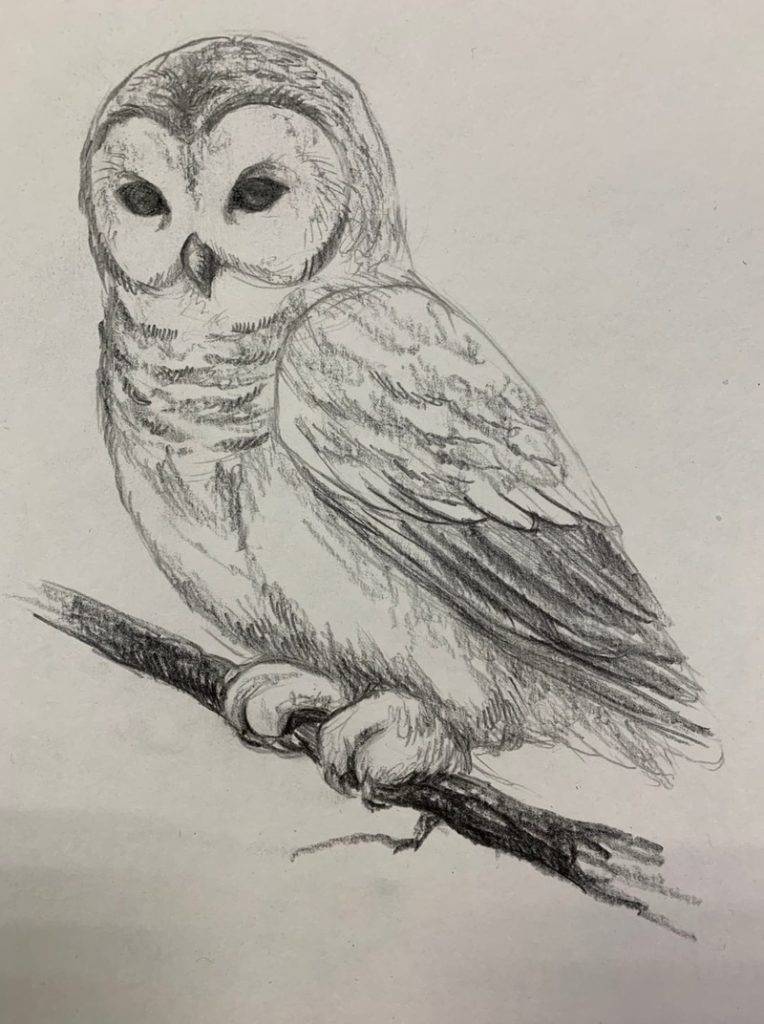
Step three: fade in.
Now you need to change the simple pencil on the one that has more softness. We recommend to use the 4B tool. With its help add a little tone on the owl's head. To do this, make short, flat strokes. After that, darken the contours of the head, add shadows near the eyes. The tone will also need to outline on the beak. On the area of the breast and neck of the owl, draw a lot of semicircular stripes, not quite even, intermittent. It turns out quite an attractive plumage pattern.
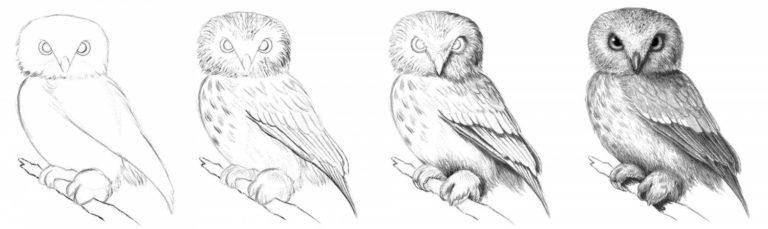
Darken feathers, located on the wing. The lower two-thirds of the wing make it darker than the upper part. Add more shading on the tail, around the legs and between them. Clearer draw the claws.
Try to mark the contours more clearly, as extra strokes will be removed with an eraser before toning, and this will make the rest of the lines less pronounced.
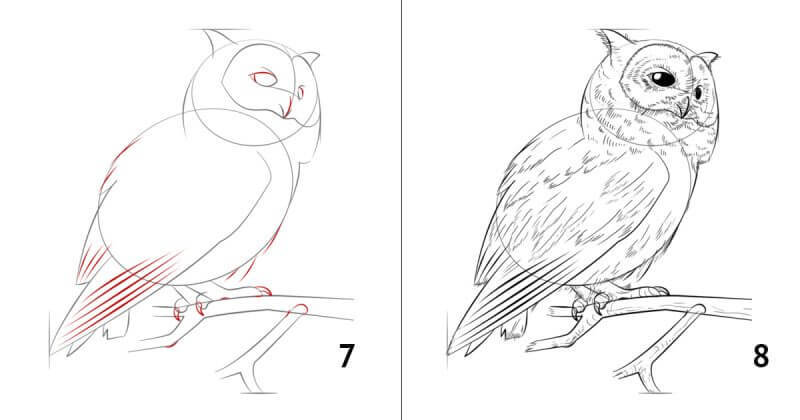
Step four: shading the elements
Start hatching plumage on the neck, head and wings with small strokes. Hatching must be small and always directed in the direction in which to look at the feathers. After marking the plumage, start marking the contrasts between the claws and under the feet.
Step five: Drawing the branch
Sketch the twig, more explicitly specify its shape. It will be good if it has a curved, jagged shape. Try to show some bulges on it - it will look much livelier and more natural.

Blur the resulting branch, and then use the flat side of the tool to start drawing the darker recesses. Then you can depict the pattern of a tree. The underside of the twig sharpened side pencil.
This concludes the creation of an adorable drawn owl perched on a twig of a tree. You can also draw the bird without the branch - just skip this step, paying more attention to the feathered bird.
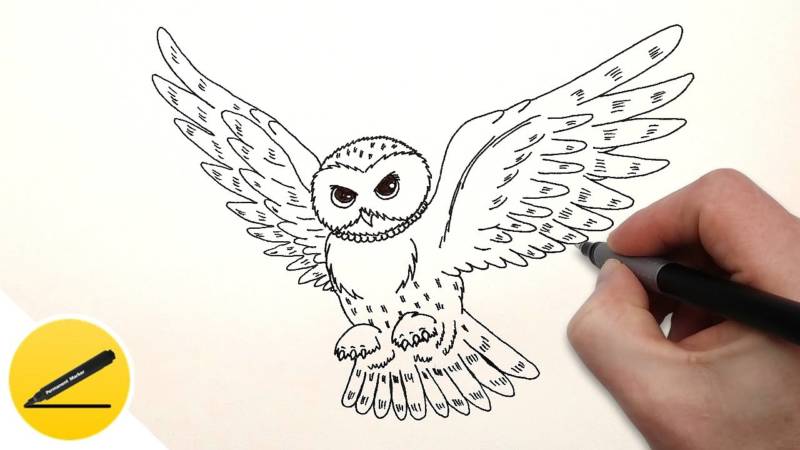
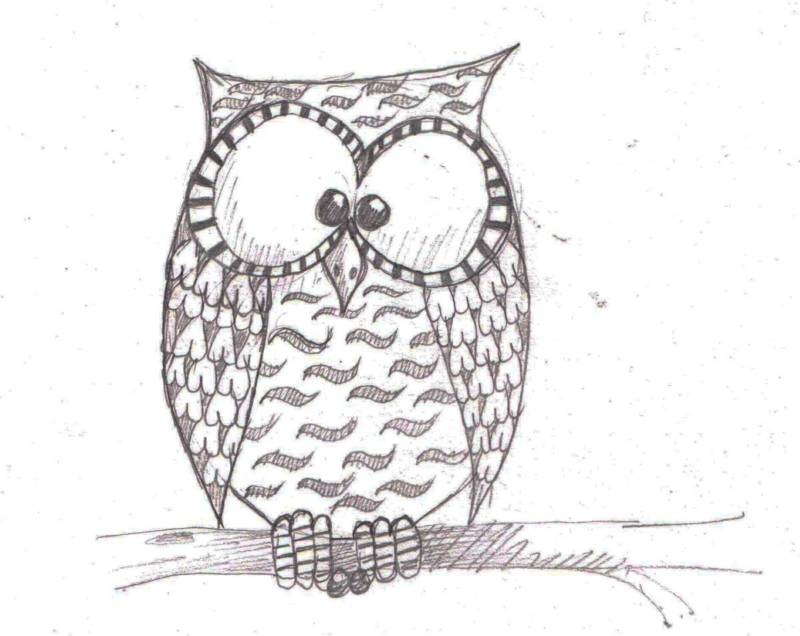
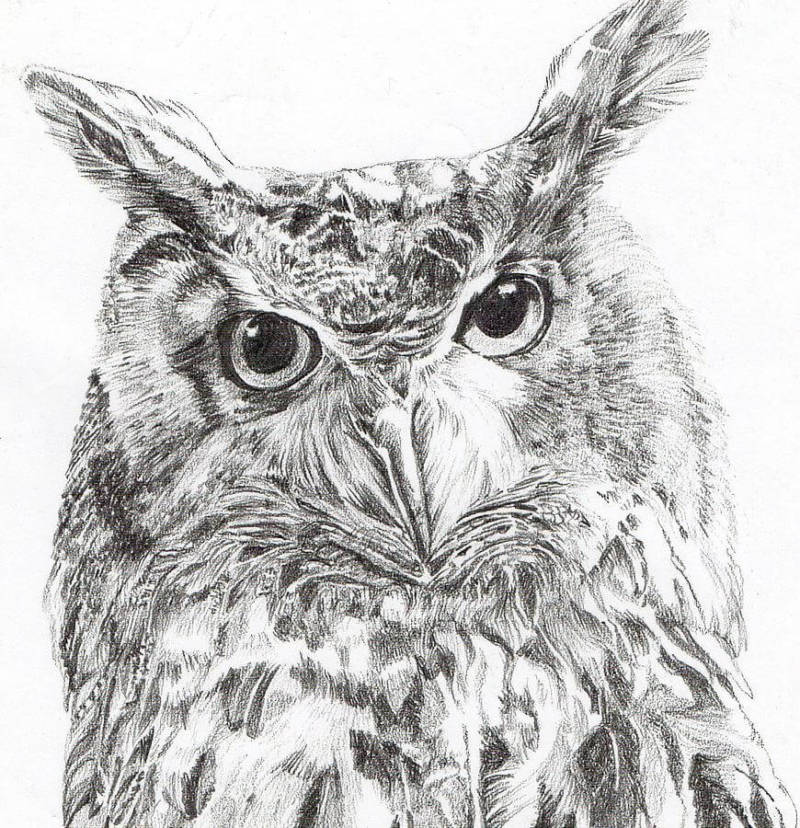
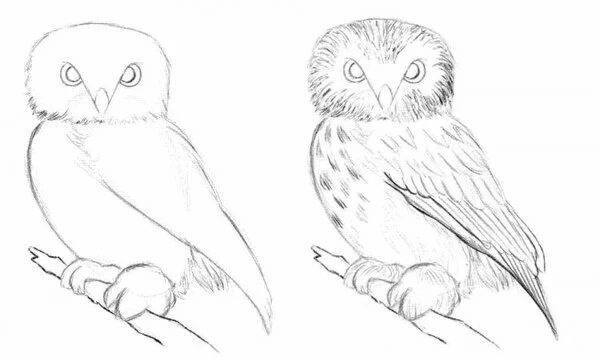
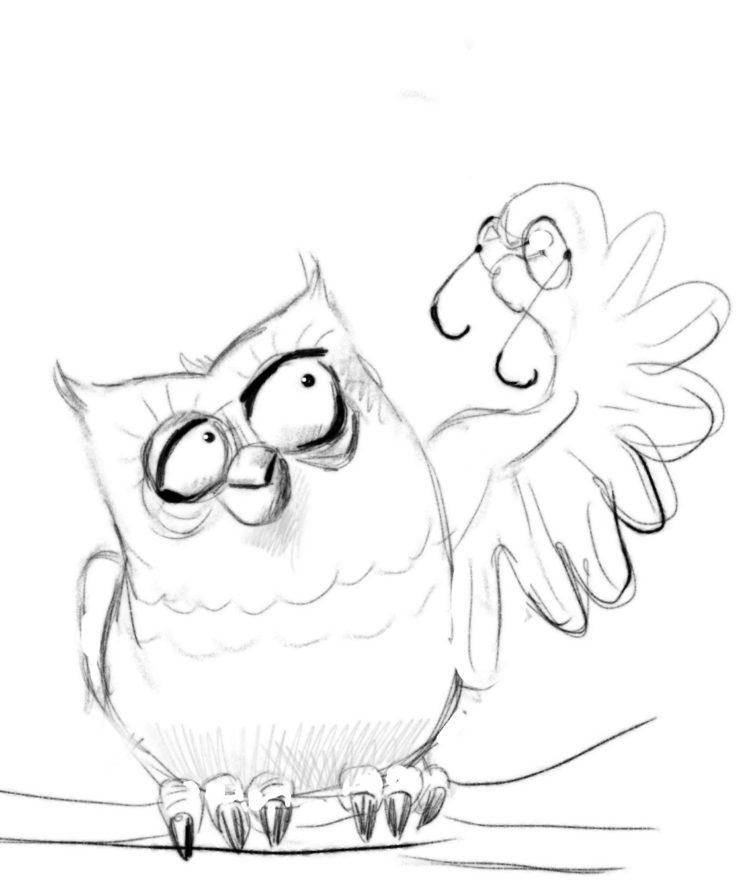
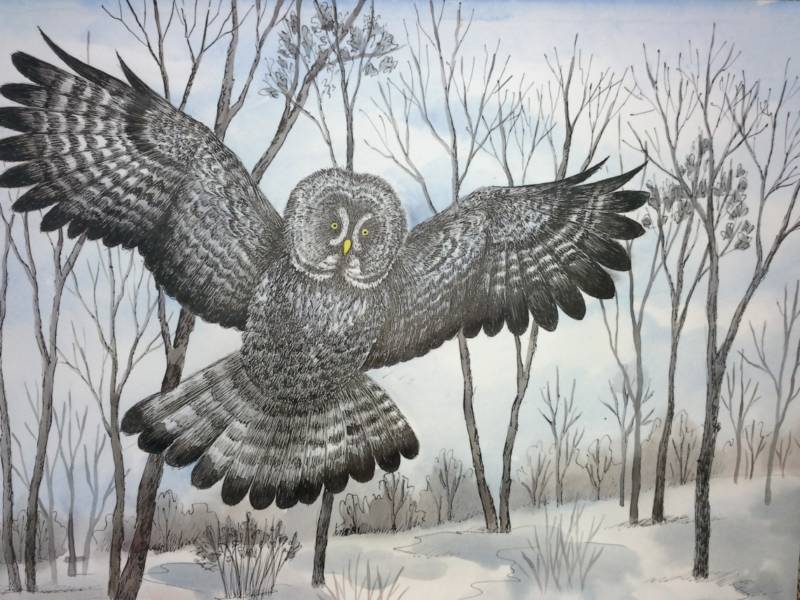
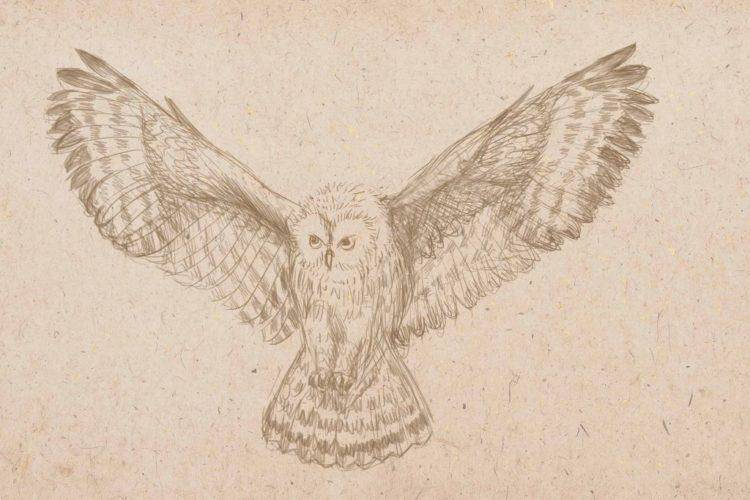
An owl with wings spread
This drawing, too, is not difficult to do if you follow the instructions below.
Step one: create the shape of the bird
Once again, the shape of the feathered animal will be created using the simplest geometric shapes. The head will be round, the torso will be oval, and the tail will be semicircular.
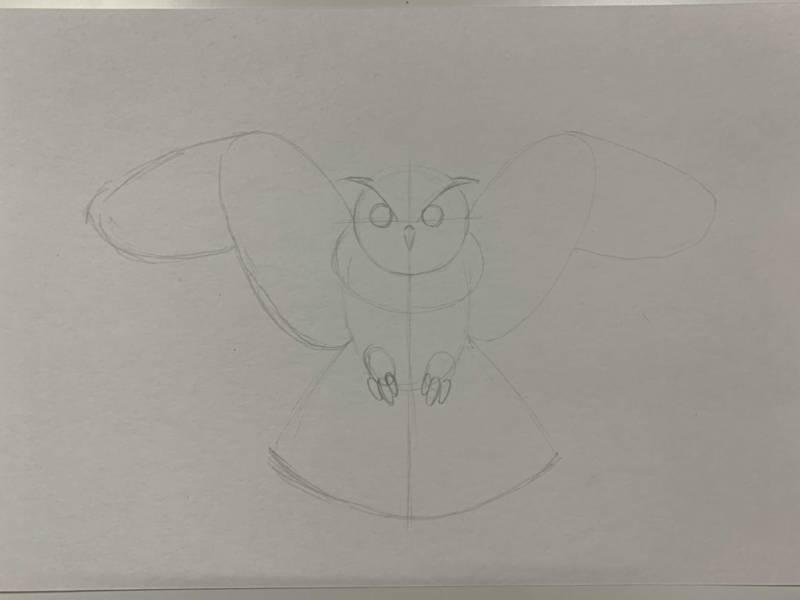
In addition to these elements will need to indicate a semicircular collar, located under the head. Semicircular will also be paws and claws. At this stage it is also worth sketching the wings: the first phalanx and the second, resembling a few triangles.
Do not forget to circle the eyes, semicircles - ears, and a triangle - a beak.
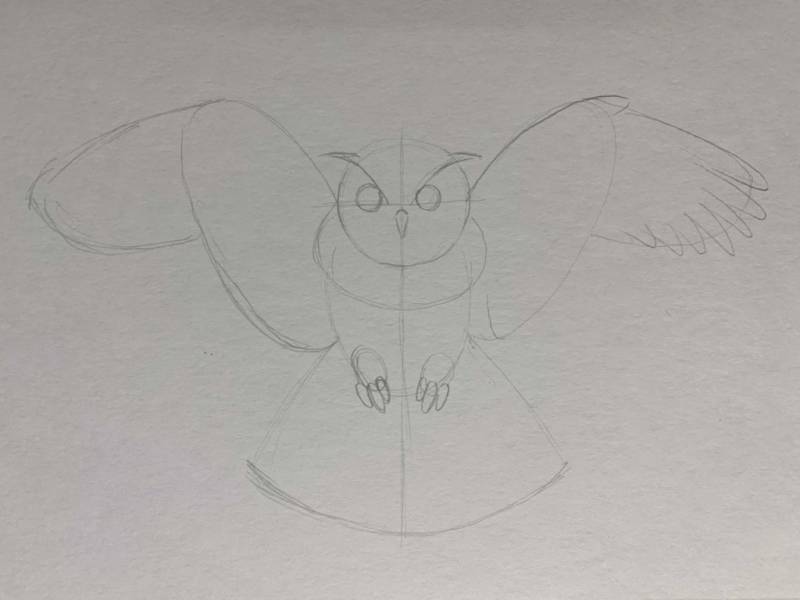
Second step: drawing of the plumage
Now you need to add plumage to the bird, to refine the shape of the eyes and to draw the pupils inside them. Mark also the light highlights in the eyes, show the shape of the neck, darken the ears. Draw the feet and tail feathers. Try as much detail to portray the plumage of the bird.
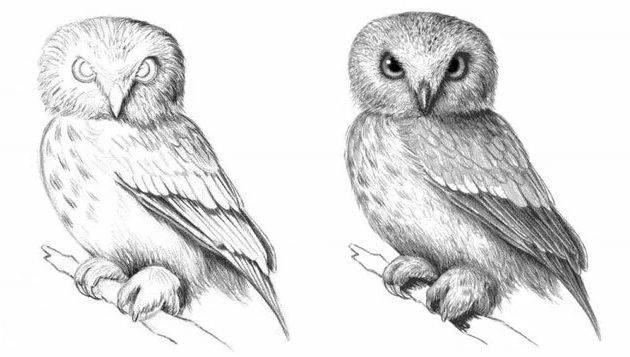
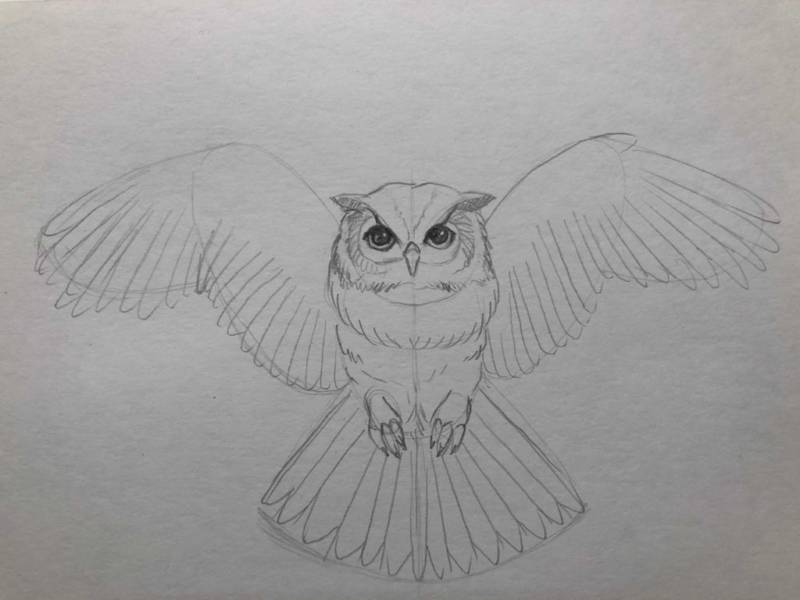
Step Three: Get rid of unnecessary strokes
The easiest and fastest step. Simply erase unnecessary lines with eraser, leaving only owl silhouette.
Step four: shading
Work on the head and torso of the owl with small strokes. Use the tip of a soft pencil to put accents, add contrasts. Try to make a different shading from each other in different areas. This way the picture is much more interesting.
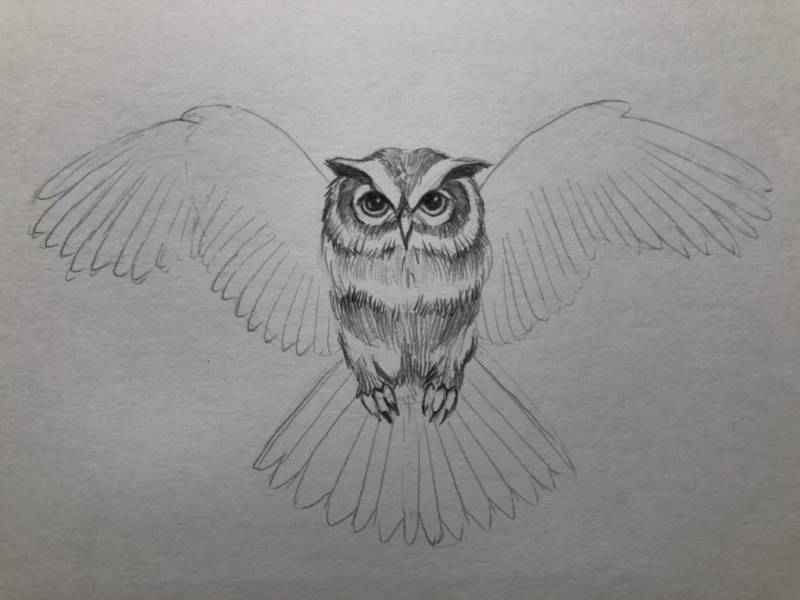
Step five: detailing wings and feathers, adding volume
Simply darken some areas of the wings, using a soft simple pencil. Add shadows on the tail as well. This will help create some volume, to make the owl more realistic.
It turns out a very beautiful image of an owl, and it is not difficult to draw it at all. You can use one of the suggested master classes and create your own masterpiece with your own hands.
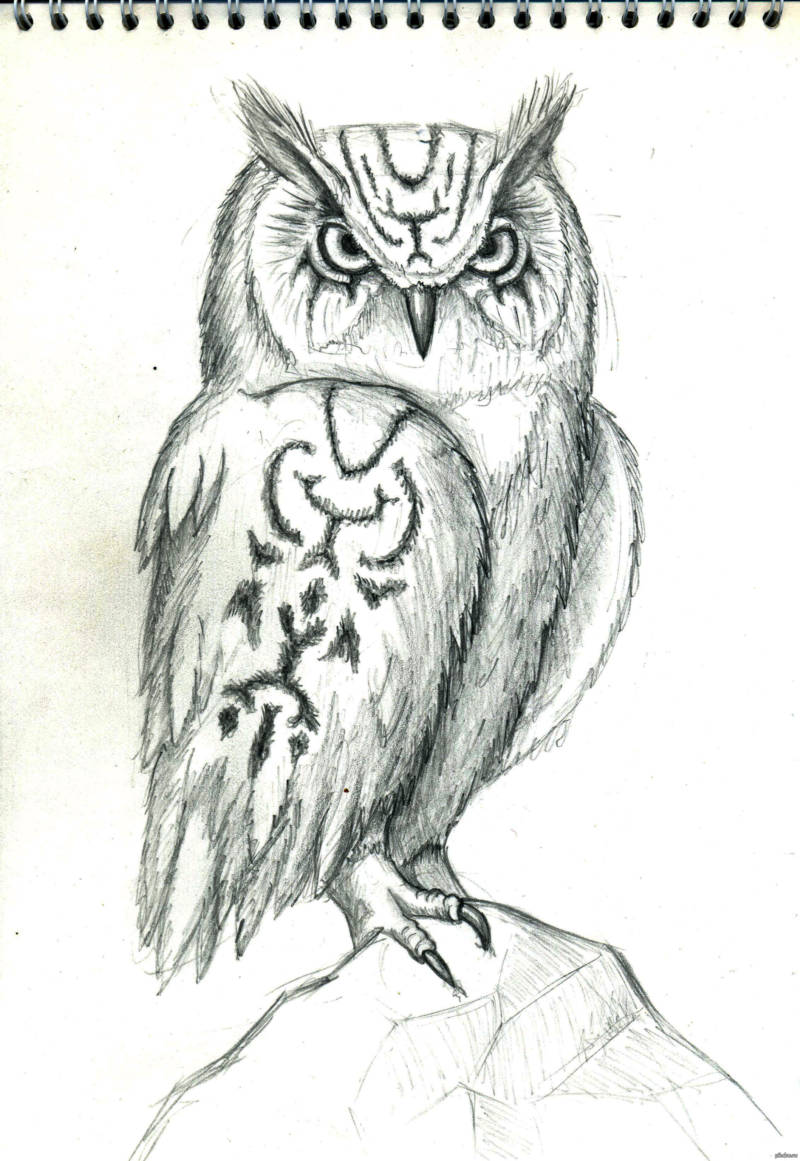
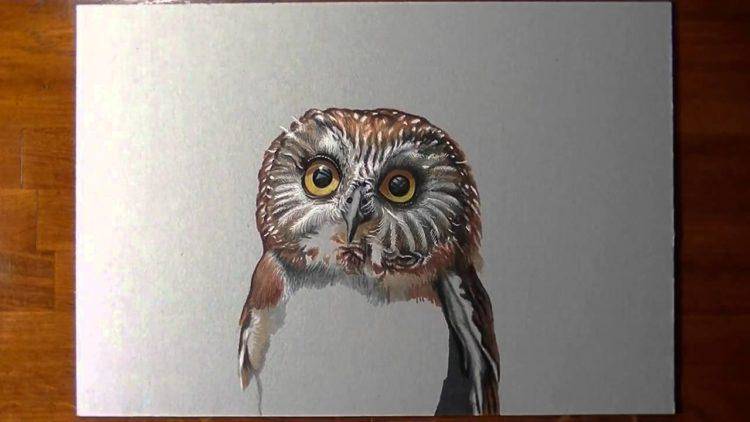
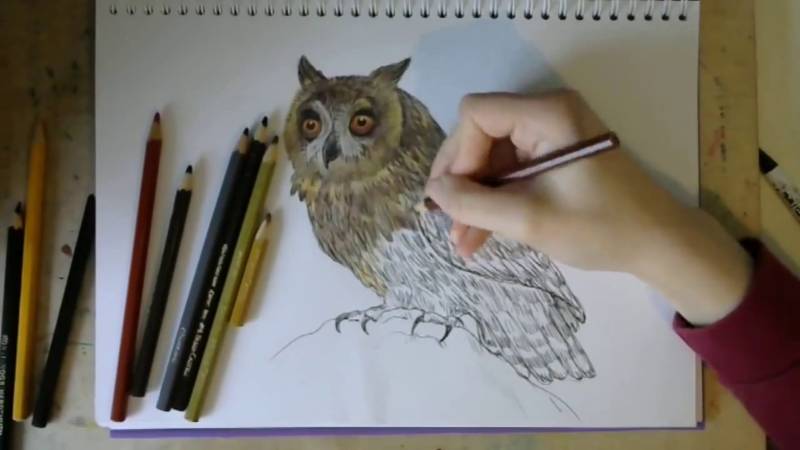
Drawing an owl for sketching pencil