How to make a doll of polymer clay with their own hands - a master class for beginners, photo ideas and tips
Making dolls from polymer clay - a labor-intensive task, but incredibly fascinating. And the result turns out very beautiful and interesting. If you would like to try yourself in the creation of such items, this article is for you.
Here you will learn about the necessary materials and tools, and you can also try to make a polymer doll on your own, following the master class.
What will be needed in the work?
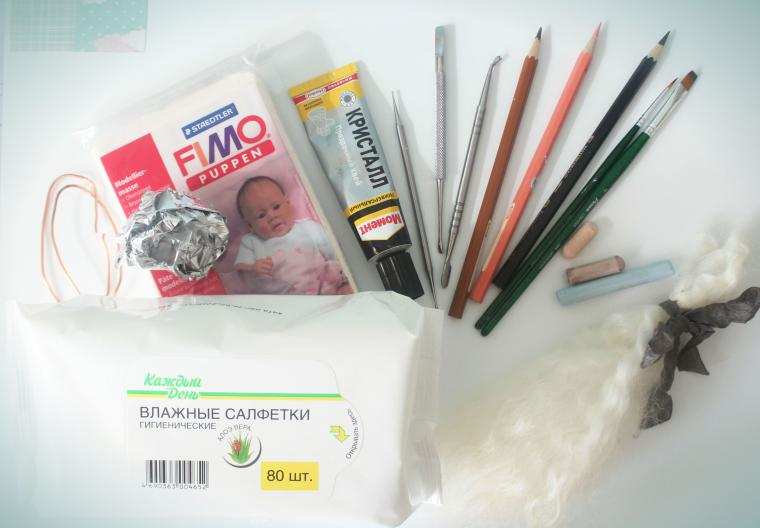
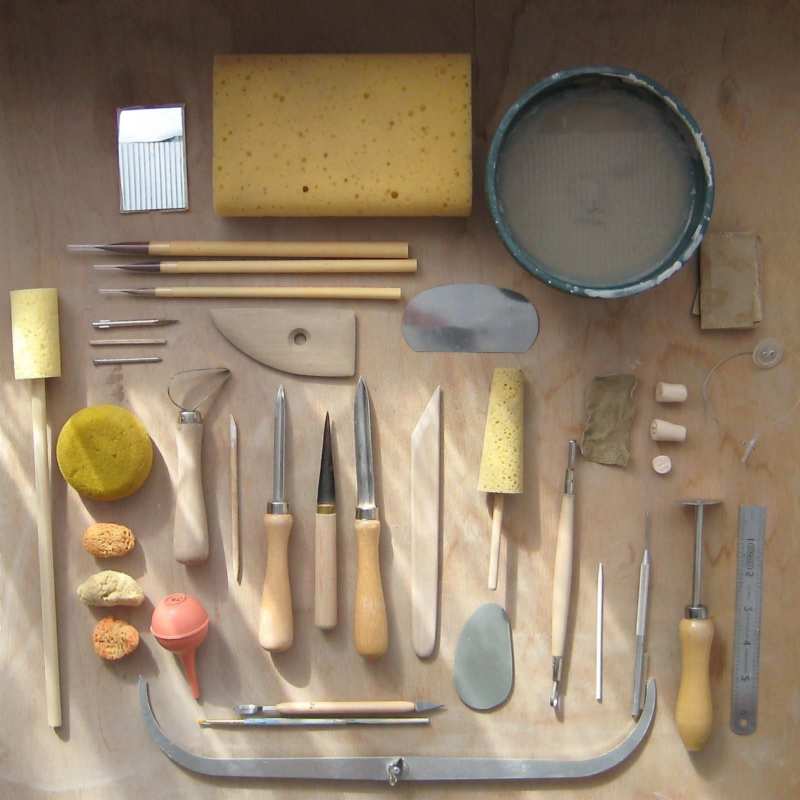
If you decide to create your own doll from polymer clay, you should buy the following materials and tools:
- Polymer clay;
- Wire (thick and thin);
- Tinfoil (preferably soft);
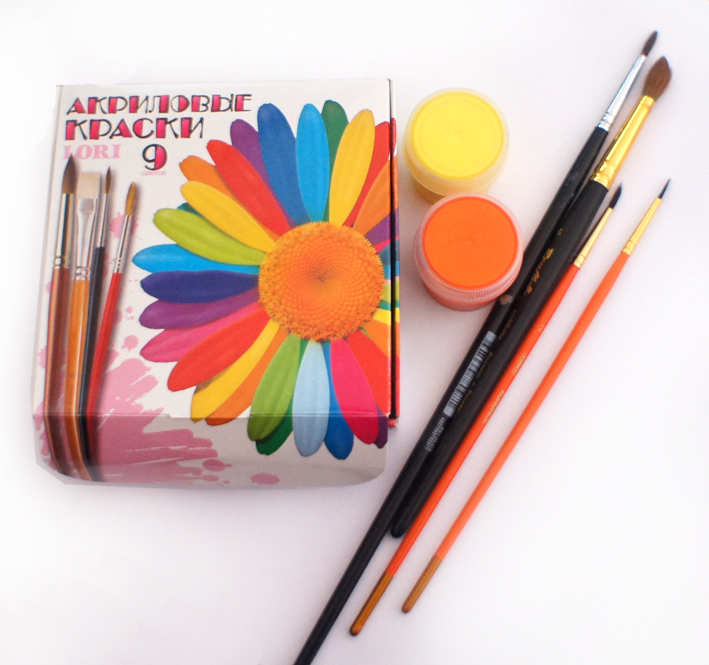
- Acrylic;
- Hair for dolls;
- Glue;
- Varnish;
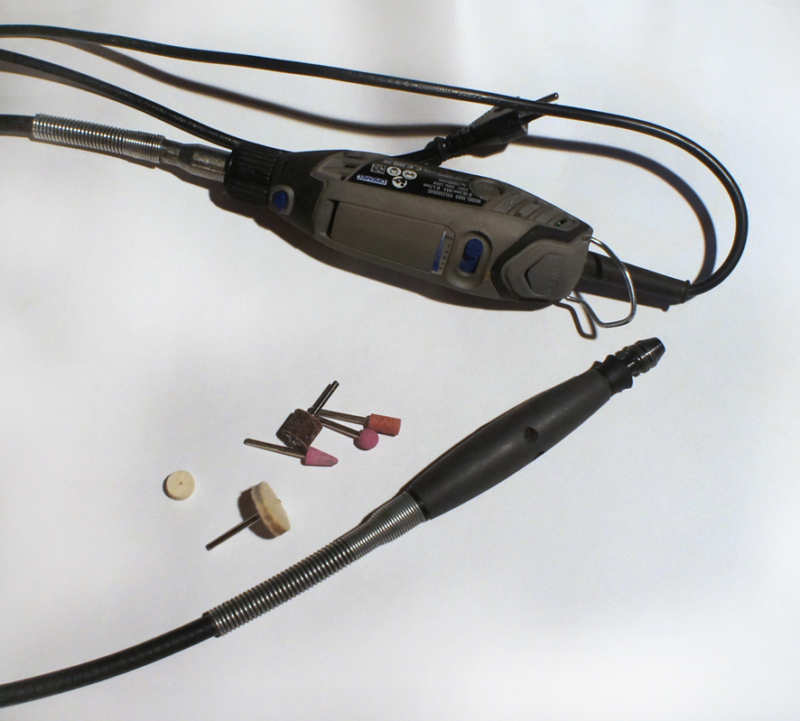
- A variety of stacks;
- Metal and wood sticks.
To create a whole doll is not as easy as it may initially seem. It takes a lot of hard work and patience. Beginners can also start with easy tricks - you can sculpt simple products from polymer clay alone.
In addition to the tools and materials listed above, you will need an oven with a thermometer.


Stages of a doll creation
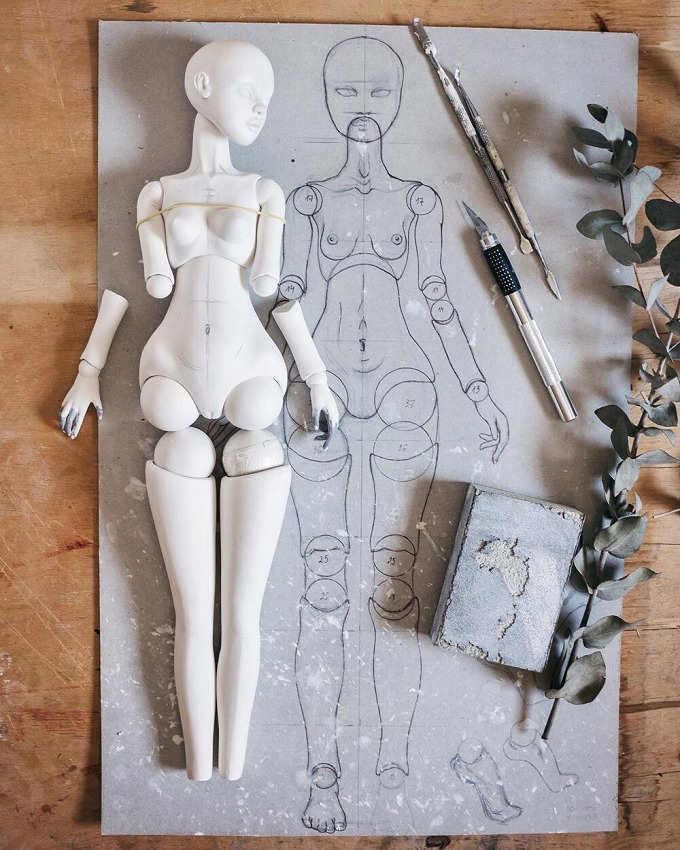
The most important thing is to strictly observe the proportions so that the body of the doll turns out right. Experts in this art advise to make such a body, which in size will correspond to the seven to nine heads of the toy.
The creation itself is divided into several stages:
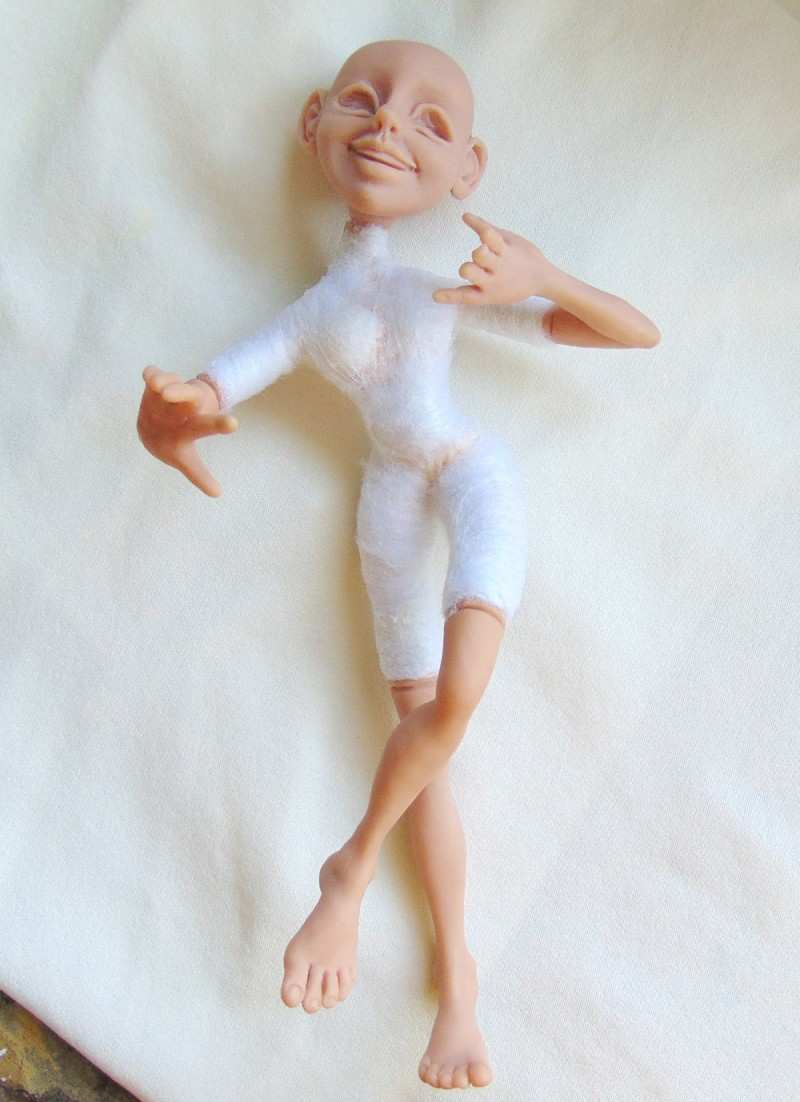
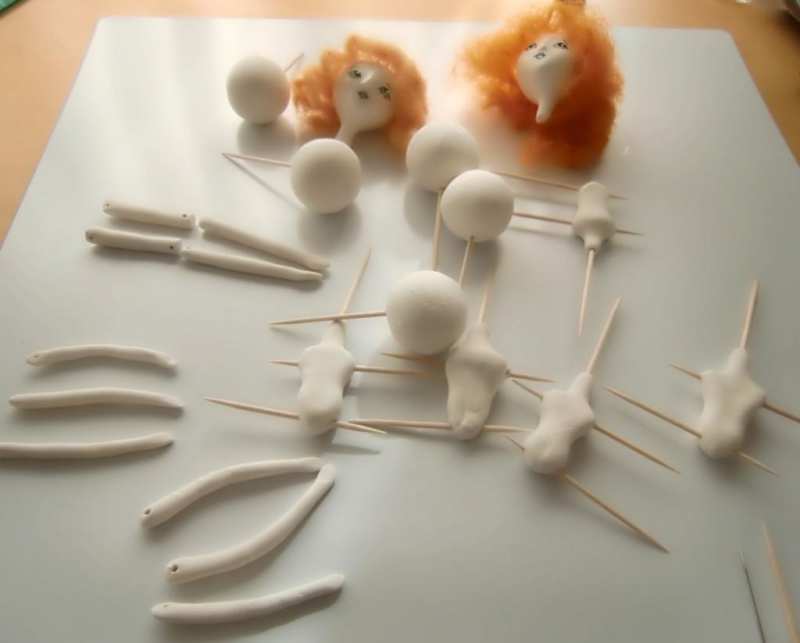
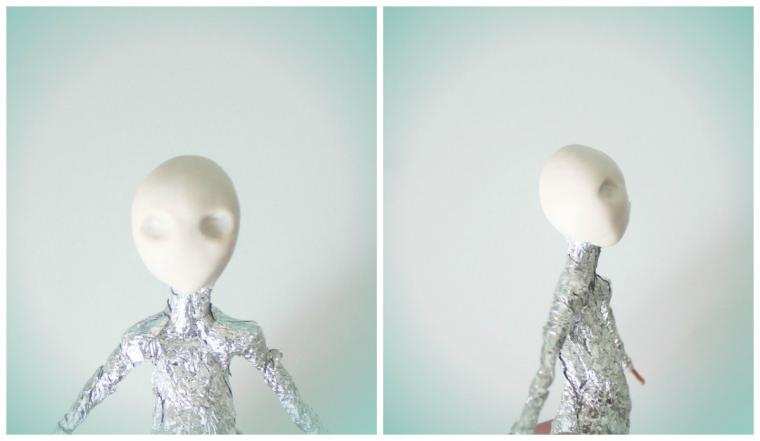
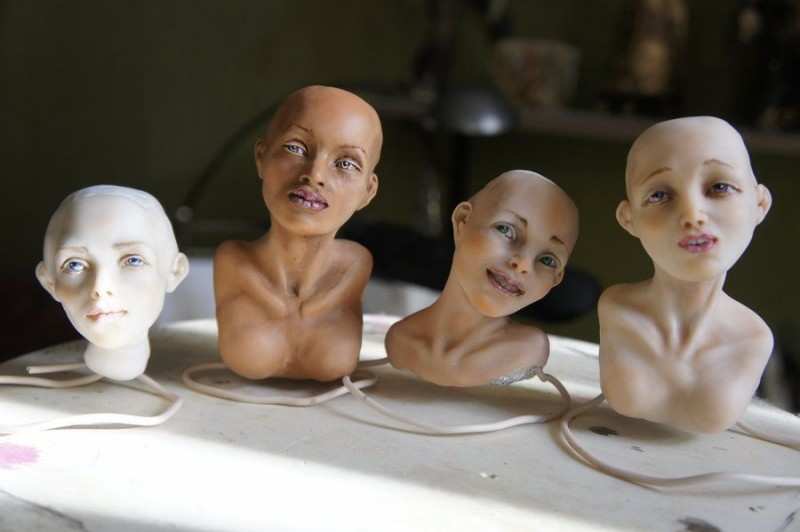
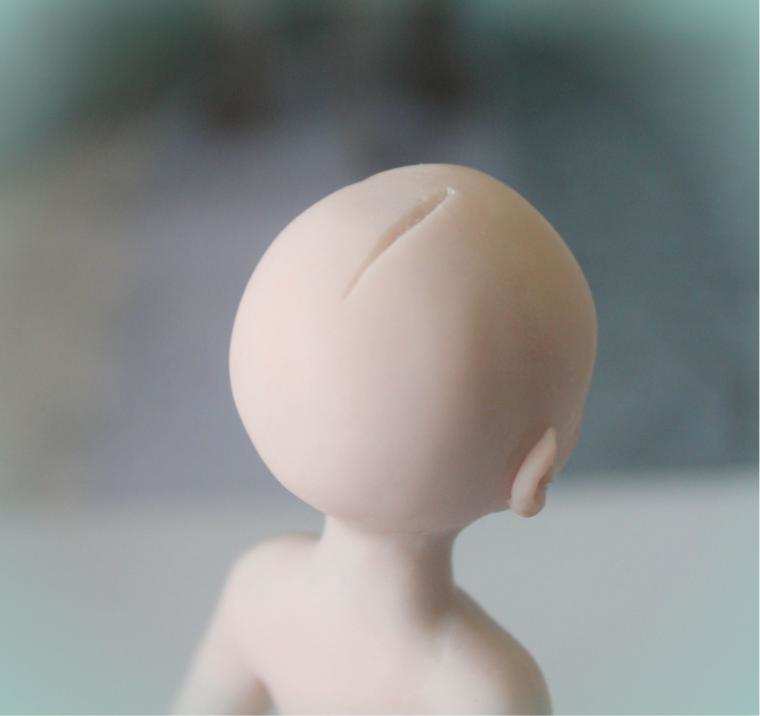
- Creation of the head. To make it, you need to take a thick wire and bend it so that on top of it was formed a loop. The resulting loop will need to encase the foil in the form of a ball, and his - fill it with polymer clay.
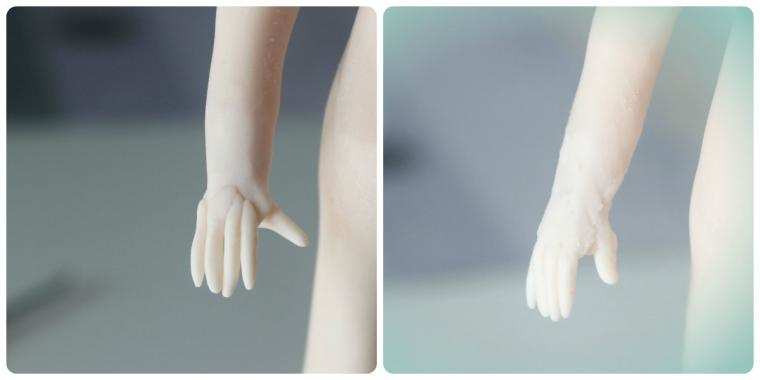
- Creating hands. Make doll hands from polymer clay, and then, using stacks and sticks, cut through and form the fingers. Now the hands should be threaded on another wire on both sides. The resulting element is attached to the details-head.
- Creating legs. Shape the lower limbs to the same way as the upper. Obtained element is attached to the main workpiece.
- The formation of the body. Twist the wire in the center and fill everything with polymer clay, indicating the waist, chest and neck. At the same stage you should carefully examine the product and check if everything is satisfactory for you.
- Baking. The resulting billet should be sent to the oven.
- Decorating. Take acrylic paint and draw the doll face. After that, glue the hair and dress the toy in a beautiful outfit.
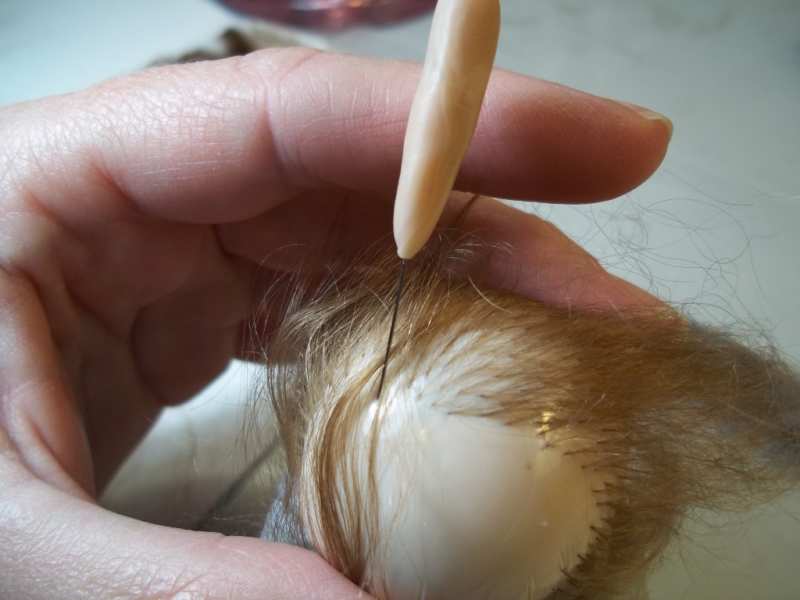
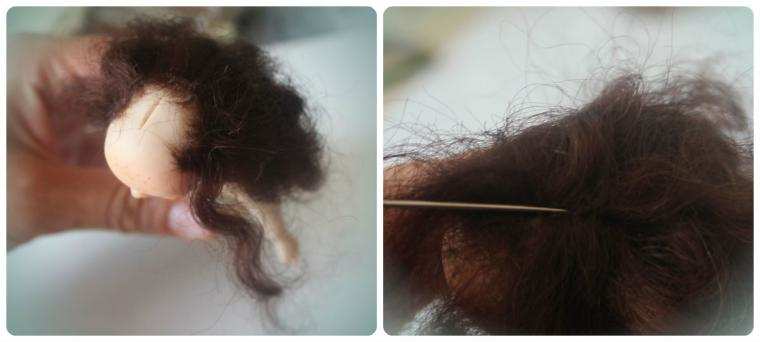
Tip: Experienced craftsmen recommend using a needle when gluing the hair, pressing the strands for better bonding.
It is good if you have previously worked with polymer clay. Then you will quickly learn how to create a doll and will not face any difficulties. However, it is worth understanding that you will have to spend a lot of time and effort.
Sometimes needlewomen spend months on the creation of their masterpieces. Therefore, it is important to prepare for work, set yourself up for a long time and have patience.
Before you start the work do the following:
- Think carefully about the appearance of the future toy. It is important to imagine the image in detail: what shade of skin it will be, what the doll will be wearing, what accessories it will have;
- Choose a type of craft (such toys can be static or articulated);
- Draw a sketch and drawing. The first will give you an idea of the appearance of an article. In the drawing you need well all calculate, think through, indicate important details and elements;
- Prepare all necessary materials and tools that will be needed in the work. This should be done in advance, that in the process of creating crafts you did not distract anything.

If you are doing for the first time polymer doll, try to use the following master class. Thanks to him you will not be confused and be able to create your own masterpiece.
Master Class: How to make a polymer doll
Before you start modeling, think carefully about all the details, draw a sketch and a drawing. All this will make the final toy look amazing. In addition, the preparation will be able to inspire you.
Selection of material
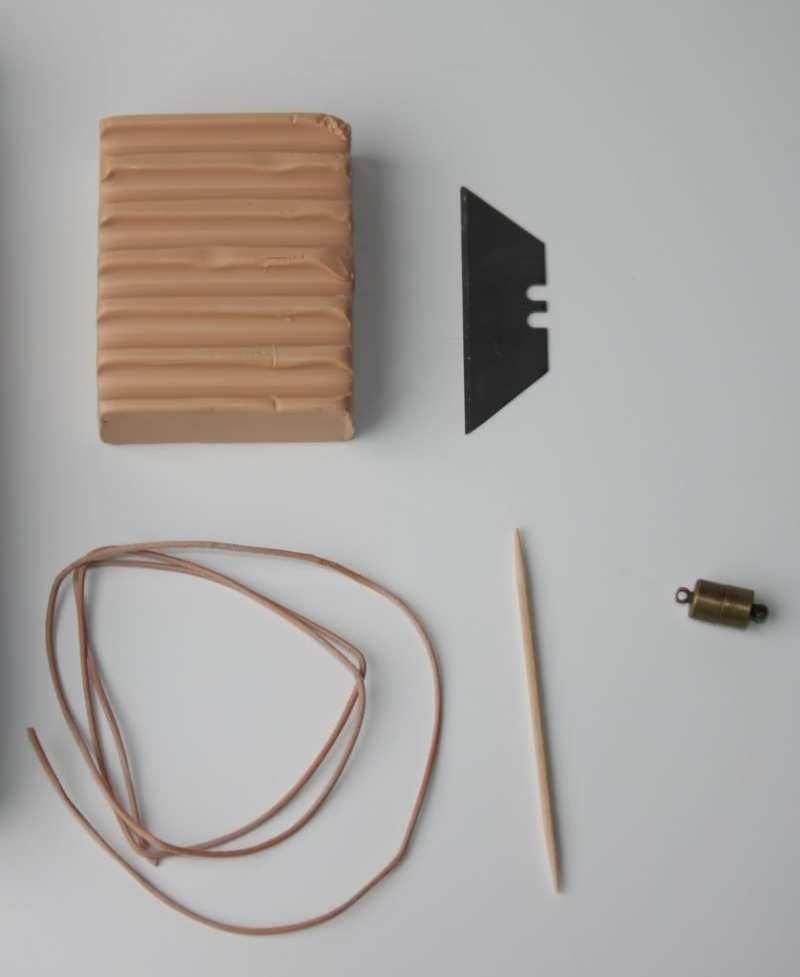
To make such a toy, you should take the following:
- Polymer clay;
- Special knives (stacks);
- Sheets of foil;
- Sandpaper;
- Pliers;
- Stiff wire;
- Brushes;
- Glue;
- Acrylic;
- Primer.
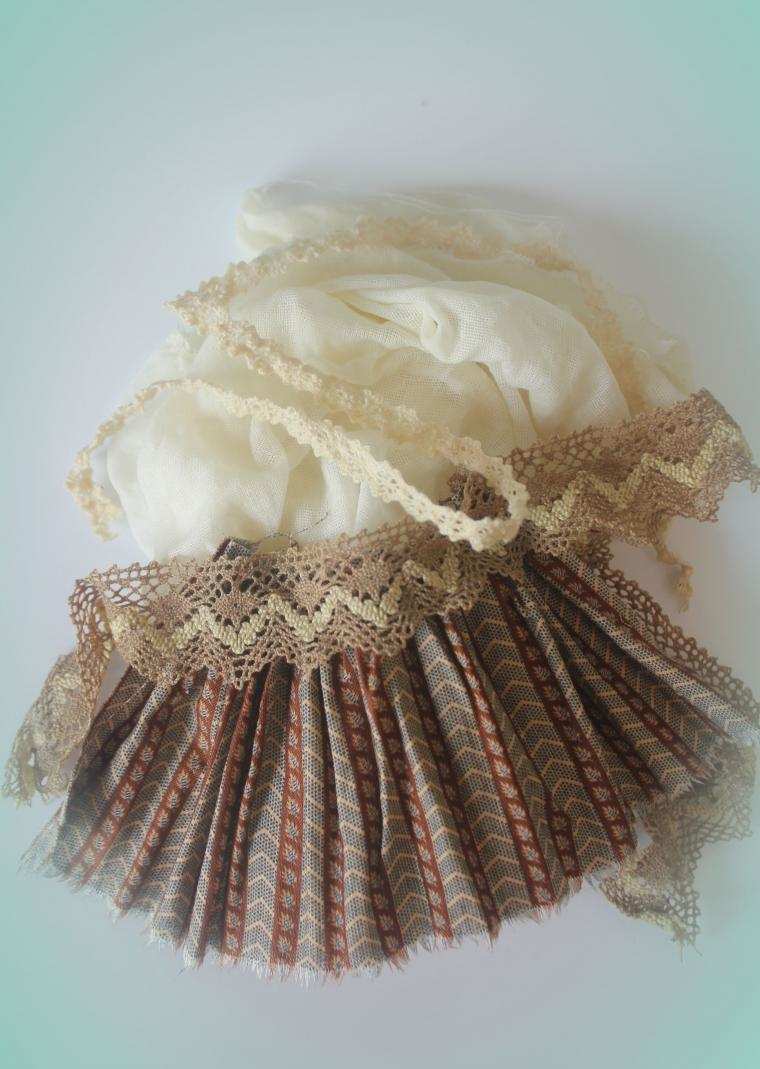
In addition, you will need an attractive outfit for the future doll, as well as material for her hair. It is recommended to take a special wool, used in felting.
You should also think about the type of toy. There are three variants:
- Hinged. To create such a product is very difficult. Do not take him if you do not have enough experience. The work will be very difficult, laborious and time-consuming.
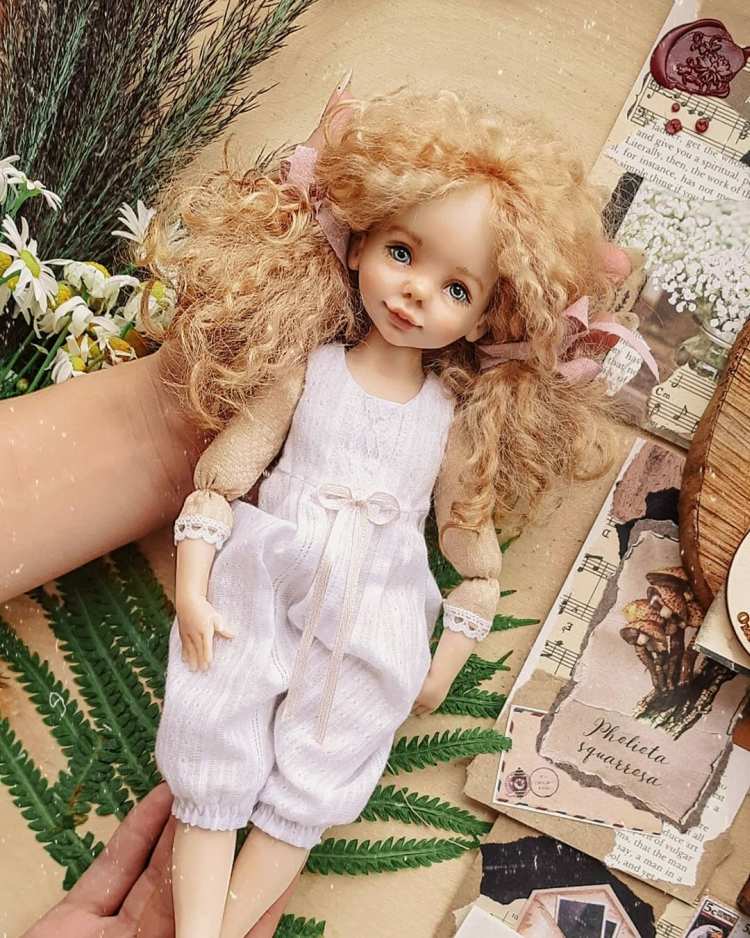
- Static. All the details are very simple, so even a novice master can create such a masterpiece.
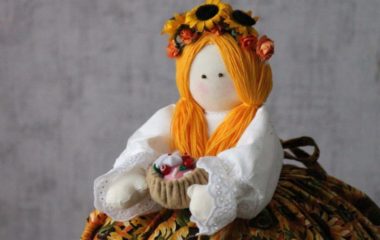
- Out of various materials. This type is also not so difficult to make. The body of the doll here is made of fabric, and the head with lower and upper limbs - from polymer clay.


This master class will show the work with the static type. Before sculpting, draw an accurate drawing of the product, taking into account the desired dimensions and features. Once again, check the availability of the necessary materials and tools. Only after all the preparatory work is complete can you begin.
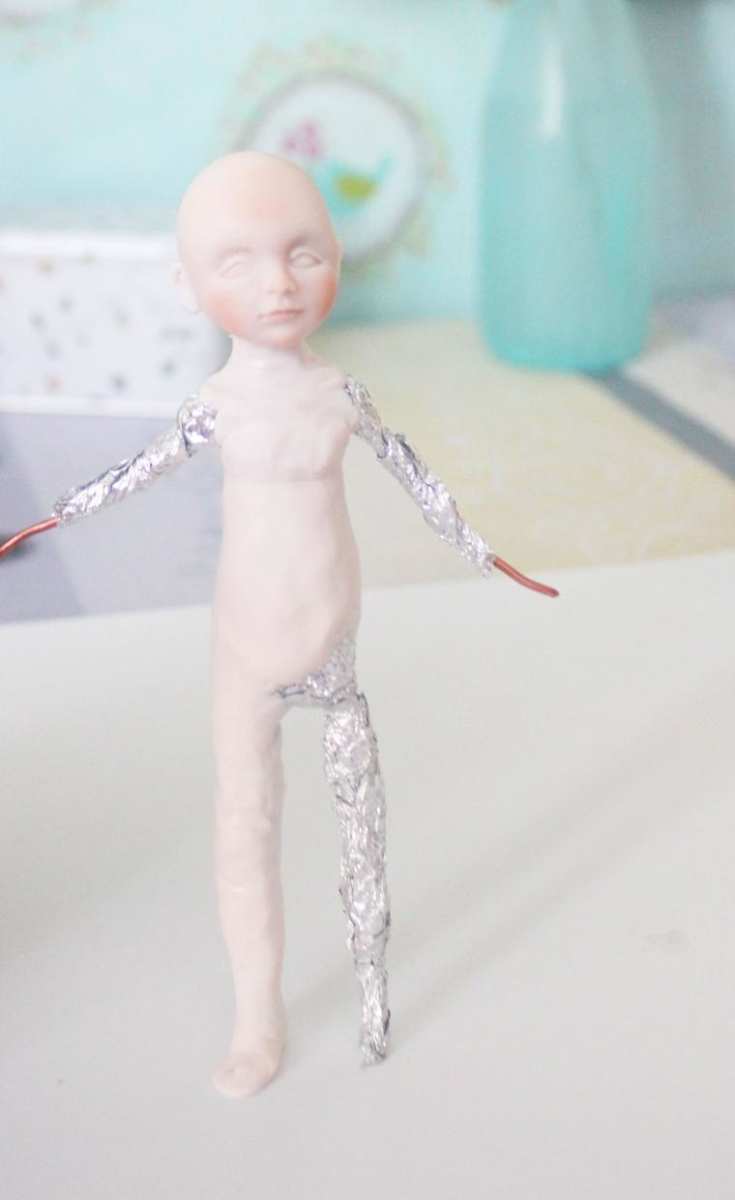
The frame .
This element is the most important. It is from it the strength of the future product depends. To make the frame, take two skeins of rigid wire: the first should be thick, and the second - thin:
- First you need to take a thick wire and form from it the "skeleton" of the toy;
- Then you need to wrap the thin wire around the made part, so it becomes denser;
- The resulting skeleton is covered with foil for density;
- It only remains to smooth out the folds, smooth everything out properly, comparing the resulting product with the drawings.
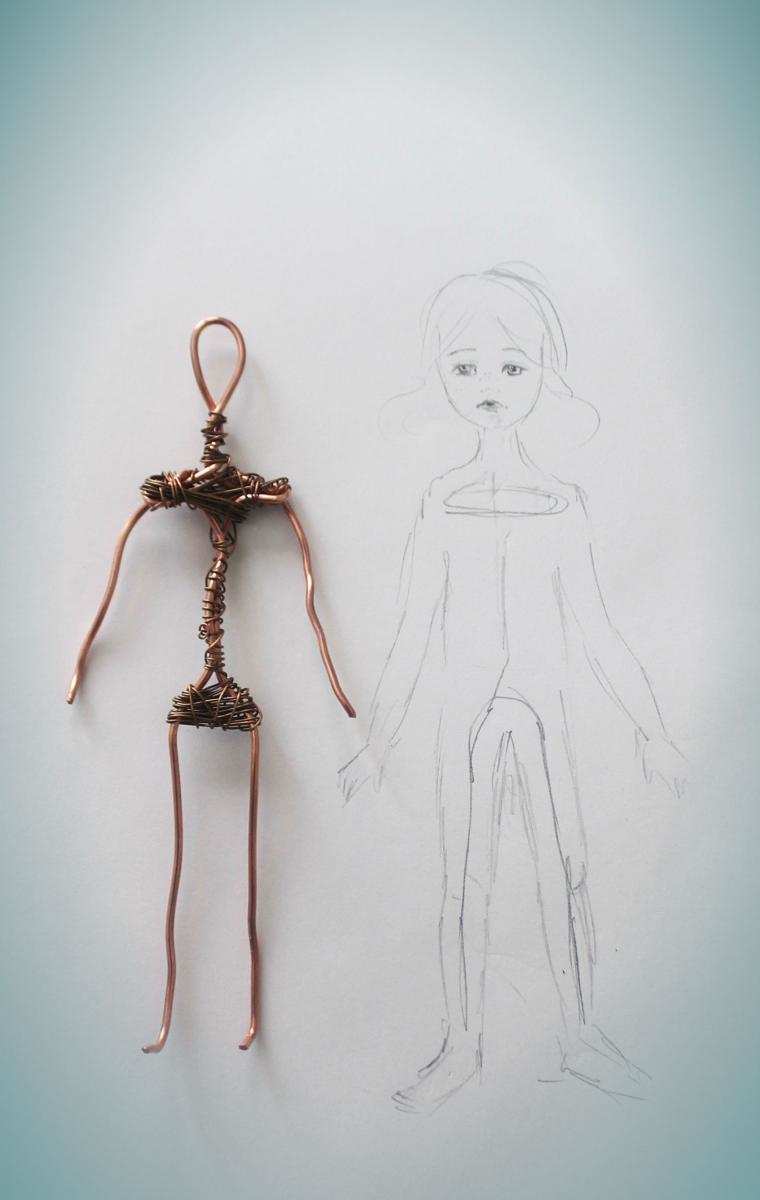
After making the frame, proceed to the next step - the creation of the head.
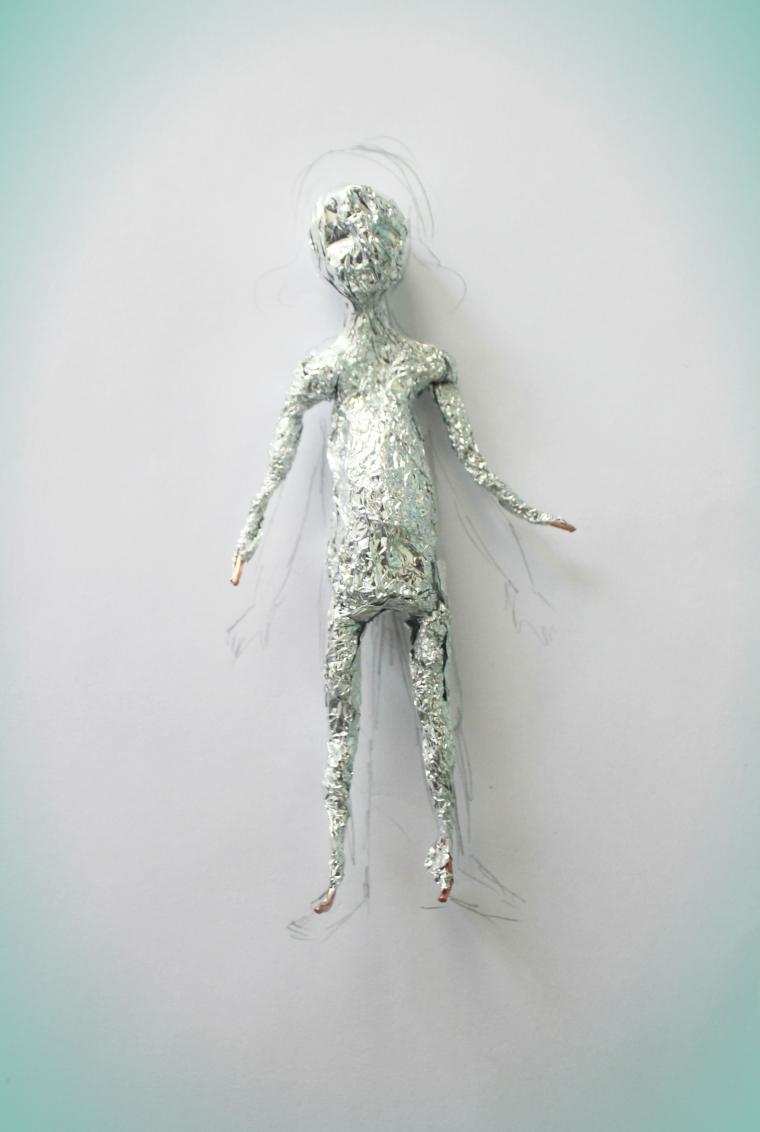
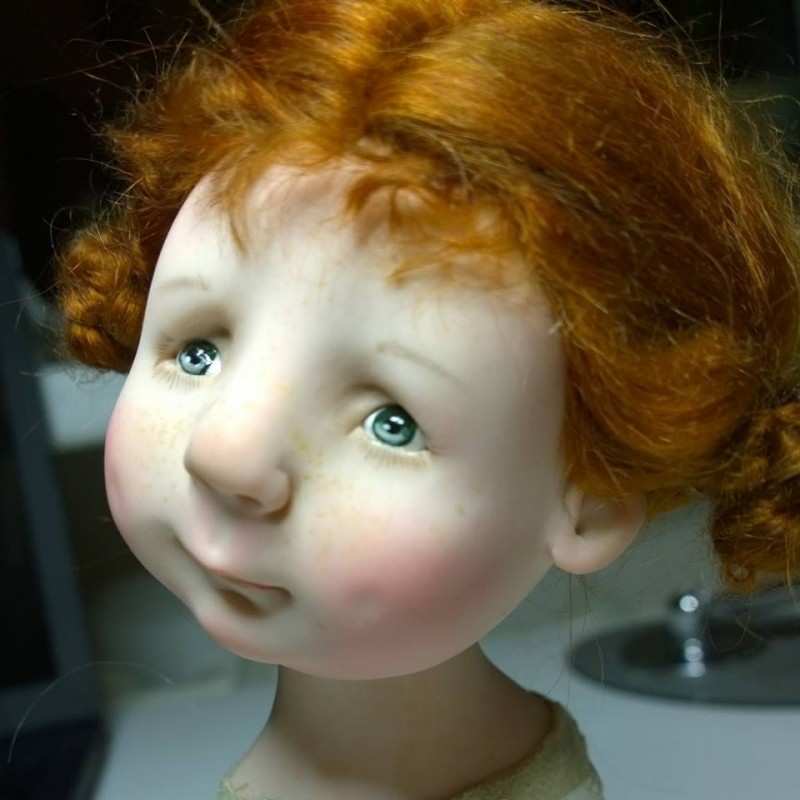
Head
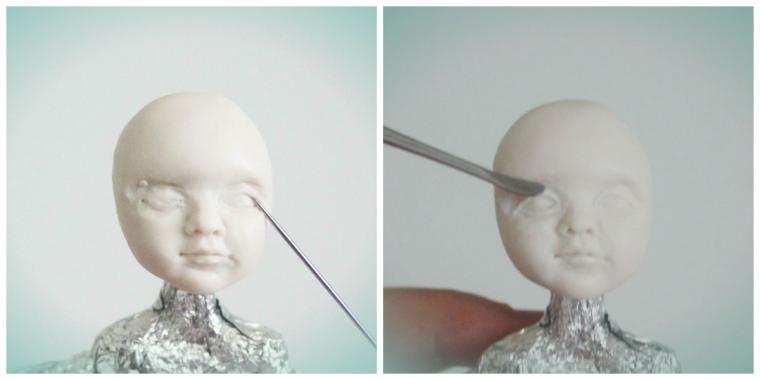
Before the work be sure to knead the polymer clay in his hands. Then molding will be much easier and more convenient:
- Drap the head on the frame with clay, trim all parts.
- When the workpiece is ready, send it to bake in the oven. You can not use a microwave oven - there will be uncovered places on the frame, covered with foil. Heat the product is allowed only in the oven.
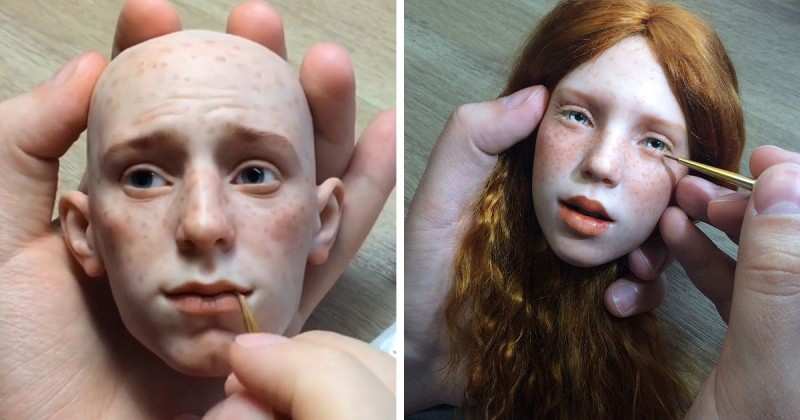
- Work the billet, warmed in the oven, with stacks and sandpaper if necessary. Carry out the work carefully, so the face turned out neat and symmetrical.
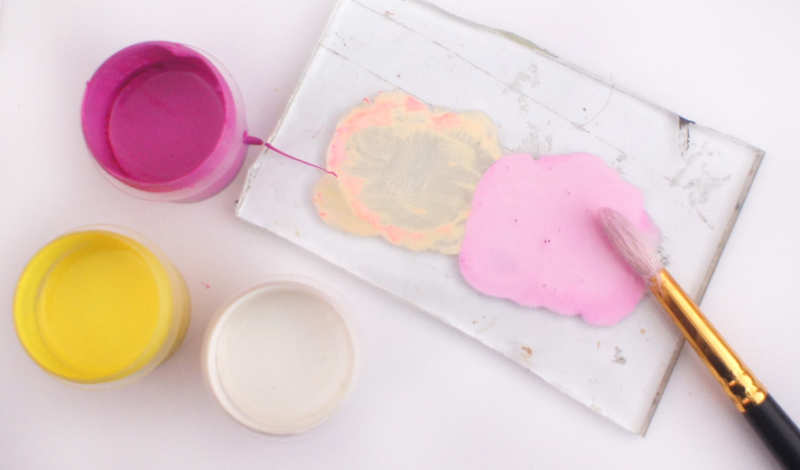
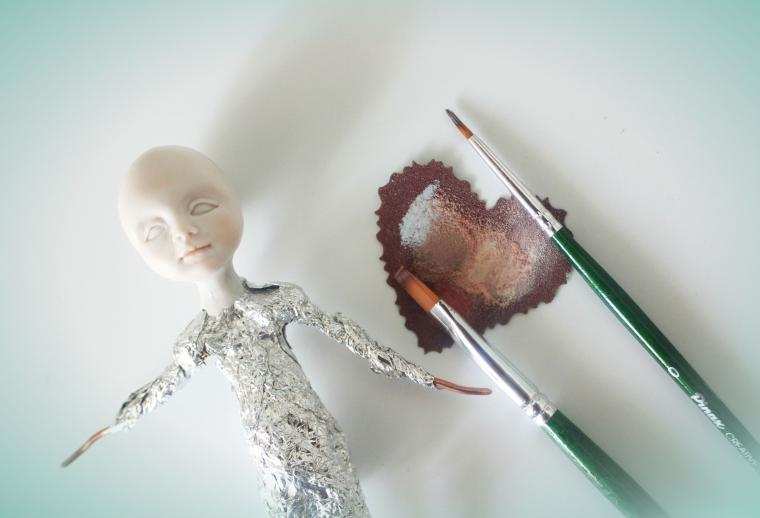
- It remains only to paint the head with acrylic. After that, bake the product in the oven again.


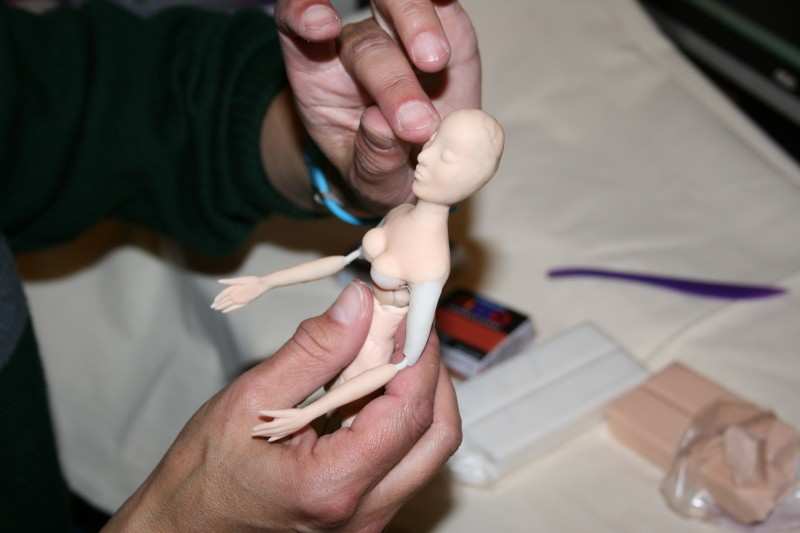
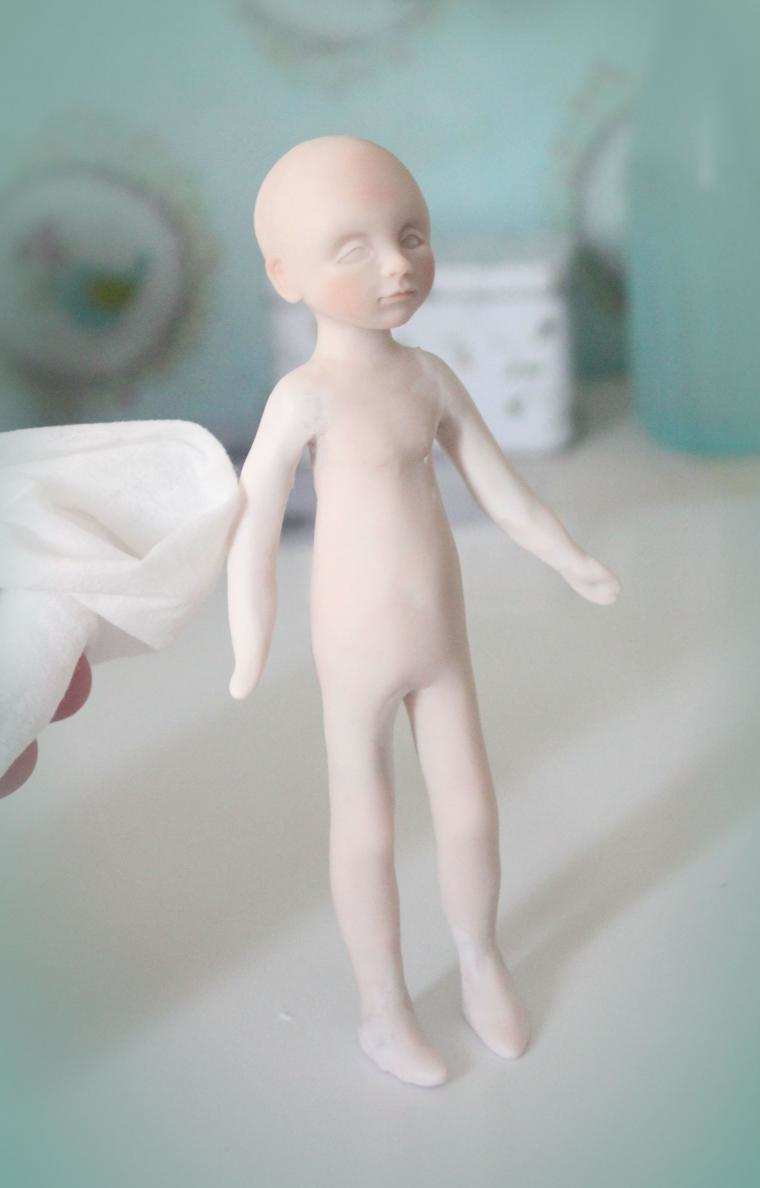
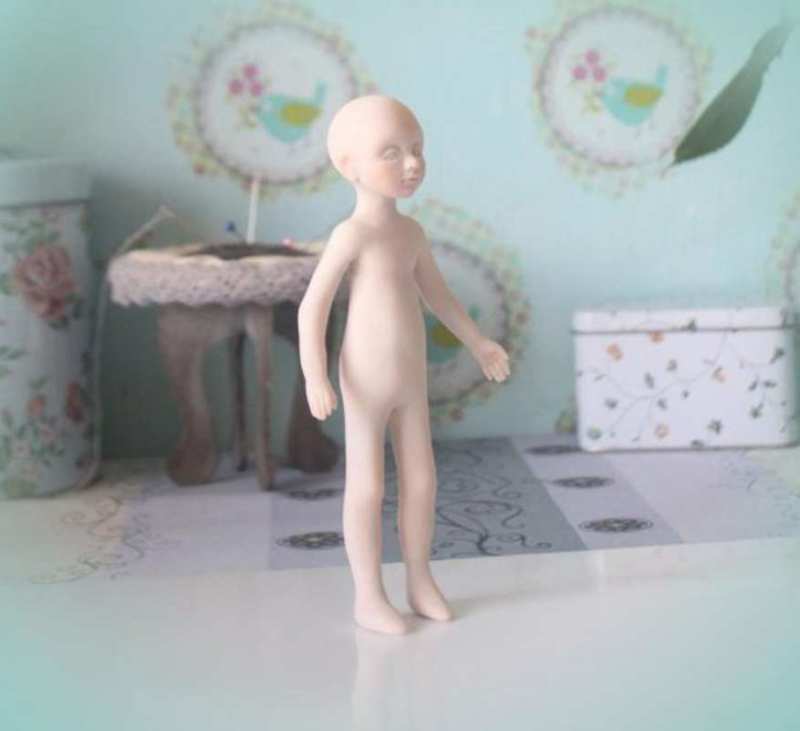
Body .
When the head is ready, start sculpting the body, arms and legs. Be very careful so that the parts look straight and beautiful:
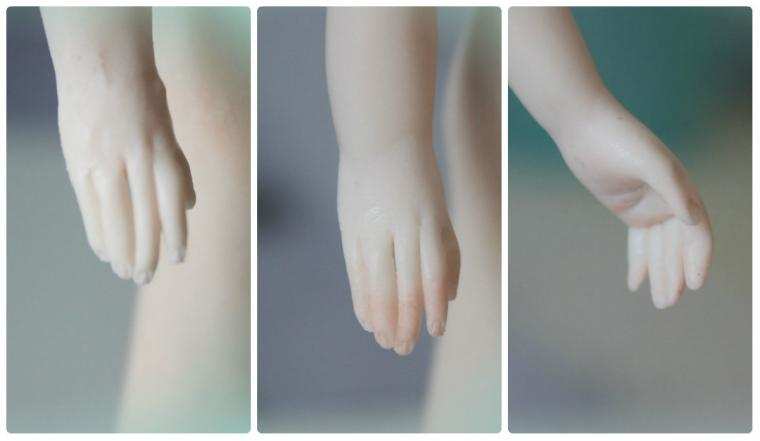
- First sculpt the limbs in the same way as the head. Cut through the fingers, using stacks.
- After the limbs, fill in the remaining areas with clay and give them the desired shape.
- The made doll is sent back to the oven for baking. Bake the whole billet longer than just the head. The main thing is to achieve sufficient strength of the toy.
- After the clay is fully cured, proceed to sanding. Use different sandpaper to make the doll even more interesting.
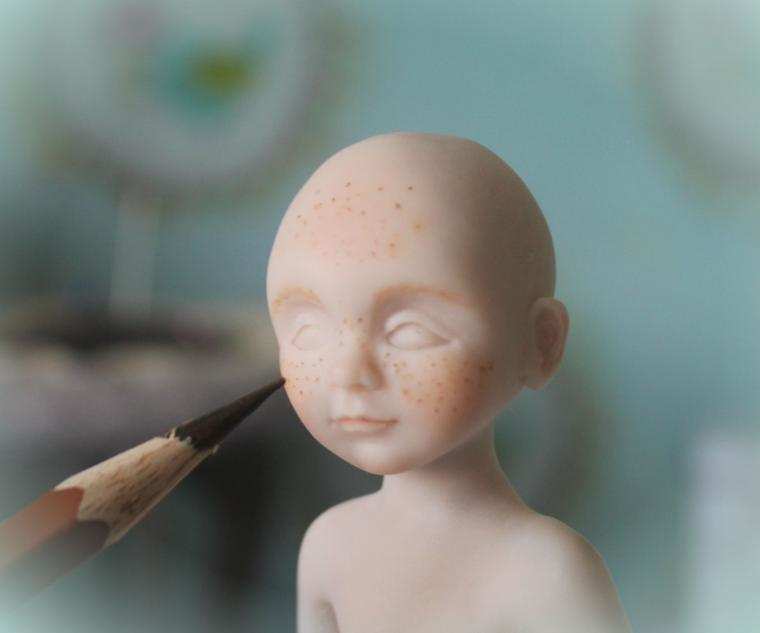
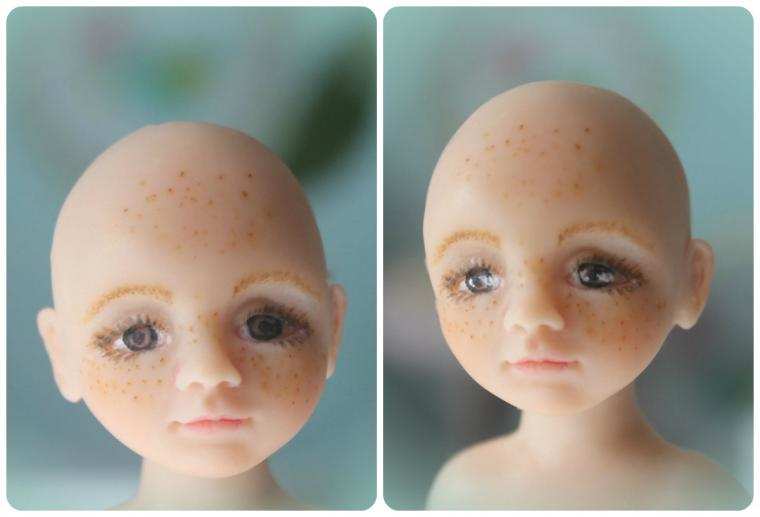
Decorating .
Now that the main work is complete, start decorating your creation. You can use not only acrylic paints, but also pastels and watercolor pencils. The latter are ideal for creating freckles.
When you paint the doll as you like, varnish it. This will help to firmly fix the result.
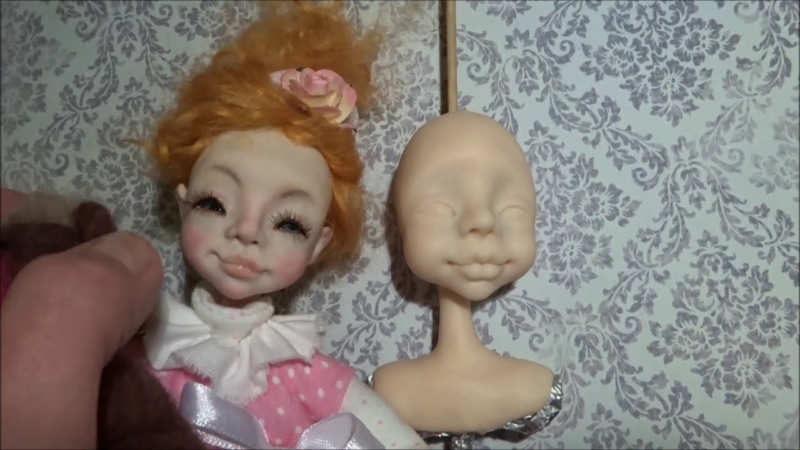
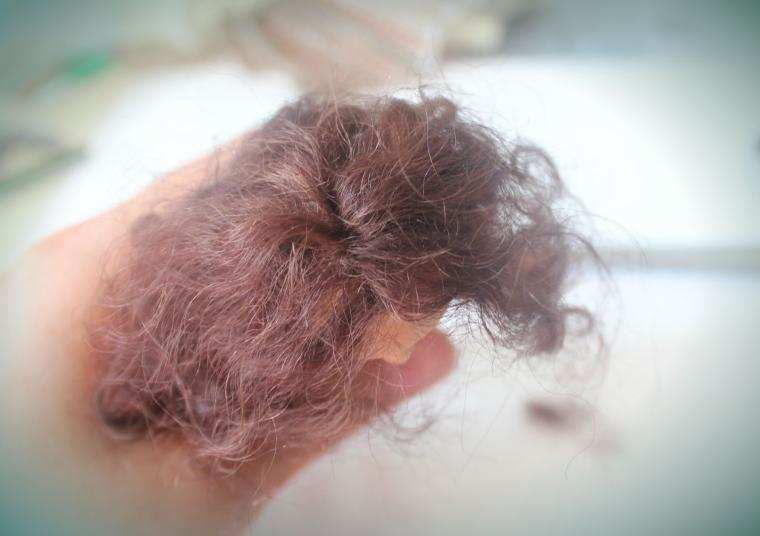
Hair
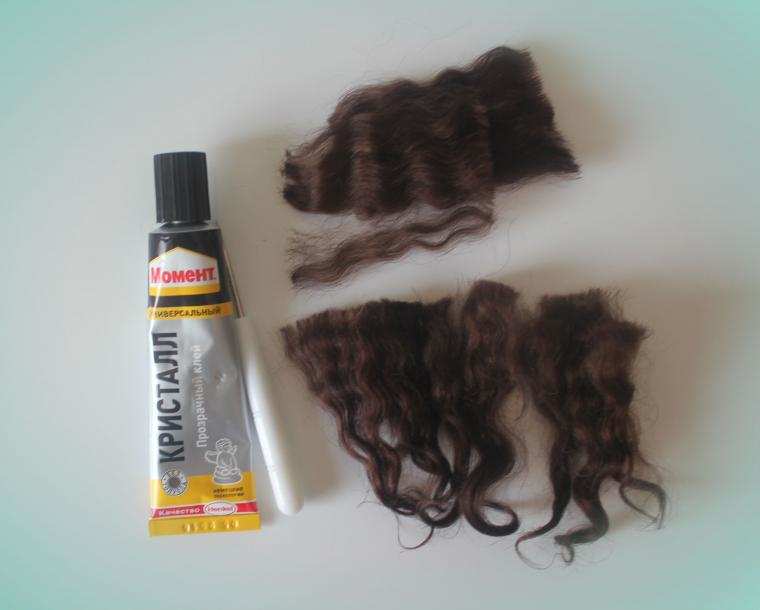
The hair also plays an important role, so you should pay special attention to its making. It is recommended to use as hair special wool used in felting. In addition to it, you can take and other materials:
- Silk threads;
- Wig for dolls;
- A large real wig.
A doll's wig is not always suitable, because you can accidentally make a mistake with the size. A real wig is the best solution, because you can make the most suitable hairstyle out of it.
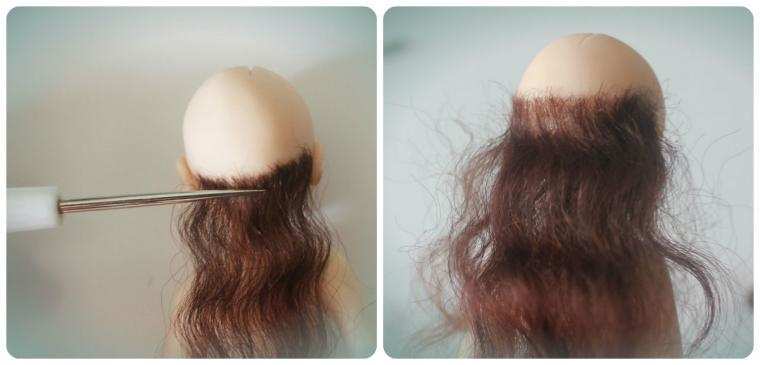
Use glue to attach the hair to the head. Glue the strands one by one by clamping them with an awl, a needle or a similar sharp metal object. It is important to exercise the utmost care, caution and accuracy.
Attaching the hair to the head is an incredibly painstaking task. However, if you approach it responsibly and carefully, the doll will have a beautiful and attractive head.
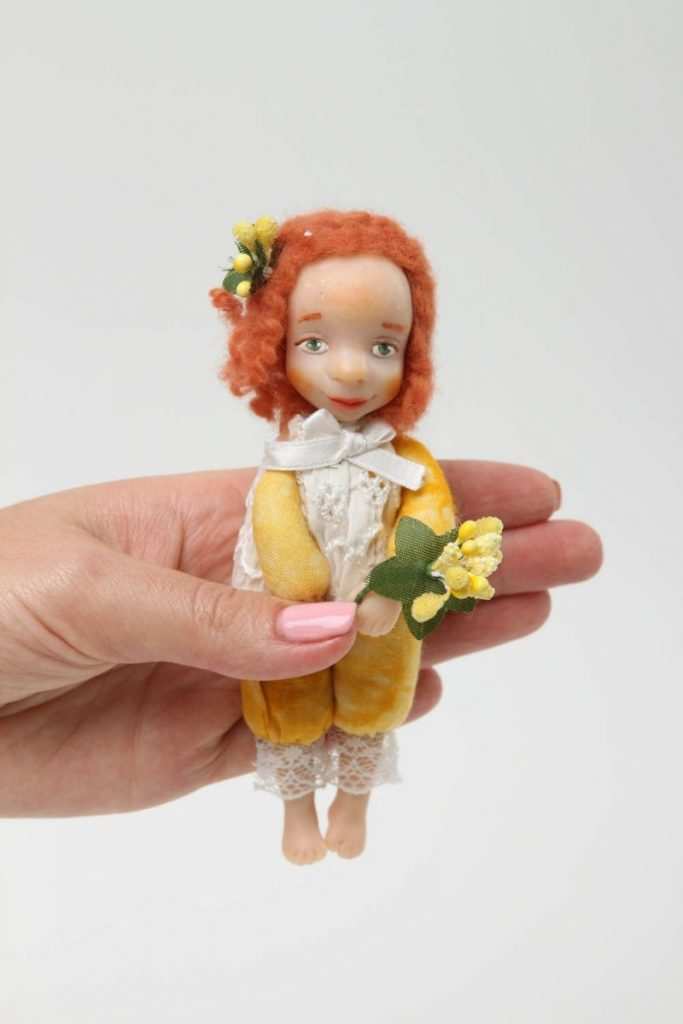
This is the end of making the doll. It remains only to choose a beautiful outfit and dress her. If you wish, you can complete the image with some accessories. It turns out very beautiful, interesting and original.
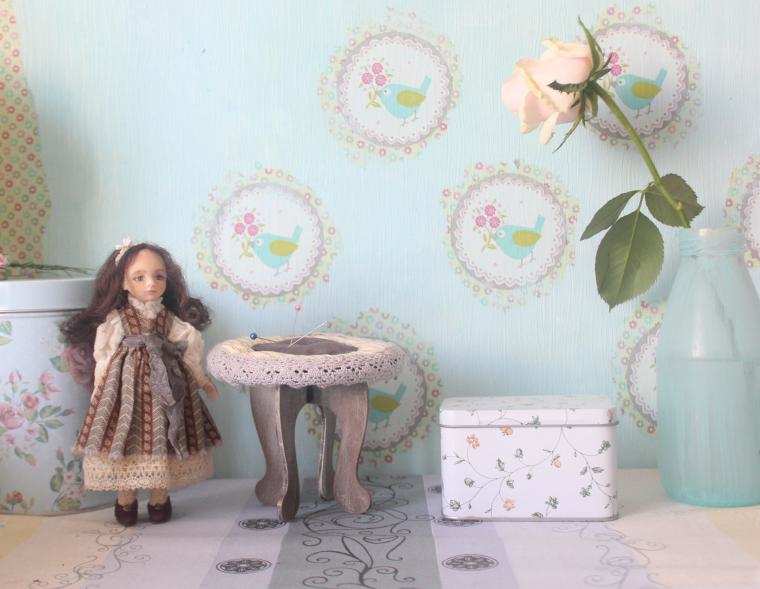
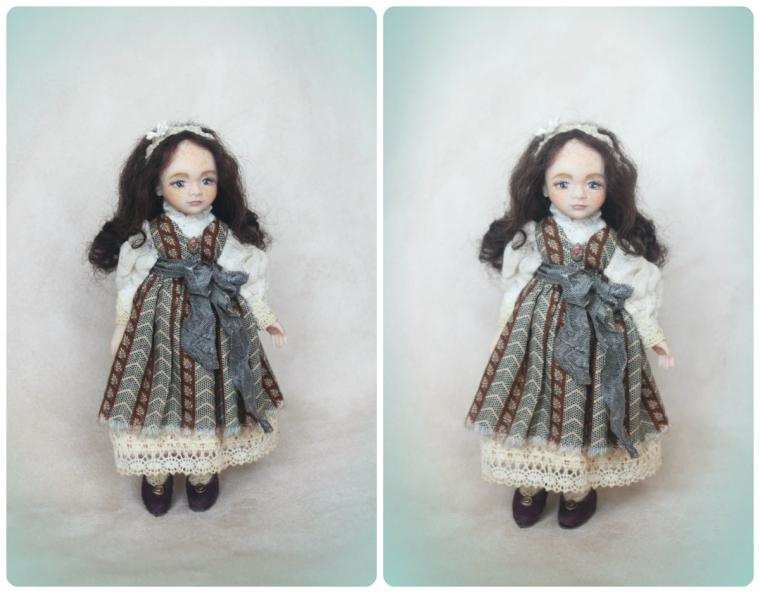
Creating dolls is a complex, time-consuming and painstaking activity, but it is incredibly fascinating and relaxing. Perhaps you will enjoy making toys from polymer clay with your own hands, and you will decide to make this case your new favorite hobby.
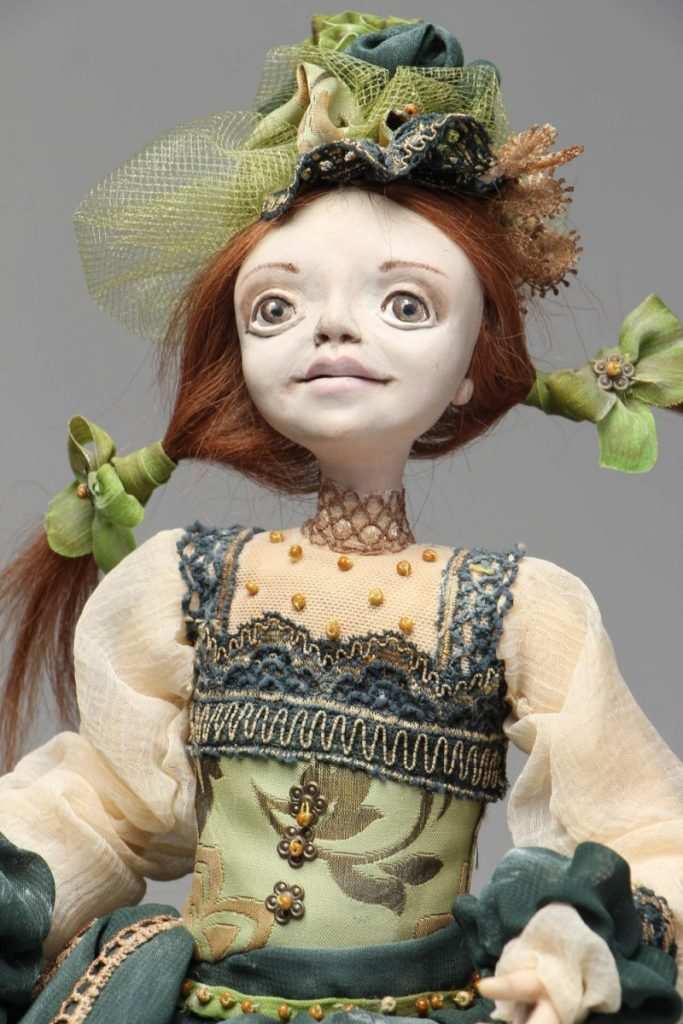
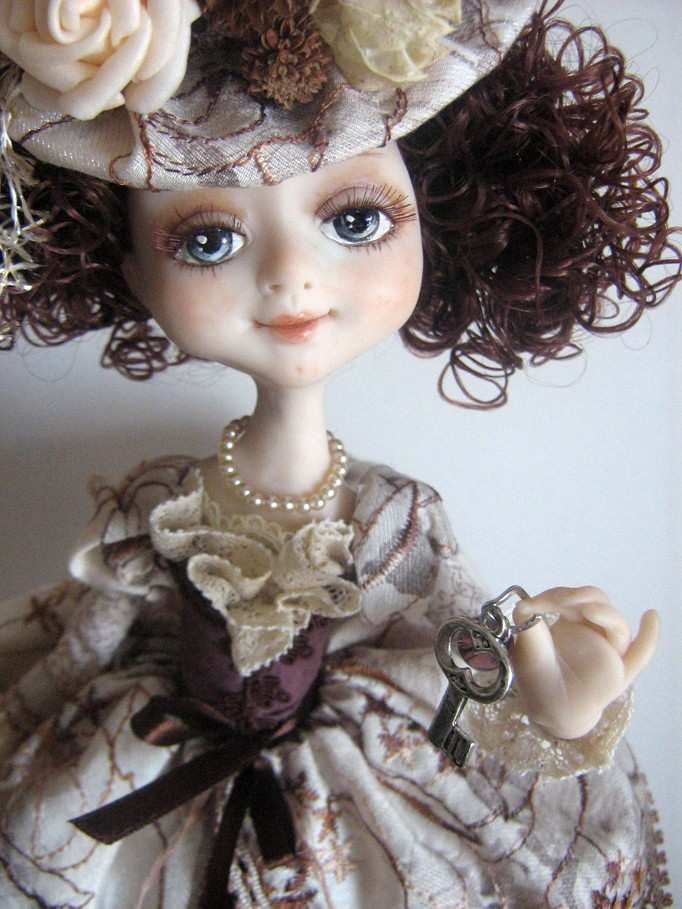
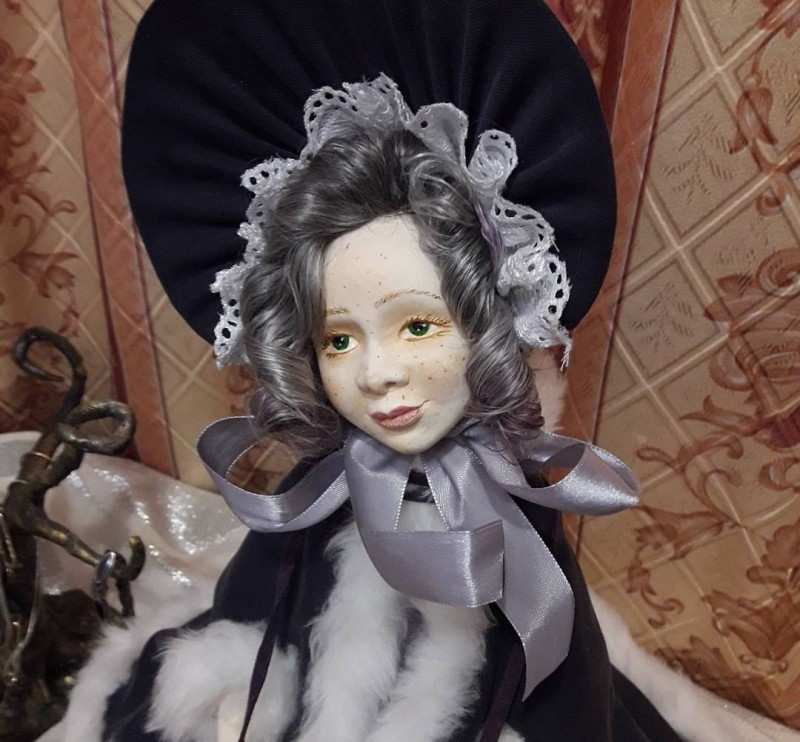
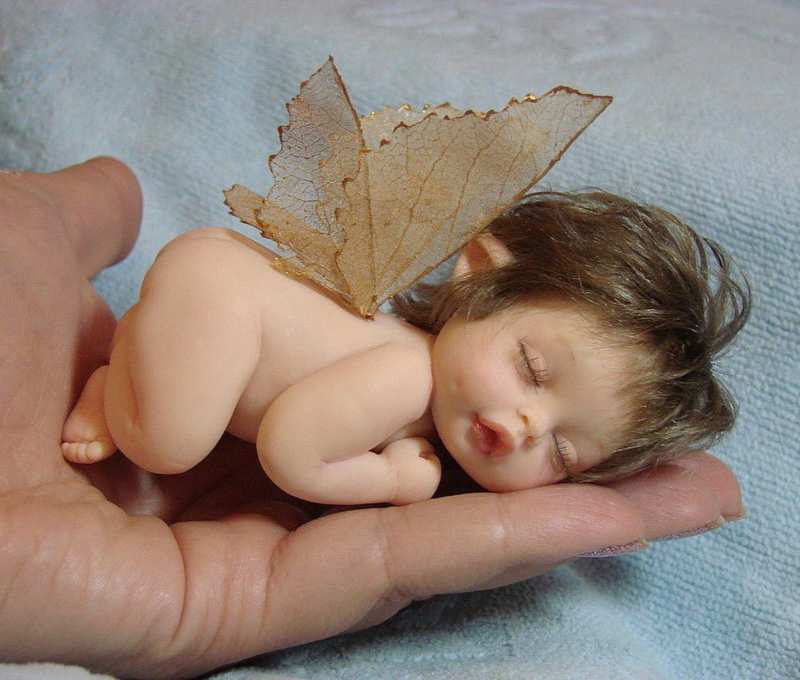
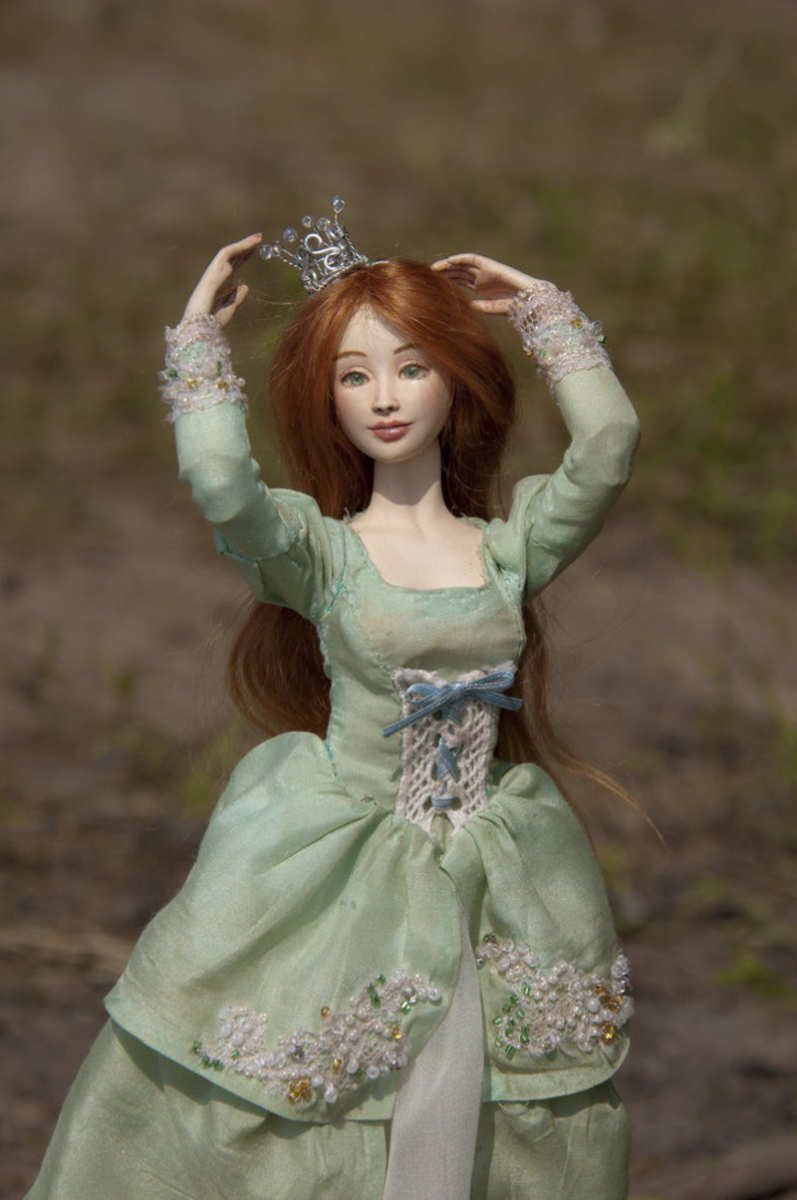
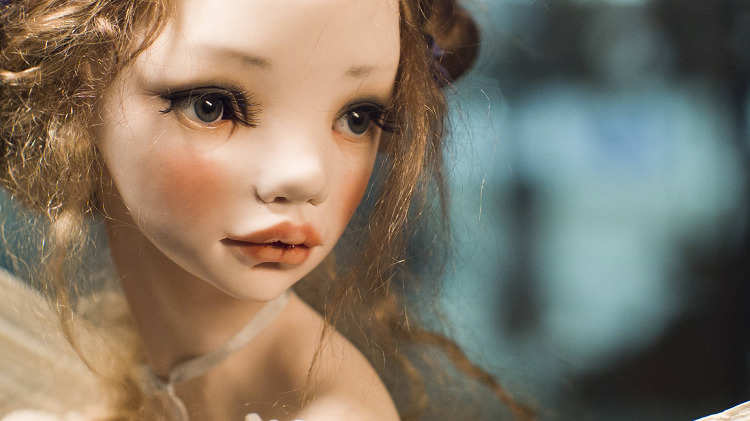
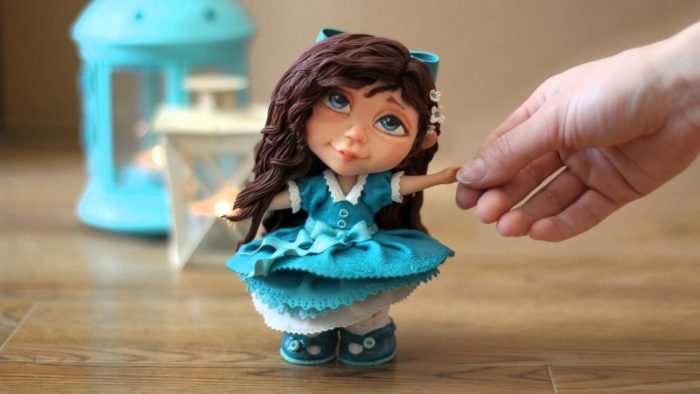
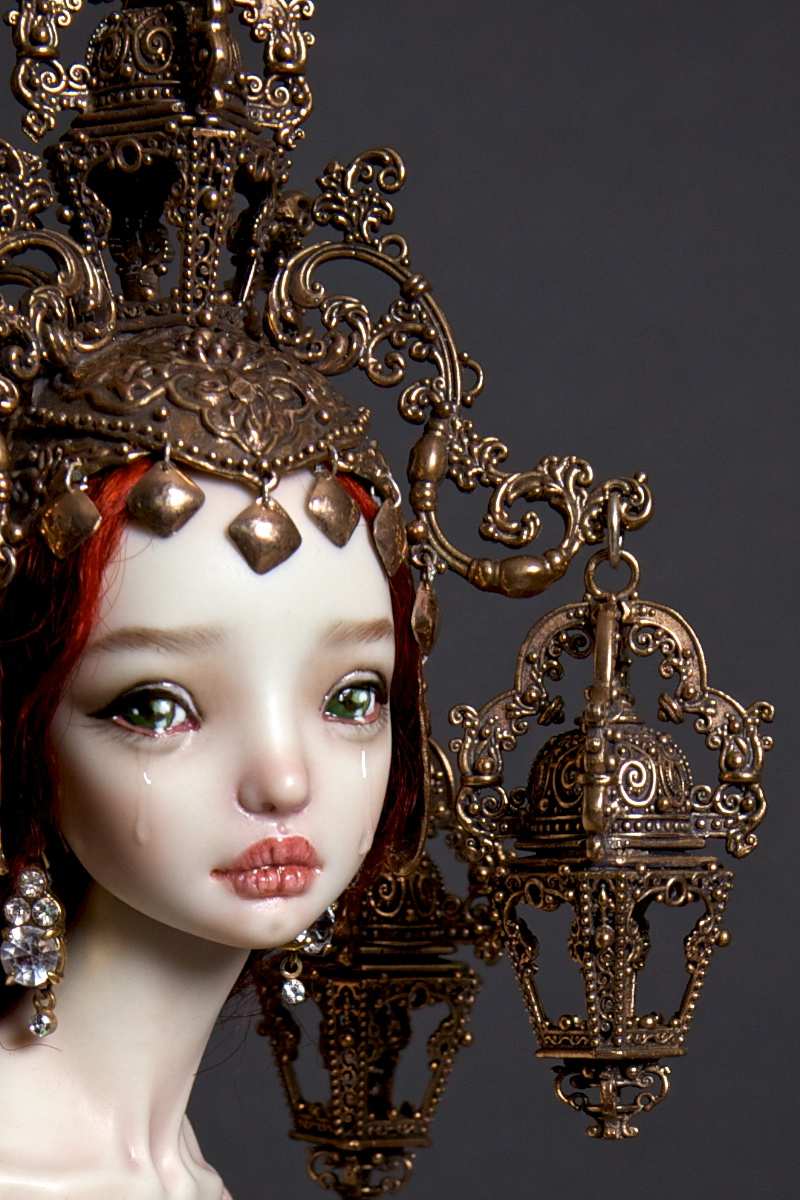
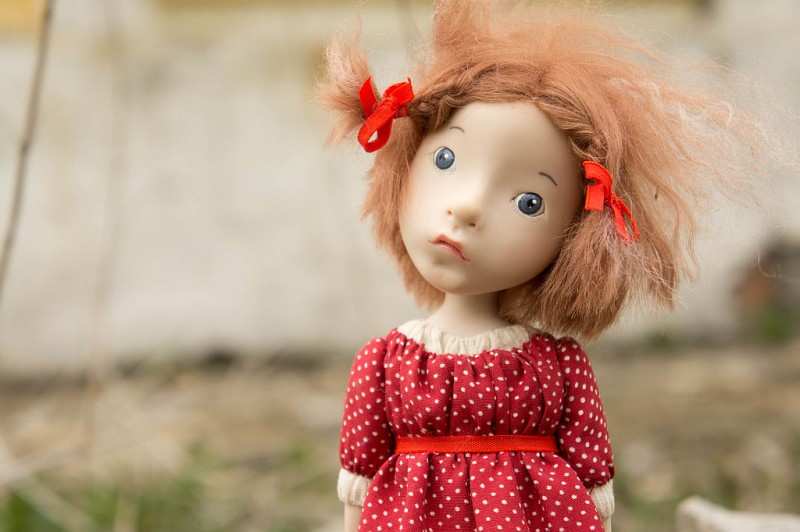
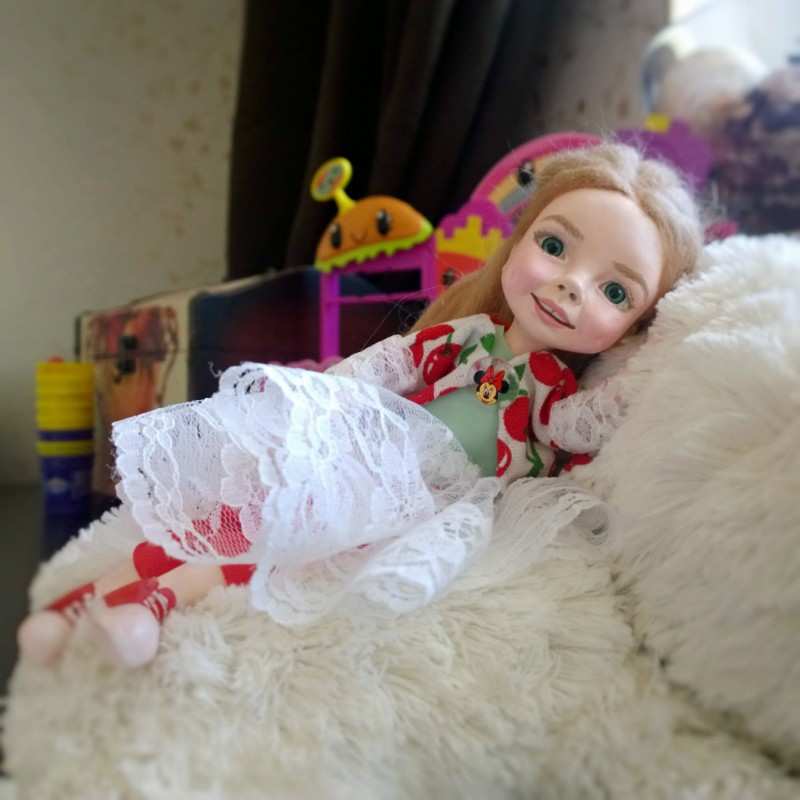
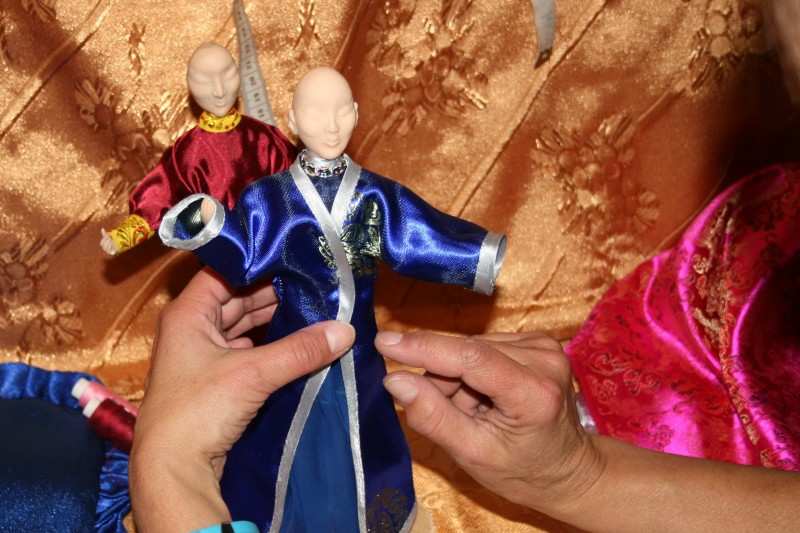
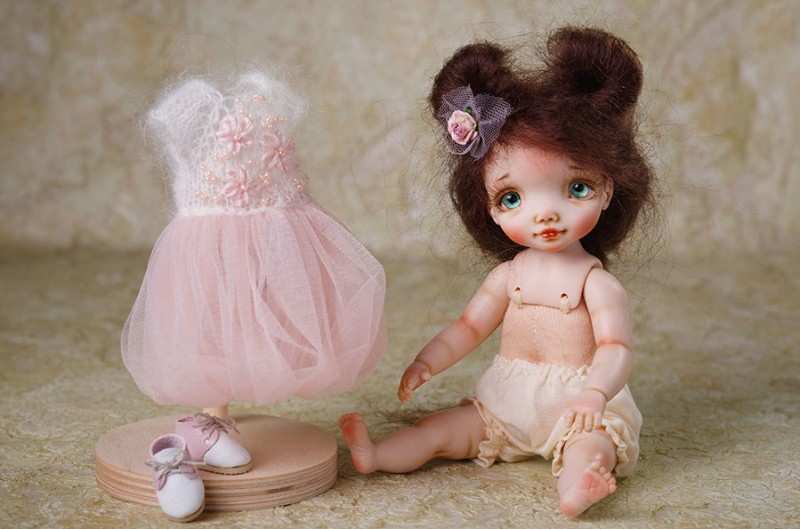
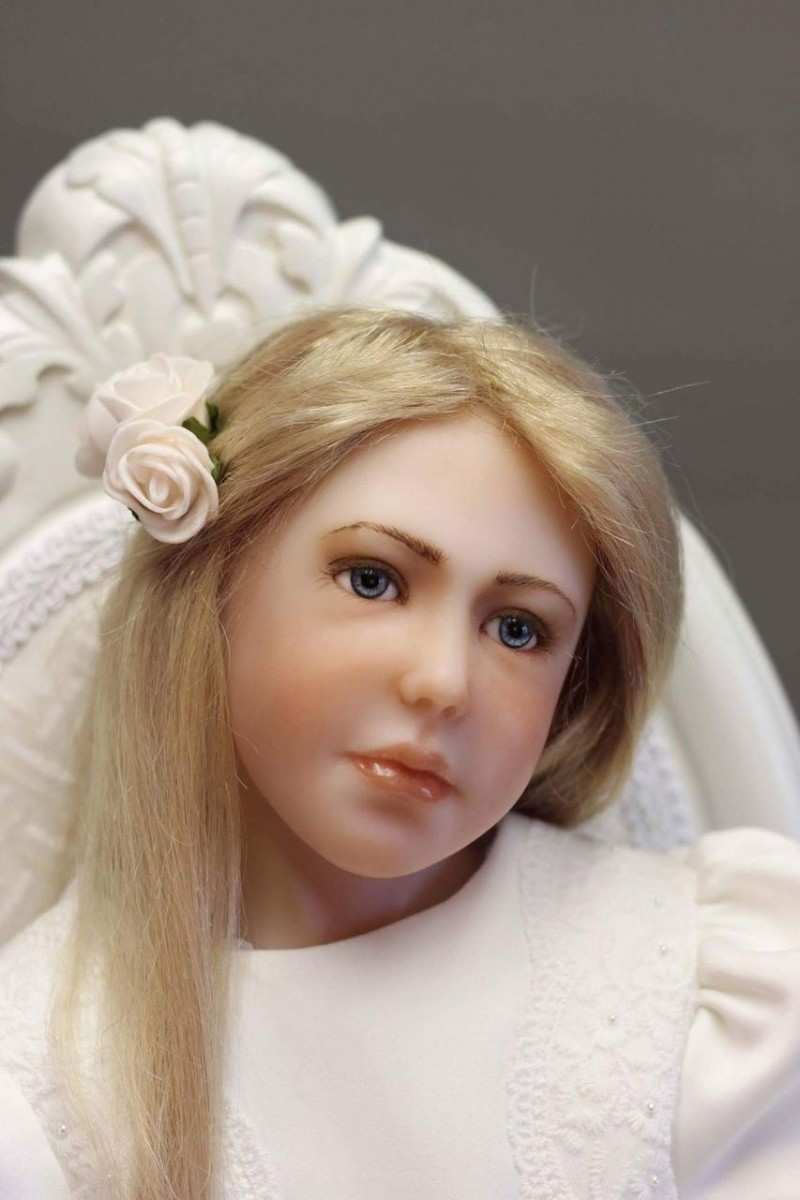
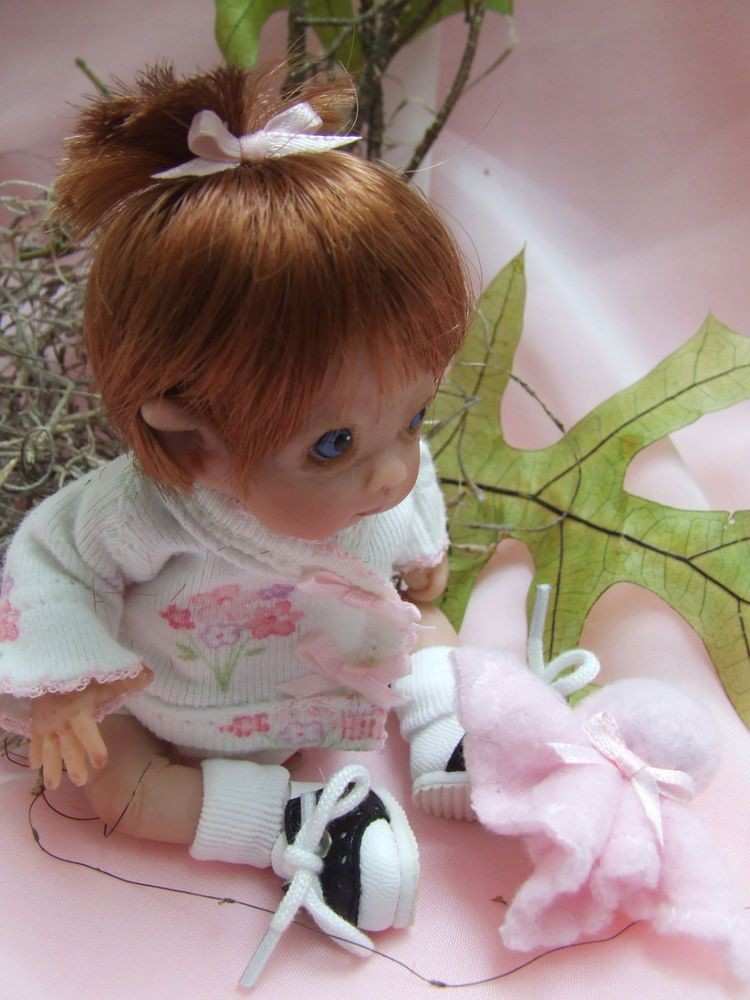
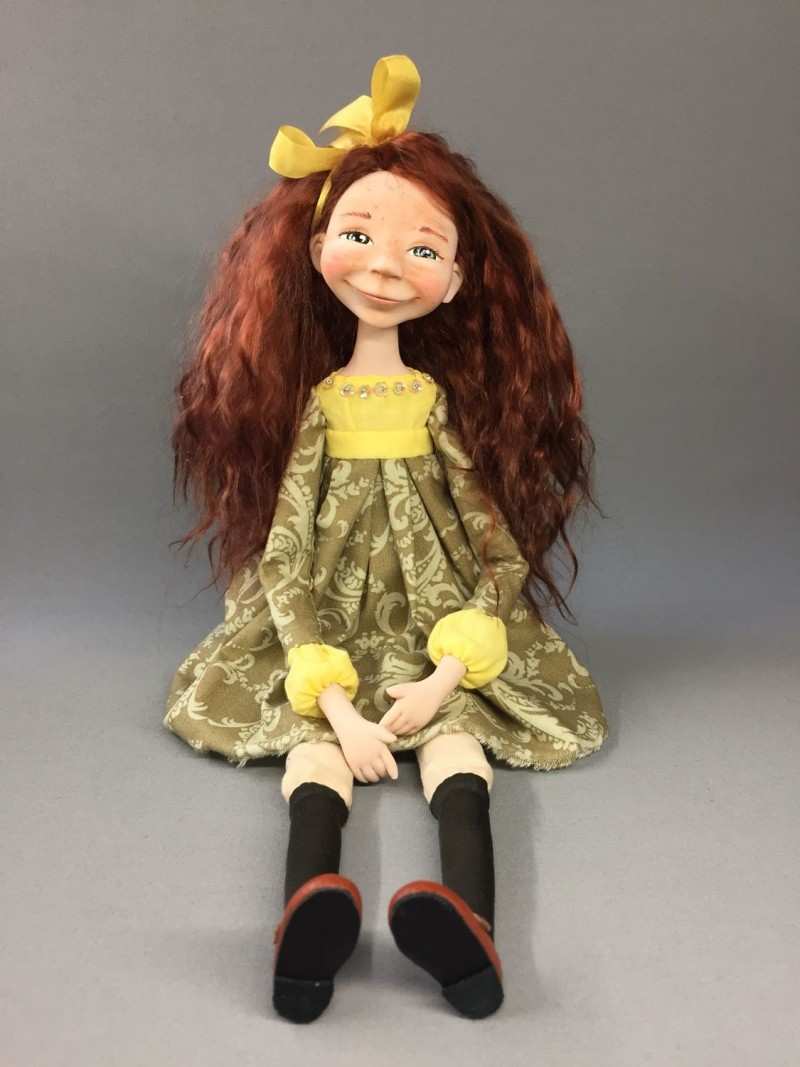
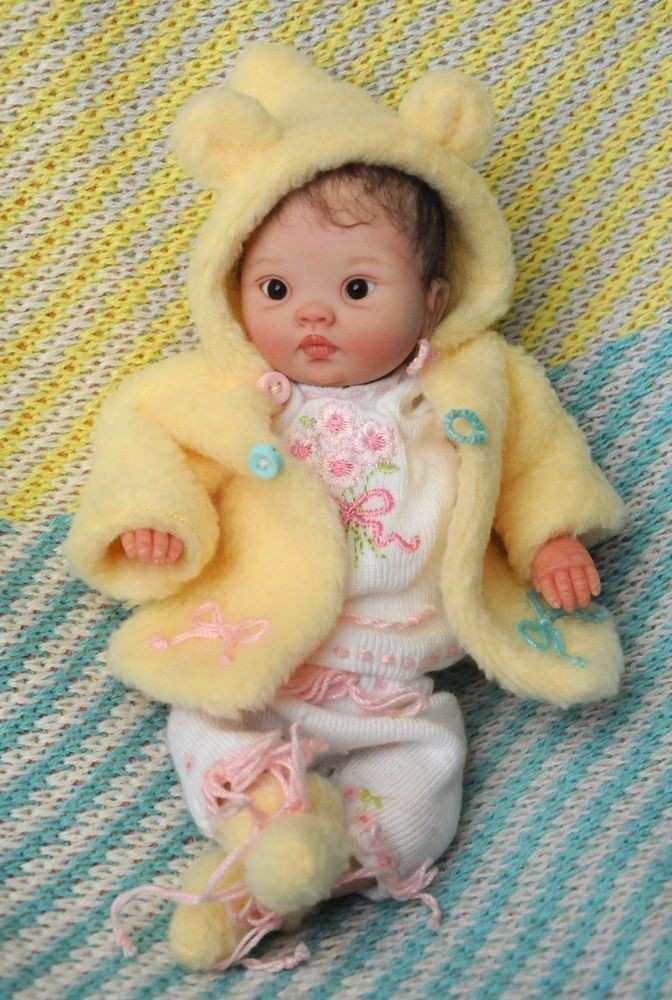
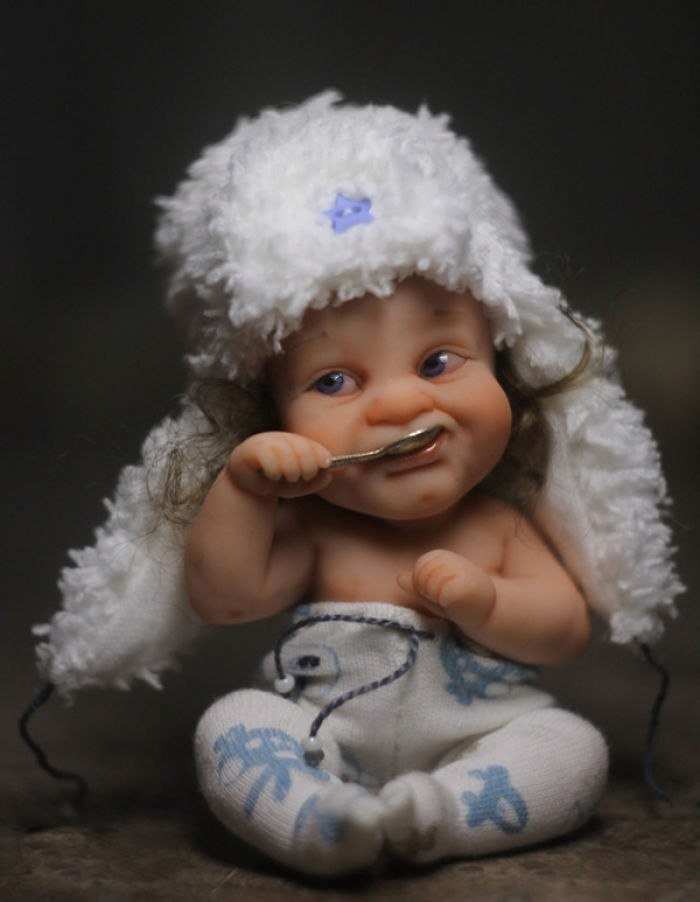
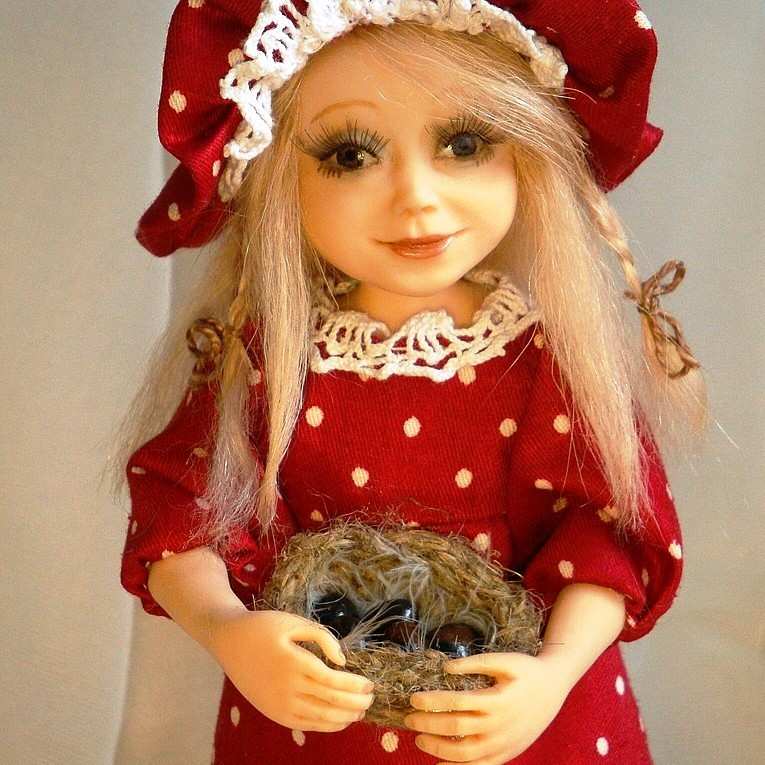
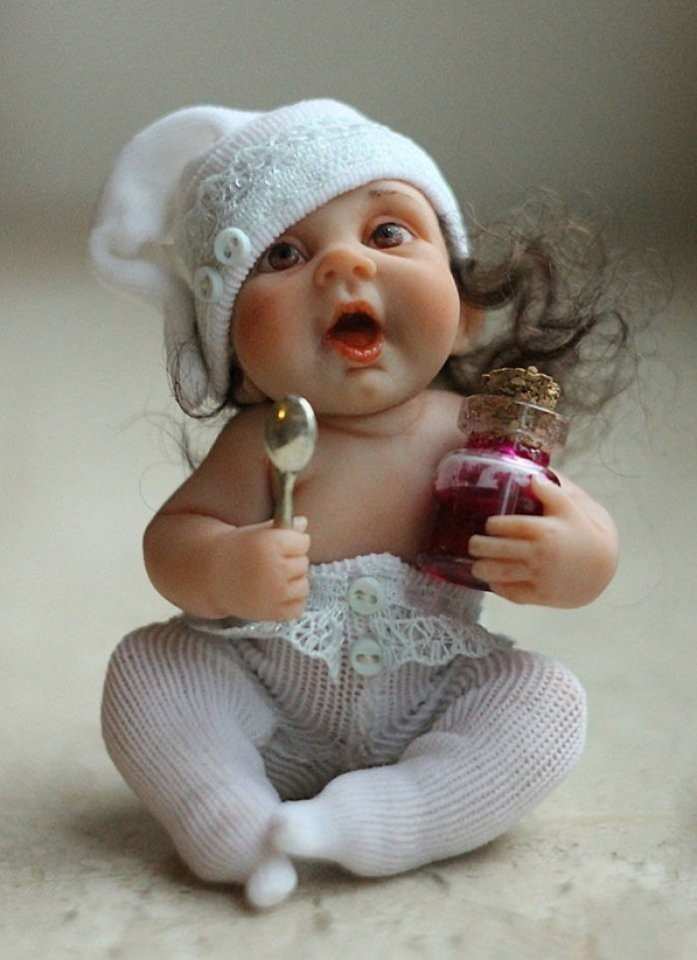
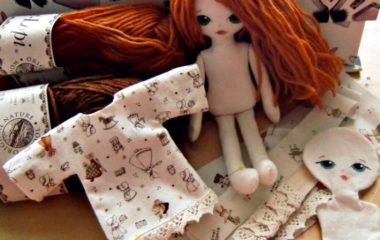
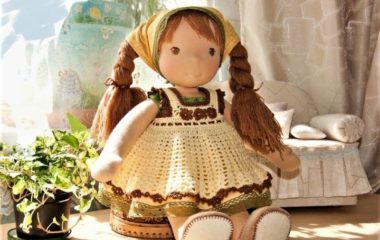
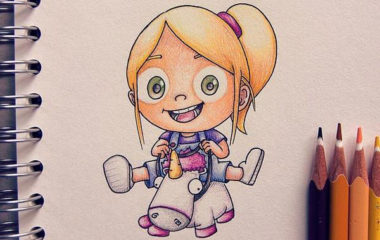
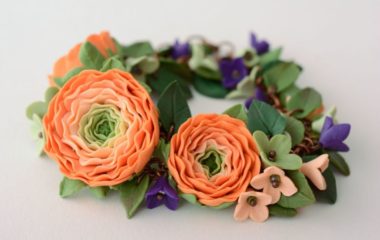
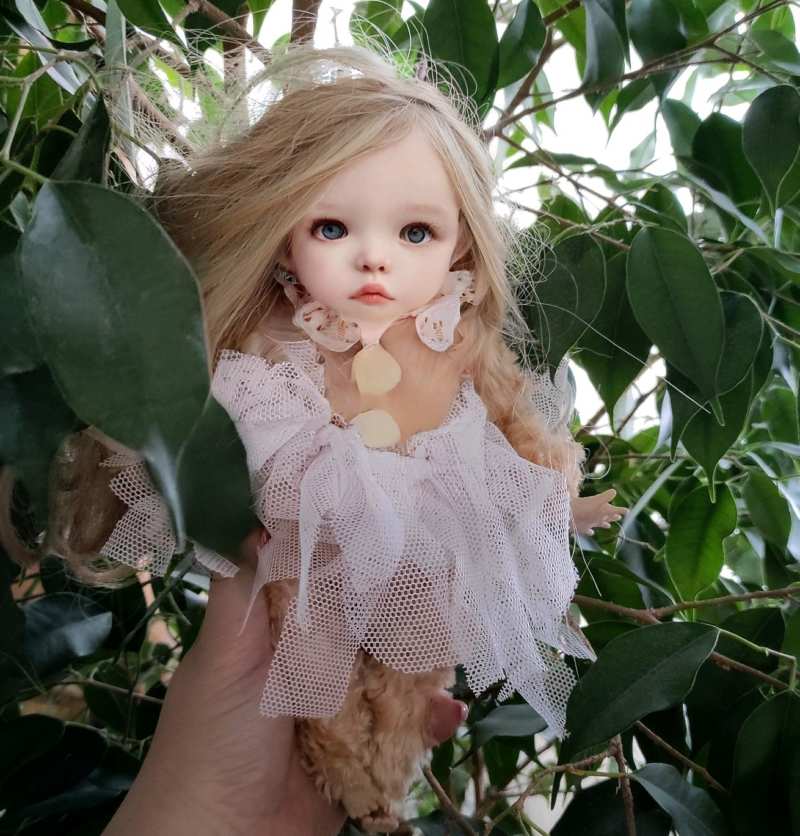
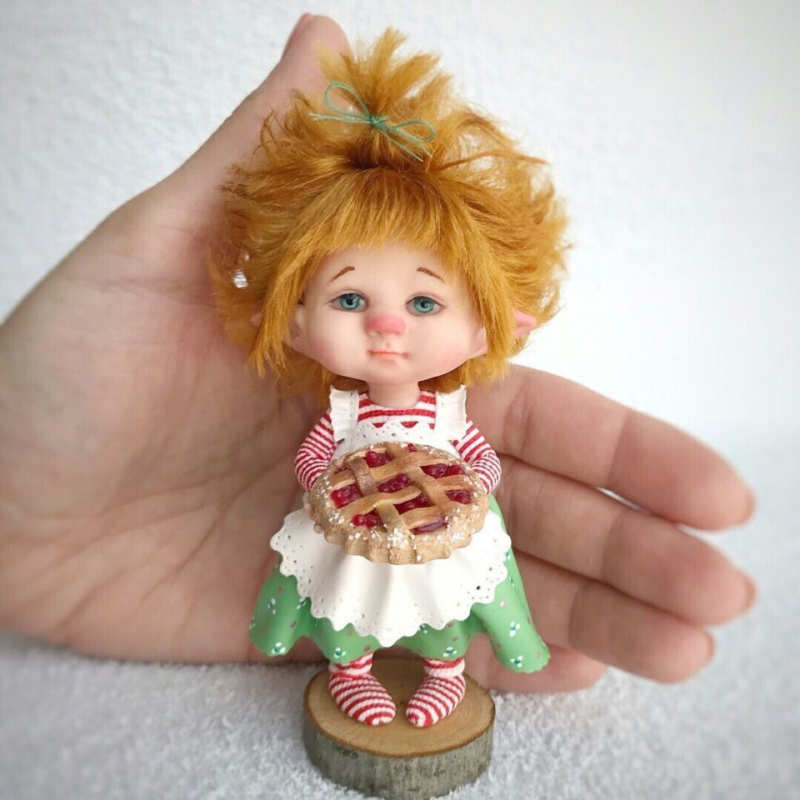
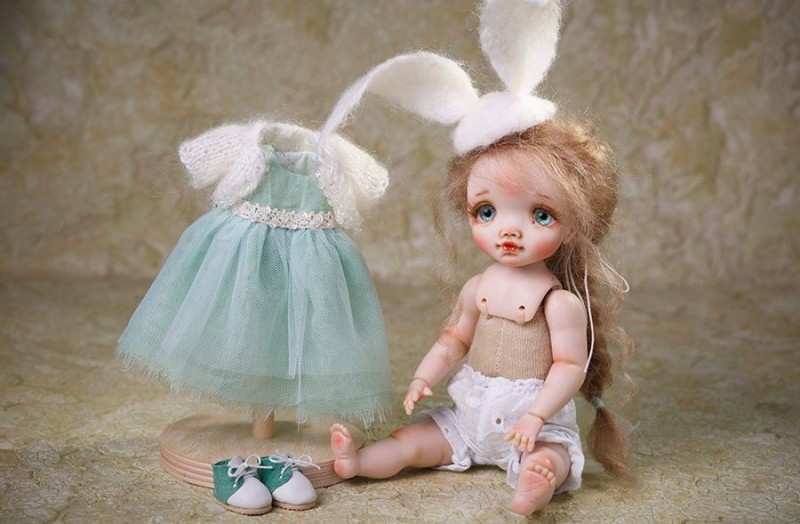
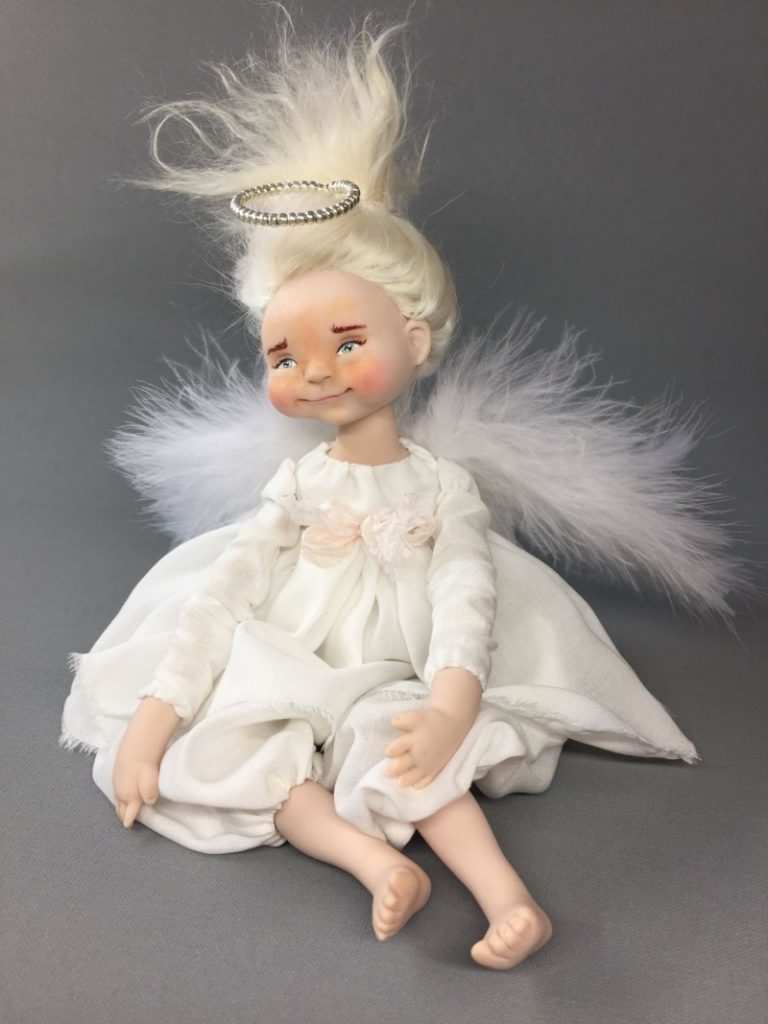
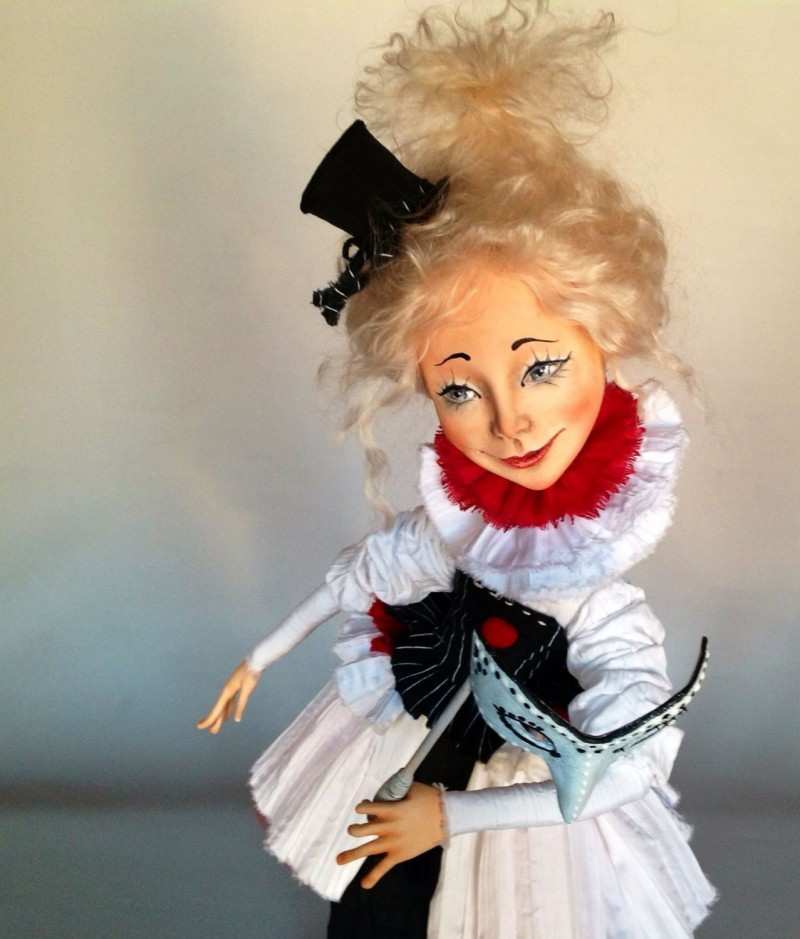
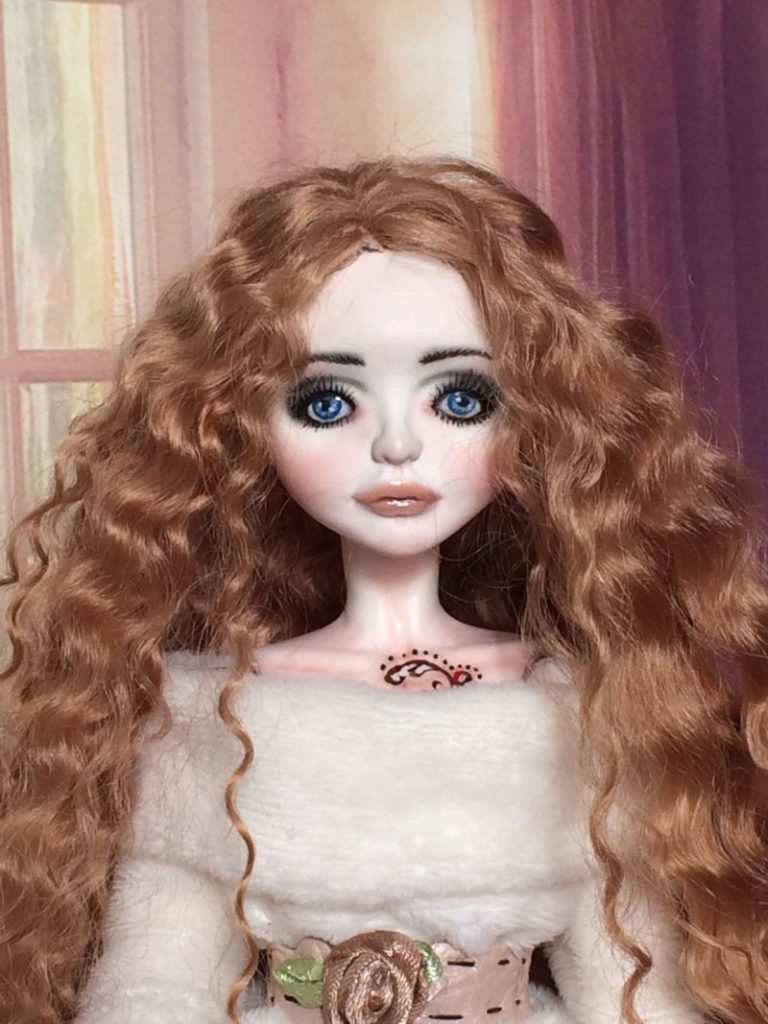
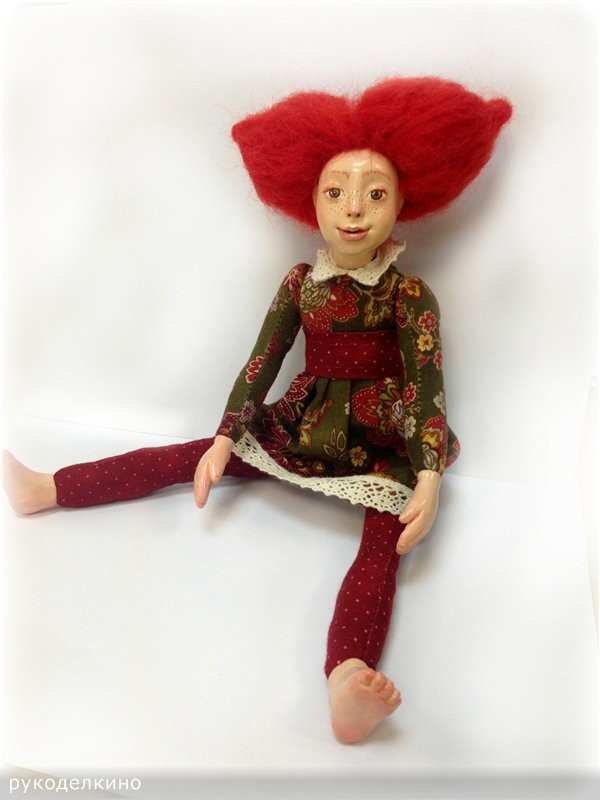
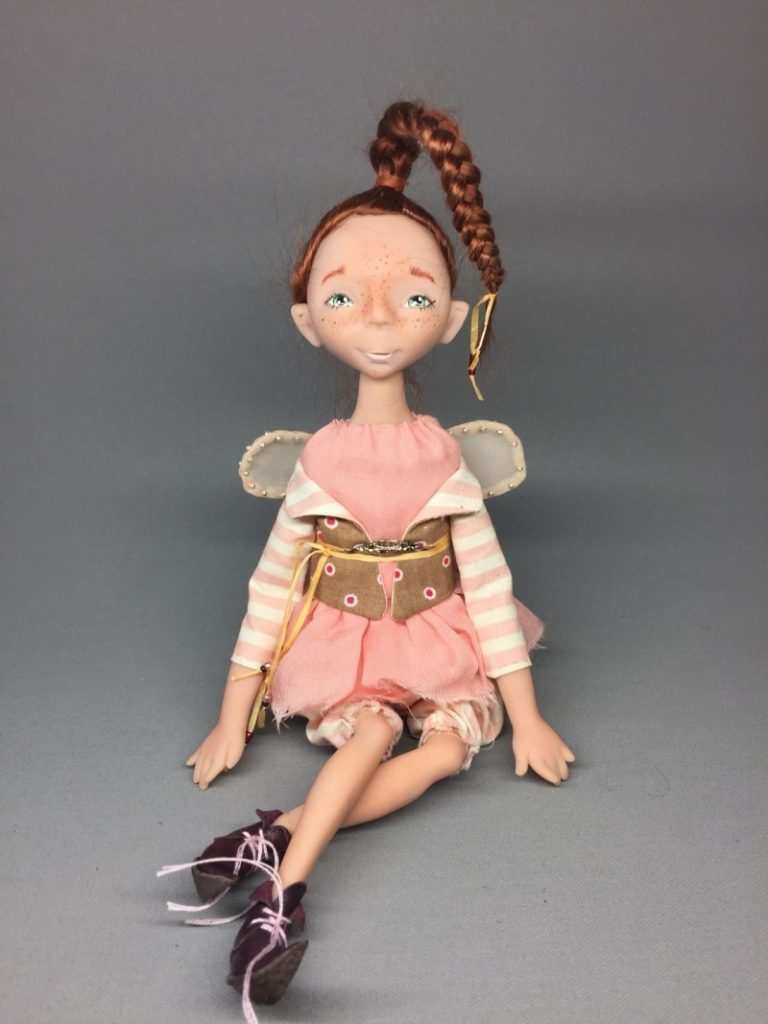
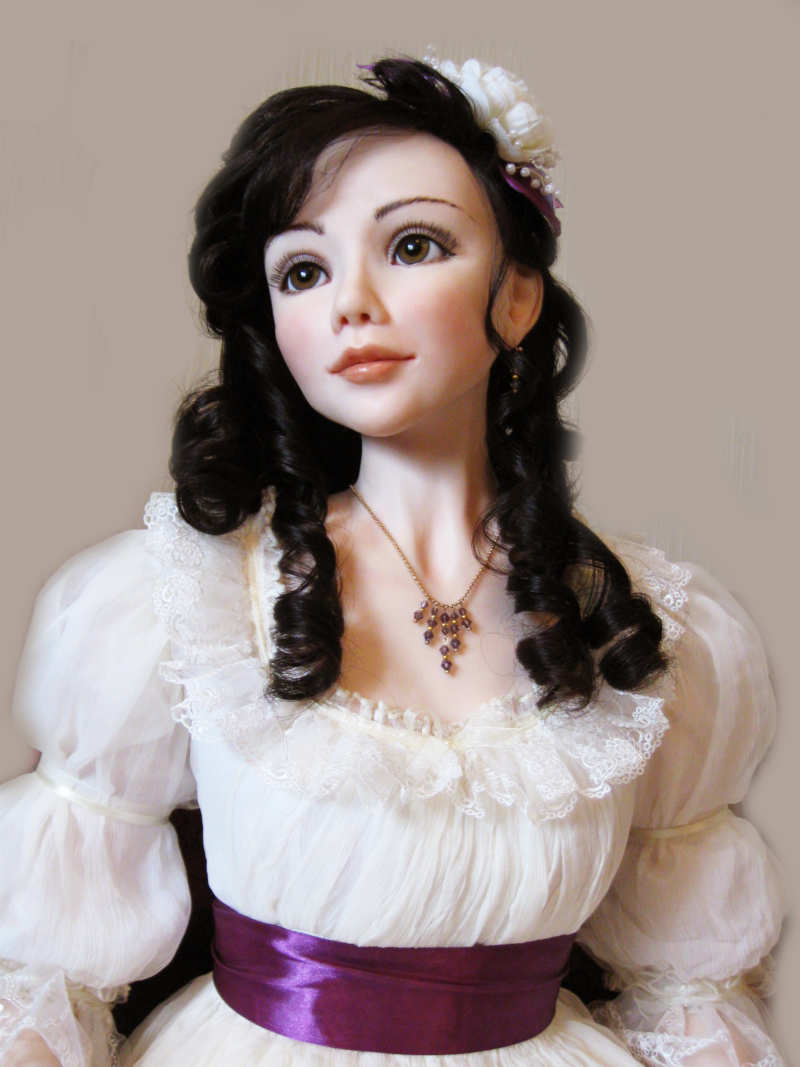
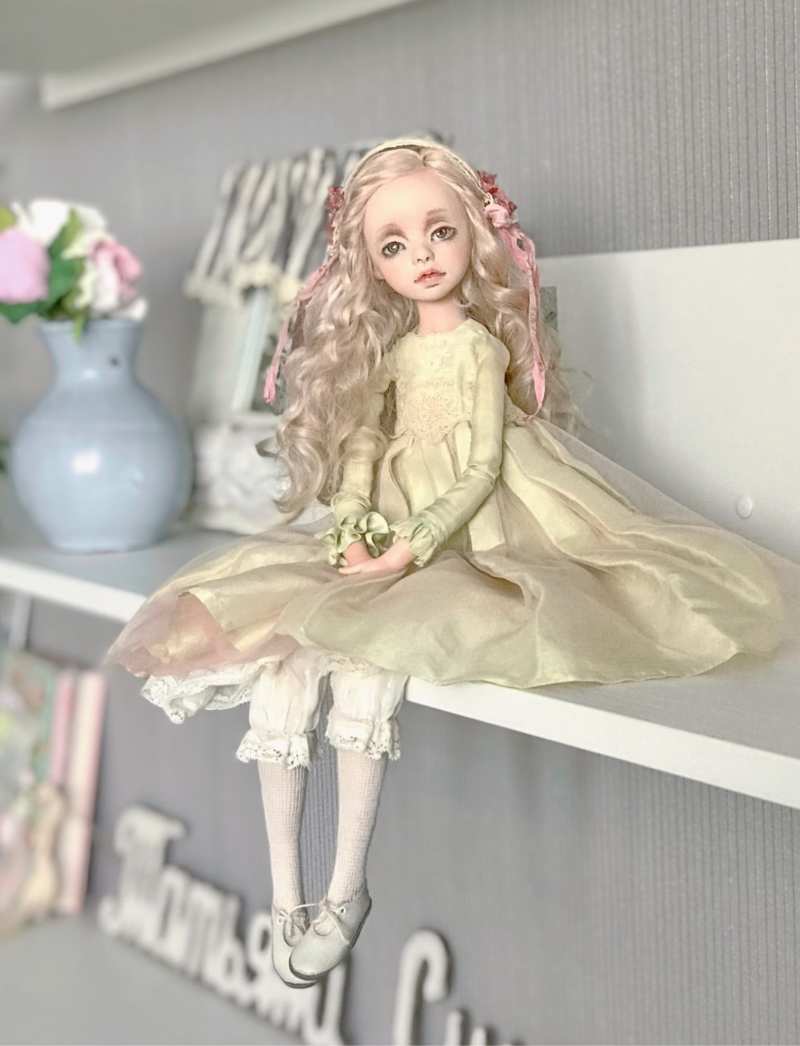
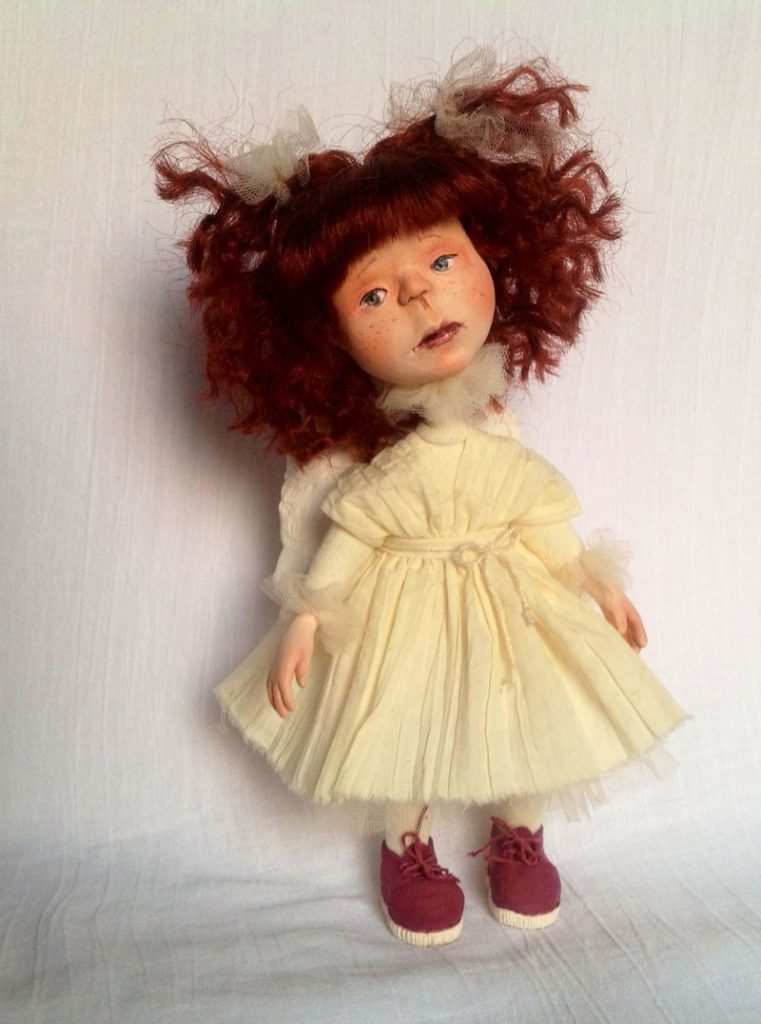
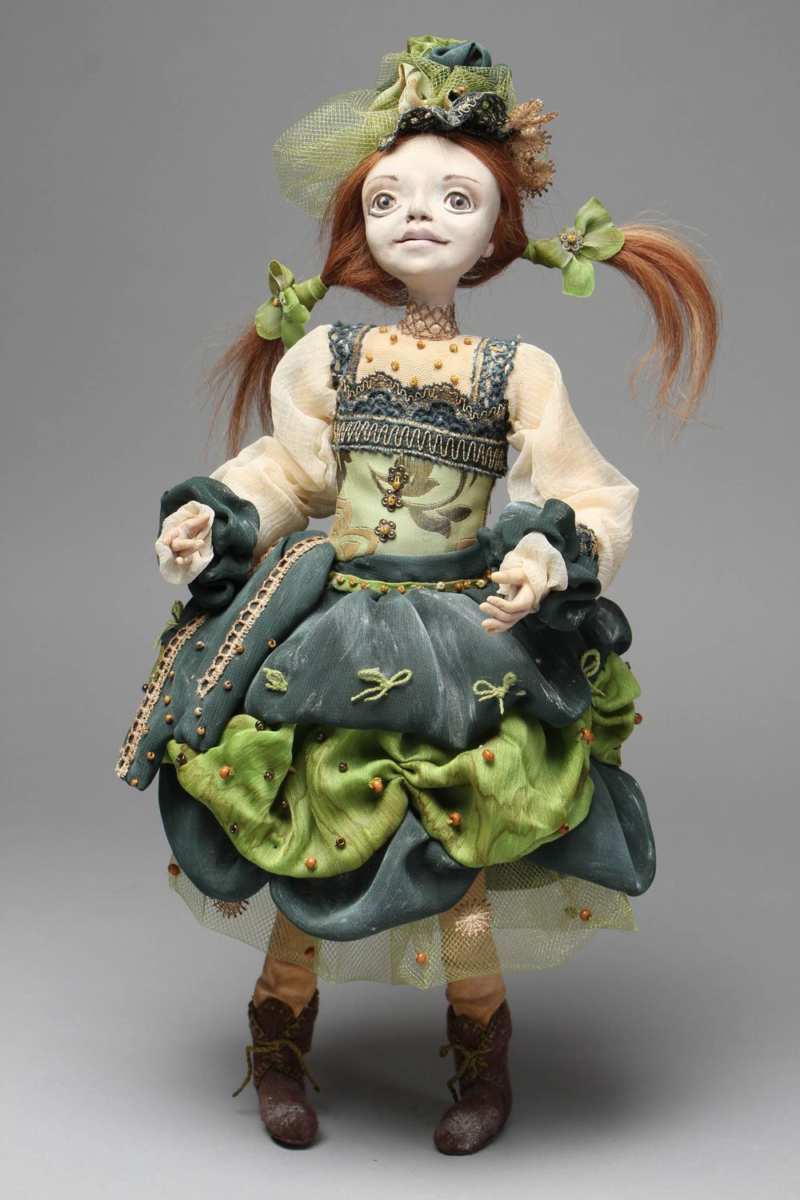
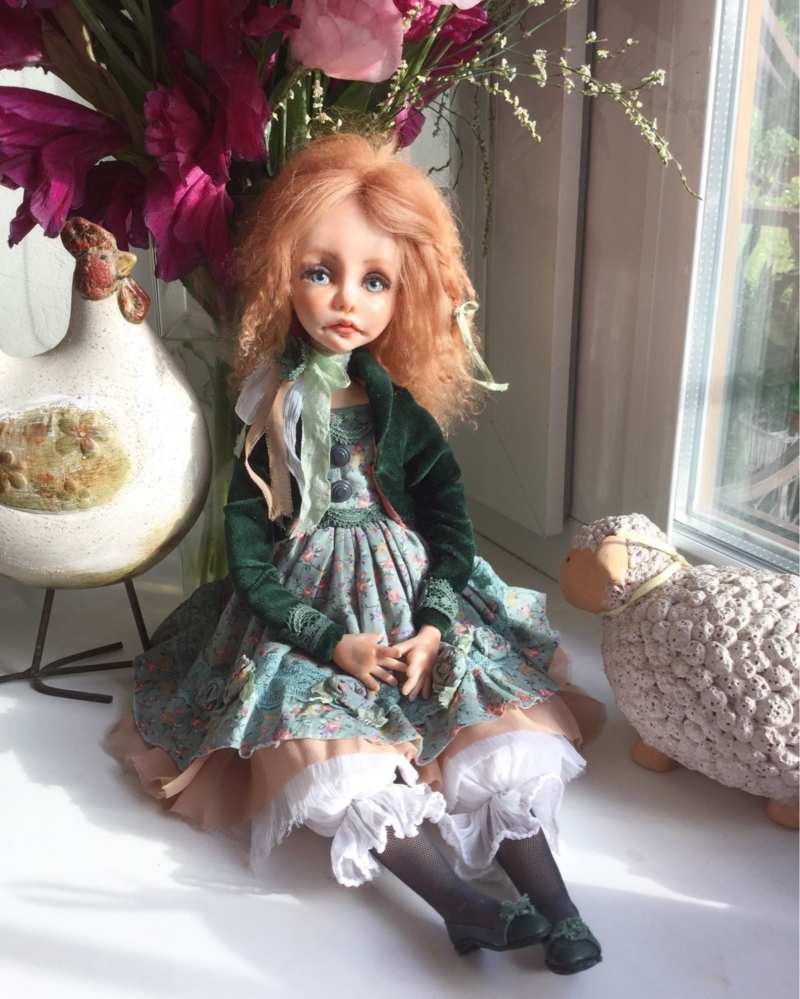
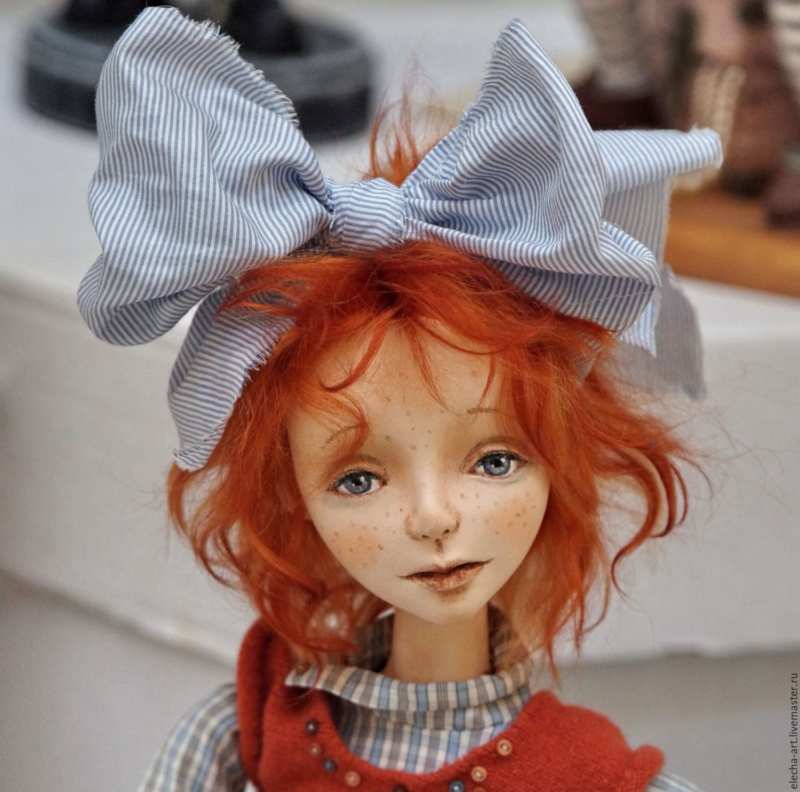
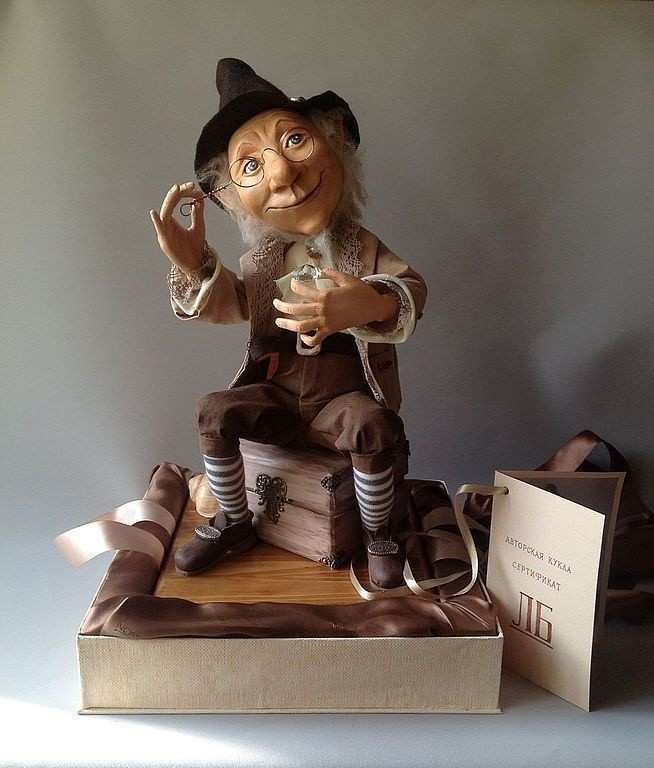
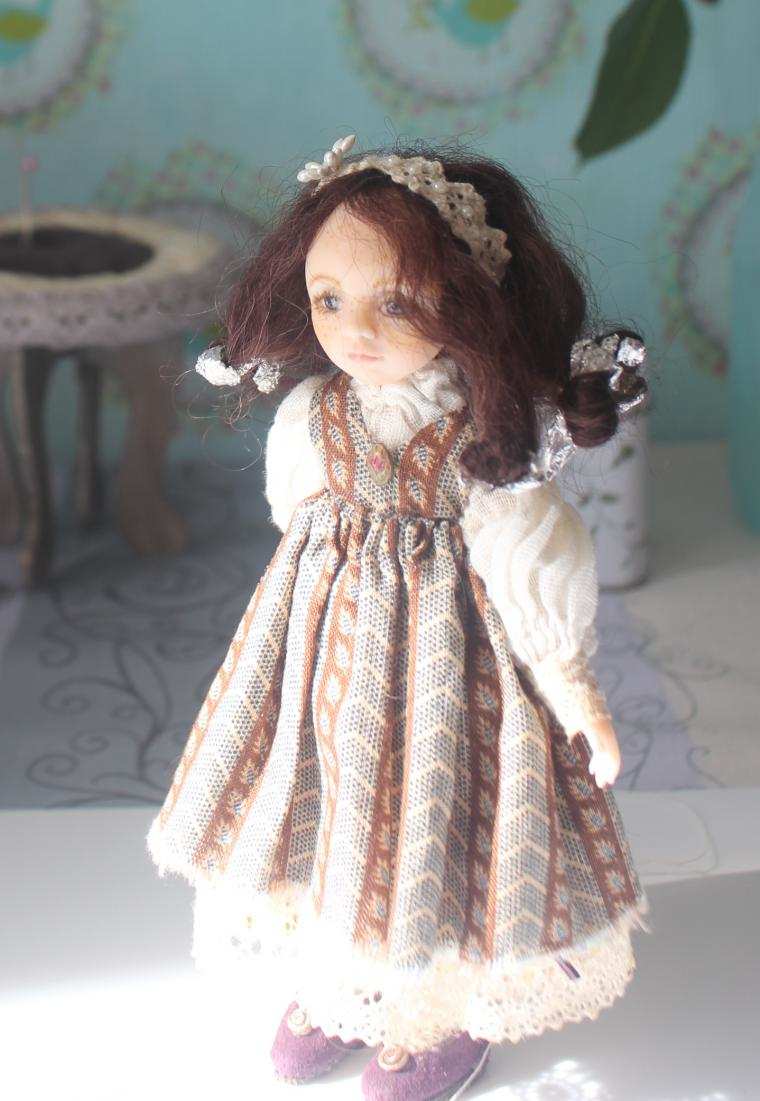
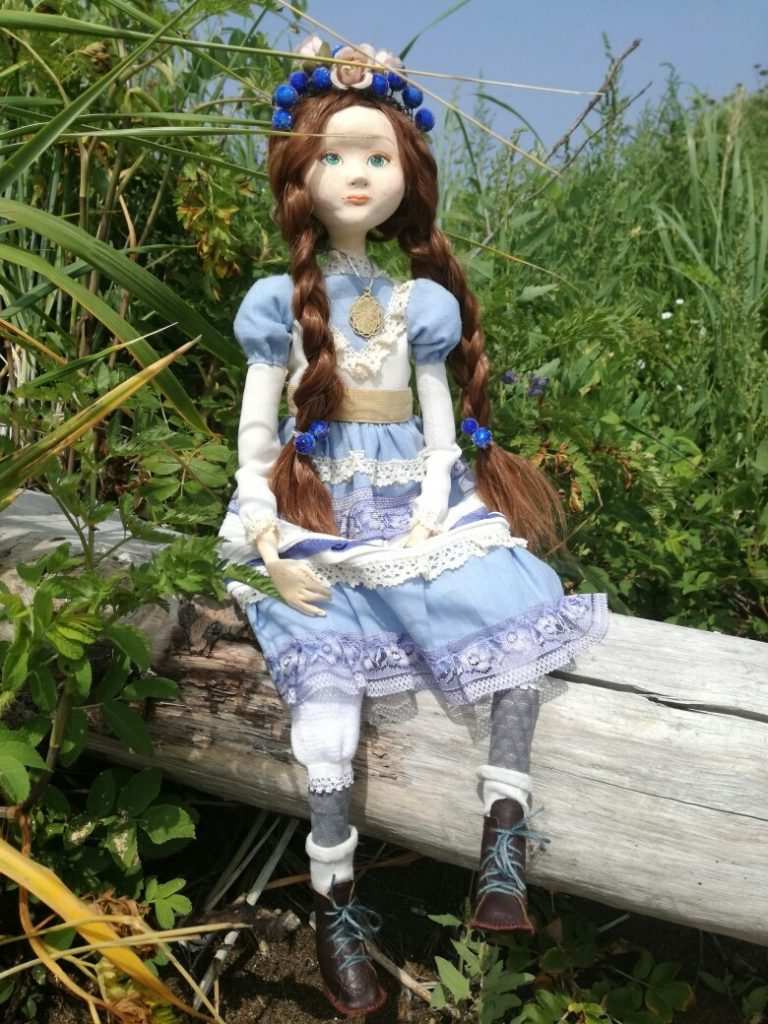
Photo ideas of homemade dolls from polymer clay