Bead crafts with their own hands: weaving features and decorating ideas for children and beginners home interiors
It is proven that the speech and thought processes depend on the development of the hands. Going over and stringing beads at a child's age develops fine motor skills, activates speaking, mental and creative abilities, forms an aesthetic perception.
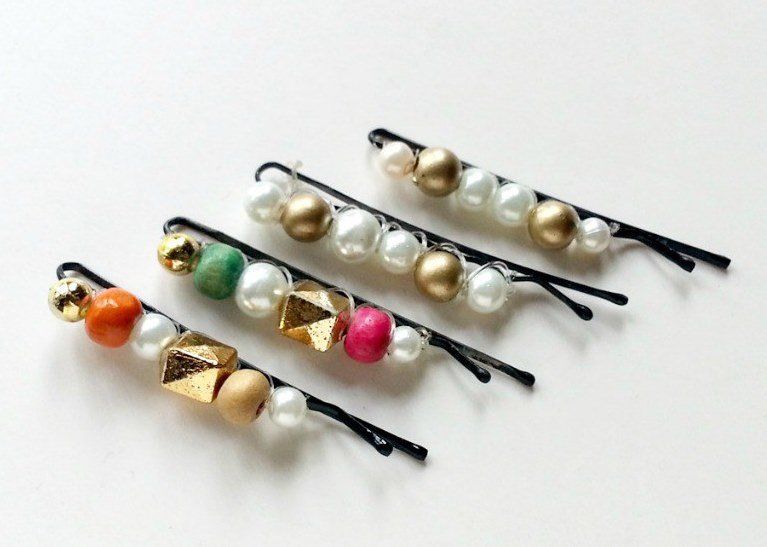
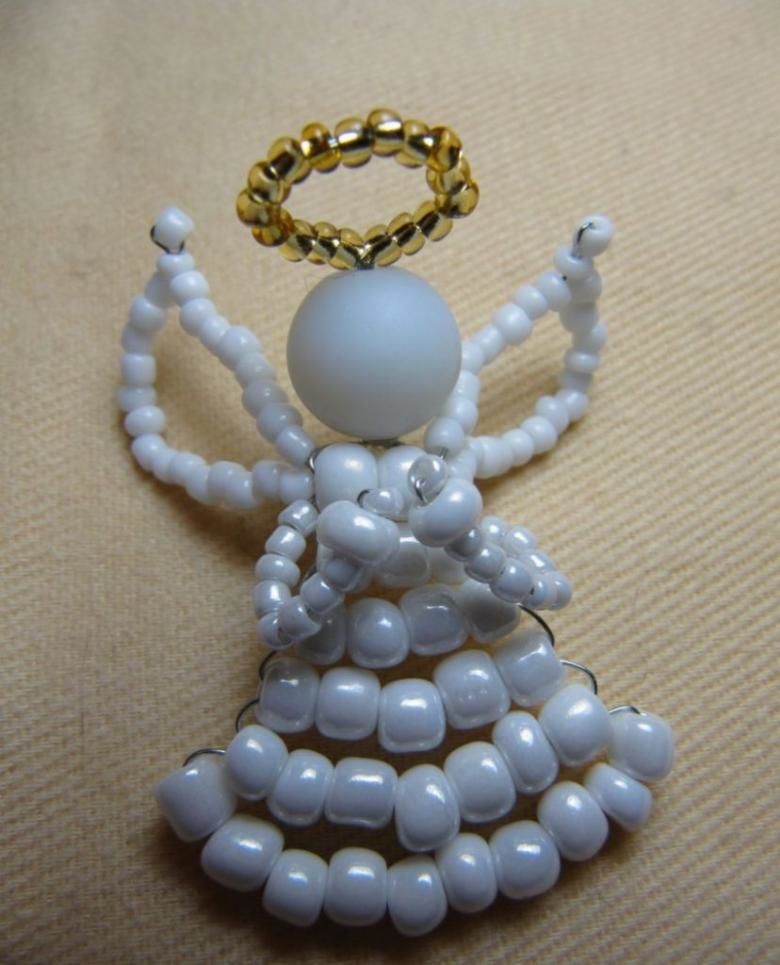
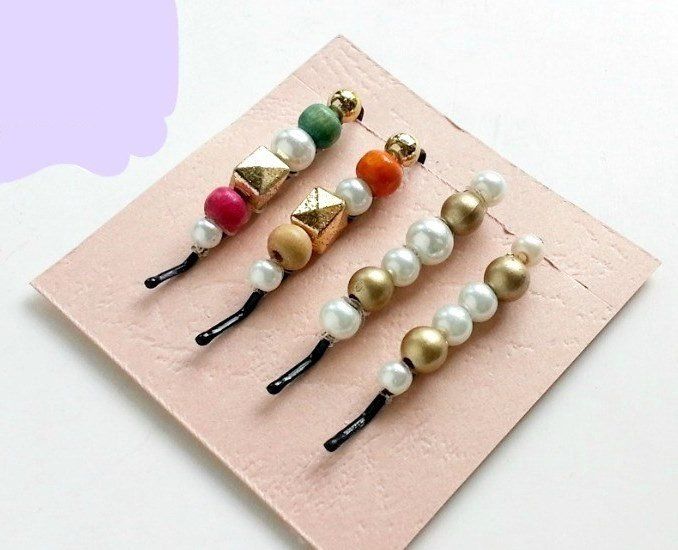
Uncomplicated bead crafts for children can be made in classes as early as preschool age. For example, beads as a gift for mom or grandmother.
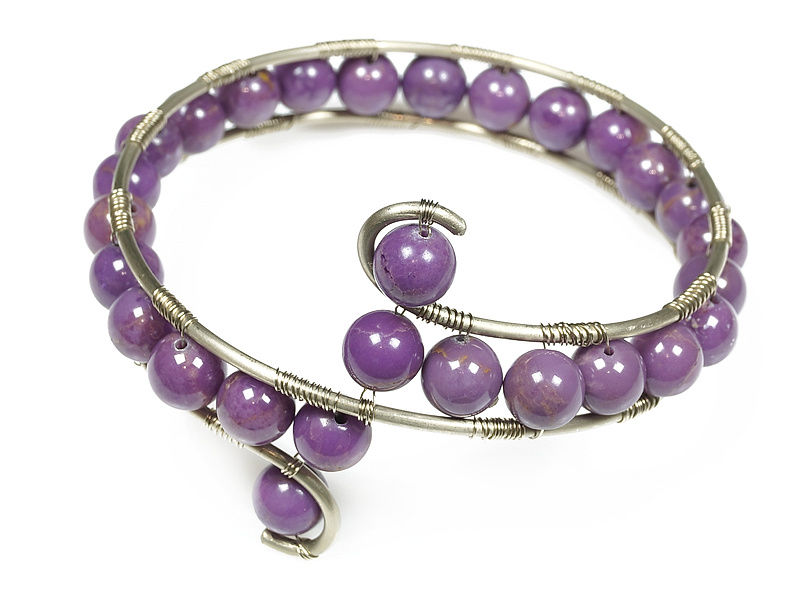
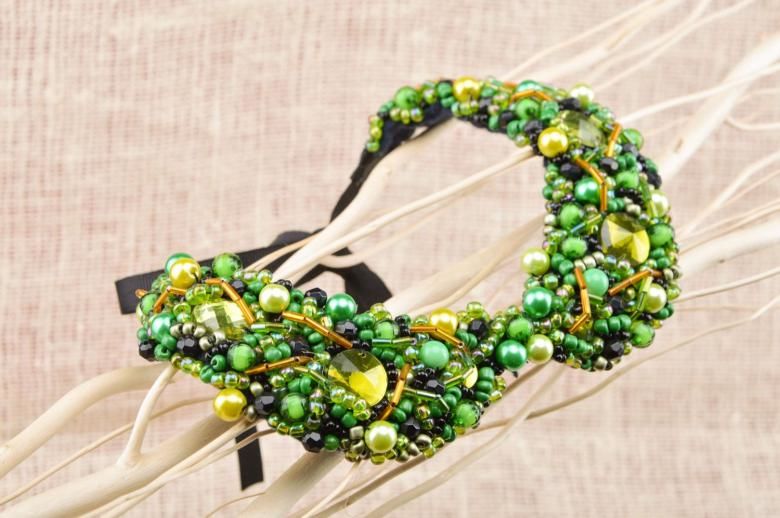
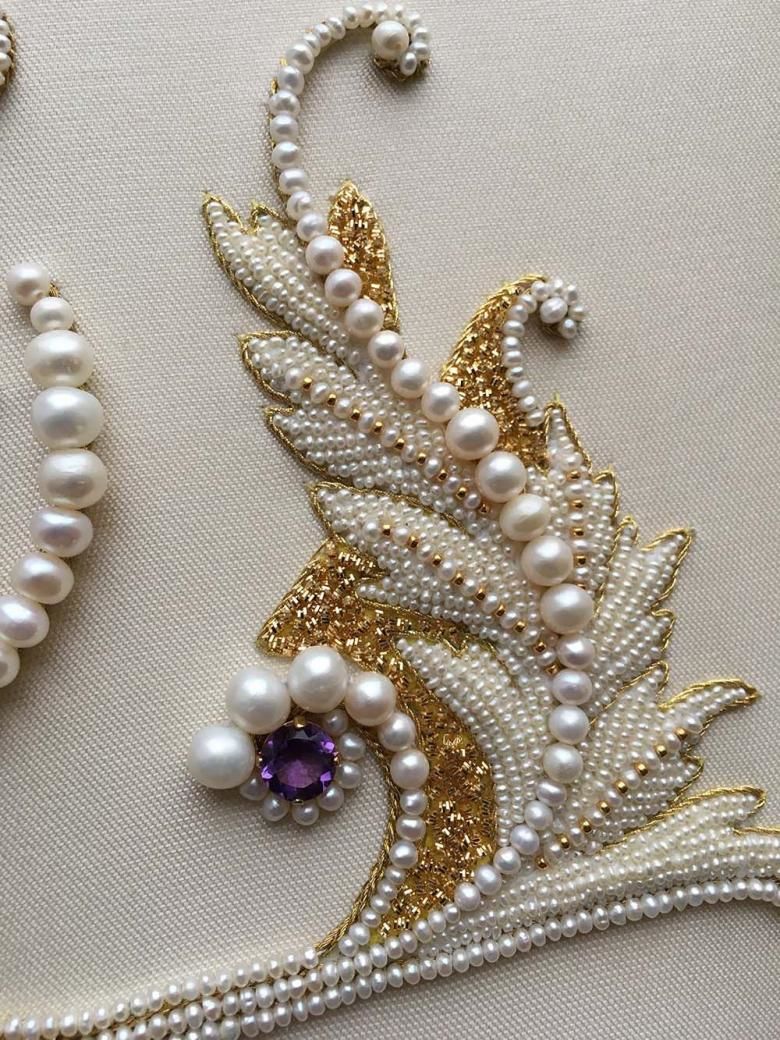
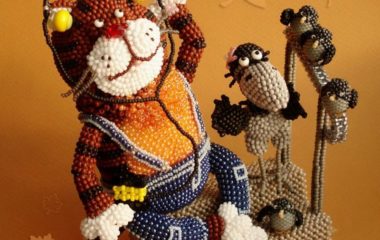
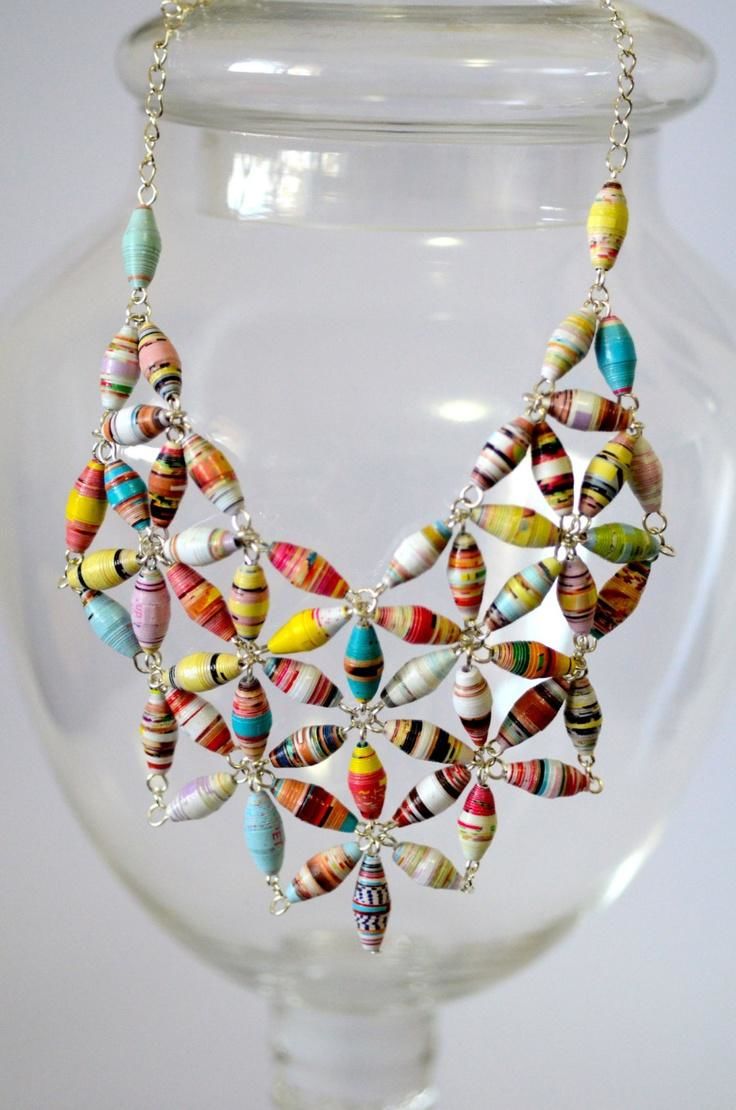
Many adults are fond of making souvenirs and costume jewelry from beads, beadwork. This activity allows you to break away from the hustle and bustle, to immerse yourself and your thoughts. Different kinds of handmade are now at the peak of popularity.
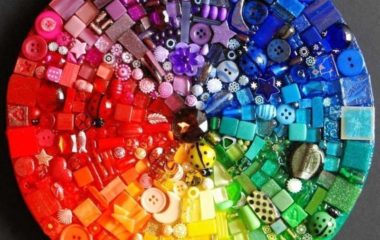
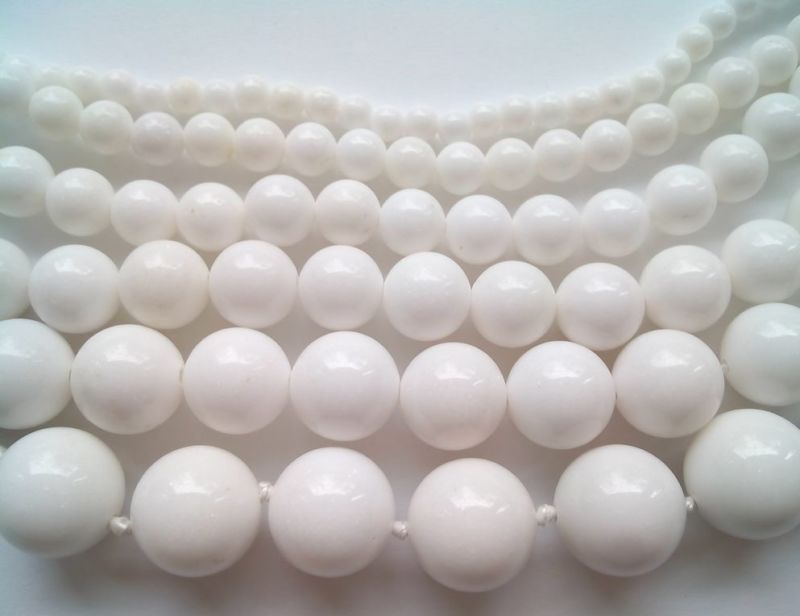
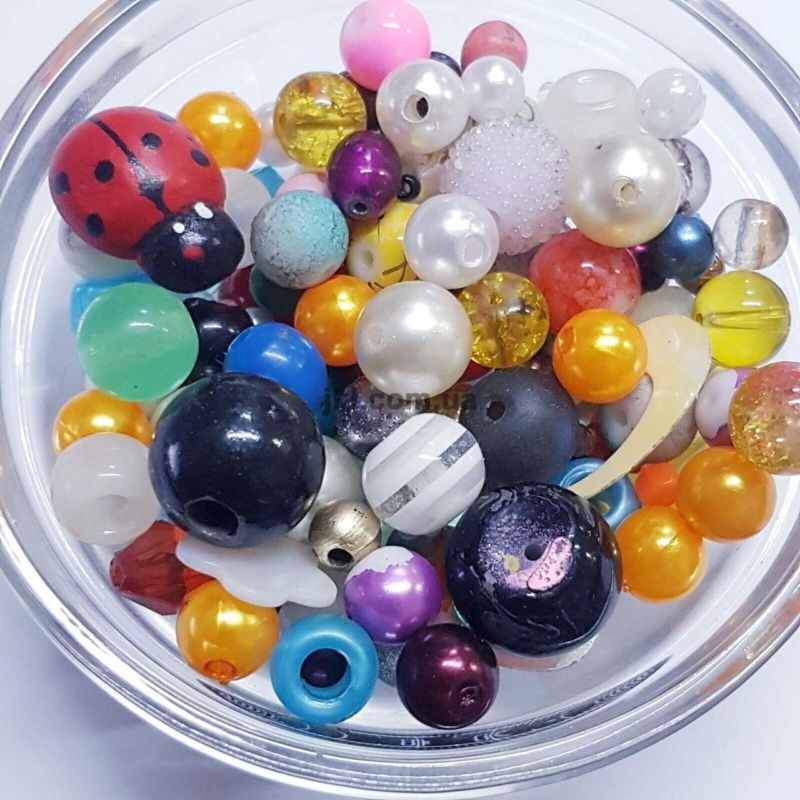
Different Beads
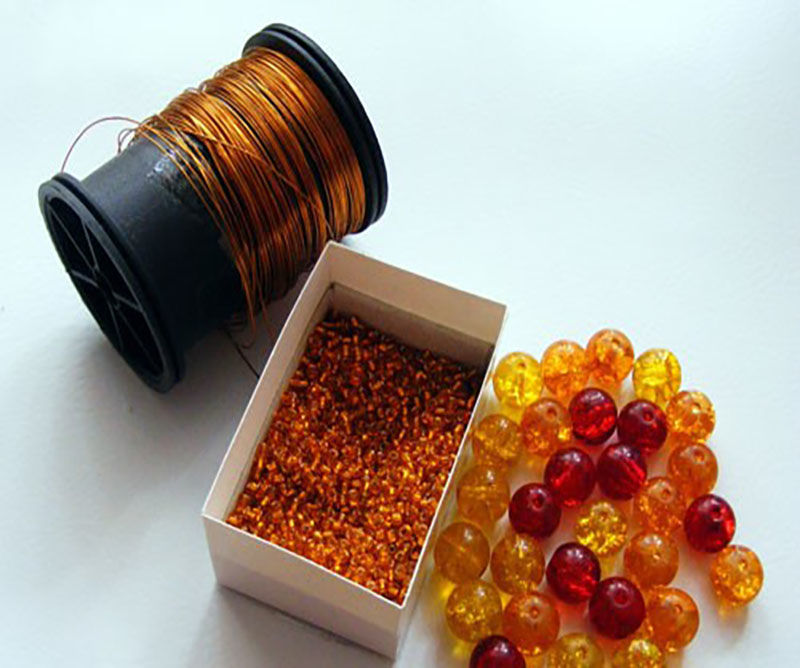
To prepare parts for future masterpieces, you do not have to tear old beads. Today you can buy them in craft stores and specialized hobby hypermarkets.
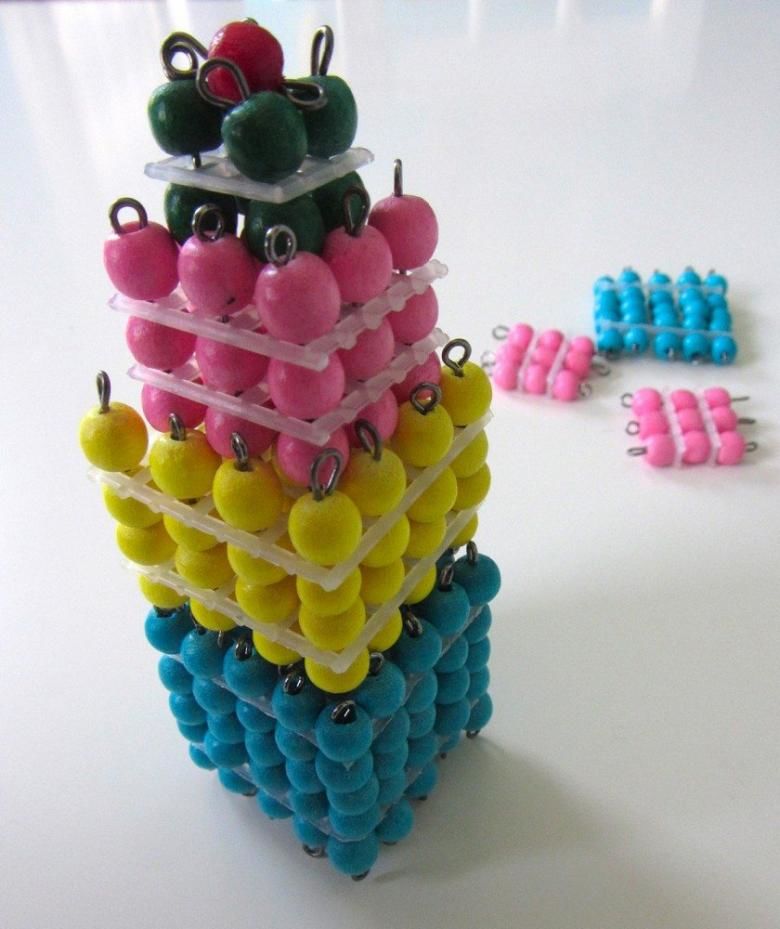
Beads are used in combination with other materials in knitting, sewing, embroidery, macrame and on their own.

The cheapest are plastic (acrylic), glass and wood are more expensive. Transparent, frosted, shiny and iridescent, beads imitating metal and natural stones ... And how many variations in shape and size!
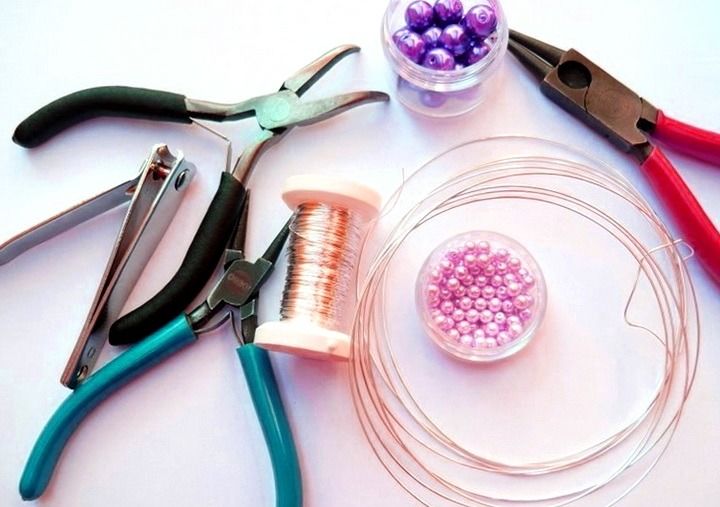
Features of weaving
Simple and complex, but equally beautiful beadwork crafts have identical weaving methods at their core. The binding material is string, rope, fishing line, and wire.
This article does not address complex work. Making these products is accessible even to a beginner. After all, in creativity is important not only the process, but also the result. When you get it right the first time, you are motivated to do more complicated things.


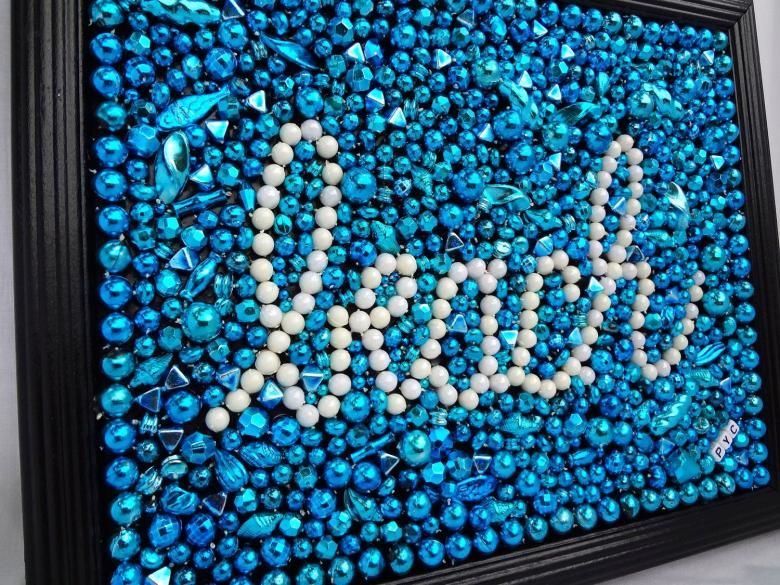
Ideas for interior decor
Curtains, chandeliers and lamps, tea-pot and mug holders, mirrors and photo frames, caskets and candlesticks, decorative panels - so many interior items for making or decorating which beads can be useful!
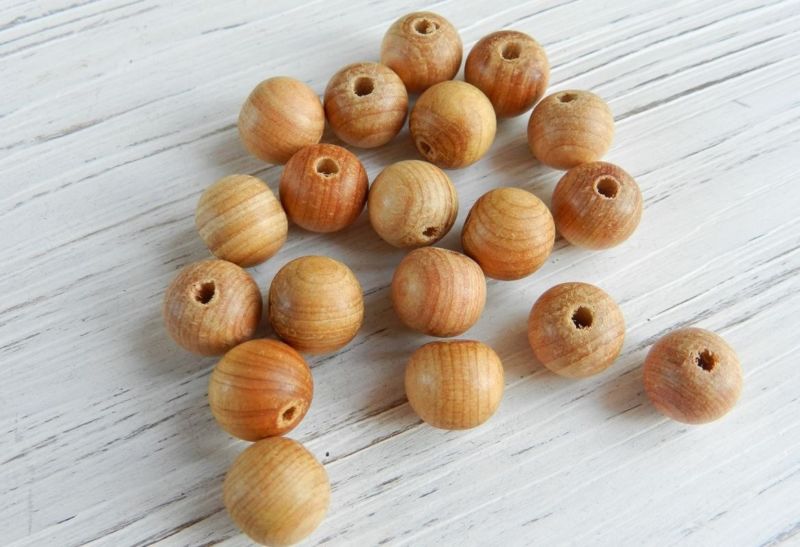
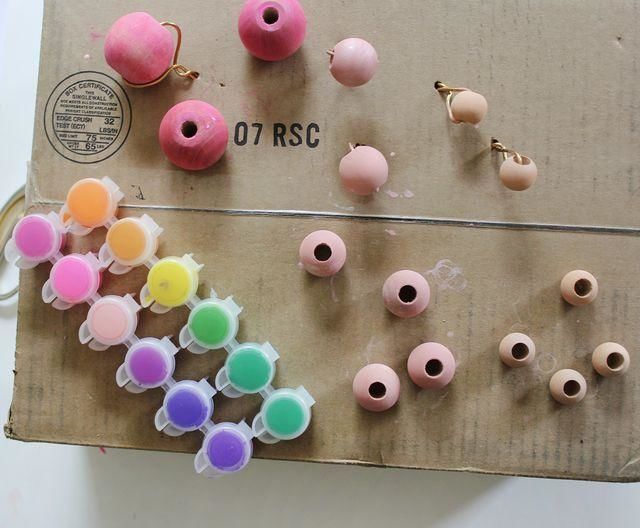
In recent years more and more recognition is given to eco-style, which implies the use of natural materials, so products made of wooden elements, strong and lightweight, pleasant to the touch, are widely used.

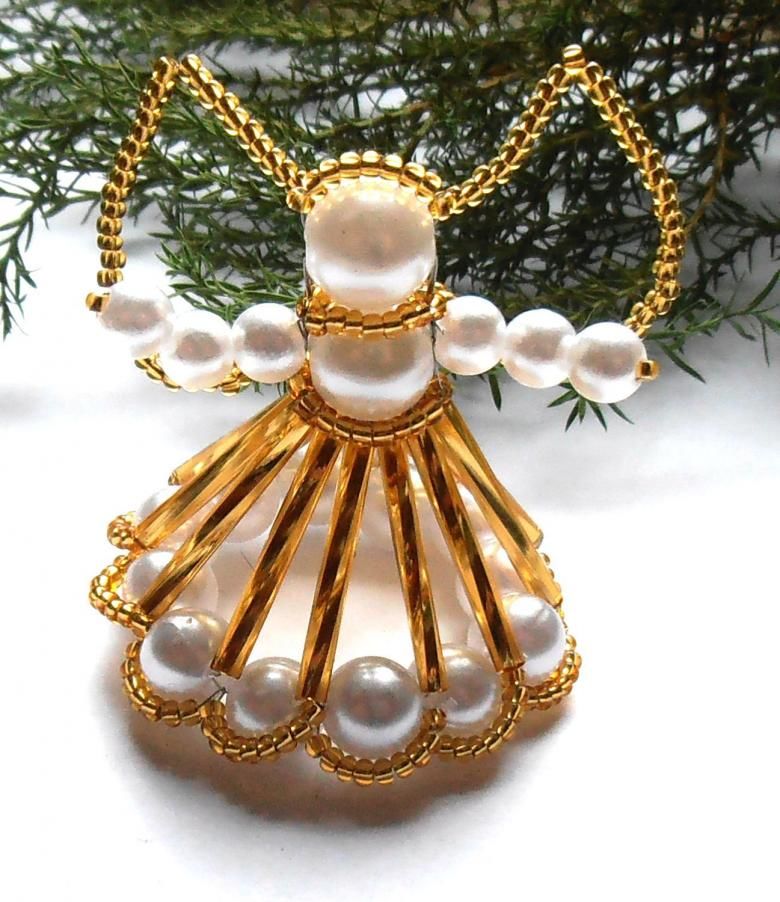
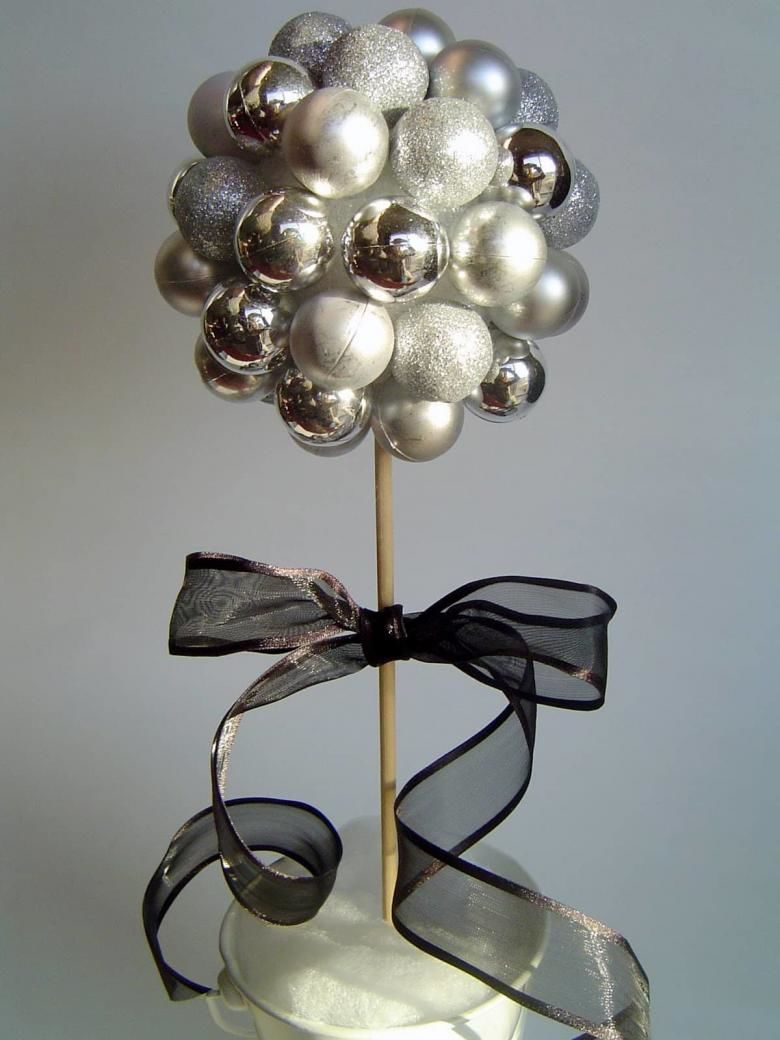
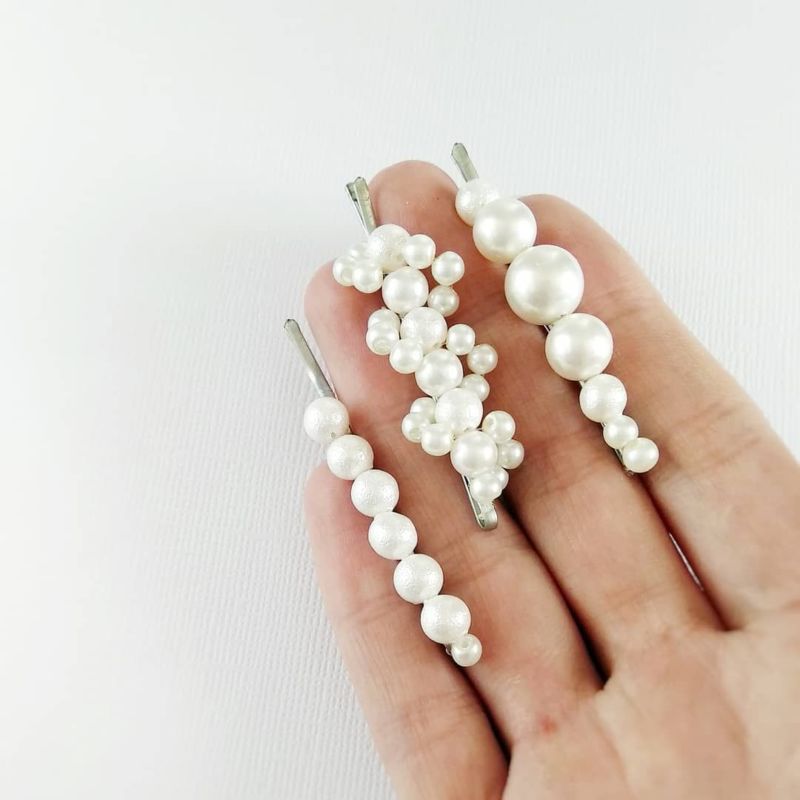
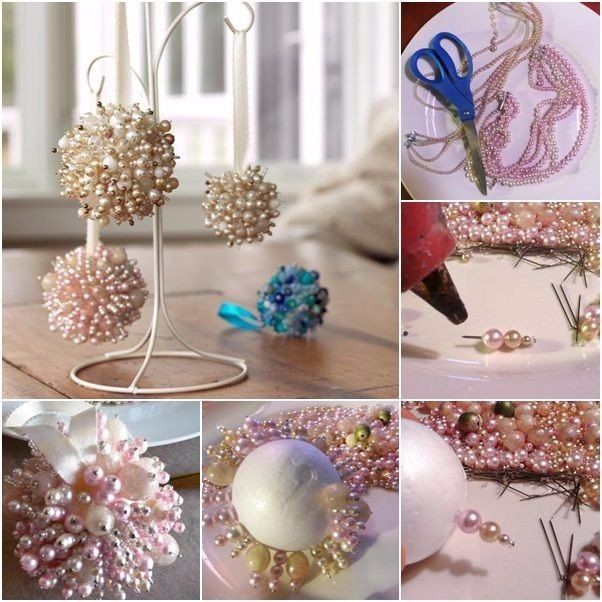
New Year's Balls
Materials:
- Styrofoam blanks for balloons,
- decorative cord,
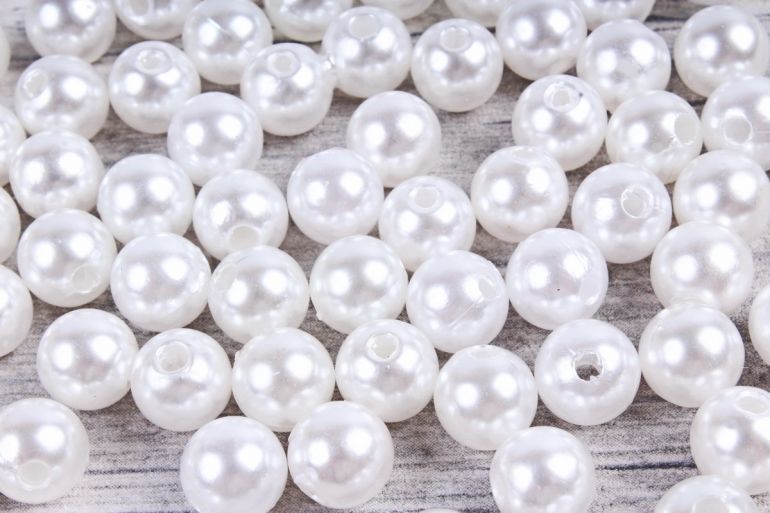
- pearl beads,
- bead spacers,
- ribbon for loops,
- glue gun.
Step by step instructions:
- First, glue the loop (it can be fastened with two stitches with a needle and thread) and glue by the ends, placing them in different directions, so that then the ball weighs evenly.
- On the thread to put the beads tightly or through the spacer. Glue a string of beads and a cord at the same time to get an alternation.
- Move from the point opposite the loop, gradually approaching it. Carefully fasten the ends by pressing with a finger, hold for a couple of minutes. Ornaments for the Christmas tree is ready.
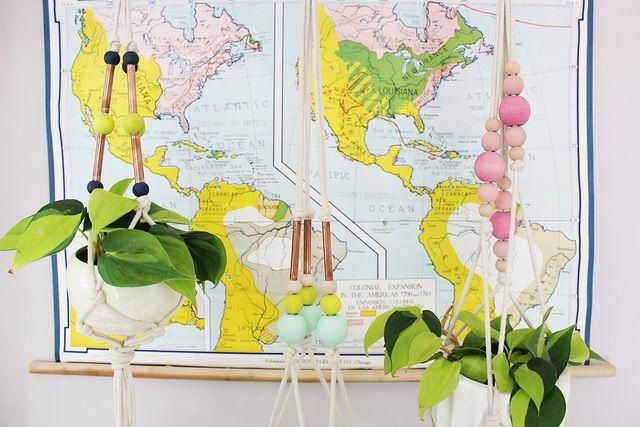
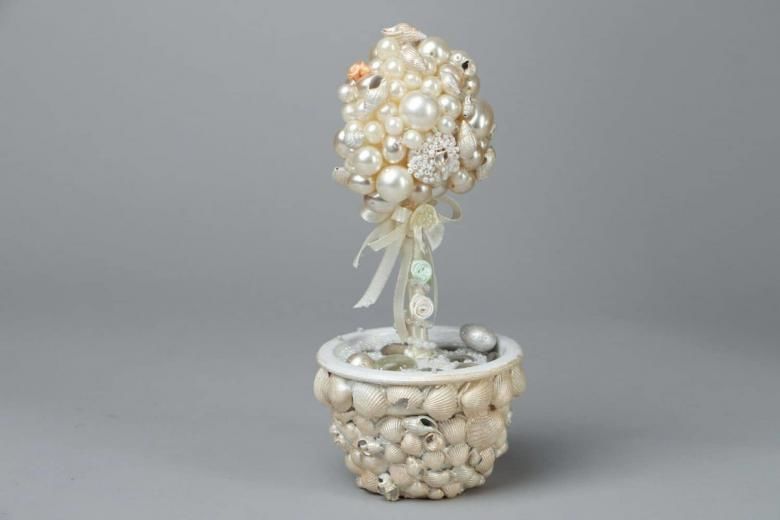
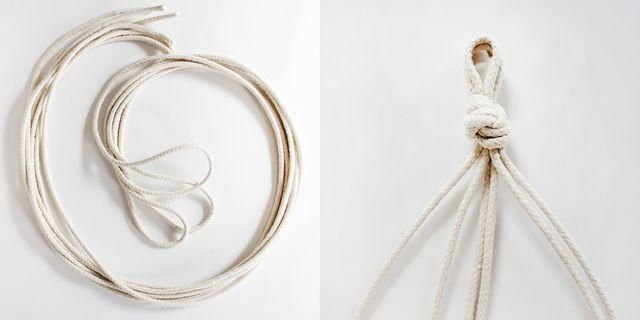
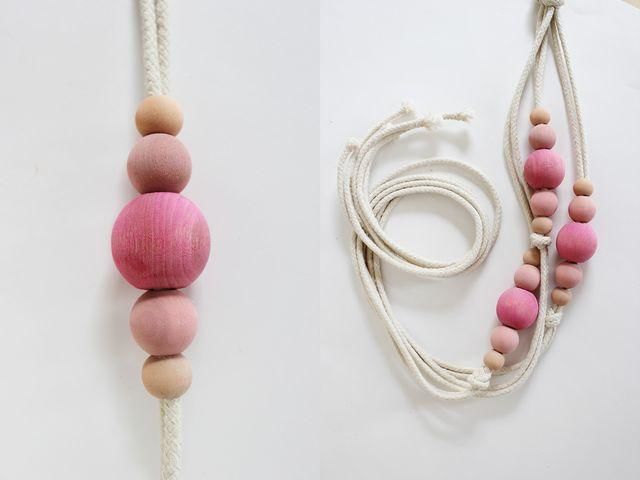
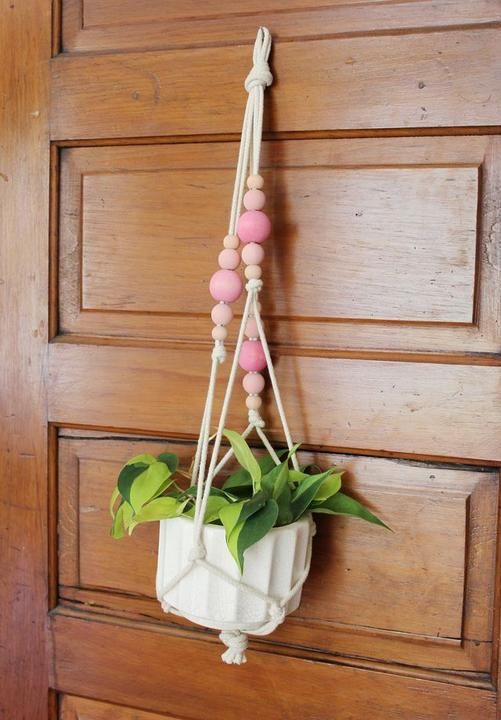
Suspension for a flower pot
Materials:
- cord (10 m),
- Large beads - 36 pcs,
- Scissors, wooden ring.
Instructions for creation:
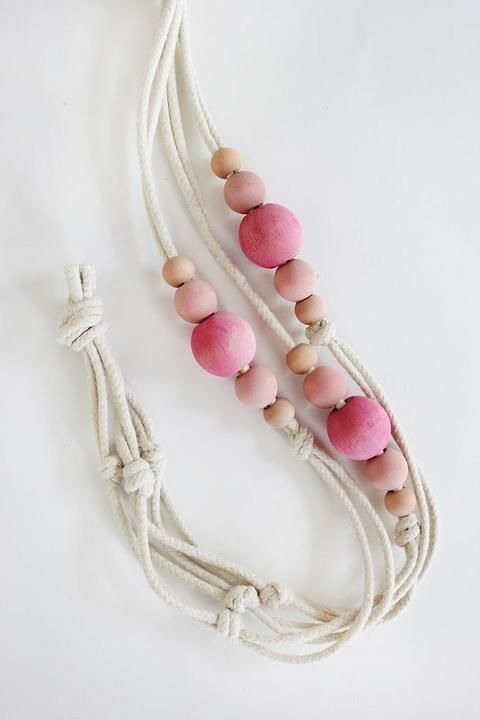
- Cut 4 strands of 2.5 m long. Fold them in half and put a loop through the ring. Make a knot by putting all the threads through the loop. There are now 8 of them.
- For convenience, it is necessary to suspend the product and weave on the weight.
- Each pair of threads is decorated with three beads, following each other. To keep them from rolling, you need to tie a knot under the last one.
- So strung all 12 beads. They are placed strictly on one level. Further along the threads, already in the expected edge of the pot string 2 more beads (8 in total).
- Tie a knot under the last one is not necessary, as two strands of thread will separate and join the neighboring beads. So weave a basket trough. In the next row of beads is already in staggered order. Thus, you get a honeycomb, stapled with beads.
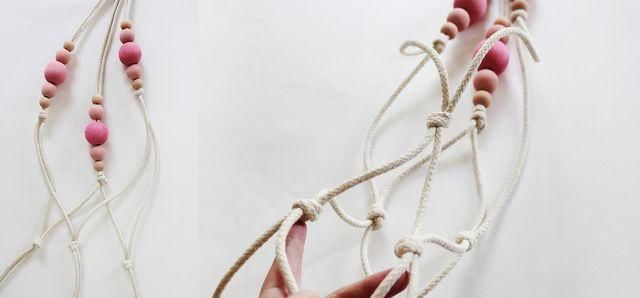
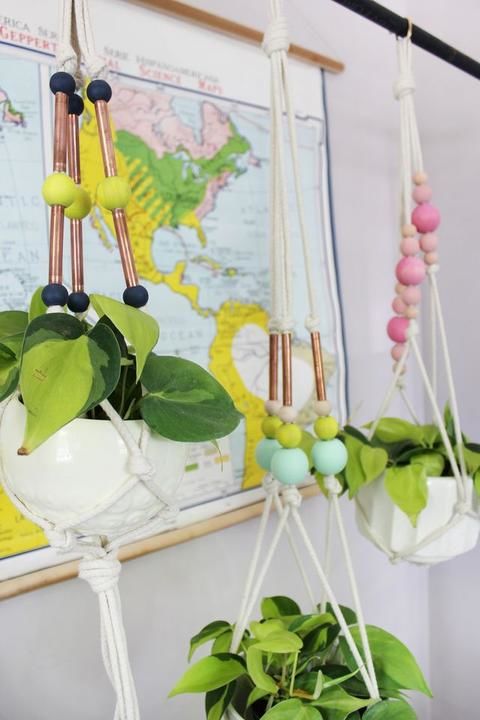
How to close the weave? The threads under the bottom are gathered together and they can be tied with a knot or wrapped like a harness by a separate piece of cord, masking the ends, and from the free ends to make a tassel.
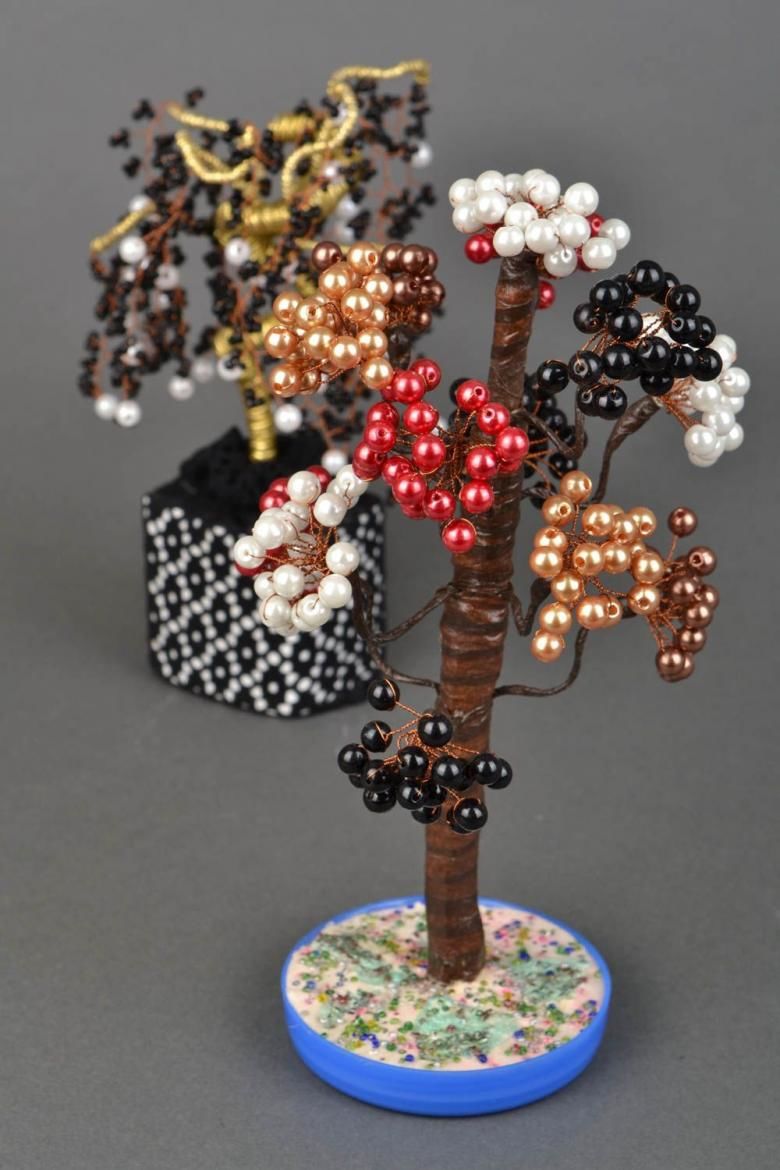
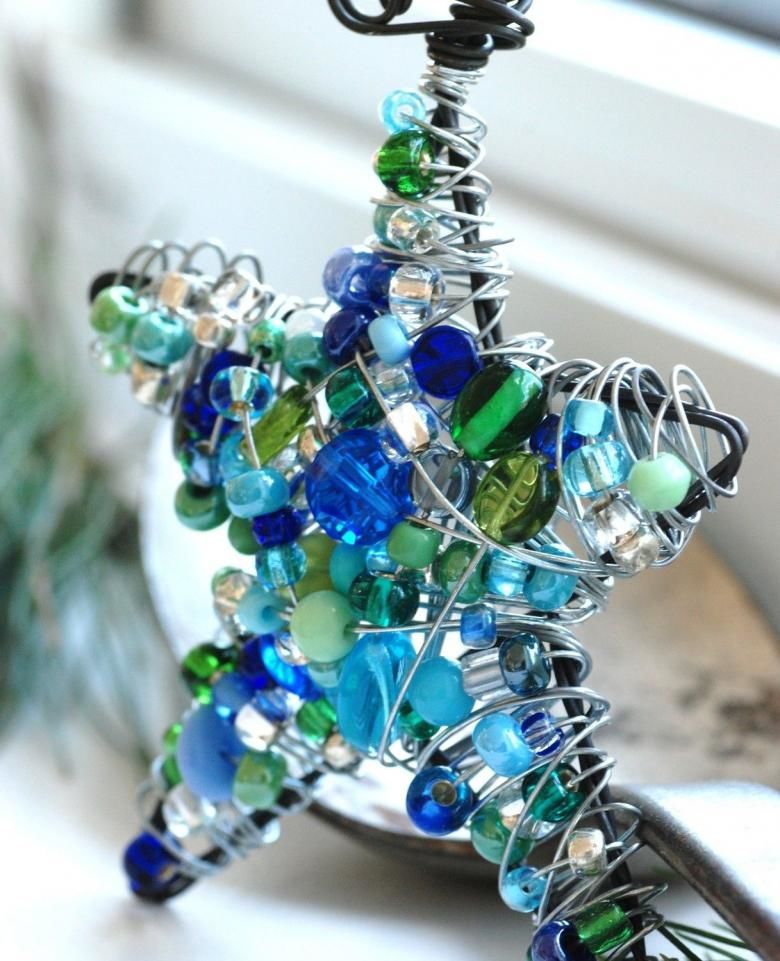
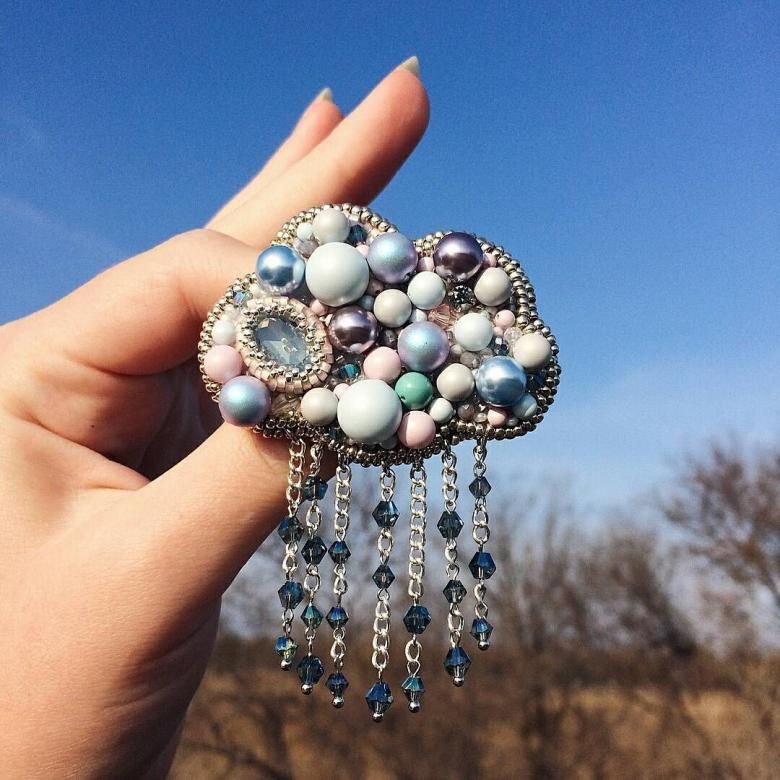
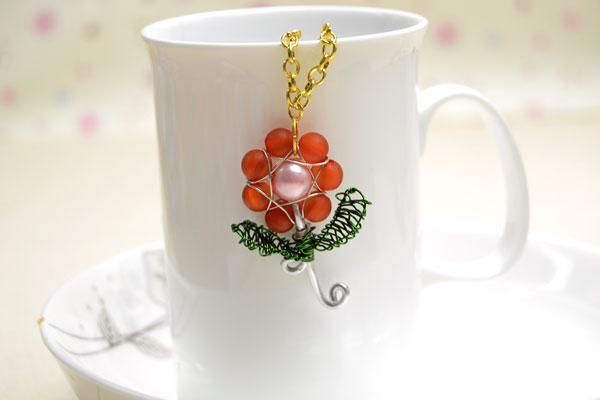
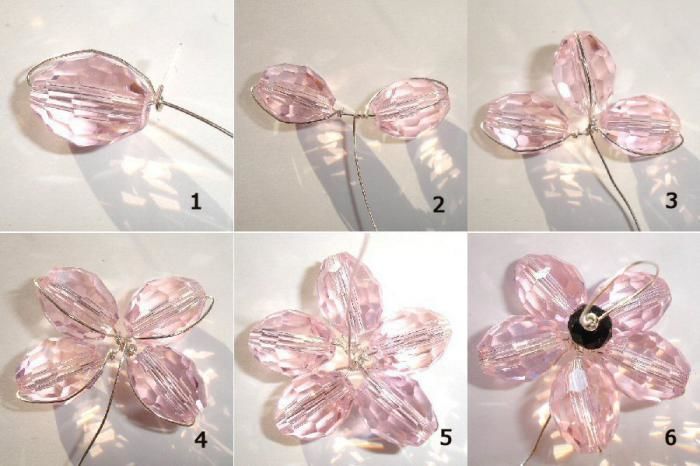
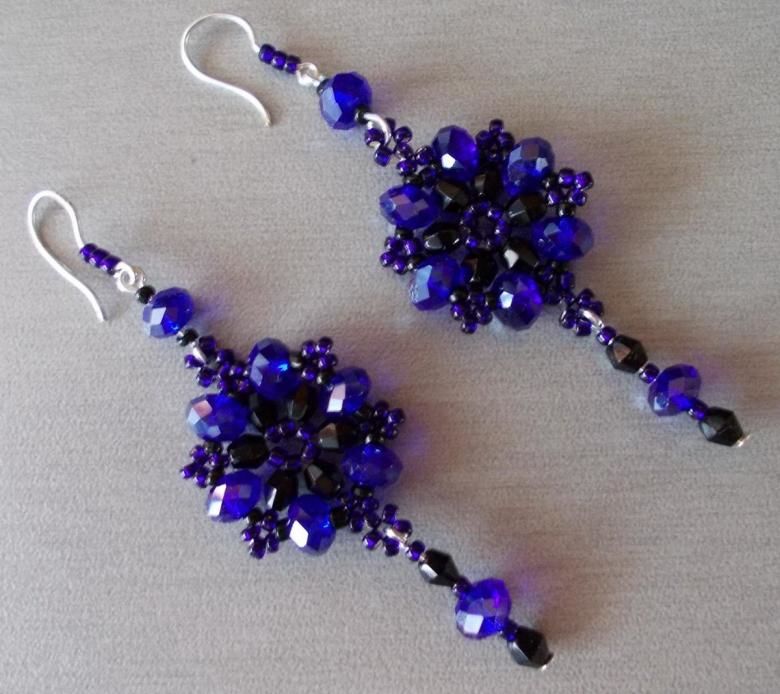
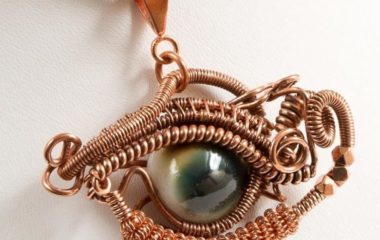
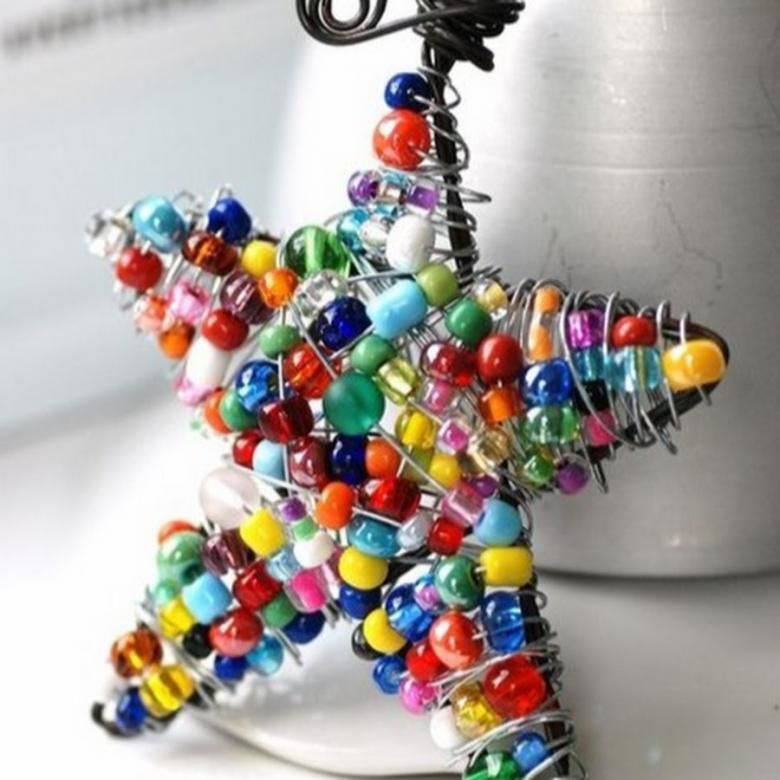
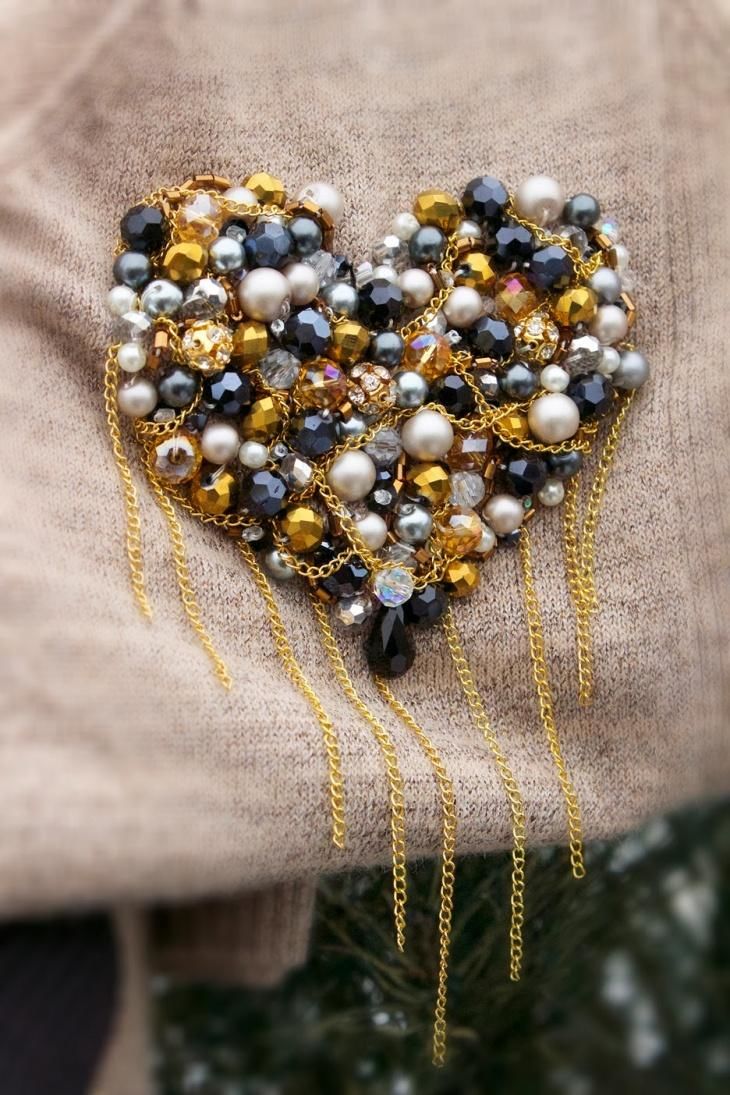
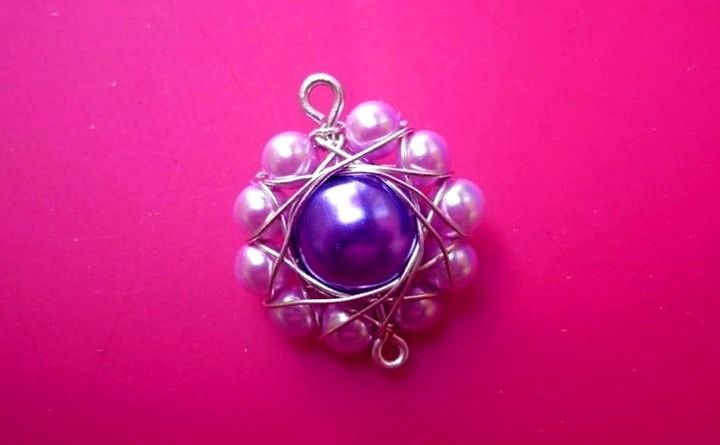
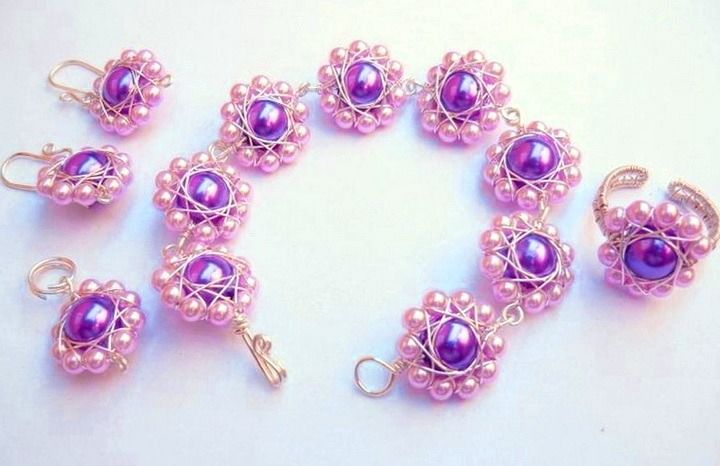
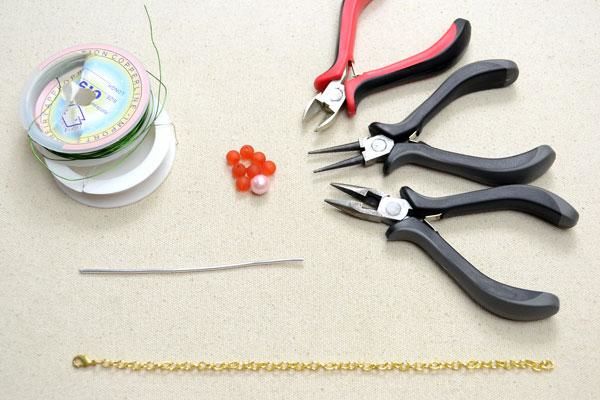
Flowers
Flowers refer to crafts from beads and wire. To make them you will need:
- small beads of two colors (dark and light),
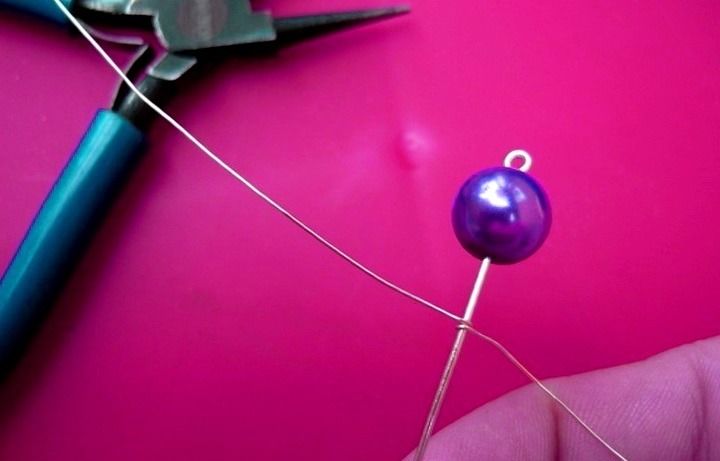
- one large bead,
- 0.3 mm wire,
- scissors.
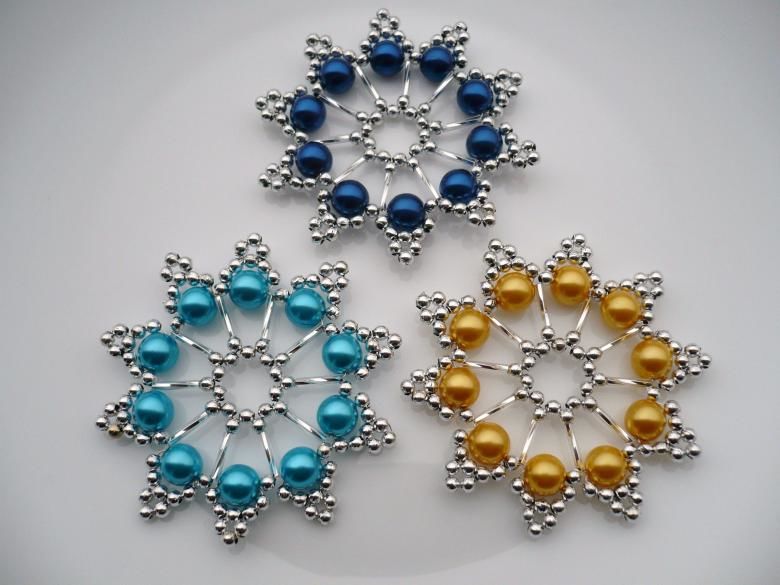
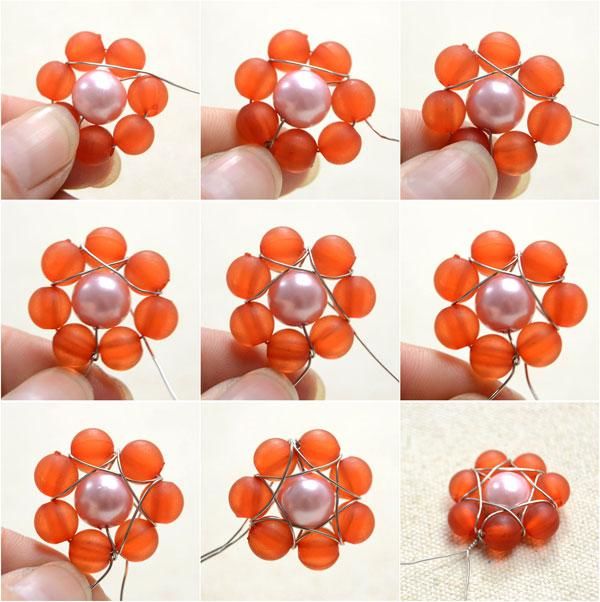
Step by step instructions:
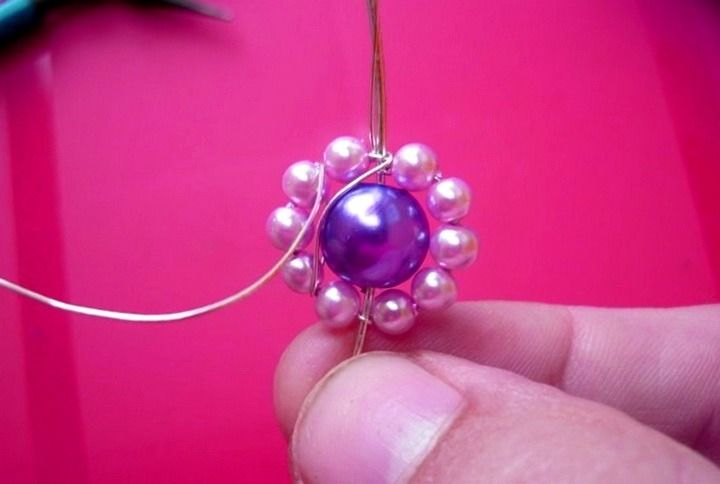
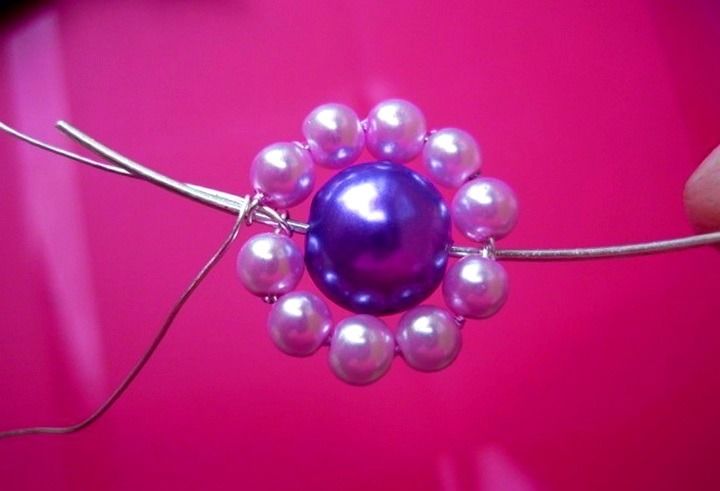
- The flower consists of five petals with a large bead in the center. Each petal in turn has a dark edge and a light middle.
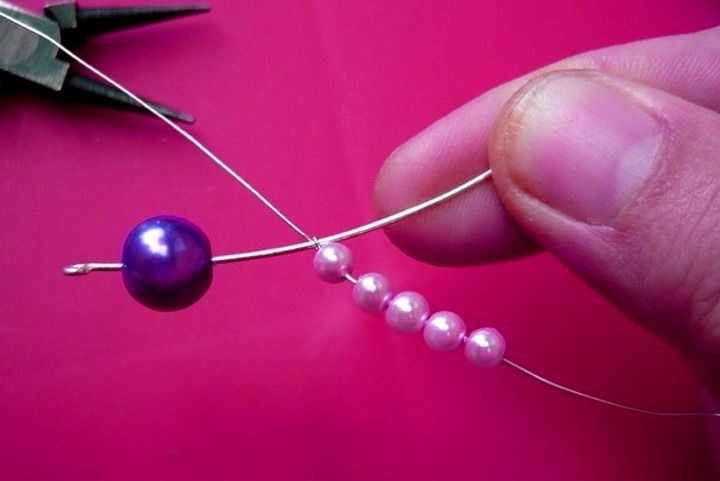
- On a piece of wire length of 50-60 cm strung 5 light beads so that one end of the wire was 10 cm wire twisted 3 times.
- On the long end of the slip 10 dark beads and wrap around light beads, again the wire is twisted. The first petal is ready.
- So, working with a long segment of wire, braided all the petals. In the center of the inserted beads and the ends of the wire are removed on the wrong side. Such a flower can be worn as a pendant or brooch.
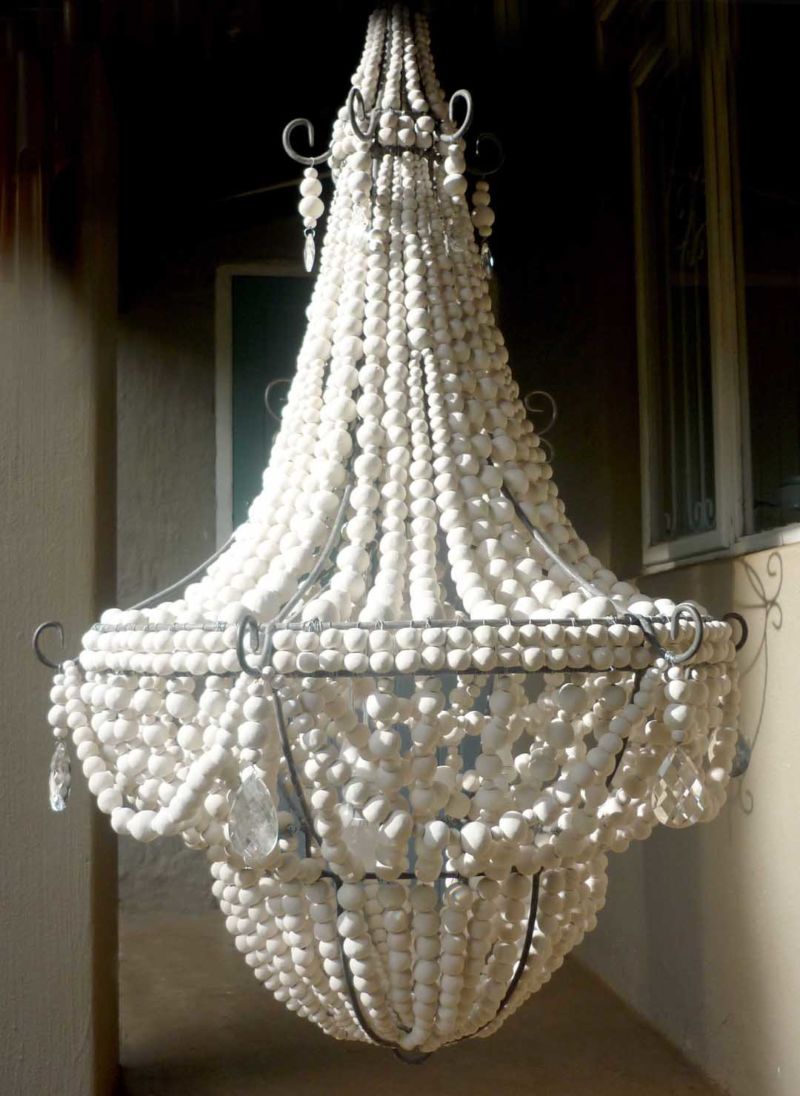
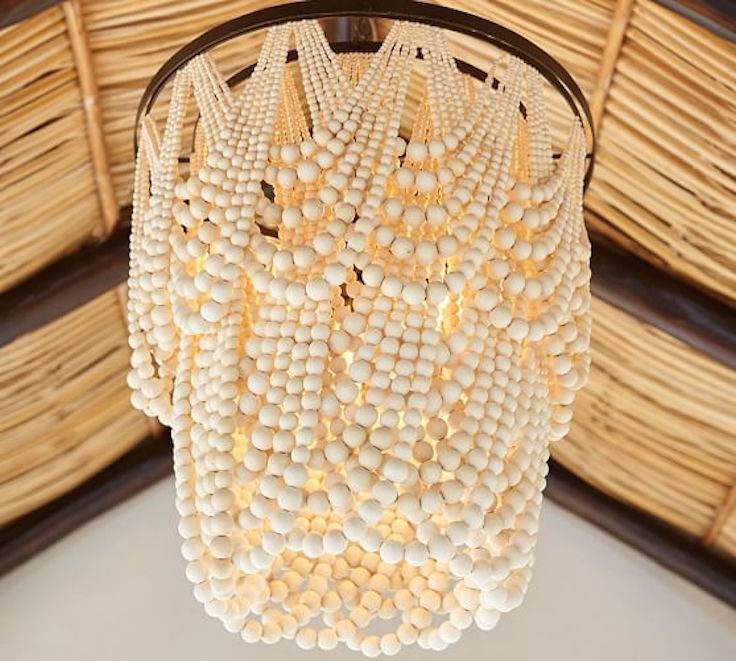
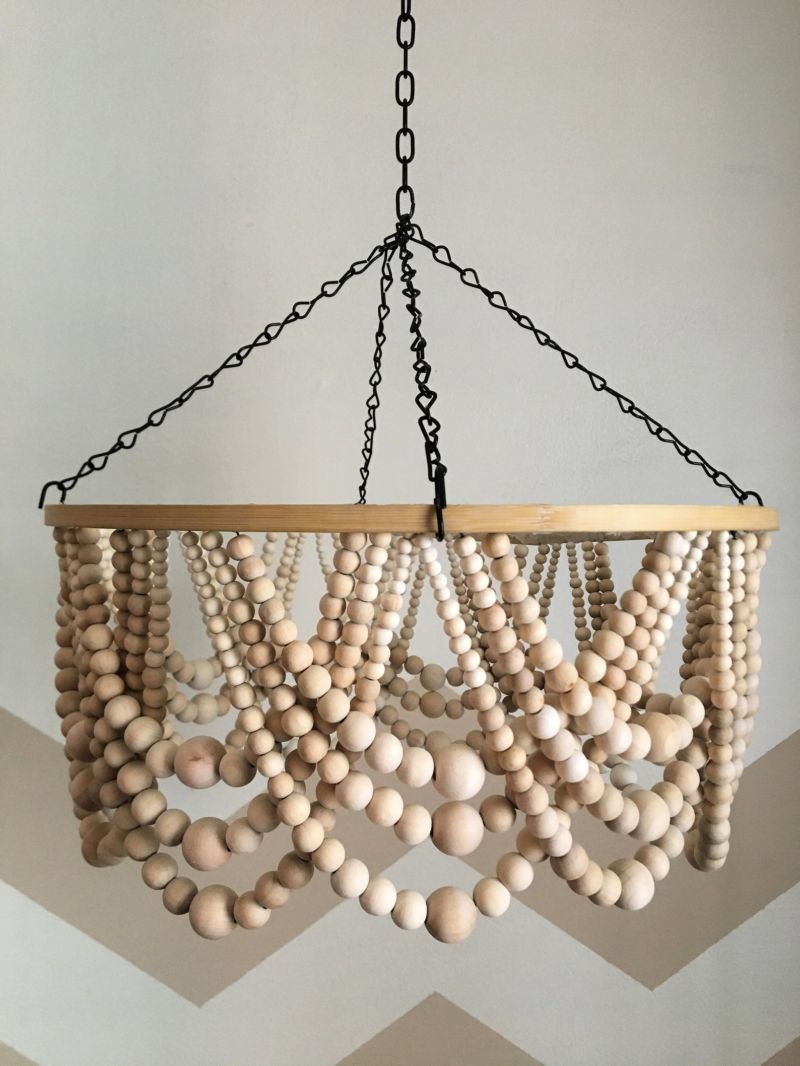
Chandelier
Materials:
- wooden hoop for embroidery large (1 piece) and small (2 pieces), for example, a diameter of 12,5 and 27,5 cm;
- beads of three sizes,
- thread,
- needle,
- glue and superglue,
- scissors.
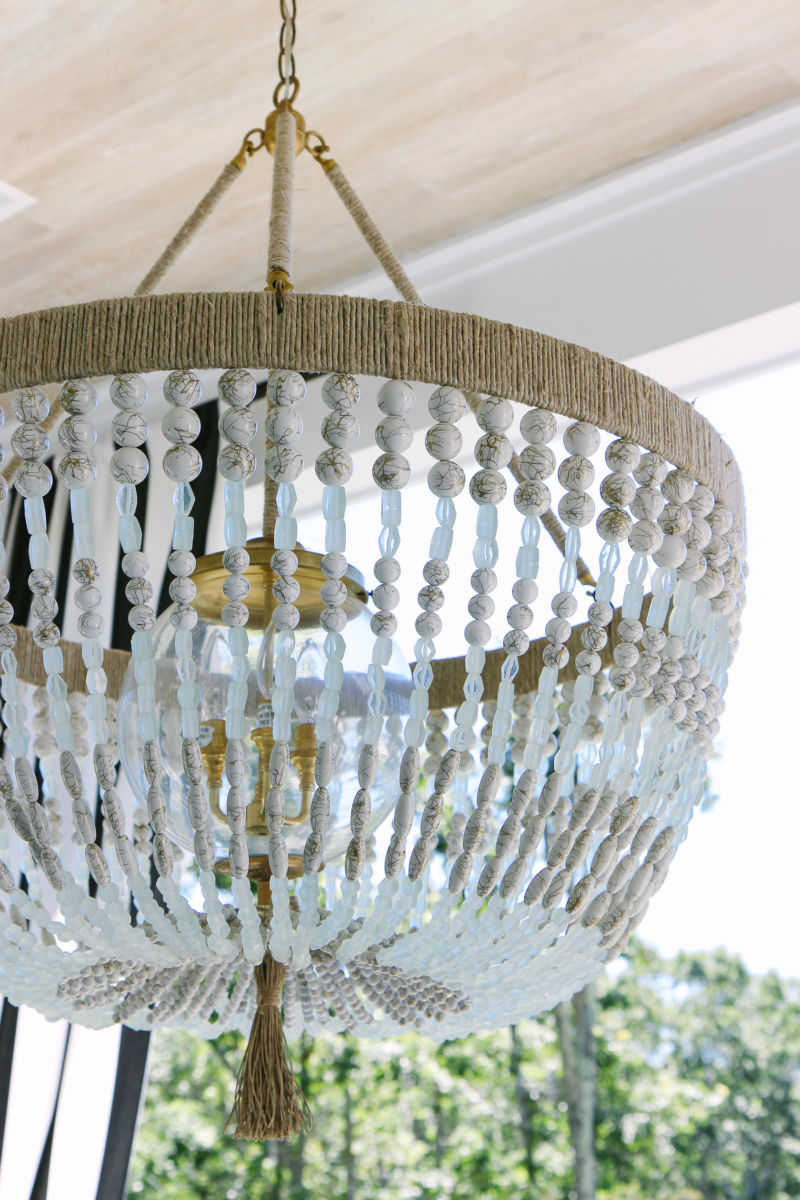
To make such a chandelier, follow these steps:
- The hoops form the frame of the chandelier: one small circle at the ceiling, a large one in the middle, and another small hoop at the end of the chandelier.
- The outer circles are removed and set aside for now, the work goes on the inner ones. String is attached to the top hoop by simple tying. Beads are worn in turn: medium and small.
- The other end of the thread is attached to the middle hoop. All knots are glued with superglue for strength. Rarely or often will be located threads - at the discretion.
- The same principle is used to form the bottom part of the chandelier: strands of large and medium beads are attached with one end to the middle hoop, and the other end to the bottom circle. The knots are also glued.
- Then the inner side of the outer hoops is smeared with carpenter's glue one by one and glued to the beaded hoops - the tied threads are no longer visible. The only thing left is to use the wire to fasten the hanger and hang the chandelier.
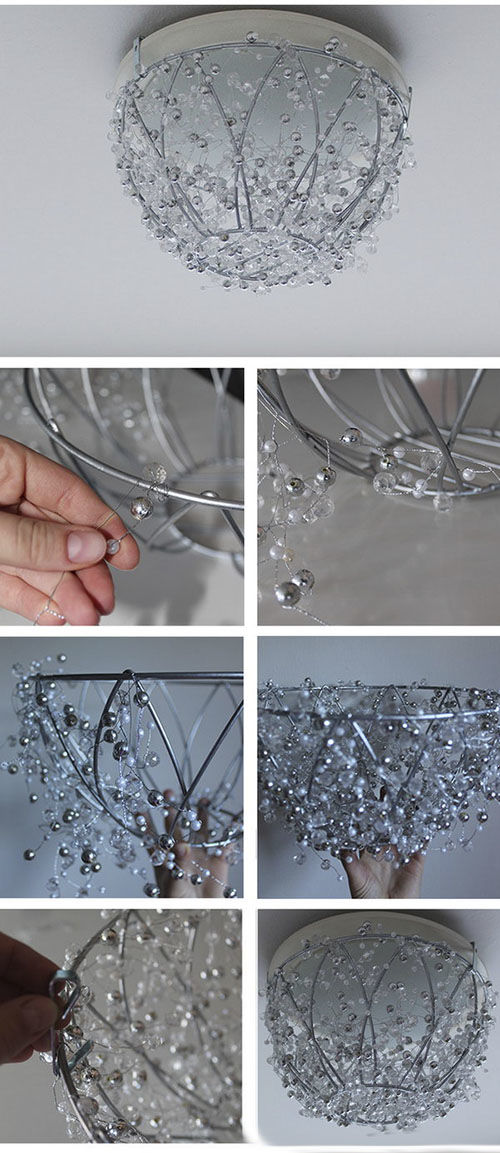
As a side note, you can arrange the beads in increasing order of size to the middle hoop, which you can place not in the middle, but shift to the bottom if desired, adjusting the length of the threads accordingly. There are many variations and all are original.
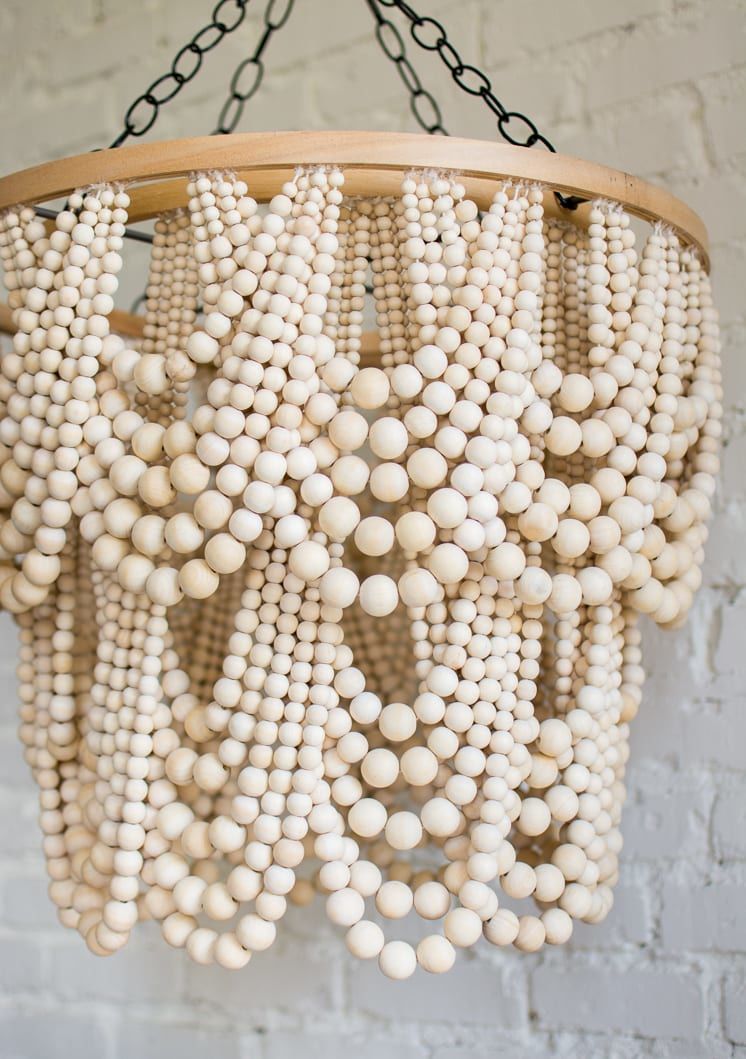
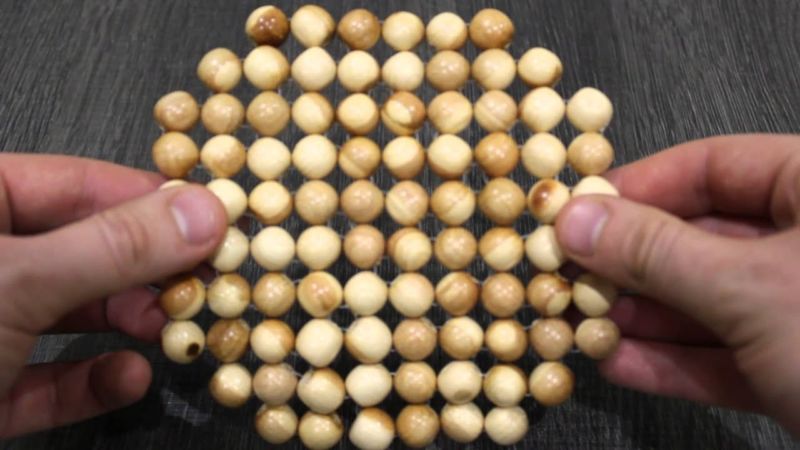
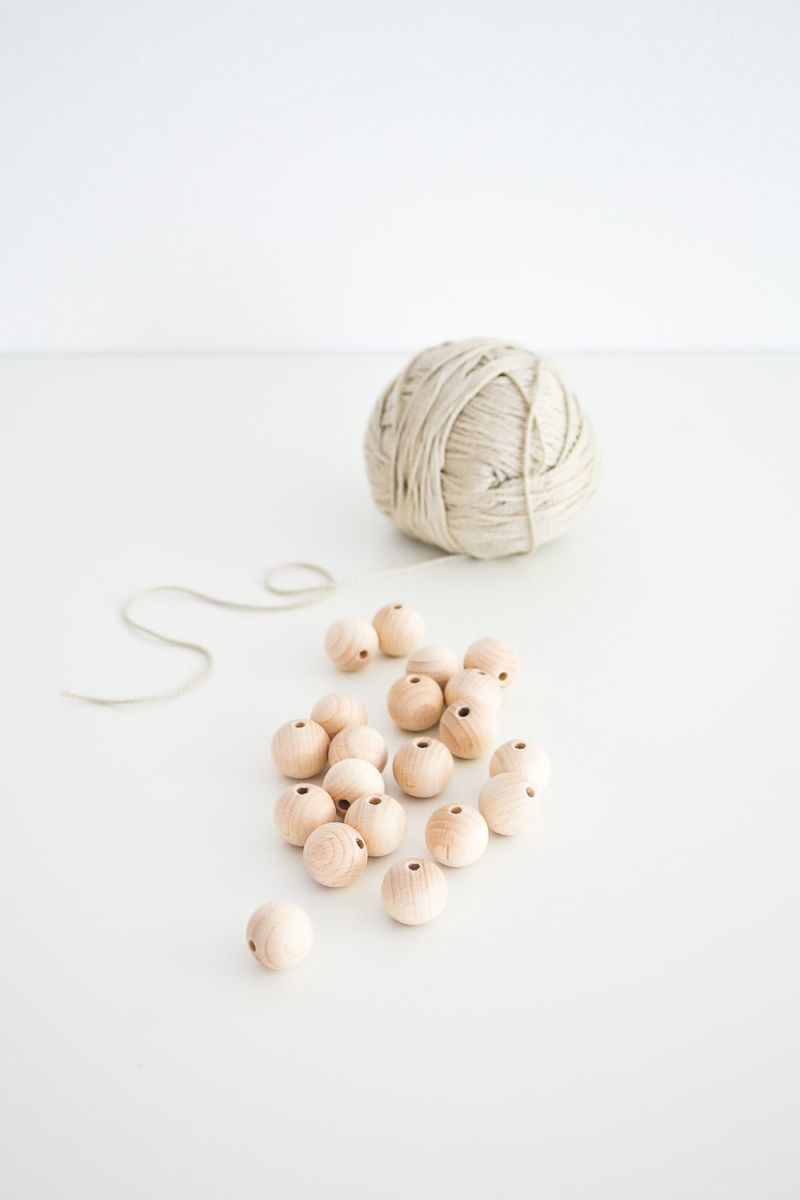
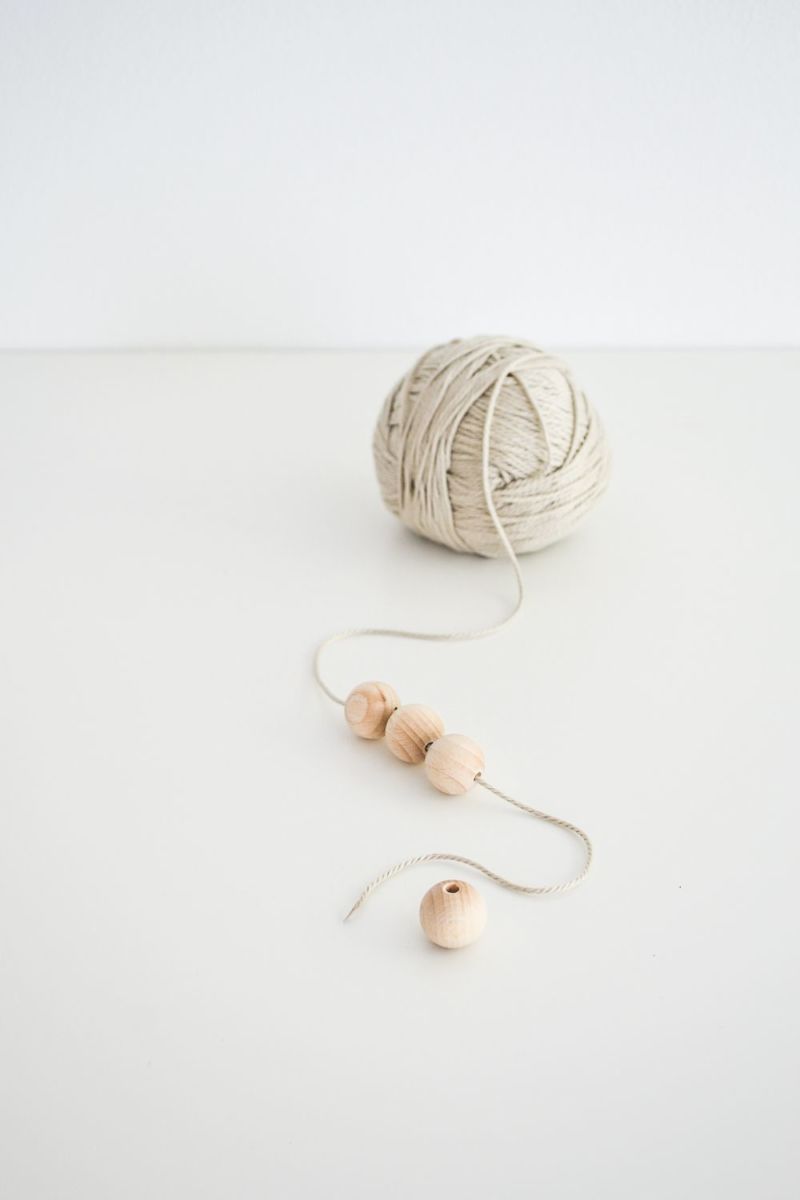
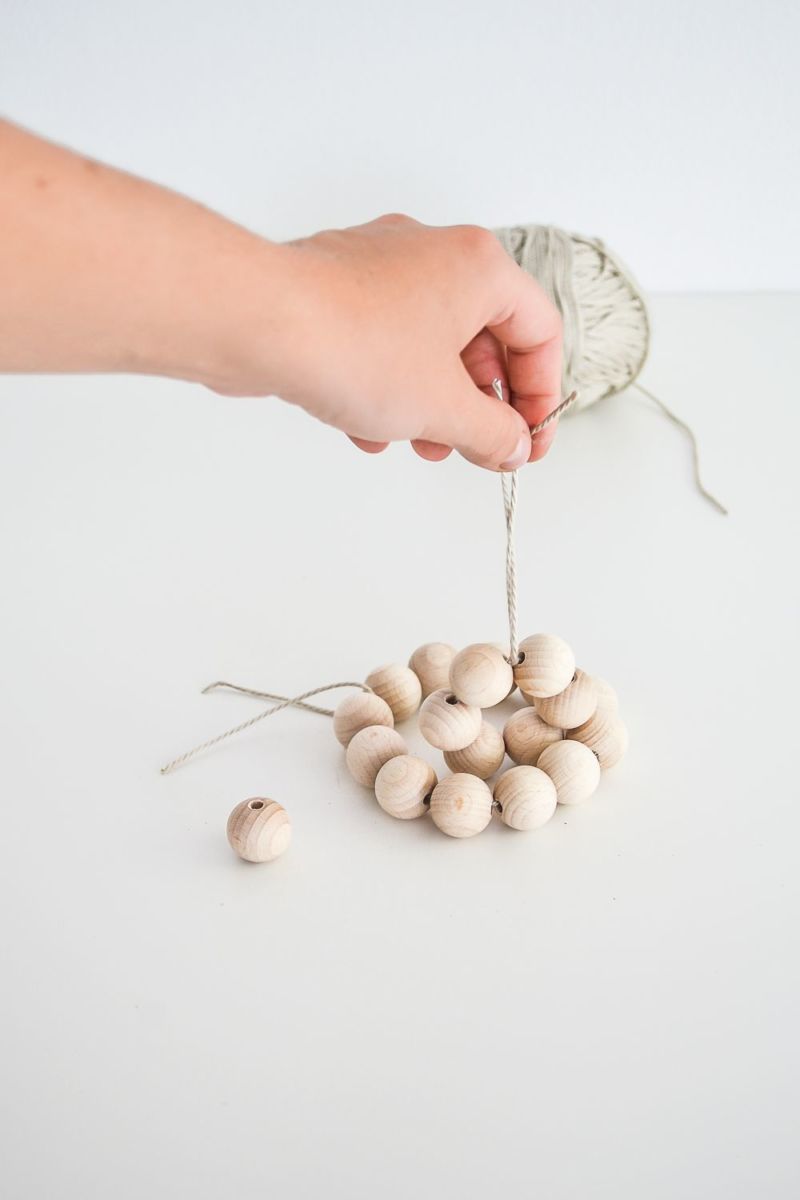
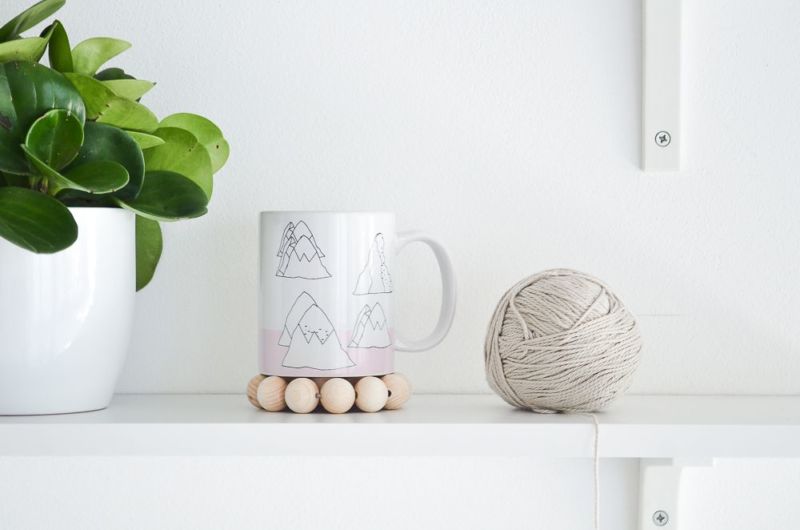
Stand of wooden beads
Materials:
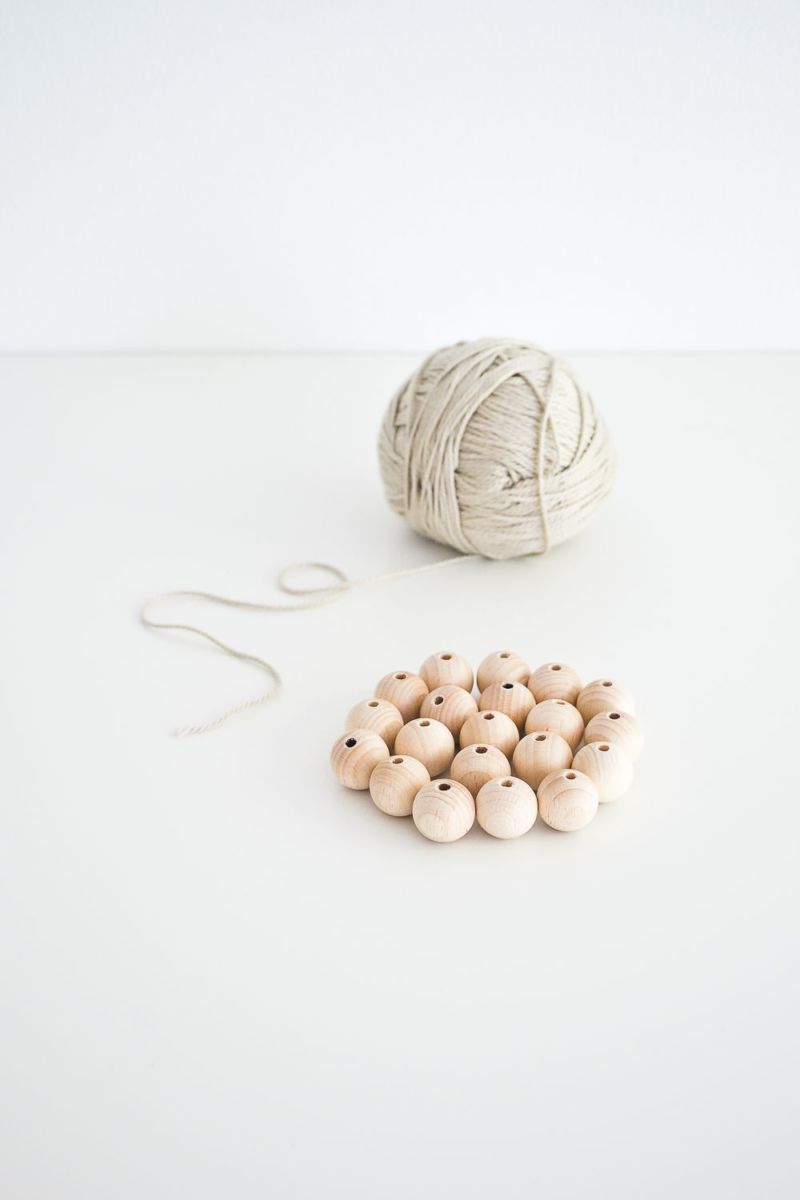
- wooden beads of the same size,
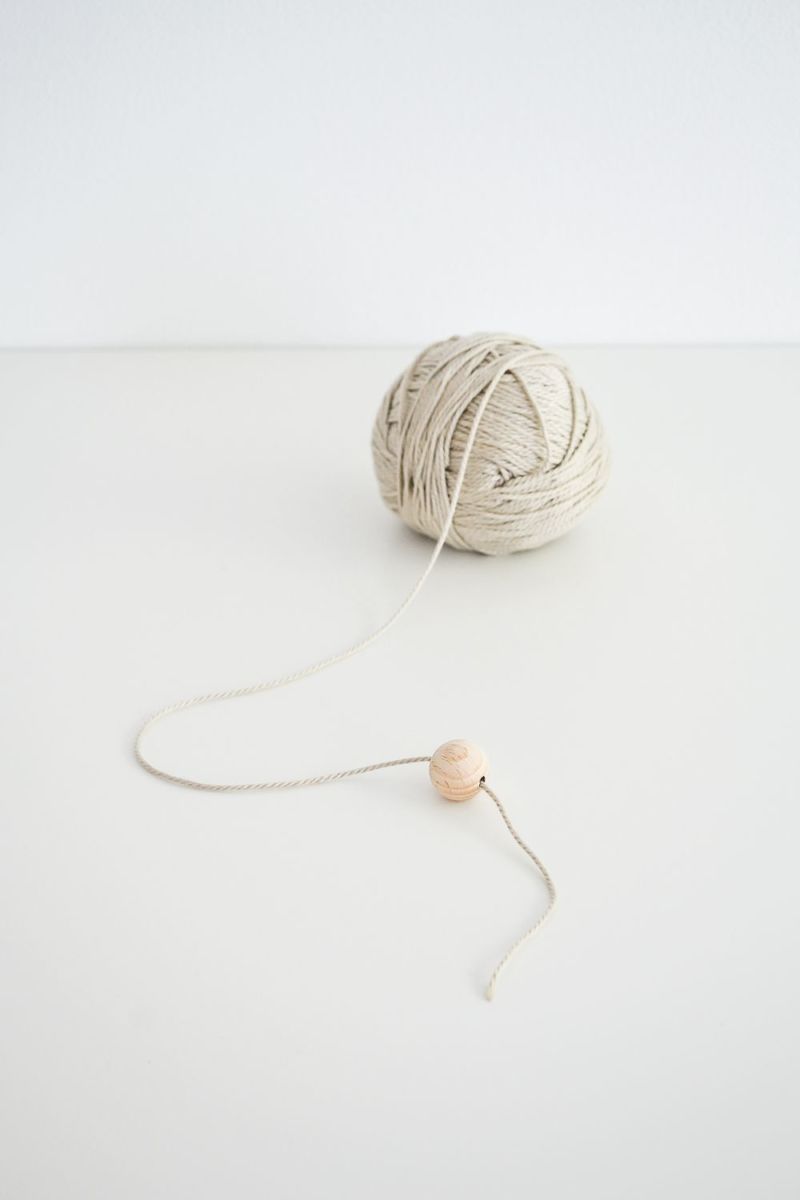
- woolen thread, scissors.
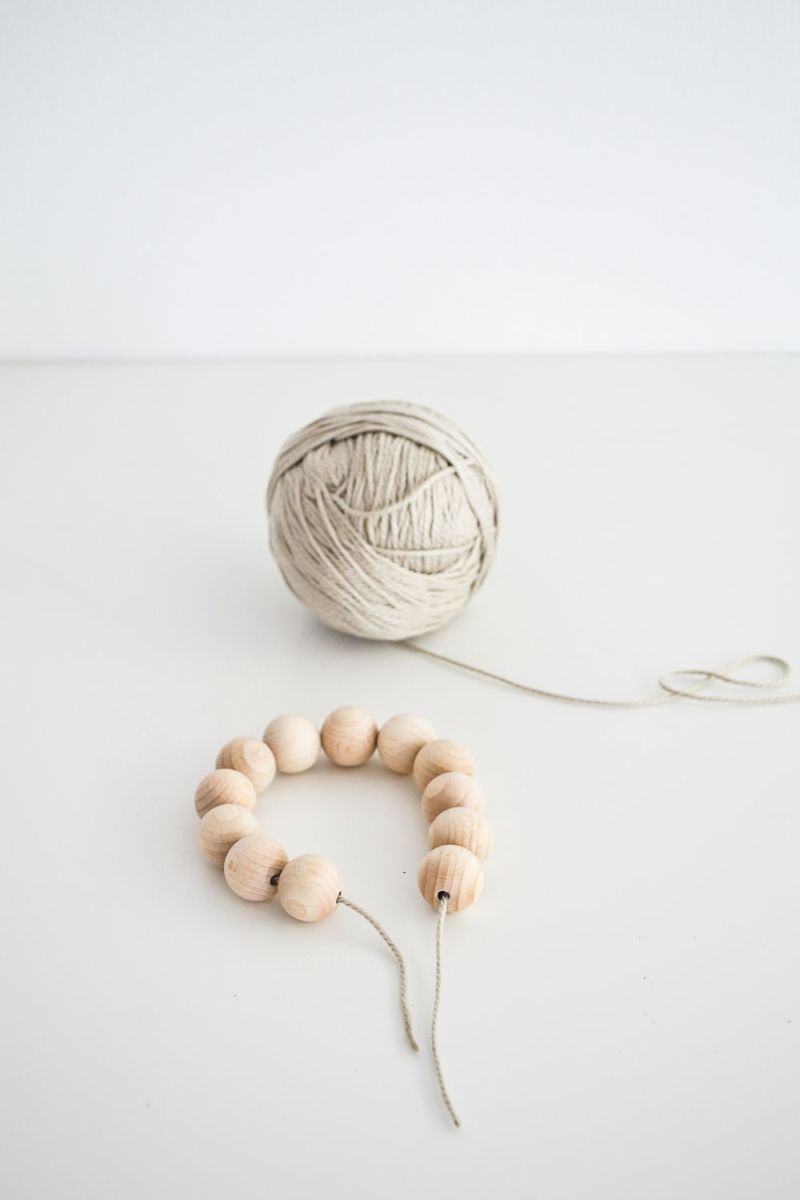
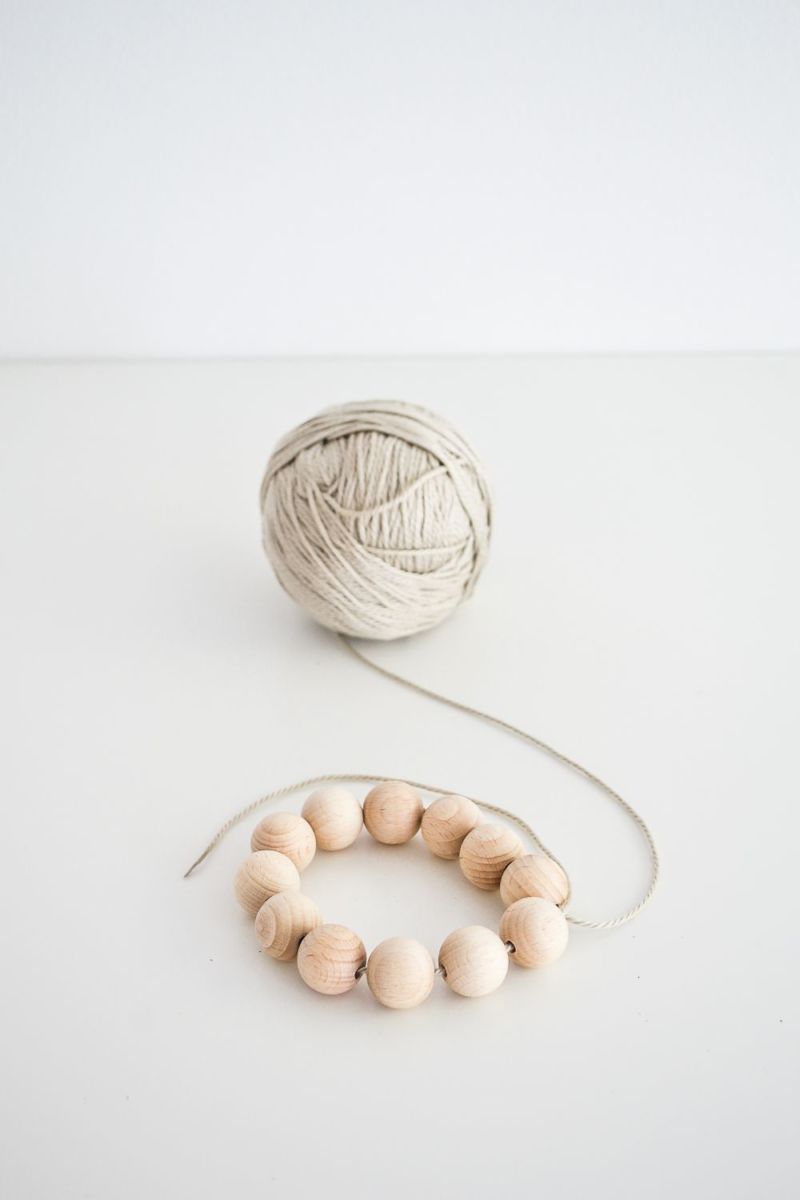
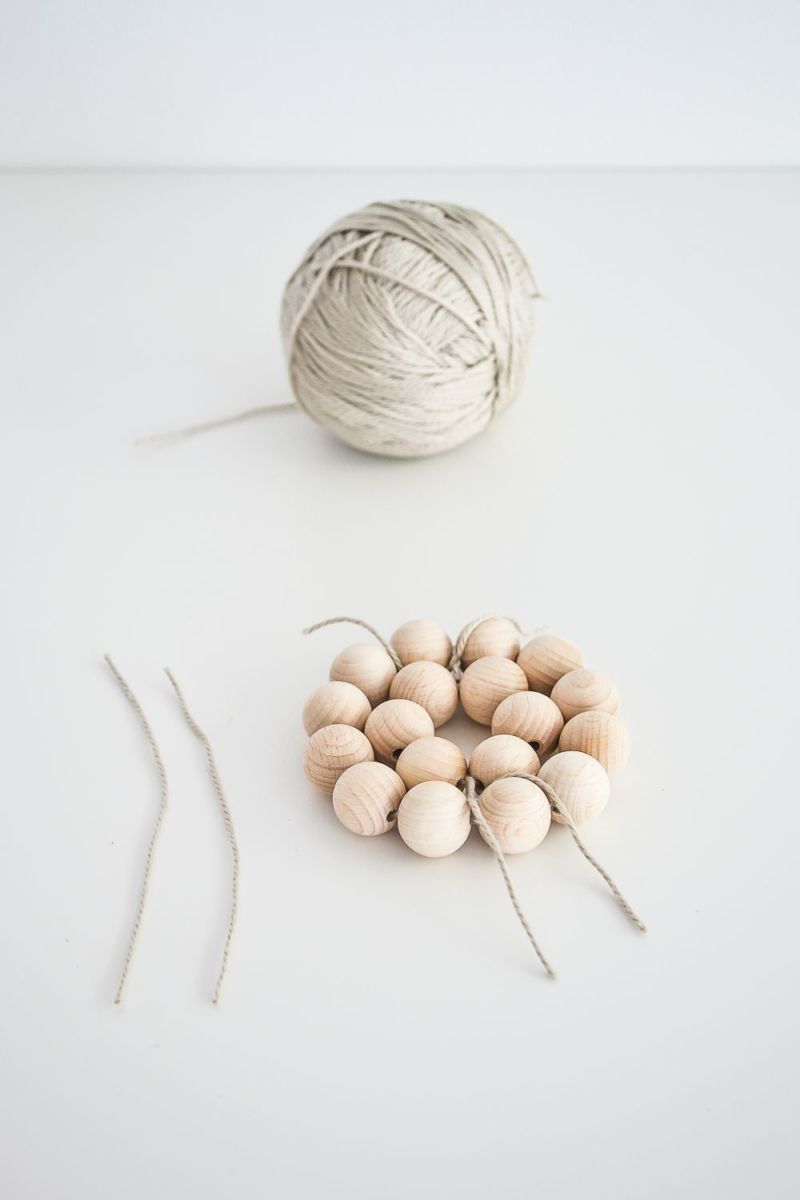
The coaster of wooden beads is made very simply: the beads are picked up on a thread and closed in a circle on a knot, larger in diameter than the standard size of the cup. Then a second, smaller circle is made and inserted into the first.
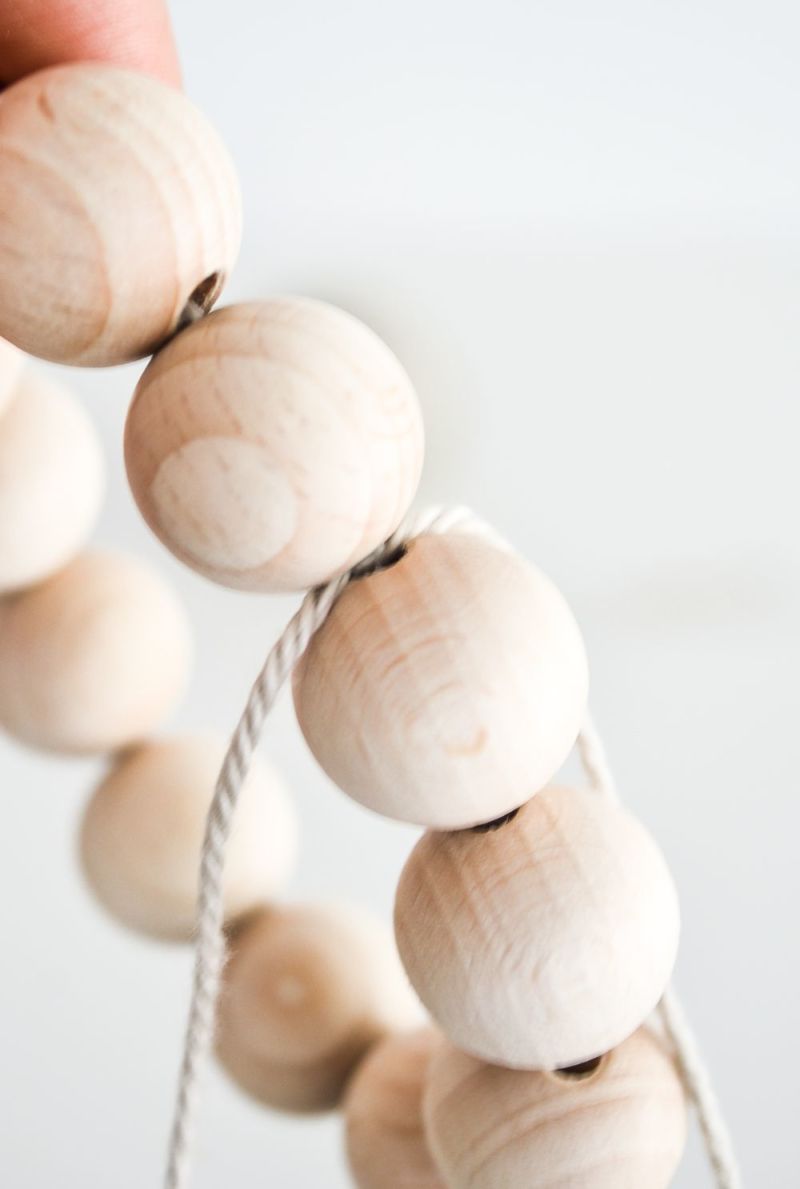
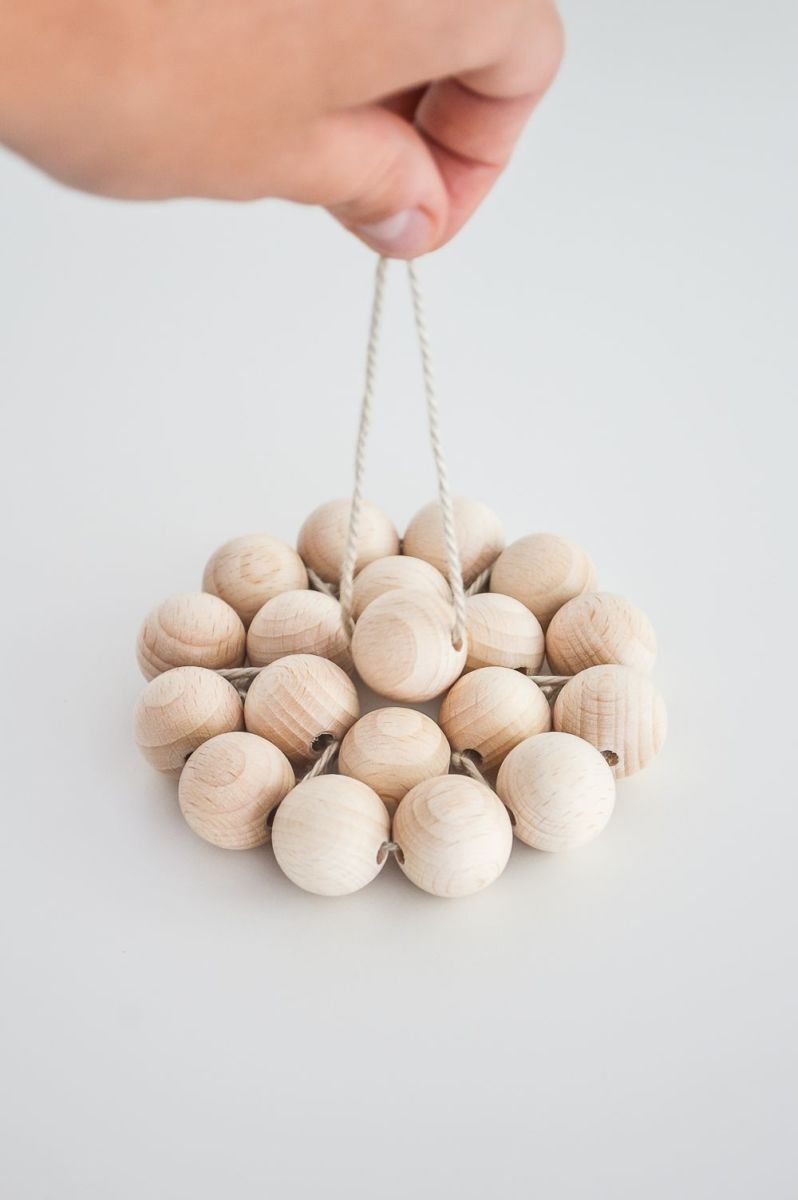
If necessary - you can make a third, the smallest. To make all the circles hold together, you need from the center to the edges of their radial tie, you can not through each bead, but through two. The ends of the threads should be neatly trimmed.
To make the stand more stable, you can make it out of half wooden beads, which are also sold.
Before gluing, you can practice and place the halves on a circle and see what happens. Smear the flat side of the beads with glue and glue the halves one at a time, starting from the edge. A hot glue gun is needed to fix the loop to the plywood circle in order to hang the product.
If desired, you can make coasters for everyone in the family and for the teapot by taking a larger circle.


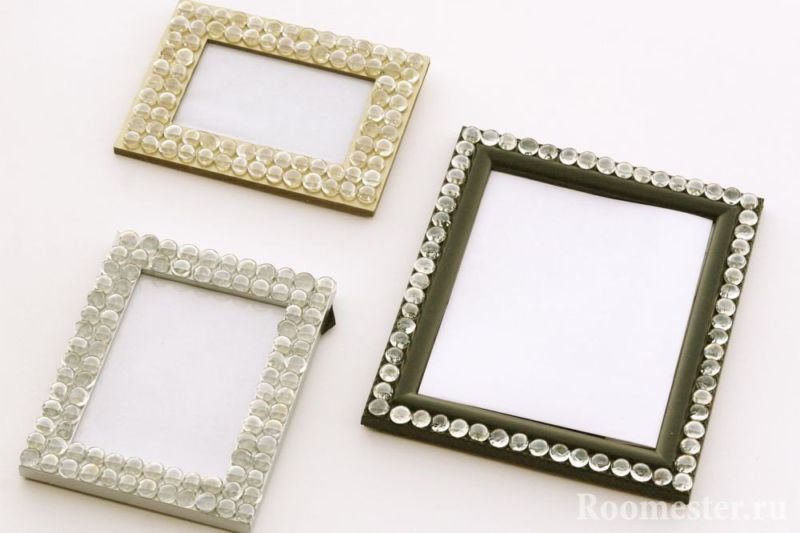
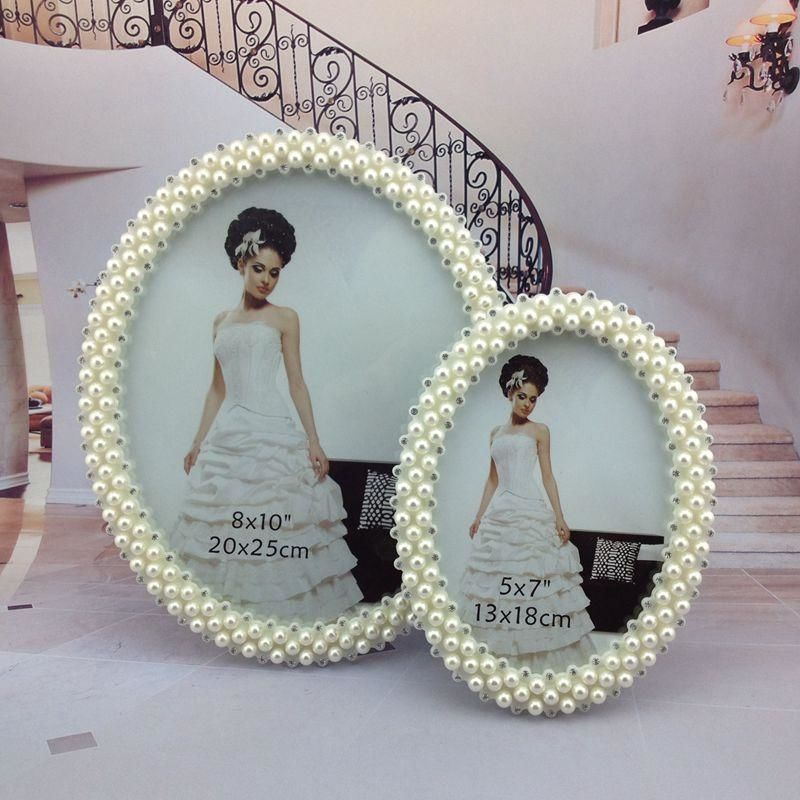
Frame for photos or mirror
Materials:
- A picture frame or framed mirror,
- beads of different sizes,
- multipurpose glue,
- string.
For a more reliable fastening, it is better to use one material, such as wood. String the beads on the thread. On the frame, first glue the thread with the larger beads, and on them - the second, of smaller beads. Wait until the glue dries and you can hang it on the wall.
Candle holder
Materials:
- CD,
- beads,
- glass beads,
- Bead halves (all elements with texture "under glass"),
- hot glue.
The work is very simple. The main thing is to think through the pattern beforehand. The candle (scented from a set) is placed in the center, and a thread of large beads can be glued around the circle. And all around the disk to make an ornament of beads, beads and glass beads - all elements are securely planted on the glue.
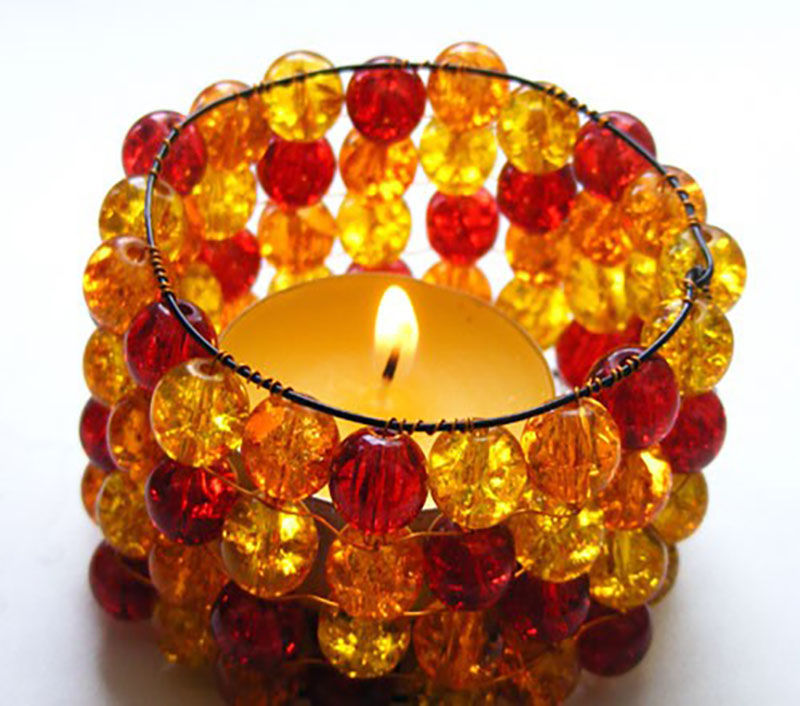
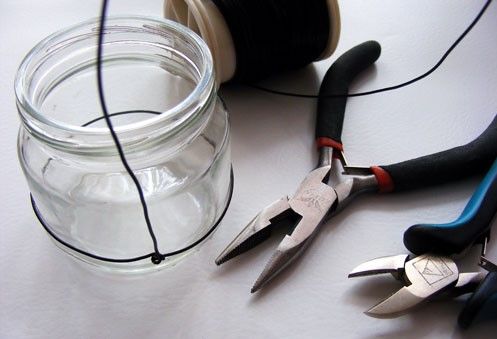
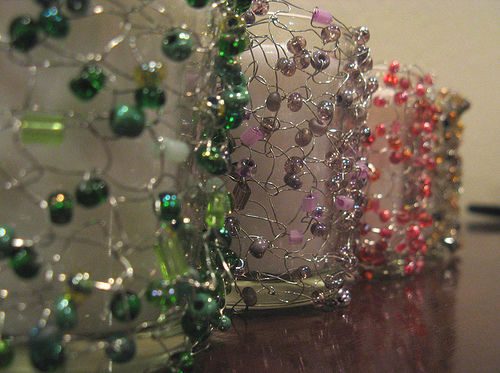
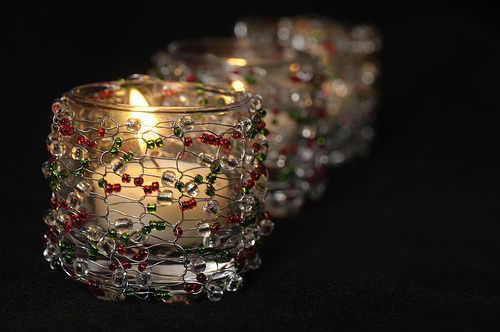
Rainbow candlestick
Materials:
- A small jar,
- beads of different colors and sizes,
- thread,
- Hot Glue Gun.
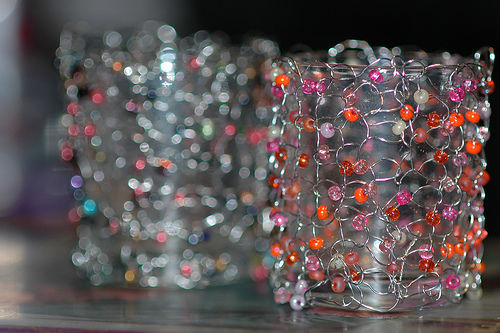
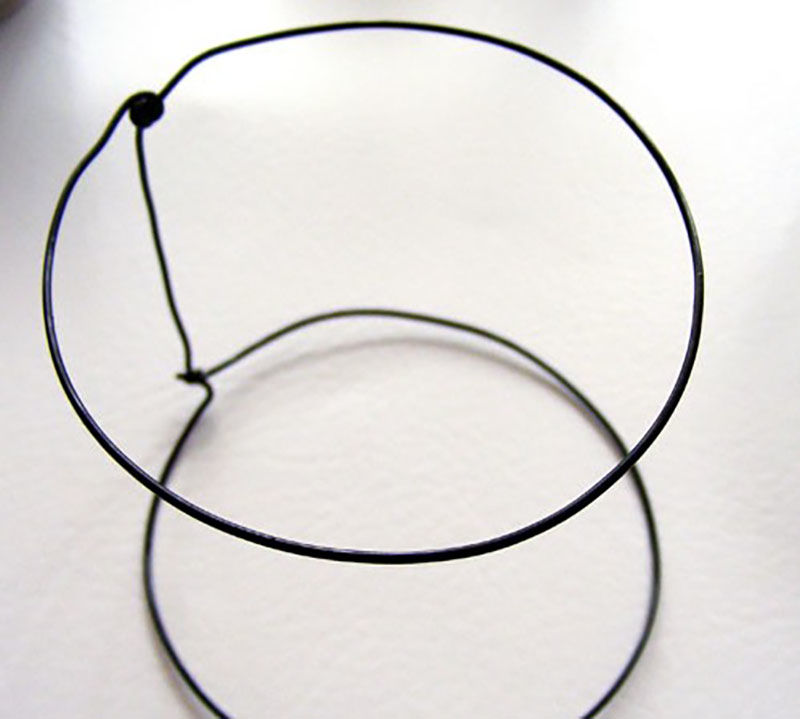
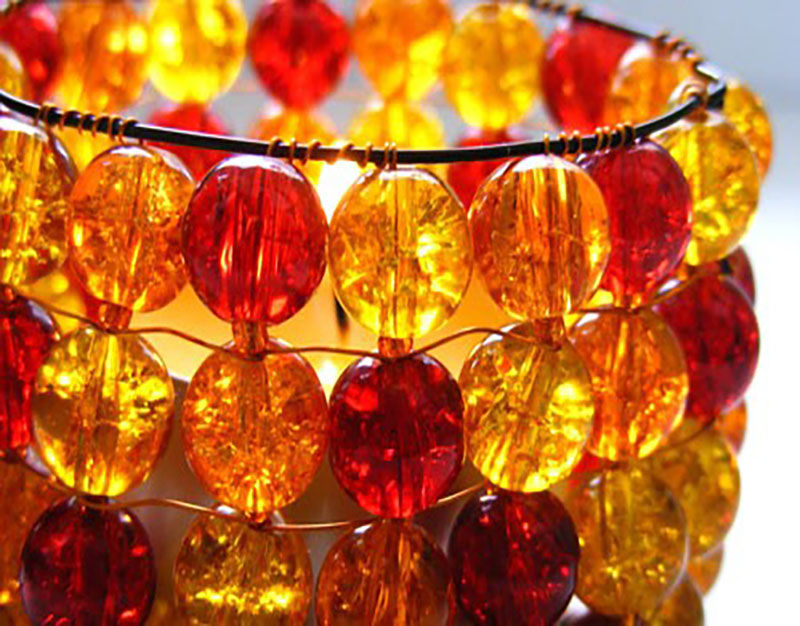
The jar is glued in a spiral with a thread of beads, assembled in any order, using a hot glue gun. Space should be left between the coils of the spiral, the candlelight will penetrate into it and, reflecting off the beads, will create a cheerful color effect.
Beads give a rich field for creativity and imagination. Uncomplicated work can be done together with your child, because joint leisure time brings children and parents very close together.
Who knows, maybe the admiring feedback from relatives and friends will encourage them to master the complicated beadwork schemes and the simple hobby will grow into a real mastery?

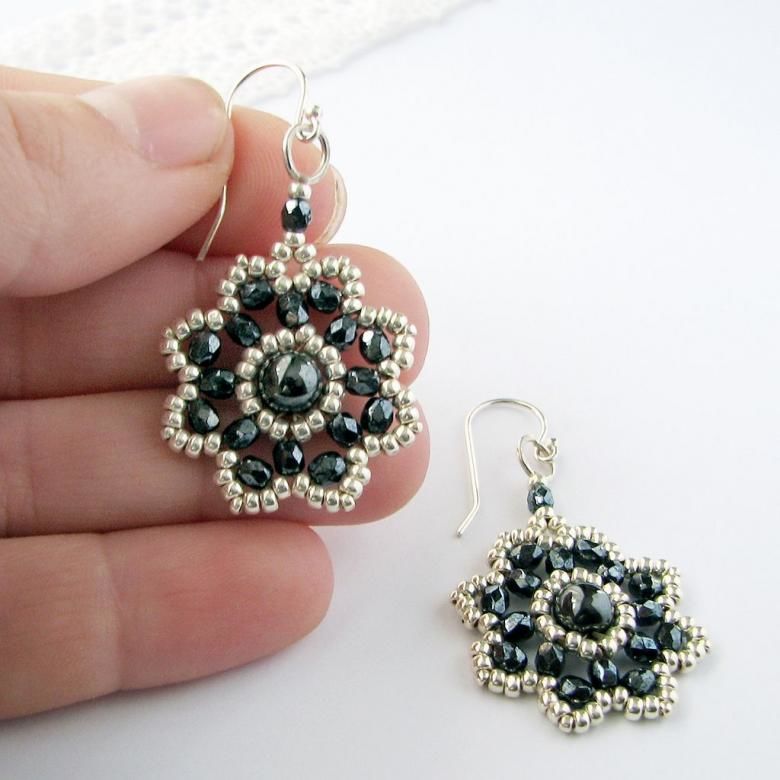
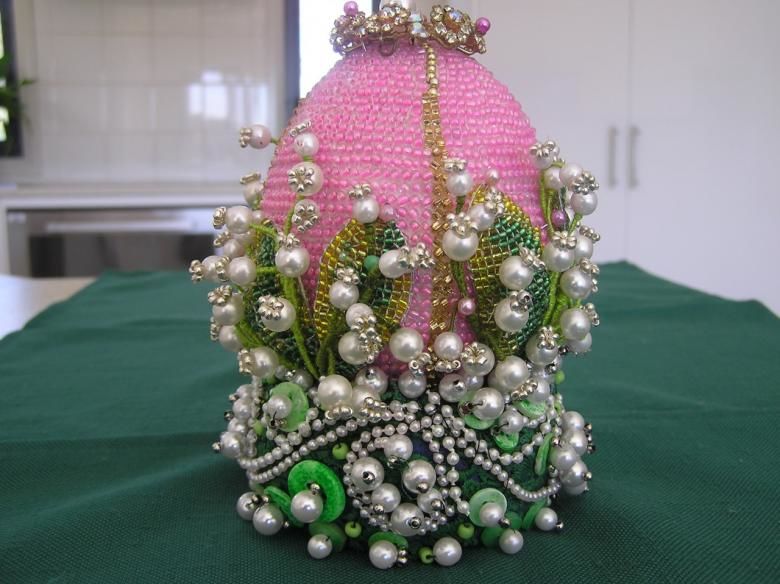
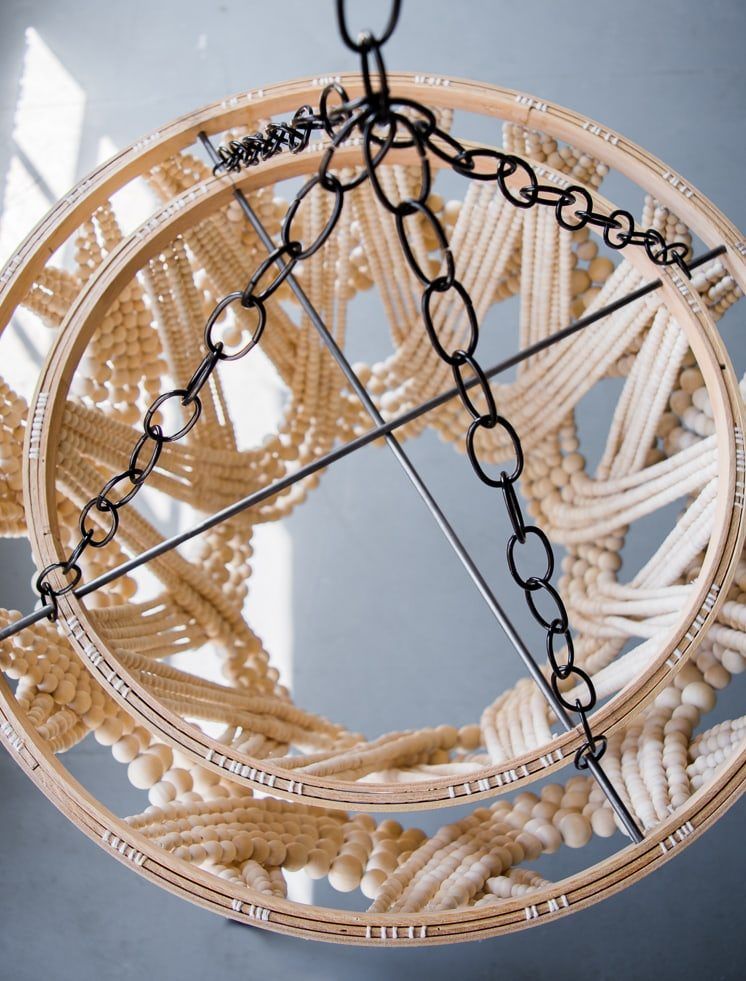
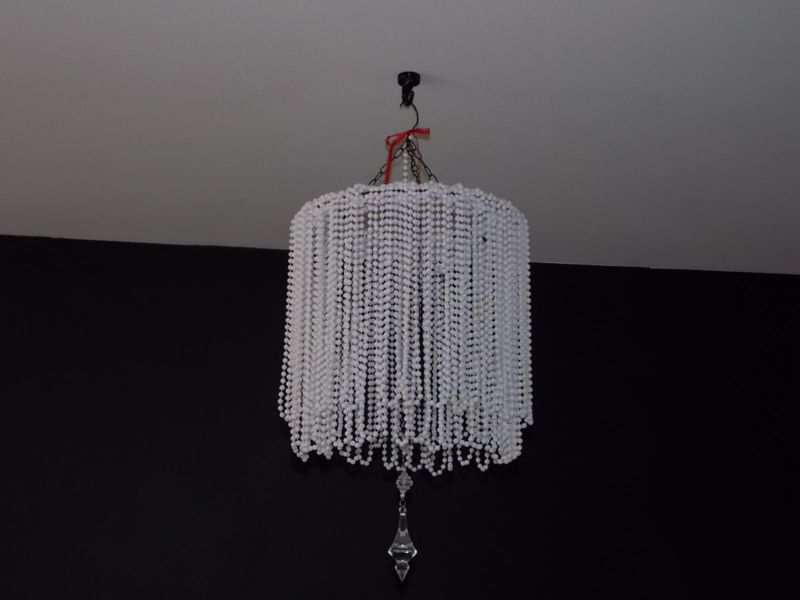
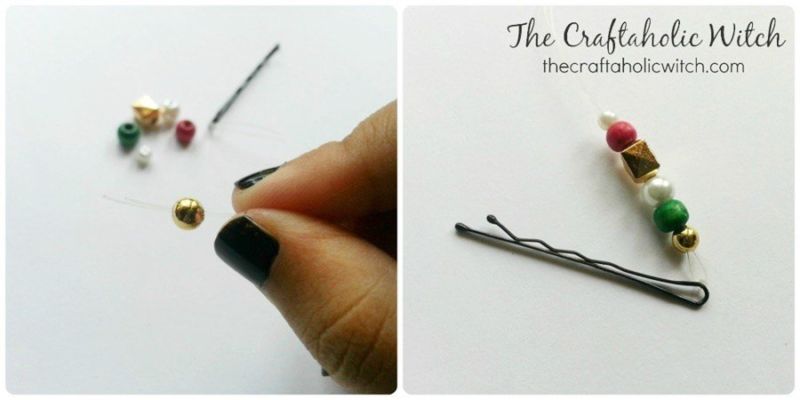
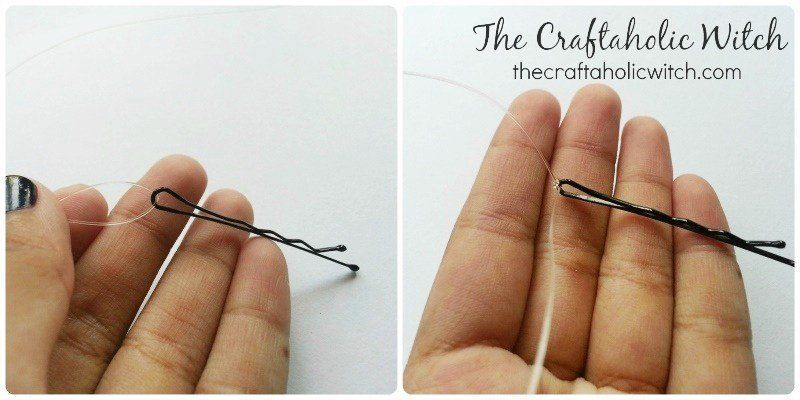
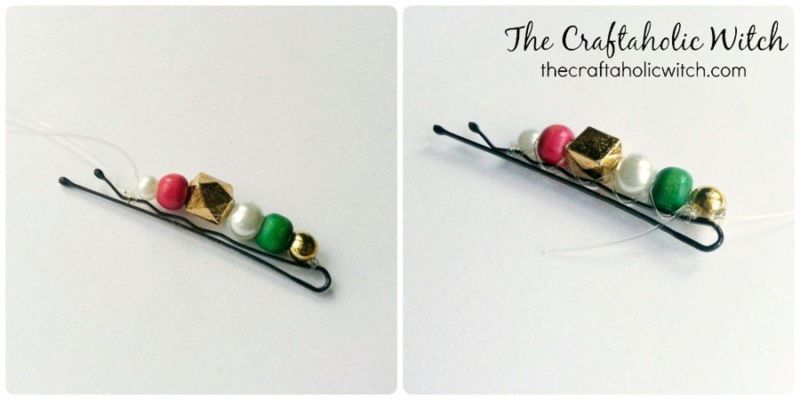
Photo of bead crafts