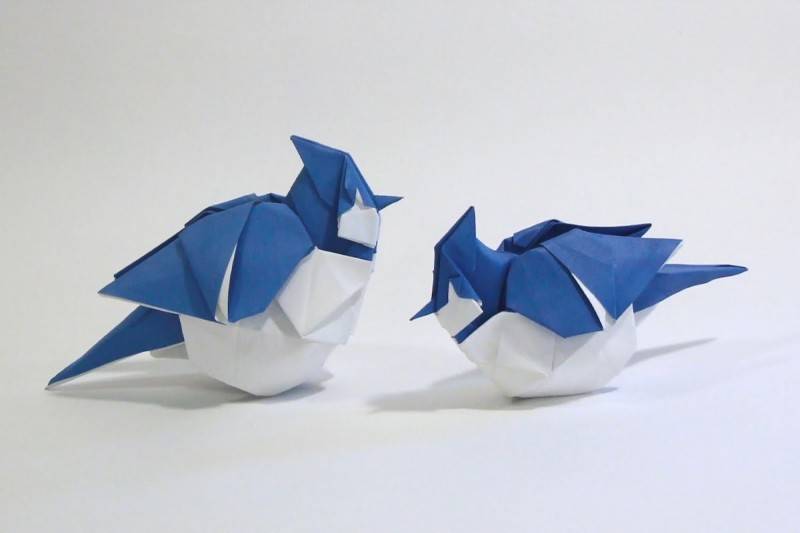
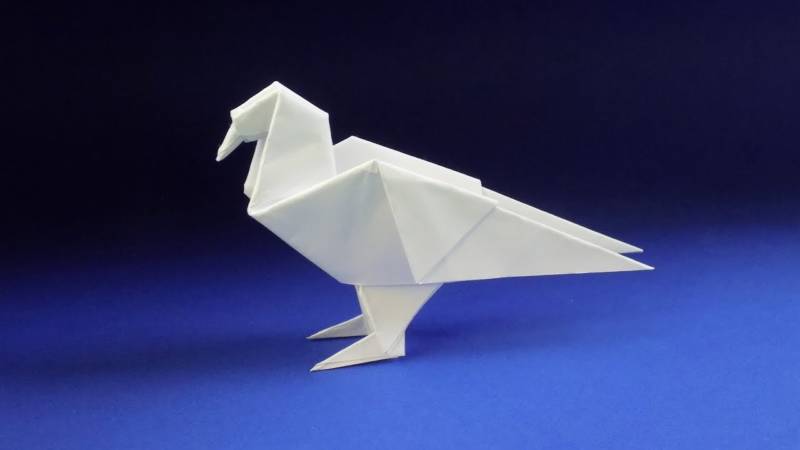
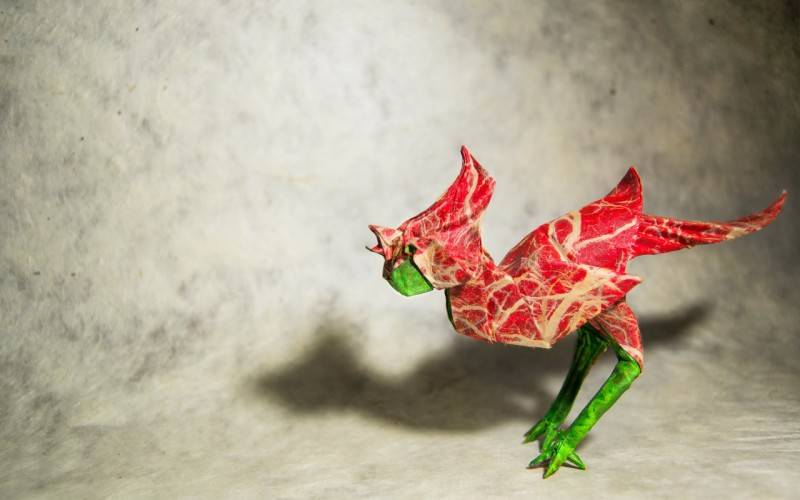
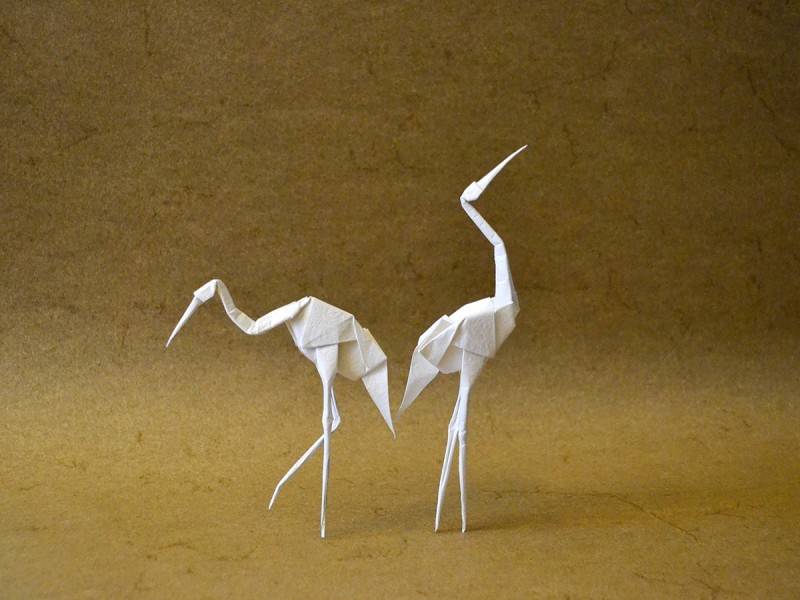
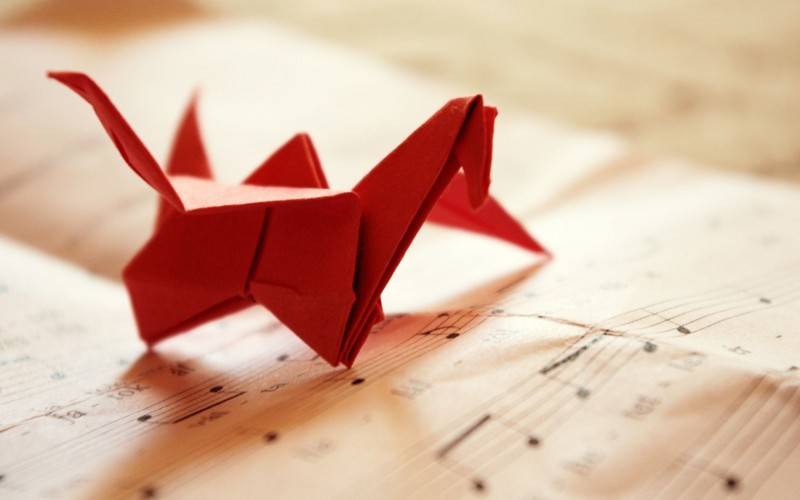
How to make origami birds with your own hands - diagrams, photo ideas, step by step instructions for children
Creating paper figures of birds - this is a fascinating and interesting activity. Origami originated in antiquity.
People in the East hung in homes origami birds to figurines drive away evil spirits, created a good atmosphere in the house. If a person does not believe in magic, various sacred symbols, it is still such crafts contribute to the creative activity.
In addition, practicing origami relaxes, helps to develop logical and spatial thinking.
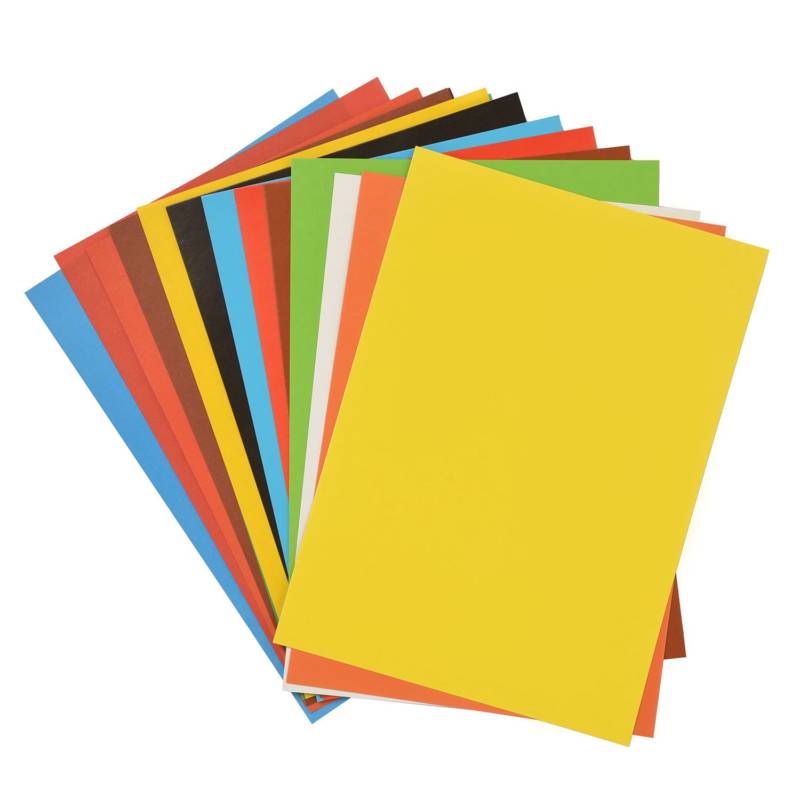
What is needed for work
The main material is paper. Figures of birds in the origami technique all have a paper base. If you want to add a little originality, then pick beads, beads, fabric or foil.
It all depends on imagination man, who is engaged in creative work.
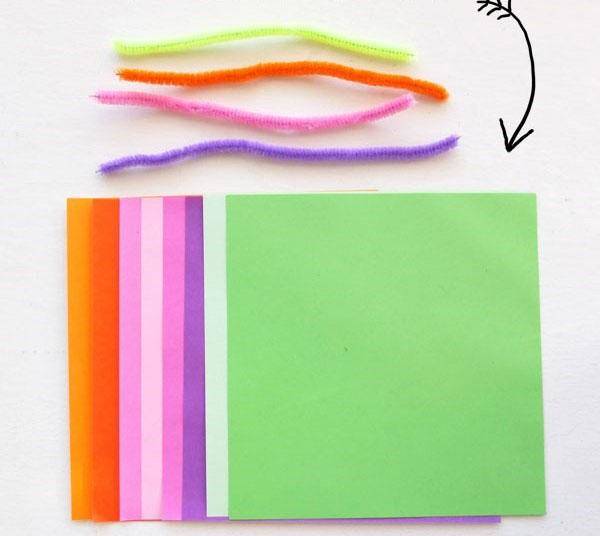
The colors of the paper can be varied, looking at what kind of bird will be made.
Varieties of origami
Styles of this art are many, but enough to get acquainted with the most popular.

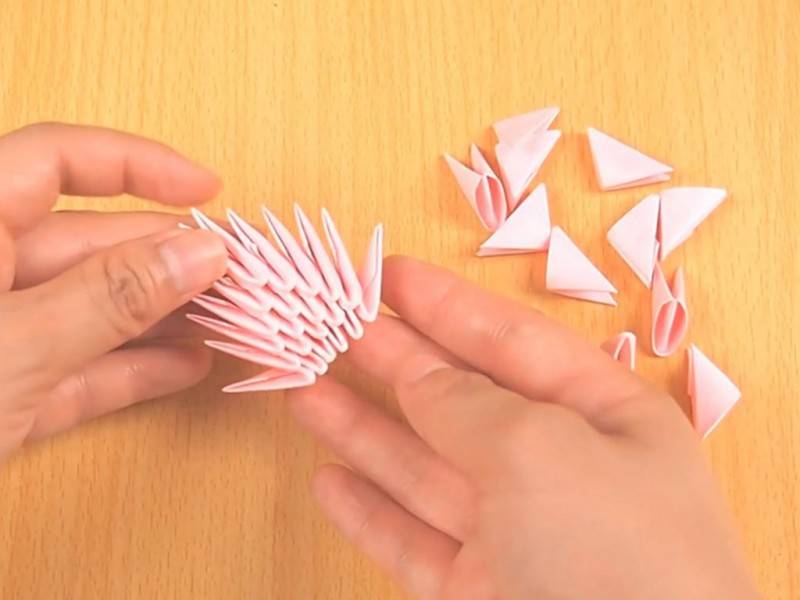
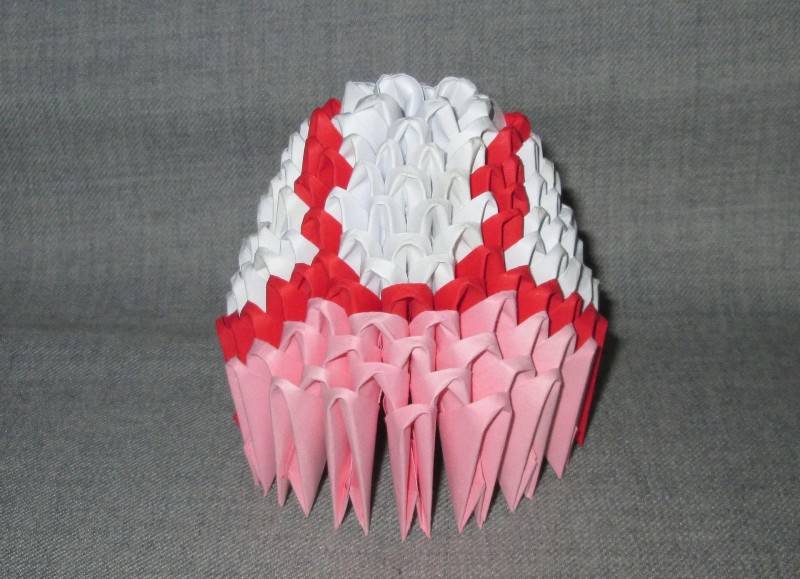
Modular origami
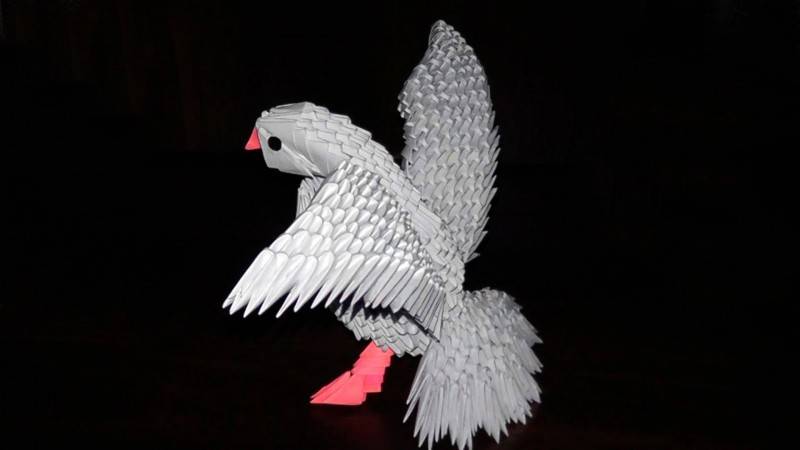
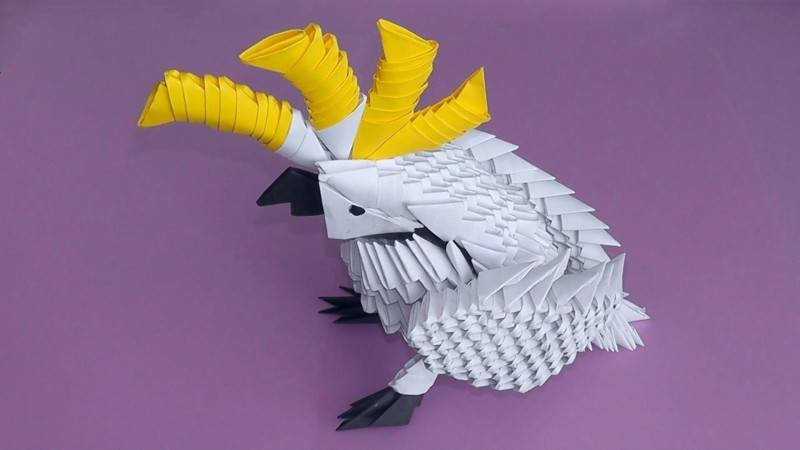
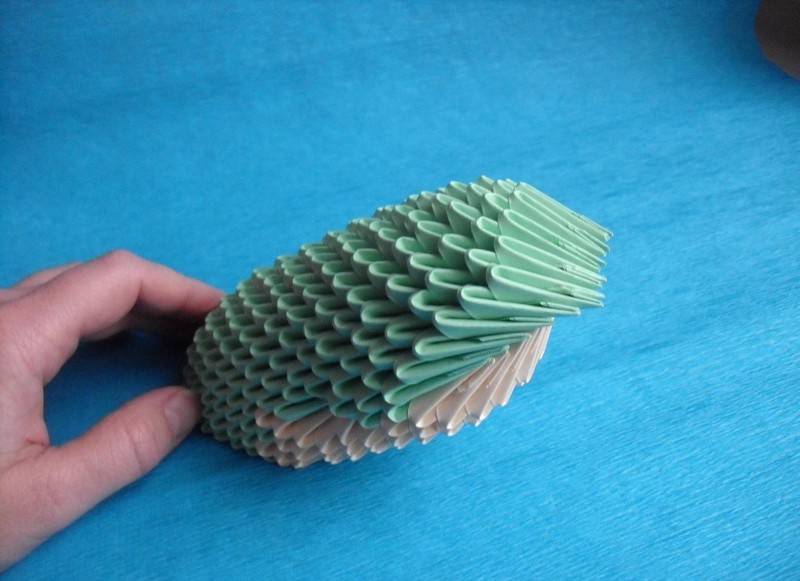
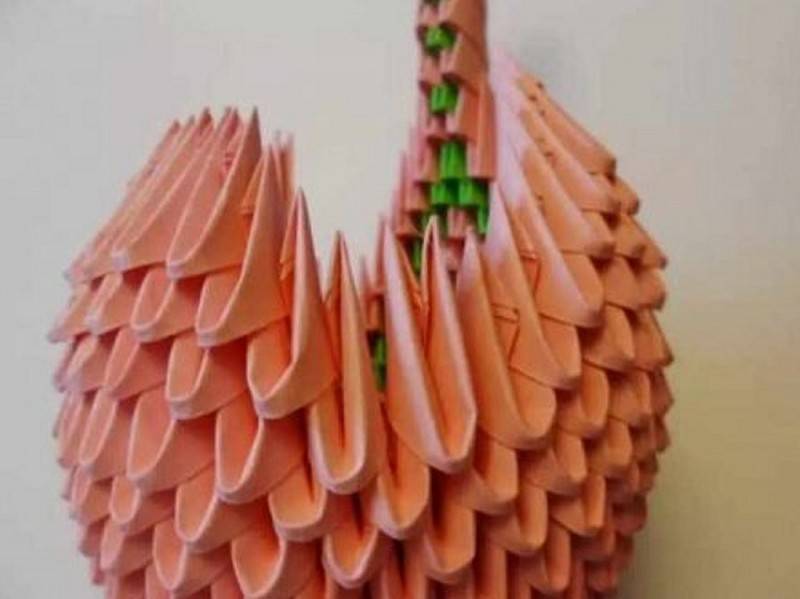
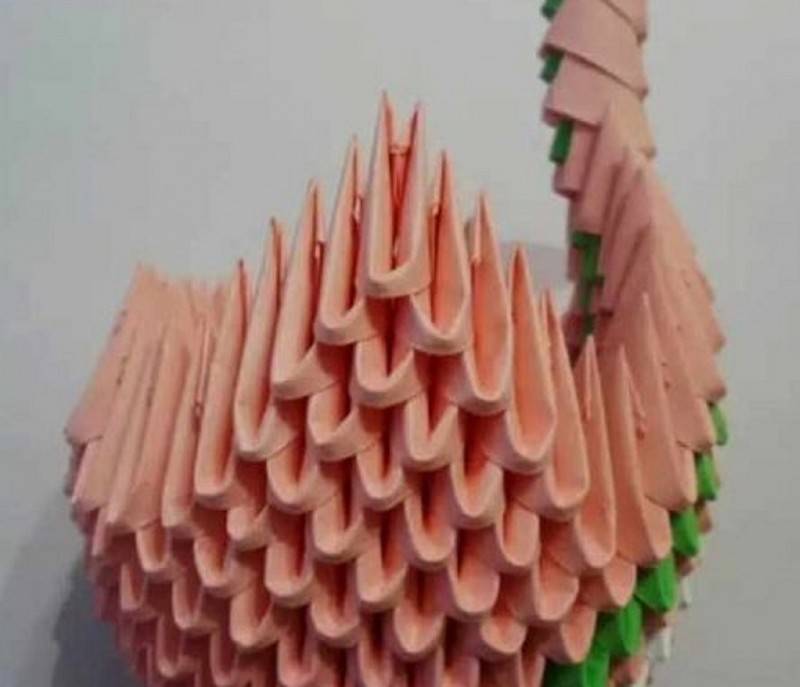
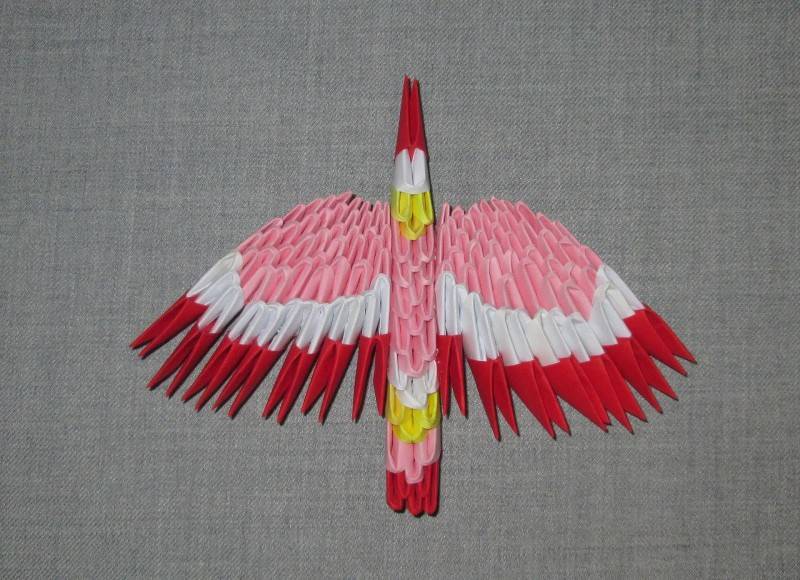
Modular models refers to the difficult type, but the crafts are beautiful and interesting. The technique differs by the fact that the details of the figures are made in modules.
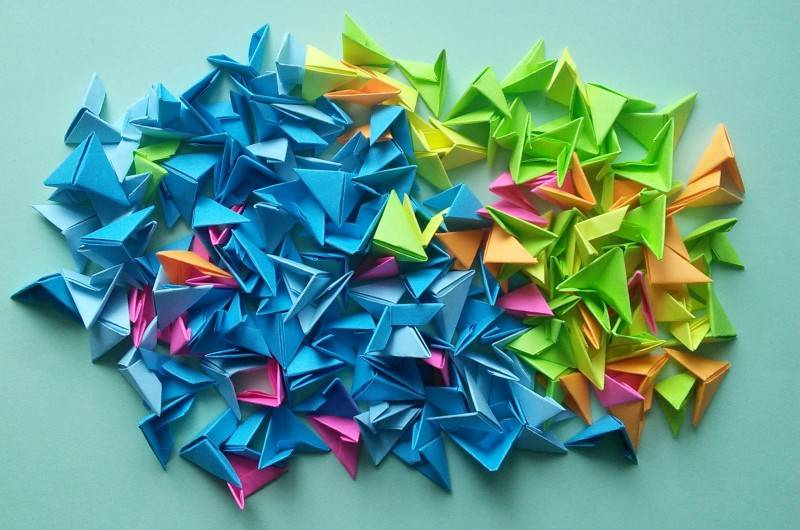
After their connection at the output of the handicraft will be large and voluminous. Modular origami is not very suitable for making birds, because it is difficult to create shapes.
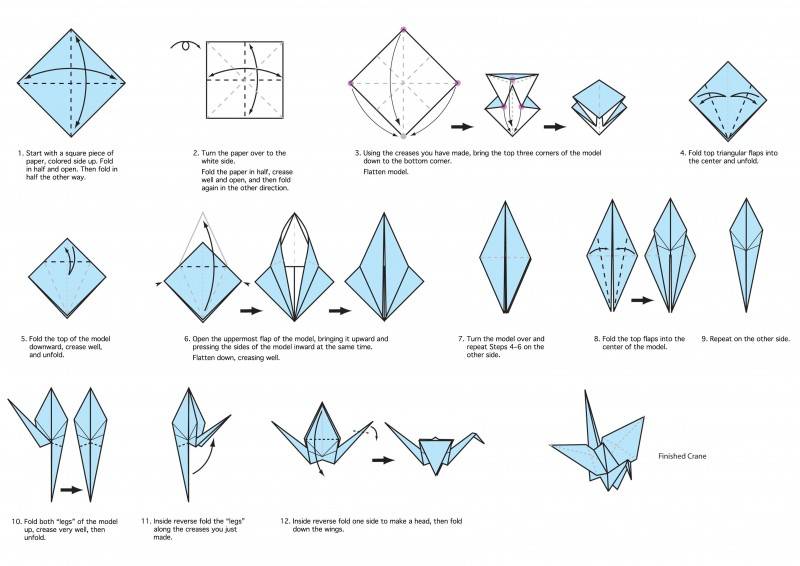
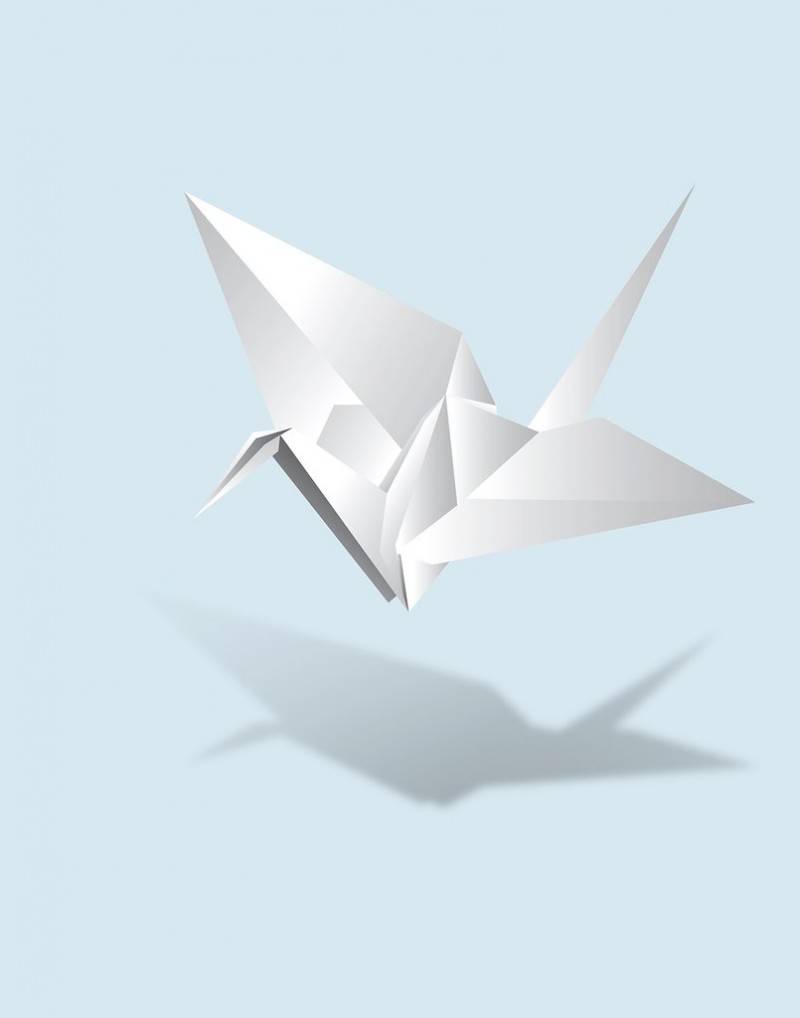
Classic origami
Classic origami can fold even children. One sheet of paper, after a few folds, produces a bird. Scissors and glue are not used in the work.
Kusudama
Kusudama is more of a modular technique, but a little more complicated. Because the modules must be all three-dimensional. Beginners will not be able to cope with this kind at once. Even with one mistake made, the correct figure will not turn out.
Kirigami
Kirigami is more suitable for creating three-dimensional structures. The work will require scissors to cut openwork patterns.
All origami techniques require special attention, as crafts are created strictly according to a certain algorithm.
Folding techniques
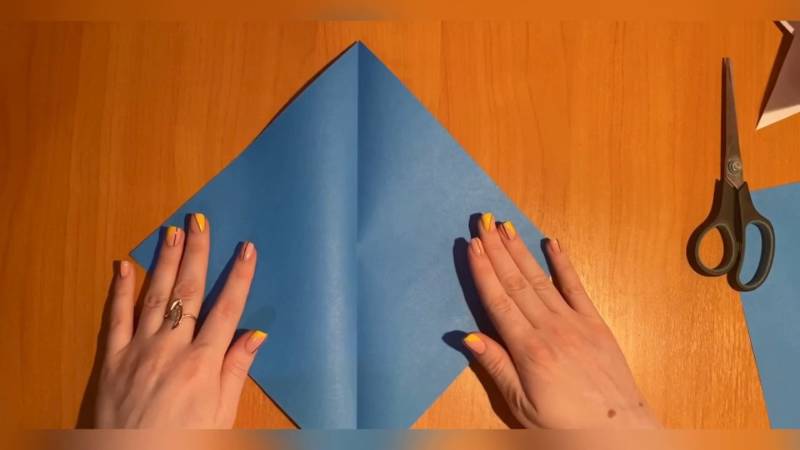
Origami is important to learn how to fold correctly, and you should start with simple shapes. You can take a thin cardboard, paper or tissue.
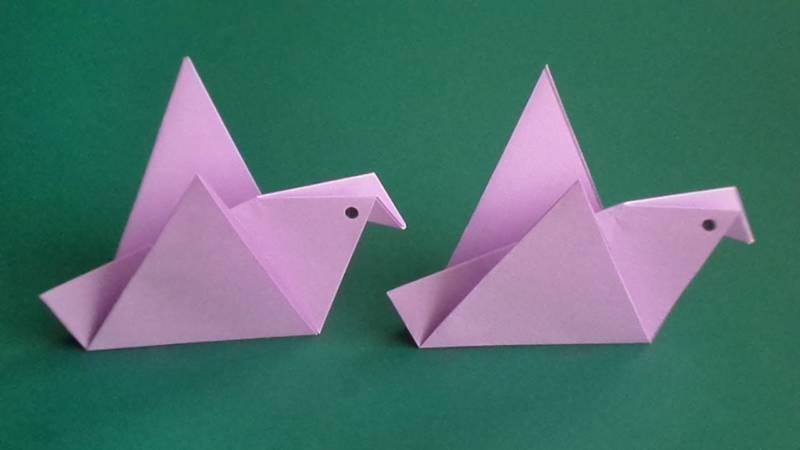
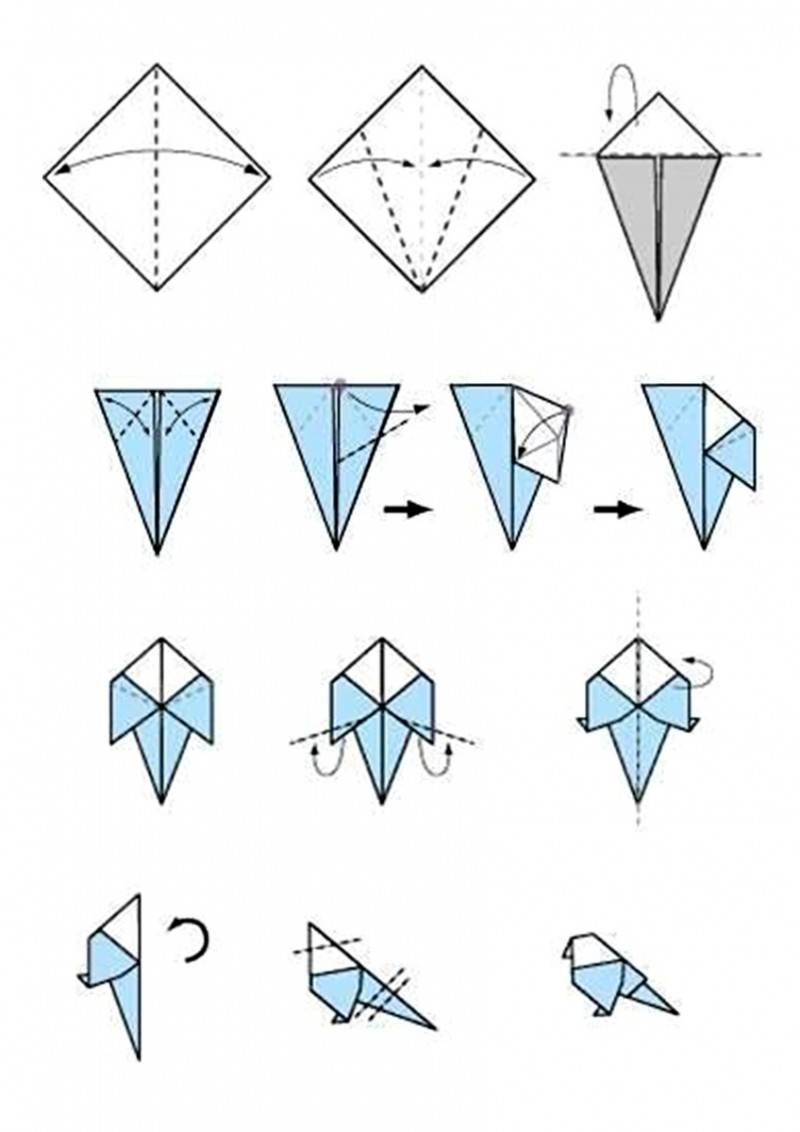
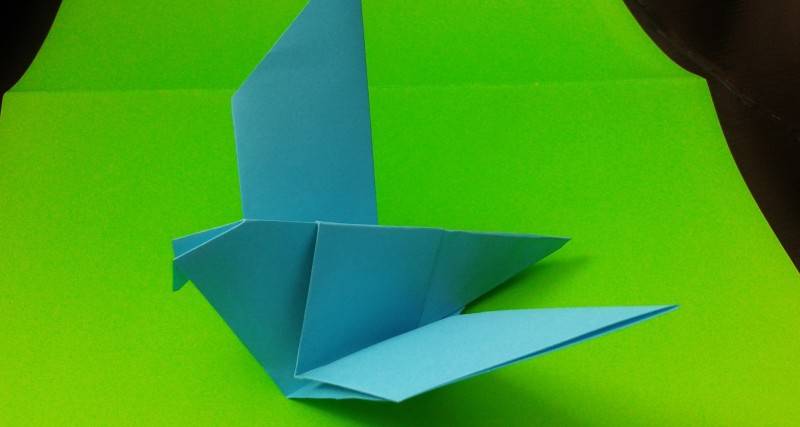
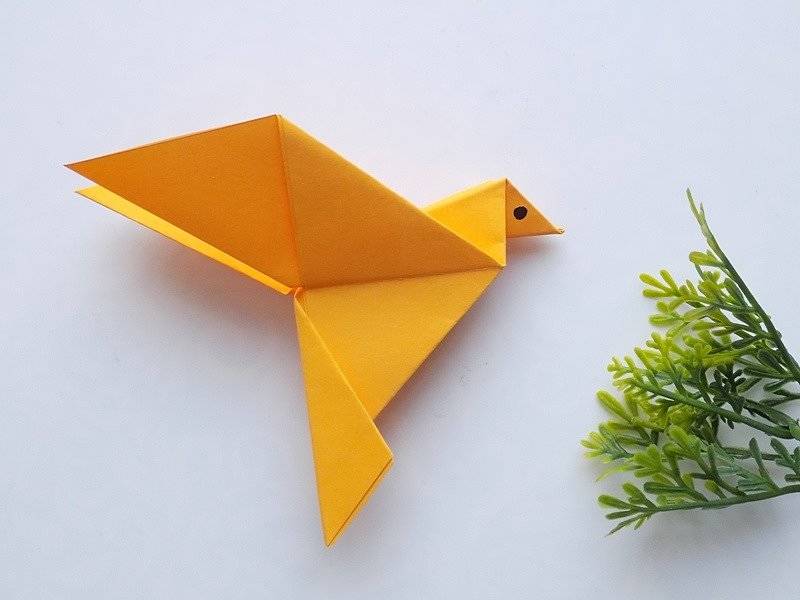
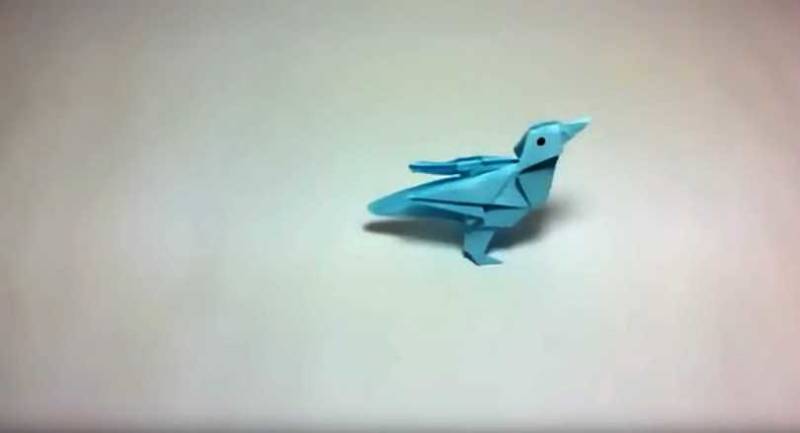
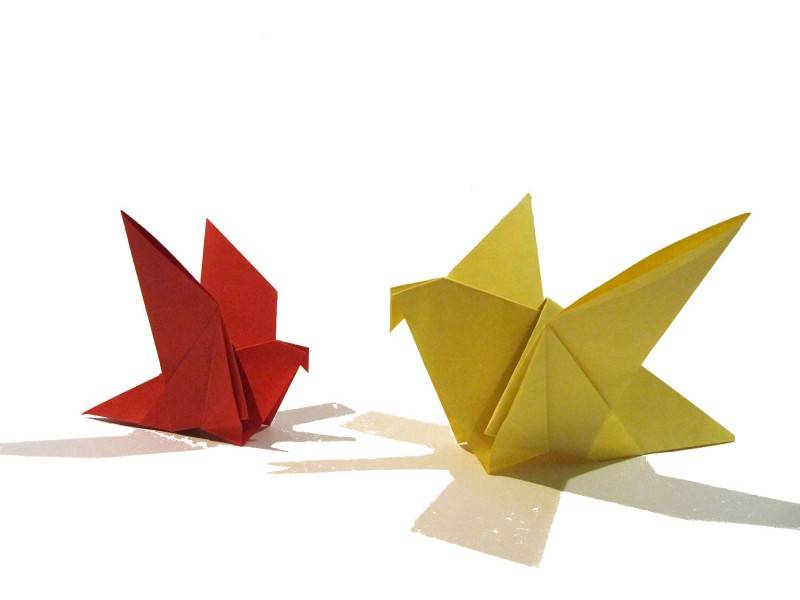
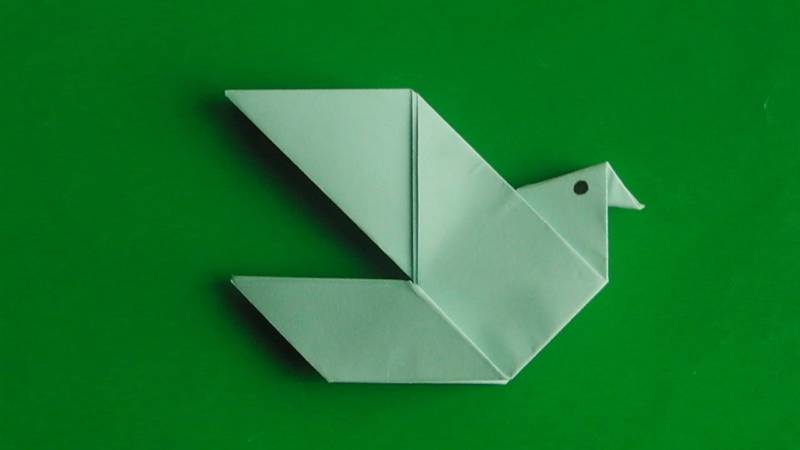
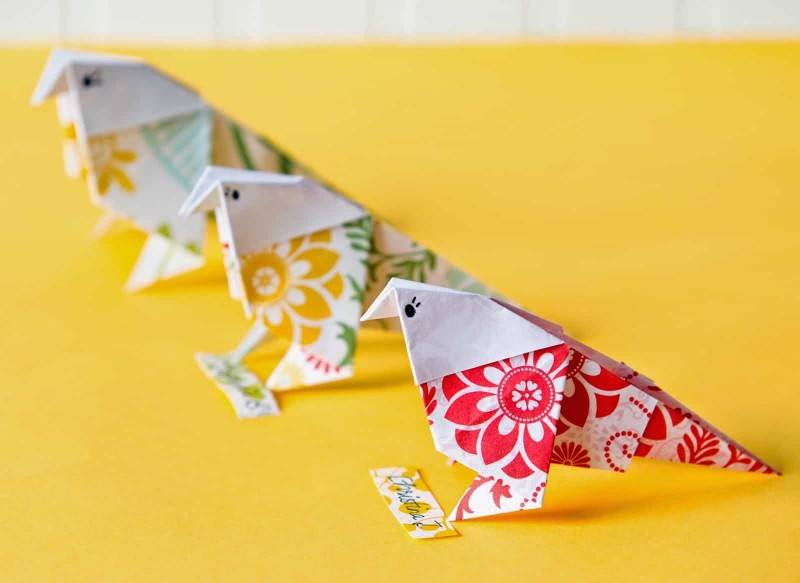
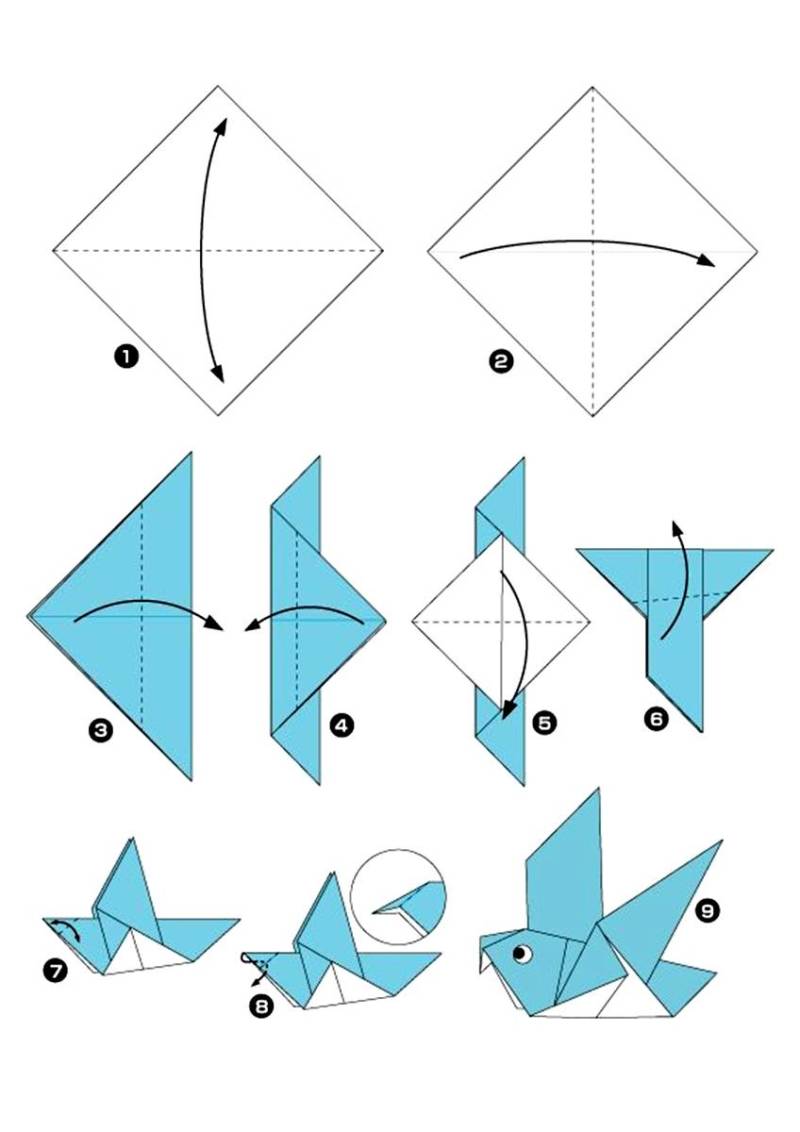
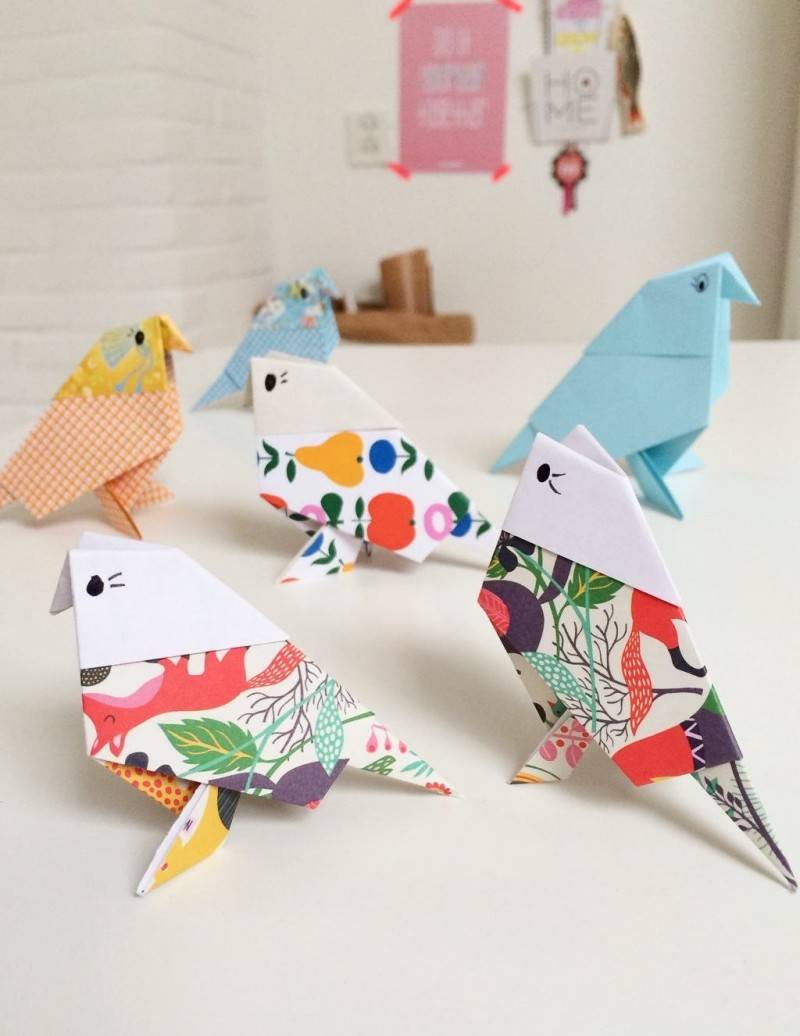
Paper pigeon
Folding such a bird is not difficult. Beginners can begin an introduction to origami with the making of a dove. Enough to take a square piece of paper, whose side is equal to 21 cm.
Then work is done according to this algorithm:
- place the sheet on the table so that the corner is turned to a person;
- Then fold the sheet in half: the top and bottom corner (a triangle with the tip down);
- Figure bend in half again, parallel to the base;
- You have to turn the workpiece so that the back of the top;
- One upper part of the triangle to bend to form a rhombic shape;
- The next step is to bend the piece from left to right in half;
- The protruding parts of the figure bend backwards to form two wings;
- Now we have to form the head: the top of the triangle to bend inward a small portion.
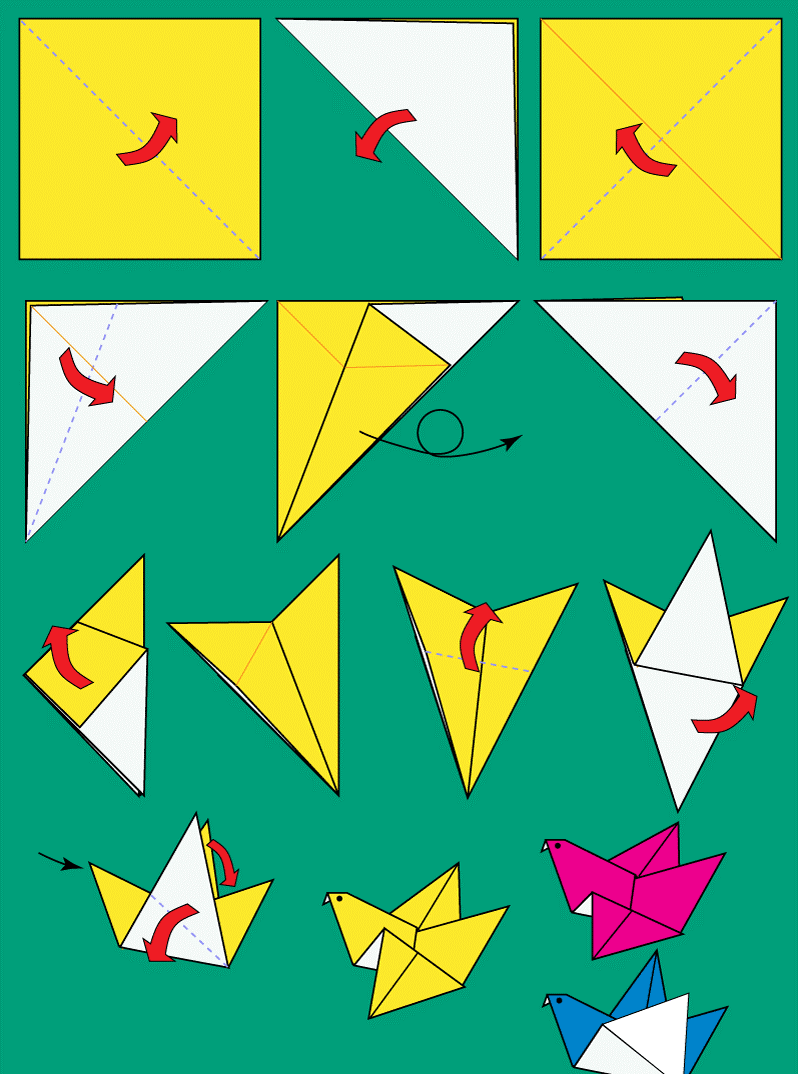
You can finish drawing a bird eyes, congratulatory inscription to do as desired.
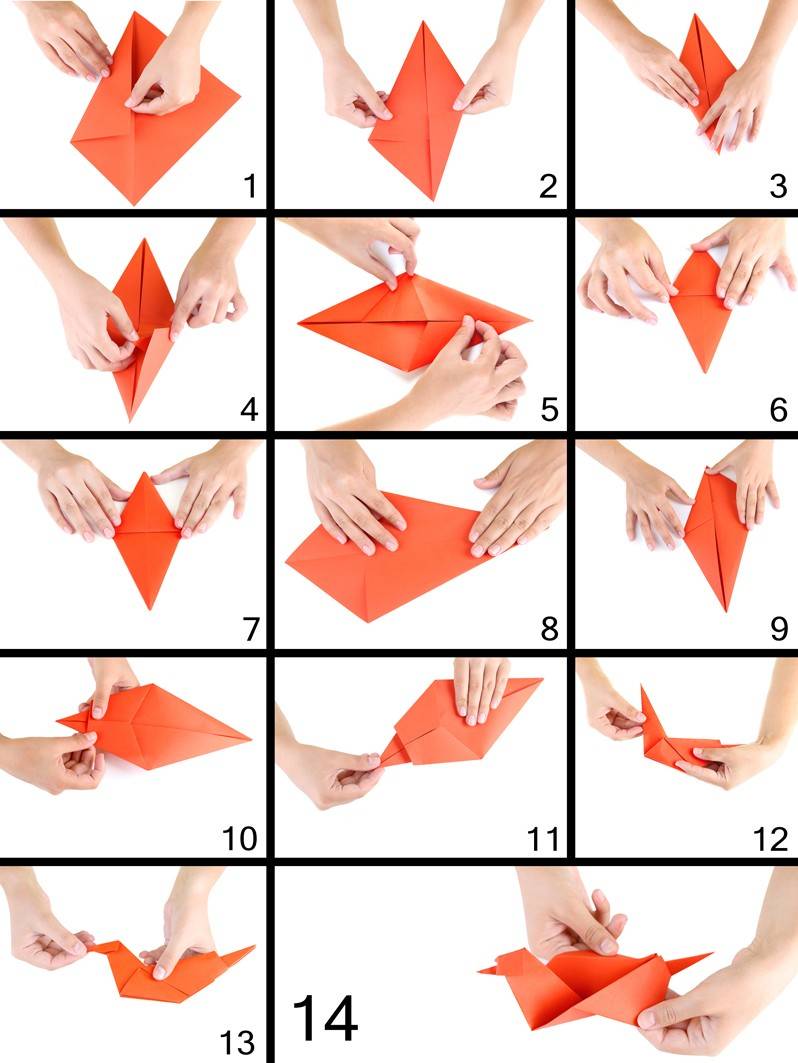
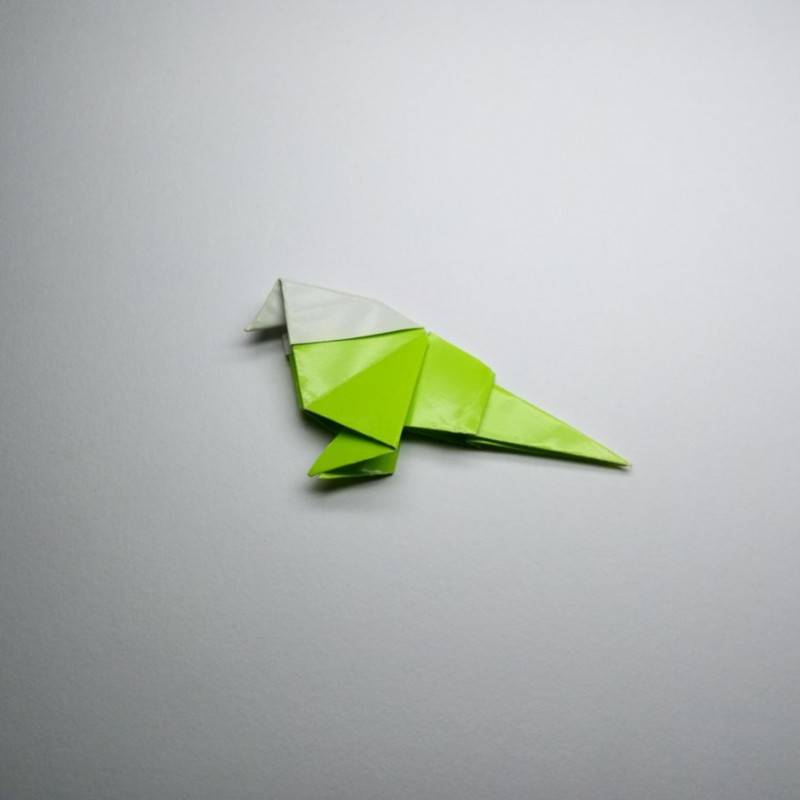
Handicraft parrot
Model parrot can be folded in different ways: a complex and simple.
The second option is even available for primary school age children. Since the parrot has a mottled feathering, it is better to choose paper of two different bright colors.
Step-by-step performance of the work:
- The main square is folded diagonally, and then open again so that the middle is perpendicular to the man. To the center of the sheet bend the sides.
- Triangle top bend on the back, and the sides of the top - to the middle of the axis.
- Layer top lift, bend in the opposite direction along the planned lines. The resulting blank resembles the shape of a fish.
- The resulting triangles are first put down, and then folded in half upwards. A sharp lower part of the billet bend twice, and close both parts of the form so as to hide inside all the folds.
- Turn the figure by 180 degrees. Upper corner of the details a small part of the bend inside.
We got a beautiful parrot. It remains to finish drawing eyes and put on a table or shelf.
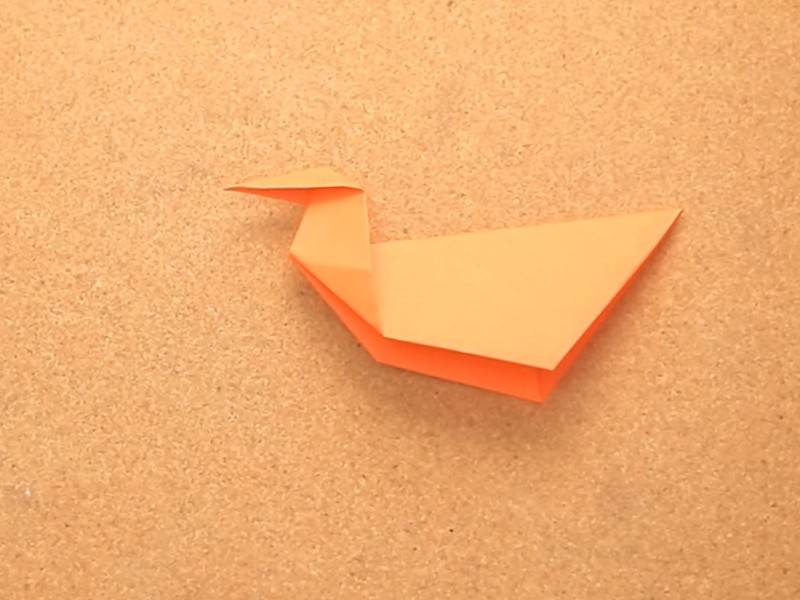
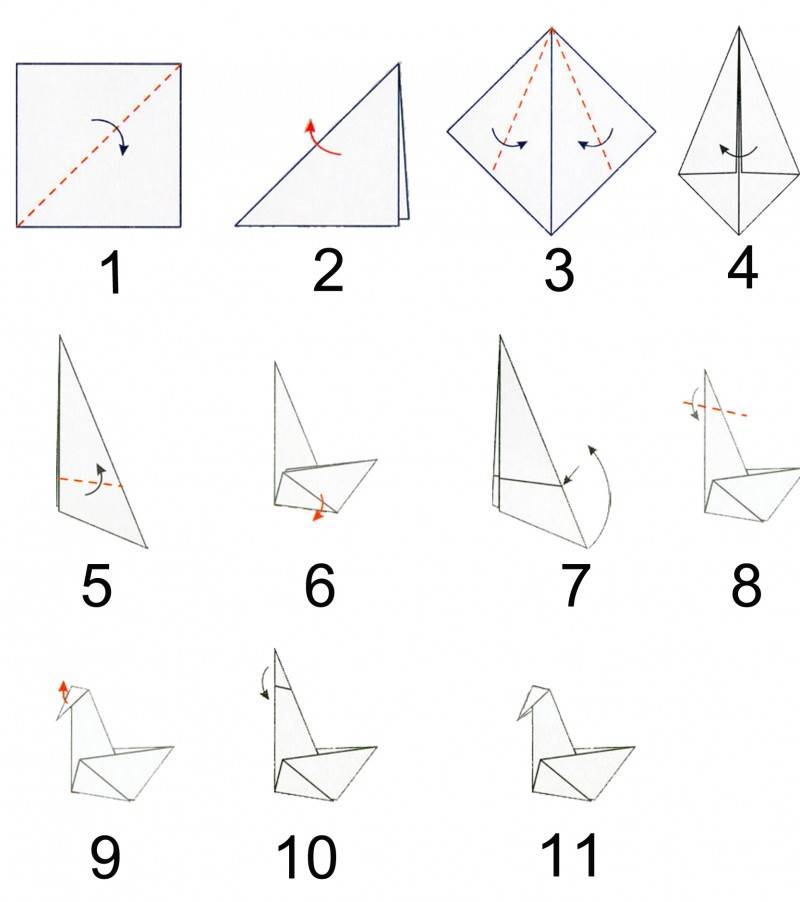
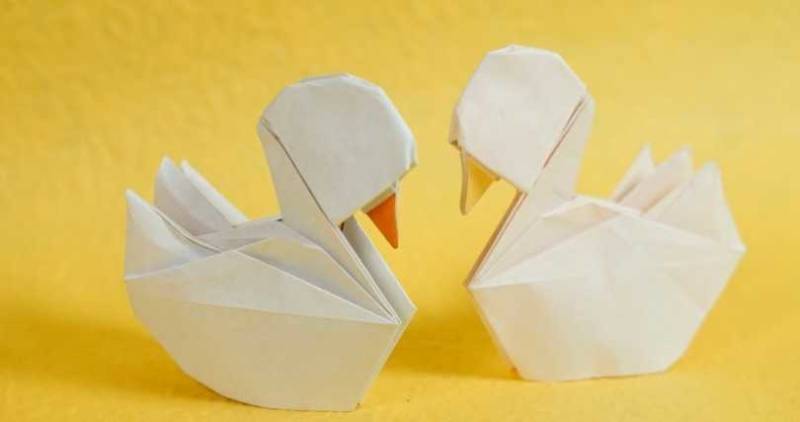
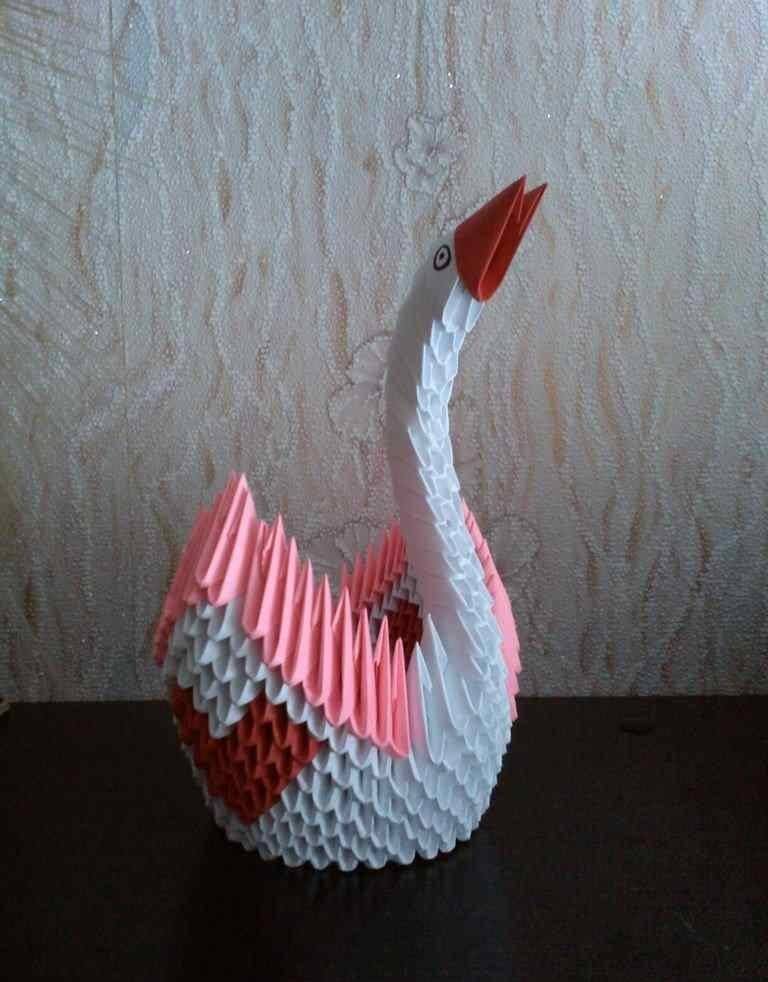
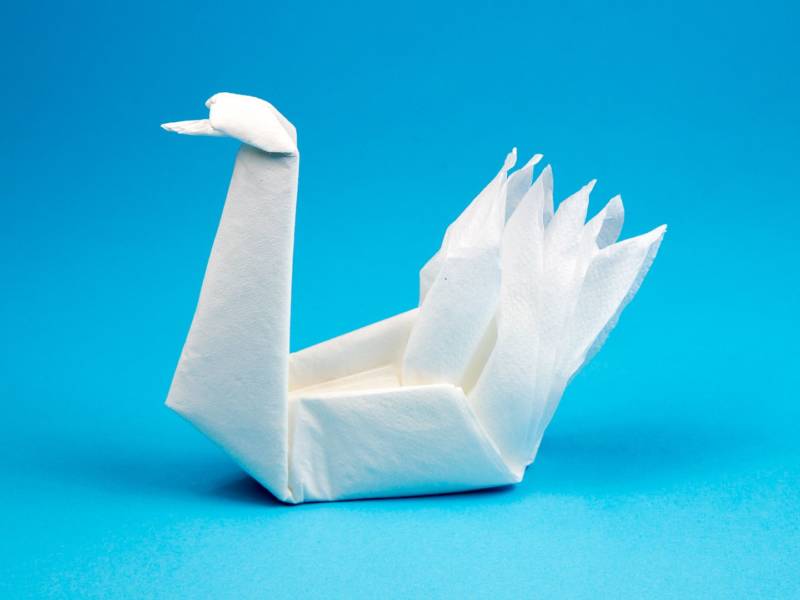
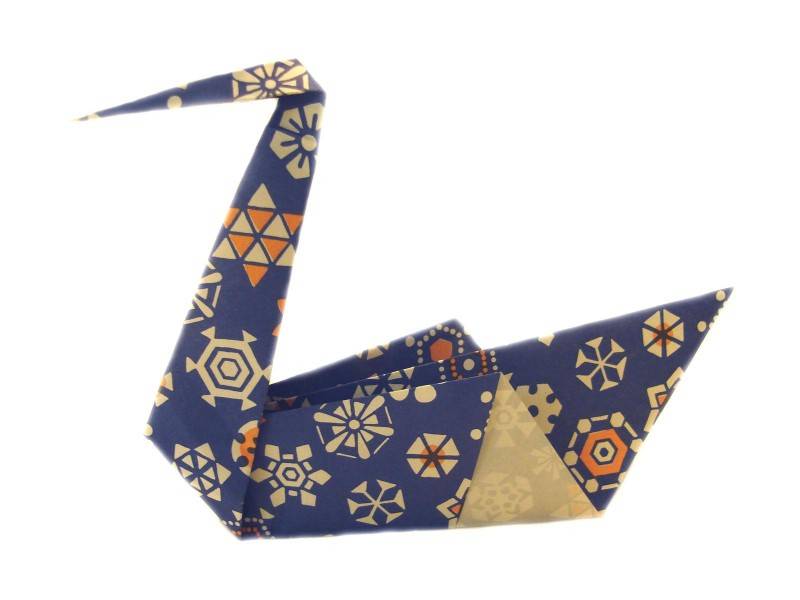
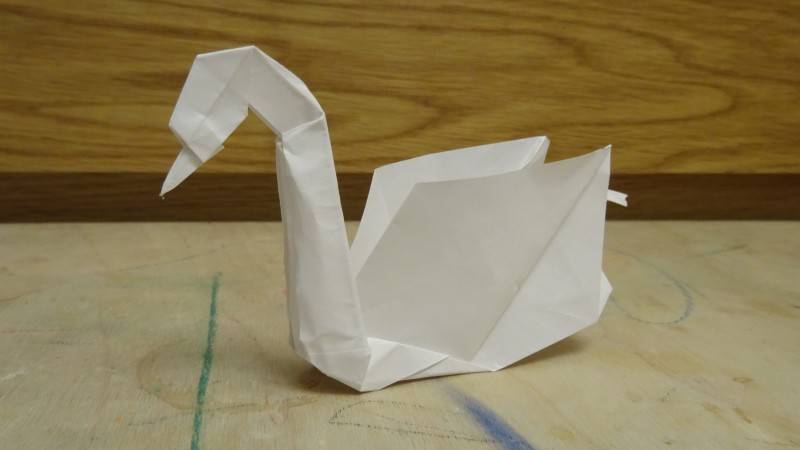
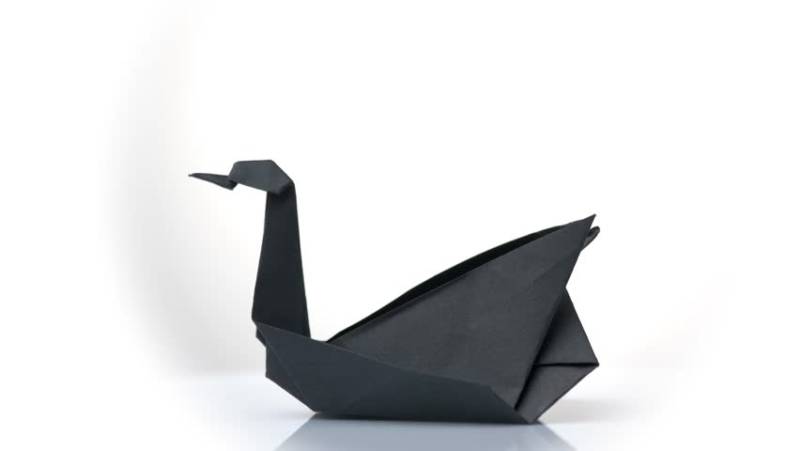
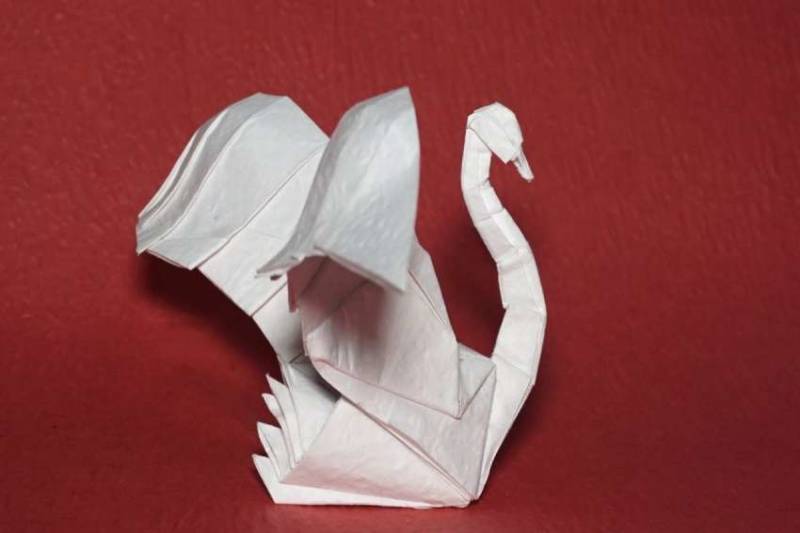
Swan handicraft
The figure of a swan is good for decorating any holidays, it is not difficult to make. It is also worth choosing two-color paper. It's easy to do, even a beginner can do it.
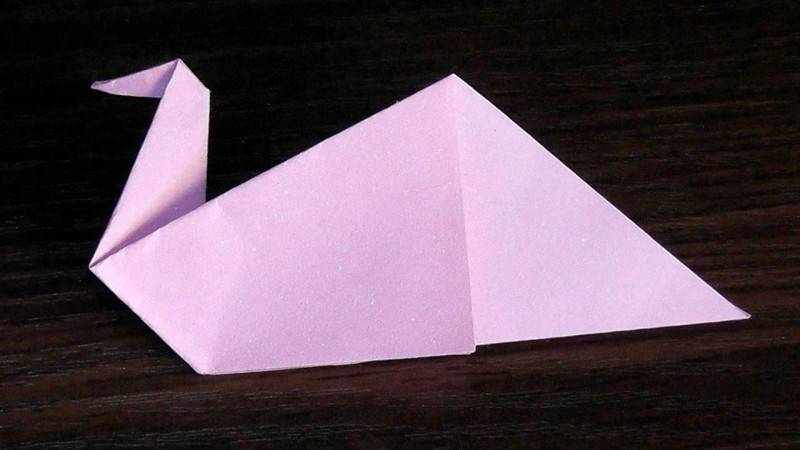
After preparing a sheet of paper 21x21 cm, and then follow the instructions:
- The paper is turned to itself with the color that will be the main, one end should look up;
- Then turn the sheet the other way around and make a fold;
- The side corners are folded to the center and turned over again;
- The sides again bend toward the central axis (all the folds accurately ironed by hand so they are clear);
- The bottom corner of the product lift to the top point and fold;
- A small portion of the angle down - it will be the head of the bird;
- Connect the sides along the middle line to form a slide, and the head begins to straighten;
- Wings slightly apart, so the swan can stand on the table.
Bird turned out elegant and beautiful.
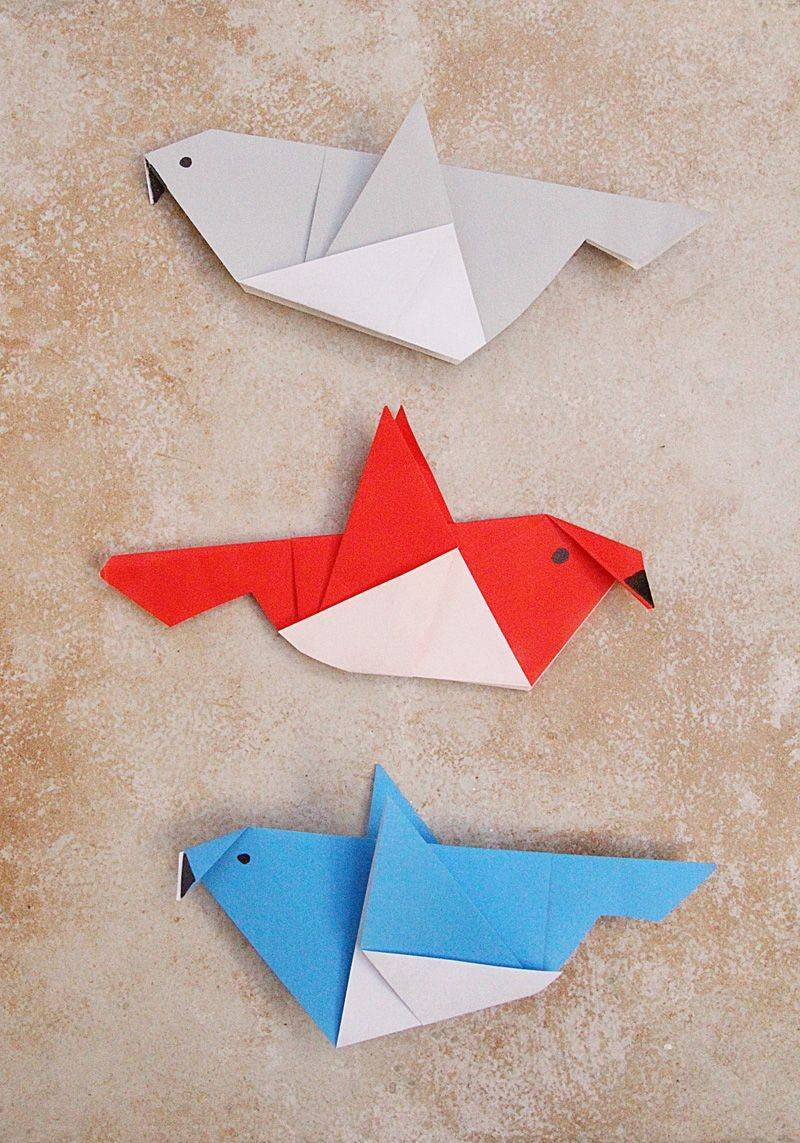
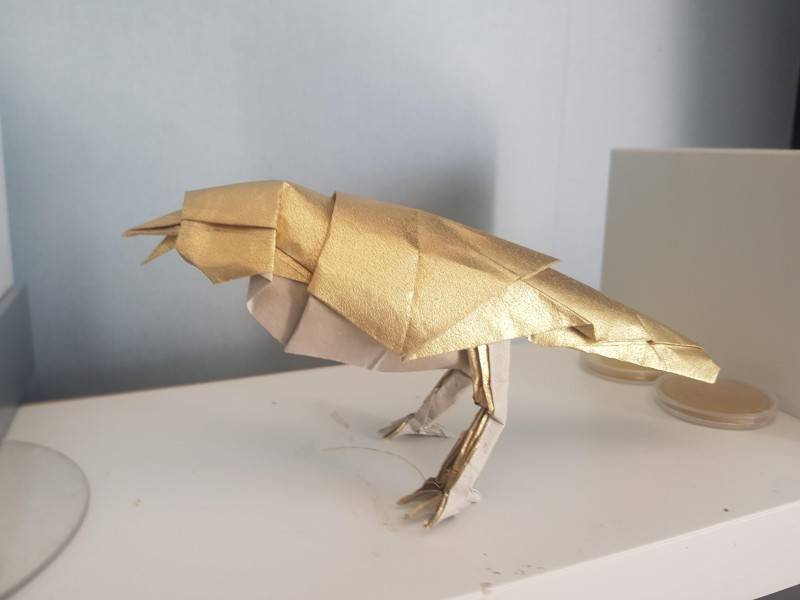
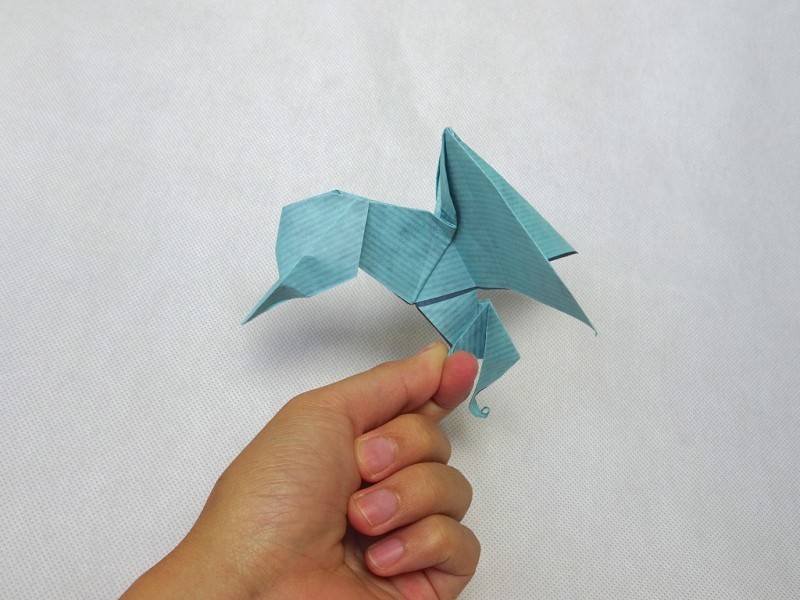
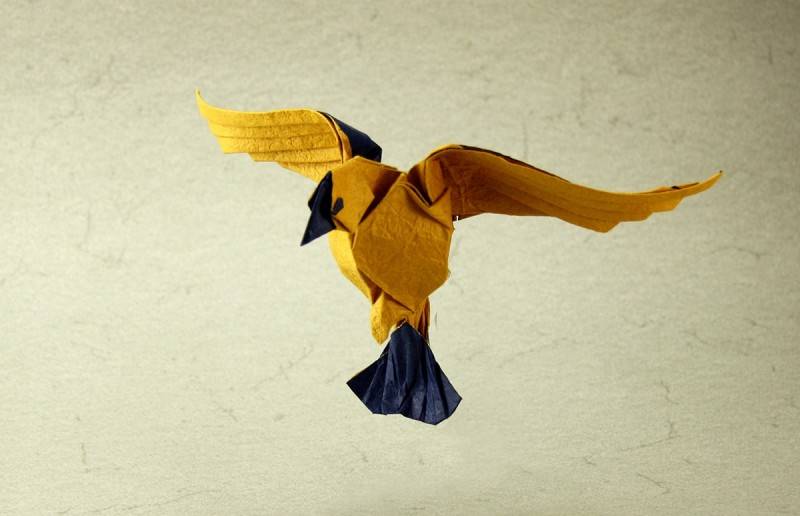
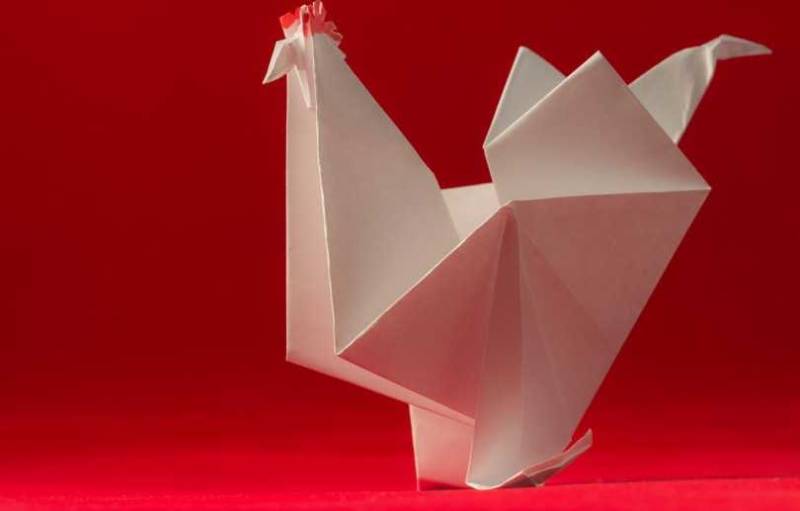
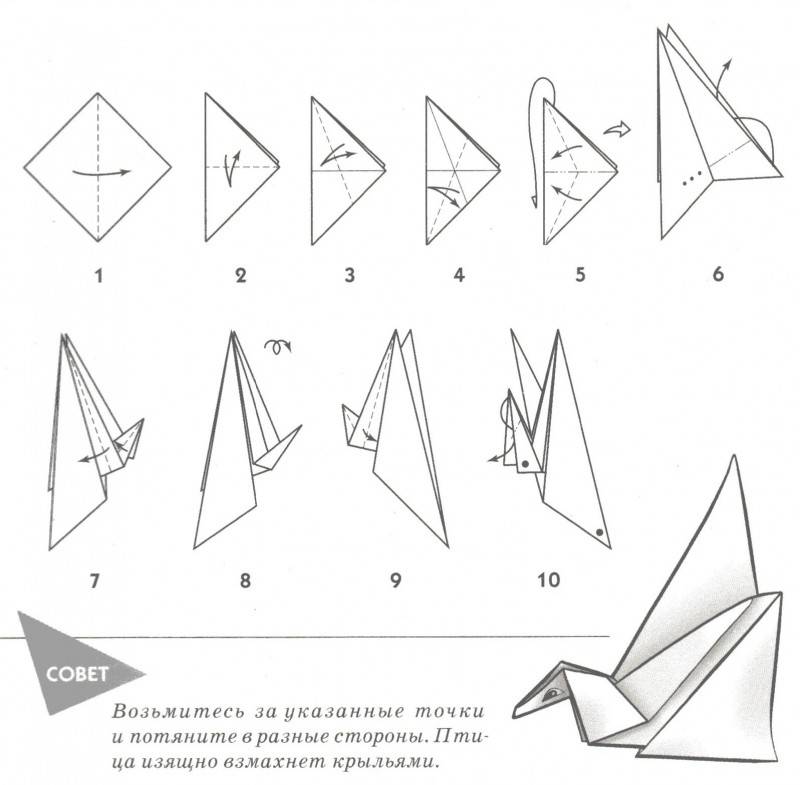
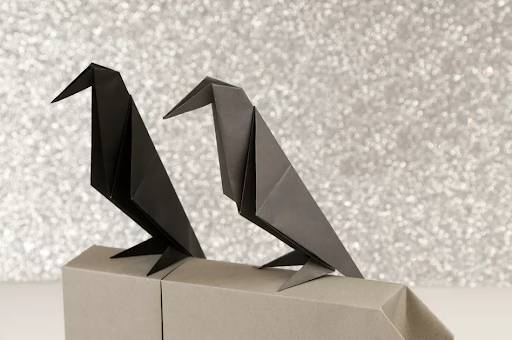
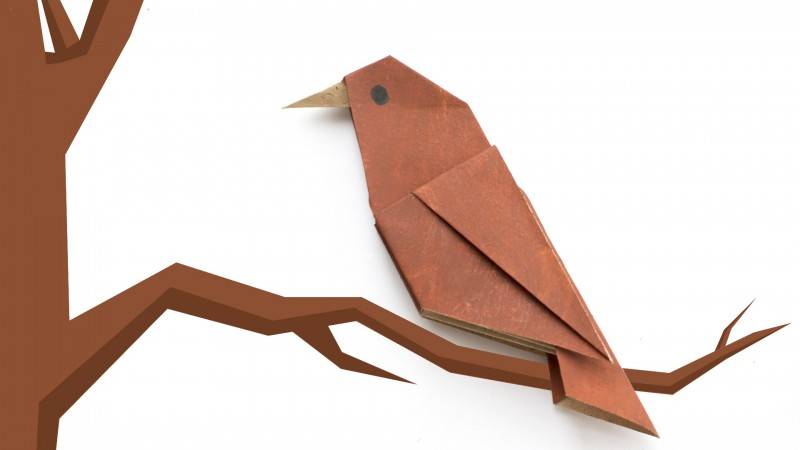
Origami crow
This handicraft is best made of thin paper, so that the bird turns out light and airy.
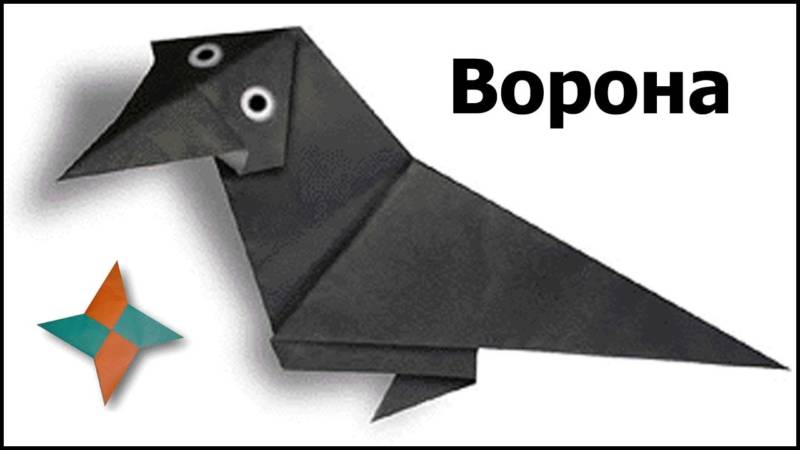
You can choose any size of square sheet. It depends on how big the crow will be.
Step by step execution of folding crafts:
- The workpiece begins to do as in the previous version to the form of a kite.
- Then - the form of "fish". Finger pulled up parts of the bent elements. They bend and get a sharp corner.
- Further, these angles bend in different directions. We got a little feet.
- The whole piece fold in half lengthwise. Visually dividing the resulting billet into three parts, you have to do the fold. To do this, indent 1/3 of the wide edge of the figure.
- Then you have to fold the shape in half width. On top make the head of a bird: first a corner bend inward, and then turn sideways.
- Beak make a 5 mm bend on the head, indented from its beginning by half.
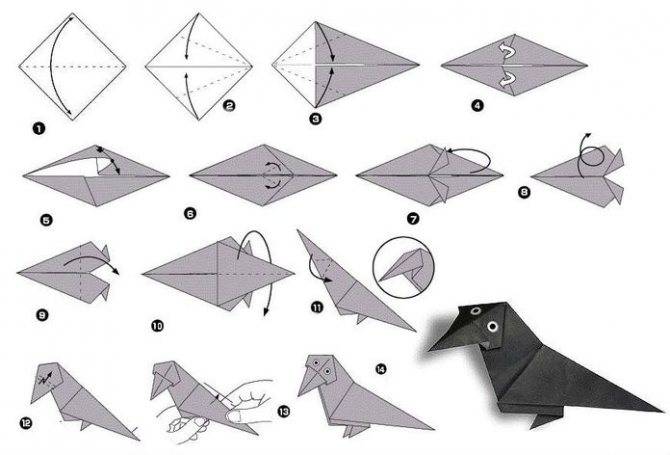
The eyes are finished with a felt-tip pen or glued on the prepared molds.
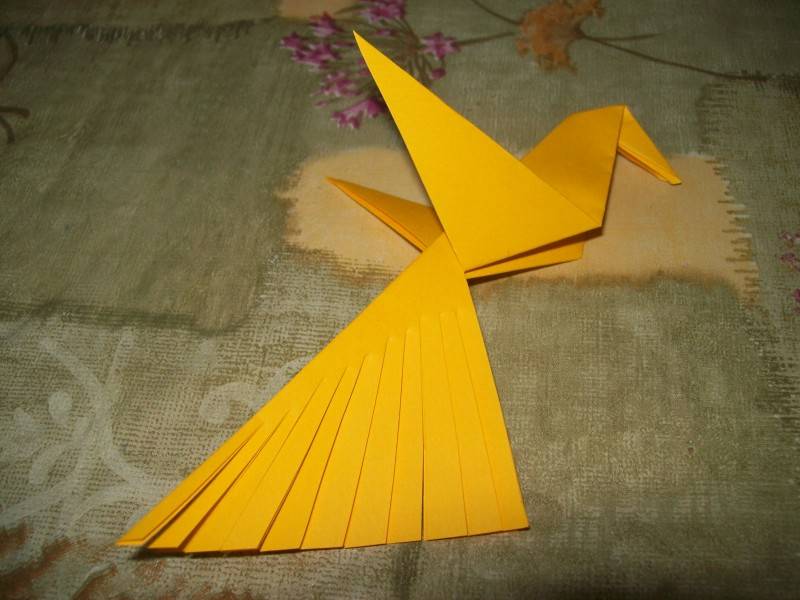
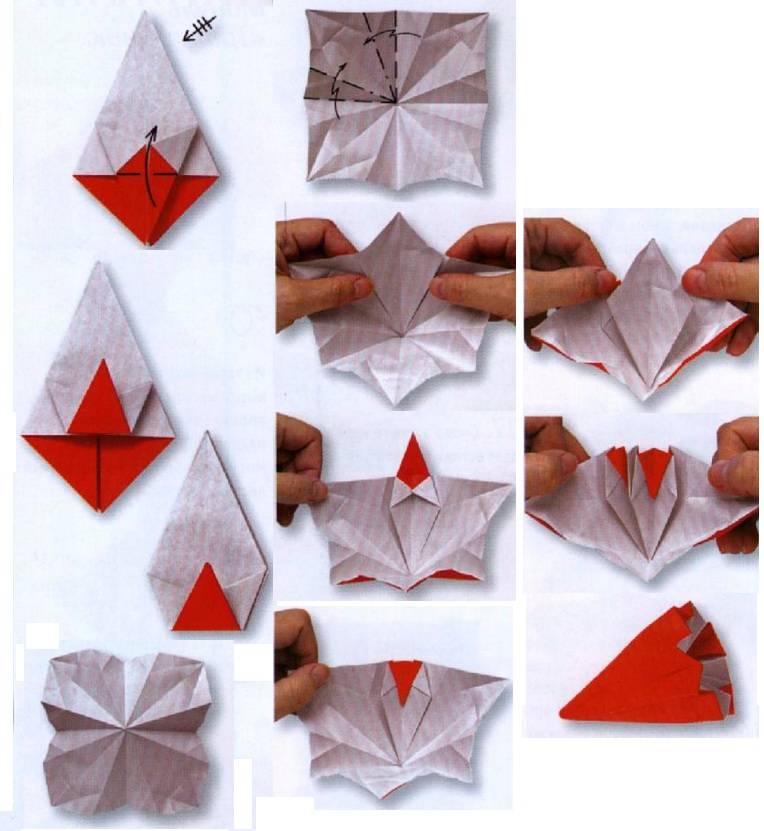
Talisman for good luck
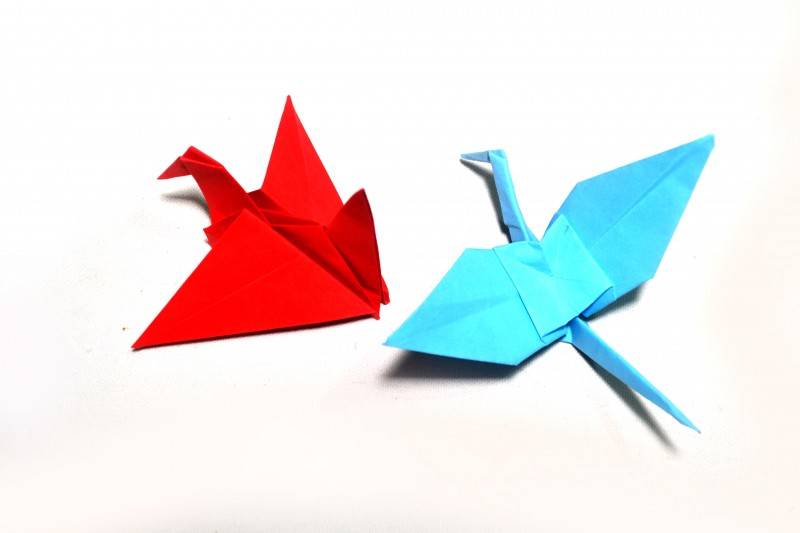
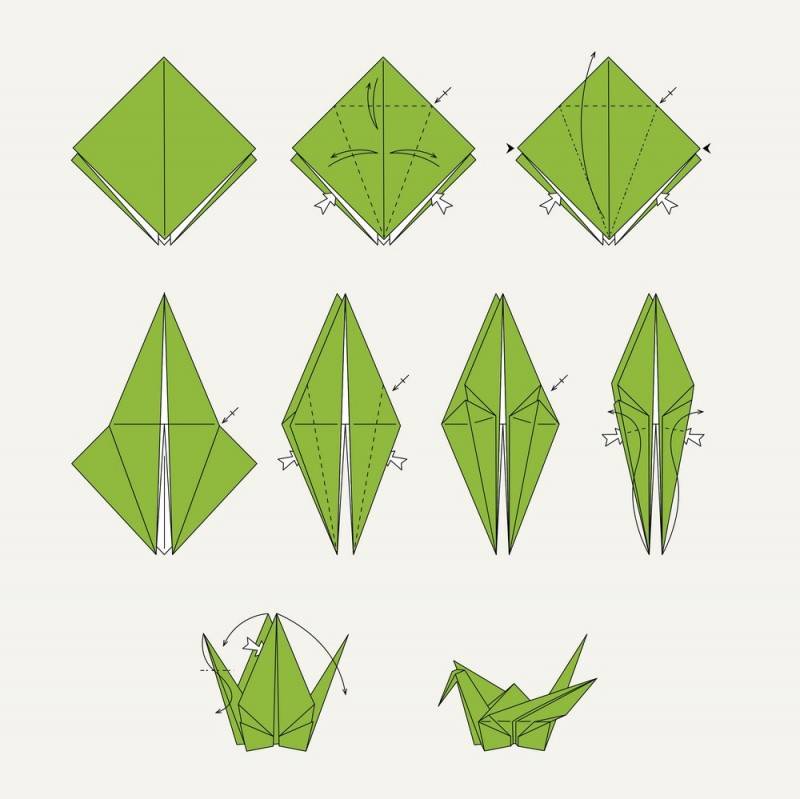
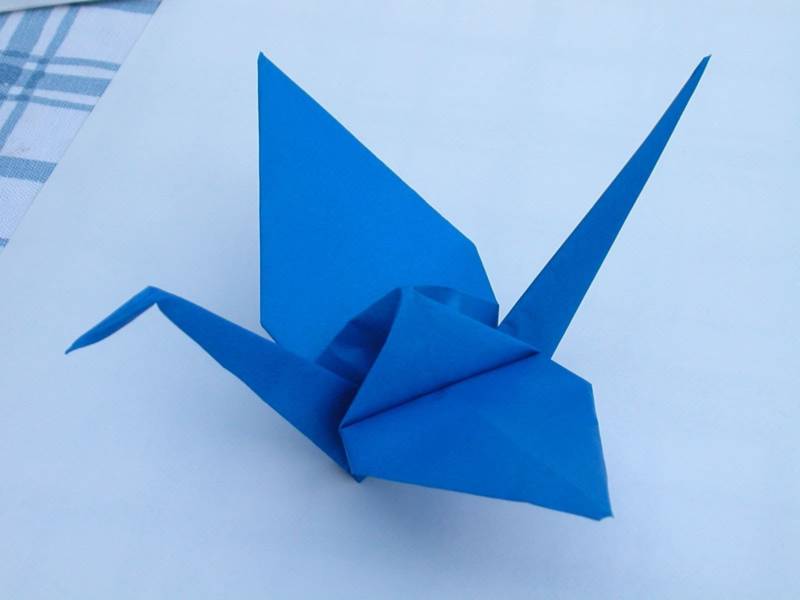
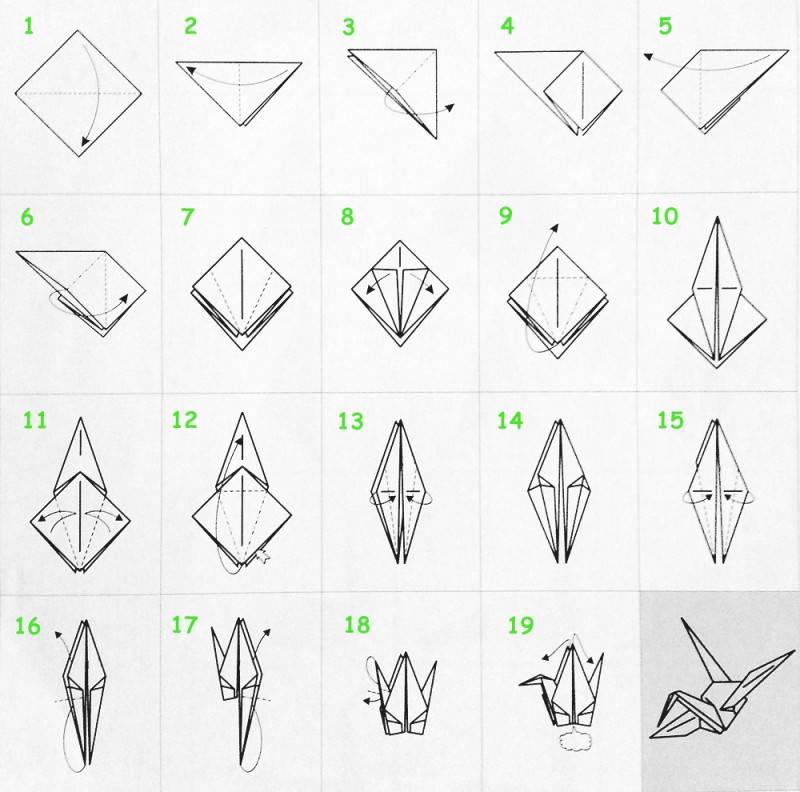
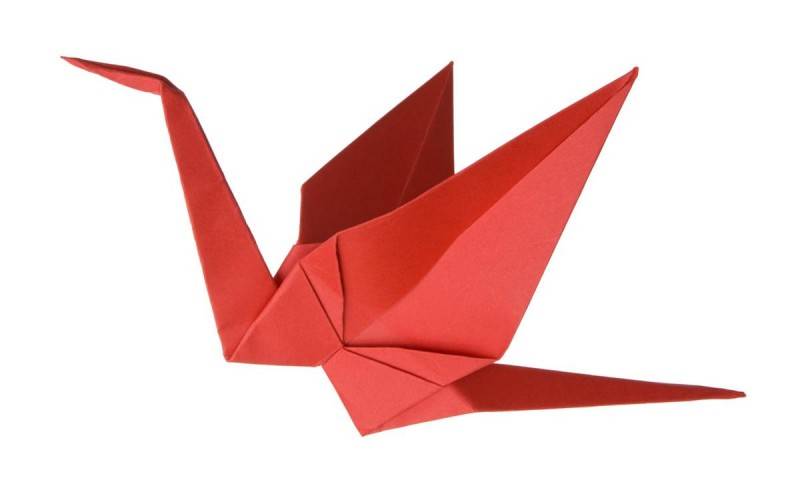
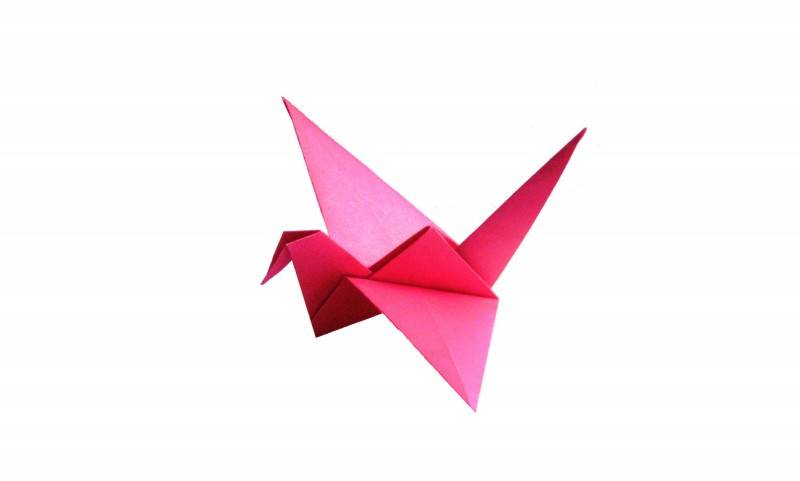
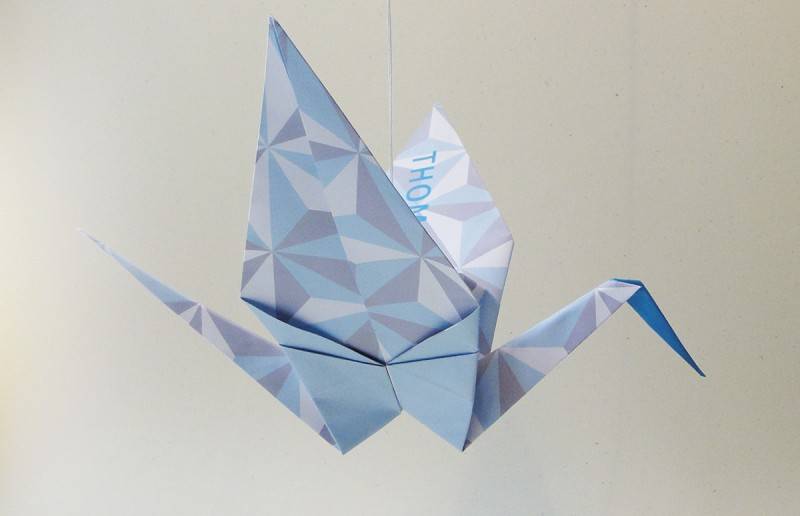
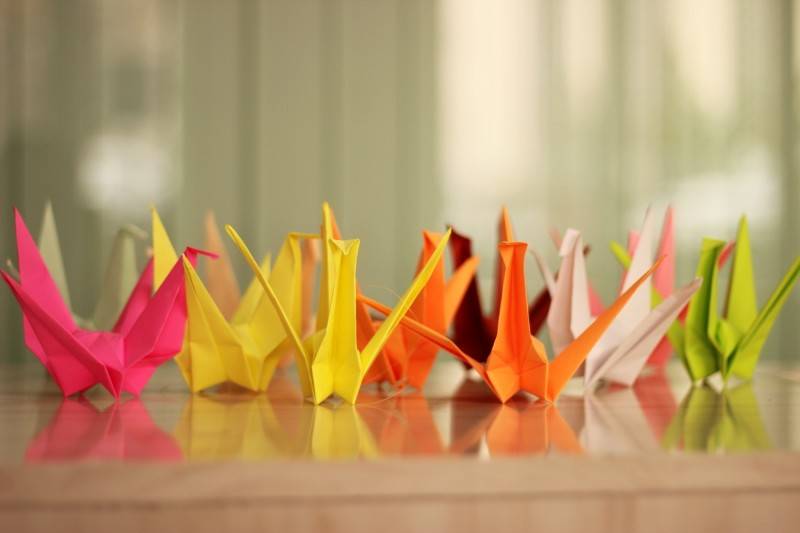
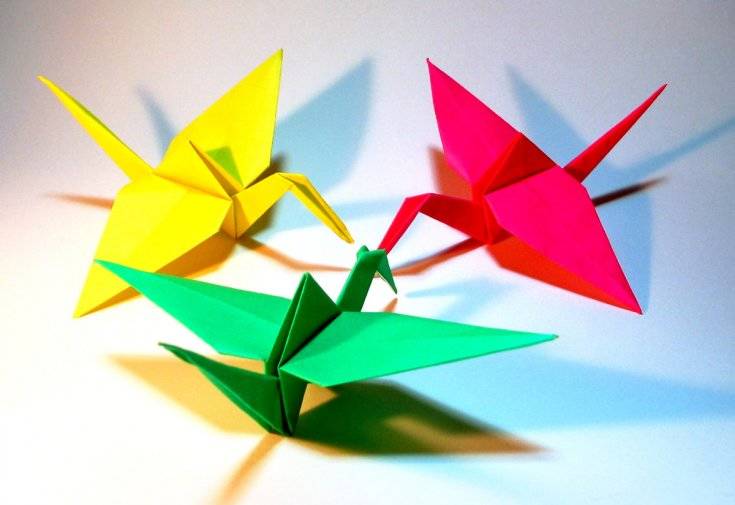
The Japanese link origami with various rituals. For example, cranes are made for a happy life: the more of them, the faster the wish will come true.

Russia also has a bird of happiness, it is similar to the Japanese model, but slightly modified. It is already a Jarbird, which is found in many Russian fairy tales.
To create the best texture, the sheet is chosen colored on both sides. A square is cut with a side of 15 centimeters, and the scraps are useful for the wings and decoration.
As in many blanks make a diagonal line, the sides are bent to the center.
Then:
- The top is also folded to the center, you get a figure of "fish";
- We fold the workpiece so that the folds fit inside, and then reopen;
- The longest part of the lift up - you get the neck;
- Reverse the fold insert it into the middle of the body;
- the head is done in the same way as in the previous crafts;
- Where the tail will be held, make a cut;
- The part that was left of the square, cut into two rectangles, they are added to an accordion;
- The larger part is inserted into the slot for the wings, and the smaller part is used to make the tail (glued into the notch).
On the edges of the wings and tail cut patterns to give an openwork figure, straighten shapes.
The eyes are finished drawing, you can make a crown and glue it to the head of the bird. We obtained a lush rooster bird, which will please all the inhabitants of the house.

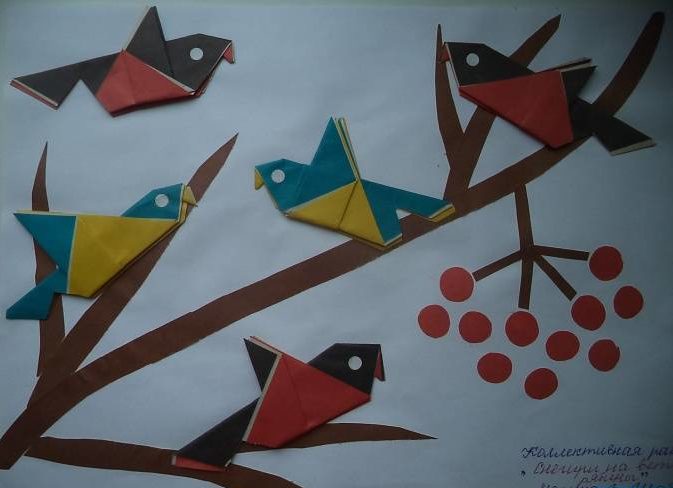
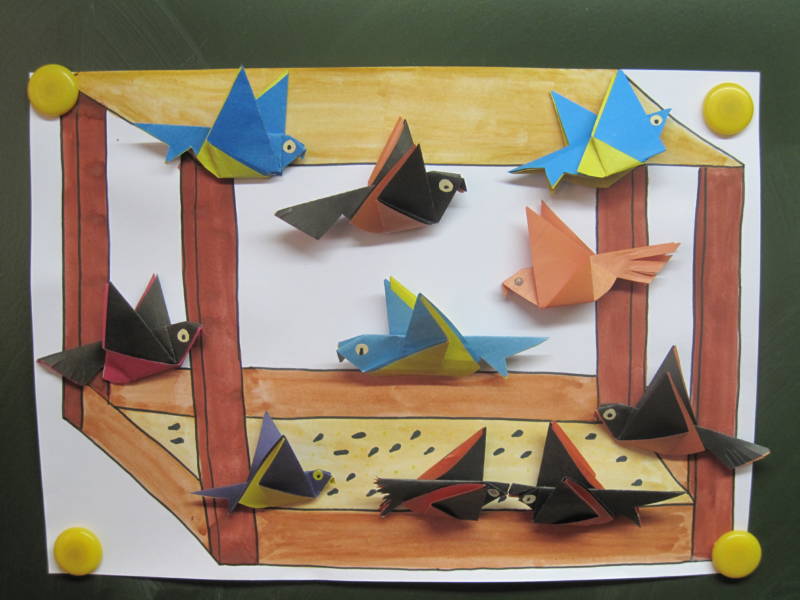
Birds on a branch
The original craft with the use of origami technique is obtained by applique.
Children love this kind of work, they are happy to take part in them. It is necessary to prepare a template with a drawn tree, you can create a whole composition.
Also for the work you will need:
- sheets of black, red and yellow paper;
- glue;
- scissors.
Step by step performance of the handicraft:
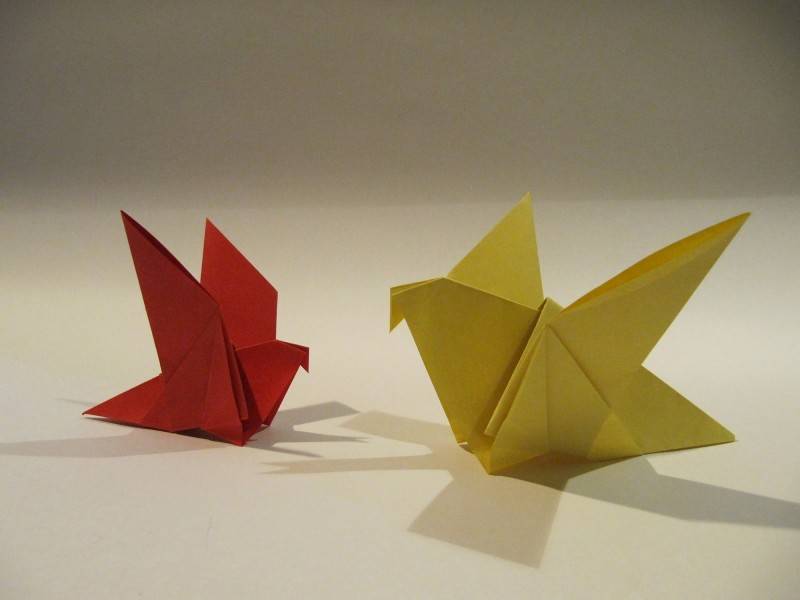
- Squares of yellow or red are folded with black so that the lighter shade is on top. Then turn the double figure into a triangle, yellow inside.
- Put the figure so that the angle looks down. Then bend up the corner so that the fold line was in the middle of the details.
- Then return the top to its original position. The upper double part, bent upwards, you have to fold in half.
- Make a bend on top of the details along the planned lines on both sides, a little backing from the middle.
- A small portion of the left corner bend inward to get a bird's beak.
- Right corner of the scissors cut so that there was a tail shape.
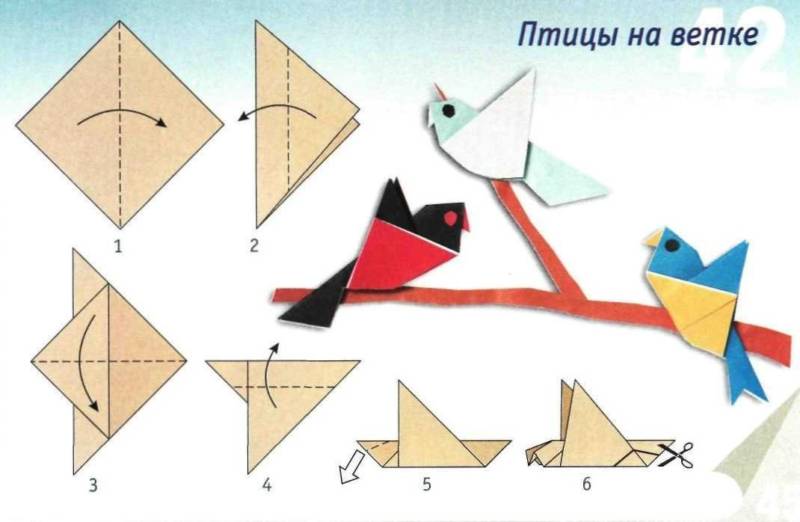
The eyes can be drawn, and then glue the birds on twigs of a tree.
Classic origami crafts can be created as a family. Such moments bring parents and children closer together.

In addition, the time flies by in a fun and unnoticed. Handmade crafts can be used as a gift or to decorate a room in the house.
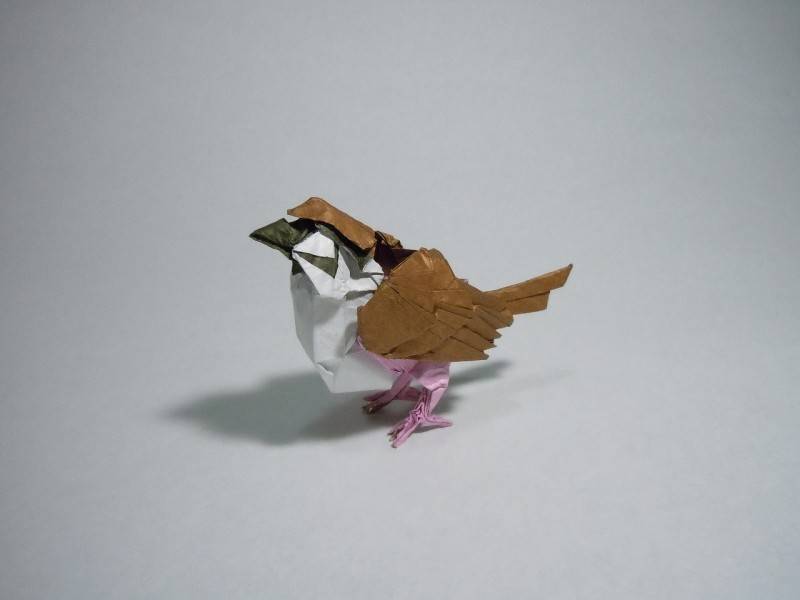
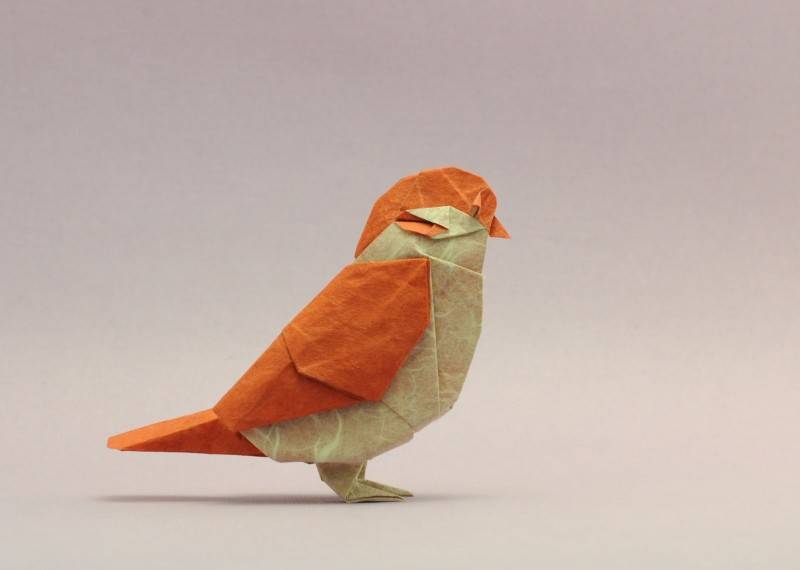
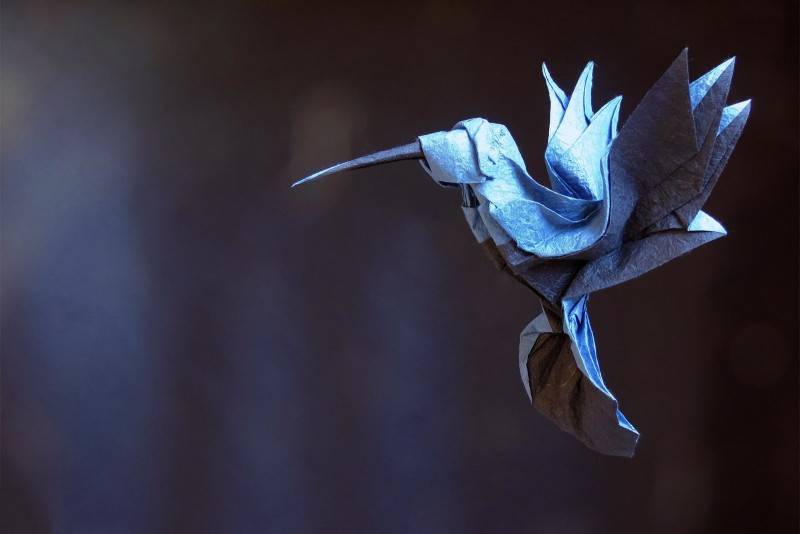
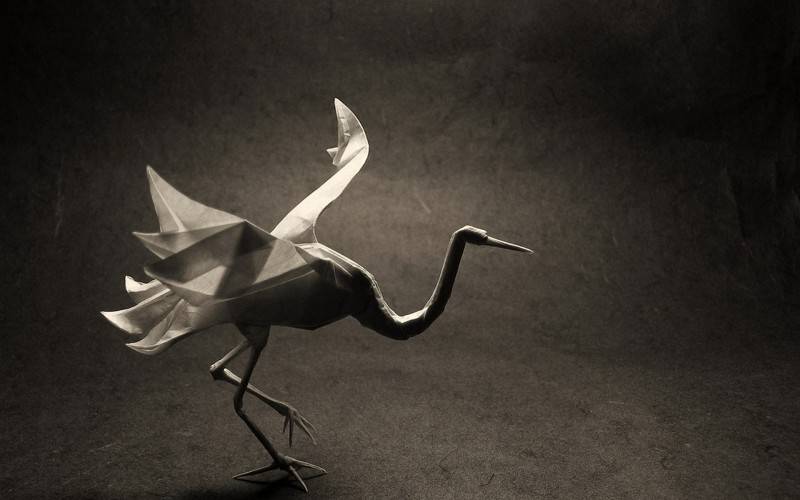
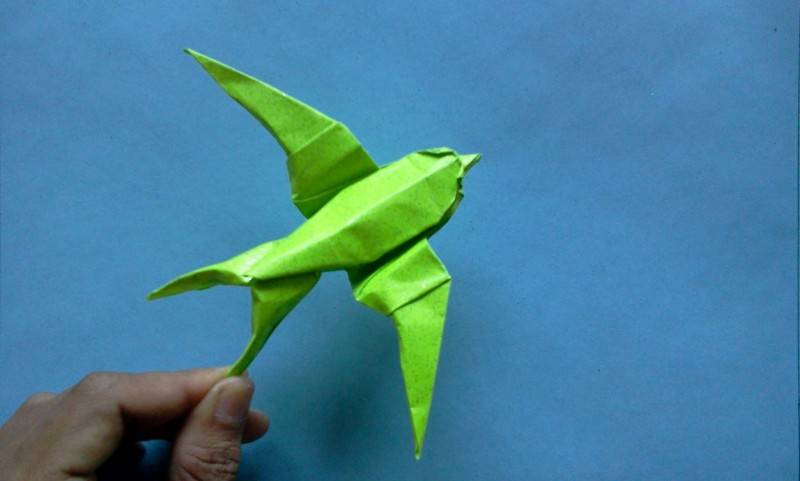
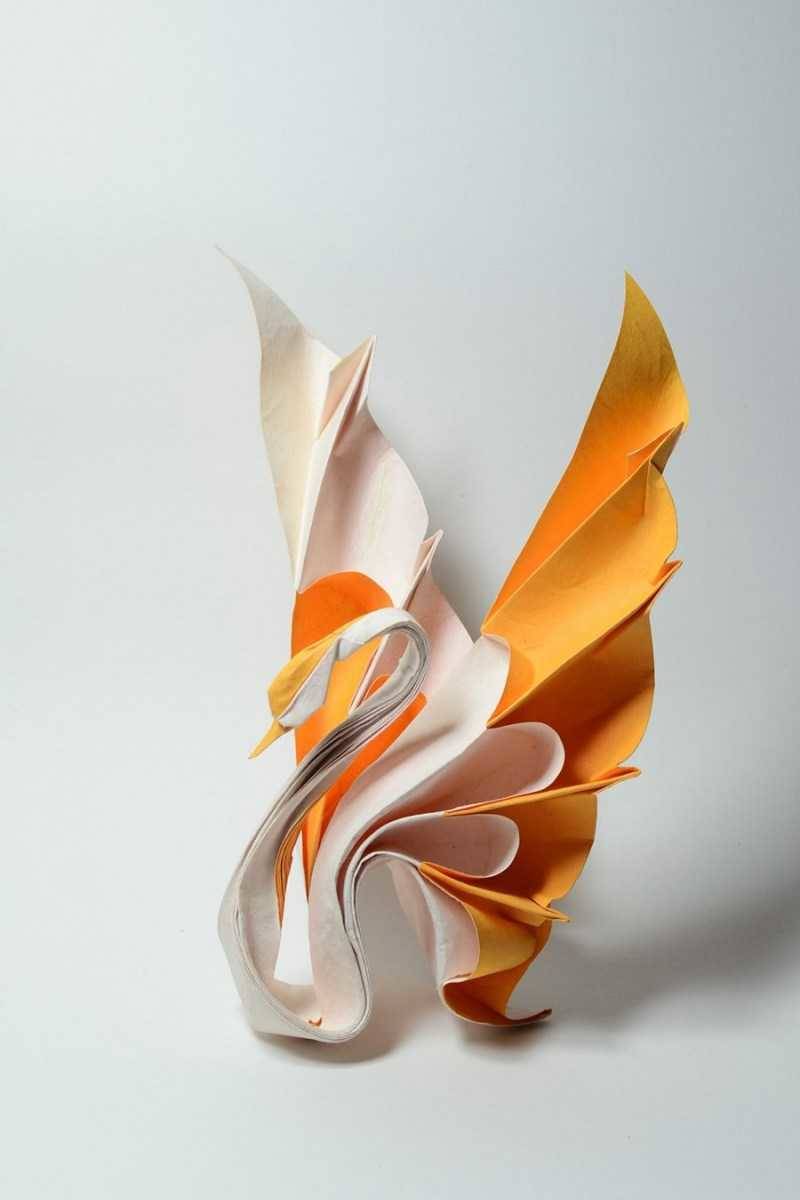
Photo ideas and patterns of homemade origami modular birds