Envelope with their own hands: the preparation of materials for work, step by step instructions, new photo ideas
In today's world, when mobile communication, email and social networks are available, people almost never write letters to each other.
The "chain letters" that people find in their mailboxes are miscellaneous notifications: a summons to court or the military, information about debts from the housing and utilities department, information from the Pension Fund or the tax service, etc., etc.
Gone are the days of Tatiana Larina: no more love letters on paper. People come to the post office to buy packages from online stores, or to pay utility bills, or to send parcels to their children and grandchildren.
How nice, sweet and touching and long-awaited it used to be, 20-30 years ago, to receive letters from friends and relatives.
Back then one could hold a snow-white envelope with stamps in his hands, carefully open it, unfold a written page and "hear" a native voice: "Dear grandfather, Konstantin Makarych, do God's mercy, take me from here... to the village..." (from Vanka Zhukov's letters, A.P. Chekhov's story "Vanka").
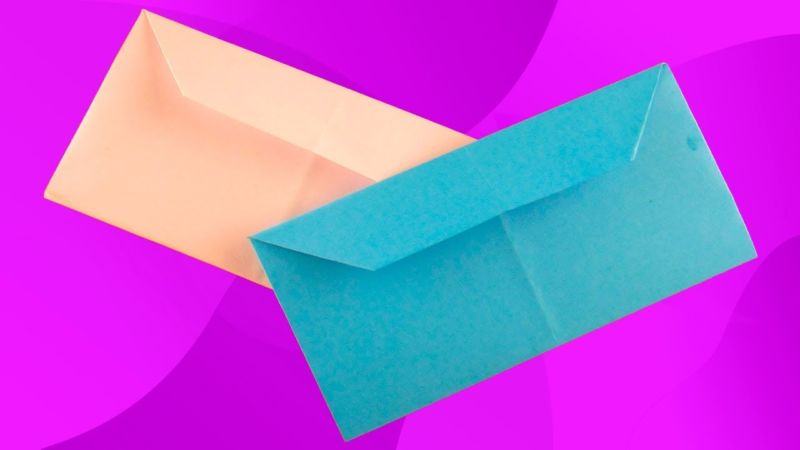
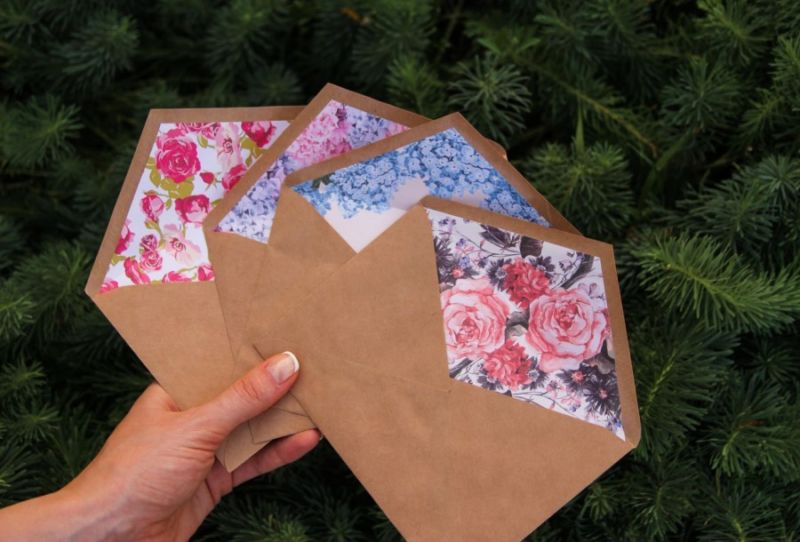
Envelope variants
People seldom write letters, and therefore the production of envelopes decreased, but did not disappear. Envelopes began to be used as packaging for paper gifts. Making home-made envelopes turned into a kind of needlework. And that's wonderful!
There are several kinds of "shells" for letters and paper gifts:
- classic;
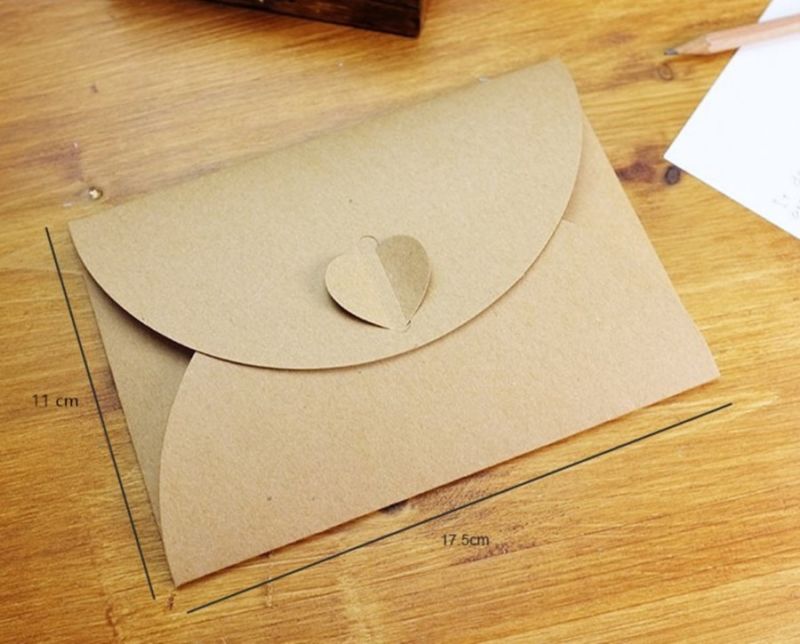
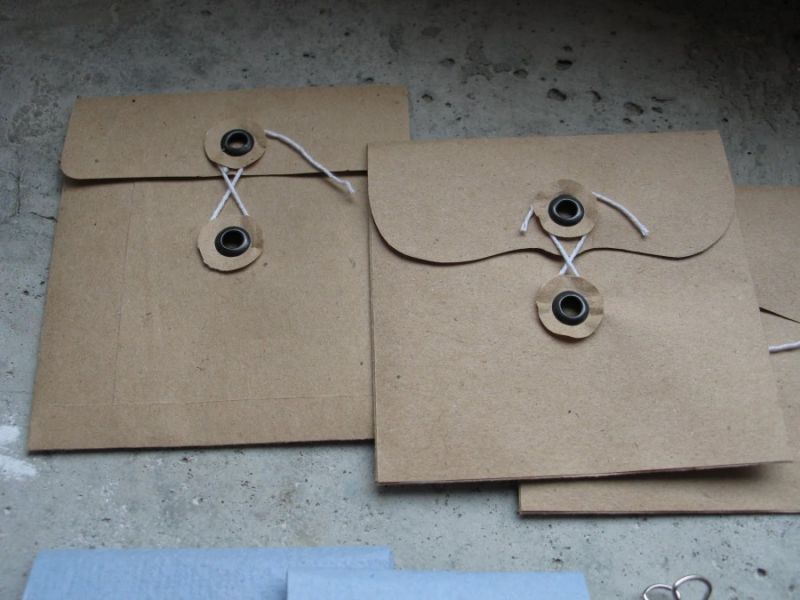
- with a clasp;
- heart-shaped;
- in the technique of Japanese paper art without the use of scissors and glue;
- from four circles;
- with different flaps.
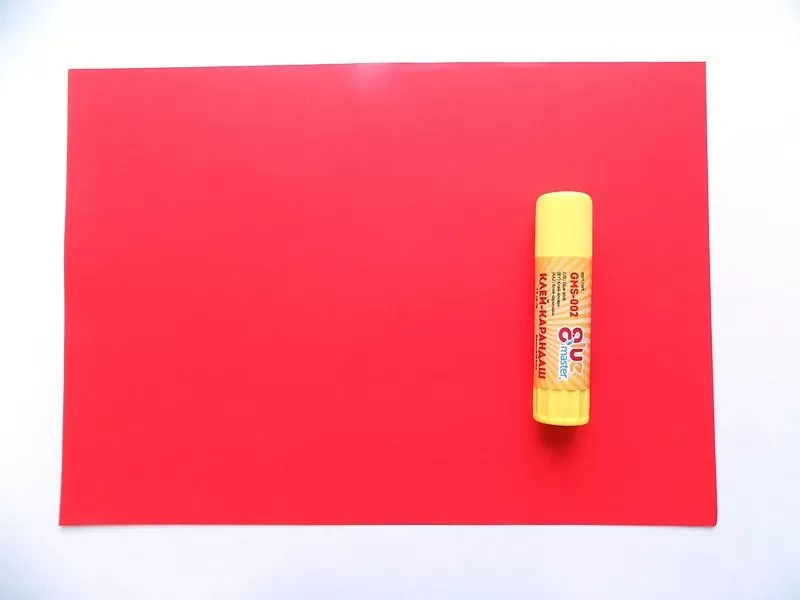
Materials for work
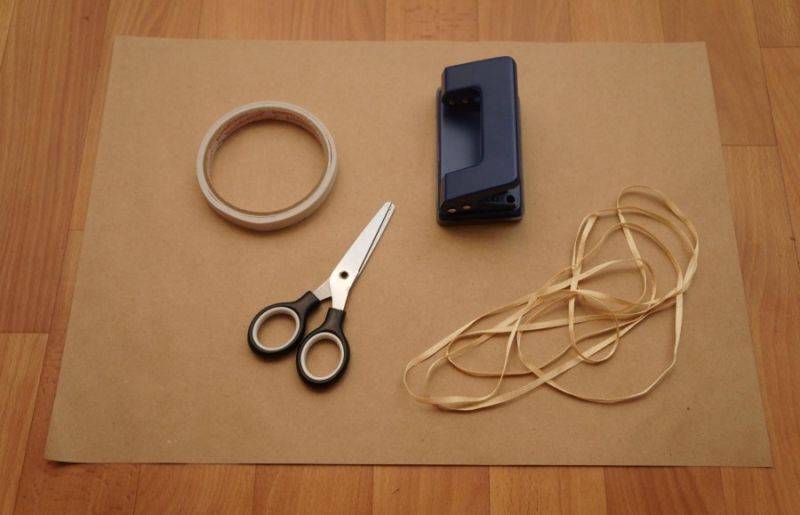
For the creative process, needleworkers and needleworkers may need:
- A package of office paper (A4);
- a set of wrapping paper;
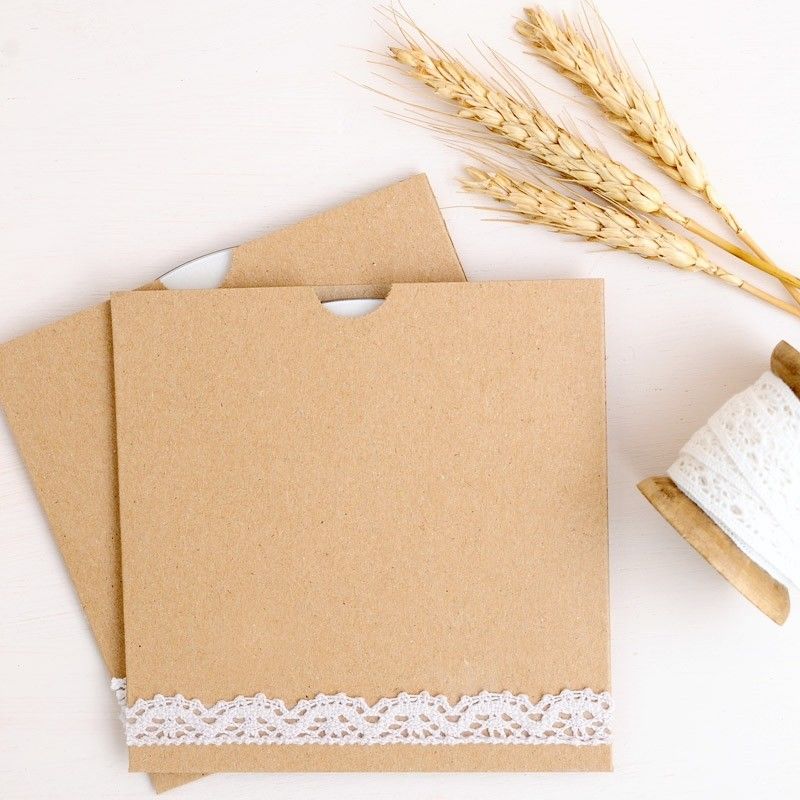
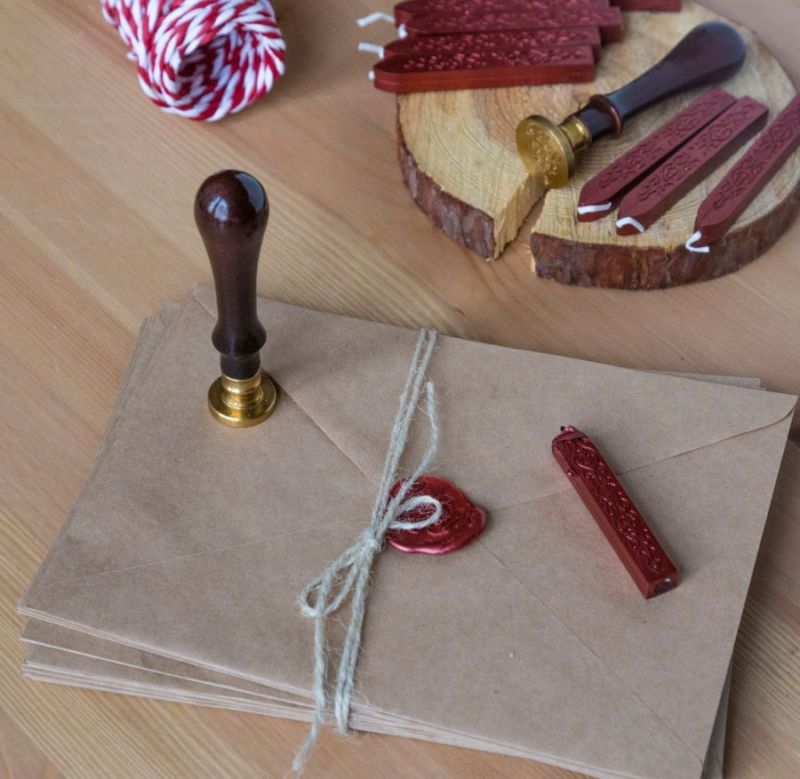
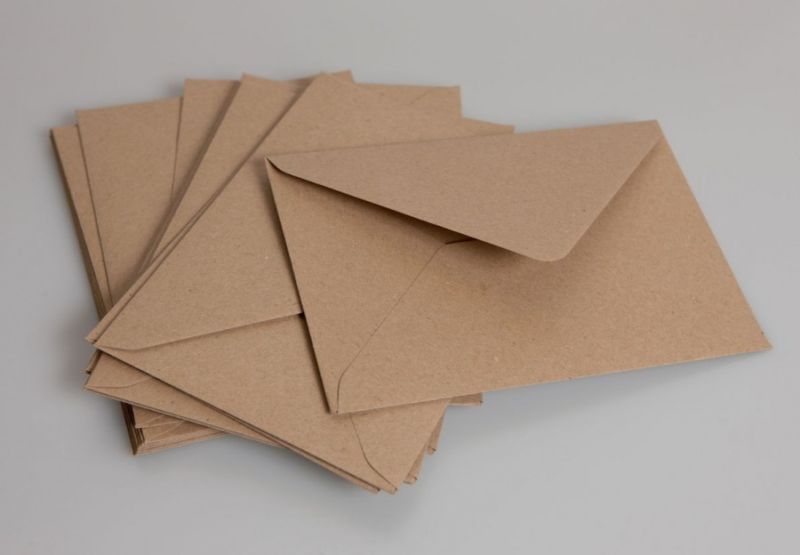
- Kraft paper material;
- scissors;
- glue;
- double-sided adhesive tape;
- masking tape;
- pencils;
- glue brushes;
- satin narrow ribbons;
- paper decorations;
- stapler.
The main thing is not to limit yourself in the flight of fancy, and then you can not notice how on the table will grow a mountain of envelopes of different sizes and shapes.
Purpose of an envelope
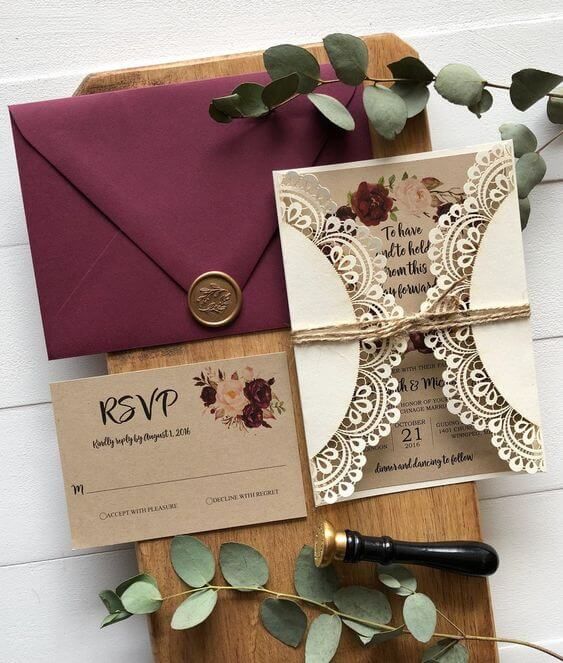
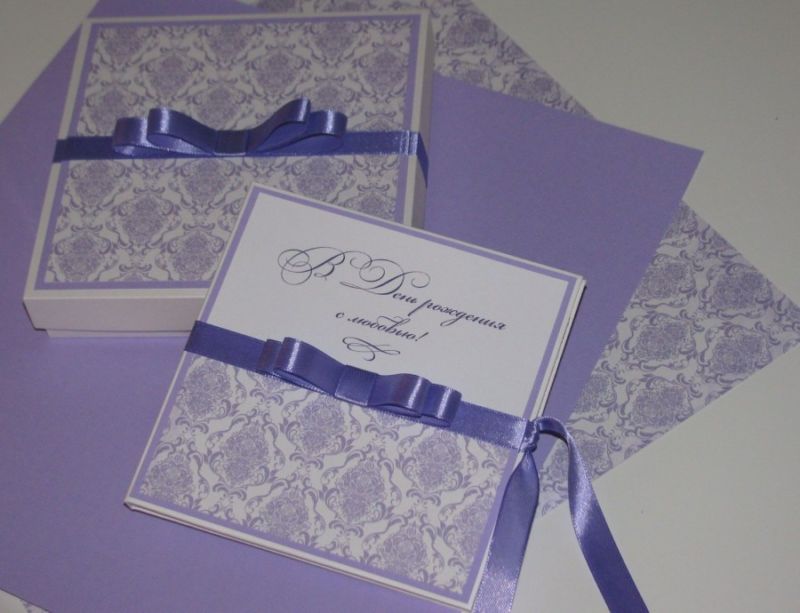
Home cute, mischievous, romantic and creative envelopes are made for different purposes: for letters, congratulations, invitations. In such a package give sweet gifts - chocolates. And money. As well as tickets to the theater, movies or the Maldives.
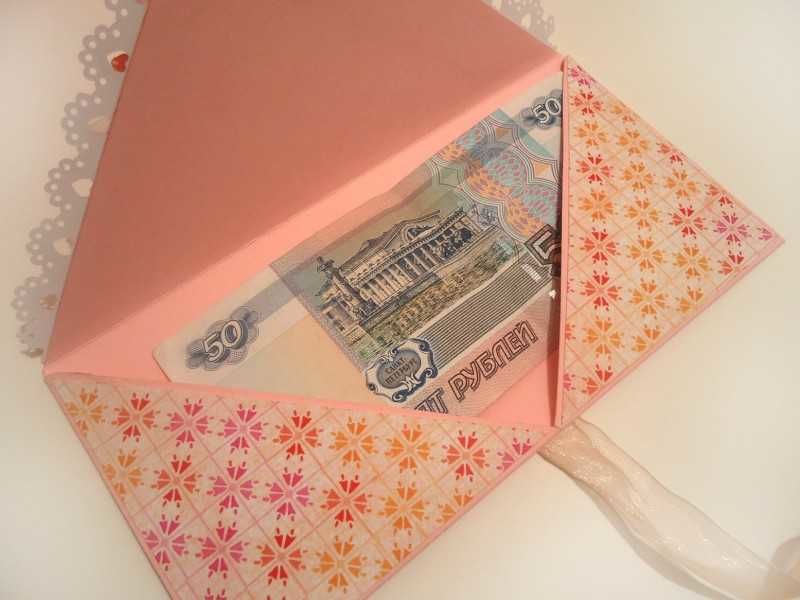
For money
For a long time already do not give money from the pocket of pants in kind: it is not aesthetic and mauvais ton. Presenting in a beautiful package is quite another matter, hinting at good manners and upbringing (and generosity). And if the envelope is creative, this fact will still prove the presence of imagination of the giver.
Bookstores and newsstands sell ready-made "wrappers" for bills to be presented as a gift. But it is much more interesting and pleasant to receive a money gift in an envelope made with your own hands.
In order to create an unforgettable paper masterpiece, you can use ready-made diagrams and samples from the internet. Print, cut out and trace the workpiece with a pencil on paper or redraw it from a clear example.
Paper construction where necessary - bend, and where required by the template - cut. Constructed according to the online schematic envelope neatly glued.
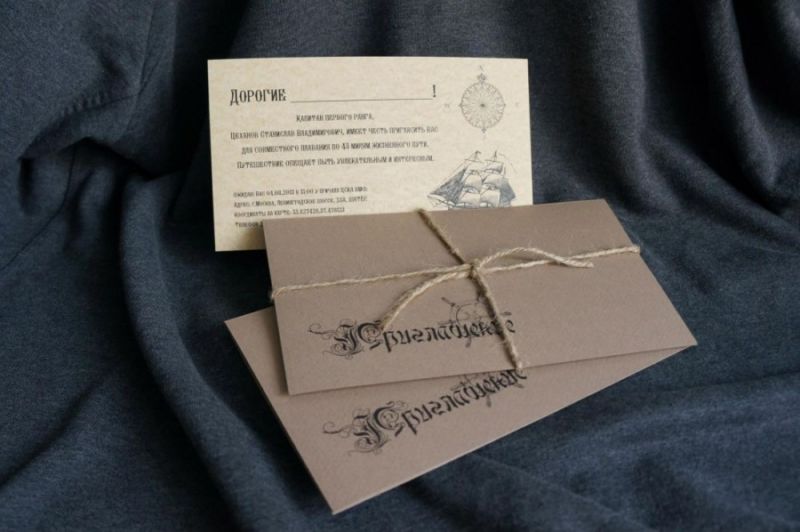
For money, most often they create elongated versions (along the length of the money). Taking into account that the wealth did not fall out and did not stick from the sloppy gluing of the envelope parts.
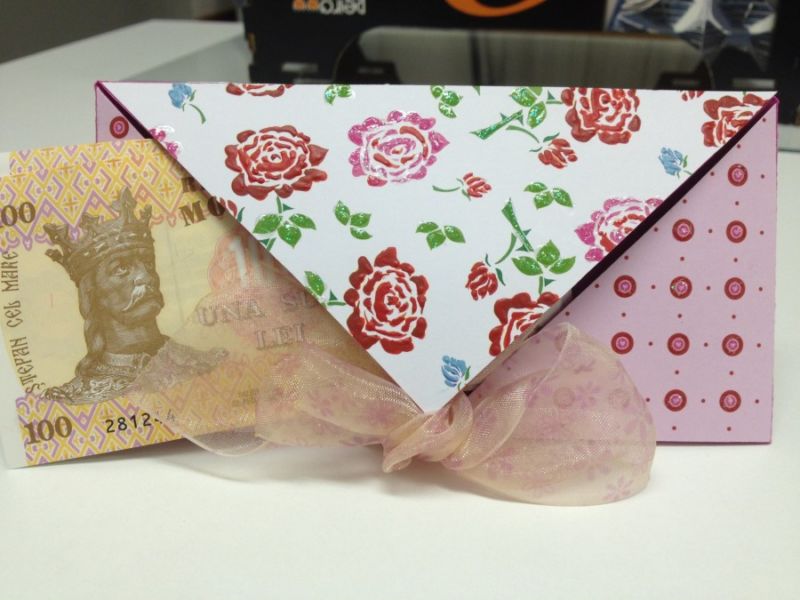
Otherwise, the recipient will have to literally tear the valuable from the envelope or carry a torn bill to the bank to exchange it for a whole one. Such a gift will already be "with a surprise".
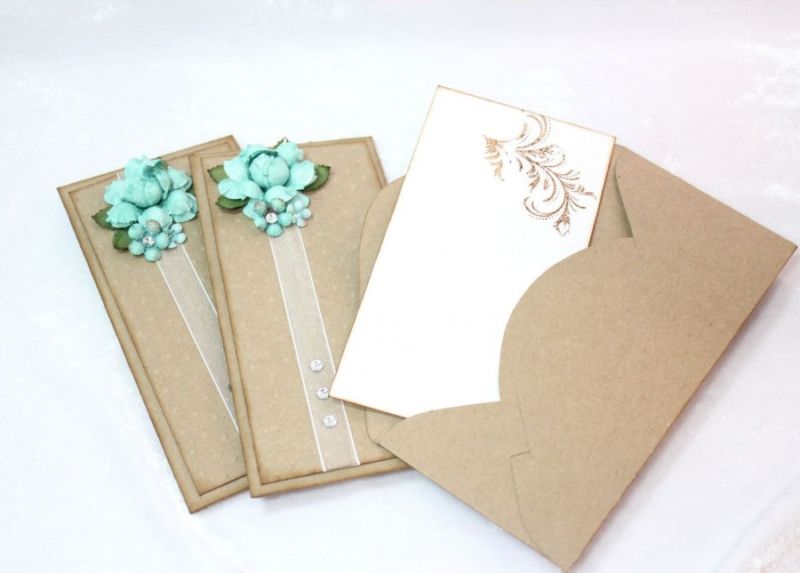
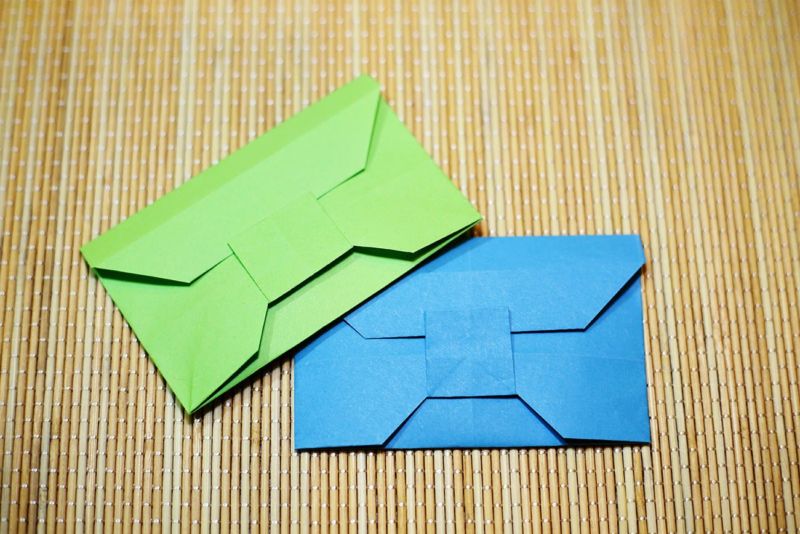
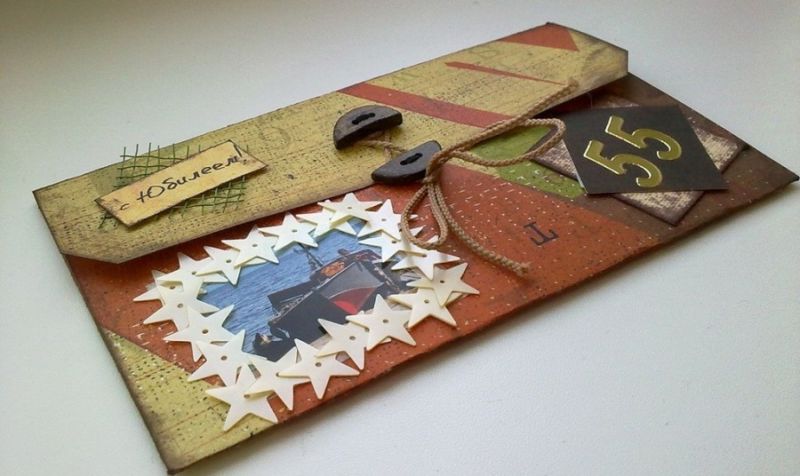
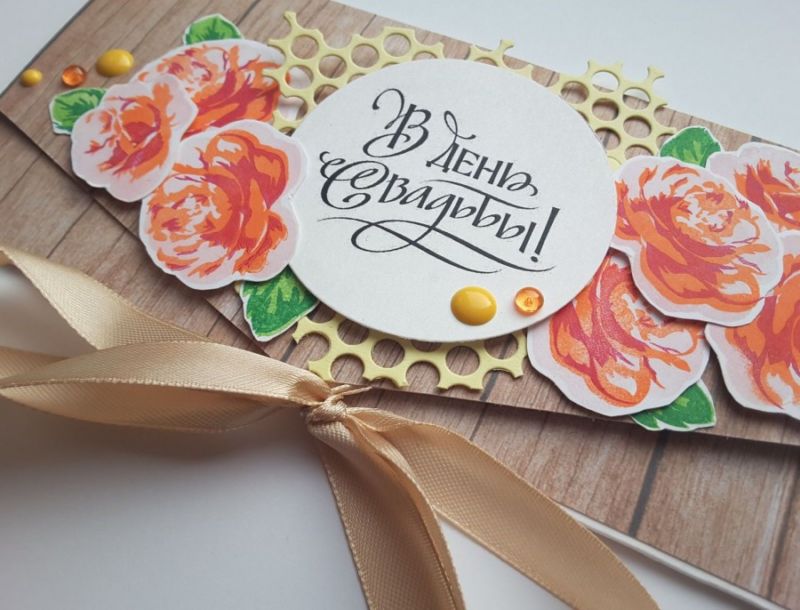
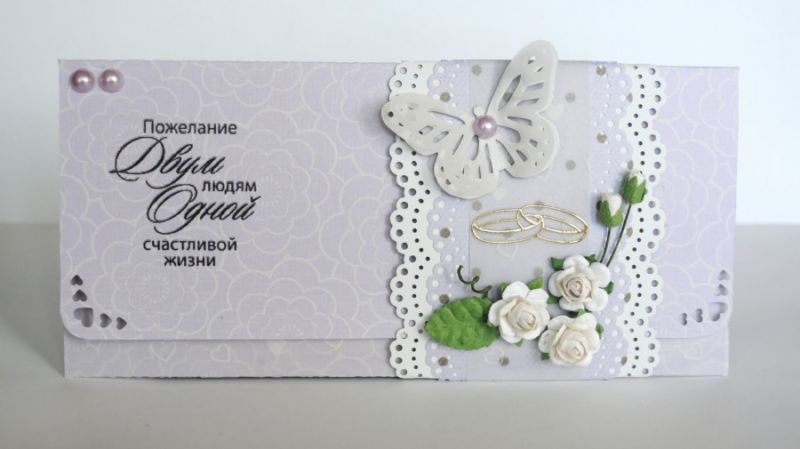
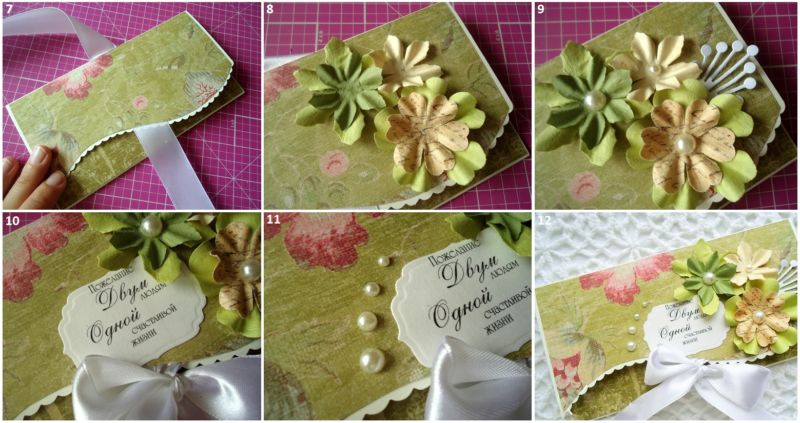
It is possible to make the following uncomplicated envelope, which is decorated with stickers, beautiful words-wishes and paper decorations.

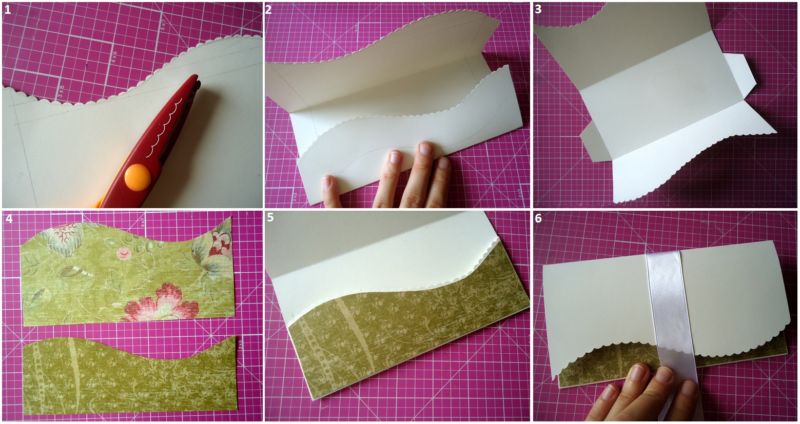
The process of creating another masterpiece with your own hands:
- On a sheet (A4, or scrapbook or cardboard) mark two lines. The first draw 8 cm from the top edge, and the next line draw, measuring 7 cm from the previous one.
- Further, surplus material to work carefully cut away with scissors or a scissor.
- On the bottom rectangle draw two vertical lines with a pencil, with an indentation of 2 cm from the right and left edges.
- These strips need to be cut out, and at the top with the sides of the edges of the paper folded in a straight line with the bottom piece.
- Then at the top edge fold inward a strip 2 cm wide. Cut corners on both sides. Envelope fold and glue.
- For the upper part to come up with a clasp: double sided tape or buttons. Put in a homemade and unrealistically beautiful (because they made it with their own hands) envelope large or small money and go to the anniversary of the mother-in-law with a festive look.
The most convenient envelopes for money are cardboard ones with clasps-slits, but they need to be carefully assembled symmetrically and the clasp needs to be longer. Otherwise, the money can fall out, and with them the mood of the giver and the recipient.
Of course, it is possible to glue it shut and hint to the person responsible for the occasion (for example, the boss at work) that the amount is fabulously large, because the person (the boss) is also amazingly good.
The main thing is not to sign an envelope with a tiny amount, so that the boss in the morning would not remember who gave it to him, and remembered only about the "fabulously large amount").
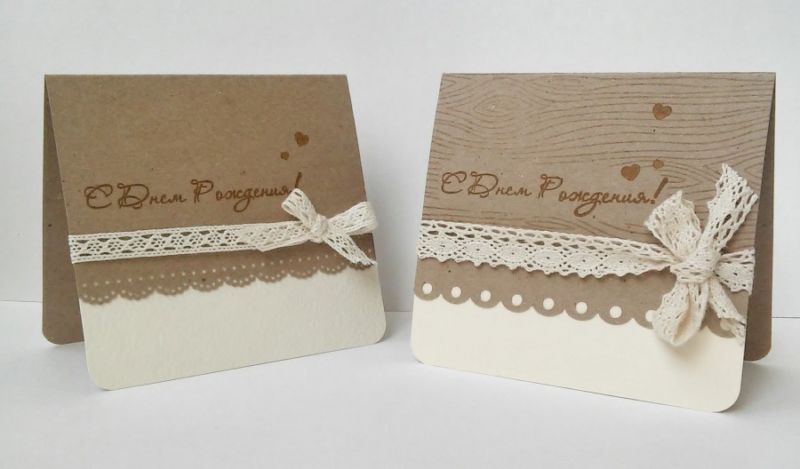
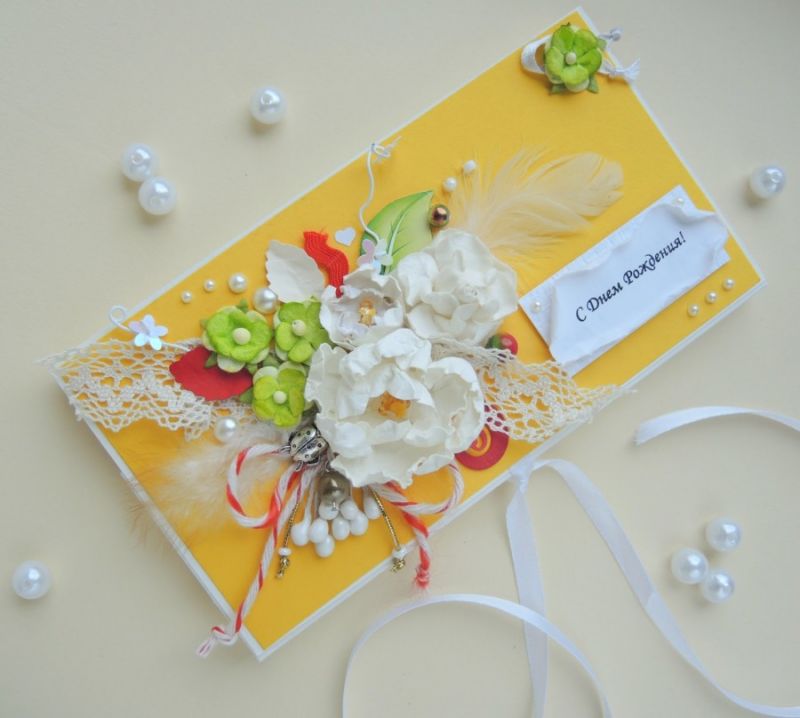
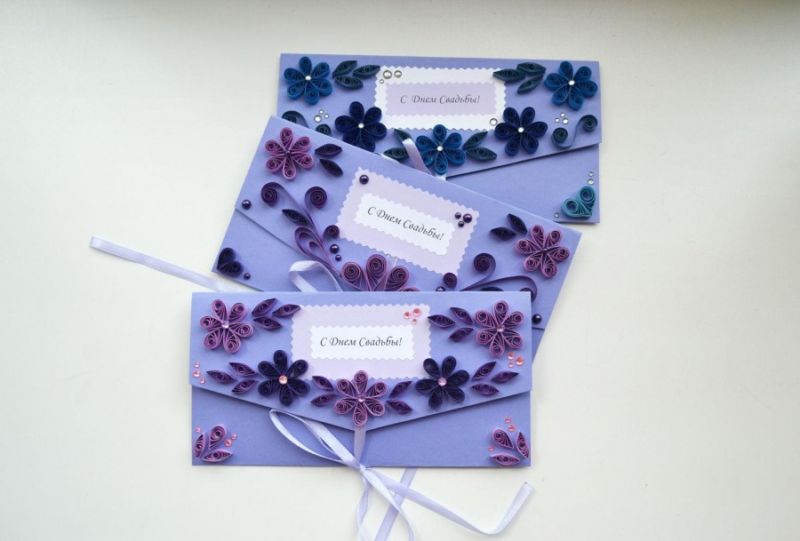
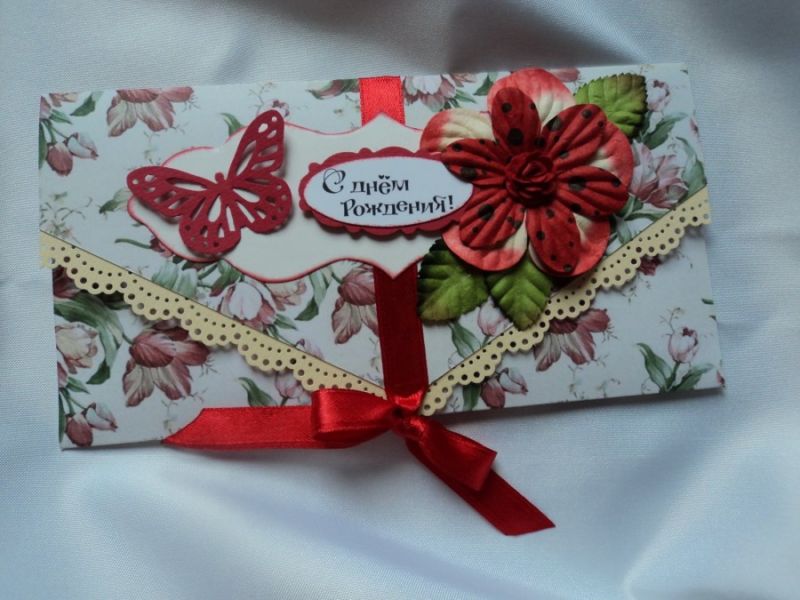
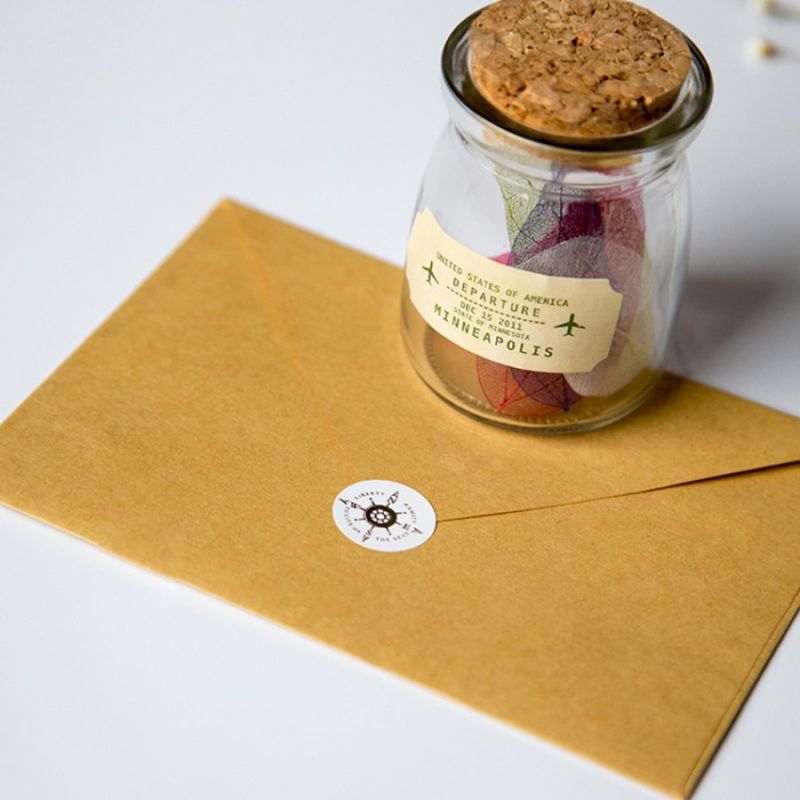
Money envelopes can be decorated with inscriptions with congratulations, humorous wishes, applications from colored paper, stamps, stickers, stickers.

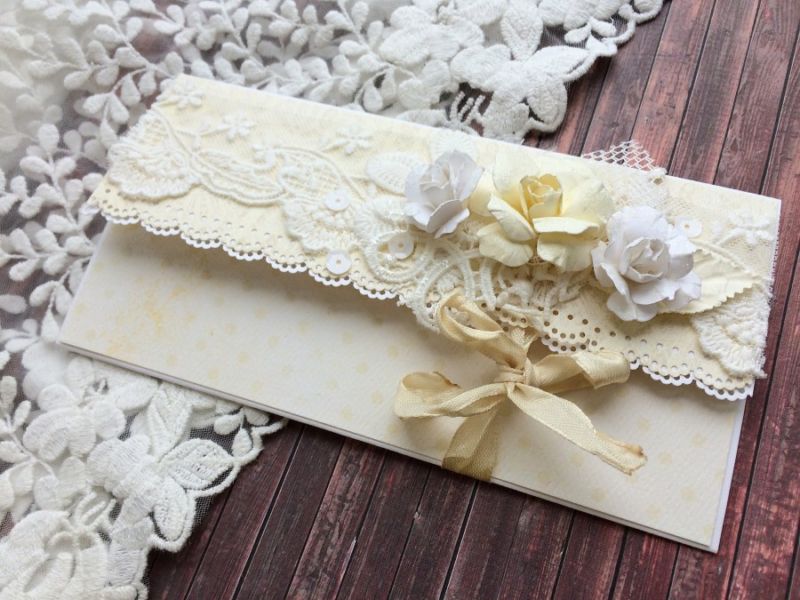
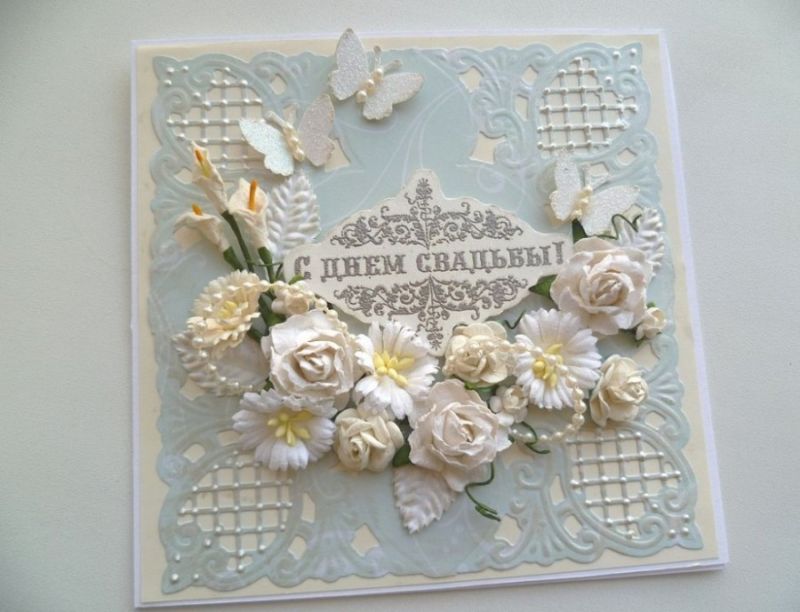
You can use and more volumetric decor: sequins, rhinestones, beads, ready-made bows, scrapbooking decorations, butterflies and flowers in the technique of quilling. But it is necessary to decorate an envelope taking into account its direct purpose - packing money.

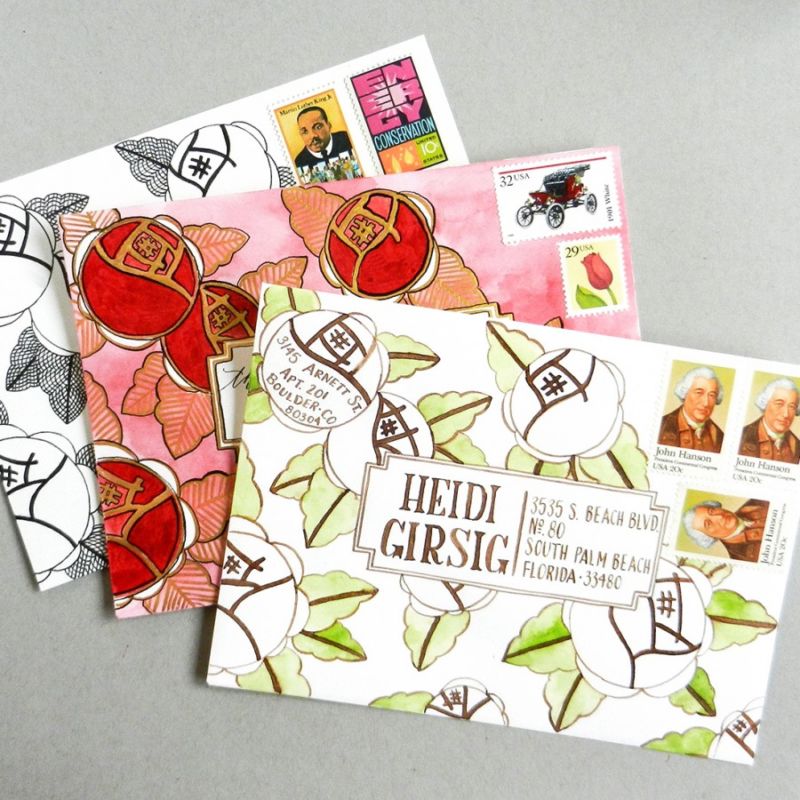
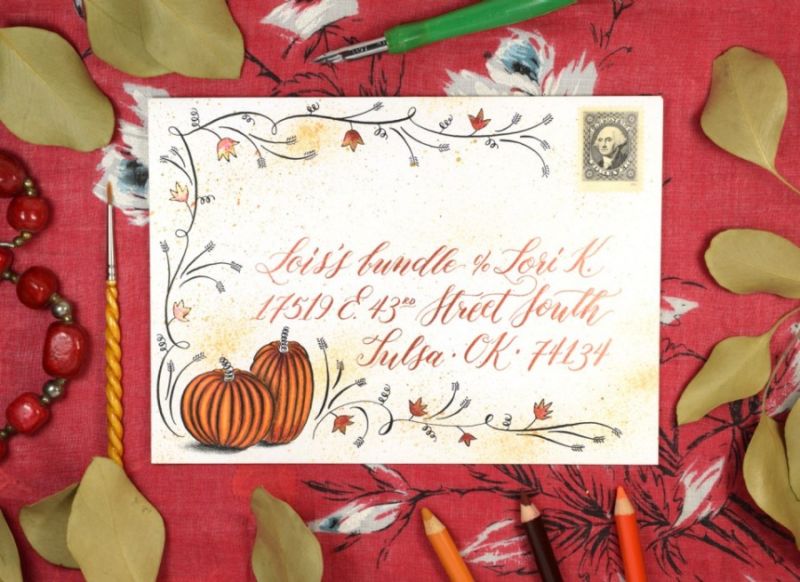
For letters
For letters, simple classic envelopes are made with marking and writing data of the addressee (in the bottom right field) and the sender (in the upper left corner), as well as the postal code.
The envelopes must have suitable stamps on them (the post office will tell you which ones). The full name, city or town with the region and district to which it belongs must be indicated.
It is also important to correctly indicate the street, house number, building, entrance and apartment. Otherwise the letter will come "to your grandfather's village". Filling in the fields of the envelope is a delicate science.
Information about the sender is put in the genitive case (from whom) and the recipient - in dative (to whom). Under the addresses write the index in two dotted cells, to be legible.
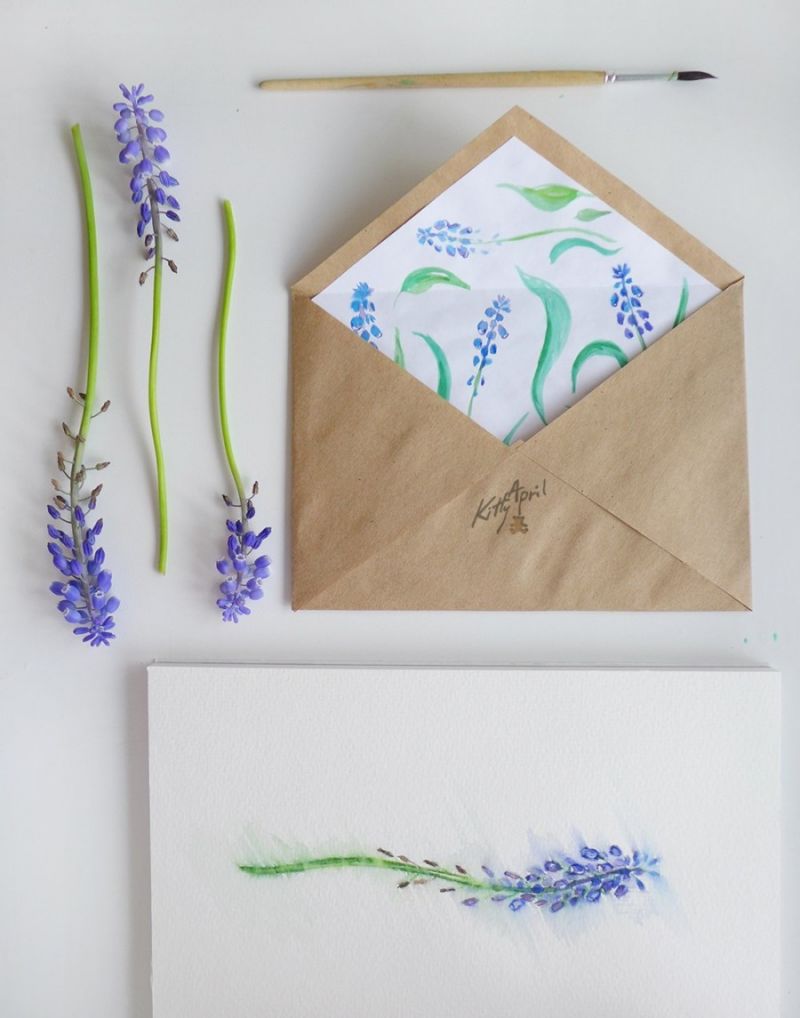
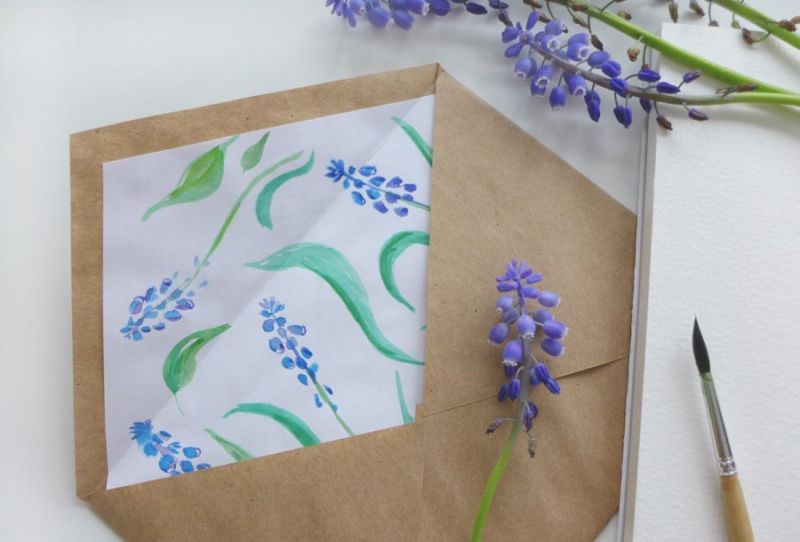
Envelopes for letters are made from white or other light and thick paper. Filled with block letters or simply understandable writing.
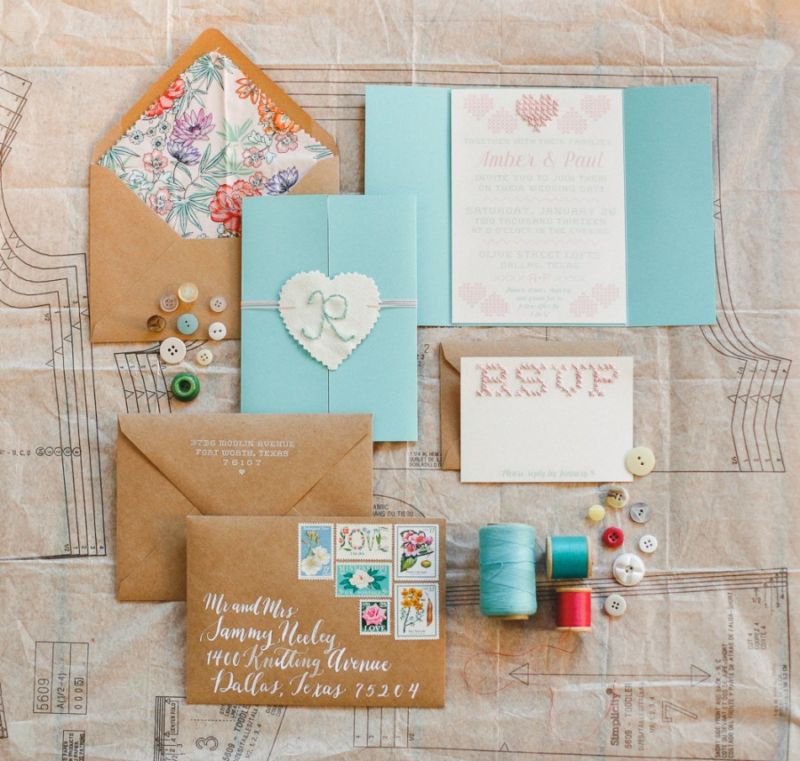
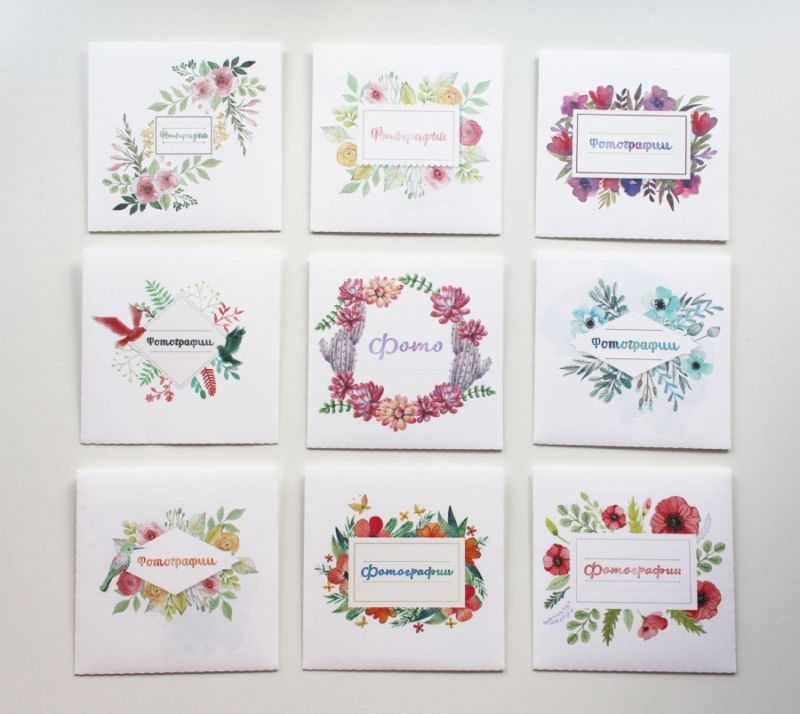
You can decorate the "envelope" for letters with drawings or small applications. At the post office you buy special stamps depending on the weight of the letter and stick them on the envelope.
After all the agony, the solemn moment comes: the letter is thrown into a box. Then there is the expectation of rapturous sms-messages about the paper letter from your friend on the phone. Modern people are not spoiled with such nice things as a letter in the mail with pleasant news.
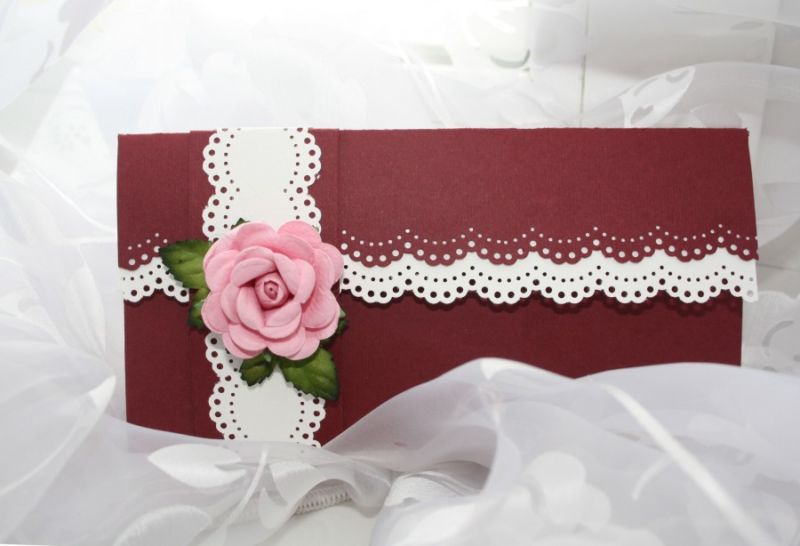
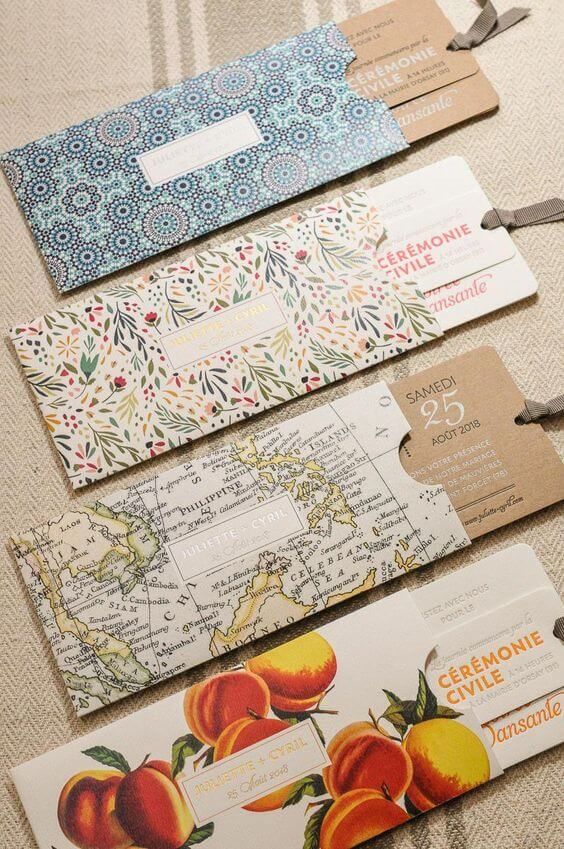
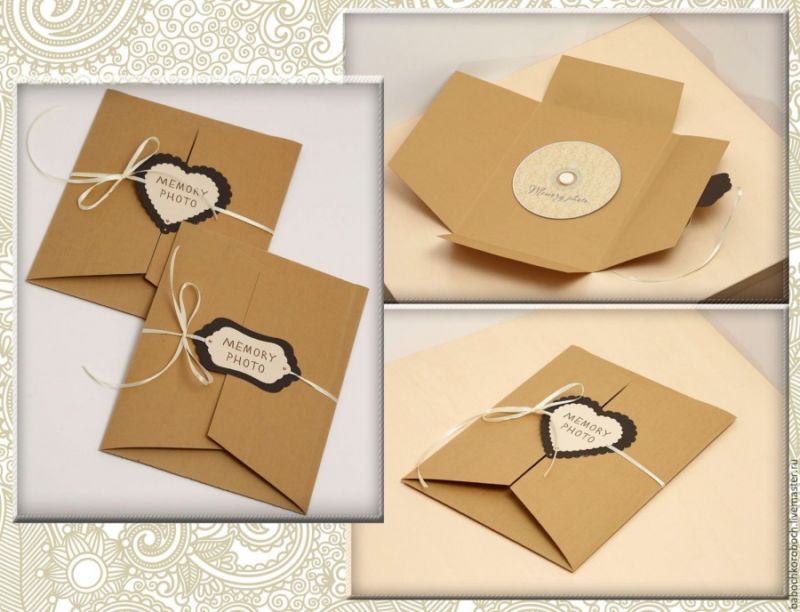
Gift
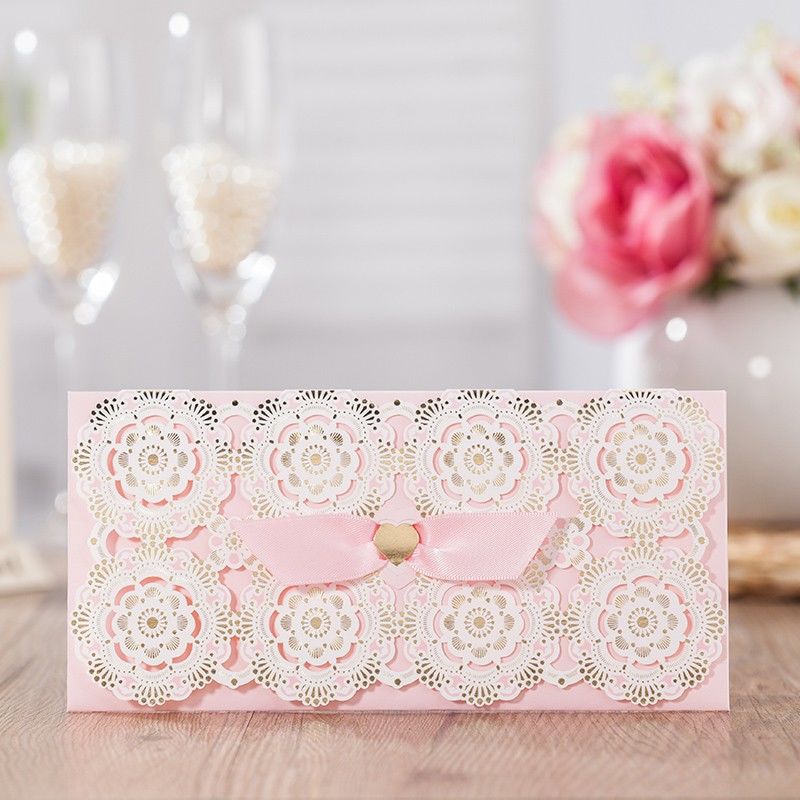
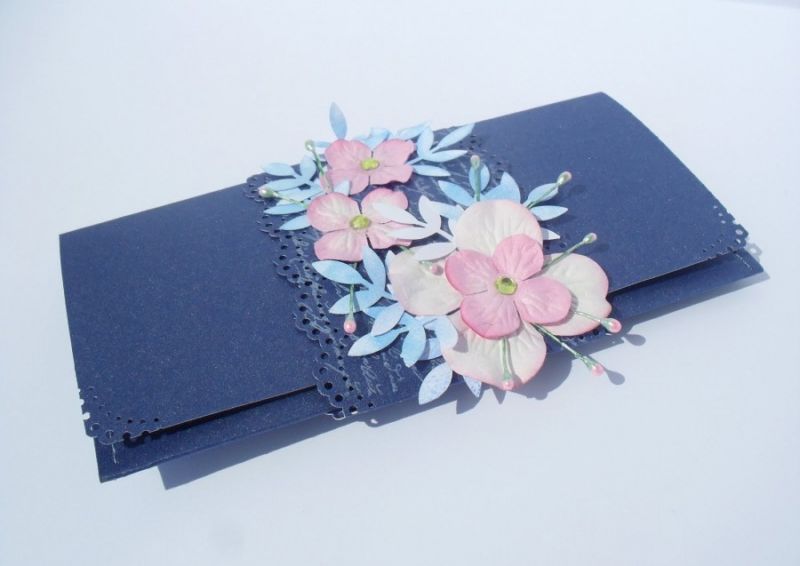
Envelopes for subscriptions to spas, fitness clubs, gift cards for the purchase of cosmetics, perfumes, as well as airline tickets and vacation packages, theater and movie tickets are made on the principle of money envelopes, but different in size (small for the card, and larger for tickets).
You can decorate them however you want. The main thing is that in this case the envelope must have a good clasp and content must not fall out.
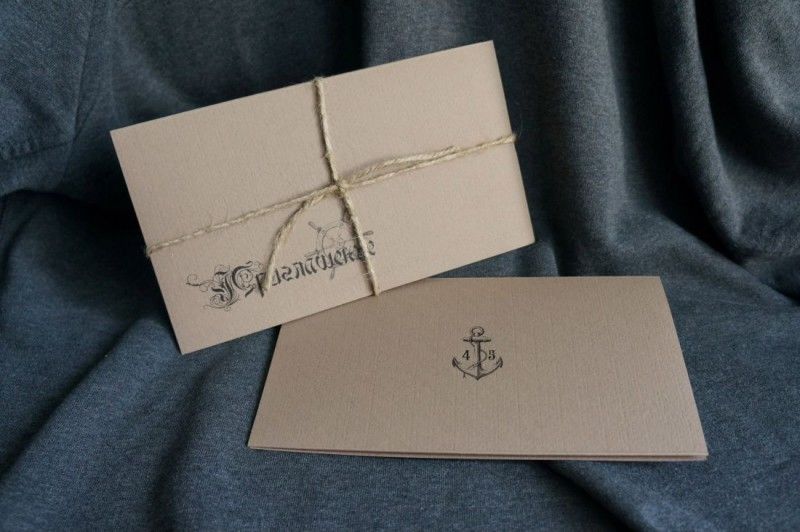
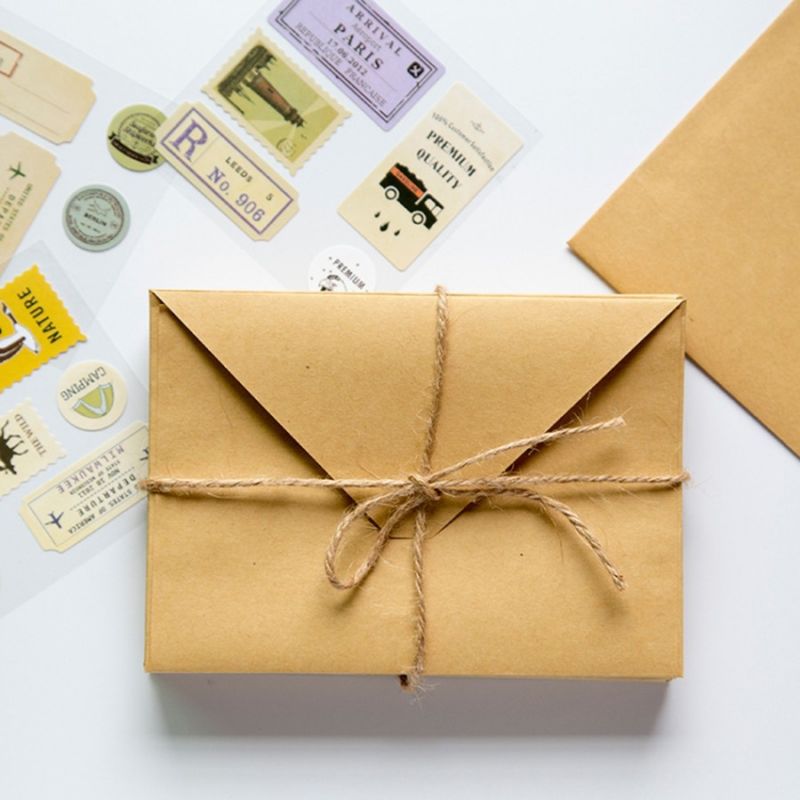
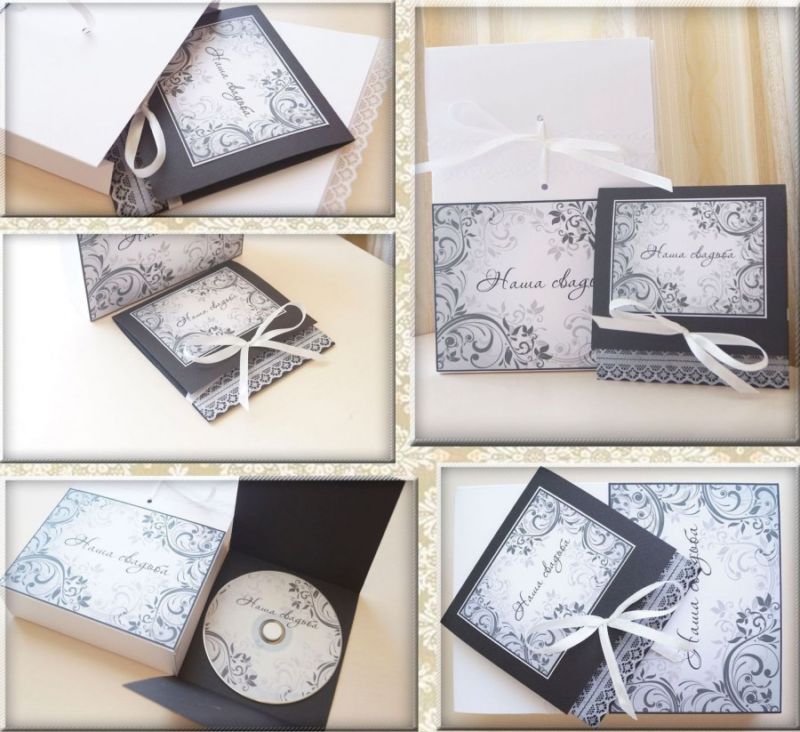
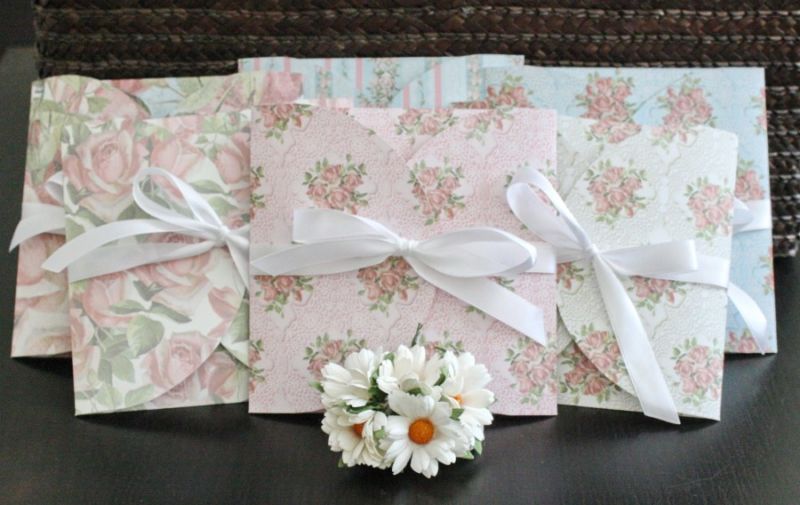
Gift envelopes are also made for sweet gifts such as chocolates. Choose dense material for work, cardboard or strong paper. Make an elongated envelope so the chocolate bar is fully inserted into it.
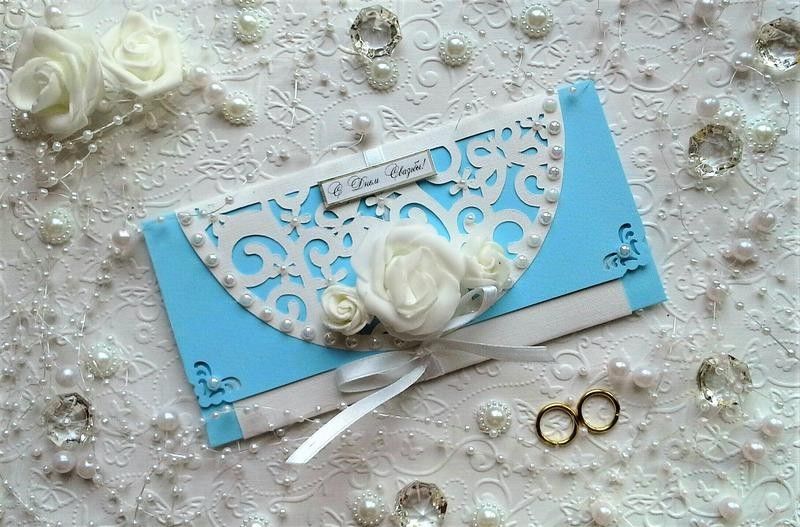
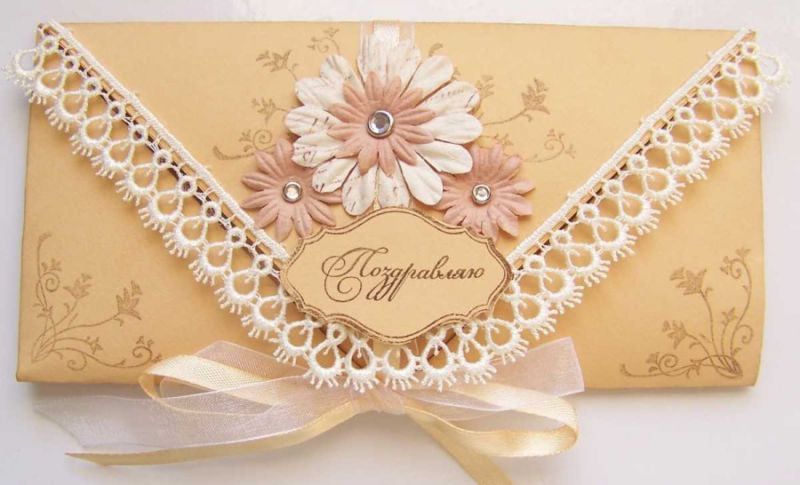
You can make an envelope with ribbons so that it is easy to open and close, and the product looks beautiful. To do this, glue a ribbon in the middle to the prepared elongated cardboard envelope in such a way that two free sections of ribbon remain at the bottom, which will be tied on a bow.
It is not necessary to glue the ribbon, but it is more reliable (especially if there are valuable papers inside). Also, to pierce the ribbon, make neat slits with a scalpel knife or use a special scrapbooking puncher to pierce neat holes on both sides.
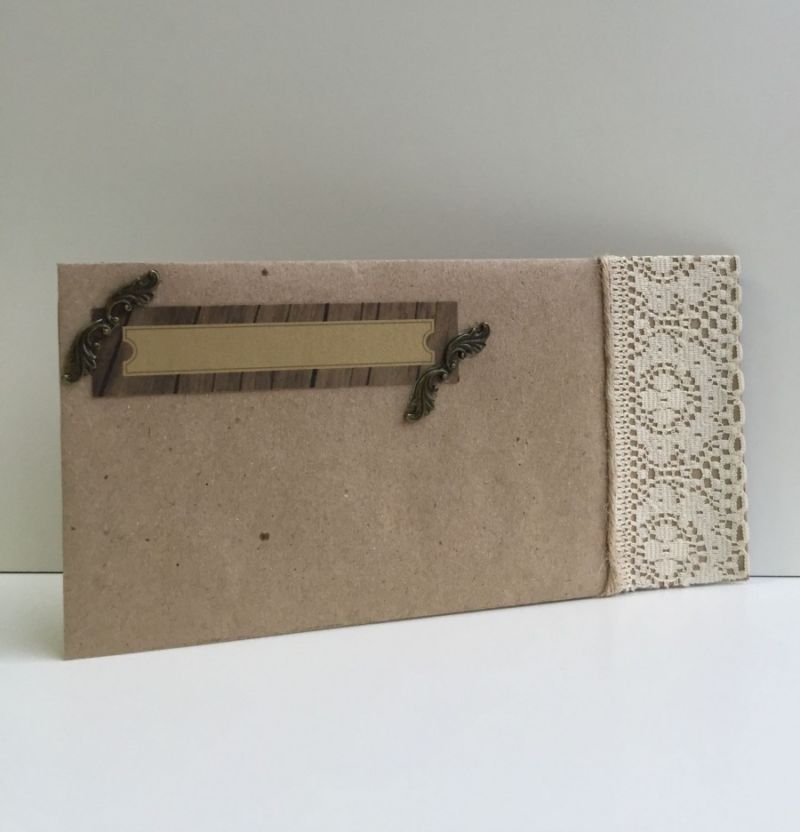
Large
Envelopes of large size are made on the principle of small envelopes, but the dimensions are used enlarged. The size of the transferred template from the Internet on paper, increase twice and measure on kraft or wrapping paper. Then fold and fasten the construction with glue.
It is better to use thick paper, so that when the envelope is filled, it does not fall apart and tear.
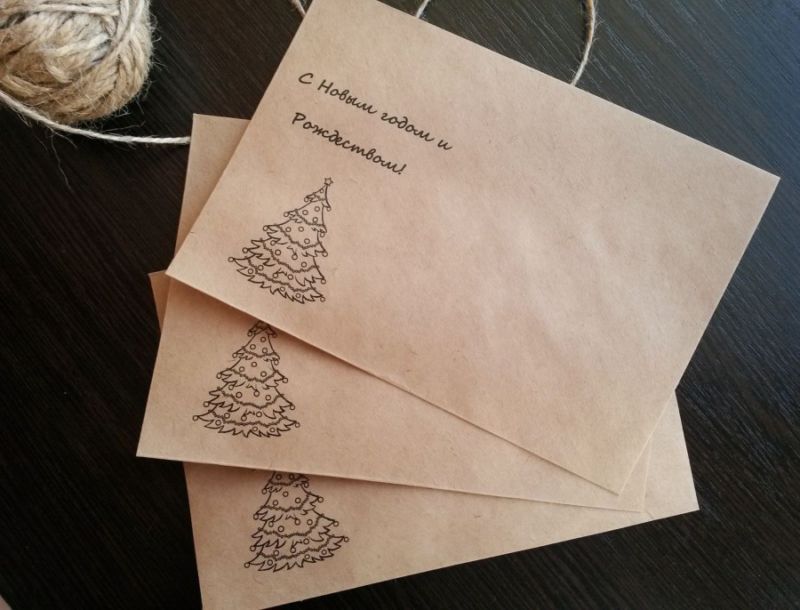
Decorate according to your taste and desire: stickers, applications of colored paper, scrapbooking decor elements (flowers, butterflies, beads, ribbons, etc.).
How to make an envelope of paper with your own hands
Handmade things are always nice to get as a gift and to give. And an envelope is no exception to the rule. There are simple techniques for making envelopes at home.
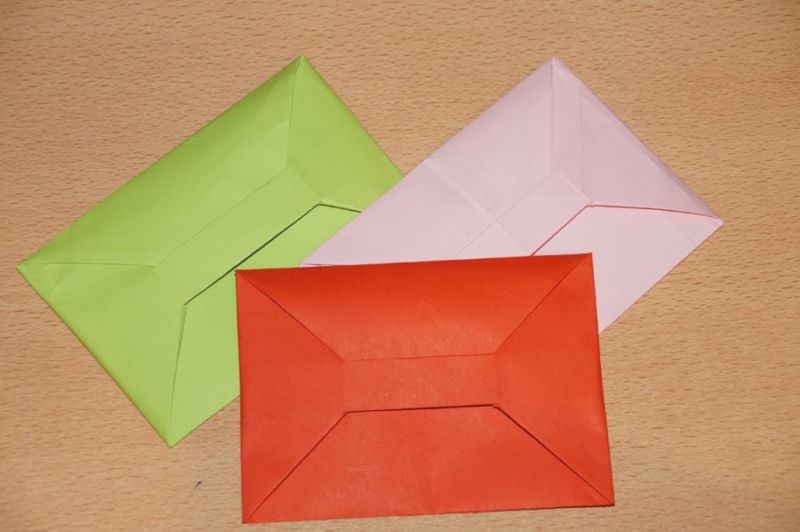
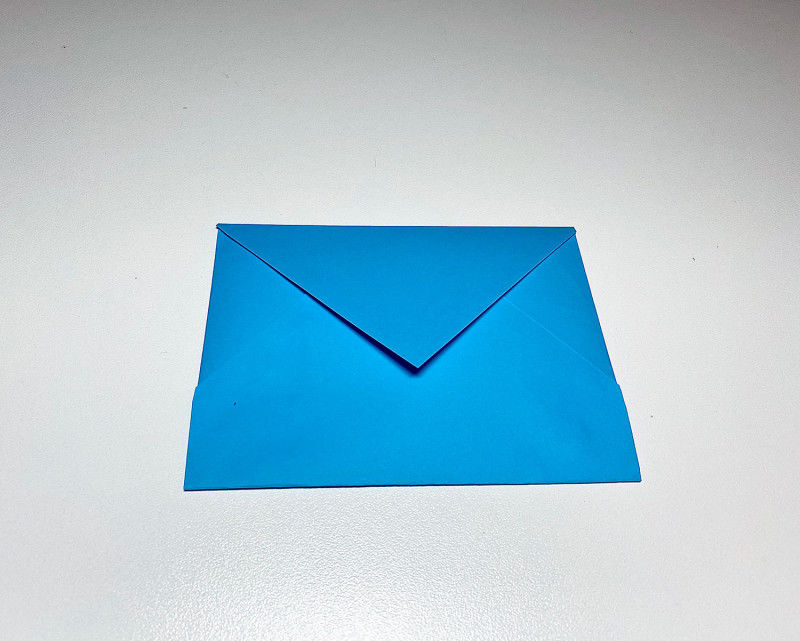
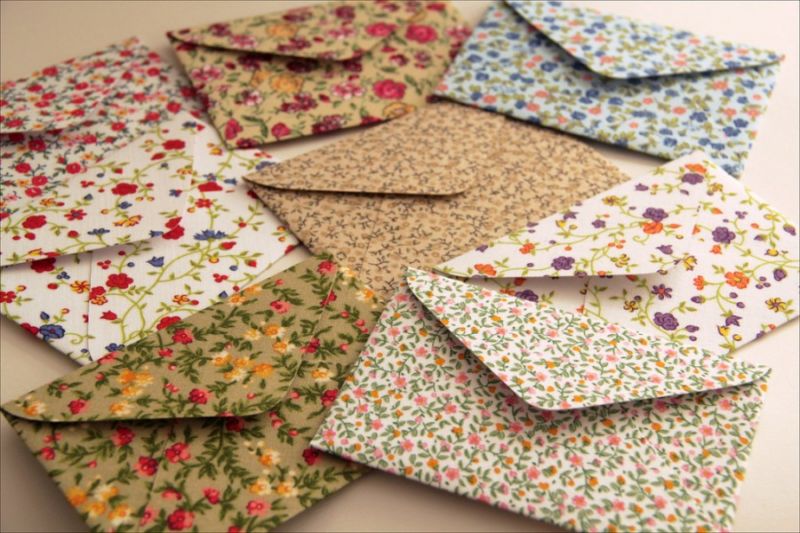
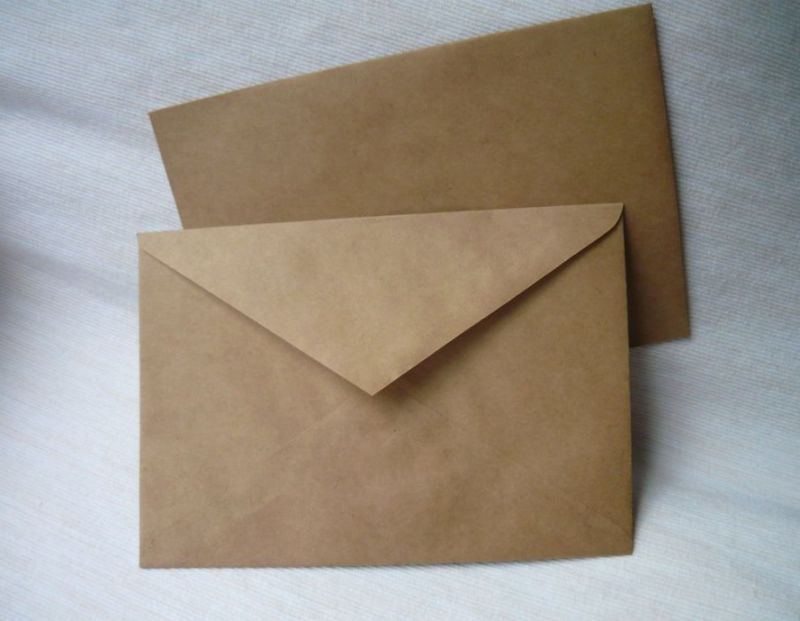
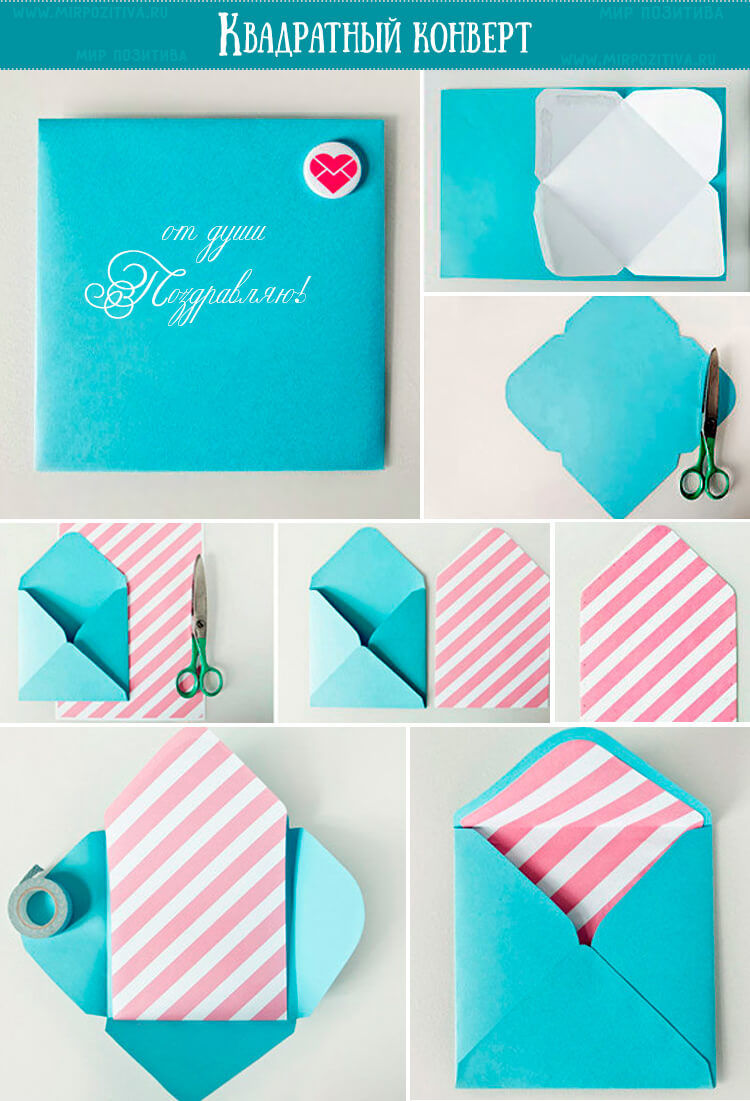
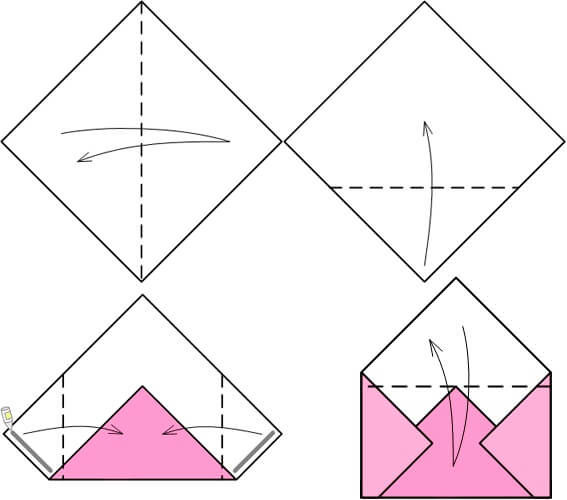
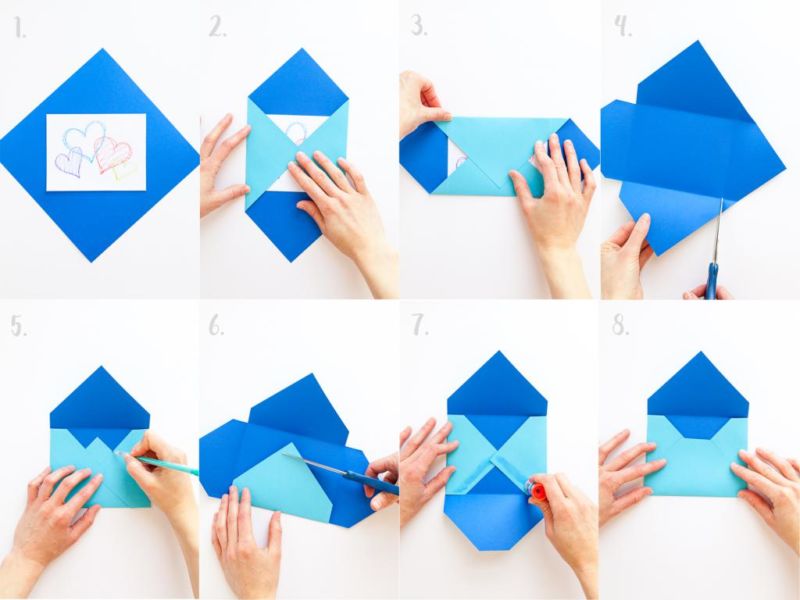
Classic
Homemade samples in the classic style are made as in the production of postal envelopes: the principle of creation is the same.
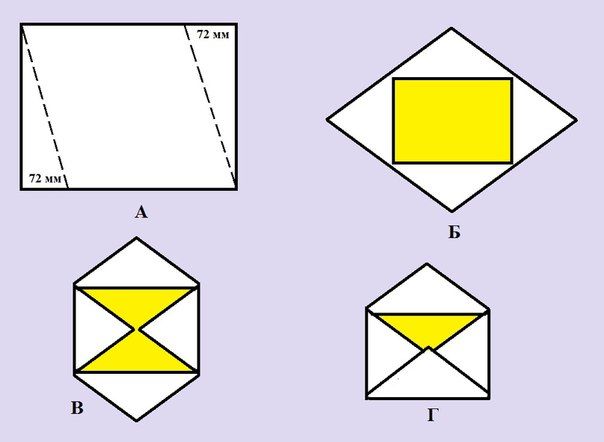
The method of making:
- A paper square is prepared, the corners of which are connected diagonally to mark the center point.
- A square must lie on the table up corner.
- On both sides make the bends to the center, smoothing the folds.
- The central upper corner is lowered and pressed to the center, paying attention to the fact that his guide lines docked on the sides of the lower inside triangle.
- Unfold the top of the envelope.
- The lower part of the bend until the angle touches the fold and flatten with fingers.
- Small corner in the middle leave as is or bend down to the sides and sides of the side figures coincided.
- Then completely straighten the bottom. Take glue and smear it on the edges of the bottom (which will be inside) triangles and the little triangle too.
- Mini-triangle to plant on top of the glue, and then bend and glue the entire bottom of the structure.
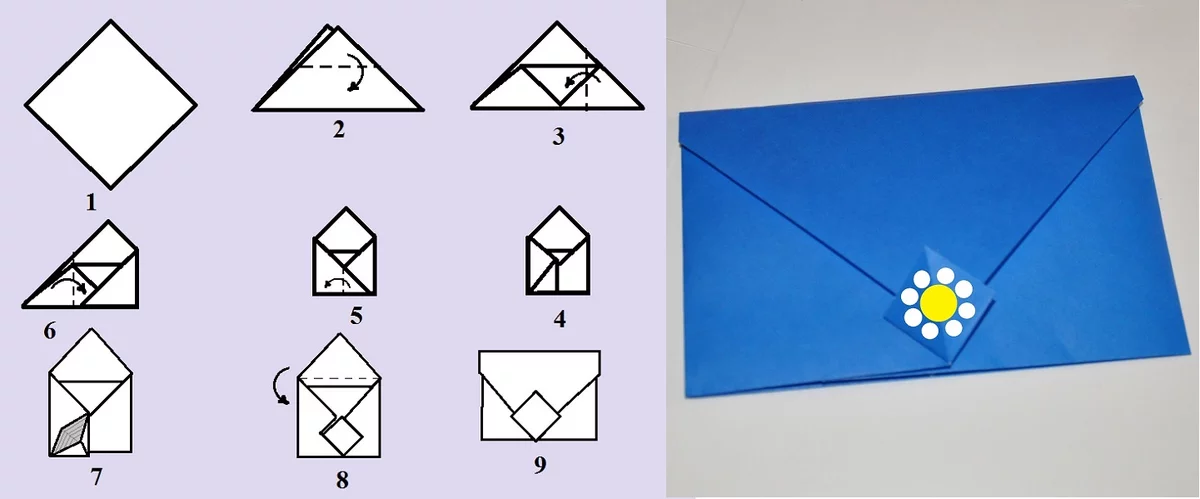
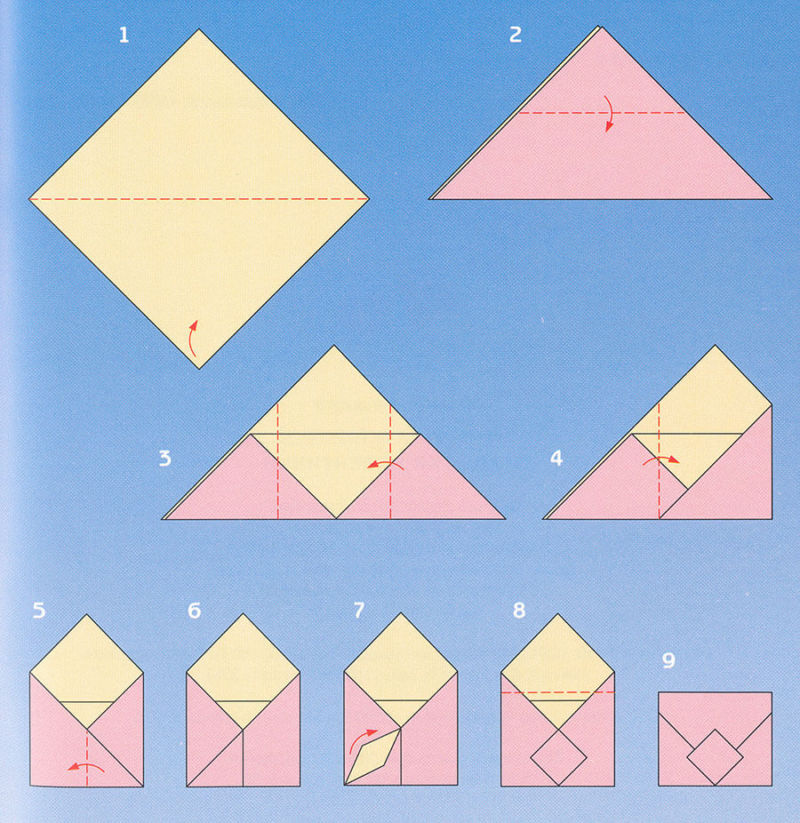
In the technique of origami without glue.
To create this pattern, you only need to take paper and scissors.
Work process:
- Fold the paper square in half and return it to its original position.
- On the other side do the same.
- Folded triangle put the fold down and a double angle upward.
- Front corner at the top of the bend down to the fold.
- Followed by the second upper corner to bend, but above the first at about 1-1.5 cm. Impose it on the first corner.
- Corner right angle to the left to the left so that the edge of the resulting figure was in contact with the edge of the triangle from the previous step.
- Similarly bend the left corner.
- The final touch - "snap" - put one corner of the triangle in the other.
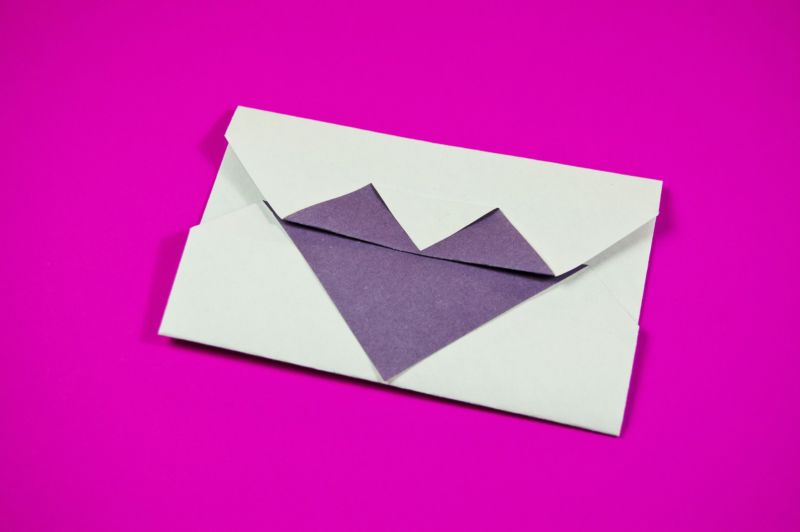
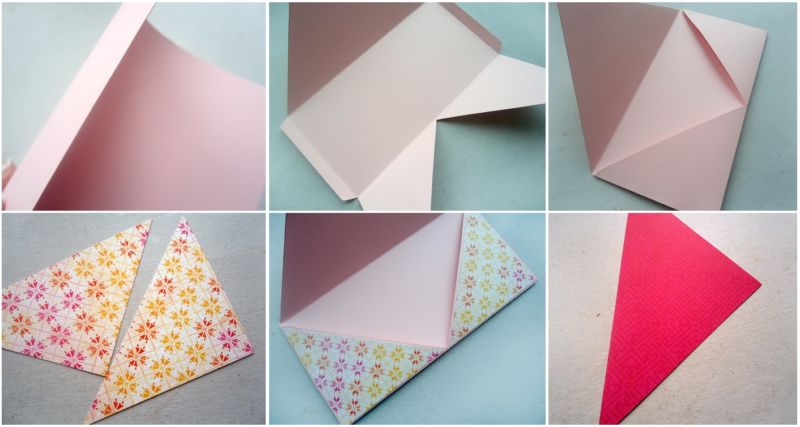
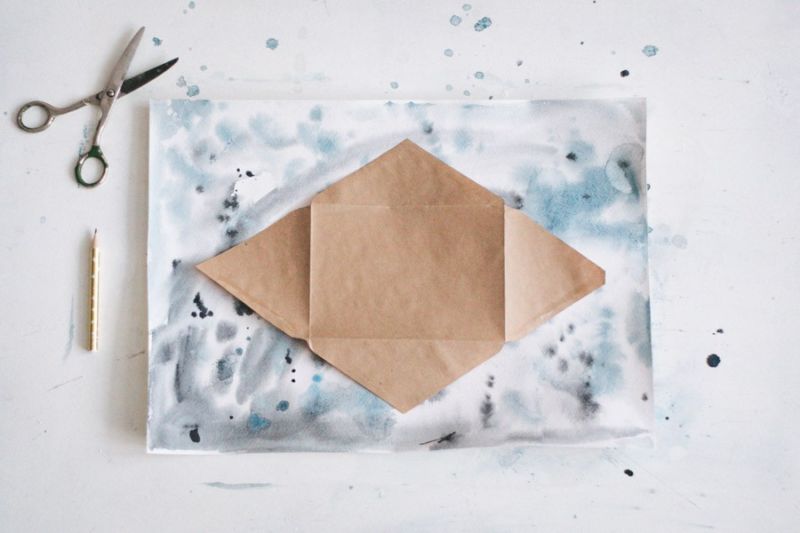
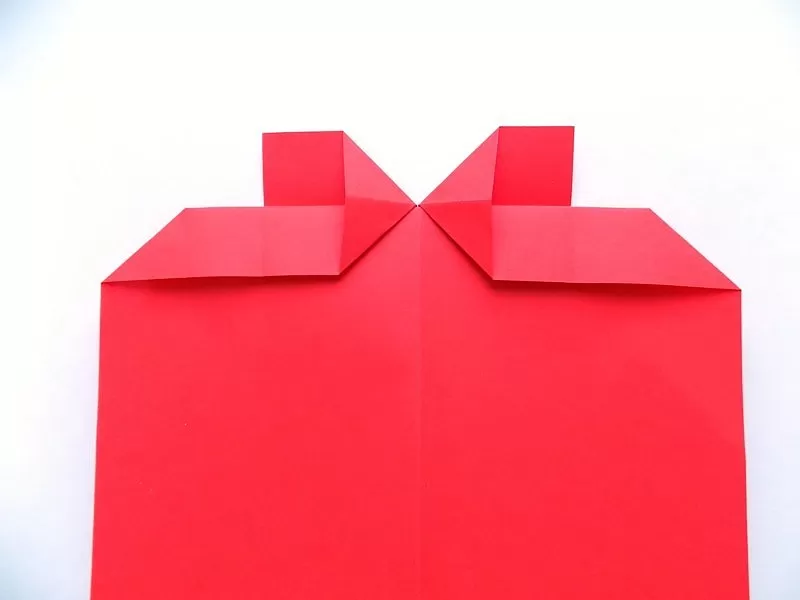
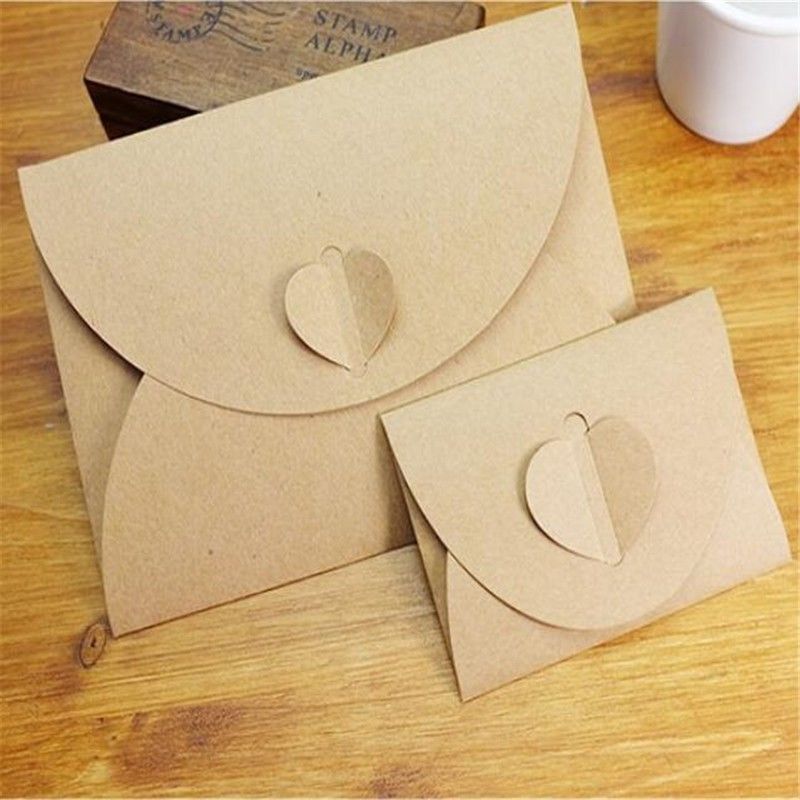
With a triangular heart-shaped flap by origami method
How to do it right:
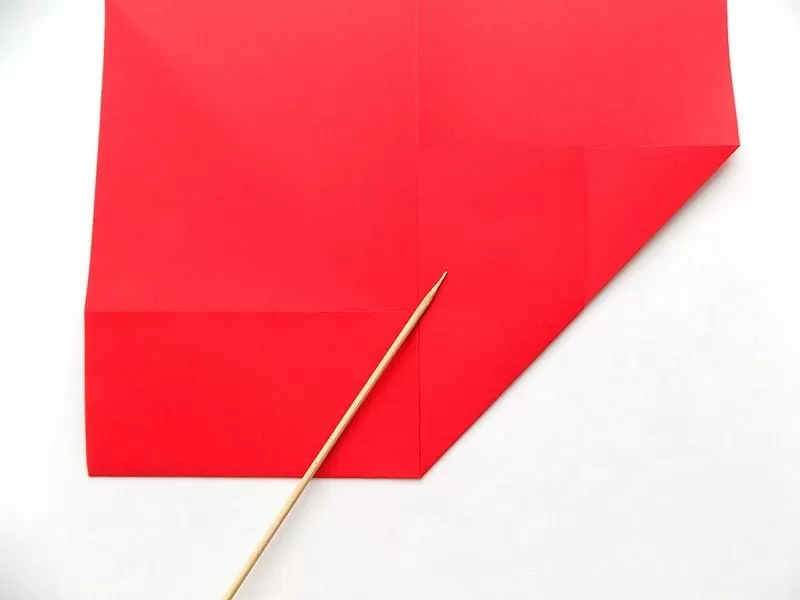
- Place an A4 sheet of paper vertically on the table. Bend (but do not smooth out the fold) one corner diagonally and mark the place of application with a simple pencil to determine where the narrower part will be.
- The smaller part of the sheet to bend to the marks.
- Then straighten and already bend the edge, but to the resulting fold line.
- The next step - to fold a figure in half with the right side.
- Next - you need to bend the corners to the place of folding (from the wrong side to the front).
- Product then flip and fold a corner to the inner segment of the fold, the points from the pencil.
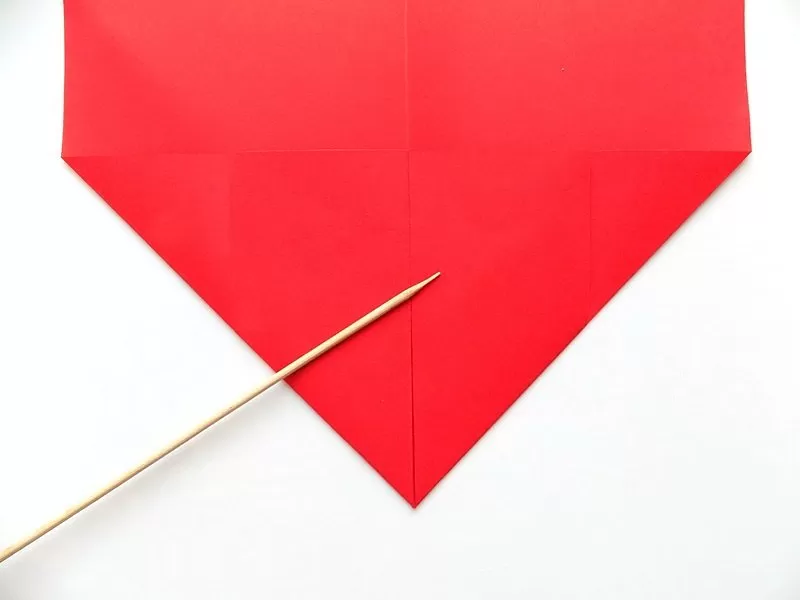
- And again flip the design face up, unbending stripes and forming a triangle, as shown in the photo.
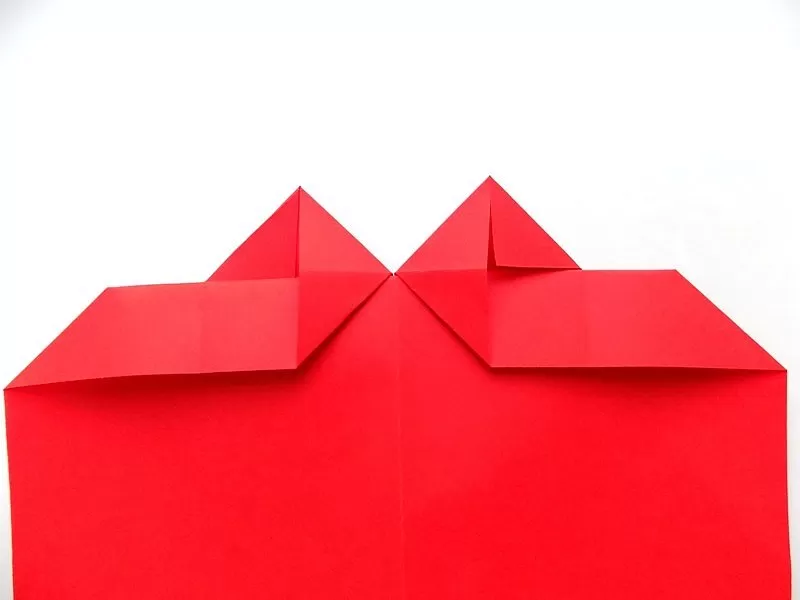
- After this action, fold the squares on the diagonal and the resulting top small corners of the fold in the direction down to the fold line.
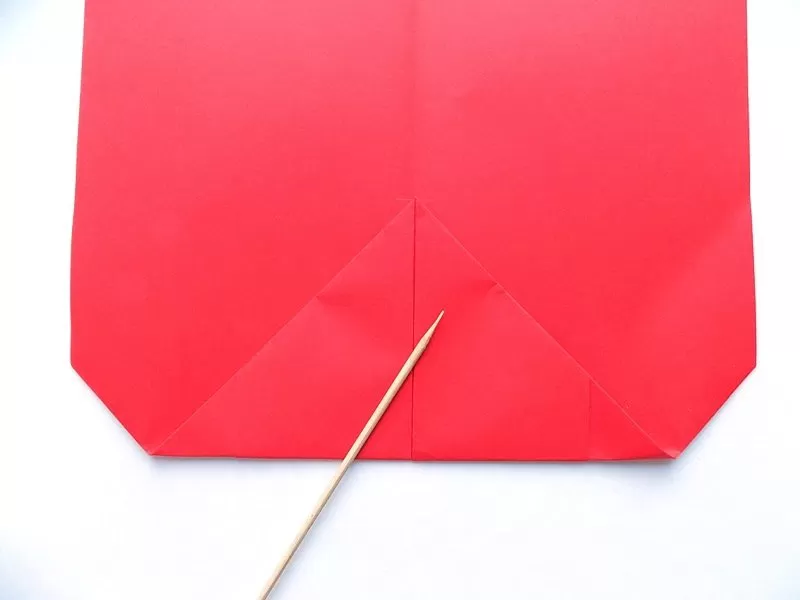
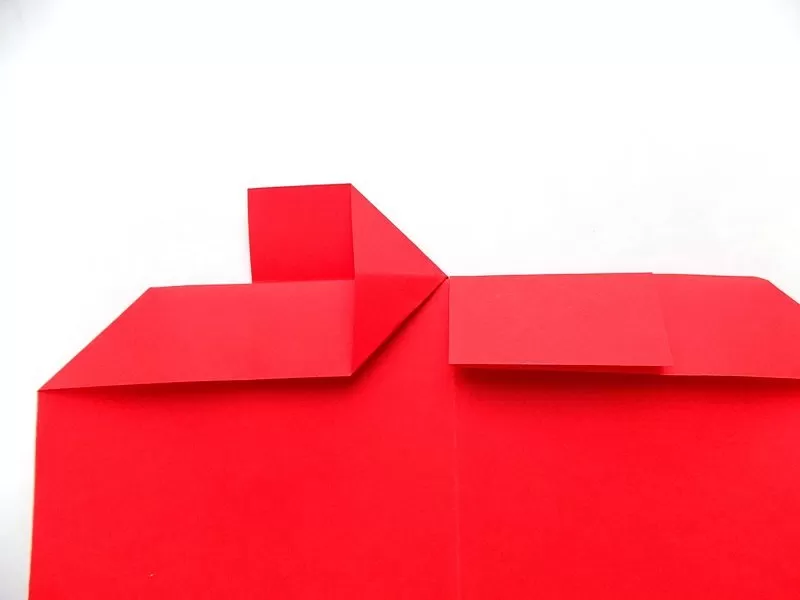
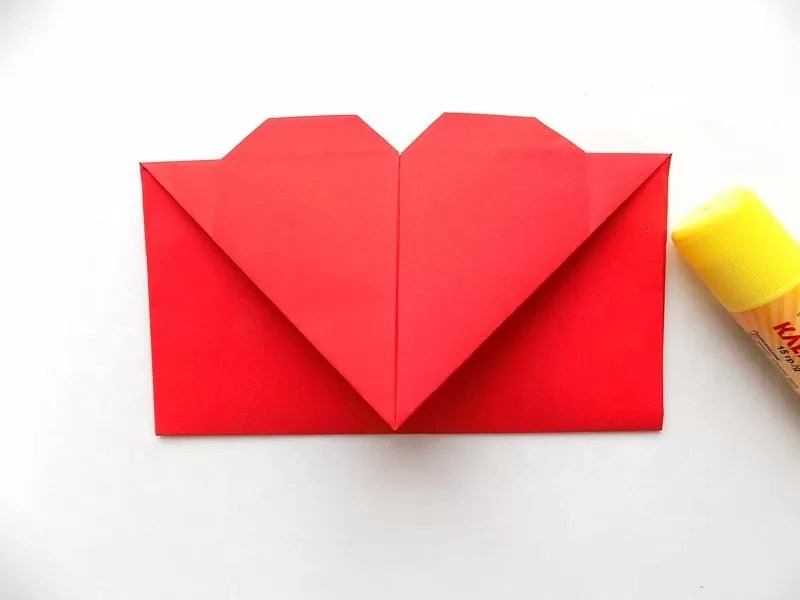
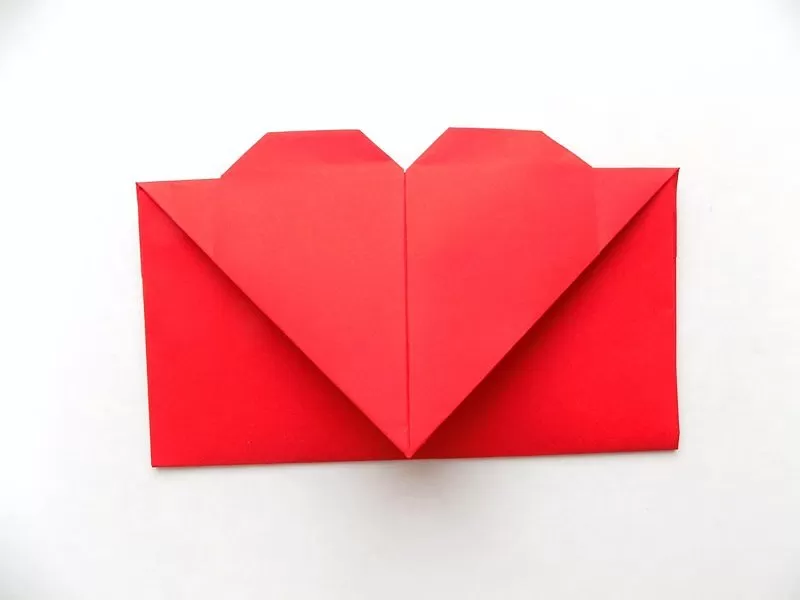
- Product again is flipped. If the steps are performed correctly, then the top will be the heart, which should bend the edges of the sides.
- The triangular flap of the heart is folded upwards, and the bottom of the sample is bent to the top fold. Inside, the sides of the envelope is fixed with glue or double-sided adhesive tape.
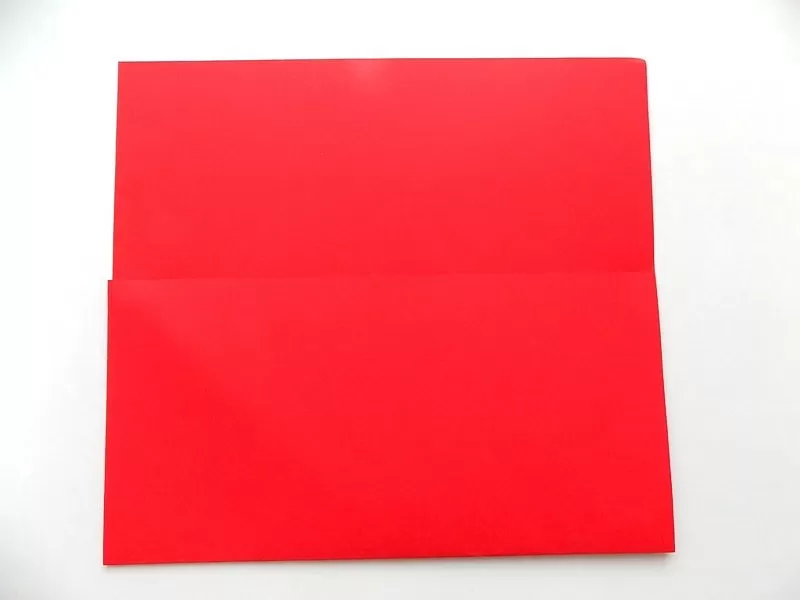


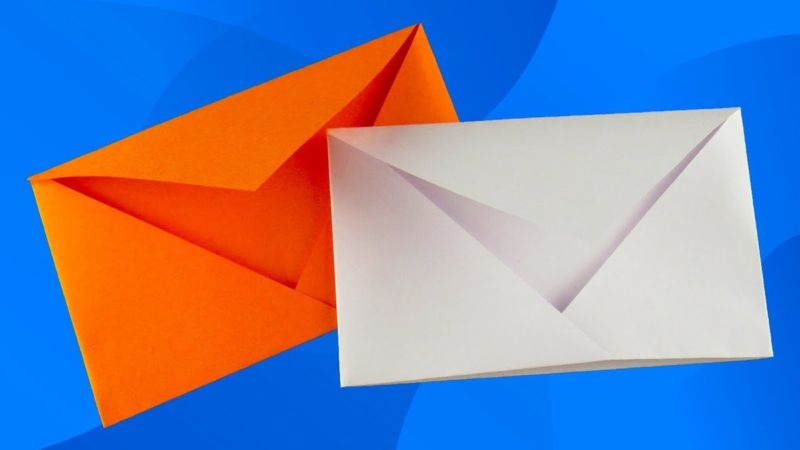
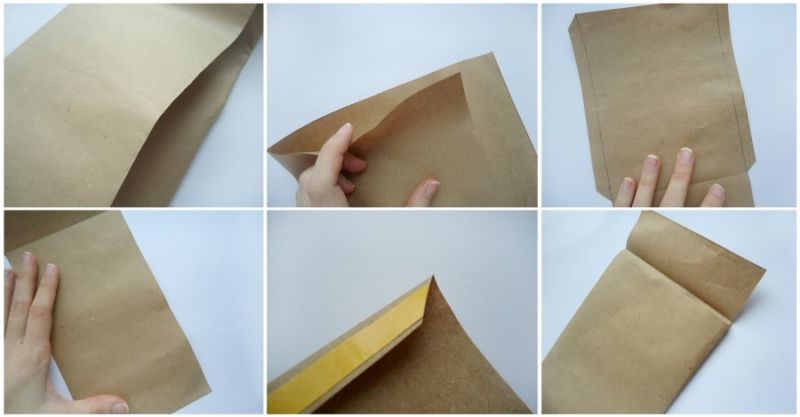
With a rectangular flap
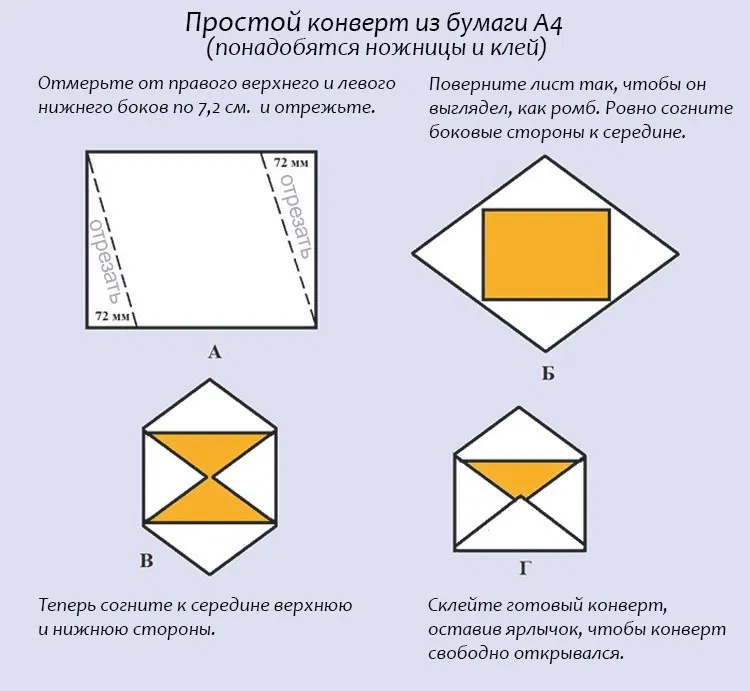
The easiest way to create an envelope with a rectangular flap is to fold and glue an album sheet of paper or a sheet of A4 paper. For the work will be scabbard paper and glue only.
How to make:
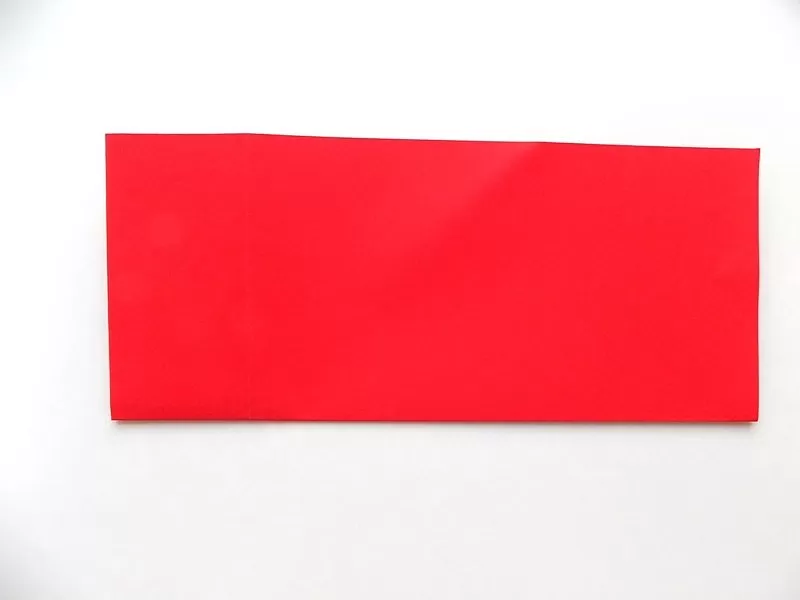
- The sheet of paper is placed vertically and bend the edges on the sides by 1.5-2 cm.
- The lower part is bent to the top, not reaching the top edge of about 3-4 cm.
- Dab the bent edges of the paper and glue together.
- Bend down a rectangular flap and gently smooth out the fold line from the top, forming an envelope. Done - easy and fast.
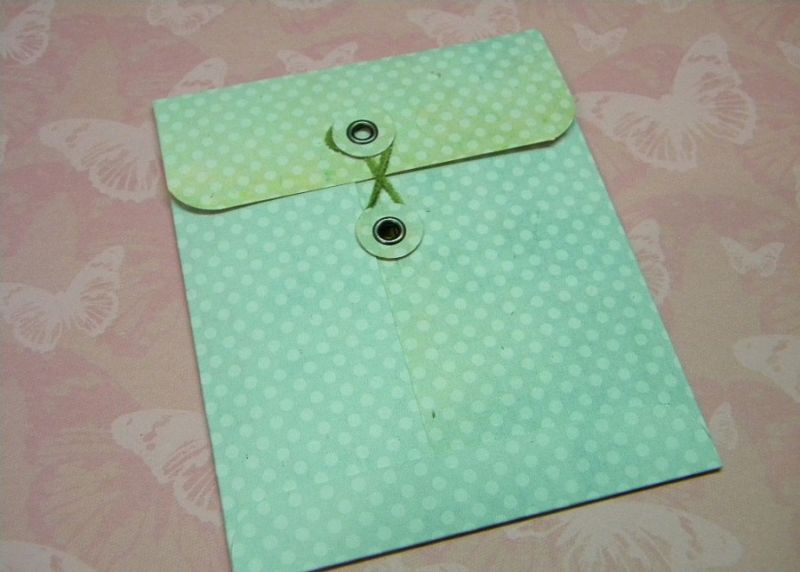
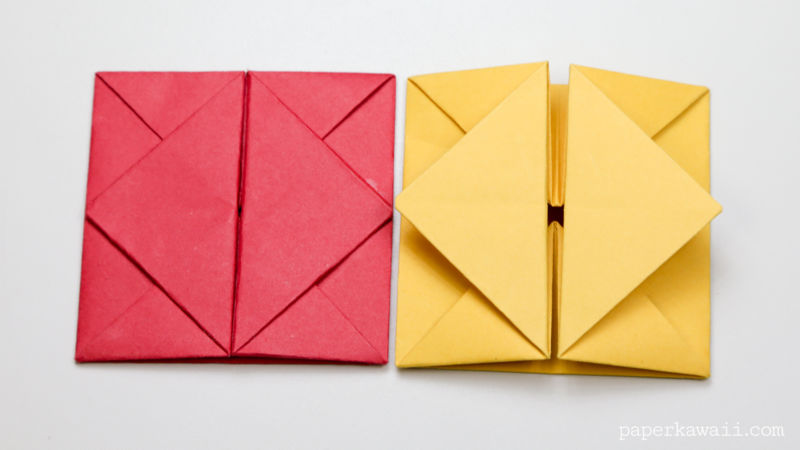
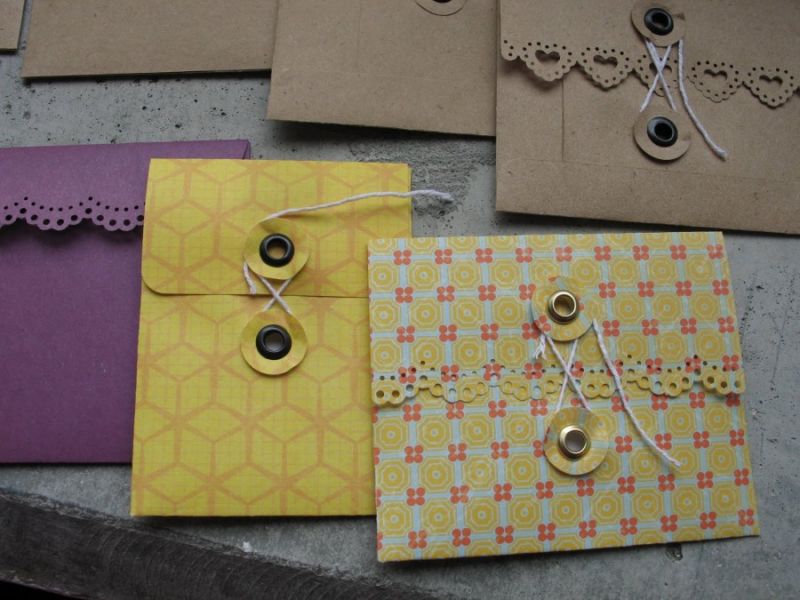
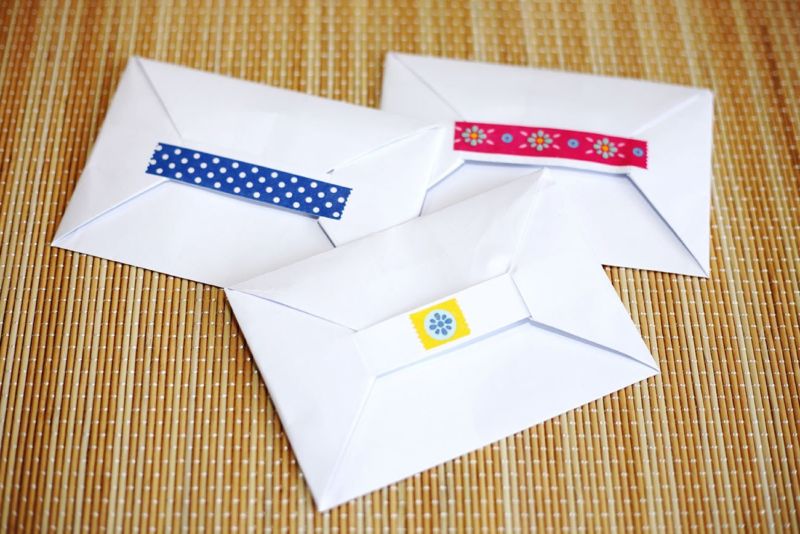
With a clasp
This envelope is made in the Japanese technique of paper sculpture. You will need a piece of paper and nothing else to make the pattern.
Method of making:
- The paper (A4) is folded in half horizontally. Unfolded.
- Now you need a corner of the left and top bend inward to the fold in the center (so that the bottom line comes).
- In the same way to fold the bottom corner on the right (let them find each other with a shift - so it is necessary).
- Now part of the paper above and the right side is folded in the opposite direction to the triangle, so that it connects with it.
- Similarly add up and the left side of the sheet at the bottom.
- Now the bottoms are added to the middle.
- On the other side do the same.
- The top flap is inserted into the outer corner, and the bottom flap in the opposite corner.
Envelope without glue and without scissors ready!
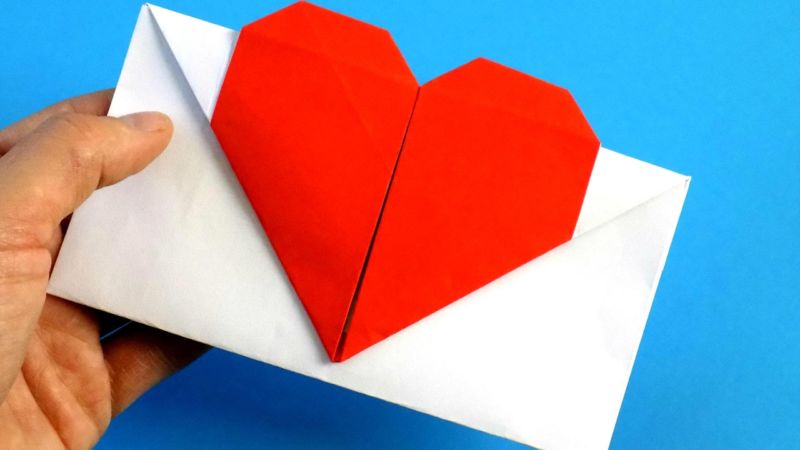
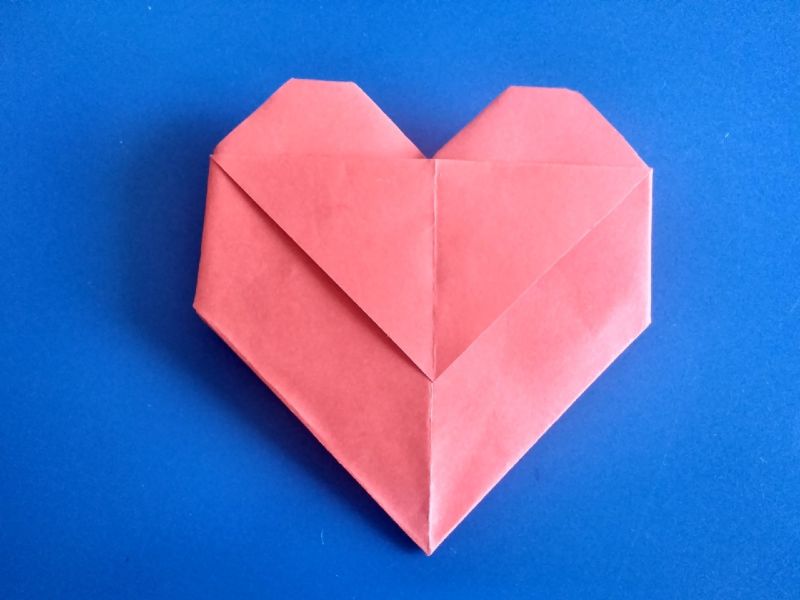
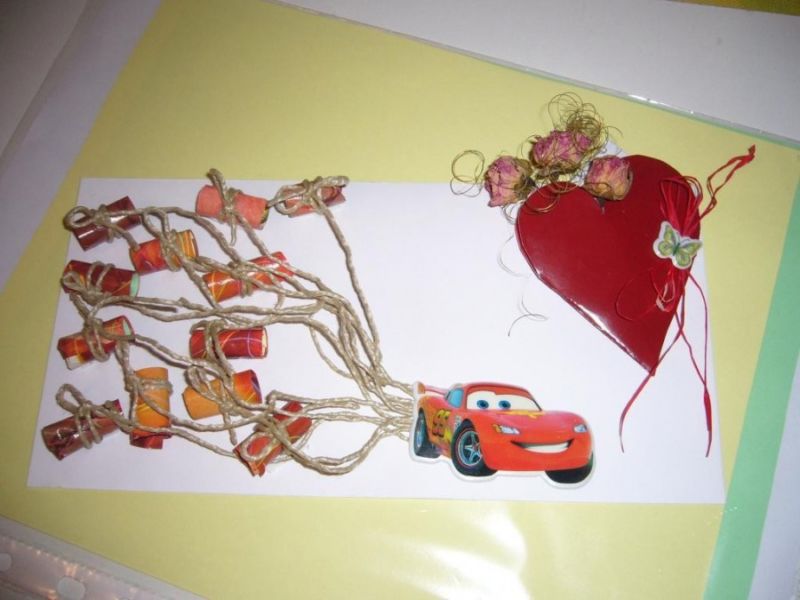
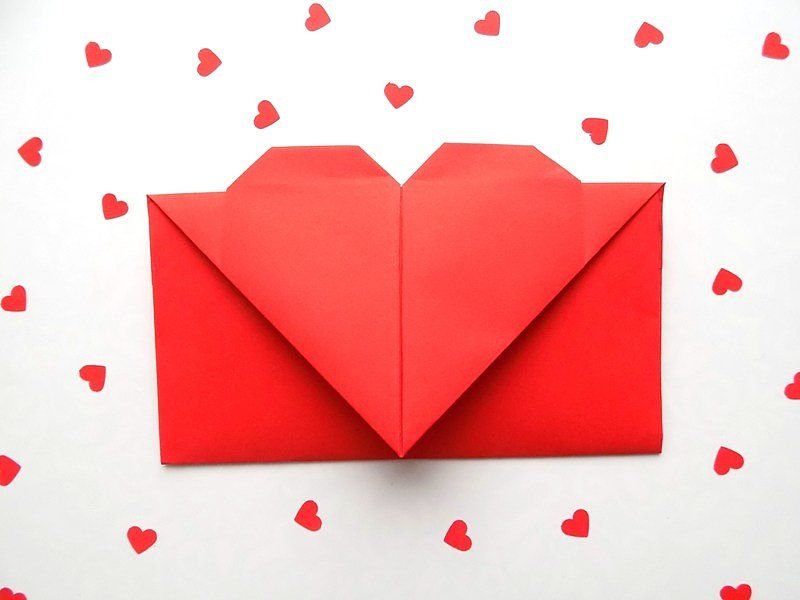
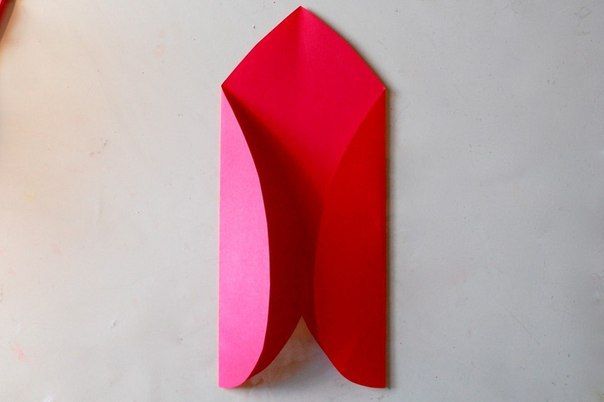
From the heart
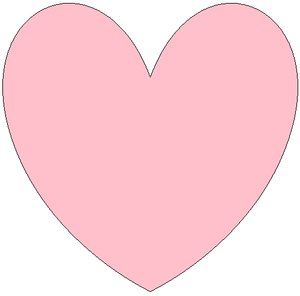
Cut out a nice big heart (pretty rounded) from colored, kraft, wrapping or arc paper:
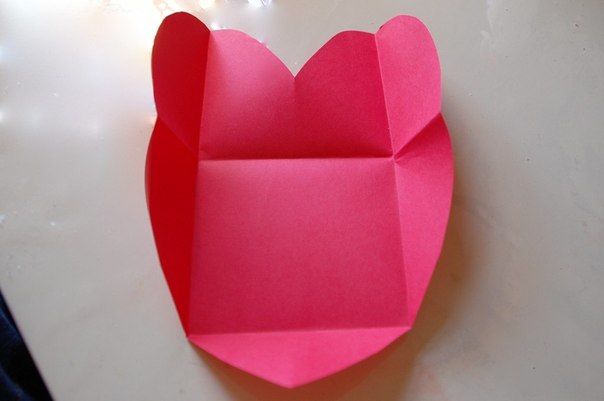
- Turn it upside down and fold the side edges inward.
- Then the lower part (the top of the heart) tuck up and iron the fold lines.
- The upper triangular flap down and run your fingers along the front fold line.
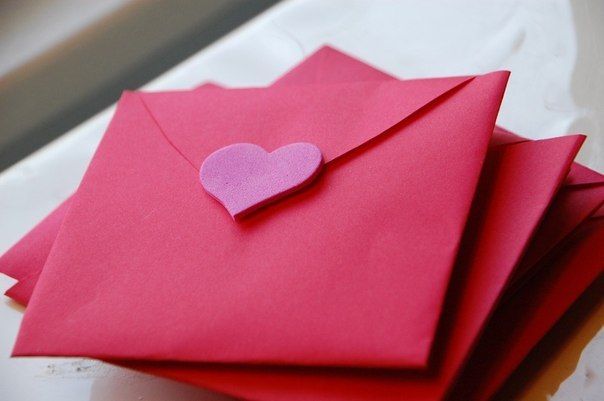
Envelope of the heart is almost ready: the only thing left to smear glue inside seams, so that the design did not fall apart.
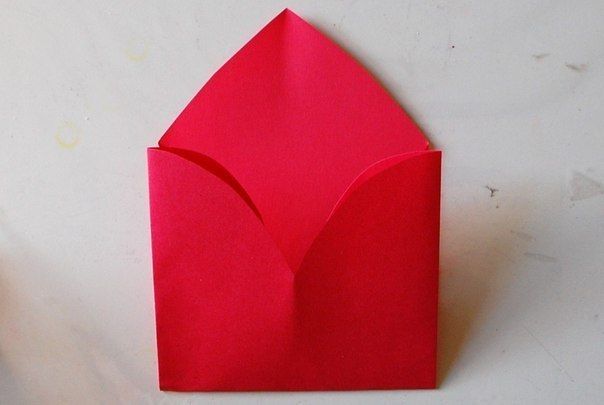
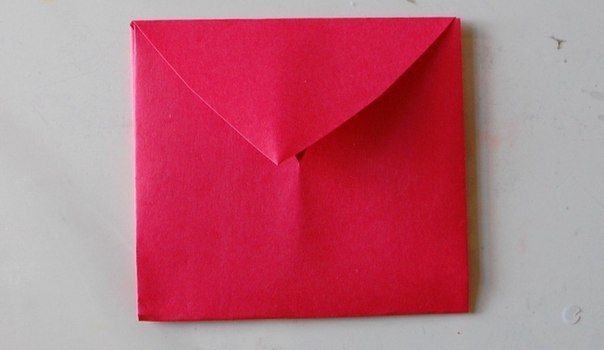
From a square
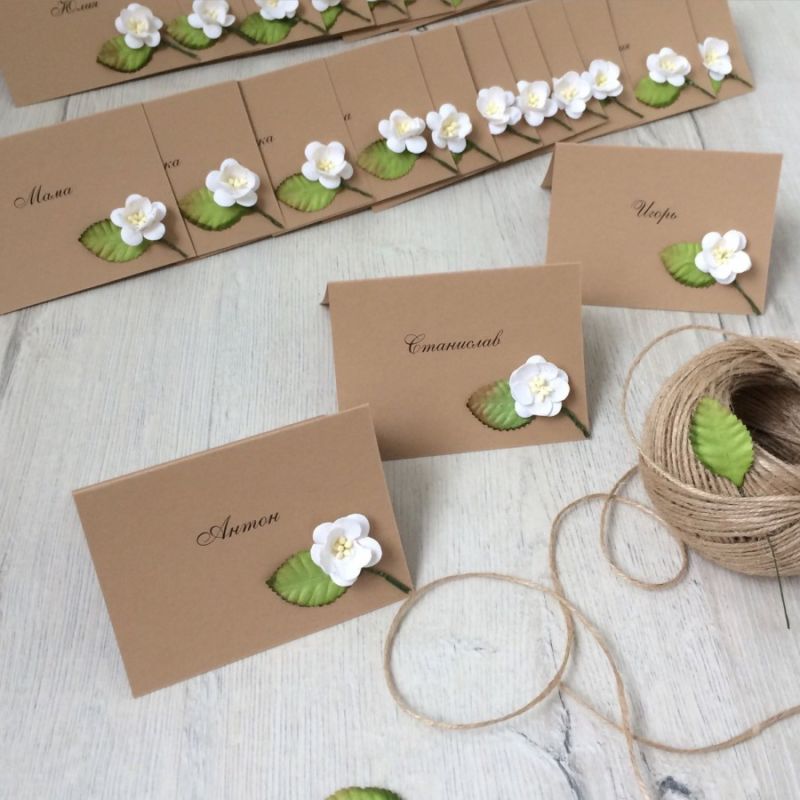
You can make a small square envelope for business cards. You will need to create the product: paper, glue and scissors.
"Birth" of an envelope:
- From the paper make a square.
- Fold it into a triangle.
- Fold in turn first one edge, then the other corner so that they went over the edges of each other and form a square shape of the fold lines inside, and the upper part was similar to the rhombus with equal sides.
- Folded corners fix each other with glue. Upper corner is lowered down so that it came exactly to the edges of the lower part of the figure. Envelope ready. If desired, make a sticker fastener.
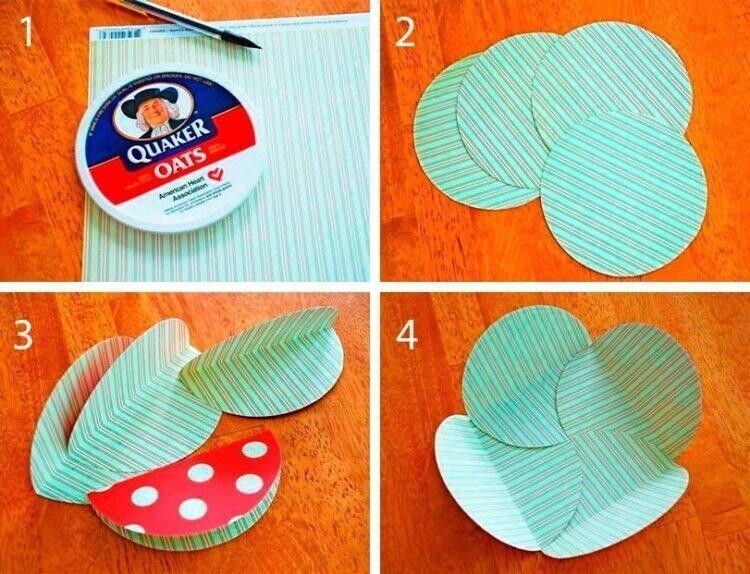
Of the four circles
To bring the idea to life, four identical circles are cut out of kraft paper or cardboard (you can use a ready-made template, or you can take an iron lid or a mug / plate and trace around the outline with a pencil):
- All circles are folded neatly into two parts. Assemble the envelope by folding circles one over the other so that the inside along the lines of folds formed a square.
- Then all the top four flaps to bend to the center.
- Everything should be done evenly and symmetrically, then you get a very beautiful envelope.
- Closed "petals" with flaps, envelope should be fixed with a satin ribbon not to lose a business card, card or money.
Made with fantasy, soul and humor, presented to relatives, friends and fellows, envelope masterpieces will please their recipients for a long time. With such beauty will not want to part!
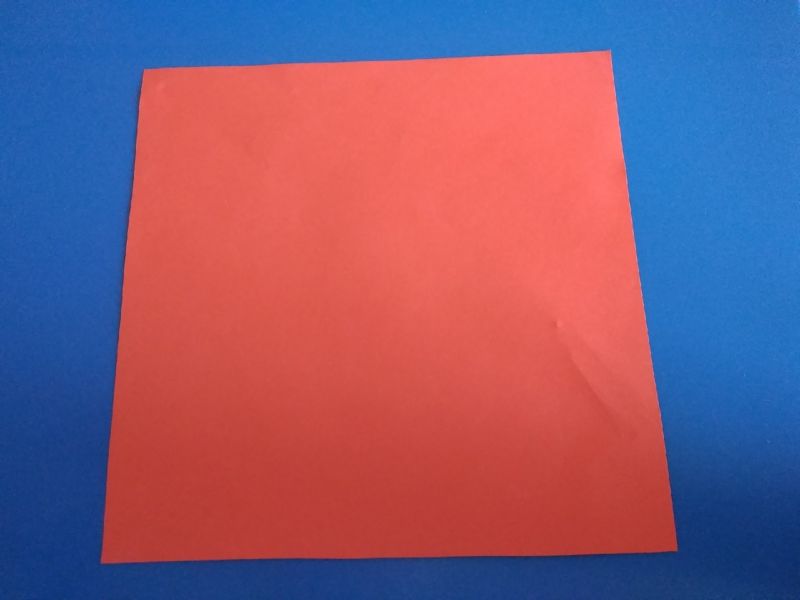

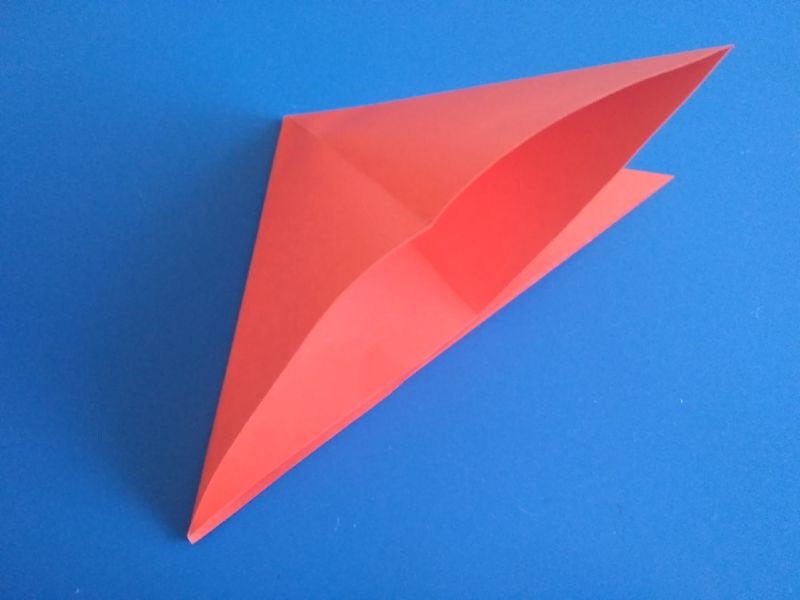
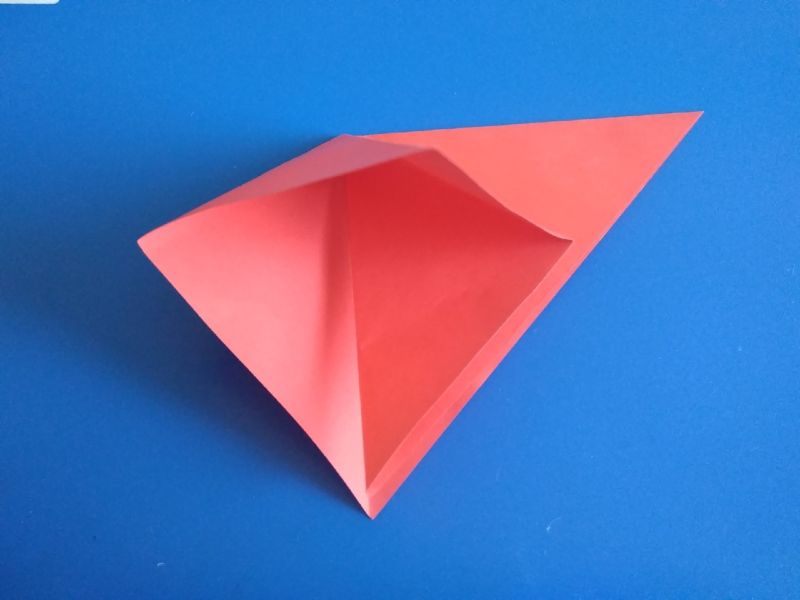
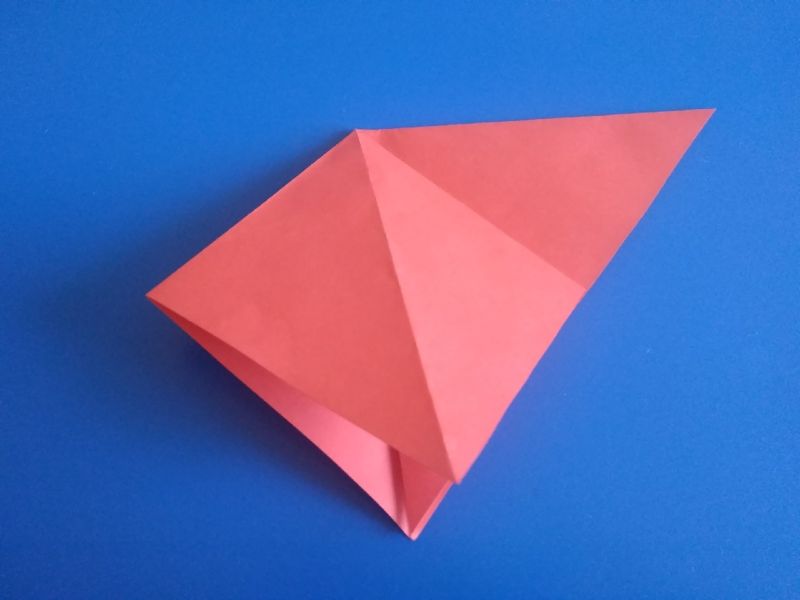
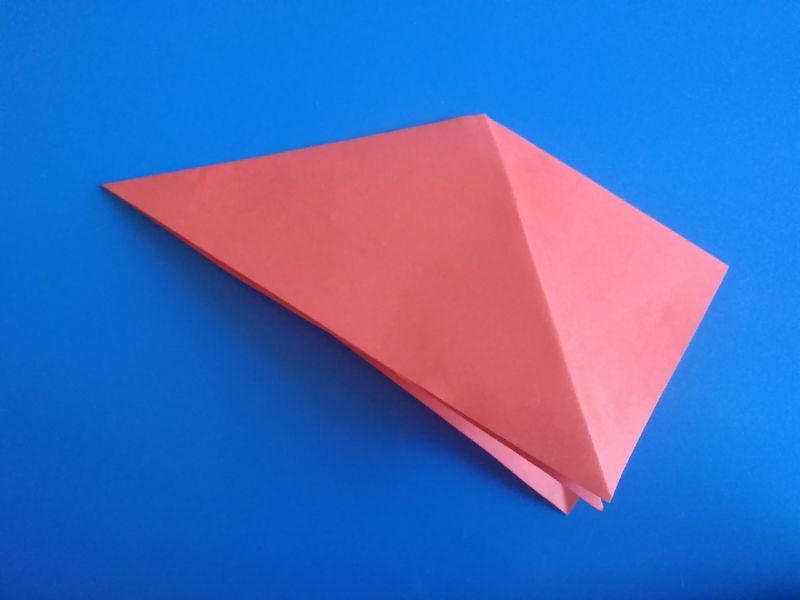
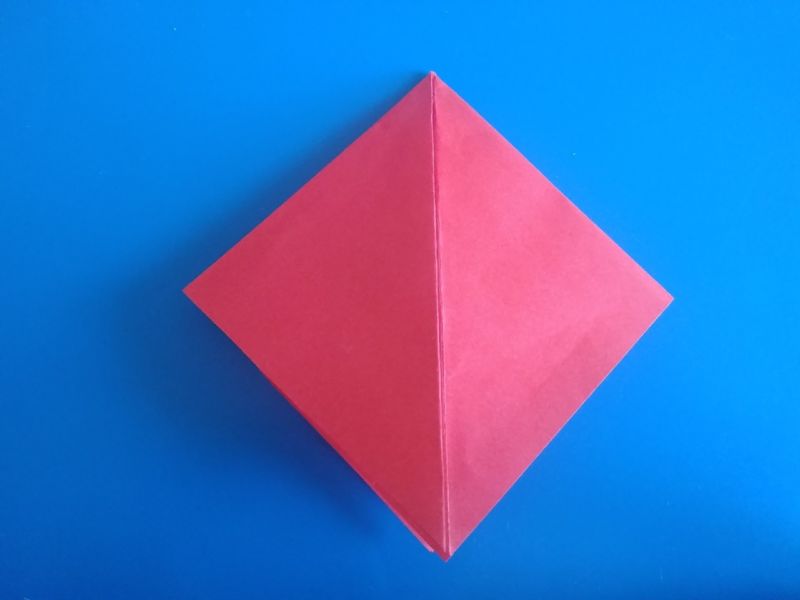
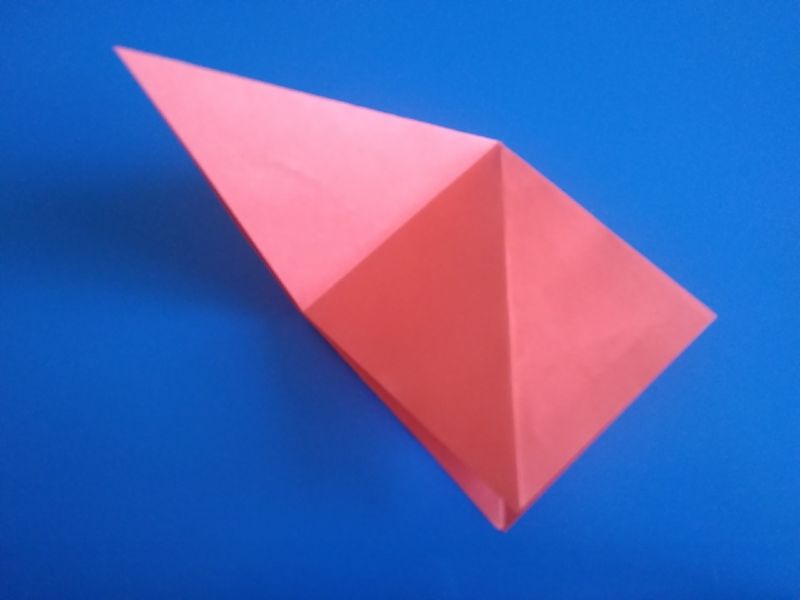

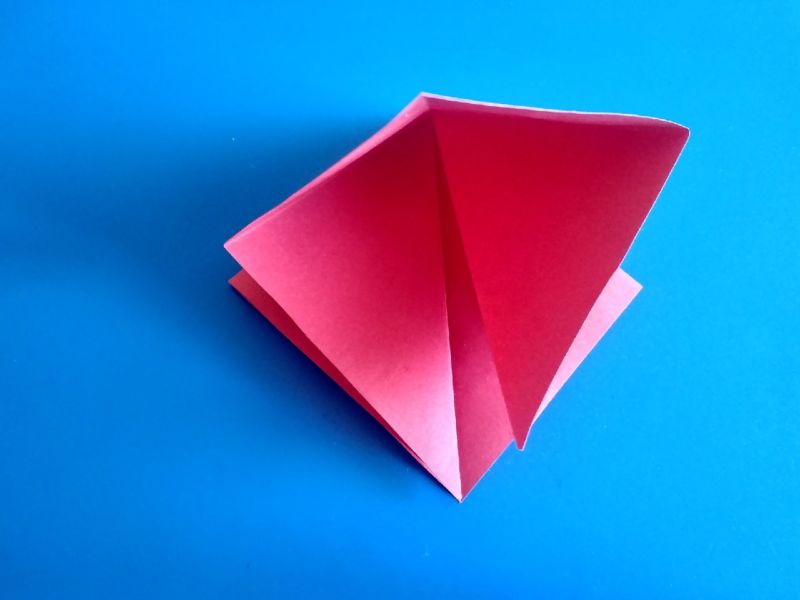
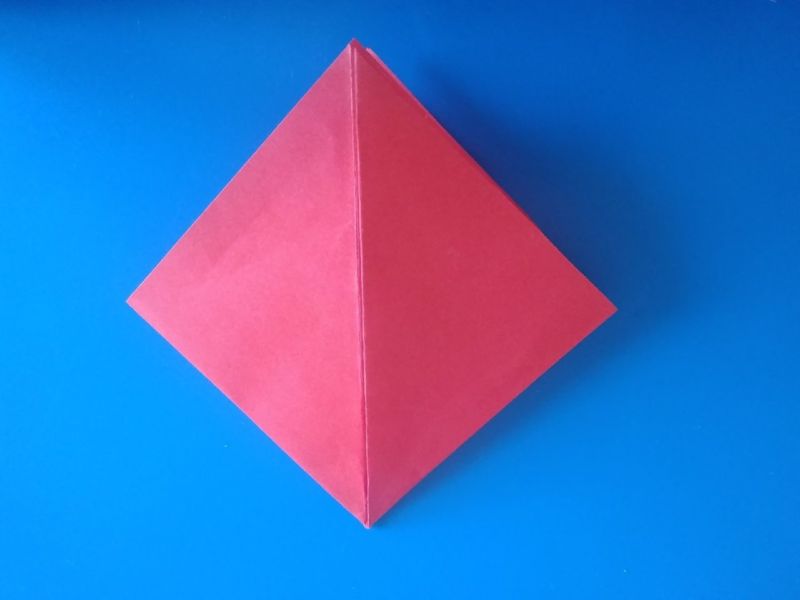
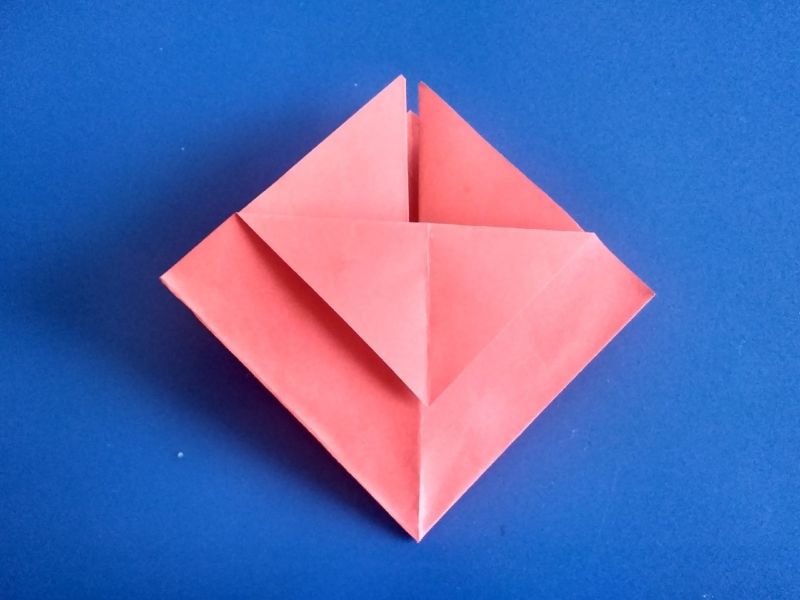
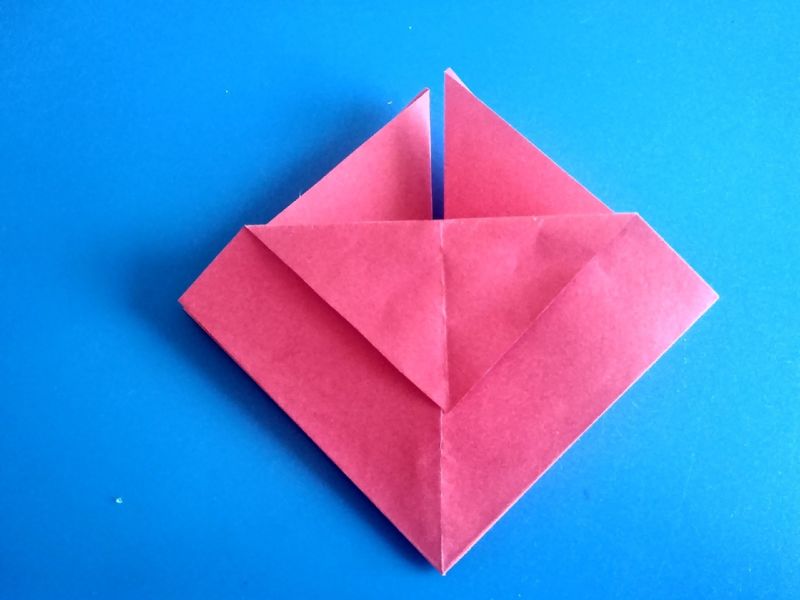
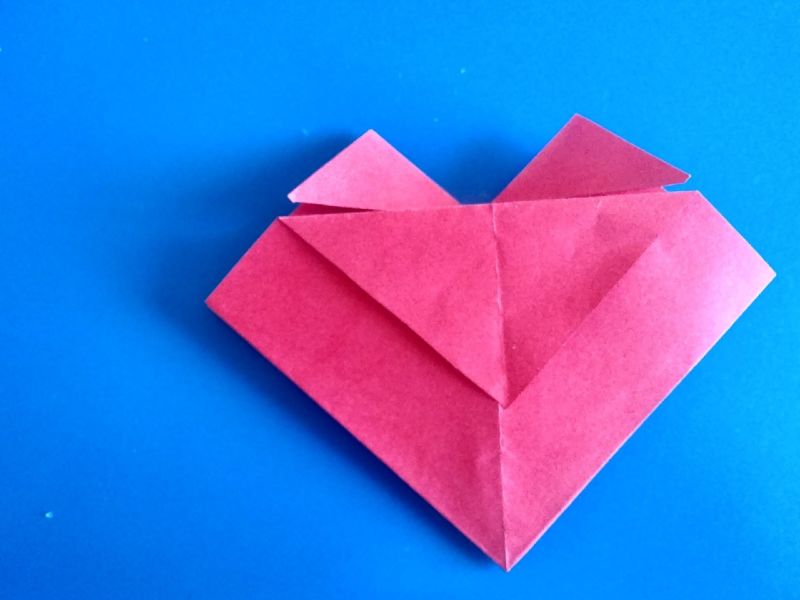
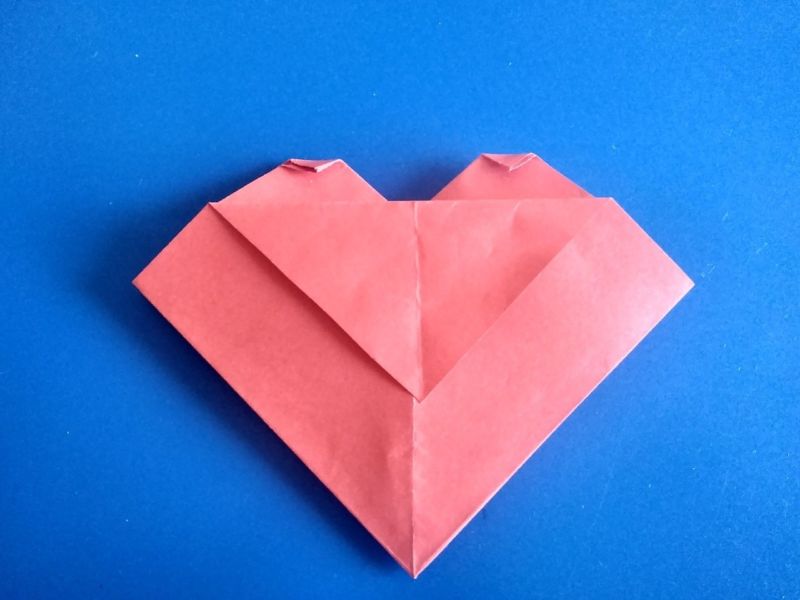
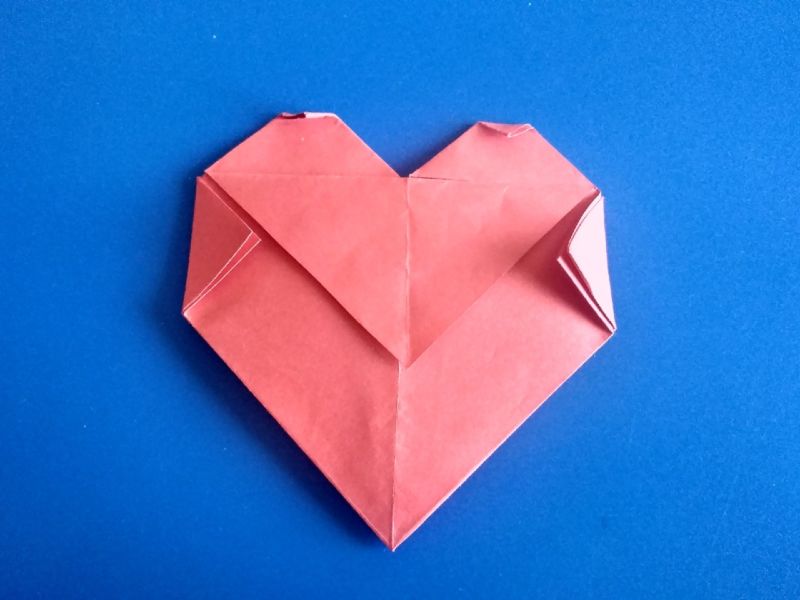

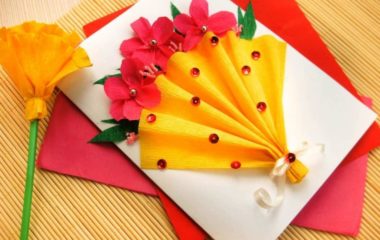
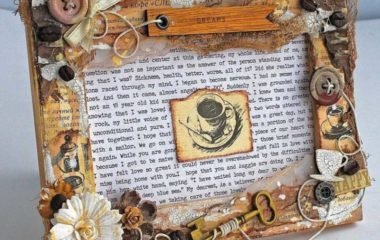
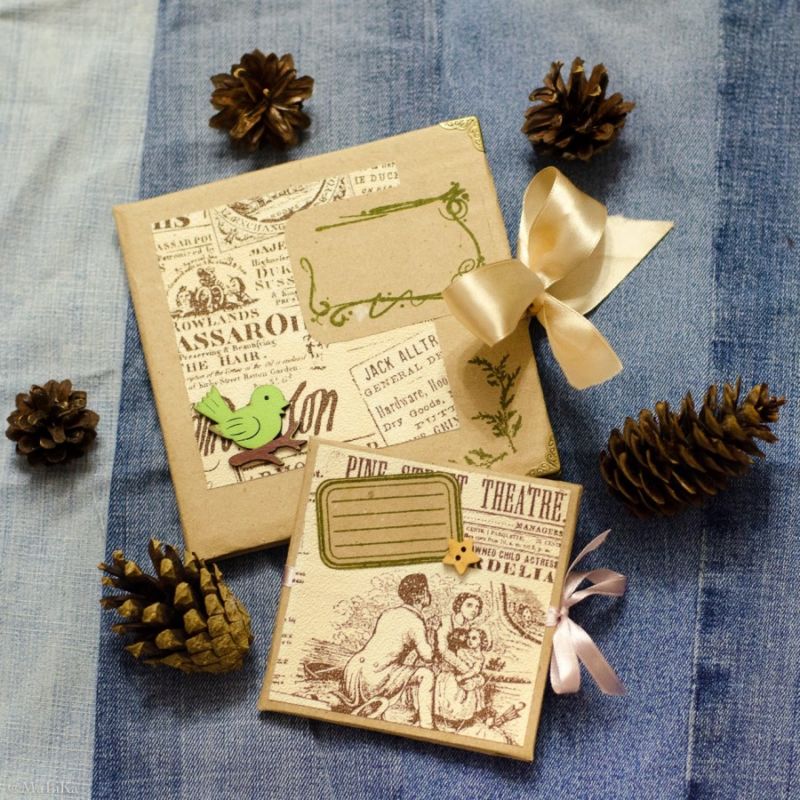
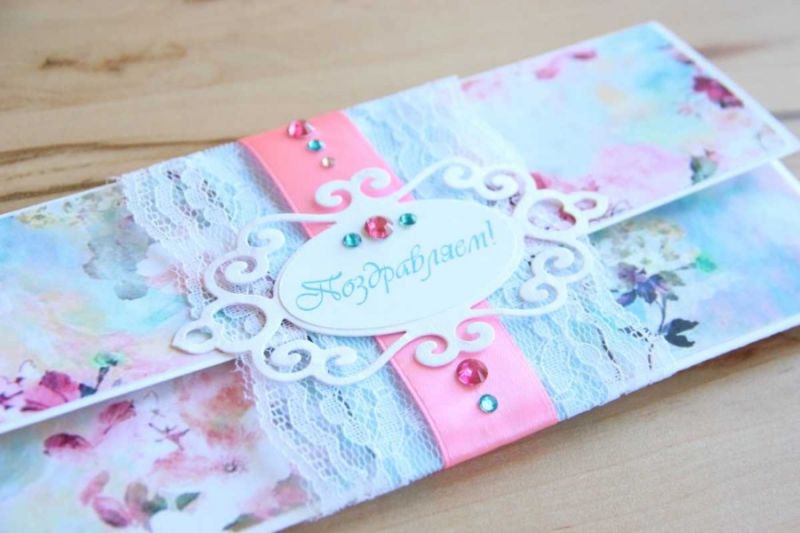
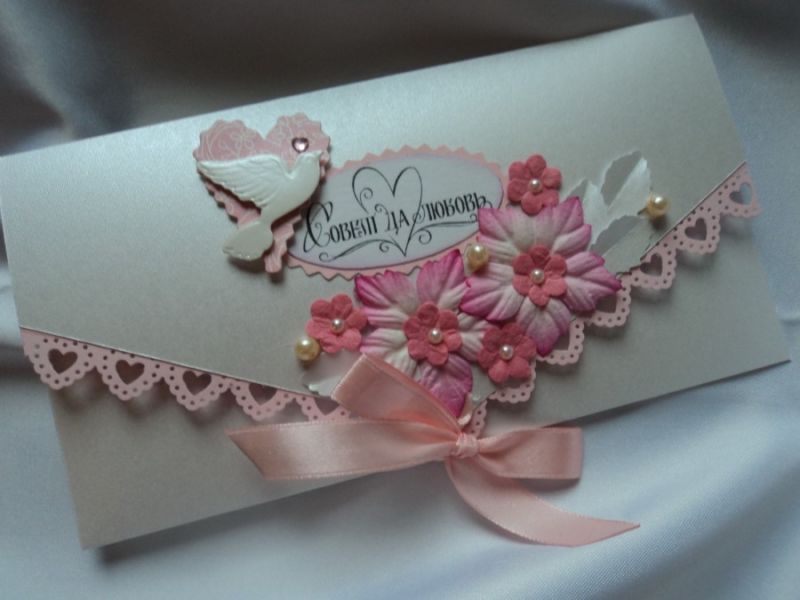
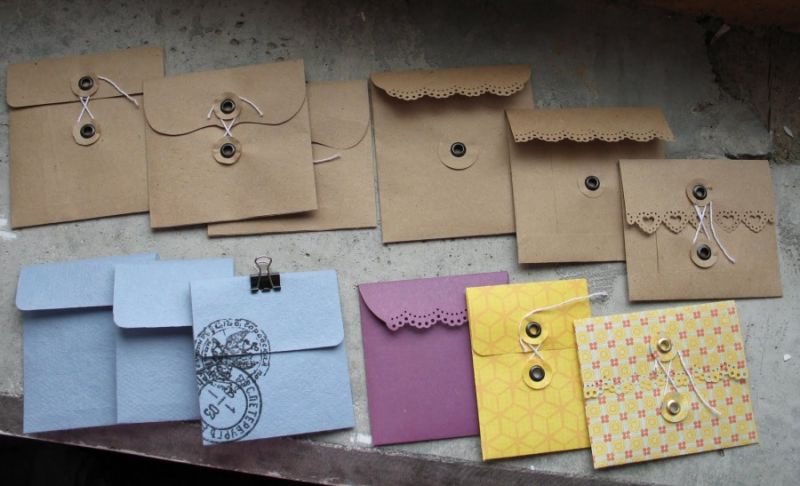
Photo of home-made envelopes