Wood piercing: a description of the technology, master classes, pictures and design pictures for beginners.
The art of burning wood - pyrography - was pioneered by the Peruvians in the 7th century B.C., who decorated their homes with burnt pieces. Some scholars consider the African continent to be the birthplace of this art form.
It is known that many creative personalities, such as painters Rembrandt and Picasso, the writer Victor Hugo were fond of burning.
In Russia, burning was born in the 9th century, along with carving and other forms of arts and crafts. They burned using red-hot nails and other metal objects.
Thus, Permogorsk painting consisted of burning patterns and subsequent application of paints, and Sergiev Posad painting was applied to three-dimensional figures (matryoshkas), although due to the high demand for them masters had to switch to a faster method - painting with paints.
At that time, burning was used on things for practical purposes: bread bowls, dishes, furniture, souvenirs and toys.
Steam, spirit and gas pyrographs appeared in the 19th century, and in the mid-20th century the ancestor of modern poker burners was invented.
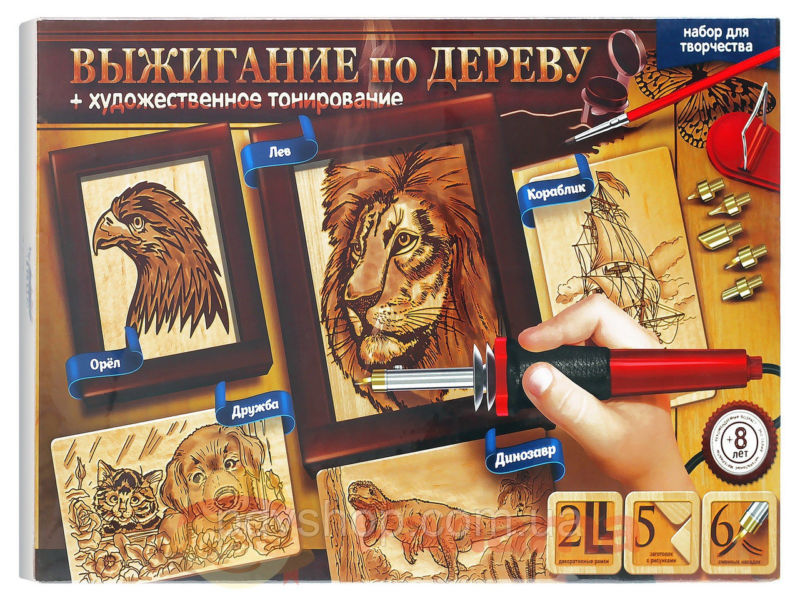
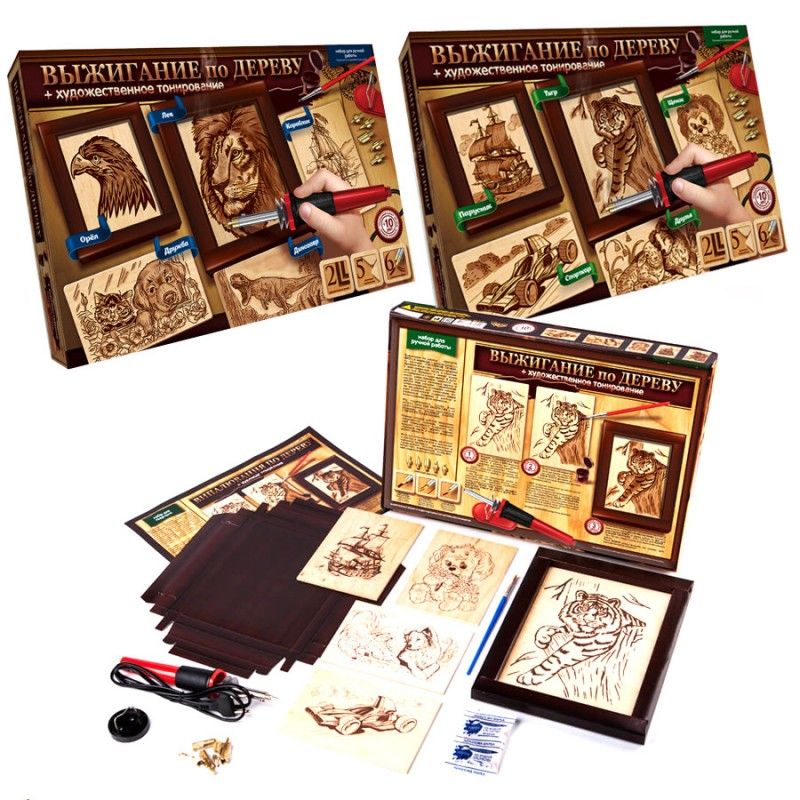
Today, anyone who wants to engage in burning all the necessary tools can buy in stores for creativity: electric burner, wooden blanks of future products (boards, boxes, pencil cases, three-dimensional figures), varnish and paint, as well as copying and sandpaper.

Technology and features of wood piercing
Technology of wood burning includes several stages:
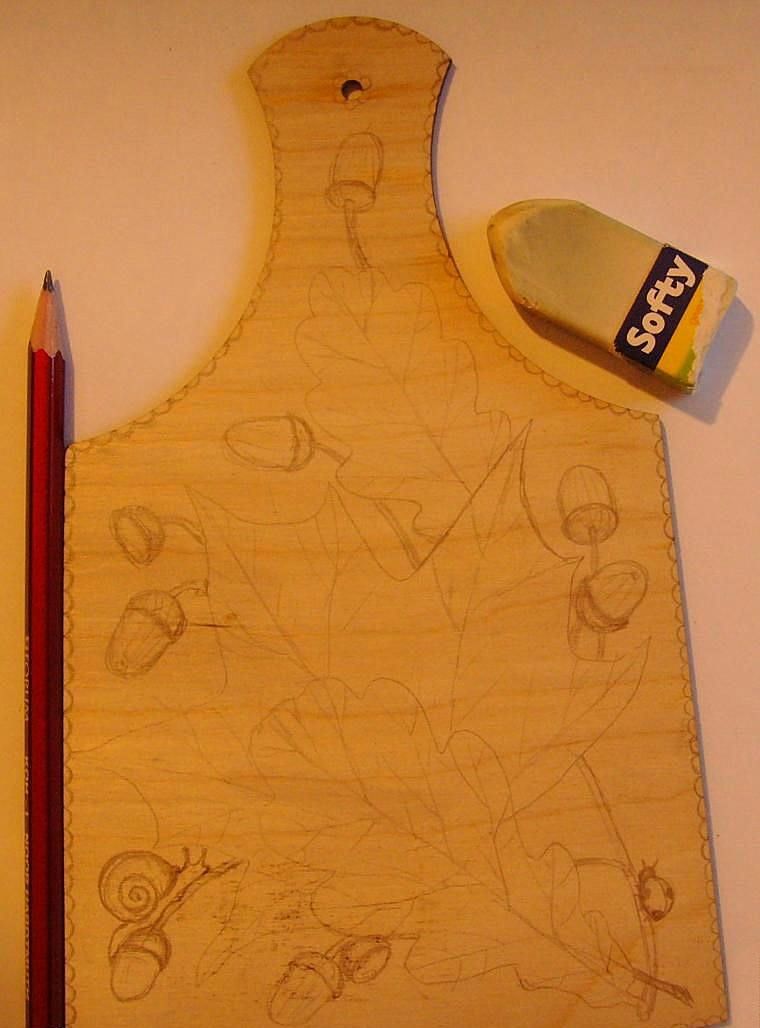
- Preparation of the wooden base, which consists of sawing out the right size and sanding with sandpaper. Both surfaces and edges must be sanded. It is important to use only clean, dried wood of soft species such as poplar, alder, lime. Wood of these species ignites at lower temperatures than birch, it is soft and, therefore, easy to work.
It is good to burn on plywood.
Under no circumstances should you use surfaces already covered with paint or varnish (this is both bad for breathing and not aesthetically pleasing).
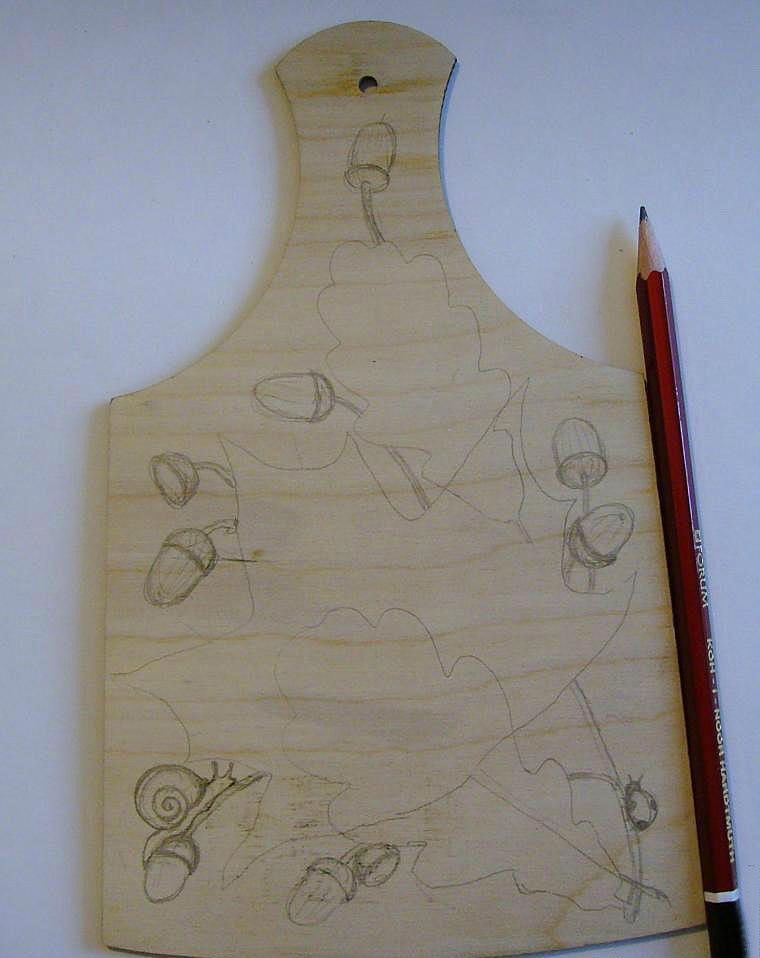
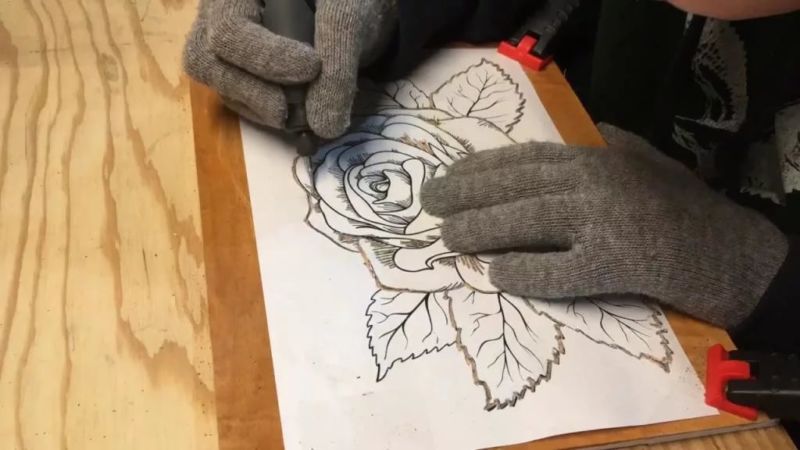
- Drawing with a stencil.
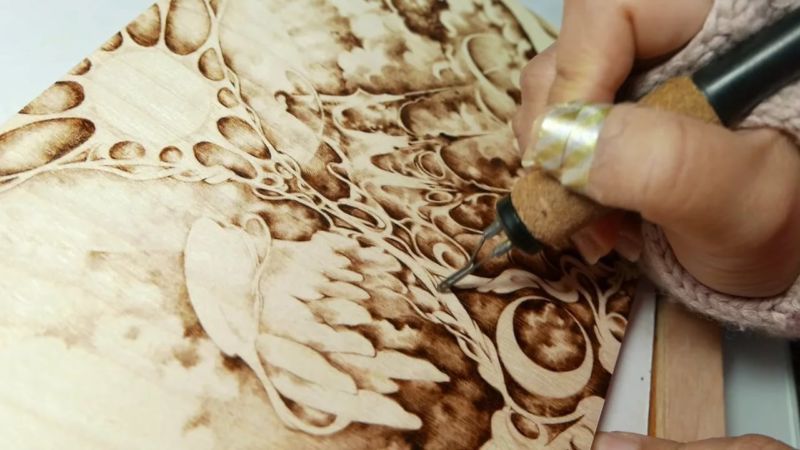
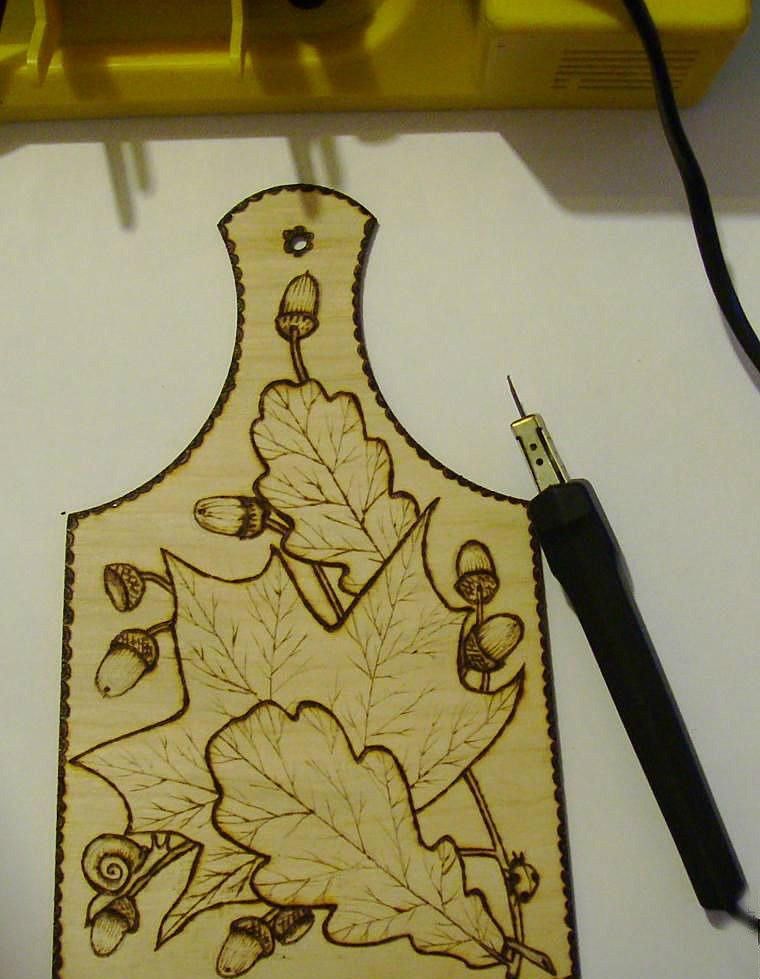
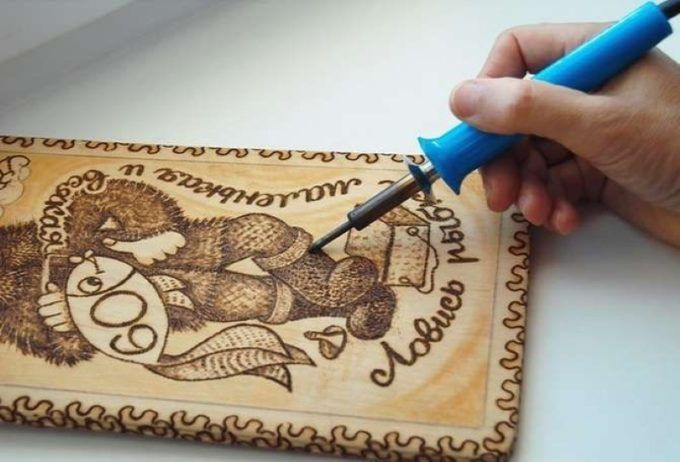
- The actual process of burning. It is better to move from the edge to the center, from the contours to tracing internal parts, and then to the shading.
- To sand the product and, if desired, to paint it. The final touch is the application of varnish to give the product decor, finality and durability.
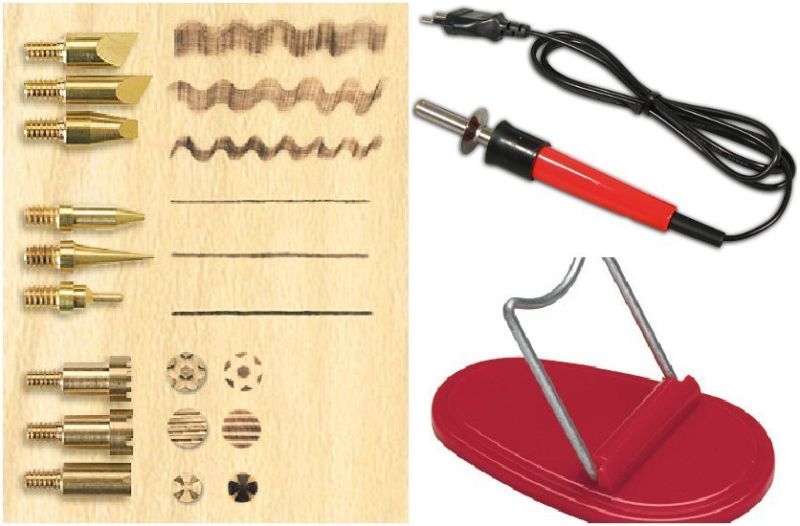
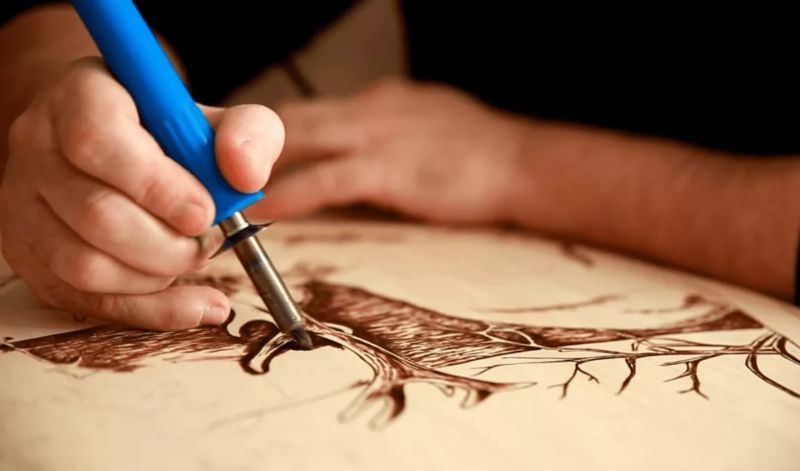
Pyrography kit
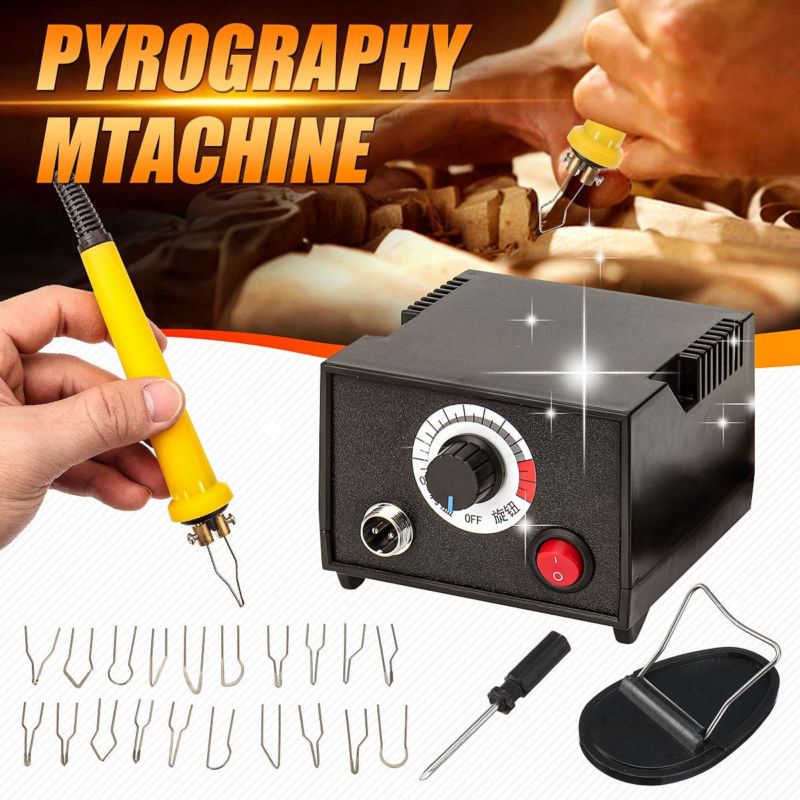
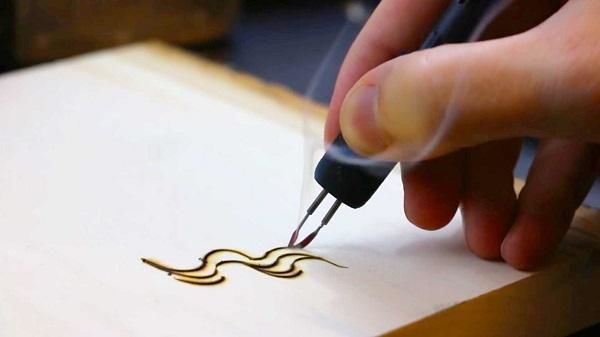
Pyrographists come in two types: a device with a solid nozzle and a constant temperature like a soldering iron, and with a wire nib and adjustable temperature (looping annealer). What are their pros and cons?
A blowtorch-type set has a number of advantages, thanks to the brass nozzles in the set. This is a universal nozzle, a handwriting nozzle (for scribing text), a line nozzle (drawing contour lines), and a dot nozzle (drawing dots).
There is also a graphic work nozzle, with the help of which individual areas are shaded and shaded. Stamping nozzles are also interesting.
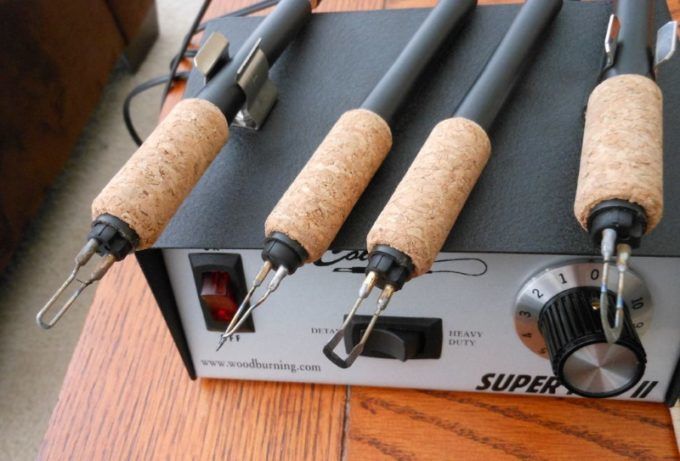
The soldering iron takes a long time to heat up and a long time to cool down. The patterns come out rougher than from a wire nozzle, but for beginners this is the best option. But the main disadvantage is that if the soldering iron breaks, you have to buy a new one.
The second type of pyrograph has a box with a thermostat and a knob with a nichrome wire loop, up to 0.3 to 1.5 mm thick.
The advantages are obvious: you can adjust the temperature setting and also change the wire loops as they burn through. It is used to apply thinner, curved lines, frequent raster (background in the form of shading).
Wood burning for beginners
Beginners should adhere to simple rules, until they develop their technique of piercing and organization of work:
- More often refer to the "draft" - a separate piece of wood (a beginner in the first stages wants to just burn the wood, which can spoil the craft);
- It is better to draw a line between the neighboring points;
- Move slowly, do not press much, otherwise the line will turn out rough and ugly;
- If you need a thick line, make a slow movement with the tip, and if you need a thin line, on the contrary, fast.
- It is necessary to observe safety precautions, to keep the workplace in order, to clean the cooled nozzles from carbon deposits, using a metal sponge and a rag.
Safety precautions
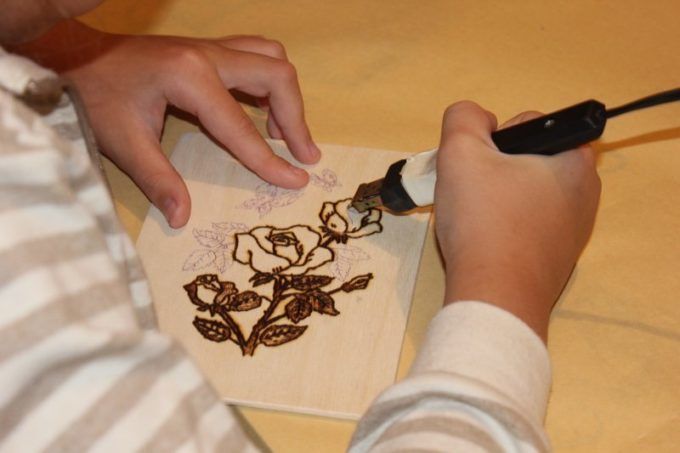
In the process of work, you can not forget that there is a hot tool in the hand. A child who makes only the first steps in learning this art, should be instructed and the first time to study with adults. What safety rules should be observed?
- The room where it is planned to engage in burning, should be well ventilated.
- The workplace provides for the close proximity of the outlet.
- It is important to always keep an eye on the serviceability of the burner.
- During work, it is categorically not recommended to bend over the craft, you need to sit upright, breathe through your nose.
- Take a break after 20 minutes, during which you should do exercises for the eyes and hands.
- Keep your hands and clothes away from the hot tip.
- Do not leave the device on after work.
Methods of burning
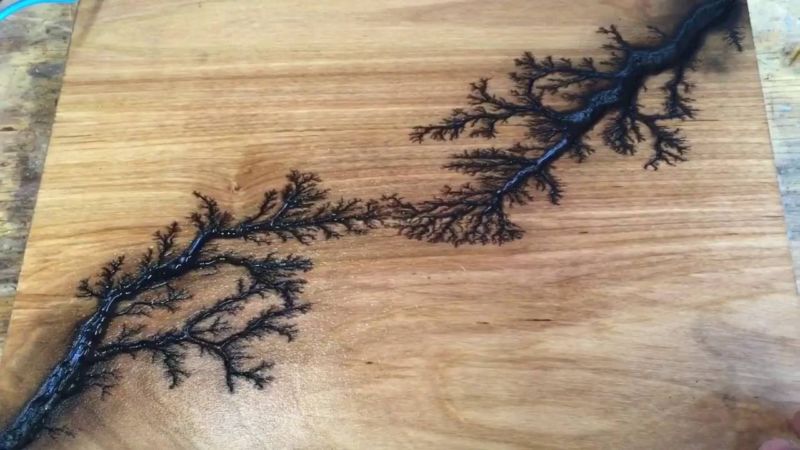
Except pyrography there are some rare nowadays ways: pyrotyping (stamping of wood with specially made hot metal stamps), burning with acid, scorching with hot sand, fire and sun by focusing the beam with the help of magnifying glass.
There are only three basic techniques.
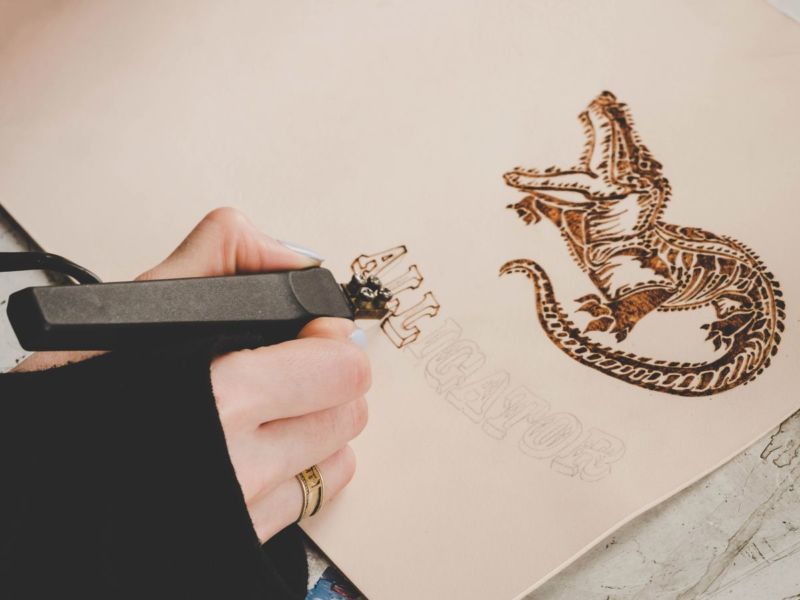
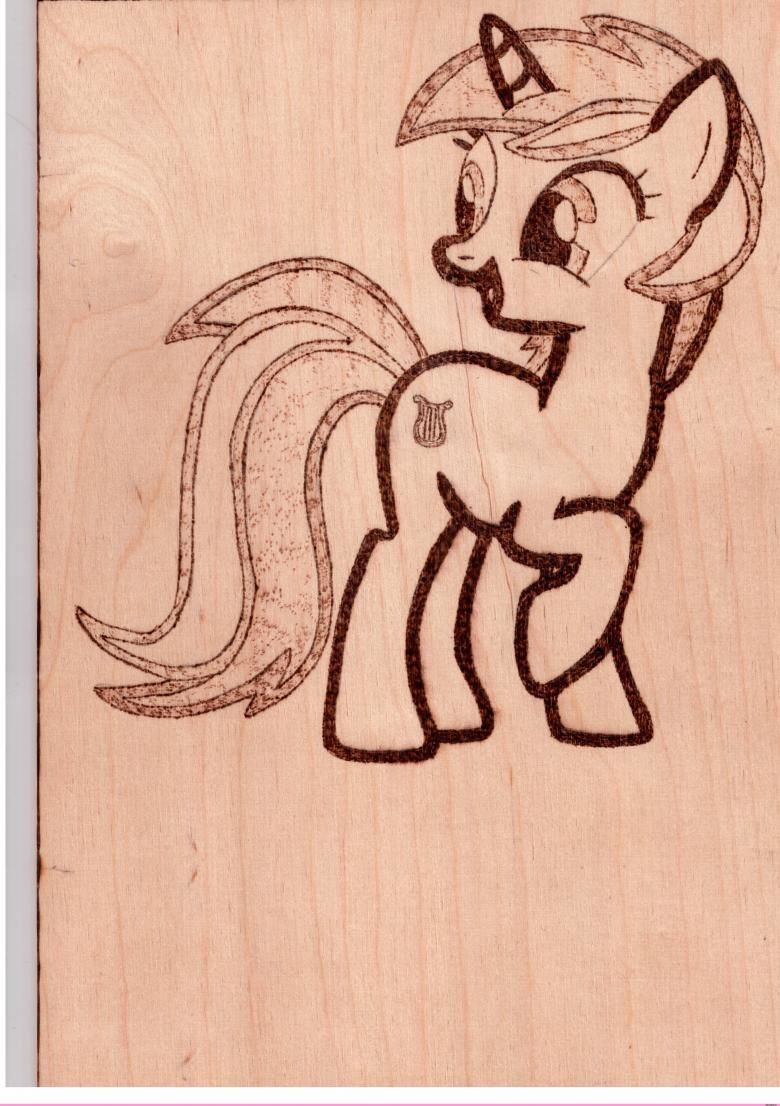
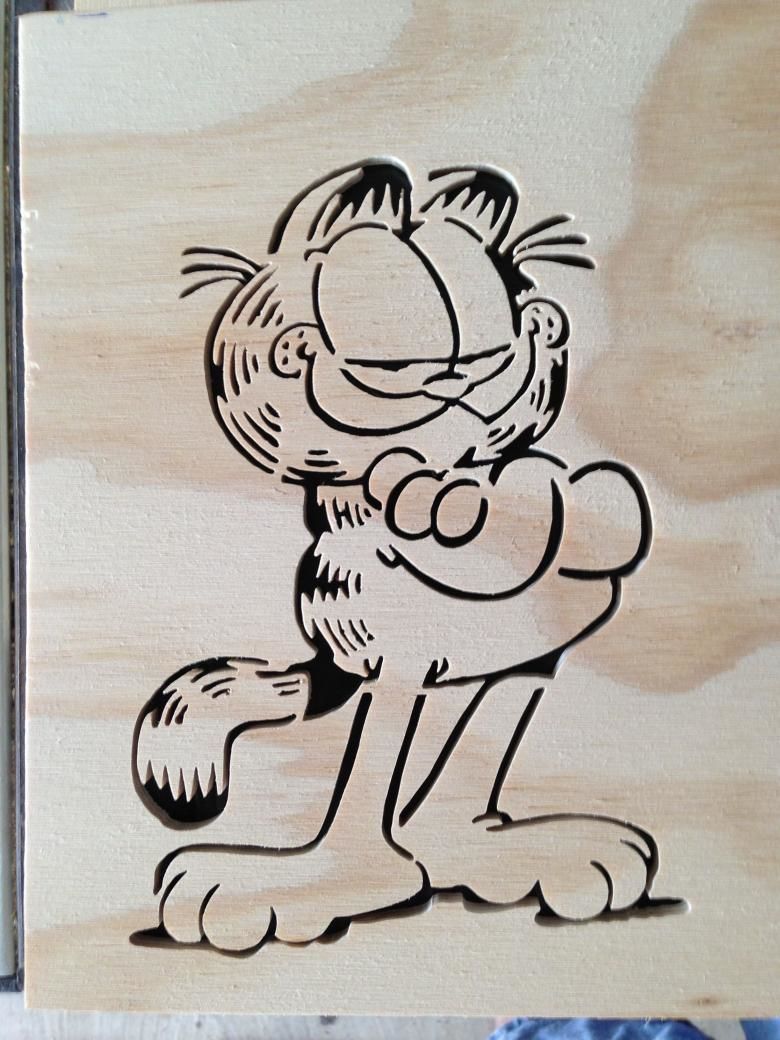
The contour technique is mastered first and foremost - it is burning out the contours of objects without filling the interior space. Textual inscriptions and patterns are also made.

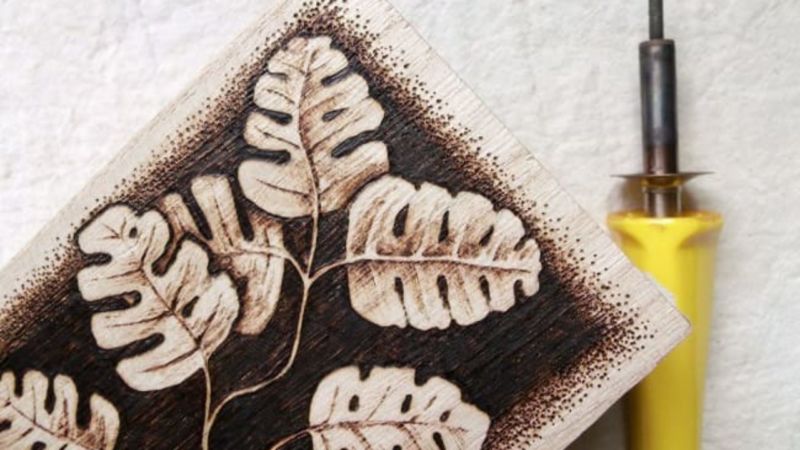
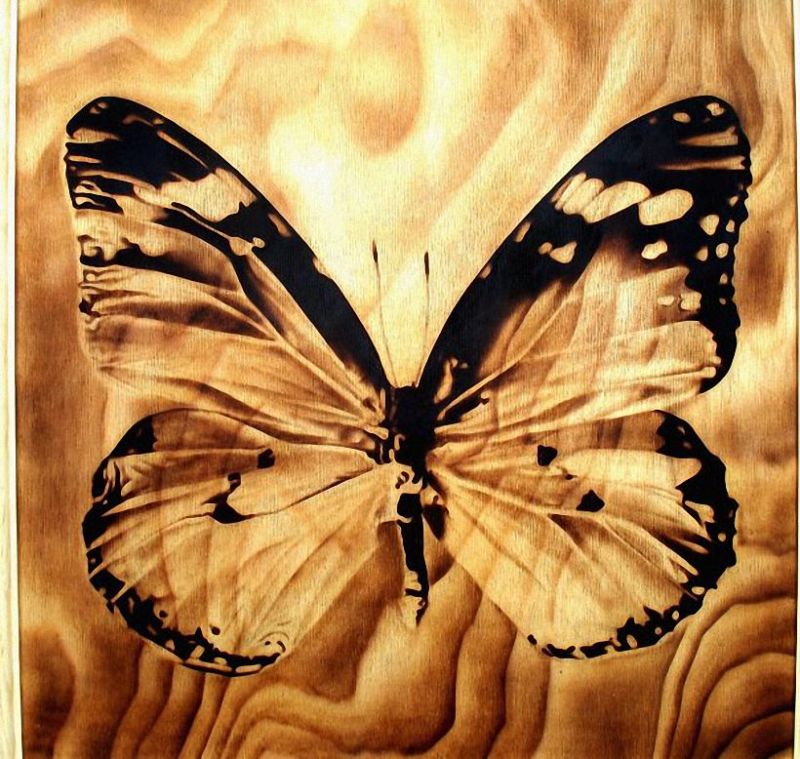
The silhouette technique consists in burning out the background around the figure, i.e. the figure itself is light, and the background around is dark - like a negative when developing black and white photographs.
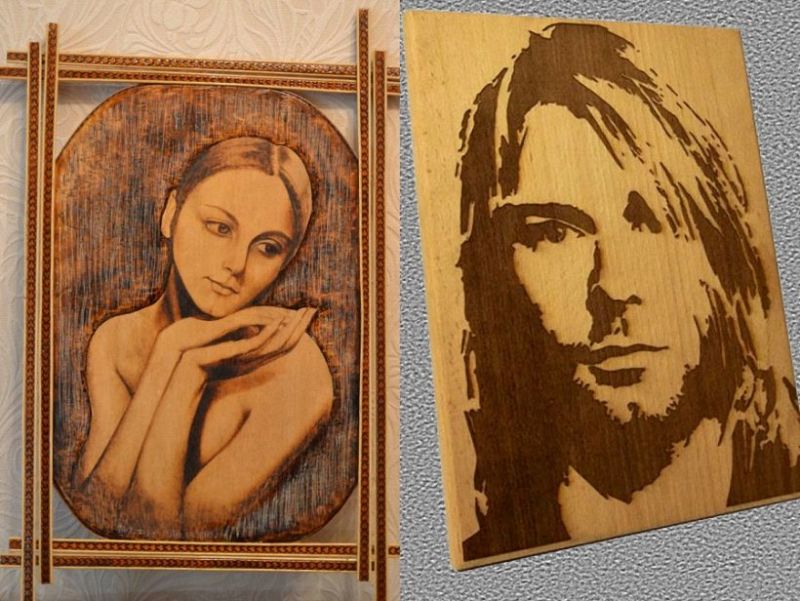
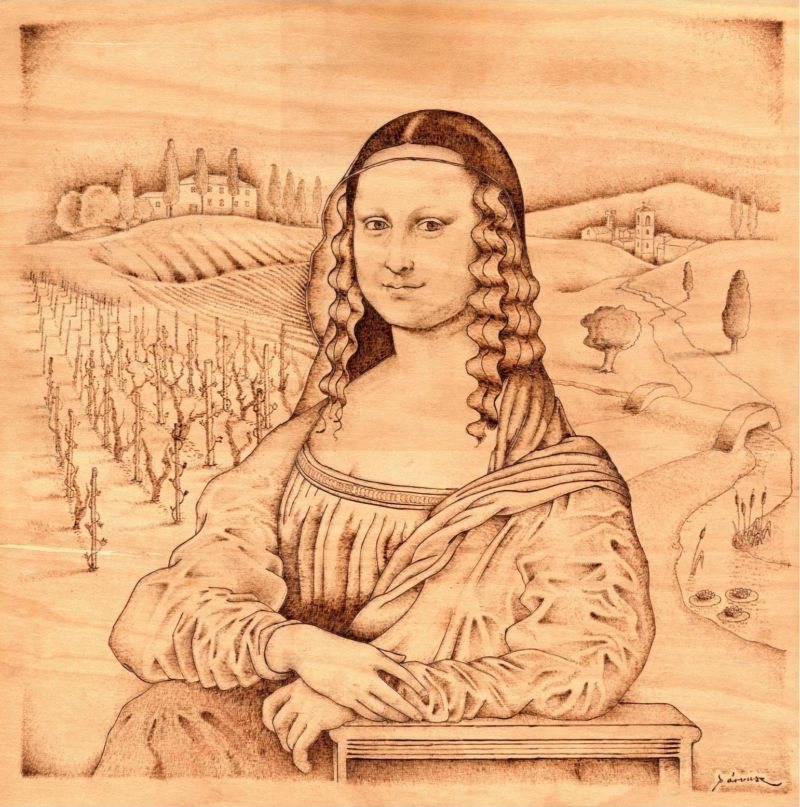
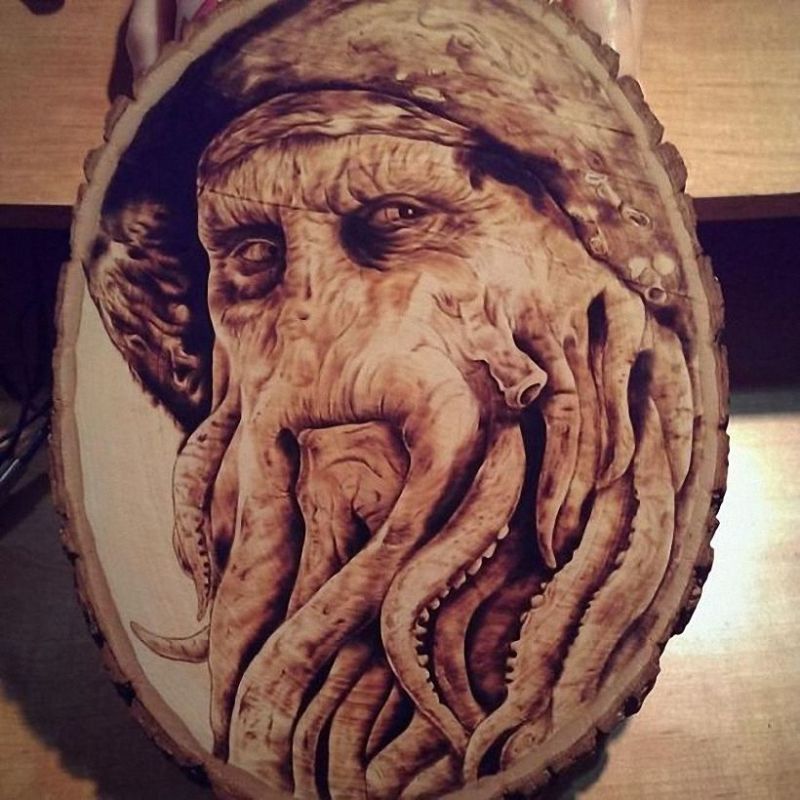
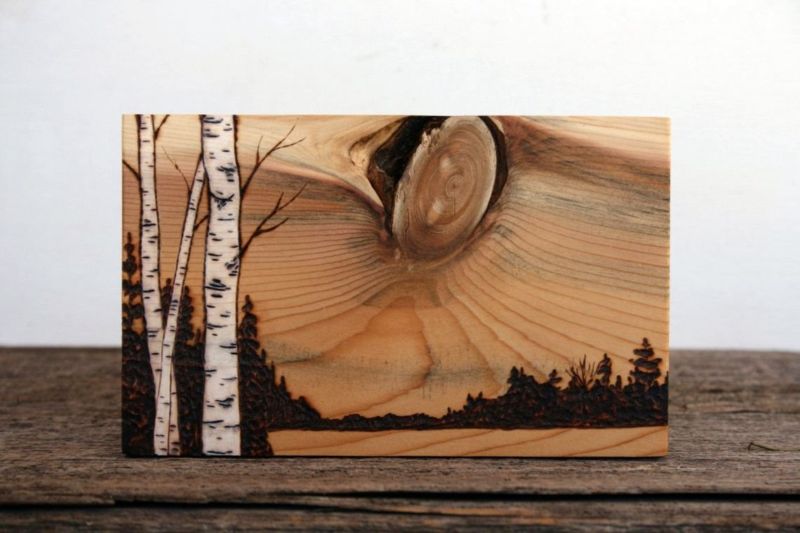
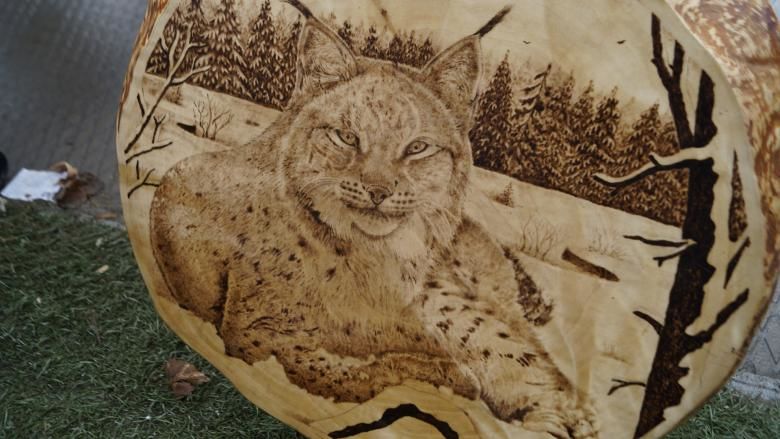
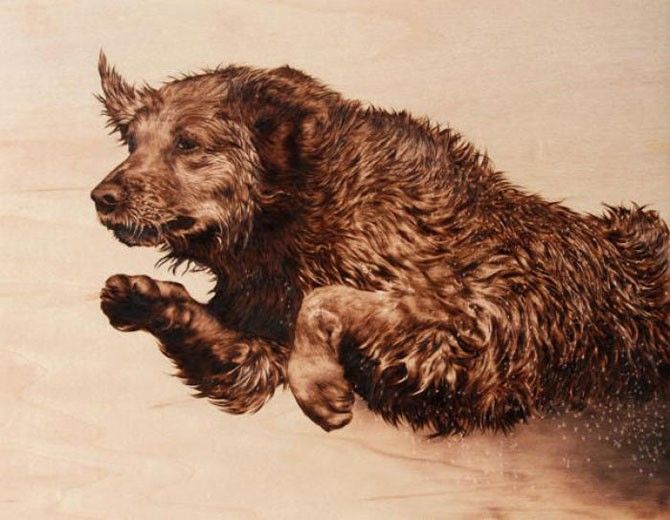
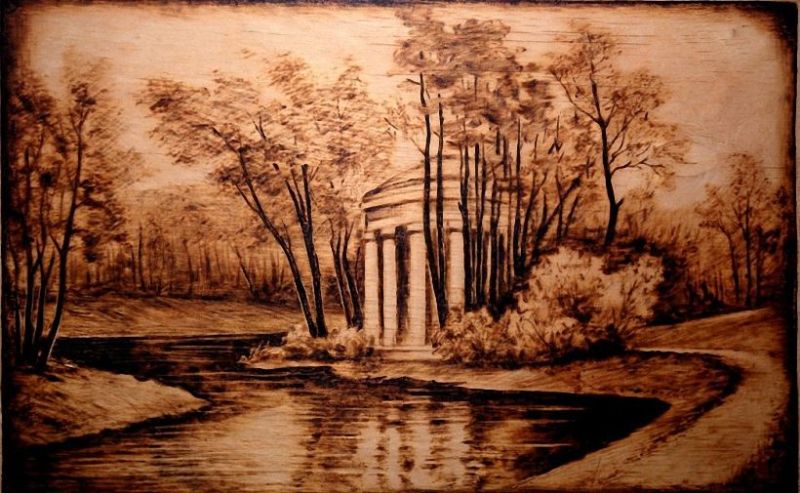
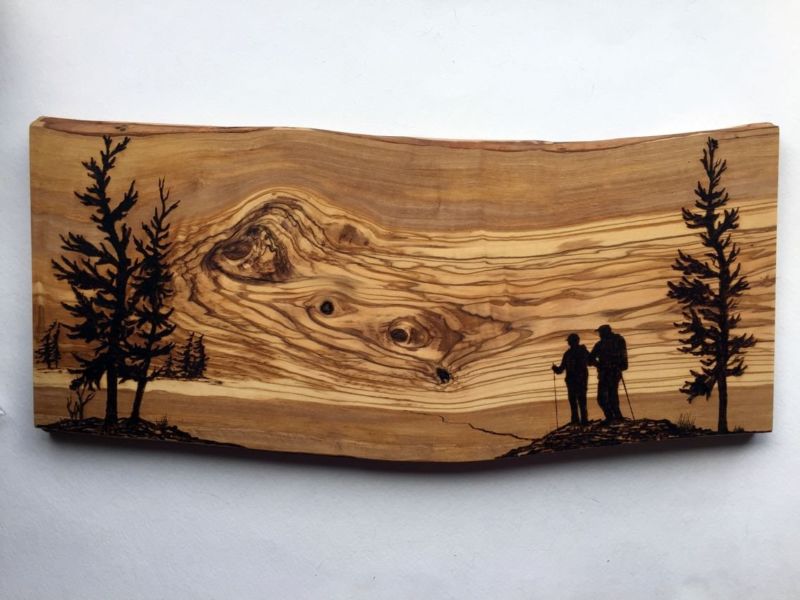
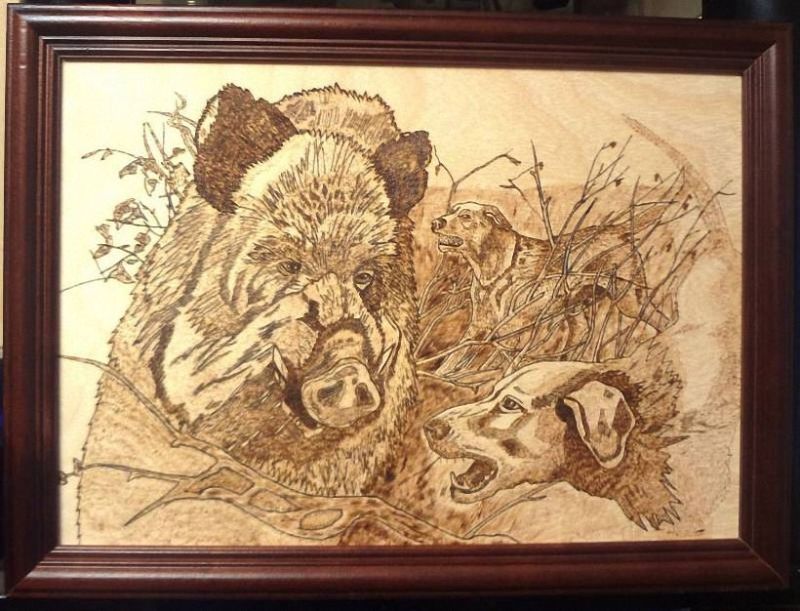
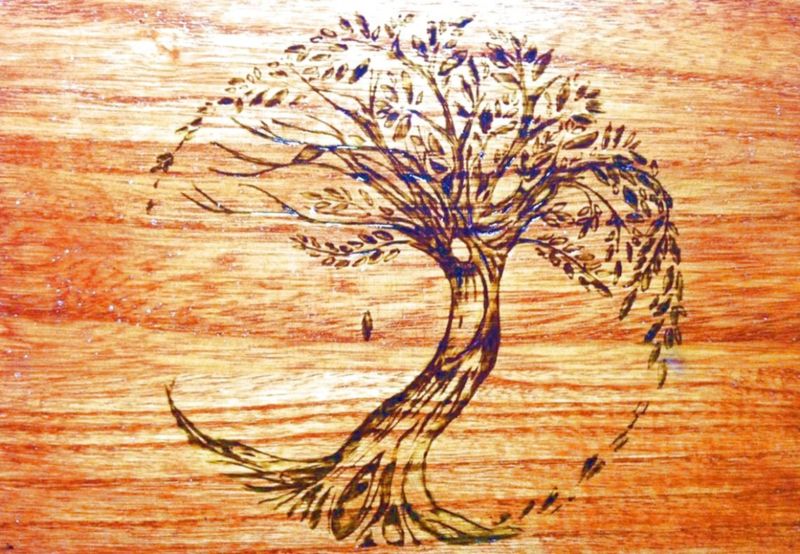
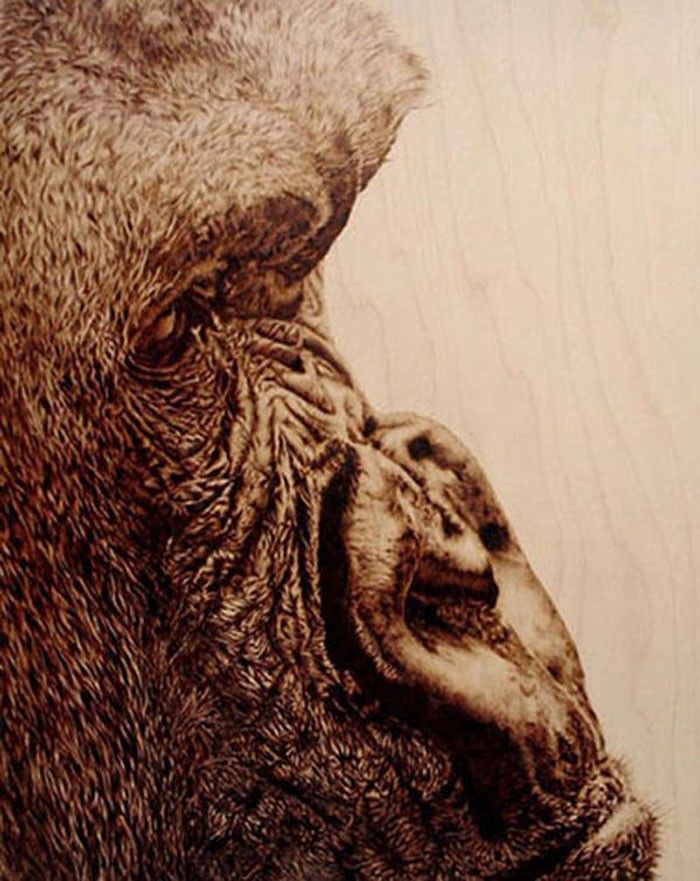
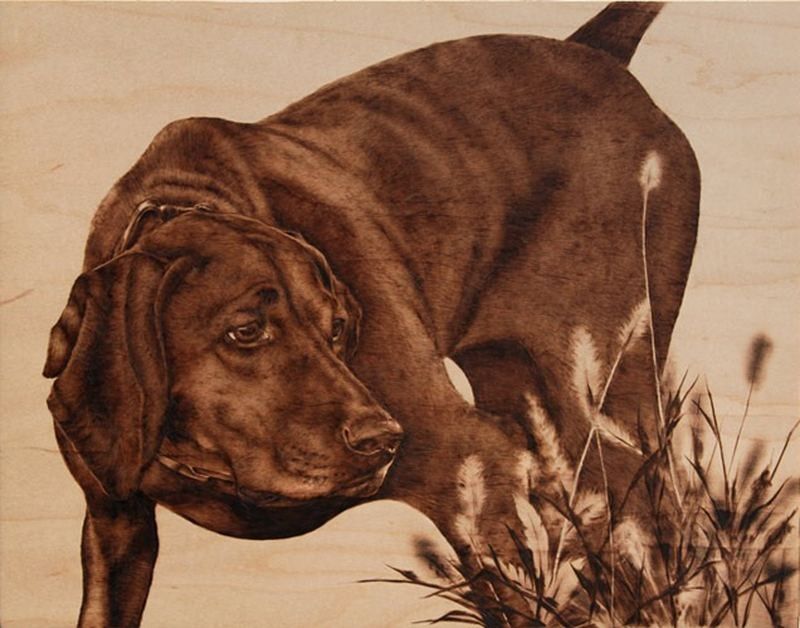
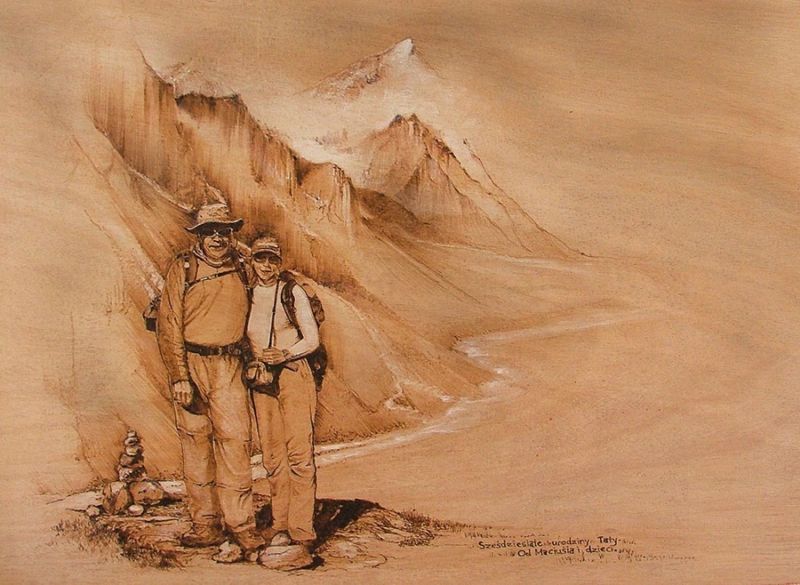
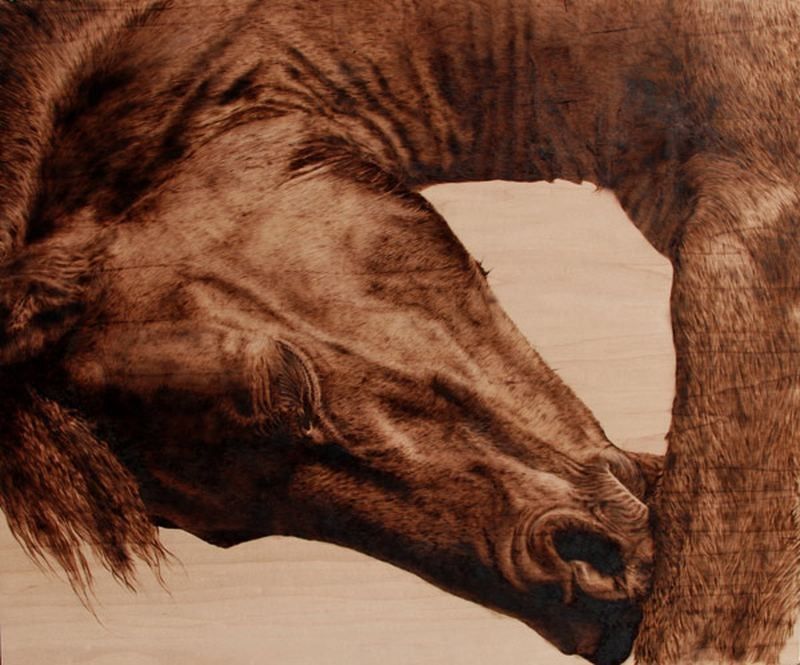
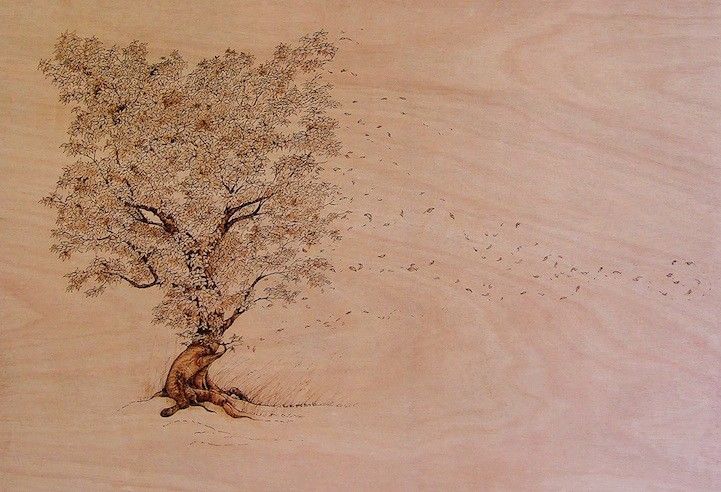
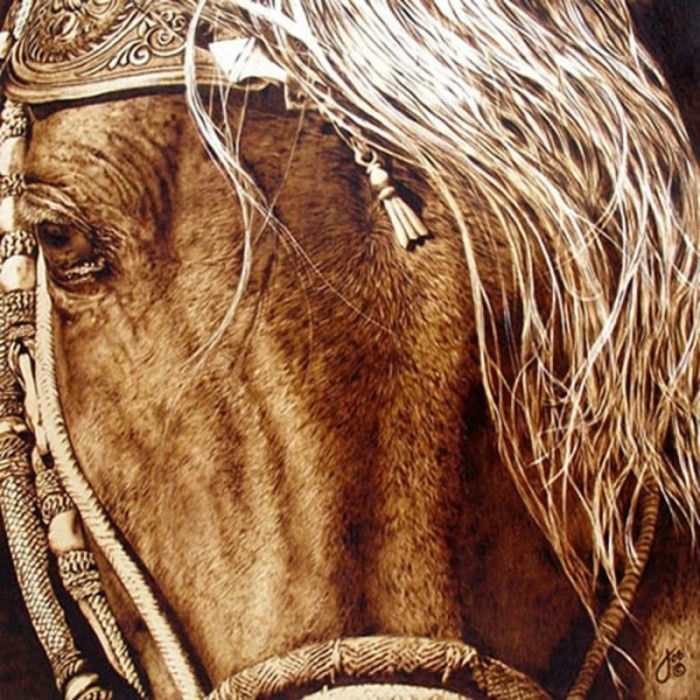
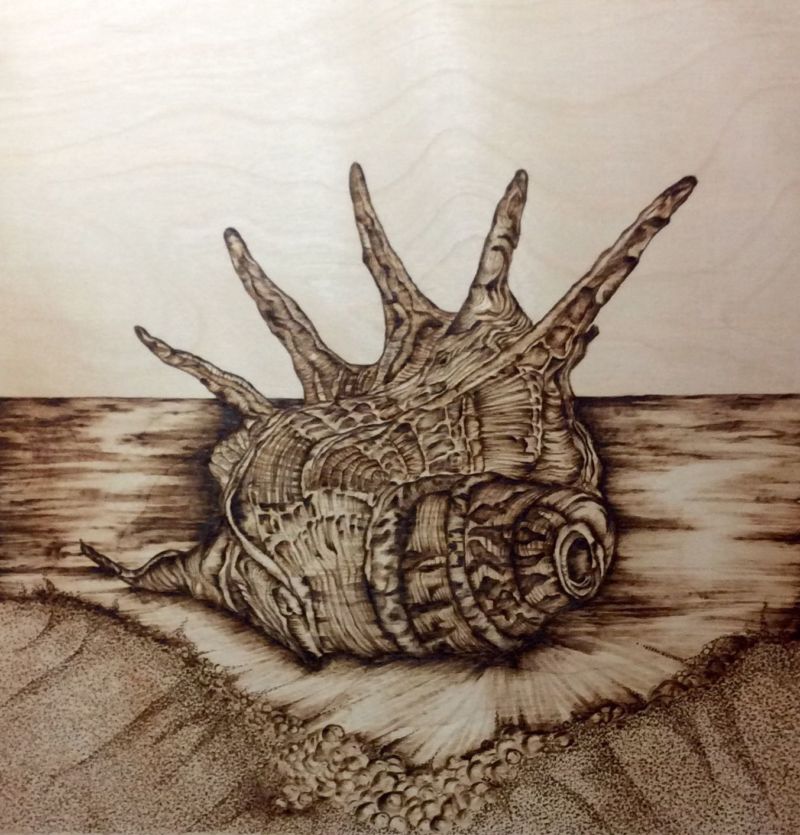
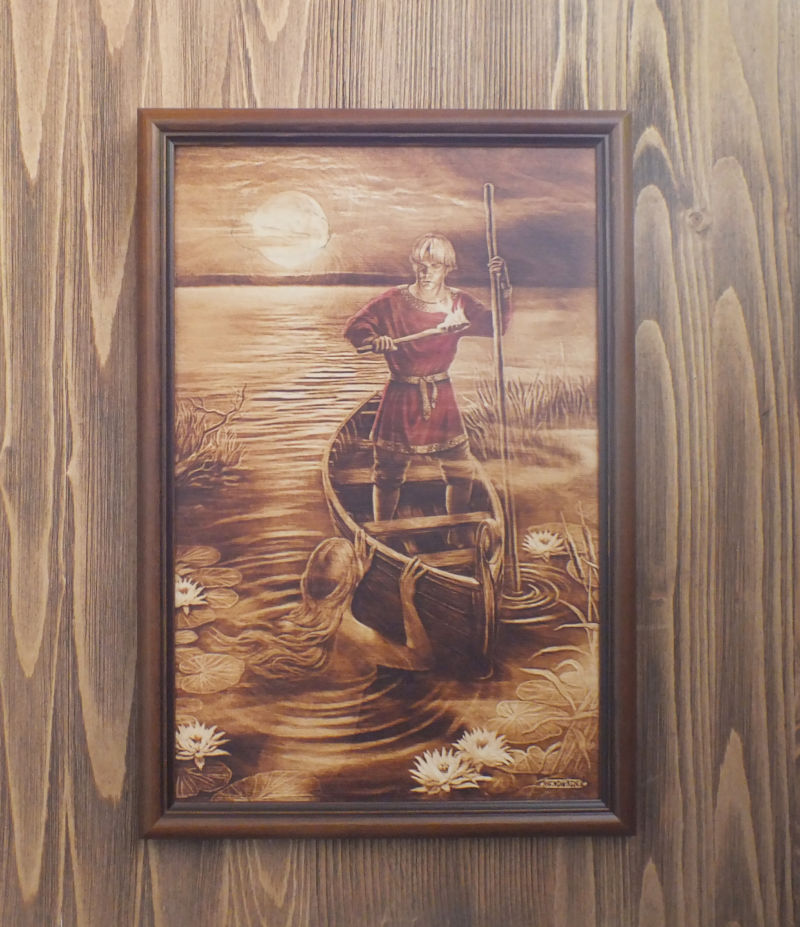
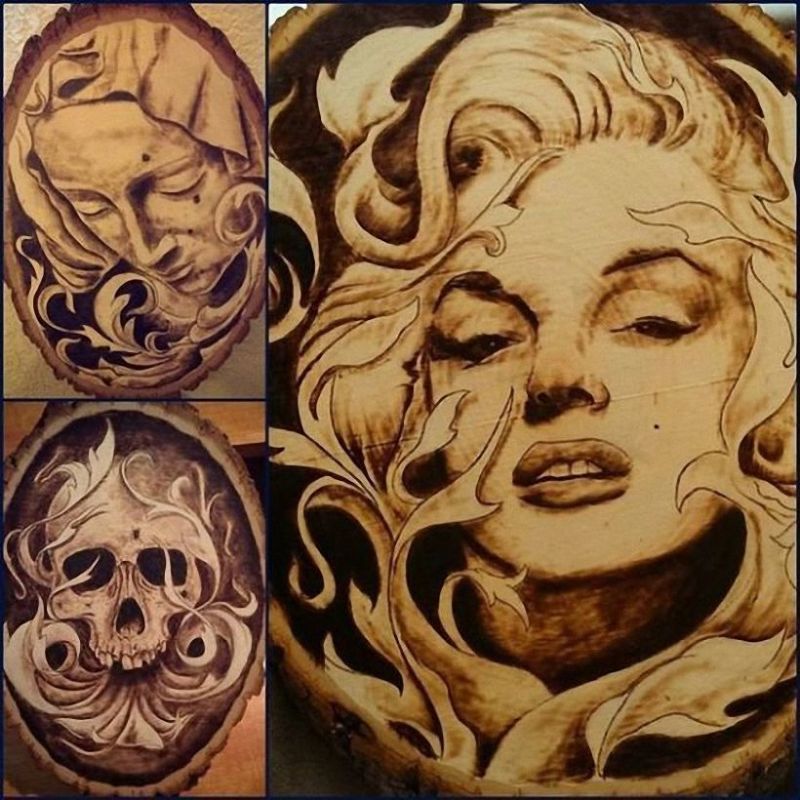
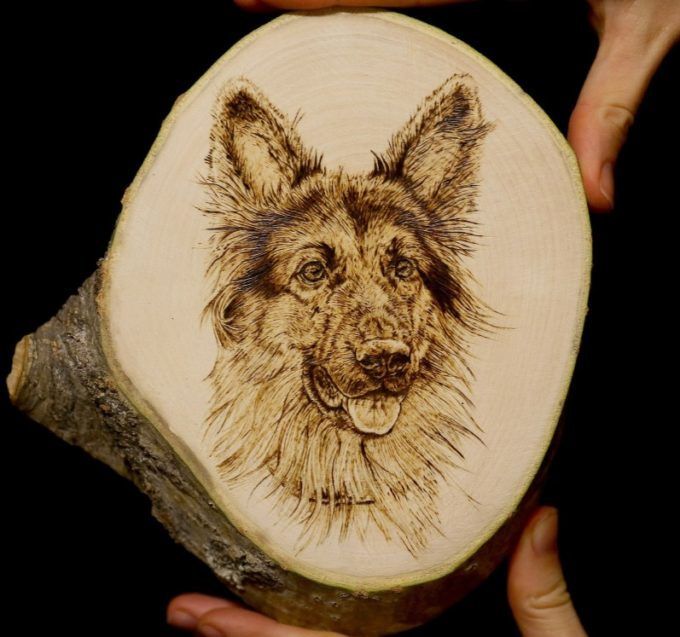
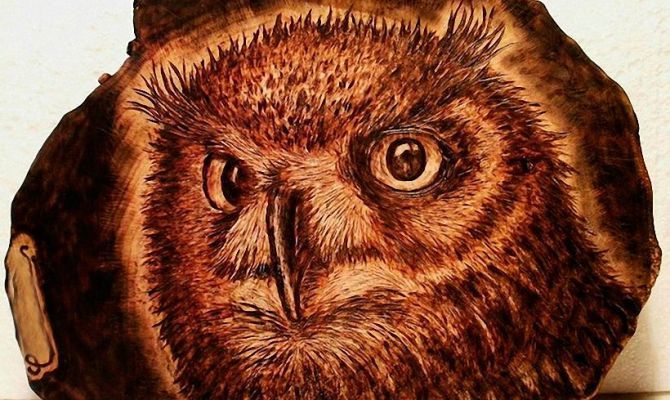
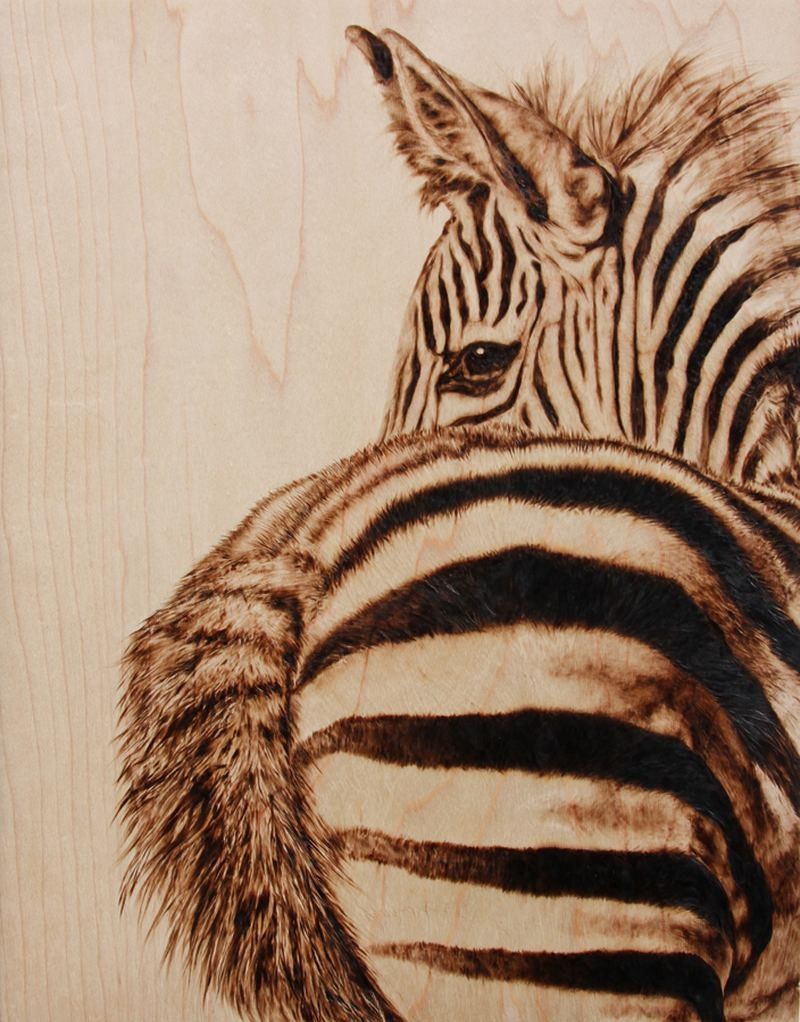
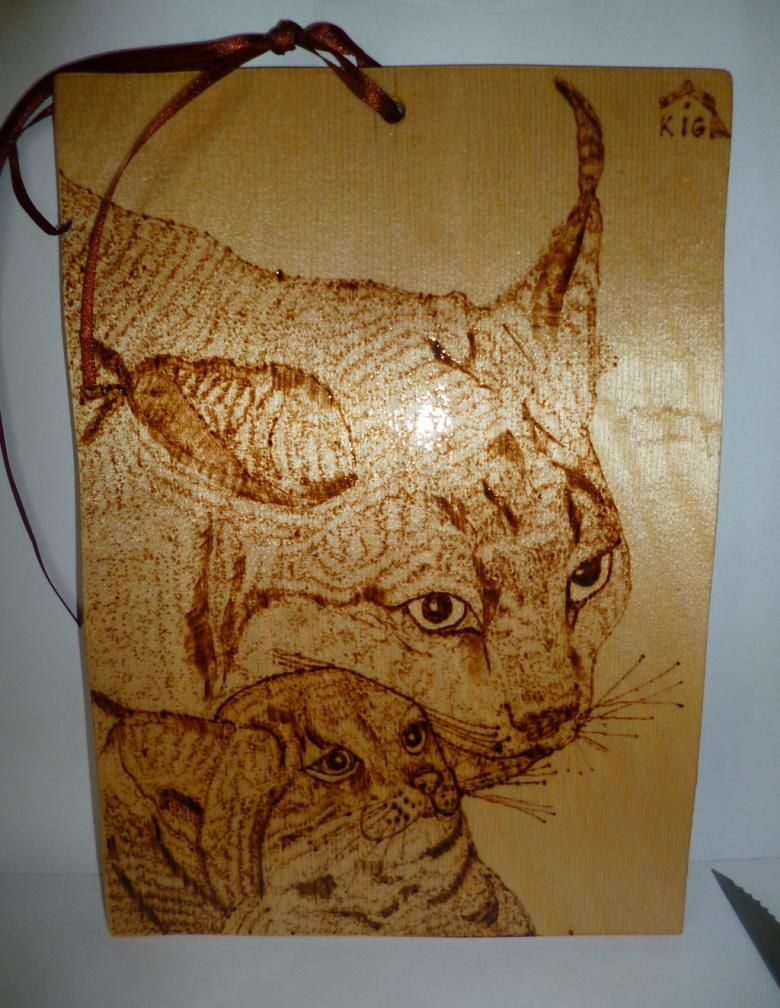
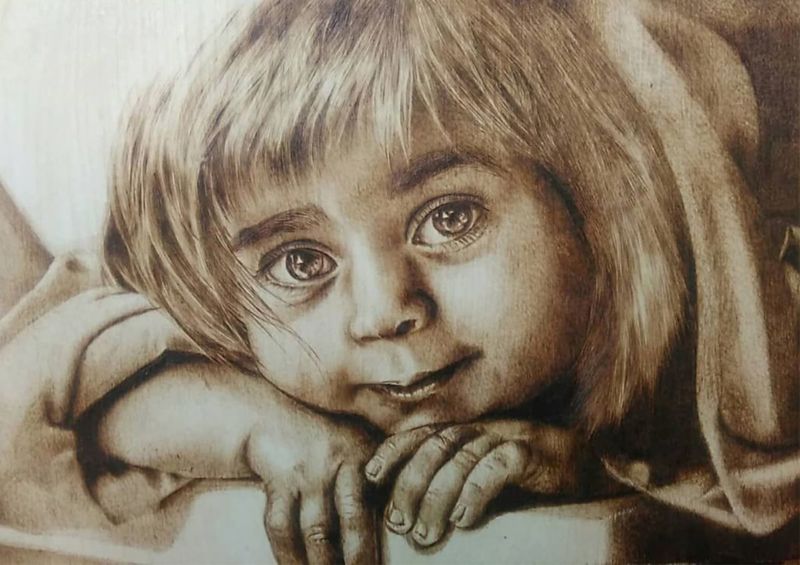
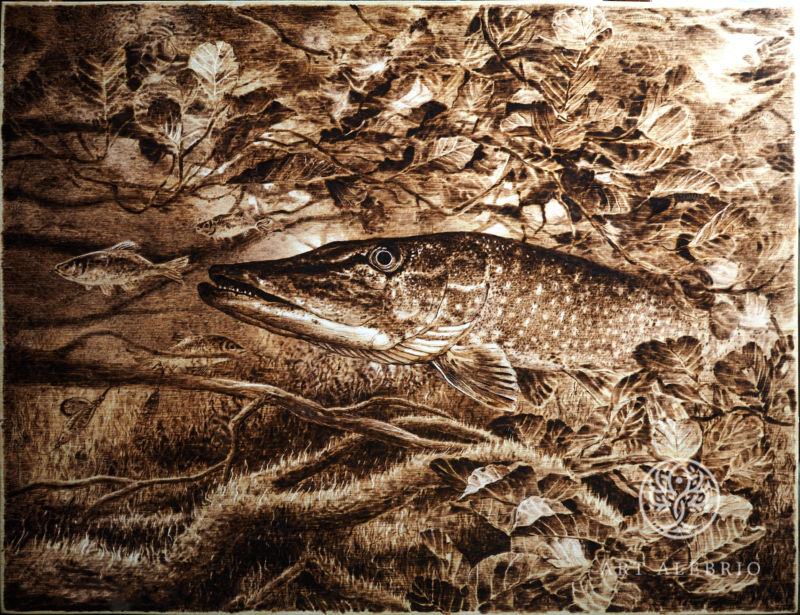
The artistic technique that combines the first two is considered the pinnacle of skill. It includes shading, rules of light and shade, division of space into foreground and background in case of depicting landscapes and still lifes.
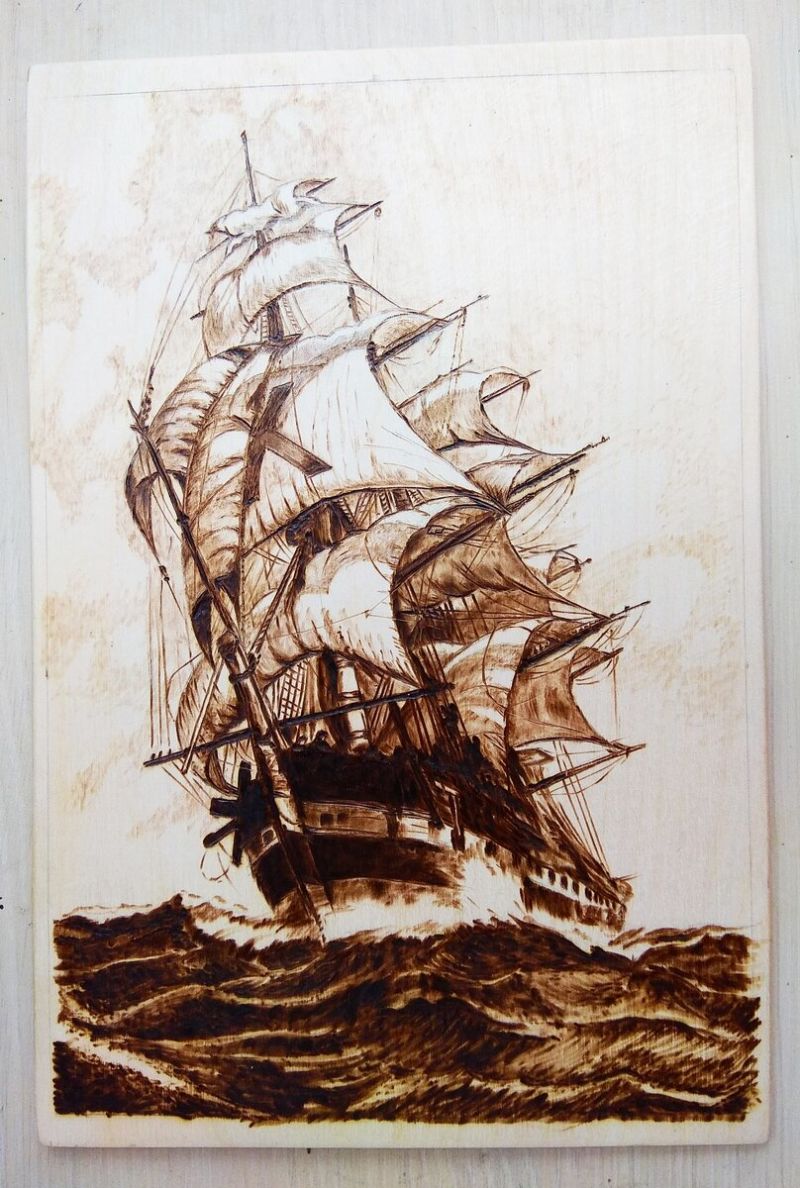
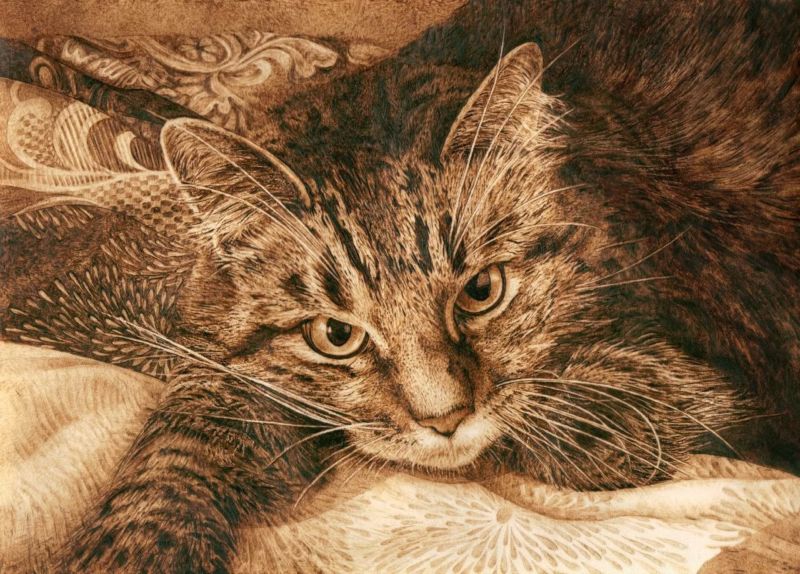
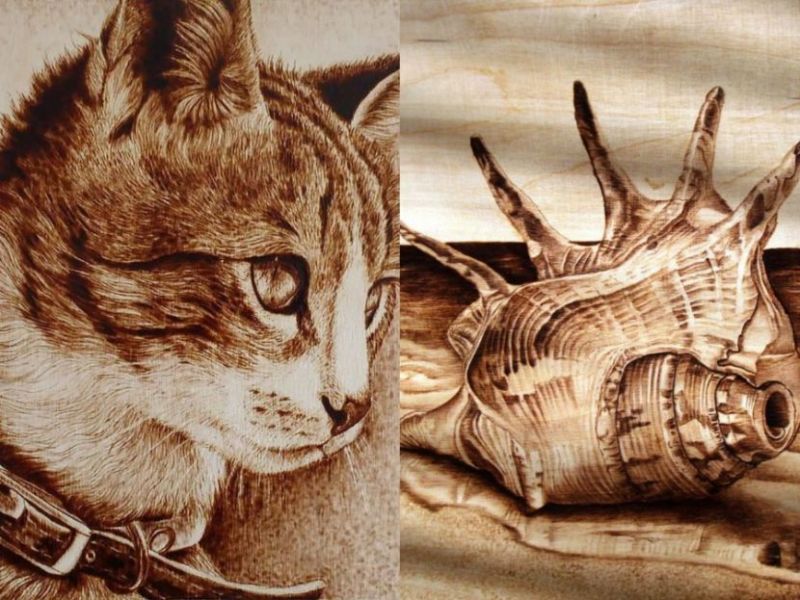
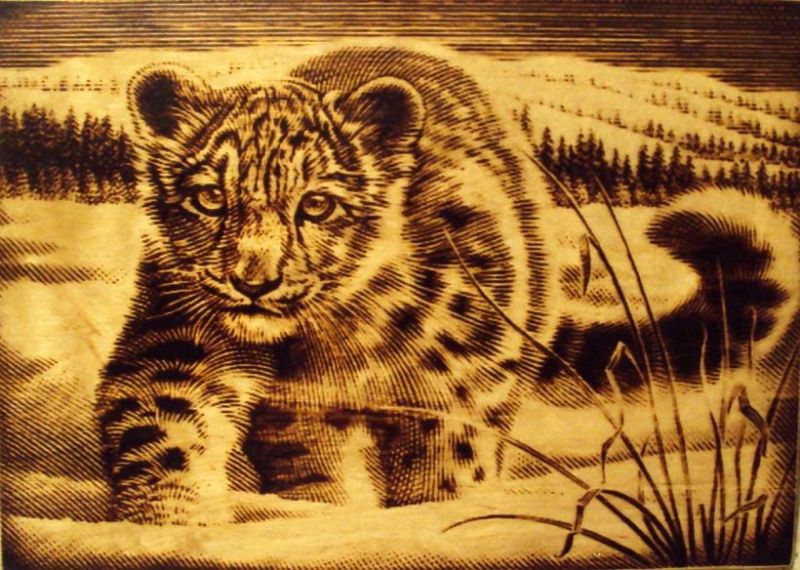
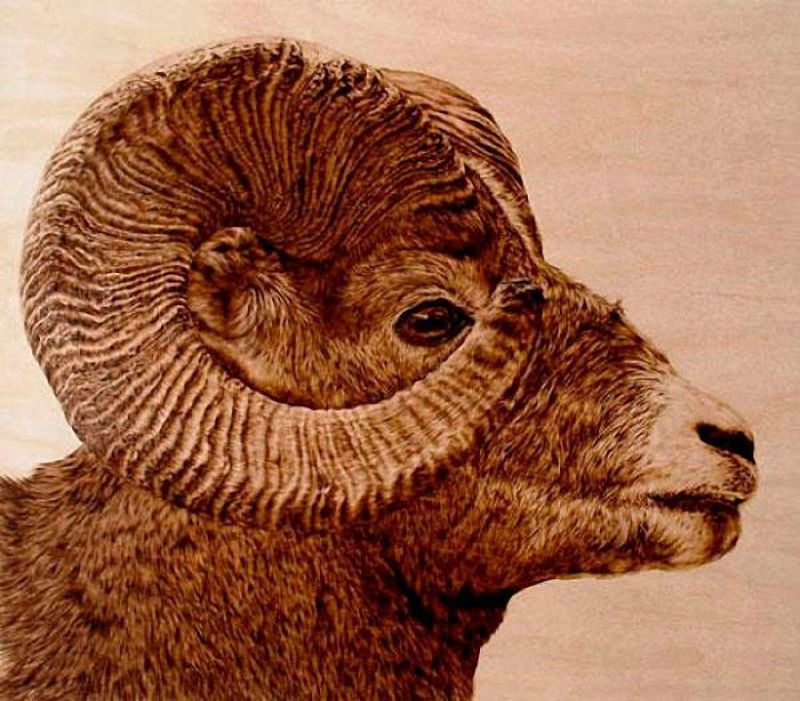
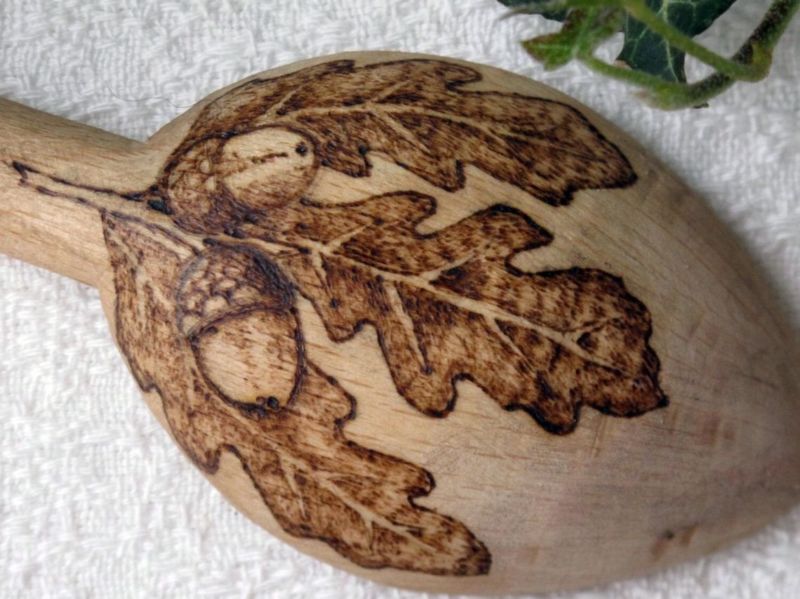
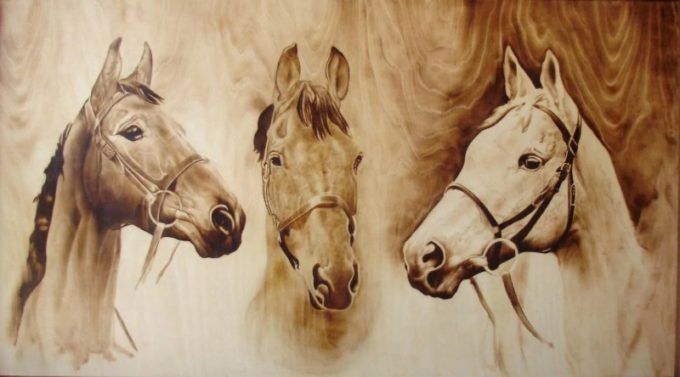
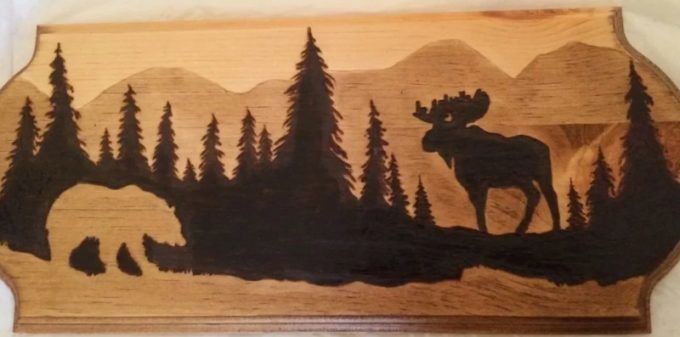
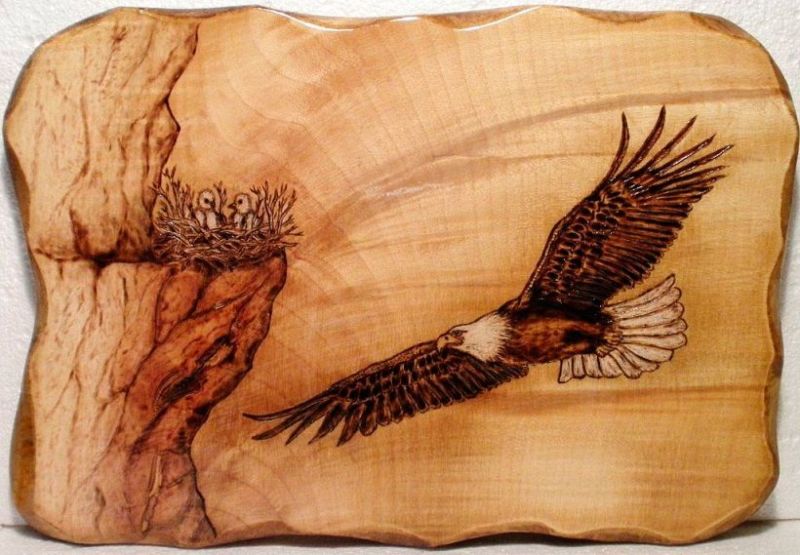
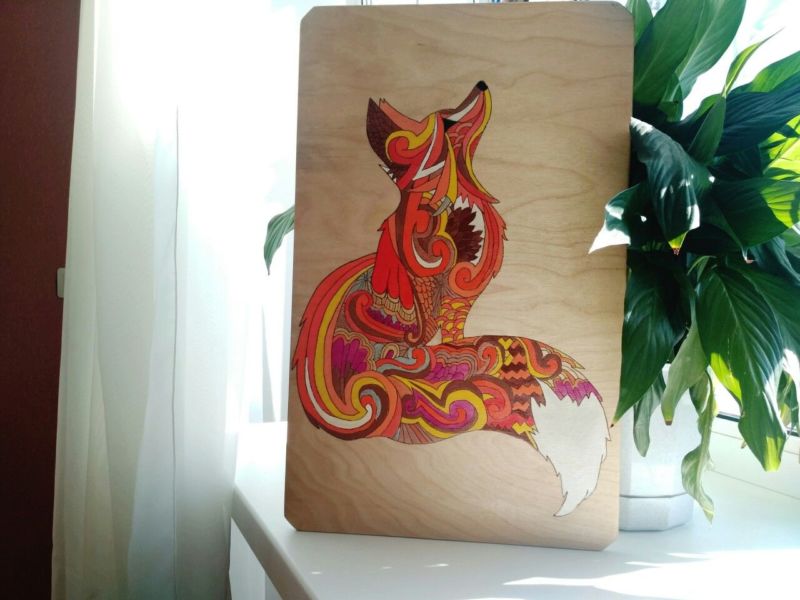
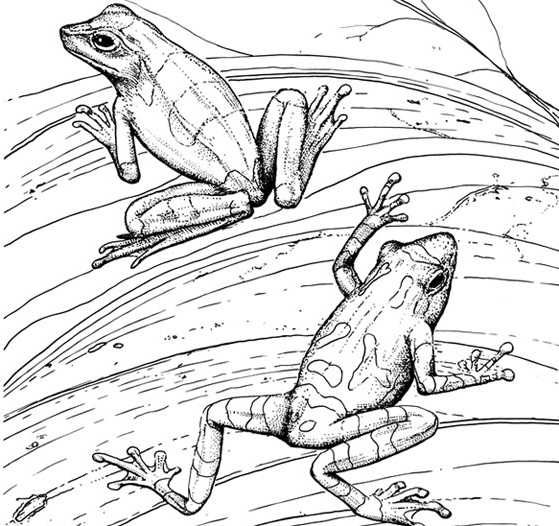
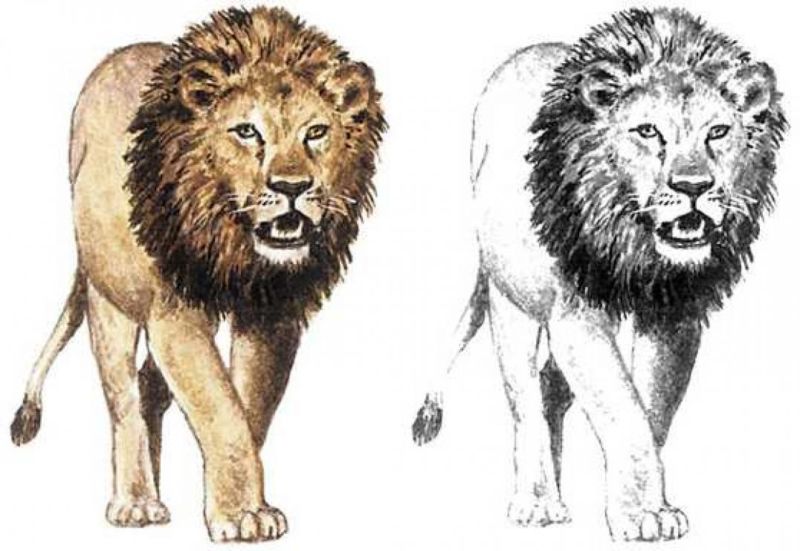
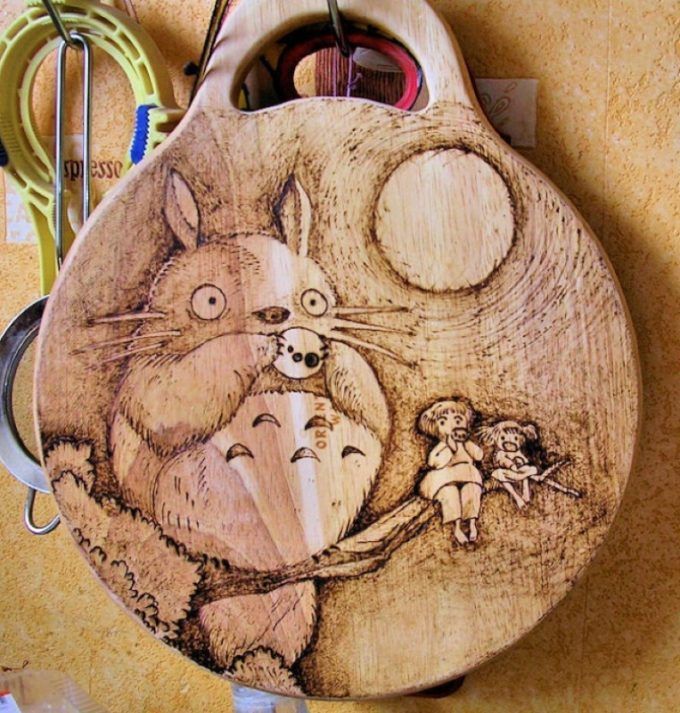
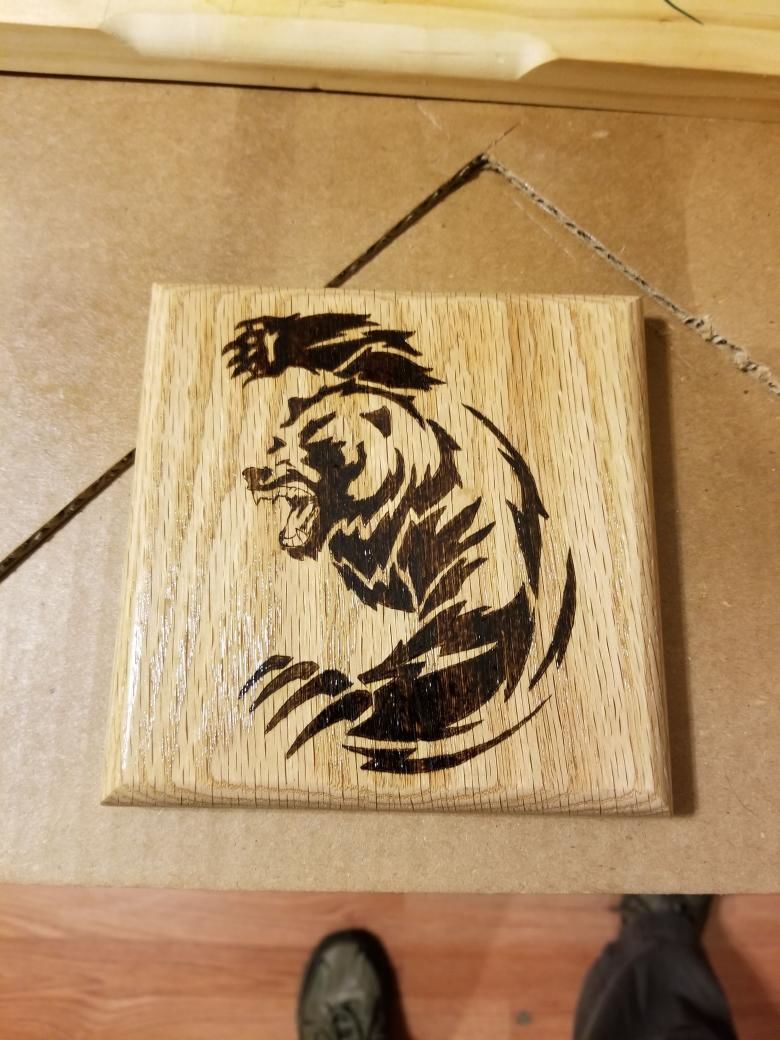
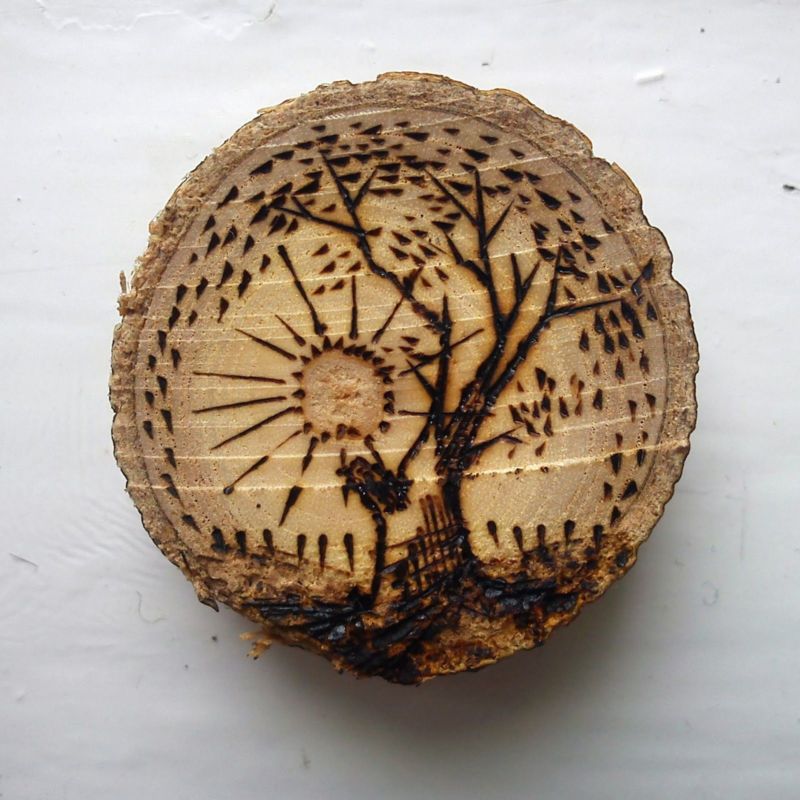
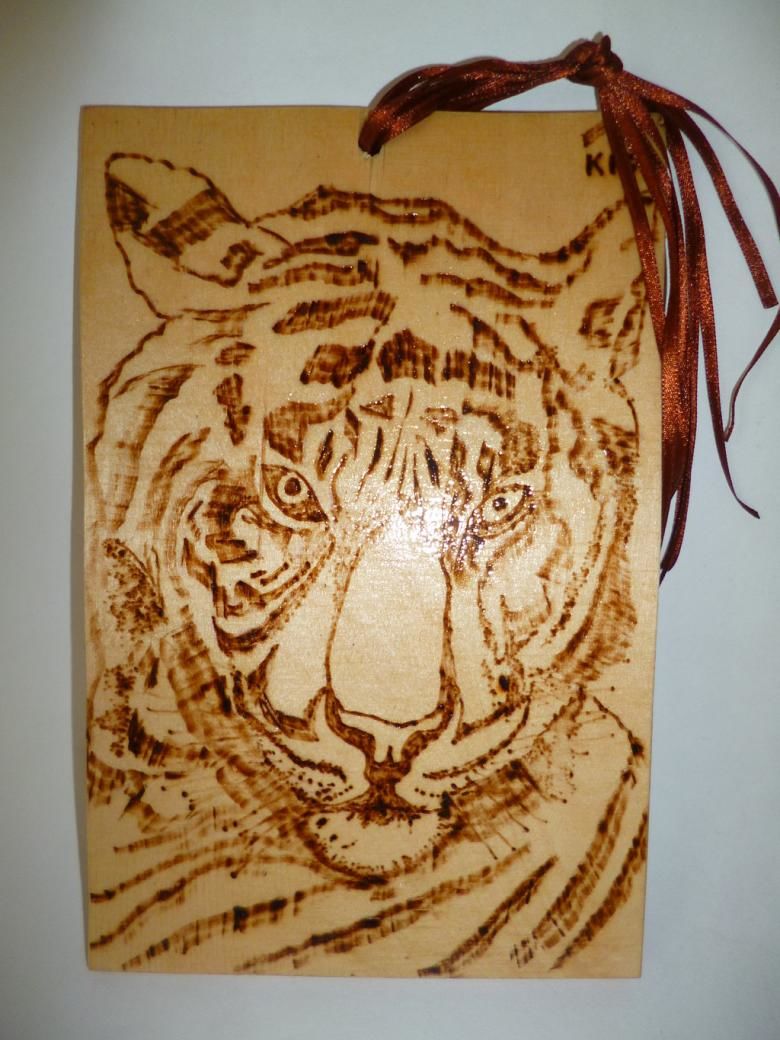
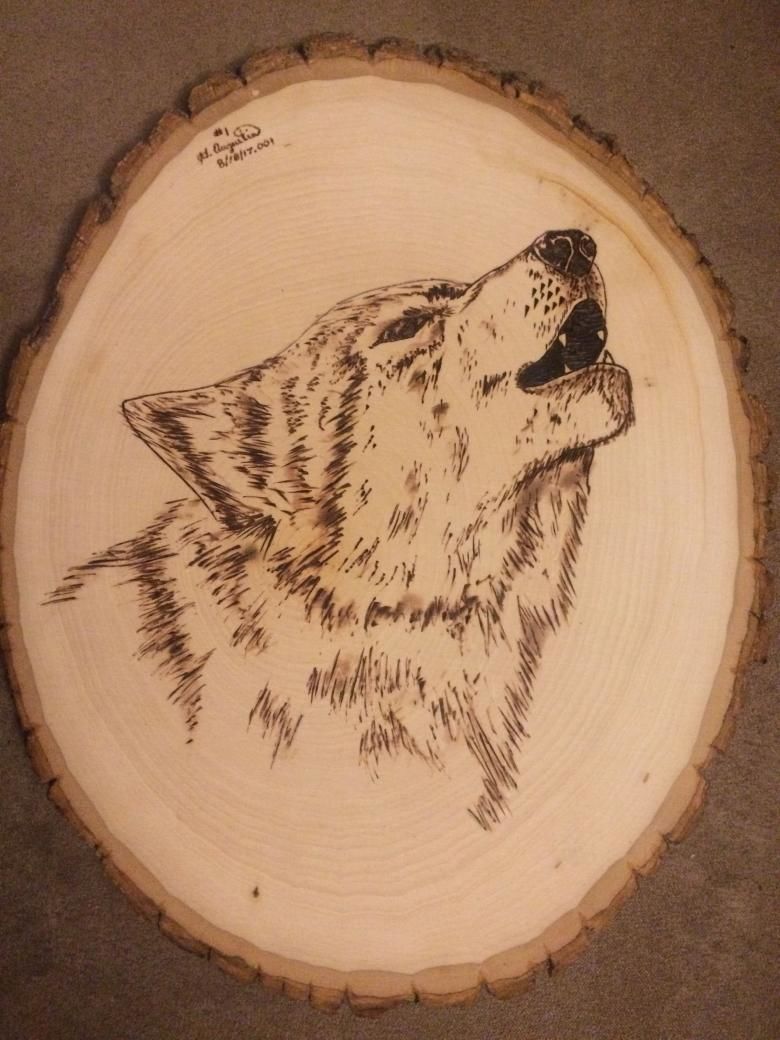
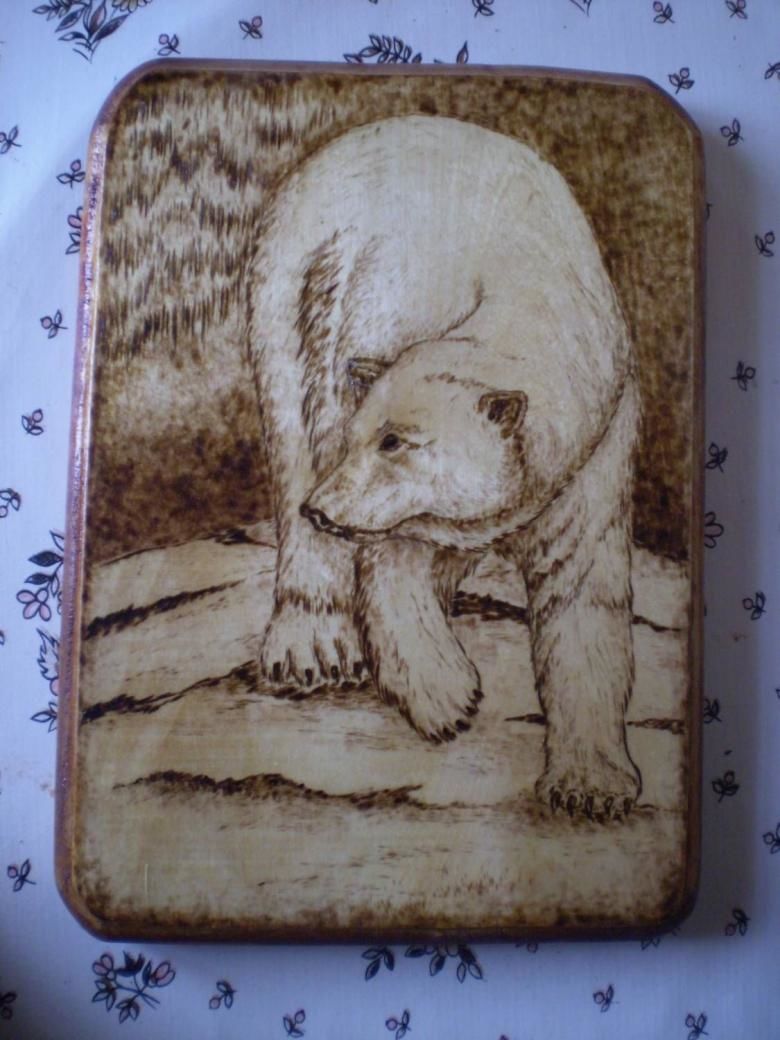
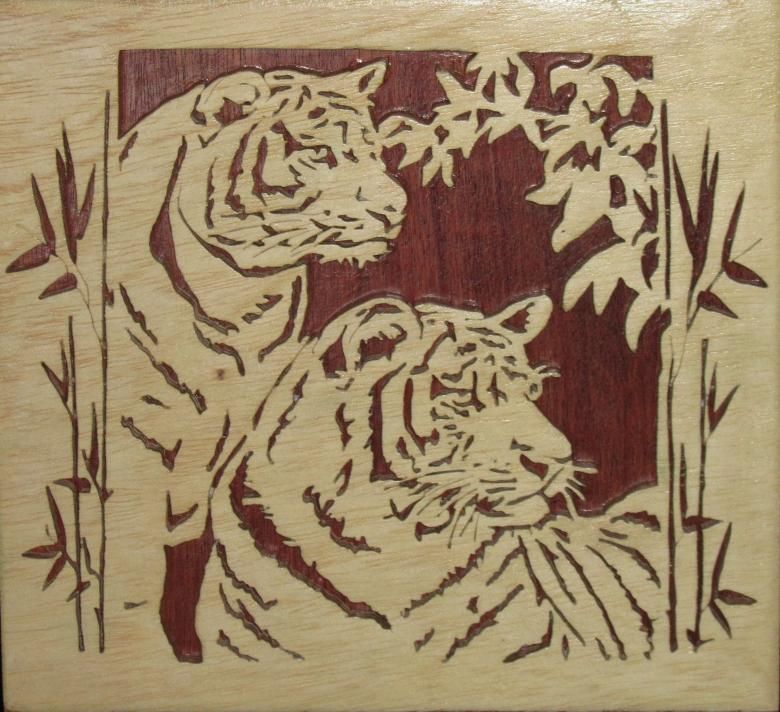
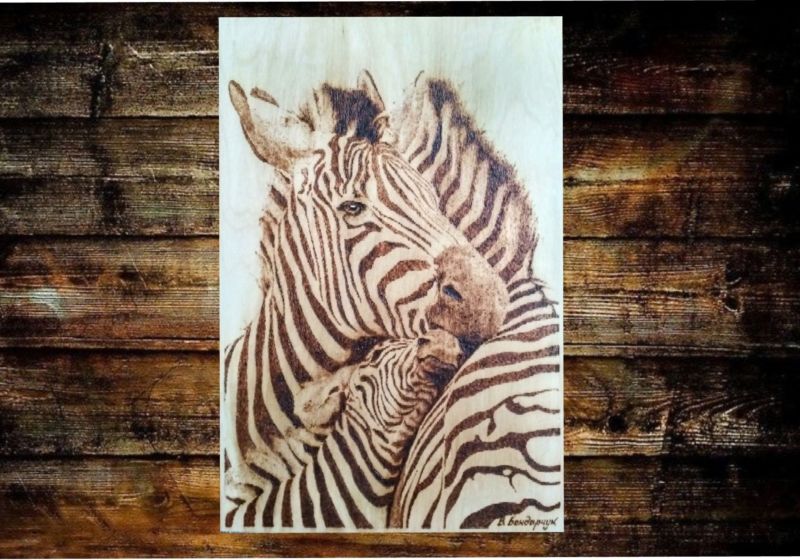
Nature is very popular with experienced pyrographers: depiction of wild animals, birds against the background of their natural environment and pets.

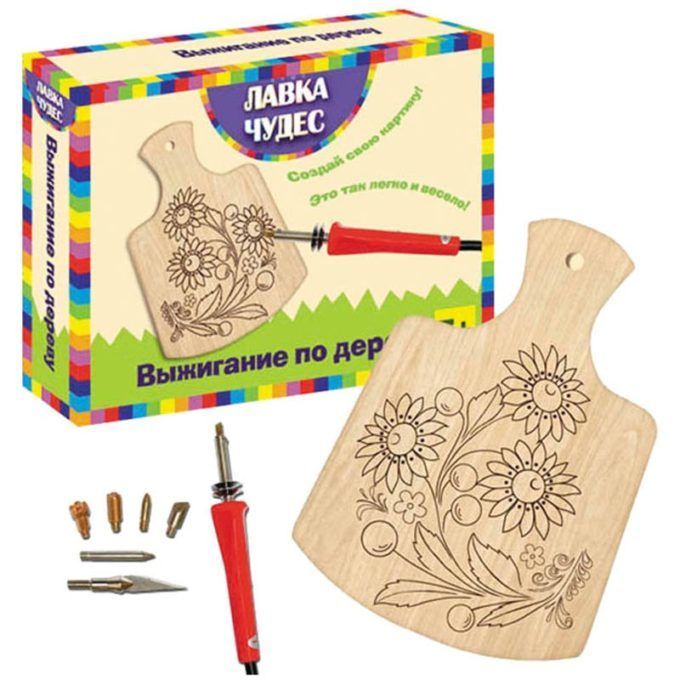
Stencils .
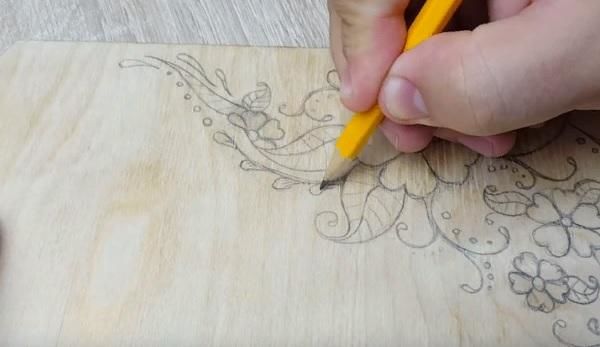
A person who has decided to engage in burning, but not able to draw, should not despair and think long over the subject. Stencils will come to the rescue: they can be downloaded from the Internet or cut out from coloring books. To apply a drawing on a wooden surface you will need:
- a paper stencil;
- tracing paper;
- a pencil;
- buttons or masking tape.
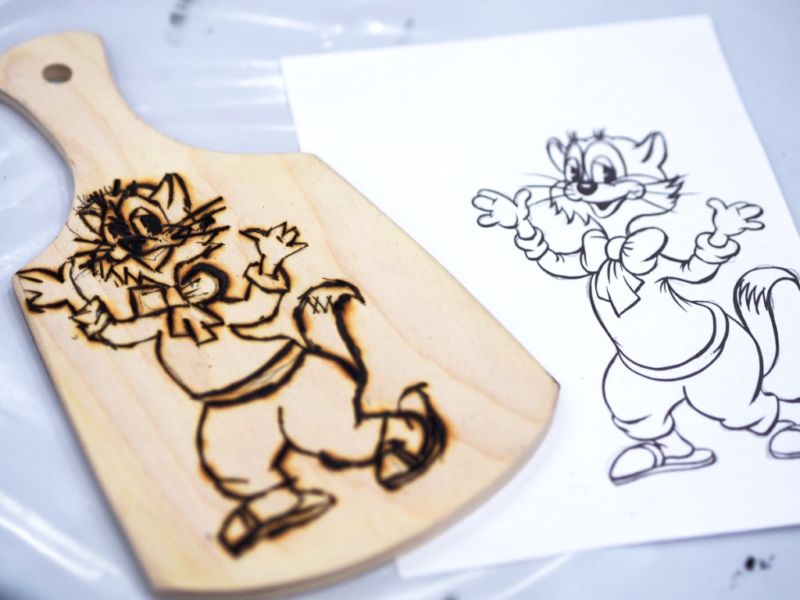
Place copy paper with the bright side down on the board and stencil on top. Secure with buttons (tape) and draw the entire drawing, pressing the pencil well enough. Remove the buttons, stencil and carbon copy and you can start burning.
You can also apply a drawing by pressure. To do this, attach the stencil to the tree and trace the outline with a pen with a non-pens: the lines will be imprinted on the board.
Those who can draw can think up a story and draw it directly on the tree, using a minimum of pencil lines.

Patterns
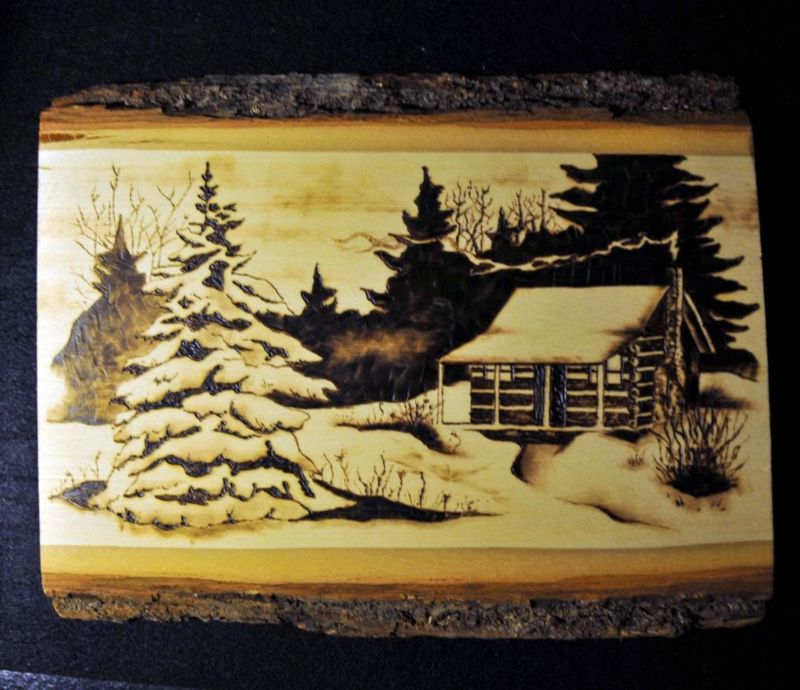
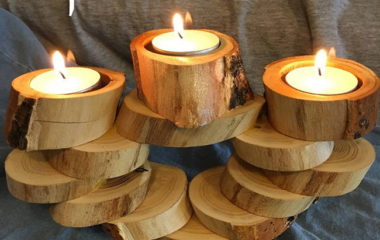
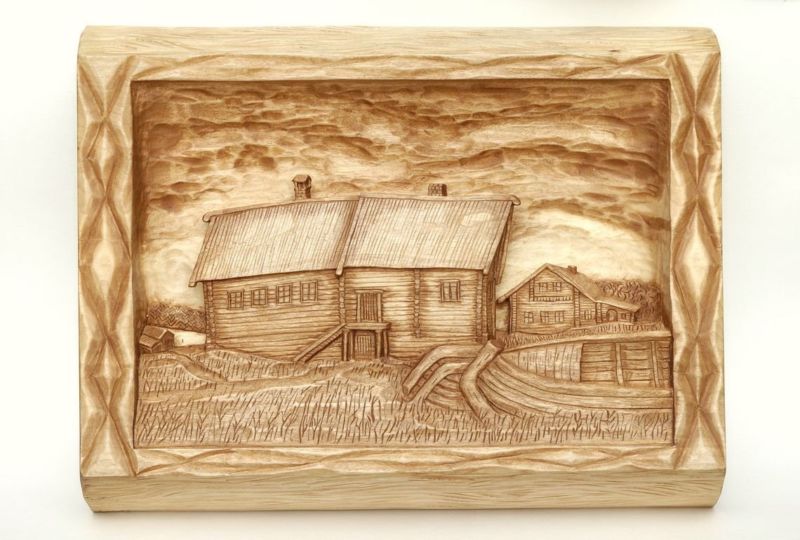
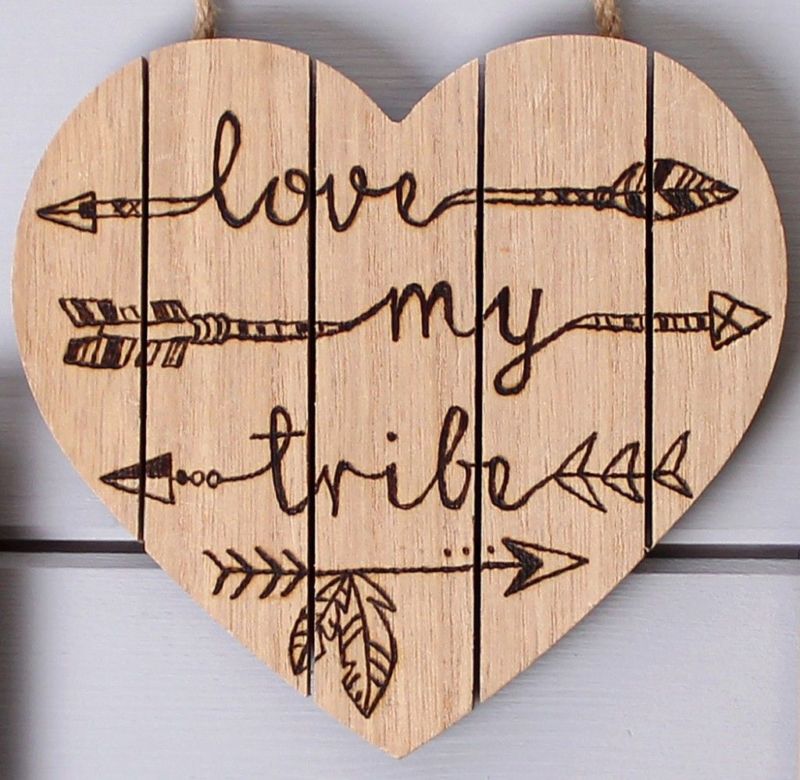
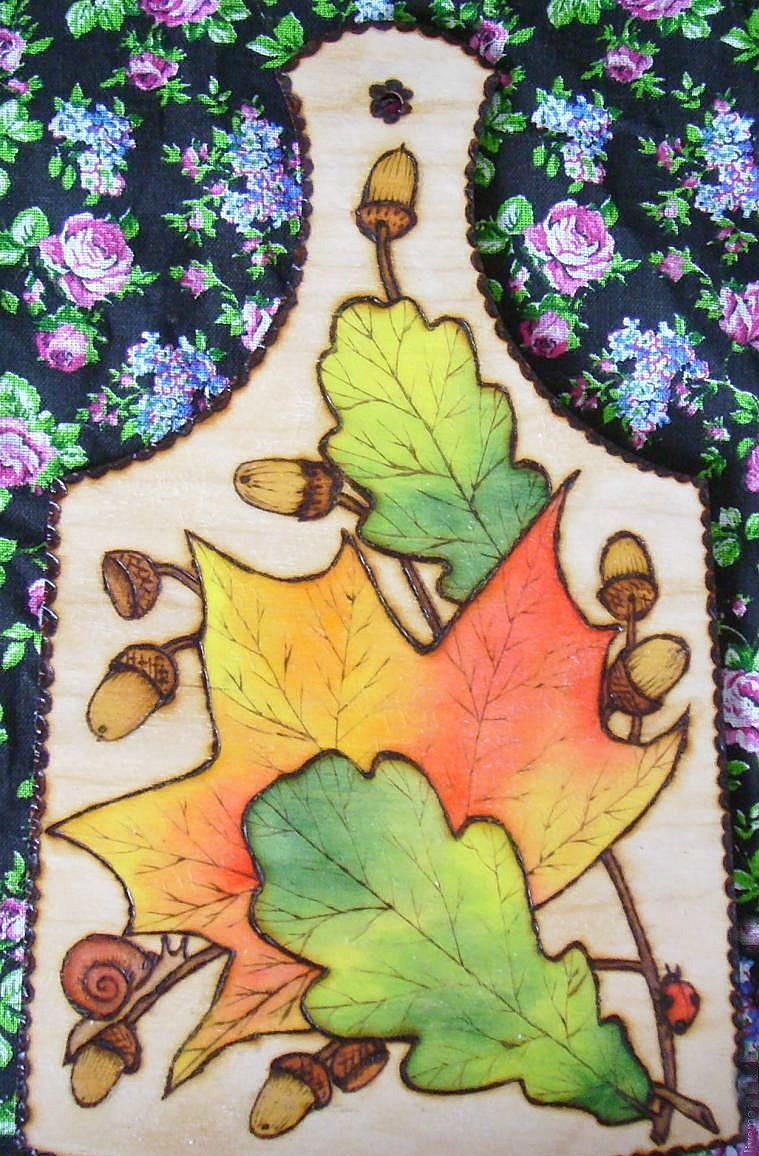
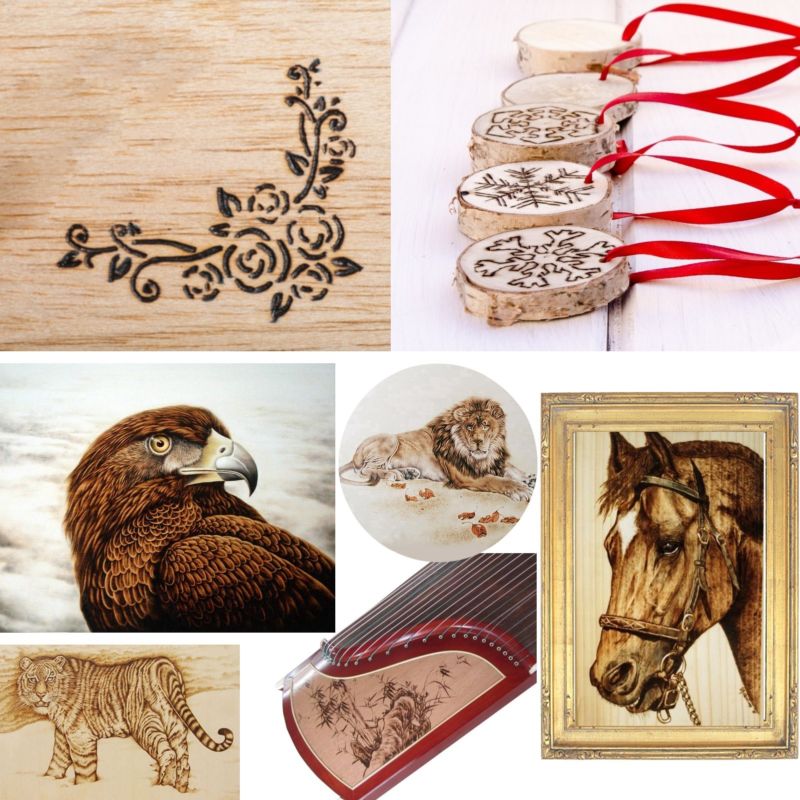
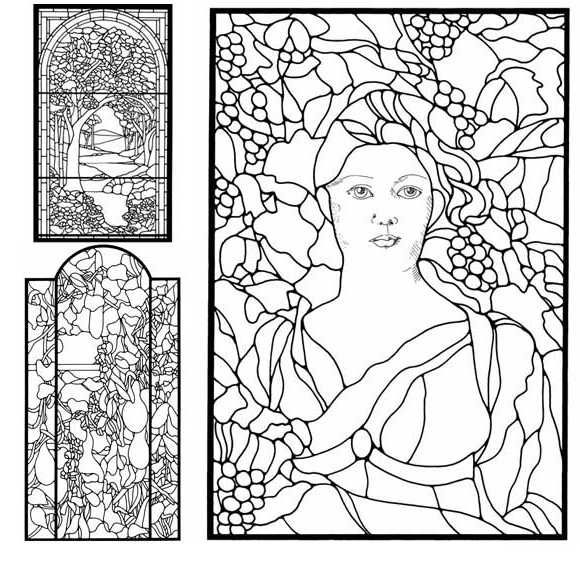
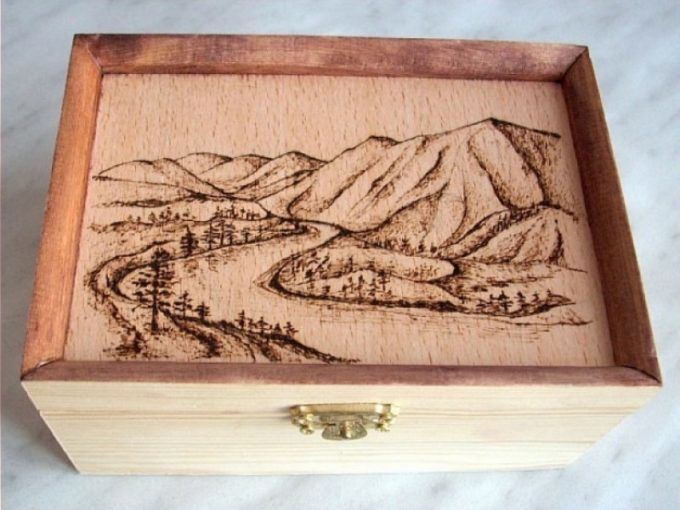
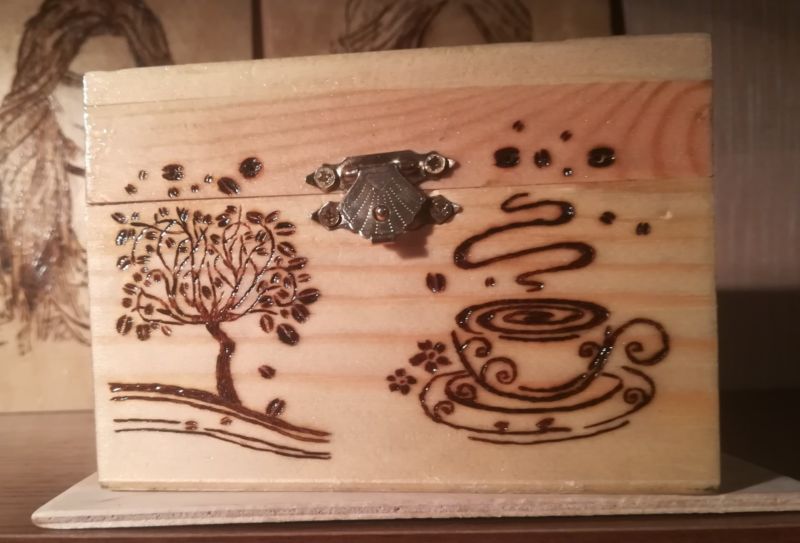
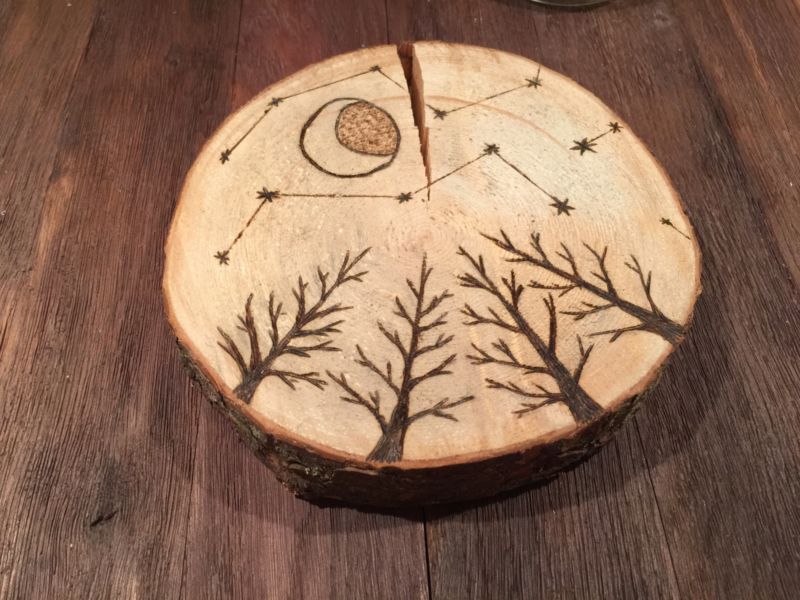
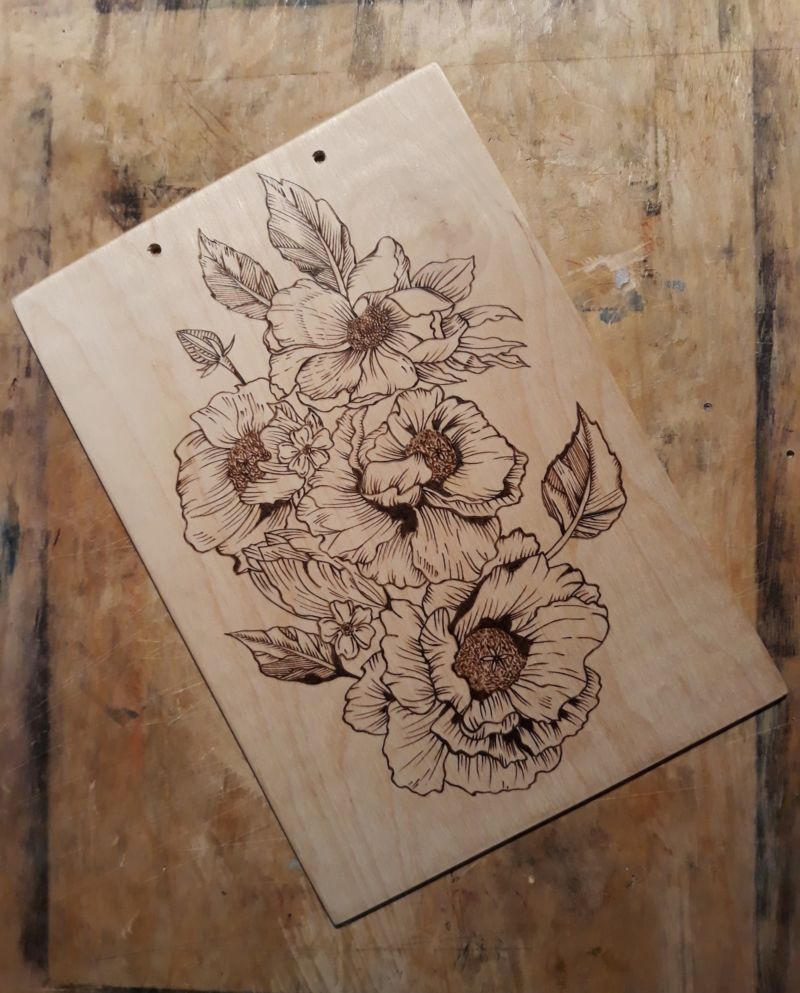
Burning patterns is akin to relaxation. The work is subtle, painstaking, requiring assiduity and slowness. Patterns can decorate wooden dishes, cutting boards, panels, frames for a mirror and photo, cabinet doors, railings and other parts of furniture.
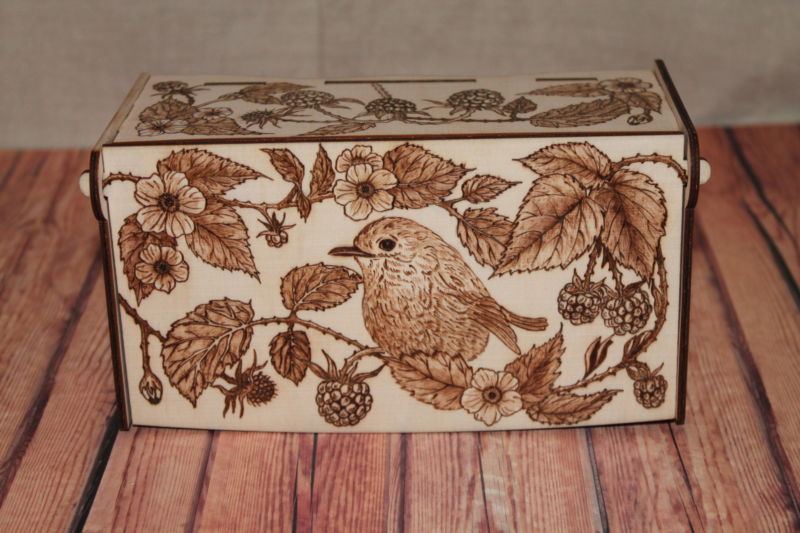
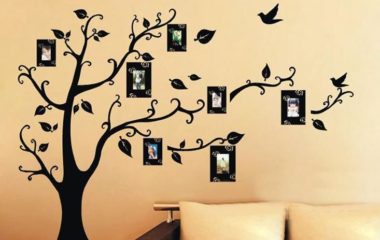
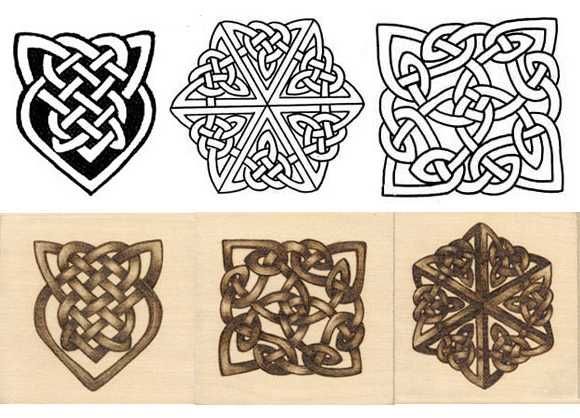
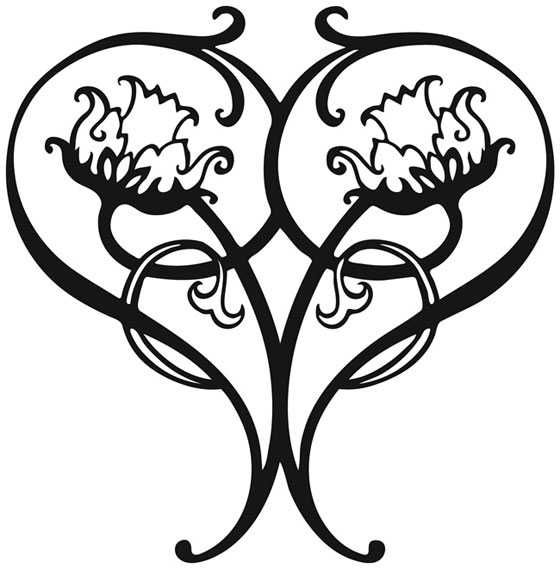
Frames are decorated with ornaments of repeating elements. There are the following types of ornaments: vegetable (flowers, leaves, grass, berries), a combined - plant-animal (eg, plants and birds), ornaments with elements of religious and ethnic symbols, geometric.
Corners (a pattern inscribed in a right angle) will also look good on frames, boards, boxes.
For panels, mirror images are interesting when the two halves of the image are mirrored.
Simple pictures
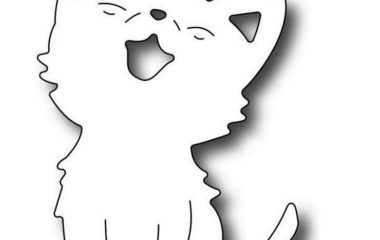
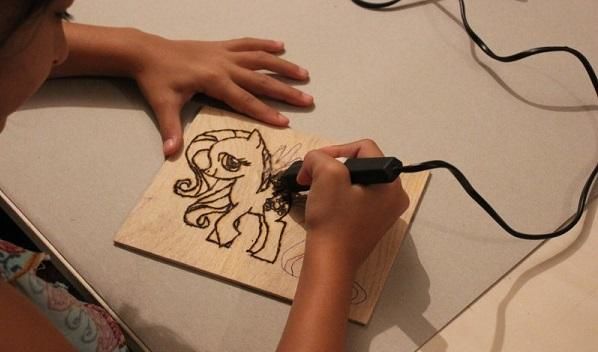
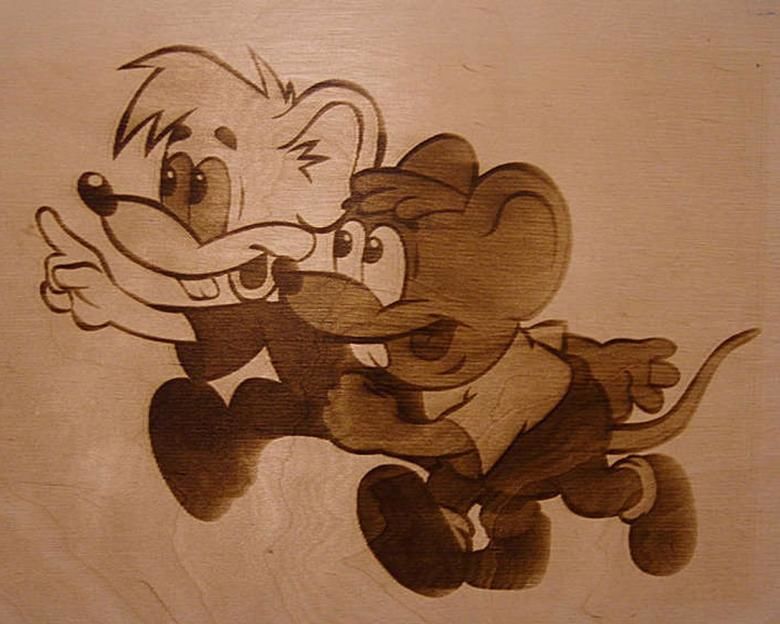
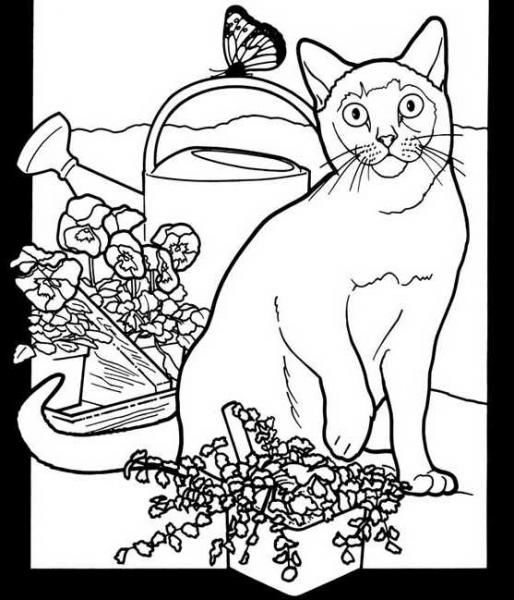
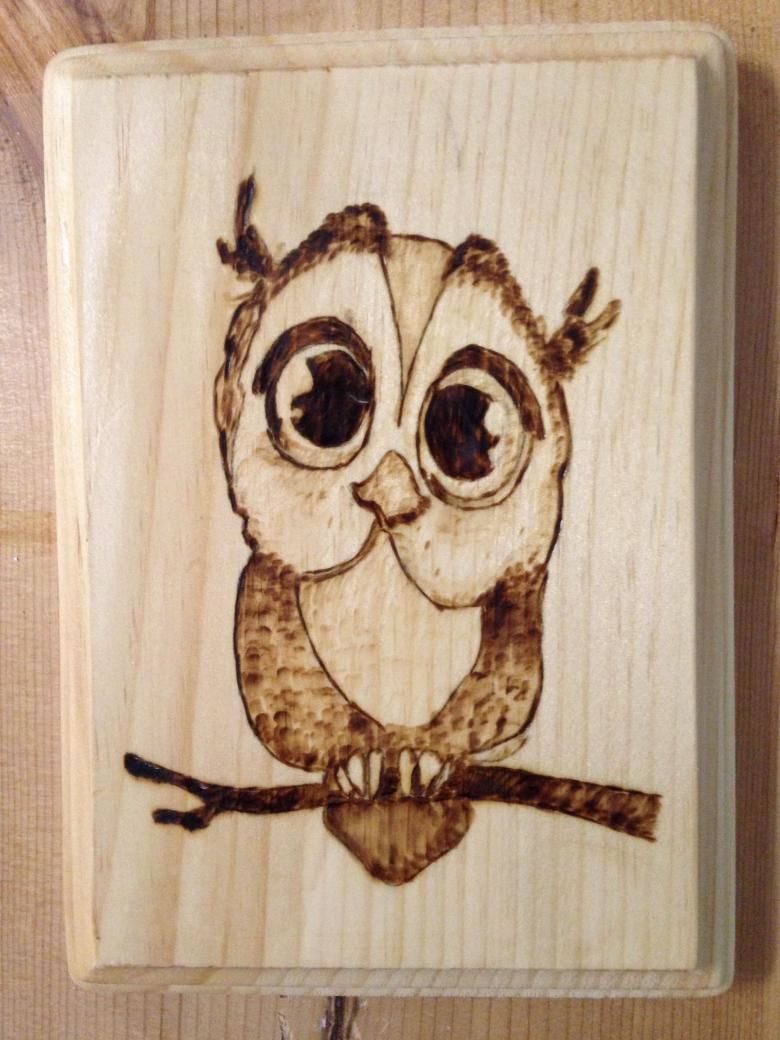
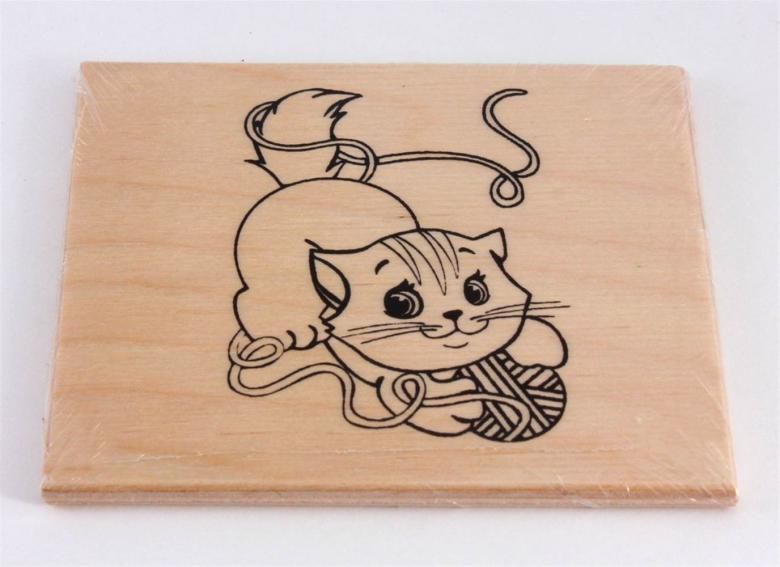
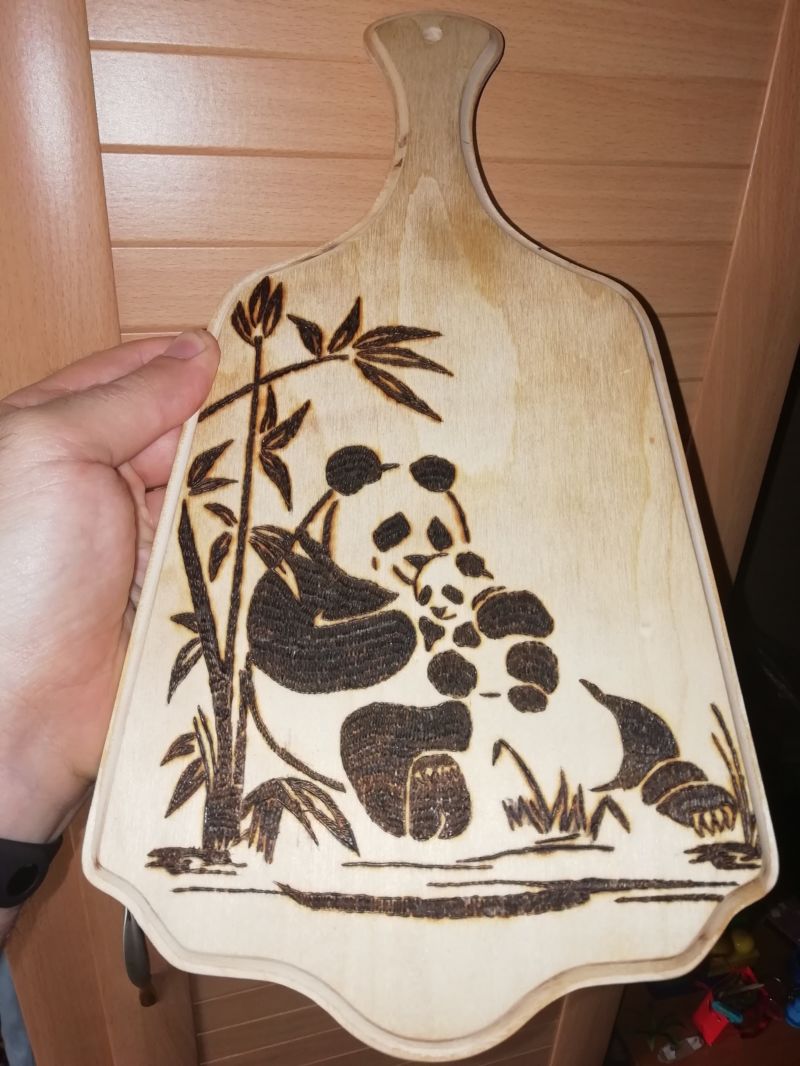
In pyrography, as in any form of art, it is necessary to move from simple to complex. For children, drawings of animals are good, preferably from fairy tales.
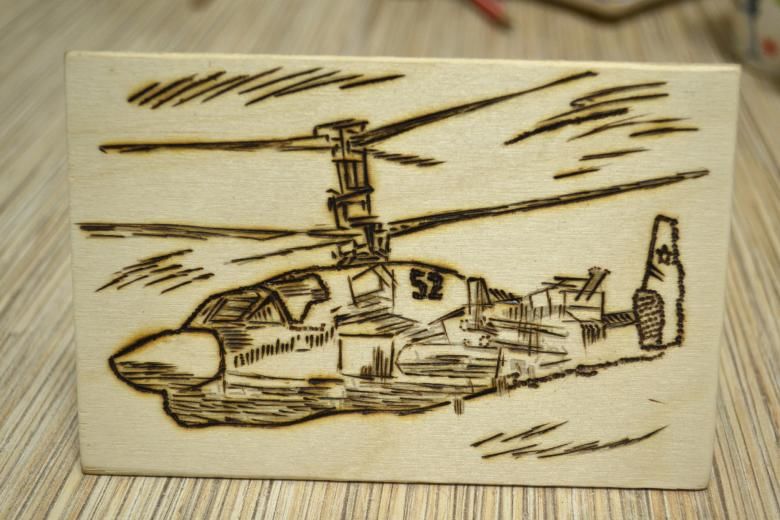
Girls will like still life and flowers, unicorns and princesses, boys - simple models of cars, planes, ships. All children without exception like to burn unsophisticated cartoon characters.
A picture will look fuller if you add elements of the background: the hare to depict in a clearing with the most common flowers, add a circle of sun on the horizon and seagulls as ticks to a ship sailing on the waves...
Children can not earn their own money and buy a gift for mom and dad. And here you can make one yourself - interesting, original and memorable!
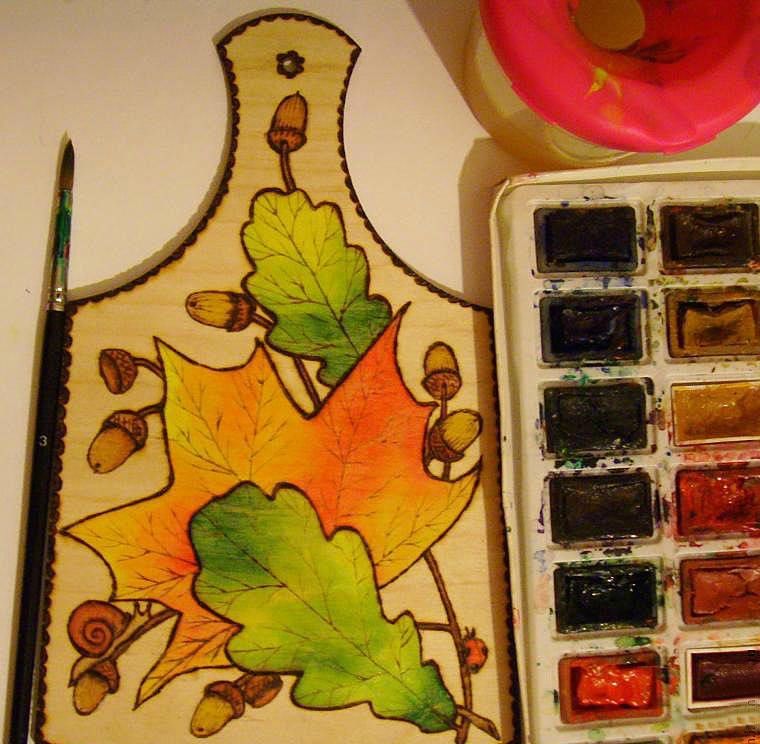
Processing the finished drawing
A drawing, especially if it's a still life or images of animals and cartoon characters, can be colored with paints. For this purpose, matte paints - gouache, tempera and acrylics, which will completely cover the color of the tree or watercolor, which creates a light translucent effect - are suitable.
Before applying paint it is better to use a "draft" to see if there will be no flow and how the color will lay. You should apply it with a semi-dry brush. It is quite possible that to get a saturated shade you will need to make several layers.
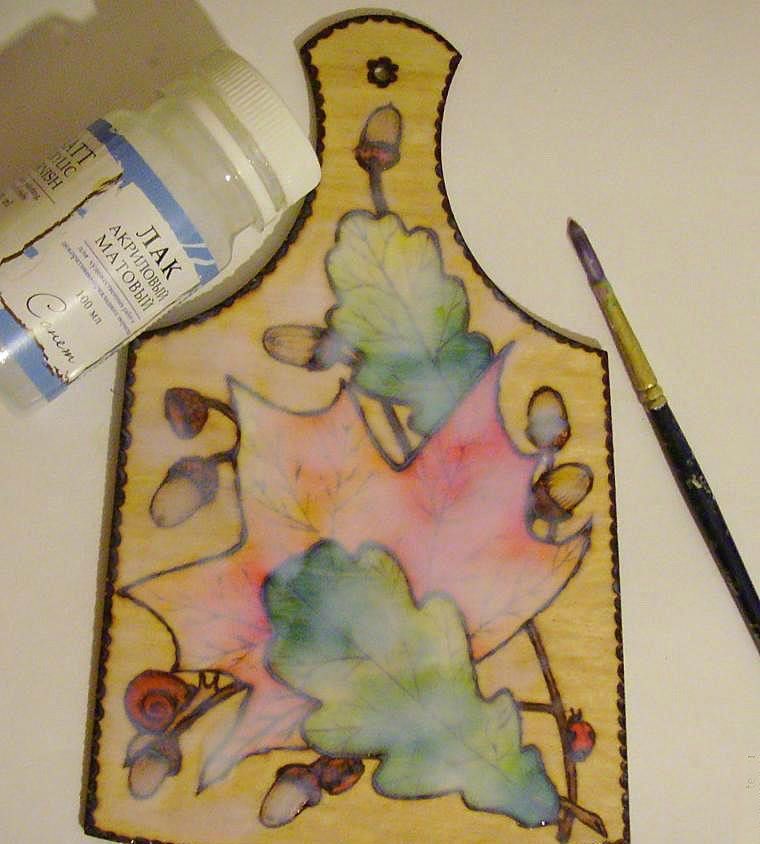
The finished product is varnished. It is better to do this not immediately, but after a couple of days.
In everyday life is convenient to use nitrolac, applied foam pad or a soft brush. The work is carried out in a ventilated room at a temperature of about 200C. You can use polyurethane or acrylic varnish.
If when working on the surface formed bubbles, swells or dust got on, it is necessary after drying to mend the damaged area with fine sandpaper and make another layer.


Wood burning was very popular with Soviet schoolchildren. Both boys and girls were fond of this universal form of creativity. They burned it in clubs and at home in the evenings.
At any school fair one could find pictures, coasters and cutting boards made in this technique.
Today people of all ages are fond of it. After all, it's both painting and creating crafts at the same time.
Children develop fine motor skills, assiduity and accuracy, imagination and creativity.
And adults remember their childhood with pleasure and take in their hands a blowtorch for burning, and someone connects modern technology in the form of a pyroprinter to create great family pictures.
Given that today there is a particular demand for products made from natural materials, we can say that poker making is back in fashion among arts and crafts.

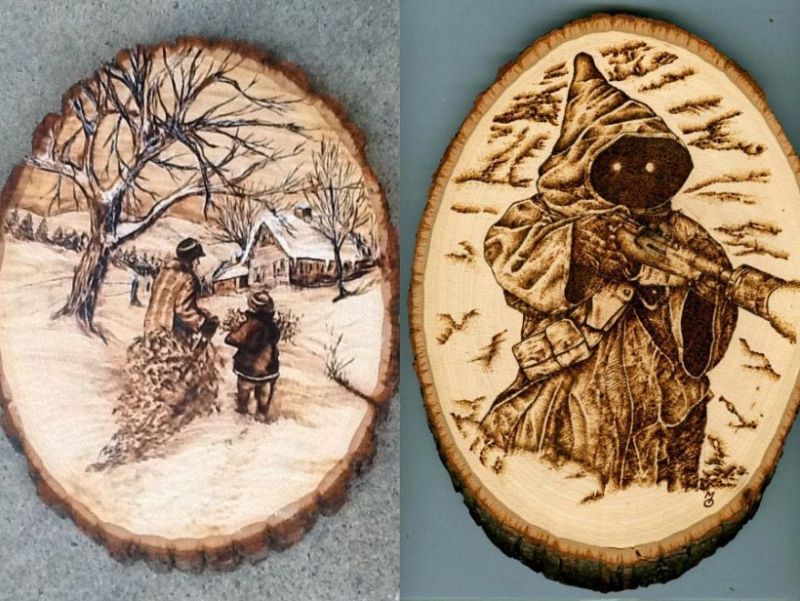
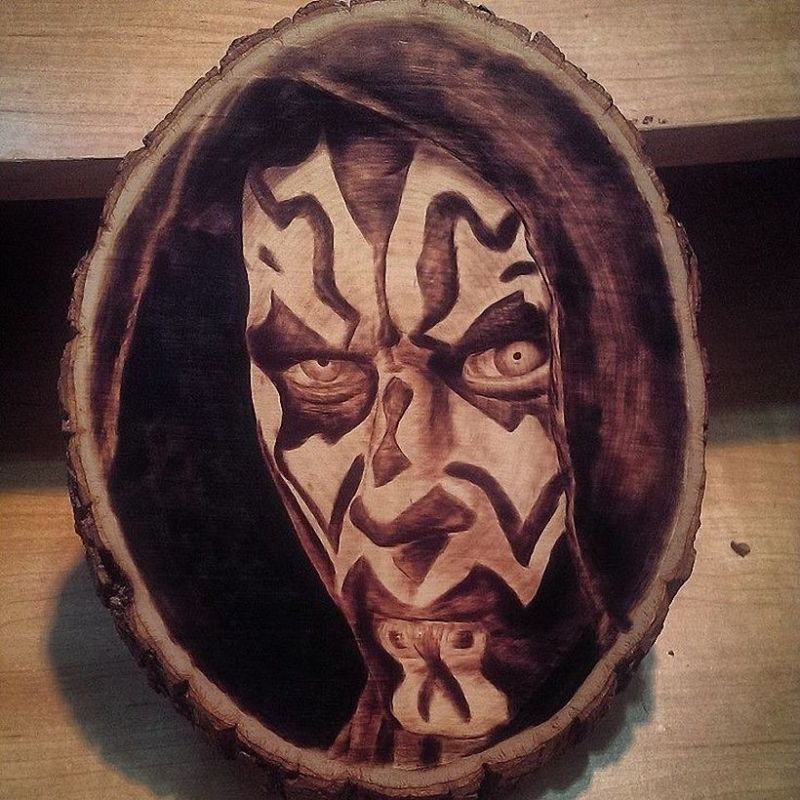
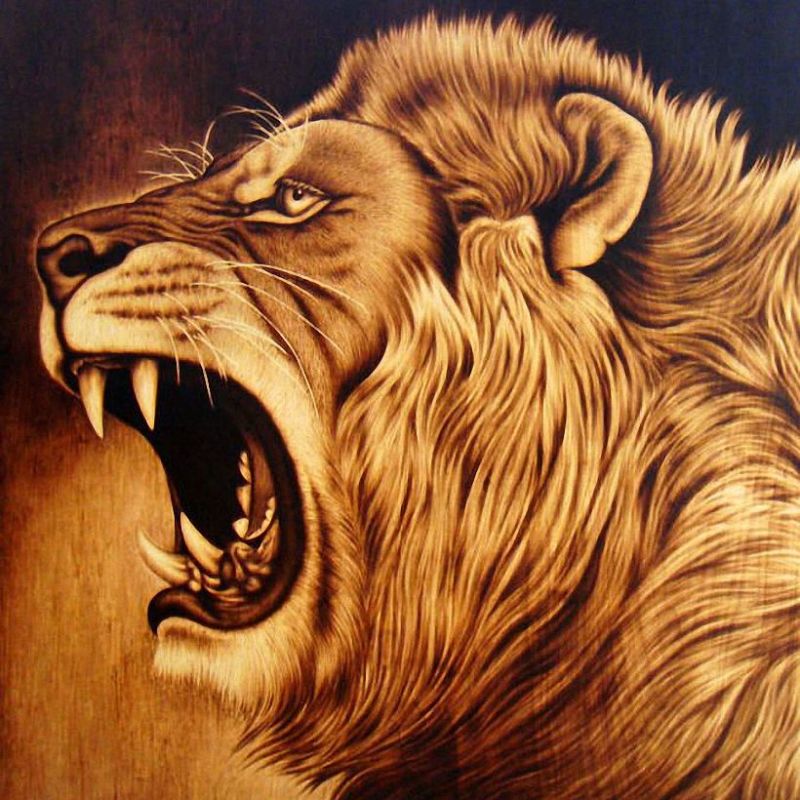
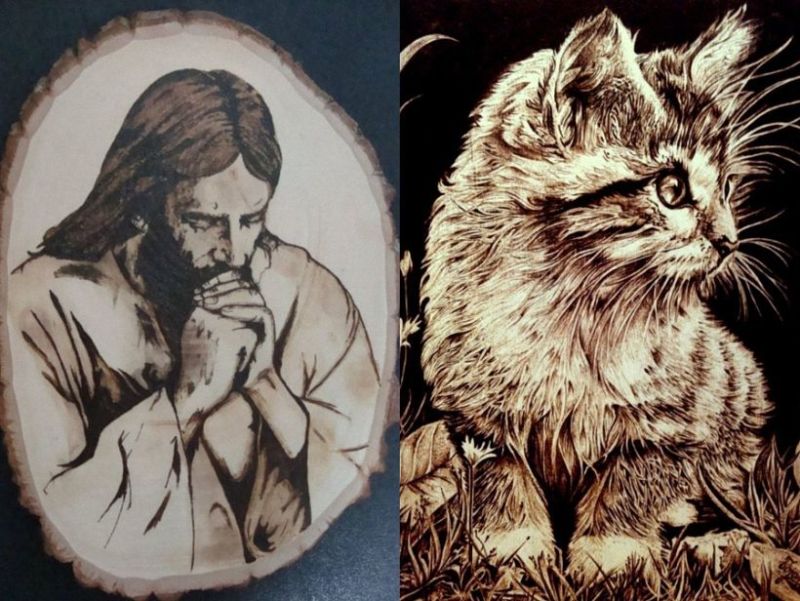
Photos of wood piercing

OLYMPUS DIGITAL CAMERA