Hanger with their own hands: the choice of material, tools and accessories, a description of the steps of manufacture and photo examples
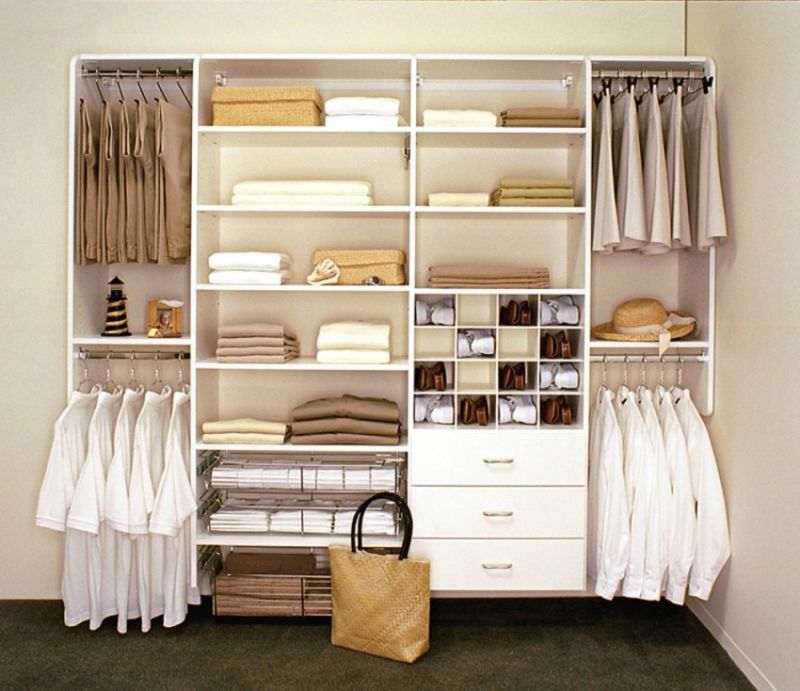
There is nowhere to hang your coat, things are lying on the floor and interfere with the passage. All you need to do is to take a nail of 100 mm and hammer it into the wall. Beautiful! No? That's right. You can buy a hanger, or even a closet complex, but it all costs money, and not small. Let's try to make a hanger with our own hands.
Features hangers
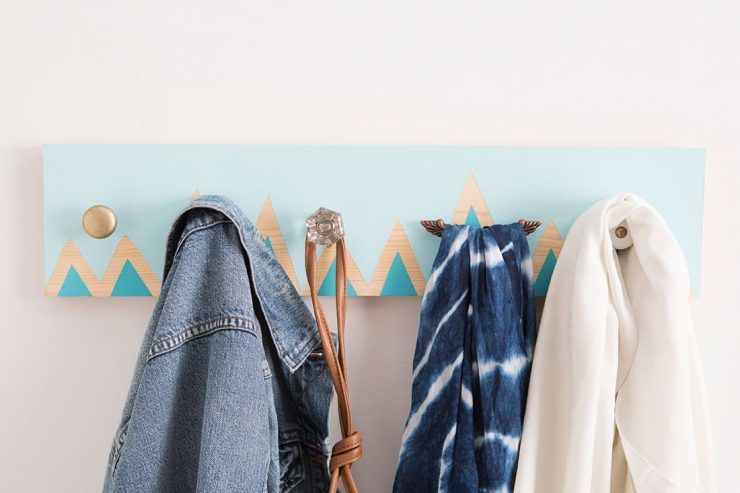
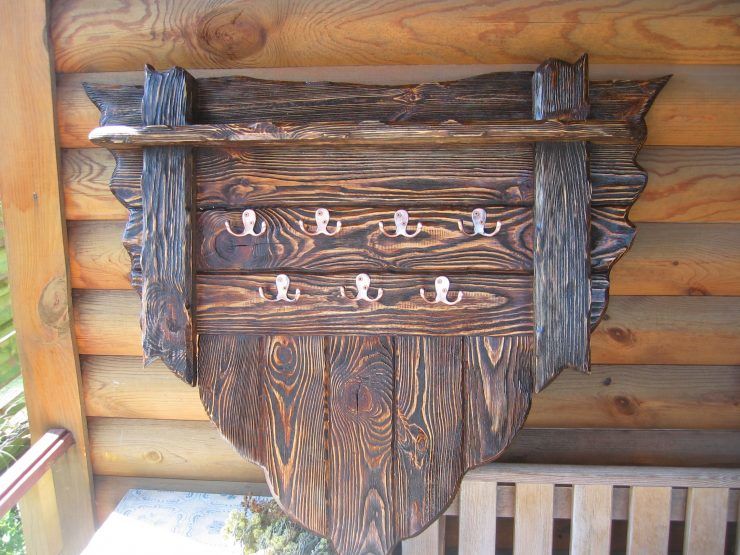
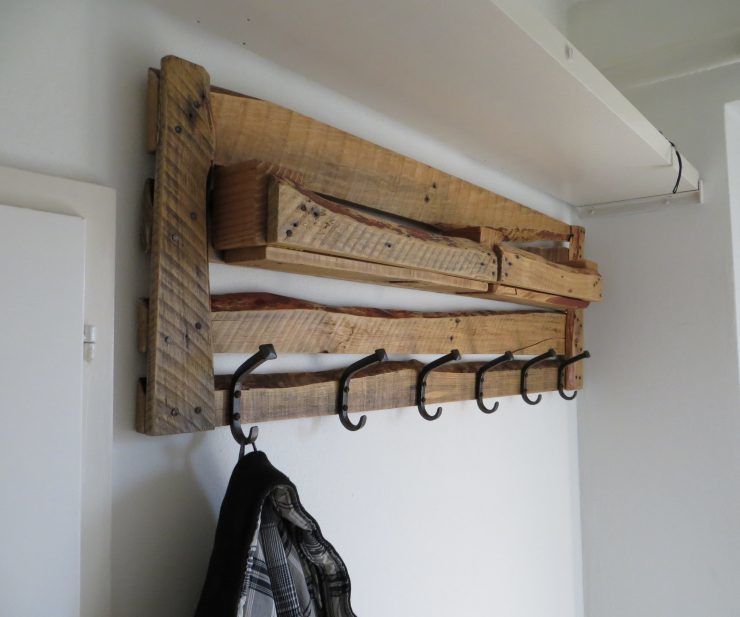
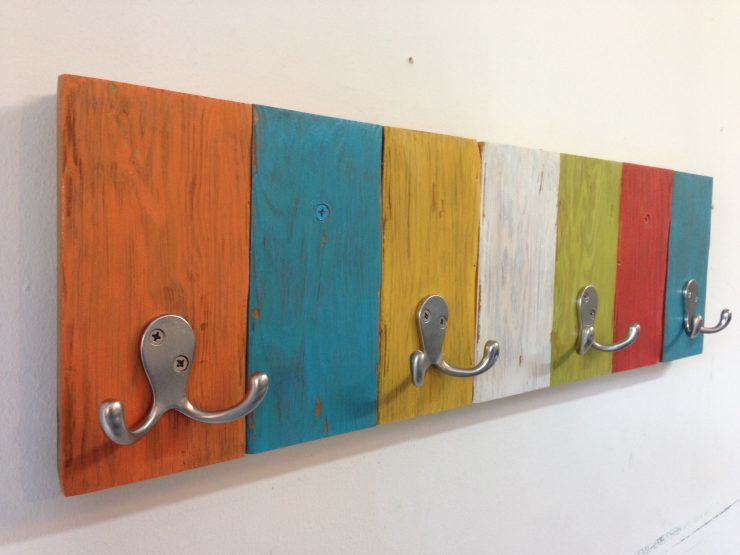
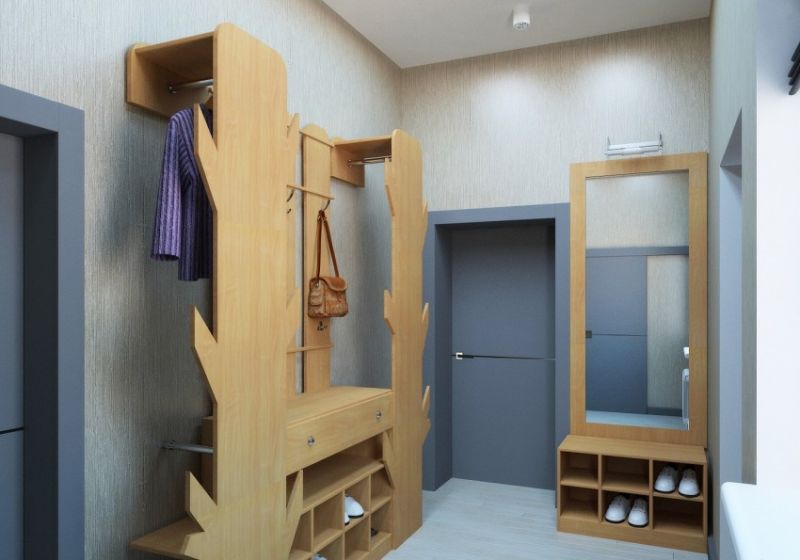
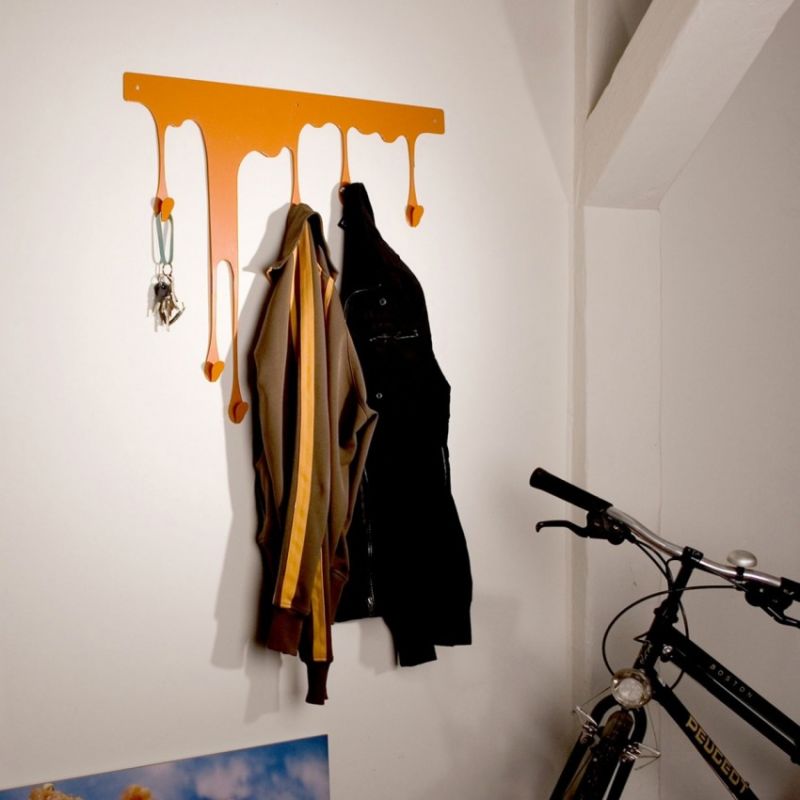
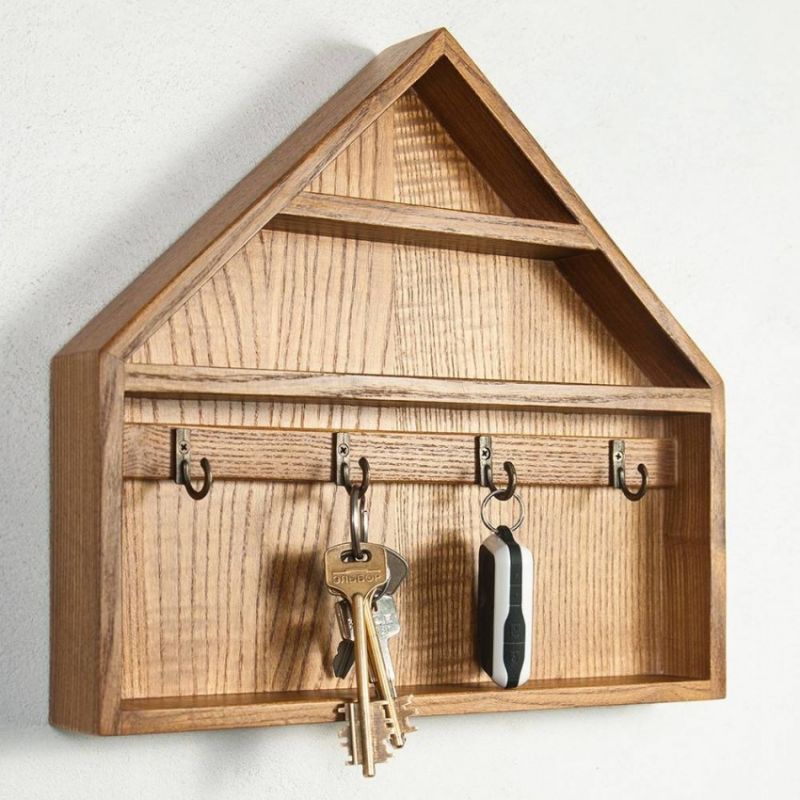
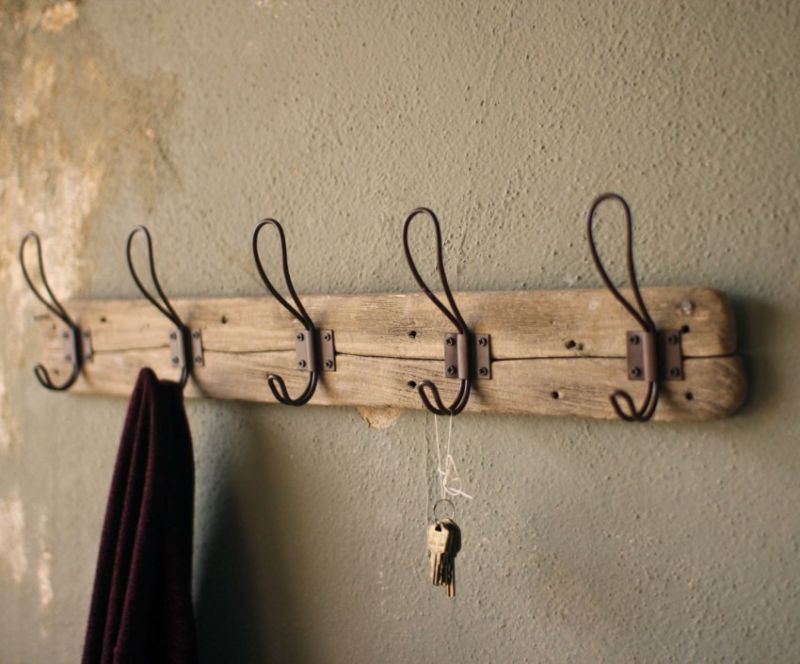
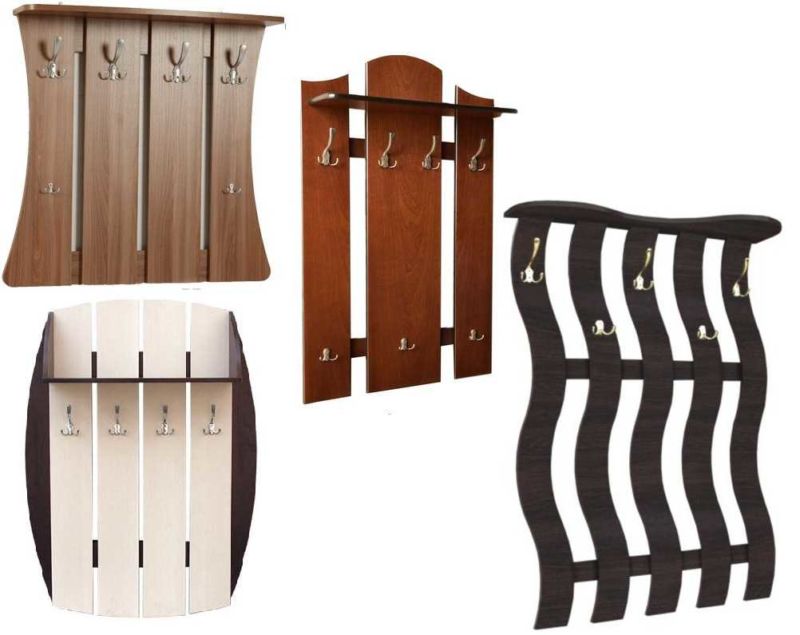
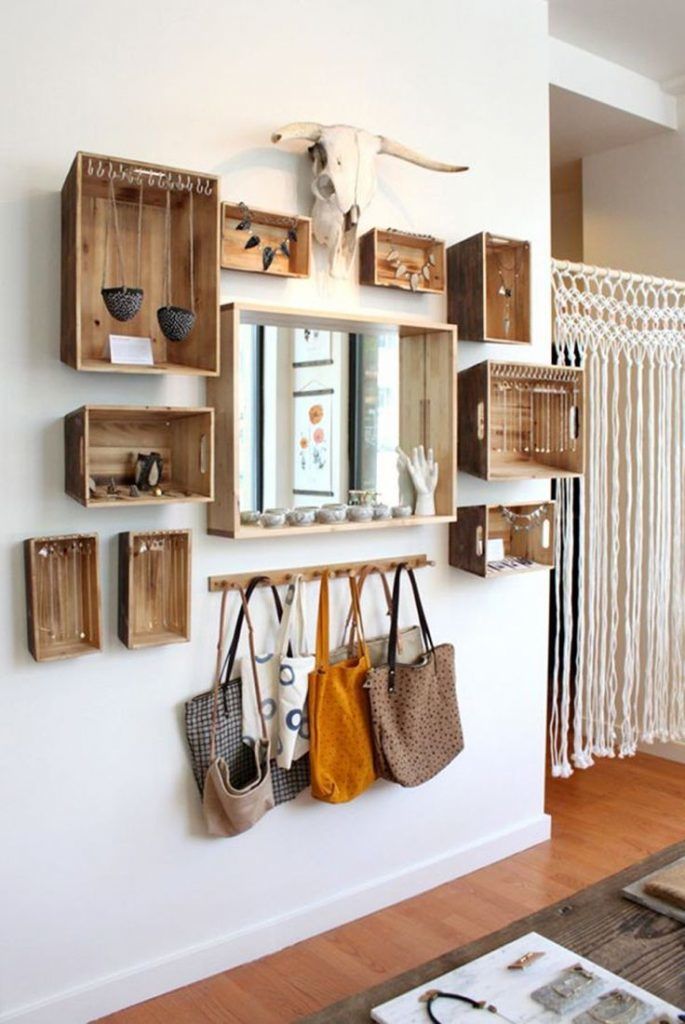
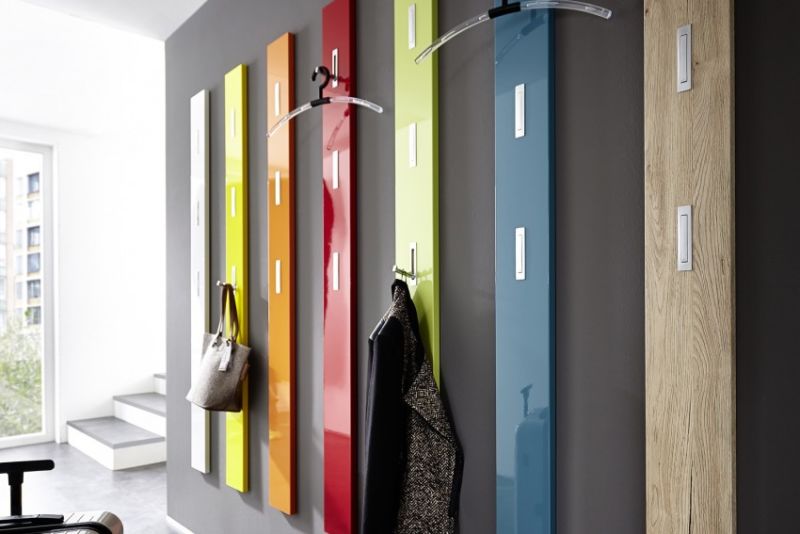
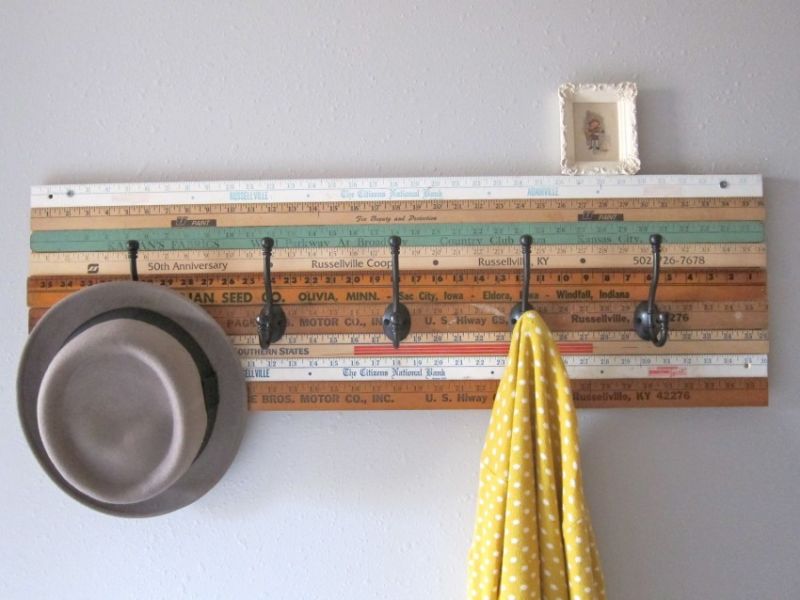
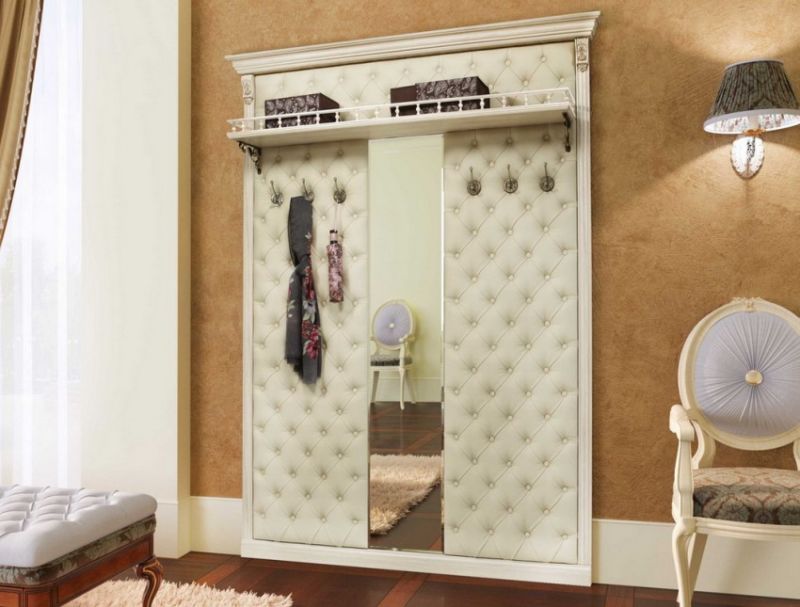
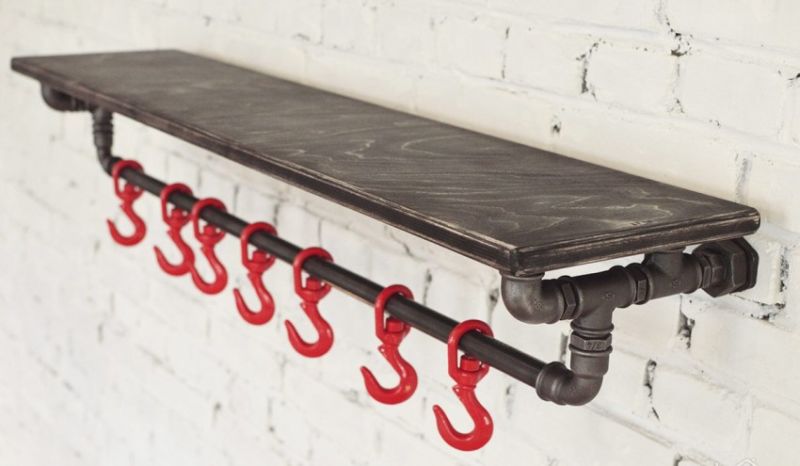
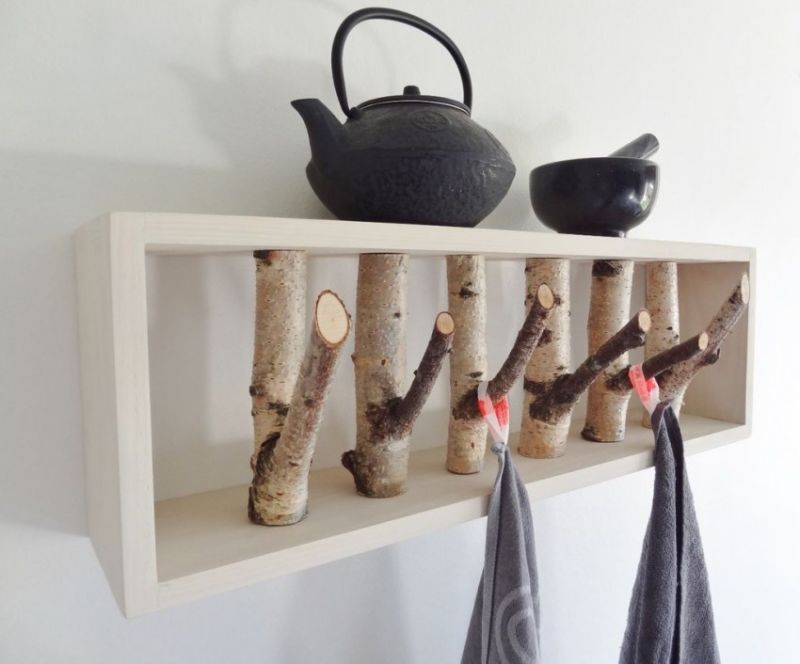
Wall hanger - This is one of the simplest types of hangers. This element of the interior of the hallway consists of two main parts of the plane and hooks, in addition to the fact that it is compact, it is also inexpensive. The cost of making that type of product is not high, as well as the price in the store for the finished product.
The big problem with assembling such a hanger can be the use of a drill. Sometimes drilling the walls, especially the load-bearing ones, is undesirable or impossible. A positive factor in choosing this type of hanger can be additional equipment:
- Placement of hooks in several rows.
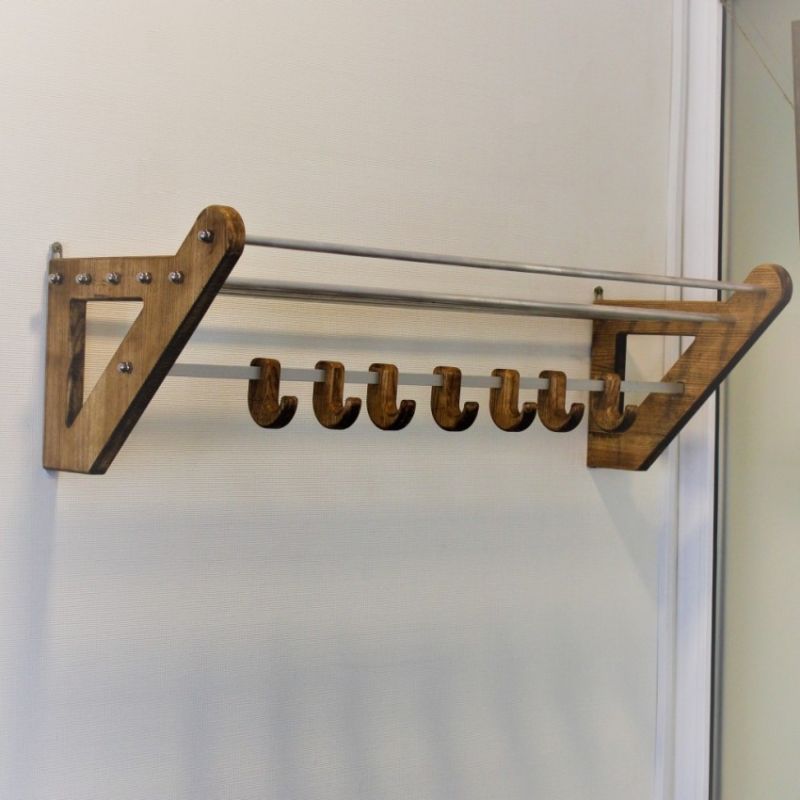
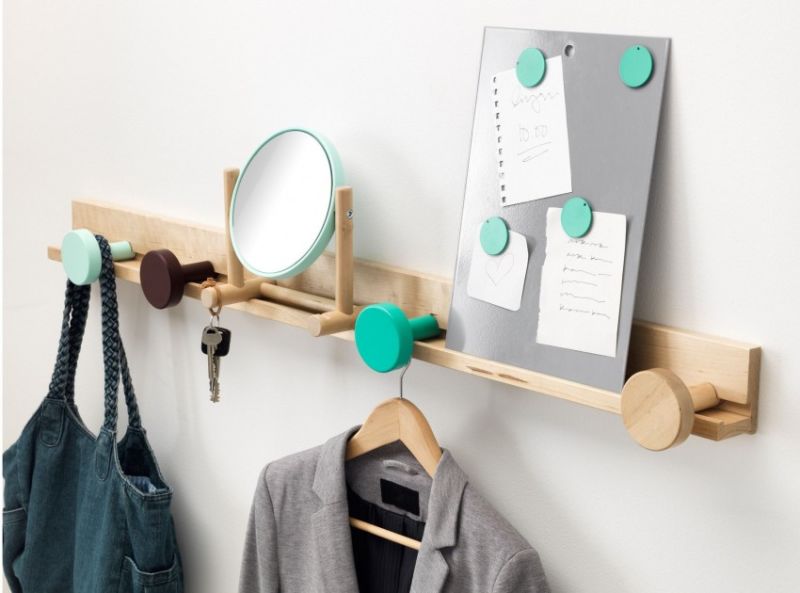
- A shelf for hats.
- Mirror.
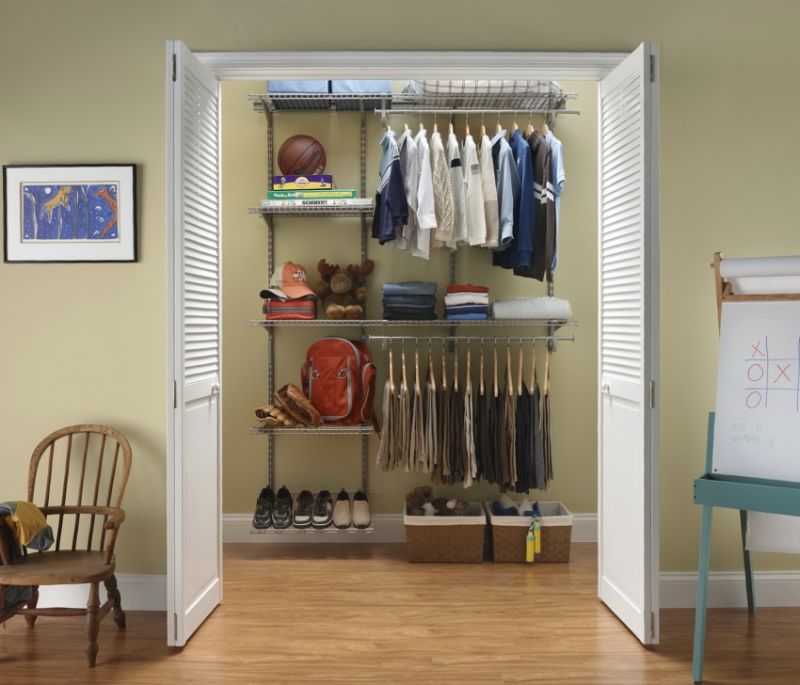
- A separate allocated place for shoes.
- A small bench.
- Crossbars for hangers.
- Special compartments for umbrellas and keys.
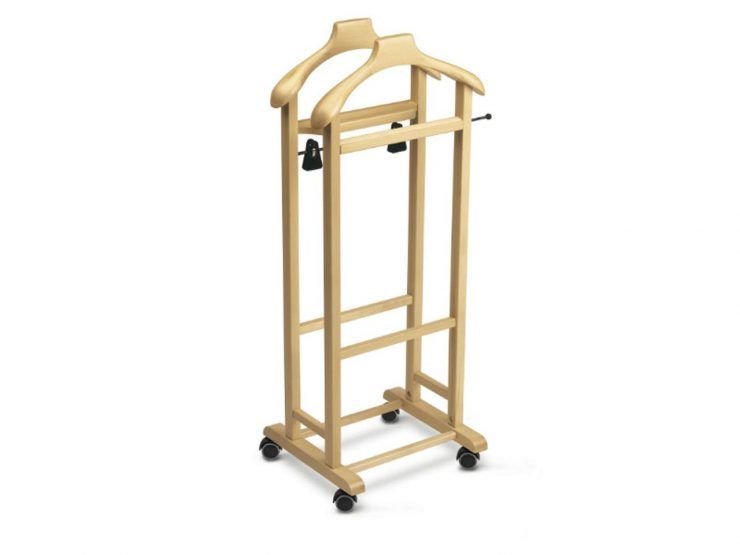

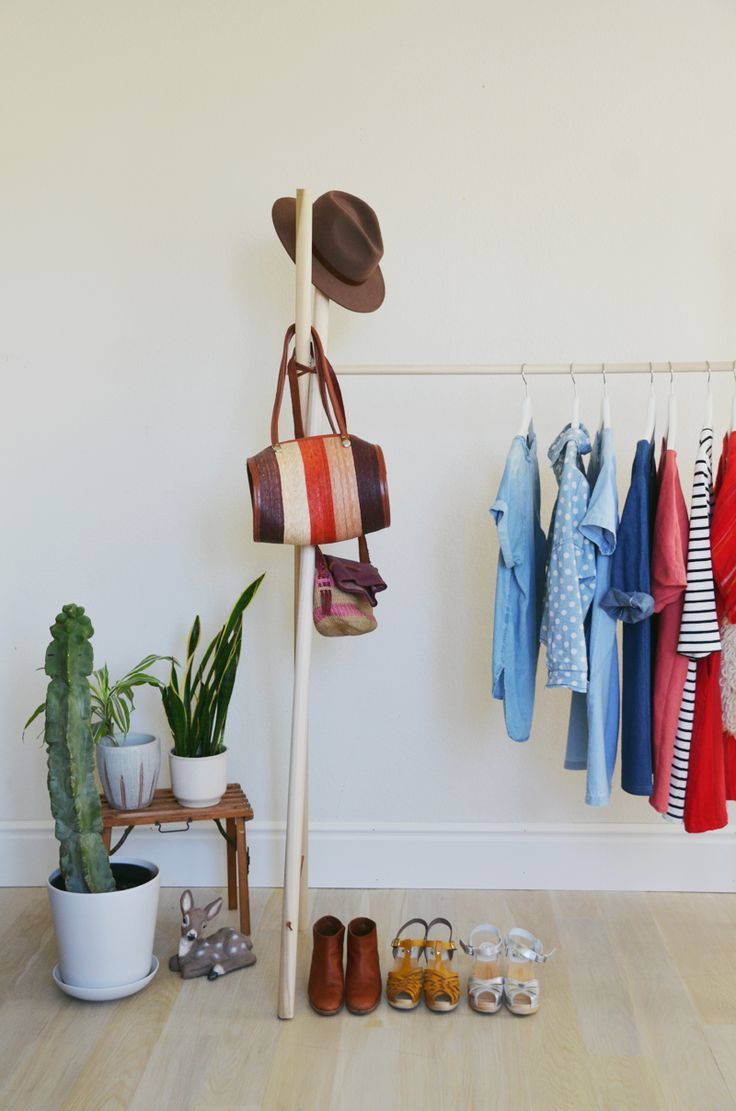
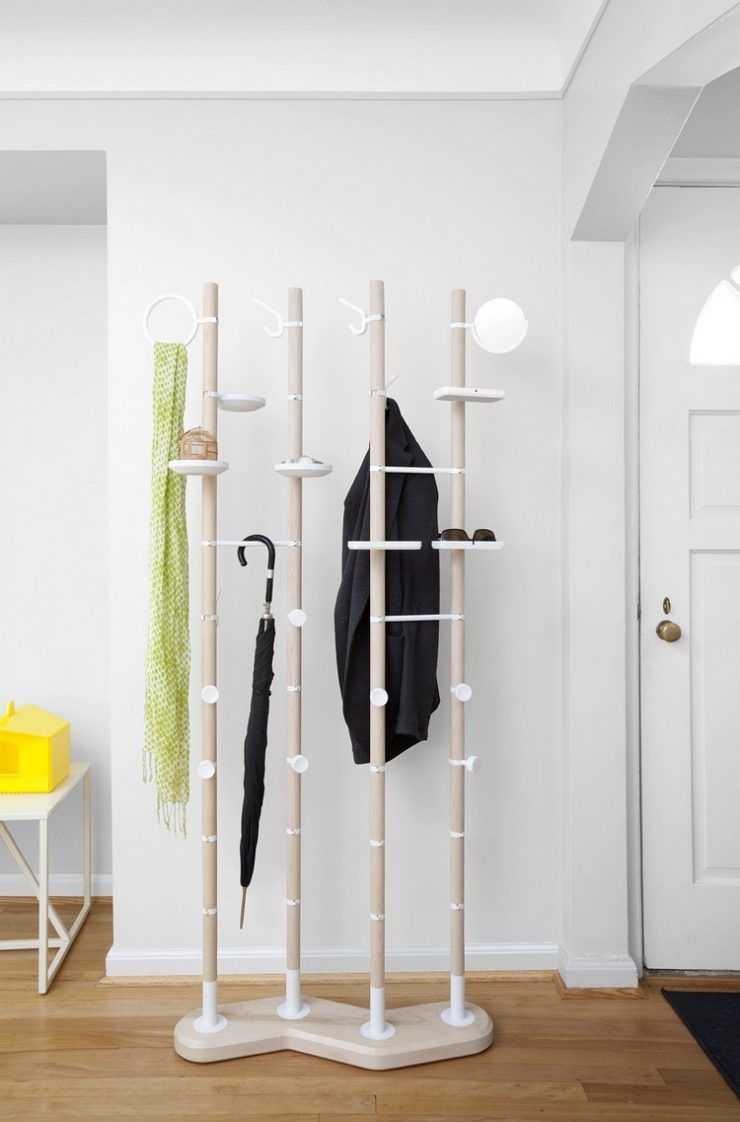
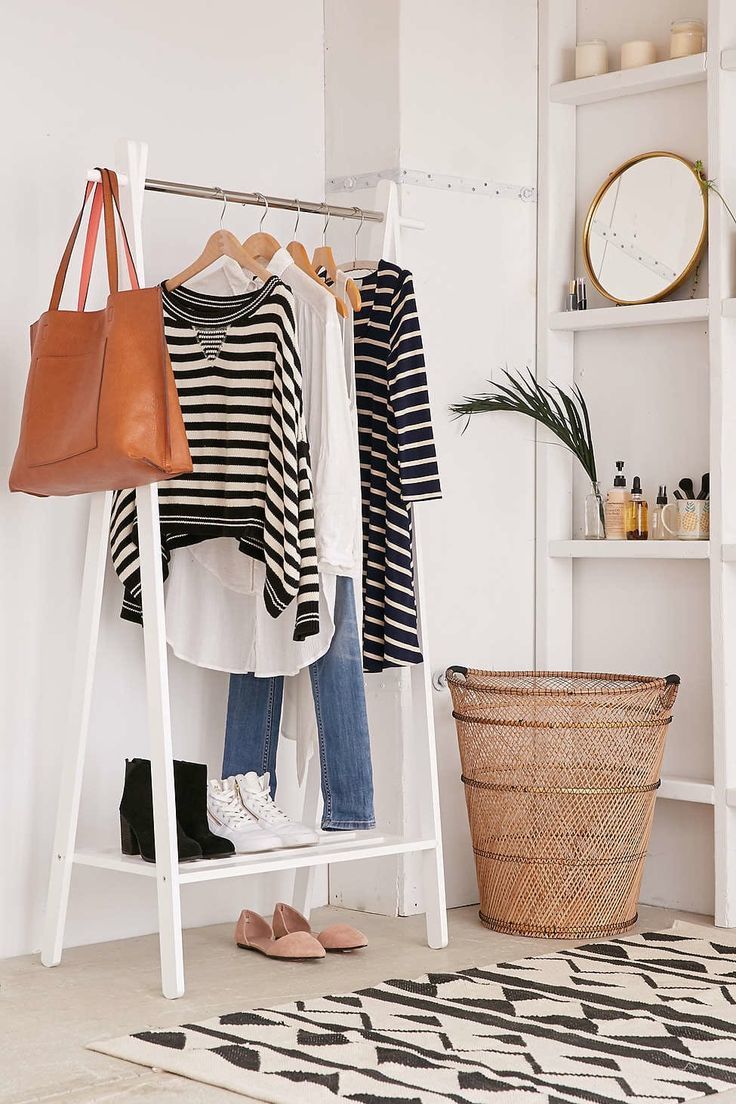
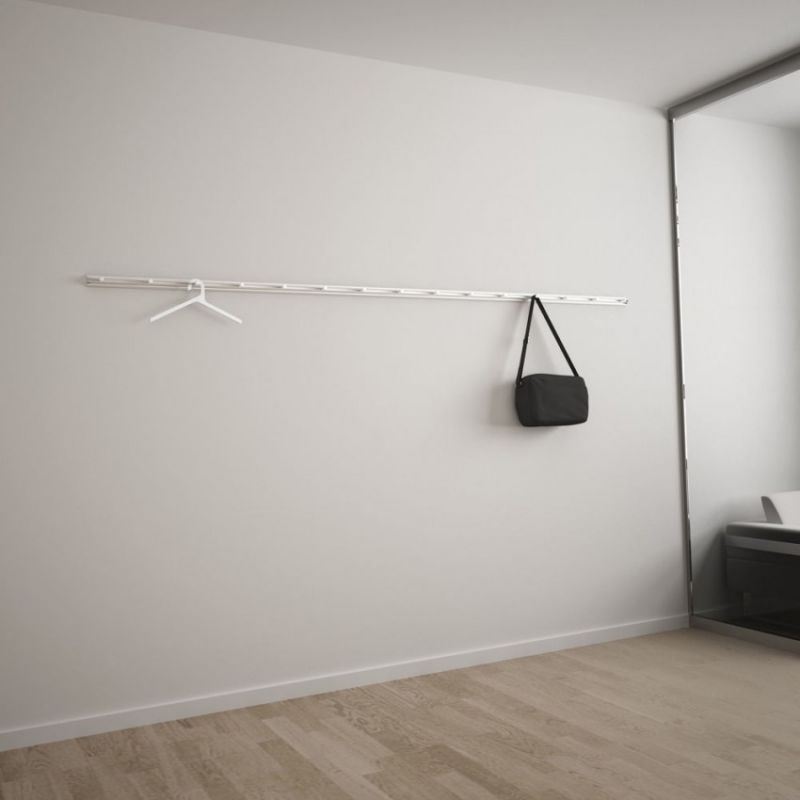
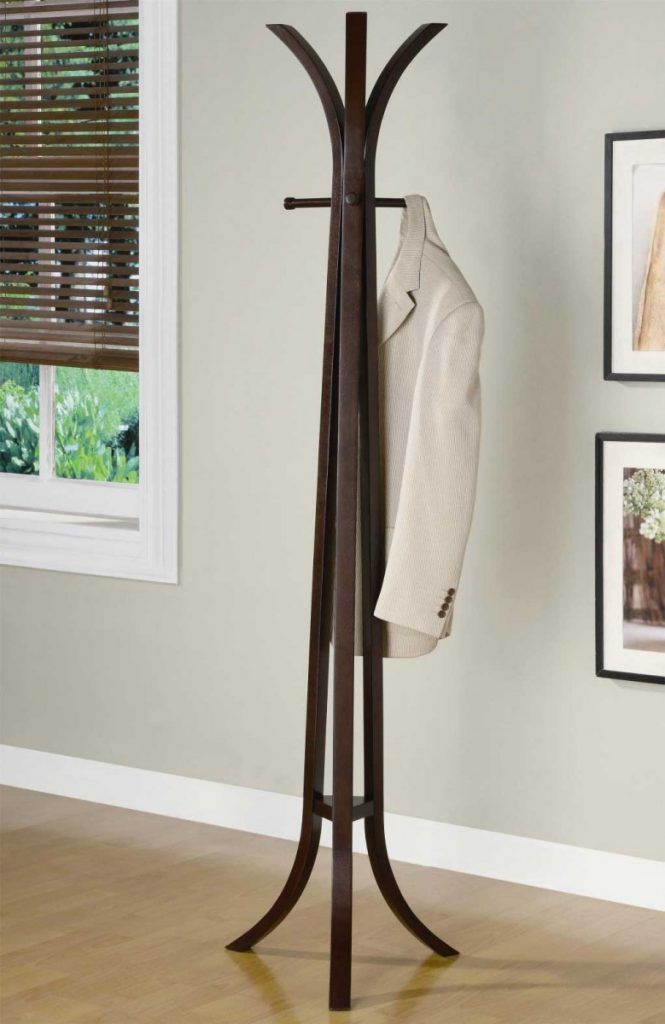
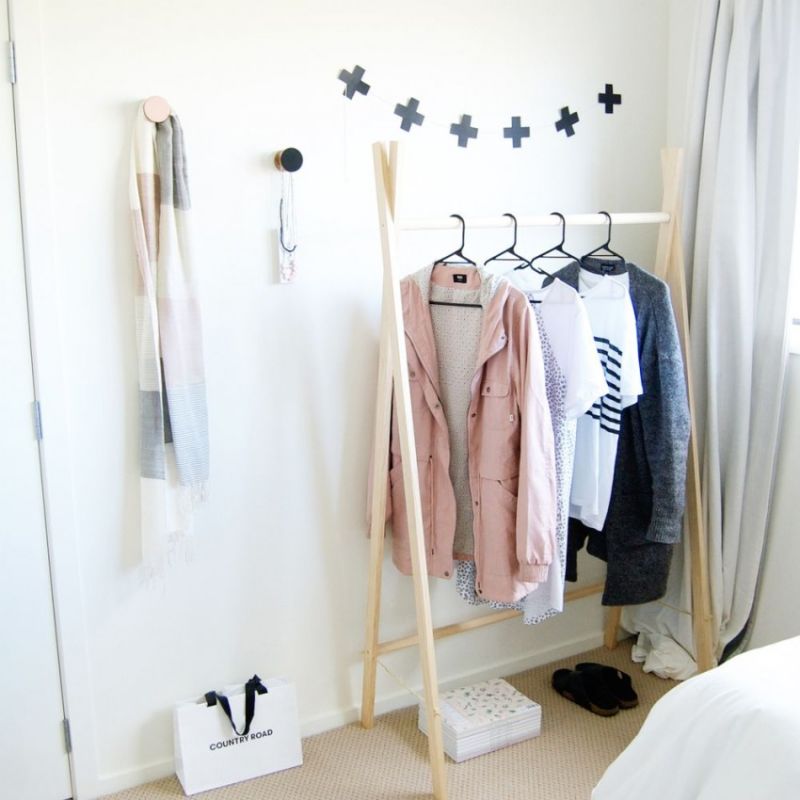
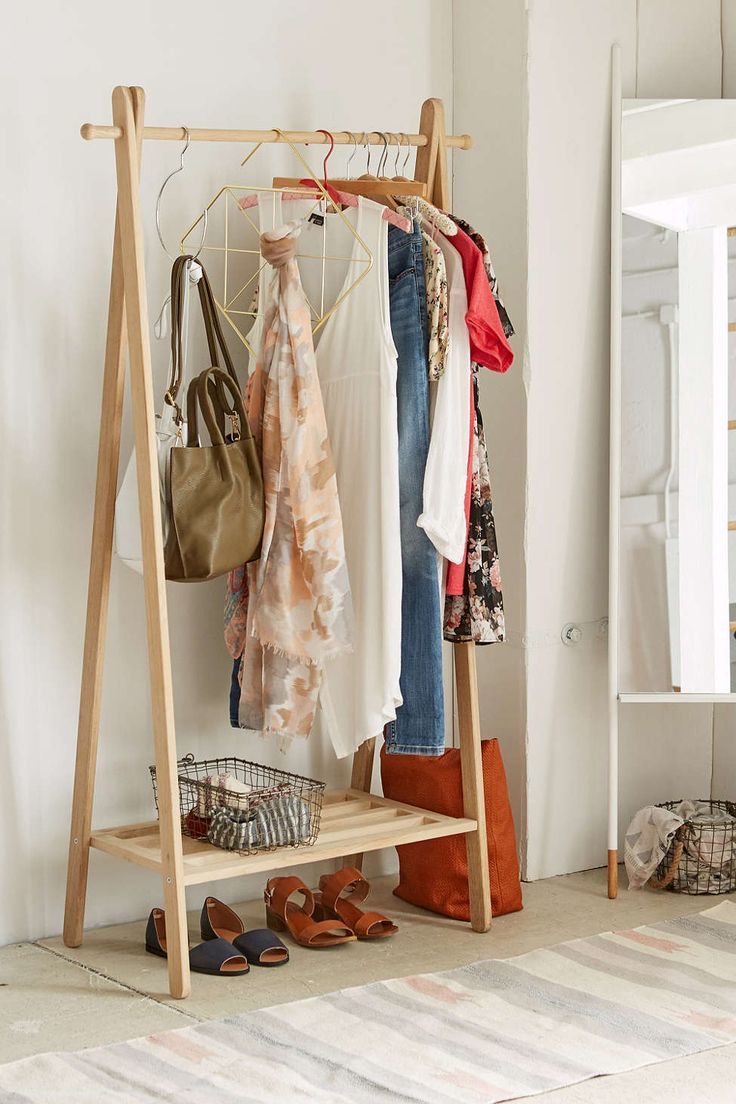
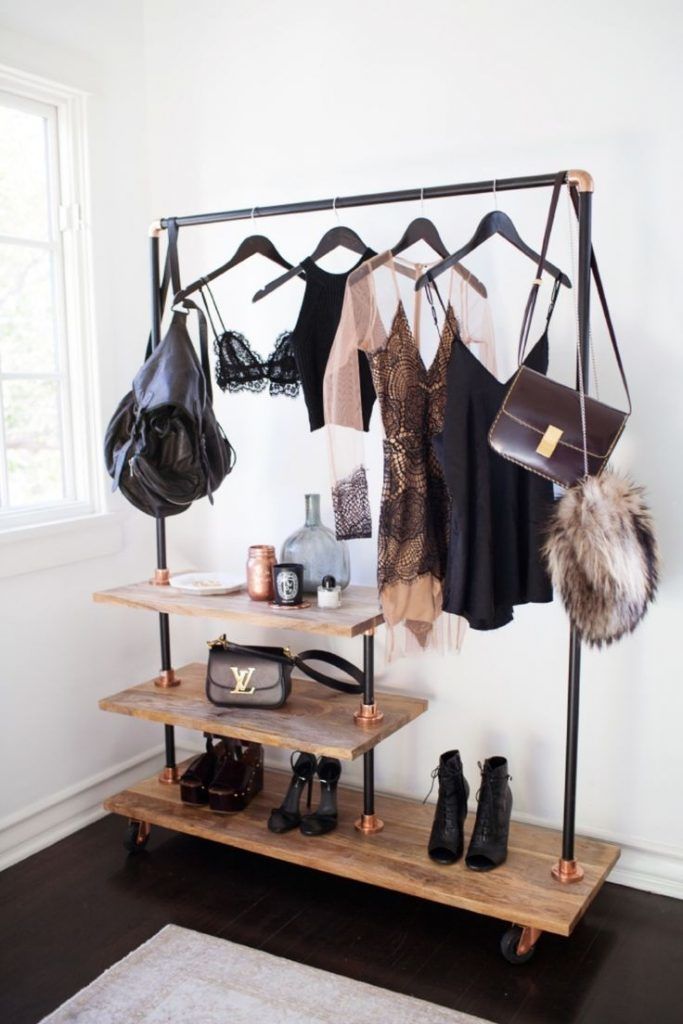
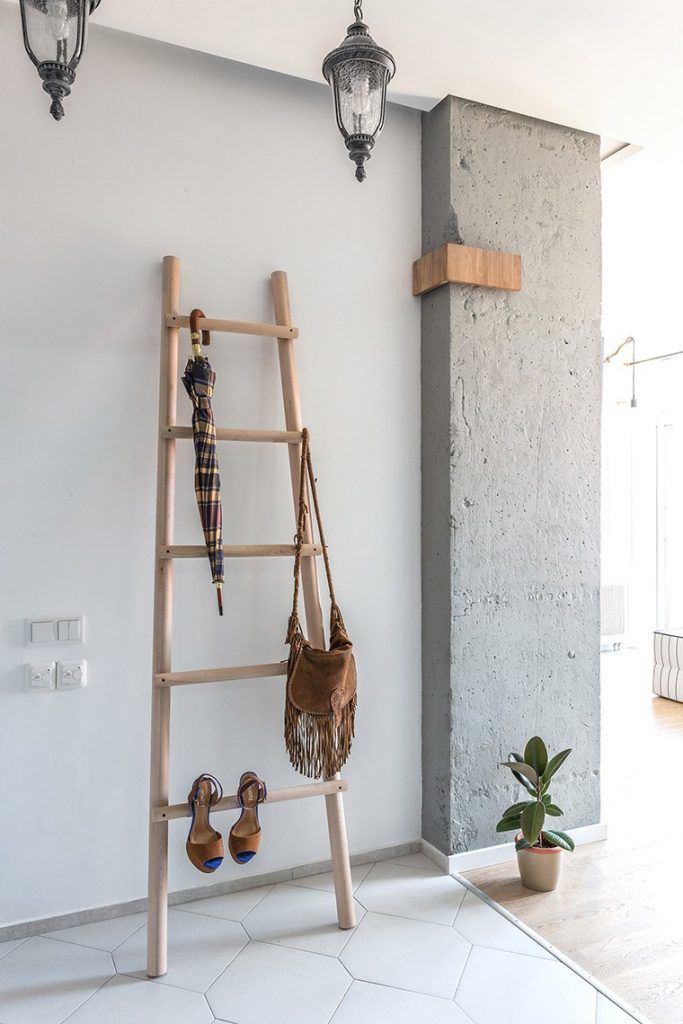
Floor hanger - This design consists of different rails horizontally and vertically. As in the previous version, the hanger can be divided into several parts: for hats, directly for clothes, and the lower part for bags and umbrellas.
A plus for these hangers is that there is no need to assemble it at all. It should be just put on the floor. The advantage of such models is obvious:
- The hanger can be rearranged or rolled.
- Clothes are placed neatly.
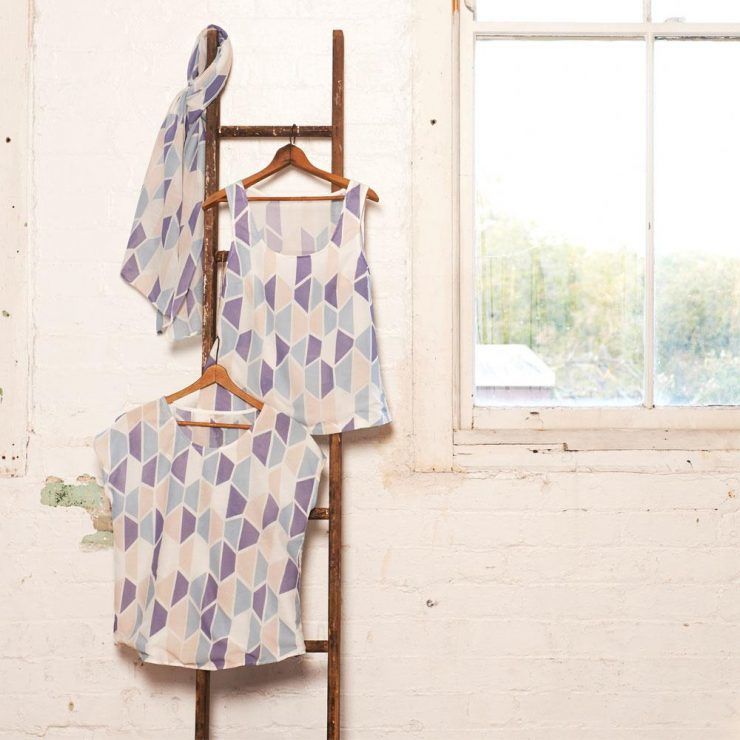
Of course, the floor hanger has a significant disadvantage. It can fall over if things are not evenly placed on it.
Overhead hanger - Mounted on the doorways of the room or toilet. They can be attached to the surface with double-sided tape or a magnet. With the obvious advantage of compactness, there is a downside - the risk of scratches on the door surface from the fittings of hanging clothes.
Choosing the materials for the work
Any material can be suitable for making hangers. You can use wood, metal, plastic, used household items. Natural elements can be found simply by walking through a forest or park:
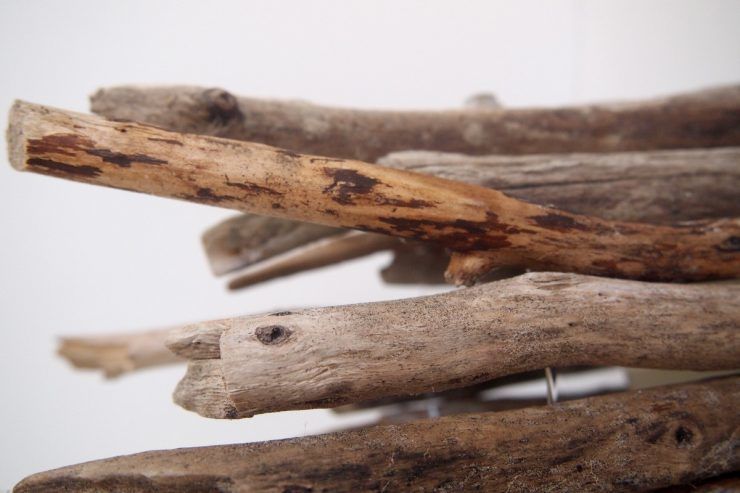
- Tree branches and trunks.
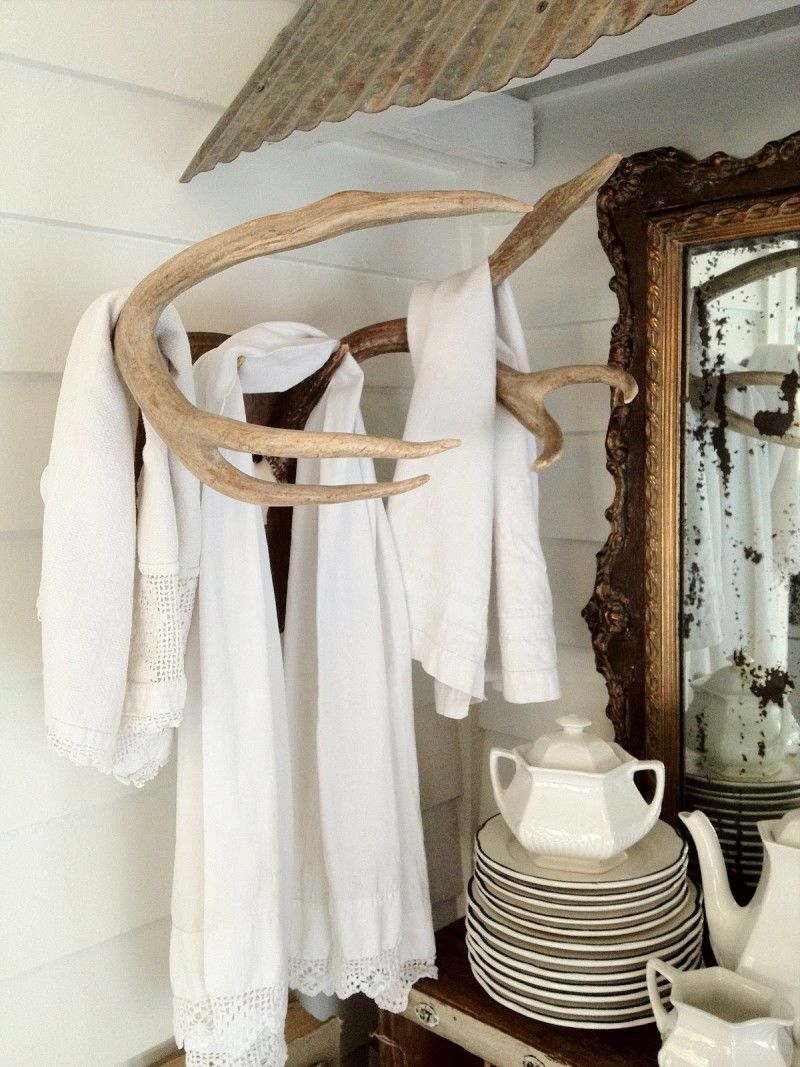
- Animal horns. It is not necessary to kill an animal to extract such an element. For example, moose at certain times of the year drop the horns themselves, they can simply be found in the woods.
 Wood for making hangers can be any, but it is better to give preference to hardwoods. The problem with conifers is that they release resin under the influence of heat. Such a problem can be solved:
- By selecting the material according to moisture content. The drier the board, the less chance of resin release.
- Mechanical processing. Machining removes the so called surfacing, which will release resin in the future.
- Chemical treatment. For example, with ammonia and acetone. After sanding the board with a sponge is applied a solution made in the proportion of 2:1 (two portions of ammonia, one portion of acetone), 20 minutes after the application remove the remains of this mixture.
In the manufacture of the wall hanger you can use materials from waste wood:
- MDF (fiberboard)
- Particleboard (chipboard).
- OSB (oriented strand board).
These materials do not require prior preparation, it is enough to take a piece of the right size.
It is no secret that the metal things have high strength. Effectively look in the hallway hangers, made by a good blacksmith.
Products made by the hands of a blacksmith are good for storing heavy winter things, such as hockey or skiing equipment. For lighter items, aluminum designs may be suitable.
However, making interior items from metal is time-consuming and difficult process. Not everyone has the necessary skills to work with steel, aluminum, cast iron and other metals. Not everyone has the necessary and expensive tools for such work.
It is acceptable to use plastic as well. The advantage of plastic hangers is the weight, there is almost no weight. Therefore, from this material you can make a hanger for children and a hanger for light items. With the obvious advantage of plastic hangers, there is one significant drawback - they are not strong enough.


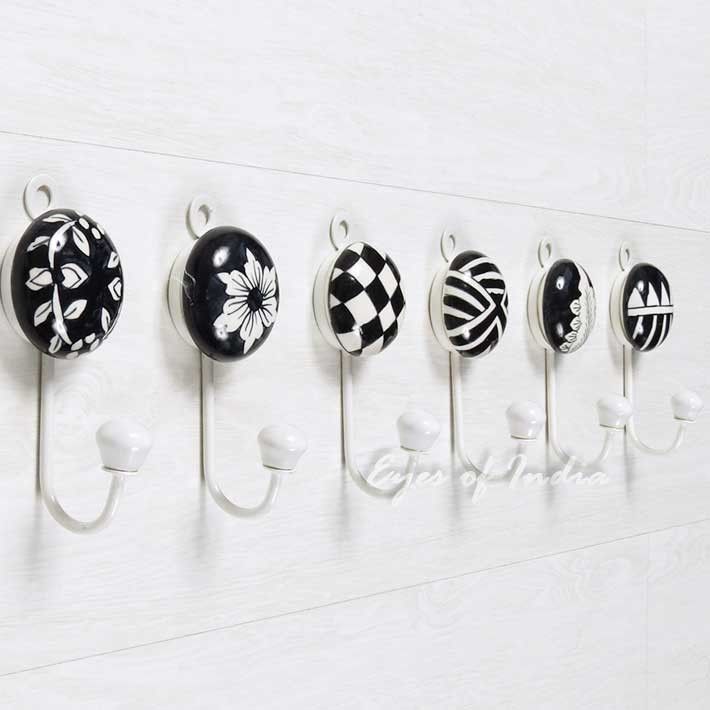
Choosing the fittings
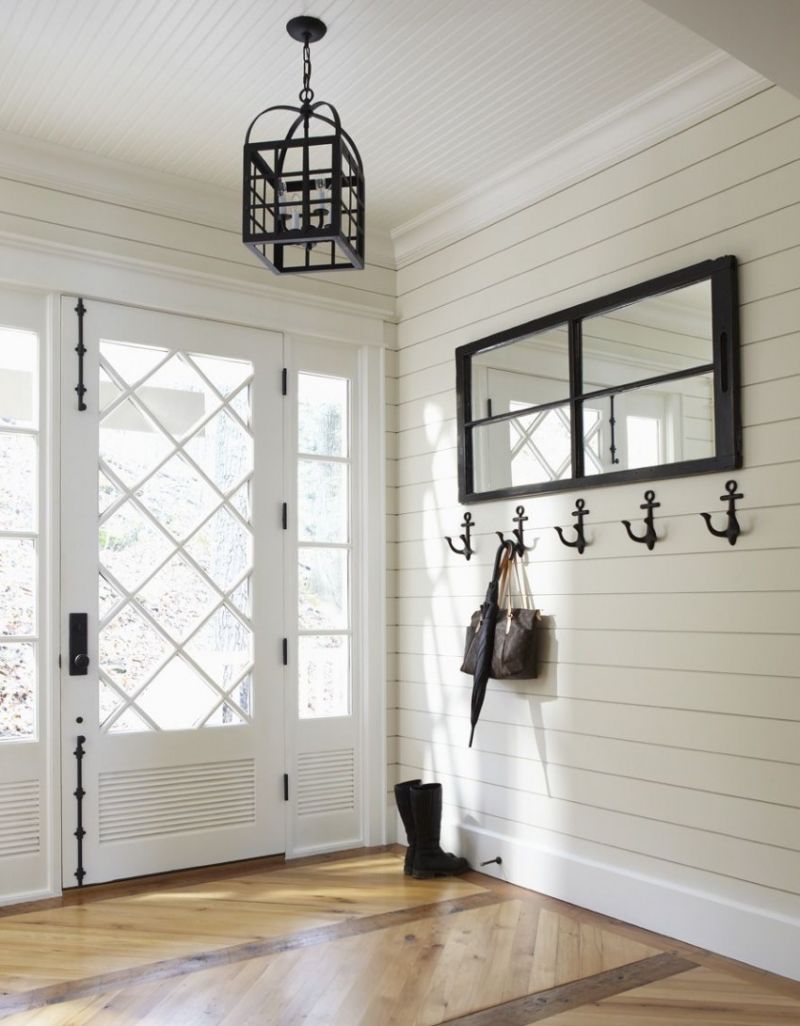
The most important thing in a hanger is its hooks. It is important that they were not only durable, but also aesthetic.

It will look strange to look nails or screws on a wooden perfectly prepared panel.


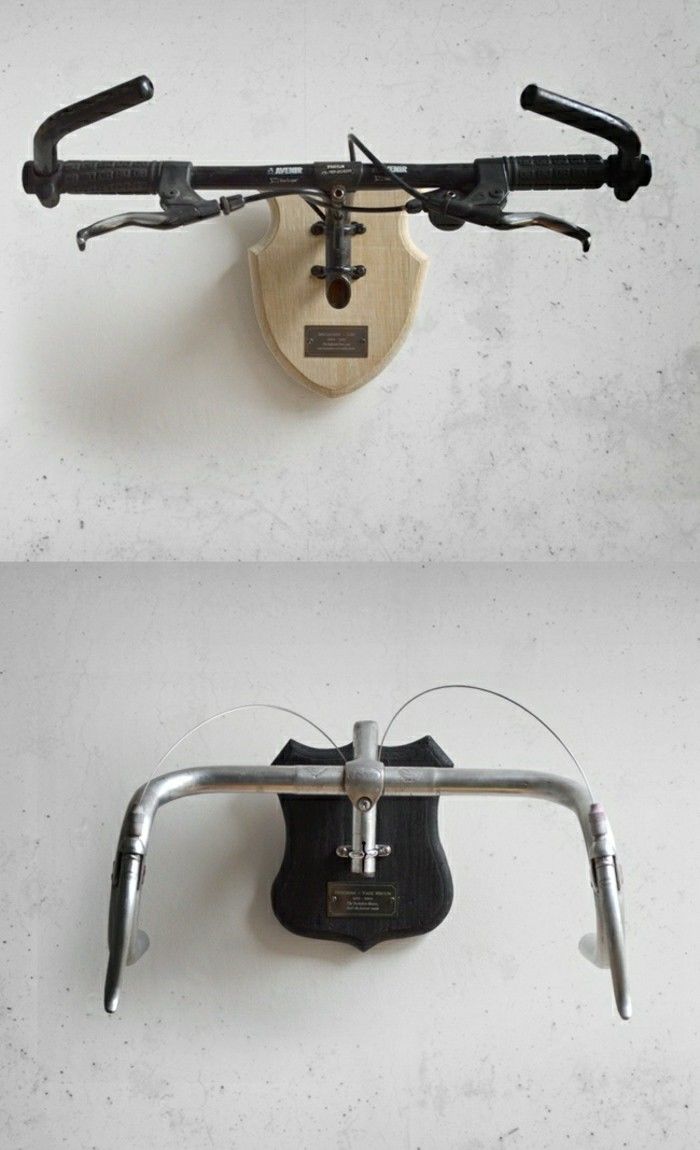
You can just go and buy the necessary fittings in a store, or you can come up with something original and do it with your own hands. For this purpose you can use improvised means:
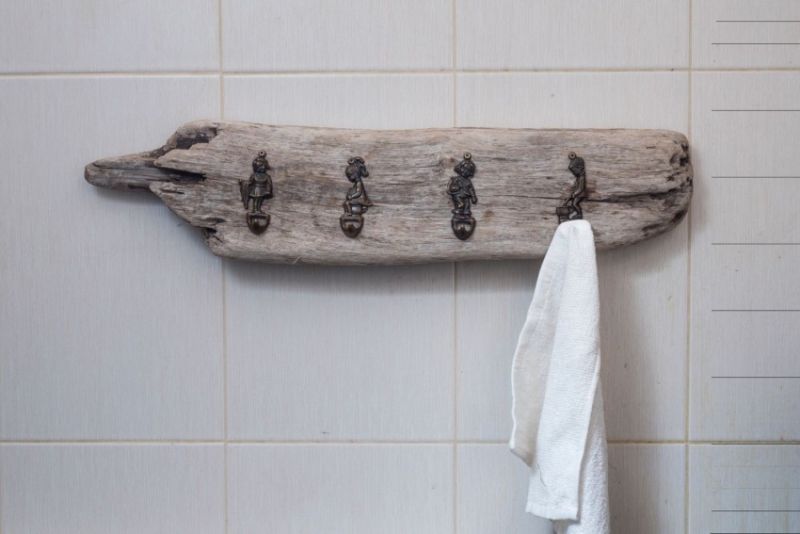
- Hooks from vintage cutlery will look very stylish and original.
- Unneeded and broken children's toys can be used to make hooks for hangers.
- Collectors of interesting and amusing things can find in their collections exclusive corks from perfumes and colognes and apply them to the design of their hangers.
- Lovers of travel can use stones brought from the seas and mountains for this purpose.
- Even walking in the park, you can find branches and twigs that are strong and beautiful enough and create designer hooks from this material.
- There are a huge number of coat hangers that can also be used to make clothes hooks.
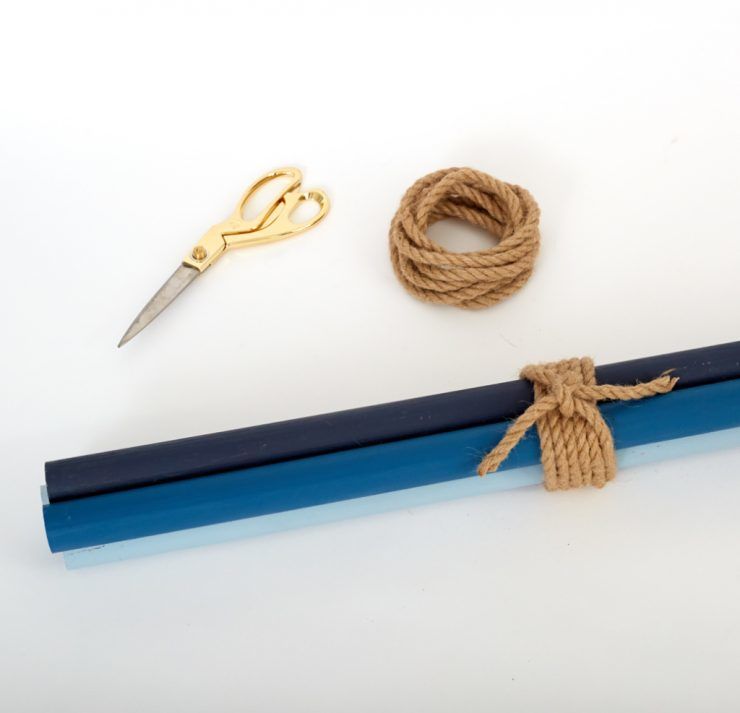
Tools for the job
To do any job you need a tool. Whether it is a carpenter or carpenter, metal carver or seamstress tool should always be of high quality, handy and specialized for the job you choose.
For woodworking, you will definitely need:
- A pencil and ruler, a level, an angle, and a compass.
- A hacksaw and jigsaw.
- Screwdriver or screwdriver, perhaps an electric drill, and if no such tool, a hand drill will do.
- Planer and sandpaper, especially advanced craftsmen can use a grinder with a flap disc or a sander.
- Boards. The size of the board and shape depends on your imagination and need.
- Wood screws.
- Primer.
- Paint. It is desirable to choose paint materials specifically for wood.
- Brush or paint roller.
If it is decided to make a hanger out of metal, you will need:
- Pencil and ruler, level, angle, compass. Where without them. As the saying goes: "Measure twice, cut once.
- Wringer (grinder) and the cutting wheel, if you do not have that hacksaw for metal.
- Screwdriver and screws for metal
- Drill and drill bits for metal.
- The expert can find a welder with electrodes of the required diameter, and even a machine for bending metal
- Metal pipe sheet metal.
- Primer and metal paint.
- Brush or roller.

When working with plastic will be necessary:
- Again a pencil and ruler, a level, an angle, a compass.
- A knife capable of cutting through plastic. A metal hacksaw may work.
- A glue gun.
To make homemade hooks for hangers you may need:
- Glue capable of gluing plastic or a glue gun with special silicone glue rods. By the way, the rods can be colorless, or they can be colored.
- Screws, you can do wood, you can do metal, whatever you can find. You may need screws, it depends on how you attach your shelf.
- You may need a hacksaw or a knife that will cut through plastic.
- Paint and a paintbrush.
Stages of making the hanger
To ensure that the work does not cause difficulties, you need to break it down into stages. Then it will not be difficult to make the hanger yourself.


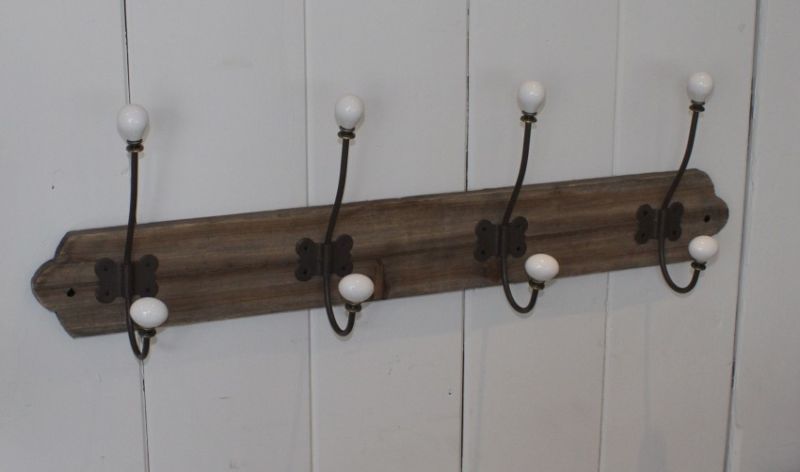
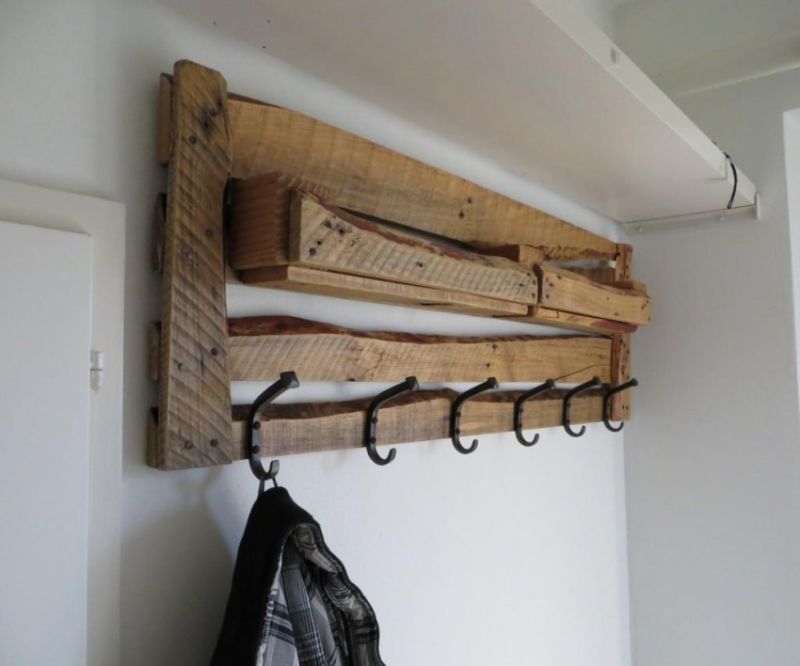
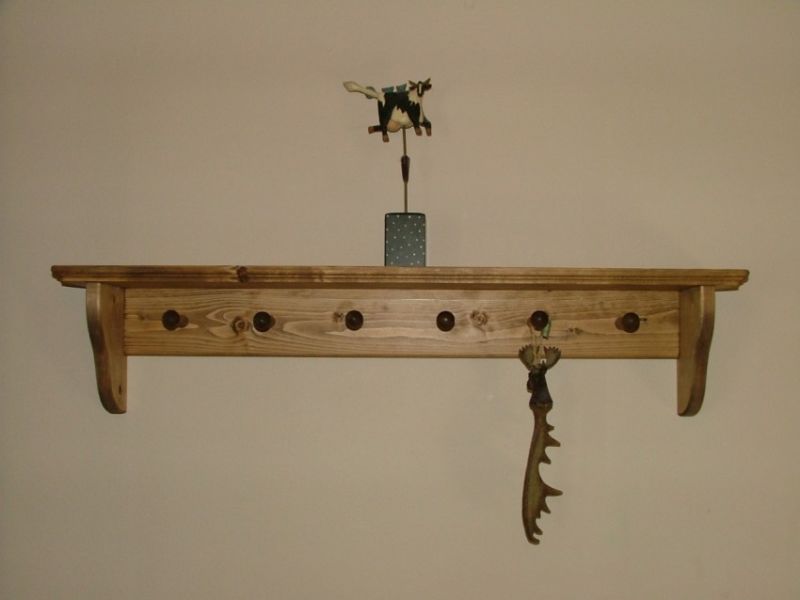
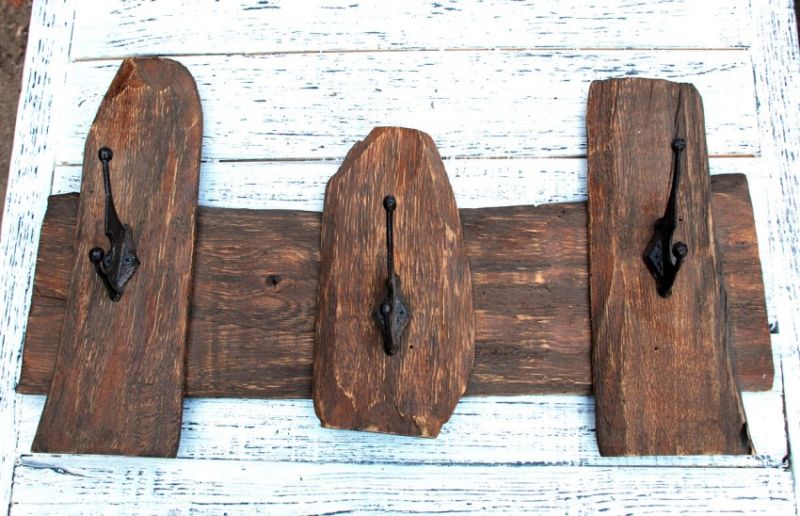
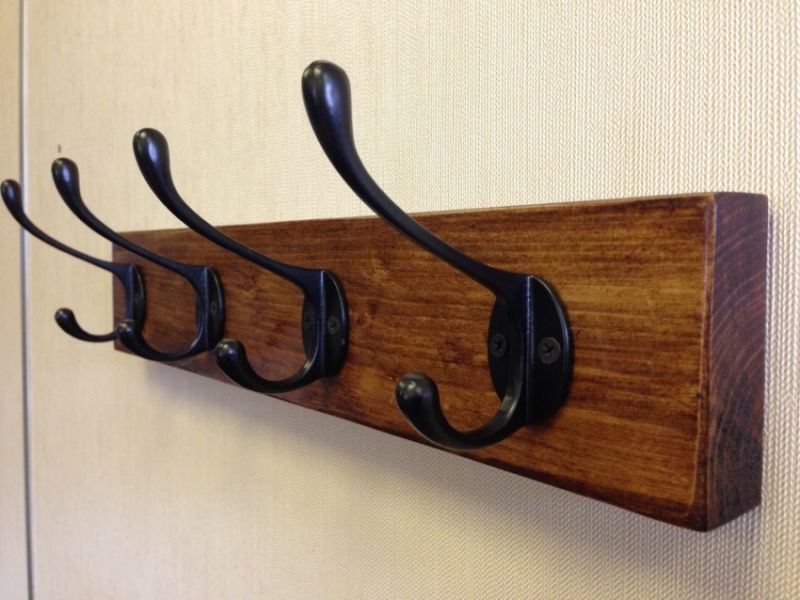
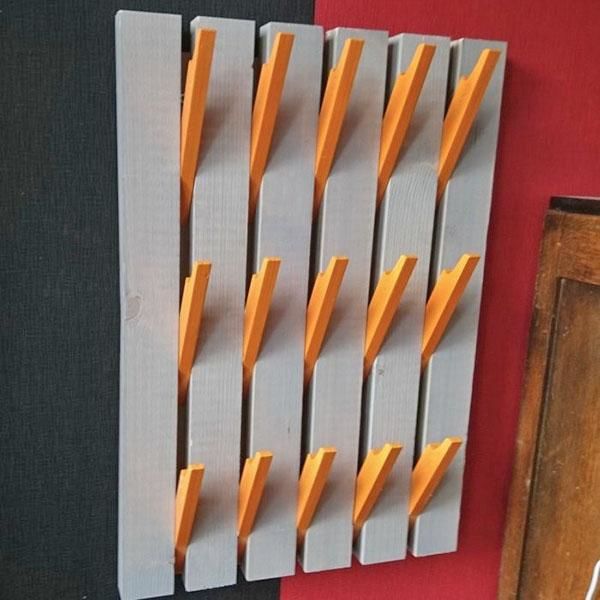
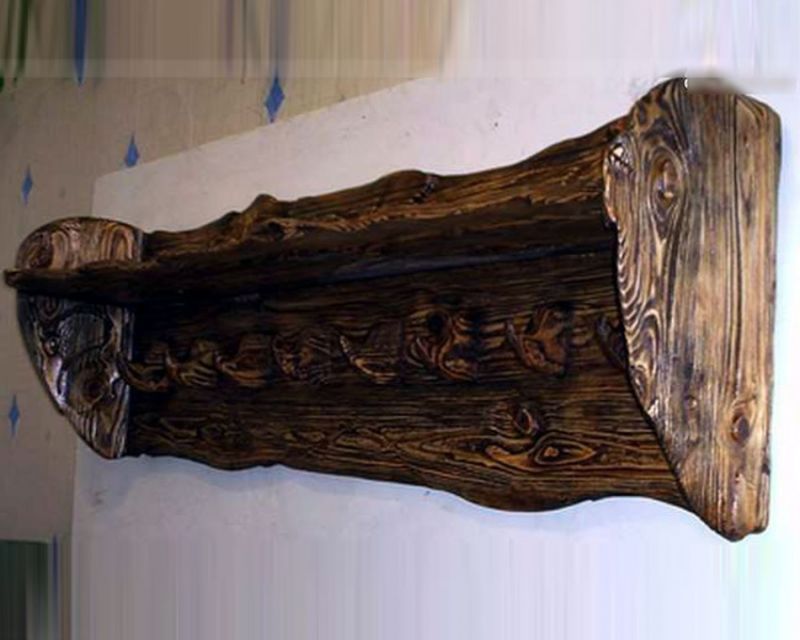
Plank with hooks on the wall
It is very good if at the disposal of the master in the manufacture of the hanger will be a drawing.
Even with a lot of experience it is necessary to have a plan of work, such a plan can be a schematic image of what should finally hang on the wall.

If there is no possibility to make such a scheme-drawing yourself, everything can be found in special literature or on the Internet.
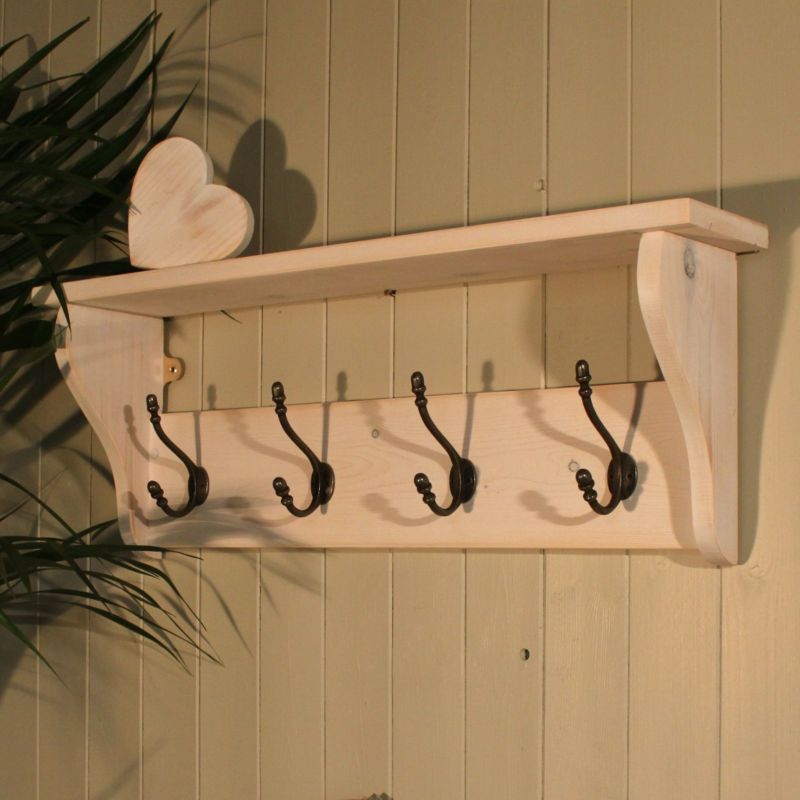
As noted above, wood is the most common and environmentally friendly material. Let's talk about making a wooden hanger:
- It is necessary to prepare a board for the manufacture of the wall panel. Let's assume that the master has already taken a board of the right size. Next, it is necessary to carry out its processing, both on the entire plane, and the edges. The board should be processed in the direction of the fibers. The processing is carried out with a planer or a "grinder" with a flap disc. Be extremely careful and attentive. Before you start working with a power tool, read the instructions.
- Next, you should mark out places for hooks on the board. The hooks should be placed in such a way that the clothes are placed evenly. Making a shelf for hats. Just as in the first, the cases the board should be trimmed. Fasten to the shelf on the bar with metal corners.
- On the back side of the almost finished hanger, install the furniture hinges that will hold the product.
- Mark holes on the wall for dowels, drill holes and install the dowels.
- Screw a hook into the wall plugs and insert a bolt or self-tapping screw.
- Paint the hanger.
- Mount the hooks.
- Fix the coat rack to the wall.
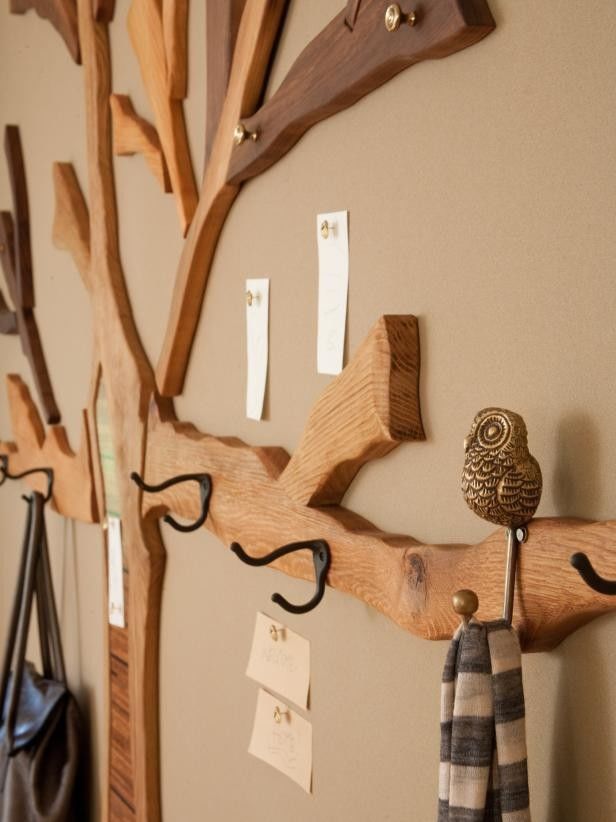
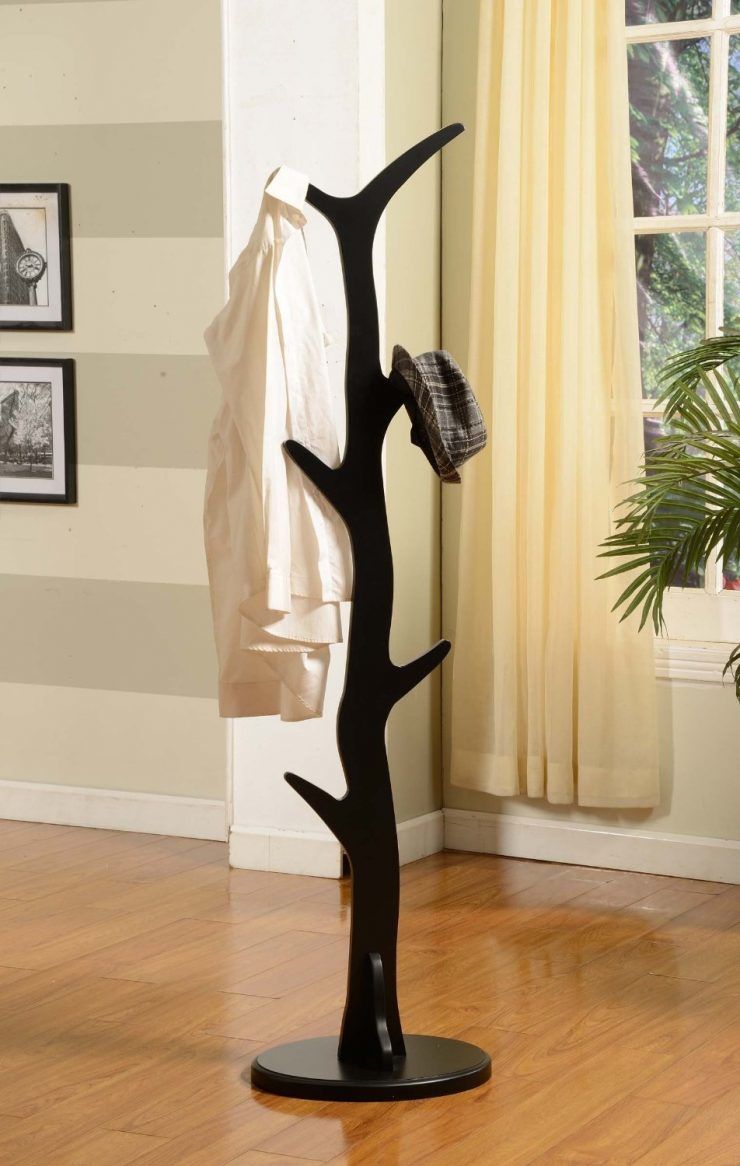
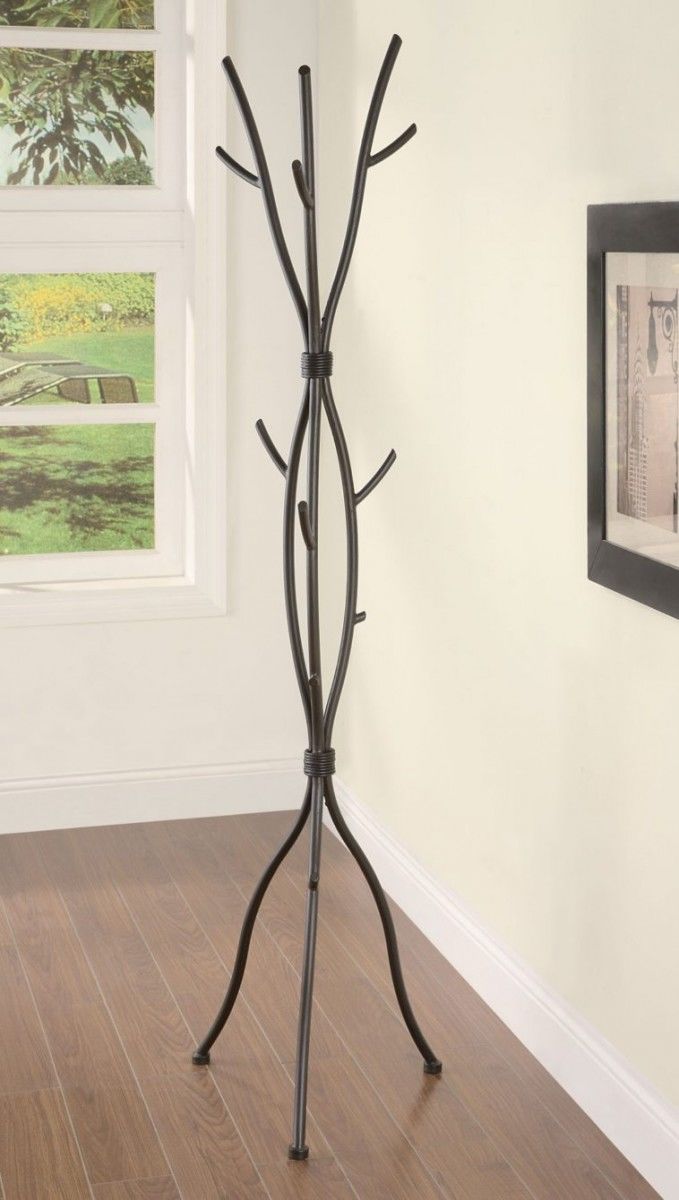
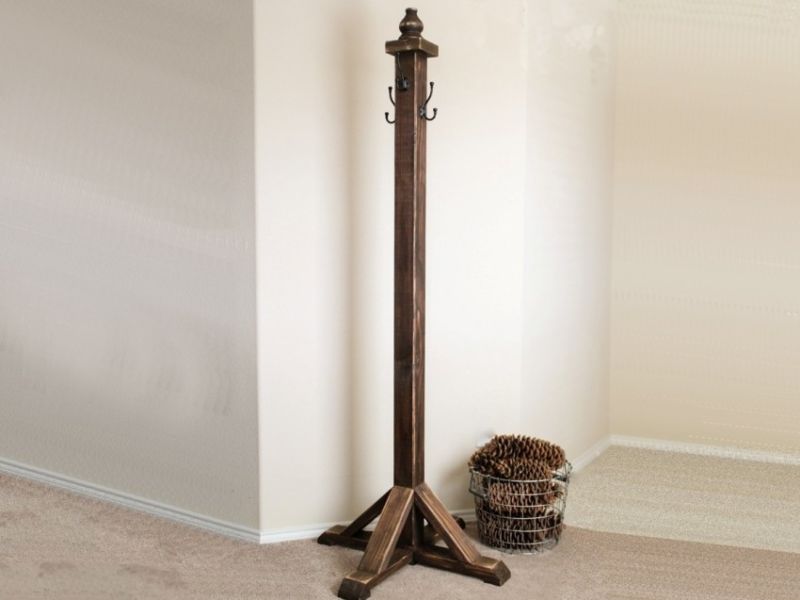
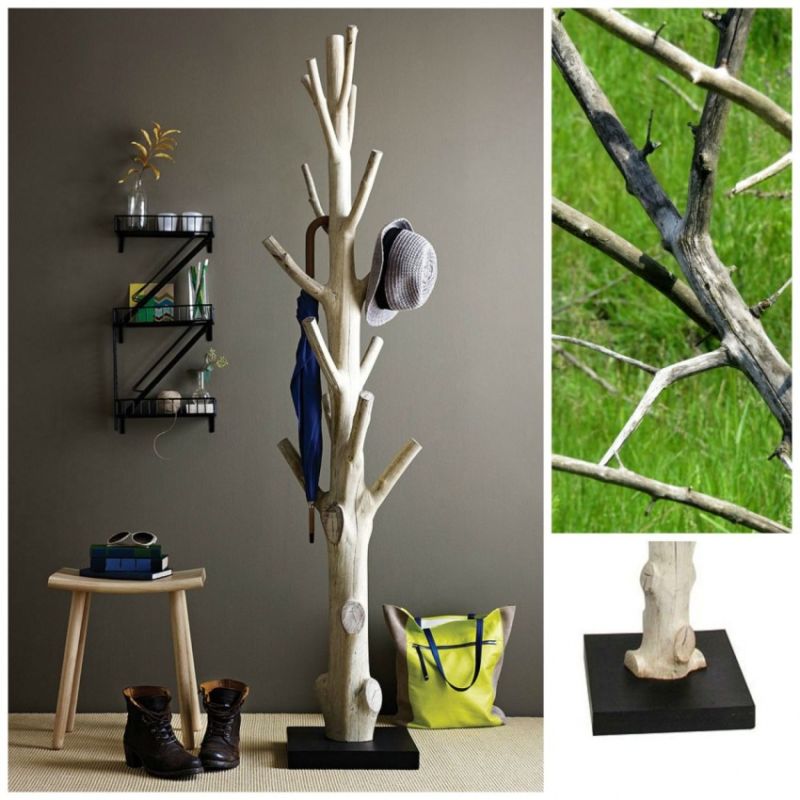
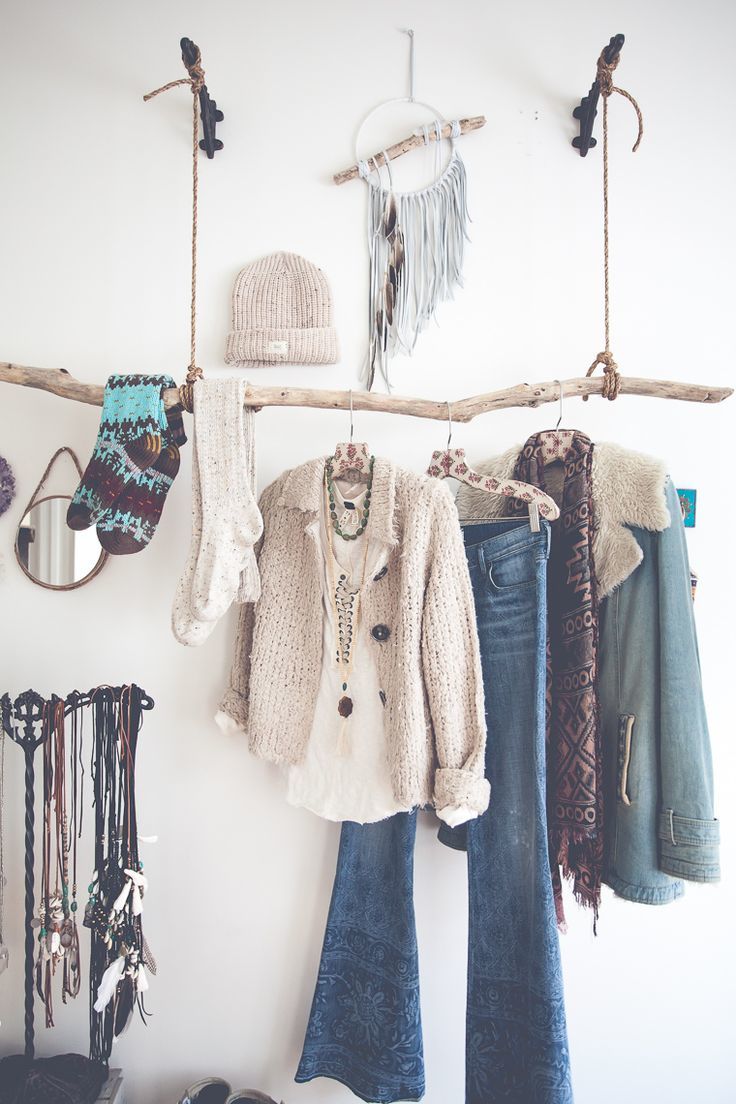
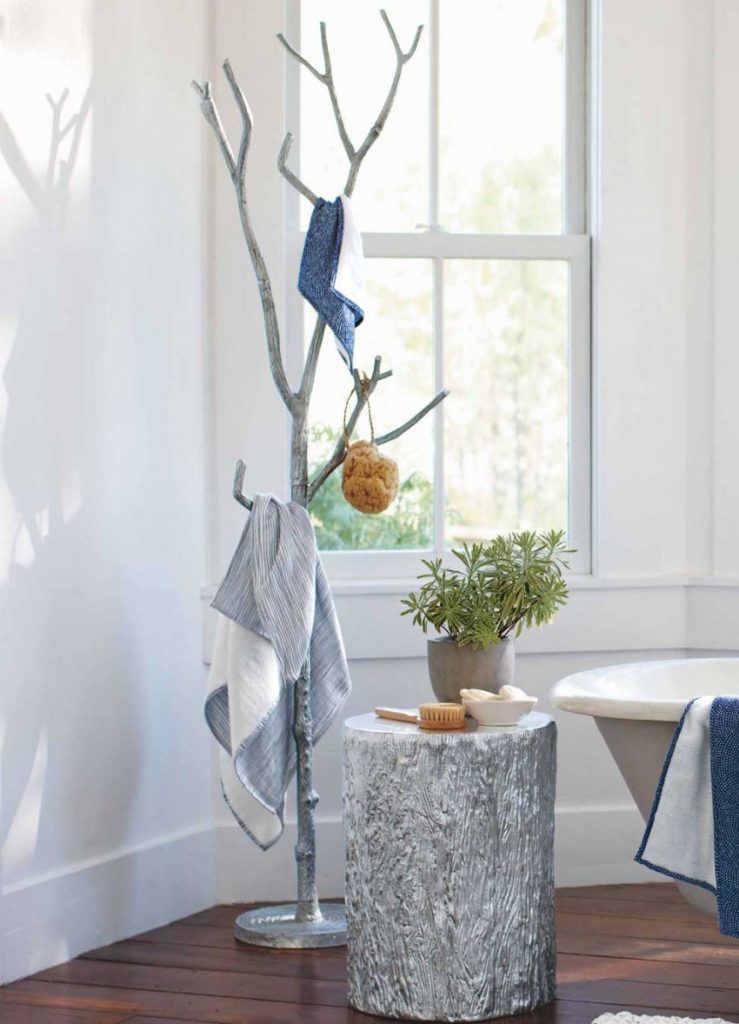
Floor rack.
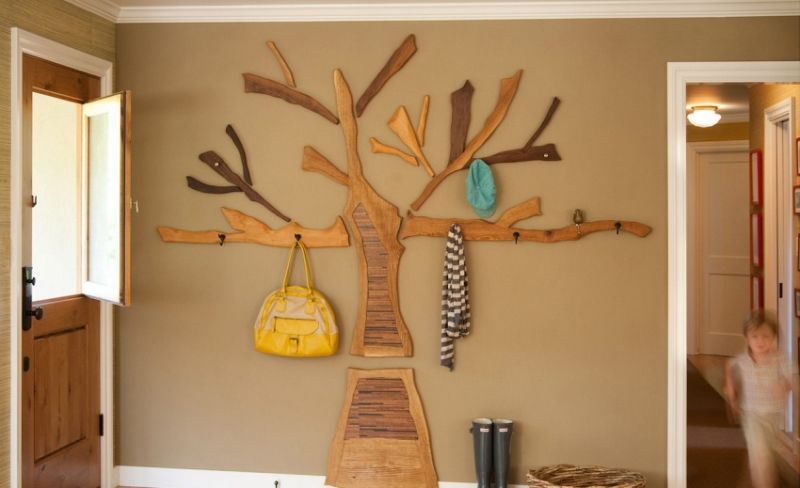
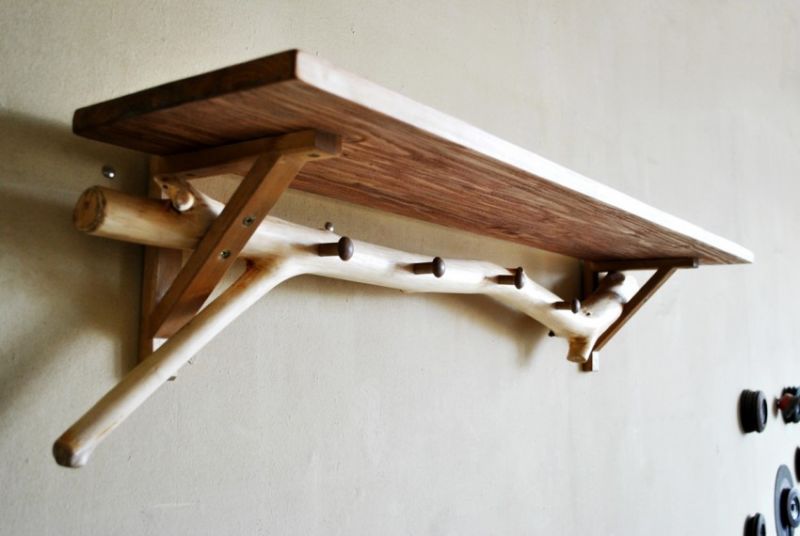
Walking outdoors not only promotes health, but also brings great ideas for home design. A brilliant solution for placing outerwear would be a floor rack made from natural materials.
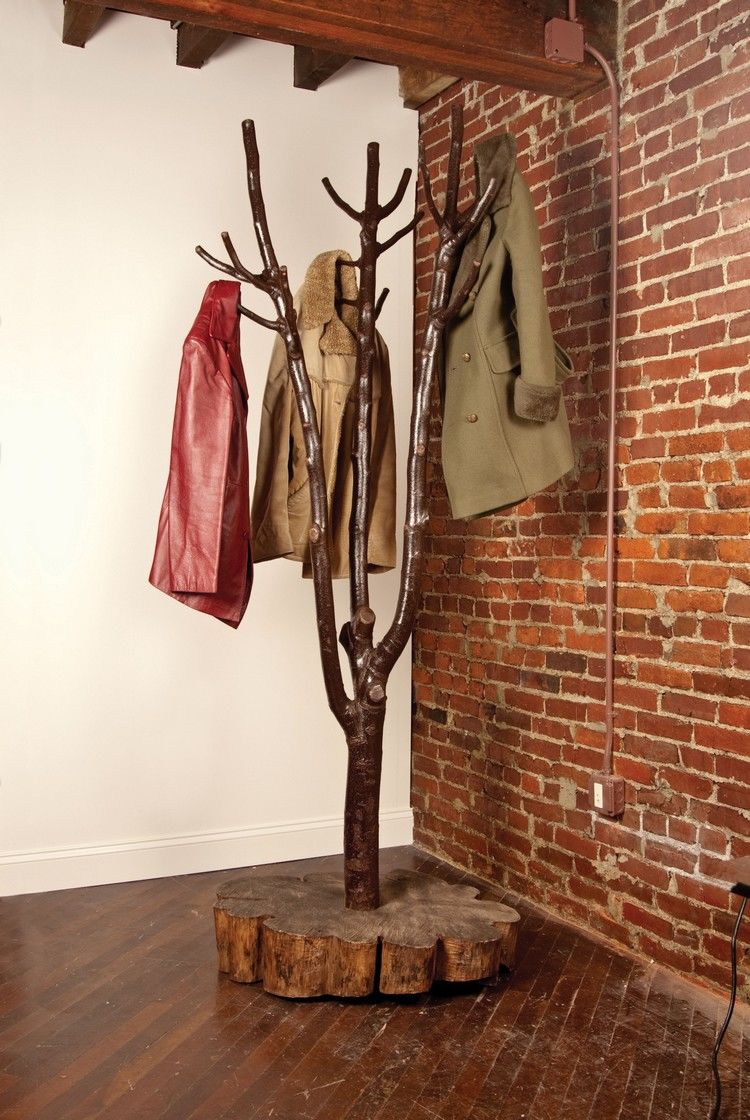
A dry and not rotten old tree or a large branch can make a wonderful coat rack:
- Peel the trunk from the bark.
- Cut off the lower branches to a height of 1-1.5m.
- The branches that are higher should be shortened, and they will be hooks for clothes.
- Clean the trunk of dirt and irregularities with sandpaper.
- Make a stand for the future hanger from a thick board. The shape of the stand can be any shape, but the thicker the board, the more stable the construction will be.
- Connect the tree-hanger and the stand together. You can connect the two elements with self-tapping screws, attaching the board to the bottom of the trunk or branch. You can make a hole in the stand with a diameter no larger than the bottom of the tree-hanger and fix the stand to the stand with glue.
- All that remains is to paint or varnish the new art object.
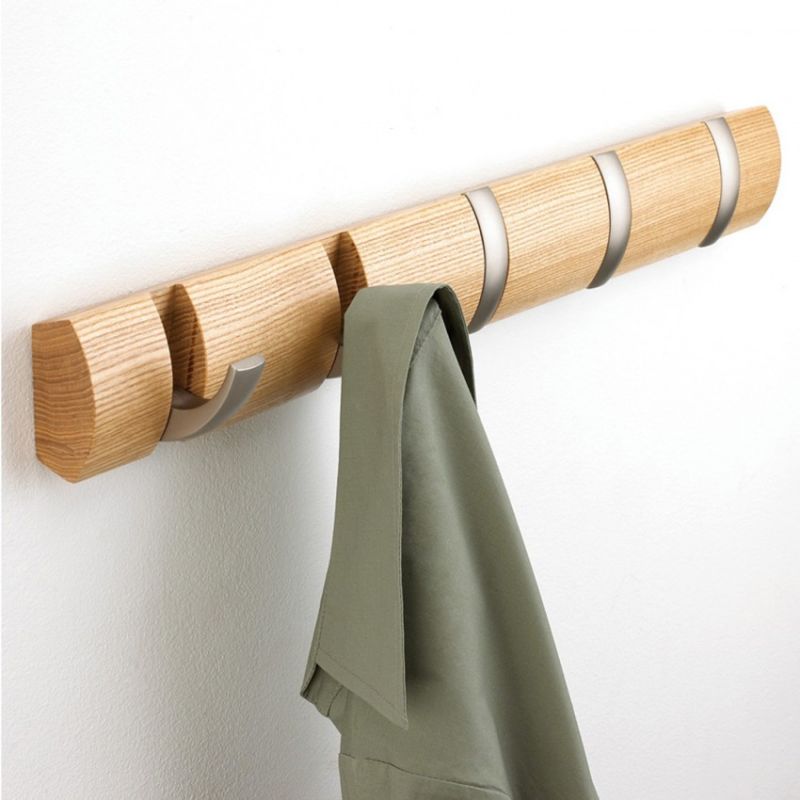
Overhead hanger
Overhead hanger, like the wall hanger, is attached to a flat surface, in this case the front door, toilet or closet door. Such a product is best made of lightweight materials and avoid massive boards.
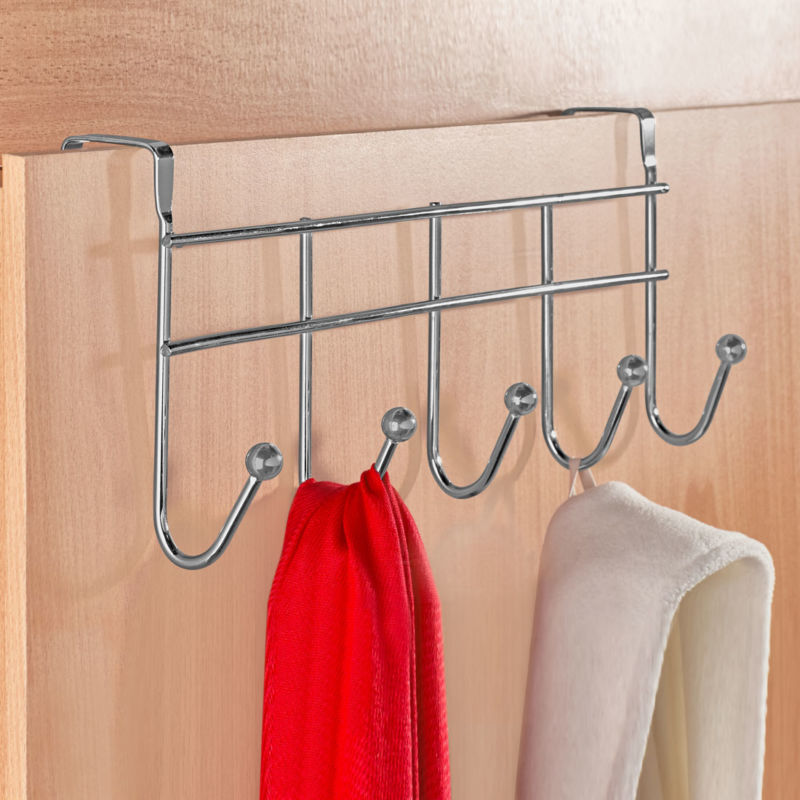
The easiest way is to fix the hooks directly on the door:
- Take two wooden bars 25X15 or 20X10 mm, if you want on the stronger then 30X20mm. The length of the bars is not more than the width of the door.
- Sand the strips on all sides with sandpaper.
- Join the strips together with smaller strips
- On the longitudinal strips we mount hooks.
- On the back of the hanger make fasteners to the door. It can be a double-sided adhesive tape, a furniture magnet, furniture hinges.
- Paint the product.
- On the surface of the door do either holes for hooks, or install a metal plate, which is usually supplied with a furniture magnet.
- Fix the hanger.
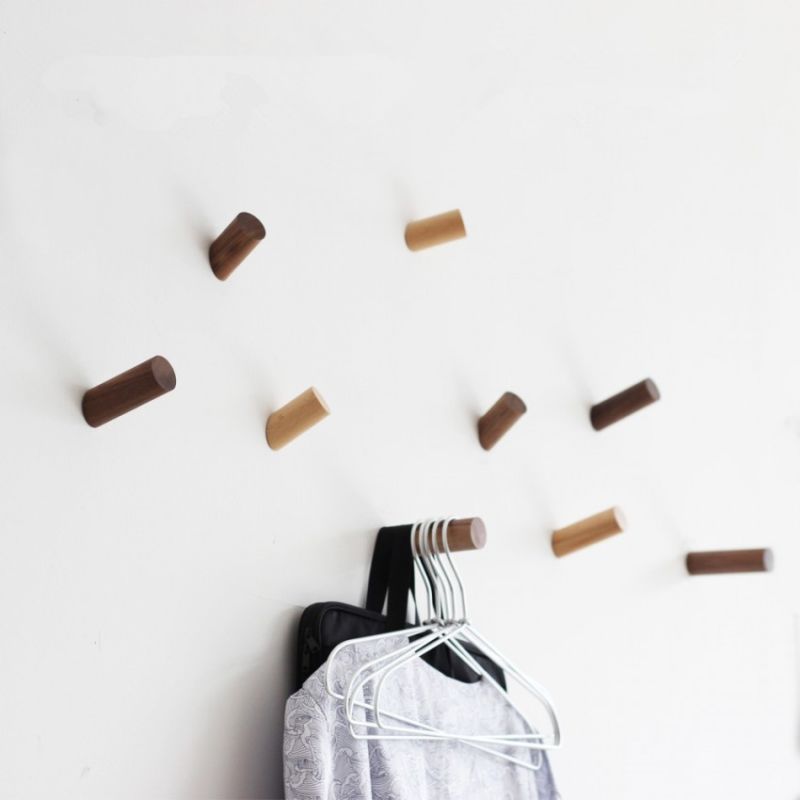
Hangers for the closet
To make hangers will require very little materials, time and effort. Of materials and tools will be required:
- A strong hook, you can make it yourself from a nail.
- Sandpaper.
- A piece of wood 20x40 mm.
- Pliers.
- Wood drill and drill bits.
- Electric jigsaw or a simple jigsaw.
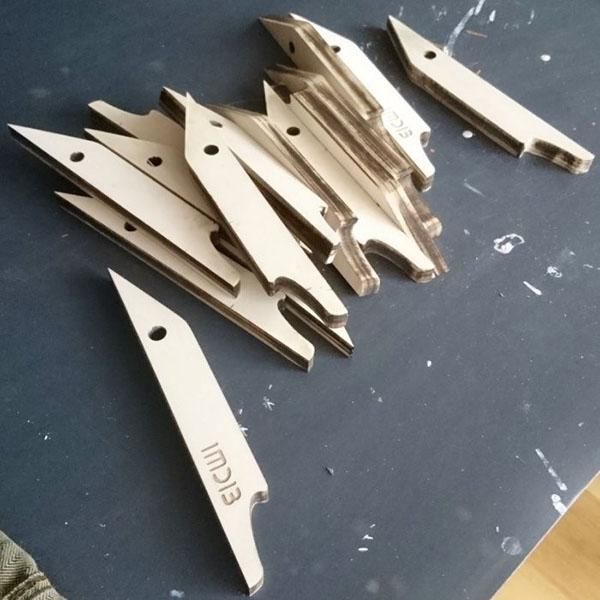
The process of making hangers is not complicated and consists of several steps:
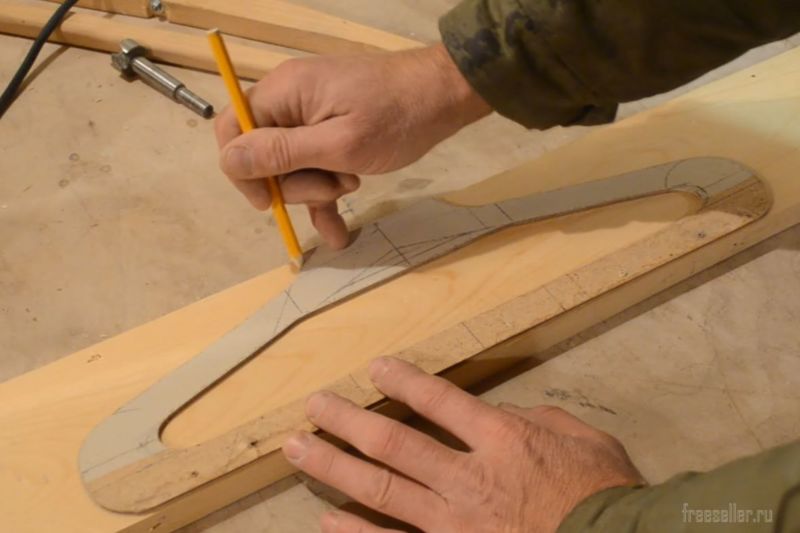
- On the bars we draw with a pencil or marker the outline of the future hangers.
- Use the jigsaw to cut this outline.
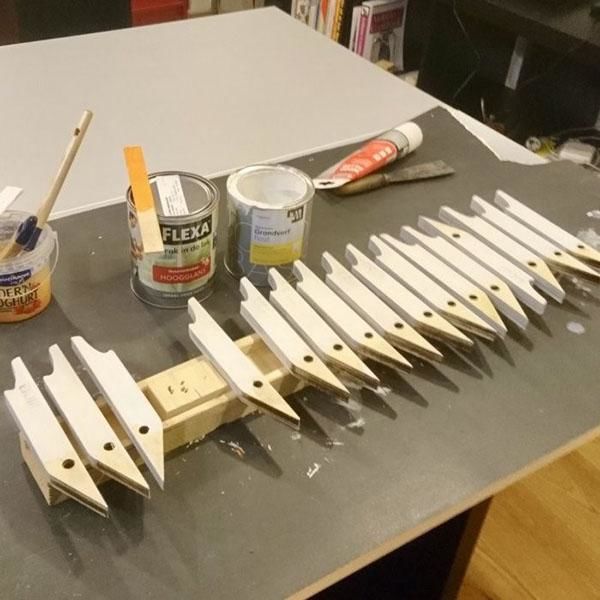
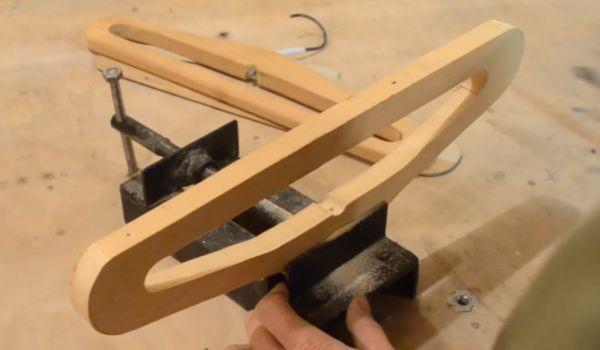
- Sand the wooden surface with sandpaper.
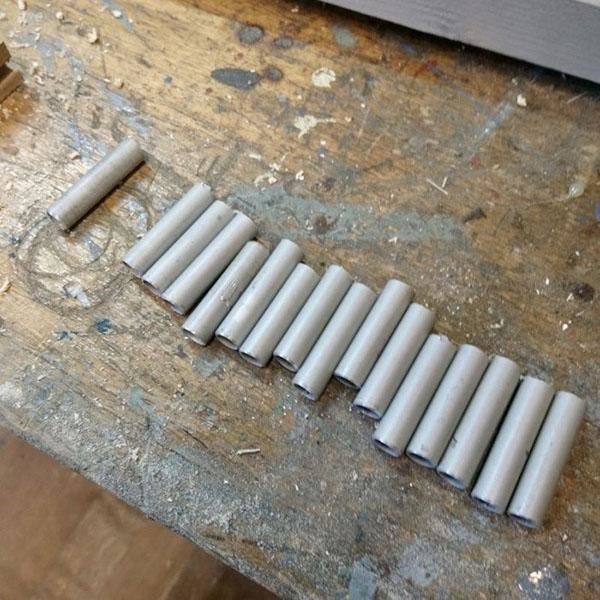
- If there is no ready-made hook, then use a nail for this purpose. Use pliers to bend the nail into the shape of a hook.
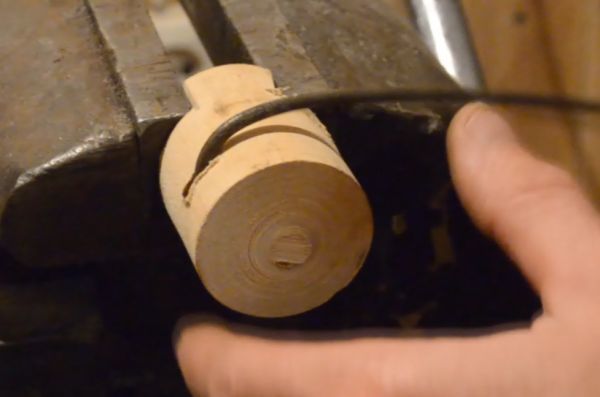
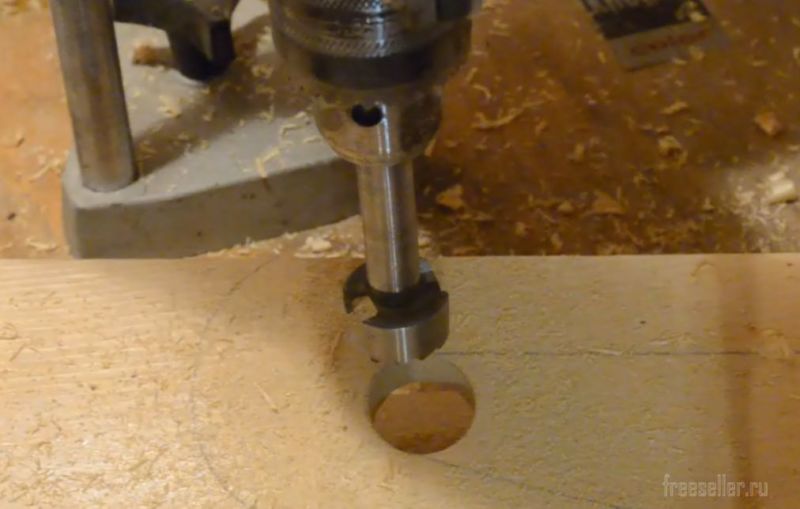
- Drill a hole of the desired diameter in the bar.
- Insert the hook into the wooden workpiece.
- Bend the bottom end of the hook so that the hook does not fall out.
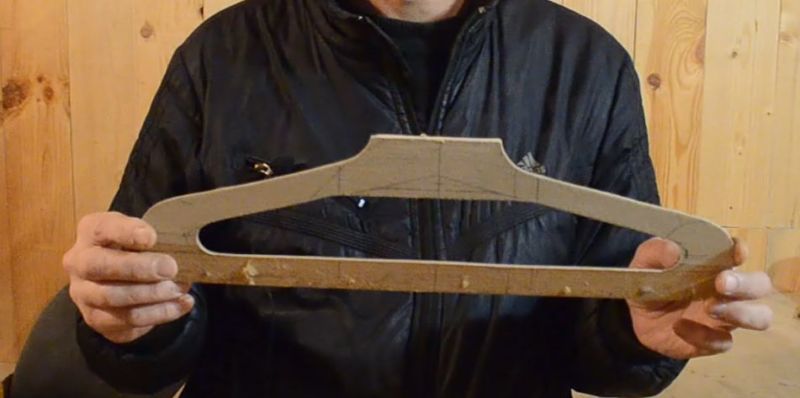
- Coat hangers with varnish.


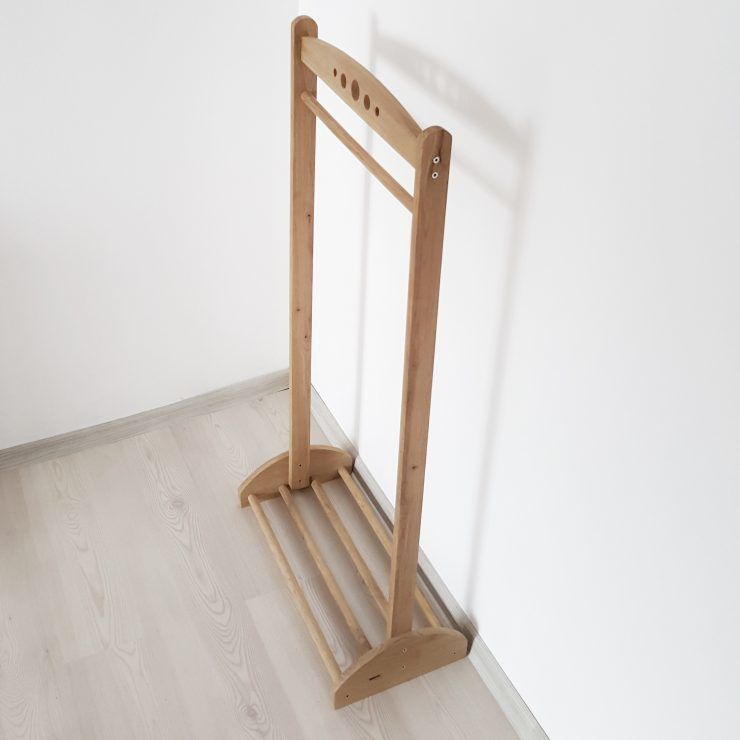
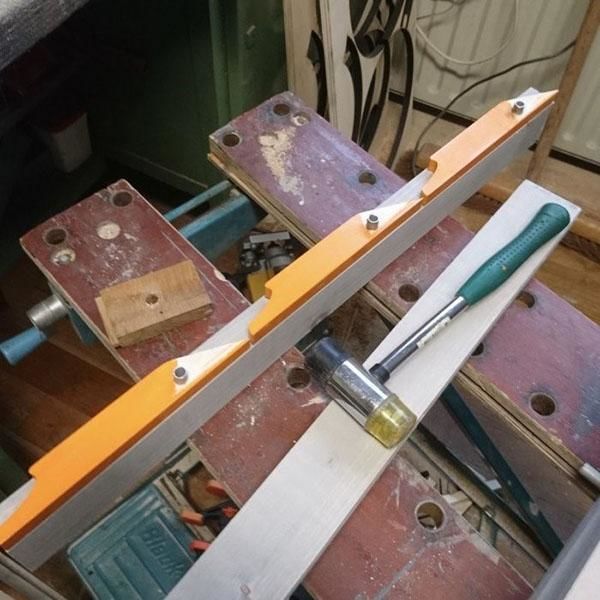
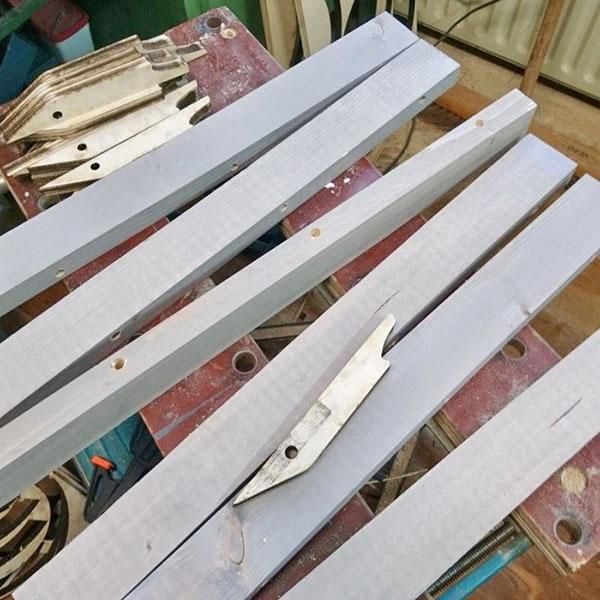
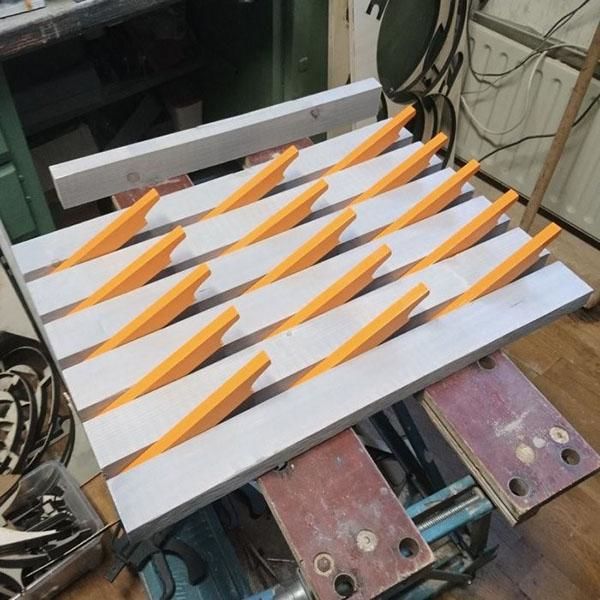
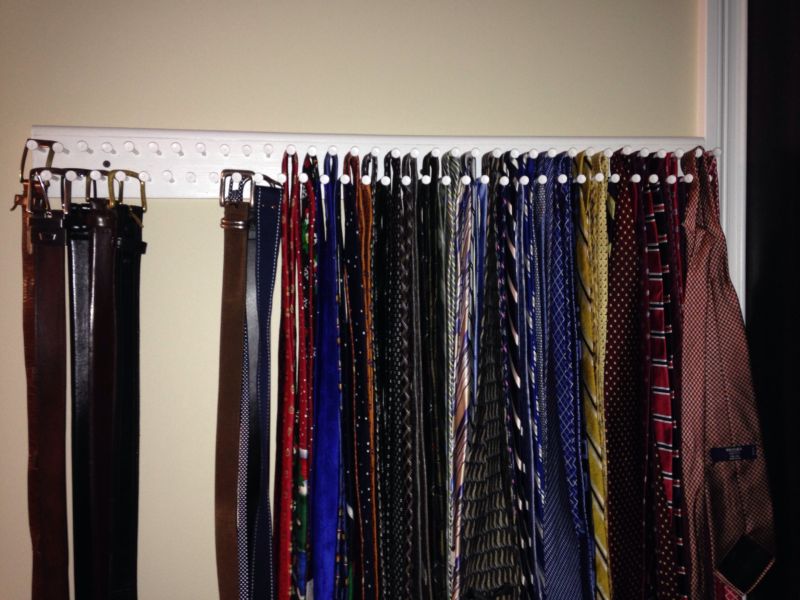
Hanger to store belts and ties
It is not difficult to make such a hanger. This peculiar transformation is reminiscent of the plot of Leonid Gaidai's immortal comedy "The Diamond Arm": Pants turning, turning pants.... Remember? Also with a hanger for belts and ties.
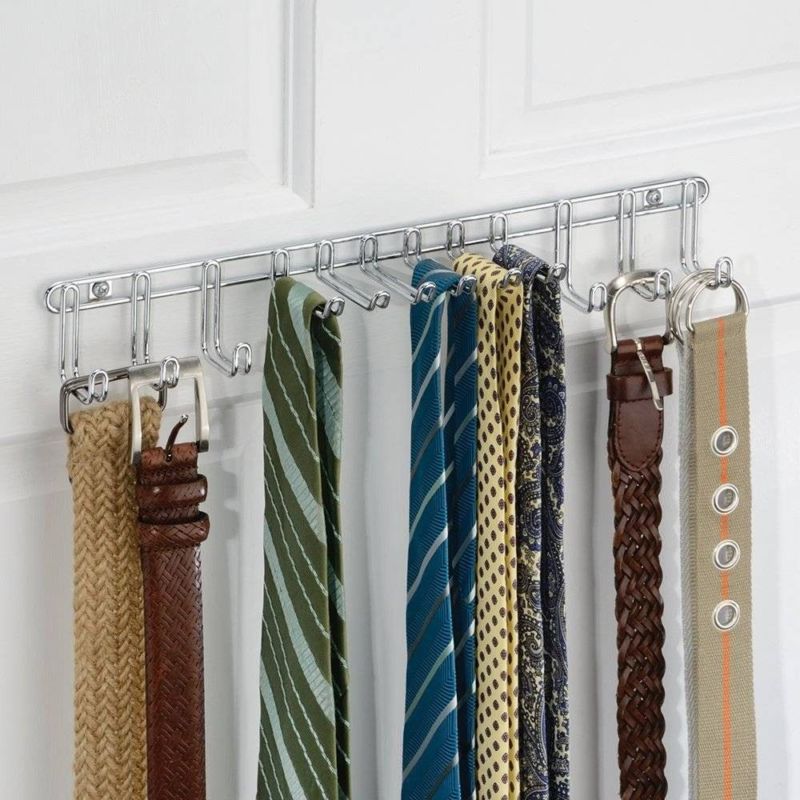
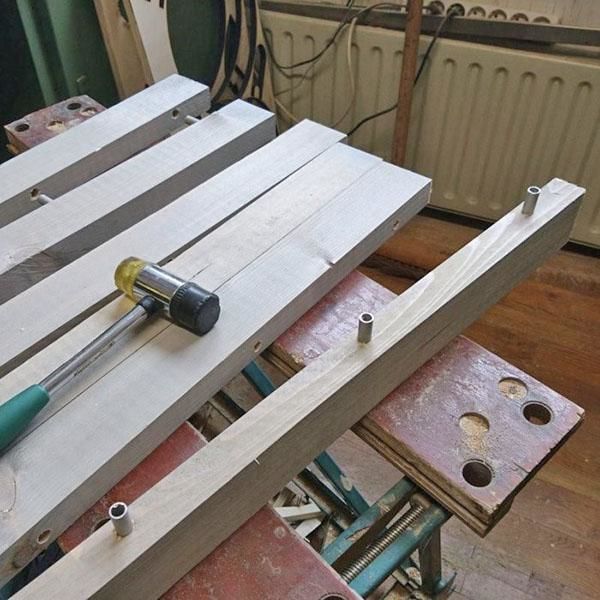
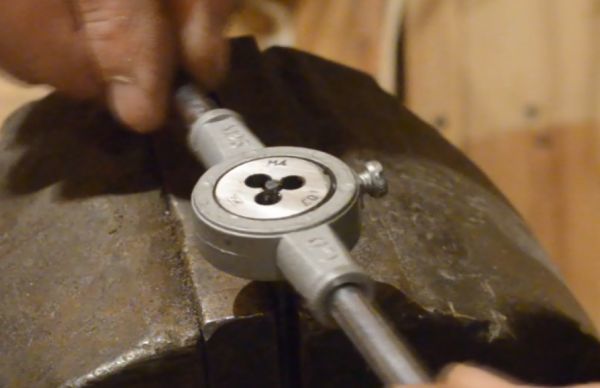
We will make this wonderful accessory from ordinary hangers. In addition to the hangers we will need threaded hooks:
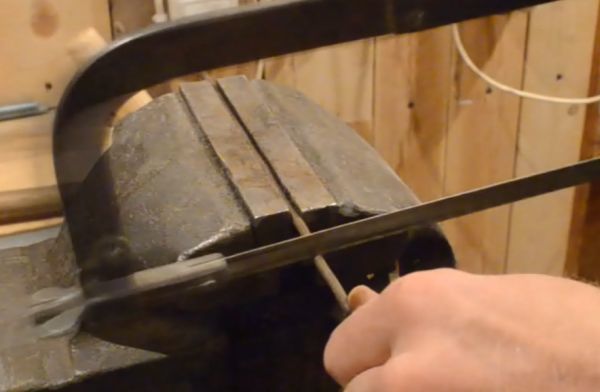
- On the bottom of the hanger with a marker mark the points for the holes.
- Drill a hole with a diameter slightly smaller than the diameter of the hooks.
- Screw the hooks into the holes.
At first glance it may seem that it is difficult to make a hanger. Do not be afraid of this work with proper diligence and patience you can do anything. As the ancients used to say: "Gods do not burn pots". Dare, friends!
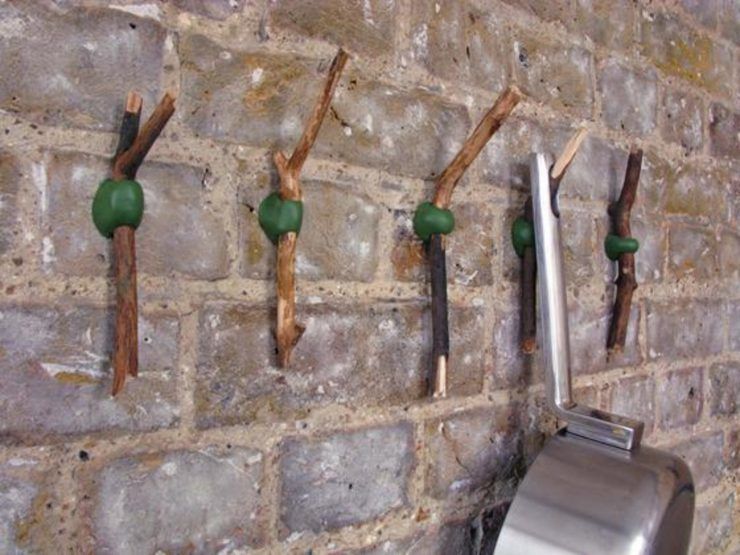

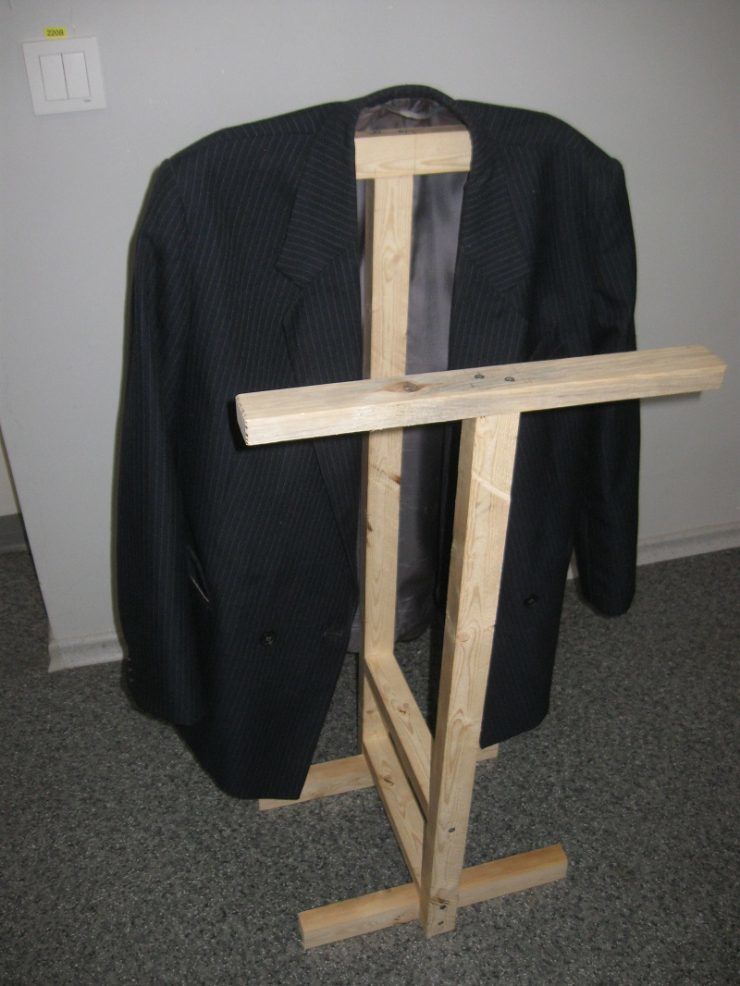


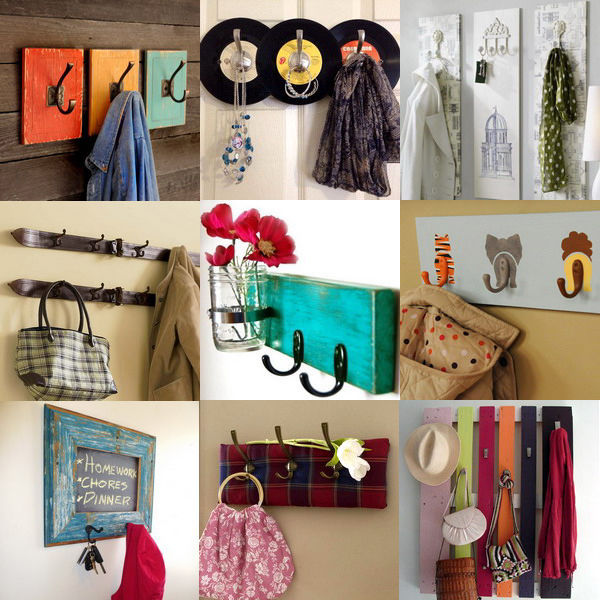
Photo of a homemade coat rack


Ideas are good. Took a couple of things to note. May be at my leisure to do. Thanks to the author.