How to make a hat with your own hands: the scheme of making, step by step master classes of paper, fabric for boys and girls
Hats are needed not only to protect the head from the sun or rain - today this accessory serves as a complement to everyday and holiday outfits. And it is used by women, and men, and children.

In some cases, hats emphasize the elegance of style, in others, they serve as an original or sophisticated decor to the outfit.
Learning to make hats with their own hands is not difficult. Such a skill helps to save the budget, in addition, it allows you to be always in trend with exclusive things that perfectly match the dress or suit.
A note! Competently picked up a hat does not slip when bending over, and the width of the crown does not exceed the width of the face. The headpiece must match the tone of the rest of the accessories.
Methods and patterns of making hats with their own hands
In addition to the style, it is necessary to choose the material from which the hat will be made. For good thermoregulation and to prevent dermatological inflammation on the scalp, the material must be lightweight, breathable.
For some styles it is important to keep the shape, this is only possible if a dense material is used. It is also important that the top fabric does not burn out in the sun and is hard-wearing and practical.
It is best to use straw, shantung, linen, cotton, denim, and felt. Yarn, cardboard and paper will work great.
Materials for work
If the hat is made of fabric, you will need a lining fabric in the form of cotton, synthetic, natural silk. It is also necessary to stock up on corsage and satin ribbons and other decorations.
On hand should be:
- needles of different sizes with different needle ears;
- colored threads, white and black;
- Scissors and a box cutter;
- a pencil, a marker, a compass, a tailor's meter, a ruler;
- PVA glue, silicone glue in rods and a gun;
- iron.
You may need a drill, sewing machine, hair hoops, pieces of lace and netting. The choice of trimmings is not limited, you can use anything from beads to feathers to braid.
Hat shape options
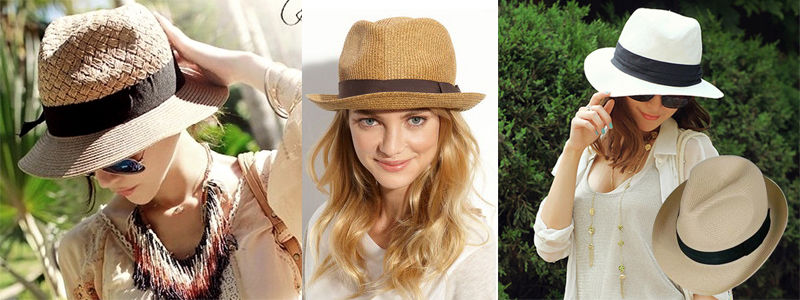
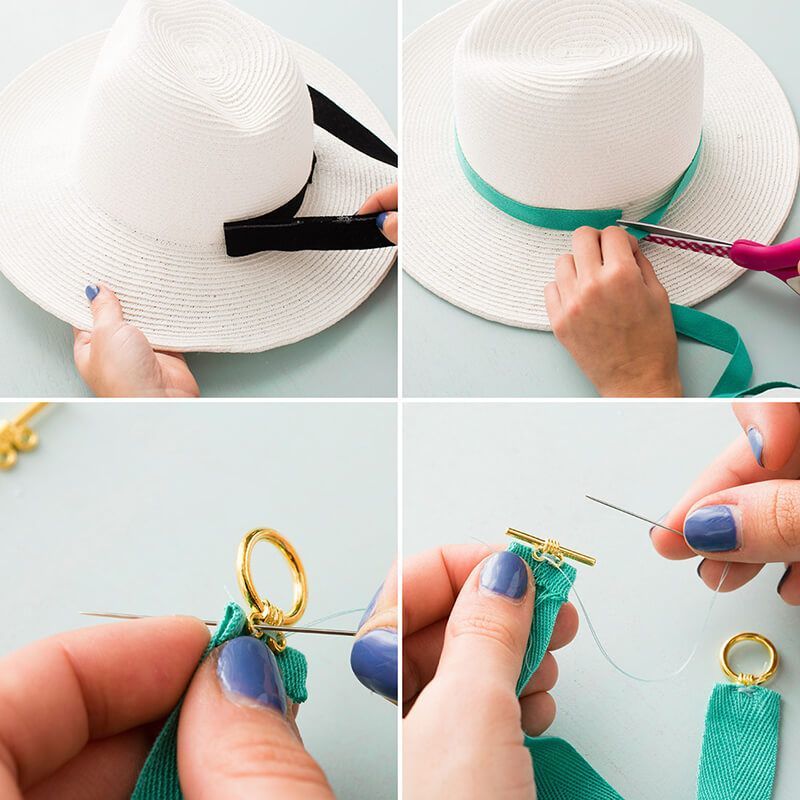
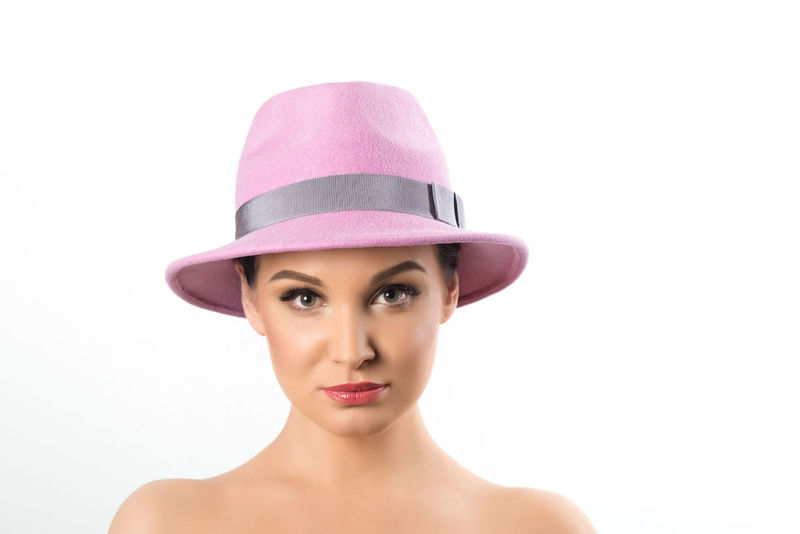
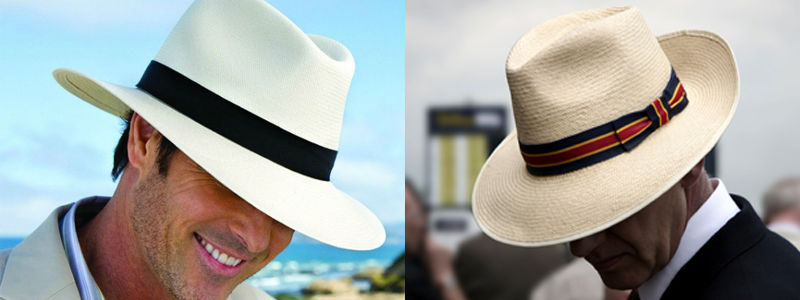
Today, fedora hats made of felt are trending - soft, with wide brim.
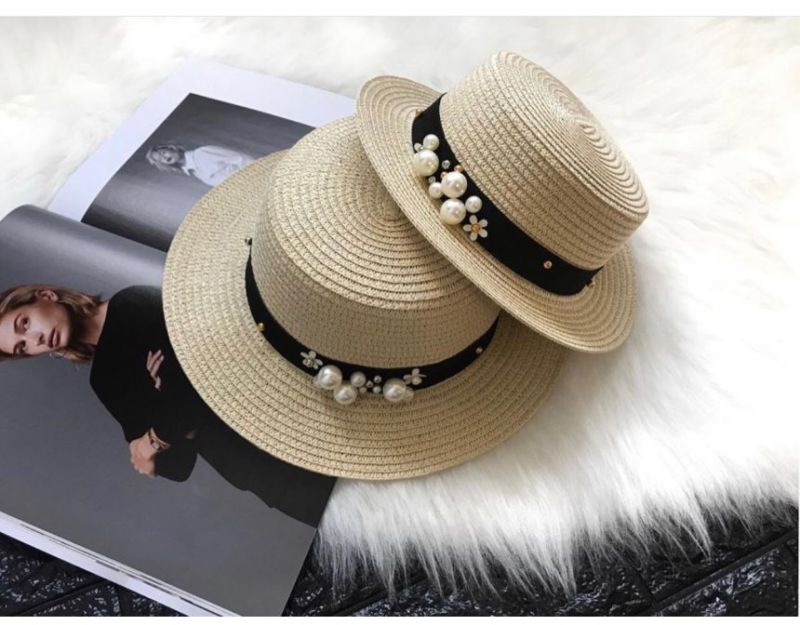
Canotier and panamas are also in great demand - they are easy to make with your own hands, and the choice of material and fabrication methods is quite wide.
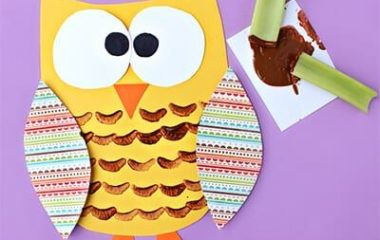
Most often, of course, many people start by making hats for children - in the first place, these are headdresses for matinees in kindergarten or school. Here, a great demand for witches' hats (cones), pirate hats (triangles), small decorative hats.
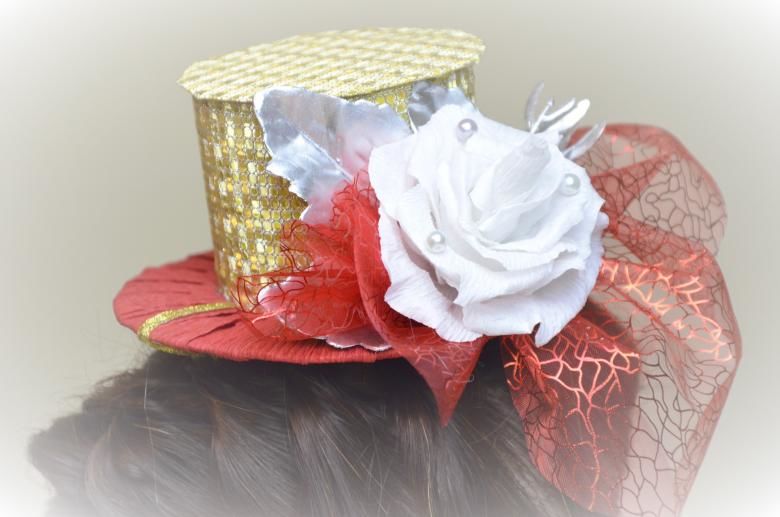
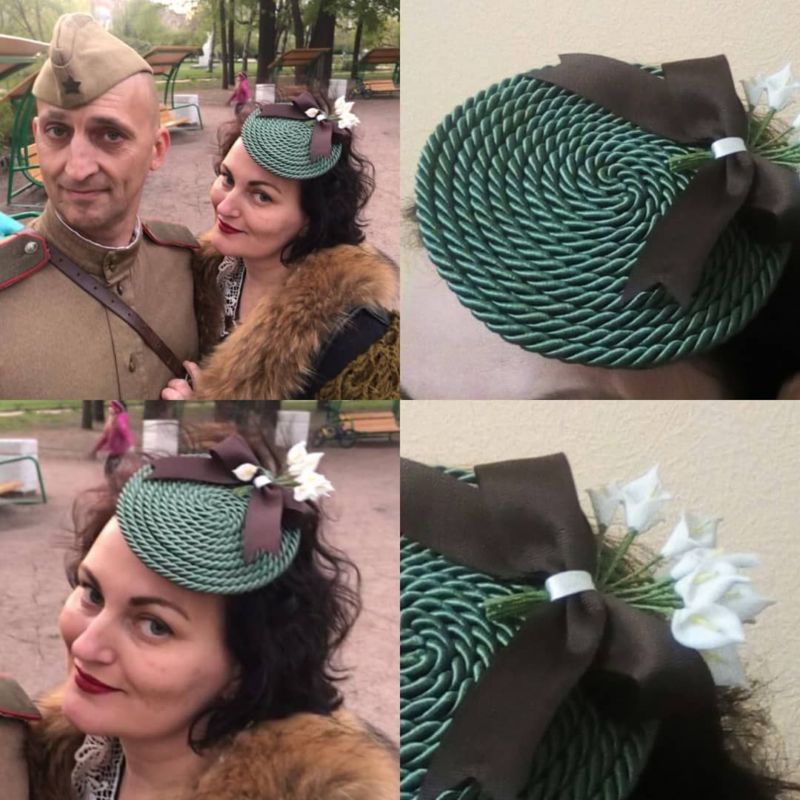
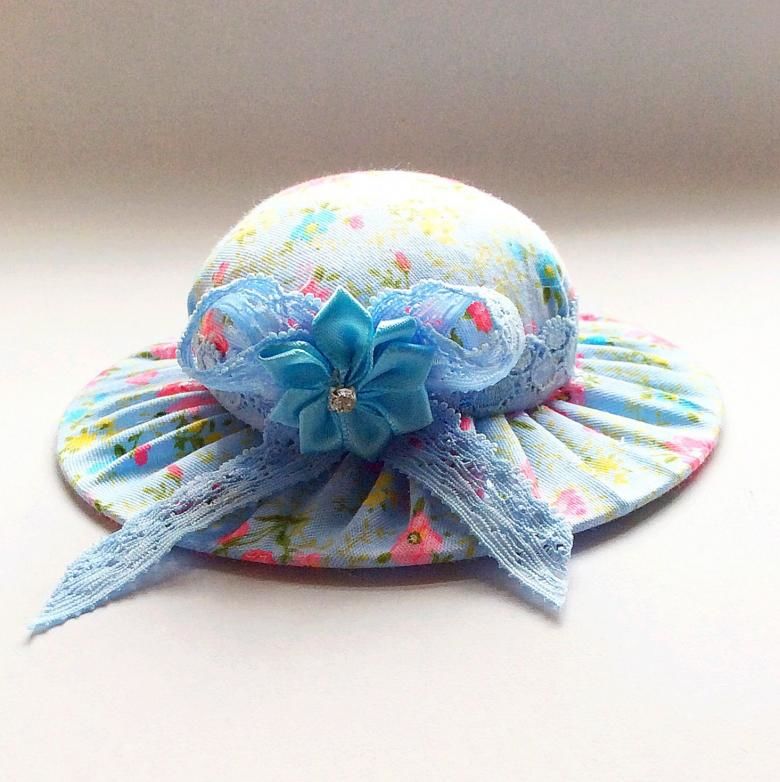
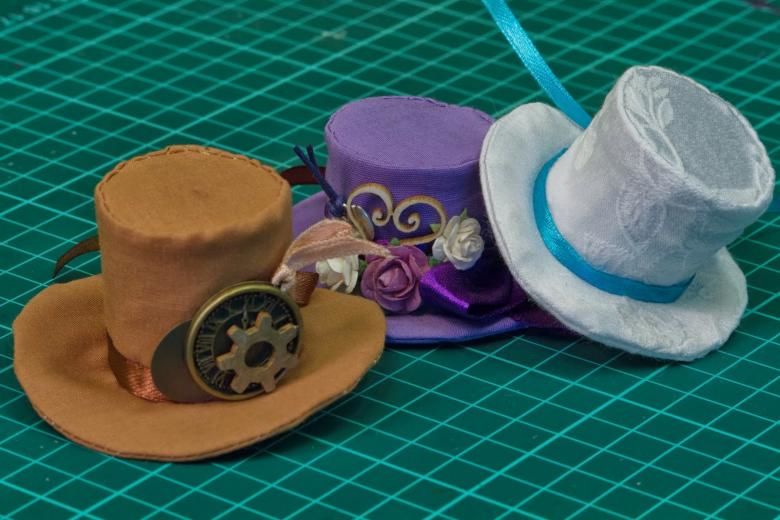
Voalettes, "pills" and miniature hats that look like hairpins or brooches are in demand for special celebrations - weddings, anniversaries, trips to the opera or theater, and so on.
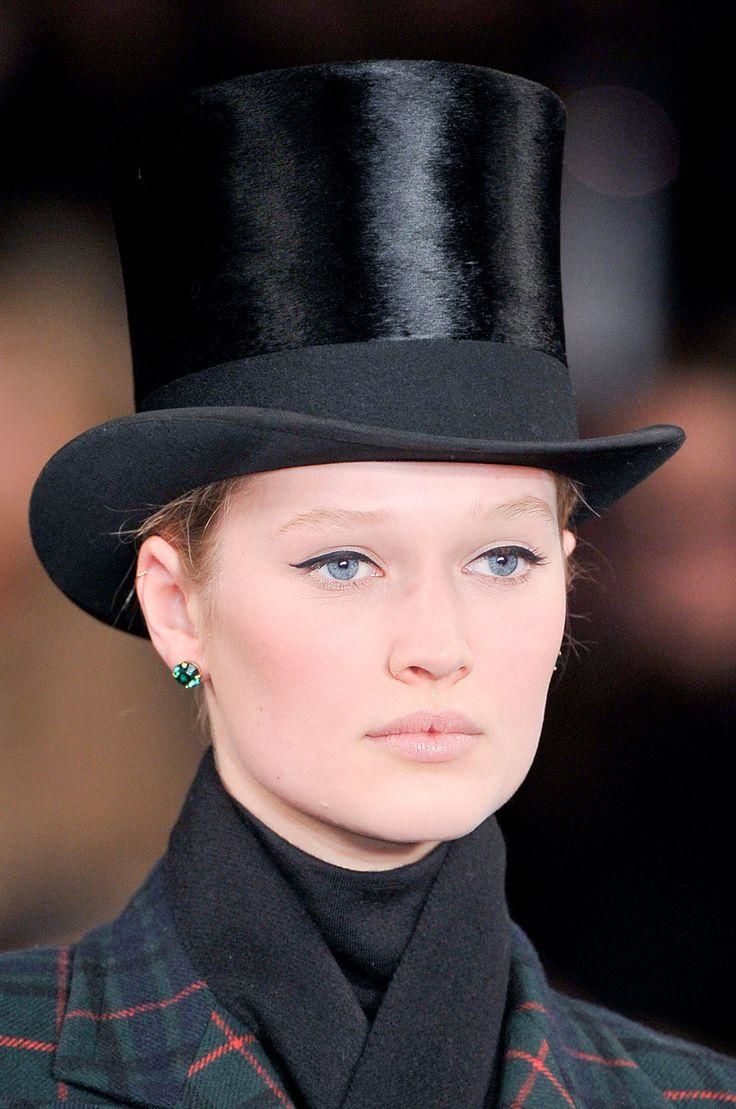
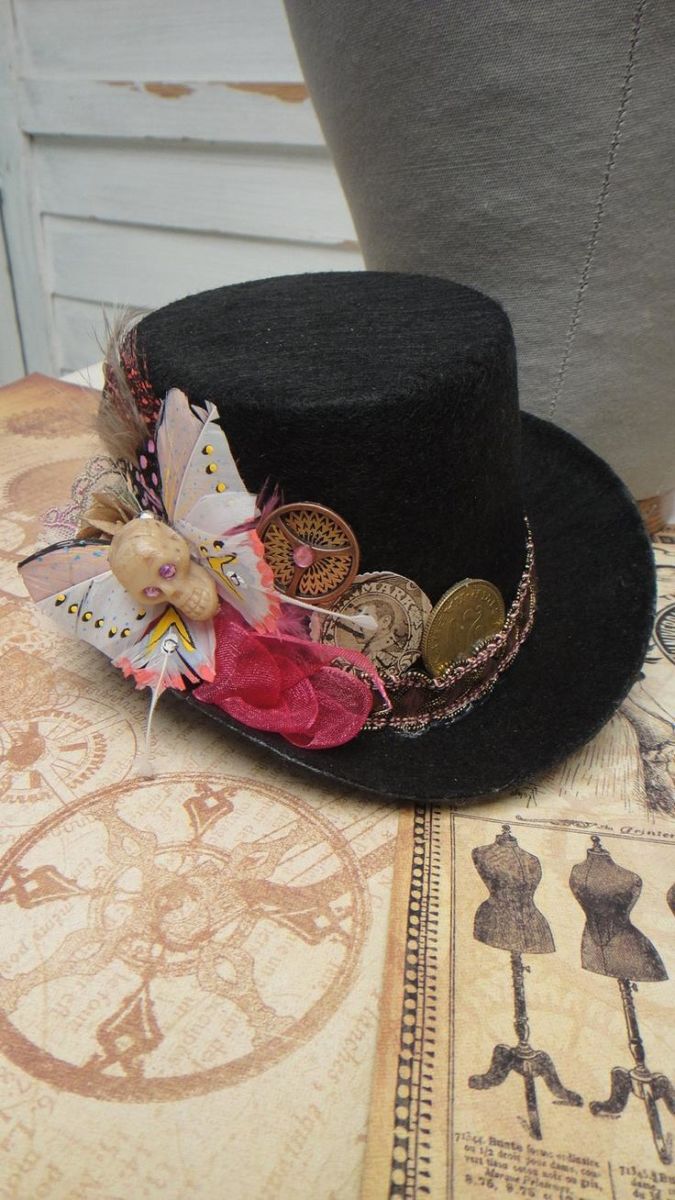
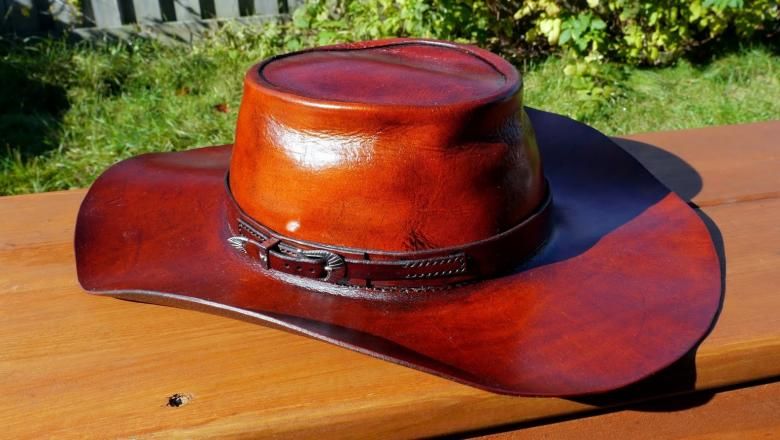
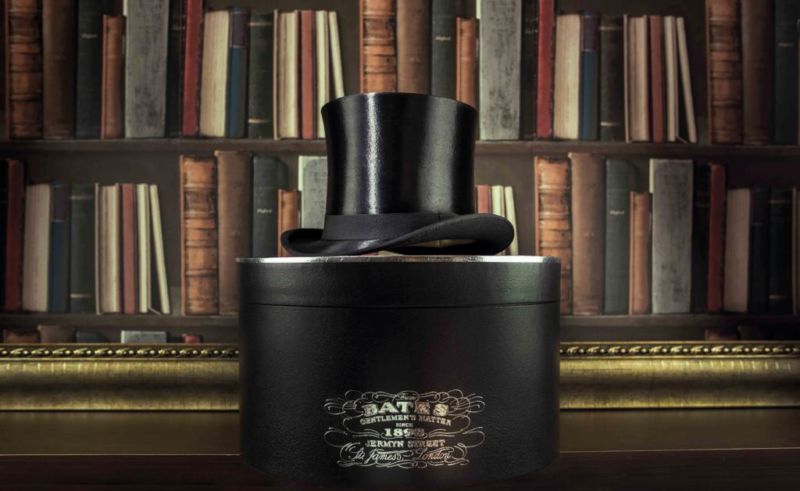
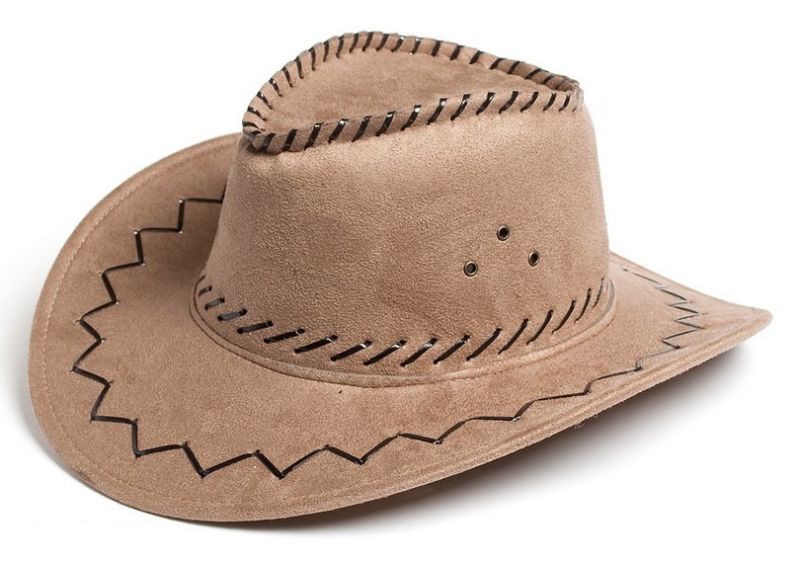
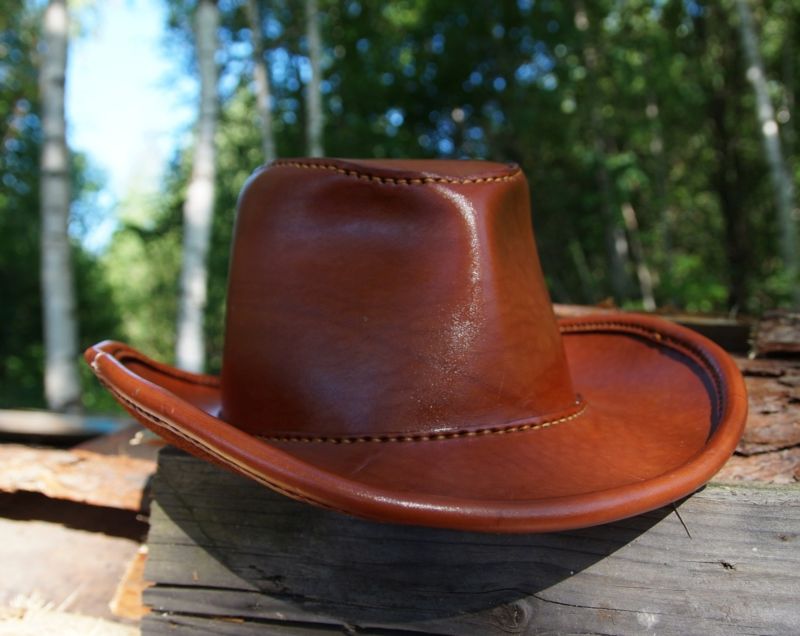
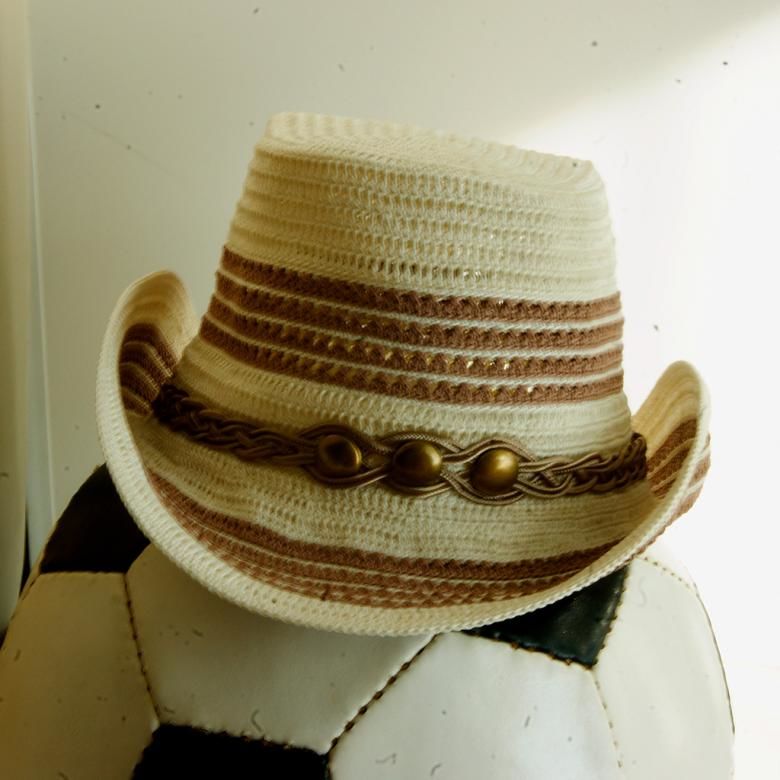
Men may also need cylinders (especially steampunk supporters) or "stetsons.
It is worth taking a closer look at some options for making hats with their own hands.
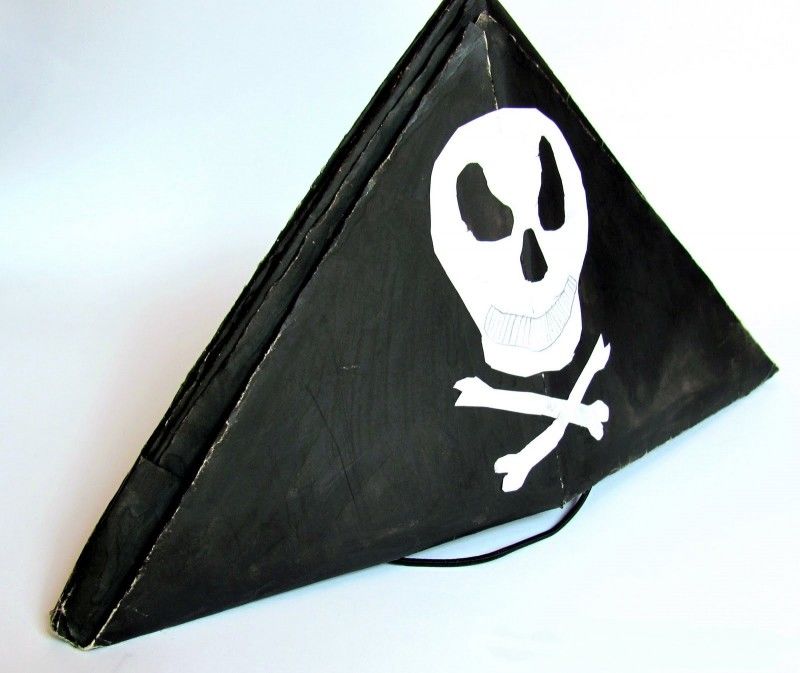
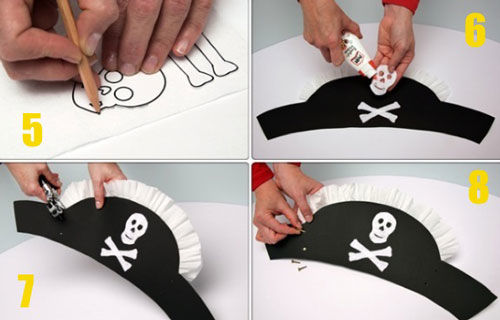
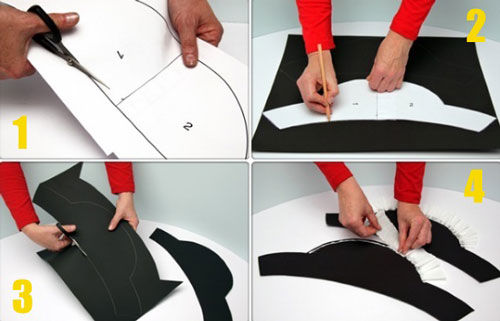
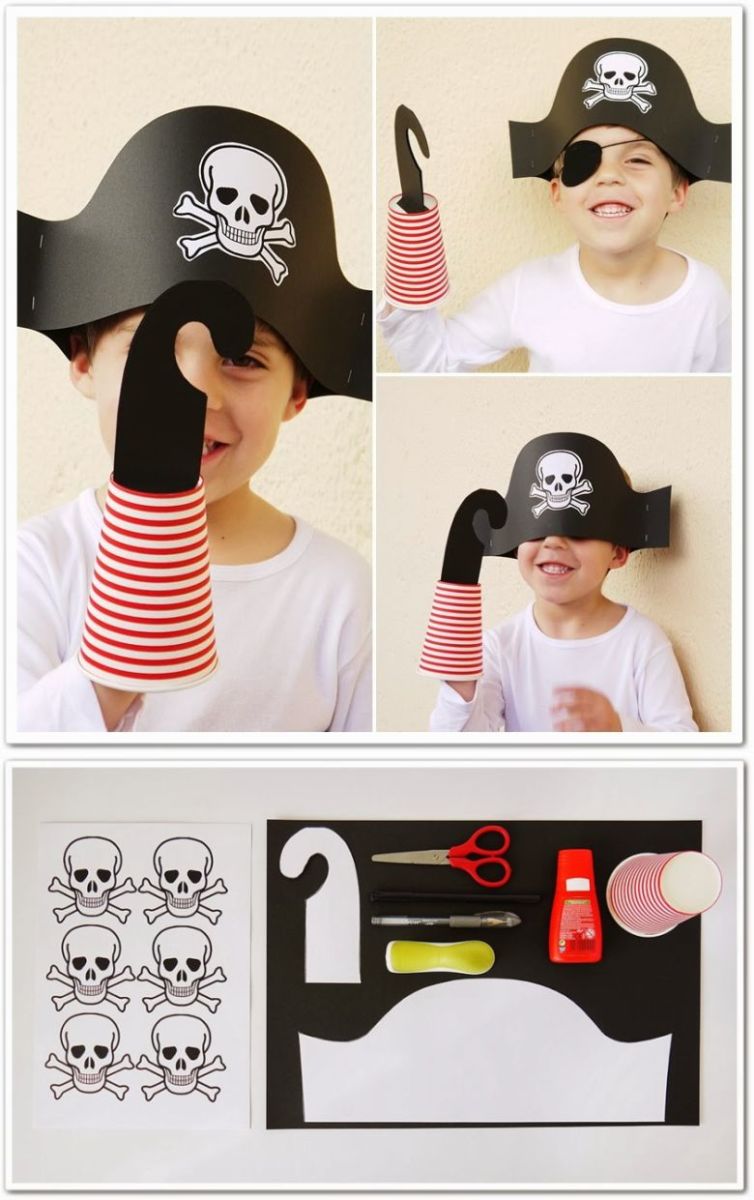
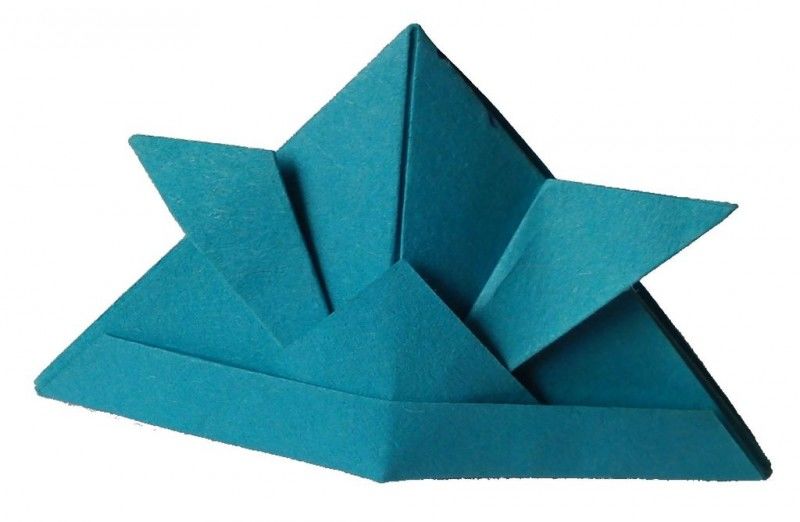
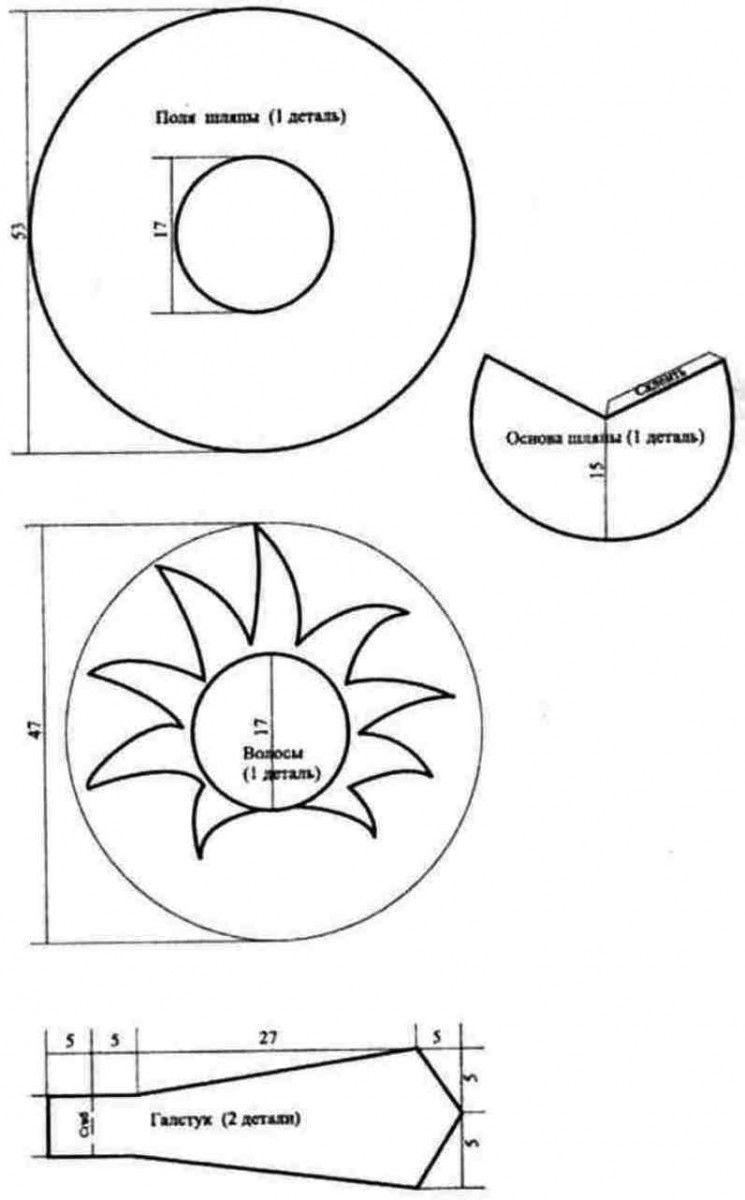
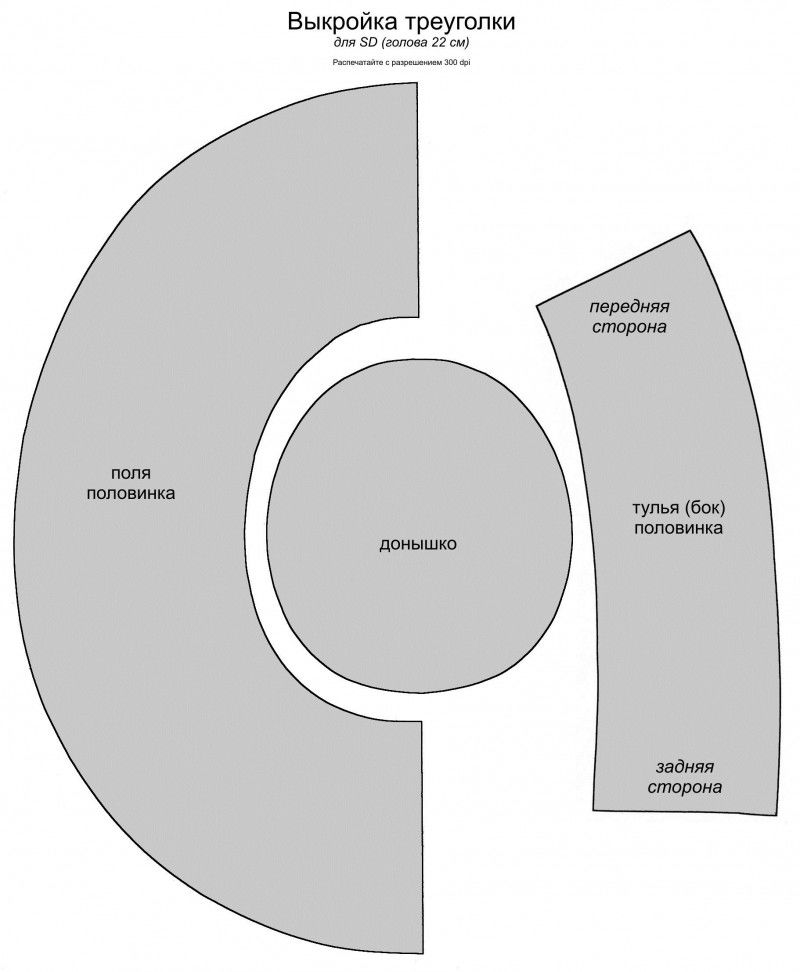
Pirate
For such a product, you can use paper, or better, felt or dense fabric. The color, of course, is black:
- The circumference of the head is measured, the height of the finished triangle is determined.
- Cut a circle for the inside and the brim (their width equals the height of the hat). For the margins, the back and front parts are made. After cutting, the margins are sewn together, and notches are made on them 1 centimeter before the edge. After that, the sewn parts are well ironed on the wrong side.
- Sew all the elements, the edges are closed with gold or red braid (you may have a small fringe) and the fields are bent in three places. For the pirate decor is made (or bought) applique - skull and bones, also the hat can be decorated with a feather.
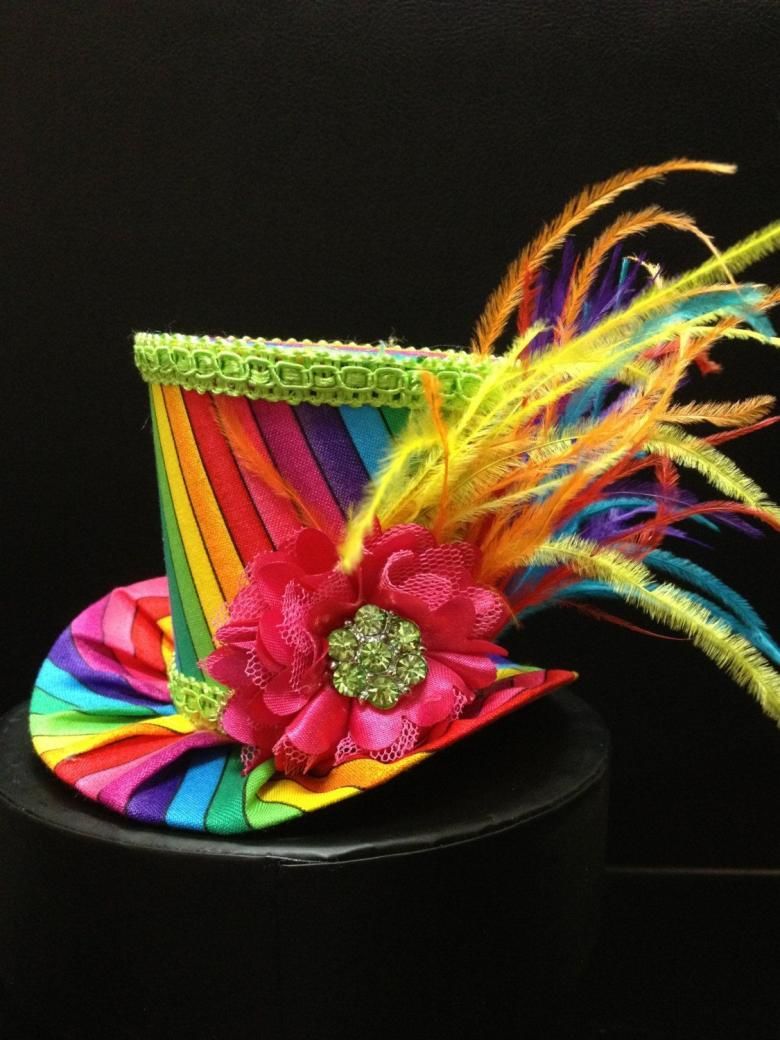
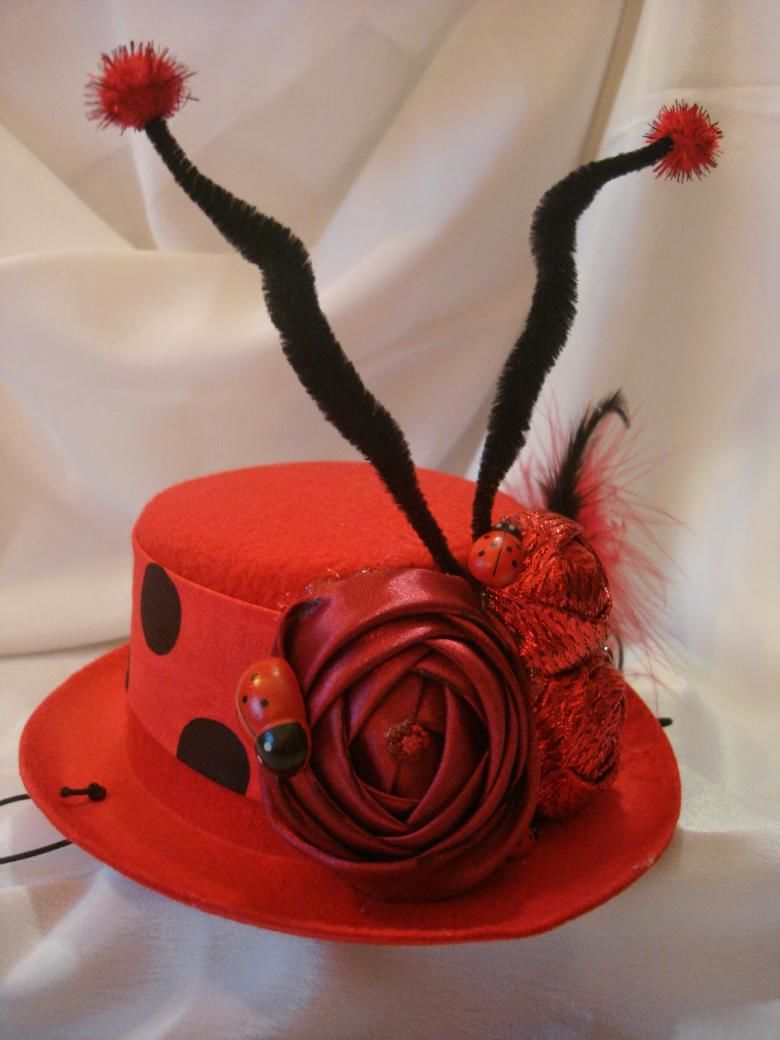
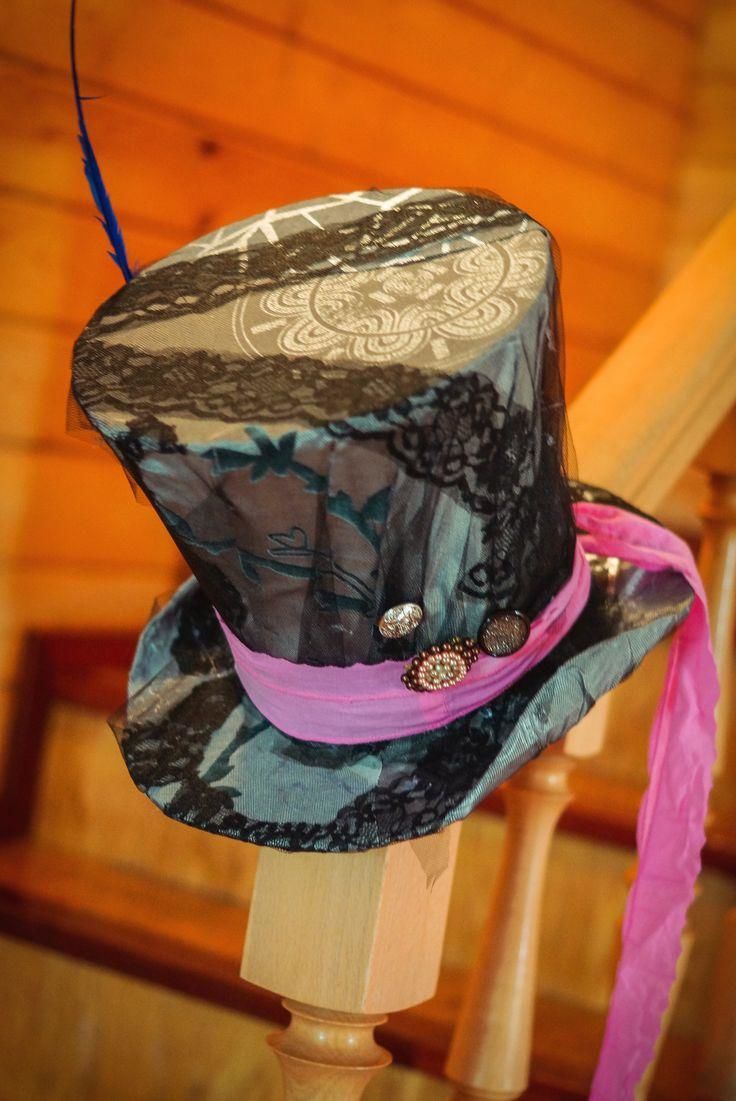
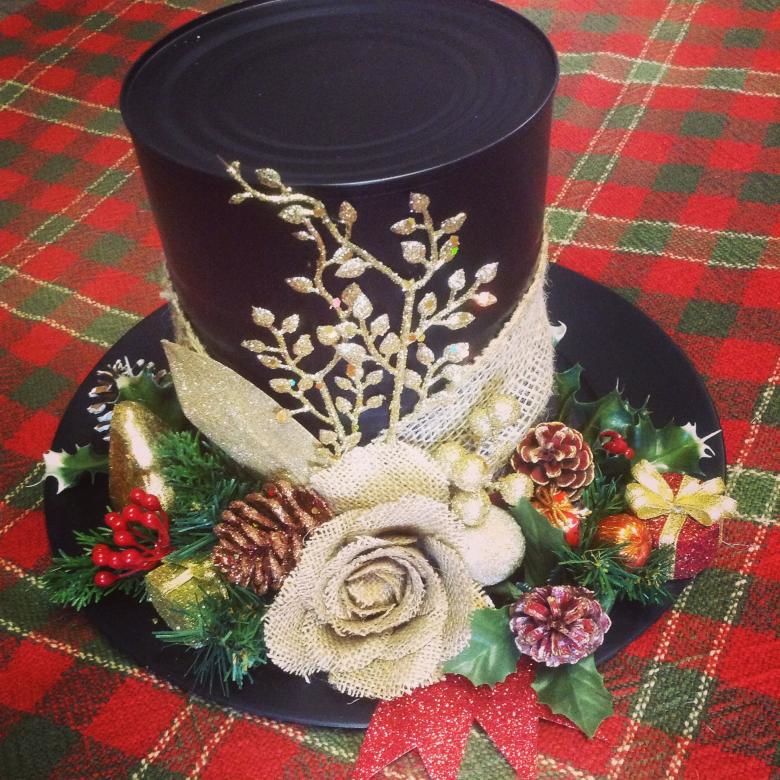
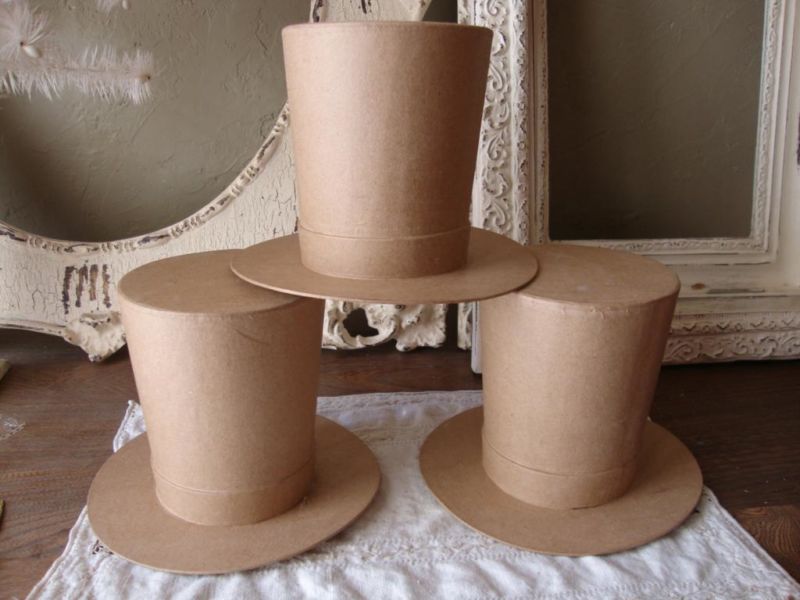
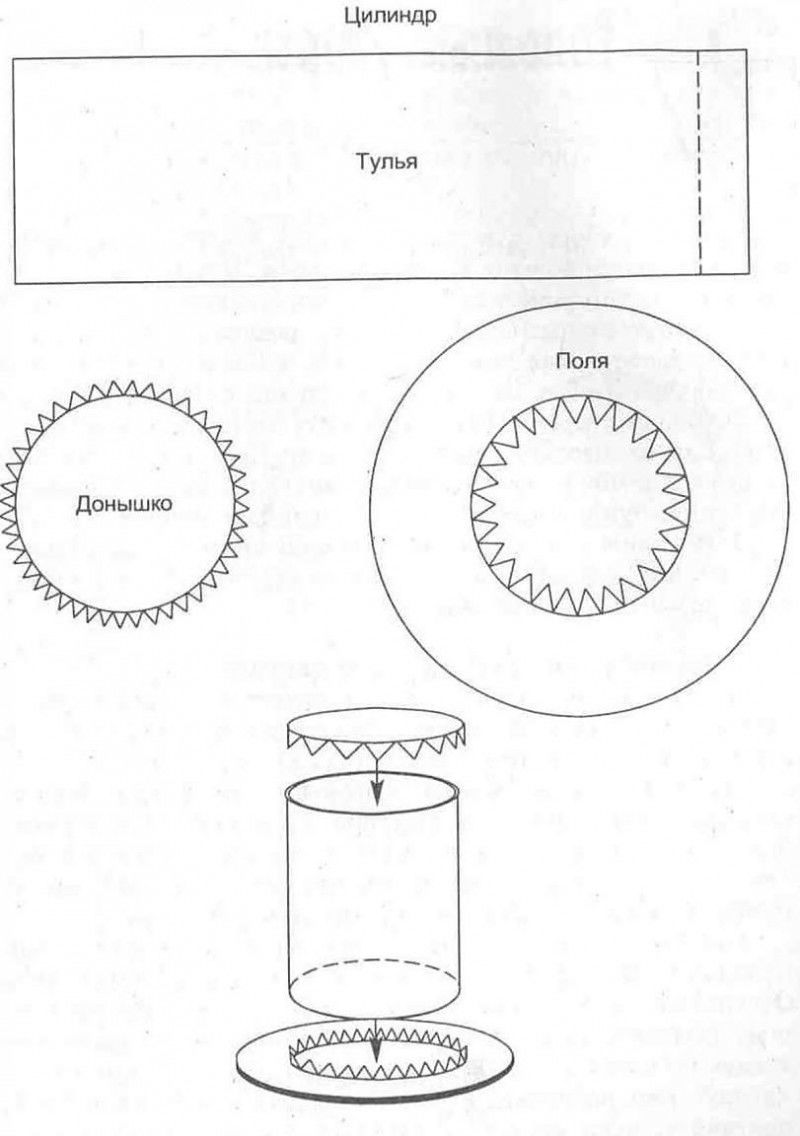
Cylinder .
This high headgear is characterized by a crown in the form of a cylinder. Making such an accessory can be entrusted to a child, with the help of adults will not be superfluous.
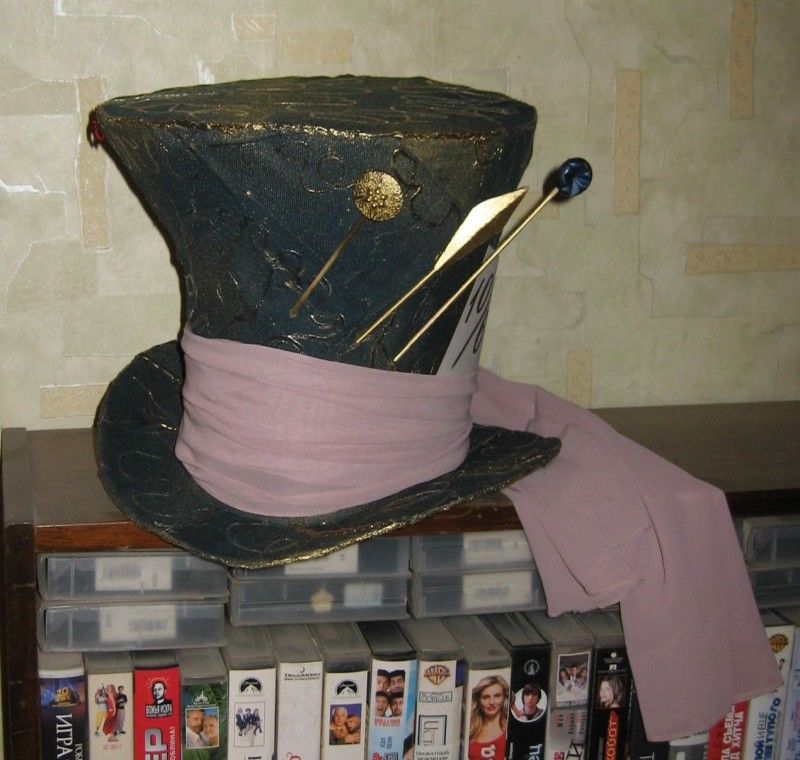
The easiest way to make a carnival accessory is from paper, and you can decorate it in the trendy style - steampunk:
- To make it, you should use thick paper of large size - you can buy colored sheets in a specialized store, or you can take a Watman paper and paint it in the desired color after assembling the model. Millimeter cardboard will also work, it will add strength to the accessory.
- First, the circumference of the head is measured. The resulting value should be divided by 6.28 (2Pi) to know the radius of the circle for the base.
- Three parts are cut out and cut out:
- a circle - the base of the cylinder;
- The second circle - the margins. To do this, the width of the fields is added to the radius of the first circle, and then the inner circle is cut out;
- Rectangle - for the awning. Its width is equal to the circumference of the head, and length - the height of the finished product.
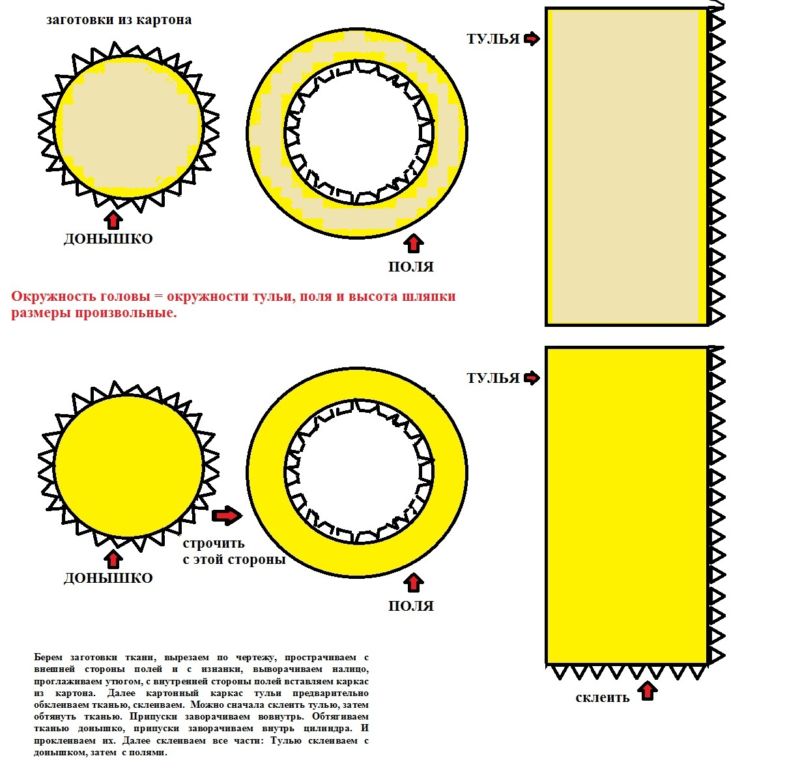
- On the pattern of the crown mold must provide allowances of 2 cm for connection to other elements of the cylinder - the length of one side, the width - on both sides. The allowance strips should be notched every 2-3 cm.
- Next, the carcass is glued to the height - the glue is applied to the allowance, the edges are overlapped to form a cylinder. The circle at the base should match the size of the hole in the large circle.
- When the carcass dries, the allowances on both sides are bent - the top part inward, the bottom - outward.
- The top allowance is blotted with glue, a small circle is attached to it (so that the edges of the circles coincide exactly).
- The product is inverted base on the table, and then you should gently hand press parts of the allowance to the base from the inside of the cylinder. After that, the bottom allowance is smeared with glue, a large circle is put on the cylinder and, going down, is pressed firmly against the paper.
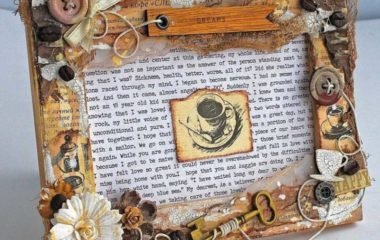
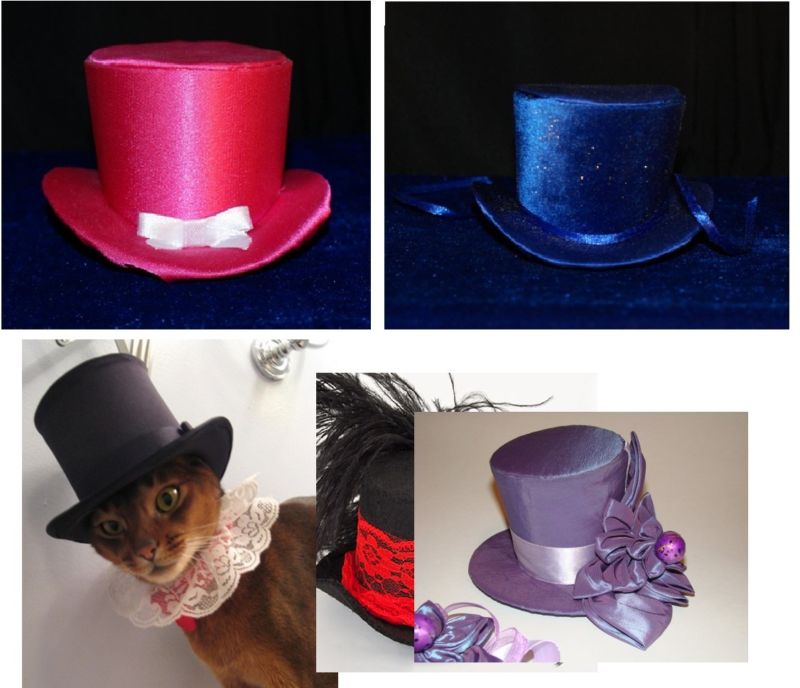
The dried product can be painted and decorated. It will not be difficult to emphasize the style of steampunk with small and medium-sized details - for example, from an old clock. To facilitate the process, the decor can be attached to the tape, and then the tape itself is pasted in the right place.
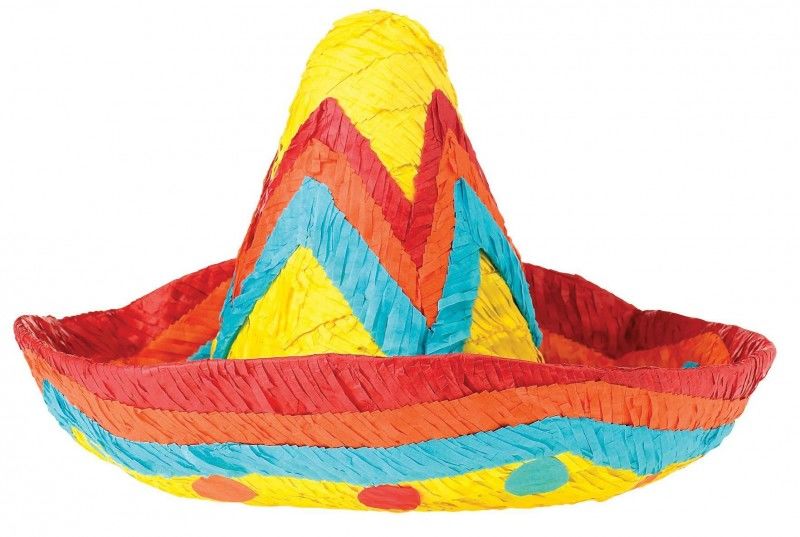
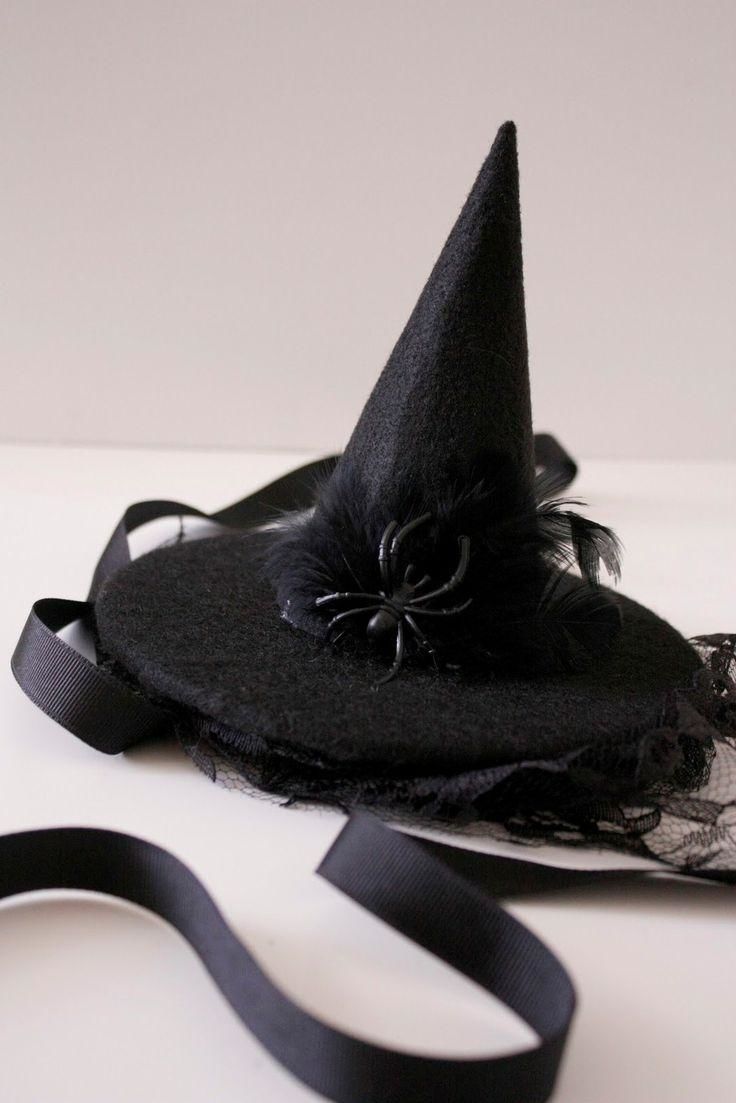
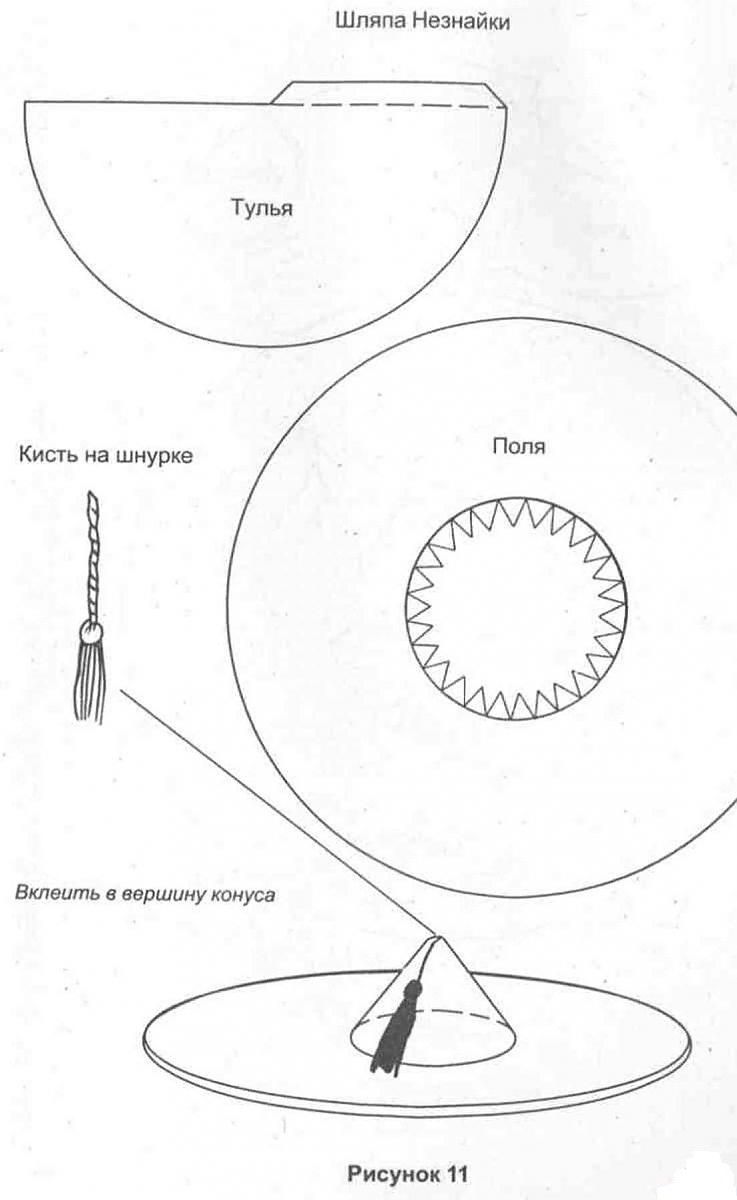
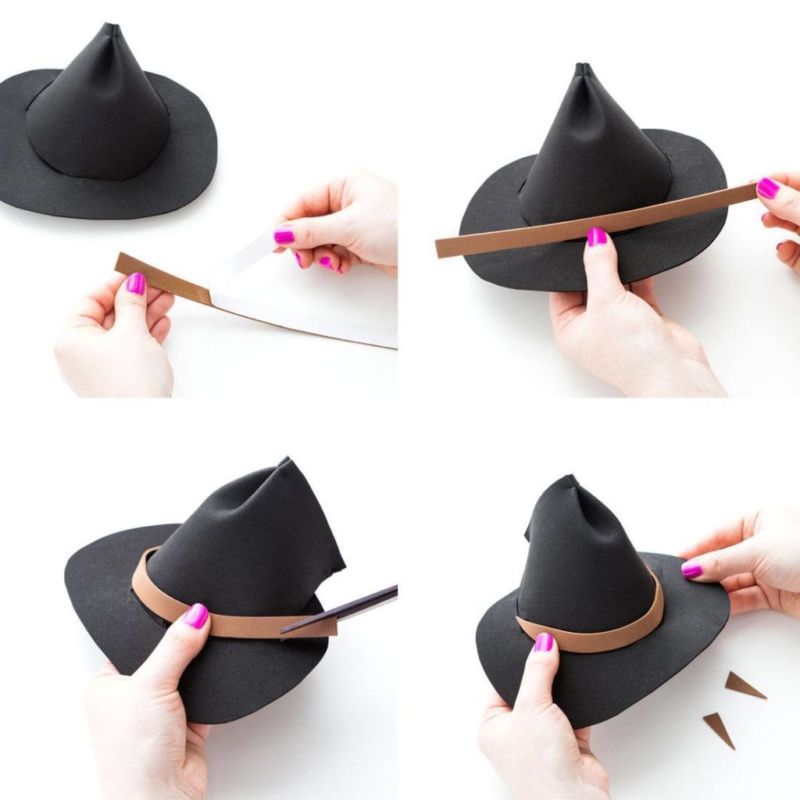
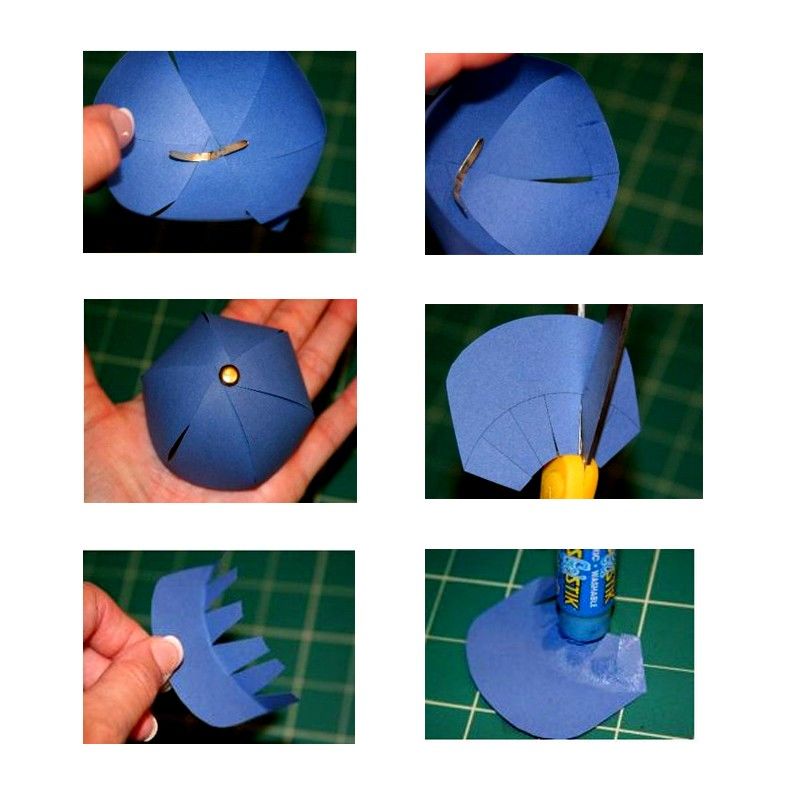
Cone
The easiest way to make a stargazer cone or a little witch hat is from heavy paper:
- Draw a circle, the radius of which is equal to the height of the finished product.
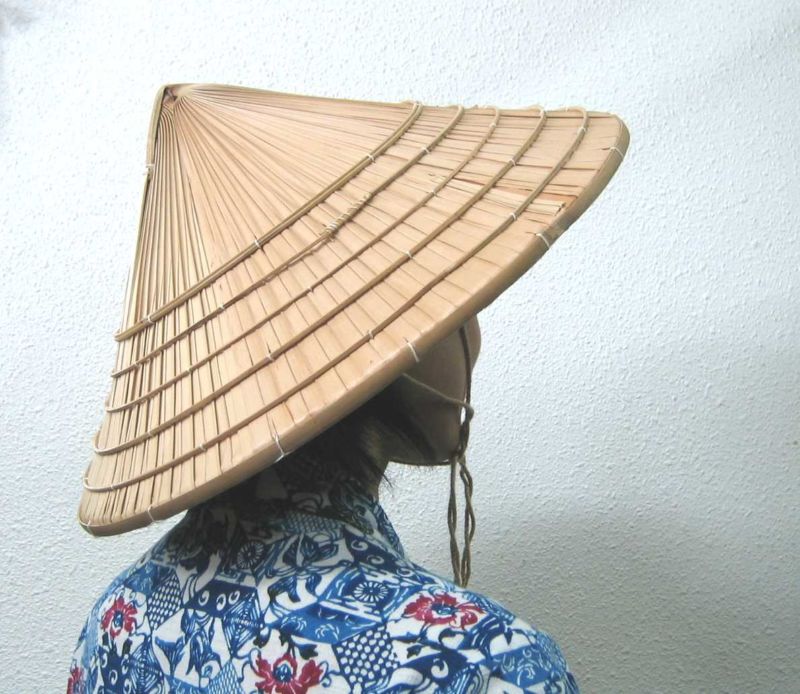
- From a full circle you can make a Vietnamese hat - to do this, you need to remove a small sector and tightly connect the edges of the cutout.
- At an equal distance from the center it is worth fixing two ribbons - they will help to hold the hat on the head.
- For a sharp cone, you can draw only half a circle, and by trying on the pattern, outline the necessary sector for the desired size, and cut it out, leaving 2 cm for the allowance on one side.
- The allowance is trimmed in small pieces, they are smeared with glue and tightly fasten the two straight sides of the part.
- After drying, the star-cap can be decorated, but for the witch hat, you need a little more work.
- The bottom of the finished cone should be outlined on paper, then around the resulting circle you should draw the fields of the future hat - they may be outlined evenly in a circle, or may be uneven or jagged.
- On the inside, you should also leave an allowance of 2 cm.
- The margins are cut out, and it is desirable to duplicate the detail and glue the elements together.
- After drying, the awning and the fields are glued together.
Now the product can be decorated - great to look velvet or satin ribbon with a small buckle, inlaid with shiny crystals. You can also use a bouquet of small pumpkins and twigs.
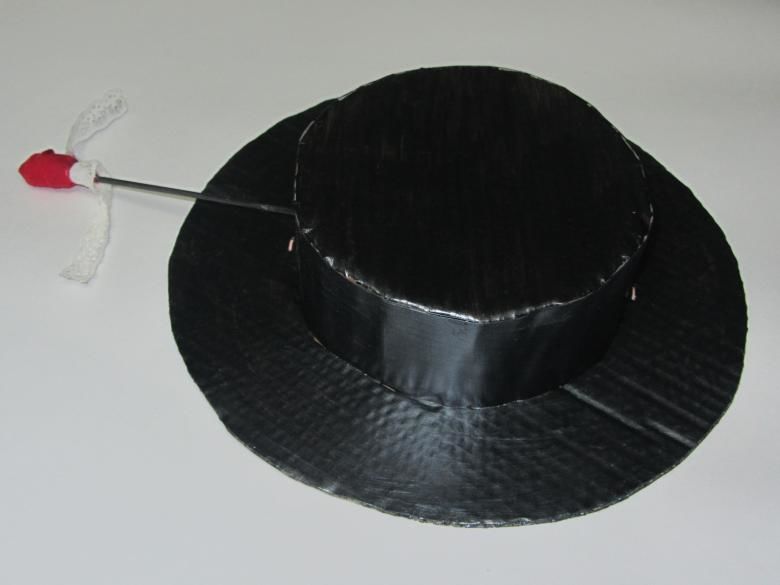
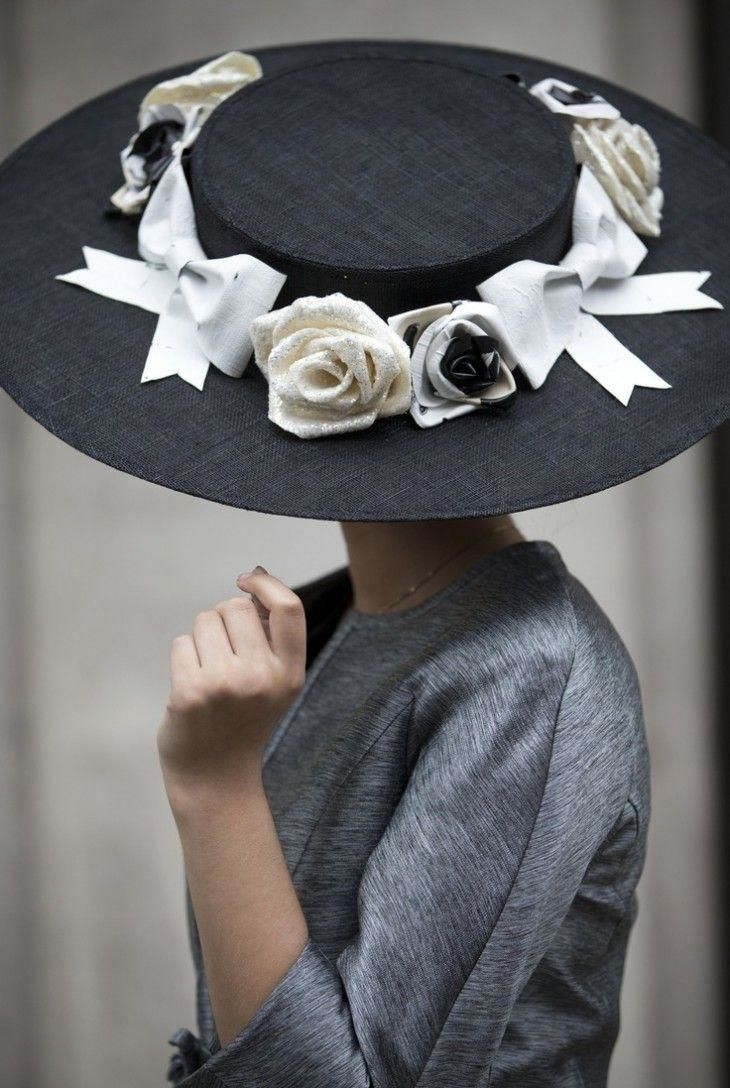
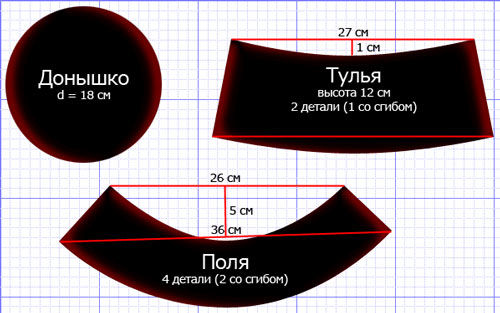
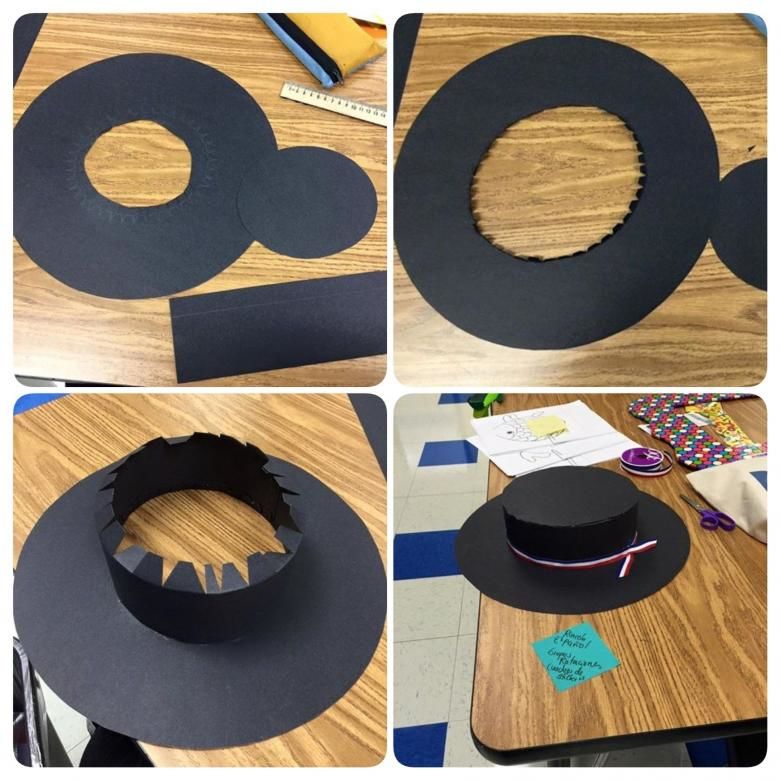
Canotier
Such an elegant hat is quickest to make from cardboard, if you want it can be covered with fabric - preferably cotton, with a pronounced texture.
To measure the circumference of the head is very simple - use a flexible wire. Carefully trace the resulting circumference on the cardboard, around the base draw wide margins. For a clear connection in the future parts is worth outlining pencil sketches with a compass. After that the cardboard elements are cut out.
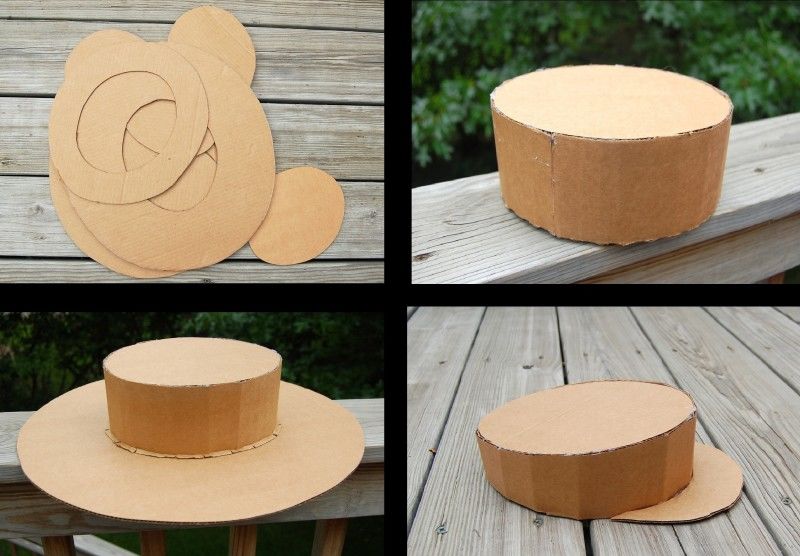
The wire should be unrolled and measured. A rectangle is drawn on the cardboard - its length is equal to the length of the wire, and width - to the desired height of the hat. The folds of the cardboard should run along the width - so the construction will remain strong.
A side note! Before connecting all the parts, they can be covered with cloth. To do this, all elements are outlined on the material (twice, for the front and back) and cut out. One by one, the cardboard parts are smeared with PVA glue, the corresponding fabric part is placed on them, carefully straightened out (without excessive tension). Before pasting the opposite side should wait until the first side is completely dry.

Now you can connect all the elements - with a glue gun. First the bodice is rolled up, then the base and the margins are attached to it.
The final operation - decorating, if necessary, the product must be pre-painted.
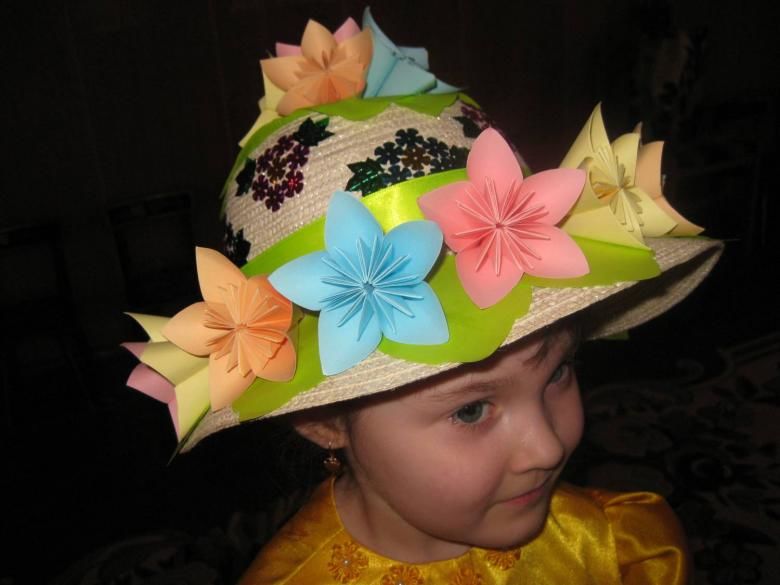
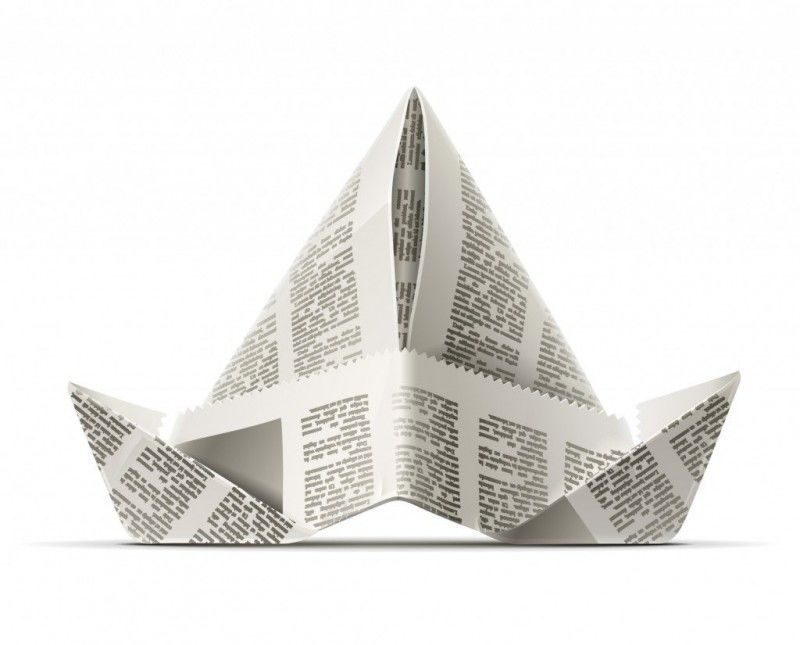
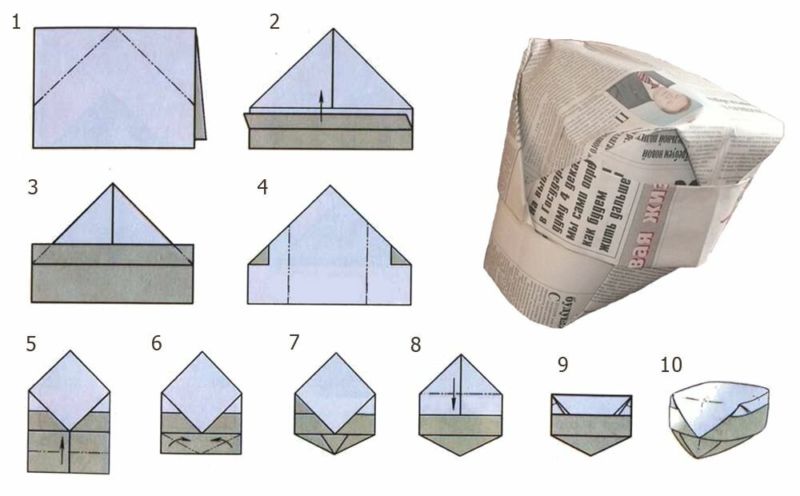
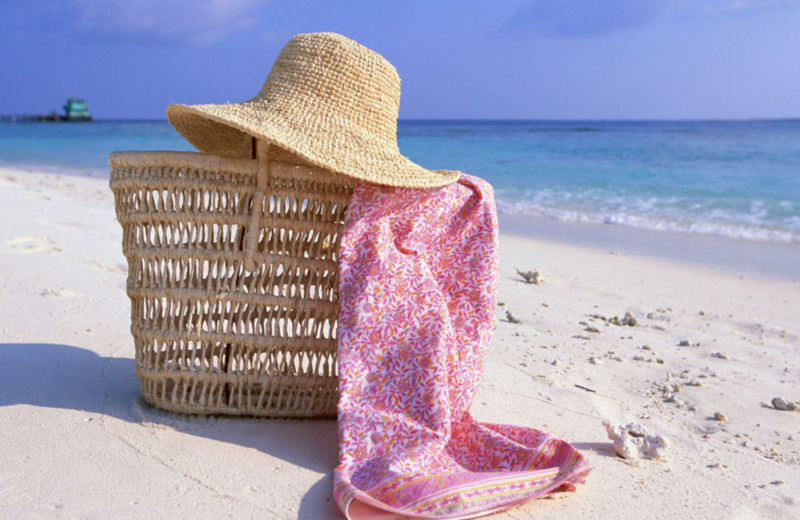
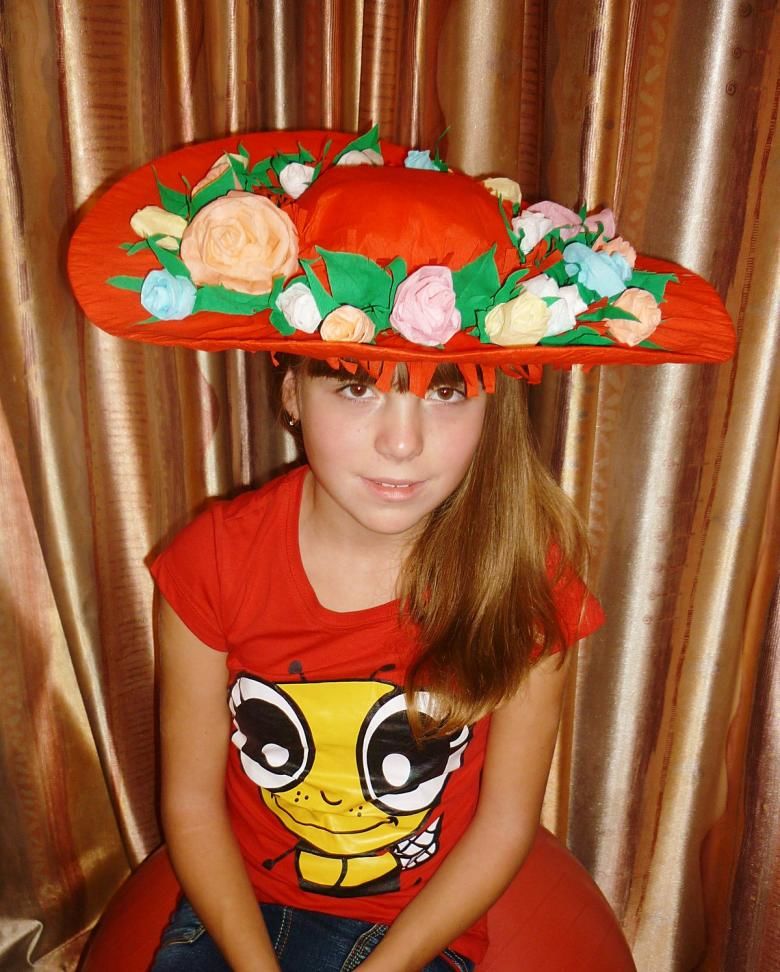
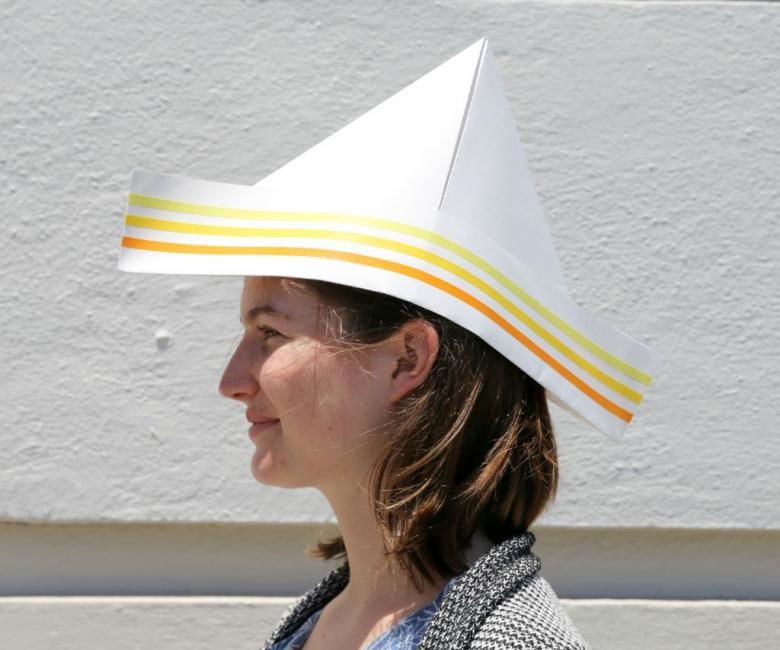
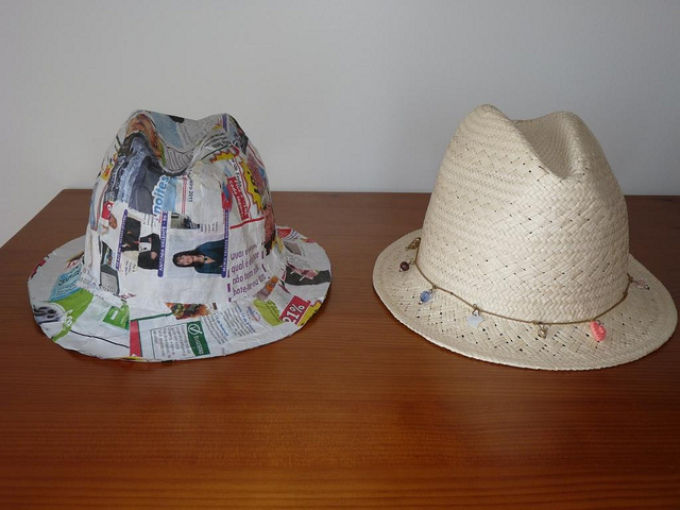
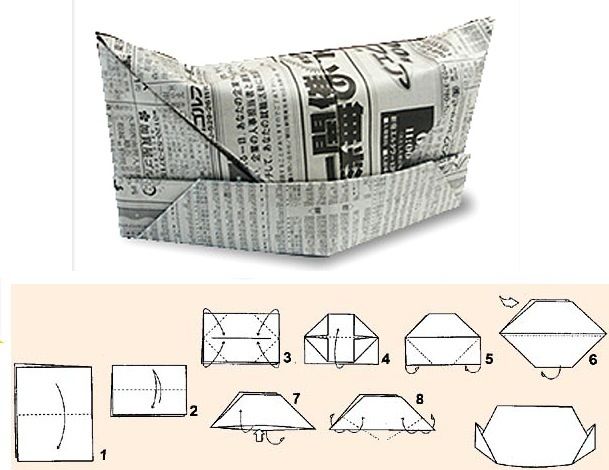
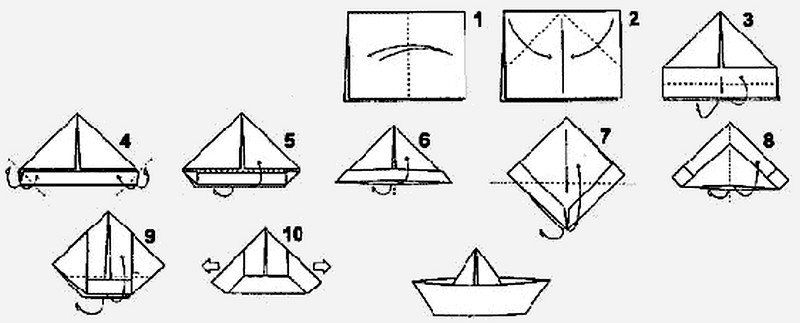
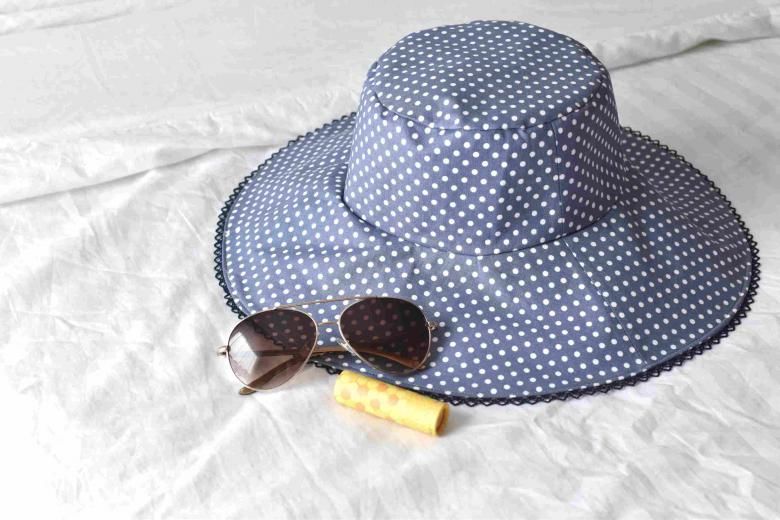
Panama
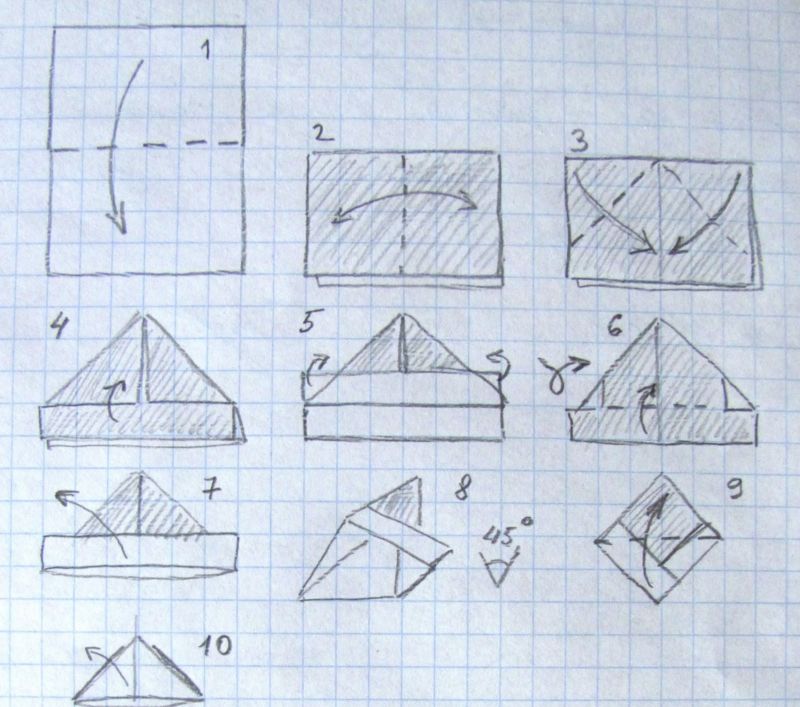
Cute panama can be quickly constructed from paper or newspaper. They are great protection from the sun in the country house or on the beach.
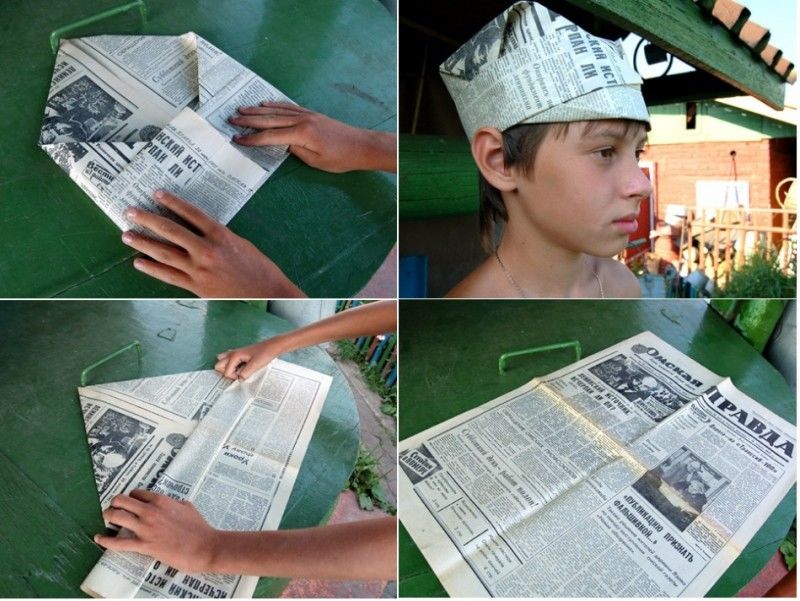
For a large panama requires a sheet of 60x45 cm, and for a child's 50x38 cm is enough.
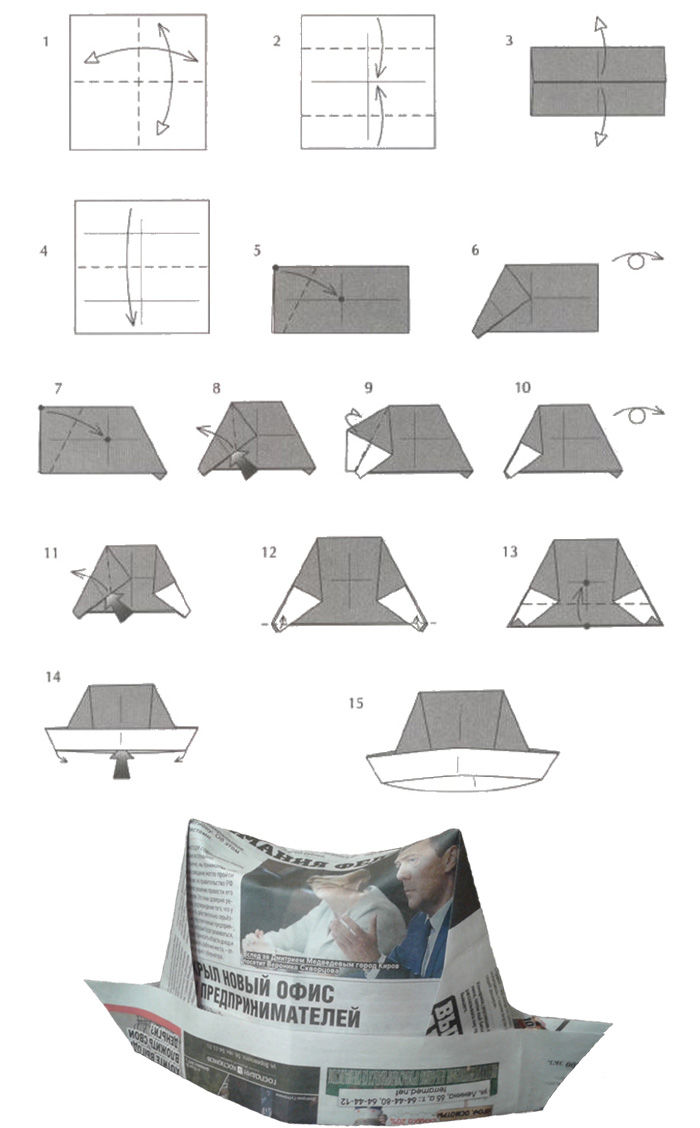
The sheet is folded in half, the fold is thoroughly ironed with a ruler. The middle of the sheet is marked. It bends back to back the top corners, the folds are smoothed. The remaining bottom free strip of both sides unbent upwards. The ends of the strips are fastened with a stapler or glue.
Lapels can be decorated with decorative tape if you wish.

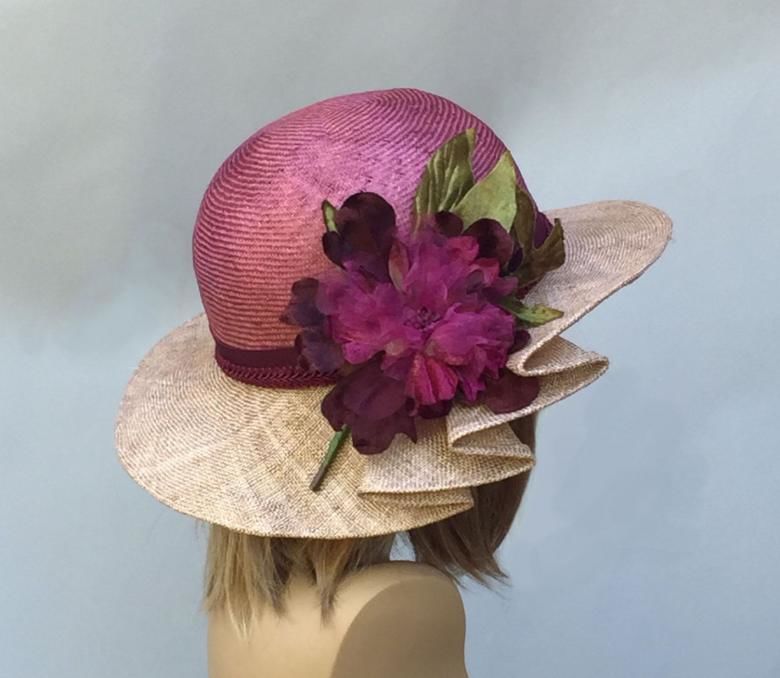
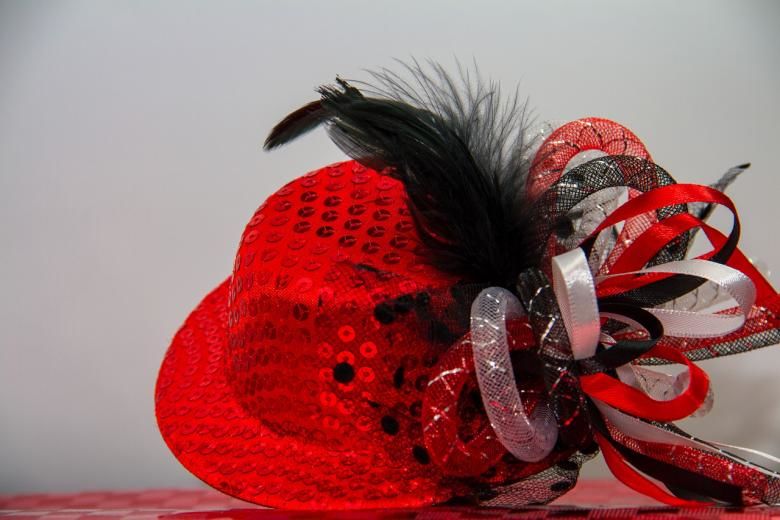
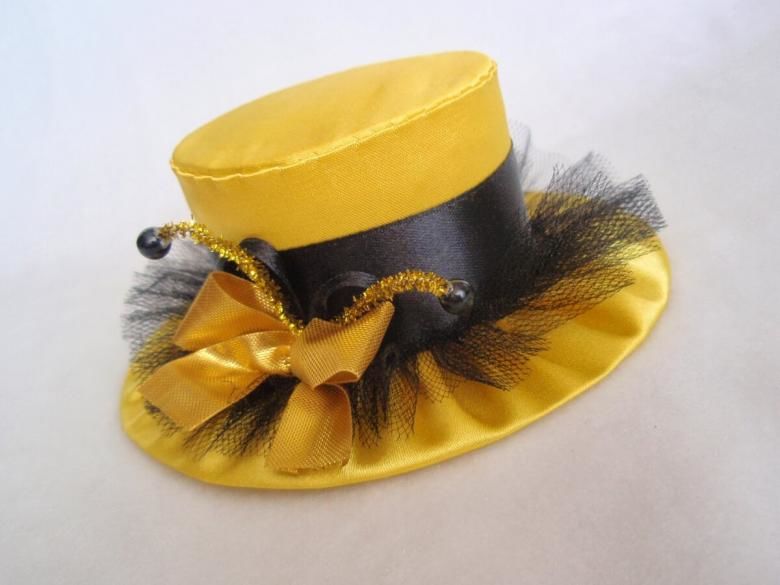
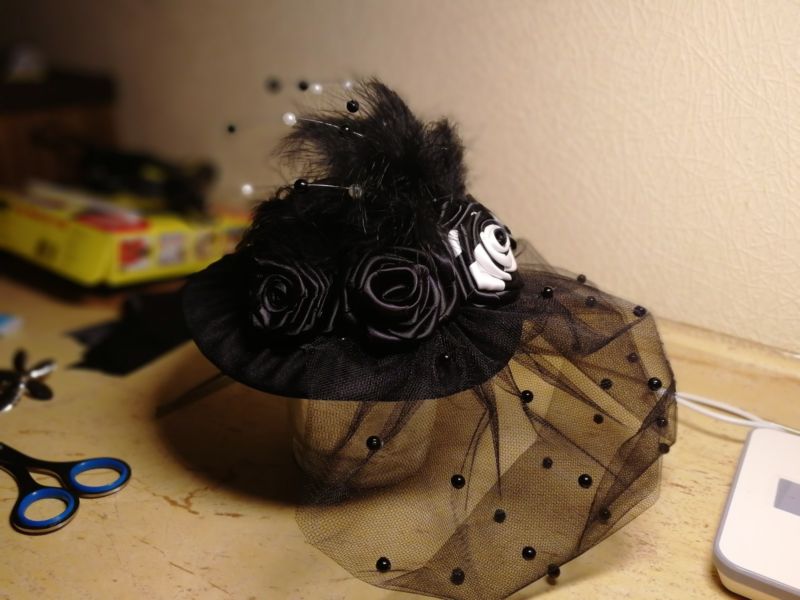
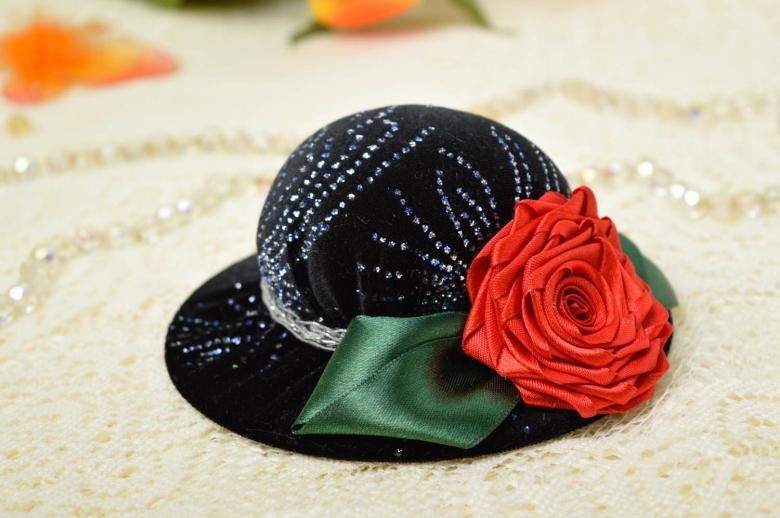
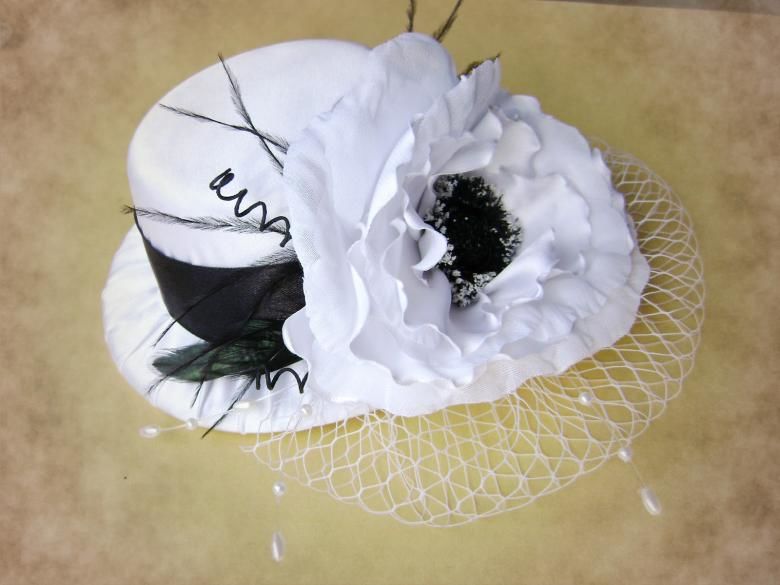
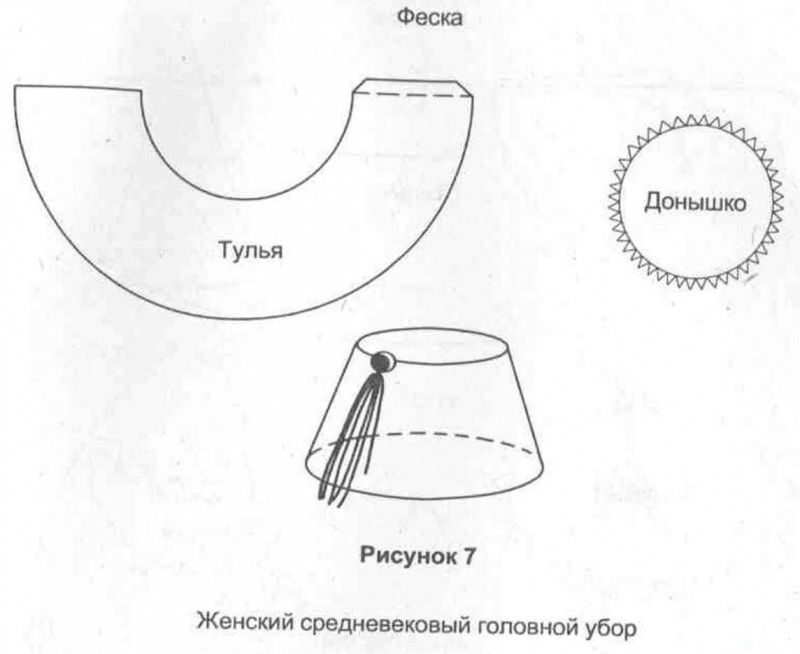
Voilette .
One of the most elegant and elegant hats. This decoration is rightly considered glamorous - for it use expensive fabrics and decorations. It will be best to consider the creation of a basic model.

It is very important that the veil harmonizes with the outfit - its style and color, as well as with other accessories.
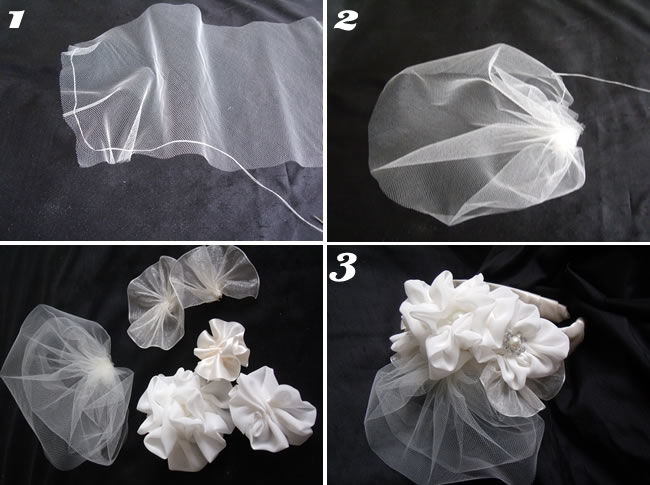
You can buy ready-made flowers, leaves and beads on elegant wires:
- You will need a small section of veil (mesh, organza), with sides of 20x30 centimeters.
- To round off the bottom two corners should be trimmed, and the top of the fabric should be prisobryat on a thread with loose stitches, the finished length should be about three centimeters.
- Strings and leaves are hemmed to the flower, the bottom is attached to the assembled veil, the ends are clipped in the right places to the decoration, so that the veil ends up slightly covering part of the face.
- For easier dressing veil, you can use a glue gun to connect to it a hairpin or a simple automatic hairpin.
How to make a hat
Independently make a hat is not as difficult as it seems at first glance. The house is sure to find any of the materials - cardboard, paper, fabrics, plastic, leather, etc.
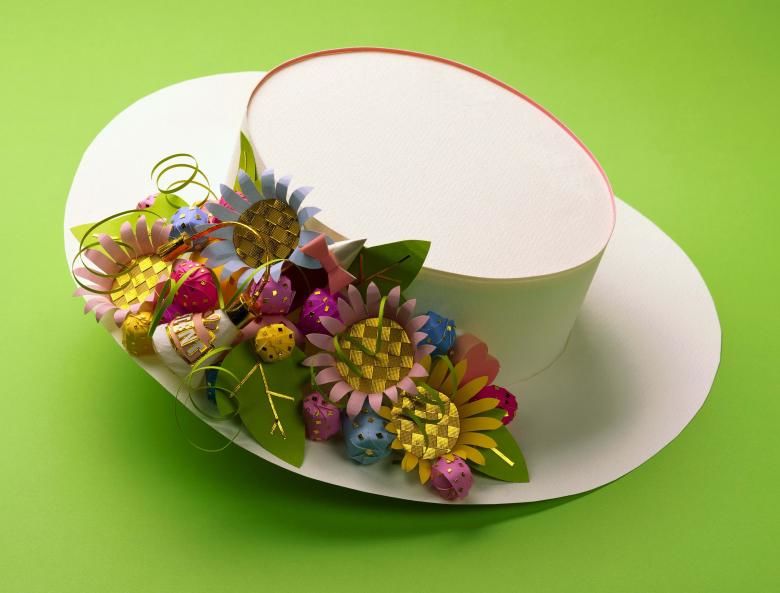
From cardboard
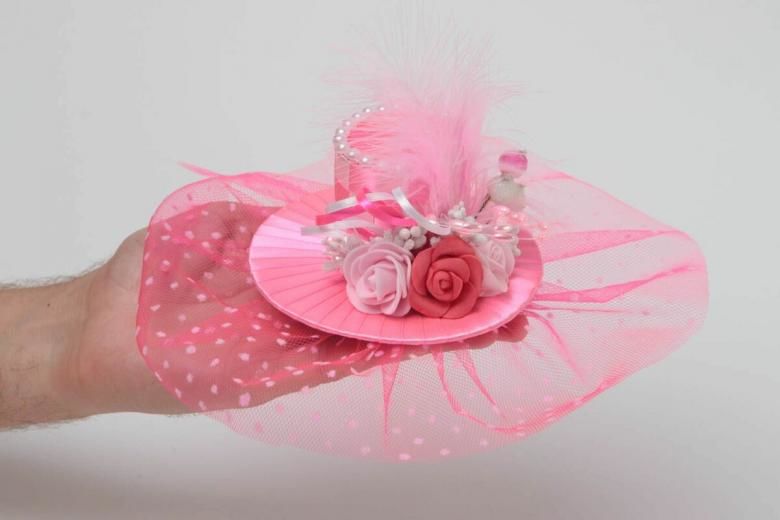
For this original hat, you need a cardboard roll of toilet paper and some regular cardboard. You also need a glue gun, a compass and white paper, scissors, beads and ribbons. PVA glue and paint are needed:
- From the roll is cut off a part, five centimeters high. The base of this awning is outlined on cardboard and cut out. For the margins need a circle with a diameter of five centimeters.
- On one edge of the mascara is attached to the base, on the other side of the fields - with hot melt glue.
- Now the white paper is torn into small pieces, they are smeared with PVA, and then they are glued tightly to the entire hat.
- Details can be slightly overlapping (interesting effect will be given by the crumpled pieces).
- After drying, the hat is painted and decorated, in accordance with the artist's imagination. Very appropriate would be flowers and a veil.
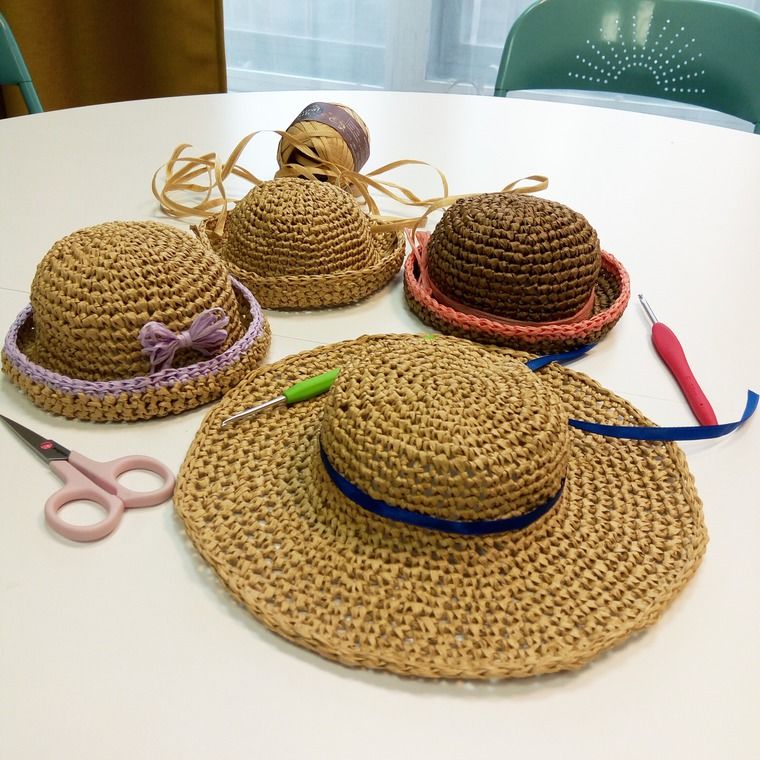
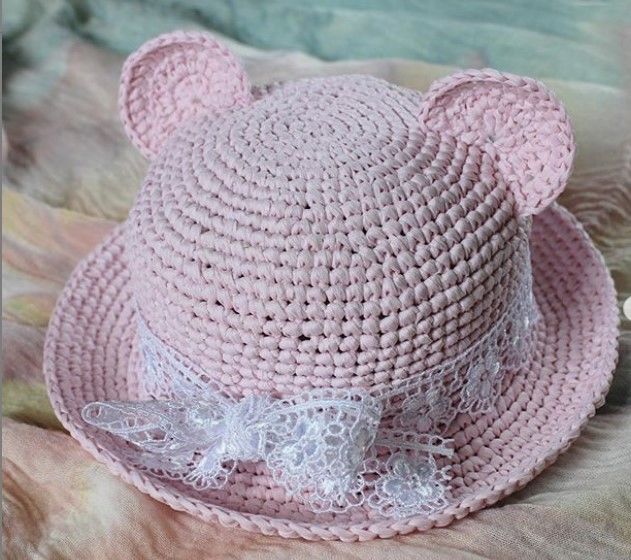
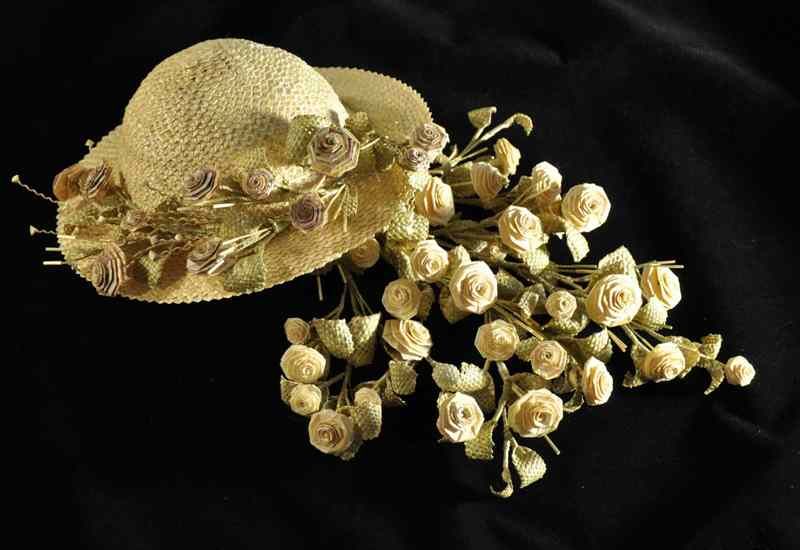
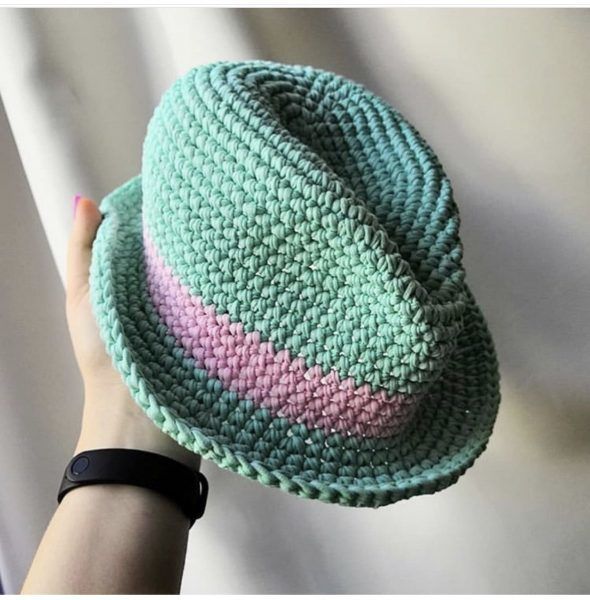
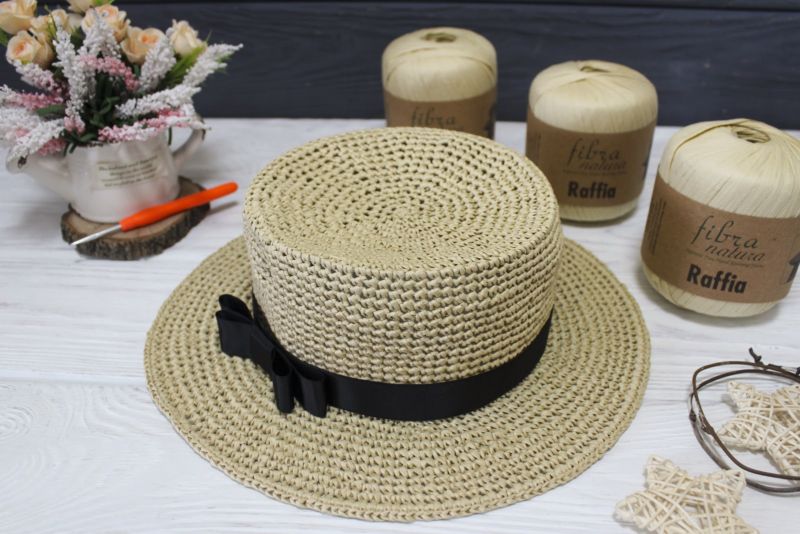
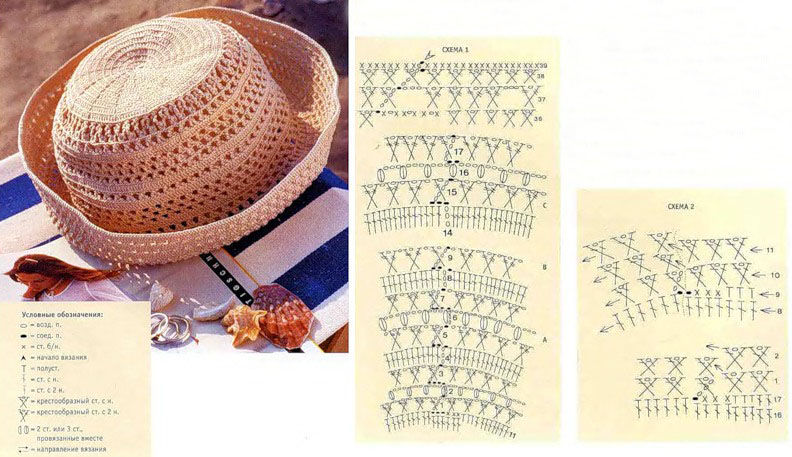
Knitted
Hat can be crocheted in a circle, from a simple light yarn, need about 100 grams of any color. It is better to take hooks #3.5 and 5. The knitting density should be 12 columns per 10 cm, double yarn.
The thread is wrapped around the finger and tied in a ring.
- Row 1 - 12 columns without a stitch, tied into the ring;
- 2 row - a column without a stitch, the second in the same way and tie in the next column. Repeat until 18 columns;
- Row 3 - 2 columns without a stitch, two more of the same and tie in the next column. Repeat five times. Should be 24 columns;
- Row 4 - 3 columns without a squeeze, 2 more of the same and knit in the next column. Repeat 5 times, up to 30 columns;
- 5 row - 4 no-neck columns, 2 of the same and knit in the next column. Repeat 5 times, up to 36 columns.

Knit in the same way, adding 6 columns in each row. When there are 66, do not add more columns and knit to a height of 16 cm.
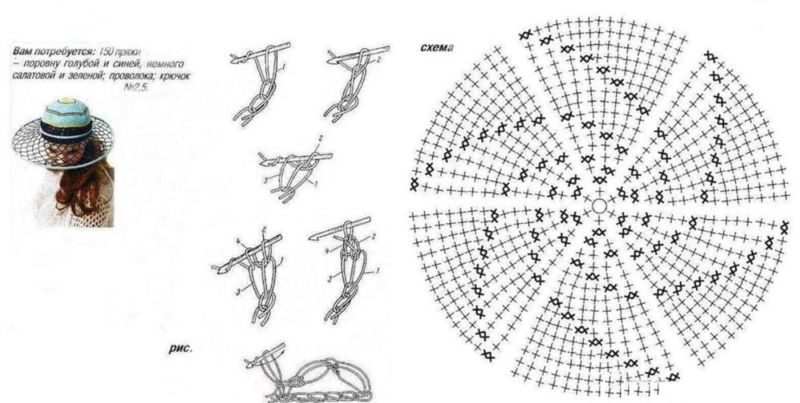
Then knit the next one - a no-neck column, 2 of the same, knit in the next column. Repeat until the end of the row. Knit another 4 cm, cut the thread. If desired, the hat can be decorated with an elegant flower, or skip below, 2-3 cm from the edge, a thin braid.

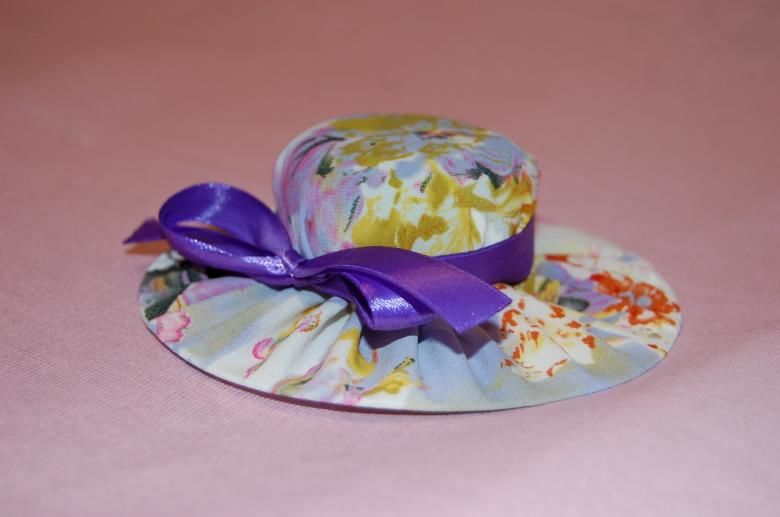
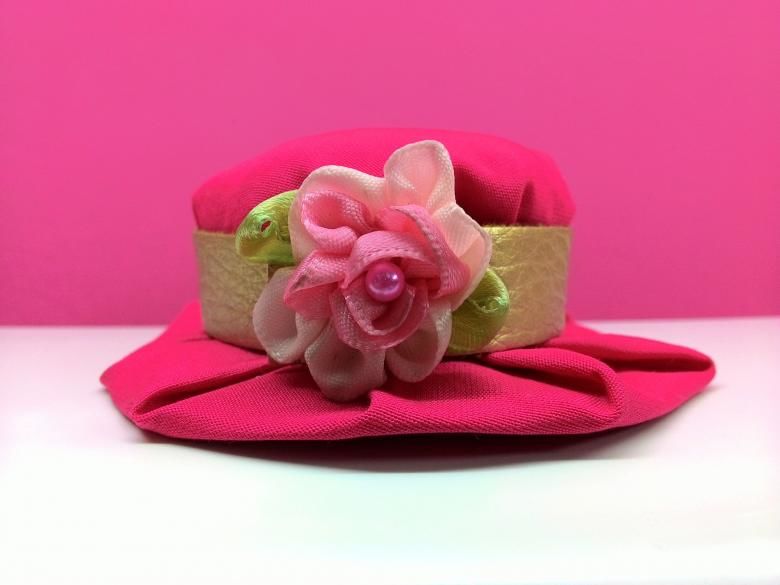
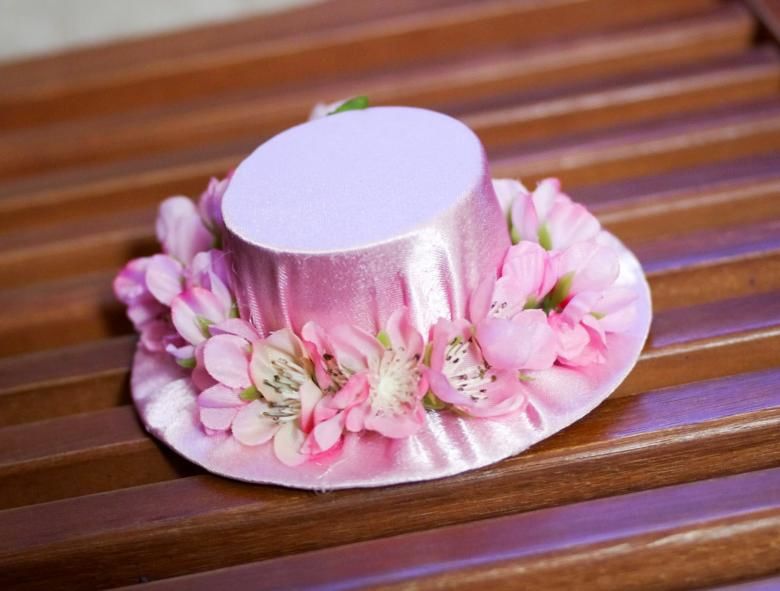
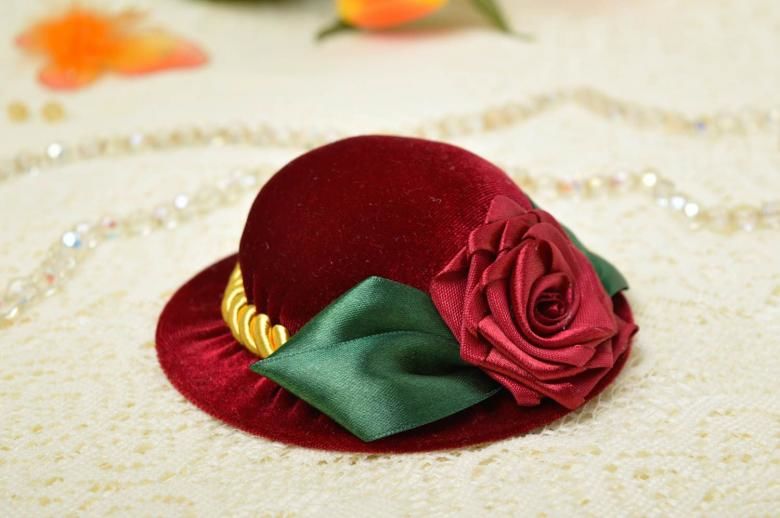
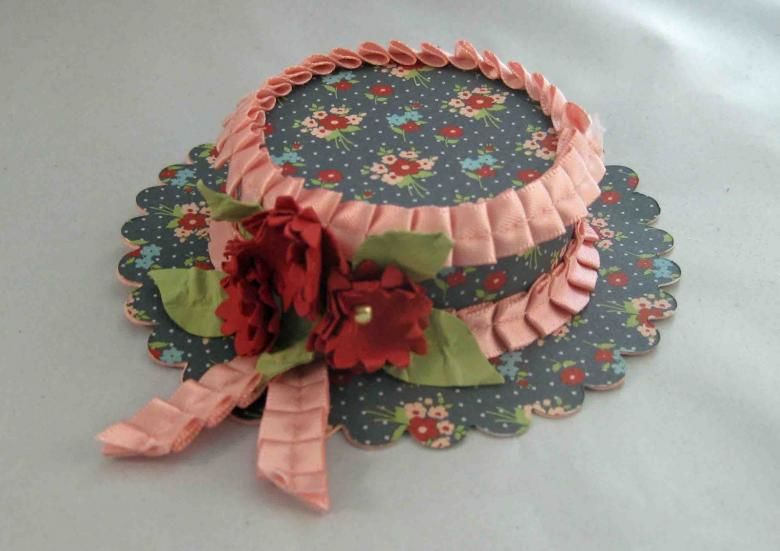
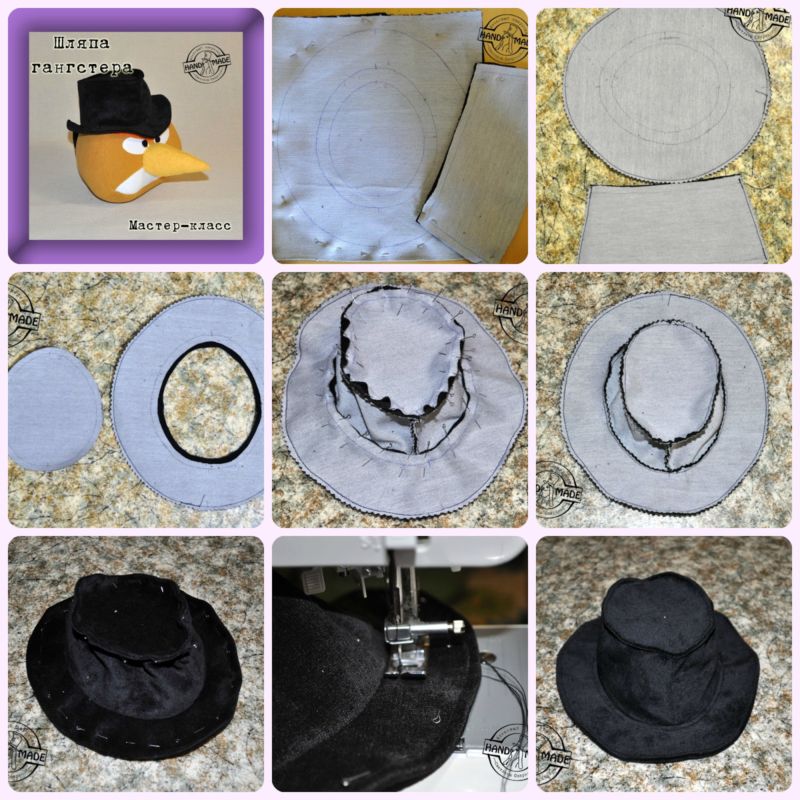
Made of fabric
This is one of the easiest options for making a fabric hat. It requires very little material - every housewife will find unmarketable remnants of pleasant colors that can't be thrown away.
The pattern consists of a base - the head circumference +5 cm - and margins - their width depends on your desire:
- All elements are prepared in duplicate, for strength.
- First, identical blanks are sewn.
- The base should be stitched almost to the end in a circle, turn out through a small hole to the outside, ironed, and carefully hem the remaining section by hand.
- The margins are stitched on a long circle, turned out, ironed.
- The remaining raw edges are joined and stitched with a simple stitch, and for the second time - a zigzag.
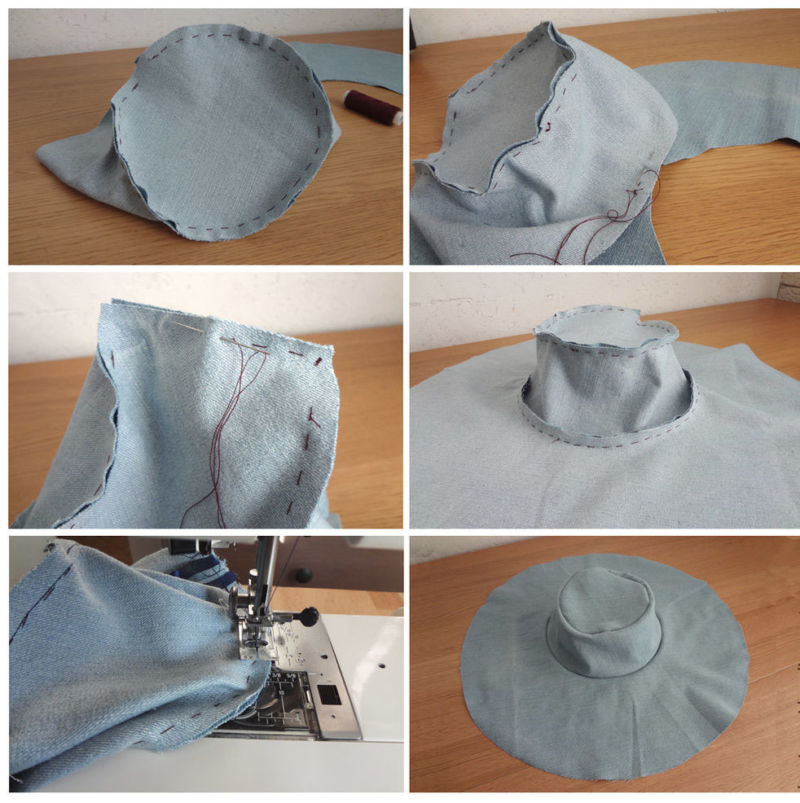
Now you can hem the fields from the bottom to the base. If desired, the panama can be tucked in the edge and decorated with an elegant flower.

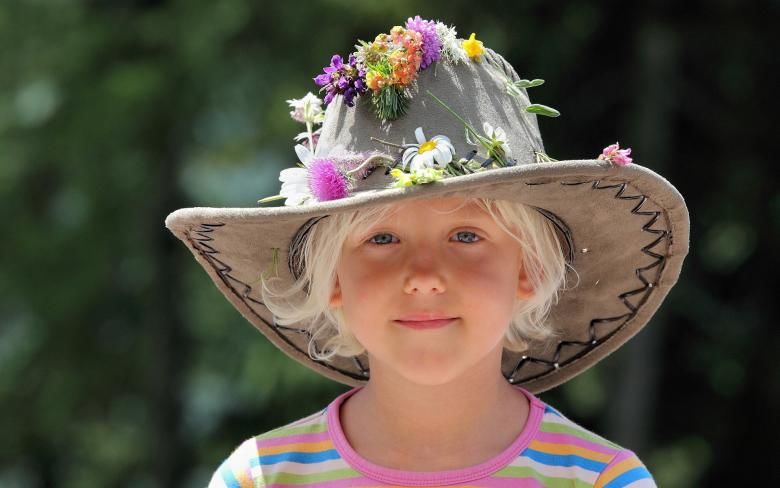
That is how you can, without any special skills, make an original hat for a child or adult - for any occasion. It is enough to start with a simple product and do not hold back your imagination.

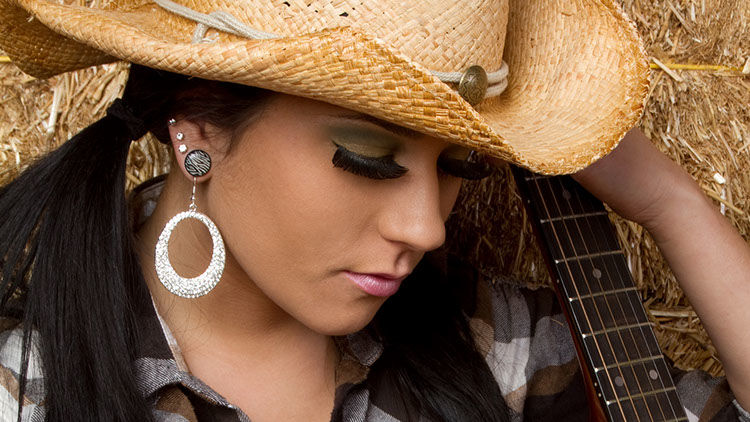
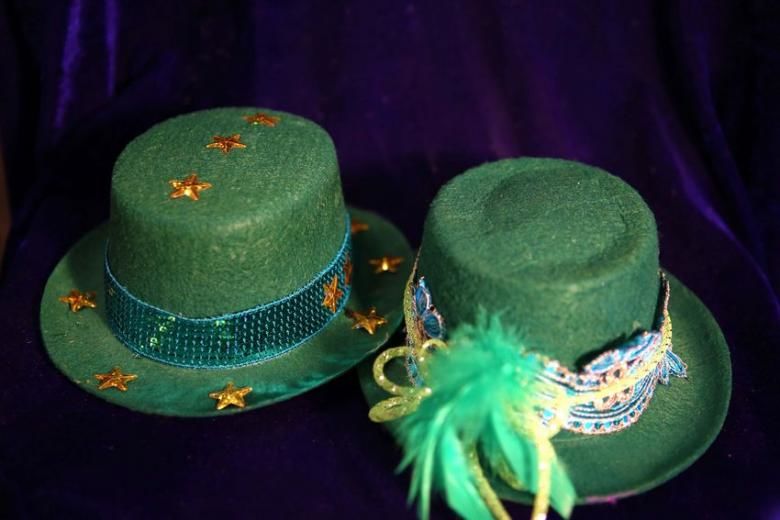
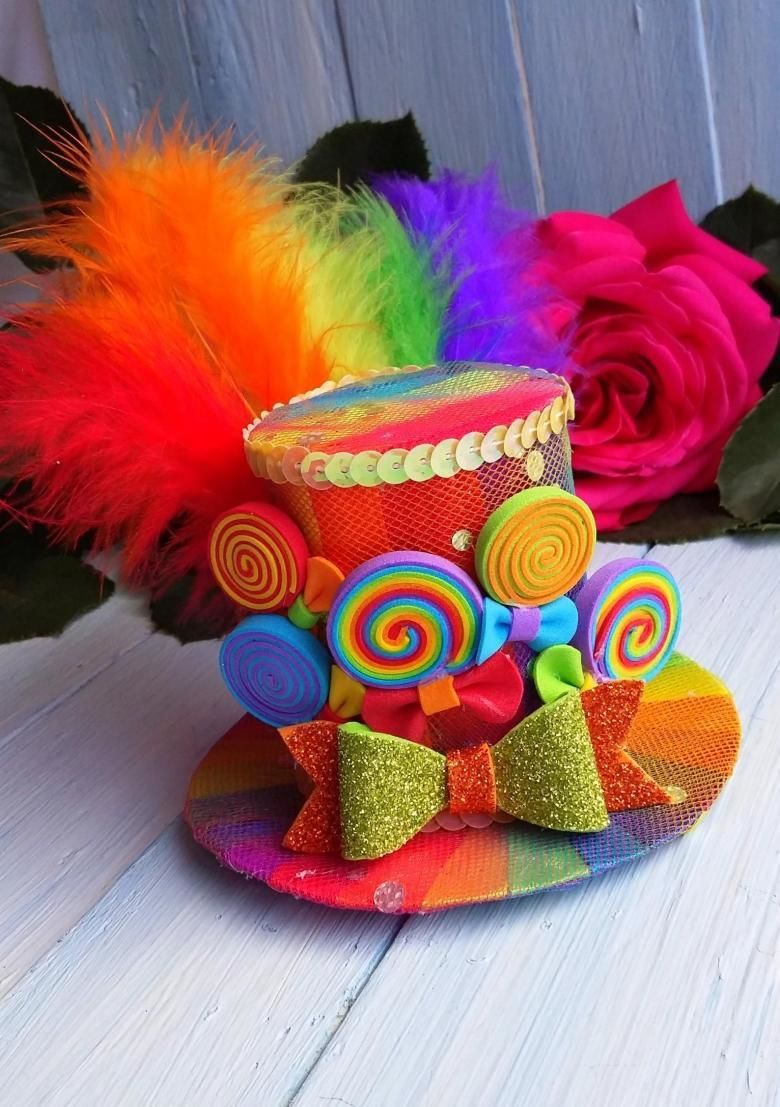
Photos of original homemade hats for boys and girls