How to make a tree of beads with your own hands - step by step master classes, easy schemes and beautiful photo ideas
Any products made with our own hands are incredibly valuable. It does not matter if the handicraft was made by an experienced professional or a novice craftsman.
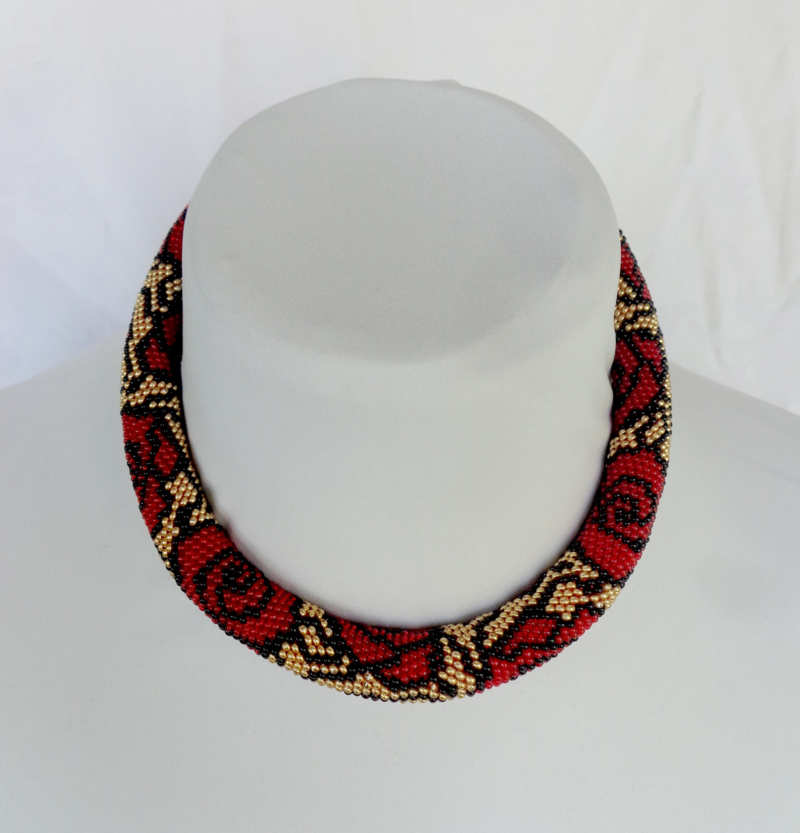
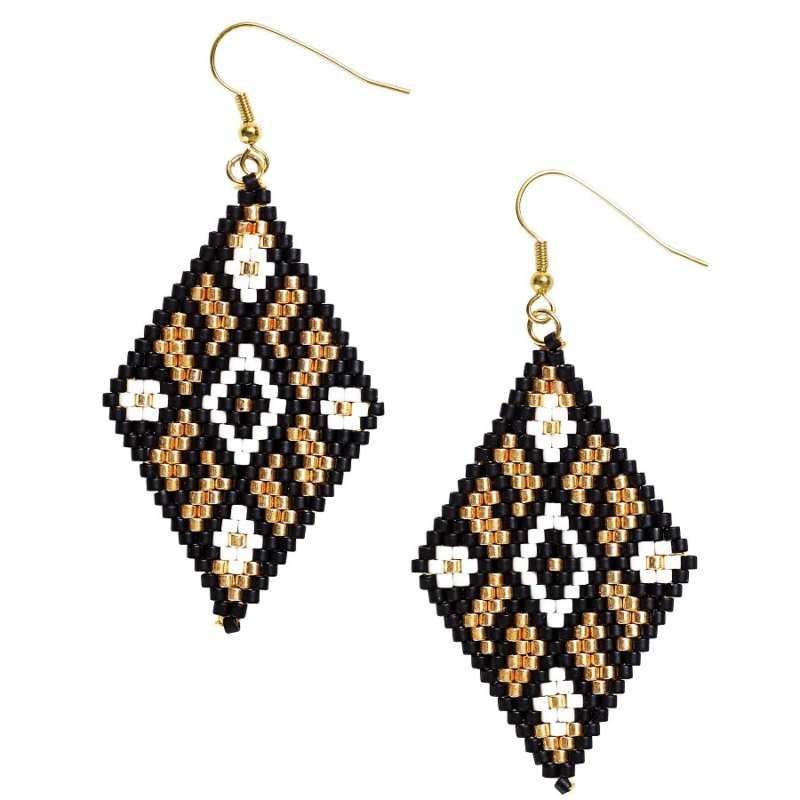
In the world of needlework there are a large number of different directions, types of art. These include beadwork. Thanks to this technique can create an incredibly beautiful and elegant products. Trees made by beading also look delightfully beautiful.
To learn this art is not difficult - it is enough to listen to the recommendations and advice from experienced craftswomen and practice a lot. If you are a beginner and want to try your hand at beading, this article is for you.
Here is important information, through which you will learn all the basics, as well as several master classes with which you are sure to do well.


How did beadwork appear?
This type of creativity has been developing for a long time and now has great popularity. From colored beads are made beautiful jewelry and accessories, they embroider items of clothing.

Beads originated in ancient Egypt. It was invented and began to be used as a material for creating beautiful jewelry more than three thousand years ago. Initially, beads were used exclusively for Pharaonic clothing. Then they were strung on strings and worn as beads.

After the invention of netting, it became possible to weave entire products from beads. Since those times people began to develop a variety of patterns, combine this material with precious stones and metals.
Beaded jewelry turned out so good that they were used in trade. They were exchanged for other goods, thanks to which products from beads quickly appeared in other corners of the world. In the twelfth century beadwork became active in Venice.
By the eighteenth century beadwork began in European countries. There began to establish glass factories and launch the production of this amazing material.

Thanks to special machines, the production of beads has been greatly accelerated, making it much less expensive. The availability of the material made it even more popular.

Beadwork began to embroider elements of clothing, decorate accessories. Since then, beadwork became more and more popular with each decade. Now it is also known and actively used around the world.


Techniques of beading
Beading to learn is not as difficult as it may initially seem. First necessary to pick up an interesting scheme, then consider what techniques it requires.

All of them differ from each other by the size and shape of the beads used. That is why it should be a good study of all kinds of beading techniques before starting work.
To date, the following varieties of beading are distinguished:
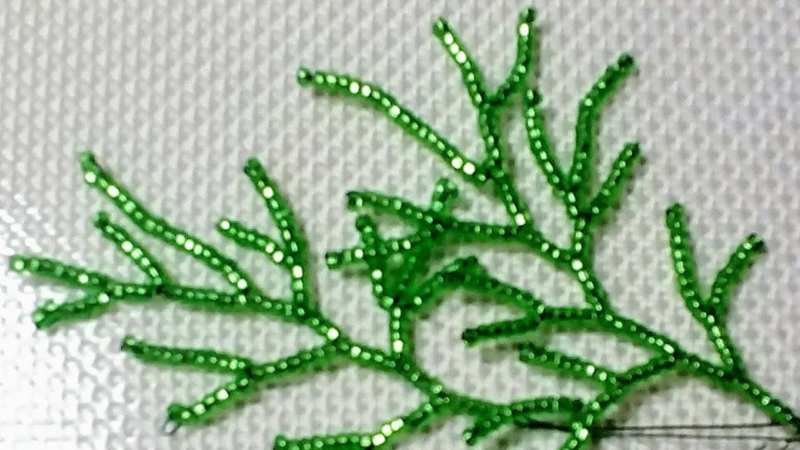
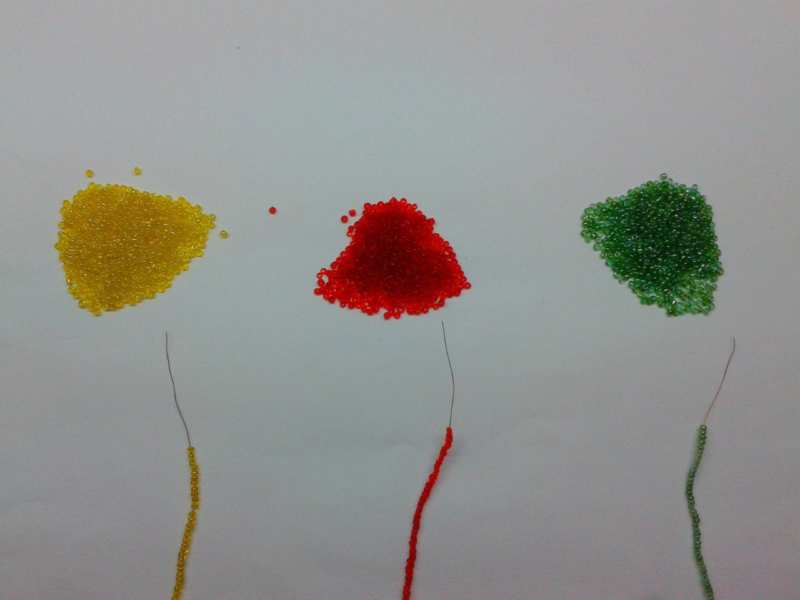
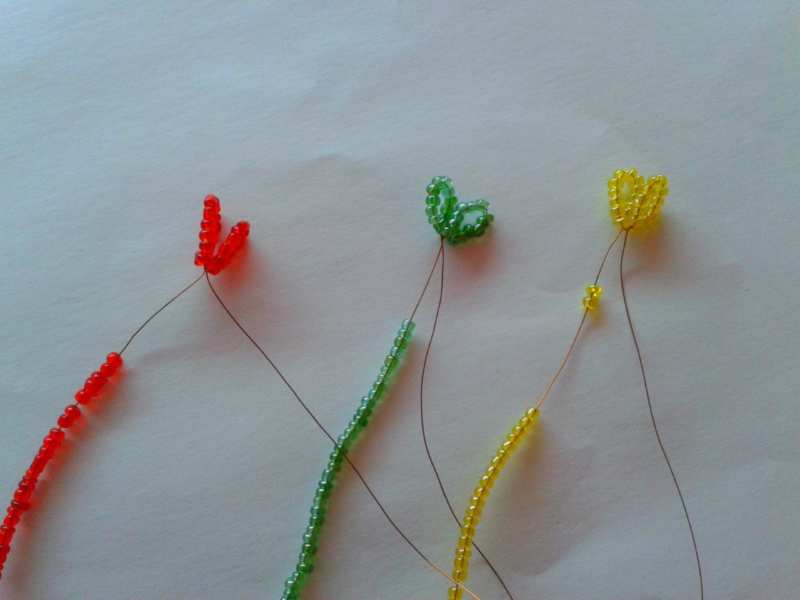
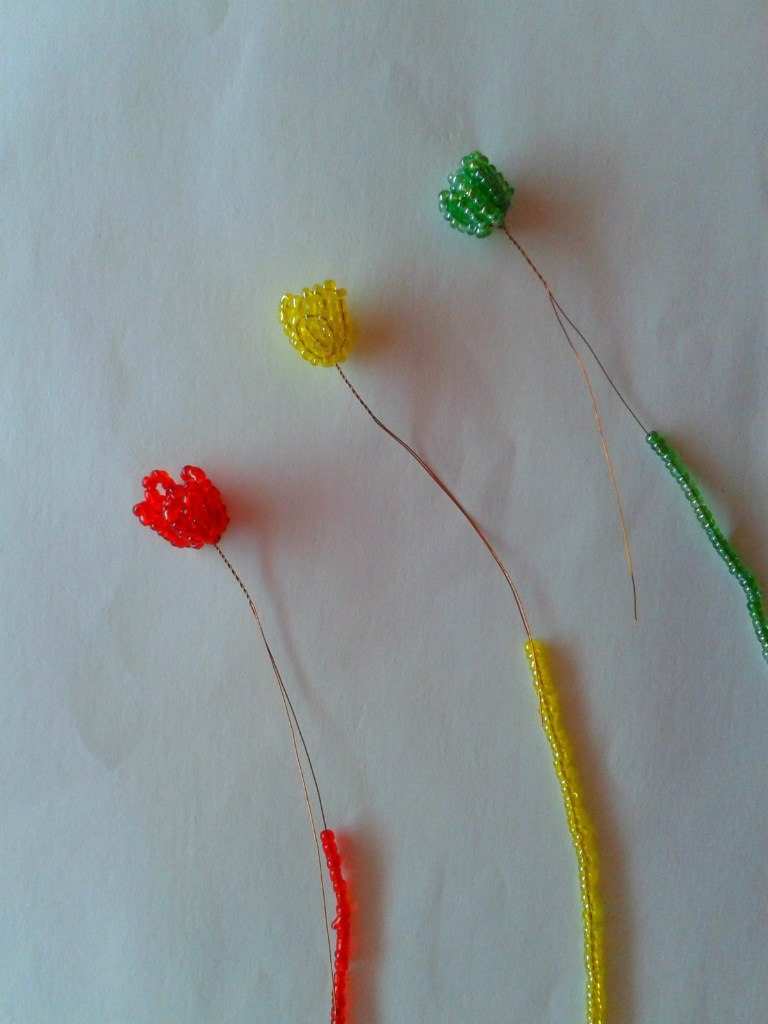
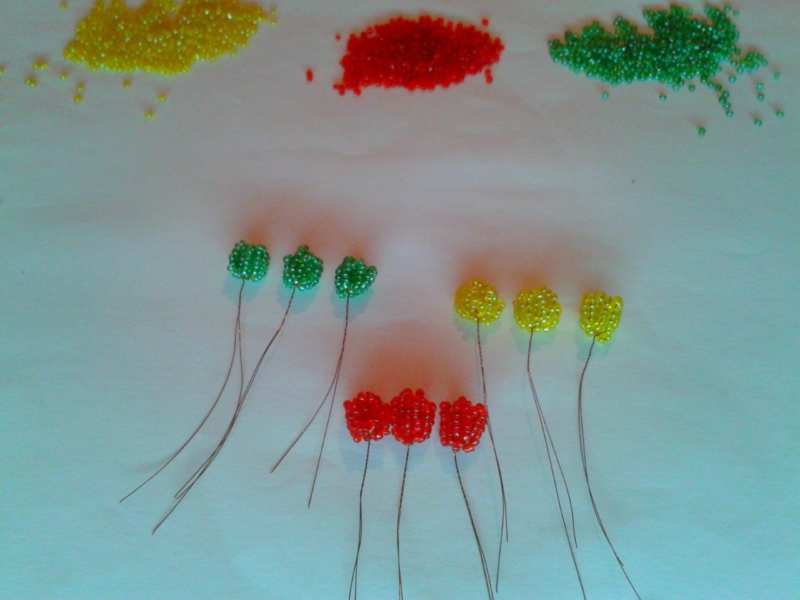
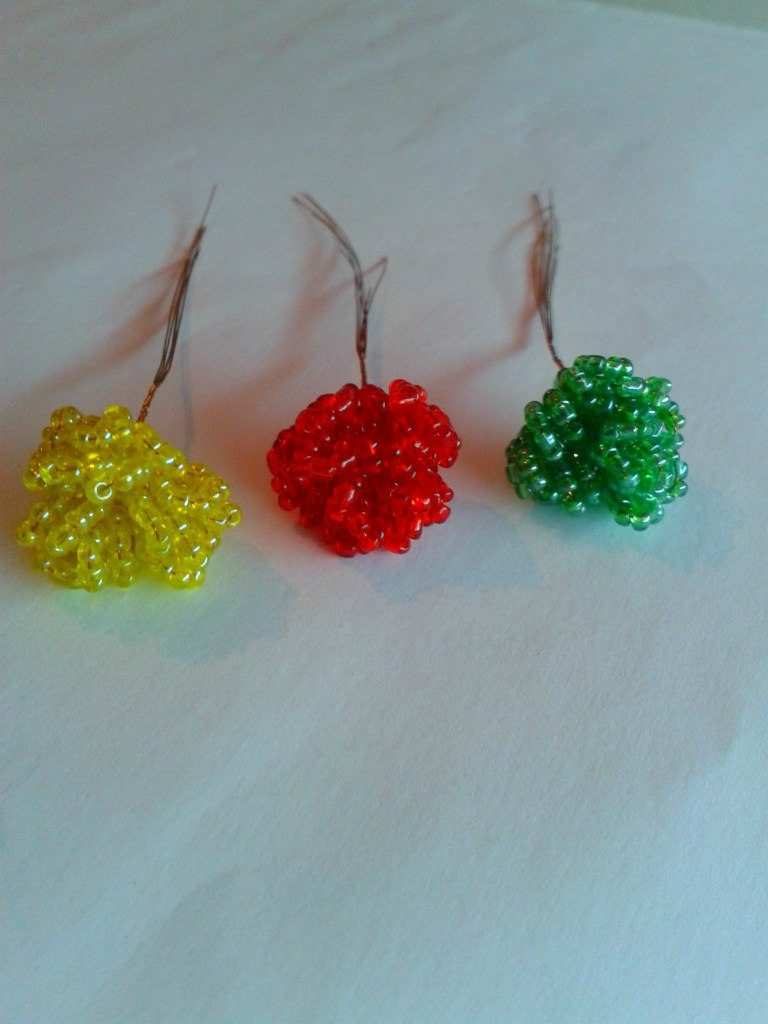
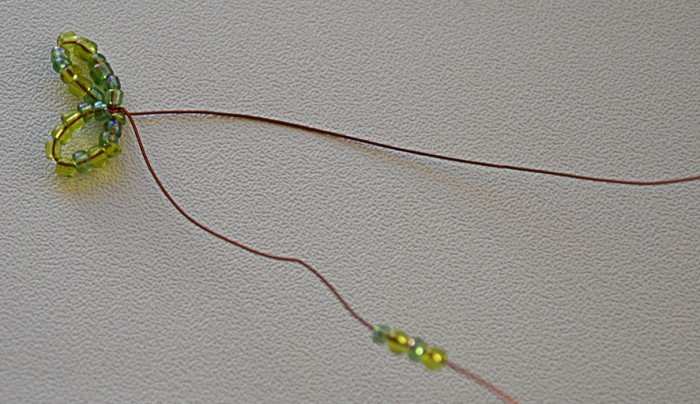
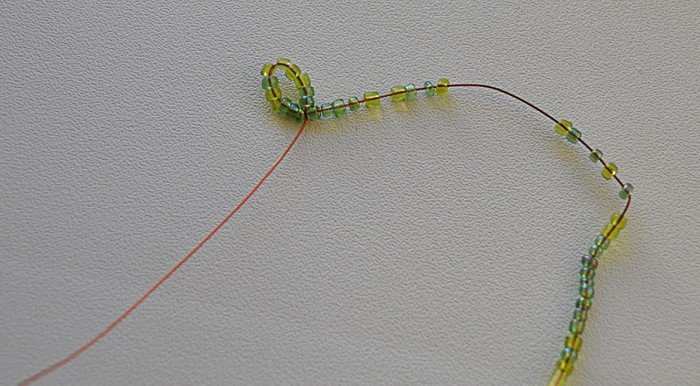
- Needlework. This is the simplest version of weaving, so it is often used to make individual elements of a piece (for example, insect legs or flower stamens). Here you need to thread a few beads on the wire, then wrap everything around and tighten.
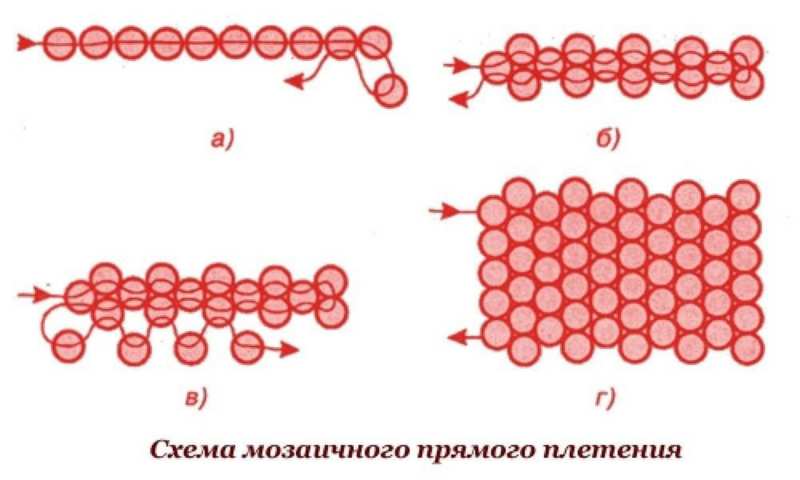
- Flat parallel. This technique is incredibly popular and quite suitable for use by beginners. With flat parallel weaving, you can create leaves and petals for a composition. The wire is passed through the beads according to the scheme, forming a second row, located parallel to the first.
- Volumetric parallel. Here everything is almost the same as in the previous version, but the rows are in different planes. With volumetric parallel weaving you can make a figure of an animal, a flower bud and many other interesting things.
- Hand weaving. In this method weaving is done on a single thread. The beads are connected to each other vertically and horizontally, with the fishing line catching a bead from the row next to it. Hand weaving can create a bracelet, a painting, or decorative elements for flower pots.
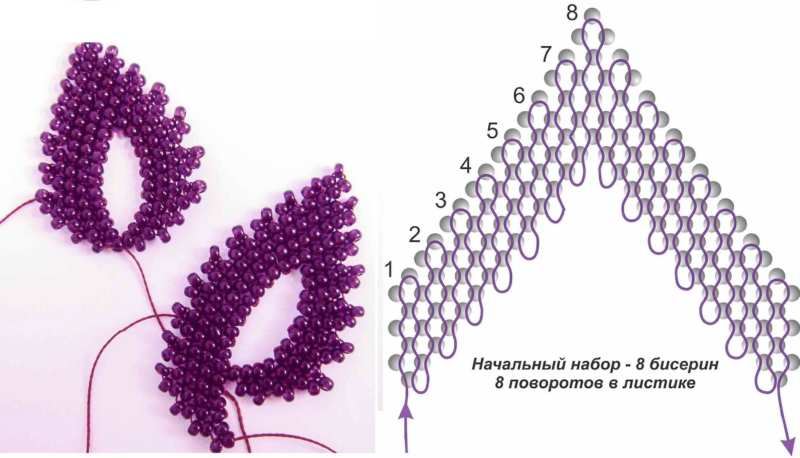
- French weaving. Here the beads are threaded on both sides of the fishing line and form arcs with the capture of the outermost beads. Thanks to this technique, craftswomen make flowers, leaves of trees.
- Brick. It is called so because of its appearance - the arrangement of beads resembles a masonry of bricks. To do this, you need to place the beads, shifting them slightly in relation to the adjacent row. Brick stitch is used to weave both flat and volumetric crafts.
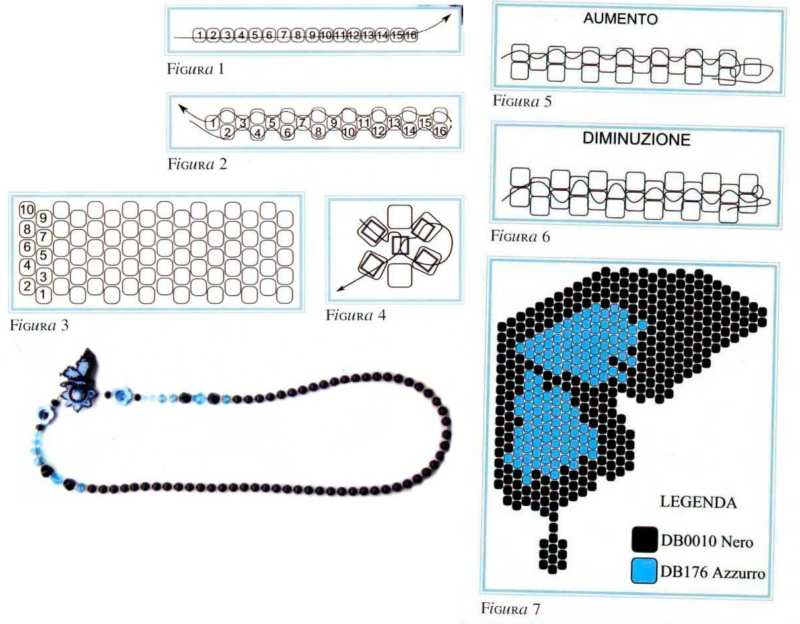
How do you read the schemes?
To create a beautiful beadwork, it is important to exercise assiduity, patience and diligence, as well as strictly follow the schemes and instructions. However, you need to be able to read them in order to work.
It is best to start with simple schemes for beginners, and only after that move on to more difficult ones. For this reason, it is not necessary for you to take on complex work.
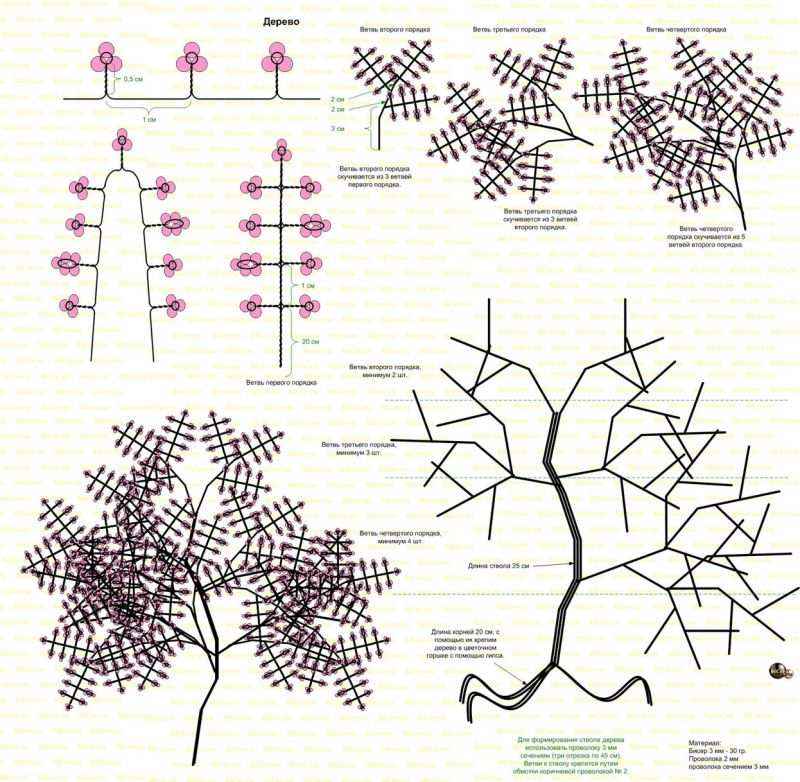
In any scheme of beads are marked with circles and shades. Numbers in front of each row indicates the number of beads in it.
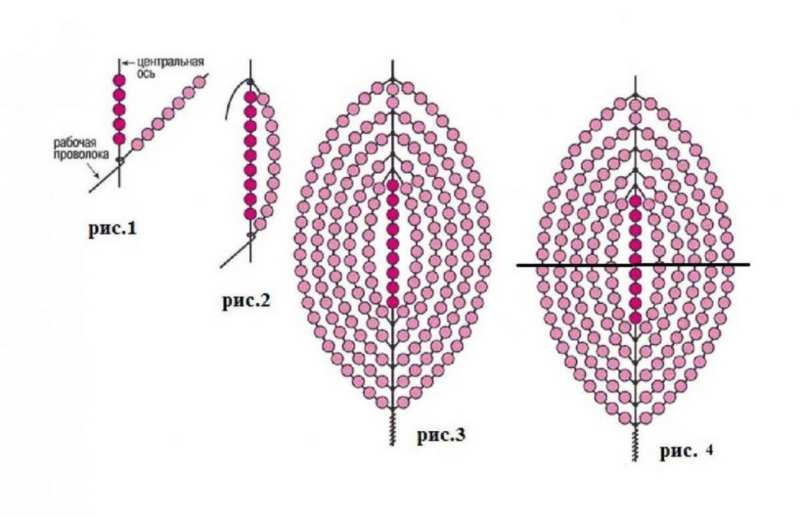
The numbers above the image indicate the number of rows. If the handicraft is three-dimensional and uses beads of different shades, the numbers will indicate all the dots. This number will indicate the number of beads in each set.
How to choose a base for the weaving?
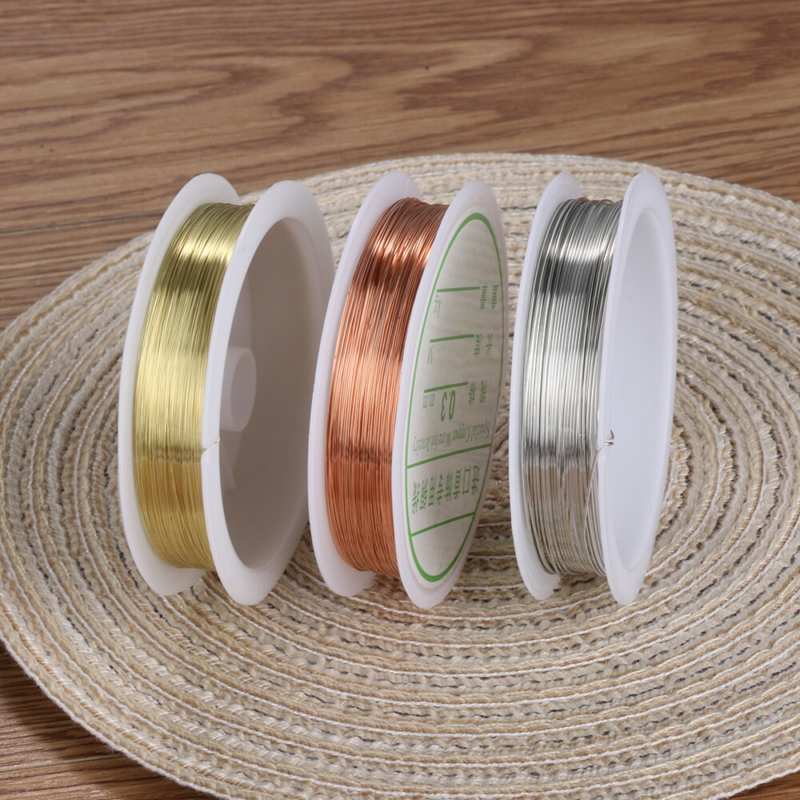
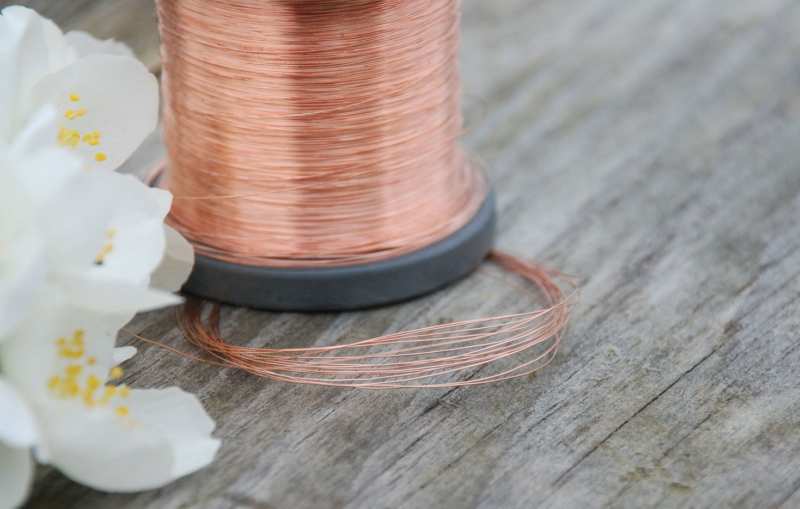
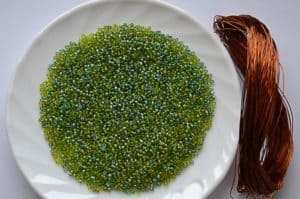
Most often wire is used, but it is different, so it is worth more detail on this issue. The material can vary in thickness, stiffness, plasticity and color. It is easiest to buy wire in special sets, where several varieties are assembled at once.
The 0.2 millimeter wire is suitable for creating miniature details: leaves and flowers. Parallel, needle and French weaving are perfectly combined with it.
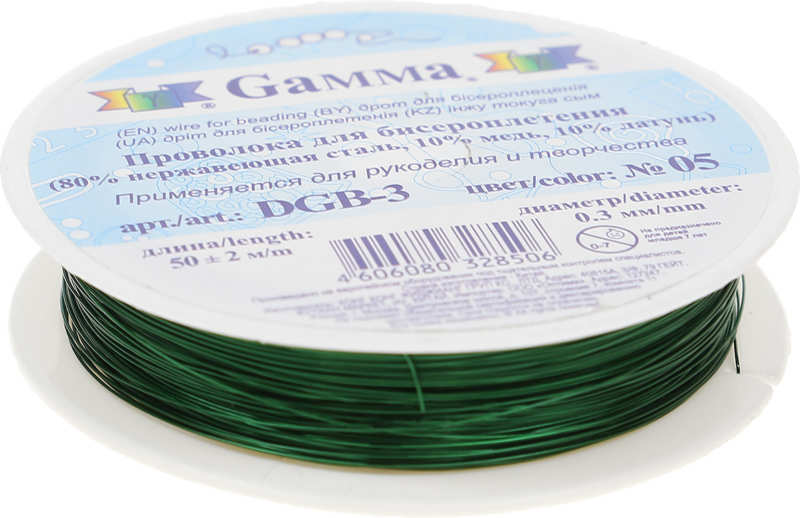
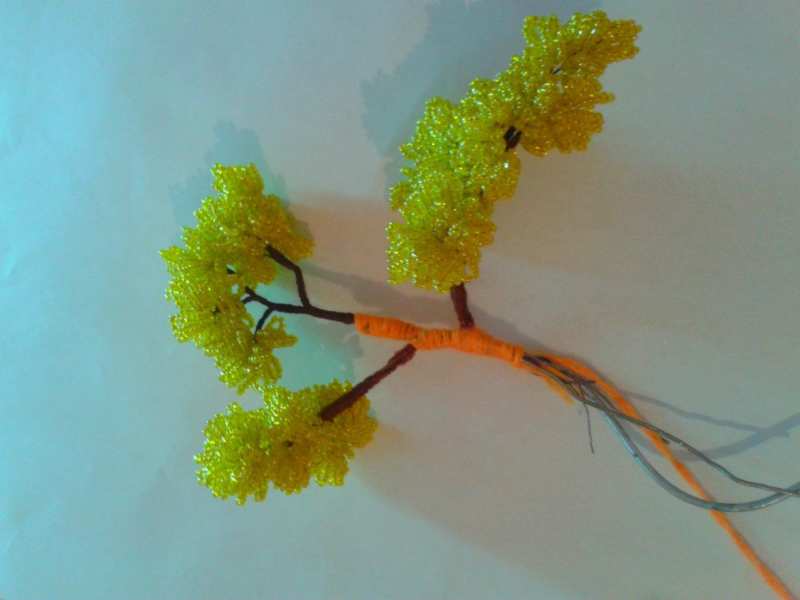
The wire of 0,5 millimeters is made of steel with copper. It has enough softness, elasticity and shine. It can be used for making the trunk of the tree, twigs and other rigid elements.
Millimeter wire is used to create elements of greater rigidity. It is flexible and pliable, but not so much compared to the previous options.
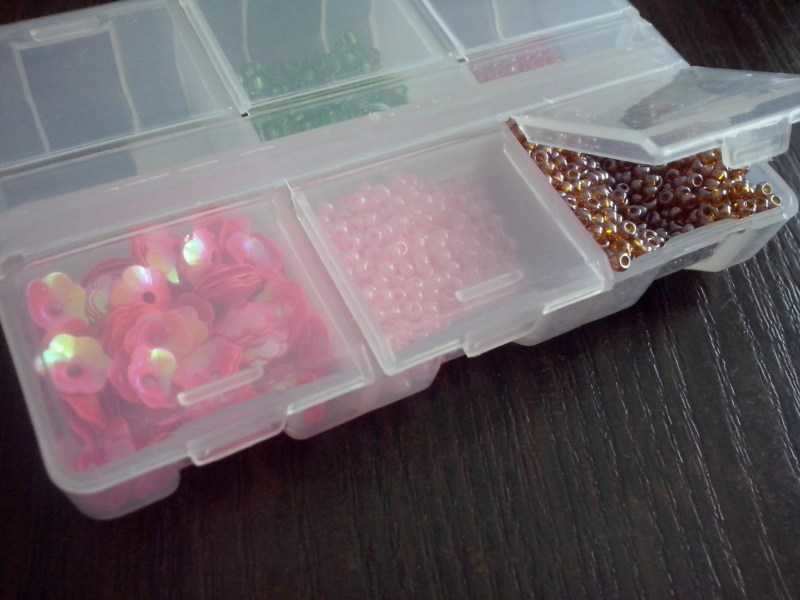
How to choose beads?
Beads are also divided into several varieties, so it is not necessary to take the first encountered. On the type of material will depend on the final result. If we divide the beads by shape, the following varieties can be distinguished:
- Common. These beads are glass ones with a hole in the middle. It has a round or square shape, as well as melted edges.
- Chopped. This is a short tube, reaching a maximum length of two millimeters.
- Glass beads. This is a long tube, which length can vary from three to twenty-five millimeters. Glass beads can be smooth, twisted as well as faceted.

When choosing a bead, pay special attention to the manufacturer. The best material is that which was made in the Czech Republic or Japan. Before buying carefully examine the bag.
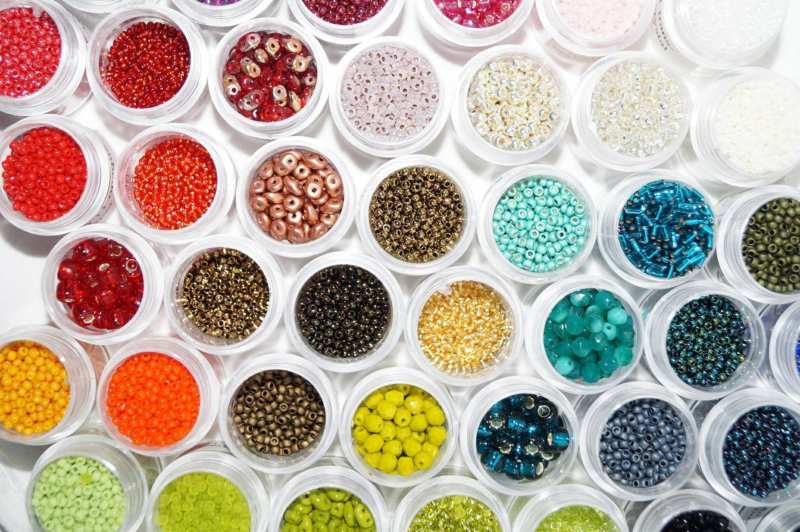
The contents must be the same size shade and shape. At the same time, the beads must not have chips, crooked cuts and other defects.
Master Classes
To start beading, it's worth picking up simpler products for the first few times. If you're a beginner, try the following craftsmen's classes. These classes are easy and uncomplicated, so you won't have any trouble.
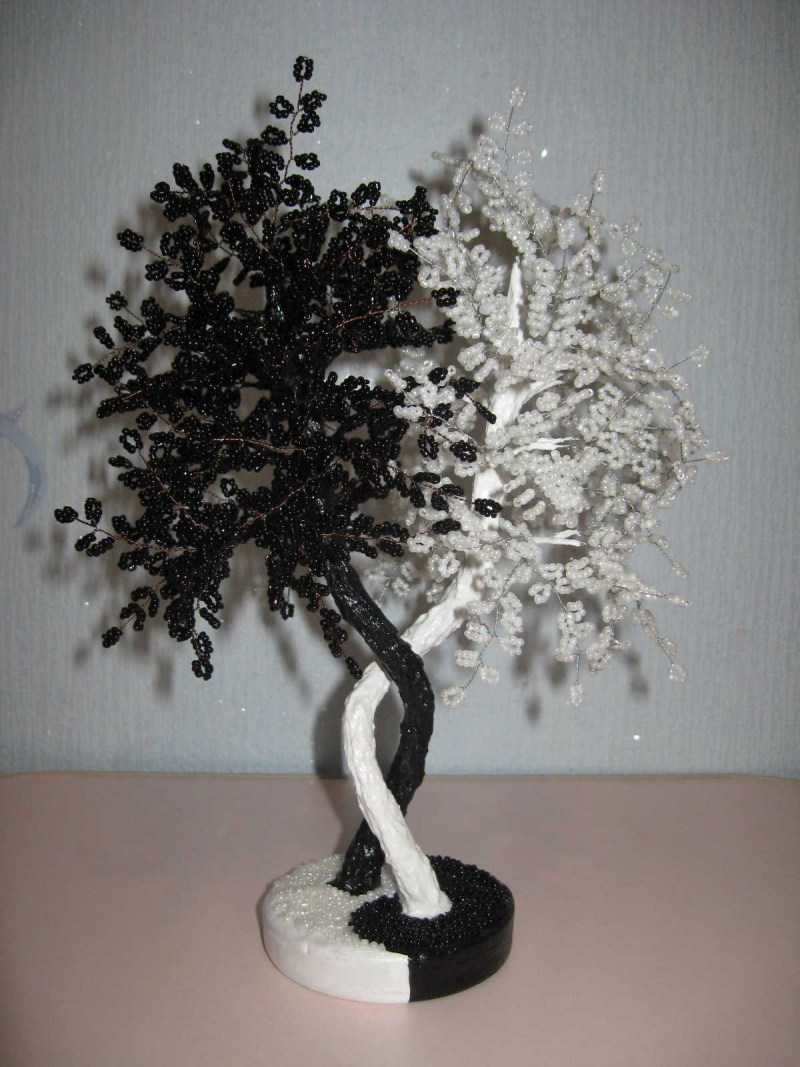
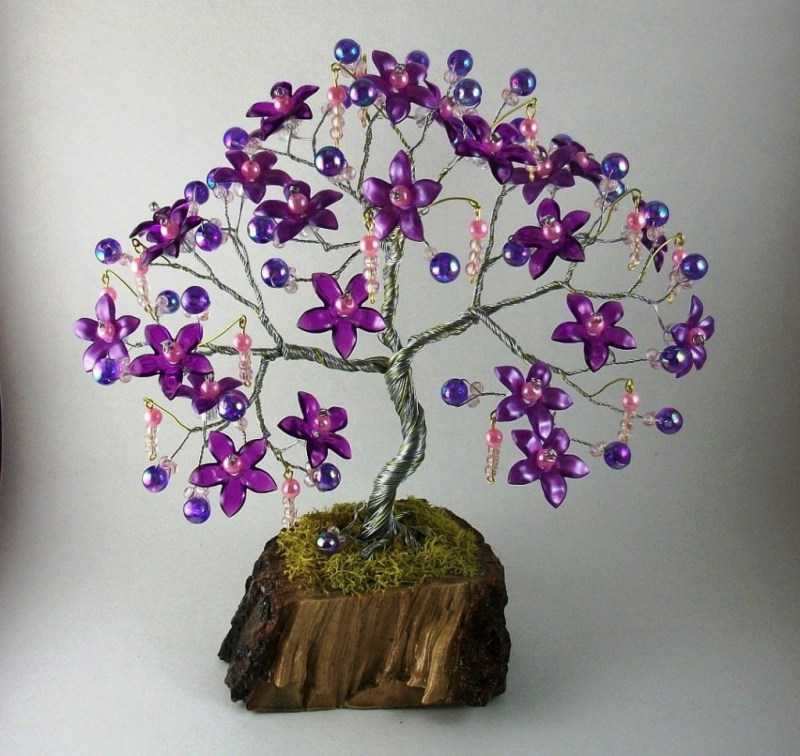
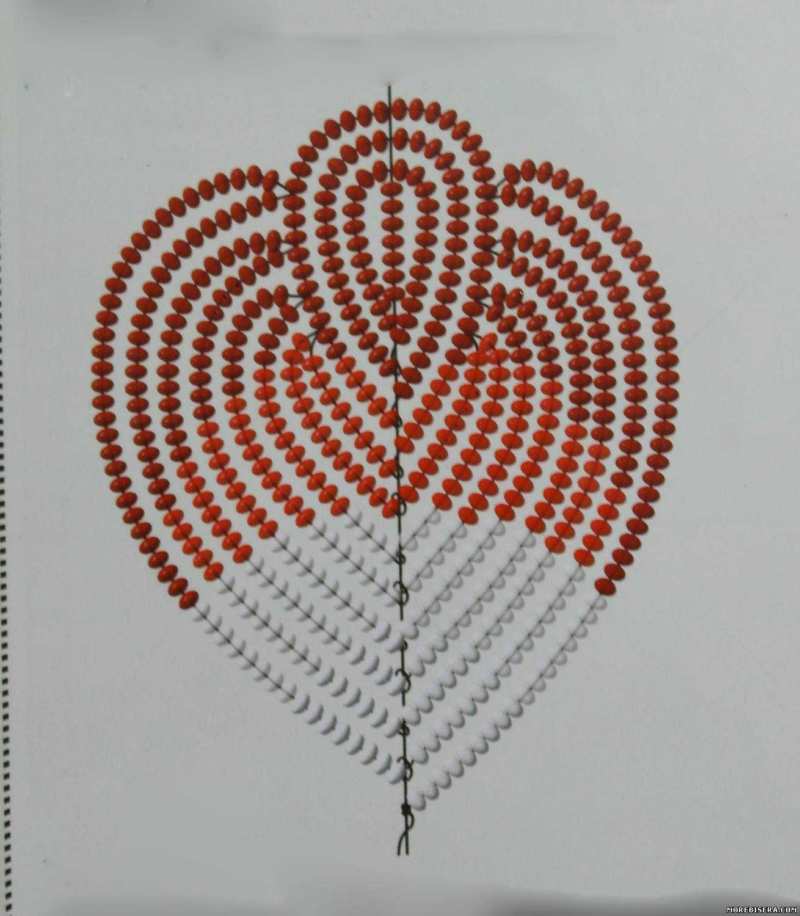
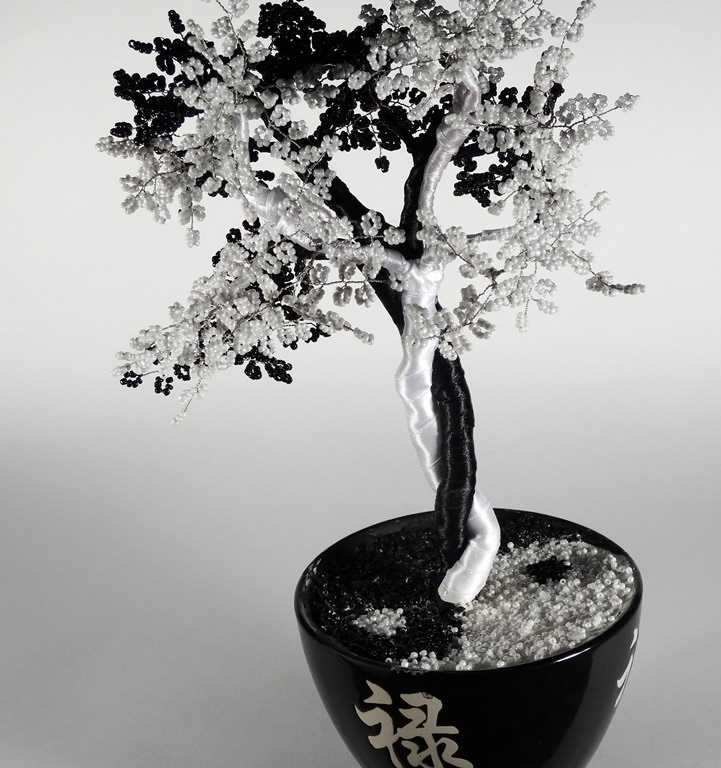
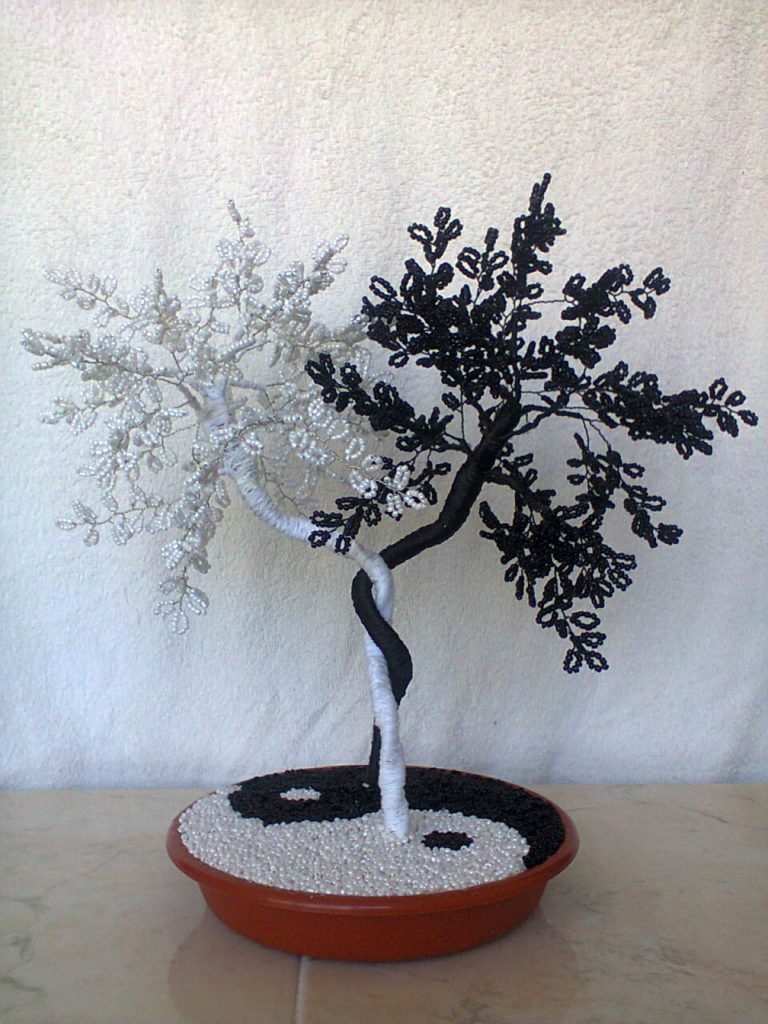
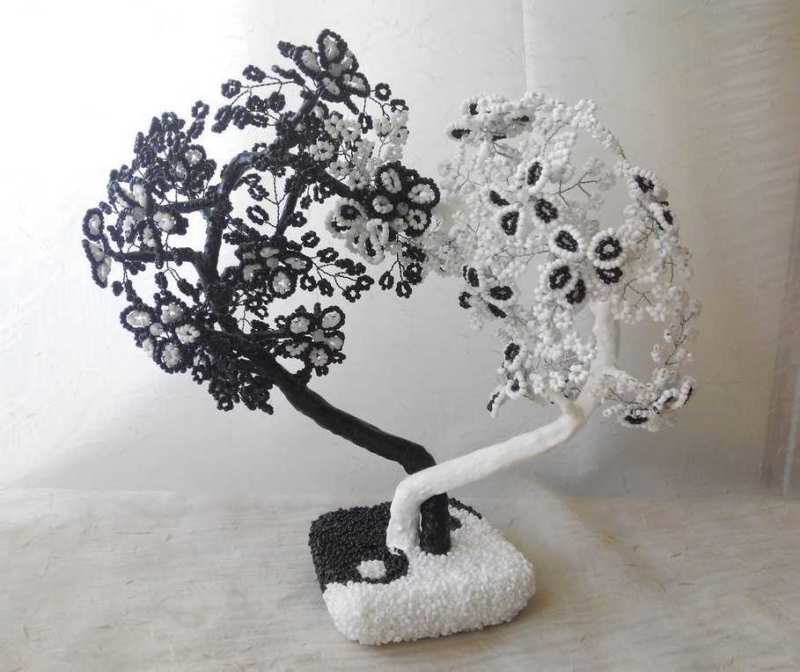
Yin-Yang Tree
For this yin-yang tree you will need two different beads, one white, one black. In addition, it is necessary to prepare black and white thread, a medium-thick wire. To create a complete composition you need to weave a pair of similar trees, and then connect them together. In the work it is required to use a loop weave.
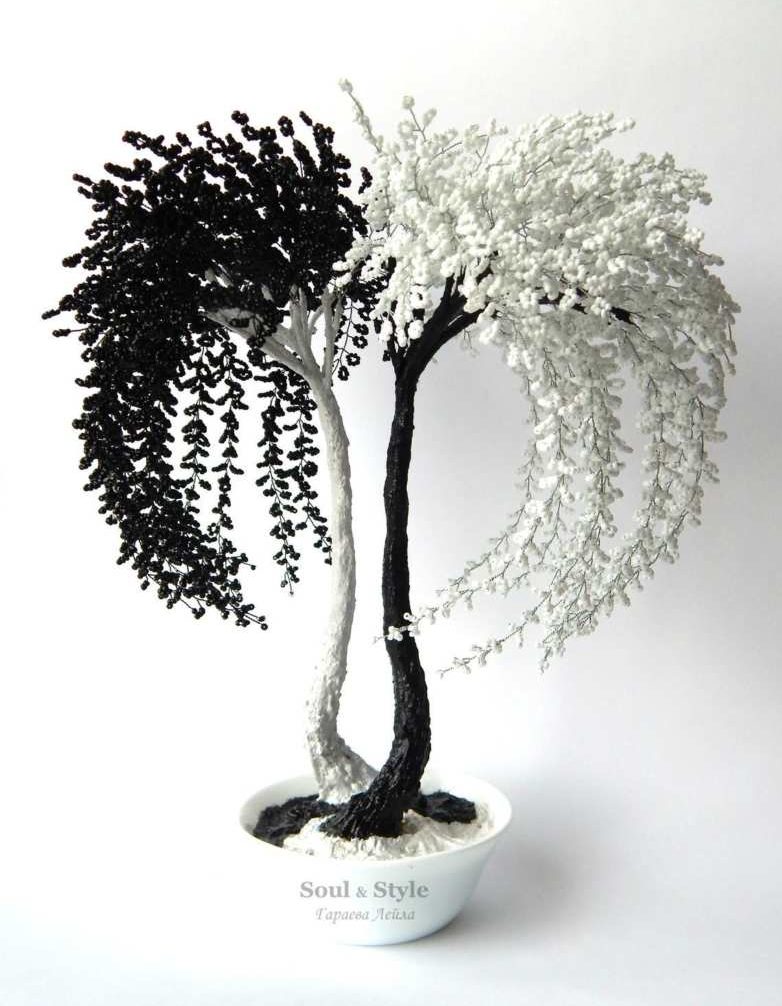
Cut a 45 centimeter-long piece of wire and put nine snow-white beads onto it. Slide them away and make a loop. Twist the flagellum and repeat the action.
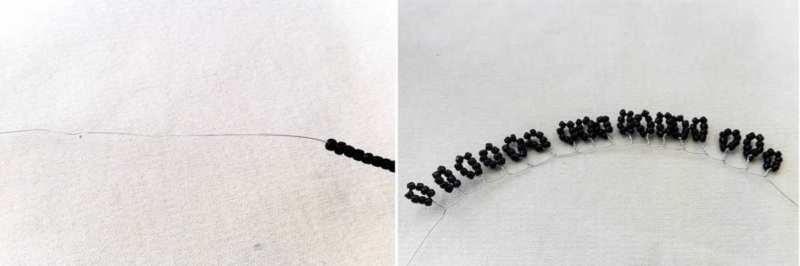
Similarly, make seven equal loops with centimeter indentation. Take the product in the middle leaf and bend it in half, and then twist. Make thirty such branches, and then divide into piles, each of which will be three parts.
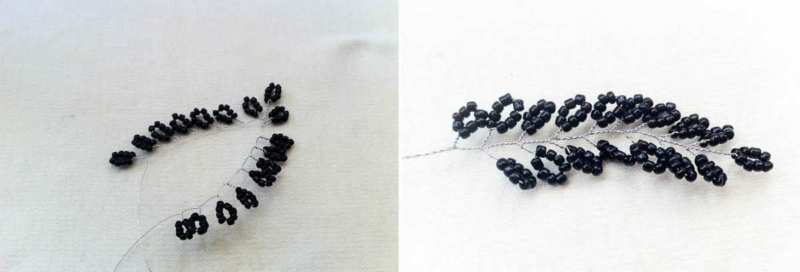
Put them all together and arrange the leaves. Do the same with the black material.
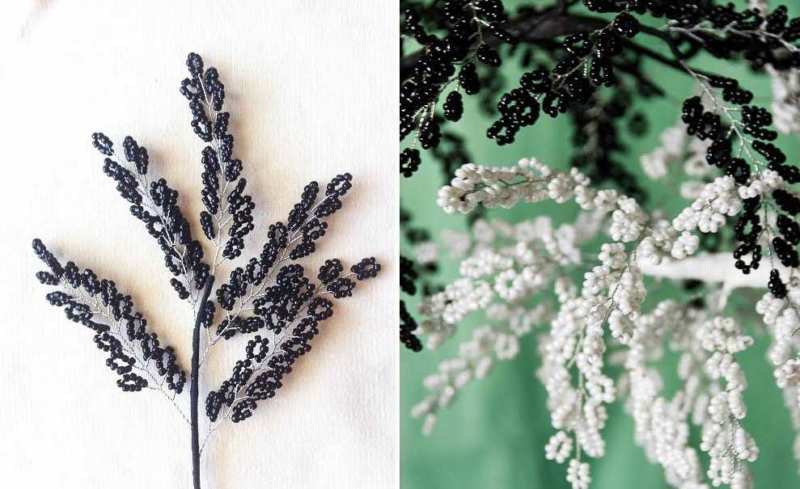
Wrap the underside of the elements suitable shade of thread, and then assemble the tree. Twist the two resulting trees and place them in a flower pot.
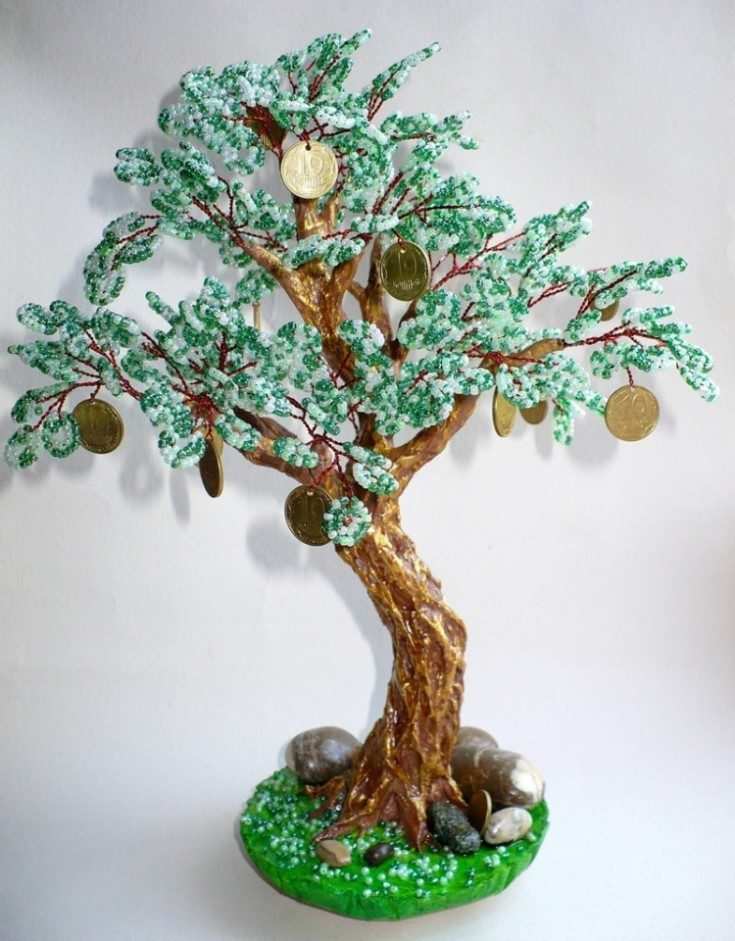
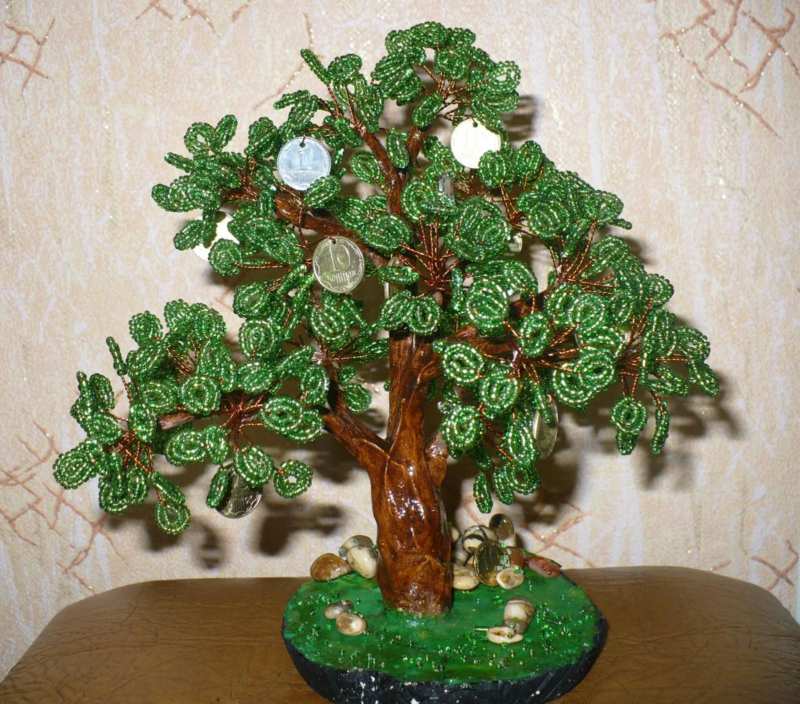
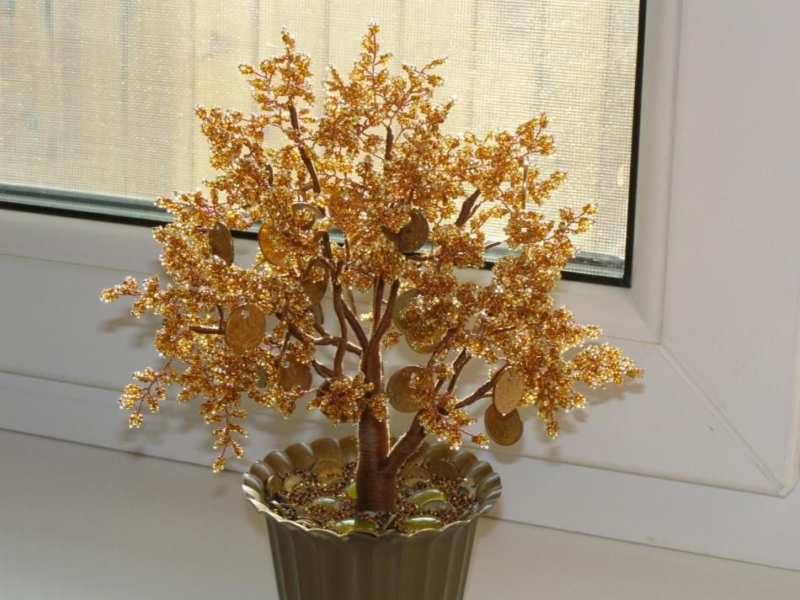
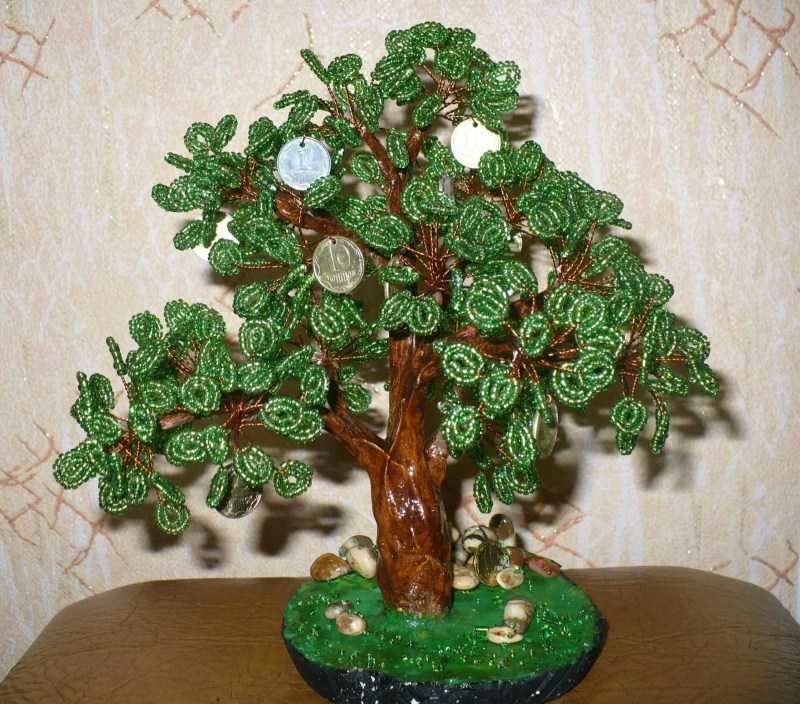
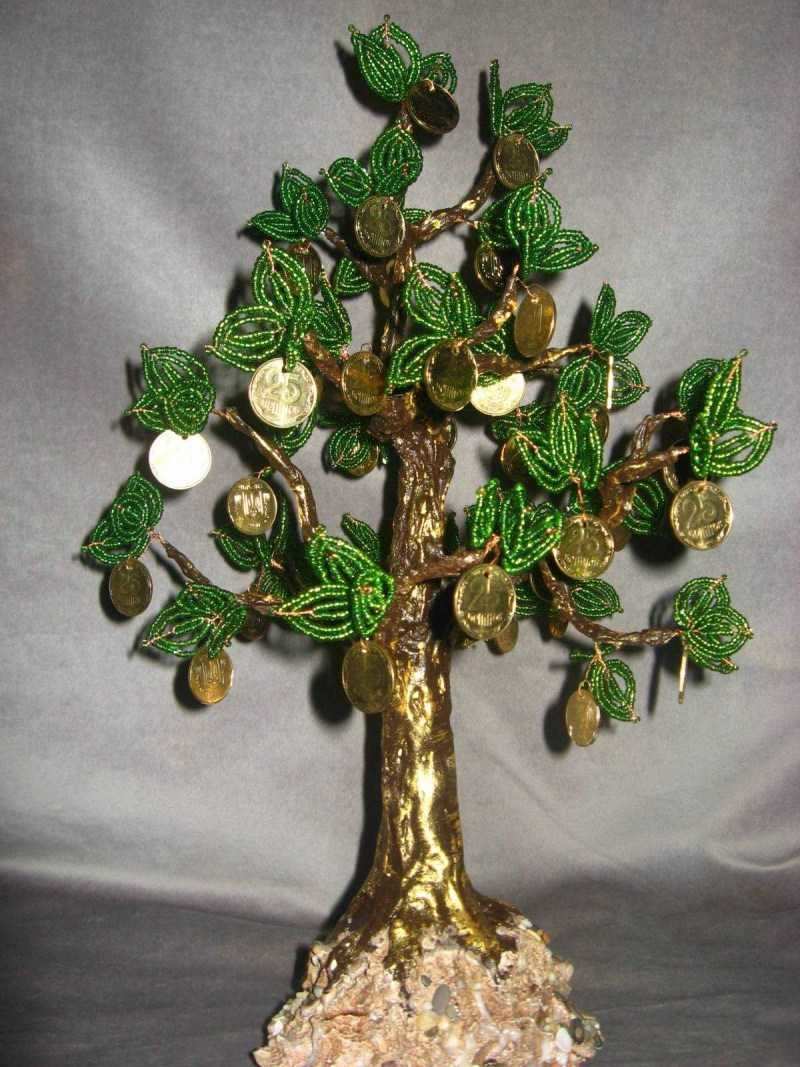
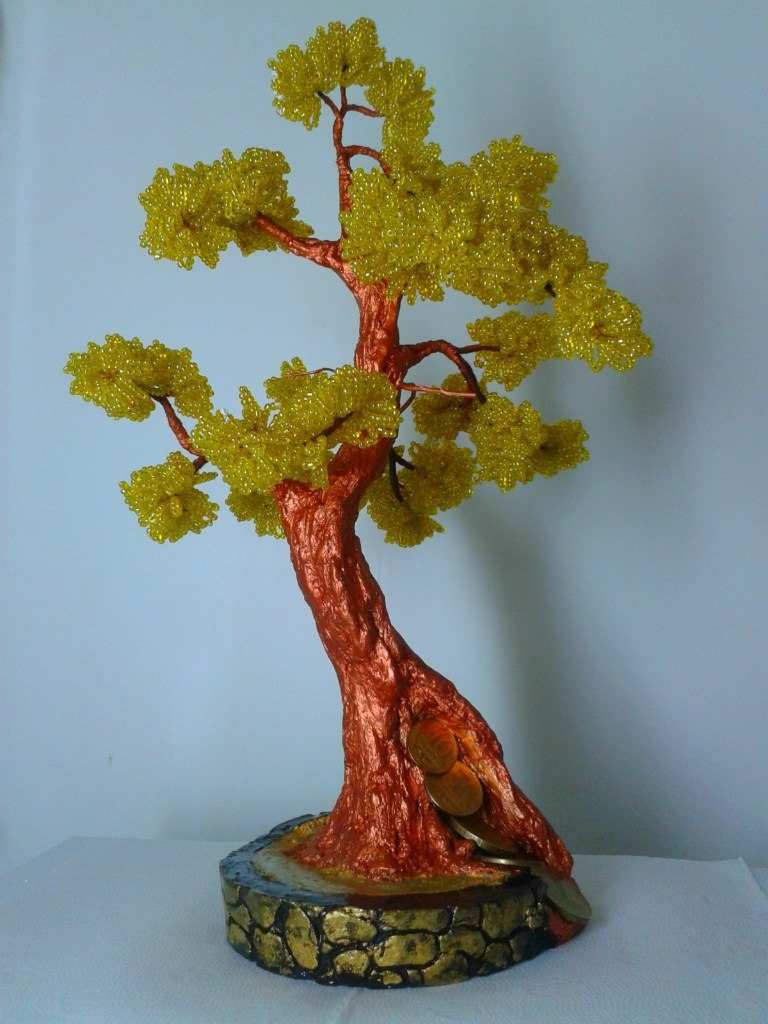
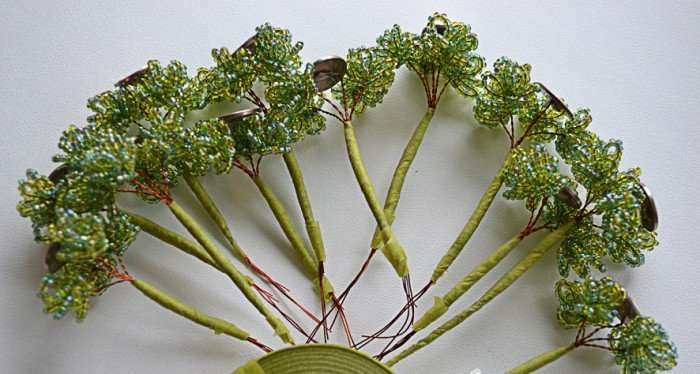
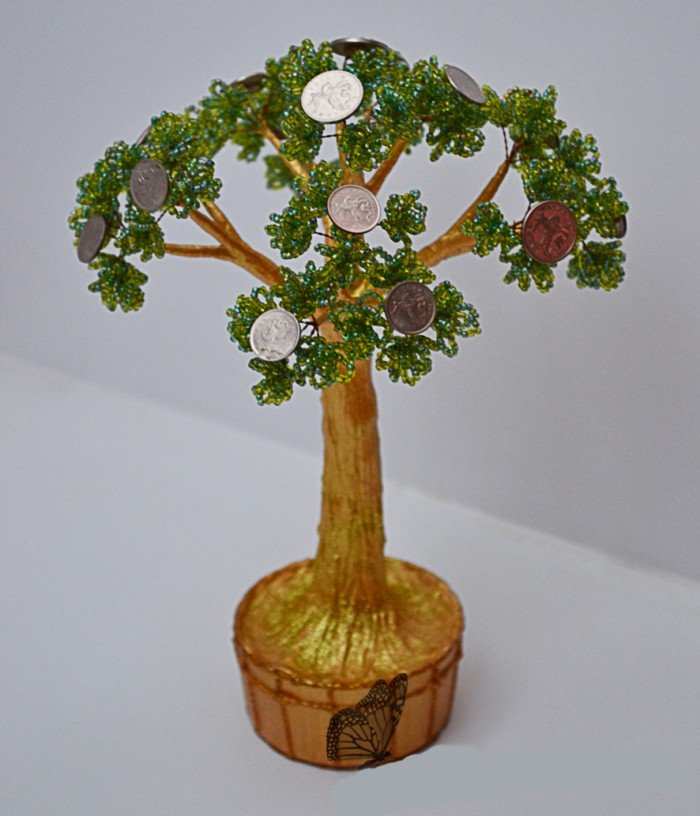
Money tree
This handicraft is a little more complicated than the previous one, so you have to be patient. For it you will need beads of different shades of green. First you have to make the branches of the tree. Put on a wire twelve beads, twist loop. Make eight similar parts, and then connect them to each other.
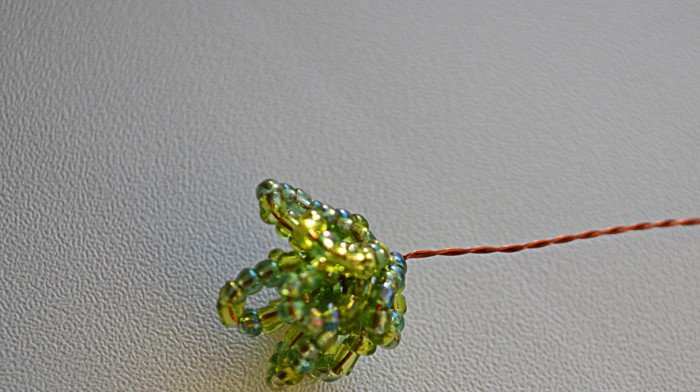
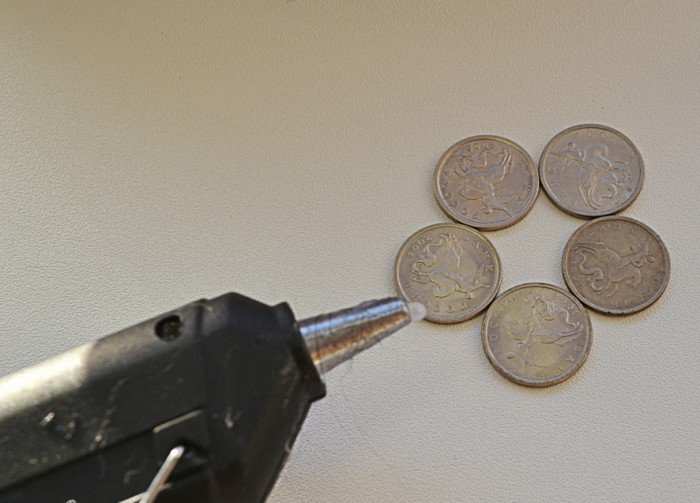
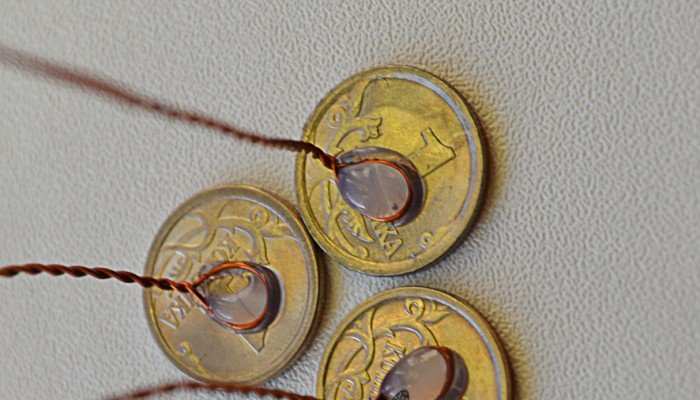
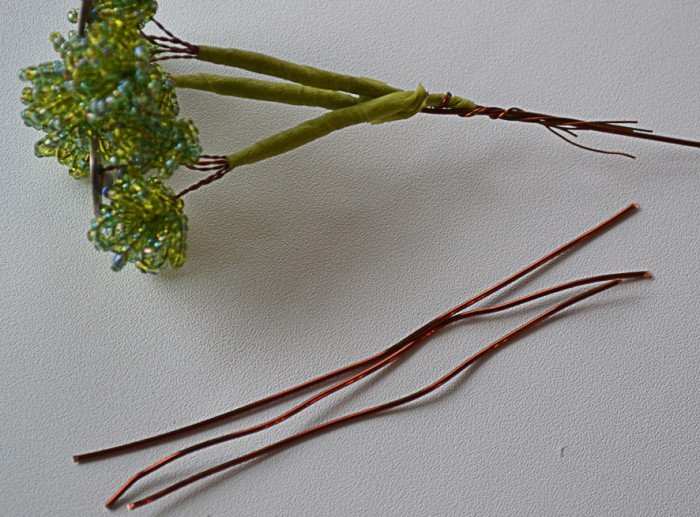
It is necessary to make sixty such elements. On twenty of them glue a variety of coins. Then make a crown twisting five twigs (one with a coin and four ordinary twigs).
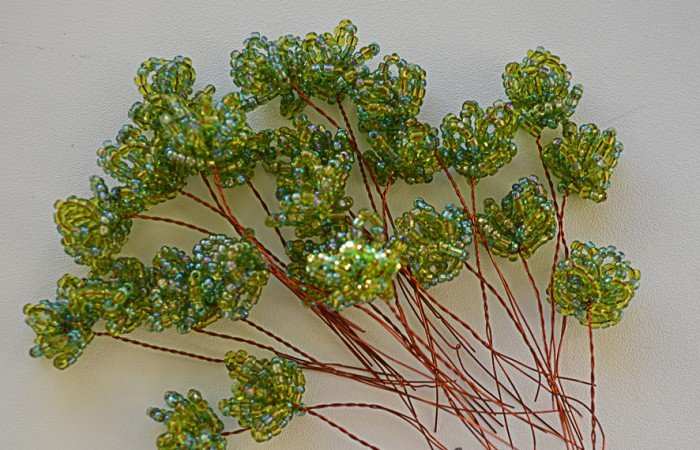
You will have fifteen bunches, of which you will make five large sprigs. Wrap everything brown ribbon to make a bark. It remains only to connect all the parts into a single tree. After that, you can paint it as desired.

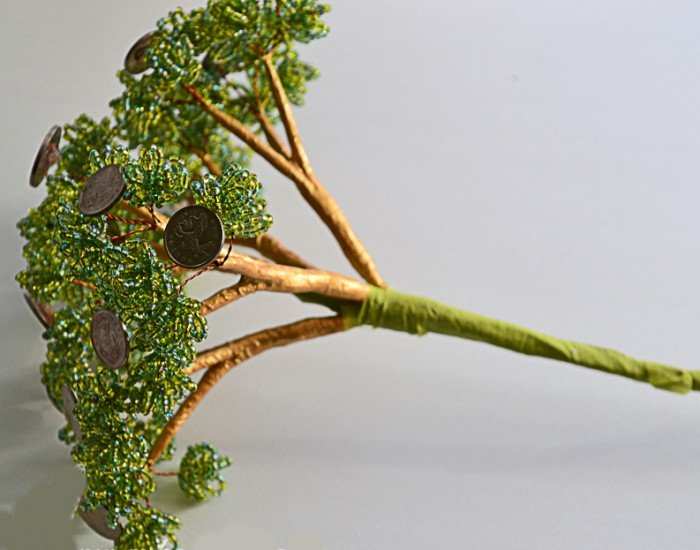
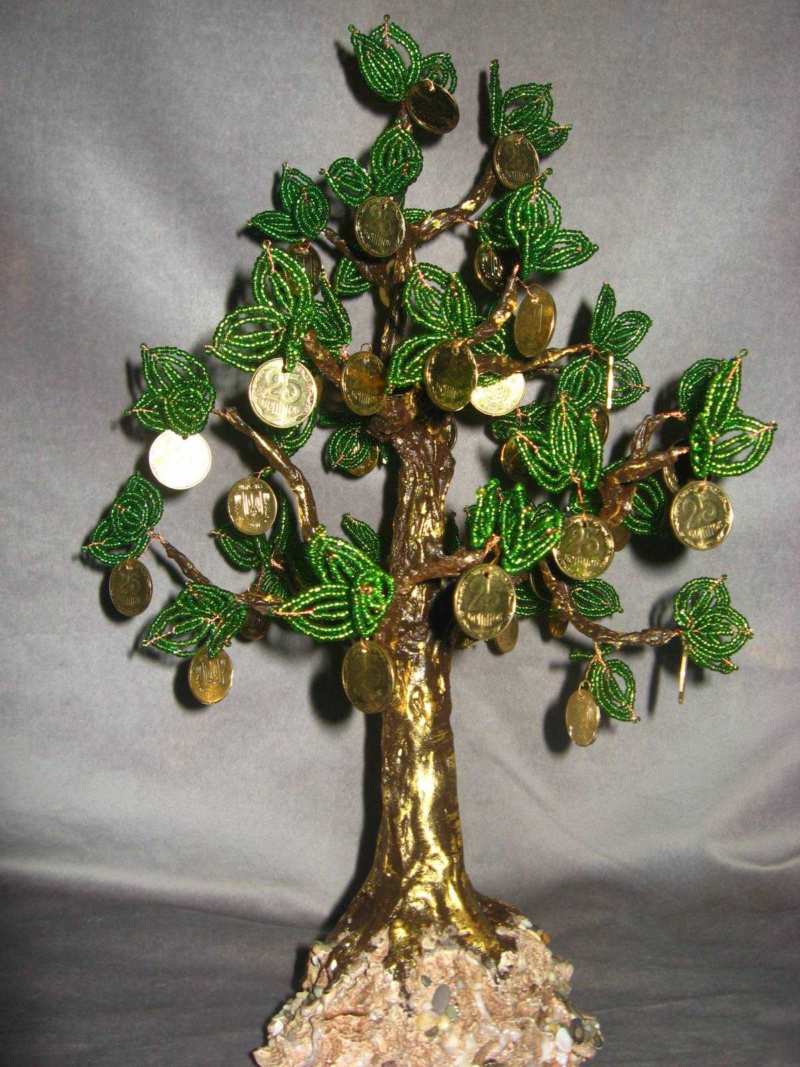
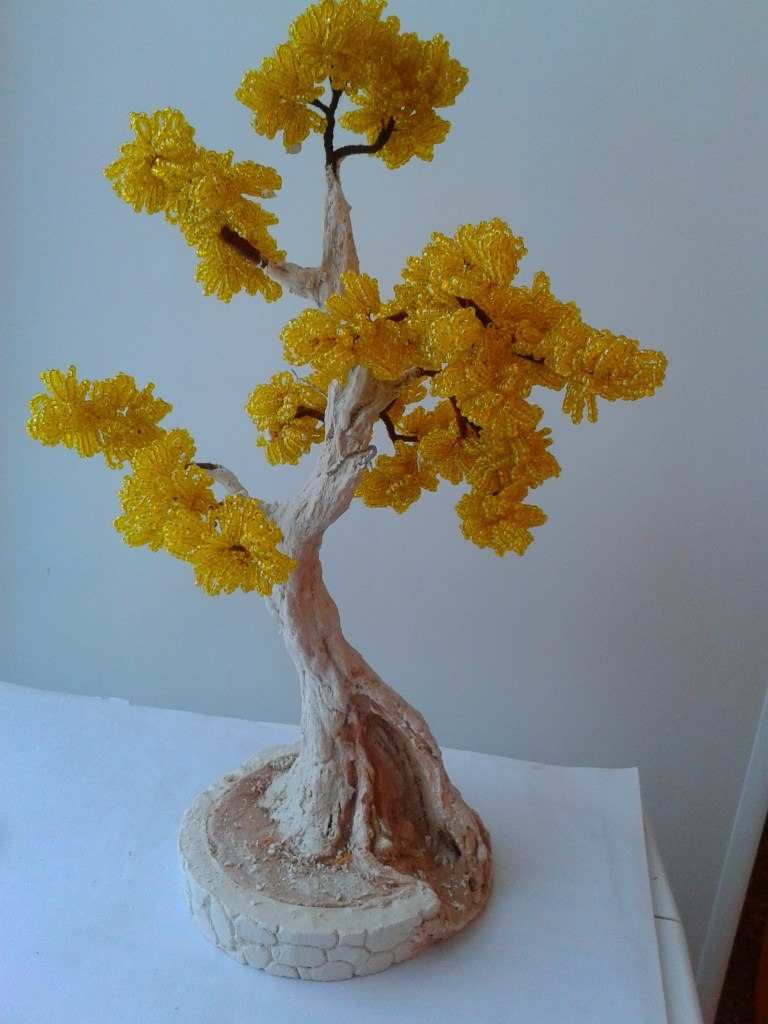
If you follow the schemes and instructions carefully, you can make a delightful masterpiece. Maybe beading will even become your new favorite hobby. Then you can make crafts and decorate your own home, and as a gift to loved ones.
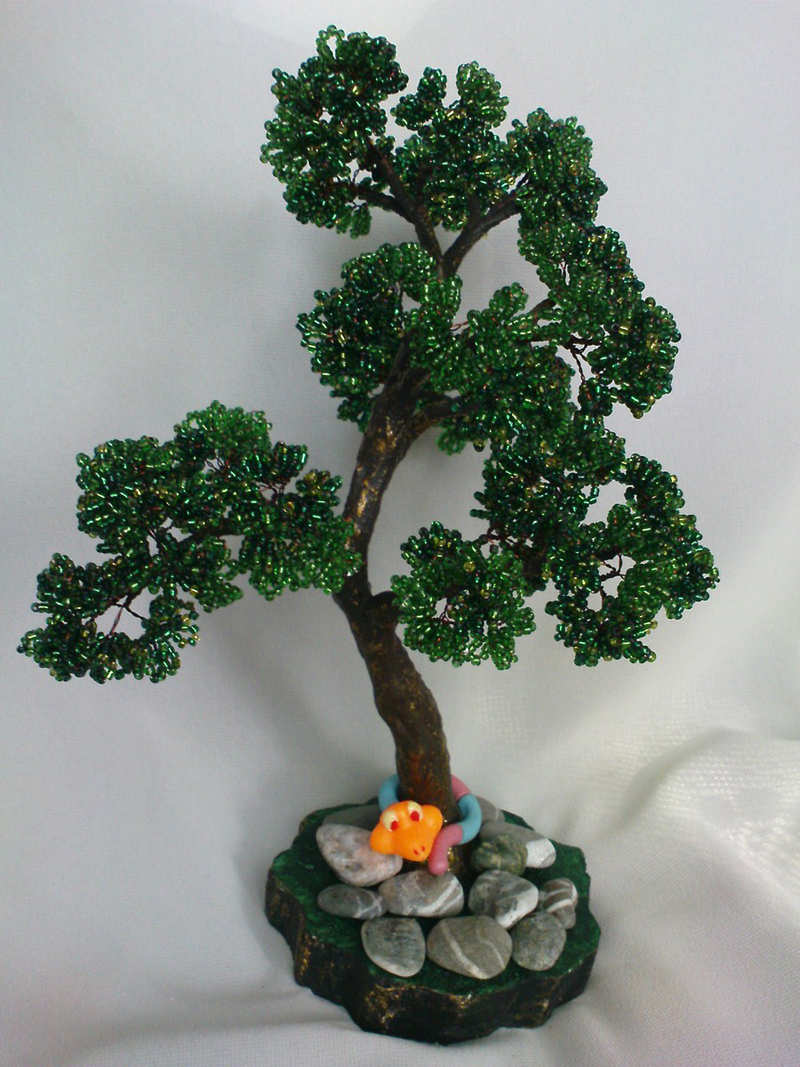
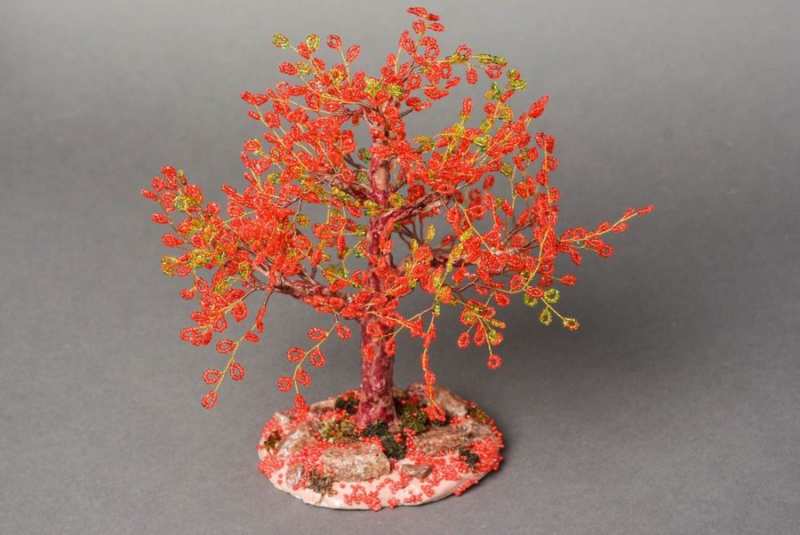
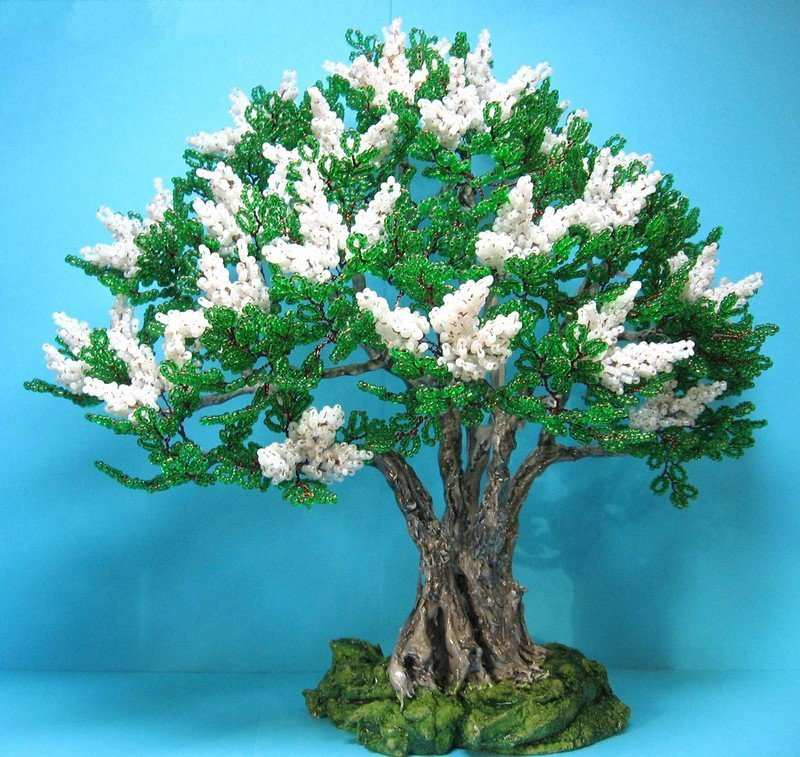
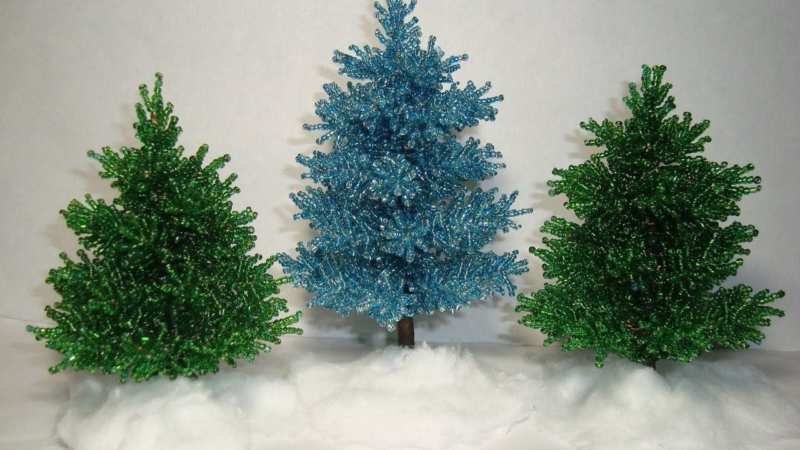
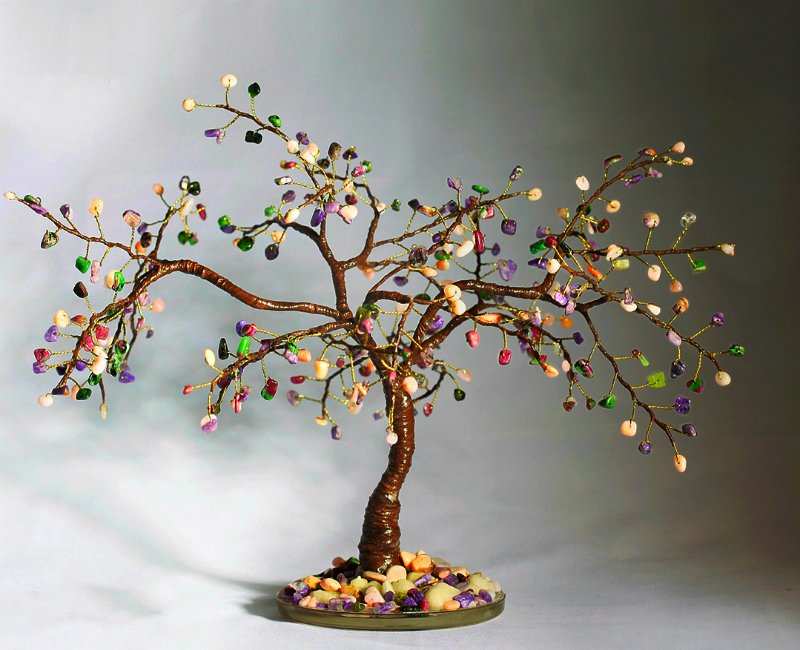
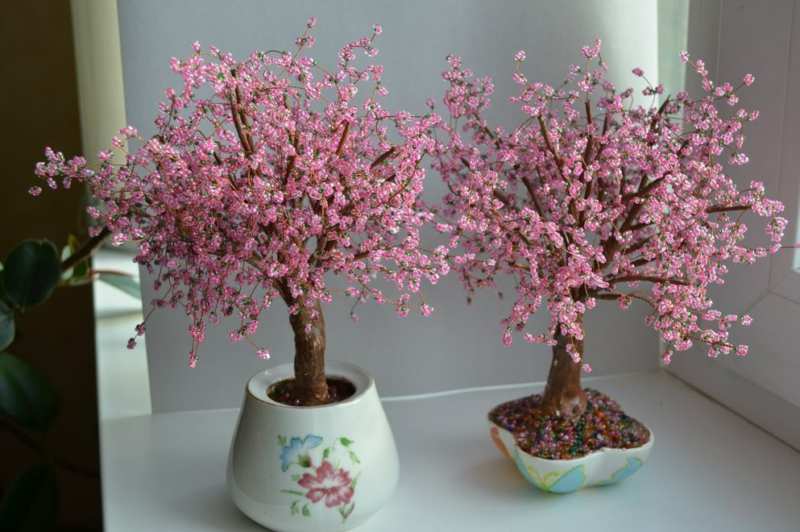
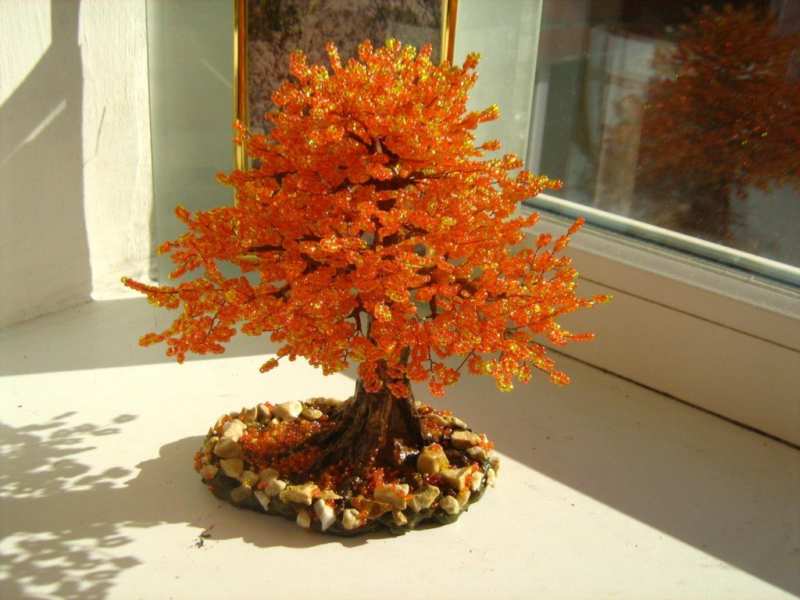
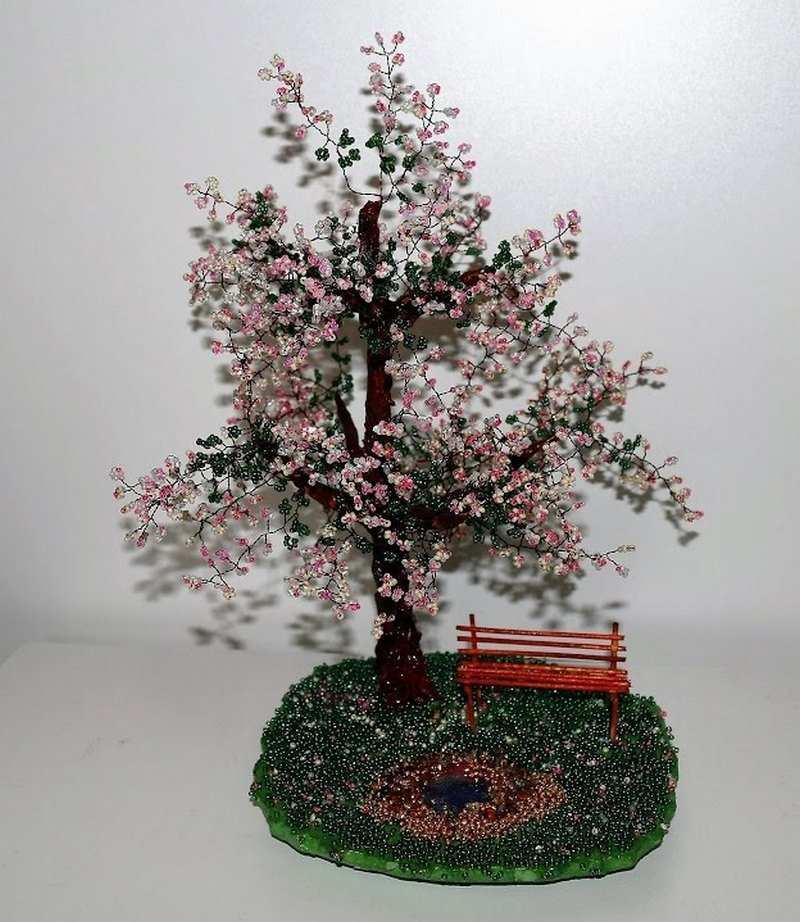
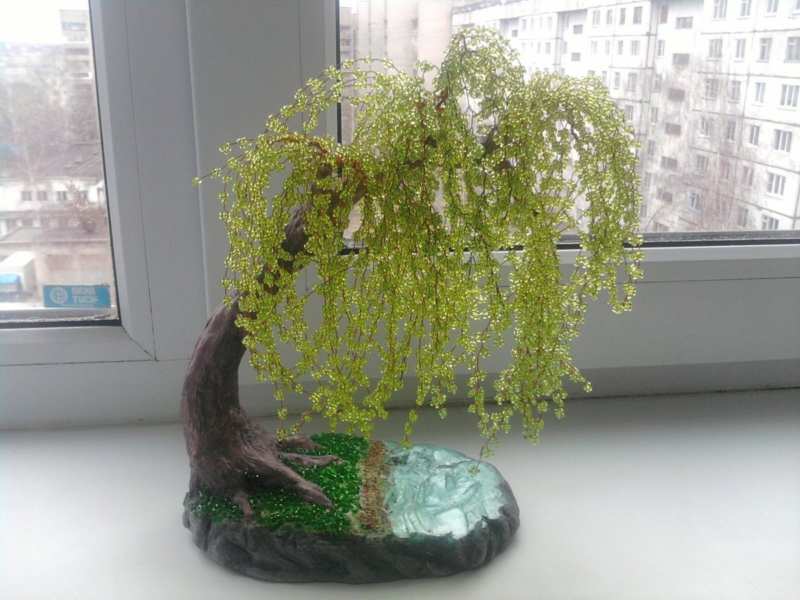
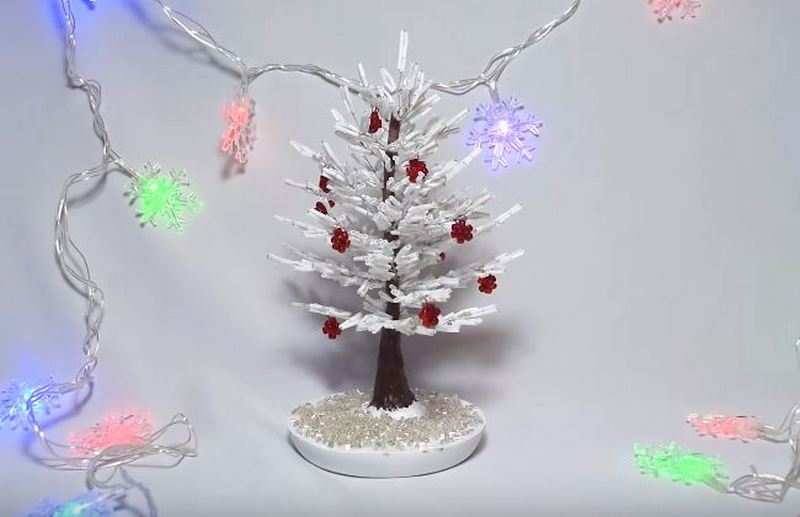
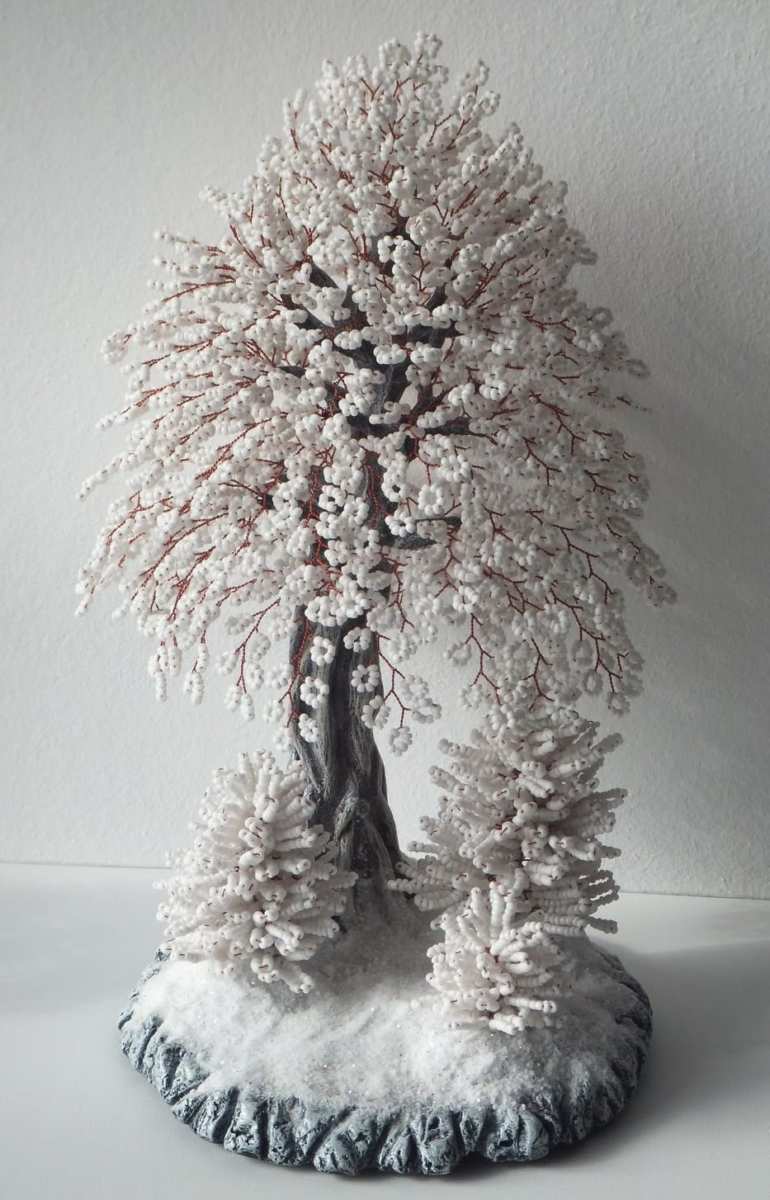
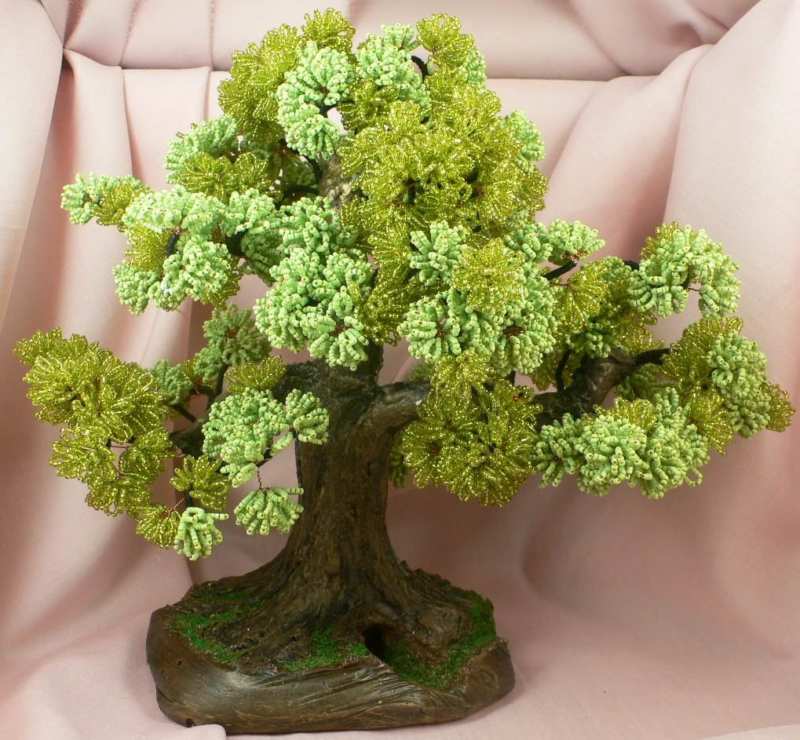
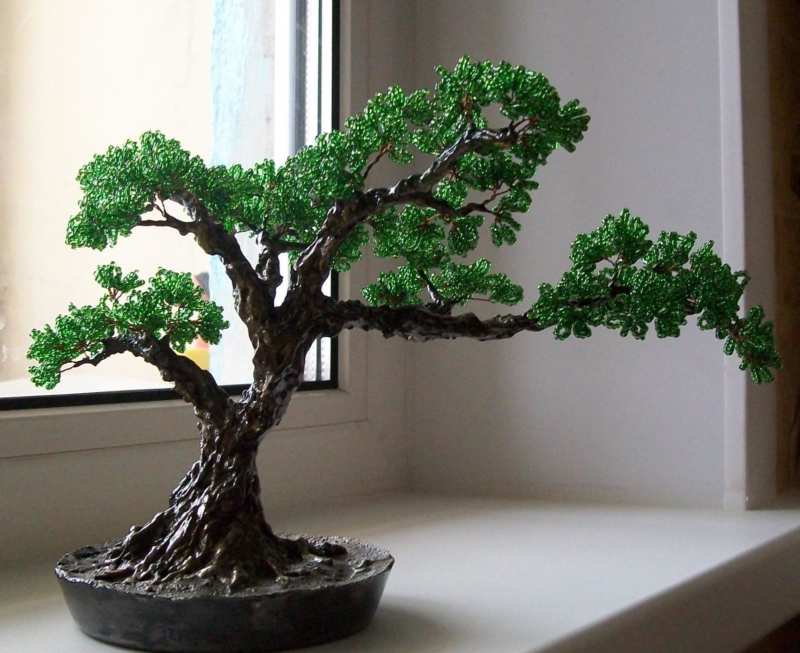
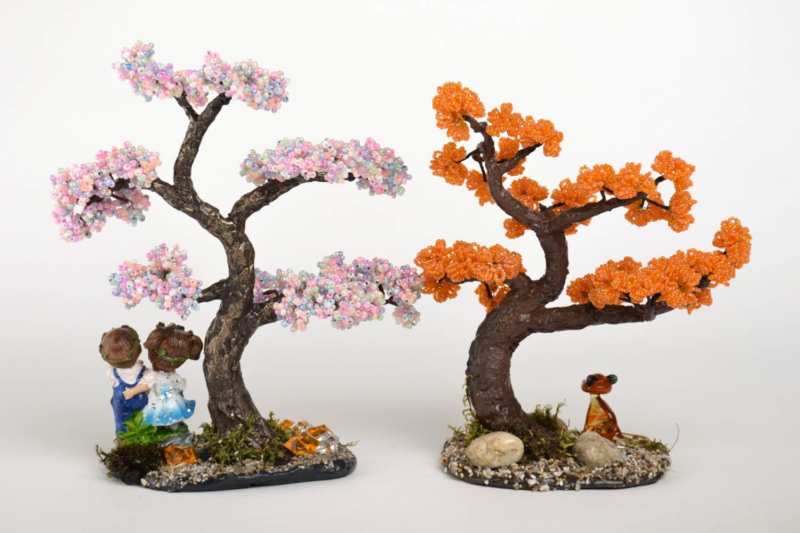
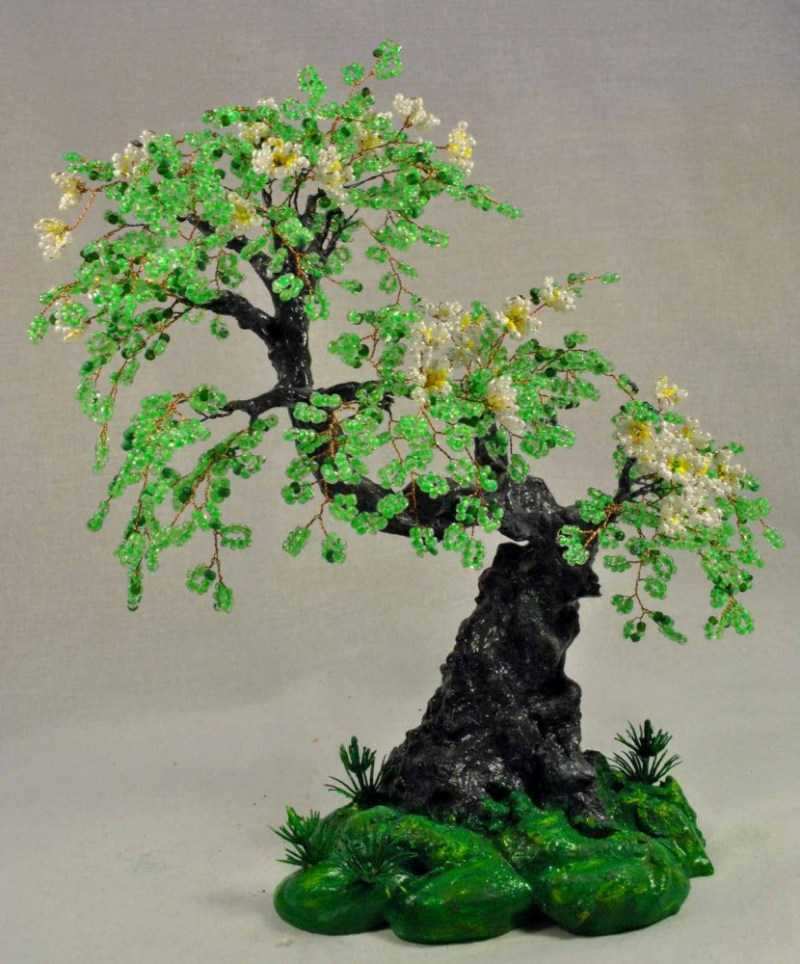
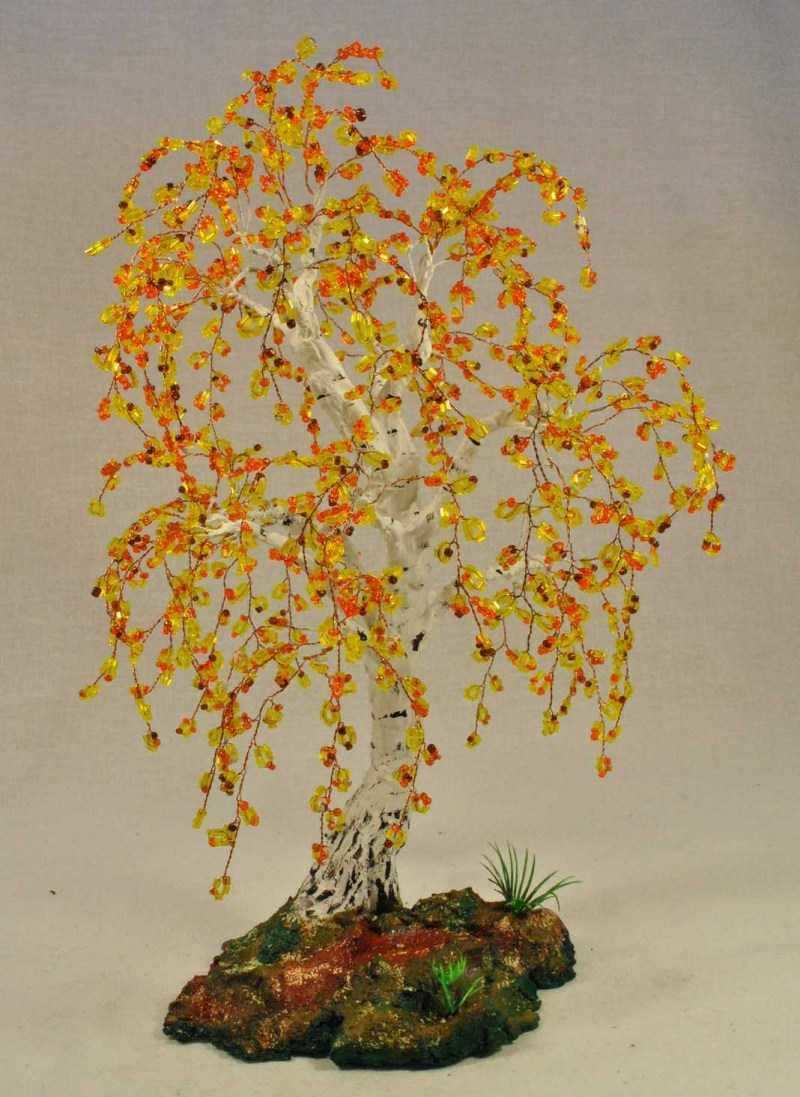
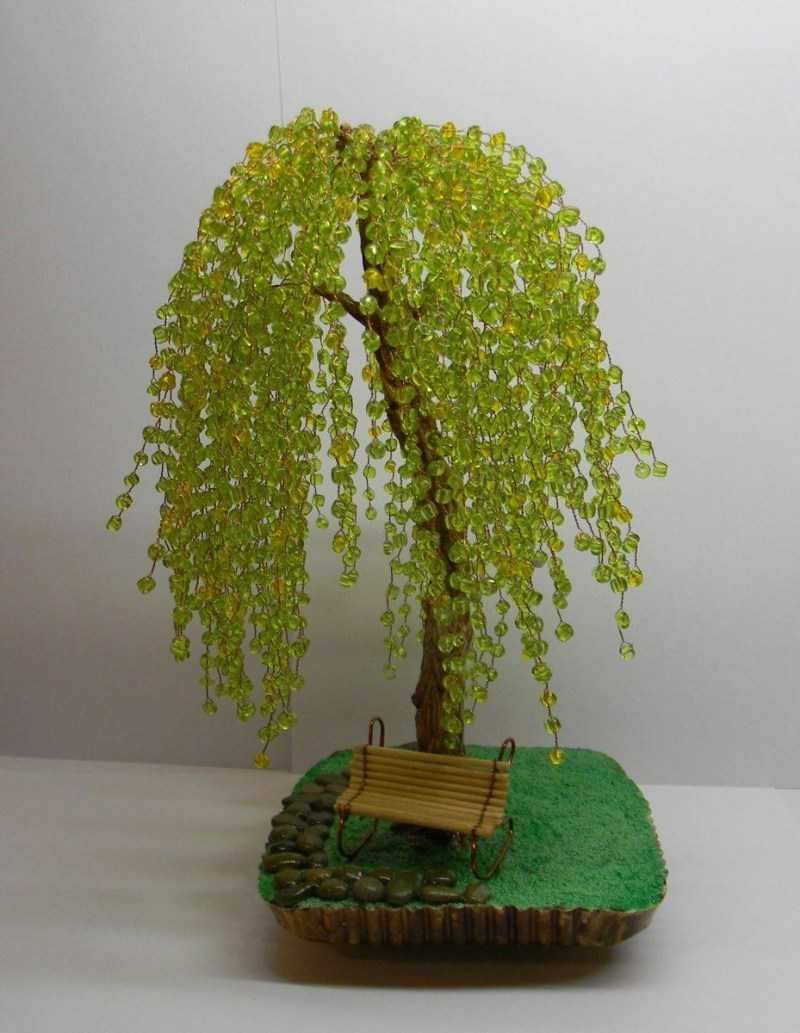
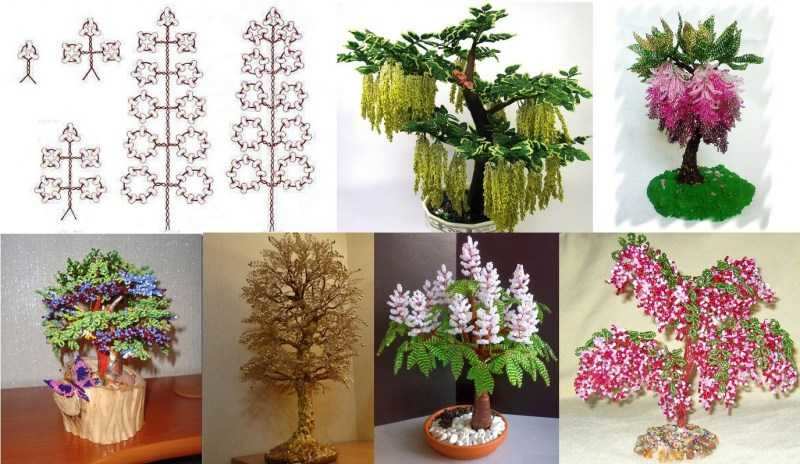
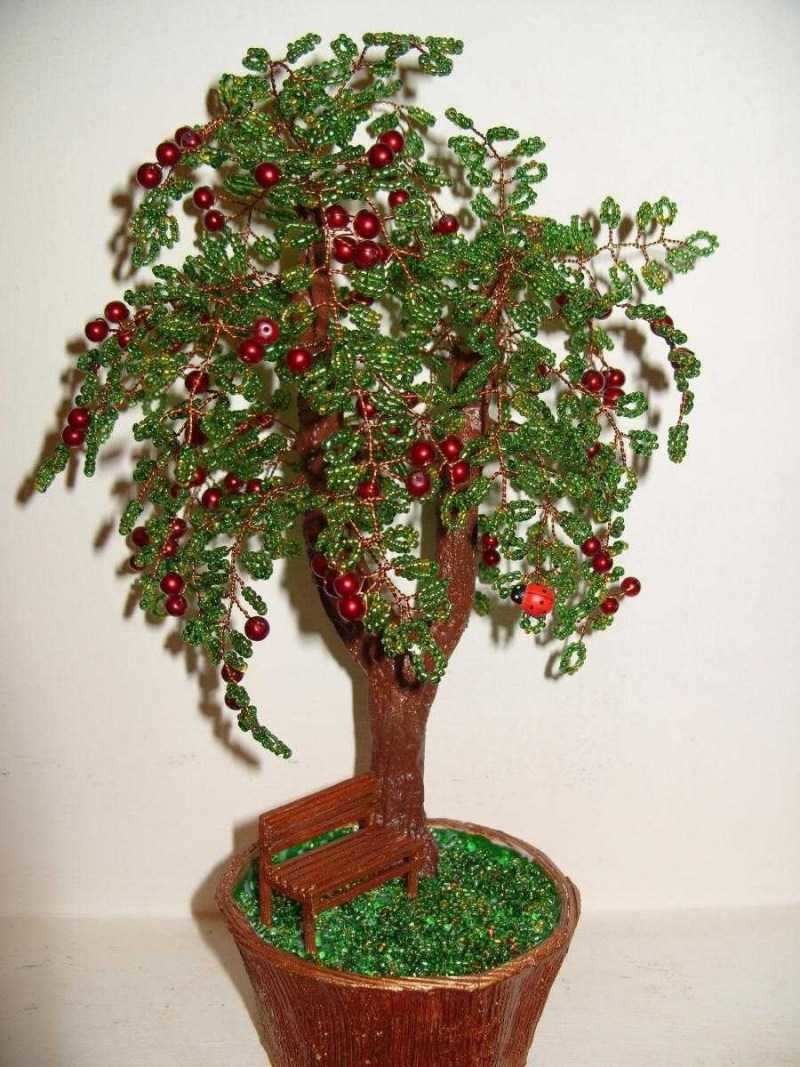
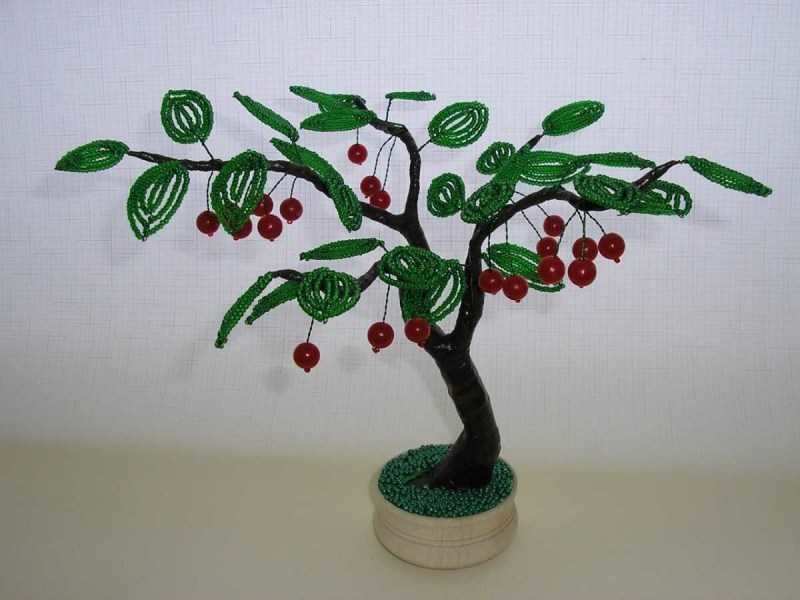
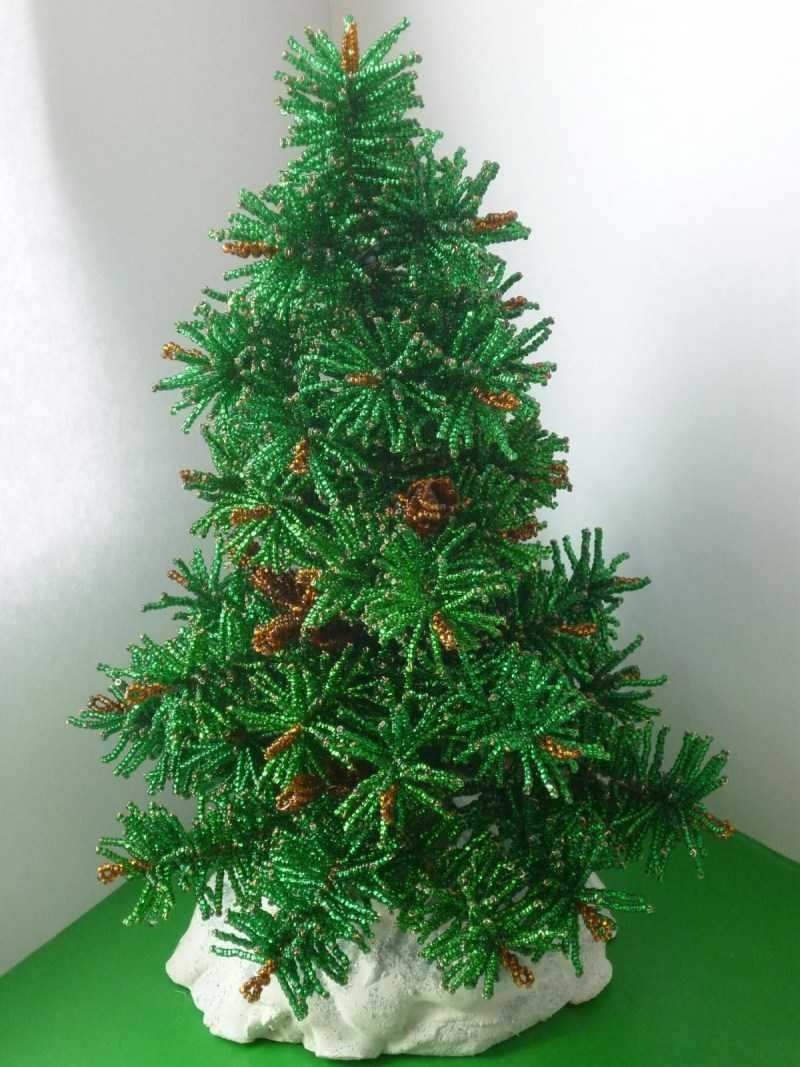
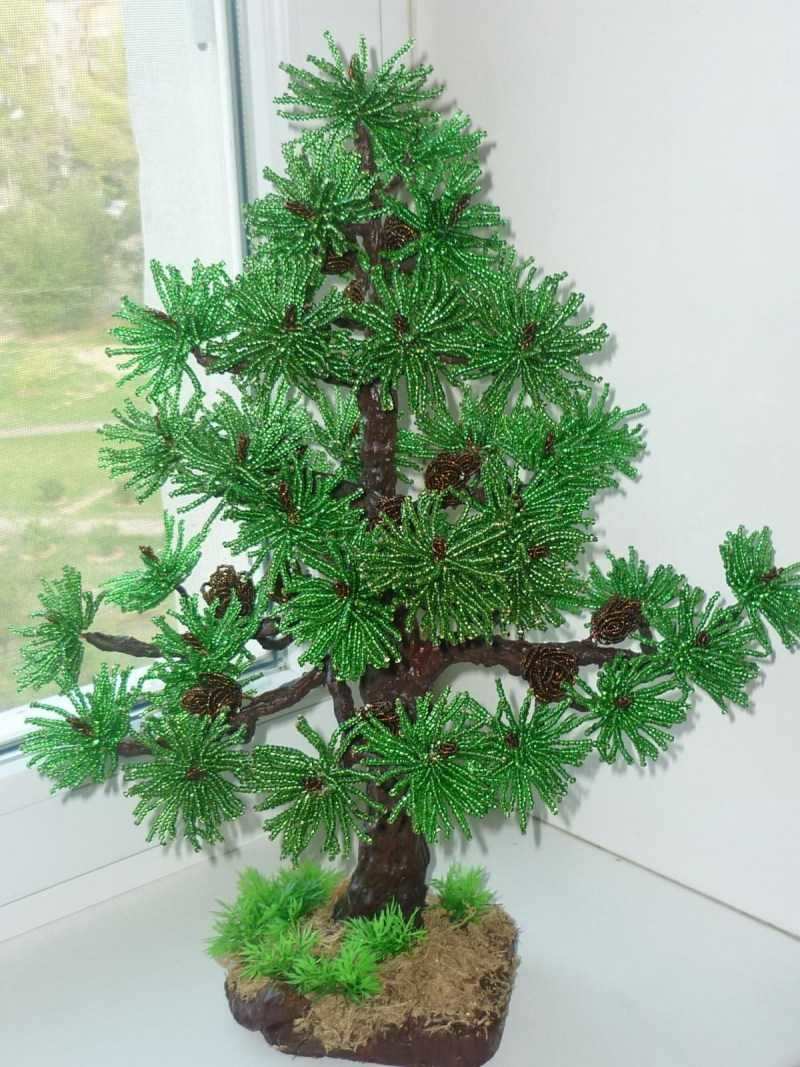
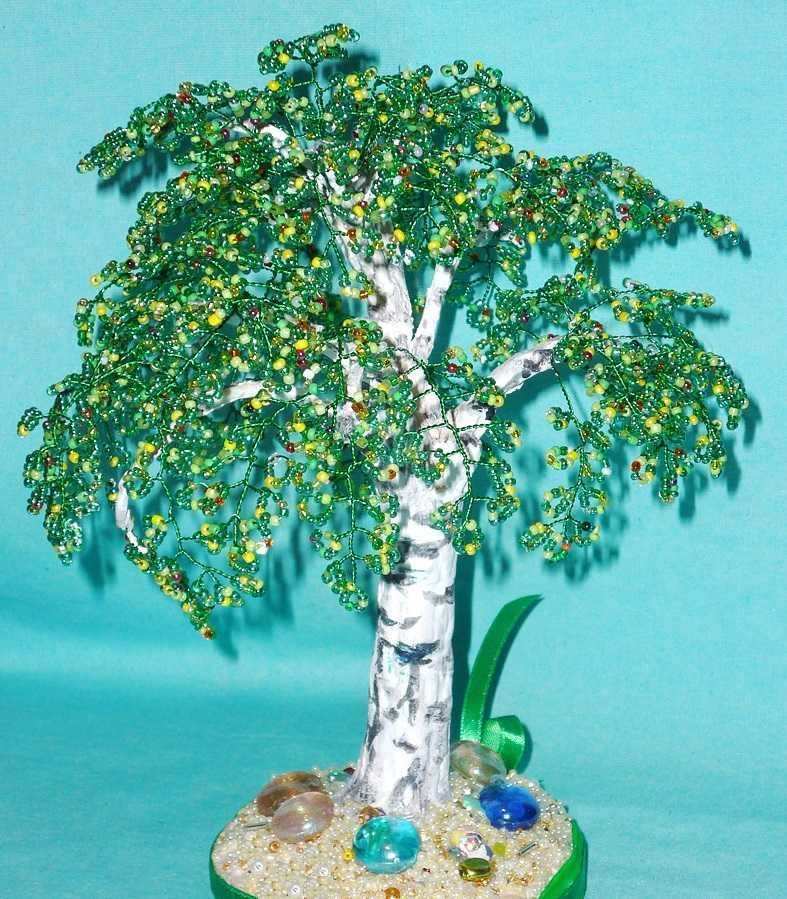
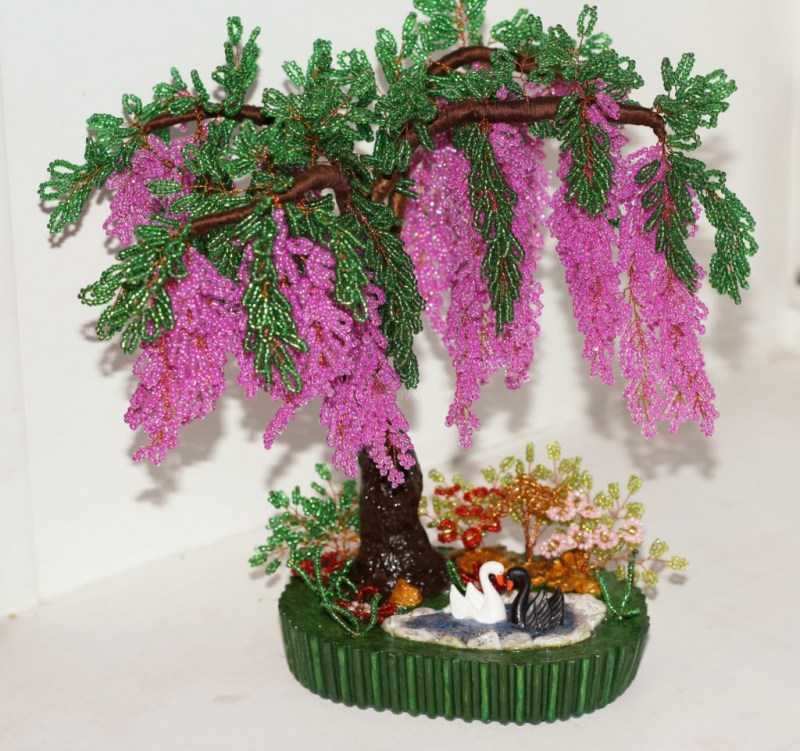
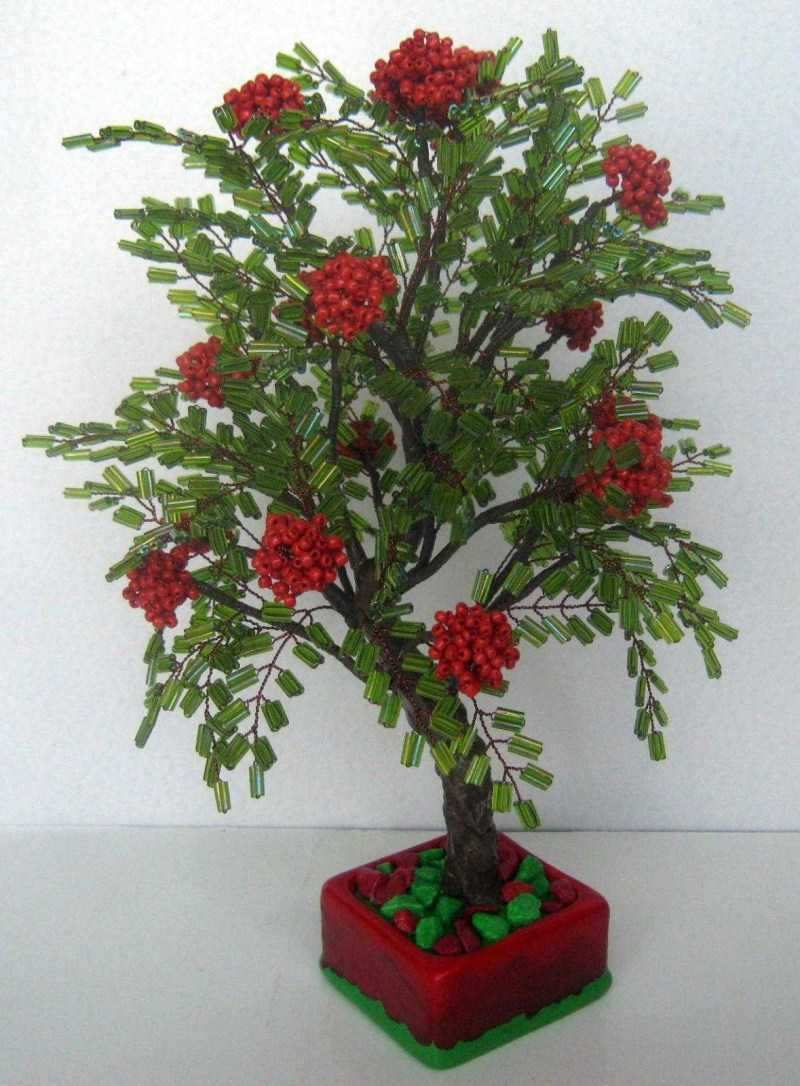
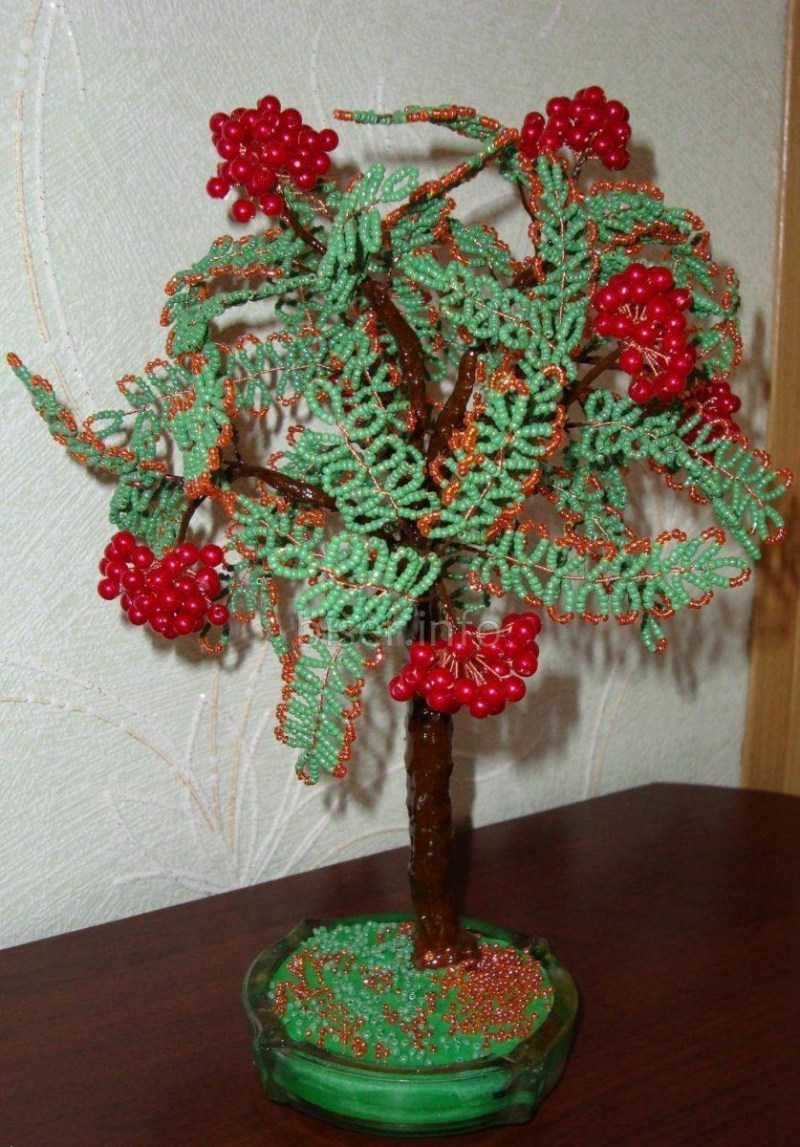
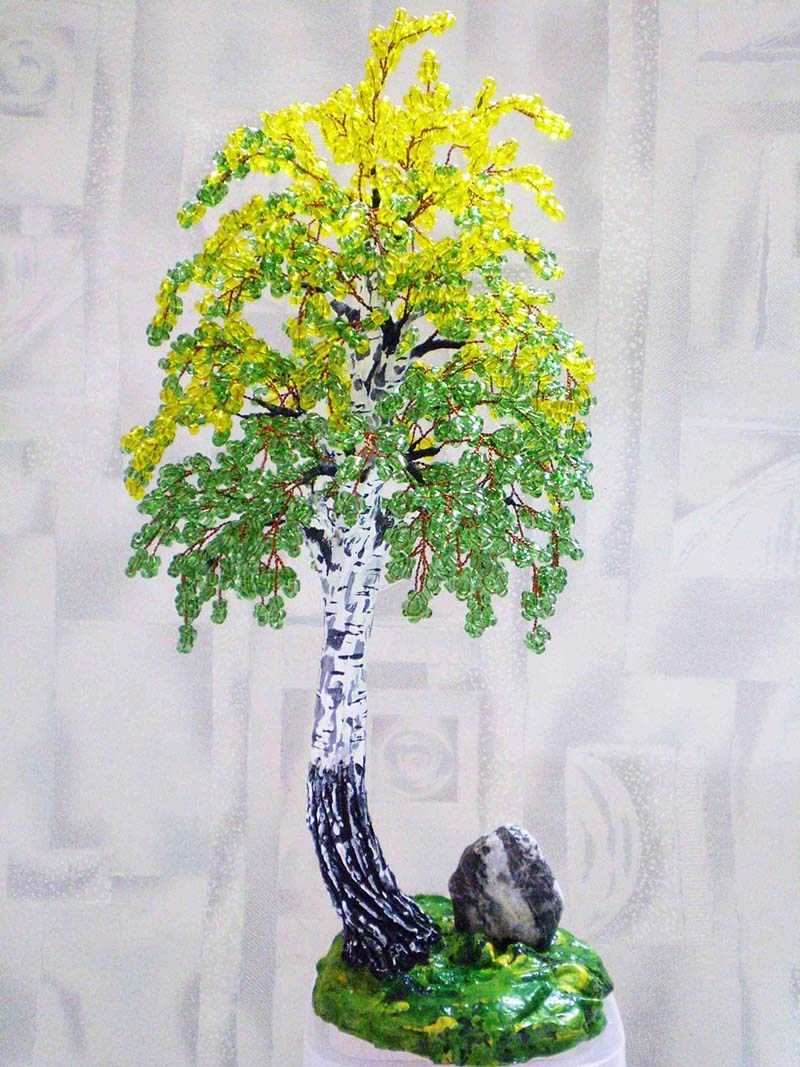
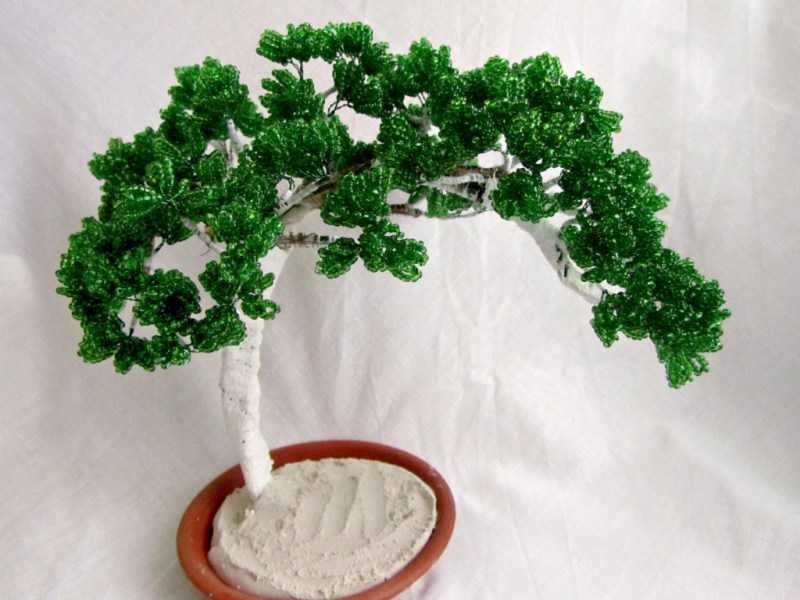
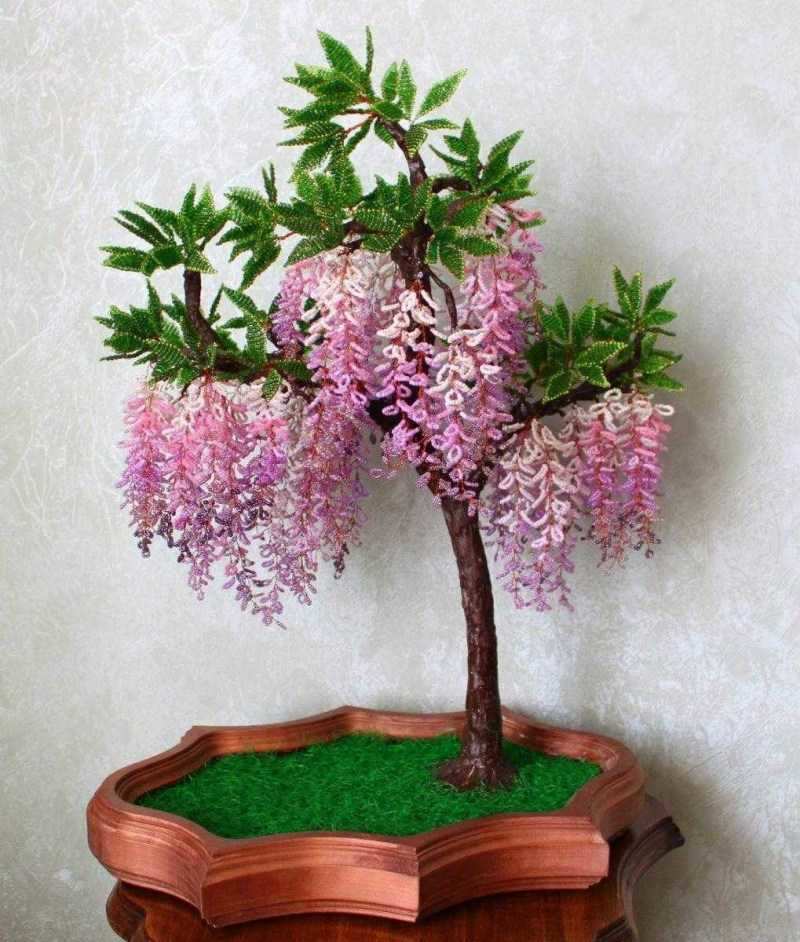
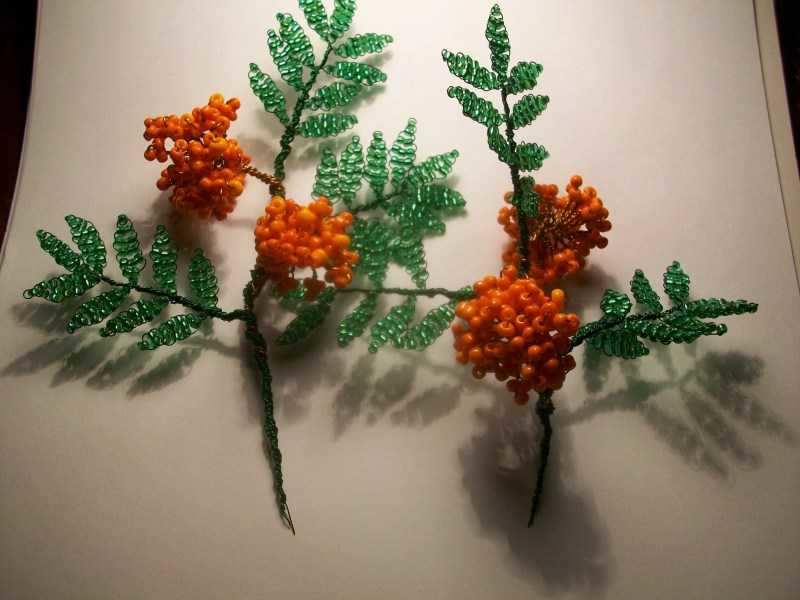
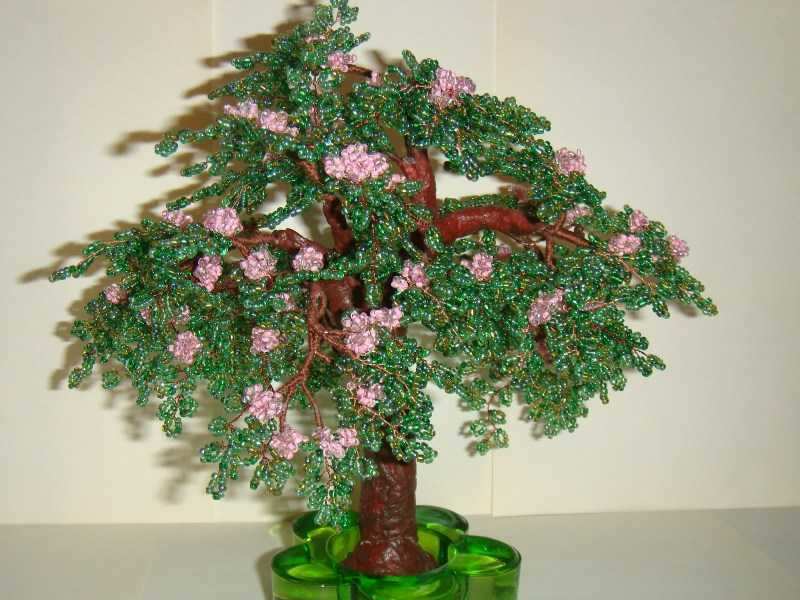
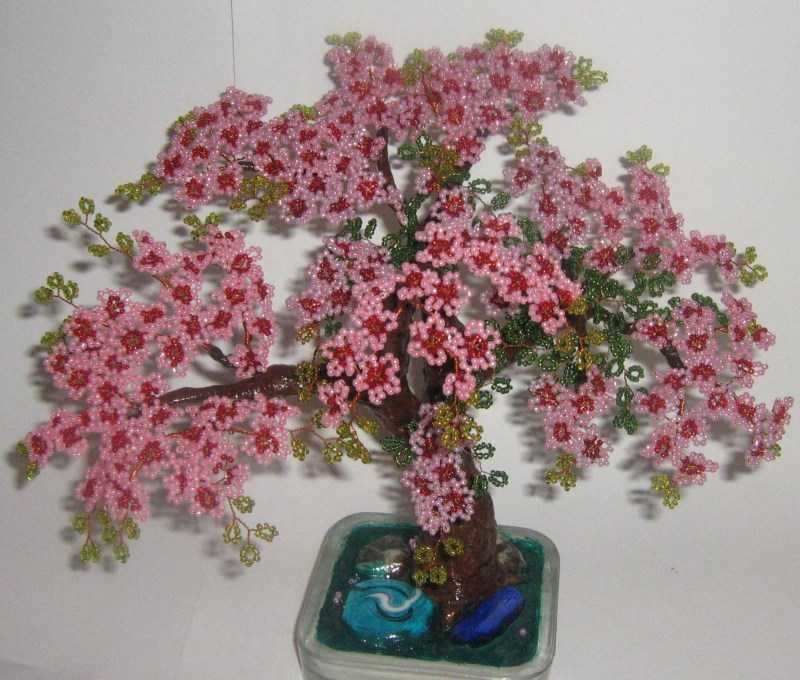
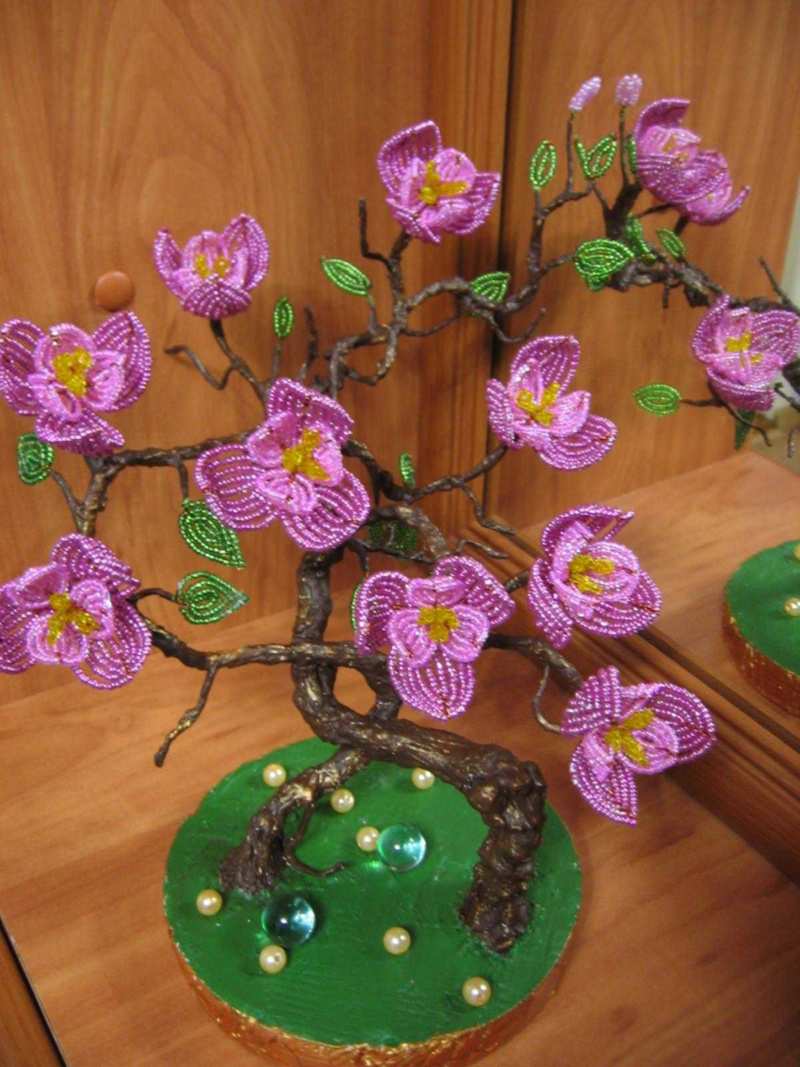
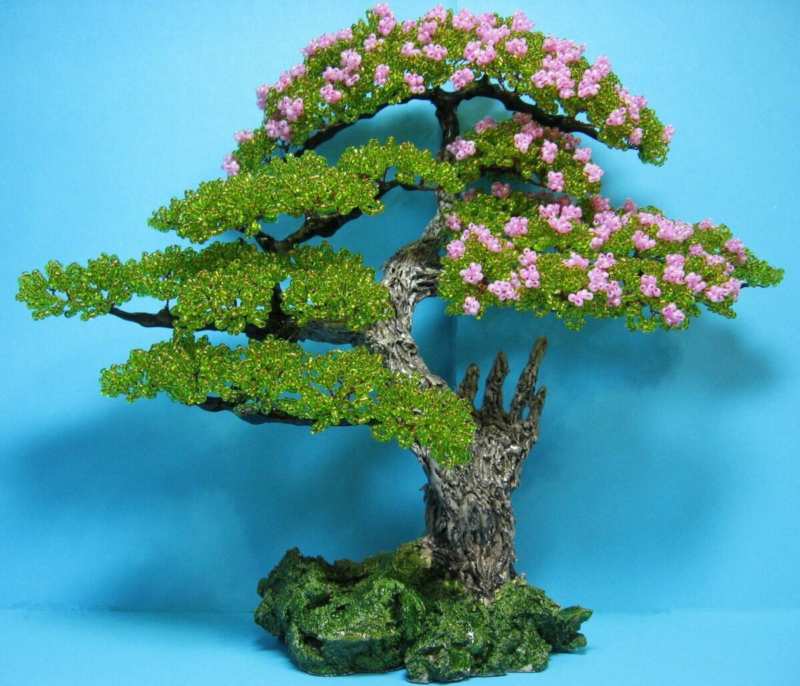
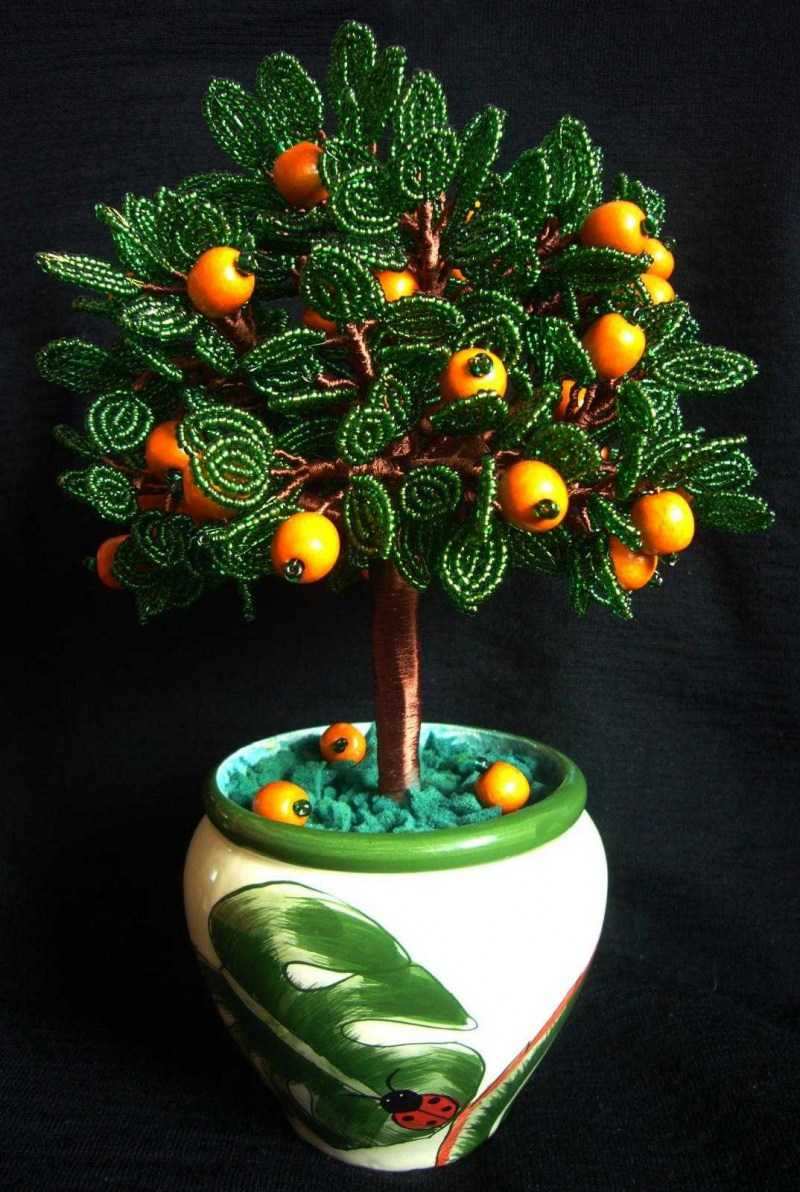
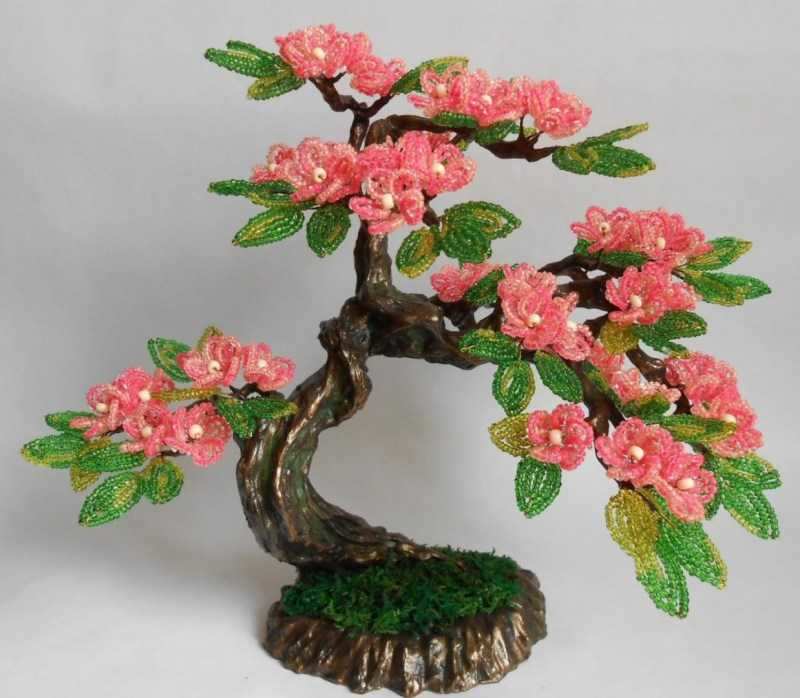
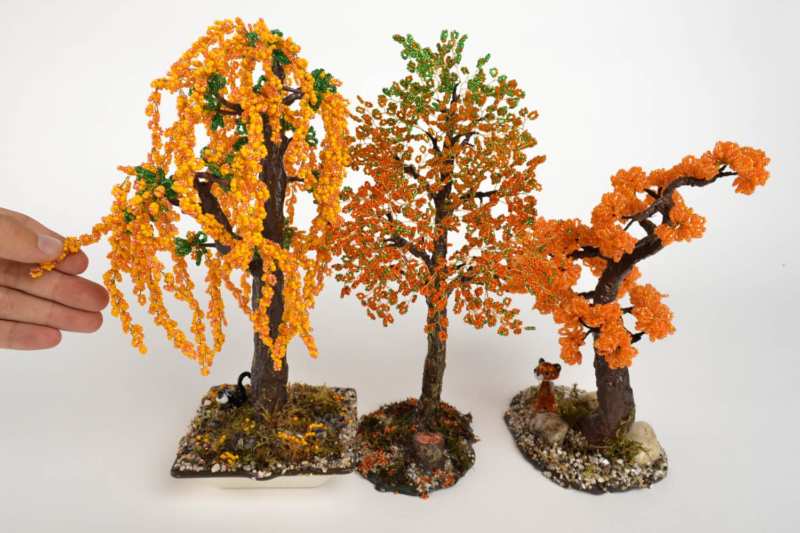
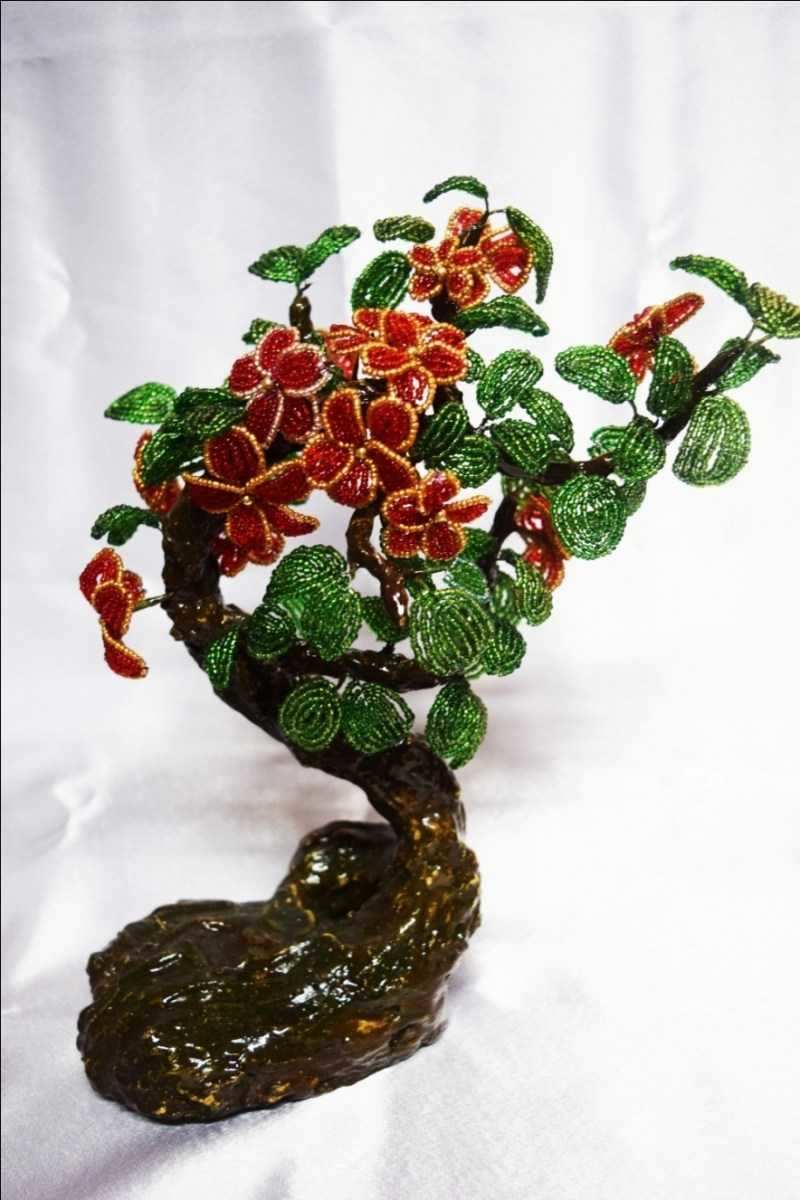
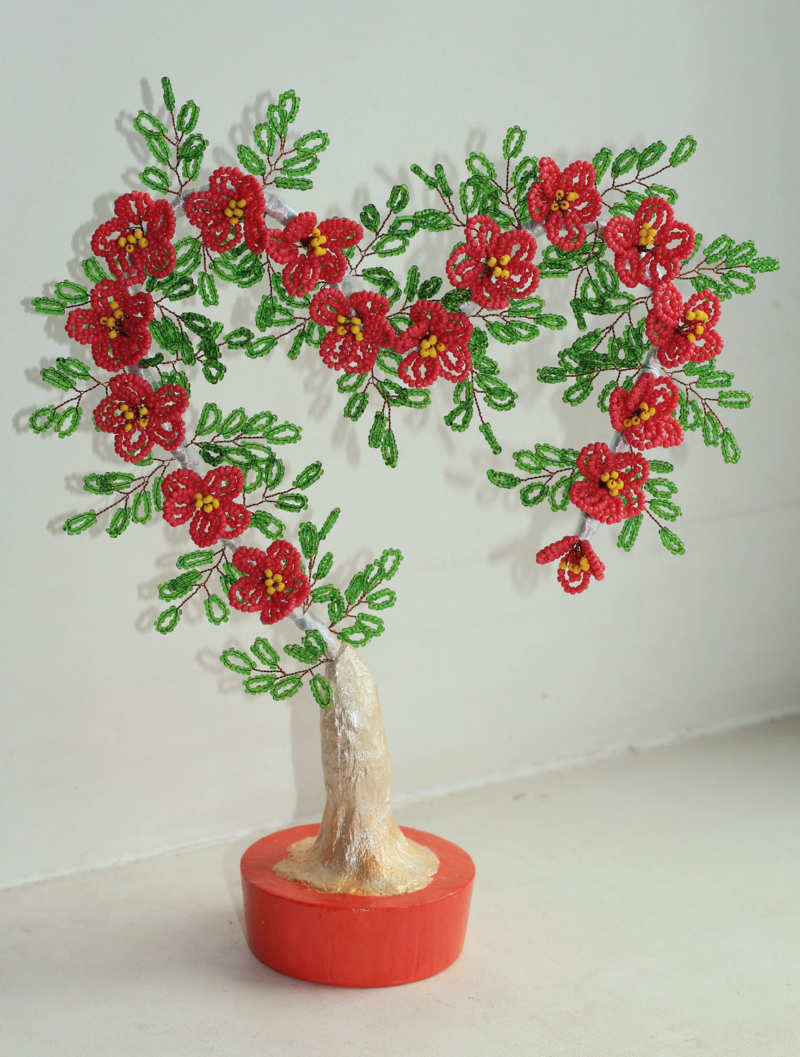
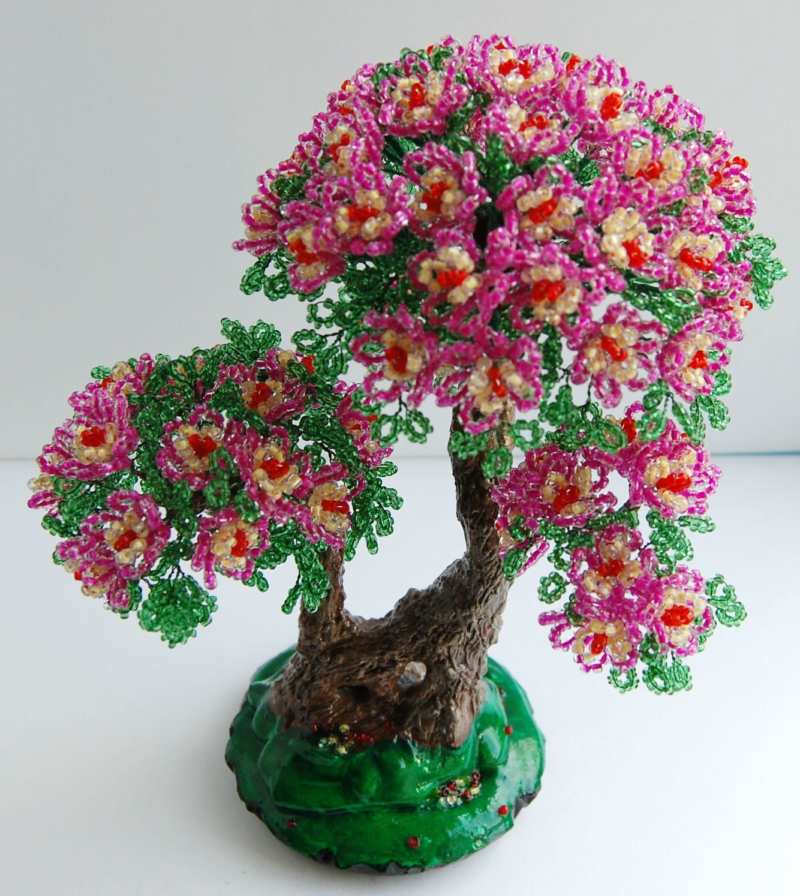
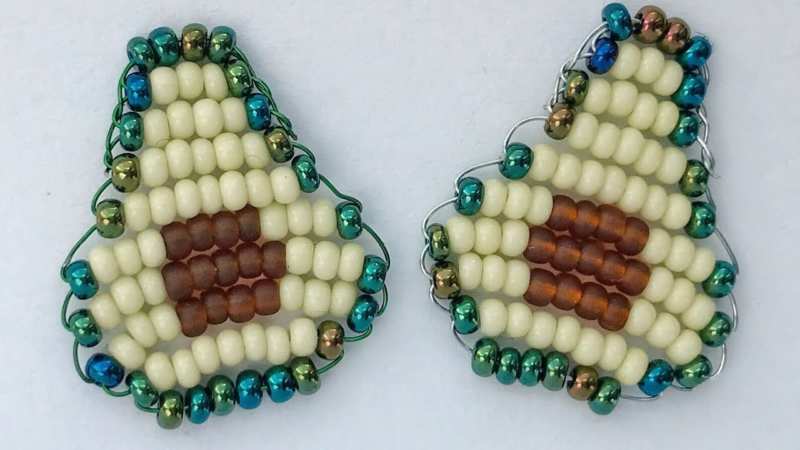
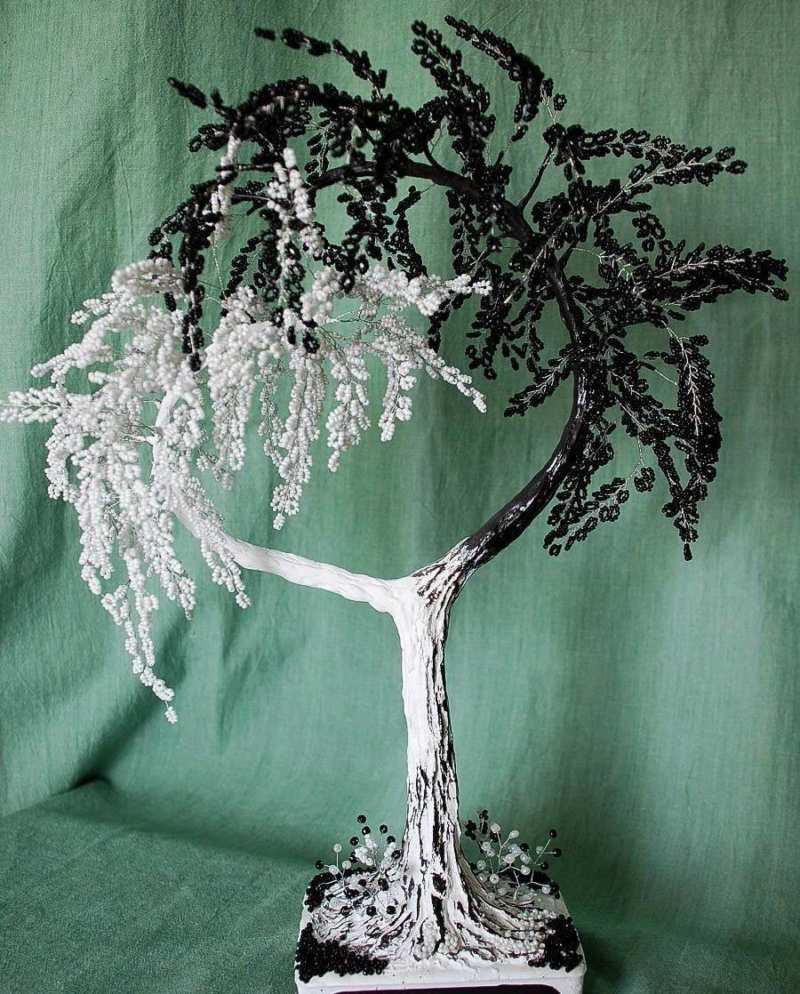
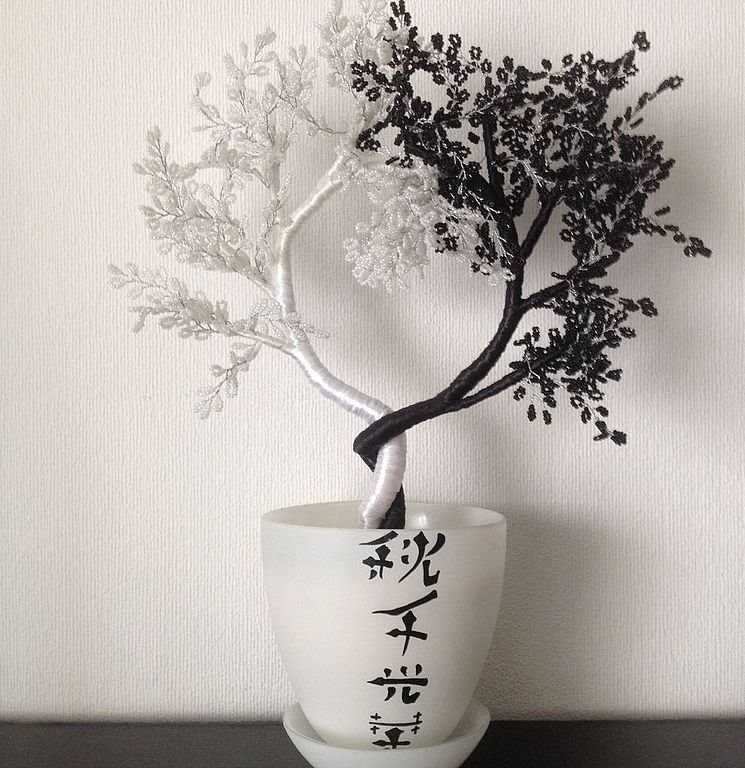
Photo ideas and diagrams of homemade beaded trees